• stem+node ceramics
  • HOME
  • Food Recipes
  • About
  • Contact
Menu

The Lovely Crazy

Street Address
City, State, Zip
Phone Number

Your Custom Text Here

The Lovely Crazy

  • stem+node ceramics
  • HOME
  • Food Recipes
  • About
  • Contact

Roasted Eggplant Red Pepper and Chickpea Pitas with Za'atar and Tahini sauce

September 29, 2015 Colleen Stem

I don't know guys… today already kind of feels like a blah day. It's way to warm out (I want crispy cool, not upper 70's), I have a butt load of paperwork to do, laundry up the butt, and a huge mess in the basement. And I just don't feel like doing anything, except maybe think about, make, and eat food. 

Food. My ultimate form of procrastination Whenever I don't want to do something, I find myself cooking or baking instead. Oh me… what to do. 

Anyway. This was dinner a few nights ago, and an awesome dinner it was. I mean, anything za'atar or tahaini is, and together on roasted veggies… mouth watering!  So good in fact that I was thinking (already thinking) of making it again tonight. Maybe while I am sitting with the bills and the dirty laundry. Don't worry, it's cool, I am a fantatic multi-tasker. Doing laundry, the bills and  making food.. No problem. I thing it's really just  the damn warm weather that's getting to me, and there is nothing I can do about that except bitch a little. So consider me bitched.  

And dinner. Maybe if I make this again, today won't feel so blah. 

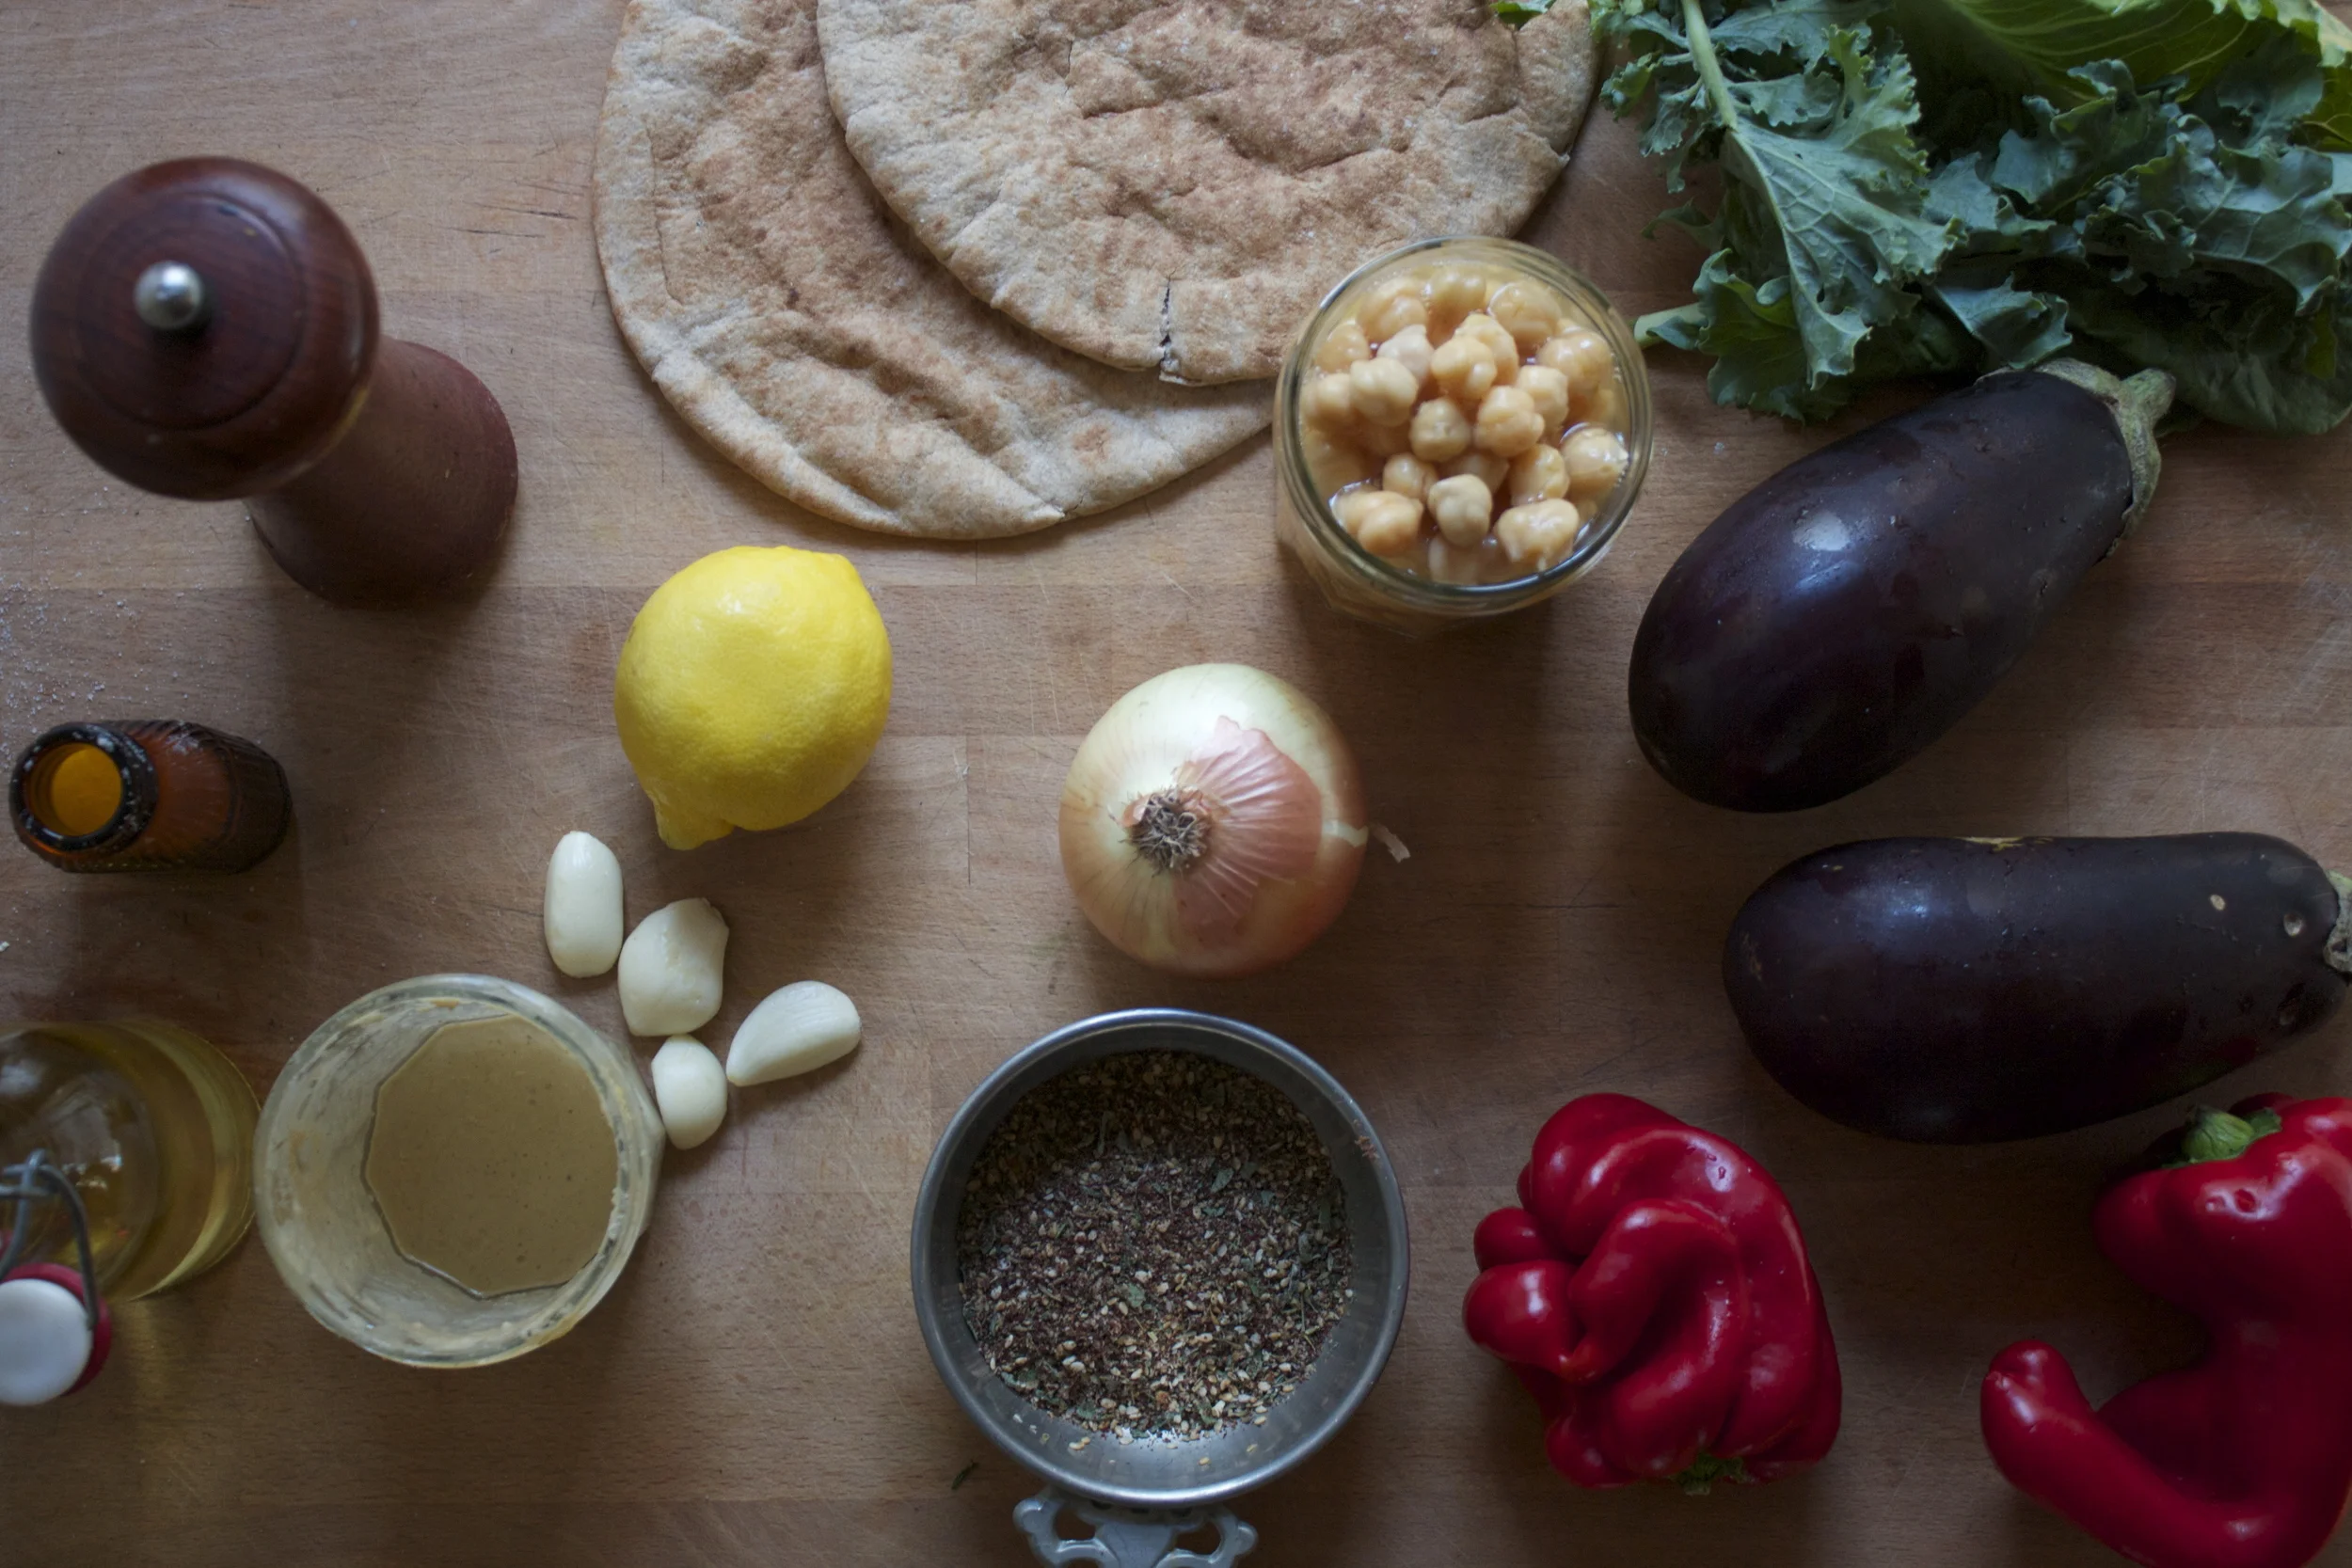
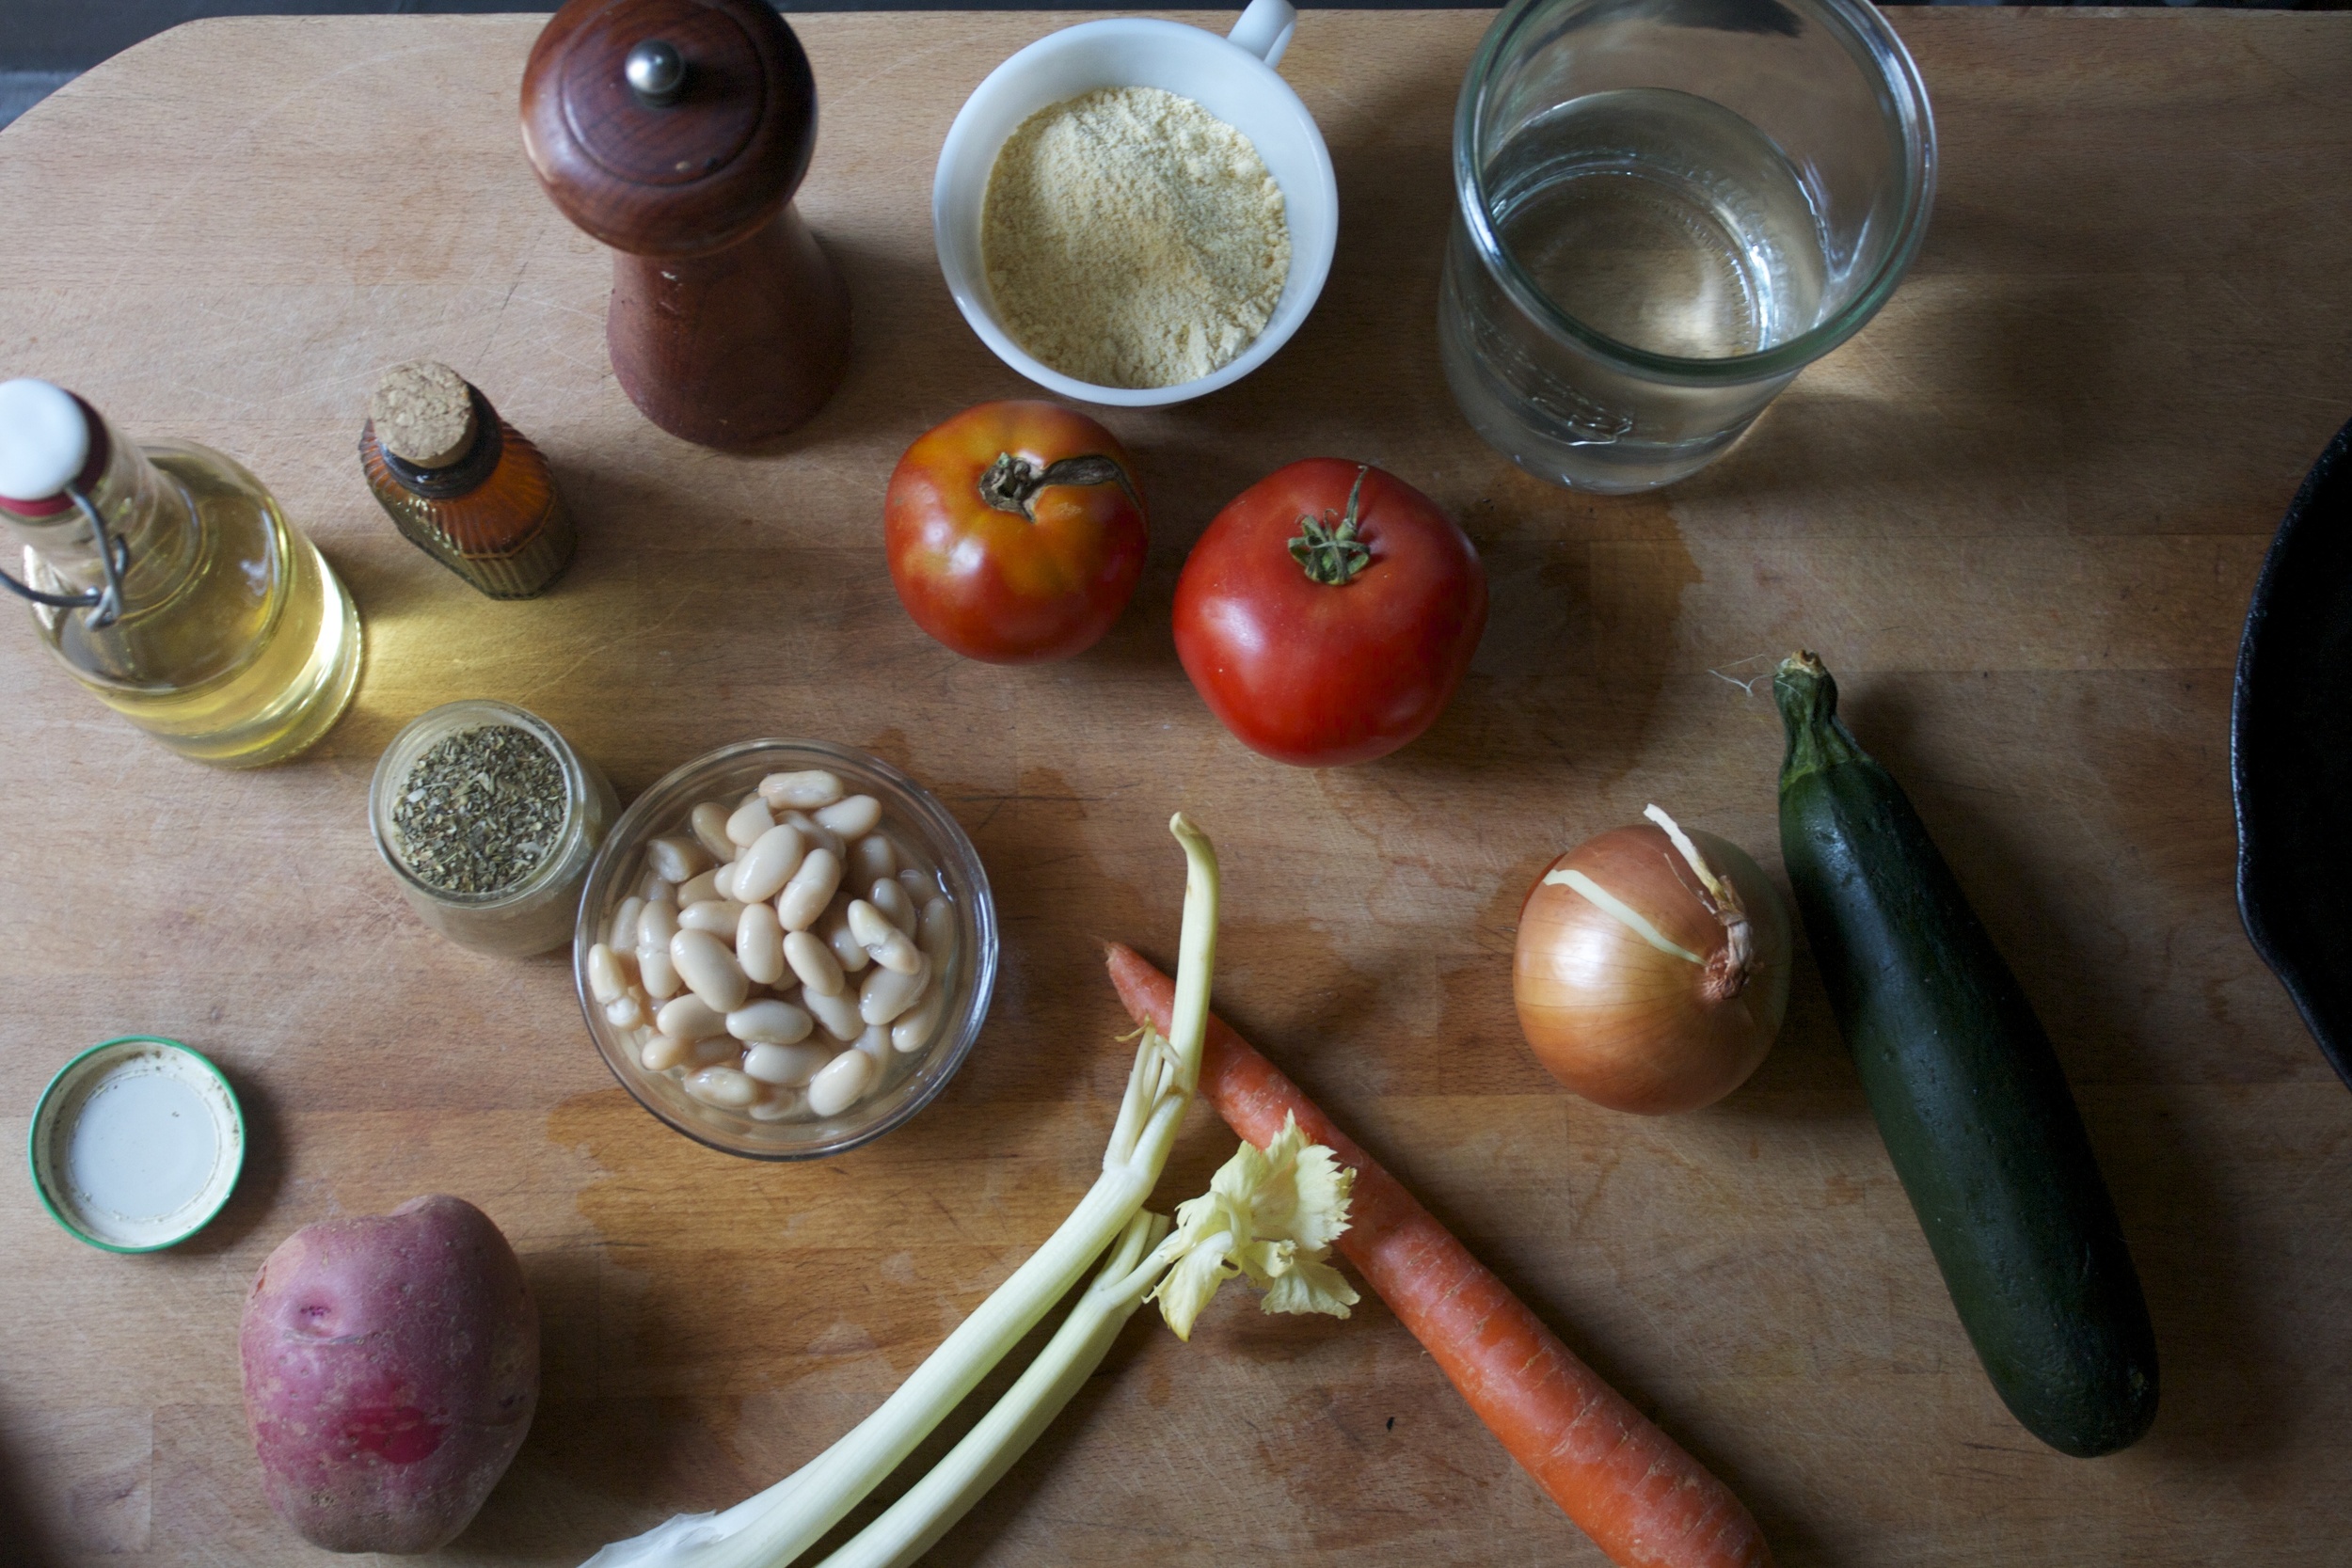
The stuff… Eggplant, red peppers, onion, and some chick peas (in liquid).  Tahini, a lemon, garlic, olive oil, salt and pepper. And of course we need some pitas, some greens and lots and lots of za'atar.

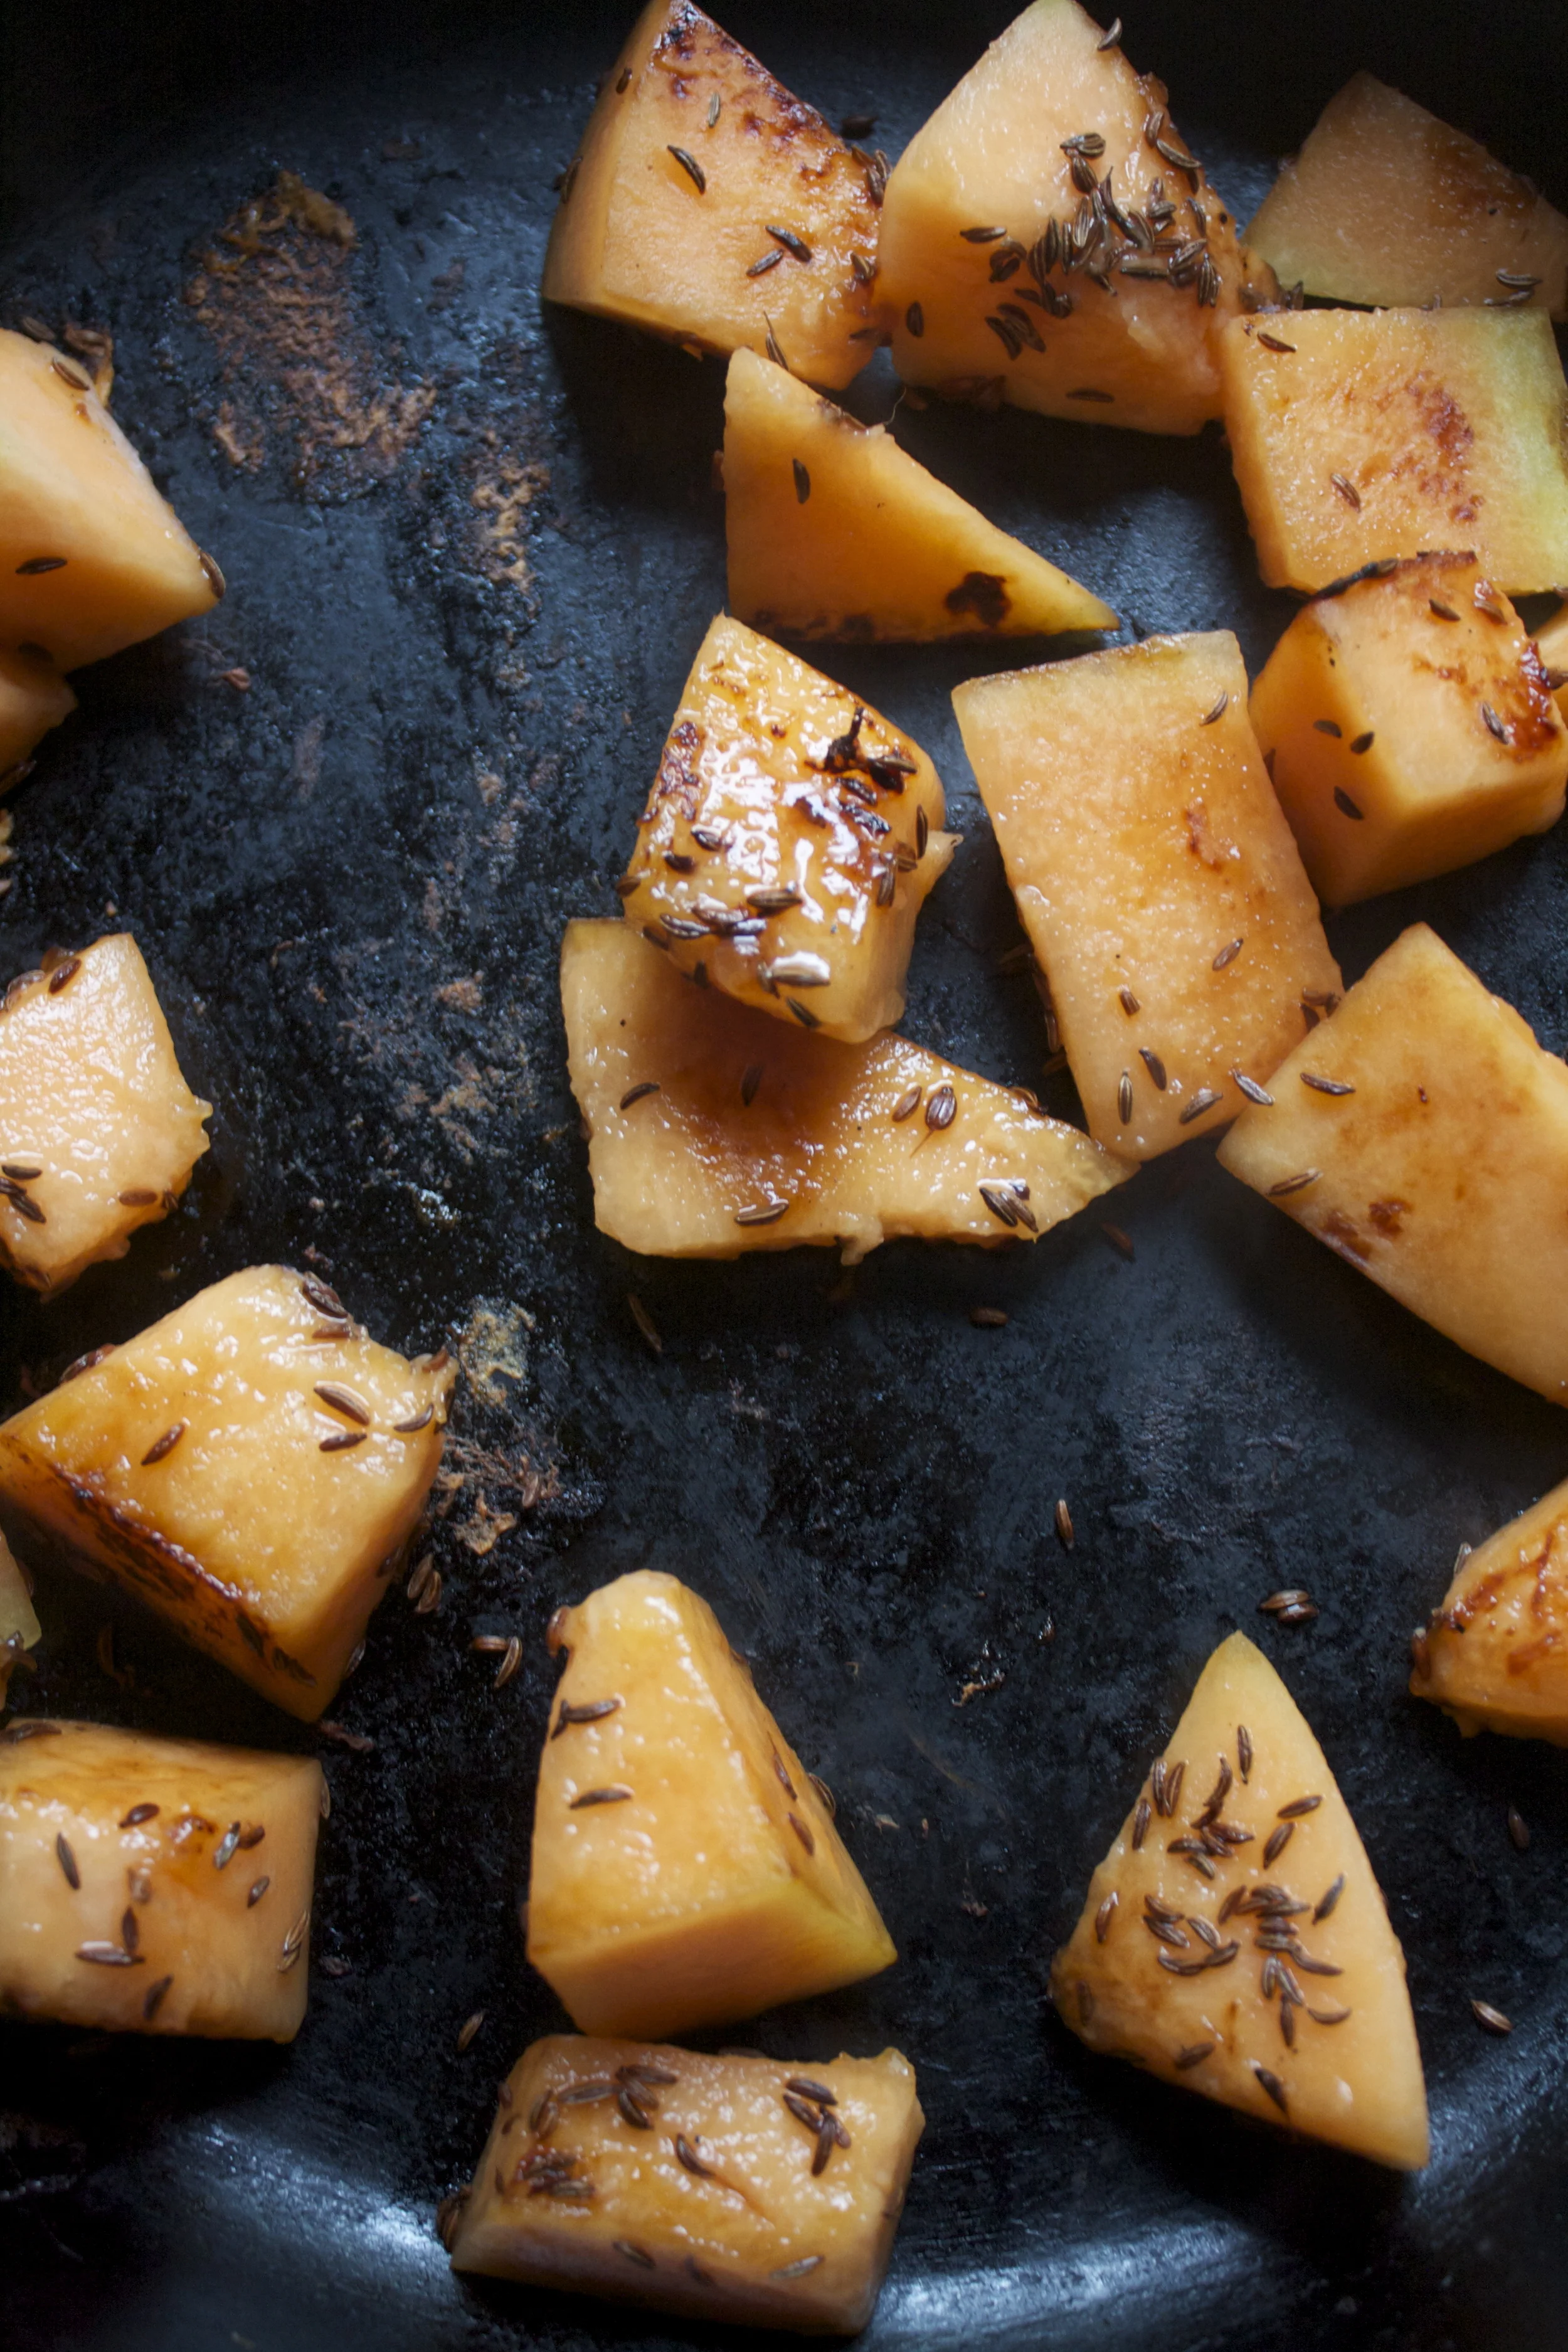
Dice up the eggplants, the red pepper and the onion into chunks that will fit in your mouth.

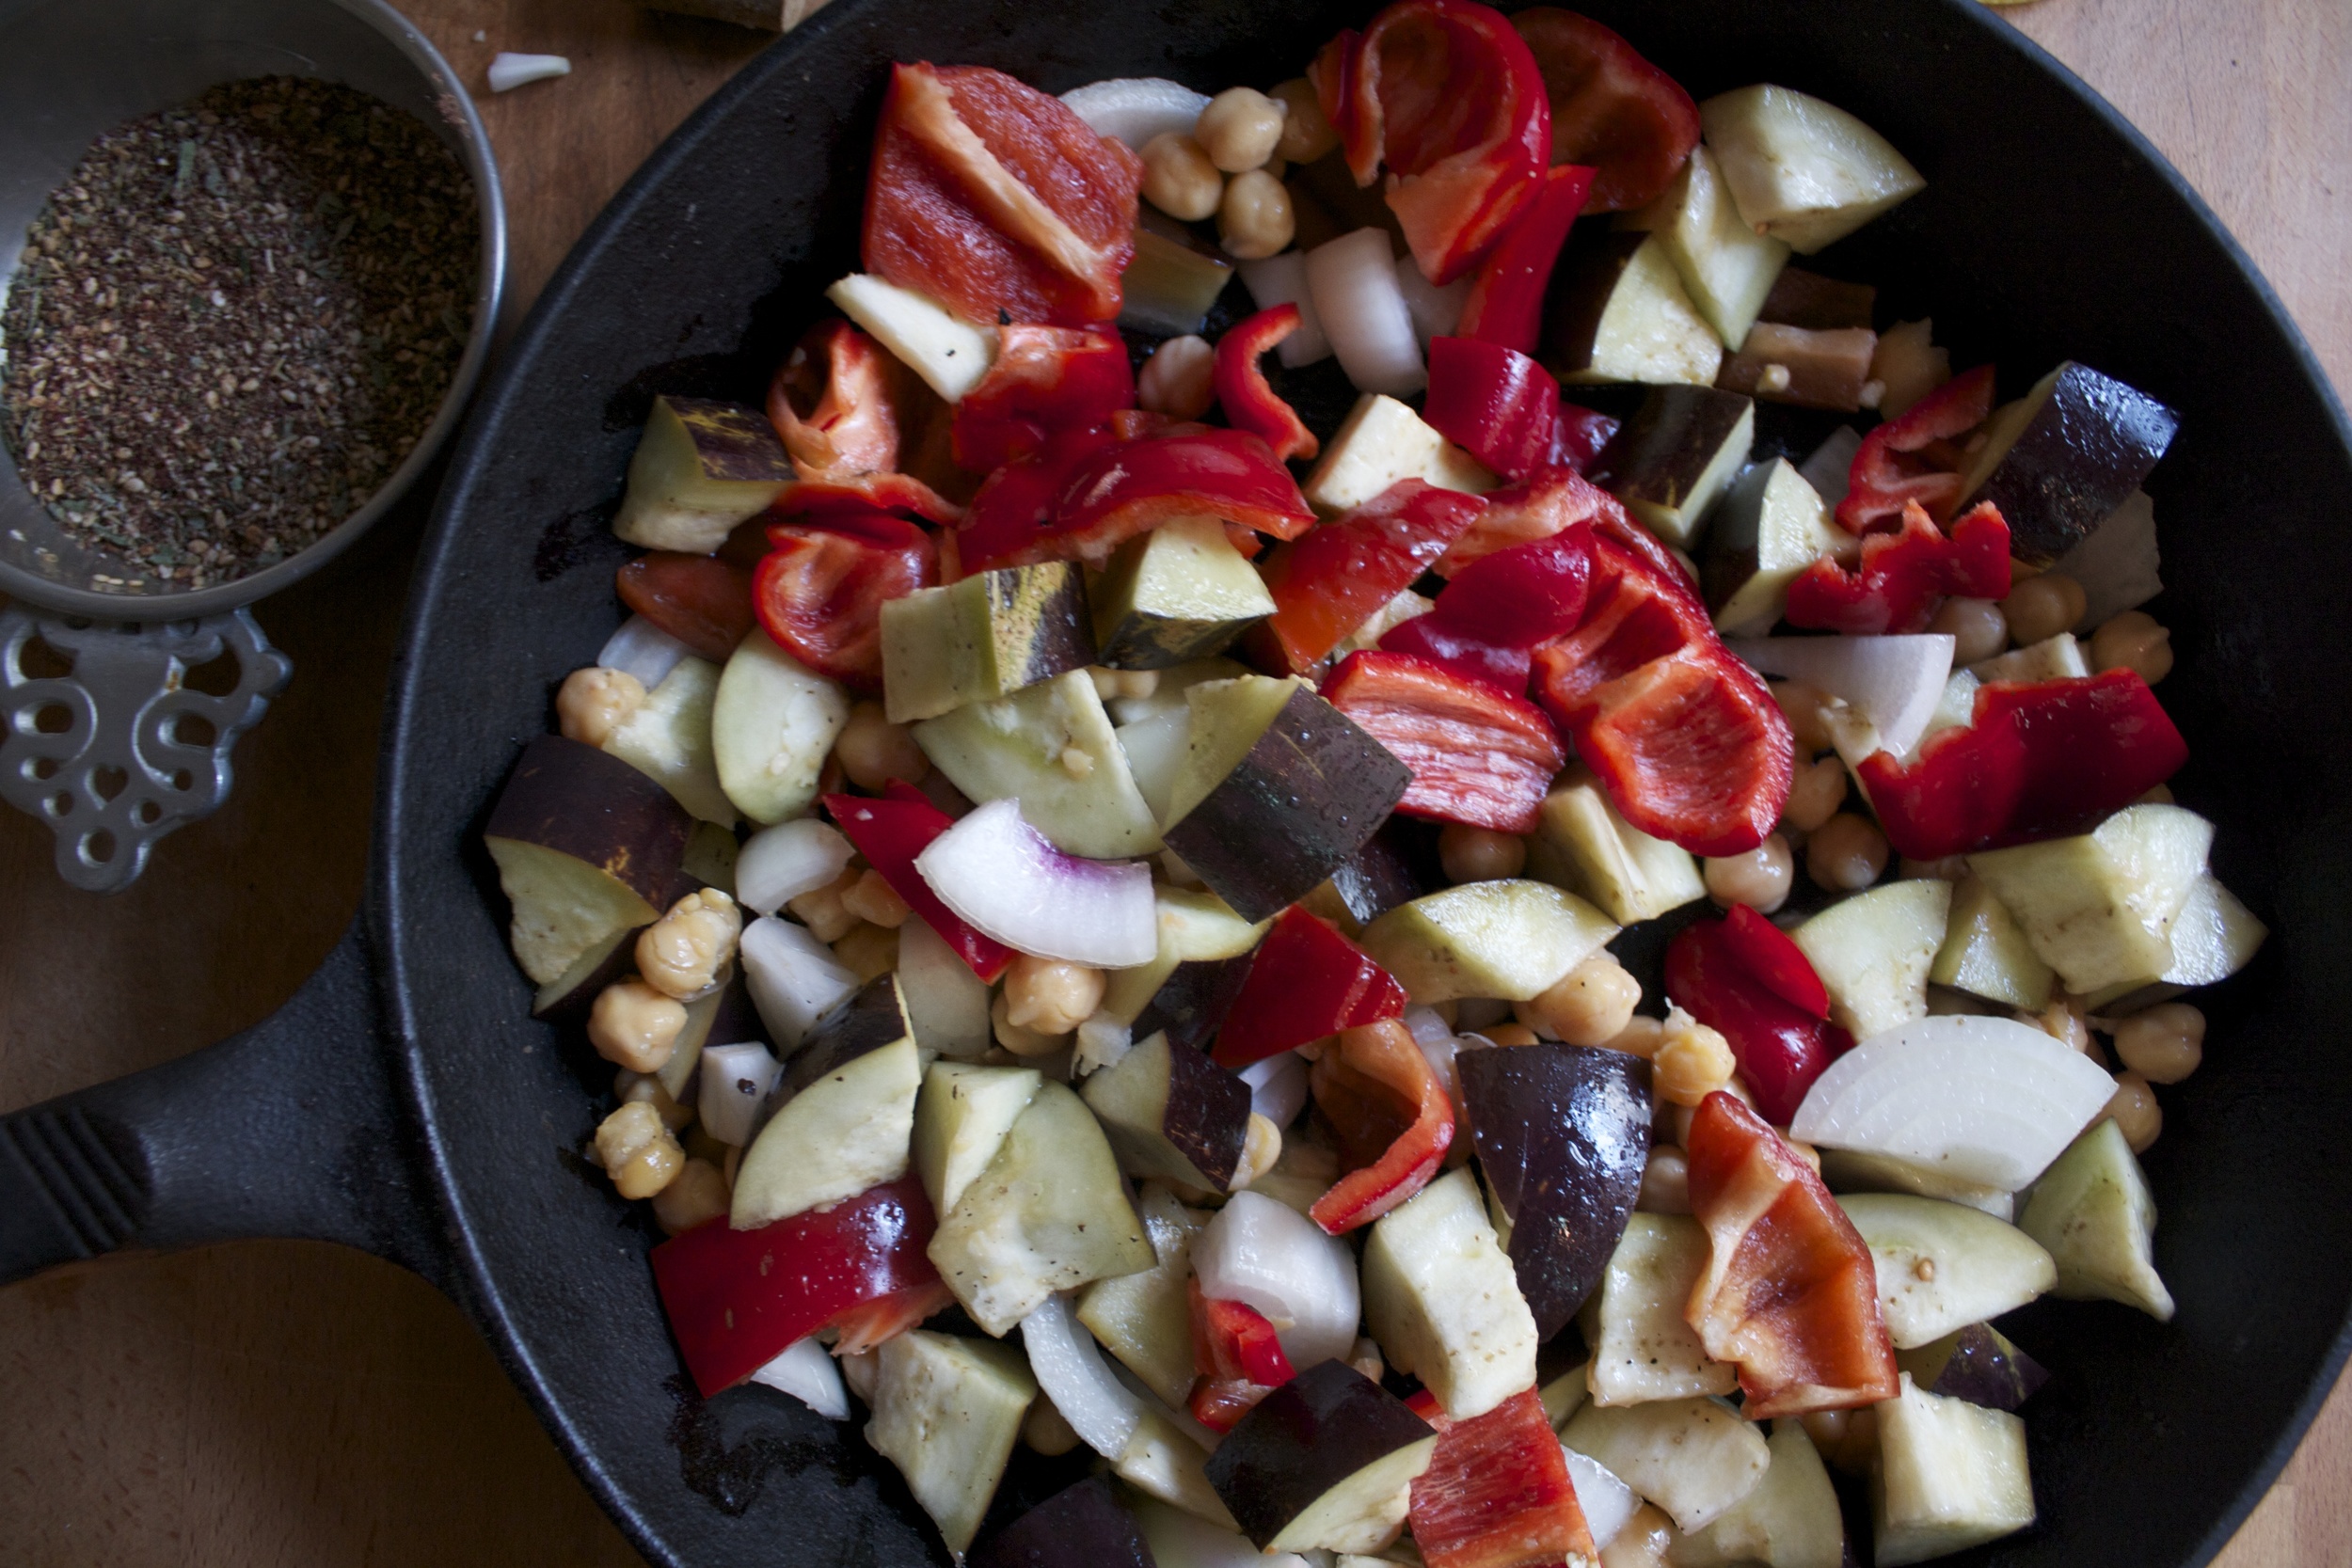
Toss that all together into a slightly oiled roasting skillet with the chickpeas (liquid drained but saved), salt and pepper, and a big ass dowse of za'atar. 

Stick into the oven to roast.

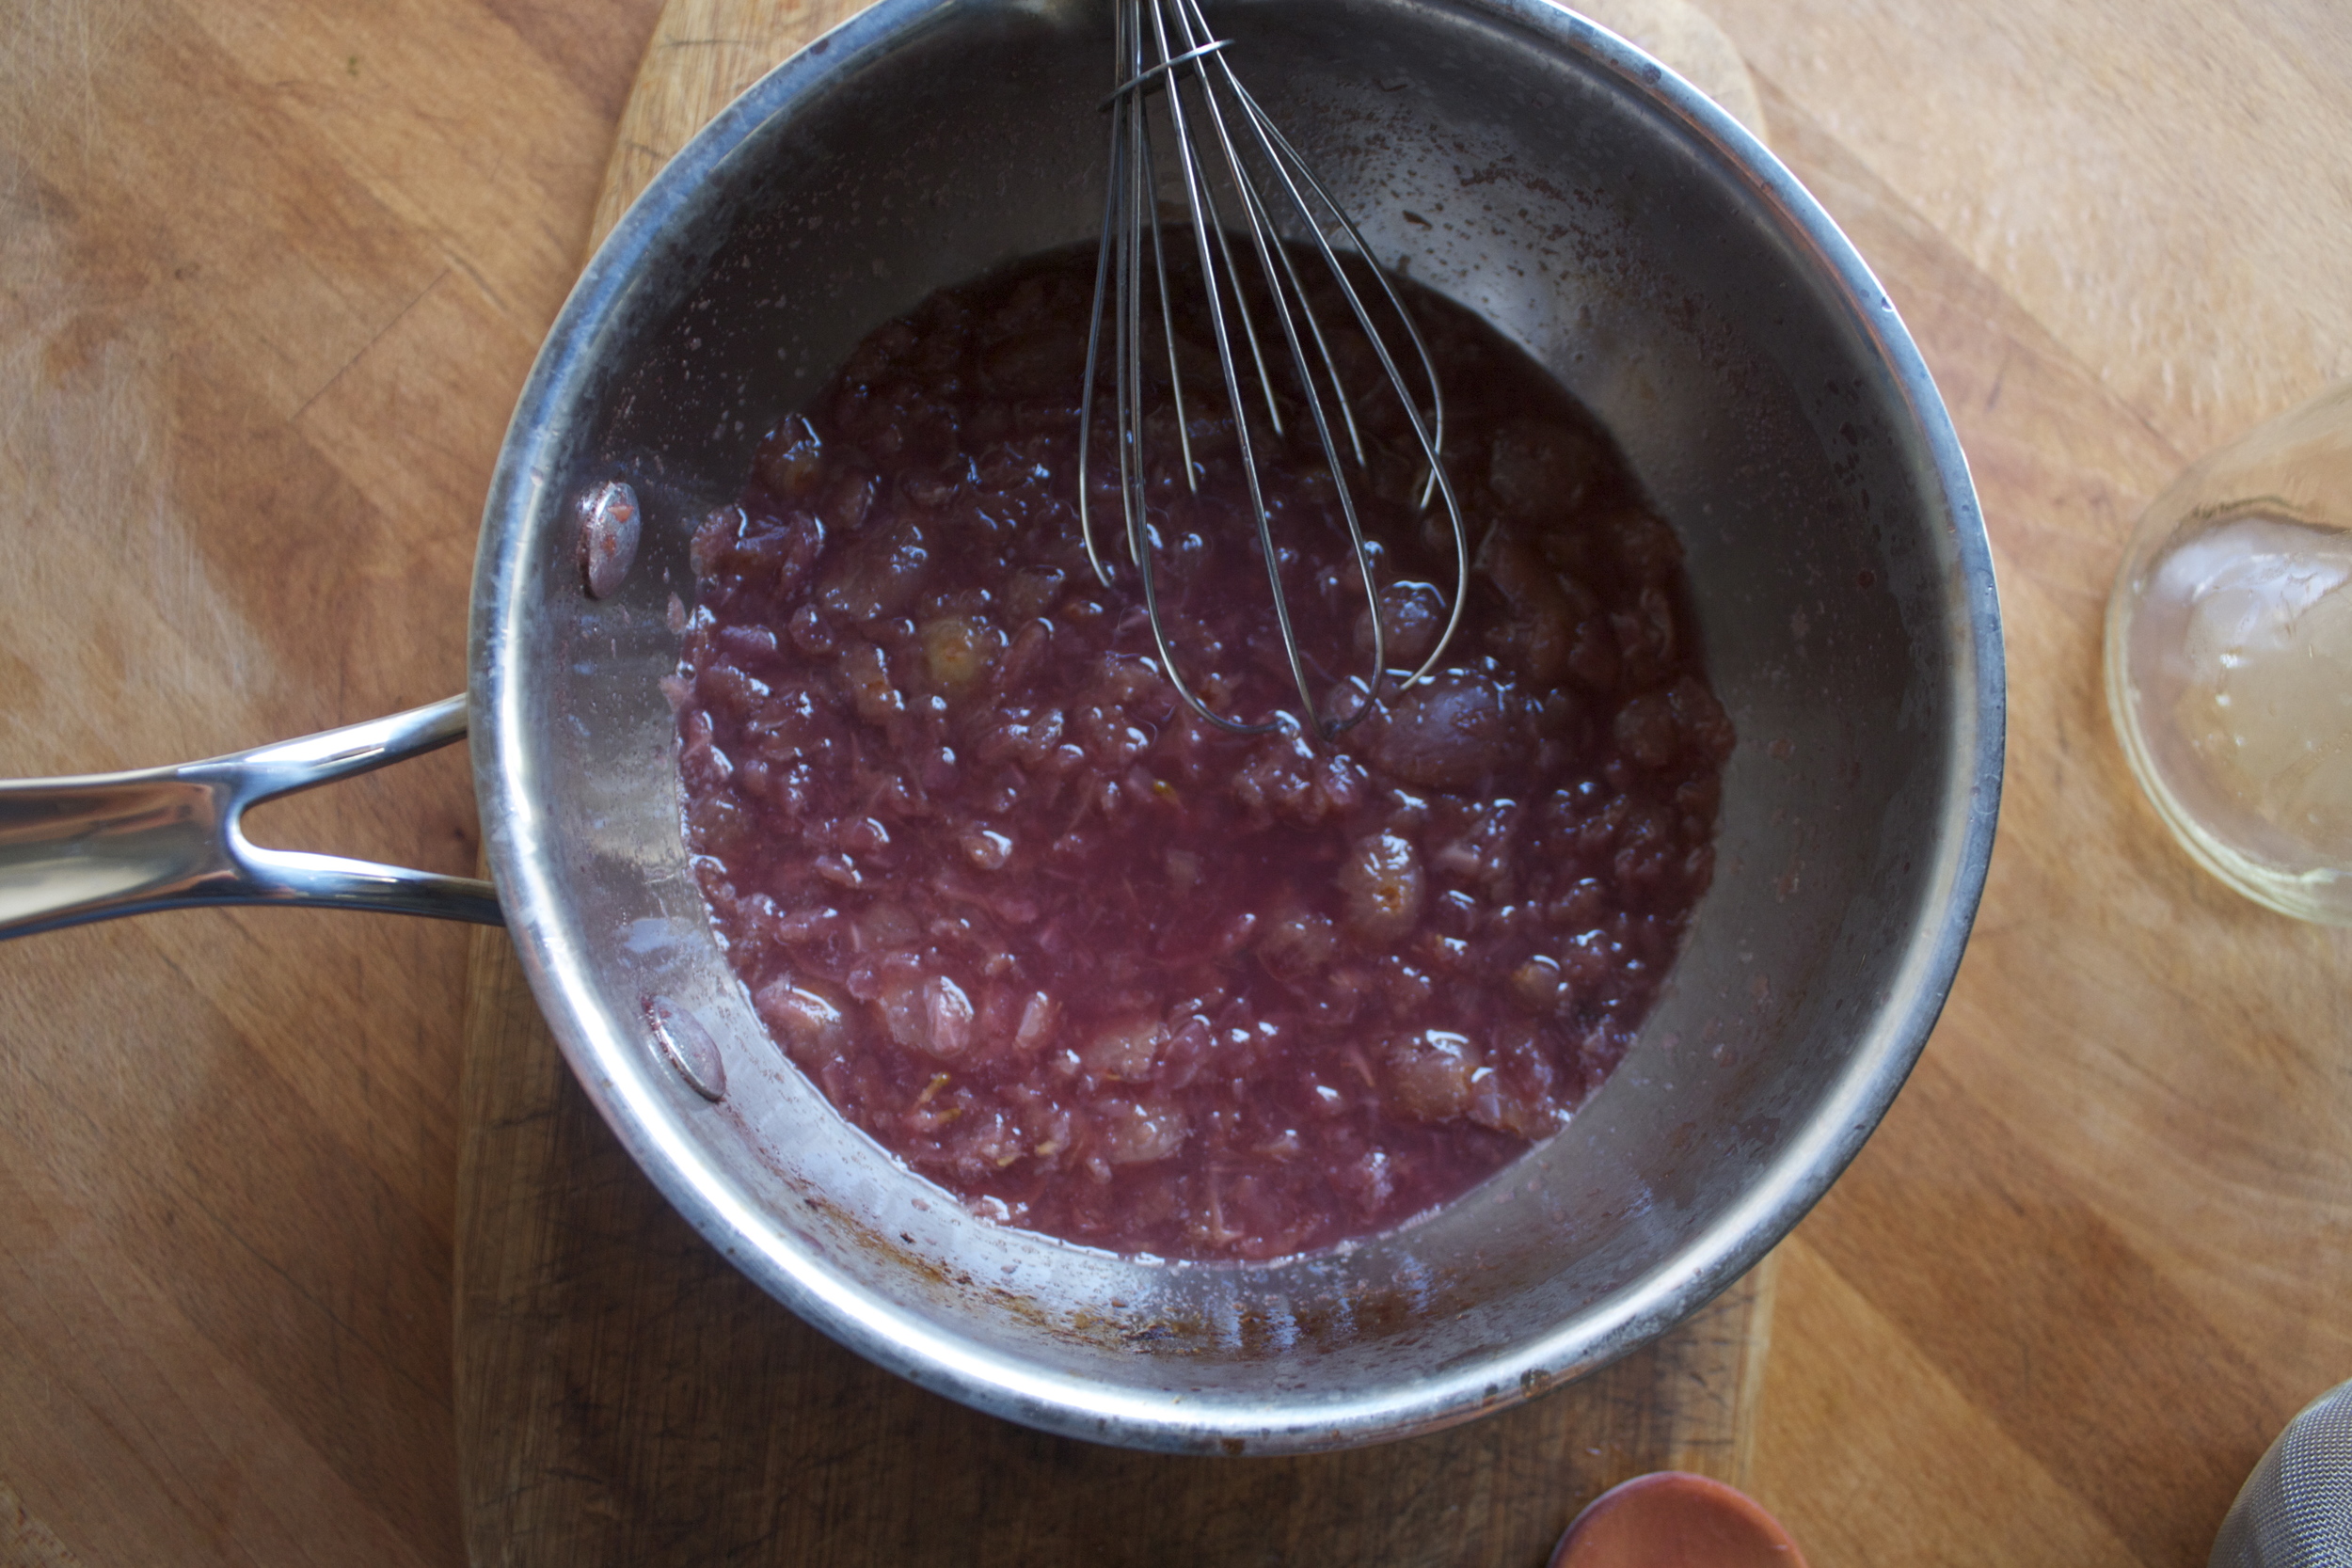
While the veggies are roasting, mince the garlic and add to the tahini. Mix in the juice of the lemon, a little salt and pepper, a drip or tow of oil, and the liquid from the chick peas. And no, it's not gross, its fantastic and makes the sauce all nice and creamy. But if you happen to have no chick pea liquid, just add in enough water to thin out the sauce.

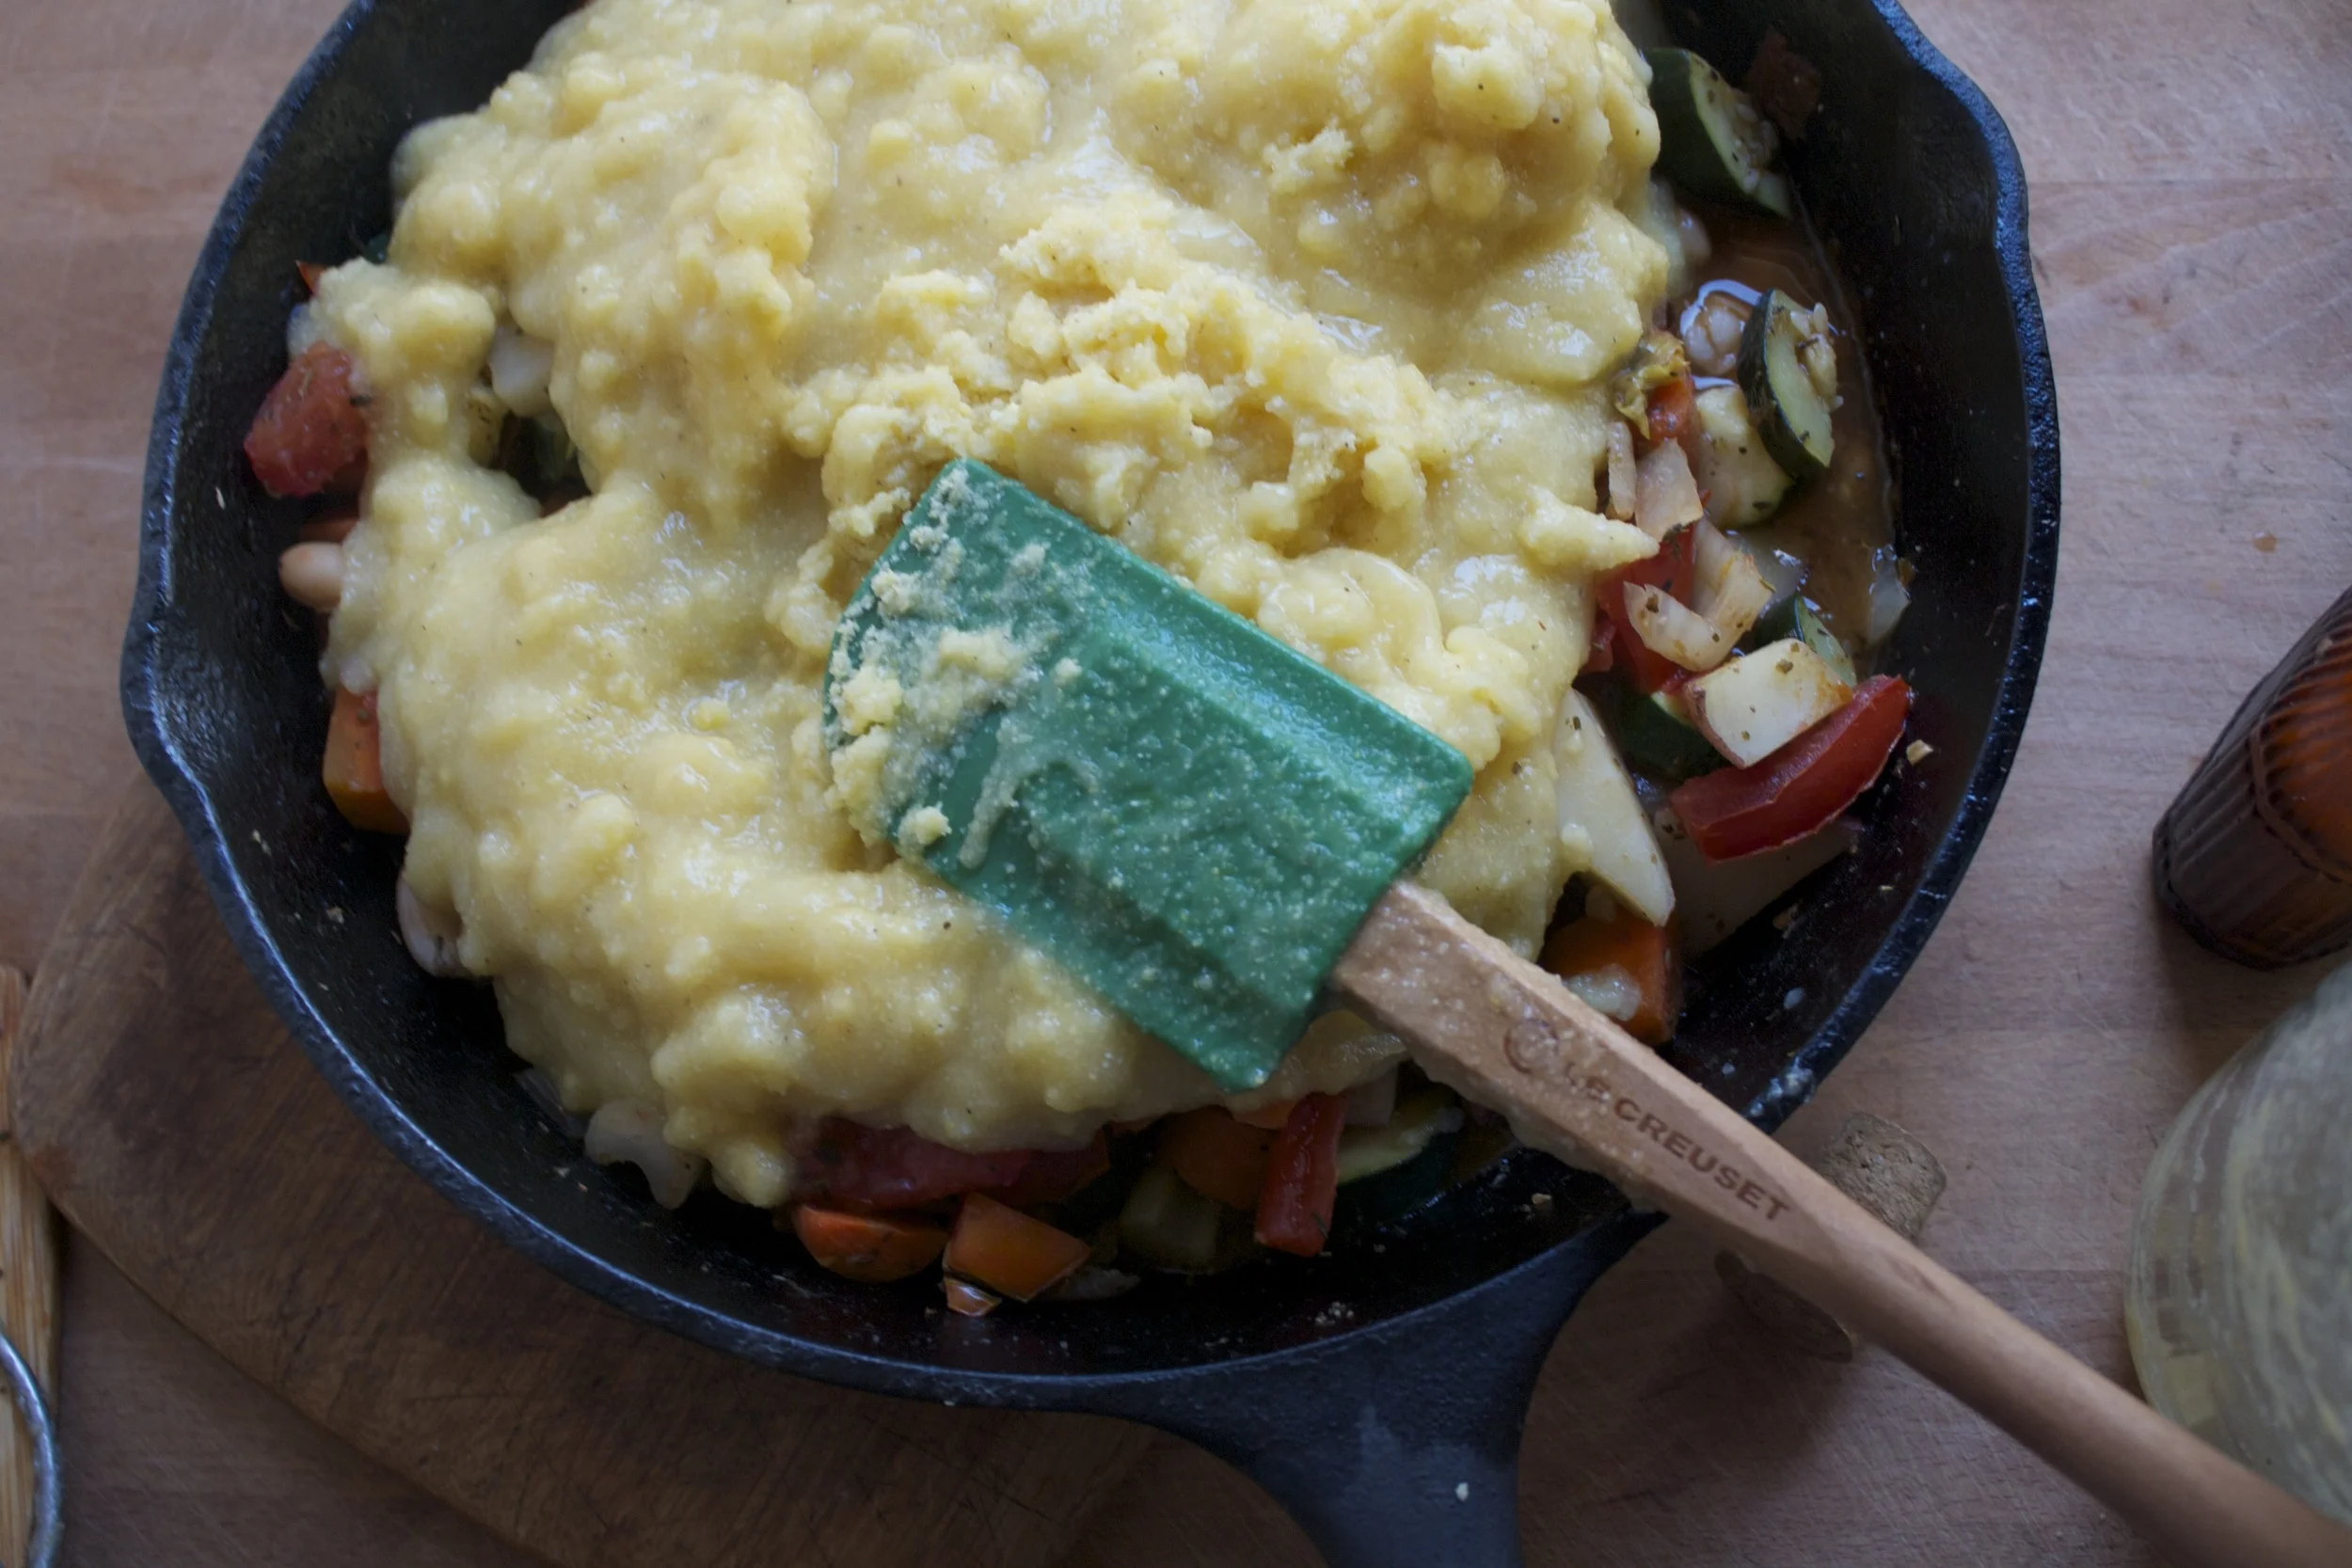
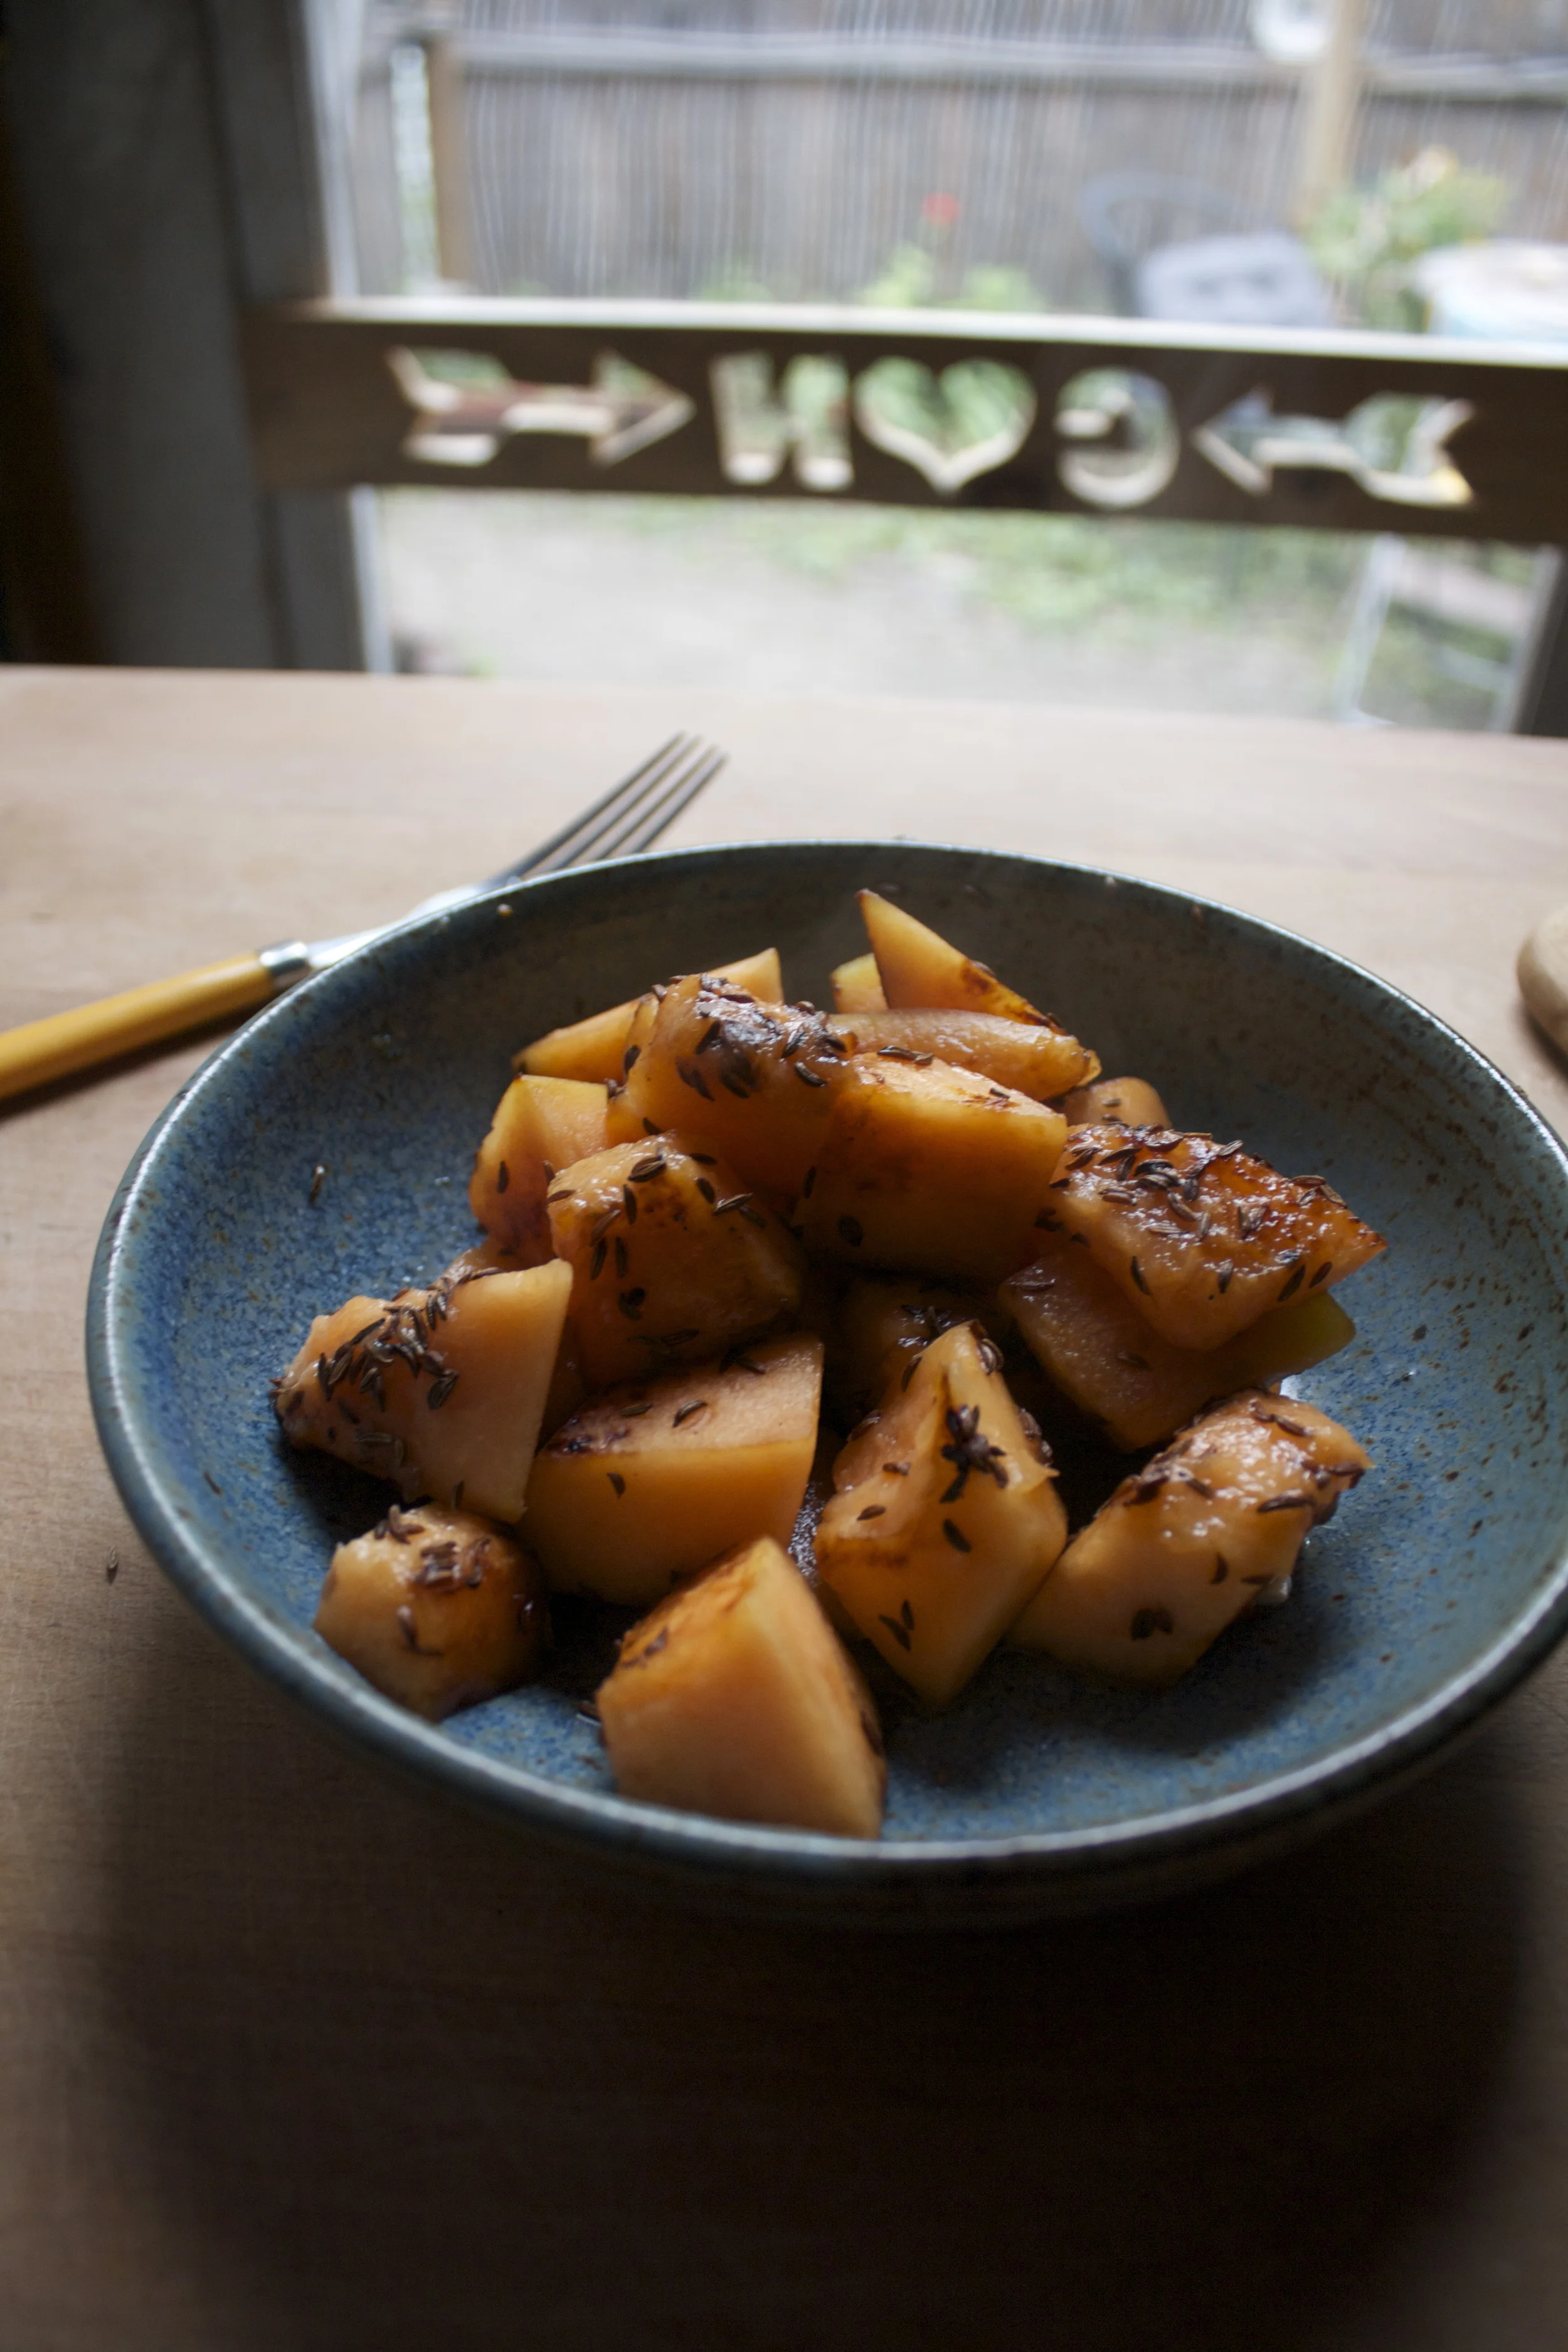
After a good bout in the oven, the veggies and chickpeas are all nice and roasted . 

IMG_8321.jpg

Get ready to compile. 

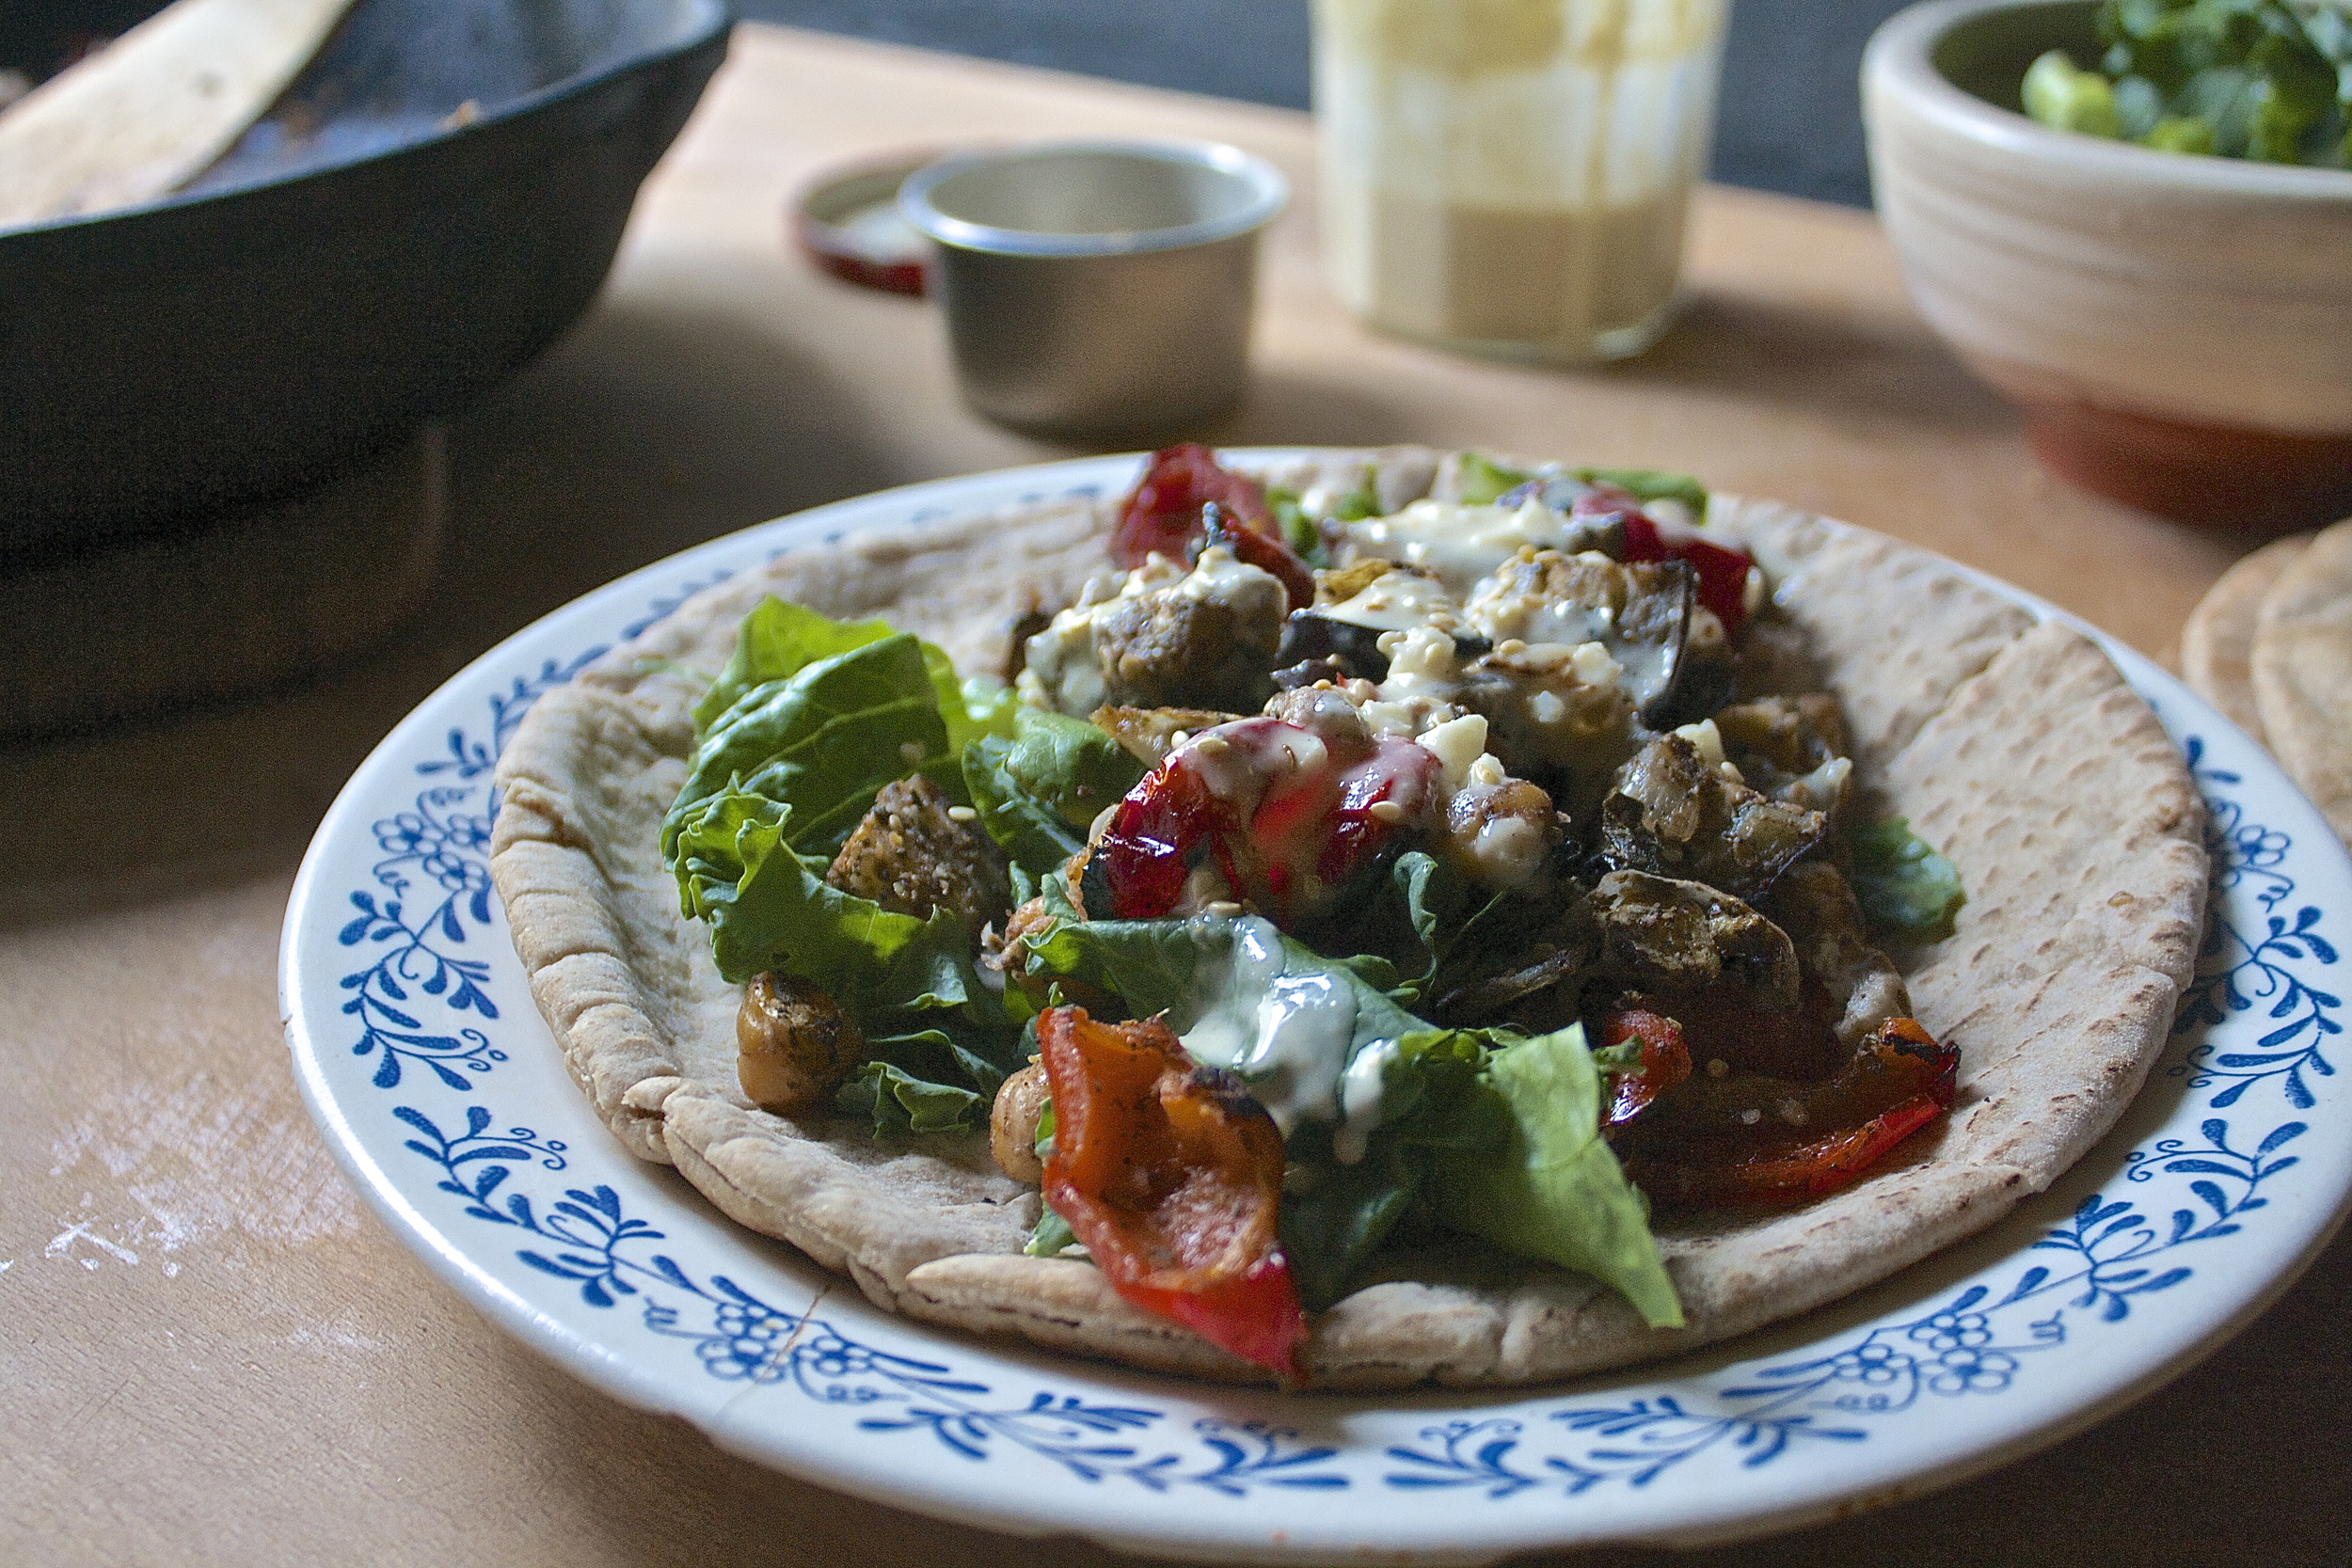
And all together now. Roasted veggies on greens, smothered in tahini sauce, and tossed with another good pinch or two of za'atar.

Food is so good. I am glad we have to war every day!

Happy Tuesday!

-C


Roasted eggplant red pepper and chickpea Pitas with za'atar and tahini sauce 

Make about 4 pitas 

  • 2 small or 1 large eggplant
  • 2  red peppers
  • 1 medium onion
  • 1 1/2 cups (give or take) cooked chickpeas  drained but save the liquid (about 1/4 cup of liquid)
  • 2 heaping tablespoons Za'atar* for roasting plus as much more as you like to garnish (I like a lot..like tablespoons worth)
  • 1/3  cup tahini
  • 3-4 cloves of garlic
  • 1 lemon
  • olive oil
  • salt and pepper
  •  pitas (  4 of any kind you like)
  • a few handfuls of greens (any kind)

Note. Za'atar is a fantastic, tangy and nutty spice blend made up of primarily sumac, toasted sesame seeds, and thyme. I make my own by combining equal amounts of the the three, usually adding fresh oregano if I have it,  and crush together. You can make your own too, or buy it pre blended. 

Turn oven to 425

Small chop the eggplant, red peppers, and onion and toss into a large oiled oven safe skillet or roasting pan. Add in  the drained chickpeas and toss with the za'atar, salt and pepper. Place in oven to roast.

For the sauce, mince garlic and mix into the tahini with the juice of the lemon, and the bean water, a little drizzle of olive oil, and salt and pepper to taste. Whisk together with a fork. 

After about 35 minutes or so, the veggies should be all nice and roasted… so take them out of the oven.

Ready you pitas. (warm them up if you like) A hand full of greens, a big helping of roasted veggies, a good scoop of two of tahini sauce, and a another pinch or two of za'atar

Now all you have to do is eat. No utensils required!

In Gluten Free, Dairy Free, recipes, Savory, Vegan Tags roasted eggplant and red pepper pitas with za'atar and tahini sauce, tahini, za'atar, veggies, healthy, chickpeas, chick pea, vegan, gluten free, clean eating, plant based
Comment

Applesauce

September 23, 2015 Colleen Stem
IMG_8979.jpg
IMG_9016.jpg

Earlier this week, the mr and I took a little Vermont drive. We grabbed some coffee, went to the country side, down some dirt roads, and struck apple gold. This road was lined with apple trees.(no, it was not an orchard) Trees all over the place, of all sorts of different variety apples, just falling from the trees. It was crazy. So We stopped, tasted, and picked picked picked. We filled up the trunk of the car.

This is after a few days earlier we picked about 2 bushels of heirloom apples that are growing all around our garden.So yeah, we might have a few apples laying around the house

But we picked with purpose. The mr is in processes of making , from scratch, his own hard apple cider. He has 2 of these humngo 5 gallon glass carboys (is that what they are called) or glass jugs  that he was attempting to fill with cider. No problem right? We have an abundance of apples. Well that's all well and good, but guess what? We don't have a press. The mr didn't seem to see this as a problem. He will just borrow a juicer…HAHAHAH. that worked, for about 2 cups of juice, then the motor blew out. So I let him use my blender. He spent 4 house deseeding and blending apples to a pulp and squeezing the juice through a piece of cotton. It was ridiculous and amazing and he actually got about 3 gallons of juice through the process, which is now fermenting in the basement, but he did not get anywhere near the ten gallons that he was looking for. So next project… build an cider press.(seriously)

But we still gots about half of the shit ton of apples that we picked. Luckily,most of them are good keepers so I can store them for a while (until I eat them all) but some of them are starting to smell so super apple-y that I can tell that they need to be used  asap. And thats fine by me cause that just mean applesauce! 

Applesauce!!! It is a must, an apple season stable. Sure you can make all sorts of pies, tarts cakes, salads, pretty much apple anything, but applesauce is apple at it's most delicious  purest state( besides fresh). Plus applesauce can be used to make all of those  apple cakes, breads, salads and such. IT's also  what you do when you have any apples that need to be eaten, might taste a little on the meh side,are too sour, might look a little to funky to eat, or just because applesauce rocks and you want some. 

So yeah, applesauce is awesome-sauce and you need to make some May you apples be store bought, orchard pick, or wild foraged. Any apples will do!

Applesauce time!

The stuff. Apples, apple and apple. 

Cut up the apples, removing the seeds and stems. (peel if you really must)

Toss all those apples into a pot and add in a few couple of water. Place lid on the pot, stick one medium heat, and let it cook.

Until it looks like this.  Applesauce.. a little on the chunk side(the way I like it) but if you want it smooth, just use a masher or a blender to smooth it as much as you like. This applesauce is all about you my friend.

Spoon into jars… and into you mouth.

Add some stuff (cinnamon, peanut butter, fresh raspberries...) add to stuff, (yogurt, muffin batter, salad dressing…) or eat straight up. The possibilities are endless!

Happy Wednseday and Happy First day of Fall!!!

-C


Applesauce 

Makes about 2 pints 

  • 5-6 pounds apples (use any variety or varieties that you like)
  • 2 1/1- 3 1/2  cups water

Note. I am not an apple peeler kind of lady. I get that some of you are, so by all means, peel your apples if you want. 

Chop apple into chunks, removing the seeds and the stem and toss into a heavy bottom pot. Pour in aout 2 cups water and stick on on a medium high heat and top the pot with  lid. After about 5 minutes, give the apple a good stir and turn heat to medium low. Let simmer for about 20-30 minutes, stirring every now and then, adding more water if needed, until the apple are completely soften and falling apart.  Turn burner of and  either with a masher of some kind, or even a wood spoon, smash apart any large chunks of apples. If you like a smooth sauce, add it to a blender and puree until you are happy with the consistency. Want it thinner, add a little more water. Thicker, cook a little longer.

Note that once it's refrigerated, it will become thicker too. Store in jars for up to a week (if it lasted that long)

Eat as is, or add  anything that you heart desires to it. Cold is great, warm is amazing. Can be used in just about any baked good or savory recipes that you can think up!


In breakfast, Dairy Free, Gluten Free, Paleo, recipes, Savory, soup, Sweets, Vegan Tags apples, applesauce, vegan, gluten free, fresh, homemade, Vermont, wild forage, heirloom apples, HOmemade applesauce
Comment

Polenta Veggie Bean Pot Pie

September 22, 2015 Colleen Stem
IMG_8674.jpg
IMG_8653.jpg

Whenever I think of pot pies, I think of those little frozen, boxed pot pies that you get in the freezer section of the grocery store. Those frozen disks filled with all sorts of nasty shit made many appearances in my childhood. Hungry after school? Go home,grab pot pie from the freezer, give it a few stabs with a fork and toss it into the oven.. 

Well one day I did exactly that. Came home from school, grabbed a pot pie out of the freezer, grabbed  a sharp knife (wait a knife?) and stabbed the pie. One hole. Stabbed it again. Two holes. One more time for good measure. three holes, and. knife goes through pie and into my hand. I can remember it like it was yesterday. I was so shocked that I just stood there for a few minutes just staring at the whole situation. Imagine that, a little girl holding a knife with a frozen pot pie stuck on it covered in blood, screaming. Ugh.

Needless to say, after that, I never touched one of those frozen pot pies again.

But this is not one of those nasty frozen pot pies. This is a one pot,(skillet) full of warm and hearty goodness. Seasoned tender veggies and beans covered in a creamy polenta crust that has no need for any sort of stabbing.   And bonus.. only one pot to clean up! And it's all cool and autumn-y out so we don't want to die when to oven is on!!! 

Pot Pie WInner!

The stuff. Onion, zucchini. potato, carrot, tomato, canaille beans, corn meal, boiling water, Italian seasoning, salt and pepper, and a little olive oil.  

So If you are missing, or not wanting to use any of the above veggies, don't. Just sub in more of another or ad something different. Same with the bean. If you had chick peas or navy beans… its' all going to taste good. 

Chop up all the veggies, except the tomato and toss into a oiled skillet. Sprinkle with salt and pepper and the italian seasoing and stick on medium heat. We want to give the veggies a little cooking head start, but the majority of the cooking will happen in the oven. With that said, turn your oven on. 

 Veggies looking good.

Once the veggies have become slightly tender, add in the beans and the tomatoes.  Keep cooking for a little while longer, just to soften up the tomatoes.

While thats going on, get the polenta ready. Add a little salt to the cornmeal and grab yourself a whisk. Slowly poor boiling water over cornmeal while constantly mixing with whisk to prevent big lumps. (it's ok if there rare a few small lumps)

Dump the polenta onto veggies

And smooth over the top. Sprinkle with lots of pepper and stick it into hot oven to bake.

Some time later(about 45 minute) the polenta is all cooked and crispy, the veggies underneath  are all  creamy and soft, and the whole thing is ready for consumption.

Grab you bowls, grab you forks… Big scoops right into bowl

And happy eating it is.

-C


Polenta Veggie Bean Pot Pie

serve 3-4

  • 1 carrot
  • 1 small onion
  • 2 stalks celery
  • 1 medium red potato
  • 2 tomatoes
  • 1 small zucchini
  • 1 cup canaille beans
  • 3 tablesoons italinan spice blend*
  • 3/4 cup corn meal
  • 3 cups boiling water
  • salt and pepper
  • olive oil  

*I make my own italian spice blend, which consists of basil, oregano, thyme, marjoram,, rosemary, and garlic powder. I think most blends are the same, minus the garlic so make your own use a pre blended mixture, just look to see there is garlic in it. If not, add a teaspoon or two of garlic powder to the veggies.

Preheat oven to 425.

Oil a large (I used a 12 inch) cast iron skillet or such oven. Chop up all the veggies, except the tomatoes, into smallish, mouth sized chunks and toss into skillet. Add in seasoning and a good few pinches of salt and pepper. Place on medium heat and cook for about 8 minutes, or until the veggies start to release there juices and are slightly tender.  Now chop up the tomatoes and toss those into the pot along with the beans, in with the veggies. Cook for another 5  minutes or until all the veggies are slightly tender. 

In a large jar or bowl, whisk together a pitch or two of salt and pepper to the cornmeal. While continuously whacking, pour the boiling water over the cornmeal. Pour/ spread cornmeal mixture over veggies, then smooth it out to form the crust. Season with salt and lots of pepper and place into oven. Bake for 45-50 minutes or until the polenta is cooked and has turned a nice golden brown. Remove from oven, let cool for a few minute, then serve.

Some folks might enjoy some type of cheese so if you want to,  give it to them.

In Gluten Free, Dairy Free, recipes, Savory Tags Polenta Veggie Bean Pot Pie, pot pie, veggies, vegan, gluten free, dinner, easy, 1 pot, fast easy meals, healthy, fall, autumn, hearty, comfort food
Comment

For Reals Grape Soda

September 18, 2015 Colleen Stem

That right bitches ..  grape soda!!!!

uh-hum. Sorry. you are not bitches. 

But this grape soda is my bitch. It is SO GOOD! And that is coming from me, who is not a soda drinker. (Spoiler alert.. all it is is cooked down grapes and seltzer. (and a bit of lemon juice) But thats is) So why soda? I guess it's because I can't make wine since  I don't have the  knowledge and or the vineyard to make wine.  But cooking down some grapes.. I can totally do that. 

Every once in a while I make something that I think is so freaking ingenious and fanatic that I am shocked that everyone and there mom doesn't do it. This is one of those recipes. I mean, the mr was more at then thrilled when I handed him a glass, covered in condensation, with a cutie pink straw.  He took a long drink and gave a sweet little refreshing sigh. It was great and cute and make me happy cause I think it made his day.  And I know that there are a  thousand and one other people out there that have been doing this for years and that there are probably a couple hundred recipes as well, but I still consider myself a genius for making this. Great minds my friends. 

Anyway, this grape soda is super refreshing, perfectly sweet, and a great way to end the summer and greet the fall. Great for kids and parties,  I think this is definially going to be making an appearance at a few of the littles birthday parties and maybe a few grown up people parties.(maybe  with a splash or two of booze..see you don't need wine) over the next few weeks. Who needs wine when you got grape soda!

The stuff. Grapes, a lemon, and seltzer water.

Oh wants that?  Is that drink jar suppose to be an empty? Nope. I forgot to fill it with the seltzer before I took the pictures.( I think I get a break cause yesterday was stupid hot and I was feeling a little woozy) Let's just pretend there is seltzer in there, ok. and also lets pretend there is water in this picute too, cause we need that as well.

Take your grapes, stems removed, and place in a pot with the lemon juice and water. Stick the pot on stove on medium heat and during to a boil. Then place a lid on it and turn heat down to low and simmer away, giving it a stir sand keeping you eye on it.

 Continue to cook until the grapes are pretty much all dissolved and the liquid has reduced about 1/2.

Let cool for a few minutes and strain the grapes through a fine mesh strainer, smooshing and scraping the grapes all around to extract as much liquid as you can.

The left over grape mush makes for a great little snack on some toast, in some yogurt, or with a spoon in your mouth. 

Oh so pretty grape juice concentrate. Stick it in the fridge to cool completely. 

After cooled, get it all ready for drinking.  Add a few tablespoons of the concentrate to a cup, add in some seltzer, maybe a few ice cubes and …wa la!

Gape soda is the shits!

Happy Friday.. Enjoy the last weekend of summer!

-C


For Reals Grape Soda

Makes about 5 drinks so feel free to double and or triple recipe if you are serving a lot of people

  • 2 cups red grapes
  • 2 cups water
  • Juice of 1 lemon
  • plain (or madiran orange, or any flavor really) seltzer water

Remove stems from grapes and place into a pot with water and the lemon juice. Briong to boil then cover and turn heat to low. Cook for about 20 minutes to a 1/2 hour or until the grapes are complete mush and the liquid has reduced to about 1/2. 

Let cool enough hot handle and strain grape glop through a very fine mesh strainer, smooshing it around to extract as much liquid as you can. Refidgerate the juice, eat the left over mush.

Once cooled, pour about 3-4 tablespoon of the concentrate into a cup and add in about 1 cup of seltzer. Mix and enjoy. 

Using a straw is optional, but either way, drink with your mouth.

In Gluten Free, drinks, Dairy Free, recipes, Vegan, Sweets Tags sugar free soda, soda, fruit soda, seltzer, juiec, juice, fruit, vegan, gluten free, healthy, fresh, drinks, cold d, grape soda, grapes, local, organic, clean eating, plant based
Comment

Caramilzed Cantaloupe and Caraway

September 15, 2015 Colleen Stem

Let's see, what did I do yesterday?

Nothing. Well, not completely nothing. I did wake up and go to the gym, but then came home and fell  asleep on the floor for more then an hour and woke up in a puddle of drool. I also continued my binge watching  of the Mindy Project so I can be up to speed when season 4 started tonight on hulu!!!!!. And I  cut up a cantaoplue. That's a good amount of stuff for one day, right?

Anyway. even when I am gone from home for just a few day, I never really quite feel right when I get back until I cook something inn my kitchen.. So after my floor nap, I got up with a hankering for some of the juicy cantaloupe that I got from last weeks farm share (and forgot to stick in the fridge before we left so I came home to very ripe cantaloupe) Cut it into chunked, tossed with slightly toasted caraway seeds and then caramelized a bit more. Super fresh and clean and a very almost fall like way to eat the melon. And even though it took me about 4 minutes to do, it's all I needed to make me feel normal again.

Ah, home and food and Mindy.. Nothing better, Now to back doing stuff all day.

The stuff. Some cantaloupe and some caraway seeds. 

Place caraway seeds into a dry skillet and place on the stove on high heat. While the seeds are toasting, remove seeds and rind of the cantaloupe and cut into mouth sized chunks and place into a bowl. 

Once you hear the fist pop from the seeds, dump them in the bowl with the cantaloupe and toss around. Then dump the seed covered chunks back into the hot skillet. 

 Sear each side until browned.

And scoop it back into the bowl. 

Eat right away. IF you want to get down with a scoop of yogurt on top or maybe a bed of some green, I think you should. 

Enjoy you Tuesday my friends. 

-C


Caramelized Cantaloupe and Caraway

  • 1/4 of a cantaploupe
  • 2-3 teaspoons caraway seeds

Toss caraway seeds into a dry skillet and turn heat onto high. Toast seeds for about a minutes or so or until you hear the first seed pop. Dump seeds onto cantaloup chunks and toss around then dump the cantaloupe into hot skillet. Let chunks sear for 2-3 minutes on each side, or until they are starting to caramelize. Remove from pan when you are happy with doneness. 

Eat right away.

In Paleo, Gluten Free, Dairy Free, recipes, Savory, Sweets, Vegan Tags cantaloupe, fruit, caraway, caramelized, fresh, organic, farm share, easy, food, vegan, gluten free, snack
Comment
← Newer Posts Older Posts →
 

https://thelovelycrazy.squarespace.com/config#/|/about/

Me. Food Maker.Food eater. Woo HOO!

STEM+NODE  SMALL BATCH AND ONE OF A KIND POTTERY

stem+node ceramics


____________________

Subscribe

GET NEW POSTS IN YO EMAIL

You are AWESOME!!!


@thelovelycrazy 2014-2021