• stem+node ceramics
  • HOME
  • Food Recipes
  • About
  • Contact
Menu

The Lovely Crazy

Street Address
City, State, Zip
Phone Number

Your Custom Text Here

The Lovely Crazy

  • stem+node ceramics
  • HOME
  • Food Recipes
  • About
  • Contact

Be Cool and Make Some Cloth Napkins

November 14, 2015 Colleen Stem
IMG_3573.jpg
IMG_3607.jpg

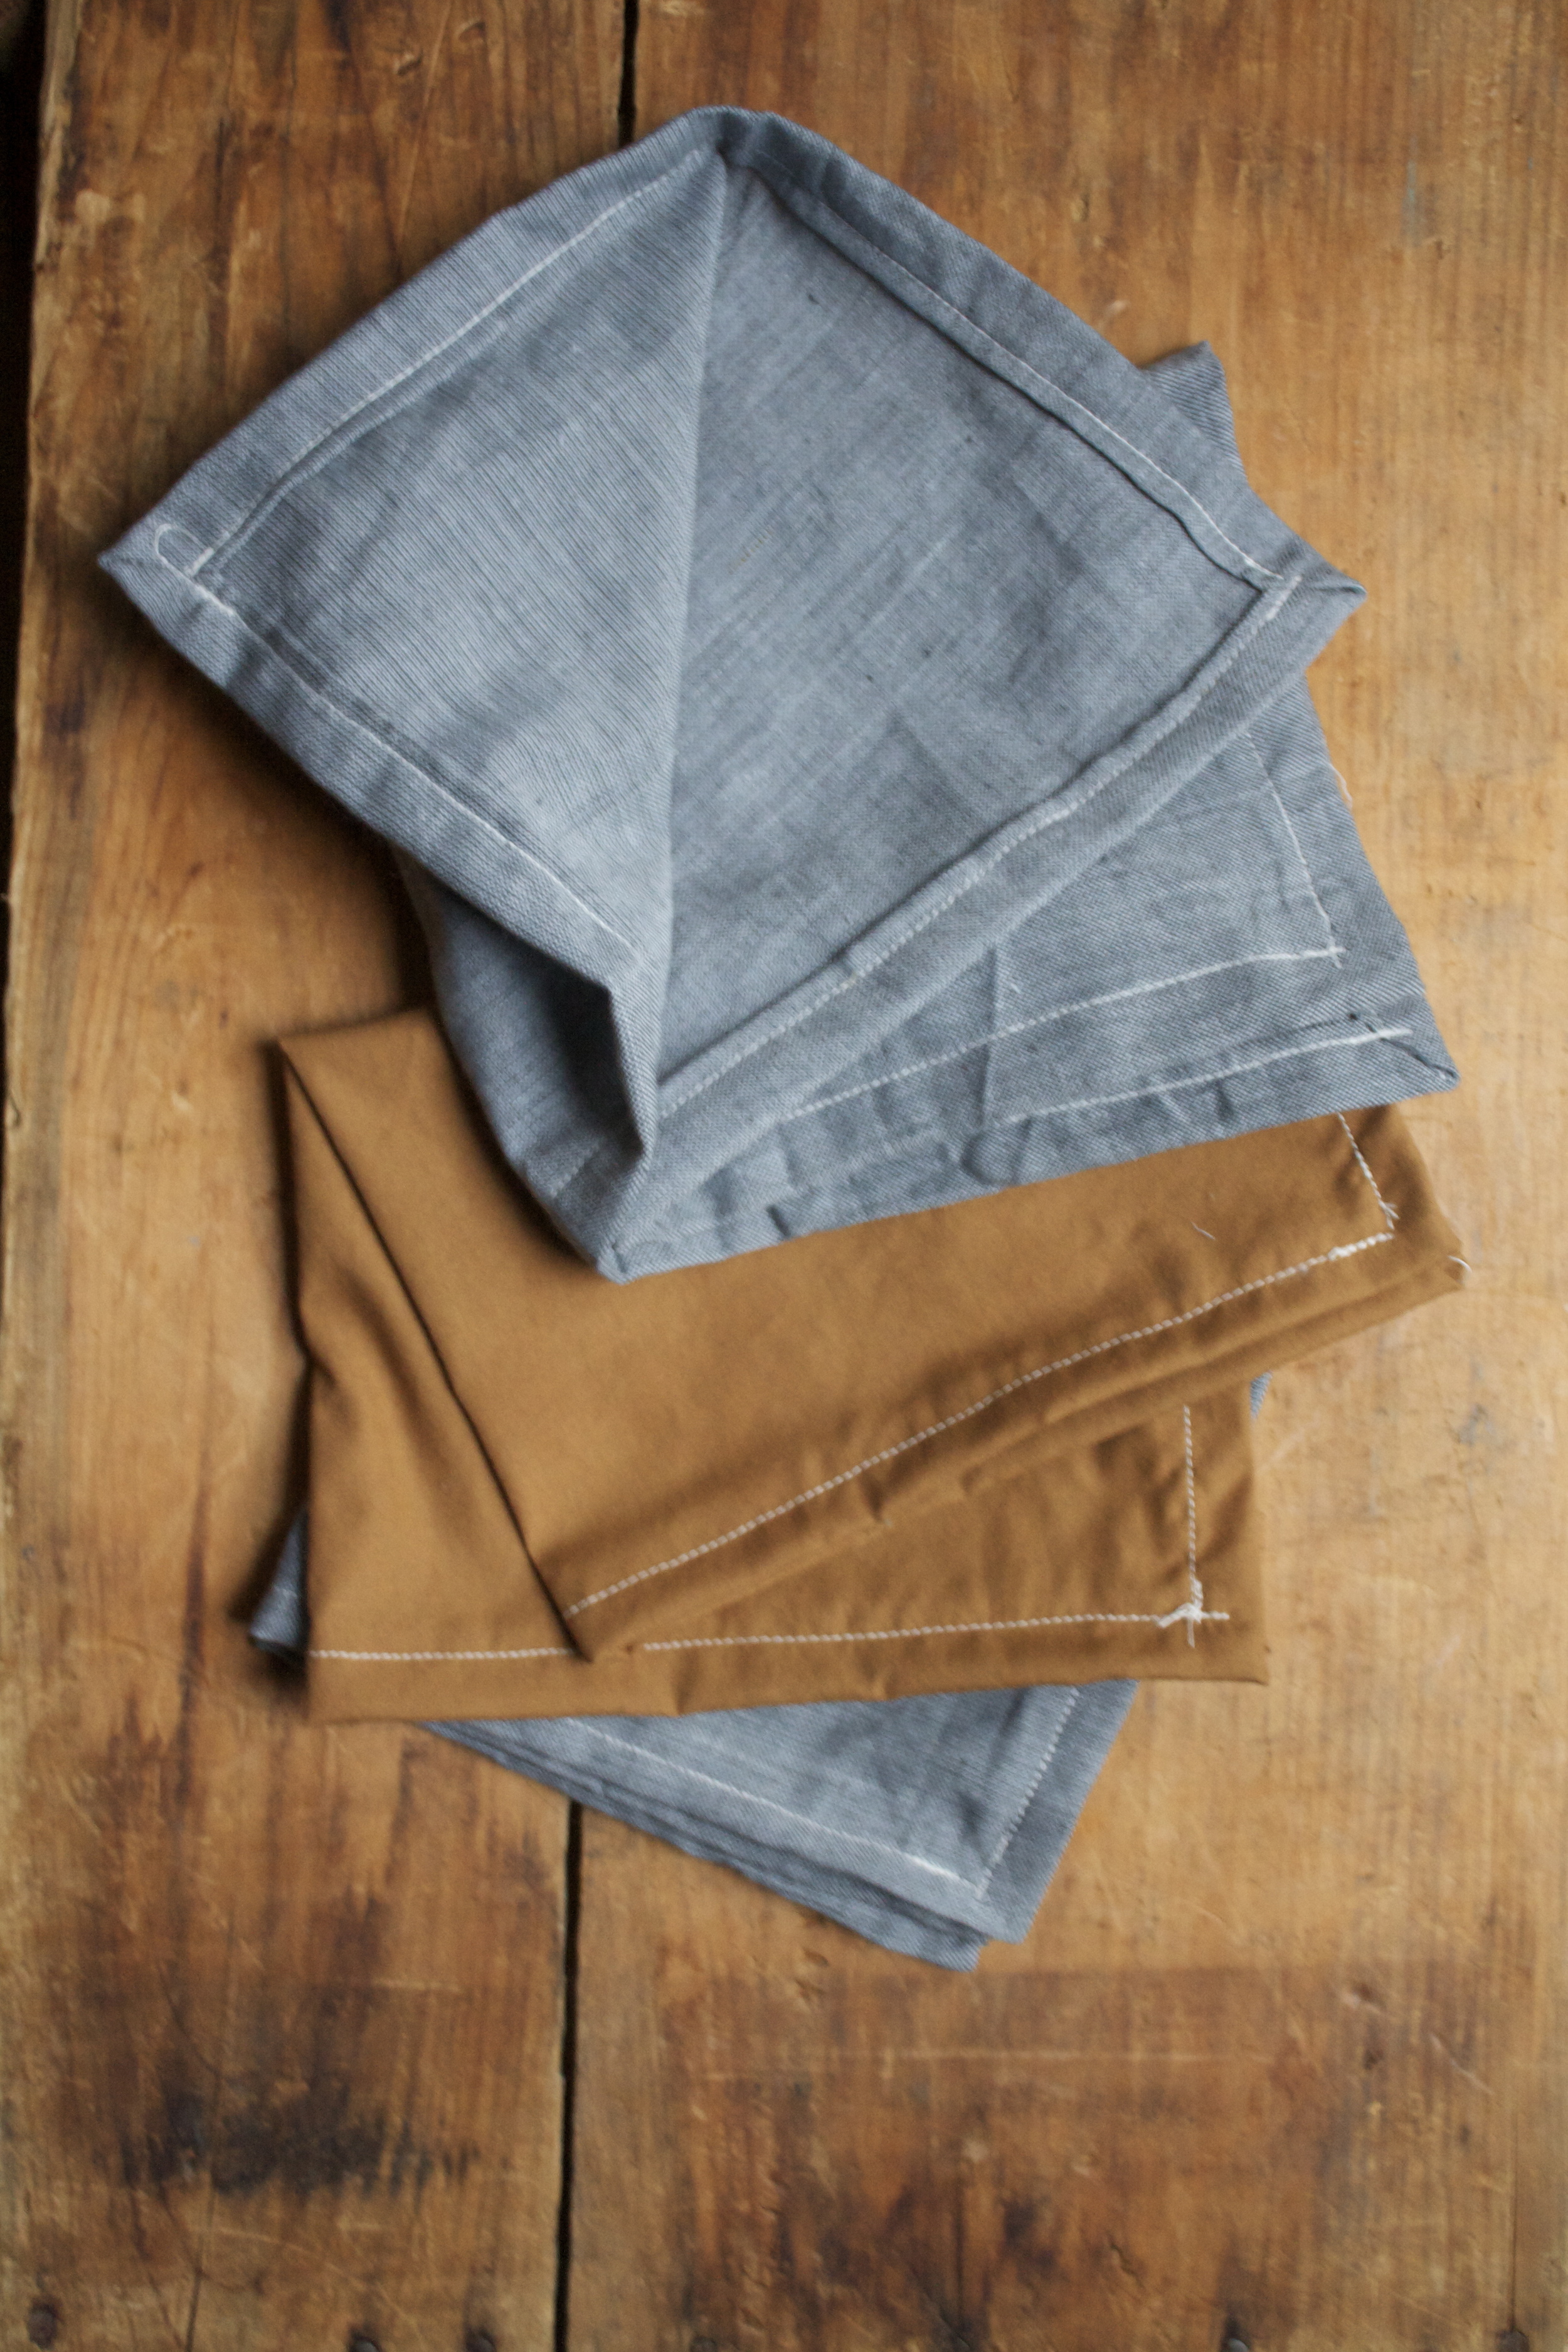
I am not a fancy person by any means, like super, no frills, no one would ever consider me fancy. EVER. With that said, I am always and forever a cloth napkin lady. I have a drawer full of them, in all sizes and color. I use one with every meal  (I am a sloppy eater).And napkin use is not just about functionality, it is also about looking pretty.  When I go for a clean napkin, I like to pick one that looks good with the meal that I am eating. I think a pretty clean napkin really makes any meal just a tiny bit better. Does that sound weird? I don’t know but this is just a little look into how my mind works.

And recently I have set a few too many of my kitchen textiles on fire (towels, napkins, and potholders) so I am in need of a few new, nice looking napkins. 

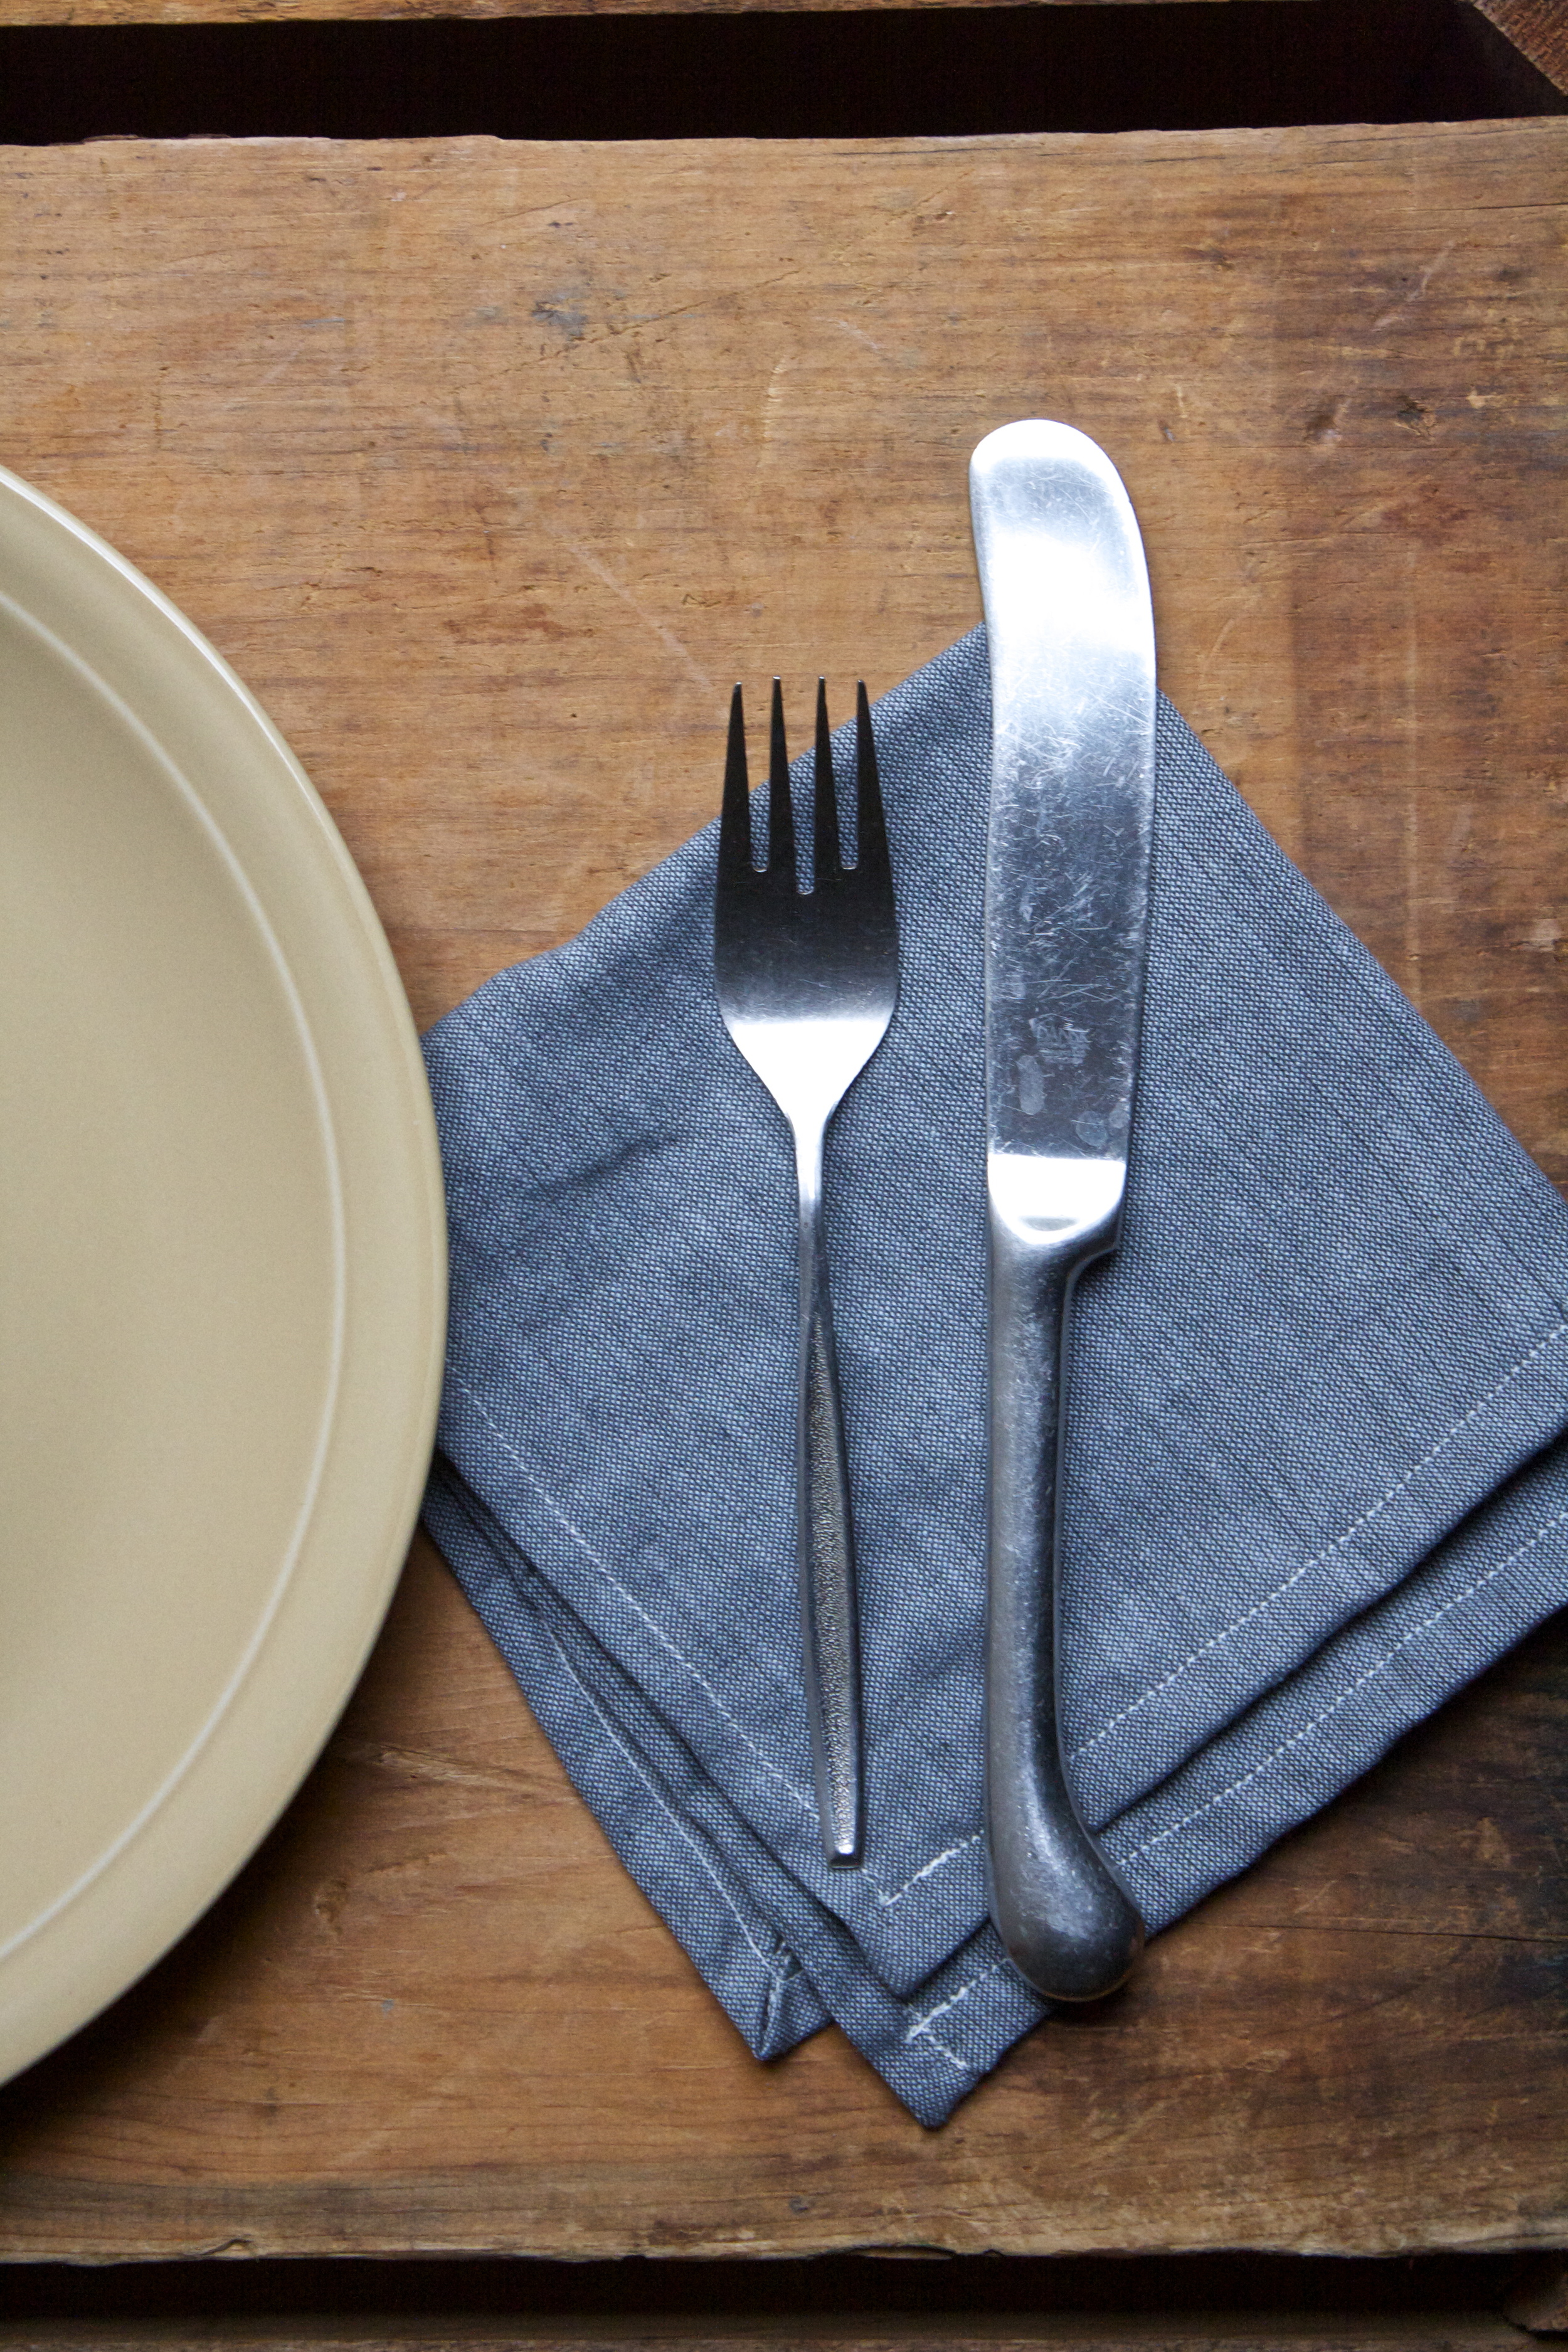
And let's get this straight. Cloth napkins are not about being fancy, they are about wiping you hands and face with something lovely, that doesn't need to be tossed into the trash after use. Cloth napkins are also a great way to add a nice splash of color tot a table settings or a nice doth barrier between your lap and all the food that ends up landing on it. I have even been known to do a cloth napkin-tuck into the shirt- type situation if I am eating something particularly messy and have on decent, clean shirt (doesn't happen too often). Cloth napkins also double up as a rag when the inevitable spill happens at the table. See, not just for fancy people. Cloth napkins just make sense. And sure, if you are introducing them at the Thanksgiving table that happens to set a bunch of guests, or maybe making a few, wrapping them up with a ribbon and gifting them for Hanukah to Christmas…that would totally be cool and not at all showy and over fancy. You just seem like a leveled headed person that uses and or gifts totally cool and useful things. And whatever if it makes you badass for making them yourself…. cause you probably are badass anyway. 


So if you got the desire and a little bit of time (this project is great to do while watching a good holiday movie) you should make yourself (or someone else ) some cool ass cloth napkins.

What you will need, besides a sew machine

  • Cotton Fabric that you would like to wipe you face with. I use around a 15-20 inch square piece per napkin but you can make it any size you want.. just as log as it has 90 degree conners So count how many napkins you ant to make and get hat touch in fabric.
  • scissors 
  • sewing pins
  • thread that looks good with your fabric
  • ruler or tape measurer
  • iron (optional)

Step 1.

Start by laying out you fabric flat, and if you want, run an iron over it to remove creases  (I would haven but my iron… can't find it anywhere!)

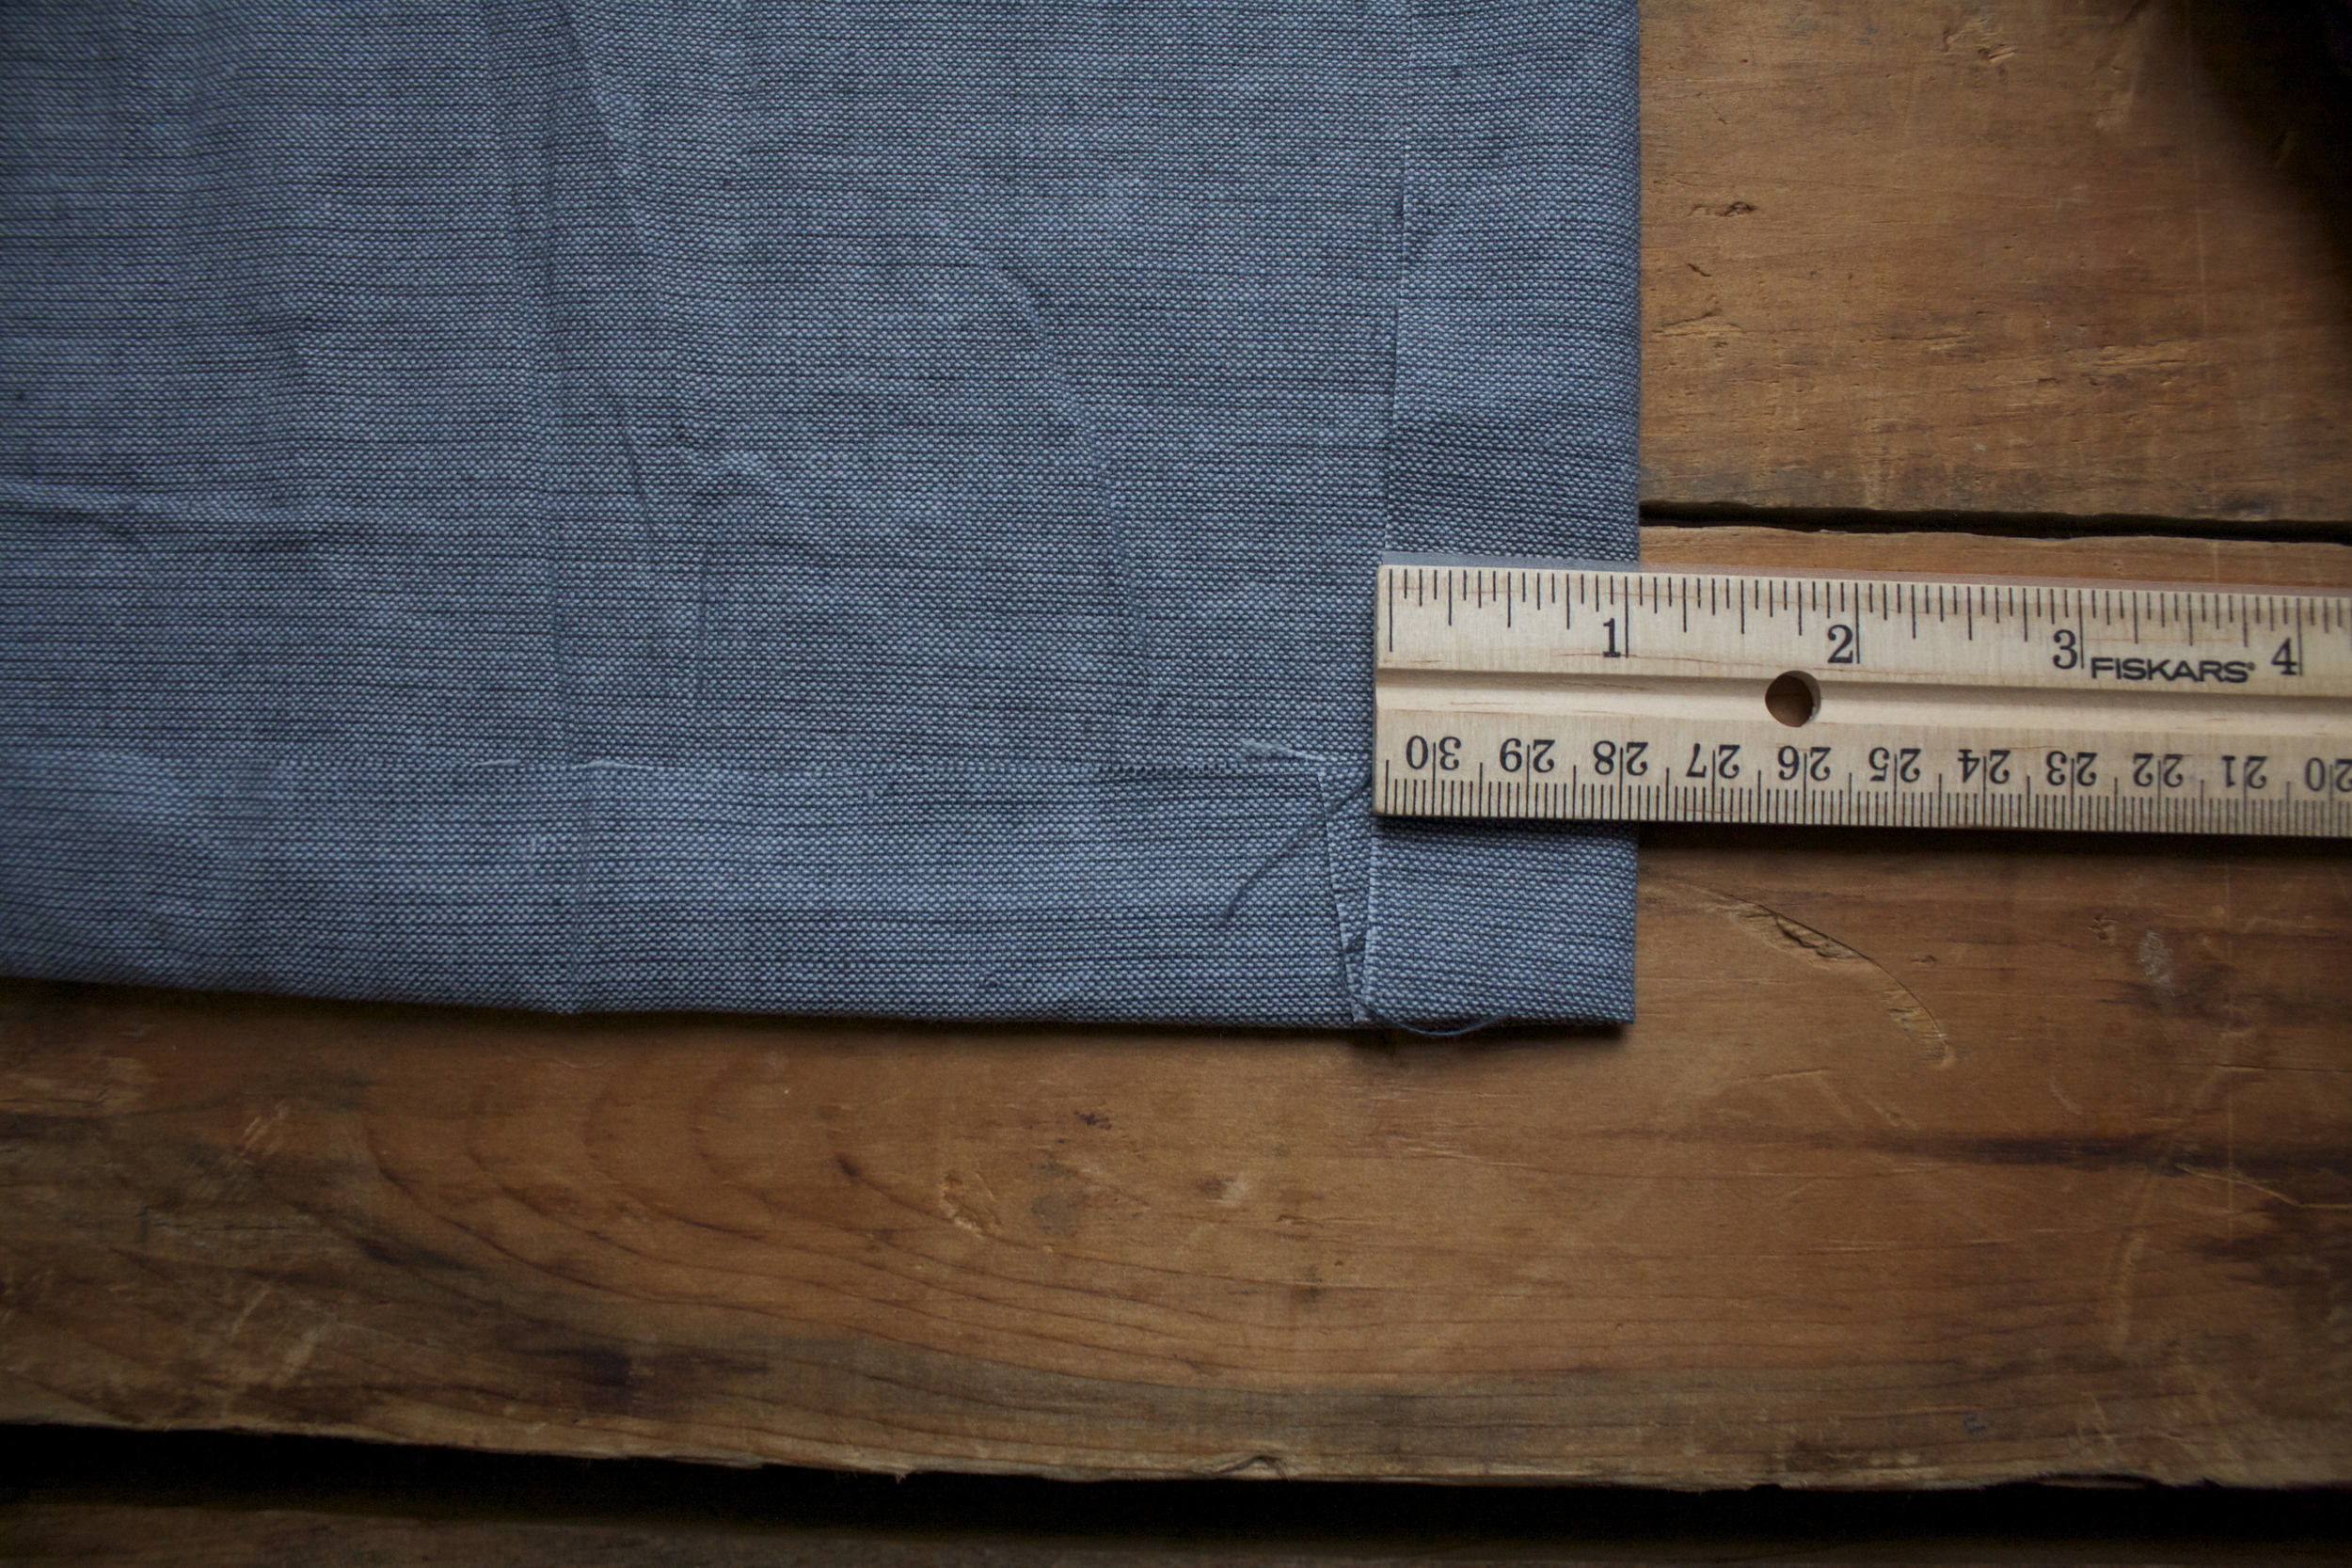
When your ready, fold all the edges in 1 inch and crease with either an iron, or a flat edge (my ruler works great here)

Step 2.

Unfold last fold and the refold  each side 1/2 inch and crease.

. You now have 1/2 inch and a 1 inch crease on all sides of your fabric.

Step 2.

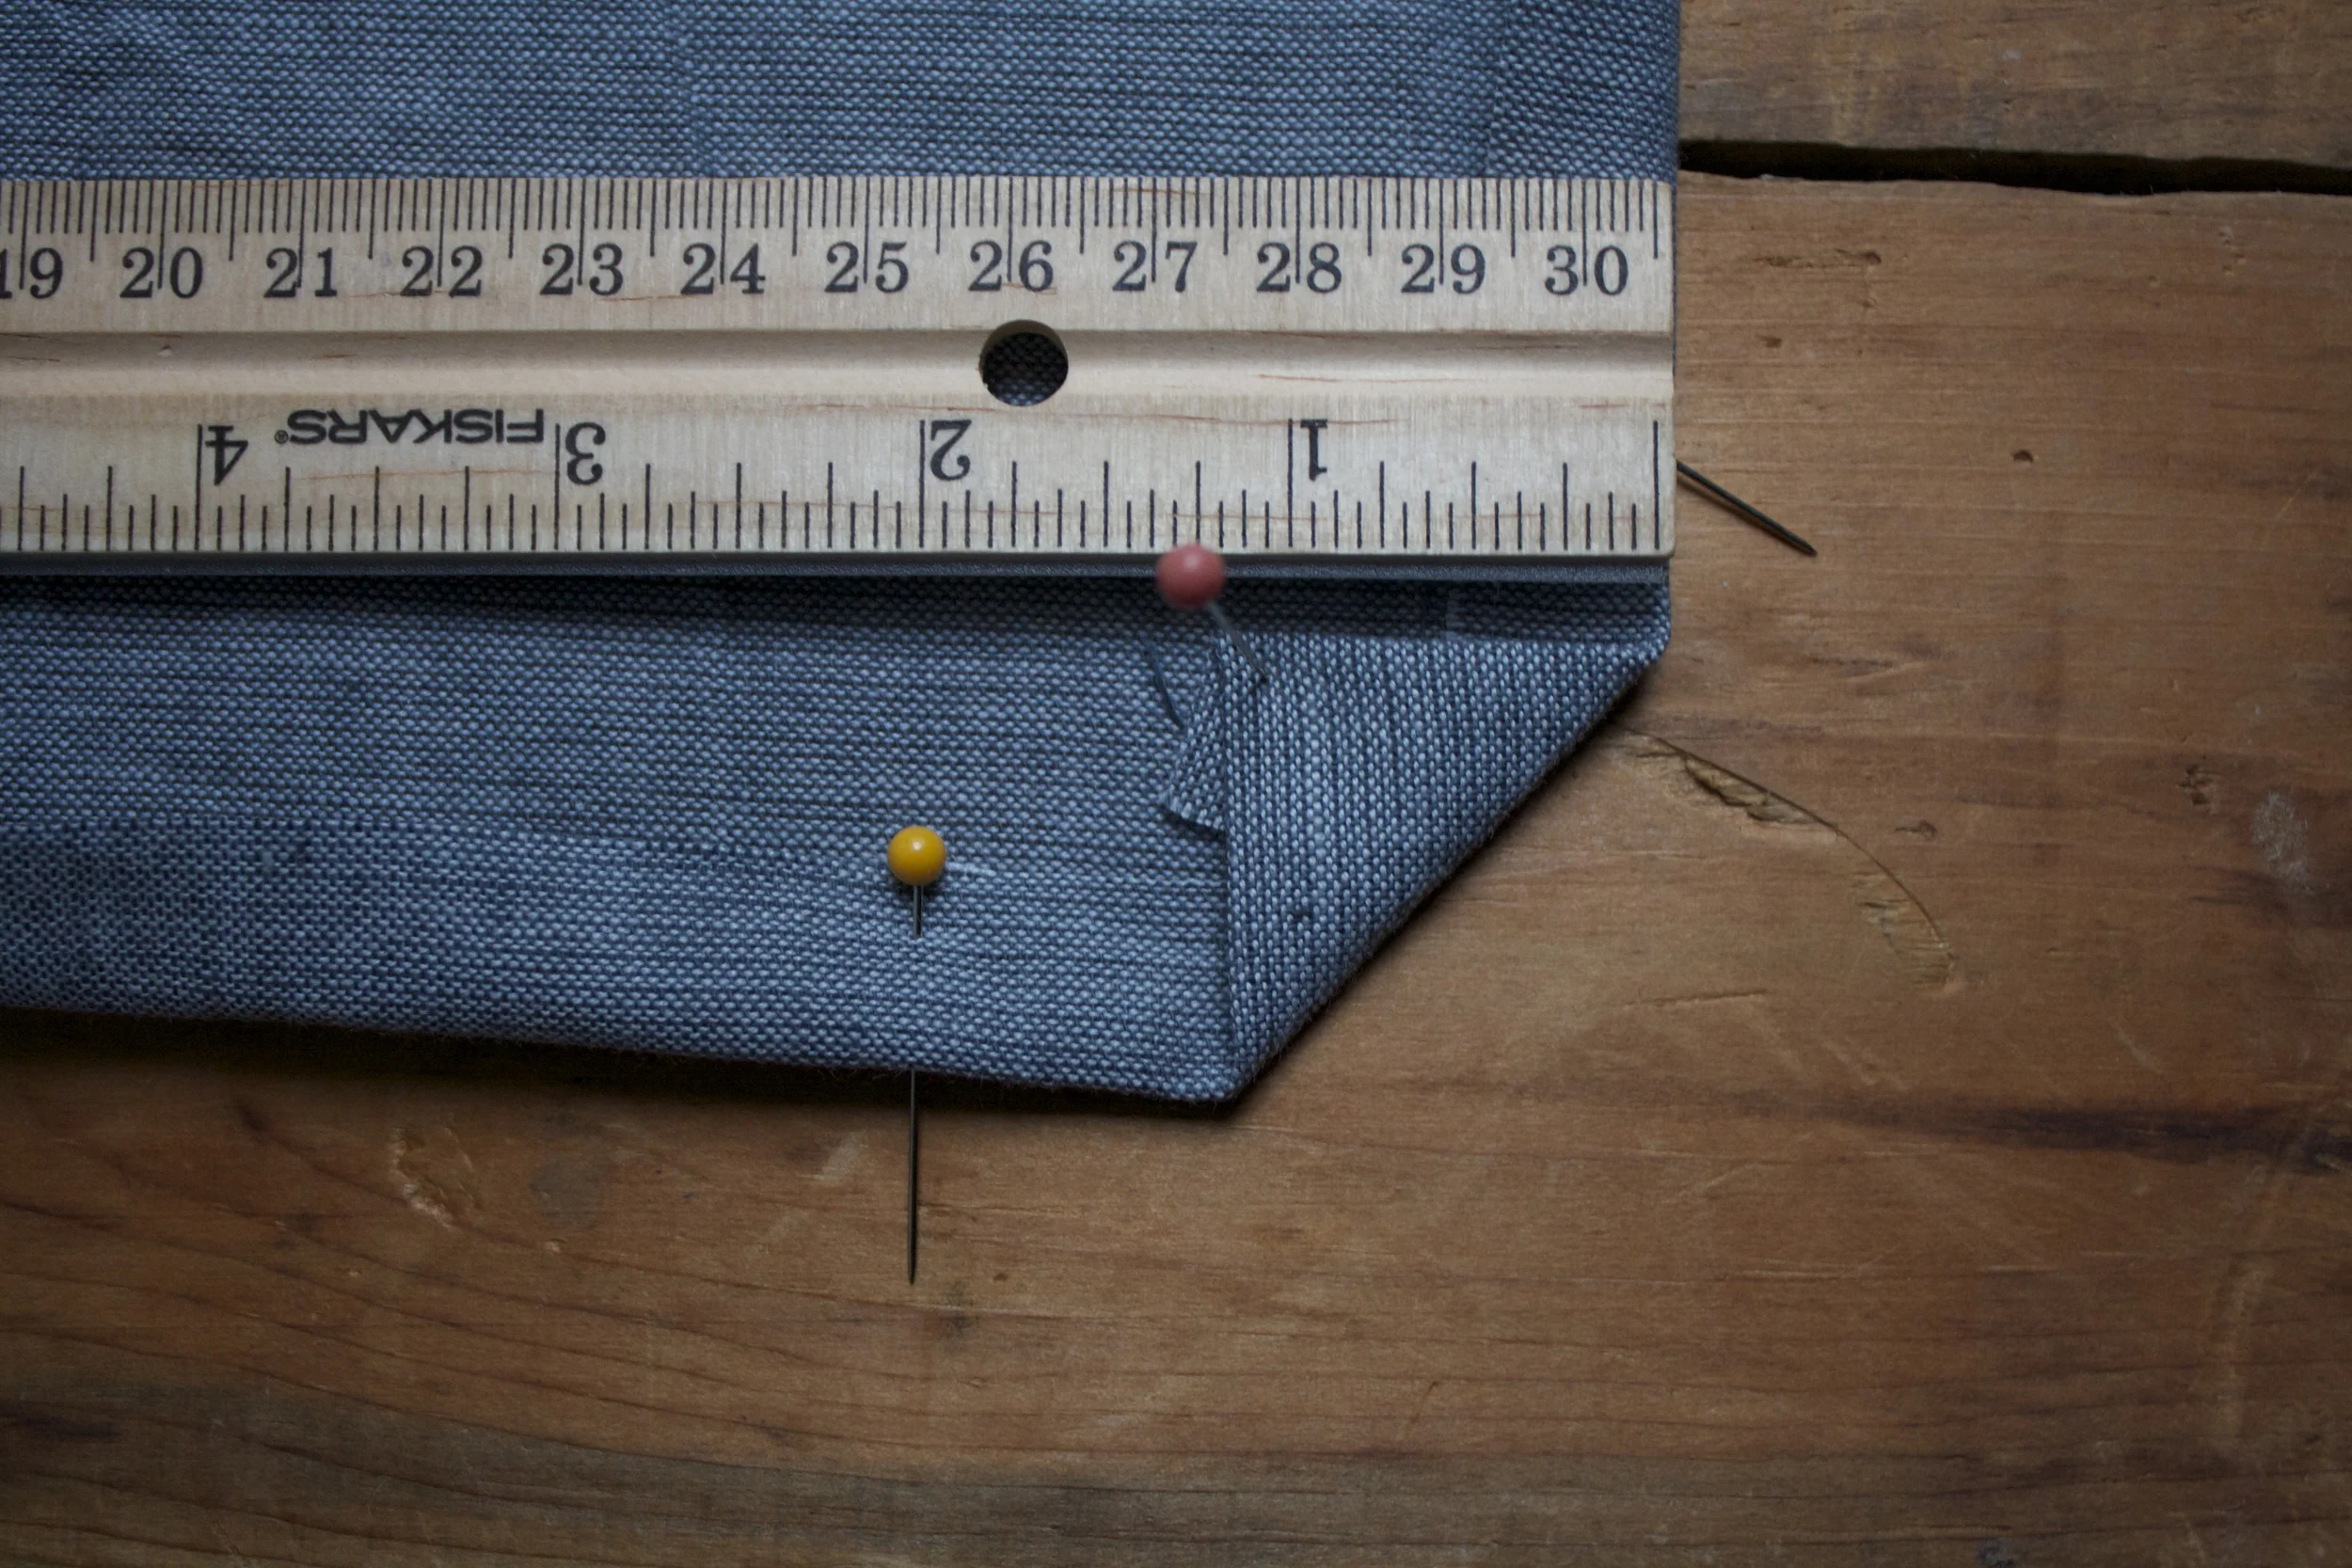
Now go back to the 1/2 inch crease and stick few pins in otto hold it in place. 

Start with any corner  and fold the corner over 1 inch and crease. 

Step 3.

Take a fabric marker and mark that crease Repeat with all corners.

Step 4.

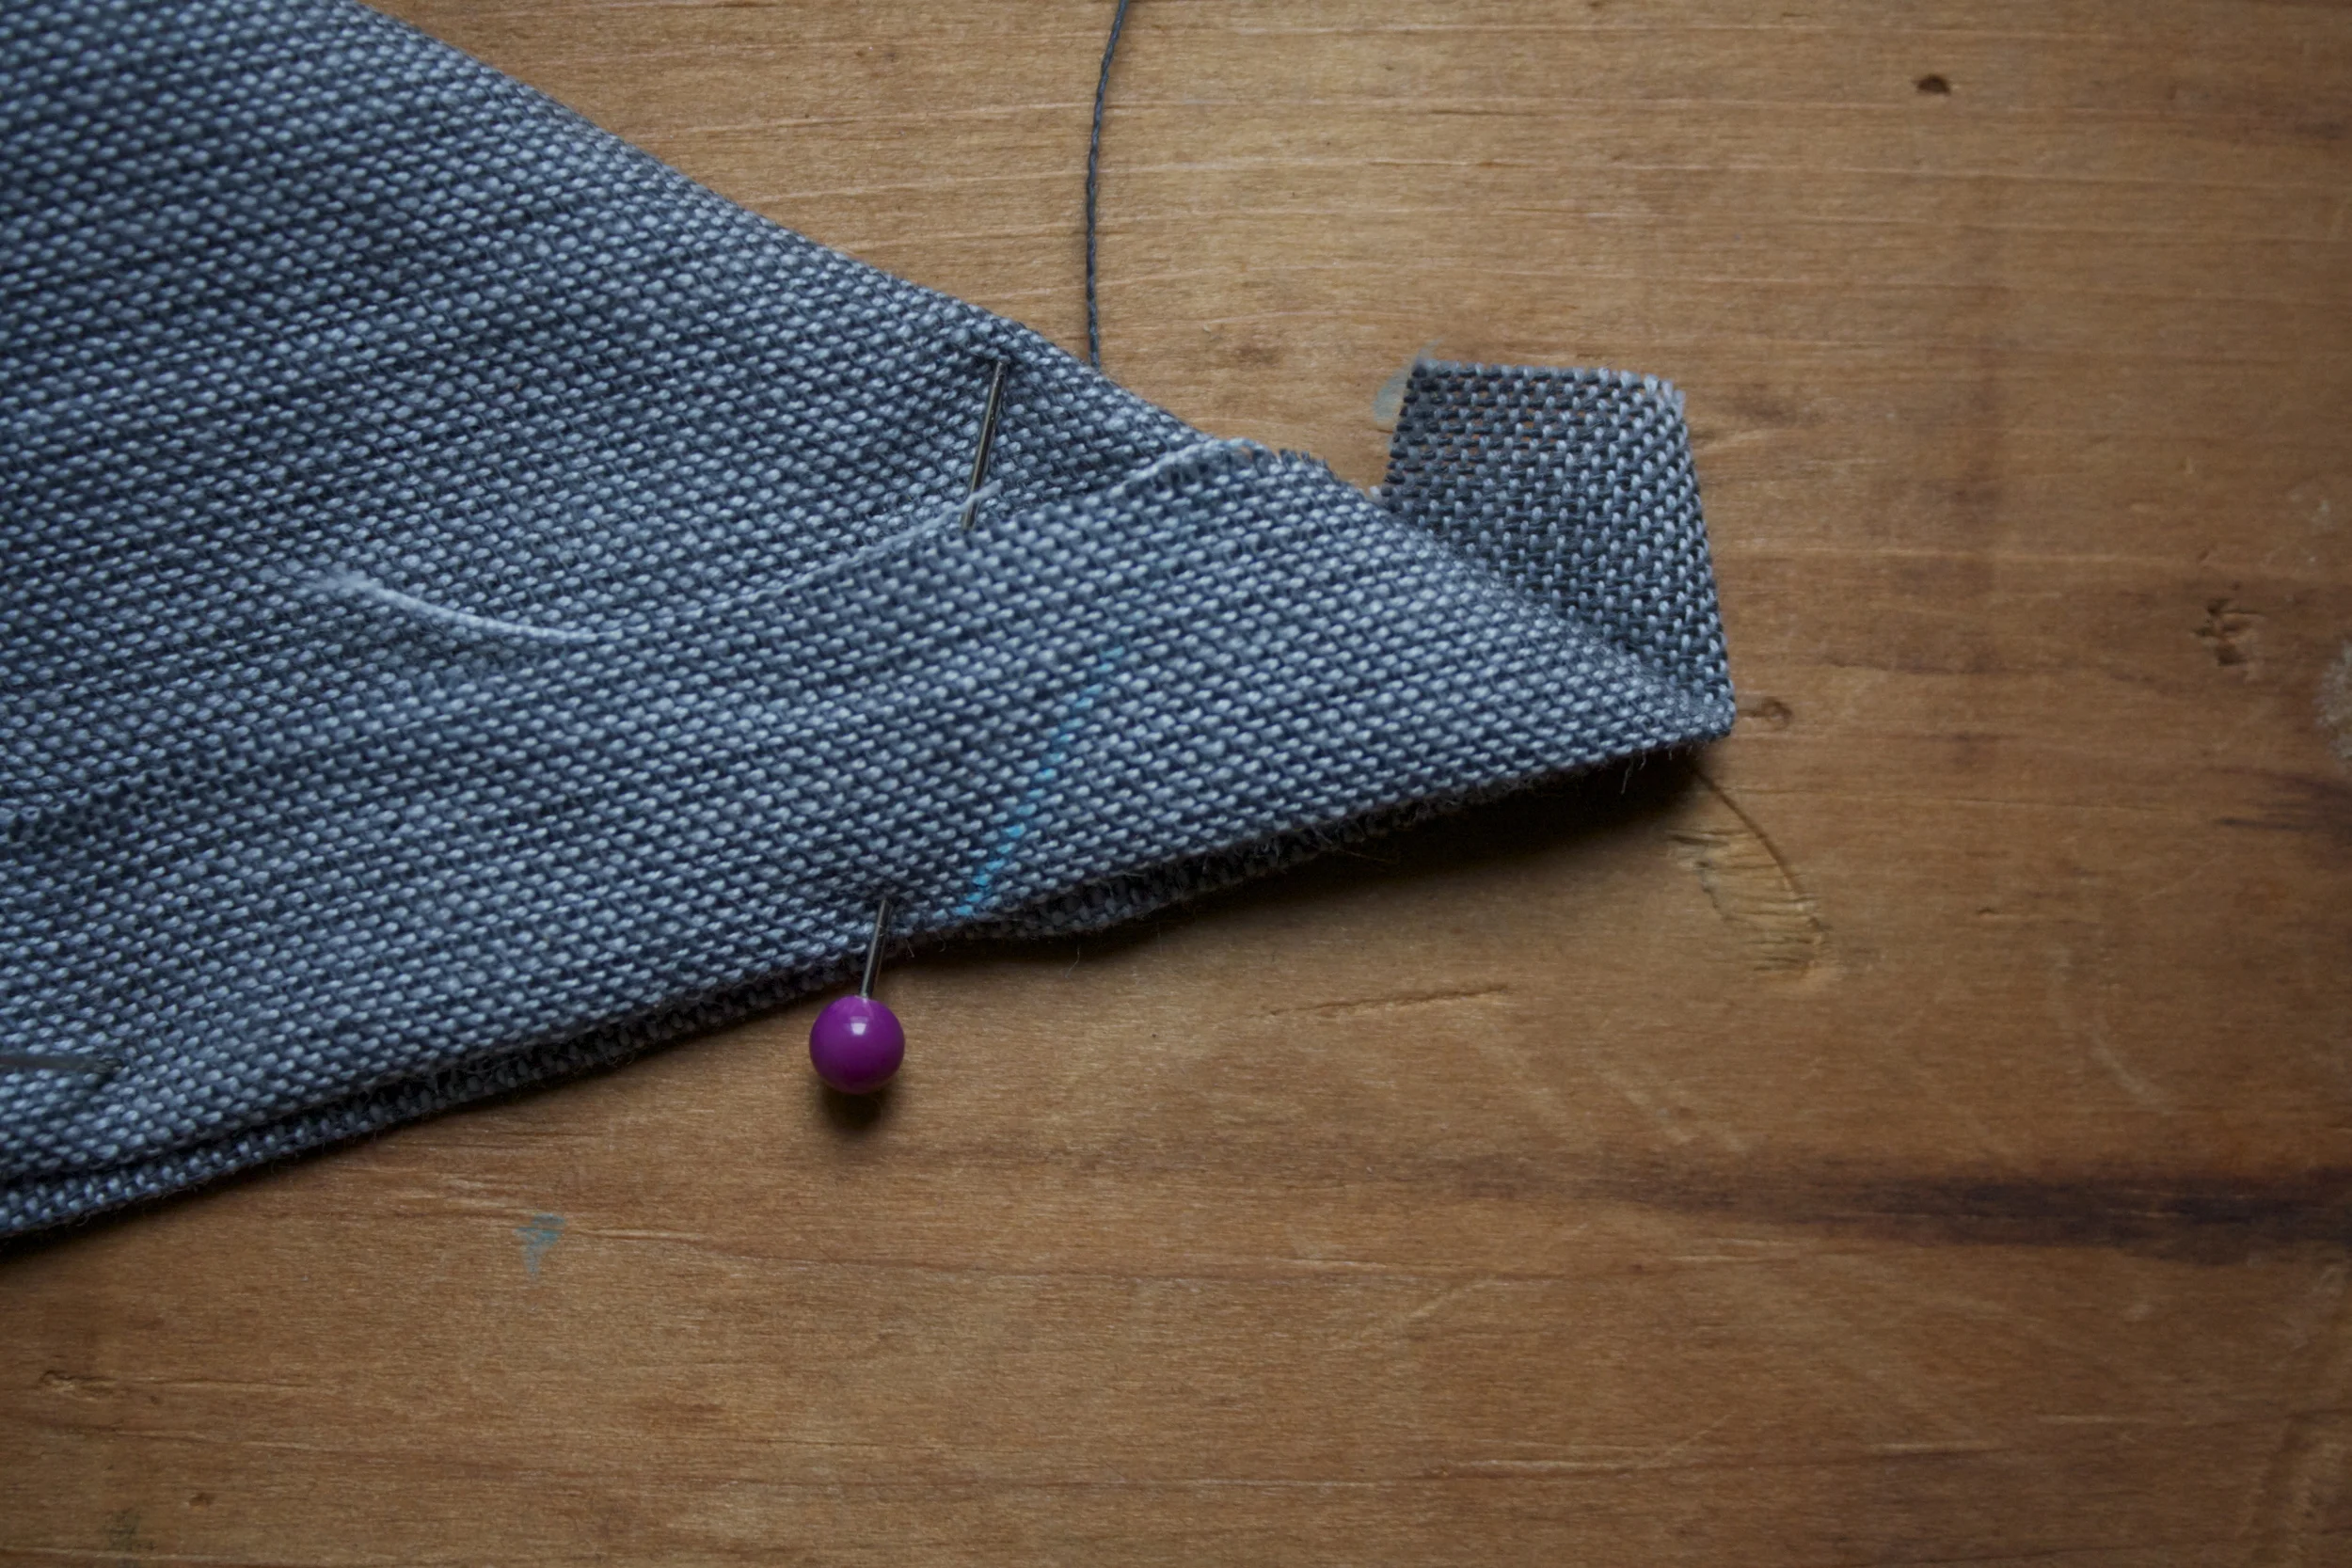
Grab a marked corner and fold the napkin in half, right side together,making sure the line you just marked match up, Stick a pin in it so it stays put.

Step 5.

Run a stitch through that line.

Step 6.

Snip off the remaining tip of fabric

Repeat step 3-6 with all corners.

Step 7.

And for the most fgratifing part, fold over … Repeat to all corners

ALmost done!

Step 8.

Lastly, run a nice stitch around the border. I went with a simple stitch, but if you are feeling a little zig zag or some other funky-ness your machine can do.. go for it. 

See, fancy(but not), pretty, made by you. napkins.. and they are so easy! 

Have fun and if you know me and end up making yourself some, let me know so I don't end up giving you more napkins for the holidays.

Have fun!

-C


In arts, crafts, DIY, holiday, Sewing and Textiles Tags Napkins, cloth napkins, DIY napkins, arts and rafts, easy sewing pattern, beginners sewing project, thanksgiving, holiday, gift ideas, hostess gifts, fancy pants
Comment

Sunday Happy

November 8, 2015 Colleen Stem

How was your week? Are you in need of a good, causal, no expectations day? Me too, not that I have had a terrible week, it just wasn't the greatest. My body is still recuperating from falling down the stairs (I am starting to wonder if I broke my thumb), and it's been one of those weeks where a bunch of stupid little things have happened, like how I have set at least 3 dish towels and my last potholder on fire, or spending 1/2 hour on hold with the garbage company about paying the bill only to have the phone cut out. And topper, this past farmshare pick up was the last one of the season.. BUMMER! I could do a winter share, but the way our winter is planning out, I would end up missing most of it, so it doesn't work. I am coming to terms with it by knowing  I can just go to the weekly farmers market…. so I am ok. Oh, and the weather.. WTF! Not exactly complaining,  (kinda not). but 70 in November is not ok. Sure I enjoyed not having to wear a coat or that we still haven't turned our heat on, but to be honest, I want cold. I want to feel crisp and fresh. I want to snuggle in warm sweaters and blankets.  And yes, I want snow!!! Bah!! But as any good Vermonter knows, blink and the weather will change. (I have been blinking a lot)

Today is going to be a  good reset day. I am going to do my chores early, get some food, maybe a trip the the library (I might have a few overdue books.. oops), make some new potholders,  and then sit on my butt (leaning to the right cause my left butt check still hurts), ice my hand, and rotate between reading and watching christmas movies (ones with lot of snow in them) for the rest of the day. And if I end up just doing one of those things, I'll call it a success because again, today is all about no expectations. 

Interent stuff from the week.

-The Norwegian Secret to Enjoying a Long Winter…. Good advice for those cranky winter people

-I love reading about apples. Beyond the Honeycrisp Apple

-The Gum wall is being removed (old gum makes me gag)

-Making Food Waste Edible (and Profitable)..smart folks.

-YES!! Harry Potter people.. Here's a First Look at 'Harry Potter' Prequel 'Fantastic Beasts and Where to Find Them

-In love with this house .. and  this one too. 

-Buying Bags of Air…. good reason to not buy that crap anymore.

-Any way to get more sky… the "more sky" window 

-Sicko me.. I have been visiting Martha Stewarts website.. always around the holidays.

Not a lot, but a few pictures from the week.

Happy Sunday! Have a great day!

-C

In sunday happy, arts, dog, photography Tags Sunday Happy, photography, food, internet, Vermont, outdoors
Comment

Do Some Apple Printing

October 14, 2015 Colleen Stem

A simple little artsy craft project to get down with… apple printing. ALmost the same as potato print, except smells better and your apple comes with an interior fun shape to print with. And you have to use apple this time of year cause its apple season and there are apples everywhere!

I usually do things like this with a little or two, but at the time, I had no littles in my possession, so I went it did it all by my lonesome. (which was actually a lot of fun) I made myself big cup of hot coffee, put on some tunes, and zoned out and did a bunch of prints. It was a great little afternoon project that anyone, little or not so much, can do. And the best part about printing is… you can't screw it up

And I know that this is going to be a cold dreary weekend… so this might just be the perfect indoor project to do! 

Things you are going to need..

  • apple(s).. And the apple that I use are fallen apples.. so I don't feel bad about using them.
  • paper
  • a knife (or something sharp enough to cut the apple)
  • paint ( I used cheap-o acrylic paint, but any paint would work)
  • paint-brush
  • Cup of water (to rinse brush)
  • rag (to wipe hands)


Start by slicing your apple. If you cut in in half, you get the cool star shape in the middle, or just chop it into cool shaped pieces. 

Apply paint to the apple. I found that if I dipped the apple, then remove to much excess paint with a paint brush to work the best for me.. My suggestion is to play around with what works best for you.

Apple goes paint side down on paper… and that's how it goes. Now repeat, either with the same shape, or use a new one. OR change up the color.. it's all how you want to do it. 

If 

. I got a little excited with my fist print turned out a little chaotic(note print above) but then I rained myself in. 

And did a few more simpler designs.   

But do it anyway you want cause it's going to look cool no matter what.

Have fun!

-C

In crafts, arts, DIY Tags apple, printing, art project, kid friendly, family, art, craft, paint, easy
Comment

Flying Bats Garland

October 6, 2015 Colleen Stem
IMG_9892.jpg
IMG_9964.jpg

I never can really tell how I honestly feel about halloween. I love fall, I love pumpkins and cider, but thats fall ,not halloween.  I love to see all the happy little littles running around being super cute. all jacked up on way to much sugar.  And  I know when I was a kid I was all about it. I mean, what kid doesn't get jazzed to run around, dressed up (I was alway a black cat), with a pillowcase full of candy all night long? That is just magic. But as an adult, I haven't really done too much. Sure I help wit the costumes of the littles and sometime I hand out candy, but where we live now, it's not possible to give out candy. And the littles, they go do stuff with there friends, not there old lady aunt. And I guess me and the mr could dress up and go to a party or something, but  honestly, we are not really party people…. So yeah, don't know. I think when I finally have my own kids It will be more fun. But whatever, at least I can do a little decorating.

For as long as I have been as adult with my own living place, I have really gotten into holiday decoataing. But here is the thing. I like my decor to be minimalistic, not to over the top, or super cheesy. (although I really do like when other people go super overboard and cheesy) But no, you won't find a 20 foot blow up of a witch or severed hands in my front lawn.(maybe a few dead mice, but thats the cat, not me) And I like to make my decorations. I even like to get some littles in one it, cause hand made kiddo decorations are the best. 

These bats are the perfect bit of halloween decoration. I made a ton of them a few years back and lost them, so I just whipped up a new strand. Fast and easy to make, are not overly crazy or gory, and can be hung anywhere. An yeah, making them with a few littles is fun, but you don't need them. I made them all on my lonesome…. Oh me..

Anyway, to the bat mobile (garland)!

The bat stuff

  • 2-3 pieces of Black card stock (construction paper  is fine, but will the color will fade over time)
  • scissors
  • pencil
  • needle and thread*
  • clear tape or tacks (not shown.. to hang bats)

Note. You can use embroidery floss instead of thread, but the thread is much more visible and you are going to need a tapestry needle. 

IMG_9877.jpg

Take a piece of paper and fold in half, either length or width wise.( If you do lenght wise, you can cut out a few more bats per piece of a paper, width wise, the bats wings are longer.. up to you, do it both ways if you want) 

Outline a bat.

Bats are all jagged  lines.. nothing too complicated so I figured a stencil is not needed. If you really need a stencil, I can email you one...

Cut out bat and open up.

See, easy. And now you have a bat. If you do not like the exact way it looks, fold in again and cut a little more, but don't get to picky, you have many more to cut.

Now make yourself a  bat army. As many or as few as you like. I think 12 is a good number. If you want, take the first bat that you cut out and use that as a stencil. Me, actually just free form cut the guys, so none of them look the same.

Bats are ready, now thread you needle.  Don't cut the end loose or tie the two ends together.

Fold bats back flat and thread them through the upper portion of the wings.  Do that to all your bats.. and make sure that you are threading them on all the dame direction (if you care)

Once all the bats are threaded on. remove needle and tape the end of the thread. Space the bats out evenly or however you like, and hoe ever far apart you like, and cut thread of spool. Tape that end off too.

And hang them…. Most of my bats stay where I placed them, but a couple wanted to slide around on the thread, so I just stuck a tiny piece of tape on the inside of the wing over the thread to stop that.

They can fly threw the air….

Or drape on the wall. 

Any way, these bats are freaking bad ass and the coolest!

Happy Holiday Decorating! 

-C

In DIY, crafts, arts, holiday, decorations Tags bats, garland, diy, halloween, hand made, decoration, craft, simple, paper craft, arts
Comment
← Newer Posts
 

https://thelovelycrazy.squarespace.com/config#/|/about/

Me. Food Maker.Food eater. Woo HOO!

STEM+NODE  SMALL BATCH AND ONE OF A KIND POTTERY

stem+node ceramics


____________________

Subscribe

GET NEW POSTS IN YO EMAIL

You are AWESOME!!!


@thelovelycrazy 2014-2021