• stem+node ceramics
  • HOME
  • Food Recipes
  • About
  • Contact
Menu

The Lovely Crazy

Street Address
City, State, Zip
Phone Number

Your Custom Text Here

The Lovely Crazy

  • stem+node ceramics
  • HOME
  • Food Recipes
  • About
  • Contact

Gingerbread Woodland Creatures (Cookies)

December 15, 2015 Colleen Stem
IMG_5759.jpg
IMG_5773.jpg

I had me a little over the weekend and we had so much fun. We had a dance party, sang Christmas songs, made paper trees, and made cookies. It was a much more of a fun day then I had planned ans expected. (Christmas themed fun day.. uh, yeah!)

But the thing was I wasn't planning on making cookies. Wait scratch that, I was planning on cookies on Friday and asked her mom what kind of cookie we should make.  And by Saturday, I had decided that I had way to much crap to do and didn't have time to make cookies. The little was going to spend the day with me doing errands and maybe a little work stuff.  But that morning, when dropped off at 730 am, the first thing she said to me was "we are making gingerbread cookies today" in the most tiny little sleepy voice.  Not a "are we gong to?", she was saying it as a fact. (her mother must have told her) So yeah, after that, I had to make the cookies. (I am not a monster) And because I now had to make cookies, I just said screw it to everything else I was going to do. I figured I might as well just roll with it and dance to jingle bell rock all day long.

About the cookies. These gingerbread cookies are everything I think a gingerbread should be. Sweet and spicy, dense and crisp, (but not hard) There is a slight snap, but not a tooth breaking snap and as you eat it, the middle of the cookie gets a little softer. They are the best paired with coffee or tea. Words that I have heard describe these cookies are; "fantastic" Oh my God" and "Fucking Amazing". So I am pretty sure that these are a winning cookie.

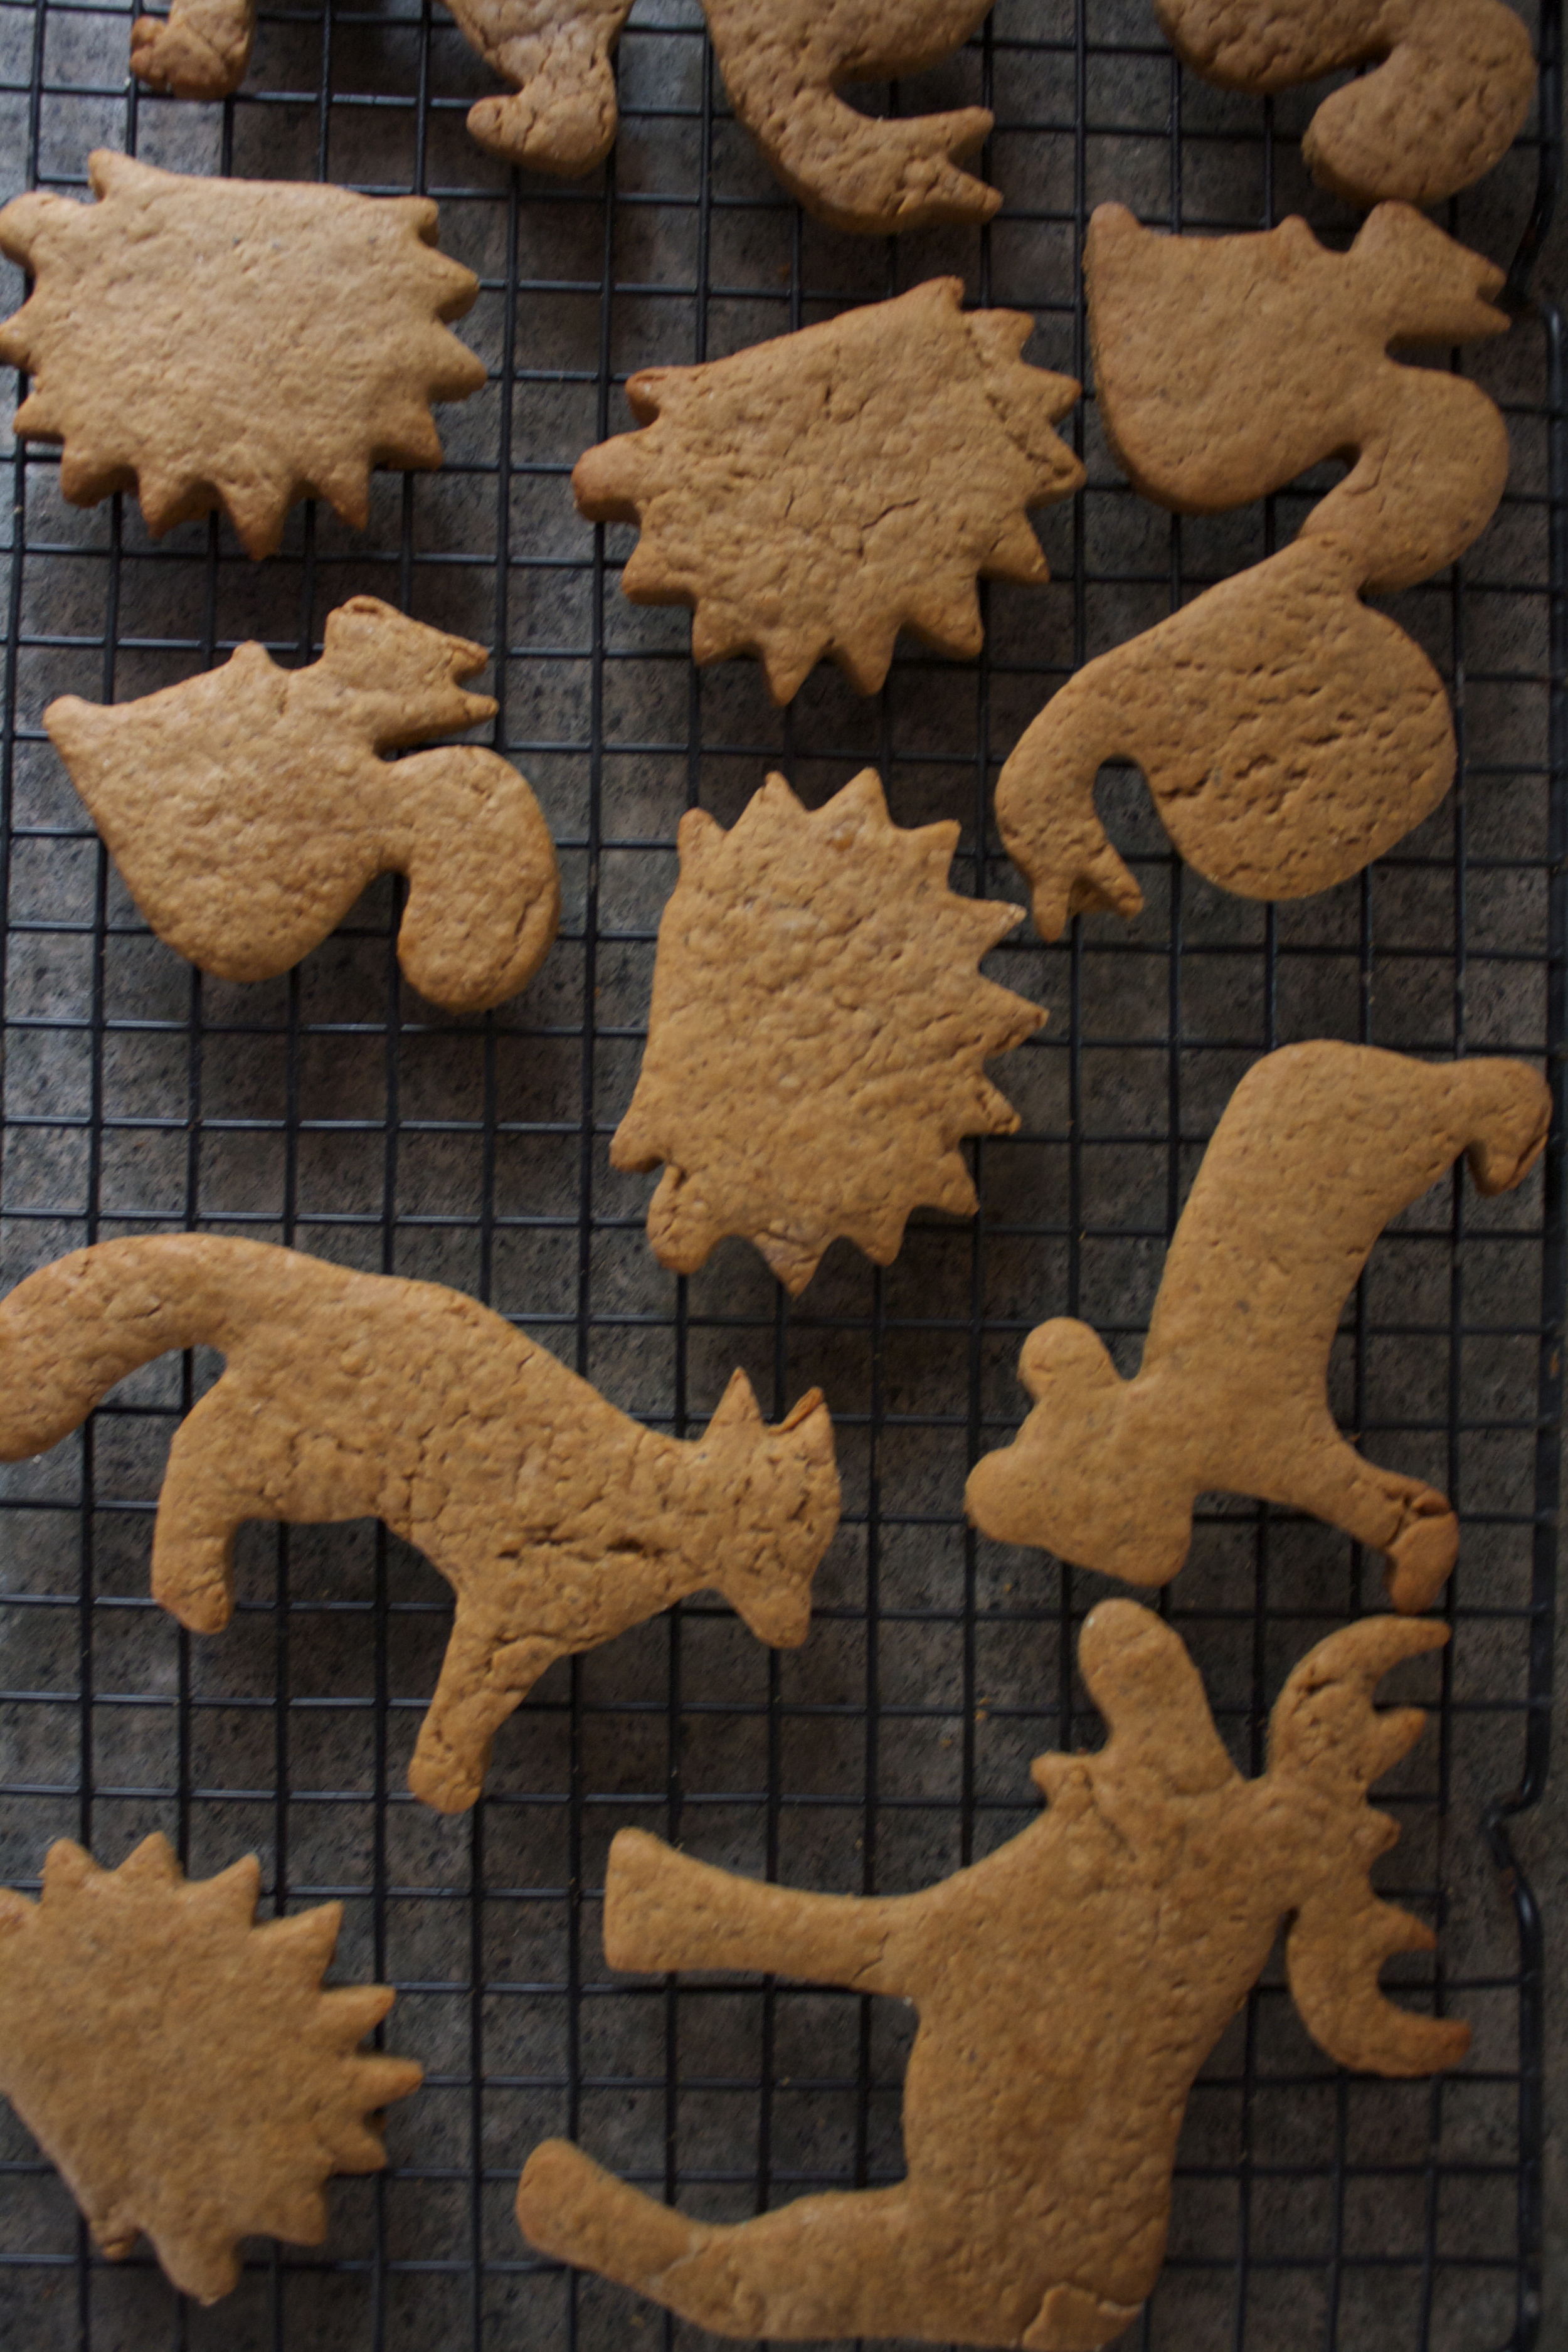
And sure, we could have made gingerbread people, but really, why make little weird shaped people when you can make a squirrel and a mouse. (step outside of the gingerbread box and make all kinds of shapes!) And although I love me a good neon colored sprinkle situation, I really got into using more natural looking things to decorate. But again, the shape and decor of your cookie is all up to you. 

Note.. Awesome cookie cutters came from IKEA.

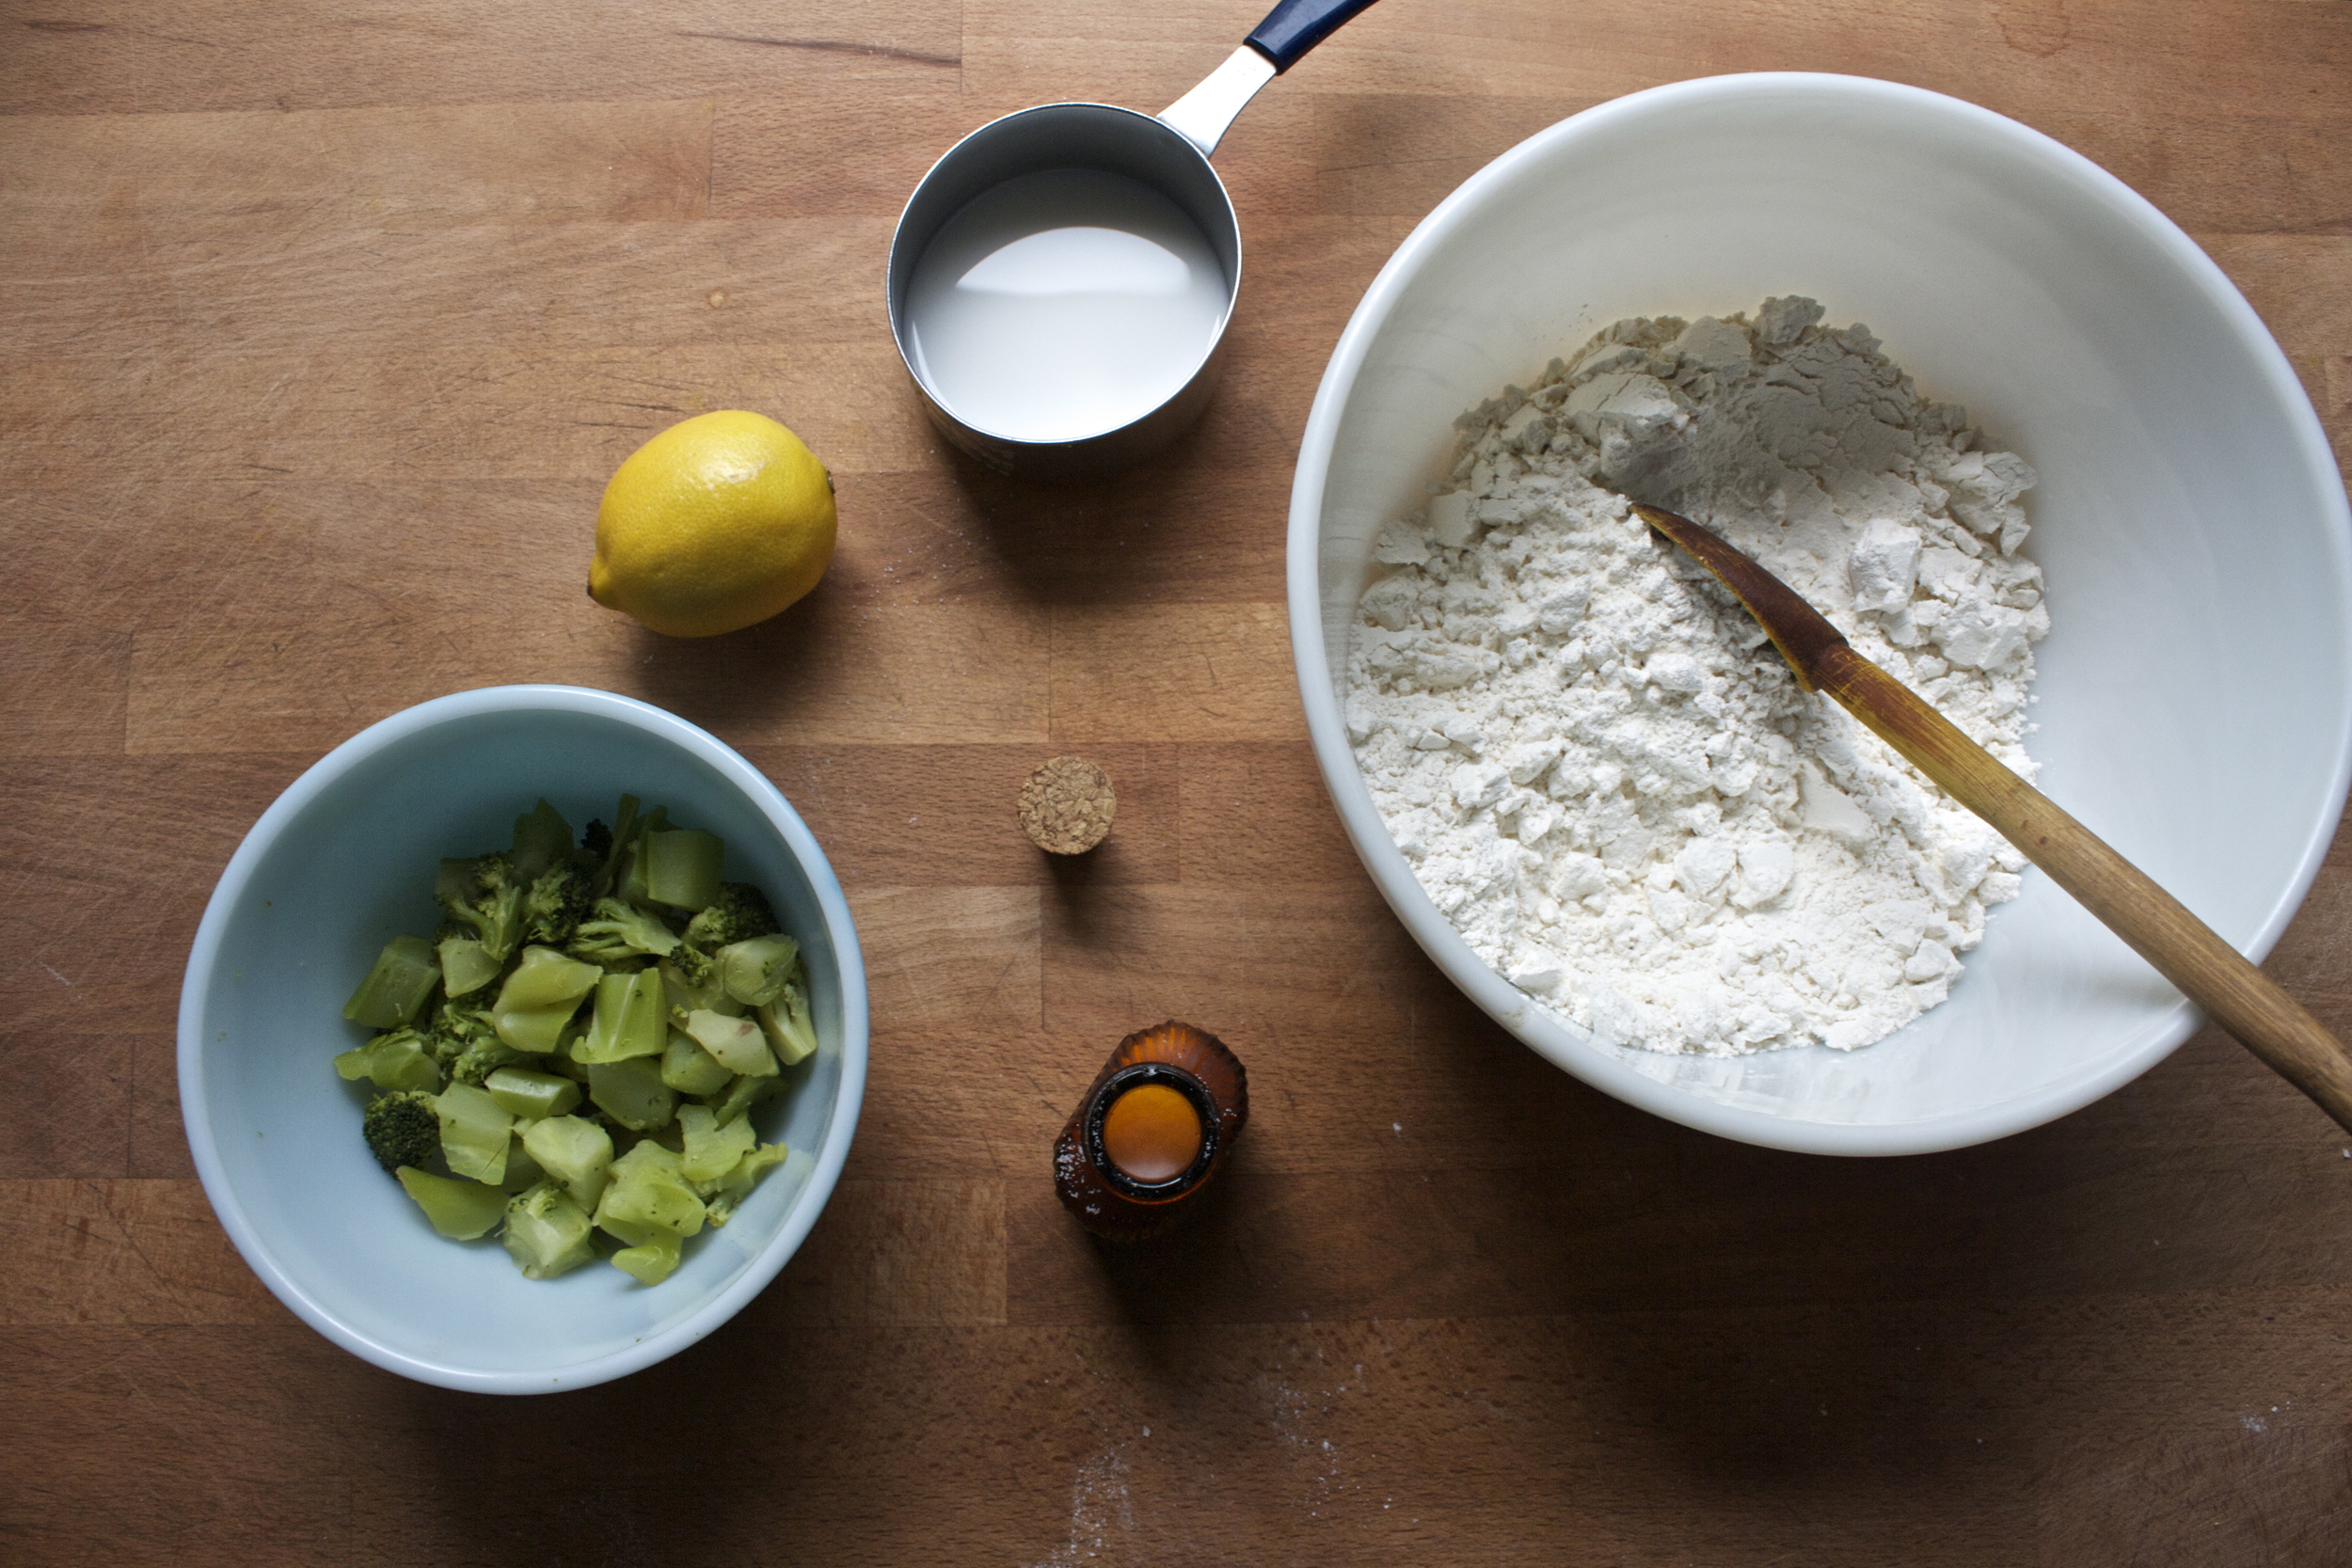
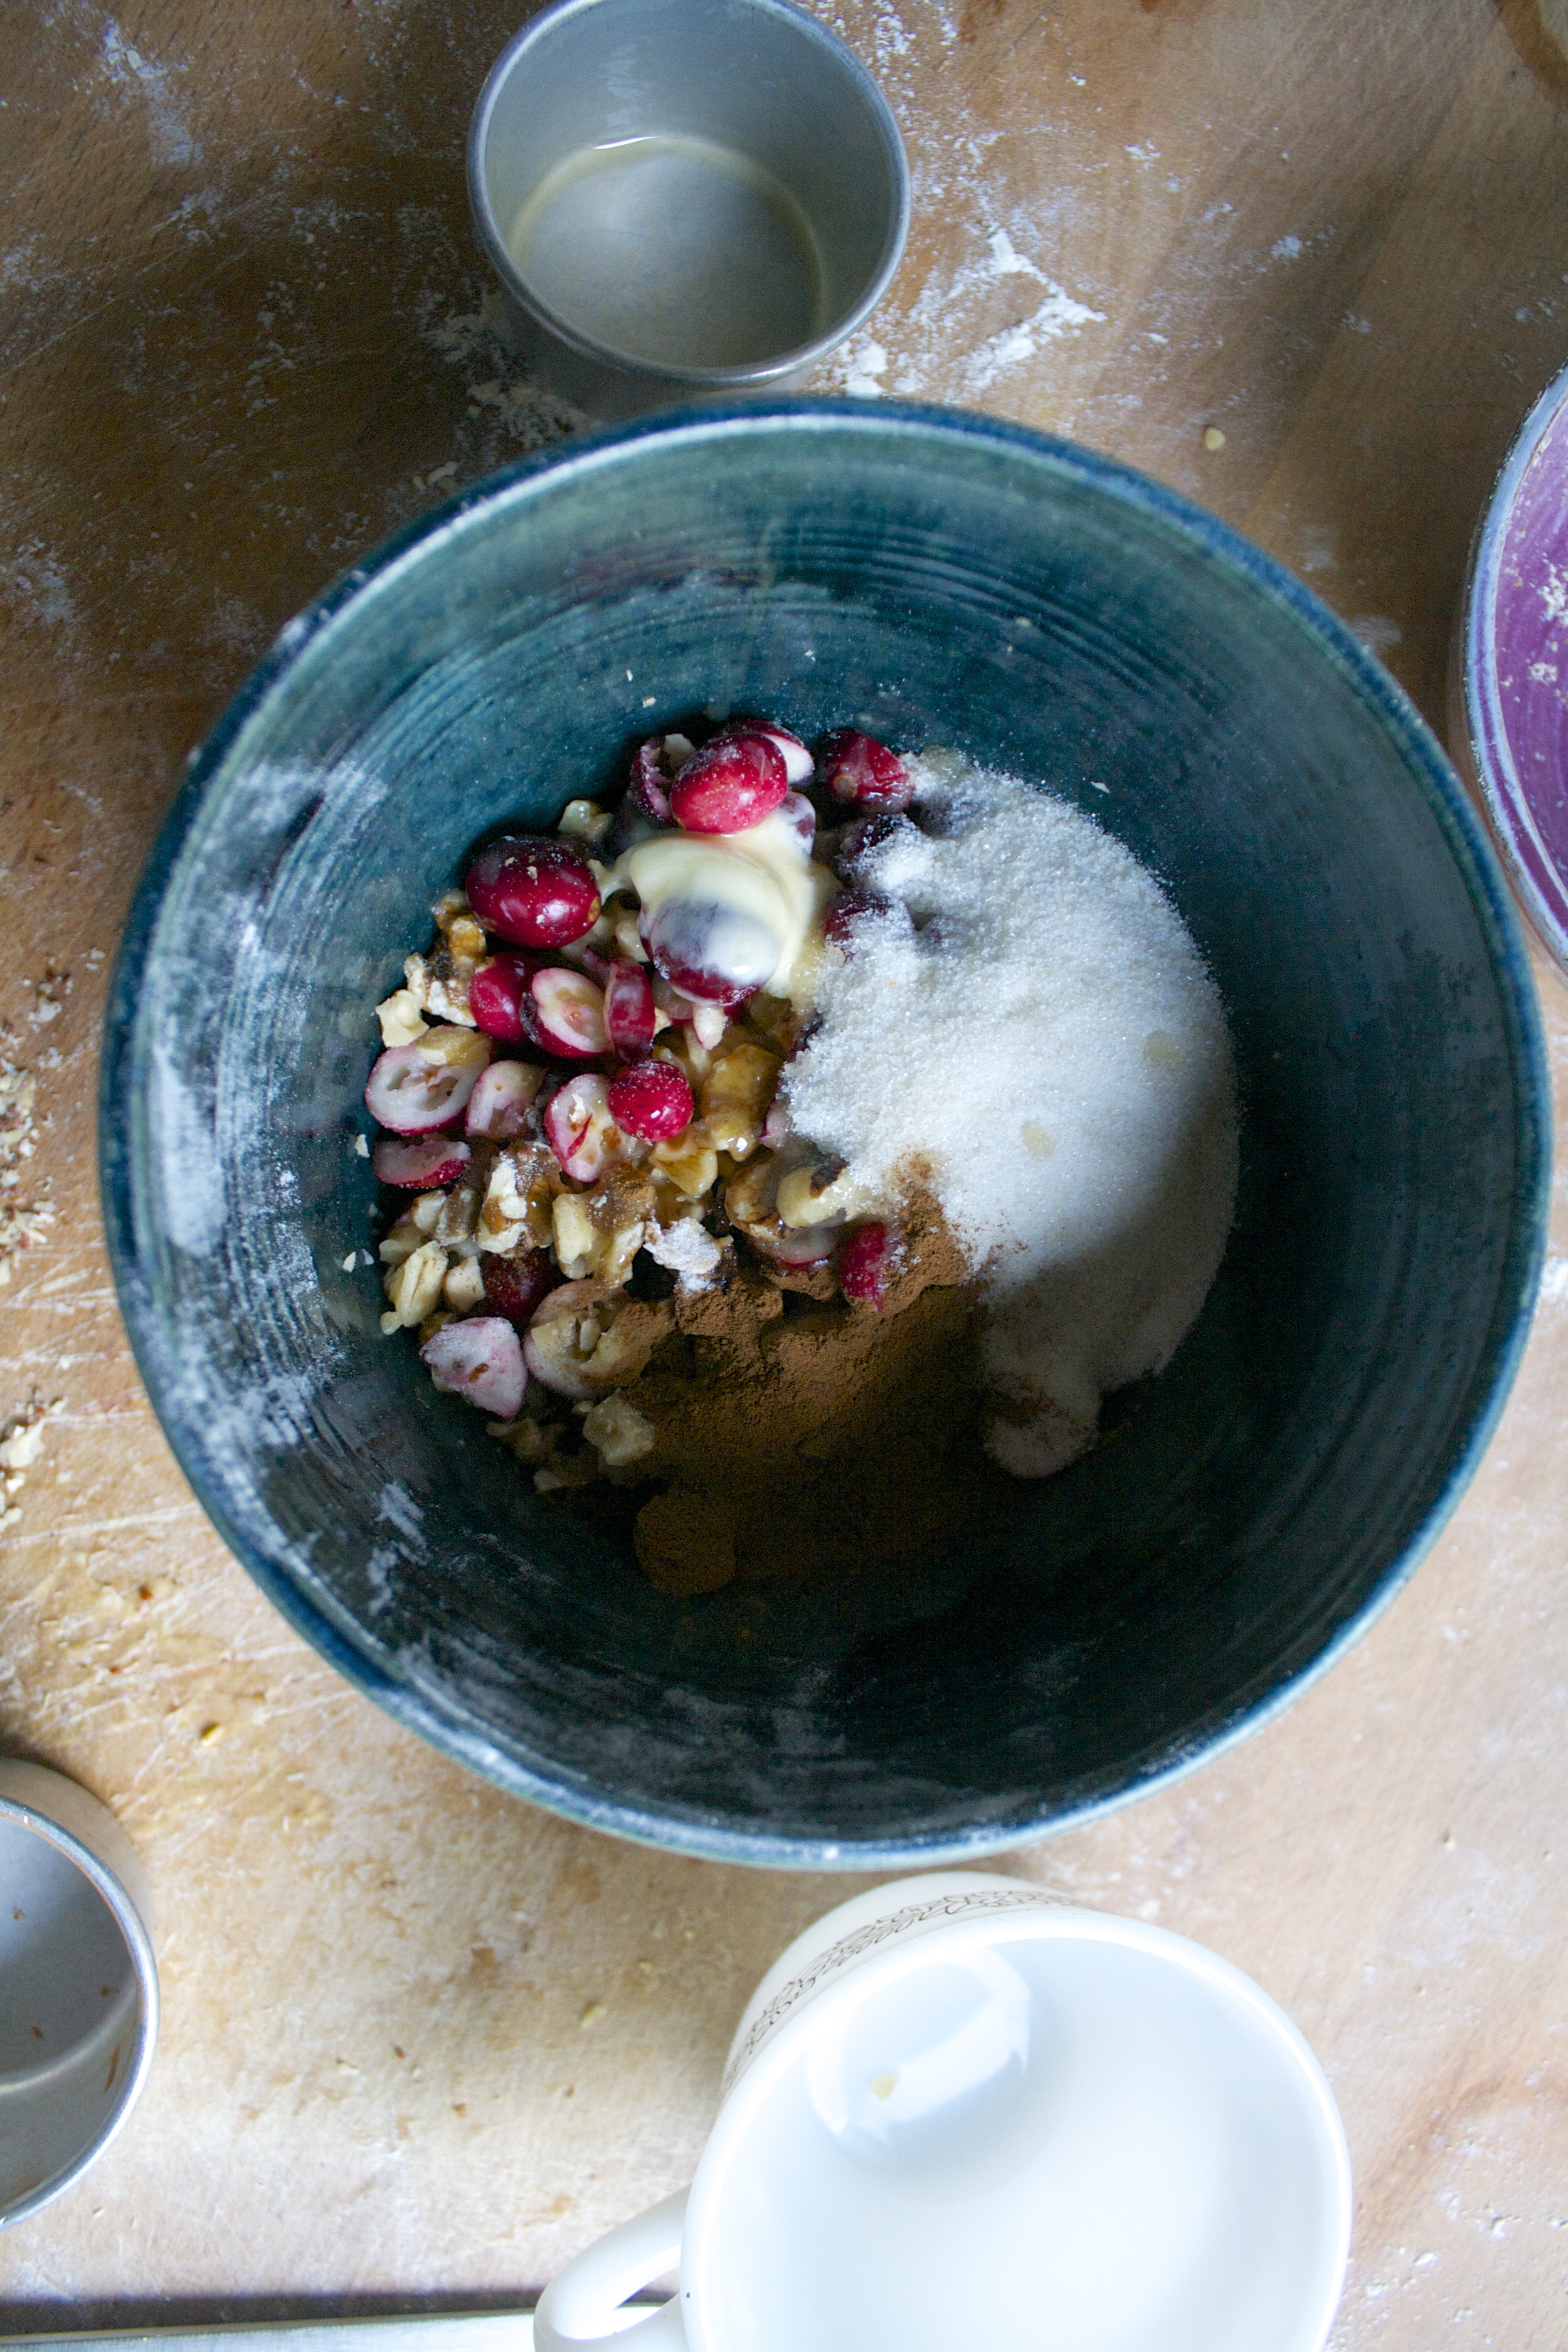
The stuff. We have flour, baking soda and powder,and some salt. For the spices we are using ginger (or course) cinnamon, and cracked pepper (for a little extra kick). Also have a bowl with brown sugar, molasses, oil, a splash of vanilla and two chia seed "eggs".

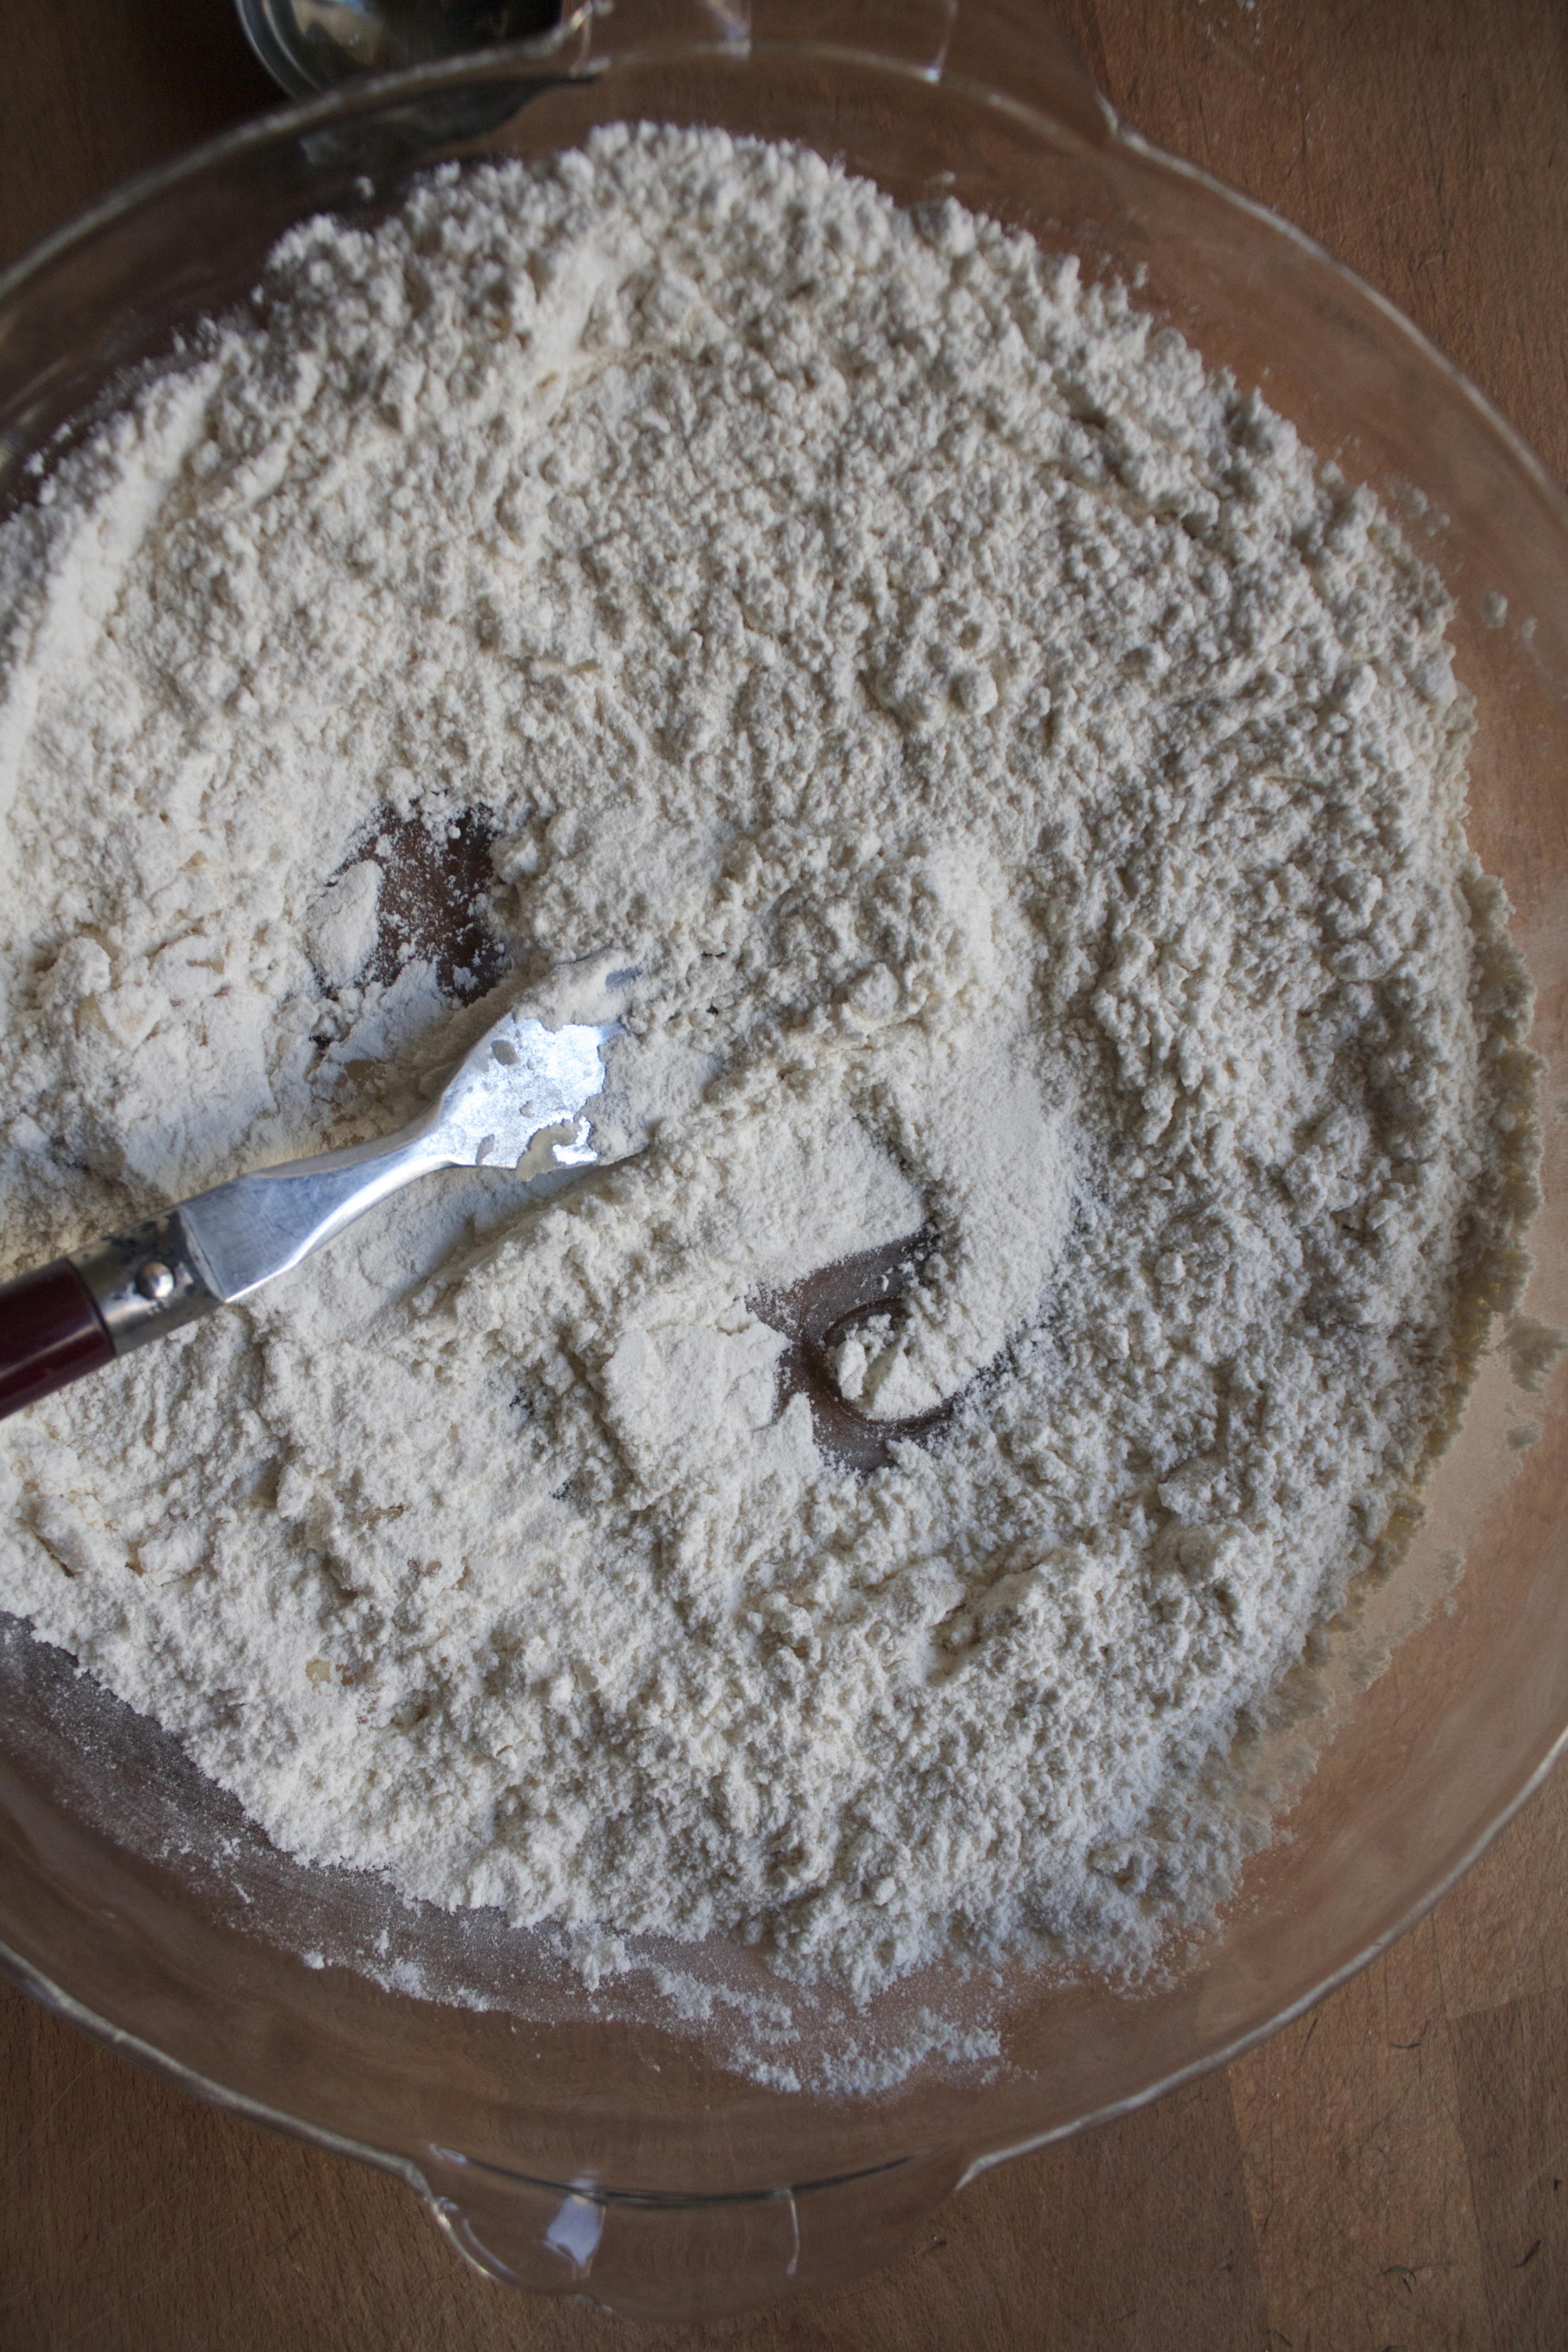
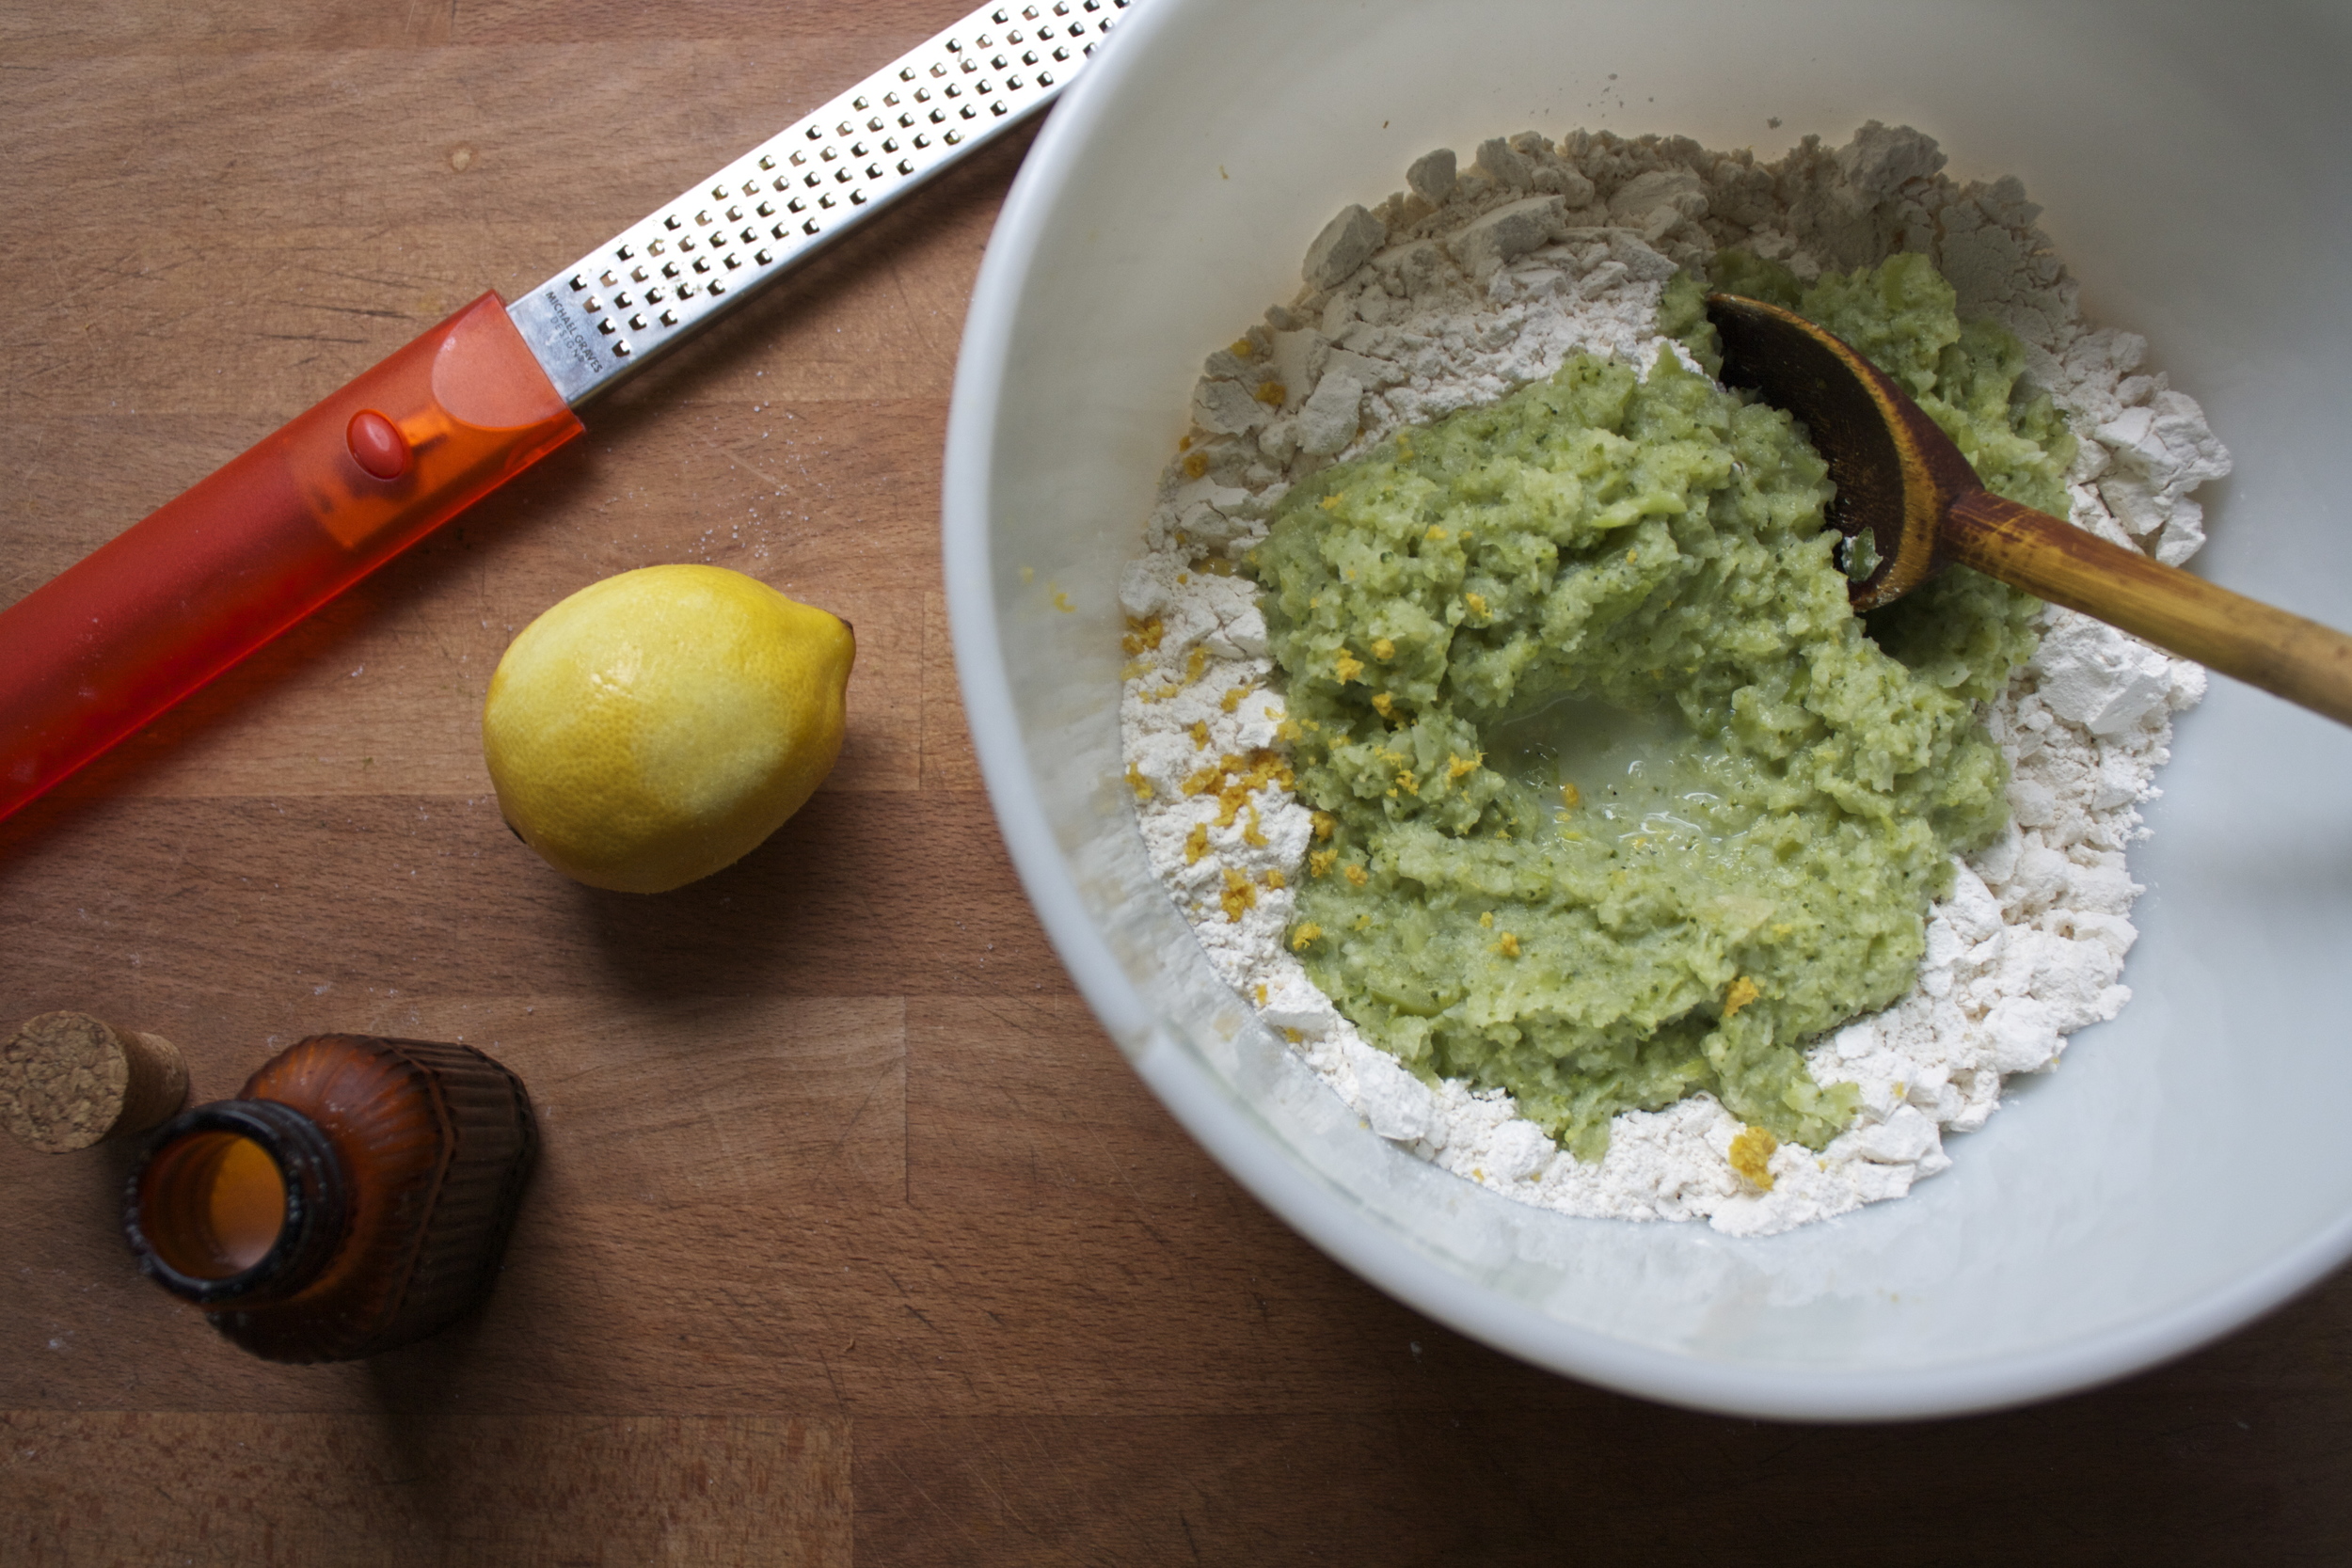
Whisk (or sift) together the flour with all the spices, the baking soda and powder and the salt.

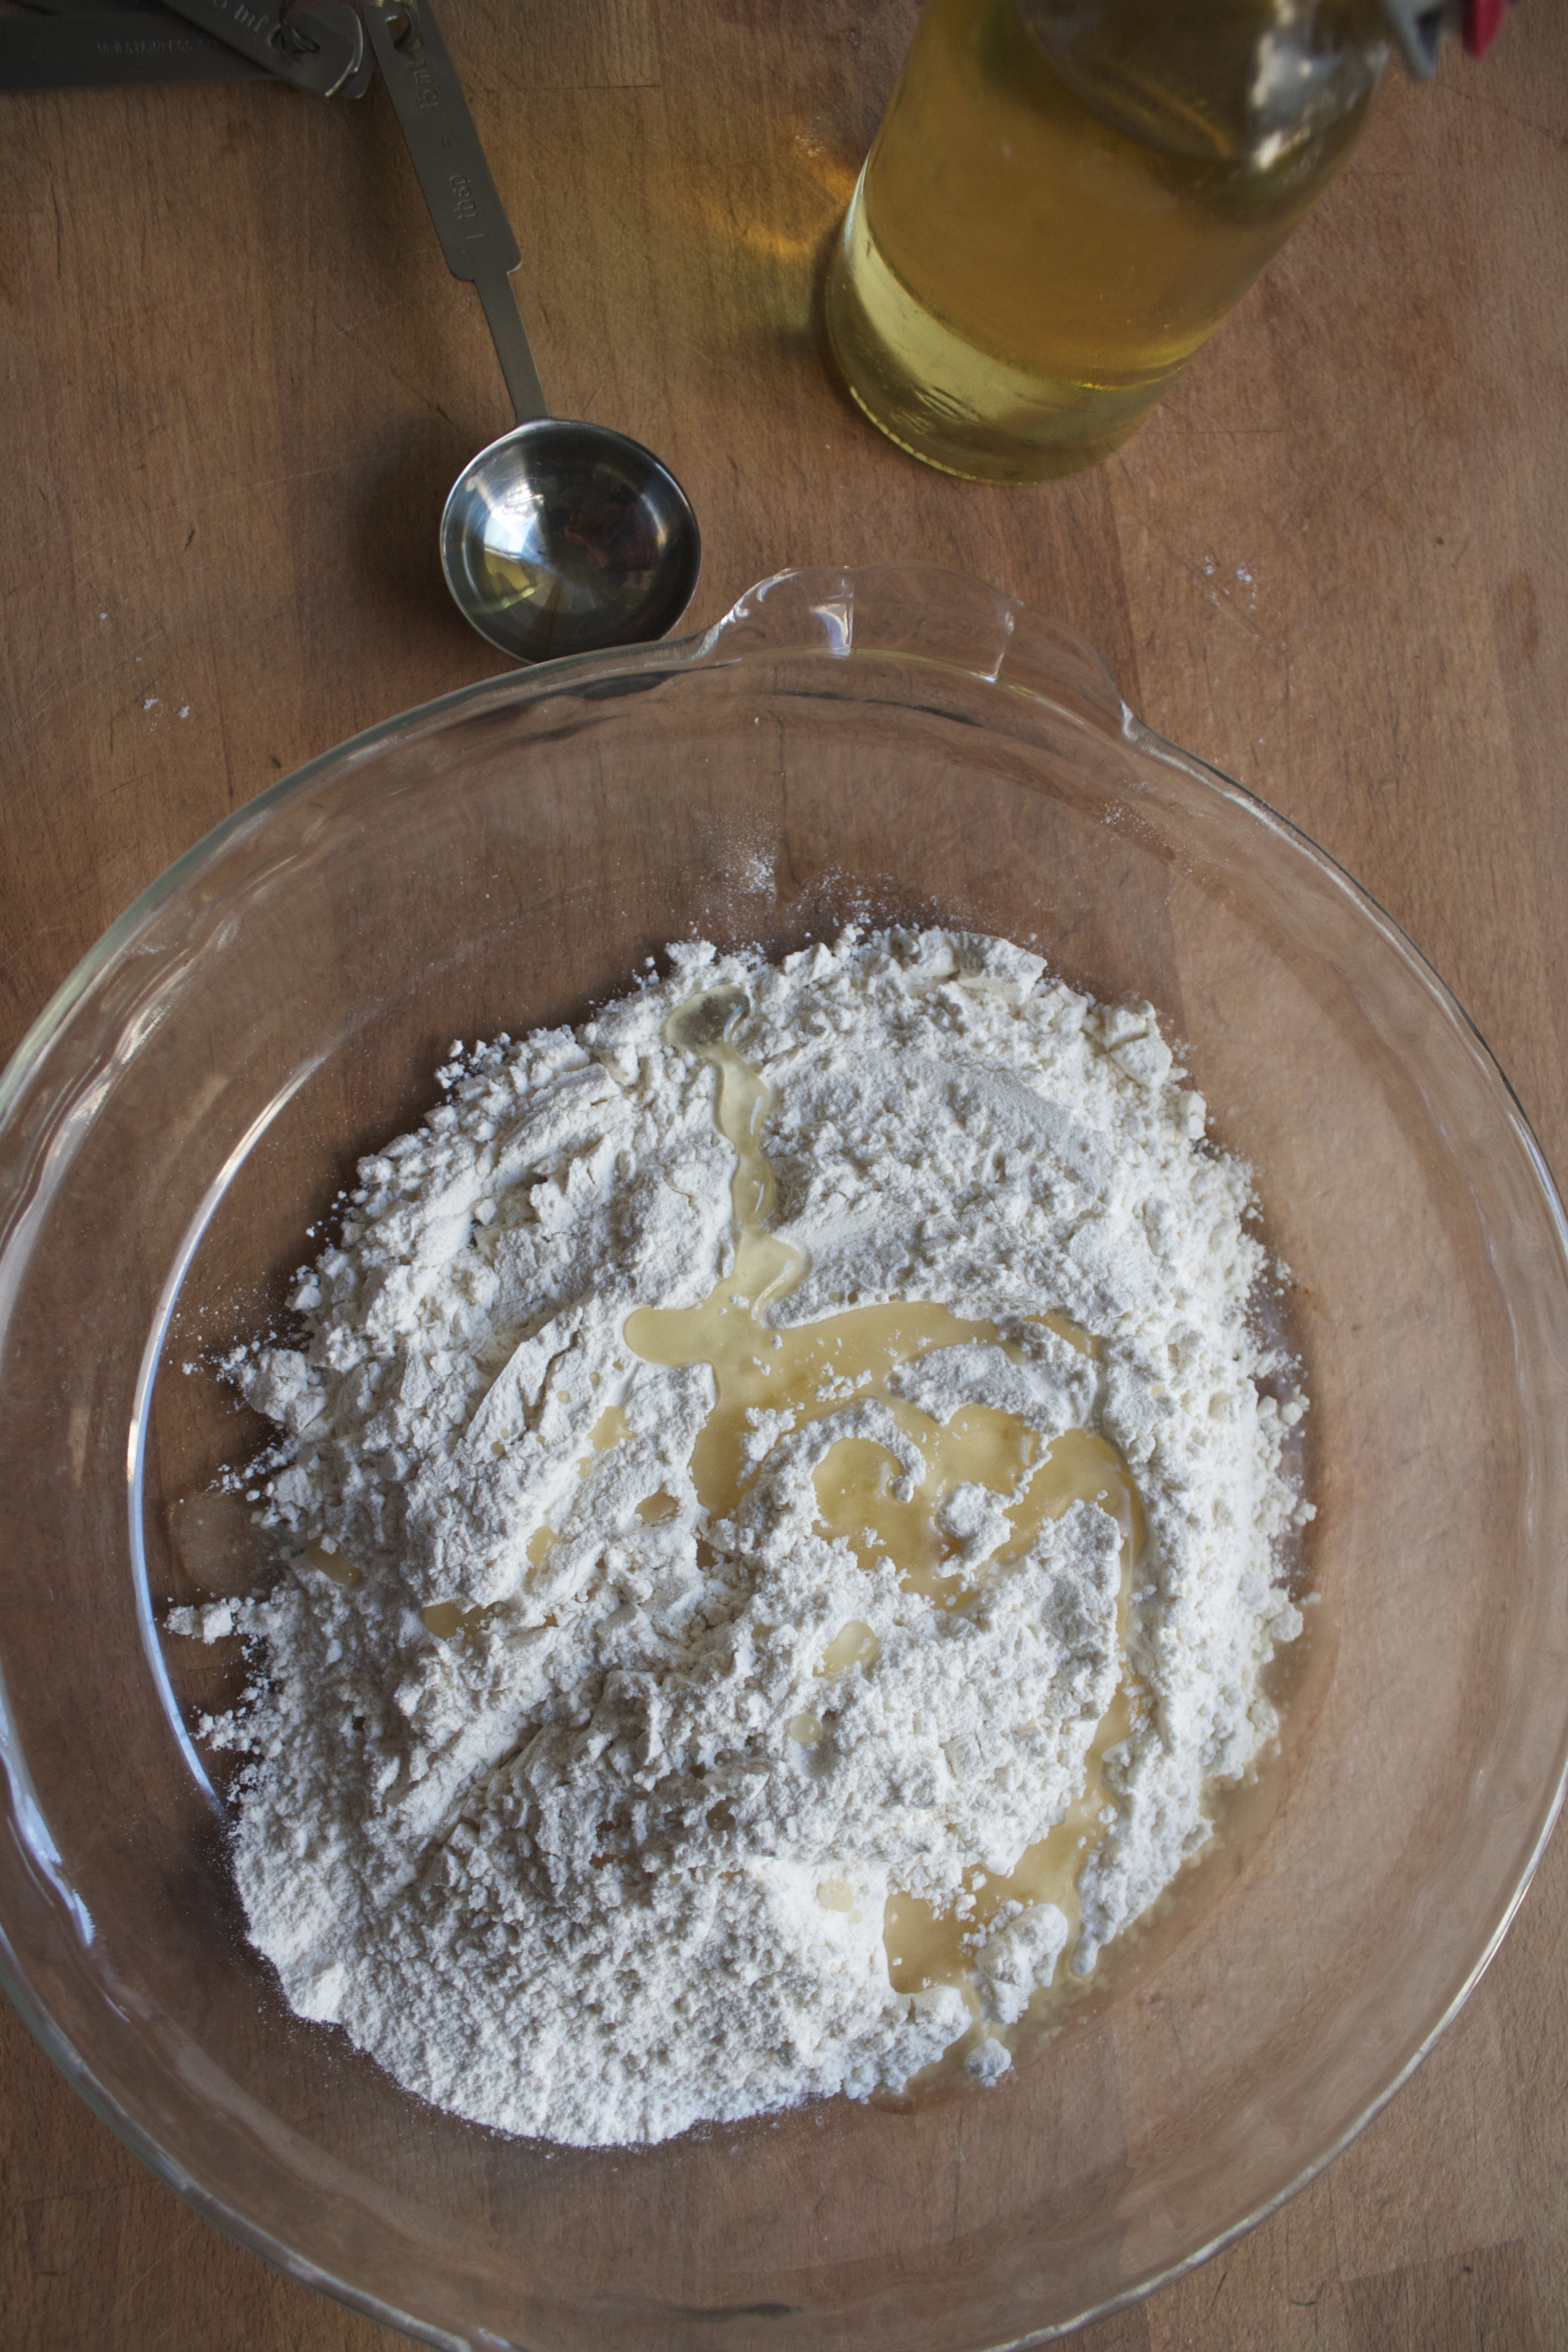
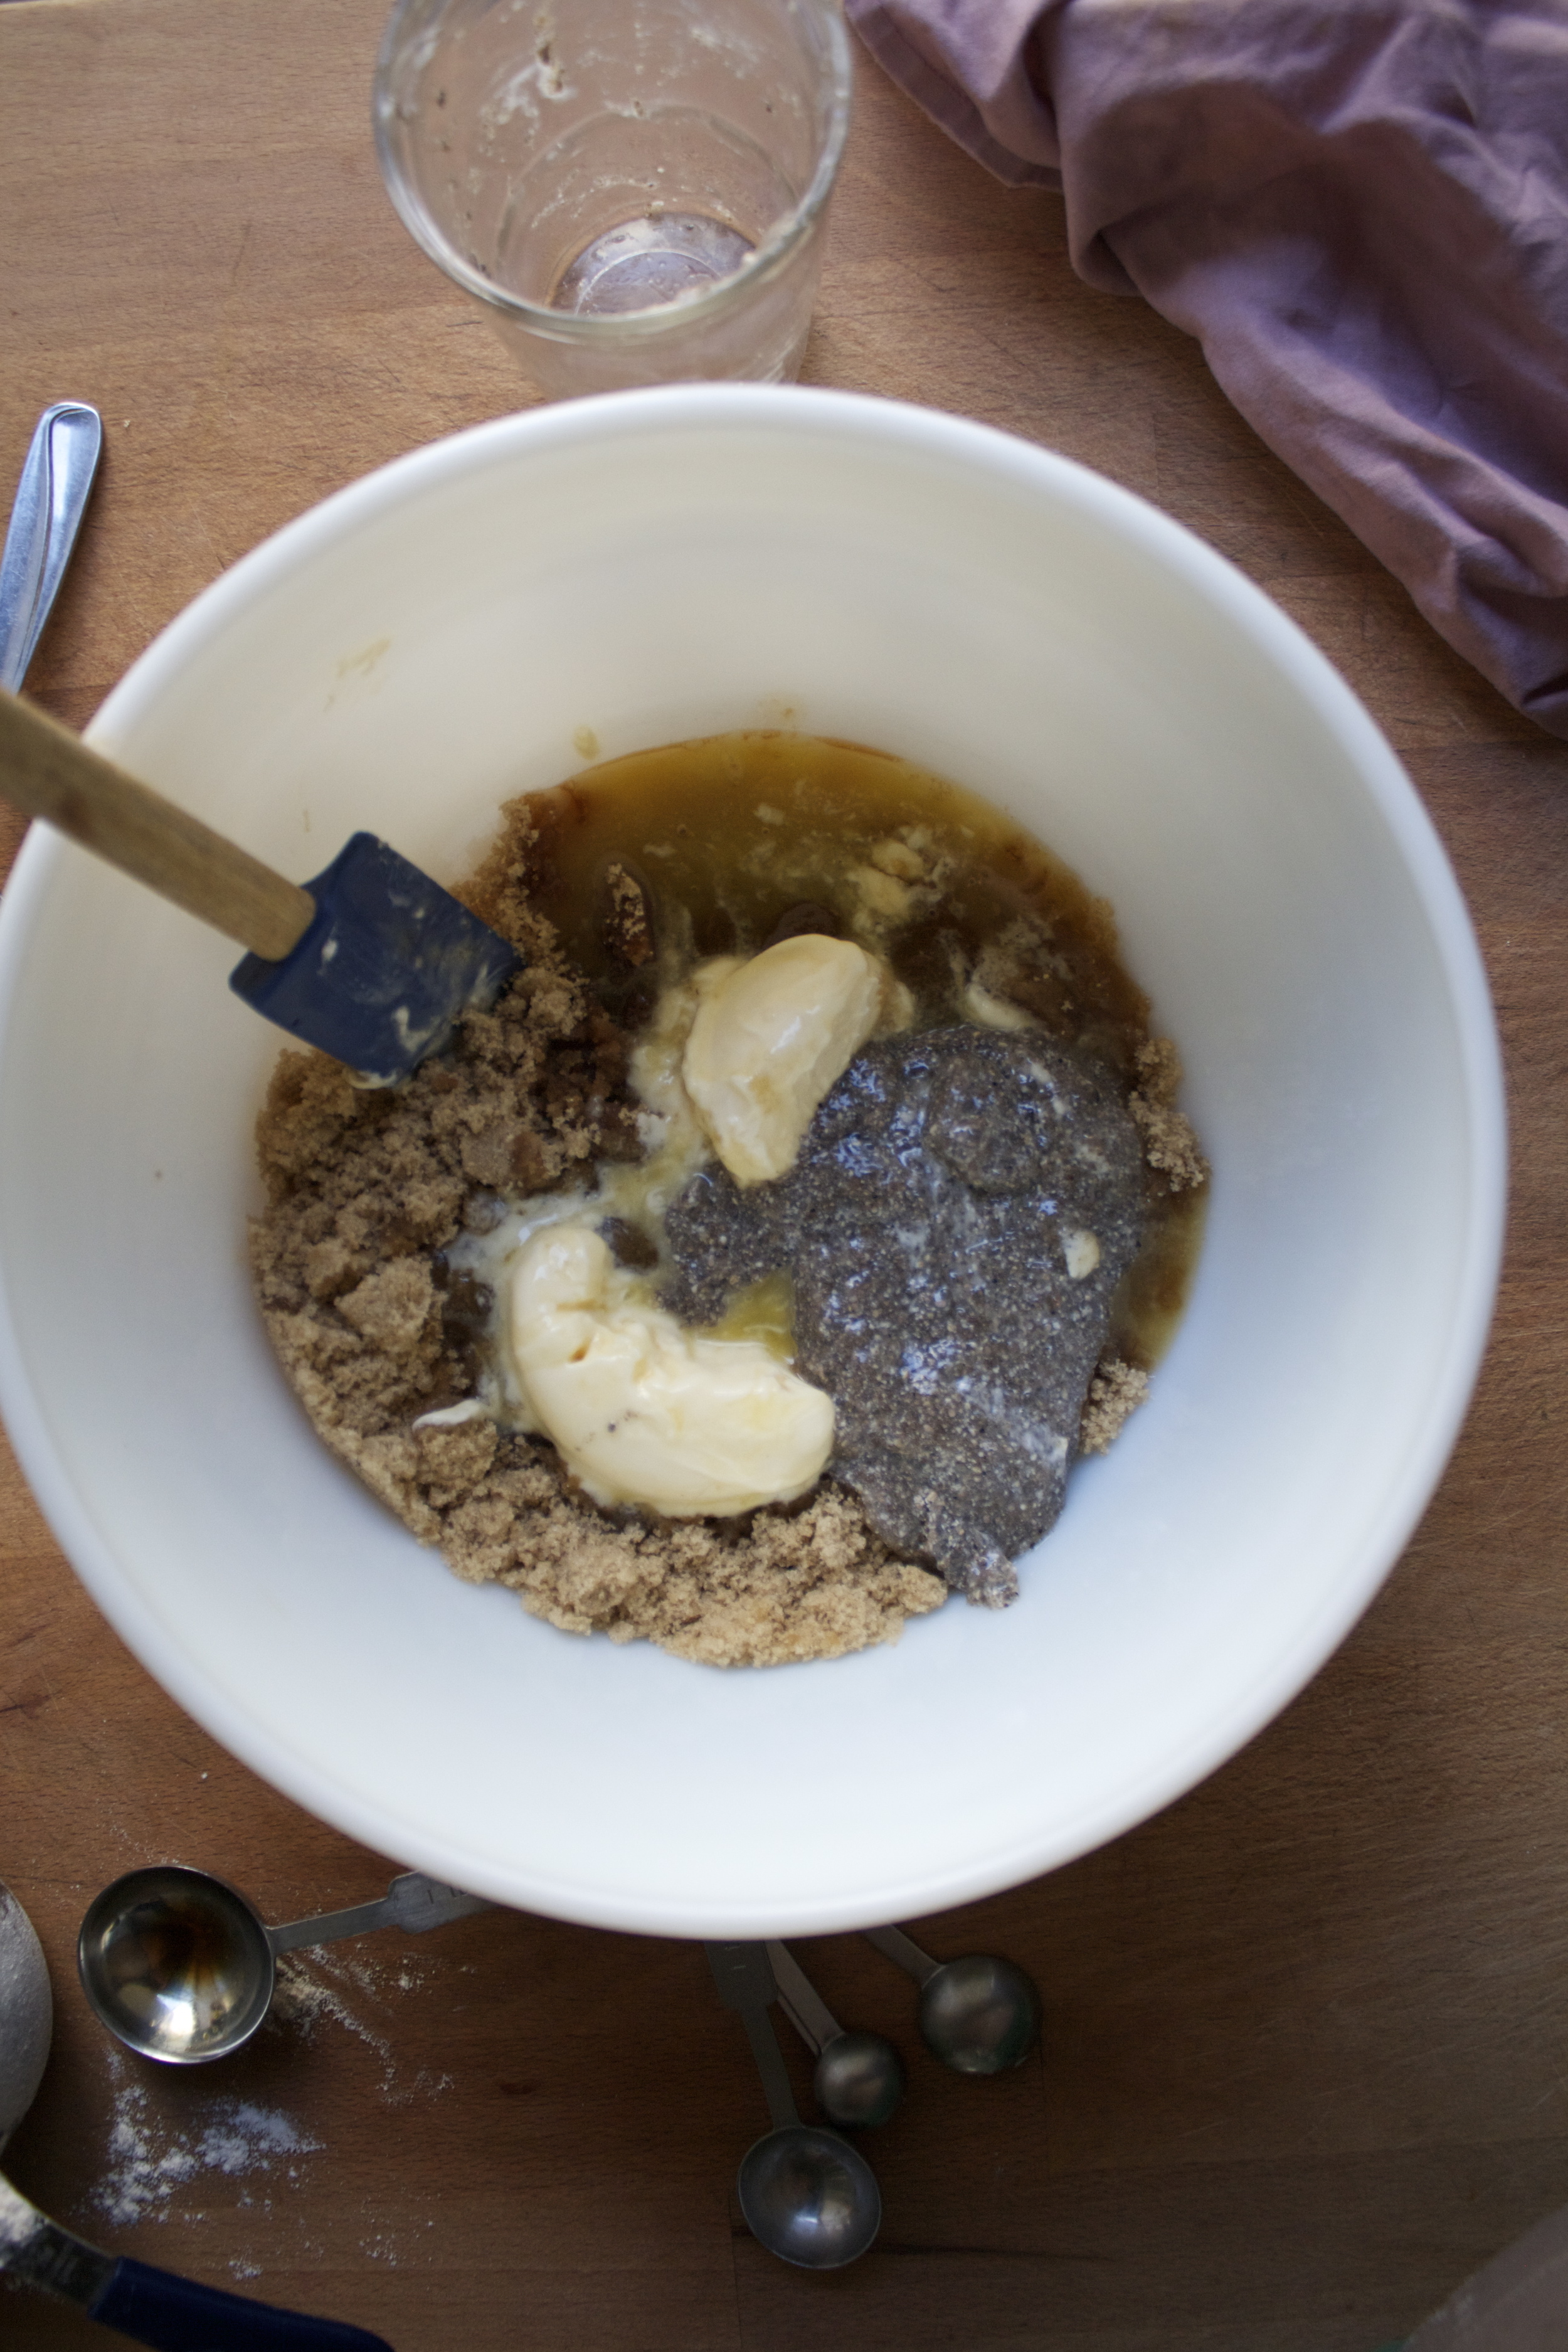
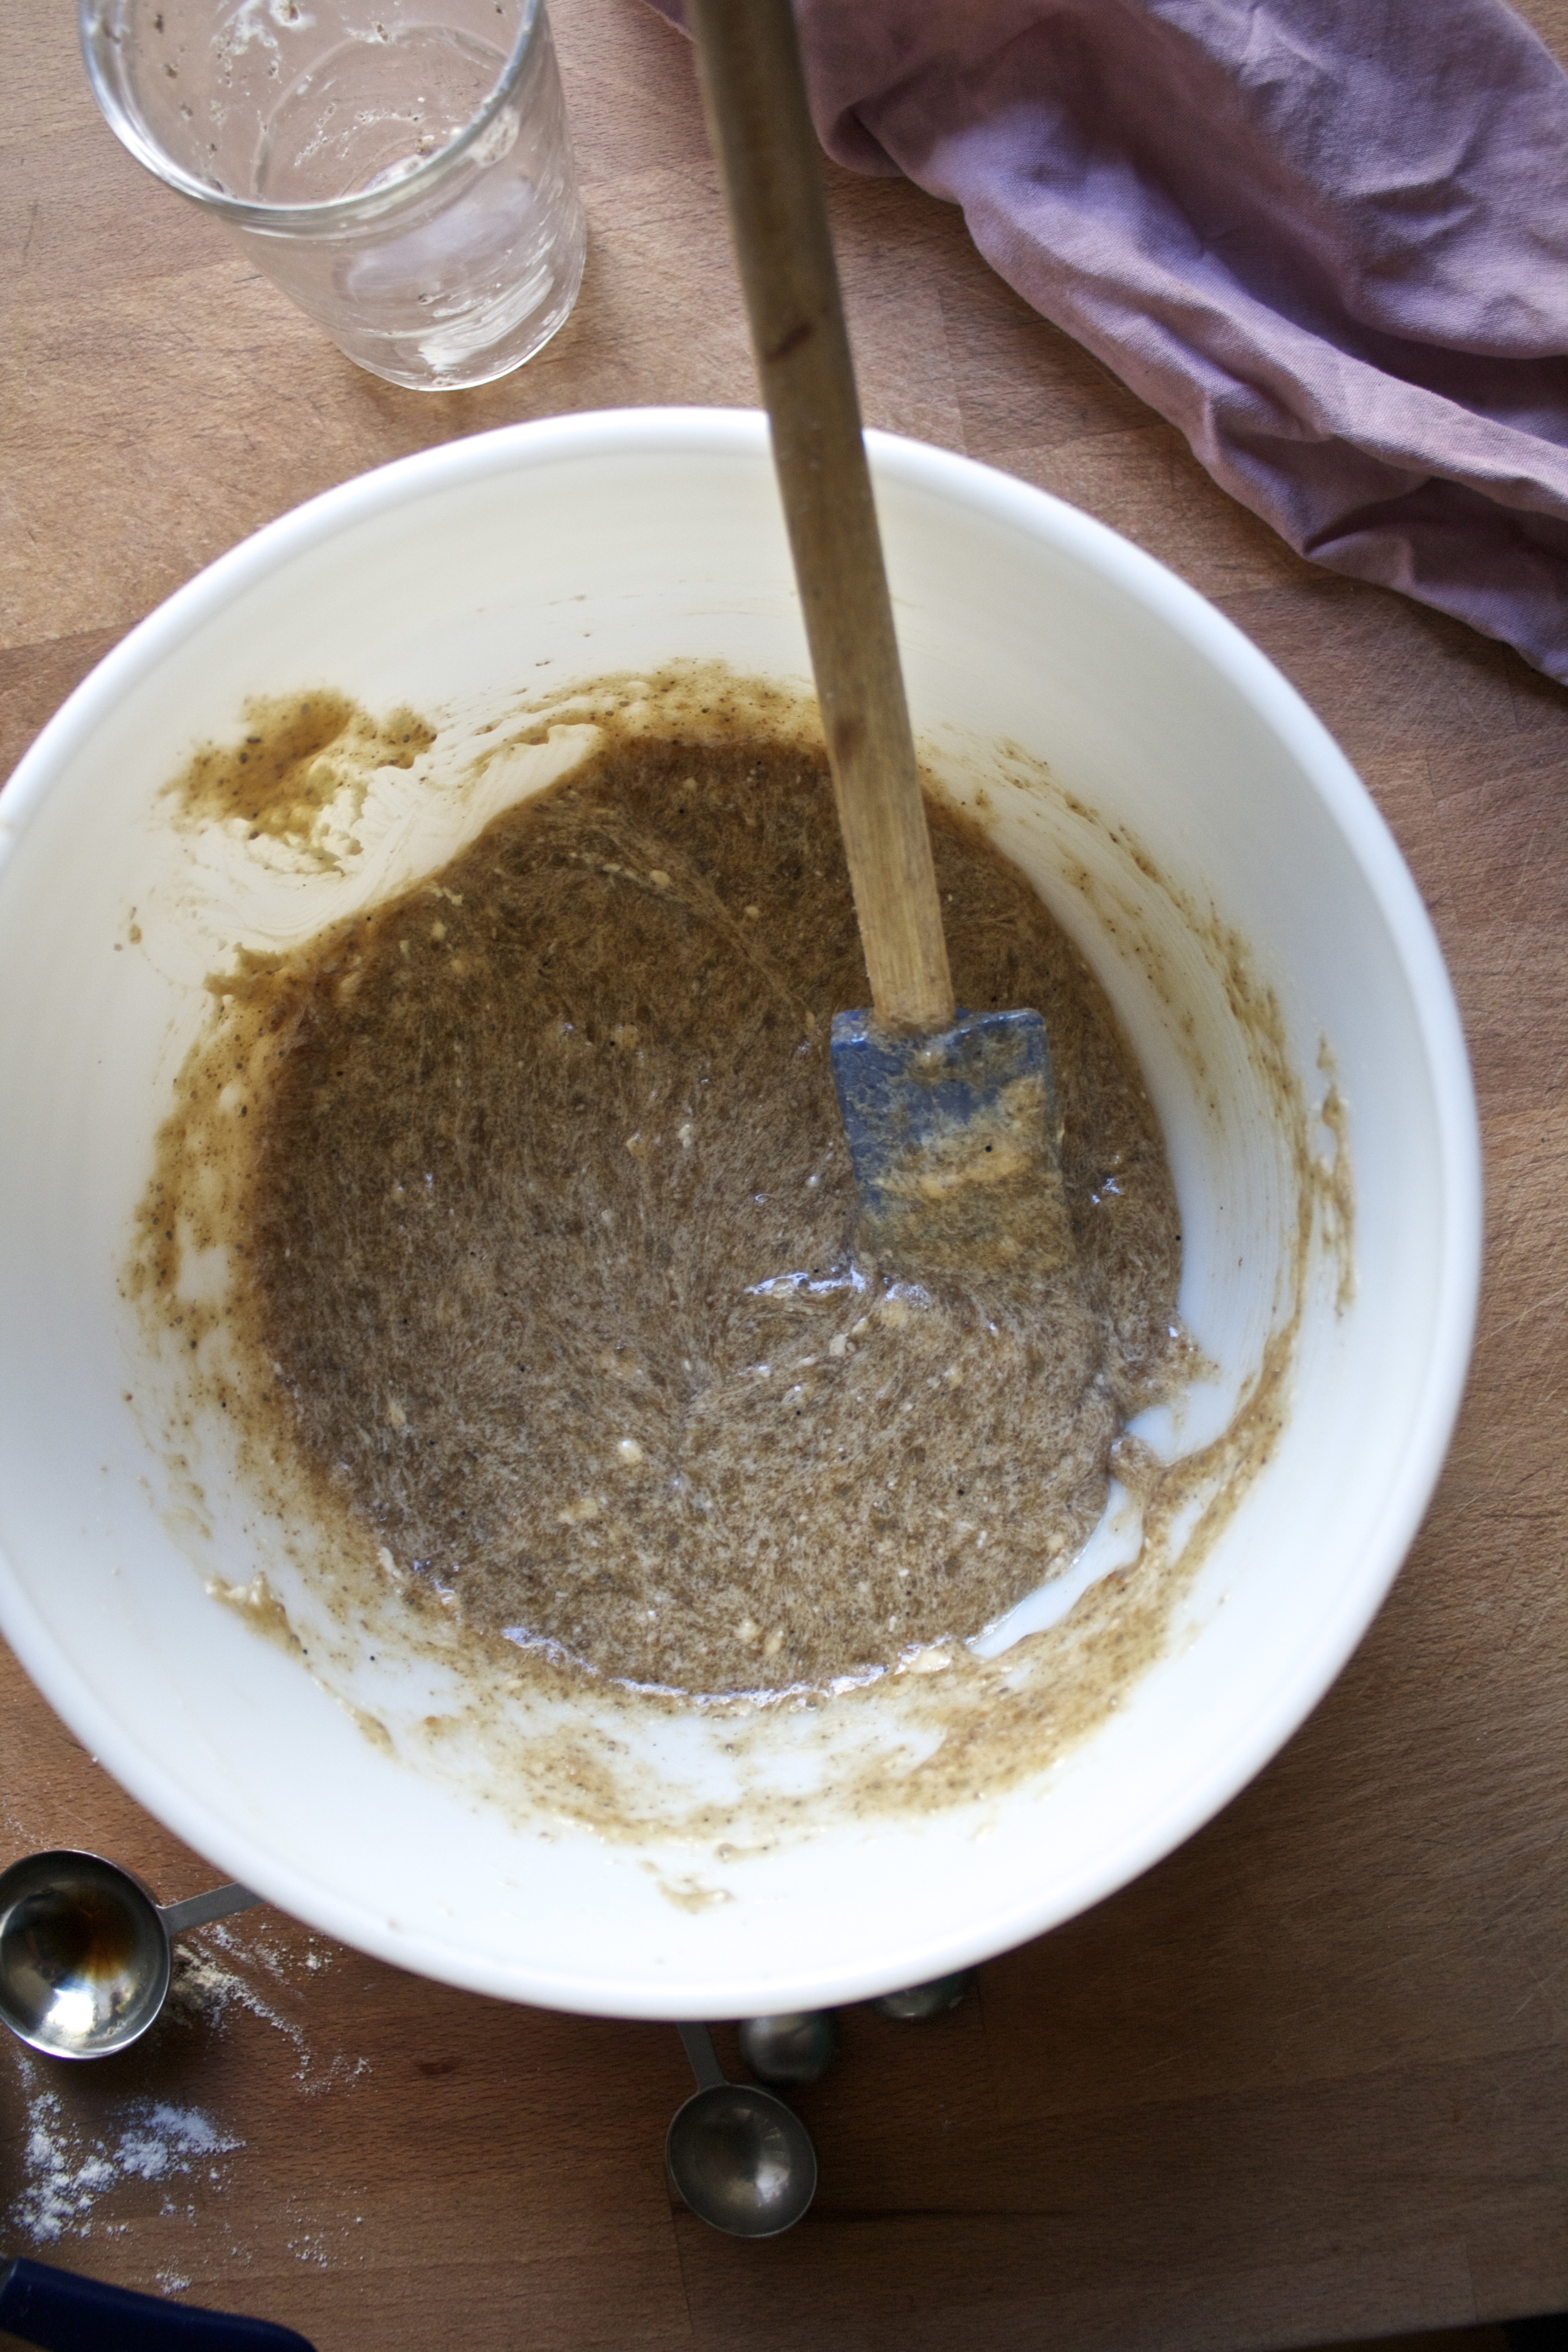
And mix together the oil, chia eggs and vanilla with the molasses and brown sugar.

Look at that cutie... doing all the work.

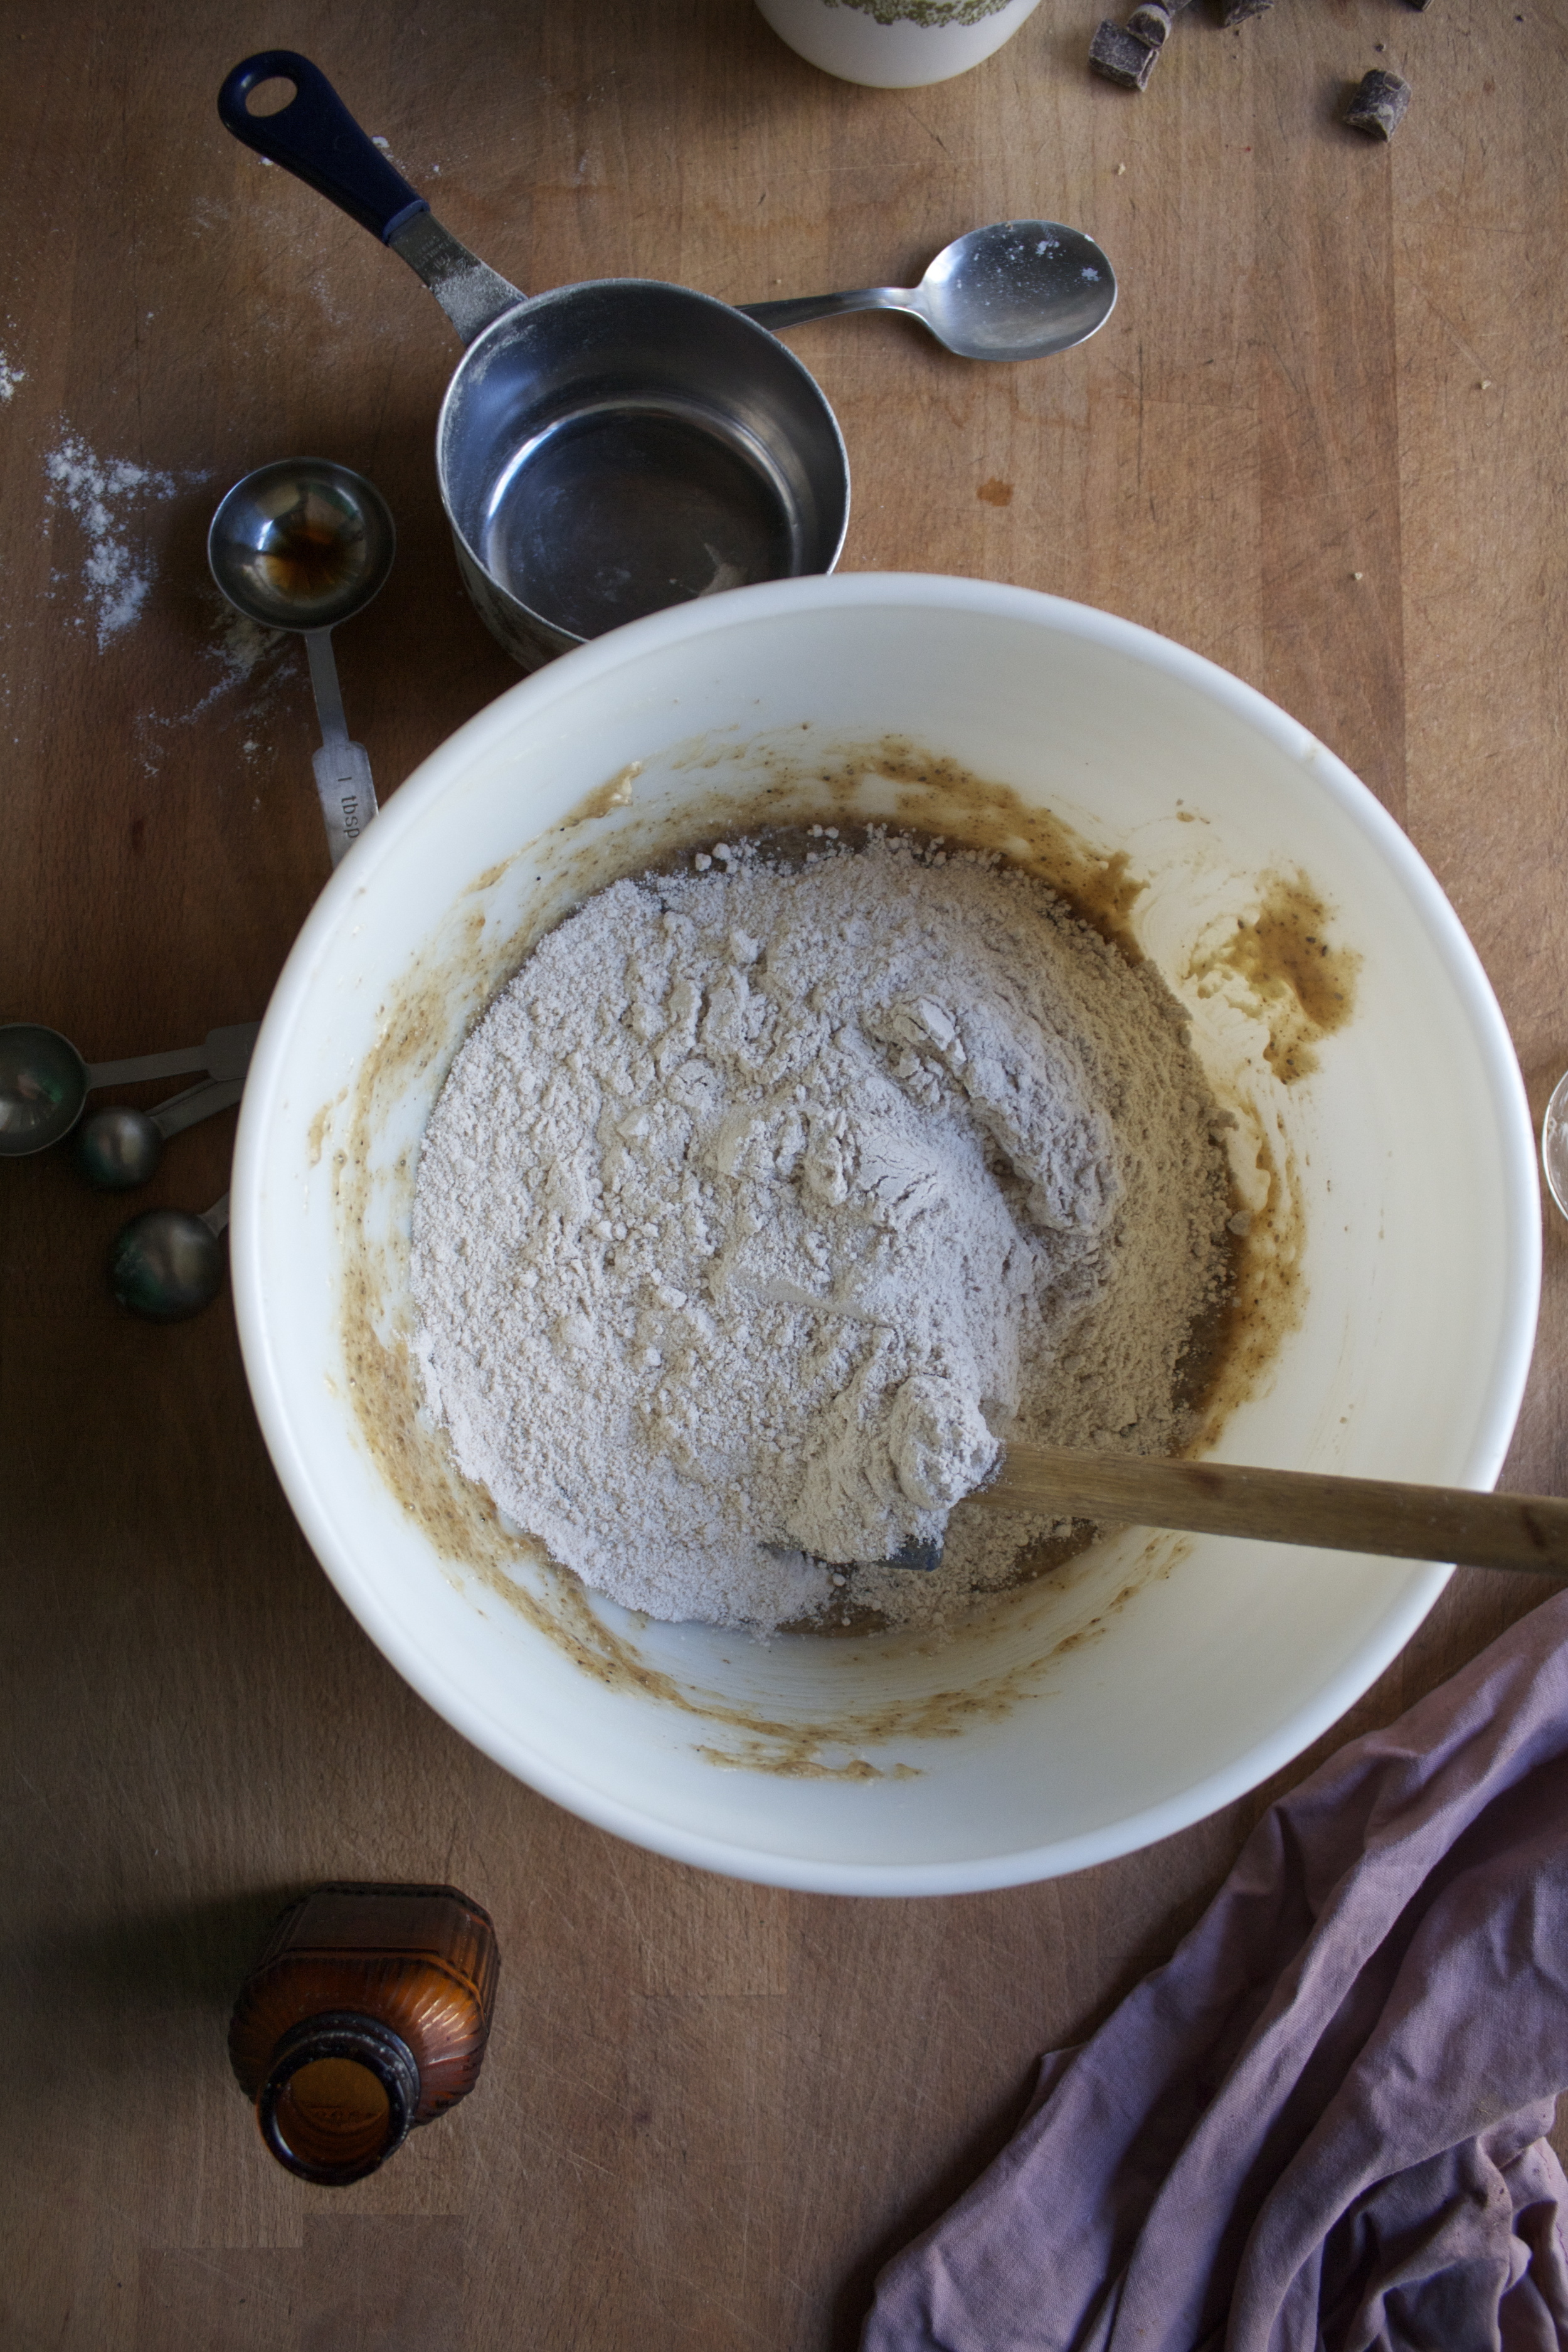
Mix the dry into the wet like so.

IMG_5711.jpg
IMG_5712.jpg

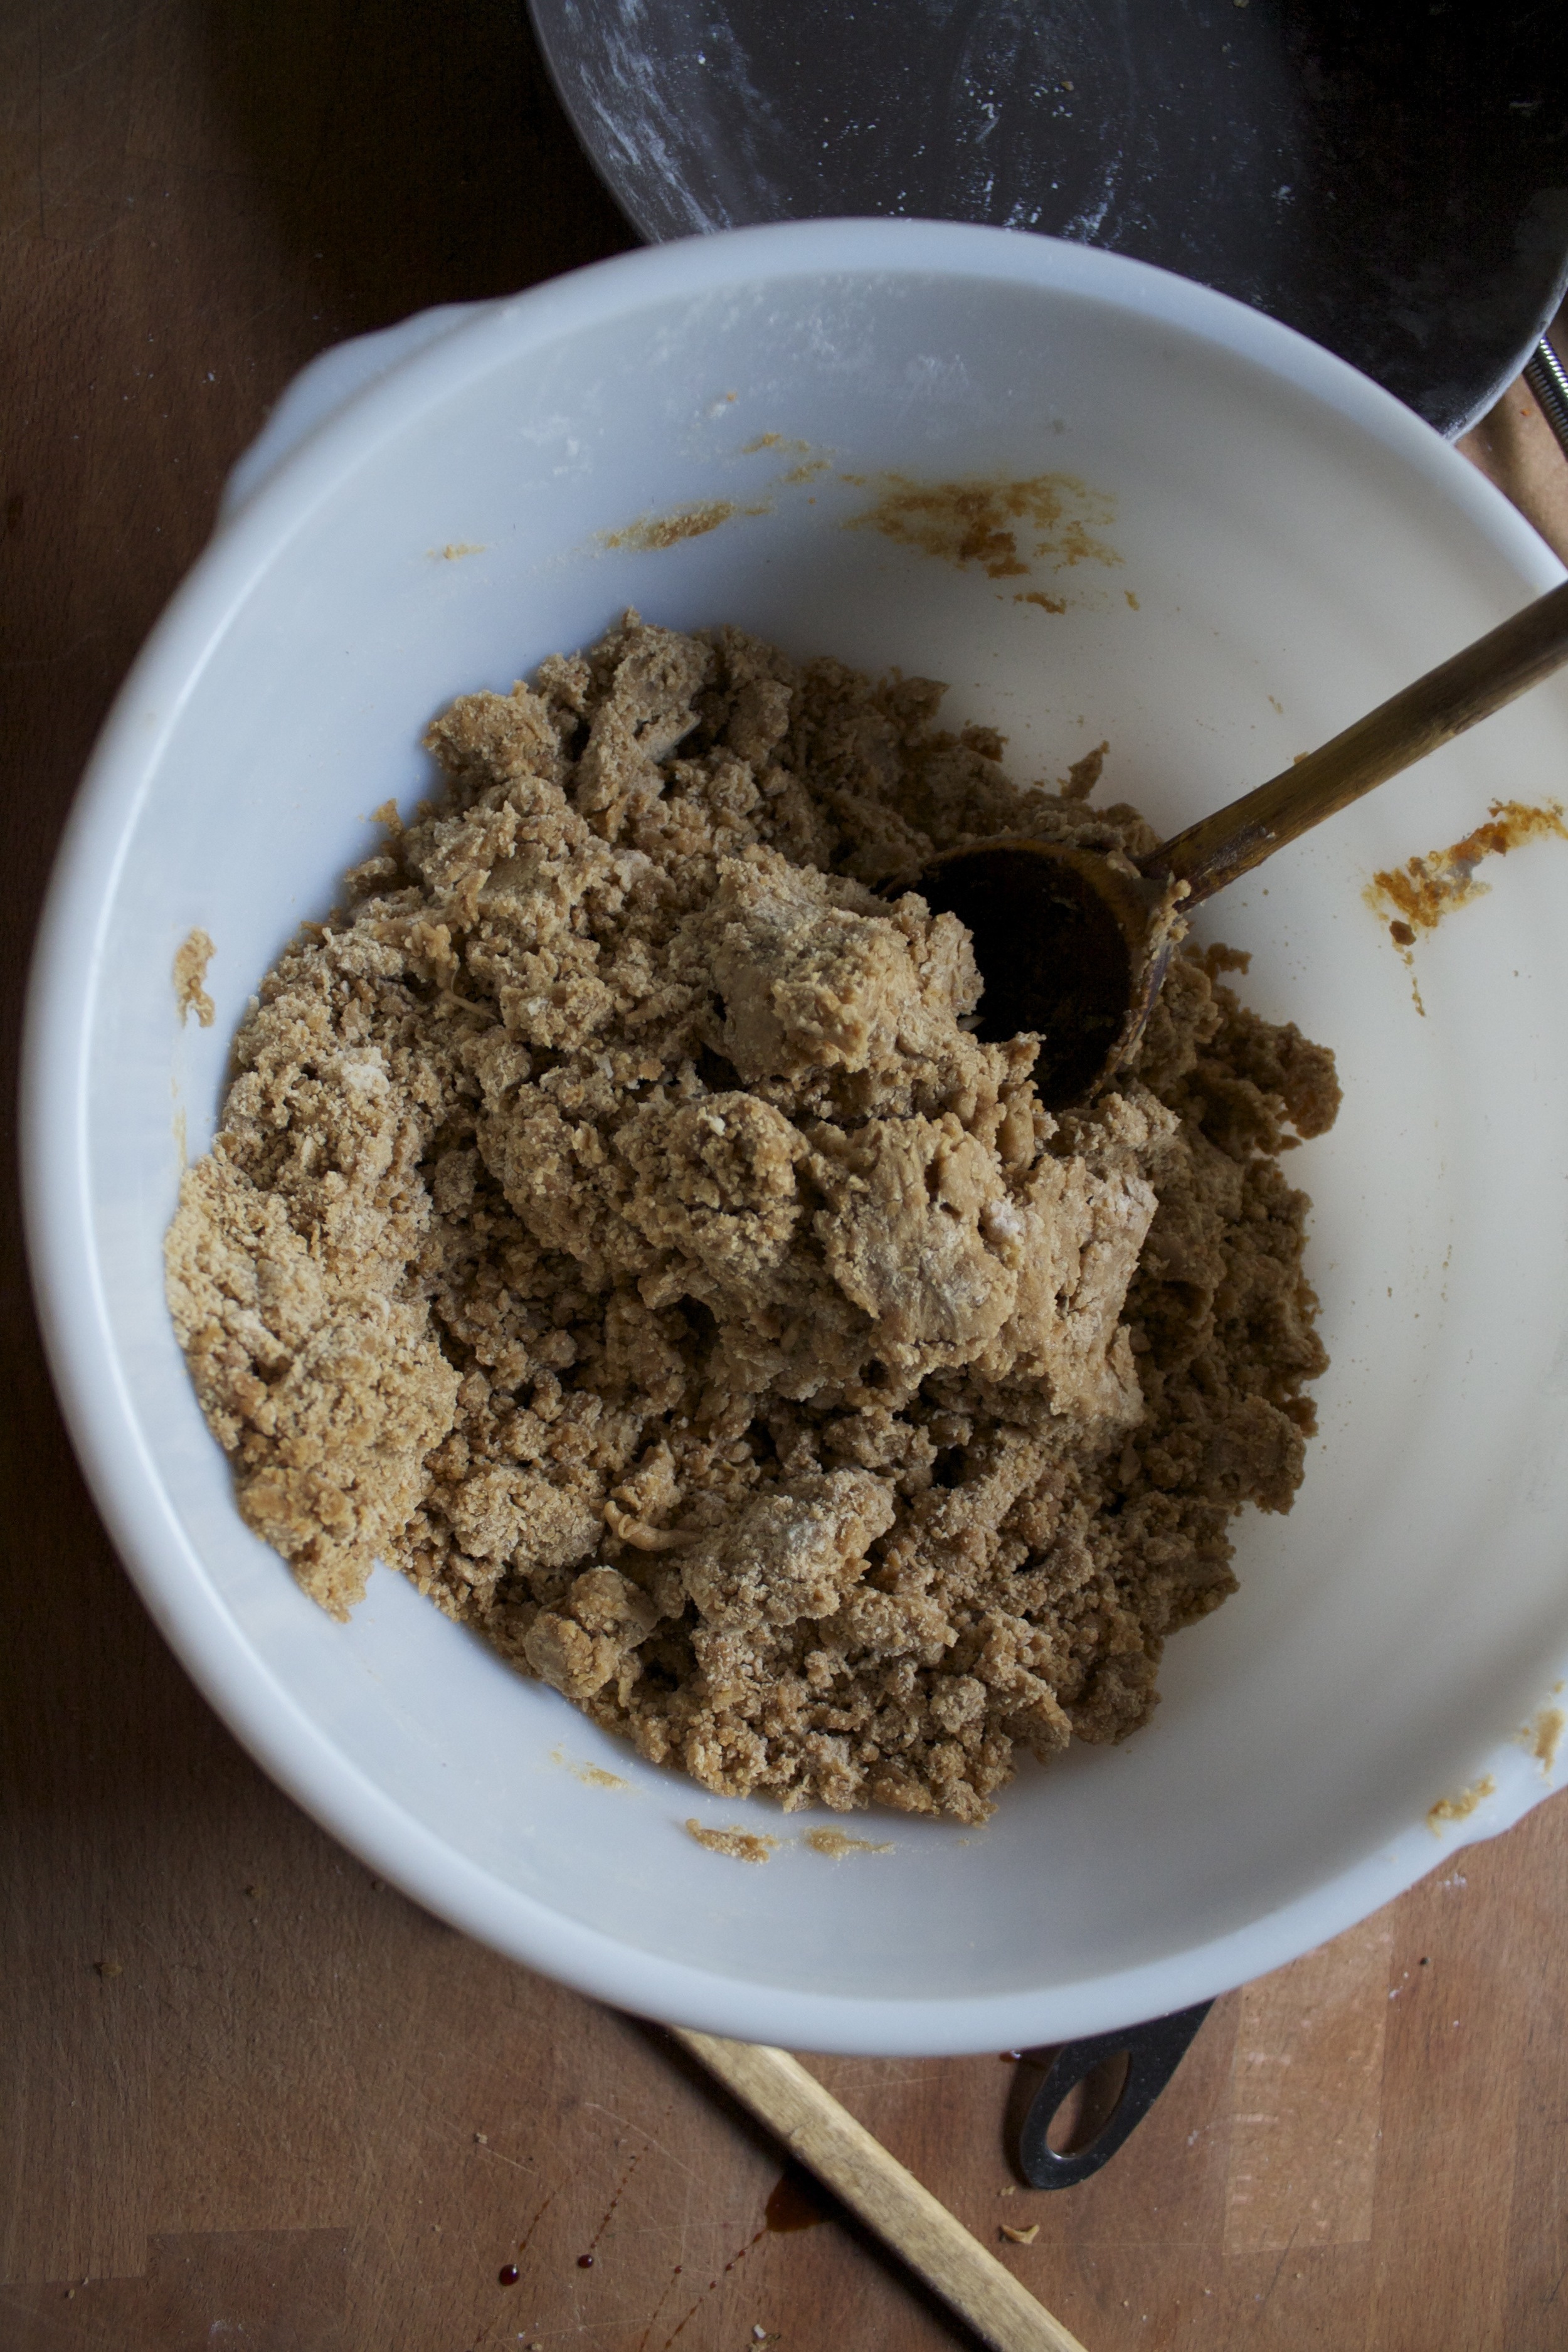
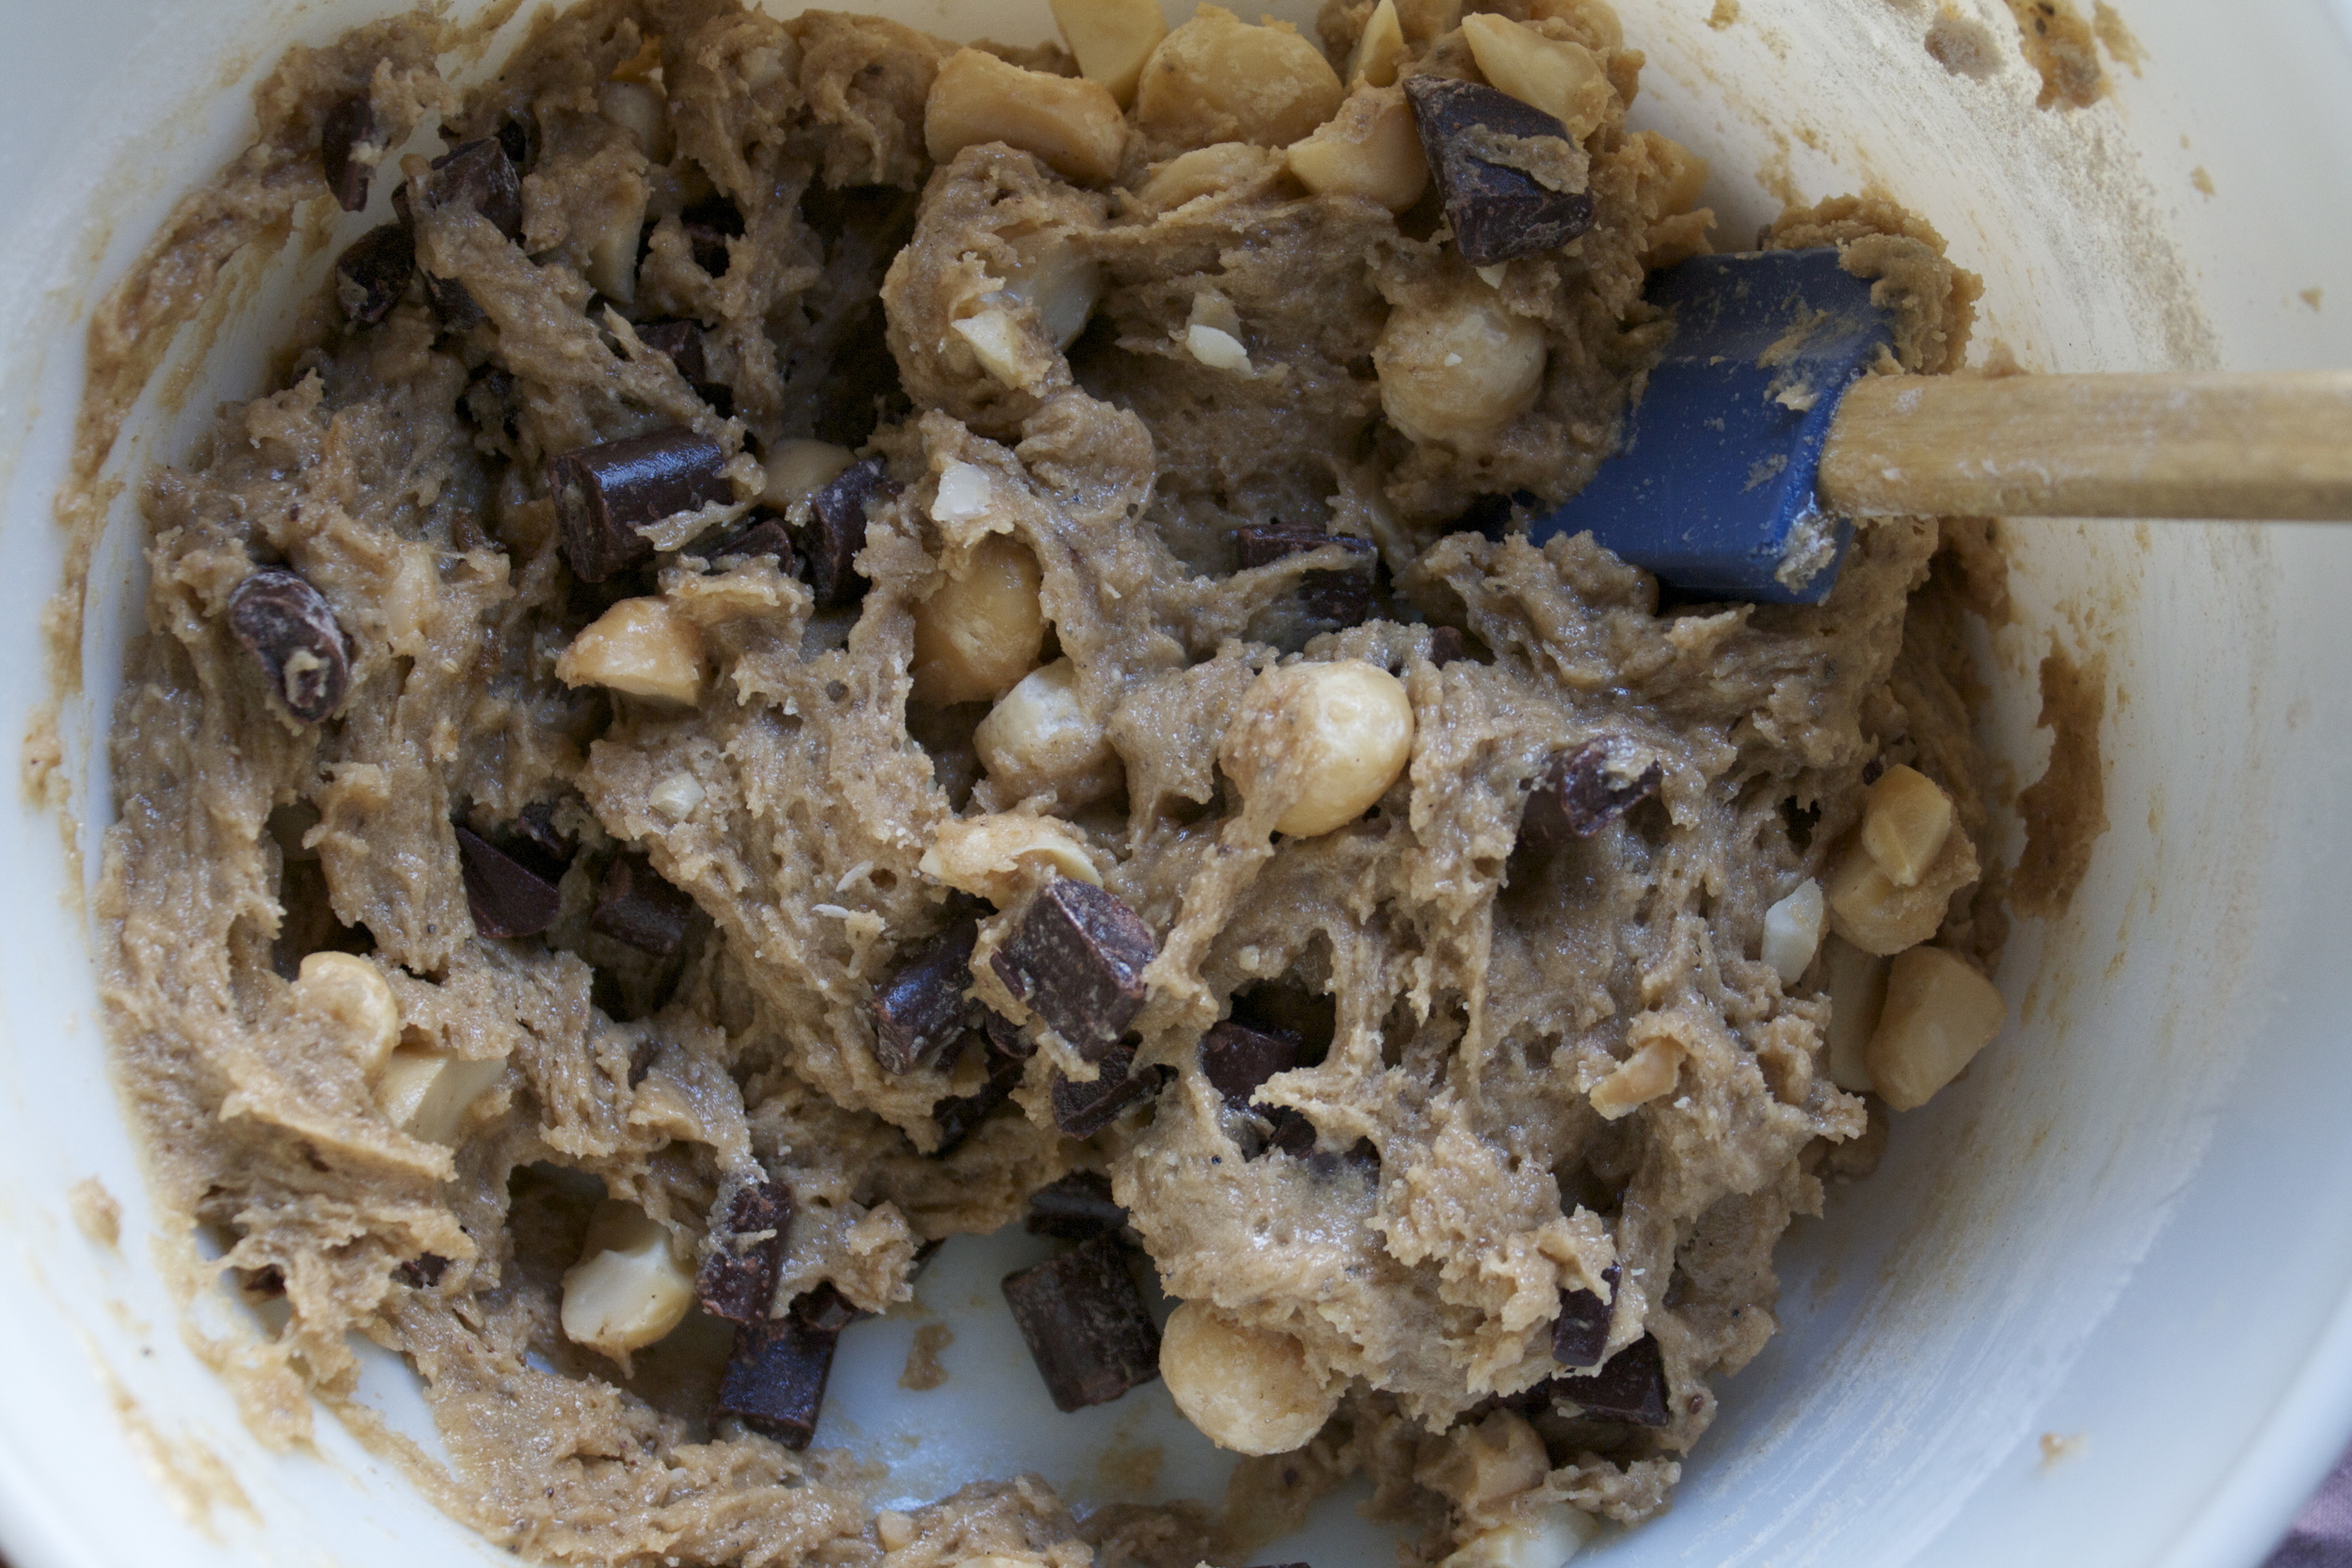
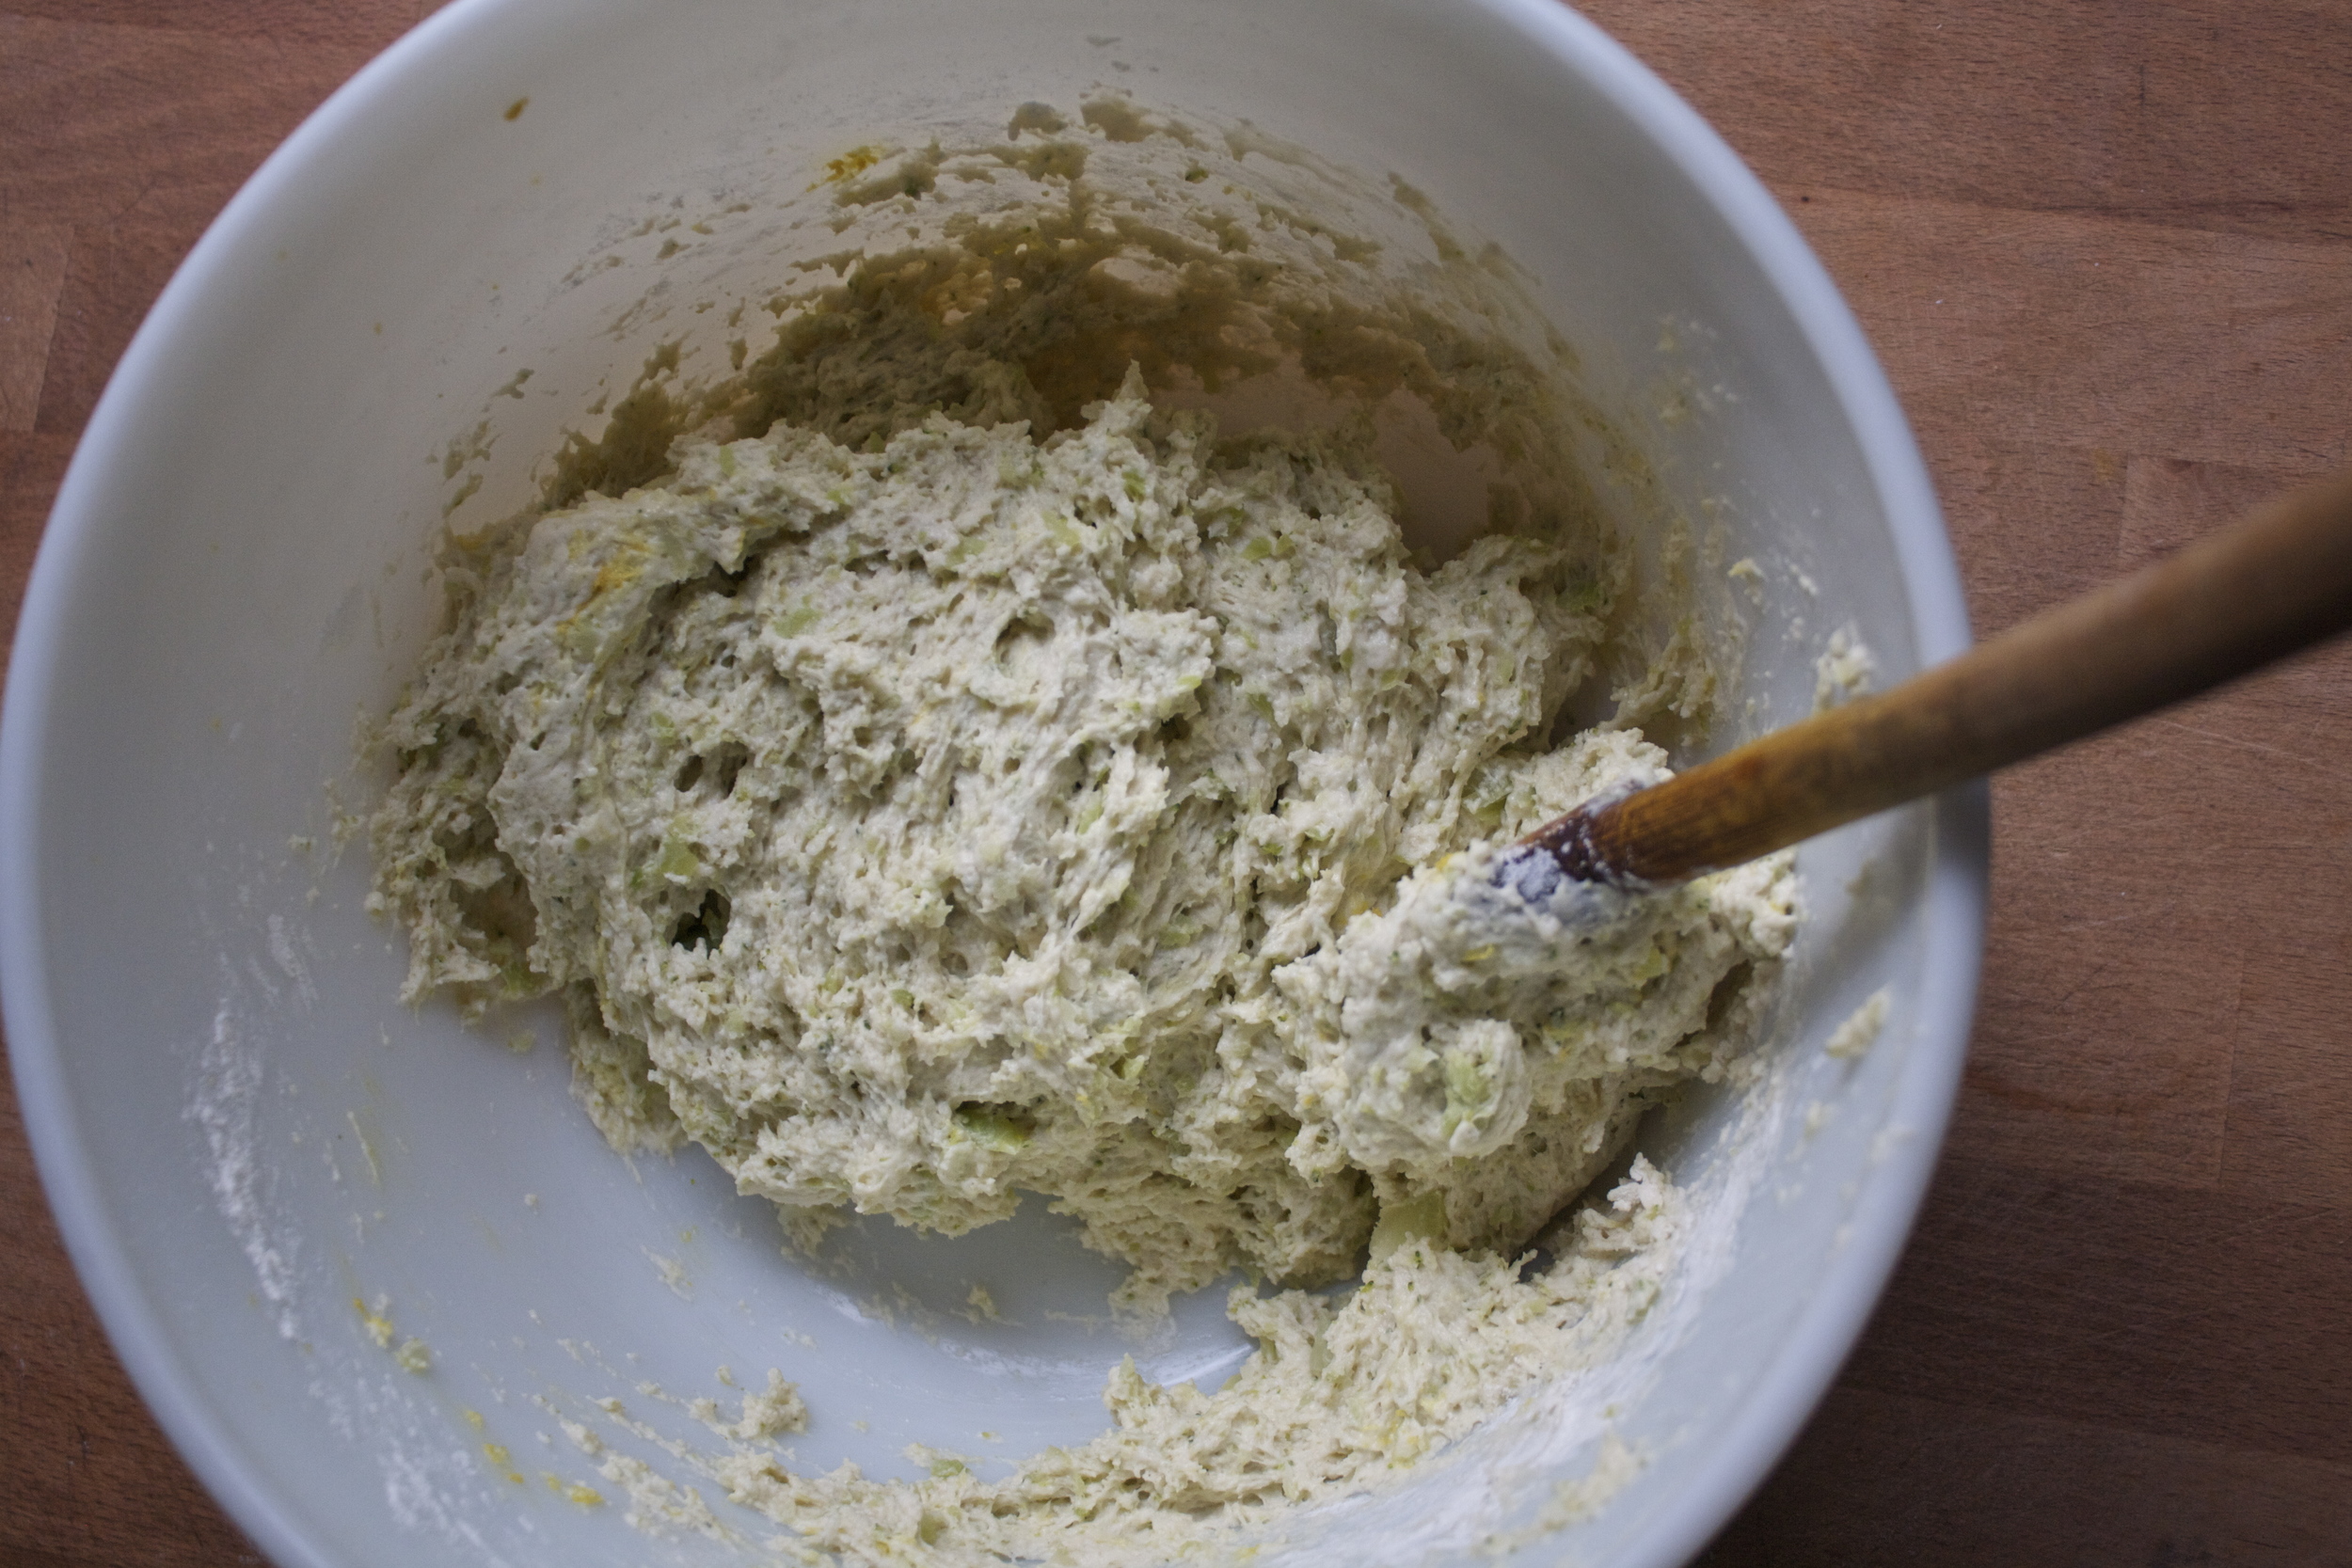
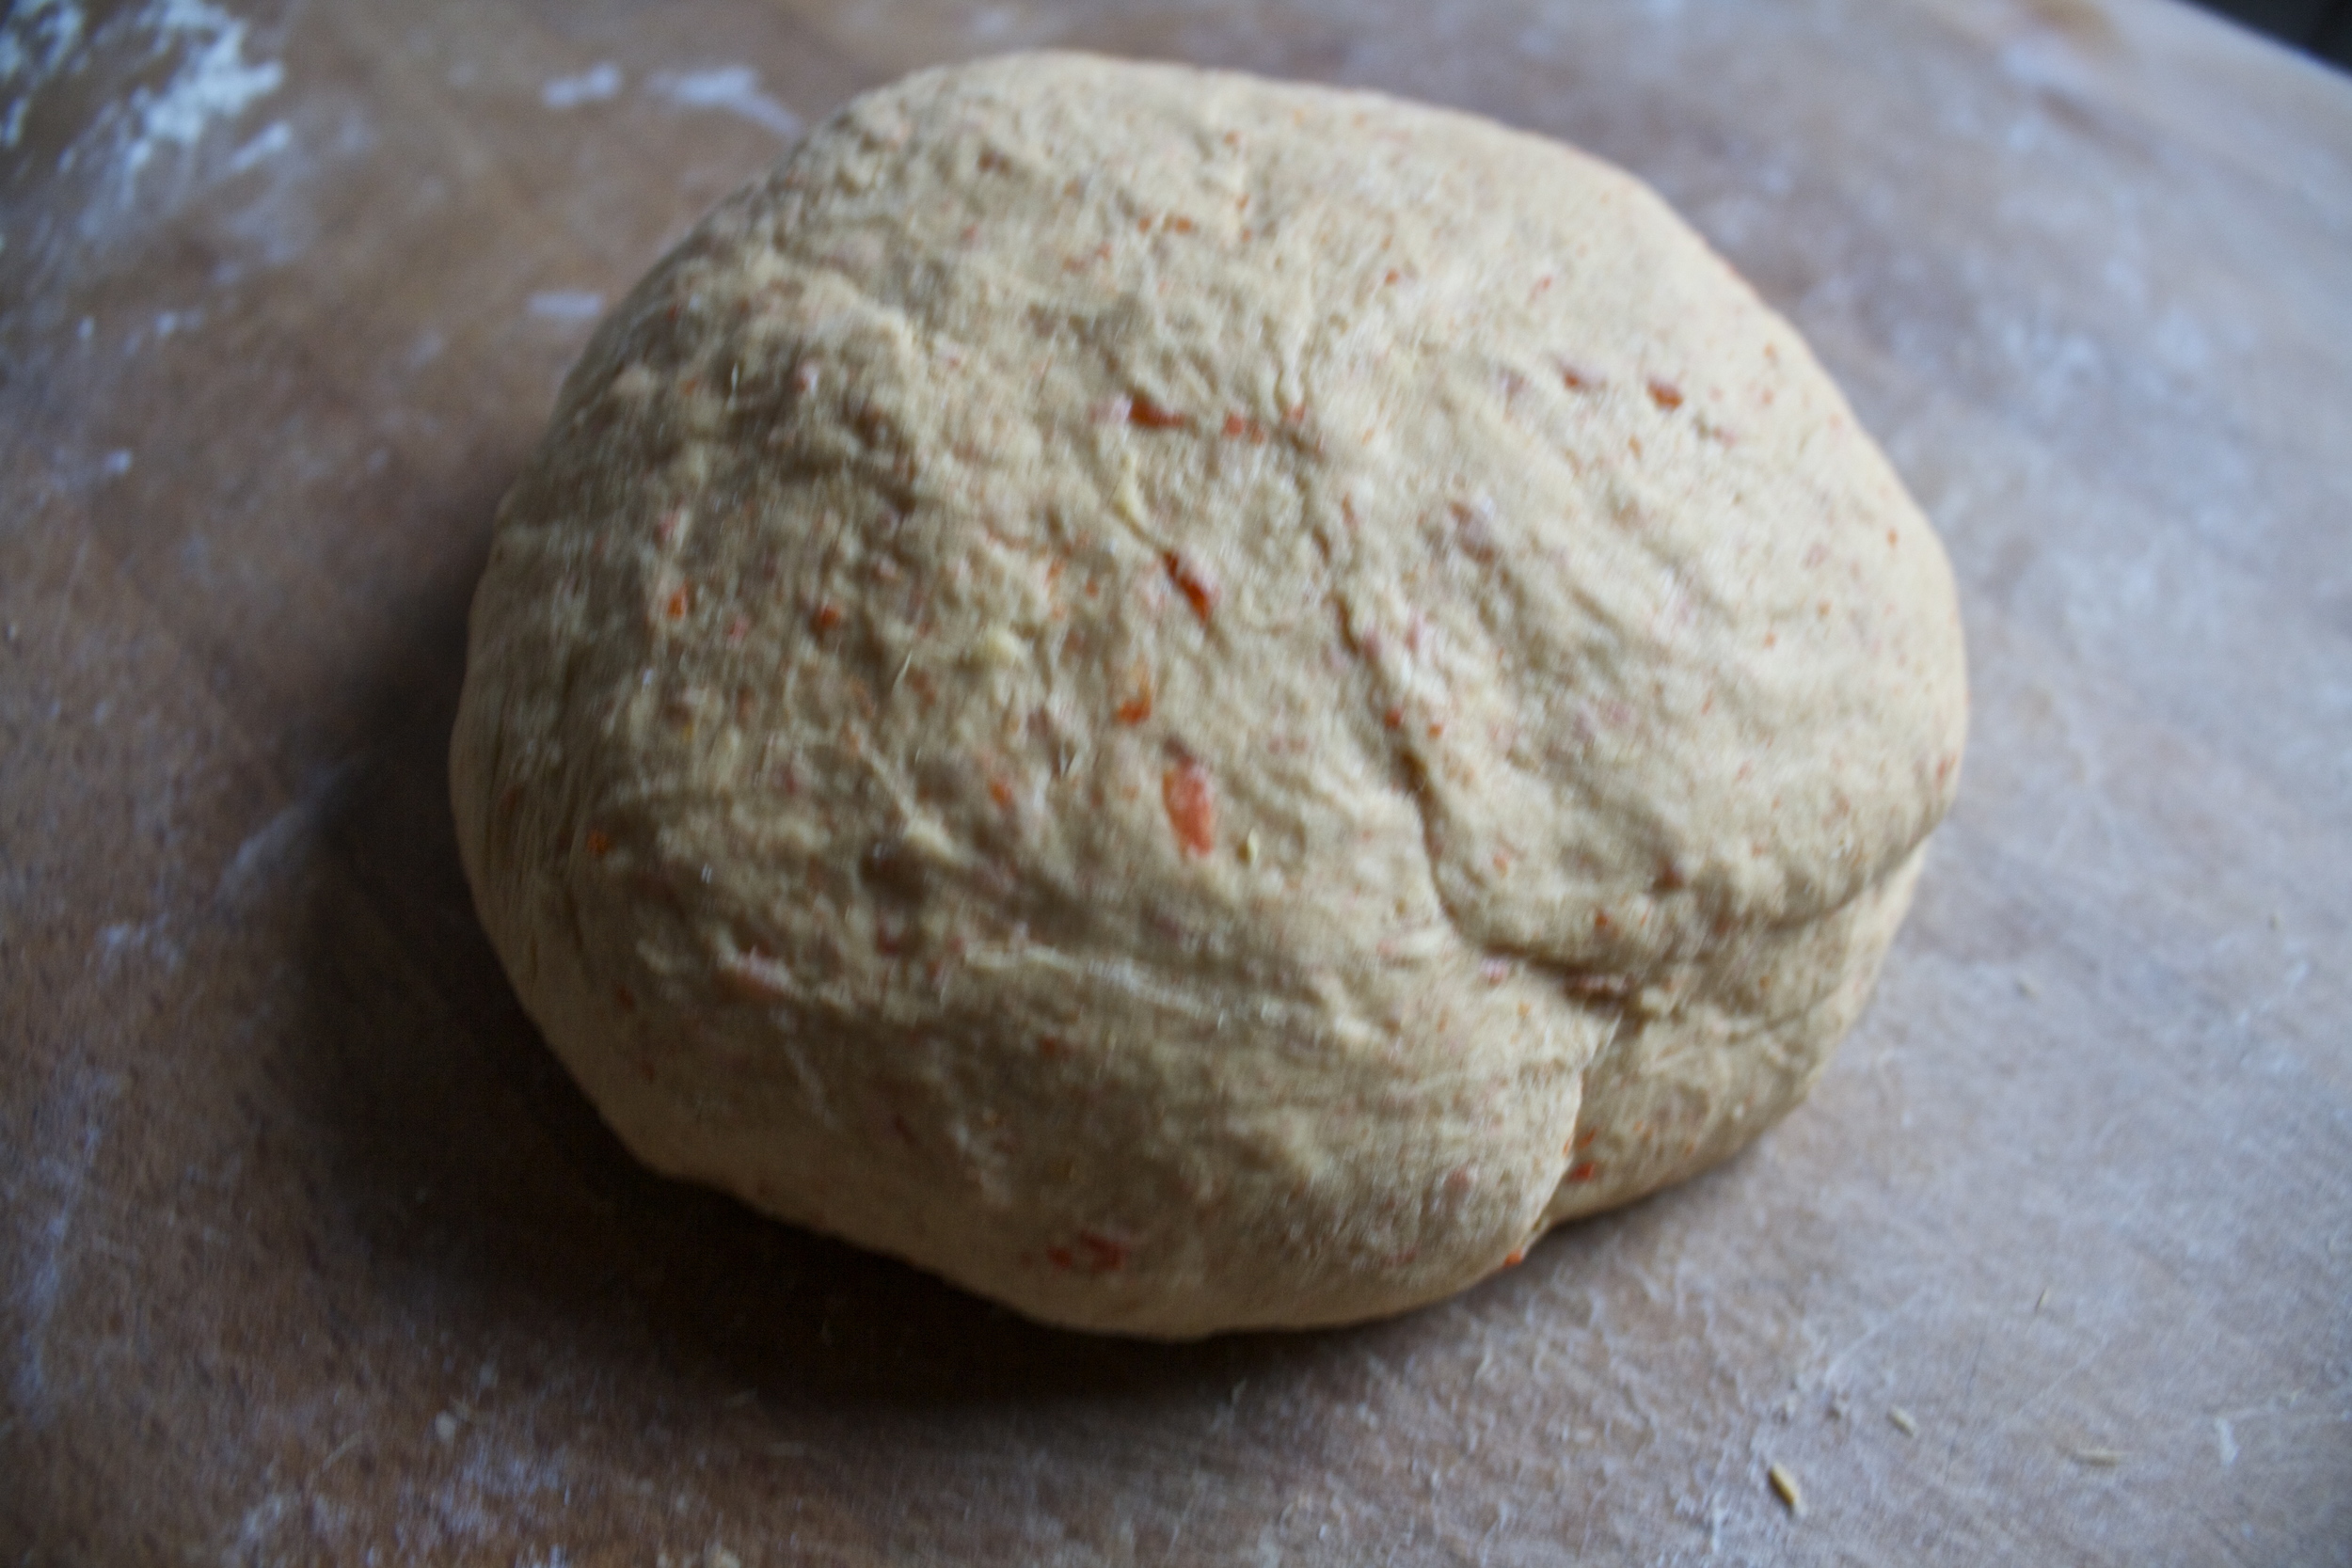
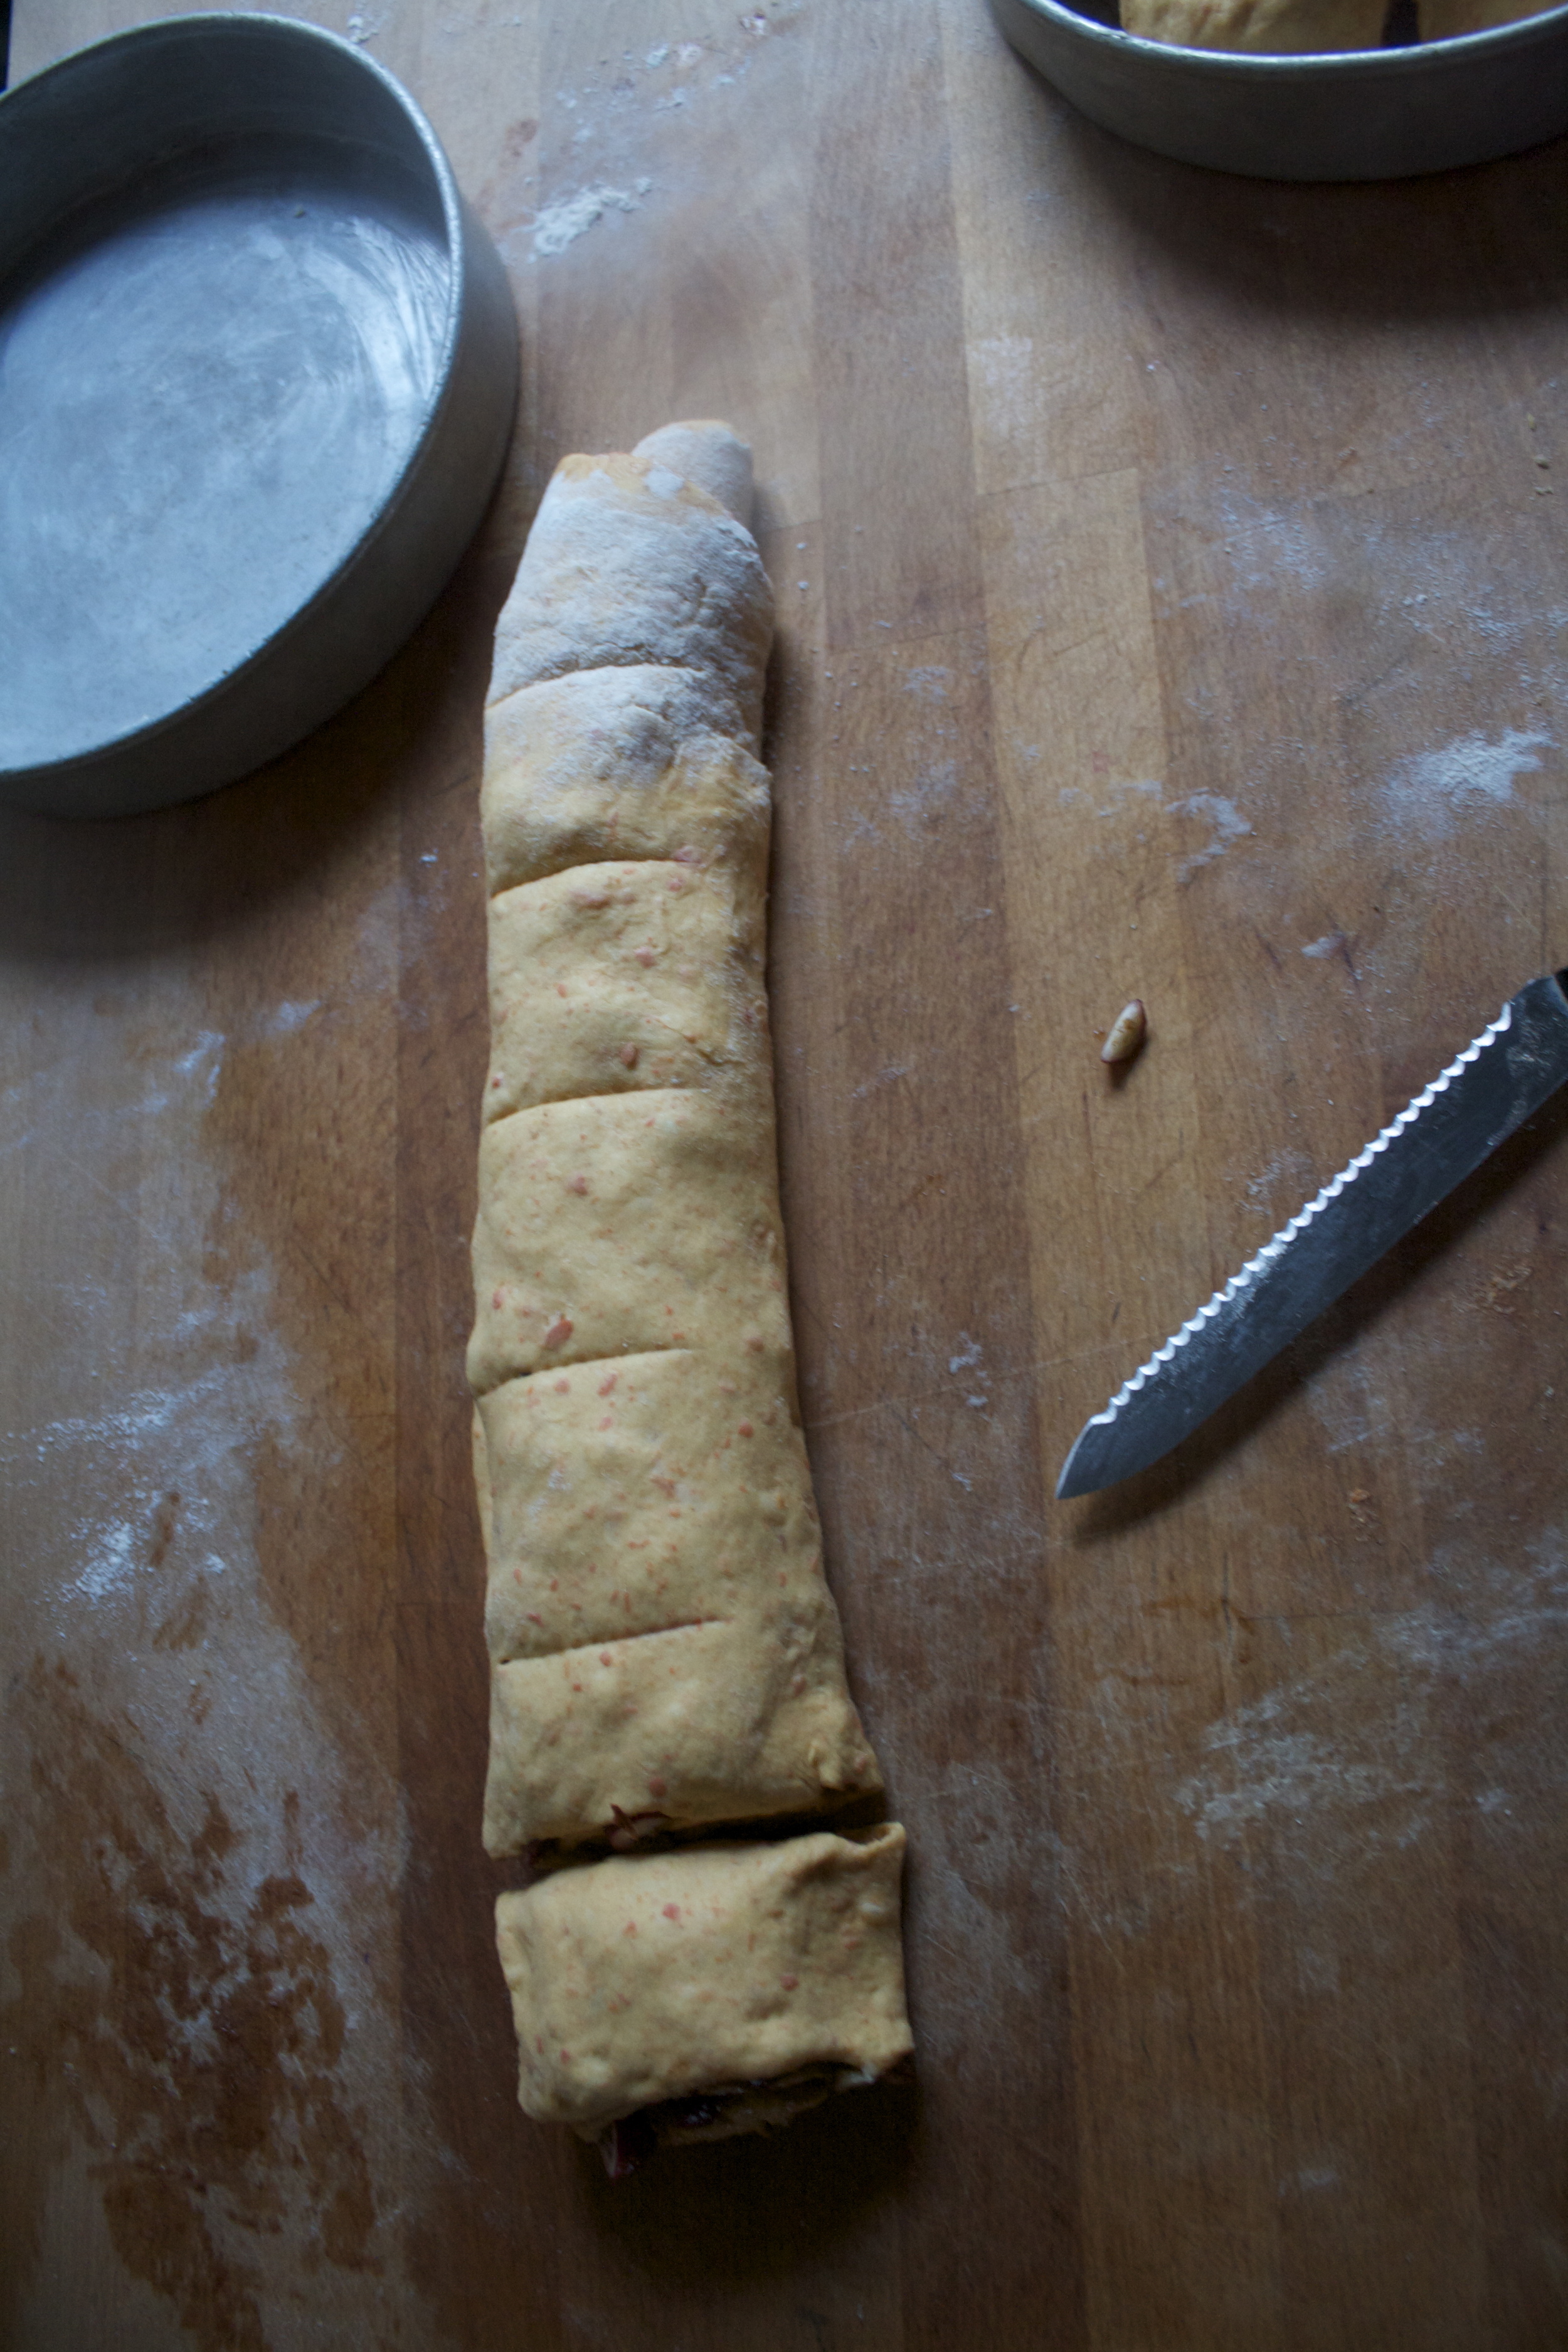
Mix as much as you can with a wooden spoon and when you the spoon stops working, use your hands and form the dough into a large disk.  Wrap it in wax paper (or plastic) and stick it in the fridge for a little while to rest ans evenly distribute all the moisture.

IMG_5736.jpg

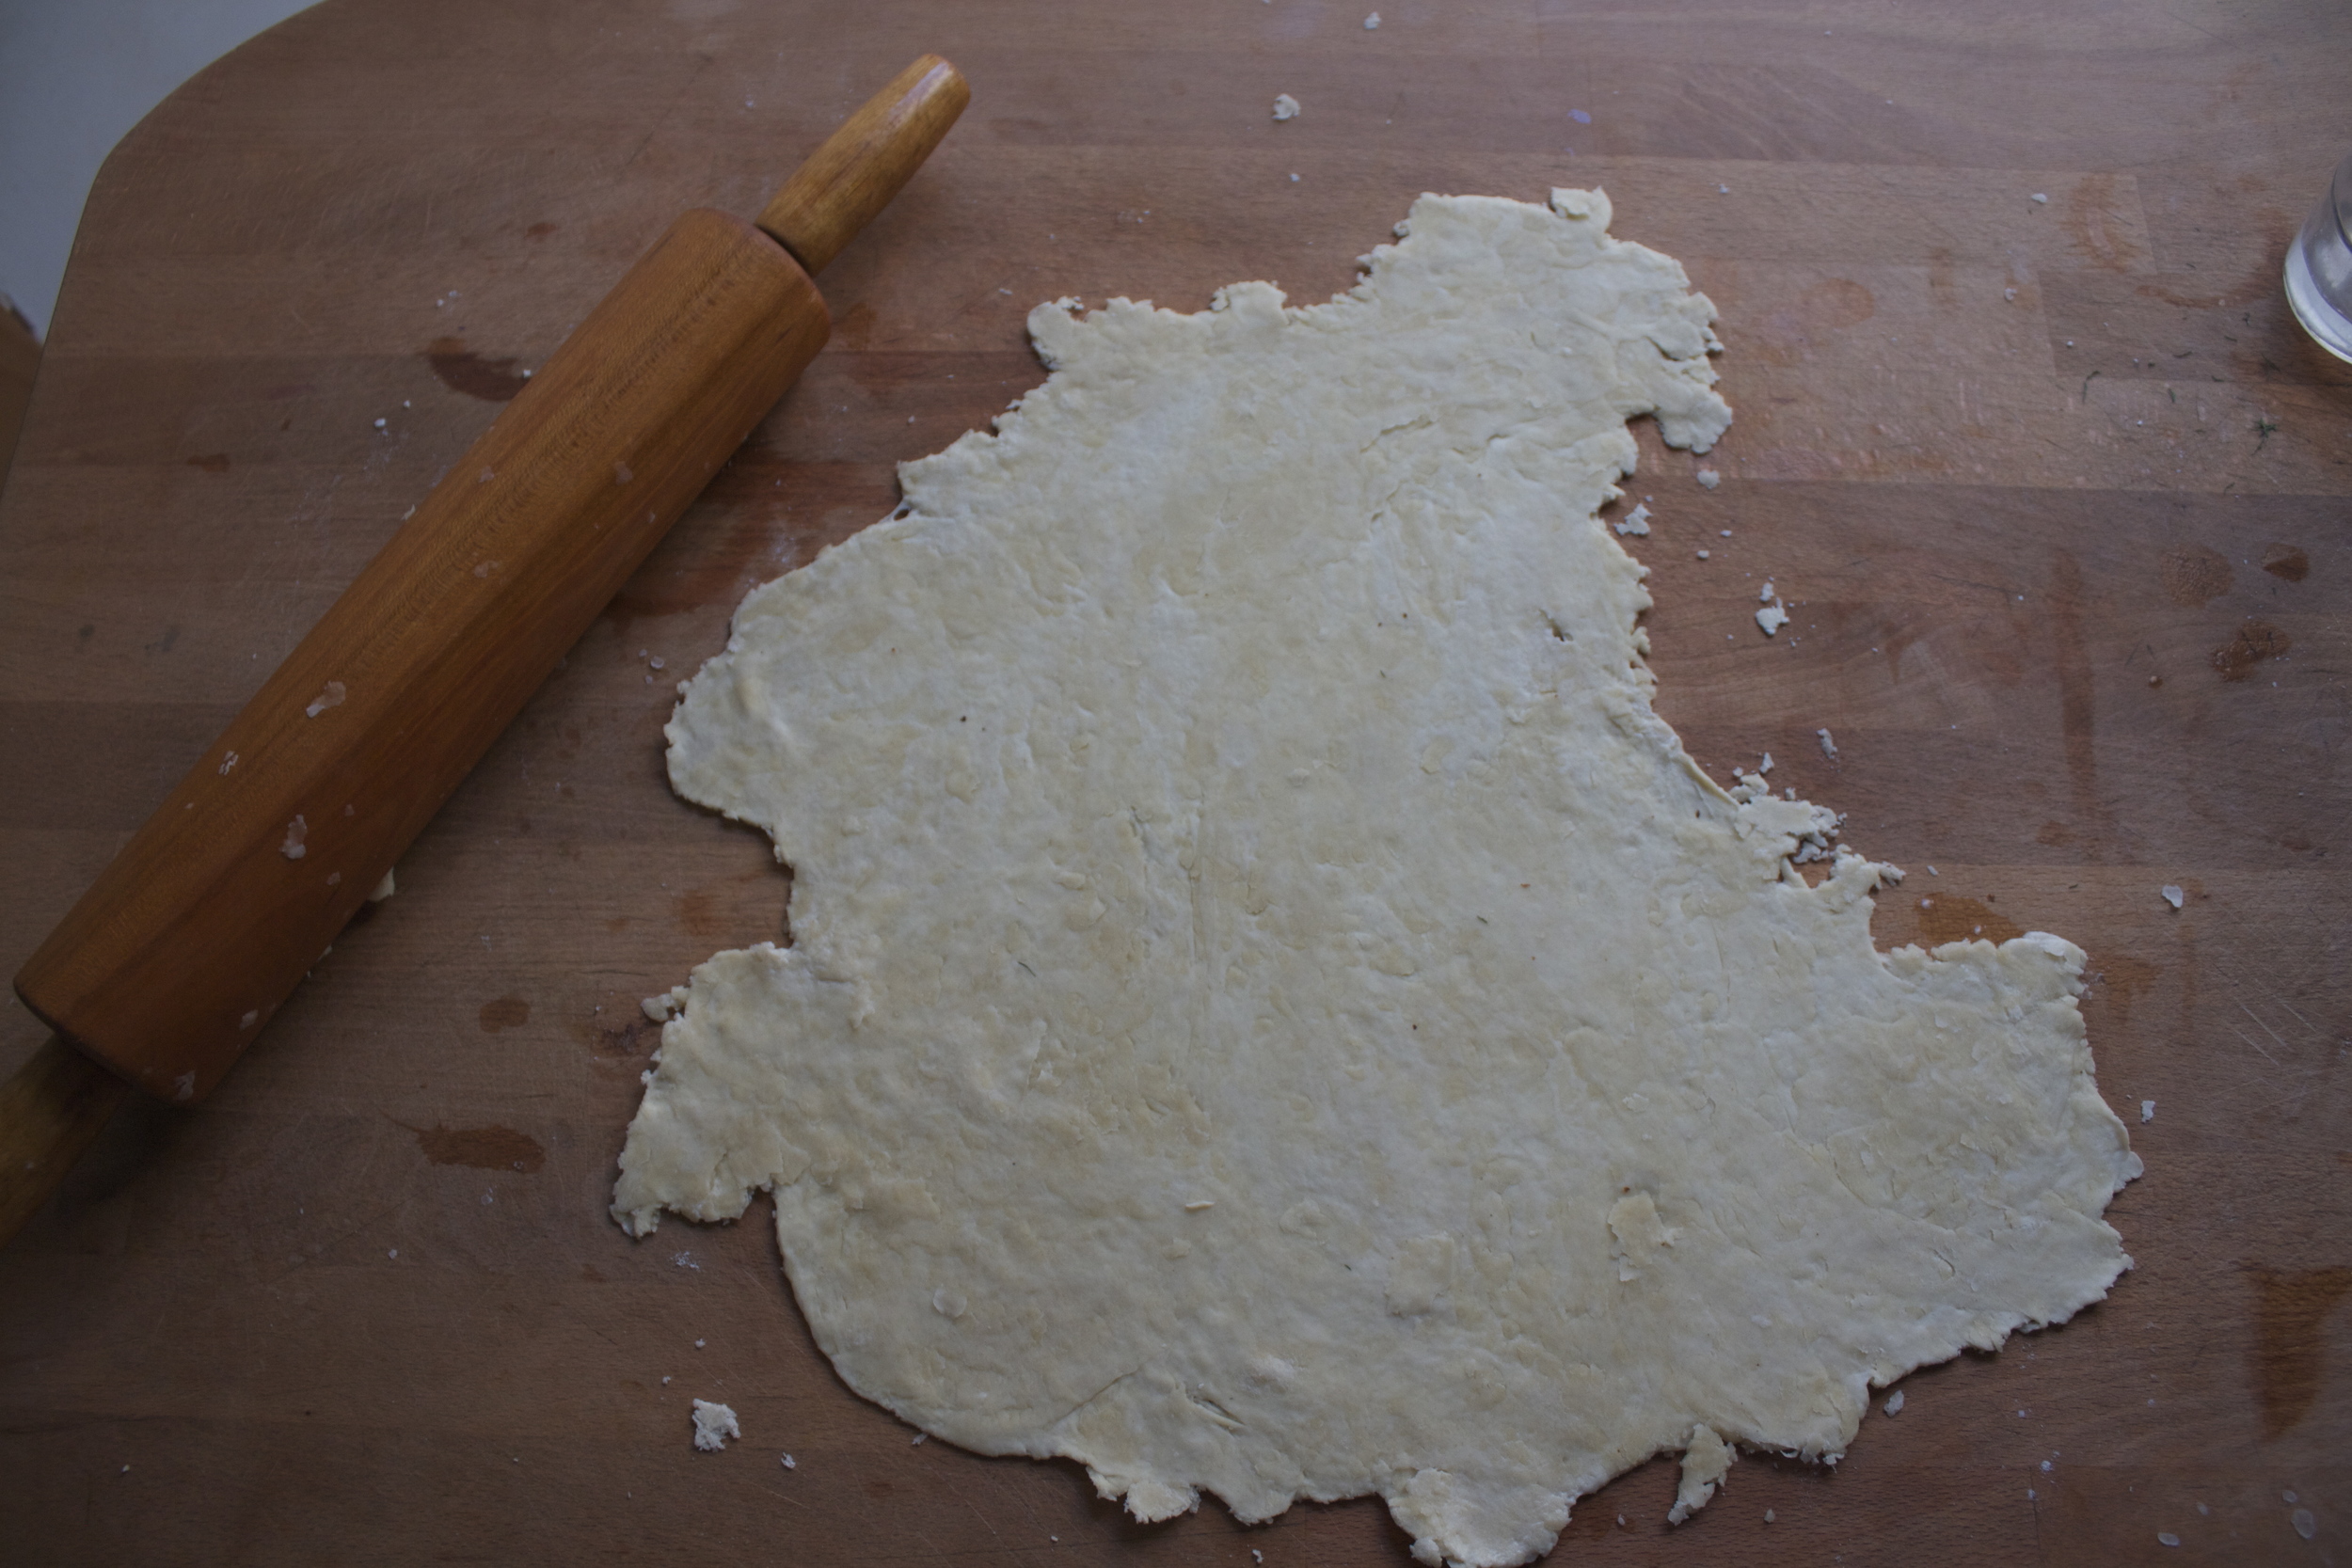
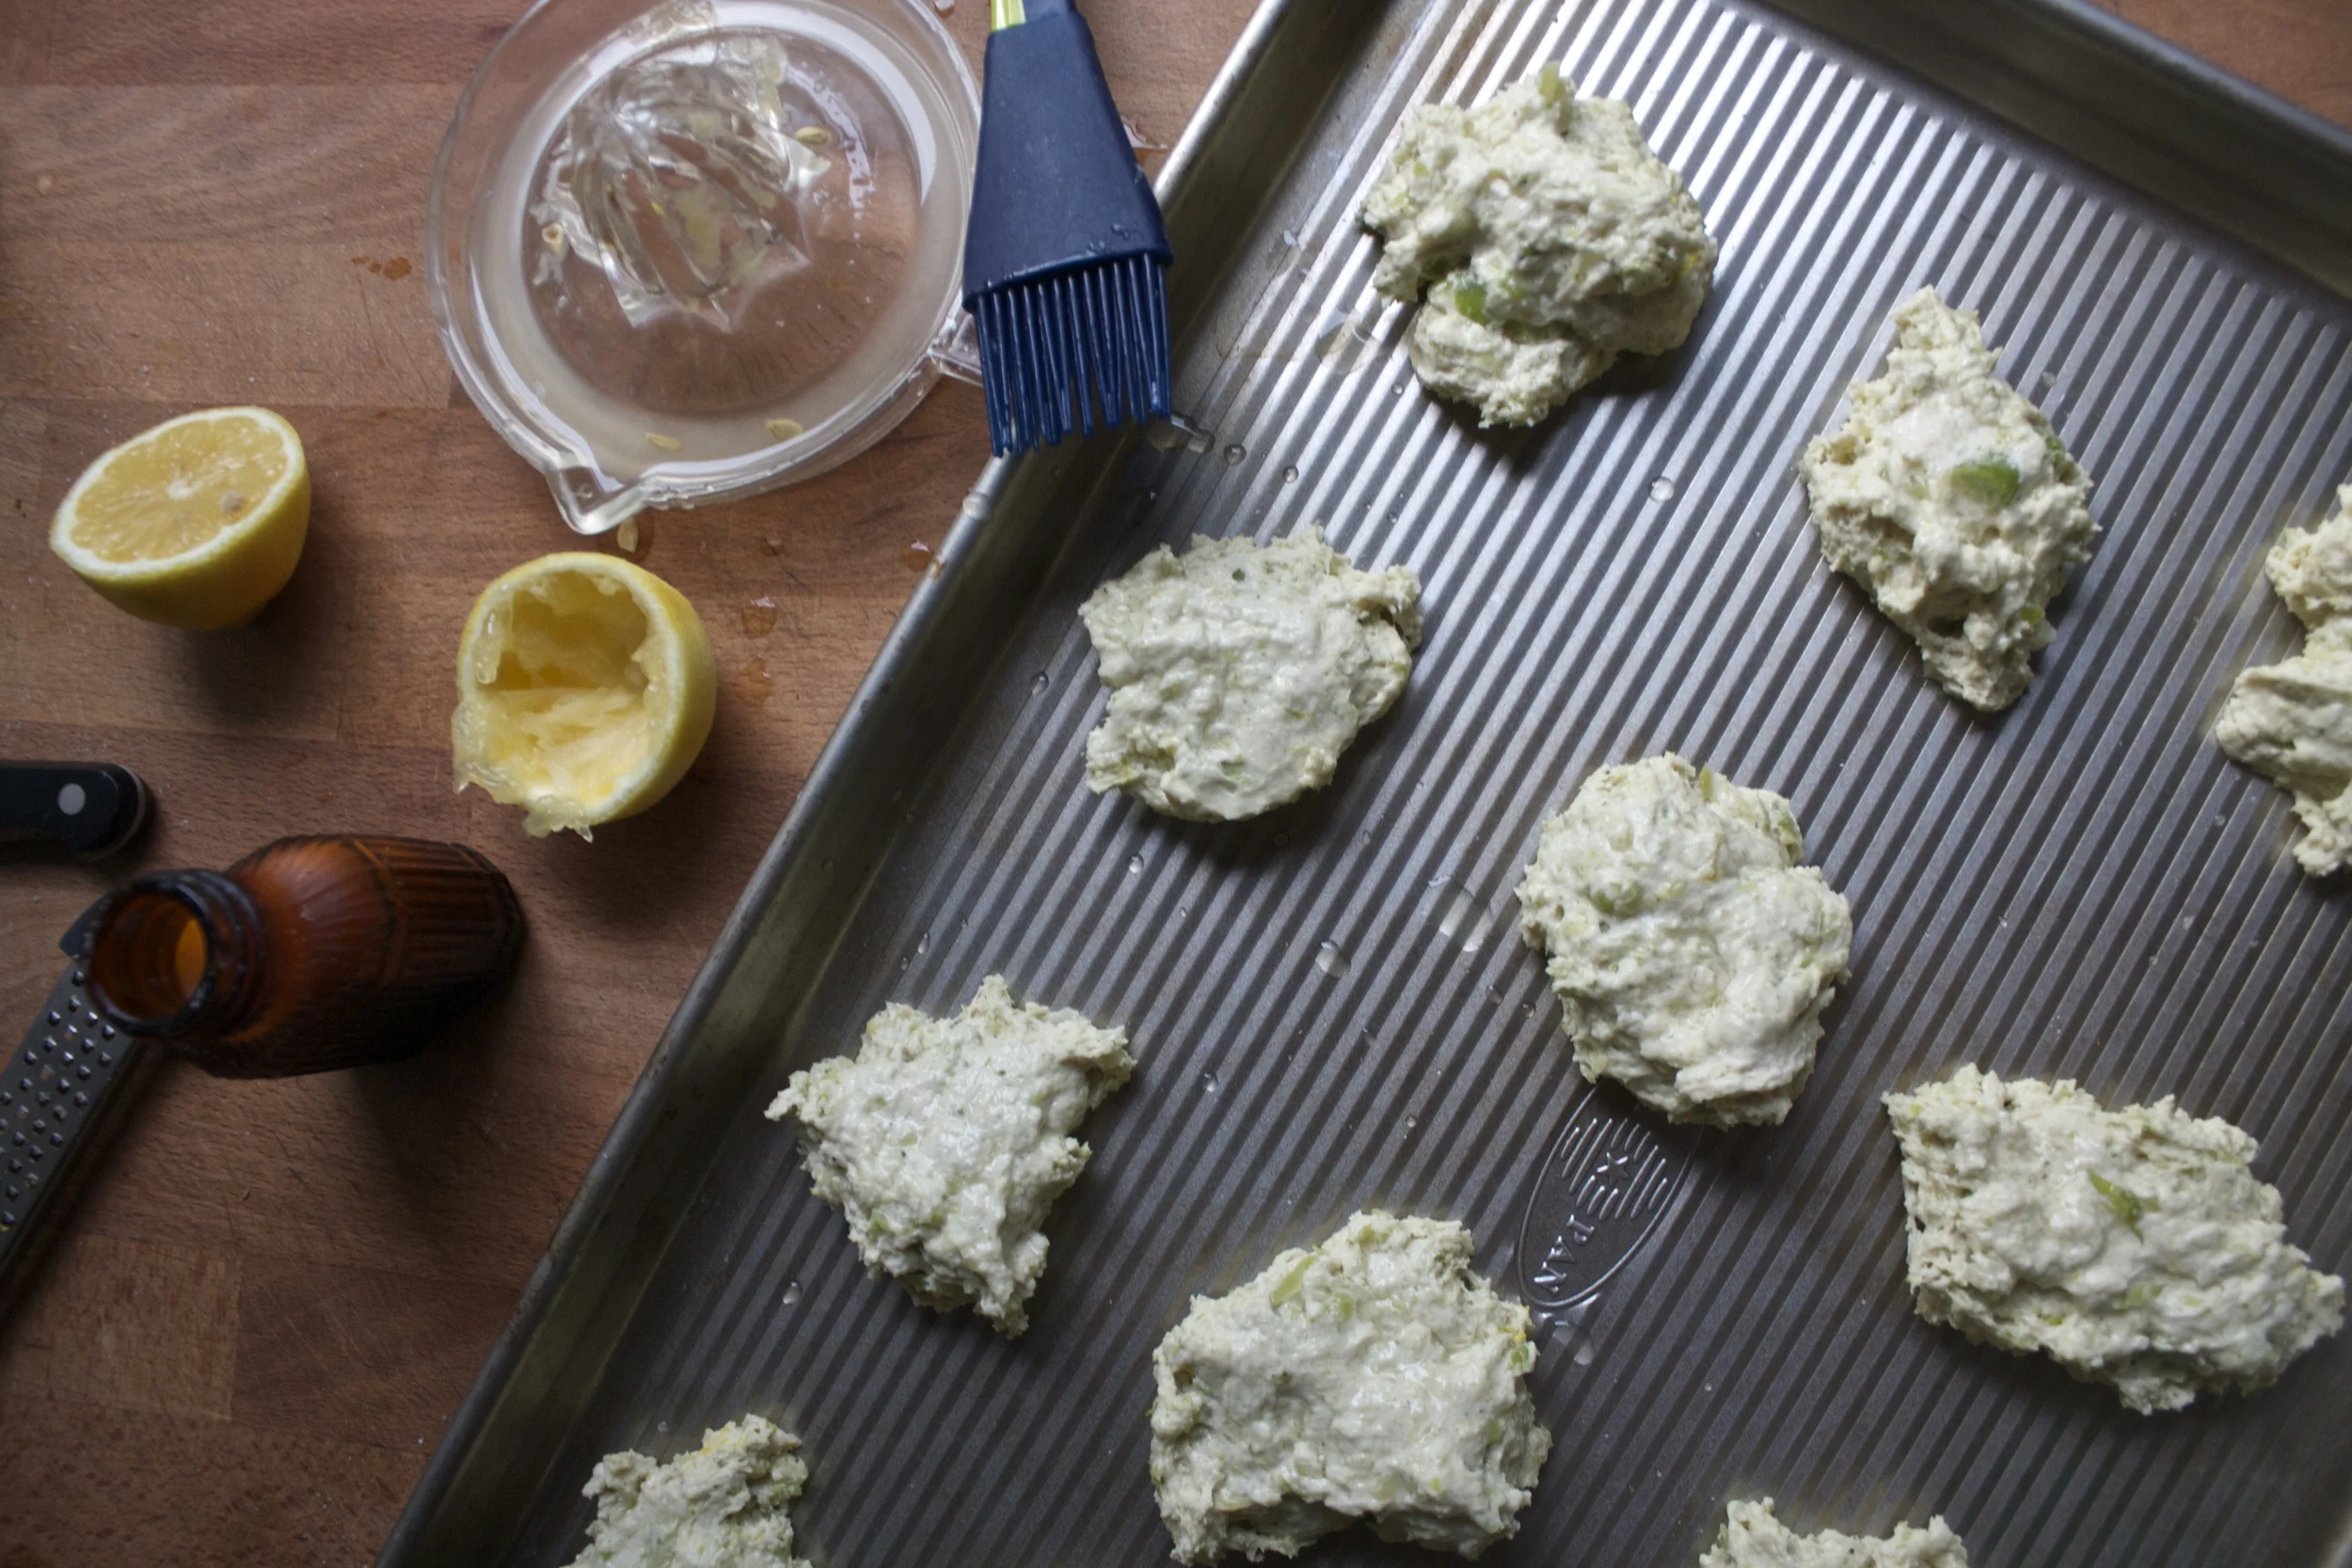
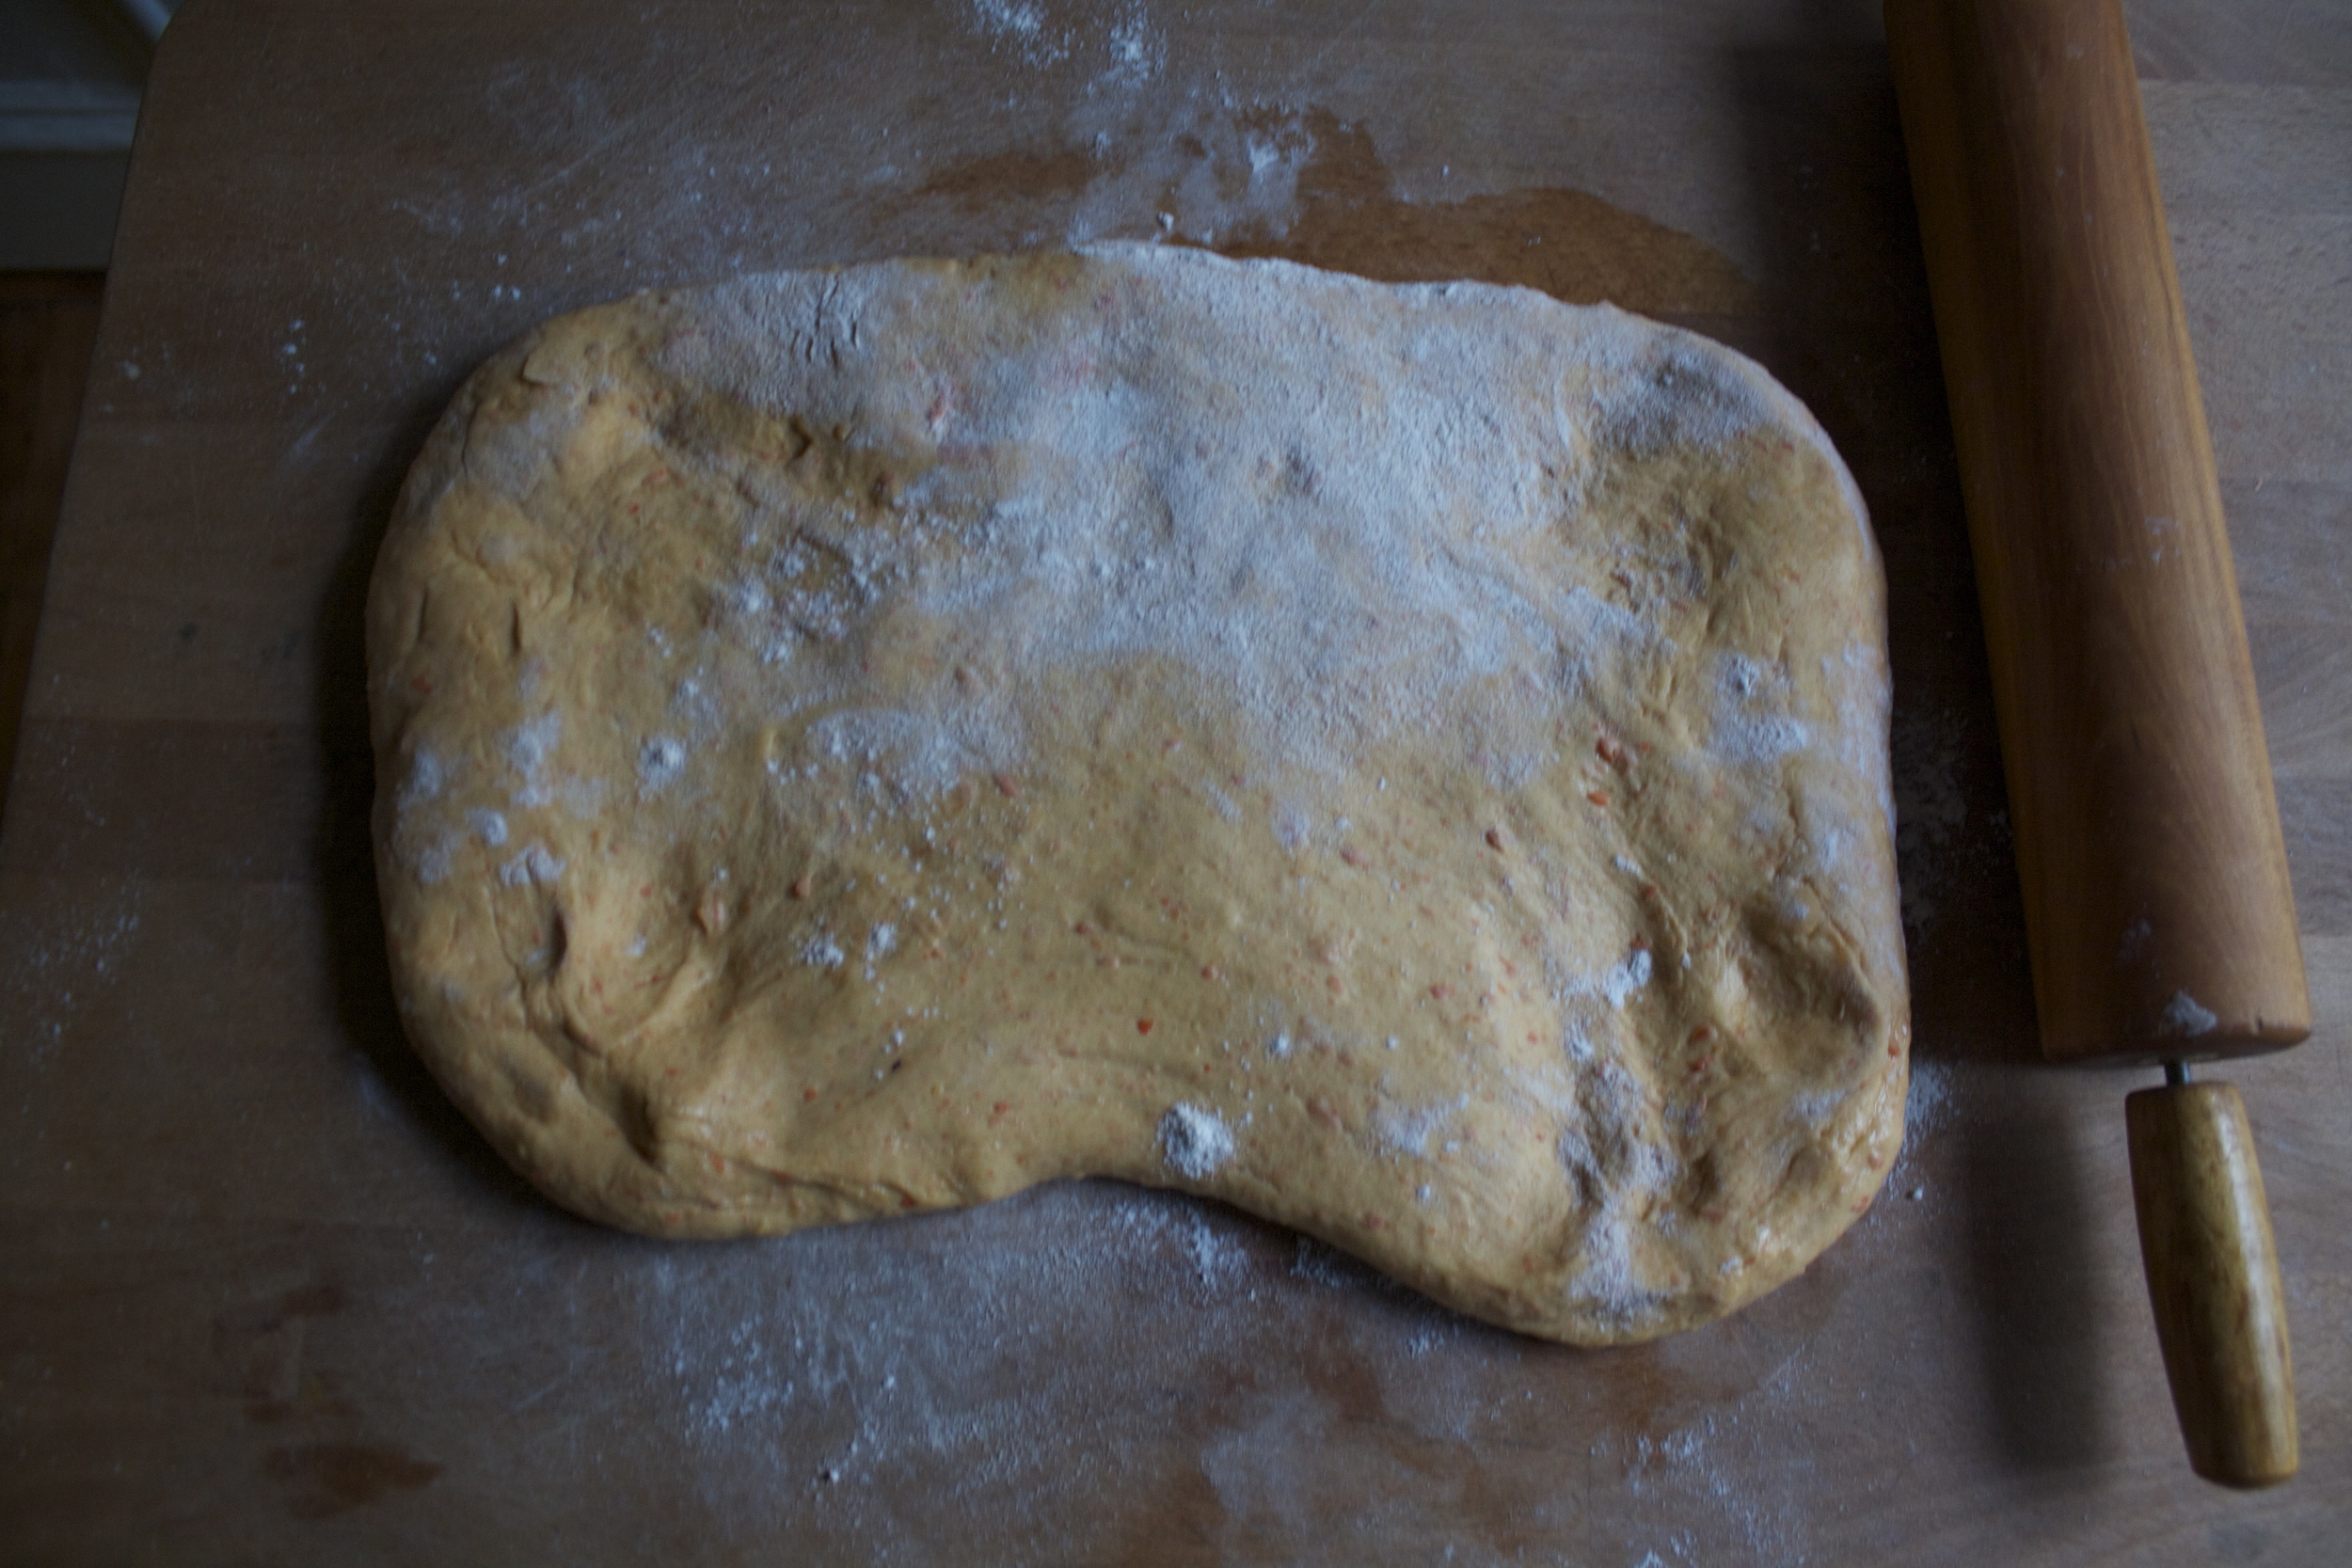
When you are ready for cookies, remove the dough from the fridge ans let it warm up for a few minutes. then take it and roll it out to about 1/2 inch.  And pretty sure you know how to use a cookie cutter so cut some cookies.

A baking sheet of pre -baked creatures going into the oven.

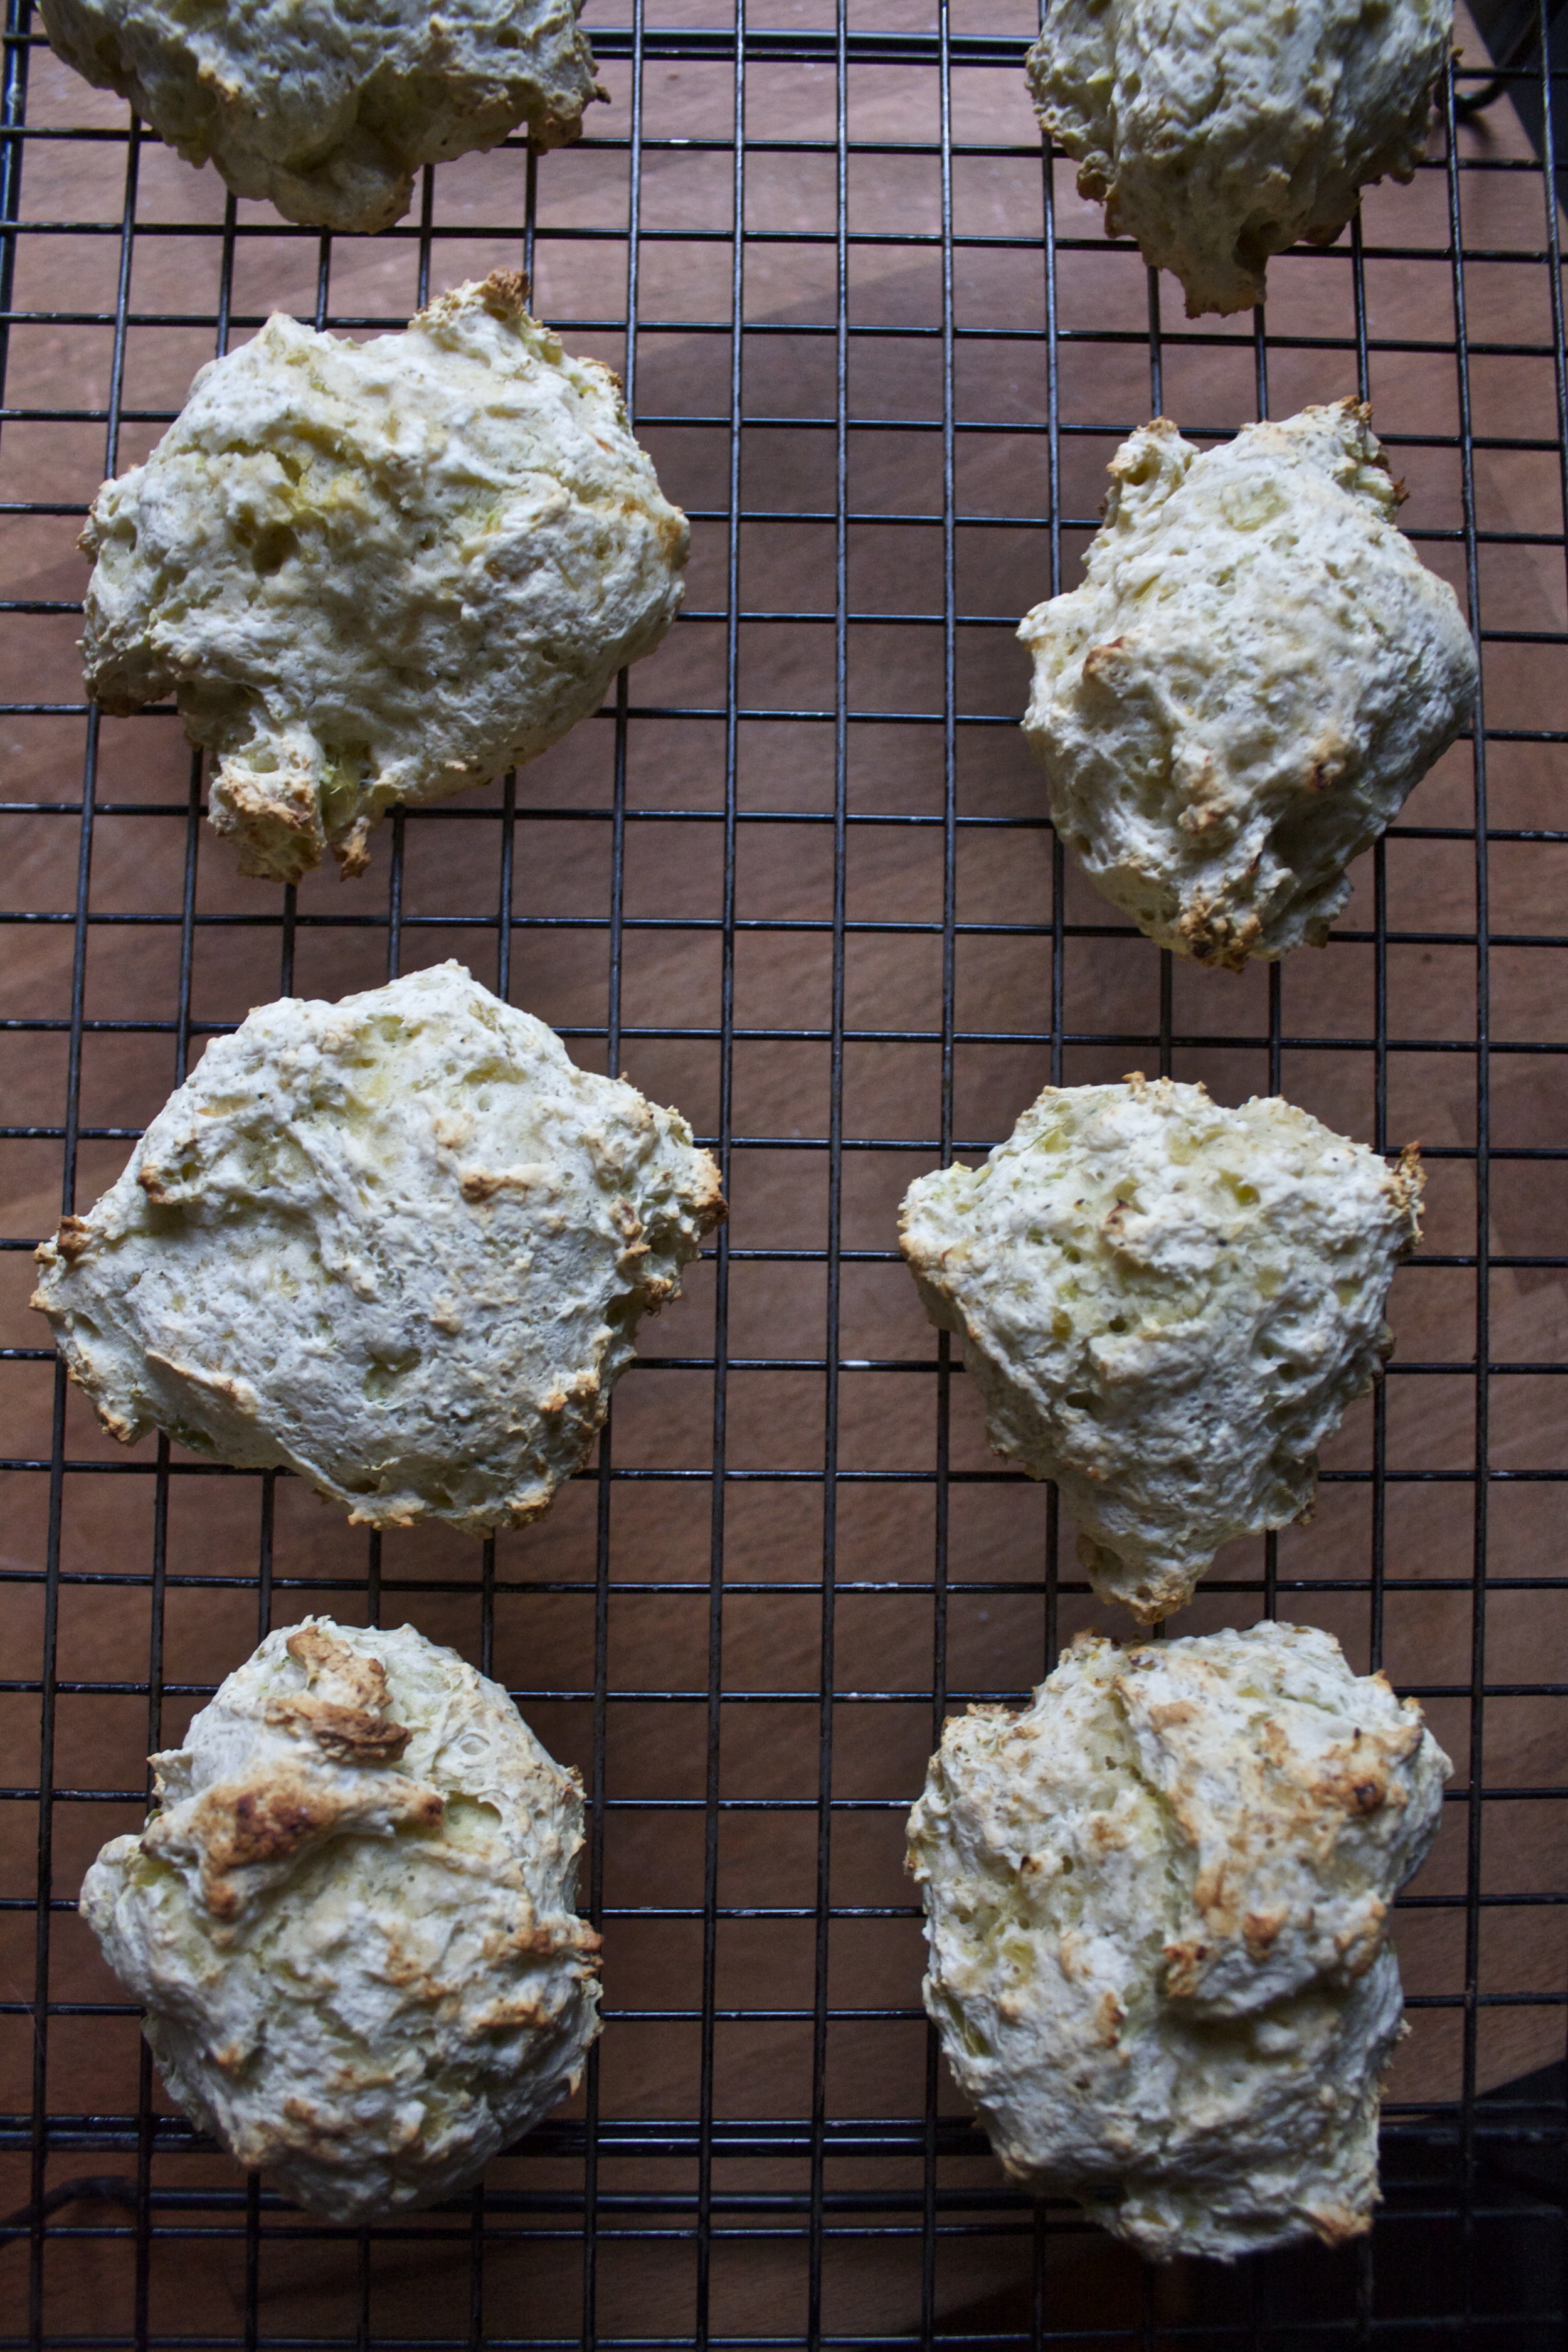
After about 8-10 minutes, the cookies are a little poofy, a little more golden brown, and a lot of super good smelling lovely.

Now if you want, decorate your cookies! (you don't HAVE to, but you should)
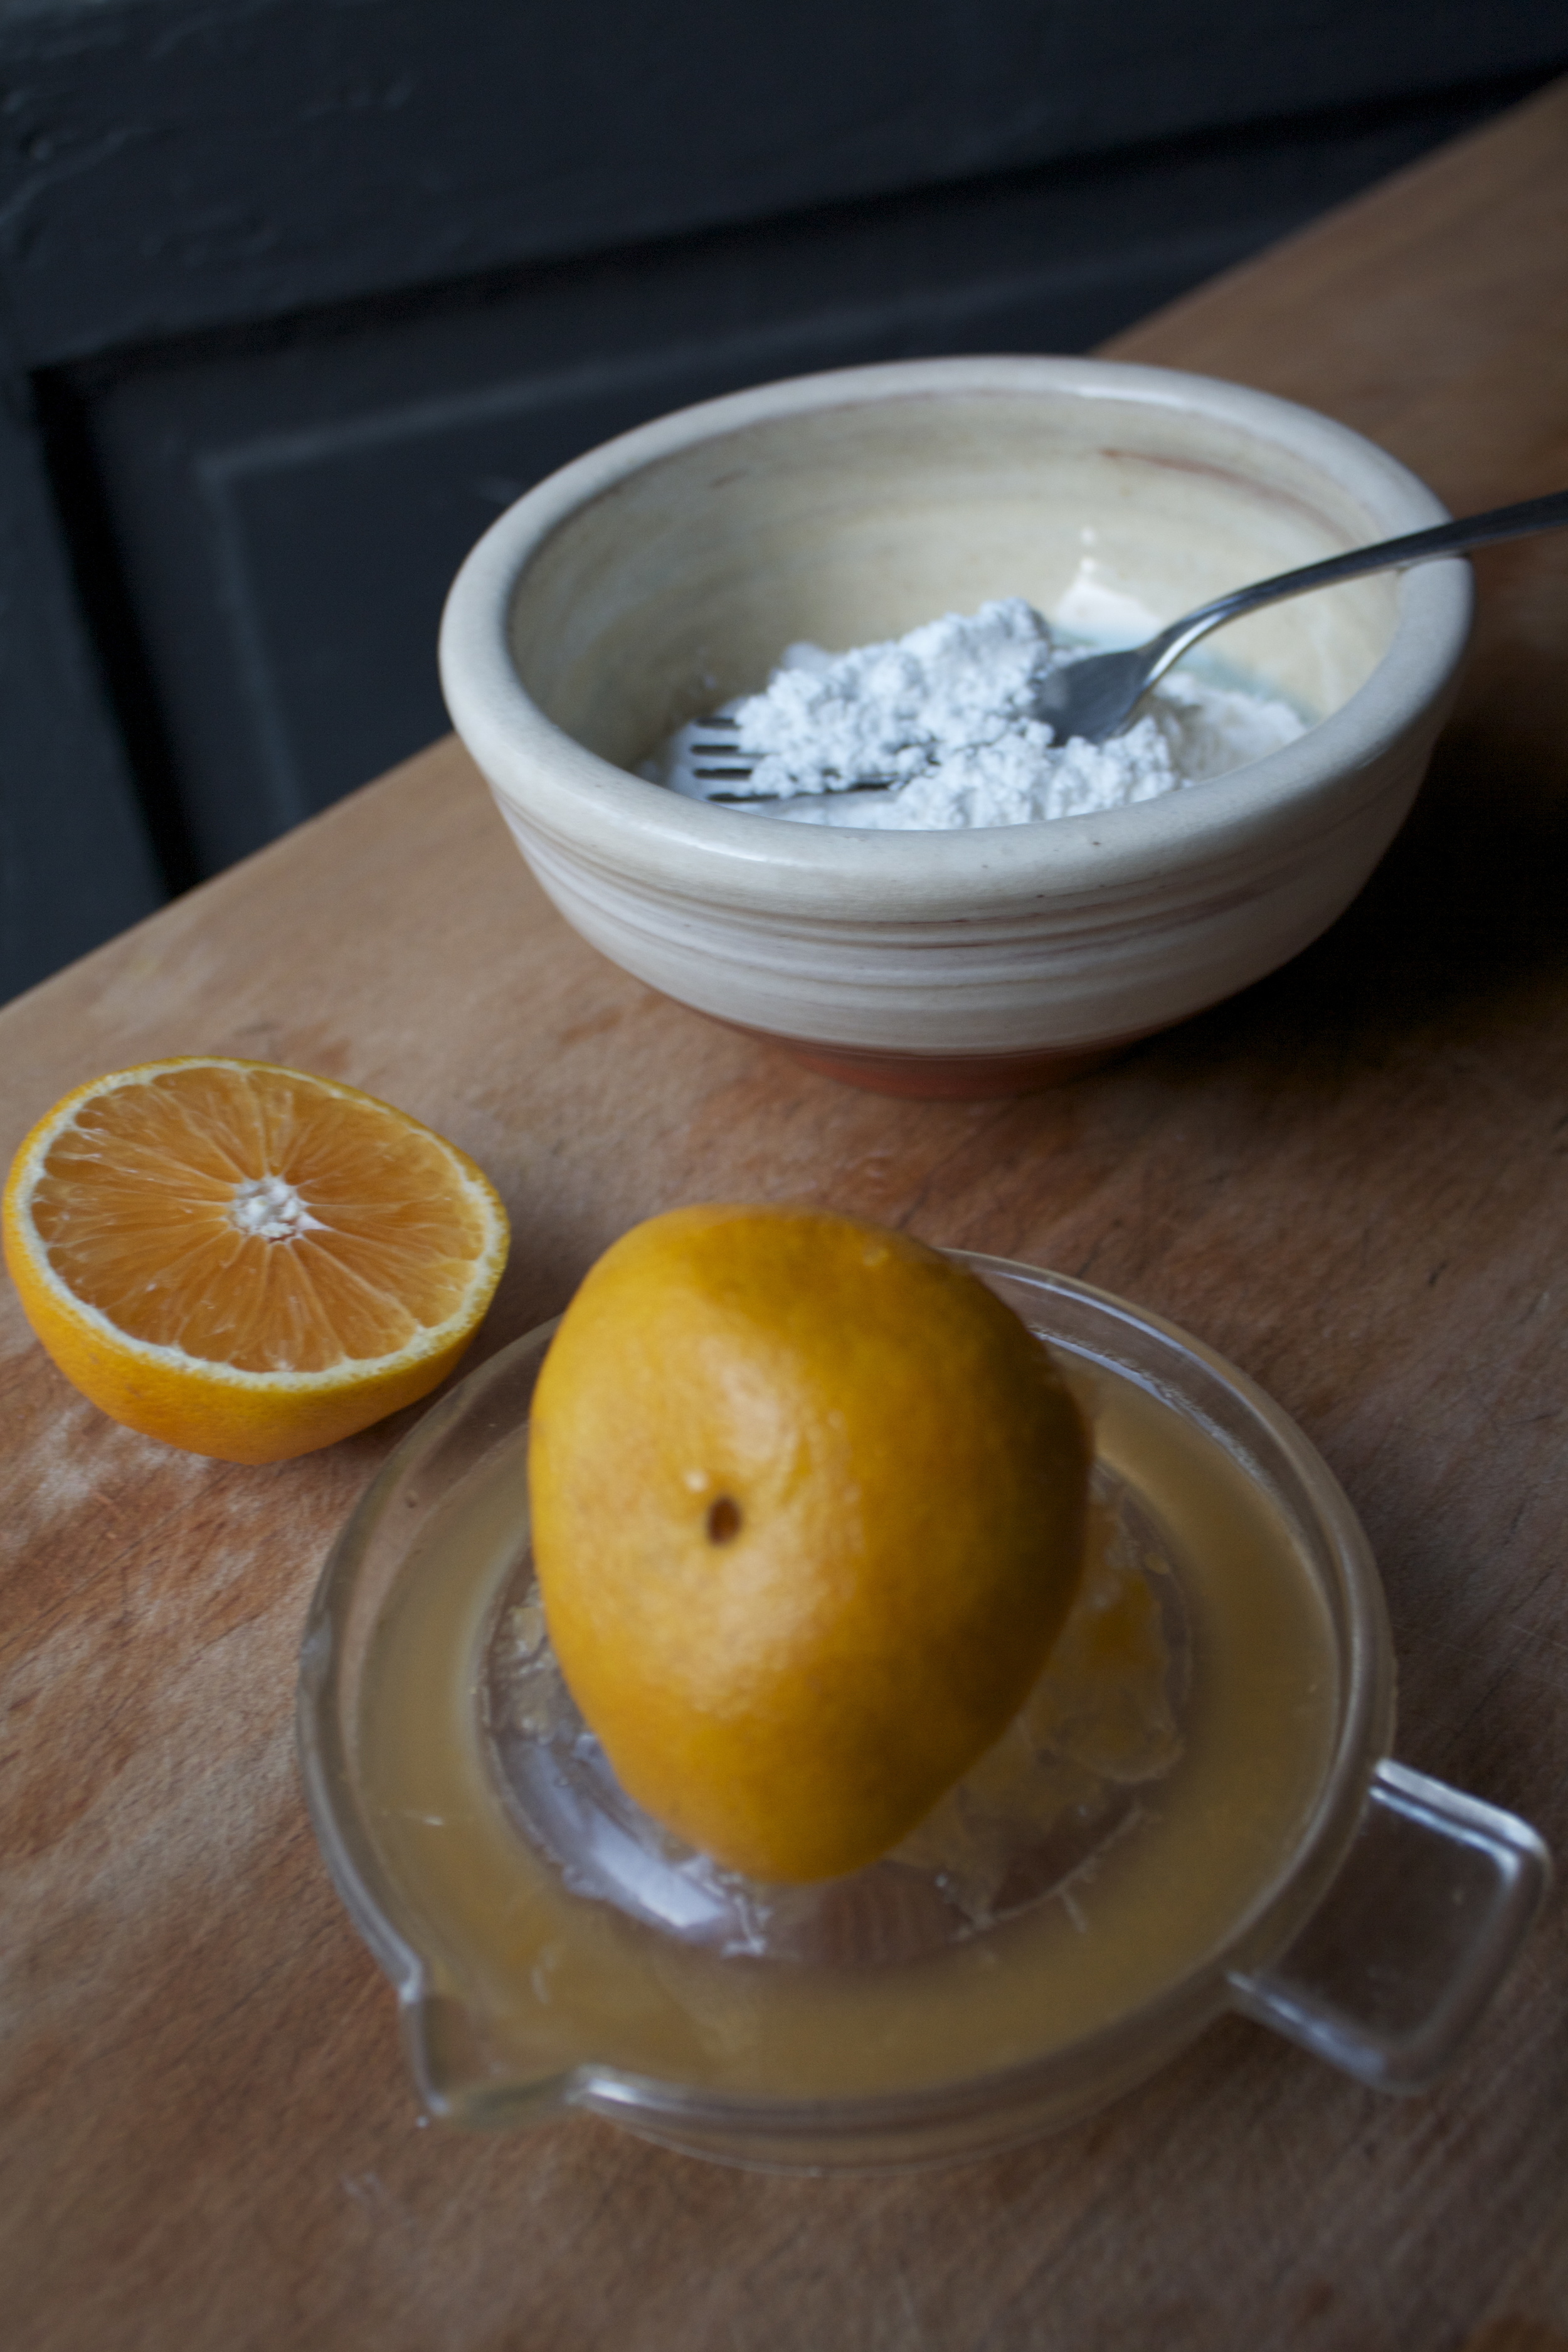
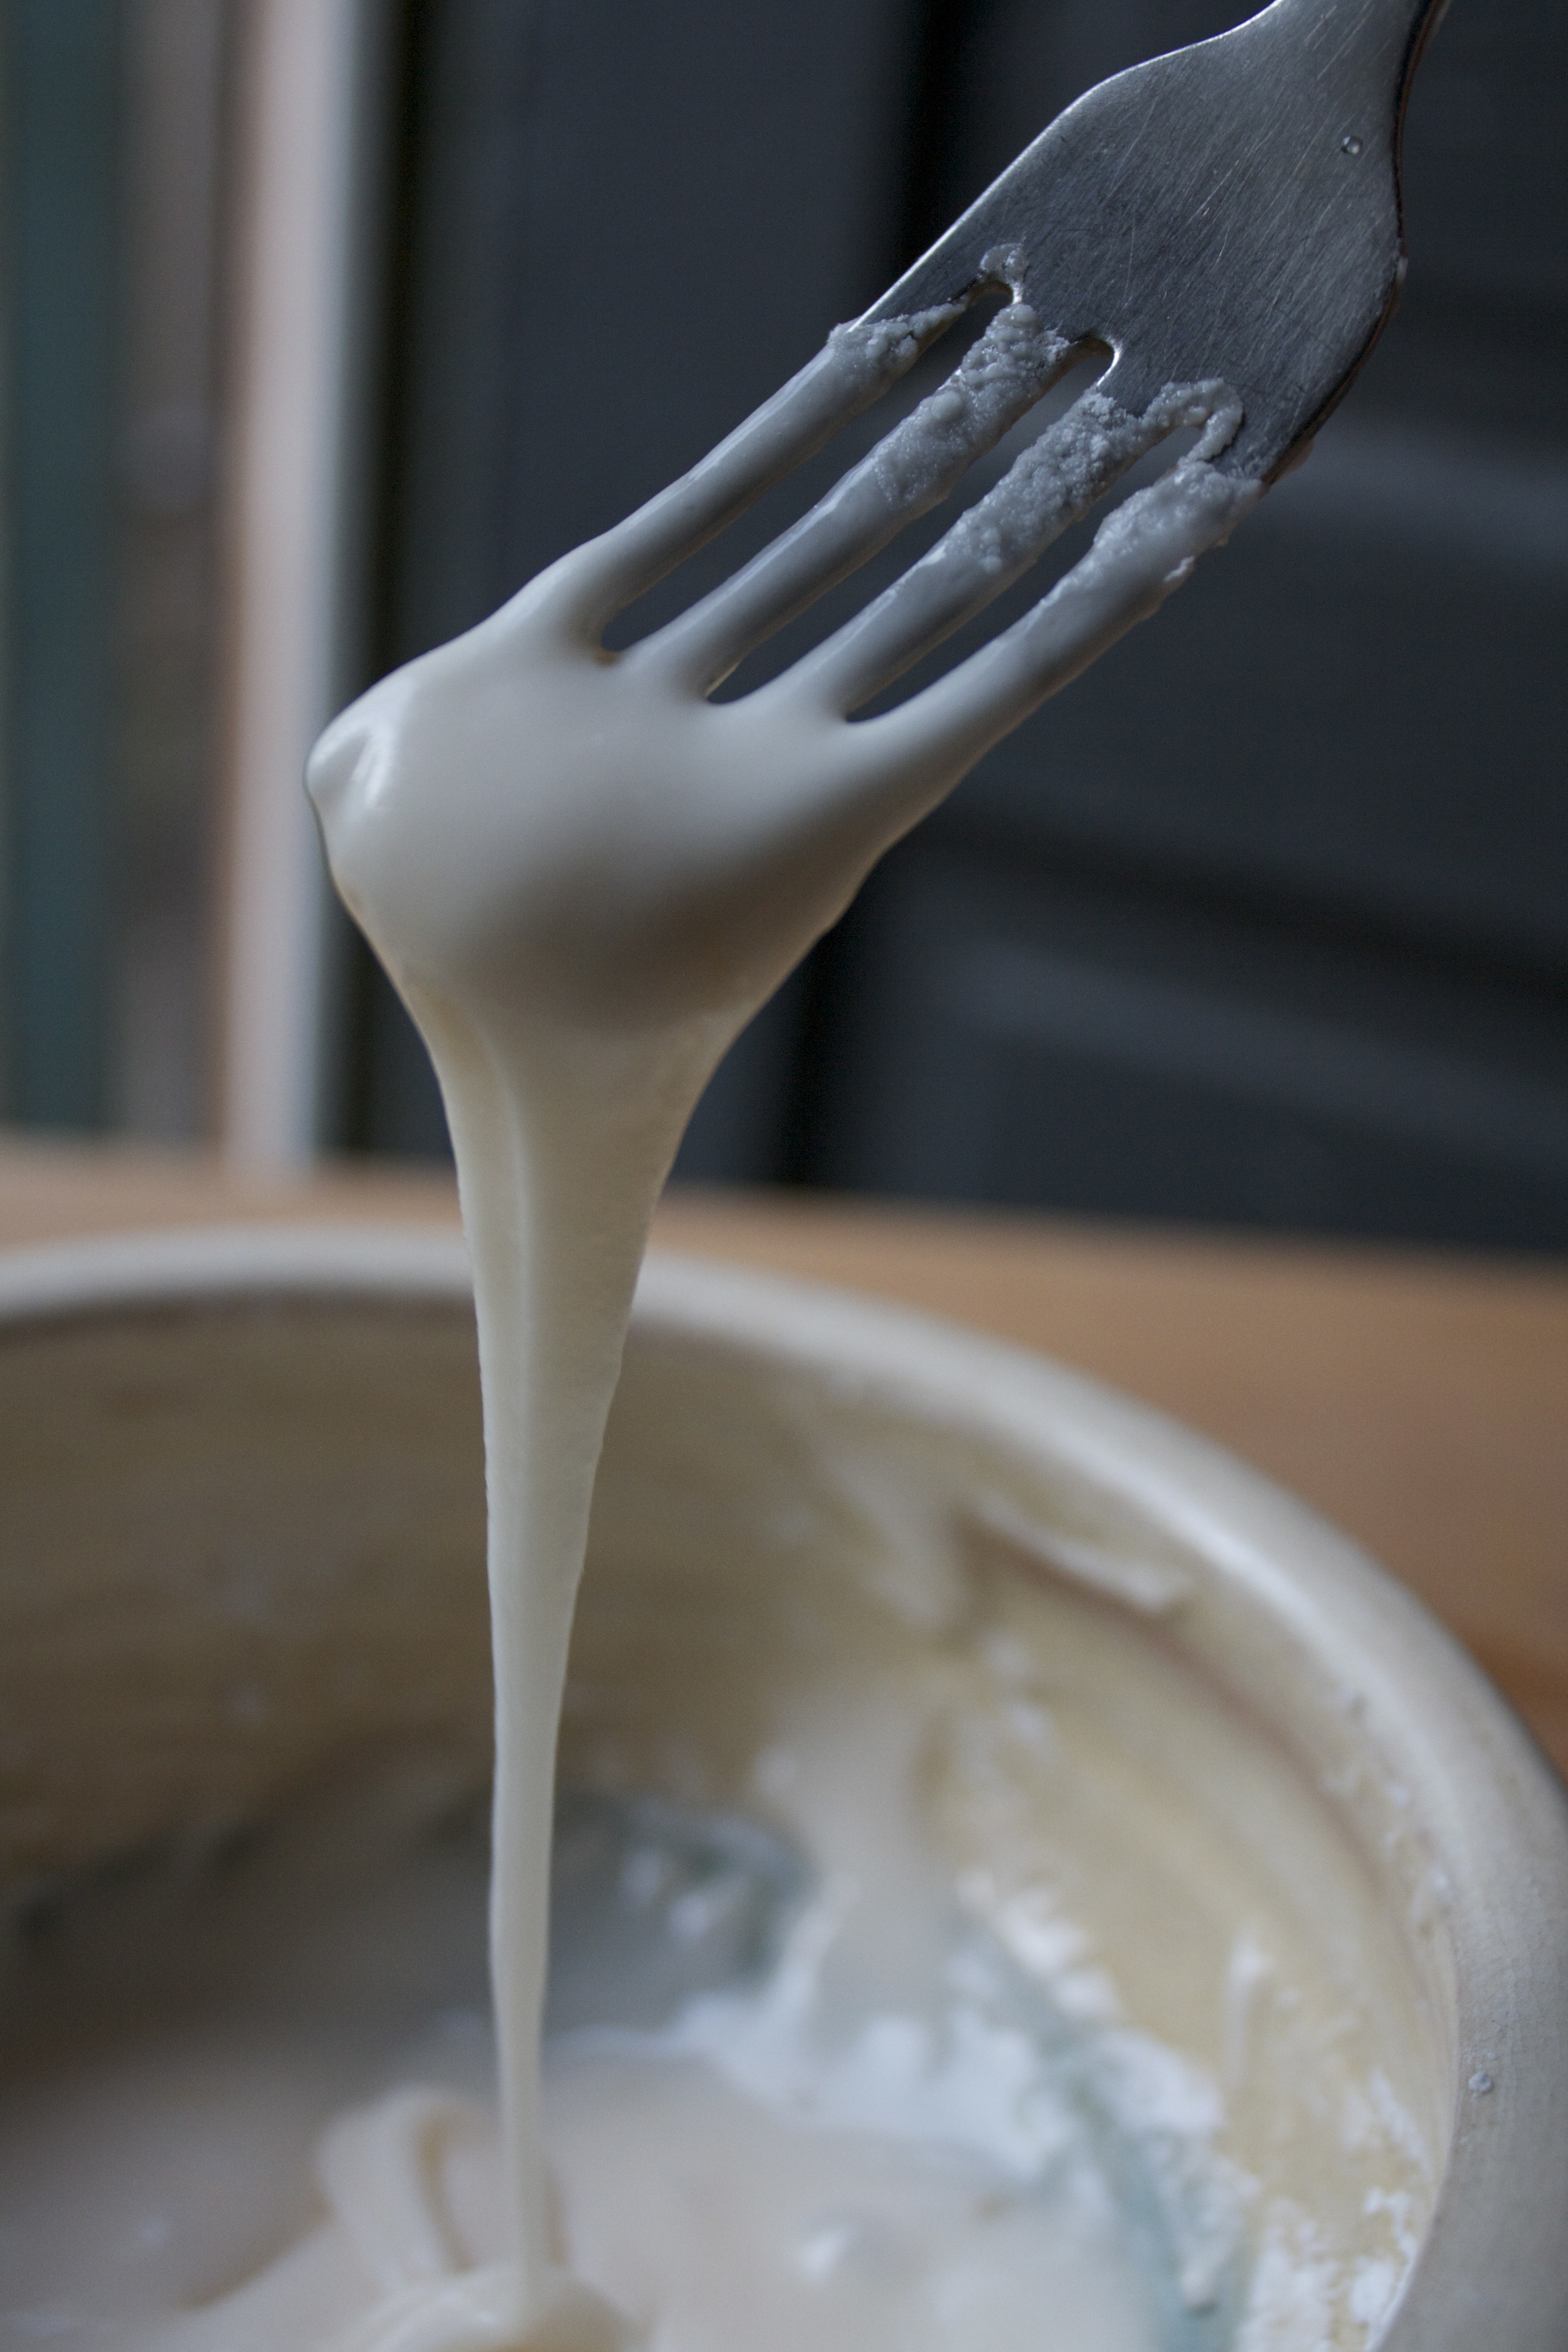
 I used white chocolate chips, tiny chocolate chips, dried cranberries and chopped almonds. And for the glaze, just powdered sugar and lemon juice. But use whatever you want.

The creatures..

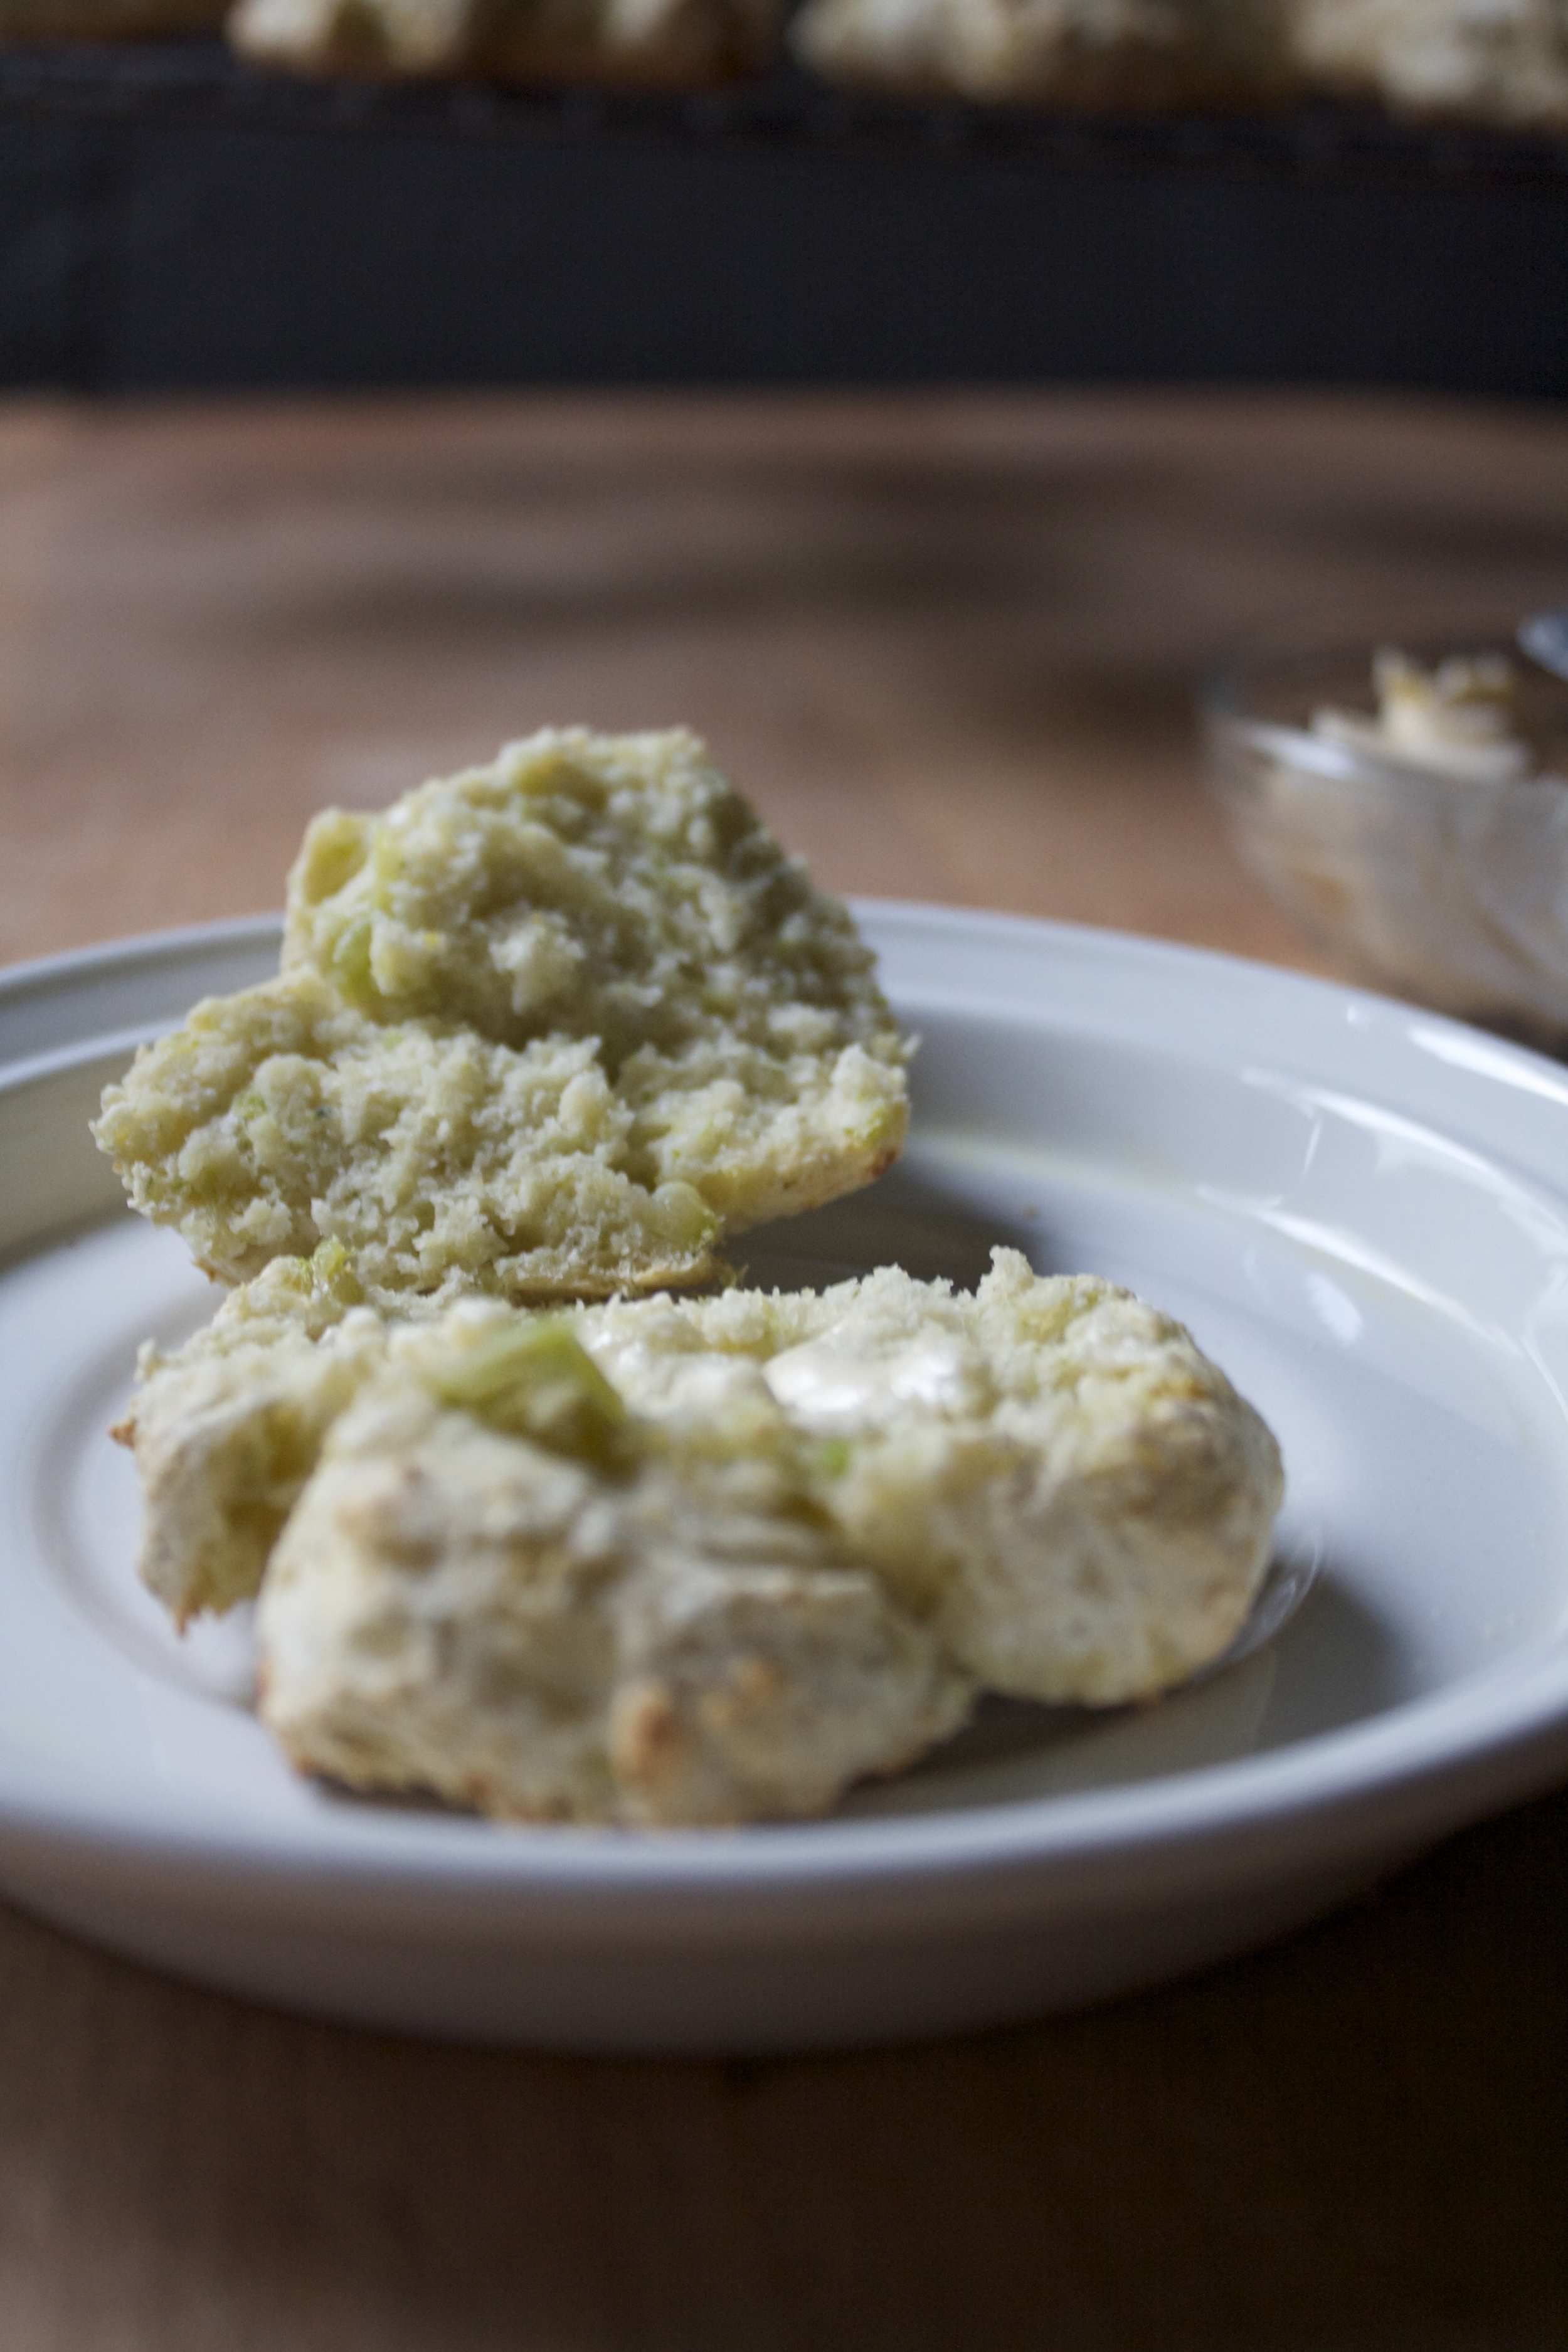
And my favorite, the porcupine ! (I totally made this one)

-Happy Tuesday!

-C


Gingerbread Woodland Creatures

Makes about 2 dozen (depending in your cookie cutter sizes)

  • 2 1/2 cups all purpose flour
  • 2 heaping teaspoons ground ginger
  • 1 heaping teaspoon cinnamon
  • 1/2 teaspoon salt
  • 1 teaspoon fresh cracked pepper (optional)
  • 1/2 teaspoon baking soda
  • 1/2 teaspoon baking powder
  • 2 chia or flax eggs (2 tablespoons ground chia or flax seeds with 6 tablespoons warm water)
  • 1/2 cup brown sugar
  • 1/2 cup molasses
  • 1/2 cup neutral flavored oil (like veggie or canola)
  • splash of vanilla extract
  • Things to decorate with like chopped almonds, raisins, frosting, chocolate chips.. whatever you want

Grab yourself a big bowl and add in the sugar, molasses, oil, vanilla, and the chia eggs. Mix until combined. In a separate bowl, whisk together the flour with the all the spices, baking soda and powder, and the salt.  Dump dry into wet and mix with a wooden spoon until a dough form. When yu can no longer mix with spoon, use your hands and knead the dough into a large disk.  Wrap in wax paper or plastic, ans stick in the fridge for at least and hour, or up to 3 days.

When you are ready to make the cookies, remove dough from fridge and let it sit and warm up a little bit so it;s not so stiff and much easier to roll out.

Preheat oven to 350

Working in one big batch or cutting dough half, roll the dough until it's about 1/2 inch thick. Take your cookie cutters of your preferred shape and cut as many out as you can. Place cookies onto a baking sheet and bake between 8-11 minutes or until the cookies have slightly rising and the cookies are just starting to brown. .

Note... Using a cookie cutter with small intricate pieces, the edges might get a little crisper then the middle faster. So just keep your eye out for those.

Remove from sheet and place on a cooling rack.

And decorate, using whatever you want and as much as you want.

In Dairy Free, breakfast, desserts, holiday, recipes, snack, Sweets, Vegan Tags Gingerbread cookies, cut out cookies, decoration, holiday, ginger, vegan, ikea cookie cutters
Comment

Dill Pickle Saltine crackers

December 12, 2015 Colleen Stem
IMG_5663.jpg
IMG_5633.jpg
IMG_5659.jpg

The mr is a saltines fanatic. I personally don't get it, but he really, truly loves a good fresh package of those salty crispy crackers, and loves to make a little cracker crumb mess. (I think it does it to drive me crazy)

 The other night during a particularly crumby saltine cracker snack, he declared that the saltine people (who are these people?) must come out with flavored saltines. I then continued to burst his bubble and told him I am pretty sure the saltine people have, in fact, come out with flavors, but he was skeptical and did not believe my words. Whatever dude.

But then I got to thinking, "why the hell haven't I made flavored saltine crackers yet?" So make flavored crackers I did. I know that the mr is really into dill pickled chips (beause I can smell the when he eats them) and I have been buying these mammoth jars of pickles from the Costco superstore (I love pickles but more then that I need the gigantic jars). so I had me a shit ton of pickle juice. It was meant to be.

The first time I made the crackers, I did a really small batch and wasn't expecting anything amazing, just going for a decent whatever cracker. But no, the few that I managed to make, the mr went nuts for. He told me they were the best fucking cracker that he has ever had and I now have to make them for him all the time, and that it is now a birthday tradition (it was his birthday). He said they were the prefect dilly-ness, the pefrect texture and just the right amount of salt. Perfection.

Well that made me happy so instead of waiting for his next birthday, I just made a big batch. Again, more proof that I am the best girlfriend ever!

The stuff. Flour, dill pickle juice, olive oil and some dried dill and salt.

IMG_5579.jpg
IMG_5582.jpg

Flour into a bowl gets drizzled with olive oil and mix around with a fork.

 Then in goes the pickles juice , same deal, mix together with a fork until the mixture forms a dough. (almost resembling a pie dough)

Place dough down on counter. Let it sit there for a few minutes to give it time to rest.

After the rest, roll the dough out as thinly as you can (try for about an 1/8 inch).

I found that when I slightly damped the counter that the dough was easier to roll. It might be because I have wood counter top so this may or may not work for you, but is worth a try.

And with a knife or dough cutter (or fancy cracker cutting tool), trim off sides (if you want) and cut into 2 inch squares.

Note. IF you want to, poke a couple little wholes into the tops of the crackers. Doing so will prevent the crackers from poofing up (I was told the poof is good)

And place the crackers on a baking sheet, brush tops with the pickle juice, then sprinkle with chopped dill and a tiny bit of salt.

Stick into the preheated oven.

Bakeuntil they start to turn a light golden brown and arepoofing up a little (go ahead and grab one now for quality control)

These crackers be cracking. And wouldn't you know it, they are already all gone. Next time I make them I am going to have to hide them.

Have a great weekend!

-C


 Dill Pickle Saltine Crackers

Makes about fifty 2x2 crackers

  • 1 cup all purpose flour
  • 6-8 tablespoons pickle juice
  • 3 tablespoon olive oil
  • finishing salt to taste
  • tablespoon chopped dried dill

Preheat oven to 350

Place flour into a shallow bowl and drizzle the olive oil in. Mix around with a fork. Grab pickle juice and drizzle in 6 tablespoons of the juice and mix with the fork until a dough forms. Add in another tablespoon or two if the dough needs more moisture to come together.

Form dough into a ball and let rest on the counter for a few minutes (good time to wash the dirty dishes)

After the rest, take the dough and roll it out to about 1/8 inch or as thinly as you can. Weirdly enough, I found that I was able to roll my dough out better when I damped my counter. The dough didn't slide around and it still lifted up easily with a spatula.. but do what works for you.

Once you have rolled the dough, trim sides to clean lines and cut into 2x2 inch squares (you can cut into any shape and or size you like) Any trimming reform into a ball, roll out, and make a few more. (If you want a more authentic looking cracker, you can poke little whole into them. Doing this also make the crackers not poof up when bakes)

Place crackers on a lightly colored (or parchment lined) baking sheet. Brush each cracker top with a little pickle juice and sprinkle the tops with salt and dill. Place in the oven to bake for about 12 minutes or until the crackers have poofed up and are turning slightly brown.

Remove from oven, let cool completely and either eat right away or place in a air tight container for later.

These crackers had no later.


In Dairy Free, holiday, recipes, Vegan Tags dill pickle saltine crackers, crackers, vegan, saltines, homemade crackers, dill, pickles, savory crackers, snack food, easy, clean eating, plant based, king arthur flour
Comment

Macadamia Nut Chocolate Chunk Blondies

December 10, 2015 Colleen Stem
IMG_5475.jpg
IMG_5462.jpg

A couple of nights ago we had a little impromptu birthday dinner at my sisters house for the mr.  And what did he want to do for dinner, his very own special birthday dinner? Well what he wanted was to cook, with absolutely no help from me. So cook he did. And what did he make? He made grilled cheese sandwiches, on white bread and with bright orange cheddar cheese along with some classic canned Campell's tomato soup. I was not even allowed to make a salad (but he was being so nice when permitting me to make my own food)

But come on dude, it's your birthday dinner. I was determined to make something so I said I was going to make a dessert. Nothing fancy and no cake (he is not a big cake guy), just something fast and easy. So I went with brownies of the sweet potato chocolate chip kind.  Yeah I know what you are thinking..  why am I not sharing those brownies? I'll tell you why. They came out like shit. Like really gross, almost jello like and just not anything anyone would ever want to eat. Just shit.  OH I was pissed. I mean, the one thing I got to do I screwed up. And there was no fixing them (I tried) So bum, there were no sweet dessert brownies ( but there was ice cream.. thanks Shannon) And worst of all, wasted food. Bah, I hate wasting food! ( I would have fed them to the dog but they were chocolate.... I miss having chickens that eat anything)

Side note here. Watching a lifetime original Christmas movie at the moment (don't judge me)  and it has Harriet and Carl Winslow in it. Talk about a throw back.. and now all I can think about is Urkel and his catch phrase"did I do that?" Anyways....

After the brownie disaster I really needed to make something that didn't suck. I was going to go the brownie route again but unfortunately I used up all of my chocolate and cocoa for the shit batch before, so I went the blonde route. Blondies. close to a cookie, but not quite. A vanilla version of a chewy chocolate brownie.  Chock full of super nutty macadamia nuts and big chunks of chocolate. Nothing missing, the perfect texture and sweetness.  All and more of a better dessert then the night before. Perfection is what I call them and the mr is much happy with his birthday treat (with the added scoop of strawberry ice cream of course)

The stuff. A little bit of white whole wheat flour, some brown sugar, melted earth balance, a couple chia eggs,salt, a pinch of baking powder and some vanilla.  And the mix in that make these blondies so great, the macadamia nuts and chocolate chunks.

IMG_5397.jpg
IMG_5399.jpg
IMG_5401.jpg

It's all super simple. The sugar, chia eggs, earth balance ans vanilla go into a bowl and get mix together until smooth. Then the salt gets sprinkled on along with the baking powder and lastly the flour on top.

And them mix it together unit its all incorporated... and don't over mix!

Chop the macadamia nuts and chocalate chunks in somewhat smaller pieces...

And fold them into the batter.

And grab yourself a square pan, line it with foil or parchment paper, grease it a little, then dump in the batter and evenly pat in down into the pan.

Stick into the oven to bake.

And after 35-40 minutes of the amazing smells coming from your oven, the blondies should be done. Slightly browned, lookng like a cross between a cookie and a brownie, and raw in the middle, but only just.

Let the blondies cool for a few in the baking sheet, but then remove by the foil and cut into squares.

Keep them flat or stack them high. A dessert of the most fantastic kind.

My blonde redemption.

And lastly... HAPPY BIRTHDAY LOVE!

-C


macadamia nut chocolate chunk Blondies

makes a 9x9 pan of goodness

  • -1 cup white whole wheat flour
  • 1 cup brown sugar
  • 1/2 cup melted earth balance
  • 2 tablespoons ground chia seeds plus 6 tablespoons warm water
  • 1/2 teaspoon baking powder
  • 1 teaspoon salt
  • 2 teaspoon vanilla
  • 3/4 cup roughly chopped macadamia nuts
  • 3/4 cup of mini chocolate chunks (or chips)

Preheat oven to 350

Grab a bowl and cream together the earth balance and the sugar. Add in the chia eggs, the vanilla,salt, and baking powder and mix . Then add in the flour then mix that until just incorporated with the wet. And lastly, fold in the chopped nuts and chocolate chunks

Dump batter into a foil/ parchment paper lined and slightly greased 9 inch square baking pan and pat down with the spoon or your hand (hand is the way to go) and tick into the oven. Bake for 40 minutes or so until the top is starting to brown almost like a cookie but nice and all brownie like. Check for doneness with a toothpick in middle and if it comes out kinda clean, you can pop them out right there. (Don't over cook.. and if you like a little under baked, do it up, just take them out a few minutes earlier)

Let cool in the pan and pop them out by the liner. Cut into squares (size to be determined by you) Eat one, maybe two, and share the rest (or not).

In Dairy Free, desserts, holiday, recipes, snack, Sweets, Vegan Tags macadamia nut chocolate chunk blondies, cookie bars, macadamia nuts, dessert, whole wheat, vegan, chia egg, holiday, bars, brownies
Comment

Lemon Broccoli Biscuits

December 8, 2015 Colleen Stem
IMG_5303.jpg
IMG_5299.jpg

On my recent shop at the grocery store, I picked me up a bunch of my favorite King Arthur flour, like five 5lb bags because I know that I am probably going to go through it within the next few weeks. (all Christmas cookies) Plus it was on sale. And not just regular all purpose, all of the varieties were on sale, including the self rising flour, which I have never used before. I have been curious so I figured that sale flour meant that I should buy it and try it out. So buy it I did, and I am now a lover of self rising flour.

The first thing I did was look up simple recipes to use and found one on the King Arthur web site for never fail biscuits that were only 2 ingredients. (self rising flour and cream) Well that seems easy enough, except I don't have cream, just soy milk on hand, and I really can't help but wanting to add a little something extra to the mix. So I went with broccoli (in was in the fridge) and lemon. But other then that, still easy biscuits I have ever made.

These biscuits cook up so super fast and take almost not work at all to make.. they seem almost like magic. . Perfect for all of us who rush home before dinner and discover that there is no food in the house. But if you have self rising flour, a quick dump and mix and a little time in the oven, and you got yourself some biscuits thatare super fluffy on the inside, slightly crisp on the outside. The texture is what really surprised me, how tender and biscuit-y they turned out without having to cut in any fat. Amazing!

These biscuits can be turned into any number of dinner options (the mr had buttered biscuits with lentils) and any left overs can be serves up for breakfast.  I wish I had know beforethat self rising flour was so great! It's kinda like have a box of bisquick on hand, but way way better. I think that I am going to have to go back to the store and stock up on this too... I have a feeling that mr is going to be eating all sort of fun flavored biscuits for dinner in the next few weeks.

Oh,  the mr says I have to warn you, . If you don't like broccoli, you will not like these biscuits. But for those who are broccoli people, these will make your day!

The stuff. Some slightly stemmed chopped up broccoli, a lemon, soy milk, ans some self rising flour.

 The soy milkgoes into the bowl with the broccoli and gets blendedup with a hand or (or use a regular blender). And you don't want to make it completely smooth, some chunks are good.

Dump the broccoli soy mixure into the flour and then the zest of the lemon. Add in a tiny pinch of salt.

A quick mix until everything is just incorporated.

And the dough gets plopped onto a baking sheet. Brush the tops with a little lemon juice or water (or a mixture of both) right before they go into the oven... then stick them in the oven.

And after about 20 or so minutes, the biscuits have risen , the tops starting to brown, and the smell from the oven is happy. So you should pull them out of the oven now.

And let cool, just enough to handle, then grab a biscuit, split n half, and smear something buttery on it.

-C


Broccoli Lemon Biscuits

Makes 12

Adapted from King Arthur's Never Fail Biscuits

  • 1 1/2 cups self rising flour(King Arthur flour)
  • 1 cup soy milk
  • 1 lemon
  • 1 cup slightly stemmed broccoli *
  • salt to taste
  • Any additional flavors you want (garlic powder, pepper, some sumac.. whatever)

Note. Slightly steamed broccoli.. Just toss chopped broccoli into a pot with enough water to cover the bottom of the pot. Stick a lid on it, and place on heat until the broccoli is slightly tender and the water is evaporated, or about 4-5 minutes. Just make sure you don't over cook it and turn it to mush.

Preheat oven to 450.

Dump flour into a big bowl. With a hand or regular blender, blend together the soy milk and broccoli. Dump the wet mixture into the flour. Add in the zest of the lemon and mix until everything is just incorporated. With a spoon or a scooper , scoop out 12 similar size blobs and drop onto a baking sheet. Brush the tops of the biscuits with water or lemon juice and sprinkle with a tiny pinch ofsalt. Place in oven and bake for about 20 minutes or until the biscuits are starting to brown and look done.

Remove from oven and eat as soon as they are cool enough to handle. Eat as is or smear on some buttery something or another.


In Dairy Free, breakfast, recipes, Savory, snack, Vegetables, Vegan Tags Lemon Broccoli Biscuits, self rising flour, simple biscuit, vegan, biscuits
Comment

Carrot Cranberry Walnut Cinnamon Buns With Clementine Glaze

December 3, 2015 Colleen Stem
IMG_4683.jpg
IMG_4688.jpg

The other day I had me a humongo stack of paper work that needed my immediate attention, like a really big stack, full of bills, notices, and time sensitive material. So I decided that the best way to go get through all the papers was to stop and make cinnamon buns, cause that was what I really really needed to do (so not really)

I admit that I do thisoften. Not that I completelyignore or neglect adult tasks (sometimes adult-ing sucks) but I am a expert at the art of procrastination. But I am strategic about it. Like these buns. I made sure that what I was baking was yeasted so I had a time frame to work by. I make dough, let it rise for an hour and in that hour I have to do work. Then I roll out dough,fill it, let rise again, and in that time, more work. Buns go Into the oven, and whilethey are baking, still working. See, it totally makes complete since and can even be kind of fun (and messy. Papers and sticky dough and sugar everywhere!) I recommend to anyone that is having a hard time focusing on somewhat tedious tasks to bake some buns while doing said task. It really makes it easier, plus, at the end of said task there are buns to eat. Win win!

Anyway, no matter the means to the buns, the end was what we are looking for. These buns, well what can I say. Everyone that ate them went nuts for them. Even my little (gigantic, 18 year old) brother who doesn't like anything, especially anything with carrots in it. (he ate 2) And the little, they got down with them too, although they picked out the bigger chunks of cranberries (they don't know better) So yeah, these buns are fantastic for all around happiness and for getting paper work done.

To the bun making!

The stuff. Flour, sugar, almond milk, salt and yeast. A couple of carrots, some cinnamon and ginger, earth balance. And finally, fresh cranberries and walnuts.

First thing that needs to happen is that the carrots need to be chopped up and stuck into a pot, ans boiled until tender.

Then those cooked carrots need to get blended up intoa nice, mostly smooth puree.

Carrot puree goes into a bowl (still warm) along with the earth balance.  Let it kinda melt. Then add in a bit ofsugar and cinnamon, andthe yeast. Mix it all up and set aside for a few minutes until the yeast is clearly activated (starting to bubble a bit)

Now add in the flour. Start with the lowest amount and add in a little bit more until you get to a good doughy, slightly sticky dough.

And for my favorite part, dump the dough onto a floured surface. Have about 1/4-1/2 cup of flour off to the side and start to knead the dough, adding a little more flour to the surface every time it gets sticky.

After about 5 minutes,, the dough should look something like this.... Not to sticky, but not dry. A little glossy and elastic-y.. All ready to rise.

Stick dough back into the bowl and rub down with at little oil. Cover with a towel and place in a warm spot to rise (about an hour)

IMG_4555.jpg
IMG_4559.jpg

Sometime while that dough is rising,  prepare the filling. Chop up the cranberries and walnuts into little (or big, or medium) pieces and stick into a bowl with the cinnamon, ginger, earth balance and sugar. Mix it all together and set aside.

Pretty dough, all doubled up in size

Take the dough and roll it out onto a lightly floured surface. You are looking for a rectangular shape that is about1/2inch thick.

Once rolled out, spread the filling all over the dough ( I found my hands worked the best)

IMG_4590.jpg
IMG_4594.jpg
IMG_4596.jpg

And roll the dough onto it self, cut in half, then scoreand cut the two halves into equal sized pieces (I did 7 each, but could get away with 8)

Place the buns into greases 9 inch round cake pans, (or whatever pans you want to use) cover, and let sit for about another 20 minutes for the second rise.

Note... If you want,  at this stage, take one of these pans wrap it up in plastic ans stick it into the freezer for another day. (that's what I did). When you are ready to bake them, just remove from freezer ans let the dough coke to room temperature.

Look at those buns all cozy and snug. Now into the oven they go!

IMG_4634.jpg
IMG_4640.jpg

So while the buns are baking, grab some powderedsugar and a clementine   to make the glaze. All you need to do is add the juice to the sugar until you get a good gooey, not to thick, not to watery consistency.

And after about 35minutes in the oven, these buns are done! Grab them out of the oven.

Let the buns cool for a bit then drizzle on a bit of glaze. And let cool a little longer and add some more. (add as much or as little as you want)

And look at that, ooey, gooey goodness. The product of my severe procrastination.

Hope you folks are having a great week! Maybe we will get lucky around here and get some snow soon!!!!

-C


Carrot Cranberry Walnut Cinnamon Bun with Clementine Glaze

Makes 14-16 buns

for the dough

  • 3 1/2-4 cups all purpose flour
  • 1 cup milk (I used almond, but any milk works)
  • 2-3 carrots (need 1 cup of carrot puree)
  • 1 teaspoon salt
  • 2 teaspoons yeast
  • 3 tablespoons earth balance
  • 1 teaspoon cinnamon
  • 2 heaping tablespoons sugar

For the filling

  • 1/3 cup sugar
  • 2 heaping tablespoons cinnamon
  • 3 tablespoons room temperature earth balance
  • 1 teaspoon ginger
  • 1 cup cranberries
  • 1/2 cup walnuts

for the glaze

  • a clementine
  • about 2 cups of powdered sugar

First off, chop up the carrots and boil them until tender, then puree them into a pretty smooth consistency. 

Once you have the carrot puree, and while its still warm, add in the earth balance and mix it in till its melted. Then add in the almond milk, sugar and yeast. Mix all together and set aside for a few minutes until the yeast is visibly activated. Add in the salt and the flour and mix together until the dough is starting to pull form the bowl. Dump dough onto a floured surface and flour your hands cause you are now going to knead the dough for about 5 minutes. Have about a 1/2 cup of extra flour near by to flour the counter as you are kneading. The dough is good once it starts to look glossy ans is no longer sticking to the counter and has a bit of elasticity to it.  Place dough into a bowl, cover with a little oil, then cover bowl with a towel. Place bowl in a warm place to let dough double in size (about an hour.

While the dough is rising, chop up the walnuts and cranberries and mix together in a bowl with the sugar, cinnamon, ginger, and the earth balance. Set aside.

Once the dough has doubled in size, dump dough back onto a lighty floured surfave and roll out into a big rectangle about 3/4 inch thick. Grab the filling and spread evenly all over the dough. Starting at the closest end to you, roll the dough up length wise, somethat tightly, until the doeugh is completely rolled. Cut in half then cut each half into 7-8 pieces that are about the same size.

Grab two 9 inch cake pans (or pans of similar size), give them a good greasing and place the buns into the pans. Cover the pans and set aside for another 20ish minutes to rise again!

Note... If you want to just bake off one batch, just stick the bun, wrapped in plastic, into the freezer at this point. When you are ready to bake them off, just remove from freezer and let the dough comet o room temperature.

Preheat the oven to 375.

Once the dough has risen again (they dont exactly double, butthey get pretty big) place the buns into the oven. Bake until the buns are nice and golden brown, about 35 minutes,

While buns are baking, make the glaze. Powdered sugar in a bowl and whisk in the juice of the clementine. if its to thin, add more sugar, and to thick, add more juice.

When the buns are done baking (you can also check with an instant read therometer that reads 190) remove from oven and let cool in pans. Drizzle the buns with the glaze, while still slightly warm. Let coolsome more and then drizzle a bit more on top. Serve right away.

Note

In breakfast, Dairy Free, desserts, holiday, recipes, Sweets, Vegan, Vegetables Tags Carrot Cranberry Walnut Cinnamon Buns with Clementine Glaze, Vegan, clean eating, plant based, dessert, breakfast, hidden veggies, walnuts, nuts, fresh cranberries, holiday, cinnamon buns, adulting, yeasted cinnamon buns, vegan cinnamon buns
Comment
← Newer Posts Older Posts →
 

https://thelovelycrazy.squarespace.com/config#/|/about/

Me. Food Maker.Food eater. Woo HOO!

STEM+NODE  SMALL BATCH AND ONE OF A KIND POTTERY

stem+node ceramics


____________________

Subscribe

GET NEW POSTS IN YO EMAIL

You are AWESOME!!!


@thelovelycrazy 2014-2021