• stem+node ceramics
  • HOME
  • Food Recipes
  • About
  • Contact
Menu

The Lovely Crazy

Street Address
City, State, Zip
Phone Number

Your Custom Text Here

The Lovely Crazy

  • stem+node ceramics
  • HOME
  • Food Recipes
  • About
  • Contact

Peach Shortcake

June 5, 2021 Colleen Stem
IMG_5668.jpg
IMG_5680.jpg
IMG_5687.jpg

My fruit bowl went from the odd apple and lots of oranges to an overflow of peaches cause its summertime fruit time!

I might have gone a little overboard with the first purchase of peaches and bought like 12 lbs. (Yeah I did). But I knew I wanted to make these shortcakes for the mr and Barb so I figured there is a couple pounds right there that are not going into my mouth so It was like I bought 10 lbs and I can eat 10 lbs of peaches in a week no problem. Facts!

It was weird, I don’t usually plan to far in advances on what I am going to bake but for some reason I had it in my head that I needed to make shortcakes with peaches. Everyone is always making strawberry shortcakes but then stops it there and I don’t know, it just seems like the world needs to expand their fruit and shortcake minds and mix it up. Yes strawberries are fantastic but so is all the other fruit out there. Especially peaches. Peaches are a good fruit to start mixing it up with.

See, I got you. Now to the peach shortcake!

IMG_5560.jpg

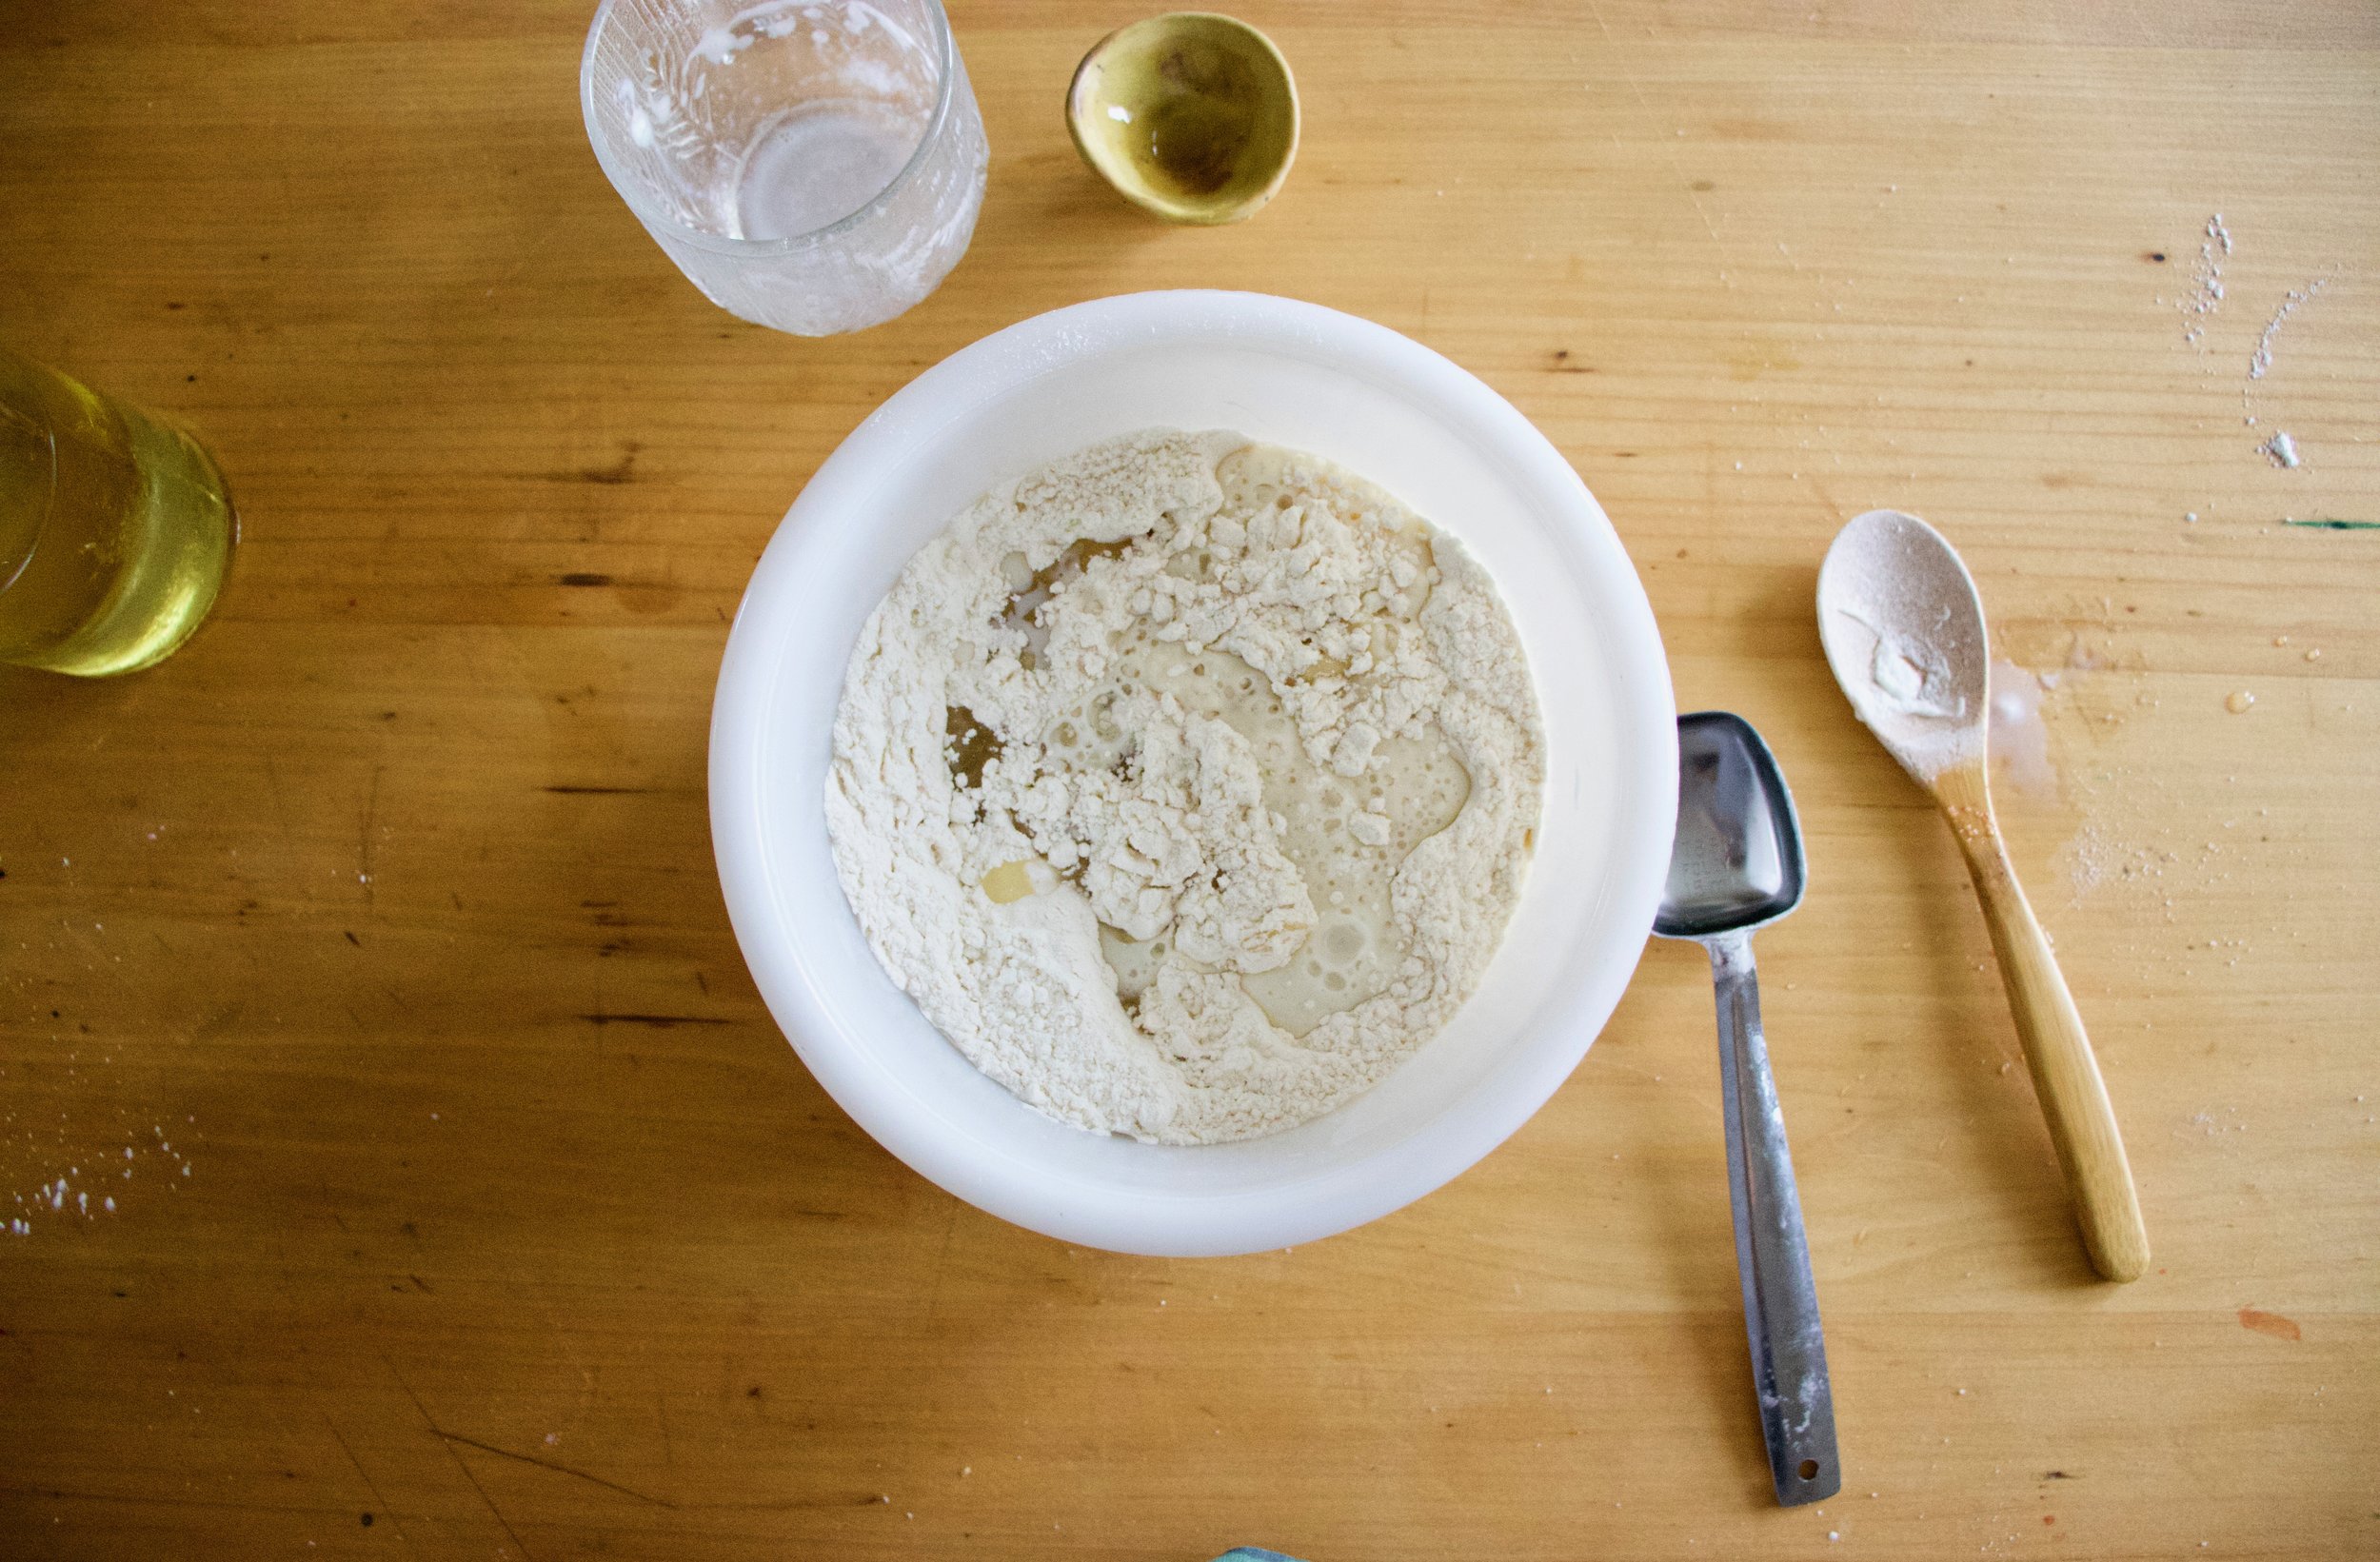
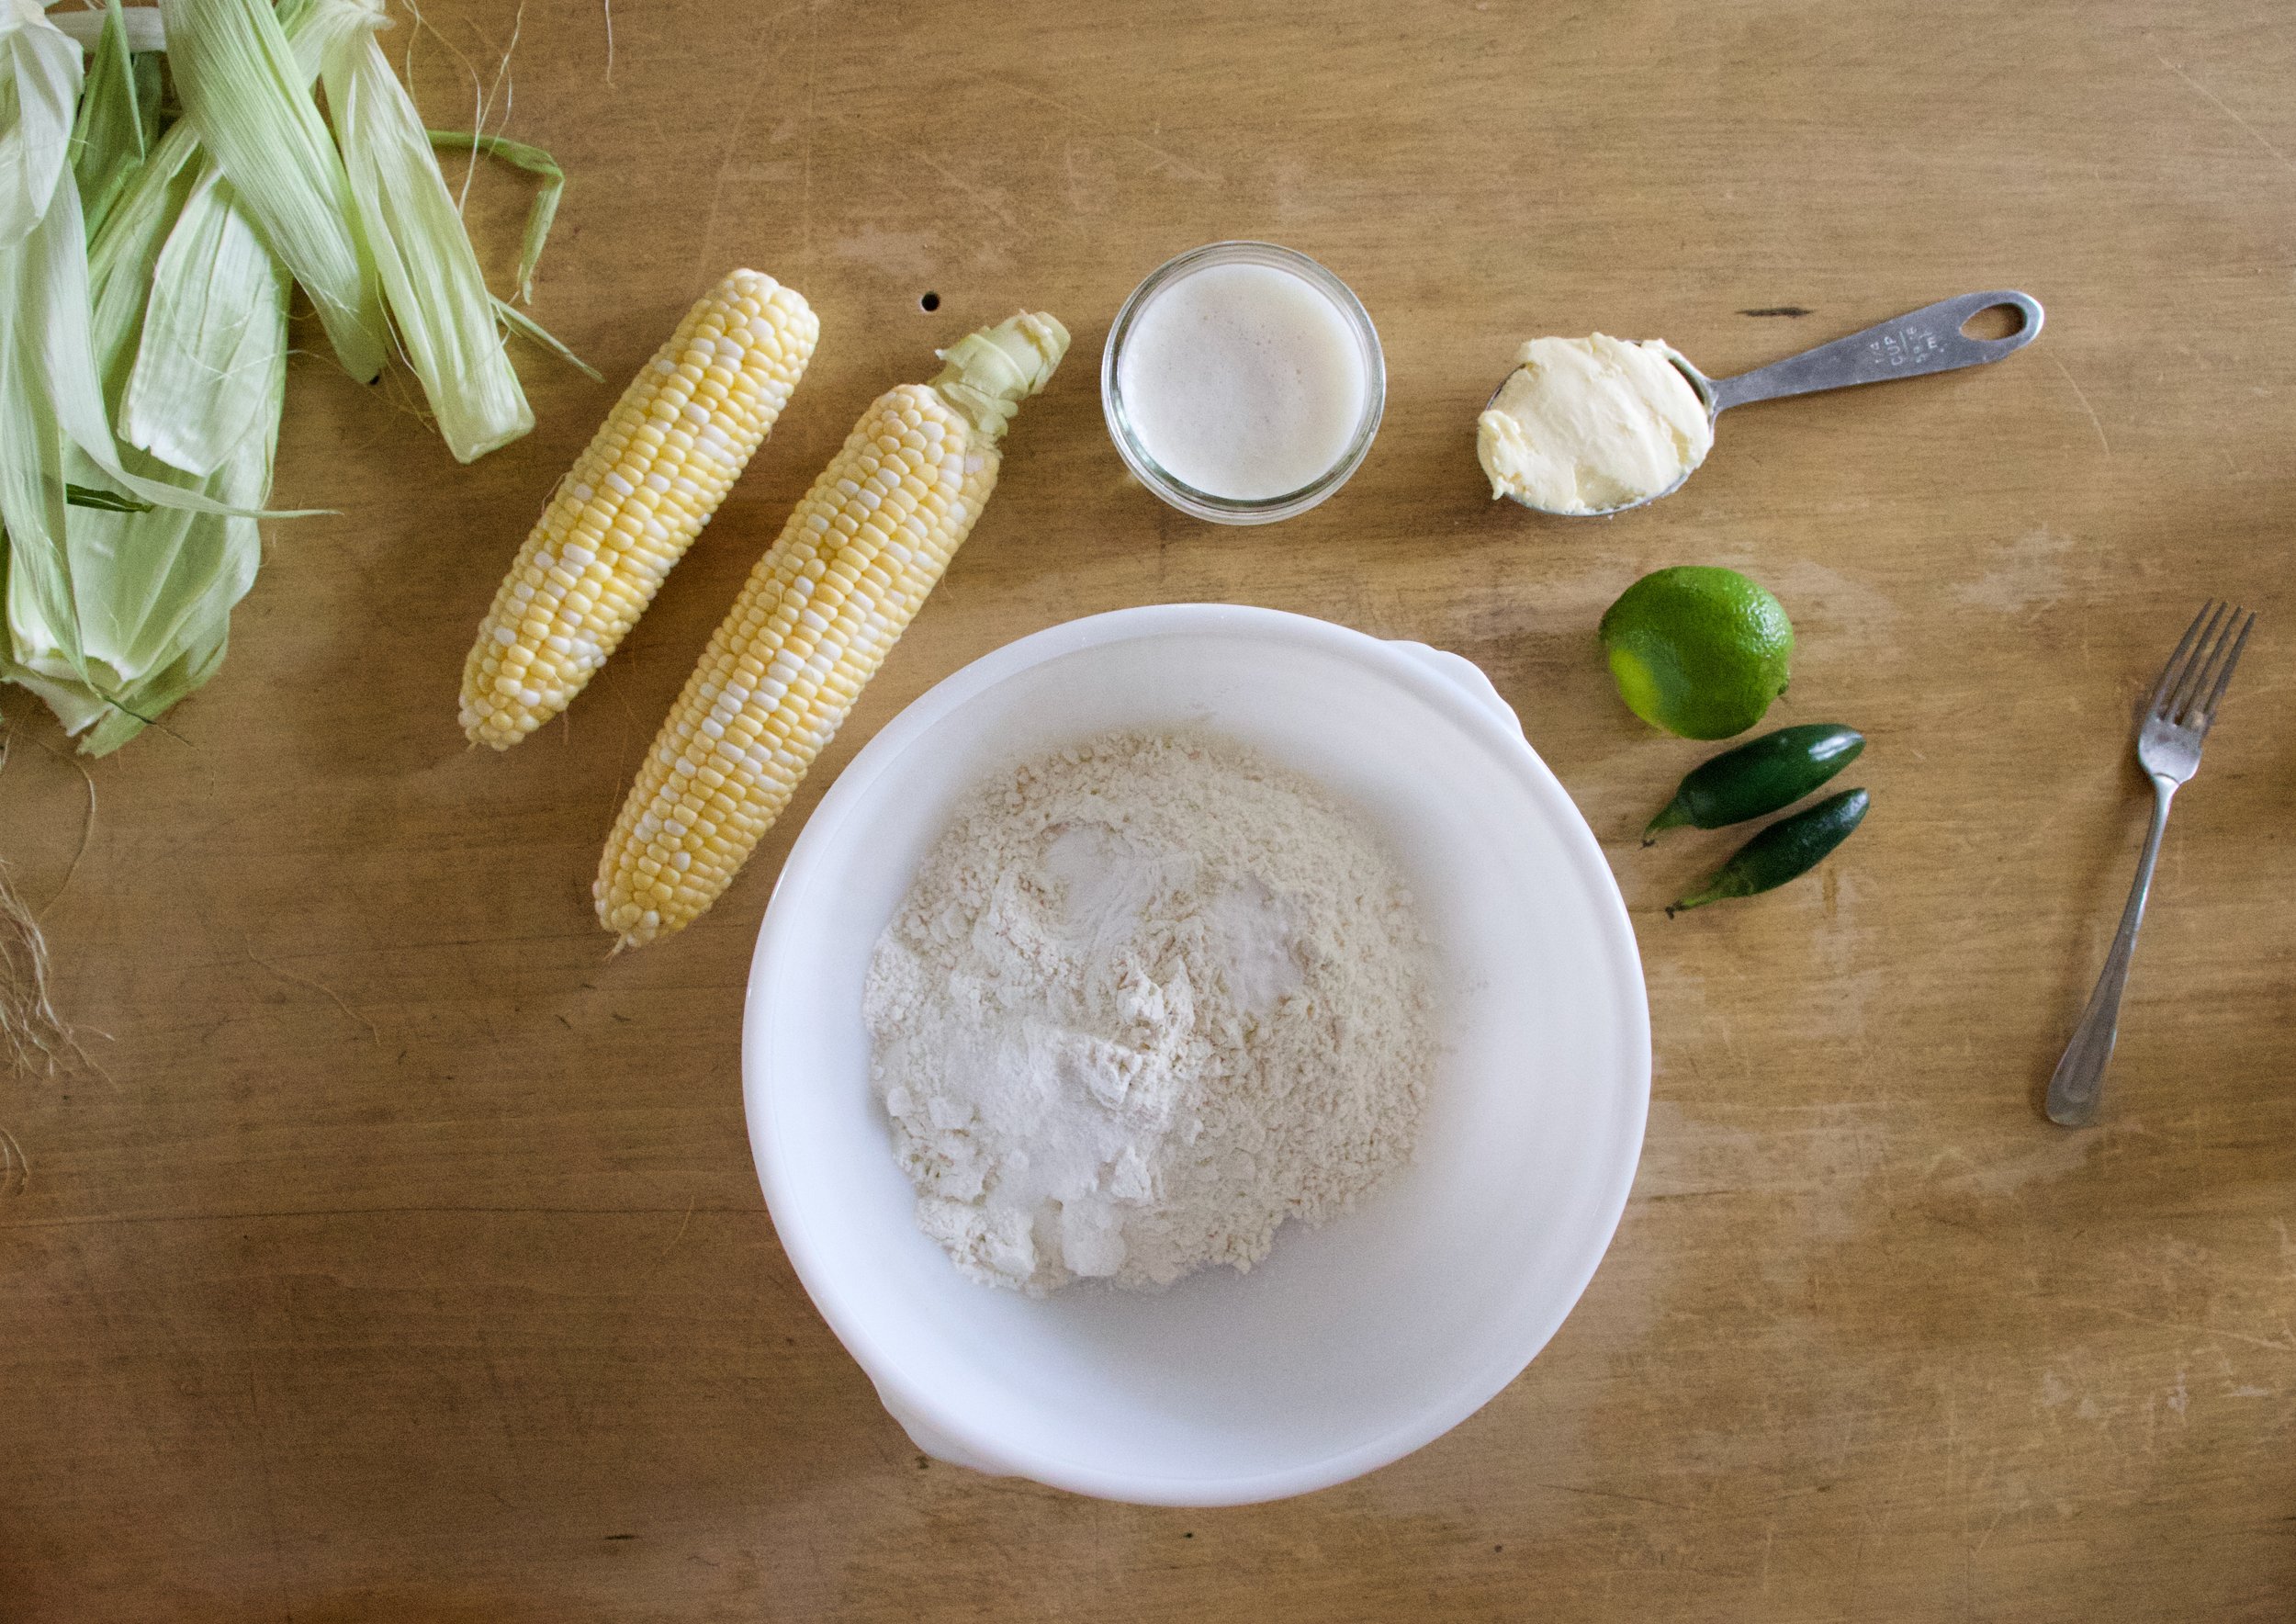
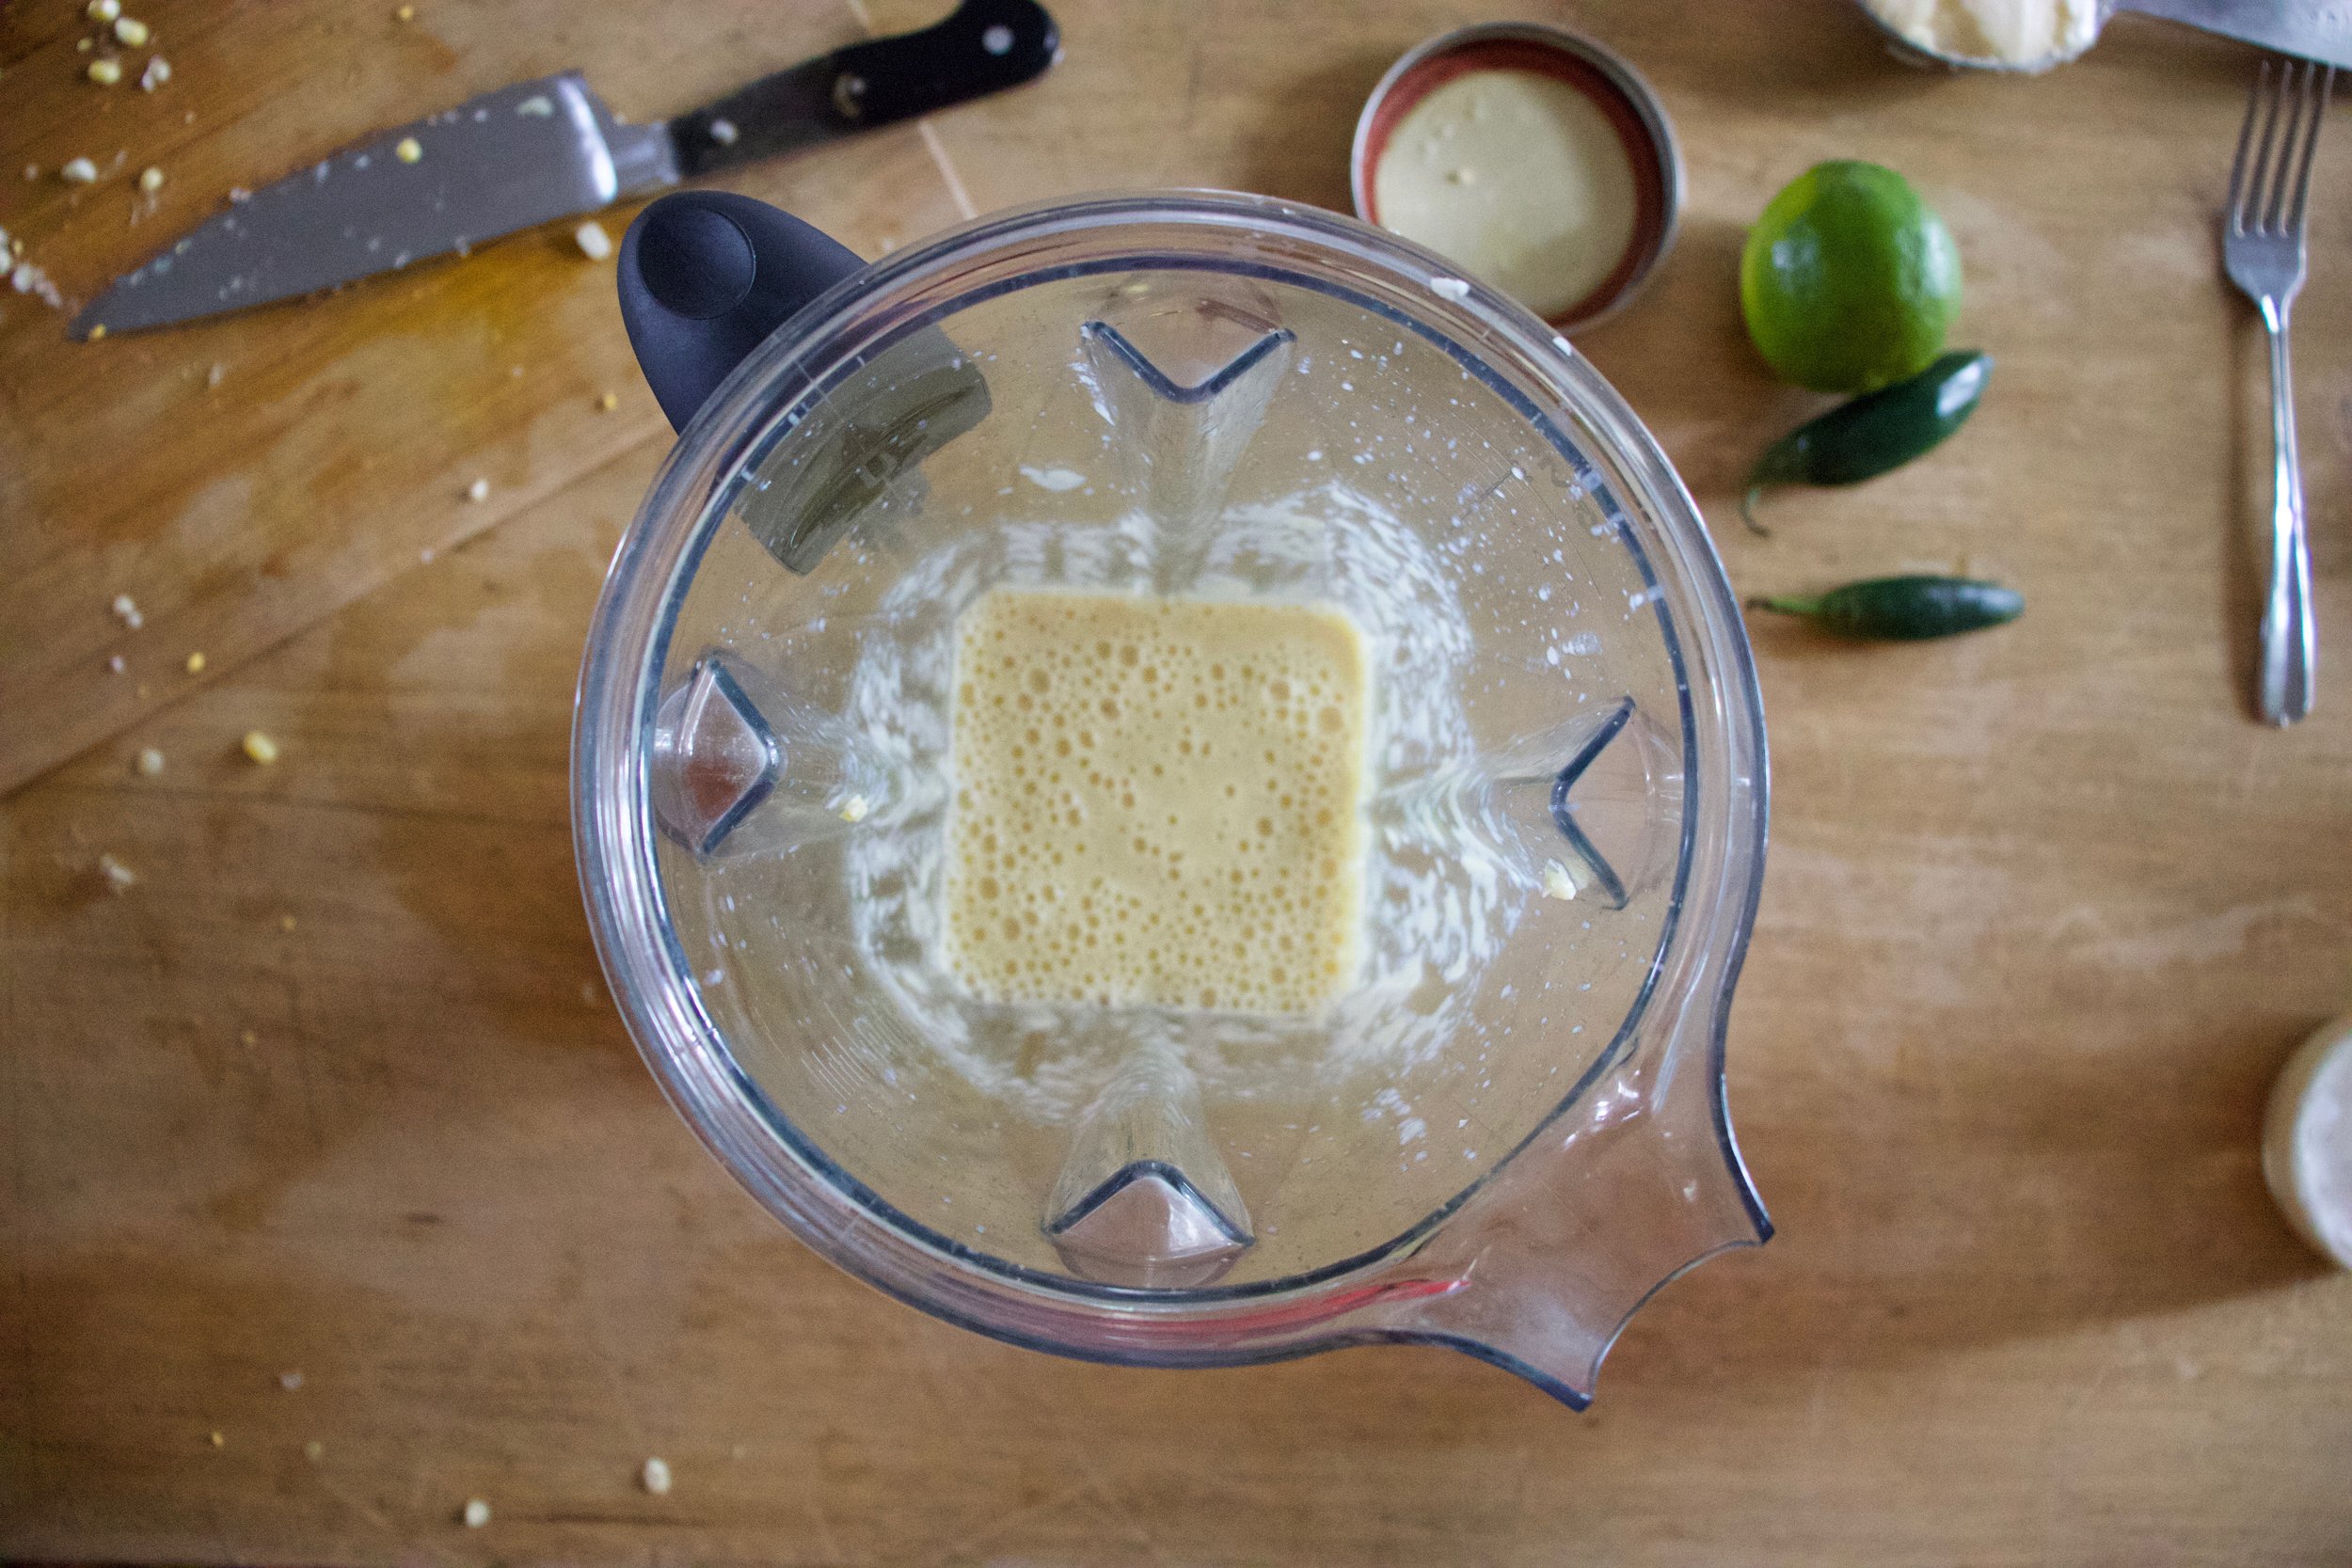
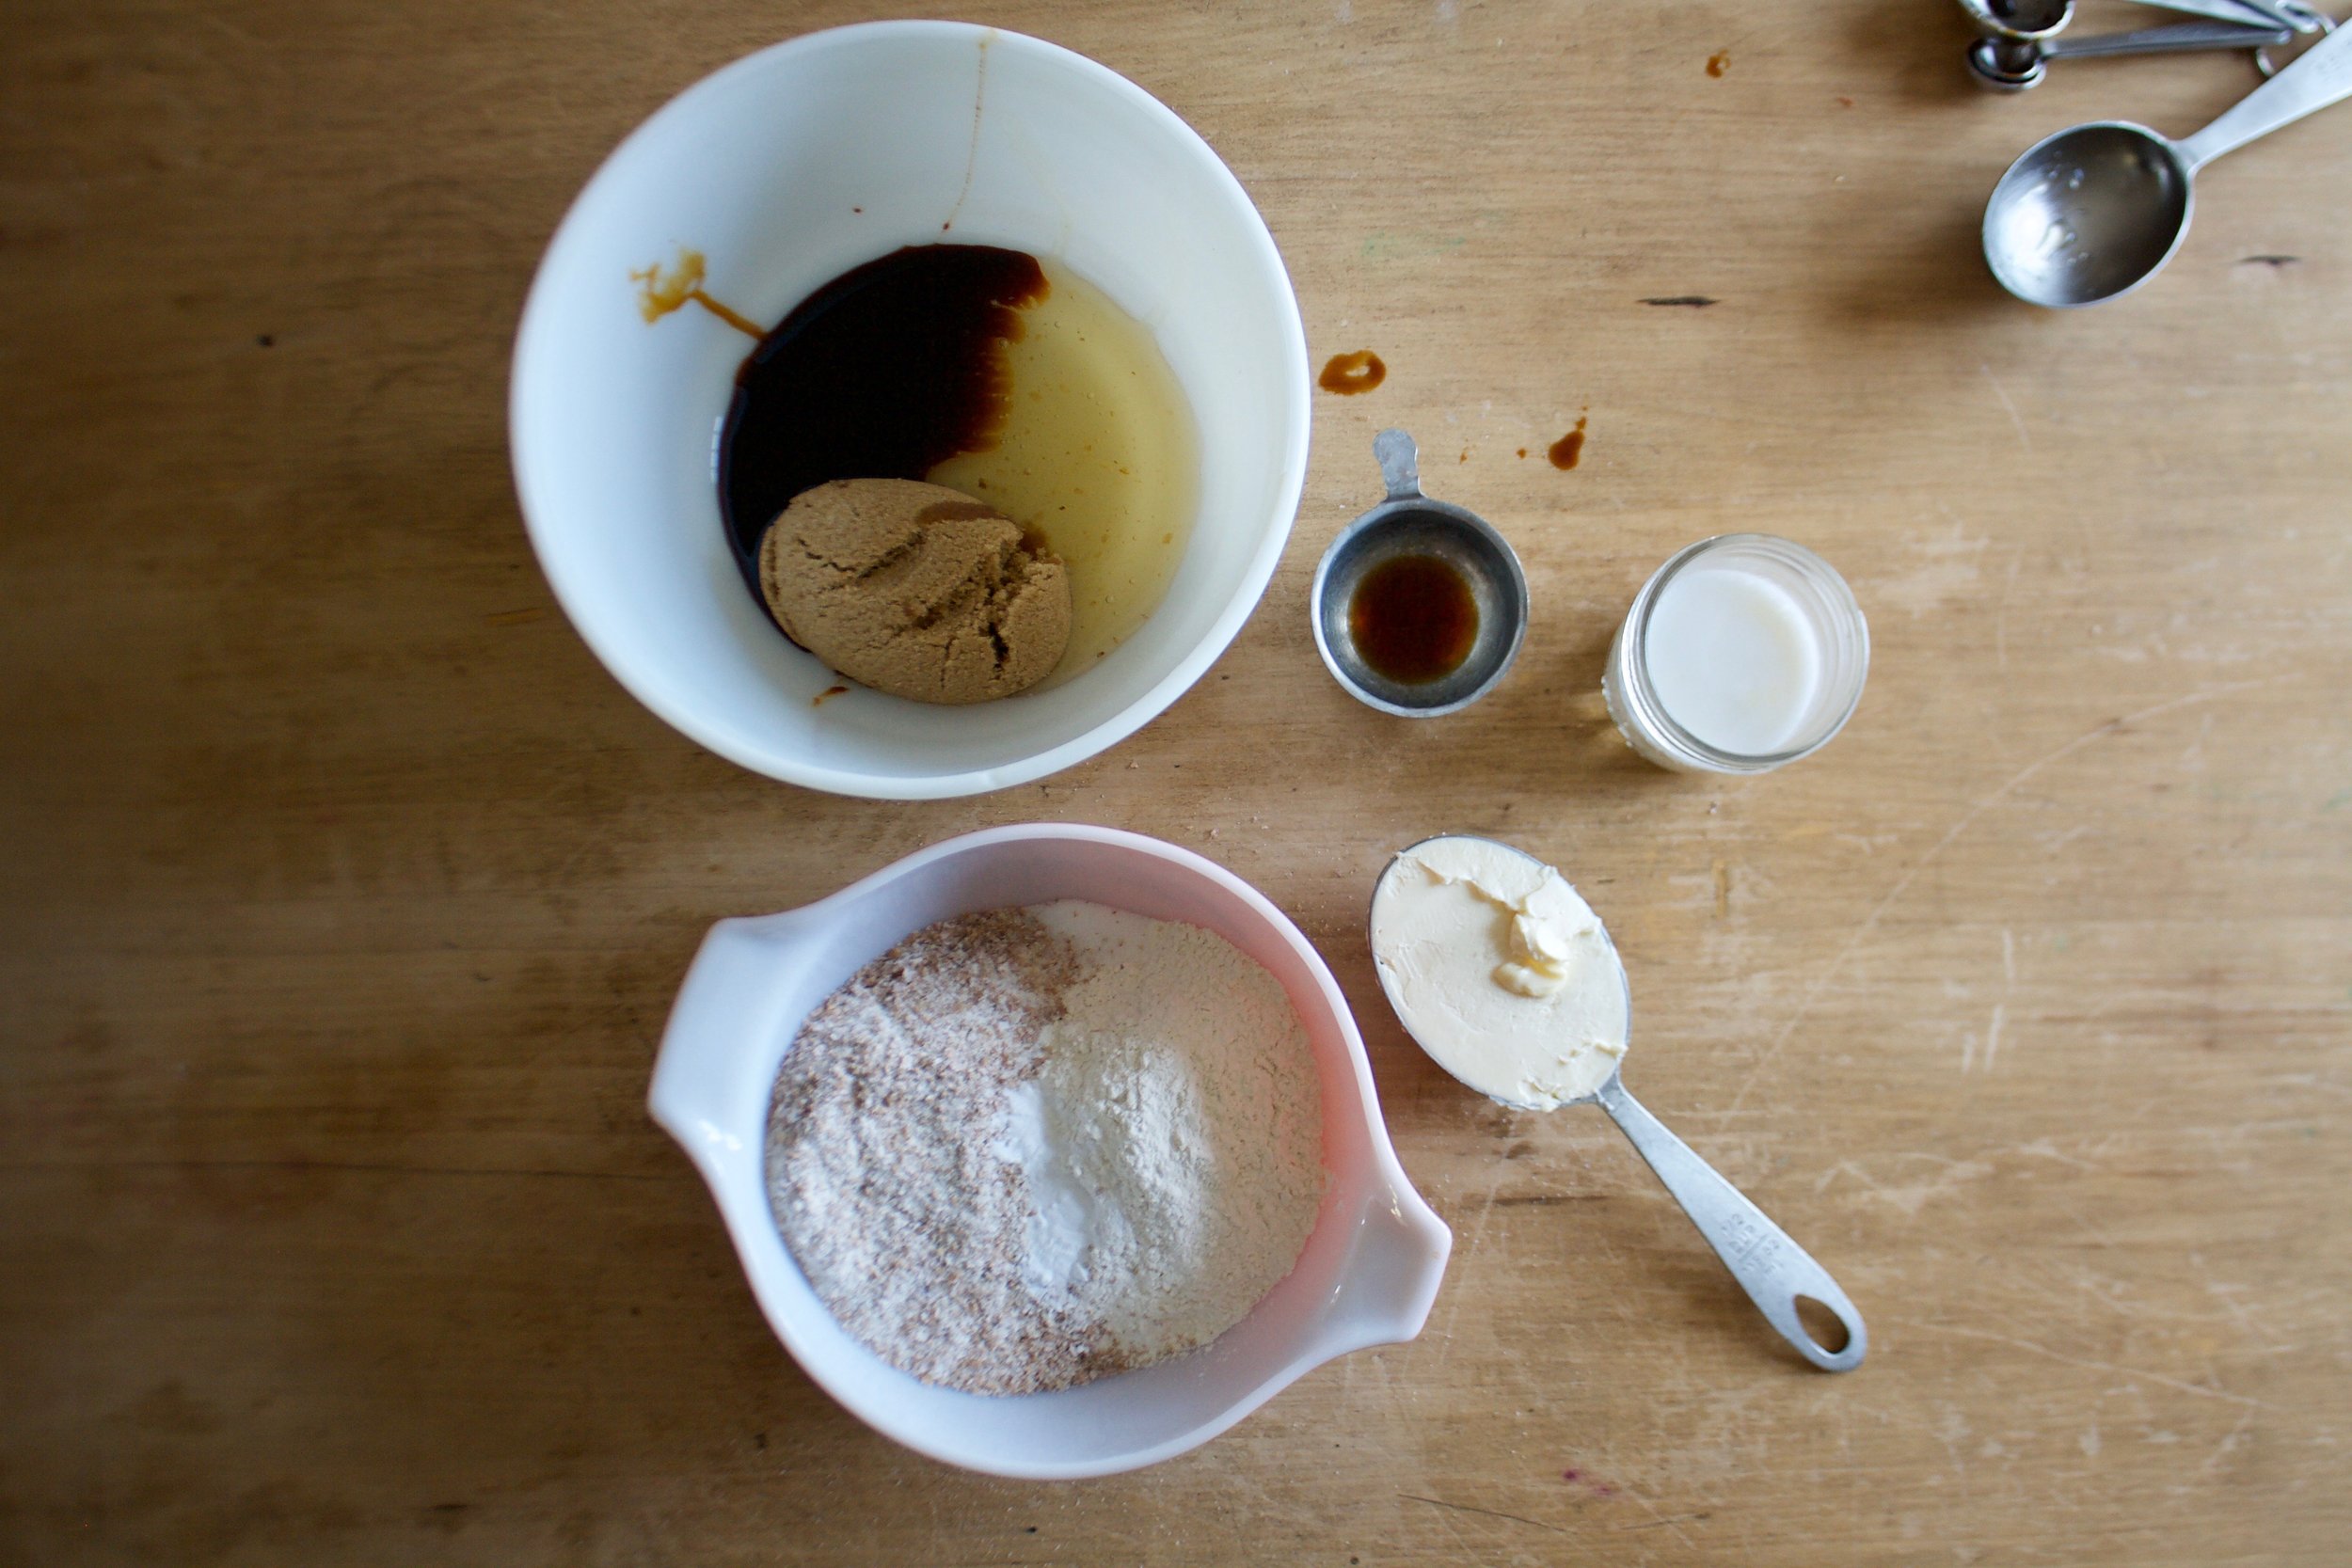
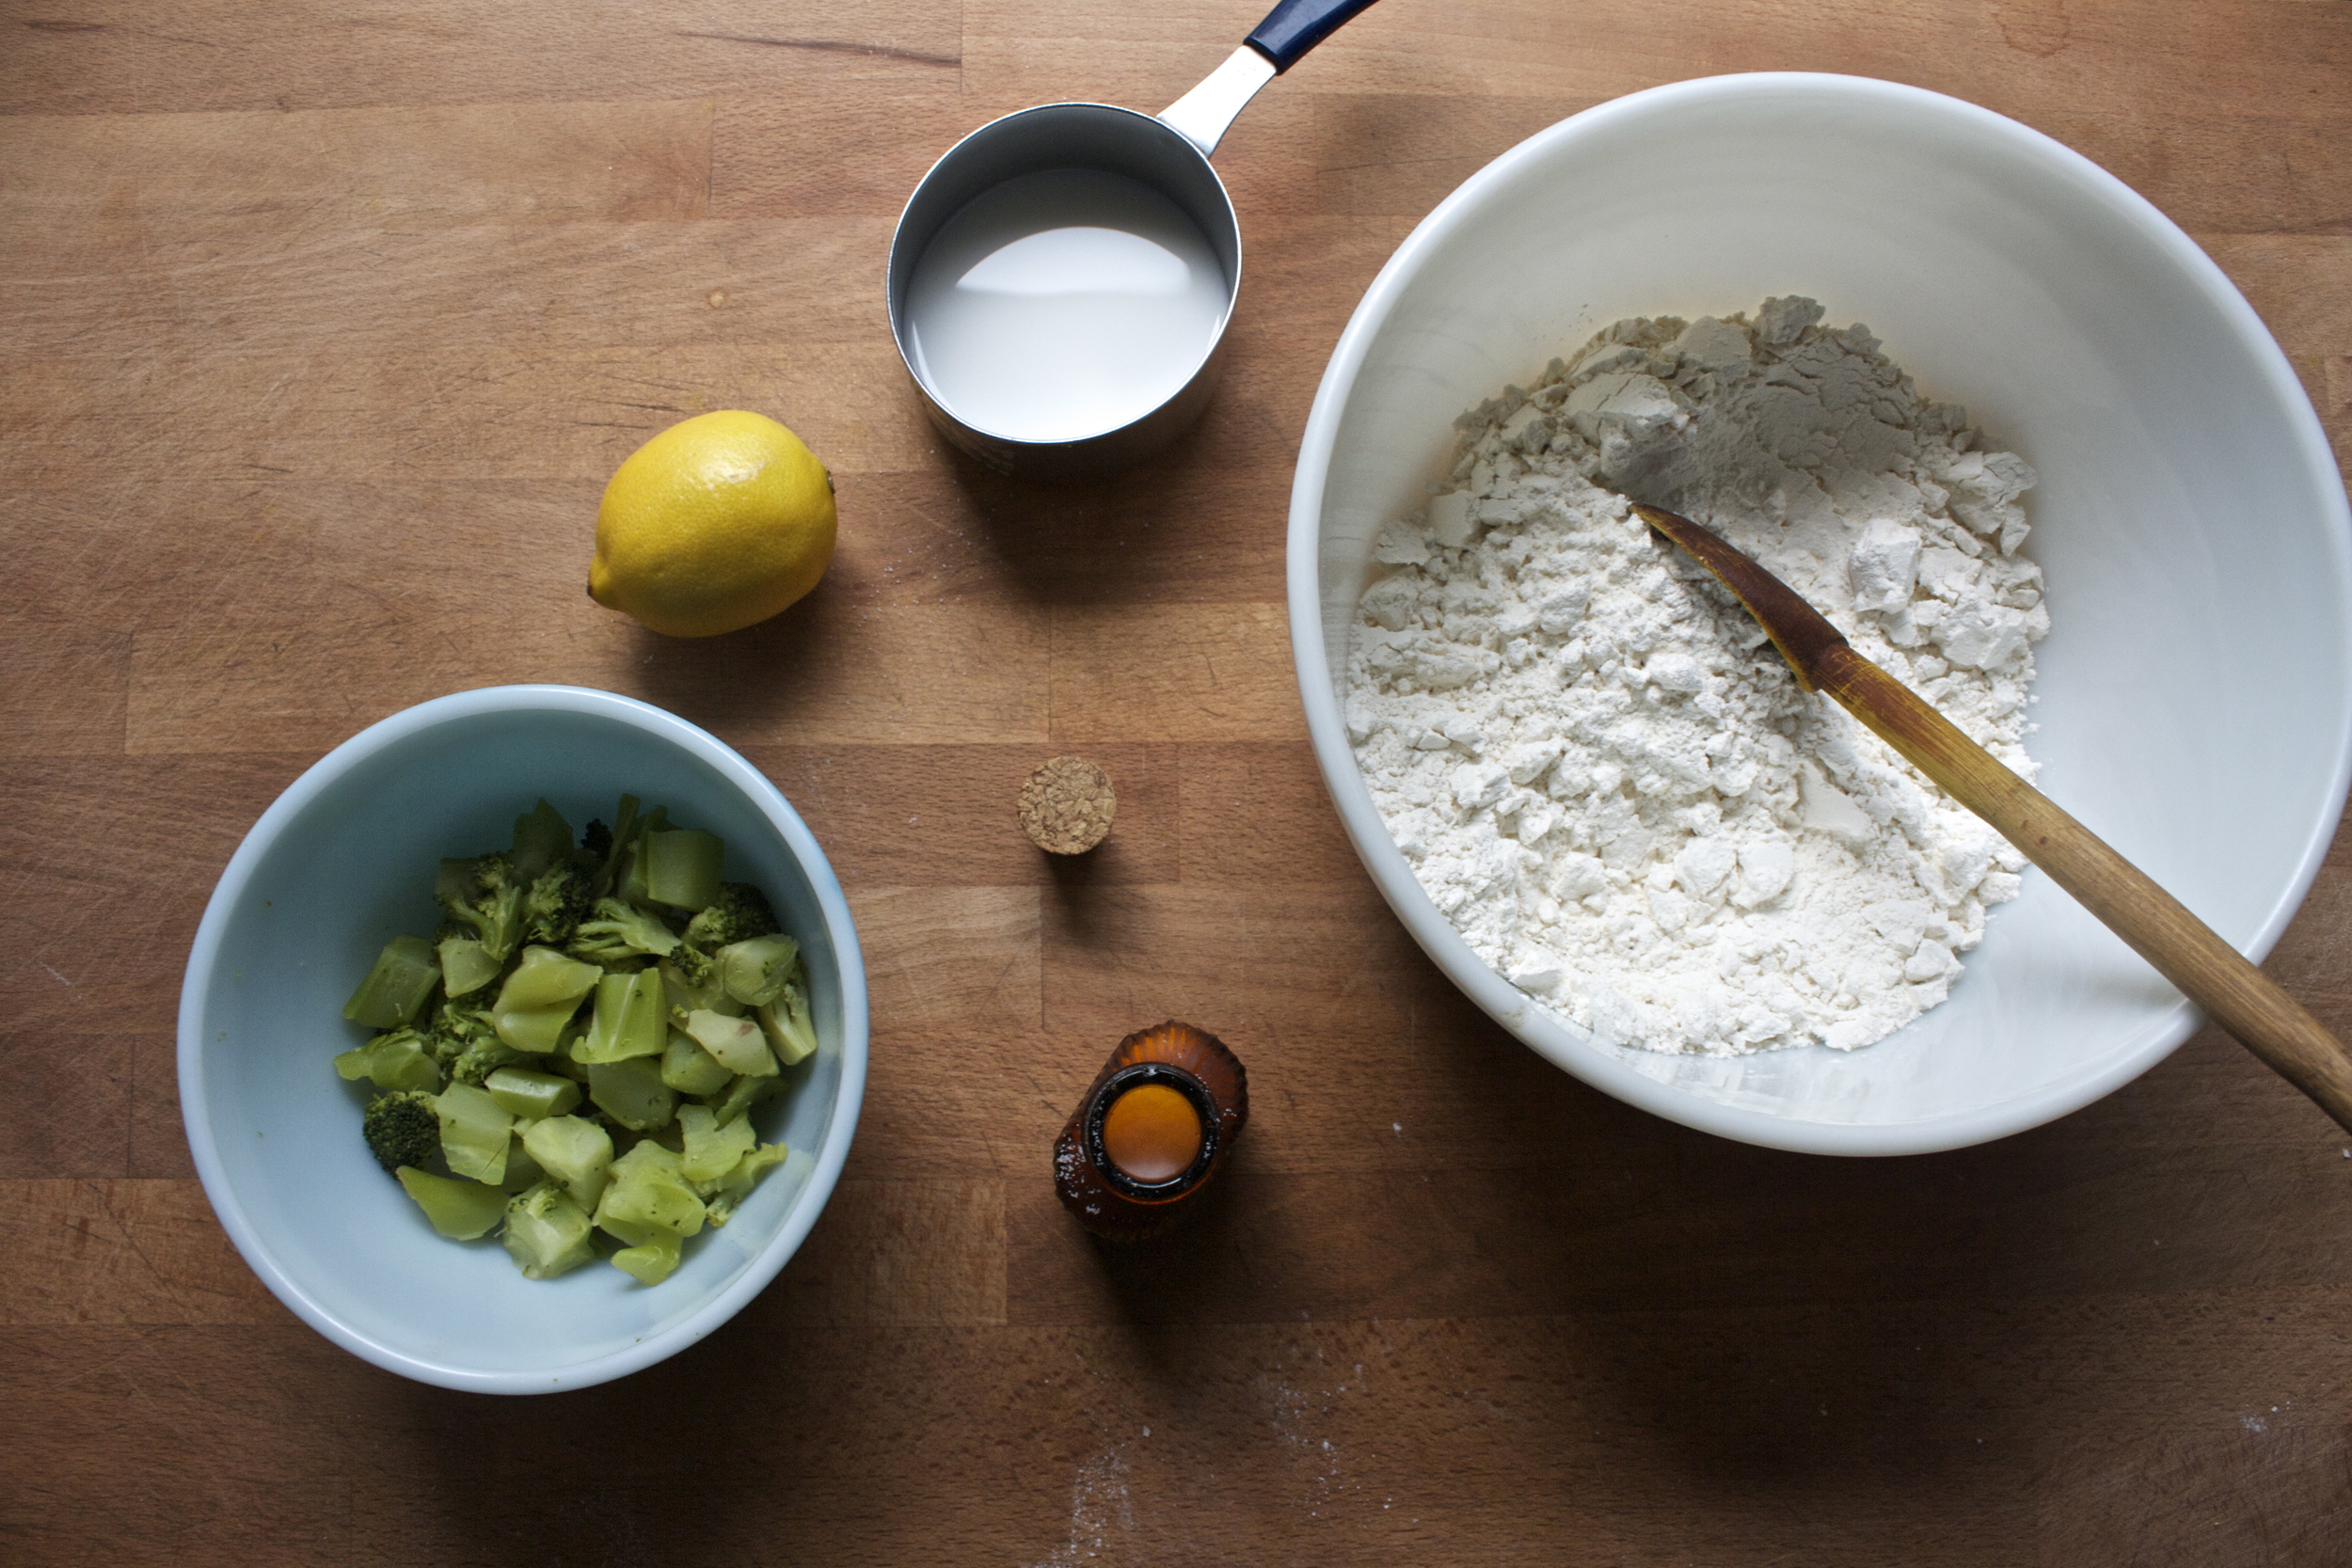
The stuff. Flour baking powder, salt, sugar, coconut oil, plant milk, a can of coconut milk, powder sugar, and ripe peaches.

IMG_5597.jpg

Start by cutting up peaches. Remove pits and dice small. You can peel them but why?

IMG_5604.jpg

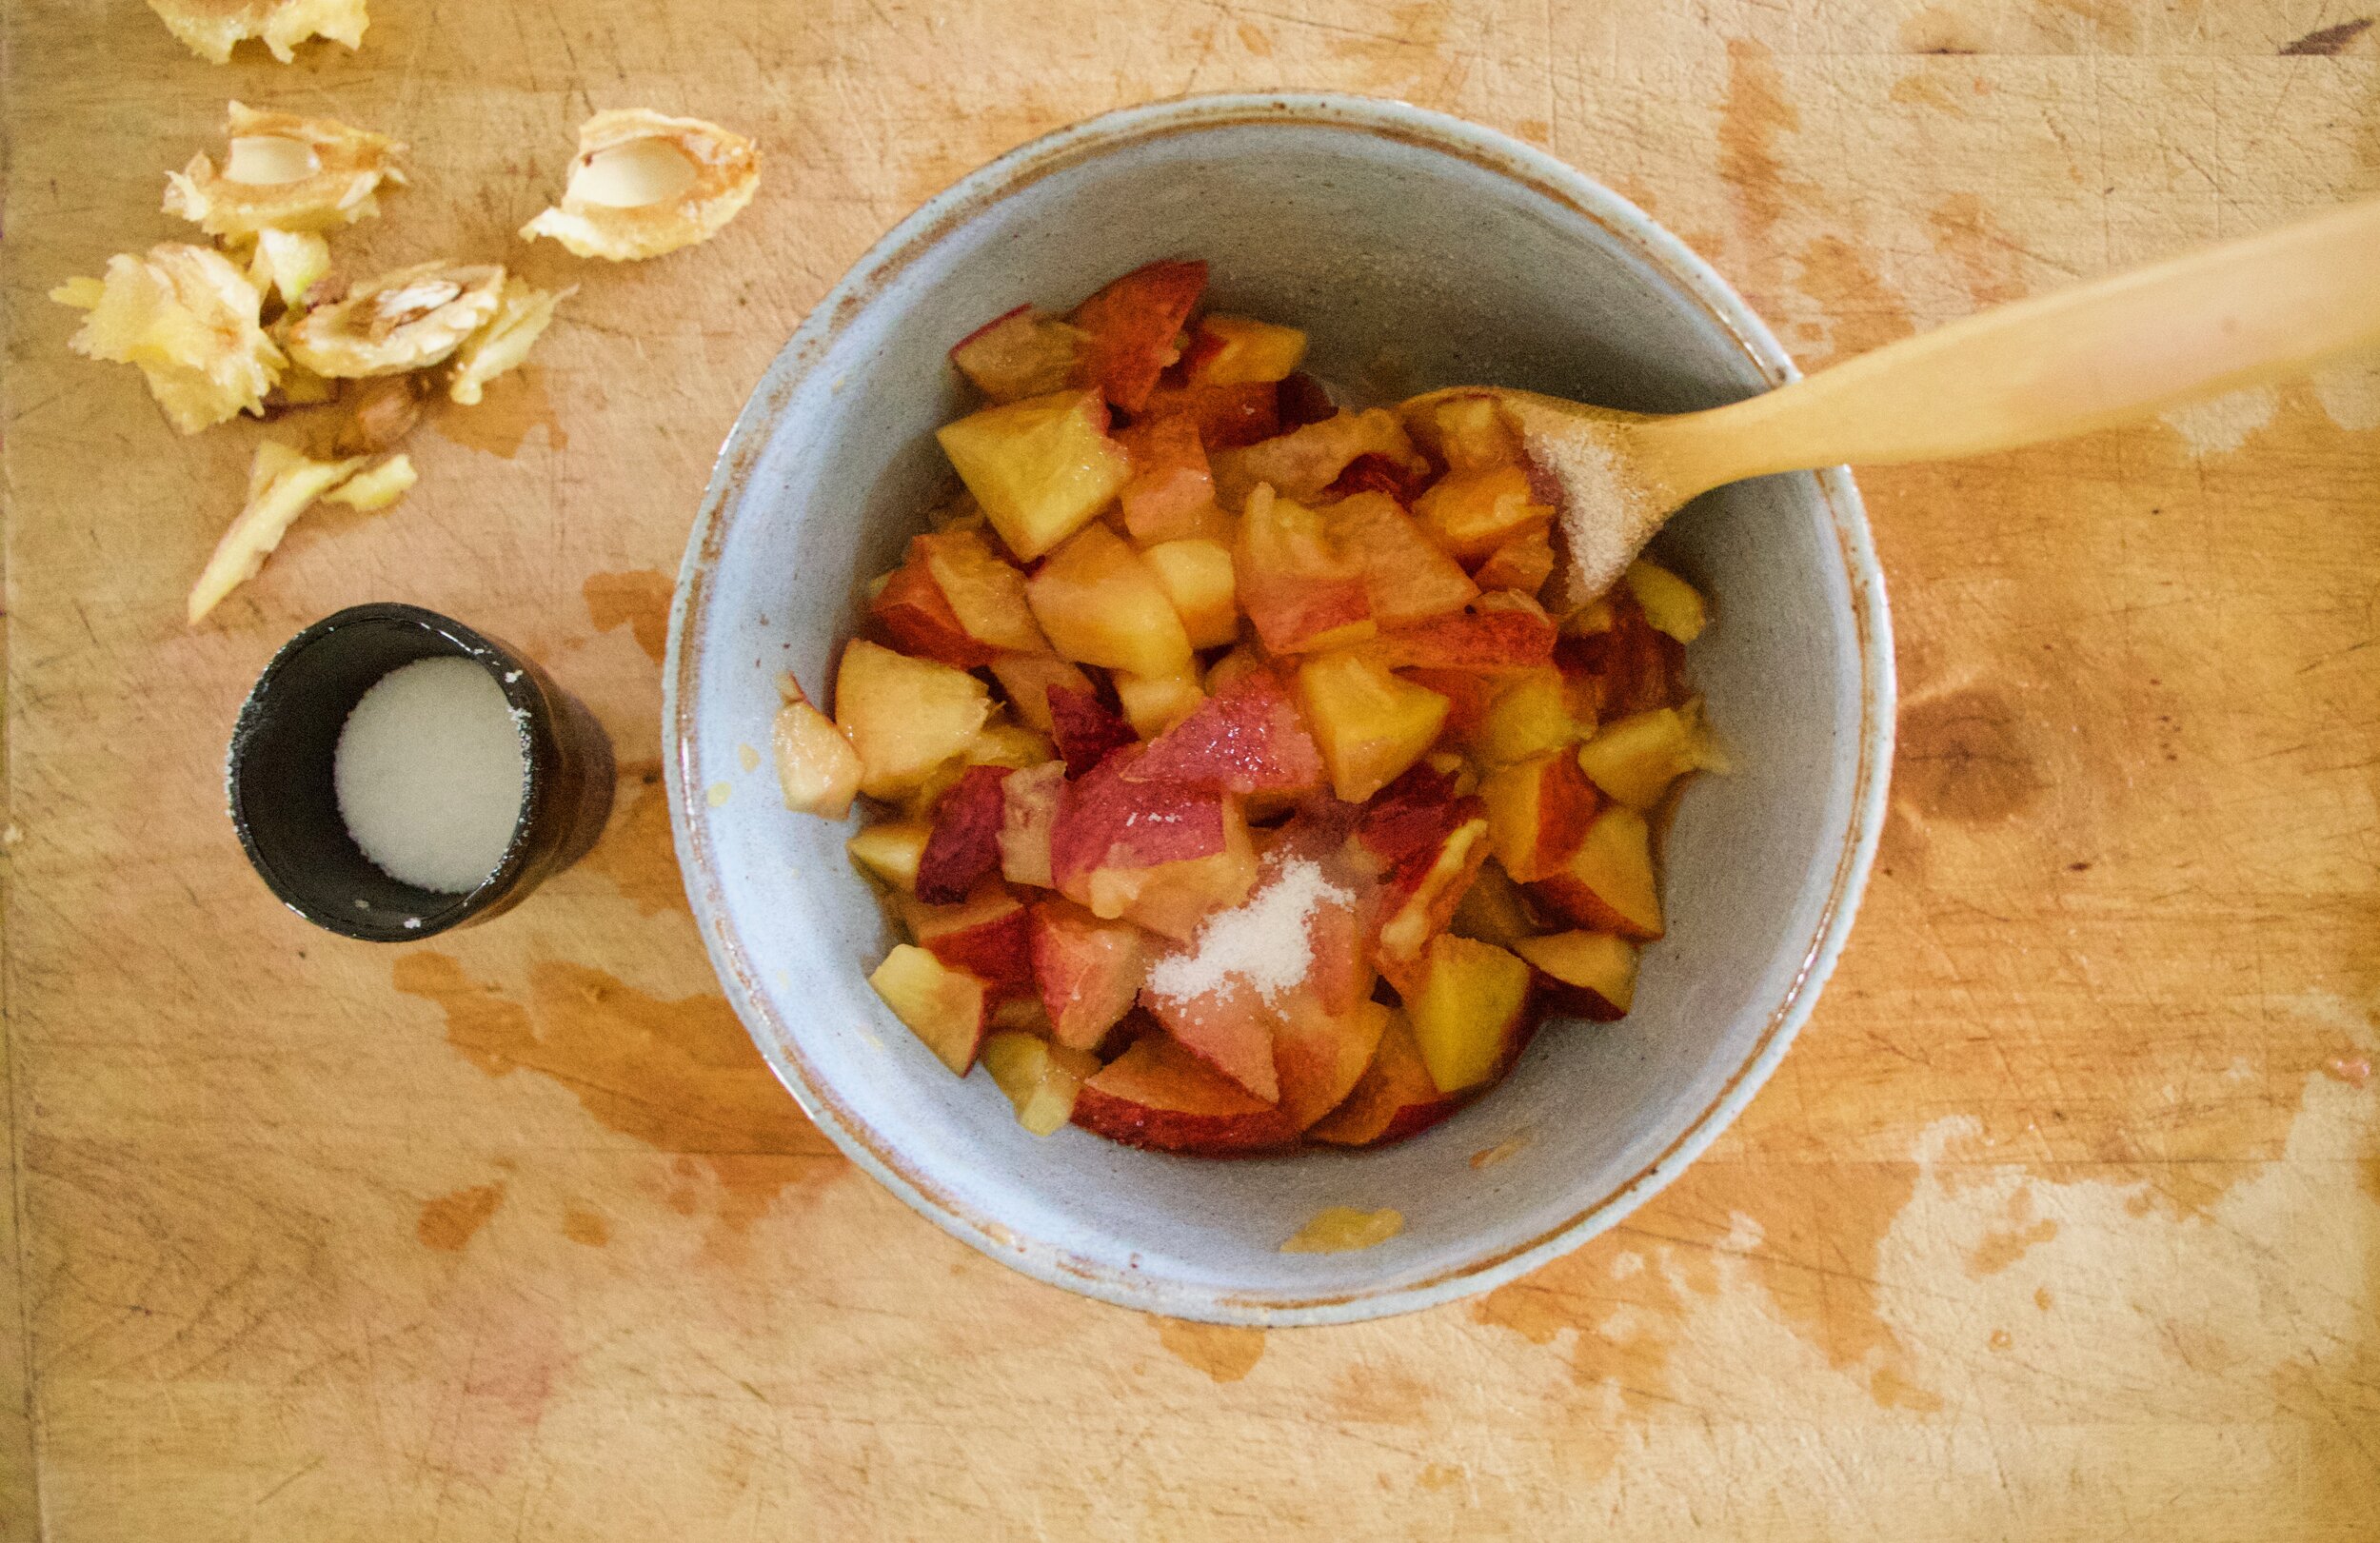
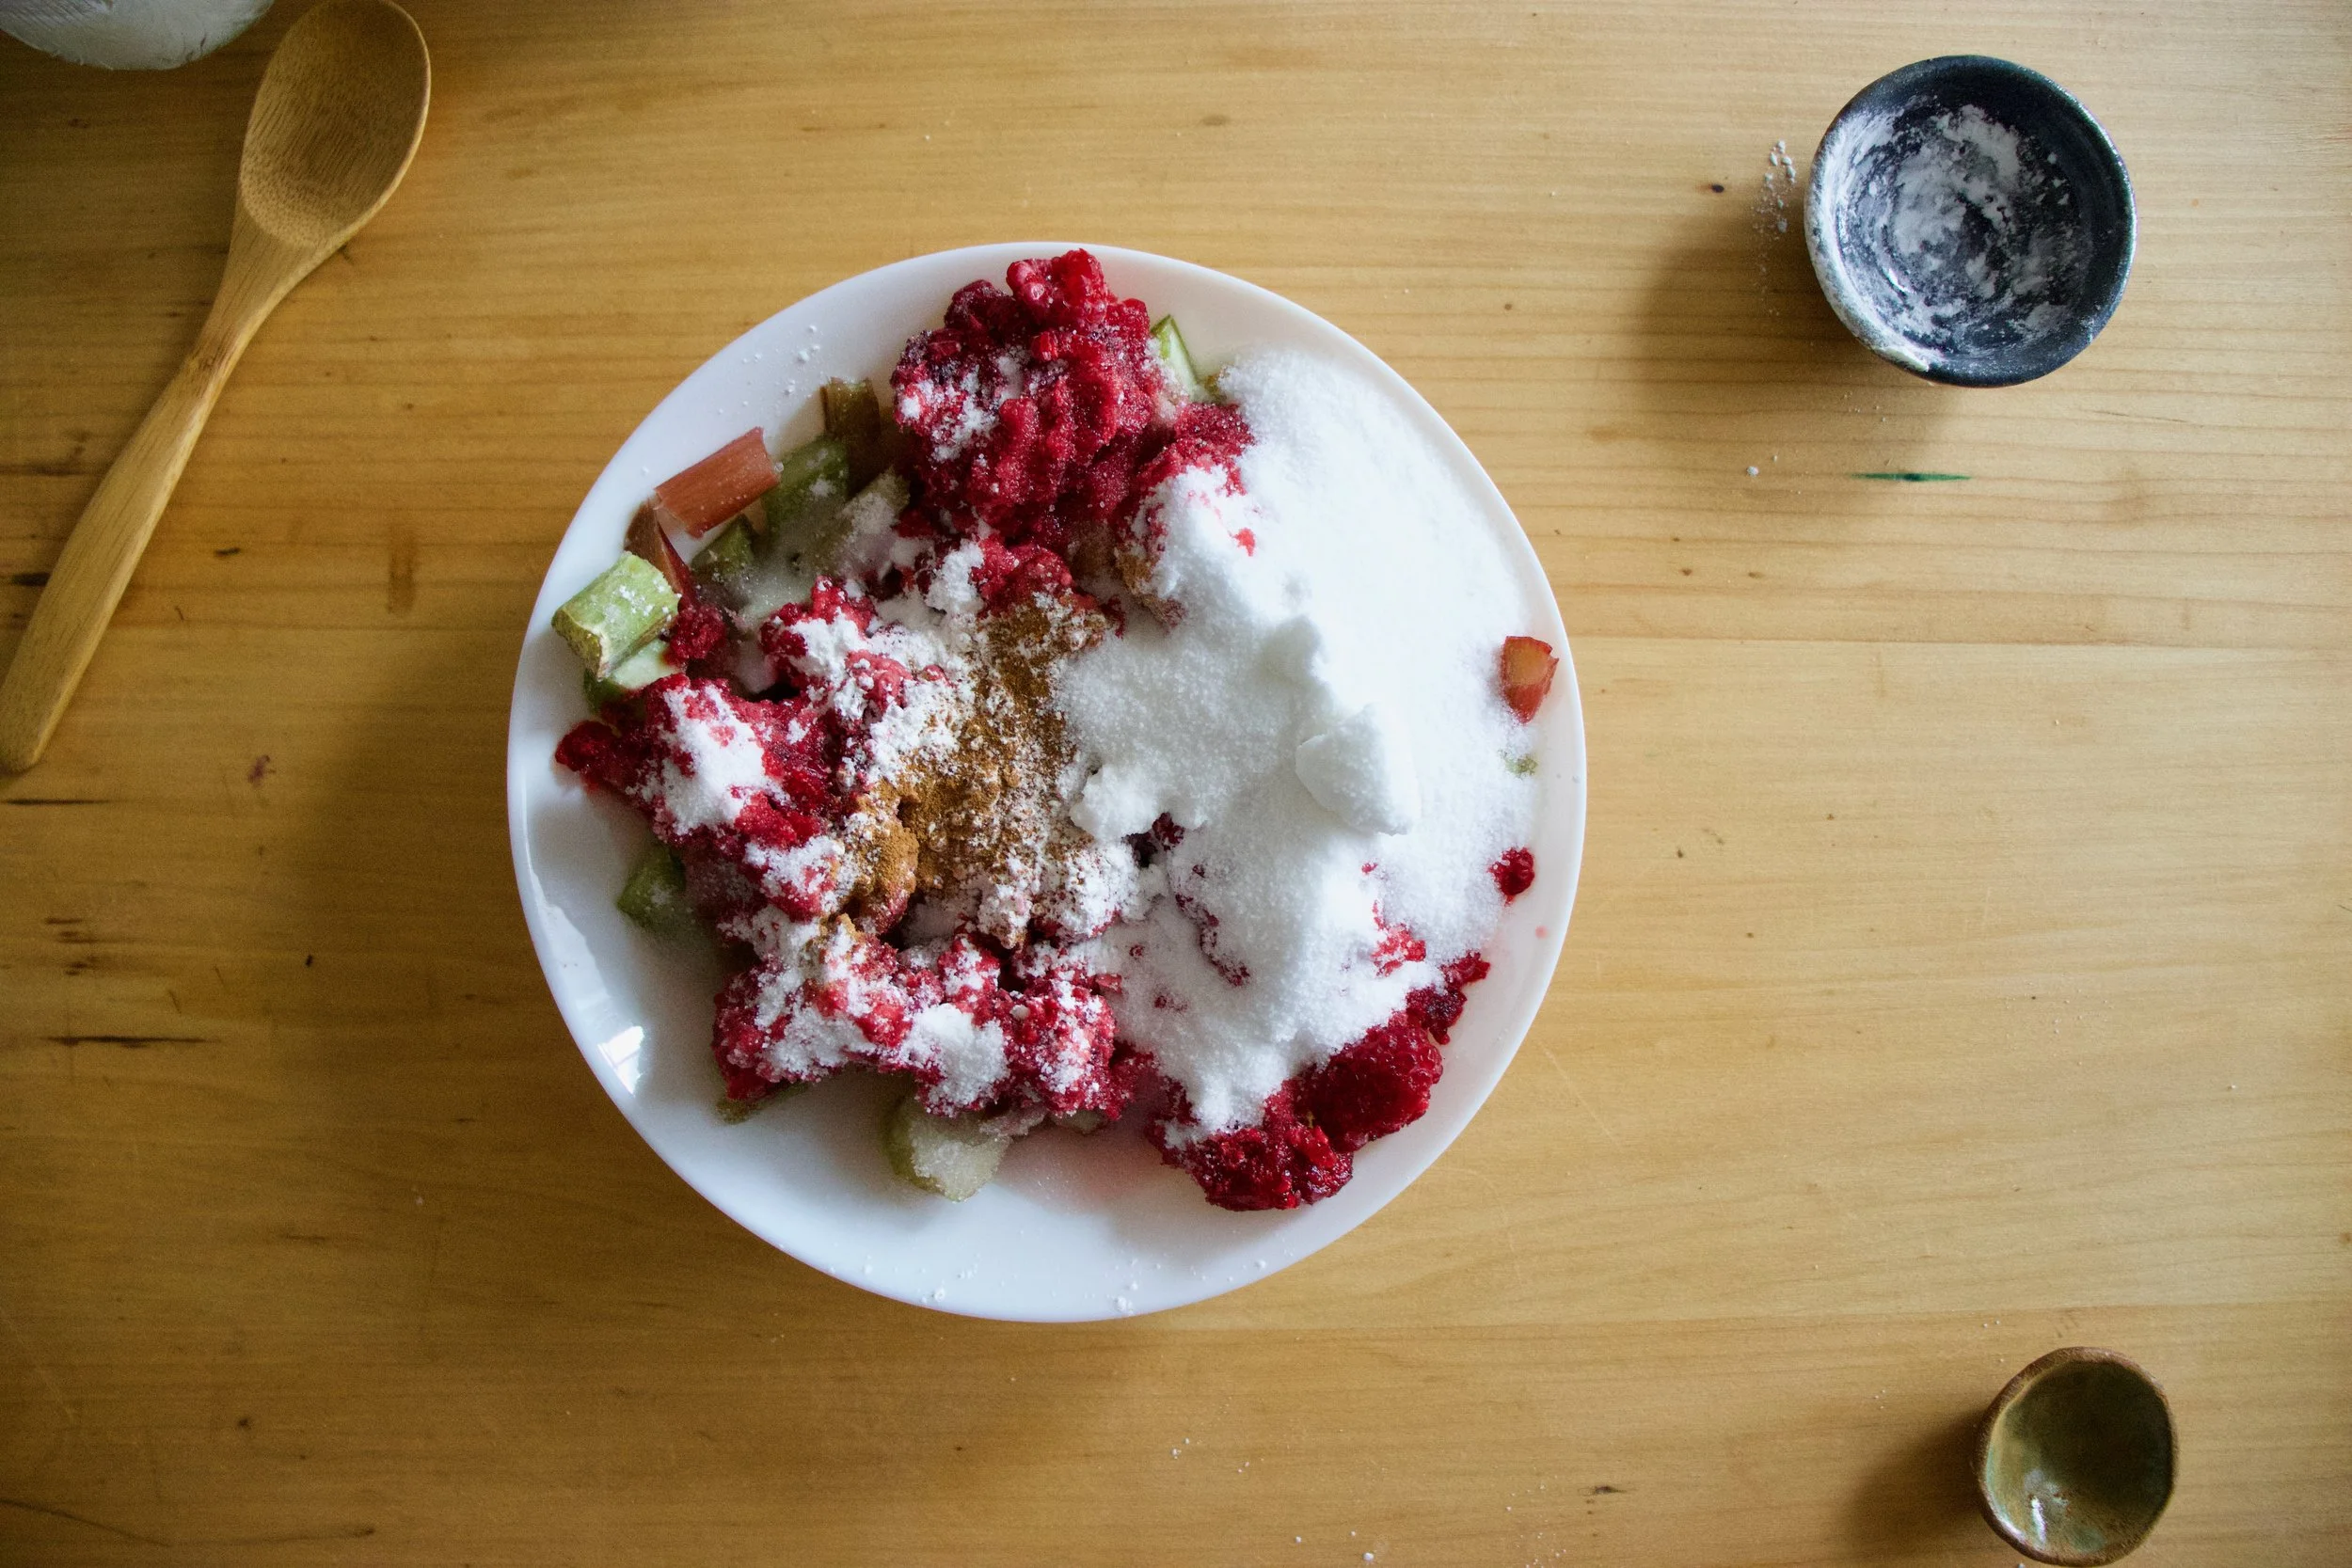
Place diced peaches into a bowl and toss with a little sugar. Set aside.

IMG_5565.jpg
IMG_5567.jpg
IMG_5573.jpg

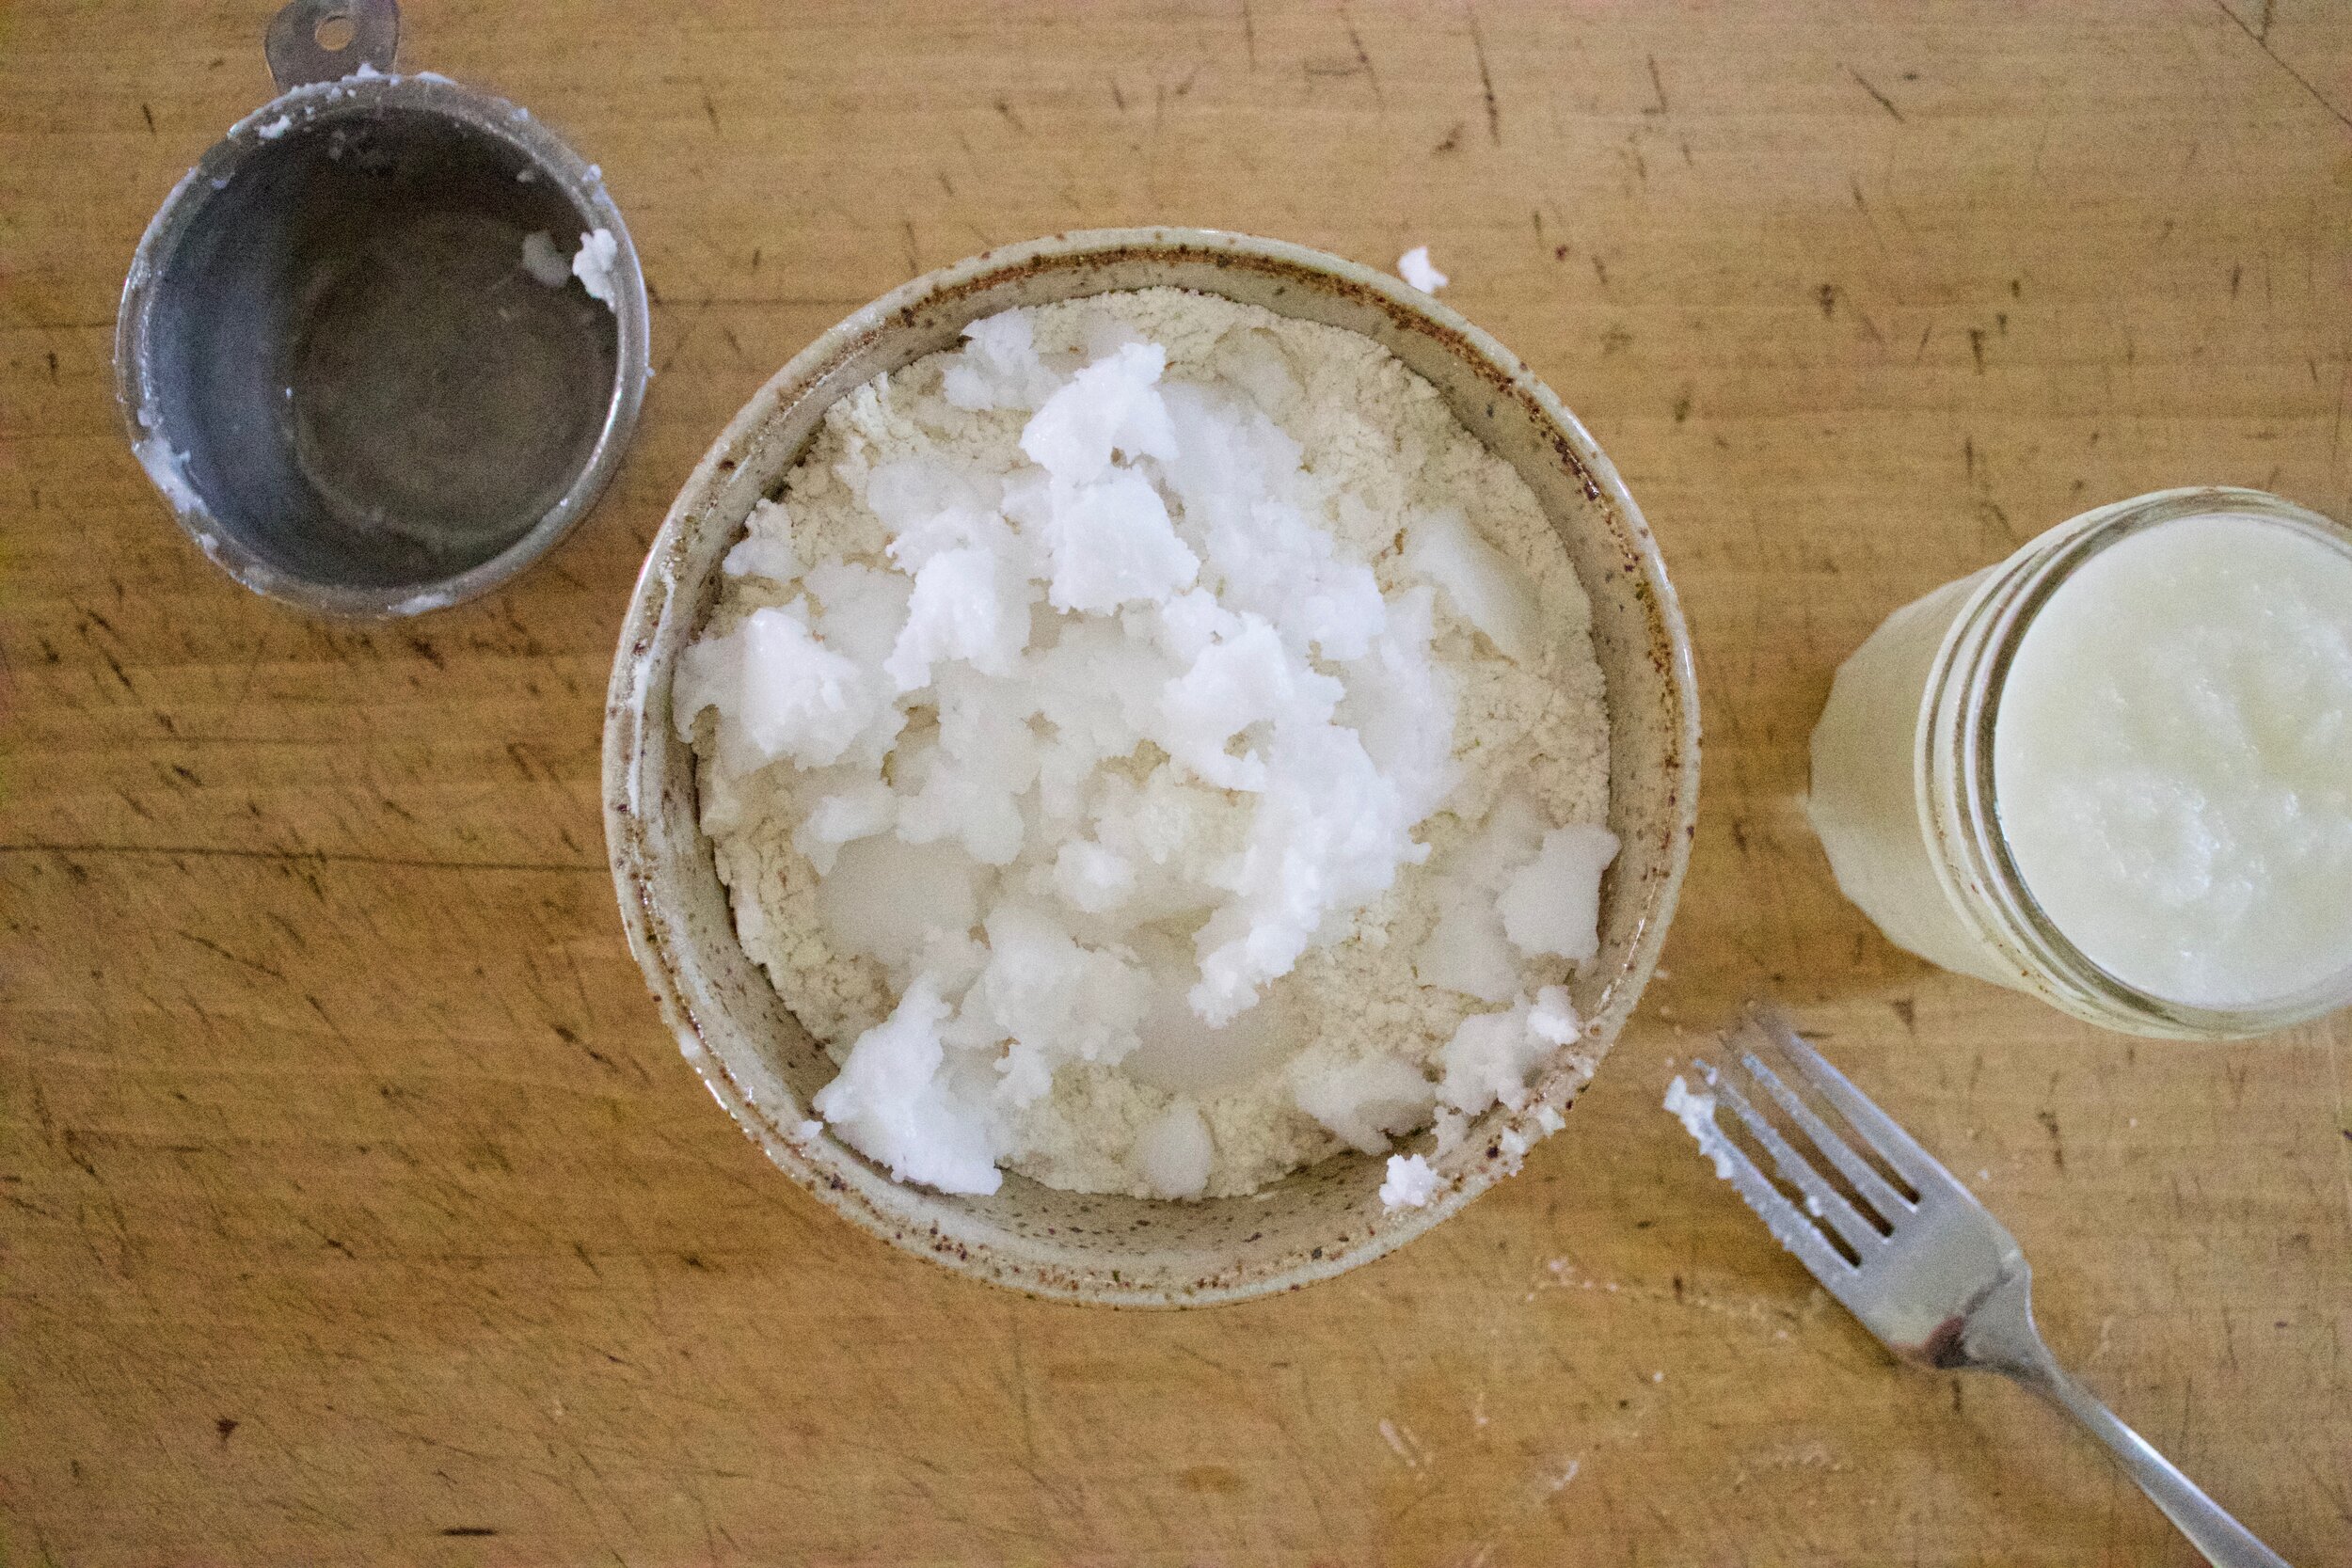
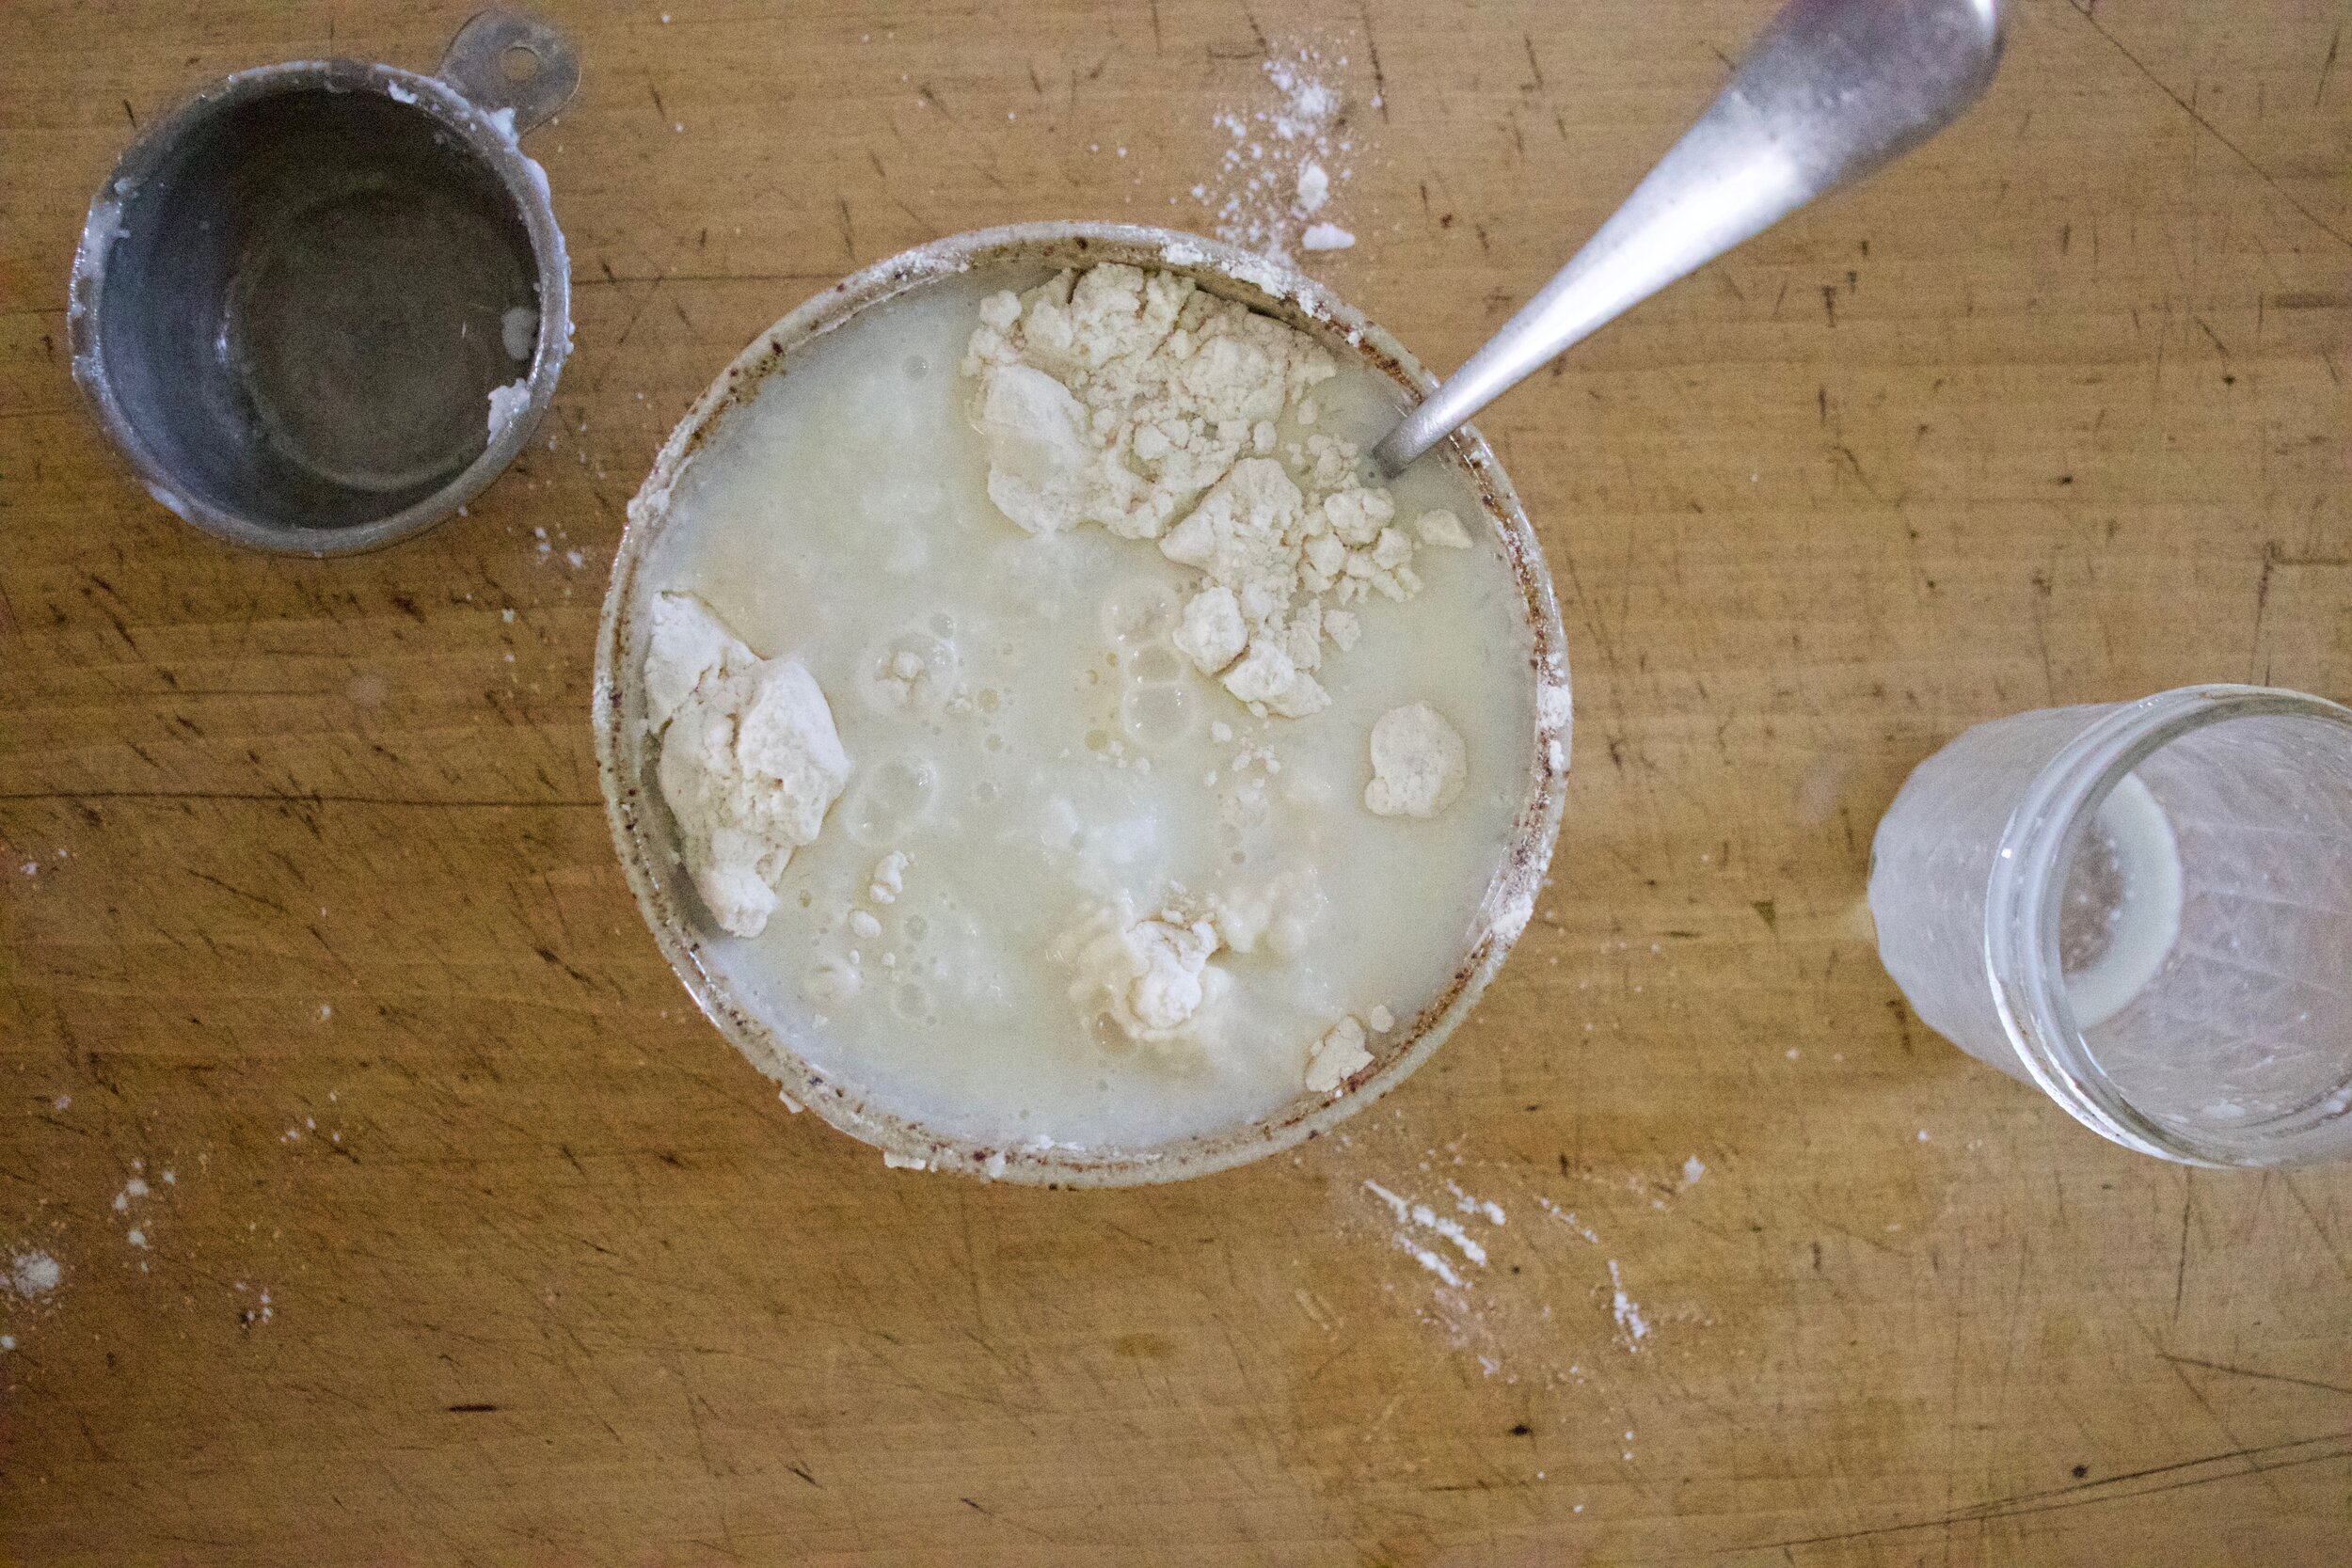
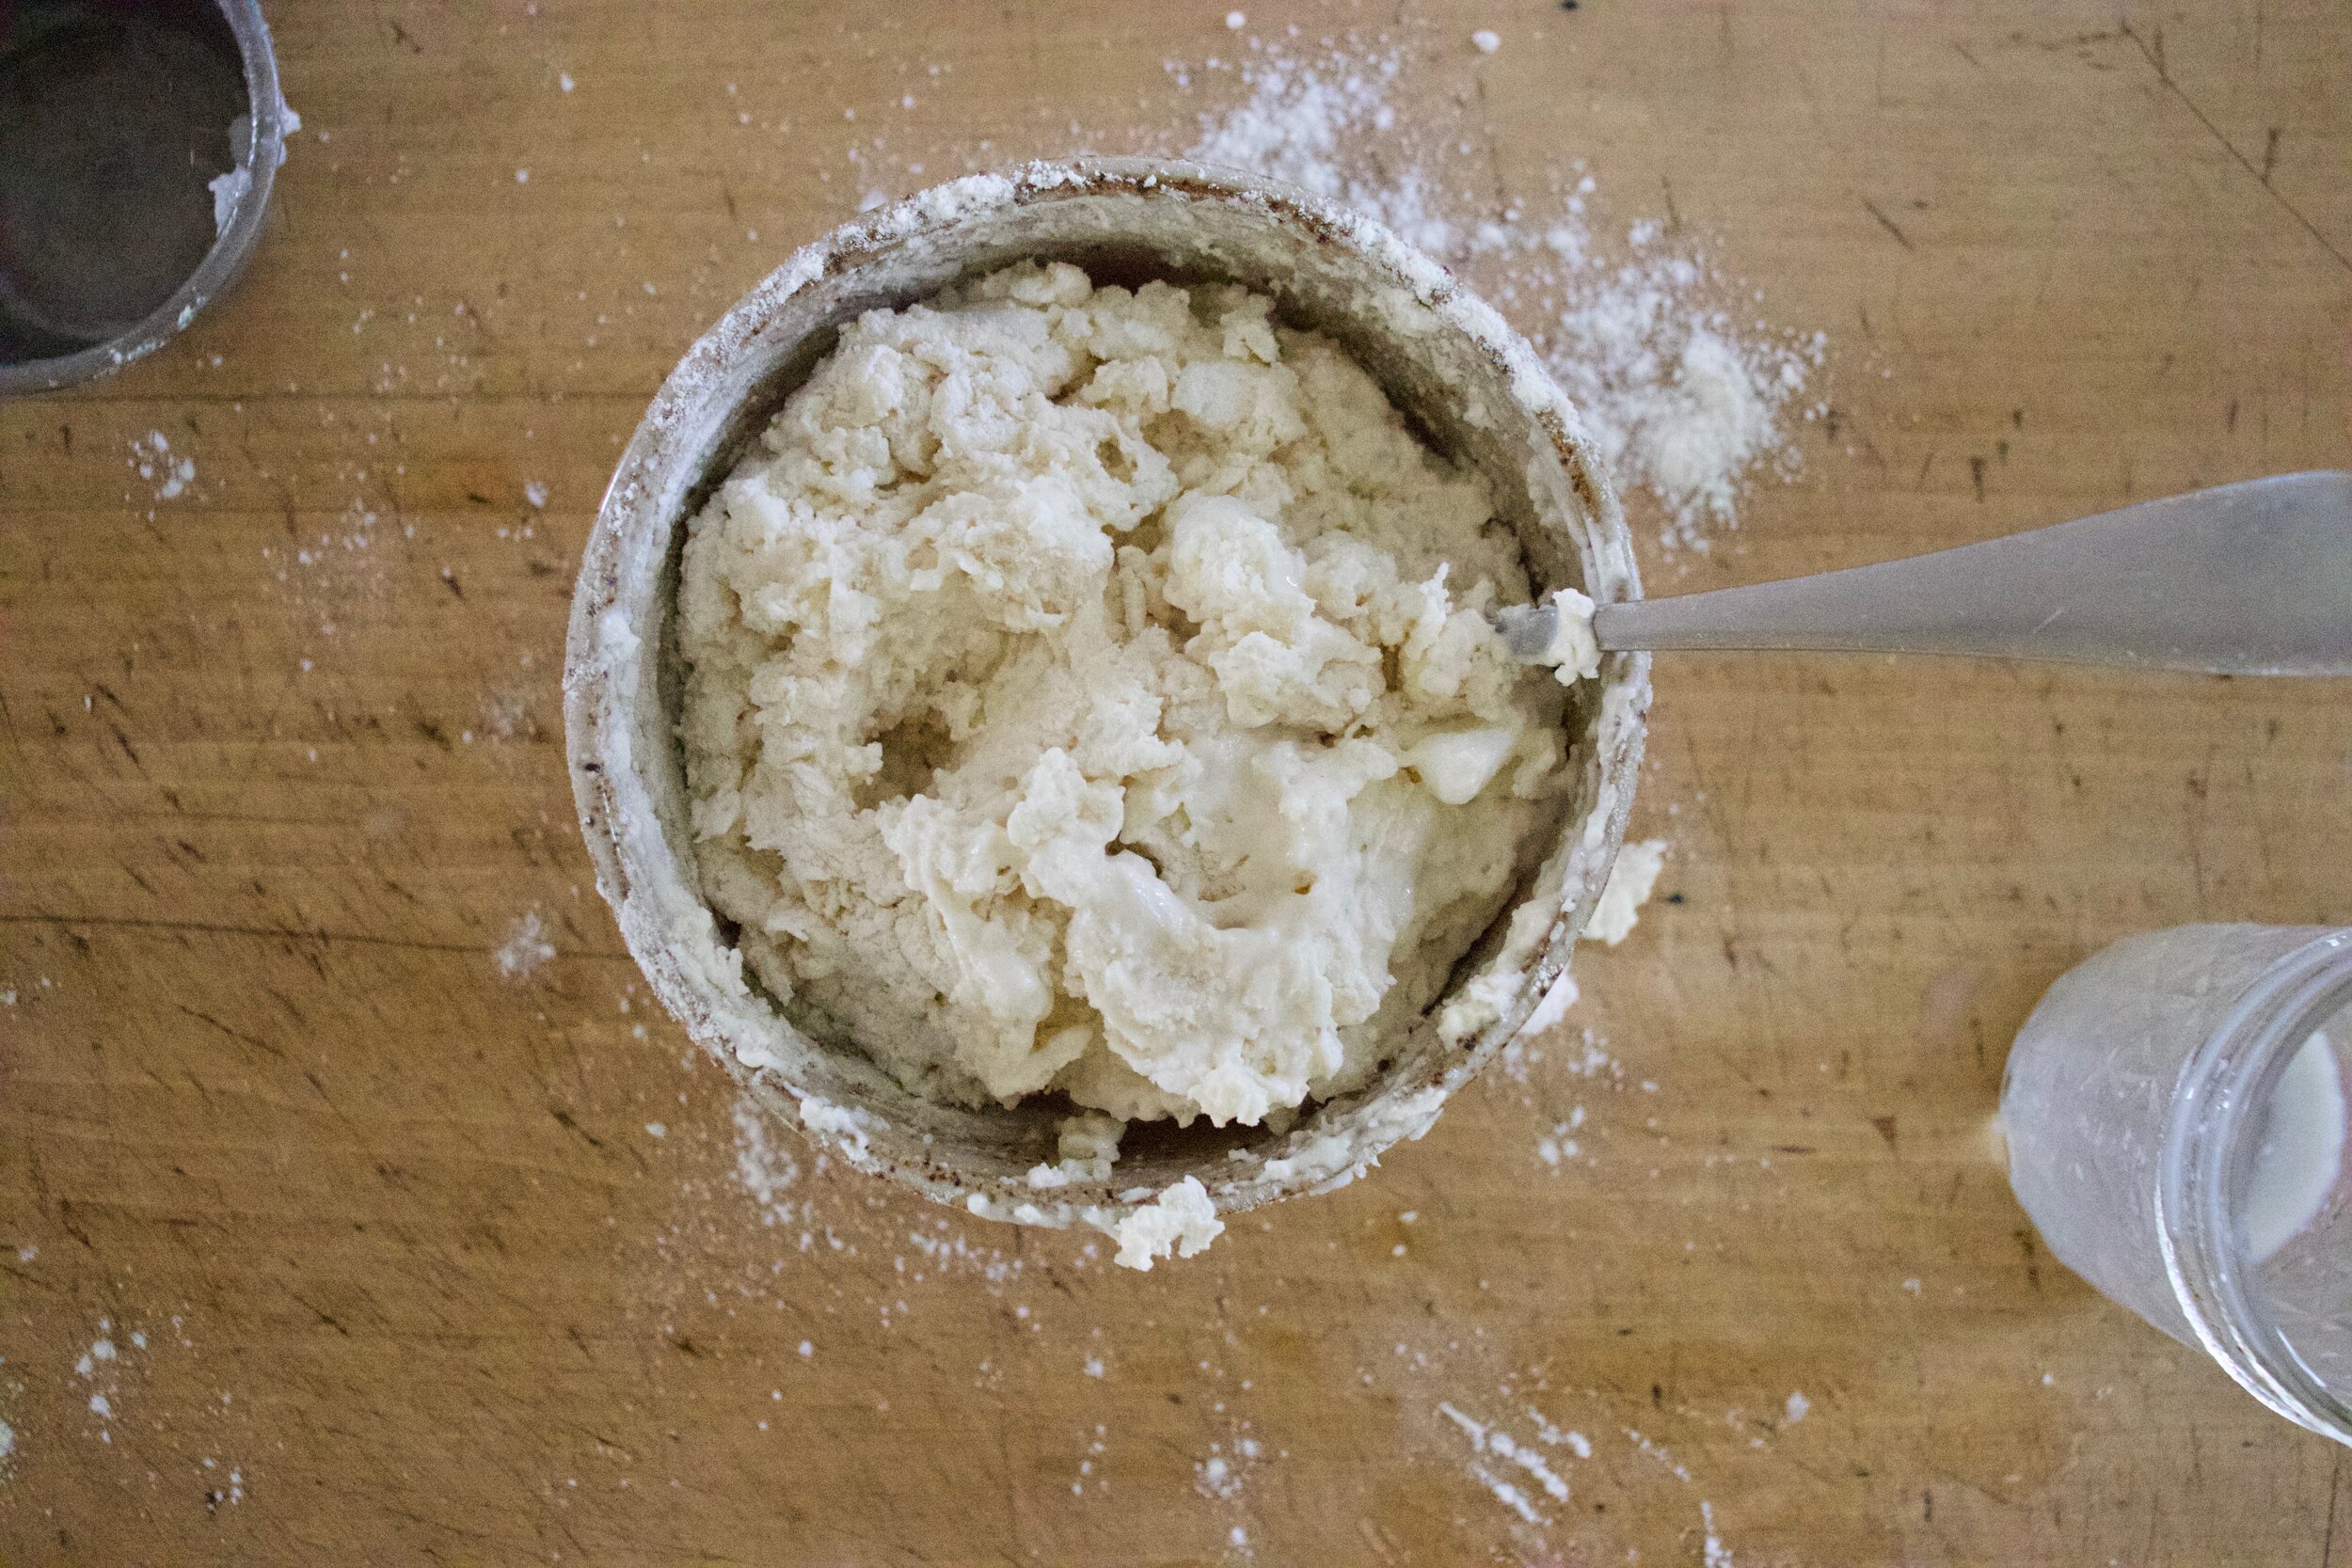
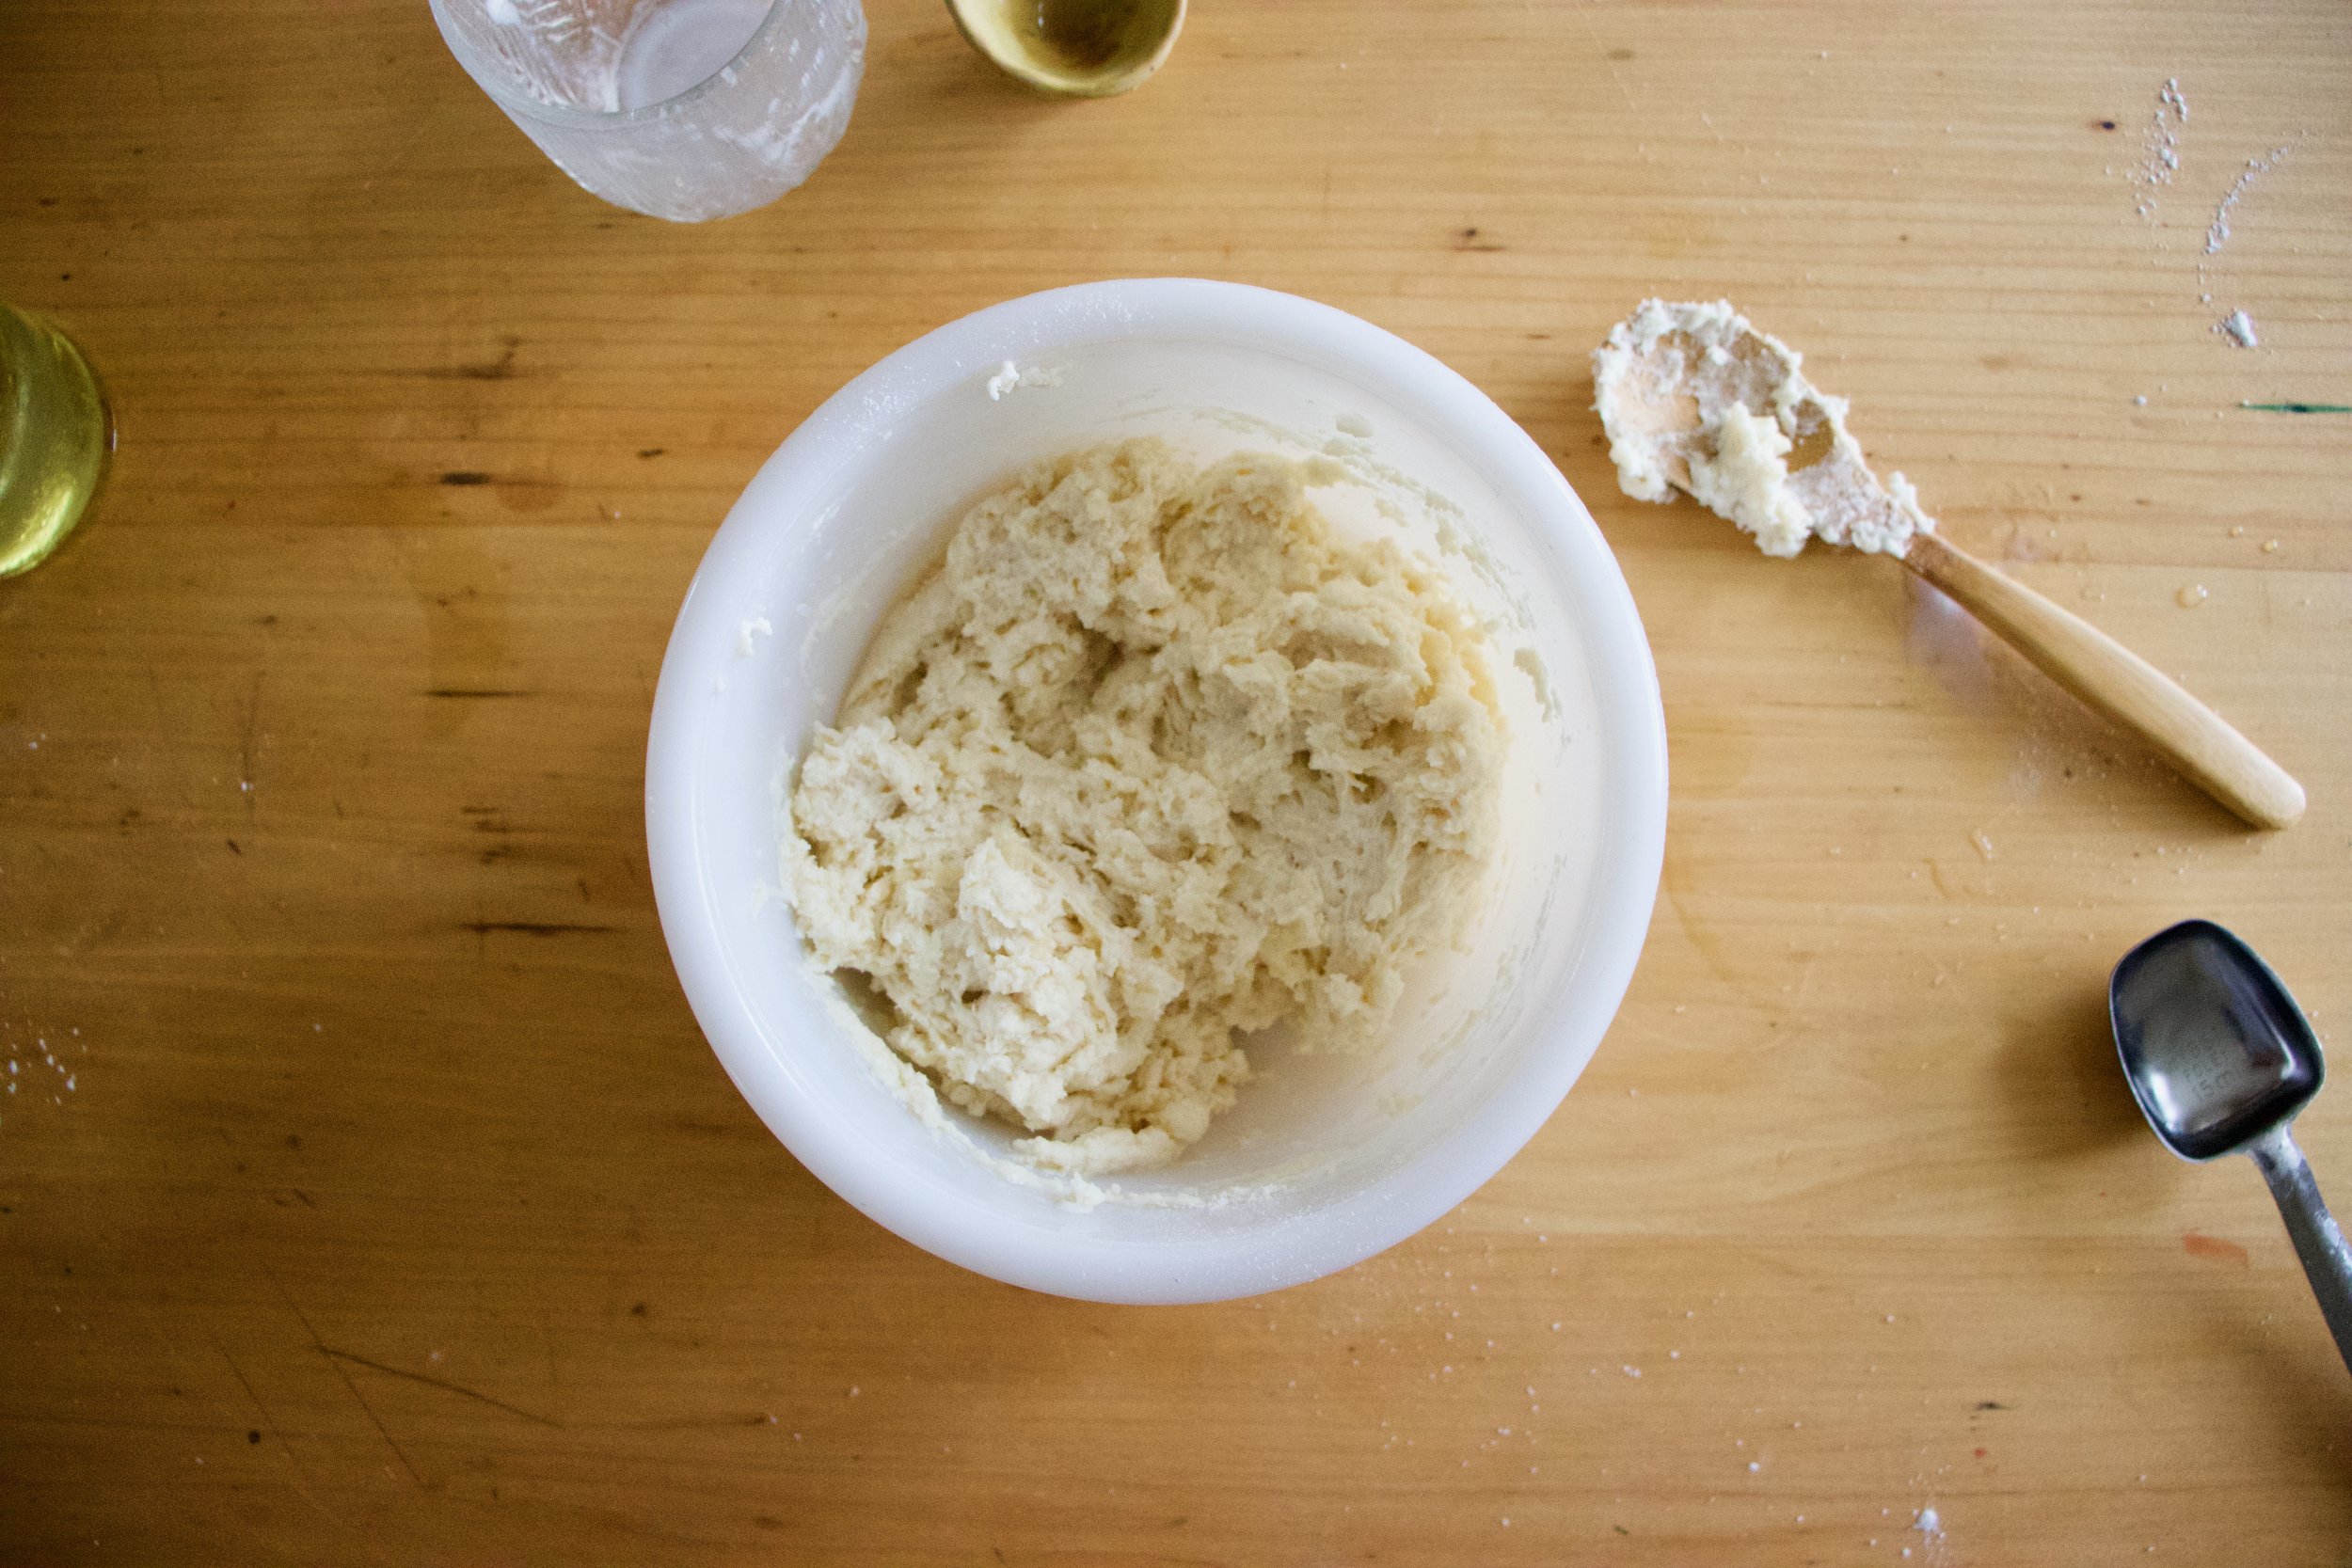
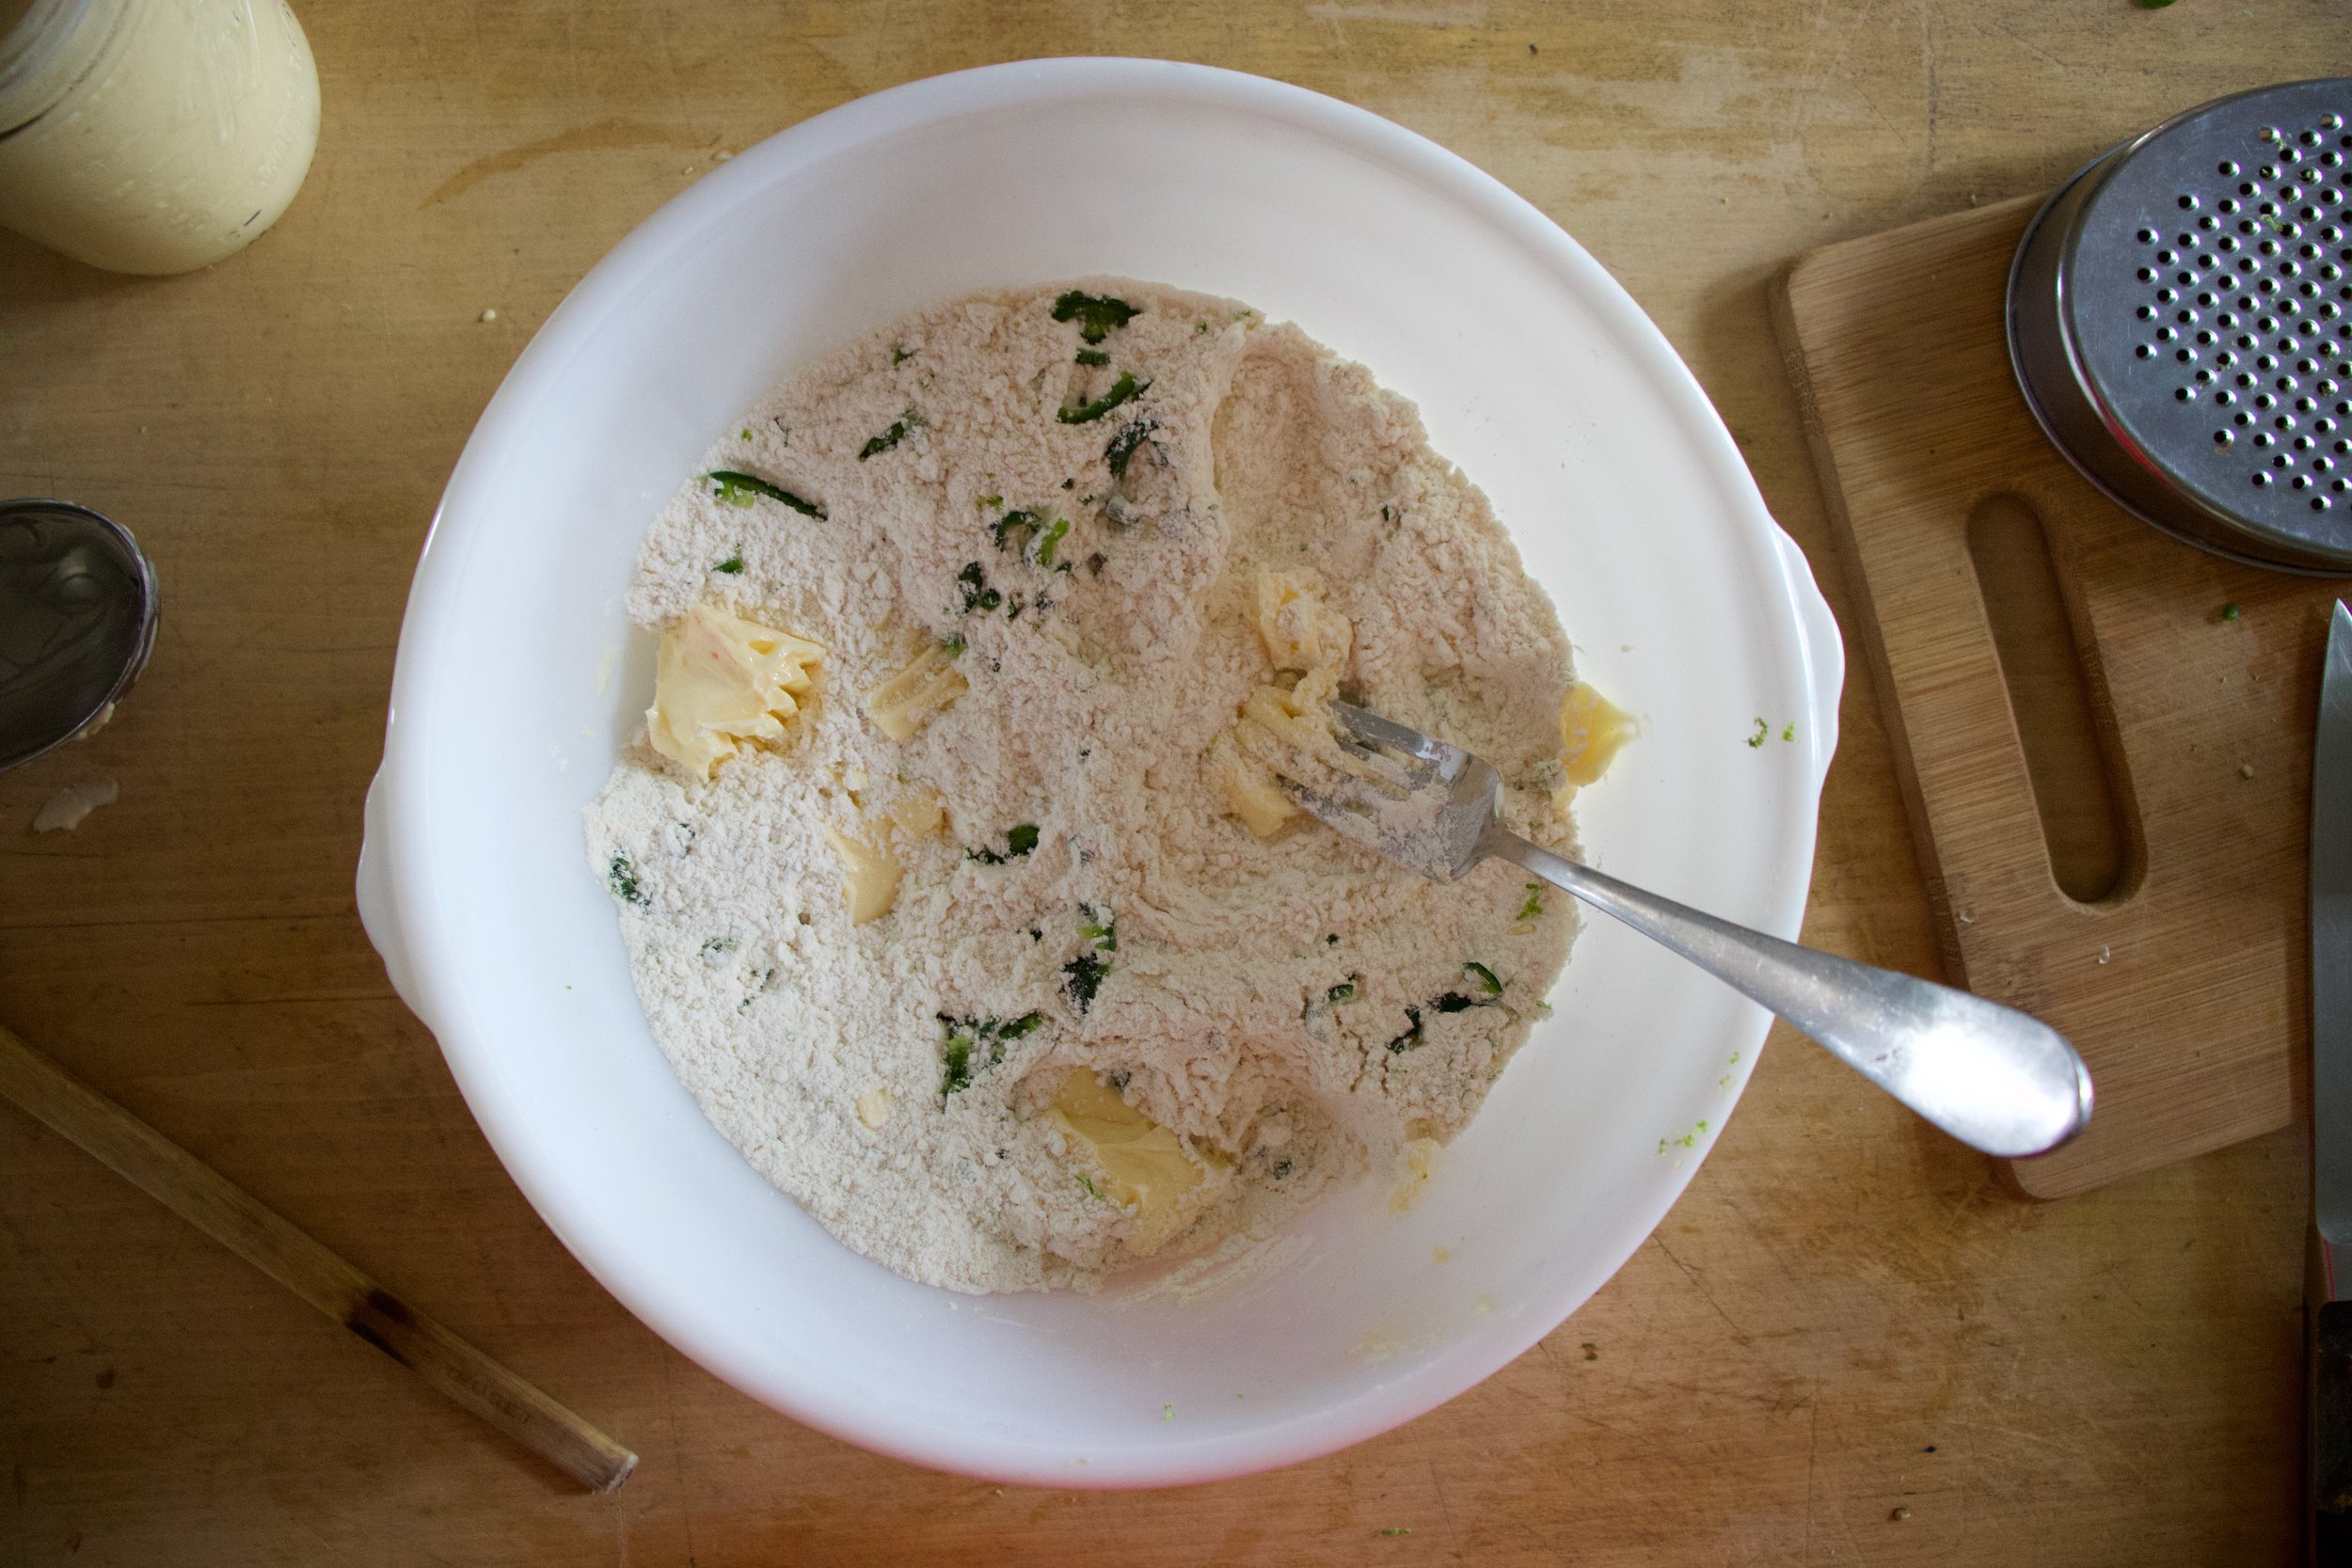
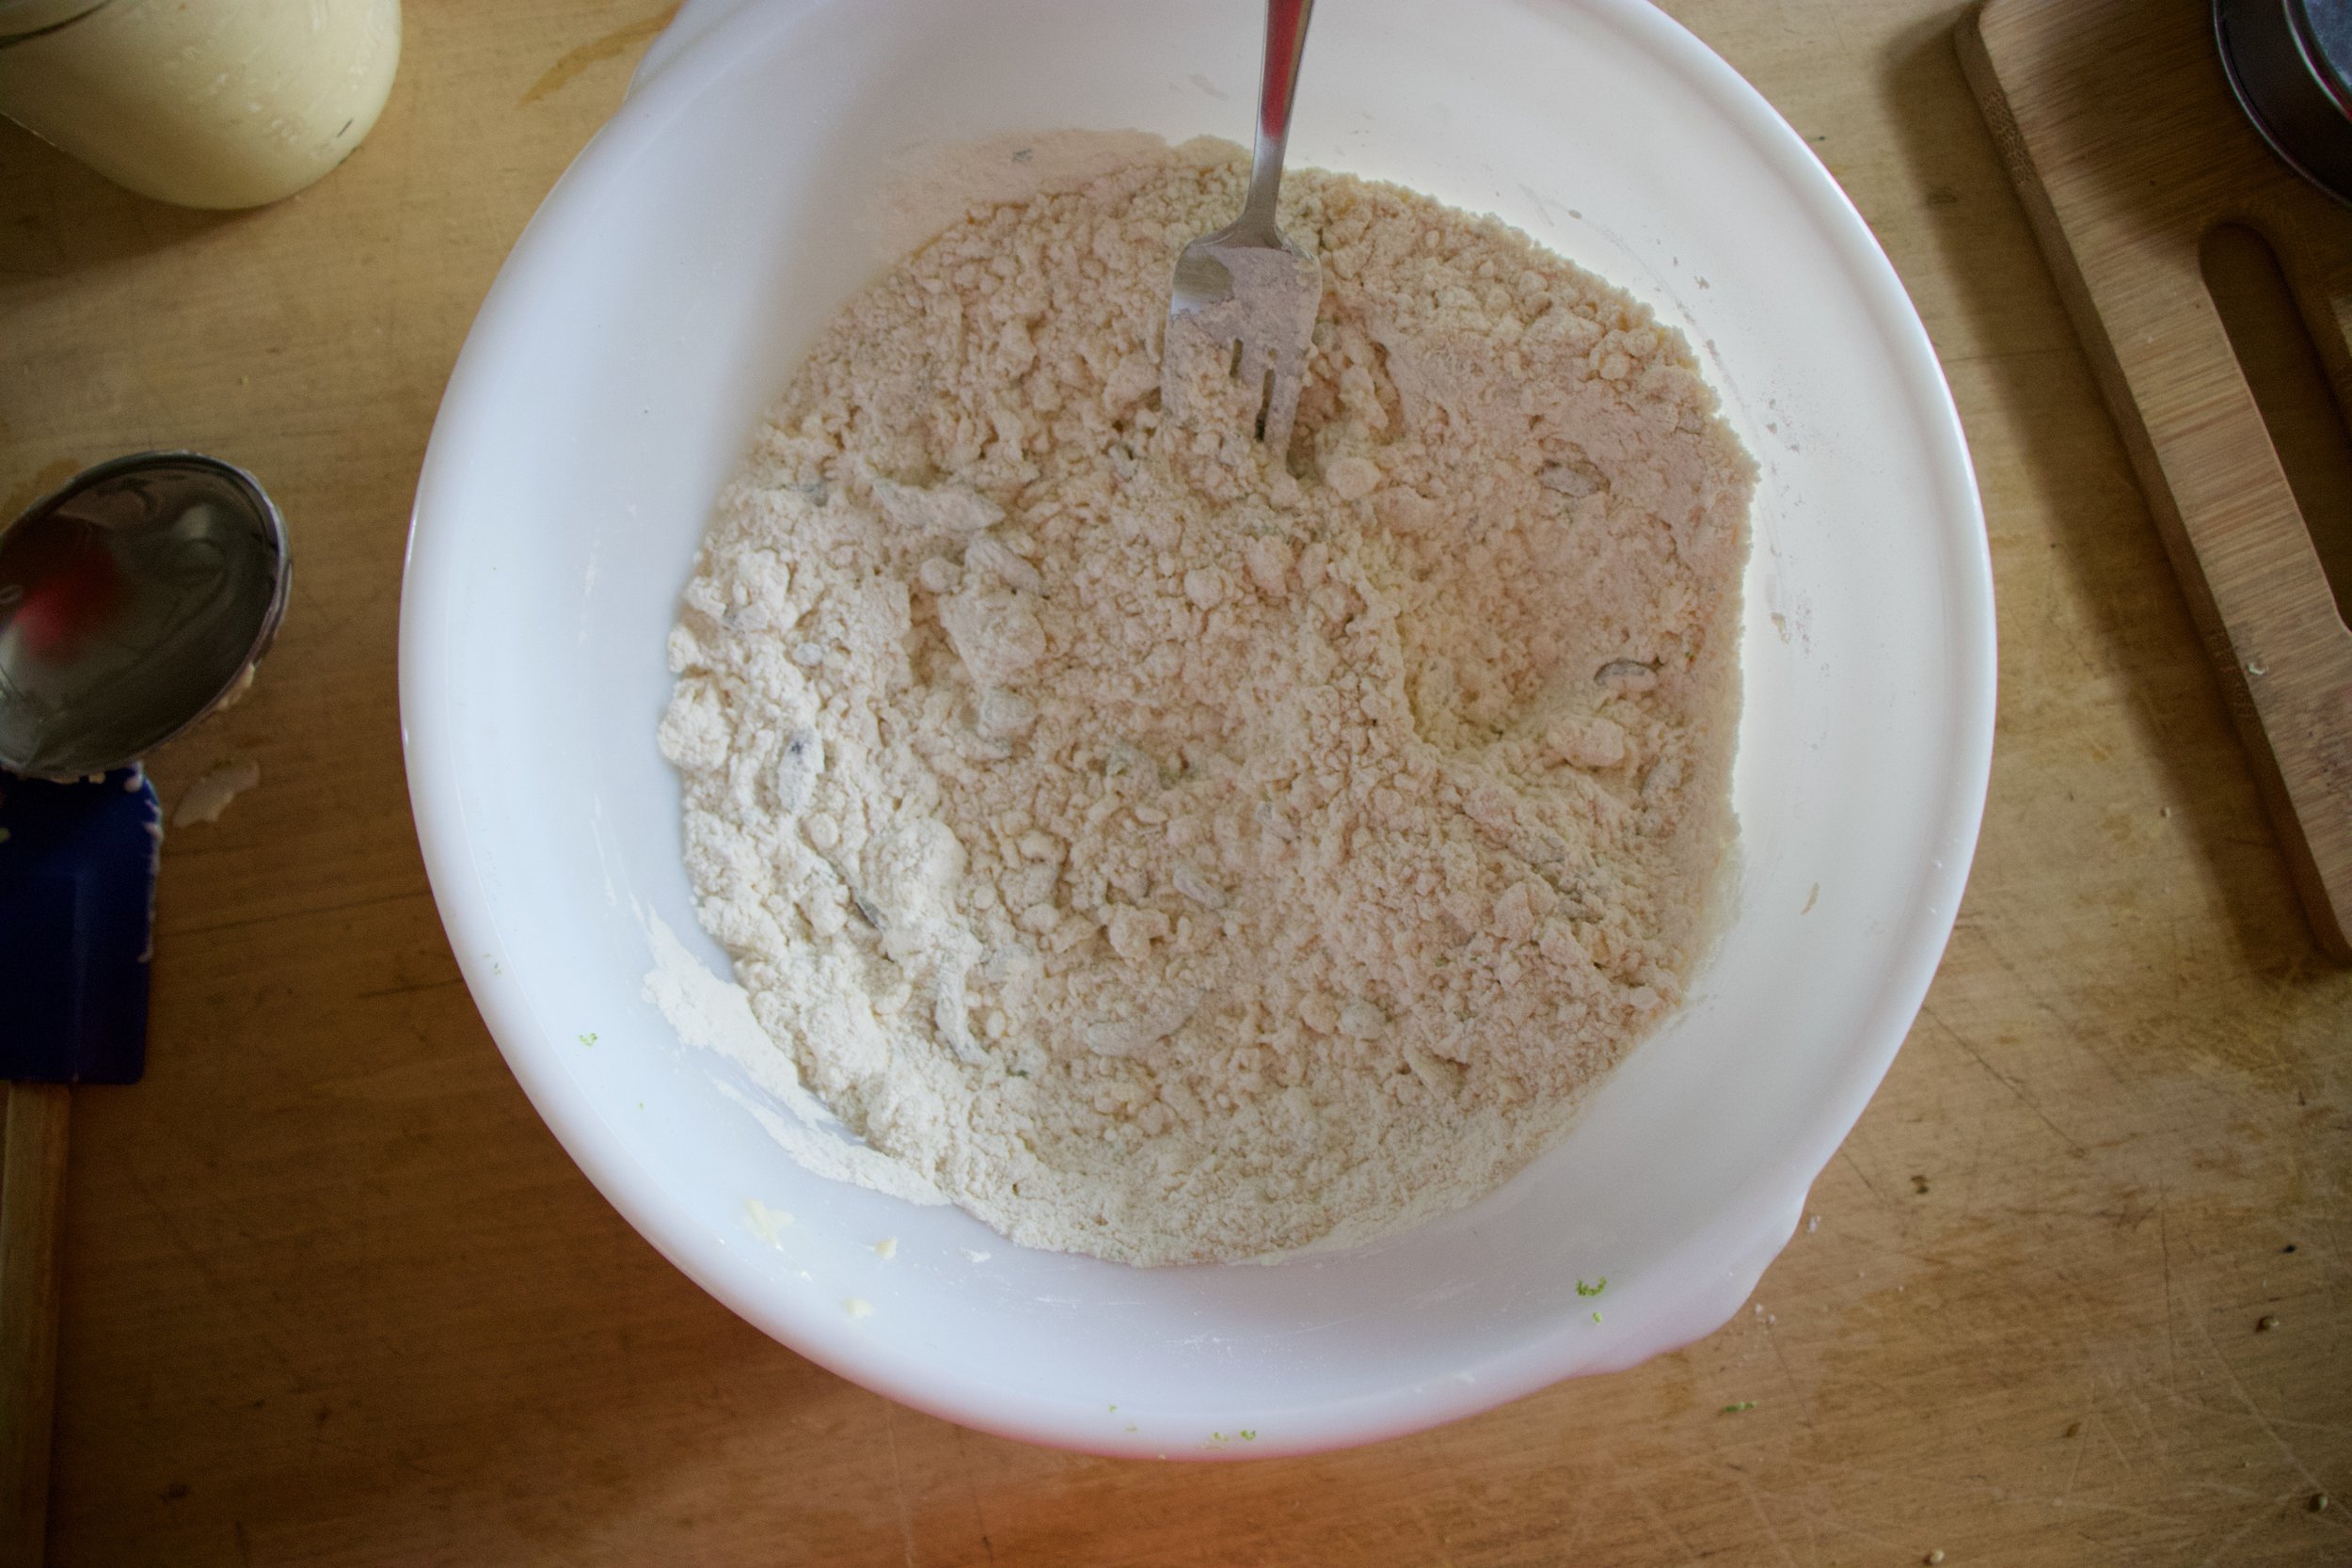
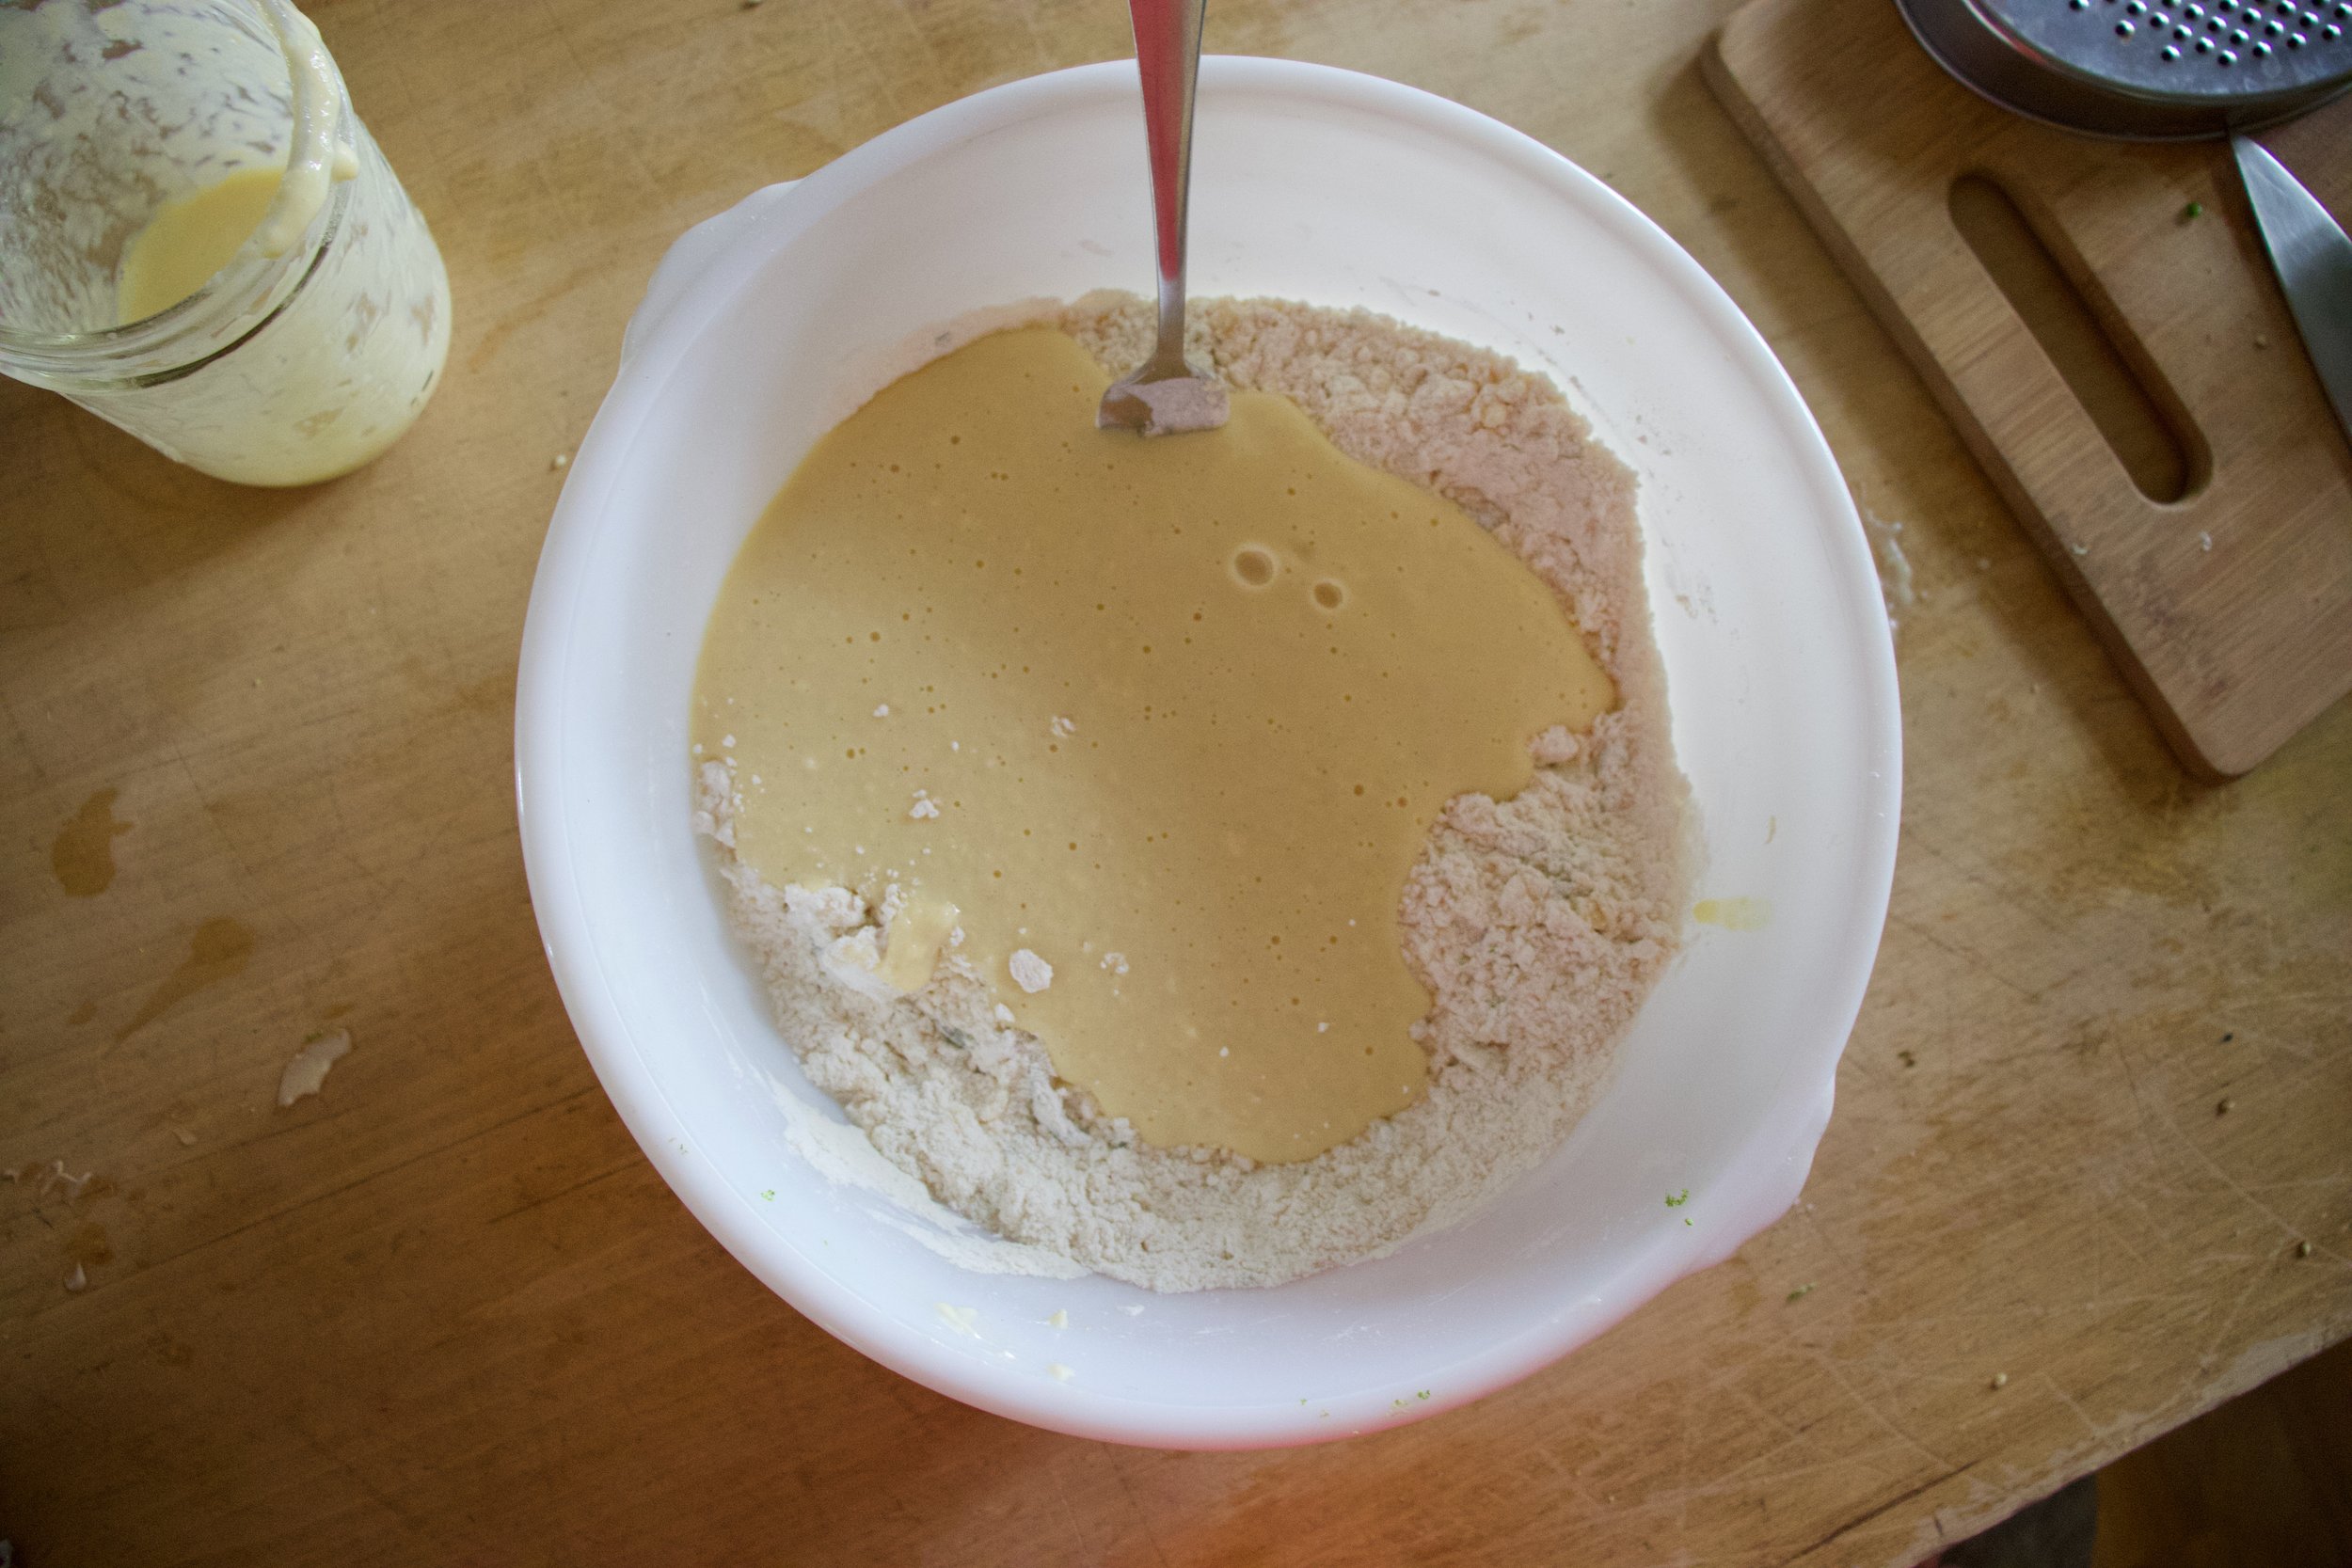
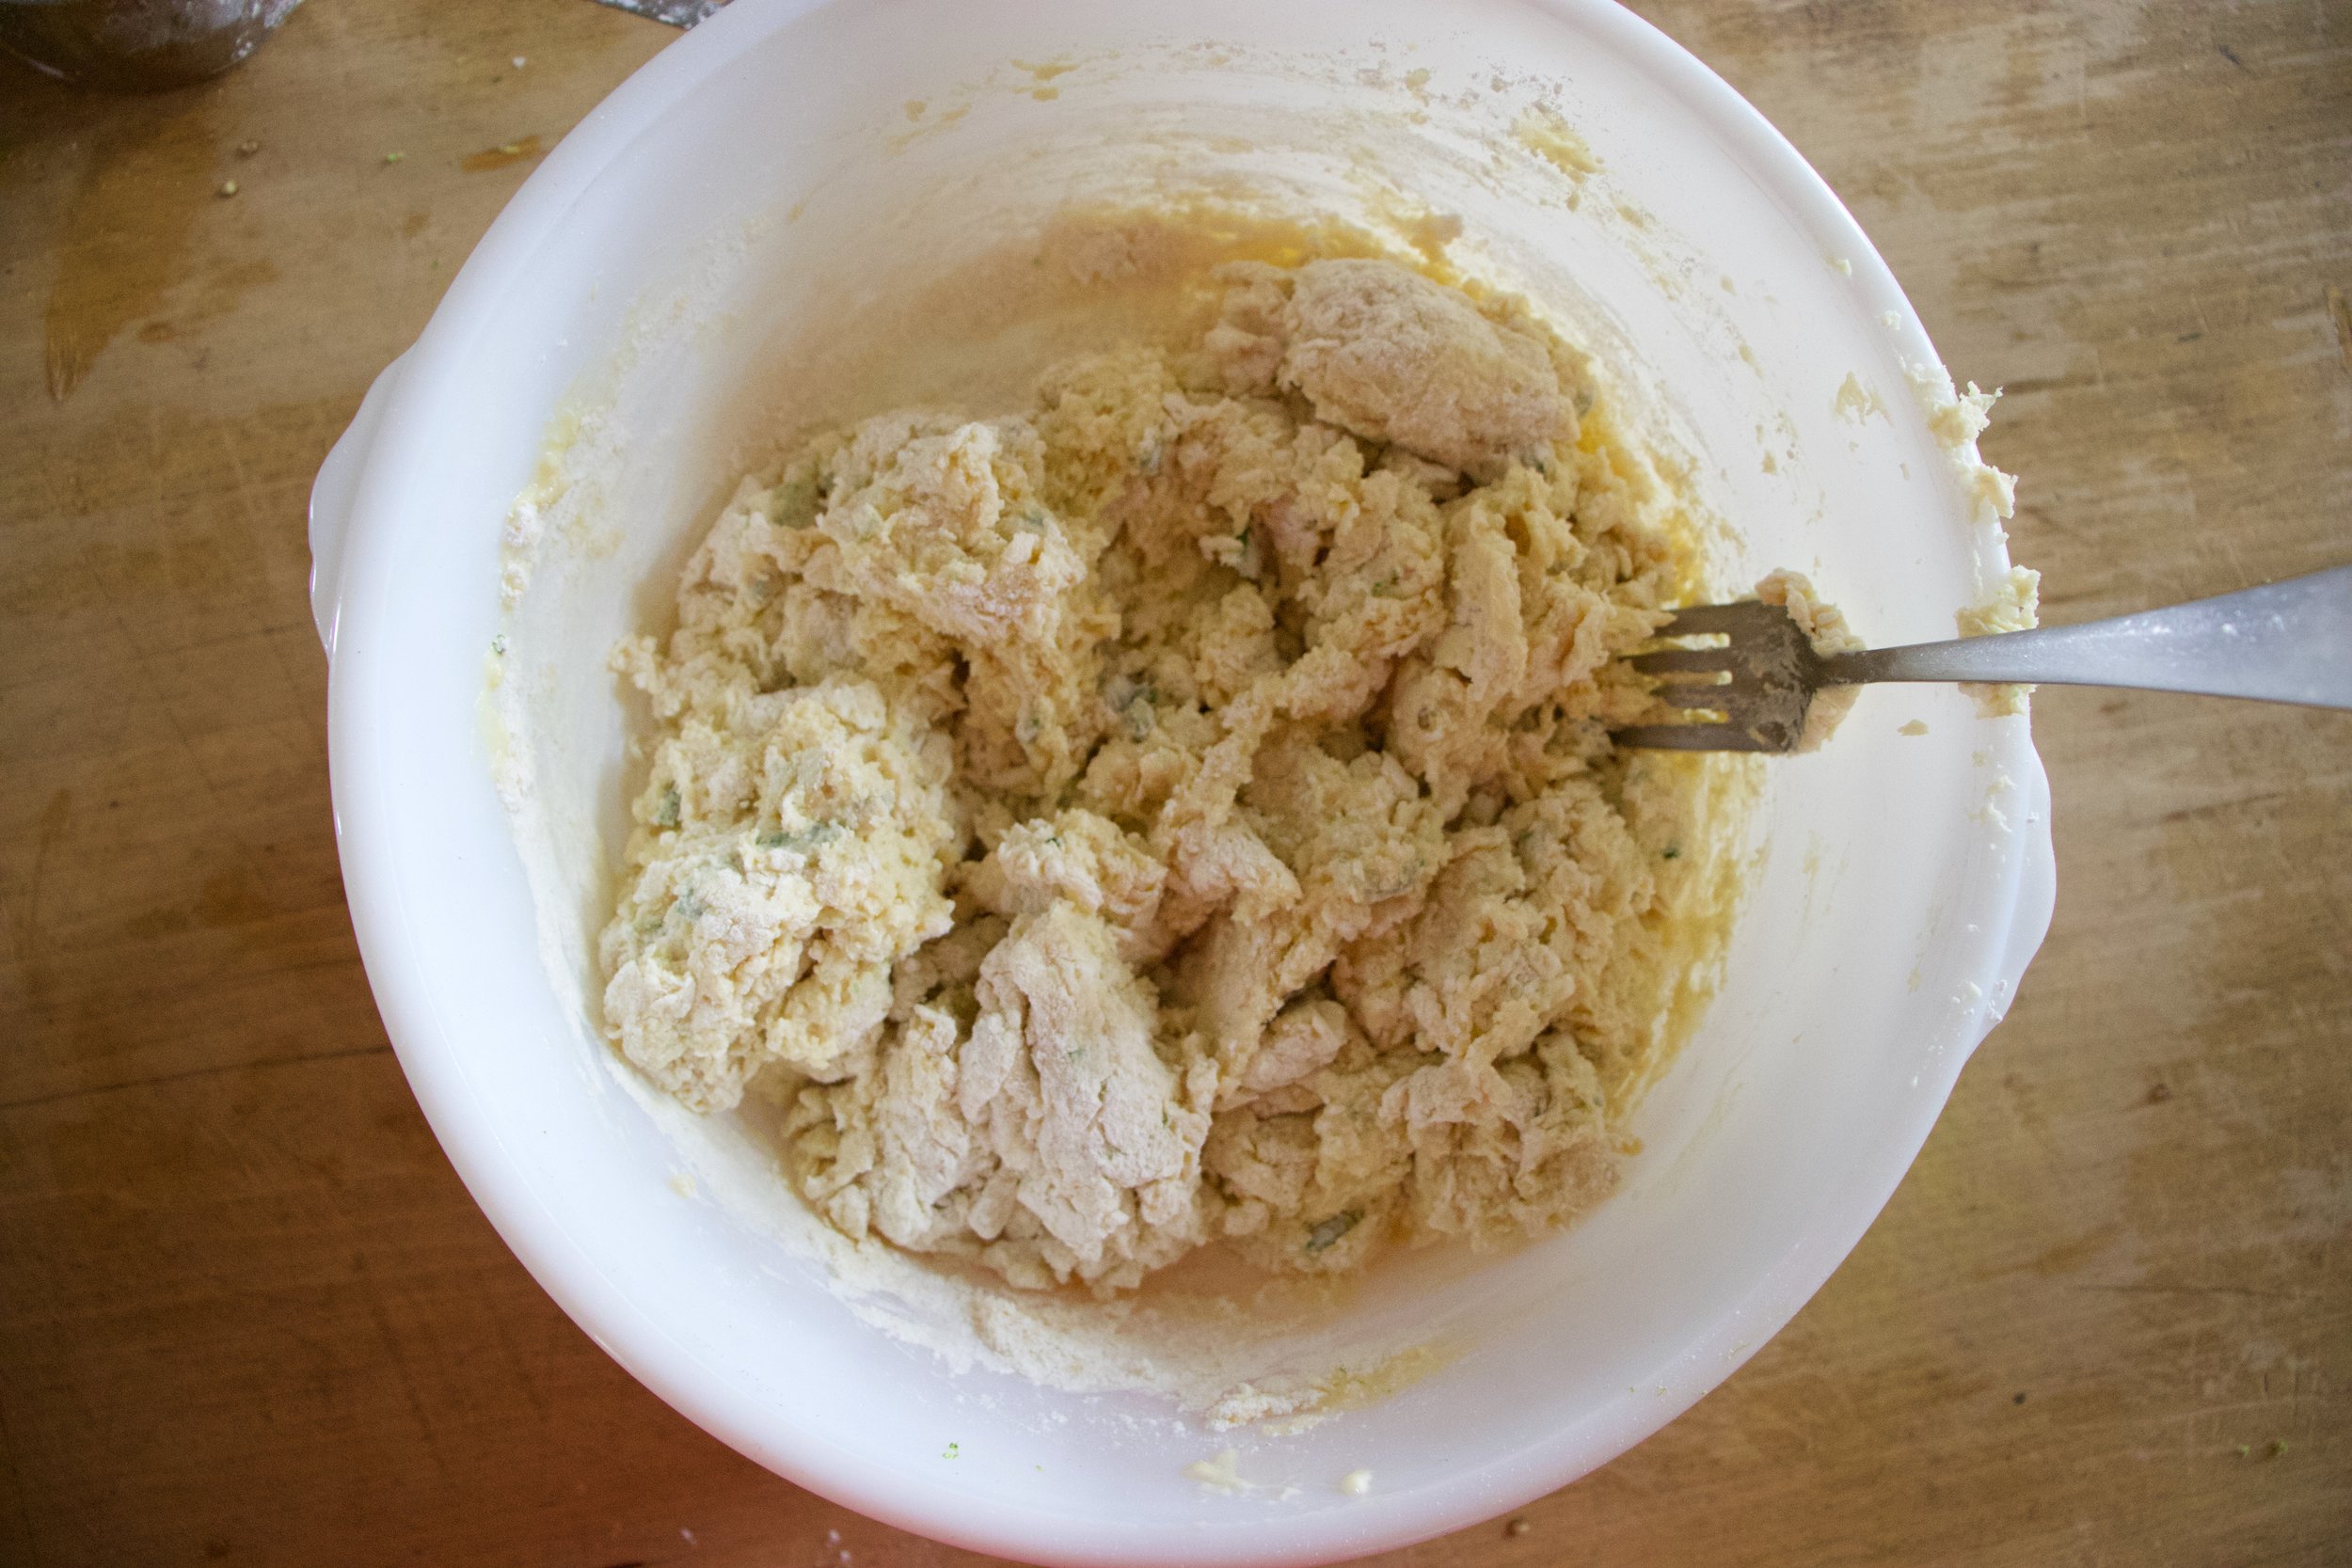
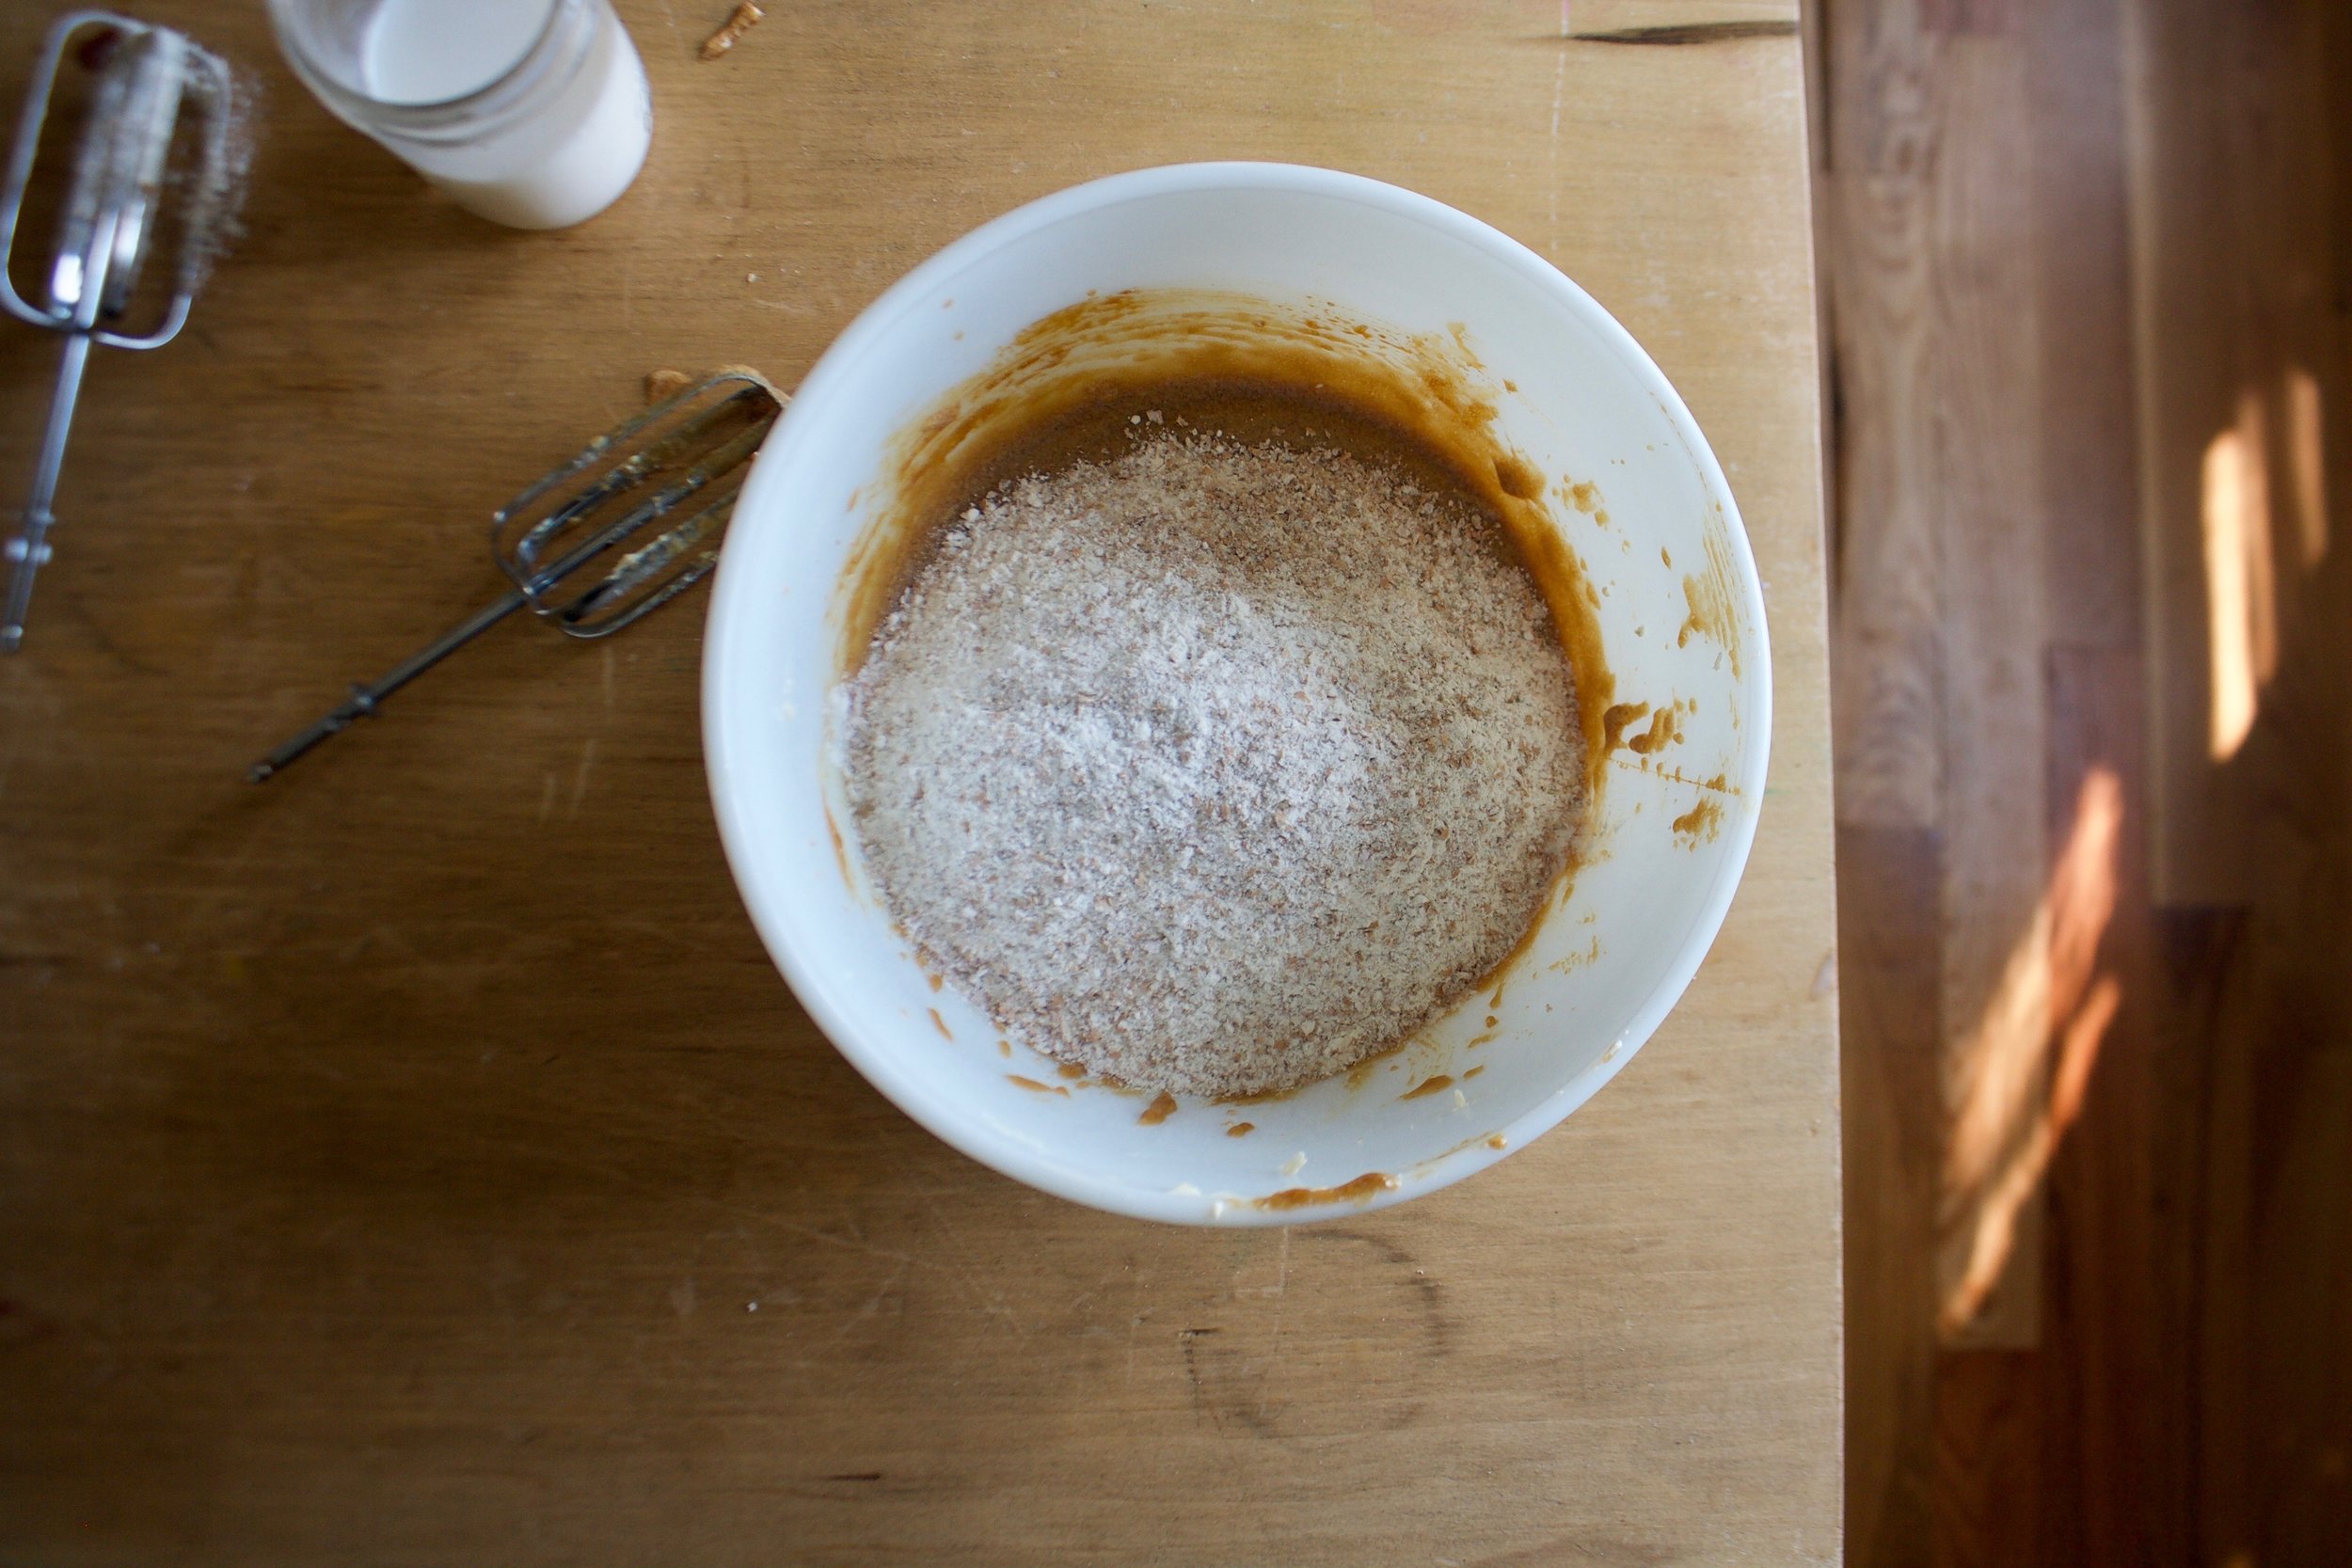
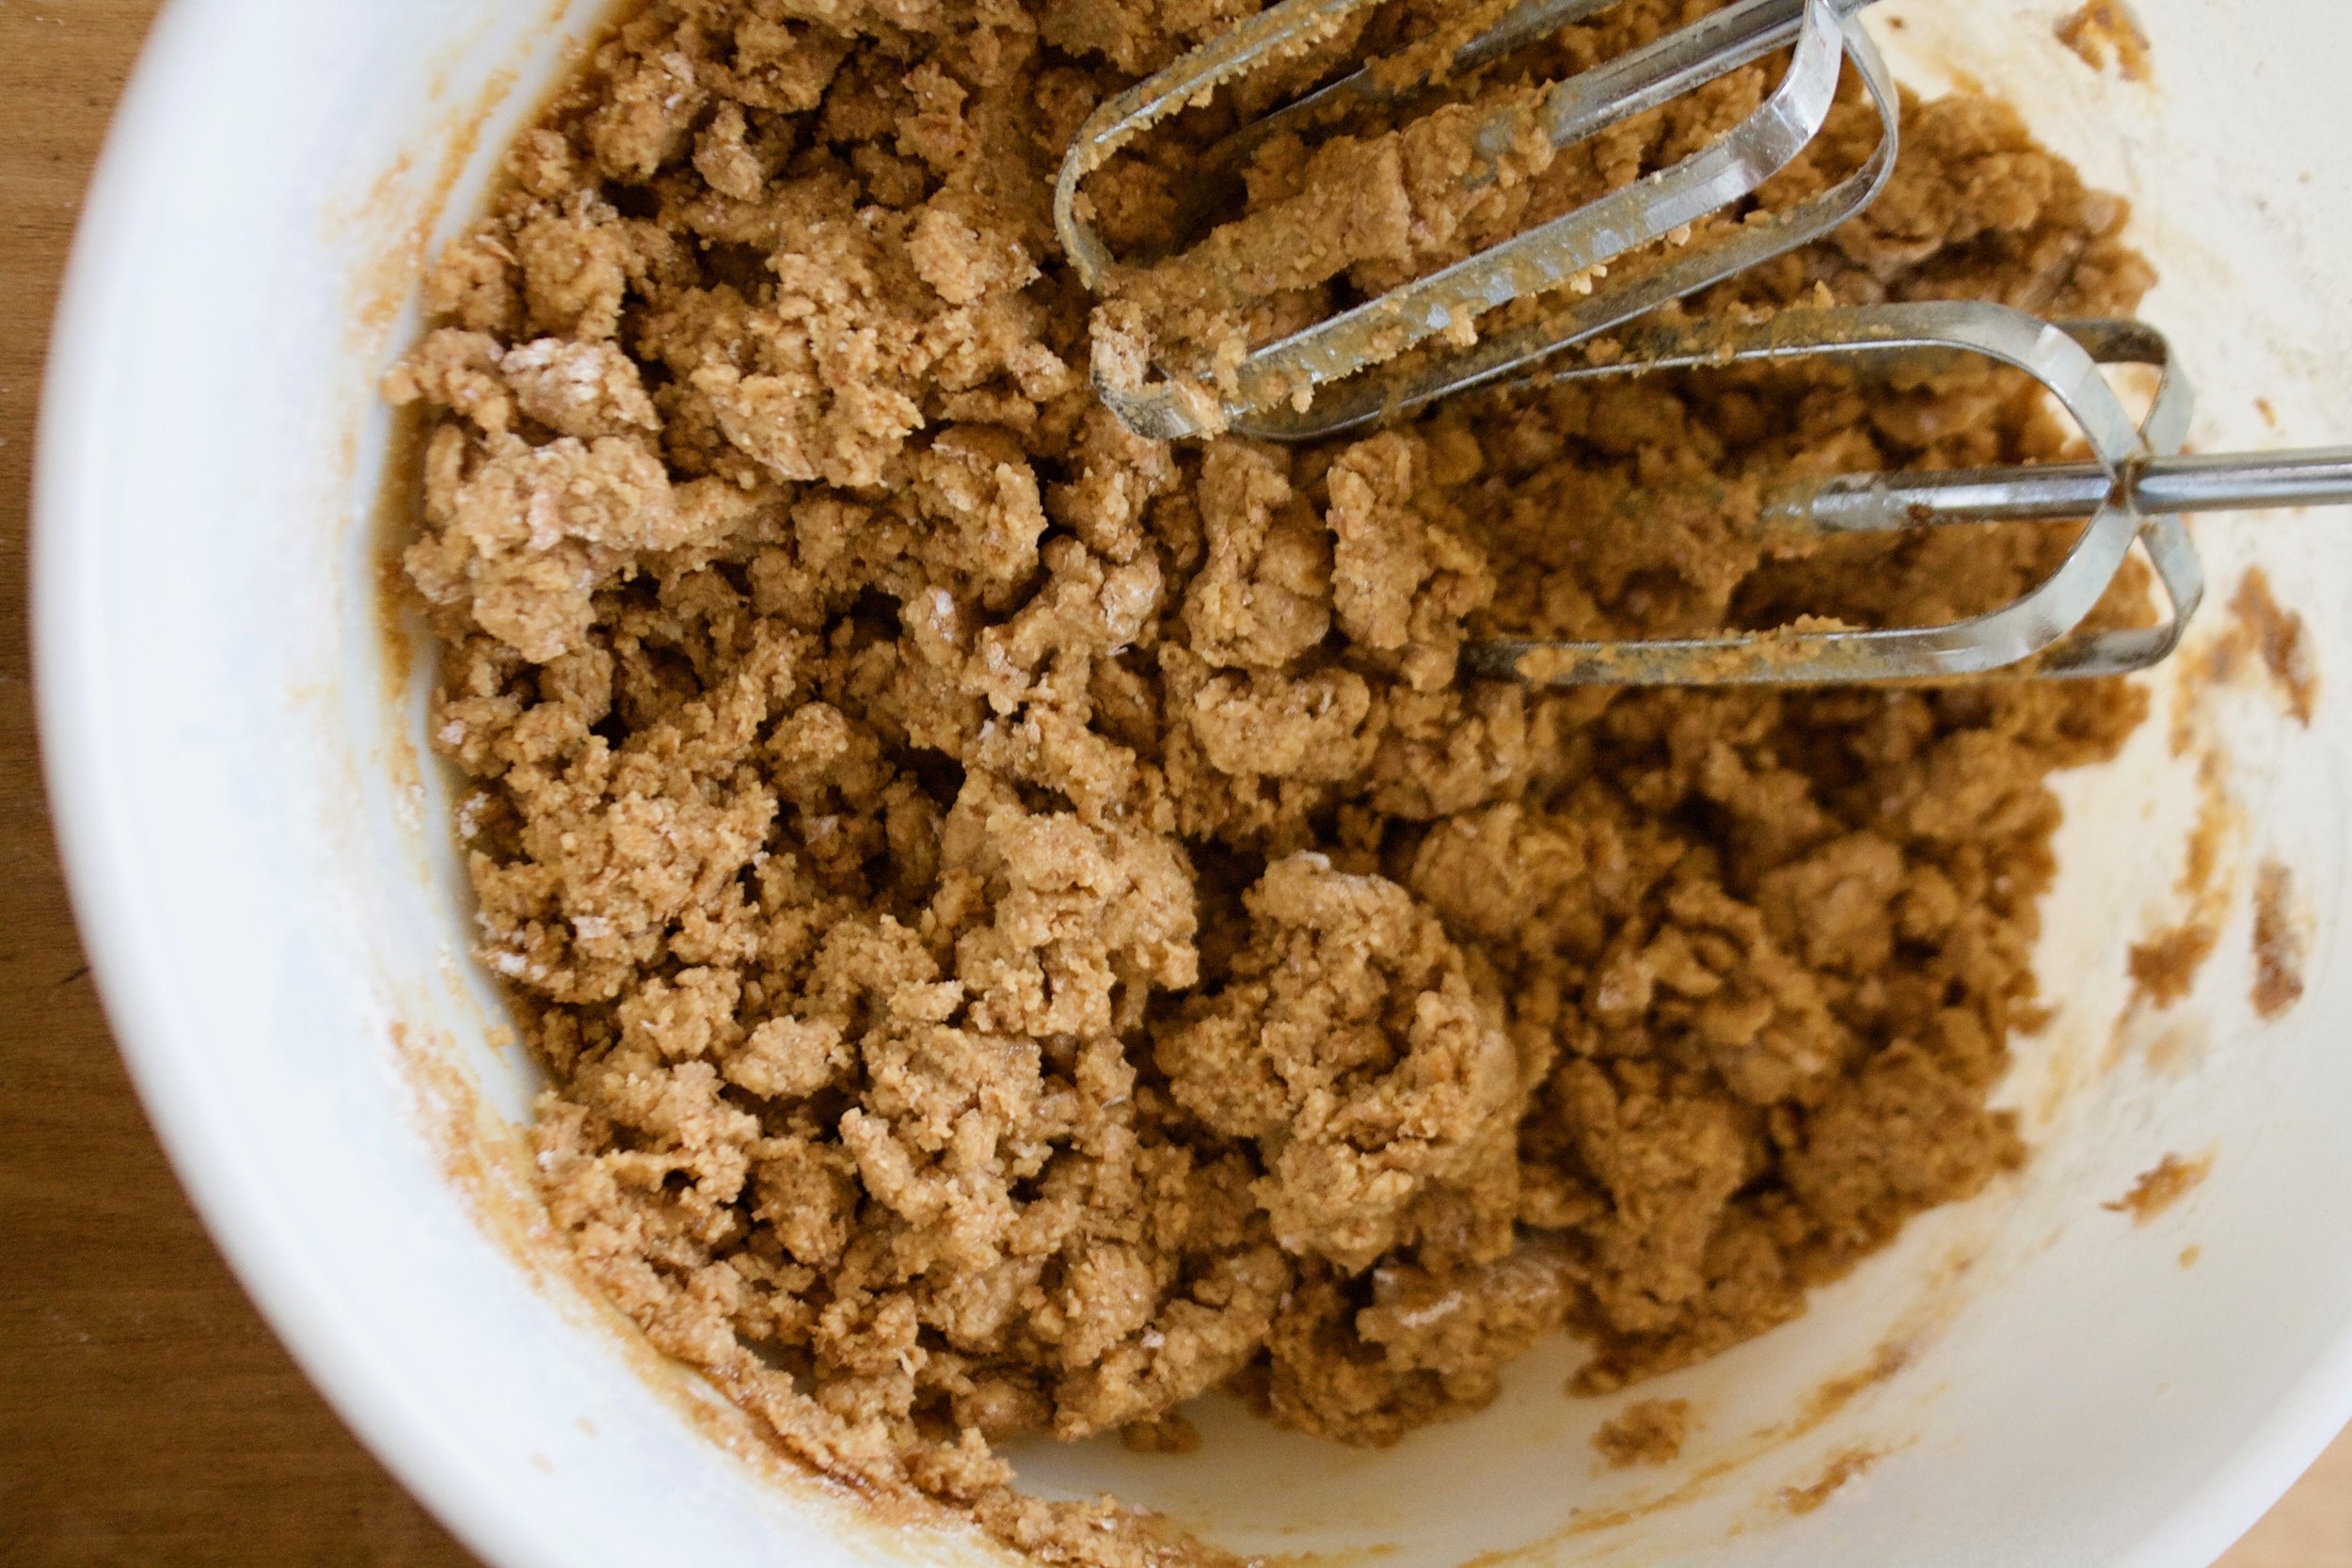
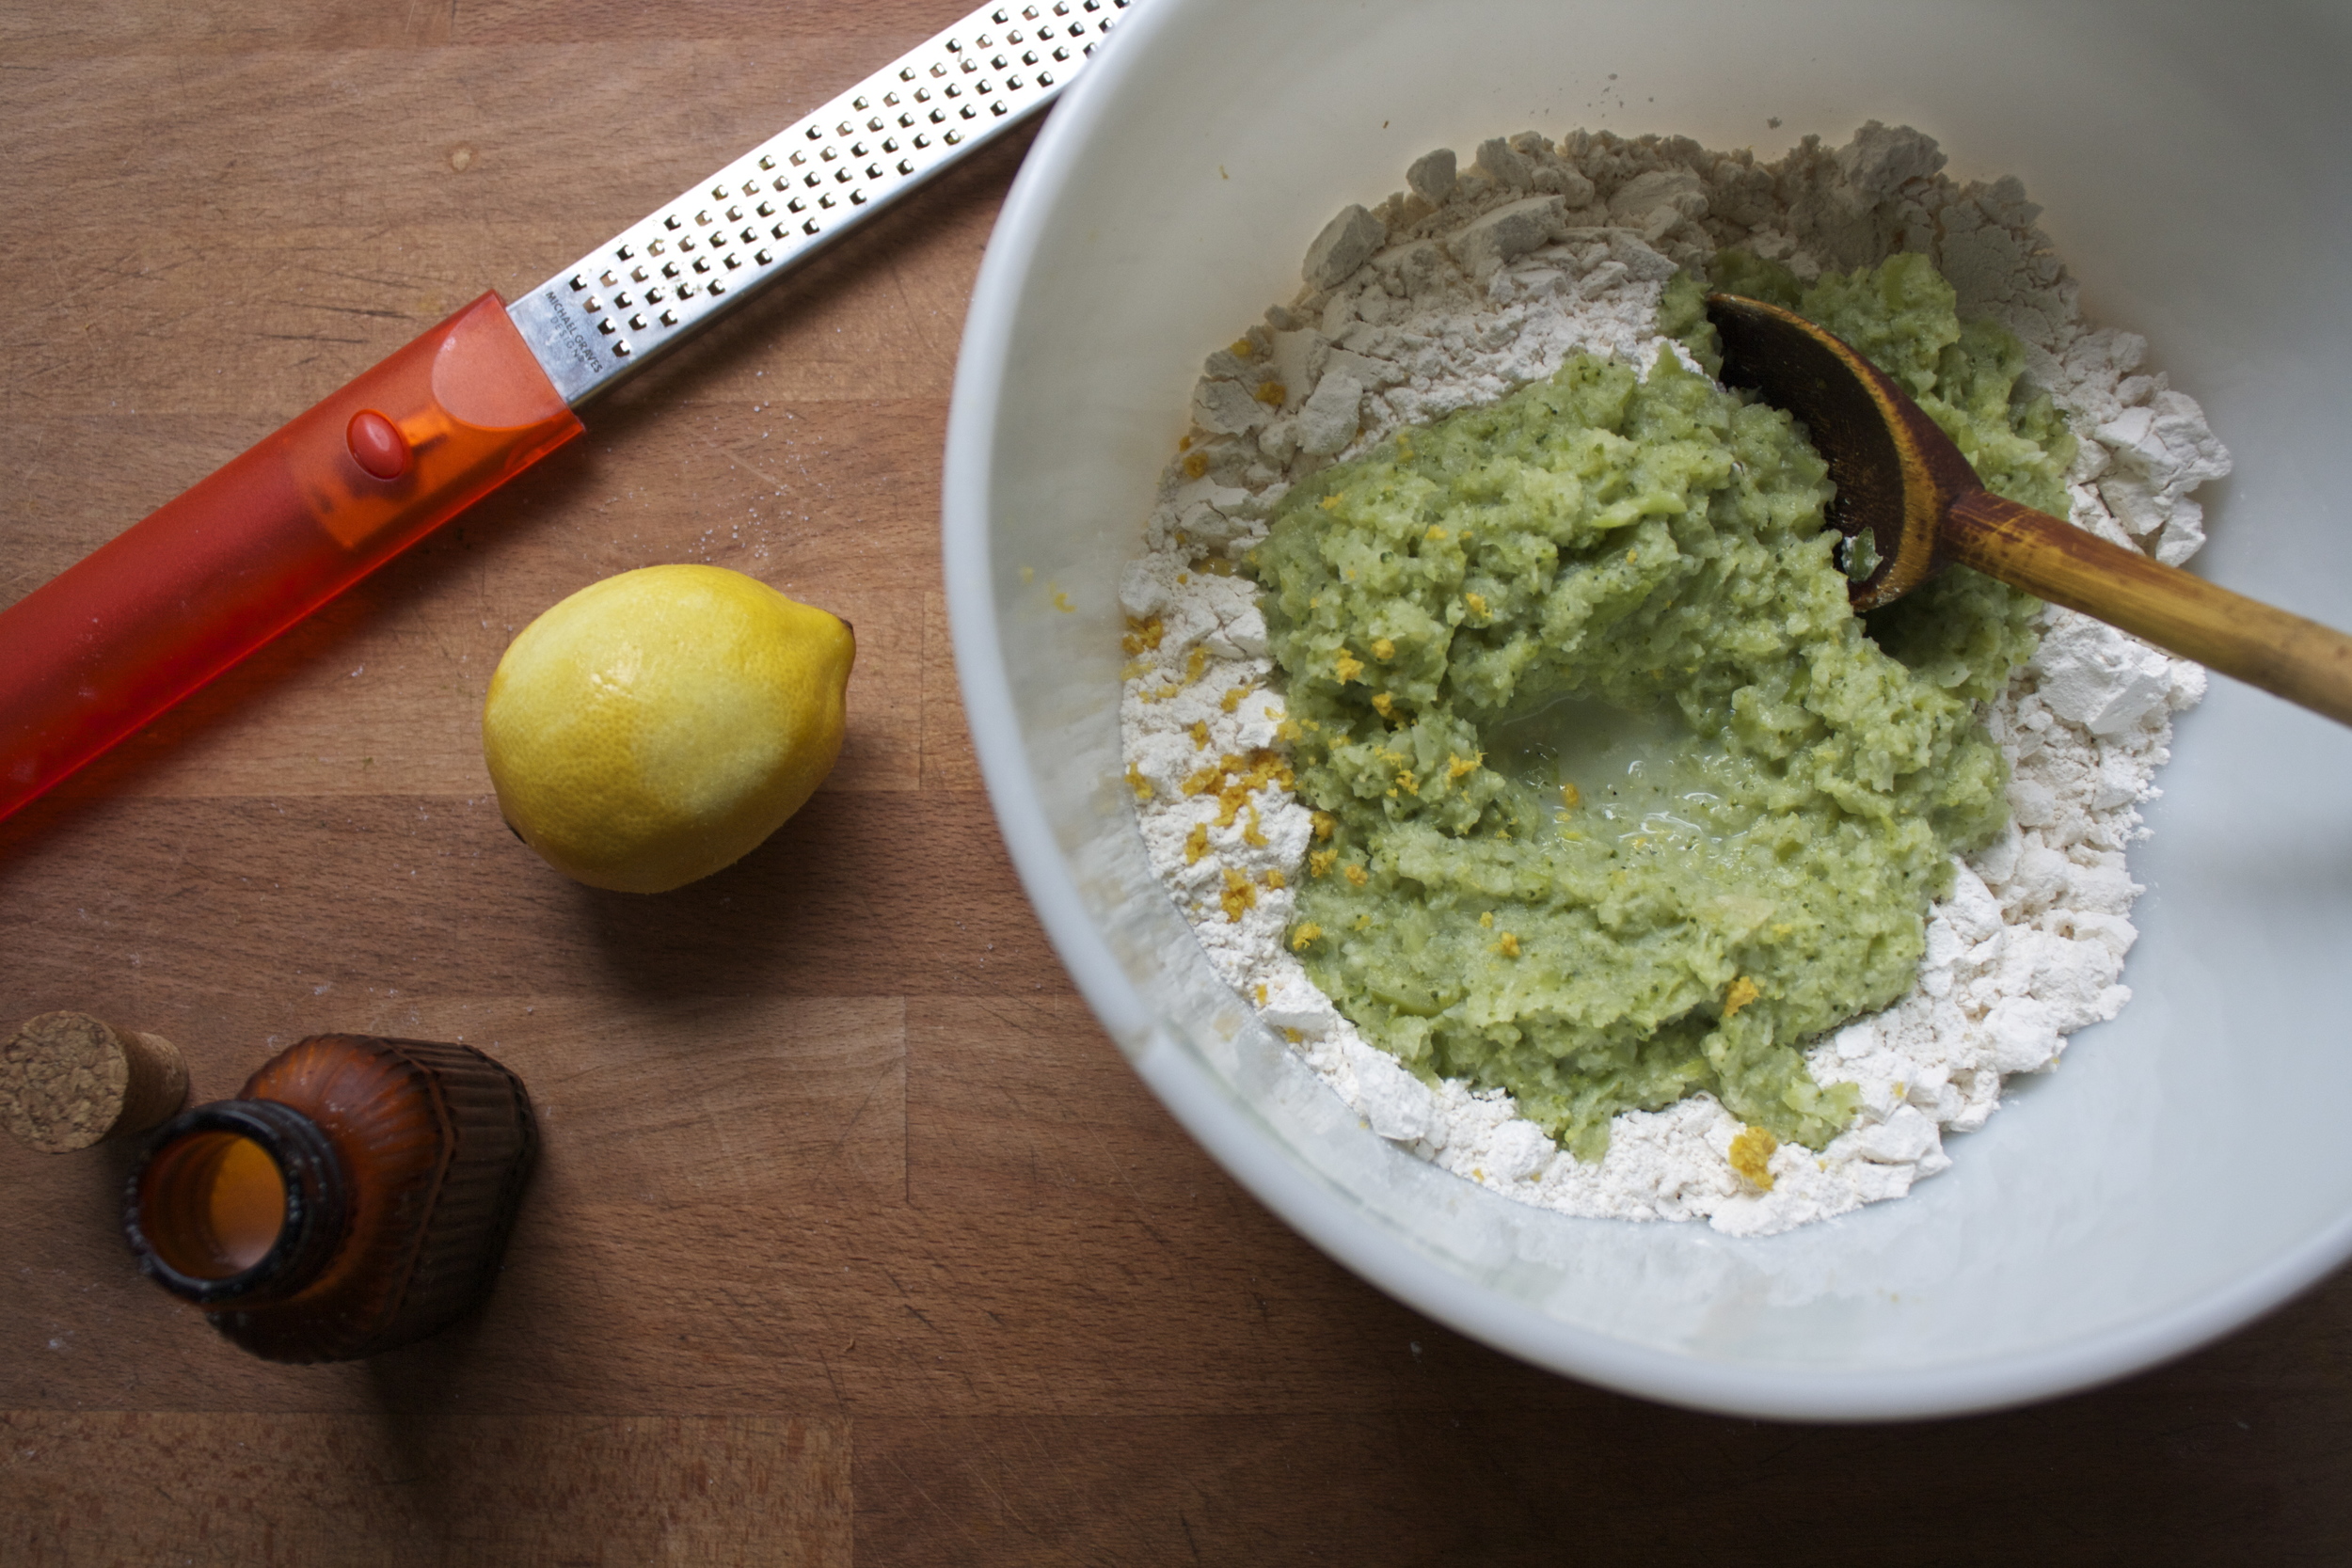
Make the biscuits. Toss all the dry together then cut in the very cold coconut oil. You want to have grainy, small little chunks of oil. Next add in the very cold milk and gently fold in with a fork until is is absorbed be gentle to not over mix..

IMG_5581.jpg

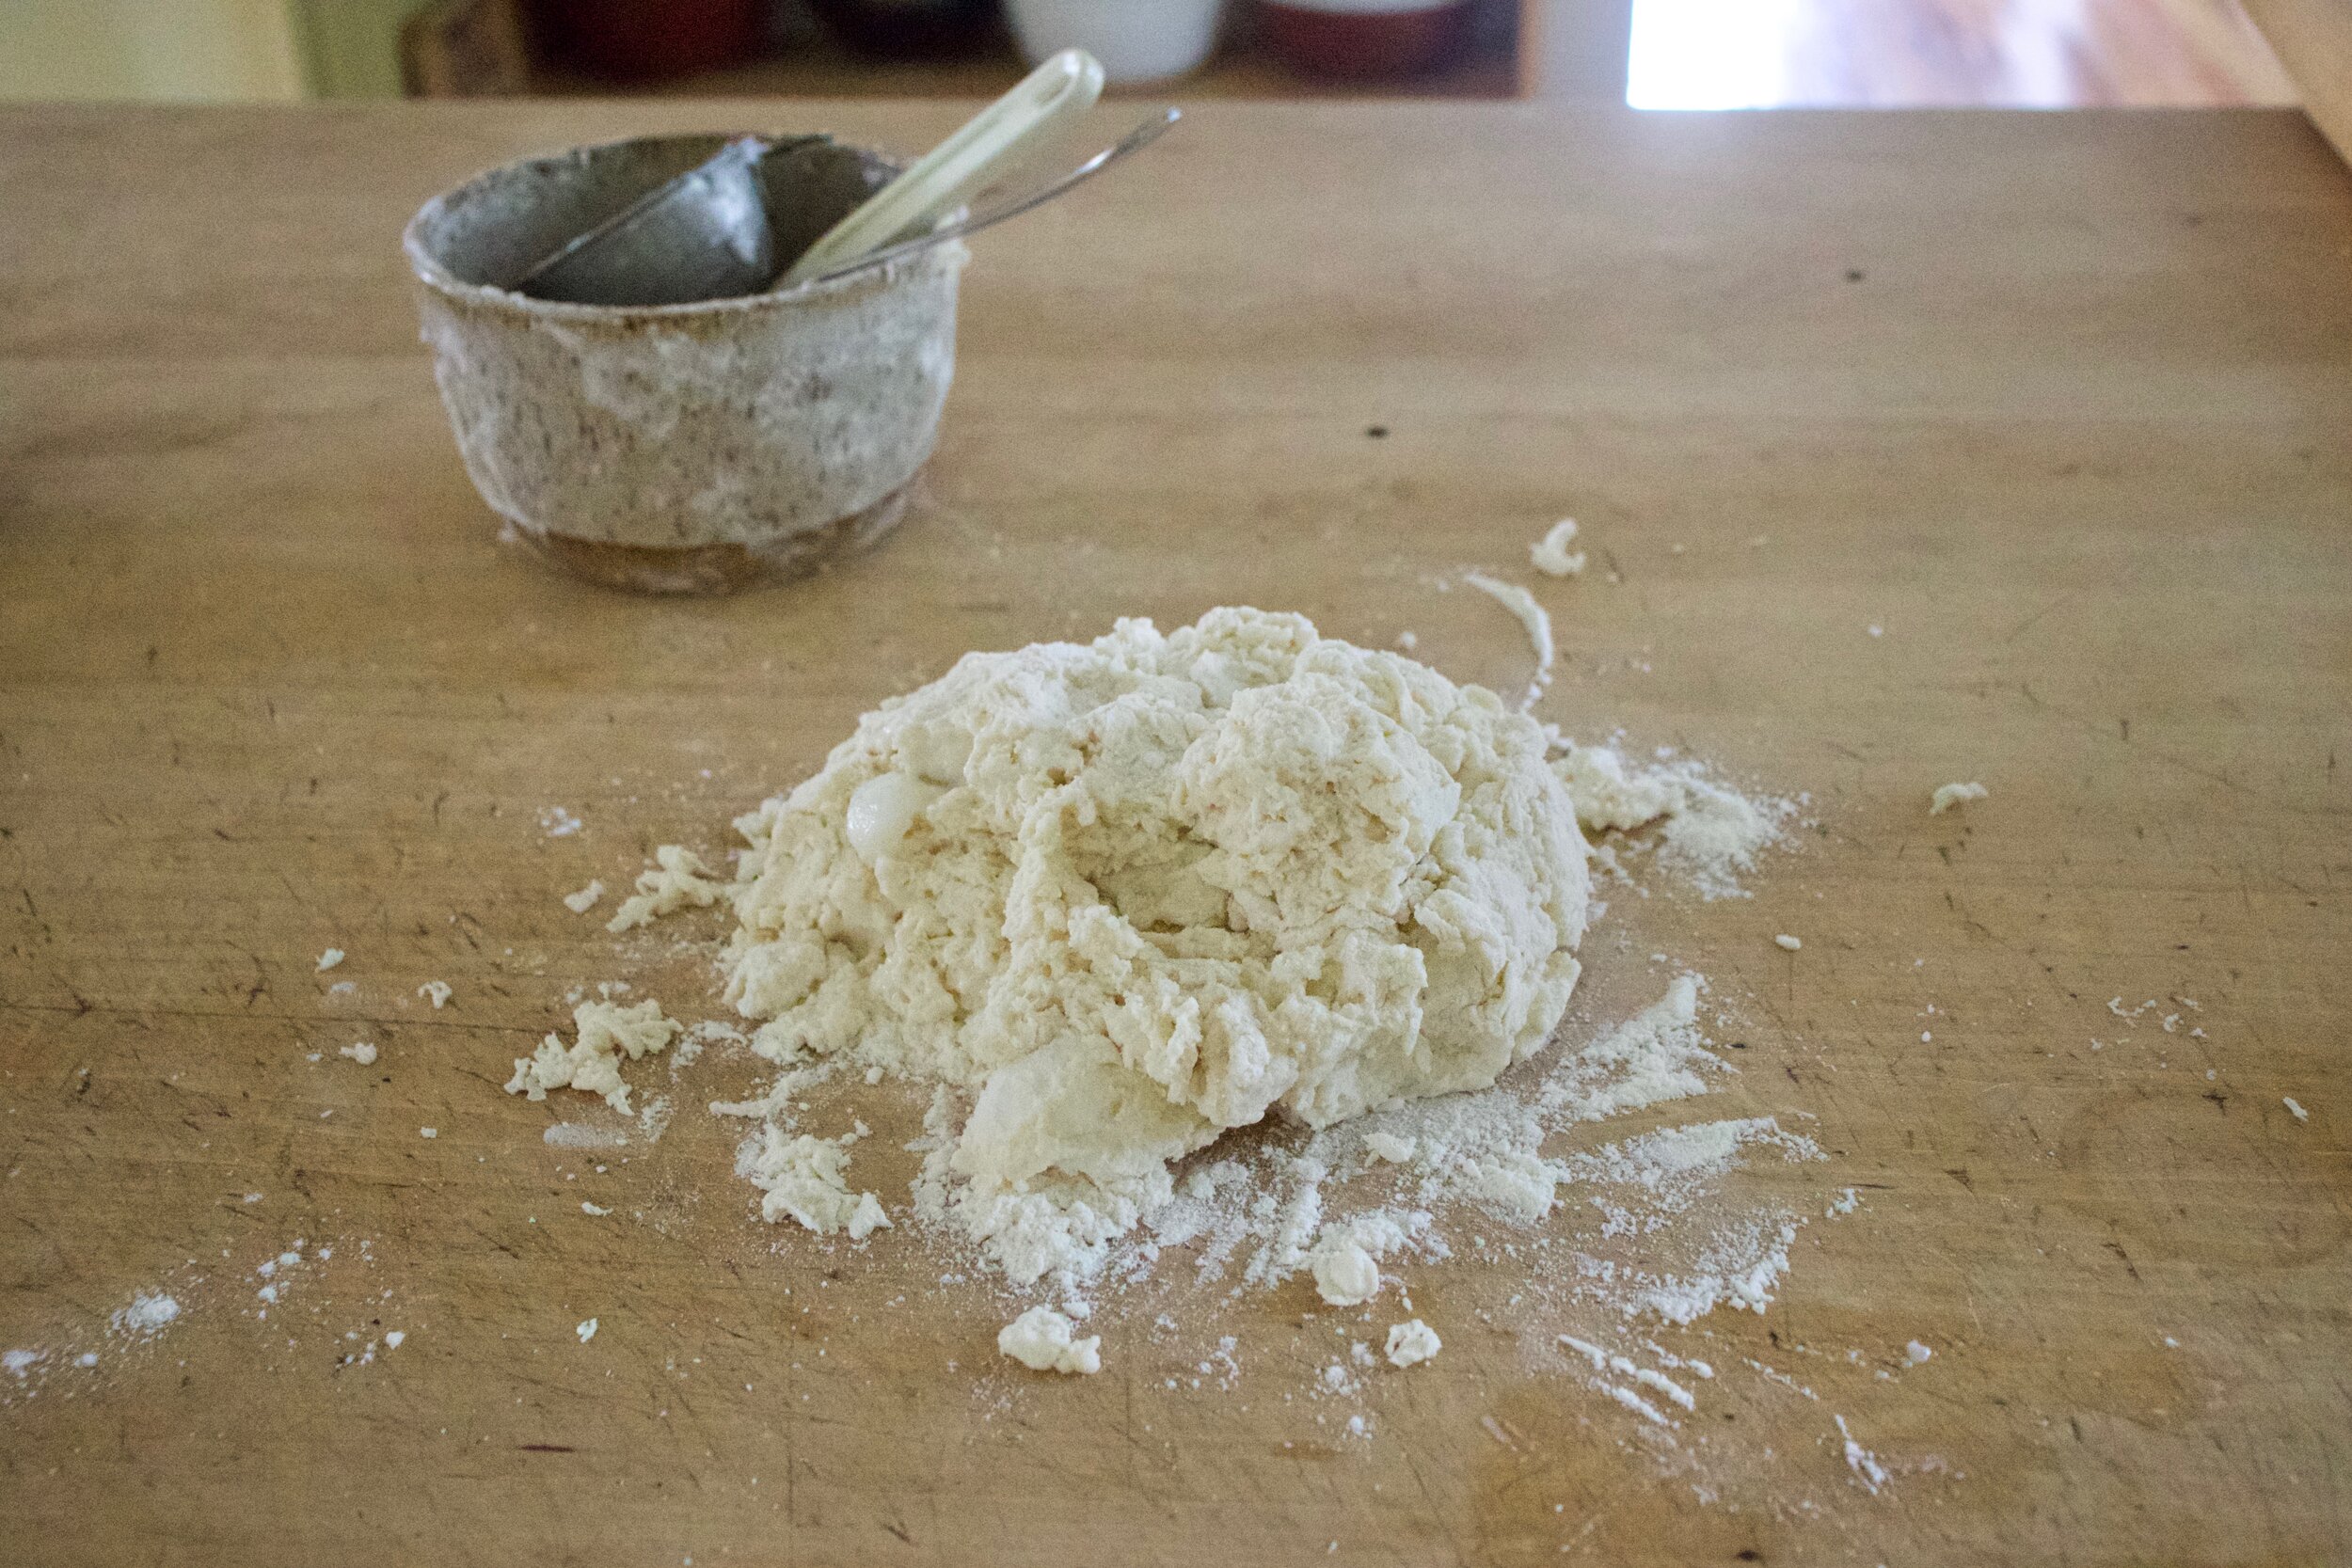
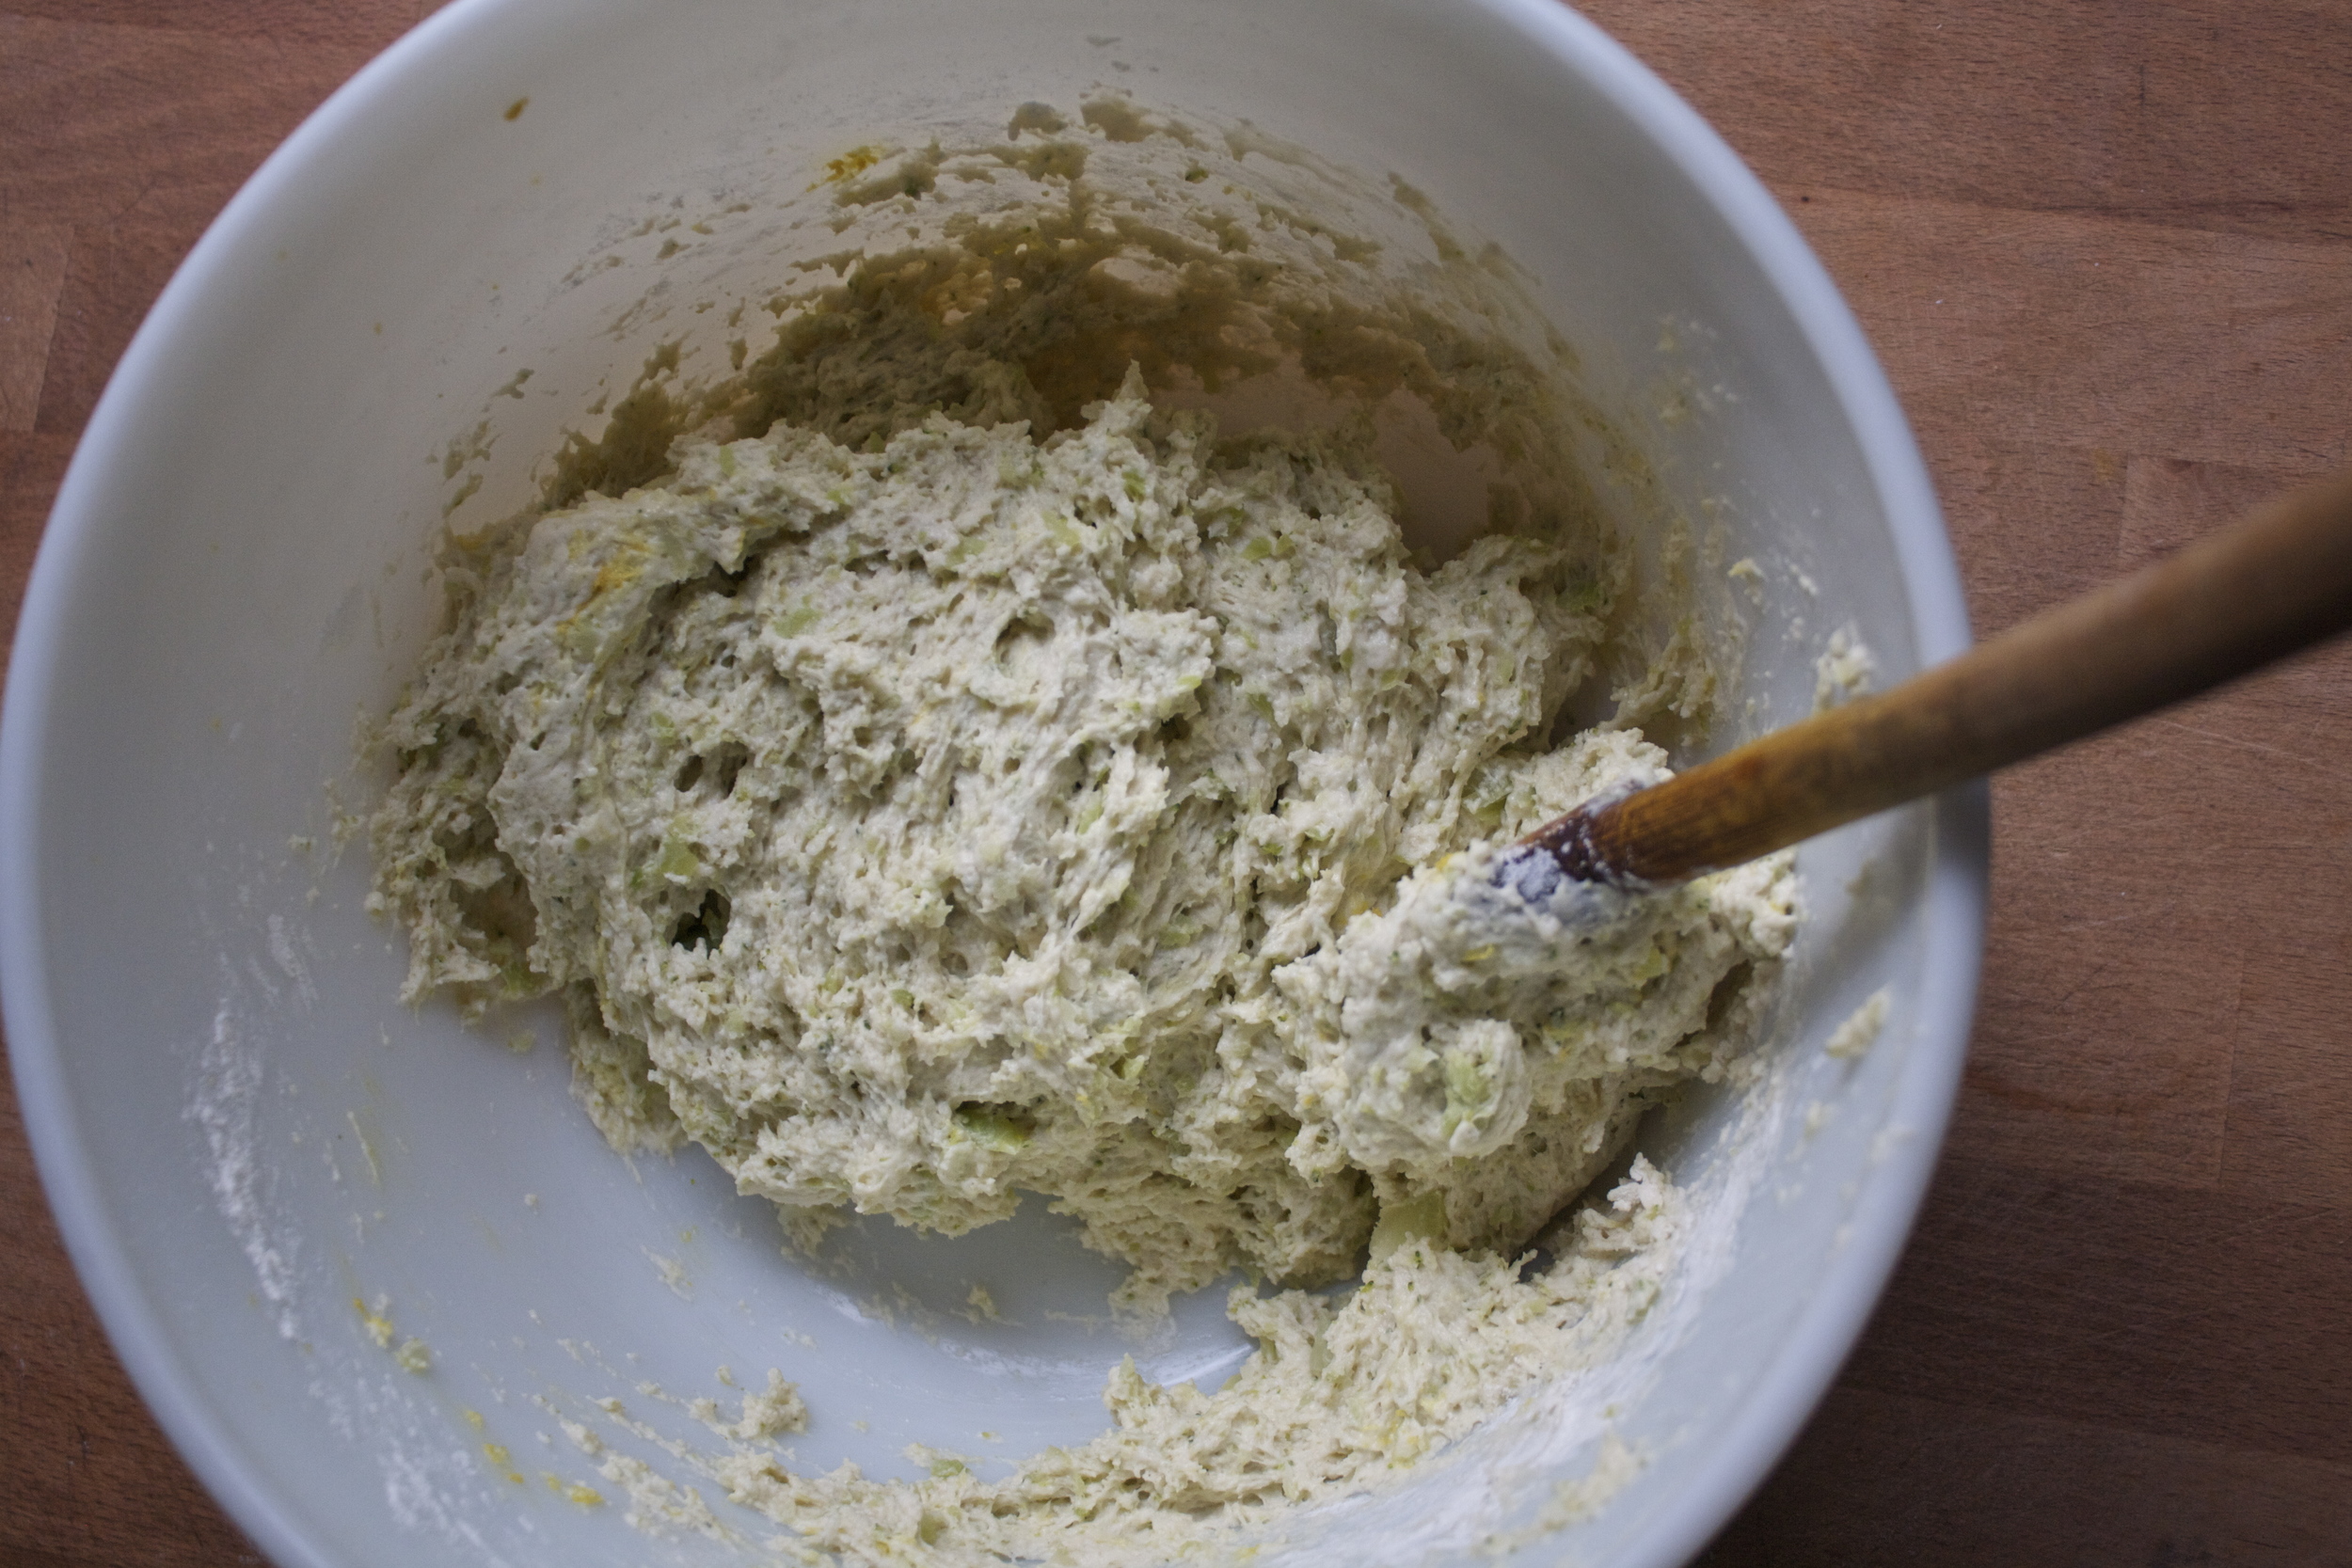
Dump the shaggy dough onto a lighhy scoured counter and gather together.

IMG_5590.jpg

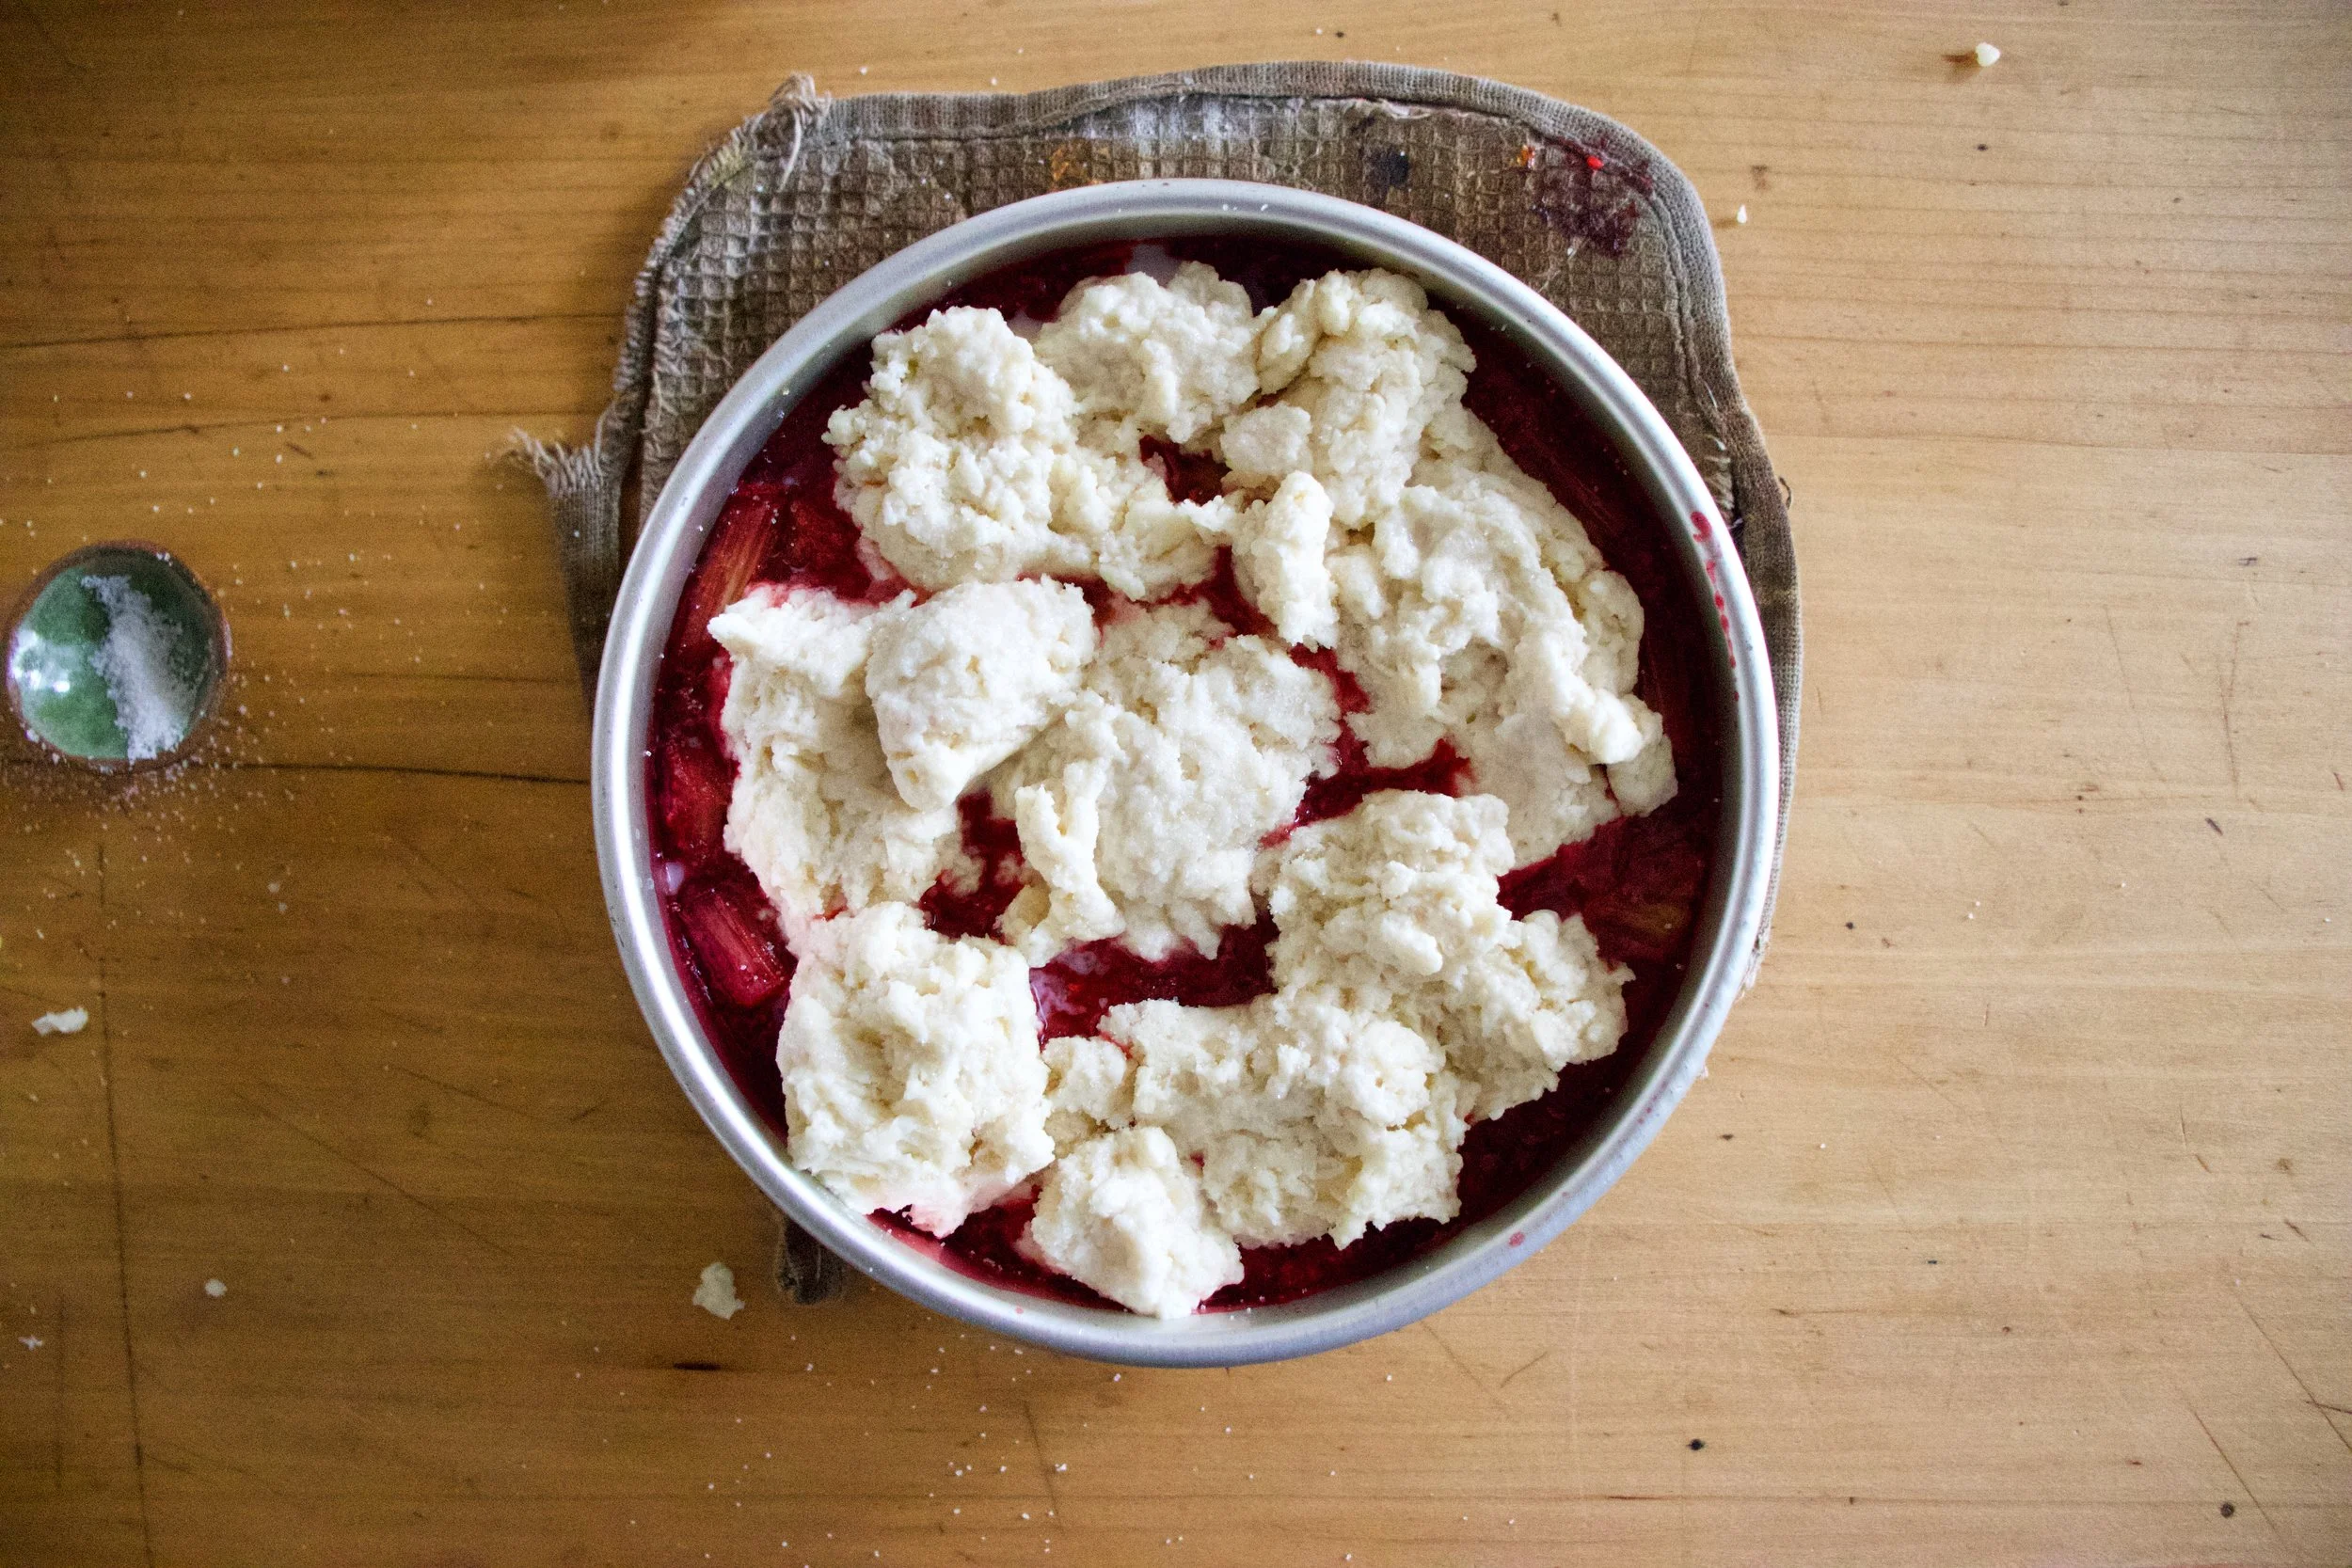
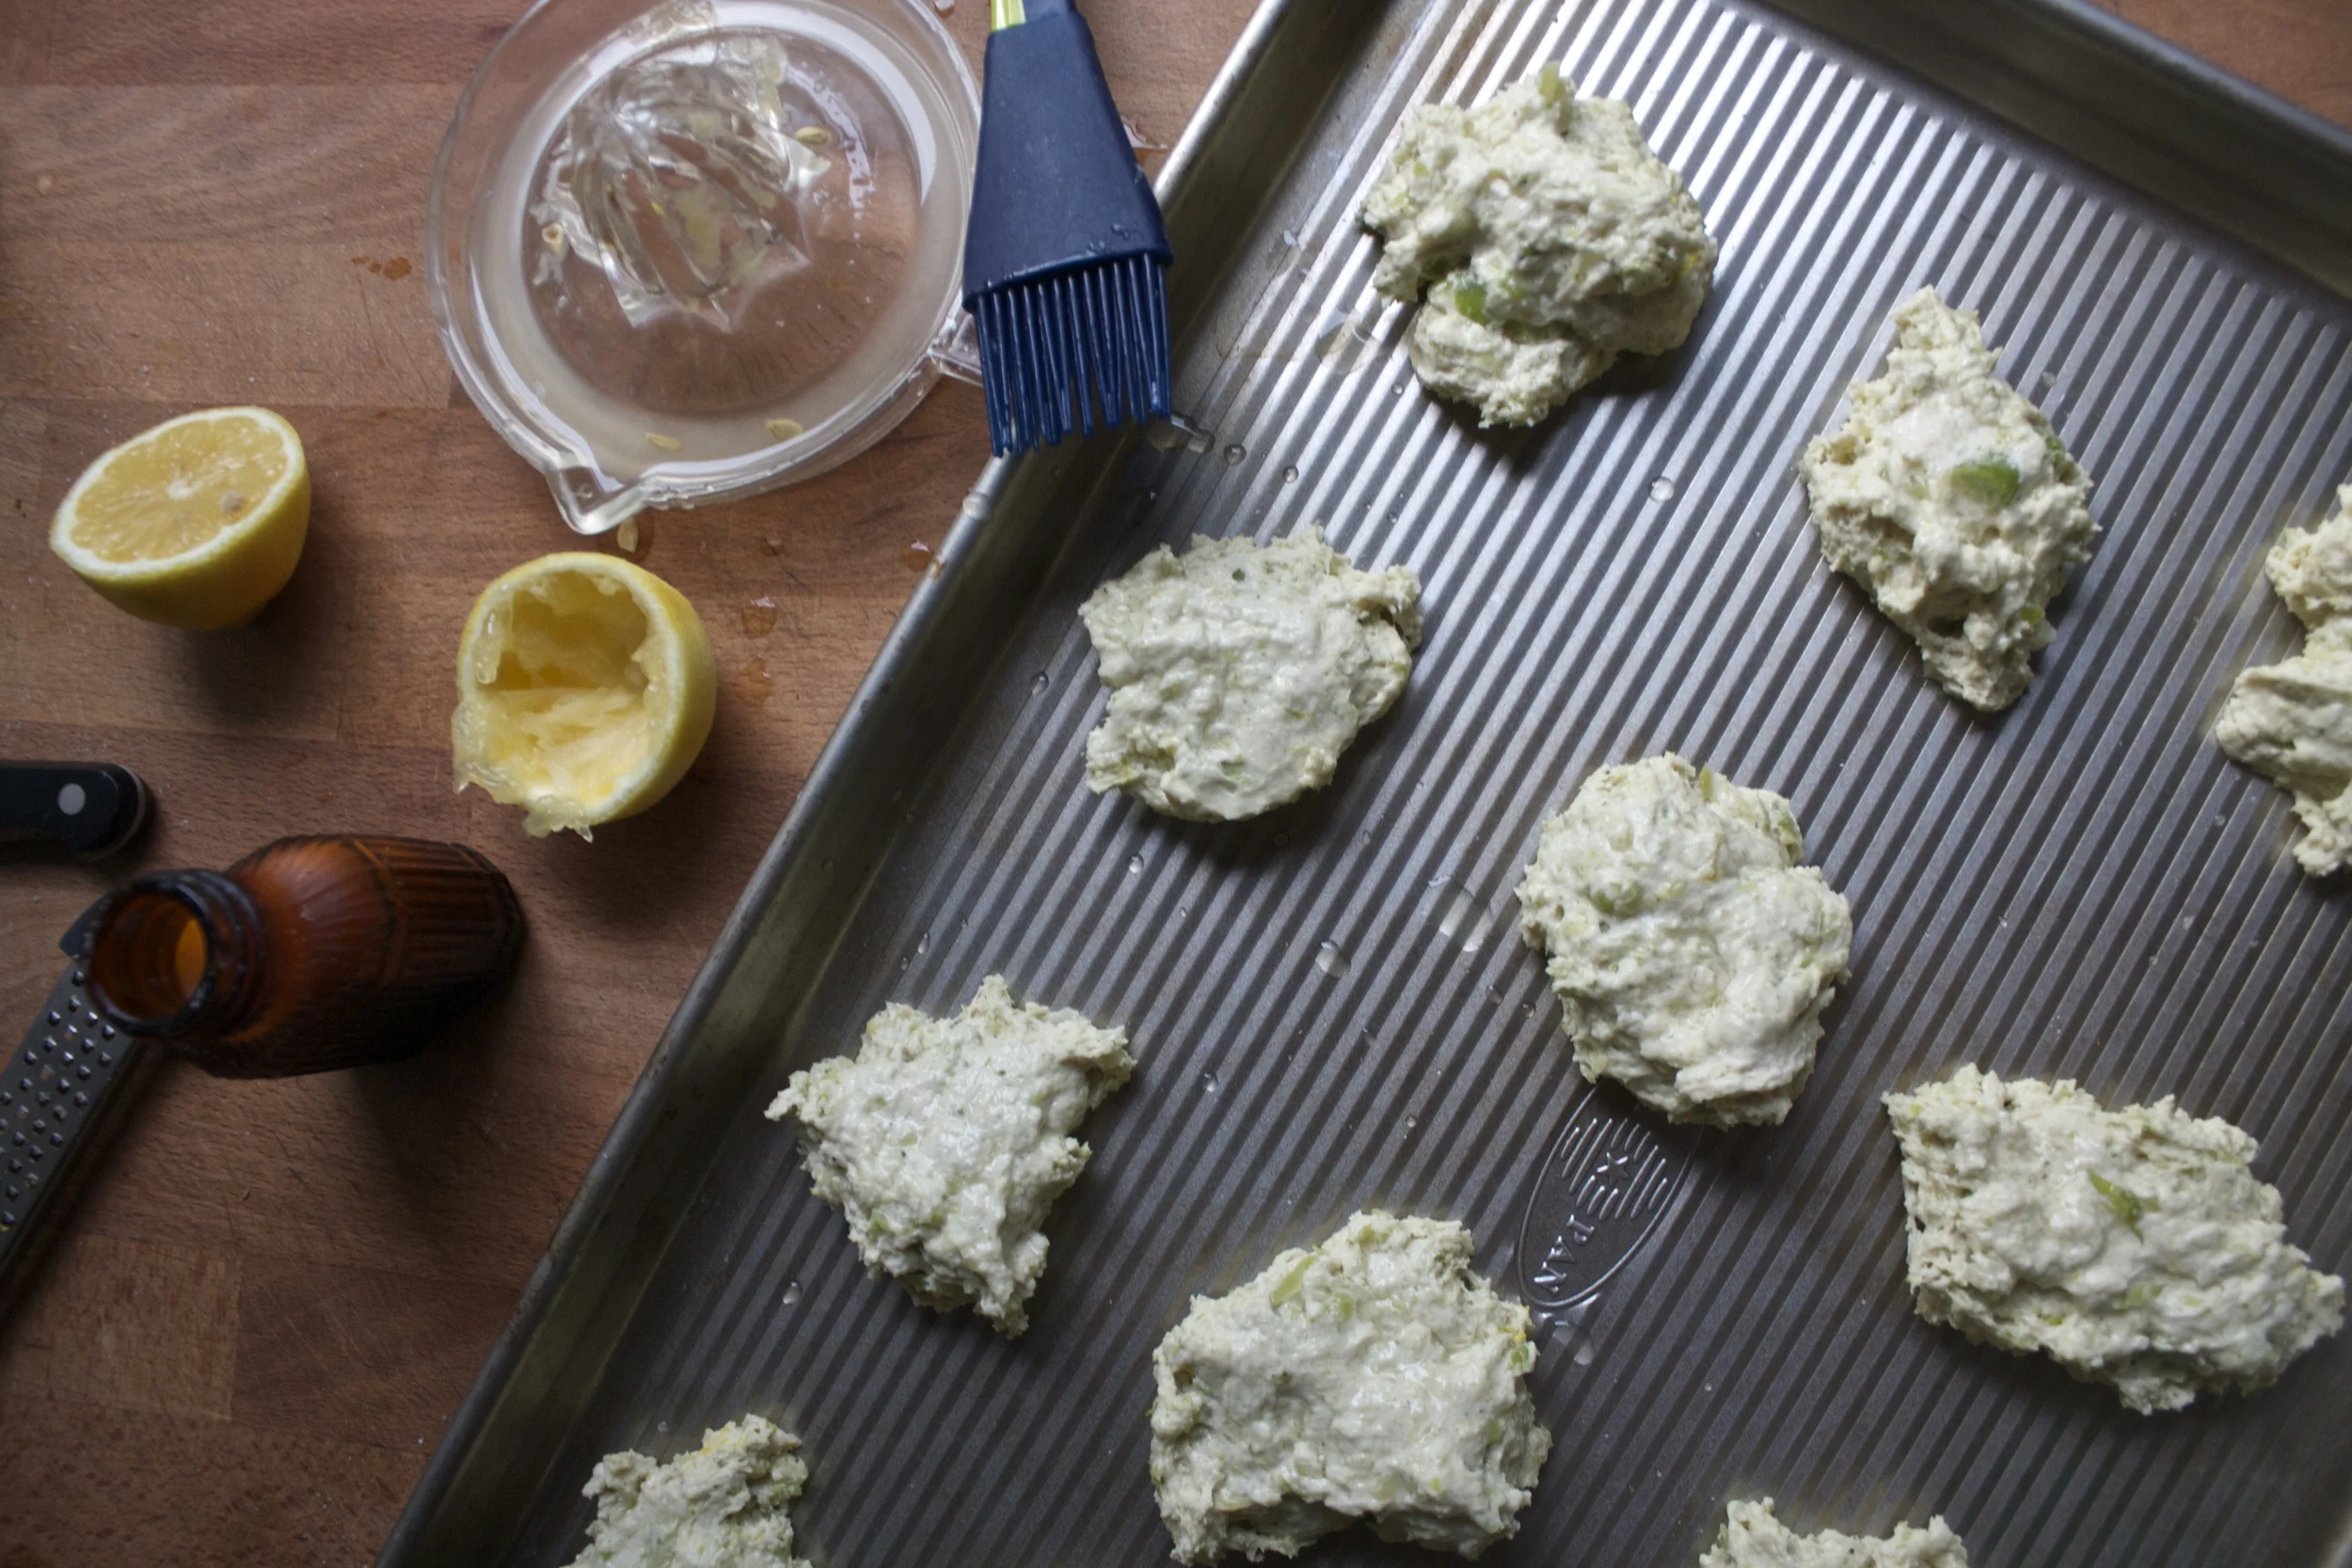
roll dough out into a shape that is about 1 1/2 inches thick (I went with rectangle) and cut into 6-8 equal sized pieces.

IMG_5596.jpg

Place cut biscuits on a lined baking sheet, brush tops with a little milk, and sprinkle the tops with a bit of sugar.

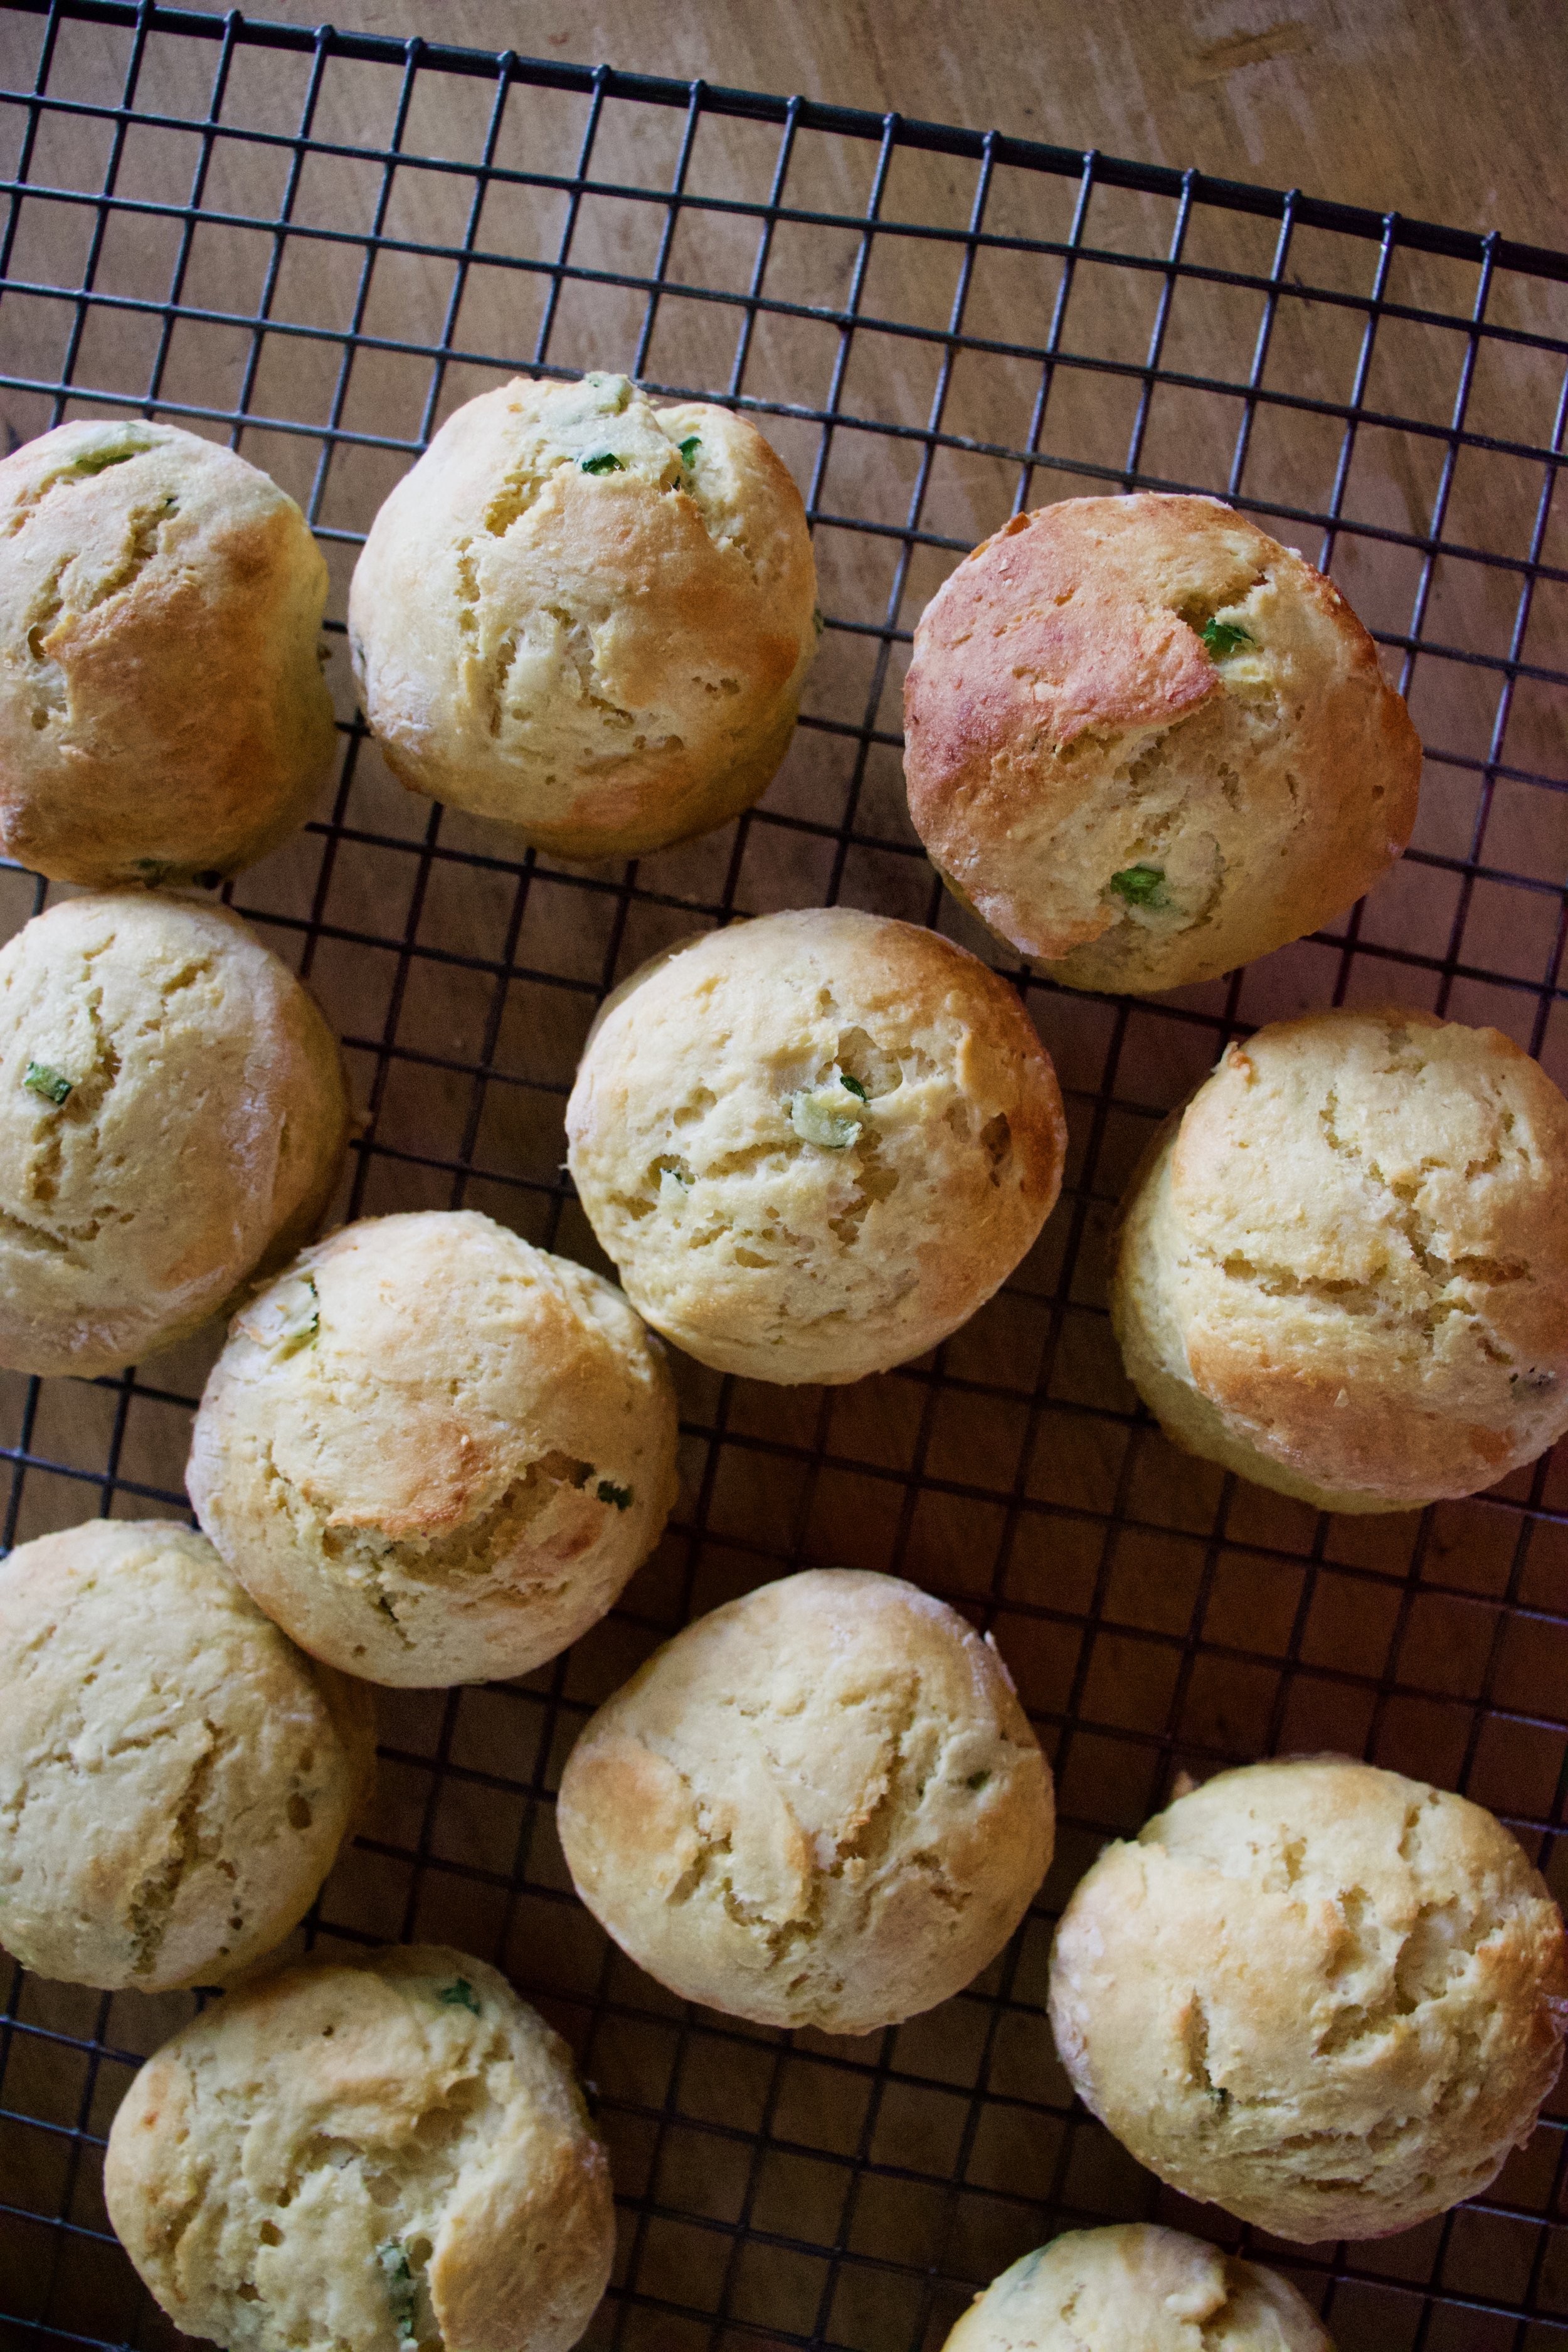
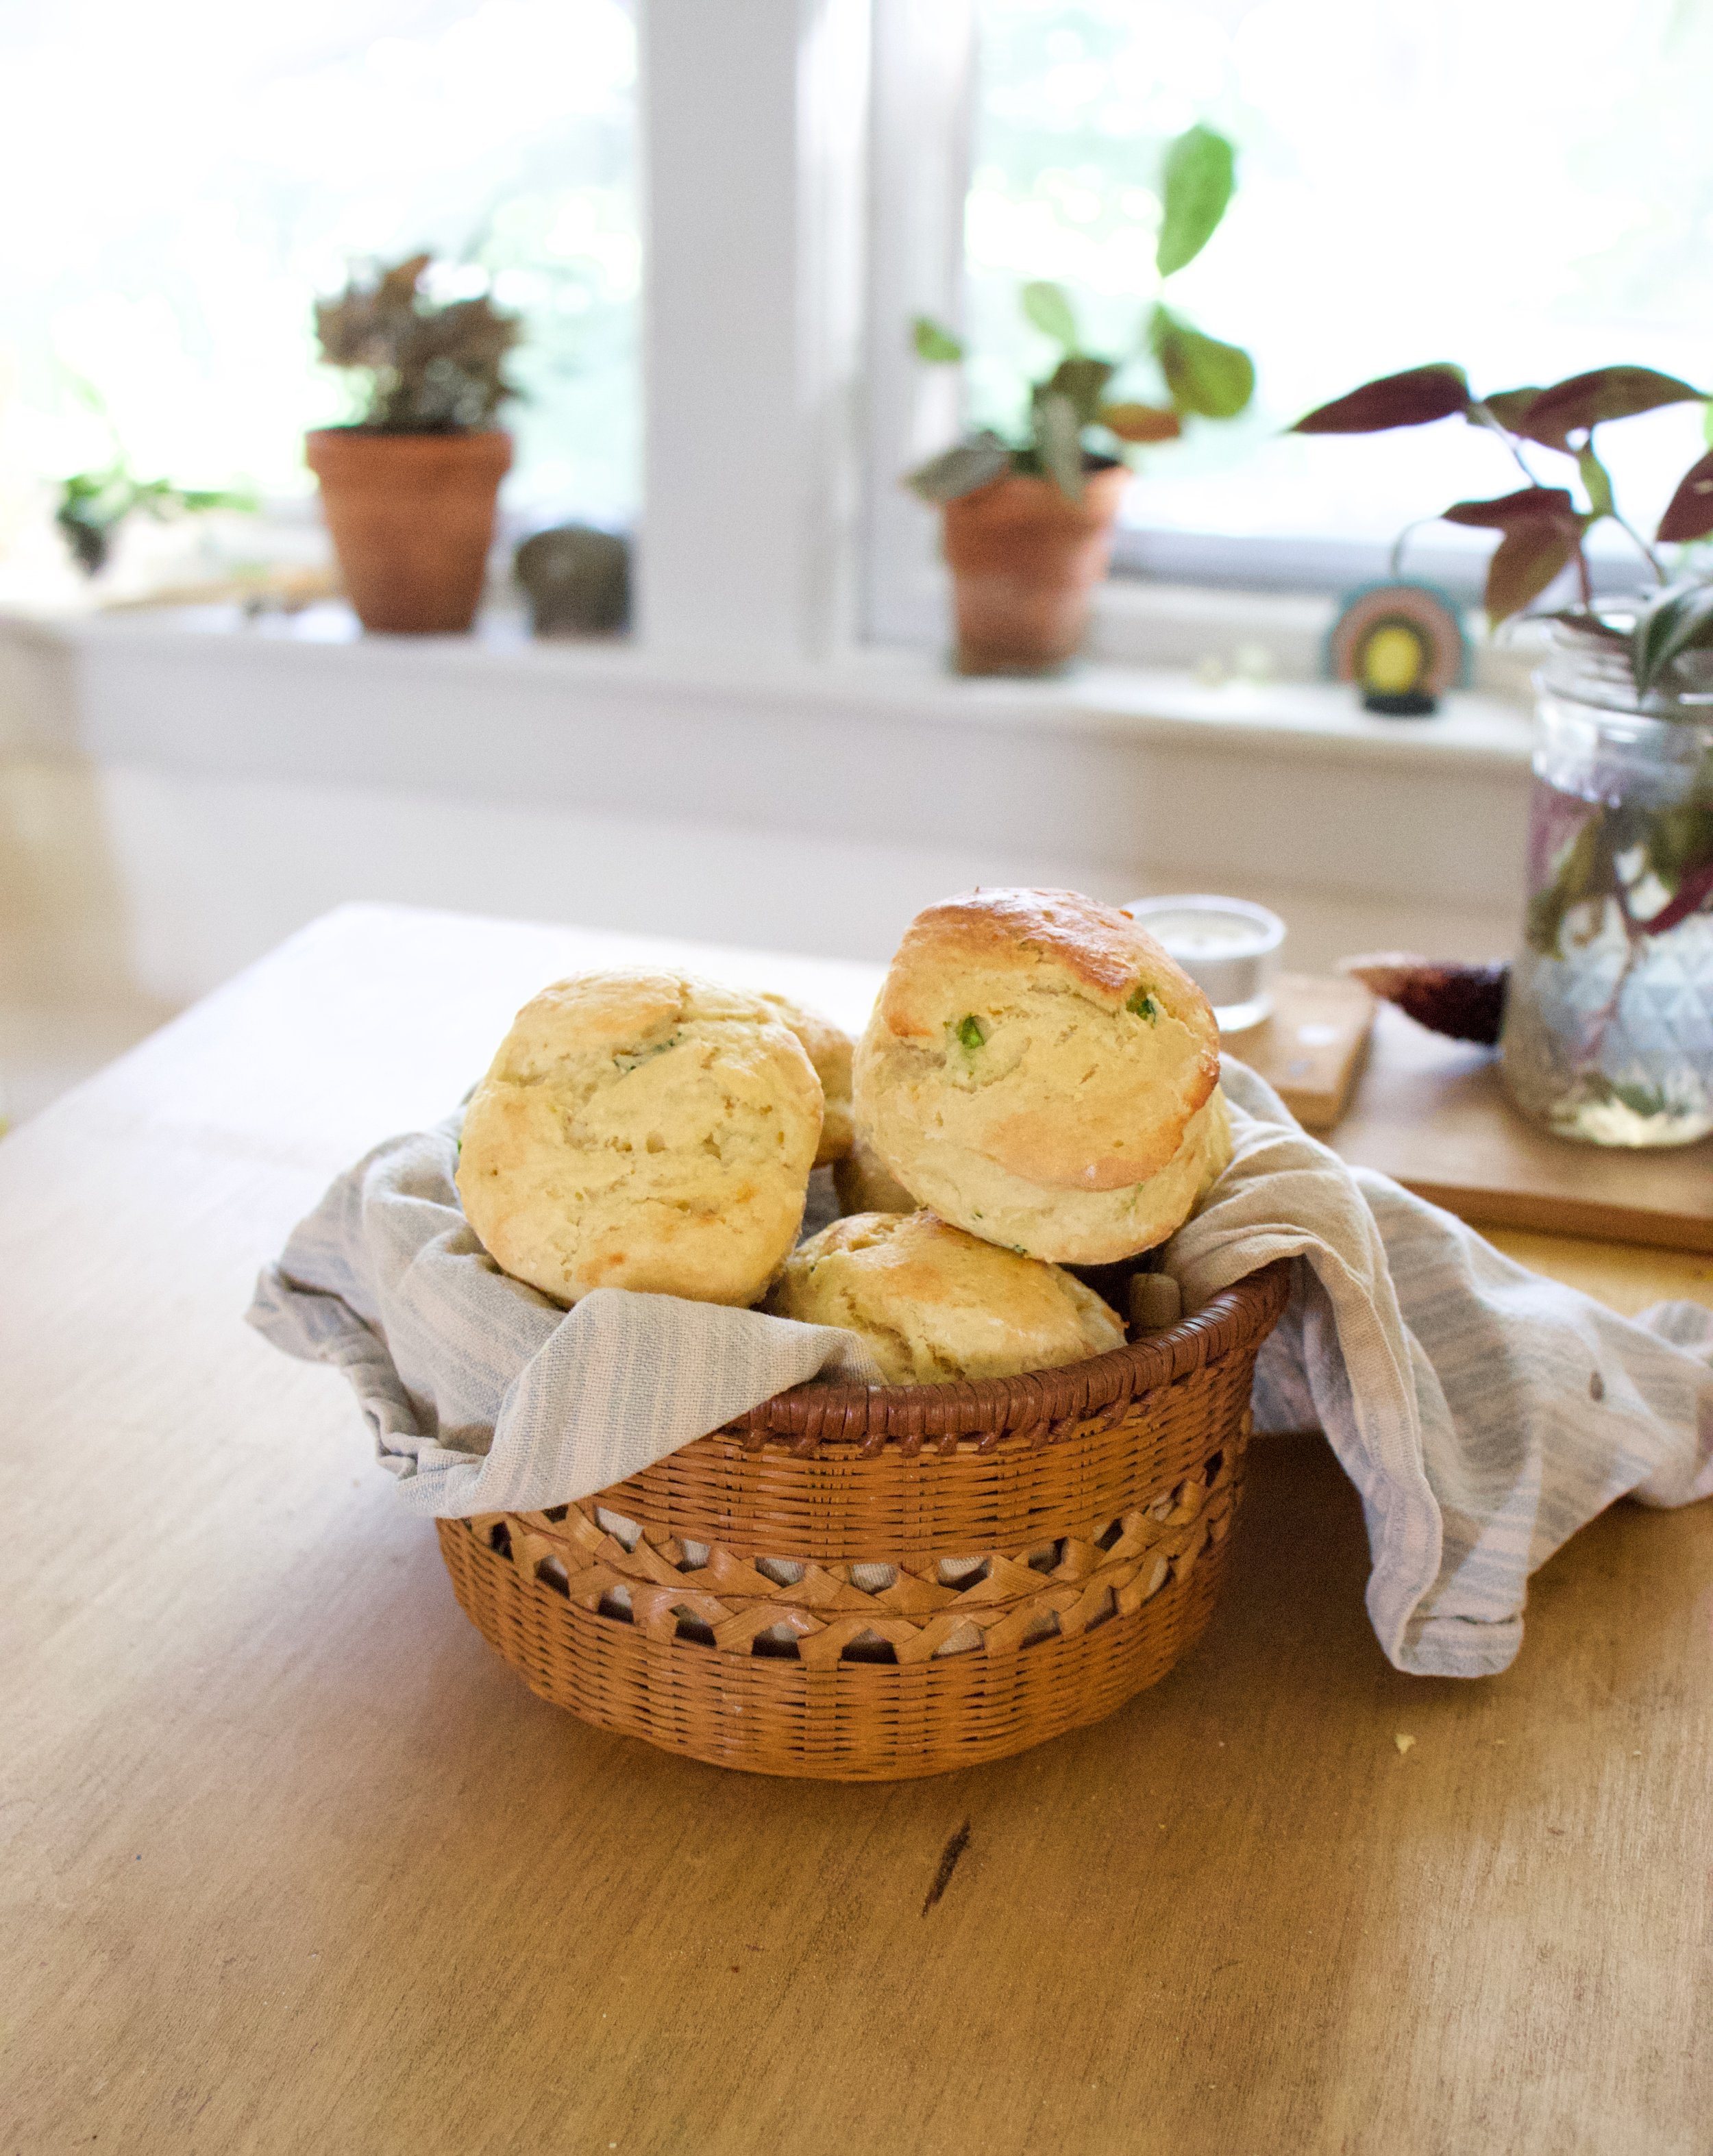
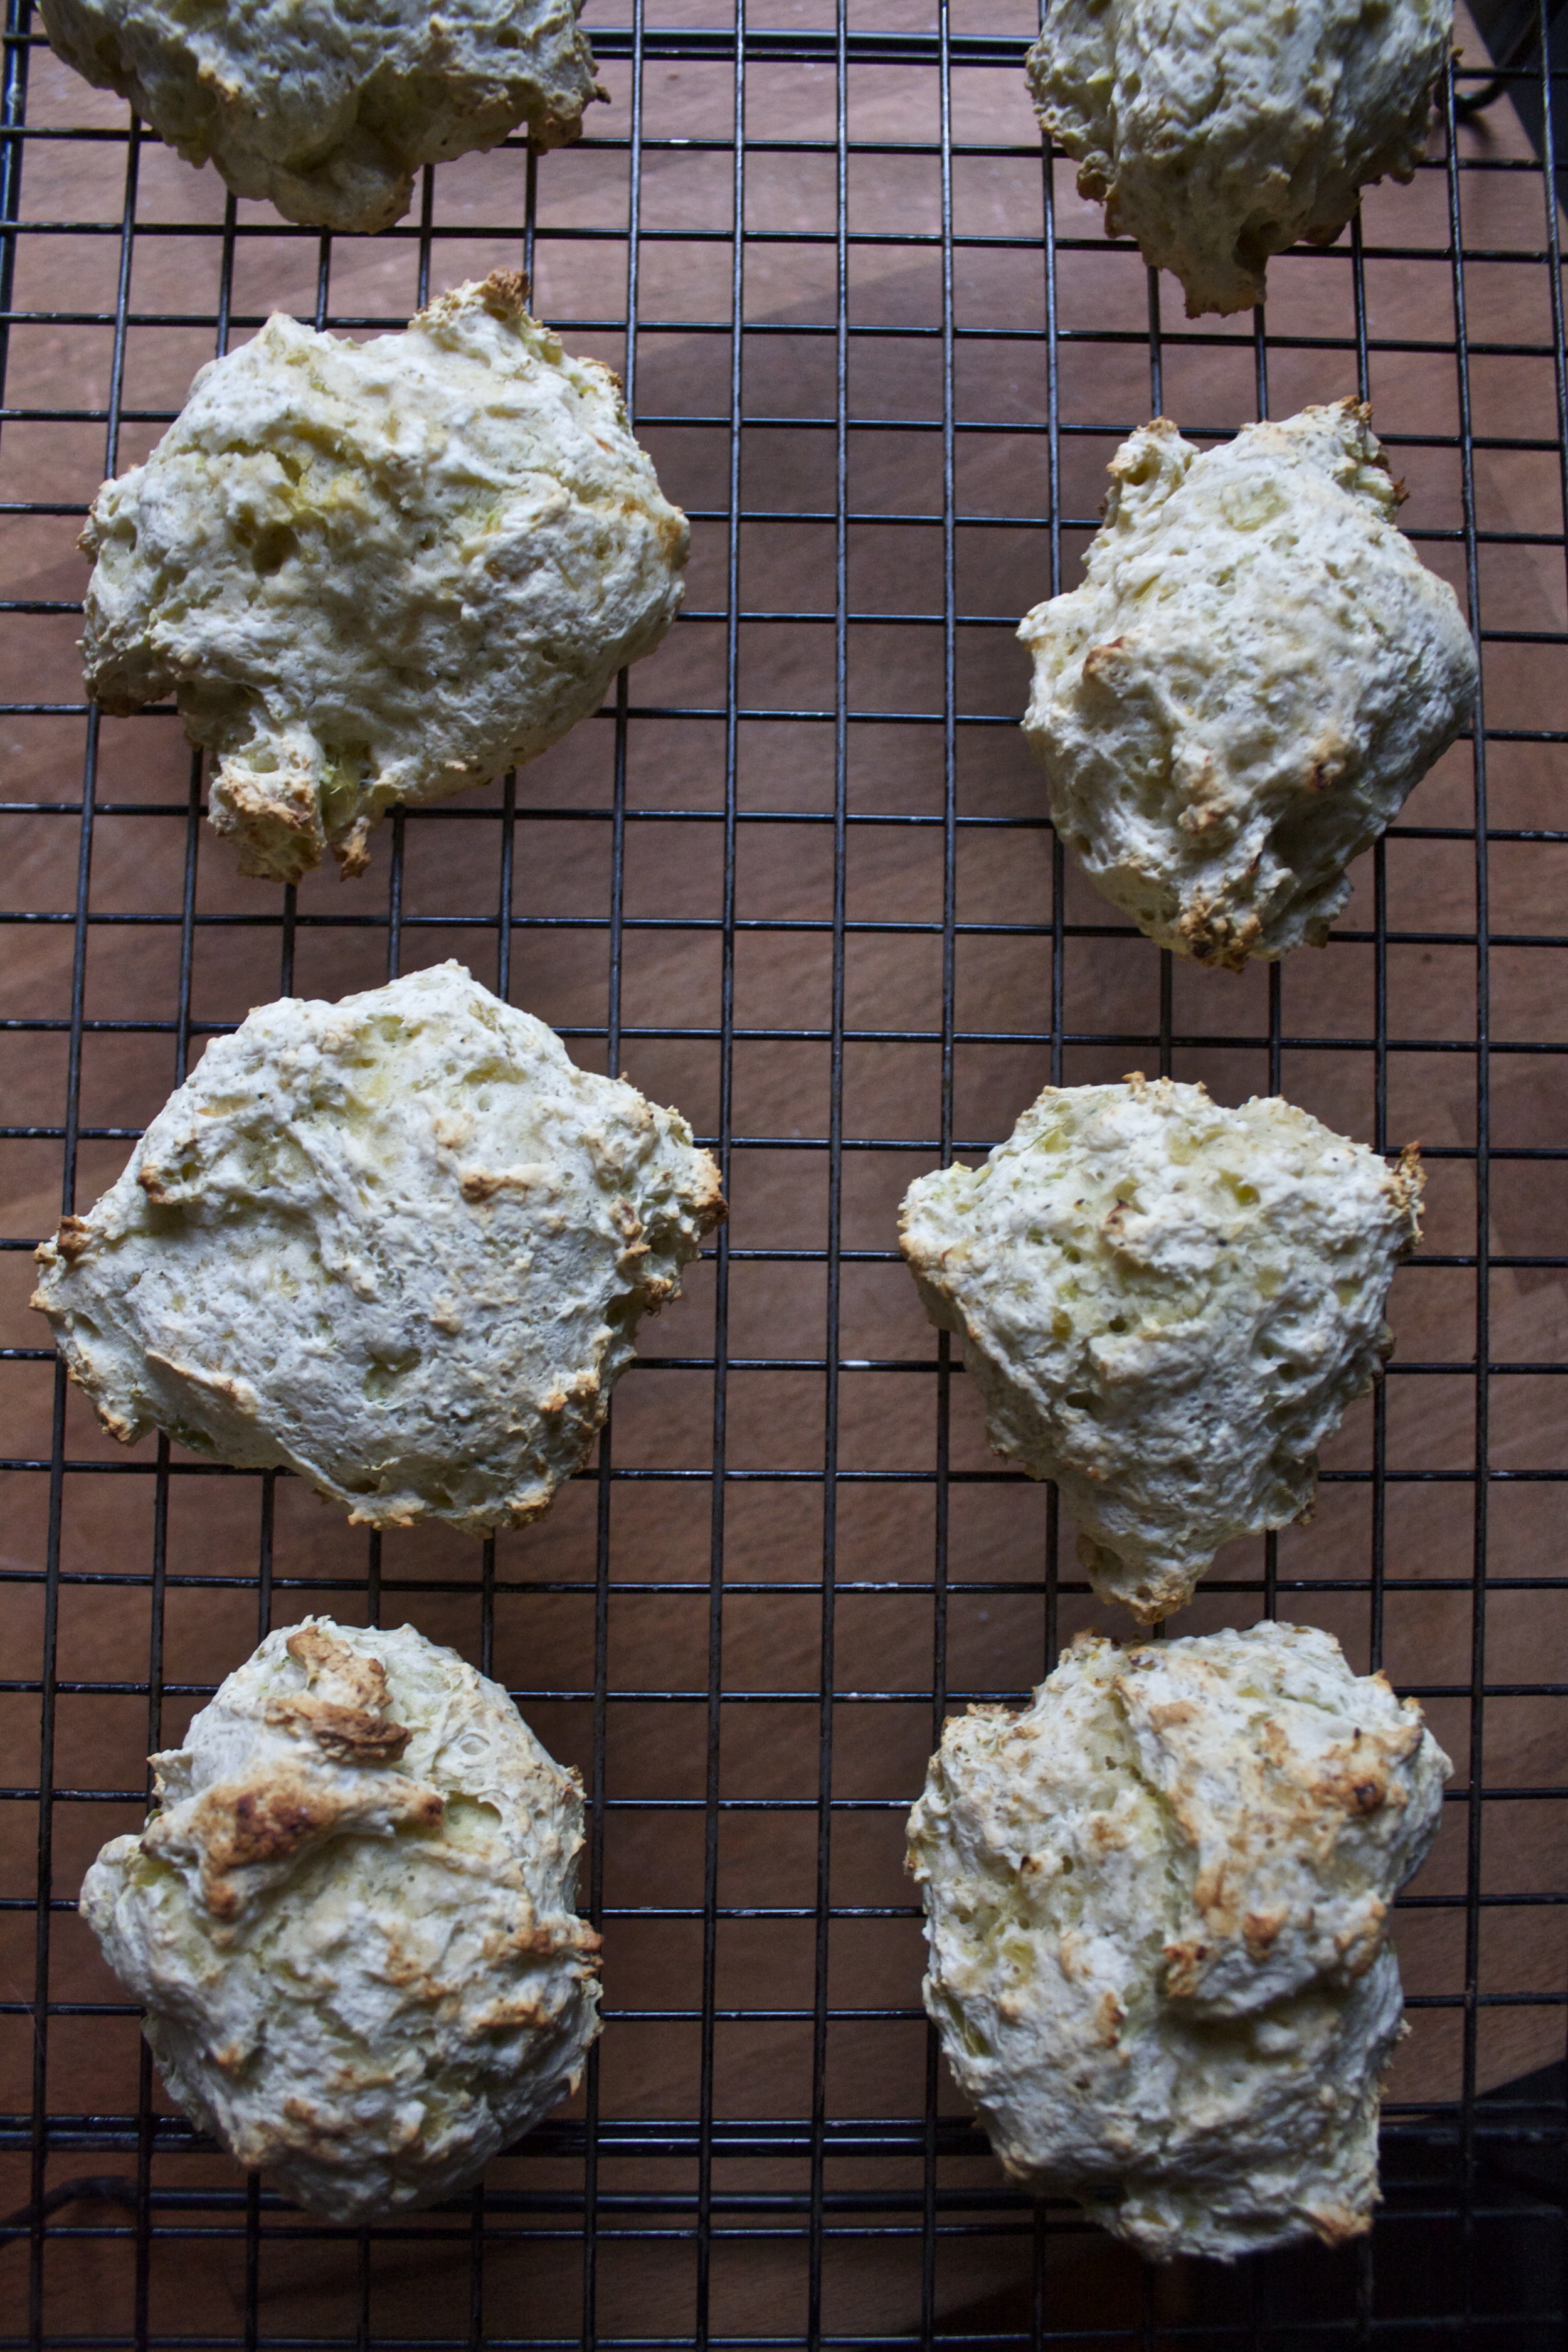
Pop into the oven to bake. 20-25 minute unlit golden brown.

IMG_5622.jpg

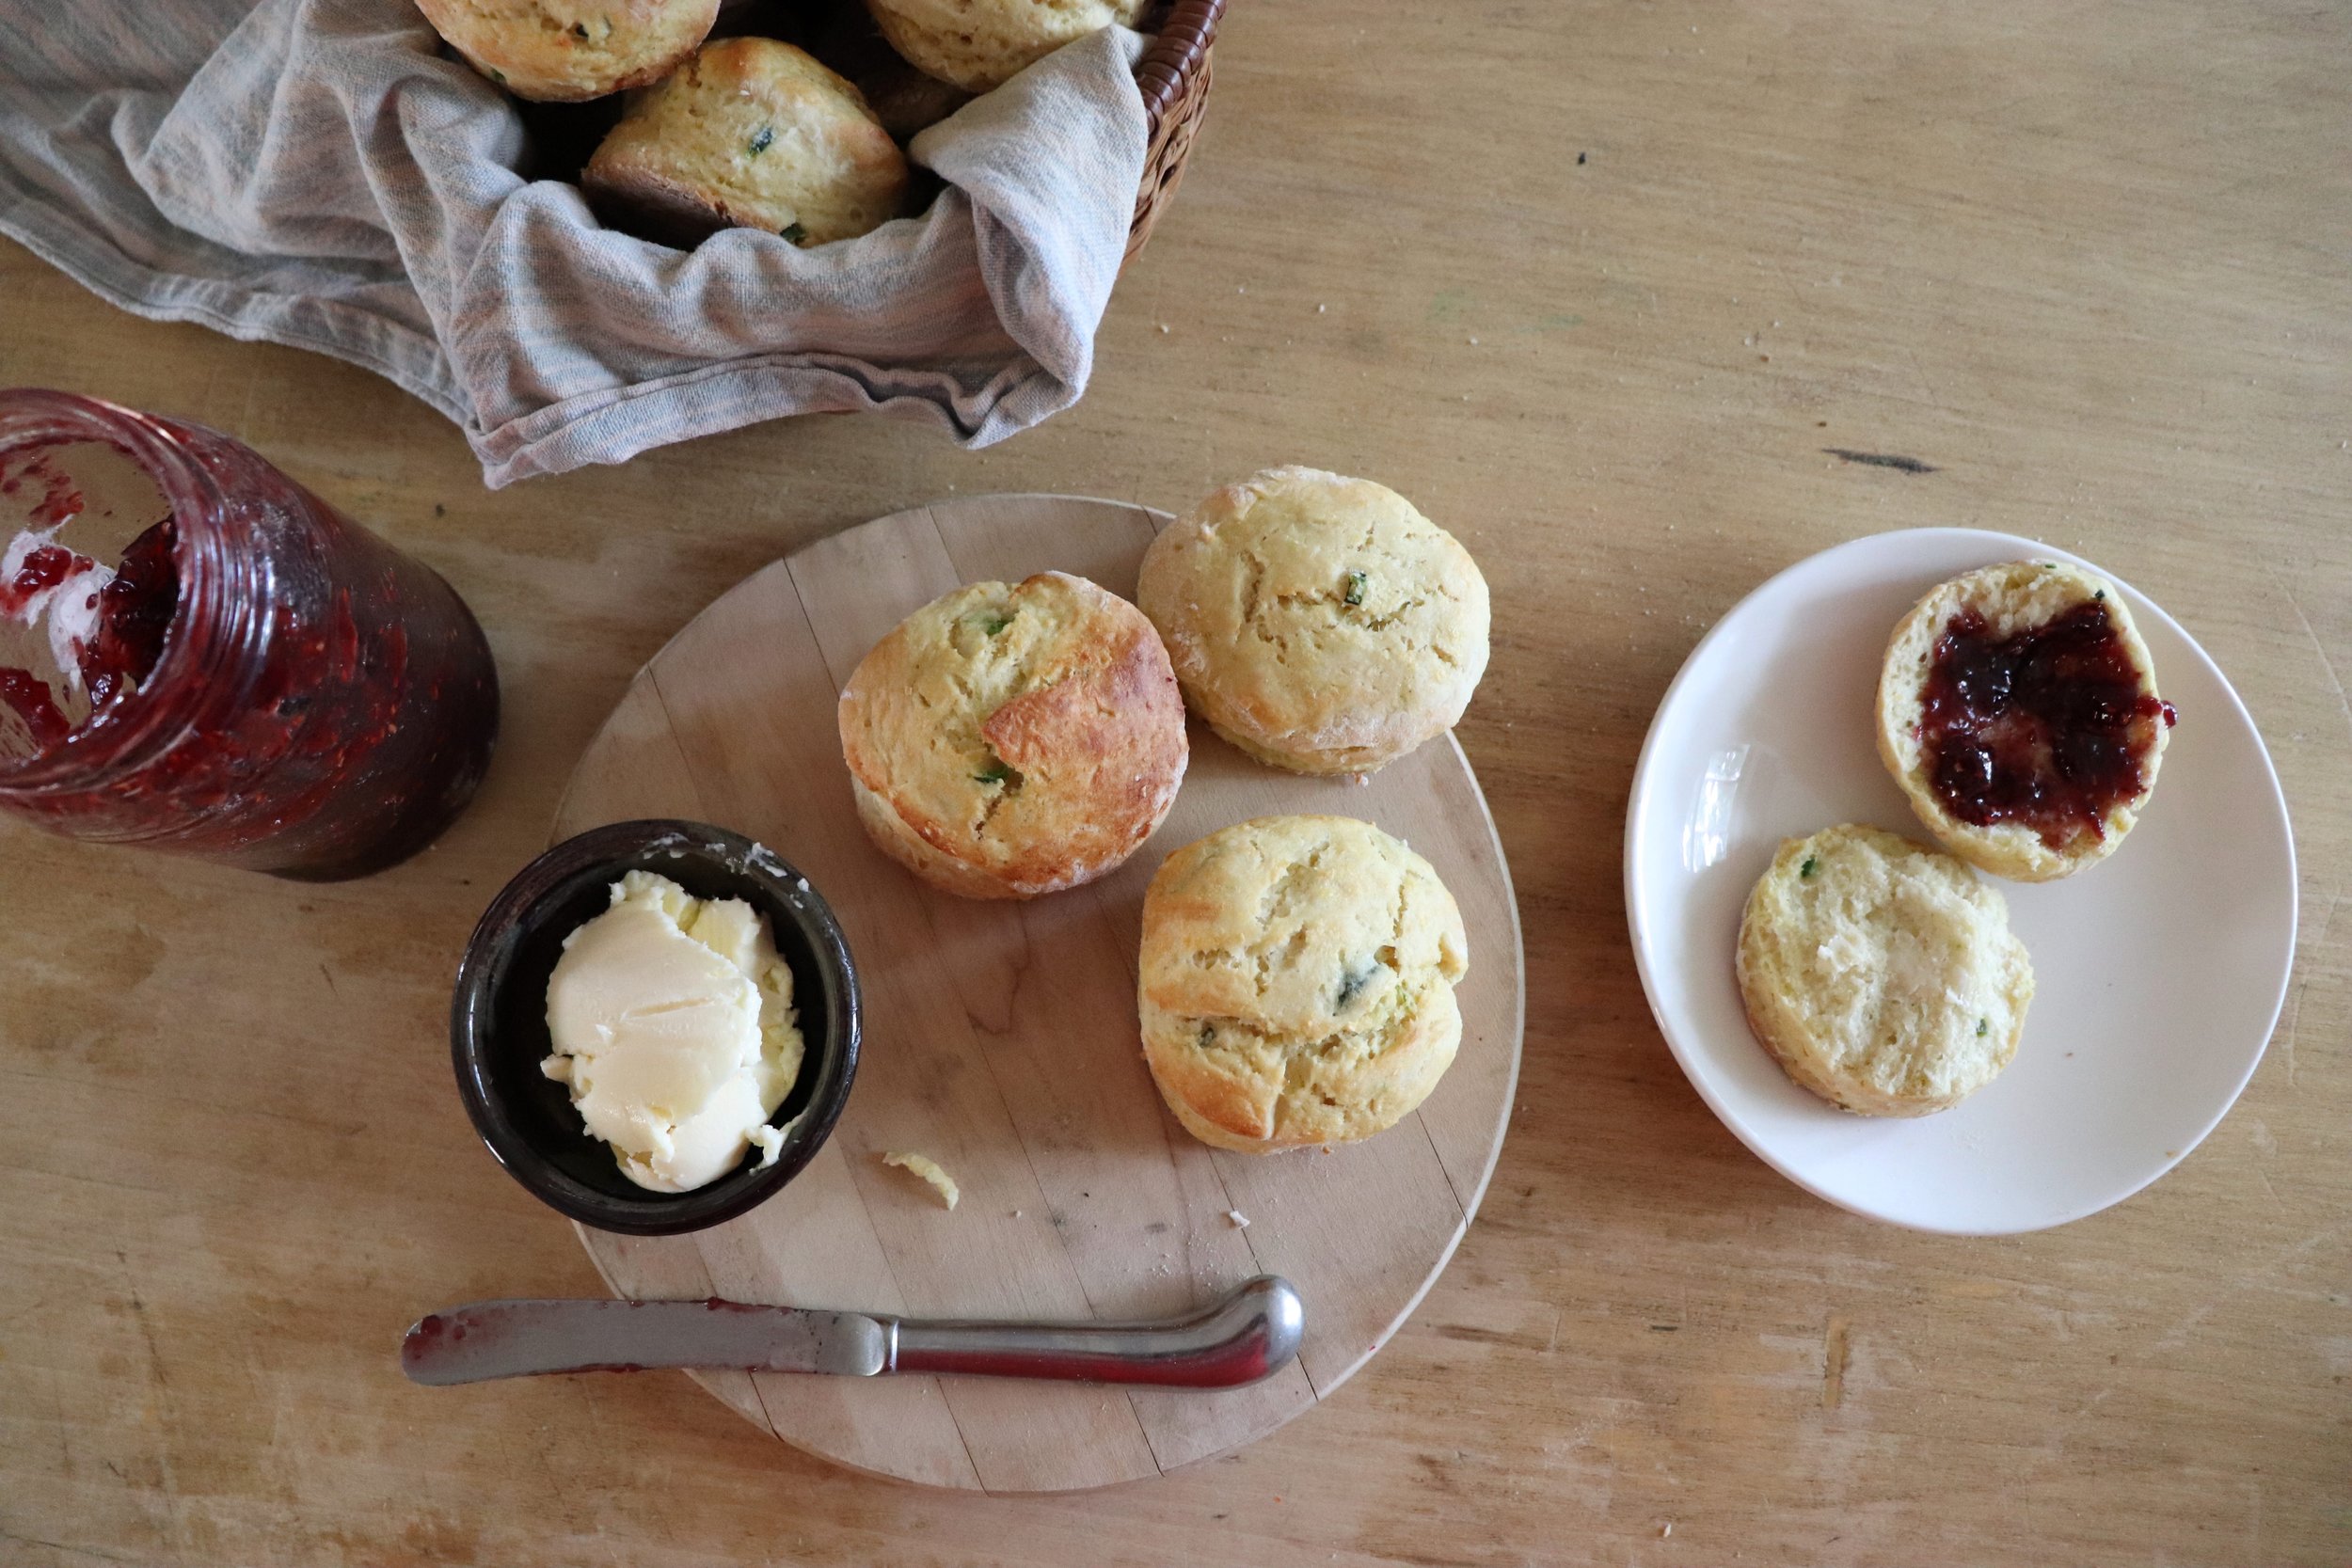
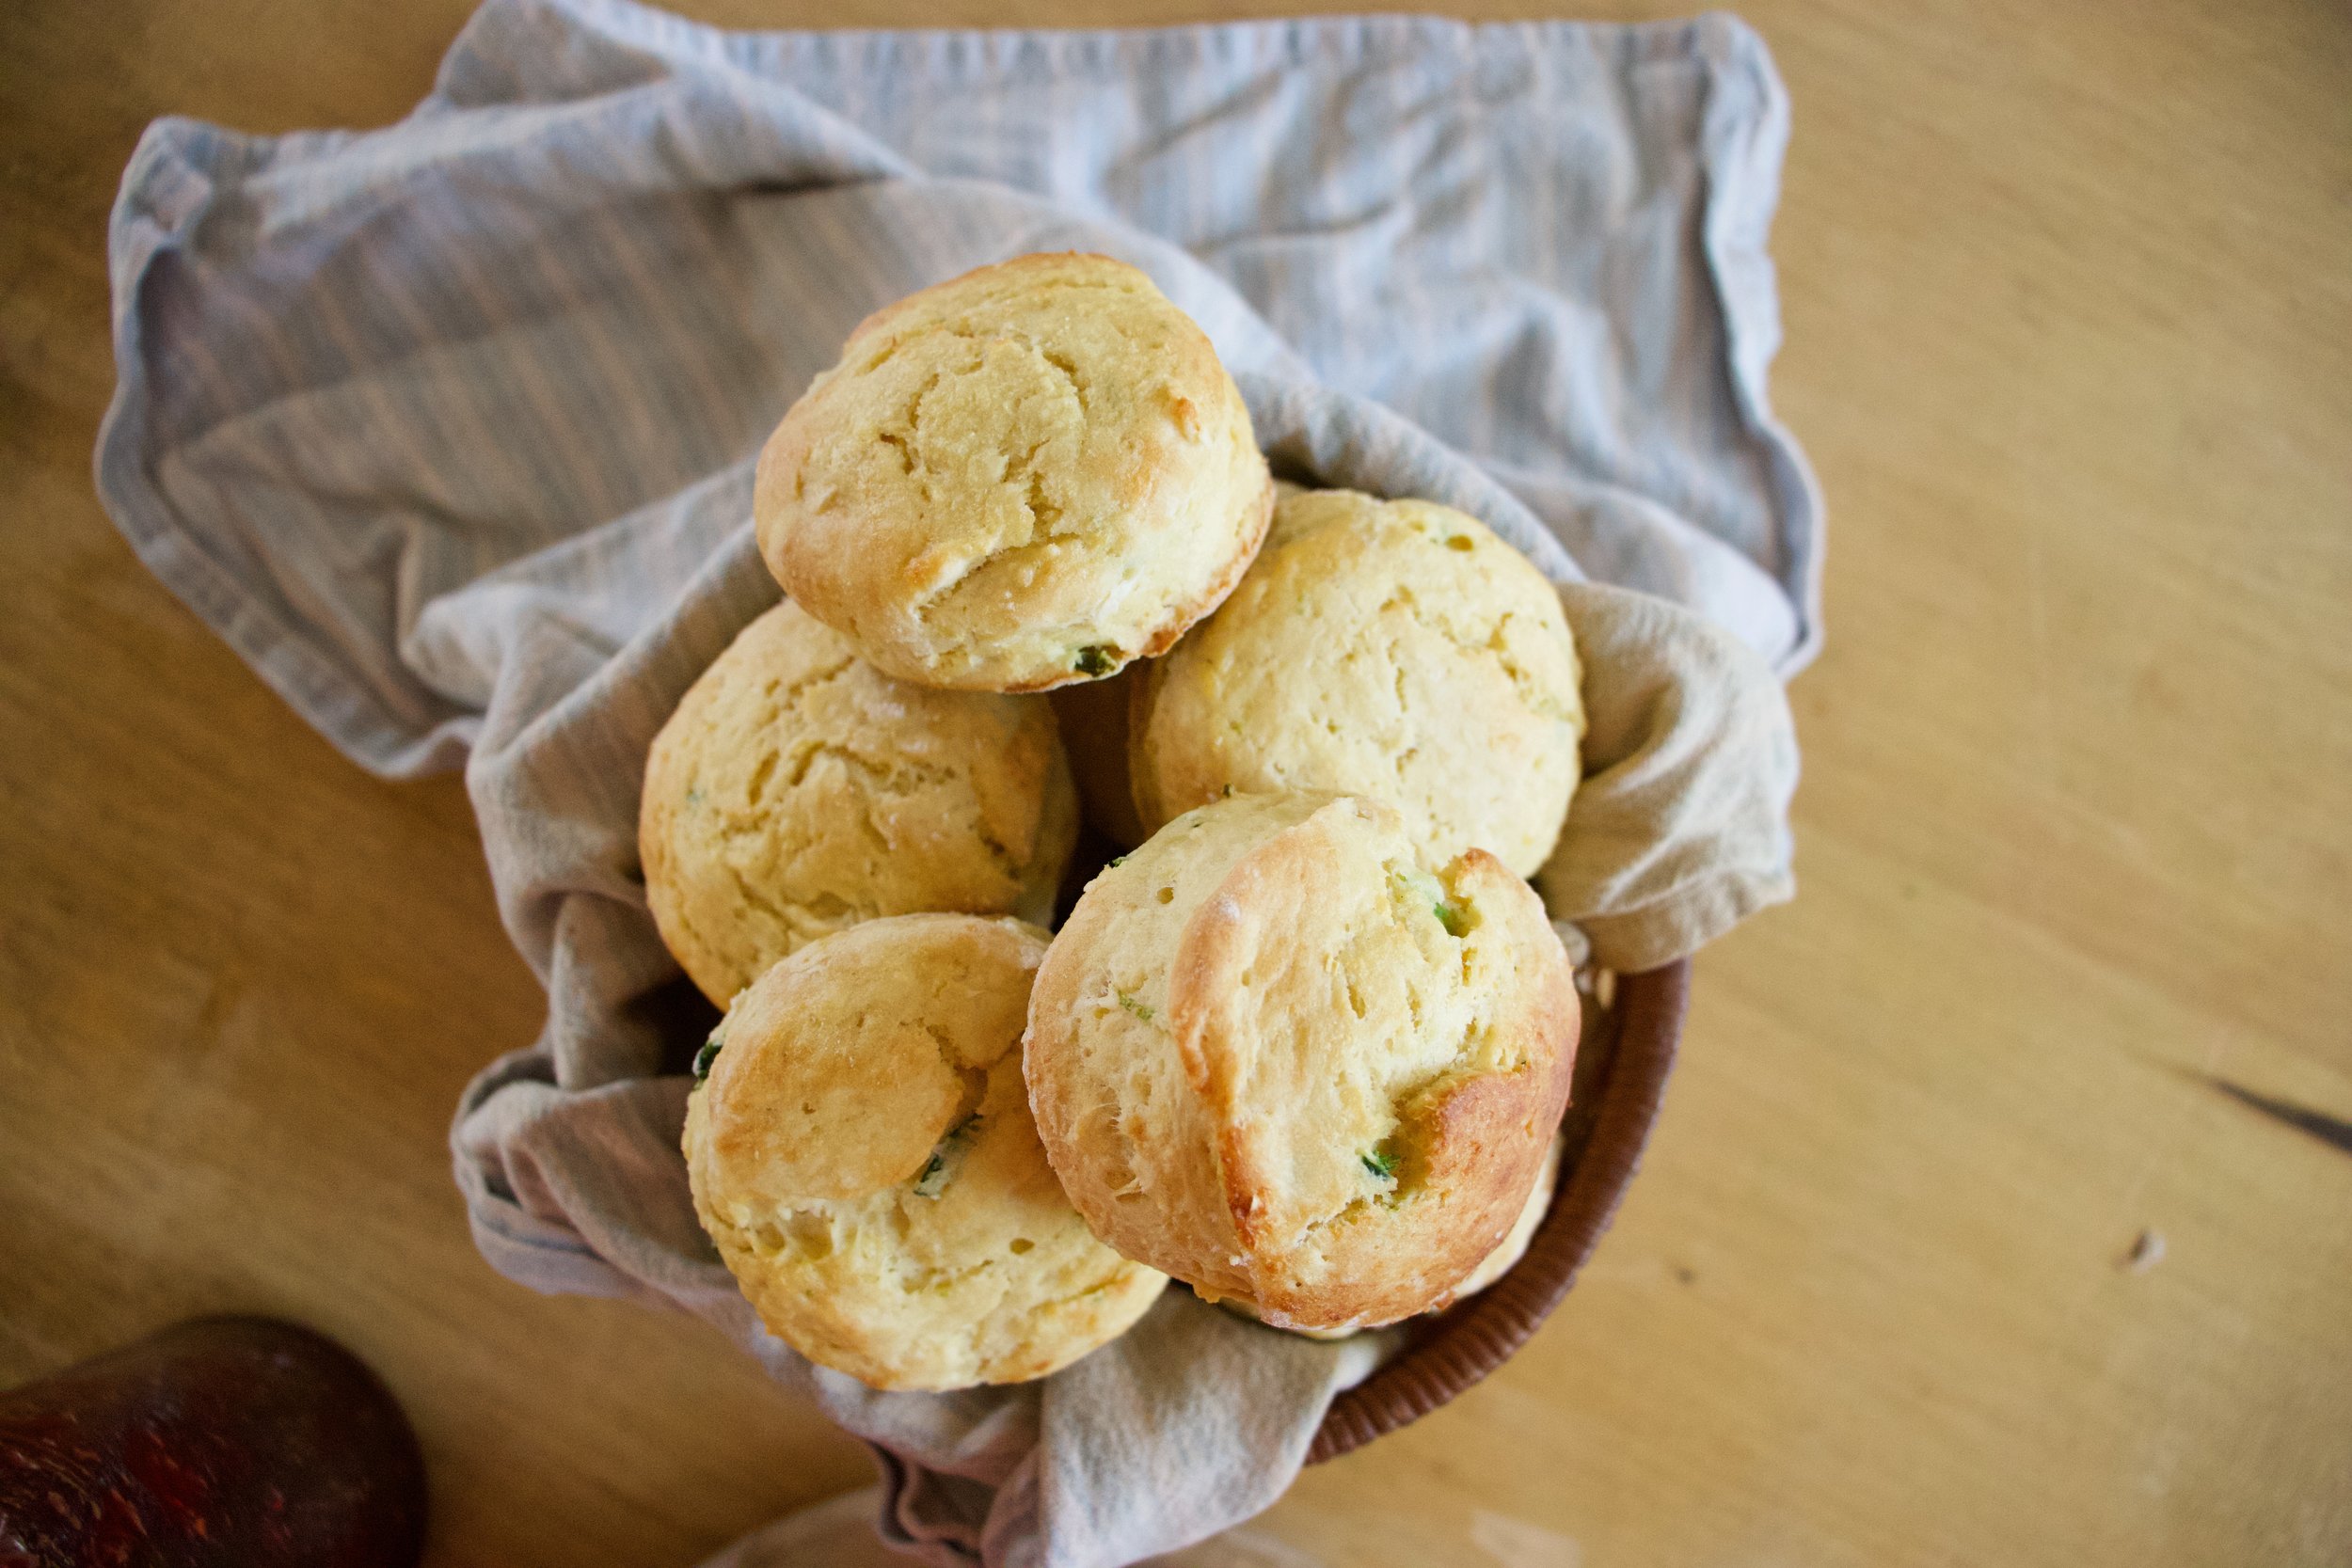
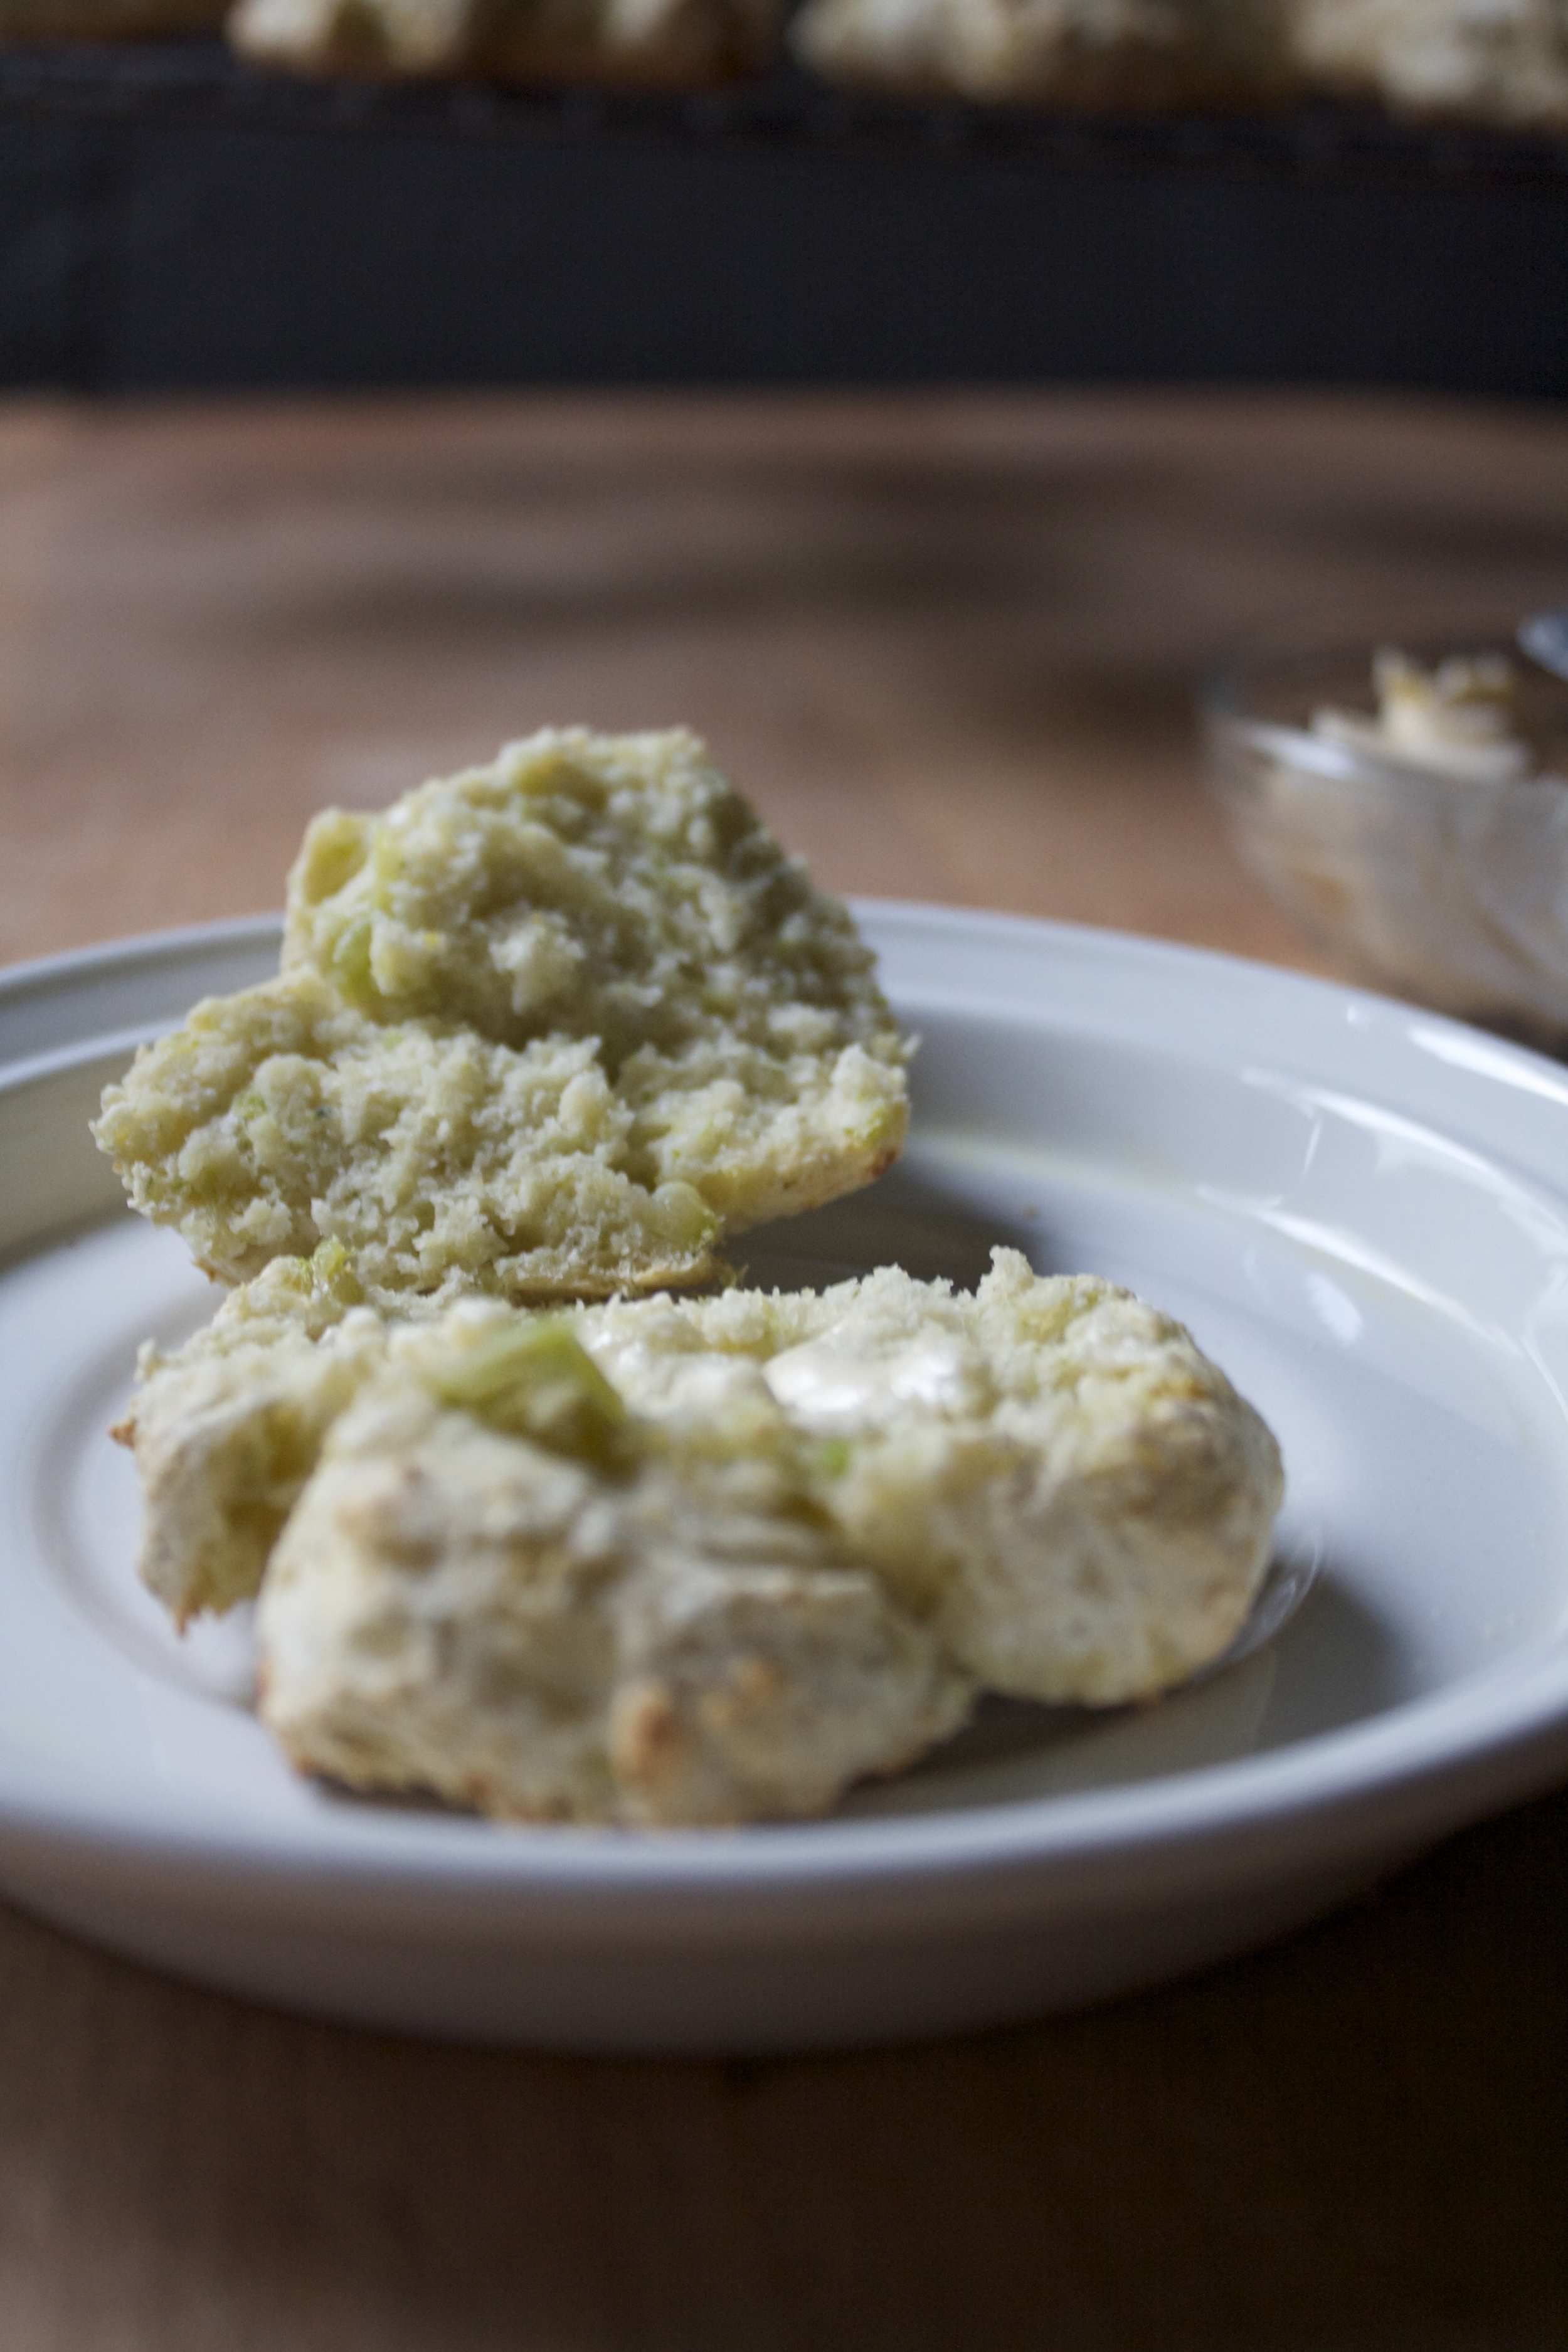
Pretty bakes biscuits.

IMG_5632.jpg

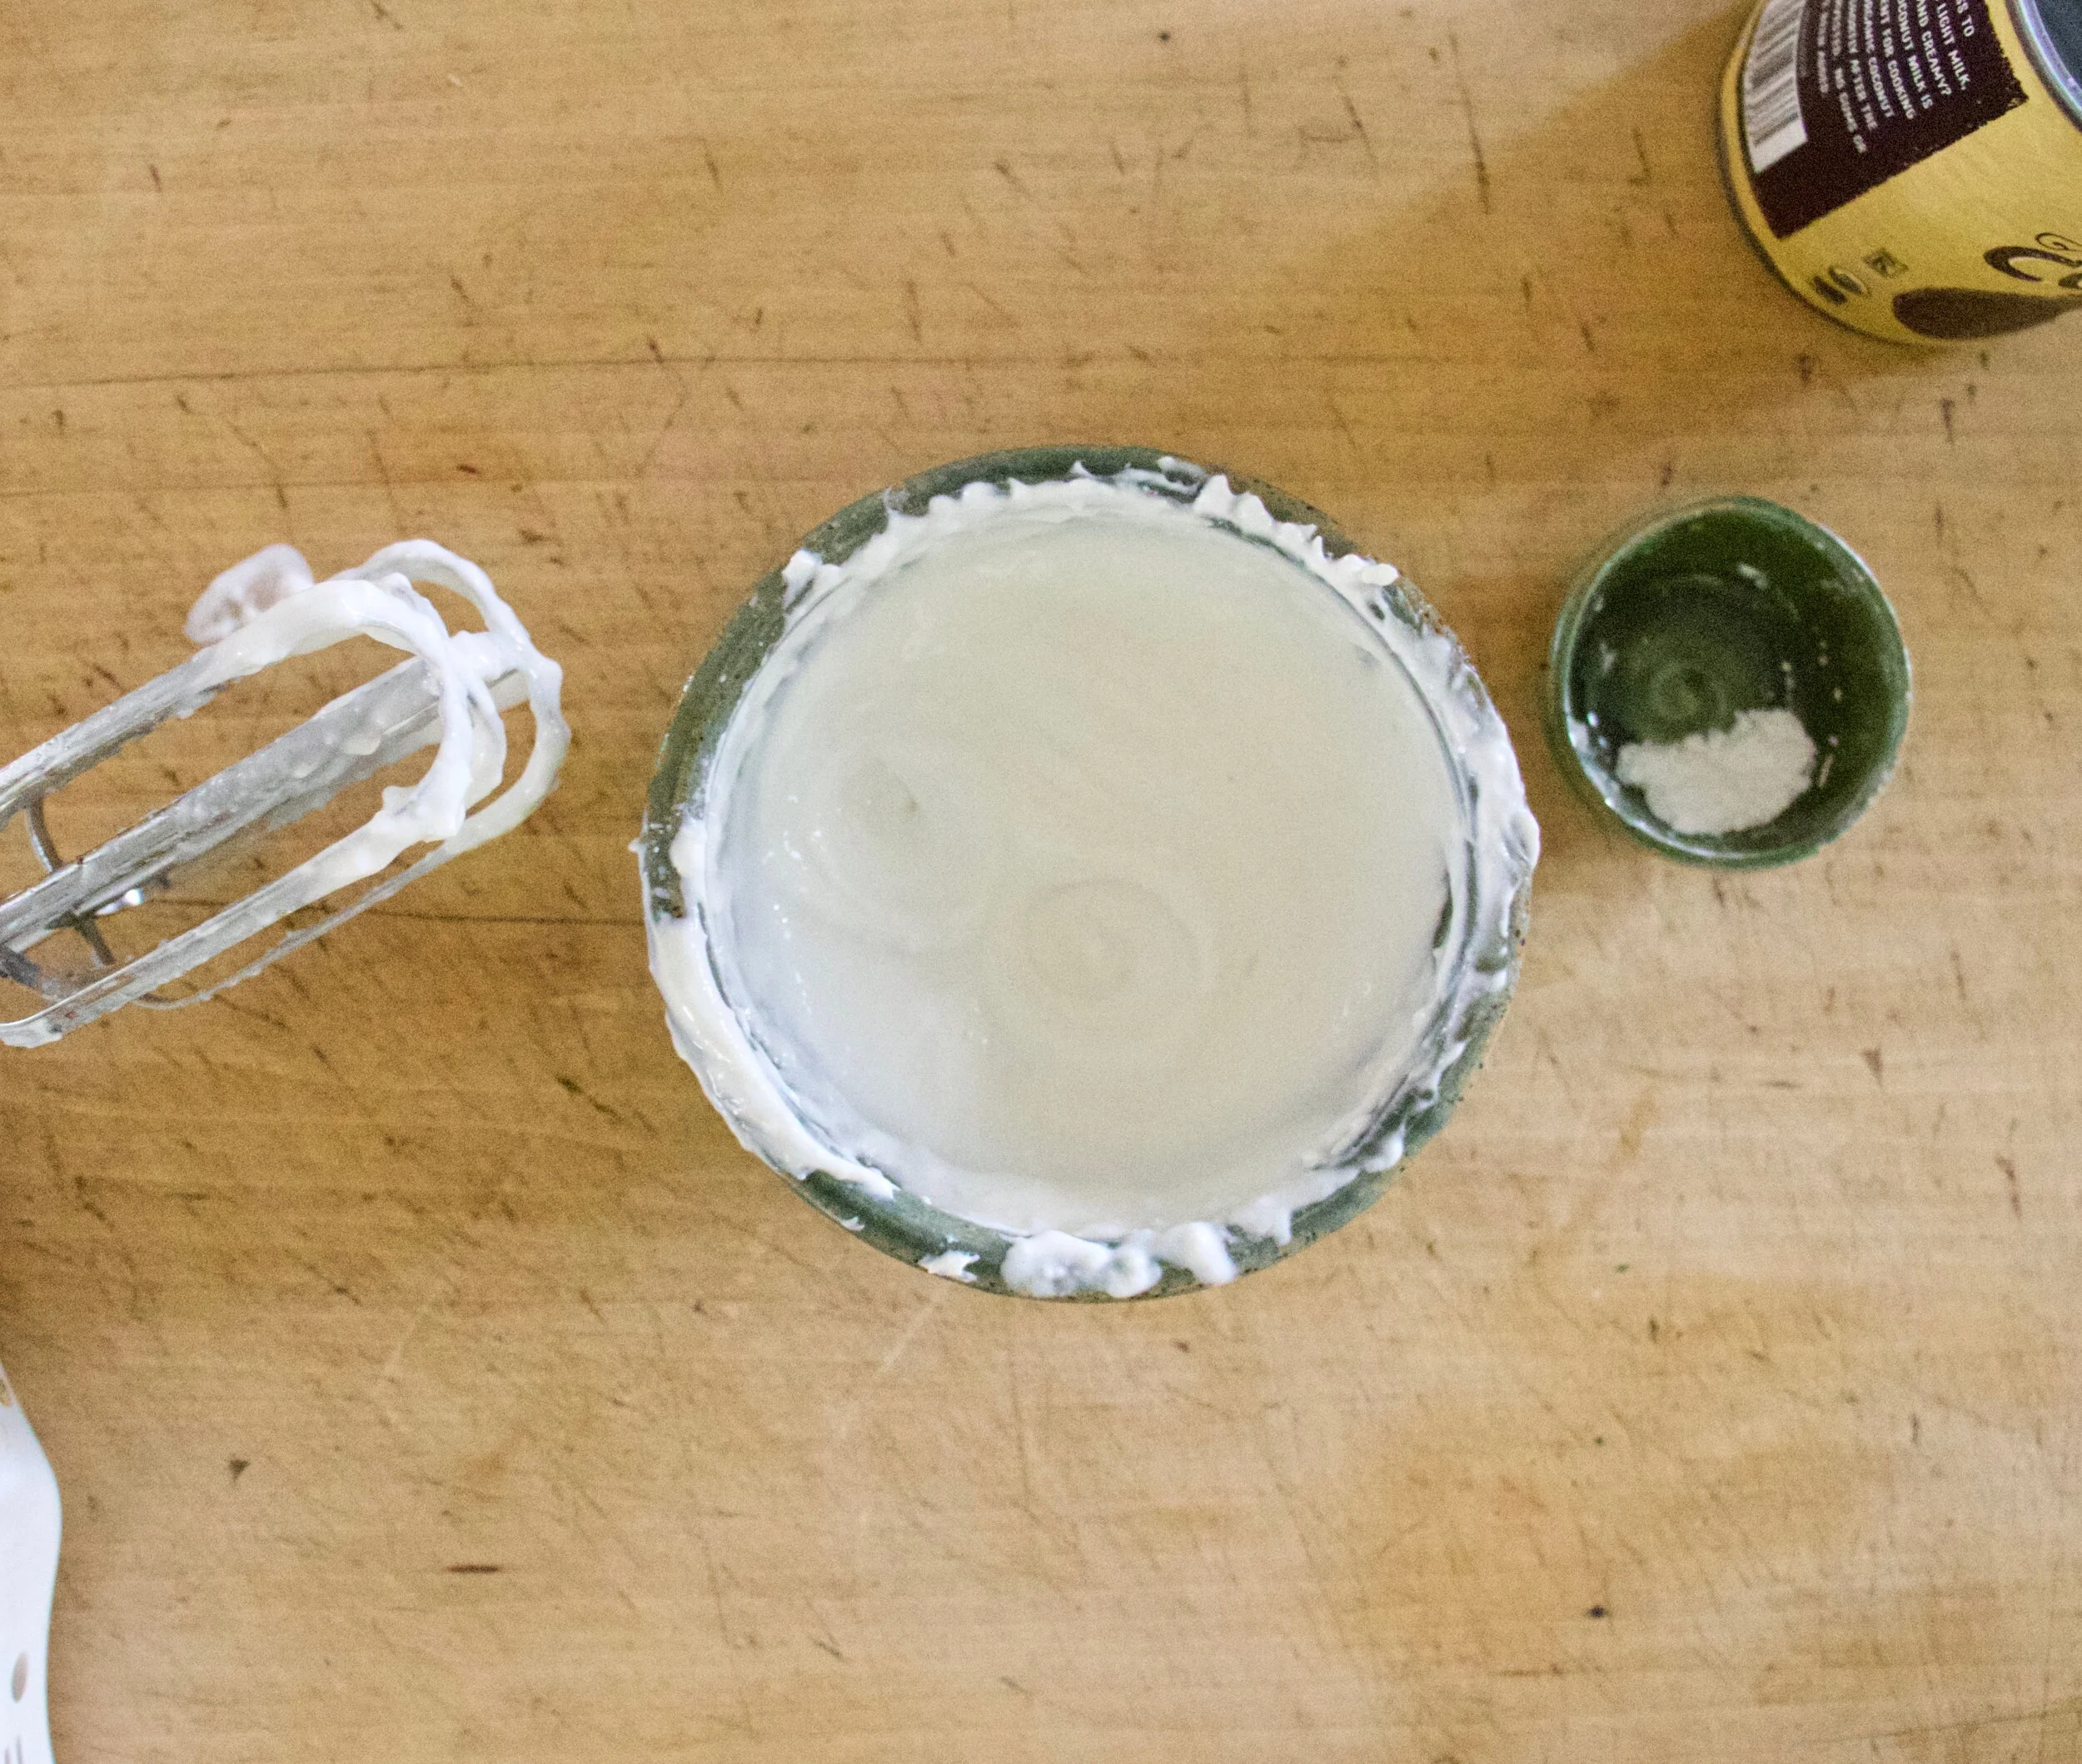
And last buy not least, the coconut whipped cream. Take the can of coconut milk from fridge and scoop our the thick cream part. Place into a cold bowl and beat until thick and creamy. Beat in a teaspoon or so of powered sugar if you want a little sweetness.

IMG_5676.jpg

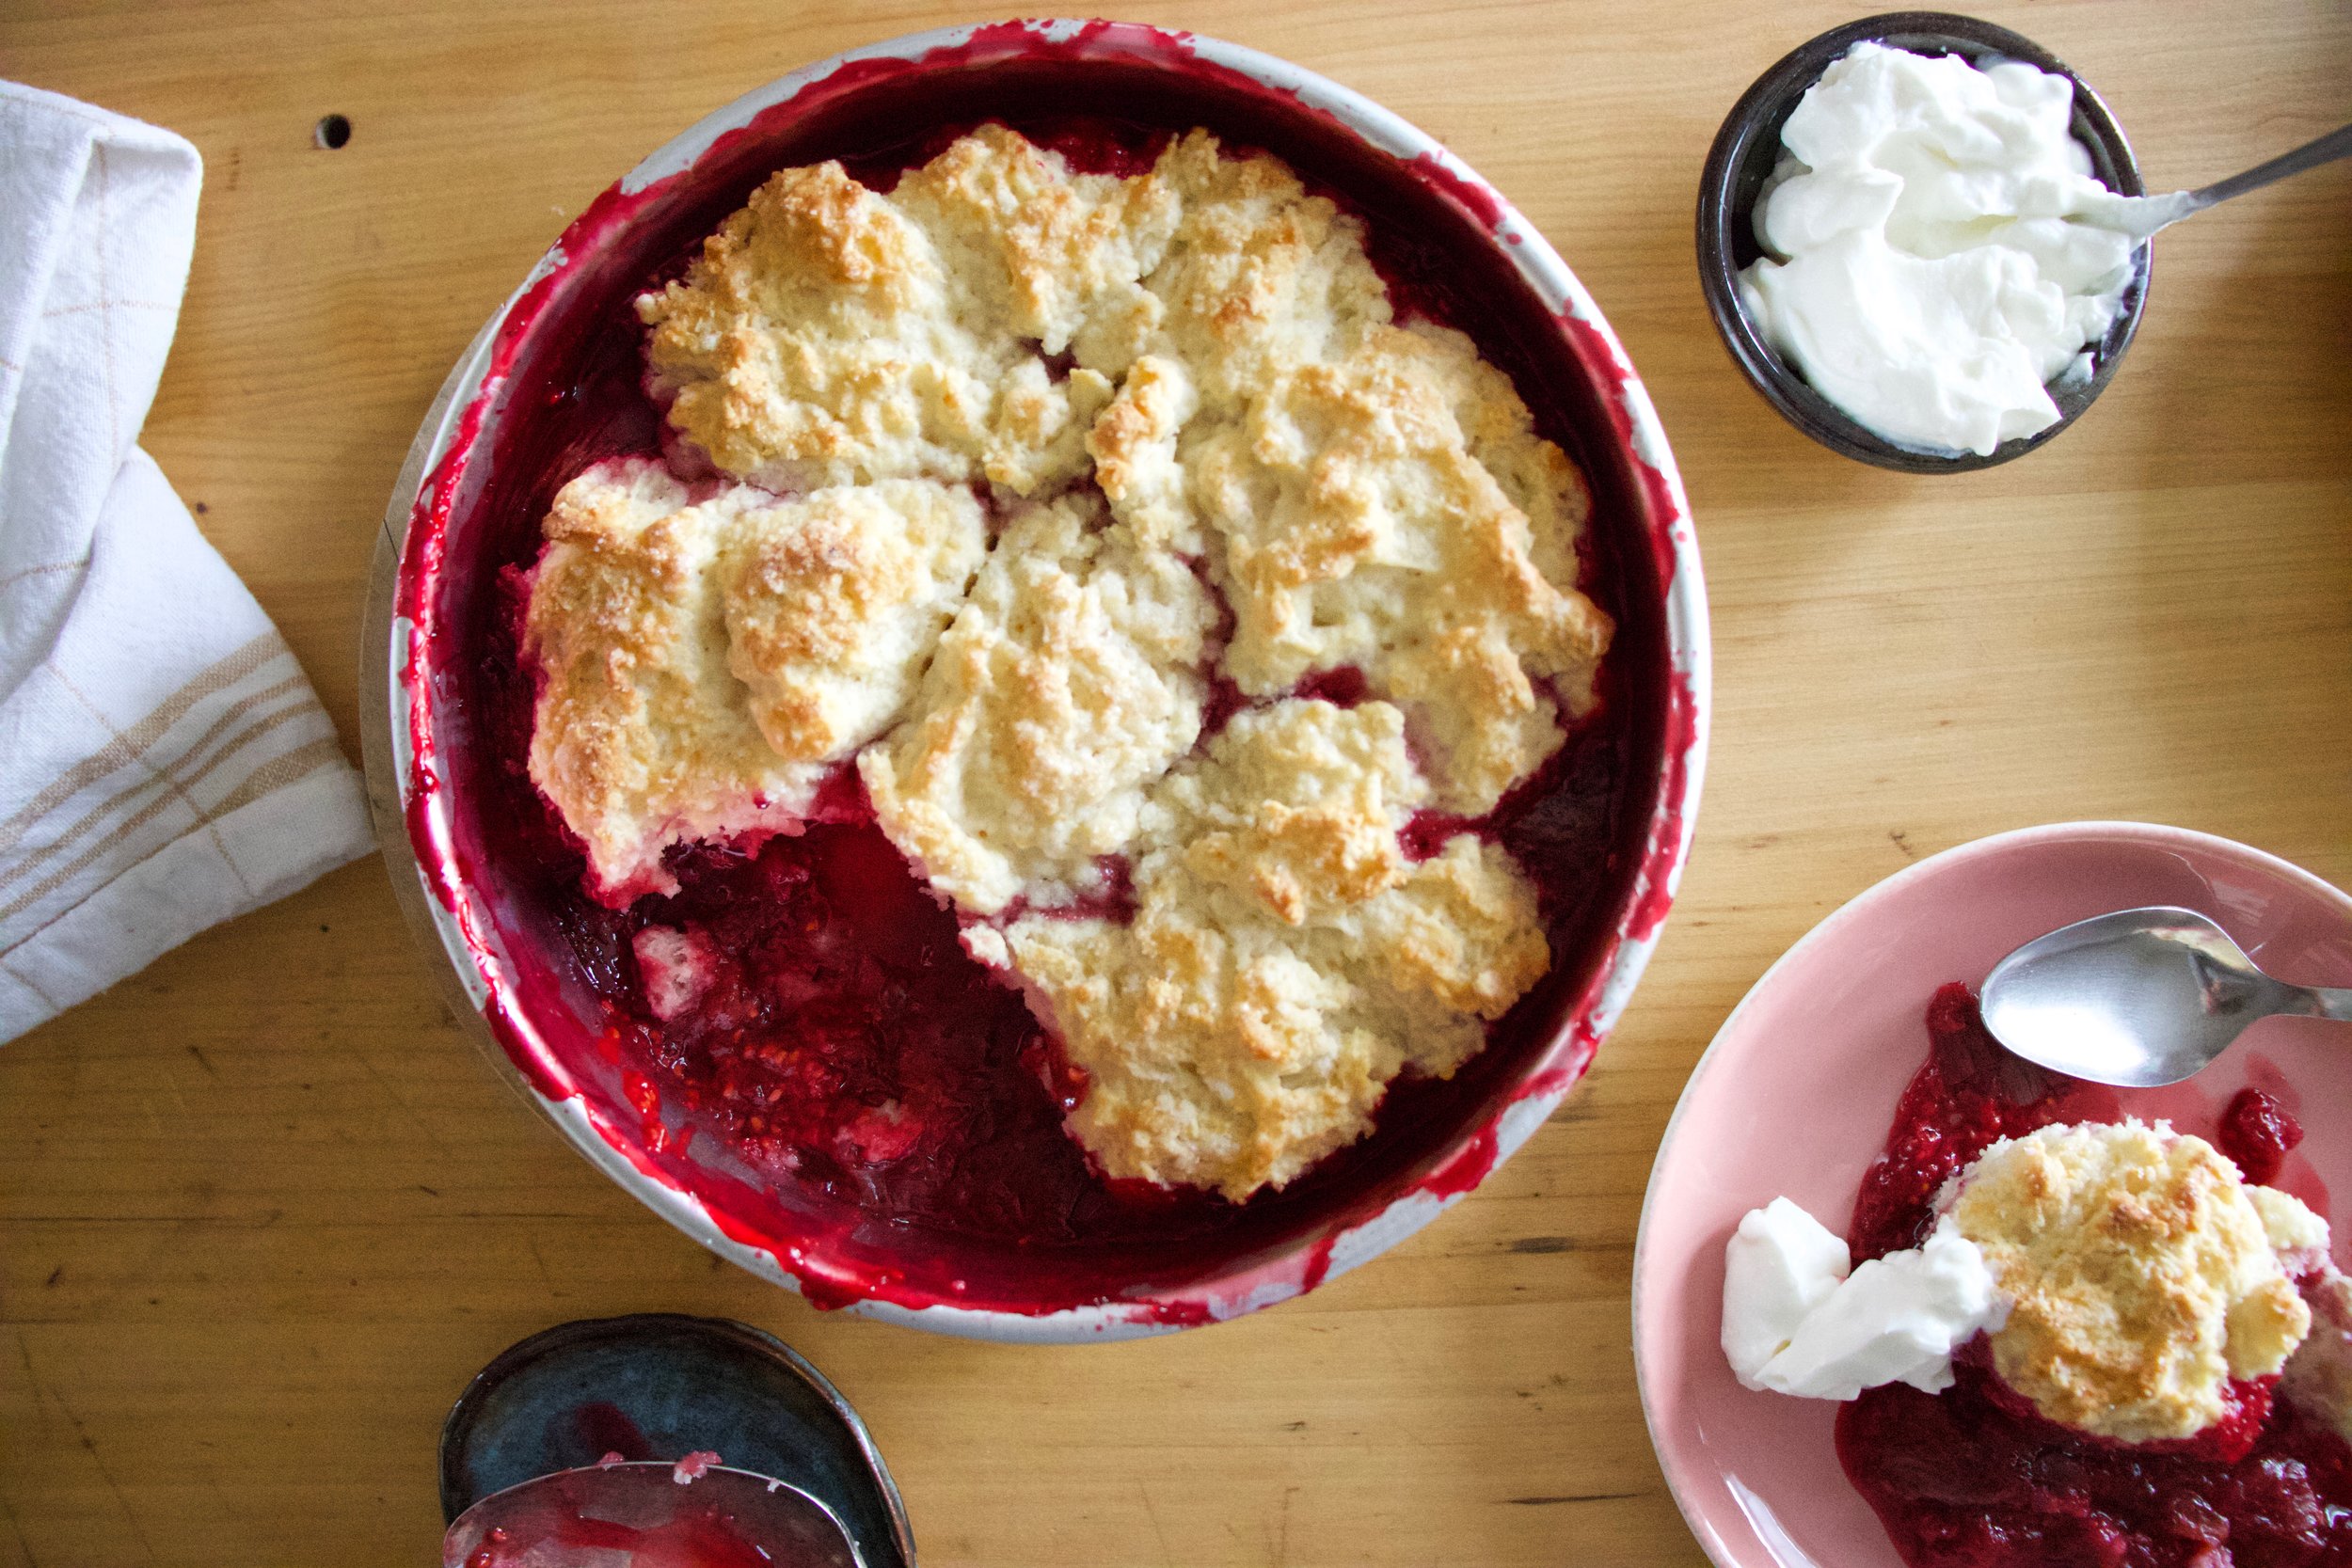
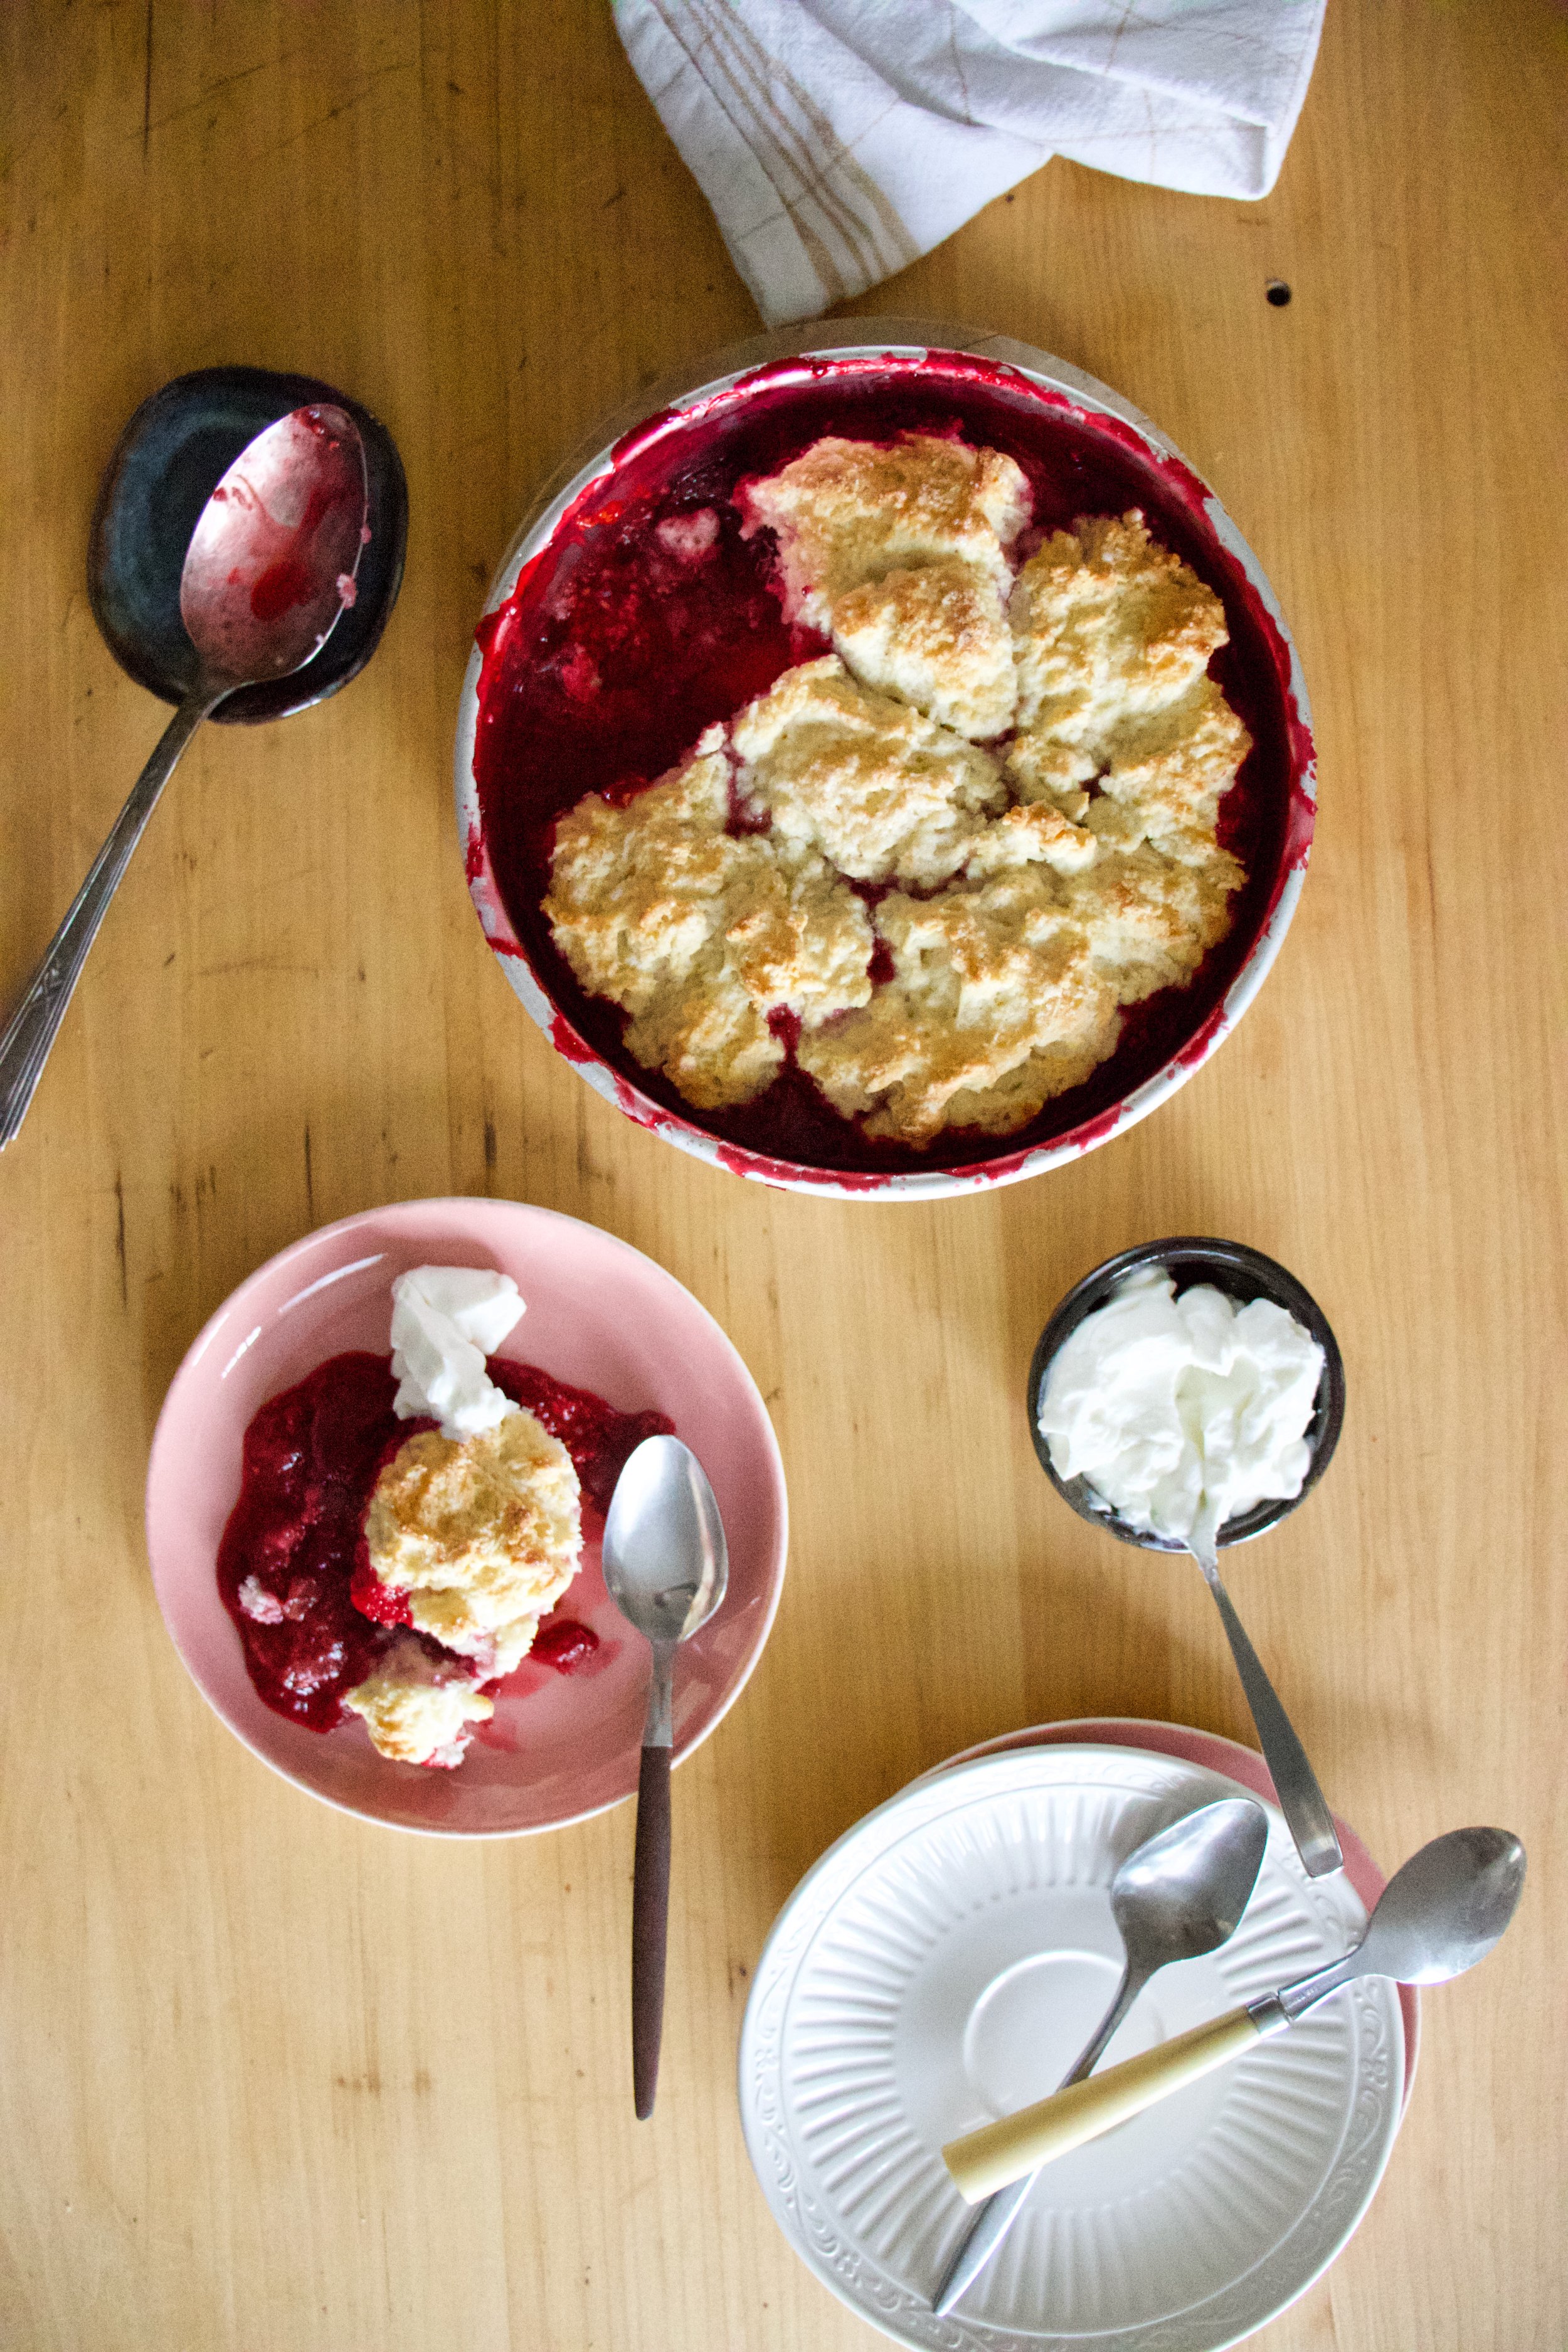
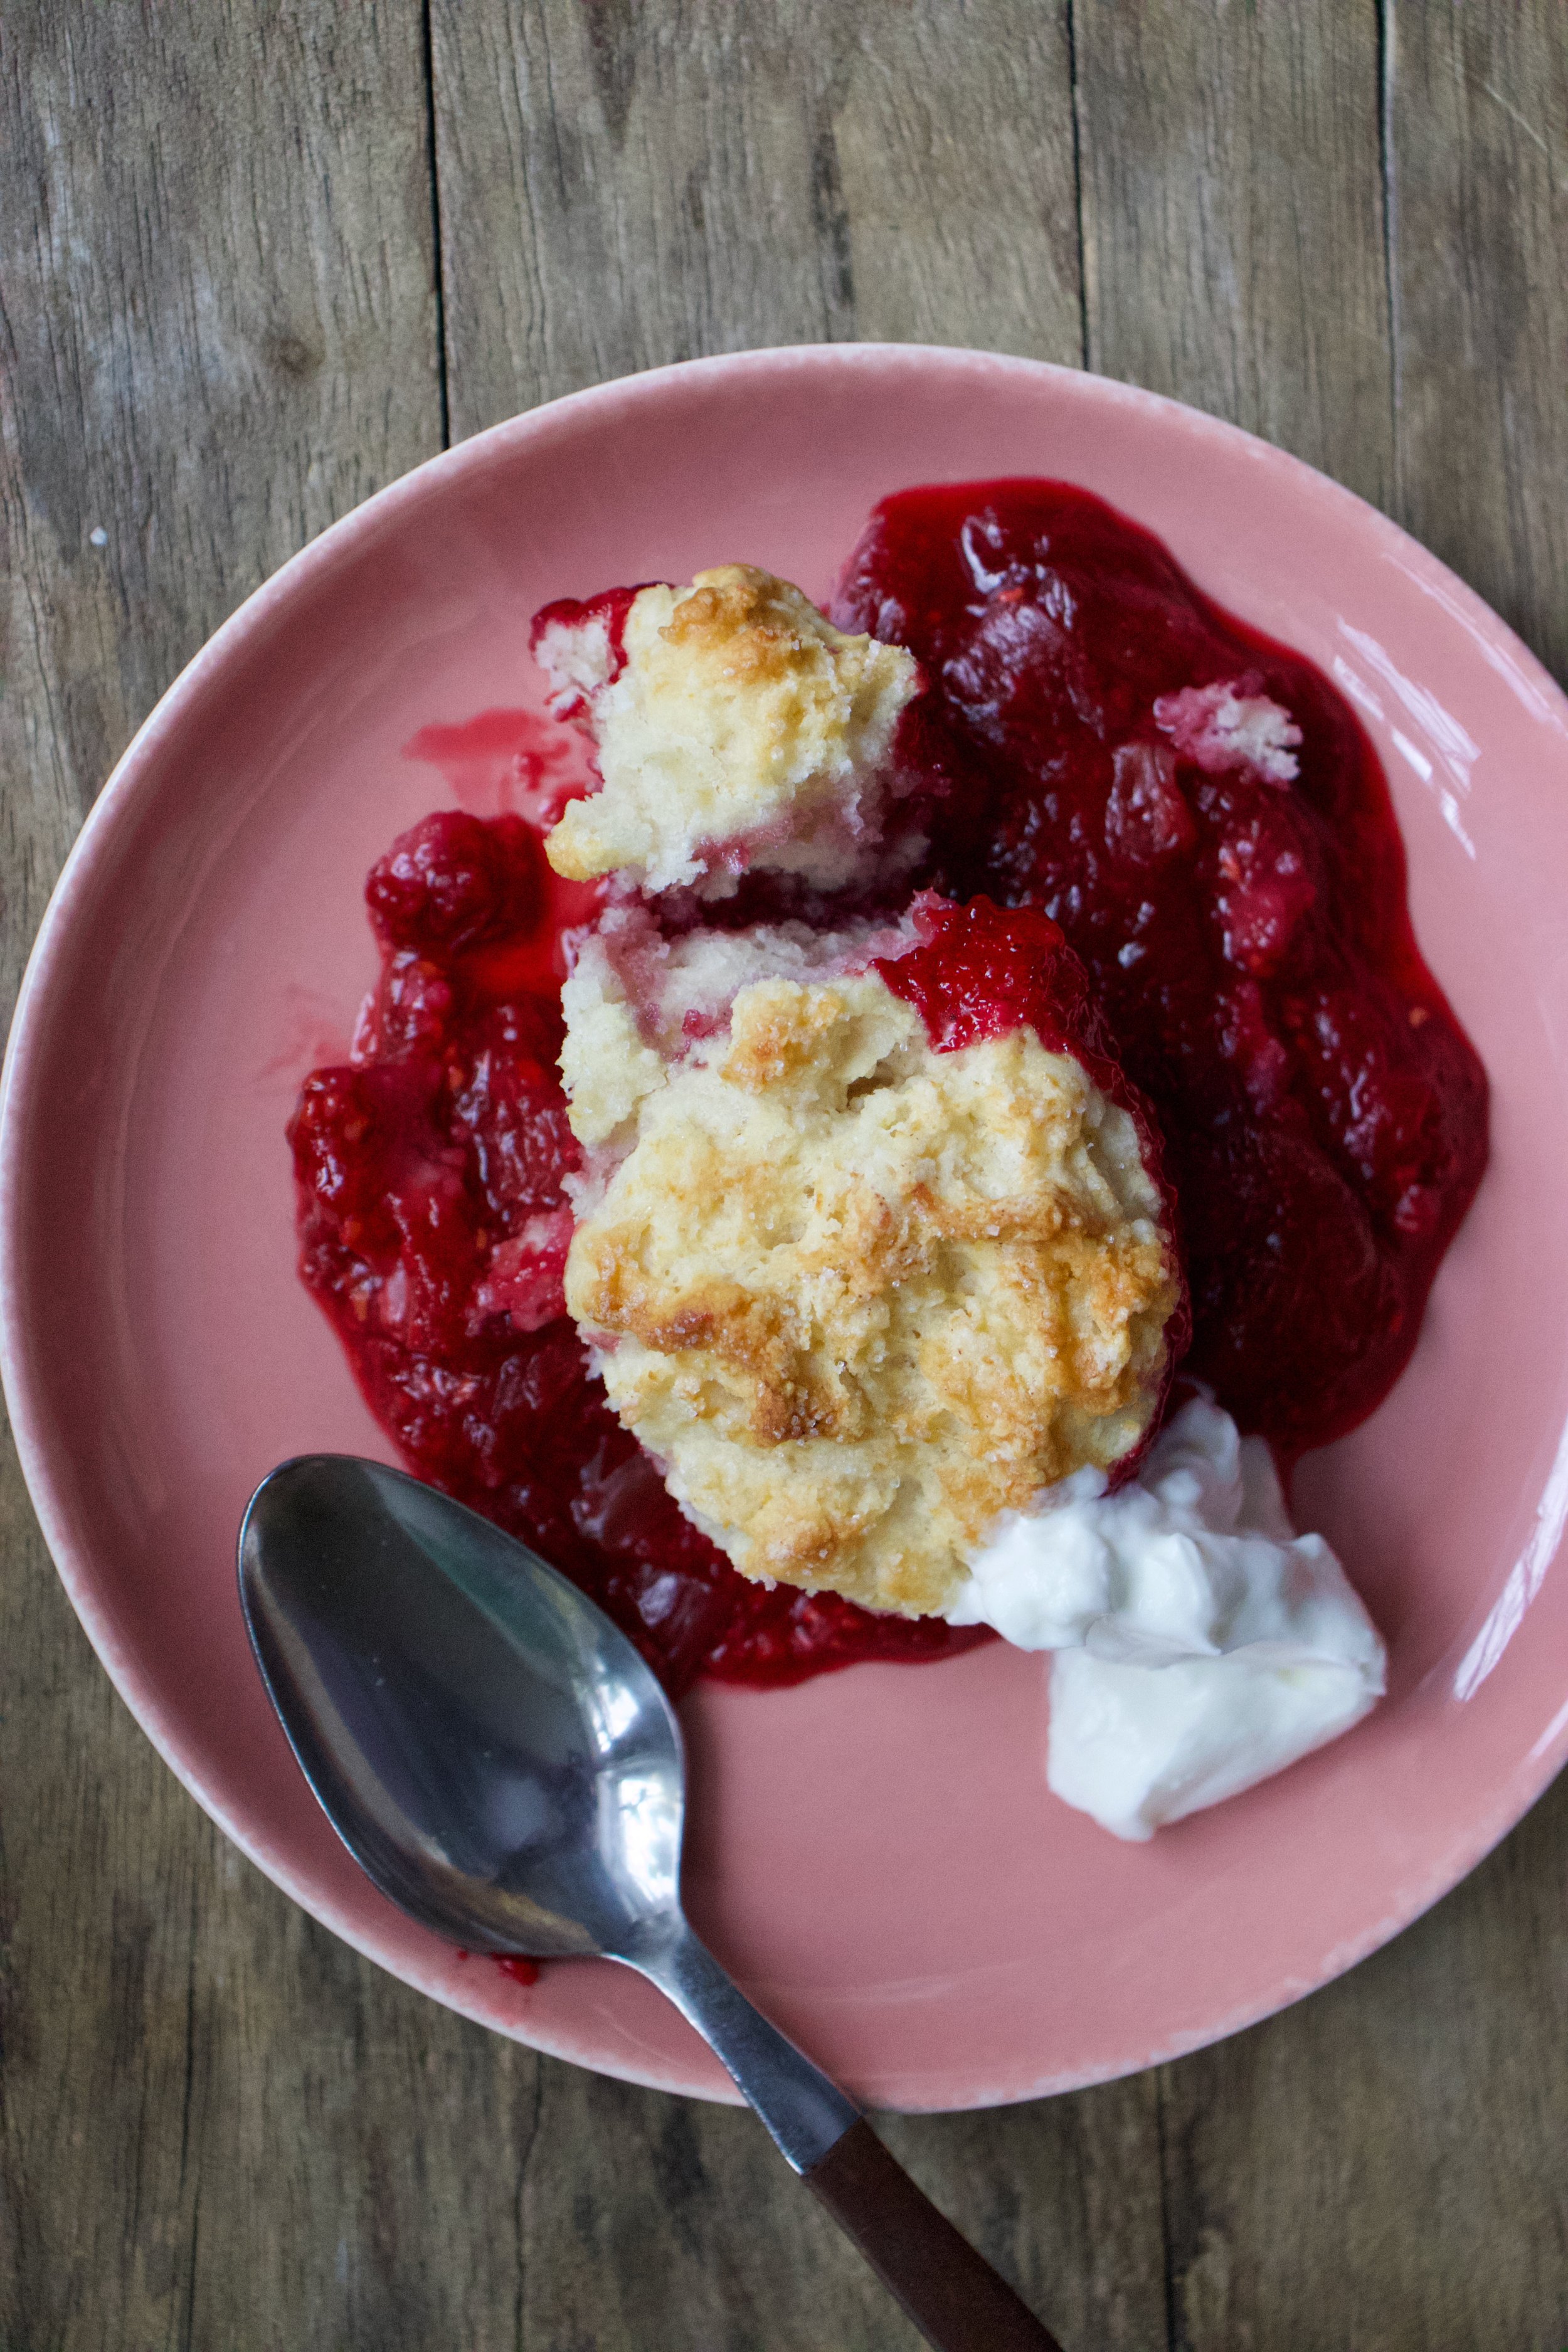
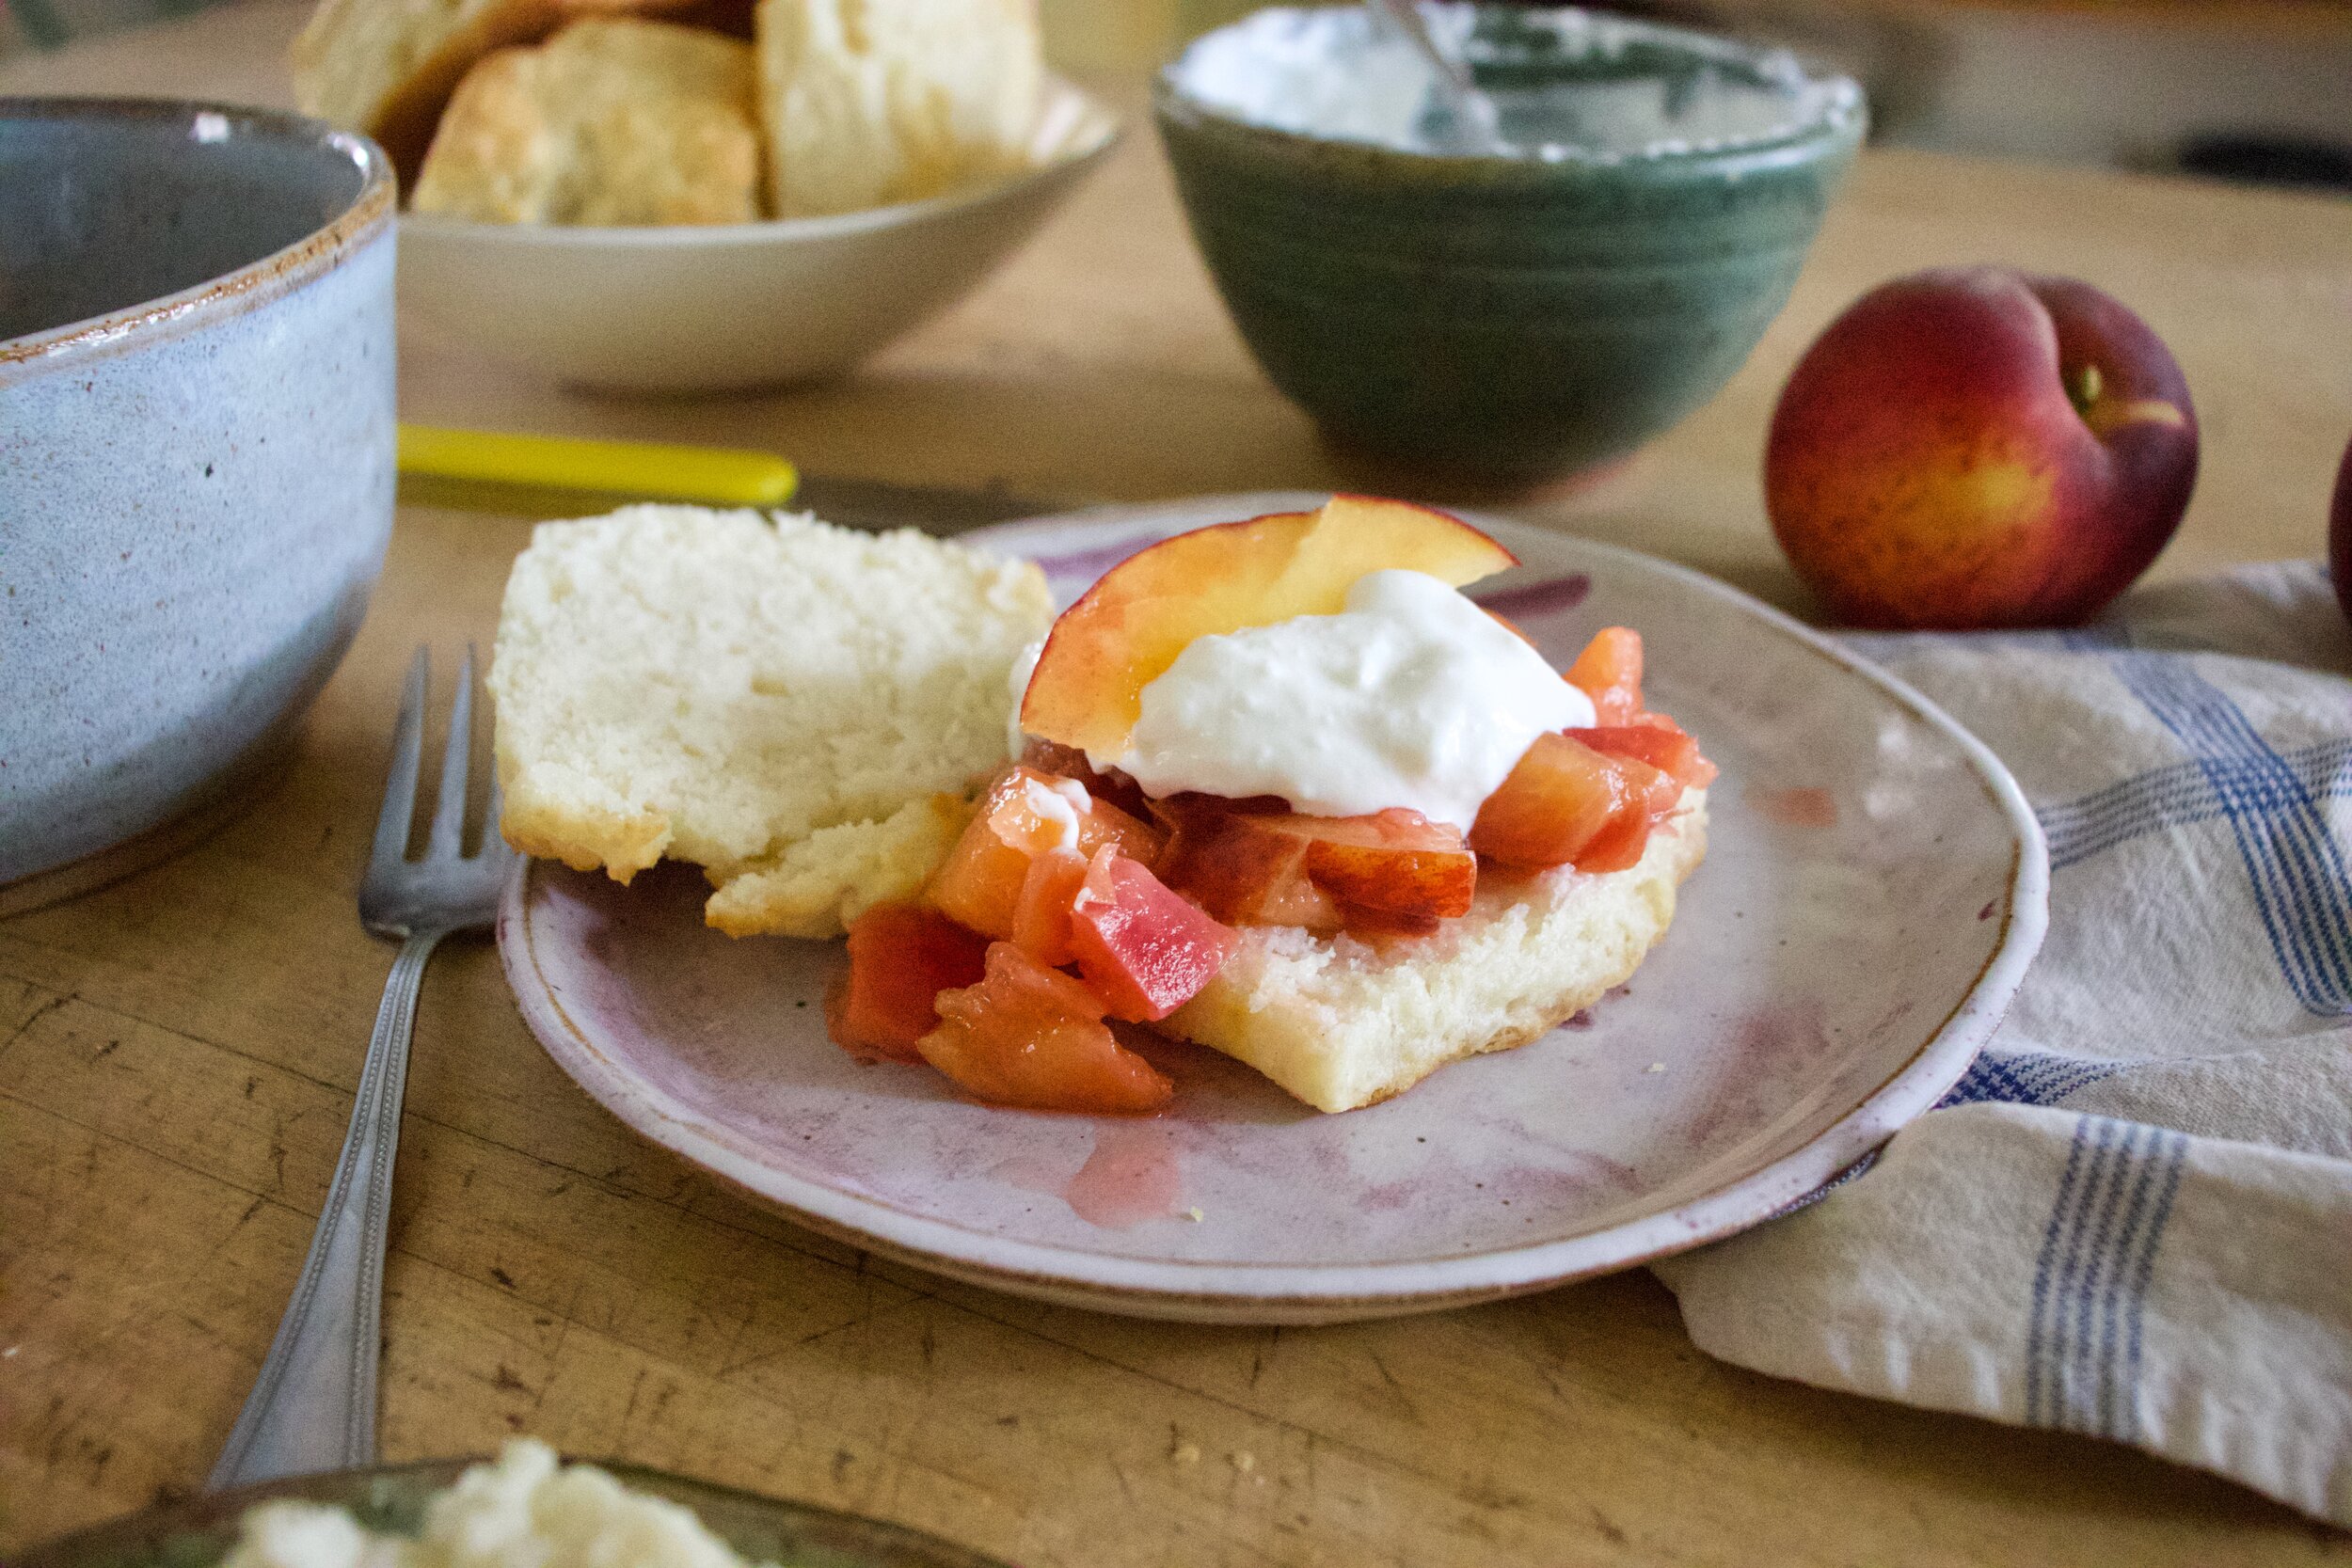
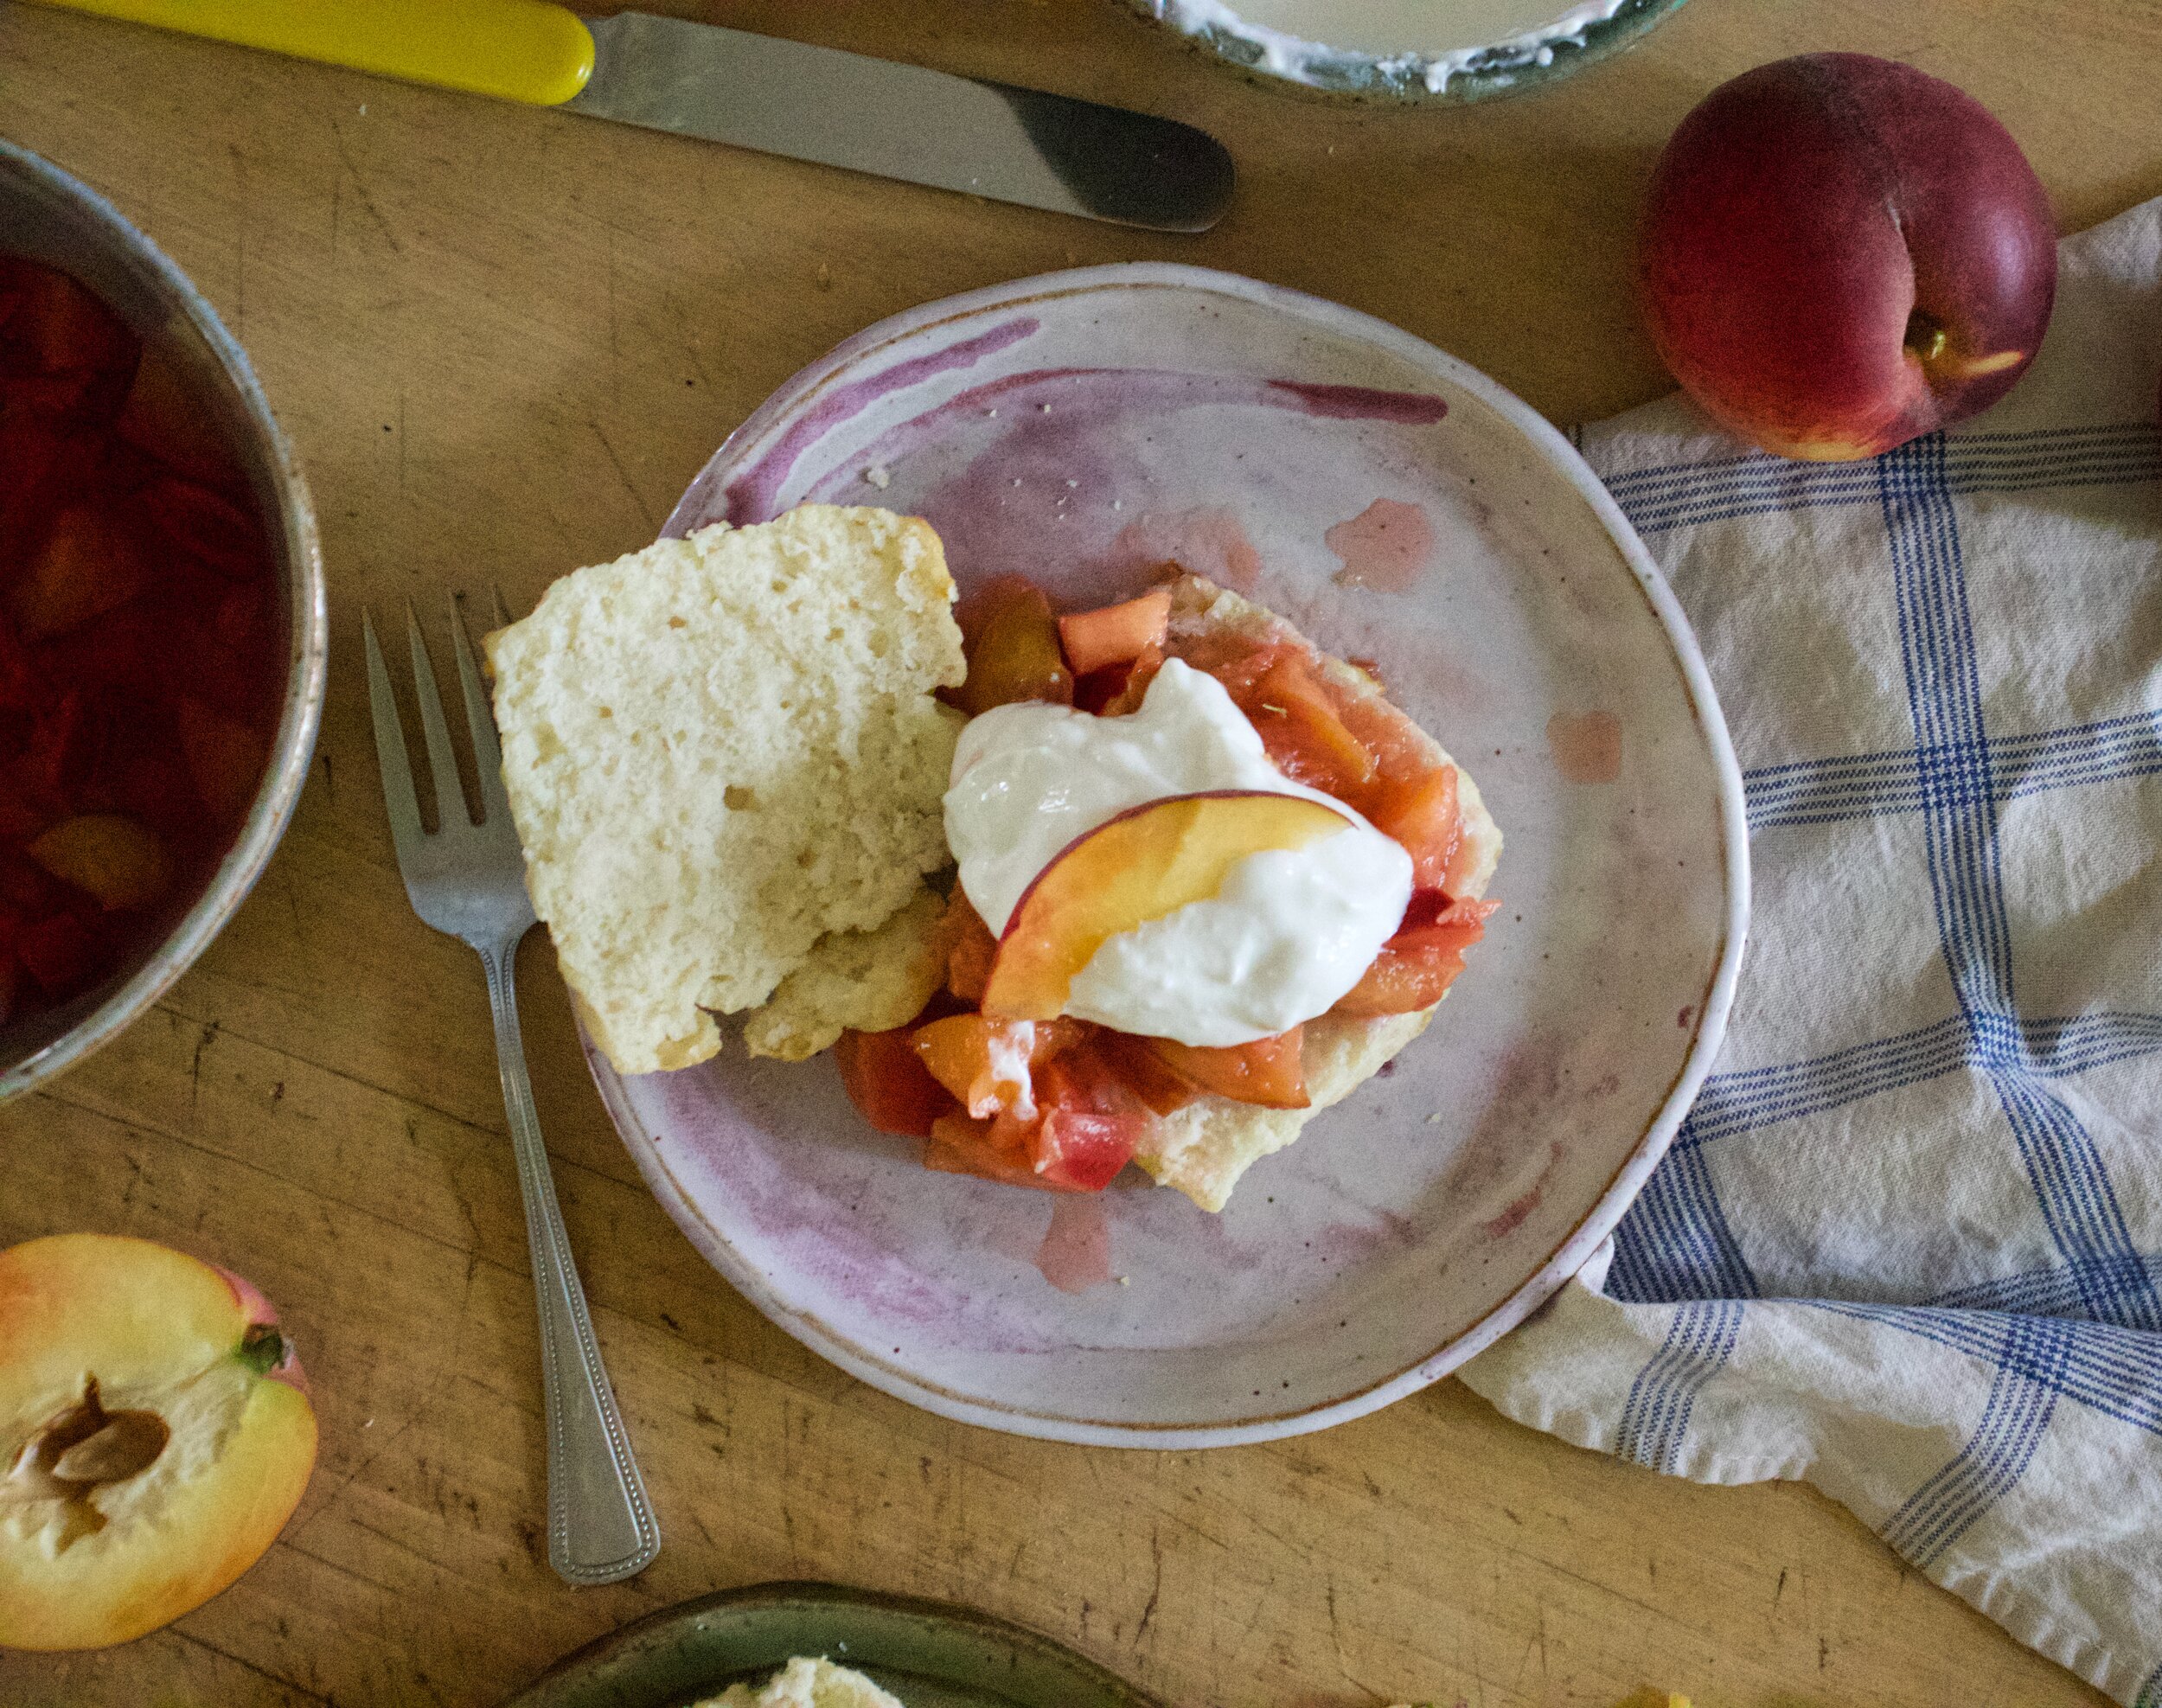
And then you add it all together. Cut a biscuit in half. scoop on some juicy sweet peaches, then top with a plop of coconut cream.

Summertime in the mouth.


Peach Shortcake

make 6-8 shortcakes

  • 2 cups flour

  • 1/2 cup very cold coconut oil

  • 1 teaspoon salt

  • 1 tablespoon baking powder

  • 1 tablespoon sugar

  • 1 cup very cold plant based milk

  • 5-6 fresh ripe peaches

  • 1-2 tablespoon sugar for peaches (greater amount for sweeter peaches)

  • 1 can full fat coconut milk chilled for 24 hours

  • 1 teaspoon powdered sugar whipped coconut cream (optional)

Start buy cutting up peaches. Remove pits,(peel them if you must) ,and dice into small pieces. Place into a bowl and toss with a tablespoon or so of sugar. Set aside.

Preheat oven to 400

Now for the biscuits. Place flour, baking powder, 1 tablespoon sugar, and salt into a bowl. Mix until incorporated. Add in the very cold coconut oil and cut in with a fork or pastry cutter until the mixture is crumbly but the oil is NOT completely in mixed in. You want the little chunks of oil. Next dump in the very cold milk. Gently mix with a fork unil all the liquid is absorbed and a shaggy dough has formed. Dump dough onto a lightly floured surface and gather together. Pat flat with hands into a rectangle that is about 1 1/2 inches thick ten cut into 6-8 equal sized pieces. Place onto a line baking sheet, brush tops with a little milk and sprinkle with a bit of sugar. Pop into hot oven and bake for 20-25 minutes or until a nice golden brown on top and bottom. Remove form oven and let cool on a wire rack.

For coconut cream. Remove canned coconut milk from fridge, open it and scoop to the top layer of thick coconut cream. Place into a cold bowl and whip with a beater or by hand until thick. If you want to add a little sugar, beat in a teaspoon or so of powdered sugar.

To assemble. Grab a biscuit, cut in half and place on plate or in bowl. Scoop on some peaches and then add a plop of whipped coconut cream. Grab a eating utensil (spoon or fork, you do you) and eat.

In brunch, desserts, fruit, Sweets, biscuits and such Tags Peach Shortcake, coconut cream, vegan, summer, stone fruit, biscuits, dessert, make ahead, plant based, dairy free, peaches
Comment

Raspberry Rhubarb Cobbler

April 27, 2019 Colleen Stem
IMG_7865.jpg
IMG_7904.jpg

I found another bag of frozen rhubarb in the chest freezer which is never a bad thing, but my rhubarb patch outside is growing strong and I will have all the fresh rhubarb I could possible eat within the next few weeks. So found rhubarb just means I need to eat it right fast before the fresh stuff comes in. (I haven’t had a problem with that. it’s almost gone already). Plus the other day while I was digging up and transplanting raspberry bushes to the back yard, my neighbor came over and gave me a gallon of frozen raspberries, harvested from said bushes that I was currently planting in my yard. Score for me! Free bushes and berries…I have such nice neighbors.

So the logical thing to do with my new found and giving bounty was of course to hurry up and bake something. Cobbler. Why cobbler? Well, why not? I figured the mr would really like it and eat it and I also didn’t want to make anything to fussy because I was just to dang busy spending all of my extra time outside doing outside things. And cobbler, it’s not fussy because it is basically biscuits and jam baked up all together. Not a lot to think about and comes out looking all homey and sweet and smelling all nice and cozy. Doesn’t that sound nice? And not a pain in the ass?

And best part. A made cobbler works as dessert or breakfasts or just a snack. Just asked the mr. He ate it for all the reasons. With a dollop of yogurt or cream of course because he is fancy like that.

And yeah the fruit I used was frozen, but fresh works just the same here too.

Now, lets get to that cobbler.

The stuff. Raspberries (frozen), rhubarb (frozen), sugar, flour, salt, baking power, cinnamon ,almond milk, apple cider vinegar, cornstarch, and oil.

IMG_7777.jpg

Raspberries, rhubarb, sugar, cinnamon, cornstarch. Its all there in the bowl. Just needs to be mixed. So mix it.

IMG_7781.jpg

Dump fruit mixture into well greased 8 inch pan and pop it into a hot oven to get a head start on baking.

IMG_7797 2.jpg
IMG_7802.jpg

While the fruits in the oven, make the biscuit dough. Mix the dry together then mix in the wet until just incorporated and a sticky dough forms.

IMG_7805.jpg

Pulled from the oven, the fruit is starting to cook down and whoa, it just smells so good!

IMG_7816.jpg

Drop on the biscuits dough on top of the fruit (careful of the hot pan). Evenly if possible, but don’t work to hard to make it look perfect. Imperfection makes it look perfect, you know?

Once biscuits are on, lightly brush the tops with a little milk and sprinkle with more sugar then pop it back into the oven for another 25-30 minutes or until the biscuits are baked.

IMG_7817 2.jpg

Pulled from the oven with a bubbly filling and a golden brown biscuity top. Things are looking good here.

IMG_7929.jpg

And now it’s time.

Dig on in my friend. Sever with something creamy like whipped coconut cream or some type of yogurt or ice cream situation of your choice. And again, this can be your breakfast.

Happy spring people!

-C


Raspberry Rhubarb Cobbler

make a a 8 inch round which serves 5-6

For the Filling

  • 2 cups raspberries (fresh or frozen)

  • 2 cups rhubarb chopped into 1/2 inch to inch long pieces (fresh or frozen)

  • 1 1/2 tablespoons corn starch

  • 3/4 -1 cup sugar (lesser amount if you like a little more tartness. I used lesser amount)

  • 1 teaspoon cinnamon

For the dough

  • 1 cups all purpose flour

  • 1 1/2 teaspoon baking powder

  • 1/2 teaspoon salt

  • 3 tablespoons sugar

  • 3 tablespoons neutral flavored oil

  • 1/2 cup plant based milk

  • 1 teaspoon apple cider vinegar

Preheat oven to 350.

In a large bowl mix together the rhubarb and raspberries with the corn starch, sugar, and cinnamon. Grease a 8 inch round pan the is at least 2 inches deep (can use a slightly large pan or a square) and dump in fruit mixture. Place into oven to bake for about 15 minutes or the fruit starts to break down.

While fruit is baking, mix up biscuit dough. Flour, salt, 2 tablespoons sugar, and baking powder go in a large bowl and mixed until combined. Add in the oil, the milk, and the vinegar. Mix until just incorporated and a dough has formed.

Remove the fruit cooking from the oven. Turn heat up to 375.

Carefully drop spoonfuls of biscuit batter on top of fruit. Brush the top of the biscuits with a little milk and sprinkle with remaining tablespoon sugar. Place the pan back into the oven and bake for another 25-30 minutes or until the biscuits are all nice and golden brown on top.

Remove from oven and let cool for a few minutes before serving. Serve warm with a scoop or dollop of soothing creamy (coconut cream, yogurt, ice cream…..whatever floats your boat.)

Left overs can be stored in pan, just cover it with something and place in fridge. Can be eaten cold to or reheated in microwave or oven.

In Vegan, Spring, fruit, desserts, brunch, breakfast, biscuits and such, cobblers and crumbles Tags Raspberry Rhubarb Cobbler, Cobbler, dessert, raspberries, rhubarb, spring, fruit, plant based, vegan, vegan dessert, biscuits, easy, dairy free, breakfast, brunch
1 Comment

Jalapeño Lime Corn Milk Biscuits

September 8, 2018 Colleen Stem
IMG_0187.jpg
IMG_0246.jpg

I really am just trying to find new ways to use up as much corn as I can. The mr won't really eat it (he says he hates it, but doesn't really, but is now really not eating it) and the littles can only eat so much. I have some in the fridge pickled, some in the freezer, and yet every time I come home from farm share I end up brining like 15 more pieces home with me. So I had to get a little crafty with this last batch. I milked it and made biscuits. And it was exactly the right thing to do. Making corn milk was genius (which makes me a genius?) and I am now going to be baking everything with it until I use up all the corn. 

These biscuits are very versatile, like all good biscuits should be. I served them to Barb and the mr with chili and of course they loved them but also I smothered raspberry jam all over a few and the mr was into that. Butter or almond butter too, or just plain. They can be eaten in all sorts of yummy ways.  And if you really are into the corn milk part but not the jalapeño or lime-ness of the biscuit, just don't add that stuff in. A simple corn milk biscuit would be just fine too.  Aaannd if you have a corn hater in the house, they still will probably like theses, or so this goes my experience, although I still don't think he hate corn. But what do I know? 

To the biscuits.

The stuff. Corn, soy milk, a lime, a few jalapeños, and earth balance. In the bowl we have some  flour, baking soda, baking powder, and salt.

IMG_0058.jpg

Cook tha corn. A quick few minutes in boil water will do the trick. 

IMG_0067 2.jpg

Get all that corn off those cobs. Sure you can nibble, it's hard not to. 

IMG_0075.jpg
IMG_0090.jpg

Fresh corn and soy milk go into the blender and blended until all smooth and creamy. Taste it.. it is pretty creamy dreamy.  

That is the corn milk. You could drink it just like this and it would not be weird. It is delicious. 

IMG_0099.jpg

Get you jalapeños, remove seeds, and give them a good small dice and toss them into the bowl with the flours and stuff. Also zest the lime into the bowl with the flour.

IMG_0113.jpg
IMG_0131.jpg
IMG_0114.jpg
IMG_0127.jpg

Cold plant butter goes in first and cut in (I used fork, but you could use a pastry blender) until the dough looks crumbly. Add in the corn milk and the juice from the lime  and gently stir to just combined.

Dump the dough onto a floured surface and gather it all together then lightly press it down until  it's about an inch thick. 

This is the best part, ( Because I love the look of the cut out dough.. It apeals to me in some great way that I don't yet understand) cut the biscuits. I went and grabbed a biscuit cutter which I barely ever use, so that was a win.

Once you cut out the first biscuits, you can gather the dough and gently press it back together and cut out  more until you use all the dough.

IMG_0149.jpg

Place the cut out biscuits on a baking sheet and brush the tops brushed with a little corn milk then into the hot oven they go.

Out they come looking all biscuity and such.. And don't mind the red reflection. That be my shirt. Note to self and to all. Don't wear red while taking pictures with reflective materials. 

Letting the biscuits be cool, just for a few minutes.

Still slightly warm all cozied together. 

Nothing like a basket of biscuits to make people happy.

-C


Jalapeño Lime Corn Milk Biscuits 

makes about 15 smaller biscuits 

  • 2 1/2 cups flour
  • 2 ears of corn
  • 1 cup soy milk
  • 1 teaspoon salt 
  • 1 teaspoon baking podwer
  • 1/2 teaspoon basking soda 
  • 1/4 cup  cold vegan butter
  • 2 jalapeños 
  • I lime 

Cook corn by removing husks and  dropping into a pot of boiling water for about 5 minutes. When corn is cooked, remove from water and allow to cool.  Once cooled enough to handle, cut all the corn off the cob and place into the blender with the soy milk. Blend until smooth. It should measure out to be a little more then 2 cups. If you have less, add in more soy milk until is measures 2 cups.  Place corn milk in fridge for at least 1/2 hour to cool. 

Preheat oven to 450.

Place flour, salt, baking soda, and baking powder into a large bowl. Zest the lime in as well and mix it all together. Grab jalapeños, cut in half, remove seeds, then dice into very small pieces. Mix those into mixture.  Now cut in the butter with either a fork or pastry blender until the mixture is crumbly. Add in juice of the lime and 2 cups of  the cooled corn milk and mix until just barley incorporated.

Dump the mixture onto a flour surface. Gather it al together and then press it flat until its about an inch thick. With a biscuit cutter, or a knife if you want square biscuits, cut out biscuits. If you use a cutter, place cut biscuits onto a baking sheet then gather the remaining dough and gently press back together and cut out more biscuits until dough is used up.  Once all the biscuits are on the baking sheet, brush the tops with corn milk  if you have a little left over or just plain soy milk then place them into the hot oven.

Bake for 17-22 minutes or until the biscuits are a nice golden brown. Once baked, remove from oven and place on a cooling rack to cool, or toss into basket with a tea towel and serve warm.

Then eat them.


In Vegan, Dairy Free, bread, biscuits and such Tags Jalapeño Lime Corn Milk Biscuits, Corn milk, biscuits, vegan, dairy free, bread, King Arthur flour, food 52, plant based, jalapeño
Comment

Graham Crackers

May 12, 2018 Colleen Stem
IMG_1939.jpg
IMG_1990.jpg

I have fond memories of young me skipping school and sitting in front of the tv with peanut butter, a package of graham crackers, and a glass of milk to dunk the peanut butter cover crackers in, watching myself some Martha Stewart. I also have some fond memories of the days in college I would skip class (obviously to finish a paper or something), and sit around eating graham crackers covered in peanut butter and nutella, dipped in beer? Wait no, it was coffee. (although....beer? Could be something there.)  Apparently I liked to skip class and eat peanut butter graham crackers. But don't blame the cracker for the bad behavior, blame the eater. And I didn't do it all the time, only once in a while. (A girl needed to watch her some Martha or write a 20 page paper.) 

We had a BBQ this week and for some reason I though people want to eat s'mores at a BBQ. (I guess I got that confused with camping.)  I figured even though the days of skipping life and eating graham crackers has passed me by, that I needed to make the graham crackers for others to enjoy. And then I wondered why the heck no one ever makes graham crackers. They are by far the underrated crispy cookie (lets just call it what it is ) of the snack world.  I think I might make it my new thing. I'll make graham crackers for ever cookie swap situation, every event that requires a dessert, every time a snack is need, until people realize what they are missing. I'll bring the graham cracker into all it's glory. 

These graham crackers were raved over by people who like graham crackers and were absolutely perfect for s'mores.  A few of the littles that don't like graham crackers did not care for them, but I guess you can't make everyone happy. Tthey just wanted to eat the marshmallows.) They are crispy and crackery, tiny bit smokey and sweet but not to sweet, and perfect for all your graham cracker needs.

The stuff. In one bowl there is graham flour, all purpose flour, baking soda and salt. The other bowl has brown sugar, honey and molasses. Also going to need vegan butter, vanilla, and a little bit of plant milk. 

IMG_1860.jpg
IMG_1867.jpg
IMG_1871.jpg

The big bowl of sweet stuff get beaten together with the butter and vanilla until smooth, then the dry mixture and milk go in an beaten until just combined. 

. This is what graham cracker dough looks like. Course  and chunky, but done. Don't beat it anymore, just use your hands to gather it tighter. 

IMG_1883.jpg

Gather the dough into a ball then wrap  in plastic (or stick in a plastic bag)and smoosh flat and rectangular. Place in the fridge for at least 2 hours, if not overnight. IT needs the time firm up. 

After the dough has firmed up, its time to roll it out. Cut the dough in half (place the other half back in fridge until you are ready for it) and roll out on a very floured surface. The dough is sticky and  not super strong so go slow and make sure to keep the surface and the rolling pin floured so it doesn't stick .

When it's all rolled out, trim the sides even the cut  into into squares or rectangular (or any shape you want). I was going to measure and make them all the same size and then I was like, yeah, no. I just eyed it and made them kind of the same size. I don't live in a world where I need perfect graham crackers. 

IMG_1905.jpg

Gently transfer the crackers ( I used the bench scrapper to list them, but a spatula would be good too) on a parchment lined baking sheet. Run a  line the doesn't cut all the way through in the middle of each cracker and then poke 6 (or how many you want) hole on each side. You can use a toothpick or a wooden skewer. I used a size 8 kitting needle.

IMG_1915.jpg

Get all your crackers made and sprinkle the tops with a little graduated sugar. Pop into the preheated oven to bake for 15-20 minutes, rotated around 10 to keep an even bake. 

Done. Golden brown graham cracker success. 

Cool the crackers on a wire rack.

And now you have yourself graham crackers for all your graham cracker needs. 

May I suggest a smear of peanut butter, maybe a glass of milk or coffee and some Martha Stewart on the tv? 

-C


Graham Crackers 

Makes between 20-30 crackers depending on size

  • 1 1/2 cups graham flour (unbolted whole wheat flour with the germ and bran)
  • 1 1/4 cup all purpose flour 
  • 1 teaspoon salt 
  • 1 teaspoon baking soda
  • 1/2 cup light brown sugar
  • 1/4 cup honey (can sub  in golden syrup or brown rice syrup)
  • 2 tablespoons molasses (not black strap)
  • 1/2 cup vegan butter 
  • 1 teaspoon vanilla 
  • 1 tablespoon plant milk 
  • 1 tablespoon white sugar

Stick the butter, brown sugar, honey, molasses , and vanilla  into a large bowl and beat with an electric beater until smooth, In a smaller bowl, whisk together the flours, salt, and baking soda. Dump the dry into the wet, add in the milk and beat on low until mixture just starts to come together,then use your hand and smoosh and knead the dough into a ball. Either wrap or place dough ball  in a plastic airtight bag, smoosh into a flat rectangular shape, and refrigerate for at least 2 hours, if not over night.

When you are ready to bake the crackers, preheat oven to 325 and line 2 large baking sheets with parchment paper. 

Cut dough in half and place one half back in fridge while working with the other half. Flour a surface and the rolling pin and roll dough our into a retangle about 1/8 inch thick. Trim sides ( a pizza cutter or dough scraper works really well here) to make a sides straight (straight enough) and then cut into equal sizes pieces that are the size of your liking. (What it did was cut in half, then each half into thirds  vertically  then the whole thing in thirds hortiztally. I ended up with 18 pieces)  

Place the crackers on prepared baking sheet and take you cutting instruments and run a line along the middle of each cracker without cutting all the way through (if you cut all the way through, it should fuse back together in baking) Take a wooden skewer  and poke 6 holes into each side. Sprinkle with white sugar. Now grab the second half of the dough and do the same thing. And don't forget to gather all the trimming and either roll into more crackers or just make one weird shaped blob cracker for taste testing.

Once all the crackers are prepared, stick into the oven to bake for 15- 20 minutes (15 for a softer cracker, 20 for a more crispy cracker) , rotating after 10 minutes to insure even baking. Once the crackers are a nice  golden brown, remove and place on a wire rack to cool.

Eat the way you do. 

Store uneaten crackers in a airtight container for a up to a week. Crackers can be frozen for later use. 


In cookies, crackers and chips, Dairy Free, snack, Sweets, Vegan Tags Graham Crackers, Graham flour, vegan graham crackers, graham cookies, vegan, Homemade graham crackers, plant based, unbolted flour, S'mores, snacks, biscuits, crackers, dairy free, egg free
Comment

Lemon Broccoli Biscuits

December 8, 2015 Colleen Stem
IMG_5303.jpg
IMG_5299.jpg

On my recent shop at the grocery store, I picked me up a bunch of my favorite King Arthur flour, like five 5lb bags because I know that I am probably going to go through it within the next few weeks. (all Christmas cookies) Plus it was on sale. And not just regular all purpose, all of the varieties were on sale, including the self rising flour, which I have never used before. I have been curious so I figured that sale flour meant that I should buy it and try it out. So buy it I did, and I am now a lover of self rising flour.

The first thing I did was look up simple recipes to use and found one on the King Arthur web site for never fail biscuits that were only 2 ingredients. (self rising flour and cream) Well that seems easy enough, except I don't have cream, just soy milk on hand, and I really can't help but wanting to add a little something extra to the mix. So I went with broccoli (in was in the fridge) and lemon. But other then that, still easy biscuits I have ever made.

These biscuits cook up so super fast and take almost not work at all to make.. they seem almost like magic. . Perfect for all of us who rush home before dinner and discover that there is no food in the house. But if you have self rising flour, a quick dump and mix and a little time in the oven, and you got yourself some biscuits thatare super fluffy on the inside, slightly crisp on the outside. The texture is what really surprised me, how tender and biscuit-y they turned out without having to cut in any fat. Amazing!

These biscuits can be turned into any number of dinner options (the mr had buttered biscuits with lentils) and any left overs can be serves up for breakfast.  I wish I had know beforethat self rising flour was so great! It's kinda like have a box of bisquick on hand, but way way better. I think that I am going to have to go back to the store and stock up on this too... I have a feeling that mr is going to be eating all sort of fun flavored biscuits for dinner in the next few weeks.

Oh,  the mr says I have to warn you, . If you don't like broccoli, you will not like these biscuits. But for those who are broccoli people, these will make your day!

The stuff. Some slightly stemmed chopped up broccoli, a lemon, soy milk, ans some self rising flour.

 The soy milkgoes into the bowl with the broccoli and gets blendedup with a hand or (or use a regular blender). And you don't want to make it completely smooth, some chunks are good.

Dump the broccoli soy mixure into the flour and then the zest of the lemon. Add in a tiny pinch of salt.

A quick mix until everything is just incorporated.

And the dough gets plopped onto a baking sheet. Brush the tops with a little lemon juice or water (or a mixture of both) right before they go into the oven... then stick them in the oven.

And after about 20 or so minutes, the biscuits have risen , the tops starting to brown, and the smell from the oven is happy. So you should pull them out of the oven now.

And let cool, just enough to handle, then grab a biscuit, split n half, and smear something buttery on it.

-C


Broccoli Lemon Biscuits

Makes 12

Adapted from King Arthur's Never Fail Biscuits

  • 1 1/2 cups self rising flour(King Arthur flour)
  • 1 cup soy milk
  • 1 lemon
  • 1 cup slightly stemmed broccoli *
  • salt to taste
  • Any additional flavors you want (garlic powder, pepper, some sumac.. whatever)

Note. Slightly steamed broccoli.. Just toss chopped broccoli into a pot with enough water to cover the bottom of the pot. Stick a lid on it, and place on heat until the broccoli is slightly tender and the water is evaporated, or about 4-5 minutes. Just make sure you don't over cook it and turn it to mush.

Preheat oven to 450.

Dump flour into a big bowl. With a hand or regular blender, blend together the soy milk and broccoli. Dump the wet mixture into the flour. Add in the zest of the lemon and mix until everything is just incorporated. With a spoon or a scooper , scoop out 12 similar size blobs and drop onto a baking sheet. Brush the tops of the biscuits with water or lemon juice and sprinkle with a tiny pinch ofsalt. Place in oven and bake for about 20 minutes or until the biscuits are starting to brown and look done.

Remove from oven and eat as soon as they are cool enough to handle. Eat as is or smear on some buttery something or another.


In Dairy Free, breakfast, recipes, Savory, snack, Vegetables, Vegan Tags Lemon Broccoli Biscuits, self rising flour, simple biscuit, vegan, biscuits
Comment
Older Posts →
 

https://thelovelycrazy.squarespace.com/config#/|/about/

Me. Food Maker.Food eater. Woo HOO!

STEM+NODE  SMALL BATCH AND ONE OF A KIND POTTERY

stem+node ceramics


____________________

Subscribe

GET NEW POSTS IN YO EMAIL

You are AWESOME!!!


@thelovelycrazy 2014-2021