• stem+node ceramics
  • HOME
  • Food Recipes
  • About
  • Contact
Menu

The Lovely Crazy

Street Address
City, State, Zip
Phone Number

Your Custom Text Here

The Lovely Crazy

  • stem+node ceramics
  • HOME
  • Food Recipes
  • About
  • Contact

Quick Pickled Green Beans

December 29, 2018 Colleen Stem

Any time is a good time for pickles, but now is a great time. There has been so much baking, heavy, rich, and time consuming foods in the past month that I think everyone could use themselves a good helping of veggies and maybe a little brightness, like a good pickled green bean. Freshy, crisp, and clean. A jar of happy green goodness. (Don’t you describe jars of pickles just like that, a happy green jar of goodness?)

Around there parts, it’s kind of a holiday tradition with the mr to get a jar or two of pickled beans. I don’t know exactly how it started, but they are something that he has been getting every year. So this year instead of buying him a jar, I just made them. And let me tell you, it is a heck of a lot cheaper to make your own then it is to buy them, plus I think mine taste better if I do say so myself. These pickles are of the refrigerator kind so there is no processing or stress of bad seals. Nope, these pickles take all of 15 minutes to make, a day to pickle up nice and good in the fridge, and that is that. Ready to go, ready to eat. A small task, nothing fancy, nothing a small child could not handle (um.. well I would not let a small child near boiling water so nix that but a medium to large child, yeah sure.)

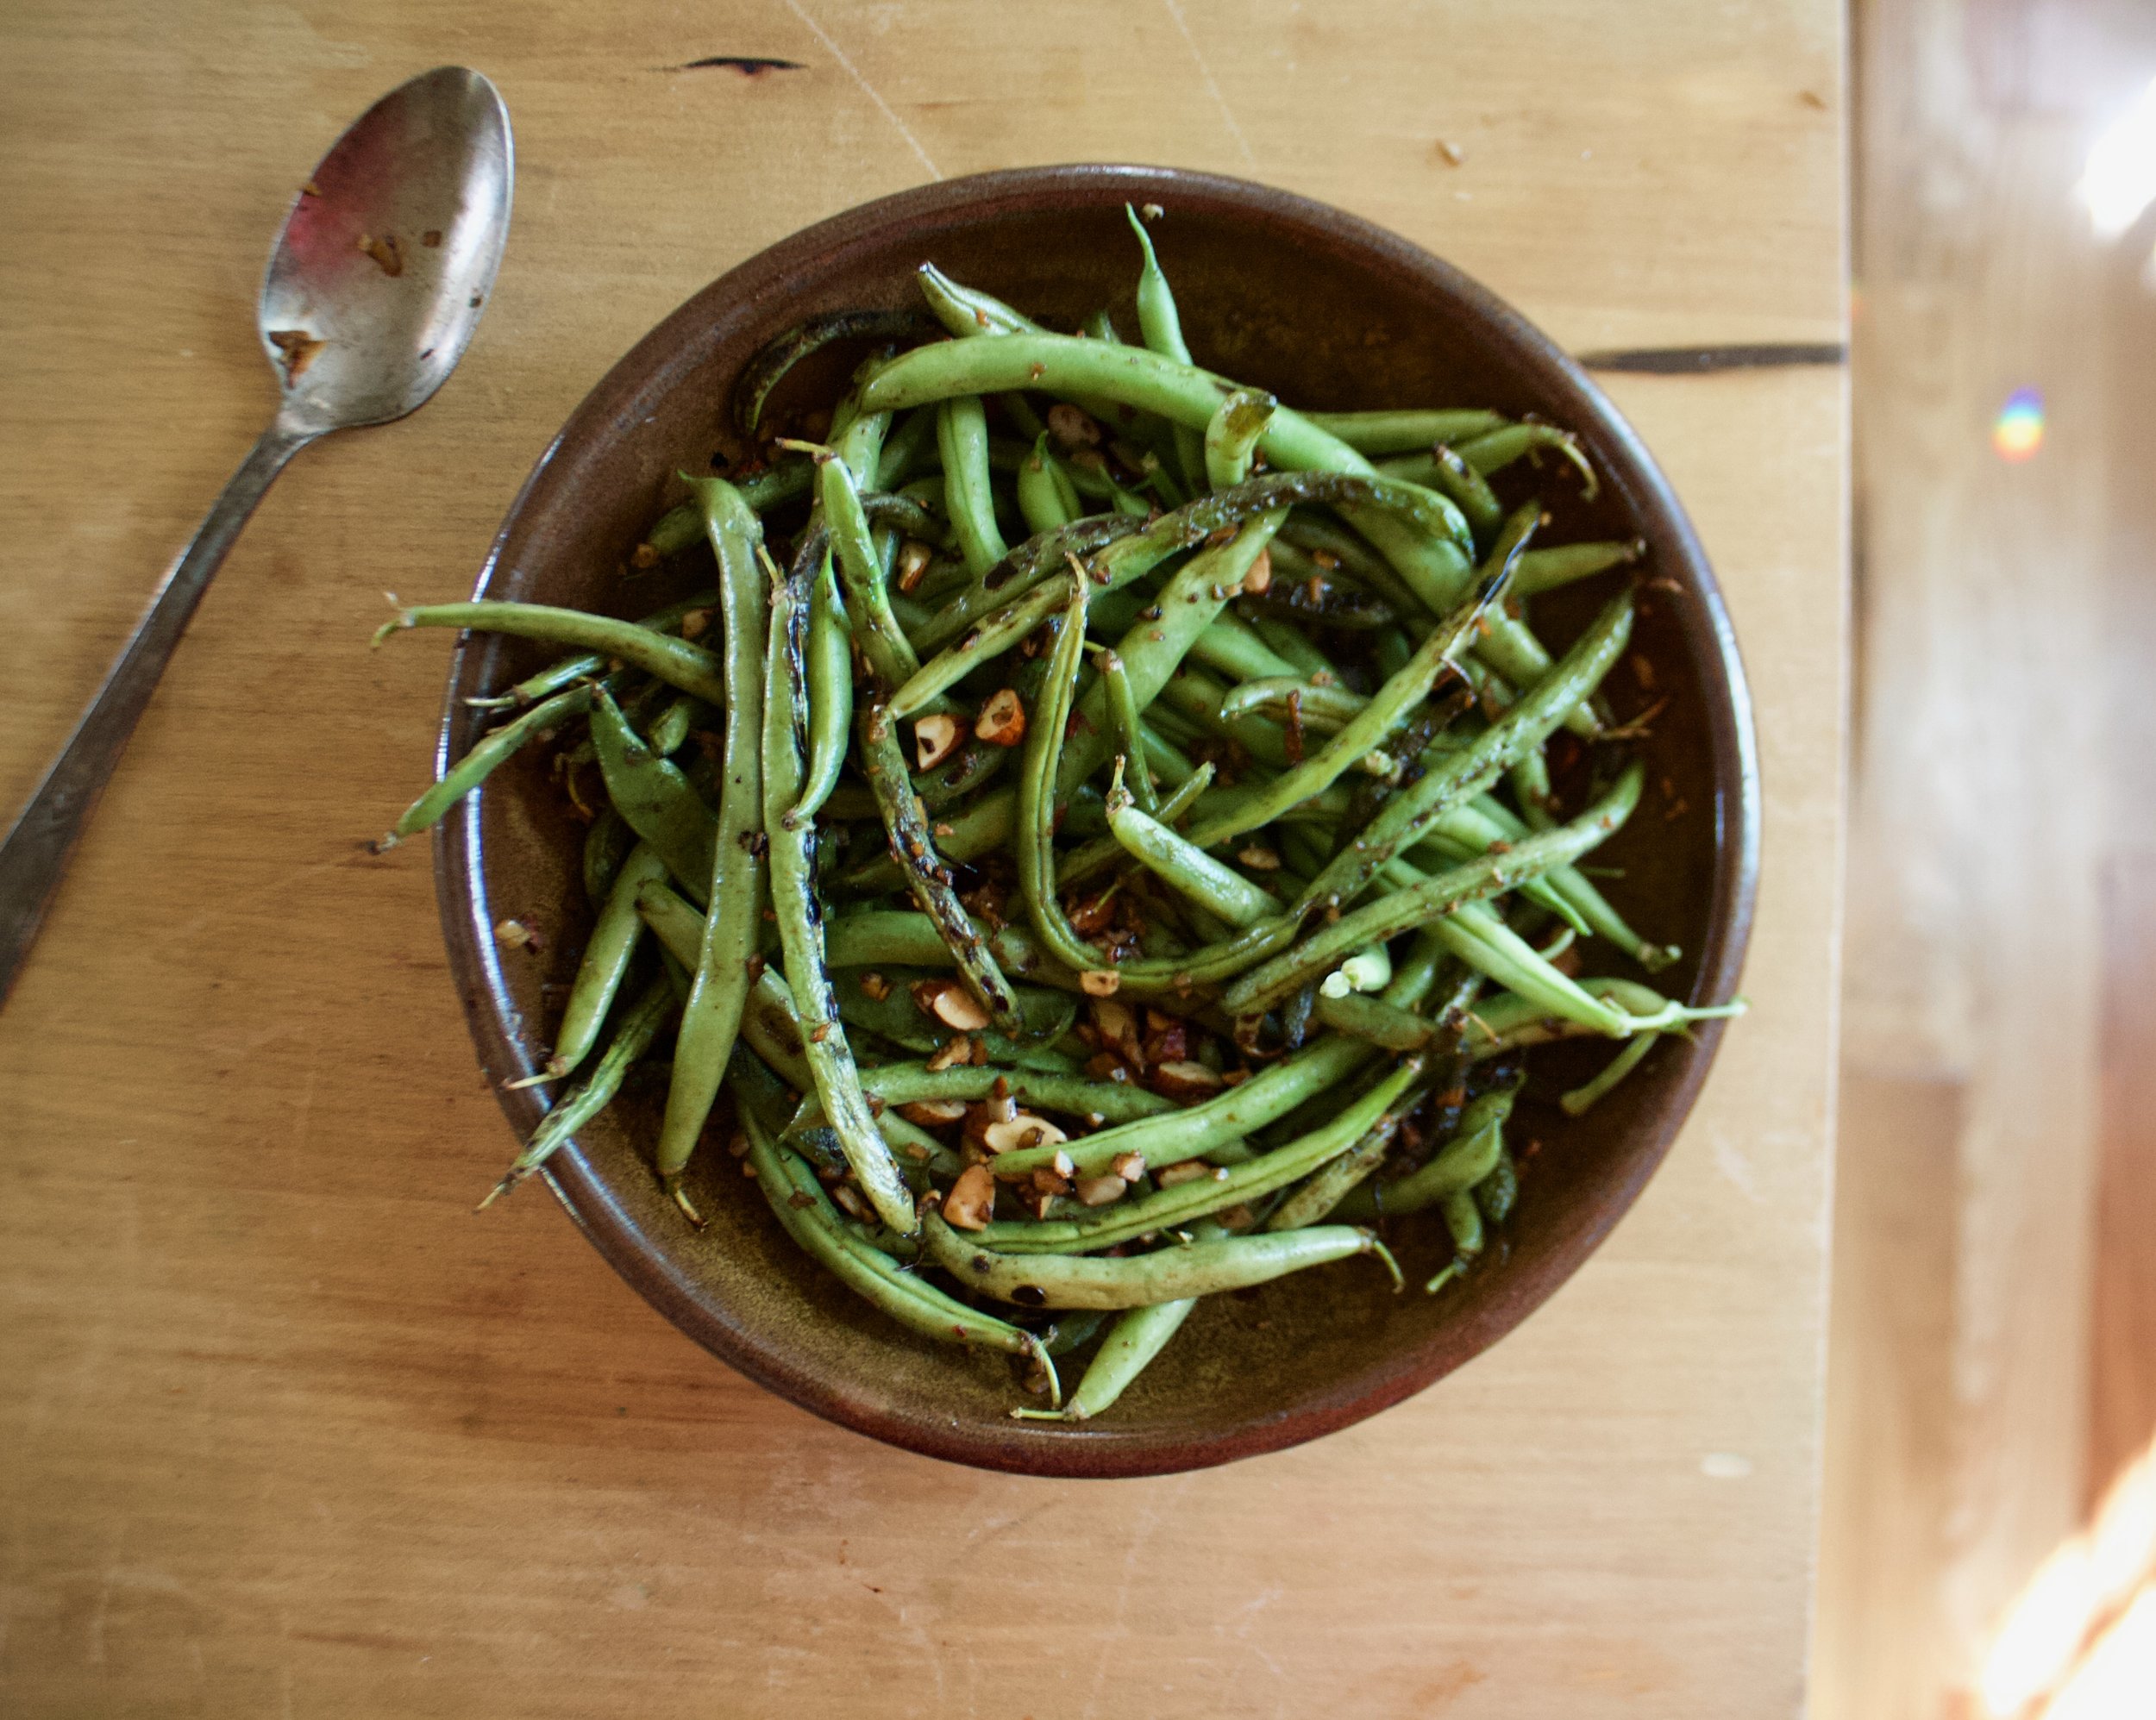
Pickled green beans. You know you want them so go and make them.

To the pickled beans!

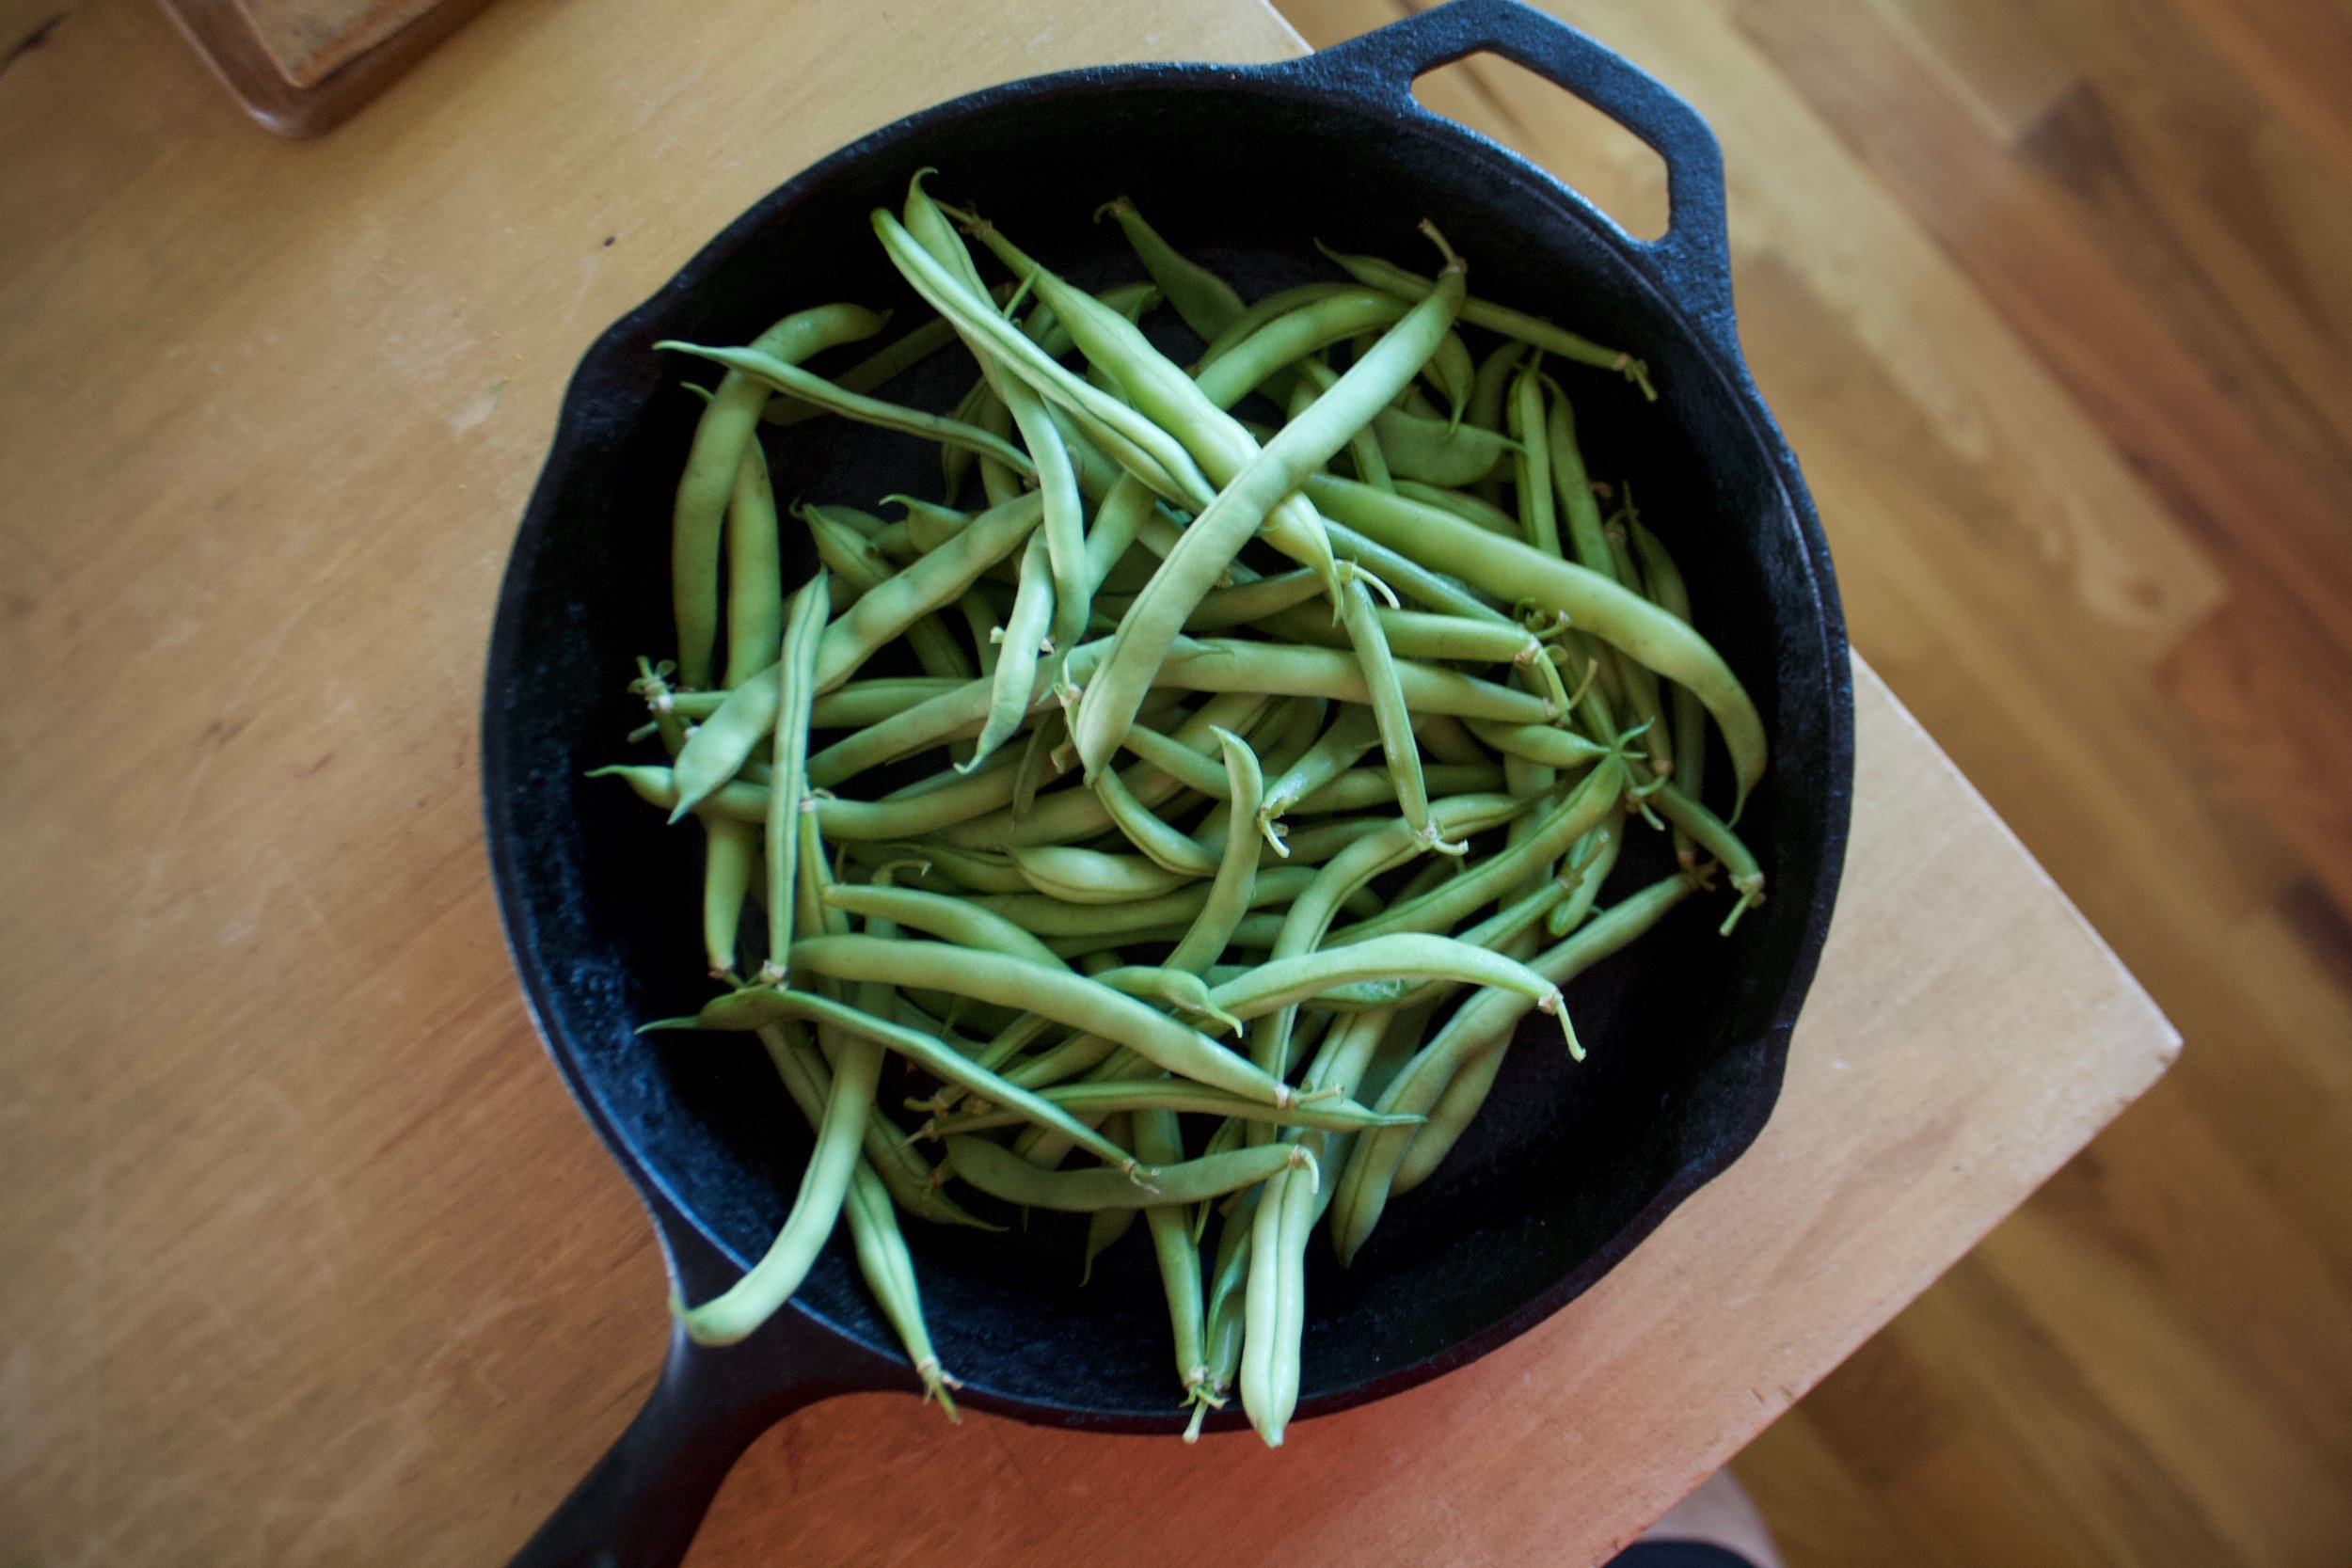
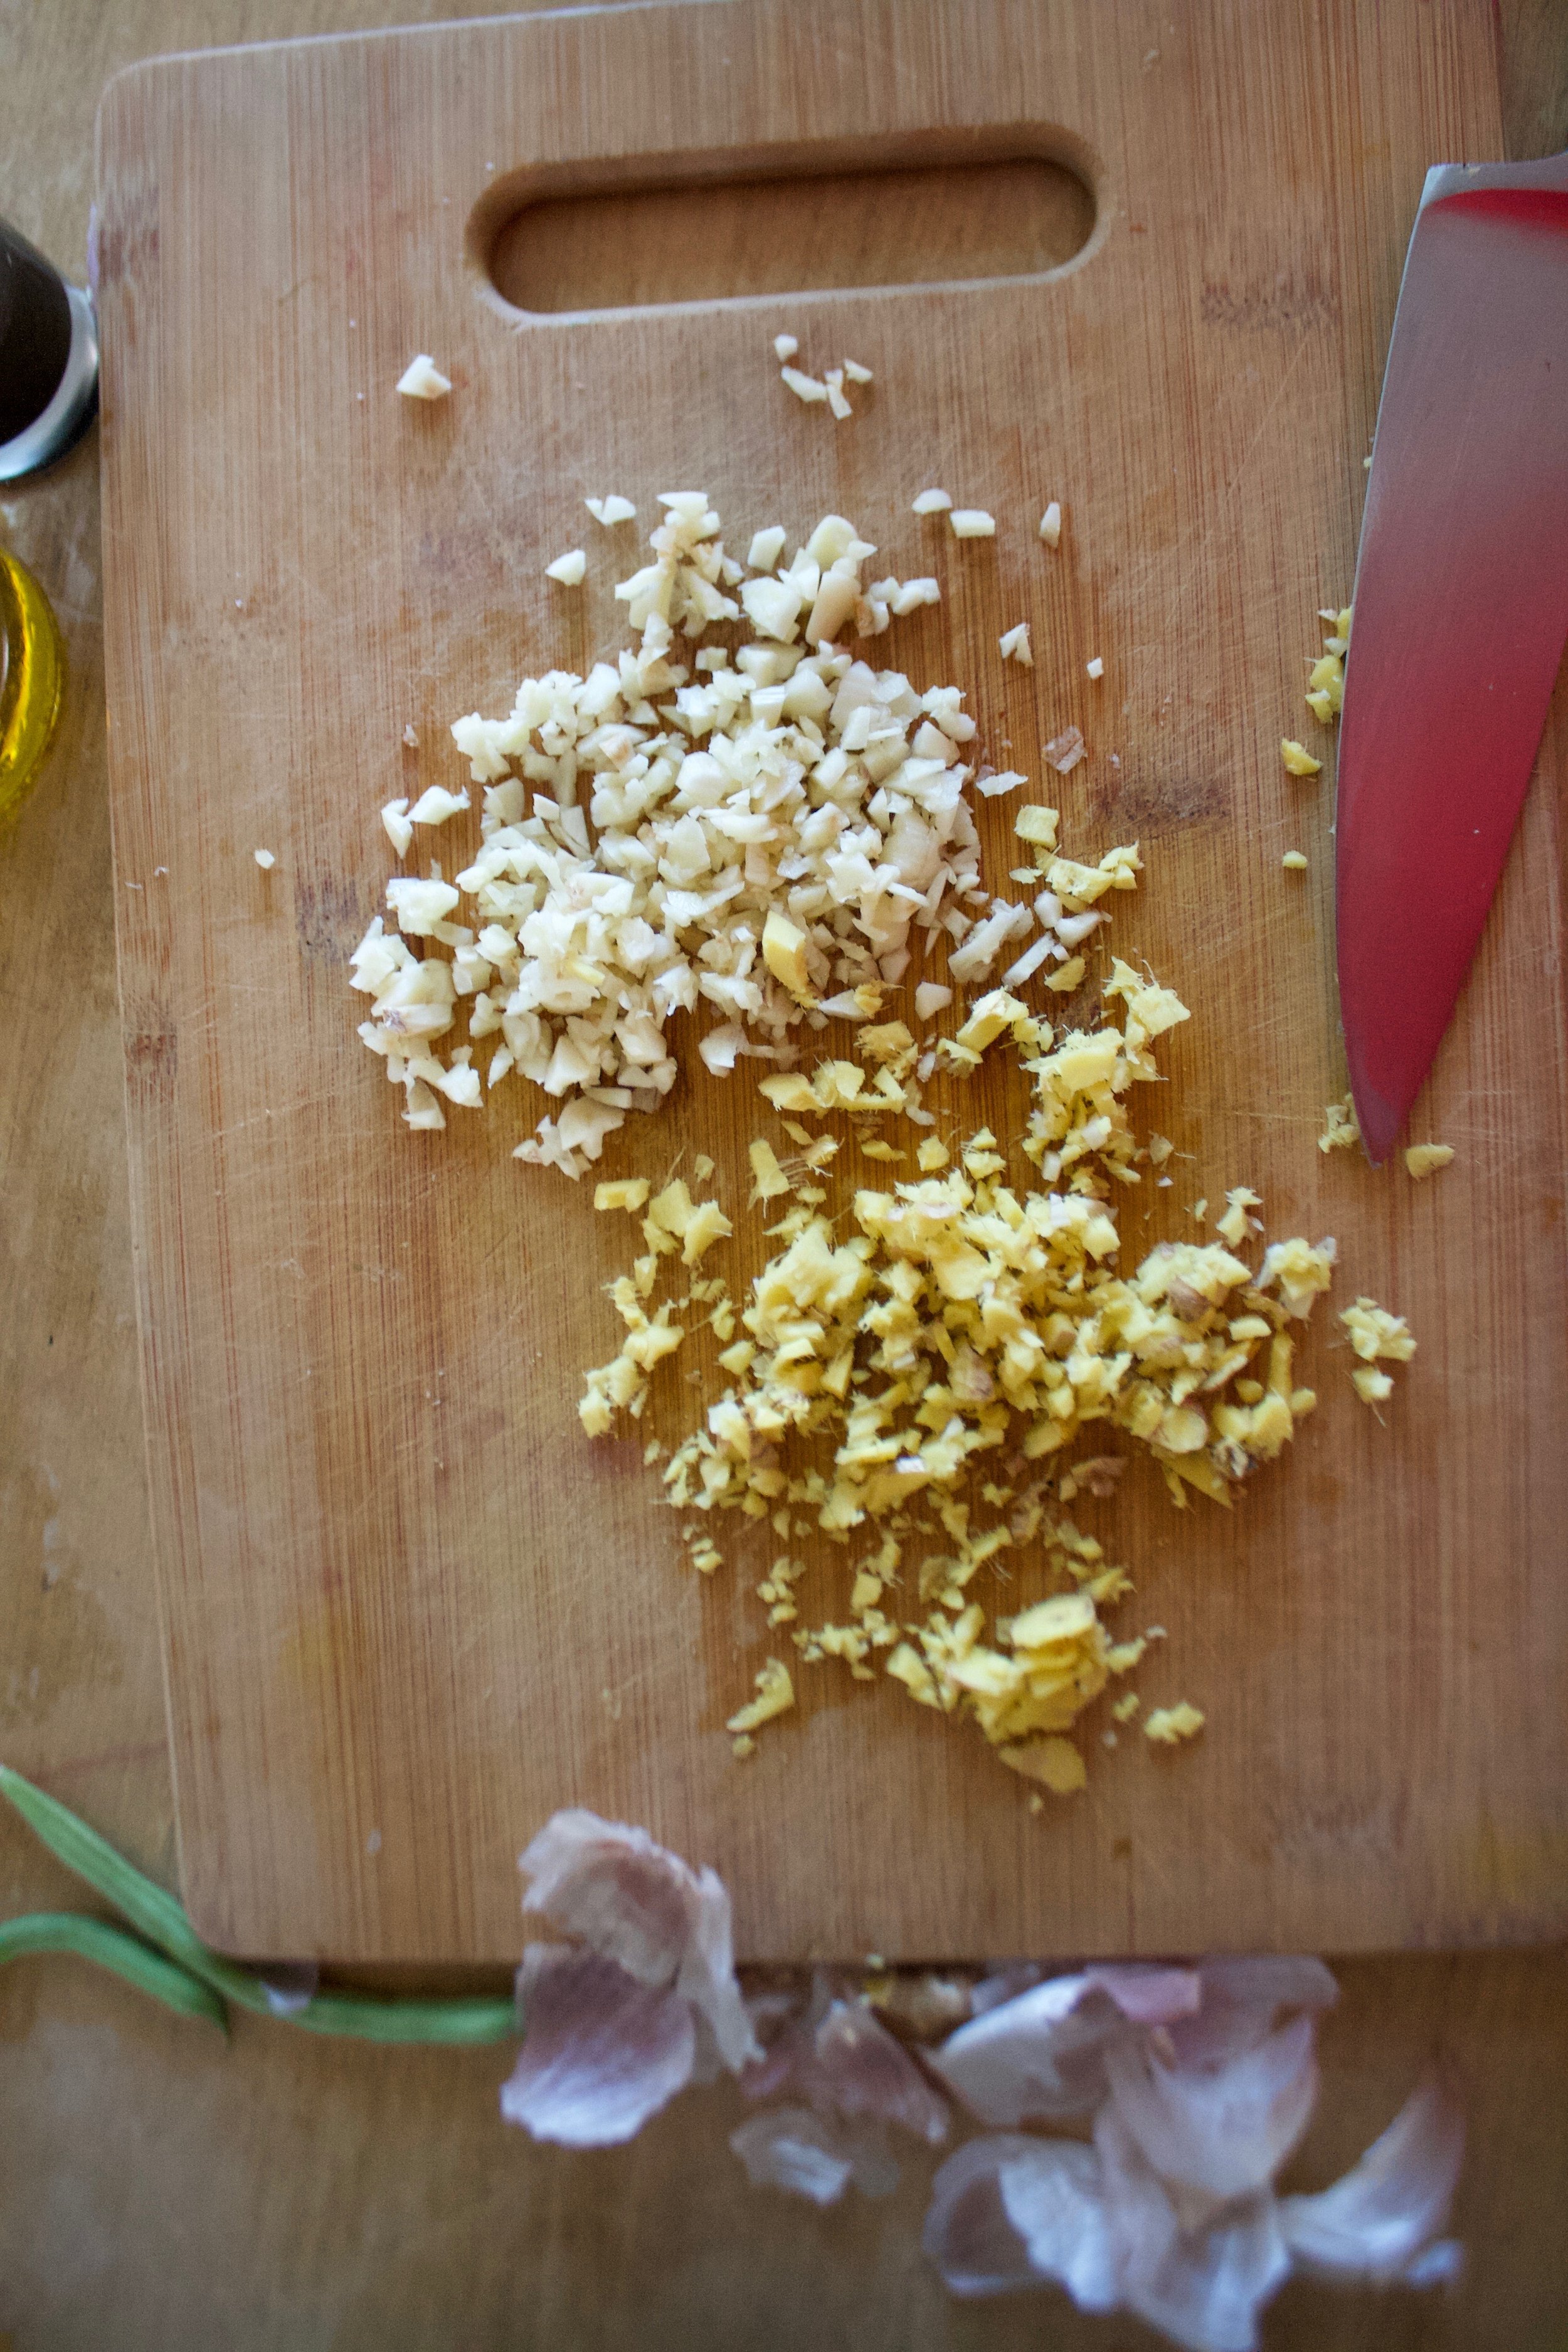
The stuff. Fresh green beans, white vinegar, salt, peppercorns, garlic, dill and a dried cayenne pepper. The dill and cayenne pepper are optional and you can use any spices you want, but these are good ones to try.… Next batch I am going to do fresh turmeric and ginger, see how that comes out.

IMG_3814.jpg
IMG_3816.jpg

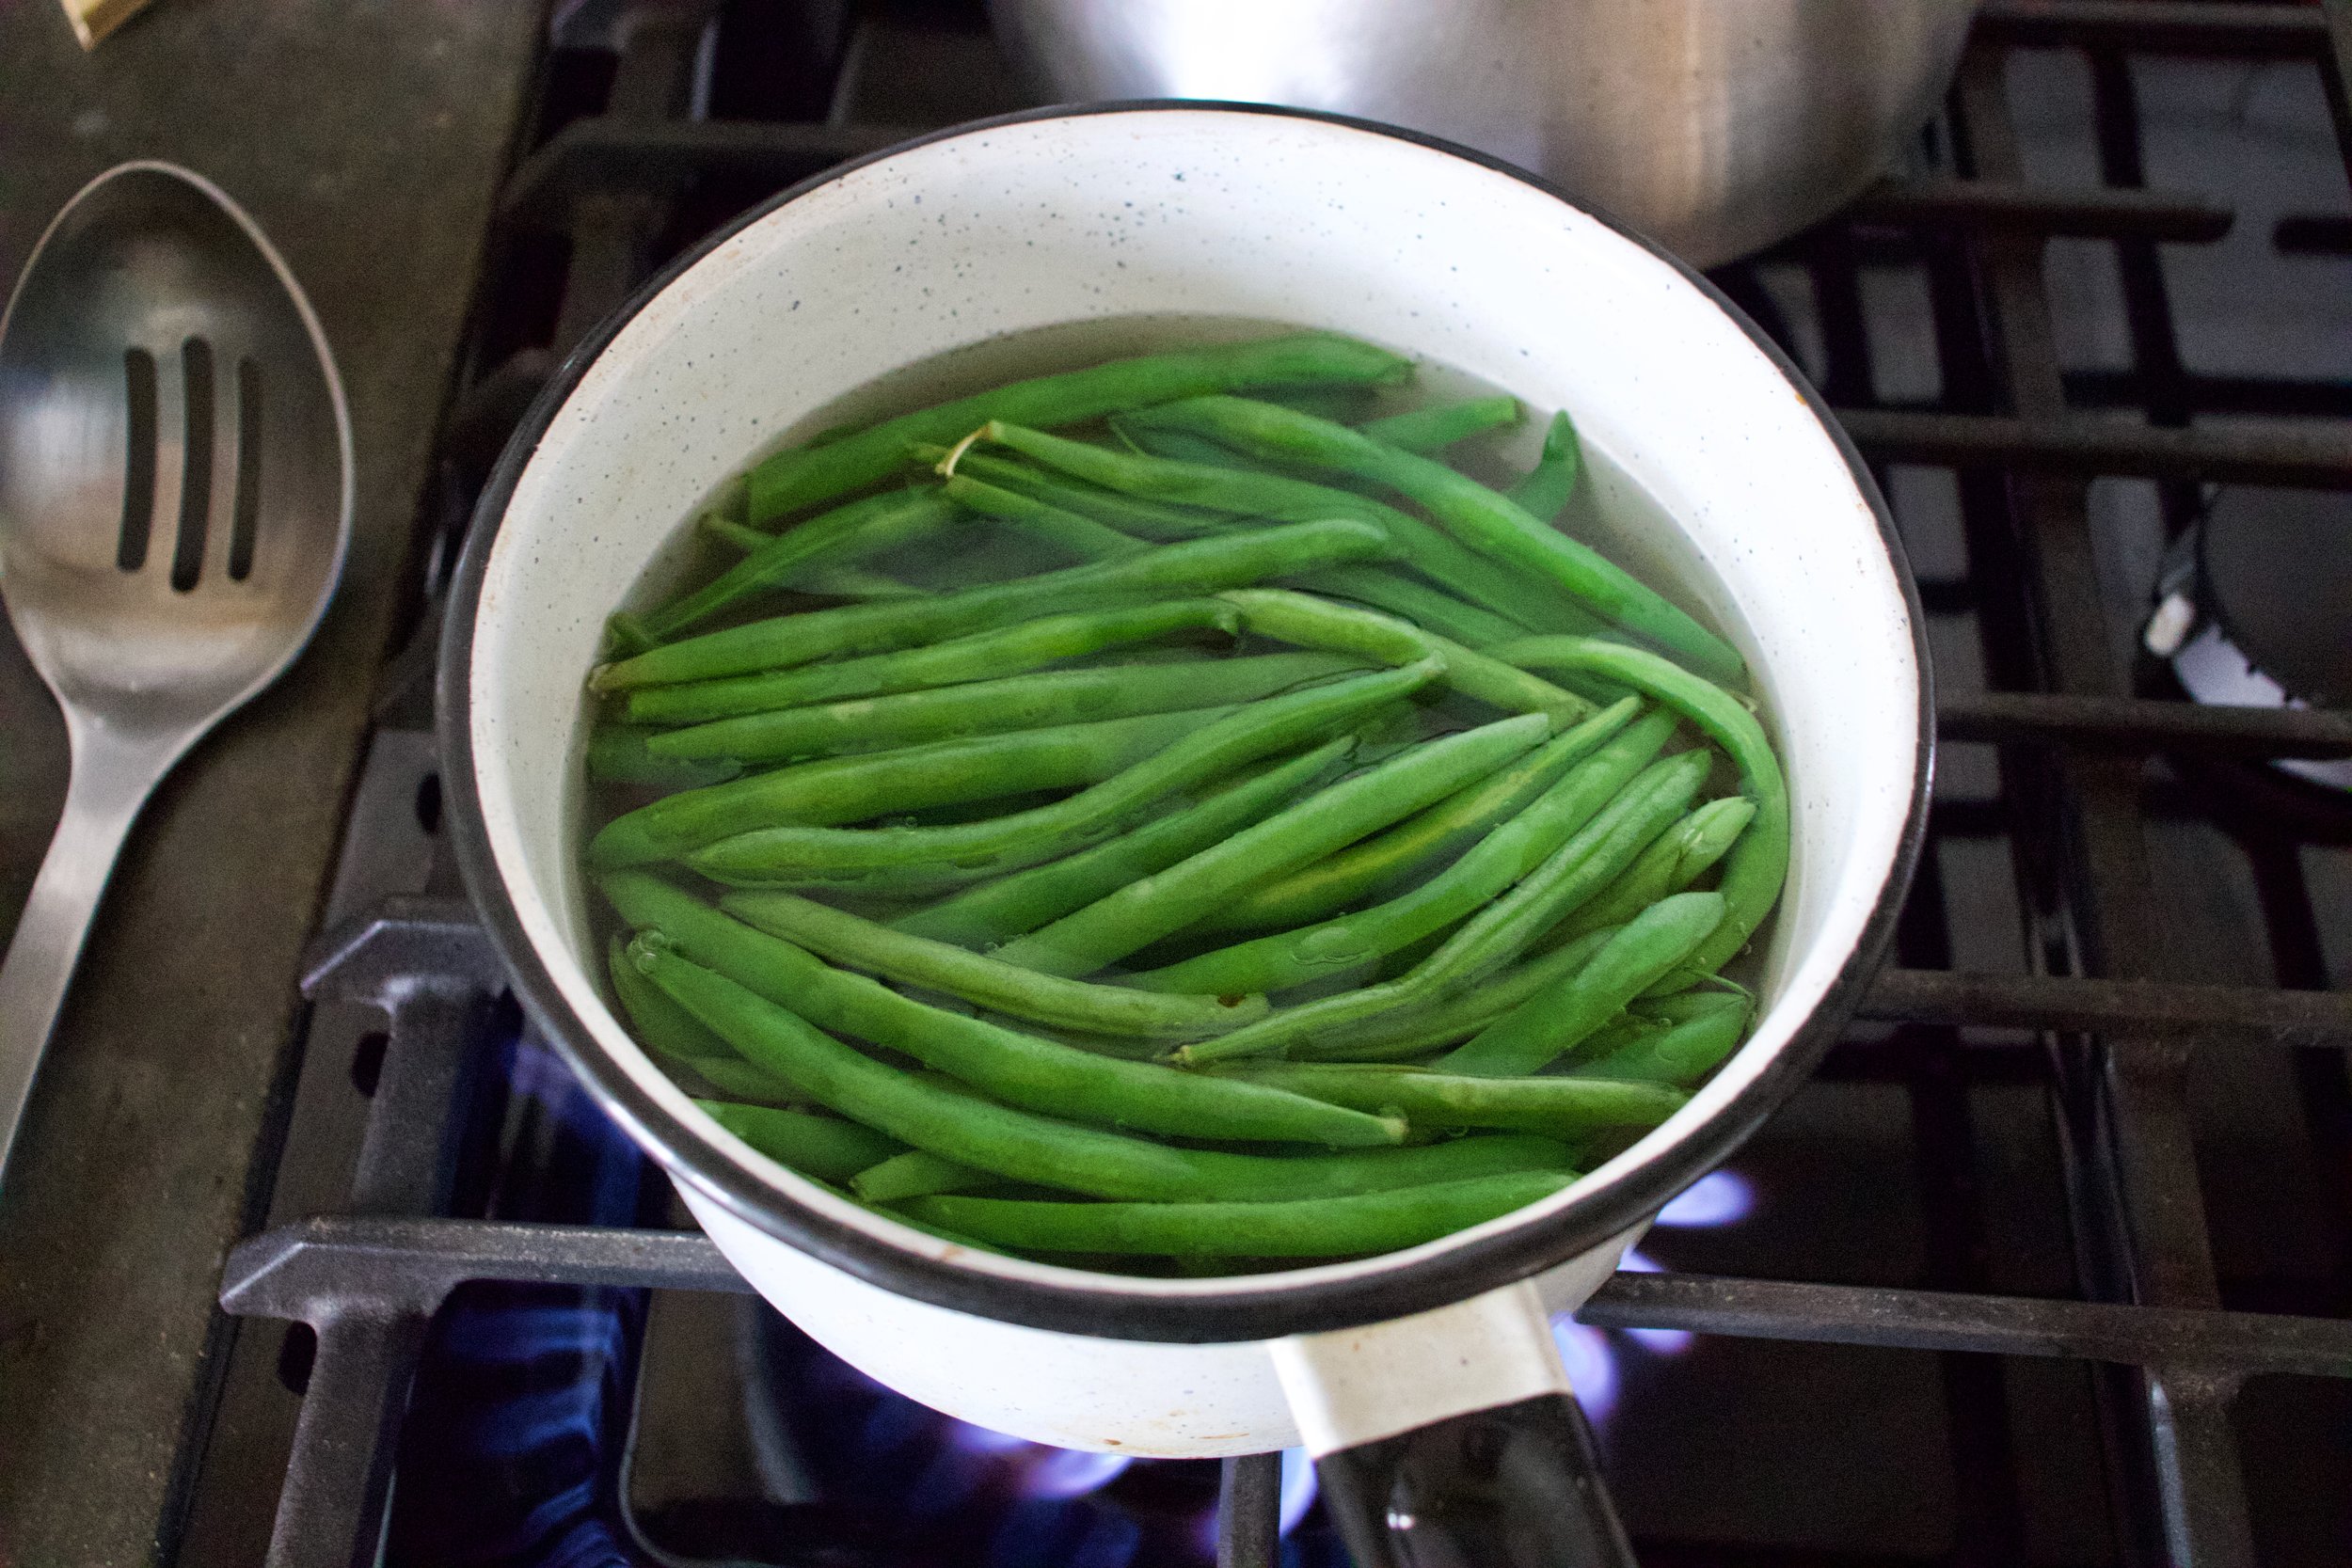
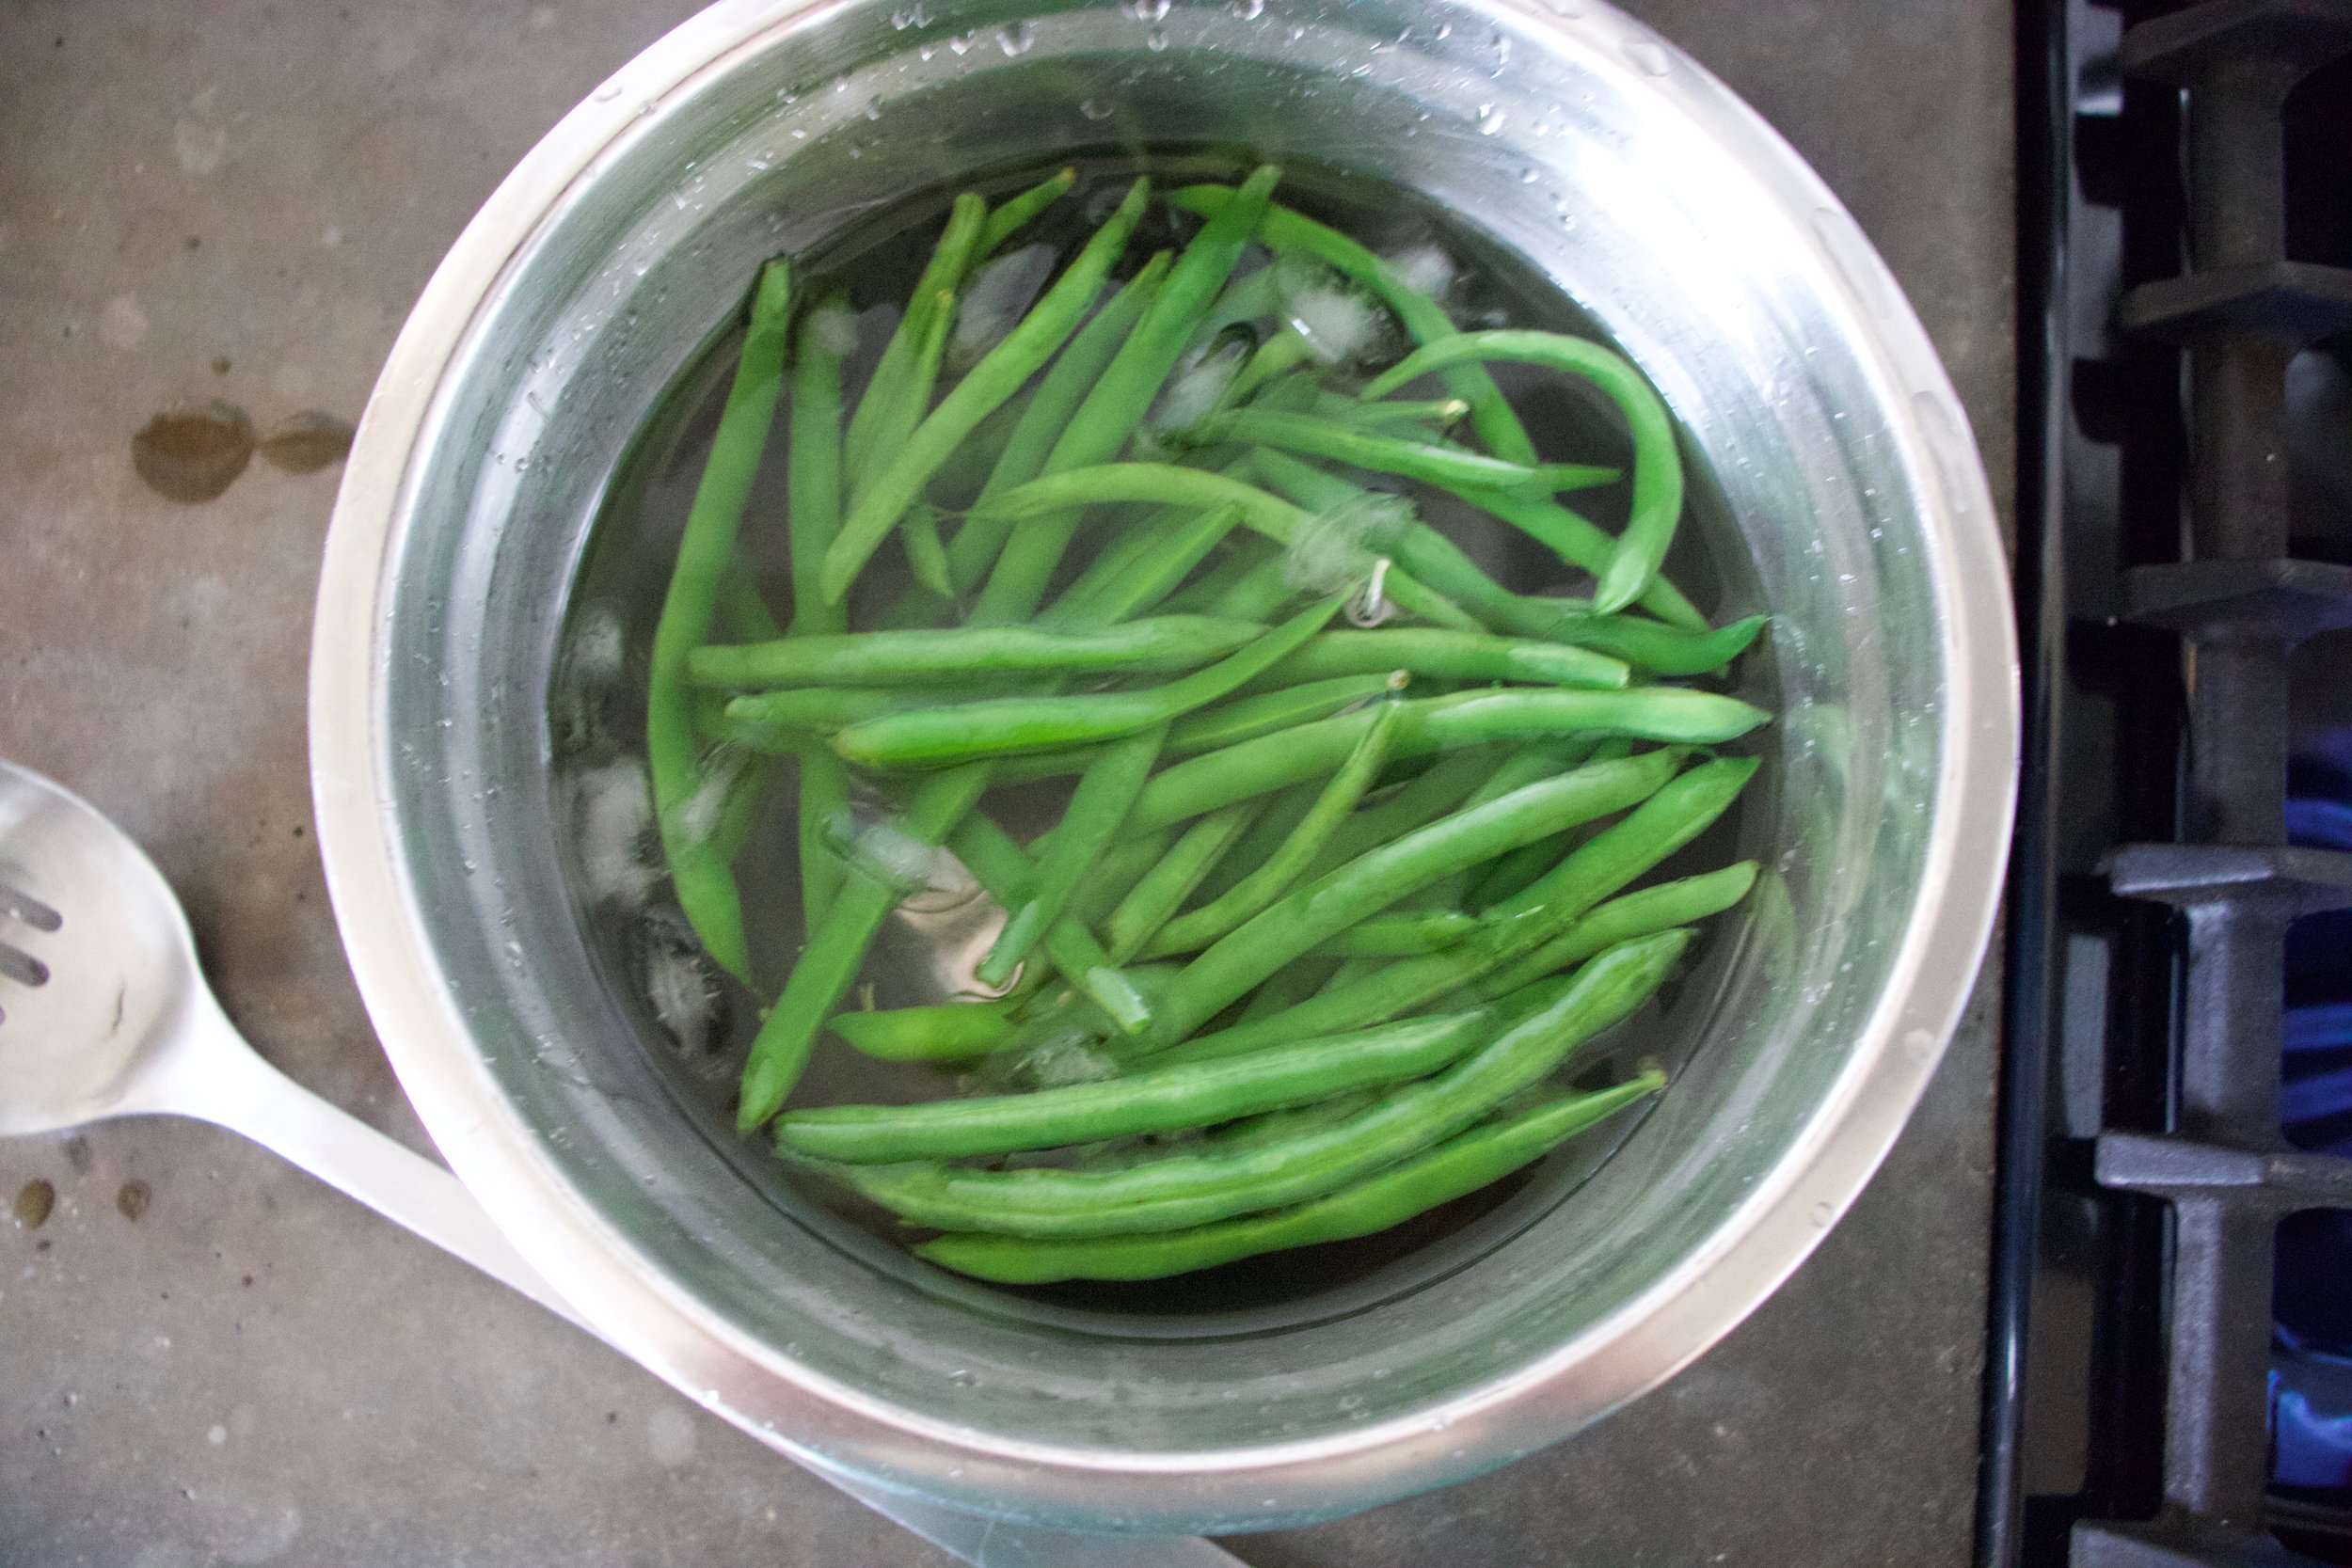
The hardest and not hard at all part. Blanch the beans. Basically just toss the beans into a boiling pot of water for 2ish minutes then scoop them out into a bowl of ice water. Easy peasy.

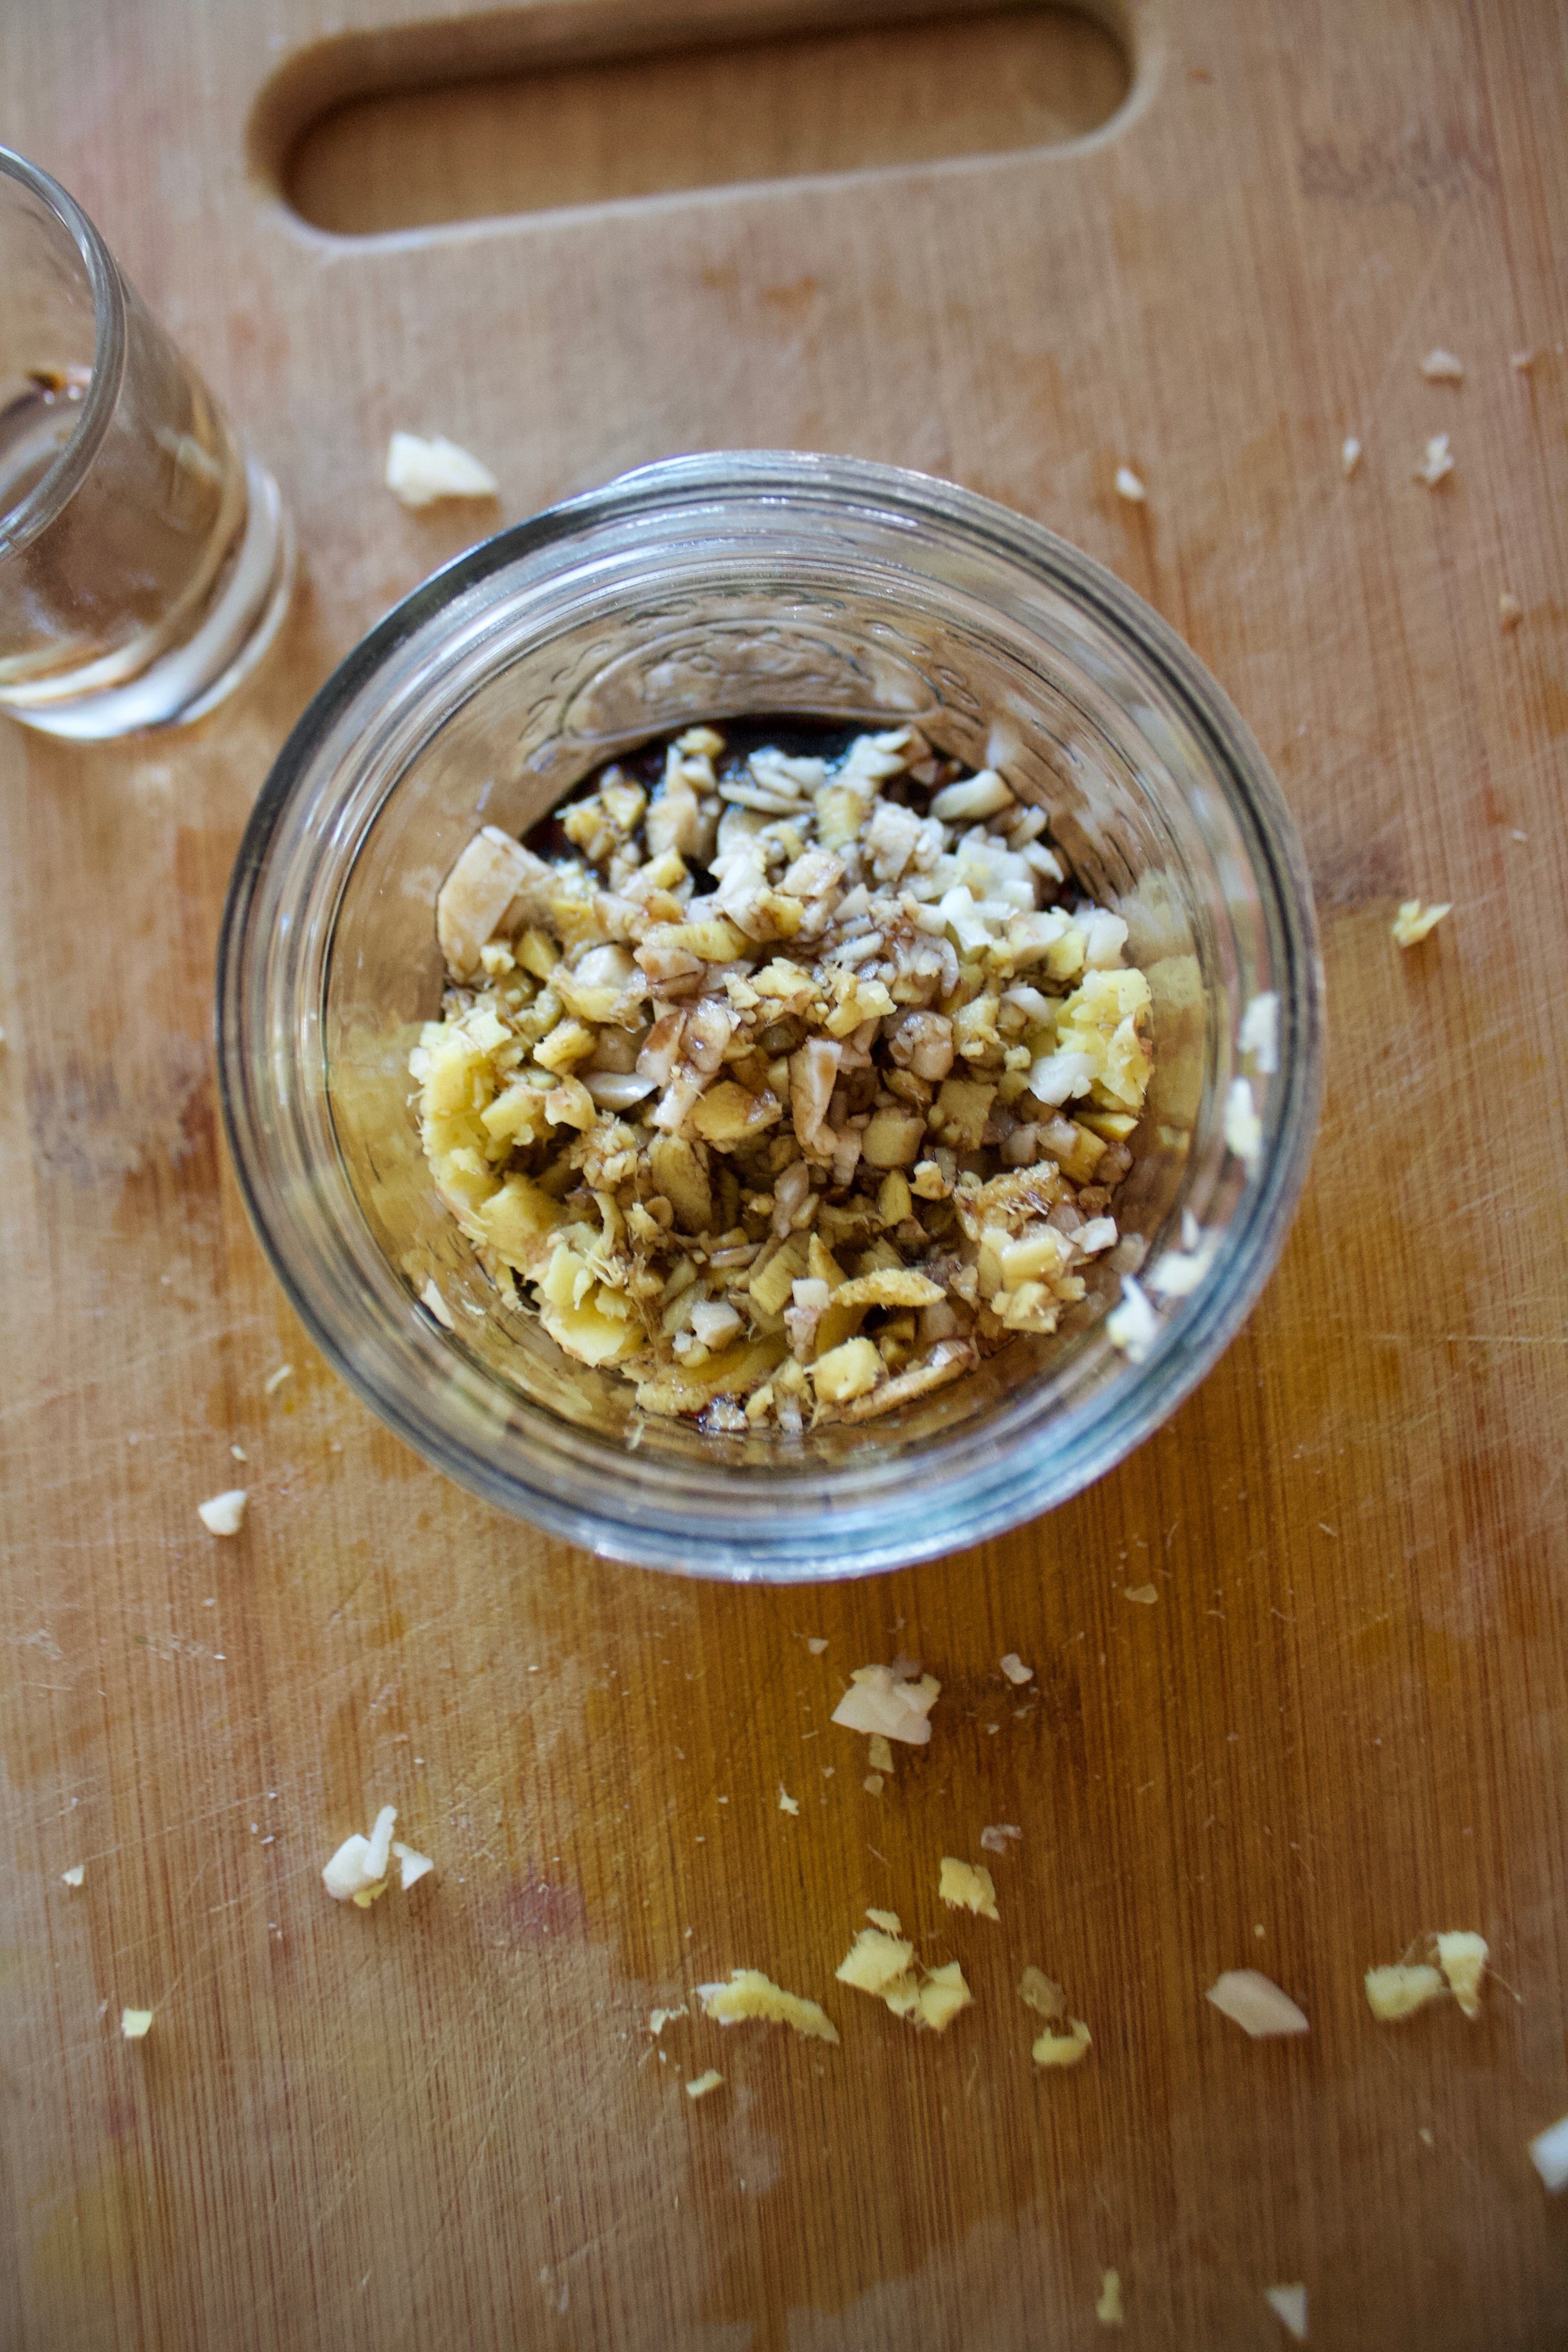
Jar preparation. I figured I would do two flavors, a spicy cayenne and a dill. (Cayenne for me, dill for the mr) Both jars get a chunked up glove of garlic and some slightly smashed up peppercorns. The hot pepper goes into one and the dill into the other.

IMG_3840.jpg

Then make the brine. Just boil the vinegar with salt. Nothing fancy.

IMG_3834.jpg

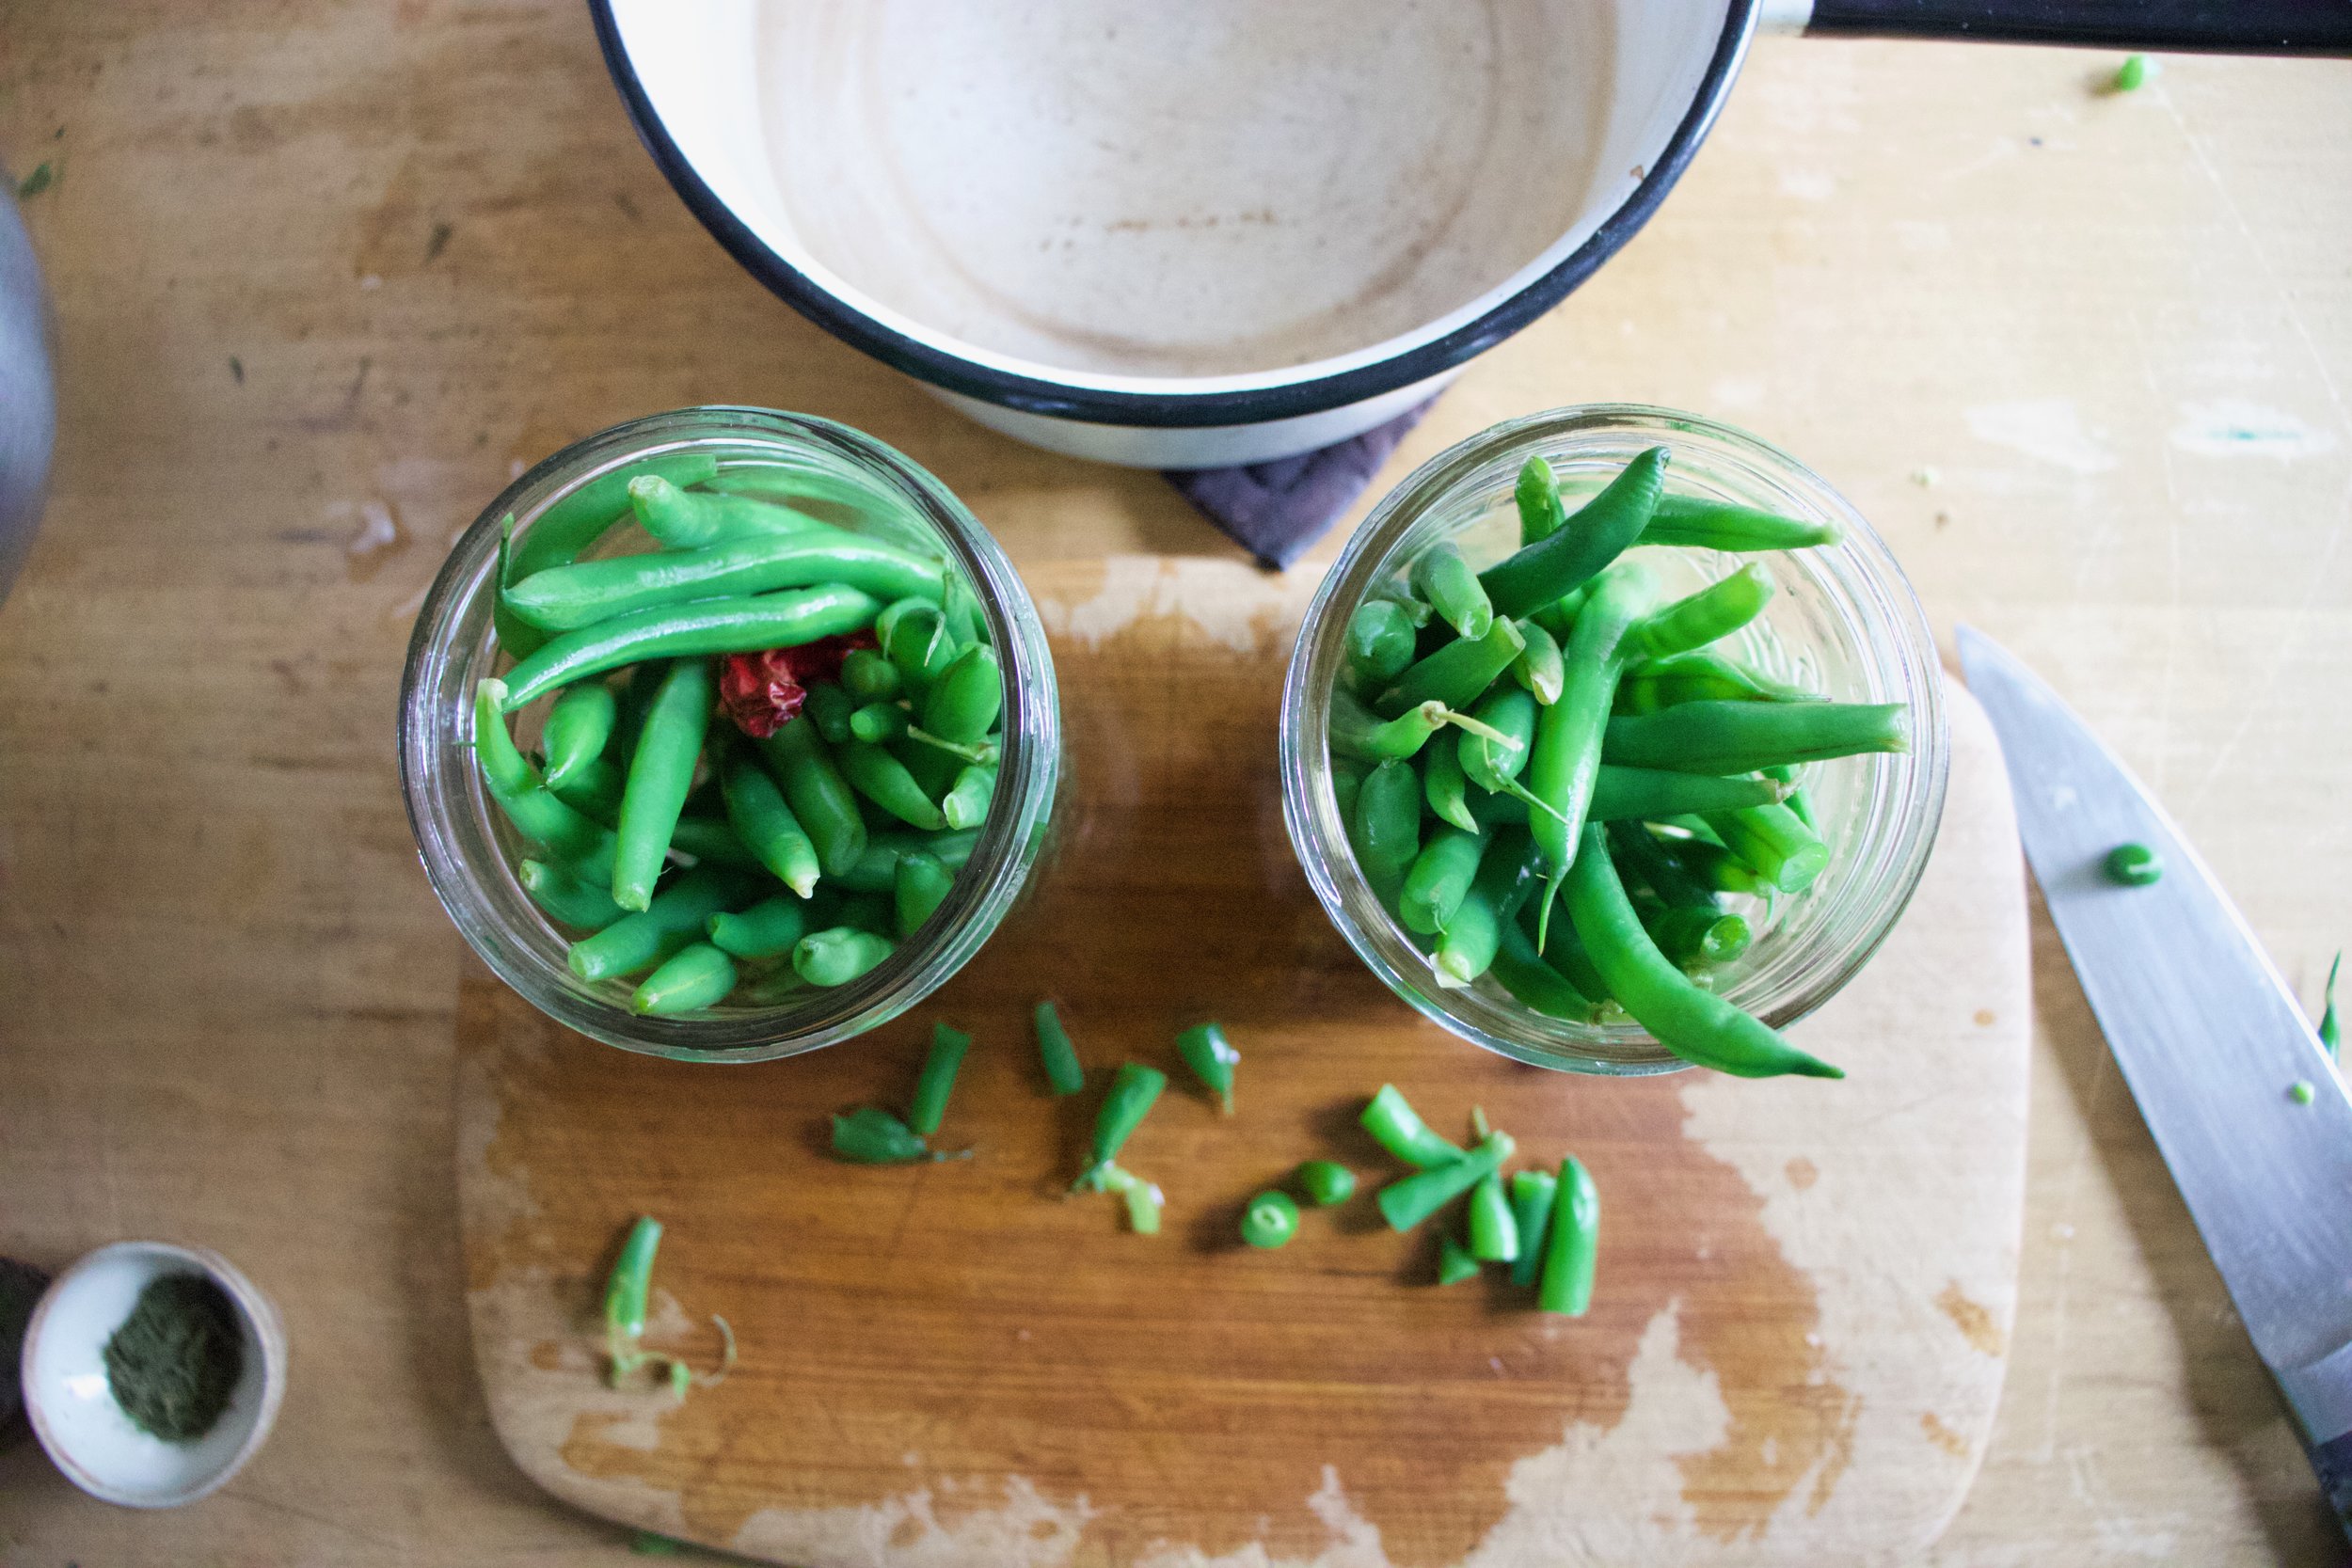
You got the jars ready and the brine made so now you just pack the two jars with the blanched beans. You might need to snip a few in order to fit, but I just eat those ends anyway so I am doing myself favor here.

IMG_3848.jpg

Then you pour equal amounts of the brine into the jars then top off the the jars with ice water. Place a lid on those suckers and give them a good shake and into the fridge they go. 24 hours give or take and that is that.

And now you got pickled green beans. The question is weather you eat a few at a time or if one jar constitutes a vegetable serving and you eat the whole jar at once.

I say eat the whole jar. Not like it took very long to make right? So maybe you just a few extra jars.

Have a lovely weekend.

-C


Quick Pickled Green Beans

maks 2 pint jars

  • 1 pound green beans

  • 2 cups water vinegar

  • 1 1/2 - 2 cups cold water

  • 2 teaspoons salt

  • 1 teaspoon whole or slightly crushed peppercorn

  • 2 big cloves garlic

  • A tablespoon dried dill and a dried cayenne pepper (optional)

Rinse green beans. Bring a large pot of water to a boil and grab a large bowl and fill with cold water and a few ice cubs. Place half the green beans in the boil water and let cook for about 2 minutes. Scoop them out and place into the bowl of ice water. Repeat for the second half of beans.

Place the vinegar and salt in a small pot (or use the pot you used to boil water) and bring to a boil. Set aside

Grab 2 pint jars making sure the are nice and clean. Peel and cut the garlic into a few pieces and place into the bottoms of the jars. Add the dill to one and cayenne to the other (or whatever spices you do or don’t want to use) Give each jar some of the peppercorns then start packing the balanced beans into the jars. Try to make them all straight so you can fit in as may as you can, and if the bean is to long, just cut to fit (eat the ends) Once both jars are packed pour equal amounts of the vinegar brine to the jars. Top off each jar with cold ice water. Place a lid on the jars, give it a good shake and place jars into the fridge for 24 hours. After the wait, pop the lid and eat.

Pickled beans will last about a month in the fridge but really, if you have them for more then a week, that is just a shock.

Note about lids. I use plastic lids when dealing with anything acidic. The metal lids will work but will rust after a while and sometimes leaves metallic taste. If you only have metal lids, use a piece of wax paper in between the kid and jar.

In beans, quick and easy, snack, Vegan, Vegetables, Pickled Tags Quick Pickled Green Beans, Green beans, Quick Pickles, Pickles, Vegan, plant based, vegetable, beans, pickling, canning, refrigerator pickles
Comment

Ginger Garlic Blistered Green Beans with Almonds

July 21, 2018 Colleen Stem
IMG_0257 2.jpg
IMG_0242 2.jpg

I sometime struggle with certain veggies, not like in a eating way (I have no snuggle eating any veggie) but in a making something with that certain veggie kind of way, like I don't make anything out of them, I just eat them raw as they are. (That was terribly long winded and does it even make sense?) I don't find this to be a problem most of the time, but sometime I think I need to be less lazy about eating and maybe prepare a dish for a meal rather then just eating raw beans out of the garden for lunch.....I mean, I am not going to stop doing that but I am going to start being a little more creative and planning meals with a little more substance. Adding nuts is more substance right?

These beans were freaking fantastic.  Blistered and charred, and not soggy and soft. They were perfect. (I like my veggies either raw or burnt) I made them late morning and was going to save them for dinner but the mr, Barb, and I ate them all just on snacking on them.  Just a really good, A+ veggies situation here. Highly recommended, hot or cold. Almost beats a bean lunch in the garden. Almost. 

IMG_0122.jpg

The stuff. Green beans, almonds, garlic, ginger, soy, and a little oil. 

IMG_0142.jpg
IMG_0147 2.jpg

Quick fast, rough chop the almonds and give them a toast in a dry skillet (you can skip this part if you have already toasted almonds) 

IMG_0171.jpg

And here would be the time to trim the beans if you are a person that does that. I am however, not a bean trimmer. But you must wash them, so give them a good rinse , and keep them a little wet. The moisture will help them cook. 

Just washed beans go into a medium high hot skillet (add in a tablespoon of oil) and get a nice little cover to start the cooking process.  Leave them alone for a few minutes, then remove lid and toss them around. Do that ever few minutes. 

IMG_0151.jpg
IMG_0156.jpg

While the beans start cooking, mince the garlic and the ginger and add to the soy sauce.

Smells so good!

IMG_0195.jpg

Beans have cooked for about 10 minutes here and are all nice and blistered and just about done so now add in the ginger garlic soy mixture and toss around. Keep cooking for a minute or two.

IMG_0211.jpg

And now don't forget those almonds, mix those in too. Then it's into a bowl they go. 

IMG_0217.jpg

Green beans so good. Can't go wrong with these.

Have a marvelous weekend, maybe go pick some green beans!

-C


Ginger Garlic Blistered Green Beans With Almonds

  • About a pound of green beans (trimmed if you want to trim them)
  • 2-3 cloves garlic
  • 2 tablespoons freshly grated ginger 
  • 1/4 cup almonds
  • 3 teaspoons soy sauce
  • tablespoon oil

Rough chop almonds into small pieces and place in a dry skillet (meaning no oil). Turn heat on to medium high heat to toast for about 5 minutes or until you can start to smell the almonds and they are slightly browning. (you can skip the tasting  part if your almonds are already toasted, jus chop them into small pieces)

Dump the almonds into bowl and set aside. Keep skillet on heat and add in the oil. Rinse beans off, keeping them damp, and very carefully, dump the damp beans into the hot skillet. Place a lid on beans and let cook about 4-5 minutes. In the meantime, mince garlic and ginger and combine with the soy sauce. After a few minutes, remove the lid from beans and toss the bean around. Keep doing this for another 8-10 minutes or until the beans are cooked though and blistered in places. Once the beans are cooked,  dump the garlic ginger soy mixture into pan. Toss around and leave in pan for another minutes then stir the toasted almonds in. Transfer the whole bit of it into a big bowl or plate. 

Eat right away or.. They taste freaking fanatic cold too. 

In beans, Vegetables, Vegan, summer, side dish, snack, Nuts Tags Ginger Garlic Blistered Green Beans With Almonds, Green beans, Blistered Green Beans, vegan, side dish, plant based, almonds, quick and easy, garden fresh, vegetables, green beans, fresh, simple
Comment
 

https://thelovelycrazy.squarespace.com/config#/|/about/

Me. Food Maker.Food eater. Woo HOO!

STEM+NODE  SMALL BATCH AND ONE OF A KIND POTTERY

stem+node ceramics


____________________

Subscribe

GET NEW POSTS IN YO EMAIL

You are AWESOME!!!


@thelovelycrazy 2014-2021