• stem+node ceramics
  • HOME
  • Food Recipes
  • About
  • Contact
Menu

The Lovely Crazy

Street Address
City, State, Zip
Phone Number

Your Custom Text Here

The Lovely Crazy

  • stem+node ceramics
  • HOME
  • Food Recipes
  • About
  • Contact

Roasted Cranberry Parsnips

December 23, 2017 Colleen Stem

I am spicing up my snack time these day, going an extra step and actually preparing a little something rather then just eating a pound of carrots. Yes yes, a pound of carrots is a great snack, but there are so many other fantastic veggies awaiting my belly and I can only accommodate  so much at once. So today the carrots had to wait, it's time for the parsnips. 

After I made this and was eating it with all smiles and glee, I had the mr take a taste to see what he thought. What I learned is that If you do not like parsnips then you will not like this dish. But if you are awesome and do like parsnips, well then you will like this. But I guess if you like parsnips but don't like cranberries then you might actually not like this either.

So what I guess I am saying is if you like parsnips and cranberries, you will freaking love this. And this, these cranberry roasted parsnips, are great as a snack or as  a fantastic accompaniment to any meal that you will be serving anytime soon. It's quick and easy and delivers in all sorts of good ways, if you like cranberries and parsnips. 

IMG_8969.jpg

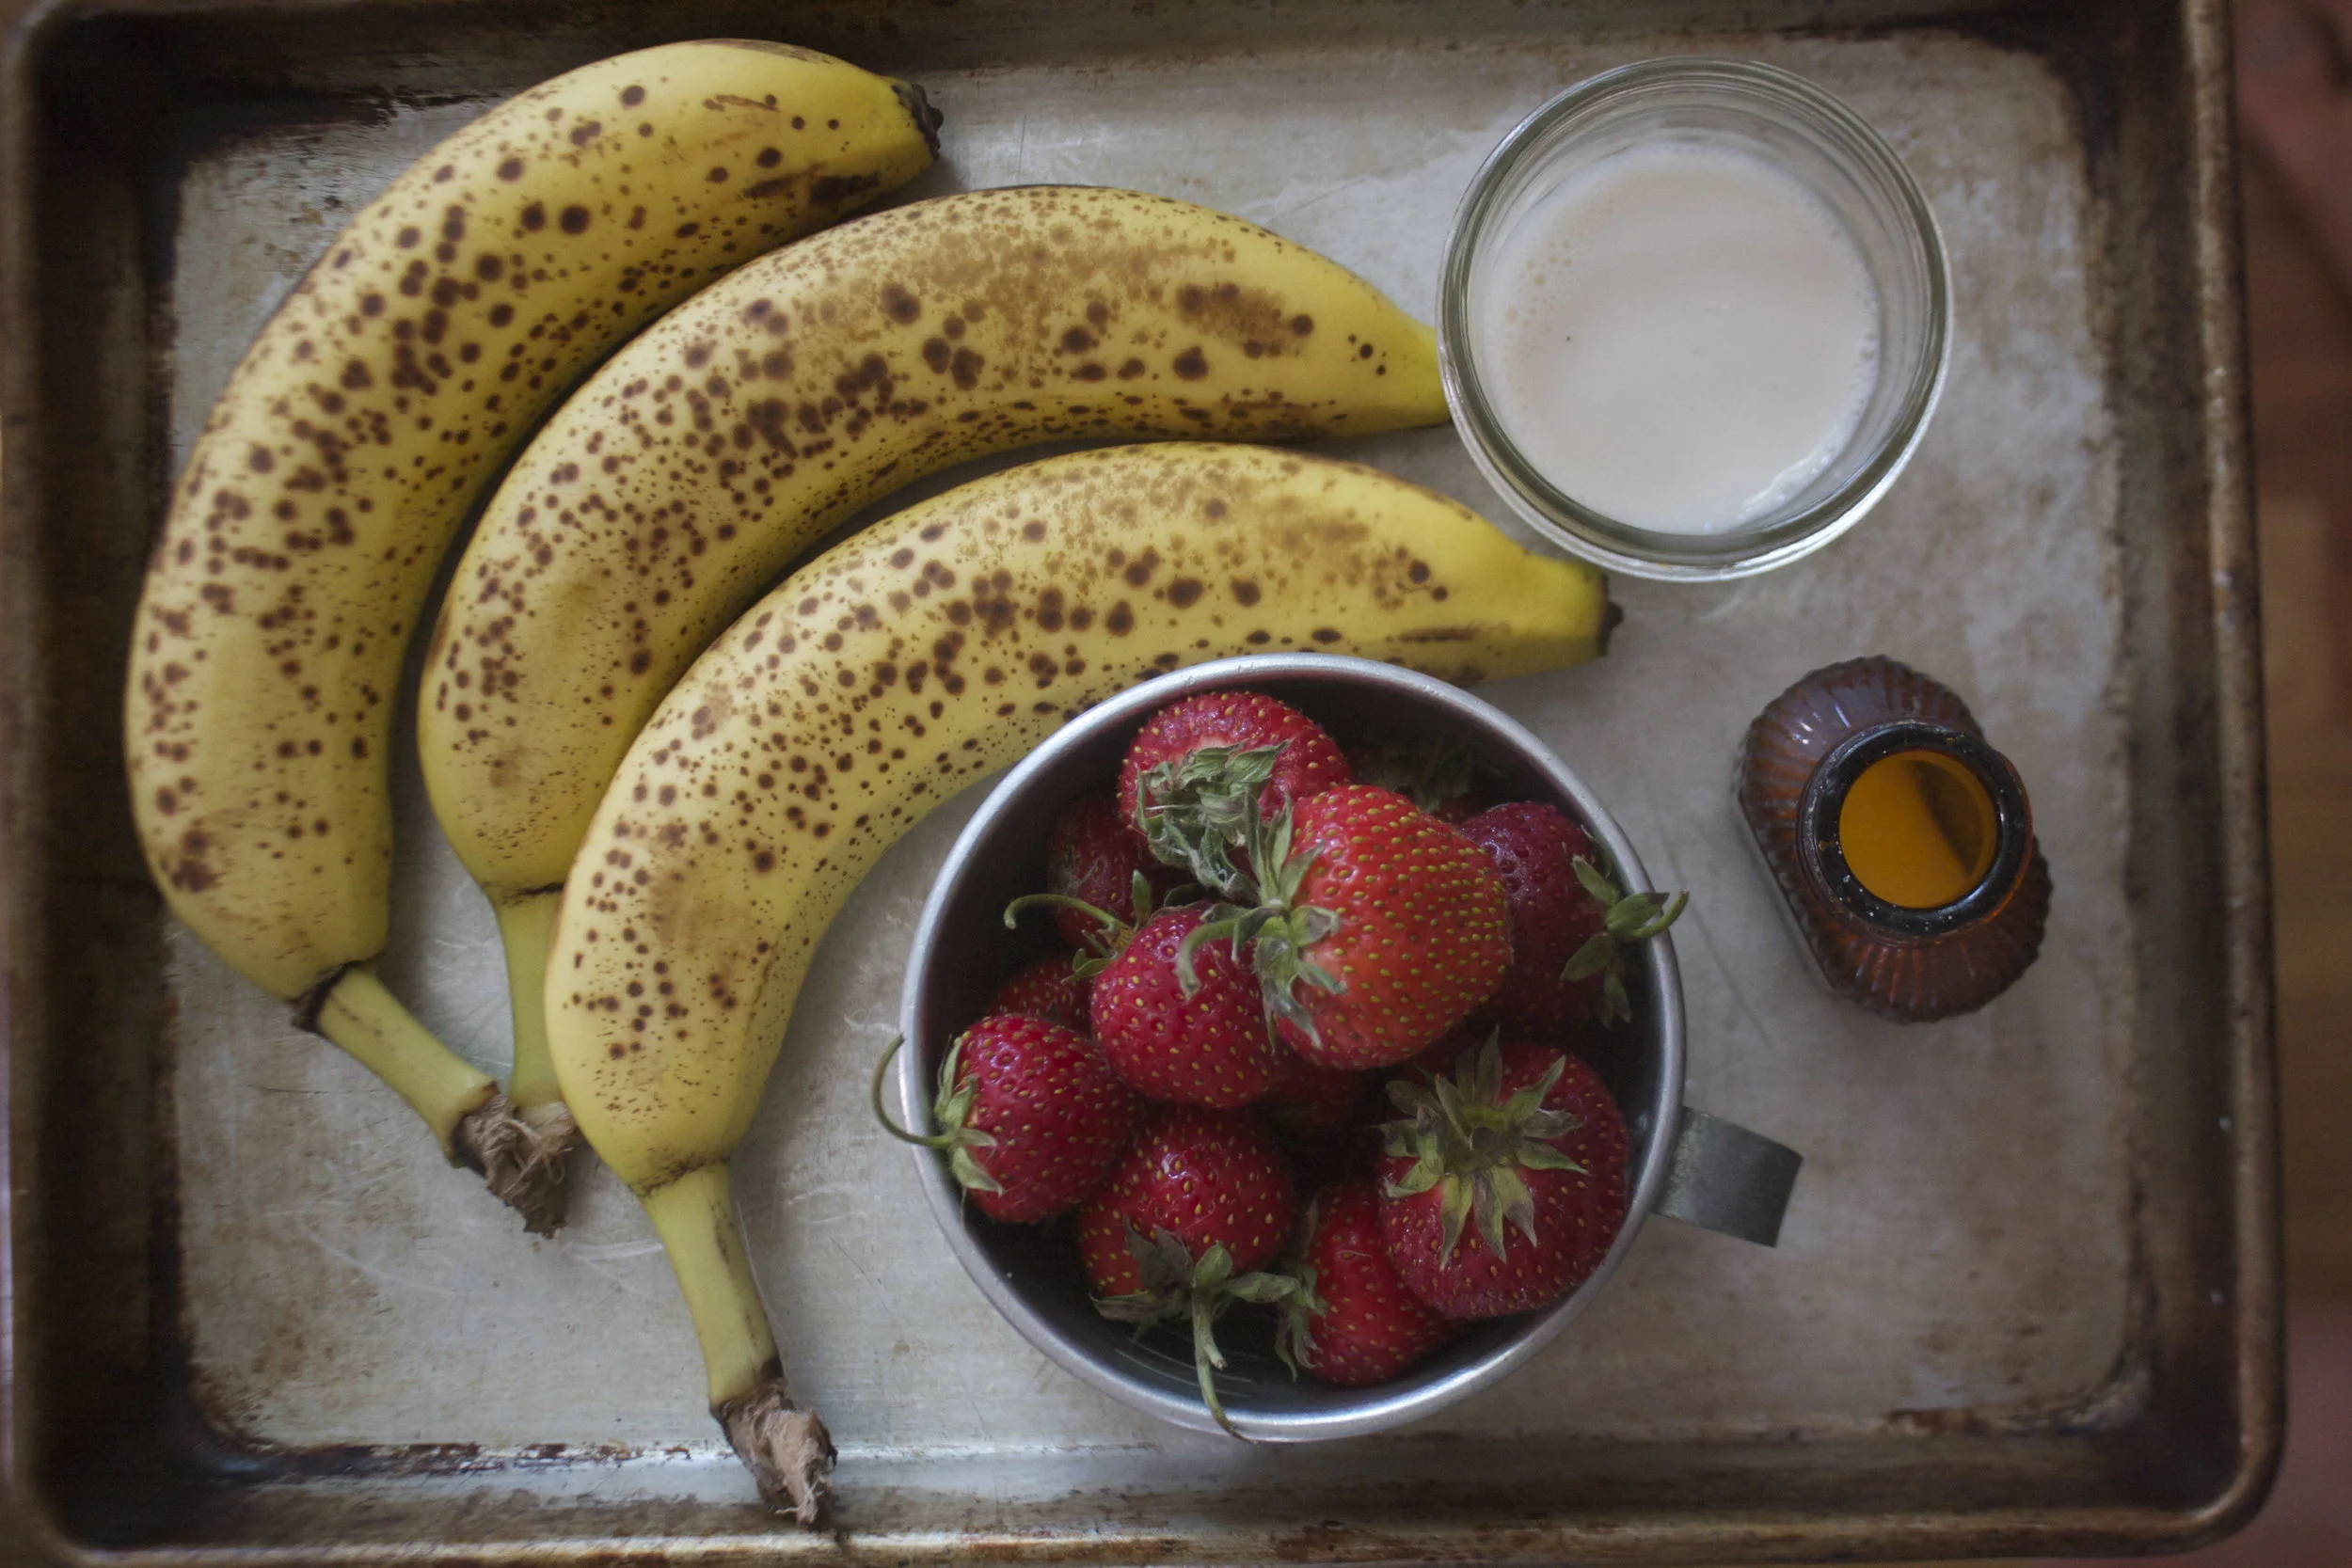
The stuff. Parsnip. fresh (or frozen) cranberries, a little maple syrup, olive oil, and salt and pepper. 

IMG_8971 2.jpg

Keeping it simple and just chopping the parsnip up into mouth sized pieces. If you are a peeler, go ahead and peel those parsnips first. Me, never a peeler. 

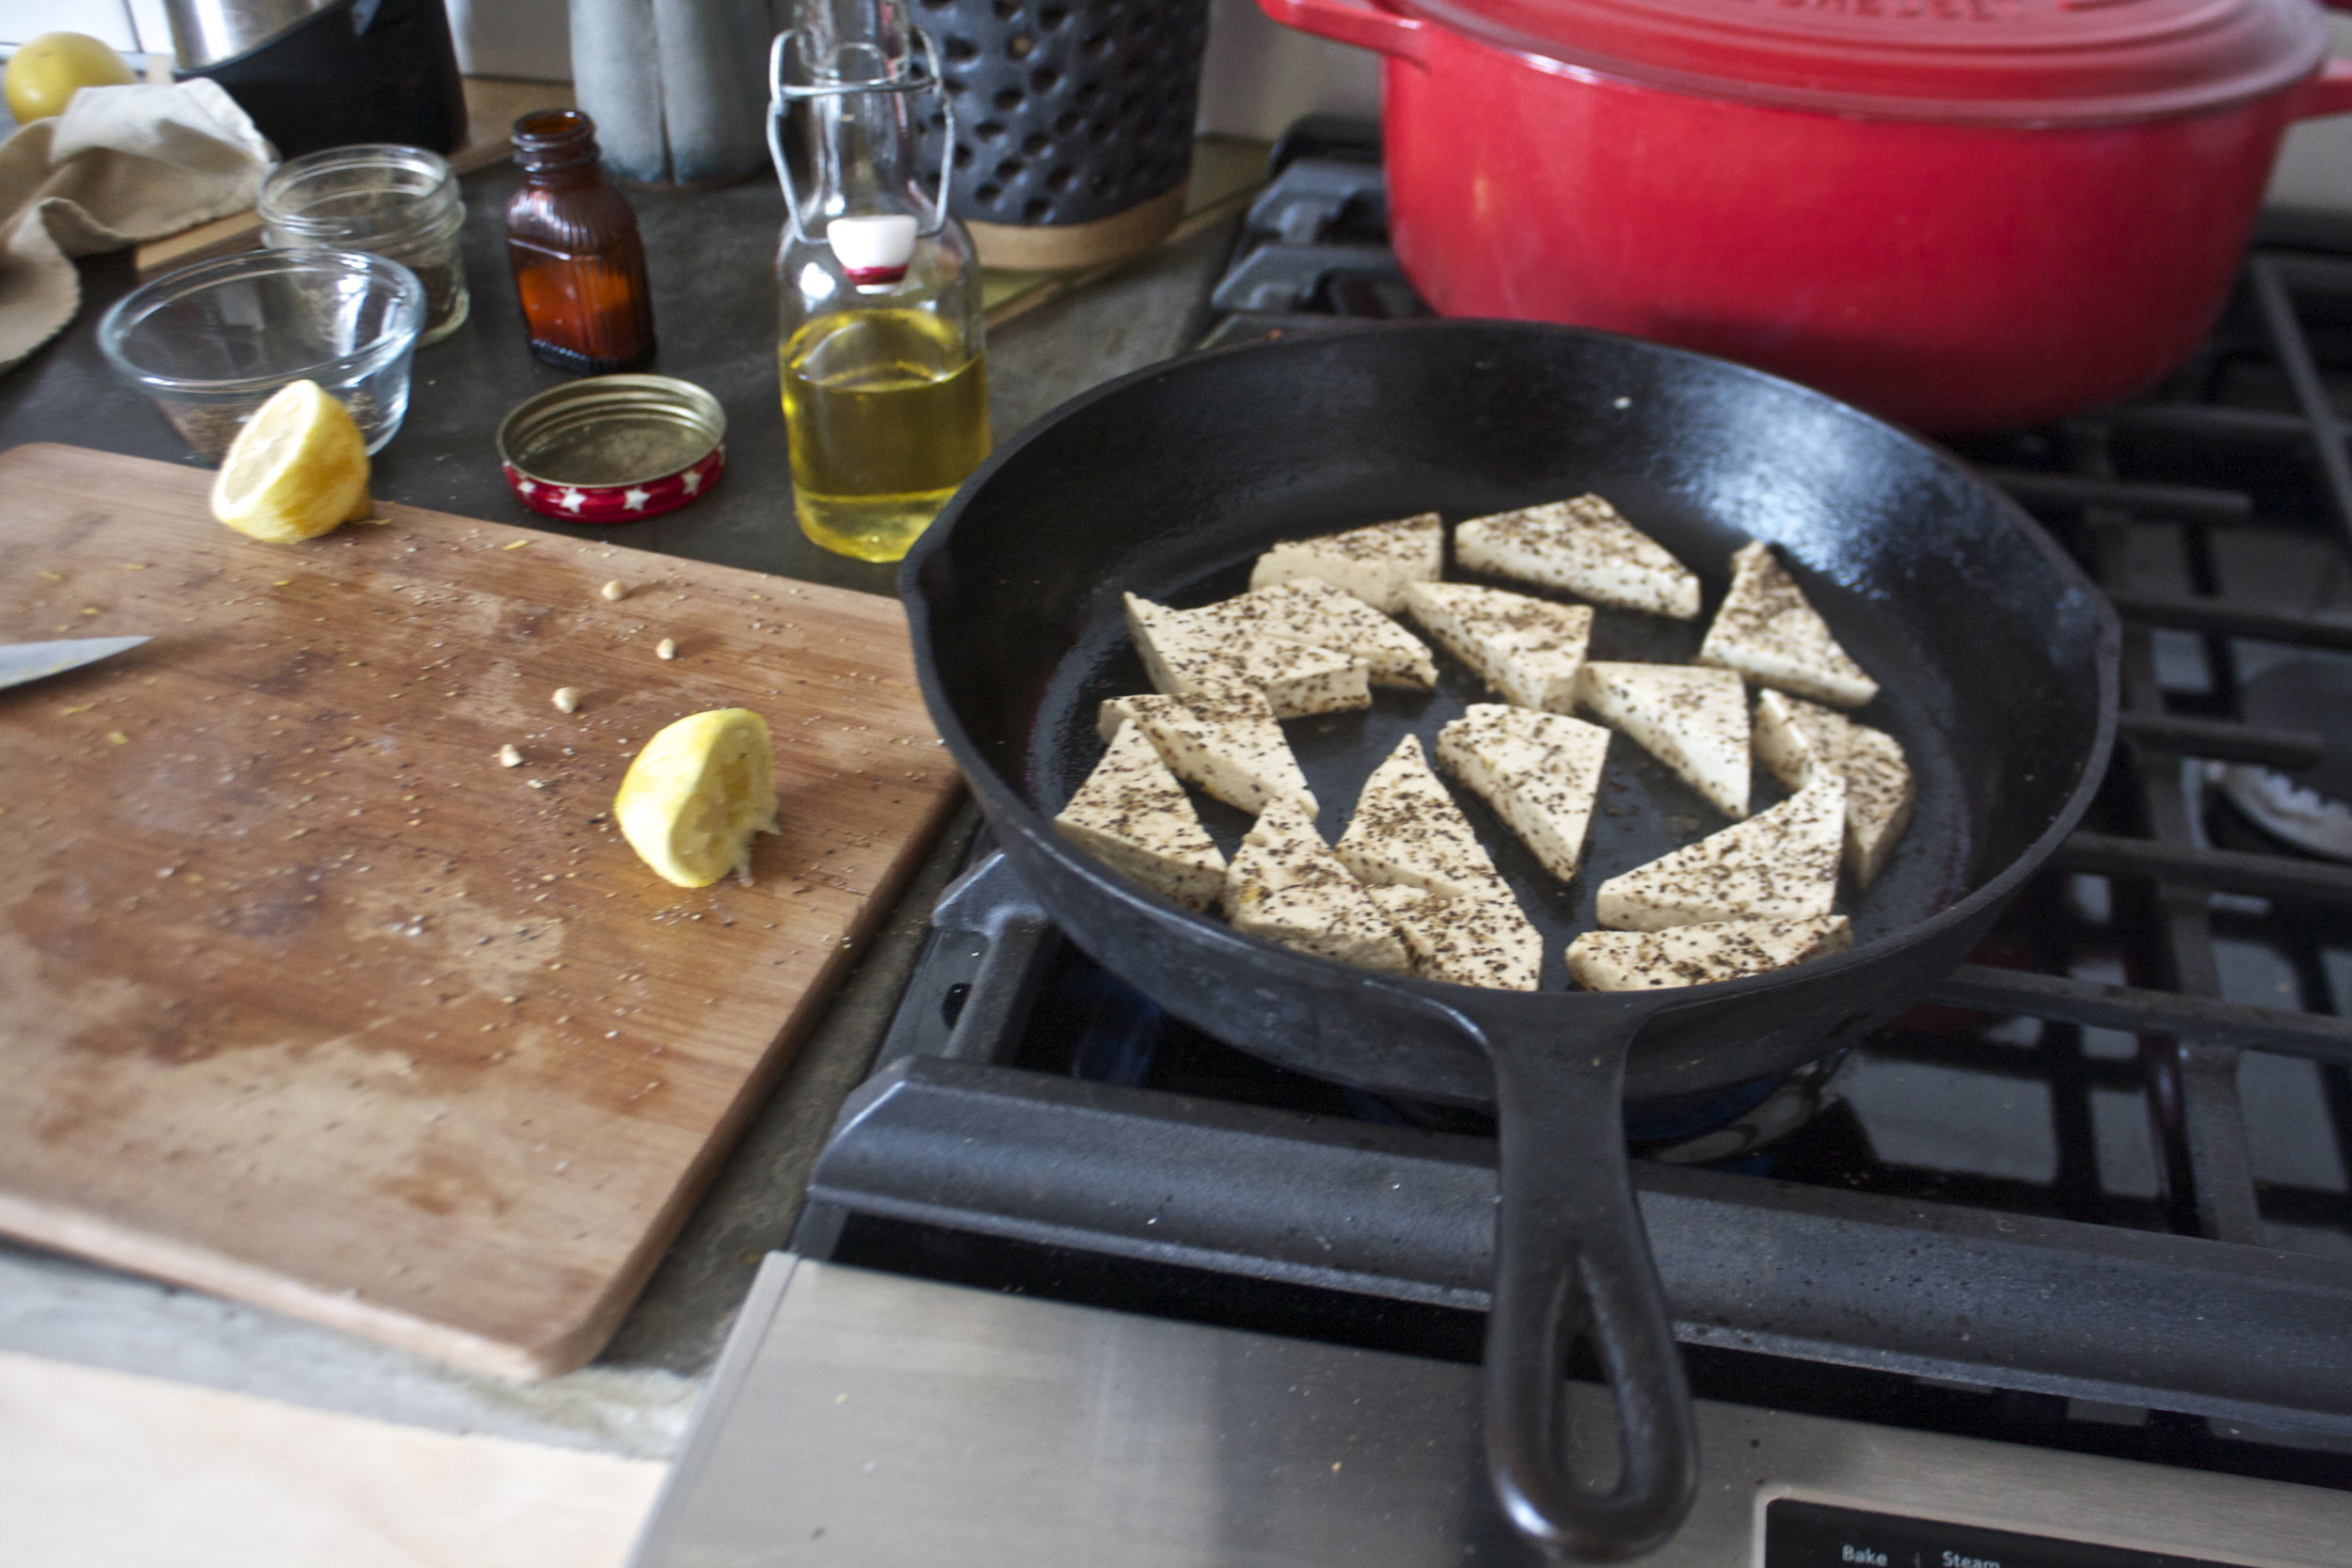
A little trick I have learned when roasting veggies is to roast them in a really hot cast iron pan. What I usually do is preheat the oven and while I am doing that I preheat the pan on the stove top. It gets hot fast and the veggies roast better when tossed into a hot pan. You can also preheat whatever dish you are using in the oven while it preheating. Whatever works for you. 

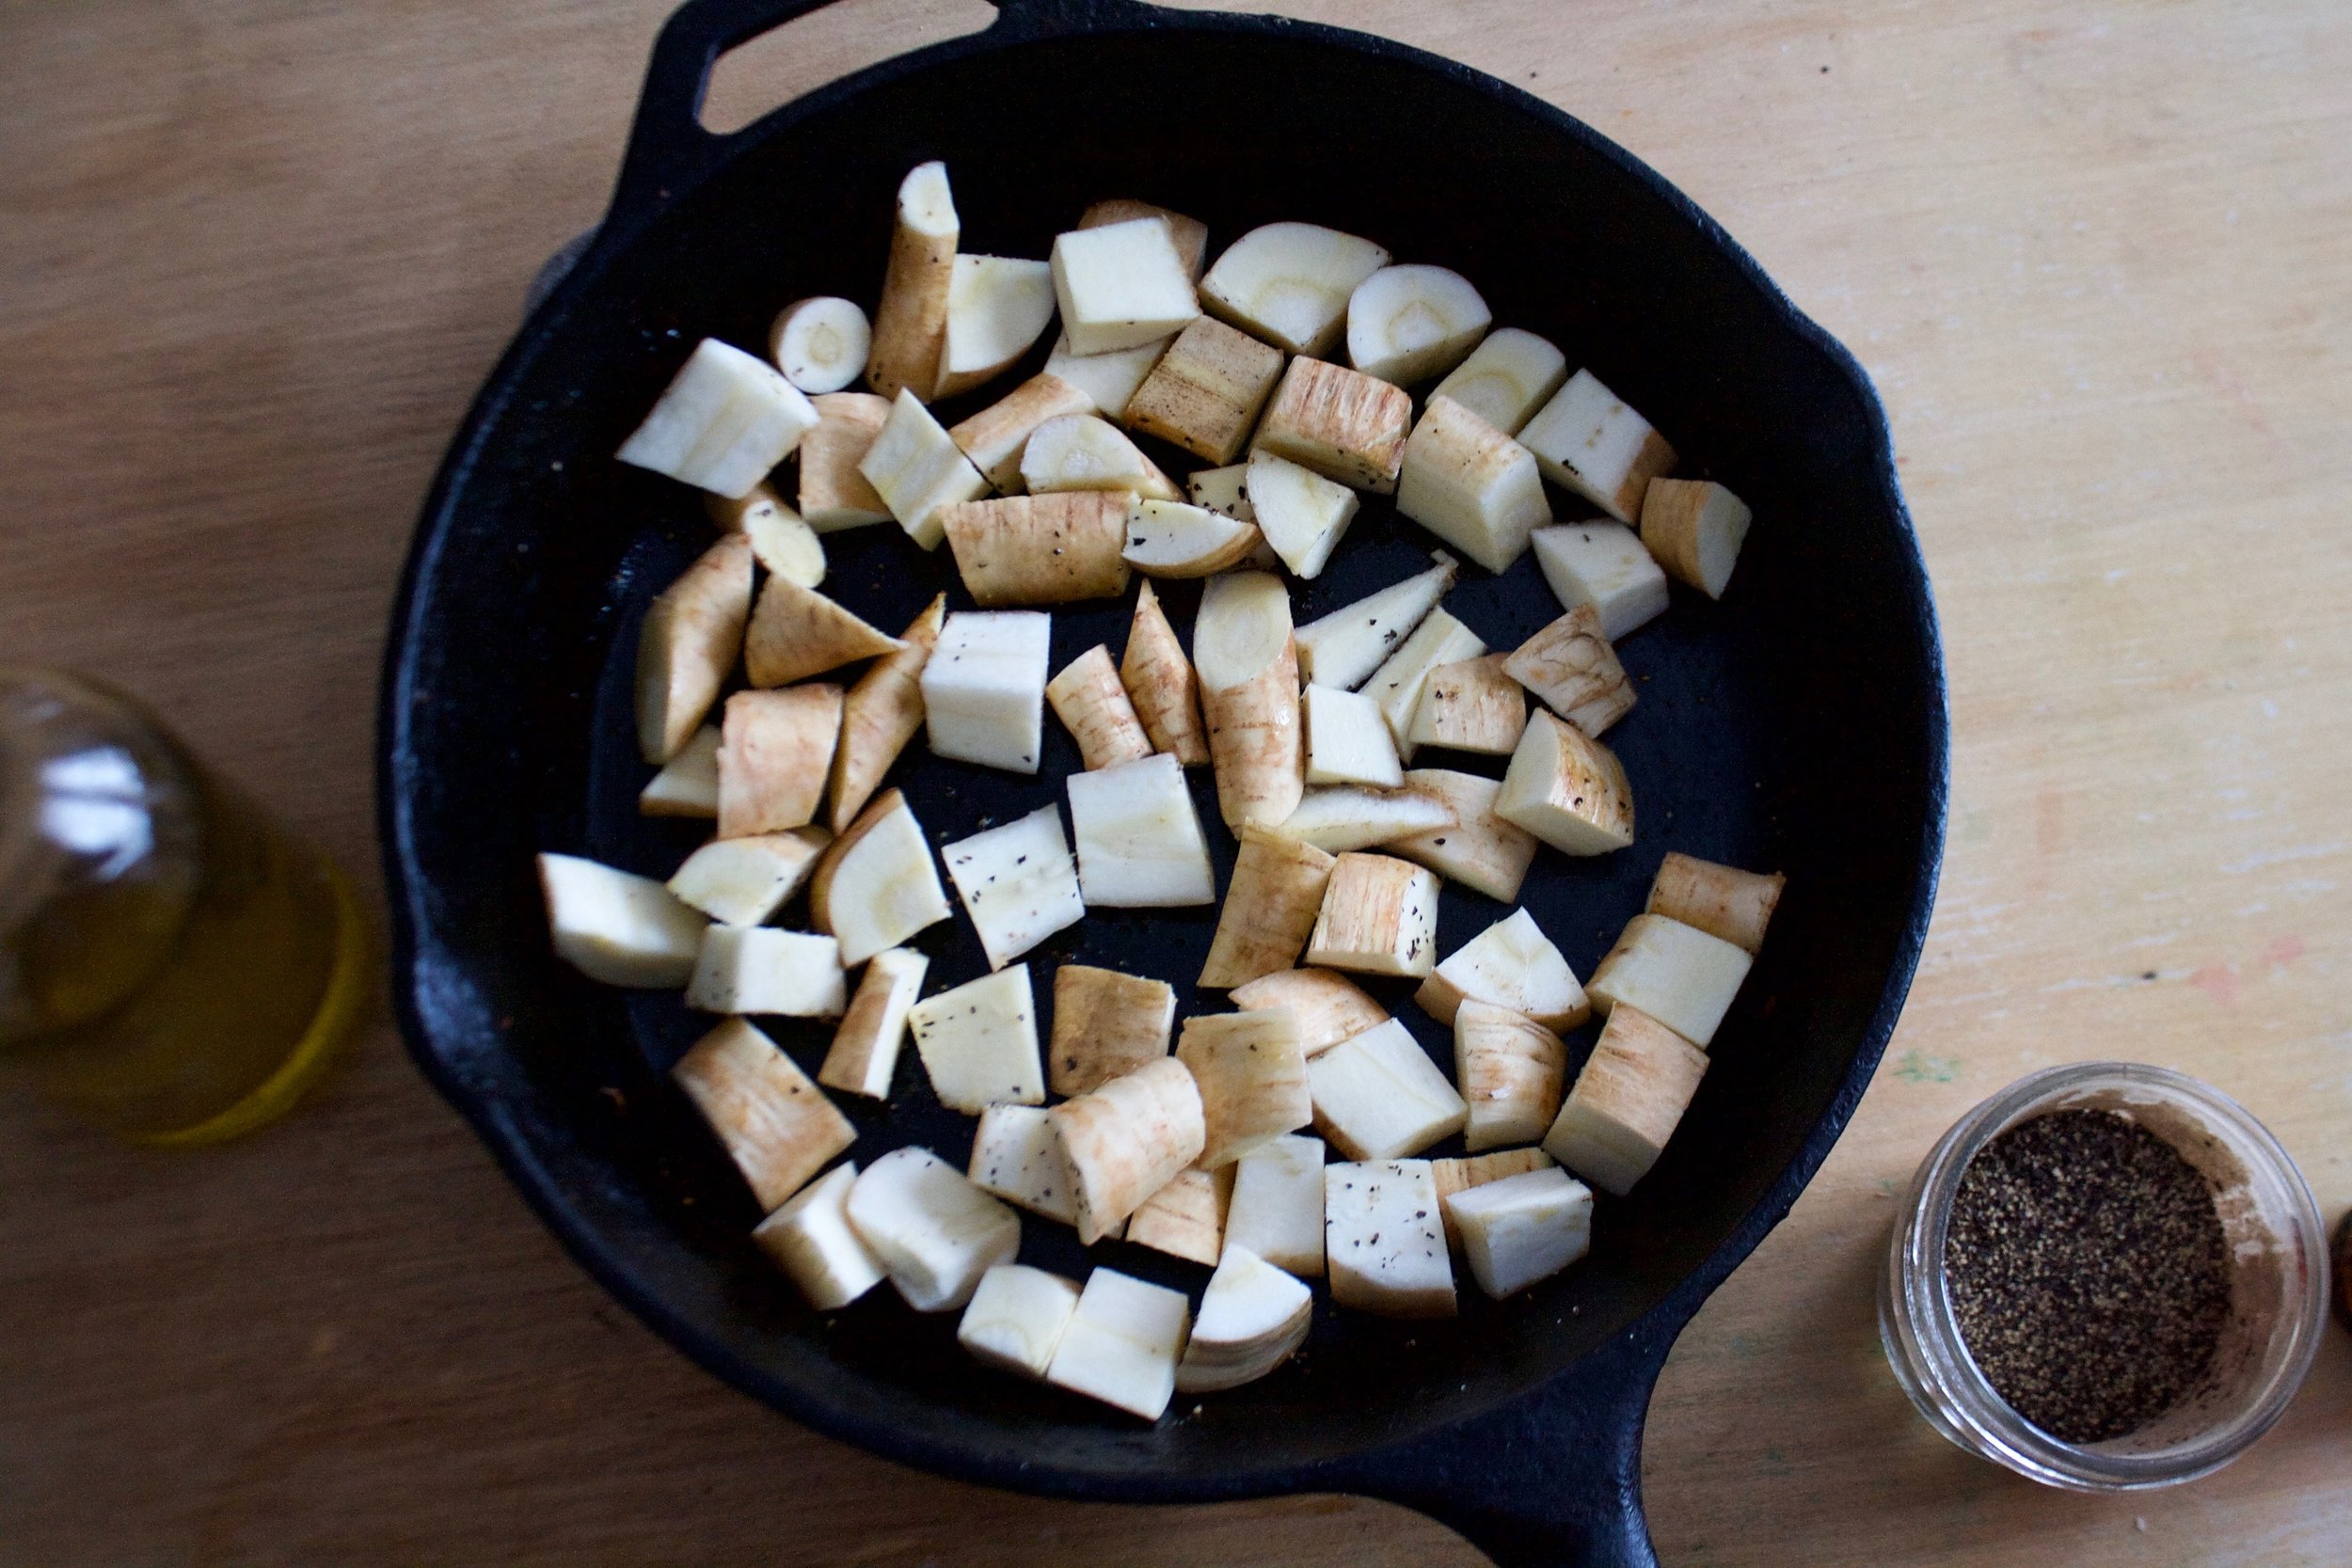
So parsnips Into a cast iron pan (or any oven safe dish) tossed with just a touch of olive oil and salt and pepper. 

IMG_8983.jpg
IMG_8984.jpg

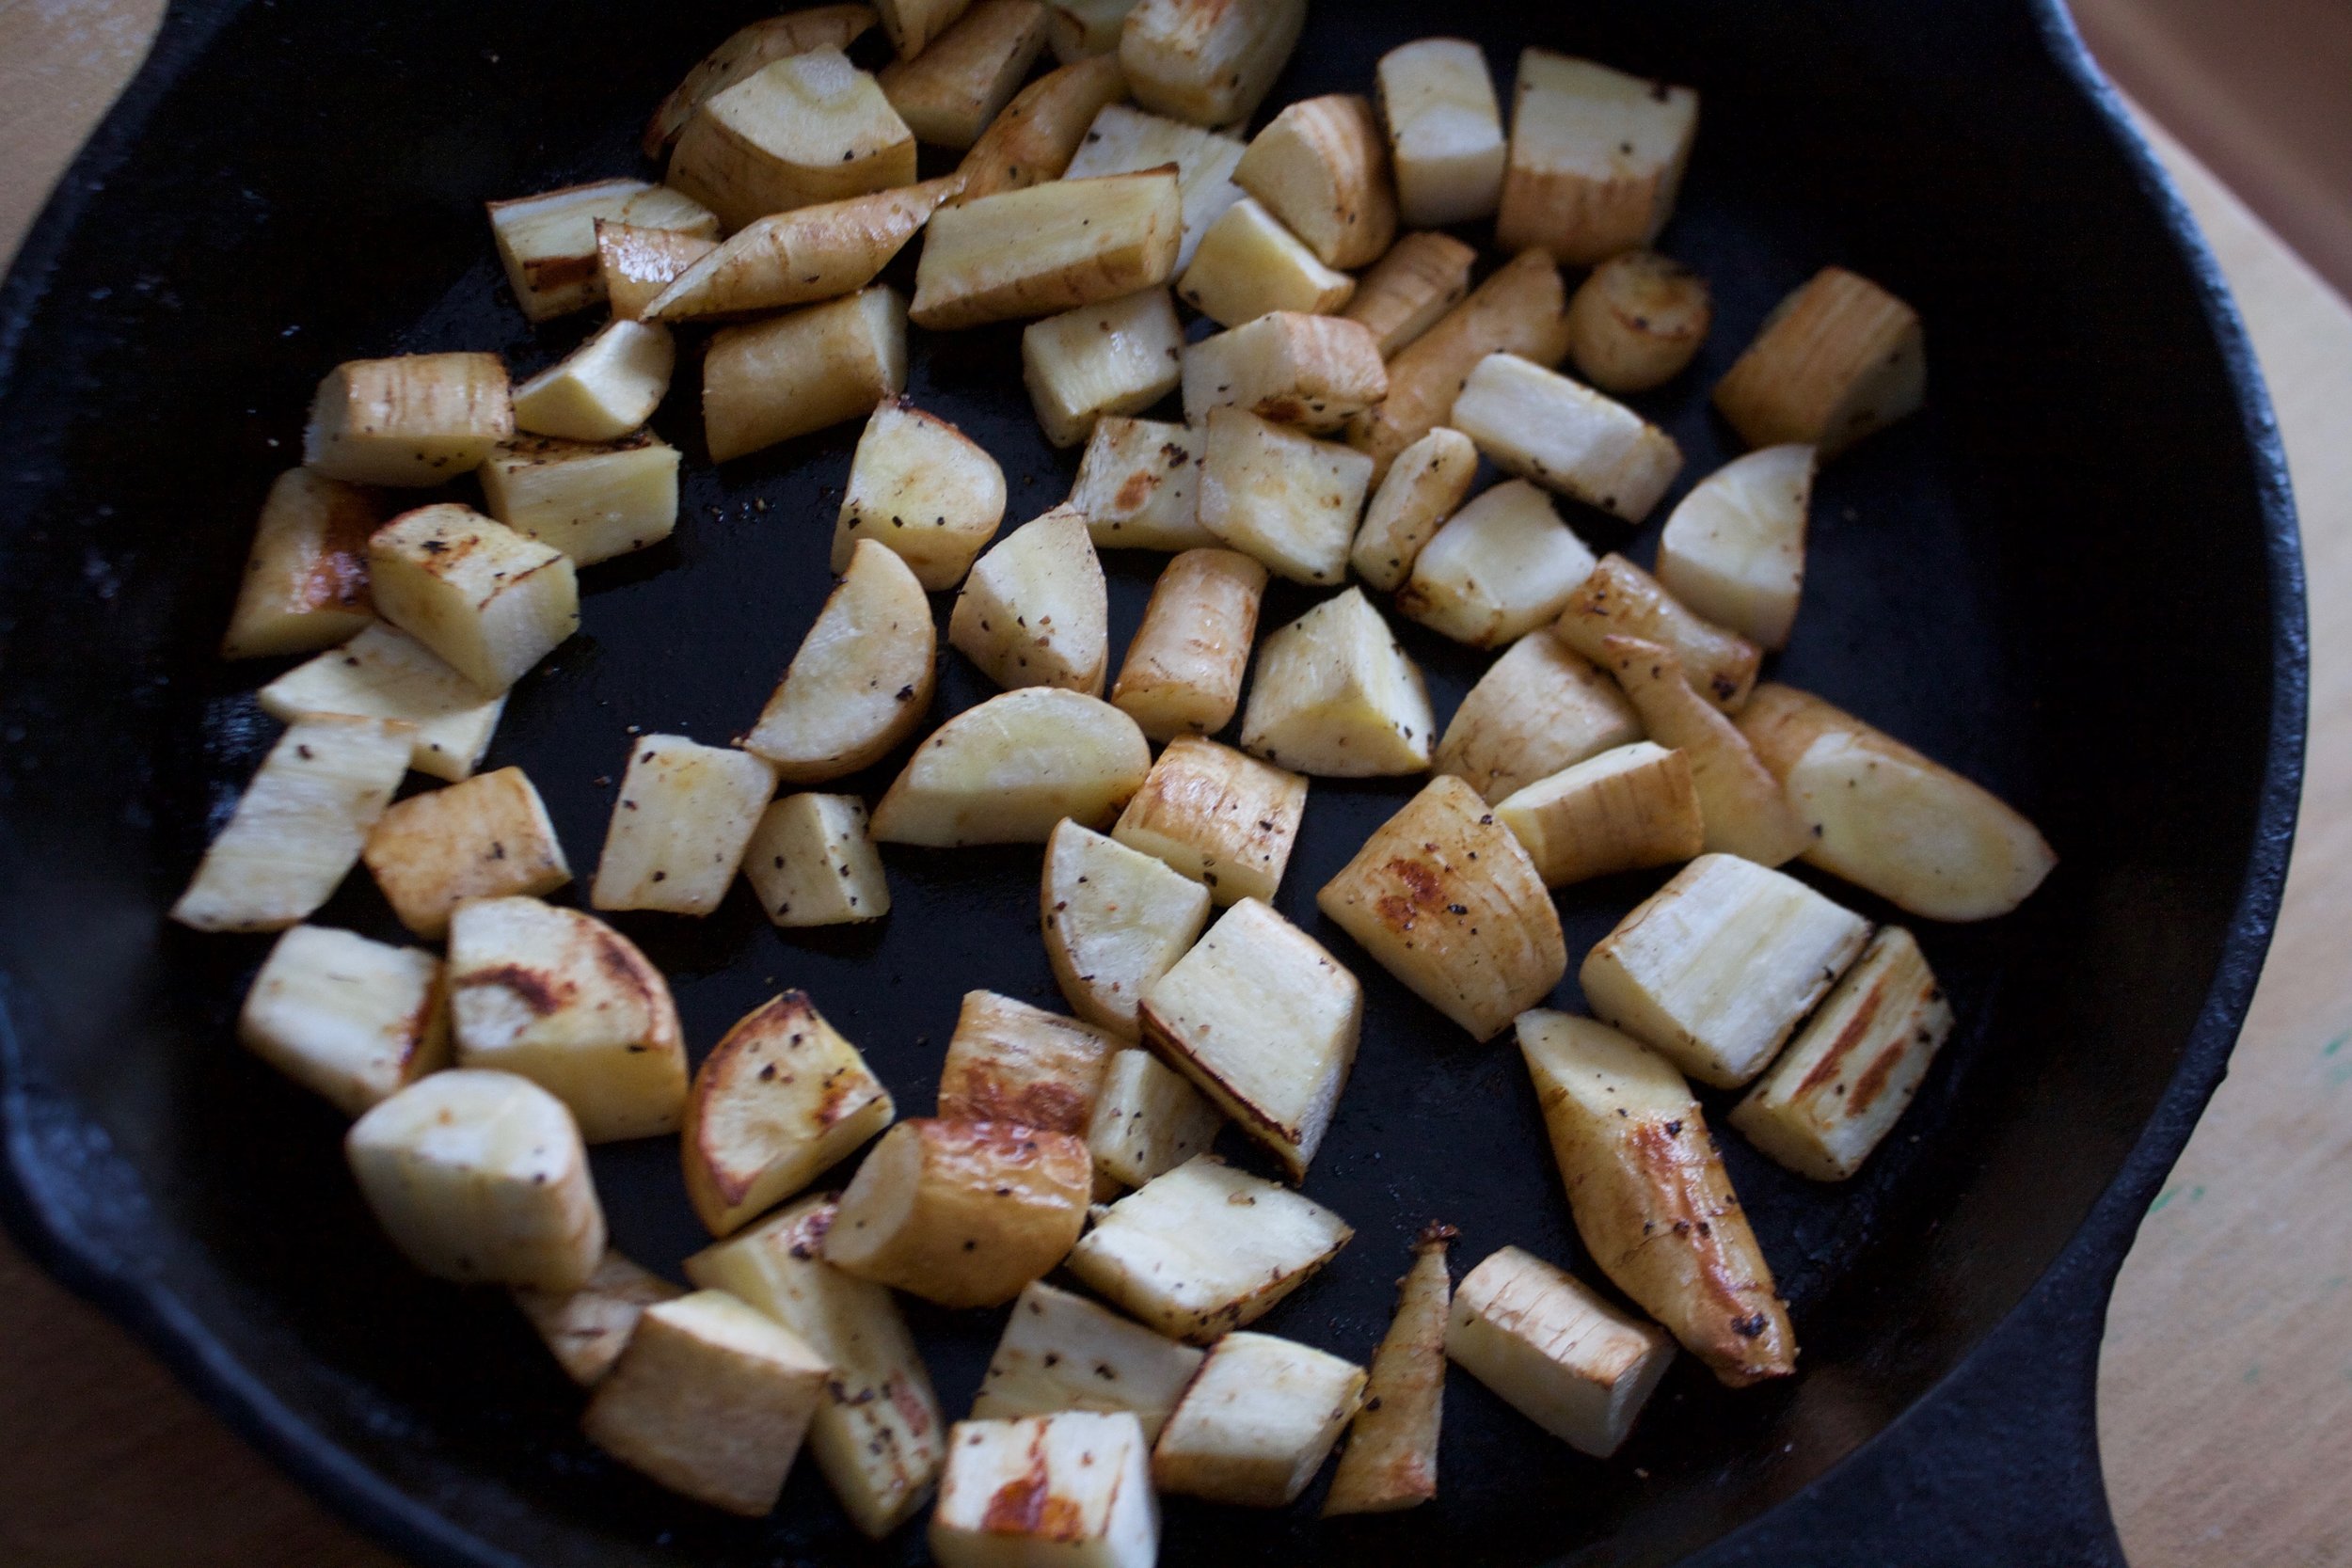
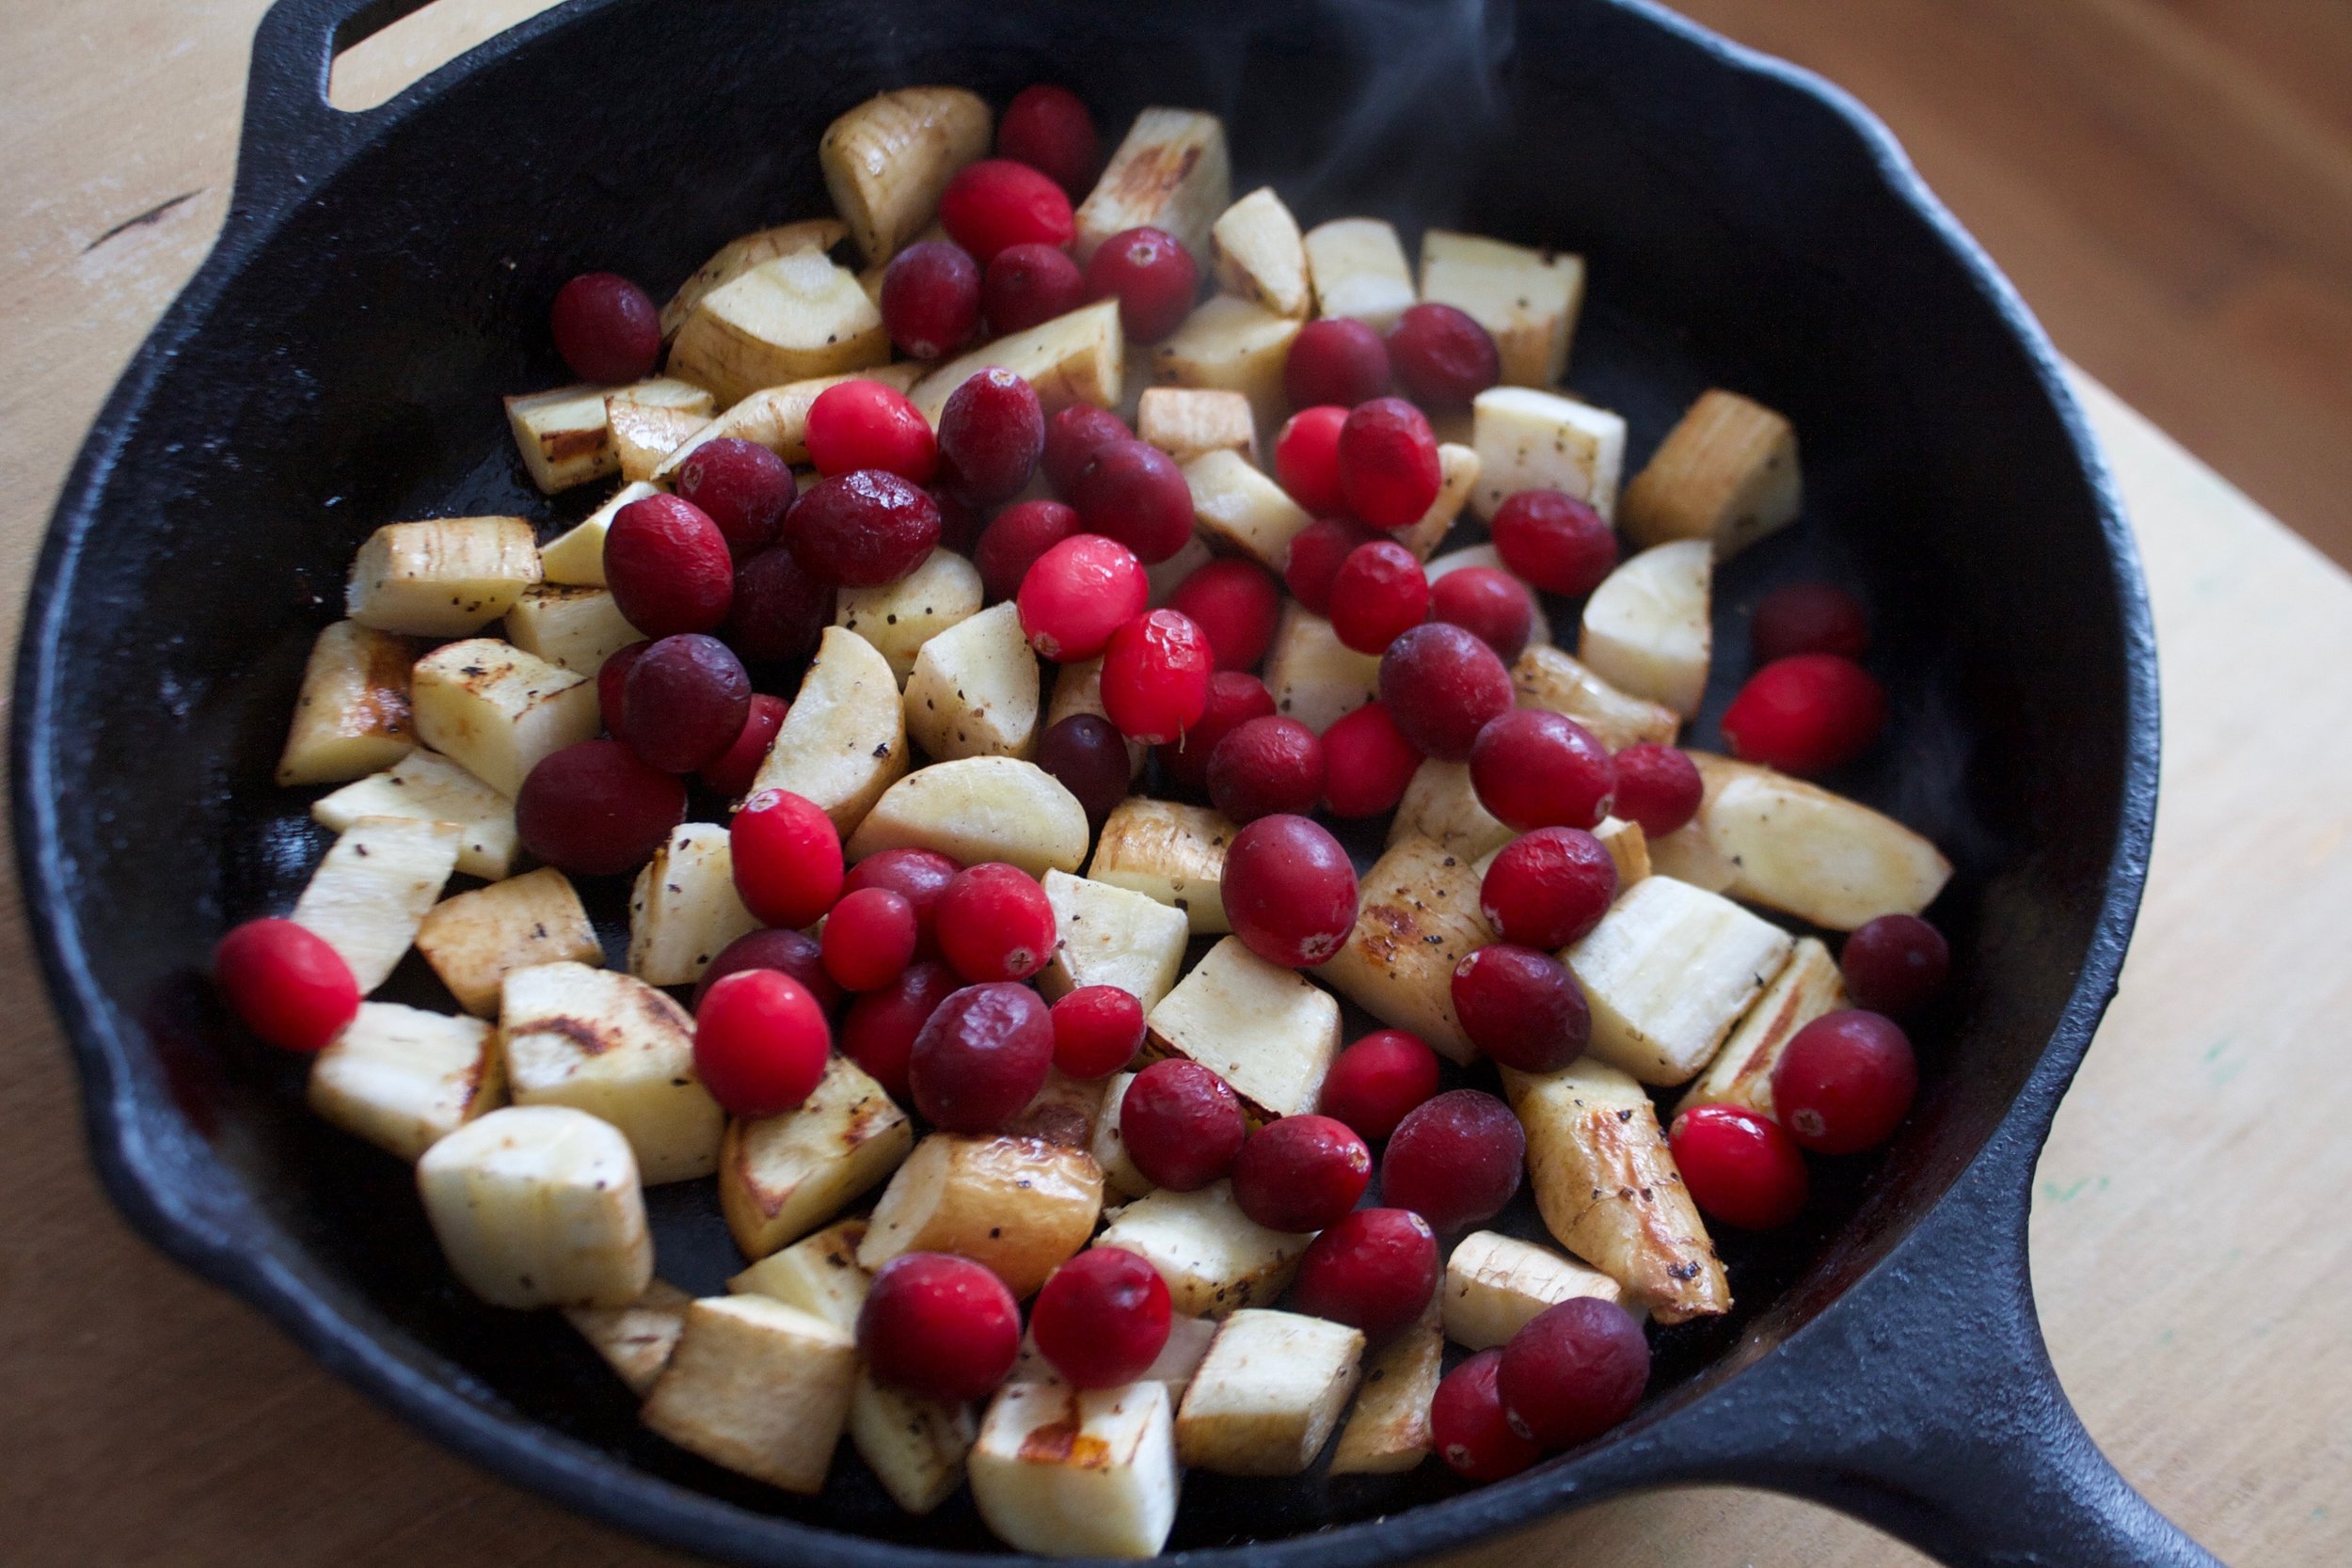
Parsnips cook pretty fast so after about 15 minutes check for doneness. Once they are for tender and browning, toss the cranberries into the pan and keeping roasting.

Once the cranberries are all roasted and bursted and nice, remove the pan from the oven and immediately drizzle with a touch of maple (just a touch or else it will be too sweet) 

IMG_9005 2.jpg

There you go. Simple, fast, and oh so delicious. 

Have an awesome weekend! πŸ₯‹πŸ€ΎπŸ»β€β™€οΈπŸŽ„β˜ƒοΈ (interrupt those any way you see fit)

-C


Roasted Cranberry Parsnips

serves about 4 as a side dish  or makes for 2 good snack bowls

  • 3-4 large  parsnips (but really as many as you want)
  • 1 cup fresh or frozen cranberries
  • 1 teaspoon to 1 tablespoon maple syrup (the more the sweeter it will be)
  • olive oil
  • salt and pepper

Preheat oven to 425

Grab whatever pan or oven safe dish you are using and  preheat either place it in the oven while its preheating of if you can place it on the stove, get it really hot on a high flame.

Grab your parsnips and chop into about an inch sized pieces (or a good size that will fit into you mouth. Feel free to peel the parsnips first if you want to. Once the oven and pan are preheated, drizzle the parsnips with a tiny bit of olive oil and toss with salt and pepper. Place onto really hot pan and stick into oven.  Roast for about 15-20 minutes or until the parsnips are golden brown and fork tender. Remove form oven and toss in the cranberries. Place back into oven for about another 10 minutes or until the cranberries start to burst and get soft. Remove again and drizzle with a teaspoon of maple syrup (or more if you like it sweeter) 

Serve right away. 

In 5 ingerdients or less, quick and easy, salad, side dish, snack, Vegan, Vegetables Tags Roasted Cranberry Parsnips, side dish, snack, vegan, gluten free, grain free, plant based, healthy, vegetables, parsnips, roasted veggies, simple, easy, 5 ingredients
Comment

Maple Mustard Roasted Cabbage with Almonds

November 18, 2017 Colleen Stem

There is something about purple cabbage that makes me feel like I need to share it. It sounds weird , especially because I eat about a head of cabbage a day, but that is green cabbage. I barely buy purple cabbage because it cost twice as much and I really like green , but at farm share when you get to pick what color you want, I alway pick the purple. ( Side note. I used to call it red cabbage but have since stopped because it is very clearly purple and calling red just doesn't make any sense) 

I also feel the need to do something a little more the chopping it up and eating it raw. So I make a little fancy. pretty, almond crunchy mustard type thing because that's what I was feeling and I figure the mr would like it too. Note that I ended up using half a green and half  the purple because color is nice and also I ended up eating the other half of the purple before I could share it. But I caught myself before eating it all to may face and was proud of myself for thinking of others.  

This dish is good, really really good. . It has roasted cabbage which is alway great, but slathered with maple mustard and crunchy almonds.. it's just freaking fantastic in all the ways. It also happens to be super easy to prepare and with minimal ingredients. It makes for a great side dish, a main dish, and is great for sharing during the holidays that are just around the corner. Or if you are like me, not sharing and eating all afternoon long. (I did save some for the m for dinner because I am so nice) 

IMG_8141.jpg

The stuff. Cabbage, red or green or a bit of both, stone ground mustard, maple syrup, almonds and pepper.

Easy peasy. Cut the cabbages about an 3/4 inch thick and lay them on a baking sheet. Pop it into the oven once it's preheated.

While thats going on, mix some maple with the mustard and chop up the almonds.

IMG_8176.jpg

After about 25 minutes, pull the cabbage out and flip them. Cover the top with maple mustard and sprinkle on the almonds. Stick the cabbage back into the oven and bake another 10-15 minutes, or until it's roasted to your taste preference (I like it really roasted) 

IMG_8195.jpg

Just look how pretty it is. 

IMG_8201.jpg

Serves from a baking sheet but would look so lovely on a nice plater, you know, if you want to be extra classy. 

This cabbage situation is all of it. 

Have a great weekend and hope the Thanksgiving planning goes smoothly. 

-C


Maple Mustard Roasted Cabbage with Almonds 

Makes about 6-8 slabs


  • 1 head of cabbage (red or green or half of both)
  • 1/4 cup stone ground mustard
  • 2 tablespoon maple syrup 
  • 1/3 cup raw almonds 
  • pepper to taste. 

Preheat oven to 425

Slice cabbage into thick slabs about 3/4 inch thick. Try to get them roughly the same thickness so they roast evenly.  Lay the cabbage on a baking sheet, not overlapping, and stick into the oven once it's preheated. Bake for 25 minutes or until the bottoms of the cabbage are crispy.

While cabbage is roasting, mix mustard and maple  together and roughly chop the almonds.  

After  the 25 minutes, grab the cabbage from the oven and flip each piece. Cover the tops with the maple mustard and sprinkle on chopped almonds. Place back into the oven for another 10-15 minutes  and roast until the cabbage is as crispy as you like it.

Remove from oven, sprinkle with good pepper, and serve. Extra maple muastd is welcomed to some. Any left over (but there won't be any) is great eaten cold before bed  or tossed onto a salad for lunch the next day. 

In Vegetables, Vegan, side dish, Savory, quick and easy, Paleo, Nuts, grain free, Gluten Free, dinner, Dairy Free, appetizers, 5 ingerdients or less Tags Maple Mustard Roasted Cabbage with Almonds, Cabbage, maple mustard, almonds, side dish, thanksgiving, holidays, vegan, gluten free, paleo, simple, grain free, plant based, vegetables, vegetarian, dinner, nuts
Comment

Cinnamon Sugar Pumpkin Seeds

October 28, 2017 Colleen Stem
IMG_7615.jpg
IMG_7651.jpg
IMG_7647.jpg

It's the weekend before Halloween which is the perfect time for pumpkin carving. We got our pumpkins last week and I have been so excited but have been waiting to carve.  Carving time to a pumpkin is crustal. To early and the pumpkin starts to rot and the squirrels will probably eat it but wait too long and you don't get to enjoy it long enough. 3-5 days before halloween, that's the perfect time carve a pumpkin. (I am right, right?)

And what do you get when you carve a pumpkin? A free freaking snack my friends. Pumpkin seeds. 

Side story here. About ten years ago I set my mons brand new stove on fire roasting pumpkin seeds. Long story short, I wanted really crunchy seeds and though if I broiled them that they would be just perfect. Well not so much. I stuck them in, walked away for a few minutes and the whole kitchen filled up with smoke. Opened the oven to a big old fire going on. Luckily once the flaming pan of seeds was removed, the fire in the oven was no longer but the stove did not make it through unharmed. The knobs and a little bit of the front of the stove melted a bit (Oops) and worst part, I charred the shit out of the seeds.  So the leason here is do not stick oil covered seeds under the boiler and walk away and not expect them to catch fire.

Anyway. So we carved our pumpkins (well I started carving mine and ended up helping Judah an So carve theirs) and got a shit ton of pumpkin seeds. I pre scooped mine out and baked (not broiled) them up to a nice crunchy snack. These are coved in cinnamon sugar to entice the little who might or might not really like them, but all the adults that where here gobbled them right up. 

The stuff. First you need to get the seeds.  You could buy them, but this is way more fun. 

IMG_7561.jpg
IMG_7563.jpg

Seeds full of goo, just stick them in water. The seeds float so you can scoop them out into a strainer.

Once most of the goo is gone, rinse the seeds and place them on a clean dry towel and spread them out. Try to dry them off a bit.

IMG_7591.jpg

The seeds are going to still be a little damp so dump them on a baking sheet and place them into the oven. Turn oven on to 350 

IMG_7592.jpg

While the seeds are spending a little time drying off get the other stuff. Coconut oil, cinnamon, sugar,and salt.

IMG_7600.jpg
IMG_7604.jpg

Once the oven is preheated, remove the seeds. They should be dry by now. Dump warm seeds into a bowl with coconut oil and mix around until they are fully coated.  Now dump the salt cinnamon sugar mixture in and mix until coated.

Place back onto the bakings sheet and evenly spread them out.

Back into the oven to get crispy.

And a half hour-ish later, the house smells all nice and cinnamony good and you got yourself a sweet spicy little crunchy fun snack.

IMG_7632.jpg

Look at that fancy. 

IMG_7686.jpg

Now it's your turn. 


Cinnamon Sugar Pumpkin Seeds

Makes about 2 cups which came fro one big jack-o-lantern pumpkin

  • 2-ish cups of pumpkin seeds 
  • 2 tablespoons coconut oil
  • 2 hearty tablespoons sugar
  • 2 tablespoons cinnamon
  • 1/2 teaspoon salt

Grab yourself a pumpkin, cup the top open ,and scoop out all the seeds. Save for jack-o-lantern.Place seeds in sink or large bowl and scoop the seeds off the top that float up. You might need to squeeze the guts to loosen the seeds. Place seeds into a strainer and once you got what you can get, give them a quick rinse. Dump the seeds onto a clean dry towel and pat them dry as well as you can. Place the seeds evenly  onto a dry baking sheet and stick them into the oven. Turn oven on to 350 and leave them in there until the oven is preheated.

once oven is preheated, remove seeds and place into a a bowl. Add the coconut oil and mix around until completely melted and the seed save all coated. in a small bowl mix together the cinnamon, sugar, and salt. Dump the mixture onto the oiled seeds and mix until coated. Dump seeds back onto baking sheet and back into the oven. Bake for about 25 minutes, remove and mix around, and back into the oven for another 5-10. Check for crunchiness by either tasting of snapping one or two in half. Once the seeds are crunchy, remove from oven and let cool on baking sheet. 

Dump seeds into a bowl ad snack away. Store left over seeds in an air tight jar. 

In 5 ingerdients or less, snack, Vegan, seeds Tags Halloween, Pumpkin seeds, Pumpkin, cinnamon sugar pumpkin seeds, seeds, protein, vegan, gluten free, snack, plant based, zero waste, fall snacks, healthy snacks
Comment

Roasted Banana Strawberry Popsicles

July 1, 2017 Colleen Stem
IMG_5932.jpg
IMG_5921.jpg

These popsicles are bananas!!!!! (pun intended) I forgot how much I freaking love roasted strawberries and don't even get me started on roasted bananas.  Then when they are all mash up and stuck into a popsicle mold... Just amazing. Rich, creamy and full of so much good flavor plus made with only good stuff. I mean you can't get much better. This is now my new favorite go to frozen treats.

So a little confession. I made these popsicles with the intention to give them to the littles for a special popsicle breakfast but when I took the first bite of the first popsicle I changed my mind. These popsicles where too good and I wanted then all to myself. I know that makes me sound like a ass but really, they can't miss something they didn't know they were going to get.  Don't worry,  we ended up at the store that night getting ice cream (for dessert) and a box of Captain Crunch with crunch berries for breakfast the next day instead (which they didn't even eat because the mr made them with chocolate chip pancakes instead). They were happy, I was happy. Win win.

And lesson learned, make two batches for next time so I can share. I will share next time (maybe).

The stuff. 3 ripe bananas, ripe freshly picked strawberries (they don't have to be freshly picked) cashew milk, and salt.

Chop bananas into chunks and strawberries in half ans place onto a greased baking sheet.

Pop into a hot oven to roast.

Roasted and all sorts of good (If you are prone to eating you roasted fruit before using it for popsicles, roast extra).

Scoop all the banana into a blending device (I used a hand blender so they went into a measuring cup) add in a pinch of salt ans the milk. Blend until creamy smooth.

For the strawberries just mash them up with a fork on the baking sheet.

IMG_5768.jpg
IMG_5791.jpg

Grab your popsicle mold and fill. Start bu scooping a bit of the banana in first, add in a little strawberry, then banana again. Keep layering until the mold is full. Then top off with a popsicle stick.

Into the freezer for the freeze.

And once frozen there are no rules. Eat a popsicle and be super happy.

Enjoy and stay all sorts of cool.

-C


Roasted Banana Strawberry Popsicles

Makes four 3.5 oz popsicles

  • 3 ripe bananas
  • 1 cup strawberries
  • 1/4 cup plant milk (I used cashew, but any is good. Cow milk would work too)
  • pinch of salt

Preheat oven to 400

Grab a baking sheet and lightly grease it up. Peel bananas and cut into i inch pieces. and place on baking sheet. Remove stems from strawberries and cut in half. Stick those onto baking sheet as well then place the baking sheet into the hot oven.

Roast for about 20 minutes.

Remove from oven and let cool enough to handle. Place the roasted bananas into a blending device, add a pinch of salt and the milk. Blend until smooth. Take a fork and mash up the strawberries, which can be done directly on the backing sheet.

Scoop a bit of banana into each mold, then add a little mashed strawberry.. Continue layering until each mold is filled to the fill line. Add in popsicle stick then pop the filled molds into freezer,

Freeze for at least 4 hours, but 6 to 8 is safer.

Once frozen, pop from molds and eat. You can share but you don't have too.

In 5 ingerdients or less, Dairy Free, desserts, breakfast, frozen, fruit, Popsicles, summer, Sweets, Vegan Tags Roasted Banana Strawberry Popsicles, popsicles, vegan, dairy free, frozen treat, easy, banana, strawberry, summertime, home made popsicles, plant based
Comment

Lemon Pepper Tofu

April 22, 2017 Colleen Stem

I feel like tofu sometimes get a bad rap. I don't think that anyone in my family (or most of them) would willingly eat tofu even though they have no clue what it tastes like. They say they don't like it but that's bullshit because they have just never tried it.  They all just think that only crunchy hippies are allowed to eat it or if they do eat it, they will turn into a crunchy hippie. Either way, they are butt heads and are missing out.  I think one of the big reasons some people don't like it is that they think tofu is suppose to be a meat replacement. That is wrong. Tofu is tofu(which is soy) and is not trying to be meat.

In our house we eat tofu a couple times a week. Sometimes as a main meal or sometimes in soups or bread or pie, or where ever I feel like I want it, but mostly just a quick sear and into the belly it goes. There are so many ways to prepare and flavor it but honesty, more times then not, my go to is simple. Lemon, pepper, salt. It's quick, easy, super tasty, goes with everything and I always have the ingredients.

So to all those who think tofu is gross, I say, try it or if you have really tried it, try it again. And then if you still think it's gross, well ok then.  And to all those who like tofu, you will like this.  And you are cool.

The stuff. Extra firm tofu, a couple small lemons, salt, pepper, and some olive oil.

Fist off, cut up tofu. I like to cut in talk, then into fourths, thne into squares and those square into little triangles.  But you can cut it into strips or square... whatever you like, just make sure that each piece isn't more then 1/2 inch thick.

Once cut up, place the tofu onto a clean dry towel, cover with another towel, and press, trying to remove as much liquid as you can without tuning tofu into mush. I will usually let the tofu sit on out on the counter like this for a little while,

Once you are ready for cooking, preheat a skillet with a drizzle of olive oil and optional, preheat the oven. Mix together the salt ans pepper then sprinkle both sides of the tofu with it.

Zest lemons and cut in half so they are ready to juice.

Place tofu pieces into hot skillet, single layer and squeeze some lemon all over. Sear the tofu until the bottoms are a nice deep brown.  Flip and repeat, adding more lemon juice.

Once the tofu is cooked both sides, sprinkle with the lemon zest. Now here is a personal preference. I like my tofu a bit more on the cooked side so I slide the skillet of tofu into the oven for 10 minutes or so. The mr like it just as it is. So either way. I say try it before the oven and stick it in if you think it needs to cook more.

IMG_4902.jpg

And it's done.

Tofu with a side of broccoli. Not a bad dinner, not bad at all.

-C


Lemon Pepper Tofu

serves 2-3

  • 1 package extra firm tofu
  • 2 small lemons
  • 1 1/2 teaspoons salt (or more to taste)
  • 1 tablespoon crushed pepper
  • olive oil

Remove tofu from package and cut in half. Cut each half into fourths then cut each forth into square then each square in half diagonally. Or cut tofu into whatever shape and thickness you like, just don't make the pieces to small or more then 1/2 inch thick. Once cut, place on to a clean dry towel and cover, pressing gently to remove as much excess water without squishing it.

*Preheat oven to 400 (Option. See below)

Mix together the salt and pepper then start to preheat an oven safe skillet on medium high heat with a drizzle of olive oil. Zest the lemons and cut in half.. Once the skillet is hot, sprinkle the tofu, front and back, with the salt and pepper mixture. Place half the tofu(if you pan is not big enough, cook in 2 batches) into hot pan and squeeze the juice of a lemon (or half a lemon if doing batches) on top. Let tofu cook until the bottom is a nice deep brown. Flip all the pieces , add the juice of other lemon(or half a lemon if doing batches) and cook until the bottom is a deep brown. Once cooked, sprinkle the tofu with the zest of the lemon.

*Option. After I cook the tofu on the stove top, I usually stick the tofu, (in the skillet)  into a hot oven for 10-15 minutes to give it more of a hearty texture. The mr prefers the tofu much softer so I will skip this step for him.


Serve right away with some broccoli, rice, or whatever floats your boat.


In 5 ingerdients or less, dinner, entree, Gluten Free, grain free, quick and easy, Savory, Vegan Tags tofu, lemon pepper tofu, quick and easy, vegan, gluten free, plant based, protein, dinner
Comment
← Newer Posts Older Posts β†’
 

https://thelovelycrazy.squarespace.com/config#/|/about/

Me. Food Maker.Food eater. Woo HOO!

STEM+NODE  SMALL BATCH AND ONE OF A KIND POTTERY

stem+node ceramics


____________________

Subscribe

GET NEW POSTS IN YO EMAIL

You are AWESOME!!!


@thelovelycrazy 2014-2021