• stem+node ceramics
  • HOME
  • Food Recipes
  • About
  • Contact
Menu

The Lovely Crazy

Street Address
City, State, Zip
Phone Number

Your Custom Text Here

The Lovely Crazy

  • stem+node ceramics
  • HOME
  • Food Recipes
  • About
  • Contact

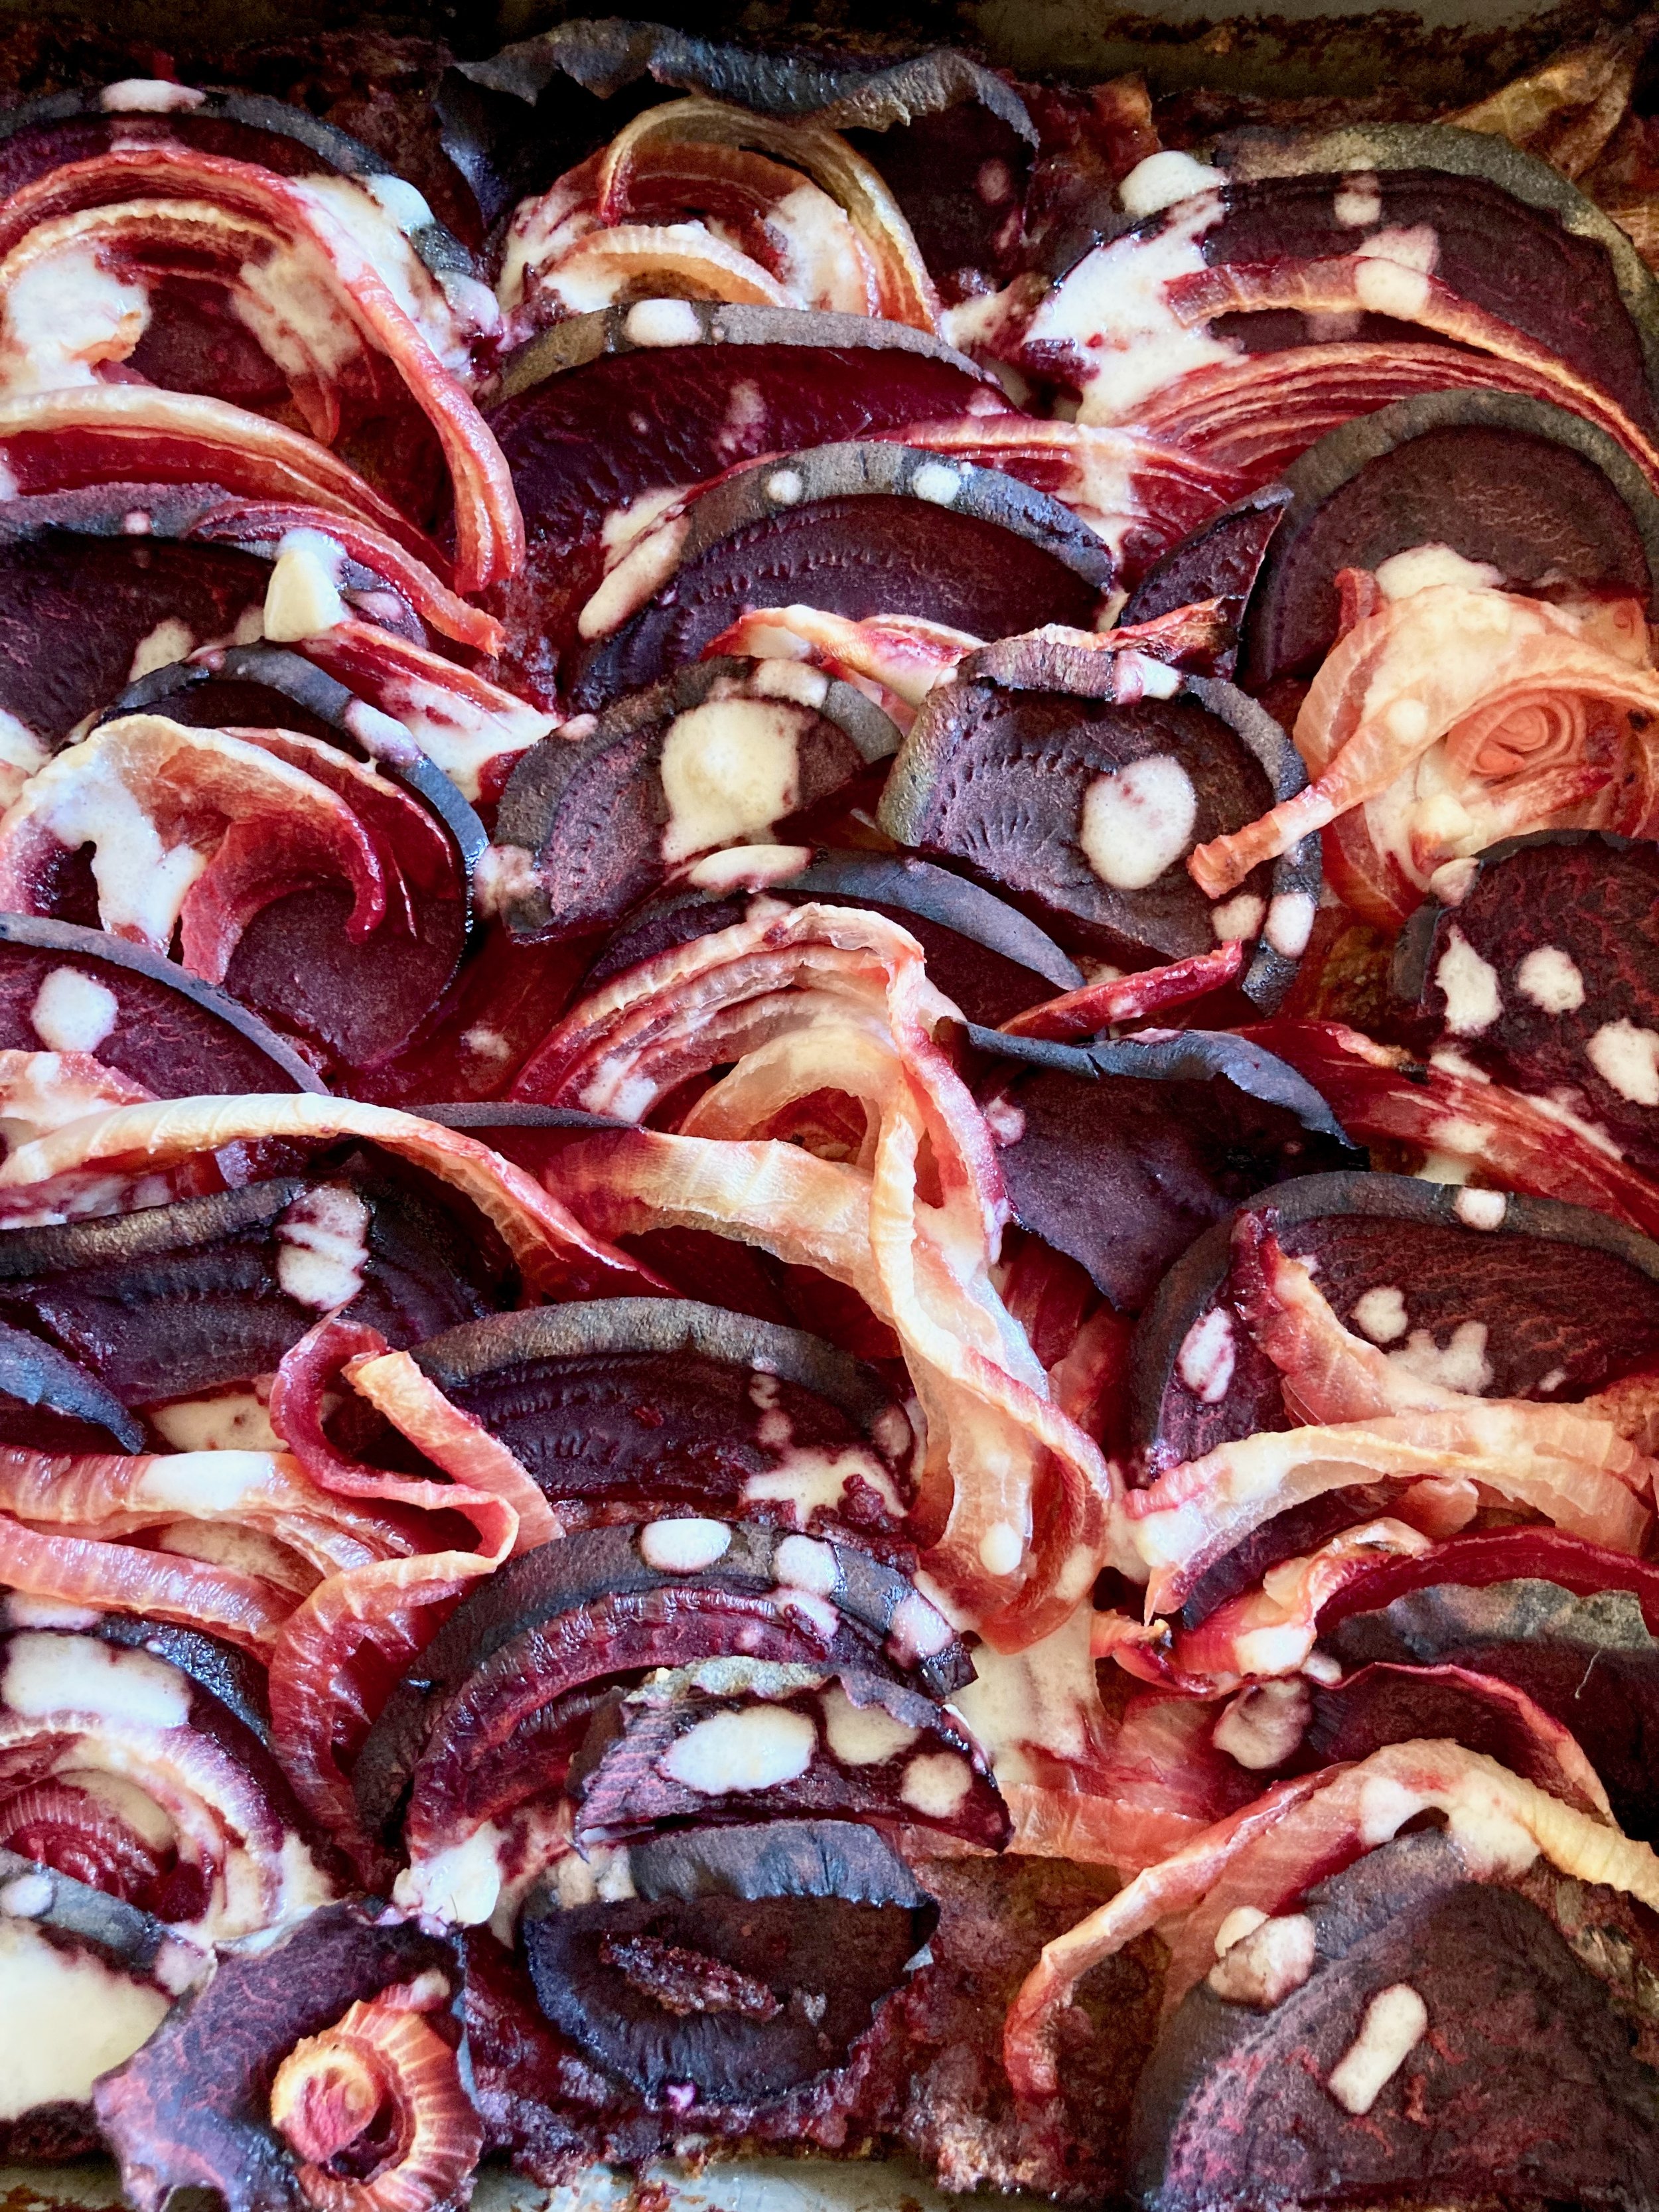
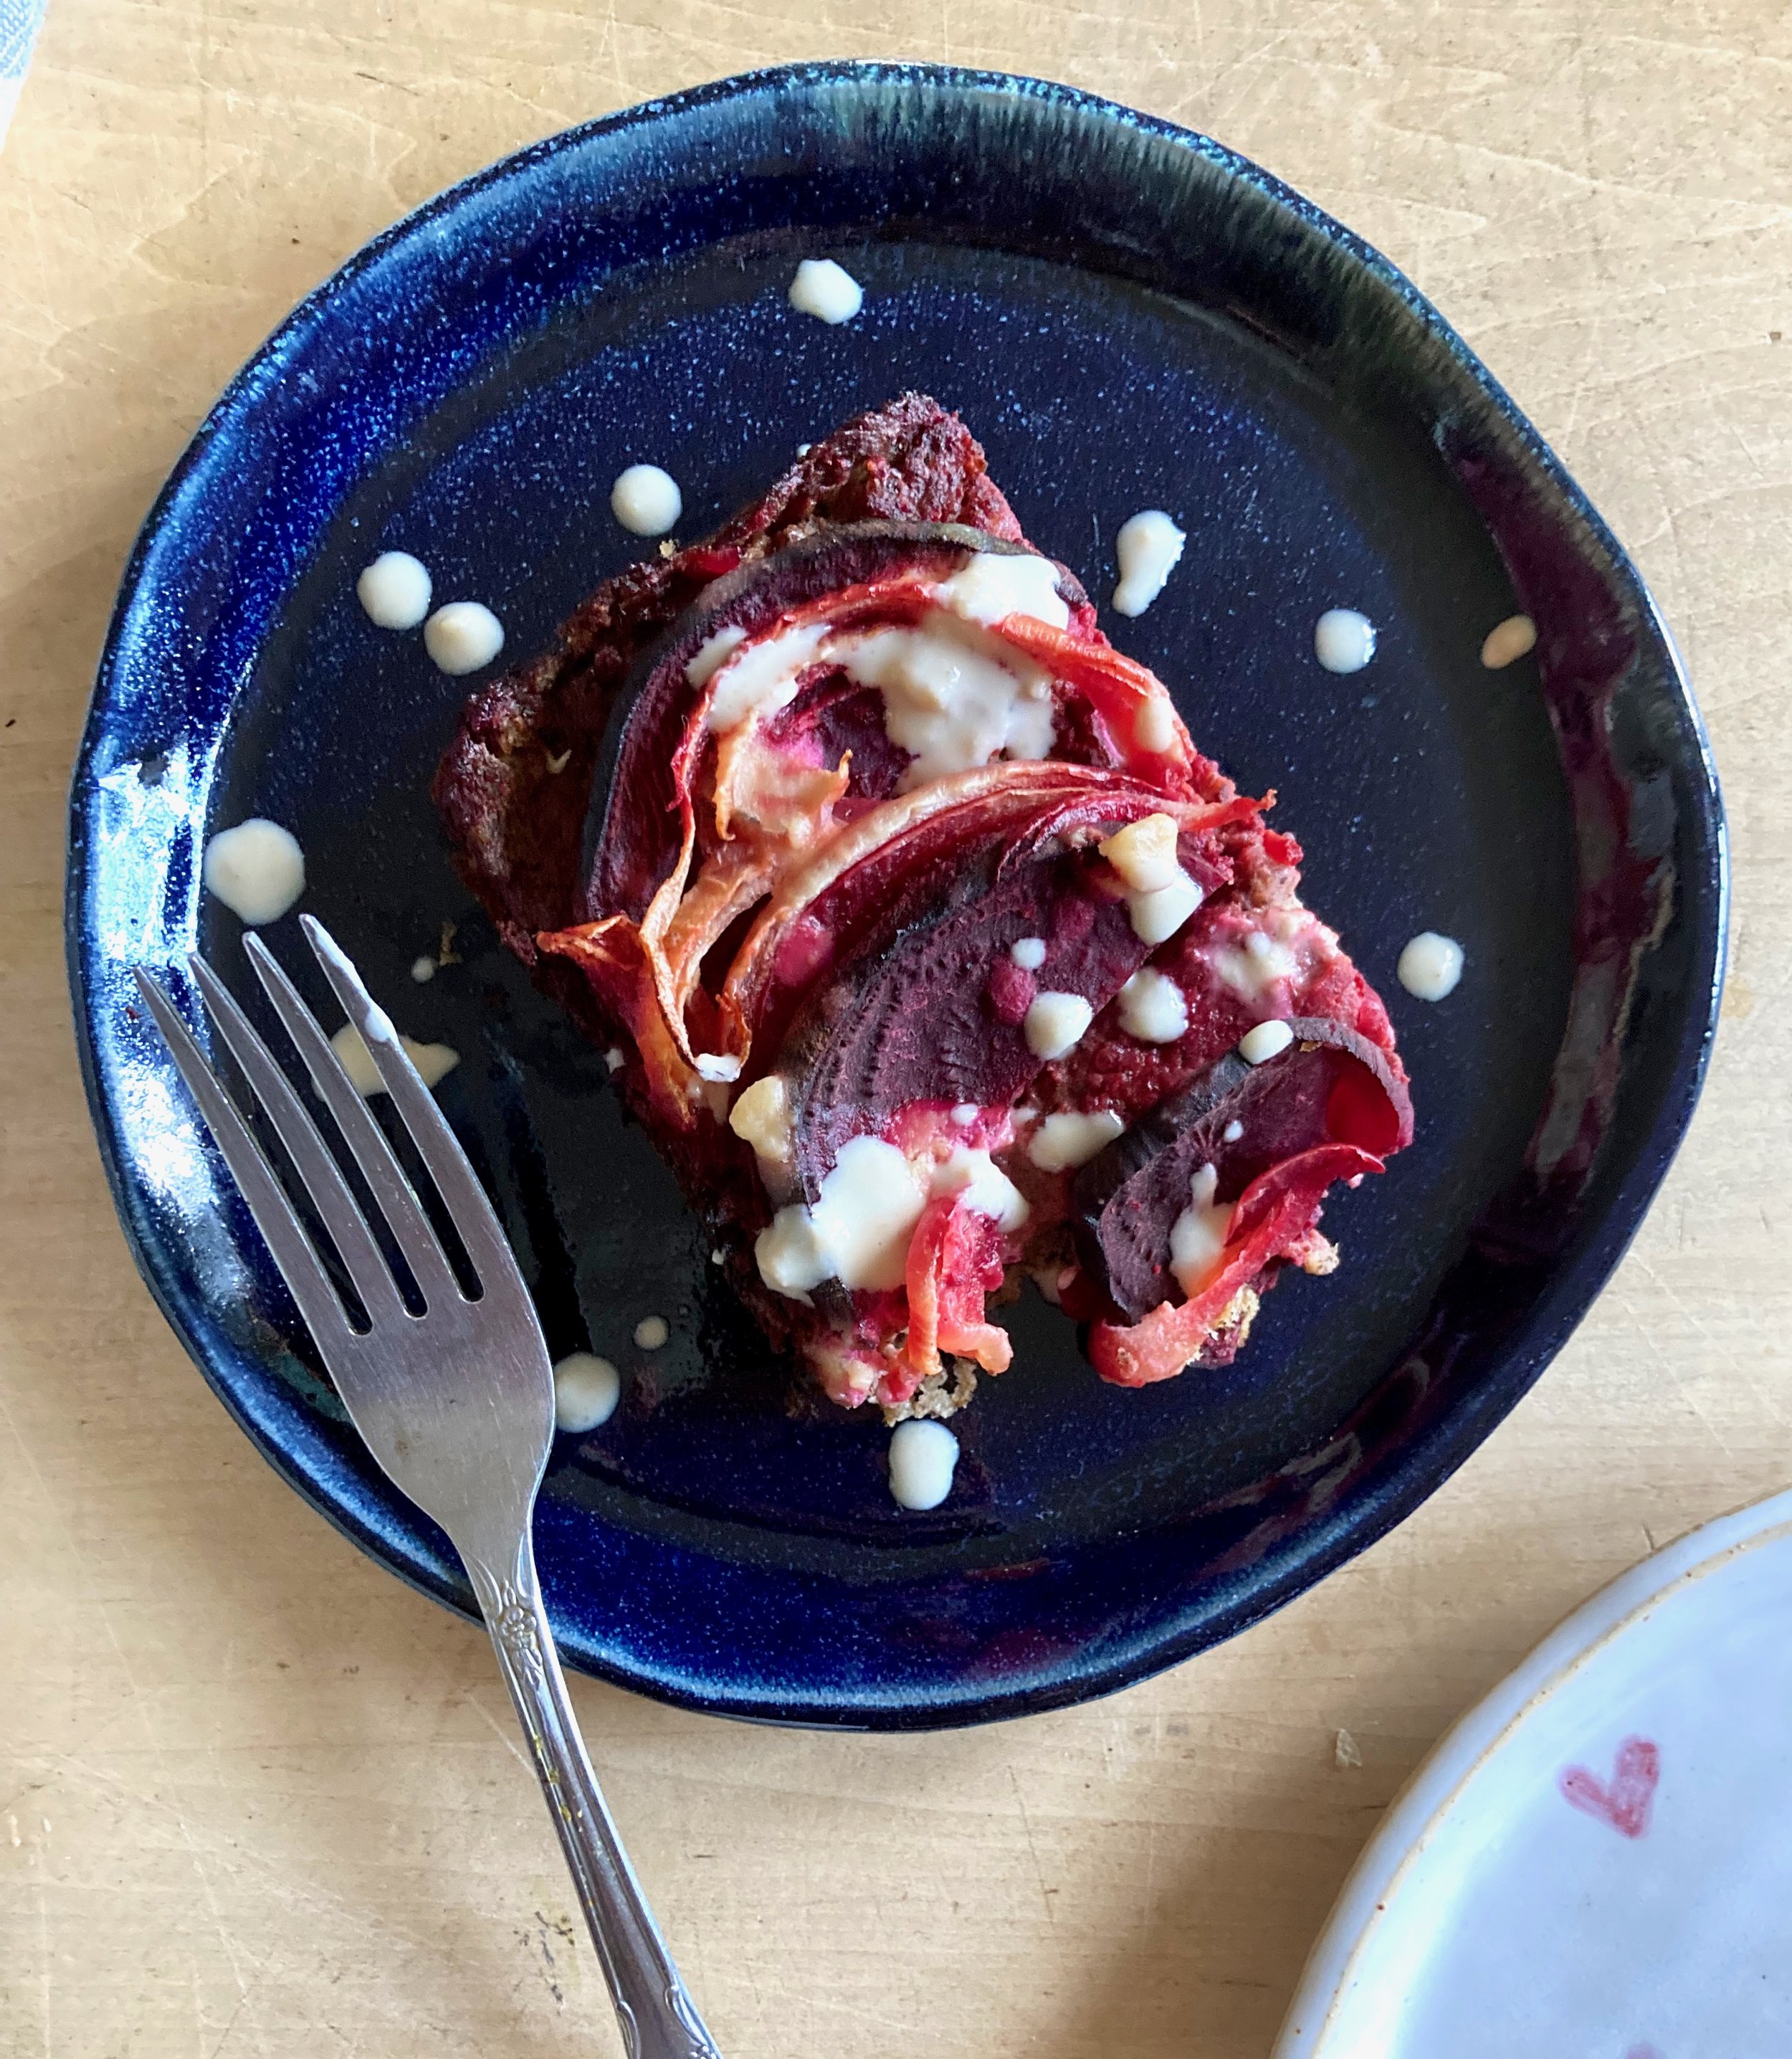
Socca Beet and Onion Casserole

November 12, 2022 Colleen Stem
IMG_6207.jpg
IMG_6213.jpg

Whoa has It been a while since I have posted a recipe. Not that I haven’t wanted to or that I haven’t been making food, I just have been busy A.F. And truthfully I am as busy as ever but I happen to have my phone next to me when I was making this little casserole dish thing that I have made a few times now and I think it well worth a share.

What is it you ask? It is a creamy but dense chickpea base covered in tender roasted beets and onions with a lemon tahini drizzle. It is simple to make, super delicious, and can be tweaked in a million different ways to your liking.

Is it a fantastic dish to serve at say a Thanksgiving? Well yes, yes it is. You can serve it as a side or even make it bigger and have it as a sort of main dish. It’s a good protein that is naturally gluten and grain free, vegan, and blah blah blah. What really matters here though is that it is damn tasty and also bonus, it is so siimple to make and can even be prepared a day in advance so no stress. We will take all the wins here.

-C


Socca Beet and Onion Casserole

makes a 8x8 casserole

  • 1 cup chickpea flour

  • 2 cups boiling water

  • 1 teaspoon salt plus more to taste

  • ground black pepper

  • 2 teaspoons cumin (feel free to omit or use a different spice.Thyme or rosemary are equally delicious )

  • 2 medium beets

  • 1 large onion

  • a lemon

  • 1-2 tablespoons tahini

  • teaspoon or so olive oil.

Note. This dish is excellent made and eaten right away but also gets even better (in my opinion) cooled and reheated. Also you can change up the veggie situation and use whatever ones you like.

Place chickpea flour in a bowl and slowly whisk in boil water with a fork so that there are no lumps. Mix in cumin and a teaspoon of salt and a pepper. Scoop batter into a lightly oiled 8X8 casserole dish (you can use a round cake tin or a cast iron skillet as well) and set aside to rest for a few.

Preheat oven to 400.

Grab beets and onion and slice in about 1/8 thick slices. Layer slices on top of chickpea mixture, making it look pretty if you feel like it. Once the veggies are layered, lightly drizzle the top with a teaspoon olive oil and sprinkle with a good pinch of salt and pepper.

When the oven is preheated, covered the baking dish and place in oven,. Bake covered for 1/2 hour then remove covering and bake for another 20-30 minutes or until the beets are nice and tender and a tester poked into the center of the dish comes out clean. Remove from oven,

Once it’s out of the oven grab a little bowl and add the juice of the lemon to the tahini and mix. Season with salt to you liking.

Now serve. Drizzle the top with the tahini mixture and cut yourself a big old piece. Yes drizzle extra tahini on top. Sure squeeze on more lemon. You do you.

Store leftovers in fridge. Reheat in hot oven for 10 minutes..It gets crispy!

In Vegetables, Vegan, side dish, Savory, quick and easy, pulses, holiday, grain free, Gluten Free, entree, dinner, Dairy Free, casserole Tags vegan, gluten free, grain free, casserole, dinner, protein, pulses, beans, thanksgiving, holiday, main dish, food, easy, beets, onion, tahini
1 Comment

Black Bean Soup with Cornbread Dumplings

February 19, 2022 Colleen Stem
IMG_1030.jpg
IMG_0937.jpg

Black beans soup is eaten on the regular around here. Not always the same way but pretty much. Why screw with a good thing you know?

Now soup with dumplings. This is not (yet) a regular thing but I was making the usual blacken soup and planing on making corn bread to go with (in a pan) , when I had a moment of clarity and realized that I should just make the corn bread into dumplings and not have to deal with baking and another pan to clean. Duh. Why don’t I do this more often?

And that is it. A black bean soup, nice and thick, with light fluffy cornbread dumplings cooked in one pot. Quick, easy and all sorts of delicious. Can’t complain about that.

Now let’s get to the soup and dumplings!

The stuff. For the soup there are bLackbeans, and onion, spices, a carrot, garlic, tomato paste, apple cider vinegar. For dumplings we have flour, baking powder, salt, oil, and plant milk. Salt and pepper too.

Start by dicing up the carrot and onion and mincing the garlic.

IMG_0834.jpg
IMG_0847.jpg

Dump all that you diced into a big pot, along with the spices, some salt and pepper, and about 1/2 cup of water. Place on stove and cook down on medium heat until the onion is becoming translucent and the whole pot is starting to smell fragrant.

IMG_0864.jpg
IMG_0867.jpg

Now add in beans and tomato paste and about 5 cups of water. Bring to a boil then turn down to medium an cook for about 20-30 minutes.

Soup. Cooked and all taste but one more little step.

Remove a third of the soup and blend until smooth and then add it back it.

IMG_0905.jpg
IMG_0909.jpg

Dumplings. Mix dry together then add in oil and milk. Mix together unit incorporated.

While soup is still on medium heat, scoop the dumping mixture right into the soup.

Place a loose side on top of pot ans let the dumplings cook util list and fluffy which will take about 15-20 minutes.

Cornbread dumplings looking all nice in the soup.

Then you eat it. Add some avocado on top of you want. Avocado is always a good idea.

-C


Black Bean Soup with Cornbread Dumplings

feeds 3-4

  • 3 cups cooked black beans (or 2 16 oz cans)

  • 1 large onion

  • 1 good sized carrot

  • 3-4 cloves garlic

  • 1 teaspoon chill powder

  • 1 tablespoon cumin

  • 1/2 teaspoon red pepper flakes (or none if you don’t like the spice)

  • 1 tablespoon maple cider vineger

  • 1/3 cup tomato paste

  • 5 cups water

  • salt and pepper

    Dumplings

  • 3/4 cup all purpose flour

  • 1/4 cup corn meal

  • 3/4 cup plant milk

  • 2 tablespoon neutral oil

  • 1 teaspoon baking powder

  • 1/2 teaspoon salt

Start by dicing up the carrot and onion into small pieces. Mince the garlic and then place the garlic, onion, and carrot into a large pot with the cumin, chili powder, and red pepper flakes, a good pinch of salt and pepper, and about 1/2 a cup of water. Place pot on stove on a medium low heat and sweat the mixture for about 10-15 minutes or until fragrant and the onions are slightly translucent.

Add in the tomato paste, beans , and 5 cups water. Bring to a boil then reduce to medium heat and let cook for about1/2 hour. Once soup has cooked down a bit and tastes delicious, remove form heat and carefully transfer 1/3 of the soup to a blender or jar (if using a hand blander) and blend until smooth. Add the blend soup back to the pot and turn the heat back on to medium low. Taste and add more salt and pepper if needed.

Now make dumpling mixture. Mix the dry ingredients together in a bowl then add in the oil and milk and mix until incorporated. Scoops the dumping mixture into the soup while the soup then place a lid loosely on the pot. Cook for another 15-20 minutes or unit the dumplings are nice a n fluffy.

And when they are done, remove lid, tun the heat off, and paddle soup and dumplings into bowl. Eat. Add sliced avocado for a little more yum.

In beans, biscuits and such, dinner, soups/stews/chilis Tags Black Bean Soup with Cornbread Dumplings, soup, stew, beans, dinner, vegan, vegetarian, easy, meal, winter, hardy, delicious, healthy, plant based, one pot meal
Comment

Almond Crusted Tofu

January 29, 2022 Colleen Stem
IMG_0184.jpg
IMG_0193.jpg

Are you a tofu person? I am very much a tofu person. I know that some people still think tofu is not so great or that it doesn’t taste like much or my favorite, that it doesn't taste like meat. And with that I say, well tofu isn’t meat so duh and yeah, it doesn't have a super powerful taste but it does taste good (especially really good fresh tofu) and tastes even better when you make it with tasty ingredients. But If you are a tofu person you already know that.

This tofu is good. I mean really really good. It is dredge and breaded in almonds and then baked until crispy., like a tofu nugget of sorts. I mixed mustard and vinegar into the dredge for some tang and added garlic and red pepper flakes to the almond coating to give it a bit more flavor but if you were feeling something different, say curry or Italian flavoring, well by all means, give it a go. I think the next time I make these (probably tonight) I am going to add a shit ton of cumin and chili powder and way more red pepper flakes. My stomach is rumbling already. And hopefully they will be to spicy for the mr so I don’t have to share. Its my craving. He can eat something else. Ha!

Now to the almond crusted tofu!

The stuff. A brick of firm tofu (which I have smooshed out a lot of liquid), whole almonds, and oats. Then there is flax meal, mustard, vinegar, almond milk, garlic powder, red pepper flakes, and salt and pepper.

Cutting up the tofu. Fist cut brick in half. Then turn each half on its side and cut into three equal pieces. flip back down each piece then can be cut into 4 triangles. And if you want to cut it up differently well then who am I to tell you otherwise.

IMG_0117.jpg
IMG_0123.jpg

Make the almond crust mixture. Almond and oats along with garlic powder, red pepper flakes, and sat and pepper go into the food processor and pulses utlil a crumbly. You don’t want it to fine but also not to chunky. Think bread crumb consistency.

IMG_0127.jpg
IMG_0130.jpg

Now make the dredge. Combine mustard, flax, vinegar, and plant milk in a wide shallow bowl until completely combined. Let it sit for a few minutes to really thicken.

Now you are all ready to go.

IMG_0153.jpg
IMG_0158.jpg

To coat the tofu just drag each piece through the wet mixture making sure it is evenly coated then drag with through the almond mixture.

Once all the pieces are crusted and on the baking sheet pop it into the hot oven and bake. 20ish minutes at first then flip eat piece and another 10ish minutes after that.

Baked and crispy.

Now you eat. Grab some dipping situations (I grabbed some guac and tomato sauce) and get at it.

So good.

-C


Almond Crusted Tofu

makes 24 pieces

  • 1 brick firm or extra firm tofu

  • 1/2 cup almonds

  • 1/4 cup old fashion oats

  • 1/2 teaspoon red pepper flakes

  • 1 teaspoon garlic powder

  • 1/2 cup warm plant milk

  • 1 tablespoon apple cider vinegar

  • 1 tablespoon mustard

  • 1 tasblepoon ground flaxseed

  • salt and pepper

Preheat oven to 450

Remove tofu from package and gently press out as much liquid as you can. Cut the tofu brick in half then flip each piece onto it’s side and cut each half into 3 equal pieces. Flip back down and then cut each third into 4 triangles. Or just cut the tofu into 24 each sizes pieces of your choice. Set aside on a dry towel.

Make the dredge. Combine flax seed, mustard, vinegar, warm plant milk and a inch of salt and pepper in a shallow bowl until completely combined.

To make the almond crust place the almonds, oats, garlic powder, red pepper flakes and a good pinch of salt and pepper into a food processor and pulse for about a minute or so until the texture is a small crumb the consistency of semi fine bread crumbs. Pour into a shallow bowl.

When all parts are ready to go, line up the dredge, the almond mixture, and get a baking sheet ready with either a baking mate or a little oil to keep the tofu from sticking. Take each piece of tofu and dip it though the dredge making sure to evenly coat it and then lift it out and let the excess drip off. The drop the tofu into the almond mixture and gently toss flip ti coat each side. Place coated onto baking sheet.

Once all the tofu is coated place it into the hot oven.Bake for 20 minutes then flip each piece and bake for another 8-12 minutes or unit crispy.

Once baked, remove from oven, place on a plate and eat. Want something to dip it in? I recommend guacamole. and or tomato sauce. Mustard and hummus are also fantastic!

In tofu, Nuts, dinner, snack, Vegan Tags Almond Crusted Tofu, tofu, vegan, dinner, protein, plant based, healthy, almonds, nuts, oats, gluten free, dairy free, nuggets, breaded, flax, easy, delicious, soy
Comment

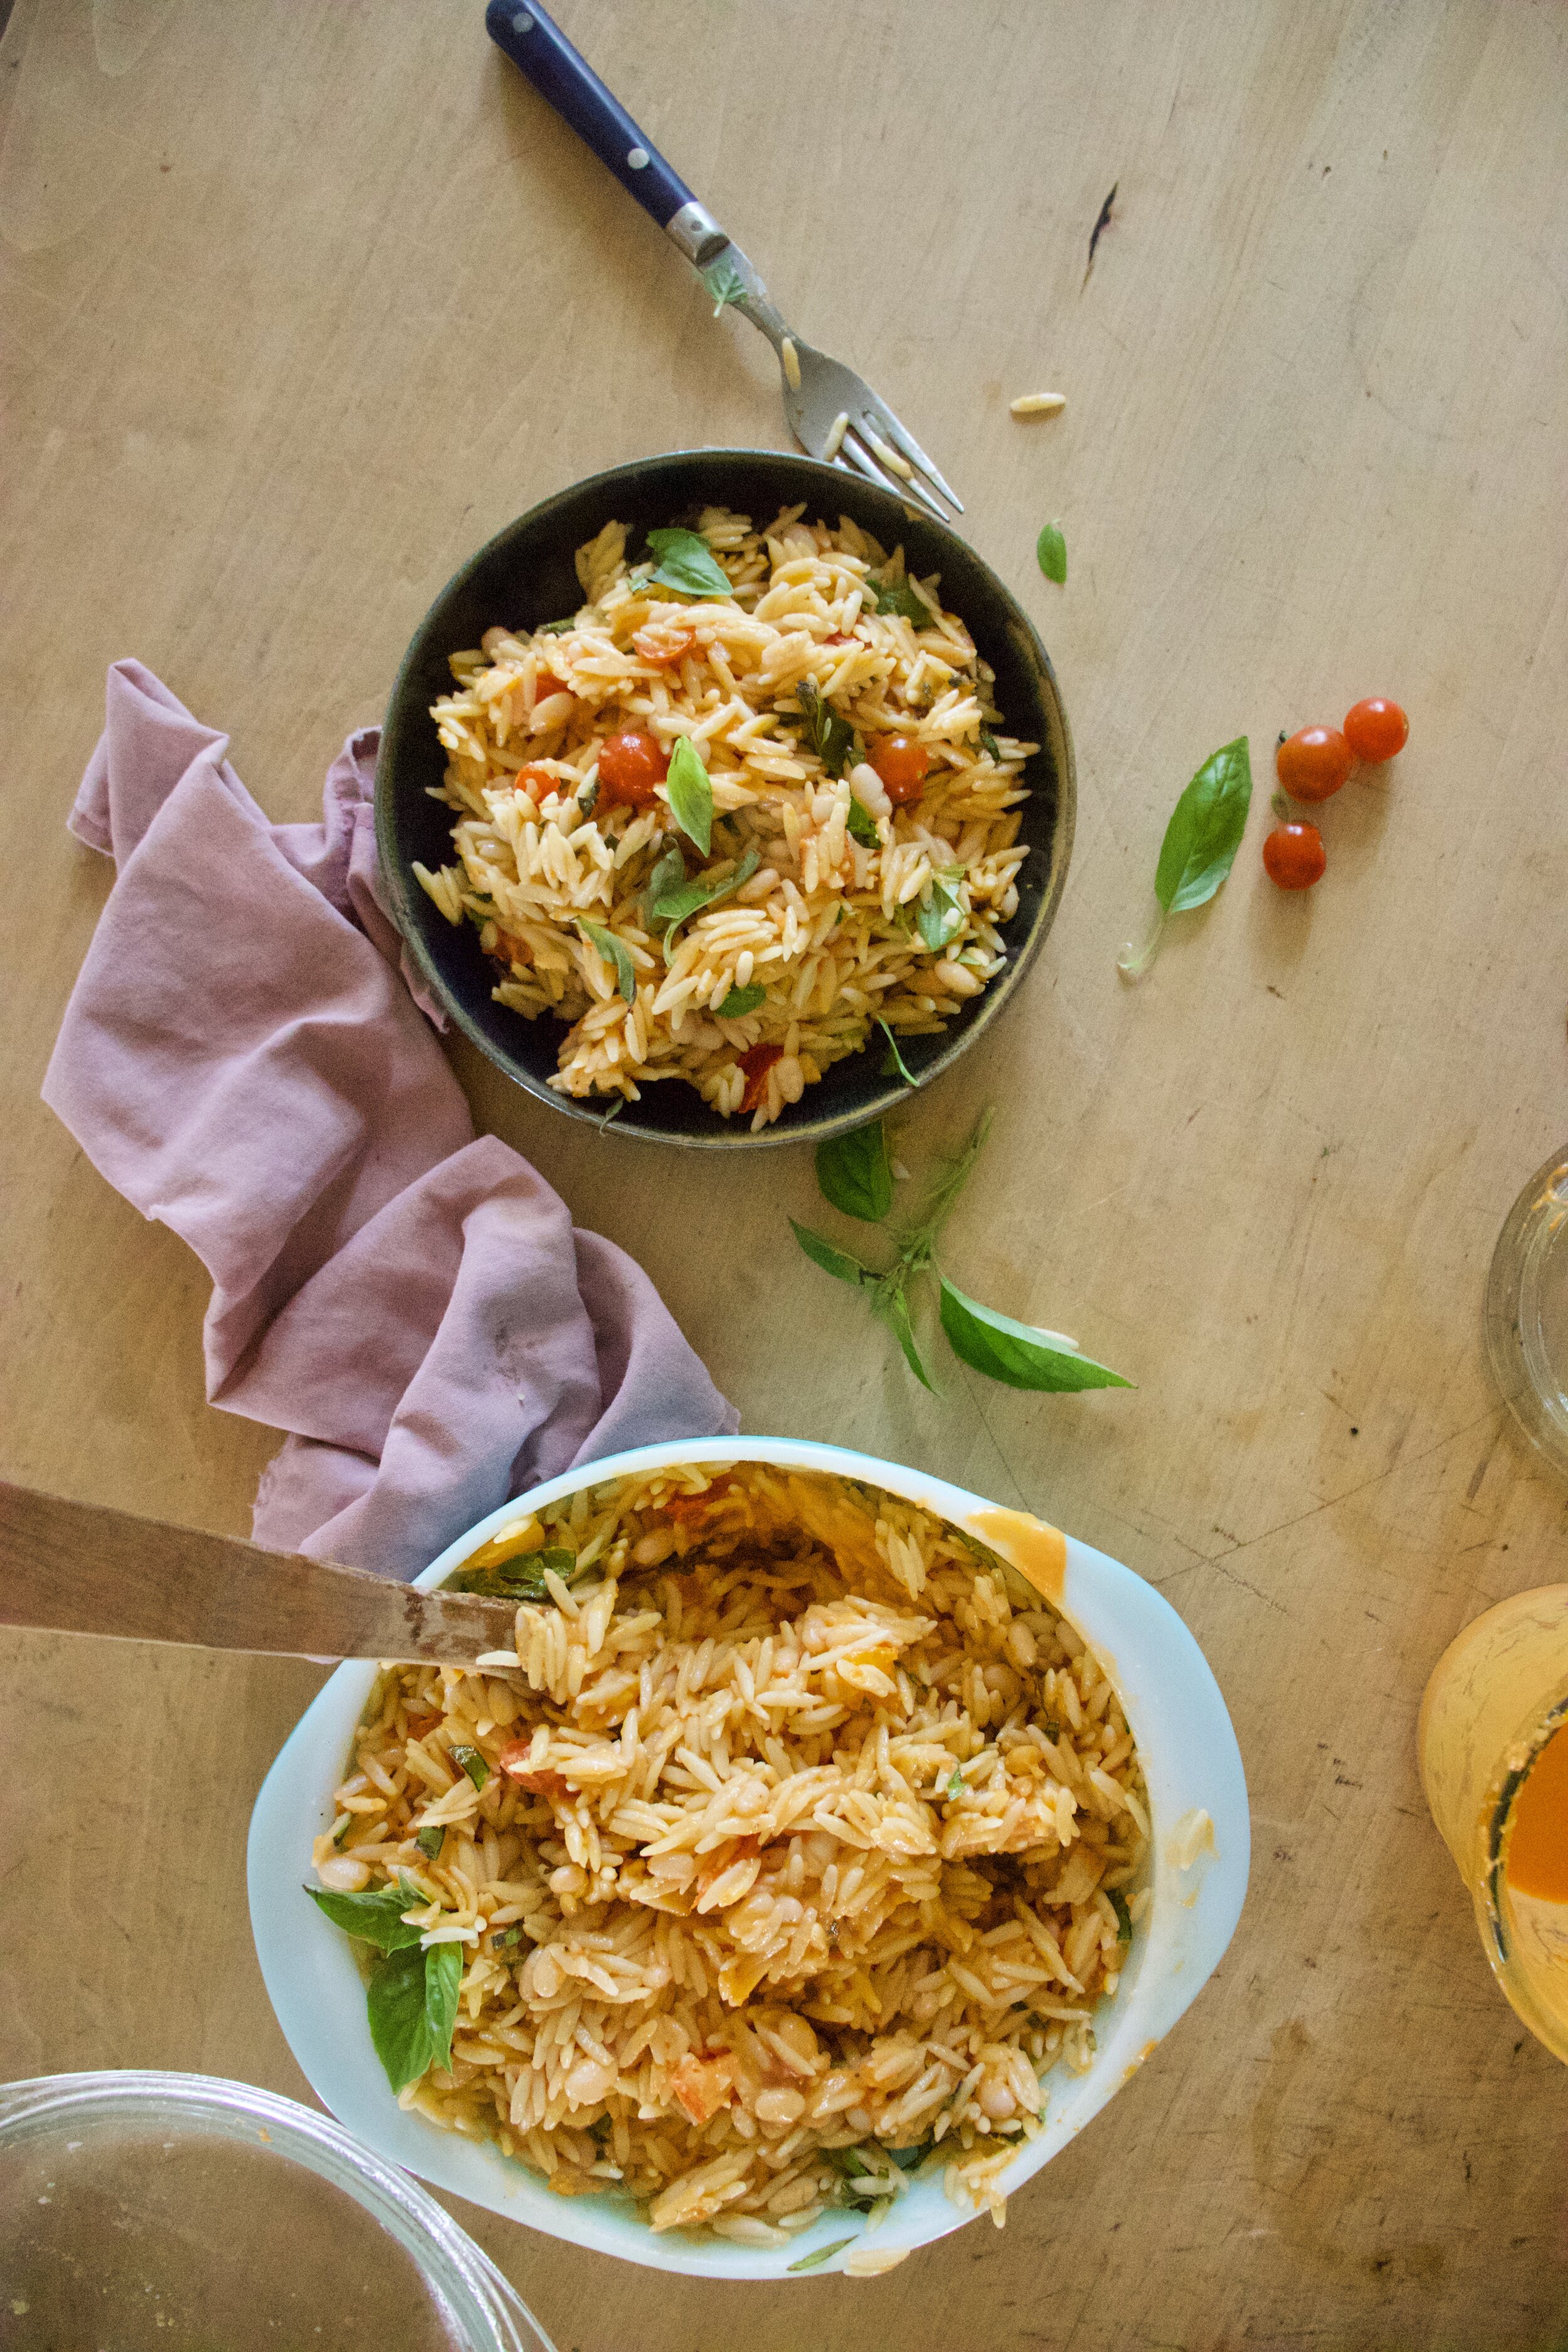
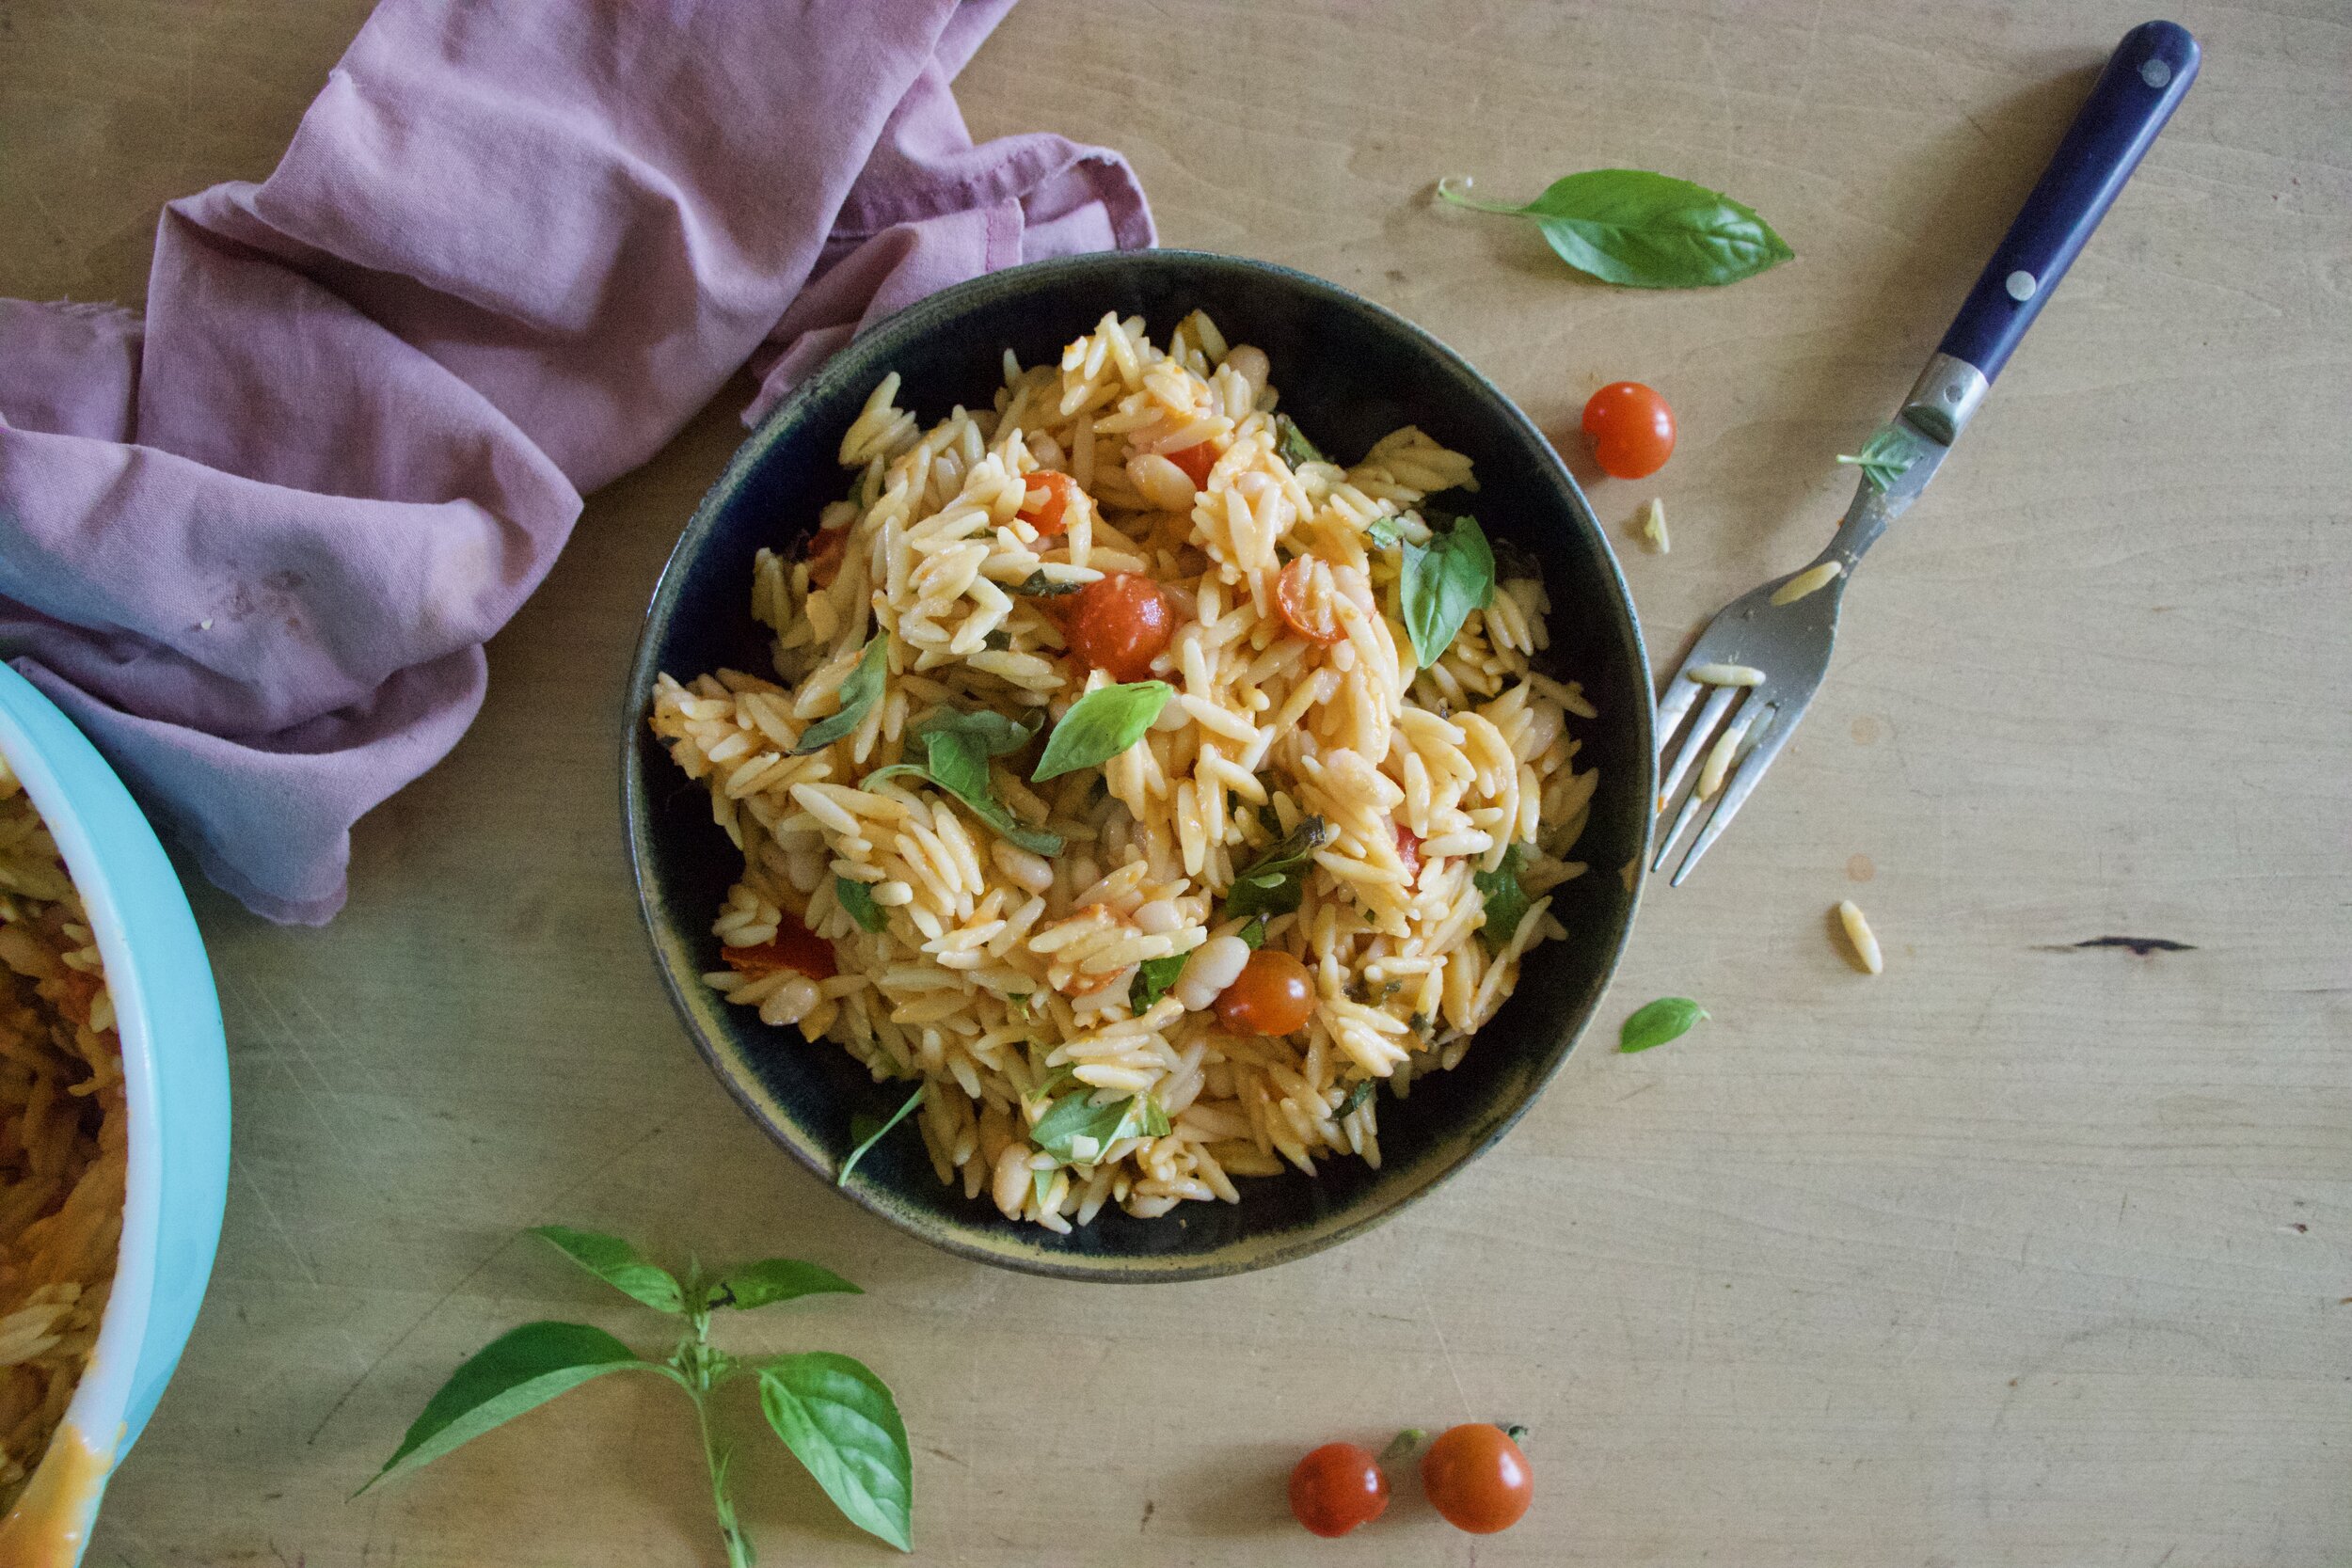
Tomato Basil and White Bean Orzo Pasta Salad

August 28, 2021 Colleen Stem
IMG_7155.jpg
IMG_7160.jpg

Another heatwave. I tell you what, If I never live through another 90 + degree day, it will be too soon.

What to eat during a heat wave? Well maybe you don’t care and have air conditioning in your kitchen so you cook whatever. I don’t have air conditioning and after a few days of boiling temps, there is no freaking way I am turning on the oven. I can barely turn on the stove top to boil water, but I did, I boiled water, I just did it early in the morning before the temperatures starting rising again. (A pro tip for you.) That is one of the great things about pasta salad, you can make the pasta ahead of time. You can even make the whole salad in the morning and then you don’t have to do a damn thing when it comes to dinner besides lifting a fork to your face, which I know can be a feat when all you want to do is melt, or slap at something, but still.

This pasta salad, well it is not you everyday pasta salad. It has beans, fresh basil, and a dressing that is made by blending up the most delicious seasonal tomatoes until rich and creamy and dumped all over the orzos. . It is probably going to be the best tasting pasta salad you will ever eat. The thing is, you really need to make it soon because sure you can get tomatoes all year round but don’t do that. Do yourself a favor and make it now while the tomatoes are plentiful and at their peak of deliciousness. And also you don’t have wait for a heatwave to make it. This is a good meal to have at the ready all throughout tomato season, and just in case, a heat wave.

Now to the pasta salad!

IMG_7072.jpg

The stuff. Just picked tomatoes, some fresh basil, cooked navy beans, orzo pasta, olive oil, red wine vinegar, garlic, and salt and pepper.

IMG_7078.jpg

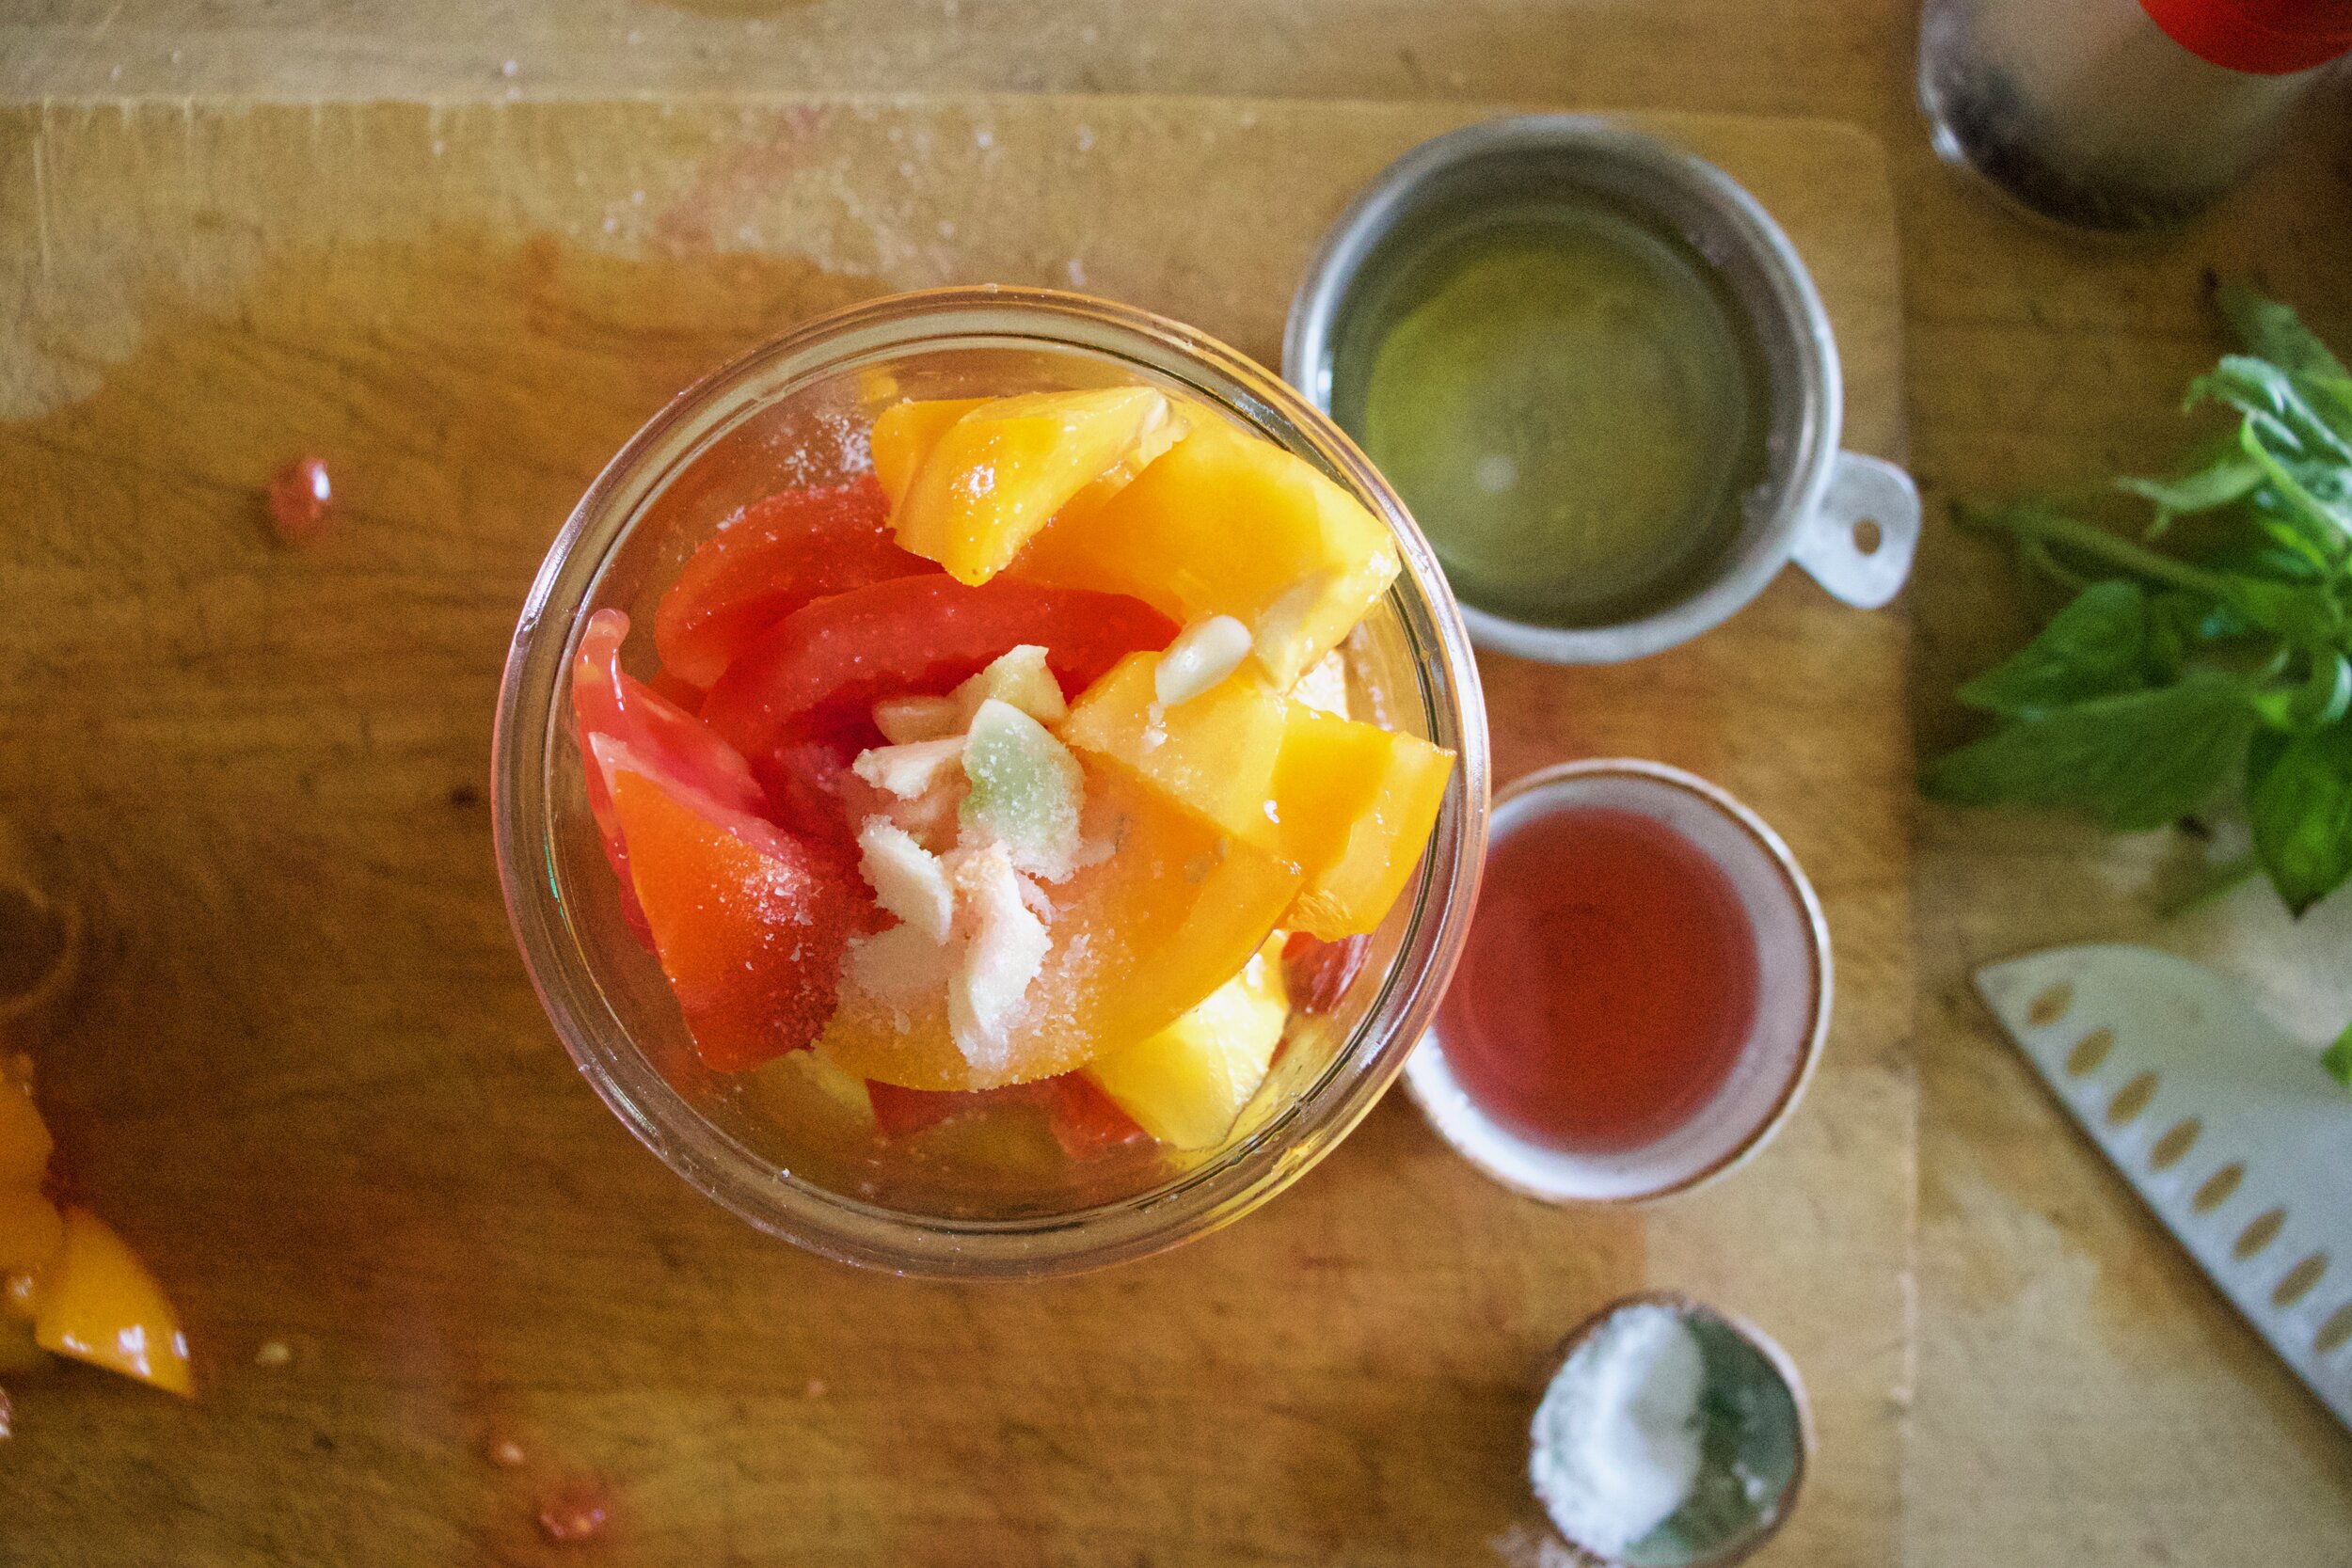
Rough chop tomatoes into small pieces. Also peel and dice garlic into small pieces.

IMG_7082.jpg
IMG_7083.jpg

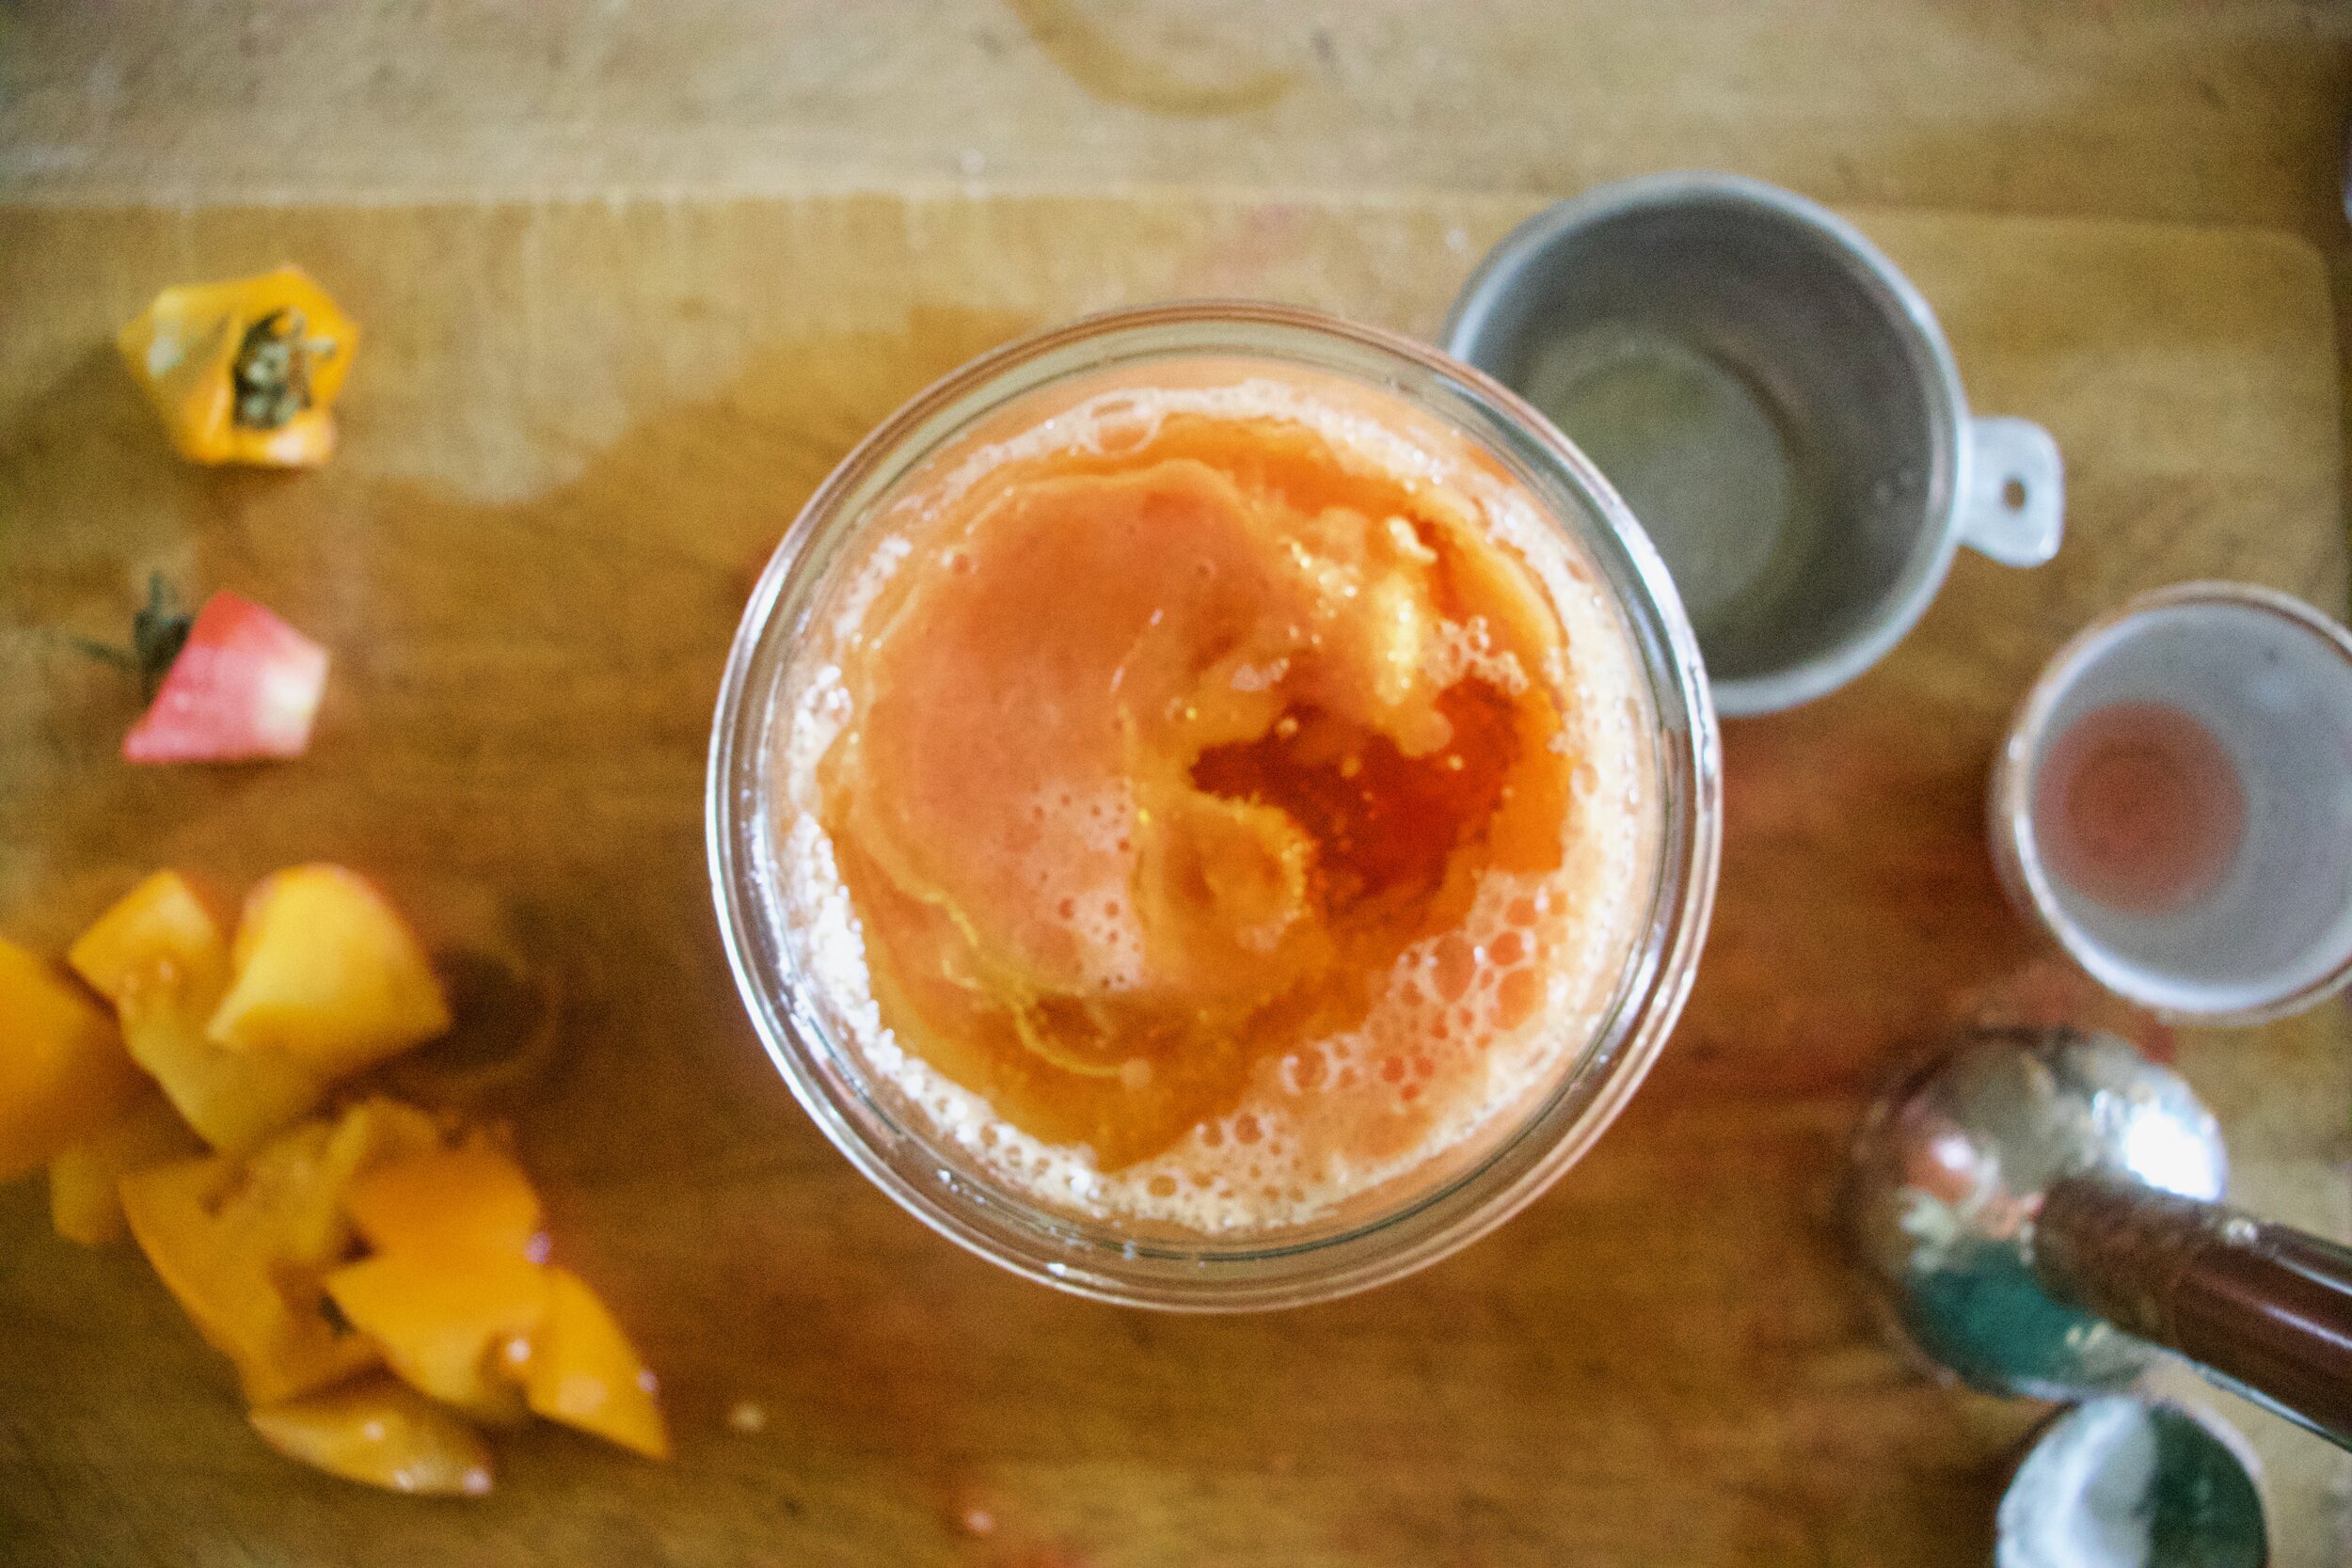
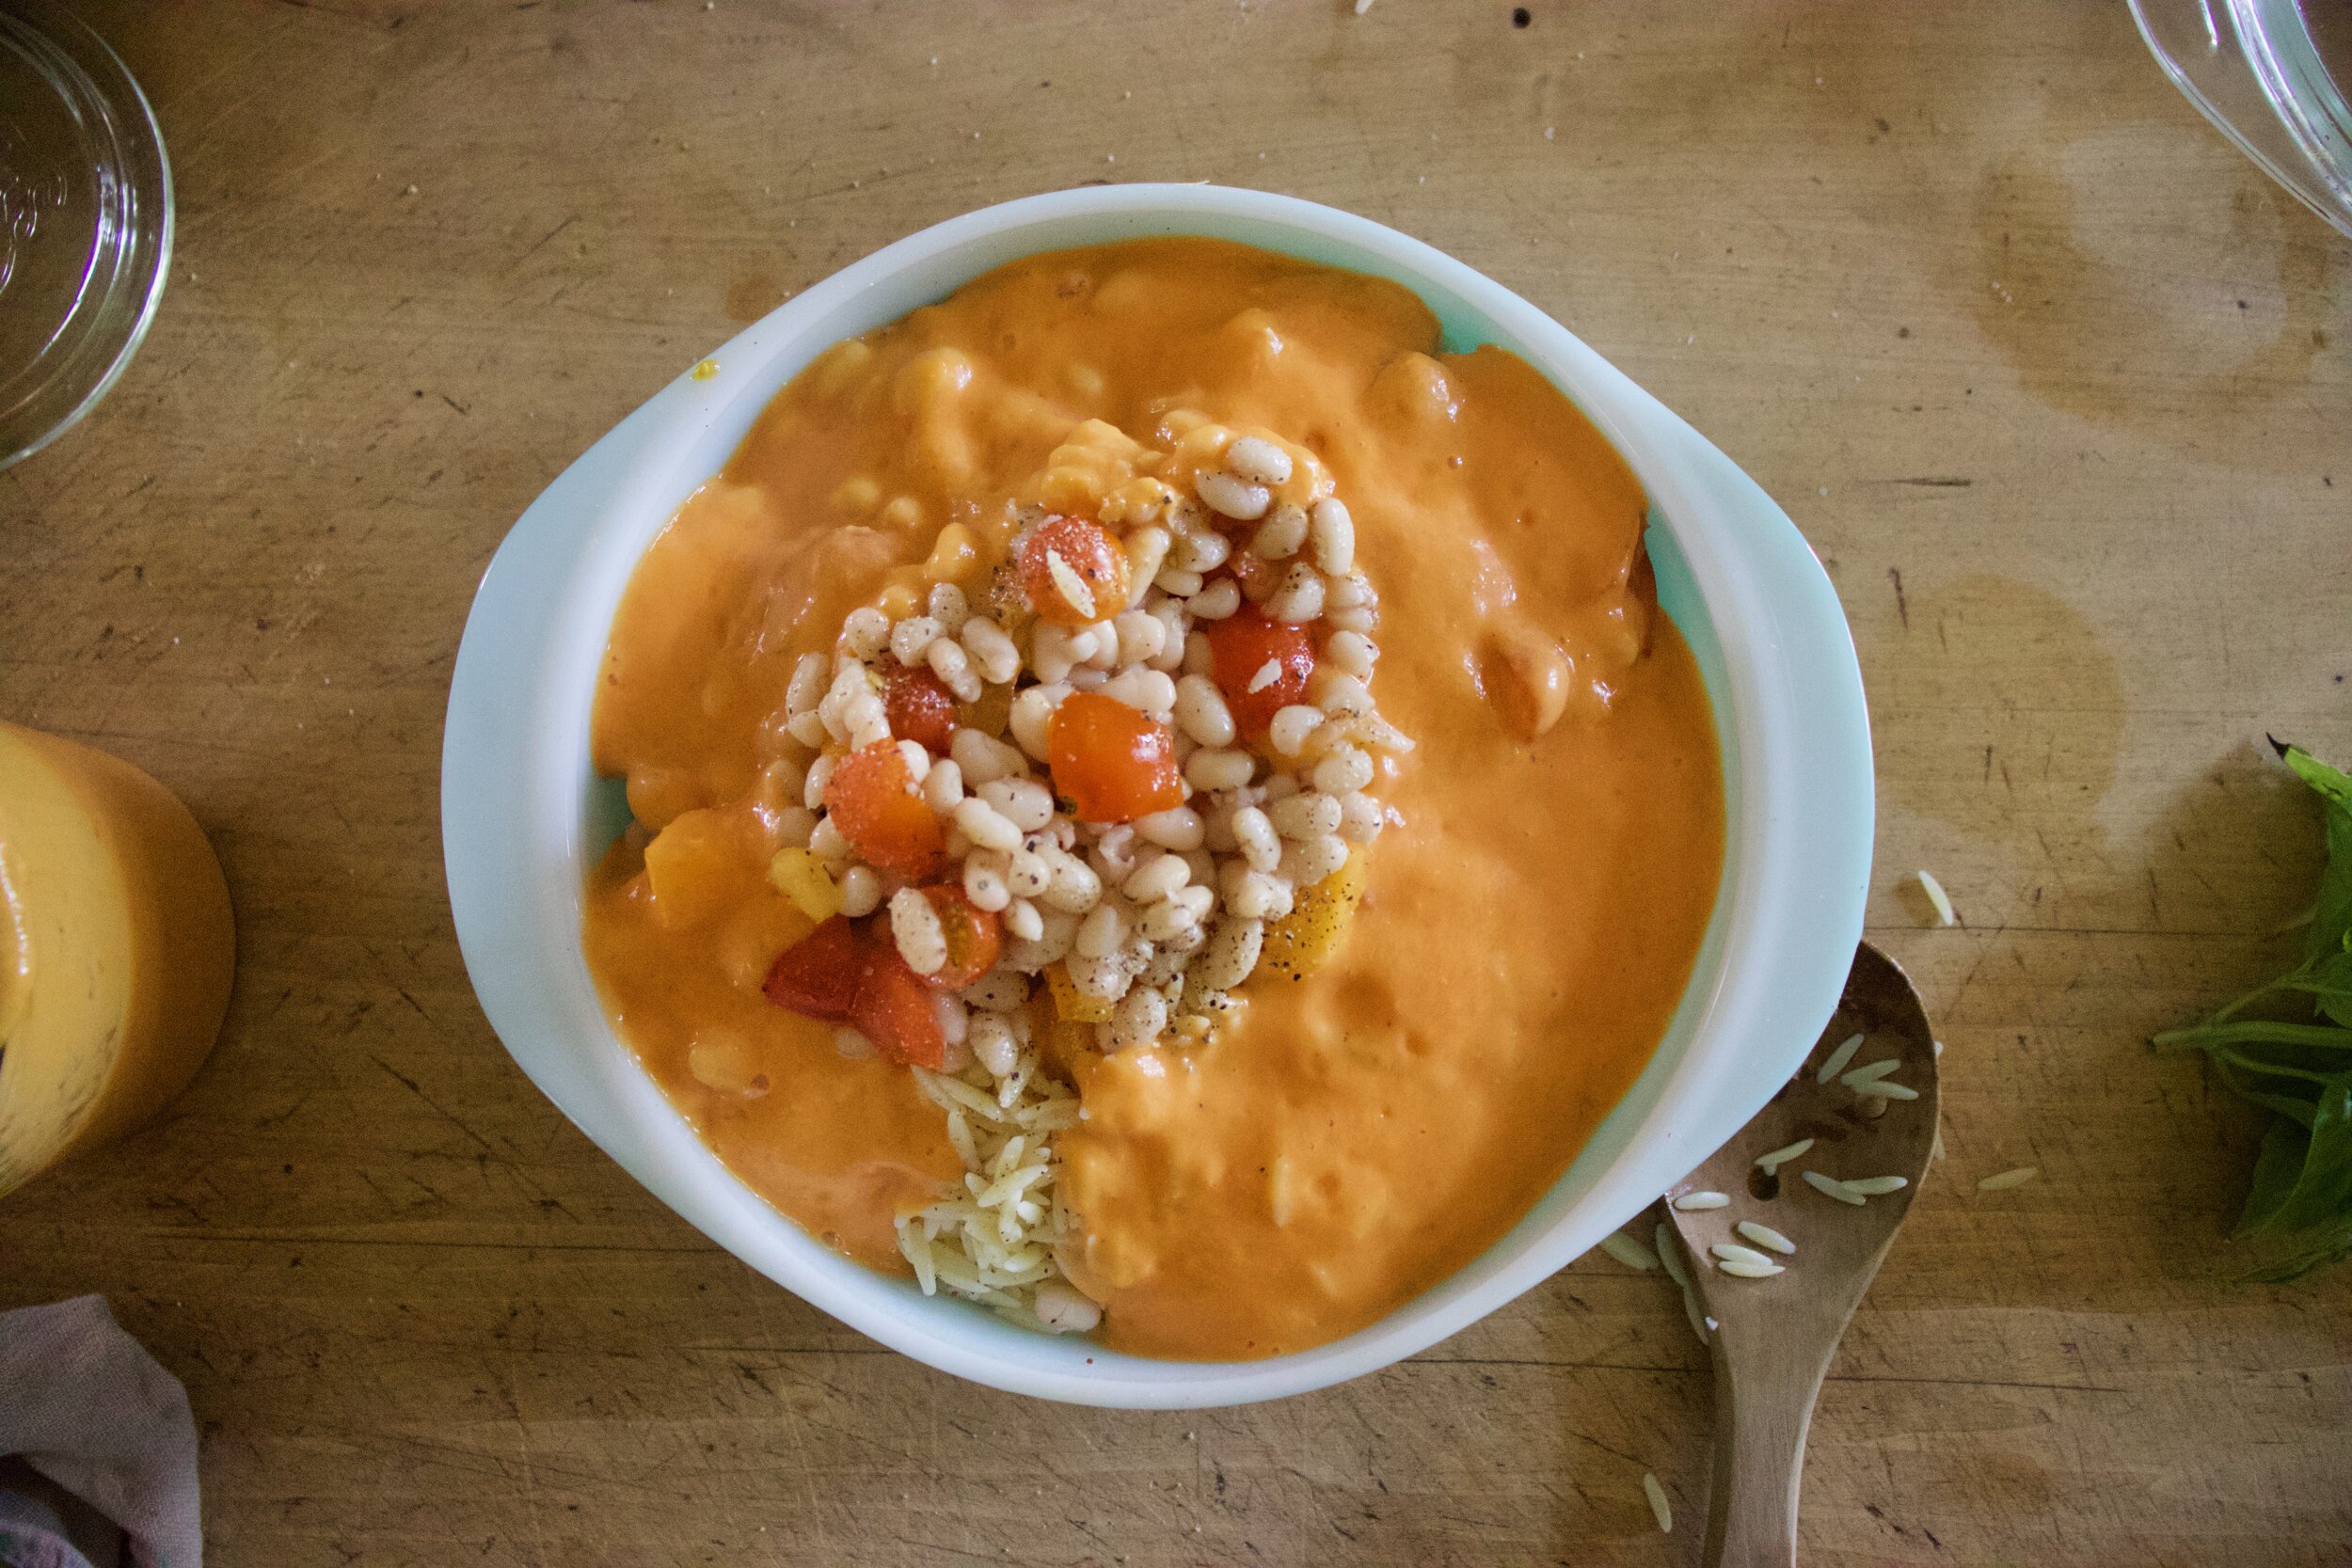
Place the tomatoes, garlic, and a good pinch of salt into a blender (I used a hand blender) and blend unit smooth. Add in the vinegar and oil and bend until the mixture starts to emulsify and becomes smooth and creamy.

IMG_7098.jpg
IMG_7106 2.jpg

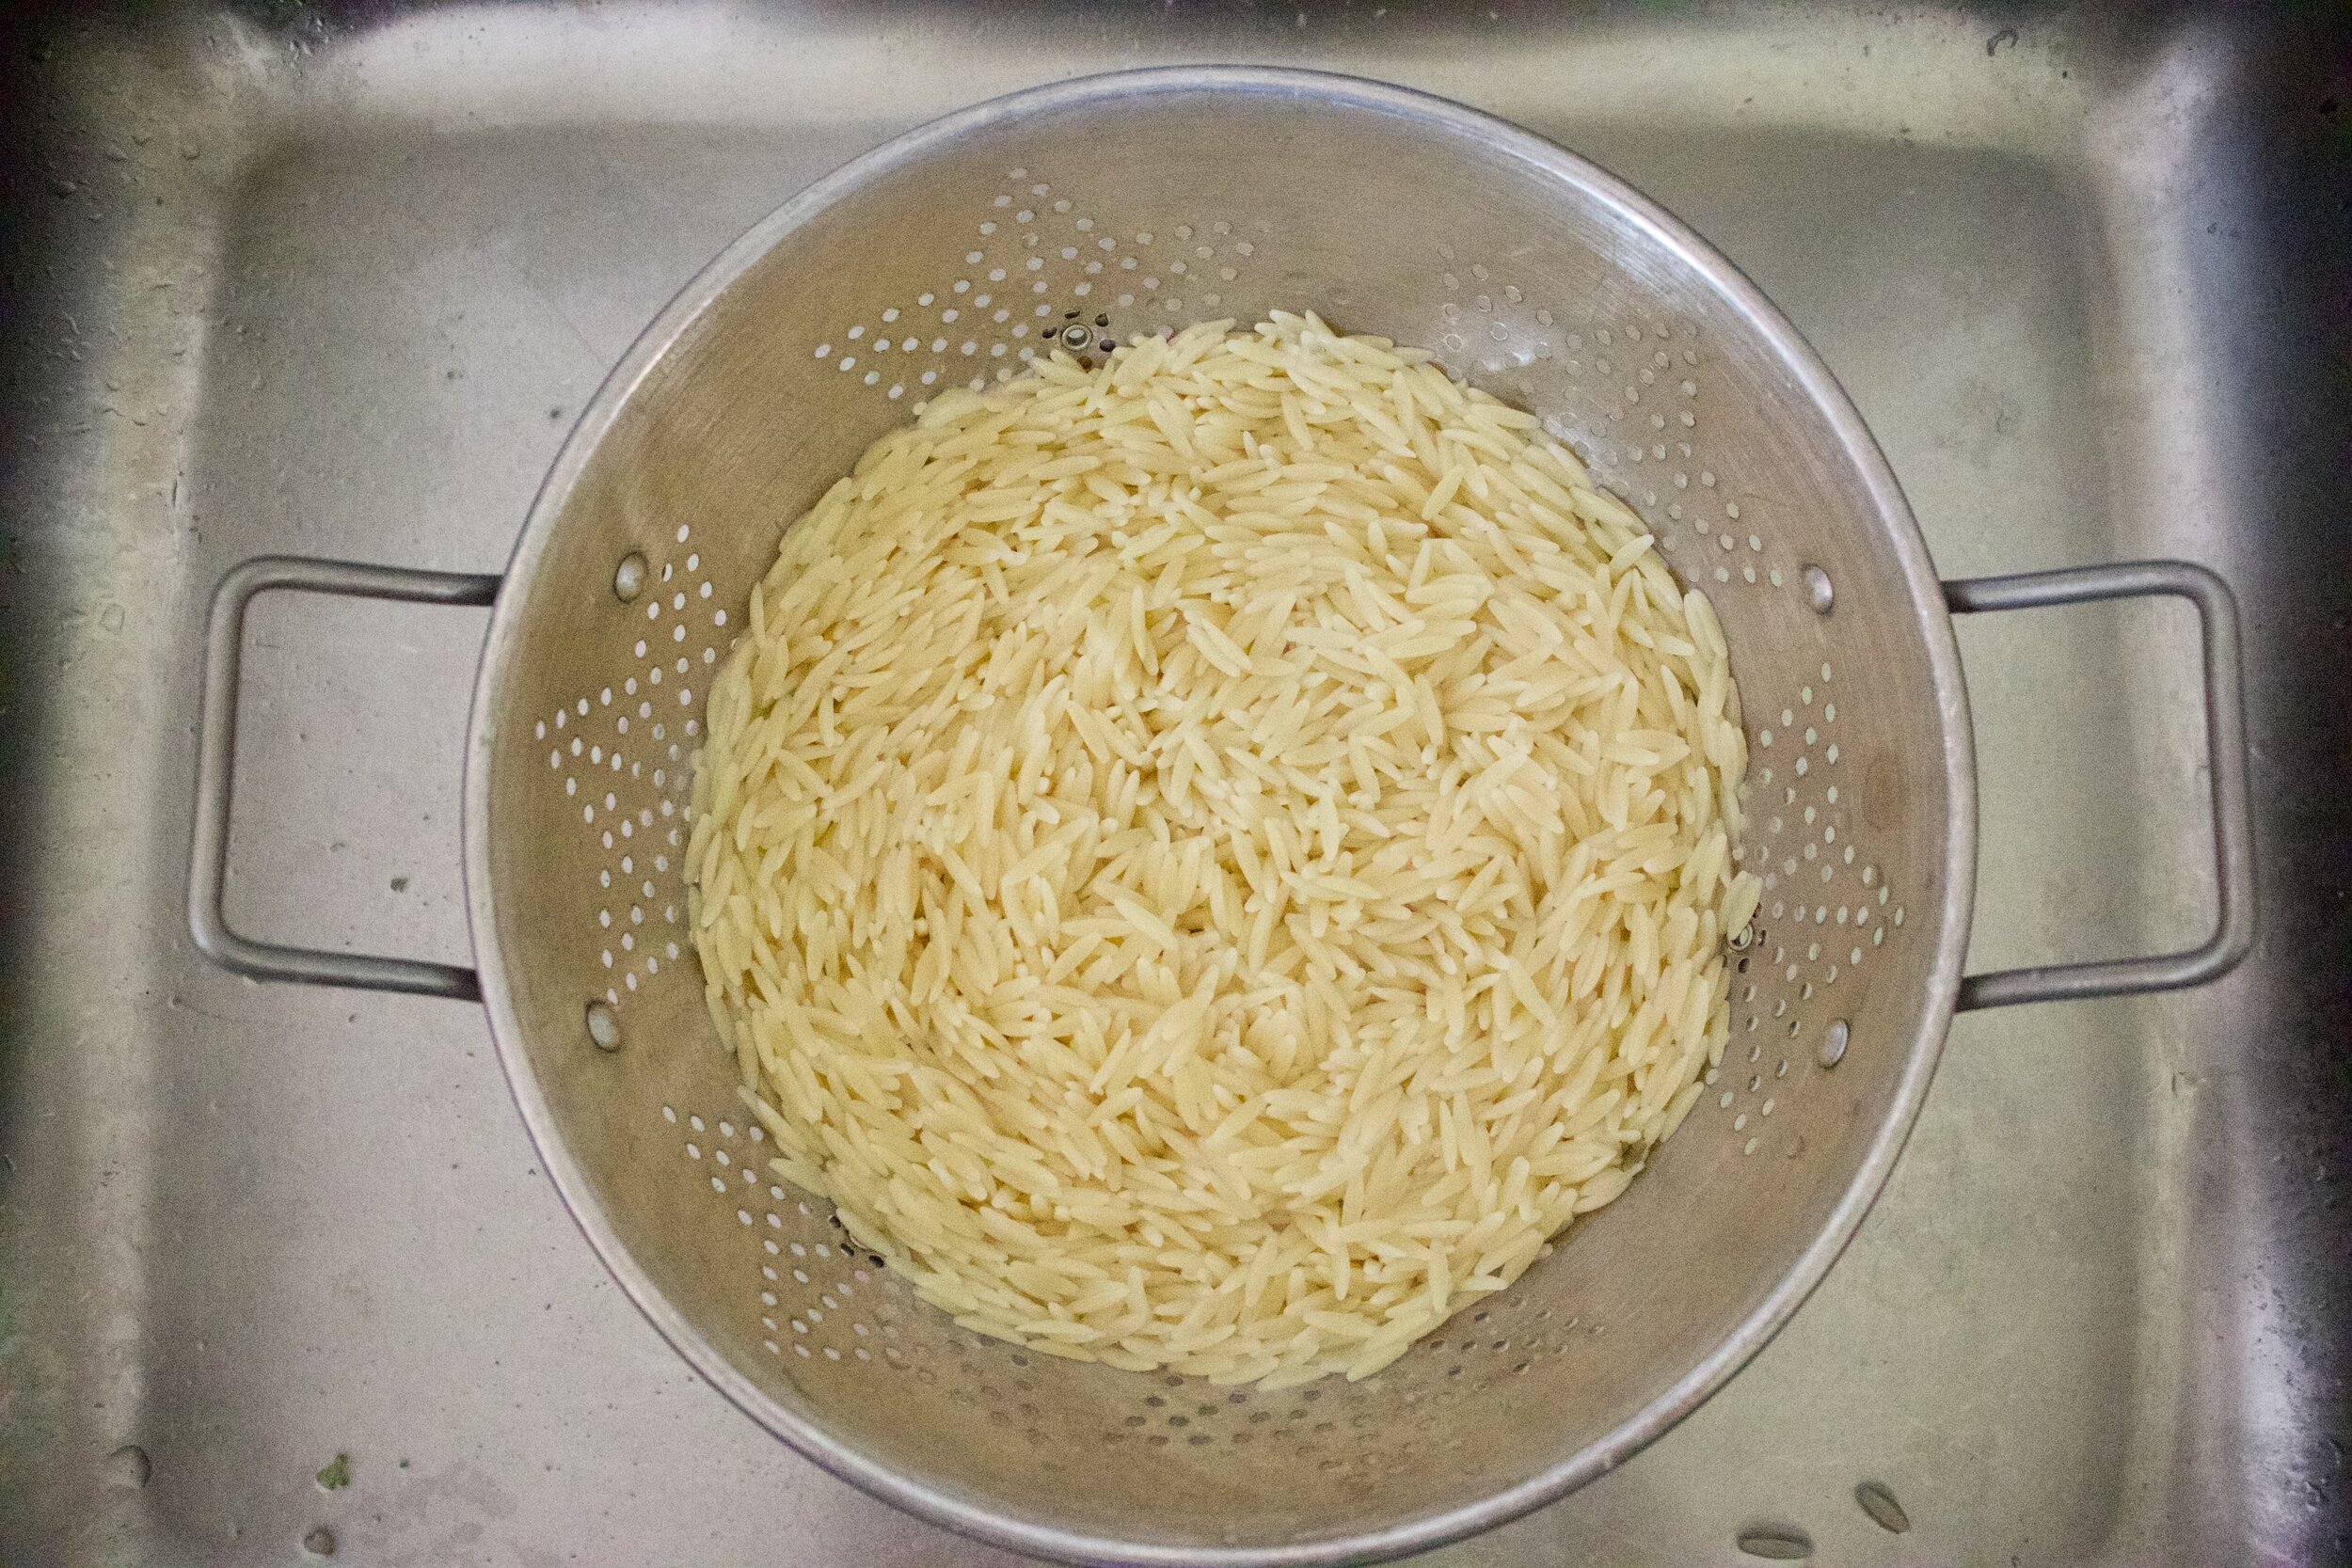
Cook and strain pasta as instructed. Keep in on the al dente side.

Chop up basil into thin ribbons or whatever.

IMG_7115.jpg
IMG_7116.jpg
IMG_7124.jpg

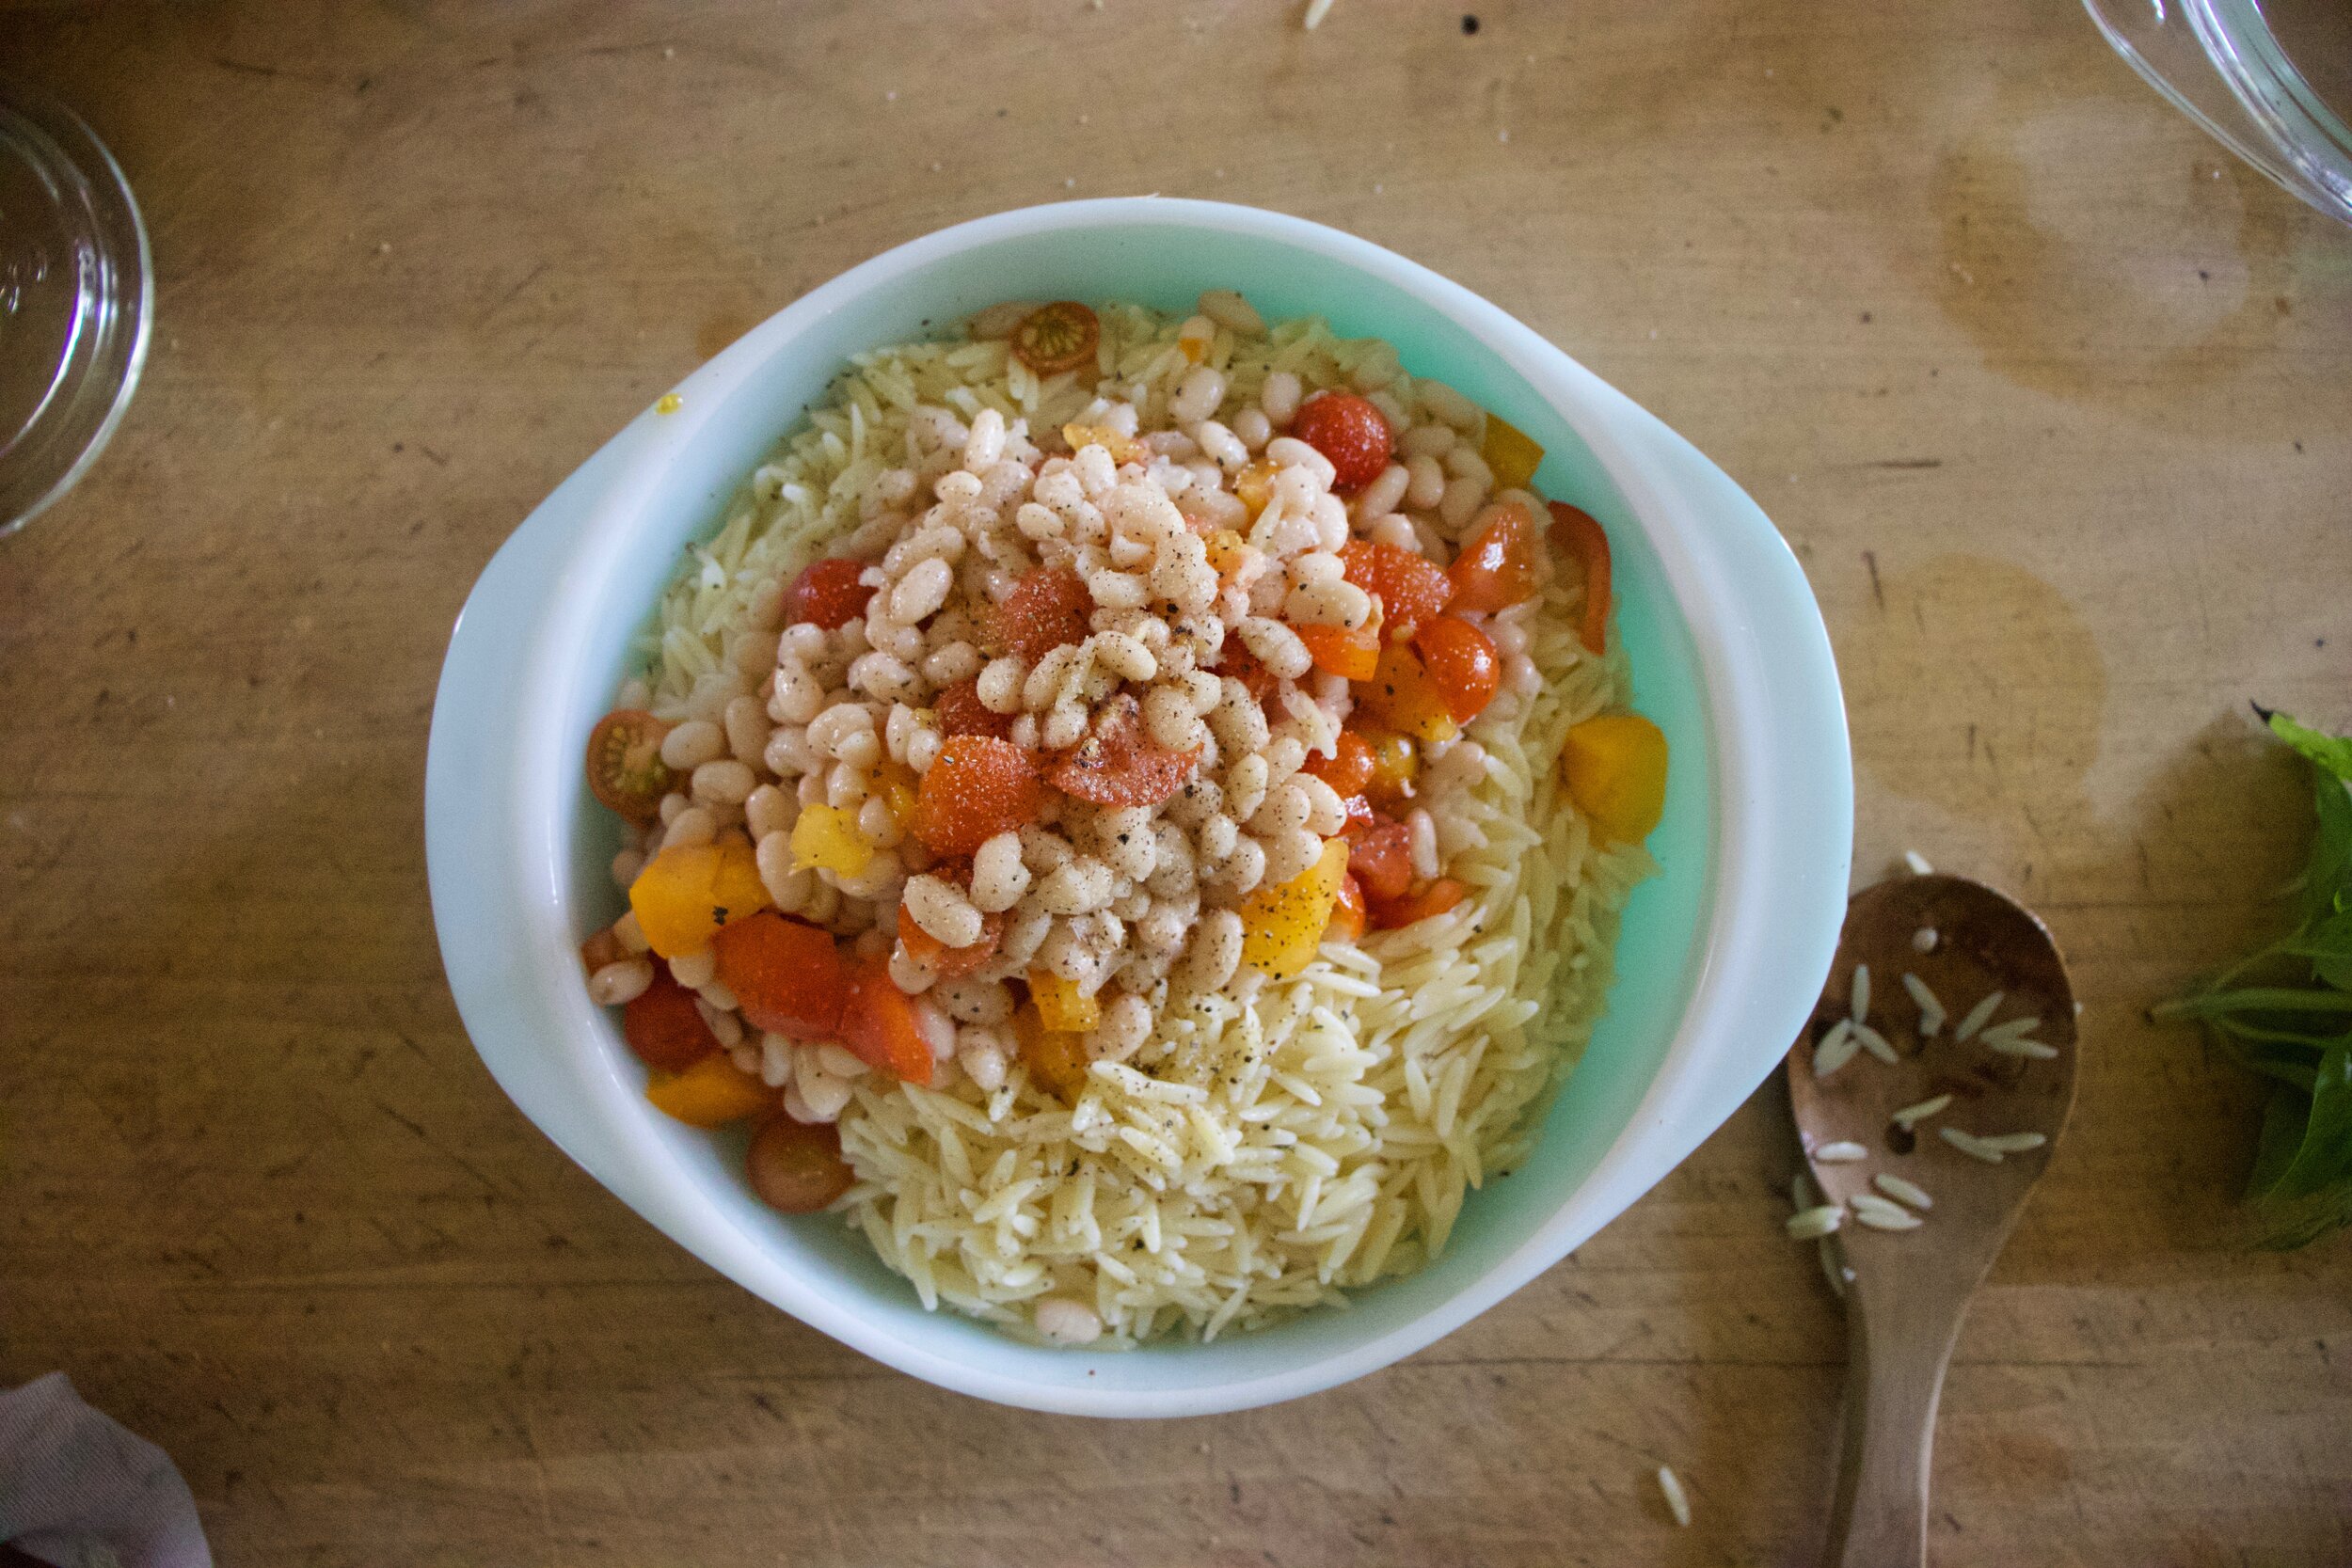
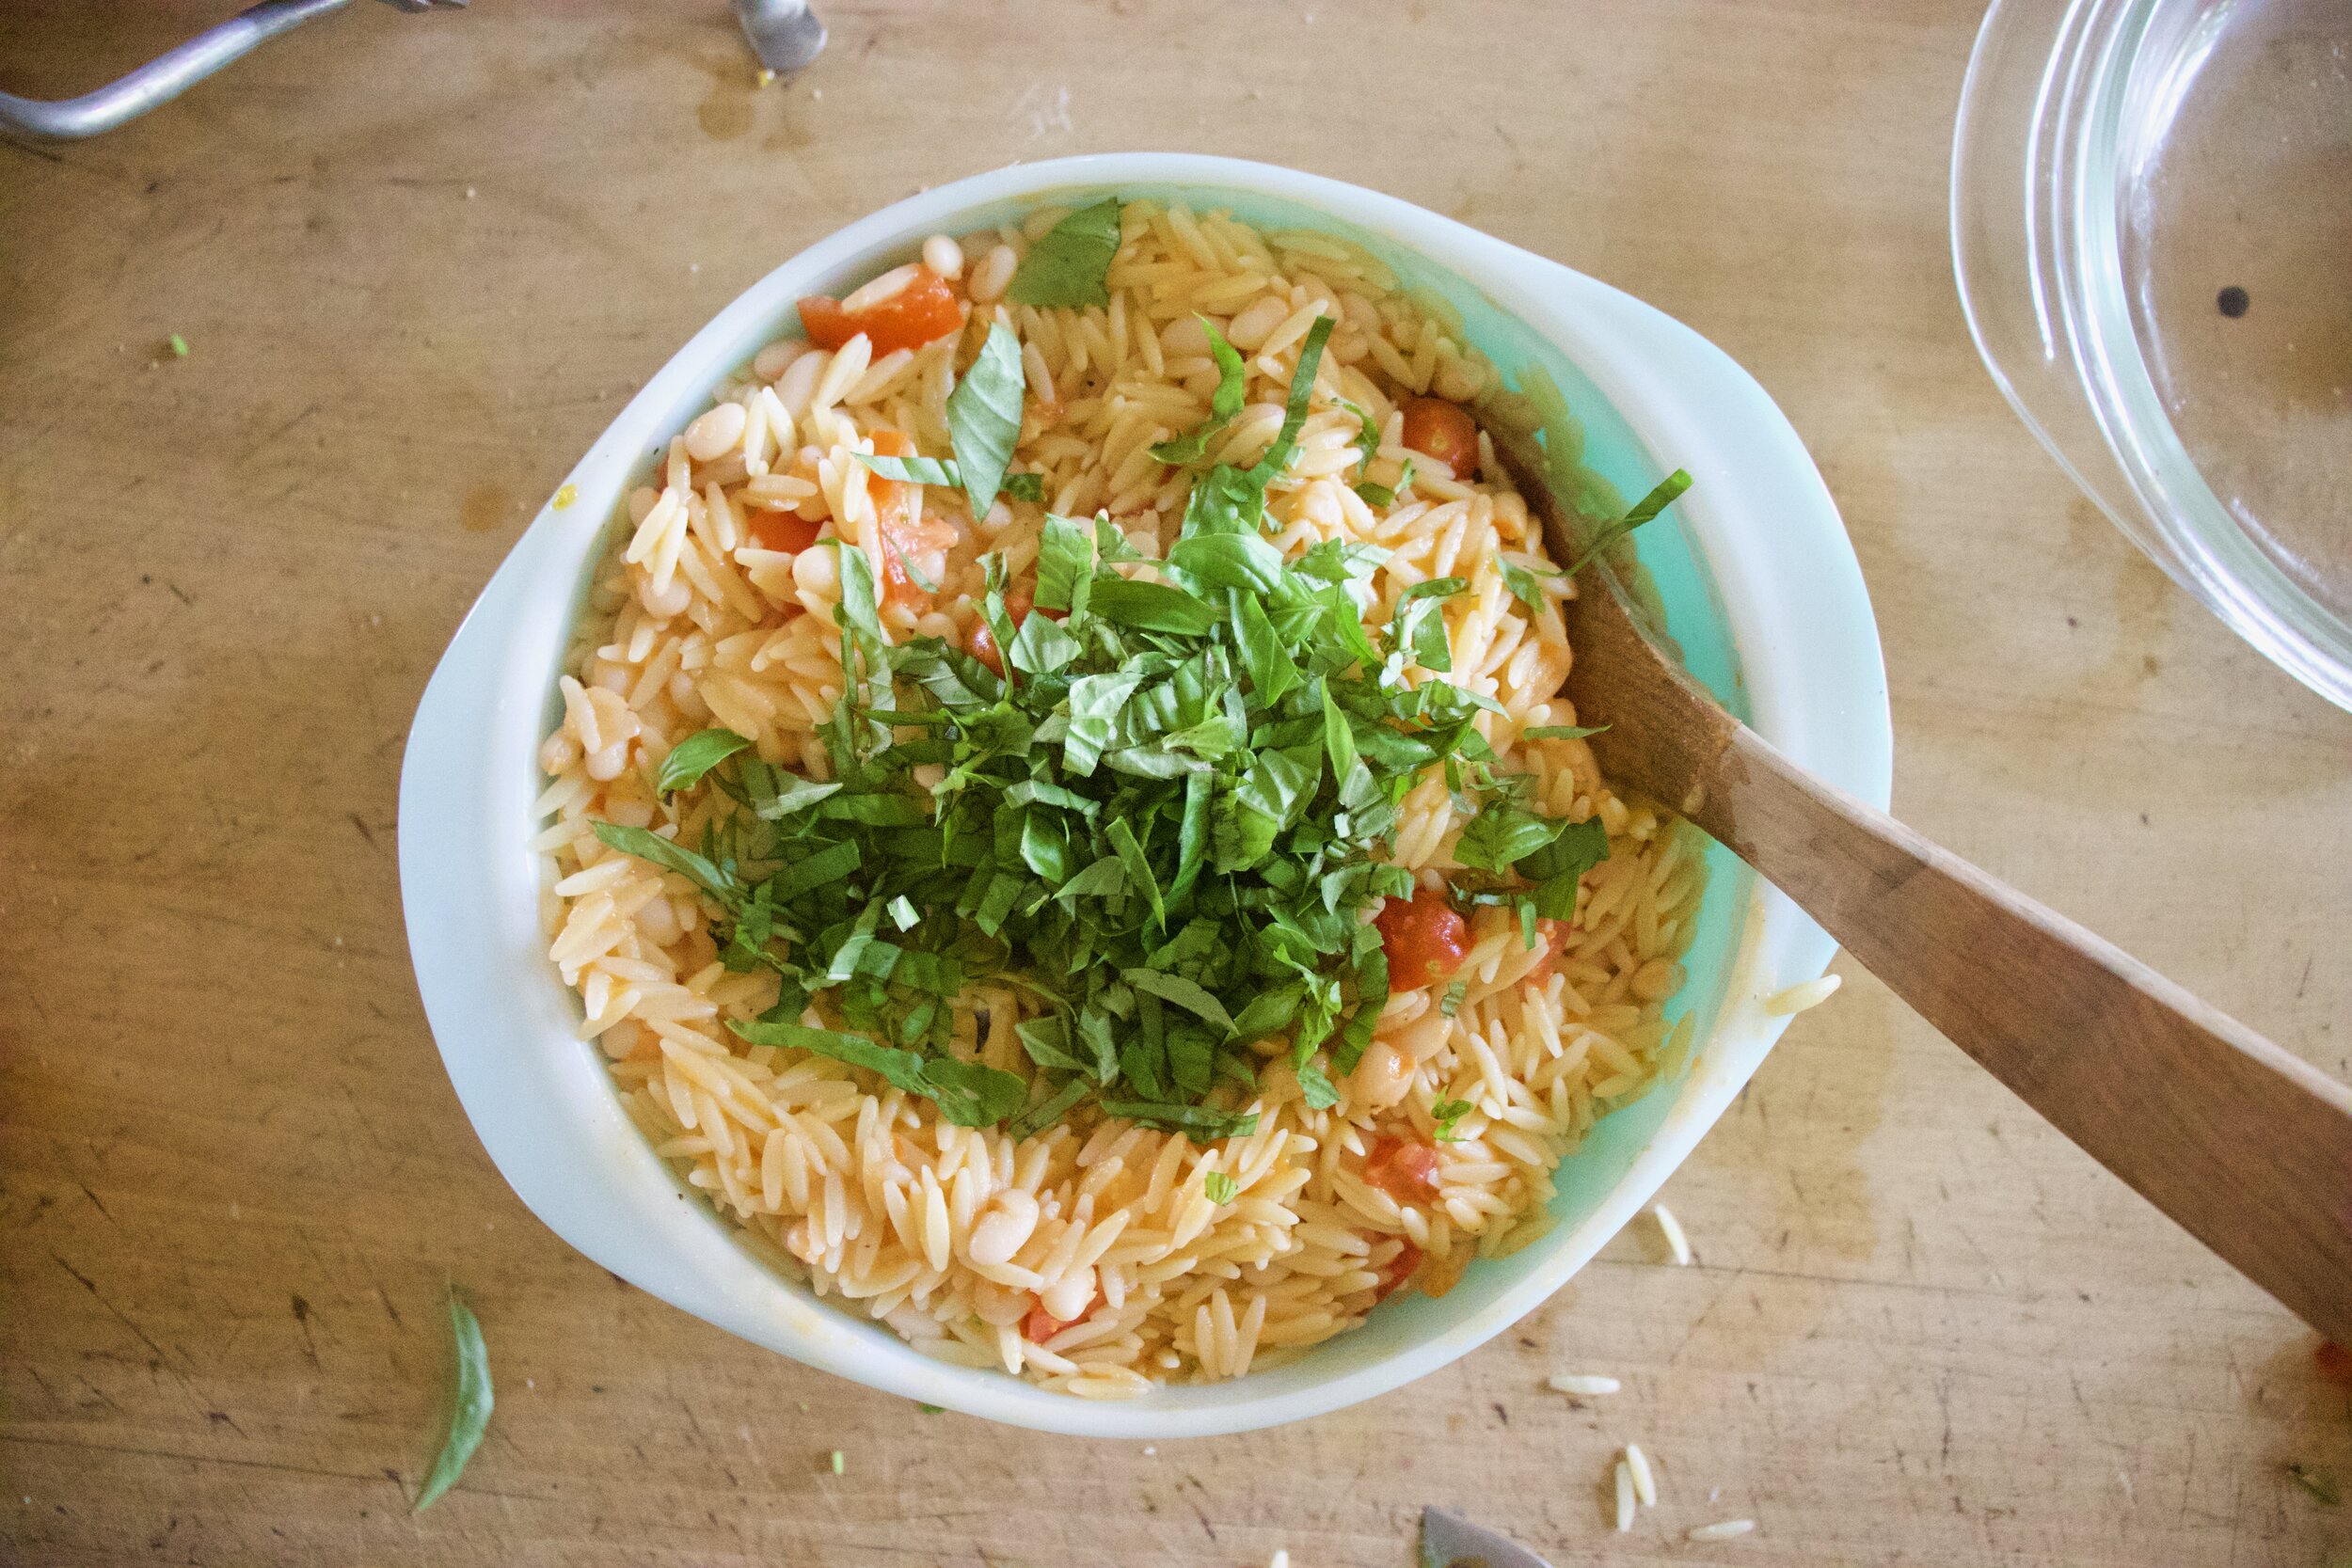
Then dump pasta into a large bowl. Add in cherry tomatoes ( I cut mine in half) and beans. Dump in half the sauce and mix around then mix in the chopped basil.

If you are eating it right away, add in the rest of the sauce. If you are keeping it for later, place pasta and sauce in fridge and a before you are planning on serving it mix in the remaining sauce.

IMG_7134.jpg

Looks so good right! Season with salt and pepper to taste and then you know…

IMG_7168.jpg

Grab a bowl and eat it. Probably should grab a from too, eating this with your hands might get messy.

Stay cool friends!

-C


Tomato Basil and White Bean Orzo Pasta Salad

serves 2-3 as a meal or more as a side

  • 2 cups dried orzo pasta (12 oz)

  • 2 large heirloom tomatoes (about 2 cups chopped)

  • 1 1/2 cups cherry tomatoes (or chopped tomatoes)

  • 1/3 cup olive oil

  • 2 tablespoons red wine vinegar

  • 1 1/2 cups cooked and drained white beans ( I used navy but any white bean will do)

  • 1 cup packed basil leaves

  • 2 cloves garlic

  • salt and pepper

Start with making the tomato dressing. Rough chop the 2 large tomatoes into smaller pieces and peel and chop garlic. Place the tomatoes in a blender (or a large jar if using a hand blender) with the garlic and a good pinch of salt and a little pepper. Blend until smooth. Add in the vinegar and oil and continue to blend until the mixture becomes thick and creamy. Taste and add more salt and pepper if needed .

Prepare orzo pasta as instructed on package (make it al dente)

Grab basil and chop into smaller pieces.

Once orzo is cooked and drained, dump it into a large bowl. Add in the beans and cherry tomatoes (slice in half if they are on the large size) and pour in half if the tomato sauce. Mix unit incorporated. Toss in the basil.

Now if you are going to eat right away mix in remaining sauce. If you plan on refrigerating and eating later, save the remaining half of the sauce and mix it in right before serving.

Store left overs in fridge for up to 5 days.

In beans, dinner, quick and easy, salad, side dish, summer, Vegan Tags Tomato Basil and White Bean Orzo Pasta Salad, tomatoes, summer, heirloom, vegan, salad, pasta, easy, make ahead, heat wave, fresh, basil, no bake, beans, plant based, pulses, healthy, bbq, orzo
Comment

Savory Carrot Dill Waffle Iron Fritters with Creamy Maple Mustard

April 3, 2021 Colleen Stem
IMG_4573.jpg
IMG_4551.jpg
IMG_4523.jpg

The other day I went to grab the cookie cutters out of the pantry and had to move the waffle iron out of the way. That is basically the only reason I used the waffle iron. And just like every single time I grab it out to use, I wonder to my self why the hell I don’t use it more. Maybe it’s time to move the waffle iron to a bette spot in the pantry.

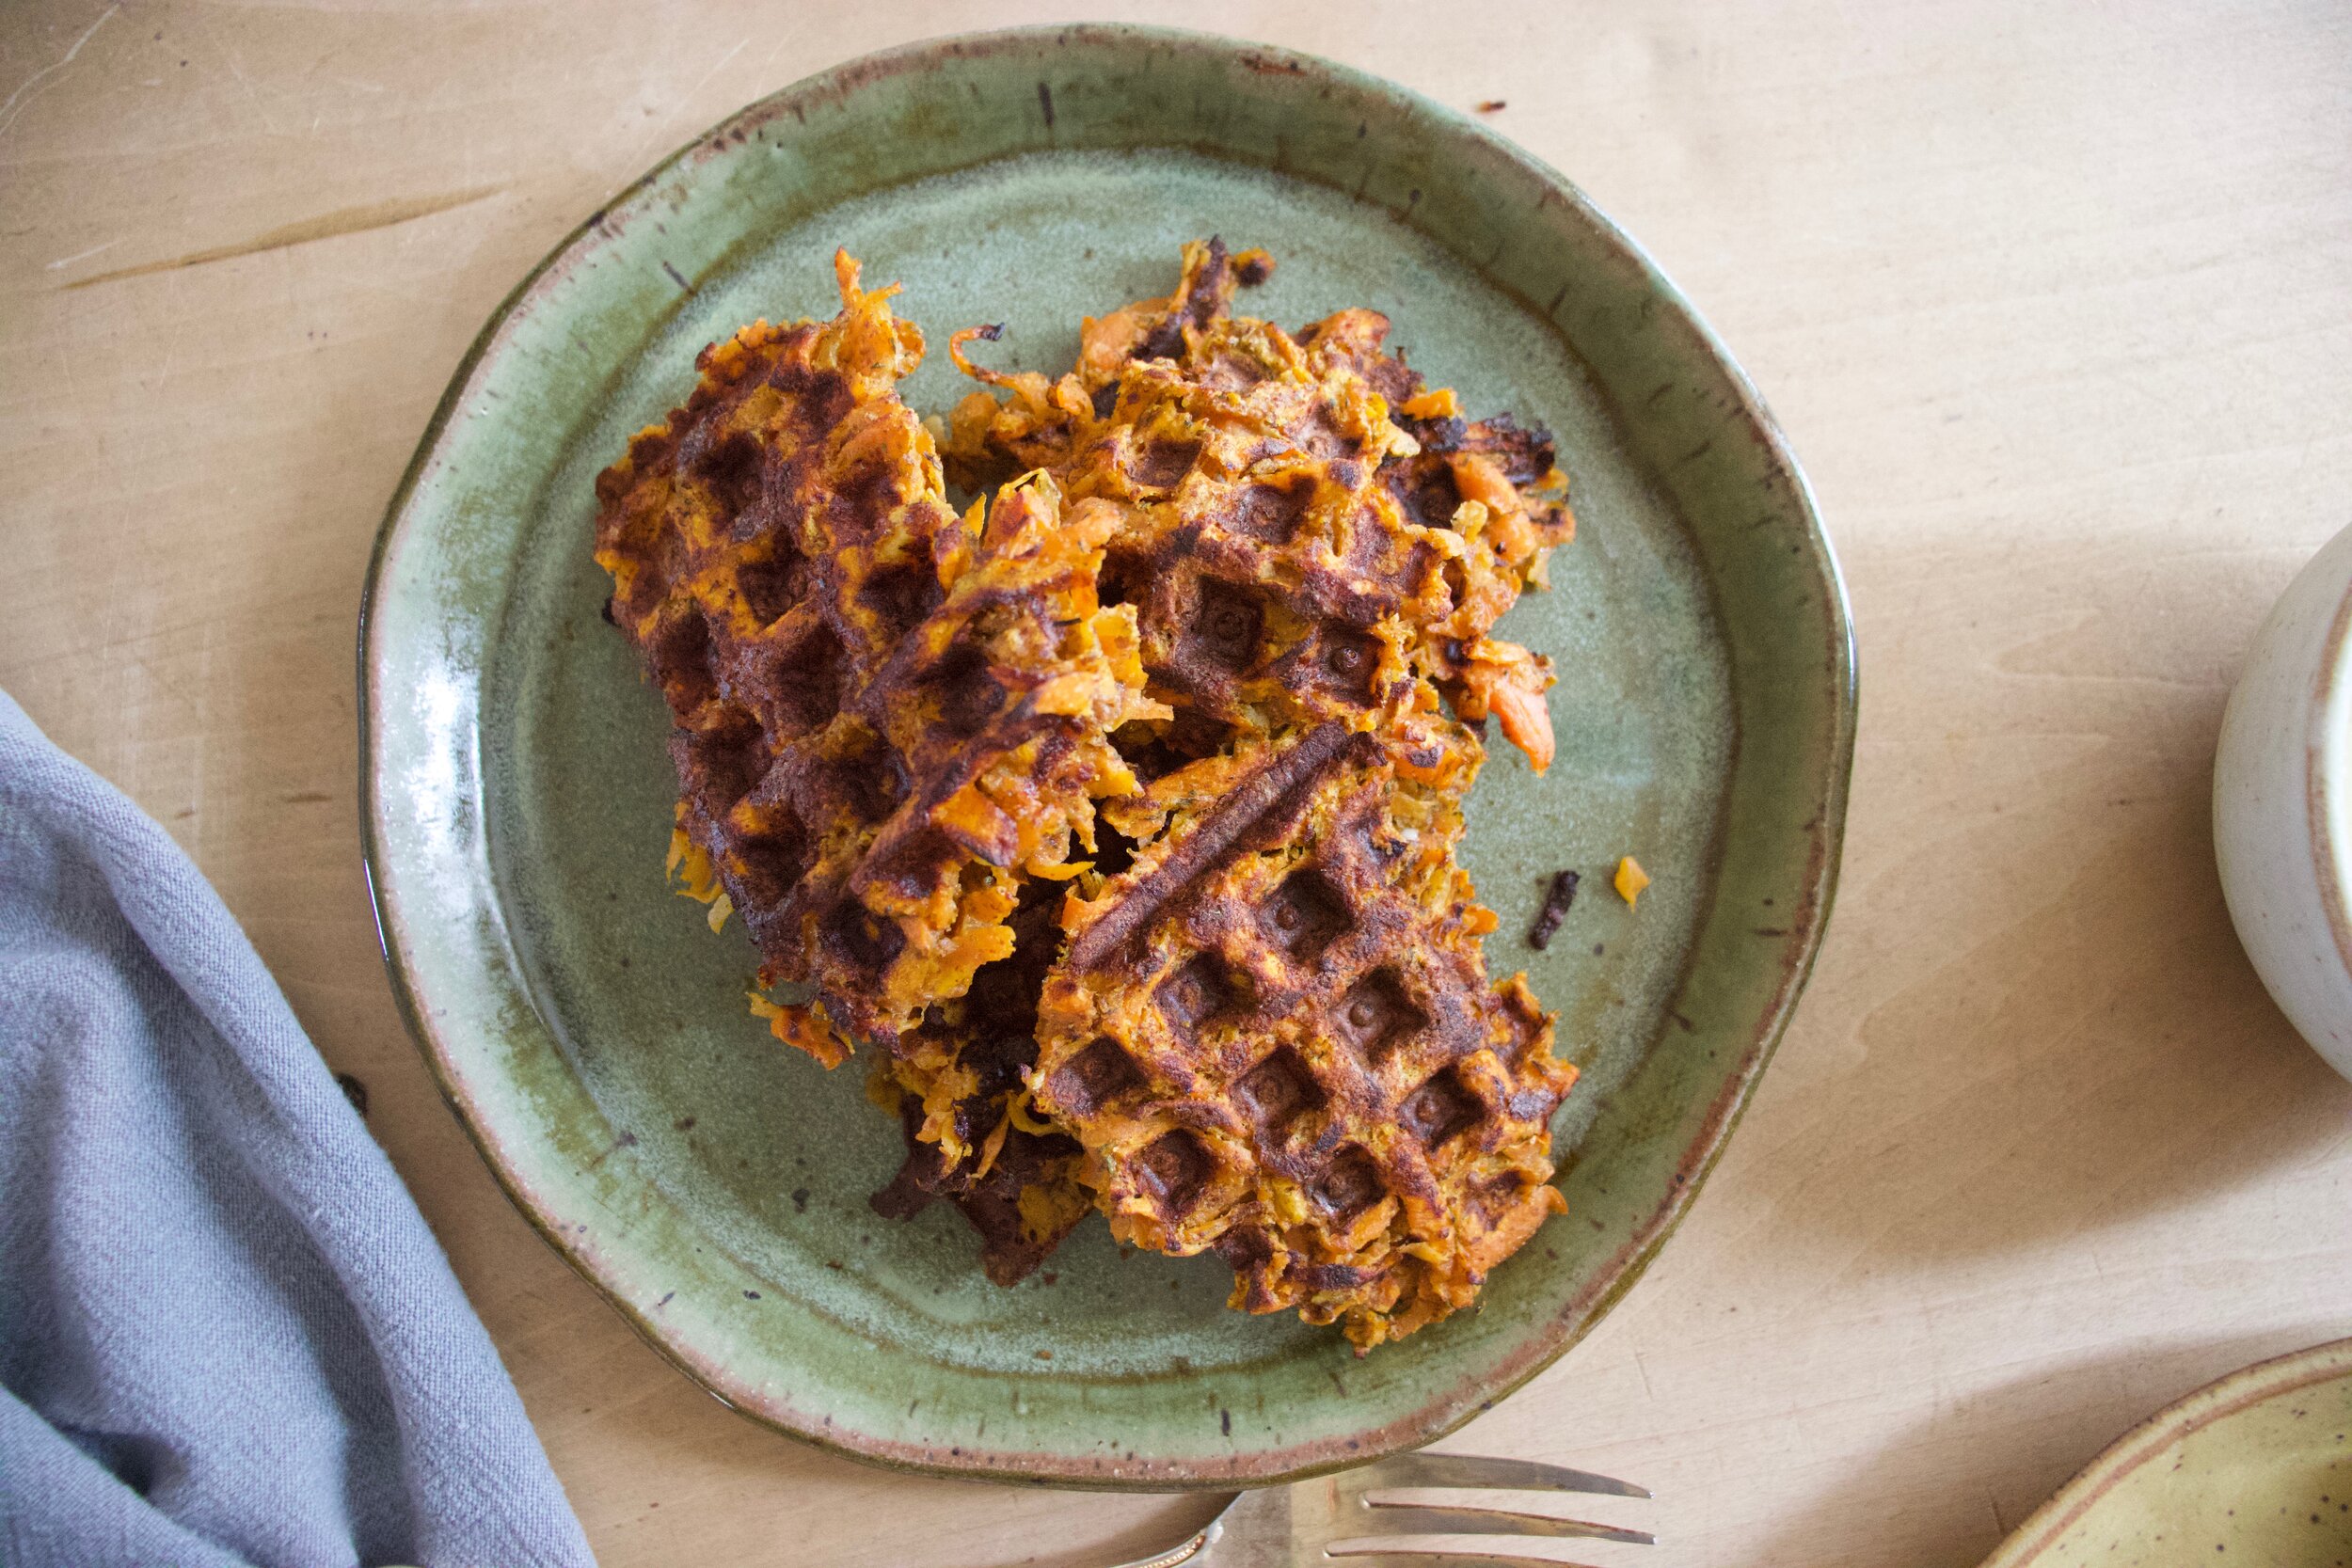
So anyway these carrot waffled fritters. Theyare so so so freaking good! I could barely stop eating them before I got a chance to take a couple pictures. So simple, yet so satisfying. Carrot and dill are such a great combo and when made into a crispy fritter situation with chickpea flour and dipped into with the maple mustard. WOW! I was going to make most of this batch for the mr for dinner but I ended up eating more then half (so I ended up making him a waffled sandwich too).

I think these carrot dill waffle fritters might just be the reason the waffle iron gets a new spot in the pantry. Heck I might even leave it out for while because I am definitely making another batch (or 3 of these before I put it away)

Now to the carrots waffle fritters!

IMG_4467.jpg

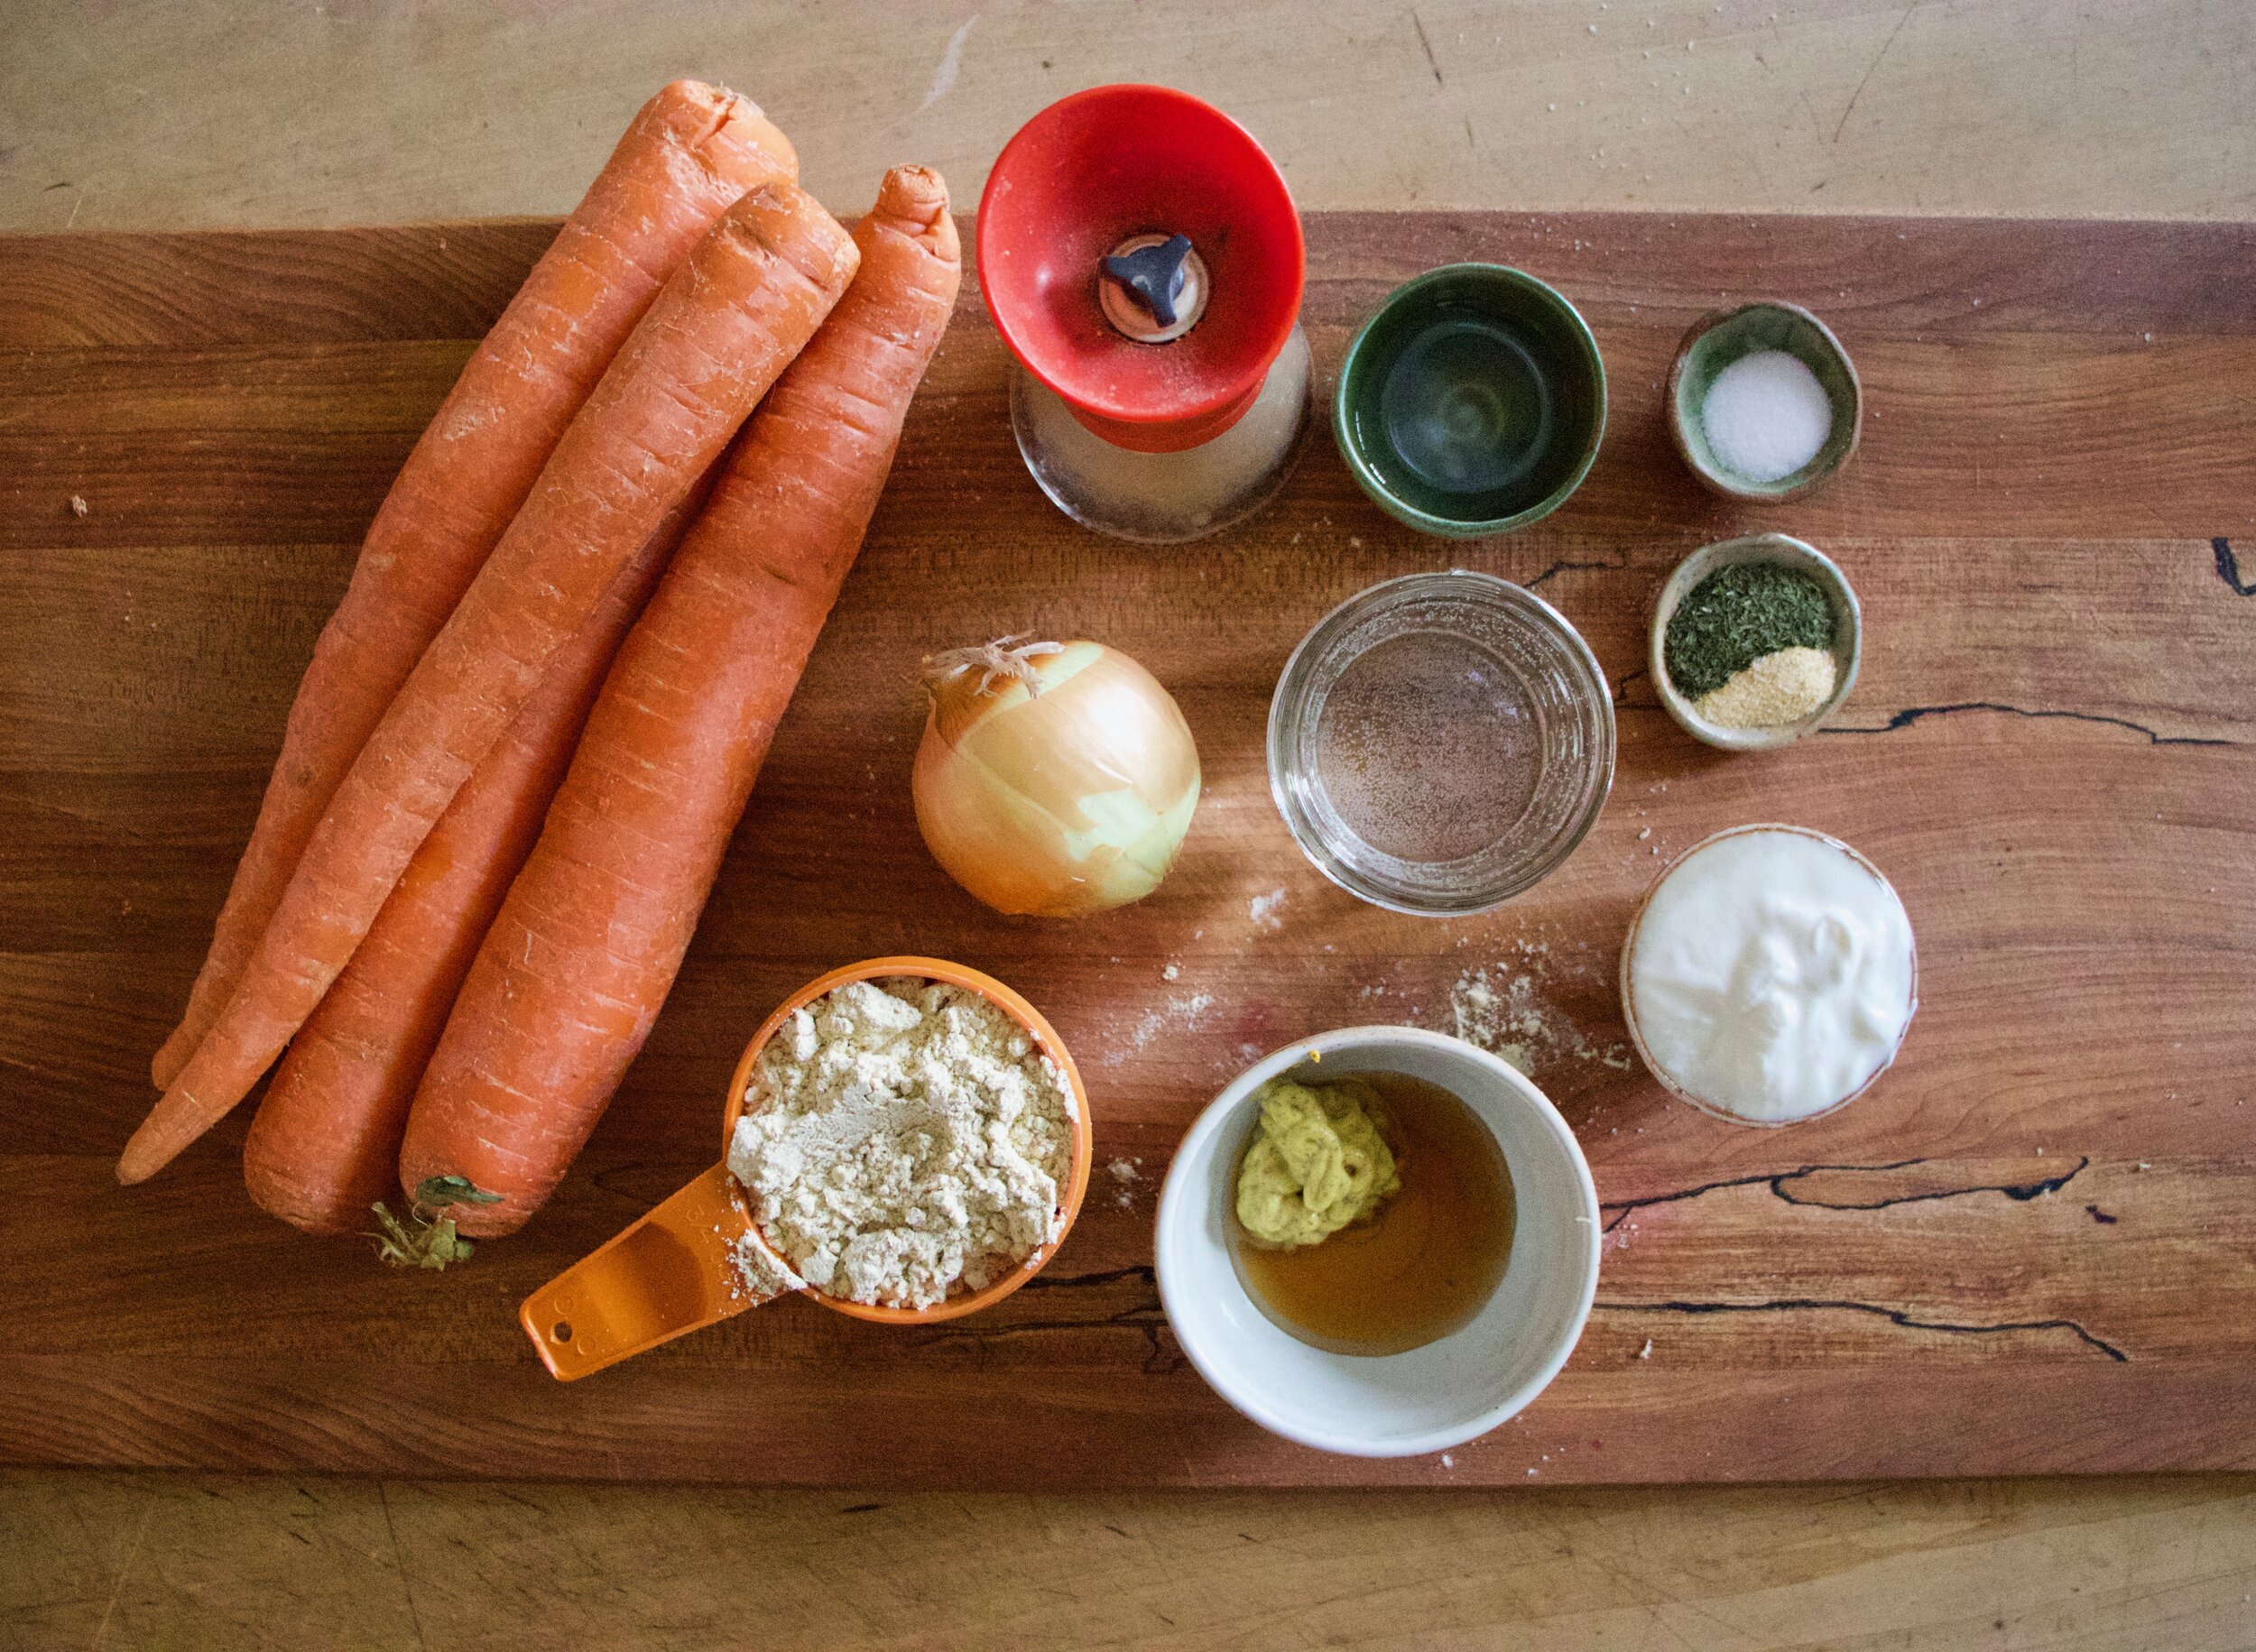
The stuff. Carrots, a small onion, dried dill and garlic powder, chickpea flour, water, salt and pepper, maple syrup, brown mustard, vegan yogurt, and a little oil.

IMG_4476.jpg

Maple, mustard, and vegan yogurt get mixed together and that is that. Set aside.

IMG_4490.jpg
IMG_4492.jpg

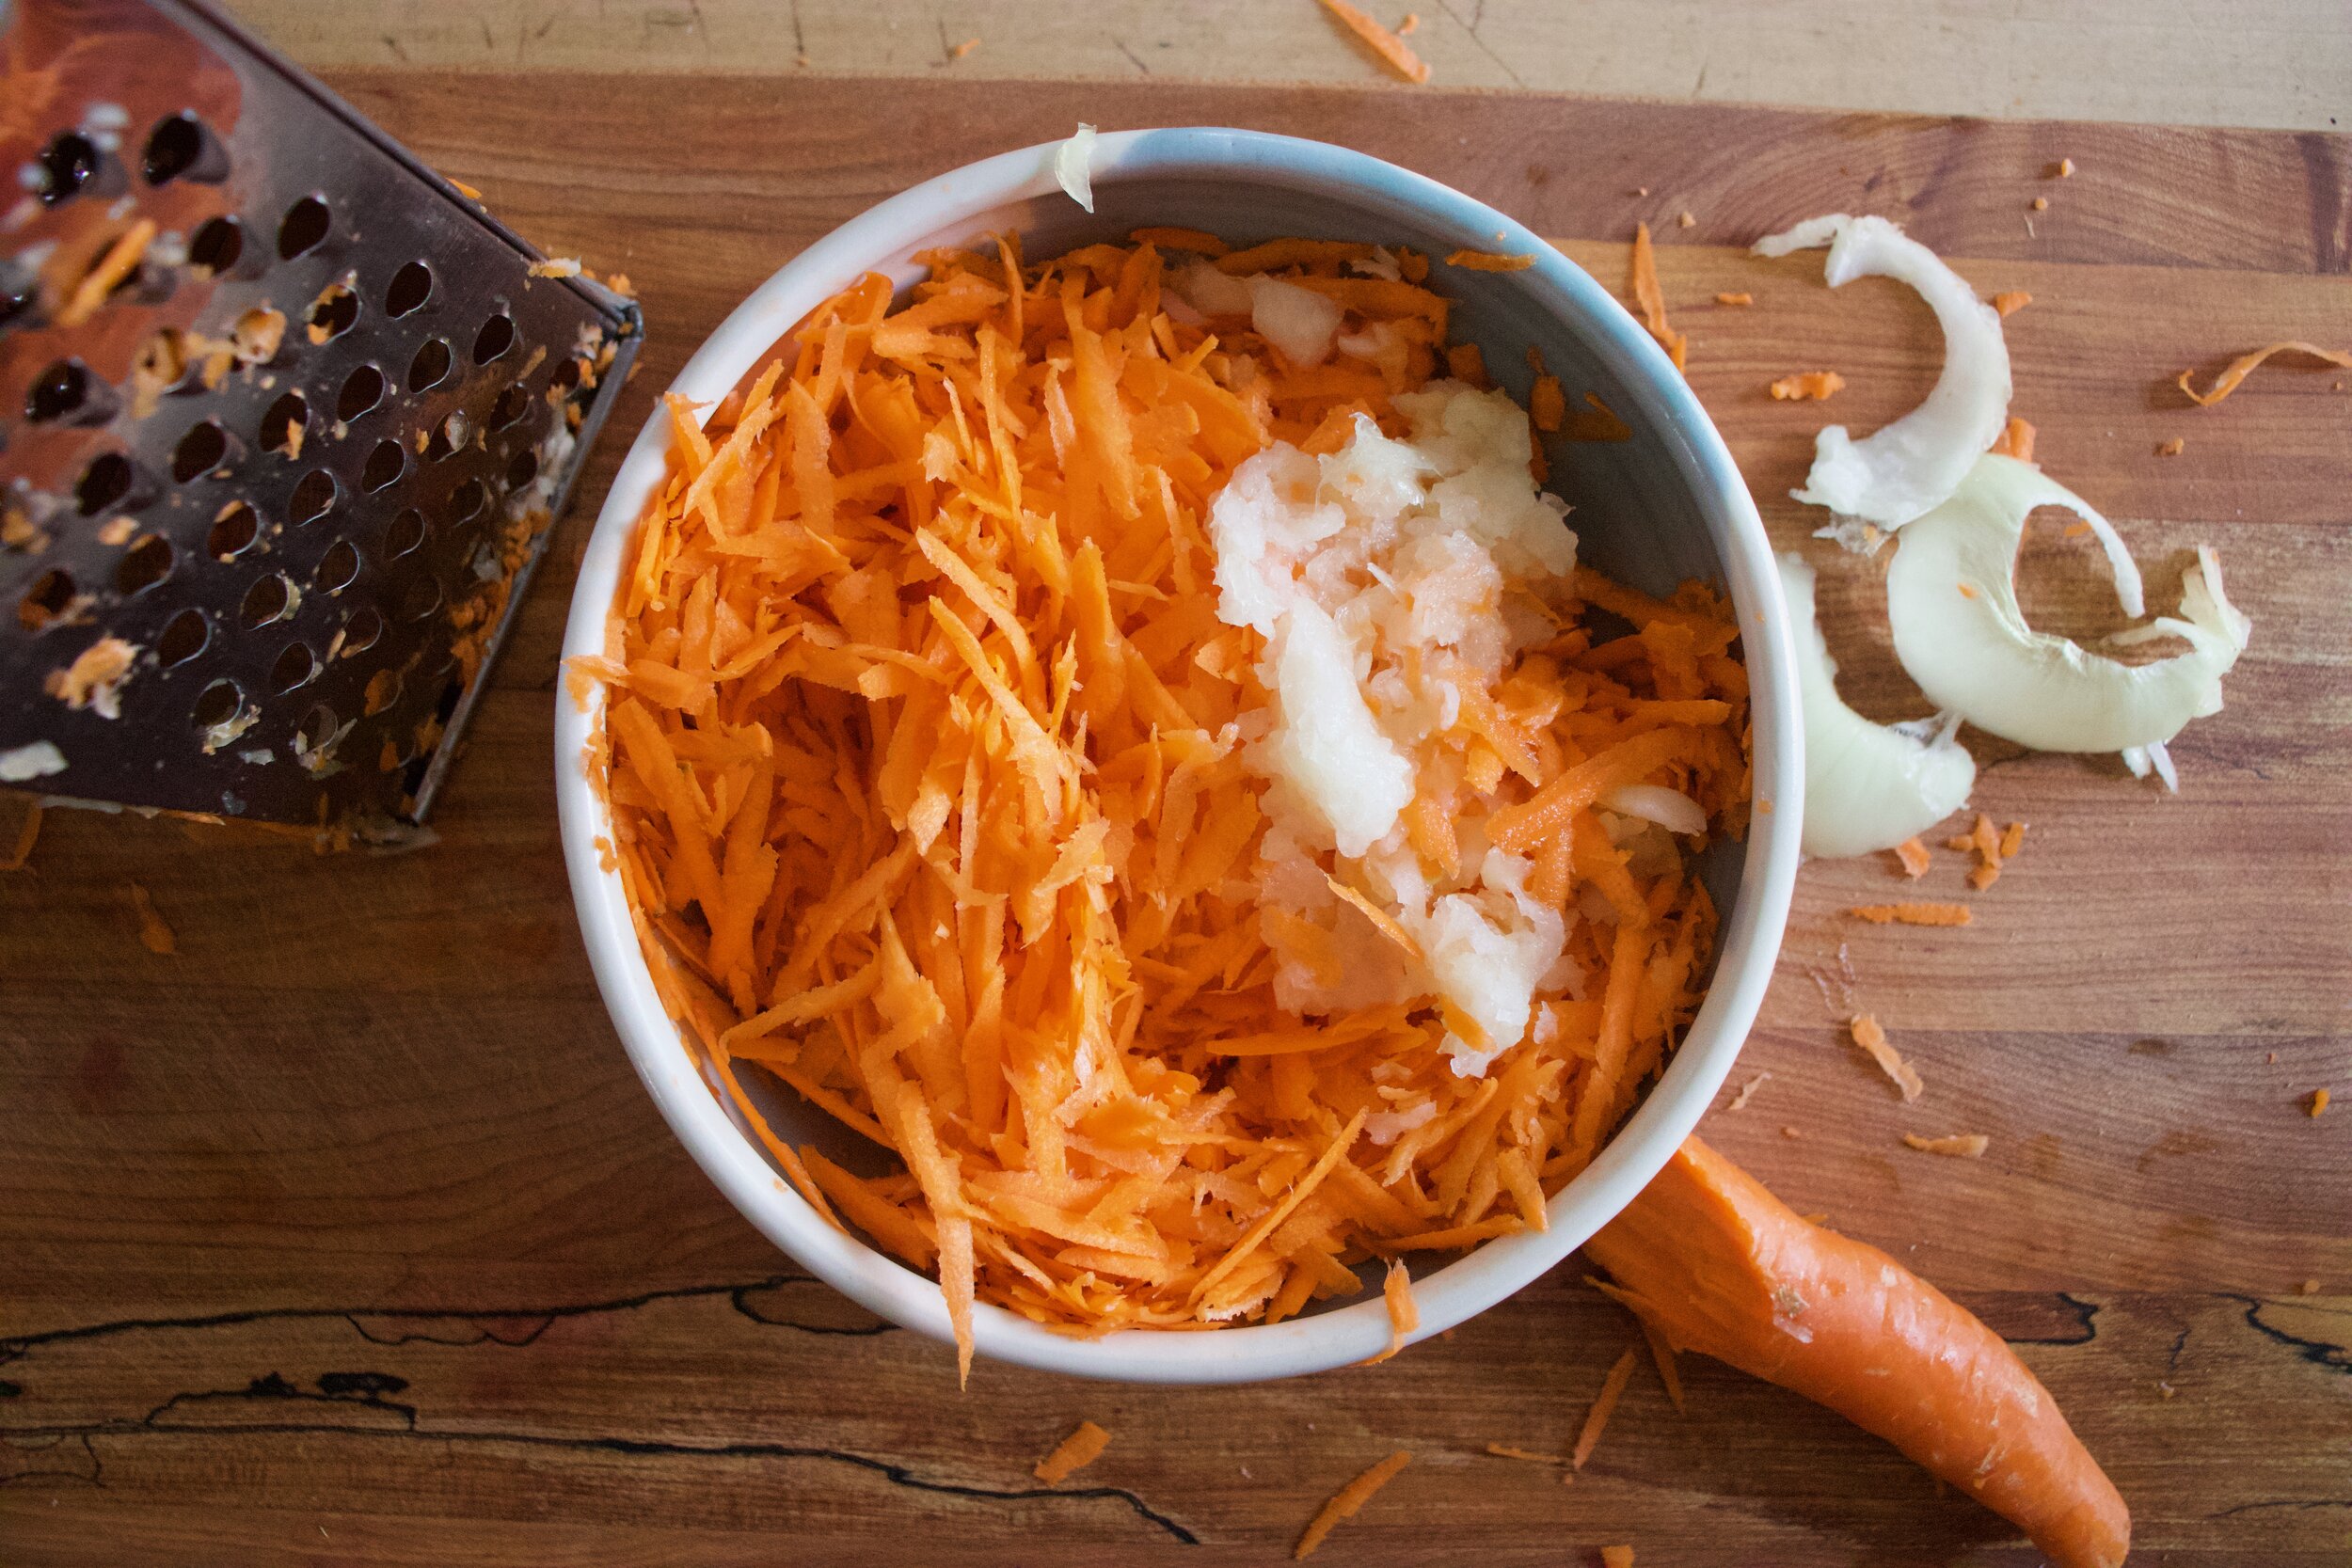
Shred carrots and onion into a bowl. Add in the chickpea flower, spices, a pinch of salt and pepper, and a bit of water and mix until evenly incorporated.

IMG_4496.jpg

Ready to go

IMG_4510.jpg

Lighy oil hot waffle iron and scoop a portion of the batter in. CLose iron and cook until the top and bottom are browned and crispy. (Use your iron settings but also check to see how the iron is cooking)

IMG_4514.jpg

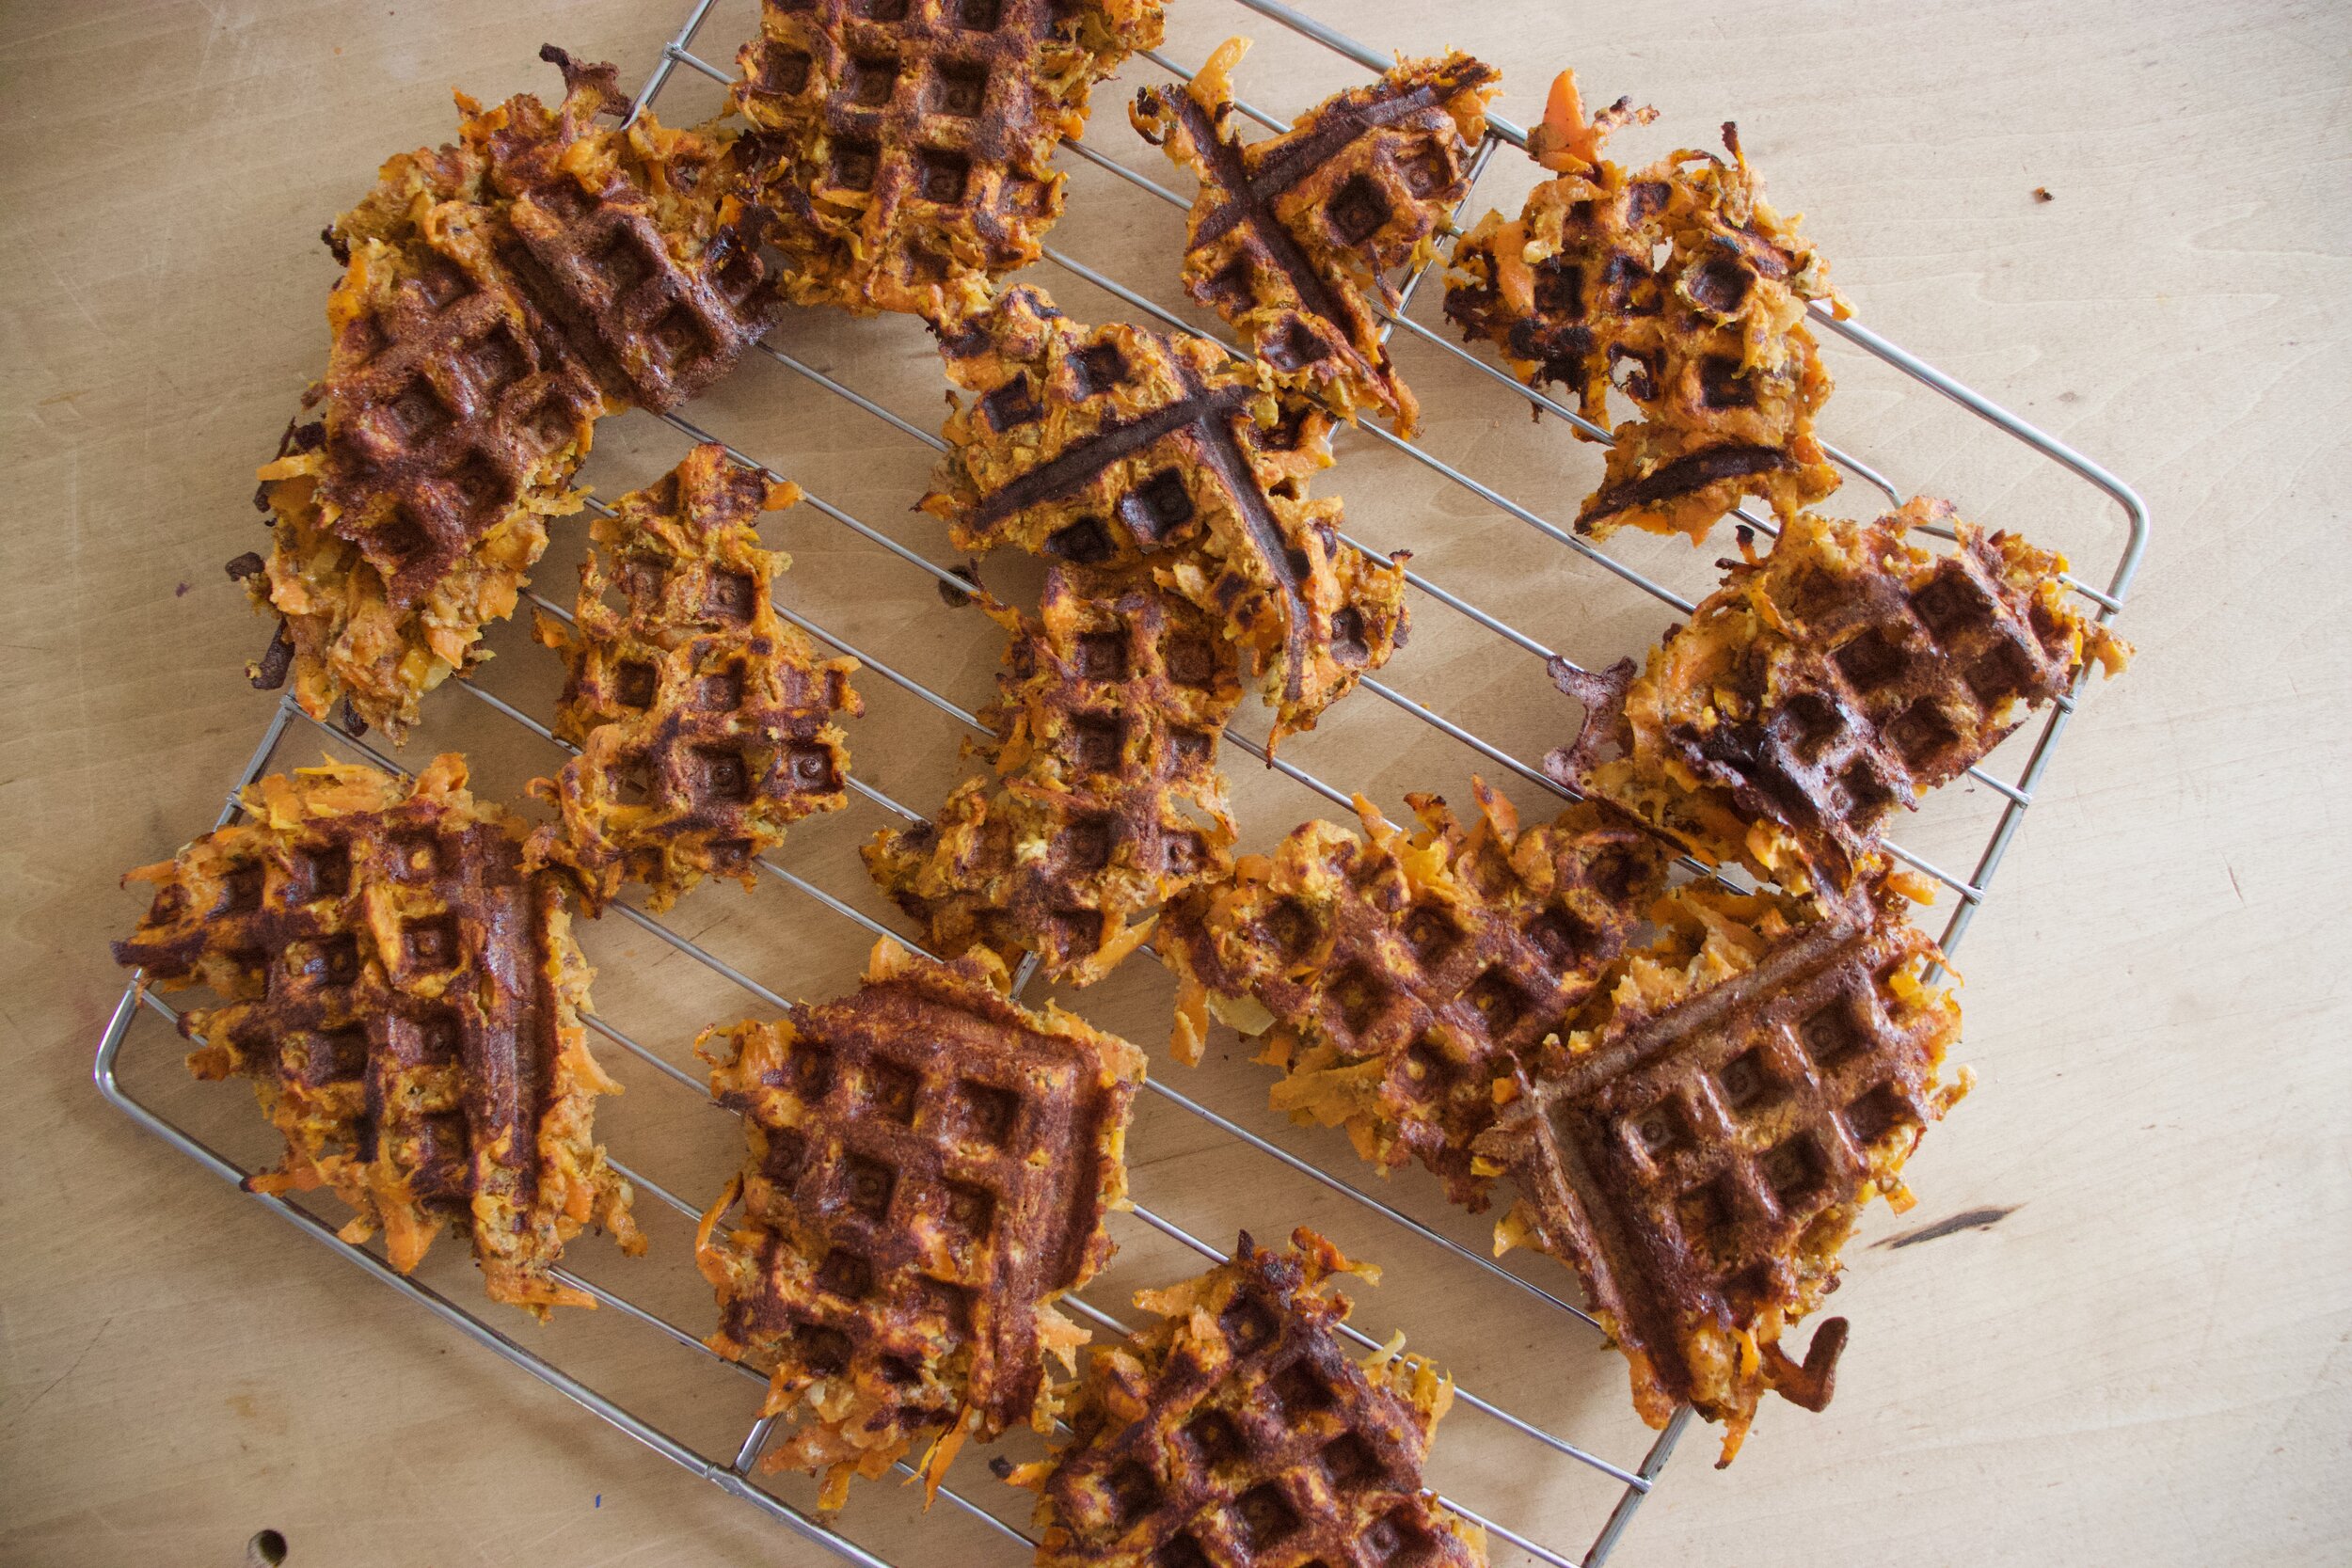
Crispy and brown and smelling so good. Remove form iron.

IMG_4528.jpg

Fritters can go straight to plates or on a rack… Whatever you want.

IMG_4545.jpg

But eat them. Dip or cover them in the maple mustard sauce (it is so good!) and be happy.


Savory Carrot Dill Waffle Iron Fritters with Creamy Maple Mustard

serves 1-3

  • 3-4 carrots ( 2 1/2 to 3 cups shredded)

  • 1 small onion

  • 3/4 cup chickpea flour

  • 1 1/2 easpoon dried dill

  • 1/2 teaspoon garlic powder

  • salt and pepper

  • 1/3 to 1/2 cup warm water

  • 1 tablespoon REAL maple syrup

  • 1 1/2 tablespoons brown mustard

  • 1/3 cup plant based plain yogurt

  • tablespoon or so of high heat oil

Preheat waffle iron.

Mix maple, mustard, and vegan yogurt together in a small bowl and set aside.

Shred carrots into a large bowl until you have 2 1/2 to 3 cups of shedded carrot. Then shred the onion into bowl as well. Mix around then add in a pinch of salt and pepper, the dill, garlic powder, and chickpea flour.Mix tighter with lesser amount of water until everything is completely incorporated. Add a bit more water if the mixture is still dry.

To make the waffle fritters , lightly oil the iron and add a large scoop of the batter to the iron while it is hot then close and cook until the fritters are browned and crispy. Once cooked to you liking, remove the waffled fritters and place on a plate or rack and continue with the rest of the batter until it is gone.

Serve right away or warm and serve with the creamy maple mustard. Dip it in or scoop it on… It’s all good!

In brunch, dinner, Gluten Free, grain free, quick and easy, Vegan, Vegetables Tags savory Carrot Dill Waffle Iron Fritters With Creamy Maple Mustard, vegan, gluten free, dairy free, vegetable, plant based, waffle, fritter, dinner, breakfast, brunch, maple, food, easy, healthy, Brunch, easter
Comment
Older Posts →
 

https://thelovelycrazy.squarespace.com/config#/|/about/

Me. Food Maker.Food eater. Woo HOO!

STEM+NODE  SMALL BATCH AND ONE OF A KIND POTTERY

stem+node ceramics


____________________

Subscribe

GET NEW POSTS IN YO EMAIL

You are AWESOME!!!


@thelovelycrazy 2014-2021