• stem+node ceramics
  • HOME
  • Food Recipes
  • About
  • Contact
Menu

The Lovely Crazy

Street Address
City, State, Zip
Phone Number

Your Custom Text Here

The Lovely Crazy

  • stem+node ceramics
  • HOME
  • Food Recipes
  • About
  • Contact

Ginger Pear Cake

November 12, 2015 Colleen Stem
IMG_3048.jpg
IMG_3067.jpg

This cake was born from my anxiety. Whenever I am feeling crazy, anxious, kinda sick, or even just really happy, I want to be in the kitchen making something. It's probably some deep seeded control issue that I have (I can't control my brain, but I can control bread dough), but whatever. Being in the kitchen takes my head out of life , even just for a little while, and let's me concentrate on something else that really has nothing to do with whatever I am thinking about (unless I am thinking about food, in which I bake whatever food I am thinking about) Does this all make sense or am I just nuts?

So yeah, the other day I was having one of those days. I was extra crazy (for so many reasons) and really needed to just step away from my thoughts. I rushed home and just started grabbing stuff.. cake stuff.  I figured that If I was going to bake something that I might as well bake a little snack cake for the mr, especially sense he has to deal with this crazy. I had a large quantity of pears that were all ripening  at once sitting in the fruit basket, so I grabbed some of those. And I grabbed the ginger… well because why not.

And I made this cake.. and I felt better. And the mr got cake (also brought some to my sisters.. her and the kids ate it all within minutes). It was a win win situation. 

So now you know. If you are my friend and I am feeling some feelings, at some point, you will proably get a cake.

The stuff. A few pears,some fresh ginger, brown sugar and cinnamon.  Also have some white whole wheat flour, baking soda, baking powder and salt. And some oil, apple cider vinegar and a little bit of water.

Start with the pears. Cut in half, remove seed and stems, then chop/mince the crap out of them. It's cool to have a few big chunks., it adds some good texture. Take the pears and as much as the juice you can scrap from the counter and stick into a bowl.

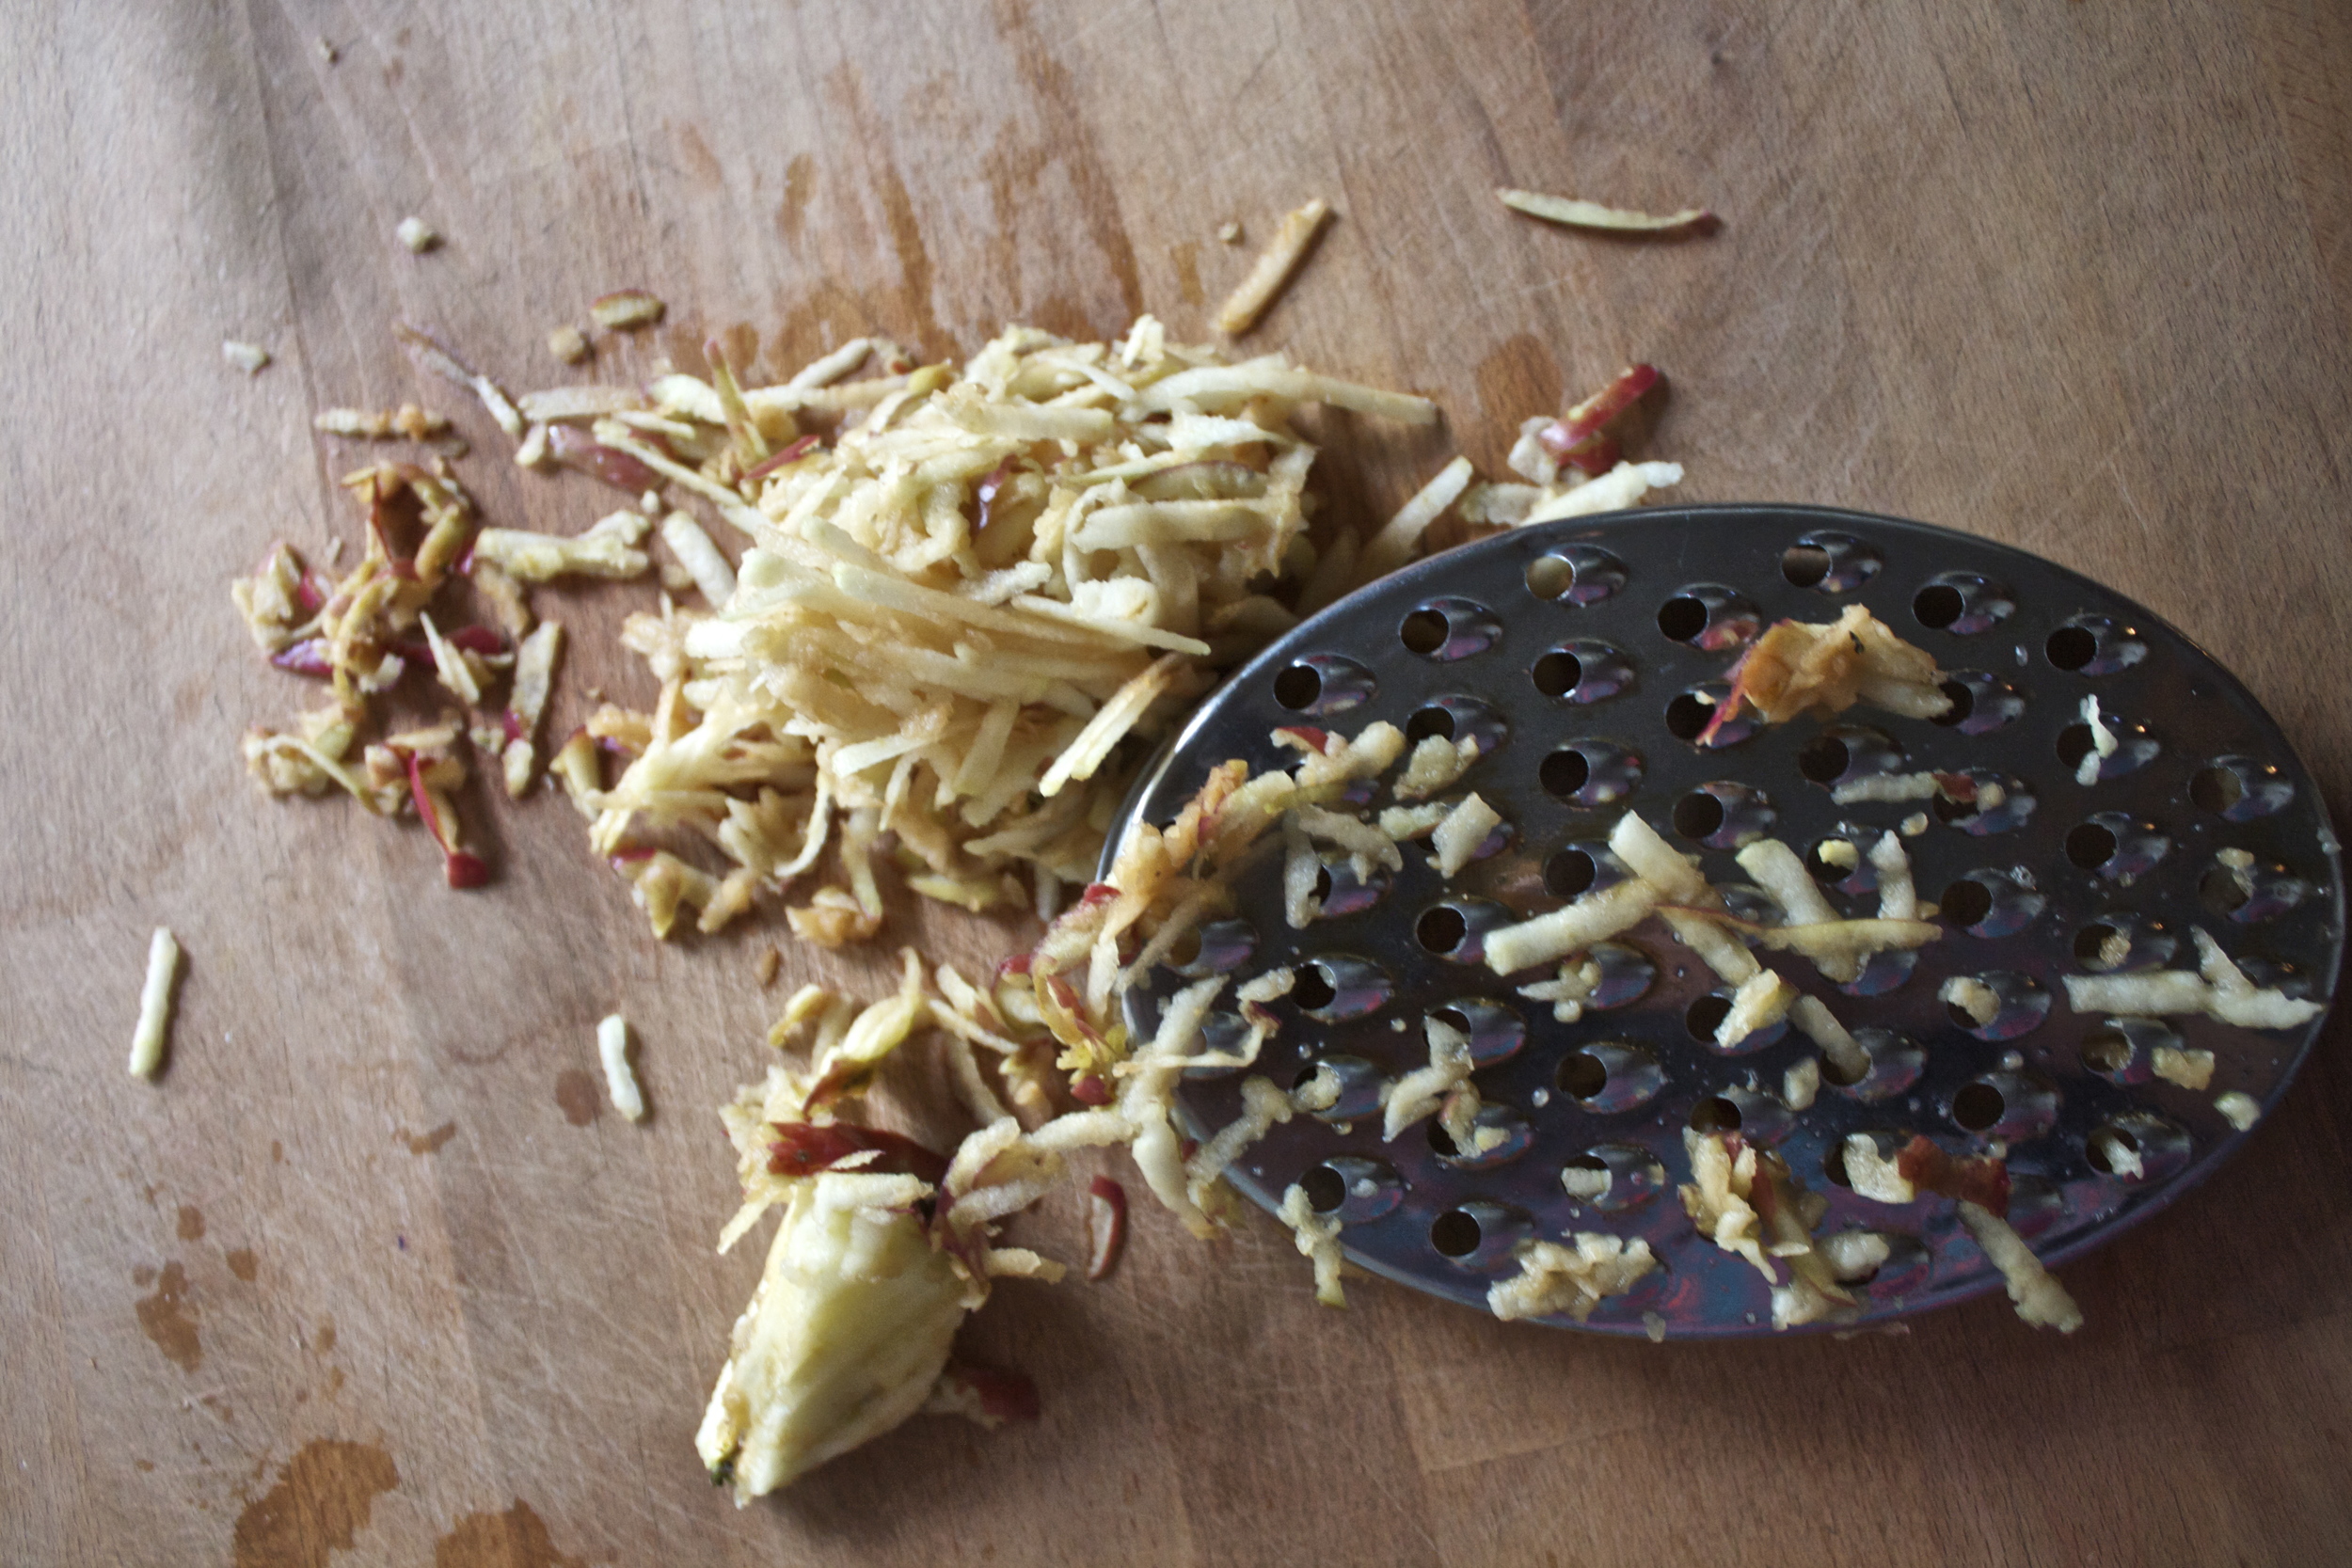
Grate up a few good tablespoons of fresh ginger..

Tip. I keep my ginger in the freezer. its easier to grate and it doesn't go bad!

IMG_2961.jpg
IMG_2967.jpg

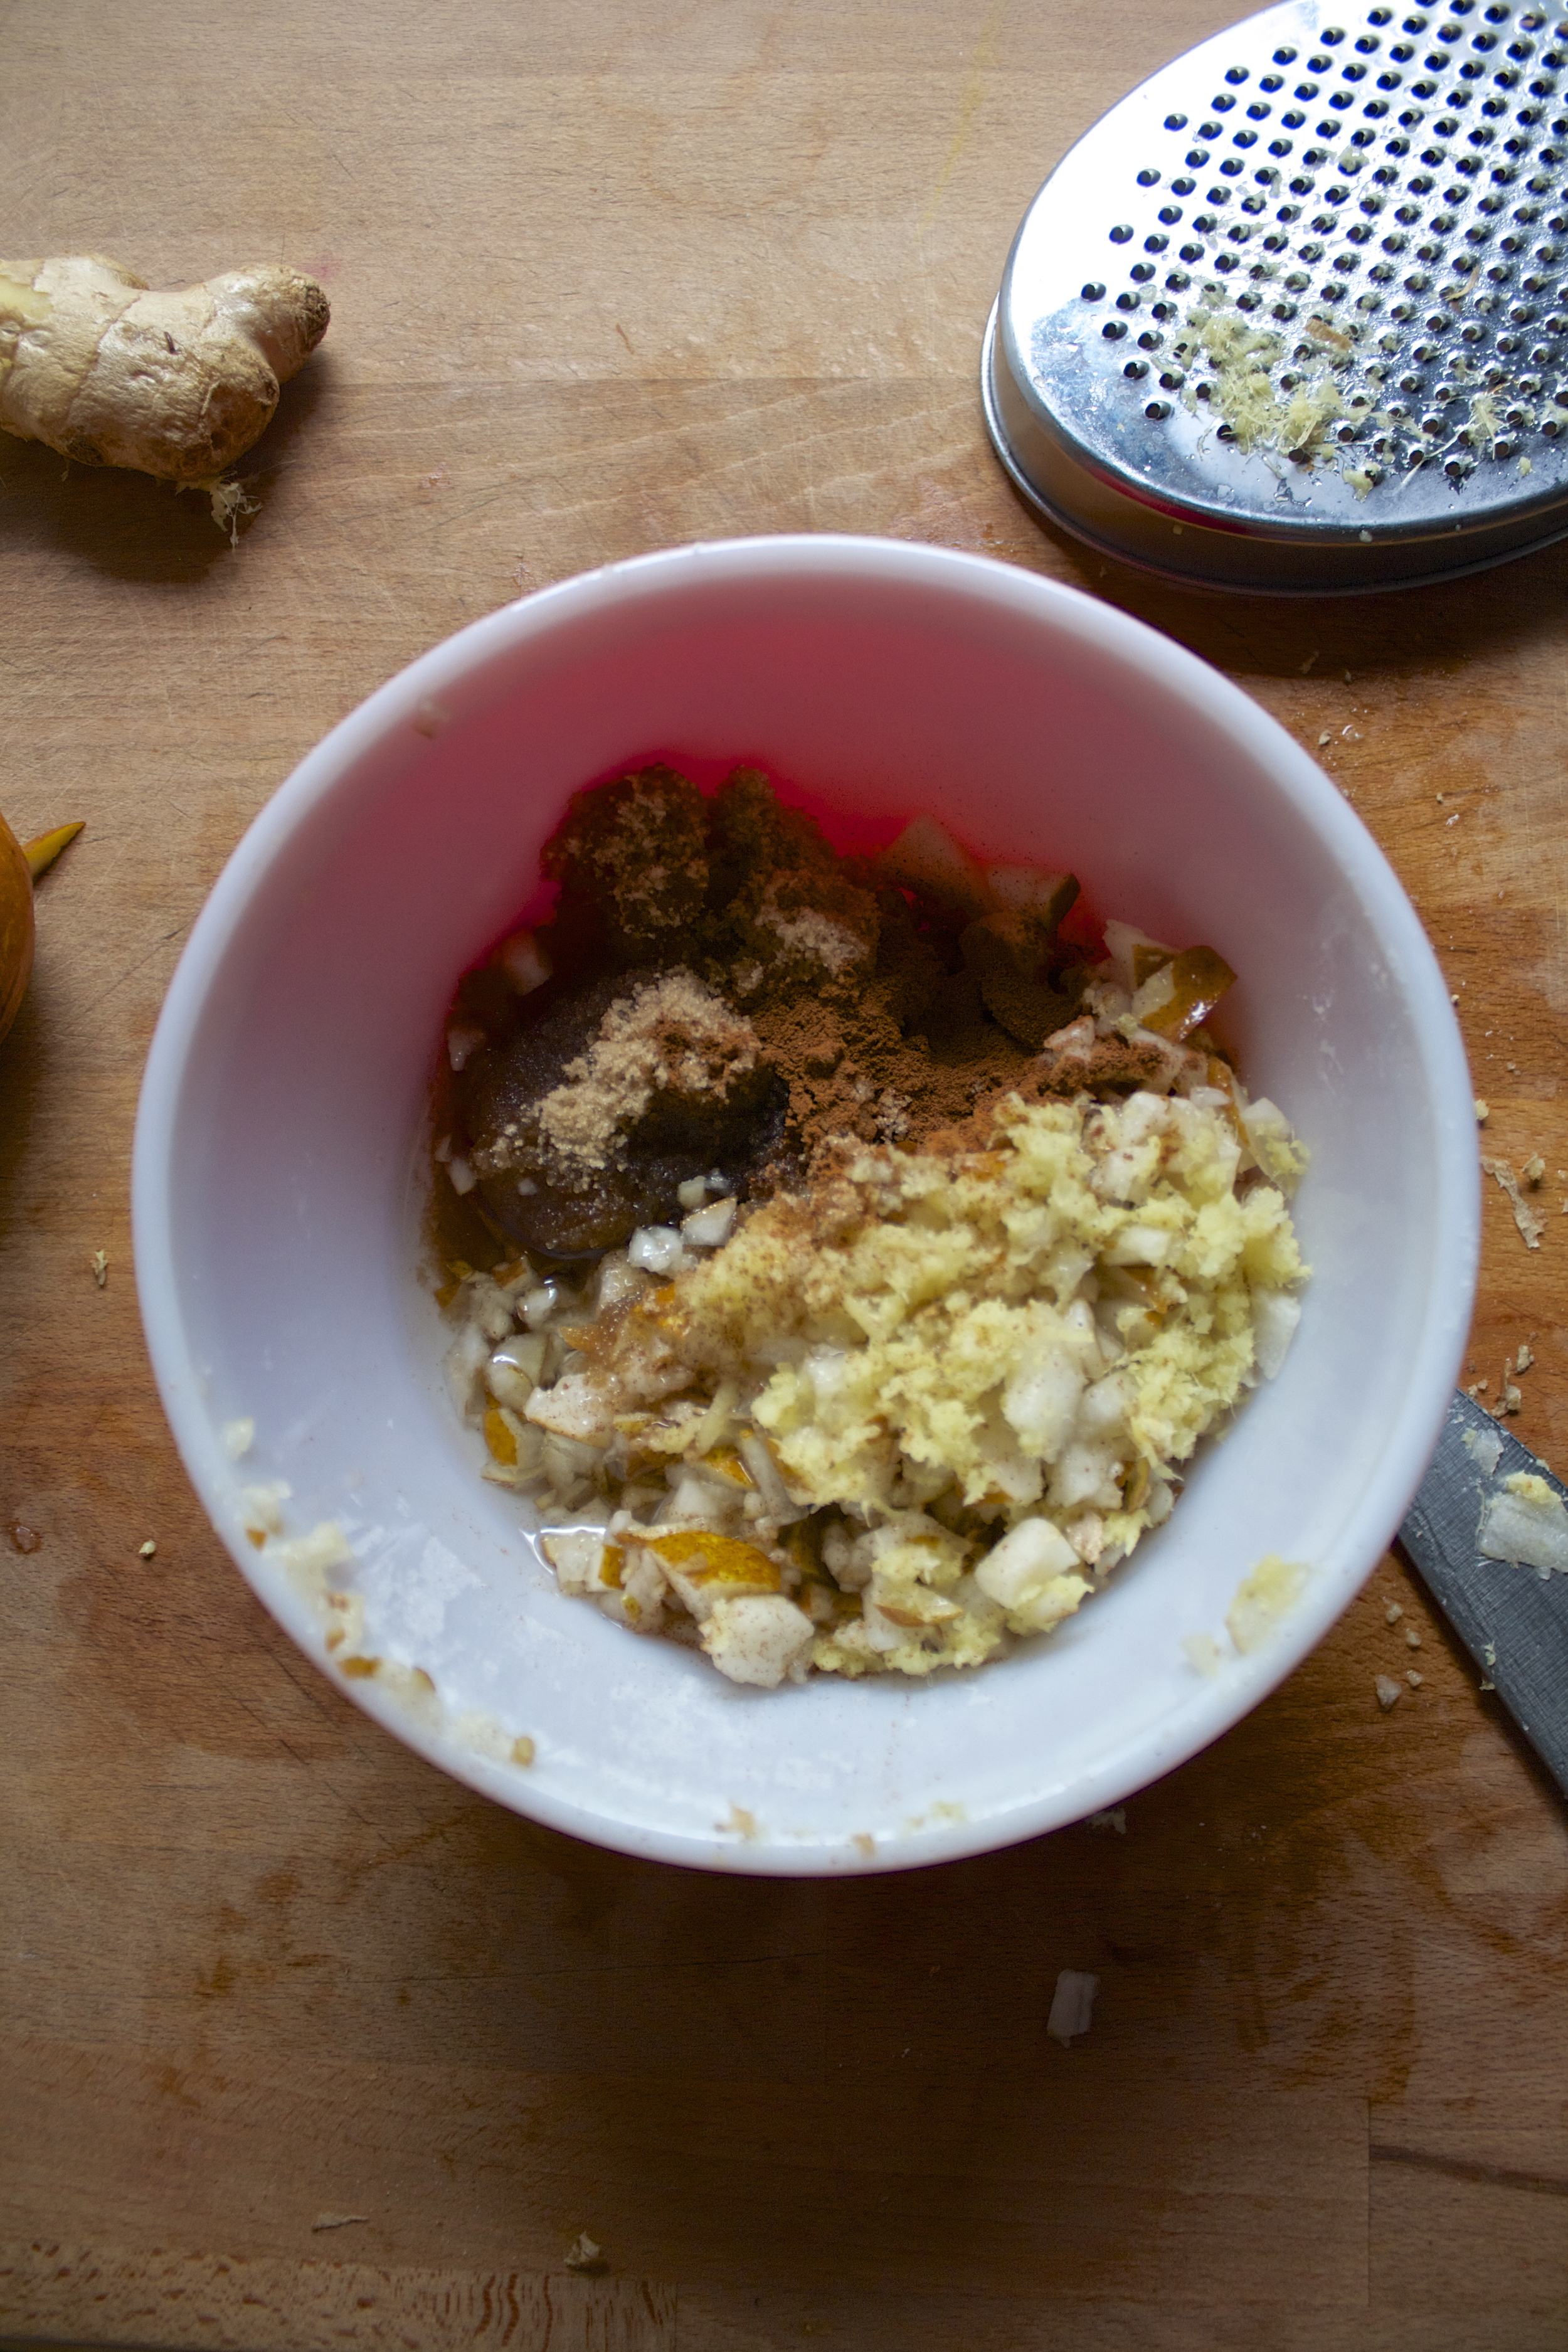
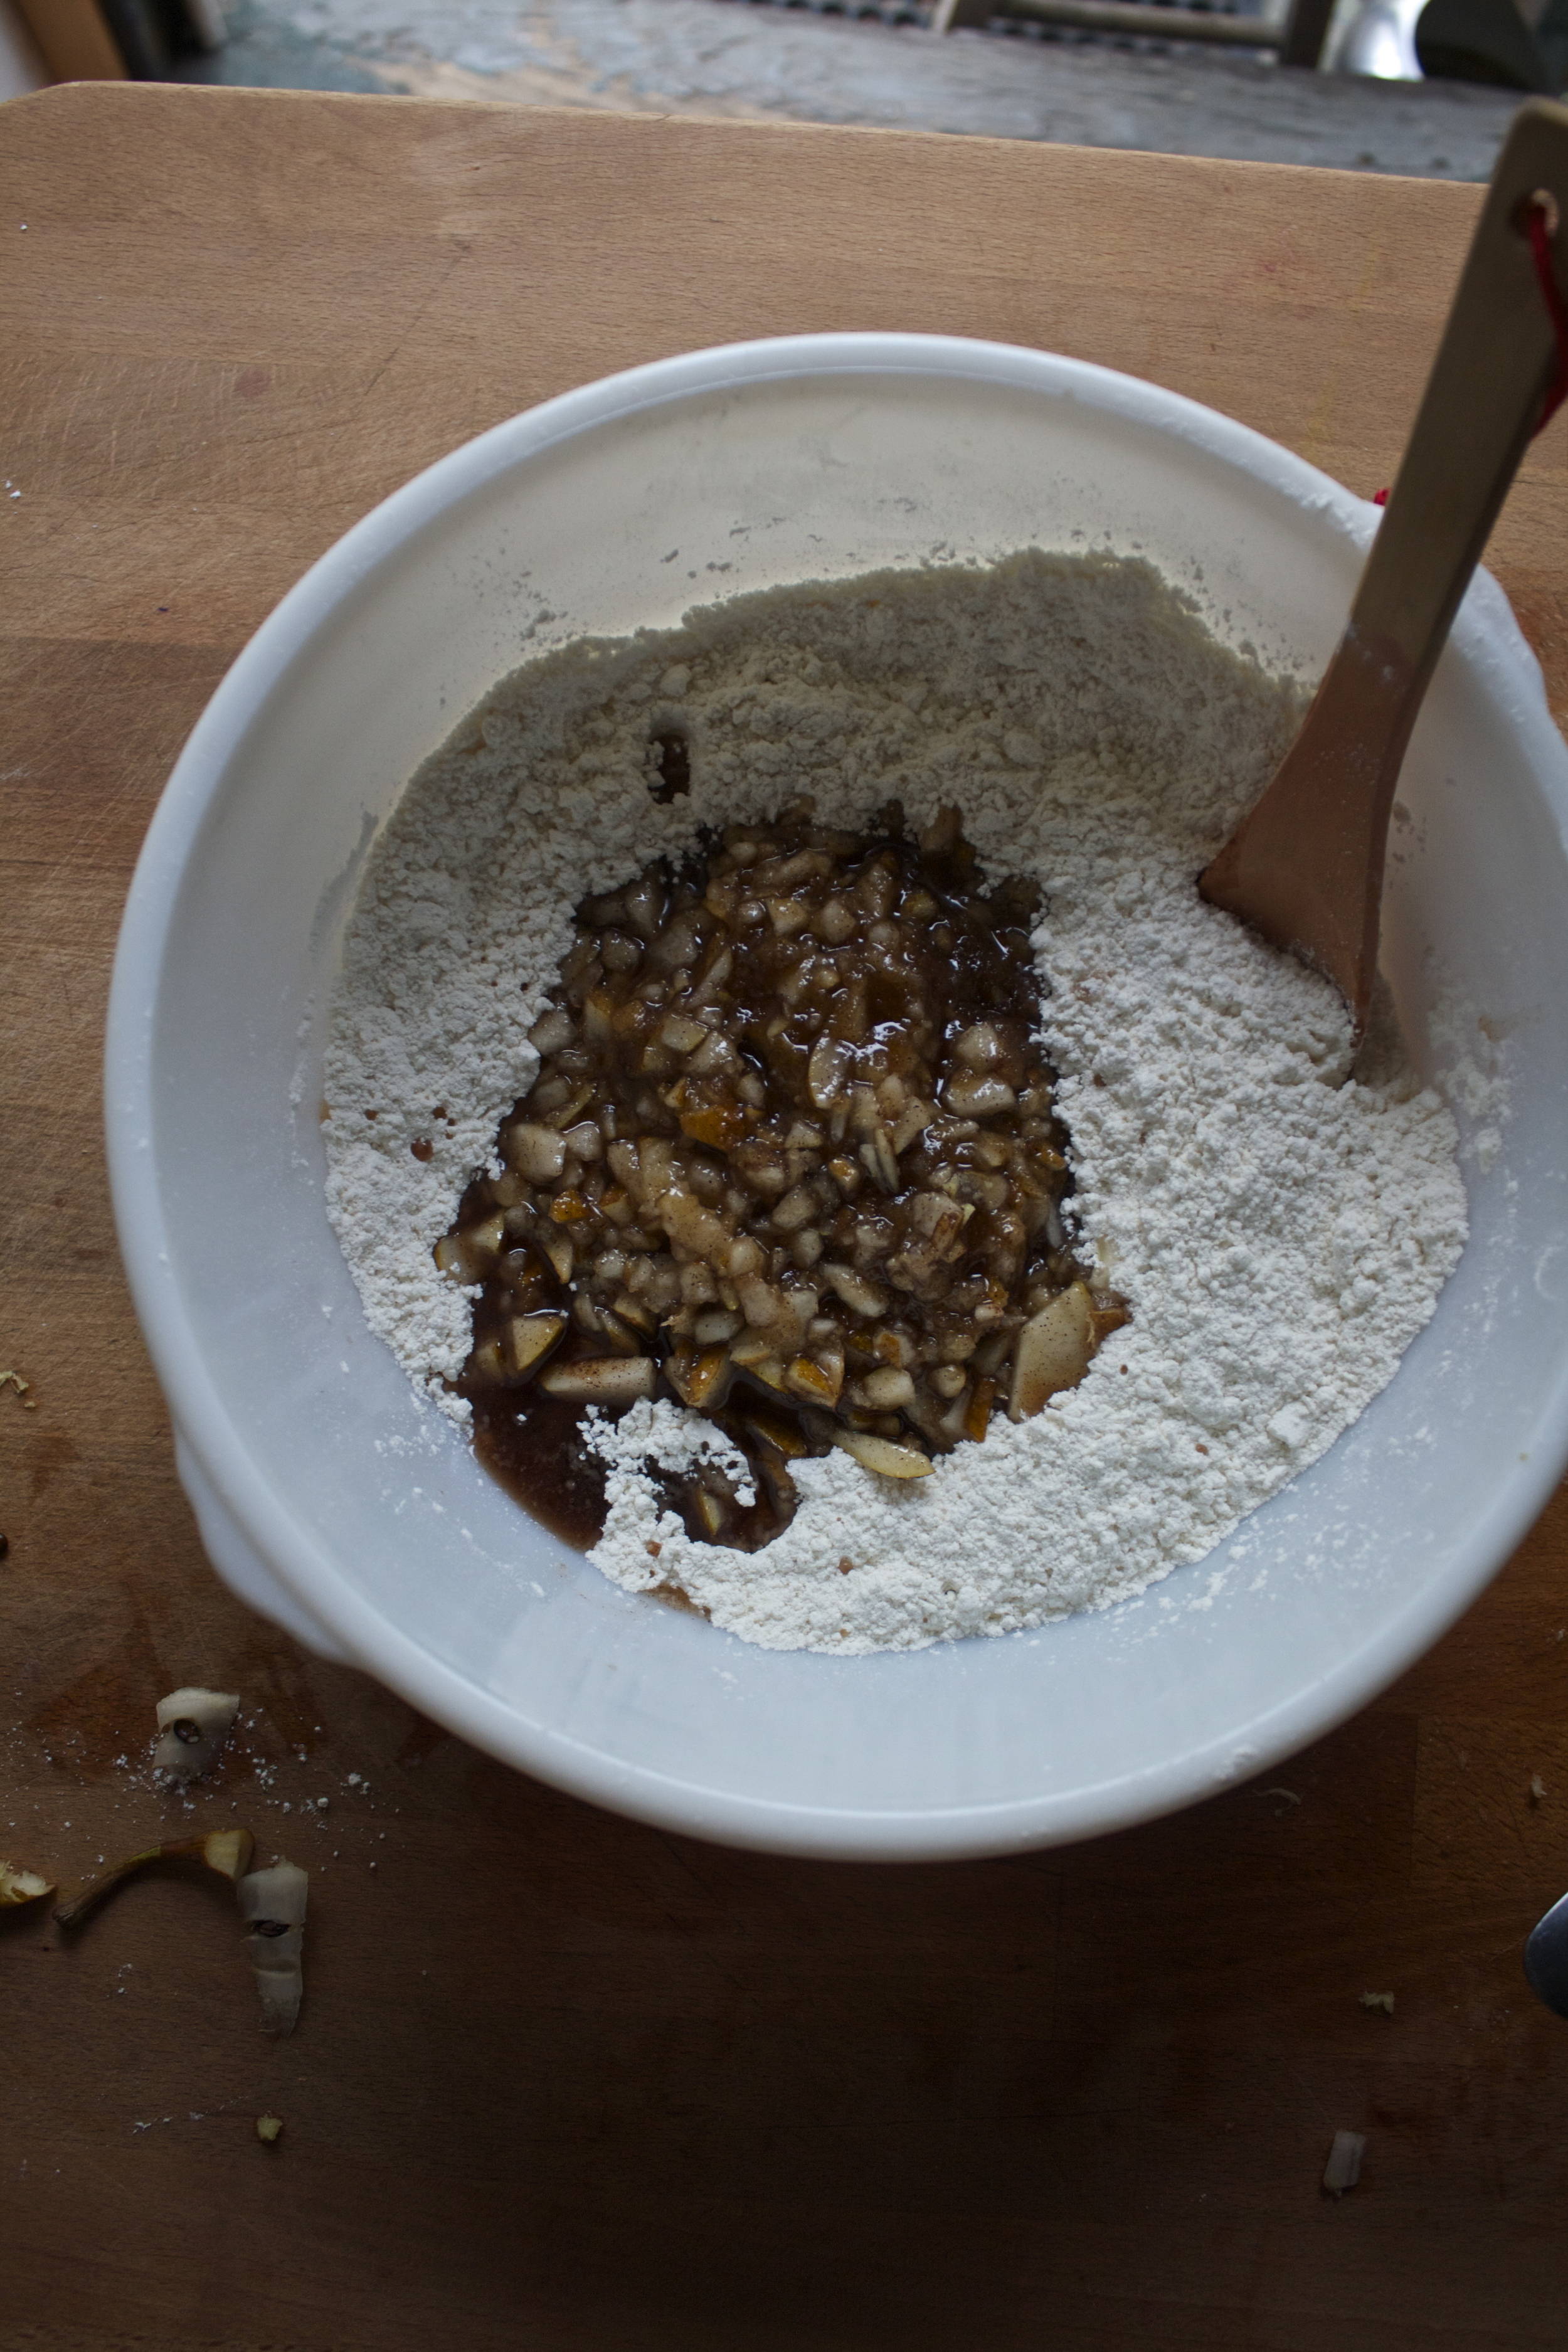
The ginger goes into the bowl with the pears, along with the oil, cinnamon, sugar, water and vinegar. Mix it all up . Then all that wet mixture goes into the bowl with the flour, baking soda and powder and the salt.

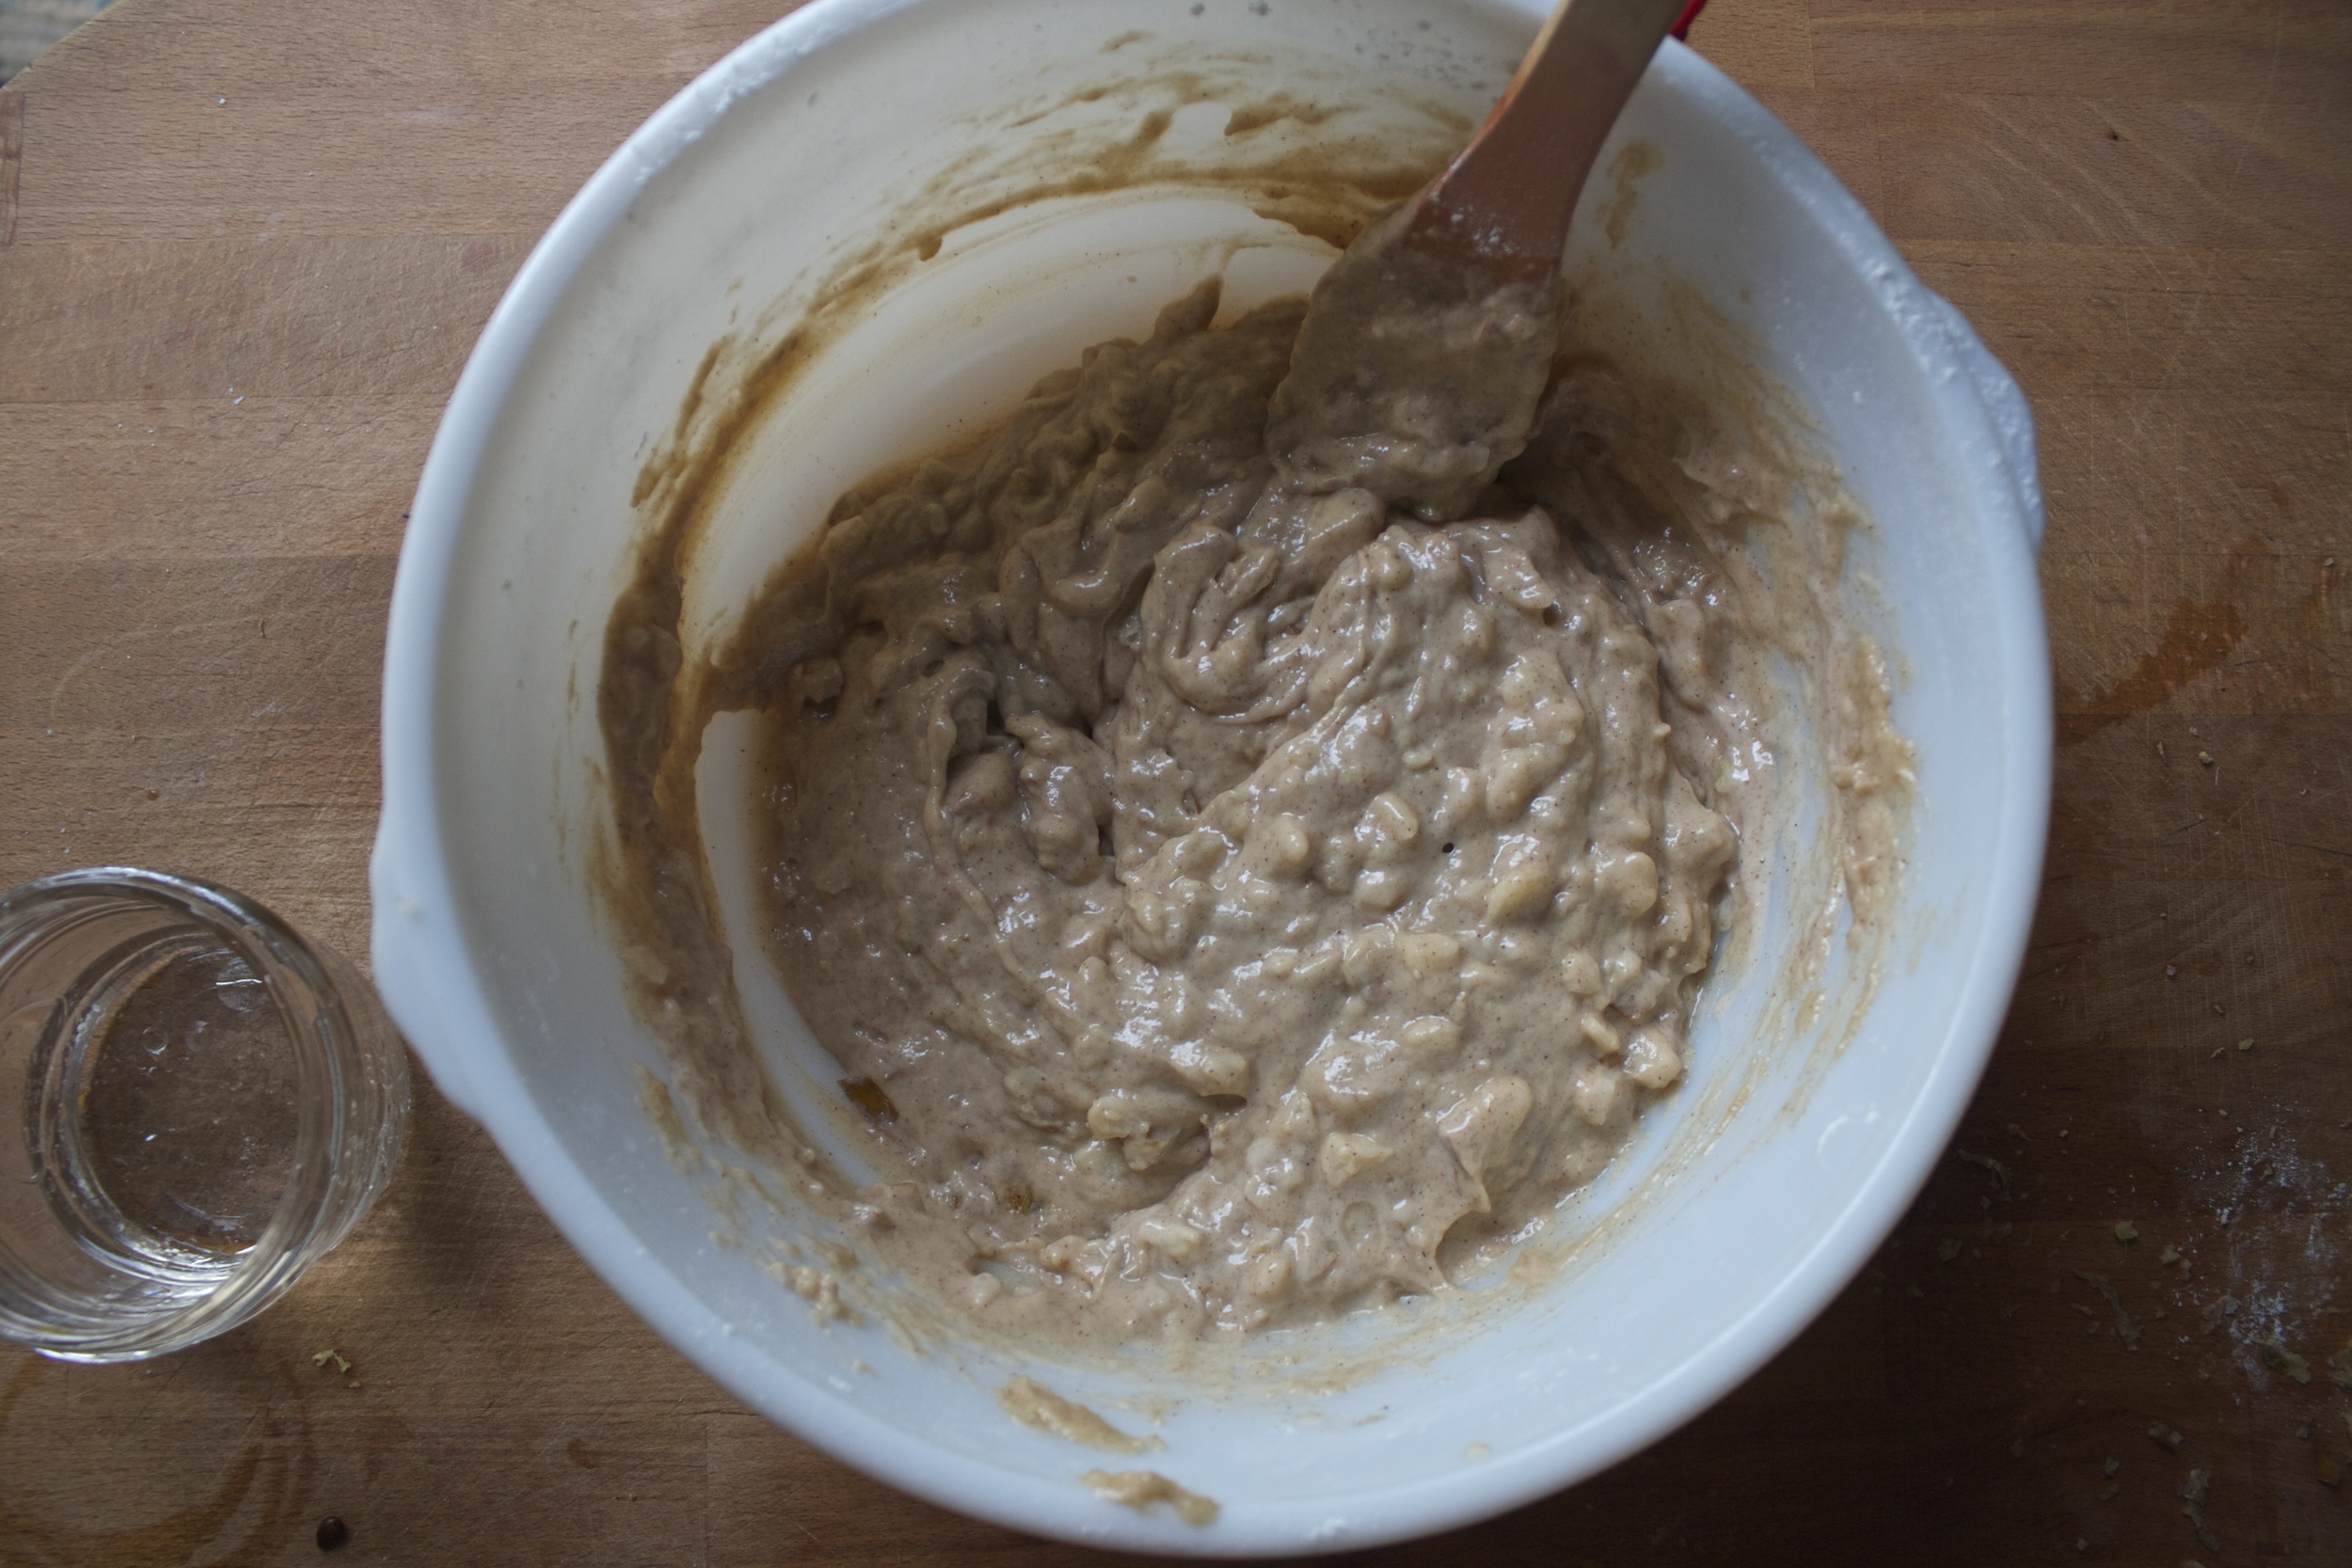
And that get's all mixed.. and now you have cake batter! 

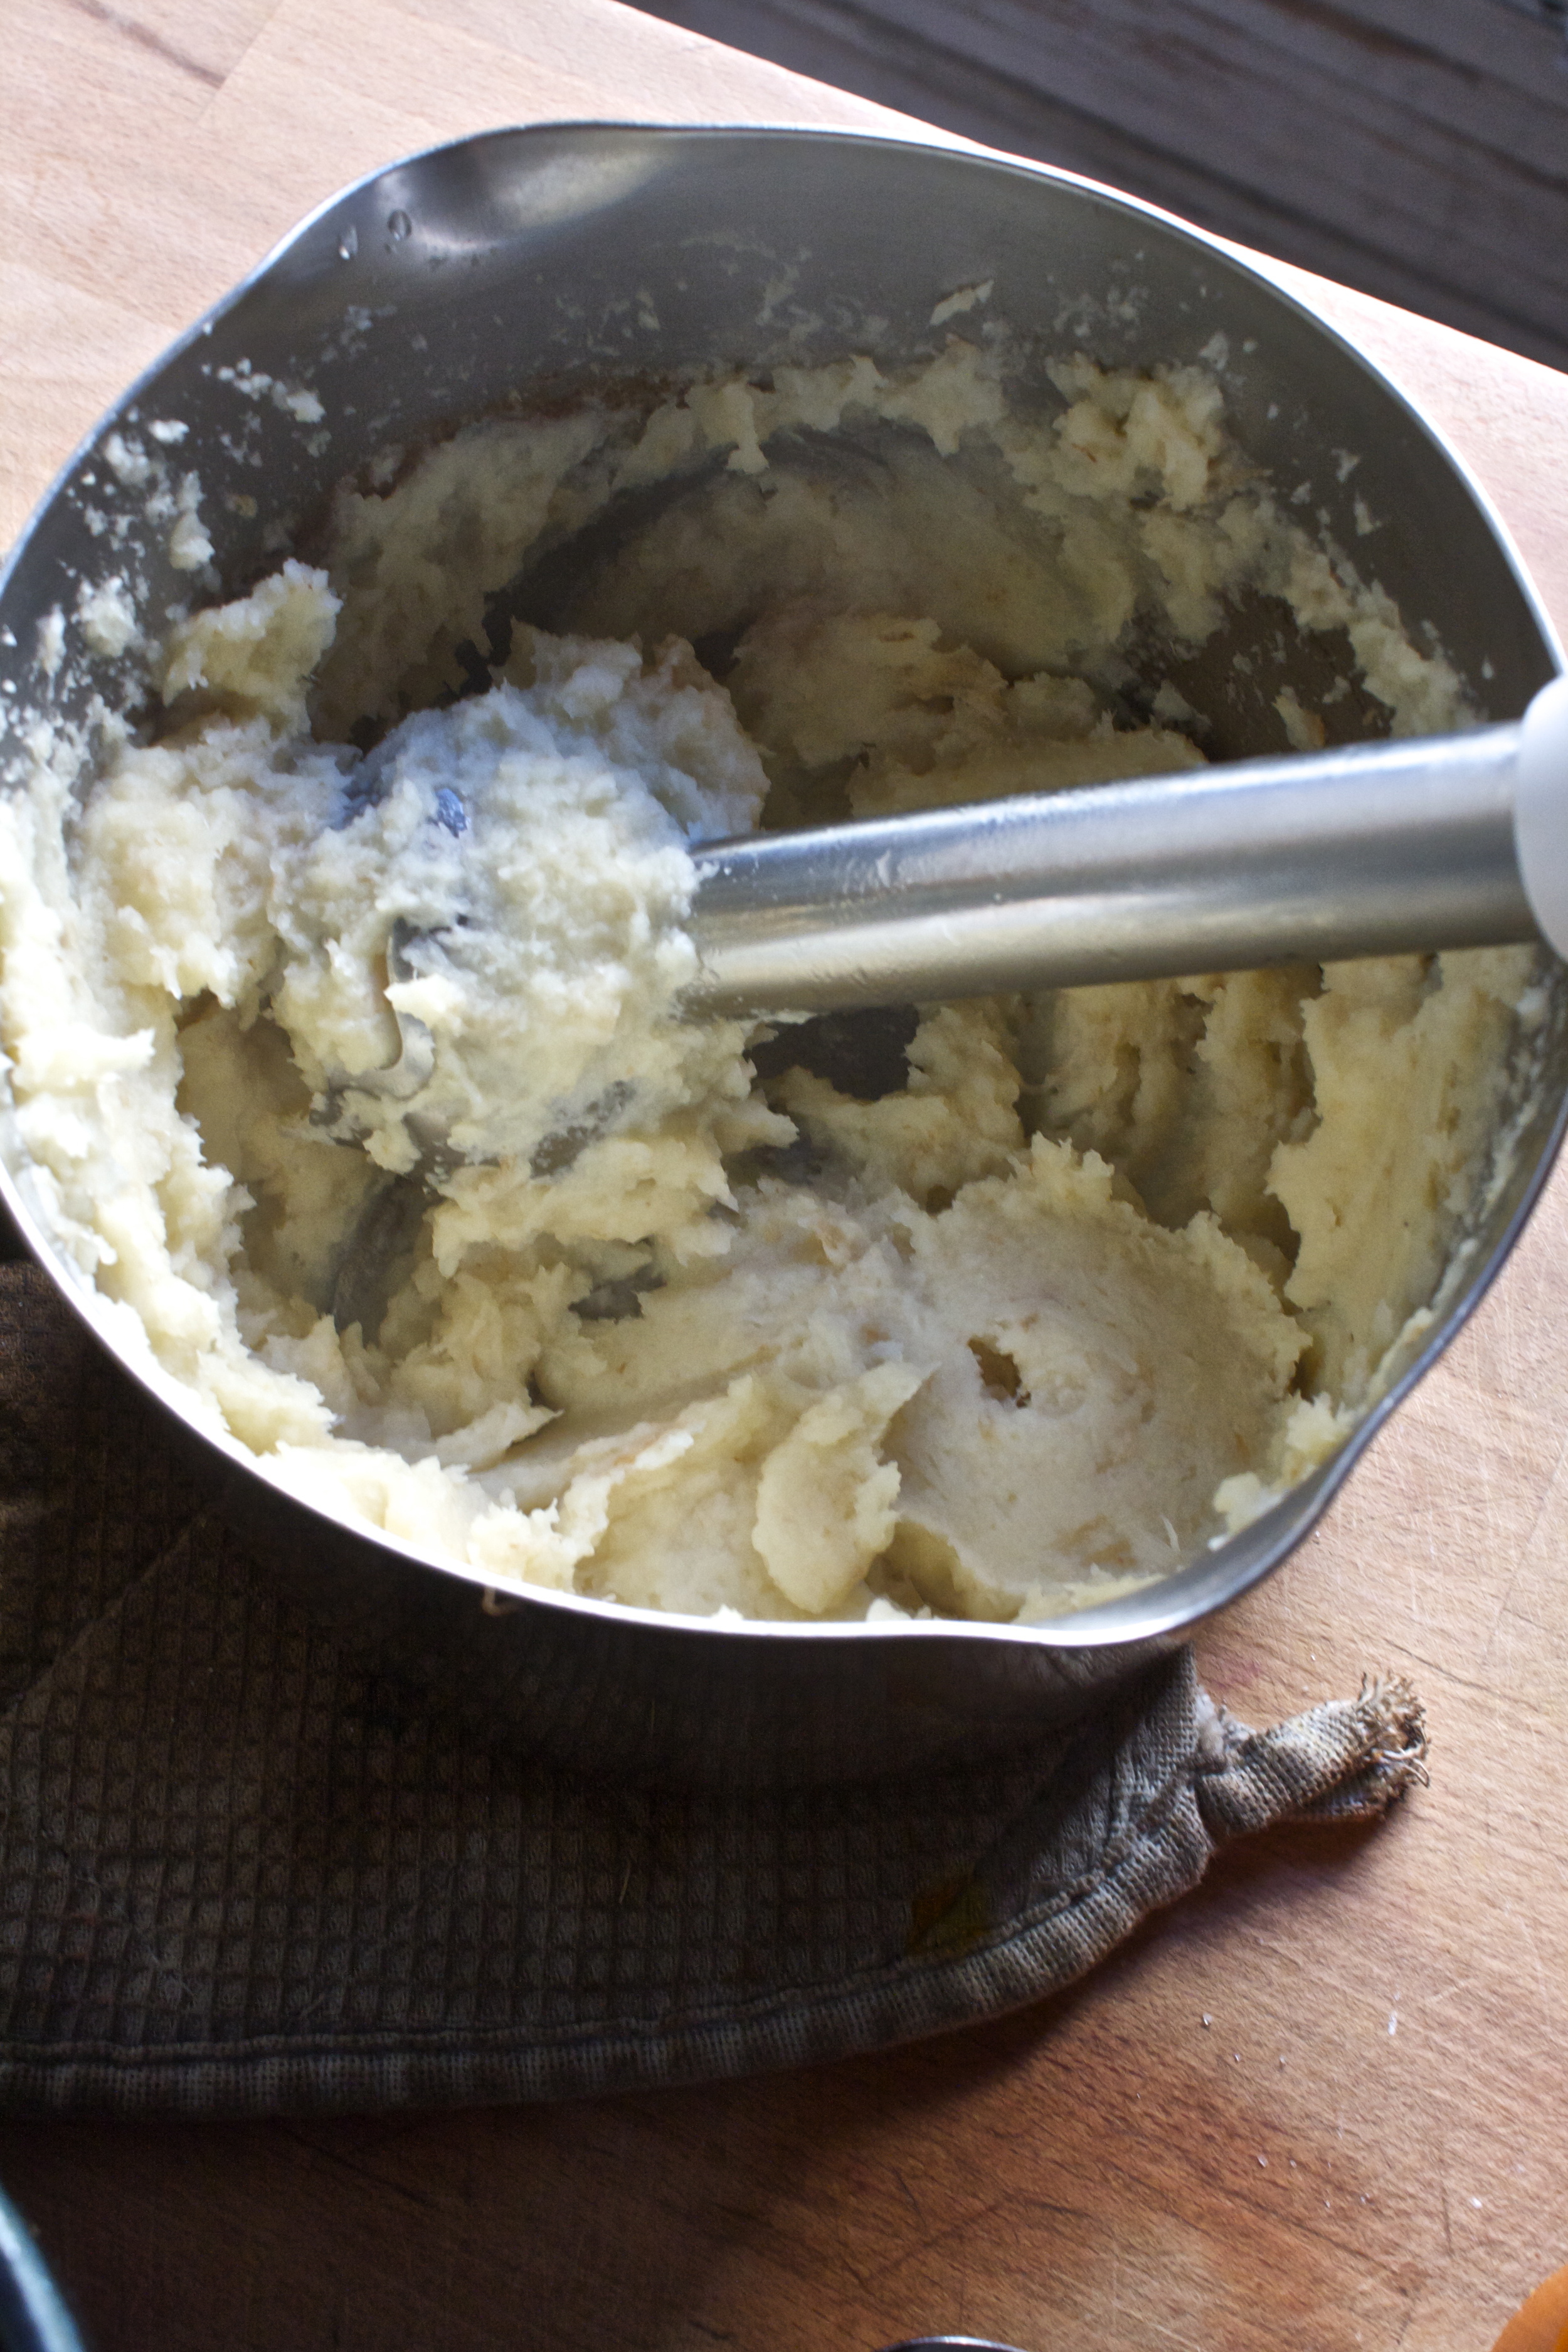
Depending on you pears and how juicy they are, you might find that your batter seems to dry, just add in another 1/4  cup of water. The batter should be the consistency of like greek yogurt, not ruing, but not stiff either.

Preheat you cook box (oven)

IMG_2978.jpg
IMG_2984.jpg

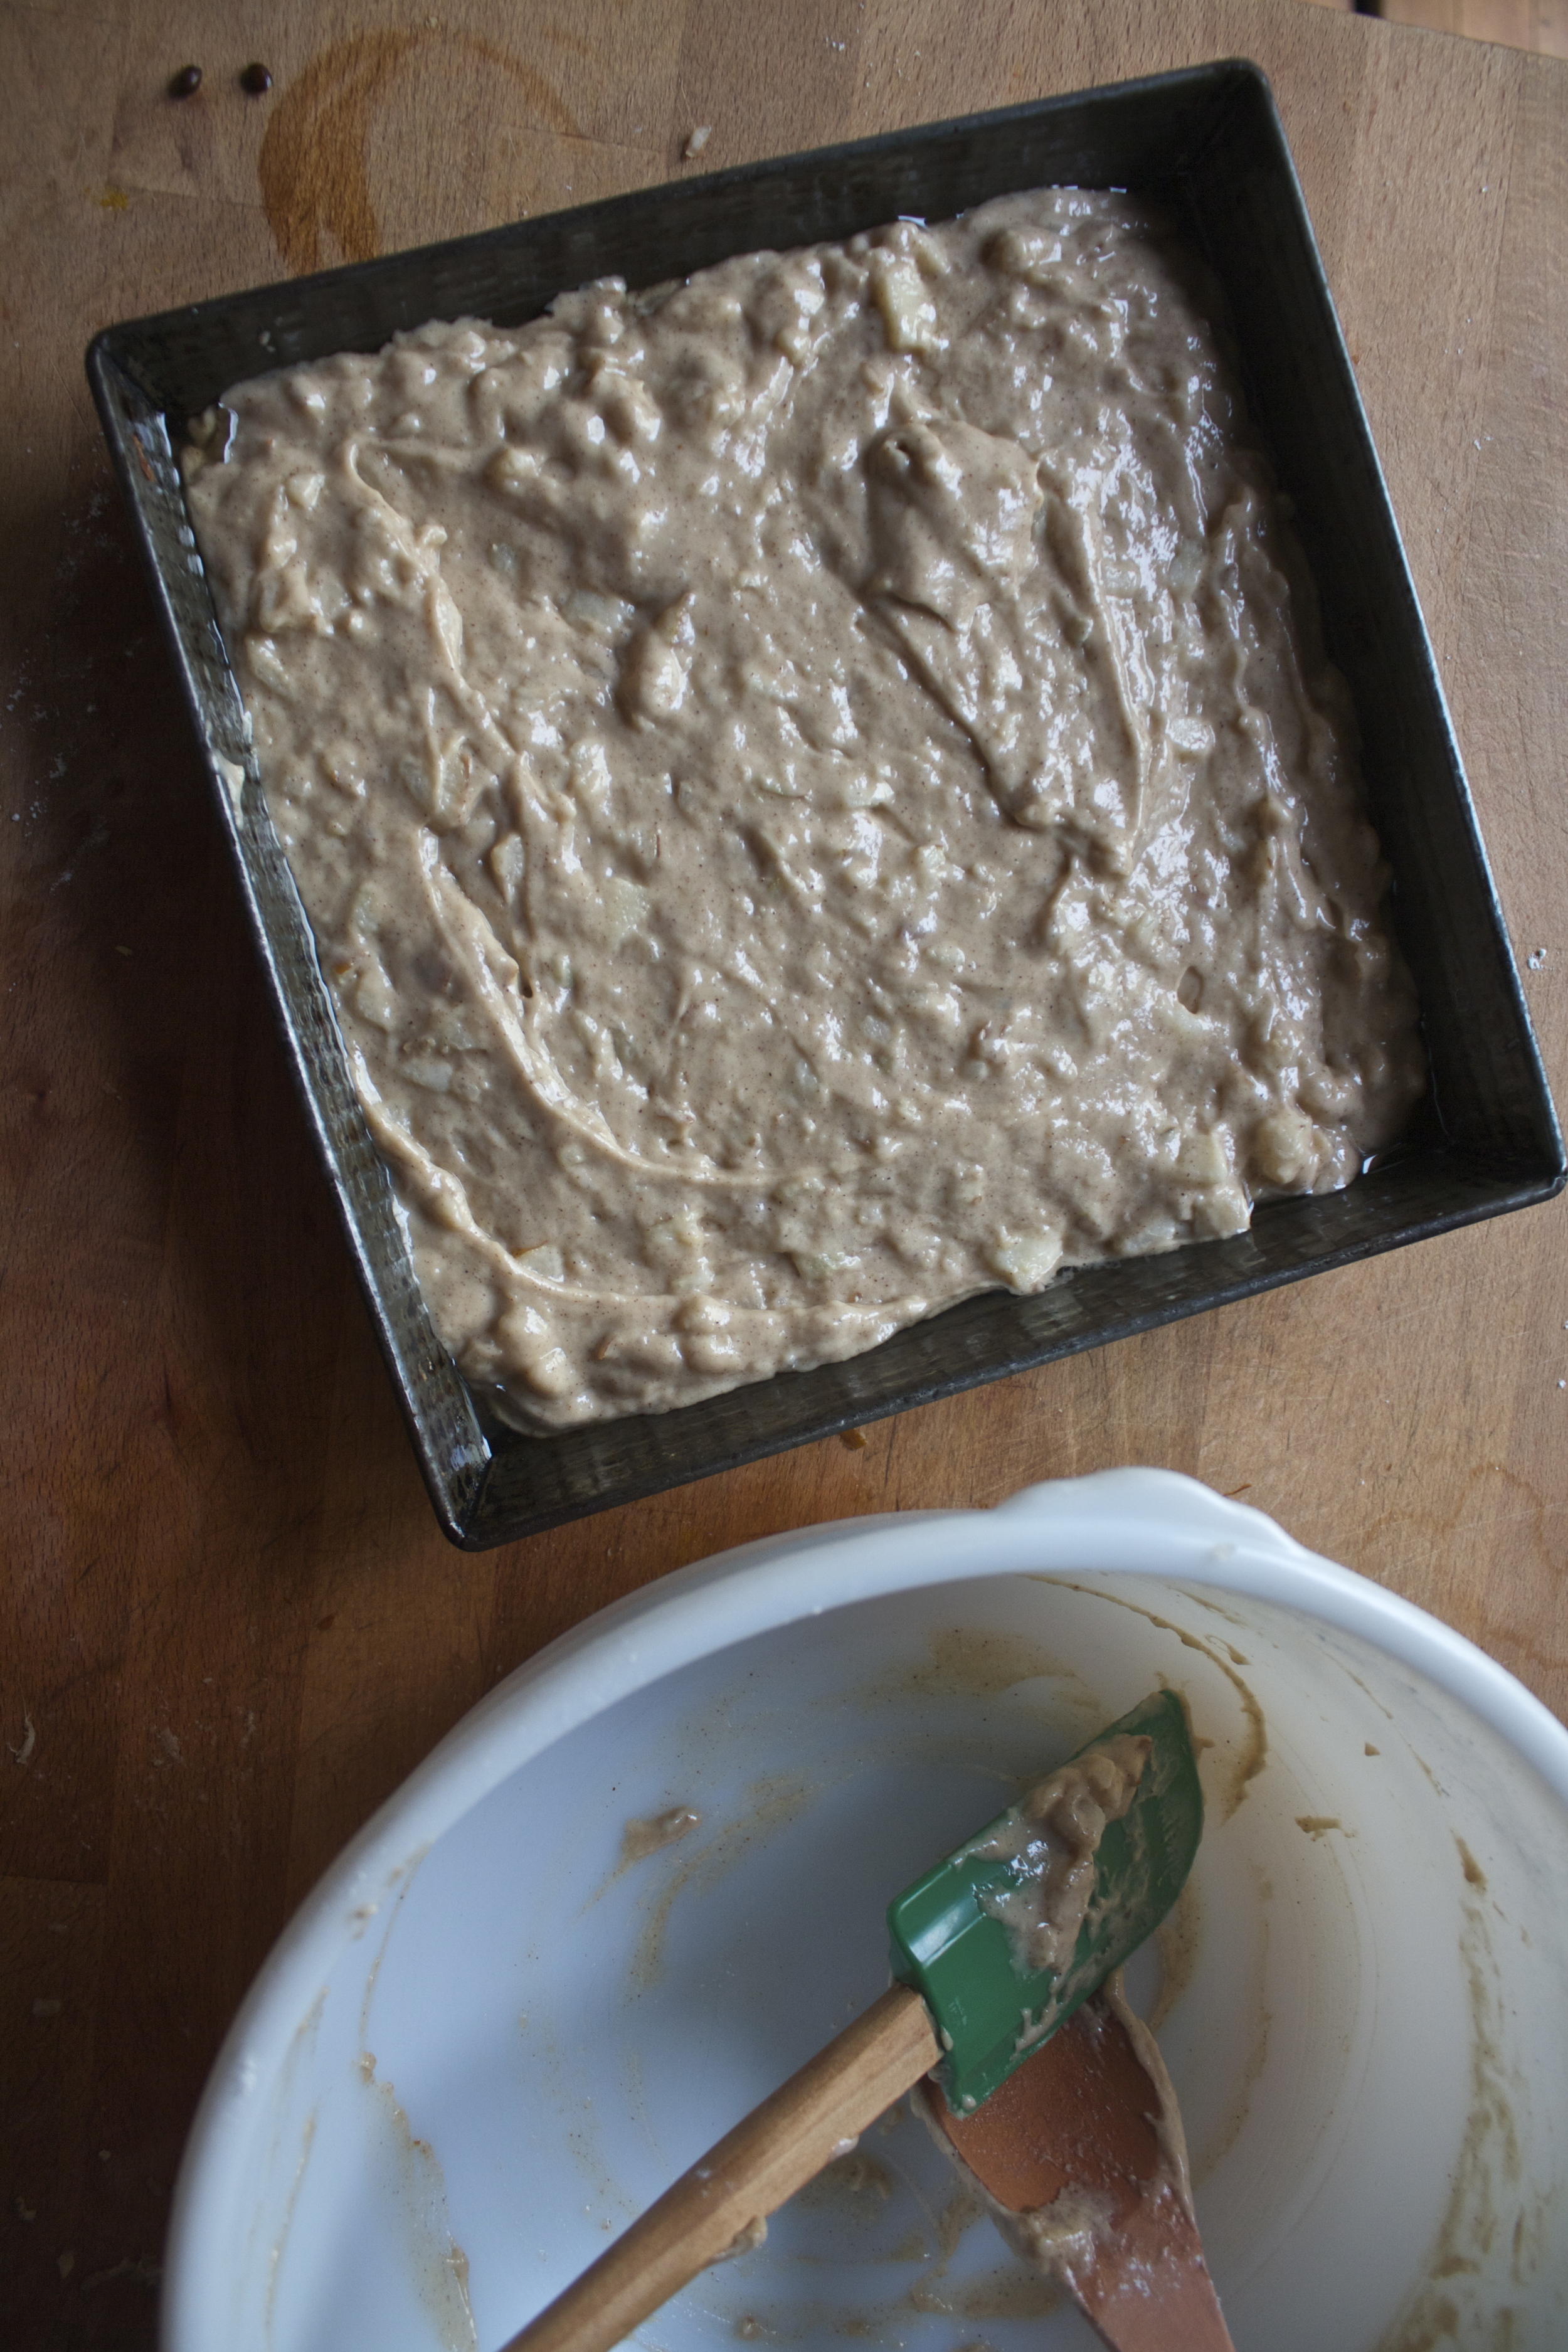
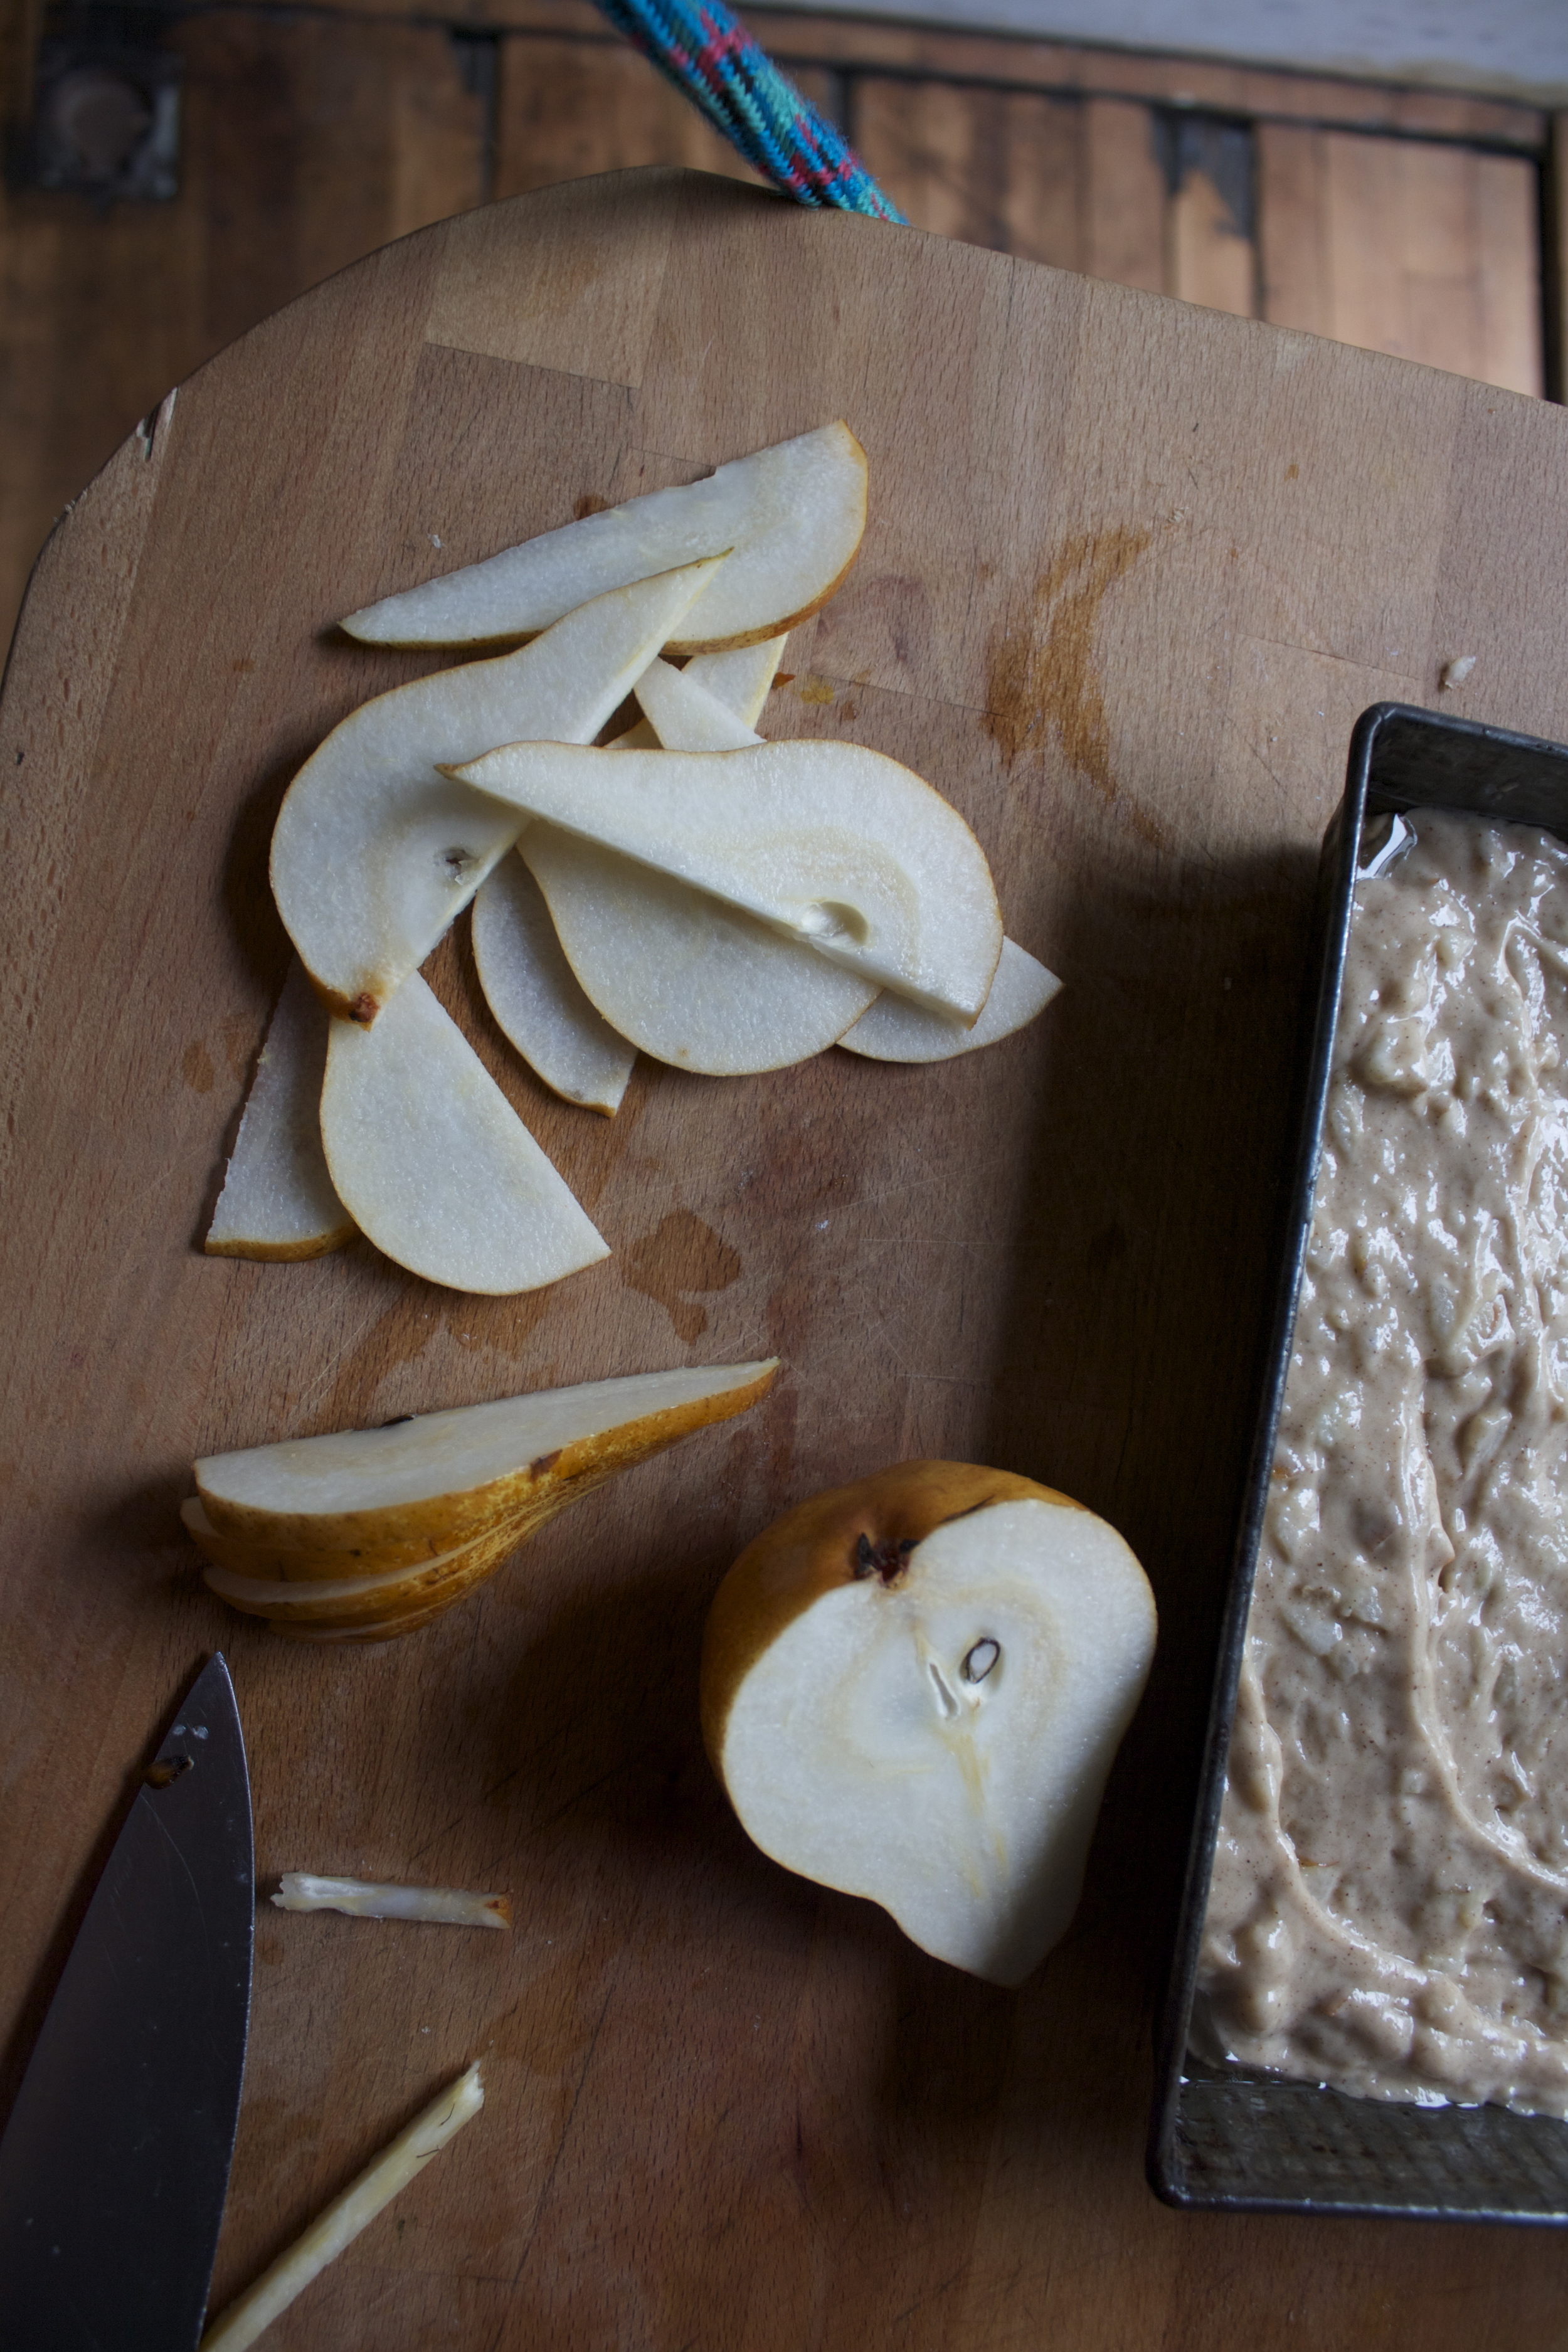
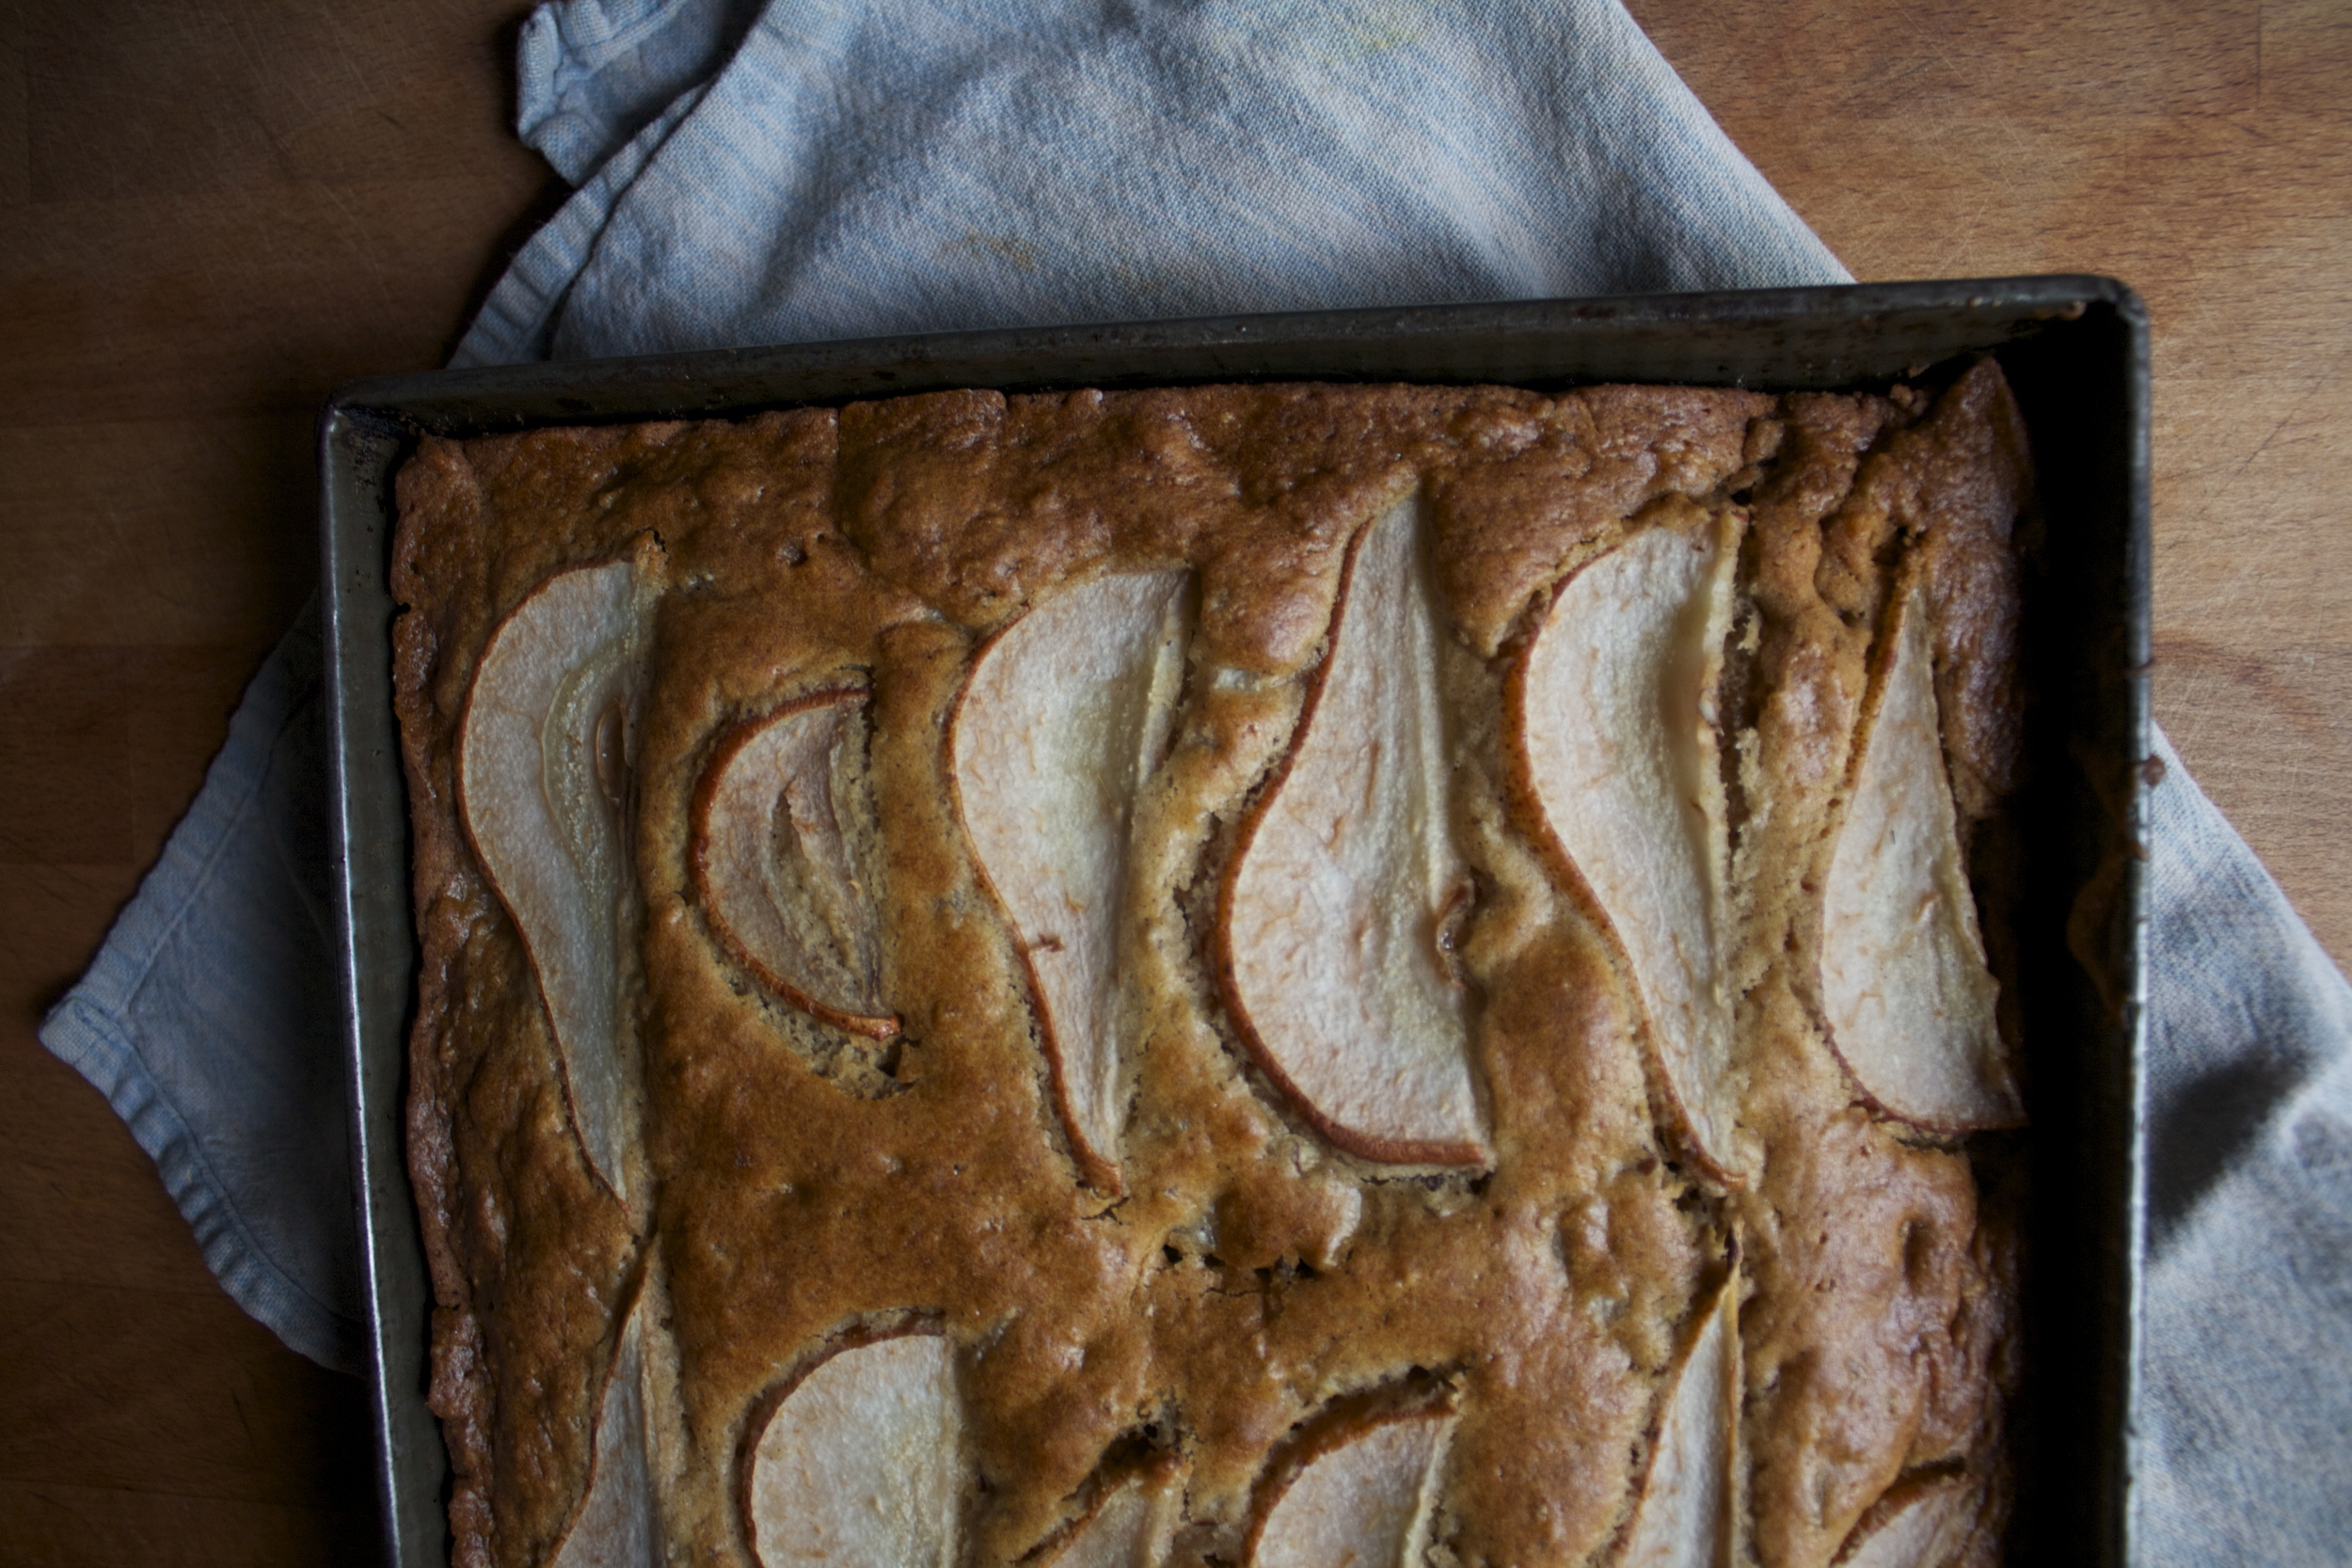
Dump the batter into a well greased 9x9 inch pan. Slice up another pear into thin strips (I only used half, then ate the other half)

Lay the slices on top to make it look all pretty. Do what I did, or some other design (it's your cake to make pretty any way you want). Once you do that, stick the cake into the oven.

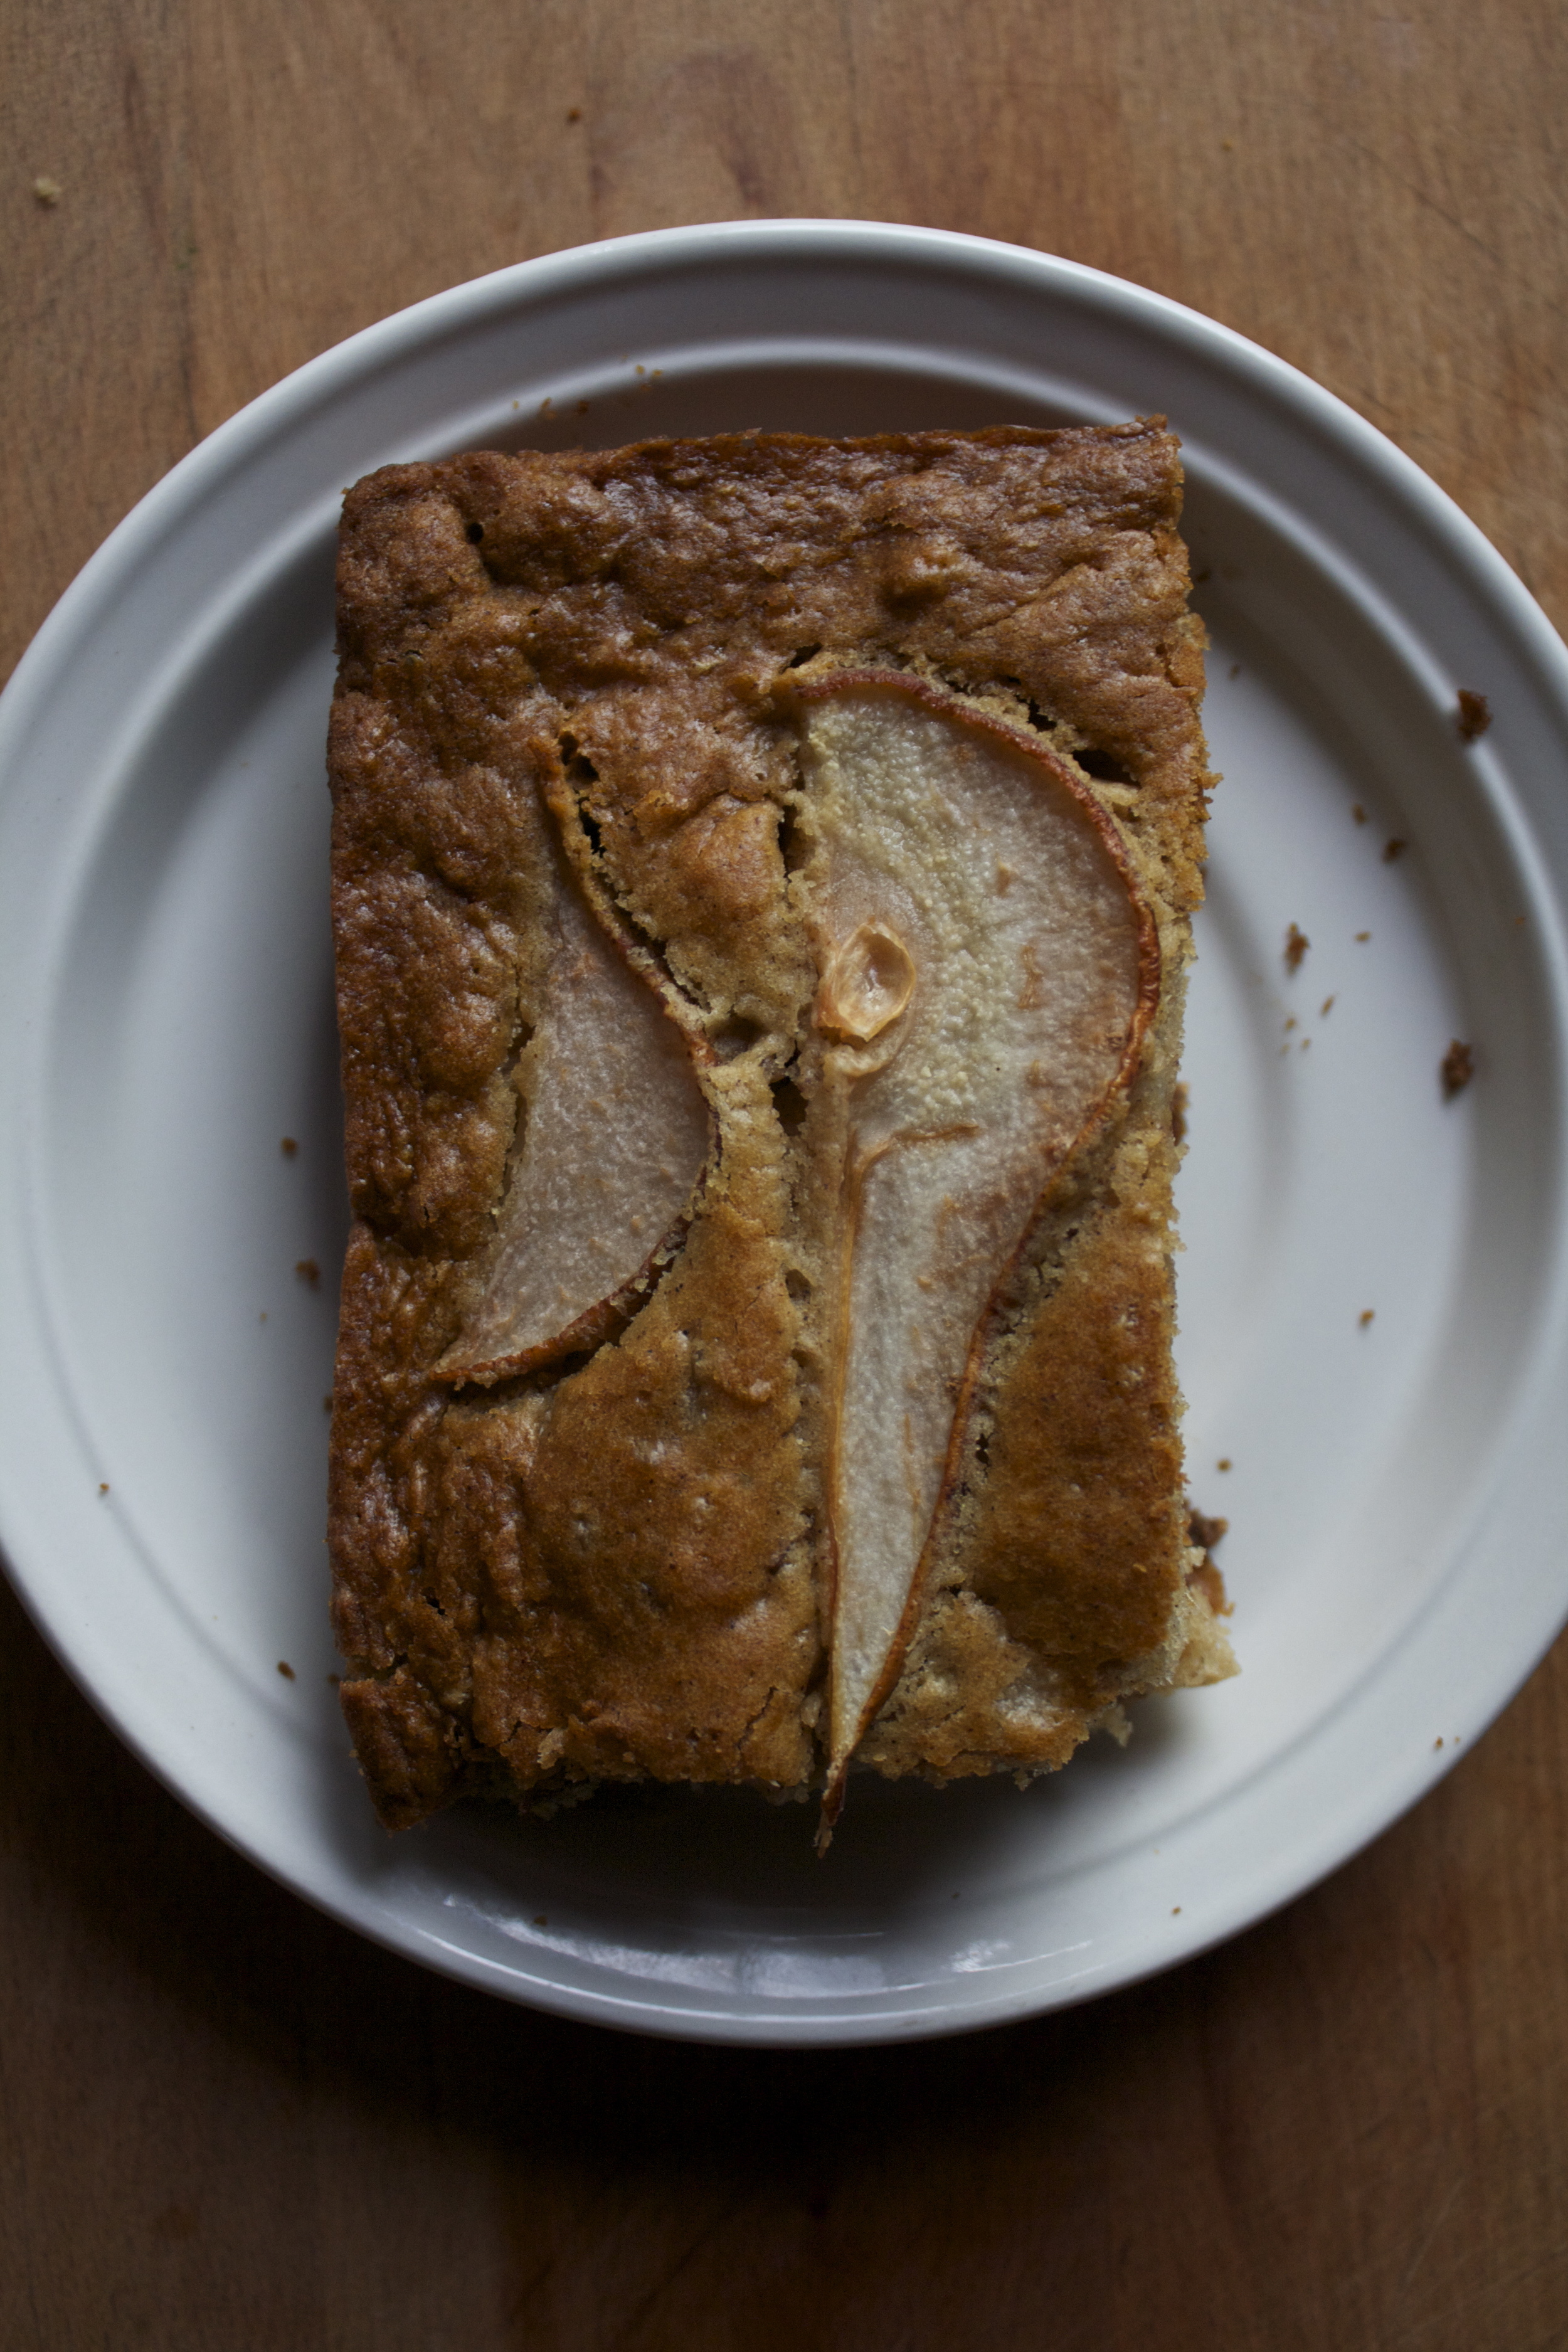
When the cake is a nice deep golden brown, take it out of the oven.

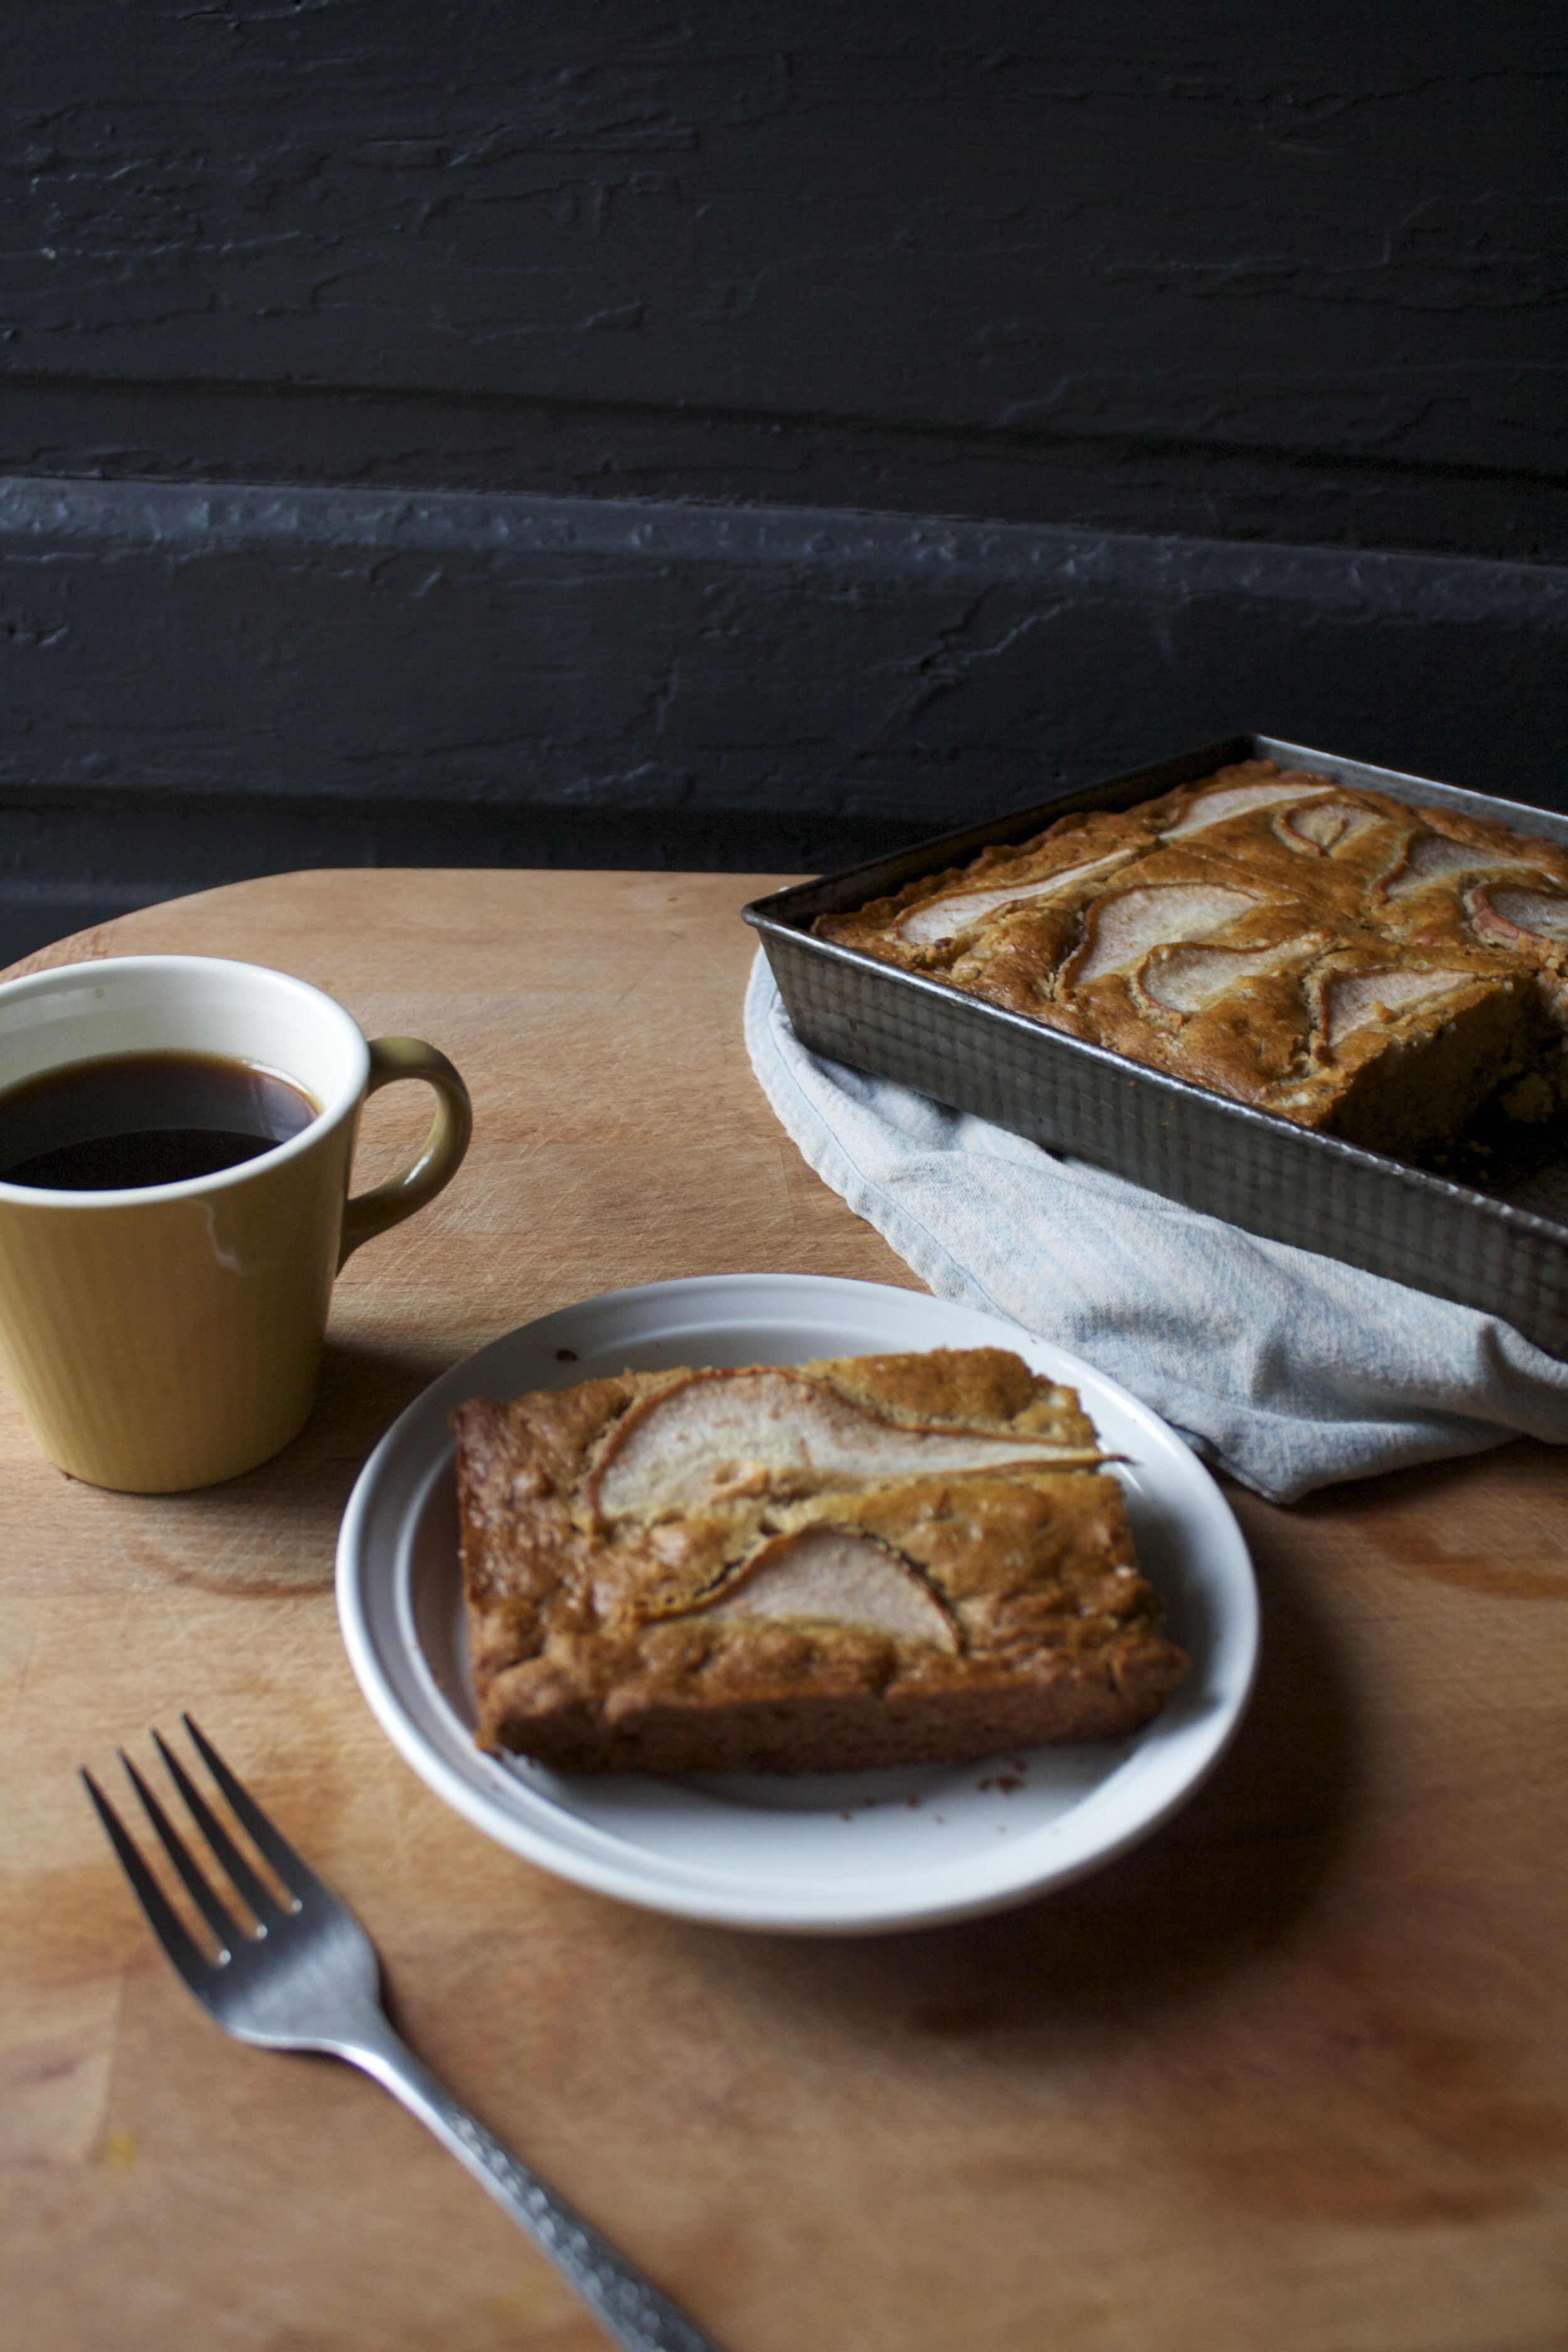
Maybe let it cool for a few minutes, letting the smell wrap around your head so that you smell like baking all day. No cut yourself a slab, grab some coffee, and go for it. 

Enjoy

-C


Pear Ginger Cake

Makes a 9x9 inch single layer cake

  • 2 cups white whole wheat flour
  • 2 cups minced , super ripe and jucey pears (about 2 whole pears)
  • 2 tablespoon freshly frated ginger
  • 1/2 cup canola oil
  • 1/4- 1/2 cup water
  • 2/3  cup brown sugar
  • 2 teaspoons cinnamon
  • 1 teaspoon salt
  • 1 teaspoon baking powder
  • 1 teaspoon baking soda
  • 1 tablespoon apple cider vinegar

Preheat oven to 350

Take pears, remove seeds and stem, and chop the crap out of them until they are tiny little pieces. Scoop pears, and any juice they leave behind into a bowl. Add in the sugar, oil, cinnamon,  ginger, vinegar,  and  1/4  cup of water and mix until incorporated. In a seprertare big bowl, mix together the salt, baking soda and powder with the flour. Add in the wet mixture and mix until fully incorporated.  If the batter seems to dry (should be the constancy of whipped potatoes or greek yogurt), add in another 1/4 cup of water. 

Scoop batter into a greased 9x9 inch baking pan. If you want to make it pretty, grab another pear and cut into thin slices and place right on top of the batter in any fashion you like. 

Place cake into oven and bake until a nice dark golden brown,about 40-45 minutes ,or until a tester stuck in the middle comes out clean. 

Remove, let cool in pan, and cut yourself a big slab, grab some coffee e to tea, grab a book, and eat it. .

In Vegan, Sweets, snack, recipes, photography, holiday, Dairy Free Tags ginger pear cake, pear cake, thanksgiving, holiday, quick cake, vegan, local, organic, king arthur flour, dessert, clean wating, whole wheat
Comment

Parsnip Cracked Pepper Dinner Rolls

November 10, 2015 Colleen Stem

This weekend was pretty fantastic. I got a lot of little things done around the house that needed to be done and spent half of that time hanging out in my pjs. (Pjs can be working loathes too) And all the while I was doing stuff, I was making these rolls. (I am nothing if not a great multi-tasker) That's my favorite kind of weekend.. Baking, while doing house chores. and maybe watching tv or listening to music. (or NPR.. but saying that makes me sound so old). I am like a little old house wife (I am close) and it makes me feel like I have achieved greatness!

And baking bread is the best. I love making bread. I  love the act of mixing and kneading the dough. The waiting and anticipation of the dough rising.The smells of good bread baking. It's a very cathartic experience, and it also results in some very tasty bread that, in my house, get's eaten at an alarming speed (fresh bread doesn't last long with the mr) But don't let all that time waiting around scare you away from making bread, cause when you take out the time spent letting dough rise, bread really takes about 8 minutes to make. And people who make fresh bread are always the coolest people. 

So these rolls. These rolls are soft and fluffy and tender,, slight sweet, slightly spicy, and all over freaking fantastic. I mean, it's parsnip and pepper so what can go wrong with that?. The mr ate a good few pretty much as soon as I pulled them out of the oven(again..fresh bread doesn't last long) and when I brought the rest over to my sisters house, those were devoured as well. Even the littles were super into them.  And I now that it's a few weeks away but…. Thanksgiving is only a few weeks away!!! It's creepy up oh so fast (as usual) and I am not going to let it get the best of me this year. And now that I got my roll game down for the big day (or 3.. there are 3 Thanksgivings that we are attending), I can move onto more pressing things.. like al the pies.(I'll be sharing some pies with you soon)


The stuff.  We gots some flour, salt, cracked pepper and a really big parsnip. Also have water, yeast, sugar and some melting earth balance . 

To start, chop up the parsnip into small chunks and stick them into a pot with enough water to fully semerge the chunks. Place on stove and bring to a boil then turn heat to medium high and let the parsnips cook.

Parsnips so pretty.

IMG_3090.jpg
IMG_3099.jpg

Once the parsnip are fork tender, strain the water (reserving 3/4 cup of that water) and puree the parsnip until smooth.

Take  that parsnip water and (once cooled a bit) place in bowl with the sugar and the yeast and mix it all around. Let sit for a few minutes until the yeast is visibly active.

Now dump the parsnip puree and melted butter into with the yeast and mix it all up

IMG_3134.jpg

Salt, pepper, and flour mixed into a bowl

IMG_3140.jpg

The yeast and parsnip mixture goes into the flour. 

And mix until it looks kind like this. When it's no longer mixable with the spoon, dump dough out onto lightly floured surface and knead, adding a little bit of flout to the work surface when needed to prevent it from sticking..

And keep kneading unitl dough is all nice and smooth and pretty.

IMG_3169.jpg
IMG_3175.jpg

Dough then goes into a lightly oiled bowl  and is covered with a towl and let to sit for about an hour until the dough doubles in size. 

IMG_3179.jpg

When the dough has doubled, dump onto the counter and cut into 12 equalish sized balls. (my balls were not equal)

IMG_3184.jpg
IMG_3186.jpg

The balls then go into a  large, lightly oiled pan. Let those sit for some more time,covered with a towel, unit the dough  doubles again and the balls are all touching each other. They are ready to bake.. but right before you place them in the oven, brush the tops with a little melted earth balance.

And into the oven they go!!!

And when the rolls are all golden brown and smelling so nice, remove from oven. Brush tops with some more melted earth balance and sprinkle with salt and more pepper.

Serve up to people you like

Have a n awesome day!

-C


Parsnip Cracked Pepper Dinner Rolls

Makes 12-16 rolls (depending on the size you make them)

  • 3 3-1/2 cups all purpose flour
  • 2 big parsnips (need 3/4 cups mashed parsnip)
  • 3/4 cups parsnip water (the water you boil the parsnips in)
  • 2 teaspoons yeast
  • 2 teaspoons cane sugar
  • 2 teaspoon salt
  • 1 tablespoon cracked pepper (more if you like pepper)
  • 4 tablespoons melted earth balance or butter (2 for the dough- 2 to melt on top)

To start, chop parnsips into chunks and place into a pot full of water. Bring to boil and cook until the parsnips are fork tender. Remove parsnips from water and measure out 3/4 cups of the water and set aside Take cooked parnsips and stick in a blender and puree until smooth. Measure out 3/4 cups of the puree.(any left eat as a snack)

Let both the puree and water cool enough that  you can stick a finger in it and its not to hot (or a thermometer that says its below 110.. your call).

Once cooled, stick the water, sugar, and yeast into a bowl, mix around, and let yeast activate. When yeast is foamy and clearly noted that it is not dead, dump in the parsnip mash, 2 tablespoons melted earth balance,and mix together. And then for the flour. Mix in the salt and pepper to the flour mix in the parsnip yeast mixture until a dough forms. The dough should be a little sticky, but still workable. If the dough seems to wet, add in another 1/4 cup flour at a time, just till it is bot overly sticky. 

Dump dough onto a floured surface and knead for about 5 minutes, or until the dough starts to look glossy and ihas an elastic quality to it. 

Stick dough into a greased bowl, over with a towel, and place in a warm place for about an hour, or until the dough has doubled in size. Once doubles, dump dough out onto counter and using a dough cutter or serrated knife, cut the dough into 12 -16 equal pieces Take each piece and roll into a ball and place into a greased 9x12 baking pan. Once all balls are in, cover with towel and let the dough rise  until the balls are doubled in size and are toughing each other,for another 30 minutes or so. Preheat the oven to 350. Once the rolls are double again, right before you stick them into the oven, brush tops with melted earth balance

Place rolls into preheated oven and baked for about 25 minutes or until the tops are golden brown. 

Remove and right away, brush on any remaining earth balance to the tops and sprinkle with salt and pepper.

Serve right away! 

Best eaten the day the are made.. but will last a few days in an air tight container. 

In holiday, recipes, Savory, Vegan, Vegetables Tags parsnip cracked pepper dinner rolls, dinner rolls, parsnips, vegan, thanksgiving, bread, rolls, yeasted rolls, king arthur flour
Comment

Maple Mustard Brussels Sprouts with Walnuts

November 6, 2015 Colleen Stem
IMG_2914.jpg
IMG_2845.jpg

You know how some people are brussels sprouts people and some are not. I am a for sure a spouts person. 

I can even remember my first introduction to the cabbage like veggie.  It was about 15 years ago and honestly, up to that point in my life, I had never even seen, let alone eaten brussels sprouts  (Growing up, my family pretty much ate only peas, beans, and corn). So one night at my friends and the mr's house (this was before we were dating) I stayed for dinner and there was as big bowl of steamed brussels sprouts on the table. First thing I noticed was that they kinds smelled like fart, but I wan't exactly sure if the sprouts were the culprit (they were) Second thing I noticed was that everyone at dinner seemed to be really excited, or at least not offended by the sprouts. It was kind of weird because I had a preconceived notion that brussels sprouts were nasty and nobody actually enjoys wearing them. But up close and personal with the things, they didn't seem so bad.  So not wanting to seem rude, plus I was pretty curious,(and hungry) I grab a few. And then I ate them (minus the mayo that everyone was dipping them in)  And then I knew. I was hooked.  Brussels sprouts for life!

Now here is the thing. Those first sprouts that I had, they came from a bag in the frozen food section a the grocery store. (I know cause my friend had made them) And not that I don’t like me some frozen veggies (I eat frozen veggies on the reg) but there is nothing like a fresh stock of brussles sprouts. Slightly sweet, leafy, tender and crisp… They don't even need to be cooked, which, if you are not a fan of the slight aroma that comes from cooked sprouts (kinda like fart) is great cause they don't really smell! Fresh sprouts are were it's at.

So if you are one of the cool ones (a brussels sprouts person) this salad is for you. And if you think you don't like them, well my suggestion is.. Try them again cause you probably will. And watch. They will probably turn into the new green superfood, so you are going to have to like them eventually anyway so you might as well get used to them now!

The stuff. Brussel Sprouts, toasted walnuts and an onion. Also have some brown mustard, maple syrup, red wine vinegar, and some salt and pepper.

IMG_2848.jpg
IMG_2863.jpg

Take those lovely sprouts and slice them all as thin as you can.. and do the same to the onion. Then stick it all into a bowl, sprinkle with salt and give it a toss. Set aside.

Grab a big skillet and dump in the maple, mustard and vinegar. Stick it on the stove on medium high heat, constantly mixing.

Keep mixing, and after a few minutes, the stuff has started to thicken and brown a bit… and smells so good!

Now grab the bowl of chopped sprouts and dump the contents into the skillet. Add in a splash of water just to loosen up the sauce. Give it all a good mix, making sure that everything is evenly coated. Now let skillet sit on the heat for just another minutes or two.

After a few minutes hanging in the hot skillet, remove from heat and dump the sprouts into a big bowl.

Top with the toasted walnuts, and garb yourself a fork. OR stick it in the fridge and save it for later (taste Fantasitc freshly made.. even better after a few hours.. so eat whenever. Your call)

To all the brussels spouts people out there.. WE ARE AWESOME!

TGIF!!

-C


Maple Mustard Brussel Sprouts with Walnuts 

Makes enough for 2 people as a side, or a nice lovely salad for 1

  •  1 1/2 -2 lbs  fresh brussels sprouts(removed from the stalk)
  • 1 small onion (red or white works)
  • handful of toasted walnuts (if not toasted.. sticking a dry skillet, high heat for a few minutes to toast)
  • 1/4 cup brown mustard
  • 2 tablespoons maple syrup
  • 2-3 tablespoon red white vinegar
  • salt and pepper
  • splash of water

Rinse sprouts and remove any of the gross leaves then slice them as thinly as you can. Grab the onion and slice that as thinly as you can too. Toss into a bowl, sprinkle with a little salt, and toss everything together. 

In a large skillet, mix together the maple, mustard, and vinegar. Place on medium high heat and stir constantly until the mixture starts to thicken and brown a bit. Grab bowl of sprouts and toss them into the skillet, mixing everything together until the sprouts are all coated. Give the skillet a little splash of water. and let cook for another minutes or two, just so the sprouts are not completely raw (you can cook them longer if you like) Remove from heat and dump back into bowl. Toss on the walnuts and give it all a good stir. Serve immediately , or let it sit and serve later (tastes even better after a few hours!)


In Vegetables, Vegan, snack, Savory, recipes, Paleo, grain free, Gluten Free Tags Maple Mustard Brussels Sprouts with Walnuts, nuts, veggies, vegan, side dish, brussels sprouts, thanksgiving, healthy, plant based, clean eating
Comment

Butternut Squash Noodles with Caramelized Onions and Sage

November 4, 2015 Colleen Stem
IMG_2782.jpg
IMG_2746.jpg

You know how I have been saying that I have so so many winter squashes that they are taking over my house? (the other night the mr and I counted while eating dinner.. there were 29 at the time) Well, not that I think I cannot eat them all myself, but I want to share and I think I found a way to share them that people (especially the mr) will really like… Squash noodles of course!

Honestly, I am always more then happy to just eat a squash pretty much as untouched as possible. All I do is stick one (any variety) in the oven on a rack and bake it till its soft then eat it. And it's like crack.. I can't get enough. If I was not a stronger person, I would probably eat an entire squash in once sitting, then still want more. (It's happened) But that's me. Most of the peps that I make food for are not as squash happy as I am and are not into just squash mush. 

So last night I noodled some butternut for the mr. And win.. he really liked them,  even with a shit ton of caramelized onions. (I loved the onions, he has never been a huge onion fan but still really like them)  Ever since zucchini season has been over, I have been trying to find that new meal that I can whip up in a short amount of time, that the mr really likes, and can be made with the abundance of the season. I don't know why I didn't do this sooner. And sure, this particular dish takes a little time to make cause of the onions, which are so worth it, but on a regular old night, I can just toss some garlic, olive oil and a handful of fresh herbs into a pot and it will take like 15 minutes. to make.I am a genius (I am sure that noodling is not an original idea, but whatever, original to me)

Anyway.. squash noodles are now a thing for us, and I am sure will be a thing everywhere soon so you should jump in the band wagon now and get to making some too! .


The stuff. A butternut squash, a few onions, and a handful of fresh sage. . Also need some garlic, wine vinegar, olive oil, salt and pepper and some water (water not in picture)

Slice up all the onions as thin as you can, mince up the garlic, and stick it all into a big pot with a drizzle of olive oil, a sprinkle of salt and pepper and a small splash of water. Stick the pot on the stove on medium heat until the onions start to cook and smell all yummy oniony and maybe a few are sticking to the bottom of the pot. Grab the vinegar and give the onions a good splash, stirring  around, making sure no onions are stuck on the bottom. Now turn heat to low and cover the pot. Let the onions cook for a while (about a 1/2 hour) giving them a stir ever now and then.

And once the onions are all super soft and starting to caramelize, add in the sage (but mince it first). Keep the pot on low heat without the lid.

IMG_2712.jpg
IMG_2714.jpg

While the sage and onions are melding together, turn the squash into some noodles. Do it by the means that you use. I have a mandolin that does the trick, but use your spiralizer, noodler maker, or even a knife and a little bit of patience. Just make sure all you noodles, however made, are all the same thickness to it all cooks at the same time.  So yeah, cut the bottom part of the squash off and use the neck… and save the rest for soup tomorrow.

Note… I did not peel the squash cause I like to eat the skin. If you want, peel it, but really, even if you don't like the skin, you will not notice it in the noodles. 

After the sage has had a few  minutes with the onions, and now that the noodles are made, it's time to add in a few splashes of vinegar and about a cup of water to the pot. So do that and give it all a good stir.

Now dump in the noodles, stir once more, and turn  the pot to medium heat and stick the lid back on it. Let cook down on medium heat for about 15 minutes, or unlit the noodles are tender and cooked, but not mushy. 

Like so. 

Now all you have to do is eat it.

Place a big pile into a pretty bowl, a fresh tiny little sage leave as garnish, and serve with a clean cloth napkin and a clean fork to eat with.. Or better yet, just eat it out of the pot with the wooden spoon  that may or may not have fallen on the floor. (my preferred method of eating)

Have a fantastic Day!

-C


Butternut Squash Noodles with Caramelized Onions and Sage 

Make 2 Servings 

  • 1 butternut squash (or the solid, neck part of a squab)
  • 4 medium sized sweet onion
  • 4-5 cloves of garlic
  • handful of fresh sage leaves
  • 1- 1 1/2 cups water
  • 2-3 splashes of red or white wine vinegar
  • olive oil
  • salt and pepper to taste 

Take onions and slice them as thinly as you can and mince up the garlic. Place into o big pot with a drizzle of olive oil, a splash of water and a sprinkle of salt. Stick on stove on medium high heat and stir onions until they start to give off a sweet onion smell and are starting to stick to the pot. Add in a splash of vinegar to deglaze pot, give it all a stir, and turn heat to low. Cover with a lid and continue to cook, string now and again, until onions reduce in volume by about half, are all tender, almost falling apart and are starting to brown a bit. (takes about 30- 40 minutes ) When onions are at this point, tiny chop the fresh sage and mix into the onion. 

Now grab you squash and turn in into noodles.( I cut the bottom part off (for soup tomorrow) and use the neck of the squash). You can do this by using a mandolin, a noodler, or even a knife. Any way works, just make sure the noodles are all the same thickness (mine were about 1/4 inch thick) so they cook at the same time.  Noodle about 5- 6 handfuls or cups of noodles. 

Now right before you add the noodles to the pot, add in a few more splashes of vinegar. another pitch or two of salt and pepper, and a cup of water, Mix that all  around then add in the noodles. Give those a mix then turn heat to medium and place the lid back on the pot, checking and string every few minutes until the noodles are tender(but not falling apart) and the water has pretty much evaporated. (about 15 minutes)  If you notice the water is gone and the noodles still need more cooking, add in another 1/2 cup of water.

And when you are happy with the tenderness of the noodles. remove pot from heat, taste and season with more salt and pepper if needed,  and get to eating!!!!!

In Vegetables, Vegan, Savory, recipes, Paleo, Gluten Free, Dairy Free, grain free Tags Butternut Squash Noodles with Caramelized Onion and Sage, VEgan, gluten free, healthy, clean eating, plant based, grain free, noodles, vegetarian, winter squash, butternut squash, fresh, sage, local, organic
Comment

Homemade Dog Treats

November 3, 2015 Colleen Stem
IMG_2664.jpg
IMG_2600.jpg
IMG_2642.jpg

10 years old, this guy.  I can't believe that we have had him for nearly that long (we got him when he was 8 weeks old) 

He has come a long way as our puppy. When we first go him, he was this little tiny fur ball that was so pathetic, he could barely walk down the street without whining. And his little puppy teeth and sticky puppy breath…. so sharp and stinky, but oddly so cute! And then he got bigger, and although still super cute, he wasn't as timid and puppy like anymore. He entered a stage of crazy dog, chewing up the floors and windowsills, maybe even trying to bite your hand off if you went near his food, and needed at least 3 hours of outdoor exercise . What I am saying is, he turned into a beast dog. And he got big, like 75 lbs and as tall as a horse (not really that tall), which was all fine and dandy, but he still had it in his mind hat the was a little lap dog. (We didn't discourage the is behavior)  But we got through that stage (2 years later) and he came to be a more mellow, stop destroying everything, not trying to bite your hand off, pup that still needed at least 3 hours of exercise  a day. Alway happy, always  ready for a good hike, swim, or run.. This lasted about 8 years, his golden years. And now, now he is 10 and has entered a new stage. He is still ready for anything, but  does it at a much slower pace. He doesn't need 3 hours of exercise   anymore and  is happy just to lounge around. All he wants is love and food. . If one thing has been a constant  in this dogs life is that he is a food lover.. like steal your food right out of your hand, kind of love. 

So for his 10th birthday, the mr and I took the guy for a long hike (which kicked his butt for the rest of the day and the next) and I made him some treats. All for him.. my old man puppy. And sure he might now know exactly why I have been giving him treats (we try not to reward him with food. cause we don't want him to get fat) but he sure has been enjoying them. Every time I came home he comes and sits and drools all over waiting for a biscuit. It has turned into his thing.

Anyways, my pup really likes these (although he would probably eat anything) . They are simple, healthy for the dogs, and honestly not that bad a a human snack. And we are coming up  on the holiday season… maybe making some for your puppy or even making and gifting some to your friends with dogs.  (Just and idea)

The stuff. Buckwheat flour, an apple, some peanut butter and some pureed pumpkin.

Grate the apple

and dump the apple, along with the peanut butter and pumpkin puree into the bowl with the buckwheat flour,

Mix it all up until its fully incorporated and is kind of the consistency of play dough.

So here is the deal, you can totally roll the dough out  and use a cookie cutter, but I couldn't find my bone shaped cutter so I hand made the bone shape, which I think came to pretty good. I also was able to make a different sizes. (you know, big ones for when he is really good, little ones for when he being ok).. And really, you don't need to use a bone shape, any shape will do. Whatever you decide  to do. just make sure the cookies are all about 1/2 inch thick so they bake

Stick the cookies on a baking sheet and place them in the oven to bake Then when they are done, leave them in the oven to cool.

After chilling out in the oven, pull them out 

And give one to the pup and stick the rest in the puppy cookie jar. 

And p.s. Not the best tasting human treat, but are actually not to bad. (Just sayin)

-C


Homemade Dog Treats 

makes 18-24 cookies (depending on the size)

  • 1 1/2 cup of Buckwheat flour
  • 1 heaping cup pumpkin puree 
  • 1/4 cup peanut butter
  • 1 apple grated

Preheat oven to 350

Stick everything in a bowl and mix up until fully incorporate. If the dough seems to wet, add in a little more flour until the dough is workable with your hands, kinda like play dough.  Roll dough into small balls  and shape into bones that are about 1/2 inch thick or,  roll dough out to about 1/2 inch and use a cookie cutter and cut out bones (any shape works)

Place cookies on baking sheet and stick into oven. Bake for 20-25 minutes then turn the oven off but leave the cookies in the oven to dry. Once the cookies are cooled, remove from oven.. And thats it. Give a treat to your pup and stick the rest in cookie jar. 


In Vegan, snack, recipes, Gluten Free, Dairy Free, dog Tags dog treats, dog biscuits, homemade dog treat, dog, dog food, dog bones
Comment
← Newer Posts Older Posts →
 

https://thelovelycrazy.squarespace.com/config#/|/about/

Me. Food Maker.Food eater. Woo HOO!

STEM+NODE  SMALL BATCH AND ONE OF A KIND POTTERY

stem+node ceramics


____________________

Subscribe

GET NEW POSTS IN YO EMAIL

You are AWESOME!!!


@thelovelycrazy 2014-2021