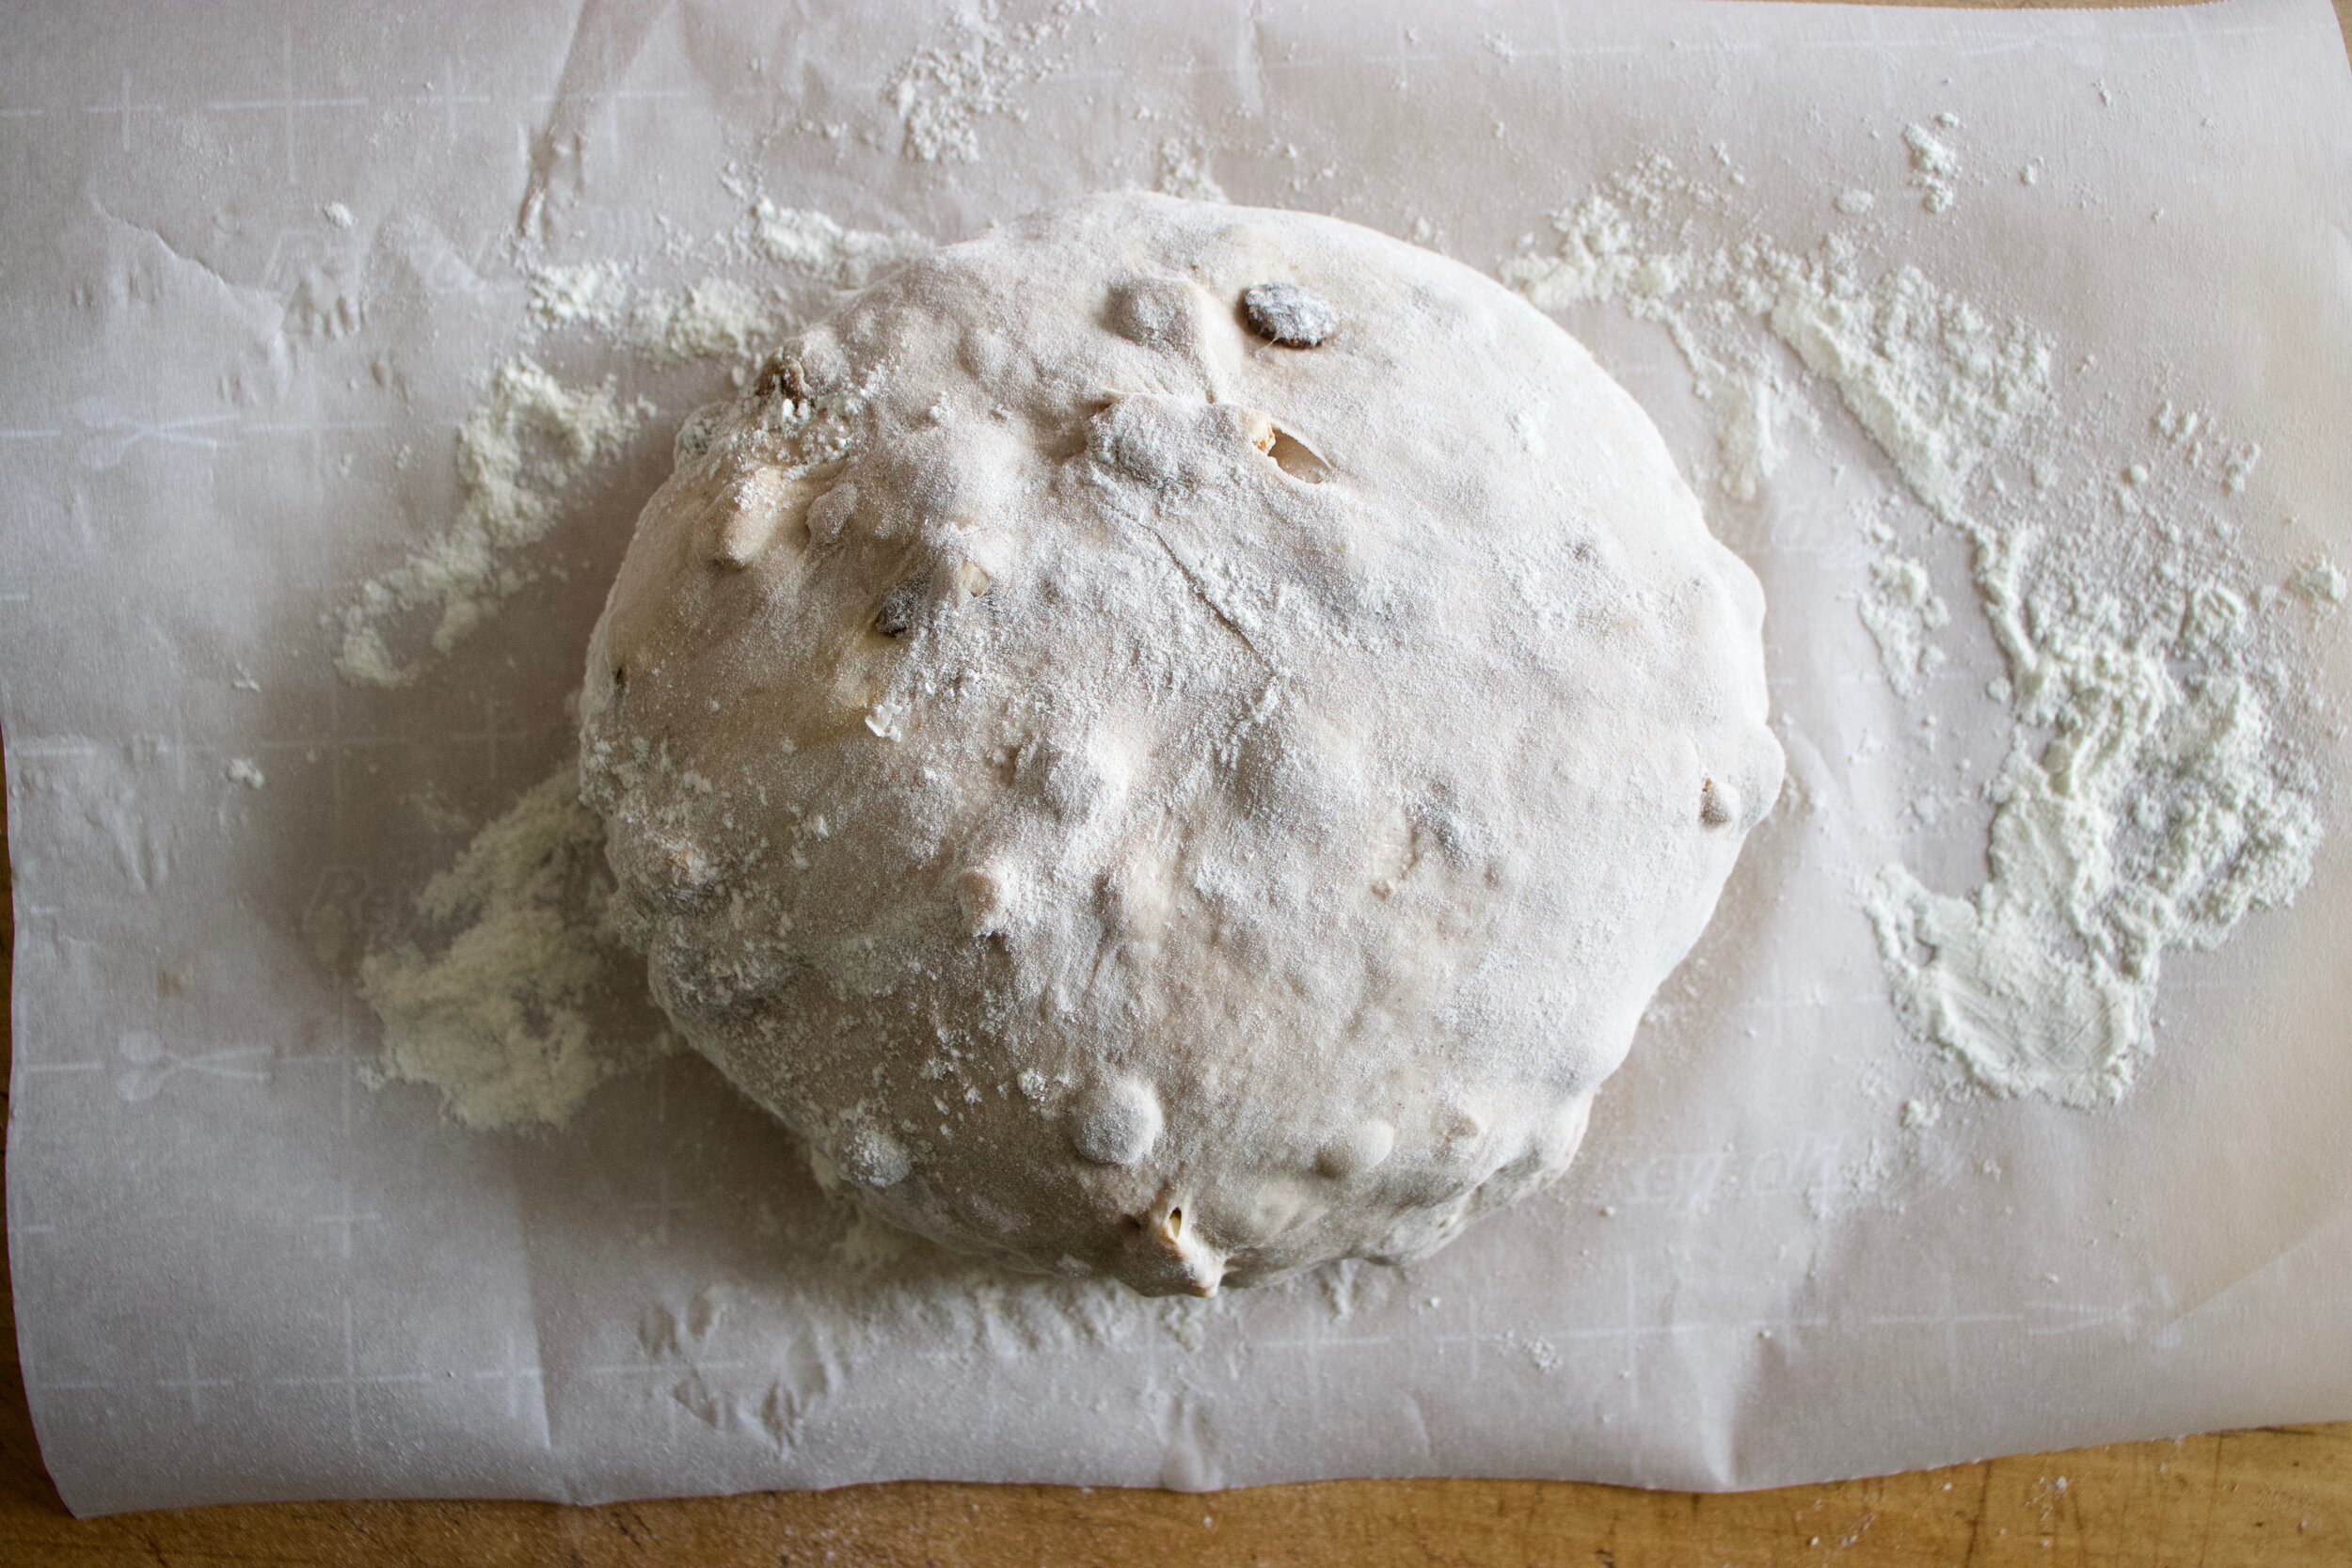
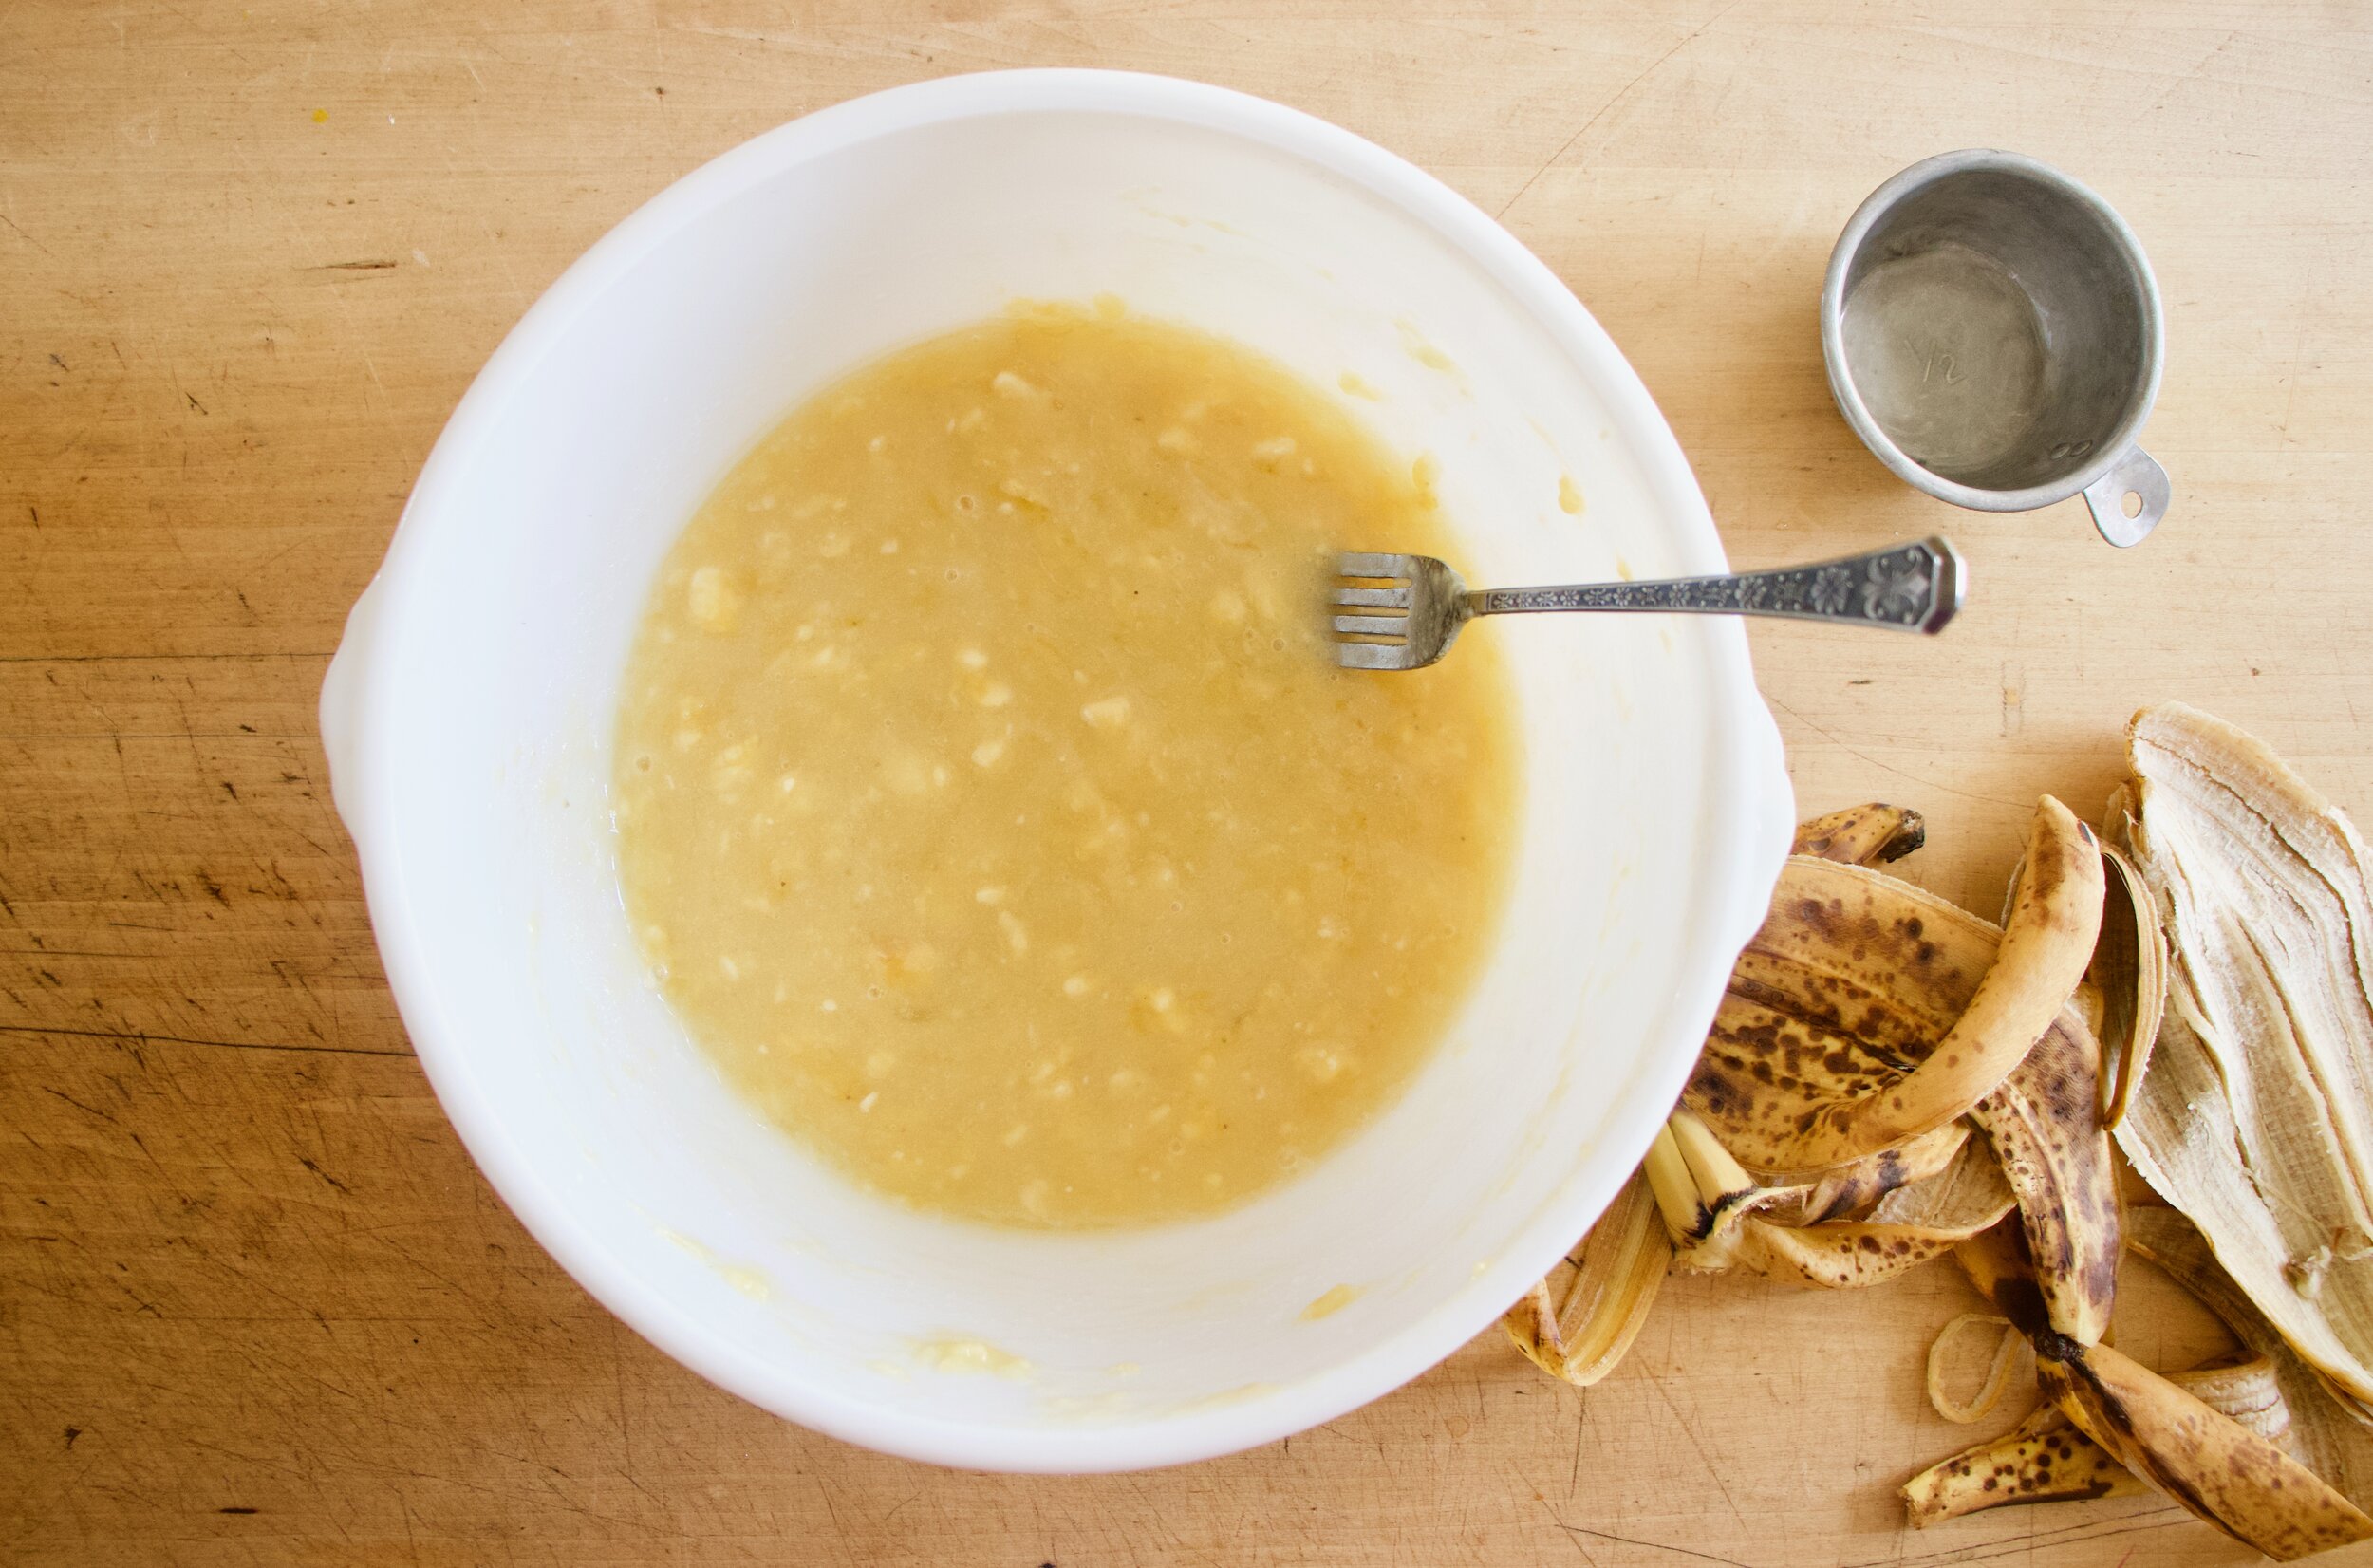
• stem+node ceramics
  • HOME
  • Food Recipes
  • About
  • Contact
Menu

The Lovely Crazy

Street Address
City, State, Zip
Phone Number

Your Custom Text Here

The Lovely Crazy

  • stem+node ceramics
  • HOME
  • Food Recipes
  • About
  • Contact

Sourdough Bagels

February 26, 2022 Colleen Stem
IMG_1321 2.jpg
IMG_1258 2.jpg

I don’t know about you and your people situation but my people, they are bagel people, like my whole entire family (and it is a big one). I swear that they (especially the littles) could eat bagels every day and be happy about it They like them so much that we even do bagels at just about all of our special family get togethers, which is fine by me because the get togethers are always at my house and they don’t make as big a mess as lets say spaghetti. They can really make a mess with that. So bagels, they are good.

I made this batch for the littles. (And that is why I made them plain. Can’t go wrong with plain). They have winter break right now so they came over for an afternoon of sledding, hot cocoa, and lunch. I asked them the day before what they wanted me to make for lunch and they said bagels. Big surprise. HA! But really, they all know what they like so why mess with a good things?

A little about these bagels. It is not the fastest recipe you will find. The hands on time commitment is no too much but there is a good amount of time that the dough is spent rising in the fridge. Because they are sourdough the dough needs at least 12 hours to rise so if you want bagels right now then this is not the recipe to use. But the great thing about this bagel dough is that you can make it and leave in fridge for 12 hours but I have left it in the fridge for like 3 days and the dough was still great. If you want bagels anytime in the next few days, then this is the recipe for you. Also a lot of bagel recipes have barely malt and that is not always easy to find or buy in not gigantic quantities but this recipe just uses molasses and the results are pretty close to perfect. So time yes, but fancy ingredients no. And they taste amazing. Plus who doesn't want to make their own bagels and just be that bad ass? Because yes. Bagel making is badass.

Now to the bagels!

The stuff. Flour, water, salt, ripe sourdough started, yeast, and molasses.

IMG_1111.jpg
IMG_1118.jpg
IMG_1122.jpg
IMG_1130.jpg

Day one. Mix the water with the starter, yeast, and a bit of the molasses until combined. Add in the salt and flour and mix unit it becomes a shaggy dough.

Dump dough onto a floured surface and… get to kneading. About 10 minutes, (a few extra if you are slow). Have about 1/2 a cup of extra four on the side to flour the counter as needed.

soft and suple and kneaded all nice. Place kneaded dough into a clean wet bowl and cover.

IMG_1151.jpg
IMG_1172.jpg

Before rise and after rise dough.

Dump risen dough onto a lightly floured surface and cut into 8-12 pieces. (8 for larger bagels, 12 for smaller)

IMG_1191.jpg
IMG_1181.jpg
IMG_1190.jpg

Shape bagels. Roll each piece of dough into a ball and stick a whole into the middle. Carefully stretch the hole out about twice as big as you think it should be. (it will shrink). Place shapped bagels ontoa lined and or greased baking hseet, giving each a bit of room to groww.

Now it all looks like bagels. Cover and let them sit and proof for about 35-45 minutes.

Before bagels are comeplety done their second proof, prepare the molasses water bath. Just add water and molasees to a big wide pot and bring to a boil.

Once water bath is boil and bagels are done the second proof it is time to boil. Carefully drop bagels inot boiling water and boil for 2 minutes. Flip then boil for another minute. REmove boiled bagelss with a slooted spaturla and place back on lined or greased baking sheet.

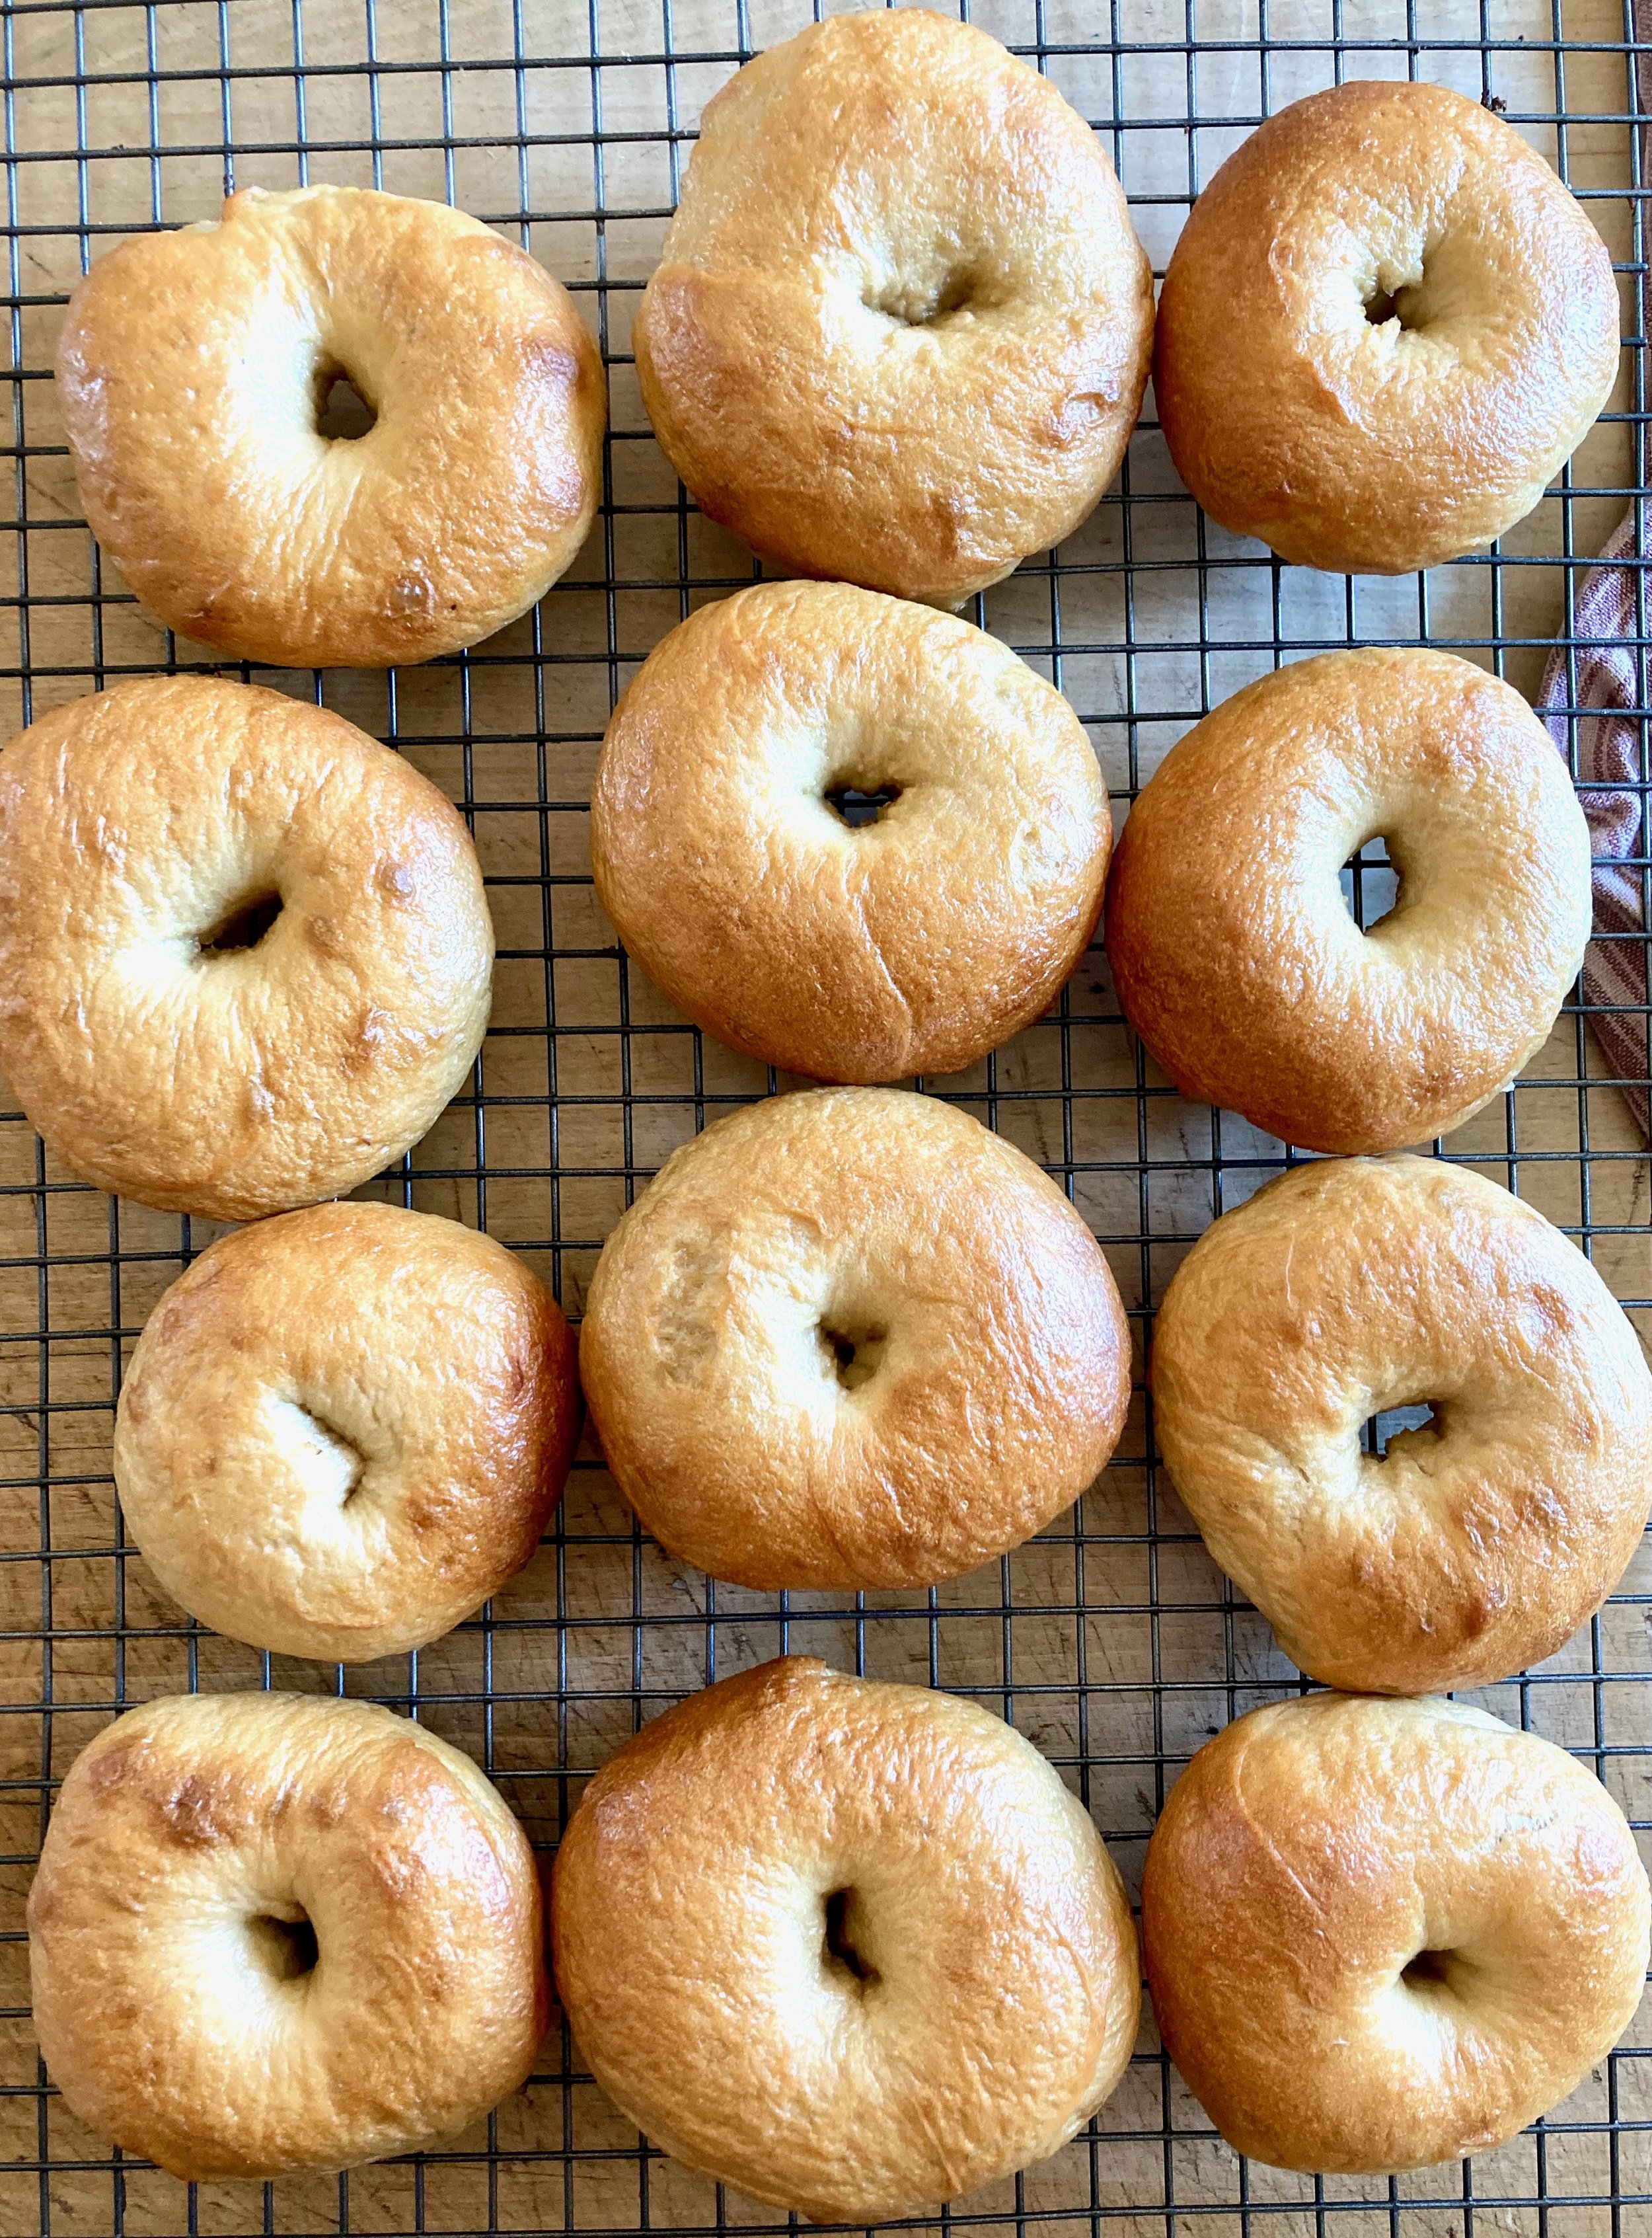
boiled bagels. Now pop the into hot oven and bake. 22-25 minutes, until nice and golden brown.

Gorgeous!

Place them on a wire rack to cool just a bit.

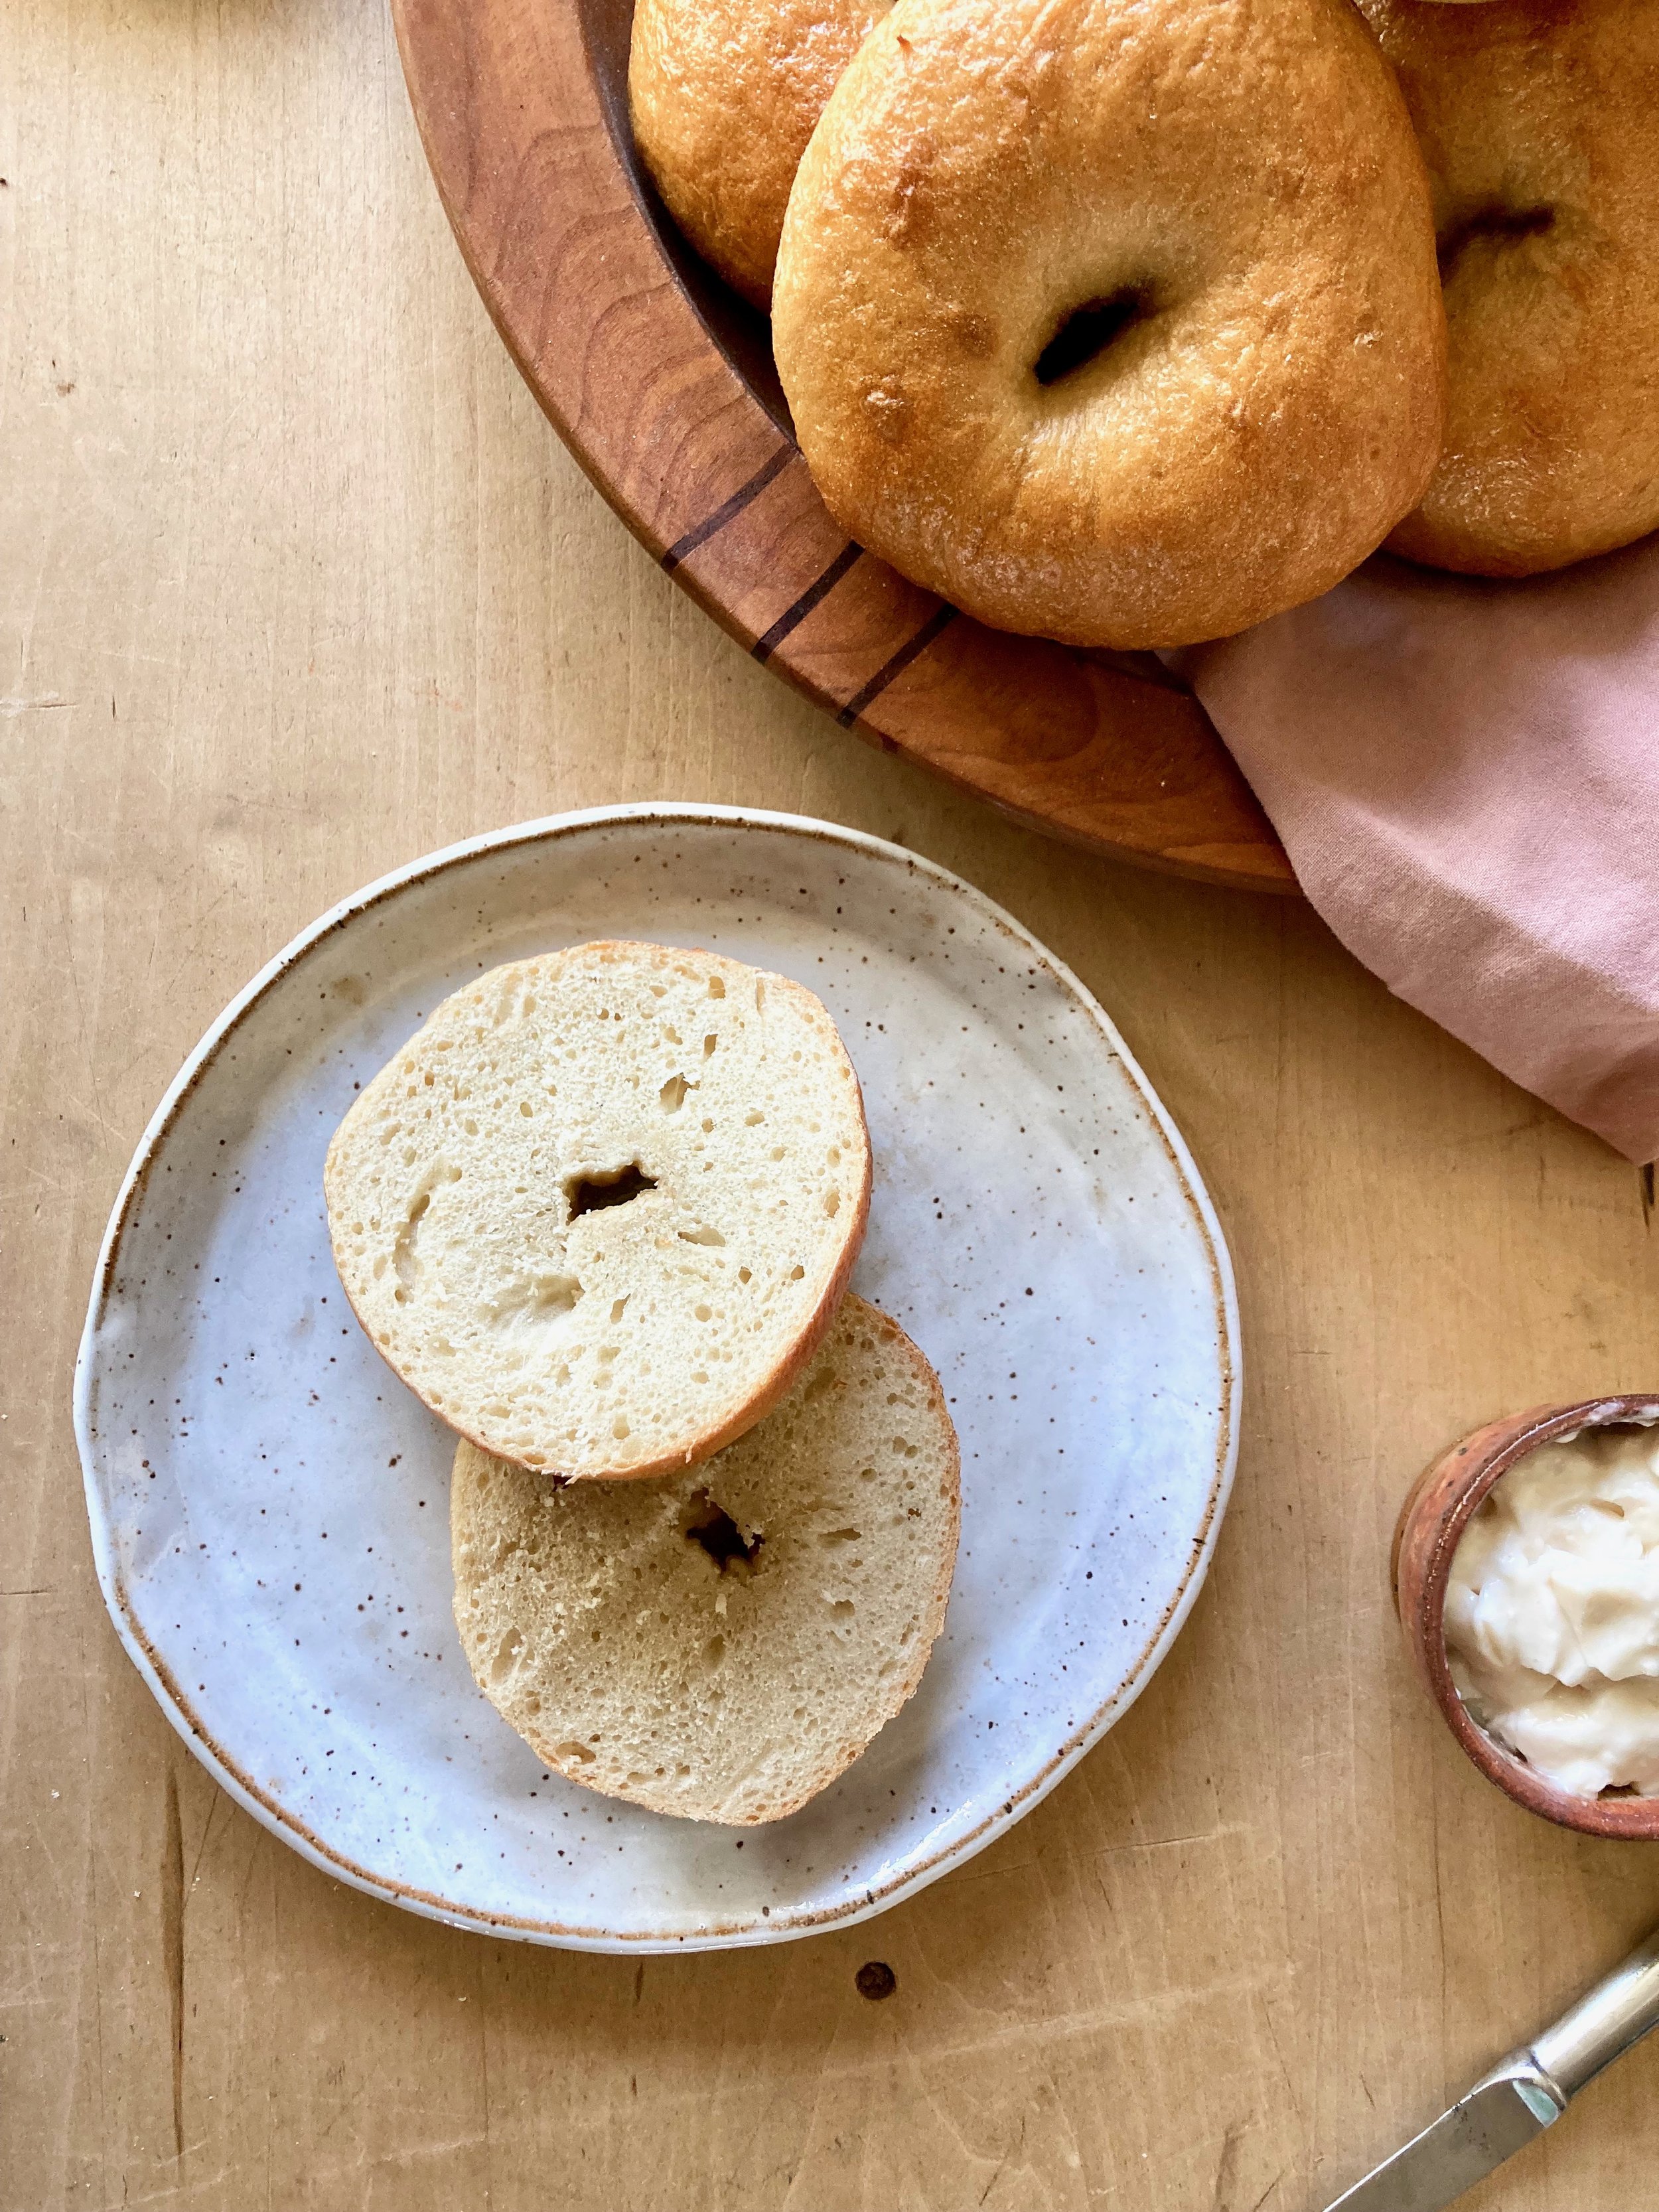
And then you serve them up and eat them. How do you eat the bagels is up to you. My people are easy. Plan cream cheese or peanut butter so that is what they get.

-C


Sourdough Bagels

makes 8- 12 (depending on size)

  • 5 1/2 cups al purpose flour

  • 1/4 cup active starter

  • 1 teaspoon active yeast

  • 1 tablespoon molasses

  • 1 teaspoon salt

  • 2 cups warm water

    WATERBATH

  • 6-7 cups water

  • 2 tablespoon molasses

In a large bowl mix the warm water, starter, yeast, and molasses until combined. Add in salt and 5 cups of flour and mix until a shaggy dough forms. Dump dough onto a floured surface and start kneading, dusting counter (you might use 1/2 cup or even a little more) whenever dough gets too sticky, for 10 minutes (add a few extra minutes if you are kind of slow). The dough should be smooth and not sticky and feel dense.

Place kneaded dough into a wet large bowl, cover with plastic or a silicone lid, and place in fridge for 12-24 hours.

After dough had risen in fridge, remove and dump dough onto a lightly floured surface and divide into 8-12 equal sized pieces. Pinch and roll each piece into a ball then punch your thumb into the middle all the way through. Carefully stretch the hole about an inch in diameter then place the shaped bagel onto a lined and greased baking sheet. Repeat with all dough. Once the bagels are all shapped, lightly cover and let them sit and proof for another 35-40 minutes.

While bagels are proofing, pre heat oven to 450 degrees and get the water bath ready.

For water bath combine water and molasses in a pot as wide as you got and bring it to a boil.

Once bagels are done their second proof, carefully drop bagels (a few at a time so not to overcrowded) into the boiling water. Boil first side for 2 minutes then flip and boil other side for 1 minute. Remove boiled bagels with a slotted spatula and place back on baking sheets. Repeat until all bagels are boiled and once they are, pop them into hot oven. Bake for 22-25 minute, rotating baking sheets half way, until bagels are nice and golden brown.

Remove bagels from oven and place on a wire rack to cool. Eat right away or whenever you want. Bagels can be stored in airtight container or bag for 3-4 days at room temperature but if you are not eating them within a day or two, it is better to slice and freeze them. Frozen bagels last a few months and are easy to pop from oven and toast!

In bread, Vegan Tags sourdough, bagels, vegan, King Arthur flour, wheat, easy, plain, bread, recipe
Comment

Beet Focaccia

October 30, 2021 Colleen Stem
IMG_7745.jpg
IMG_7757.jpg

This is me trying to get into the holiday spirit (and also trying to keep my kitchen warm. We have’t turned the heat on yet), but I think I might be thinking of the wrong holiday. Whatever. Pink bread can be spooky and Halloweenie right? And it really doesn’t even matter cause it is bread and pink and awesome so no holiday needed to eat it.

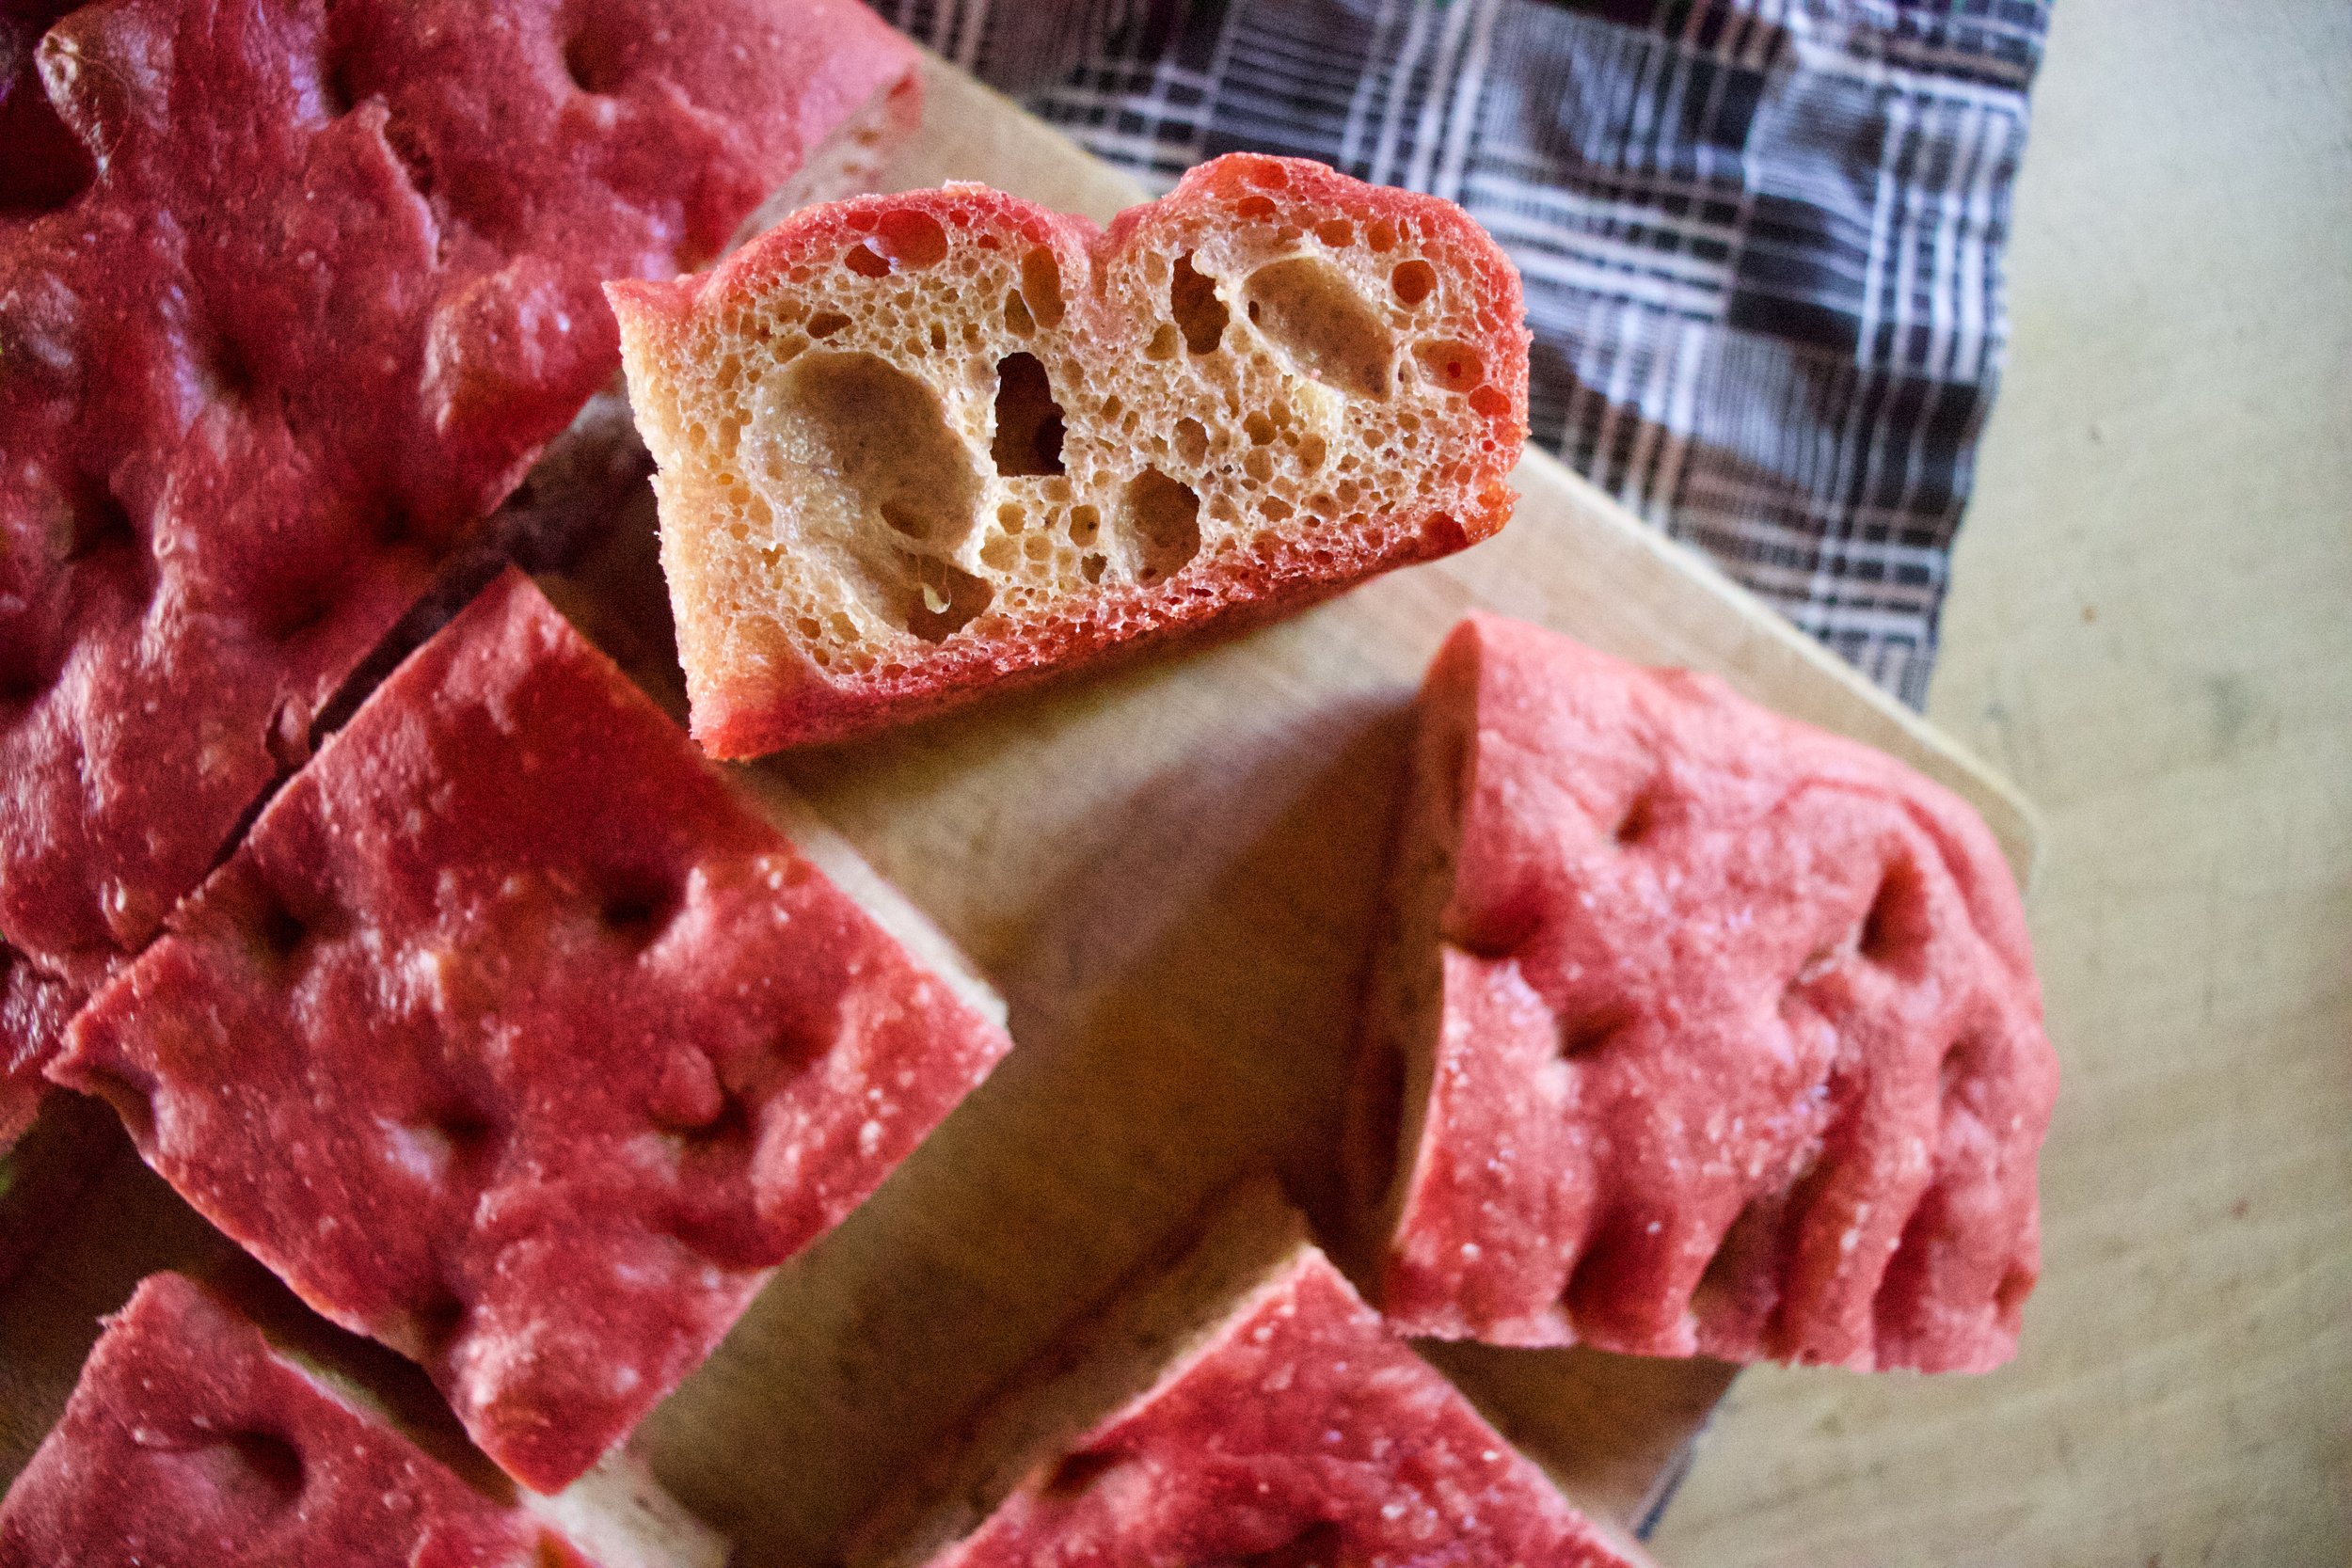
So this focaccia is pink because it is made with pureed beets and before you go and say anything, no it doesn’t really taste like beets. It tastes like amazing bread with a soft tender interior and a nice crispy crust that might have a very slight earthiness to it that only makes it better. It is simple and delicious and again, pink. That is it.

Now you want to make it and all you need is a few beets, flour, yeast, salt sand oil then you are good to go. What a nice little weekend baking project for the last few days of October. And if the pink bread creeps anyone out, well all the better!

Now to the beet focaccia.

The stuff. Roasted beets, flour, yeast. salt, water, and there should definitely be olive oil in this picture.. I don’t know where it went.

First, peel your roasted beets (or roast them and then peel them) The skin should come right off and a little left over skin is fine. Oh and make sure you eat left over skins. They are fanatic.

IMG_7672.jpg
IMG_7682.jpg

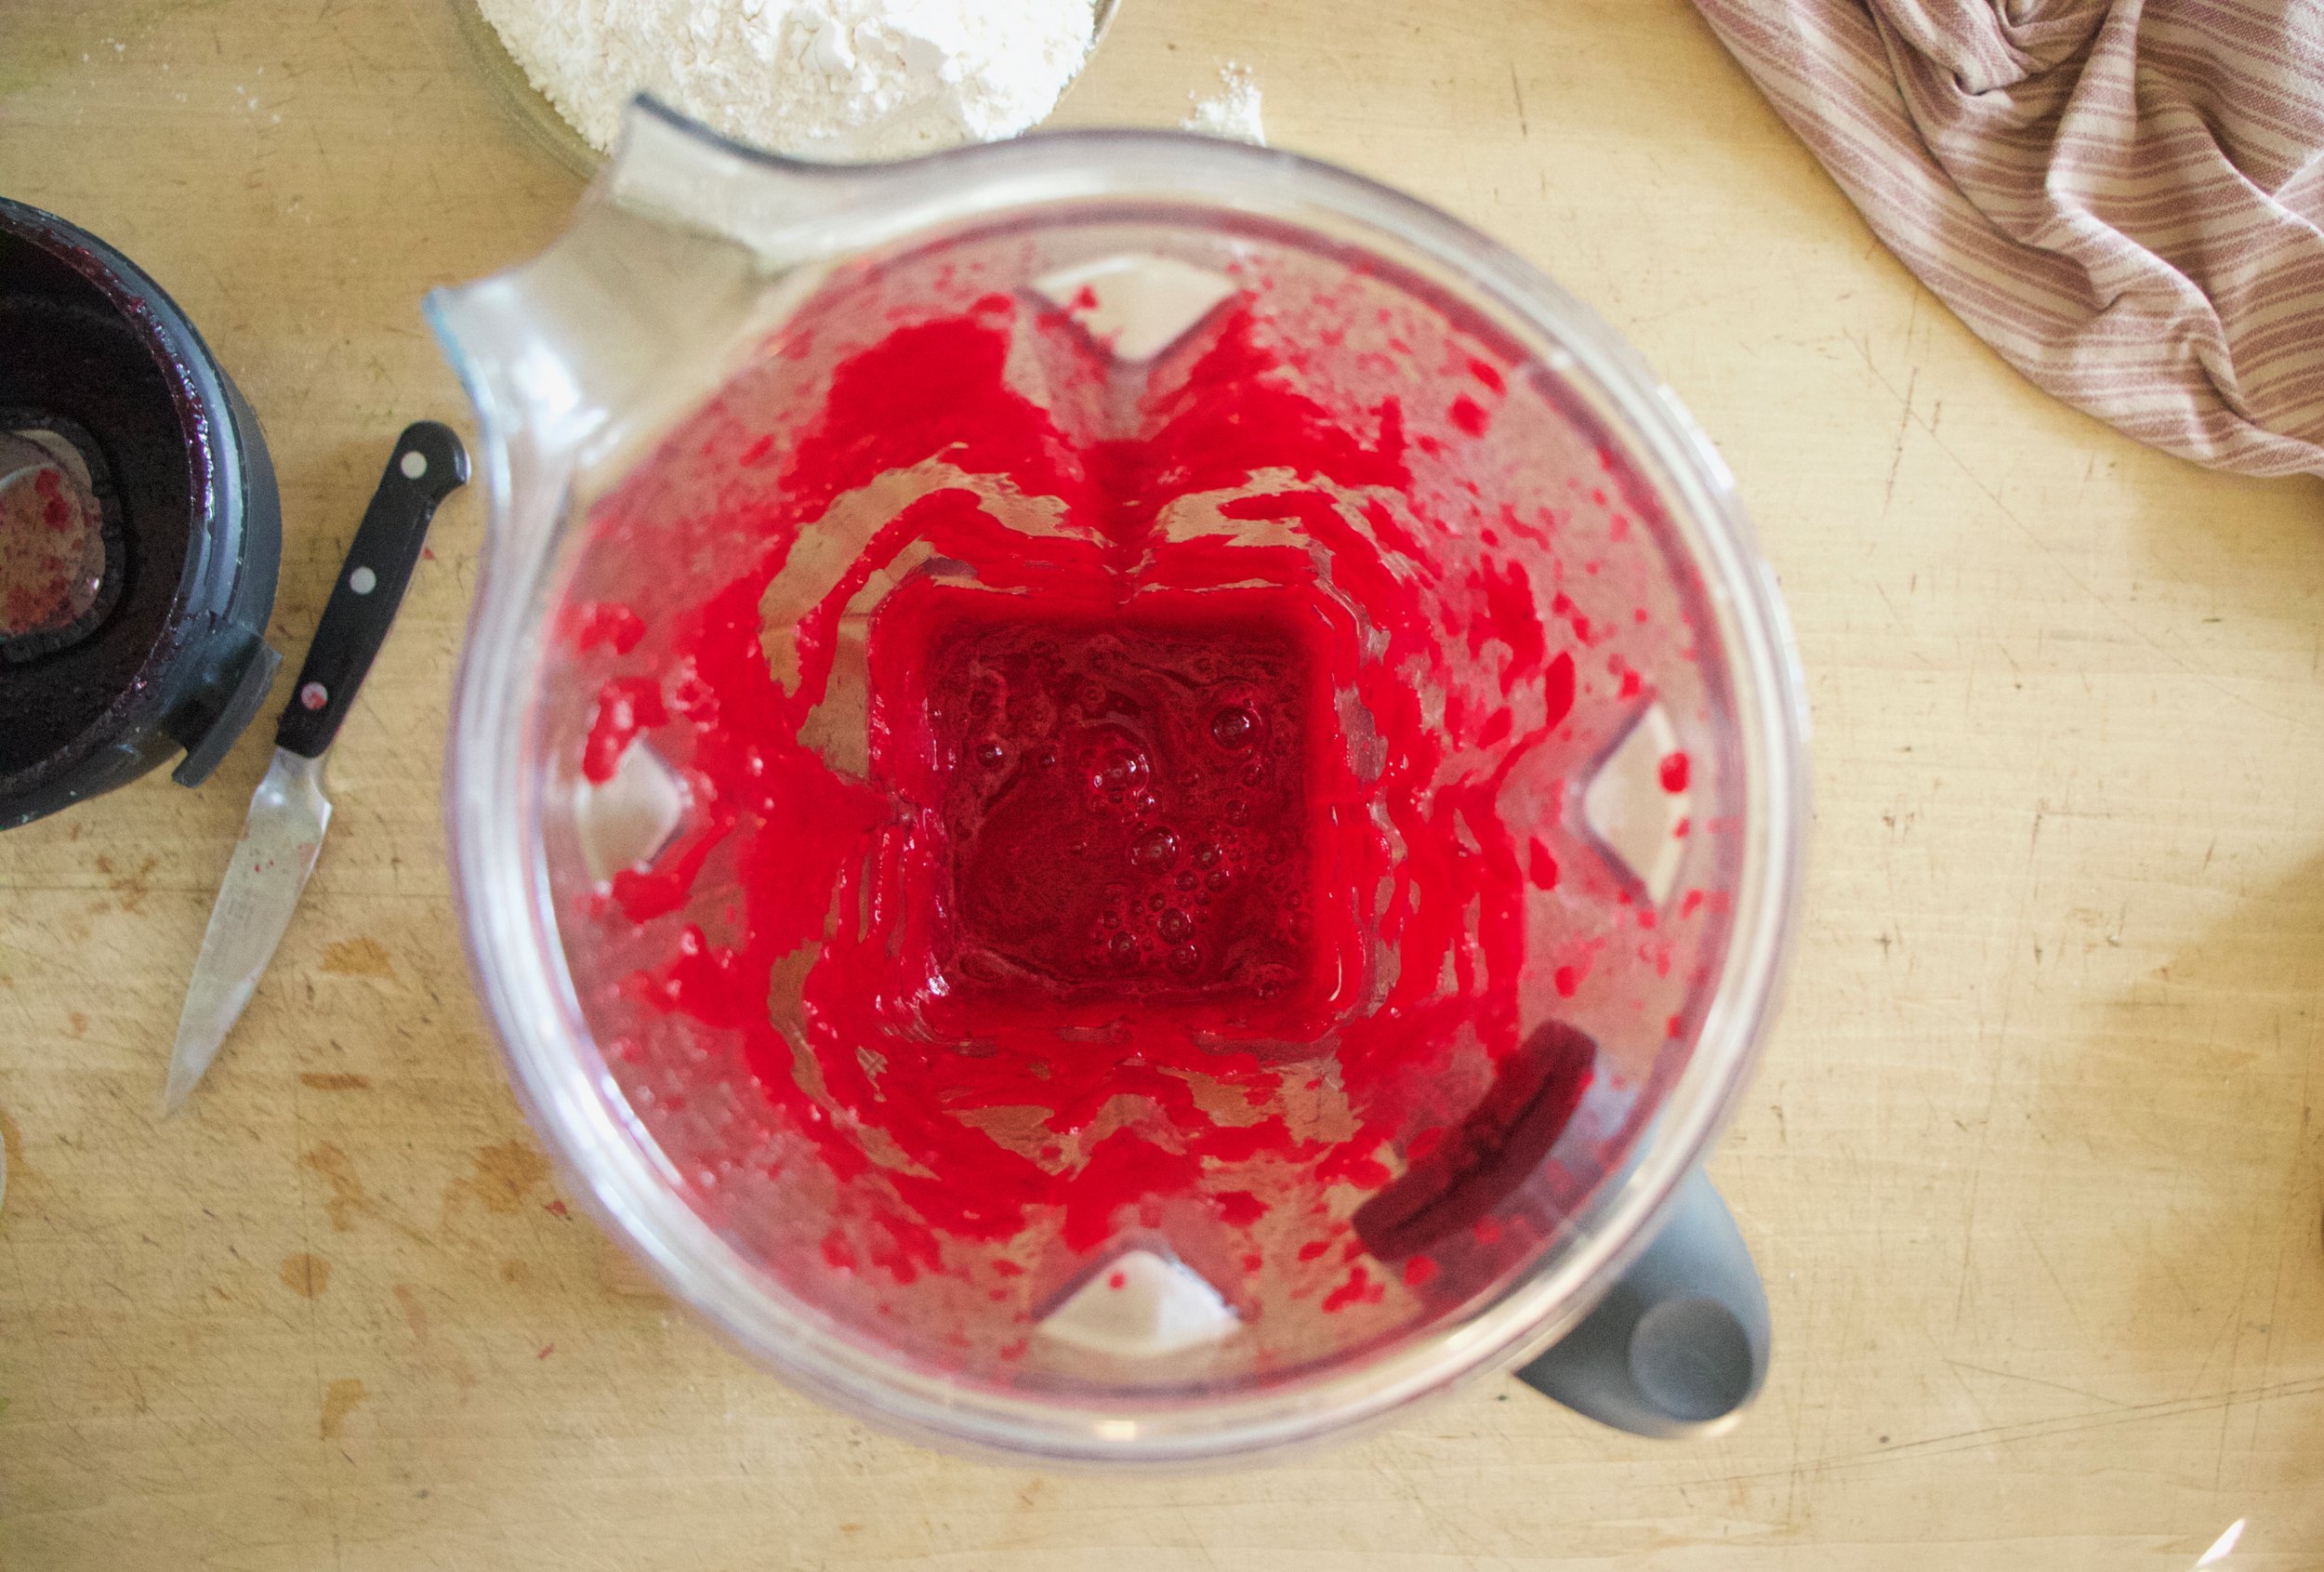
Now puree the skinned beets unite smooth.

IMG_7684.jpg
IMG_7690.jpg
IMG_7694.jpg

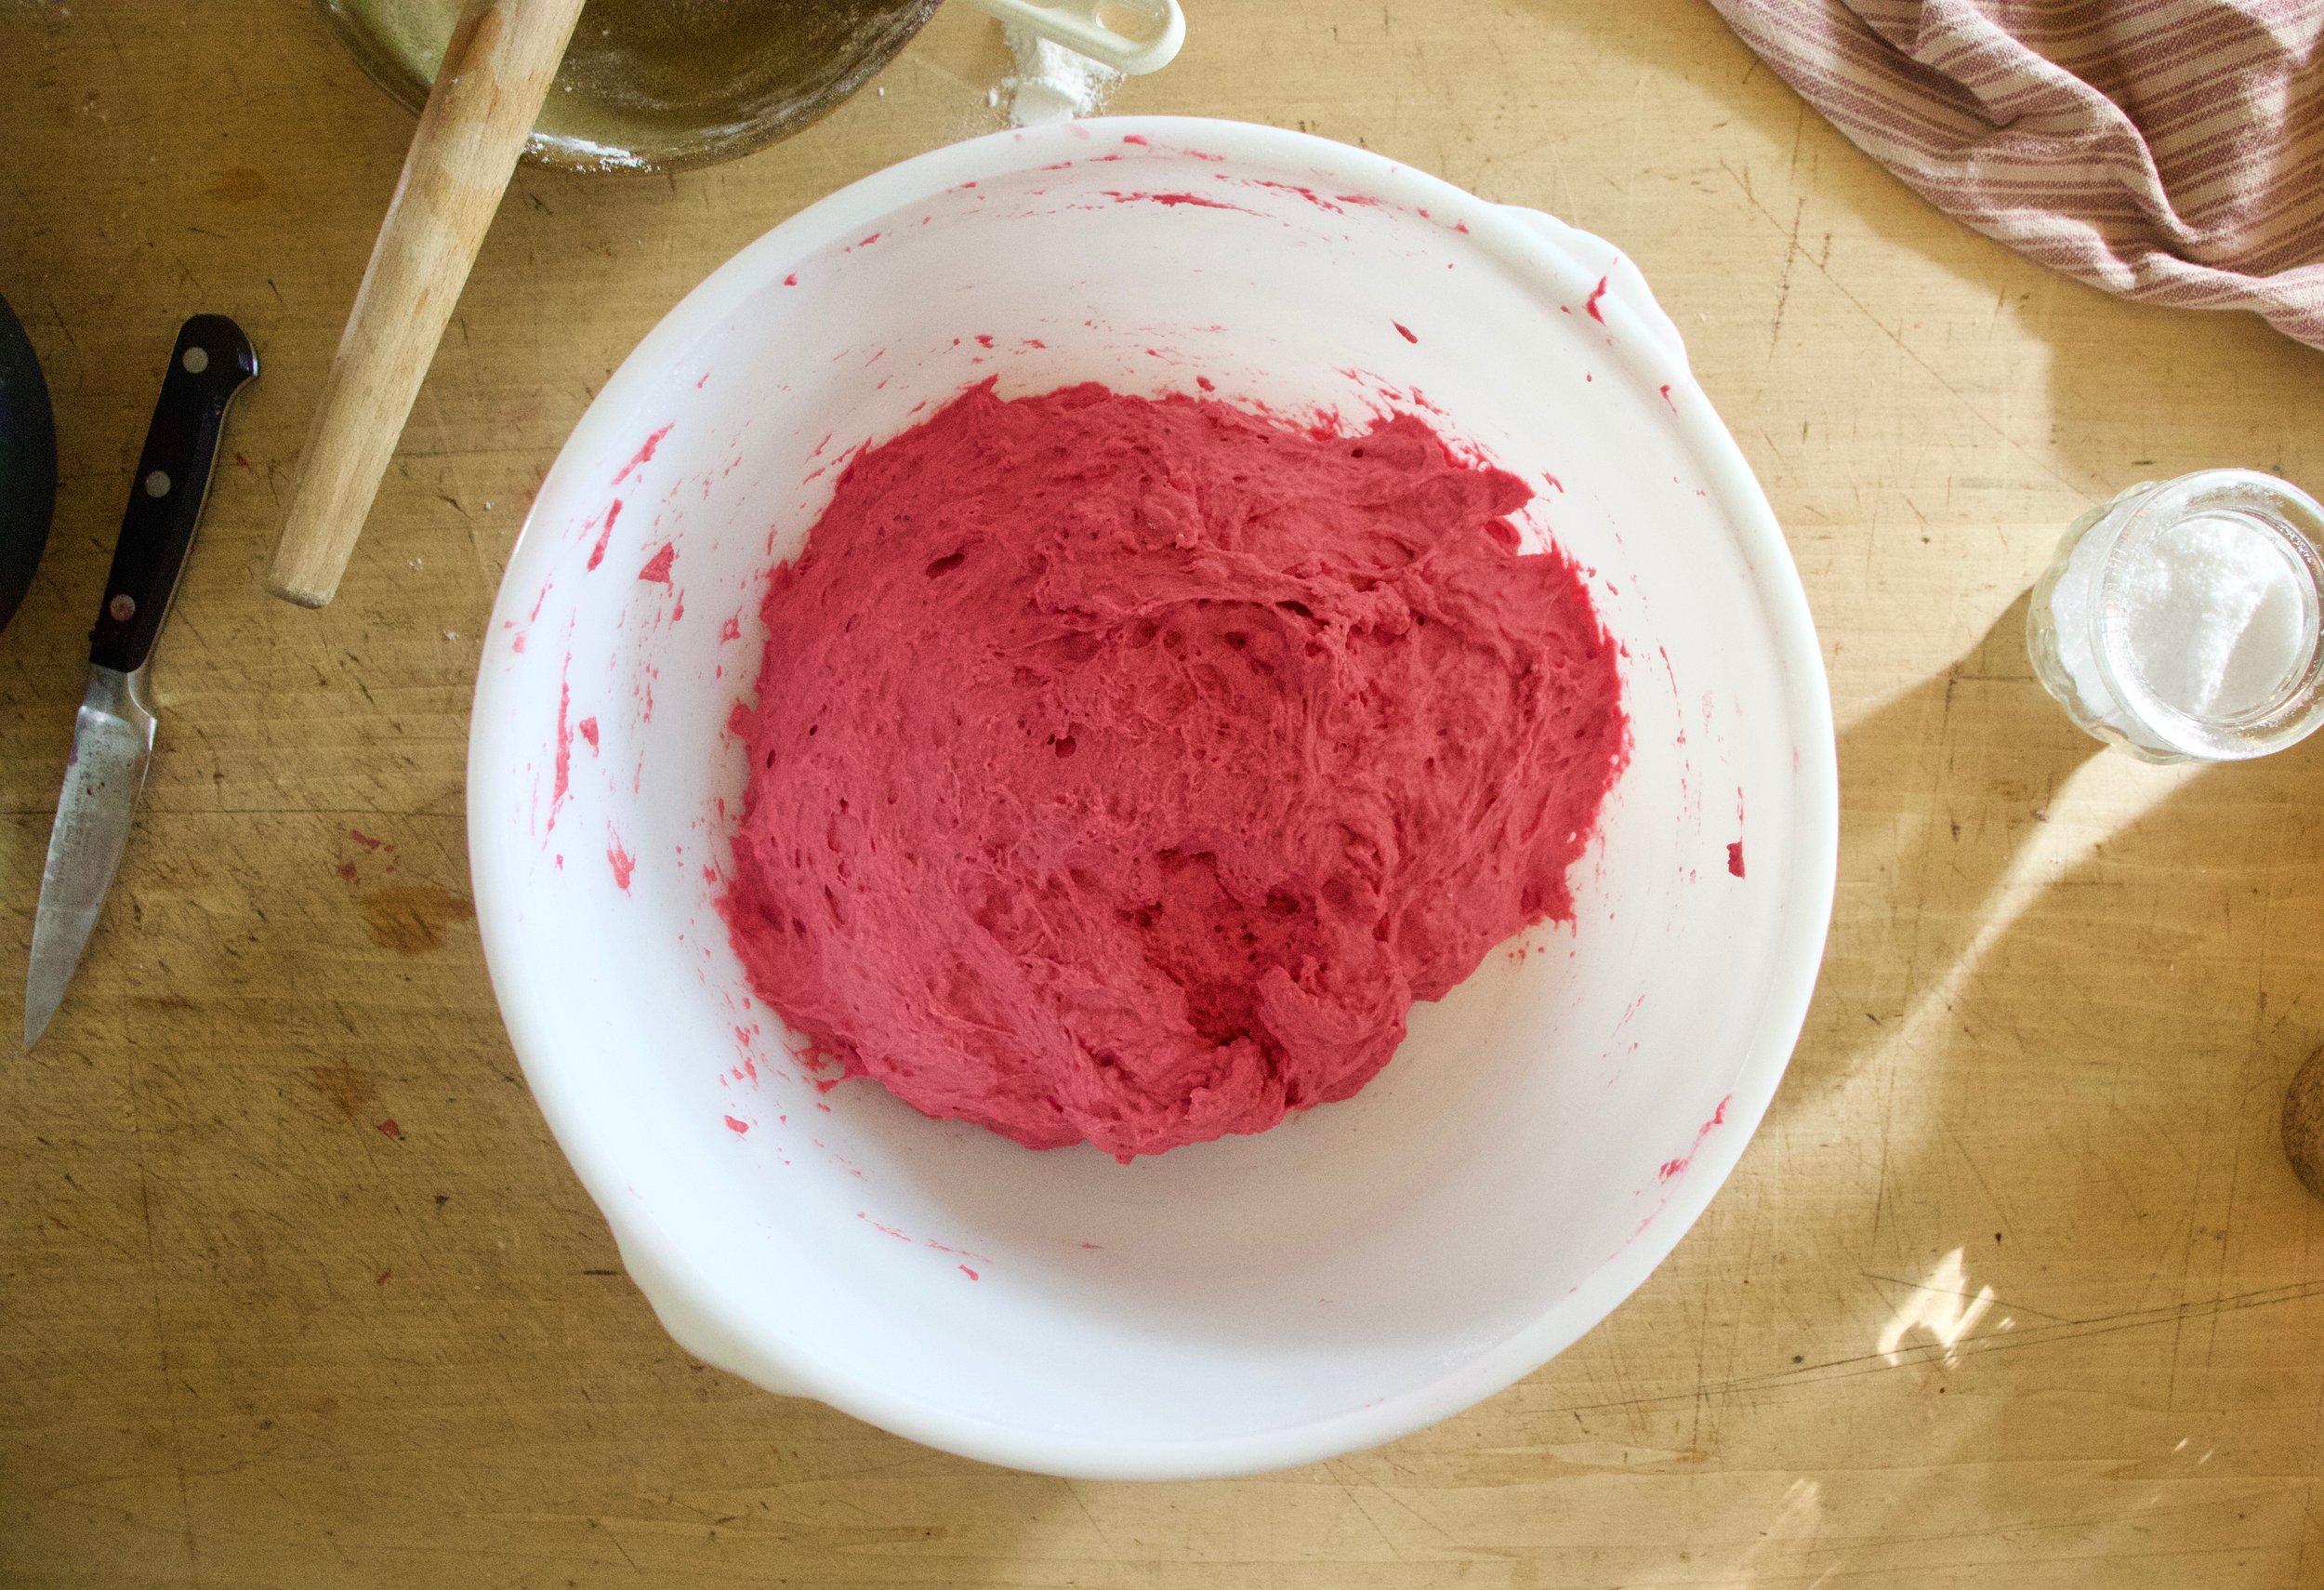
Pureed beets and water go into a big bowl along with the yeast and get mixed around. Then add in flour and a little salt and mix until a shaggy dough is formed. Cover and left rise.

Risen dough.

IMG_7714.jpg
IMG_7721.jpg

Grease baking sheet and add a puddle of olive oil to the middle. Scrap dough into the oil and gently smoosh and push dough into pan. Cove and let rest for another 1/2 hour and preheat oven.

Once dough has rested, drizzle more oil on top and dimple the dough with your fingers. Sprinkle the top with some good salt and pop into the hot oven and bake for about half an hour.

Done!

Pink and pretty and all sorts of good. Focaccia at its finest!

Now cut it up and eat it!


Beet Focaccia

makes a 9x13 inch loaf

  • 4 cups all purpose flour

  • 2 teaspoons yeast

  • 1 cup pureed roasted beets (3-4 medium beets should do)

  • 1 cup warm water

  • 2-3 teaspoons salt

  • 3-4 tablespoons olive oil

If you haven't roasted your beets yet, do that. Just toss beets on a sheet pan and stick into hot (like 450 degree) oven for about an hour until tender.

Start with beets. If still hot from roasting, wait until cooled and peel off skin. Place peeled beets into a blender and blend until smooth. You should get about a cup if puree. Any extra, well you got yourself a snack

Place the cup of beet puree into a large bowl along with the warm water and yeast. Mix until combined. Add in a teaspoon of salt and the flour. Mix until a shaggy and wet dough forms and there is not dry flour left. Scrap all the dough into a ball and then cover bowl with a bowl and place somewhere warm to rise for an hour, to an hour and a half (longer if your kitchen is cold)

Once dough has doubled in size, preheat oven to 425

Grab a 9x13 sheet pan and grease with a butter or shortening (this helps with sticking) them drizzle 2 tablespoon of olive oil in the middle. Scrap the dough into the oil oil puddle the with oiled fingers gently smoosh the dough into the pan. Cover again and le dough rest and poof up again for about 30 minutes.

The oven should be nice and hot and when you check the dough it should have poofed up a bit and spread little. Drizzle another tablespoon of oil on top of dough and with oiled fingers, dimple the dough. Press nearly to the bottom of the pan but be gentle about it to try and not knock all the air out. Once dimpled sprinkle the top with a teaspoon or two of good course or fishing salt and pop into the oven. Bake for about a 1/2 hour or until the top is starting to brown. Remove the bread from oven and let cool a few minutes in pan then transfer to a wire rack to cool some more. Or just cut into it warm and eat it.

Focaccia is best eaten within a day or two but freezes well.

In bread, Vegan, Vegetables Tags Beet Focaccia, Focaccia, beets, pink, bread, King Arthur flour, flour, easy, yeasted, spooky, vegan, roots
Comment

No knead Raisin Walnut Sourdough Bread

February 20, 2021 Colleen Stem
IMG_3972.jpg
IMG_3948.jpg
IMG_3896.jpg

I bake a lot of bread in my house . A LOT. Like at least 2-3 times a week and have been doing so for years now so I know a thing or two about bread. And when I bake bread, I almost always use starter unless I really really need dough fast. Then I will add yeast but honestly, I haven’t used yeast in bread in probably 3+ years. I have developed such a rhythm with bread that I just have dough in the fridge at all times.

One reason I have never shared a sourdough recipe before on the blog is that I think a lot of people feel intimidated by baking bread and especially making bread with just a starter. Another reason is that up until the past year, I don’t think having a starter was as common as it is now (but thanks to COVID it is more common then ever!). Anyway, now more people are on the home made bread band wagon (about stinkin time) and I am here for it.

A word of advice if you are new to the bread game…. Don’t take it to seriously! I remember back in my early days of bread baking I would freak out about if I was doing it right. About timing and wondering if it is exactly the right amount of rising or if the temperature of this or that was exactly, or if I handled the dough to rough. Now after all these years, I have gotten pretty intuitive with bread dough but also I don’t worry to much. It will be good. It will be bread and you will love ever single bite.

This bread is a basic no knead bread with a little added goodness of walnuts and raisins. Easy, simple, and freaking delicious. A great bread to make if you are just getting into the sourdough bread game. Or if you want really dank ass bread!

To the bread!

IMG_3783.jpg

The stuff. Ripe starter, flour, warm water, salt, raisins , walnuts, and a little cinnamon.

IMG_3791.jpg

Start by dumping a little of the warm water onto the raisins to plump them up a bit and to make sure they are not all stuck together.

IMG_3801.jpg
IMG_3806.jpg
IMG_3809.jpg
IMG_3816.jpg

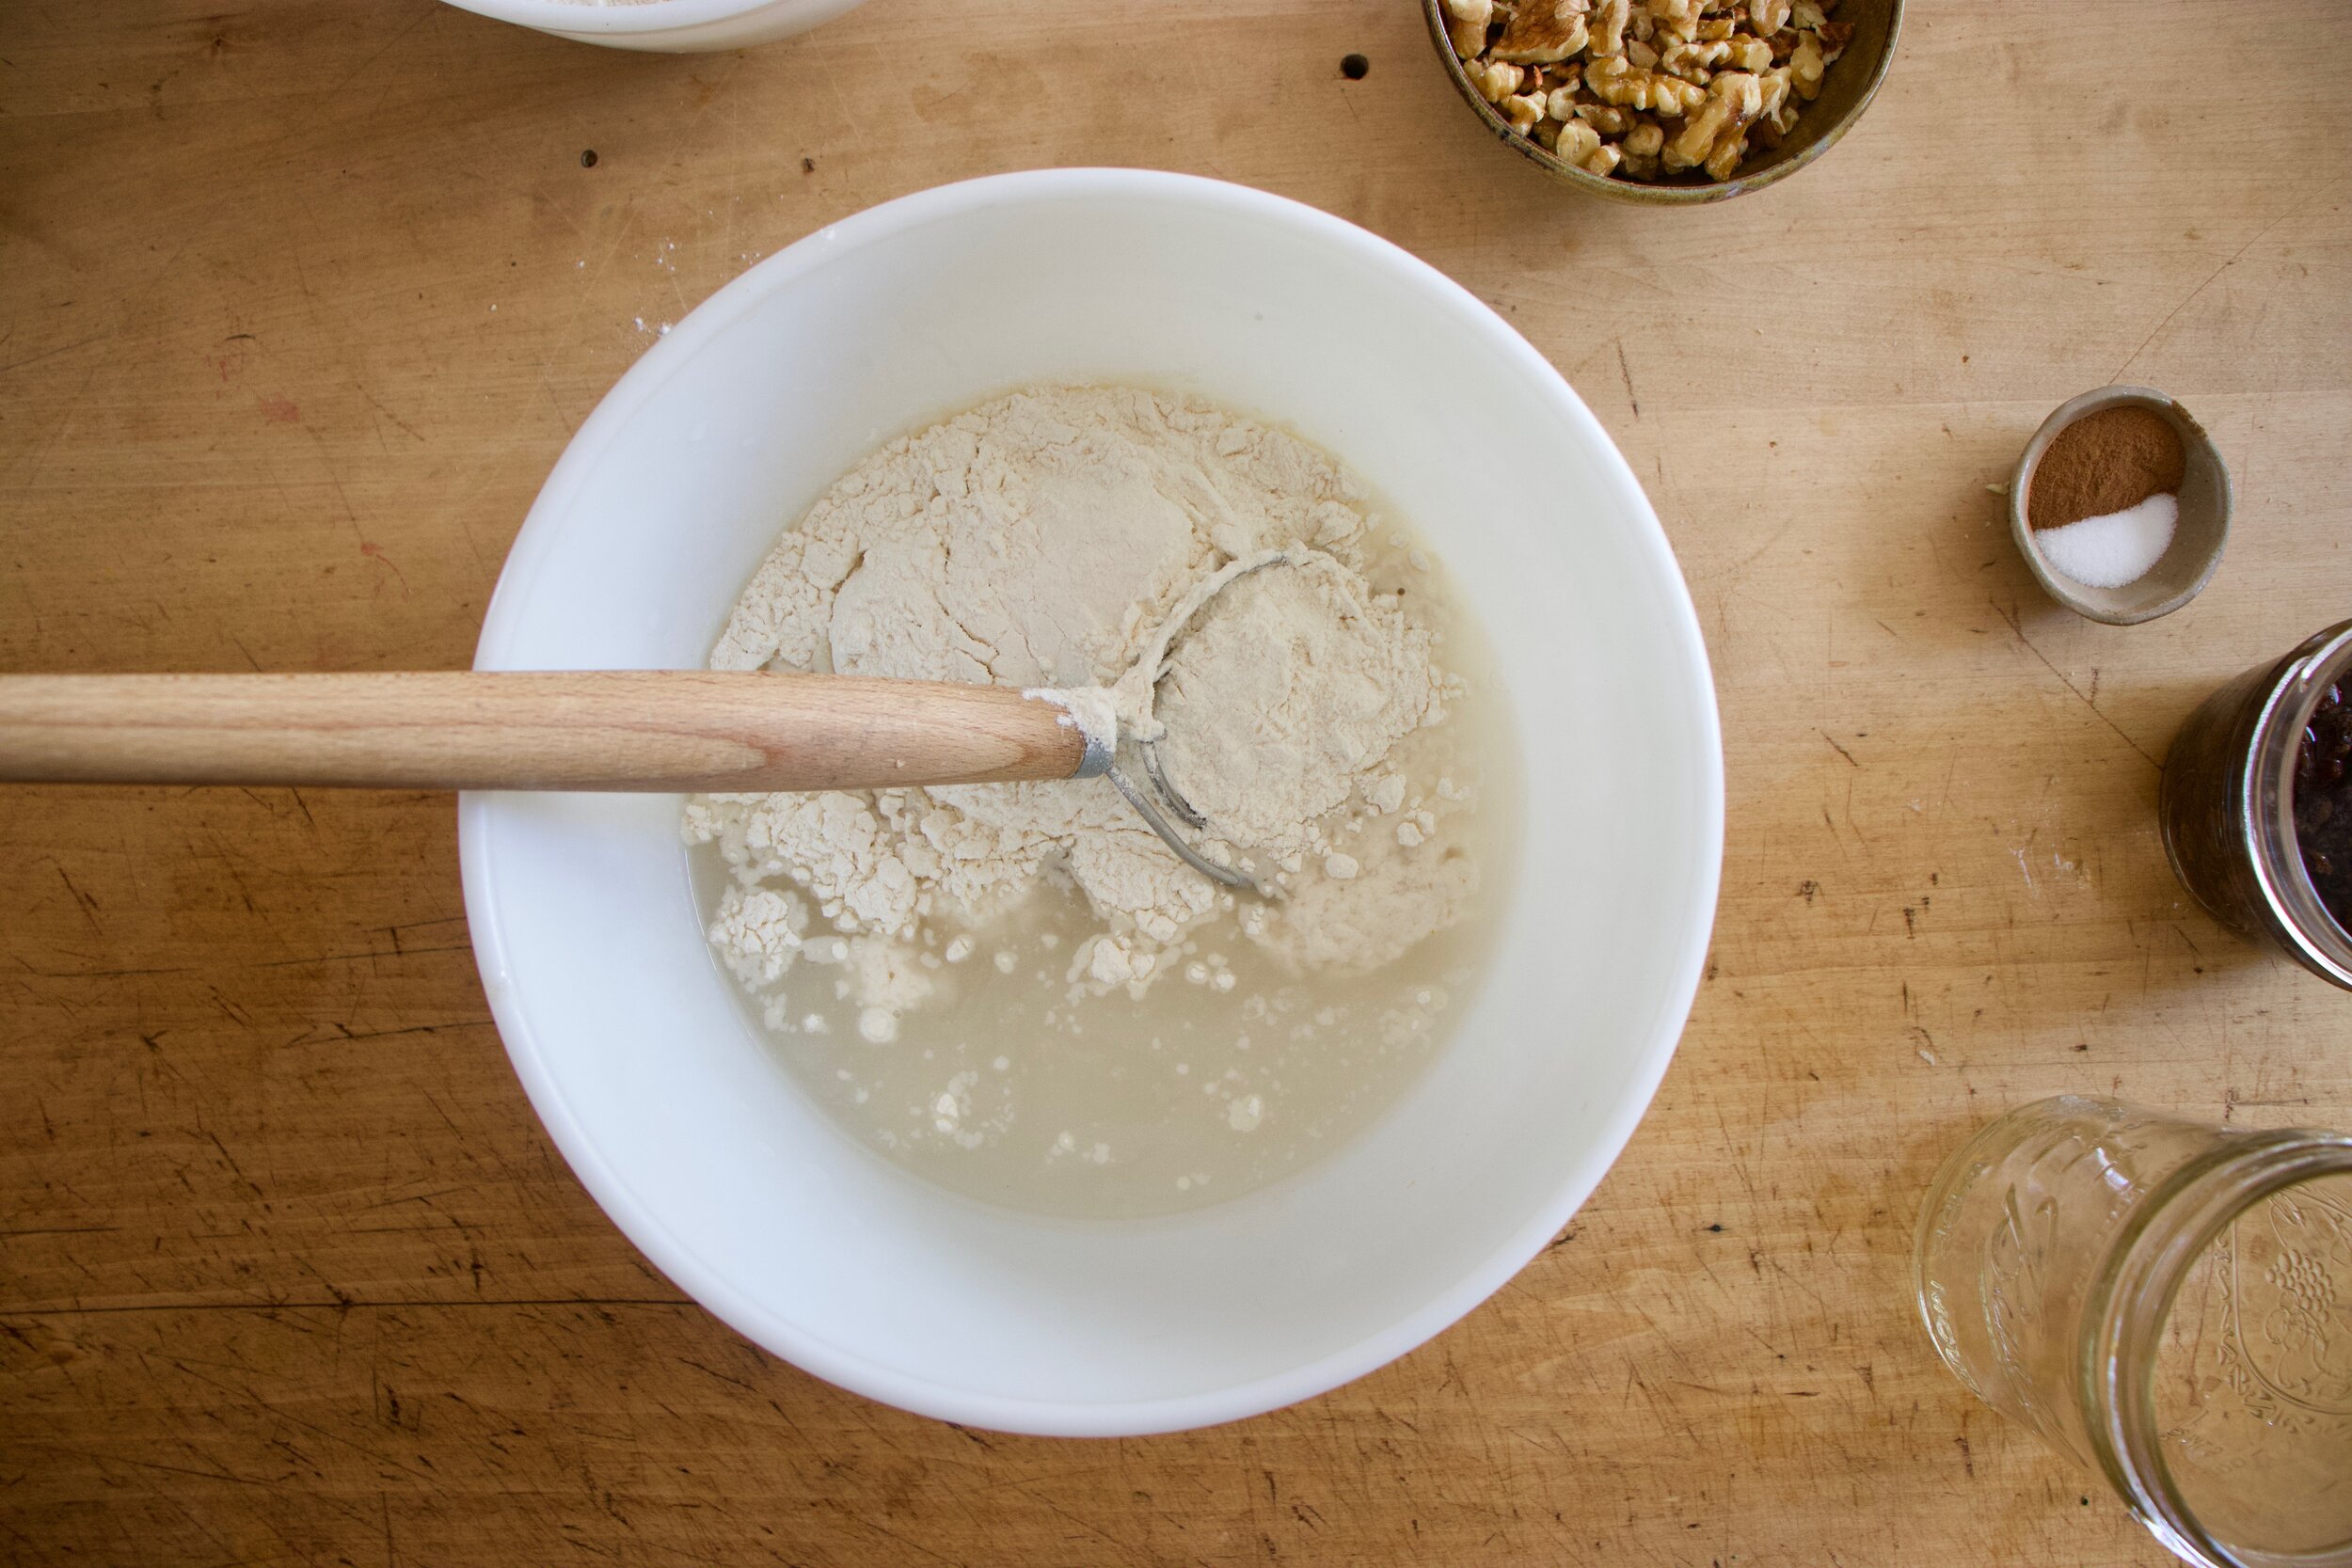
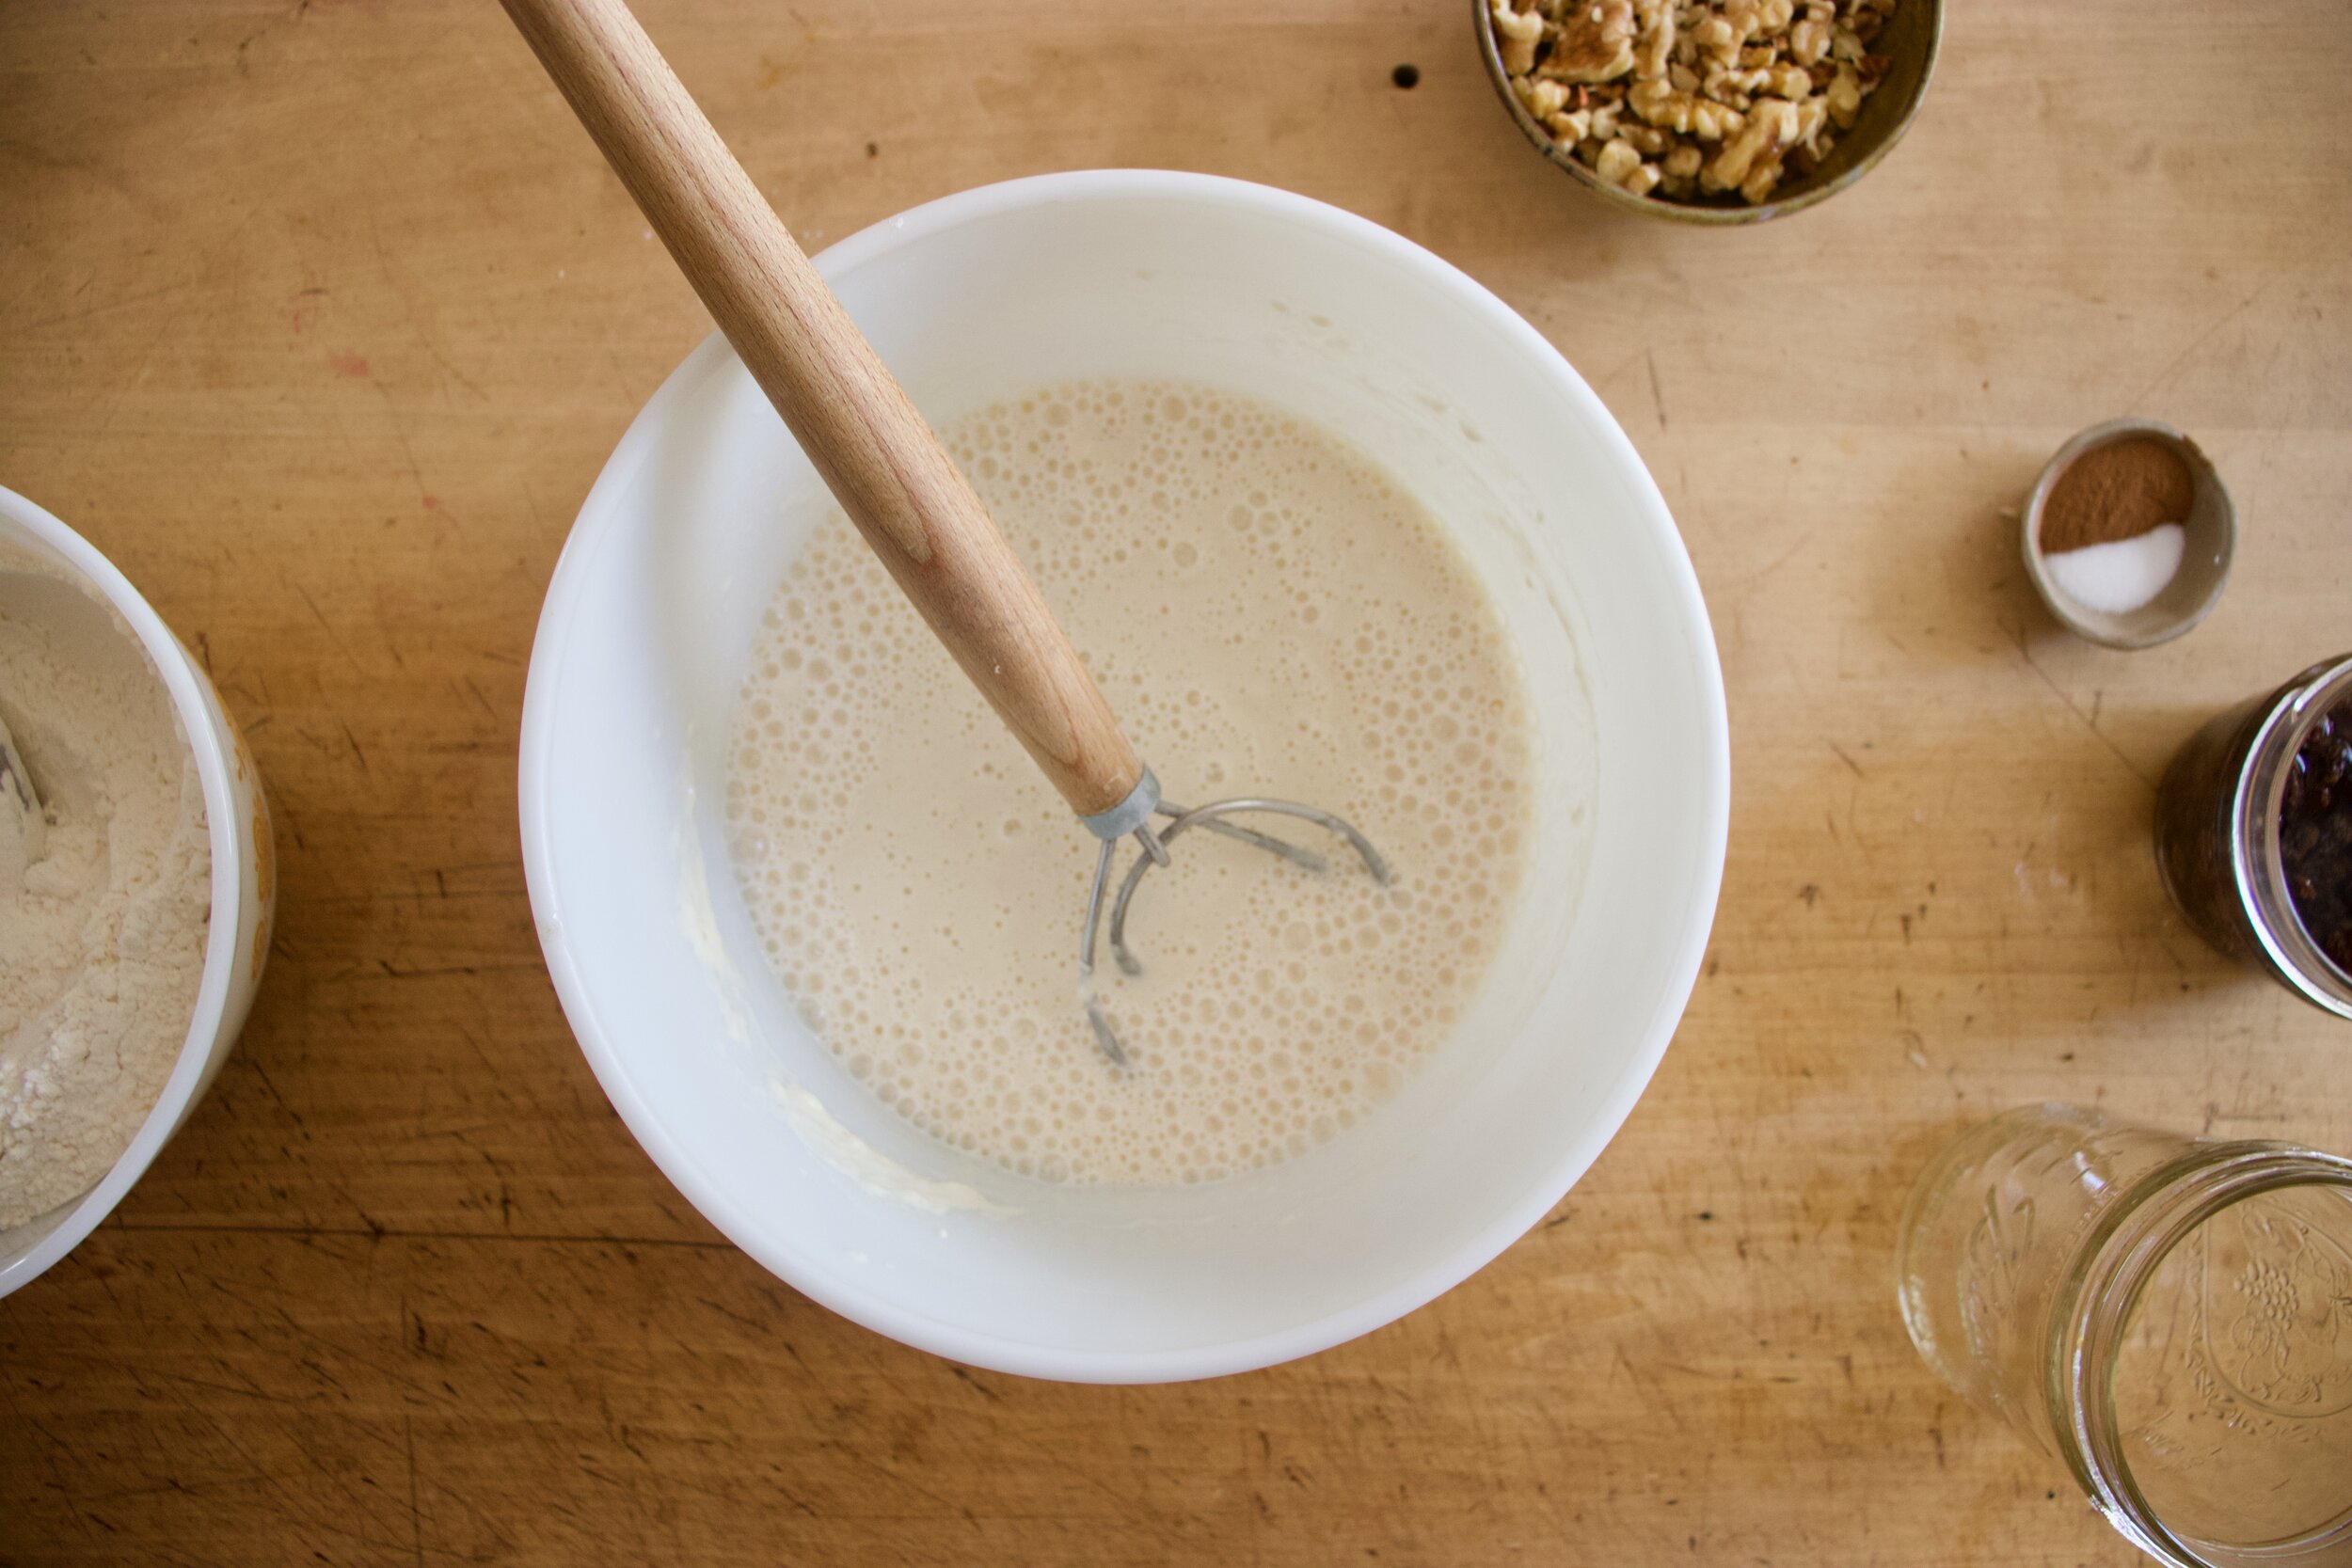
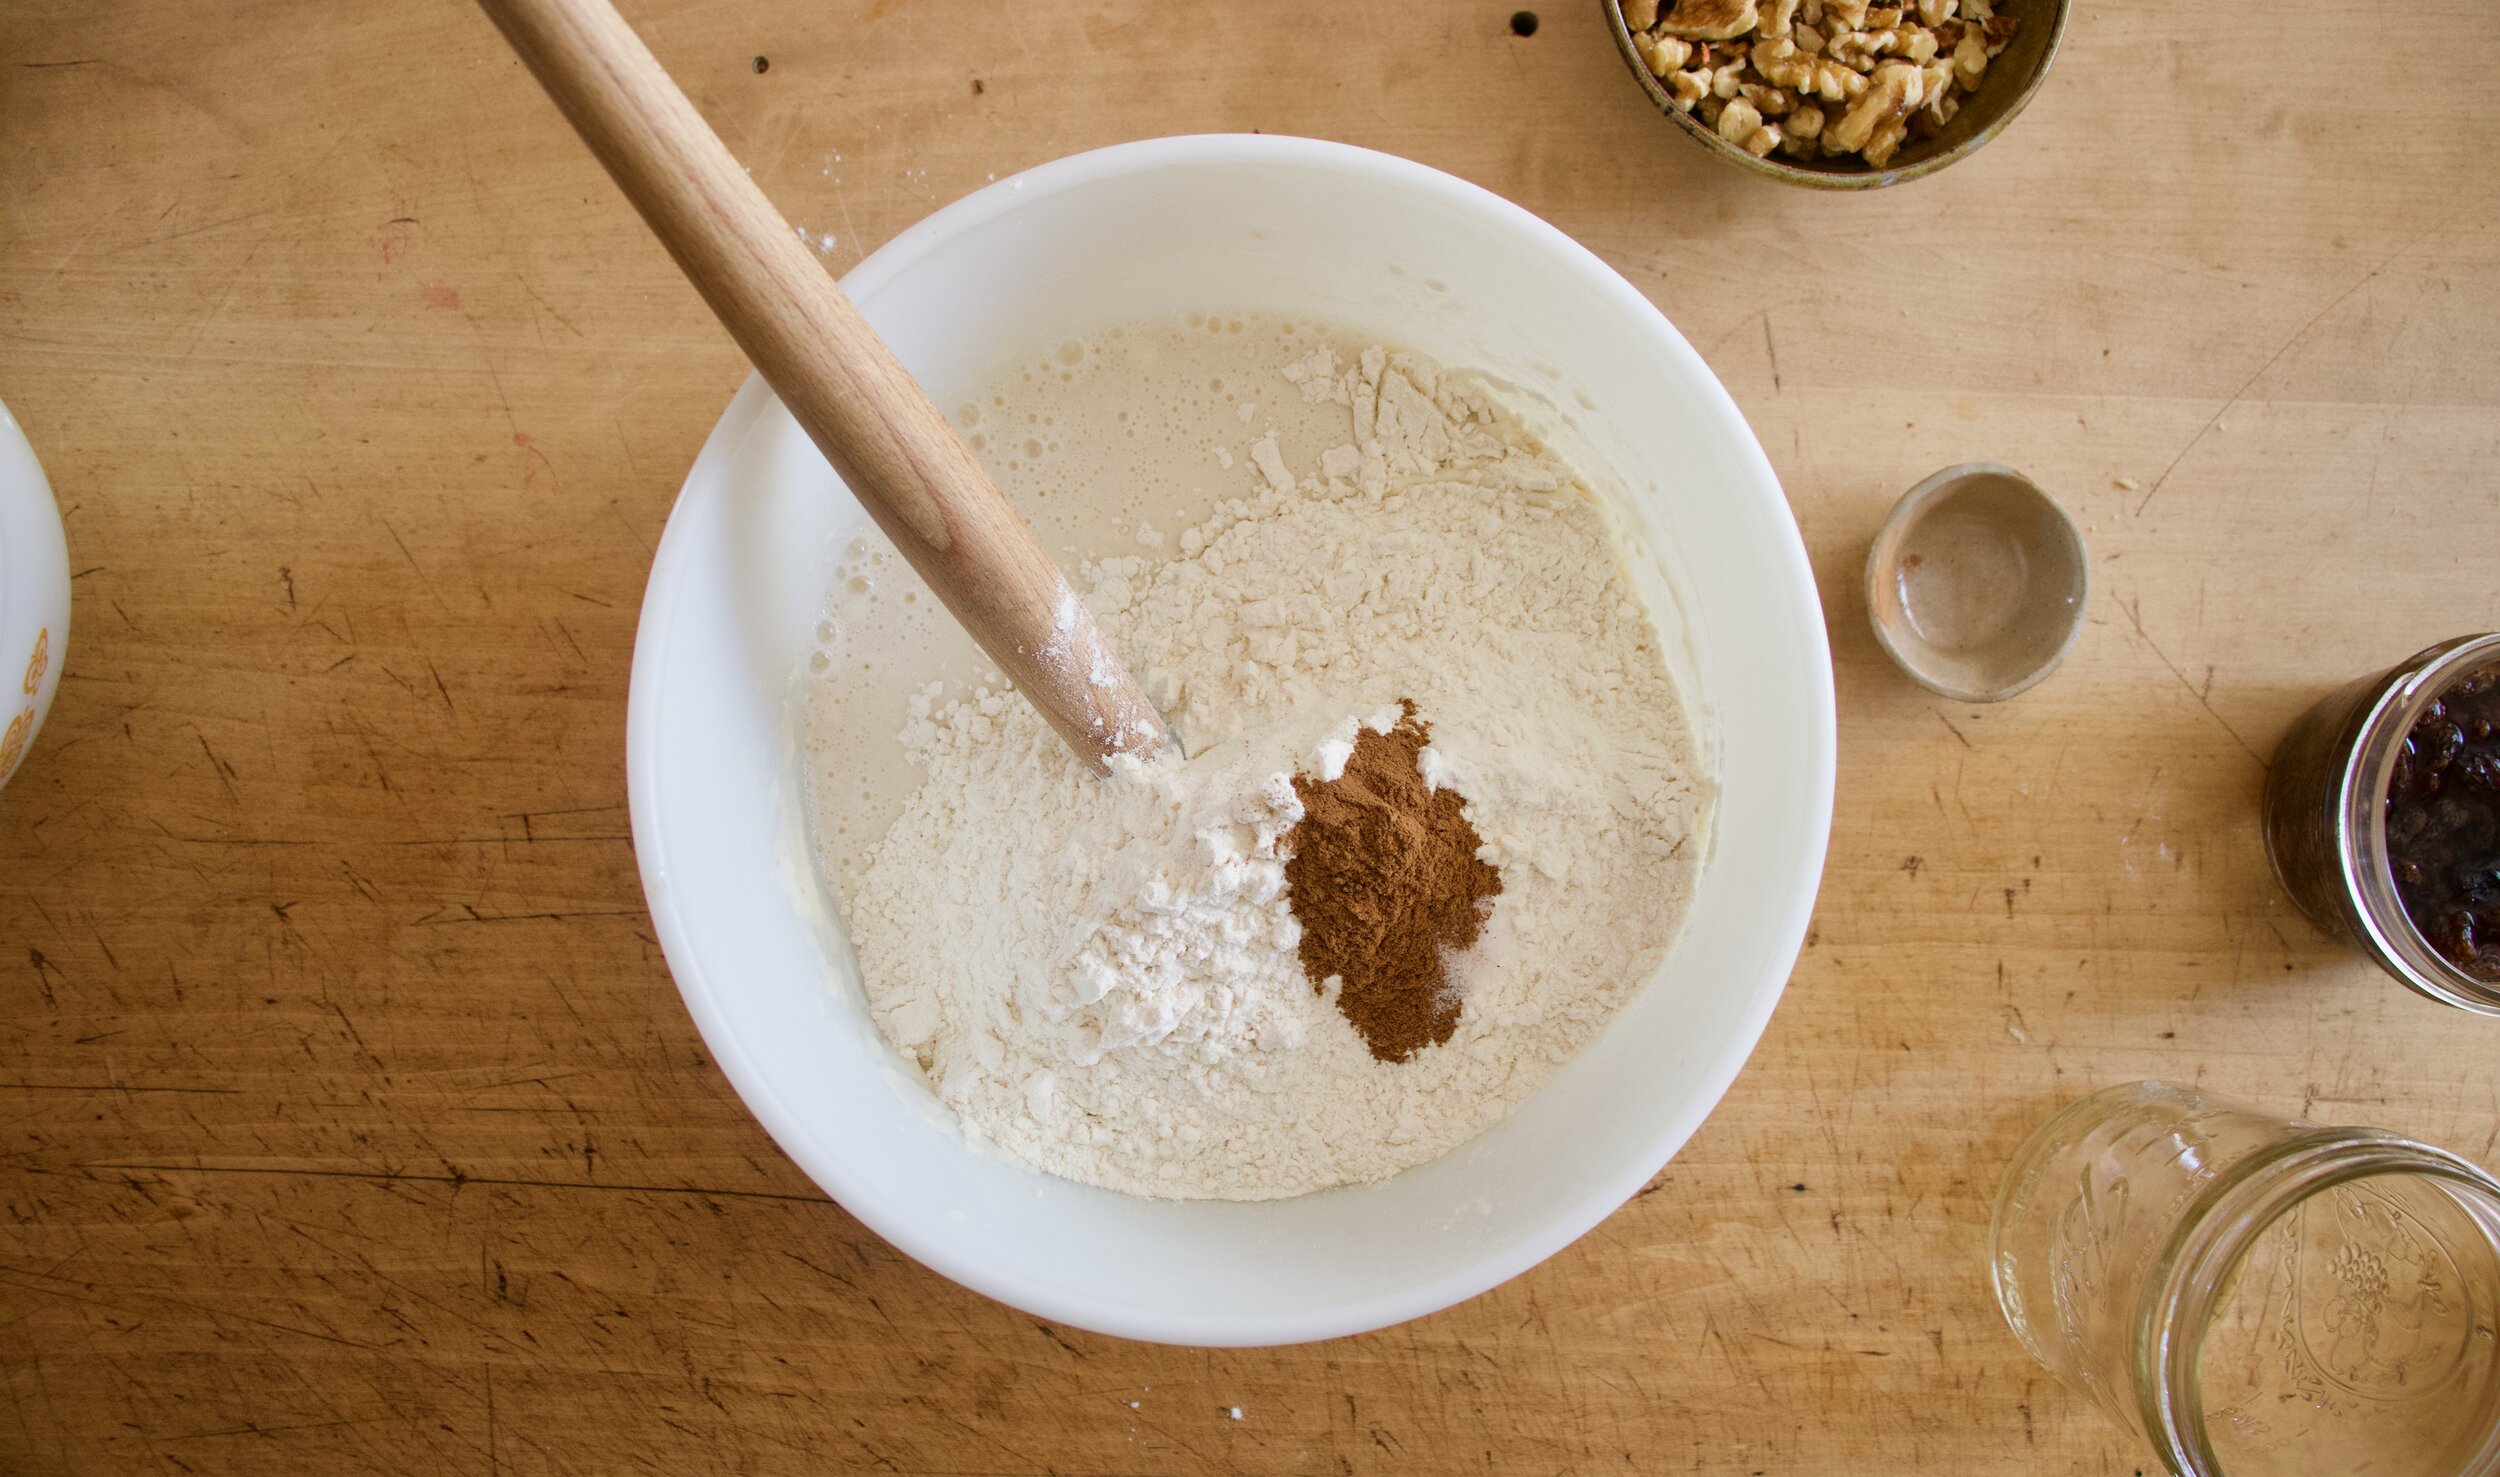
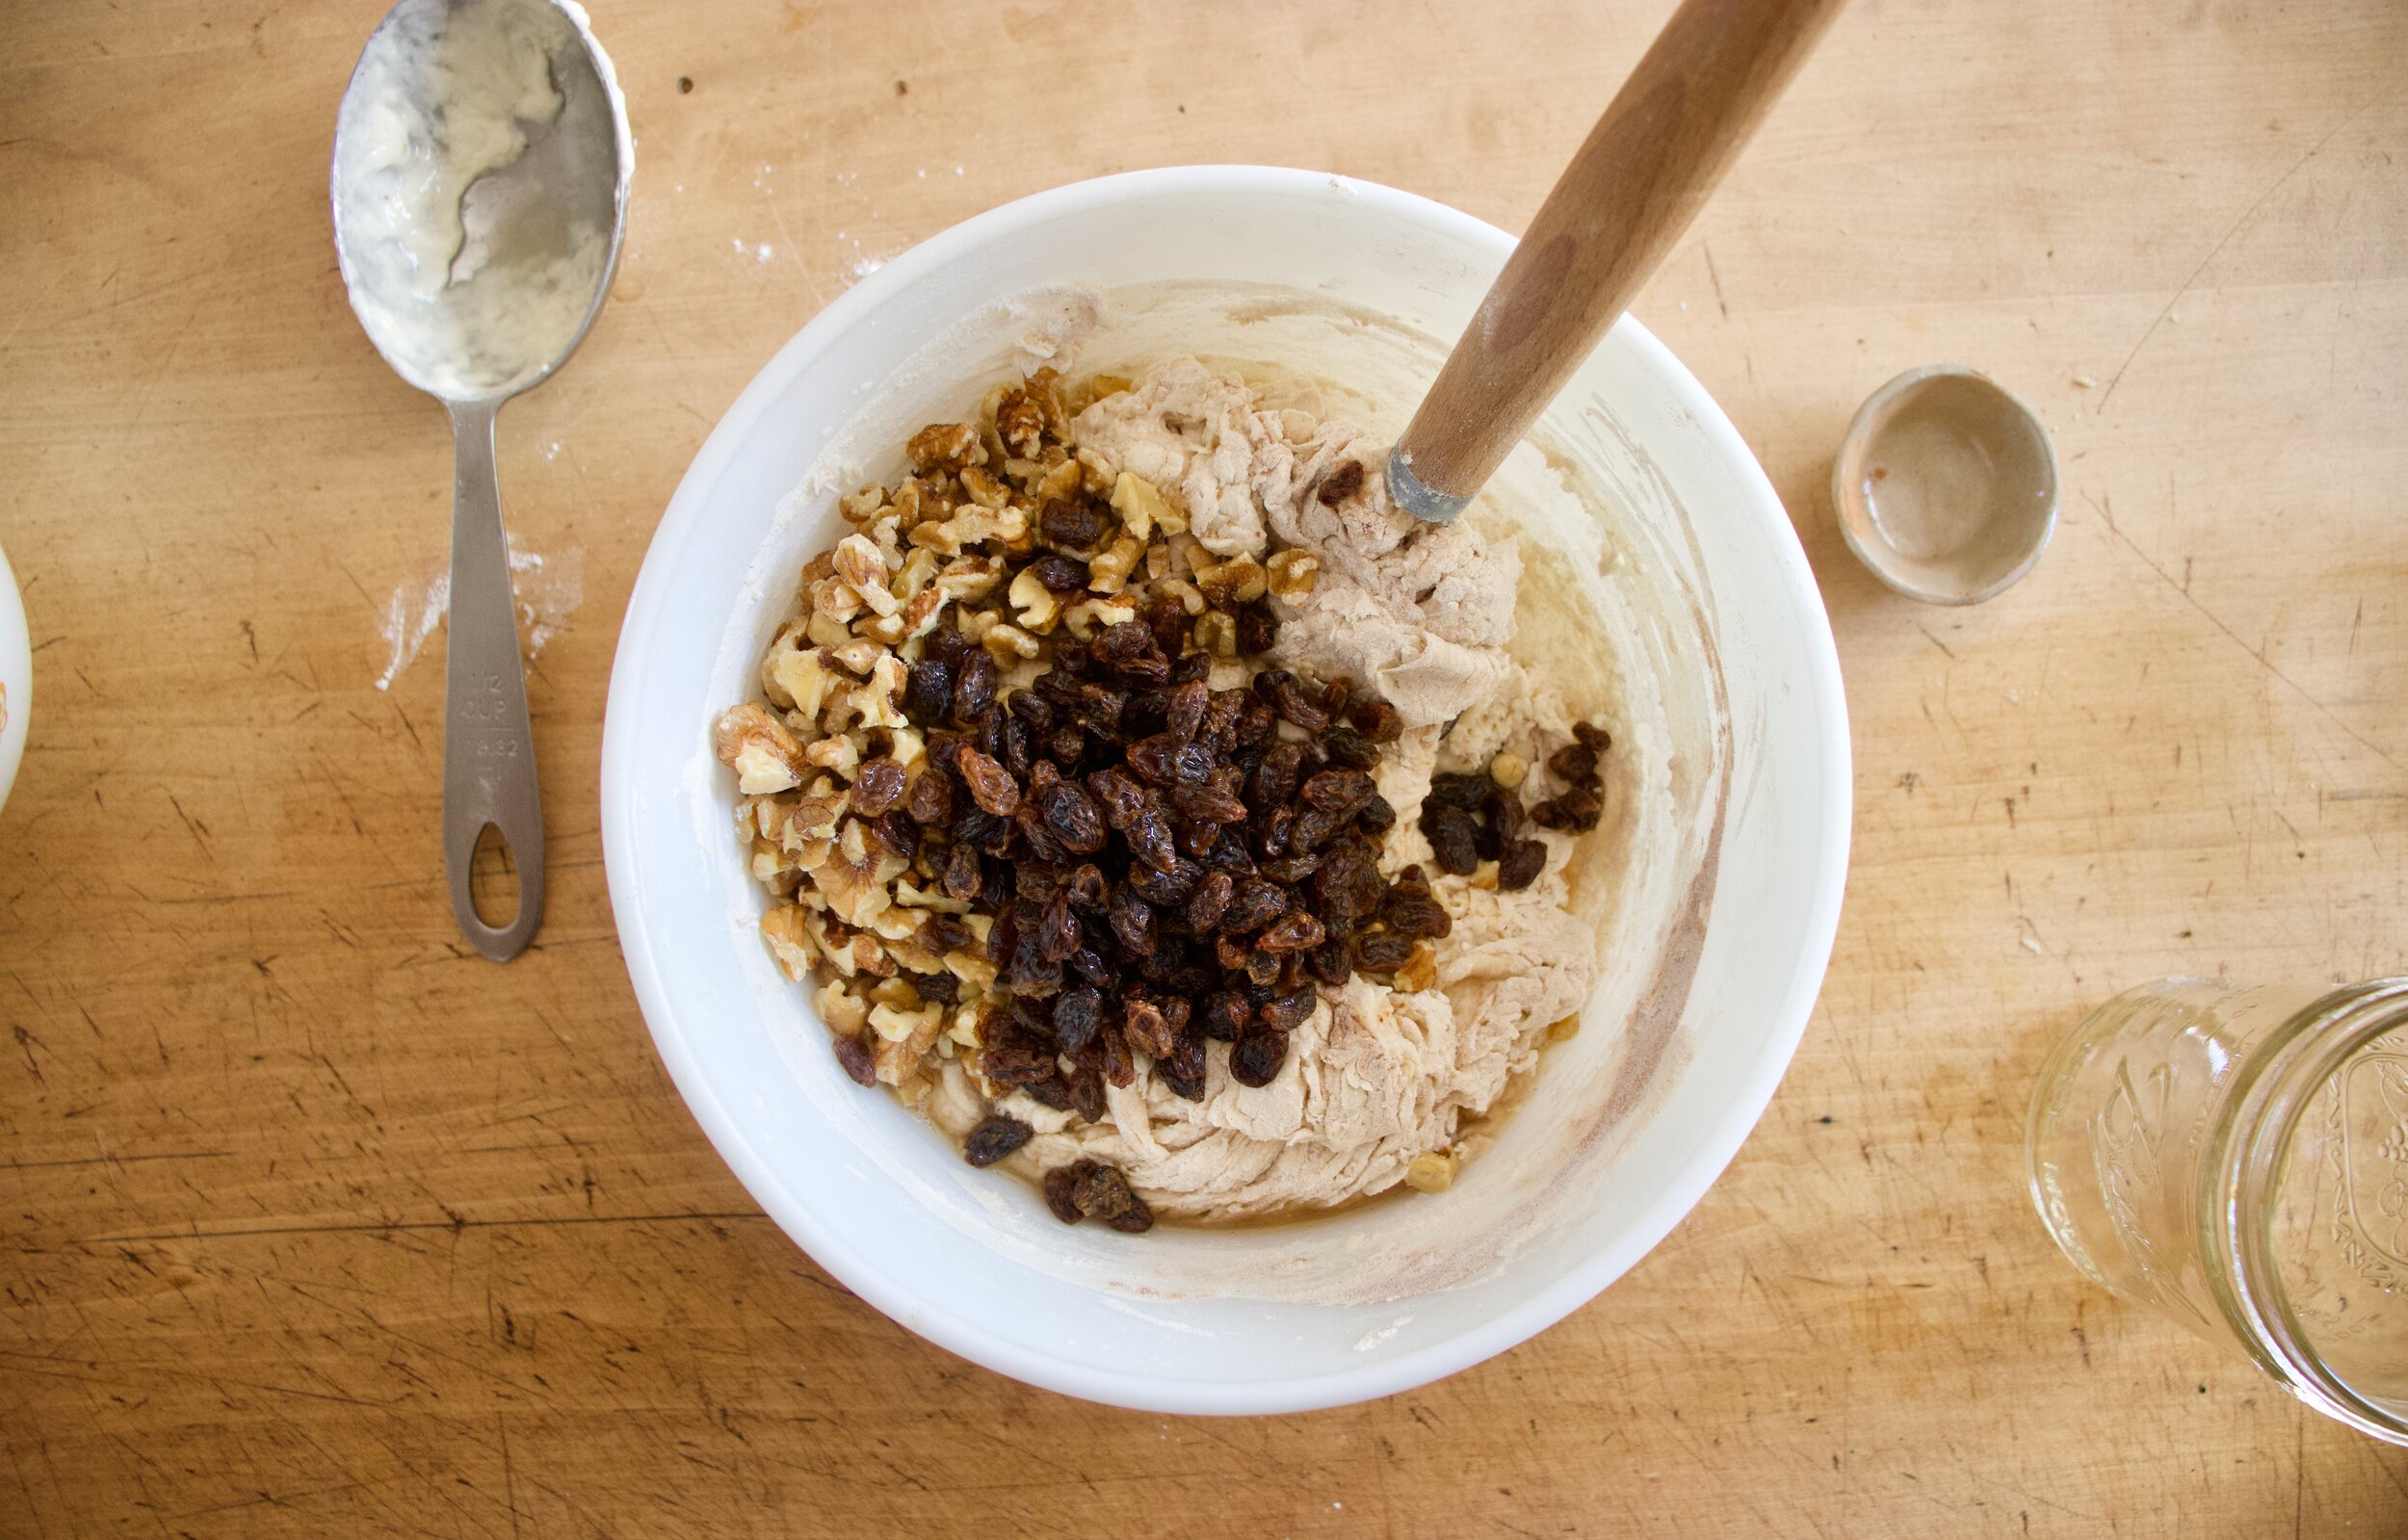
Make the dough. Stain the water from the raisins into a big bowl and add the rest of the water, along with the starter and a little flour. Mix until incorporated. Add in the salt, cinnamon, and rest of flour and mix until all the dry is mixed into wet you have a shaggy wet dough. Add in the raisins and walnuts and mix until incorporated.

IMG_3820.jpg

All mixed and ready to rest. Scrap sides of bowl and cover. Place In a warm spot for a couple hours.

IMG_3850.jpg

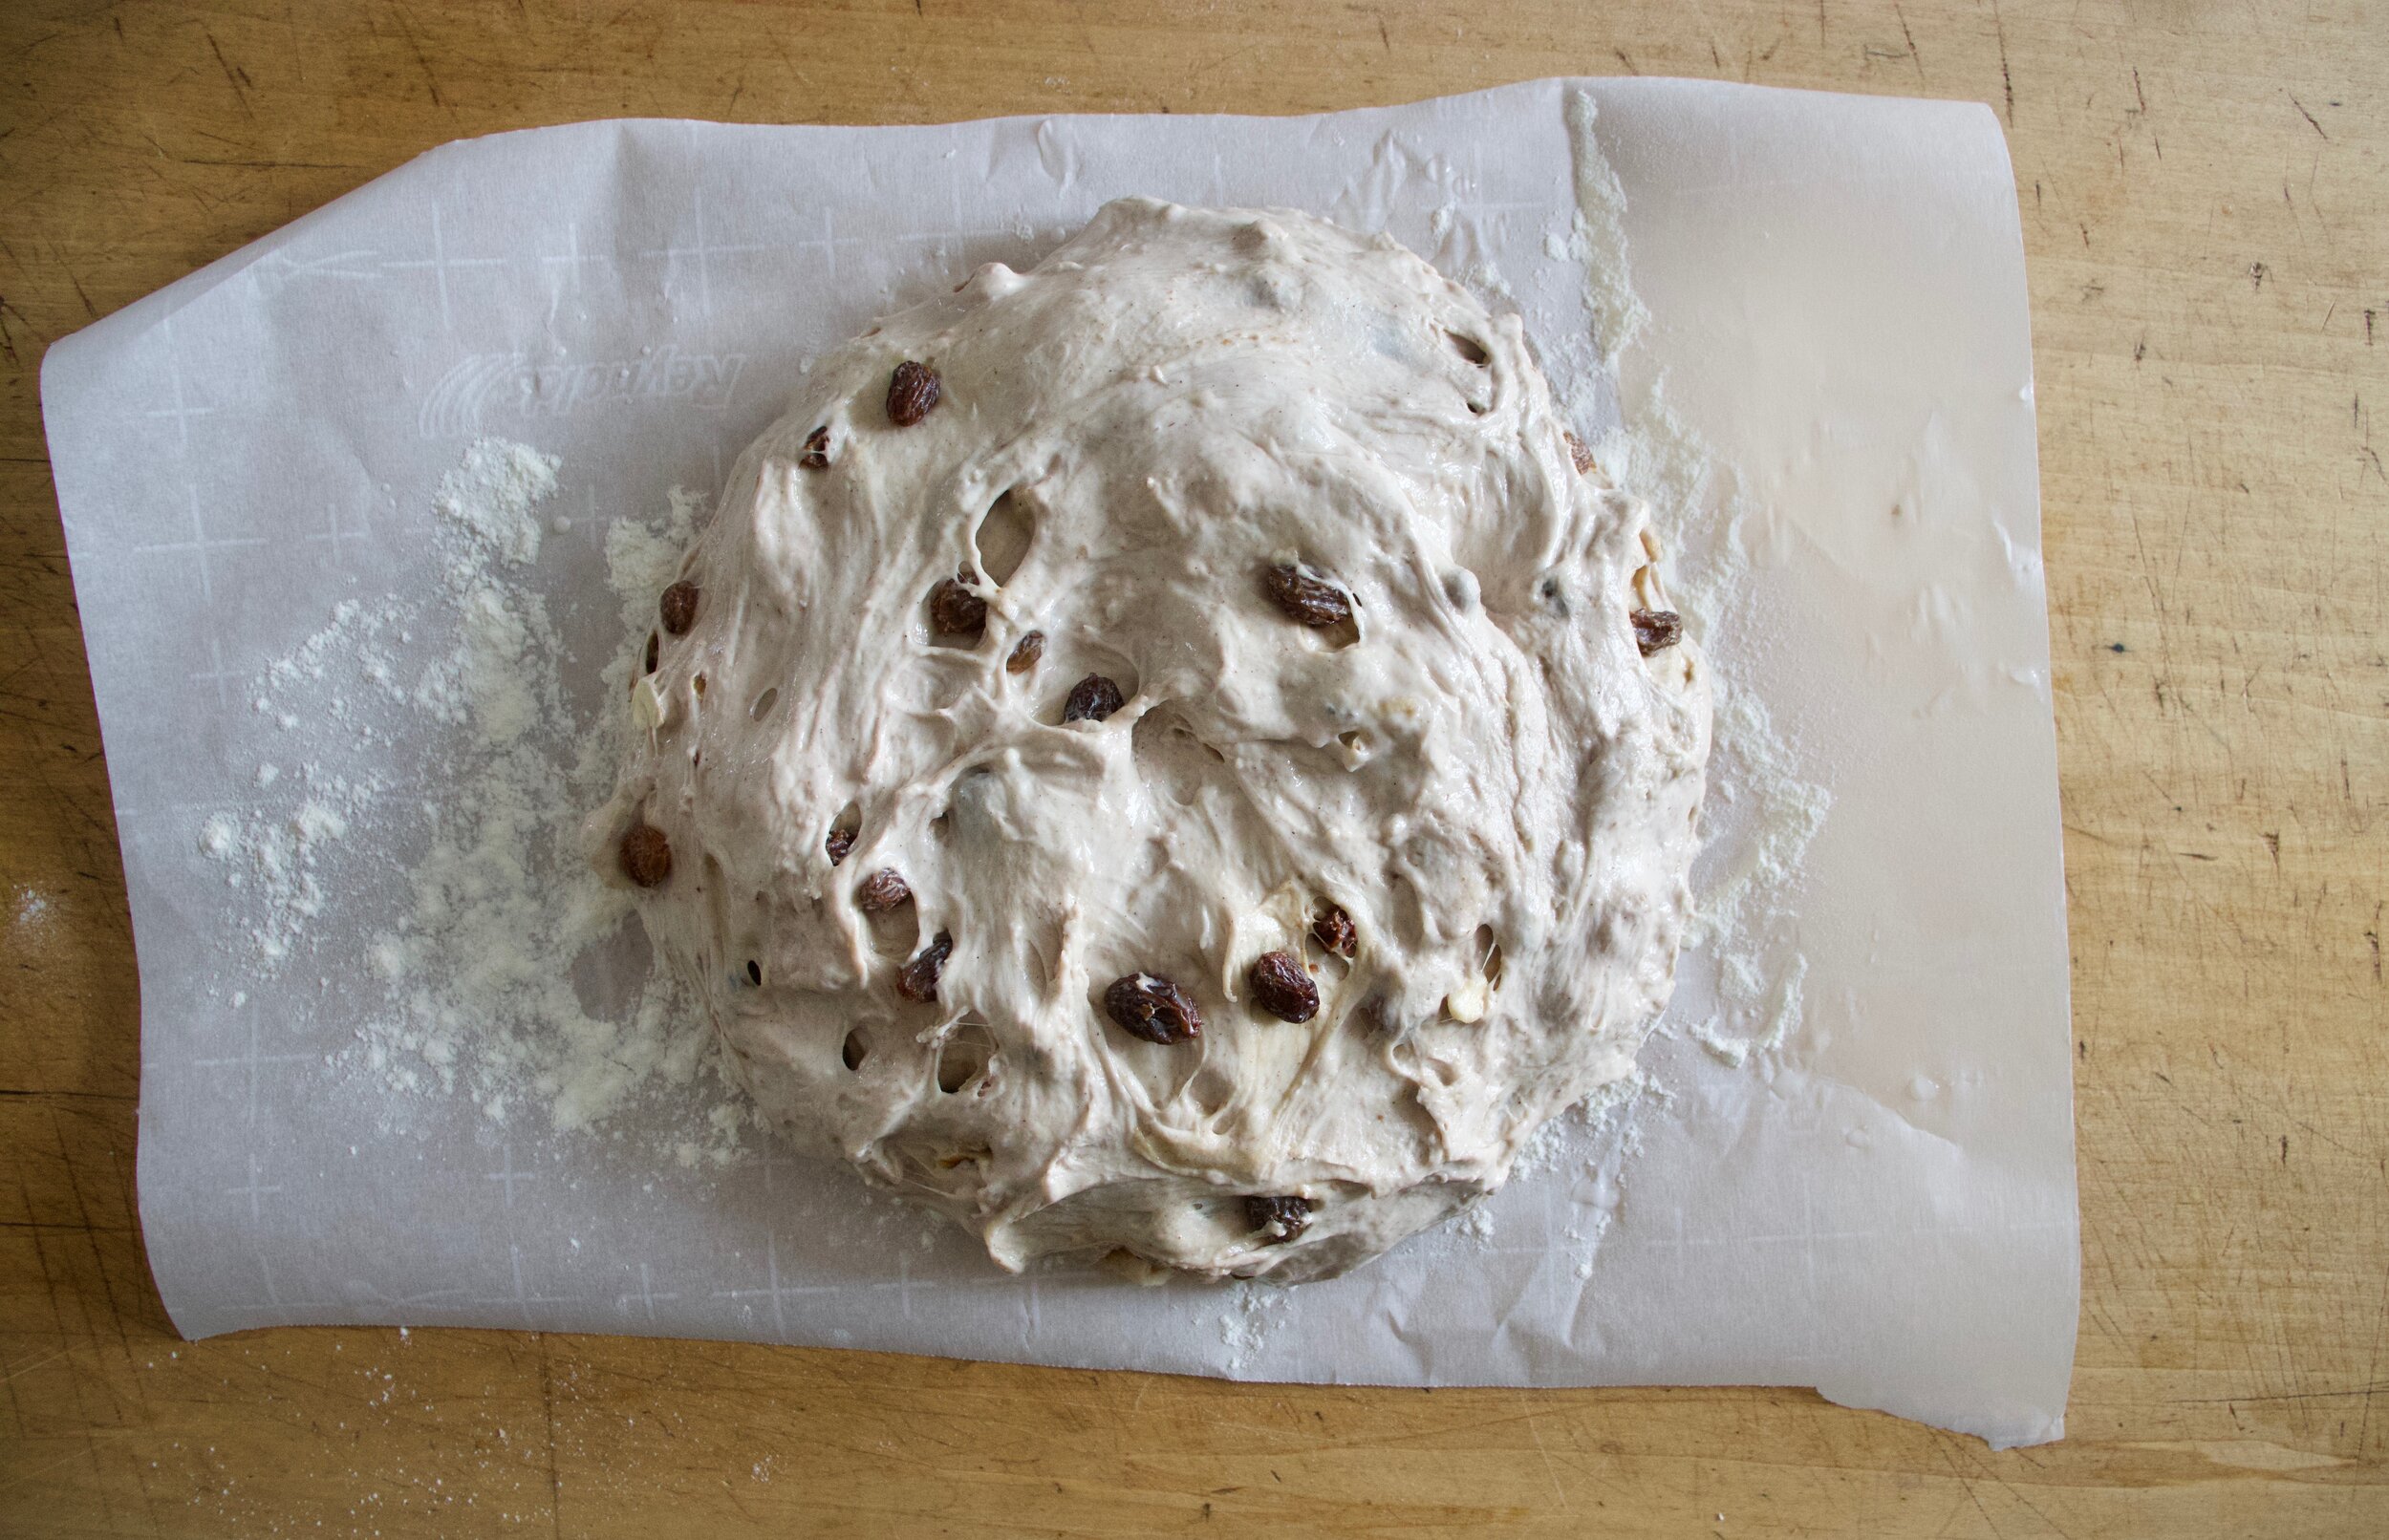
After about 2 hours, the dough hasn’t done much rising but that is what is suppose to happen. Take a damp hand and fold dough over itself a few times then cover ( with plastic or a silicon bowl topper) and place dough into fridge. Leave it in there over night. (at least 10 hours or for up to a week)

IMG_3861.jpg

Dough the next day. It hasn't double, but that is fine.

IMG_3866.jpg
IMG_3868.jpg
IMG_3872.jpg

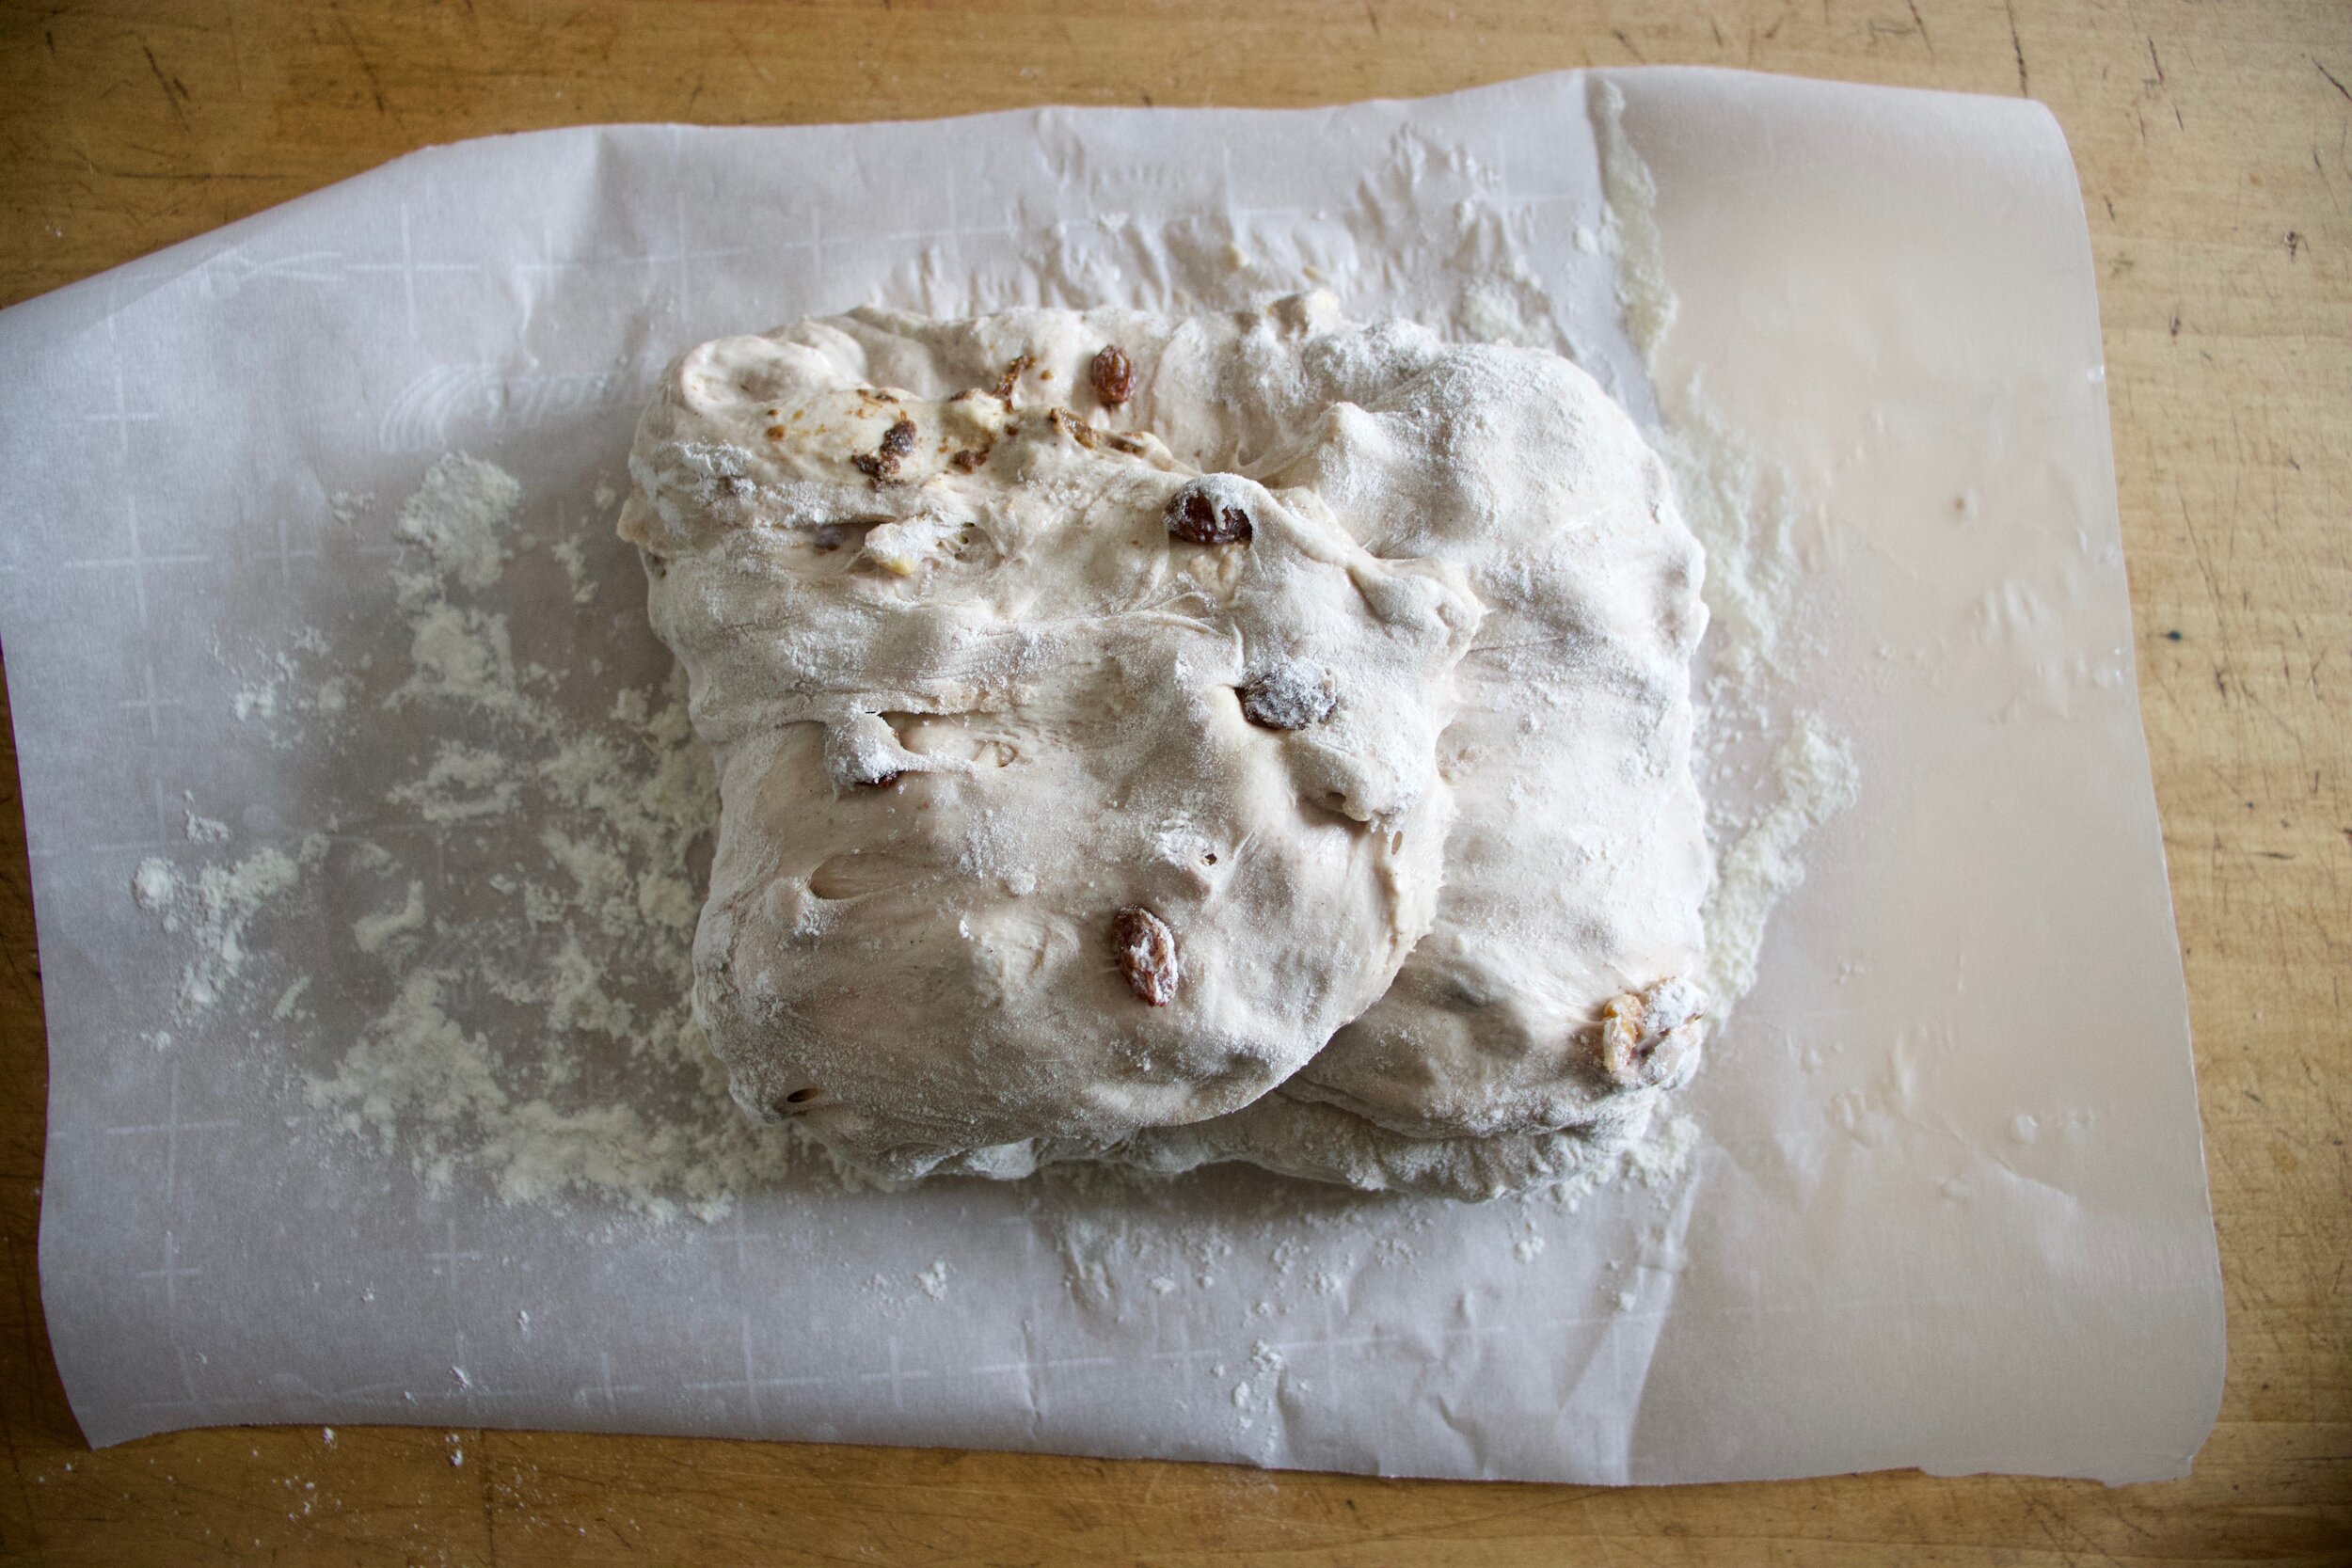
Dump dough out onto a flour piece of parchment. Fold each side over onto the top and them flip top side down. Gently shape into a nice ball.

IMG_3874.jpg

Place doughstill on parchment into a large dutch oven. Cover and let rest for 2ish hours.

Preheat oven!

IMG_3889 2.jpg

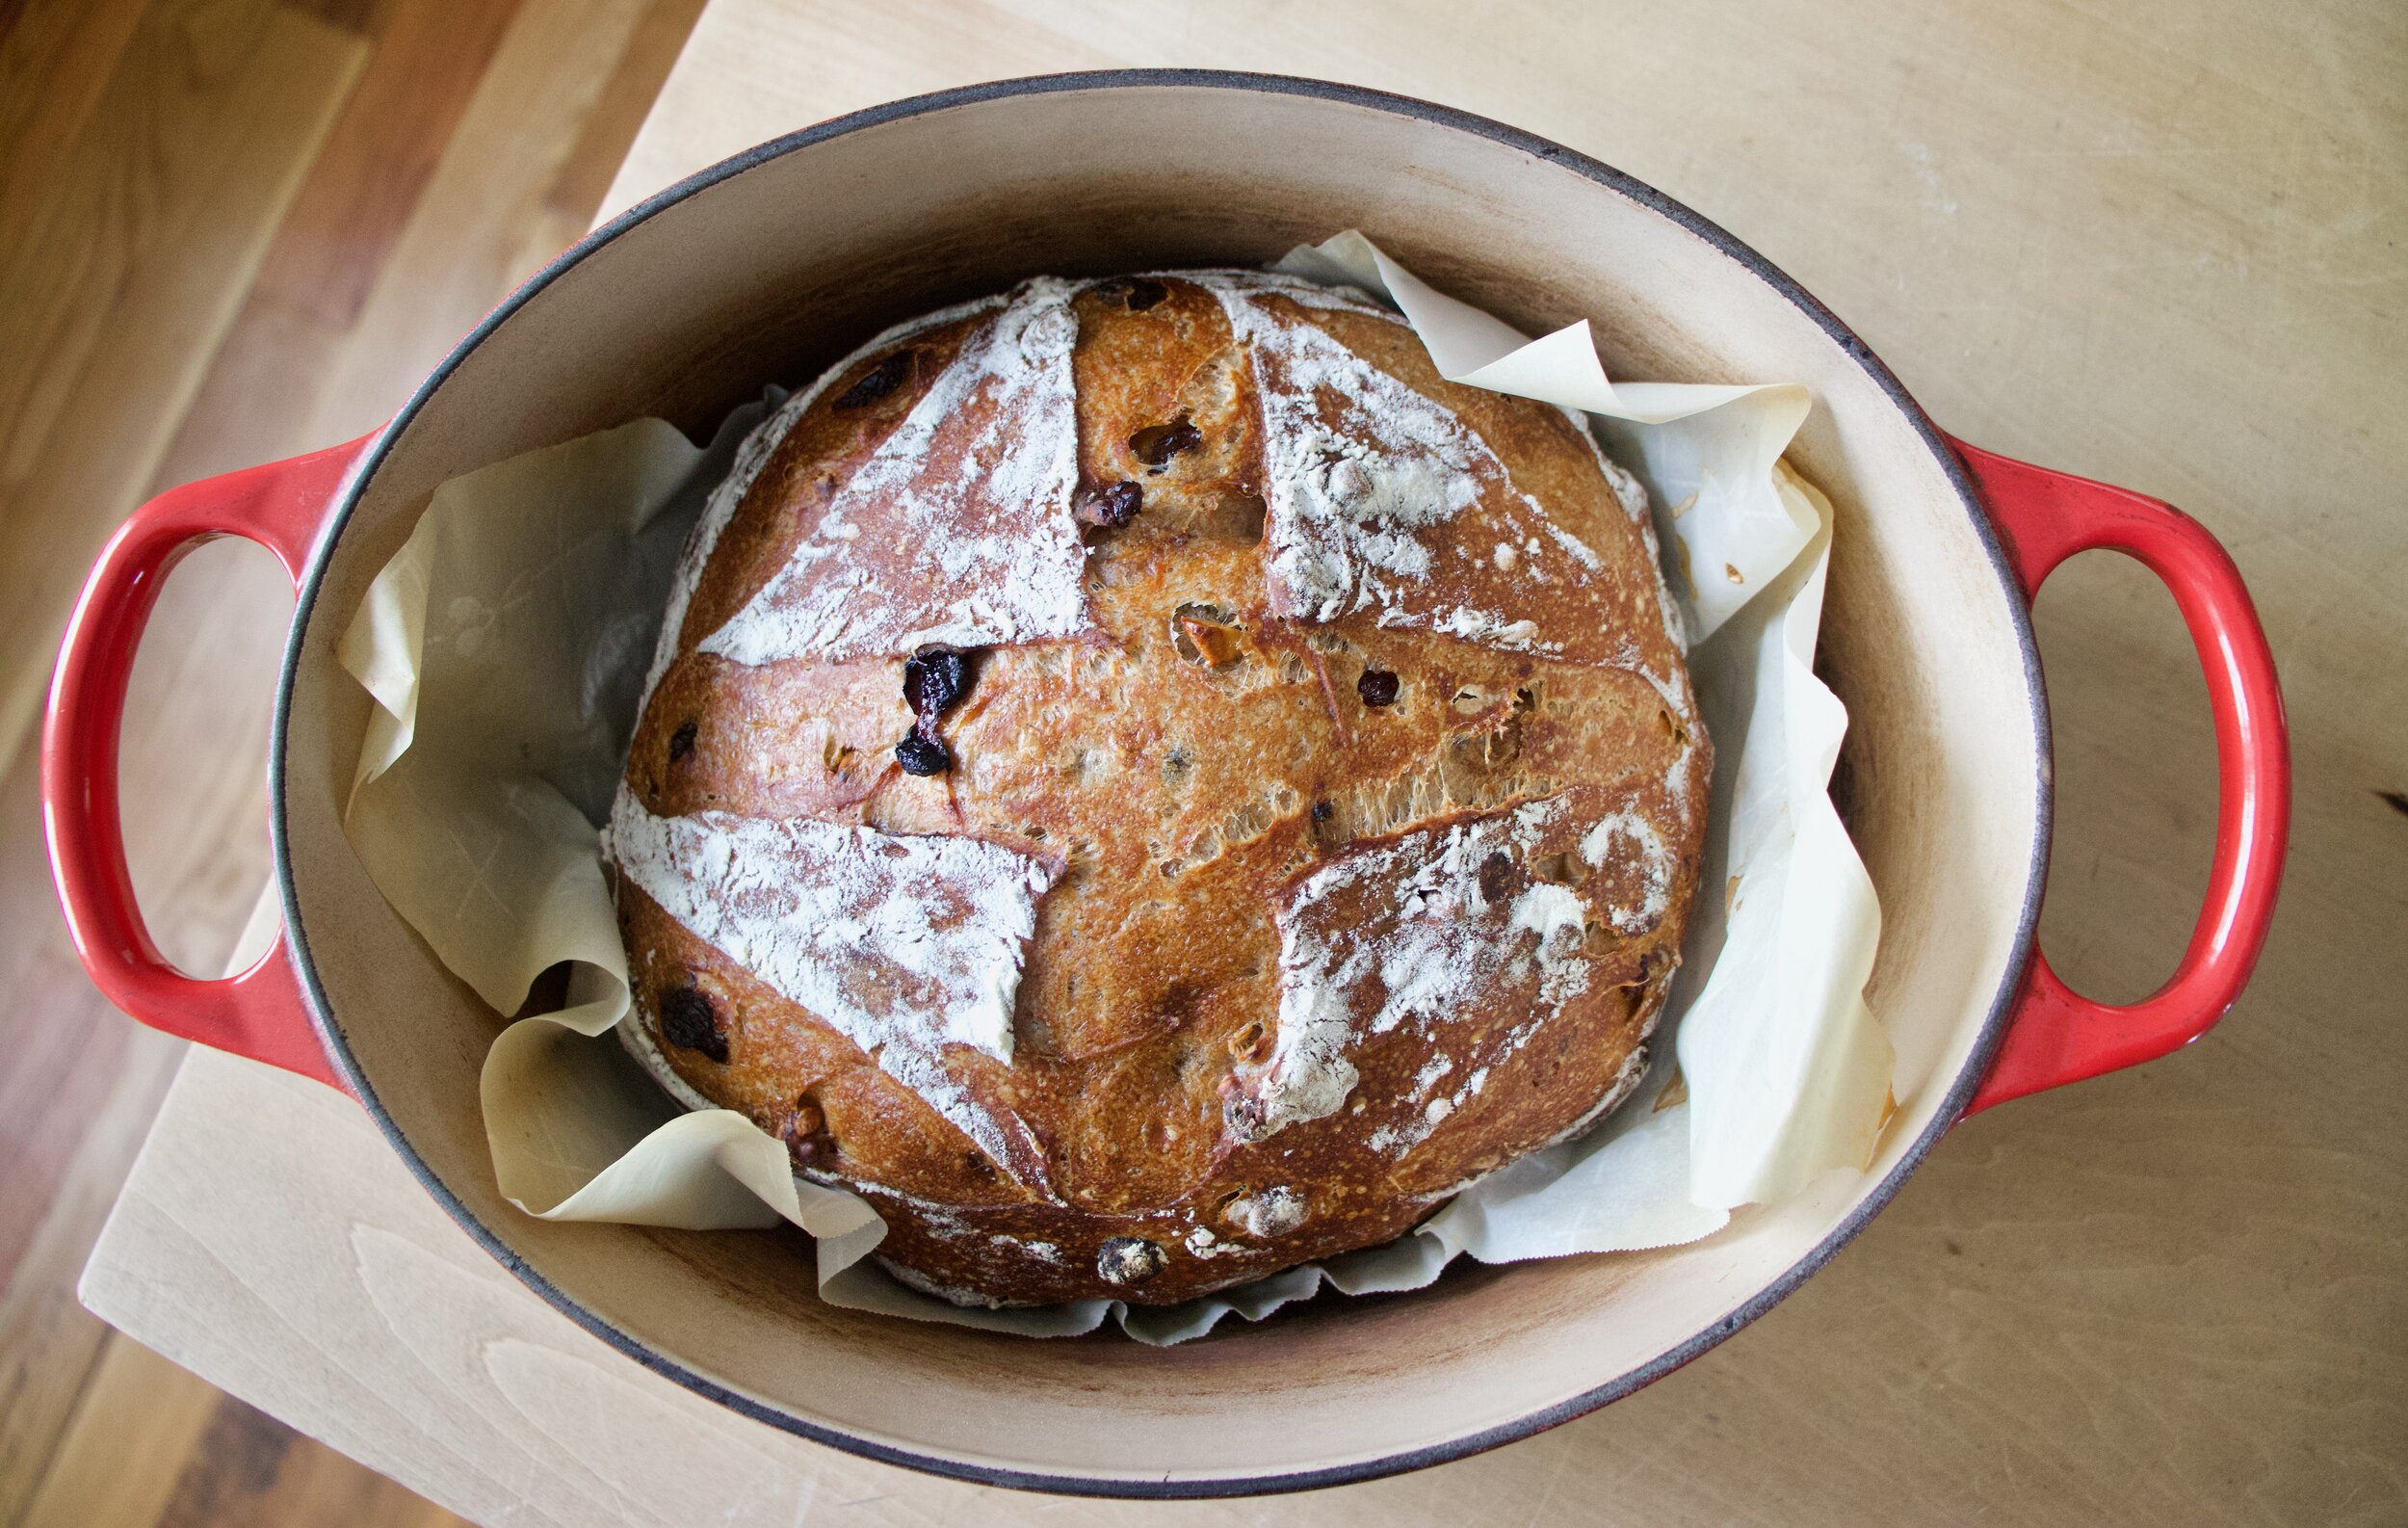
After the two hours and once the oven is nice and hot, remove lid and take a lame of serrated knife and slash the top of the loaf. One or two slashes or a few fancy placed ones. Just don’t press down to hard of cut it up to much. Now place lid back onto pot and place pot into hot oven. Bake for 30 minutes then carefully remove lid. Bake for another 20-25 minutes or until a deep golden brown.

IMG_3896.jpg

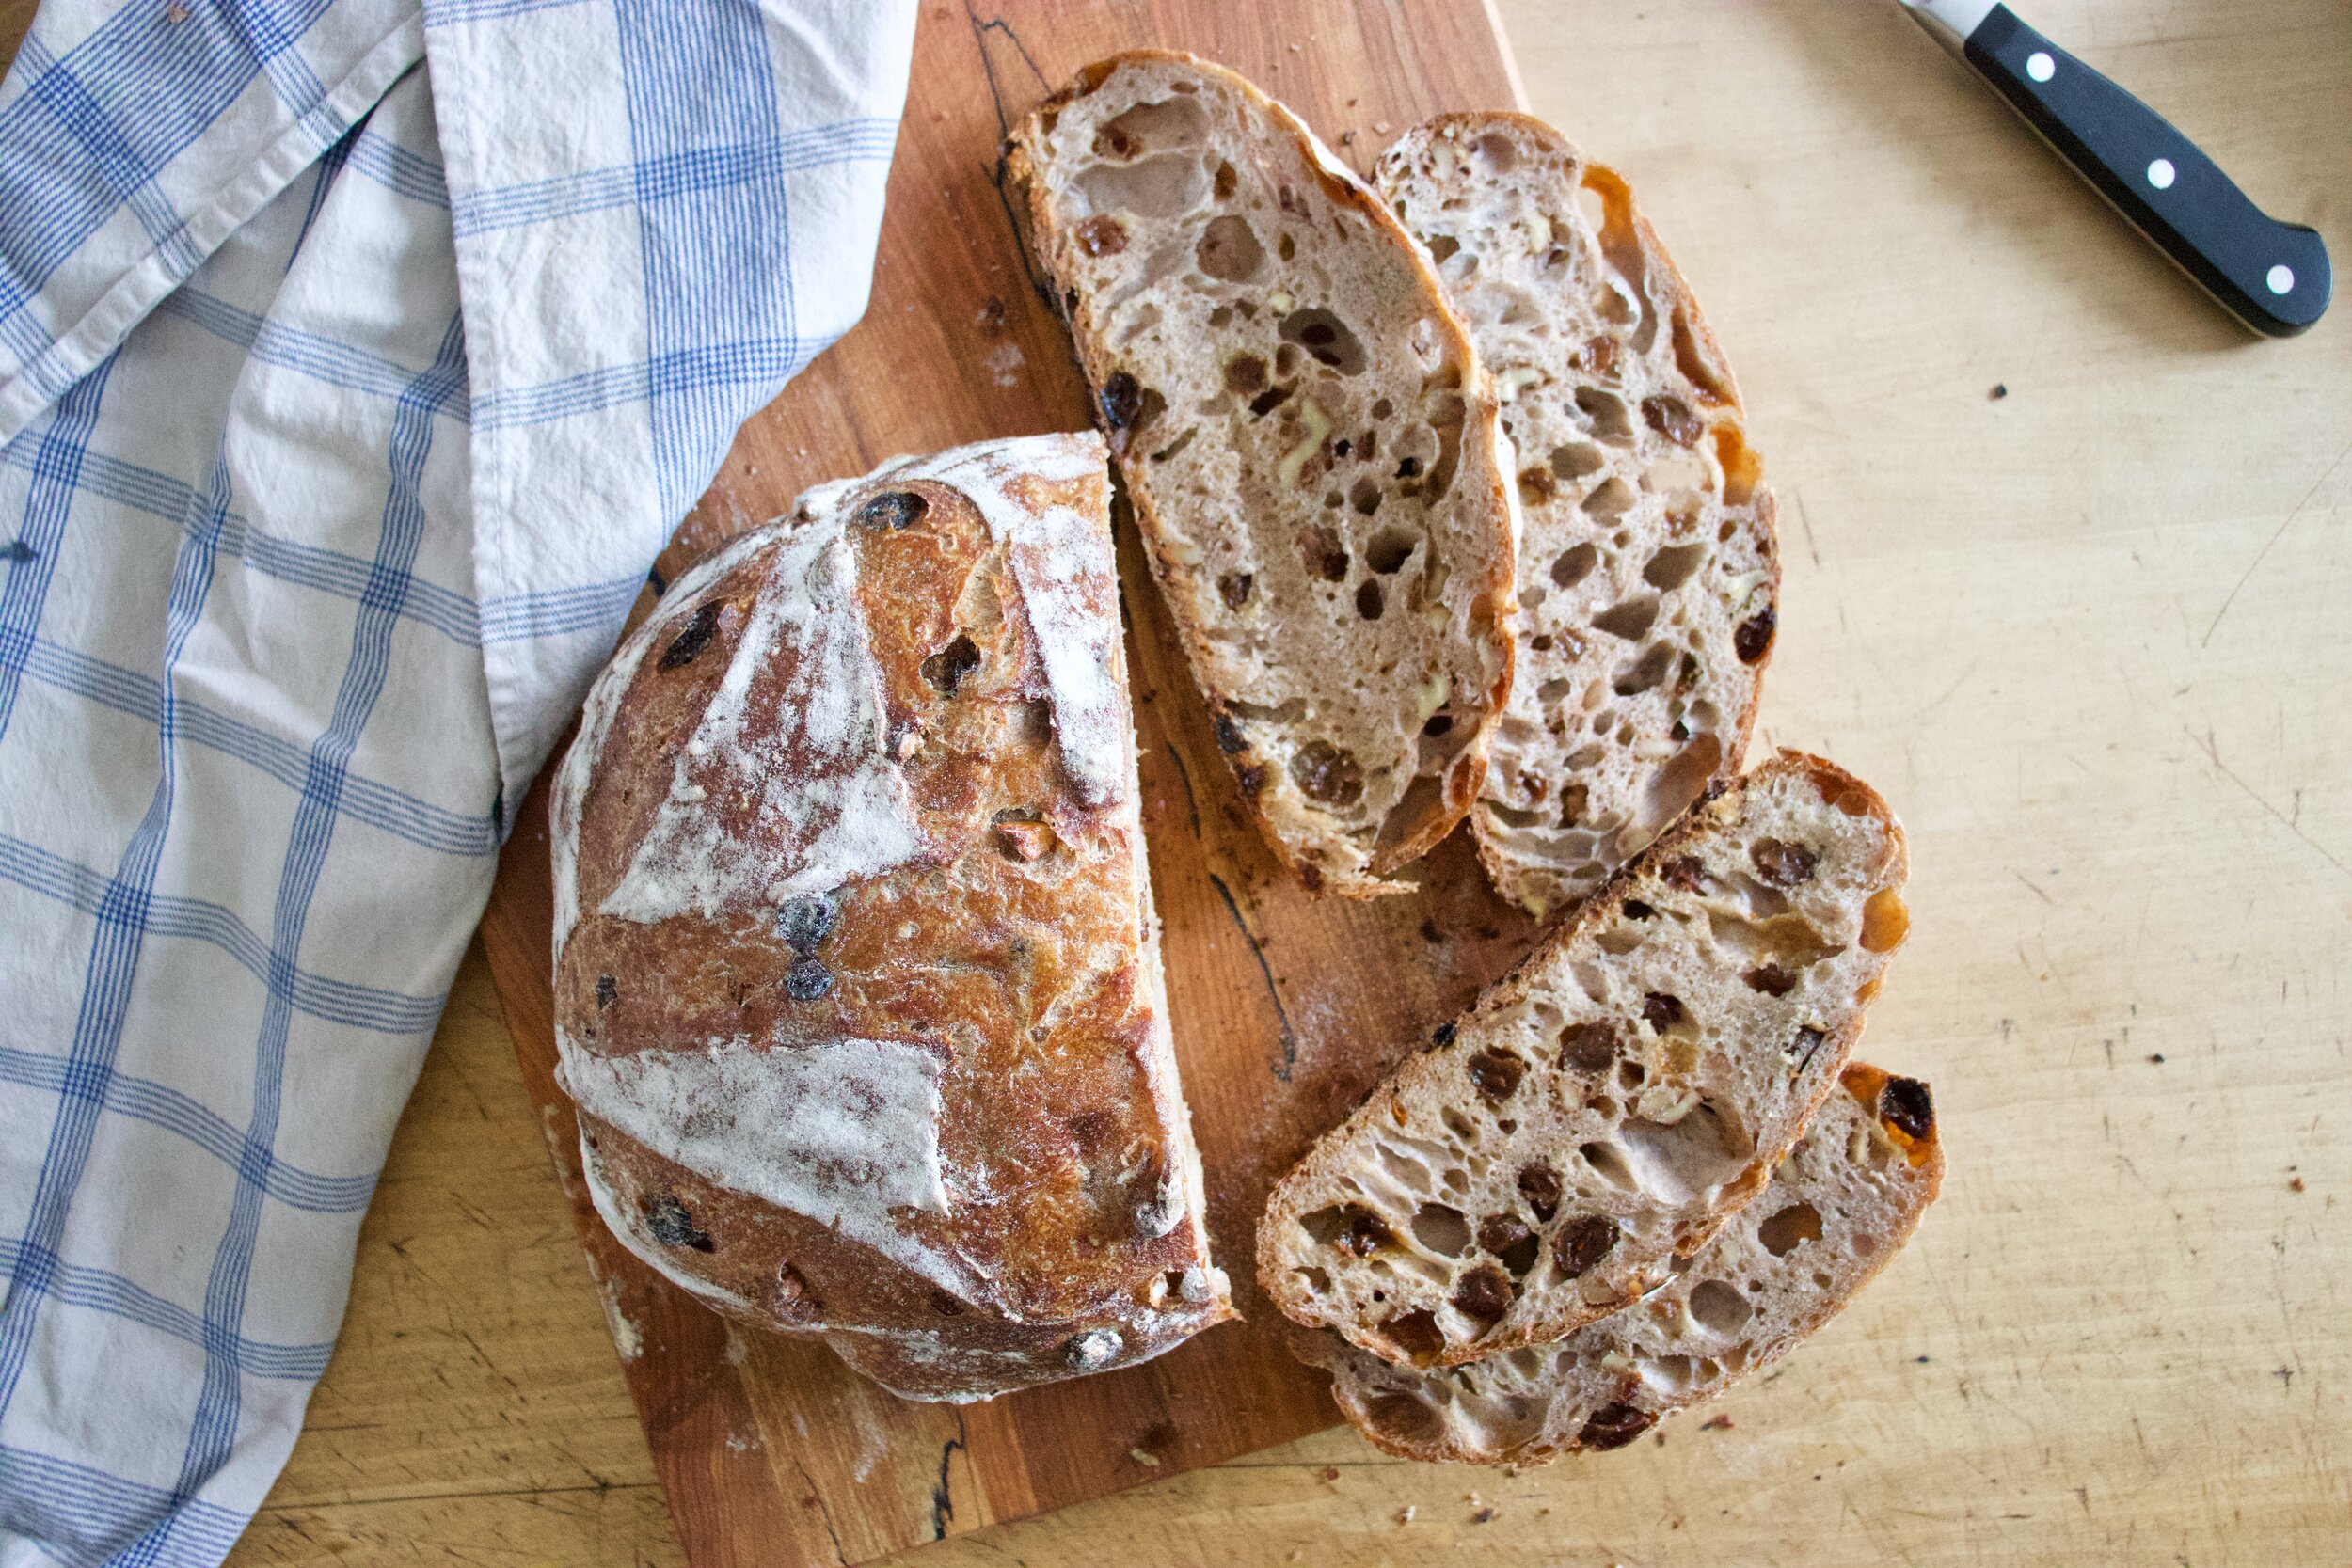
What a beauty! Now take the bread out of pot and yes, you MUST wait to cut into it. Let cool for at least an hour. I know you want bread now but it will not end well if you try to cut into this loaf hot.

IMG_3960.jpg

But once it is cooled and you slice into.. Worth every minutes of waiting.

-C


No knead Raisin Walnut Sourdough Bread

Makes one big road loaf but can also make 2 smaller round loafs

  • 4 cups all purpose flour plus more for shaping

  • 1 3/4 cup warm water

  • 1/2 cup ripe sourdough starter

  • 1 cup raisins

  • 1 cup chopped walnuts

  • 1 teaspoon salt

  • 1 heapingtaspoon cinnamon

Start by dumping some of the warm water into a bowl with the raisins. Let sit for a few minutes until the y plump up a bit. Stain the water from raisins into a big bowl only with the starter and the rest of the warm water. Add in a cup or so of flour and mix until incorporated. Next add in the rest of the flour, the salt, and the cinnamon. Mix until all the dry flour is now wet and you have a shaggy wet dough. Dump in the walnuts and raisins and mix in. Scrape down sides of bowl, cover, and place in a warm spot for an hour to two. After sitting for a while, the dough should have risen a bit but to doubled in size. Grab the edge of dough and fold it over itself , cover back up (use plastic of a silicon top), and stick it in fridge overnight (at least 10 hours but up to a week)

The next day when you are ready to bake it off, remove the dough from fridge, dump out onto a floured covered piece of parchment, and fold side over to the top. Then roll the folded side over. Keep on parchment and gently shape into a round. Place shaped dough (pick up by the parchment paper) into a large dutch oven. Put the cover on and let rest. (You can also place on a baking sheet if you don’t have a dutch oven and gently cover a plastic bag that is not touching he dough). After about and hour and a half start reheating the oven to 500 degrees.

After the oven has been preheated (give it a good 1/2 hour so oven temp is truly hot) remove lid (or bag) and sprinkle a little flour on top of dough. With a lame or a sharp serrated knife, score the stop of the bread. One or two slashed should be fine. Now place lid back onto pot and place pot into hot oven. Or if not using dutch oven, add a separate baking pan to the bottom of oven with a cup of water to create steam and just slide baking sheet into oven. i After a few minutes, turn heat down to 450. For dutch oven, bake for 1/2 hour then carefully remove lid from pot and continue to cook for another 20- 25 minutes or until the bread is a nice deep golden brown. If not using dutch oven, the bread will back a bit faster so check after 40 minutes for a nice deep golden brown loaf. (When in doubt of doneness check internal temperature . 200- 210 degrees)

Once baked through, remove pot from oven, pop bread out of pot and place on a cooling rack. Let cool for at least an hour before cutting into it.

Once cooled, slice and eat. Best eaten within 2-3 days and if you are not going to eat it that fast, just slice it up and stick in the freezer.

Tags bread, vegan, no knead, sourdough, starter, no yeast, walnut, raisin, king Arthur flour, fresh, easy, long fermentation
1 Comment

Raspberry Swirl Banana Snack Cake

February 13, 2021 Colleen Stem
IMG_3720.jpg
IMG_3698.jpg
IMG_3758.jpg

Why make banana bread when you can make banana cake? But really, isn’t it the same thing, the same batter just baked in different pans? The answer is yes, yes it is.

Whatever you call it, (bread, cake, muffins), it is banana and everyone loves it so who the heck cares what it is called. This banana cake is basic with the basic stuff but I decided to add some raspberry jam swirl to the mix. Raspberry jam because well I had raspberry jam and banana and raspberry are a great paring. And I made the swirls into hearts because well I love hearts and also it doesn’t hurt that Valentines day is this weekend so it just made all the since to me. I mean, just look at it. It is a stunner of a cake if I do say so myself. And I know that it taste just as good, especially since the mr ate half of it in one day.

Again, people love them their banana cake (bread, and or muffins) so you really can’t go wrong with this one.

Now to the banana cake!

IMG_3631.jpg

The stuff. Ripe and ready bananas, flour, baking soda and powder, salt, sugar, oil, vanilla, apple cider vinegar, and raspberry jam.

IMG_3633 2.jpg
IMG_3639 2.jpg
IMG_3642 2.jpg
IMG_3647.jpg

So now make the batter. Peel bananas and mash them up in a big bow with a fork. Pretty mashed up, almost pureed but with some small chunks. Add in the oil, sugar, vanilla, and vinegar and mix until mixed then add in the dry and mix everything is incorporated.

IMG_3651.jpg

Banana cake batter.

IMG_3659.jpg

Dump batter into a well greased cake pan.

IMG_3662.jpg

Now warm up the jam for a few seconds in the microwave just so it thins out a little. Not completely luquid, just lose. Take a small spoon and dollop jam all over top of batter.

IMG_3670.jpg

Now to make the jam heart swirls, all you do is take a sharp knife, stick it into the jam blobs and pull down. They might not be perfect but that is perfect. And if you don’t care for hearts just swirl sharp knife all around the blobs to look however the way you want it to look.

Once swirls, pop the cake into a the hot oven and bake for 45-50 minutes or until the top is a nice deep golden brown and a tester comes out.

IMG_3678 2.jpg

Just look at that. Gorgeous! Let cool for a few minutes then carefully pop it out of the pan and let it finish cooling on a wire rack.

IMG_3770.jpg

Now you eat cake.

-C


Raspberry Swirl Banana Snack Cake

makes a 10 inch round cake

  • 2 cups all purpose or white whole wheat flour

  • 1 teaspoon baking soda

  • 1 1/2 teaspoon baking powder

  • 1/2 teaspoon salt

  • 1 teaspoon vanilla

  • 3 bananas

  • 1/2 cup oil

  • 3/4 cup white sugar

  • 2 tablespoon apple cider vinegar

  • 2 heaping tablespoons raspberry jam (can substitute any flavor jam you want)

Preheat oven to 350

Peel bananas and place into a large bowl. With a fork, mash until pureed. Some chunks are good, but not too chunky. Add in the oil, sugar, vanilla, and vinegar. Mix until completely incorporated. Add in the flour, baking powder and soda, and salt gently mix into wet until just incorporated then dump into a greased 9-10 inch round cake pan. (You can use a rectangle if you want)

Grab jam and heat up in microwave for 20-30 seconds or until warm and it has become more lose but not super runny. Take a small spoon and add dollops of the lose jam all over top of cake. Take a sharp knife and run it through each dollop into the cake to create a heart. Or just run the knife through all the jam blobs and swirl it around.

Pop cake into hot oven and bake for 45-55 minutes or until top of cake is a nice deep brown and a cake tester comes out clean.

Remove form oven and let cool in pan for a few minutes then carefully remove cake form pan place on a wore rack to finish cooling.

Eat whenever.

Sore in airtight container on counter or 3-4 days. Or refrigerator a week.

In cake, Vegan Tags Raspberry Swirl Banana Snack Cake, vegan, Valentine day, heart, swirl, bread, cake, dessert, easy, banana bread, banana, snack cake
Comment

Cranberry Orange Soda Bread

March 14, 2020 Colleen Stem
IMG_6647.jpg
IMG_6626.jpg
IMG_6676.jpg

One of my go to things to do when I am feeling feelings of stress and or anxiety (or angry , or happiness, or sad… all the emotions really) is to bake. I have a feeling that I am going to be baking quite a bit in the next few weeks. And due to the fact that when I went to go buy my usual 25 lb bag of flour the other day and all the flour, at multiple stores, was sold out, I think some of you might be planning on some baking soon too? I sure hope so because I am gonna be pissed if I find out that people are just hoarding all the flour and not using it. 😁

Anyway, soda bread. This bread is not like a soft and fluffy yeasted bread. It is thick and hearty and this one is full of orange zest and dried cranberries to give it just a little more flavor. Of course I was thinking of St Patricks Day next week when I made it because we all know that Irish soda bread is well, Irish, and St Patricks Day is an Irish celebration, but I was also thinking that the mr was coming home for lunch and my sourdough was only about an hour into it’s 8 hour ferment and I had no back up bread for lunch food. So soda bread is what I made. Quick to throw together, bakes within an hour, and is every bit as fantastic as any yeasted bread. The mr was very much pleased to have a nice sturdy, fragrant, hunk of a this bread situation when he came home for lunch and I was a little less crazy stressed because of it. Plus, as usual when baking nice things, the house smelled so good! I think I sometime just bake things just for the smell that lingers for the day. I love it when my hair smells like bread. HA!

Now go grab that flour your hoarding and get at this bread!

The stuff. All purpose and white whole wheat flour, some oats, baking soda and powder, salt, soy milk, brown sugar, oil, dried cranberries, a bit of apple cider vinegar, and an orange.

First add vinegar into milk and stir it up.

Zest the orange into the bowl with the dry stuff, add in the sugar, and give it a good stir to fully combine it all.

Add in the cranberries. Make sure they are not all stuck together and stir them in.

And lastly, add in the milk and oil and stir until a dough forms.

The beauty of unbaked bread dough.

IMG_6580.jpg

Turn the dough out onto a well floured baking sheet and knead it a few times. Then shape into a big ball and score the top with a big X. Then you just pop it into the oven to bake.

IMG_6581.jpg

There she is. A big, beautiful loaf of bread. And guess what, you don’t have to wait forever to cut into it. Just 15 minutes of so.

IMG_6623.jpg

Now you got what you were waiting for. Warm fresh bread, maybe some buttery spread, and a plate (if you a civilized). You eat, you feel better.

Stay well folks!

-C


Cranberry Orange Soda Bread

makes 1 loaf

  • 1 1/2 cups all purpose flour

  • 1 cups white whole wheat flour

  • 1/2 cup old fashion oats

  • 1/4 cup packed brown sugar

  • 1 teaspoon baking soda

  • 1/2 teaspoon baking powder

  • 1 teaspoon salt

  • 1 1/2 cups plant milk

  • 1 tablespoons apple cider vinegar

  • 1/3 cup neutral oil

  • a large orange for zest

  • 1/2 cup dried cranberries

preheat oven to 375

Mix together the apple cider vinegar with the milk and set aside.

In a large bowl, mix together both flours, the oats, the brown sugar, the baking soda and powder, the zest of the orange, and the salt, until full incorporated. Then toss in the cranberries (make sure they are not all stuck together) and mix them in. Lastly, add in the oil and milk and vinegar mixture and stir until completely combined.

Turn out dough onto a well floured surface and knead a few times, adding more flour to keep your hands from sticking then place on a well floured and parchment lined baking sheet. Form dough into a ball and then score the top with a big X that is about a third of the way deep. Place into oven to bake for 50-55 minutes or until bread is a deep golden brown and sounds hollow when tapped on the bottom.

Once bread is baked, allow to cool for at least 15 minutes or so on a wire rack before cutting into it, but you can cut while still slightly warm.

And then eat

Store uneaten bread in an airtight bag at room temperature for up to 3 days, but it is actually better to eat it within the first 2 days. It does great when sliced and frozen and then tossed back to life.

In bread Tags Cranberry Orange Soda Bread, st patrick's day, holiday, bread, vegan, plant based, soda bread, no yeast, fast, food, yummy, oats, grains, stress baking, fun things to do while quarantined, easy
Comment
Older Posts →
 

https://thelovelycrazy.squarespace.com/config#/|/about/

Me. Food Maker.Food eater. Woo HOO!

STEM+NODE  SMALL BATCH AND ONE OF A KIND POTTERY

stem+node ceramics


____________________

Subscribe

GET NEW POSTS IN YO EMAIL

You are AWESOME!!!


@thelovelycrazy 2014-2021