• stem+node ceramics
  • HOME
  • Food Recipes
  • About
  • Contact
Menu

The Lovely Crazy

Street Address
City, State, Zip
Phone Number

Your Custom Text Here

The Lovely Crazy

  • stem+node ceramics
  • HOME
  • Food Recipes
  • About
  • Contact

Sweet Corn and Blueberry Cake with Lemon Blueberry Glaze

September 4, 2021 Colleen Stem
IMG_7366.jpg
IMG_7397 2.jpg
IMG_7379.jpg

Do you really need a reason to make cake other then you want cake or you just want to bake something? Nope. Cake is a anytime event. Make it when you want it, or like me, want to not think about anything other than that. Making cake.

This cake. Made it with what I have too much of at the moment, which is corn. And while I love fresh corn on the cob, I, as one person, cannot eat the 12 ears that I have been getting weekly at farm share. So besides trying to eat as much of it myself, (the mr won’t eat corn on the cob and the little haven’t been over in a bit cause they are sick) so I give it to people or I make it into things, like cake.

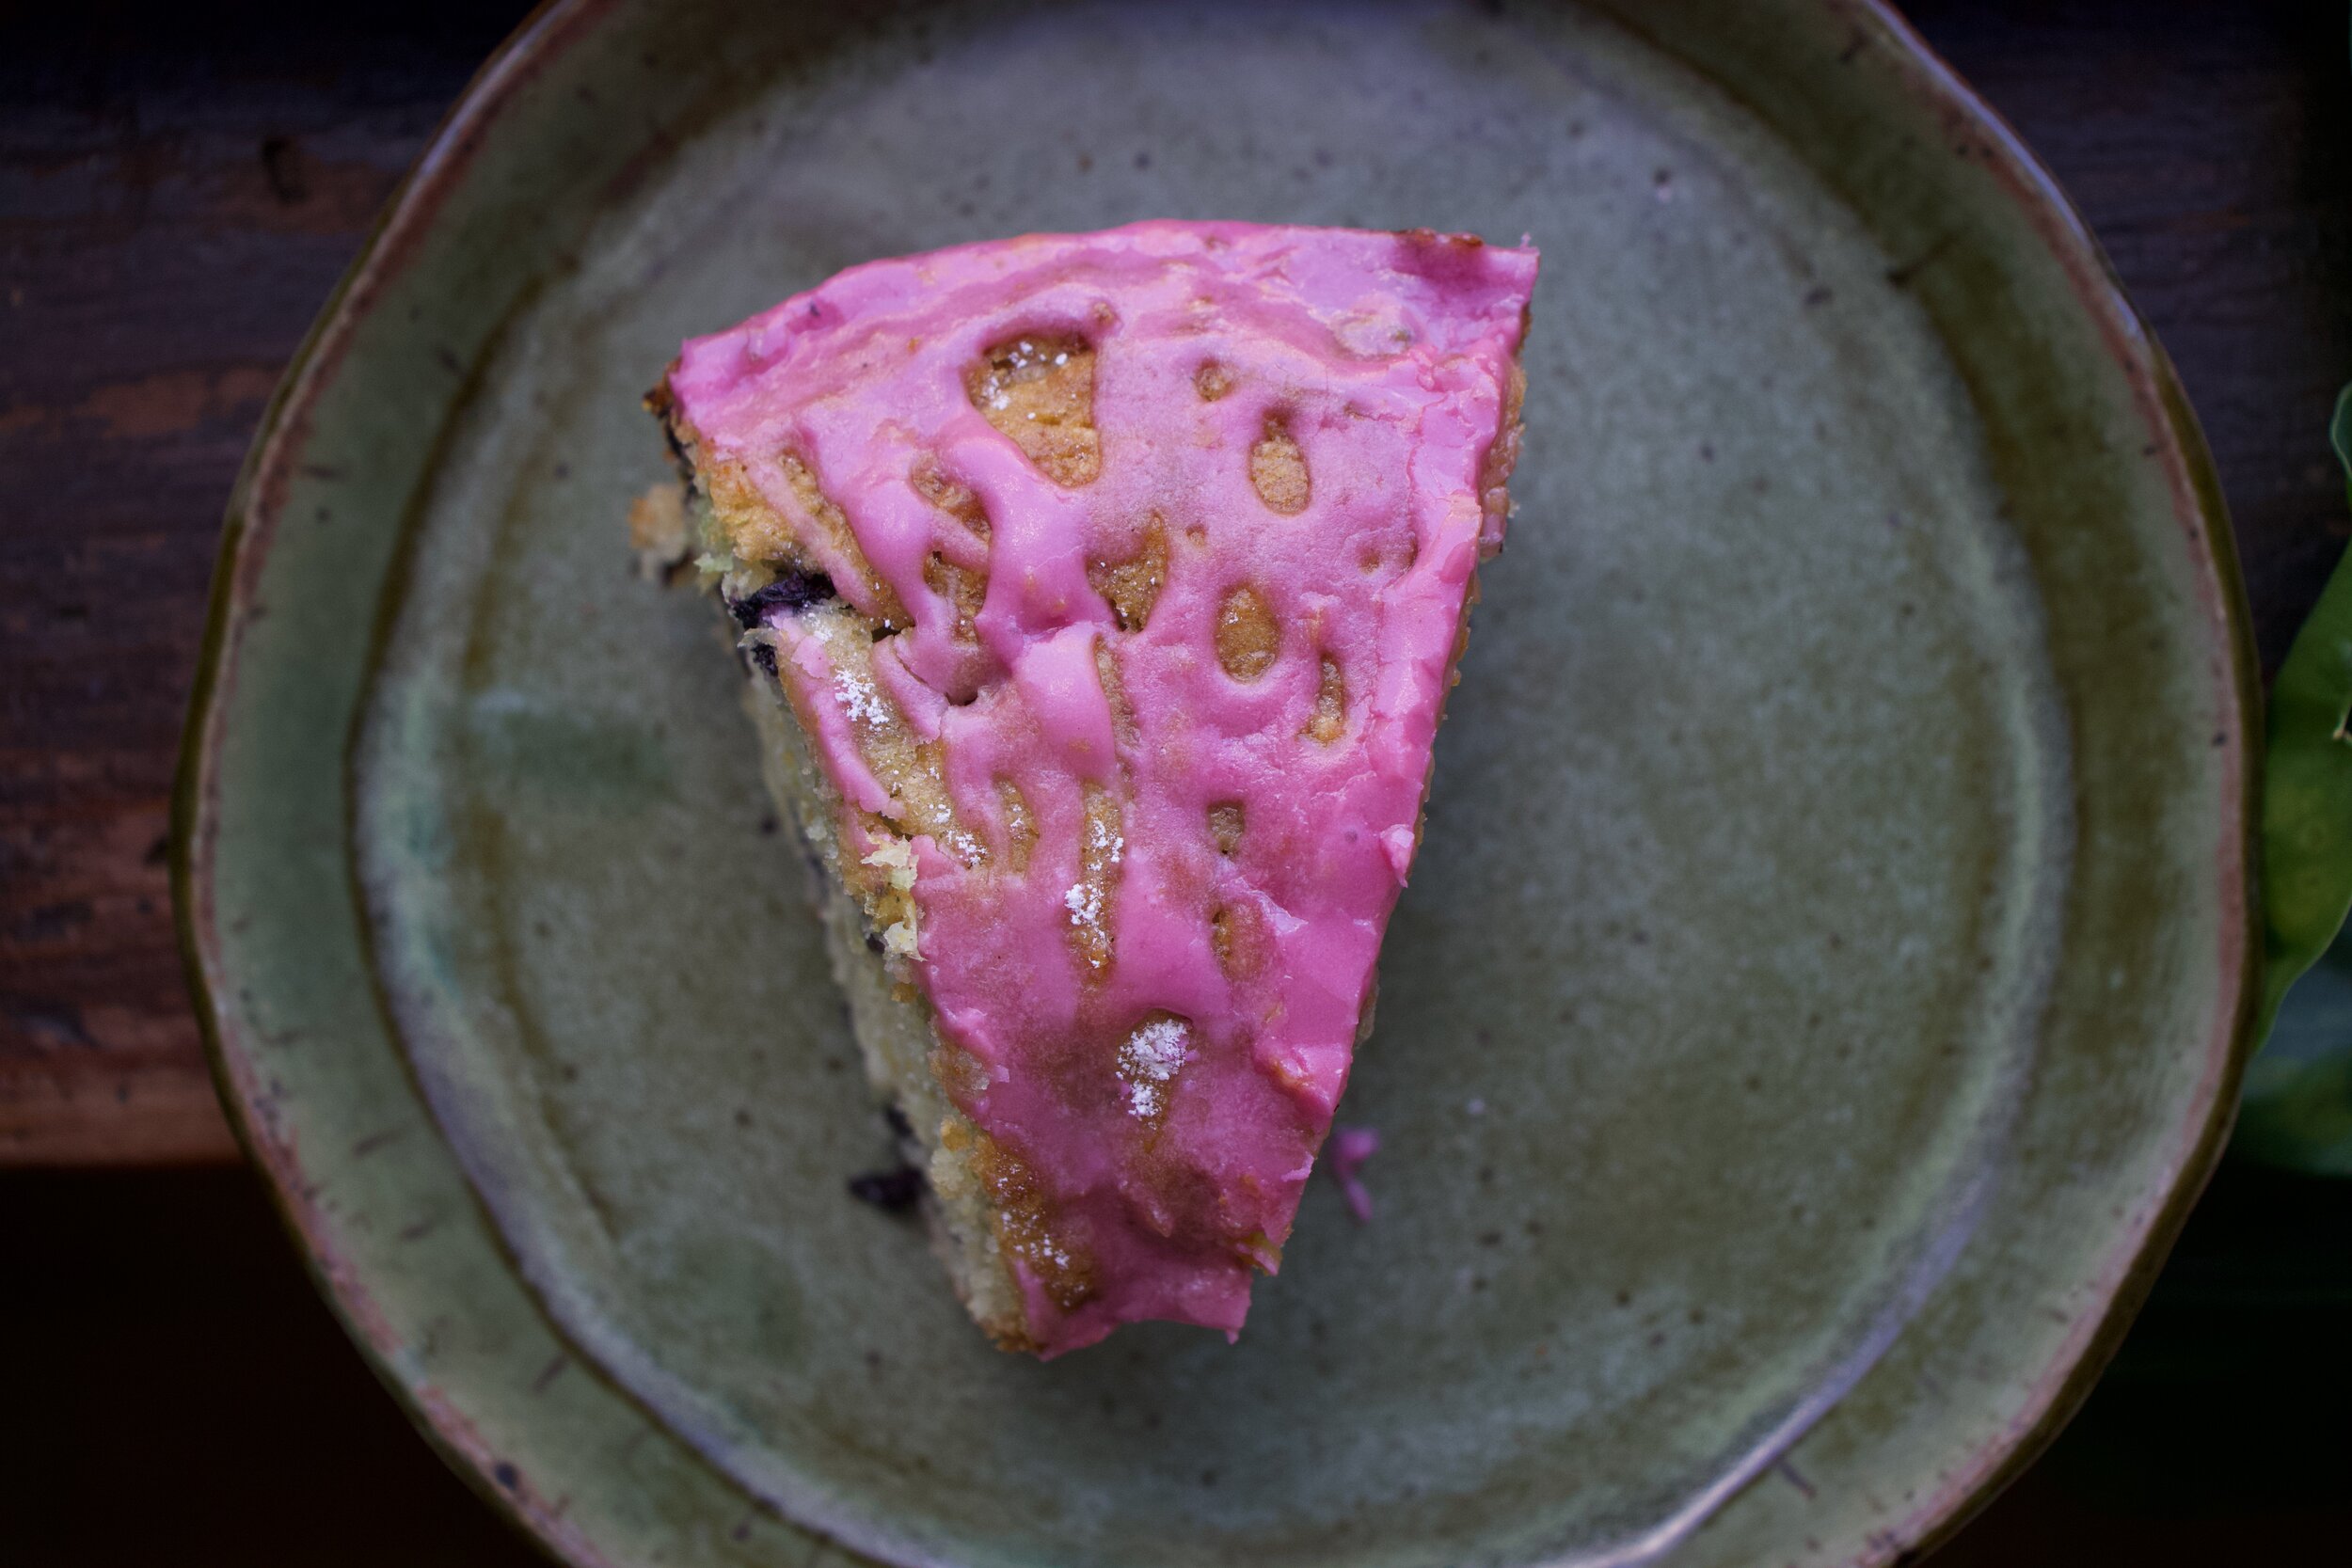
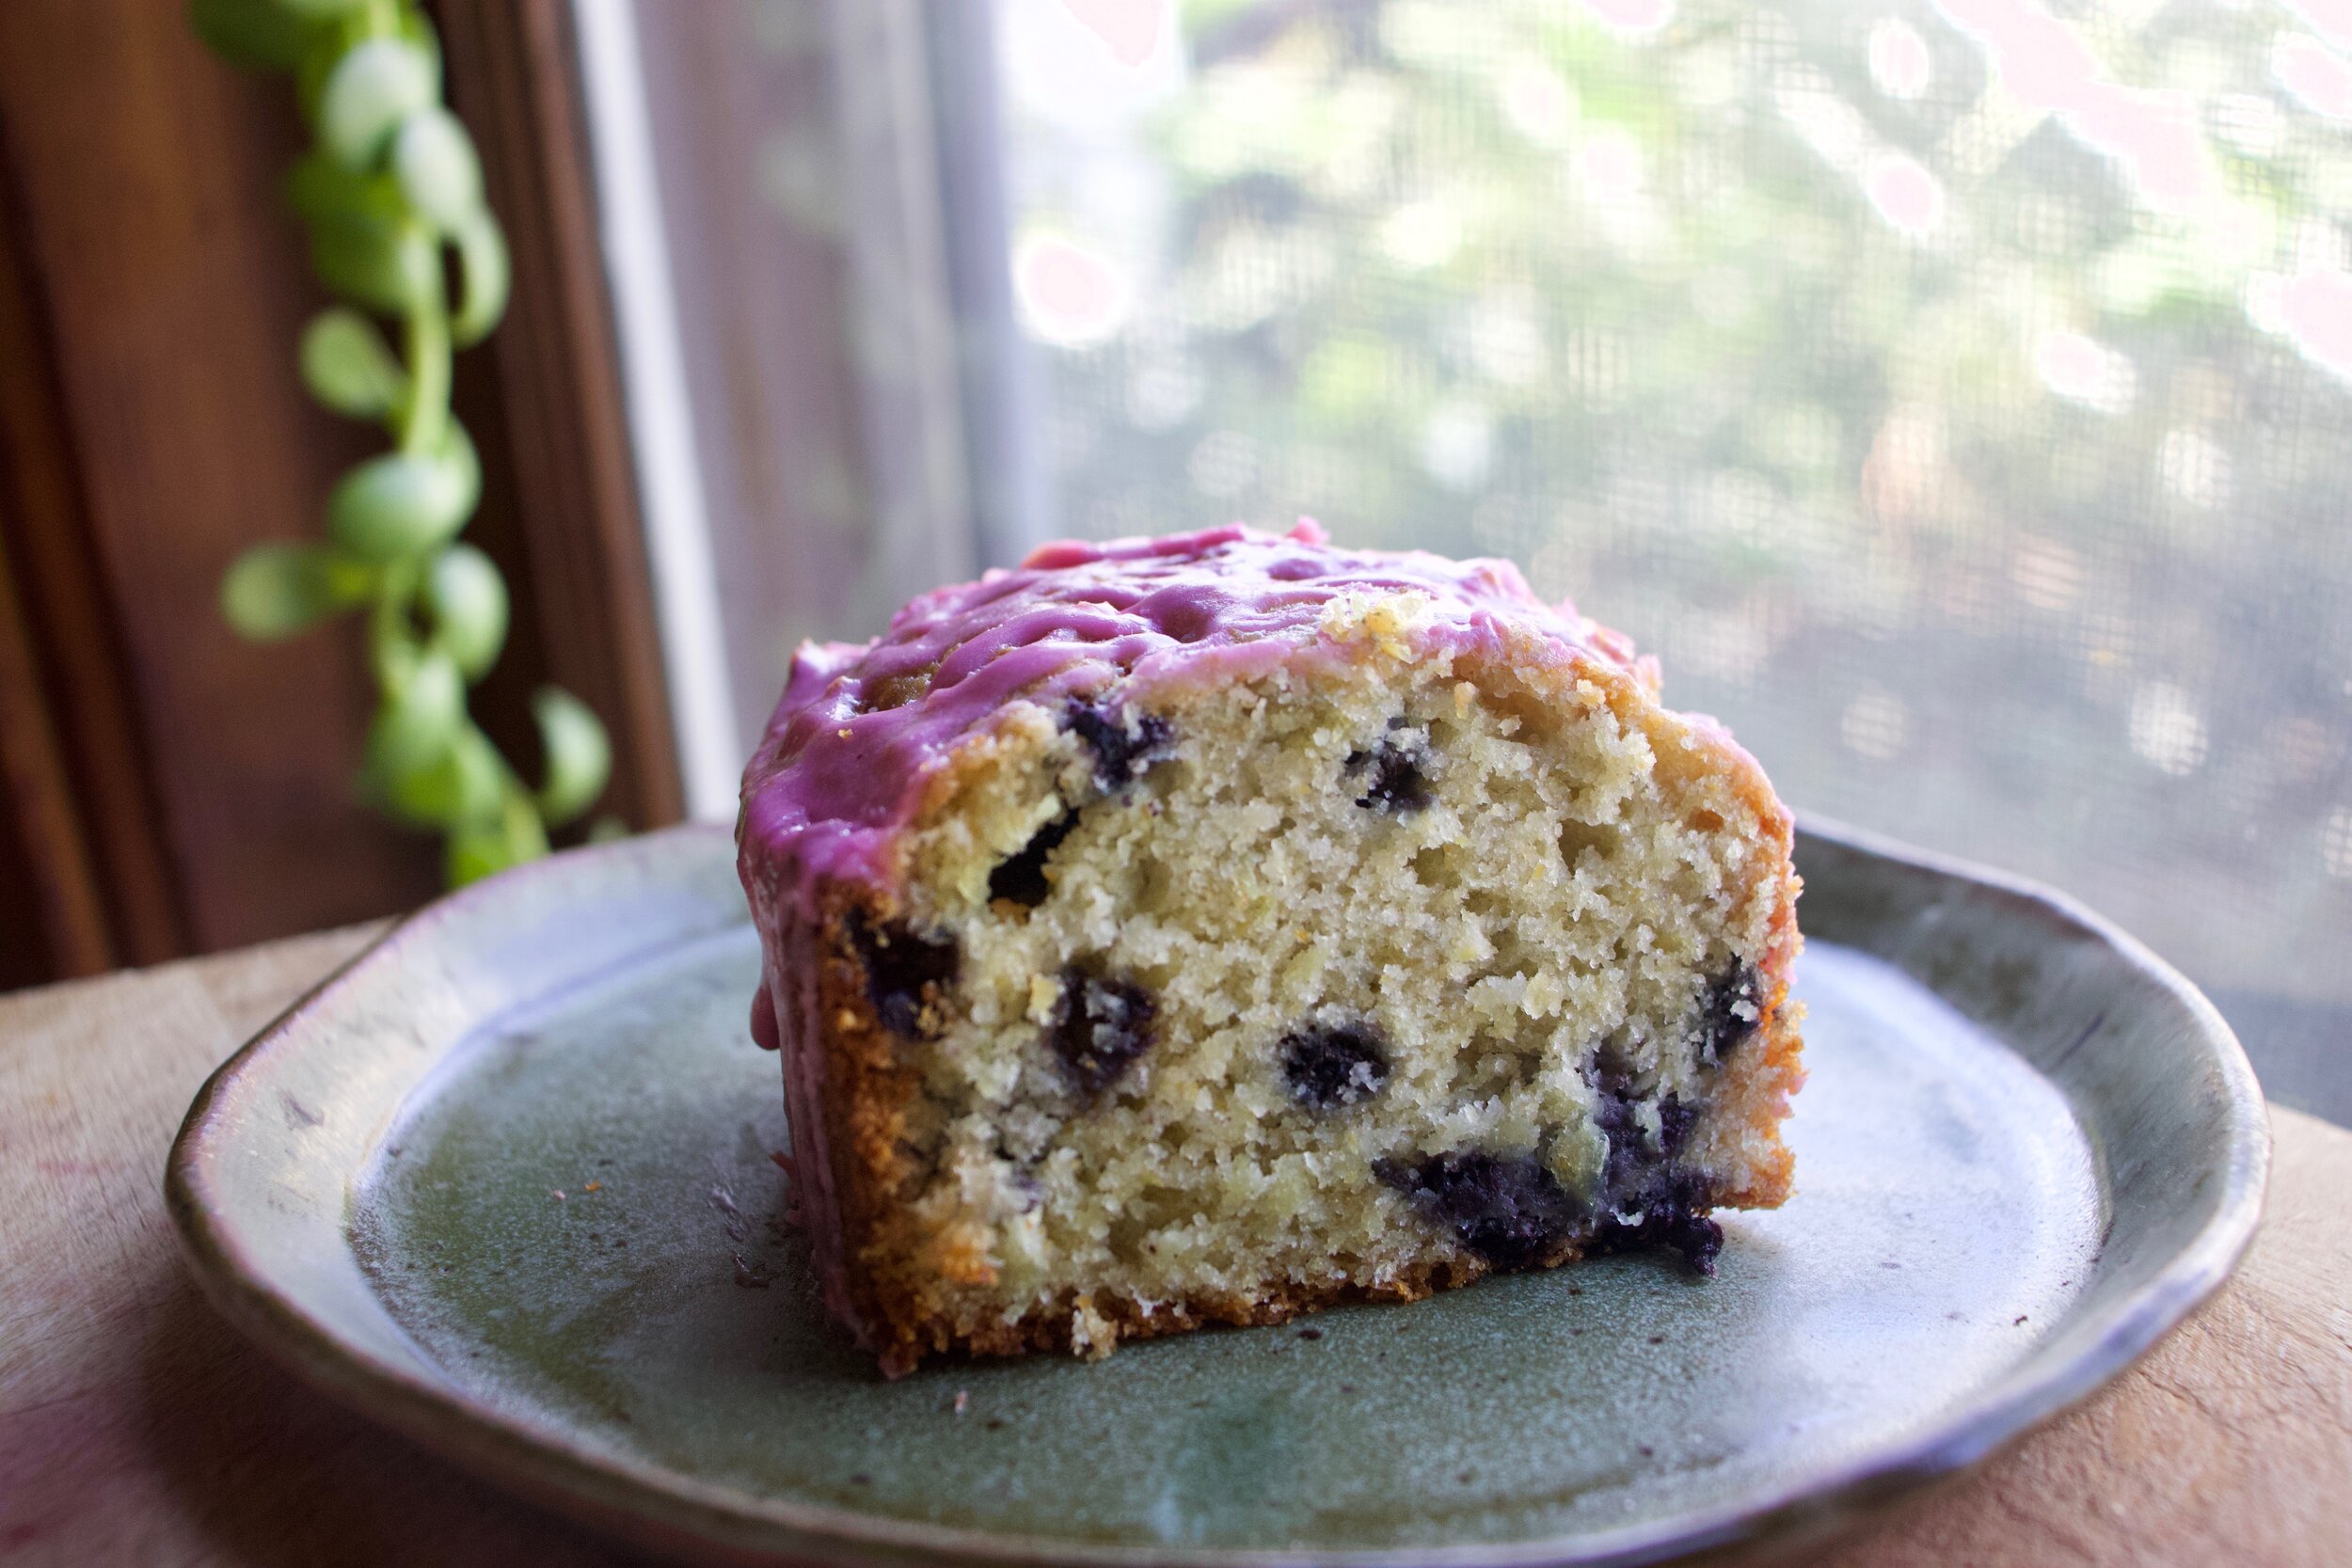
Add in blueberries and a bright pinkish purple lemony glaze and you got yourself a cake that is all sorts of delicious. Fresh corn makes itself known without being overly corny. The blueberries are, as always, right there to taste like a good berry should. Then it’s topped with a nice bright lemony blueberry glaze. A cake fit for a party or a bbq or a good old sit on the back porch while hiding from the world while eating cake, type of cake. Eat it for breakfast, eat it for lunch, eat it whenever the heck you want because, well because you can. And should.

Now to the cake!

IMG_7186.jpg

The stuff. Fresh corn and frozen but thawed blueberries. Flour, baking soda and powder, salt, and cornmeal. Oil, plant milk, sugar, and apple cider vinegar. And lastly powdered sugar, a little plant butter, and a lemon.

Start by cutting the corn off the cob.

IMG_7193.jpg
IMG_7209.jpg

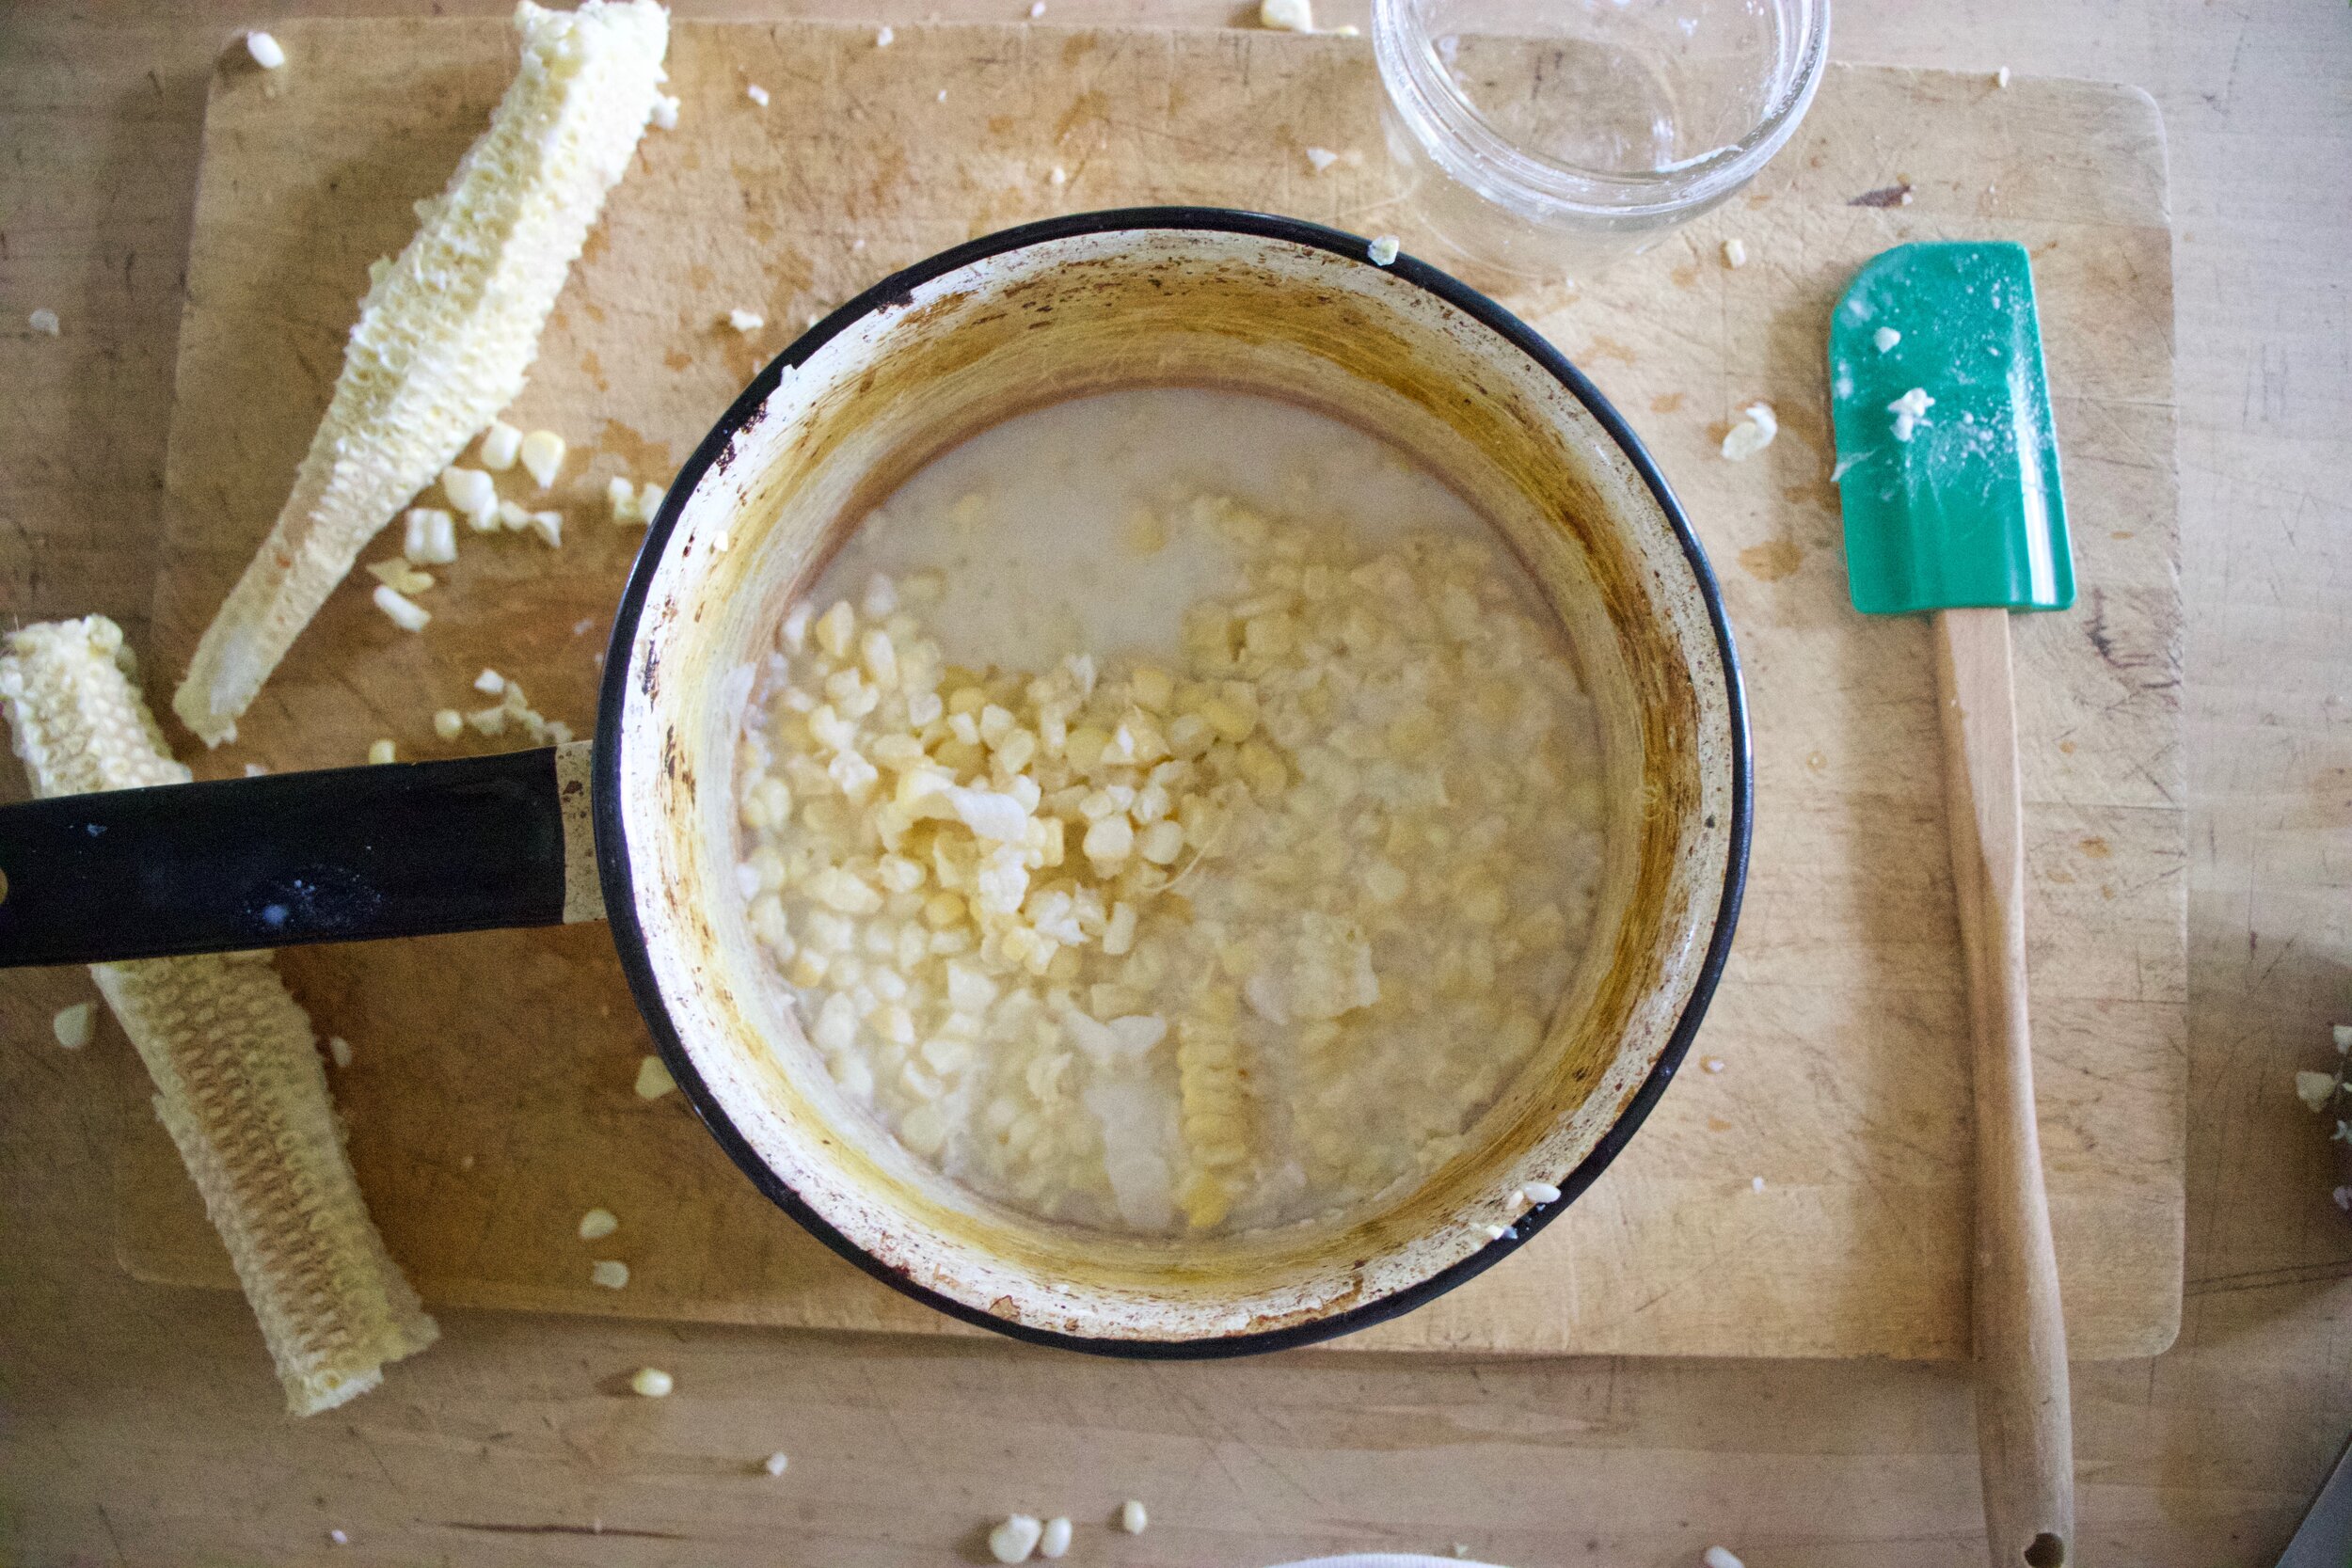
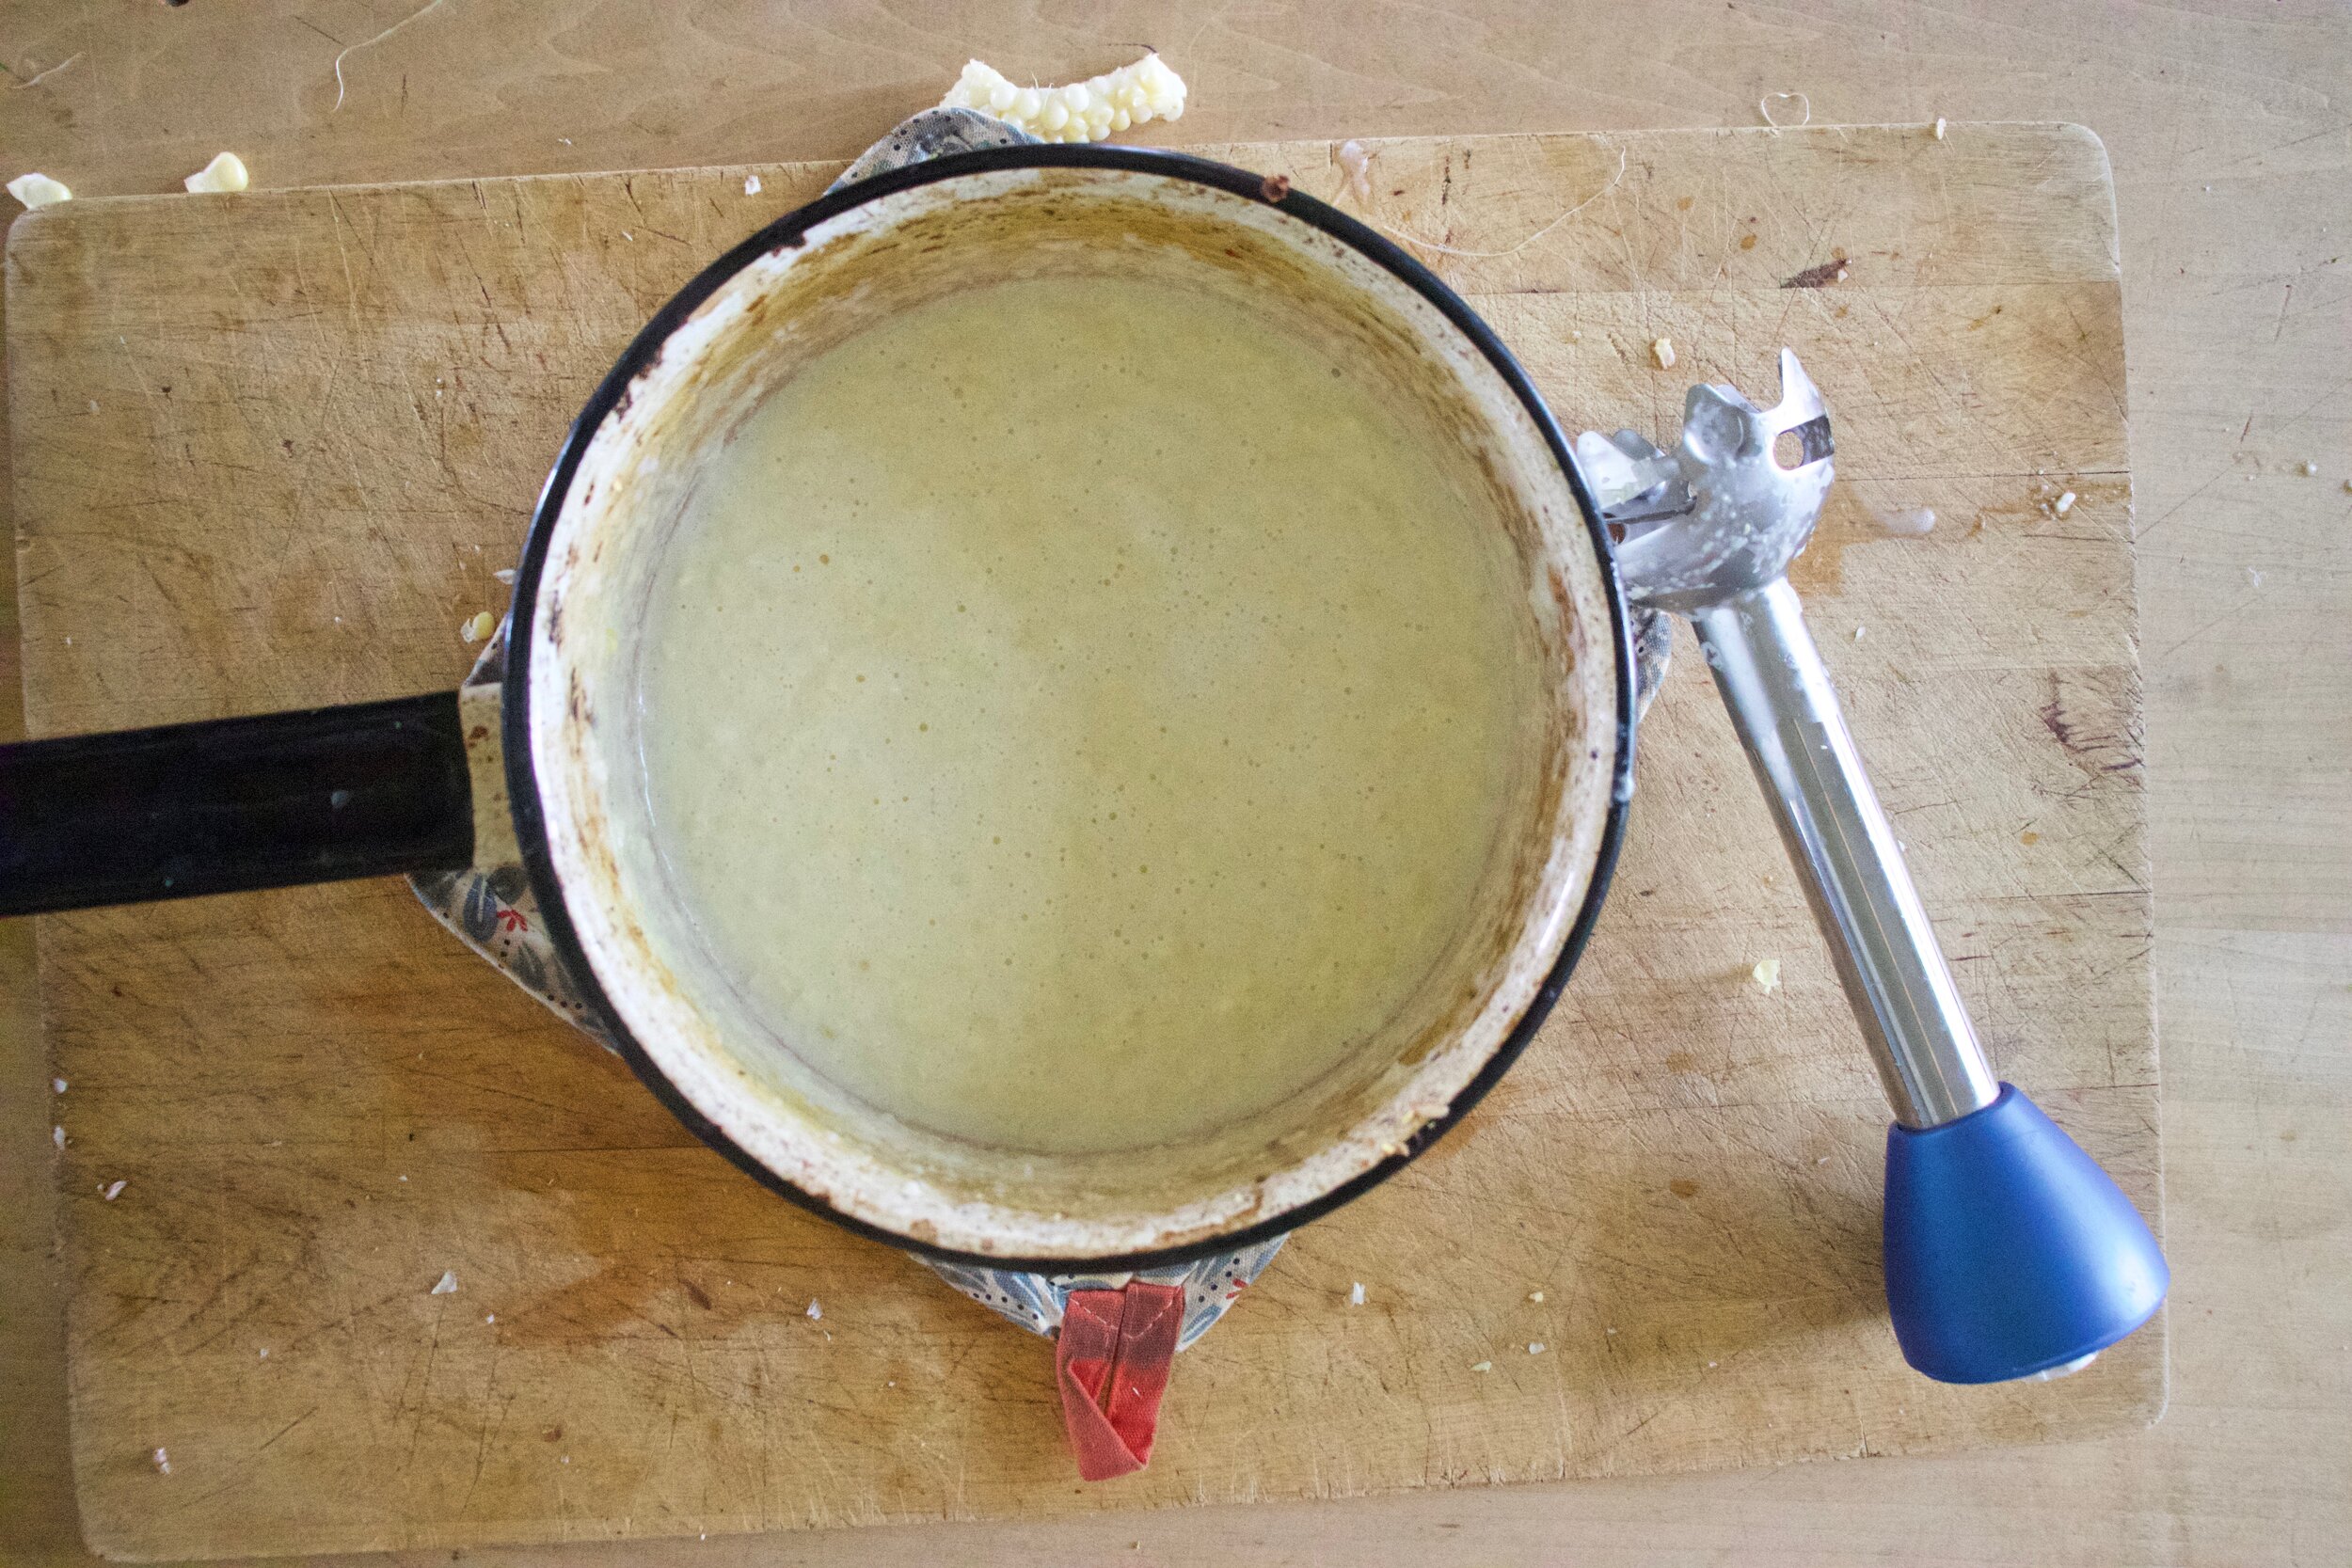
Dump corn and milk into a pot. Bring to a boil then cook for a few minutes. Let cool for minute then puree the mixture. It might be slightly chunky but thats all good.

IMG_7214.jpg

Pour warm corm mixture into a bowl with the oil, sugar and vinegar. Mix until combined.

IMG_7225 2.jpg
IMG_7227.jpg
IMG_7231.jpg
IMG_7240 2.jpg

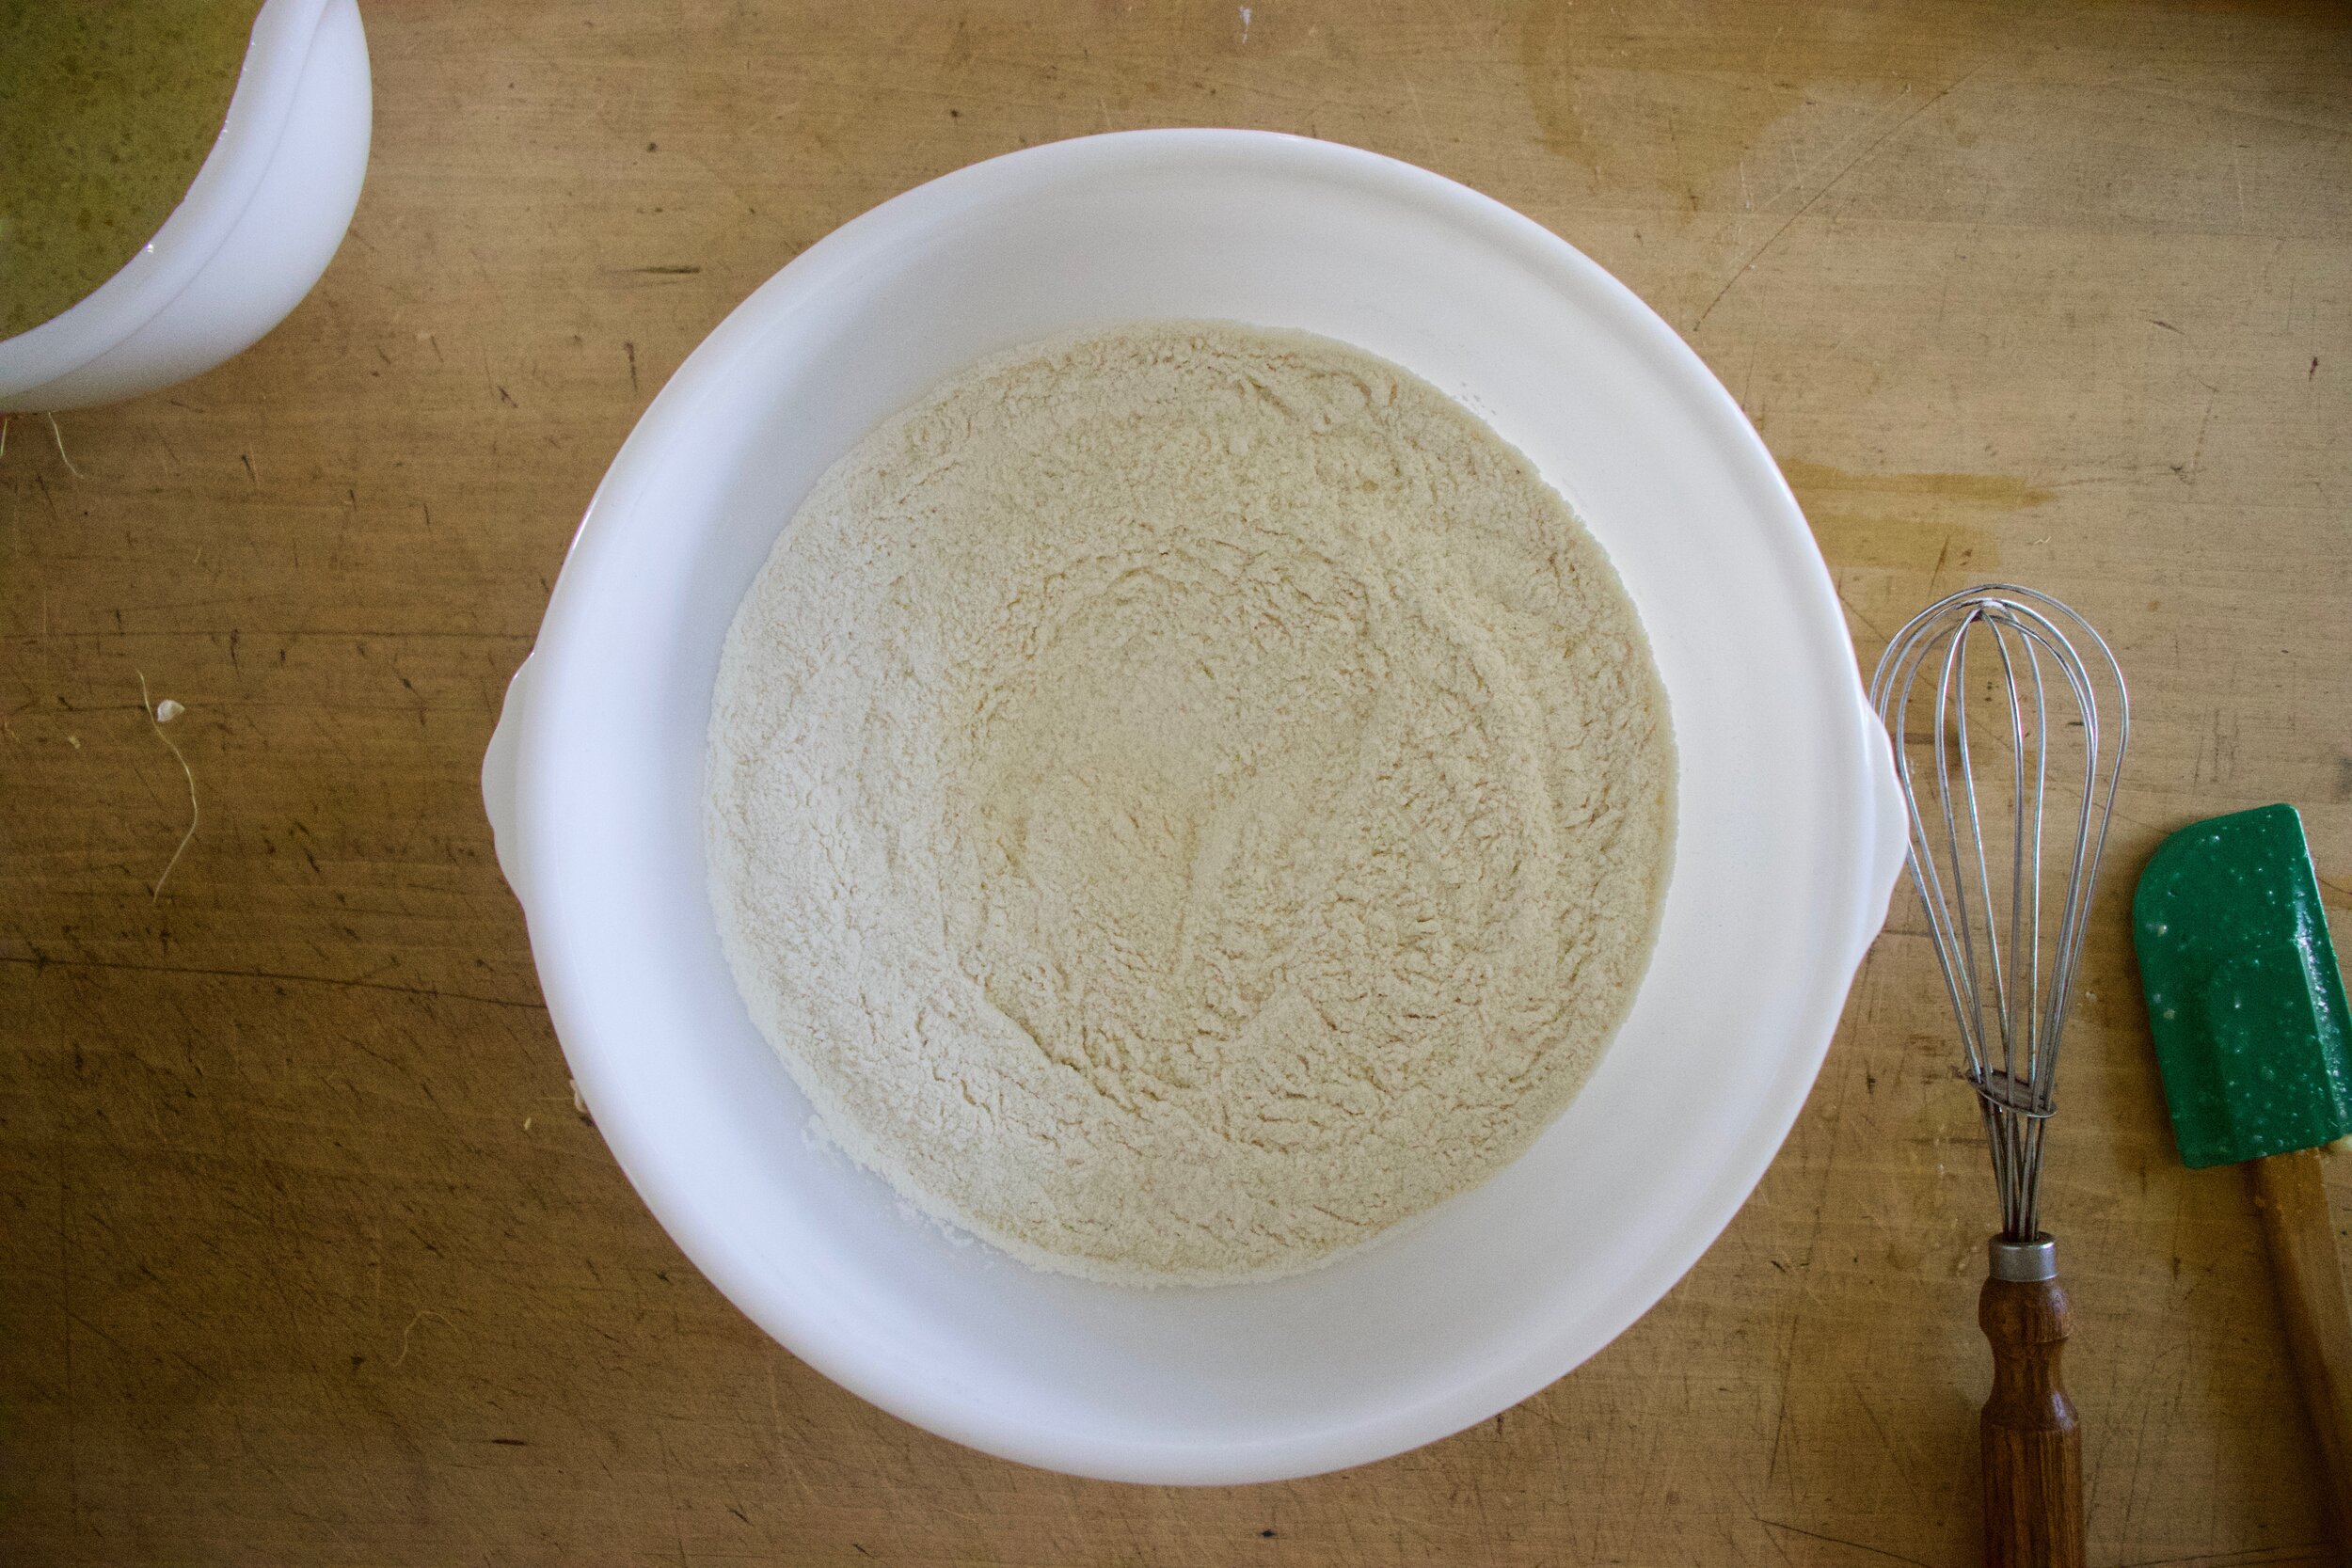
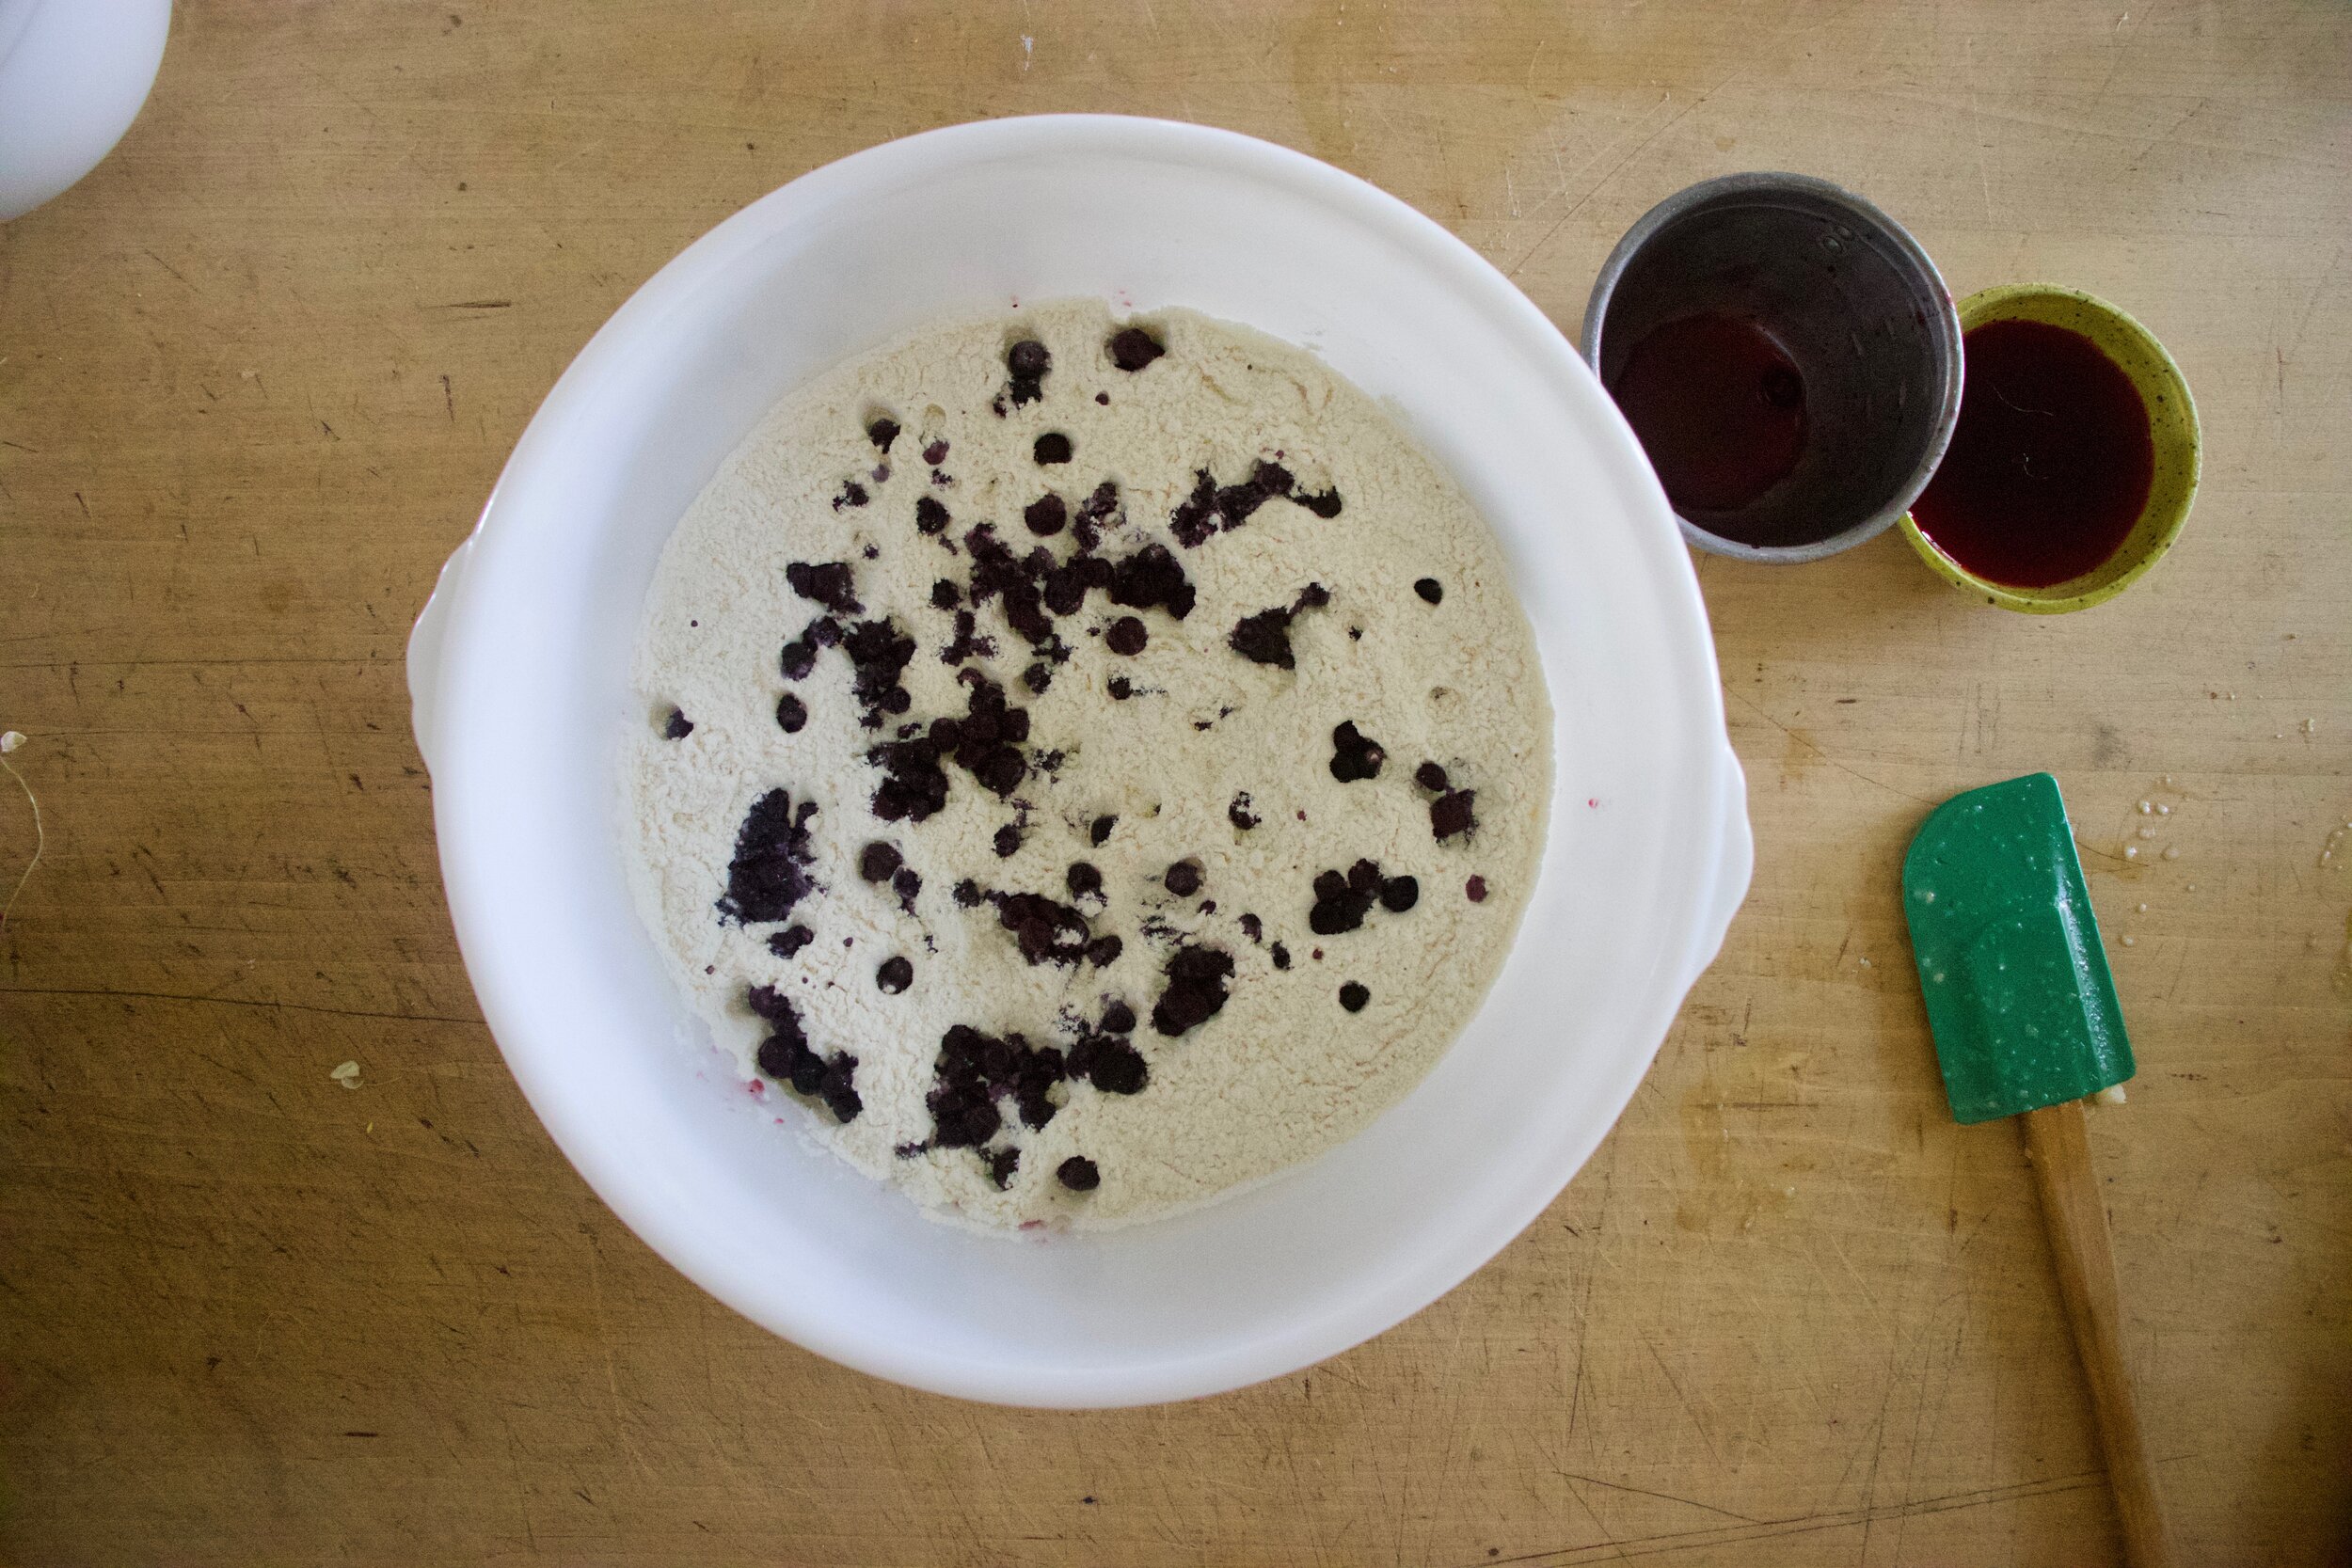
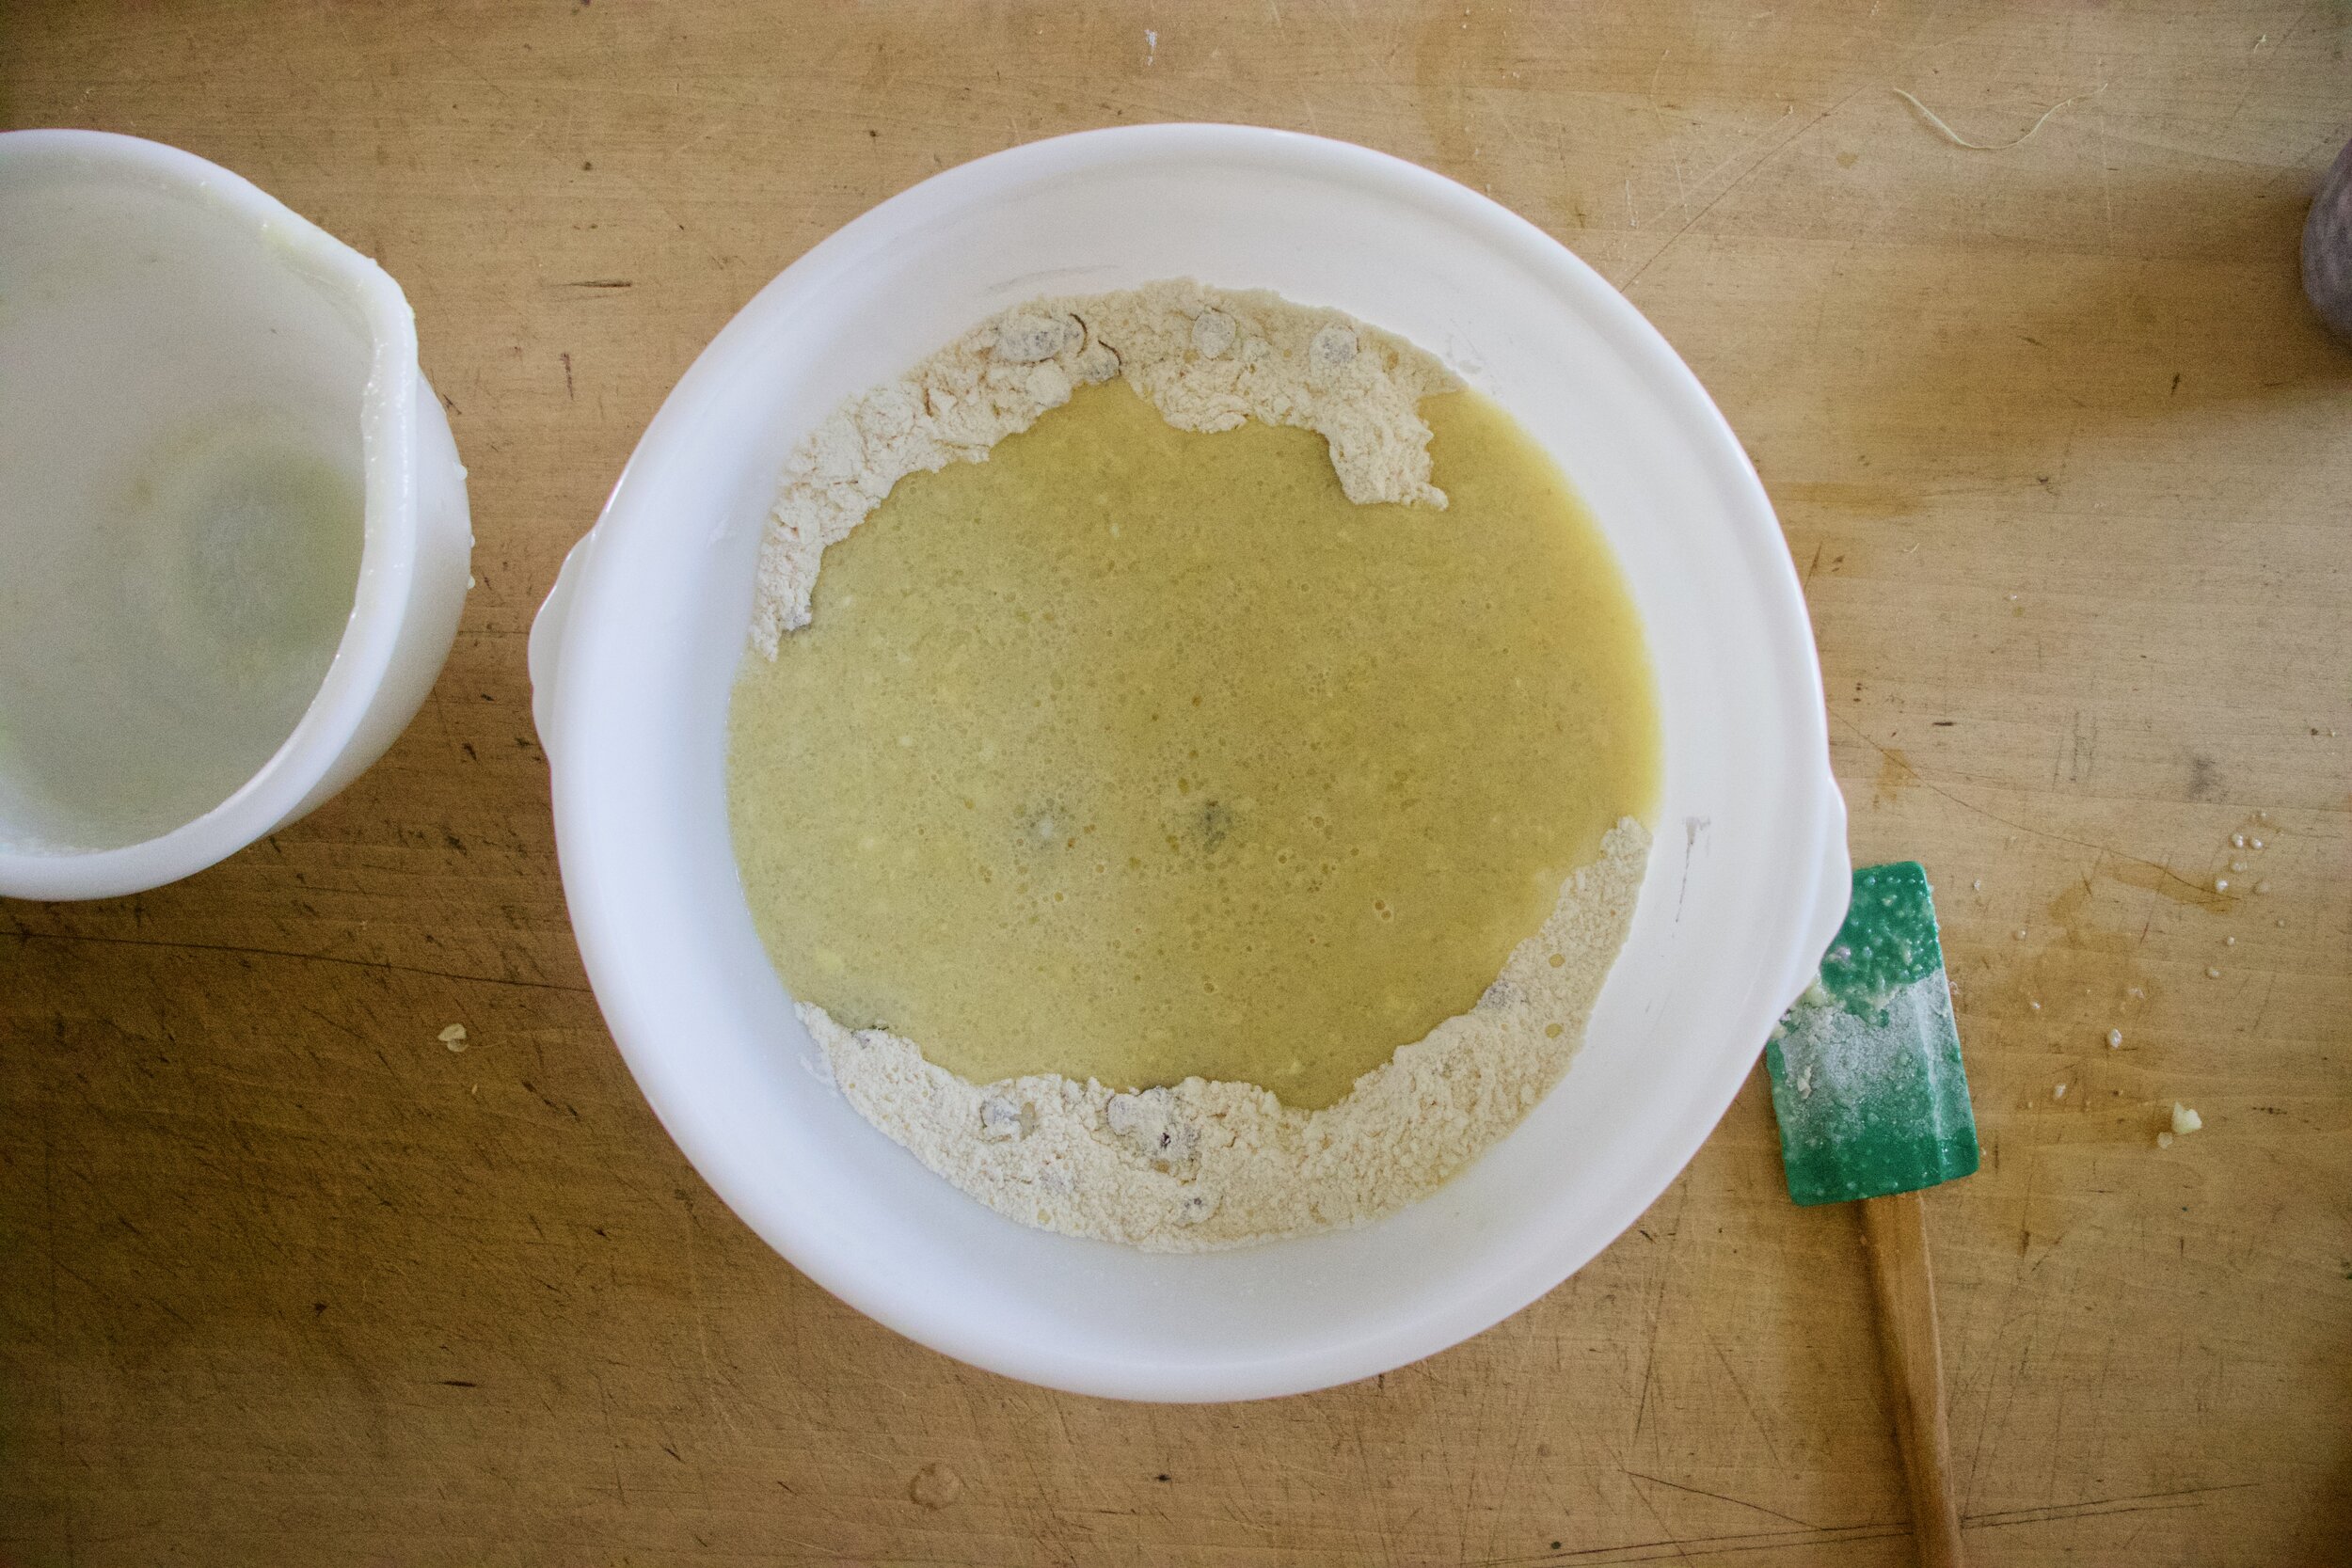
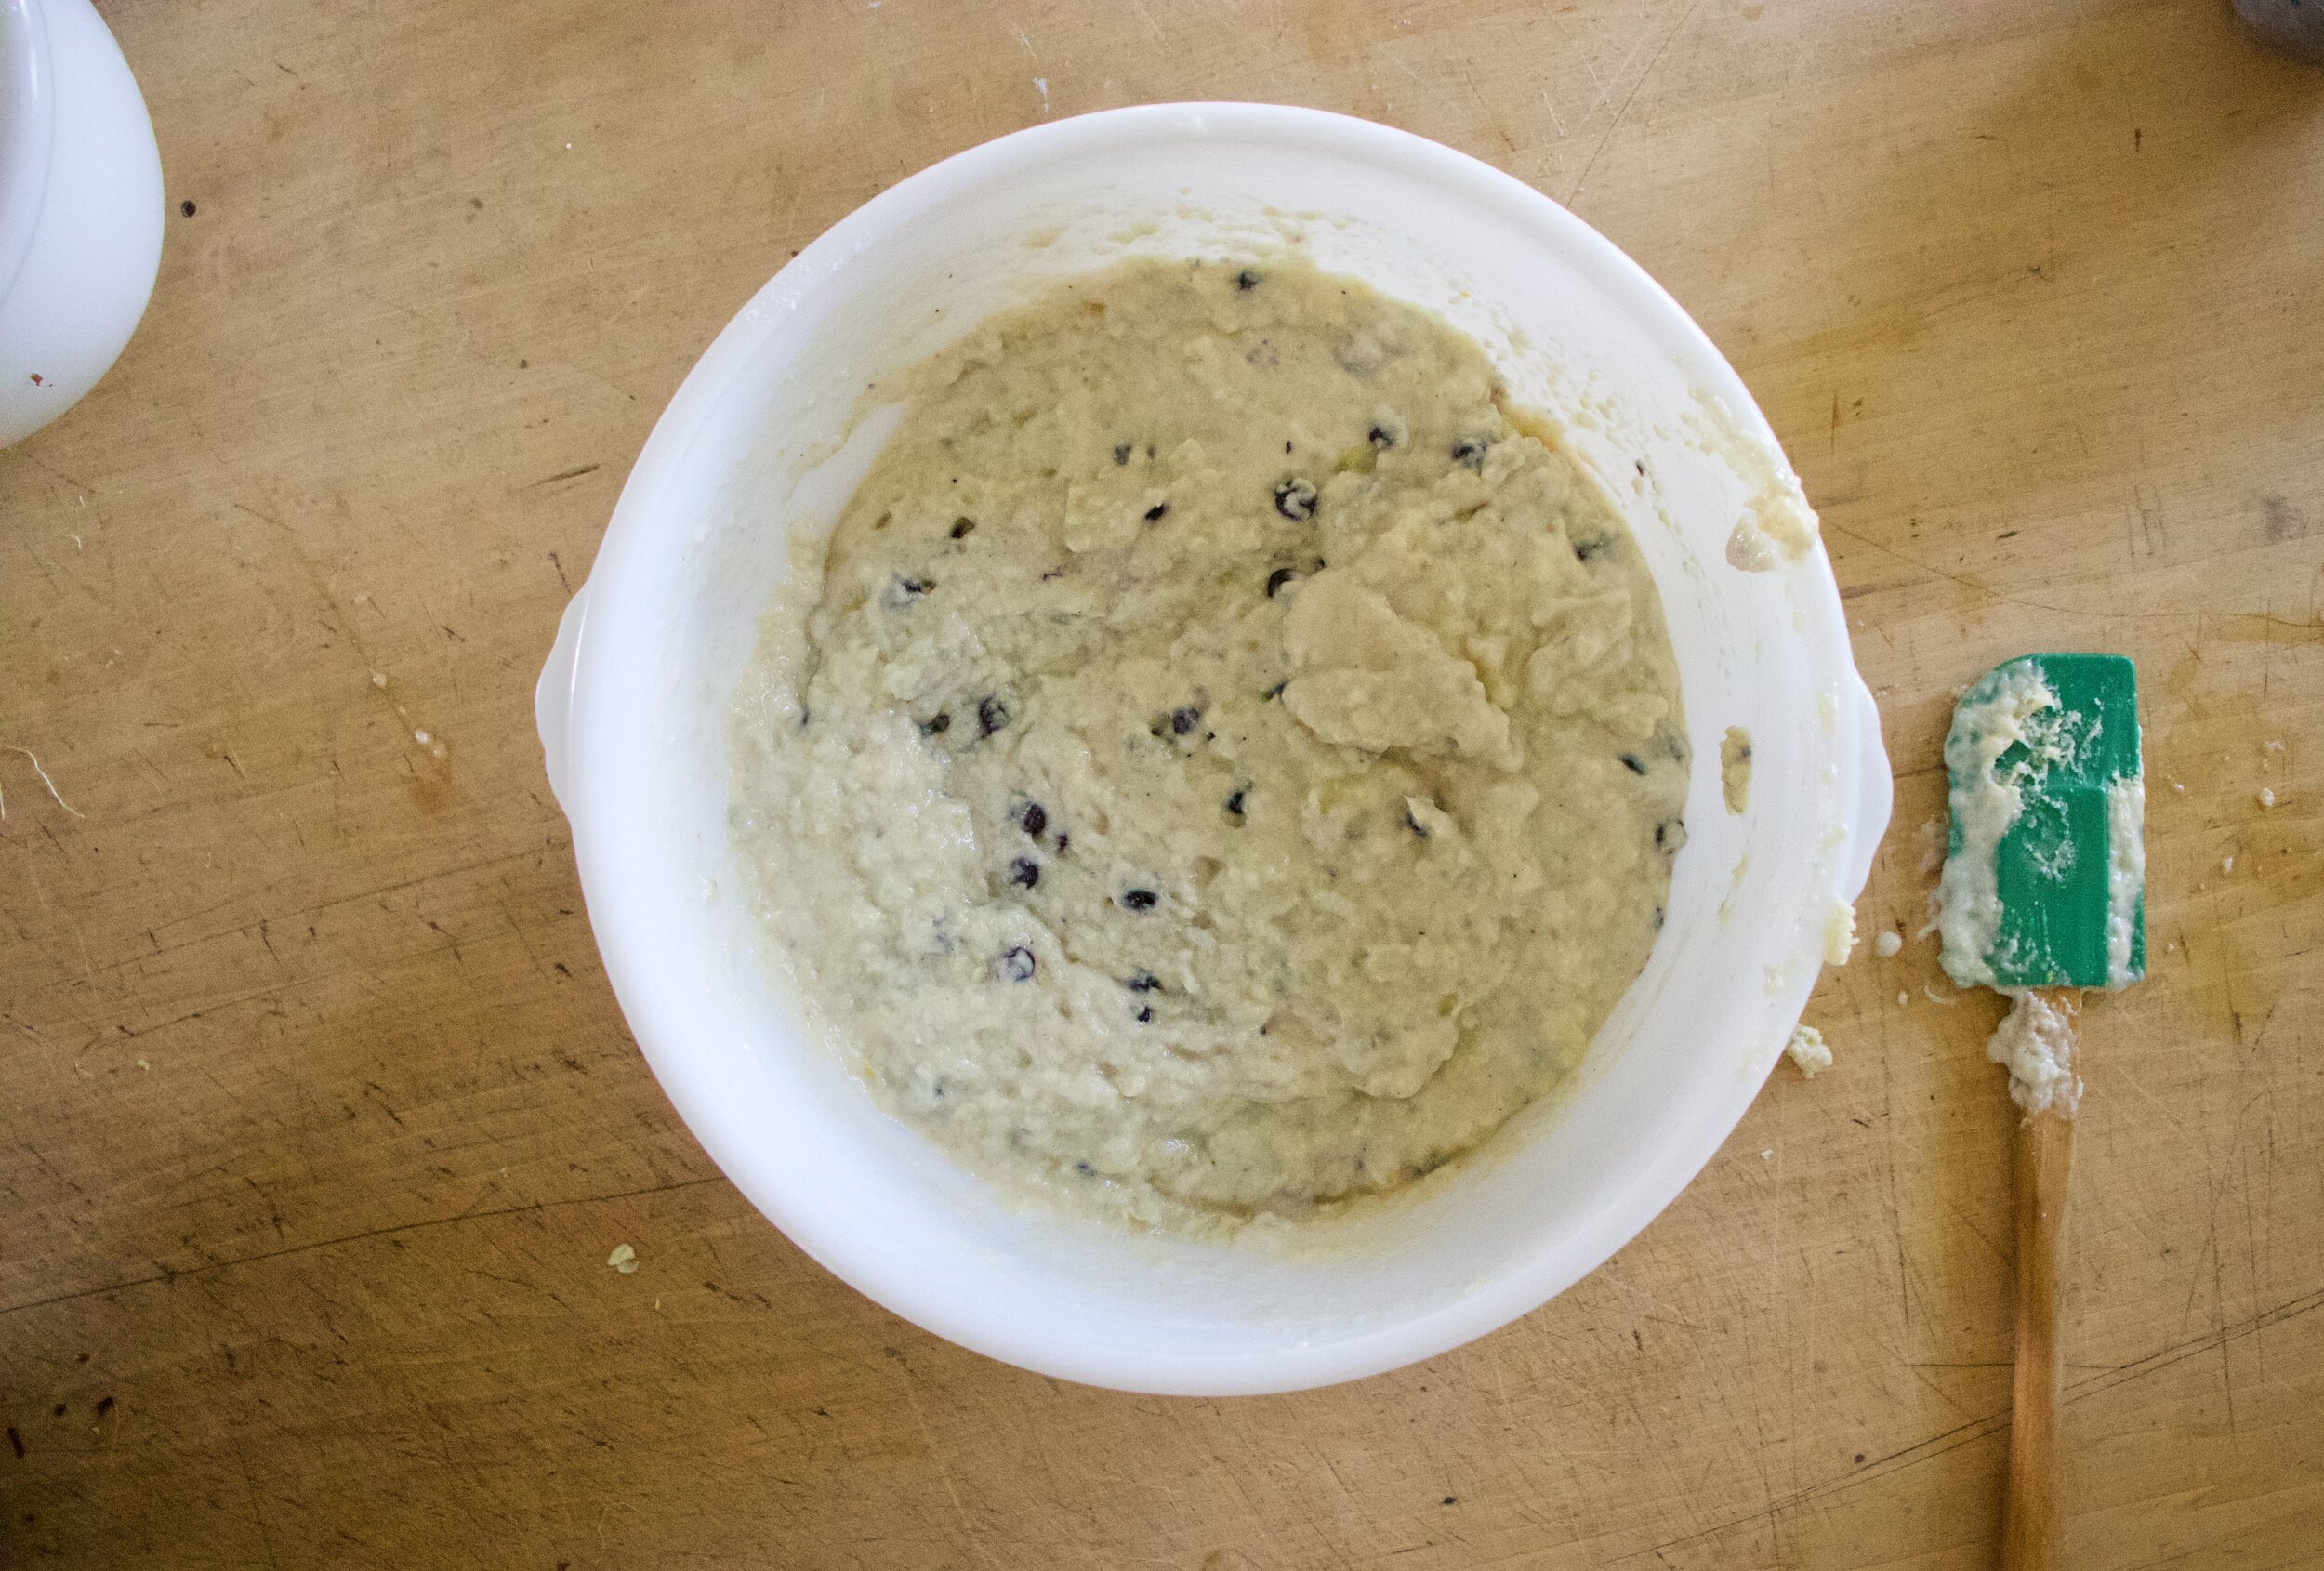
In a large bowl mix together all the dry ingredients. Toss in the blueberries and coat with the mixture then fold in the wet mixture until everything is incorporated.

IMG_7244.jpg

Pour batter into a well greased bundt pan and pop into the hot oven.

IMG_7255.jpg

After 45-50 minutes it be done. Once cooled enough to handle, pop cake out of tine and place on a wire rack to cool.

IMG_7272.jpg
IMG_7278.jpg

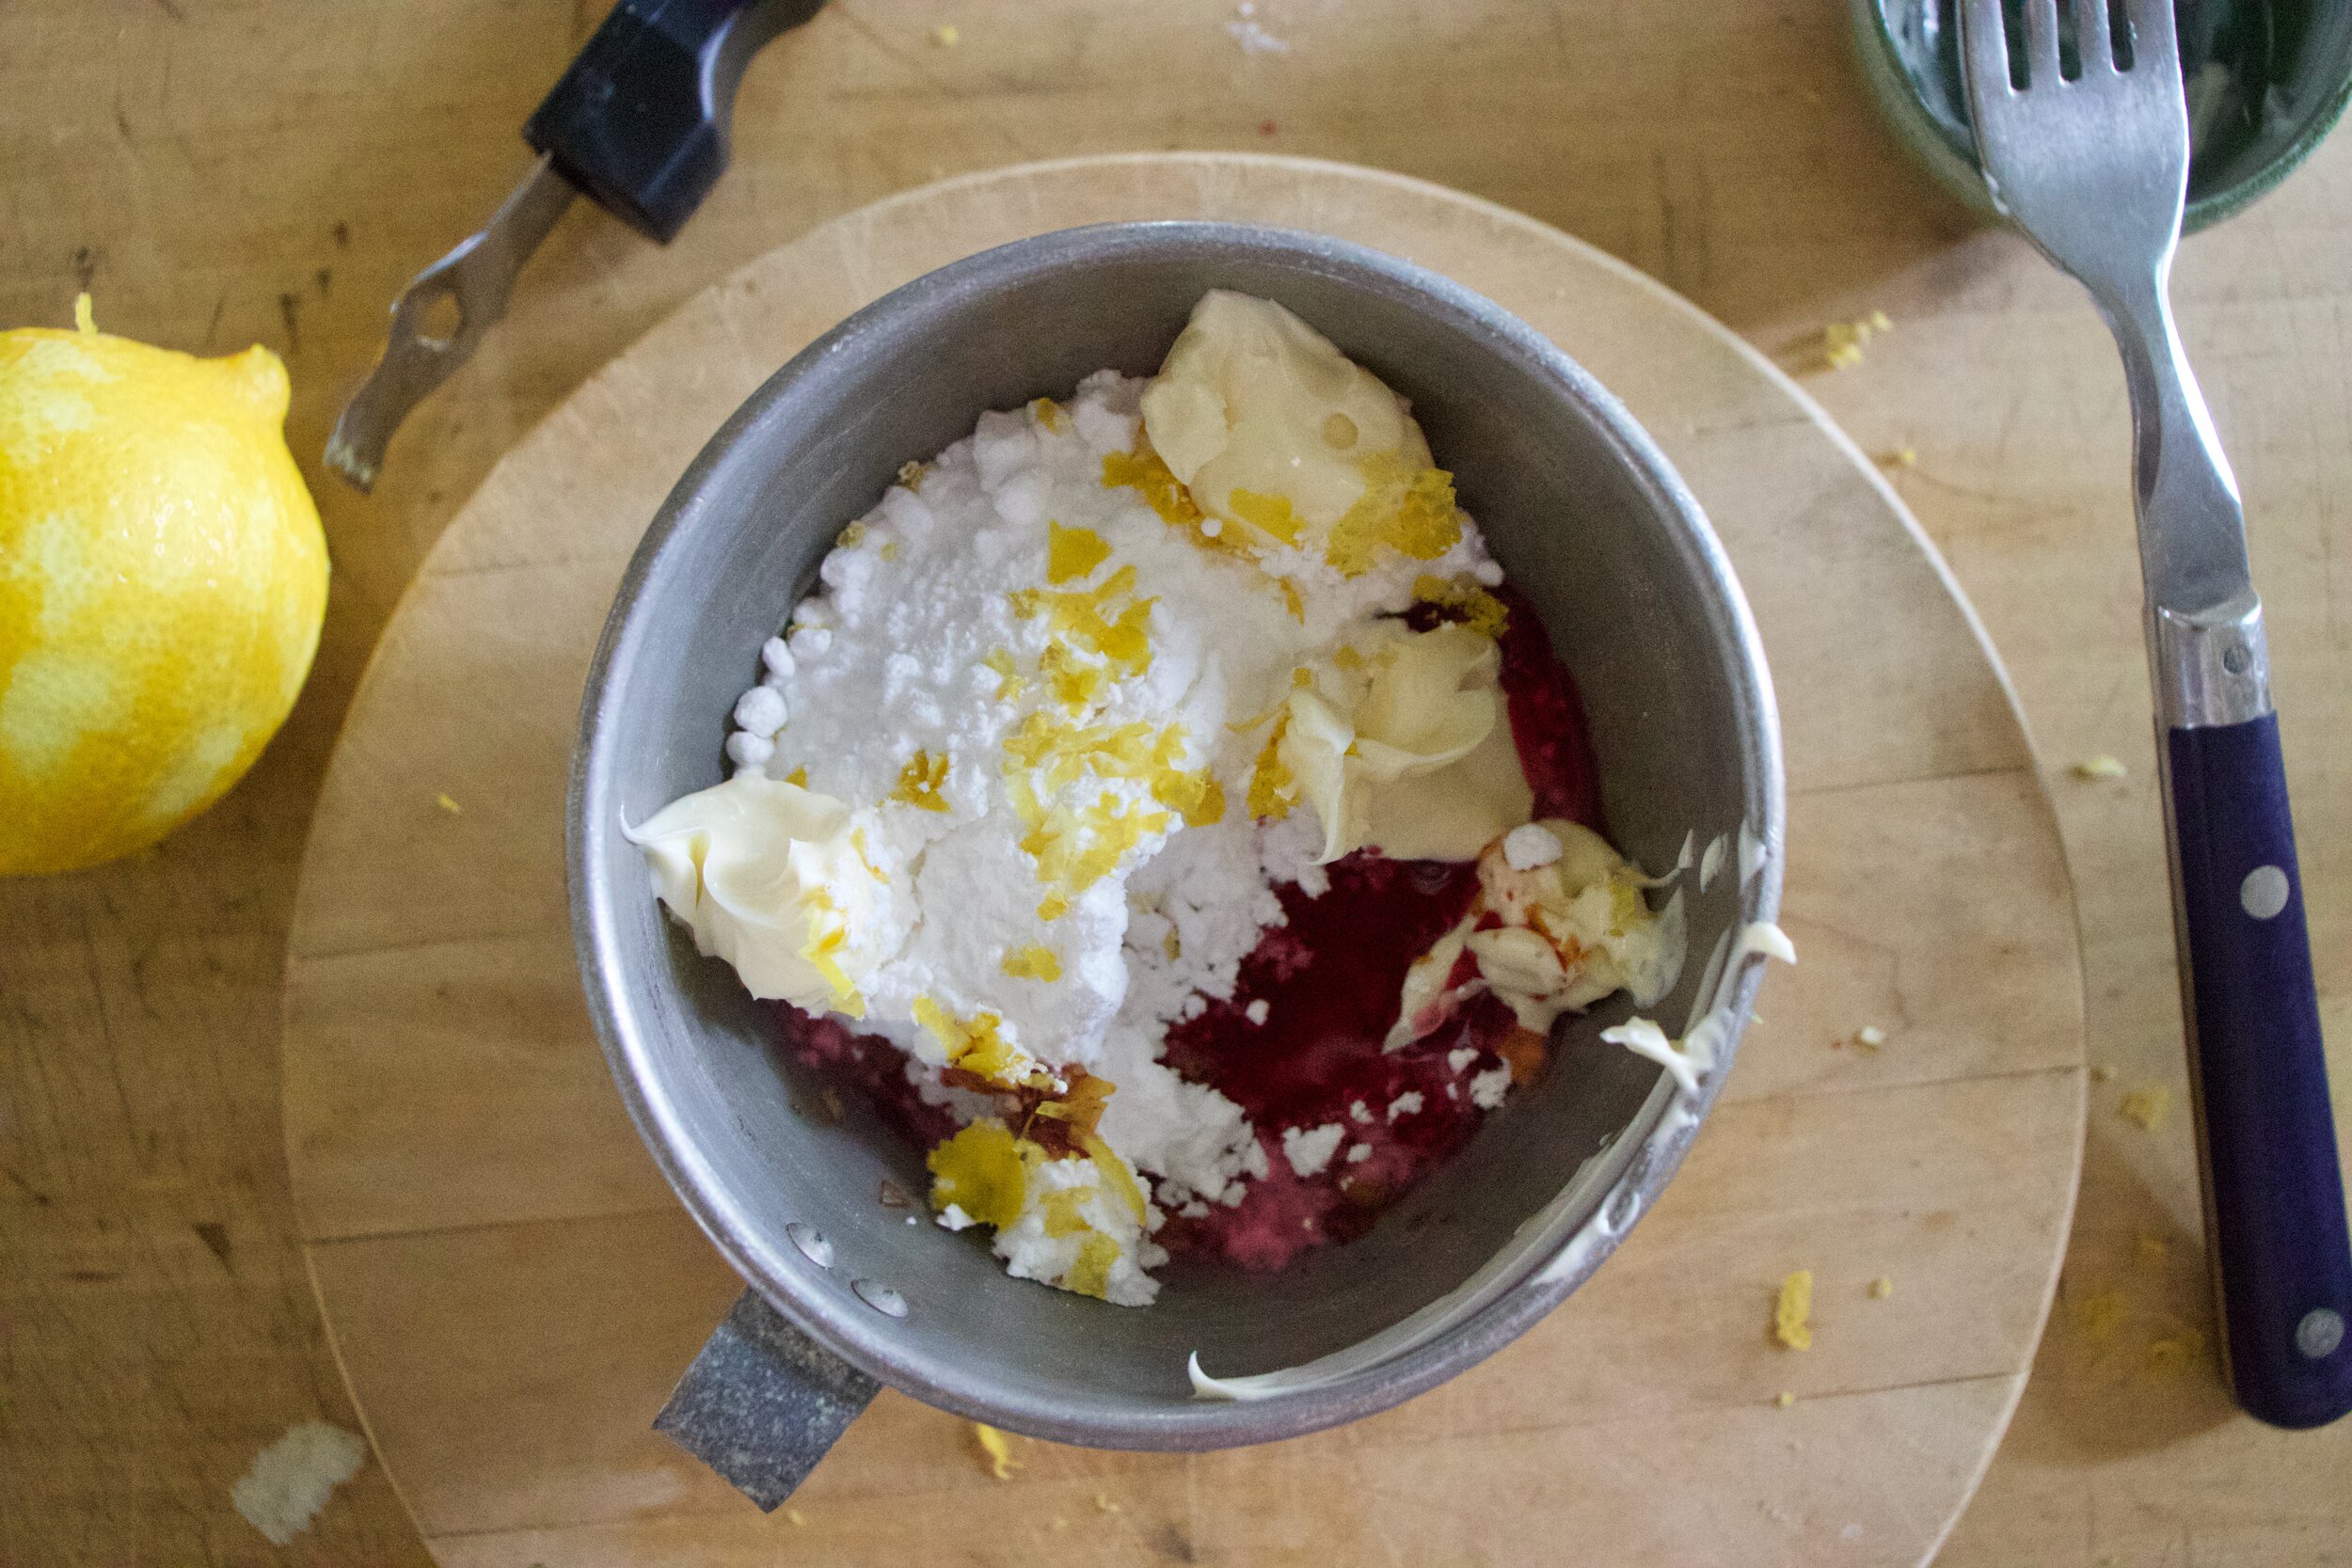
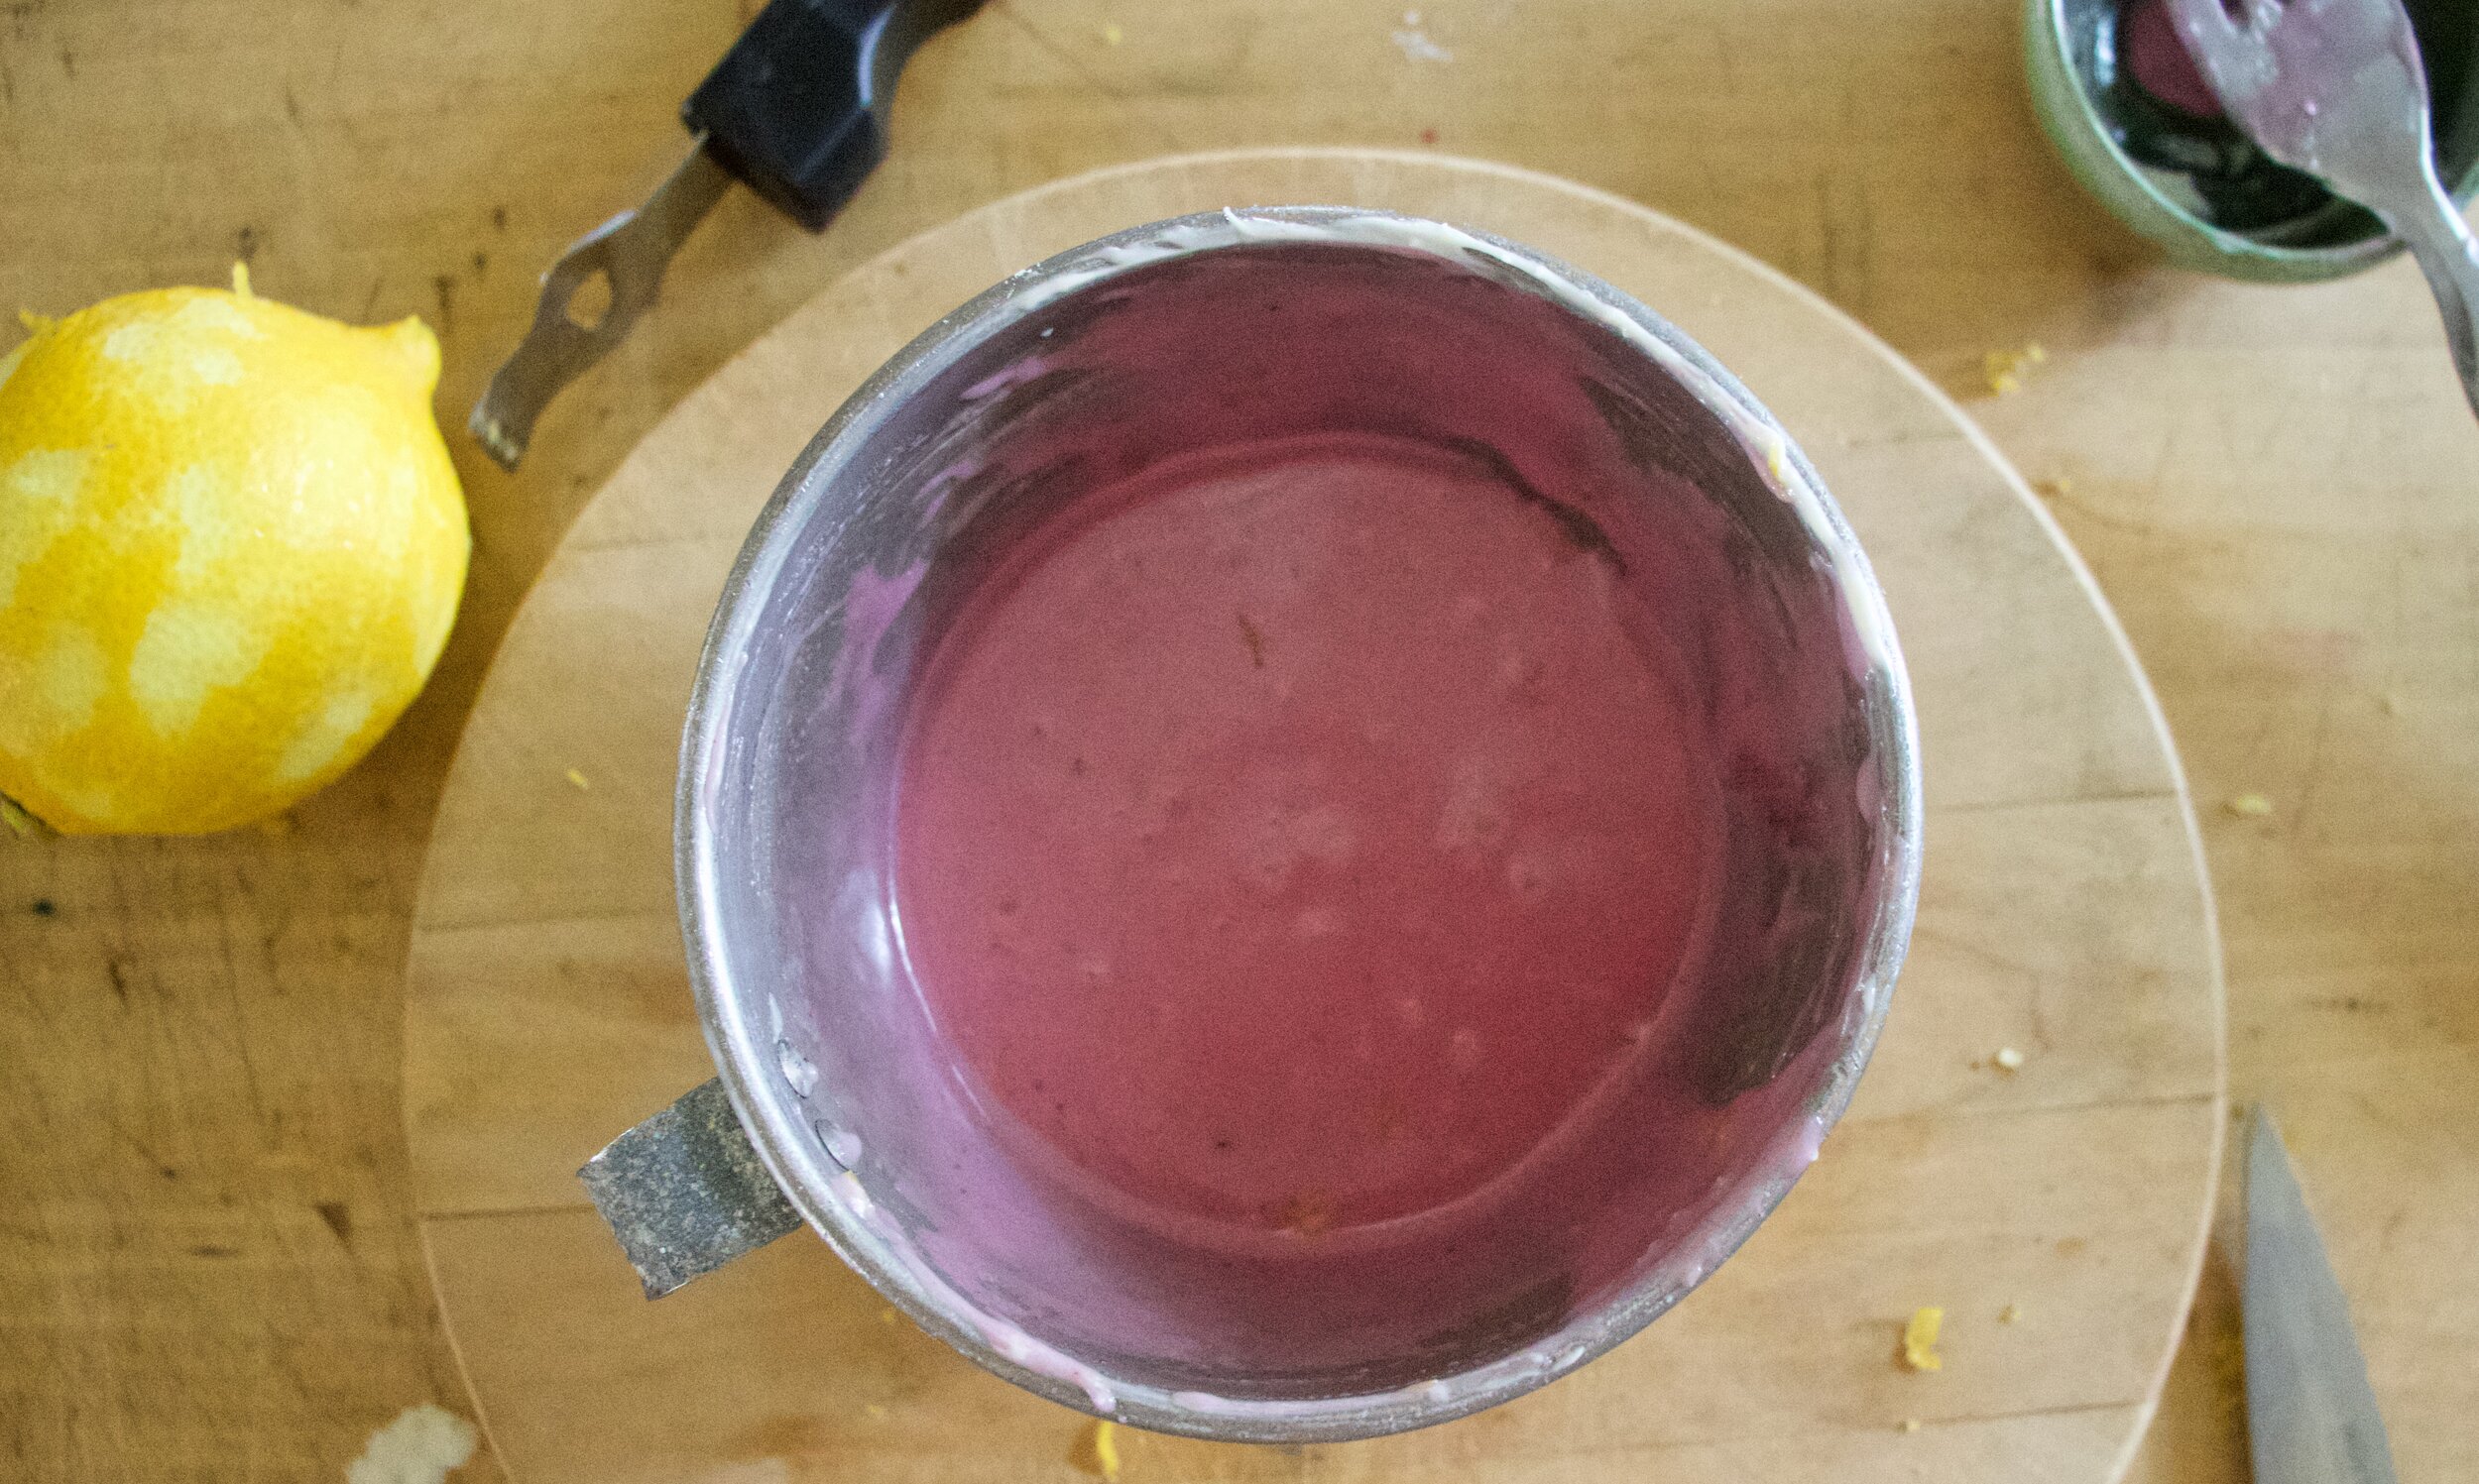
In the meantime make the glaze. Powdered sugar, zest of the lemon, and a little of the juice left over from the defrosted blueberries. Mix until completely combined and the glaze is pourable but not too thin.

Once cake is cooled, pour on the glaze. And yes, you want to you it to drip down the sides cause it looks cool.

IMG_7364.jpg

And then you eat the cake.

-C


Sweet Corn and Blueberry Cake with Lemon BLueberry glaze

makes a bundt cake

The cake

  • 2-3 cobs of fresh corn (2 cups corn kernels)

  • 2 cups all purpose flour

  • 1/2 cup cornmeal

  • 1 cup plant milk

  • 1/2 teaspoon salt

  • 1 teaspoon baking powder

  • 1 teaspoon baking soda

  • 1/2 cup neutral oil

  • 3/4 cups white sugar

  • 1 tablespoon apple cider vinegar

  • 1 cup frozen and thawed and stained blueberries (reserve the juice)

    the glaze

  • 1 1/4 cup powdered sugar

  • 1tablespoon vegan butter

  • zest from a lemon

  • juice left from frozen blueberries

Preheat oven to 375

Remove corn kernels from cobs until you have 2 full cups. Place corn into a pot with the milk and bring to a boil, reduce heat to medium and cook for about5 minutes. Turn heat off and let cool a few minutes then either pour mixture into a blender or use as hand blender and blend until semi smooth.

In a medium bowl mix the sugar, oil, vinegar, and warn corn mixture together until completely incorporated.

In a large bowl mix together all the dry ingredients. Toss the drained blueberries into the dry mixture until covered then pour and fold in the wet mixture until everything is just incorporated. Do not over mix!

Grease a 10-12 inch bundt pan then pour mixture in. Level it out with a spatula the n pop the bundt into the oven to bake for about 45-50 minute or until a nice deep golden brown and when poked with a tester, it comes out clean. Once bakes, remove from oven, let cool enough to handle, then pop cake from bundt tin and place on a wire rack to cool.

In the meantime make the glaze. Mix together the soft butter, powdered sugar, zest from the lemon, and a tablespoon or two of the blueberry juice until completely combined and is of a pourable, but not to thin consistency. It too thin, add a little more powdered sugar. Too thick, a little more blueberry juice.

Once cake is cooled, drizzle the glaze all over the top, letting it drip down the sided.

And that is that, You eat it now.

Store left overs in airtight container or cake dish for 3-4 days at room temperature. If it is busting hot out, maybe stick in the fridge.

In cake, Vegan Tags Sweet Corn And Blueberry Cake With Lemon BLueberry Glaze, plant based, corn, blueberry, cake, bundt, summer, vegan, dessert, food, recipe, fresh, local
Comment

Sautéed Rhubarb and Baby Kale Salad with Almond Dressing

May 23, 2020 Colleen Stem

Is it just me or can you also stuff an entire pound of fresh spring greens into your mouth by the fist full and be nothing but happy about it?

Spring greens are on point right now. So tender and sweet and just, agh, I just love greens. I picked up our last winter farm share a few days ago (3 weeks til summer share begins.. will I survive?) and I got a huge bag of baby kale which made me really freaking happy because I love me some kale but baby kale, I loooooovee it. Yay for me!

Then we have rhubarb. I get so excited every year when my patch starts to peek out from under all the rotten leave. The stalks I used for the salad were the first ones that I harvested from my patch! So I know that some people might think ruhabrb in any other form other then in a pie seems strange, but stop, don’t think that. Rhubarb is everything. You can use it and love it in all sorts of ways, sweet and savory, and in all sorts of things, like this salad.

Fresh greens tossed with tart and gingery warm rhubarb and onions, topped with a creamy almond dressing. There is not much more you can ask for in a spring time salad. Sure, I guess you can ask for a fork, but really, I ate more of it with my fingers because well, that’s just how I roll.

Now to the rhubarb and kale salad.

The stuff. Fresh rhubarb, baby kale, half an onion, a chunk of fresh ginger, a couple cloves garlic, almond butter, some roasted almonds, soy, vinegar, water, oil, and black pepper.

Start by mincing garlic and ginger and choping onion up into smallish pieces.

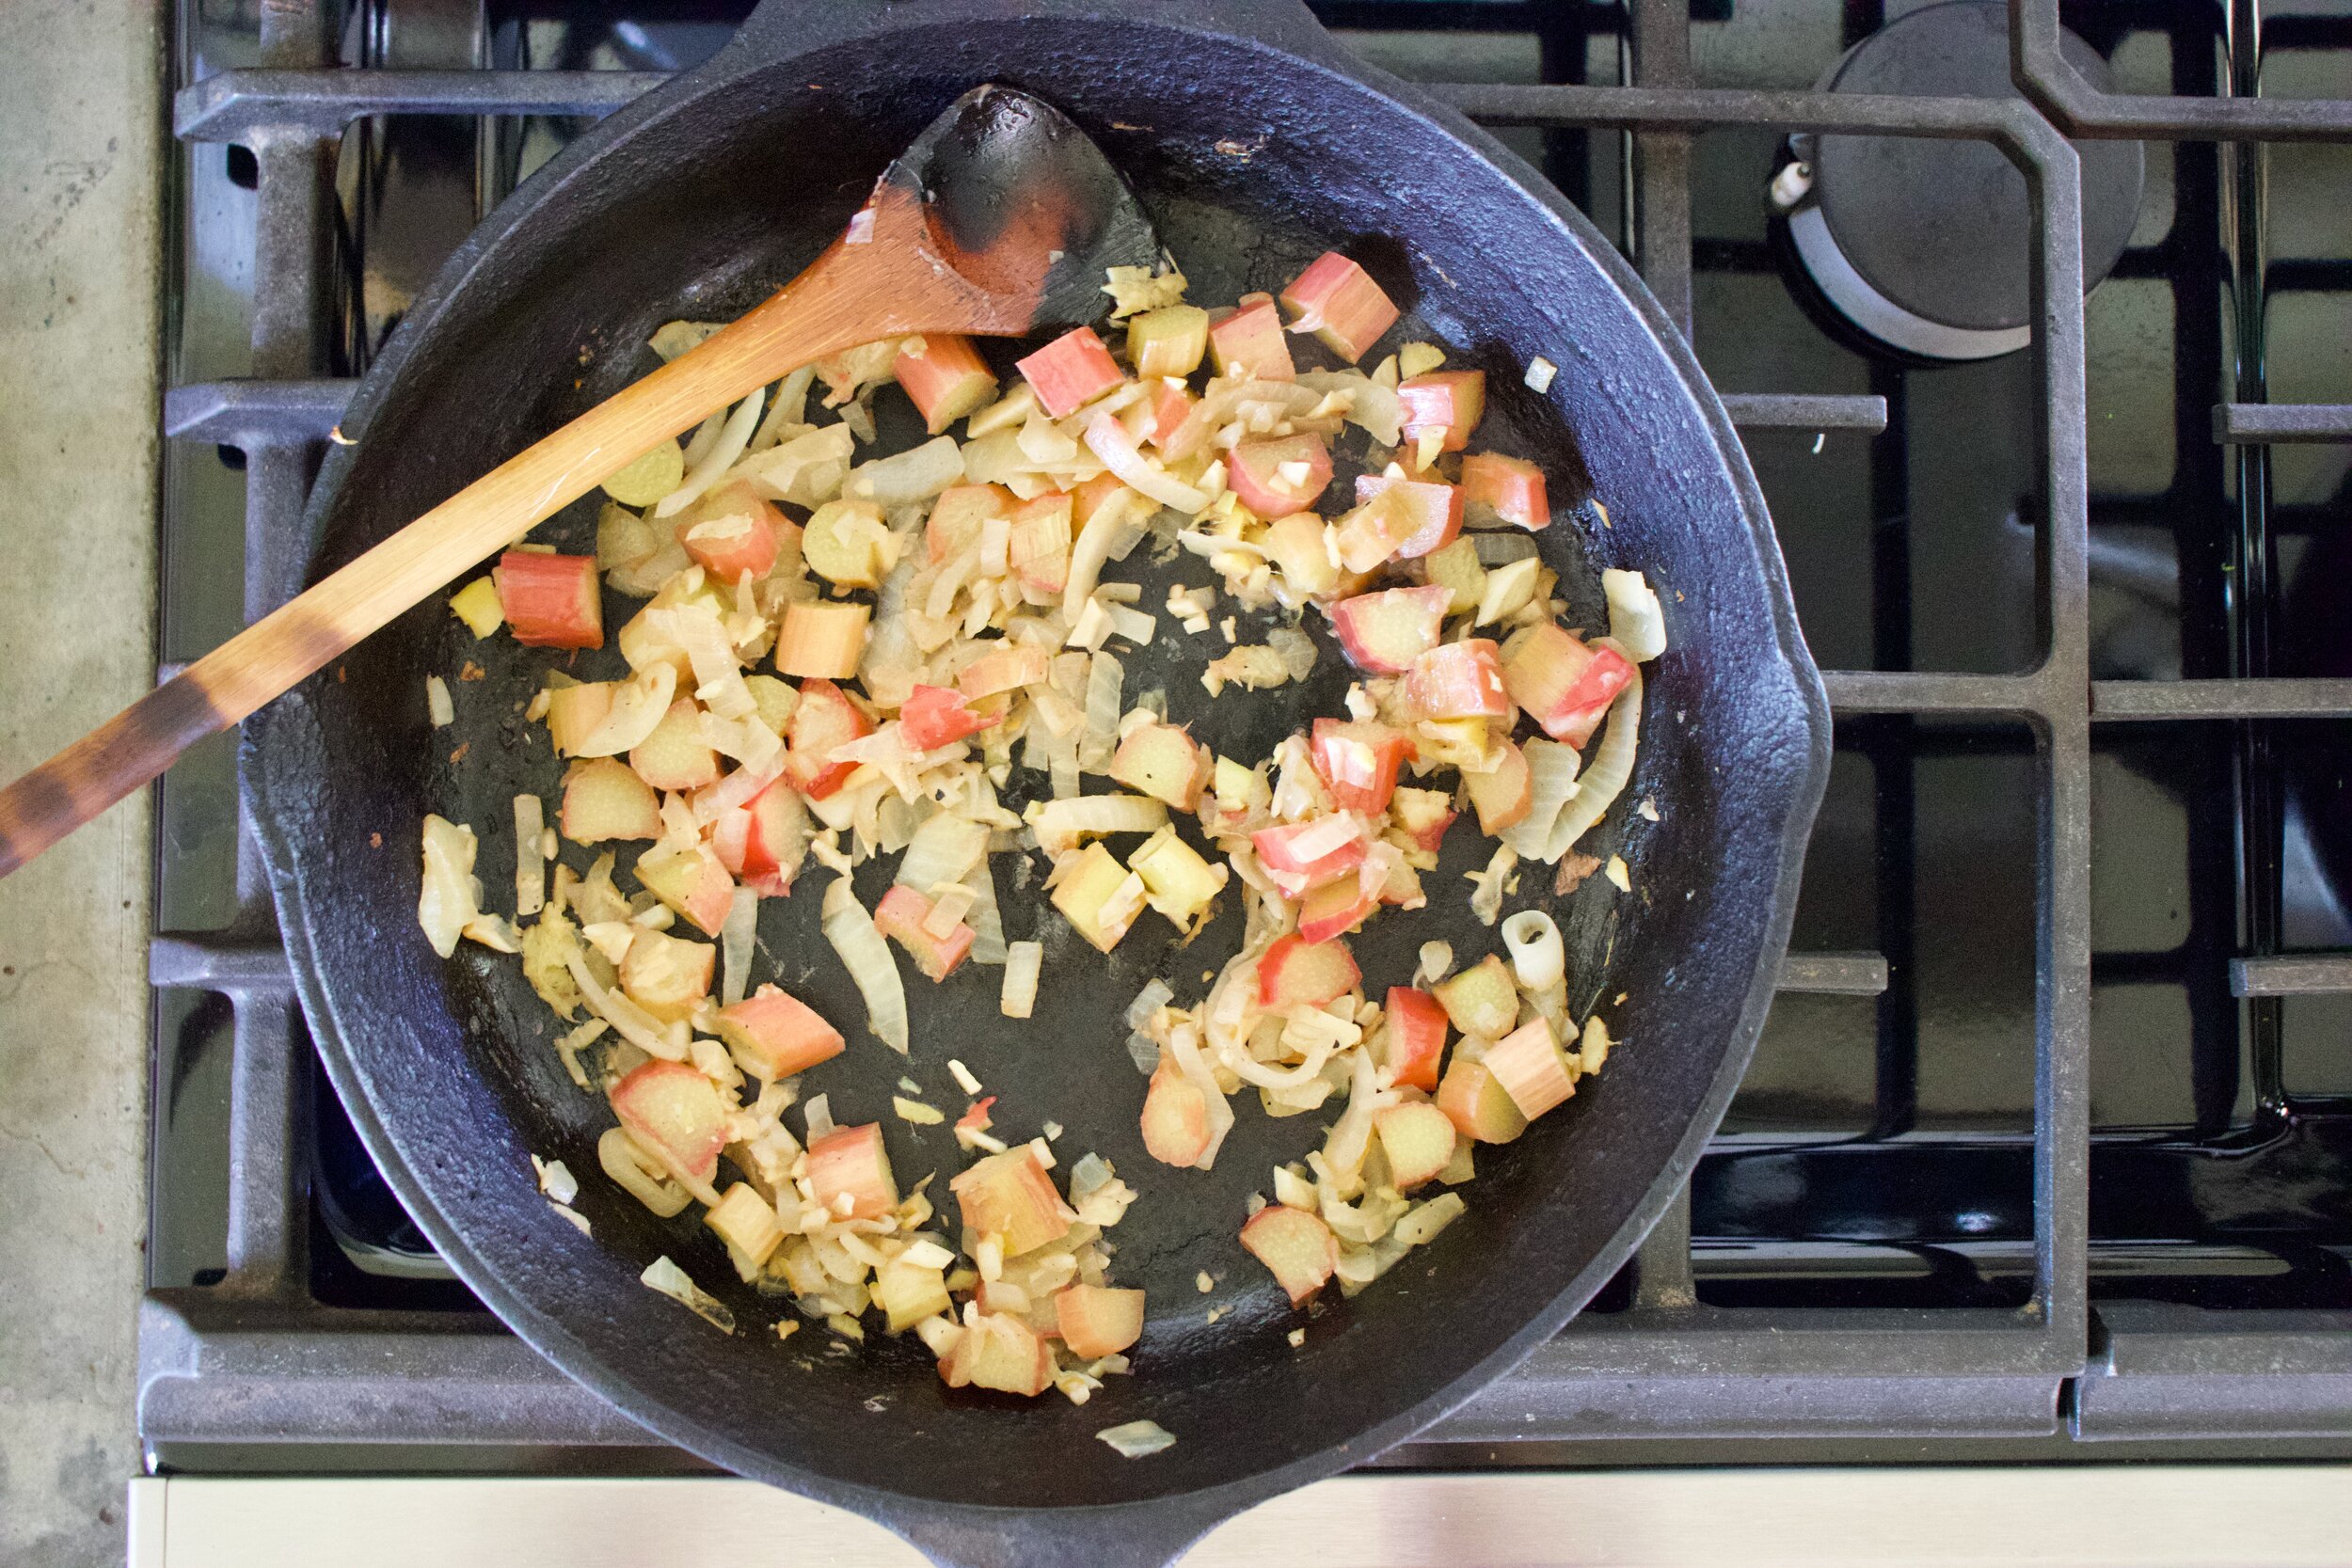
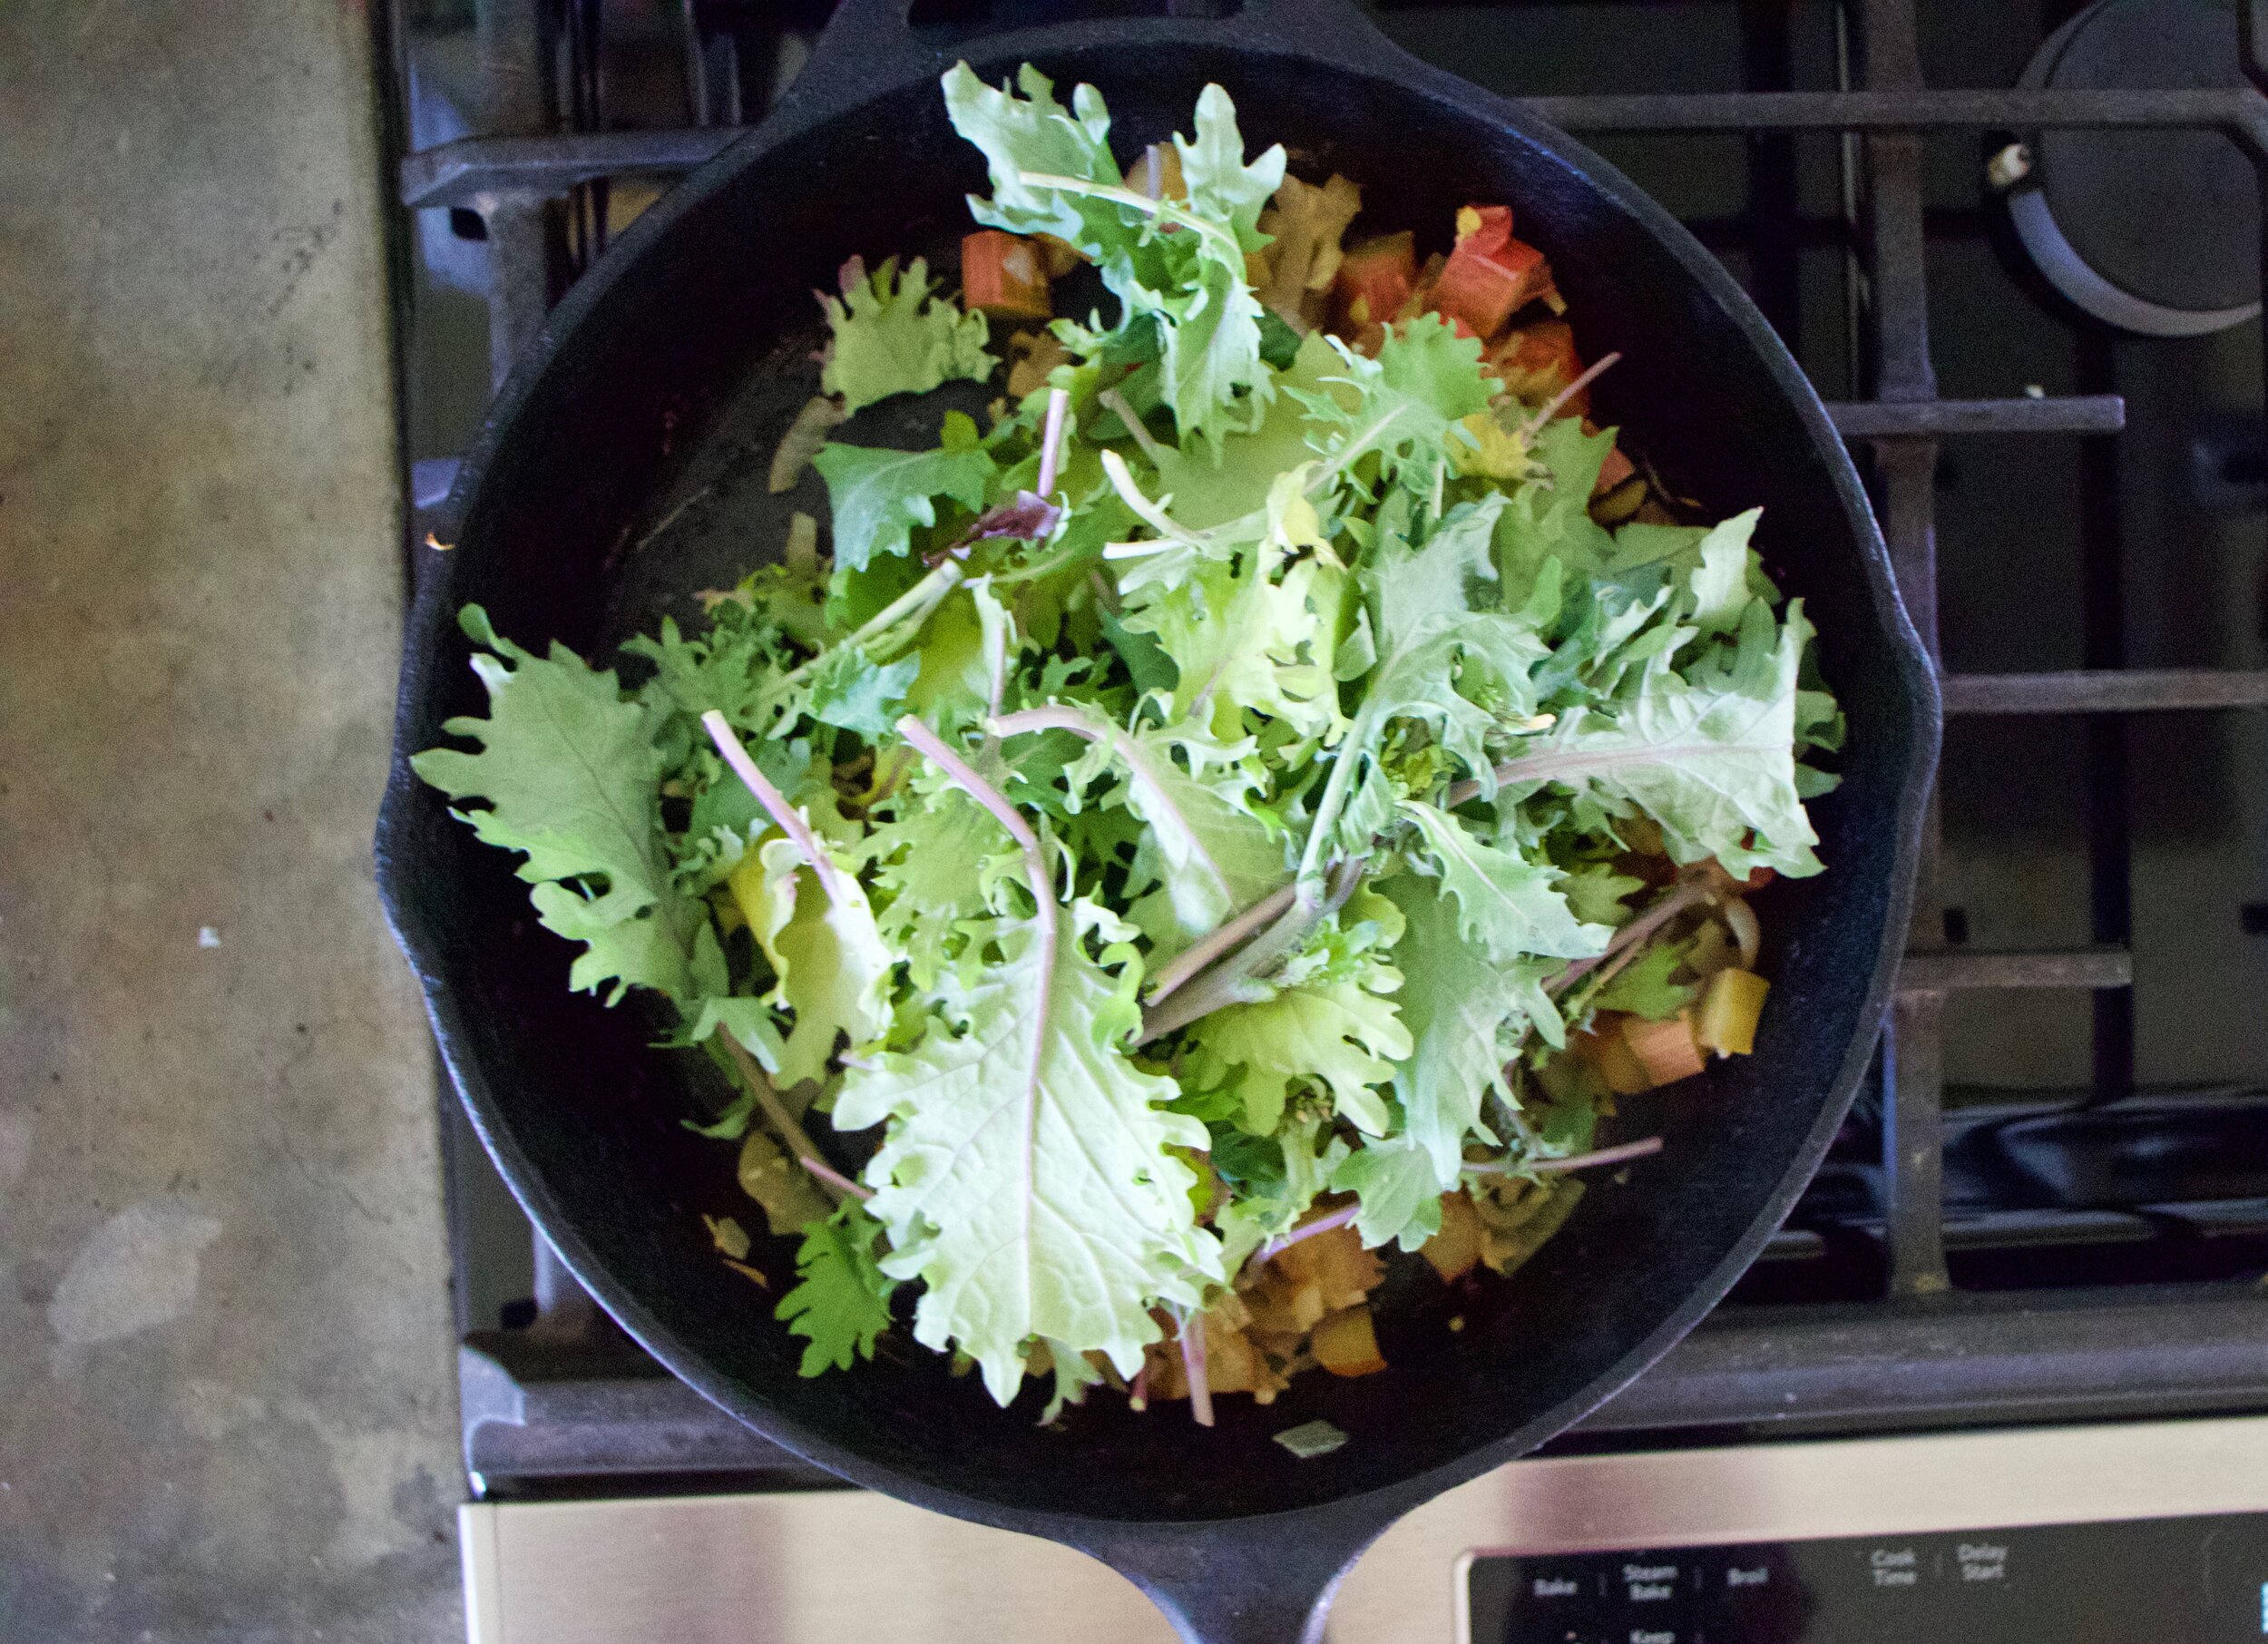
Add the stuff to a hot skillet with a little oil. Once it starts to sizzle, add in a couple splashes of water and let cook until soft.

IMG_8106 2.jpg
IMG_8112.jpg

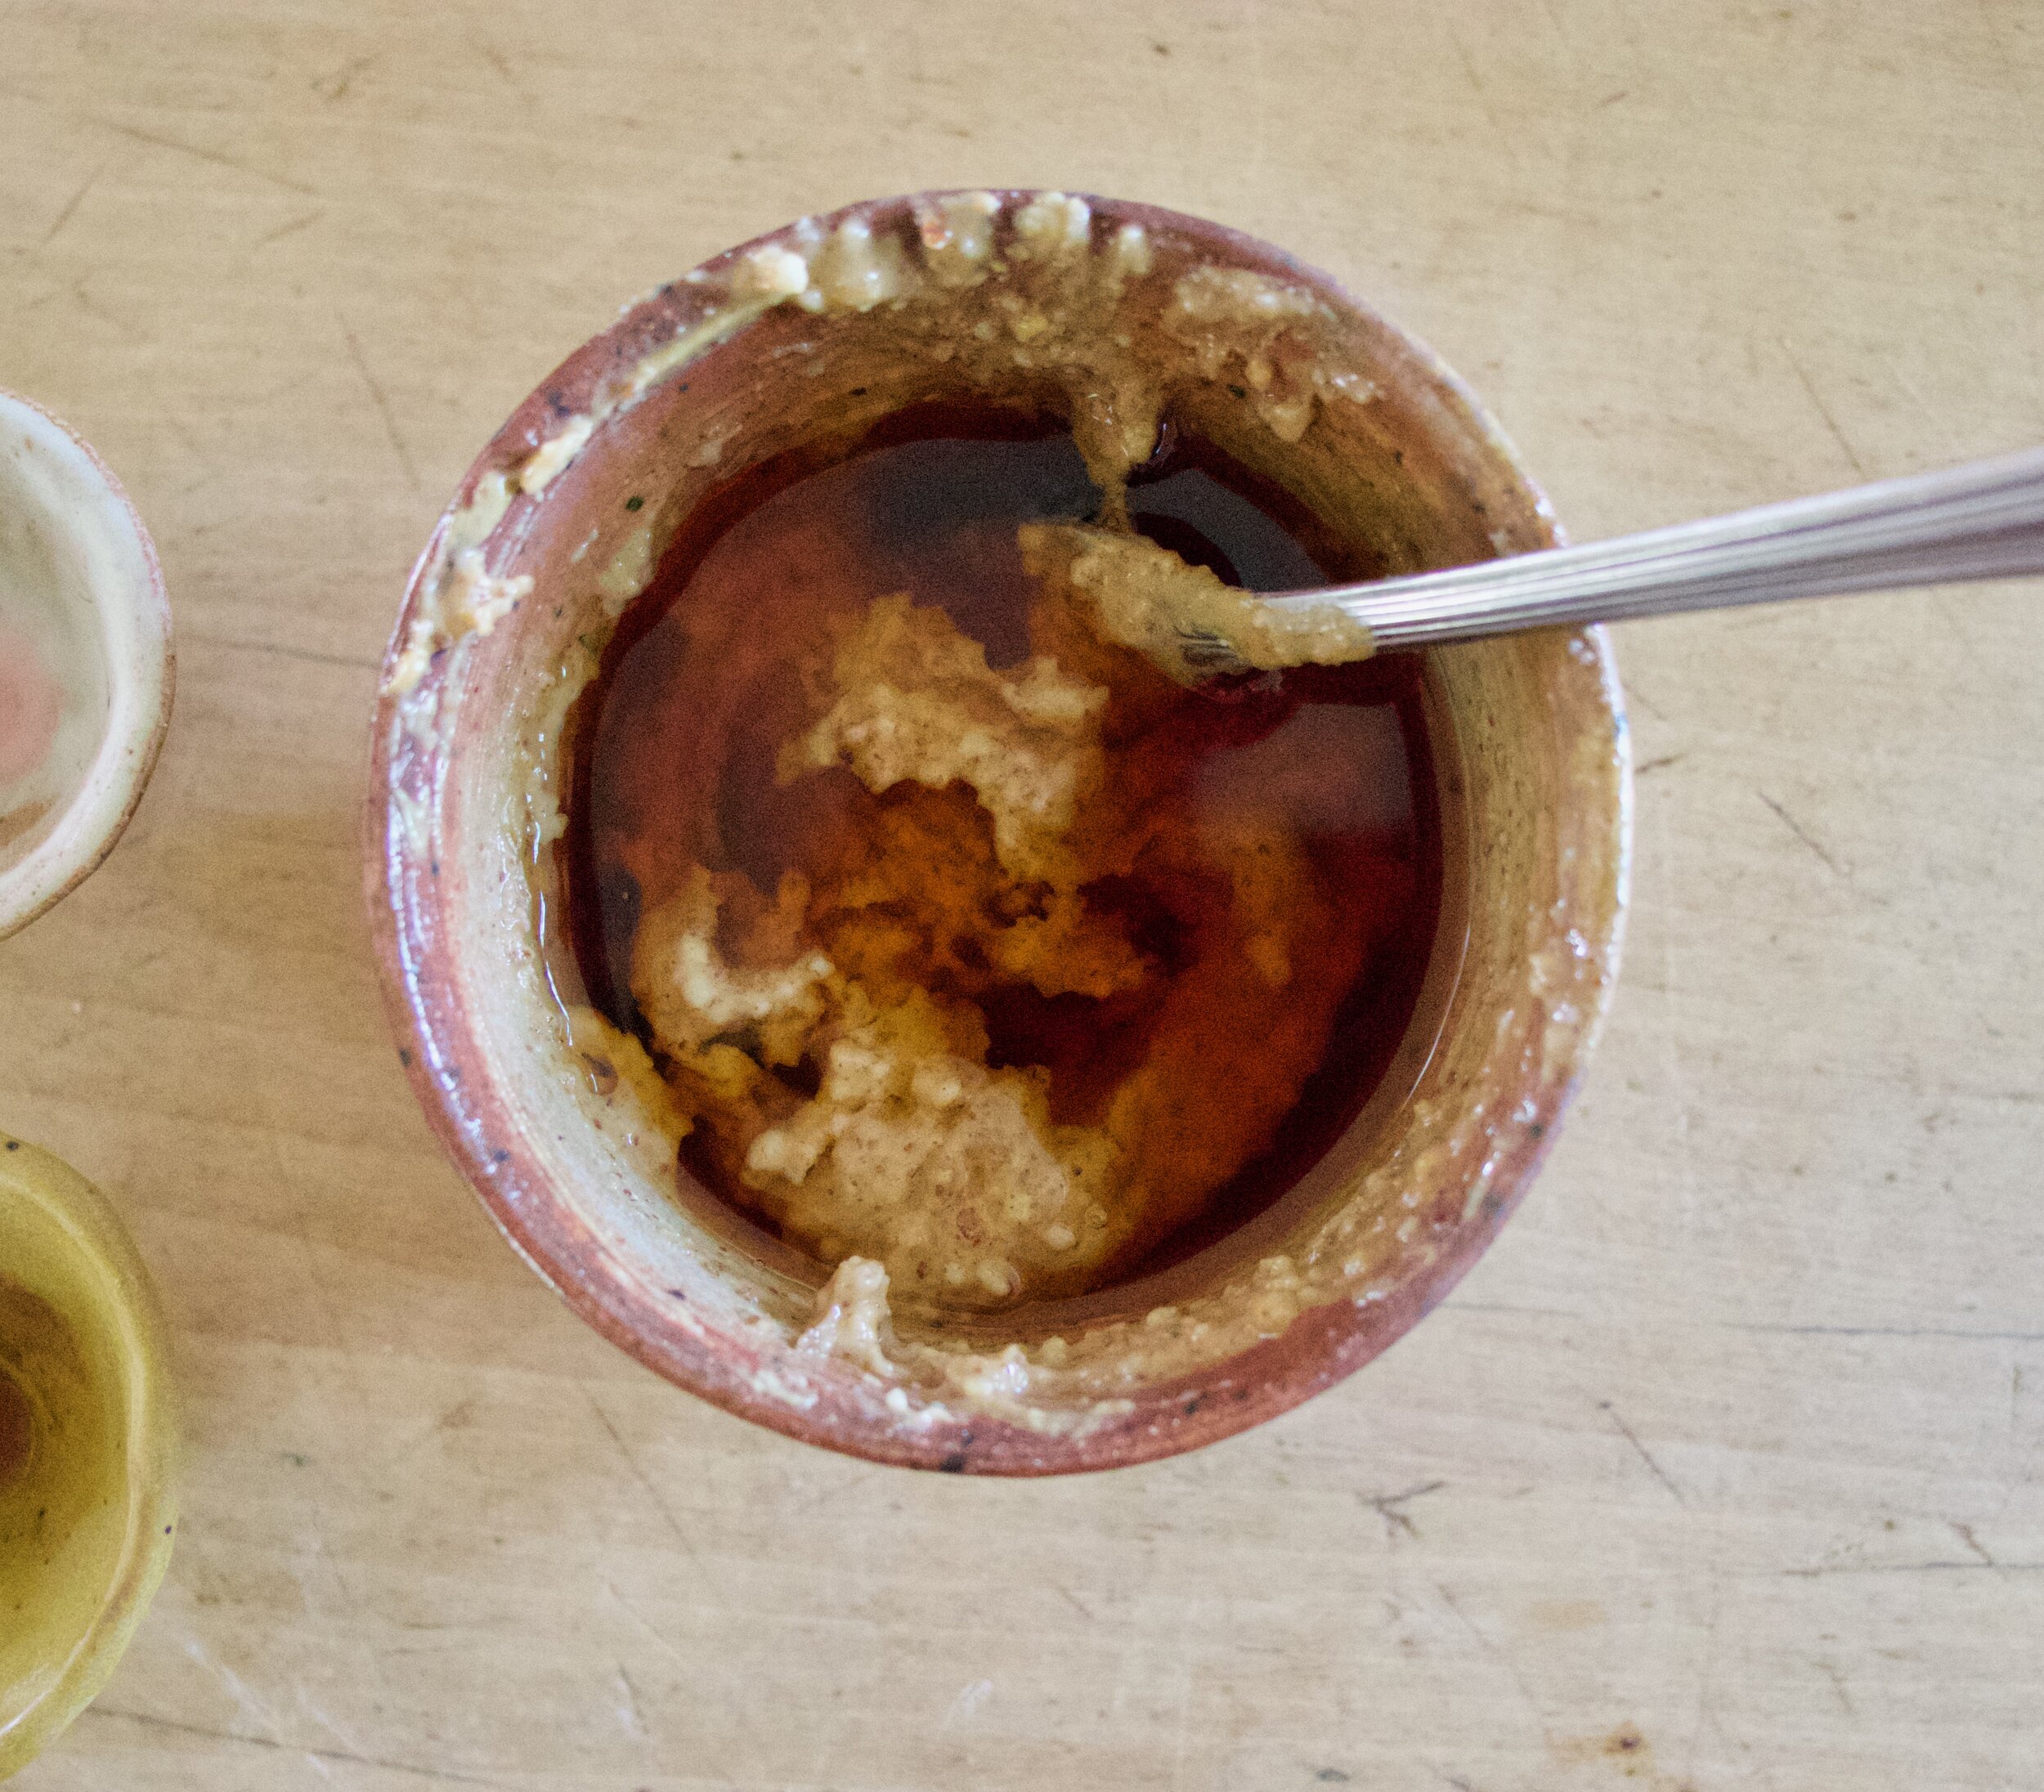
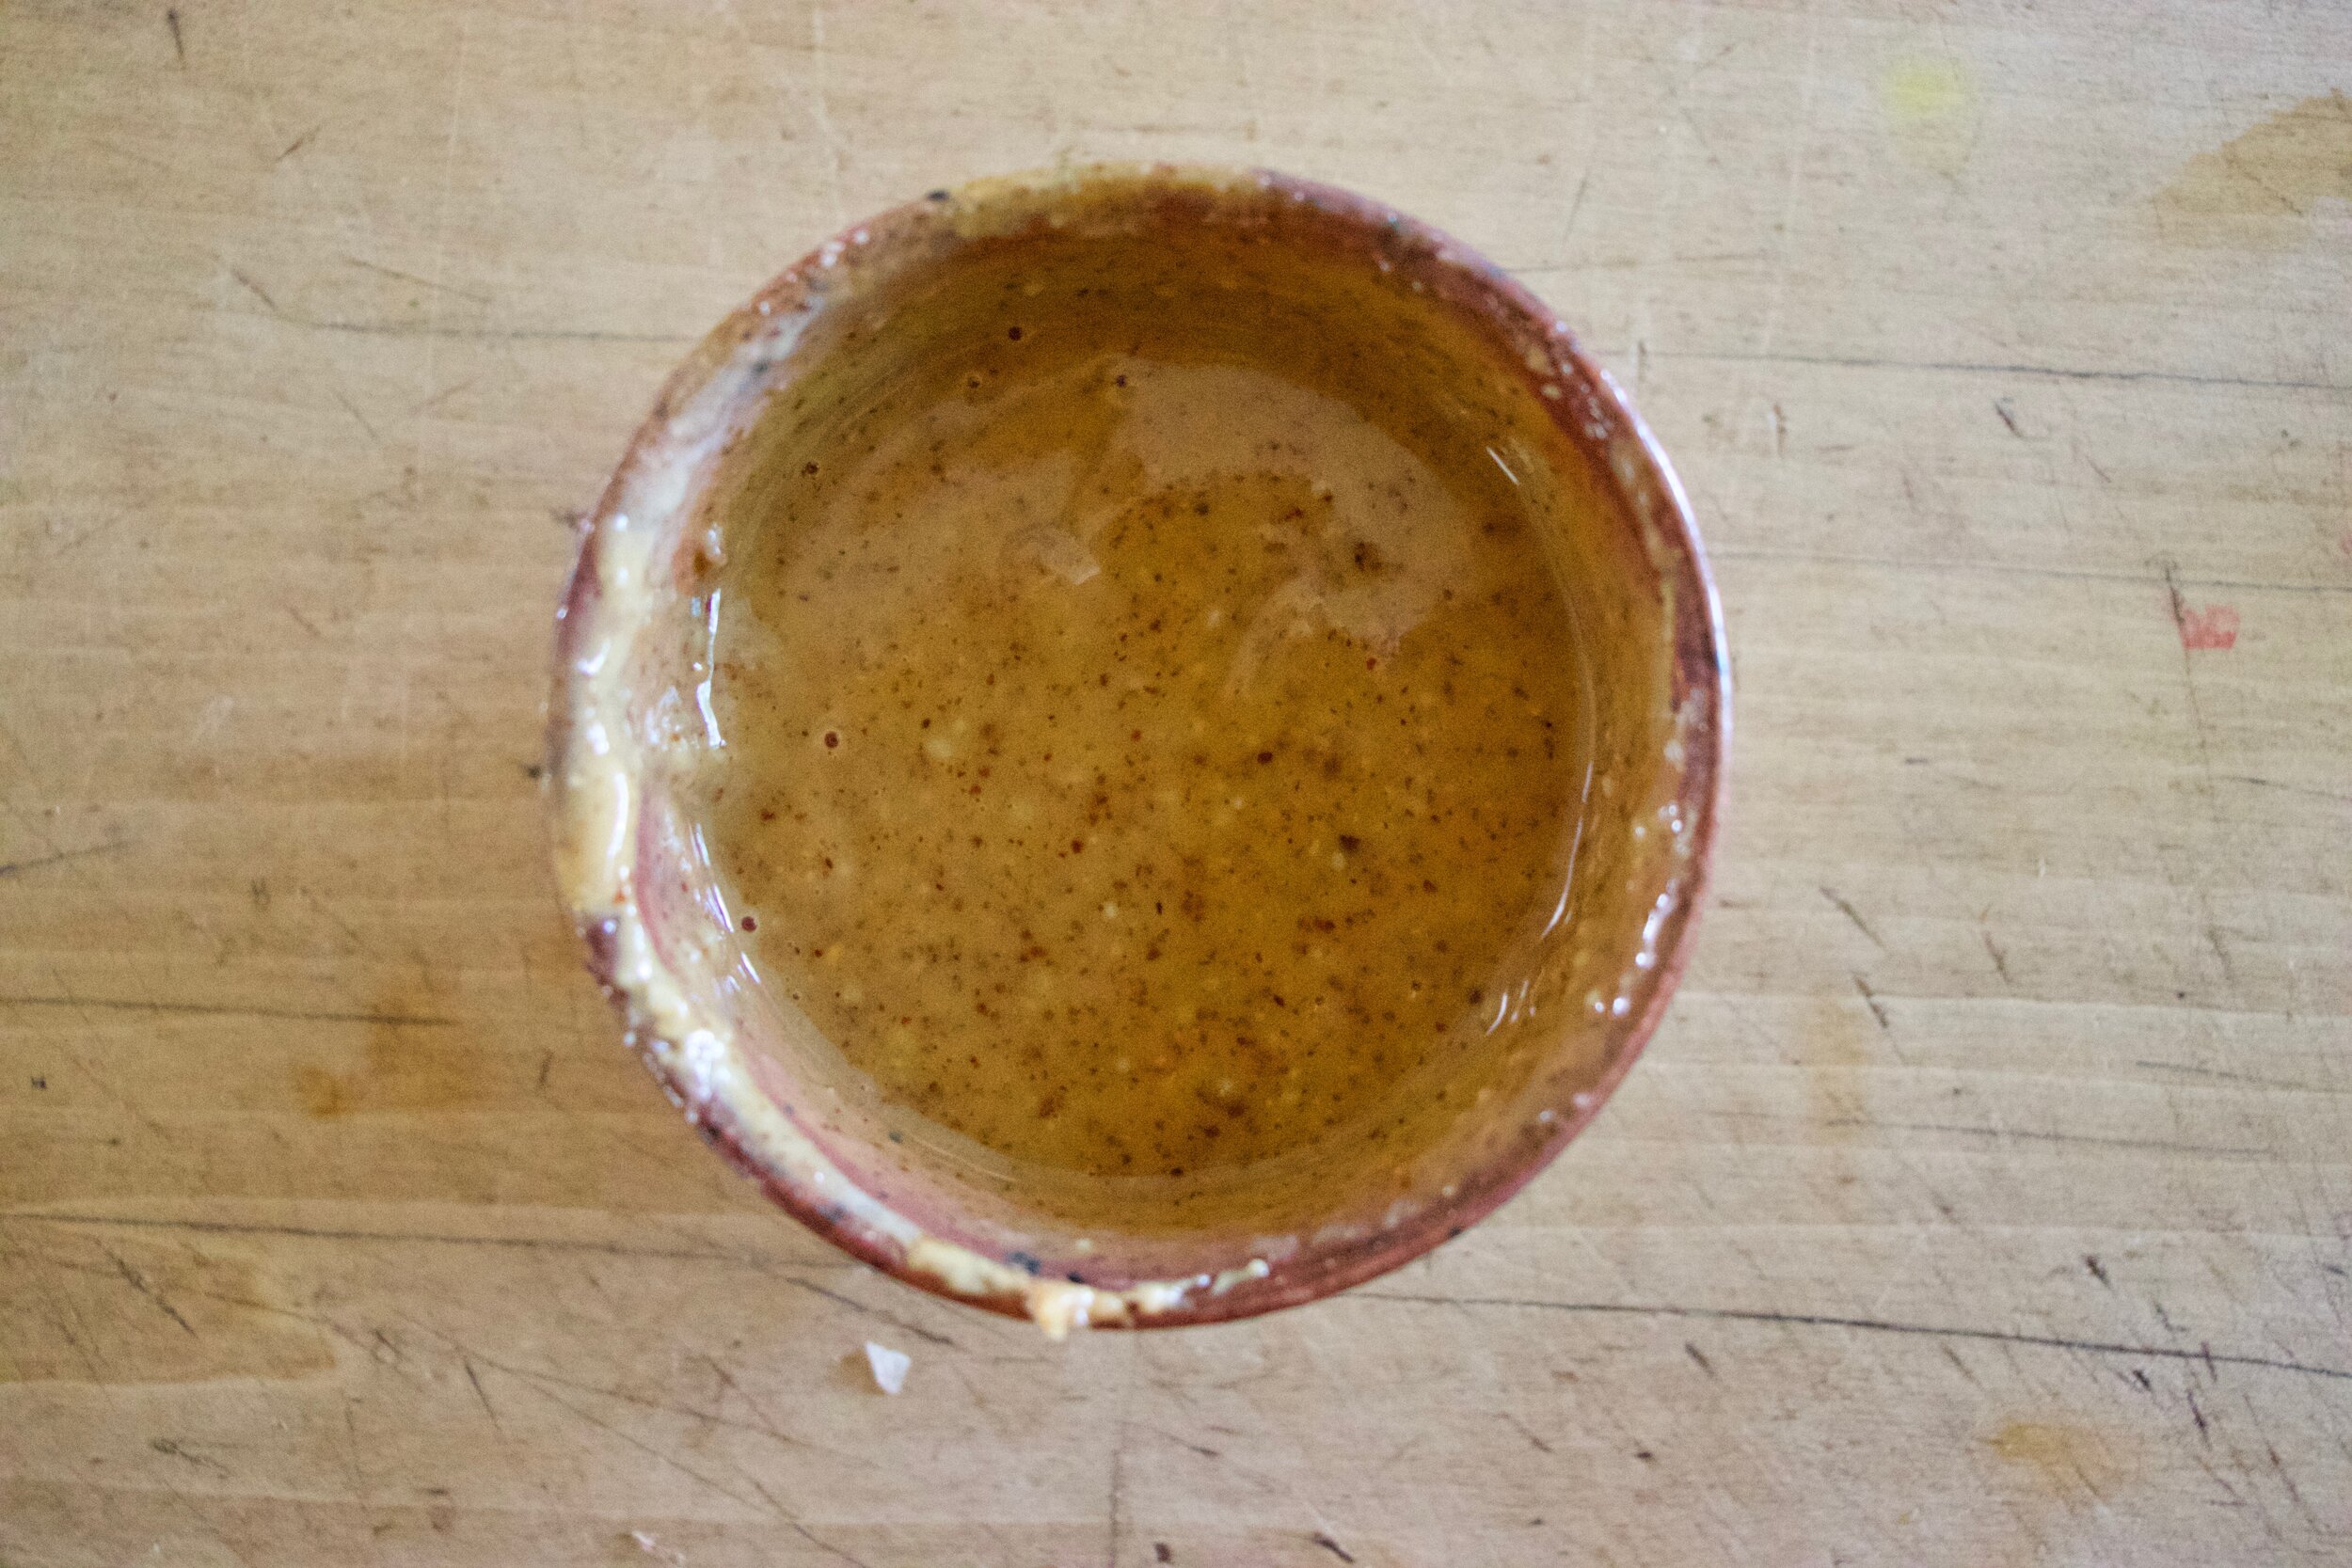
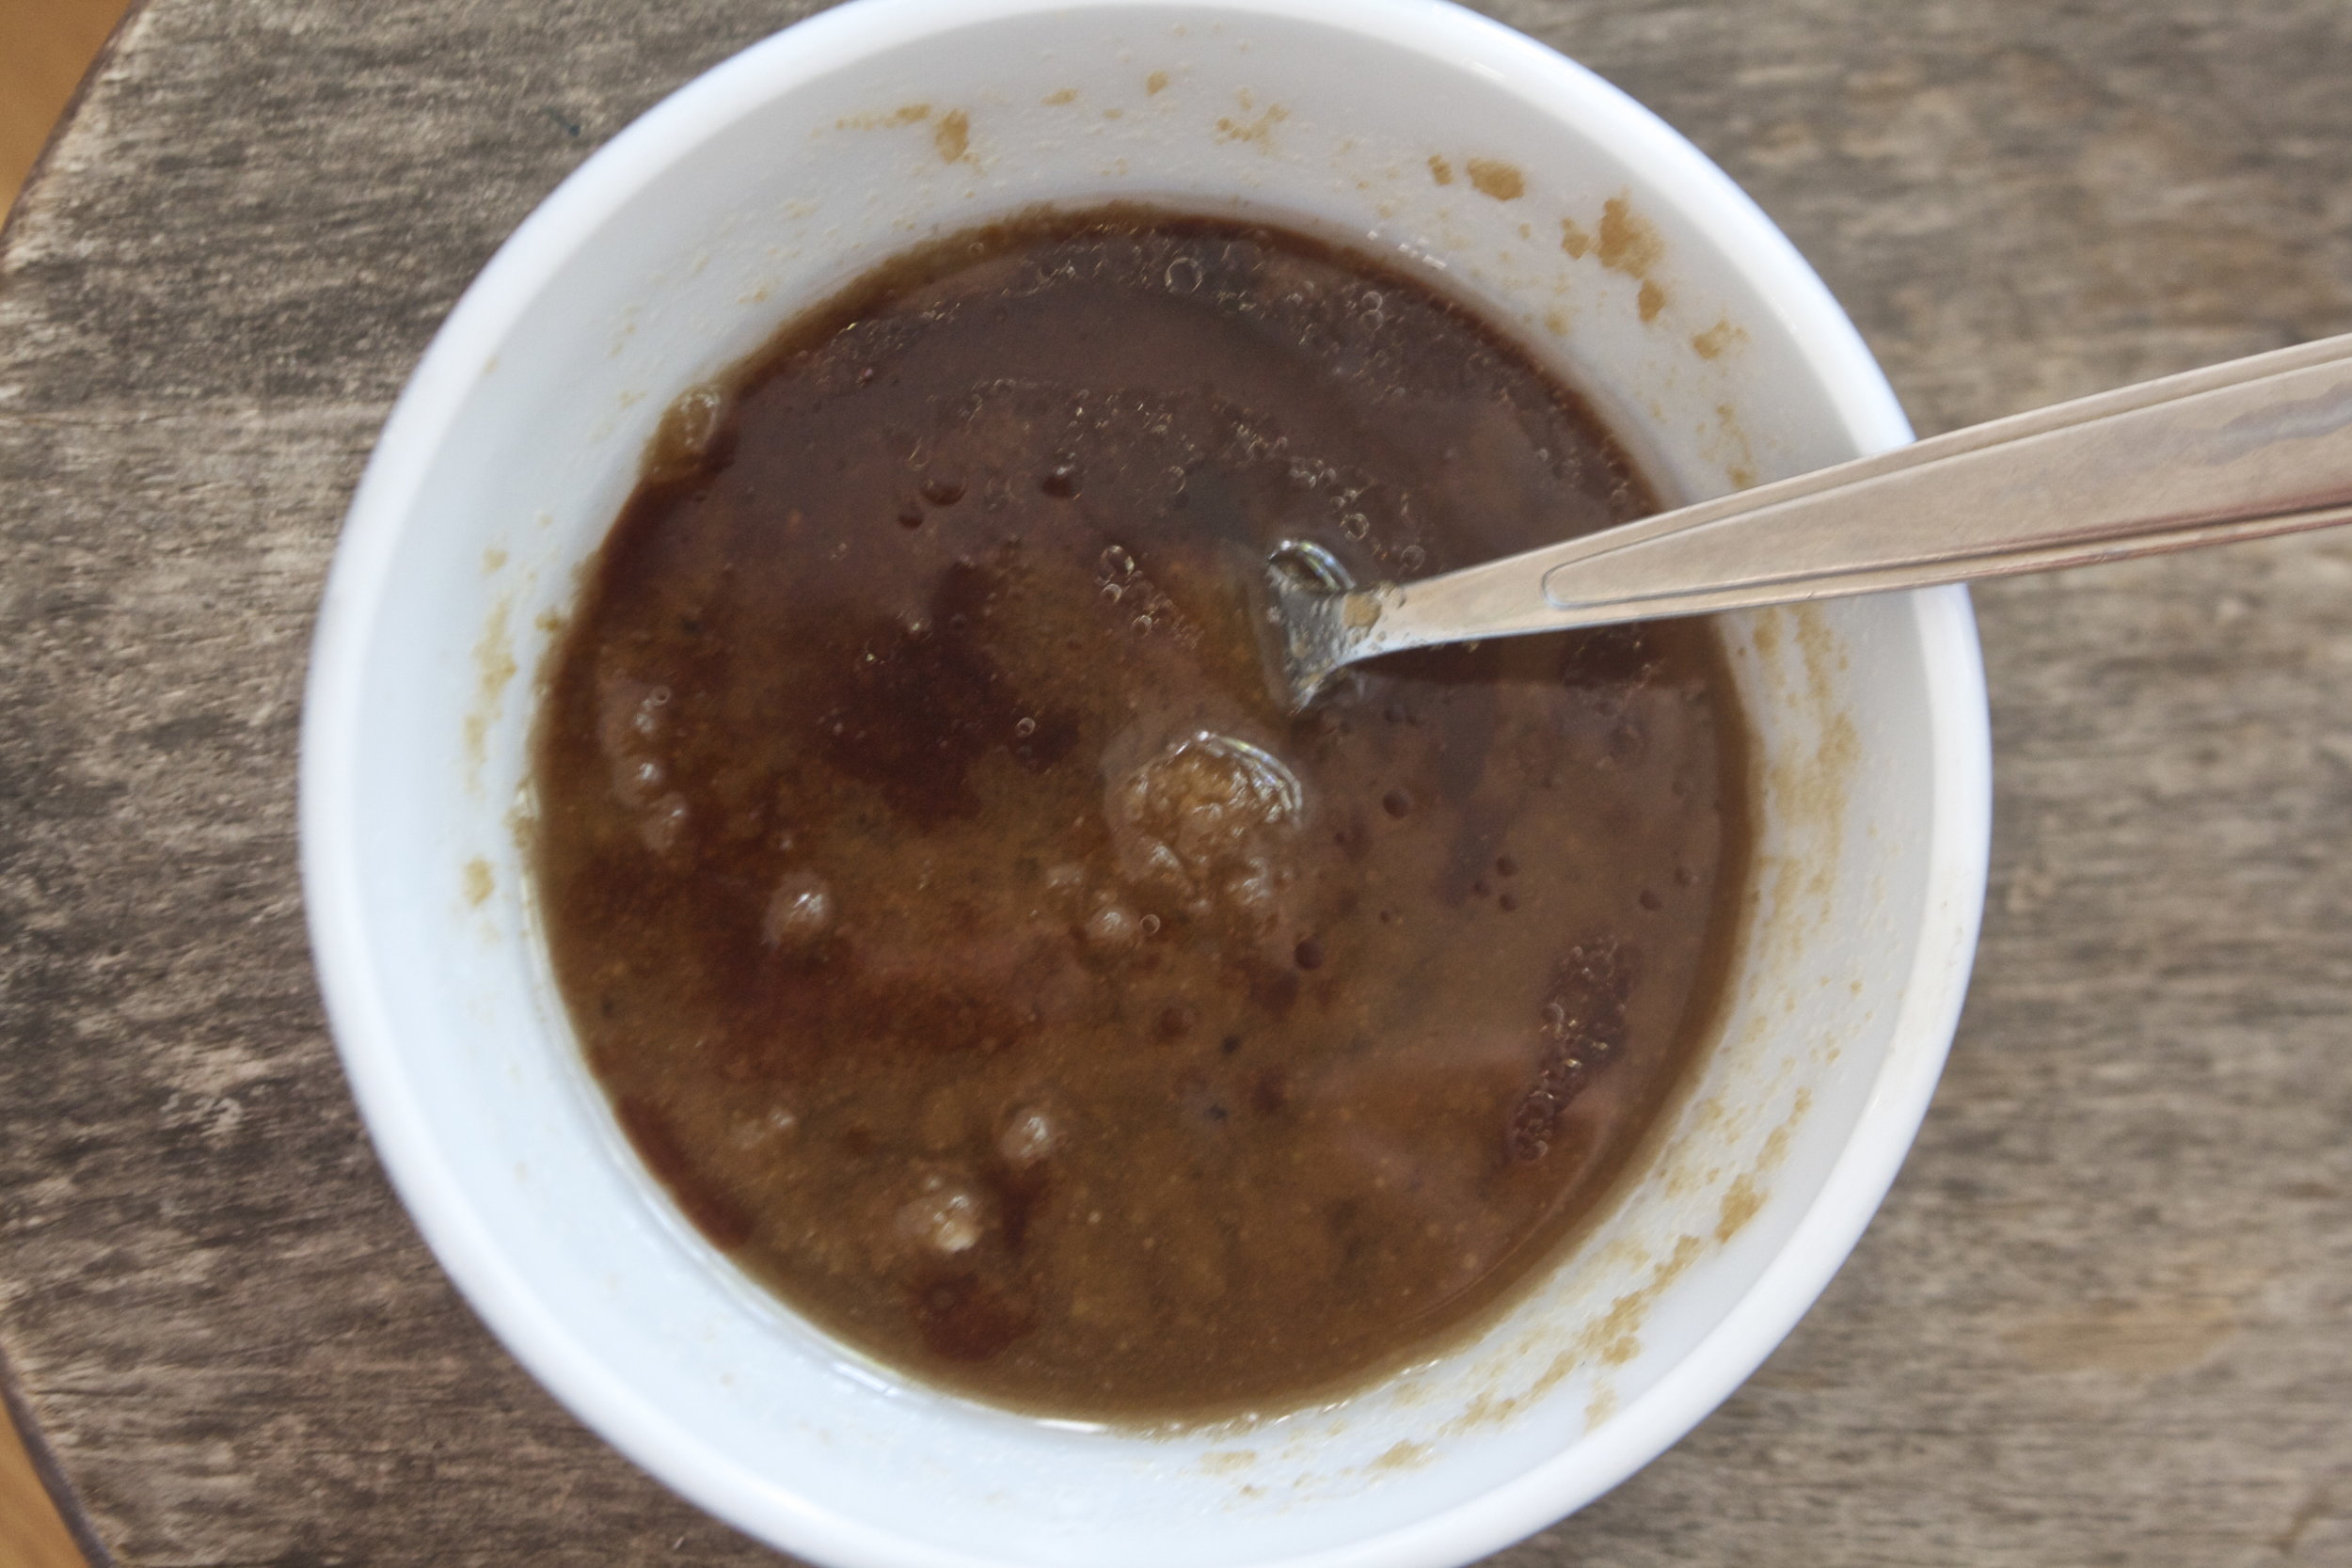
While that’s cooking make the almond dressing. Mix the almond butter, soy, vinegar, and a little warm water together until smooth and creamy. Taste and add more soy or vinegar if you feel it necessary. More water too if it’s too thick.

IMG_8094 2.jpg

Grab rhubarb ad cut into 1/2 inch pieces.

IMG_8100.jpg

Toss it into skillet with the other stuff. Add in another splash or so of water and keep on cooking.

IMG_8119.jpg
IMG_8126.jpg

Once rhubarb starts to soften, turn the heat off of the skillet. Grab kale and toss it around in the skillet to mix around with the good stuff.

IMG_8143.jpg

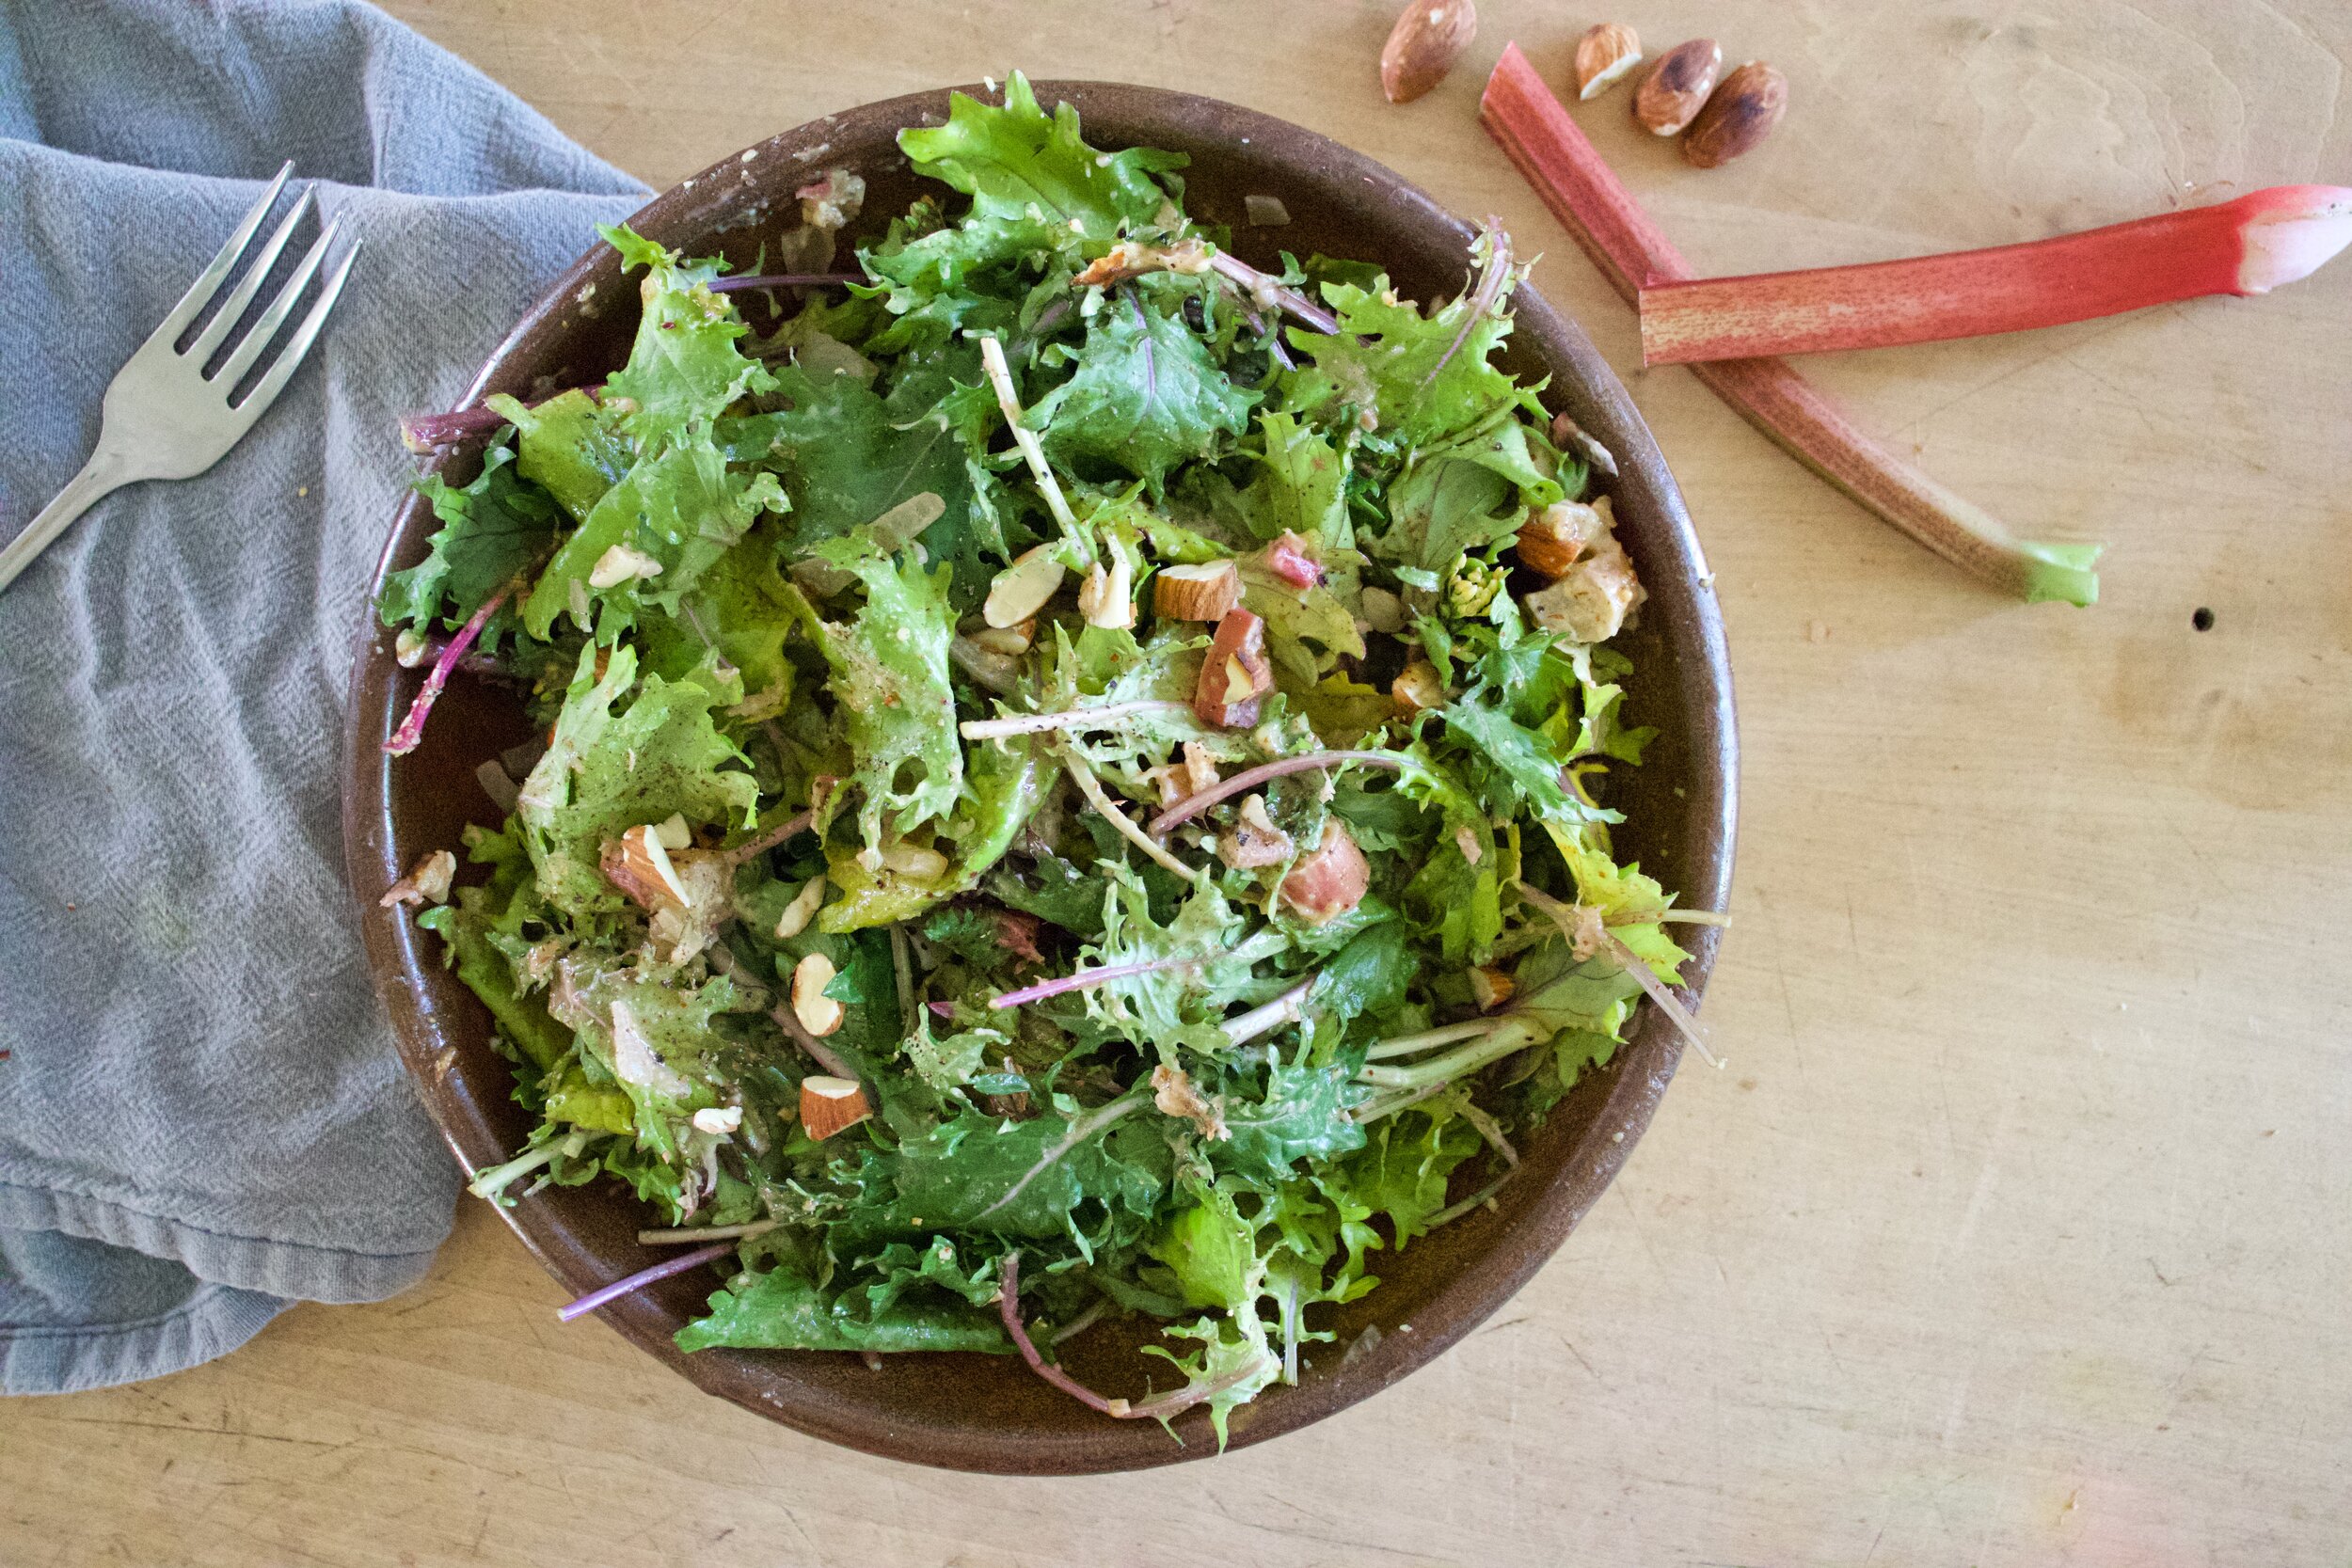
Immediately dump it all into a big bowl and top with almond dressing. Toss it around to evenly coat. Oh and throw in some chopped almonds. And black pepper. Add lots (as much as you like) of black pepper.

IMG_8193.jpg

Now it’s fork(or fingers) to bowl to face.

What a salad. What. A Salad.

Get at it!

-C


Sautéed Rhubarb and Baby Kale Salad with Almond Dressing

makes an entree salad for one or a side salad for a few

  • 2-3 stalks fresh rhubarb (about 2 cups chopped)

  • 3 large handfuls (about 6 oz) baby kale (you can really use any greens)

  • 1/2 a yellow or sweet onion

  • 1tablespoon freshly grated ginger

  • 2 cloves garlic

  • olive oil

  • black pepper

  • 2 tablespoons almond butter

  • 1 tablespoon red wine vinegar

  • 1 tablespoons soy sauce

  • 1-2 tablespoons warm water

  • smal handful of chopped toasted almonds

Start by mincing the ginger and garlic and chop onion into small pieces. Place it all into a skillet with a drizzle of olive oil and place on medium heat. Once it starts to sizzle, add in a tablespoon or so of water to help soften and cook. Should take about 5 minutes.

In the meantime make the almond dressing. Mix almond butter, soy, vinegar, and a tablespoon of warm water together in a small bowl until completely incorporated. Taste. Add a little more soy if not salty enough, a splash more vinegar if not acidic enough, or bit more water if to thick.

Now chop up rhubarb into about 1/2 inch pieces and toss into skillet along with the other stuff. Cook for a few more minutes until the rhubarb becomes slightly soft. If the plan seems to get dry, add in another few splashed of water. Once rhubarb starts to get tender, take skillet off heat. Add in the baby kale and toss around then immediately transfer to a big bowl or plate. Drizzle almond dressing all over, toss, then top with chopped toasted almonds and lots of black pepper.

Eat.

In Vegetables, Vegan, Spring, salad, Nuts, Dressing Tags Sautéed Rhubarb and Baby Kale Salad with Almond Dressing, vegan, gluten free, sping, rhubarb, salad, nuts, almonds, kale, baby greens, dairy free, plant based, healthy, local, organic, quick and easy, ginger, onion
Comment

Winter Roots Spring Rolls

March 24, 2018 Colleen Stem
IMG_1081.jpg
IMG_1021 2.jpg

Are you so excited that it is spring? I know I am.  But I am also realistic and know that even though it is "officially" spring, it is not going feel like spring here for a little while. There are still a few more weeks of potential snow storms and cold weather and then there is mud season before we really get to spring and things growing and green.  And plus there are still plenty of roots to finish up before we get into all the fresh spring veggies. You can't plant broccoli and pea into frozen snow covered soil. 

I love me some root veggies, they are some of my favorite, although like every year around this time I am starting to tire of them. But what are you going to do? Stop complaining and stuff them into a spring roll with some lighter veggies and enjoy while you can because once the roots are gone, they are gone (until the fall).  

These spring rolls are good, I mean really really good. The combination of the roasted roots with a fresh tangy mixture of crispy crunchy veggies and fresh ginger and soy and they are just really good. When I made these, it was still vey cold outside so I even went an extra step and baked the rolls to give them a little crispiness to the wrapper  because crispy warm food is kind of nice when its cold out. Because it is still cold out. 

Happy Spring!!!

The stuff. For roots we are using beet, celeriac, parsnip, and carrot. Then we need onion, kale, cabbage, garlic, fresh ginger and rice spring roll wrapper. Also some sesame seeds, soy or tamari, apple cider vinegar, and a little oil or avocado oil. 

IMG_0956.jpg
IMG_0959.jpg

First thing to do is get the roots roasting. Cut the roots into !/4 inch thick disks  and place right onto a lightly oiled baking sheet then stick into the oven to roast until browned and tender. 

As soon as the roots are in the oven, chop the kale nice and small. Thinly slice the onion and the cabbage and mince and grate the ginger and garlic. Cute the carrot into very thin matchsticks. 

IMG_0978 2.jpg

Toss it all into a bowl and mix with the soy and the vinegar... (this mixture is so very very good.. might just be a salad here soon) 

Don't be gentle, toss with your hands. You can lick then after too. 

IMG_0989.jpg

Roasted and cooled roots get a nice matchstick chop so they fit into the rolls. 

IMG_1017.jpg

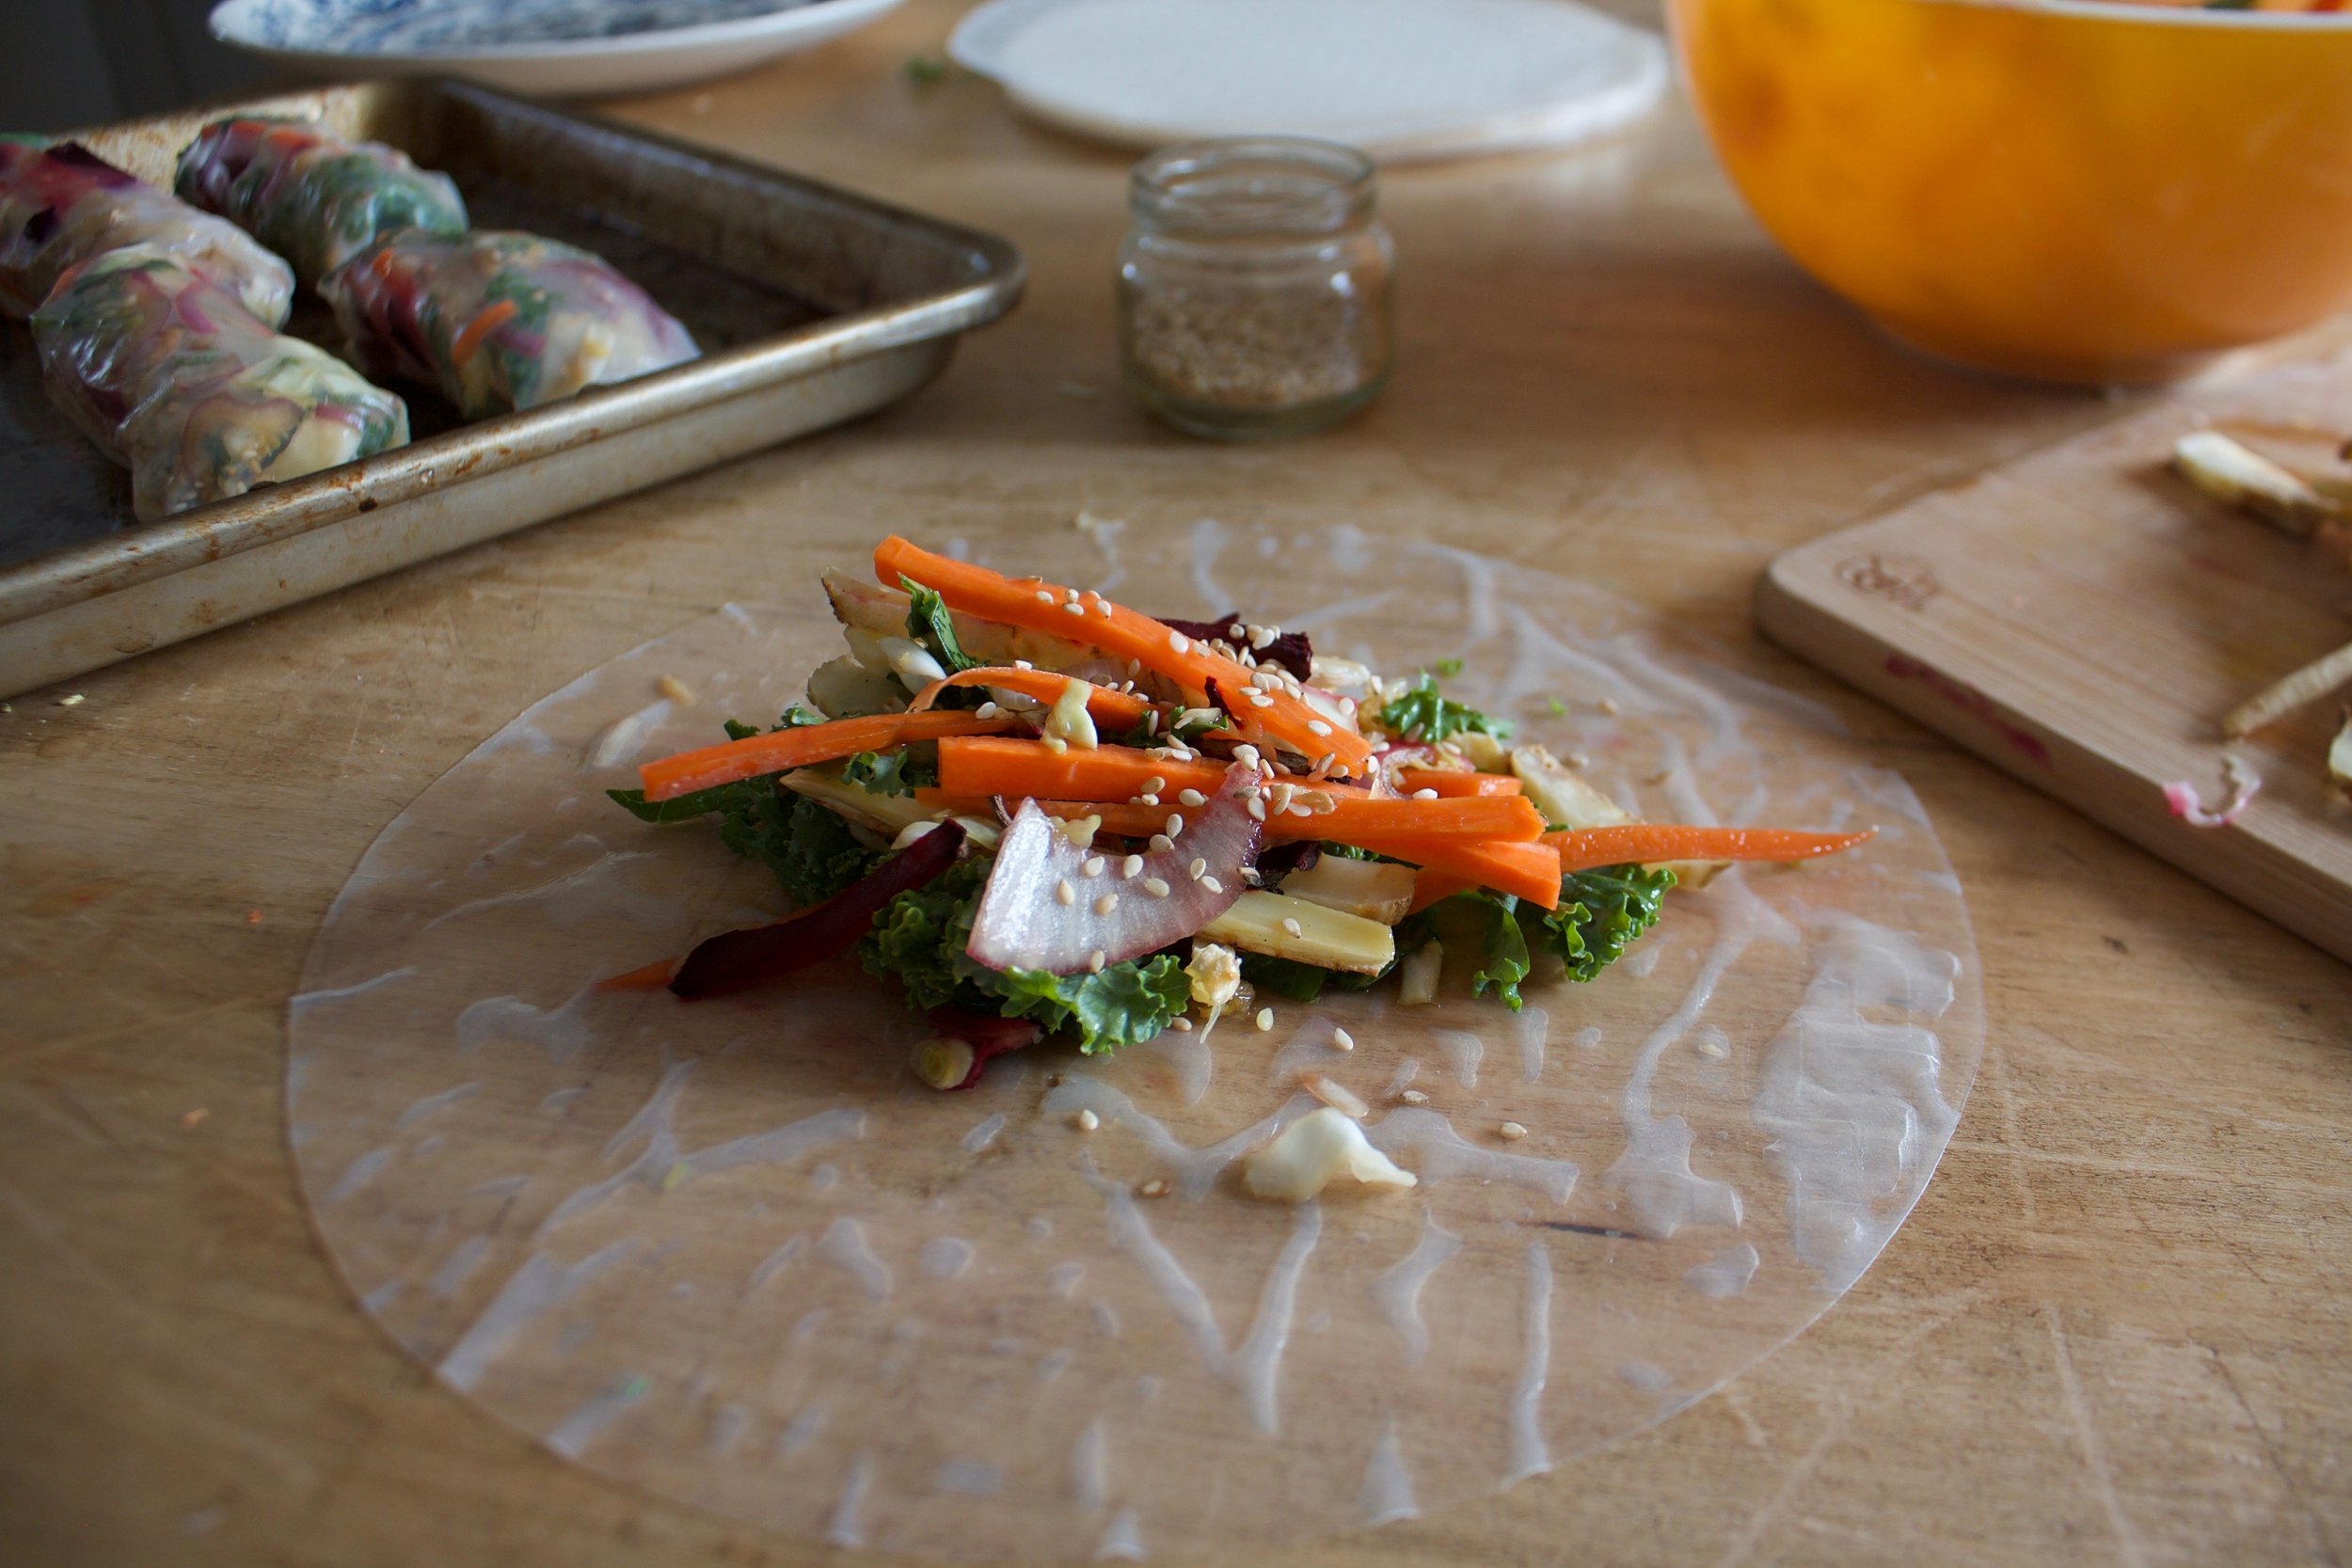
About time for assembly time. Damp wrapper with a pile of the  cabbage, kale, carrot, onion mixture and a few pieces of each of the roots topped with a sprinkle of sesame.  Oh so pretty all waiting to be wrapped up. 

IMG_1032.jpg
IMG_1034.jpg
IMG_1035.jpg

Fold sides over, fold bottom up, and roll nice and tight. Easy peasy. 

Place the rolls on a lightly oiled baking sheet. Lightly brush each roll with a little oil as well and stick them into the oven. After 10 minutes, flip them over was bake for 8 or so minutes more until both sides are lightly crisp.

IMG_1060.jpg

And the they be done. Eat right away and serve with extra soy sauce. 

See, we are still happy to eat our roots. And spring veggies will be here before you know it. 

-C


Winter Root Spring Rolls

make 6-8 spring rolls

  • 1 beet
  • 1 parsnip
  • a small bulb of celeriac (celery root)
  • 1 carrot
  • 1/4 head of cabbage
  • 1 small red onion
  • 2-3 kale leaves
  • 1 tablespoon soy or tamari 
  • 1 tablespoon fresh grated ginger
  • 2 cloves garlic
  •  2 tablespoons apple cider vinegar
  • tablespoon oil
  • about 2tablespoons sesame seeds
  • 6-8 rice spring roll wrappers 

Preheat oven to 400.

Slice the parsnip, celery root, and beet into 1/4 inch thick  disks and place on a lightly oiled baking sheet. Bake for 15 minutes, flip, then bake for 10 or so more minutes  or until the veggies are browned and tender.

When the roots are in the oven, thinly slice the cabbage and  onion and toss into a bowl. Chop the kale into small pieces and thinly slice the carrot into matchsticks about 2-3 inches long. Place it all into the  bowl with the grated ginger, minced garlic, vinegar and soy sauce. Toss it all around and let it sit while the other veggies are roasting.

Once the roots have cooked, remove form oven and let cool. Keep oven on. When they are cool enough to handle,  slice the disks into matchsticks 2-3 inches long.

Time to assemble. Grab all the veggies

Take a shallow dish that can hold a little water and is big enough for a wrapper to fit and add warm water to it.

Keep your baking sheet from the veggies close and lightly oil it again.

Place a wrapper in warm water then place on a wet surface. (keep surface slightly wet or the wrapper will stick)  Add a good pinch or so or the cabbage/kale/carrot veggie mix into the center of the wrapper then add a few of each of the matchstick roots on top. Sprinkle with sesame seeds and then roll. Once rolled, place on baking sheet. 

When all the rolls are made, lightly brush the tops with oil and  place into the oven and bake foe 10-15 minutes, flipping half way through

Remove from oven when each slide is lightly crispy and serve right away, preferably with more soy sauce to dip in. 

In winter, Vegetables, Vegan, Spring, snack, side dish, Gluten Free, Dairy Free, appetizers Tags Winter Roots Spring Rolls, Spring rolls, baked spring rolls, roots, root vegetables, vegetables, gluten free, vegan, plant based, side dish, easy, appetizer, vegan side dish, fresh, local, Farm food, Winter root veggies
Comment

Butternut Chickpea kale coconut casserole topped with hazelnuts

December 9, 2017 Colleen Stem
IMG_8680.jpg
IMG_8712.jpg

Casseroles are a winter staple. So versatile, easy to make, can feed a few or feed a crowd, and best part is you can stick one into the oven and and kind of forget about it for a while. On a cold day having the oven on is always welcome, and timing with these things, well you can keep it in the oven for a little while longer then it needs because the worst thing that will happen is that it will get a little more crispy, and that is only an added bonus because the crispy bits are the best.  And what I really love about casseroles is left overs. If you are smart you make it bigger then needed so you have some left over to either eat the next day or freeze for a meal later. Leftover casseroles are the best. 

This casserole is a nice, hearty, stick toy your bone with our feeling heavy and gross casserole. Coconut milk and butternut squash give a creaminess, chickpeas for protein and goodness, kale because, and hazelnuts for a nice yummy crunch. All the flavors pair well together and also pair well with many different types of seasonings. I was going to go curry, then I was thinking rosemary, but ended up keeping it simple without any spices which was really nice because the flavors were all rich and clean. But really, you could go a bunch of different ways with this because its a casserole and thats what casserole do. 

IMG_8585.jpg

The stuff. You will need a can of chickpeas, a can of coconut milk (I used light coconut), some kale, an onion, and a butternut squash (you will only need about 3 -ish cups cubed so your squash doesn't need to be as big as mine was). Also need some garlic, raw hazelnuts, olive oil, coconut flour, and salt and pepper 

IMG_8590.jpg
IMG_8605.jpg

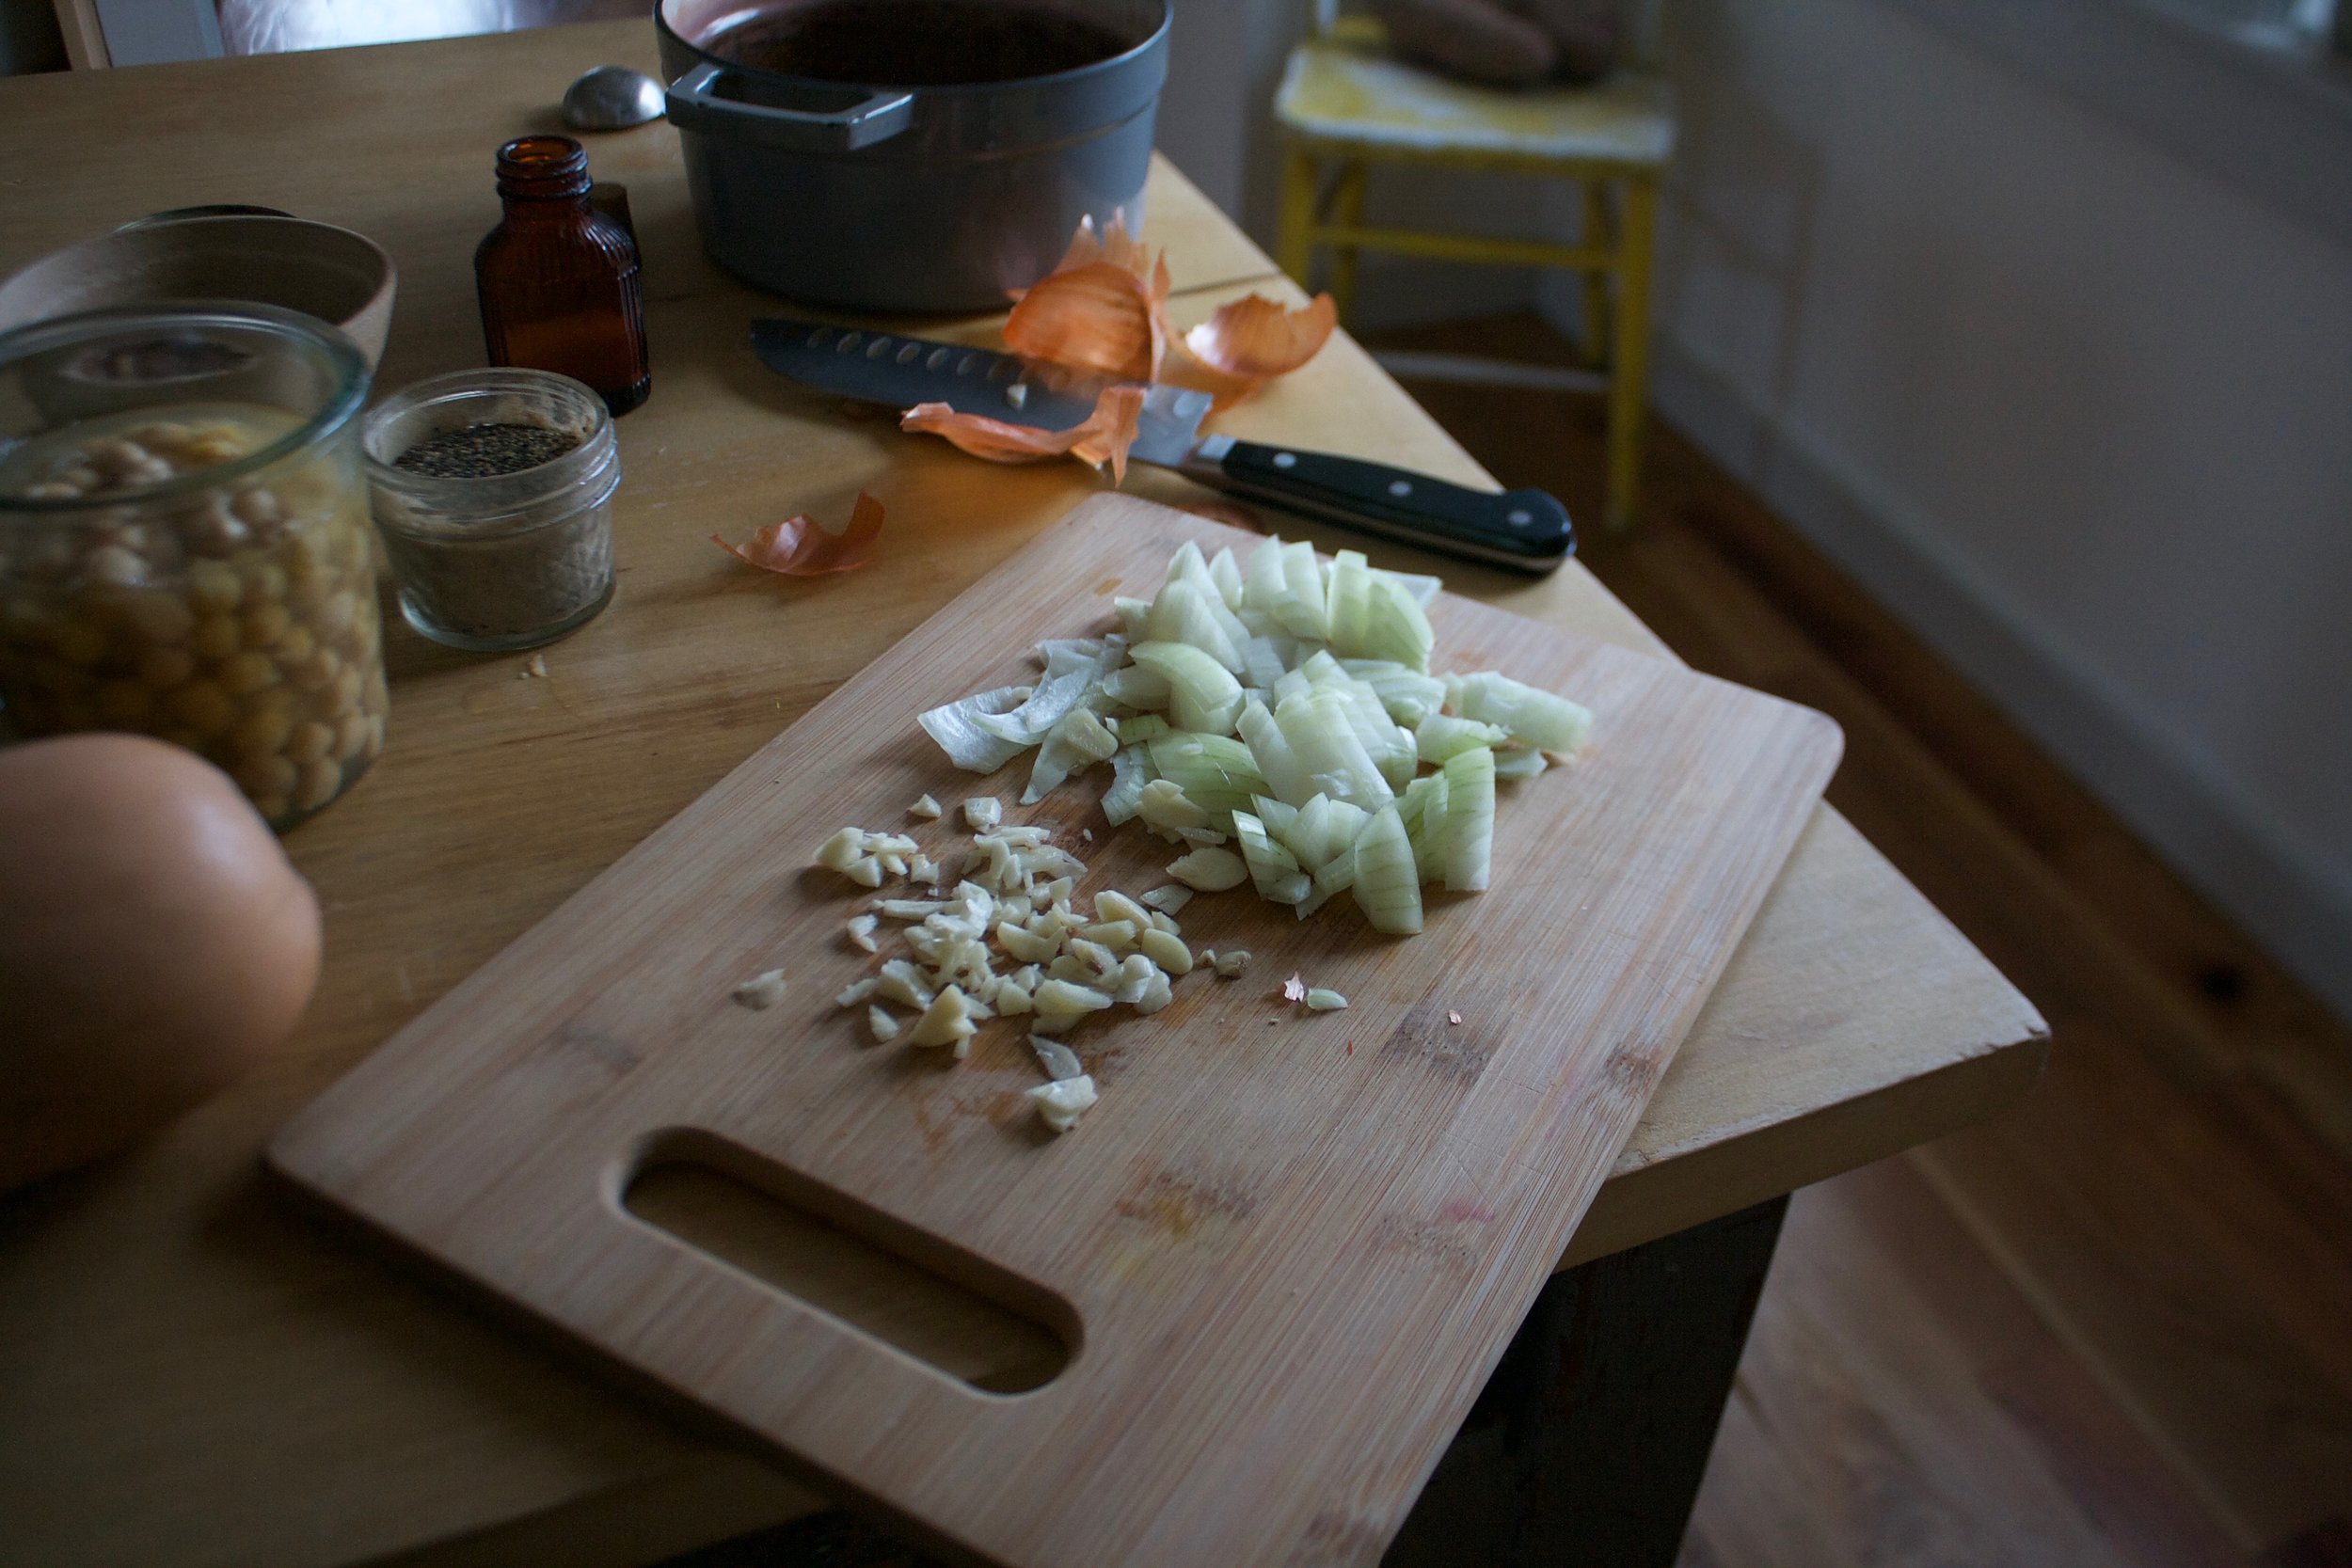
Start by chopping the onion into small pieces and mincing the garlic. Add to a big pot with a little olive oil and get it on a medium heat to start to cook it all down. 

While the onions and garlic are cooking,  cube the squash. You probably only need the neck, so cut the bottom off (save for later) and peel the skin (also save for later , for soup or stock). Cut the peeled squash into mouth sized cubes. 

IMG_8608.jpg

And by the time you are done with the squash, the onion and garlic have had enough time cooking. Add in the can of coconut milk and the coconut flour. Stir in the flour and bring the pot to a boil, then turn heat down to medium again and let cook for a few minutes until it starts to thicken a bit.

IMG_8615 2.jpg
IMG_8619.jpg

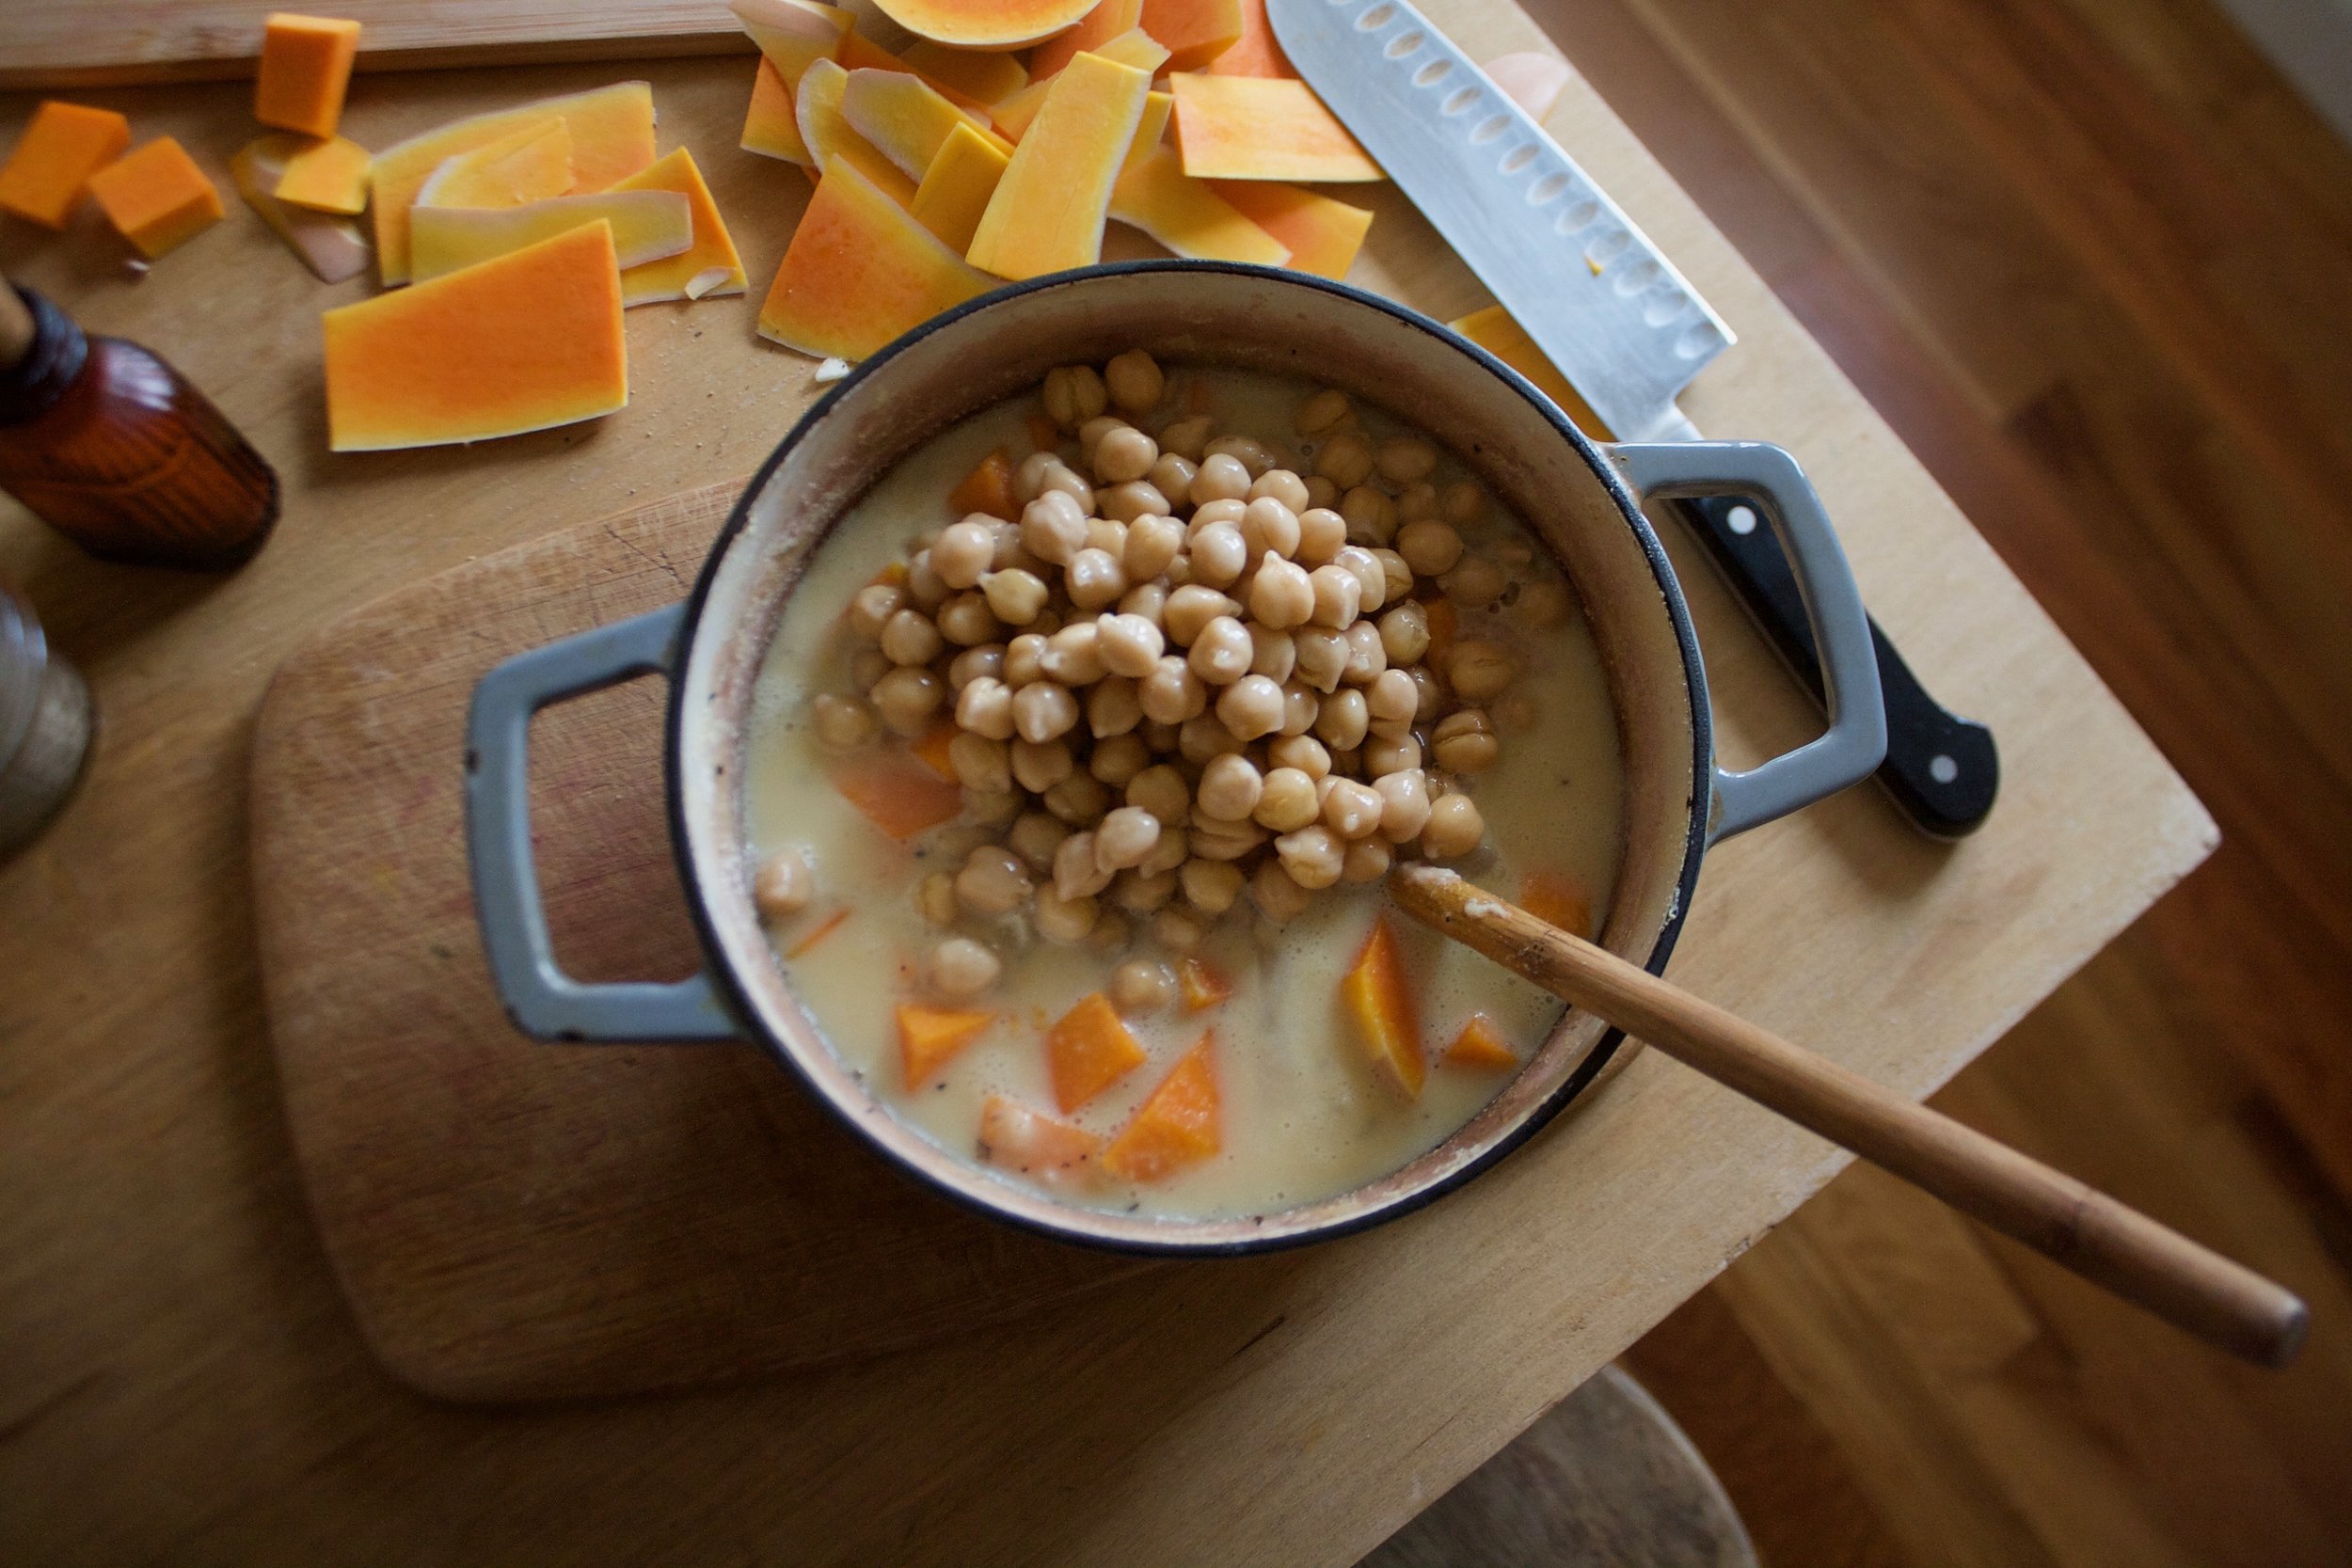
Remove from heat and add in the squash, the chickpeas, and salt and pepper. Mix it all around.

IMG_8623.jpg

Pour directly into the casserole dish filled with kale and give that all a good mix around.

Level it all out and top with the chopped hazelnuts.  Now into the oven it goes. 

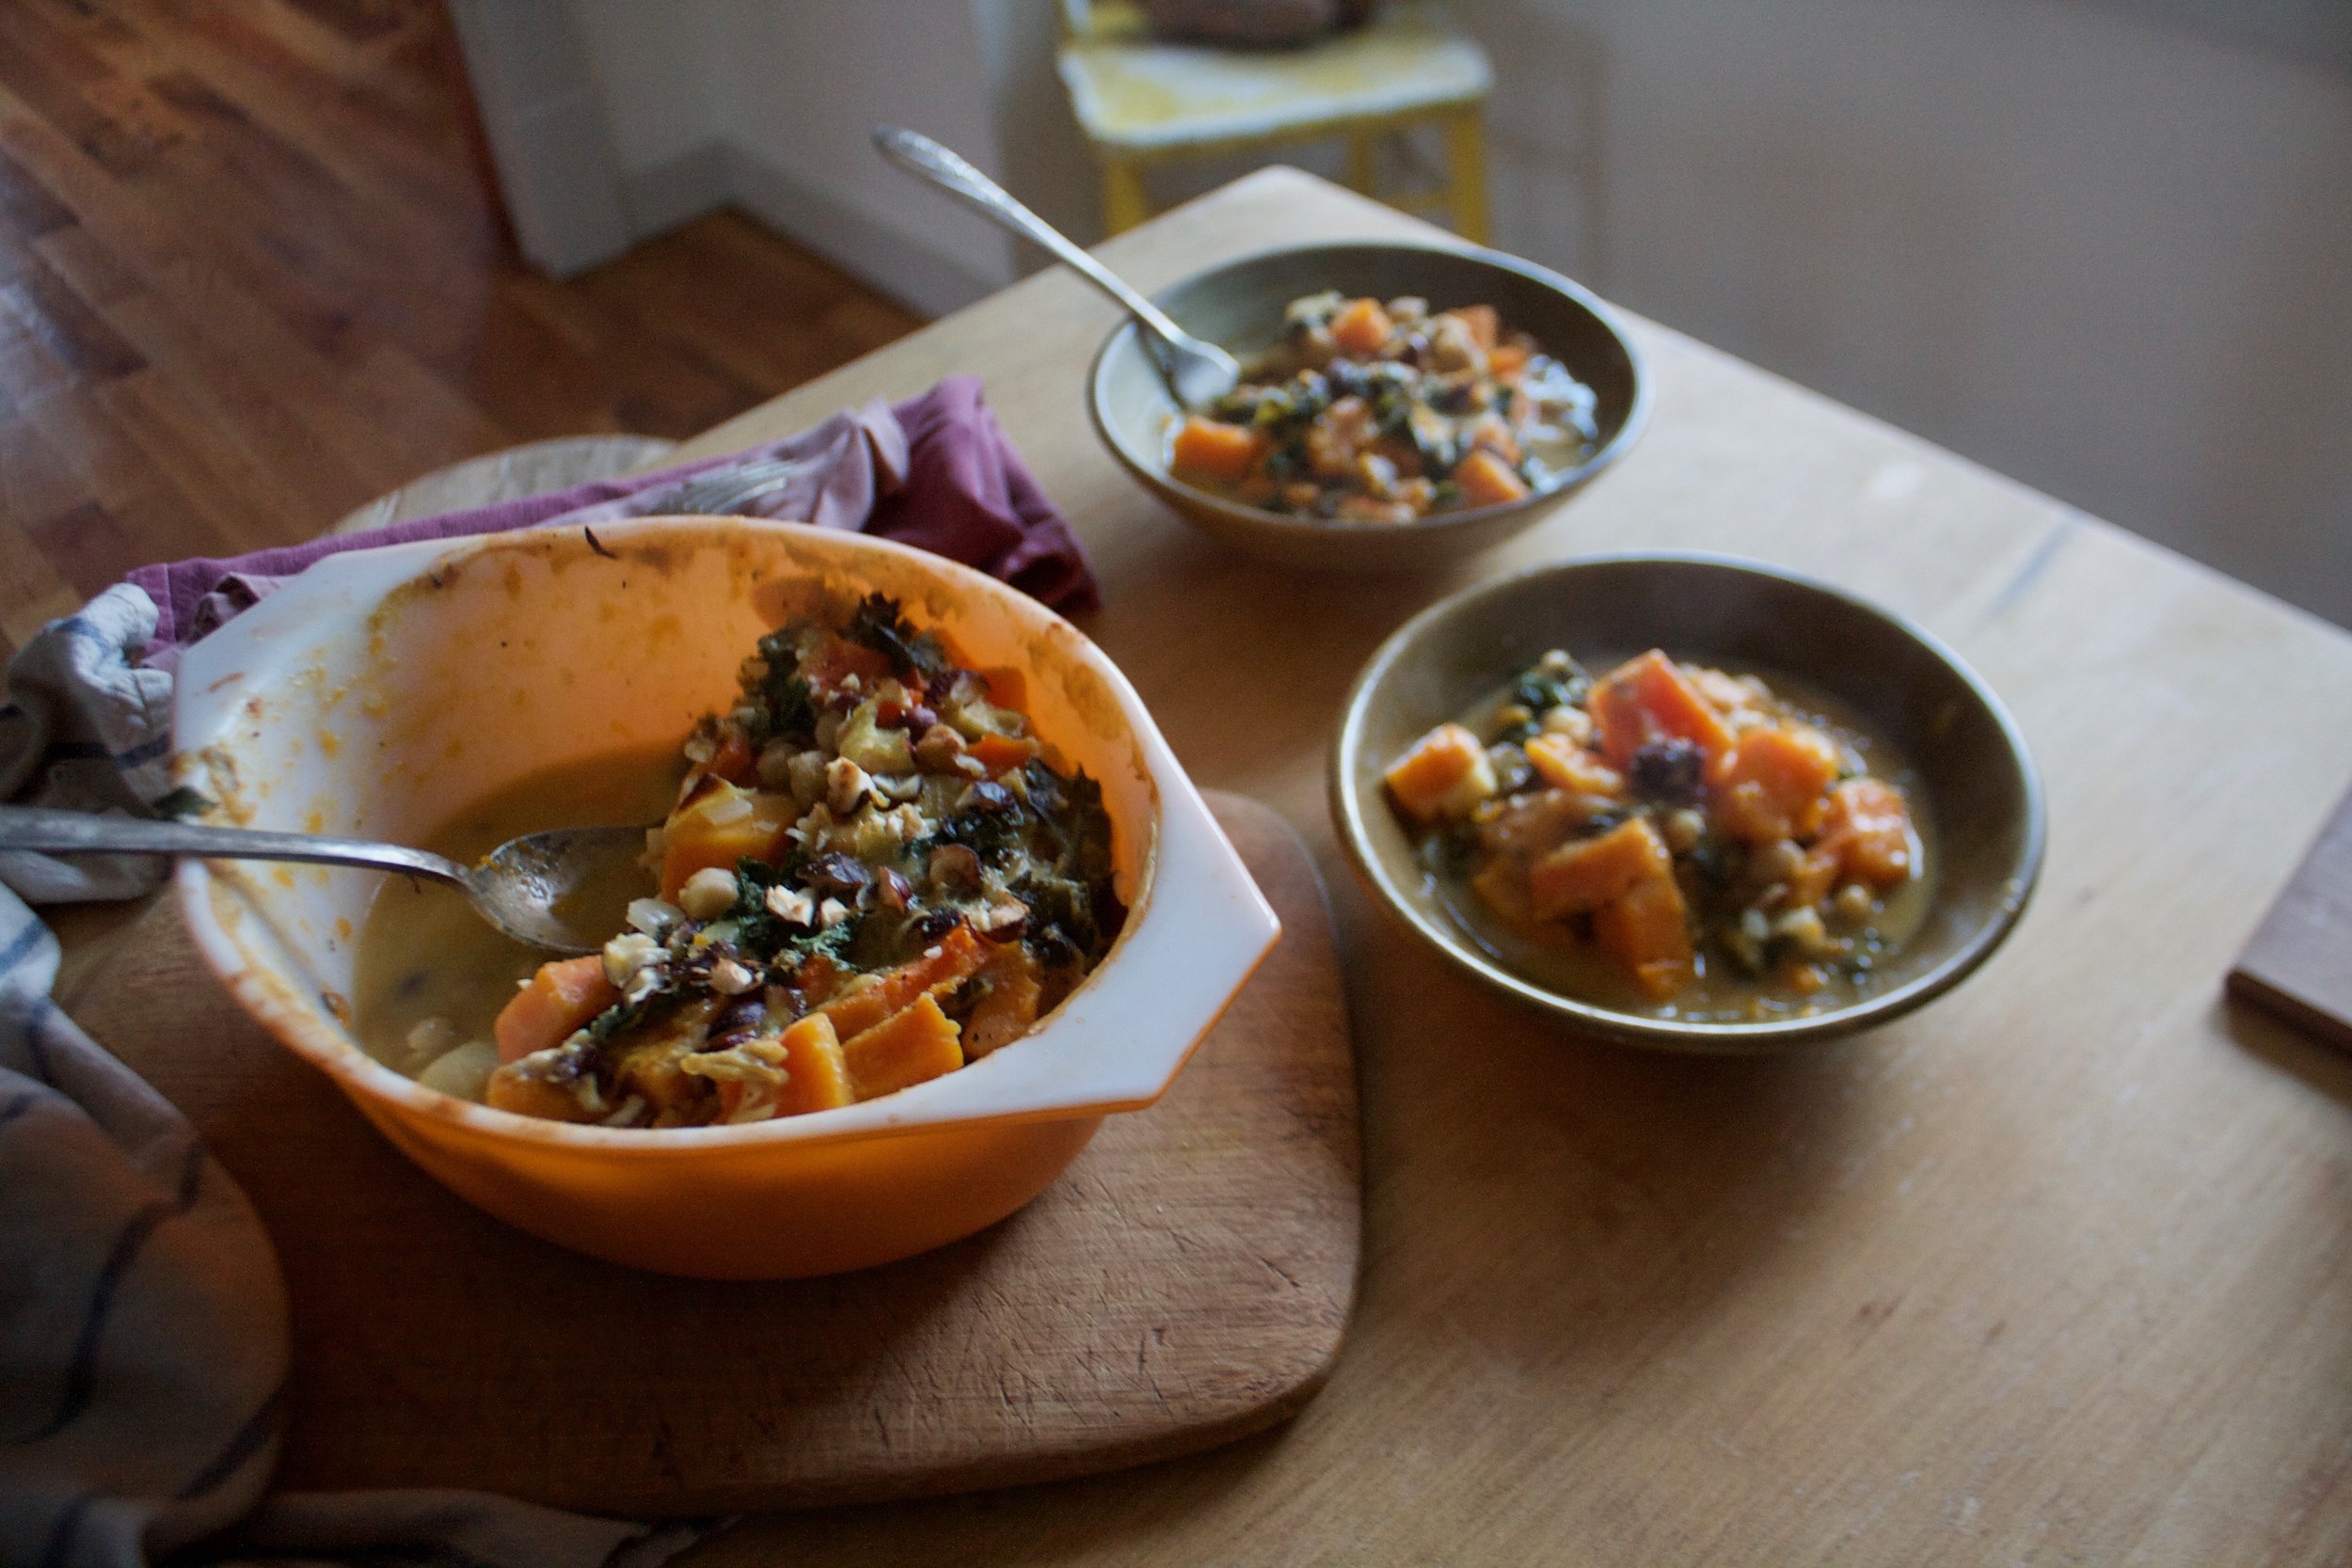
And hour or so later, you have yourself a casserole ready for for your face.

Grab a bowl and dig on in.

-C

P.S. We realized as we are eating that a really goof vinegary hot sauce or lime juice are perfect addition to this dish. So do that. 


Butternut Chickpea Kale Coconut Casserole Topped with Hazelnuts 

serves 3-5

  • 1 can light coconut milk
  • 1 can chick peas drained 
  • 3 ish cups cubed butternut squash
  • 1/2 bundle of kale (like 5 big handfuls chopped up)
  • 1/2 cup chopped raw hazelnuts
  • 1 onion
  • 2 tablespoons coconut flour ( can sub regular flour)
  • 4-5 cloves garlic
  • olive oil
  • salt and pepper 
  • Either vinegary hot sauce or a lime wedges (optional for serving)

preheat oven to 375

Start by chopping the onion into small pieces and mincing the garlic. Add to a large pot with a tablespoon of olive oil and place on a medium heat to start cooking. 

While the onions are going, peel and dice your squash. The easiest way to do this is to cut the neck off and then peel that. (save the peels and the base for soup) Dice the peeled squash into mouth sized cubes and set aside.

Once the onions are lightly cooked, whisk in the canned coconut milk and the coconut flour. Bring mixture to a boil then return to a medium heat. Cook for about 5 minutes or until the milk starts to thicken a bit. Add in the squash, the chick peas, and a teaspoon of salt and pepper. Mix together. Add in the chopped up kale and mix that it then dump it all into 3 quart casserole dish. Level it out and top with the chopped hazelnuts. Place the casserole into the oven and bake for 1 hour ( or a little longer for the crispier crunchy parts. 

Once you remove from oven, let sit for 5-10 minutes to set up and then call it ready. 

Serve with hot sauce and or lime wedges.

Any left over is great for a meal  within then next few days or frozen for a meal down the road 


In winter, vermont, Vegetables, Vegan, pulses, one pot meal, grain free, Gluten Free, entree, dinner, Dairy Free, casserole, beans Tags Butternut Chickpea kale coconut casserole topped with hazelnuts, vegan, gluten free, grain free, casserole, hot dish, pulses, plant based, dinner, entree, serves a crowd, icf, intervale community farm, local, nuts, easy, winter meals, squash, protein, vermont, vegetables, roots
Comment

Plum Cake

September 2, 2017 Colleen Stem
IMG_1395.JPG
IMG_1397.jpg
IMG_1396.JPG

This summer I have gotten like 5 lbs of blackberries, a humongo bowl of raspberries, so so so many pears, and lots of random veggies, all from my neighbors and their gardens We live in a very giving and generous neighborhood. And it helps that they can't possible eat all that they grow and that I am always willing to take it off their hands (and put it into my mouth) In return we have given out rhubarb and jars of honey and overall charm and smiles. (the charm and smiles are on the mr to give out)

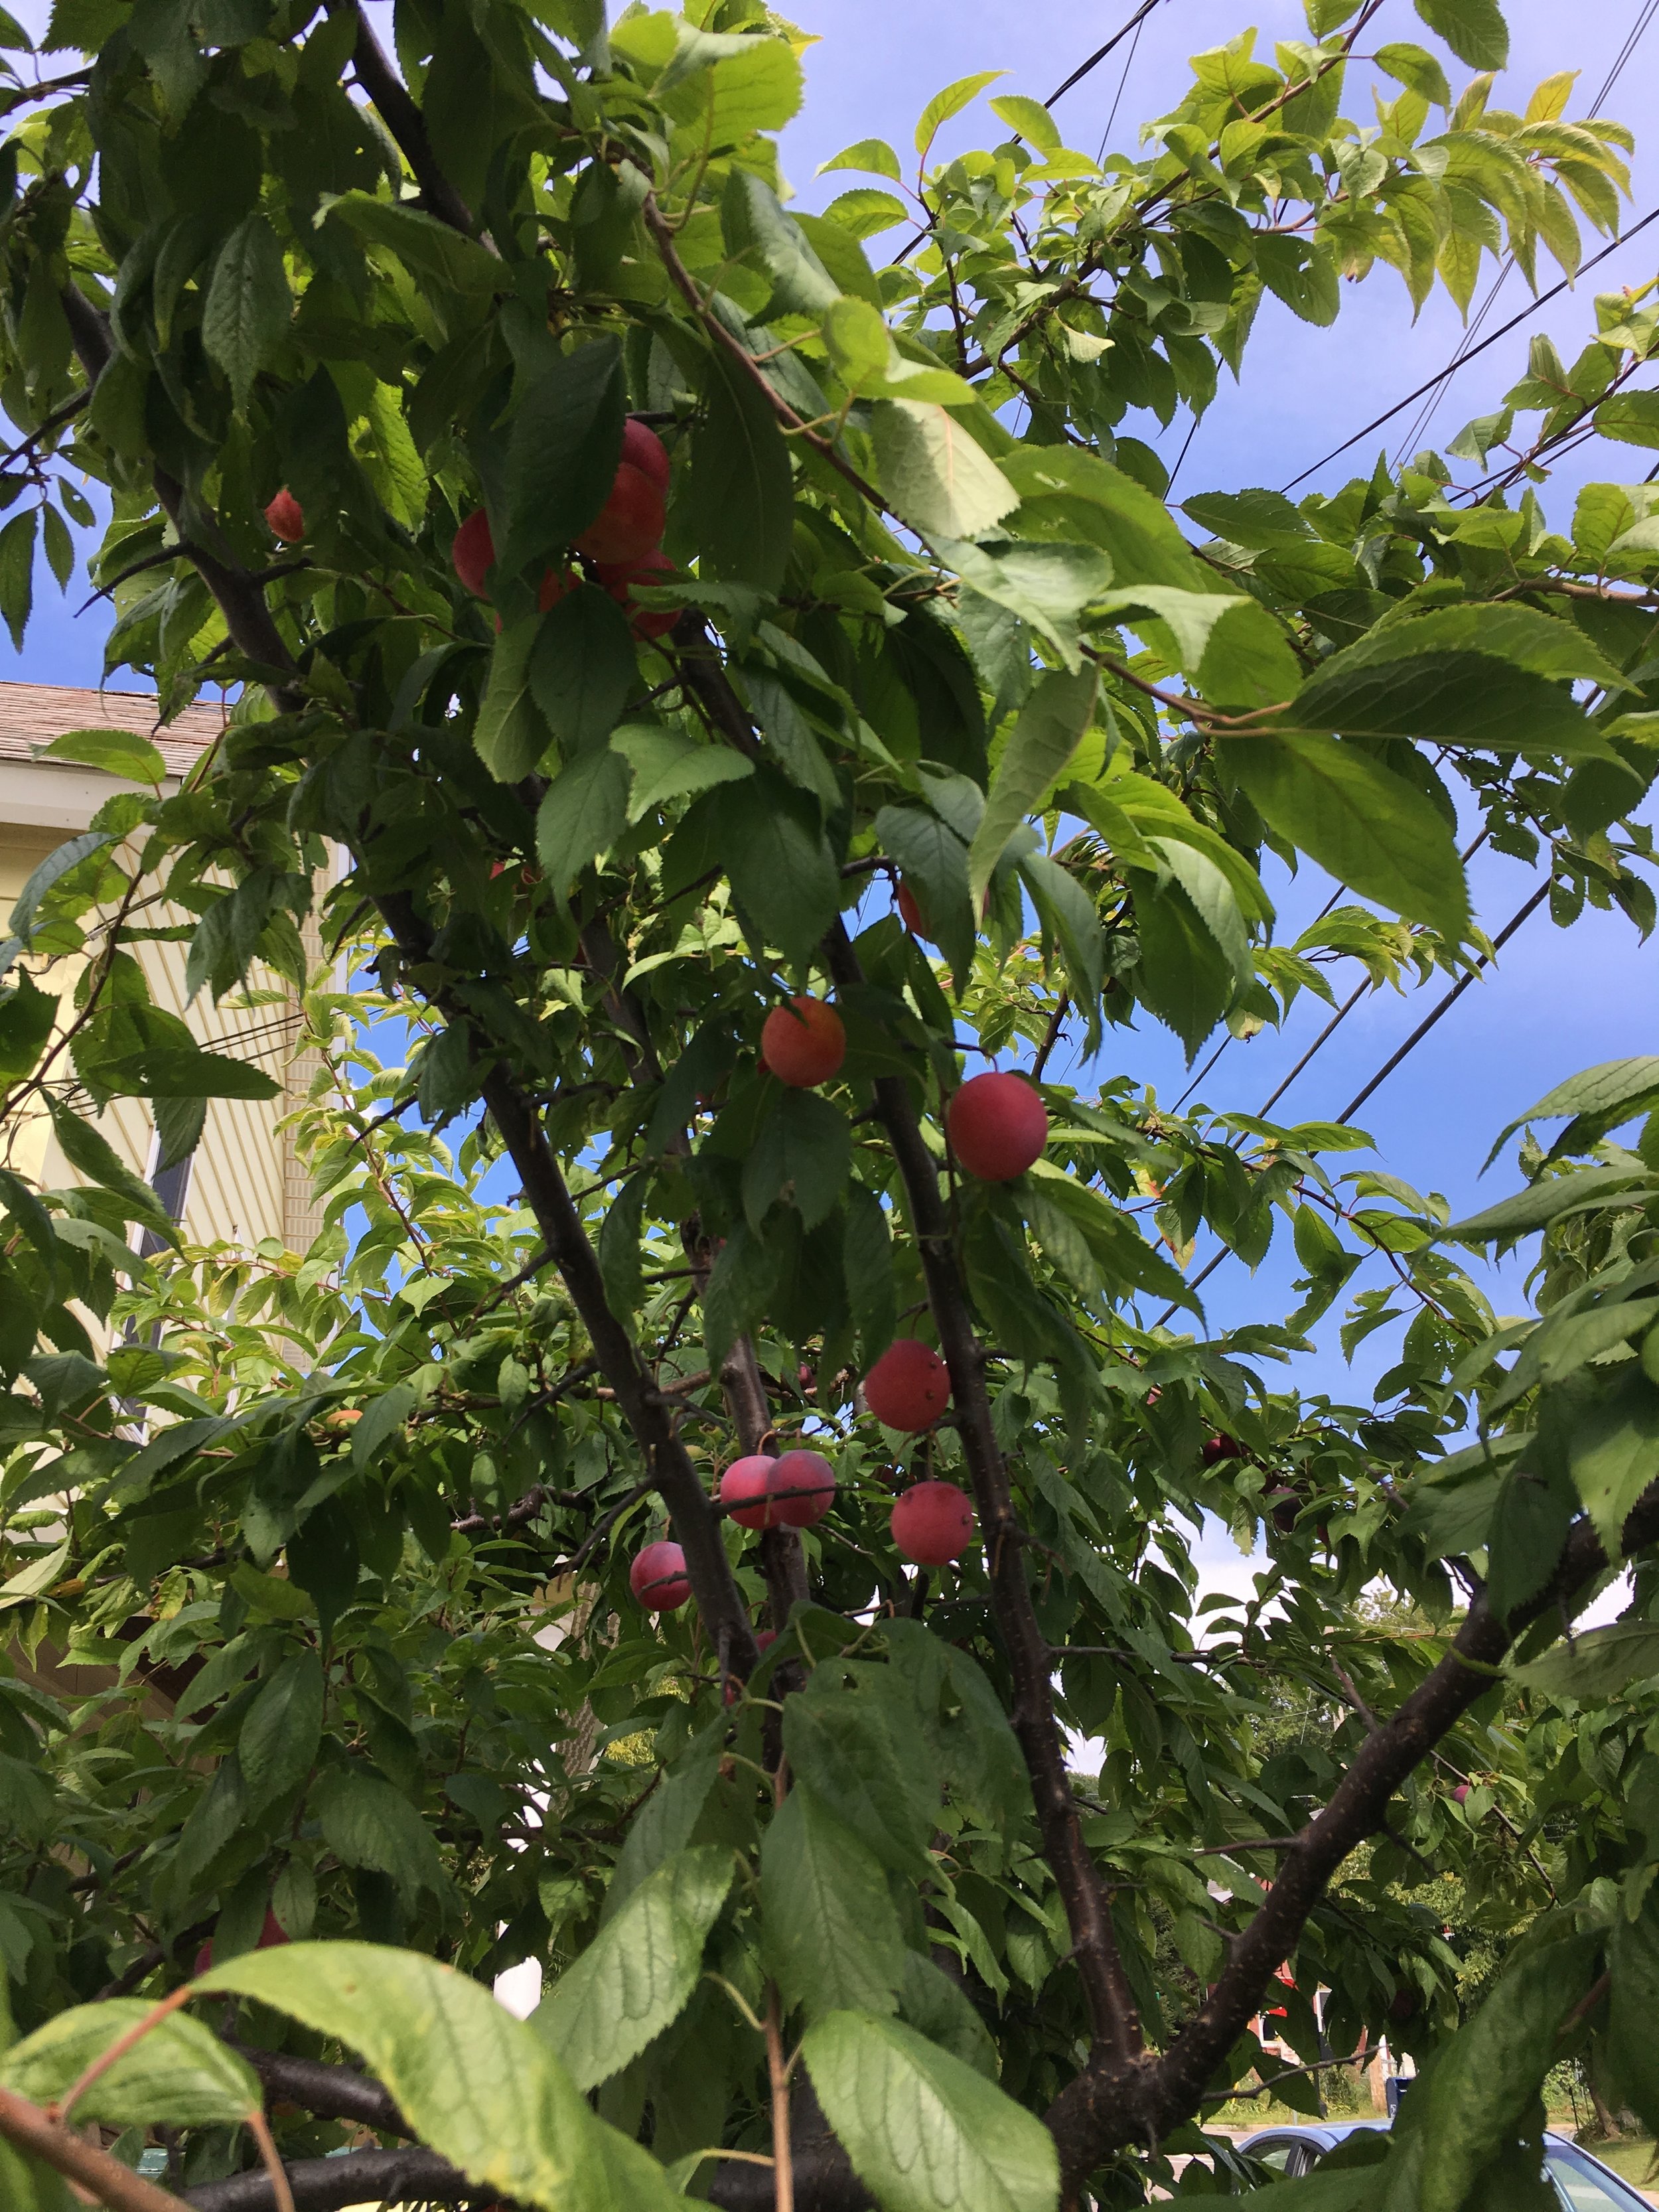
The other day on a walk, the mr and I saw this sign outside of a neighbors house. Plums, please take some! Well pull my arm, I guess I will have too, because the sign said please right? Anyway, these little plums, not sure what kind they are, but they are so good. Sweet and bite sized and pretty. I ate a few then decided that I needed to share my shared plums and went about making a cake to stick those said share plums into.

I made the cake, invited my mom and a couple of sibs over. Mom didn't come but Barb and Paul did so they got the cake, Well they got half the cake, the mr ate the rest. I was told that this cake is one of the best. I bet it is when you used share plums because sharing is caring and sharing cake is all that good stuff.

The stuff. A bowl with flour, baking soda baking powder, and slat. Then you have brown sugar, coconut oil. vanilla extract, soy milk, and a little apple cider vinegar. And plums of course.

Once you have started preheating the oven, cut your plums in half and remove the pit.The best way to do this is to run the knife along the pit all the way around the plum and then twist to break in half. Pop the pit out with you finger.

Set plums aside while mixing cake

IMG_6773.jpg
IMG_6780.jpg

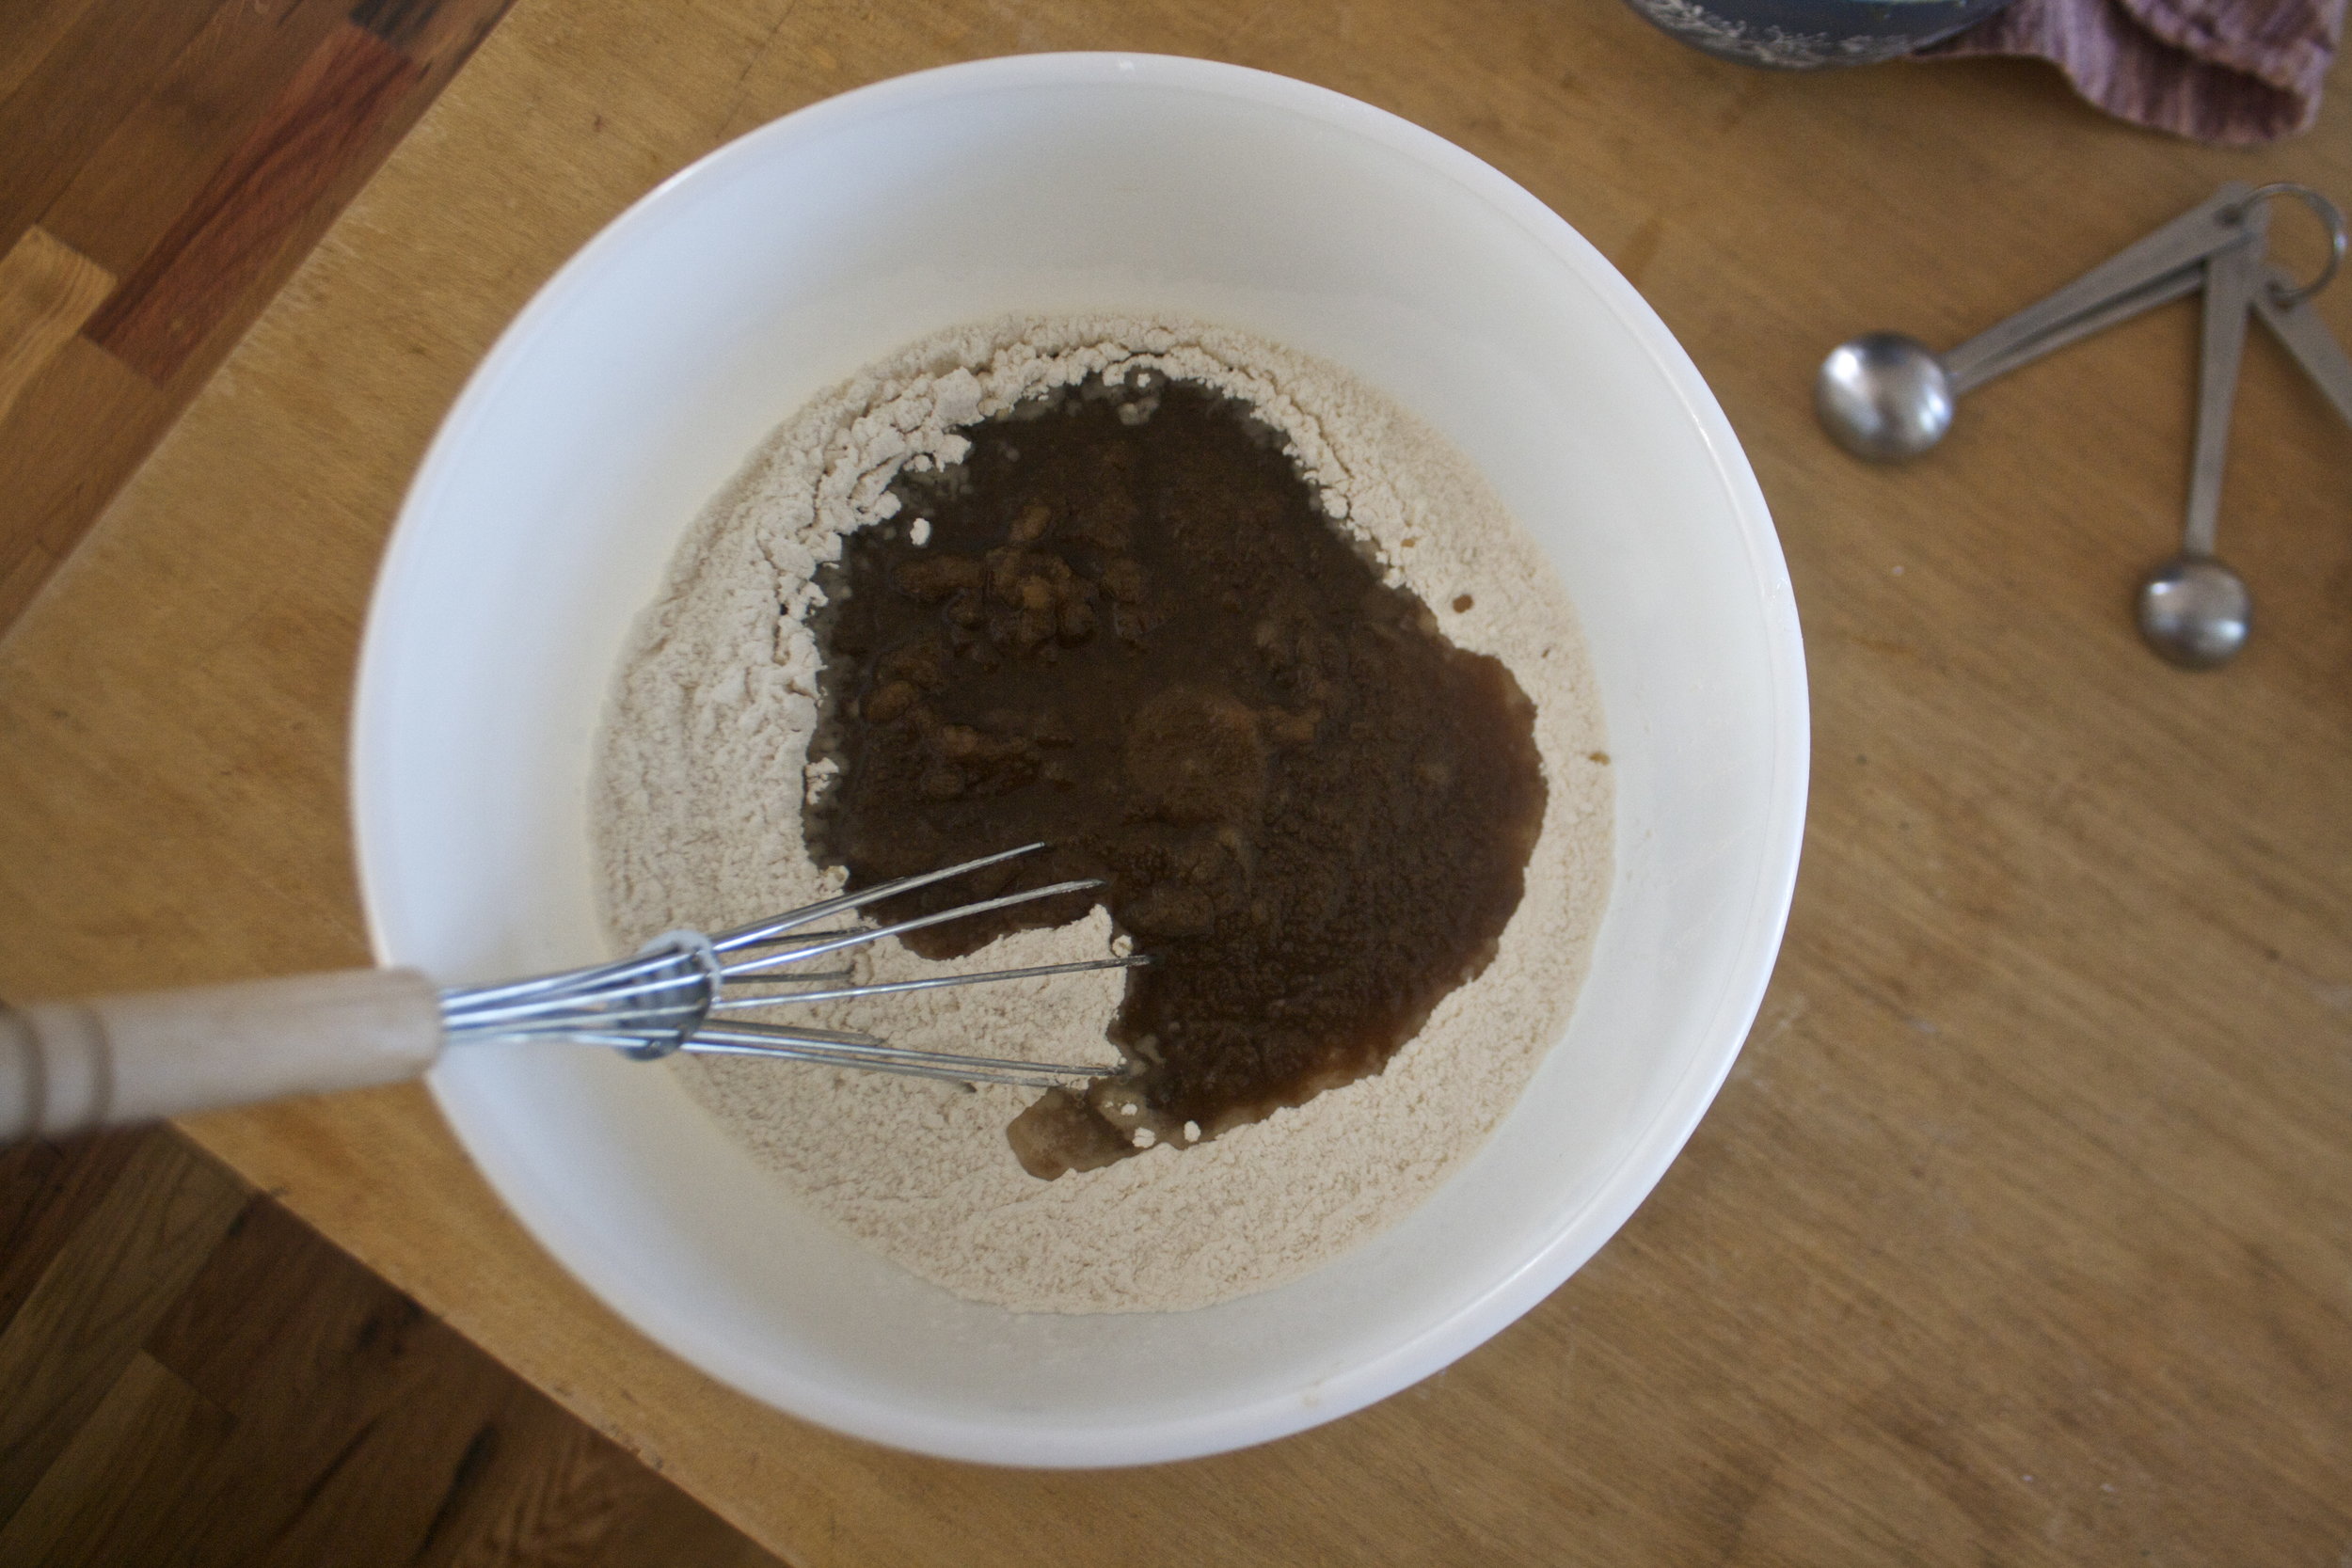
Warmed coconut oil, brown sugar, and vanilla all get mixed together into a smooth consistency then dumped into the bowl of dry stuff.

Soy milk and vinegar get added and mixed in.

Cake batter ready to go.

IMG_6807.jpg

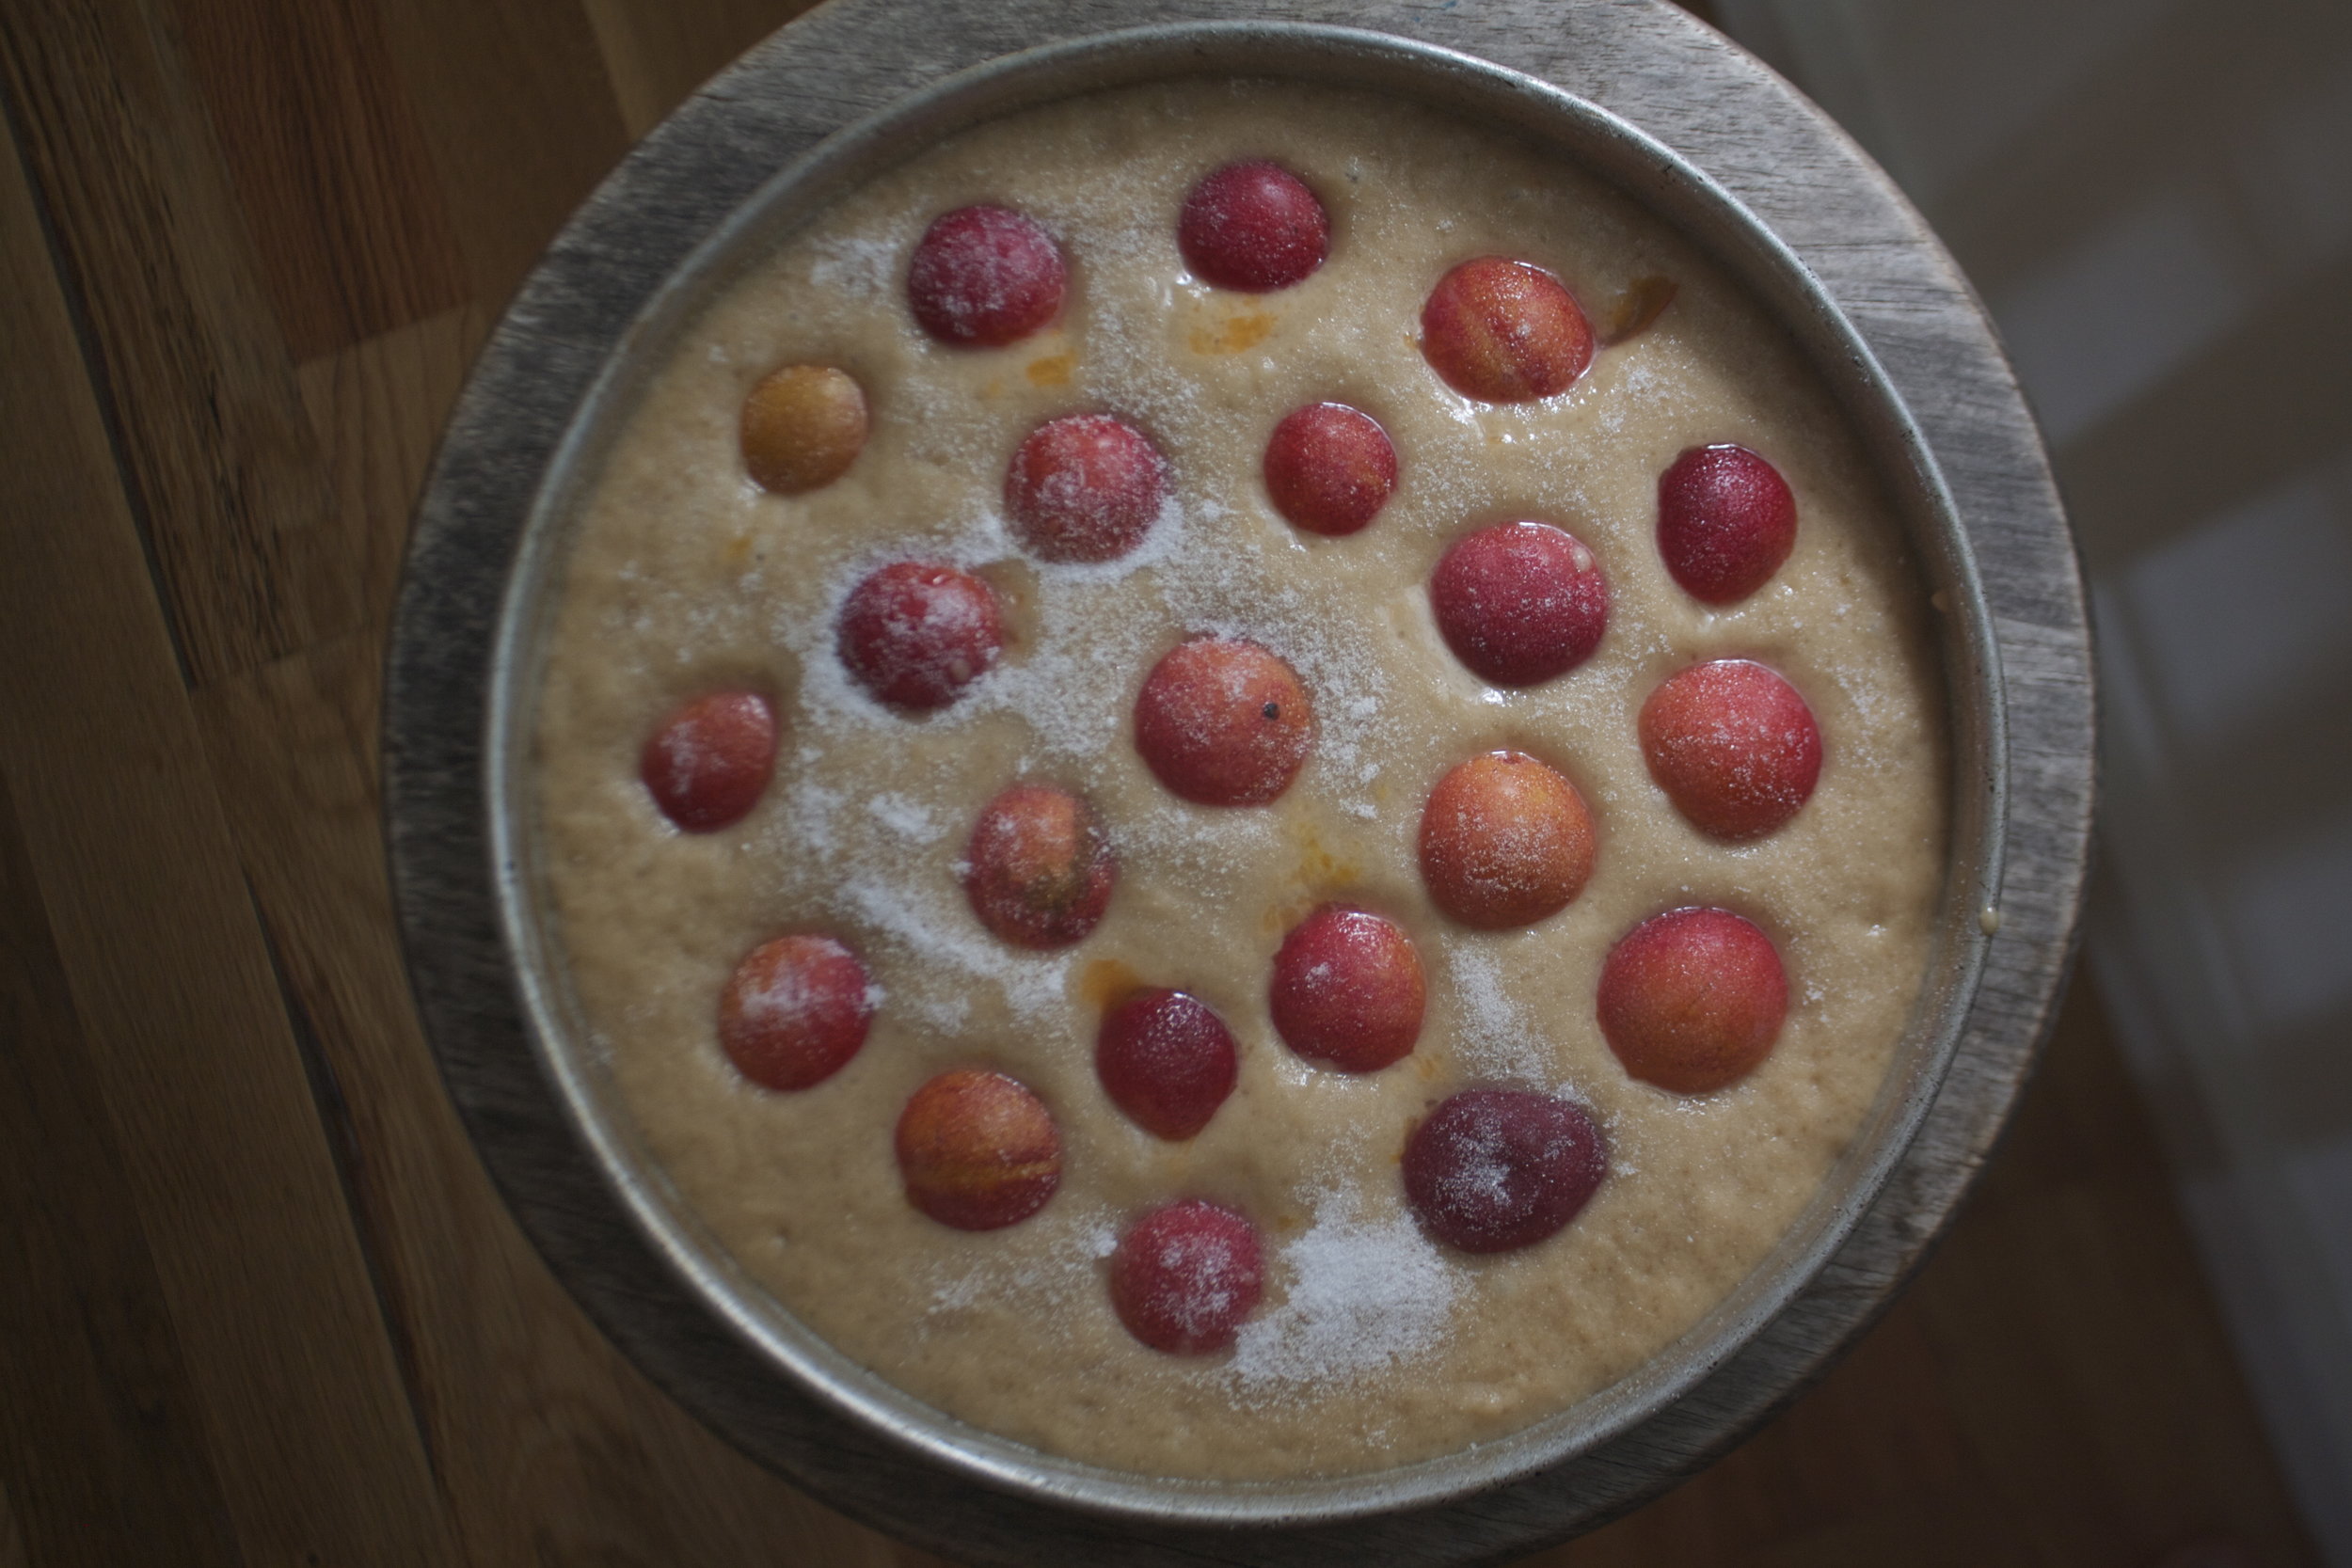
Batter gets poured into a very well greased cake pan and the plums get placed, cut side down,right on top. A sprinkle of sugar to top it off is not a bad idea.

Into the oven it goes to turn to cake!

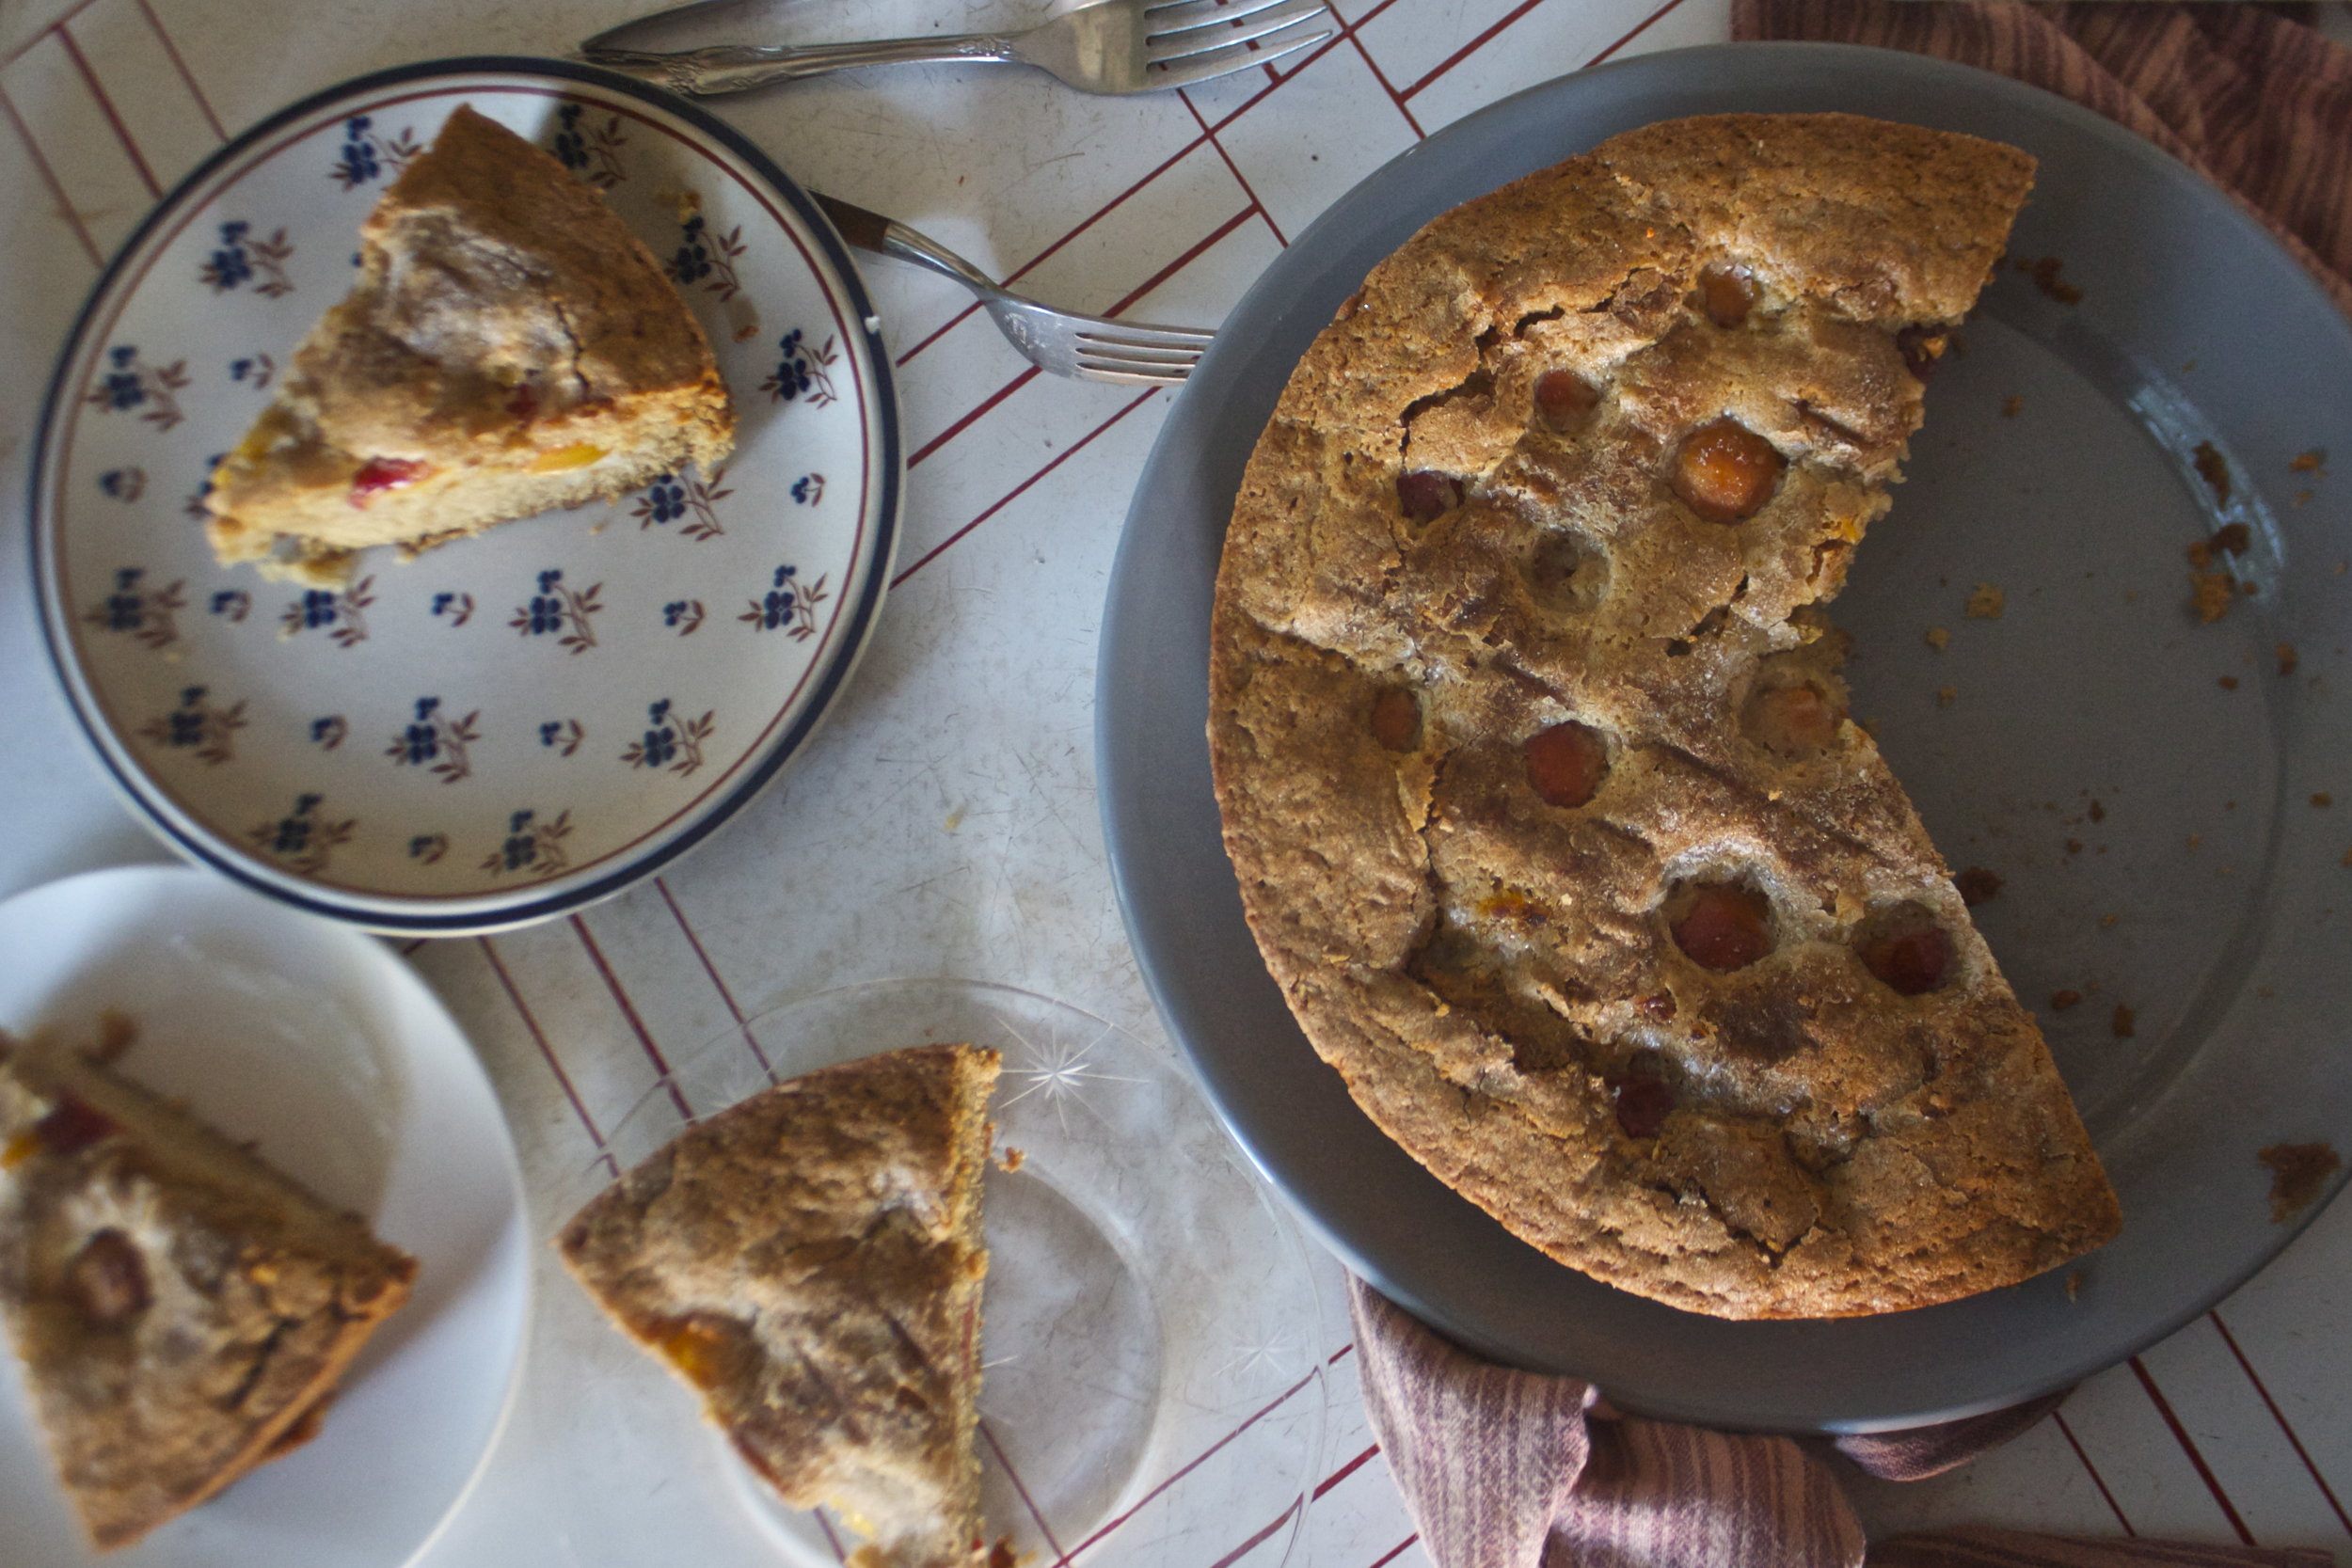
Pulled from the oven looking so nice. Let the cake cool completely in the pan before taking it out. Hot cake is hard to handle!

IMG_6851.jpg

And as soon as you get it out of the pan you can start eating.

Enjoy the last bits of summer. Share if you can!

-C


Plum Cake

Makes a 12 inch cake

Ingredients

  • 2 1/4 cups all purpose flour
  • 1 teaspoon baking sods
  • 1 1/2 teaspoon baking powder
  • 1 teaspoon salt
  • 1 cup brown sugar
  • 3/4 cup coconut oil (warmed so it's liquid)
  • 1 teaspoon vanilla extract
  • 1 cup soy milk
  • 1 tablespoon apple cider vinegar
  • 12-14 small plums (the plums I used where golf ball sized so you might need less for larger plums)
  • 1 tablespoon white sugar

Preheat oven to 350

Start by slicing the plums in half and removing the pits. Set them aside. Hint. for slicing, the best way to do this is to run the knife along the pit all the way around the plum and then twist the plum in half. Pop the pit out with you finger or spoon.

In a large bowl, whisk together the salt baking soda and powder, and salt . In a smaller bowl mix together the coconut oil, brown sugar, and vanilla until smooth. Pour the wet into the dry and add in half the milk, mix together, then the rest of the milk and apple cider vinegar. Mix until all incorporated and smooth.

Pour batter into a well greased 12 inch round cake pan.  (If you don't have that a 9x9 square pan will work) Smooth out the top then grab your sliced plums and stick them, cut side down, on top. Give each plum a little push into the batter so it half submerged. Sprinkle the top with white sugar and pop into the oven

Bake for 45-50 minutes or until a fork or toothpick stuck int he middle comes out clean.

Remove and let cool completely in cake pan, it's easier to remove the cake when it is not hot.
And once it's cool, remove cake gently and ta-da. Cake time


In cake, Dairy Free, desserts, fruit, summer, Vegan, vermont, Winooski Tags plums, plum cake, vegan, vegan baked goods, king arthur flour, local, neighbors, sharing, summer, plant based, vermonting, VT, winooski, cake, summer cake, stone fruit, dairy free
Comment
Older Posts →
 

https://thelovelycrazy.squarespace.com/config#/|/about/

Me. Food Maker.Food eater. Woo HOO!

STEM+NODE  SMALL BATCH AND ONE OF A KIND POTTERY

stem+node ceramics


____________________

Subscribe

GET NEW POSTS IN YO EMAIL

You are AWESOME!!!


@thelovelycrazy 2014-2021