• stem+node ceramics
  • HOME
  • Food Recipes
  • About
  • Contact
Menu

The Lovely Crazy

Street Address
City, State, Zip
Phone Number

Your Custom Text Here

The Lovely Crazy

  • stem+node ceramics
  • HOME
  • Food Recipes
  • About
  • Contact

Make Your Own Snow.... Wax paper Snowflakes

December 19, 2015 Colleen Stem
IMG_5957.jpg
IMG_5923.jpg

I think of myself as a problem solver. I see a problem and I look for a solution. And not to sound like a broken record, but the problem that I am having now is that it is winter here in Vermont, but you wouldn't know it cause it's 50 degrees and there is no f-ing snow. Yes, this is a problem for me. I don't think its just me, everything around here is acting weird.  My plants are not going into winter mode and are starting to droop and be sad. My fall allergies are coming back, plants are starting to bud again, Washer is shedding like crazy, and my snowshoes have not left the barn. It's just weird and it makes me sad.Vermont is suppose to be cold ans snowy right now. Sure, there are people that might like this wonky weather, think they are getting a little extra treat, but not me. NOT ME!  So this is the problem. And the solution that I have come up with, short of moving, is to cover all the windows with wax paper snowflakes.

See. Problem solver.

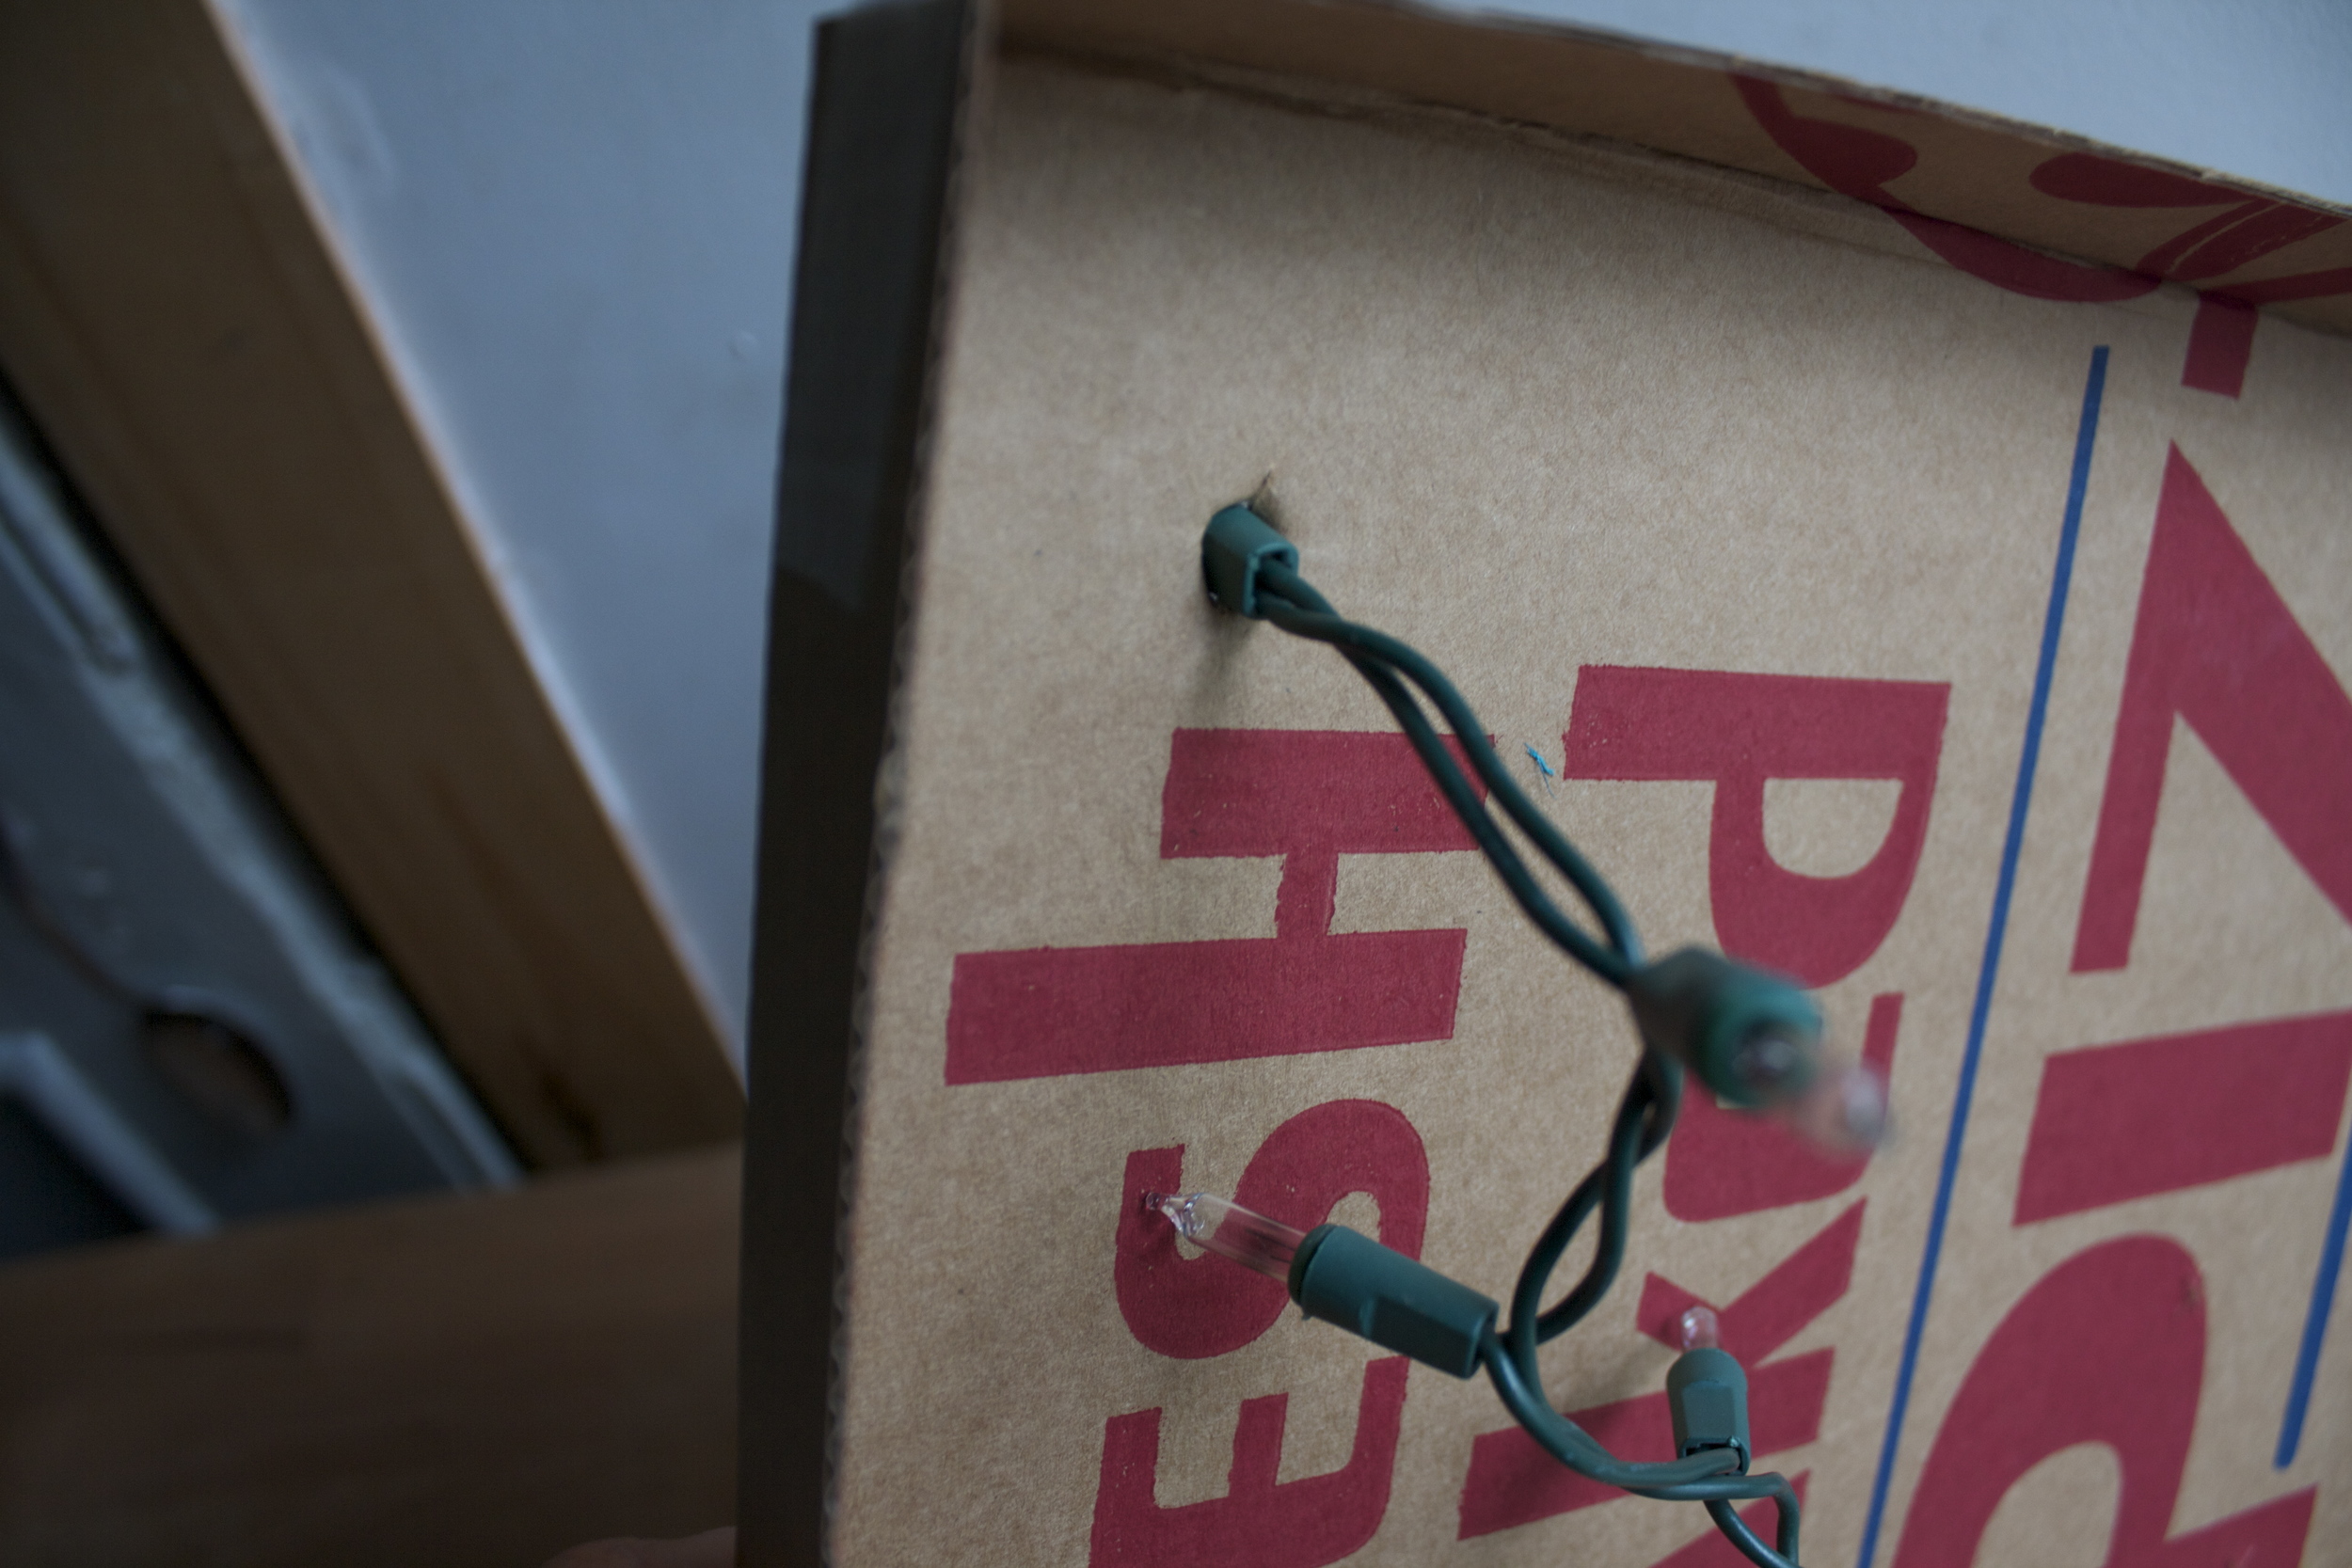
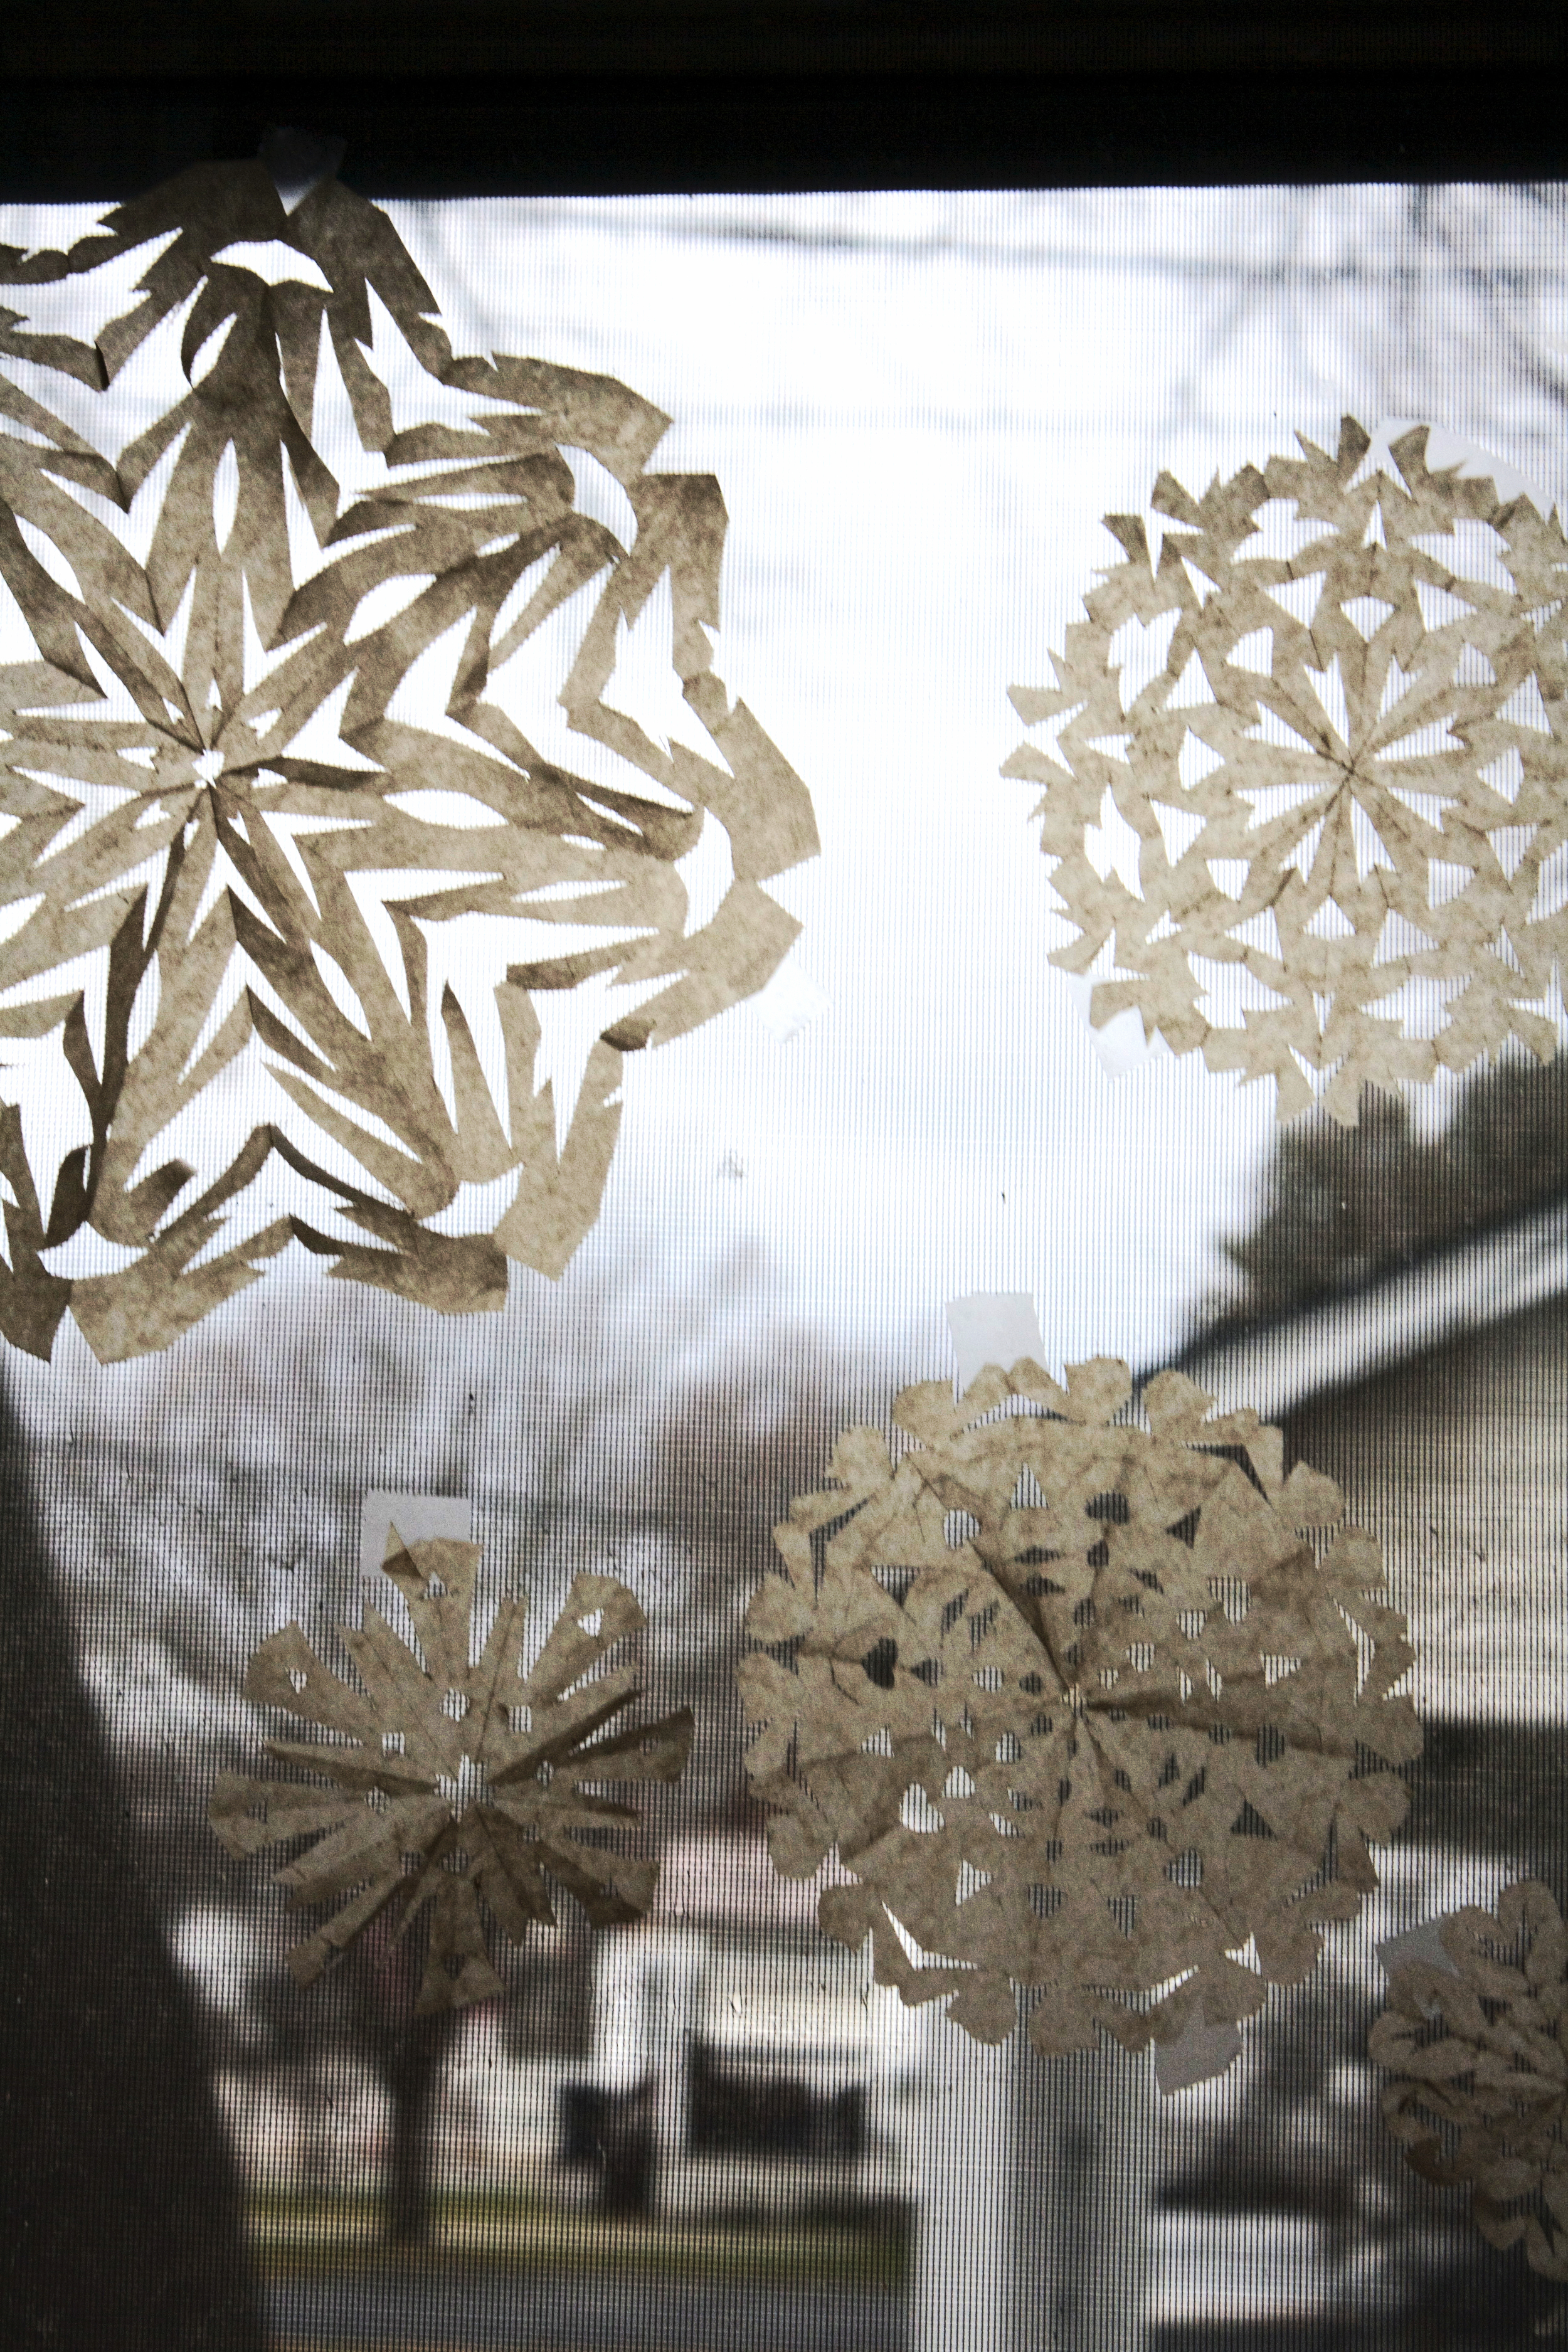
We have been spending a good amount of time over at the new house working away so this is where I decided to plaster my flakes. In between cleaning up pieces of broken wall and moving 500 lb bags of trash out of the house, I sat down at the little table, plugged in the Christmas lights, turned on some Christmas music, and totally zoned out. Sipping coffee and sniping away..it felt so right. And the results were quite good if I do say so myself. A window full of flakes that made me smile. Maybe the snow gods will see my effort and grace us with a huge ass storm. Wouldn't that be so lovely!

All you need to make some flakes is

  • wax paper (mine is slightly tan because it's not bleached)
  • scissors
  • tape

Optional things

  • glitter/glue
  • paint/brush
  • Christmas music
  • A hot beverage such as coffee or cocoa

Note. Why wax, well wax paper is really thin and makes cutting through all the folds easy. It also lets light shine through rather nicely and best part, the wax keeps the paper from getting soggy and gross from window condensation. But if you want, use paper. I don't mind.

IMG_5937.jpg
IMG_5938.jpg
IMG_5939.jpg
IMG_5940.jpg
IMG_5942.jpg
IMG_5944.jpg

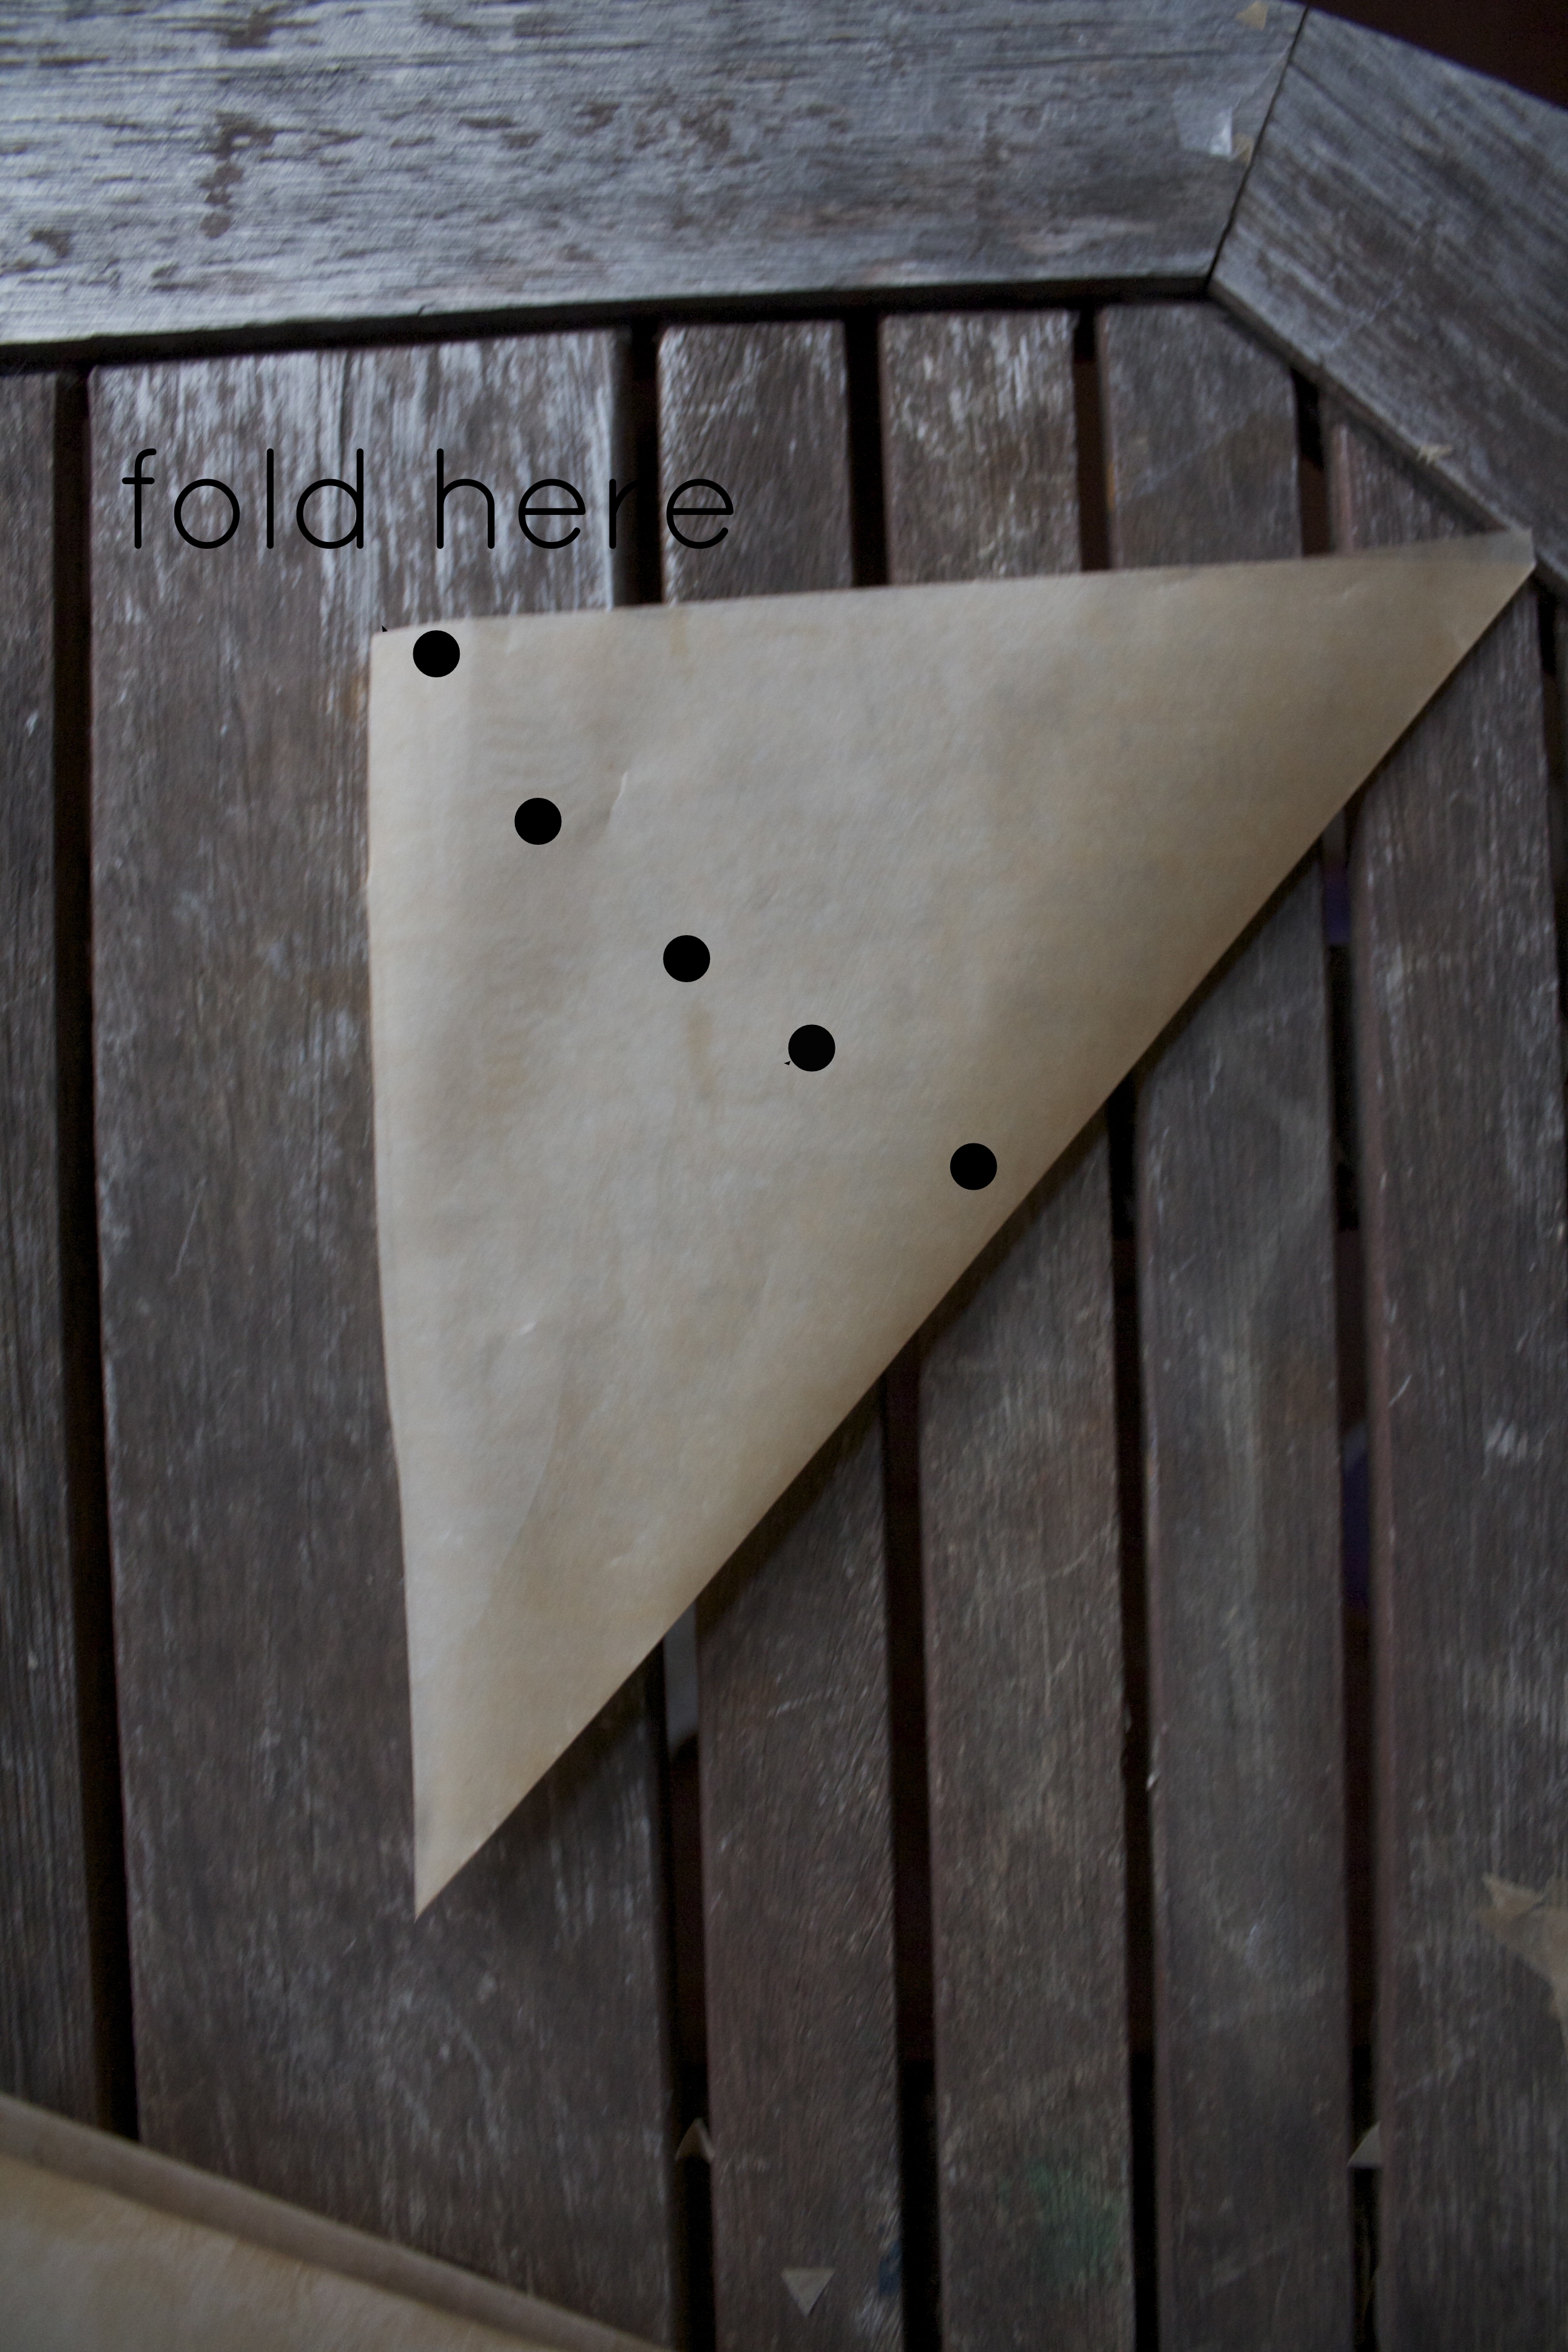
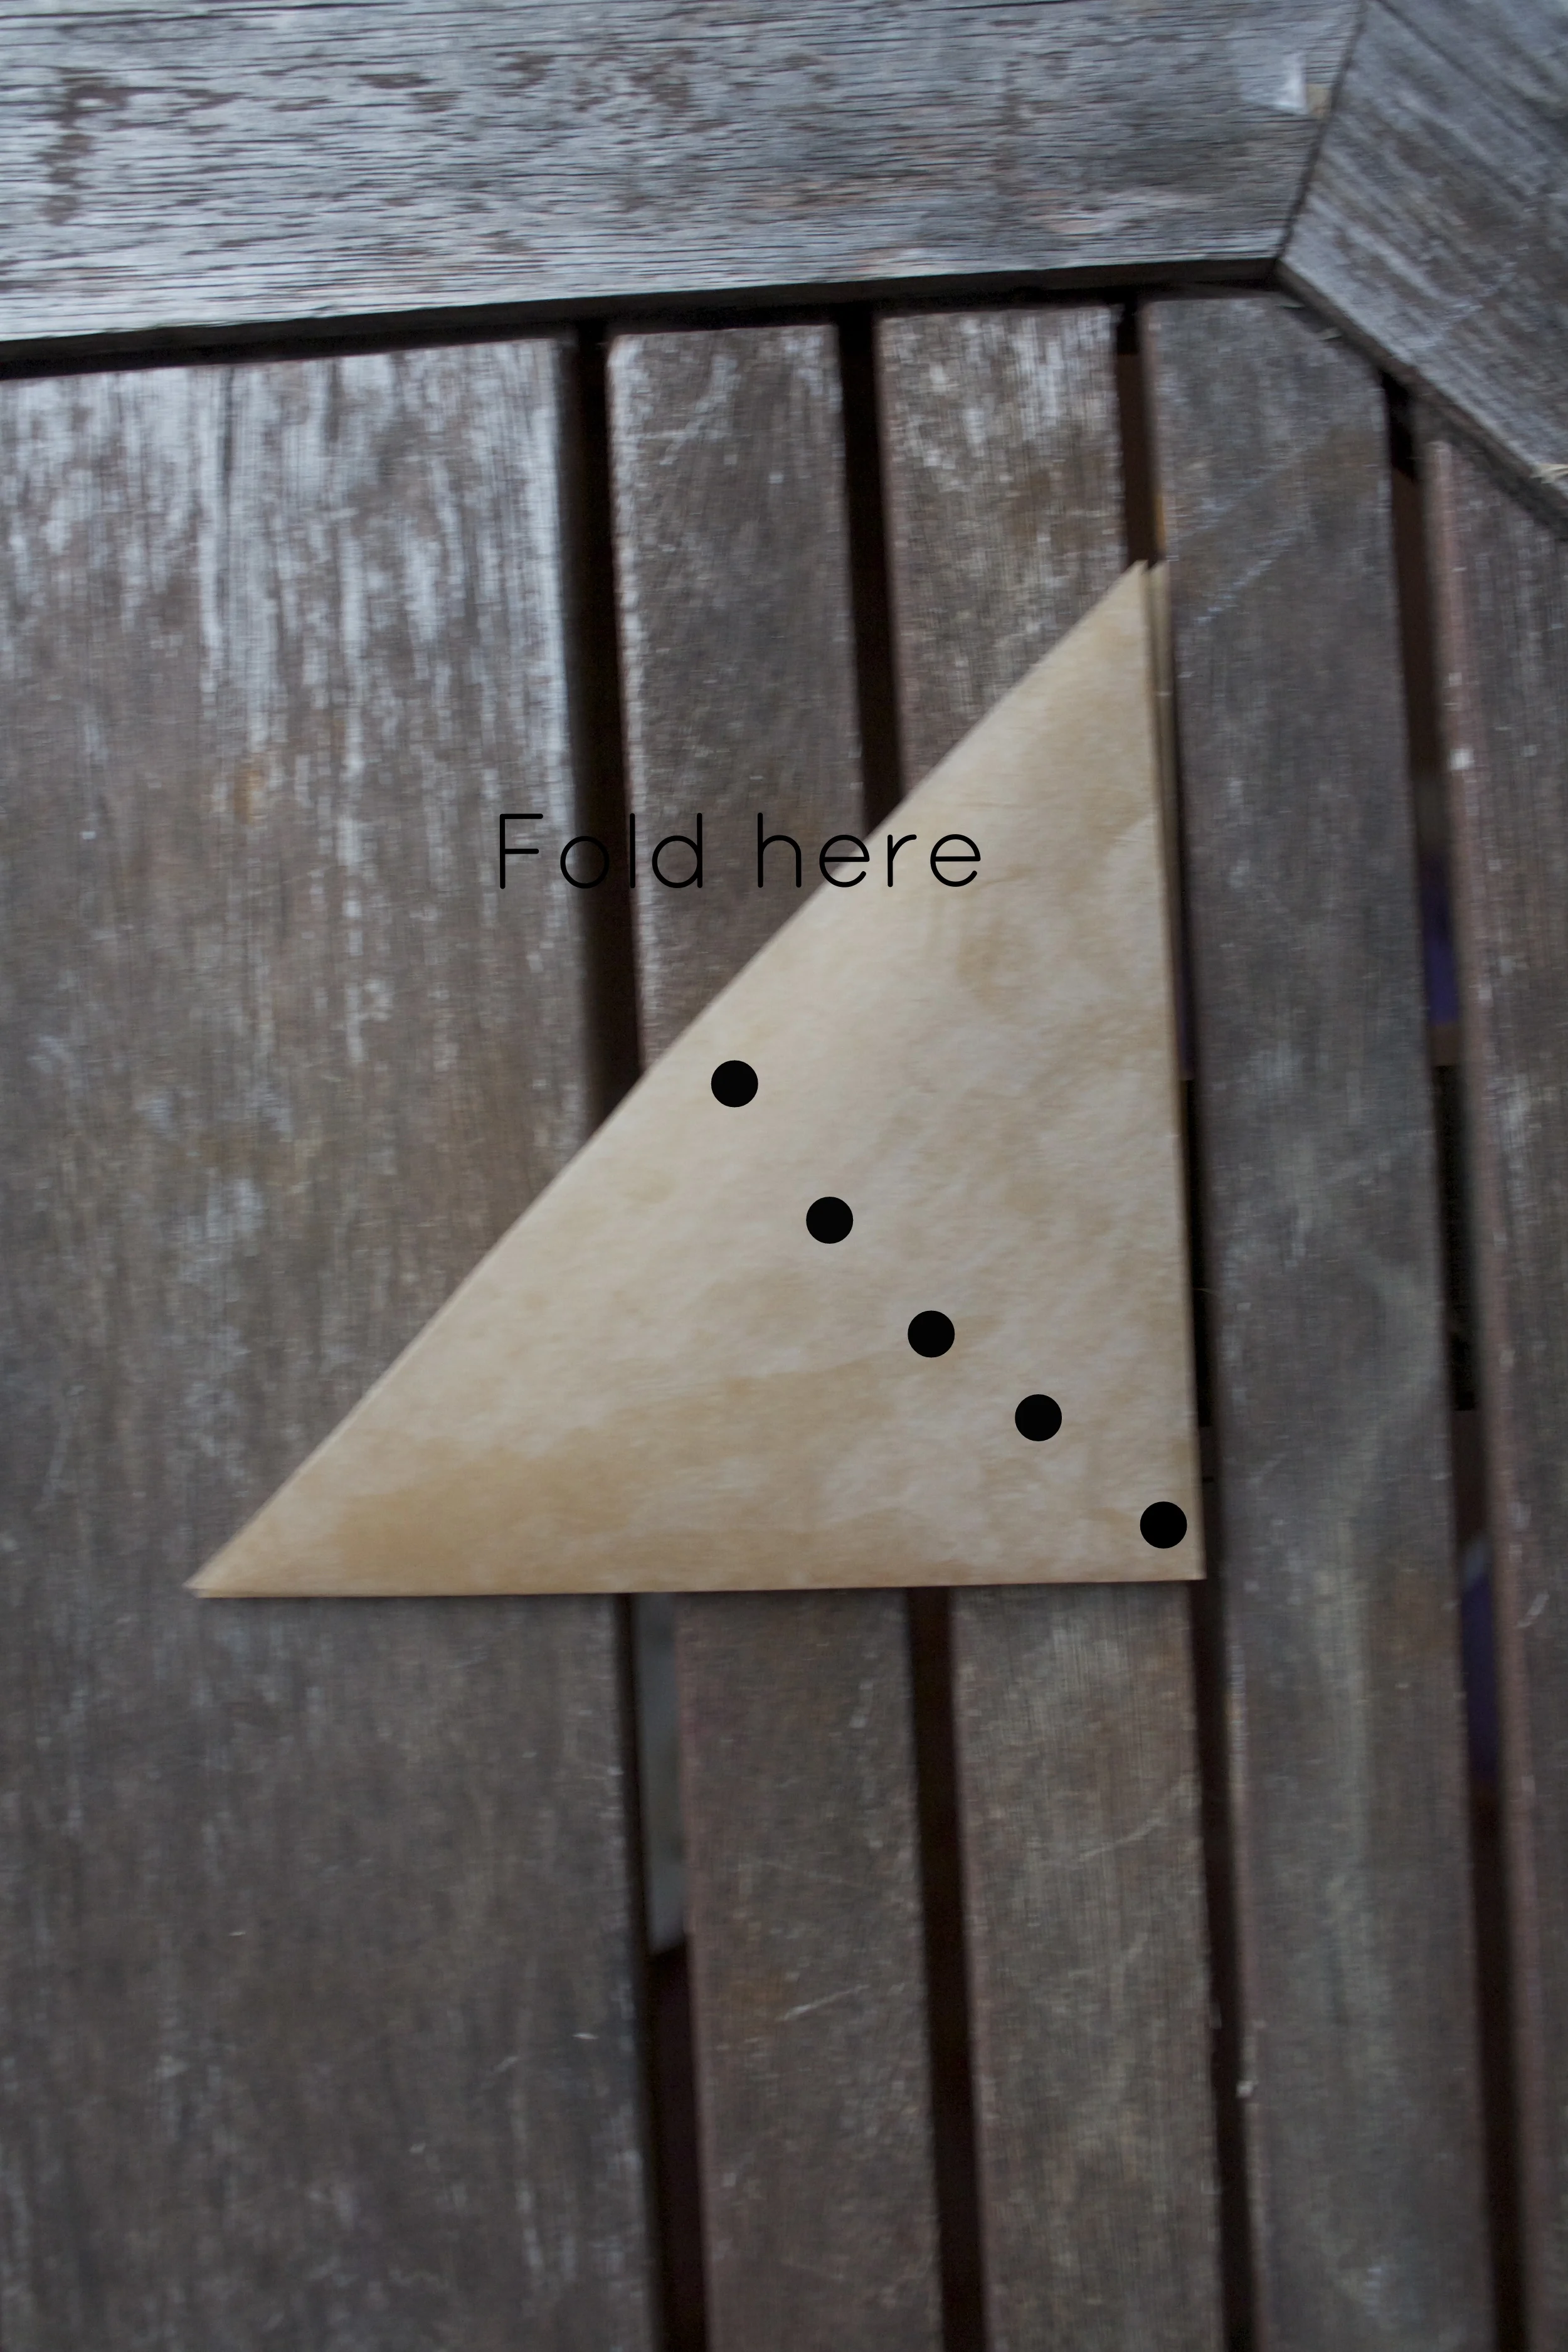
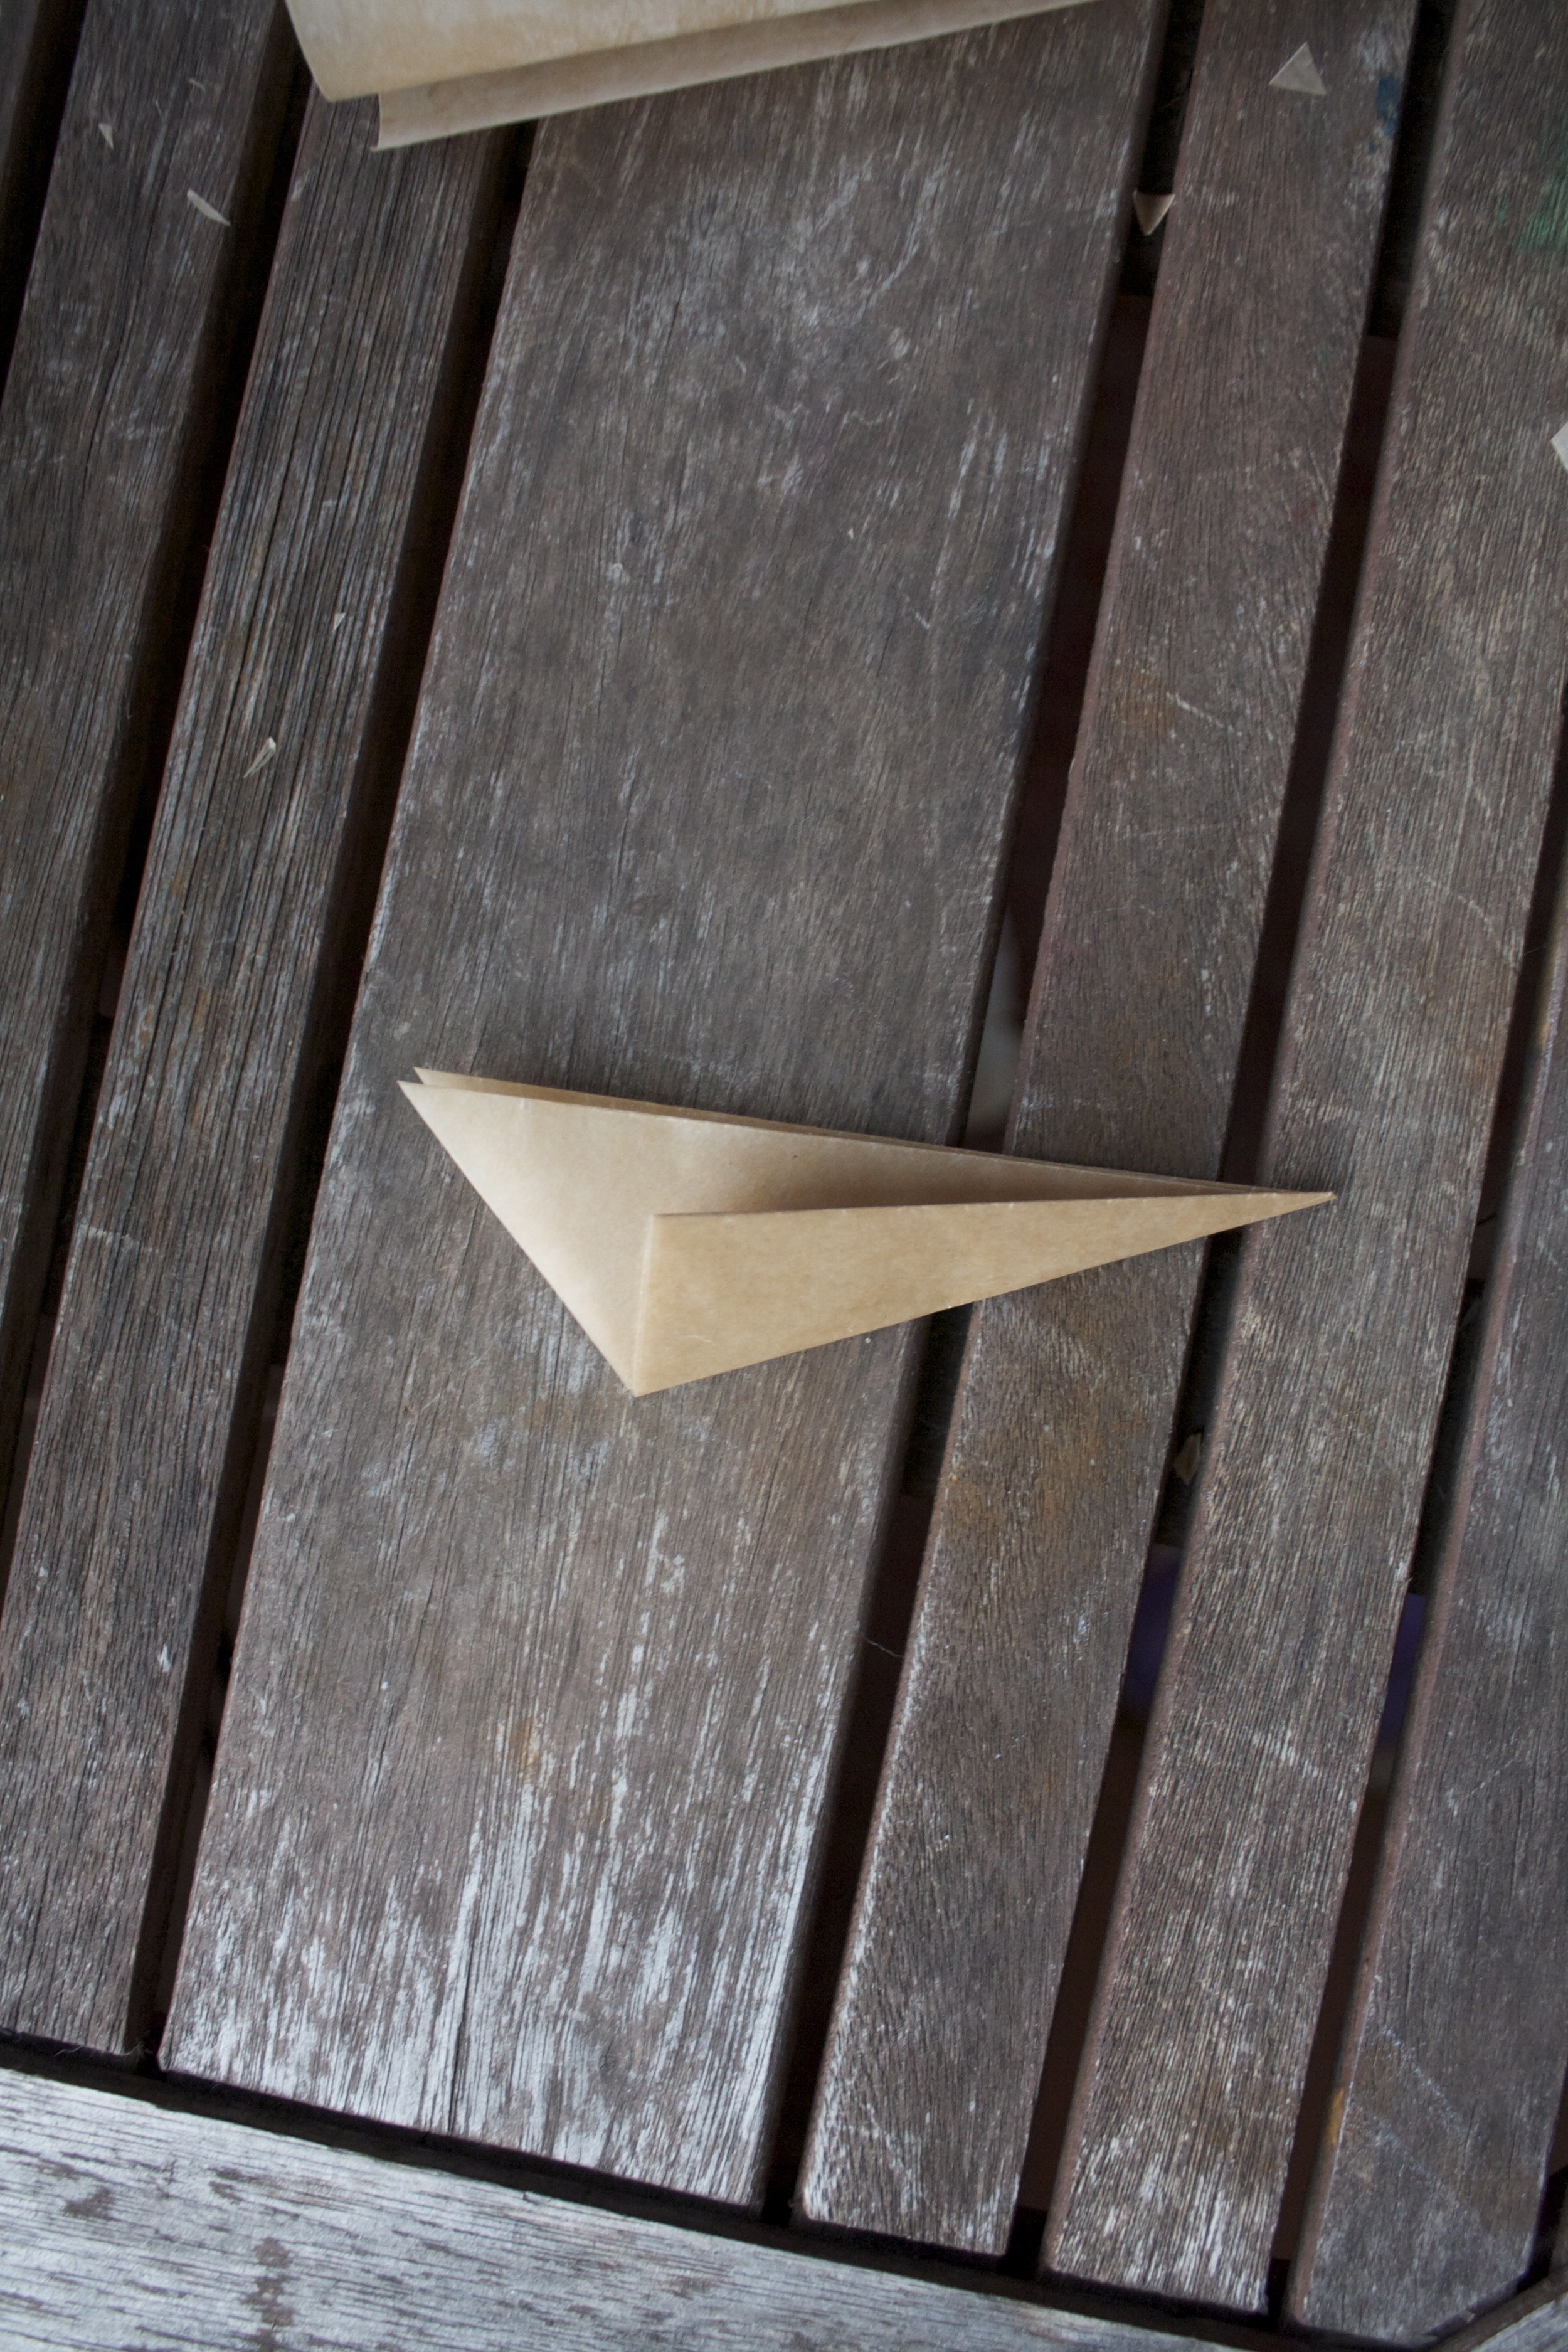
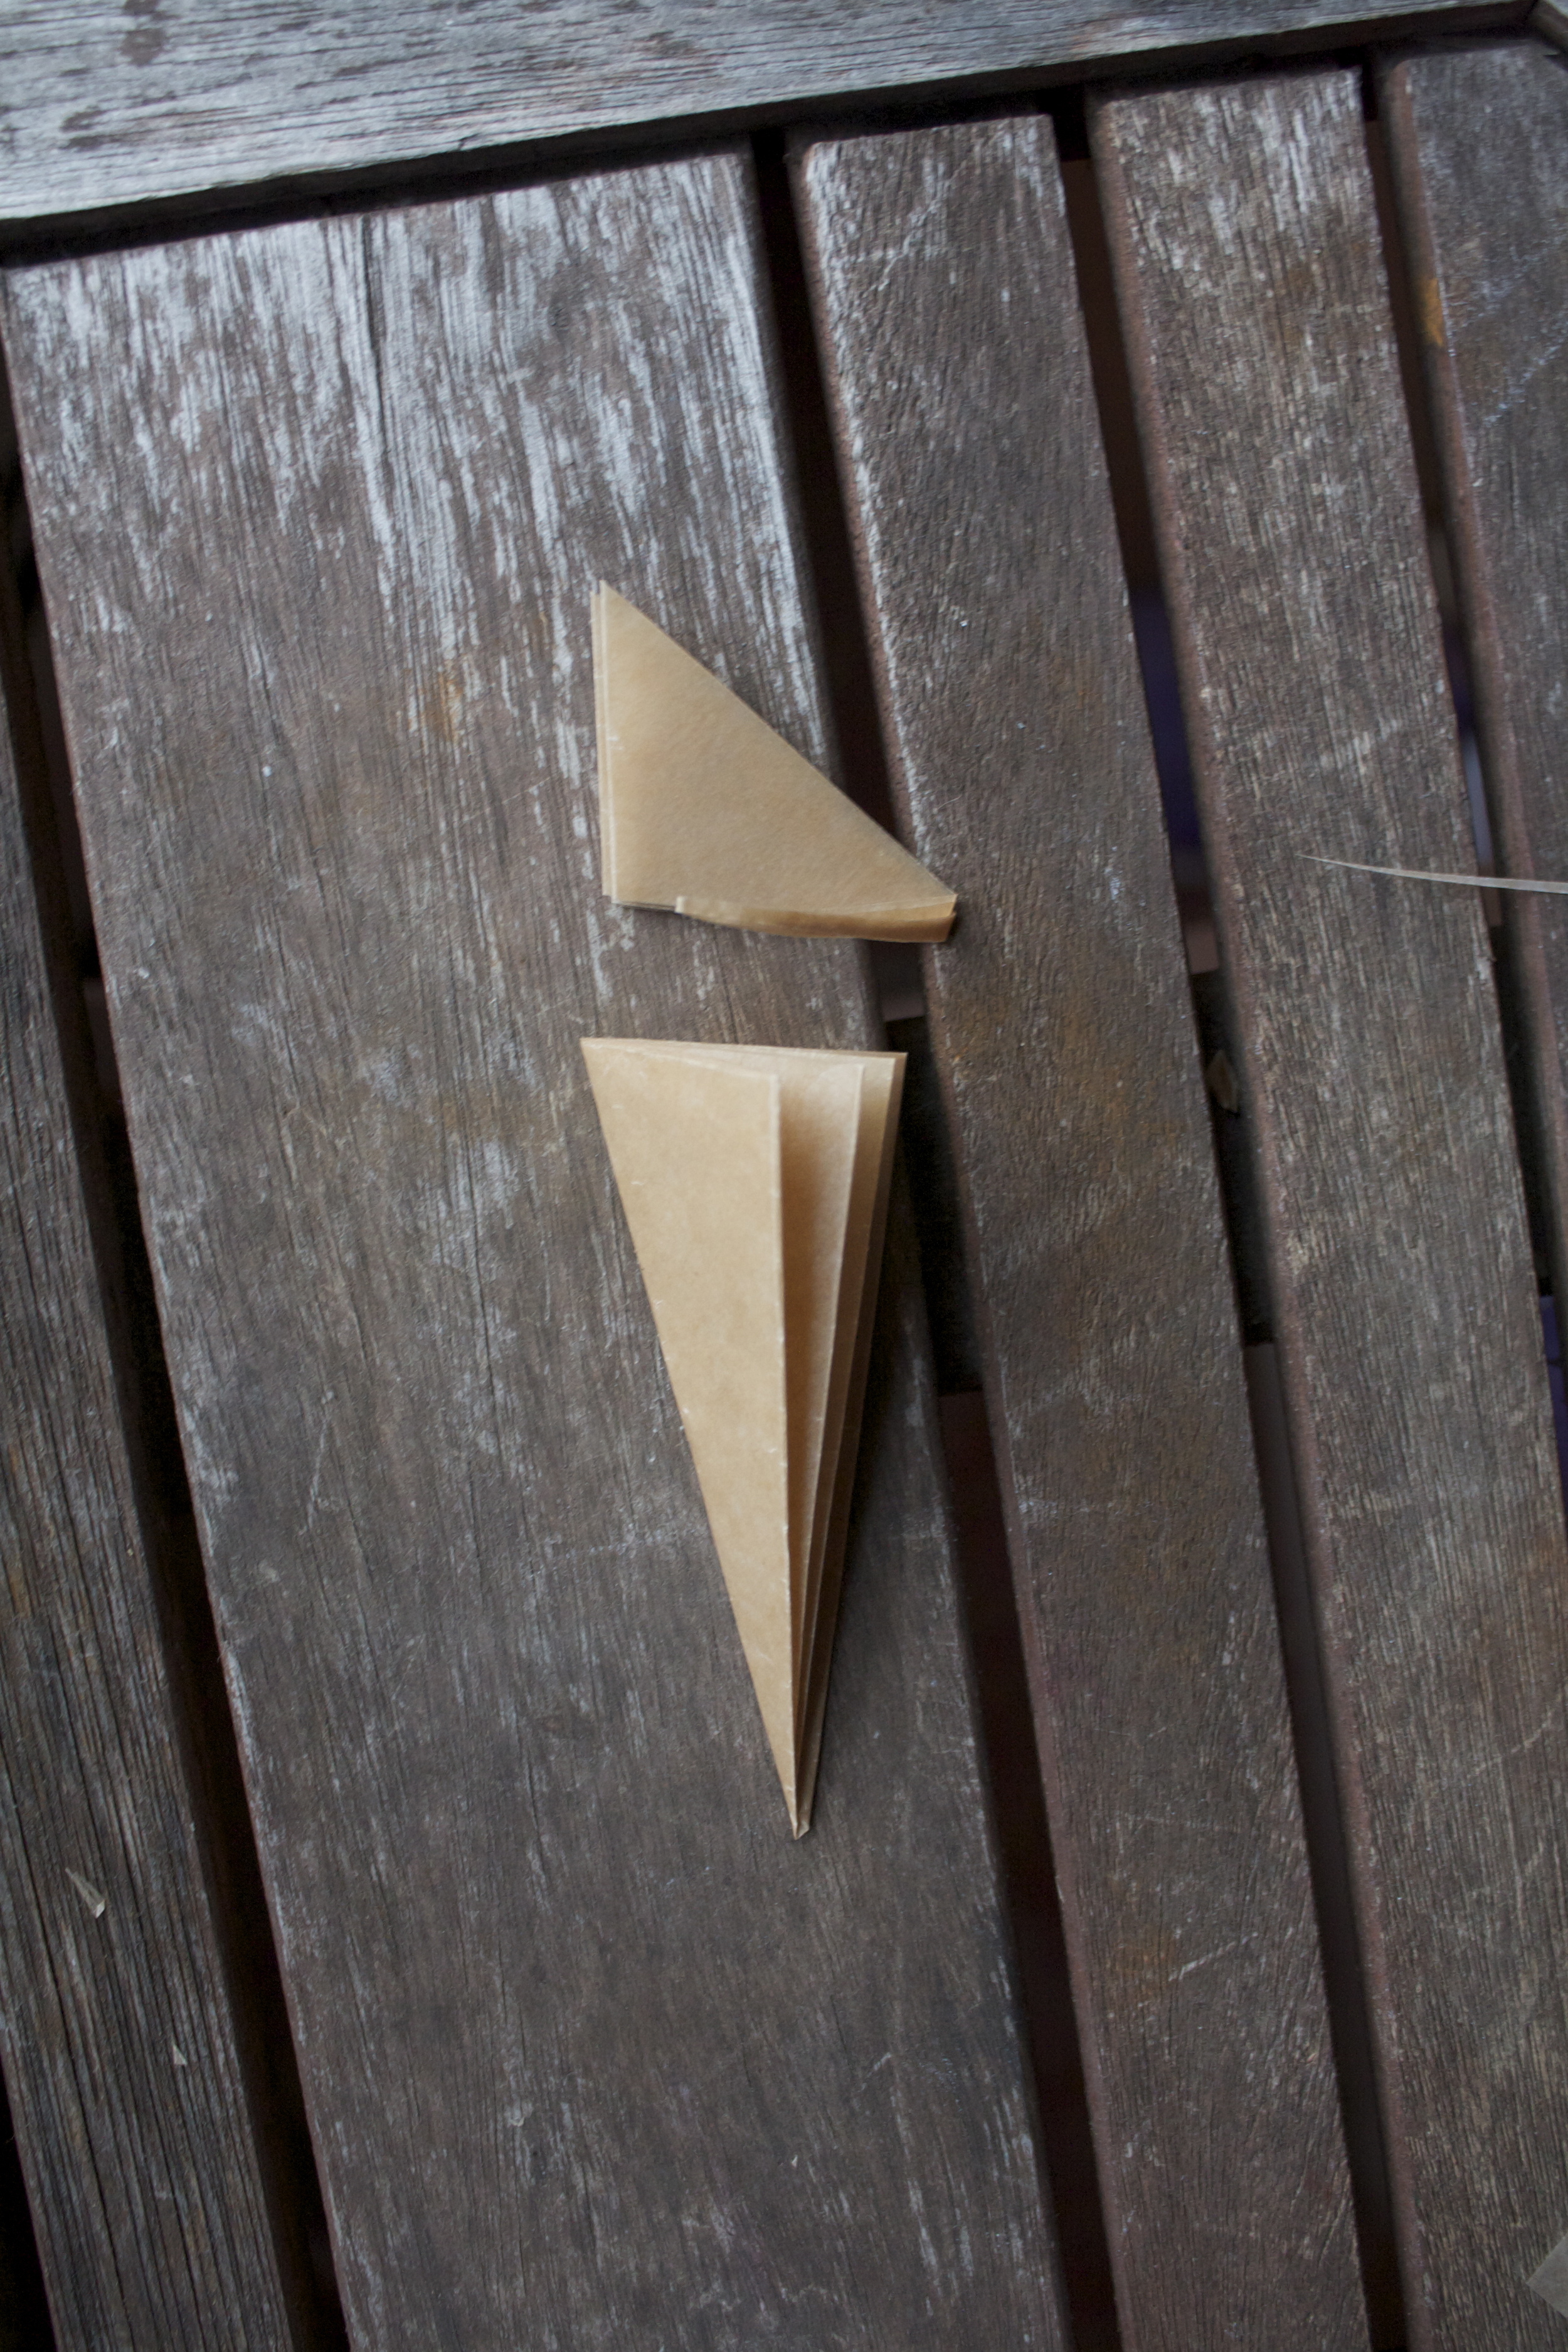
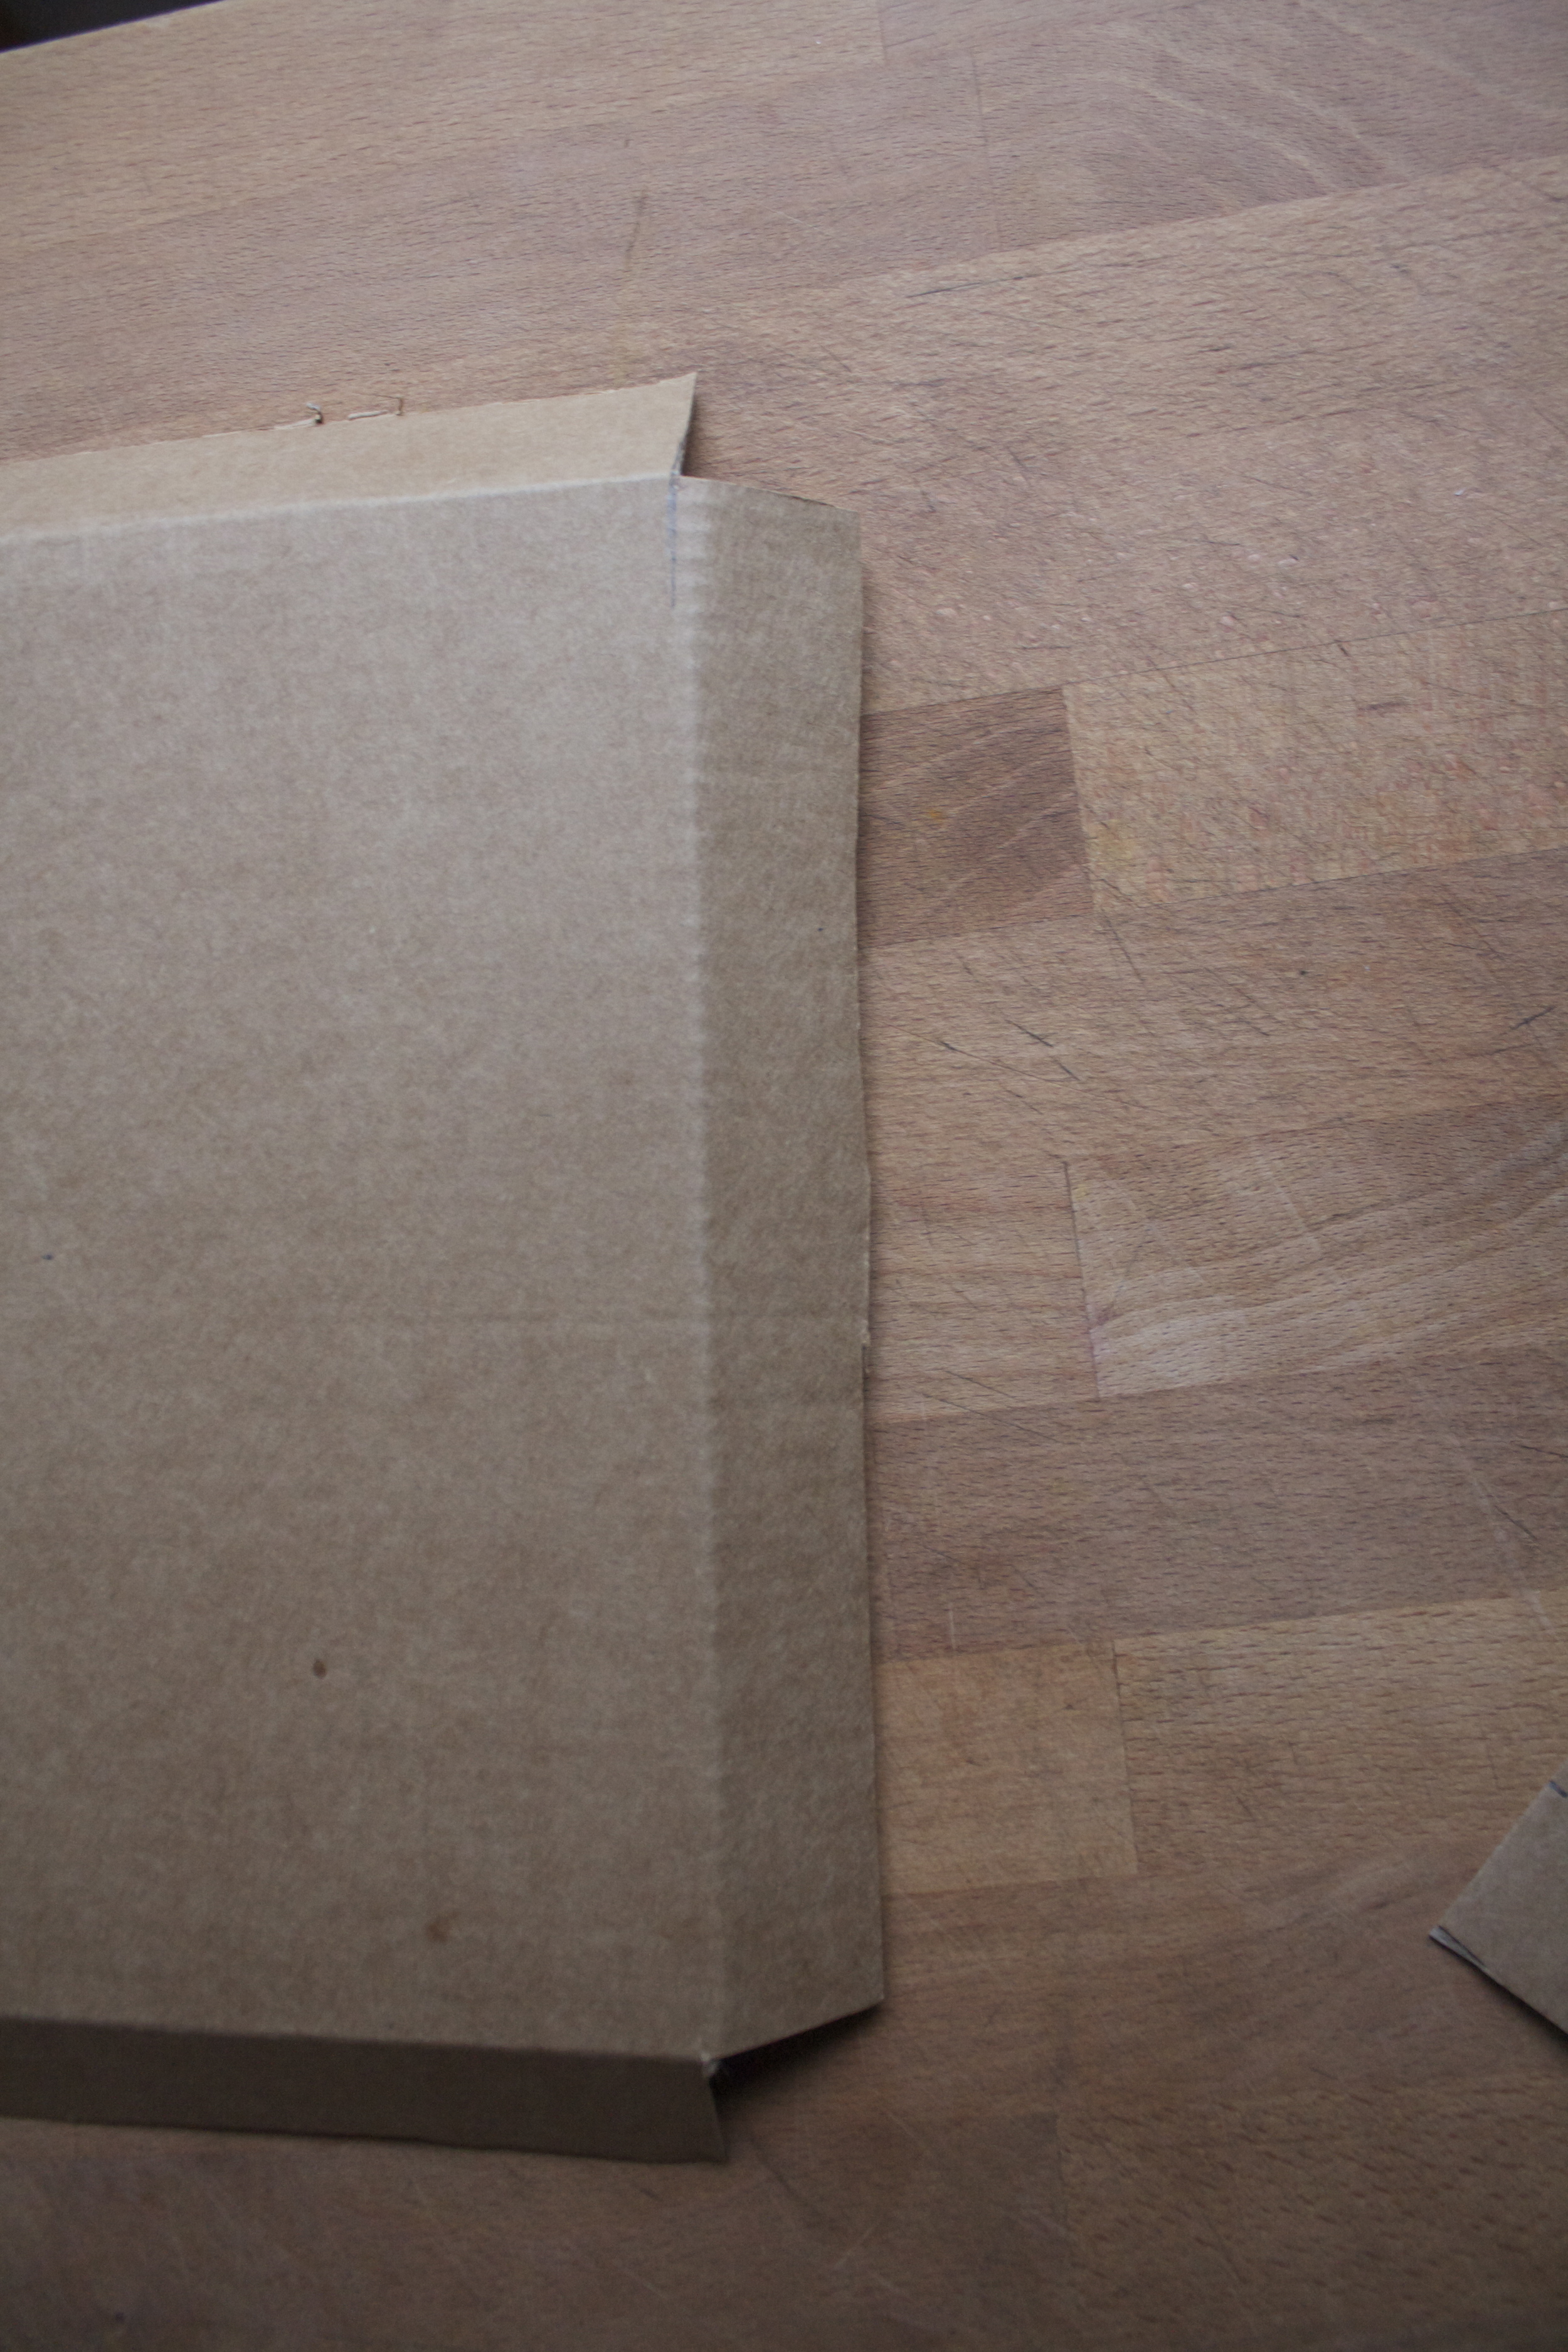
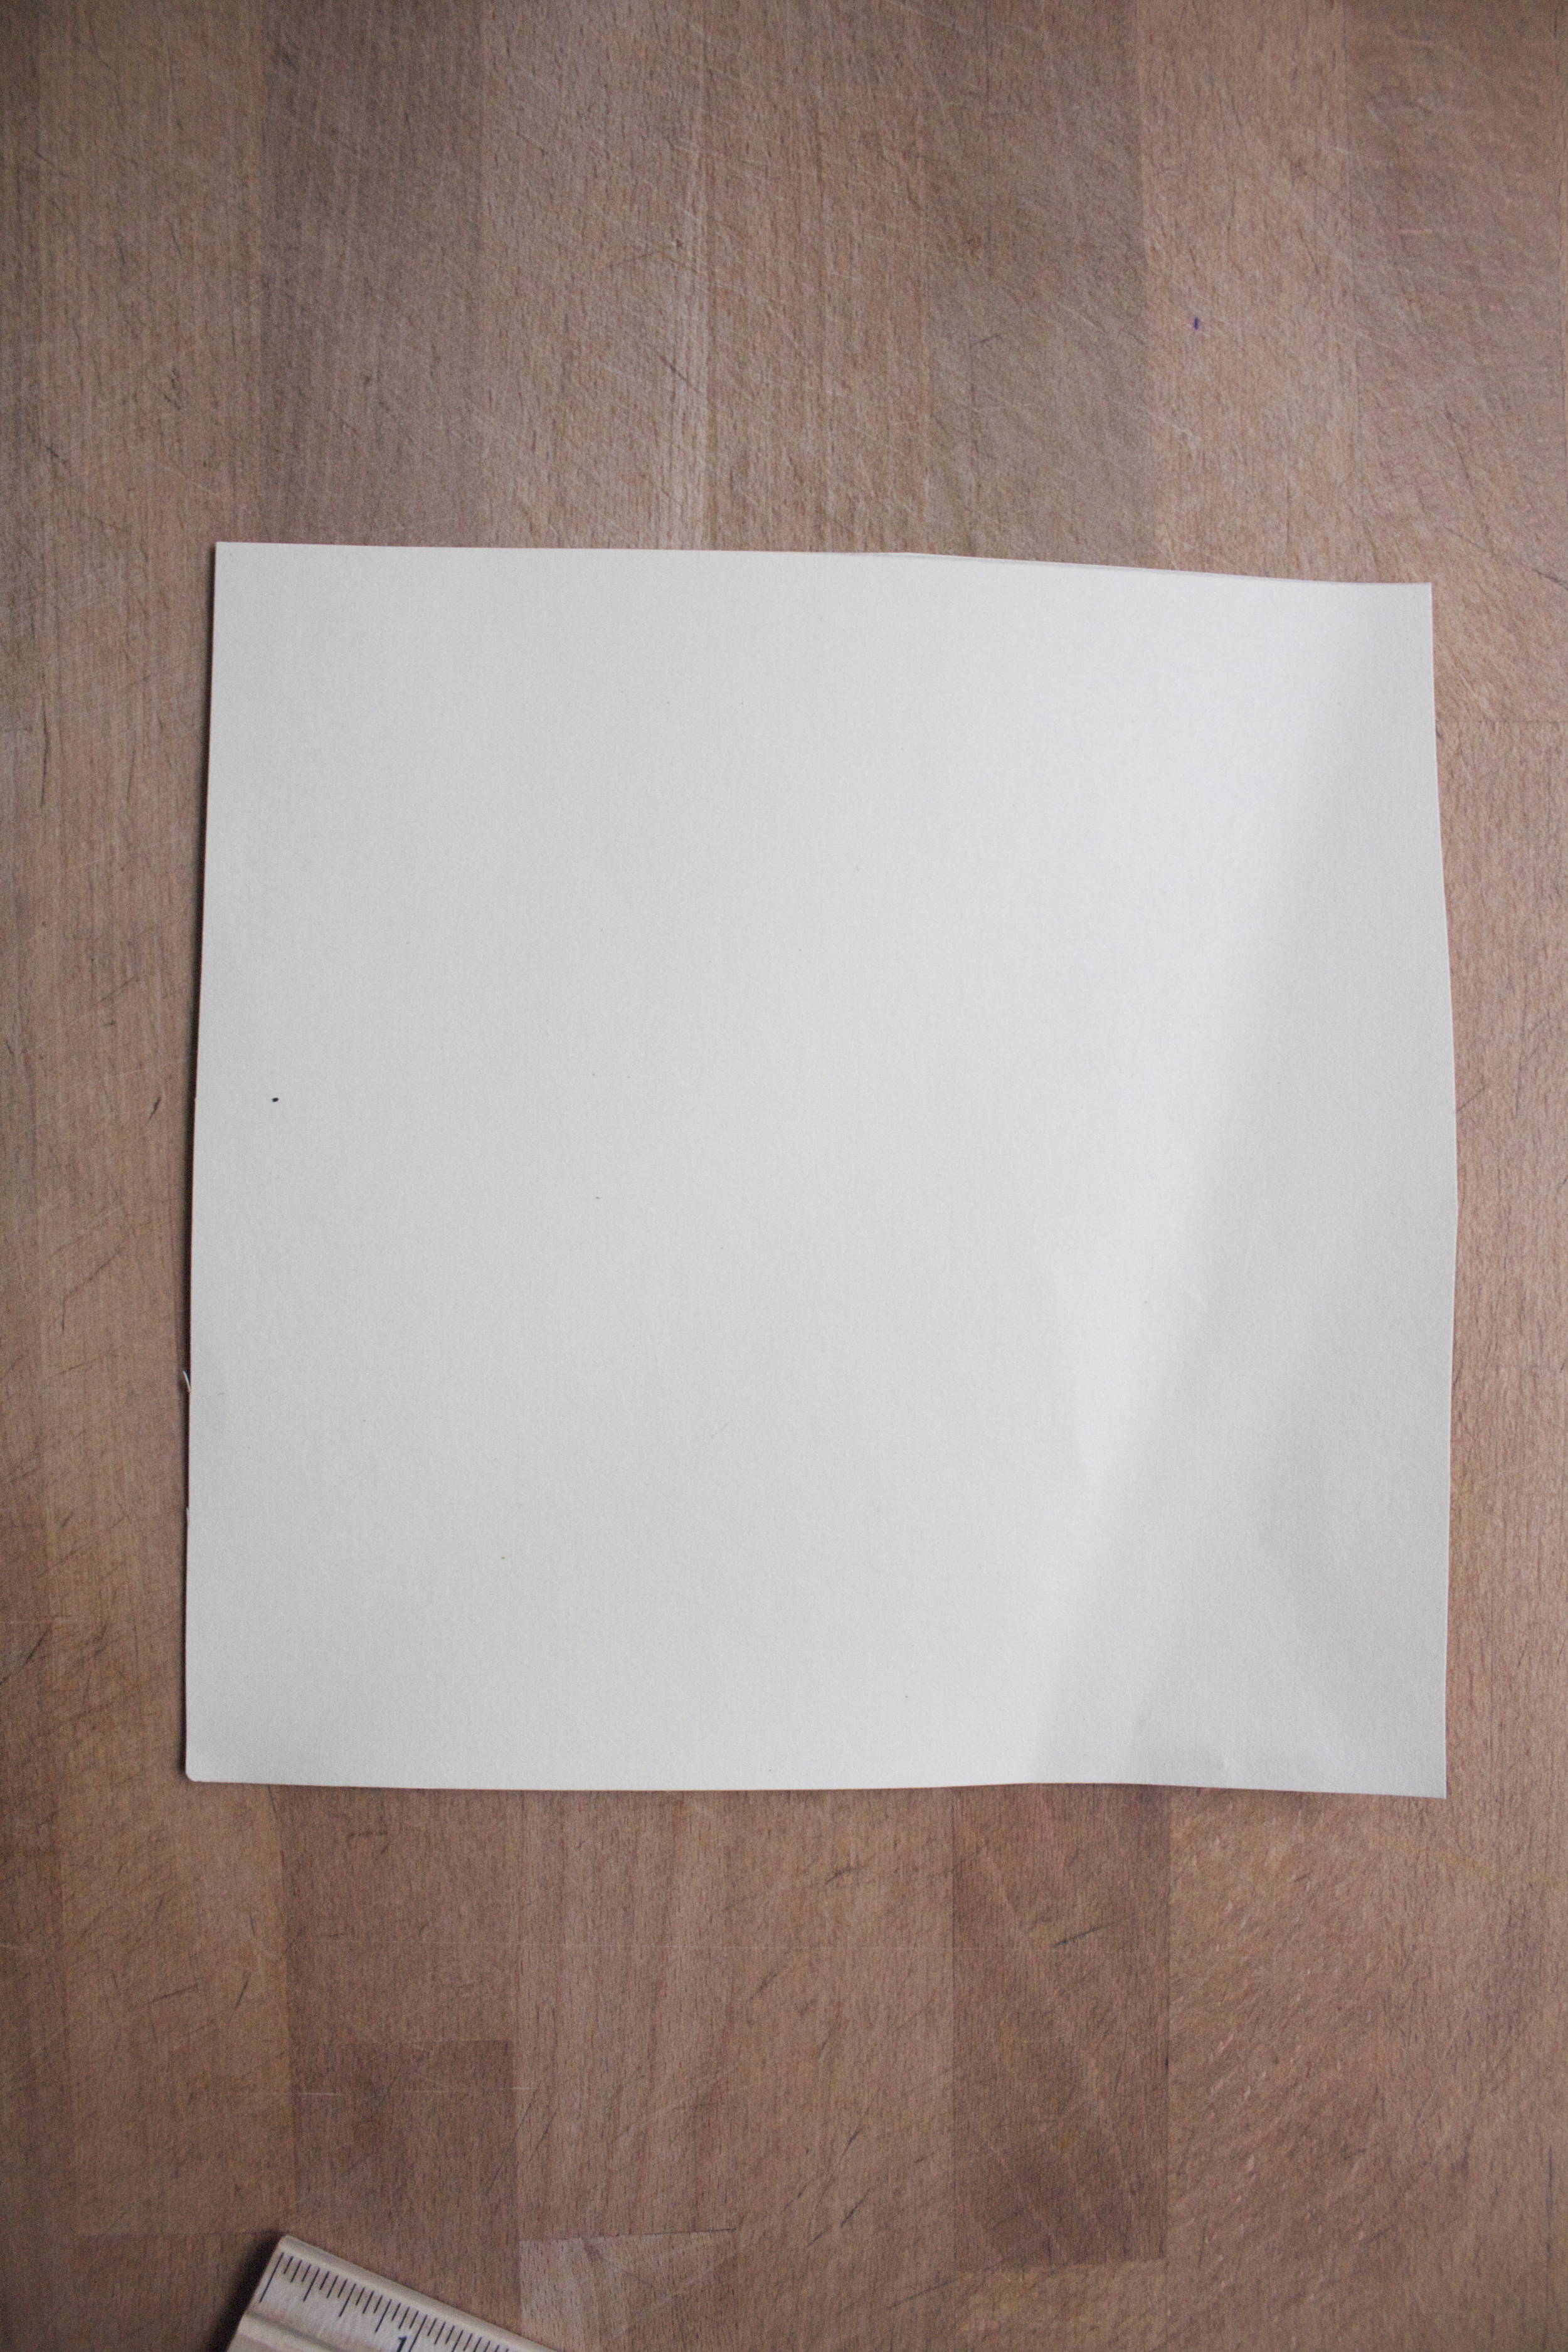
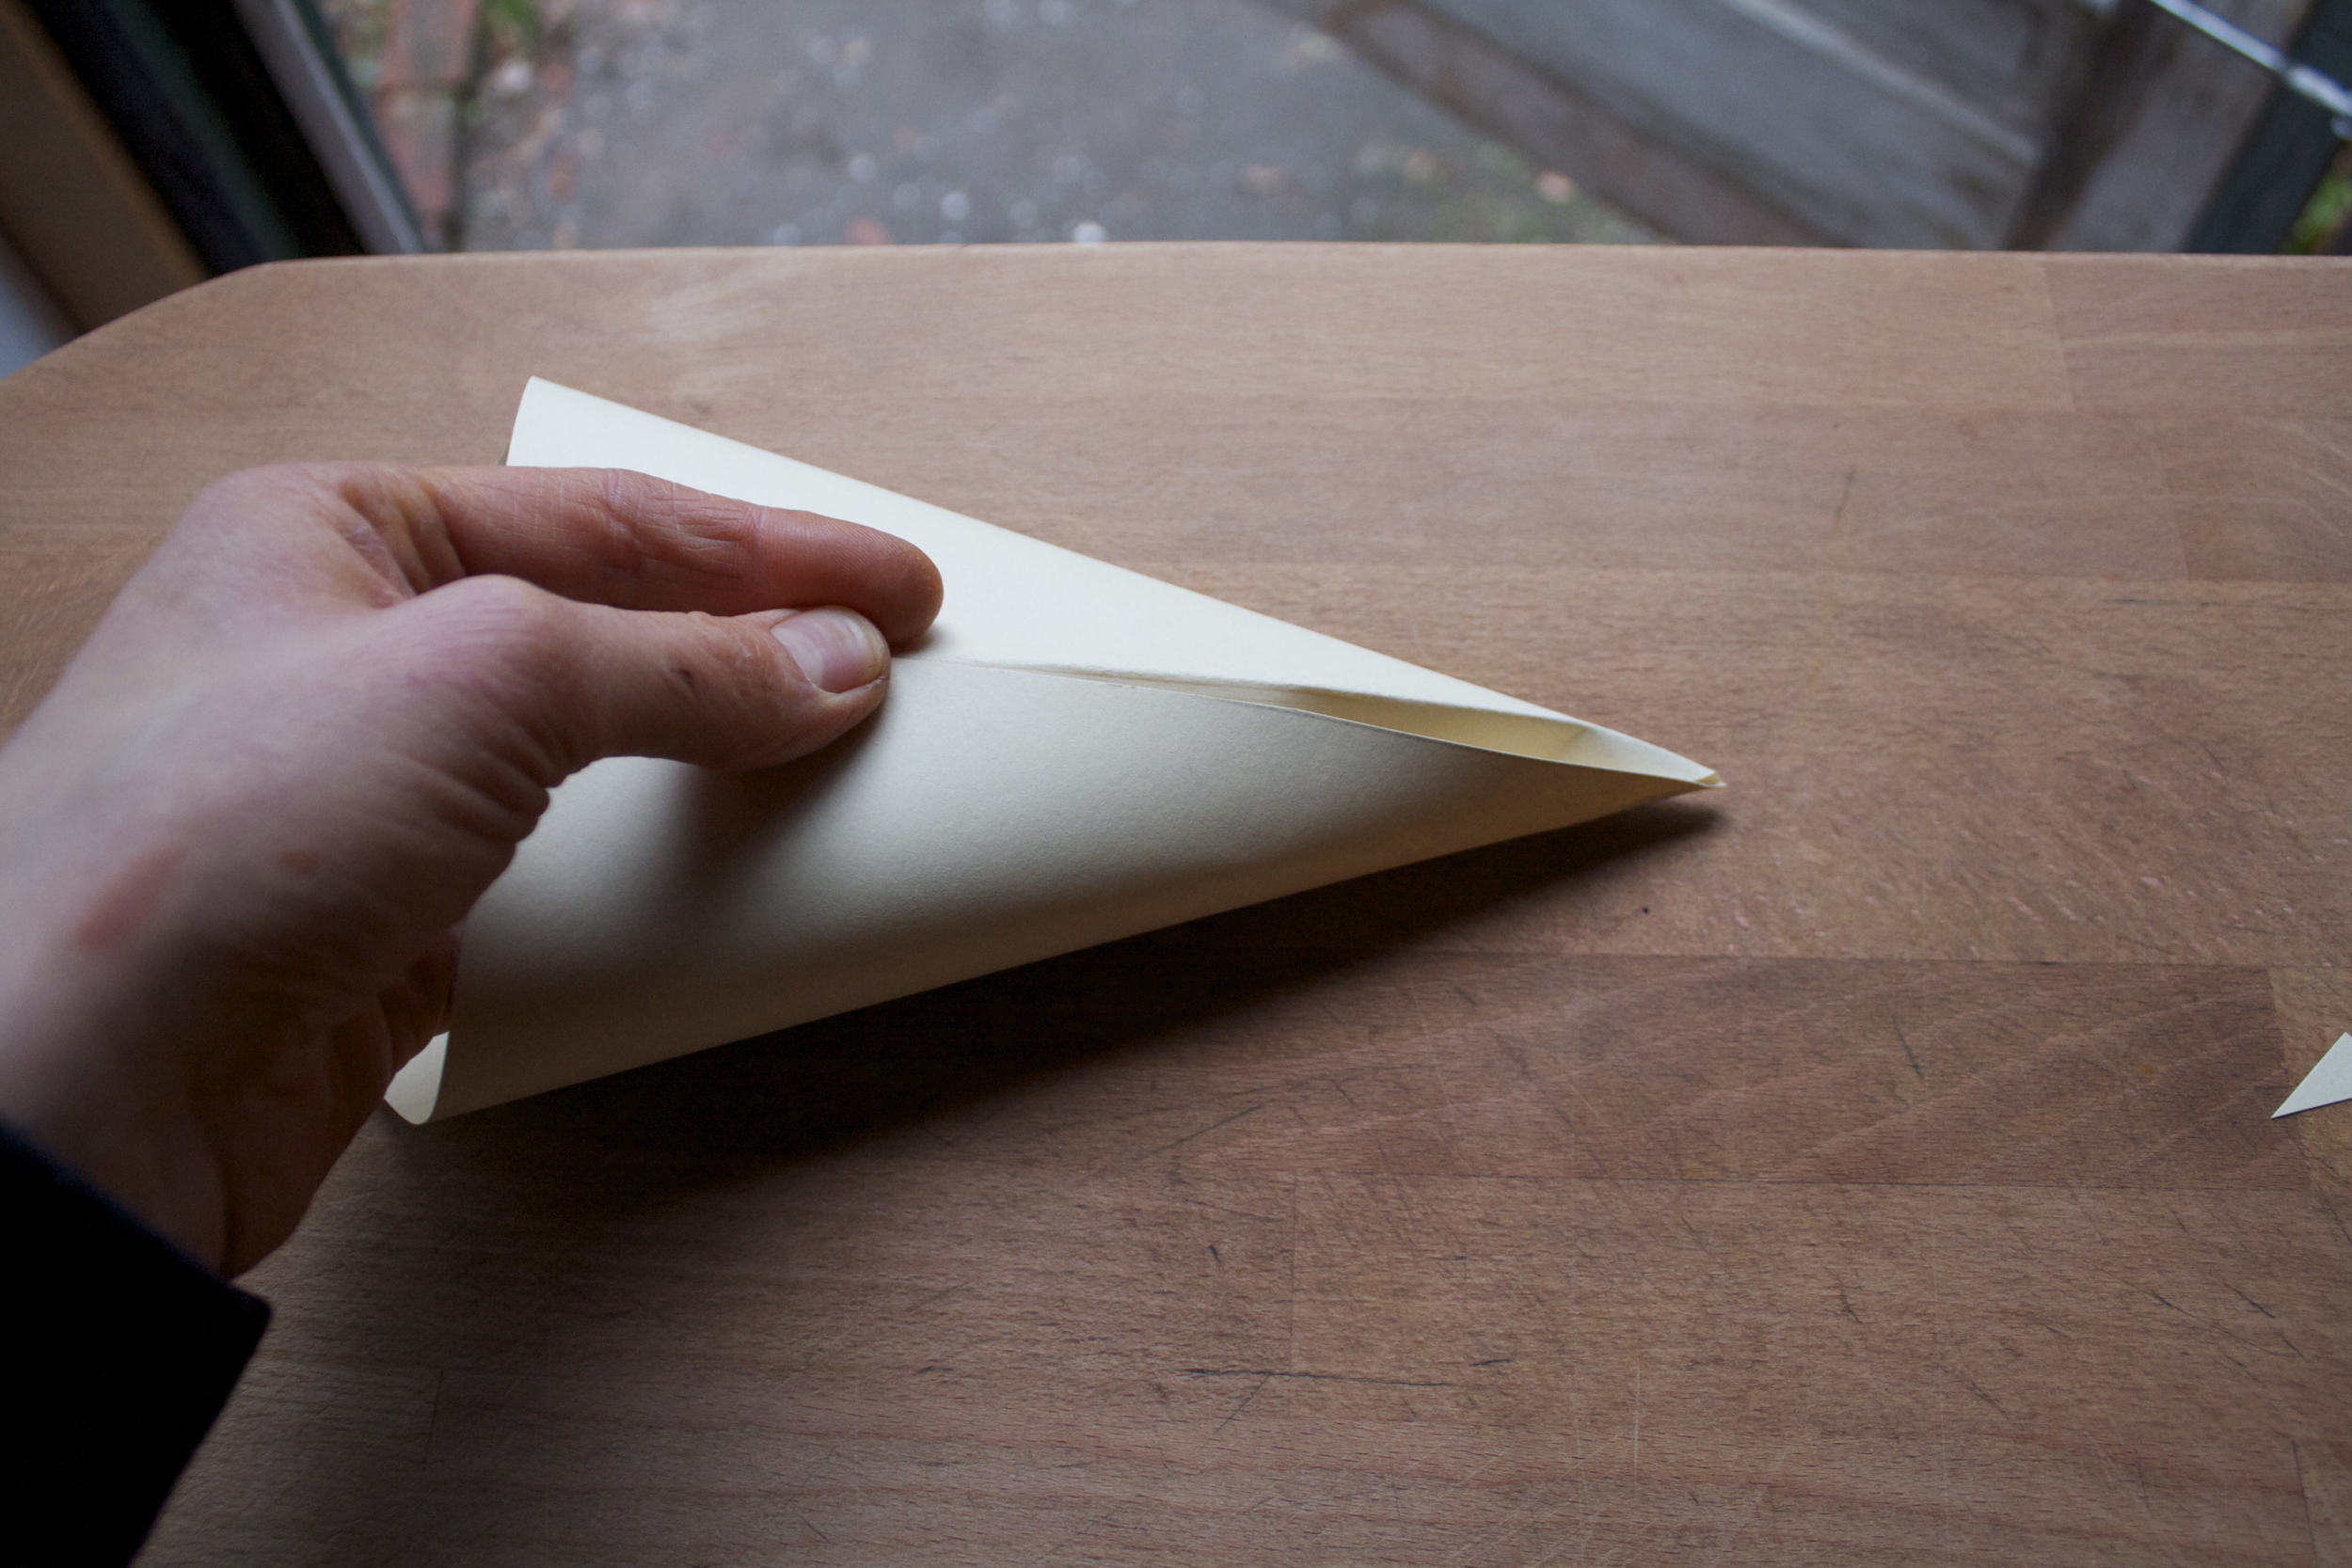
This is how learned to make a snowflake... Start with a square piece of wax paper (any size you like) and fold it in half on the diagonal. Then fold that in half at the point.  And fold old again at the point. One more time after that. (from start to finish, 4 folds) You end up with a little dart like triangle with a little extra point at the top. Cut that extra bit off.

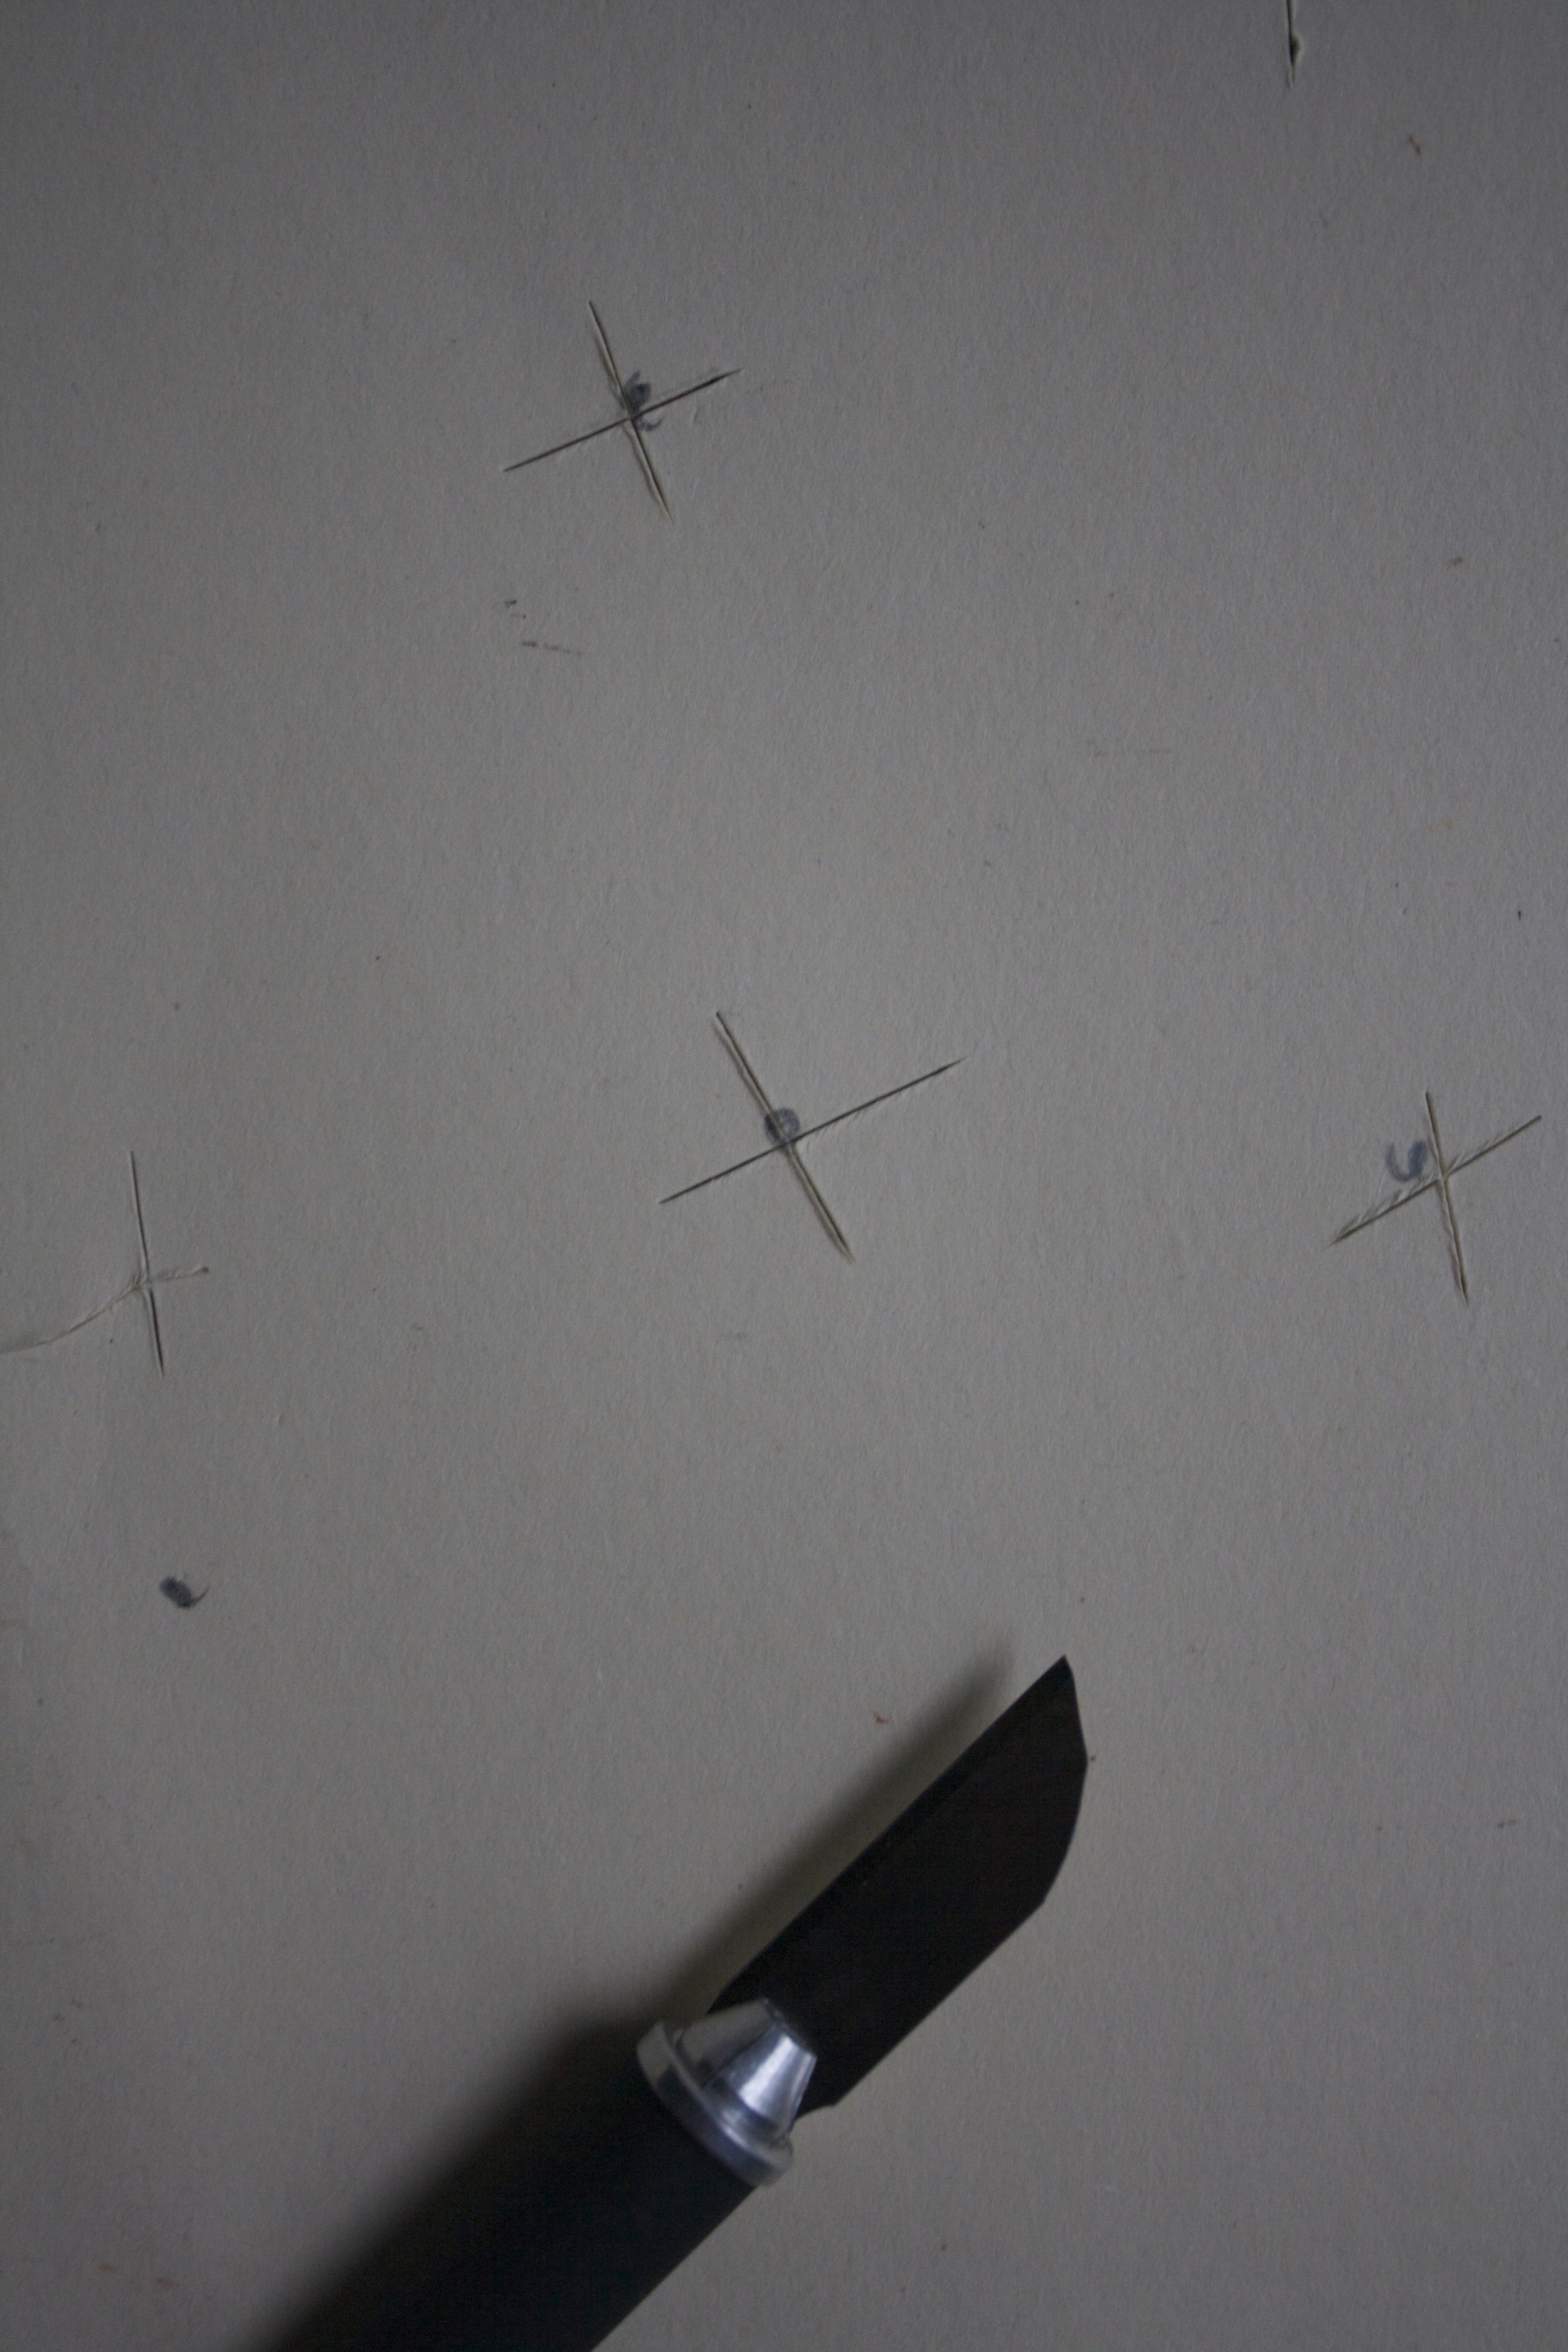
And snip away.. It can be thought-out or random (I like random snips)  Just make sure that you don't cut off all the folded paper parts cause that is what is holding it together.

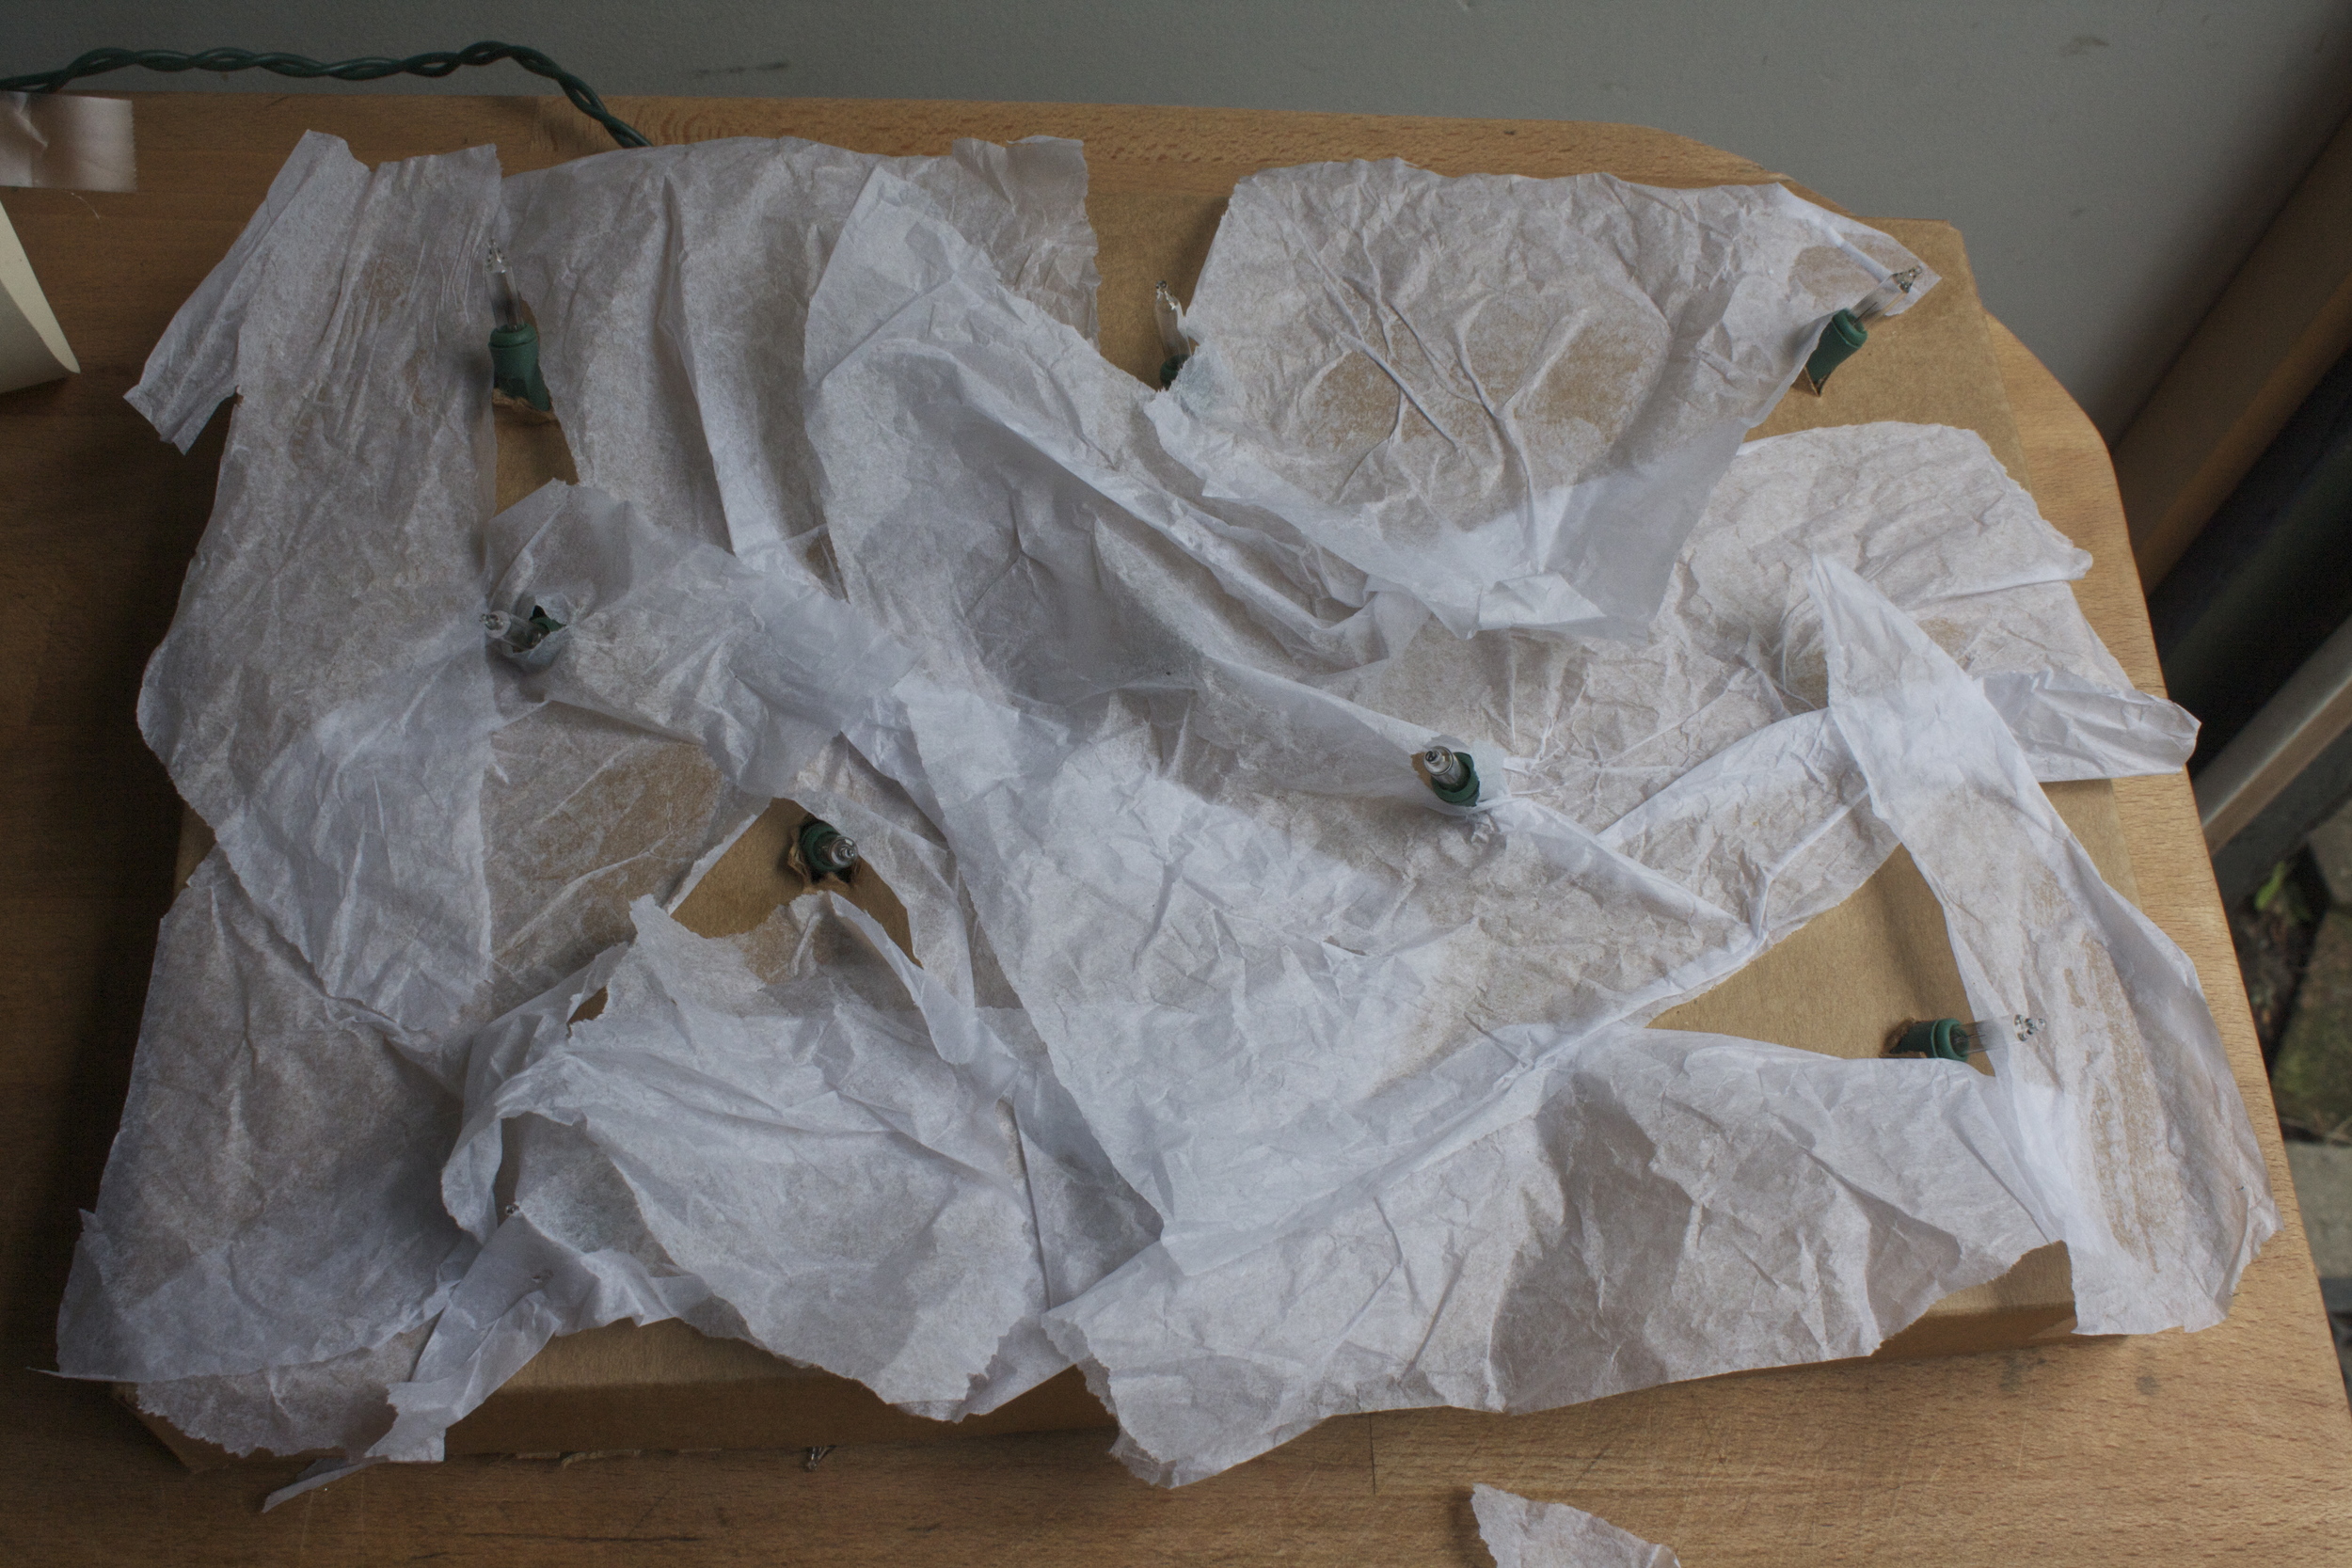
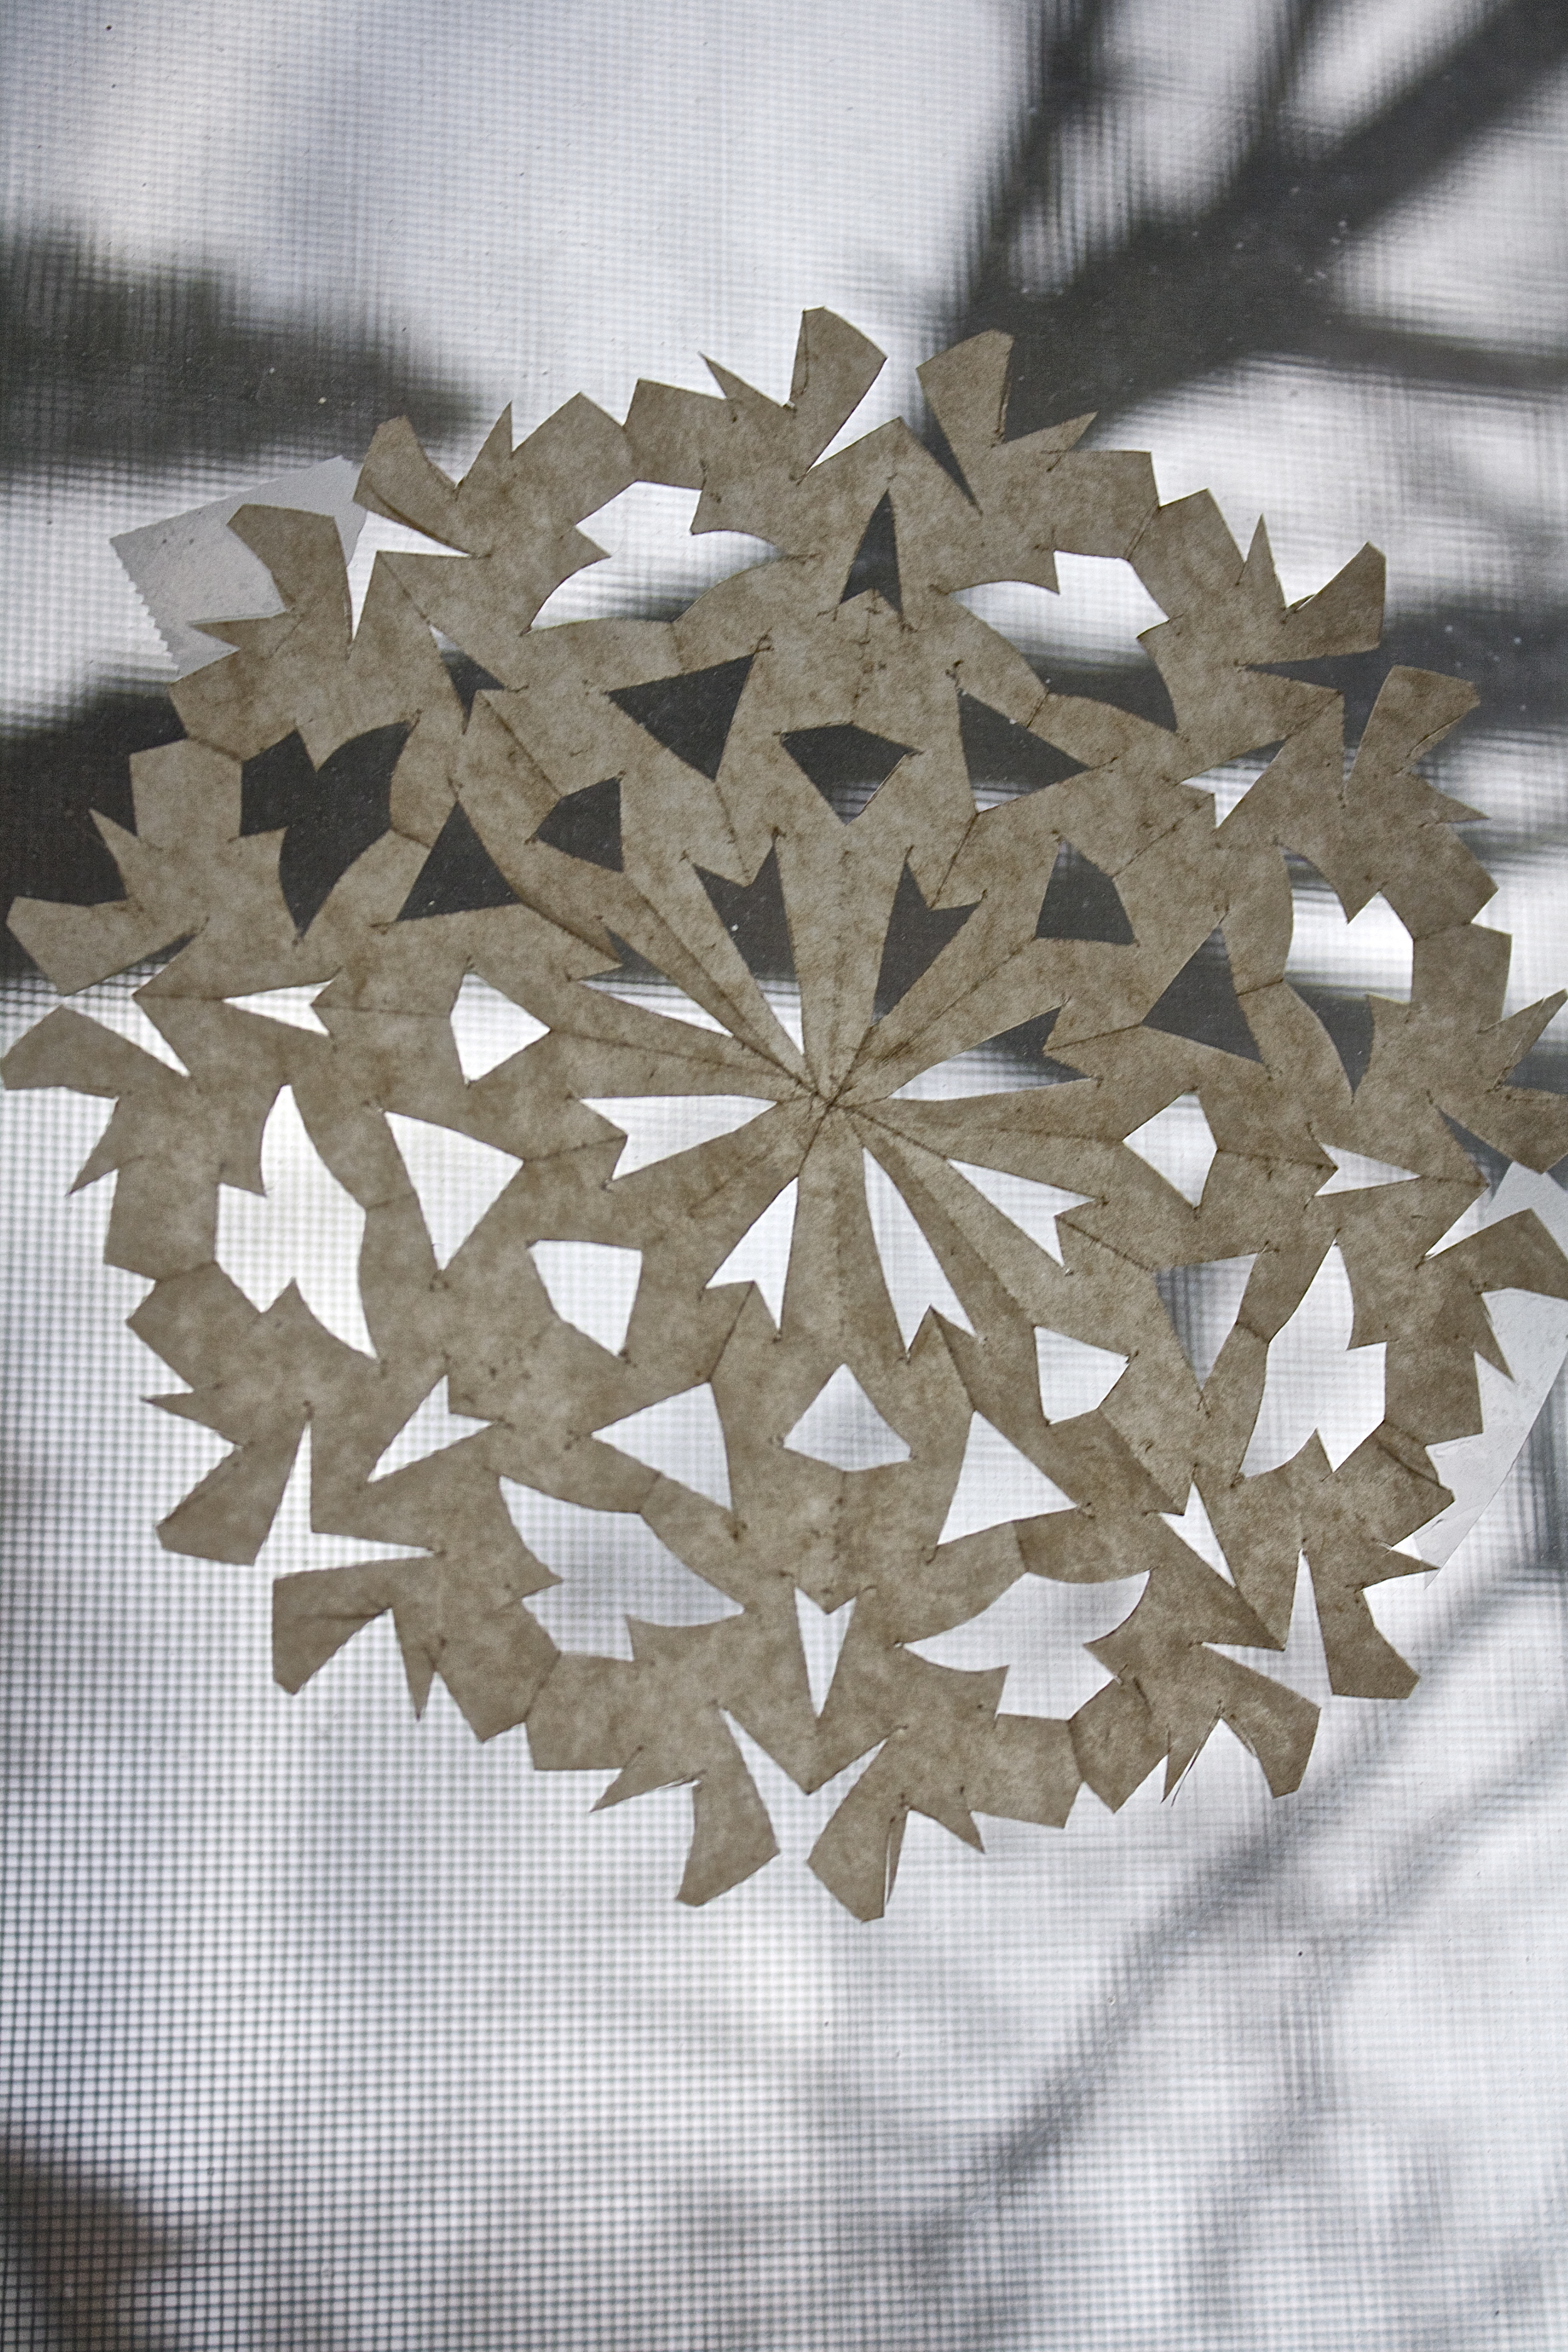
Now for the most exciting part. Open (very gently) and see your snowflake creation.

Note. This is important to remember.. No snowflake is the same, and no snowflake is ugly.

Now tape the flake to where ever it should land (the window)

Stand back and enjoy all of the snow you can handle. I have gotten to one window, just 10 more to go!

This one is my favorite.

Happy weekend full of snow!

-C

(mini snow storm!)

In arts, crafts, decorations, DIY, holiday, paper crafts, photography Tags DIY Snow, snowflakes, wax paper snow flakes, winter, arts, crafts, holiday, funtimes, easy craft projects
Comment

Happy little Trees - Light box

December 5, 2015 Colleen Stem
IMG_4992.jpg
IMG_5069.jpg

I love me a good tree, pretty much any tree, real or fake.  And come December, my house if full of different little trees, of all sizes, shapes and colors. It's my holiday thing because really, there is nothing better then a tree.

And yeah, I was feeling crafty, and maybe a little bit sad that there is no snow around here. And we still hadn't gotten our real tree yet (but we just got it!) so I wanted to make some more little trees to make me feel better, and this time I wanted them to light up. I was also thinking that it might be nice to bring a few little tree decorations over to the new house so I have happy little trees over there while we are working. So yeah, I needed some more little trees. And I figure you do too, that's why I am sharing this.

This is a great project to do with a few littles (they make the trees, you use the hot glue and sharp blade) or make while baking bread and watching a festive movie.  You could even make and share with a loved one as a sweet little gift. And best part...it doesn't need to be packed away after the holidays because trees are not just for Christmas. These are pretty little winter trees, for everyone who is awesome and likes a tree to enjoy all winter long!(even if winter hasn't come yet)

The stuff you will need

  • A piece of cardboard about 12x16 (I used an old pizza box I found in the recycling)
  • assorted paper of size an color
  • white tissue paper (optional)
  • a strand of 20 lights (colored or white)
  • a ruler
  • scissors
  • hot glue gun
  • glue stick
  • tape
  • pencil
  • xacto knife

Note. If you have an empty shallow box that is a good size for you, just use that. And hot glue works best, bt can be subed out with any glue, or tape for that matter (if you don't mind seeing tape on your trees)

IMG_4829.jpg
IMG_4834.jpg

Start with making the cardboard box base. Measure each corner in 1 inch and cut our the corner. Repeat with all corners. Once they are allcut, fold each side at the cuts to make the sides.

Tape the corners together and now you got yourself a sallow box. (now you can make boxes for everything !!!) Set box aside

IMG_4859.jpg
IMG_4862.jpg
IMG_4863.jpg

Now to make the trees. Take a piece of paper and, depending if it is already a square or not, but it into a square. (does not have to be perfect, just eyeball it)

Got your square paper, now take an edge and fold it over about 1/2 inch. And then taking you scissors and snip of the corner edge at an angle (again, not going for perfections here)

The poin is the tip that was cut, now fold the two sides together.

So you can stop here ans glue or if you want light holes.....

IMG_4878.jpg
IMG_4880.jpg

Unfold the paper and with a pencil, mark off where you wnt the holes (random is good). Take the xacto blade and cut little x'x over each hole.

Then push through each x with the eraser end of the pencil

Now glue the cone together using the hot glue gun.

You will have a weird tail left on the bottom of the cone, so just trim that off and any extra that needs to come off to make it stand up straight.

Ta Da!! A paper cone tree. Now make a bunch of them, all different sizes and colors (or all the same size and color.. up to you) And not all of them need to have light holes in them either, a couple non light trees are good.

IMG_4994.jpg

Once you have made all the cone trees, grab the box base and set up the trees how you want them to be on the base

IMG_5004.jpg
IMG_5007.jpg

Take the trees off and mark the spots with the pencil. Grab the xacto and cut X's into the marks.

Take your lights and push the bulbs through (there will be a extra bulbs on the underside.... it makes the box glow.)

And tape down the trees back into place

So cute!

Note.. I stuck a couple extra lights through the box that have no trees. They will be covered in a minute with snow.. So you can do the same. (if you want)

Now you check it out!!! Love it right?  And stop here if you like, or go one more step and add some fake snow.

Before you tape down the trees, take glue stick and glue random pieces of tissue paper all over the box, leaving the lights uncovered. (I covered over the extra lights I popped through to make it look like glowing snow)

Stick trees back on.. same way with the tape (You might need to fanagle the trees a little bit to get them to stay)  and plug it in.

Ooooh...... Aaaaahhhh

This makes me happy.

Now go get some paper and start making some trees.

Have fun!

-C

In arts, crafts, decorations, DIY, holiday, paper crafts Tags Holiday, decoration, lights, tree, craft, DIY, Trees, Christmas trees, Paper cone trees, light box, winter crafts, night light
Comment
 

https://thelovelycrazy.squarespace.com/config#/|/about/

Me. Food Maker.Food eater. Woo HOO!

STEM+NODE  SMALL BATCH AND ONE OF A KIND POTTERY

stem+node ceramics


____________________

Subscribe

GET NEW POSTS IN YO EMAIL

You are AWESOME!!!


@thelovelycrazy 2014-2021