• stem+node ceramics
  • HOME
  • Food Recipes
  • About
  • Contact
Menu

The Lovely Crazy

Street Address
City, State, Zip
Phone Number

Your Custom Text Here

The Lovely Crazy

  • stem+node ceramics
  • HOME
  • Food Recipes
  • About
  • Contact

Toasted Coconut And Corn Popsicles

June 1, 2019 Colleen Stem
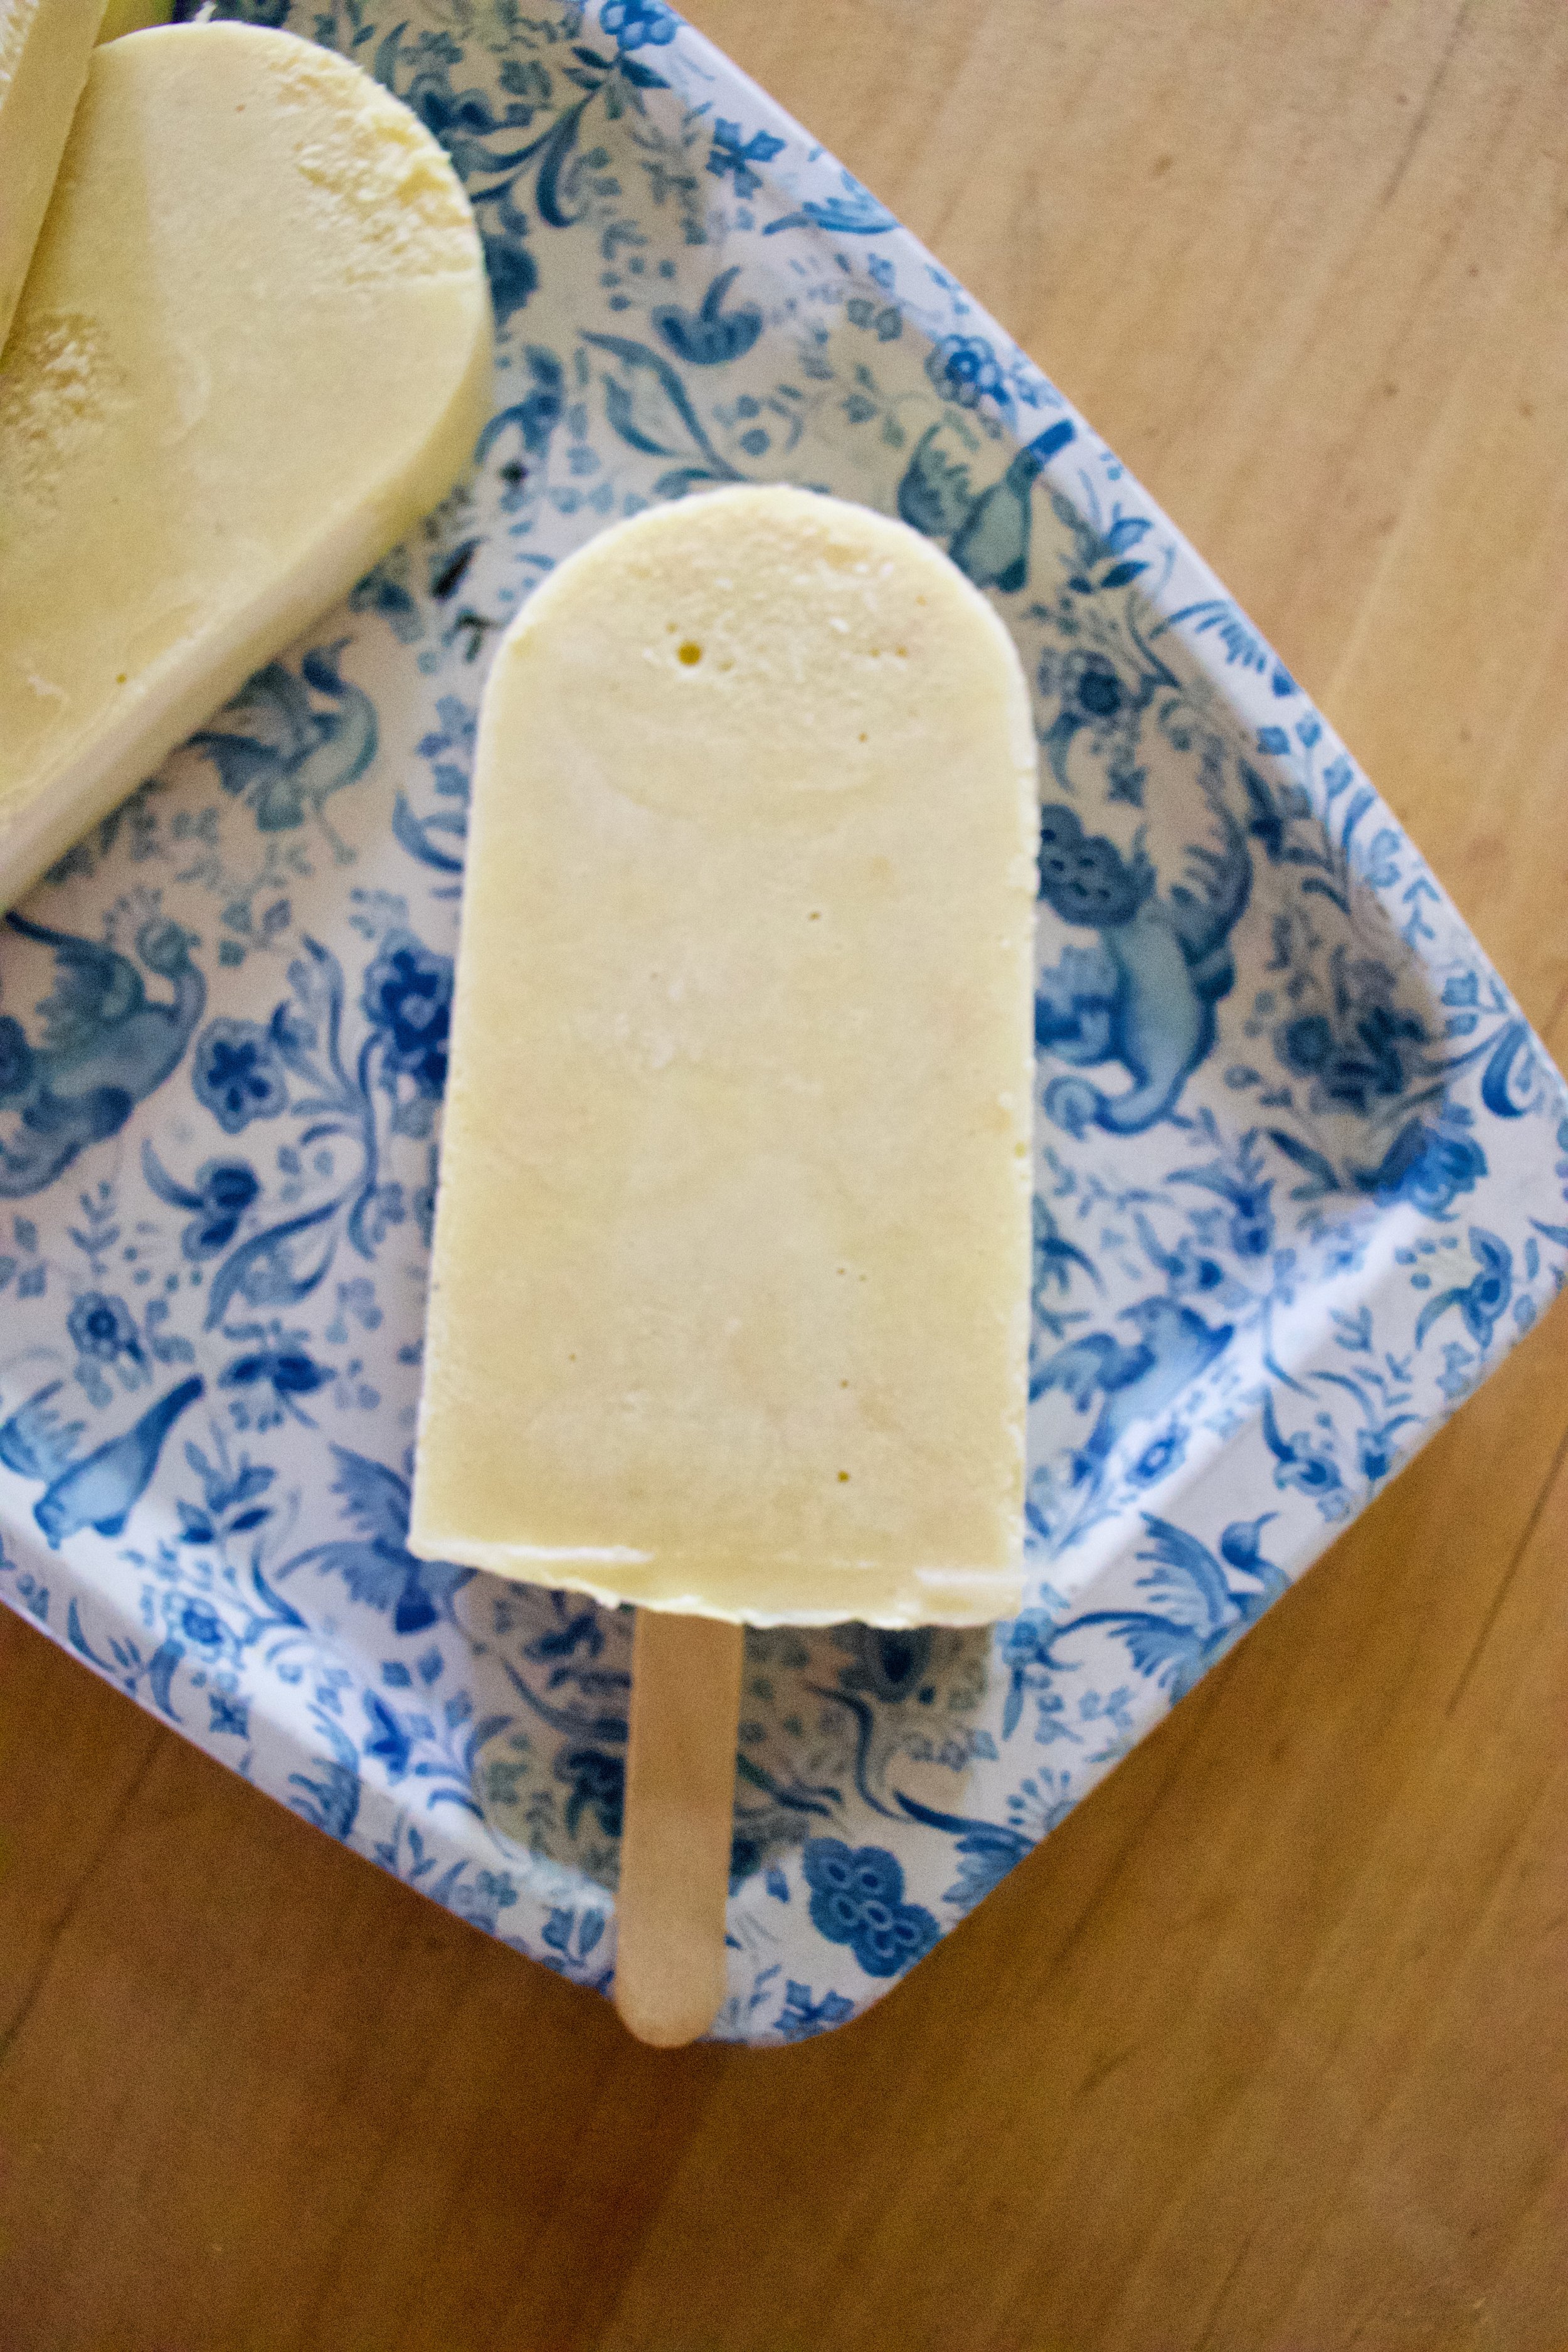
IMG_9023.jpg
IMG_8962.jpg

Yes you read that right. Corn. In a popsicle.

What?

No it is not weird or gross or anything. I wouldn't do that to you. These popsicles are down right deeee-lightful. Rich and creamy and sweet. Both the creamy coconut and the toasted coconut pair perfectly with the sweet corn flavor. They truly are delicious and I think that if you give them a try, you will think so too. And really, now that it is like almost summer, who doesn't have a little extra corn laying around. So you might as well just make a batch.

And then you will thank me for introducing you to the goodness that is a toasted coconut and corn popsicle. Heck, the mr even ate one and he (still, after I have proven him wrong on a many occasions) says he hates corn. So if a corn hater likes these, imagine what a corn lover will think. HAHA. Corn lover.

To the popsicles!

The stuff. Corn, full fat coconut milk, shredded coconut, and maple syrup.

IMG_8851 2.jpg
IMG_8869.jpg

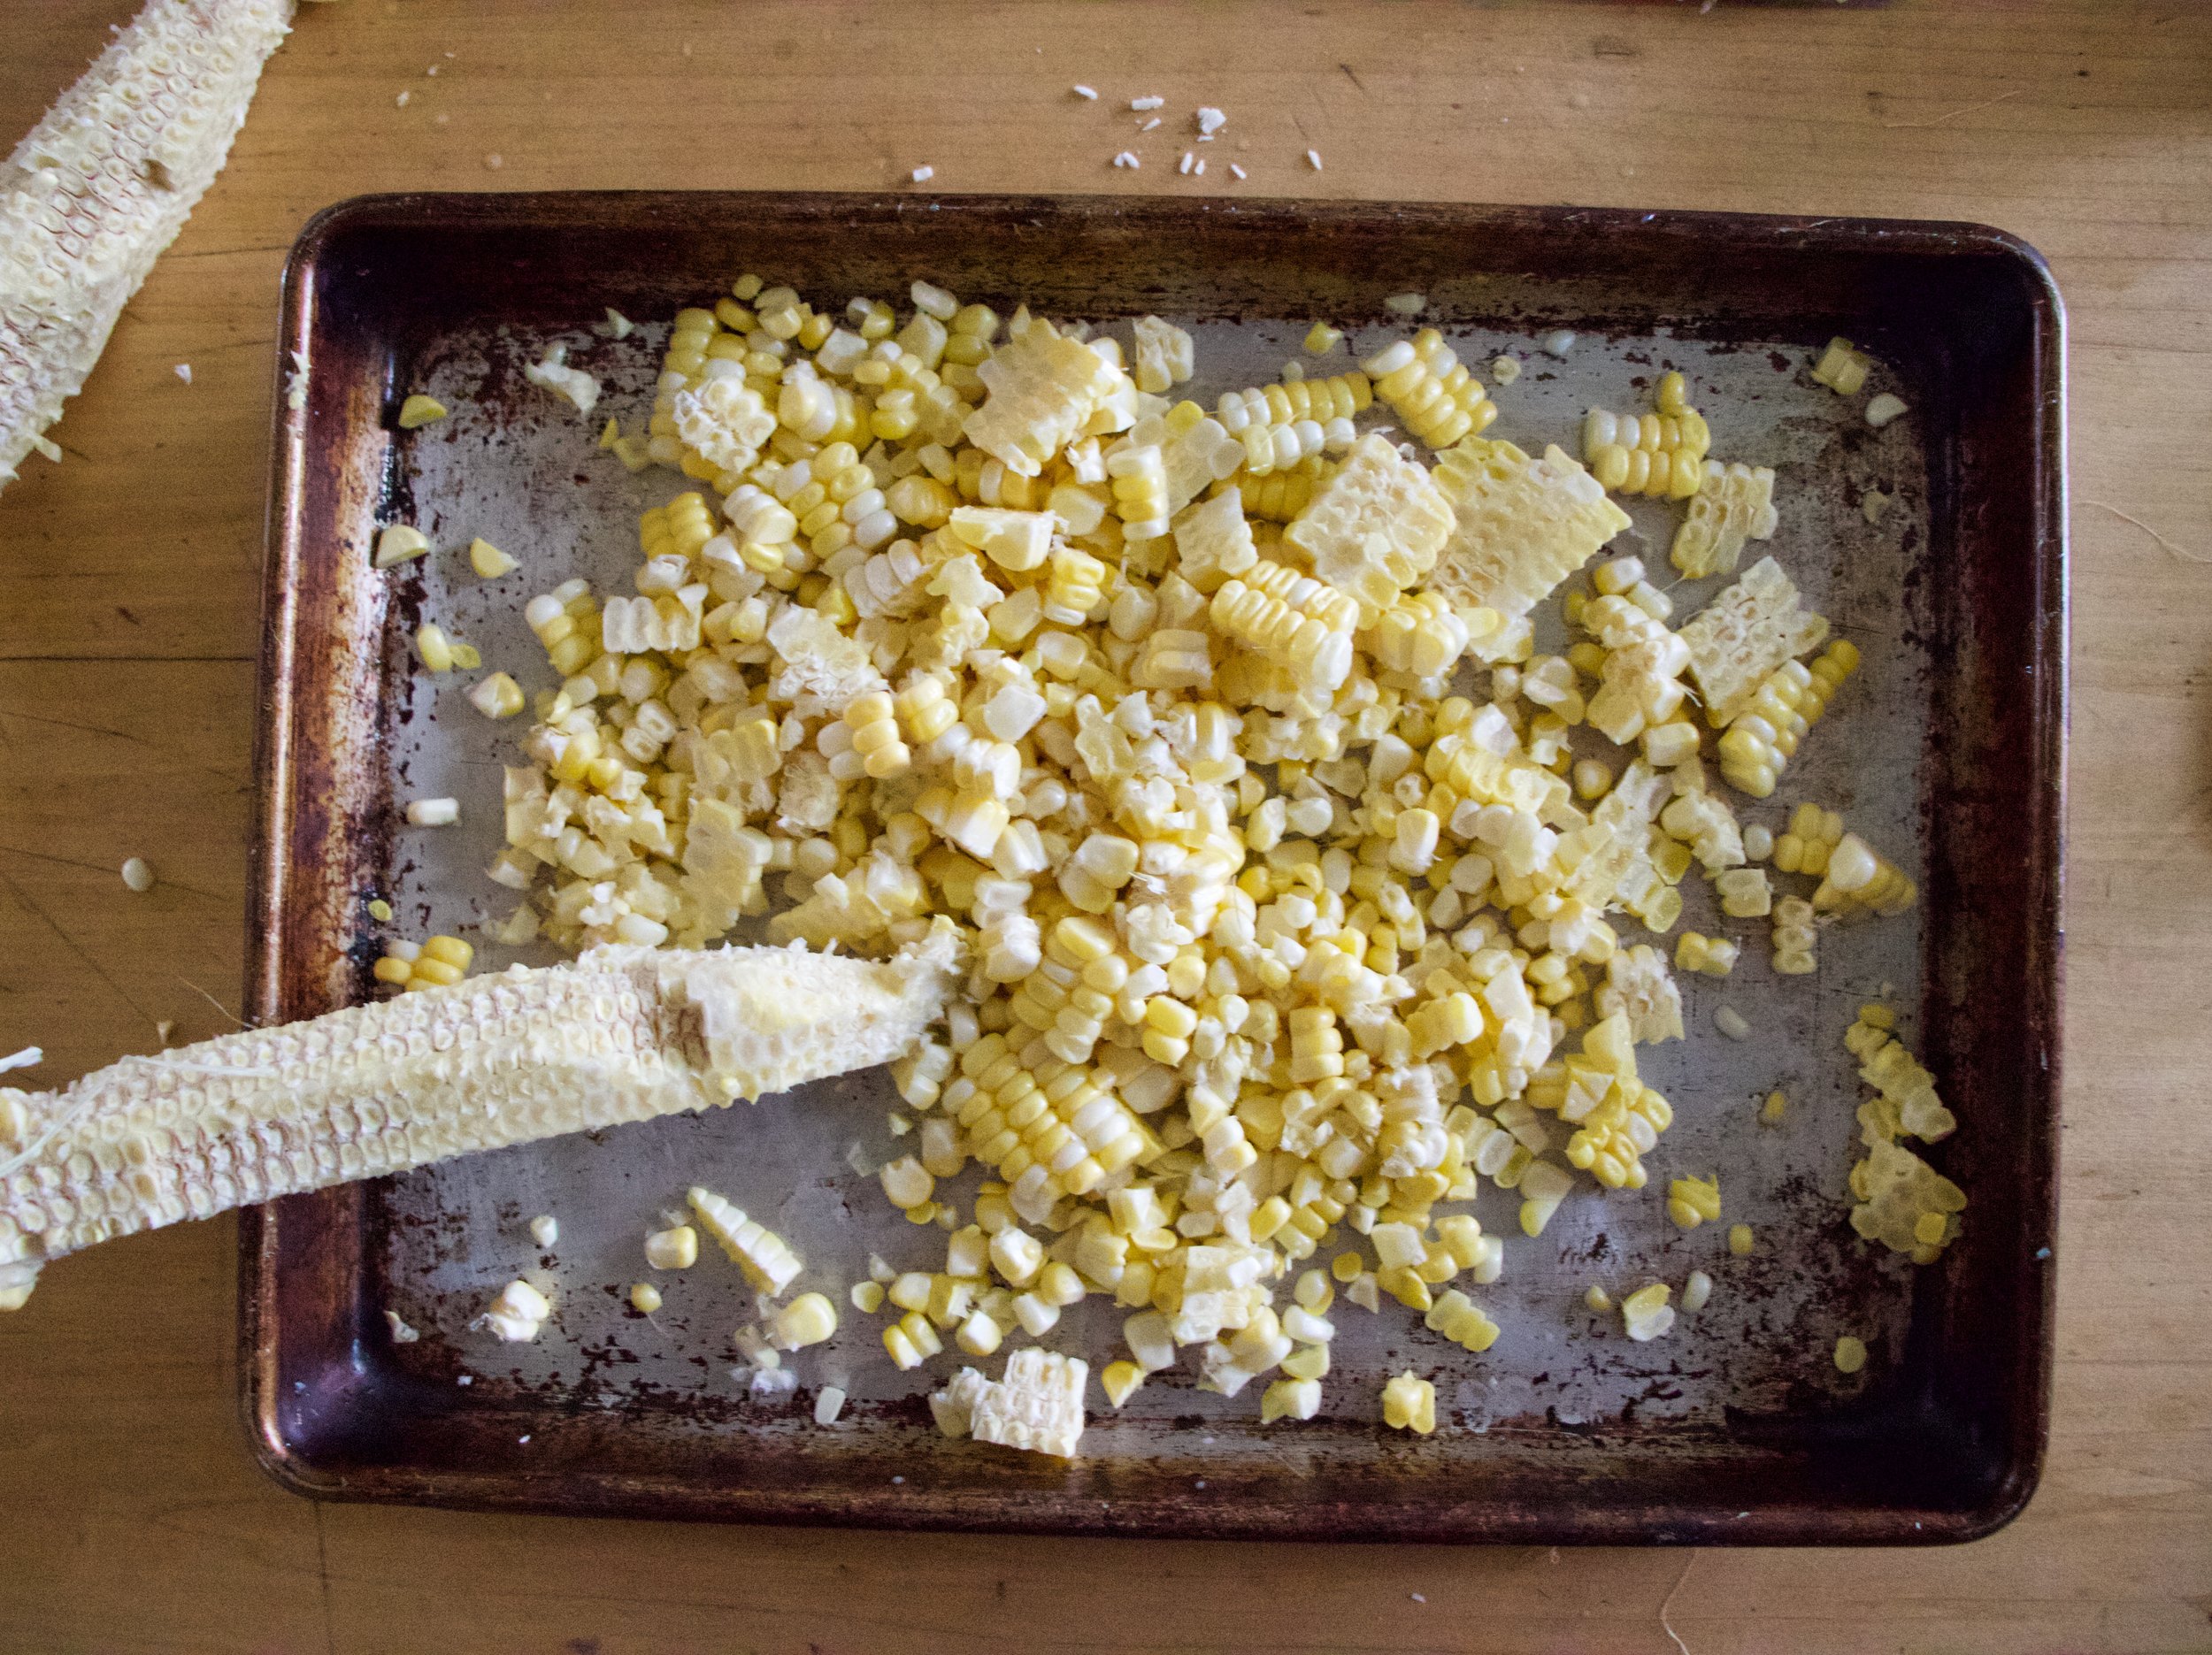
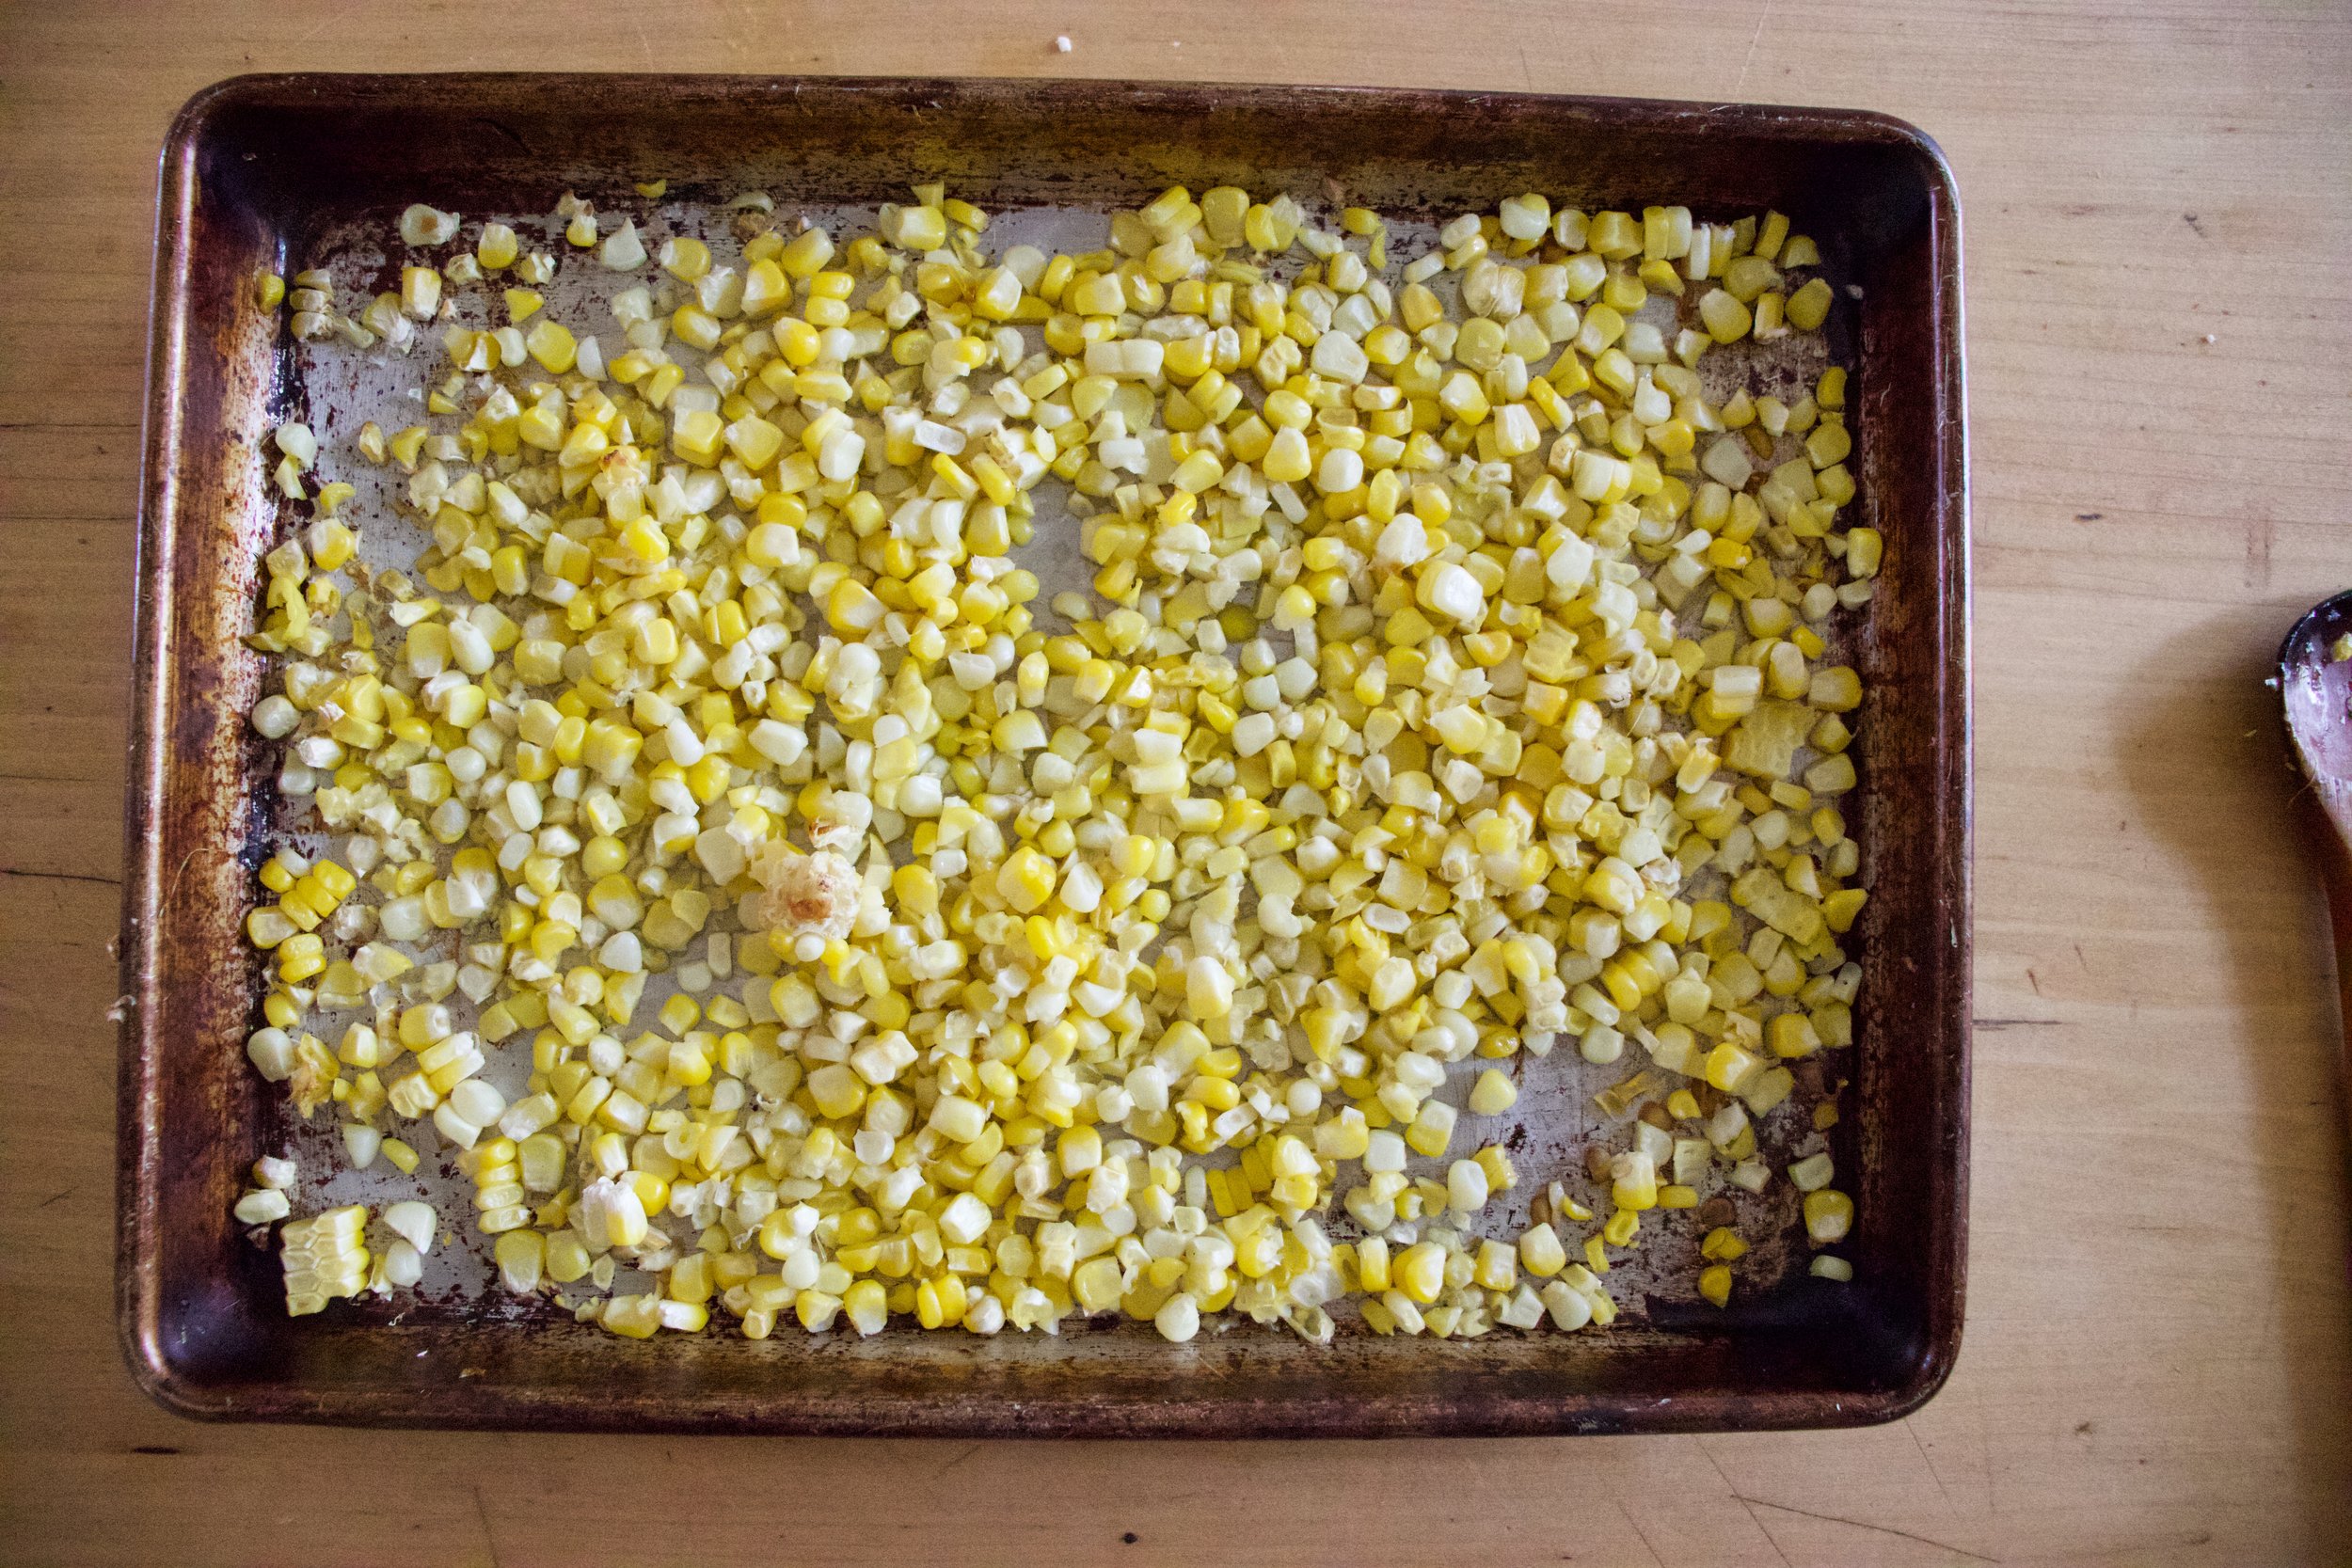
First, remove corn from cob and place on a baking sheet. Bake in oven for 10-ish minutes until corn is cooked and all nice and sweet.

IMG_8897.jpg

And don’t forget to toast the coconut. A few minutes in the oven is all it needs.

IMG_8879.jpg
IMG_8911 2.jpg

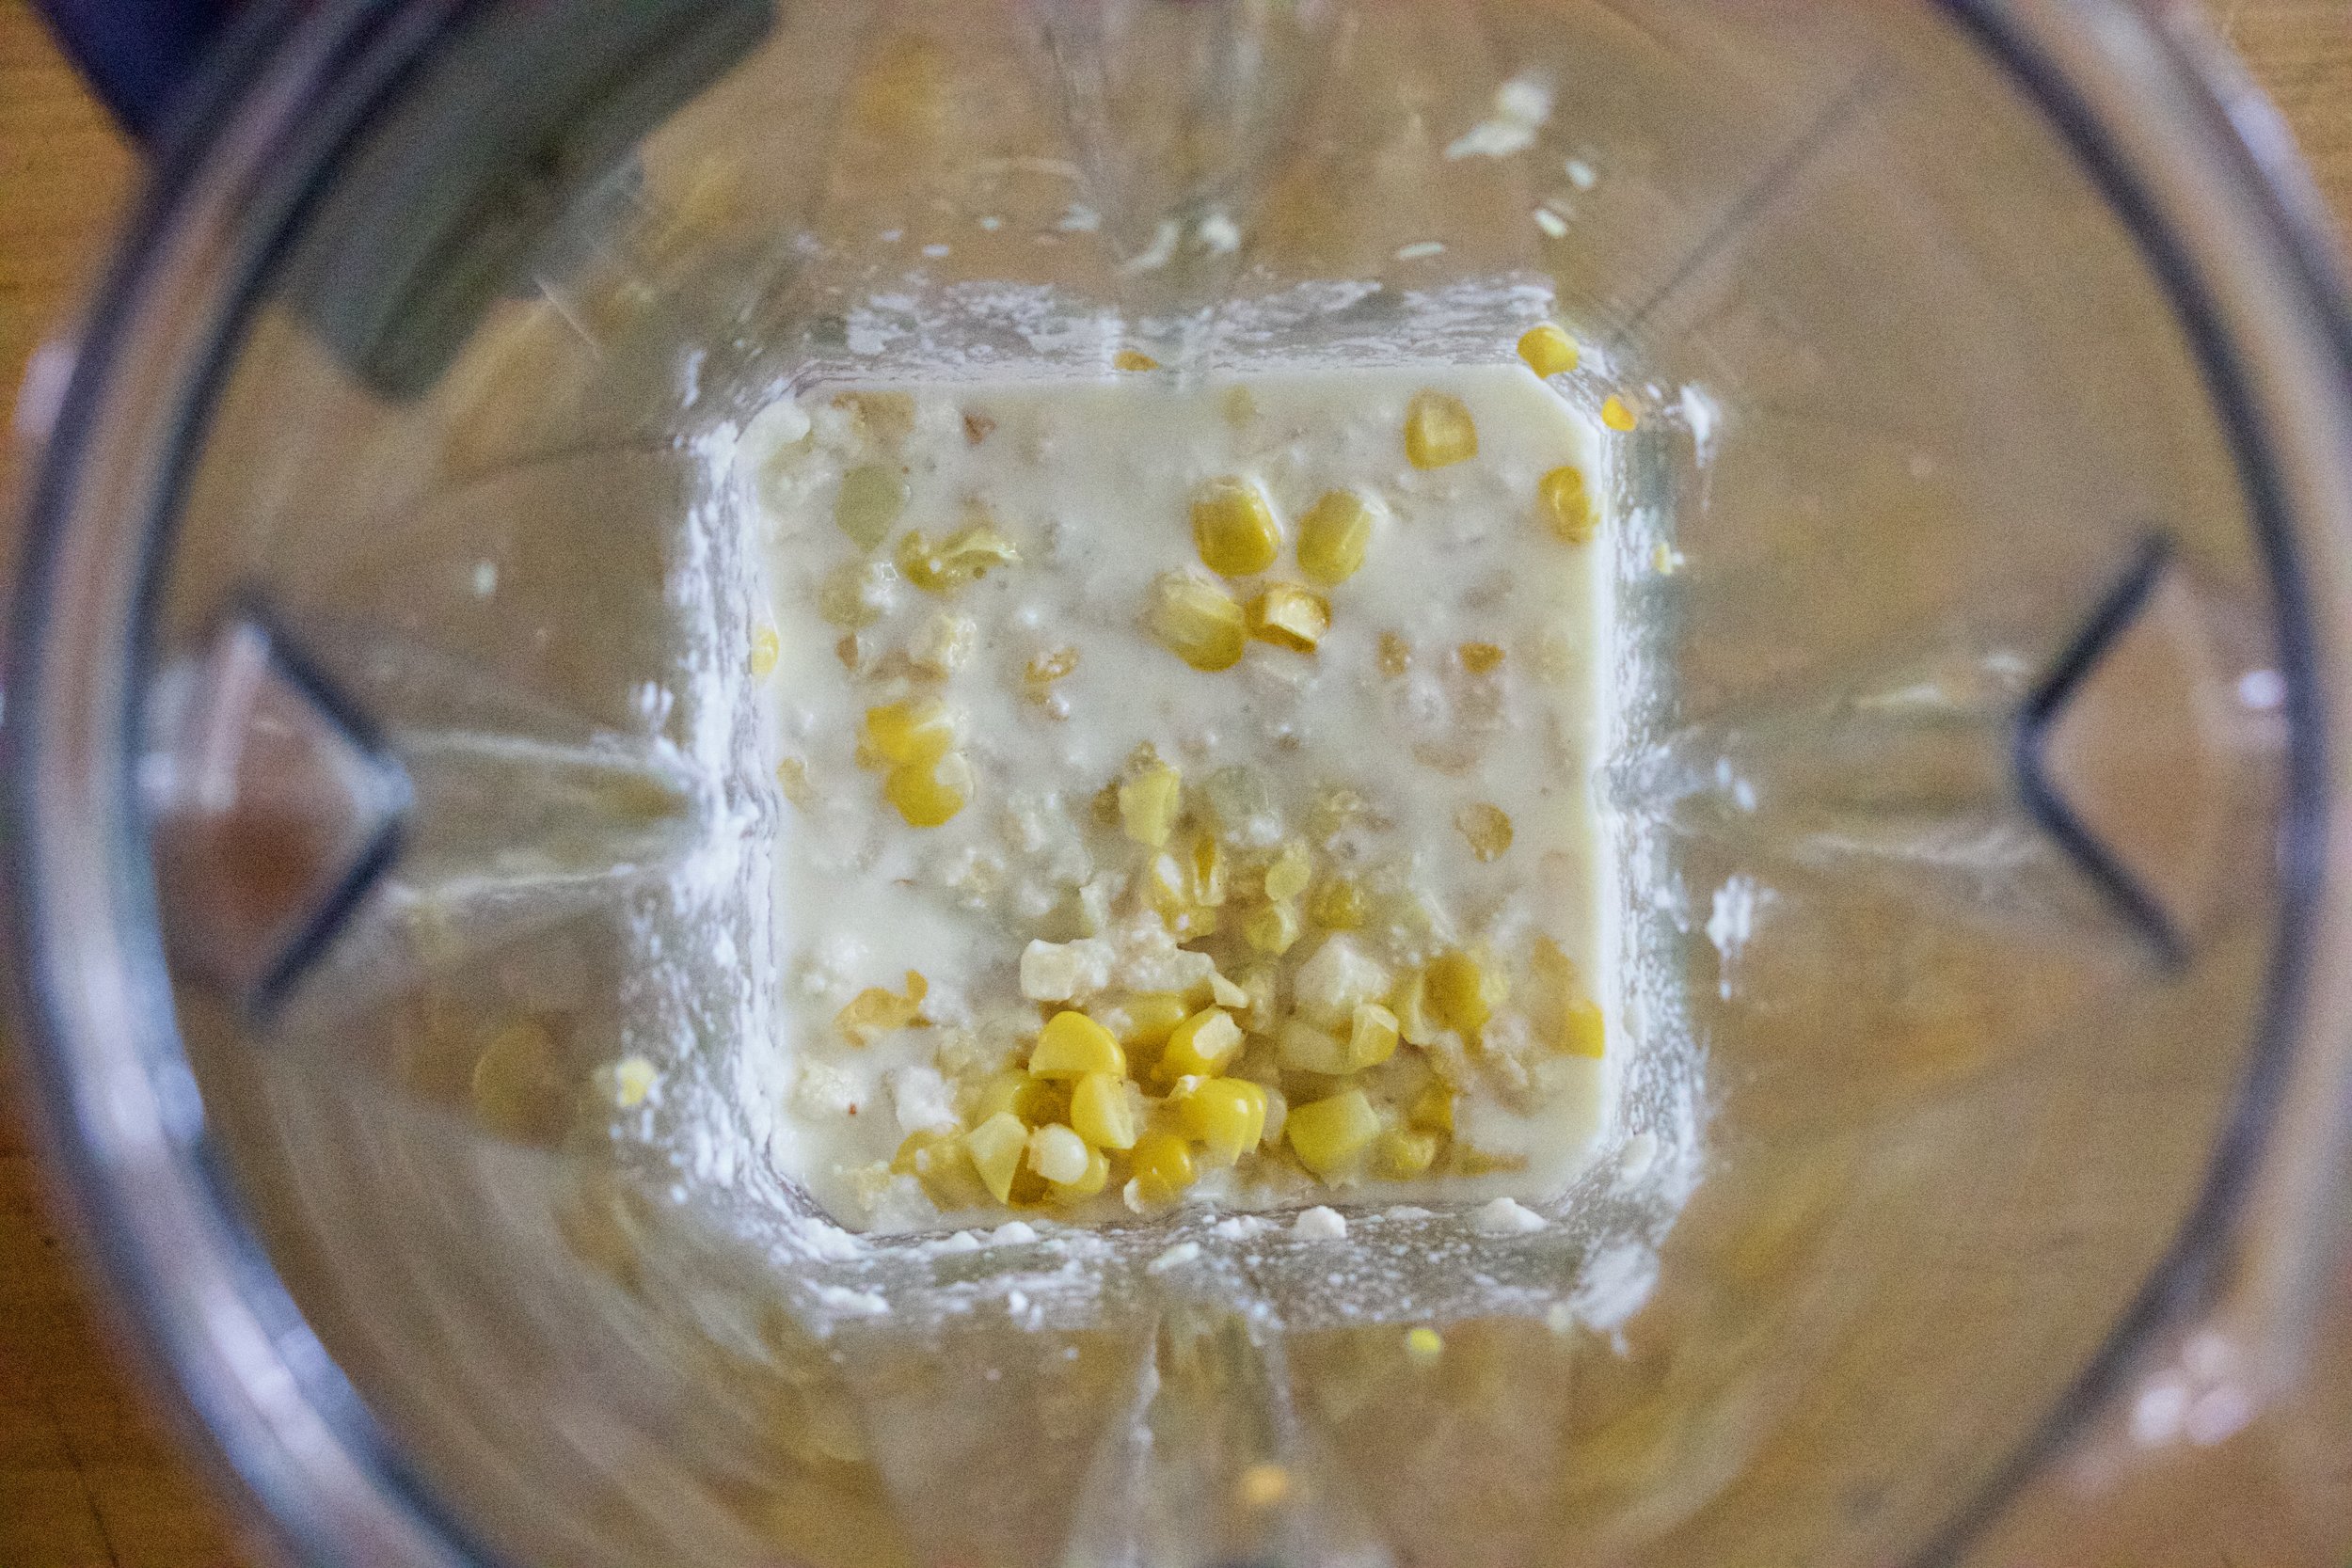
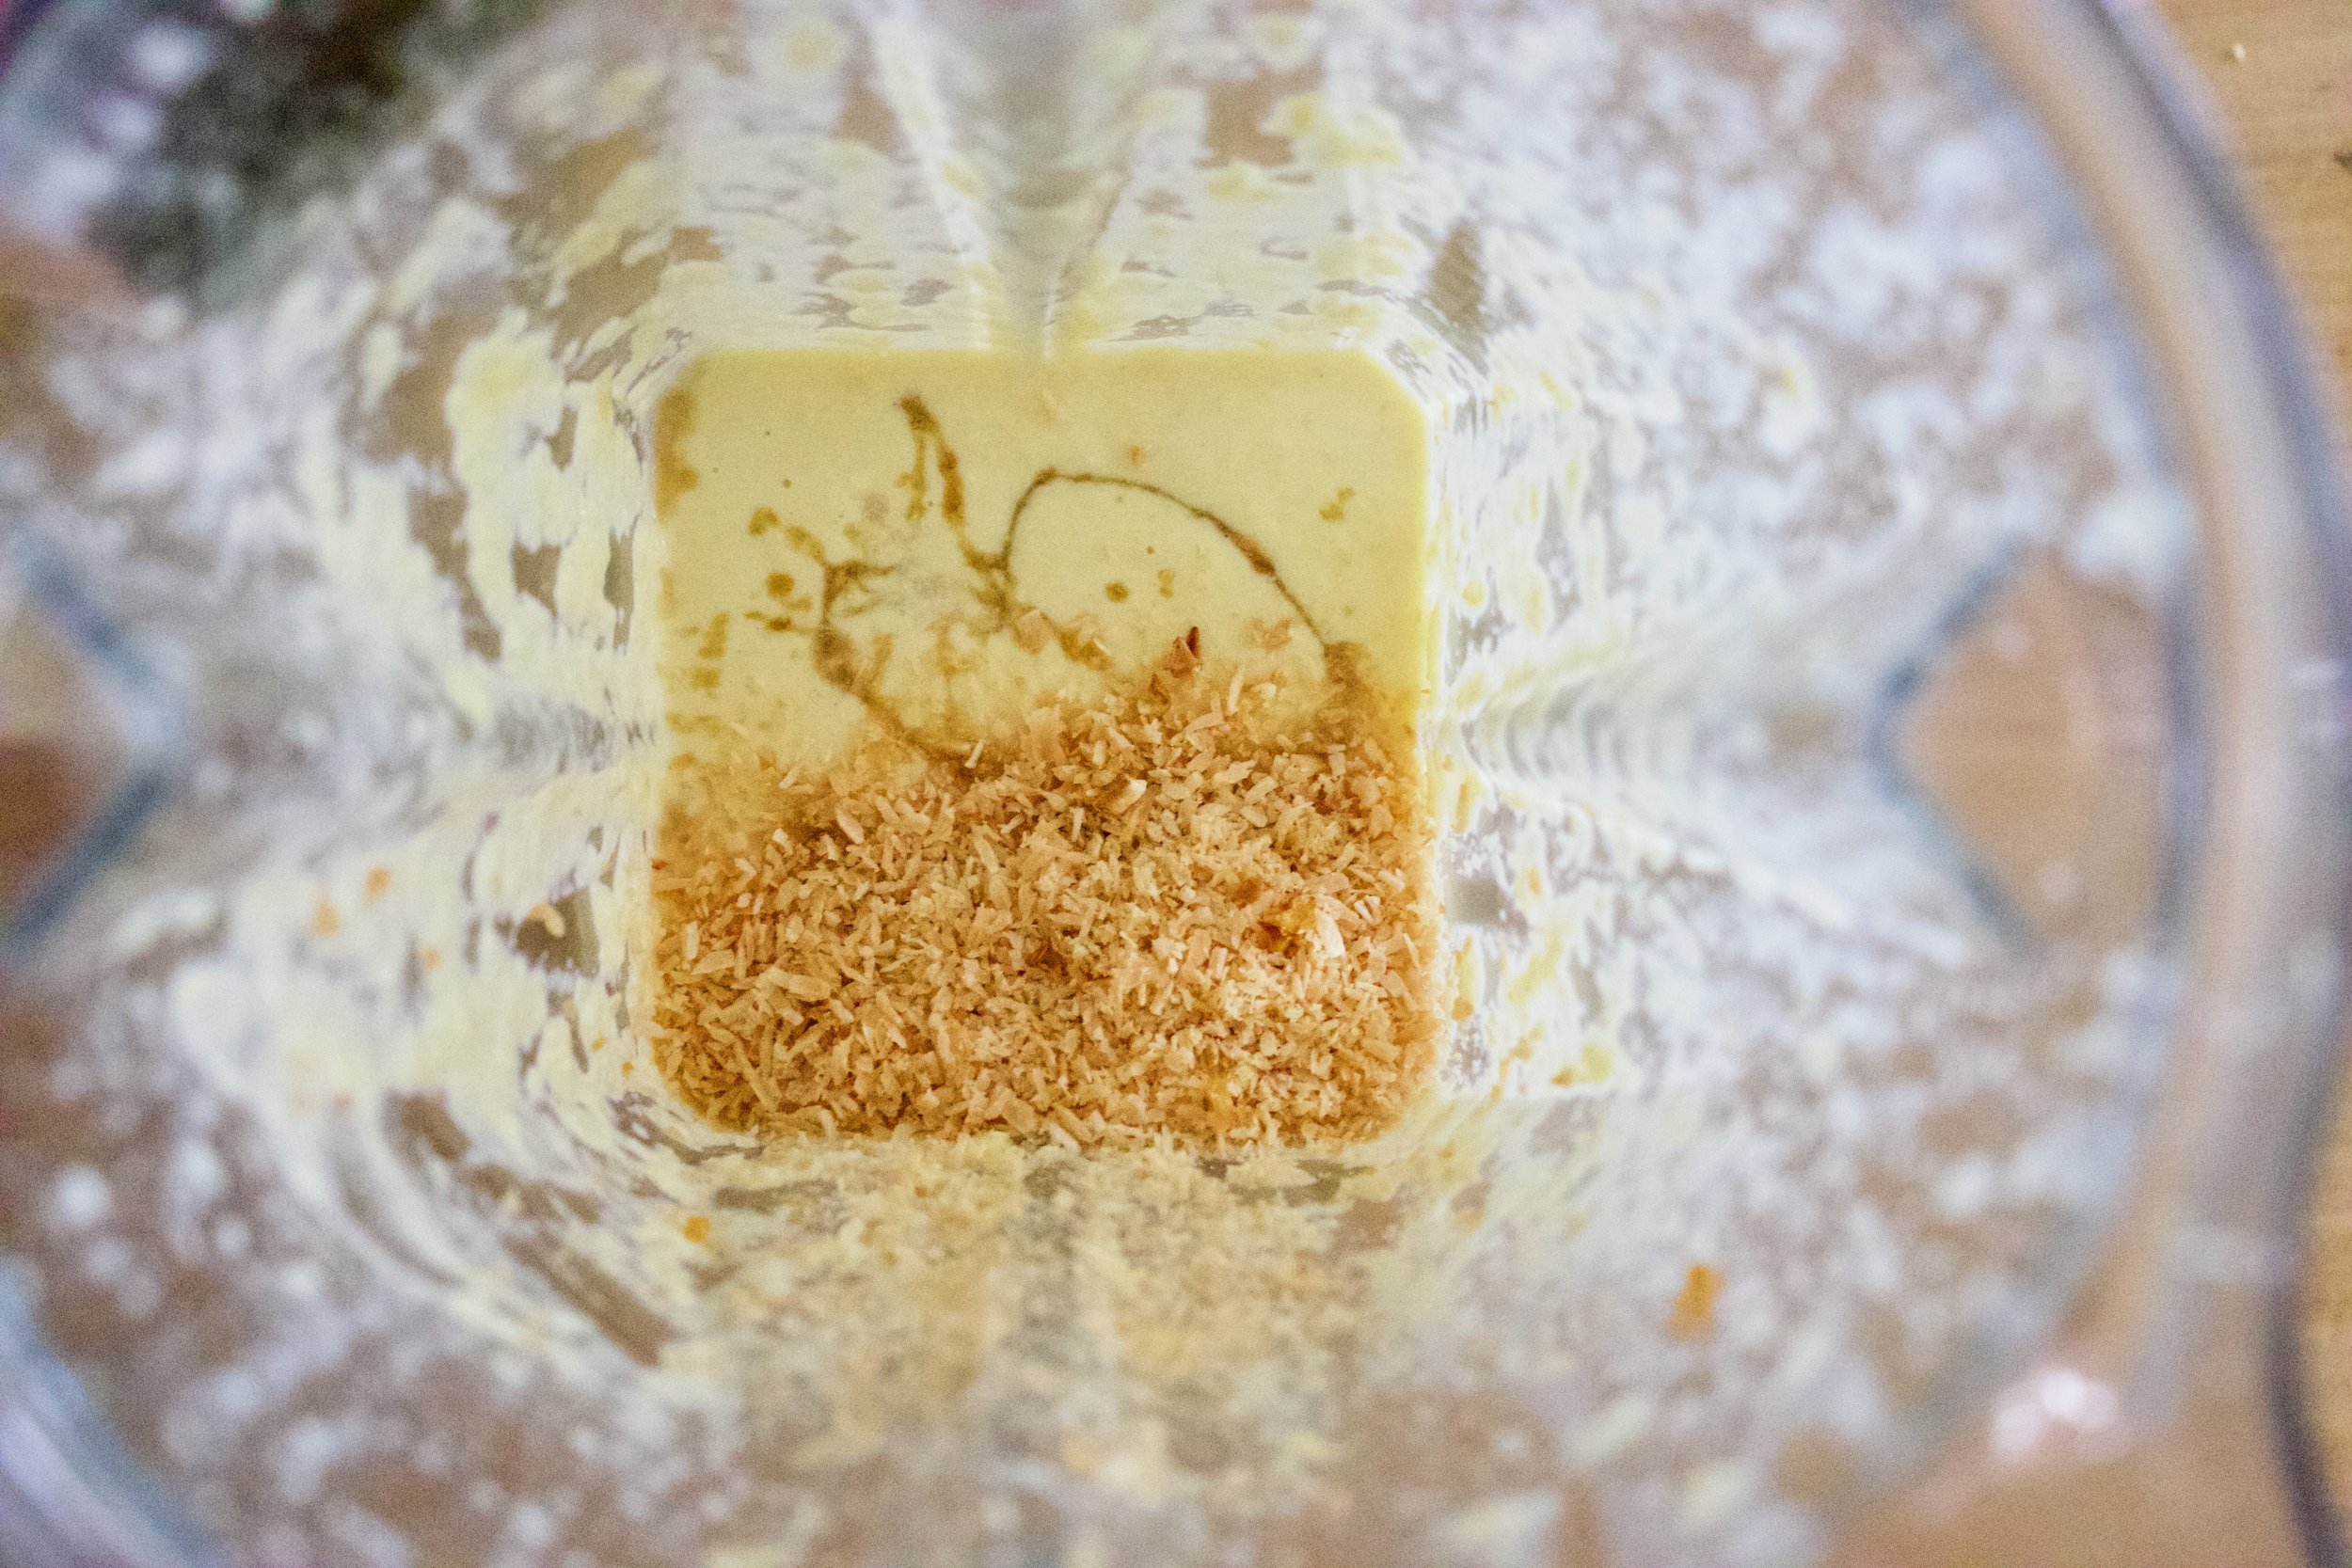
Now to blend. Corn and coconut milk go in first to blend until nice and smooth. Then add in the maple and coconut and blend until just combined. That will leave a little coconut texture. If you want it smooth, well just blend until completely smooth. Do what feels right to you.

IMG_8913.jpg

Thick, rich and creamy popsicle mixture.

IMG_8931.jpg

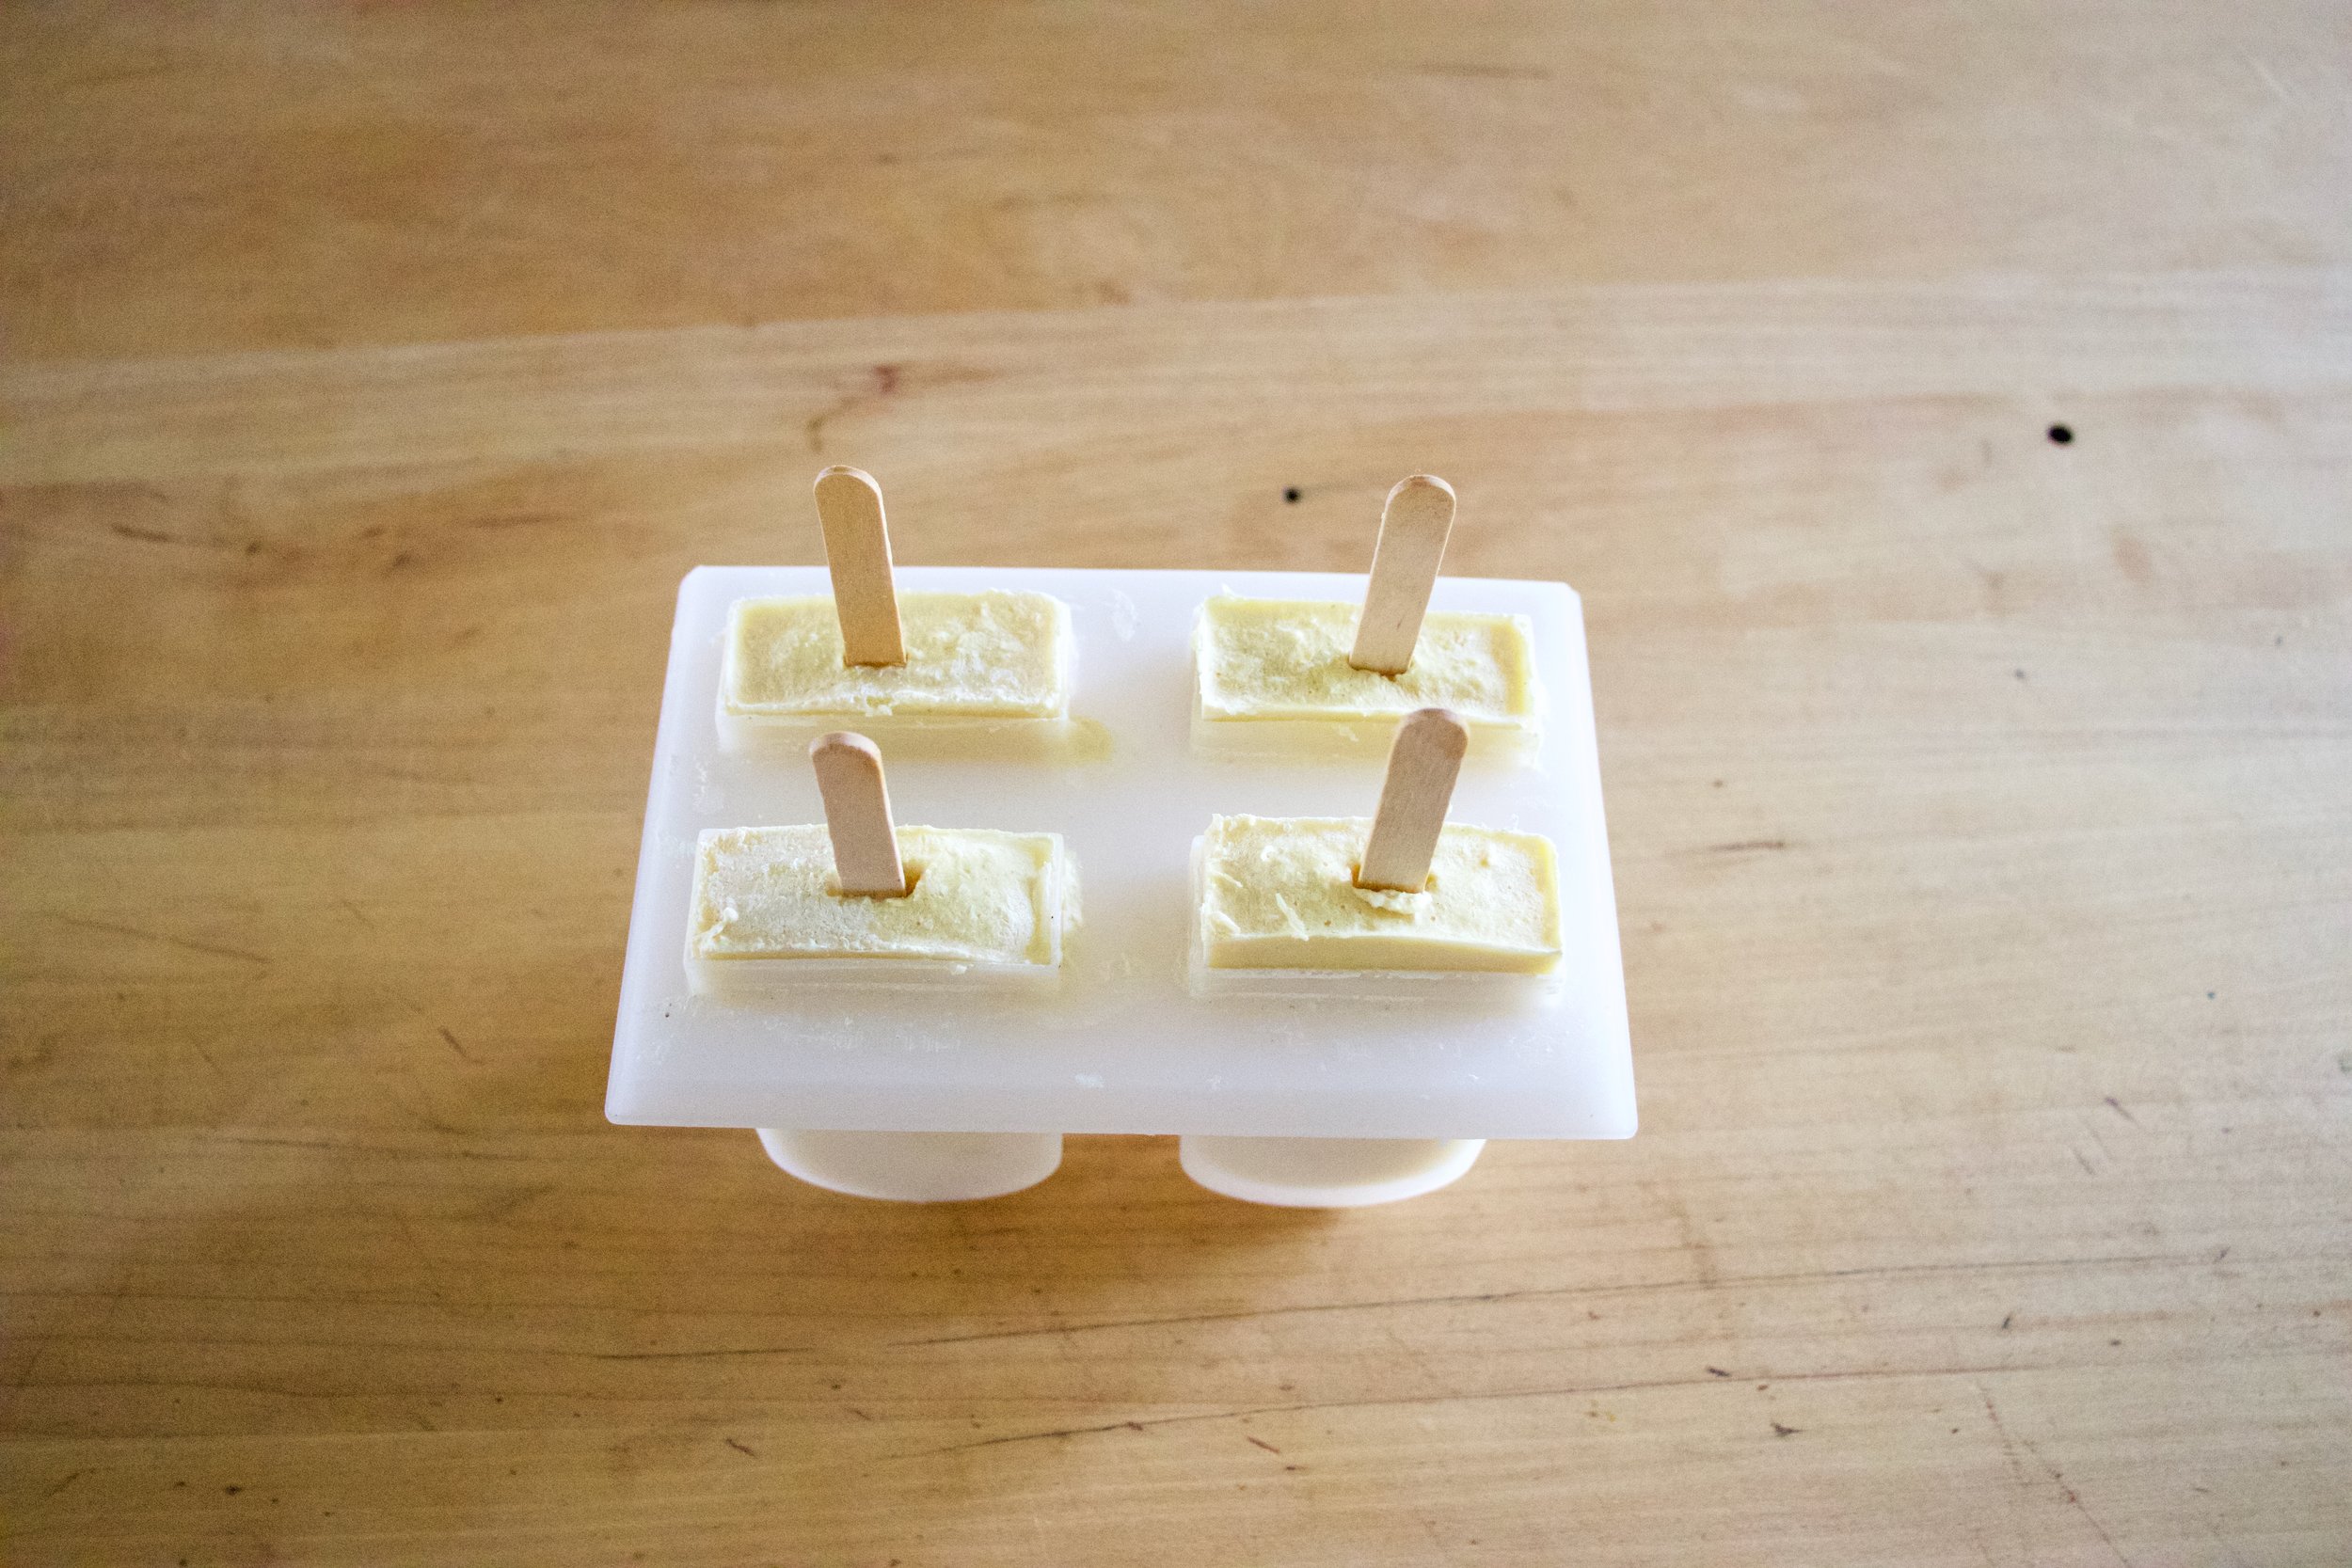
Now pour it into the molds and stick into the freezer. You could probably stick the sticks in now or wait a little while for the mixture to set a bit, but just don’t forget to get sticks in those popsicles before they completely freeze. That would suck.

Frozen POPSICLES!

Pop those lovelies out of the molds and there you go.

The anticipation is over. Eat a popsicle

-C


Toasted Coconut And Corn Popsicles

makes 4 average sized popsicles

  • 2 ears corn (about a cup of corn kernels)

  • 1 cup full fat coconut milk (the canned stuff)

  • 1/4 cup shredded unsweetened coconut

  • 2- 4 tablespoons maple syrup

Note. If you have left over cooked corn, just use that. You don’t need to recook it so skip the cooking corn step.

Preheat oven to 400

Remove corn kernels from cob and place on a baking sheet pretty evenly. Pop into the oven for 10 minutes of so or until the corn is cooked through and nice and sweet.

Remove corn and dump it into blender and set aside to cool for a few minutes. Place the coconut onto the baking sheet and pop into the oven for 3-4 minutes to just lightly toast. When the coconut is toasted, remove from oven.

Grab the blender with the corn and pot in the coconut milk. Blend until smooth. Add in the maple (start with 2 tablespoons and work your way up to the sweetness you like) and the toasted coconut. Blend quickly just to combine for a slightly more textures popsicle or blend completely smooth if you would rather a smoother popsicle.

Pour mixture into popsicles molds and place into freezer. After the mixture sets up (about an hour) pop sticks into molds. Continue to freeze until completely frozen. Usually 4-6 hours.

And then when it is popsicle time, remove popsicles from molds and eat them.

In 5 ingerdients or less, Dairy Free, frozen, Popsicles, summer, Vegan Tags popsicles, popsicle week, toasted coconut, corn, toasted coconut corn popsicles, frozen, dairy free, vegan, breakfast, dessert, summer, plant based, 5 ingredients or less, toasted coconnut
Comment

sesame soy cabbage

January 13, 2018 Colleen Stem

Here's one for the cabbage lovers our there, maybe even the haters as well. (I don't understand those people, cabbage is king in my stomach). I really believe that a good bit of cabbage can really change a persons perspective on the humble cruciferous vegetable, maybe even the world. To far? Maybe but what I always say is, "When in doubt try it out!" Either way, this bit of cabbage is vey very good good.  

A quick little warm up in a skillet with some sesame soy flavor and crunch and you got yourself a A plus little salad. It hits all the right notes for when a) its winter and fresh greens are more sparse (which it currently is and they currently are) b) its cold out (again currently because it's winter) and c) when you only have a head of cabbage in the fridge (was the case but I have sense remedied that). 

Chop it, toss, it, eat it. Quick and easy good food. Get on it.

The stuff. Cabbage (I used savoy but you can use any cabbage you want) soy sauce, toasted sesame oil, olive oil, and a lemon. The lemon is optional, but a little acid is alway welcome in my mouth. 

Chop the cabbage. Unless  you are making this for more then 2 people, you probably only need half a head. However much you use, chop in up into 1-2 inch peices. You could  also shreds it if you want, but I like the bigger pieces. 

IMG_9384.jpg

Toss the cabbage into a hot skillet that has been drizzled with a little olive oil and toss the soy sauce in with it too. 

Cook on medium high heat until the cabbage has slightly soften. 

IMG_9400.jpg

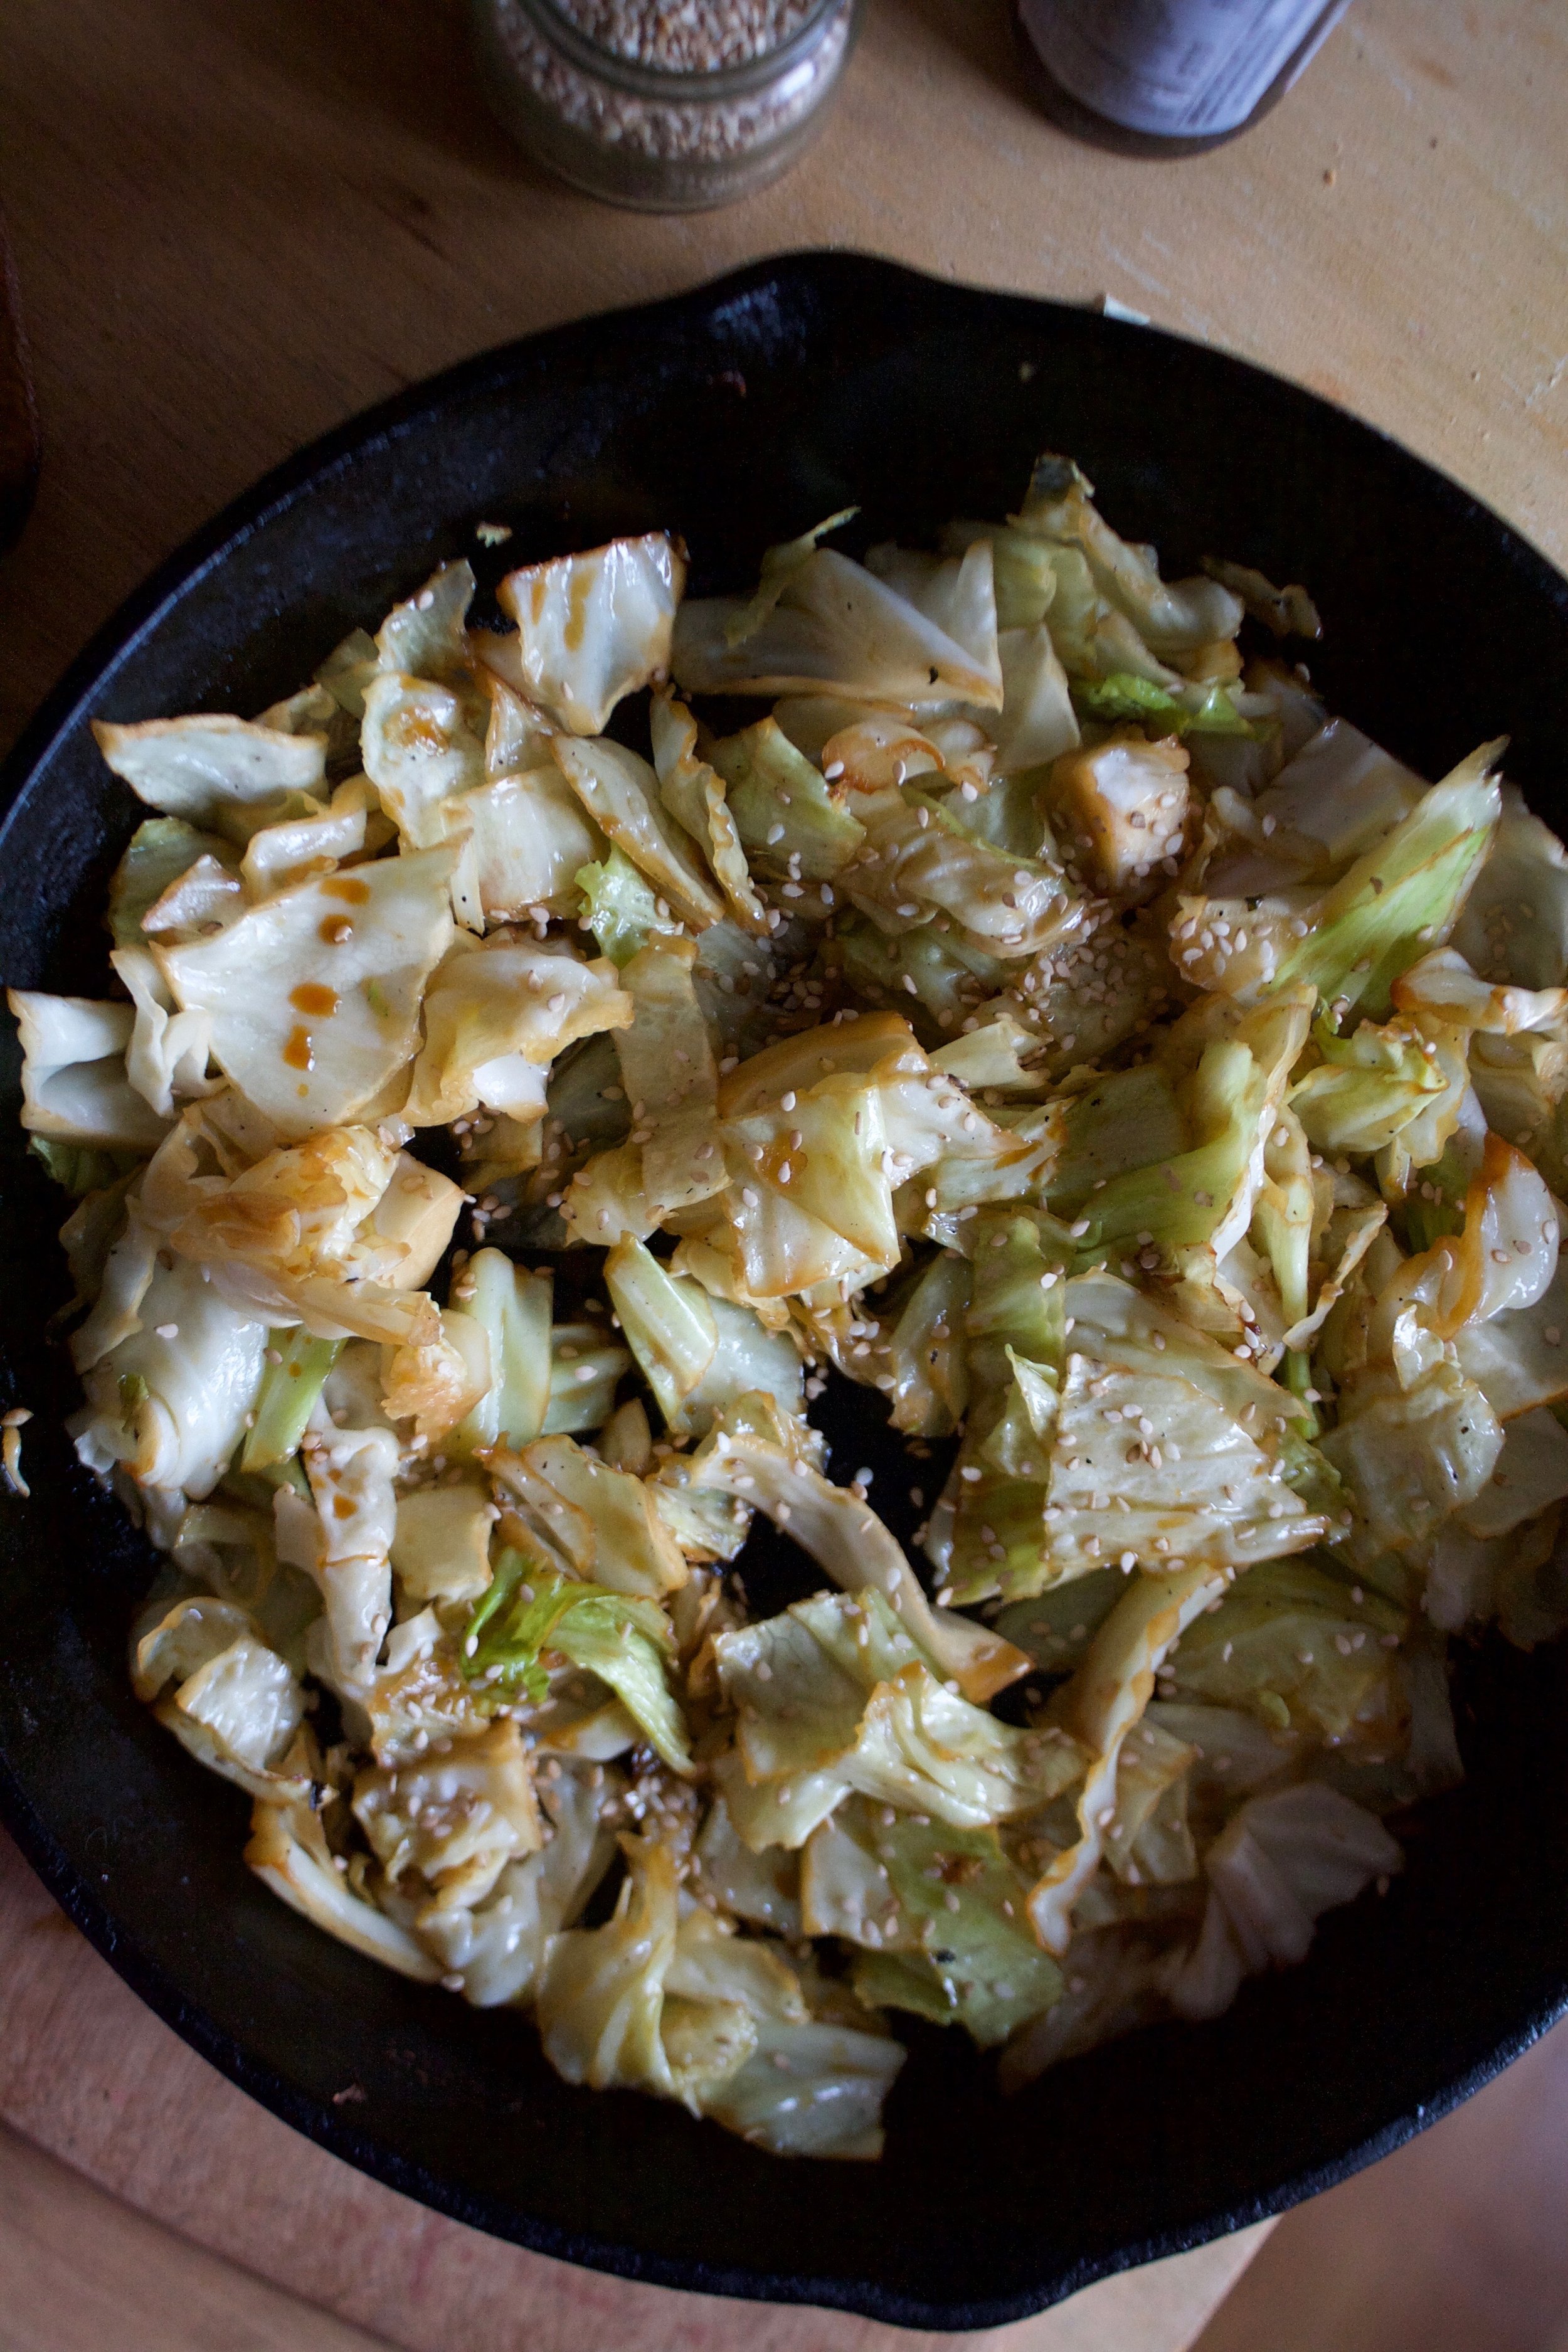
While the skillet is still hot, drizzle in a touch of toasted sesame oil and a good amount of sesame seeds. Give it a toss. Taste and add more toasted sesame oil if you want.

Pile it Into a bowl and that's that. Serve with a wedge of lemon or lime if you like the addition of the acid. 

-C


Sesame Soy Cabbage

serves 1-2 people

  • 1/2 of a head of cabbage (green savoy, or red work)
  • 1 tablespoon soy or tamari 
  • 1/2-1 teaspoon toasted sesame oil
  • 1 tablespoon olive oil 
  • sesame seeds
  • lemon or lime (optional)

Preheat a large skillet to medium high with the olive oil. While its getting hot, chop the cabbage into 1- 2 inch pieces. When the skillet is hot, dump the cabbage in and toss around with the soy sauce. Let cook for 4-5 minutes, giving it a toss a few times, until the cabbage starts to soften. Depending on your preference you can stop cooking it now, or keep cooking until it reaches you preferred doneness. (I like it with a little crunch so I cook it for 5-6 minutes) Once it's done but the skillet is still hot, drizzle in the toasted sesame oil and toss in the sesame seeds. Taste for flavor and add more toasted sesame oil if needed. 

Serve right away although cold left overs are also fantastic. A wedge of lemon or lime is a well received addition. 

In 5 ingerdients or less, dinner, Gluten Free, grain free, Paleo, quick and easy, salad, seeds, Vegan, Vegetables Tags Sesame Soy Cabbage, vegan, gluten free, side dish, simple, 5 ingredients or less, healthy, whole 30, cabbage, grain free, salad, warm salad, asian flavors
Comment
 

https://thelovelycrazy.squarespace.com/config#/|/about/

Me. Food Maker.Food eater. Woo HOO!

STEM+NODE  SMALL BATCH AND ONE OF A KIND POTTERY

stem+node ceramics


____________________

Subscribe

GET NEW POSTS IN YO EMAIL

You are AWESOME!!!


@thelovelycrazy 2014-2021