A few month ago I read an article about NYC seltzer water (which I have still yet to have) and fell in love with those super cool glass seltzer bottles. (I really want to get my hands on a few). In the article, there was the mention of egg creams. Now at first I was kind of disgusted because who the hell drinks eggs, but then after doing super duper internet research (google) I found that egg creams are not actual egg.. It's pretty much just bubbly chocolate milk.
Yesterday I was thinking of a non alcoholic beverage that people that are opting out of the alcohol can drink, something maybe a bit different and fun and I had that brain spark.. Egg creams! And I just so happen to be babysitting a gaggle of littles for the day and who better to serve a fun non alcohol drink too! (after that, save all he alcohol for me!) It was perfect cause these littles are down for anything with chocolate and it just so happened to be one of those littles birthday (HAPPY BIRTHDAY JUDAH BUG!) .so special party drinks were in order.
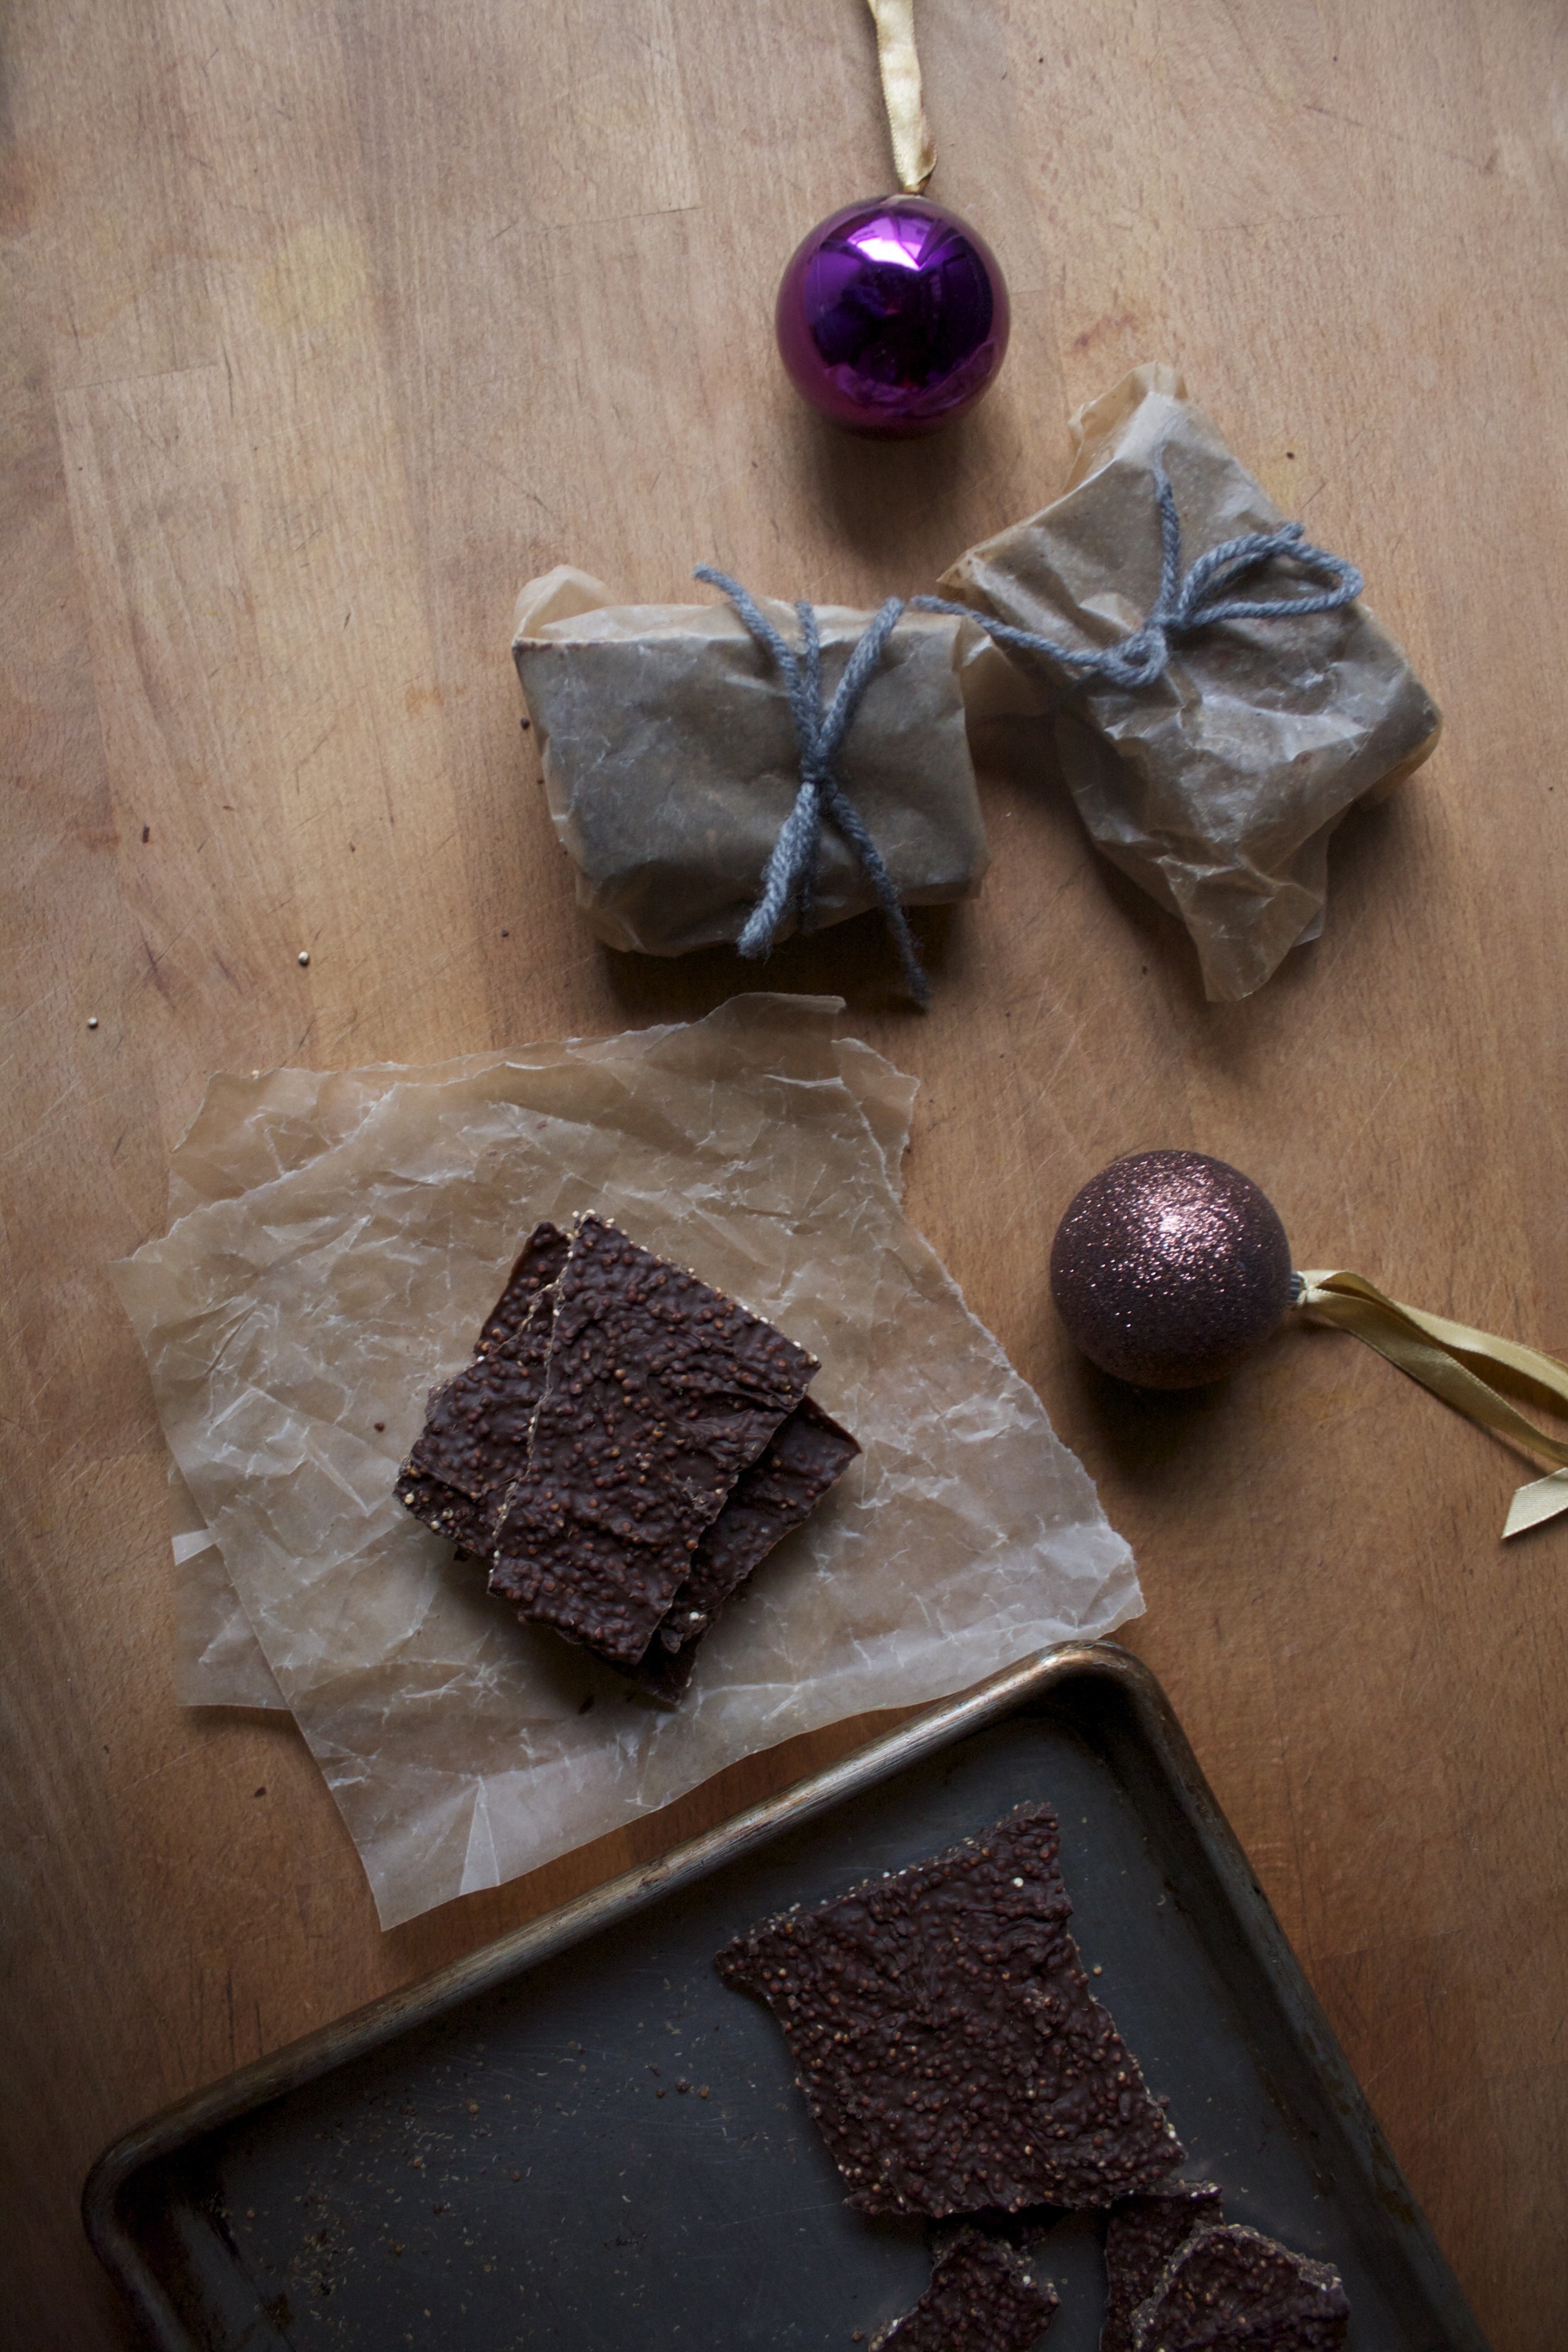
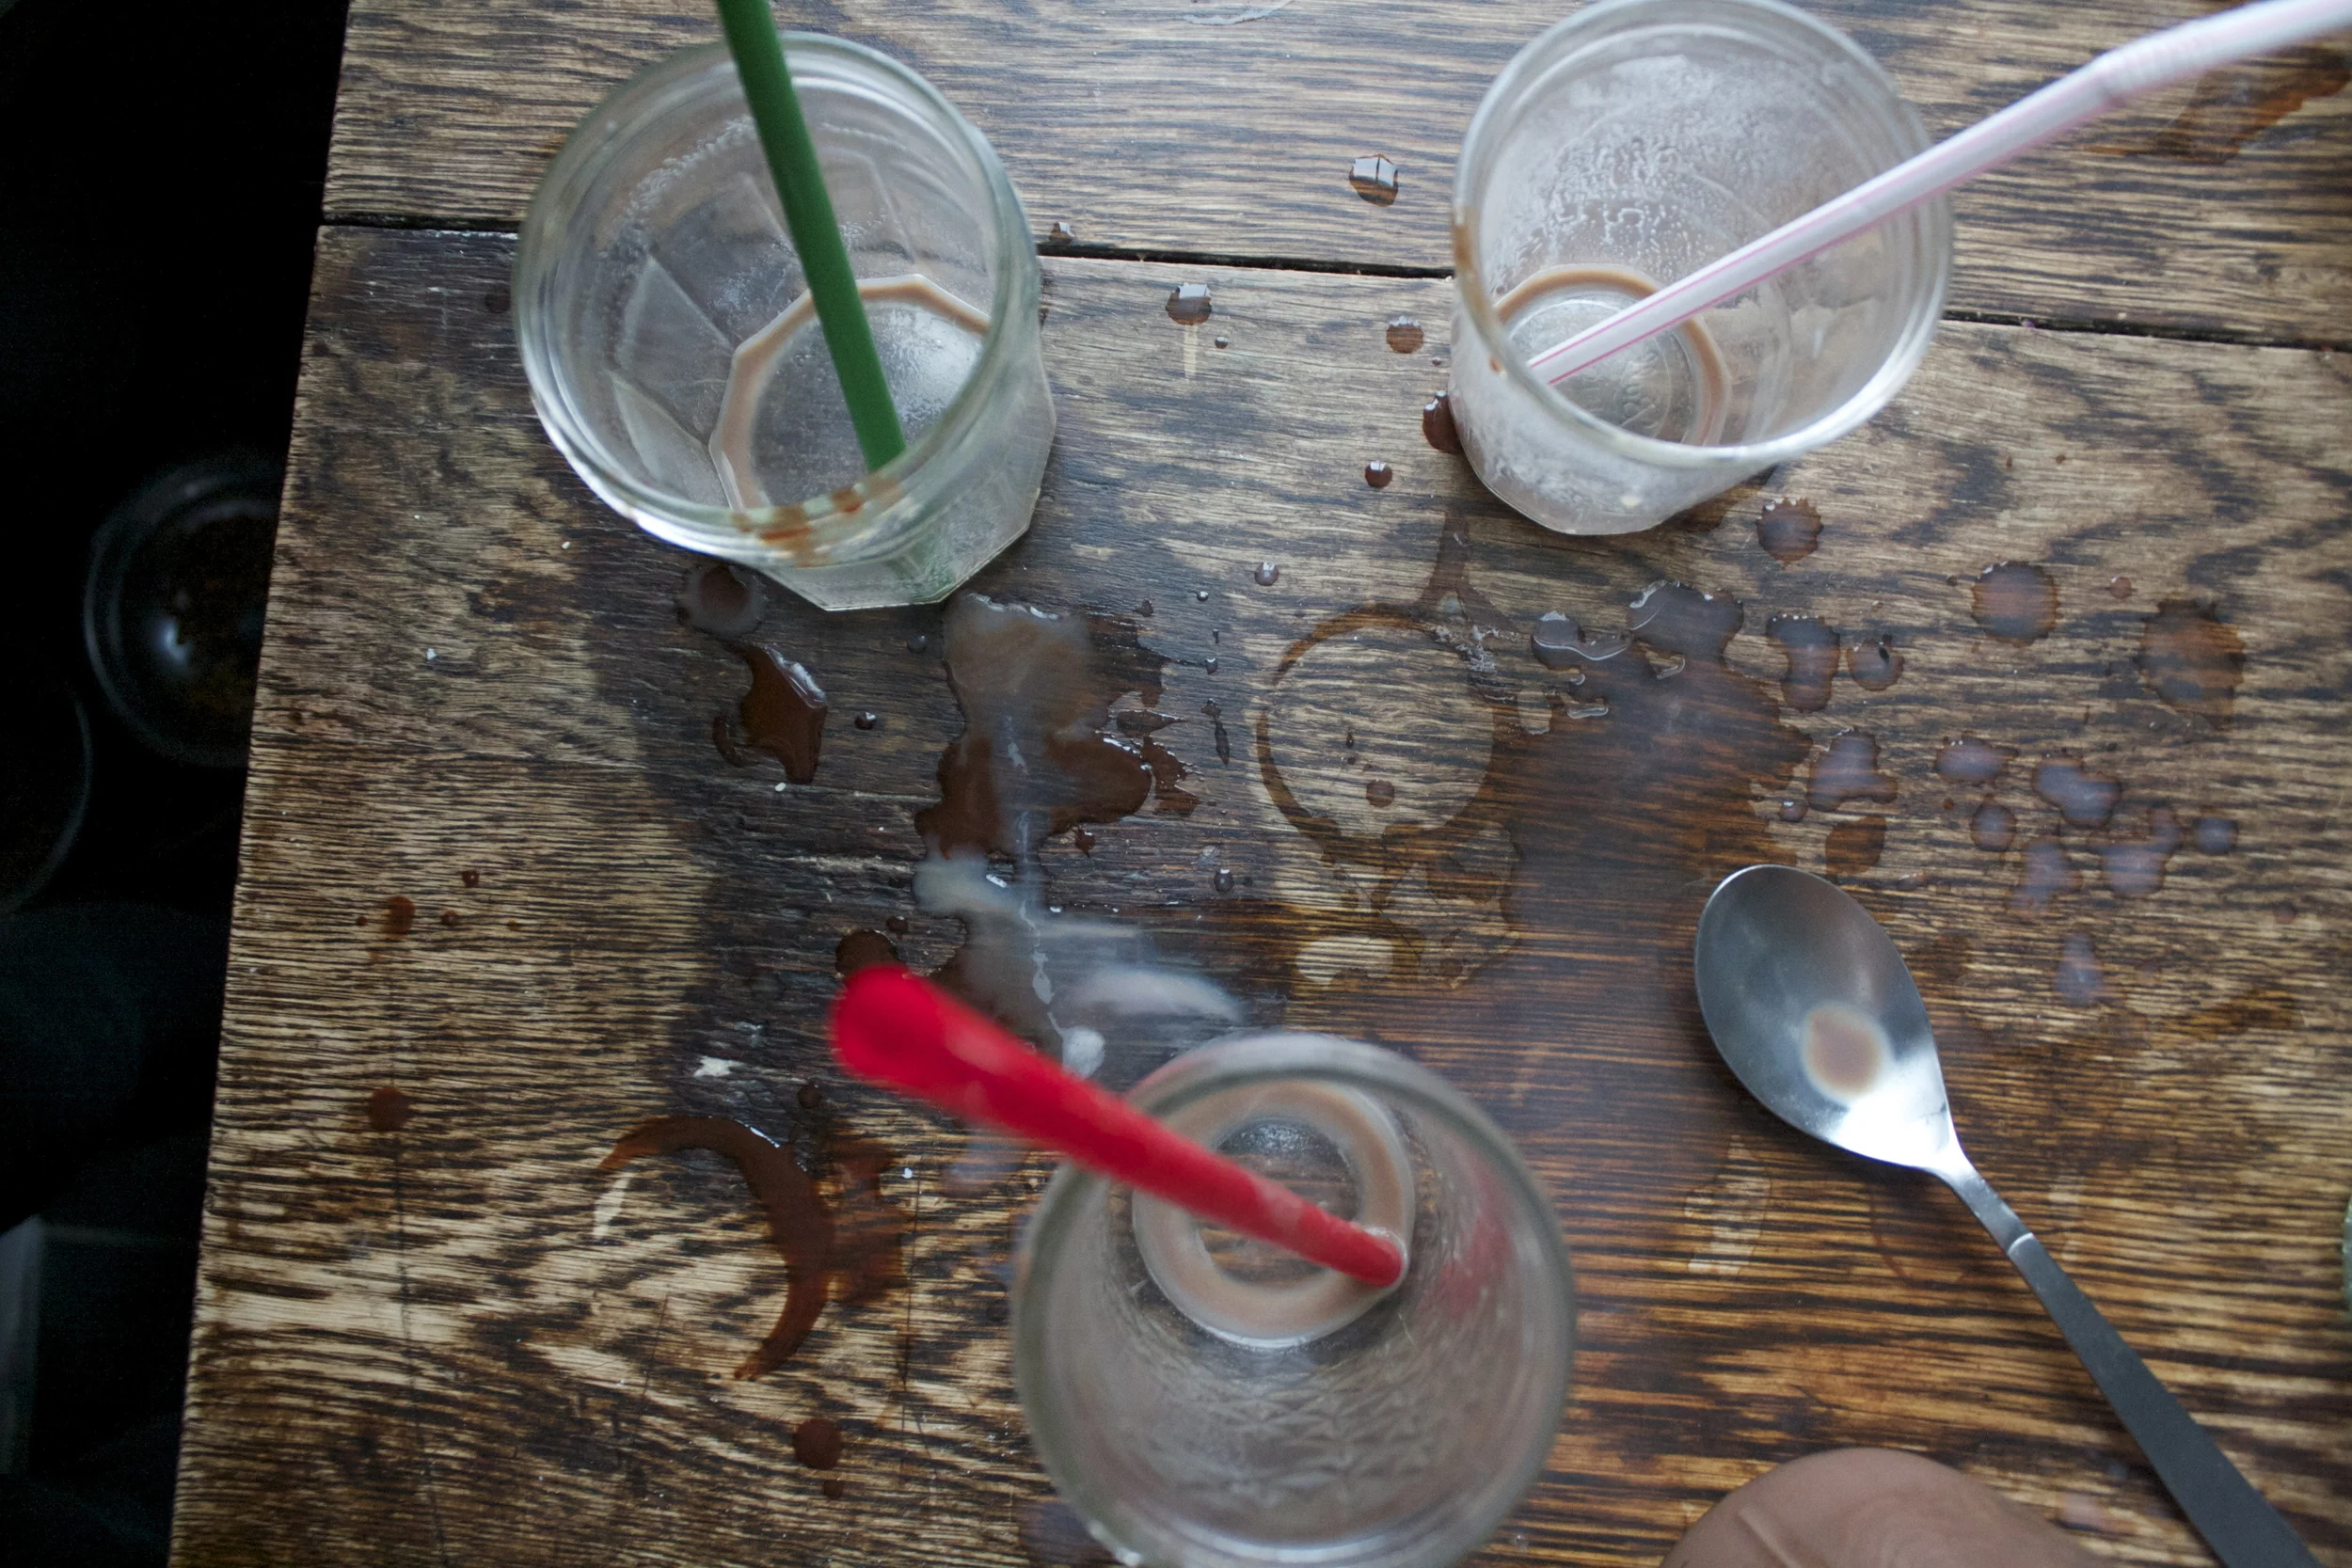
Here is how the egg creams when down. I made the chocolate syrup. The kids all loved it and where sticking there fingers in it. Then I assembled the egg creams. All the kids took a glass, drank some, and took off. I found 1/2empty cups of drinks around the house. But here is the thing. When I asked if they liked it, two said yes.,one said it was weird but good, and one little ran away from me with the bag of chocolate quinoa bark ! brought. (I didn't run after her) The mr came by a few hours later and tried some of the dregs of one and he wasn't into it at all , but then again he hates chocolate milk and it was sitting around for a while. So the verdict .... not sure. Kids like it if they like chocolate milk but treat it like they would treat any drink (drink half and abandon the rest). Adults could totally get into it if there is some nostalgia behind it or maybe a shot of vodka added. So yeah. I think anyone that is interested should definitely try it. And if you do, let me know. I am very curious what people think.
Oh, and to make the afternoon that much more interesting, I am currently still suffering from laryngitis (hahaha) So yesterday was some fun stuff.

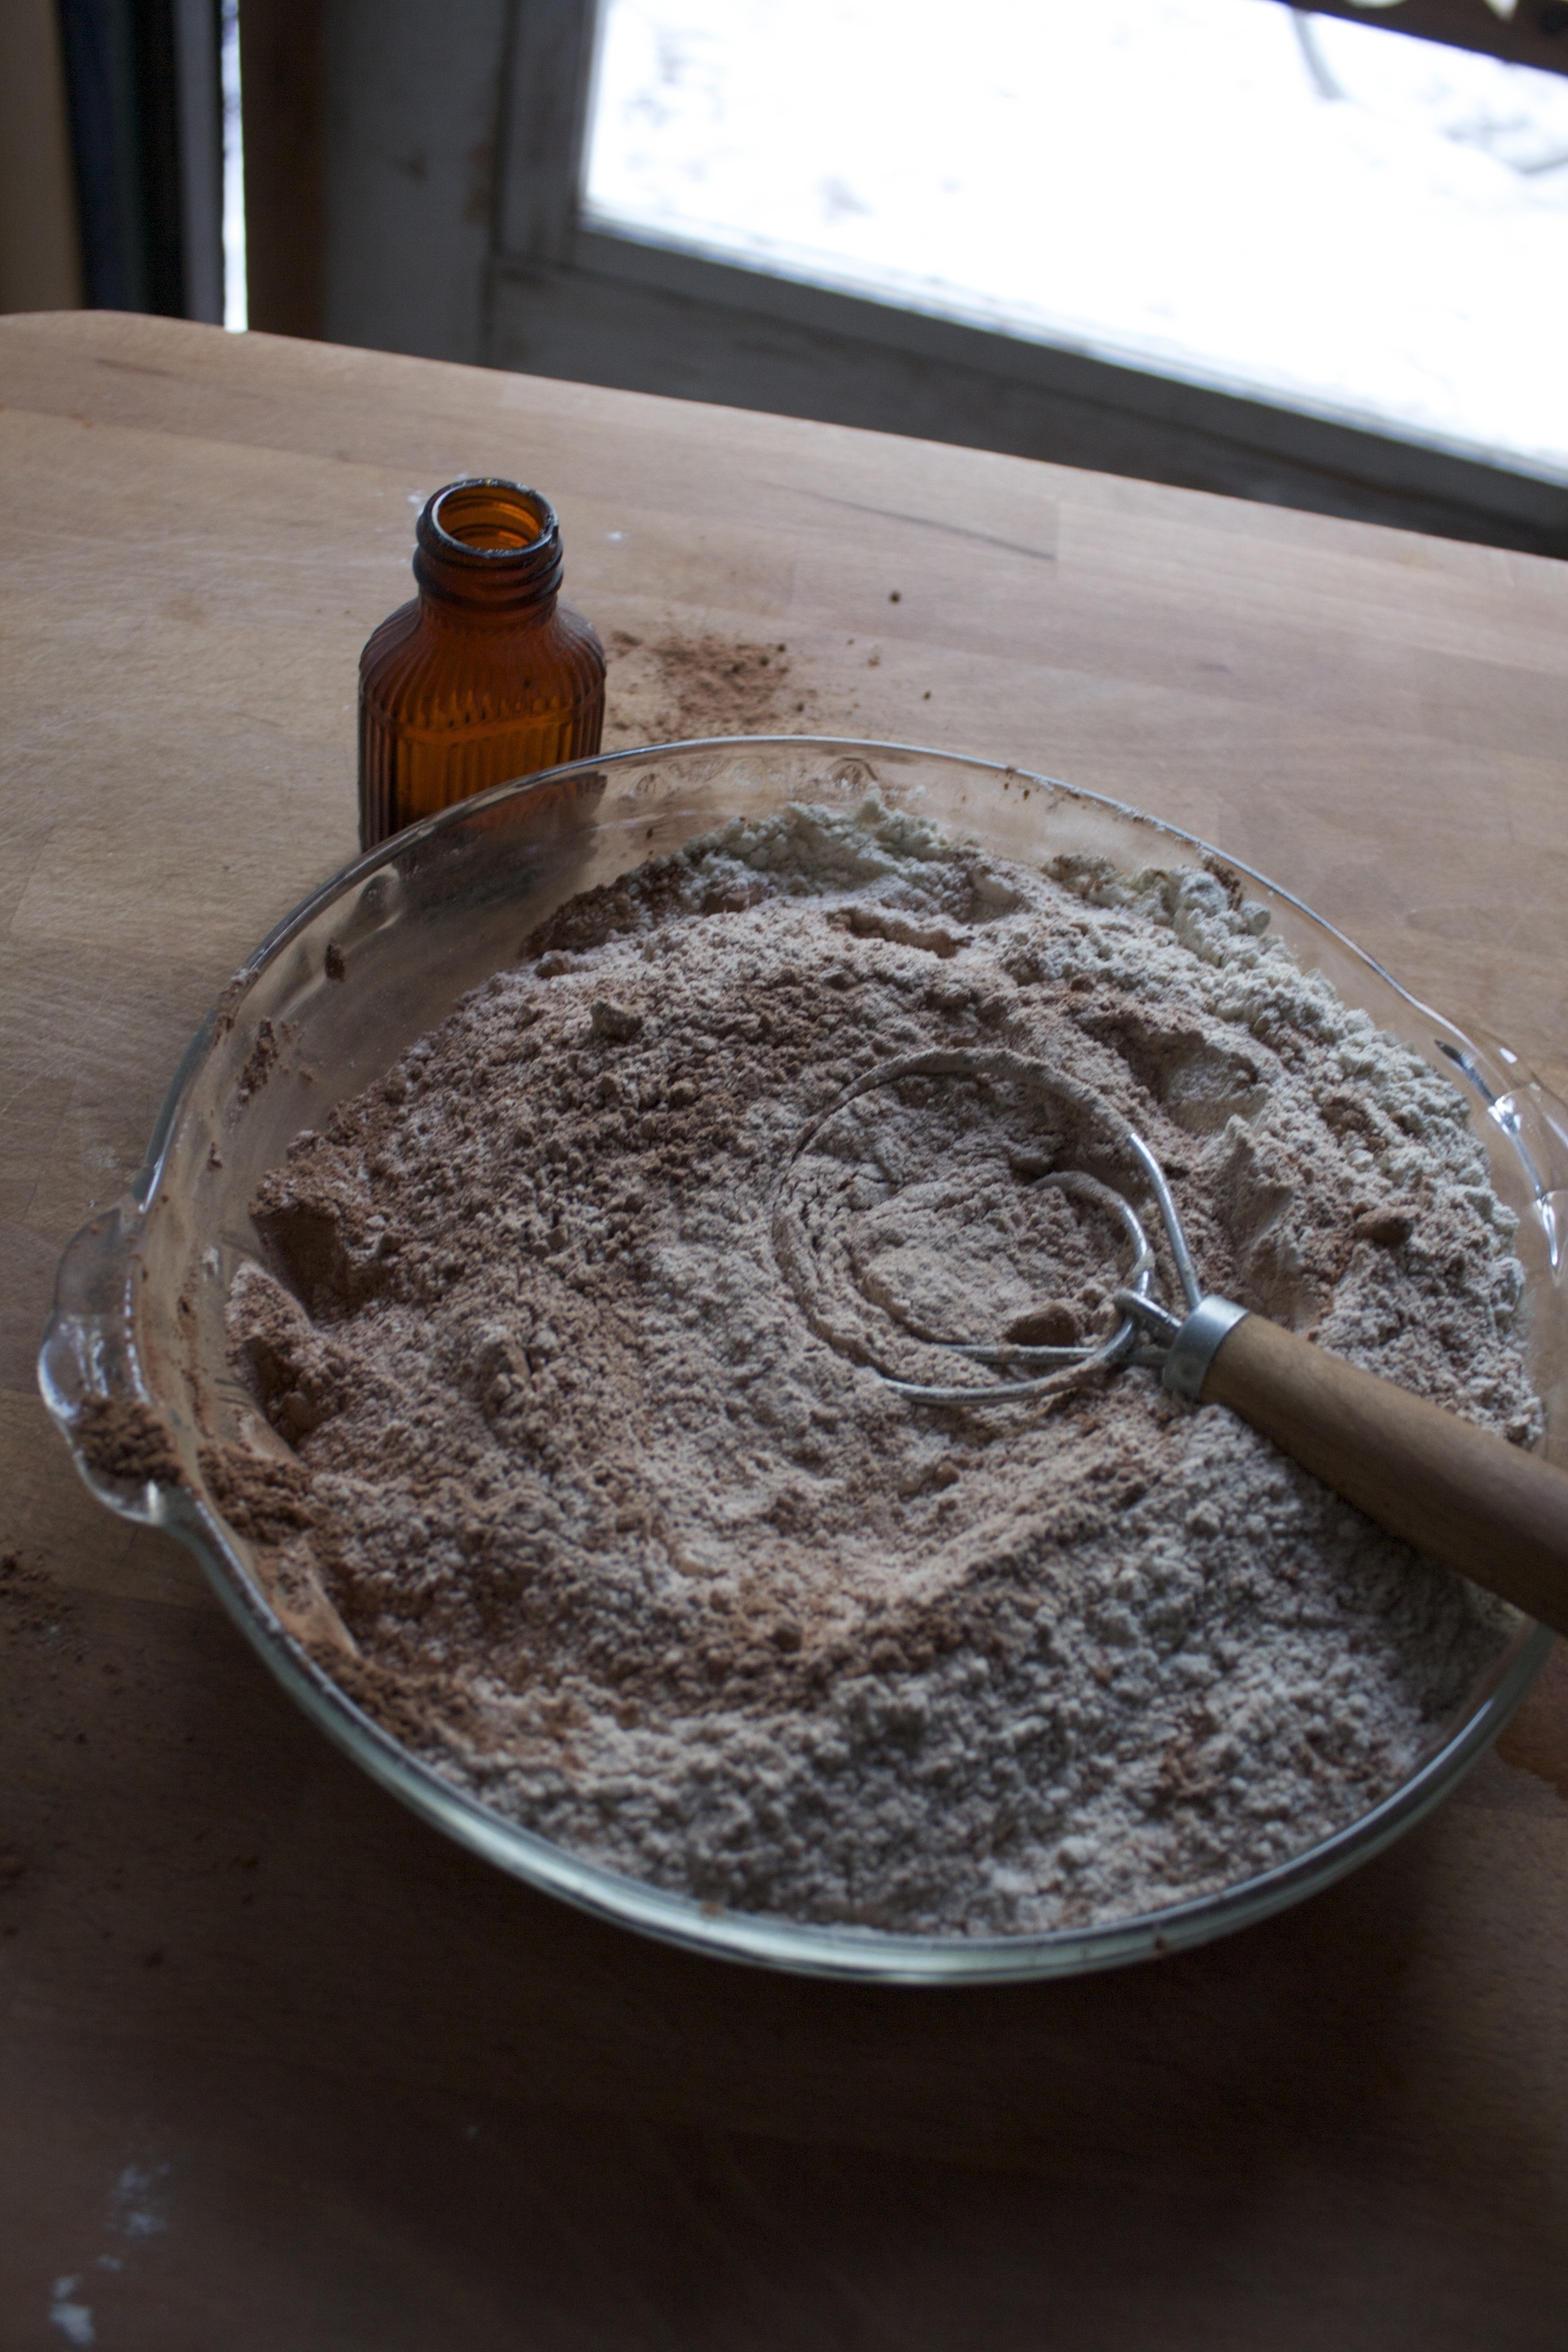
The stuff for the chocolate syrup. Cocoa powder, sugar, water, a pinch of salt and a little splash of vanilla. And for the actual egg cream.. milk (a plain plant, nut, or animal) and strawberry flavored seltzer water. (if you don't like strawberry use any flavor or plain)
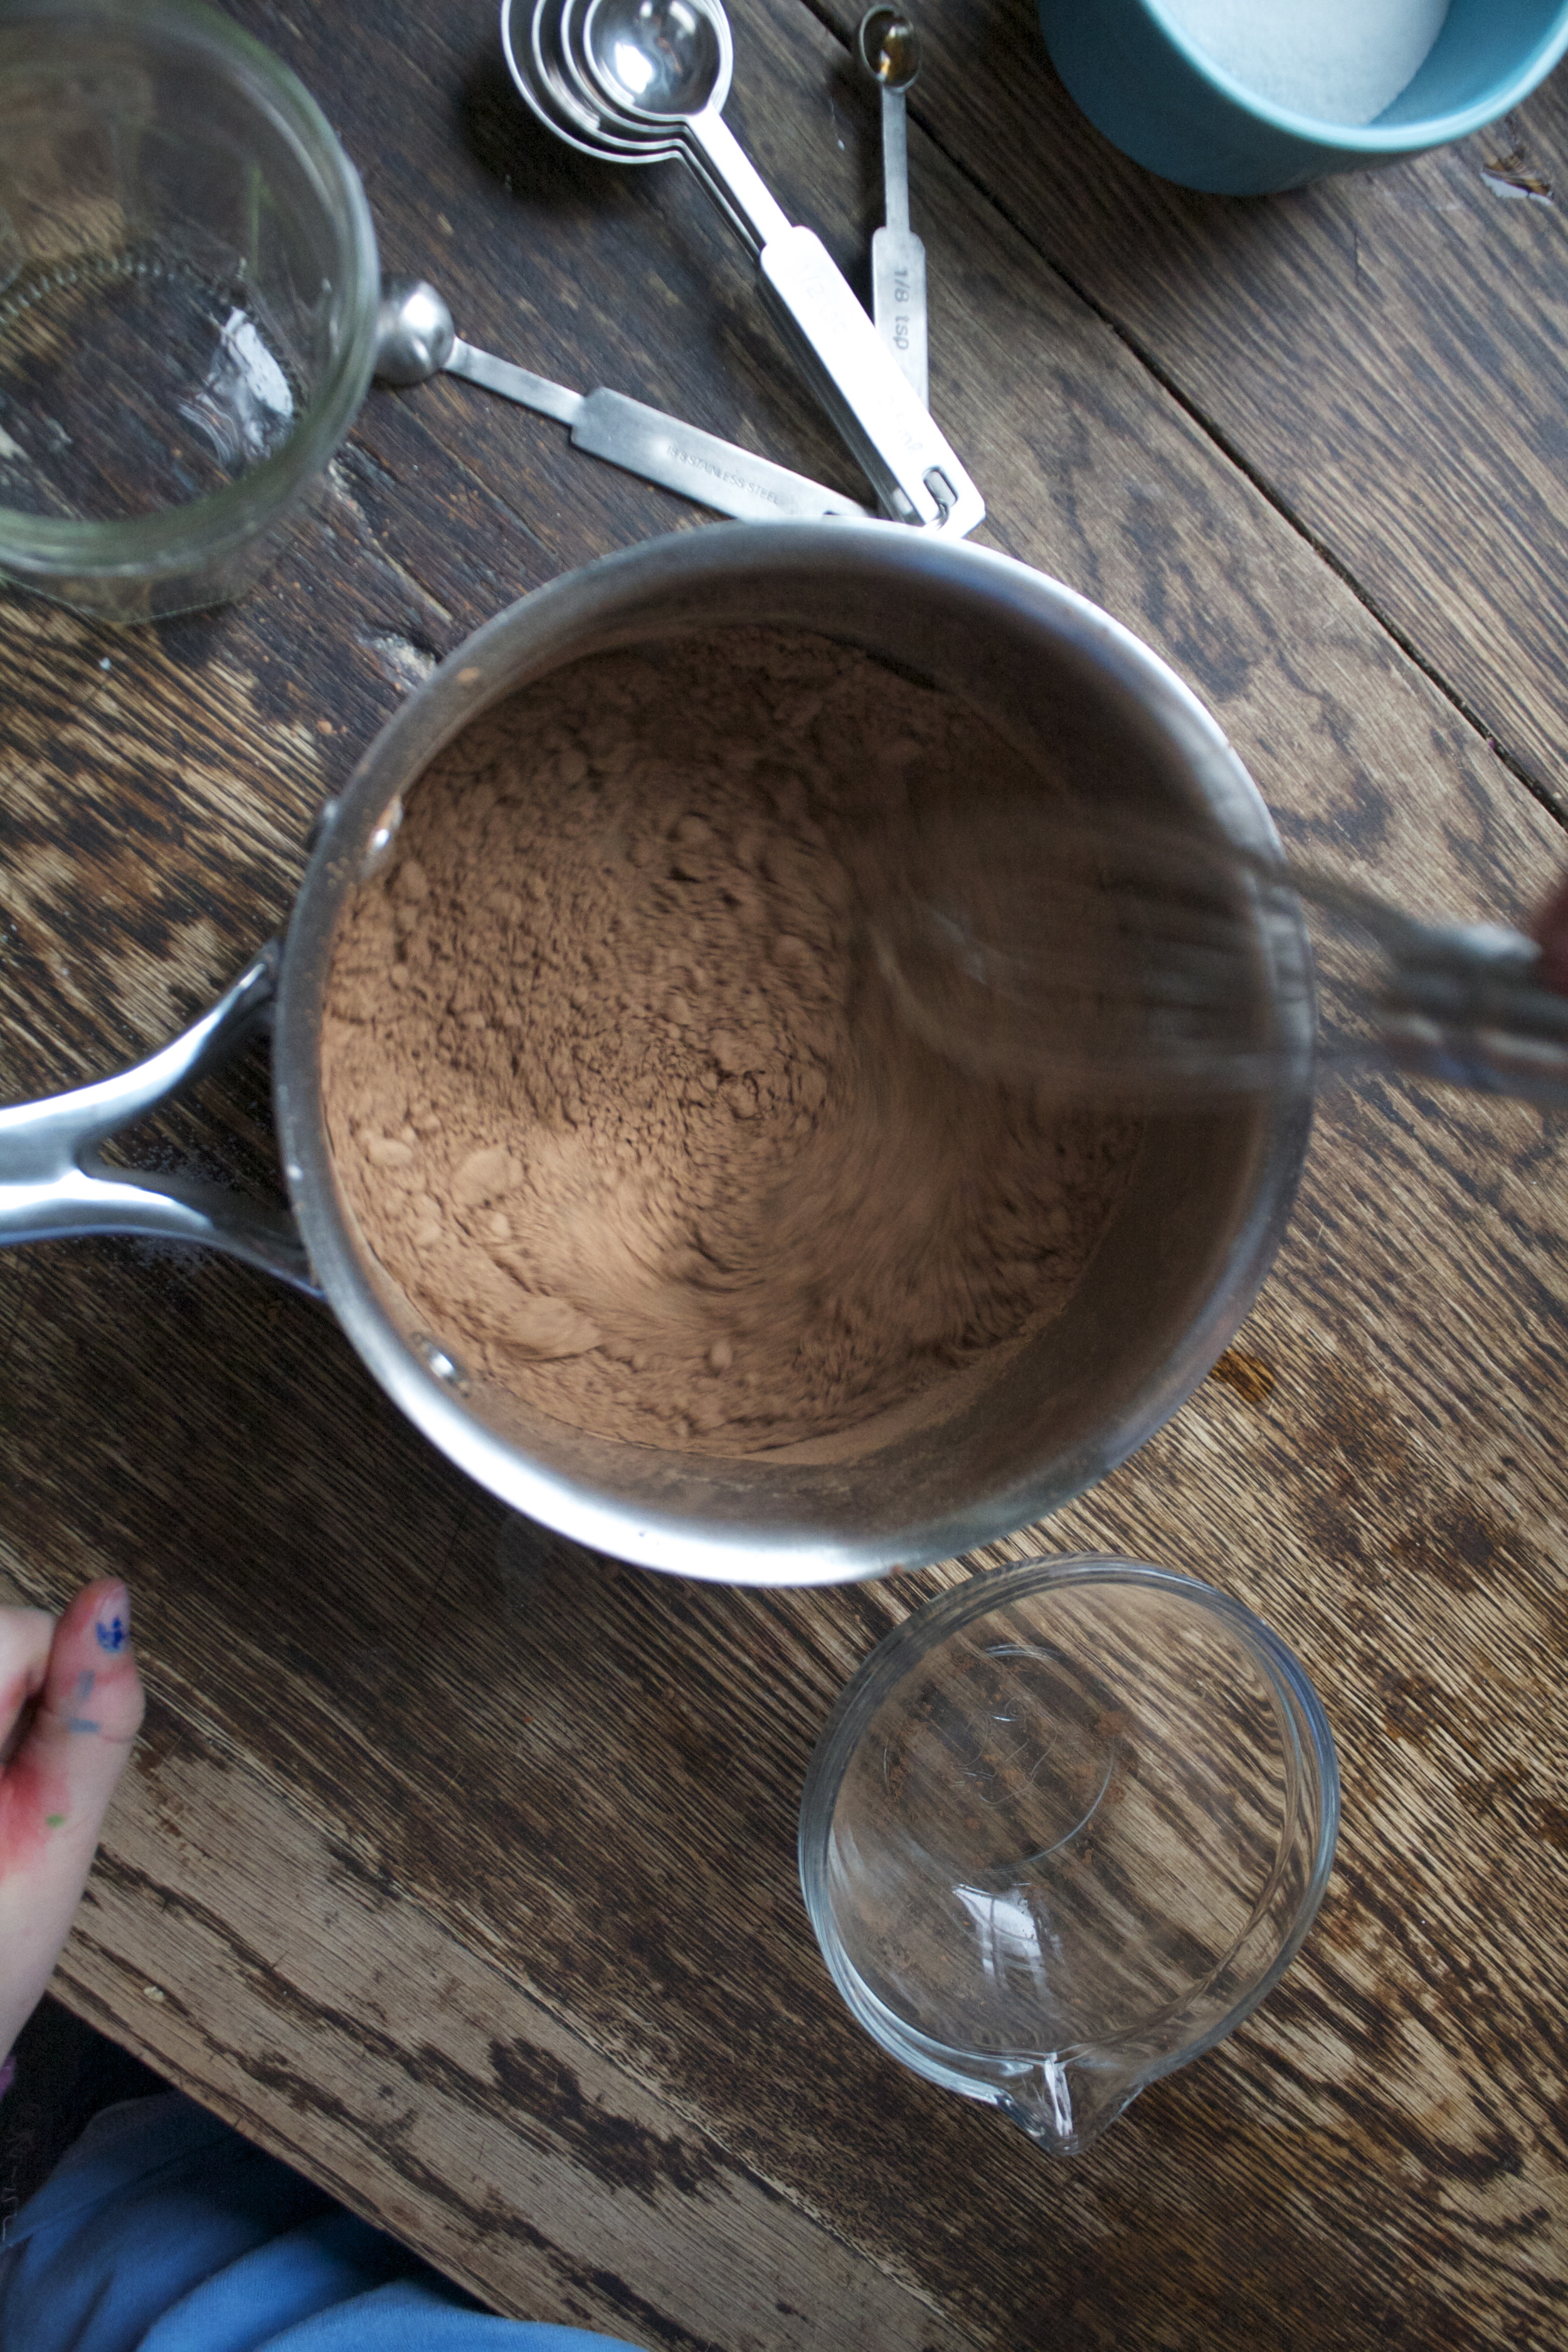

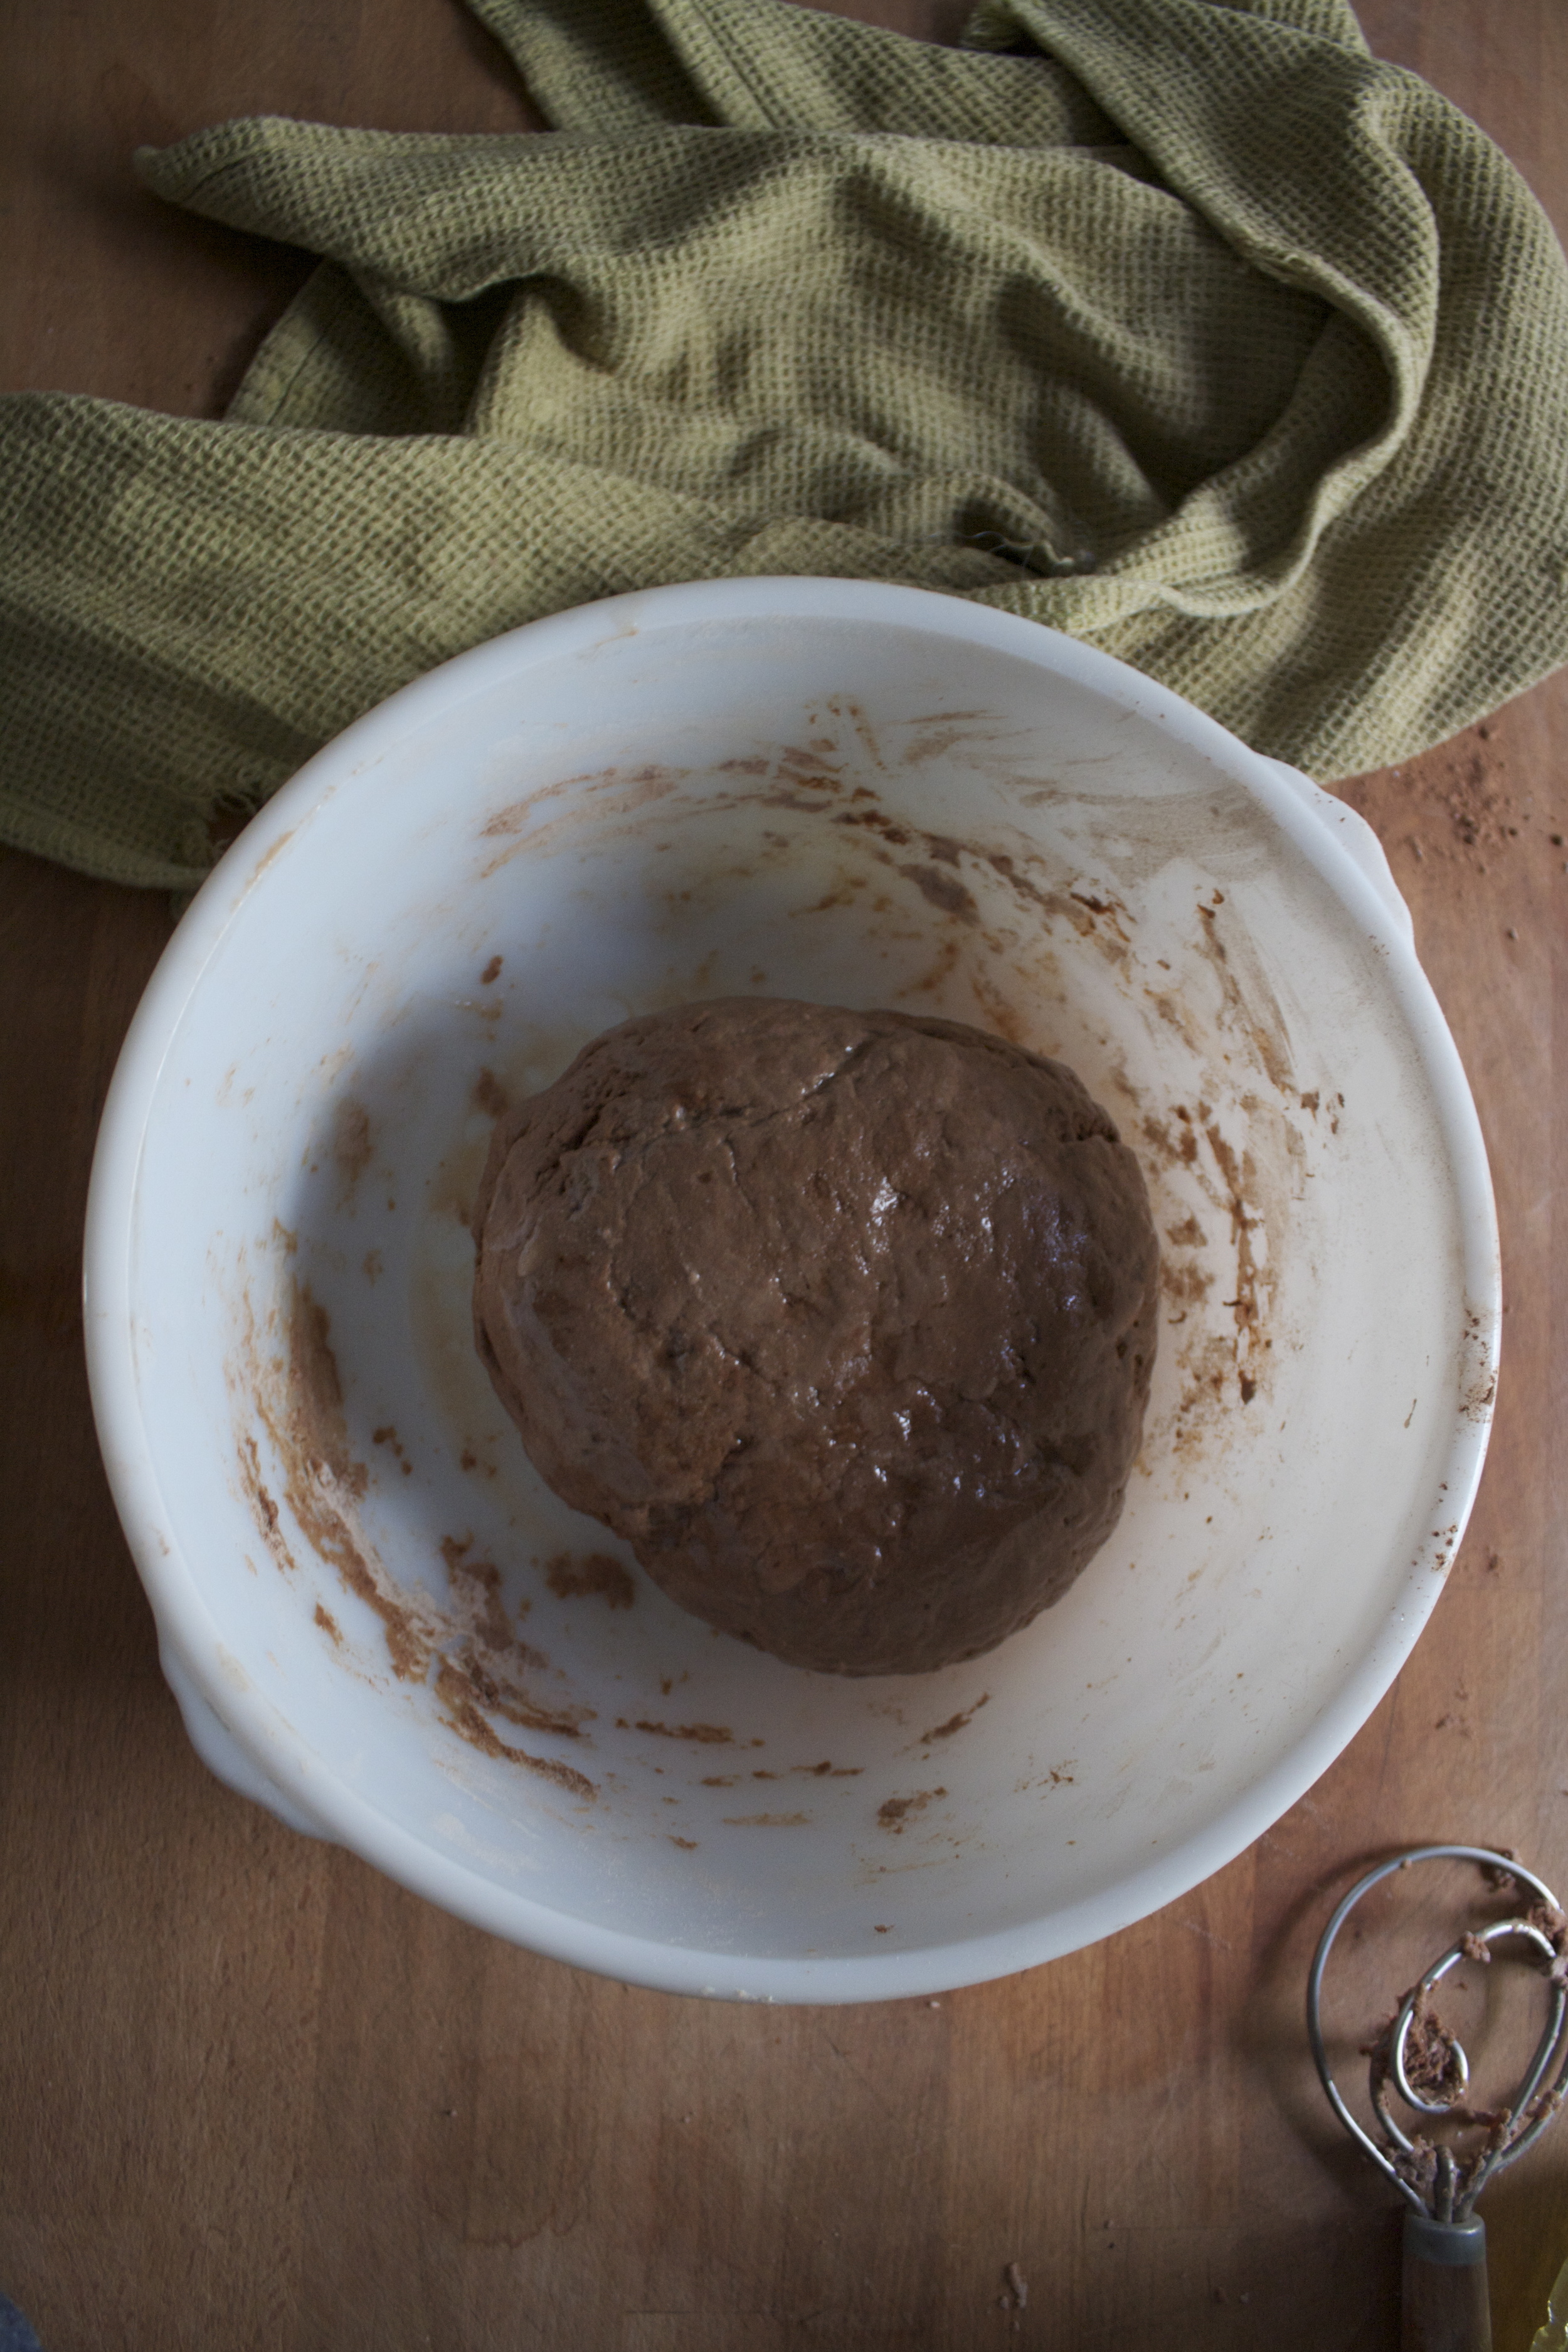
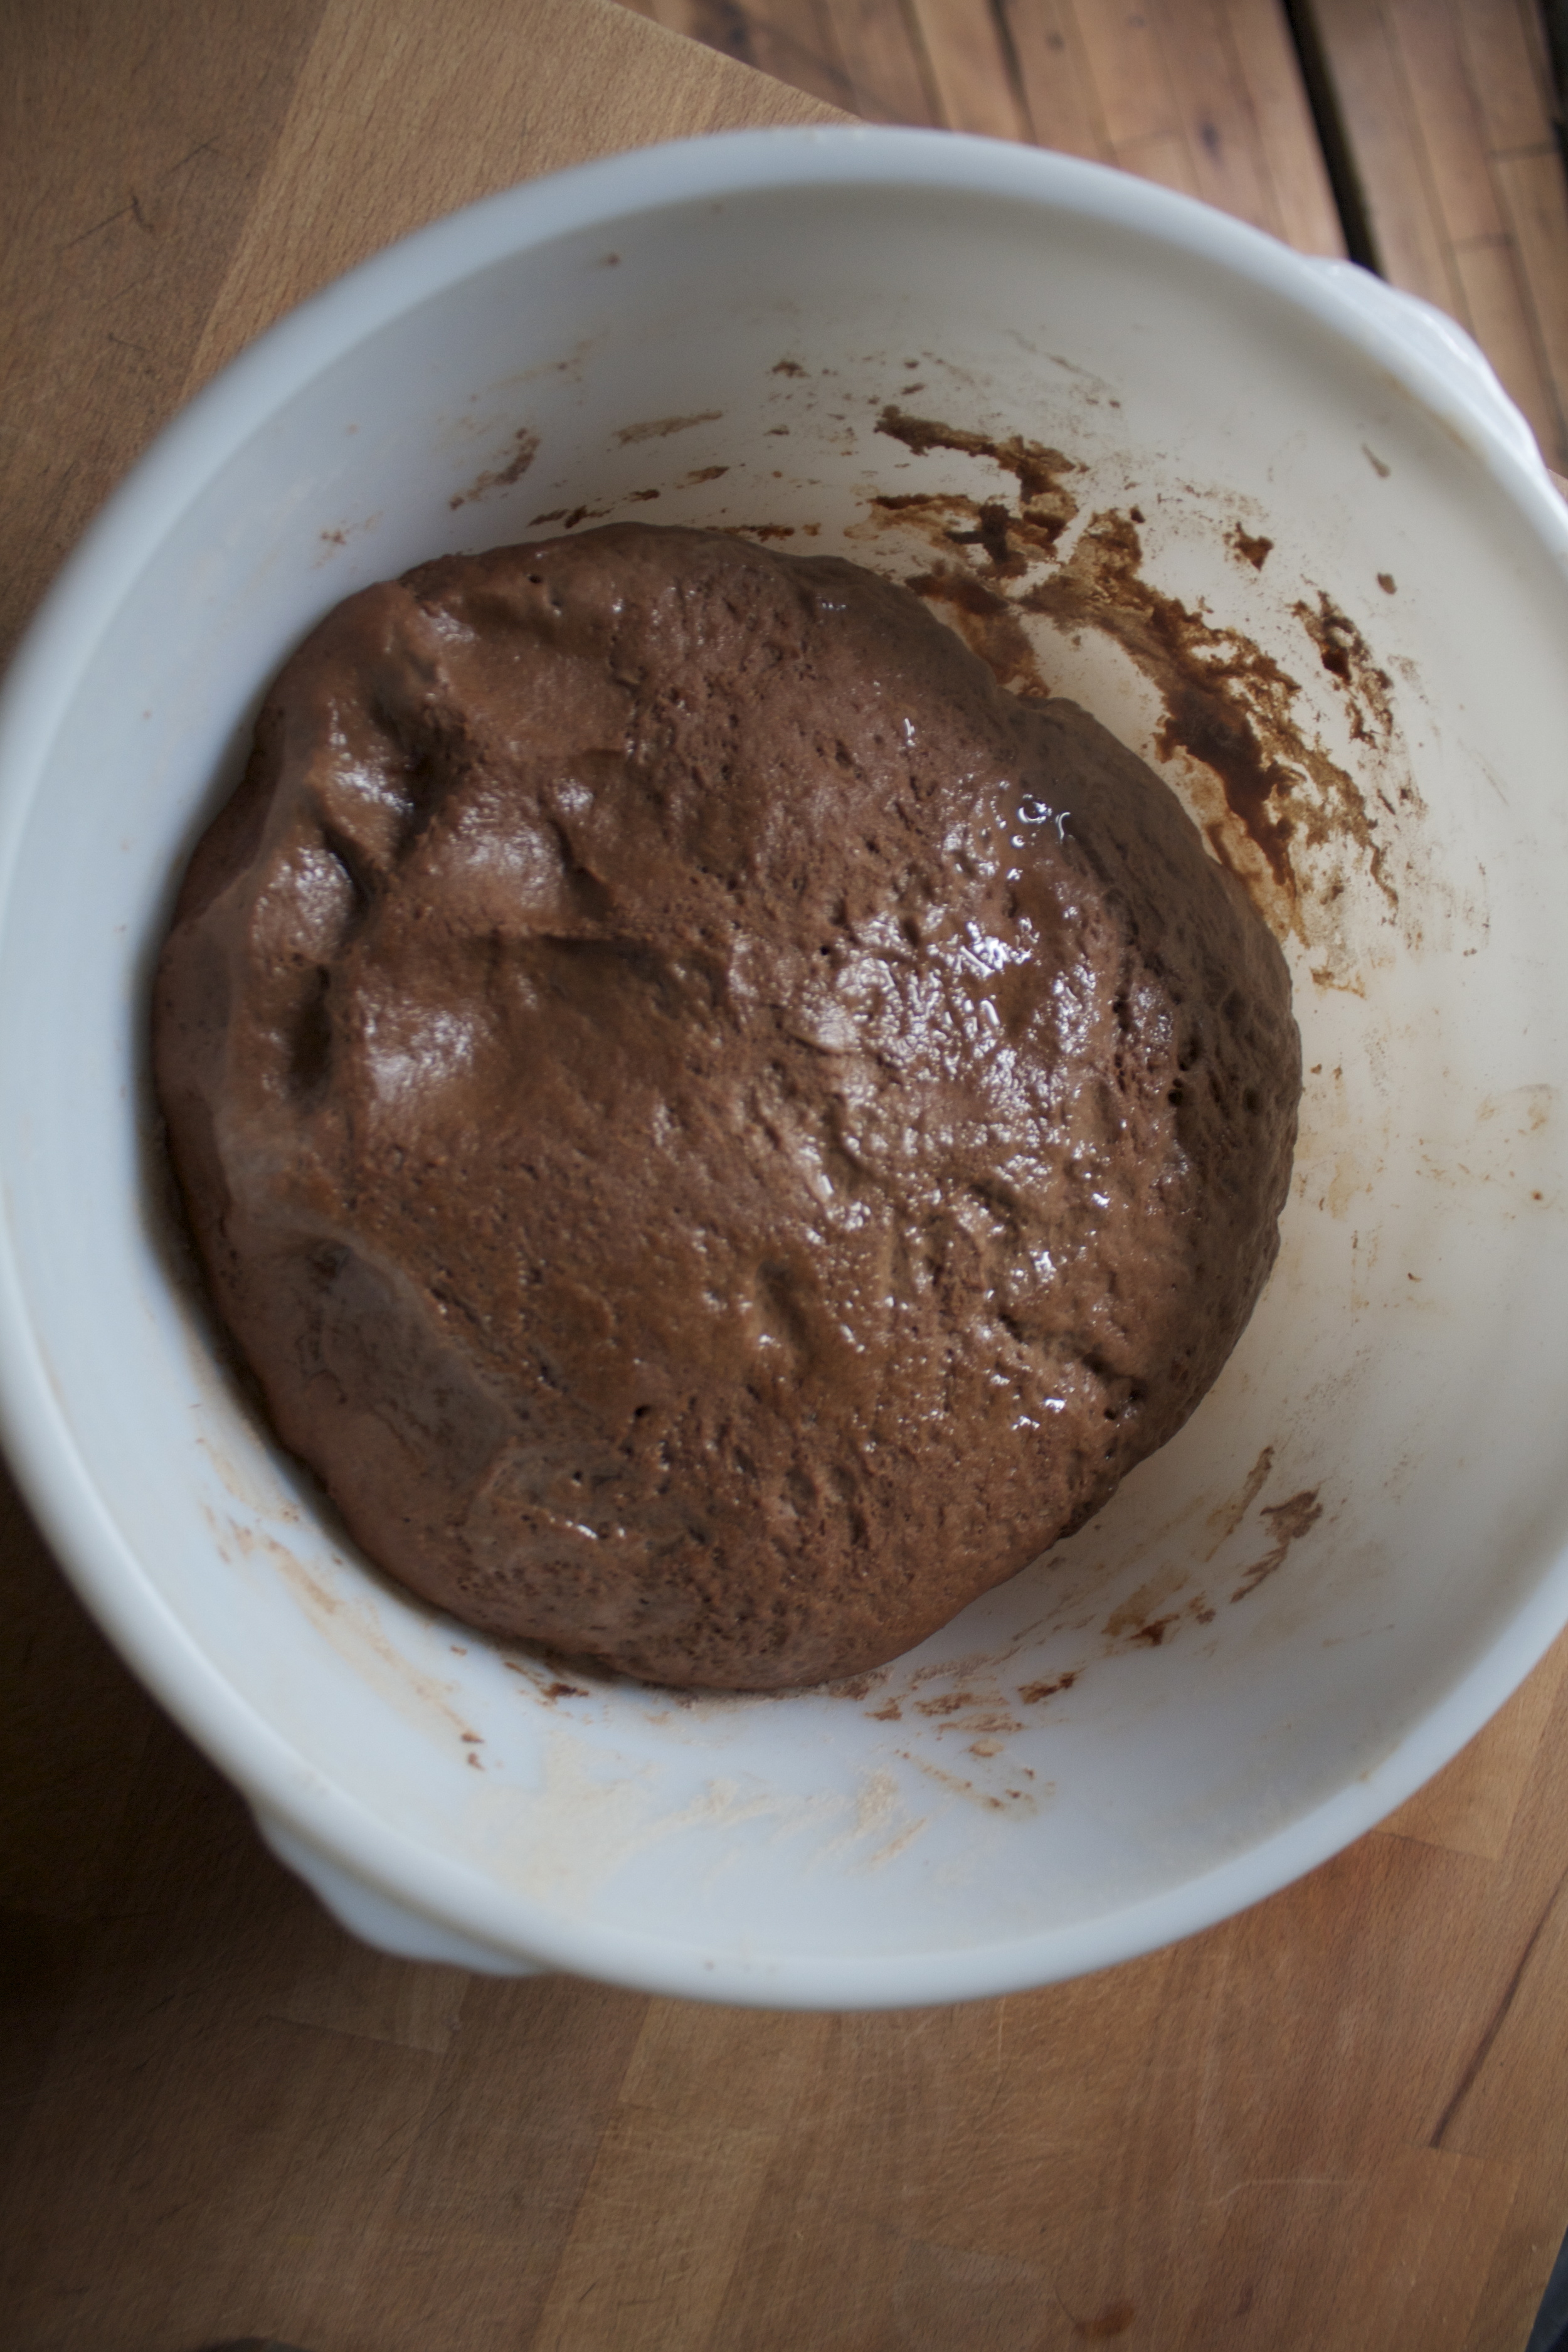
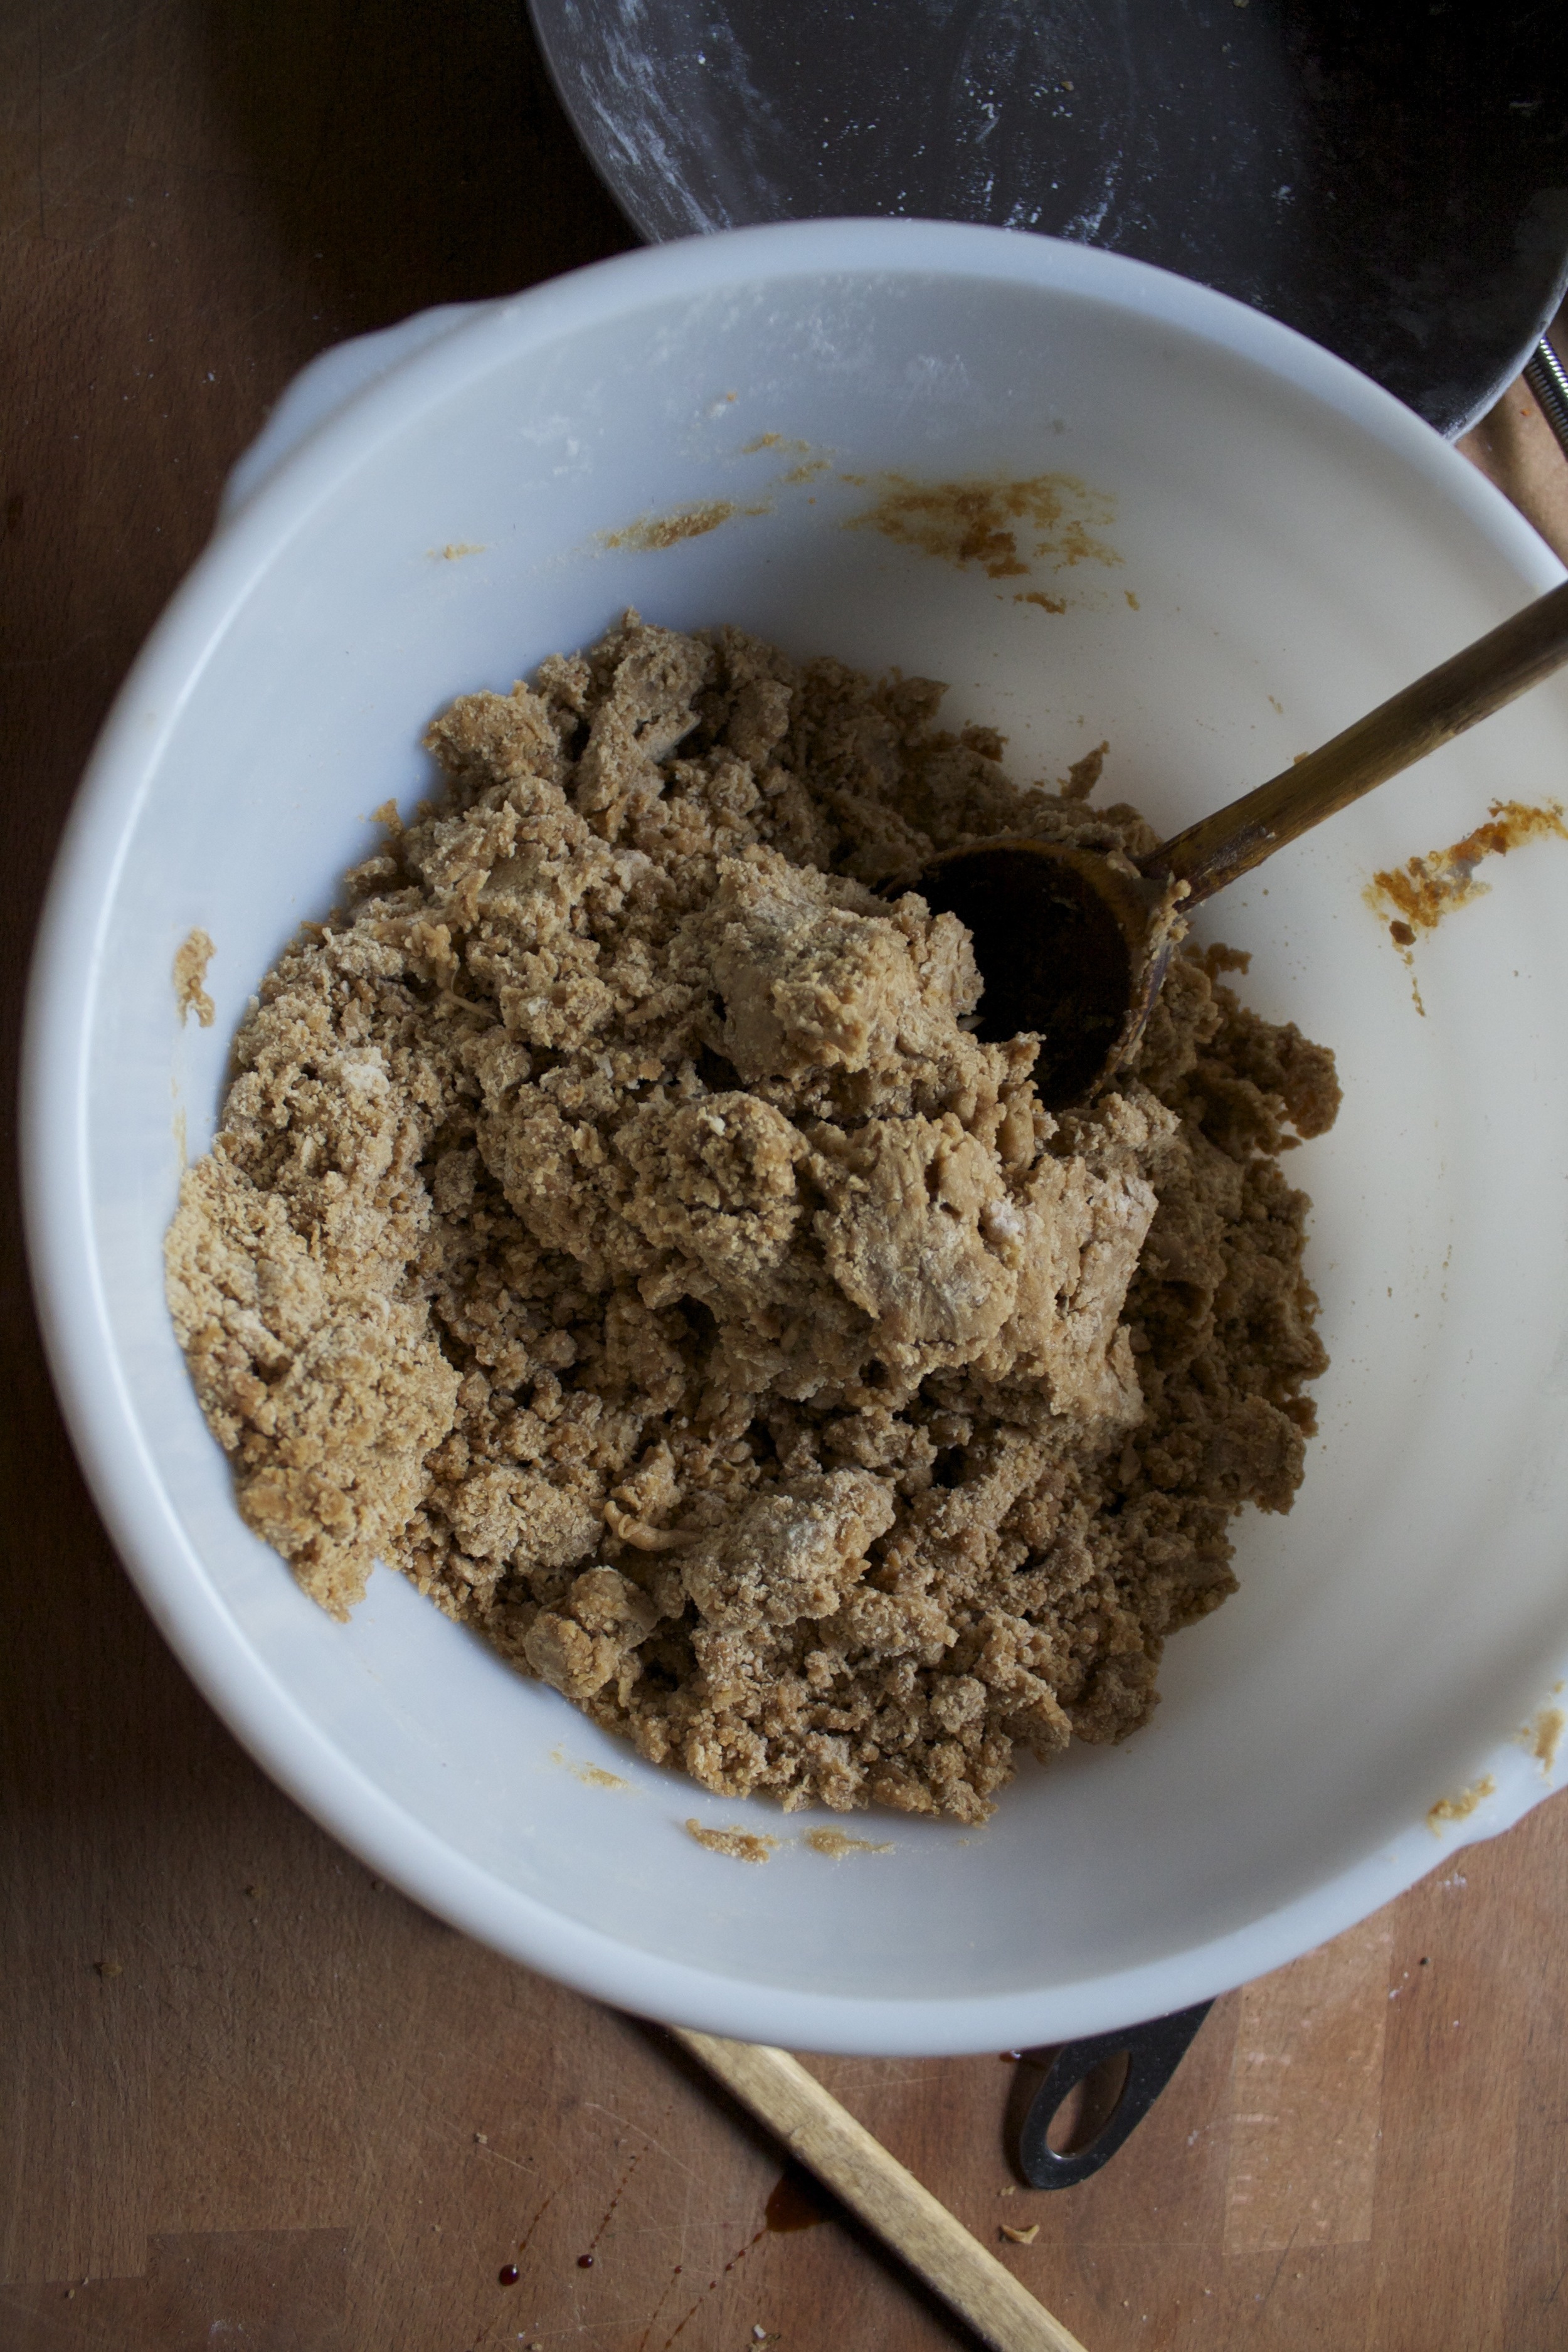
To make the syrup, combine the cocoa, sugar, water, vanilla and salt into a sauce pan and bring to a boil while whisking continuously. Keep whisking until sauce starts to thicken then remove from heat and pour into a jar and let cool.

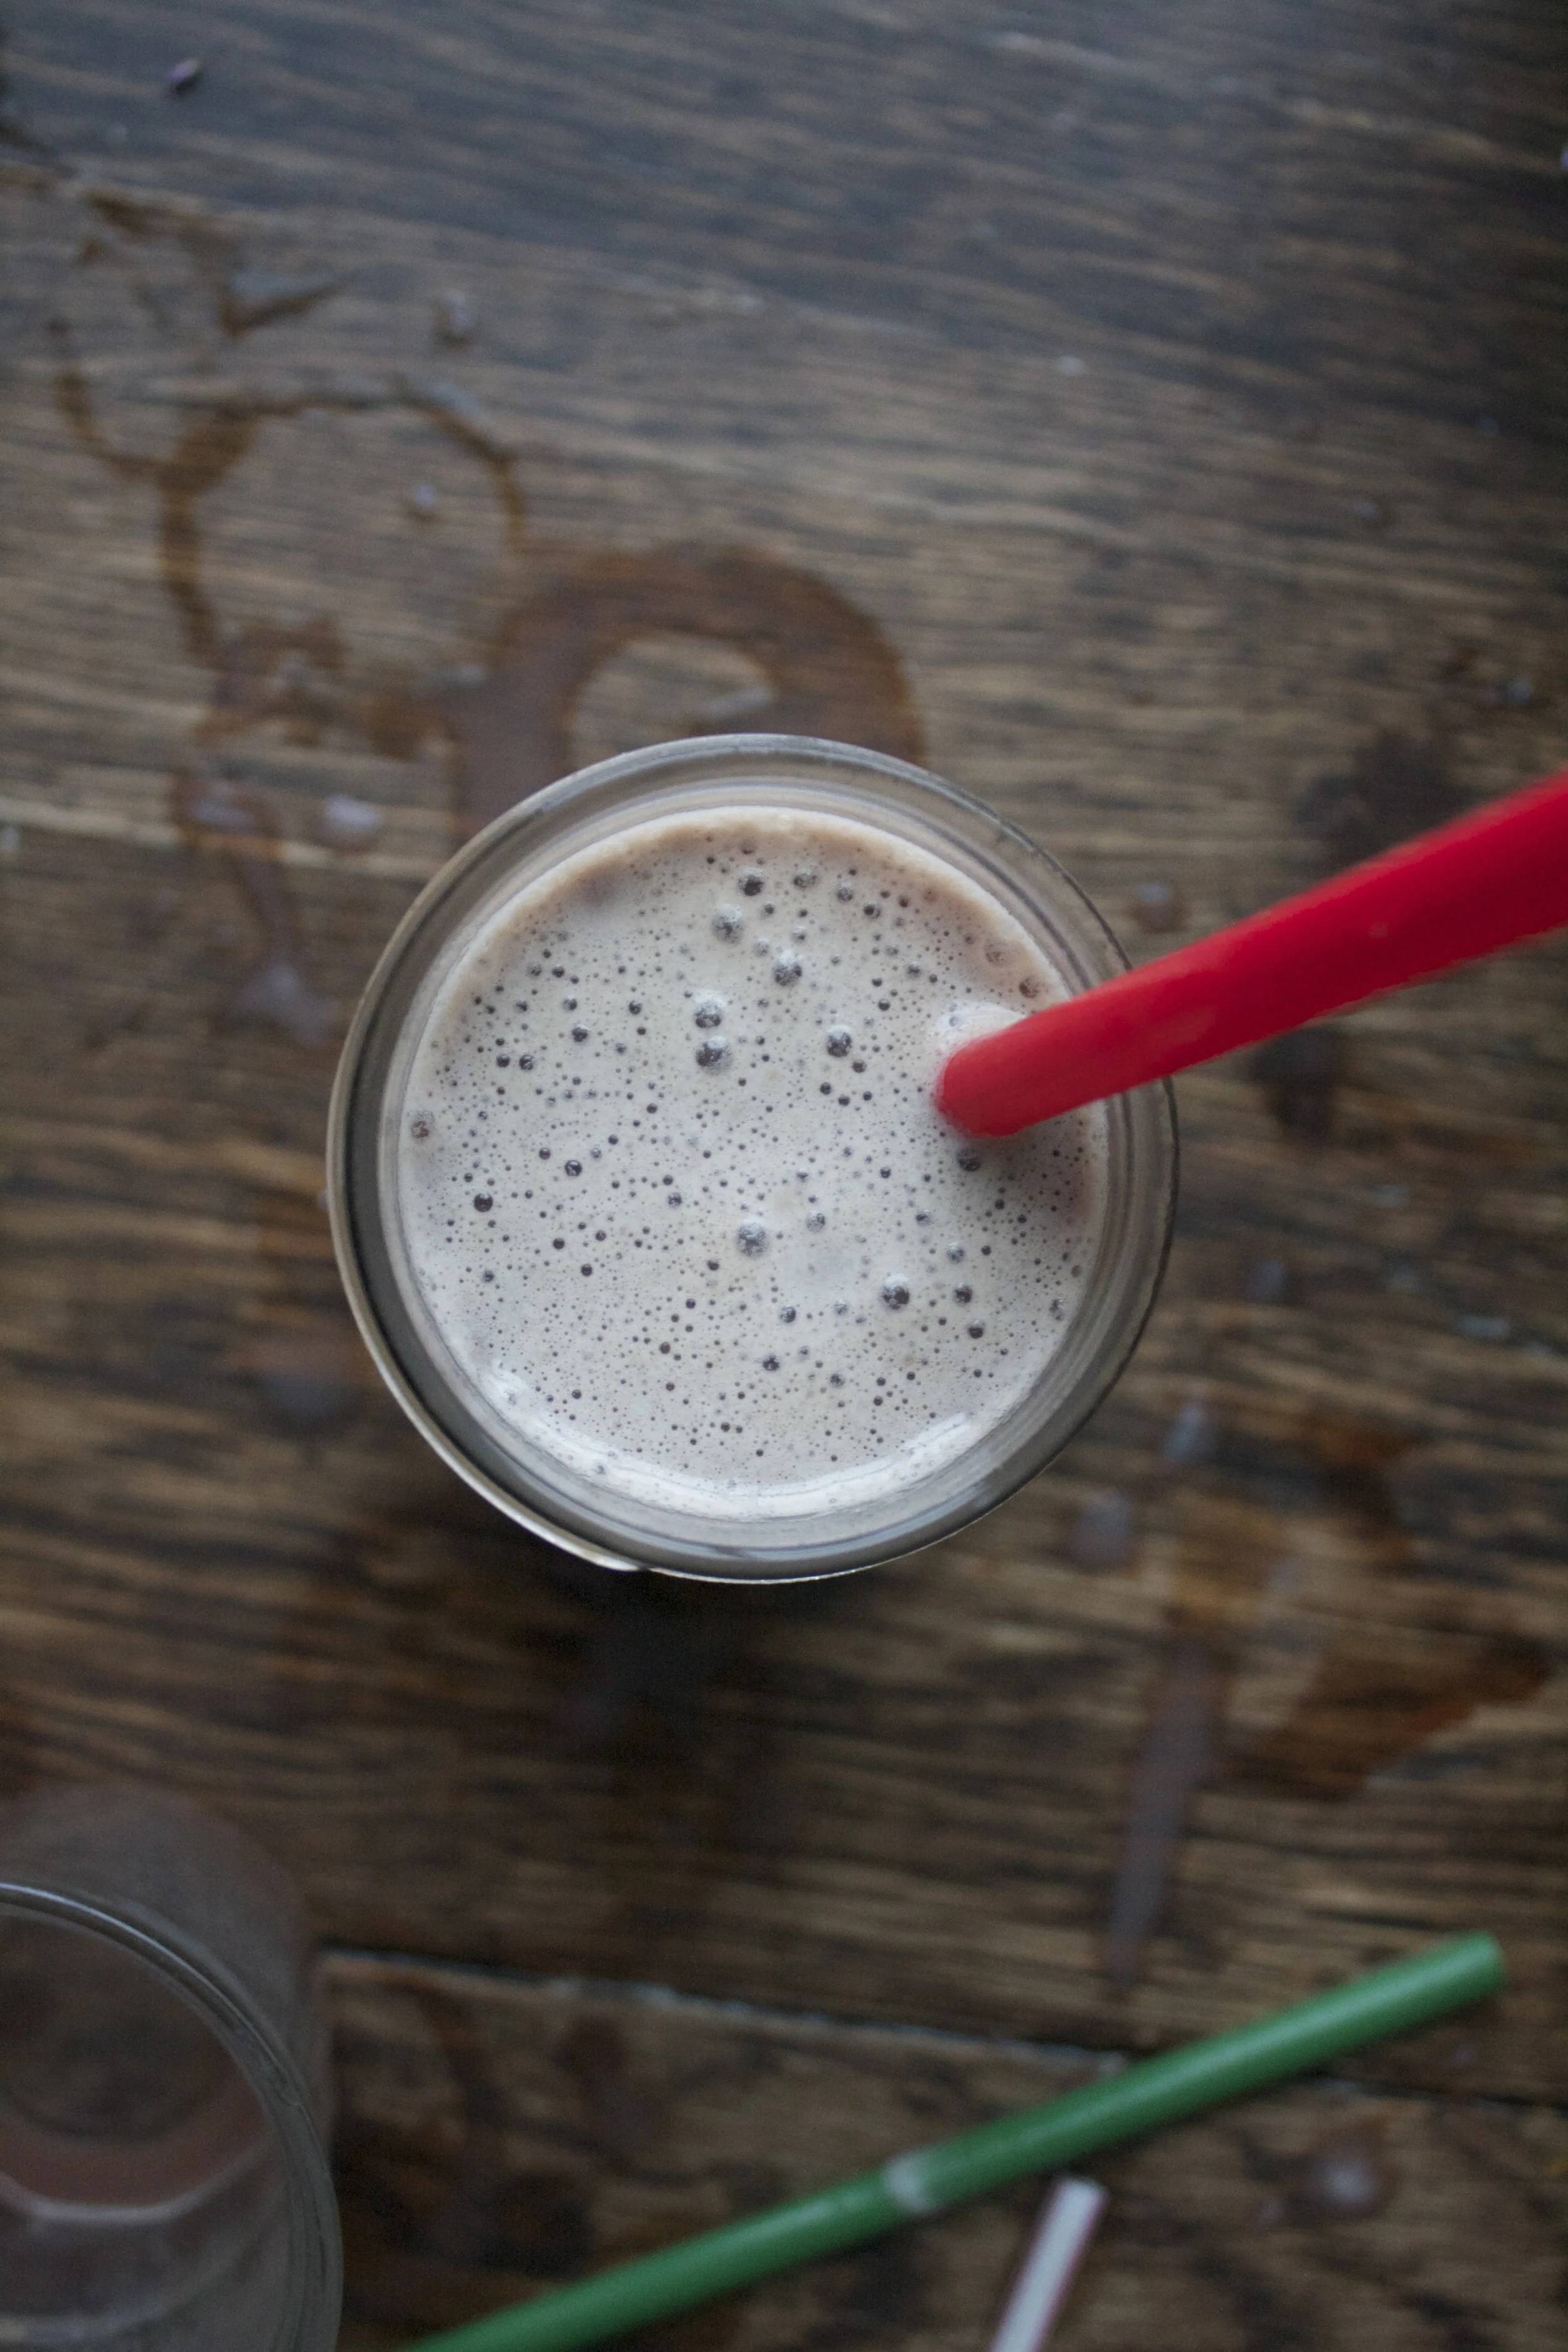
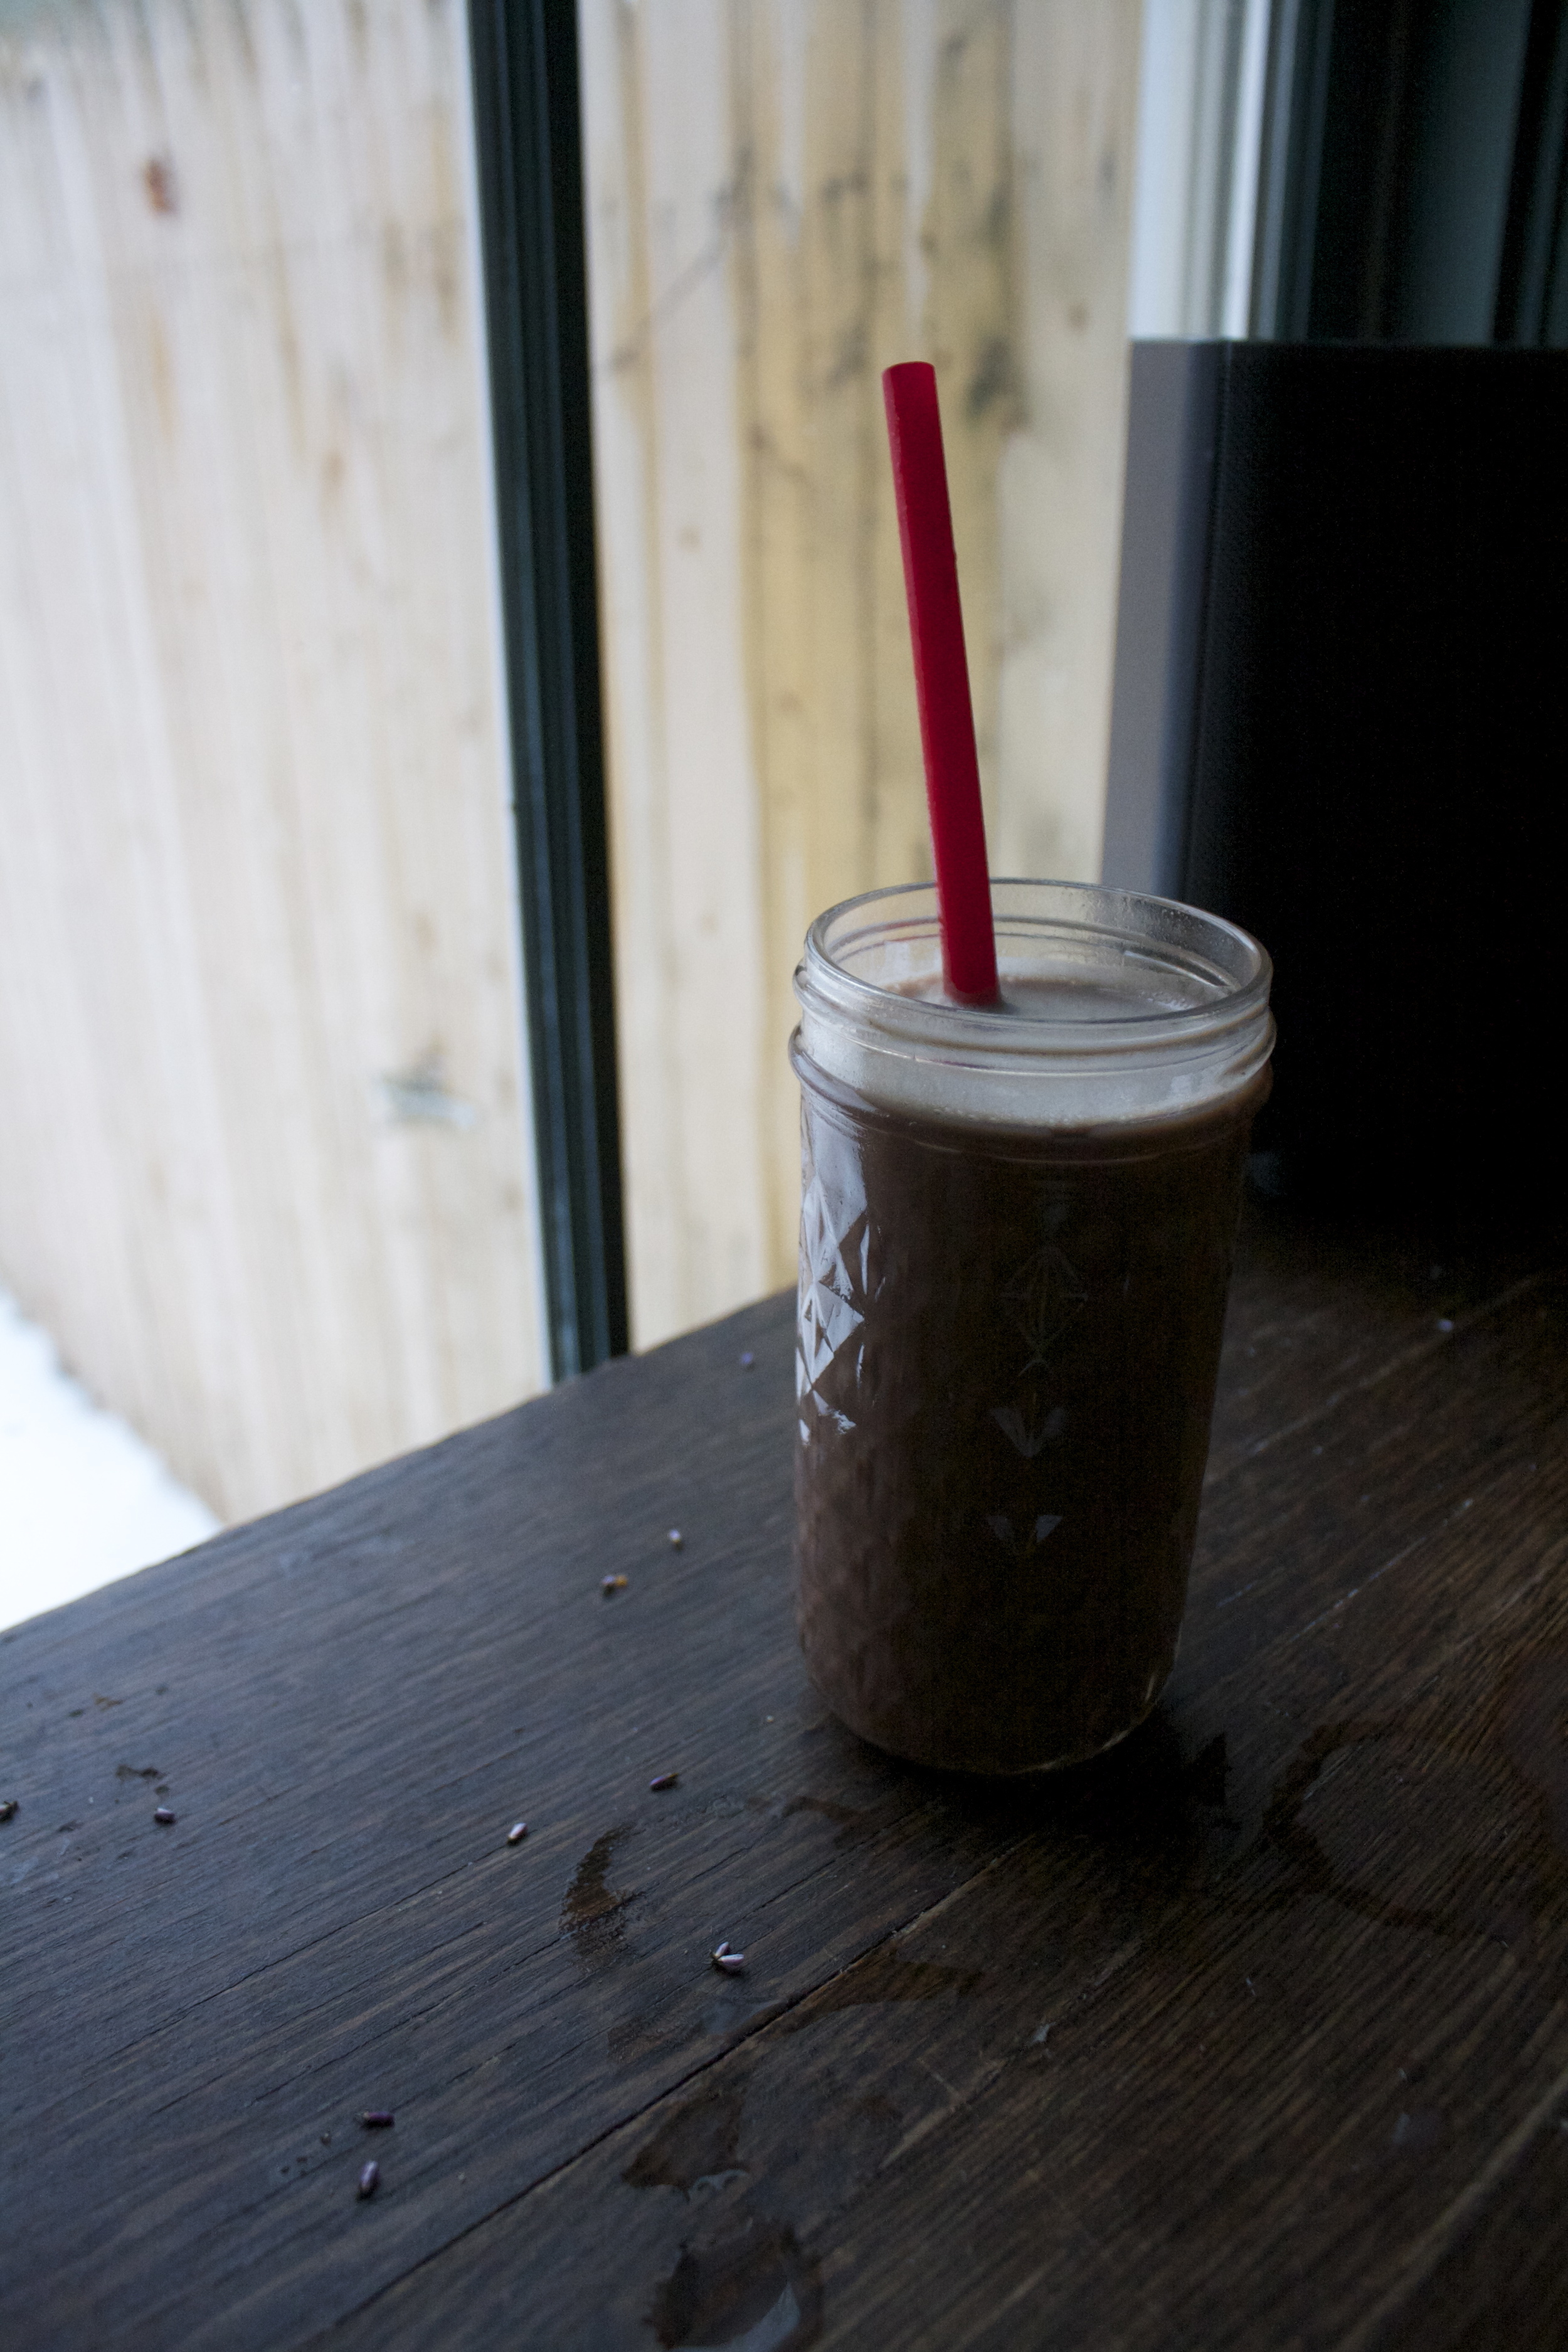
Now for the egg cream assembly
Syrup goes into glass.
Milk into syrup and mix it all around.

And top with seltzer.
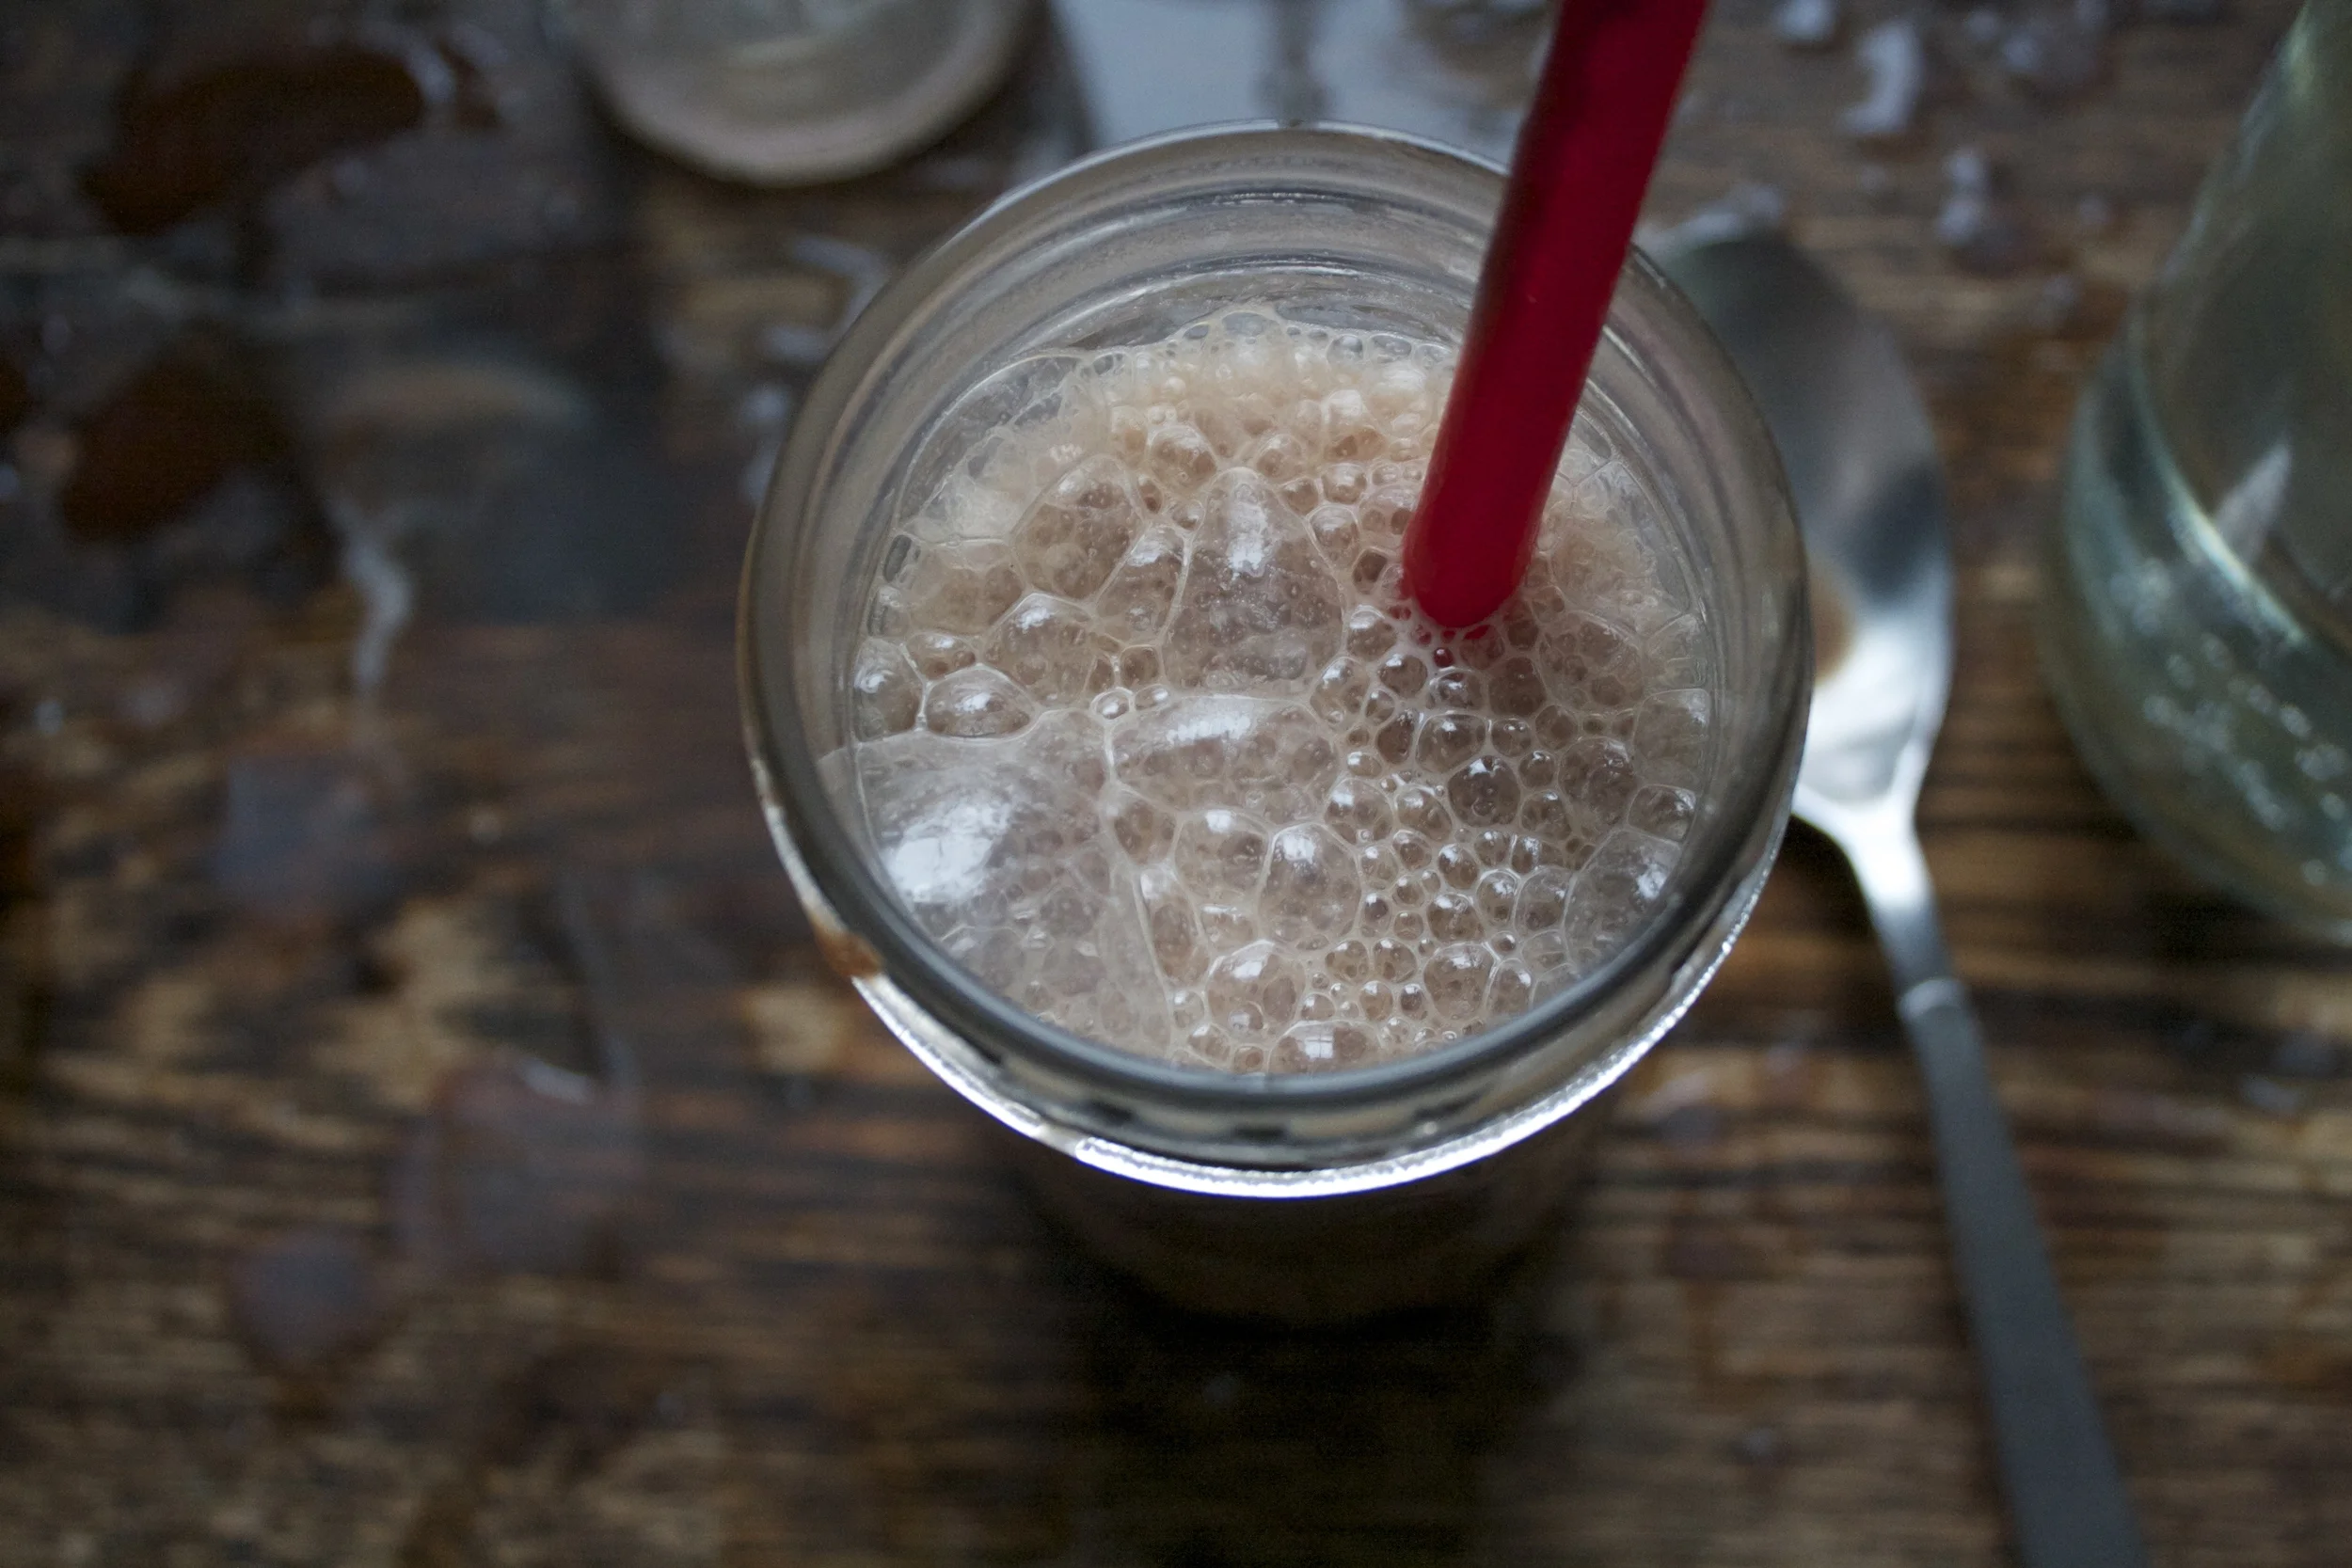
Give it another little whirl with a spoon or straw and if you want a more bubbly head, blow into the straw(works the best!)
and get down to business.
HAPPY NEW YEARS!
-C
Strawberry Chocolate Egg Cream
For the chocolate syrup (makes enough for a few egg creams but the syrup is good for anything calling for chocolate)
- 1/2 cup cocoa powder
- 1/2 cup sugar
- 1/2 cup water
- pinch of salt
- splash of vanilla extract
Stuff for one egg cream
- 1 cup cold strawberry flavored seltzer (can use plain or any flavor that you like)
- 1/2 cup cold, plan flavored milk (plant, nut or animal)
- 4-5 tablespoons chocolate syrup
To make the syrup, combine the cocoa, sugar, water, vanilla and salt into a sauce pan and bring to a boil while whisking continuously. turn heat down a little and keep whisking for another 2-3 minutes until sauce starts to thicken. Remove from heat and pour into a jar and let cool.
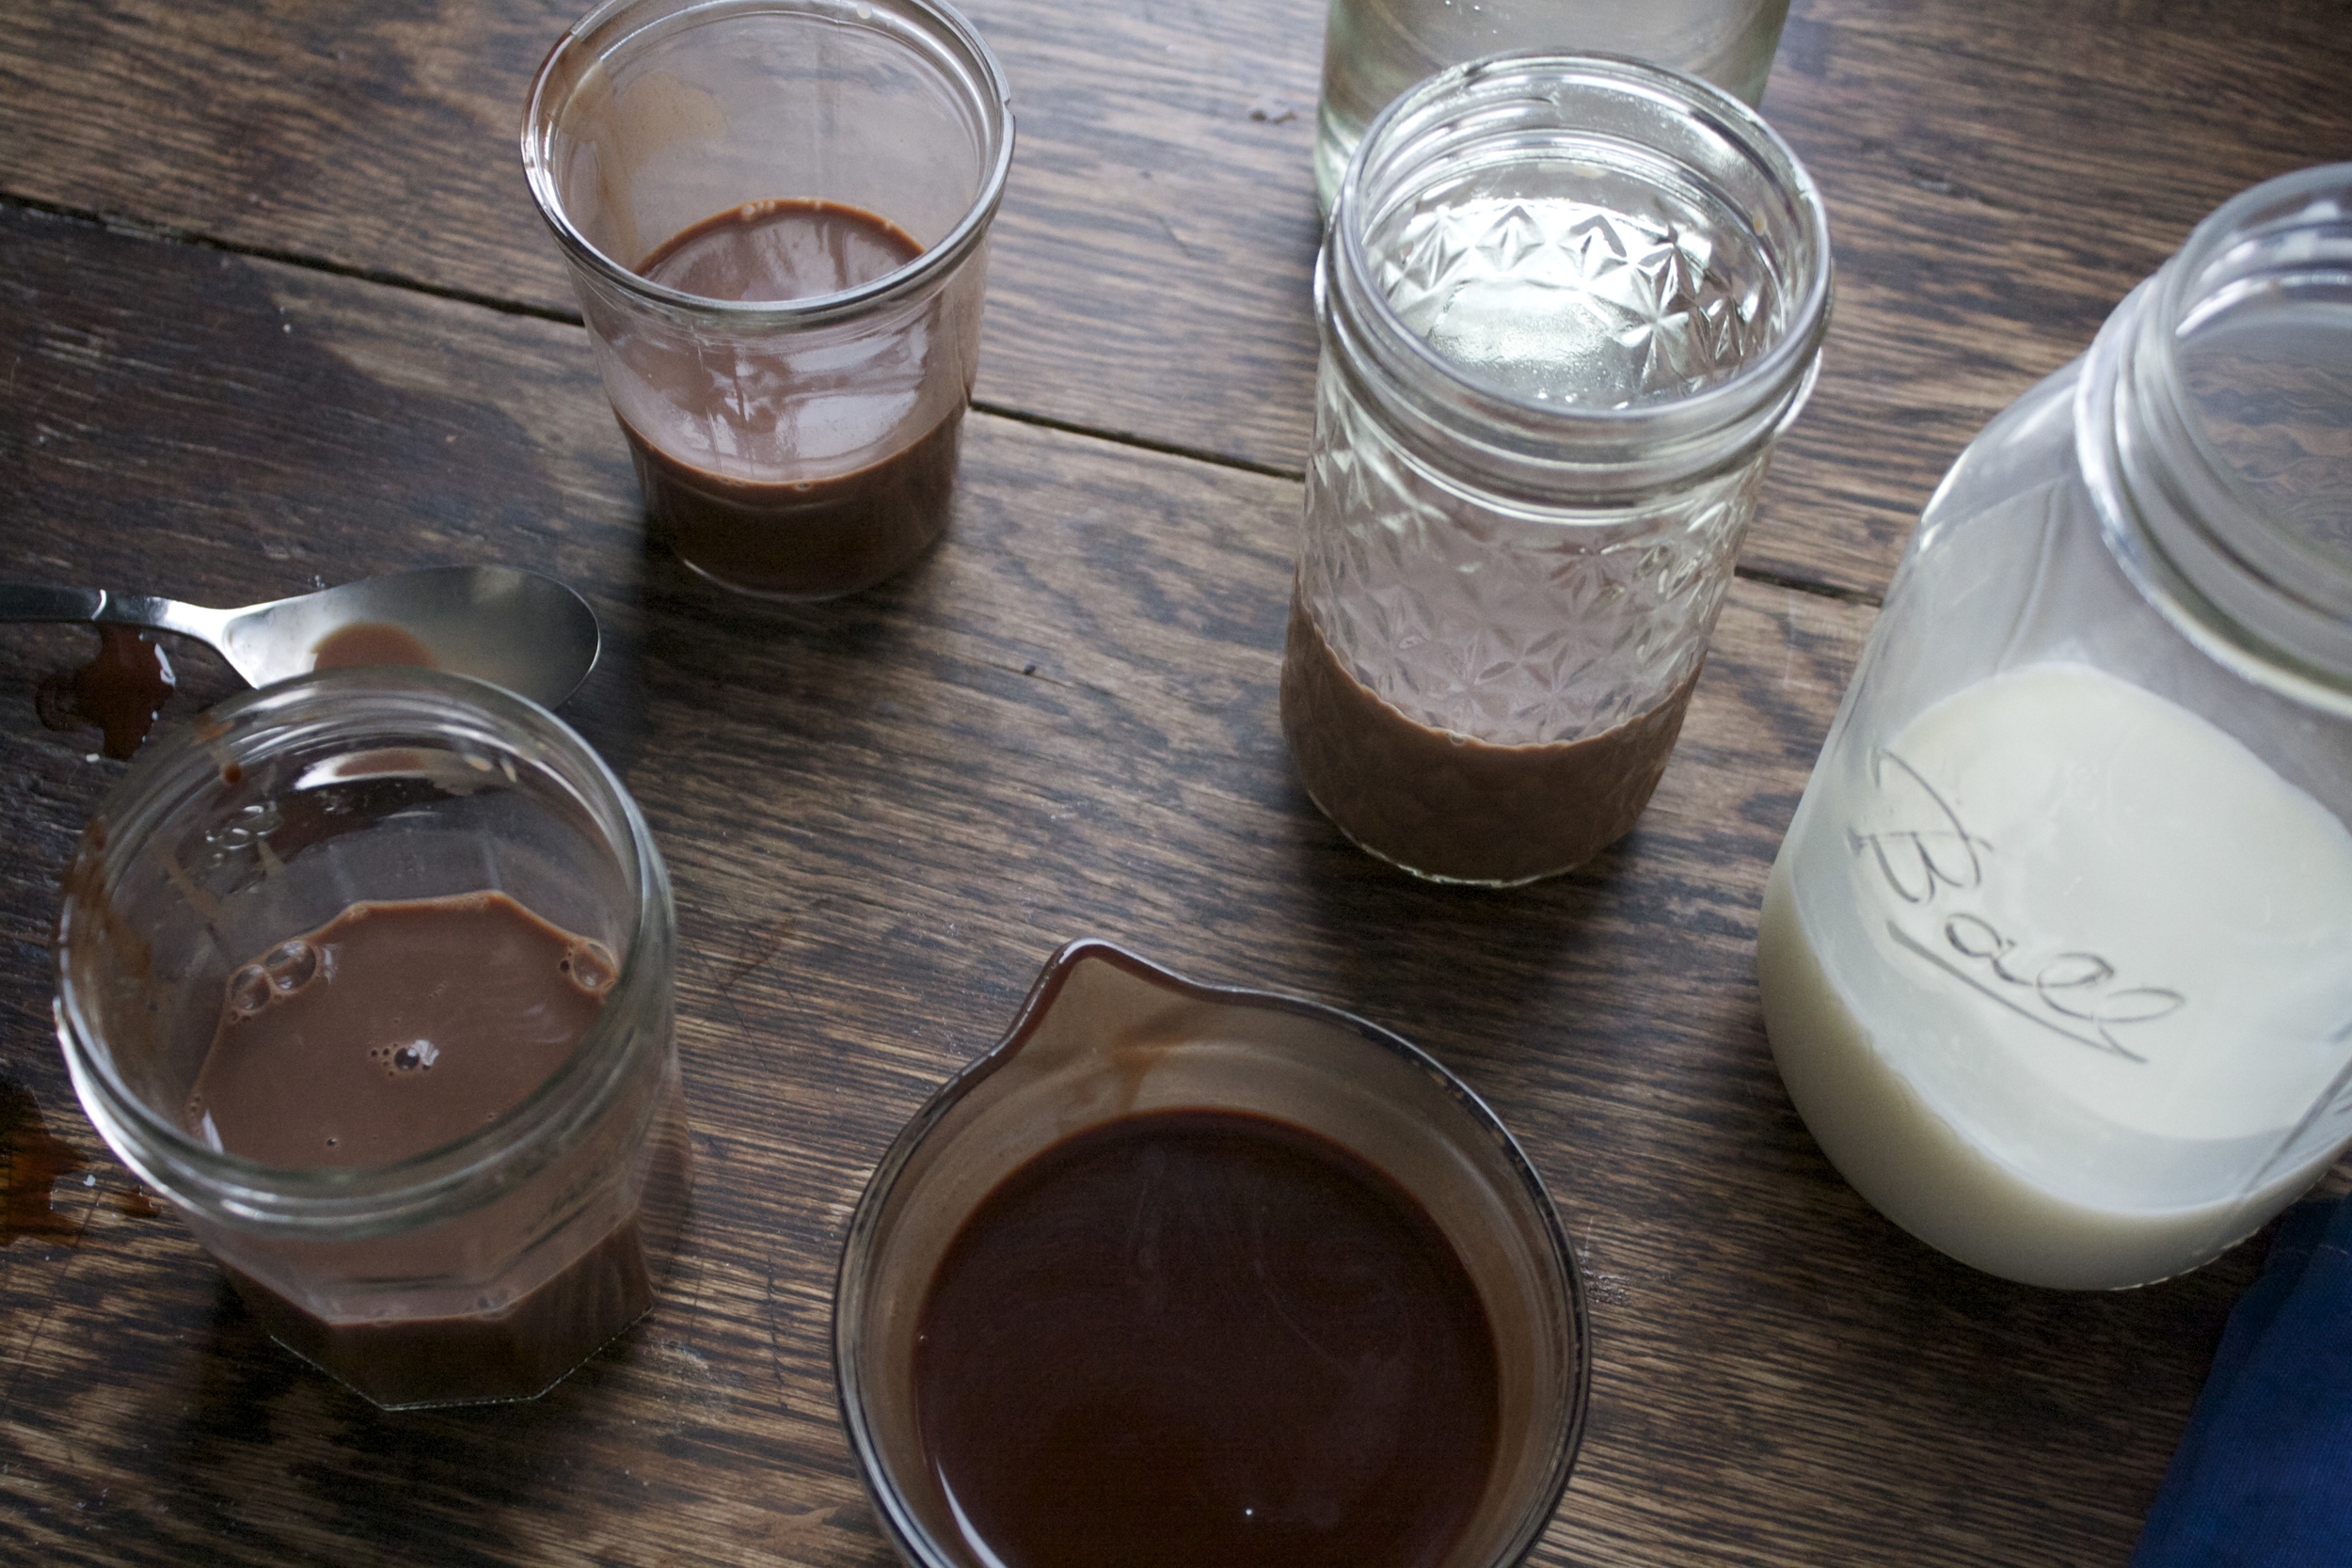
In a glass that holds are least 16 oz, add in the milk and the chocolate syrup. Mix together (can be shaken or stirred) then pour in about 1 cup of the seltzer water. Give the drink a good mix with a spoon and serve it on up. A straw is recommended to blow bubbles into drink!
Note.. I am aware that there are a few different ways to prepare an egg cream so if you know of a way that is better (milk in last. seltzer mixed with chocolate syrup..). then do it your way!