• stem+node ceramics
  • HOME
  • Food Recipes
  • About
  • Contact
Menu

The Lovely Crazy

Street Address
City, State, Zip
Phone Number

Your Custom Text Here

The Lovely Crazy

  • stem+node ceramics
  • HOME
  • Food Recipes
  • About
  • Contact

Miso Almond Cabbage Slaw

March 12, 2022 Colleen Stem

I see cabbage in your future. Why is that? Because cabbage is amazing and delicious but also because it is St. Patricks Day this coming up week and every single food store is having a massive cabbage sale. Word of advice. Buy as much of that cabbage as you can. It will last for weeks and really is super versatile, can be eaten is sooo many different ways, but basically because it is tasty as all hell.

This is just one yummy and simple way to prepare and enjoy the cabbage. Shredded up nice and fine, roasted until tender and slightly chard, then coated with a creamy miso dressing. Topped with almonds for crunch and goodness, a simple dish with all the complexity of a complex thing.

Get that cabbage.

Now to the slaw!

The stuff. You need cabbage( red and or green) plus tahini, soy, miso paste, minced garlic, powdered ginger, maple syrup, a lime, some black pepper and lastly, some almonds.

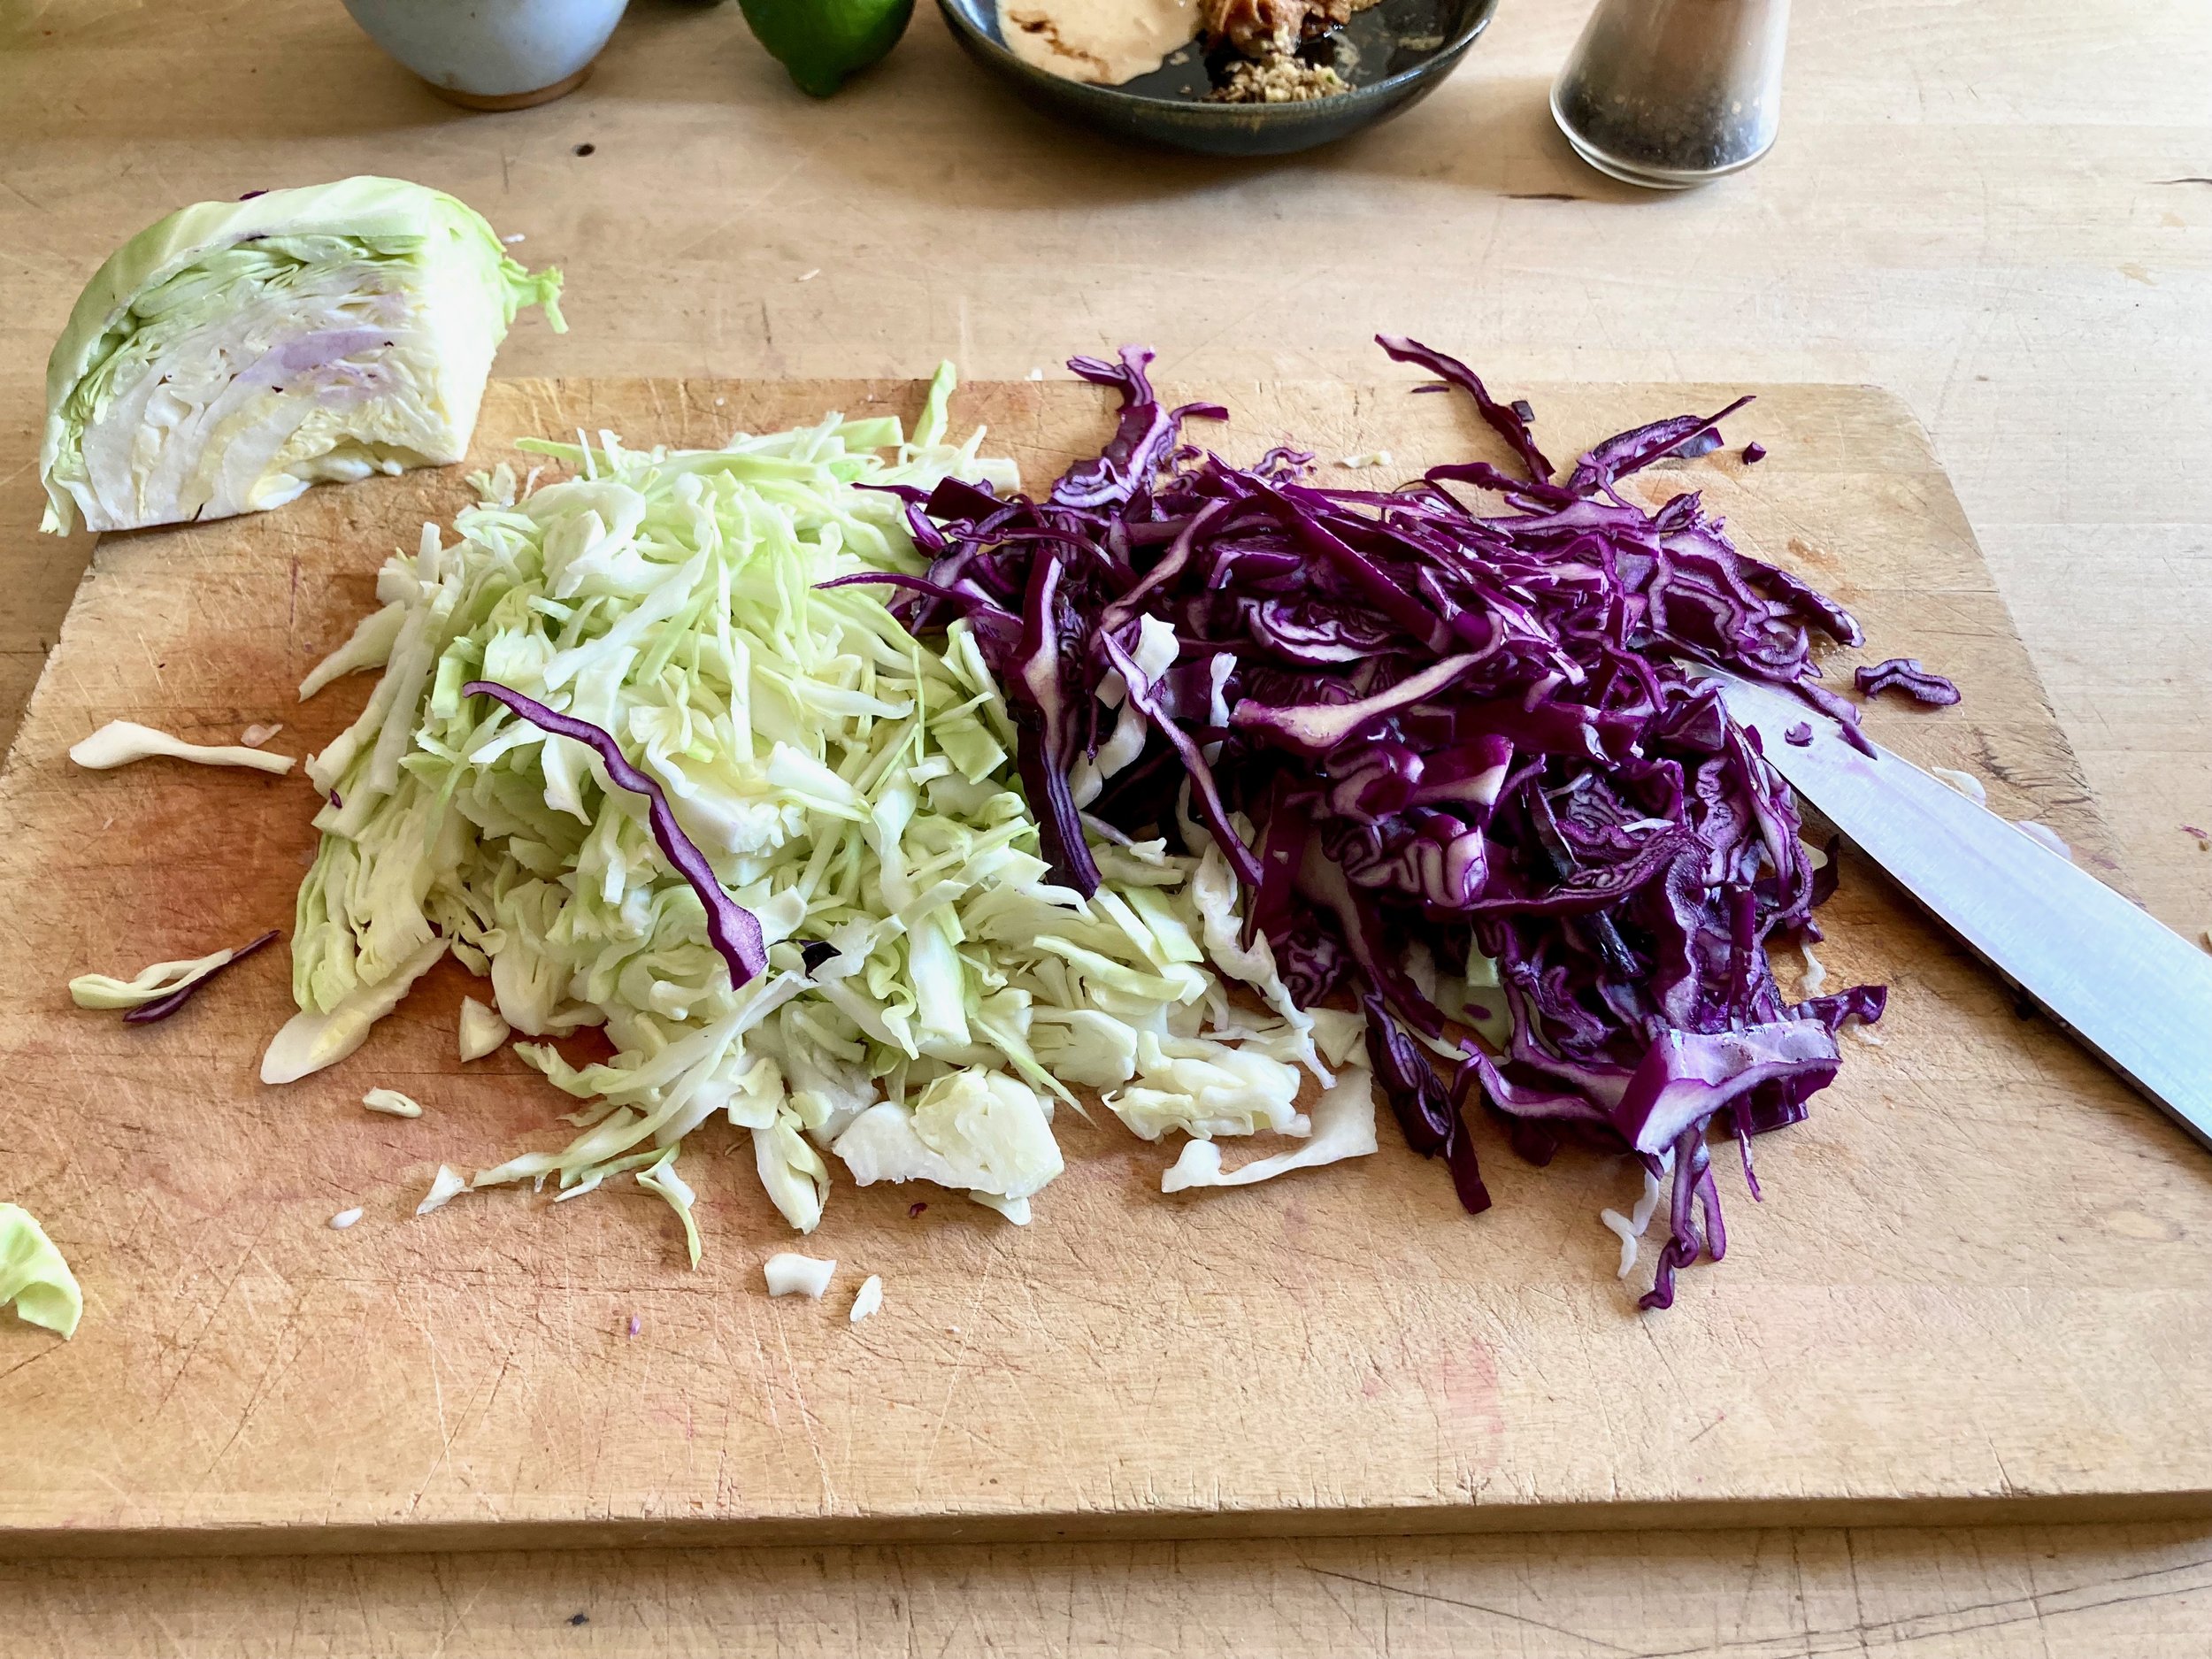
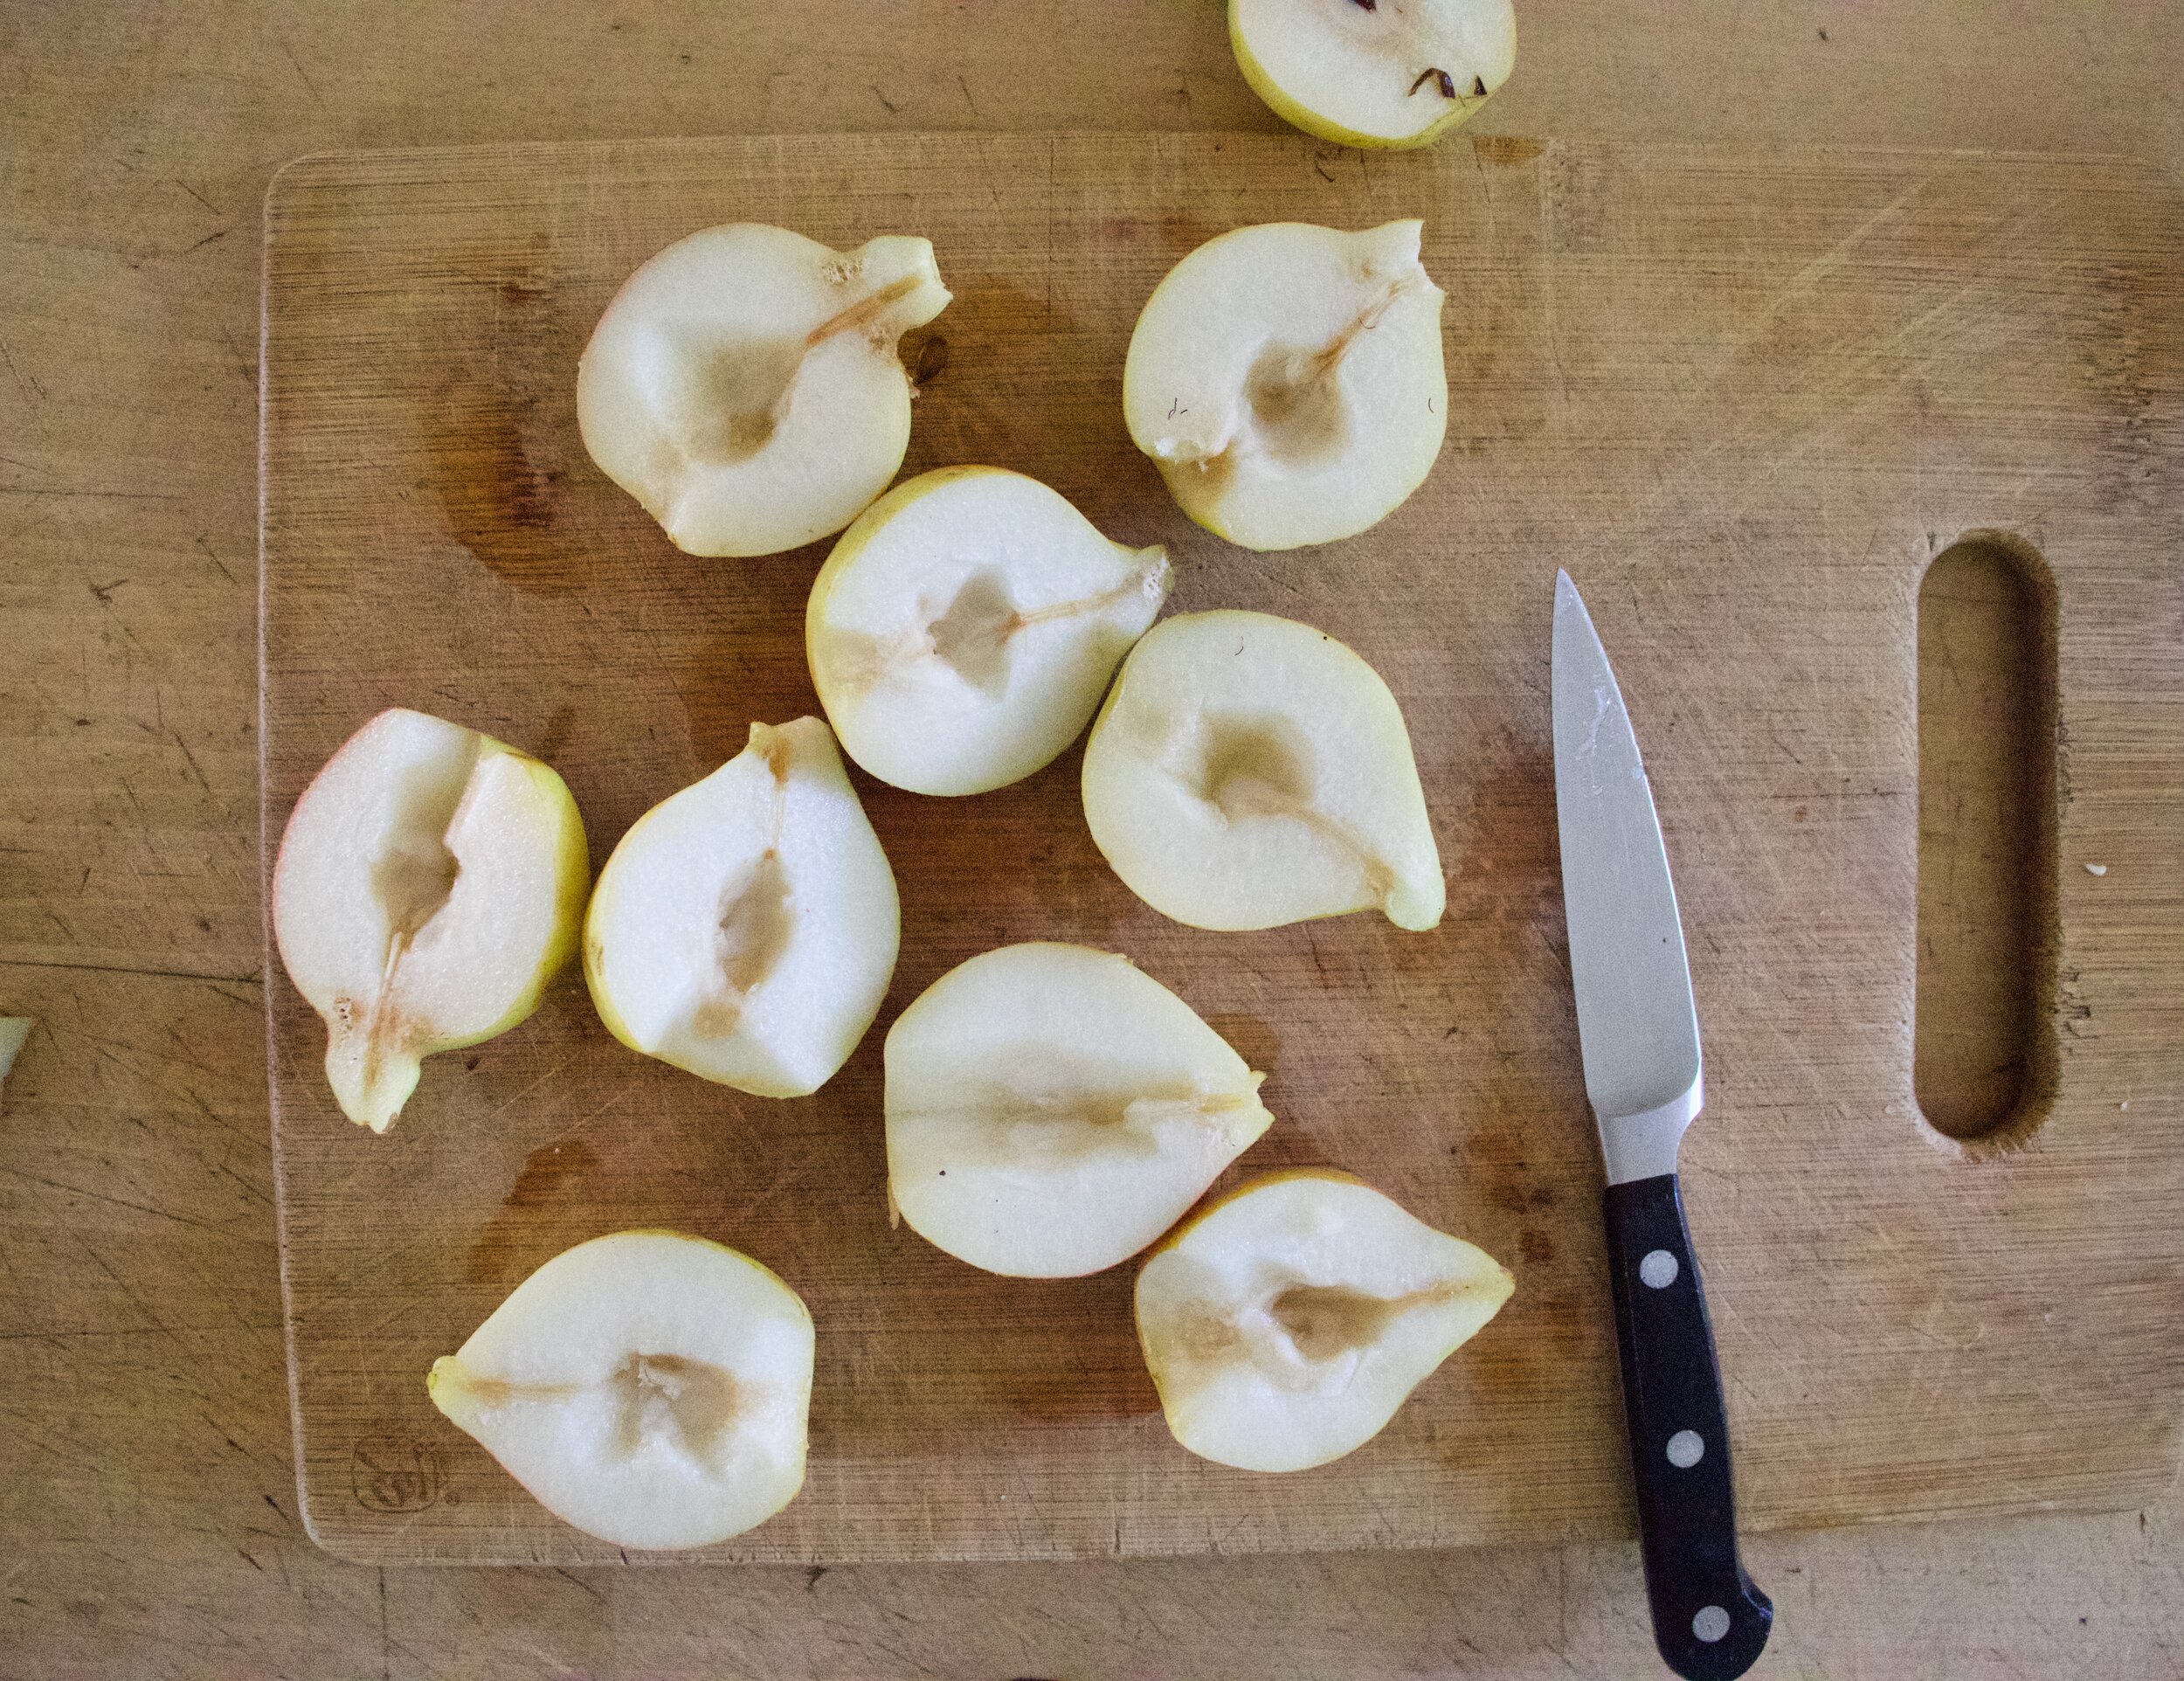
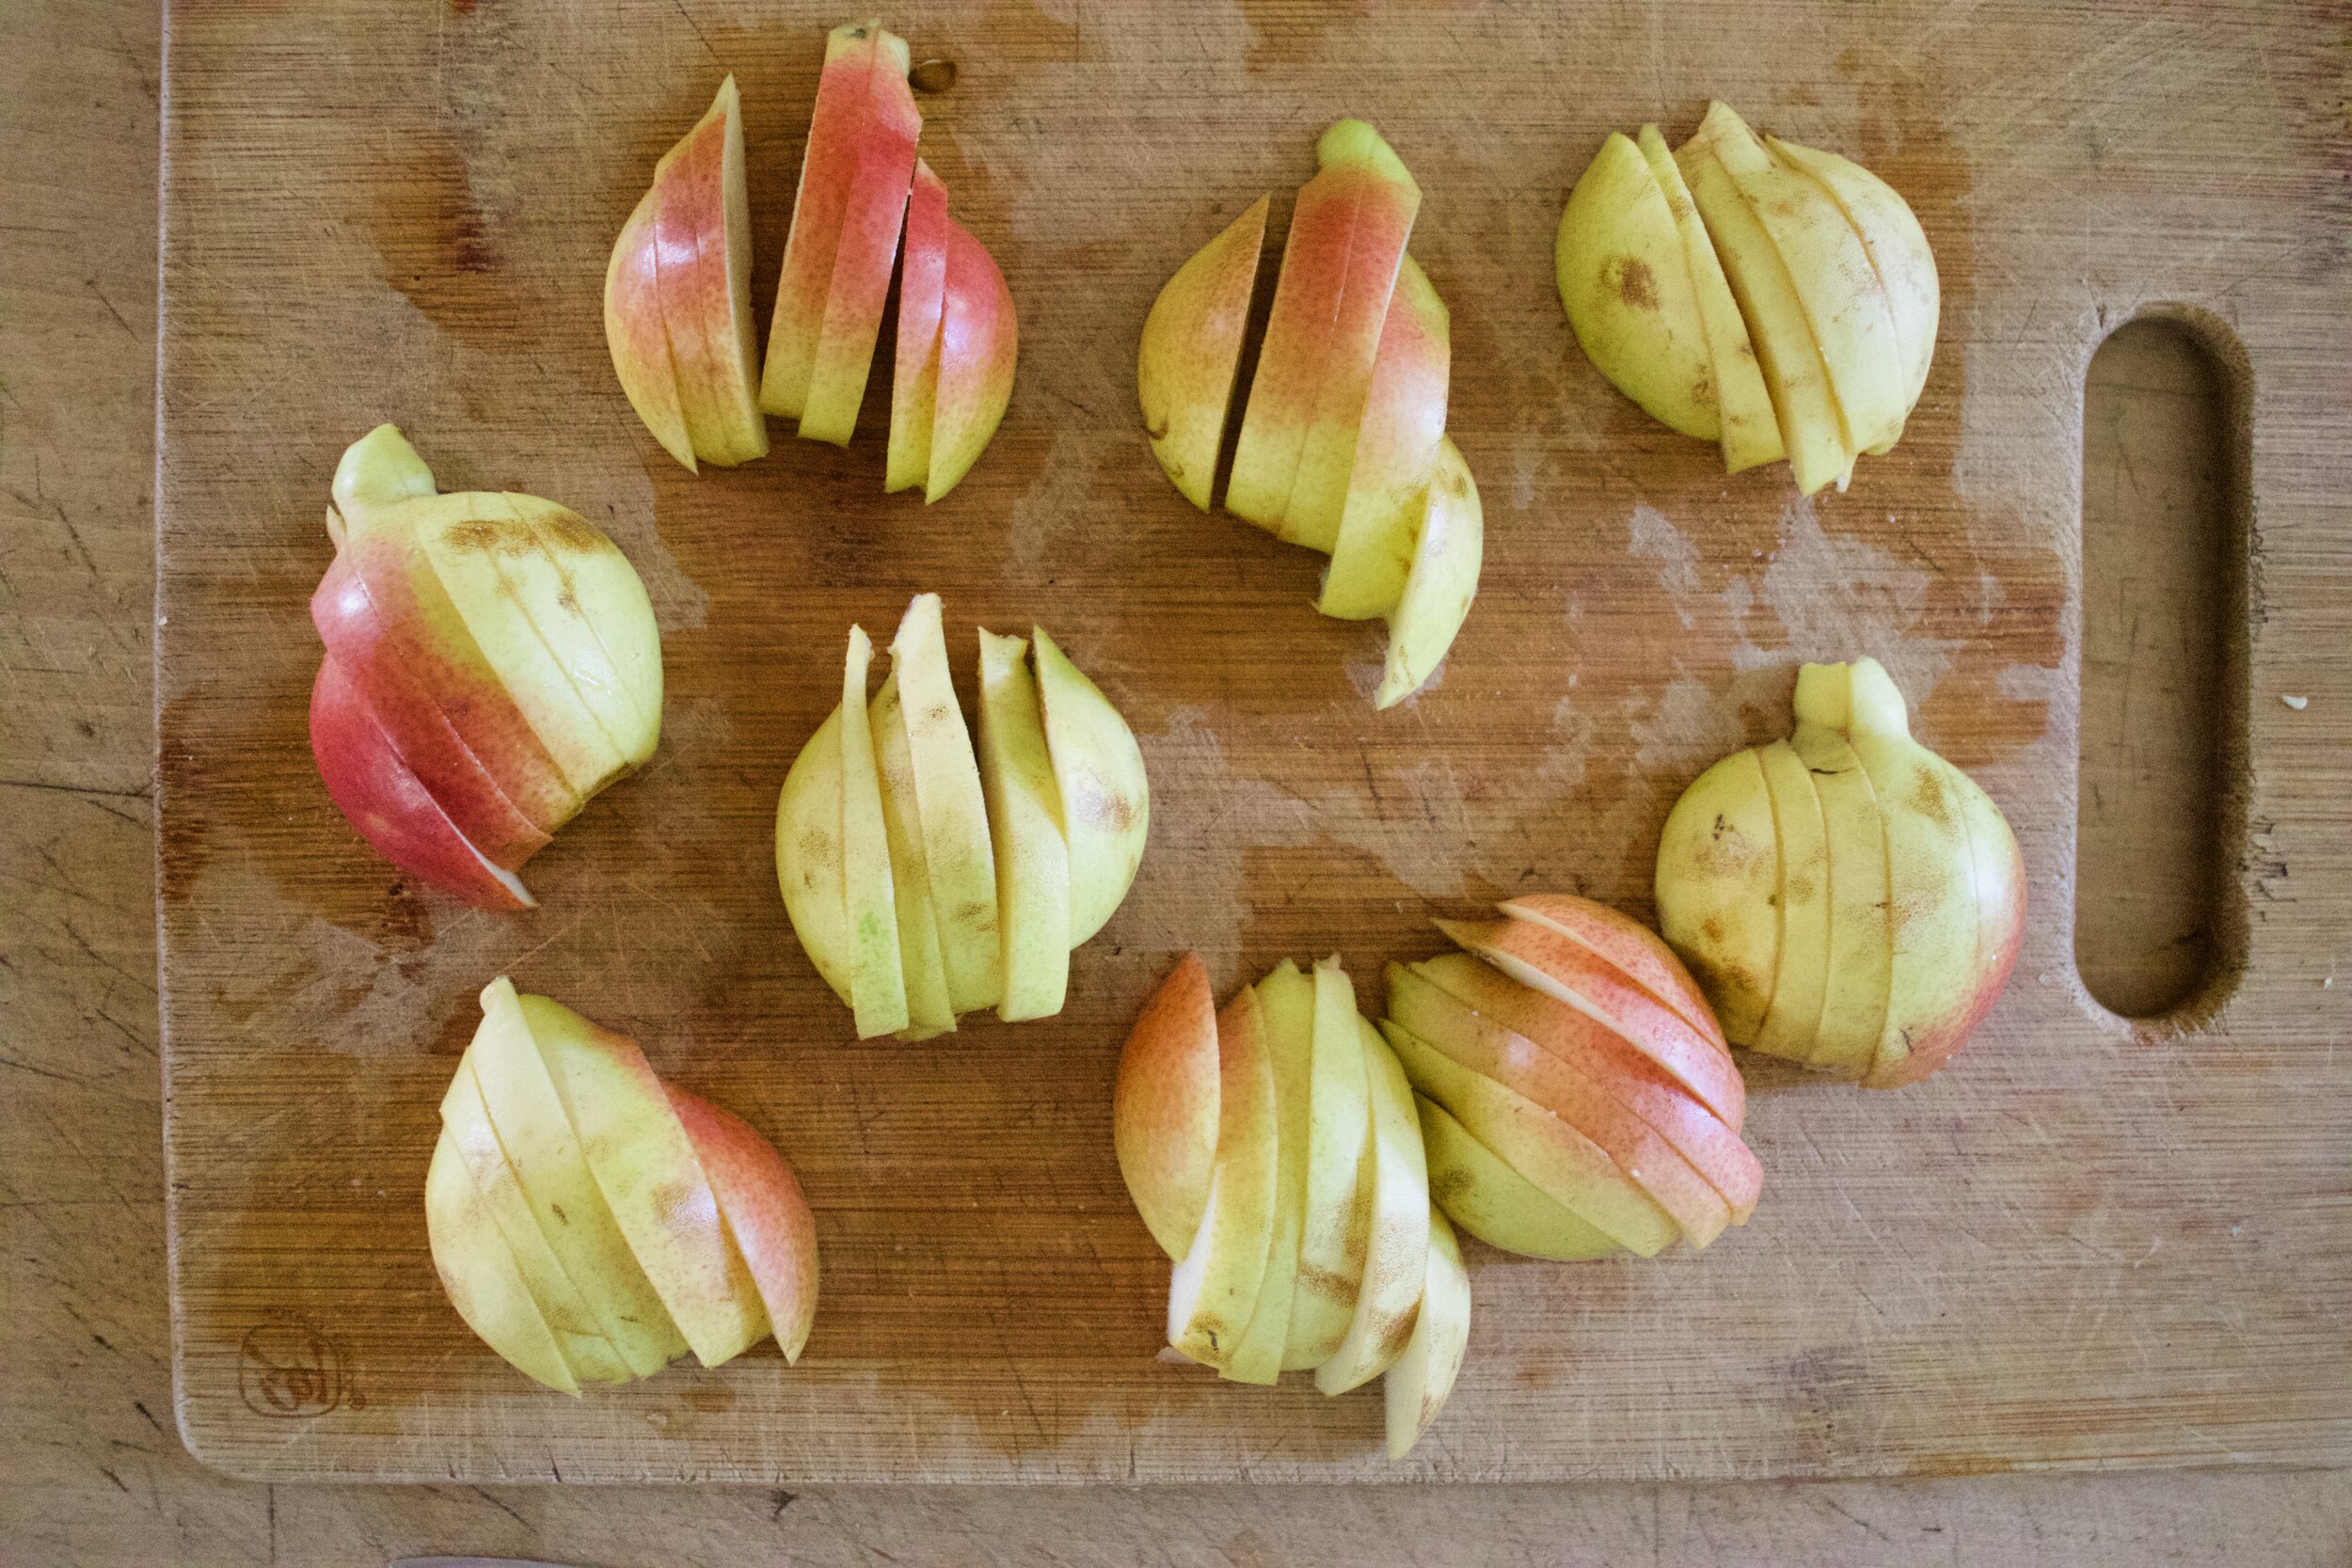
First thing first. Finely shredded up the cabbage.

Palce cabbage on a baking sheet and pop into a hot oven.

IMG_1727 2.jpg
IMG_1734.jpg

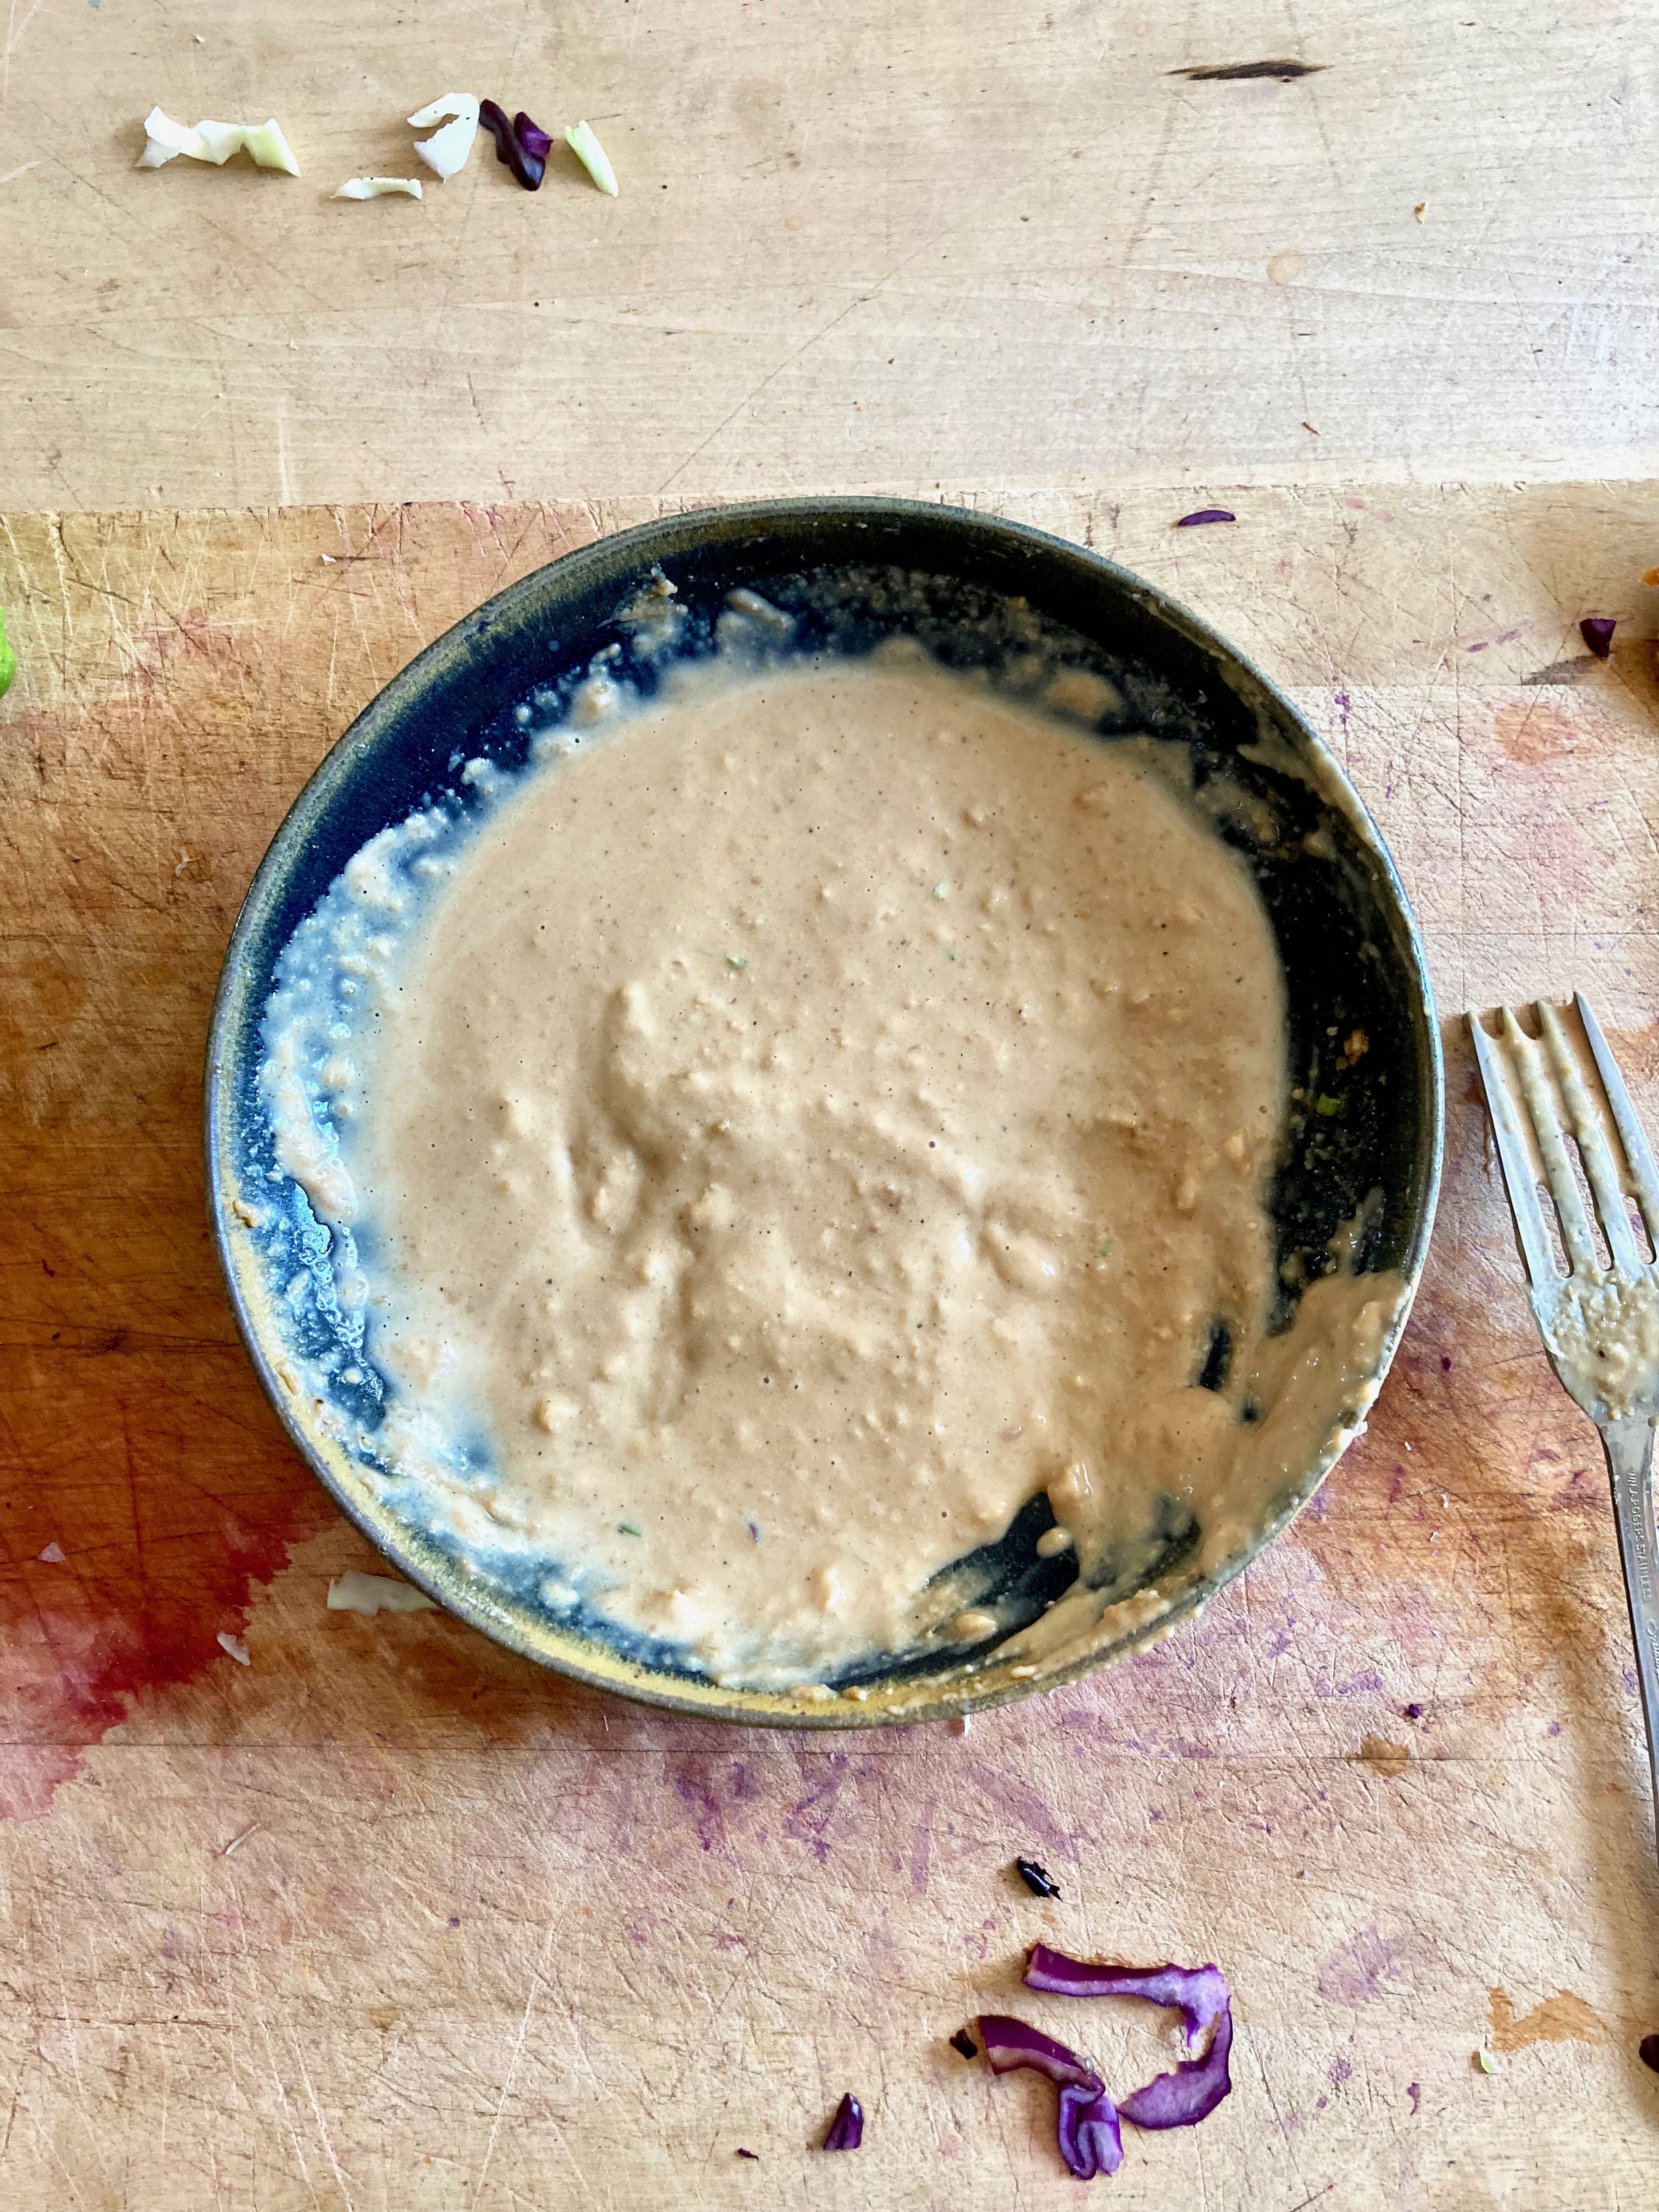
While the cabbage is roasting, mix up the miso dressing. Place everything in a bowl, mix together with a little hot water until creamy and not to thick, and that’s it.

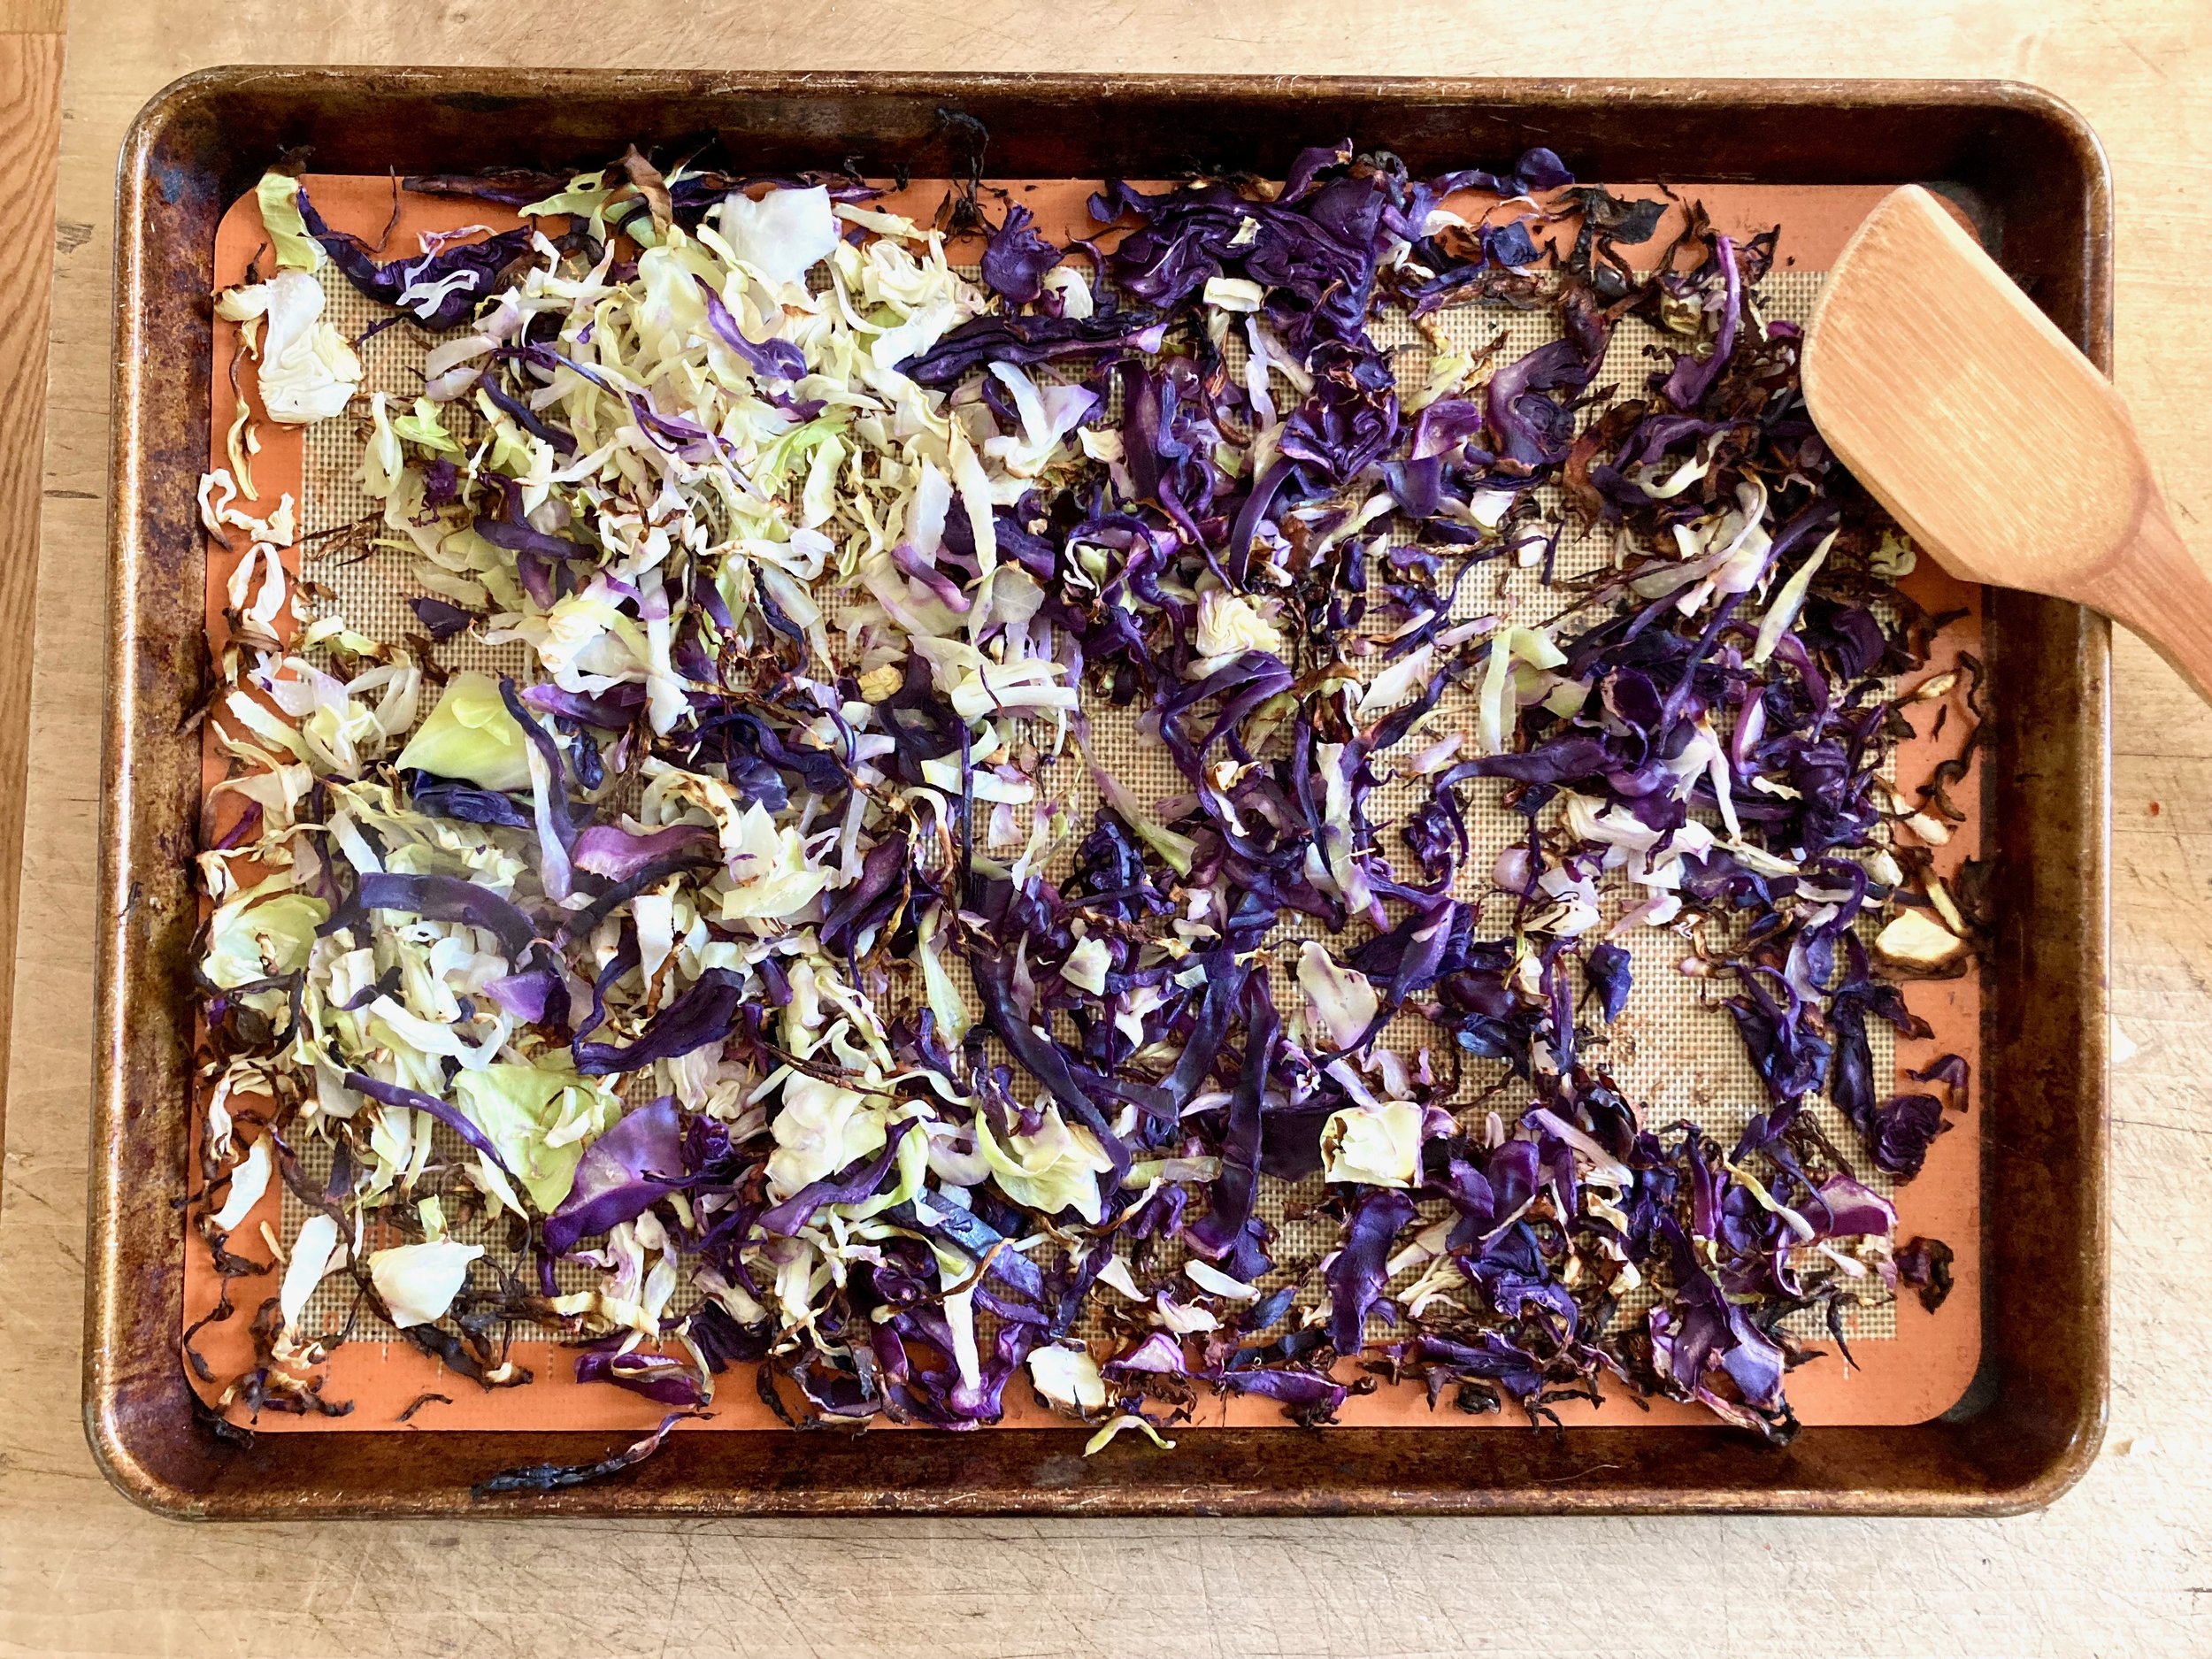
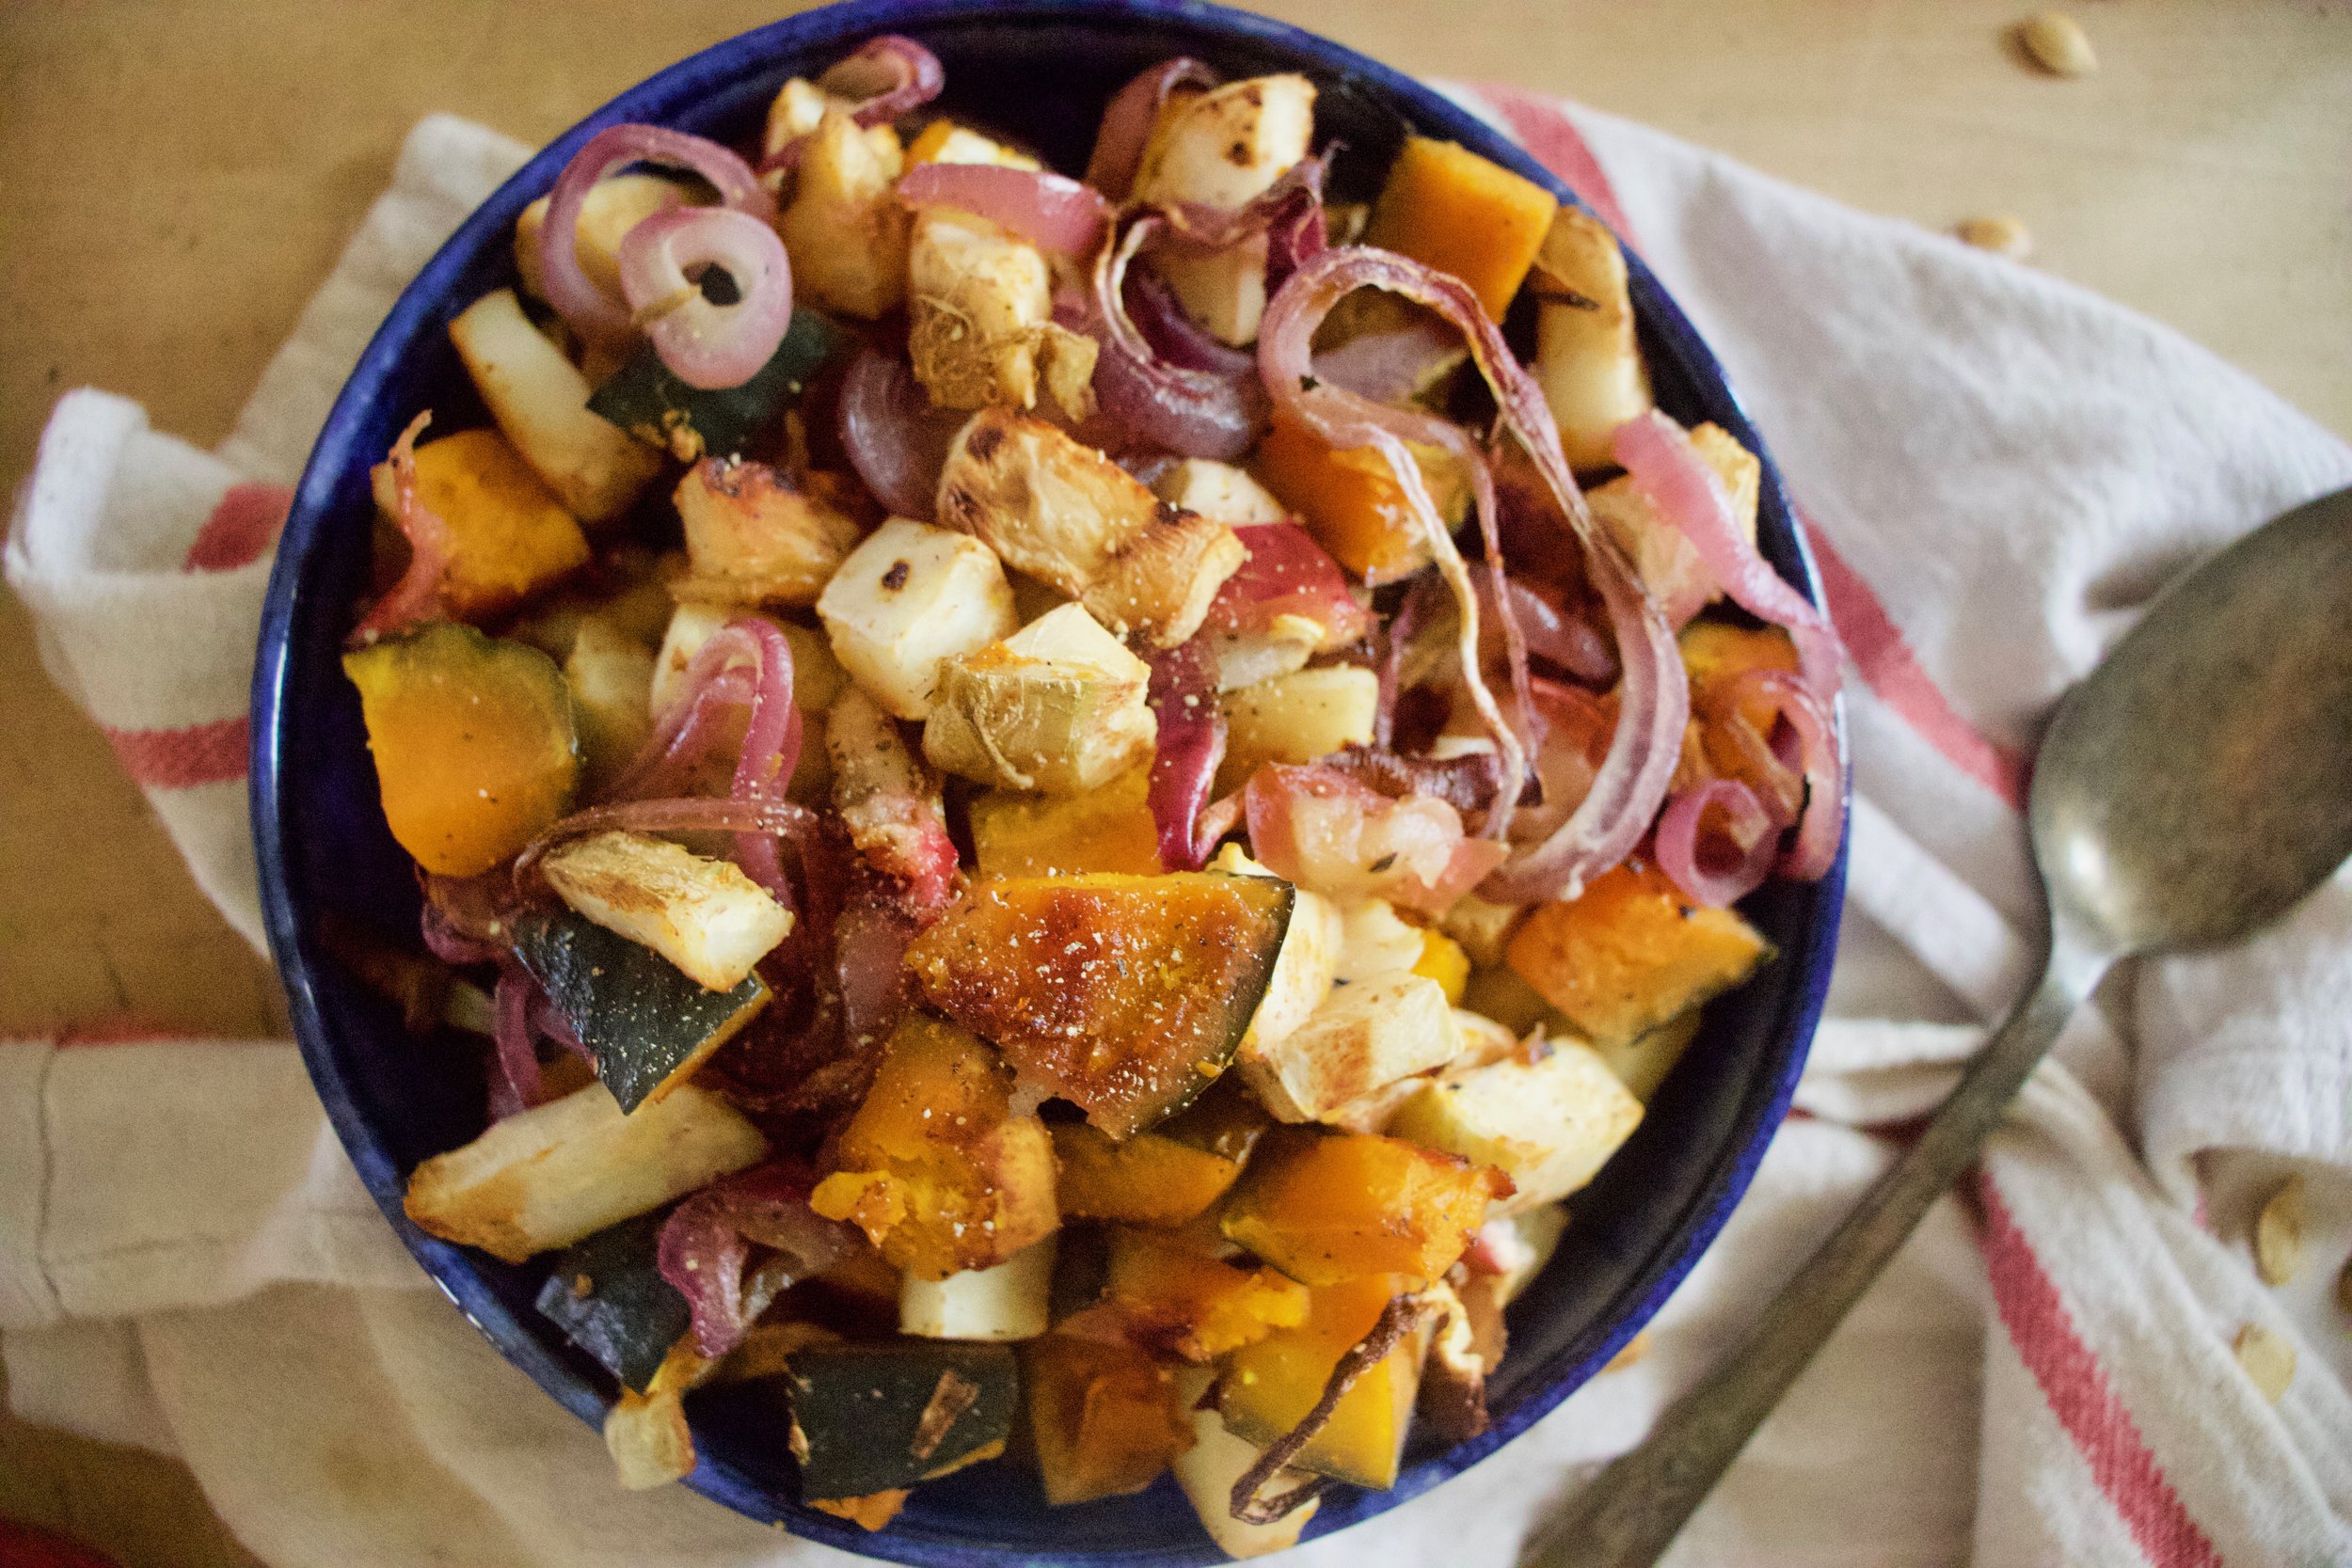
Pulled from the oven you have tender and chard cabbage. So good.

Dump cabbage into a big bowl and pour on the dressing.

Toss it all around, then toss in the almonds.

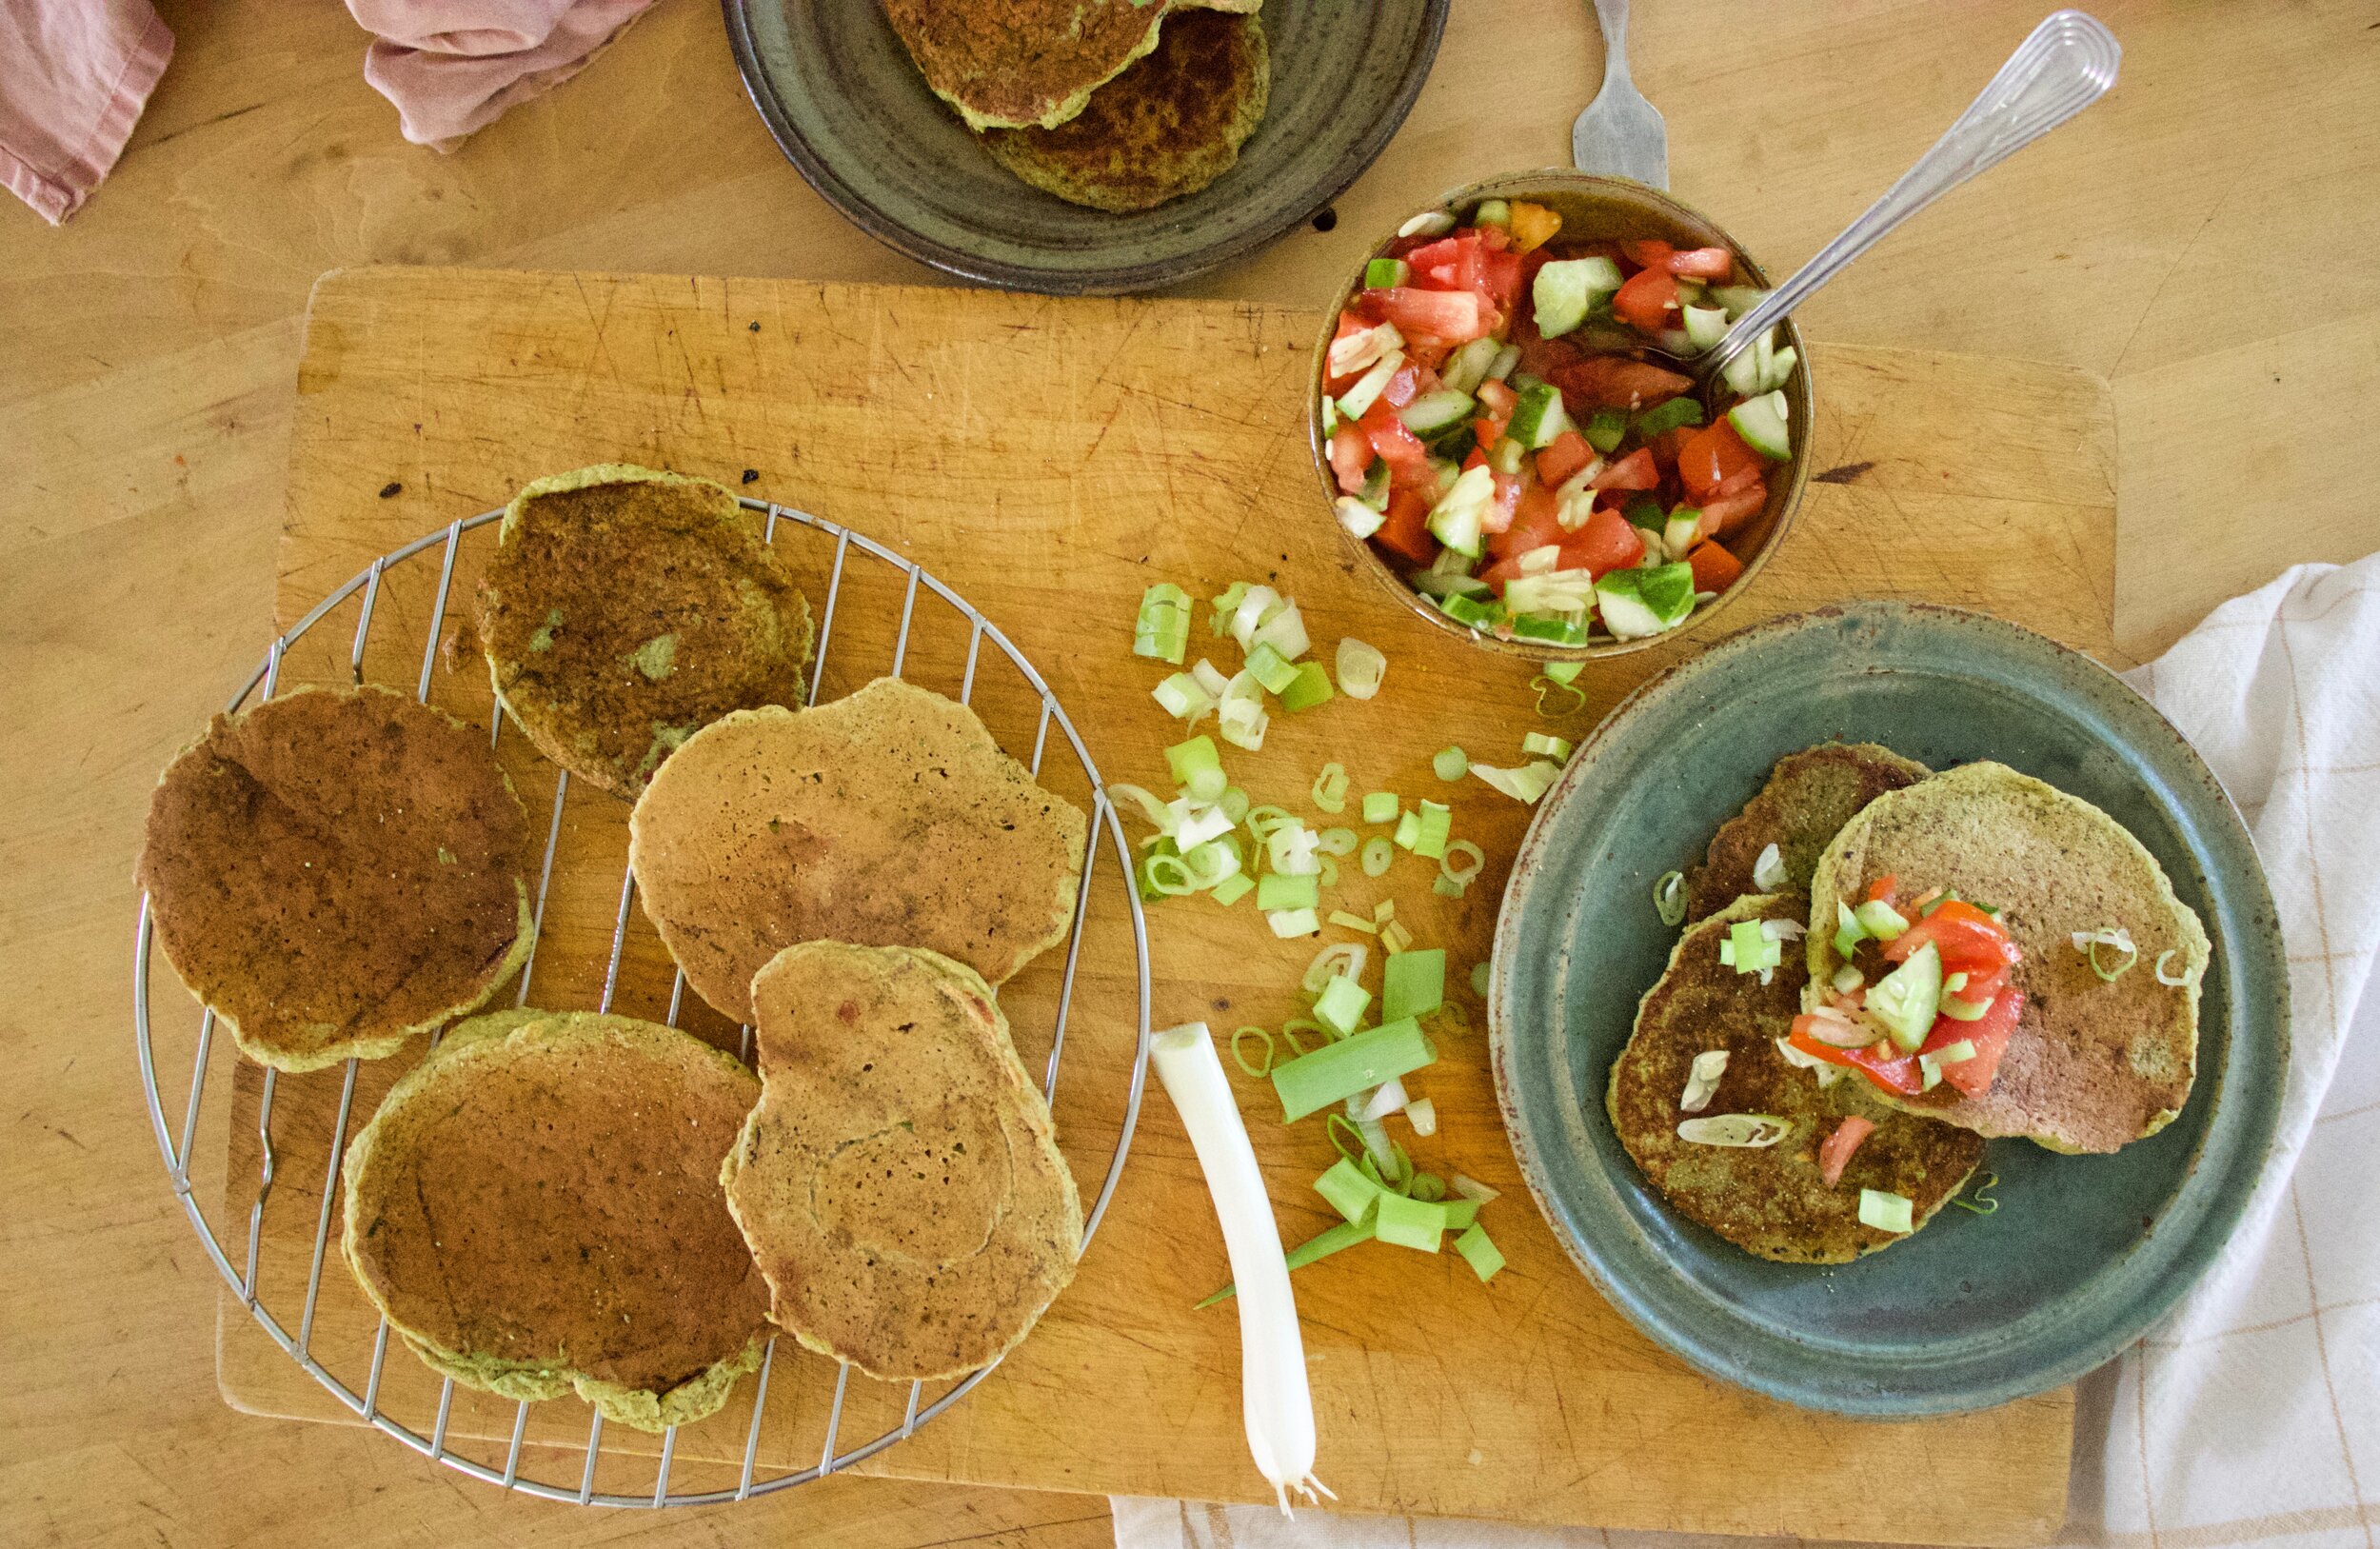
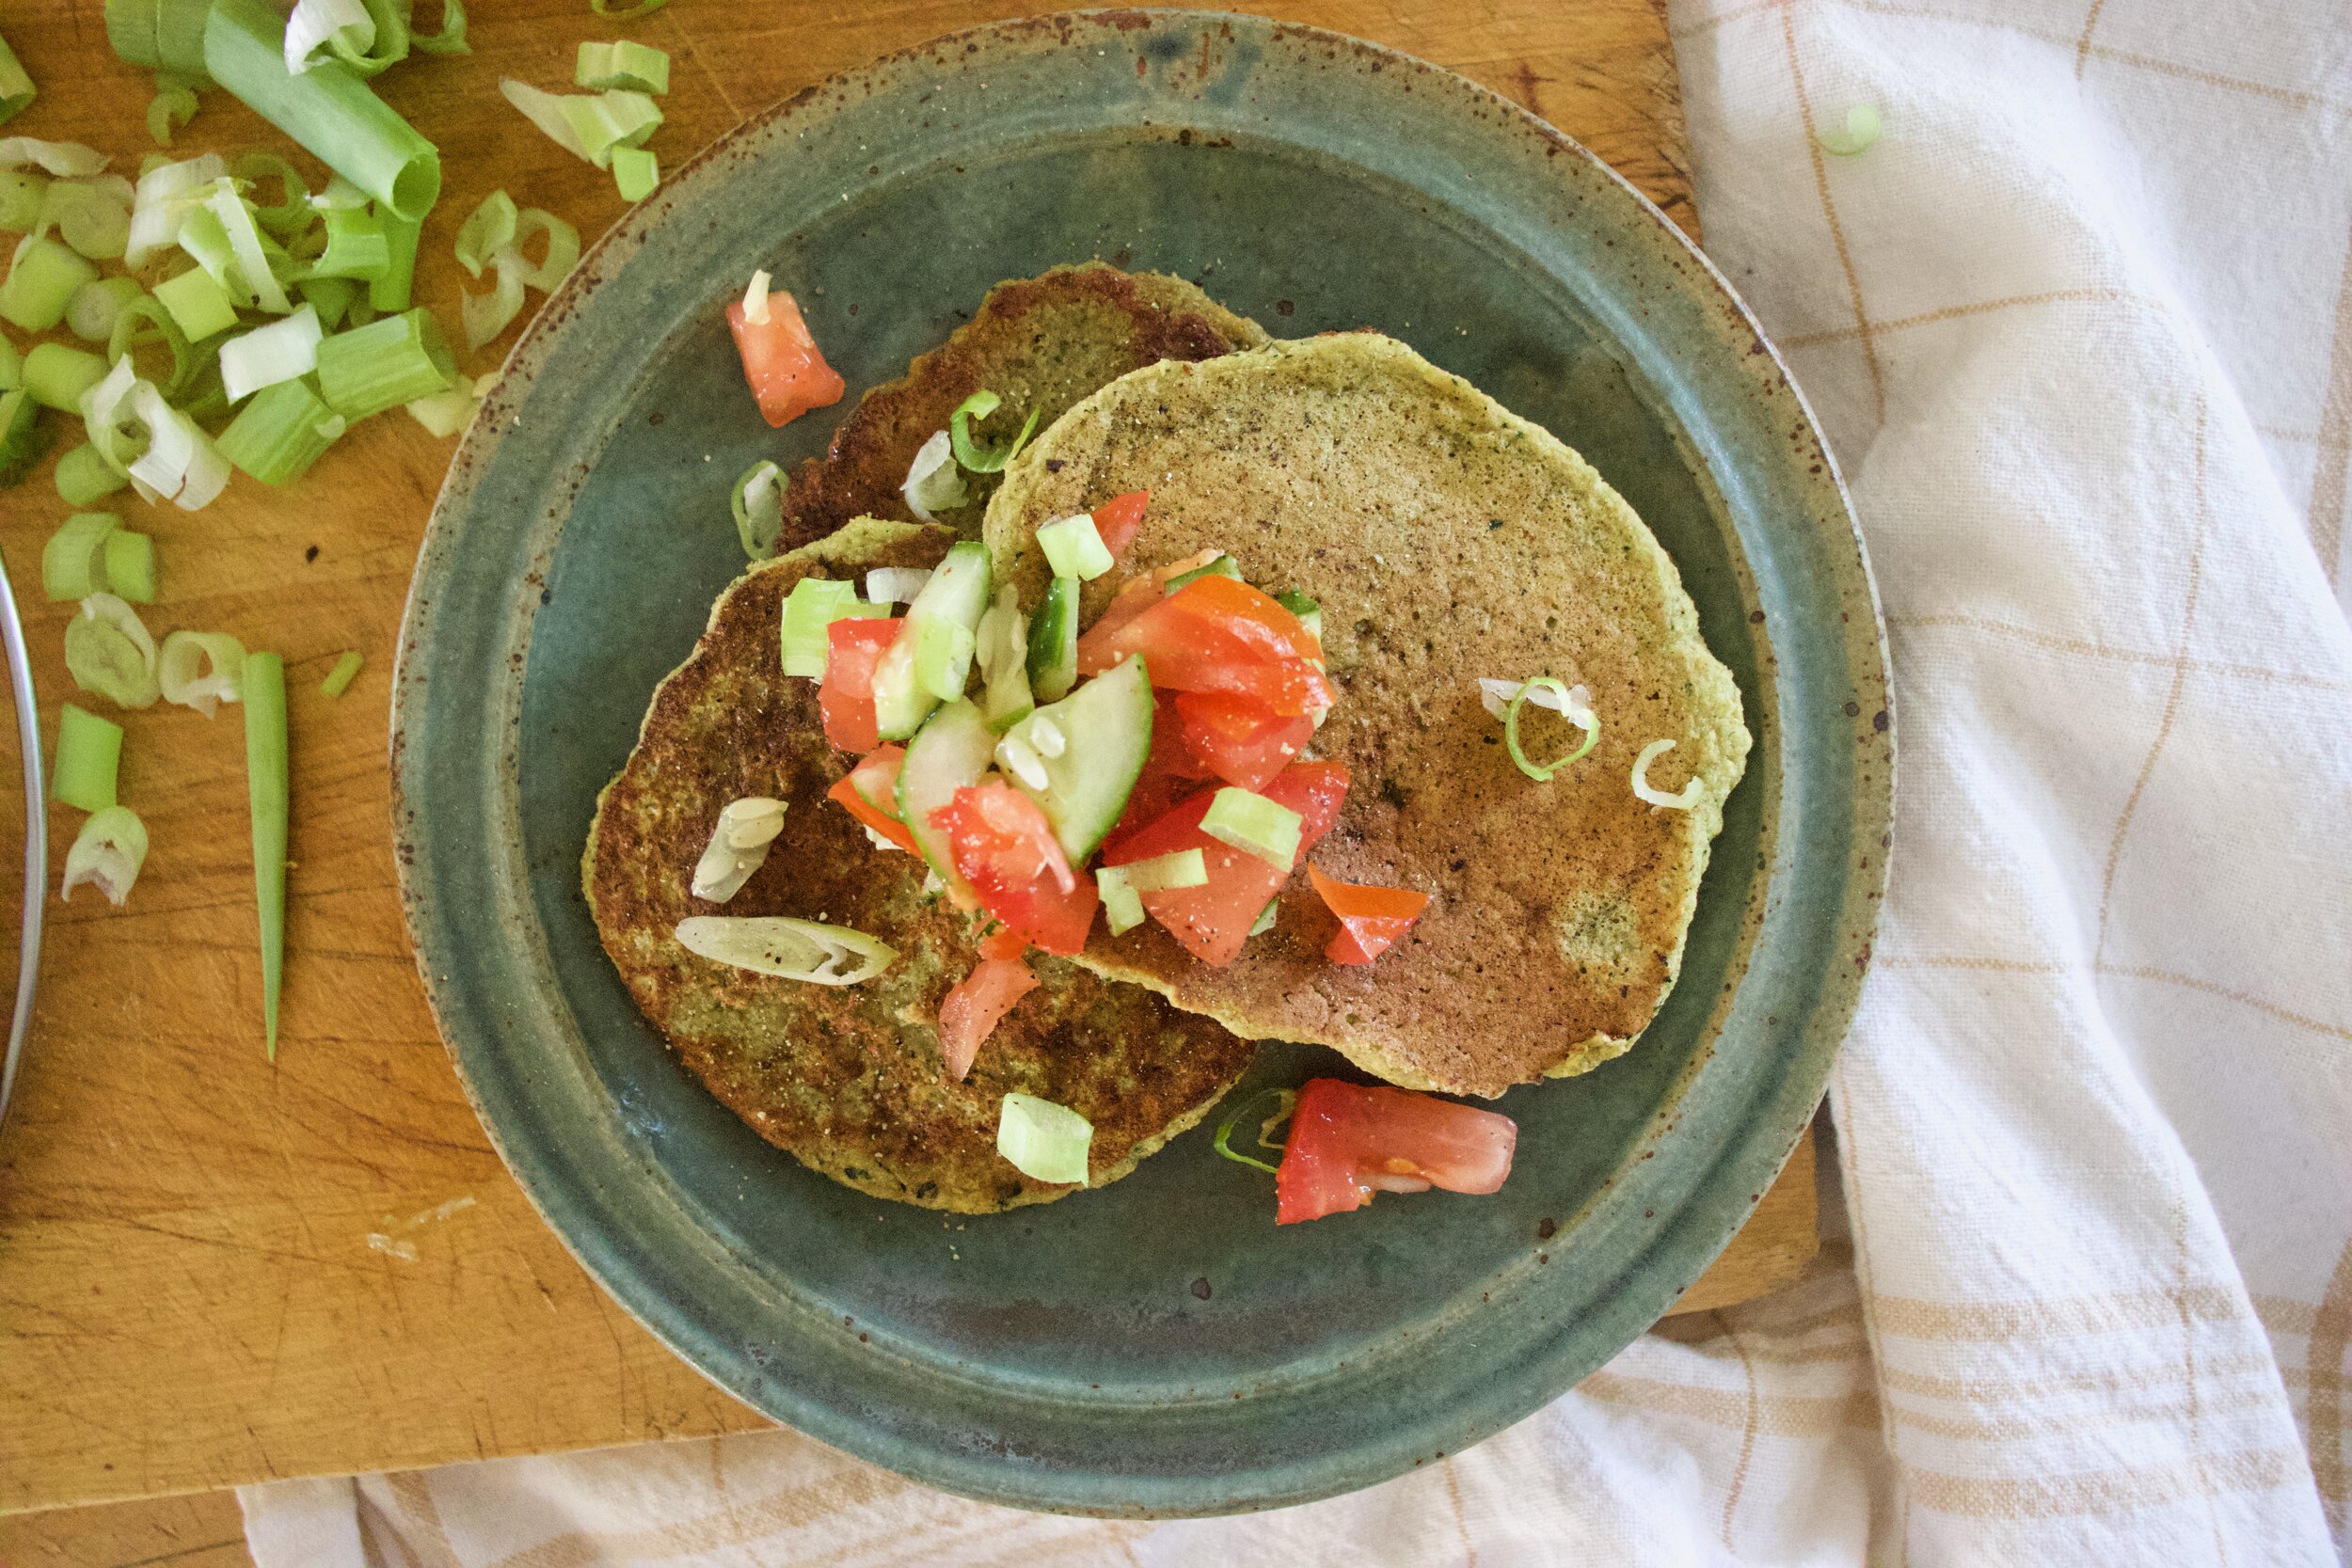
And there you have it. The goods. All ready for eating so you should do that .

Enjoy all the cabbage!

-C


Miso Almond Cabbage Slaw

side for 3-4 people

  • 5 cups shredded cabbage (red and or green)

  • 1/3 cup toasted almonds

  • 2 teaspoons tahini

  • 3 teaspoons miso ( I used red miso but any of your favorite miso paste will do)

  • 1 teaspoon soy or tamari

  • 1 teaspoon maple syrup (more to taste)

  • 1/2 teaspoon ground ginger

  • 2 cloves garlic minced

  • 1 lime or 2 tablespoons red wine vinegar

  • 2 tablespoons warm water

  • black pepper

Preheat oven to 425.

Grab cabbage and shred with a knife or mandolin, super finely until you have 5-6 cups of shredded cabbage. Place on a lined of very lightly oiled baking sheet and spread around so the cabbage is evenly distributed . Now pop into hot oven.

In the meantime make miso dressing. Add miso, maple, soy, garlic, ginger, and the juice of the lime (or the vinegar) to a bowl and whisk until combined. Add in the hot water to thin out a bit.

Once cabbage starts to wilt and char on places, around 20-25 minutes, remove from oven. Dump cabbage into a big bowl, pour on the dressing ans toss until the cabbage evenly coated. Rough chop up the almonds and toss in. Top with black pepper to taste.

Eat.

In salad, Vegan, Vegetables, Nuts Tags Miso Almond Cabbage Slaw, vegan, food, dinner, salad, side dish, cabbage, easy, fast, almonds, plant based, healthy
Comment

Roasted Celeriac and Squash with Apples and Onions

November 13, 2021 Colleen Stem

One of my most favorite root veggie has arrived in the farm share…Celeriac, also know as celery root and nothing has made me happier (with like food stuff)!. I know a lot of people do not know the deliciousness of the root and that makes me a little sad for them, but hopefully this simple little recipe inspires you to go get some and try it. Yeah sure it looks a little crazy, a little gnarly, but what do looks got to do with t? Celeriac taste like the best celery/apple/potato all mixed together but only better. And when it is roasted it gets nice a soft and just so freaking tasty. When I pick up my share, I make sure to get enough celeriac to eat a whole bulb a day.

So now that we all know how amazing celeriac is, we can roast it with some other amazing stuff. Squash, apples, and onions. All tossed together. All roasted til tender. All super delicious on their own but maybe even better together. A easy little dish that is perfect to make for a quiet evening at home, a mid day snack, breakfast, or to place on the table at any holiday meal. It is that versatile and really, you don’t need to have a specific reason to make it, just do. You won’t be sorry.

Now to all the roasted things!

The stuff. A large celeriac bulb, a small kobocha squash, a couple apples, a couple onions, apple cider vinegar, and salt and pepper.

IMG_7804.jpg
IMG_7805.jpg
IMG_7810.jpg
IMG_7823 2.jpg

First thing is to cut everything up. Cube the squash, celeriac, and apple to about the same size and the onion just cut into rings.

Toss all the cut up stuff onto a lightly oiled sheet pan, toss with a tablespoon or so vinegar and sprinkle a pinch of salt and pepper and place in the oven. Roast for about 1/2 hour, but flipping and drizzling another tablespoon or so of vinegar all over about 20 minutes in.

Roasted and done. Taste and season with more salt and pepper if needed.

Now scoop it all into big bowl and serve it or just eat it all to your very own face like I did. No shade in that.

-C


Roasted Celeriac and Squash with Apples and Onions

  • 1 large bulb (softball sized) of celeriac

  • a small winter squash (can use any variety. I used kabocha)

  • 2 medium apples (I used Macs)

  • 2 onions. Red, yellow, or one of each

  • salt and pepper

  • A couple tablespoons of apple cider vinegar

Preheat oven to 425

Grab squash and cut in half. Remove seeds then cut into cubes about 1/2 and inch thick. Grab celeriac and peel it if you want (I do not peel it) then cut into cubes the same size ad the squash. Now the apples. Cut in half, remove seeds, and cube. And lastly grab onions and slice into 1/2 thick rings.

Toss together all the cut up stuff and place onto a lightly oiled baking sheet and sprinkle with a couple tablespoons of vinegar and a pinch of salt and pepper. Stick the pan into the hot oven and roast for around 20 minutes, removing to give everything a flip and drizzle on another tablespoon of vinegar, then place back in oven for about another 10 minutes or so or until everything is lightly browned and fork tender.

Remove form oven and transfer into a big bowl. Serve right away or at room temperature or heck, it taste freaking awesome cold too.

Tags celeriac, celery root, vegan, vegetable, thanksgiving, fall, side, side dish, snack, healthy, plant based, dairy free, gluten free, squash, winter, apple, onion, easy, simple, fast, food52, bon appetite
Comment

Winter Squash, Beet, and Avocado Toast

November 28, 2020 Colleen Stem
IMG_2187.jpg

I don’t know about you but this weekend I just want to keep things simple. And easy. (That applies to life and food.) And I’m pretty sure that I am not the only one.

Which brings me the toast, or fancy toast as some people call it. Simple in it’s own right of being a piece of bread cooked until lightly crunchy and toasty. Piled on with stuff, almost like a sandwich, but it left opened faced because, well just because. This particular piece toast is piled on with stuff is what I have been eating all week (roasted squash, beets and avocado) and am pretty sure is my new favorite food combination.

So for lunch, wanting to share my favorite flavors, I toasted a nice big piece of my homemade sourdough, grabbed the stuff (some people call left overs which you might have bunch of but I just call it ready to eat food) and made the mr a fantastic, beautiful, and delicious piece of goodness that we call toast.

The mr, well he was a little spectacle at first but one bite and he was in. Might just be his new favorite food combo too.

Gosh he is lucky I have such good taste. HA

Now to the Toast!!!

The stuff. A good add piece of bread. (or rolls, or baguette.. whatever you have). Also need mashed winter squash (I used mashed butternut and there is also sweet potato in there too). Roasted and sliced beet, 1/2 an avocado, a little red cabbage, salt and pepper, a splash of vinegar, and red pepper flakes.

IMG_2156.jpg
IMG_2157.jpg
IMG_2161.jpg
IMG_2162.jpg
IMG_2166.jpg
IMG_2167.jpg

How it’s done. Step 1. Toast bread to preferred toasted-ness. Step 2. Cover entire side (right to the edges) with mashed up winter squash. Step 3. Add on sliced roasted beet. Step 4. Layer on avocado then mash it up. Step 5. Add on shredded cabbage Step 6. Drizzle on vinegar and sprinkle with salt, pepper, and red pepper flakes.

Last step. EAT IT!

-C


Winter Squash, Beet, and Avocado Toast

makes one great piece of toast

  • a few slices of roasted or steamed beet (cold or warm)

  • about 1/3 cup mashed winter squash and or sweet potato (cold or warm)

  • 1/2 an avocado

  • 1 big piece of good bread

  • salt and pepper

  • teaspoon red or white wine vinegar

  • a small little handful of shredded cabbage (optional)

  • red pepper flakes

Grab great bread and toast it to your preferred toastedness. Once toasted cover with mashed squash then add on the sliced beet. Now grab avocado, place on top of beets and mash with a fork, Top with shredded cabbage and drizzle the top with the vinegar. Sprinkle with salt, pepper, and red pepper flake.

Eat.

Tags Winter Squash, Beet, and Avocado Toast, fancy toast, toast, thanksgiving, left overs, beets, dinner, snack, breakfast, lunch, easy, simple, vegan, plant based, healthy, food, delicious, fast
Comment

Chocolate Pear Cake

August 15, 2020 Colleen Stem
IMG_9833.jpg
IMG_9880.jpg

I just love a pretty cake and this cake sure is pretty.

It is a chocolate cake with pears sunken into it. A cake made of necessity because I had (and still do) a giant bowl of pears on the counter that need to be eaten. I love the pears, they are delicious, but I can’t possible eat all of them before I end up having to just sauce them all. (I think most of the rest are gonna be sauce) Plus it is finally not stupid hot out and I am getting that cool weather, hang at home with a sweater on, all the apples and pumpkins, fall time feeling that included the itch to bake things. That feeling, it’s coming on strong and I’ll be honest here, I am soooo over summer. Bring on the fall!

Also, note about cake. Because each piece has half a pear sunken into it, I would there by think that this cake might actually be considered a health food. (hehehe) Yeeeah, no, but it is good. The mr already ate half.

Now to the cake!

The stuff. In the bowl there is flour, cocoa powder, baking soda and powder, salt, and cinnamon. Also need brewed coffee, sugar, oil, vanilla, apple cider vinegar, and some little pears.

IMG_9751 2.jpg
IMG_9754 2.jpg
IMG_9765.jpg

Make cake bater. Whisk together all the dry until really really mixed and there are no clumps then add in all the wet.

Mixed and ready batter.

IMG_9776.jpg
IMG_9780.jpg

Now cut the pears in half and remove the stem and seeds. Slice each half into 1/4 inch thick pieces but keep each sliced pear together.

And sure, some people might say, should I peel the pears? And the answer is no, you should not, but you can if you want. But don’t. Unless you want to.

Place the sliced cut havles cake down into the batter. Make them look pretty.

Then into the hot oven it goes to bake.

Wow wow! So pretty! Now let it cool a bit.

IMG_9816.jpg

When cooled off, cut into pieces. Each piece gets a pear.

Cake on plate, grab a fork, and eat.

-C


Chocolate Pear Cake

  • 4-5 small pears (like Forelle Pear or another smaller variety)

  • 41 3/4 cups all purpose flour

  • 1/3 cup cocoa powder

  • 1 cup white sugar

  • 1 1/2 teaspoon baking powder

  • 1 teaspoon baking soda

  • 1/2 teaspoon salt

  • 2 teaspoon cinnamon

  • 1/2 cup neutral flavored oil

  • 1 1/4 cups hot coffee

  • 2 tablespoon apple cider vinegar

Preheat oven to 350

Start with cutting up the pear. Cut each pear in half, remove all seeds and the stem, then slice each half into 4-5 1/2 inch thin pieces, keeping the pieces of each half together.

Grab a big bowl and dump in the flour, baking powder and soda, cinnamon, salt, cocoa powder, and sugar. Whisk well until completely combined and there are no clumps of cocoa of flour. Now add in the oil, vanilla, coffee, and vinegar and mix until just combined. Pour batter into a well greased pan. (use a 9x9 or 8 inch round)

Grab cut up pear halves and place halves, cut side down into the batter. 3 across and 3 down, or just any way that you think looks pretty. And once you got your pears in, place the pan into the oven. Bake for 28-32 minutes or until you get a clean fork when poked for doneness.

Remove from oven and let cool for a bit on a wire rack. Once cooled, cut it up and eat it

Left over cake is good covered at room temperature for a day or two but should be sorted in fridge, covered, for up to a week.

In Vegan, cake, Dairy Free, fruit Tags Chocolate Pear Cake, vegan, pears, cake, chocolate cake, fruit, fall, plant based, oil cake, dairy free, dessert, bake feed, homemade, recipe, easy, fast, delicious
Comment

Lentil Flour Zucchini Pancakes

August 8, 2020 Colleen Stem
IMG_9712.jpg
IMG_9729 2.jpg

To know me is to know that I eat a shit load of lentils. And not just one kind, I eat them all, in all the ways, all day, everyday. Vegetables and lentils. That is my truth.

Lentil flour. One more way to consume the mighty legume. Blended while dry into a fine powder, it takes the lentil to a whole other level. You can use the flour in all sorts of things like bread, soup, even in baked goods. it really is a great flour to have on hand, especially if you are hungry and want to toss something quick and easy, heathy, and delicious together like these here pancakes.

These pancakes. All they are made of is lentil flour and pureed up zucchini and onion. Now that might sound a little on the dull side, but trust me here, they are far from dull. They are freaking delicious. And better for it that they take like 10 minutes from start to finish to make. And no oven which is necessary these days with all the stupid hot weather.

Anyway. lentil zucchini pancakes. Give them a try. They will probably become your favorite.

To the lentil flour and zucchini pancakes!

The stuff. Dry green lentils, a zucchini, and onion, salt and pepper, and a splash of oil.

IMG_9603.jpg
IMG_9611.jpg

Te make lentil flour. Place dried lentils into a high speed blender and blend until it turns into a fine flour.

Once you have the flour made, cut up the zucchini and onion into chunks.

IMG_9618.jpg
IMG_9629.jpg

Drop into the blender and blend until pretty smooth.

Dump puree into bowl and top with some lentil flour.

Mix until completely combined. The batter should be kind of thic but still spoonable. Also, season with salt was pepper here.

IMG_9690.jpg

Heat up a skillet with a splash of oil. Once hot, scoop spoonfuls of batter into pan and spread it evenly about 1/4 inch thick. Cook first side fr 4-6 minutes or until nice and brown then flip and cook the other side until done. Repeat until batter is gone.

IMG_9712.jpg

Now eat your amazing delicious lentil zucchini pancakes. I served with fresh salsa, and I have also made tahini dip and used hummus to smear on them which was also freaking amazing, but you can serve with whatever floats your boat.

-C


Lentil Flour Zucchini Pancakes

  • 1 pound dry green lentils

  • 1 large zucchini

  • 1 onion

  • salt and pepper

  • splash of oil

Start with the by making the lentil flour. Place lentils into a high speed blender and blend until it has turned into a fine flour. You might need to stop the blender ever once in a while to move things around with a spoon (when it is turned off!). It should only take about a minute or so in a Vitamix, but maybe a few extra minutes if using a less powerful blender.

Once flour is achieved, dump into a jar with a lid. You probably won’t be using it all right now.

Now grab the zucchini and onion and cut into chunks. Place the chunks into the blender and blend until smooth.

Dump puree into a bowl. Add about 1 cup of lentil flour and stir. IF the batter is really loss, add in another 1/4 cup or more to get the batter to a thick but spreadable consistency (kind of like hummus). Season with salt and pepper.

Grab a skillet and place on medium heat with a splash of oil. Once skillet is heated place spoonfuls of the batter in and spread around until between 1/2-1/4 inch thick. Cook fist side for 4-6 minutes or until a nice golden brown then flip and cook the other for a few minutes until browed. Repeat until batter is gone.

Place cooked pancakes on a plate, grab a fork and some savory type condiment (hummus, salsa, tahini, cashew cream) and eat.

In Vegetables, Vegan, summer, quick and easy, pulses, pancakes and such Tags Lentil Flour Zucchini Pancakes, lentils, legume, pulses, vegan, gluten free, grain free, vegan dinner, quick and easy, fast, pancake, protein, plant based, heathy, dairy free, lentil flour, summer
Comment
Older Posts →
 

https://thelovelycrazy.squarespace.com/config#/|/about/

Me. Food Maker.Food eater. Woo HOO!

STEM+NODE  SMALL BATCH AND ONE OF A KIND POTTERY

stem+node ceramics


____________________

Subscribe

GET NEW POSTS IN YO EMAIL

You are AWESOME!!!


@thelovelycrazy 2014-2021