• stem+node ceramics
  • HOME
  • Food Recipes
  • About
  • Contact
Menu

The Lovely Crazy

Street Address
City, State, Zip
Phone Number

Your Custom Text Here

The Lovely Crazy

  • stem+node ceramics
  • HOME
  • Food Recipes
  • About
  • Contact

Vegetable Dumpling Soup

October 5, 2019 Colleen Stem
IMG_2729.jpg
IMG_2778.jpg

Soup. No joke (although people make jokes about me), is eaten in my house, at lunch and sometime even at dinner. Every. Single. Day. There is just no going wrong with a big pot or veggies, spices, sometimes beans, sometime not. I make it in big batches, in small batches. Sometimes it’s more a bisque, or a chili or a stew, or just a really really spicy broth. Whatever I have in the fridge or freezer, the stuff that might not be great eaten fresh, sad spinach…. It all turns in soup.

Does that make me some kind of weird soup freak? Maybe, but I am ok with that. And to those who see me walking down the street and yell silly things about me having to get home to eat my soup (it happens more then you know) well, you know you are just jealous and secretly wish you were eating soup with my too. So 😝.

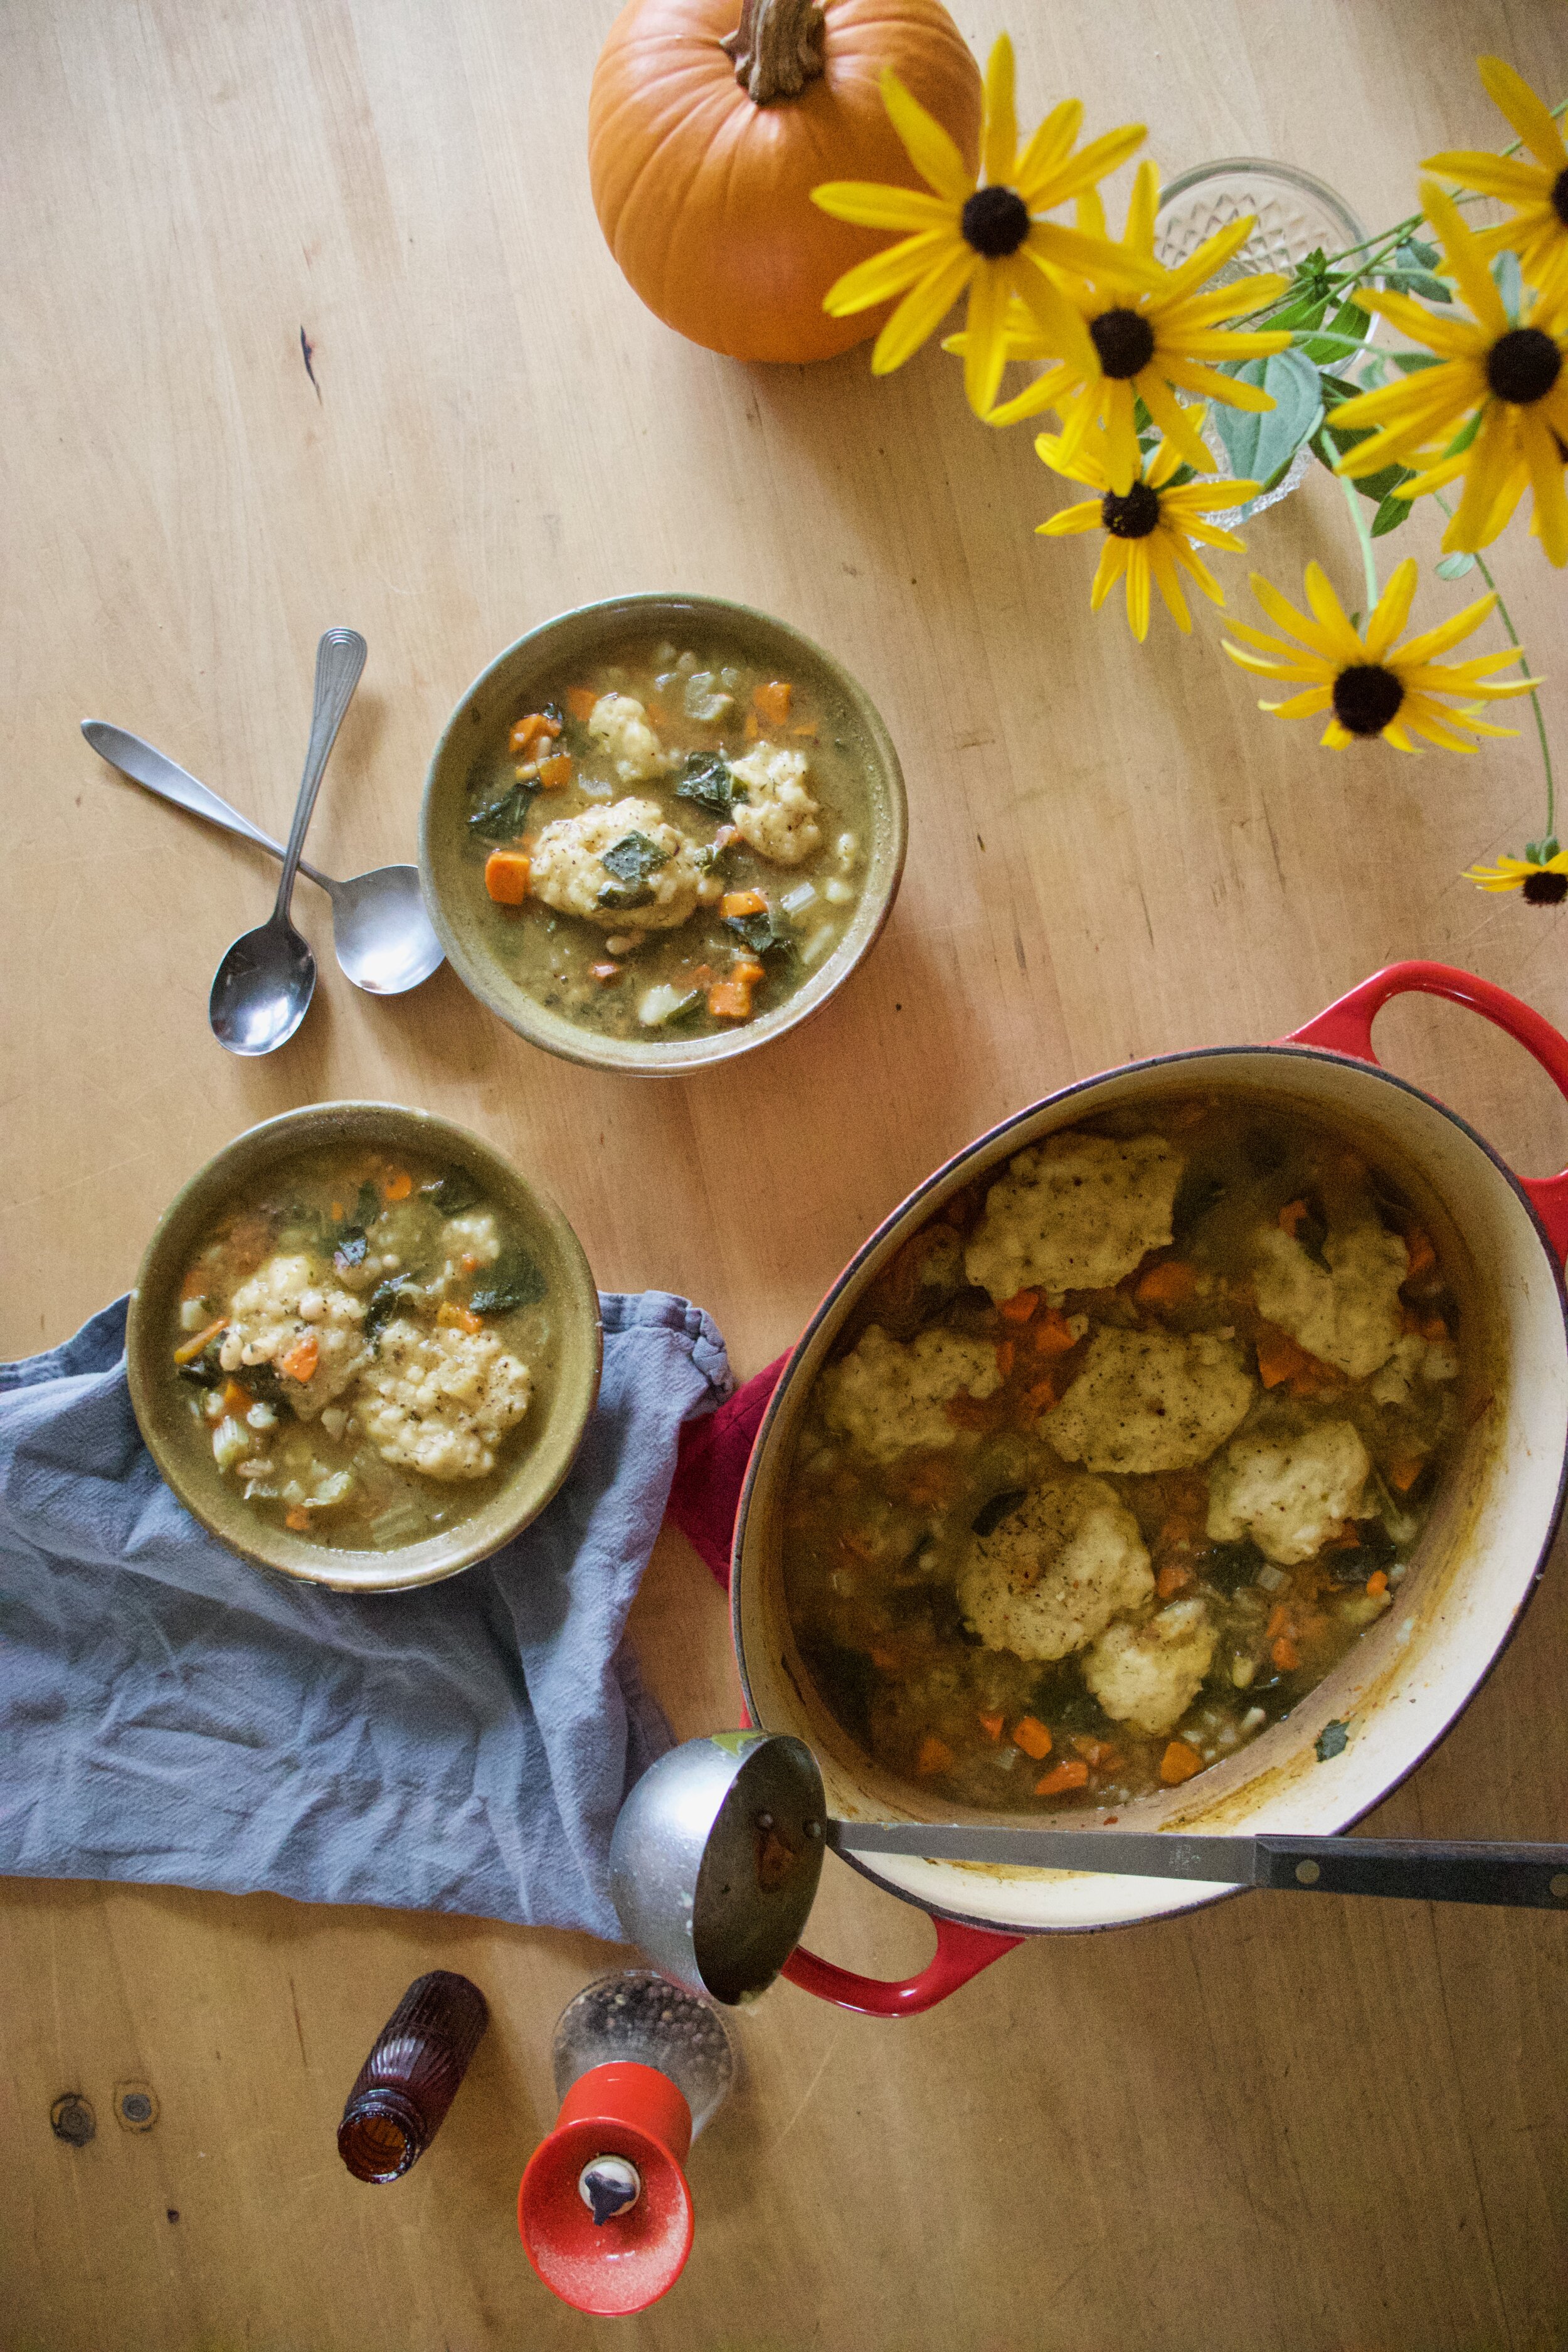
Are you a soup person too? I mean, who isn’t, especially right now that is is fall time and it’s getting chilly and darker out and all we want to do is hibernate. Definitely a soup time if there was ever a specific time for soup. And this soup, made even more hardy and comforting with the addition on dumplings. I actually made it specifically for the mr because, well just because I love him and thought he would enjoy it. And well, he loved it because dumplings of course. Light and slightly chewy, soup thickening dumplings with hot and comforting soup. A perfect end to a day of him working outside in the cold.

So soup. Make it. Dumplings. Add those too. You will be a winner with food, and in life.

To the soup and dumplings!

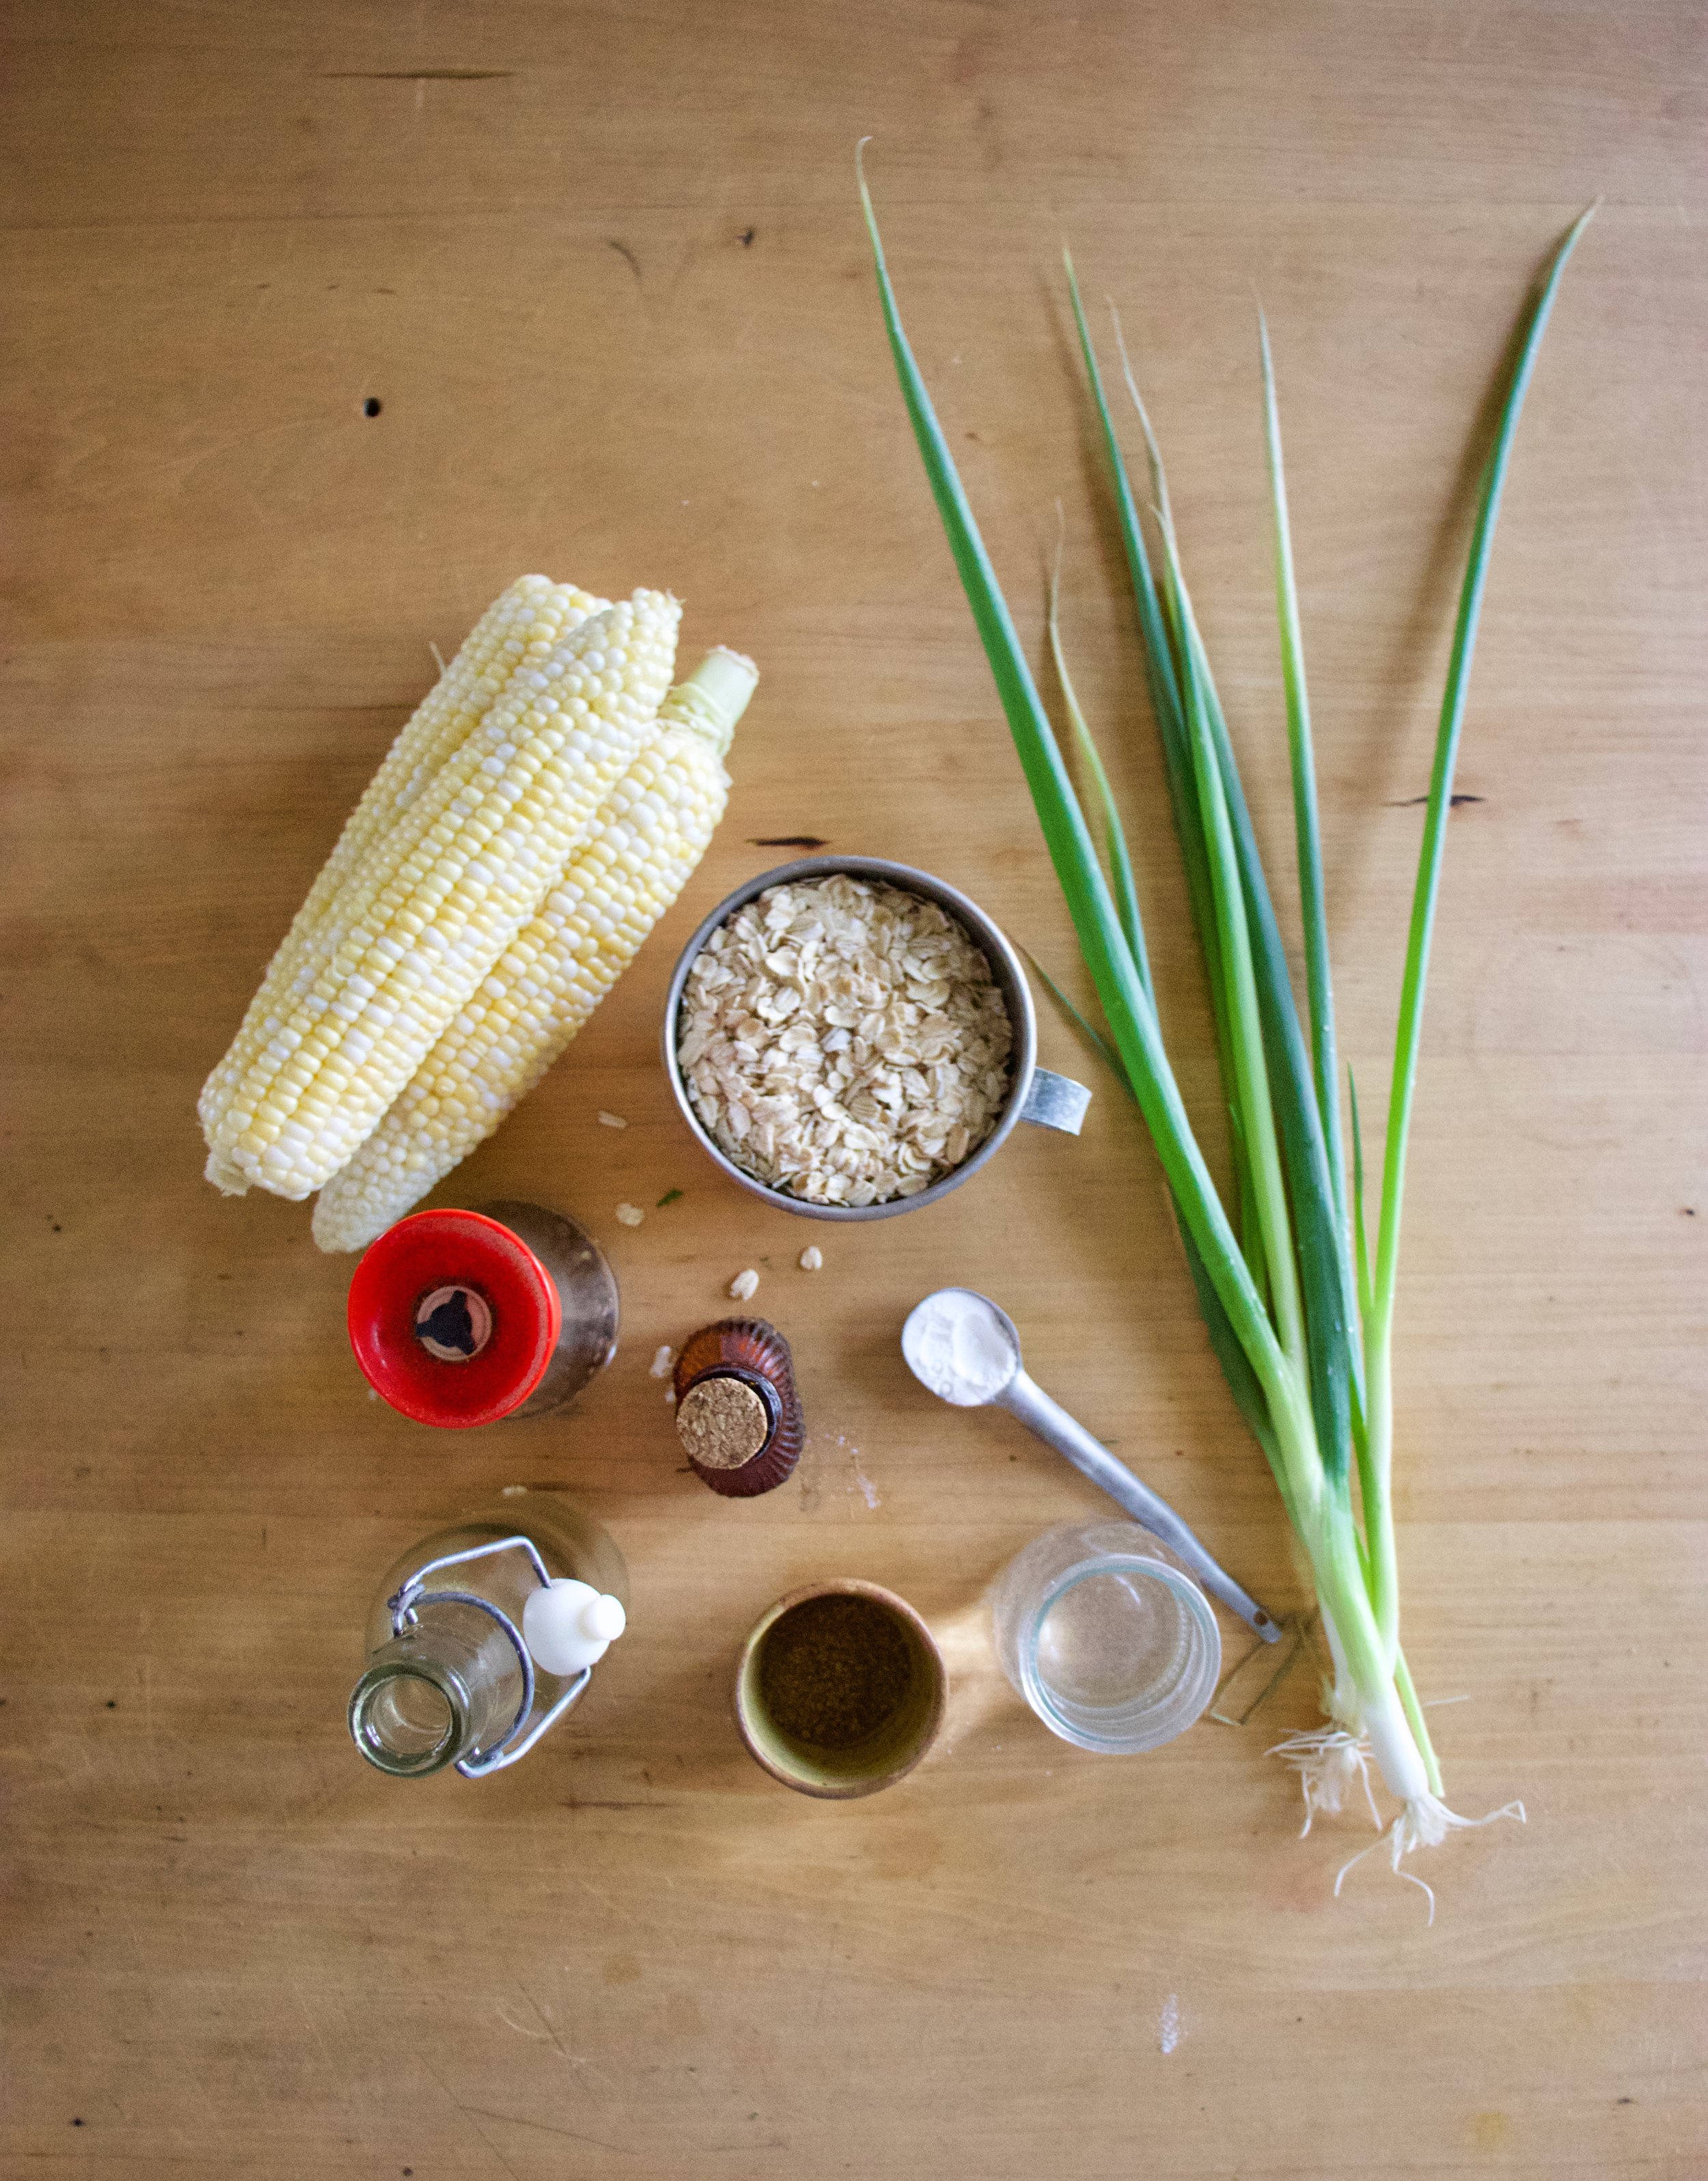
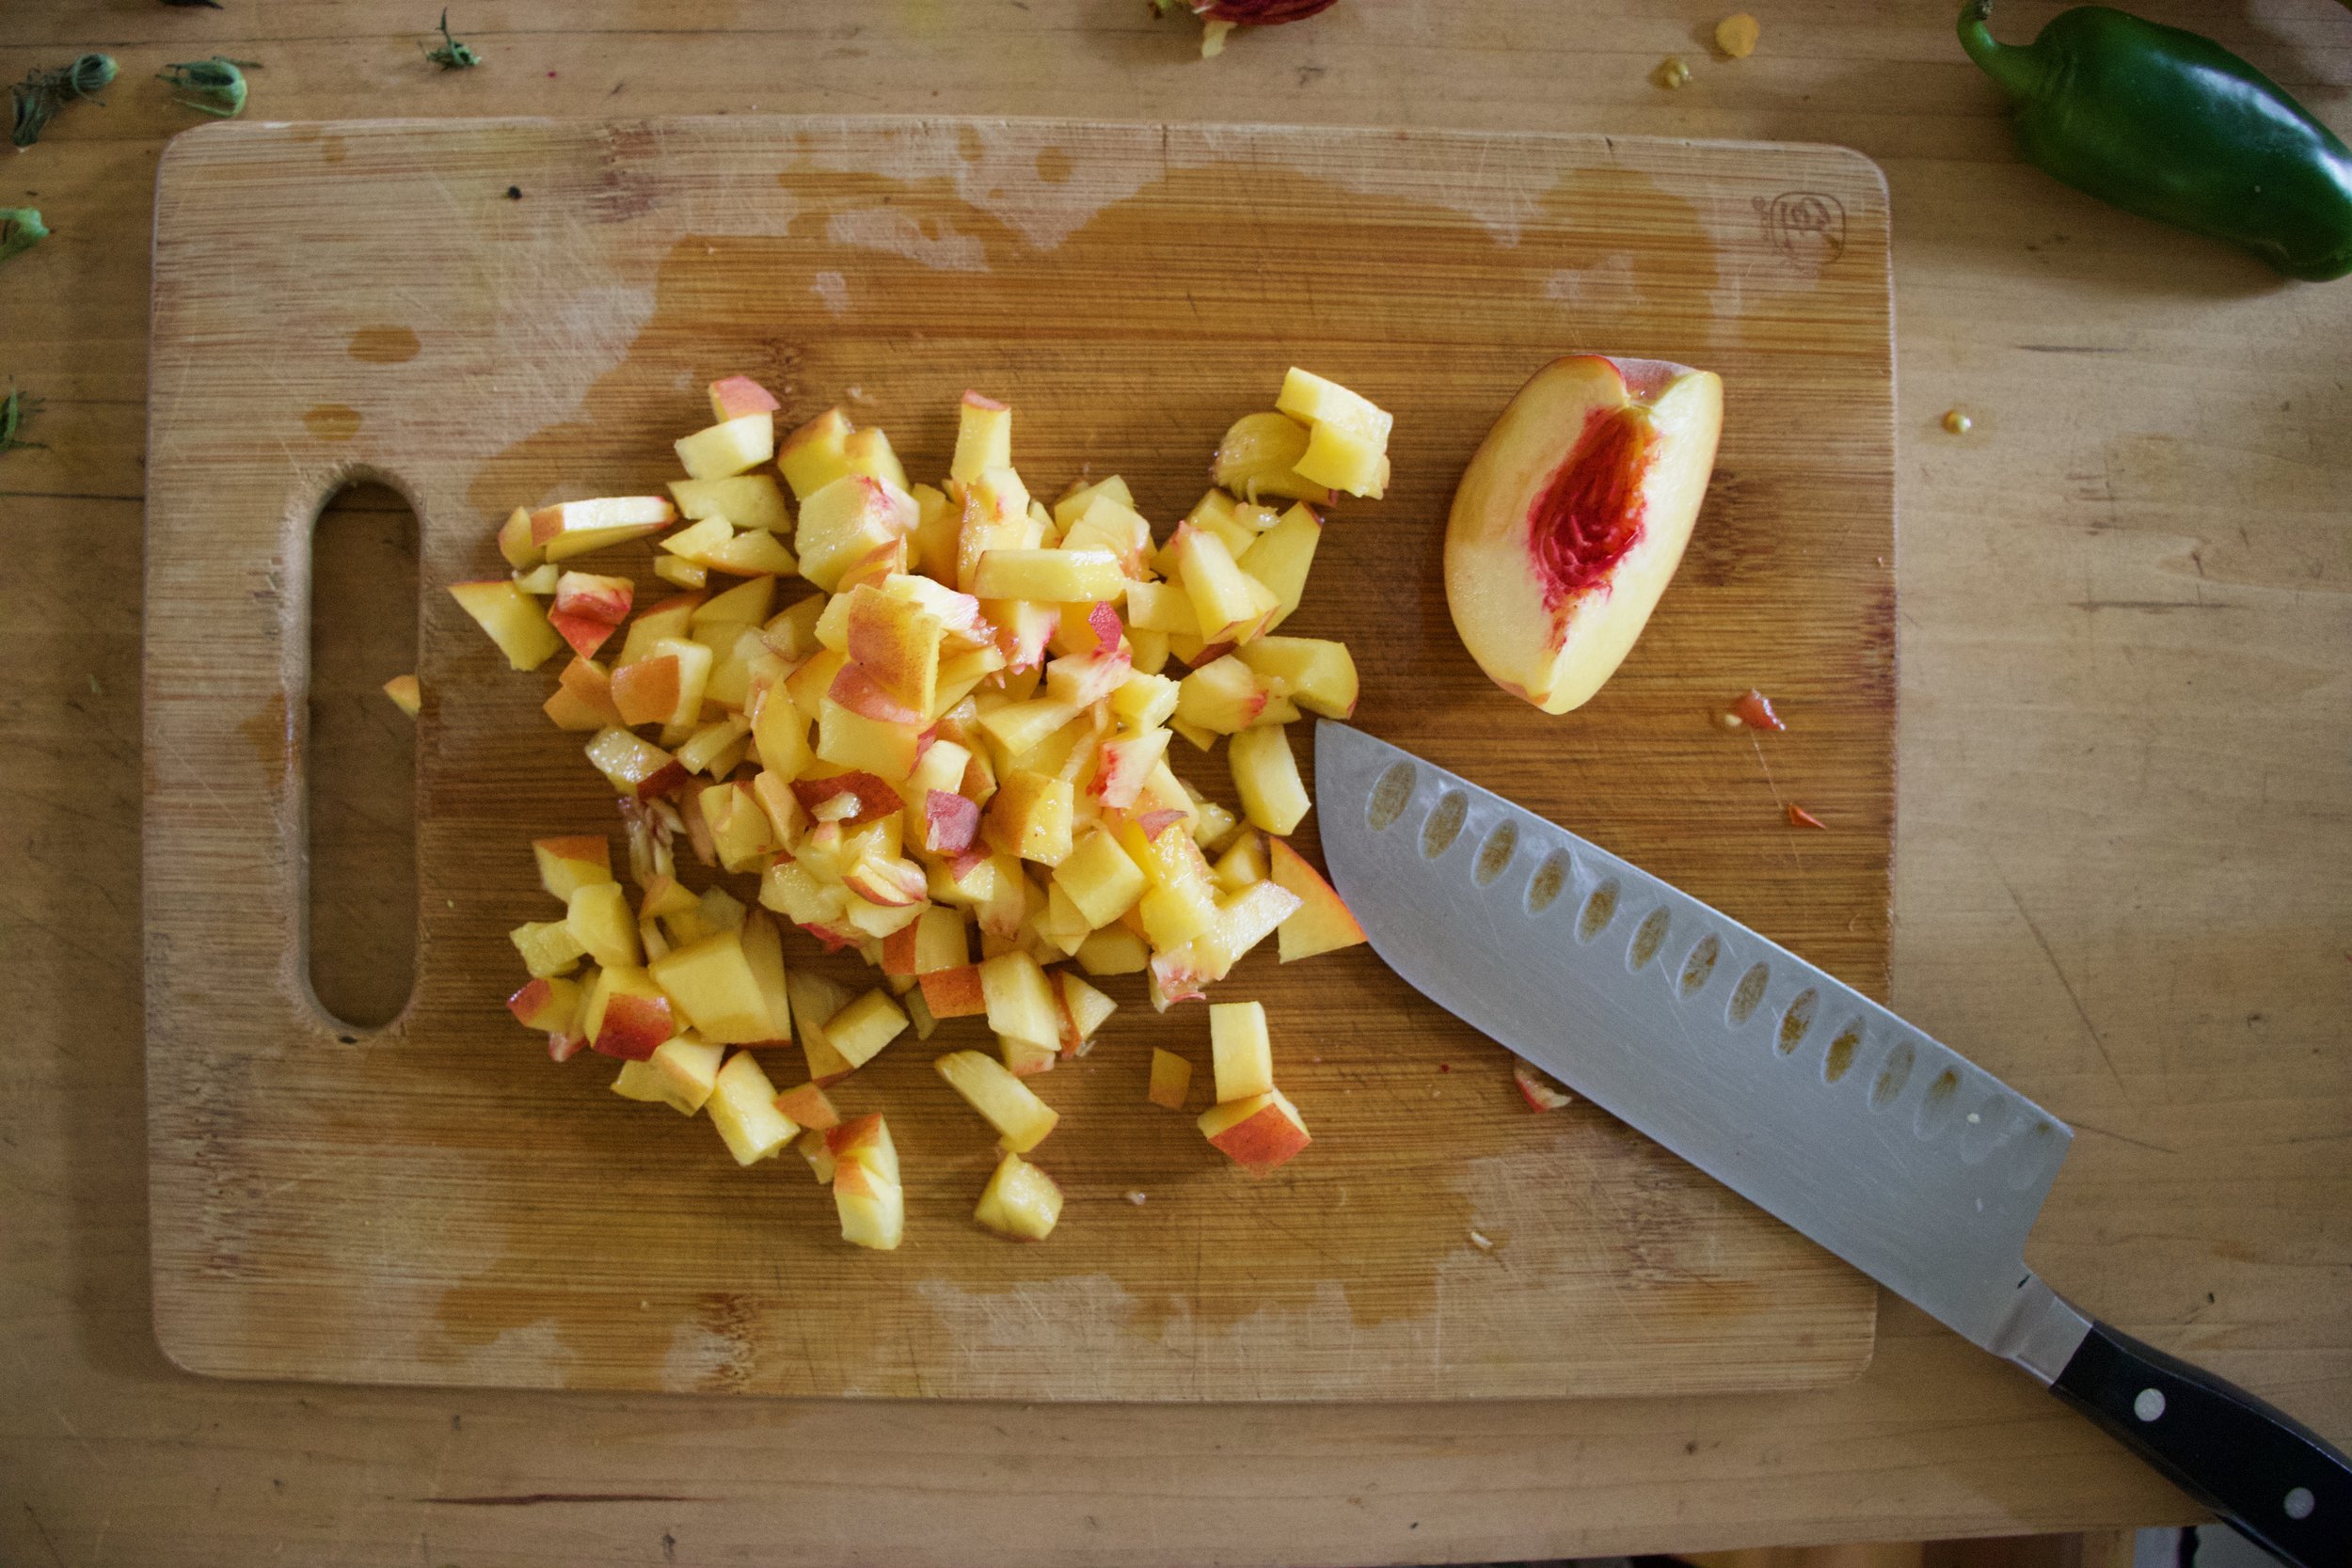
The stuff. A few stalks of Swiss chard, a couple carrots and a few potatoes. An onion, dried navy beans, some cherry tomatoes. Then there is flour, with salt and baking powder, a little oil, plant based milk, and salt and pepper.

IMG_2604.jpg
IMG_2608.jpg
IMG_2613.jpg
IMG_2607.jpg
IMG_2645.jpg
IMG_2648.jpg

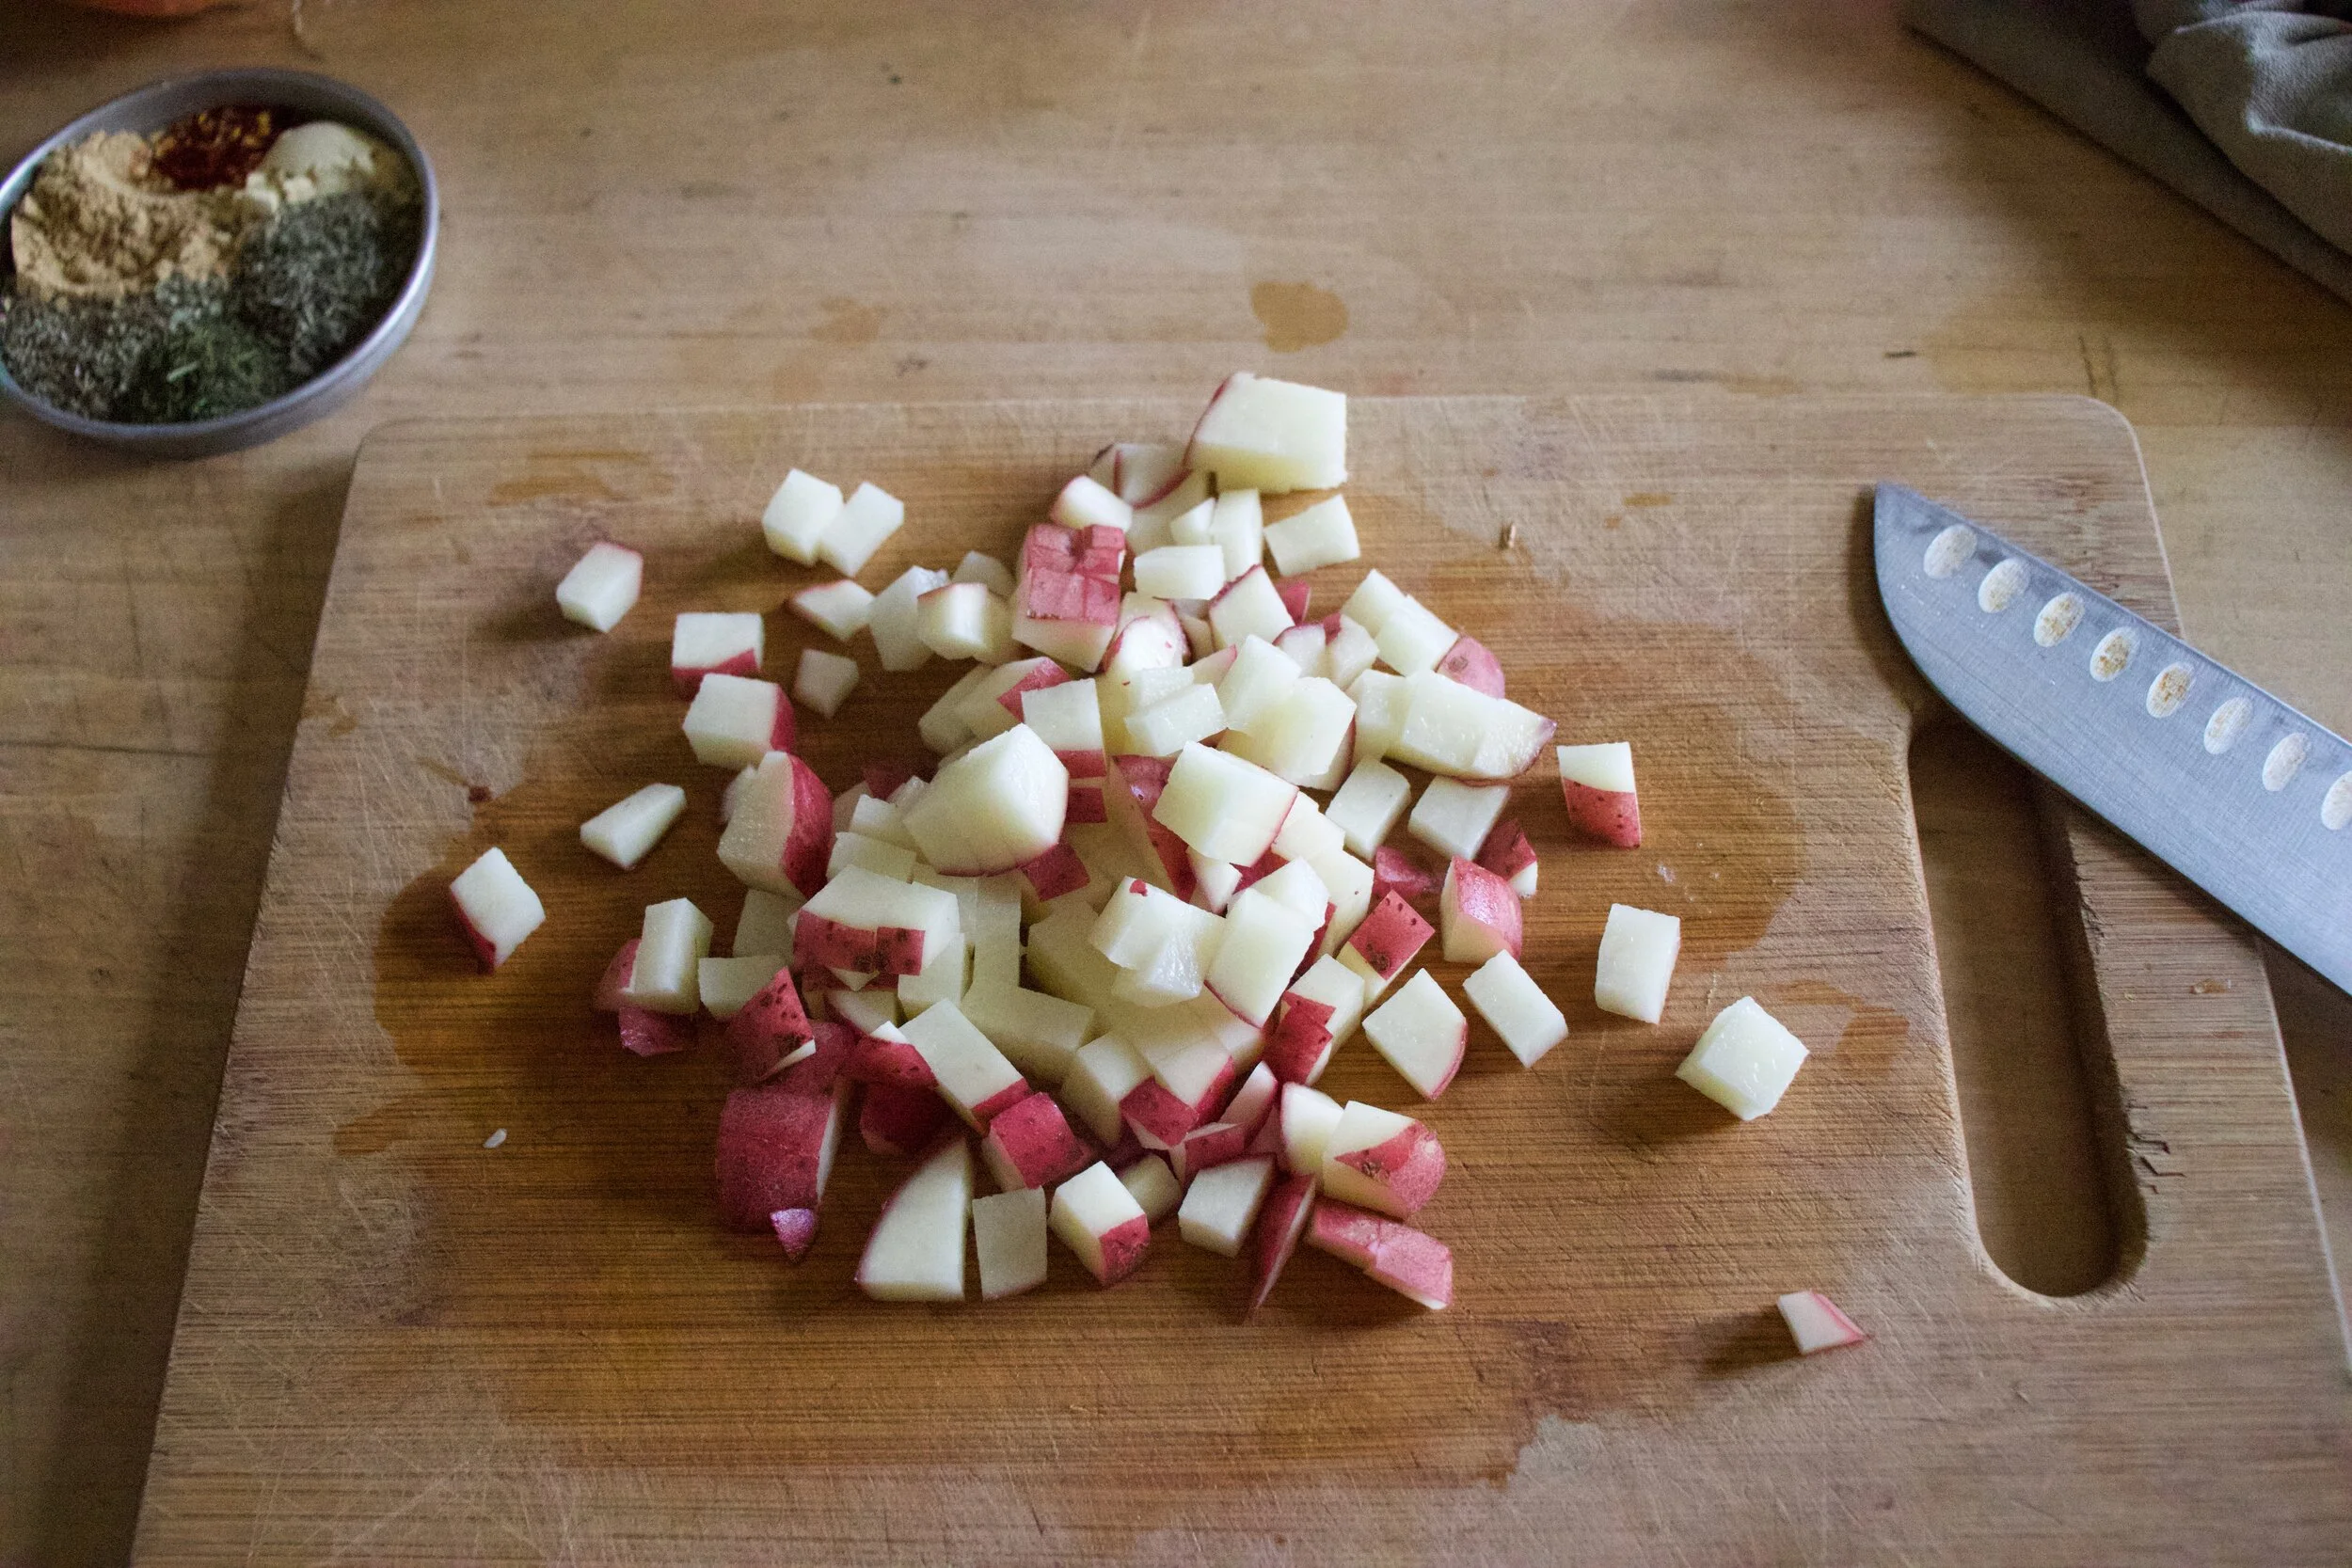
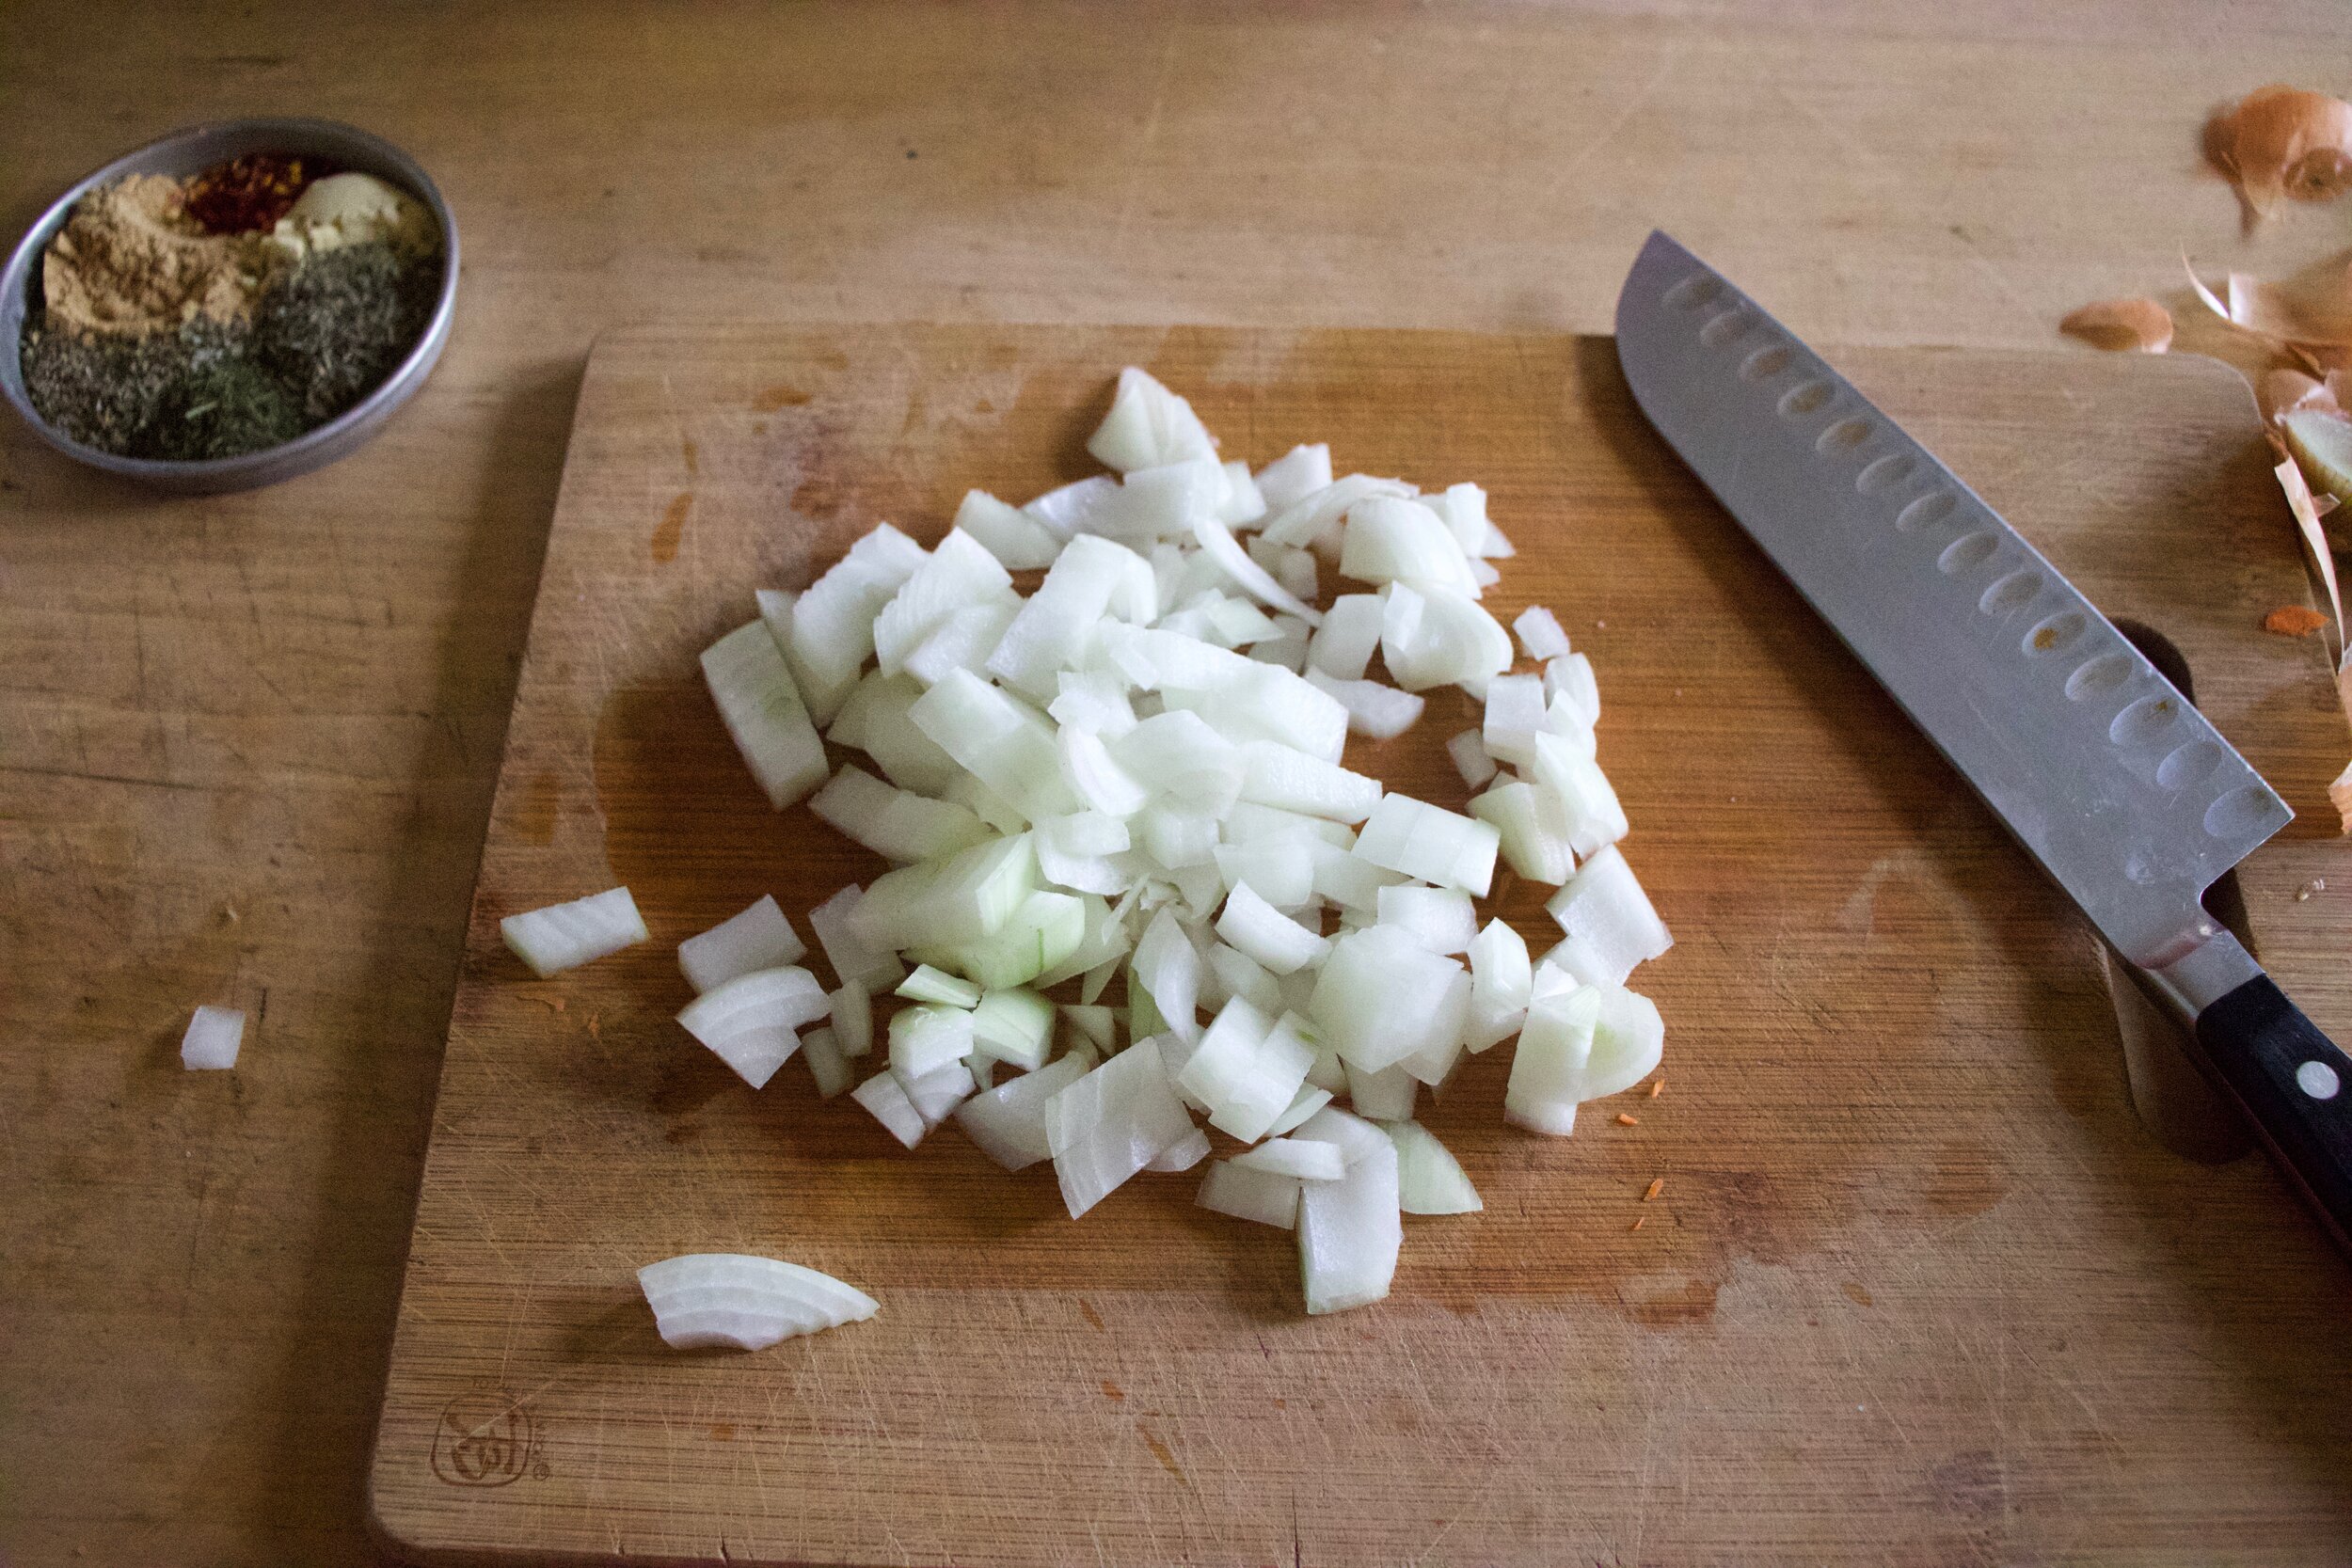
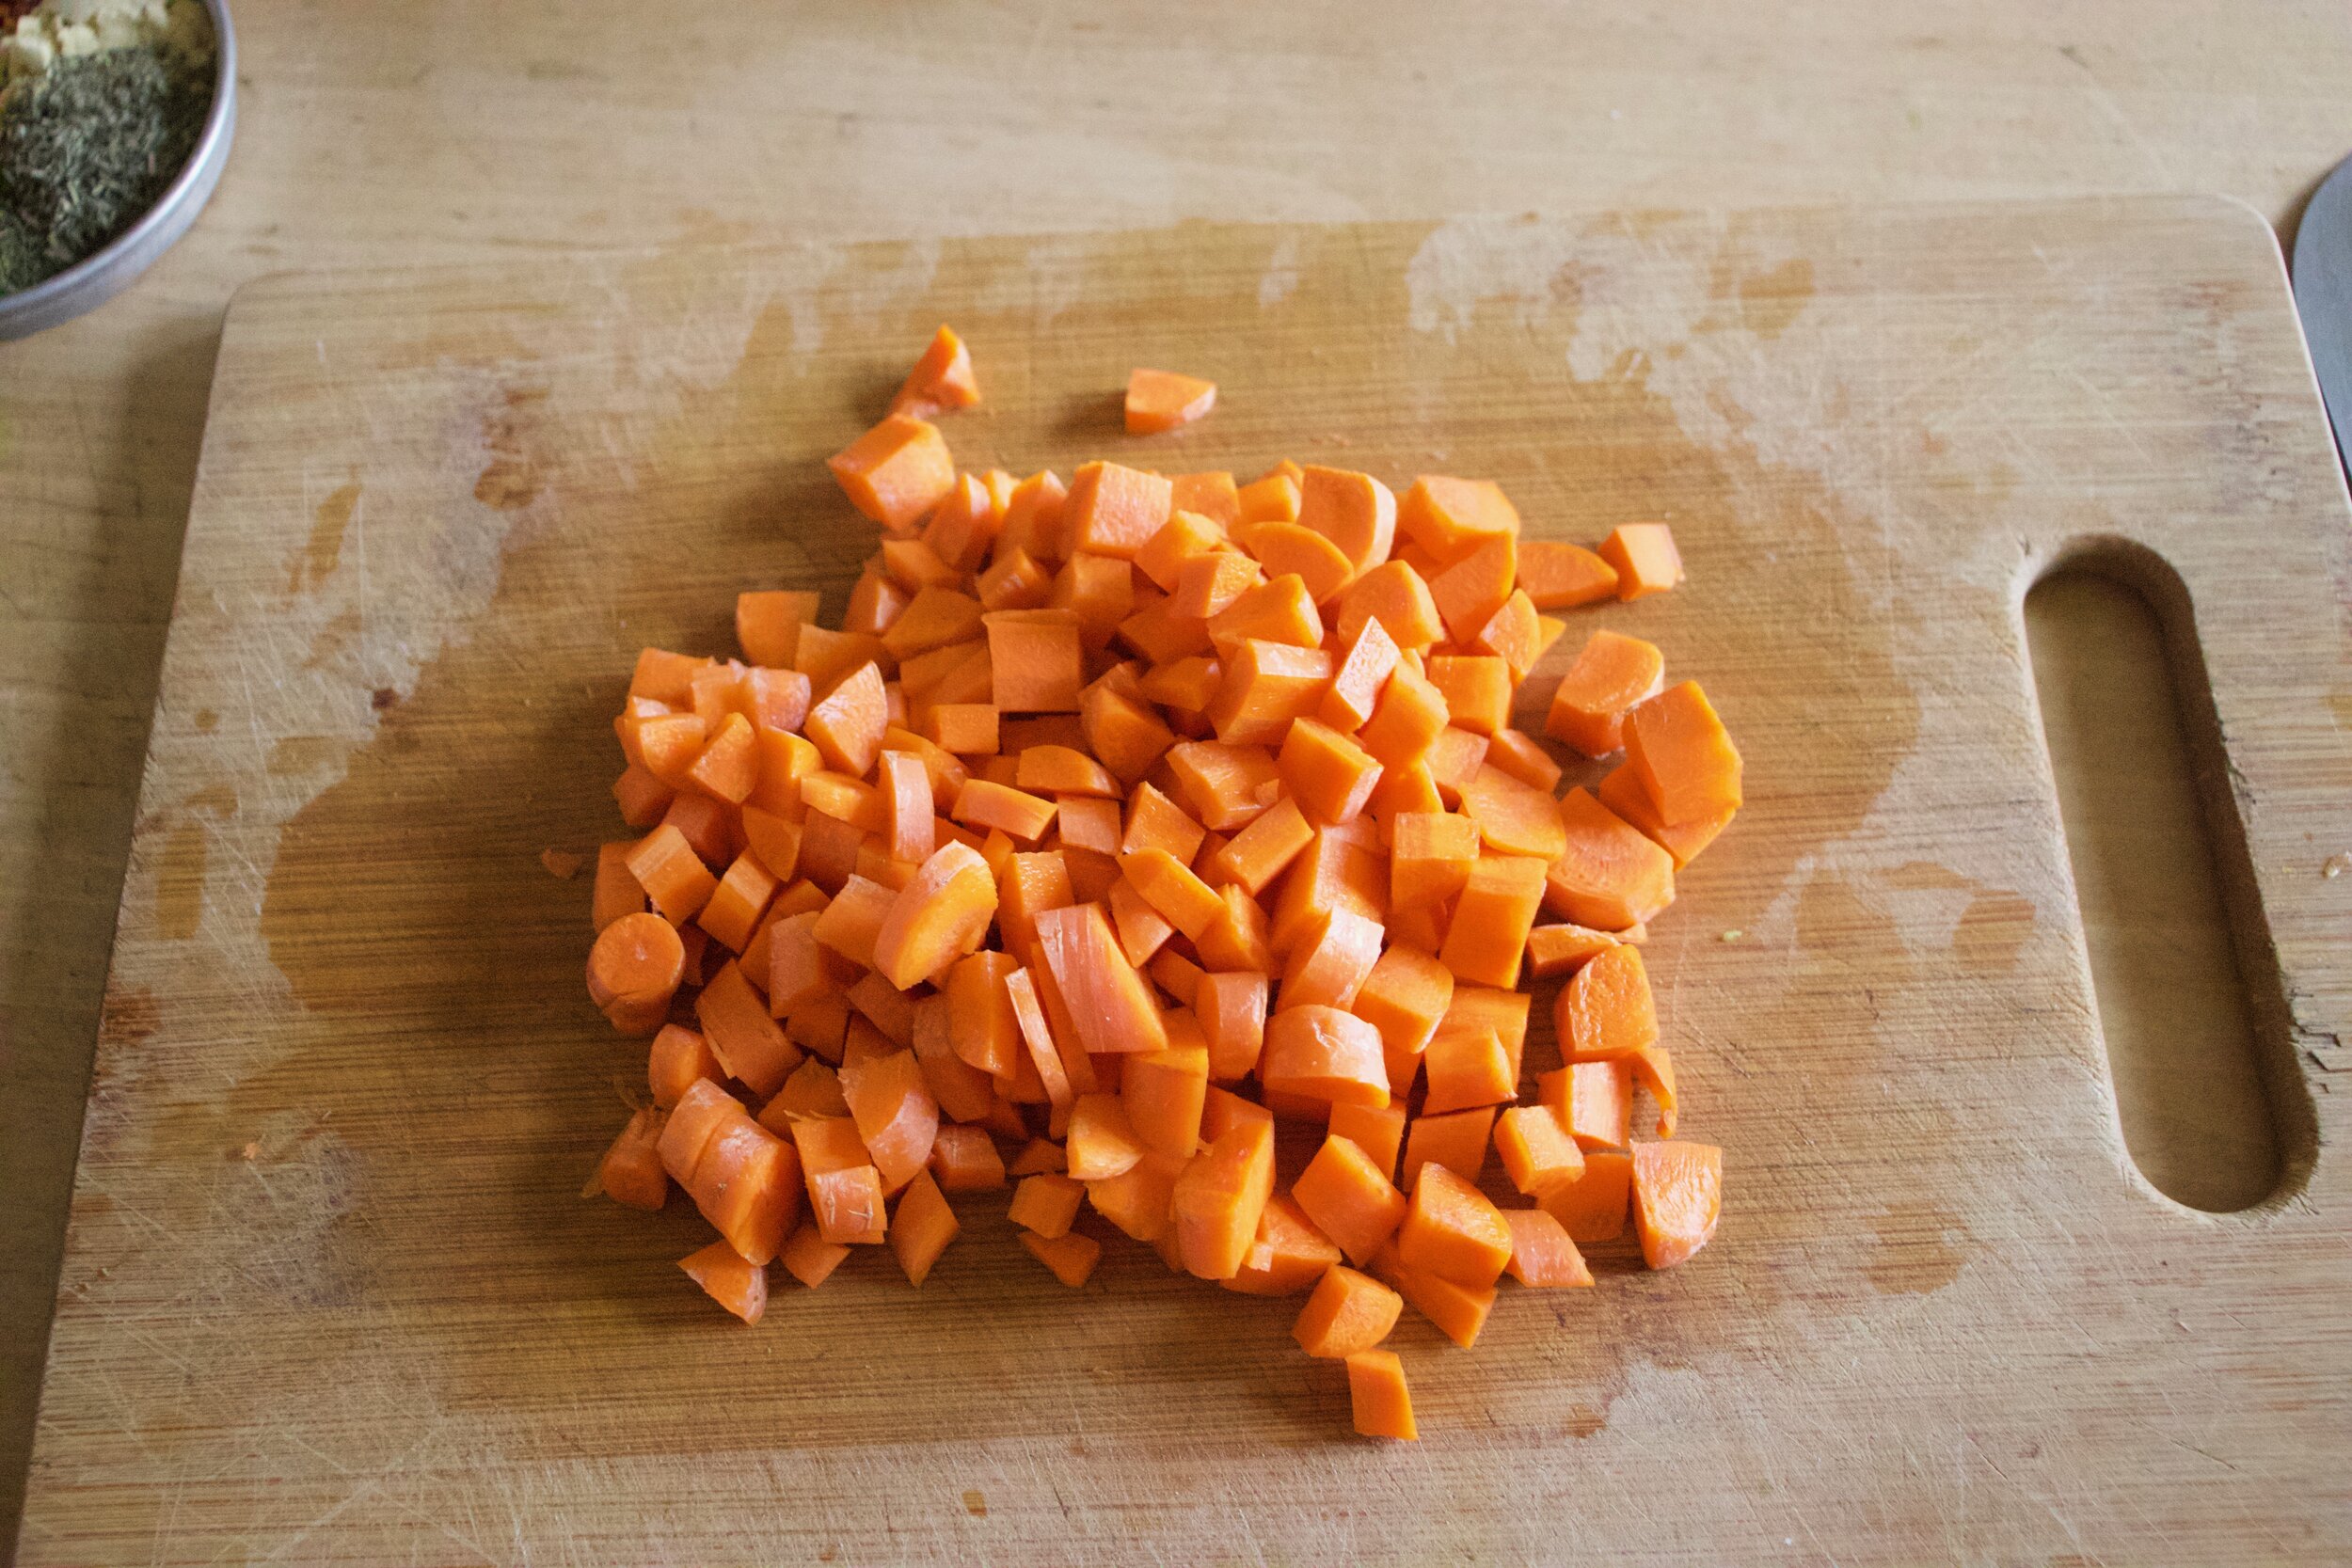
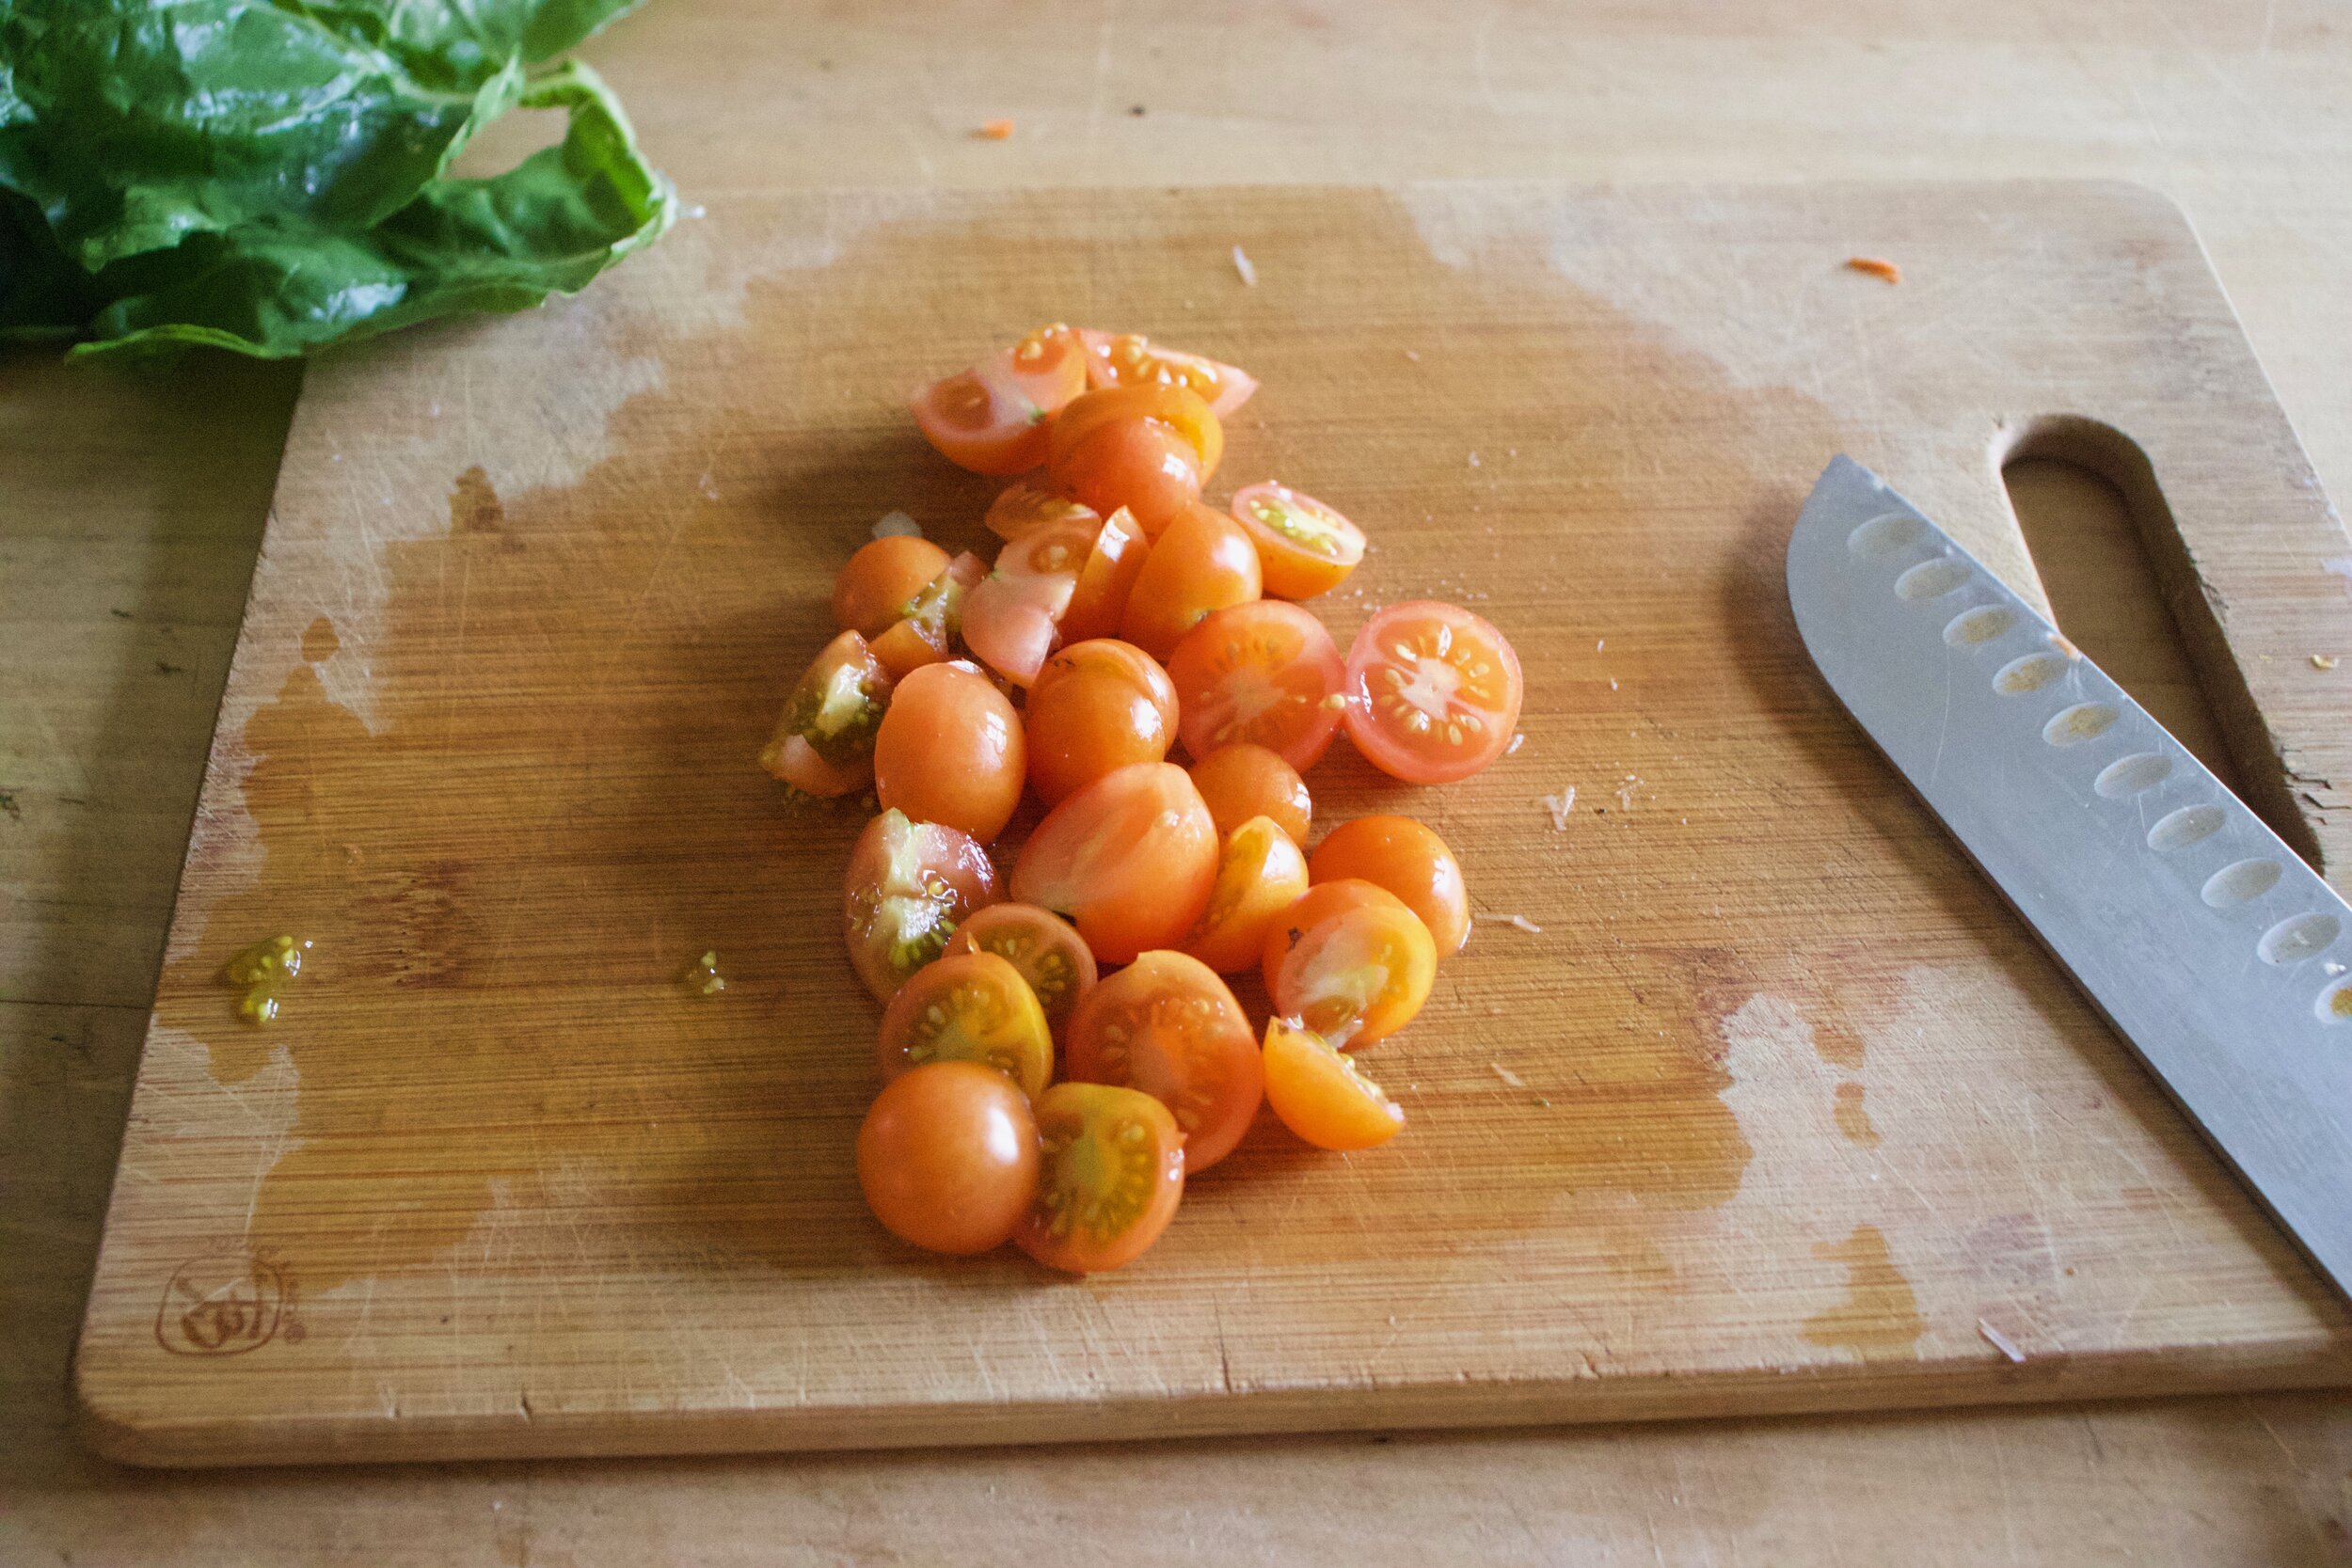
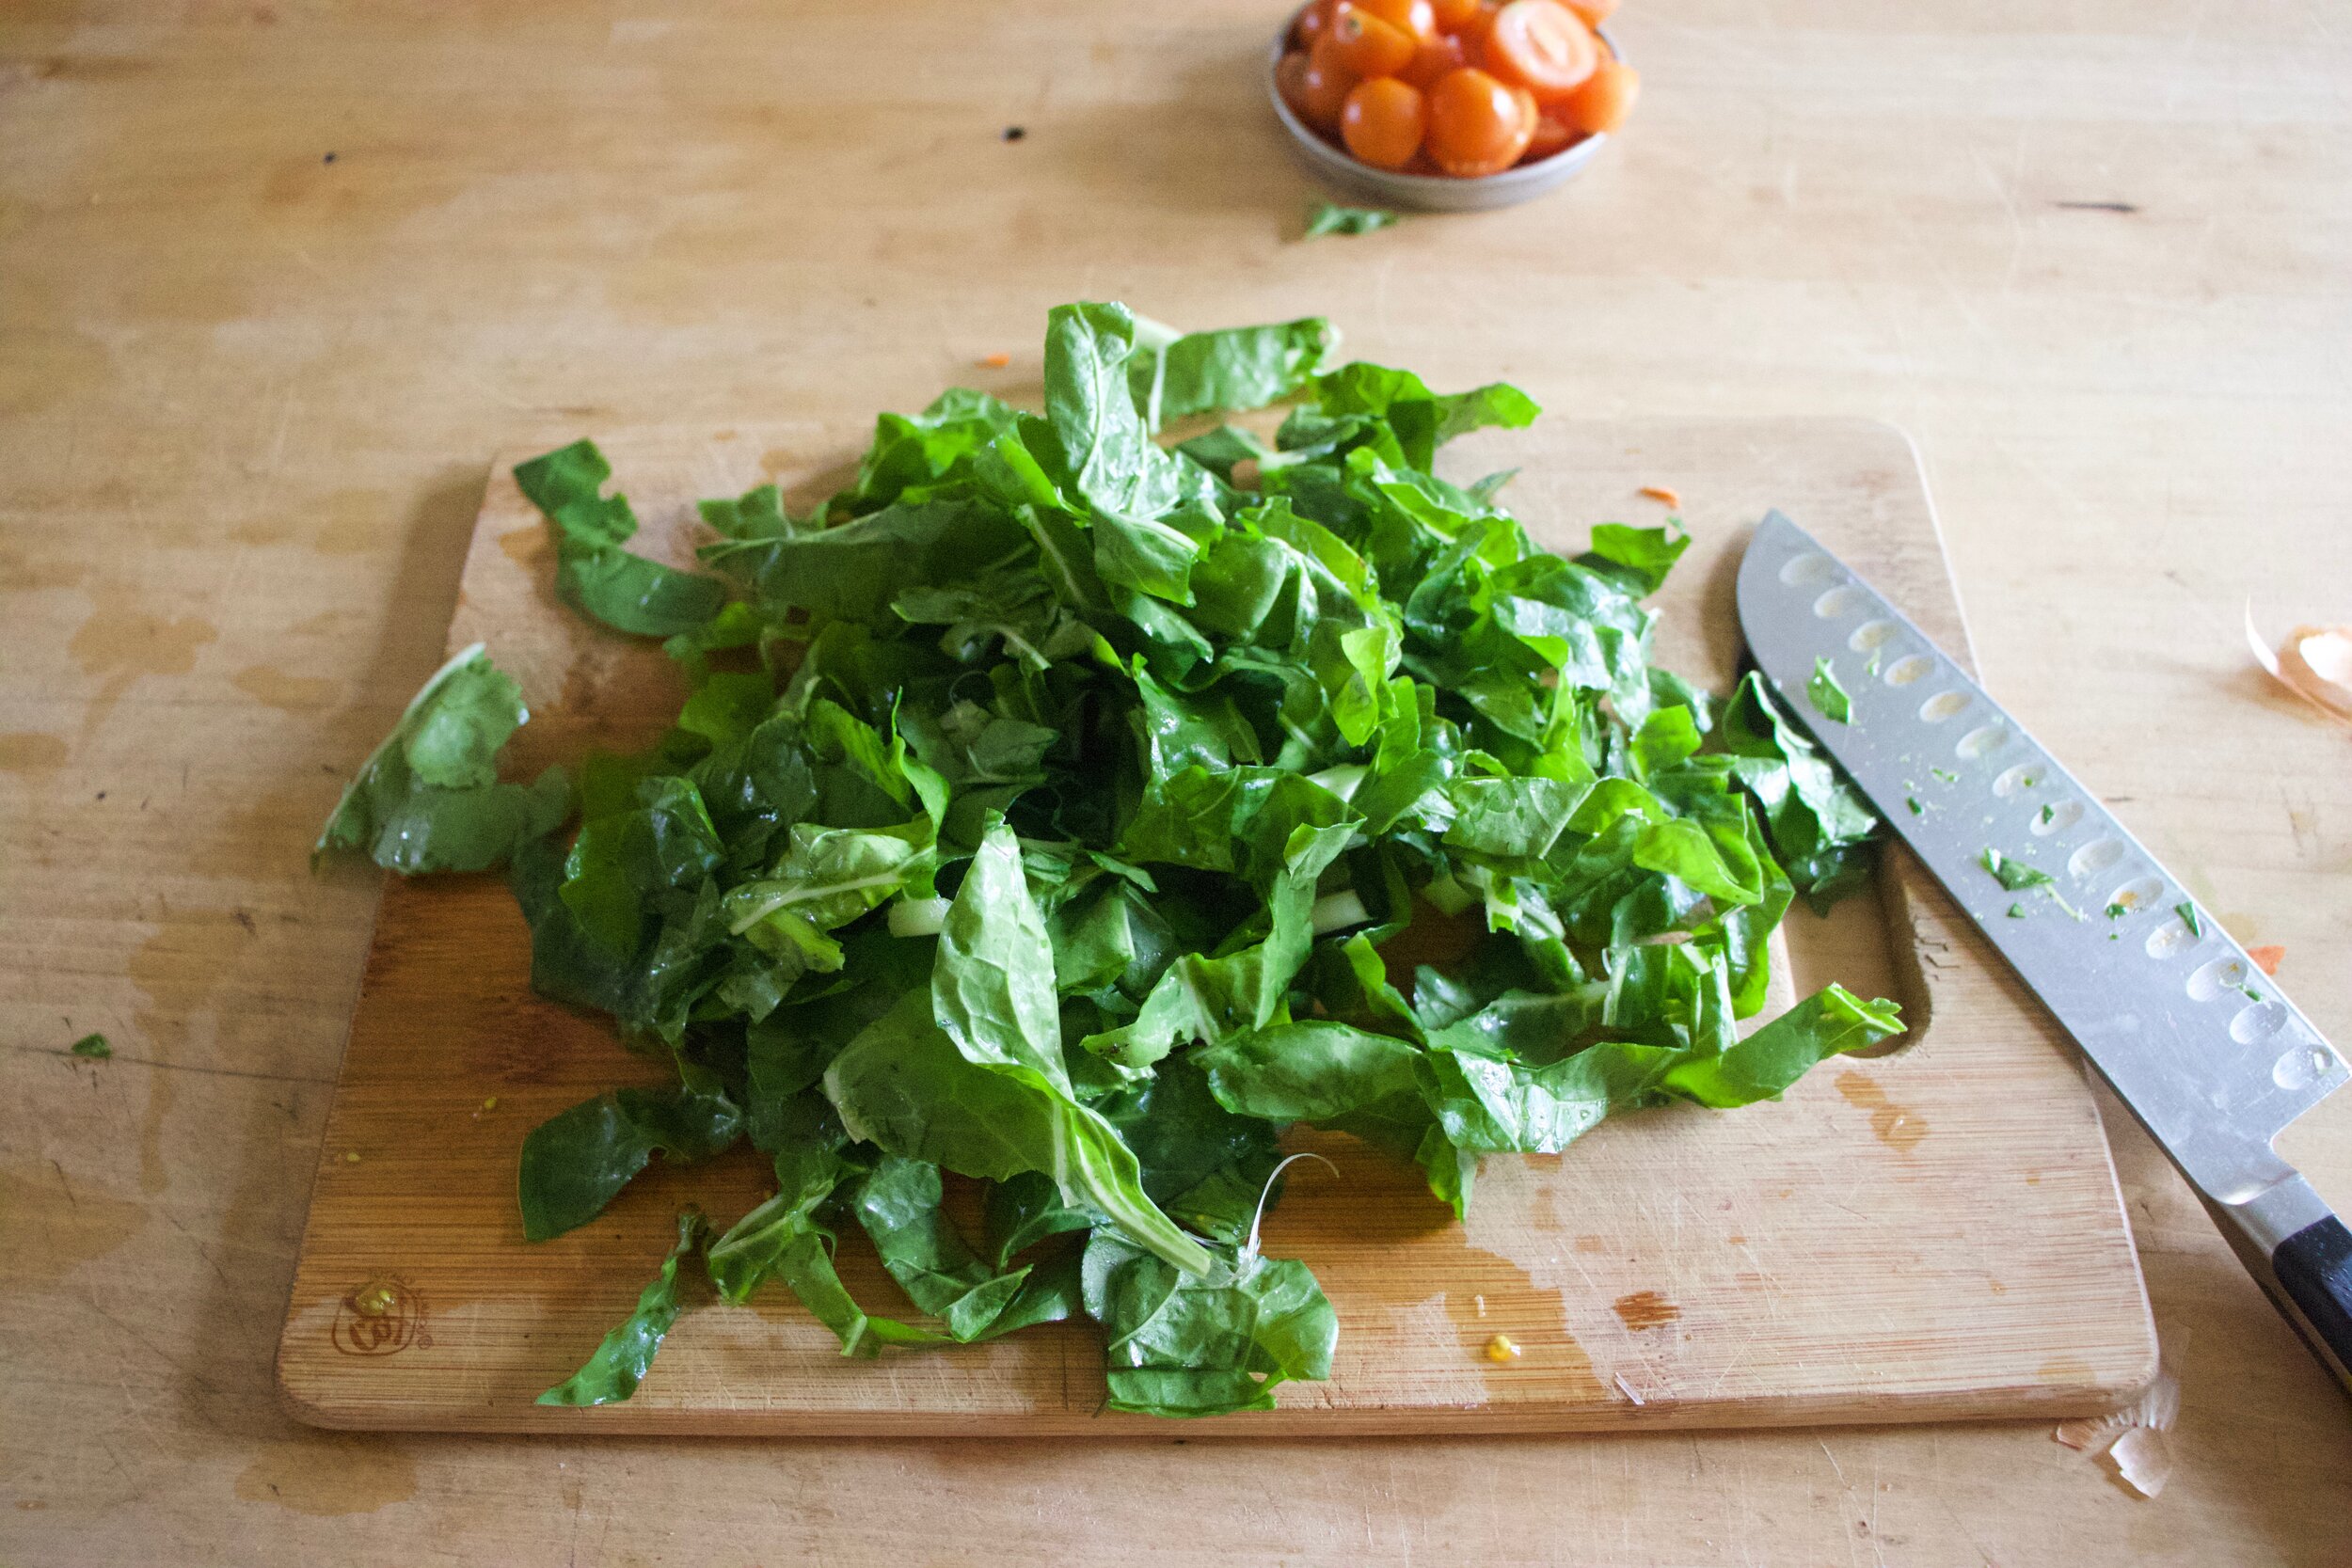
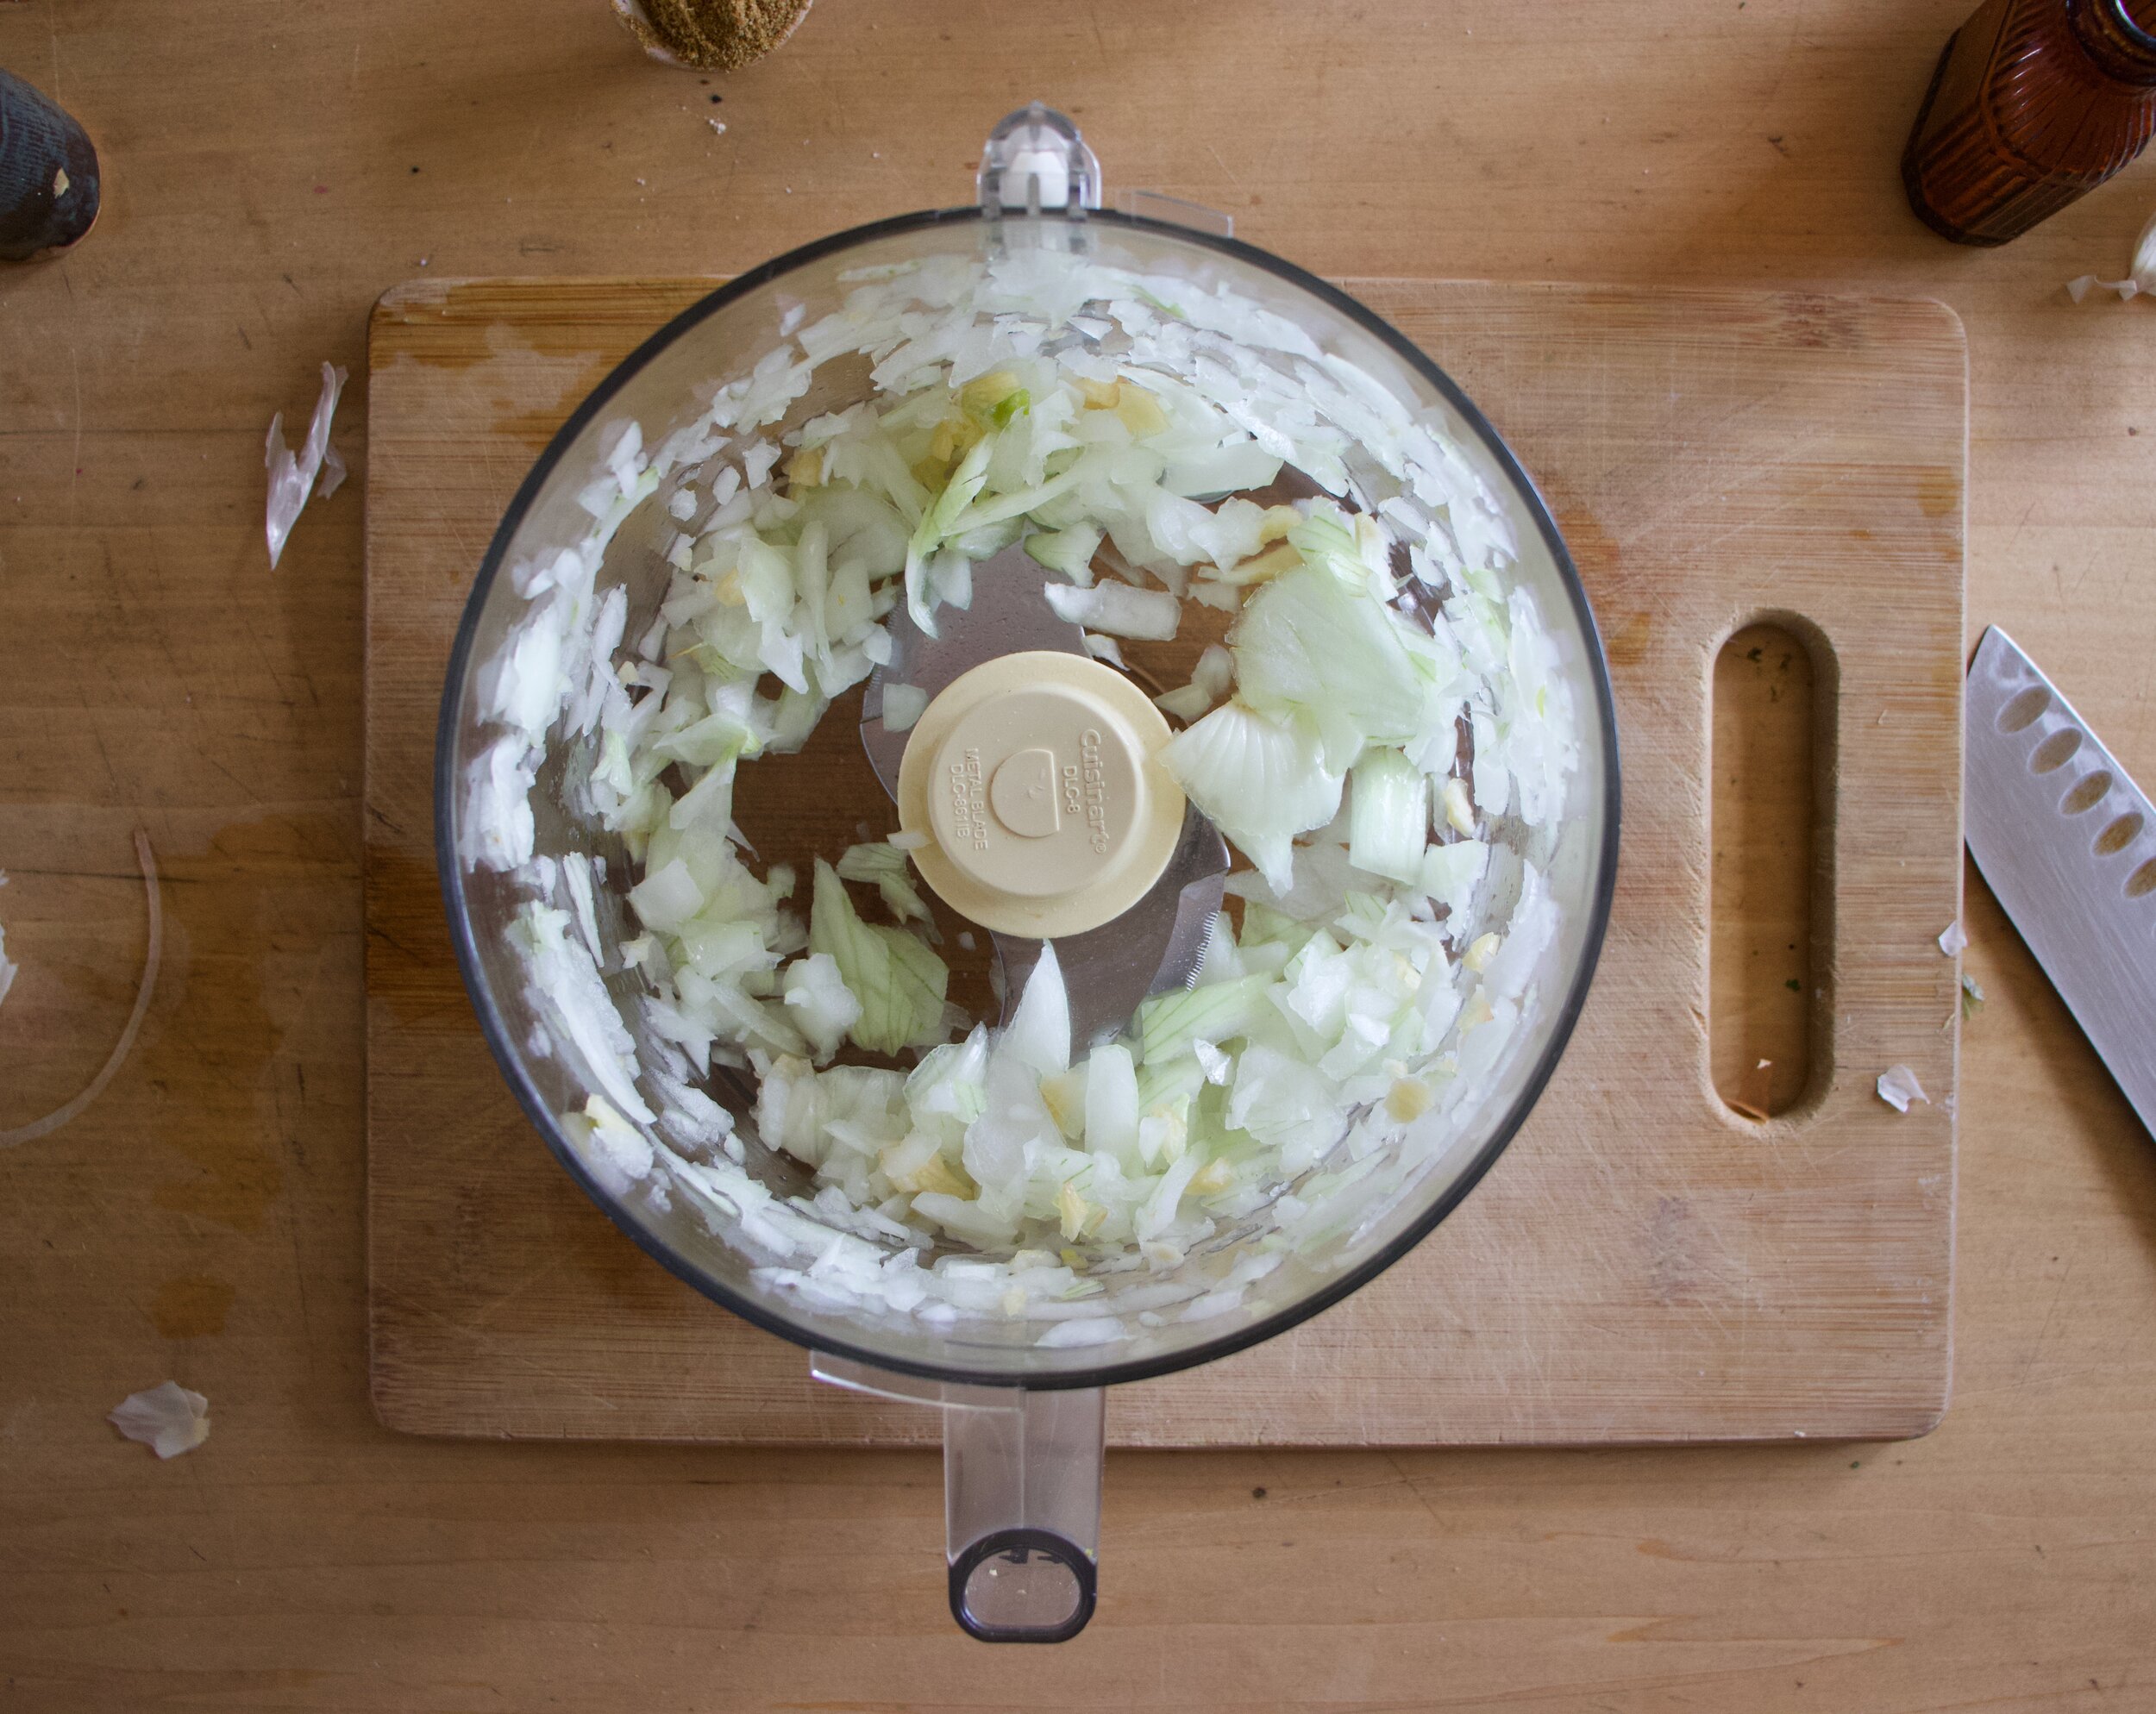
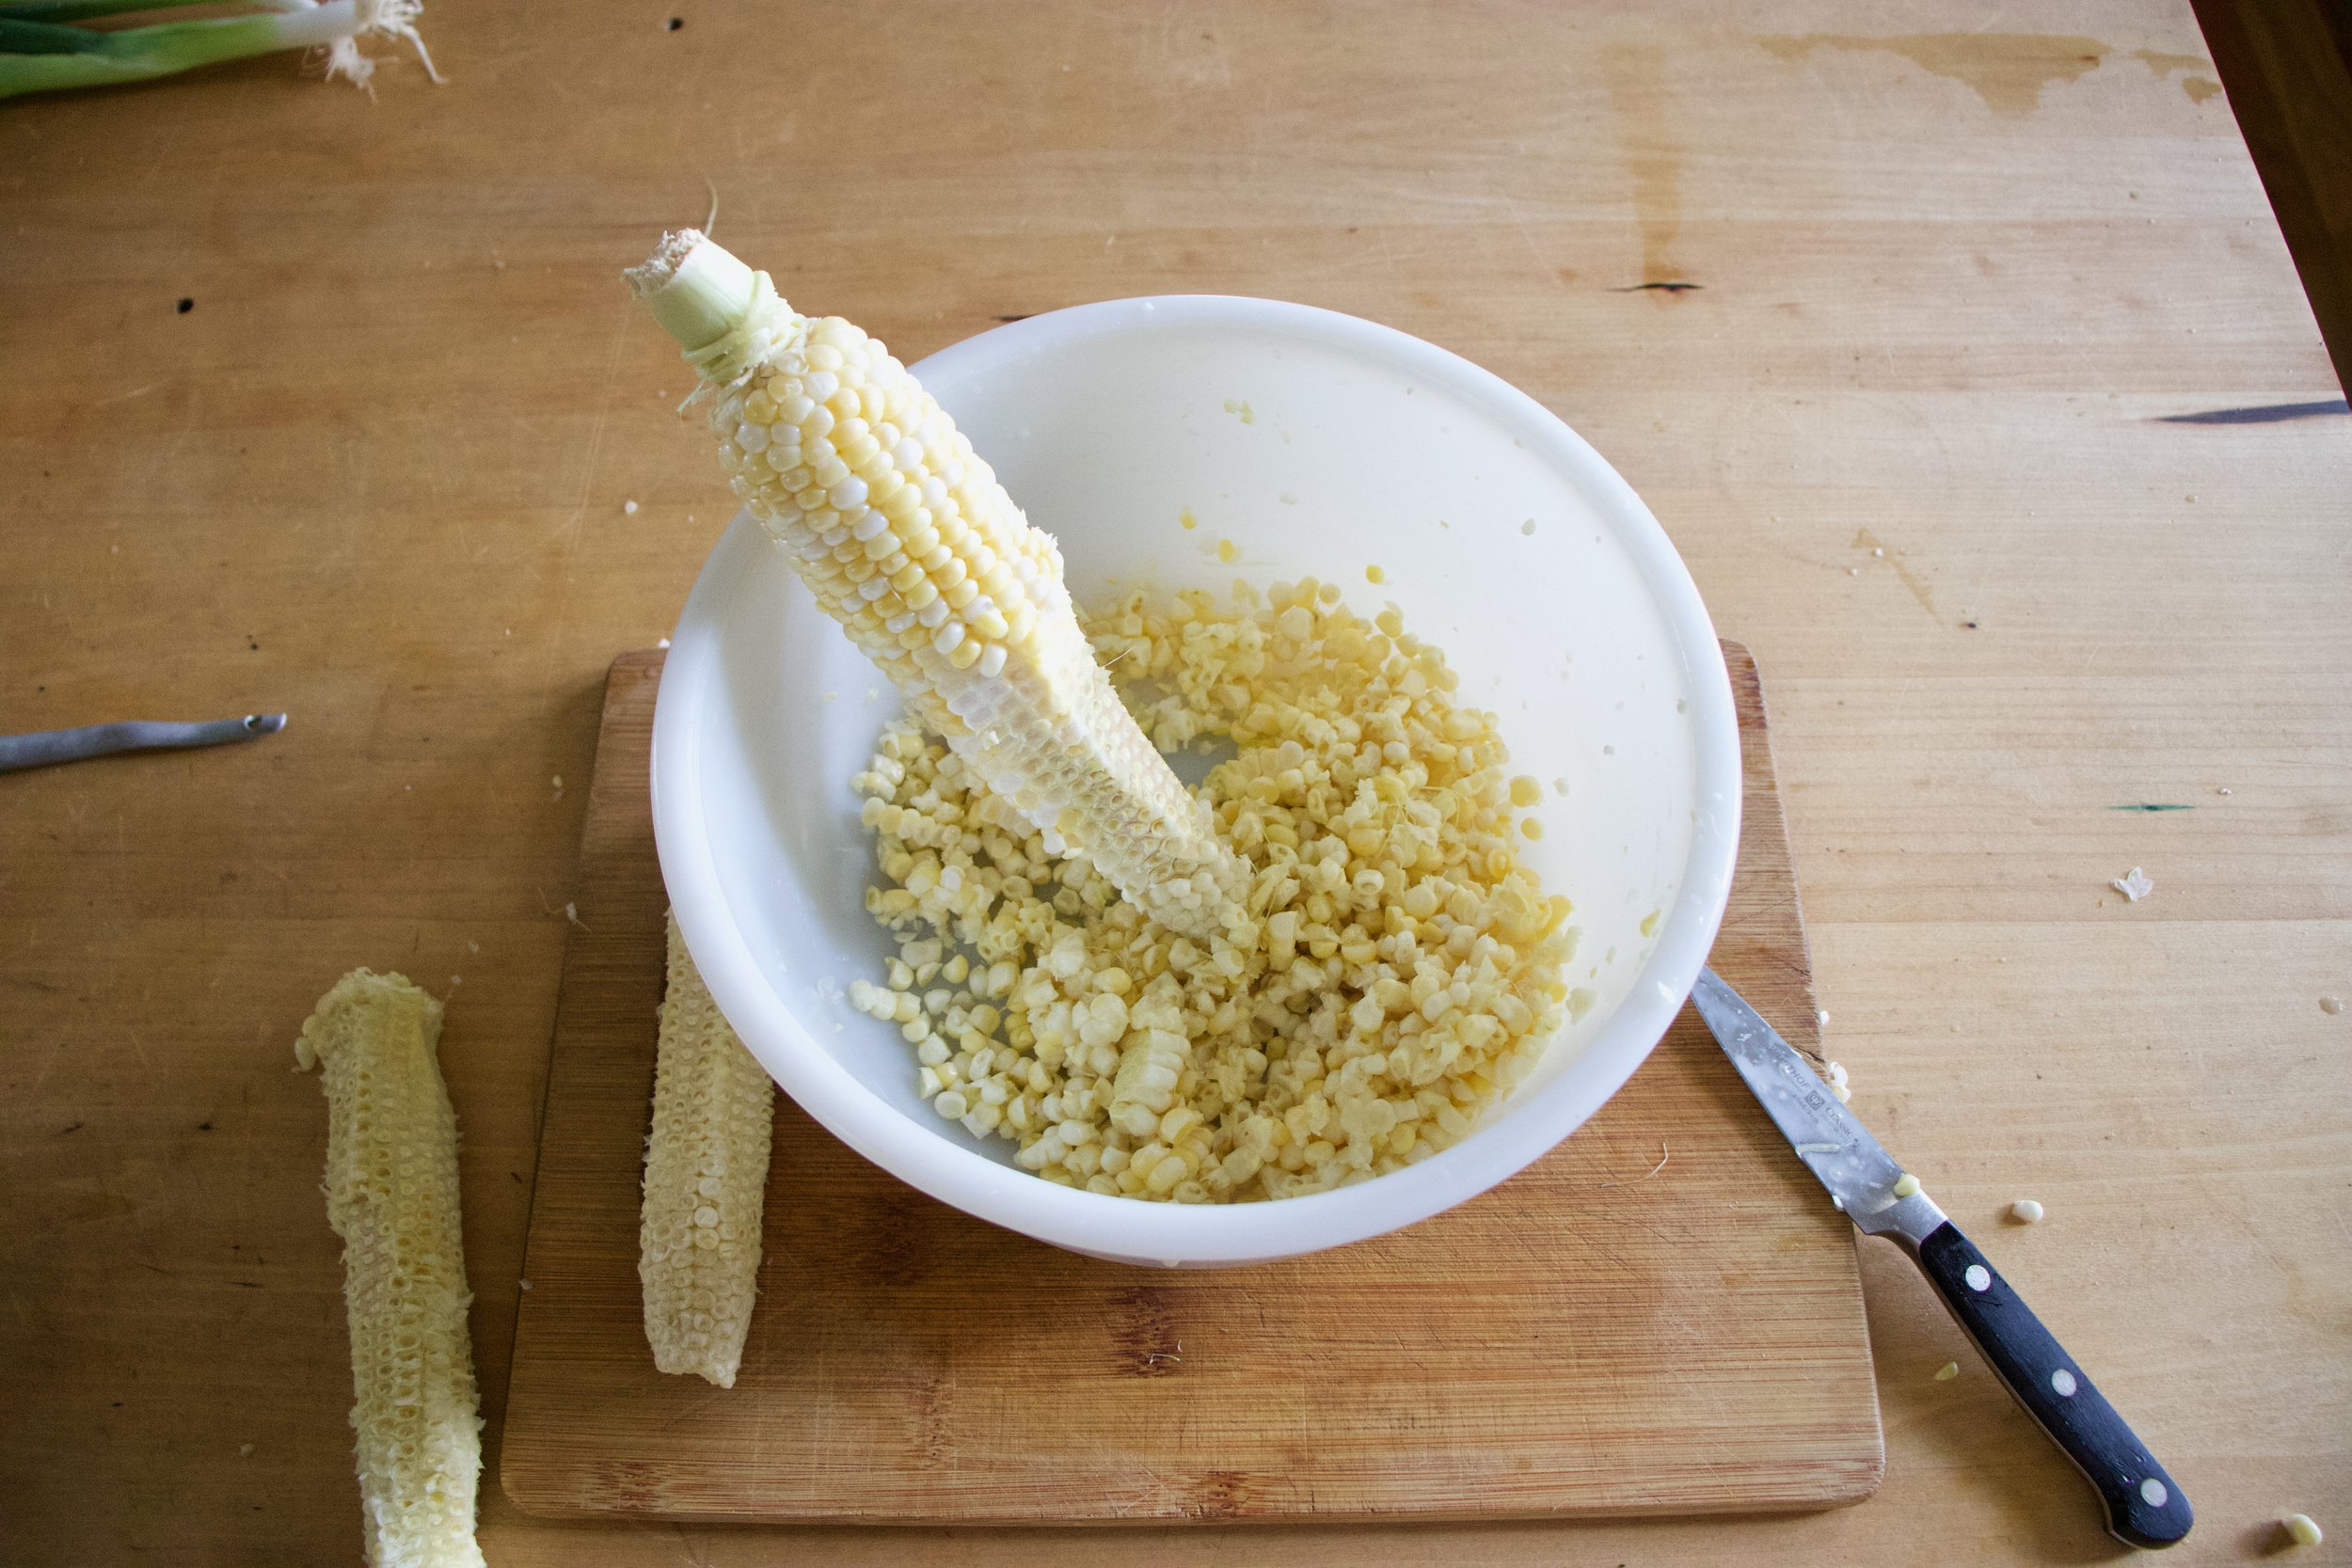
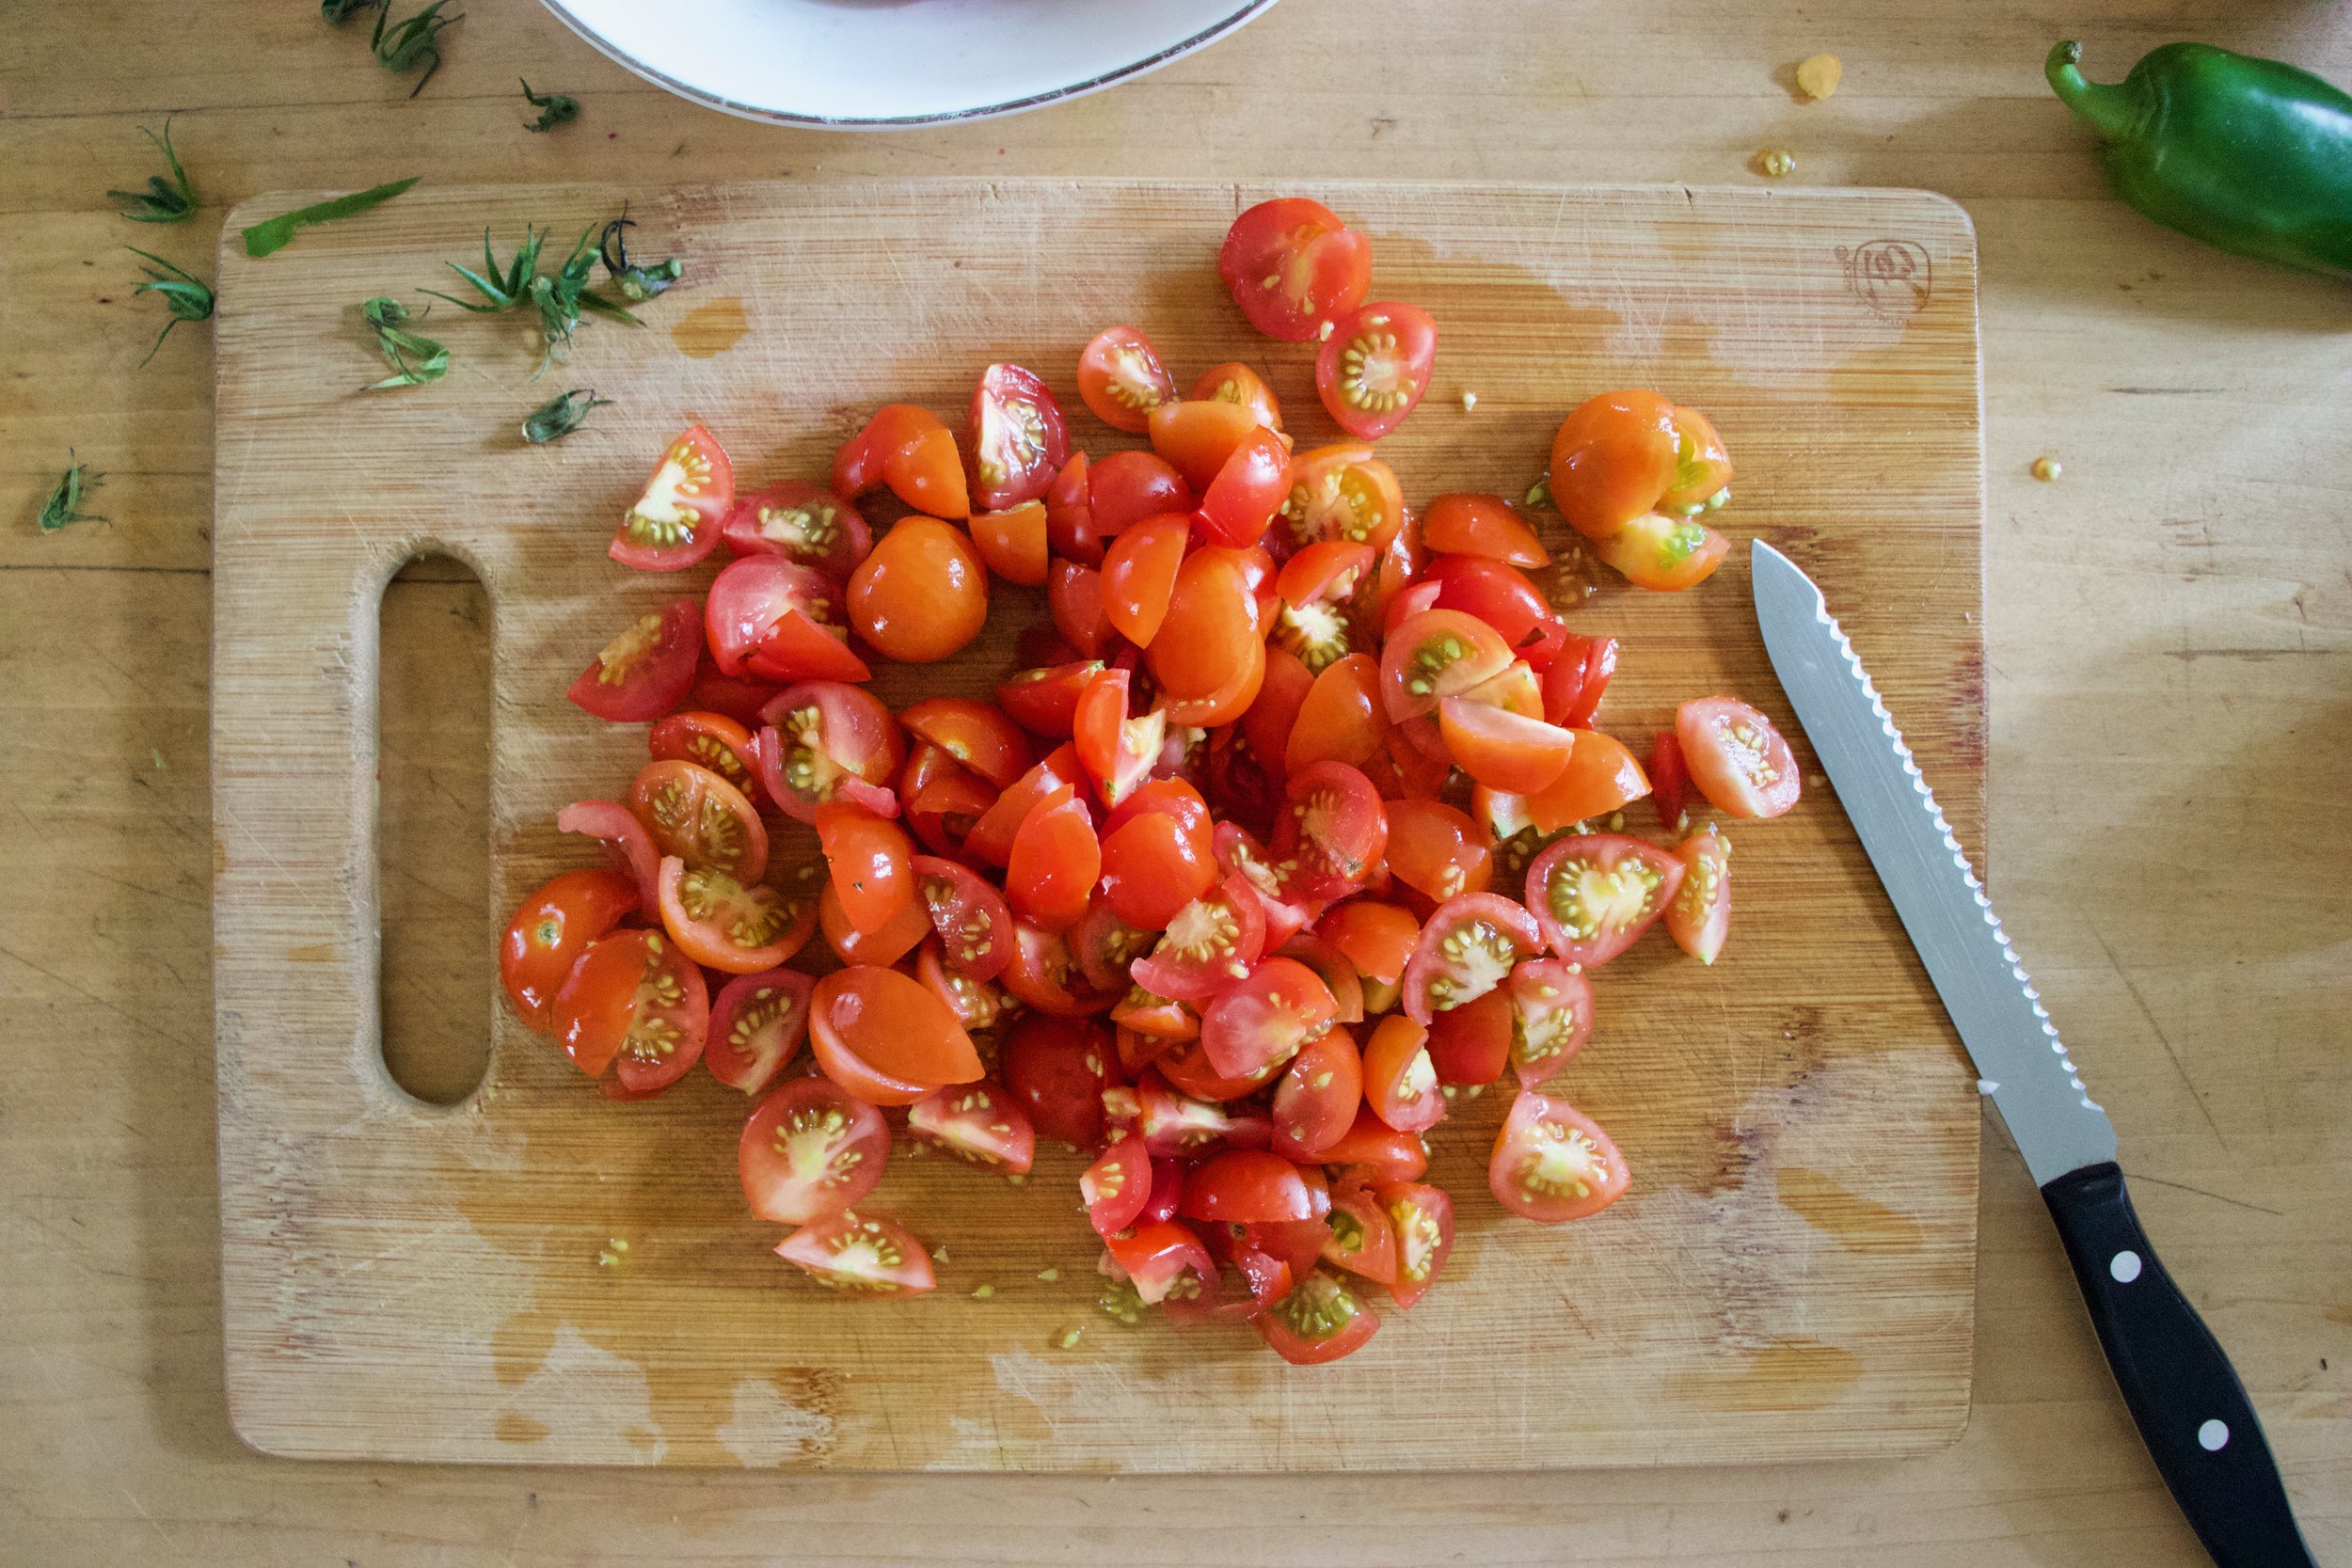
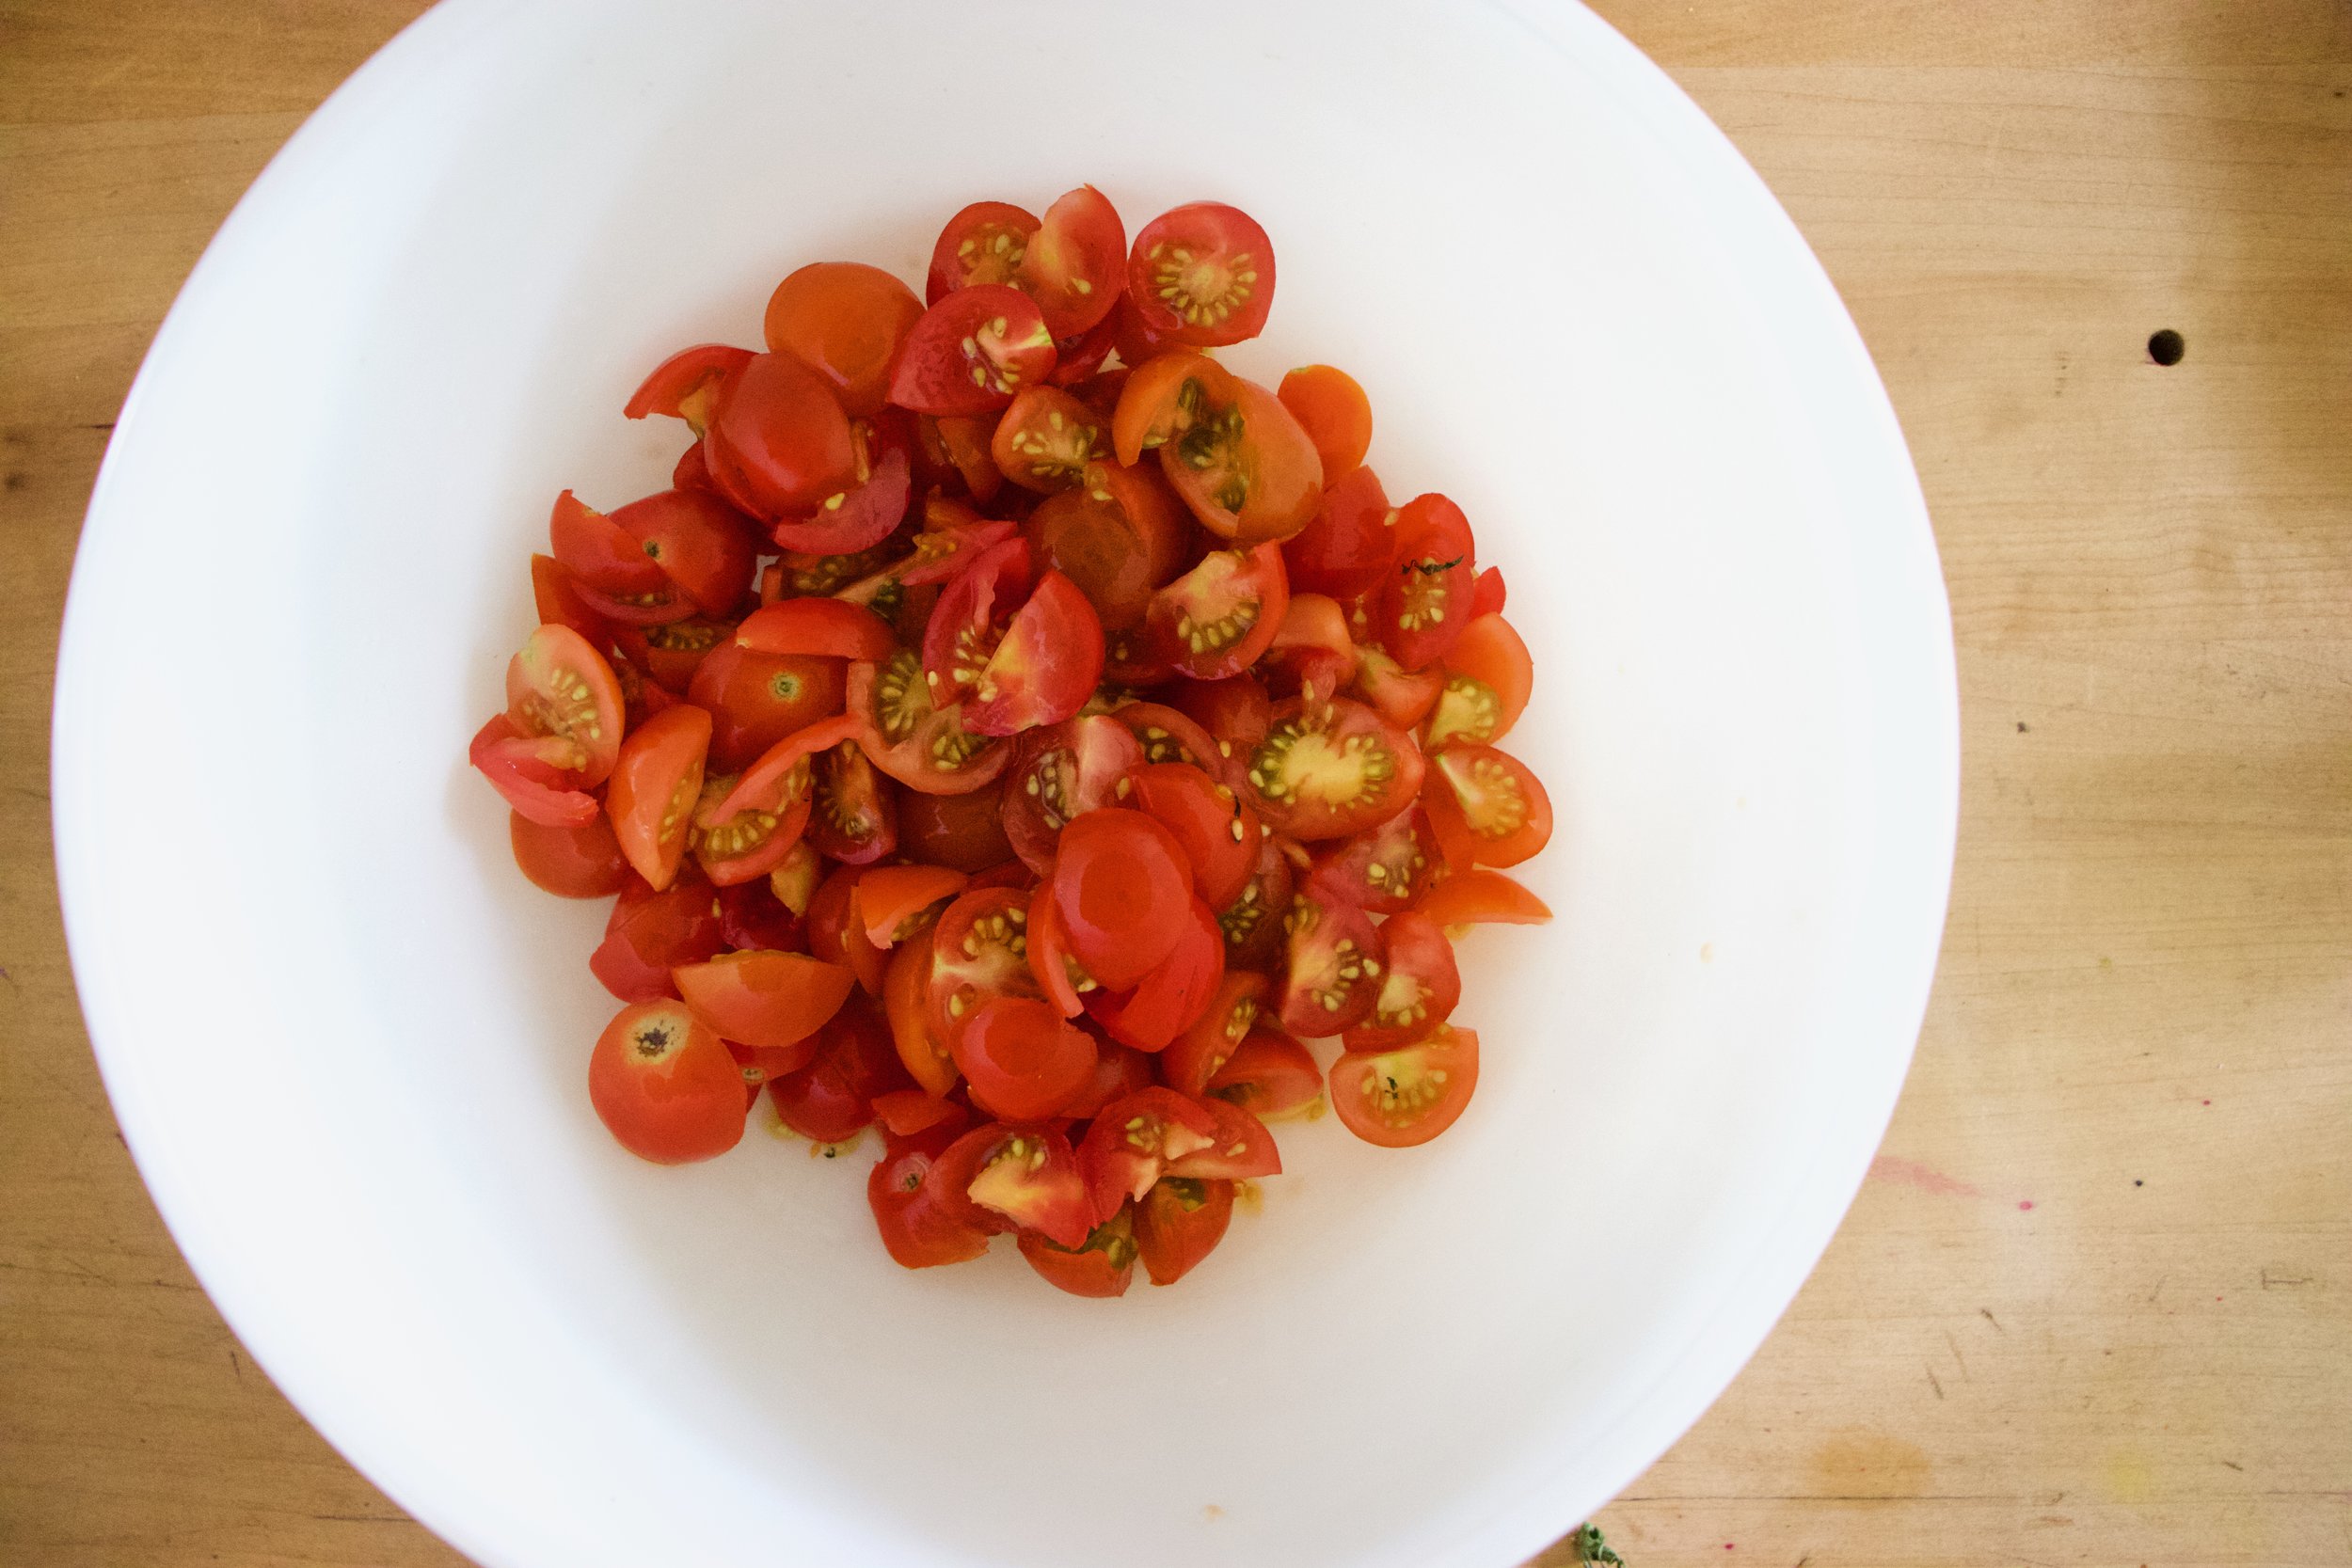
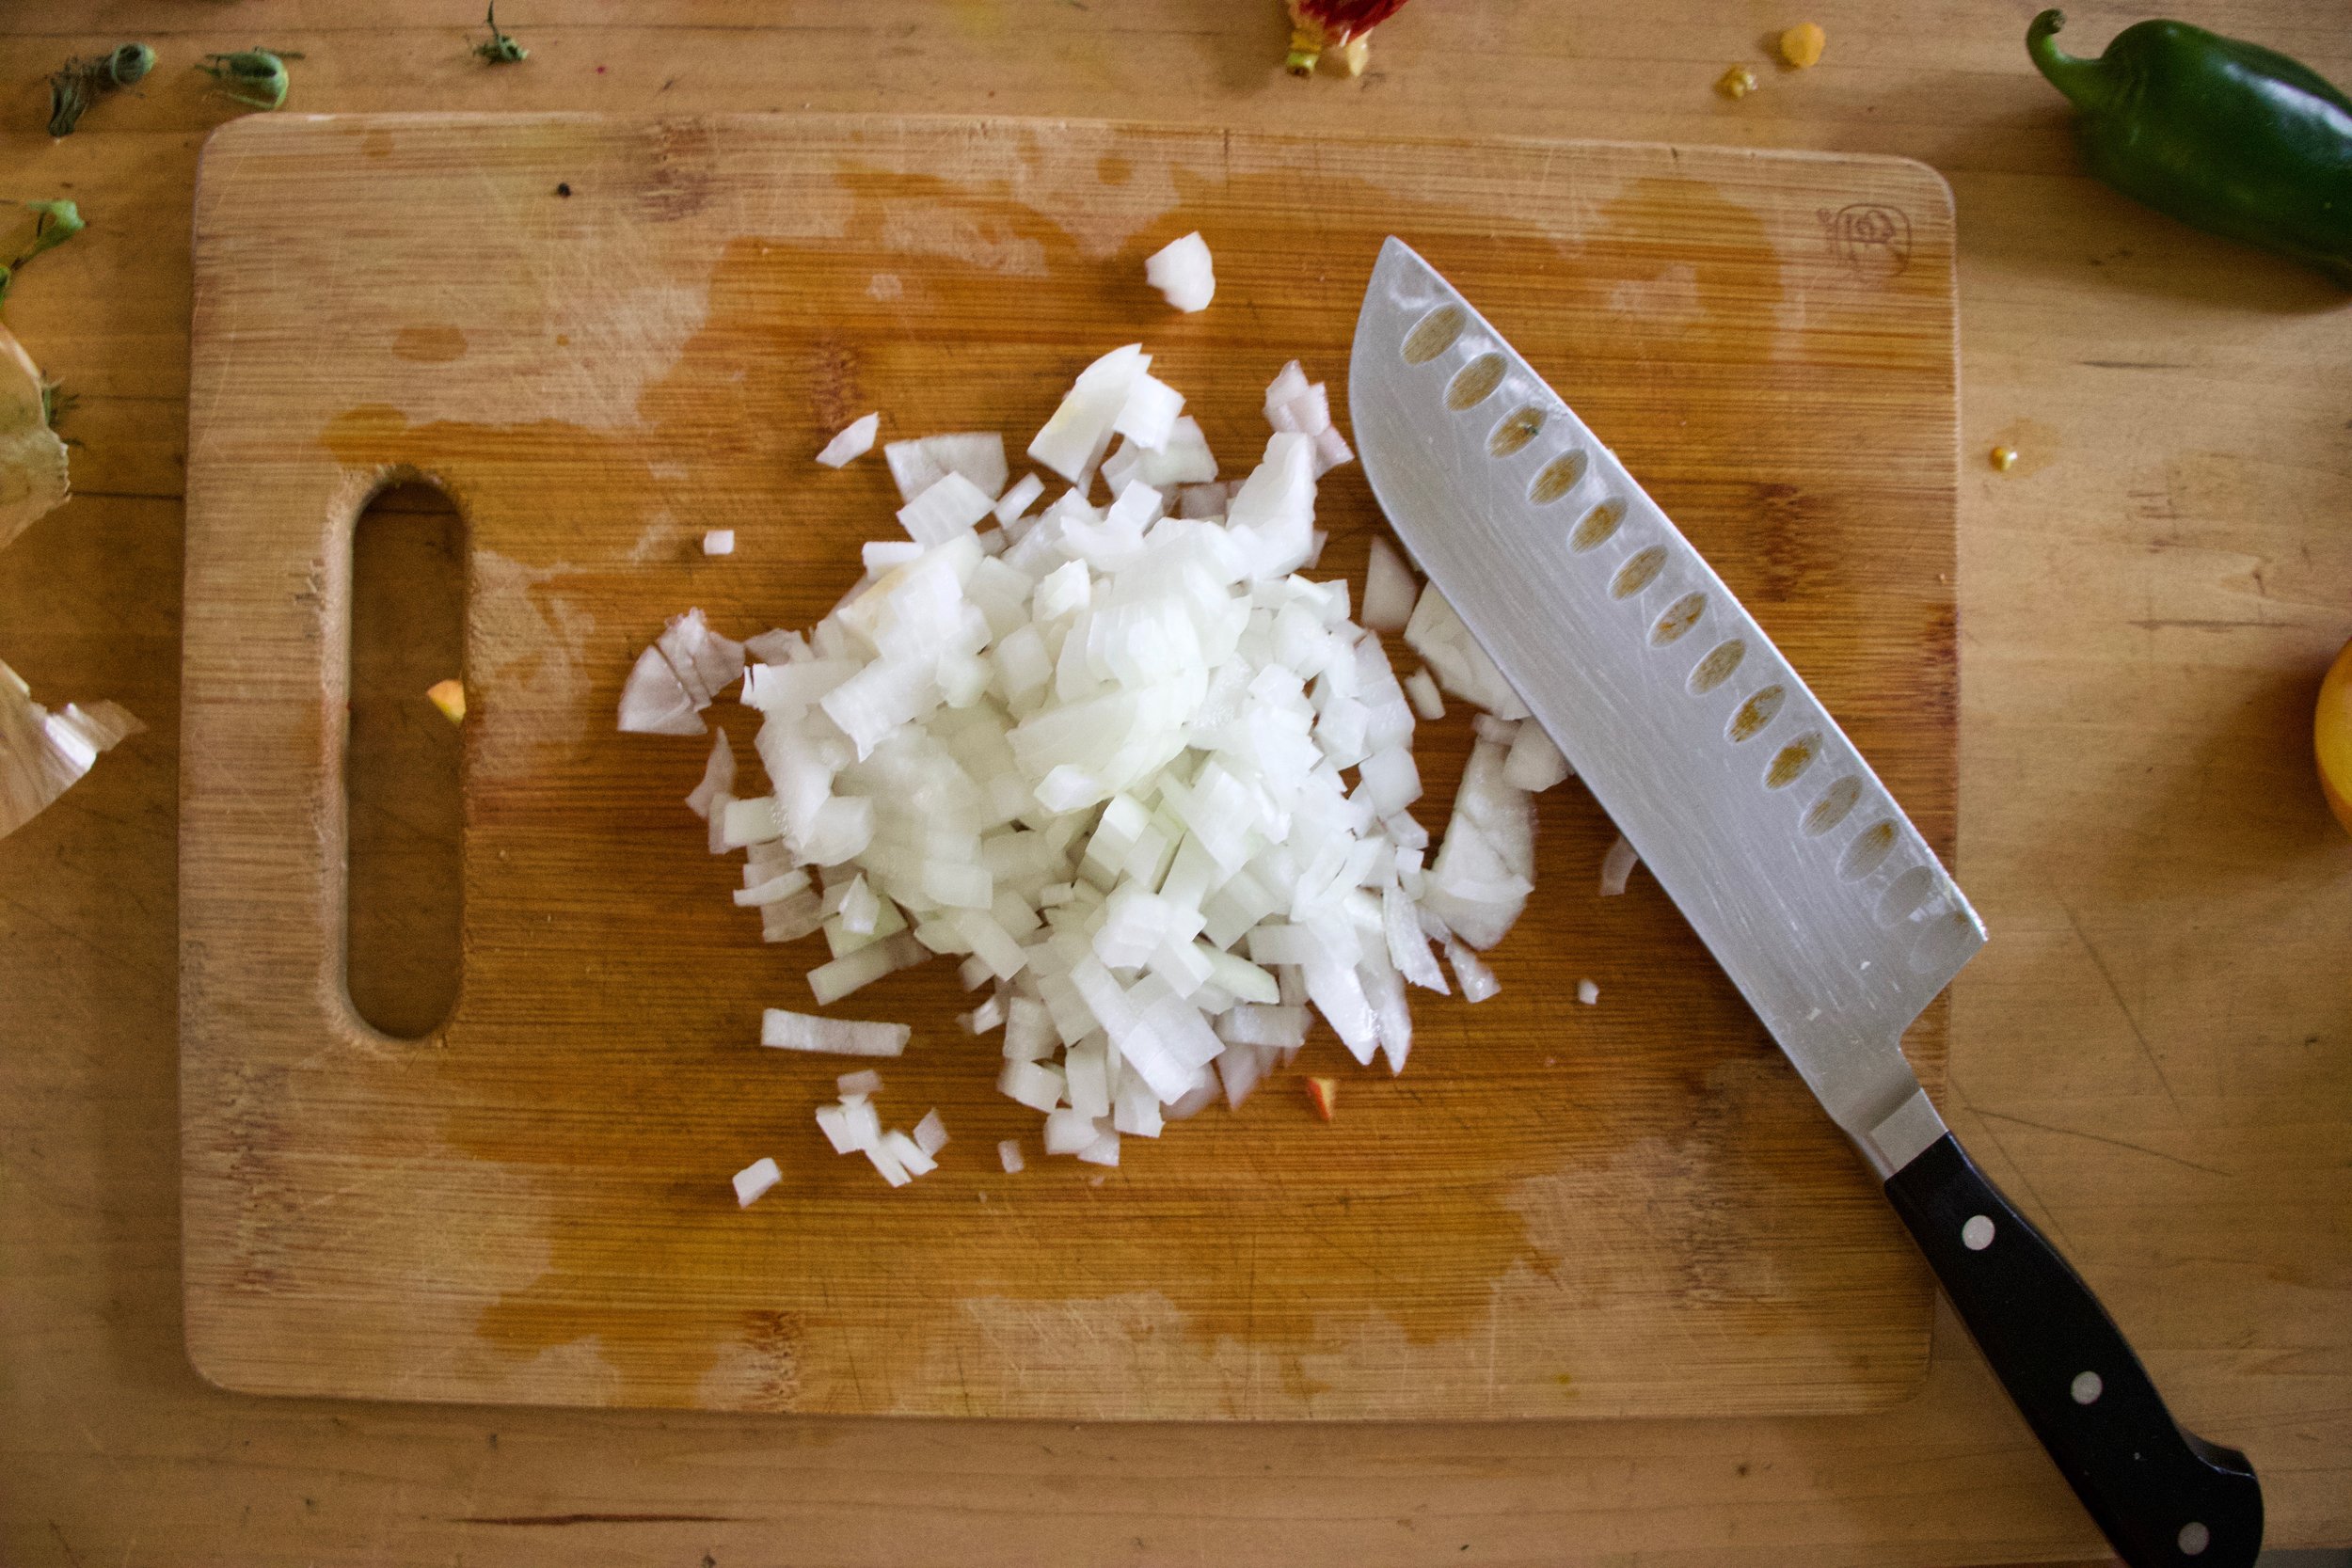
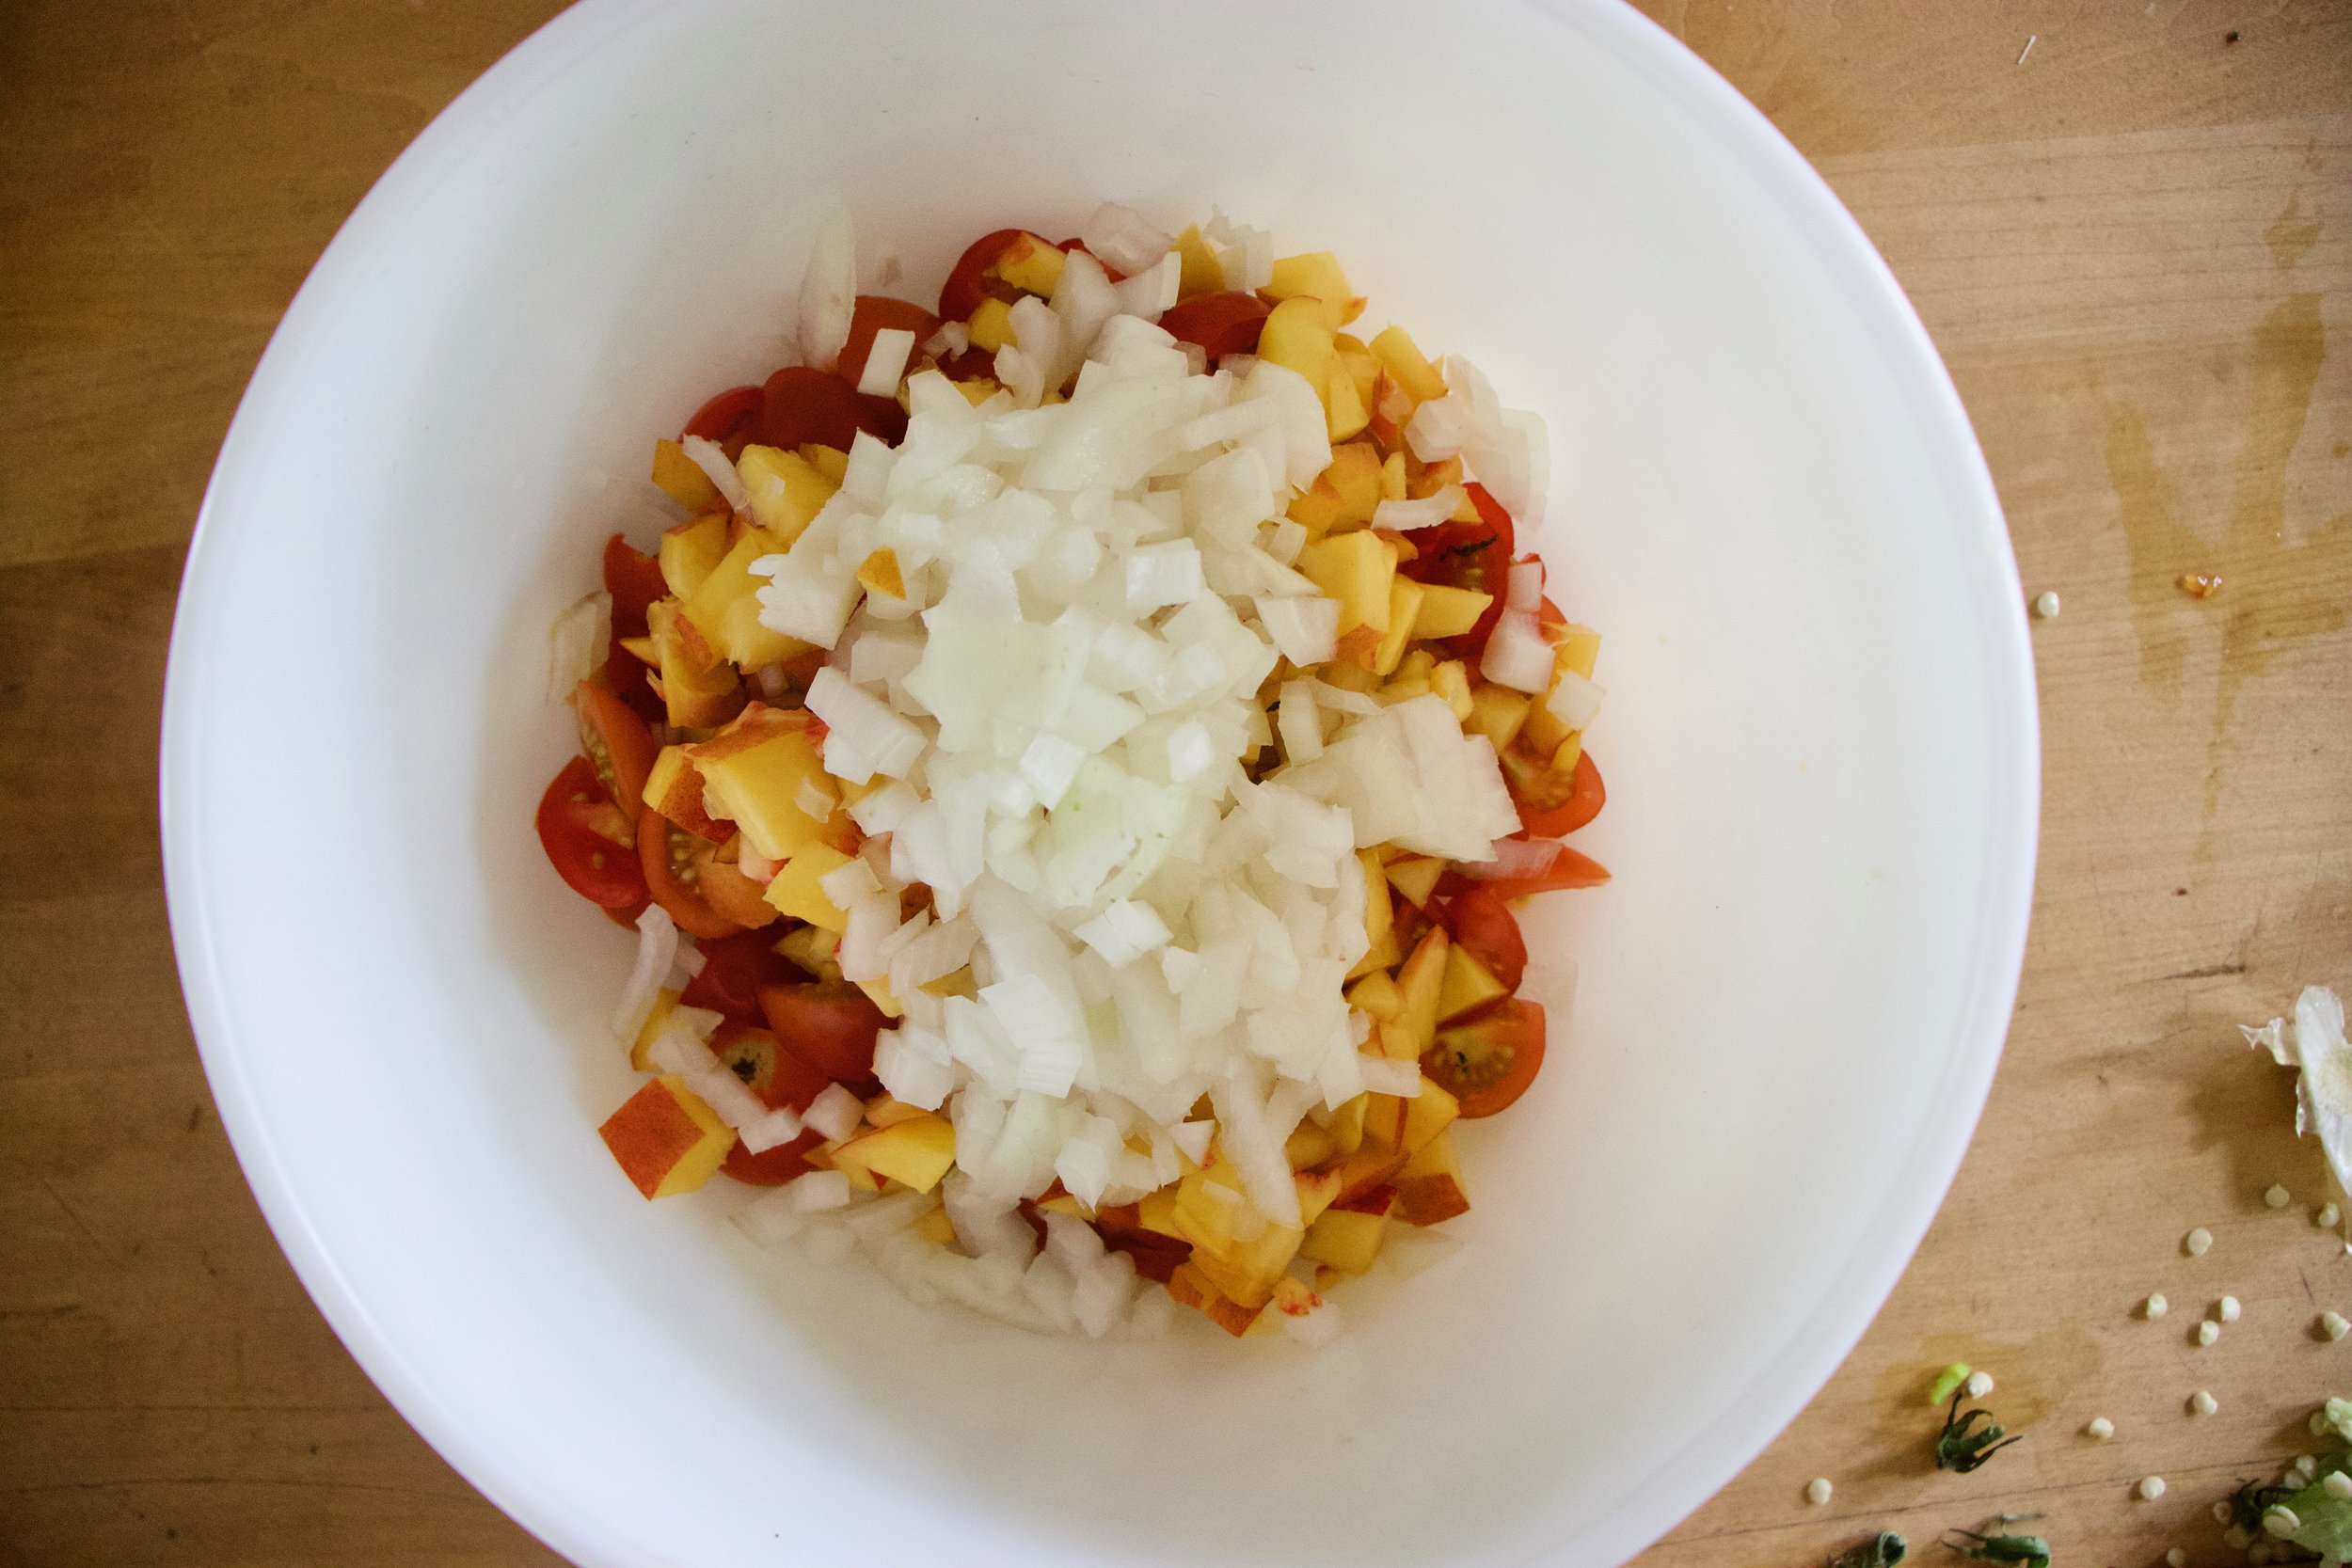
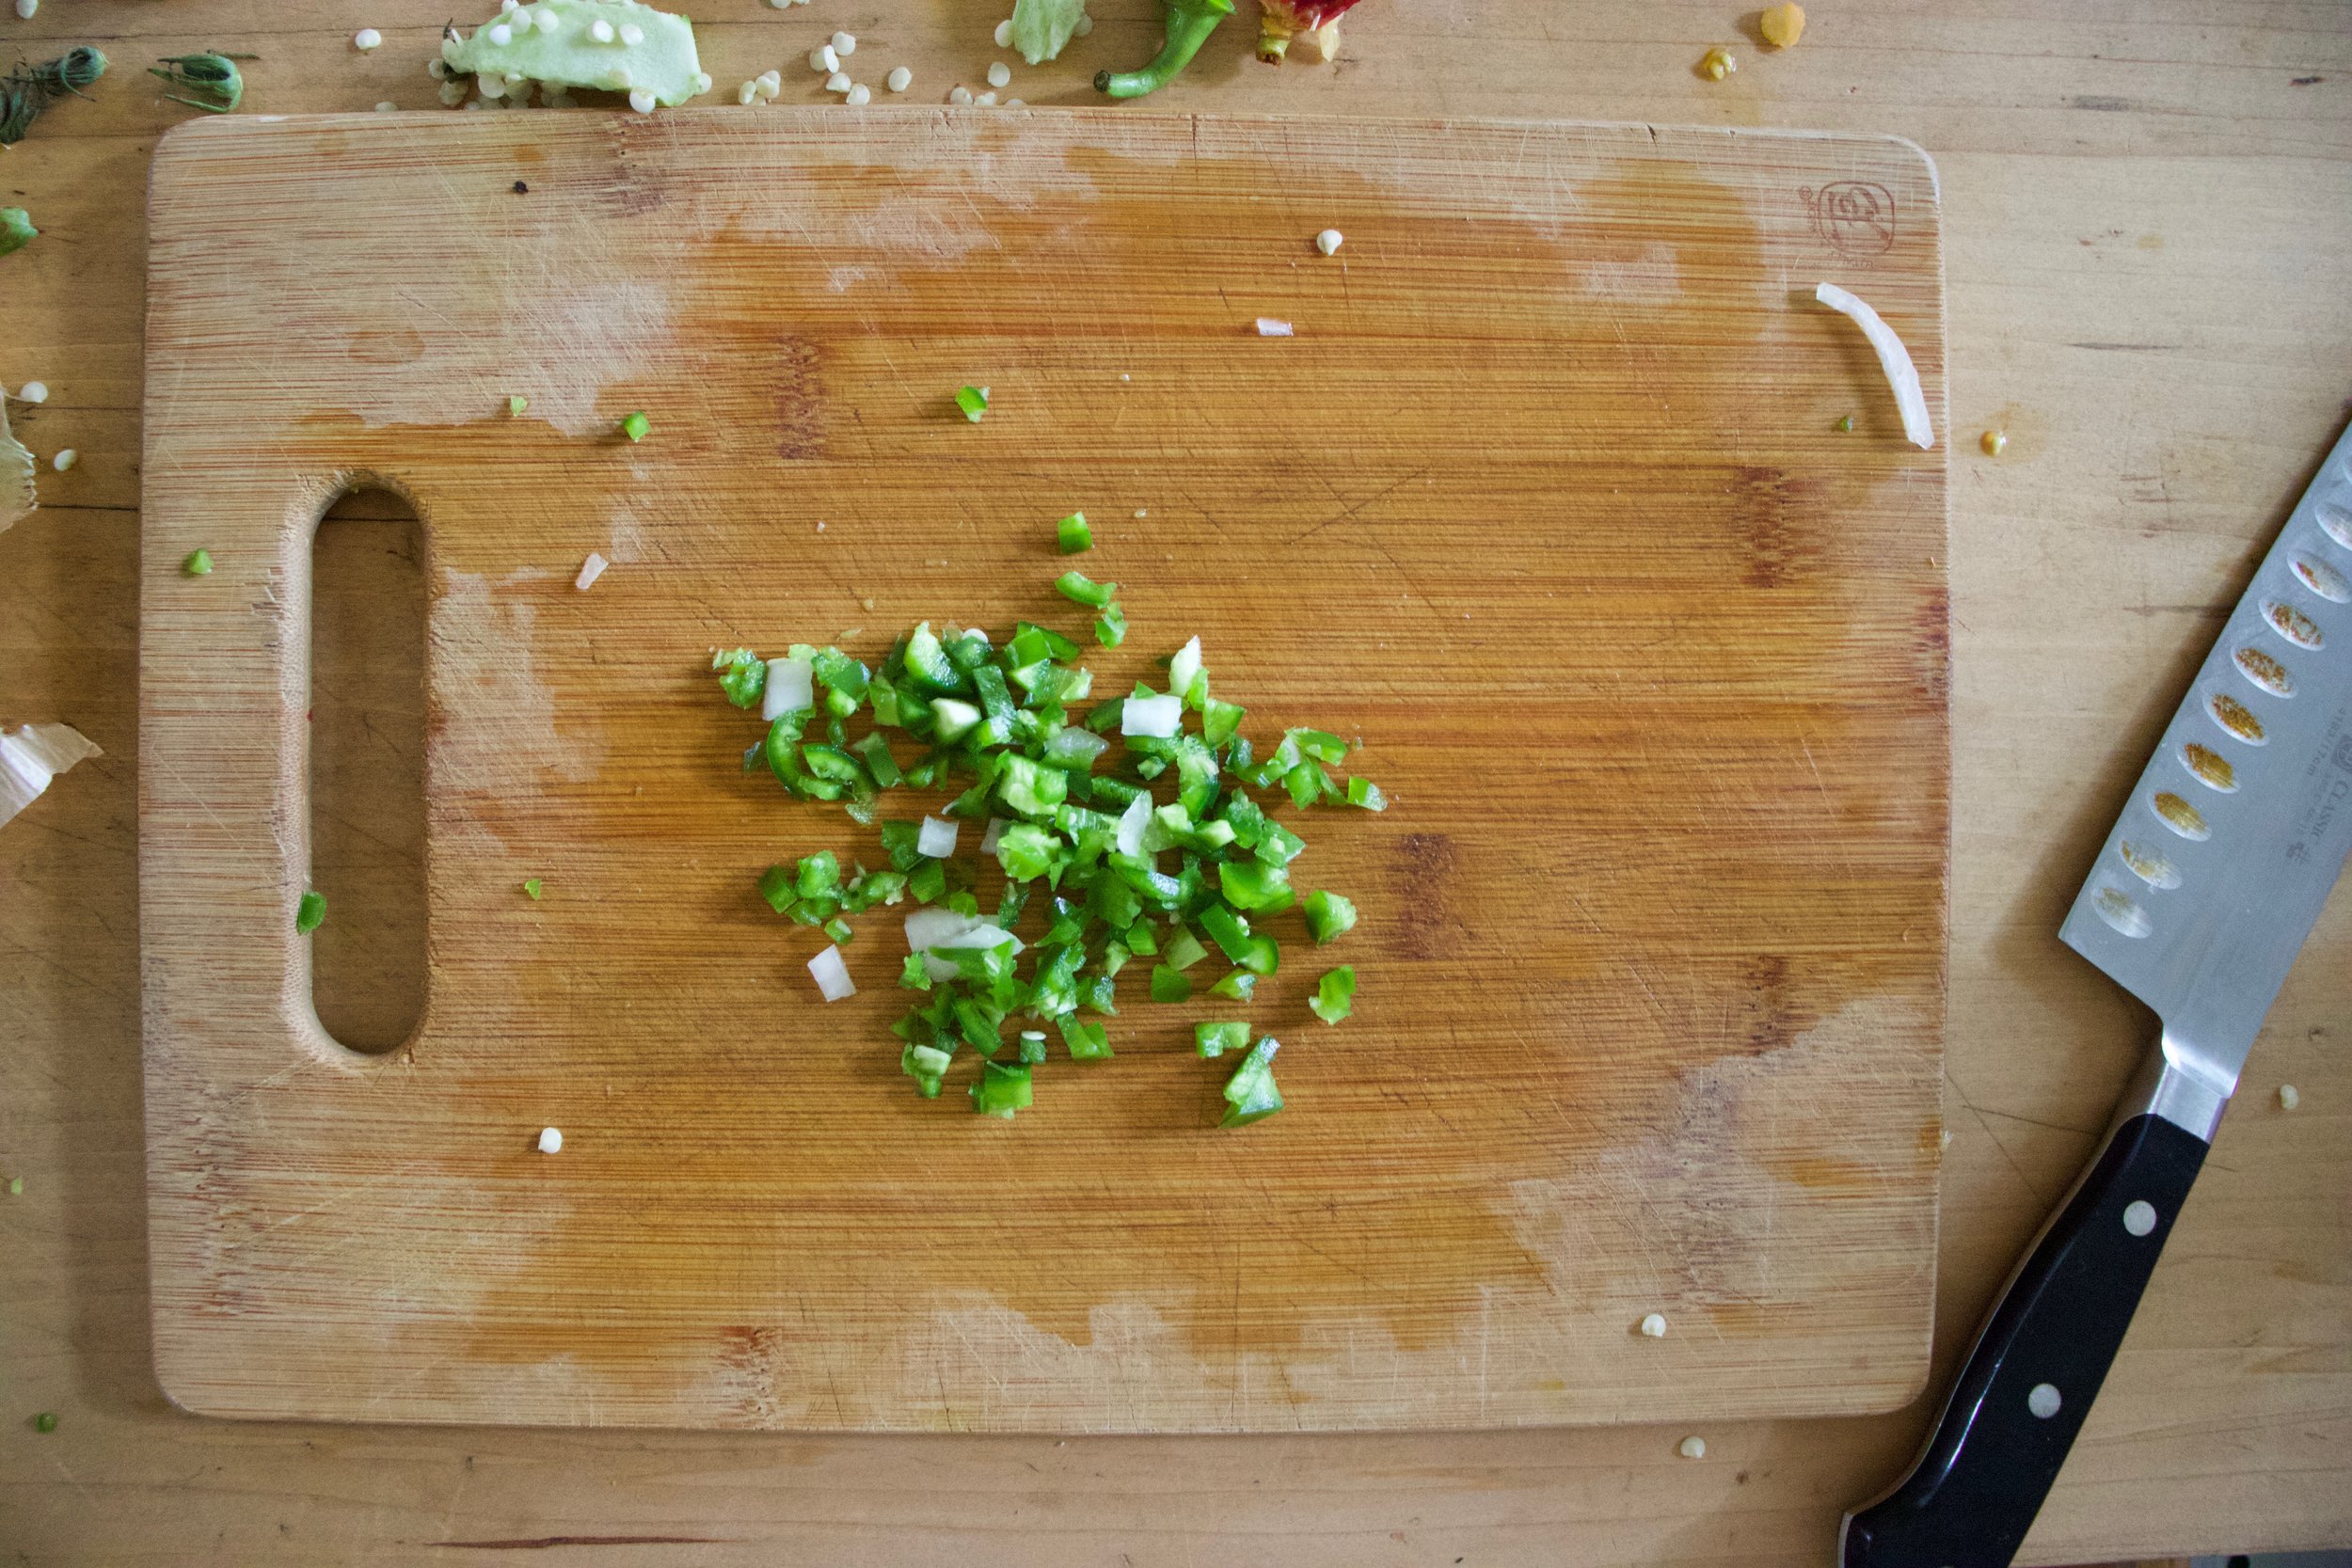
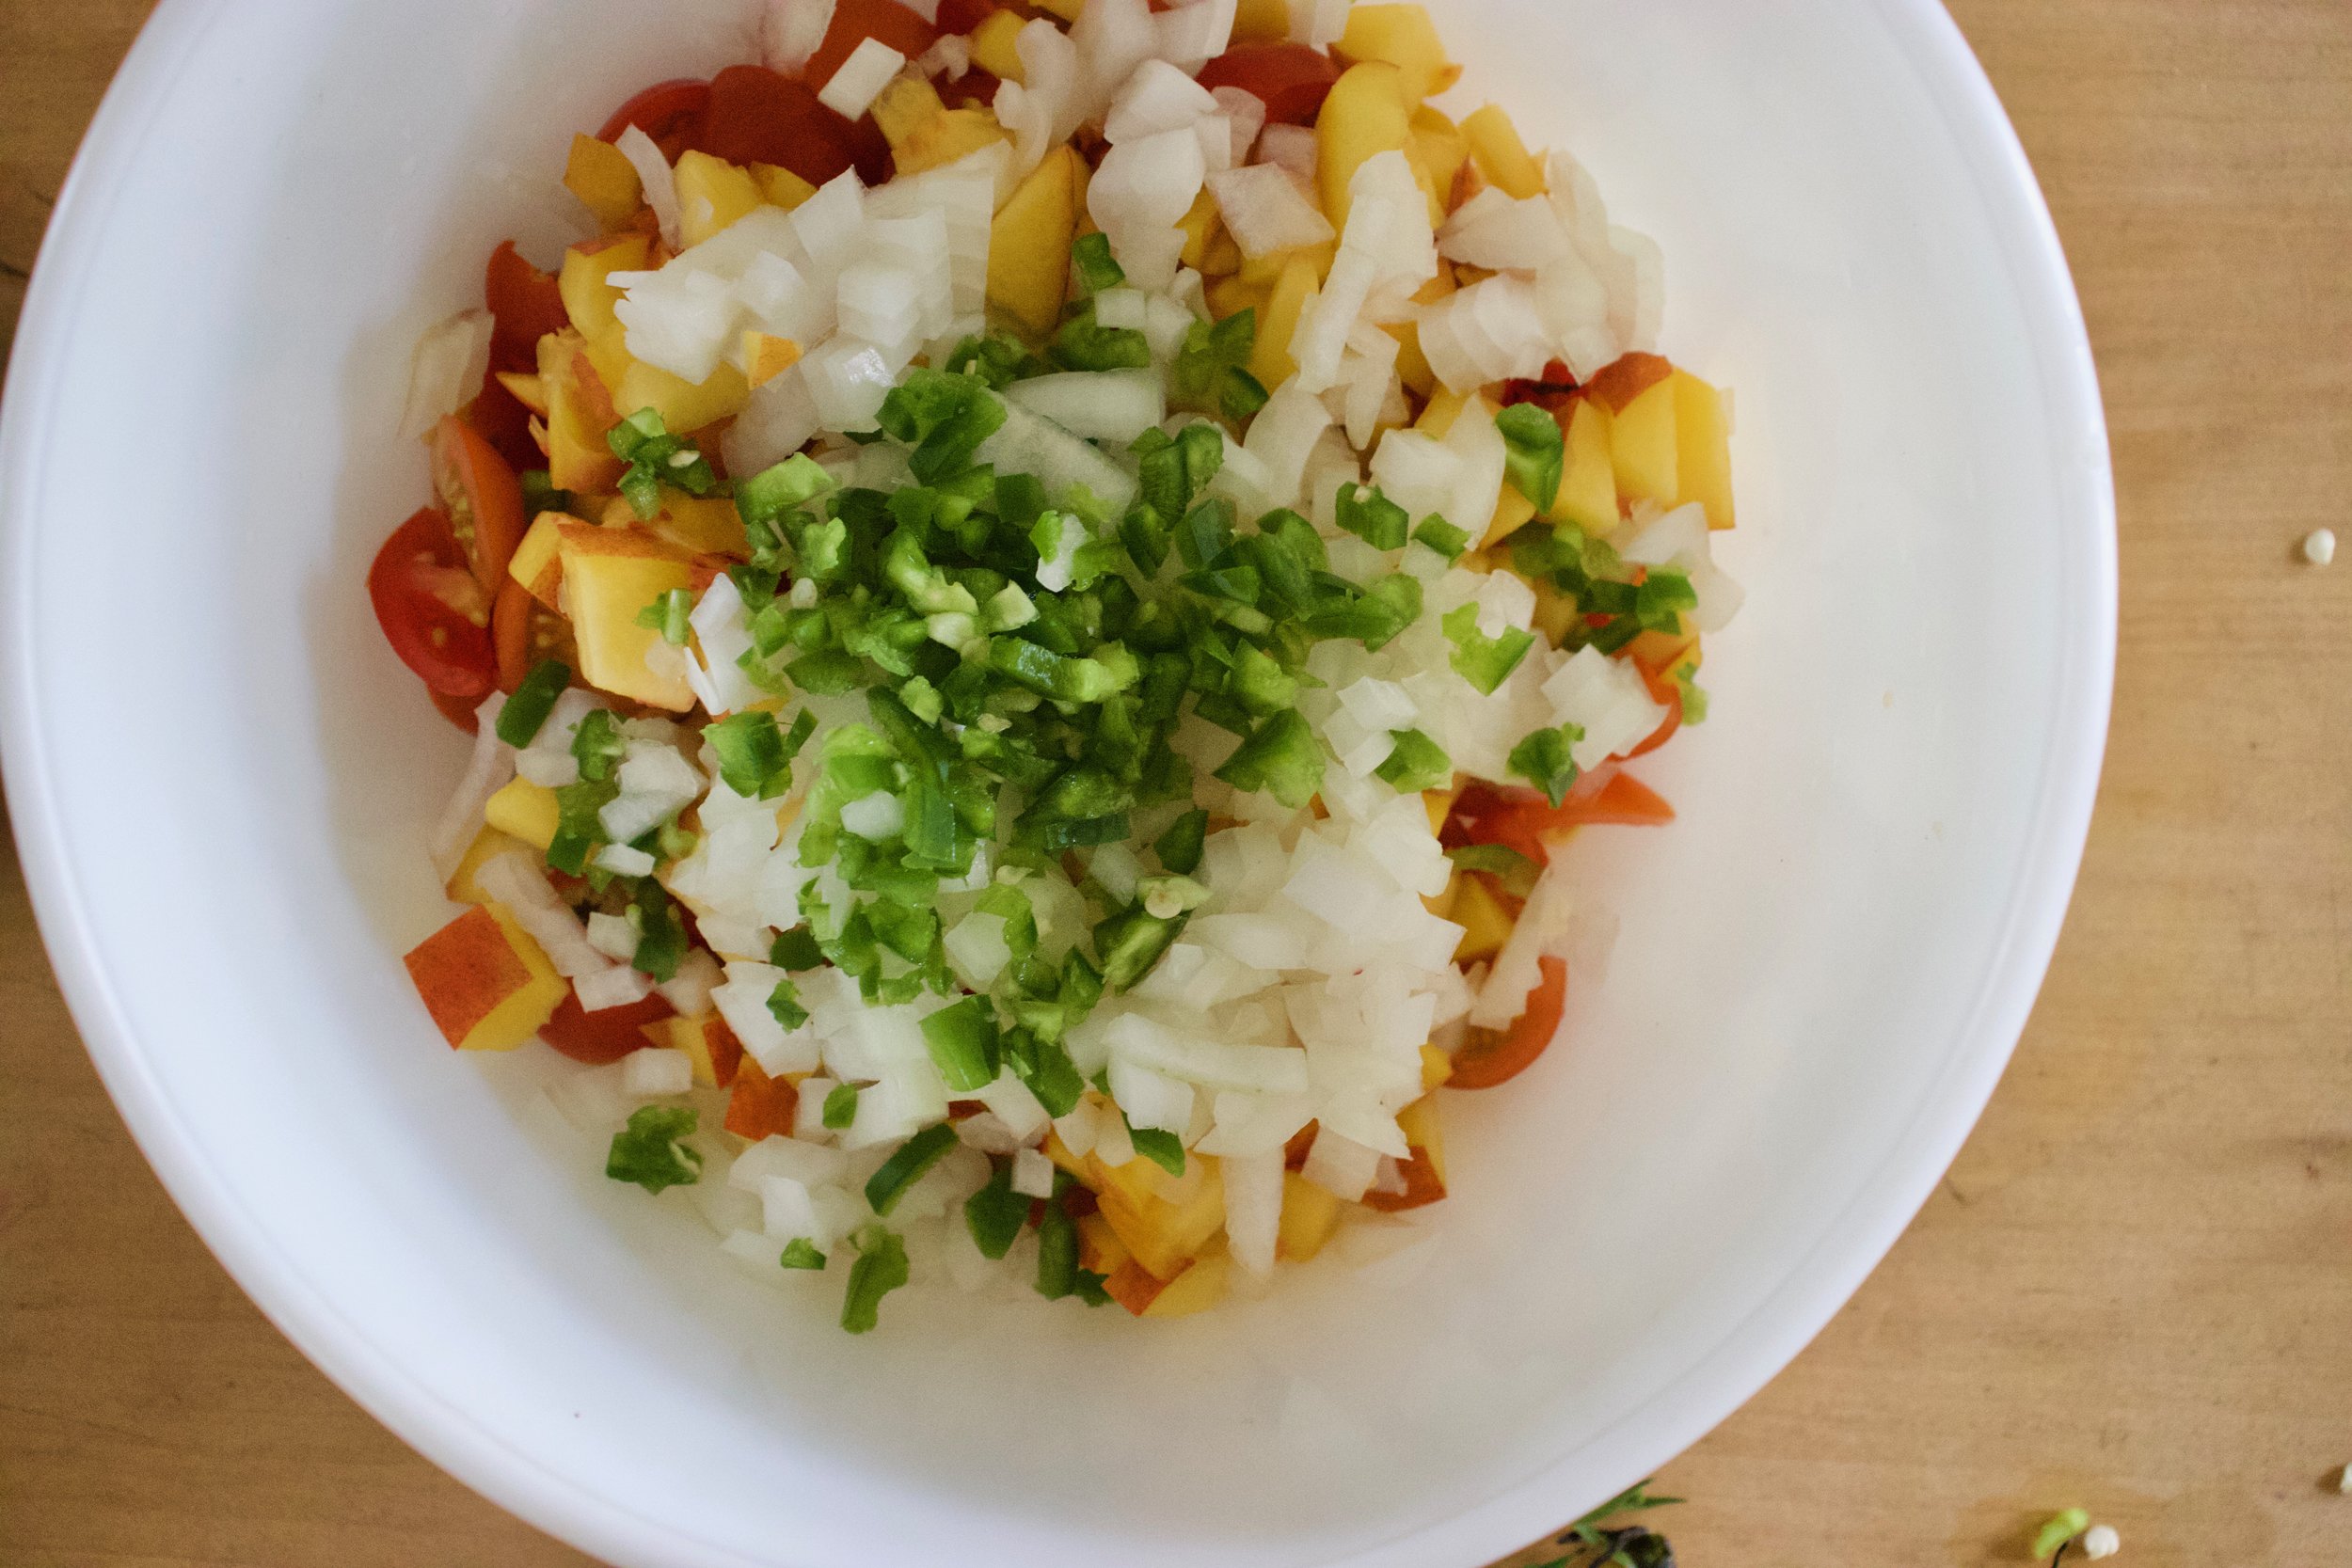
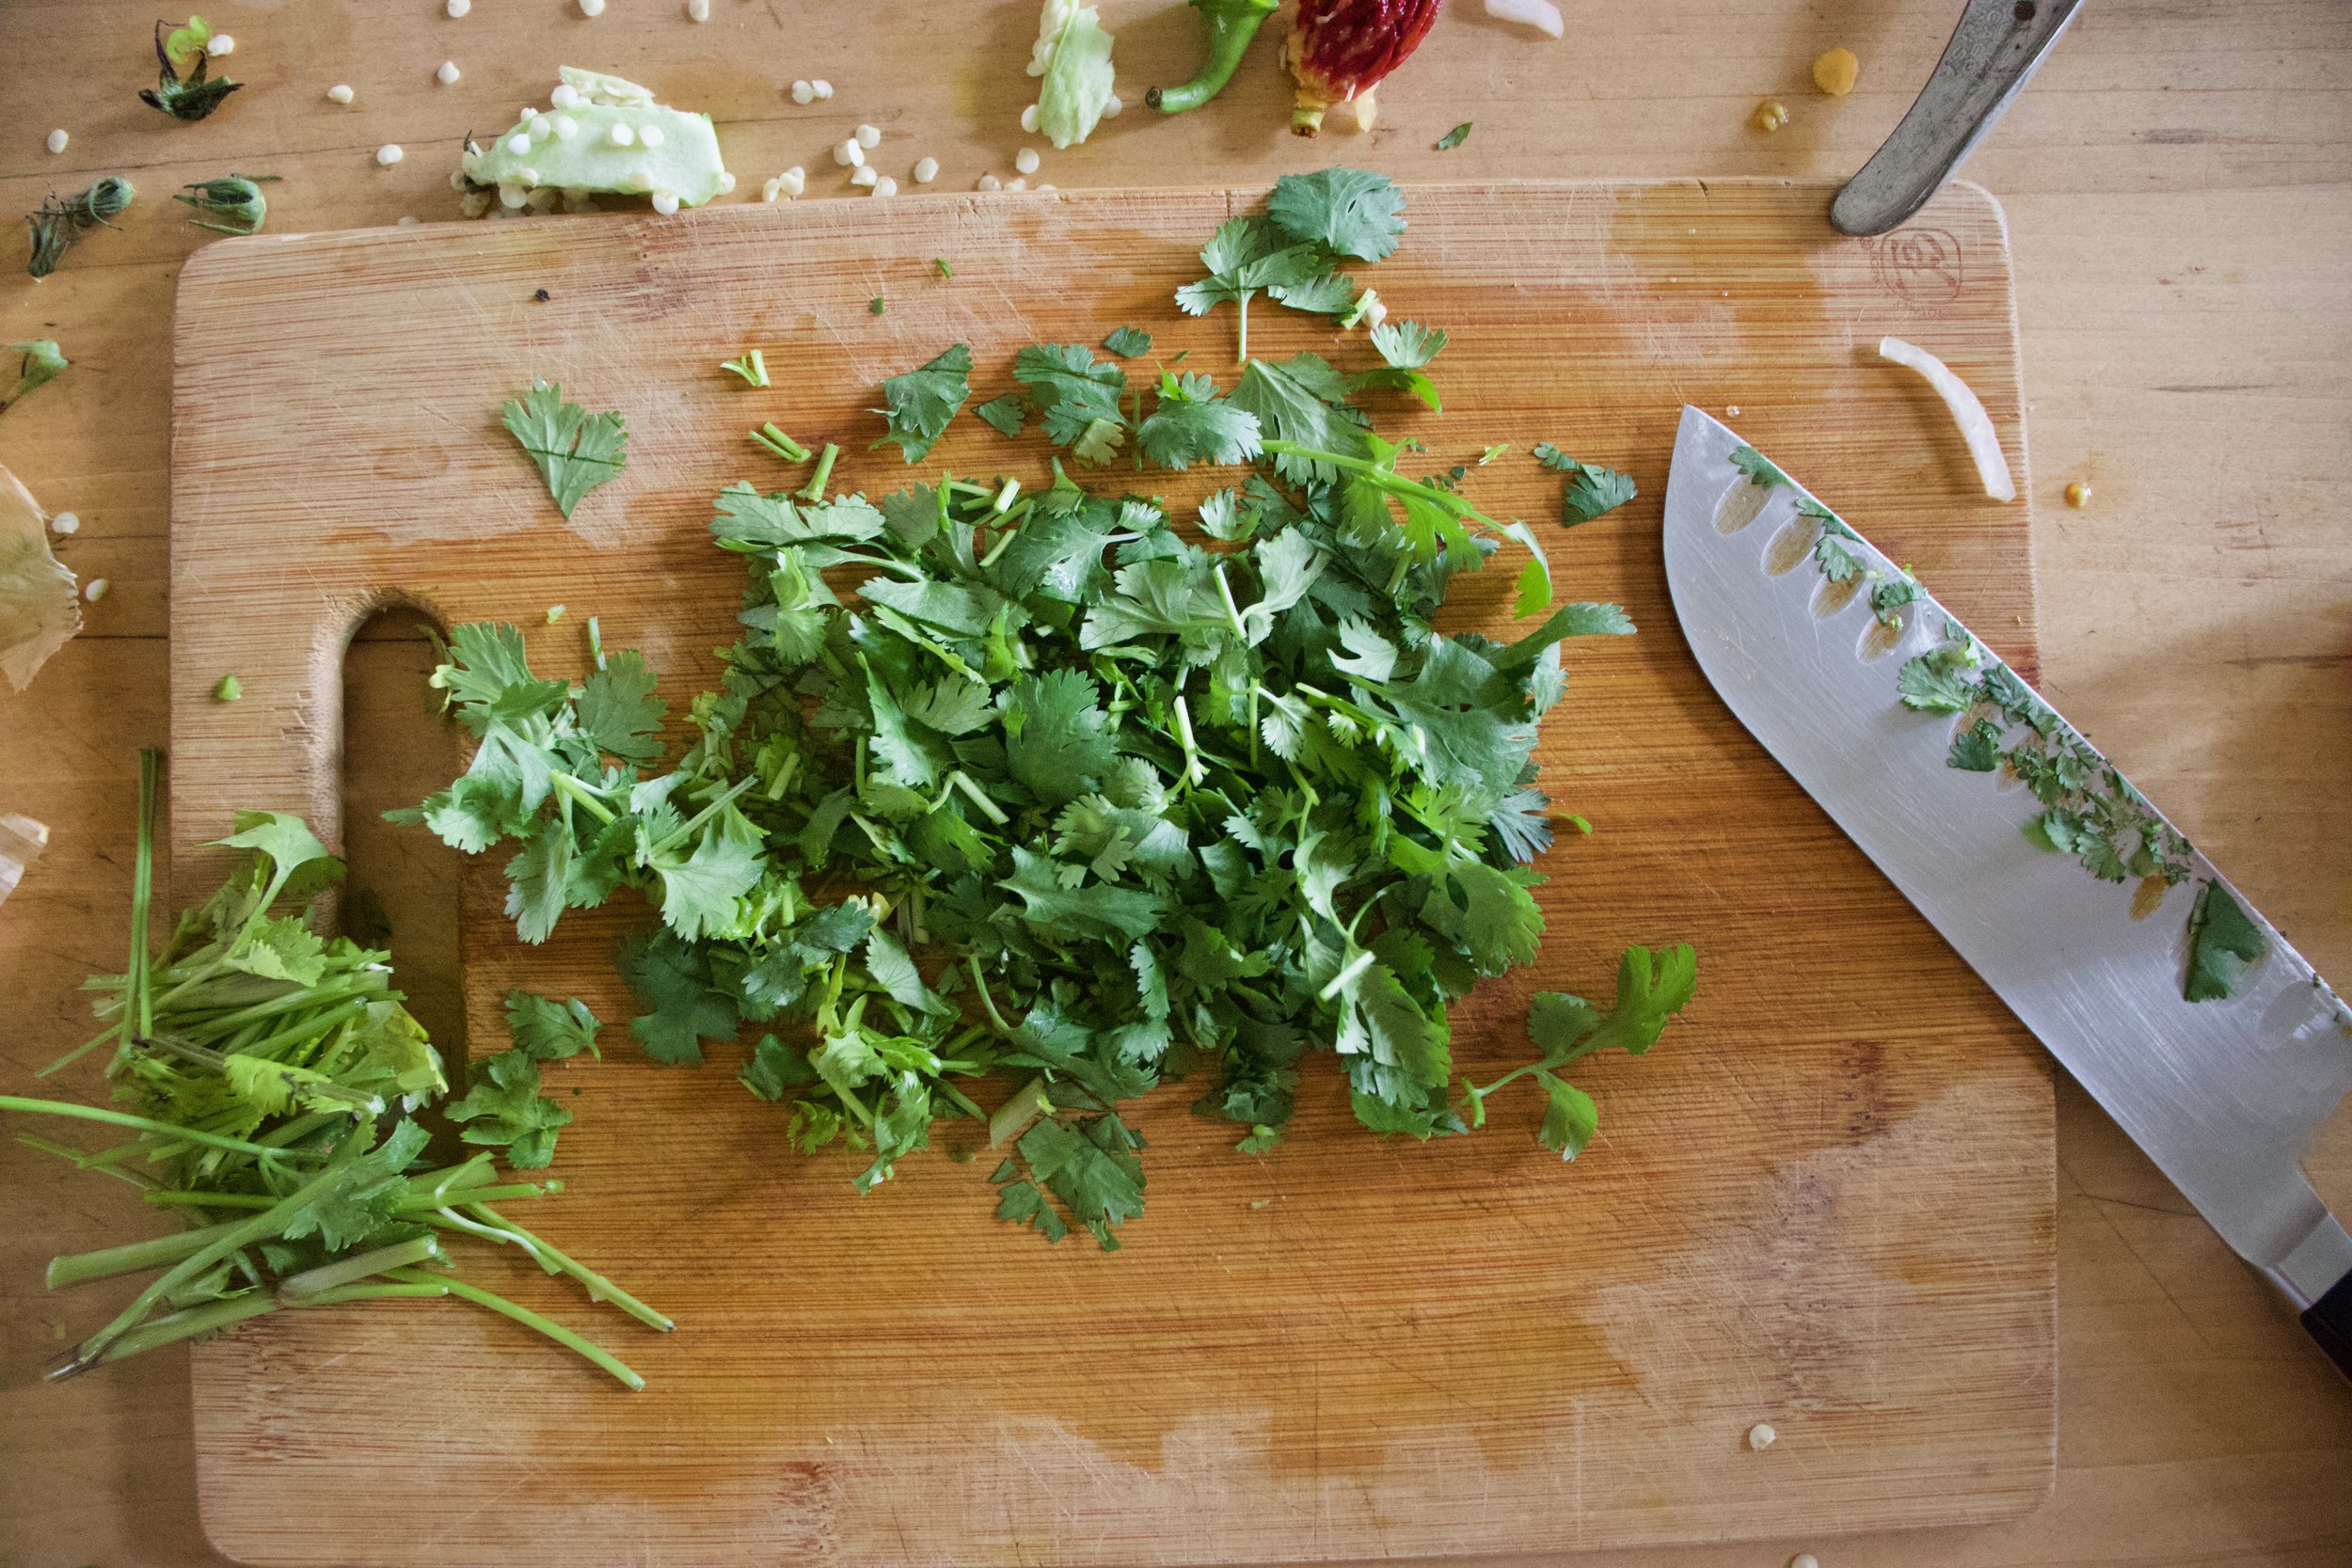
Veggie chopping time. Dice the potatoes, the onion, the carrots, and the stalks of the chard into small mouth sized pieces. Cut the cherry tomatoes in half and the chard leaves into small ribbons. Set the tomatoes and greens aside.

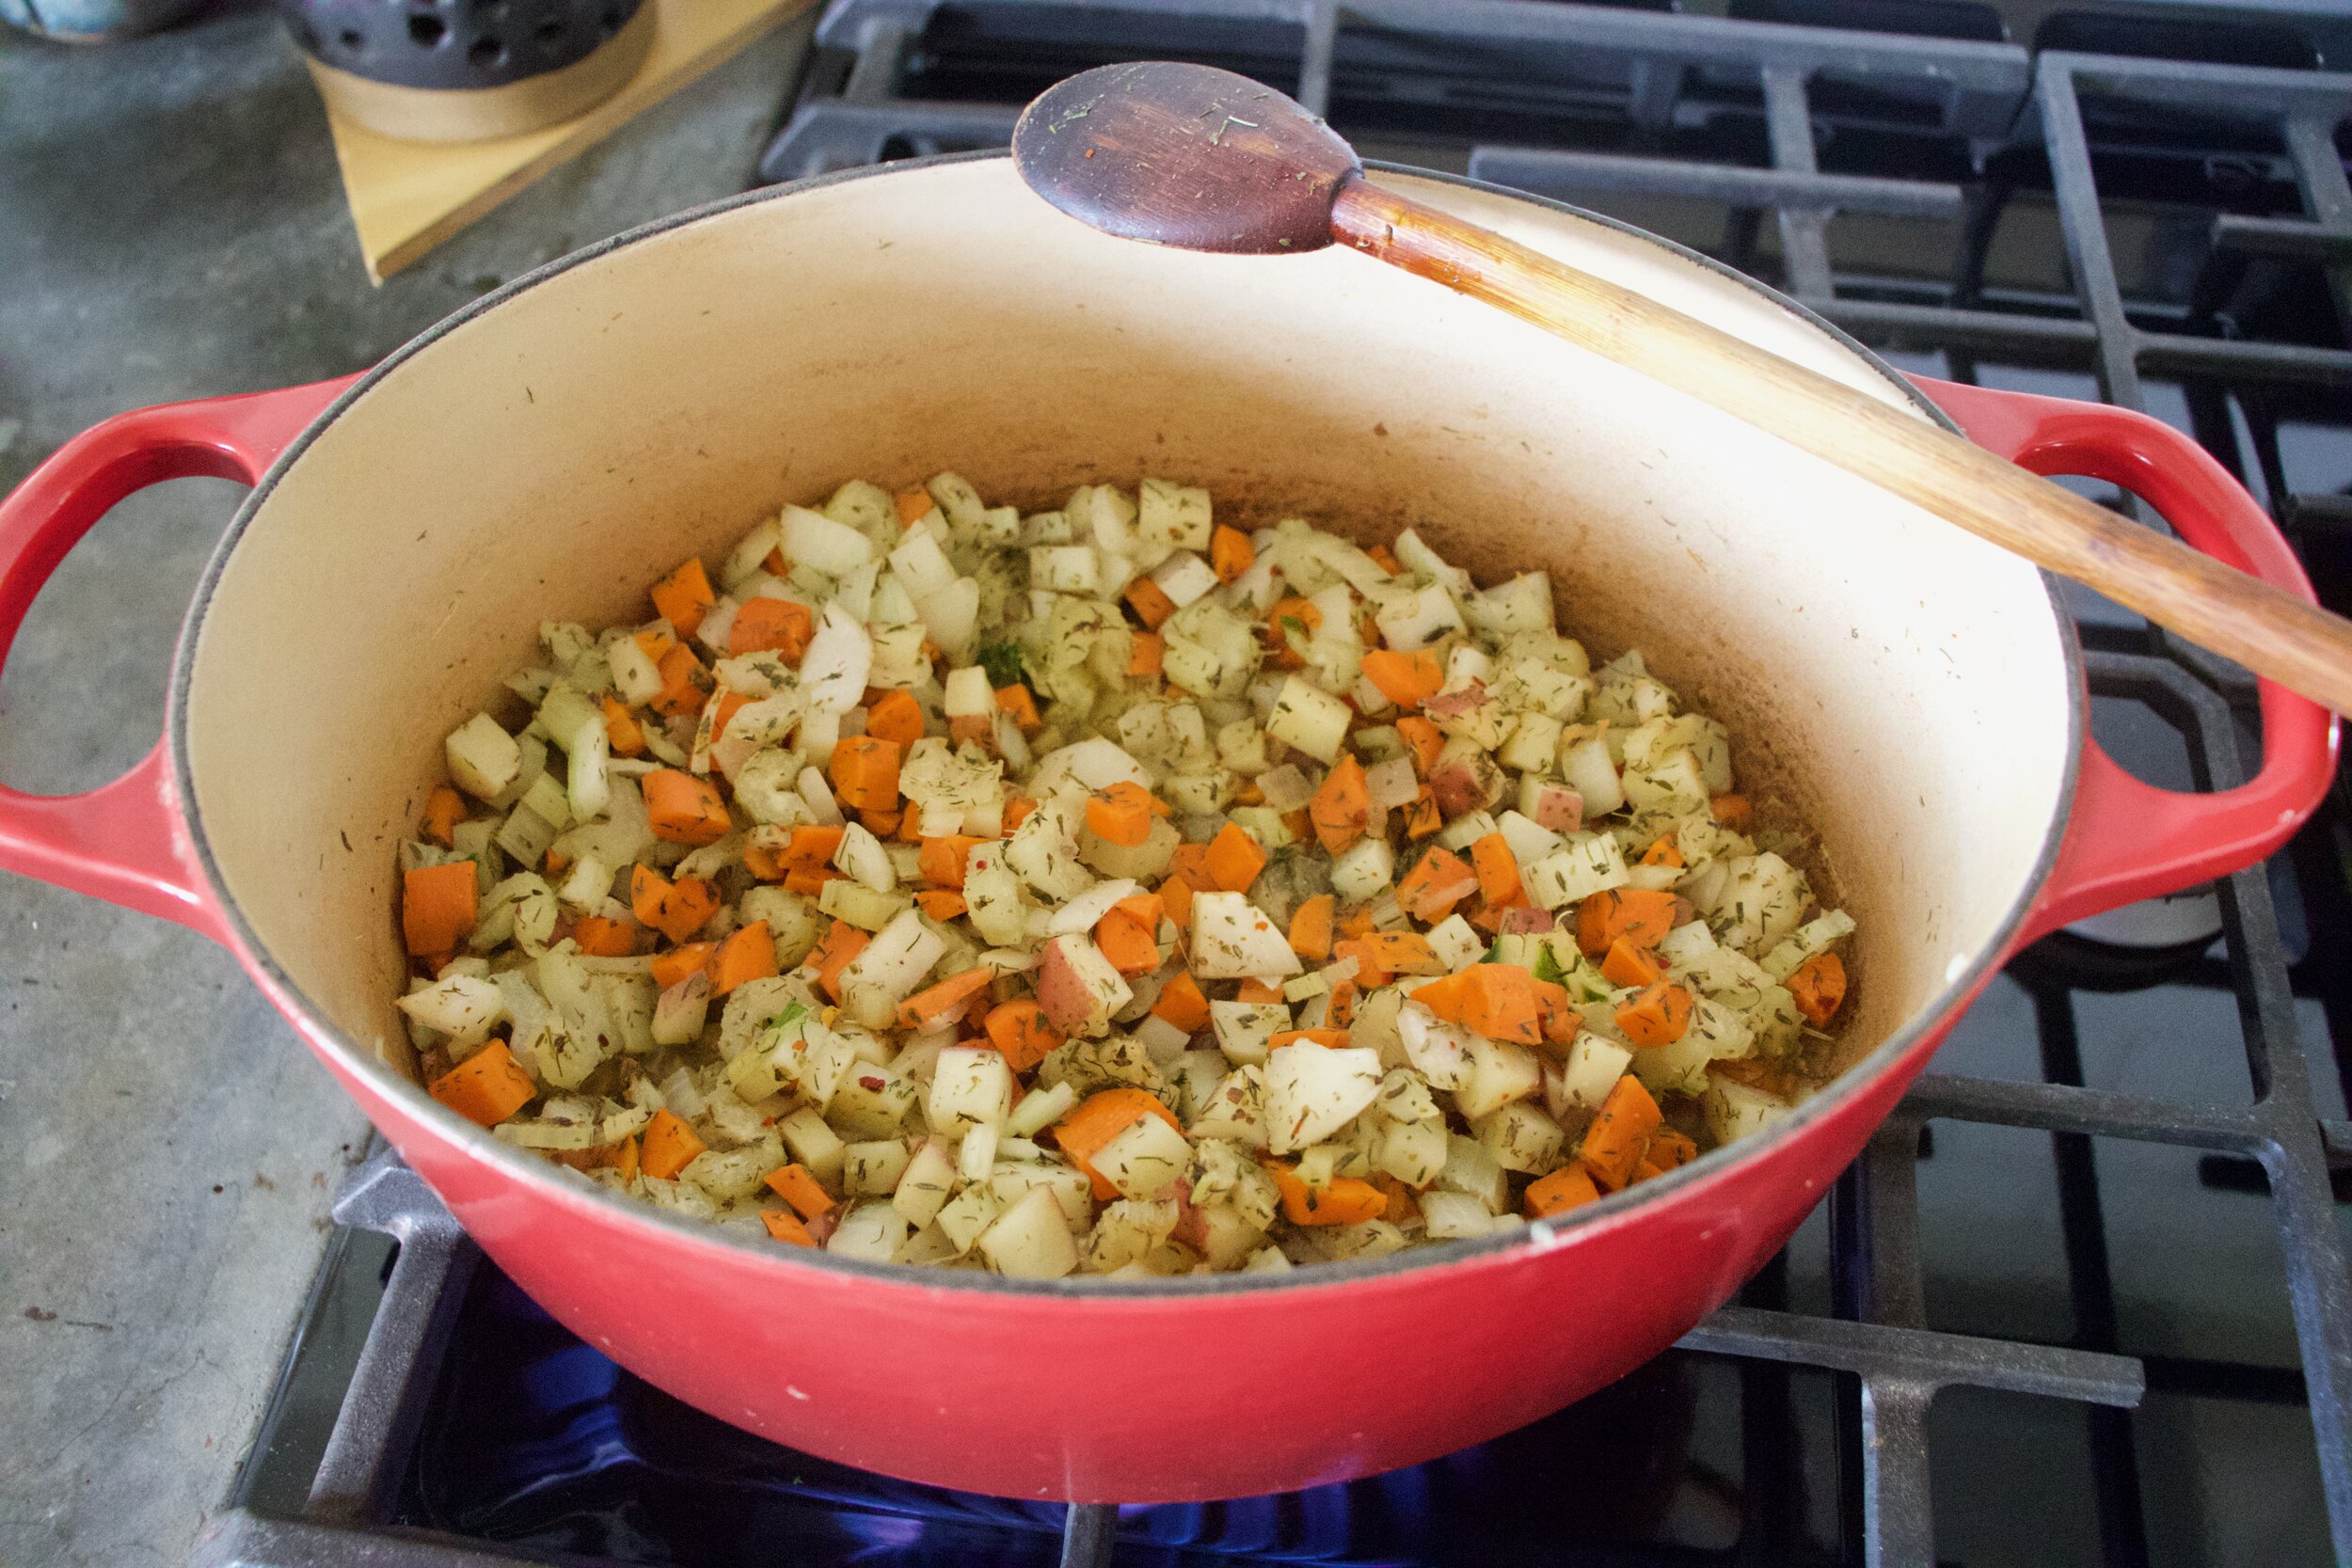
Dump the carrots, onion, chard stalks, and potatoes into a very large pot, add all the spices, a good pinch of salt, lots of black pepper, and a few splashed of water. Cook on medium high heat for 5-7 minutes to just kind of sweat the veggies a bit.

IMG_2638.jpg
IMG_2640.jpg

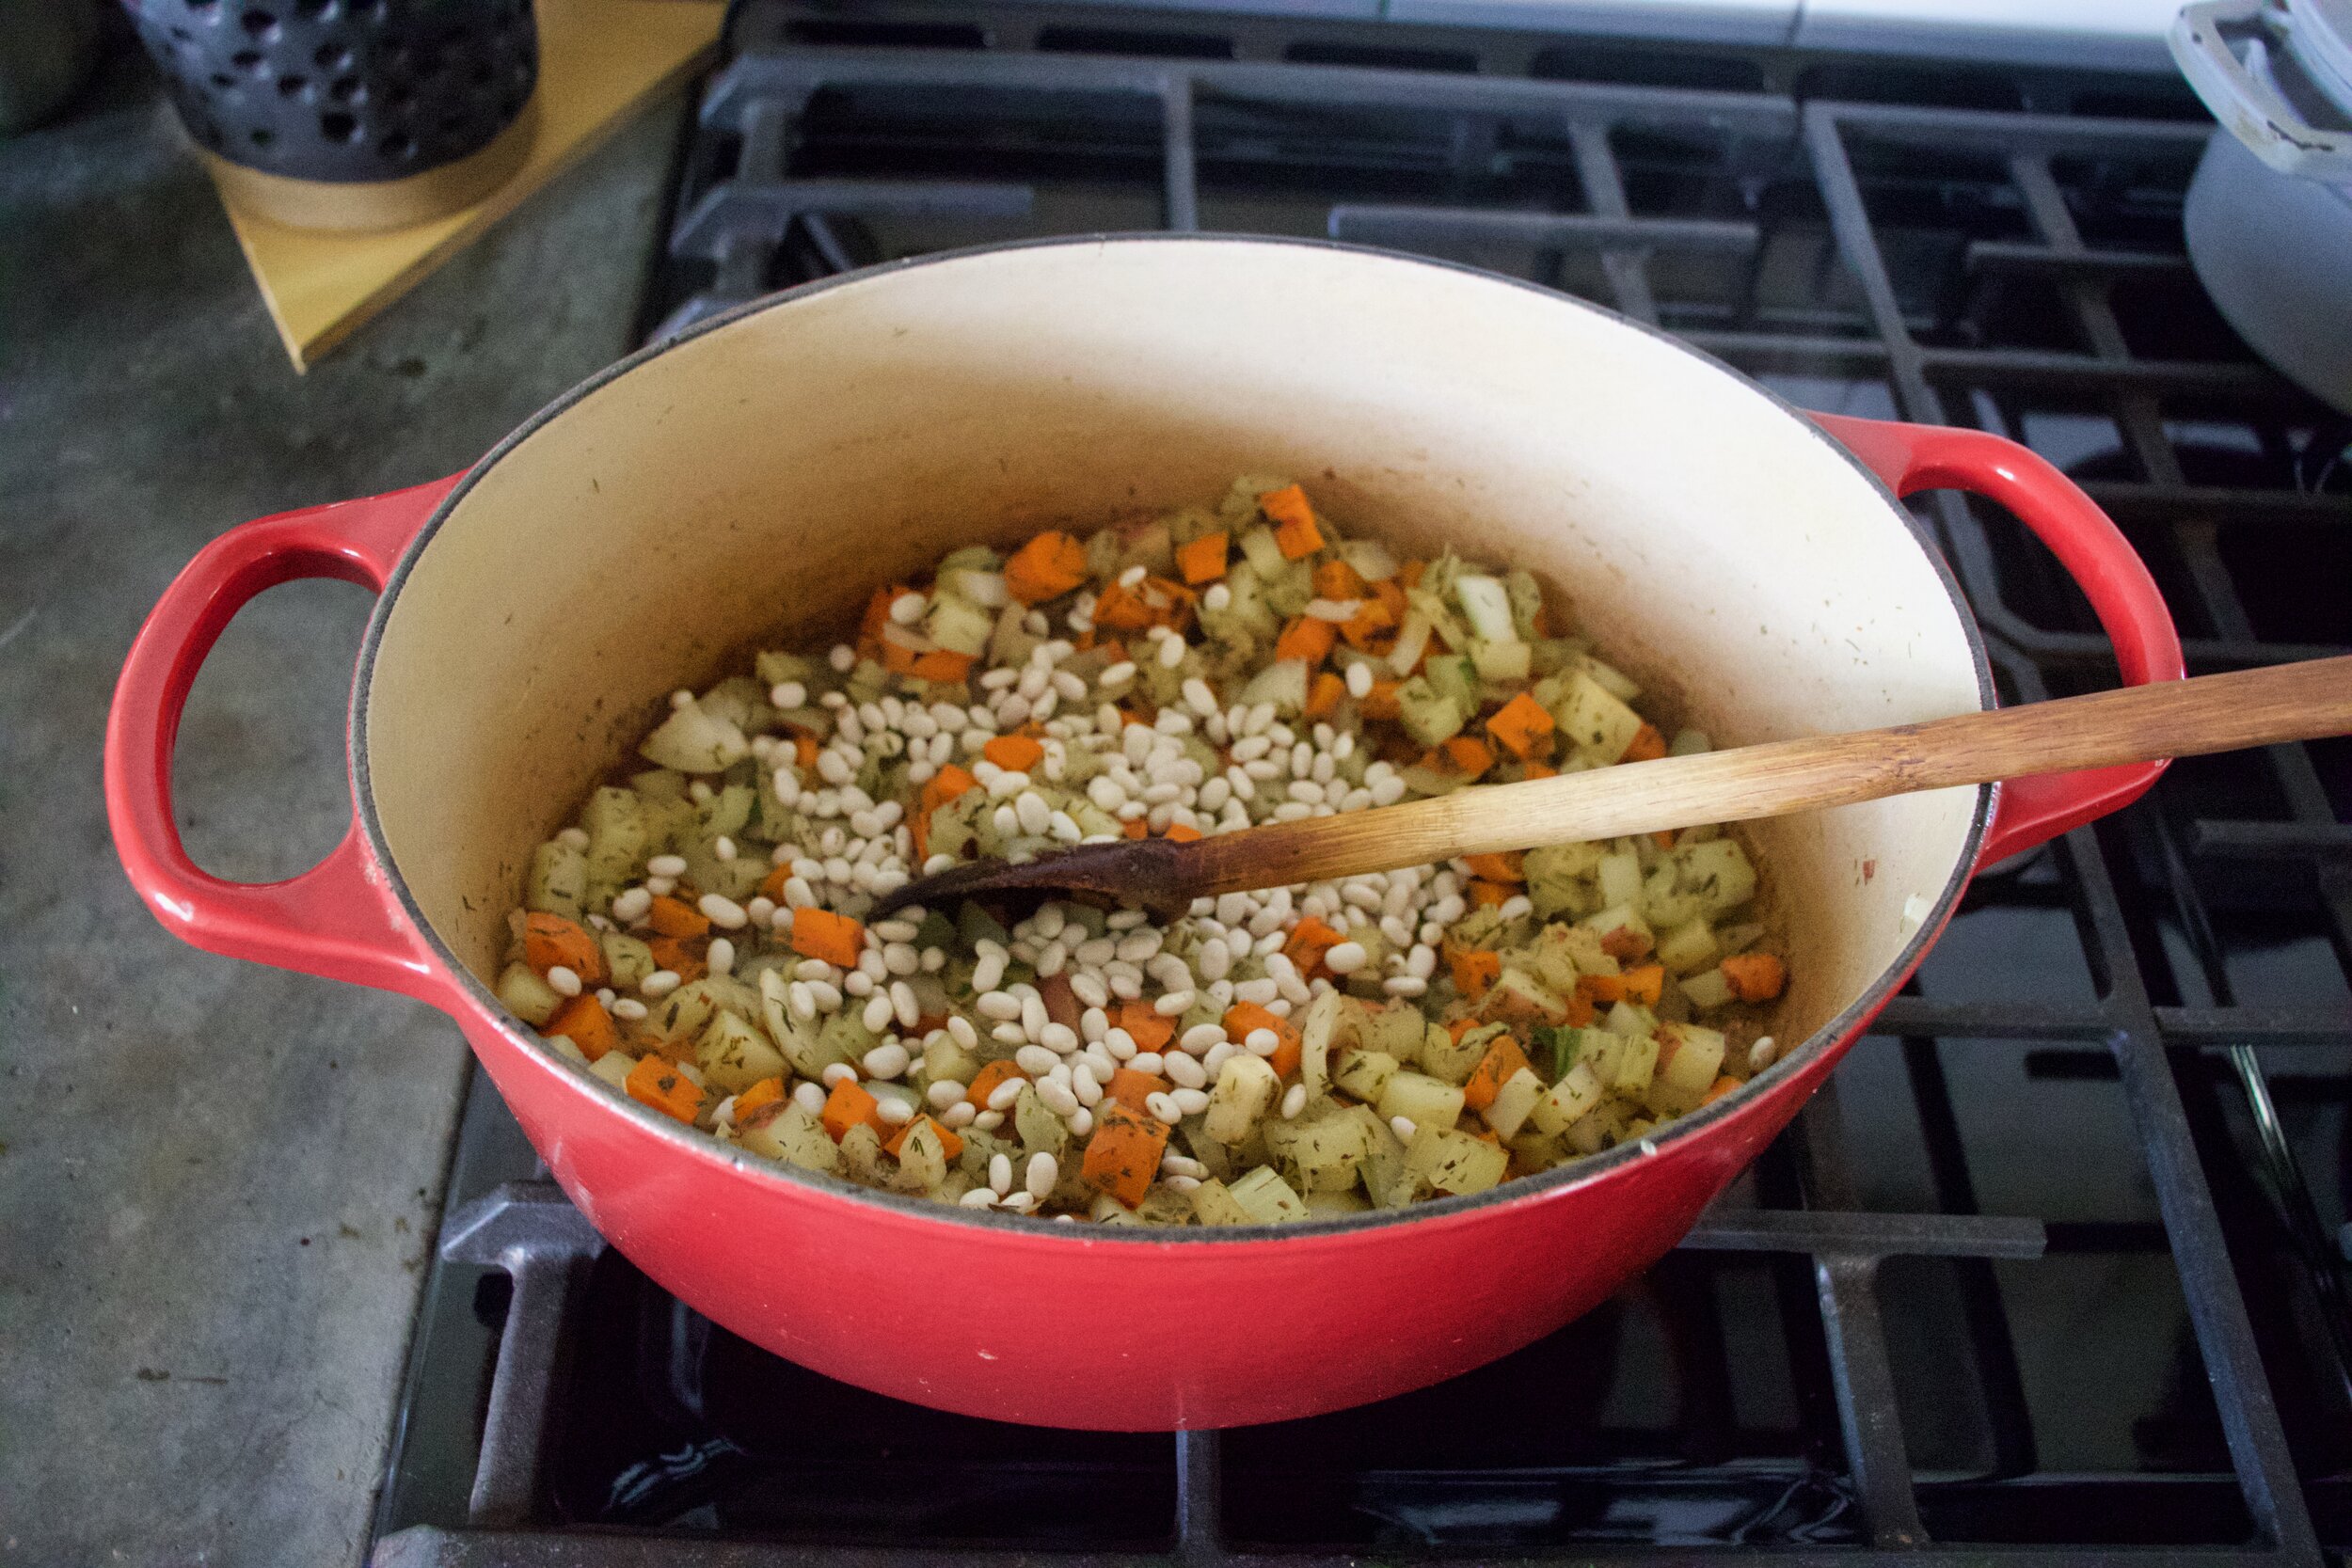
Add in beans and water. Bring pot to a boil then reduce heat to medium and let cook for about an hour. Just give it a stir once in a while.

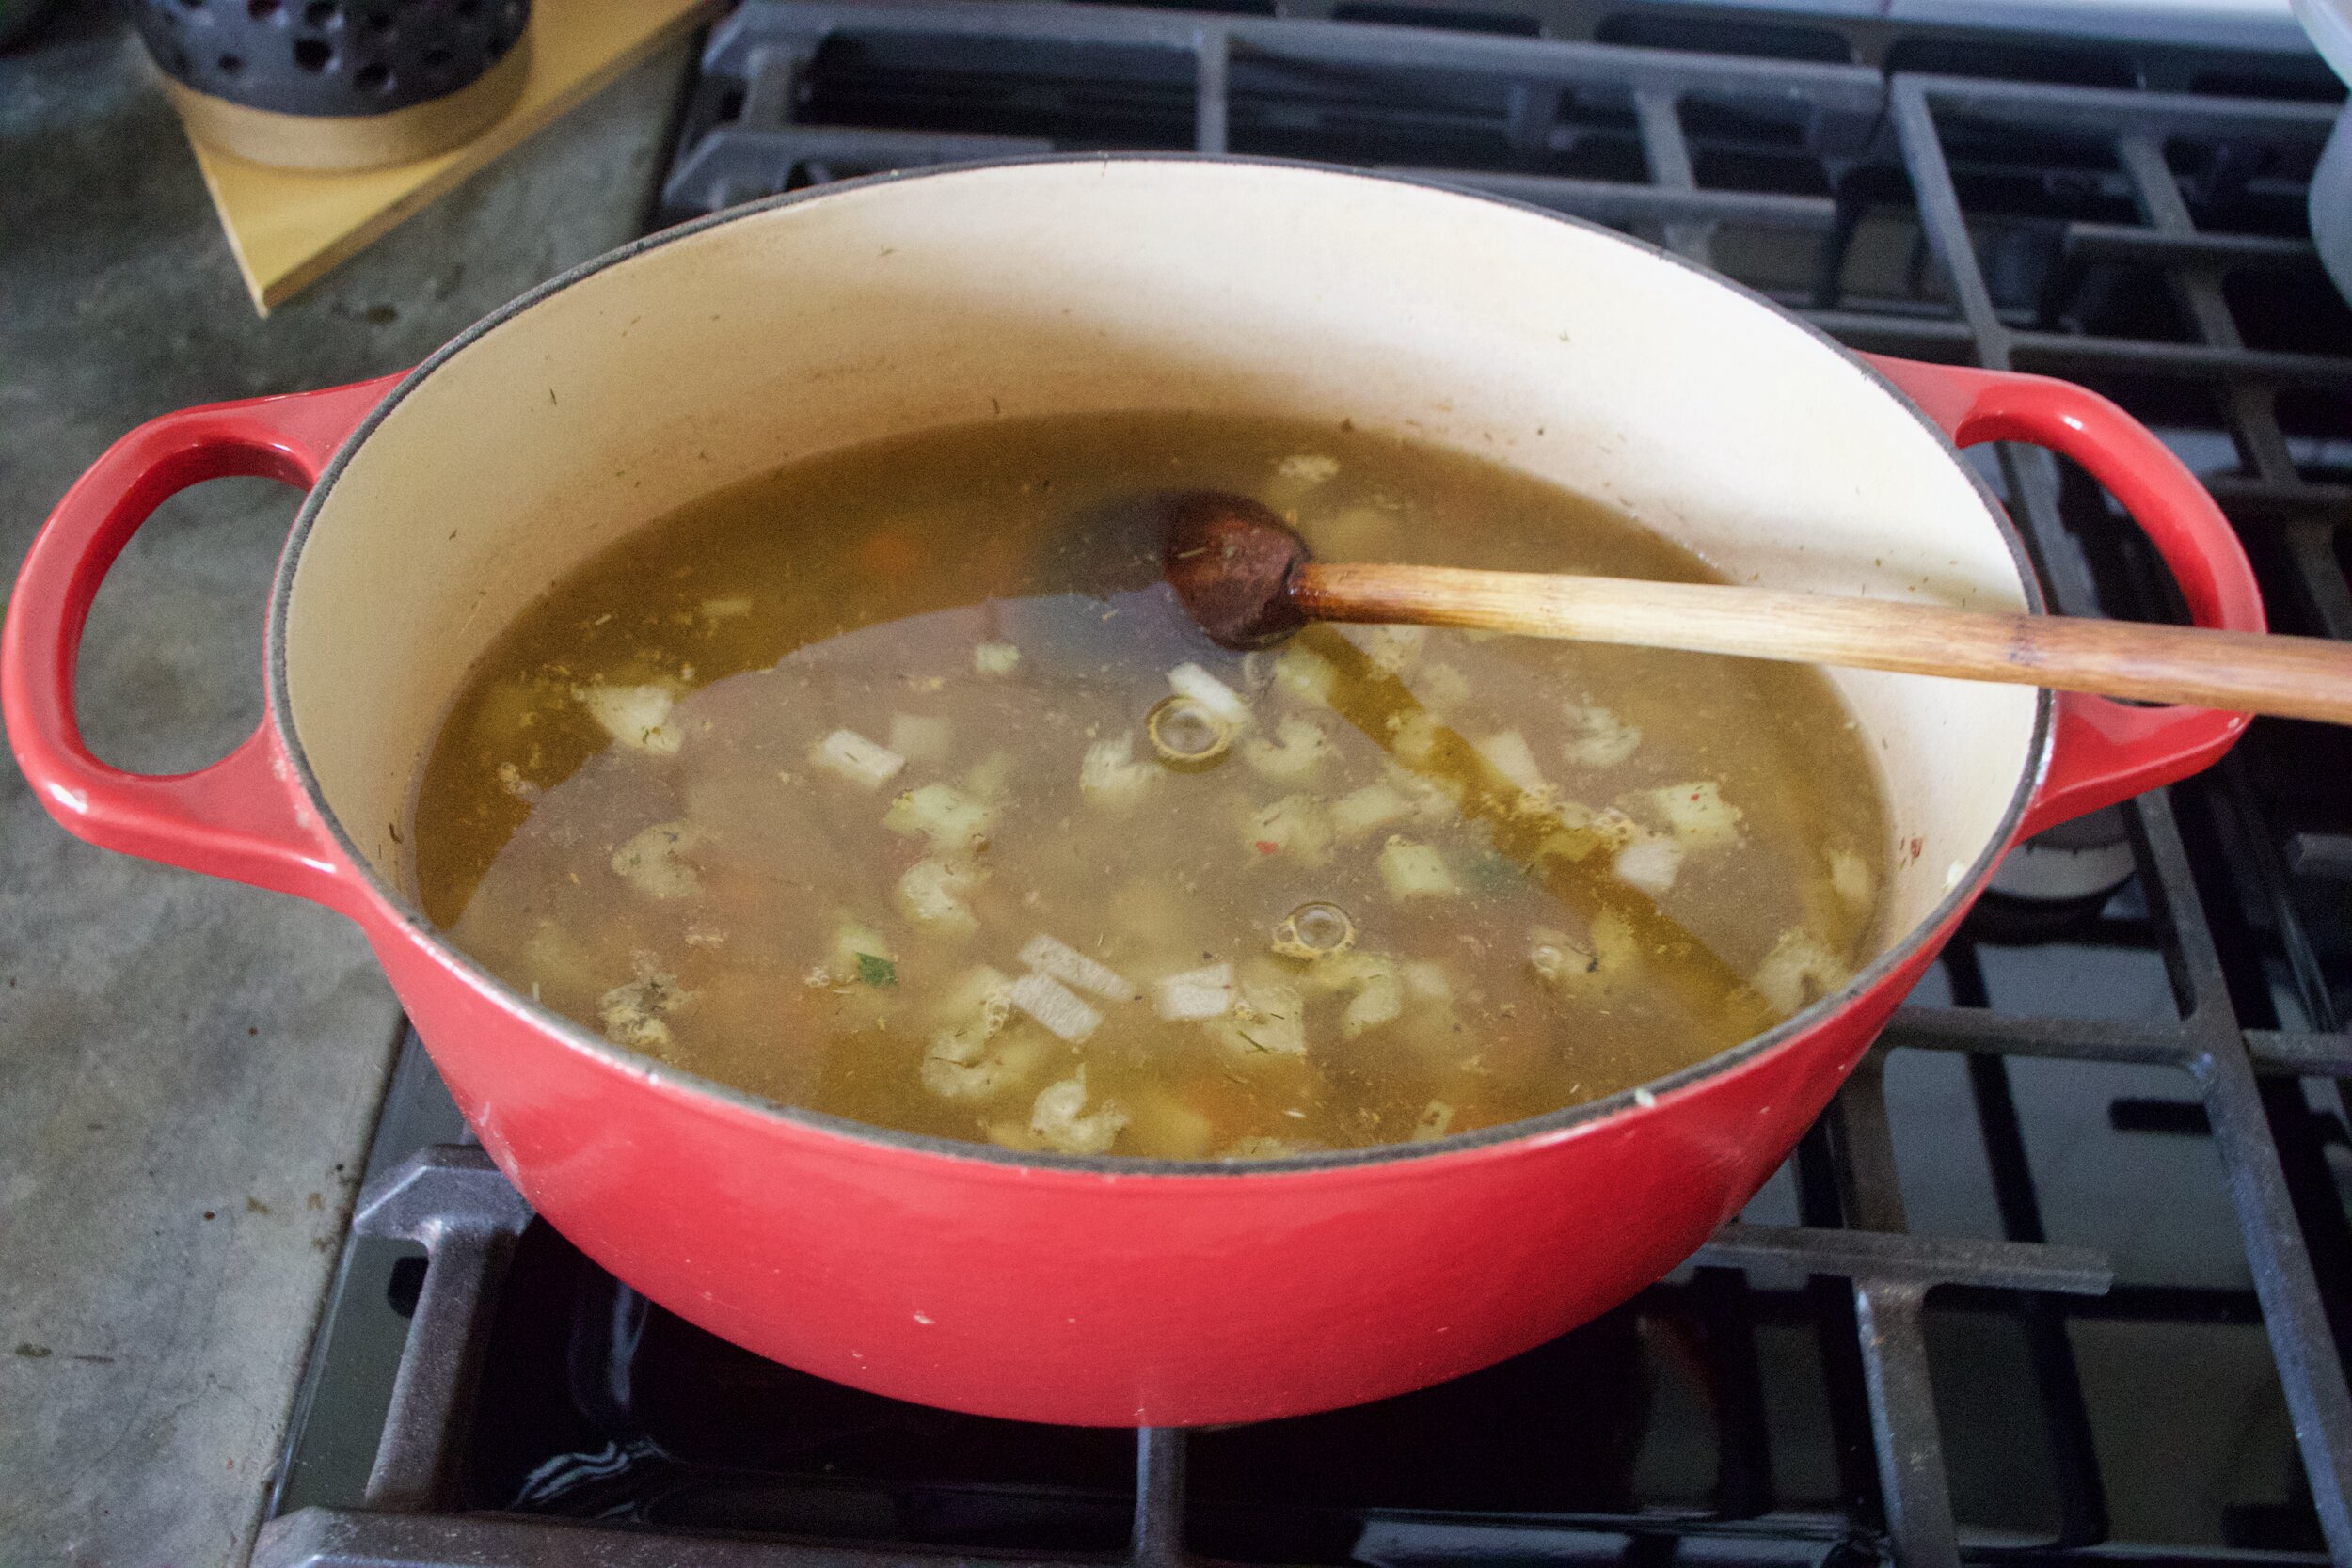
After an hour check the beans. If they seem close to being done (almost squish in between fingers), then add in the tomatoes, the chard greens, and a few more cup of water. Keep on heat and start the dumpling batter.

IMG_2655 2.jpg
IMG_2658.jpg
IMG_2661.jpg

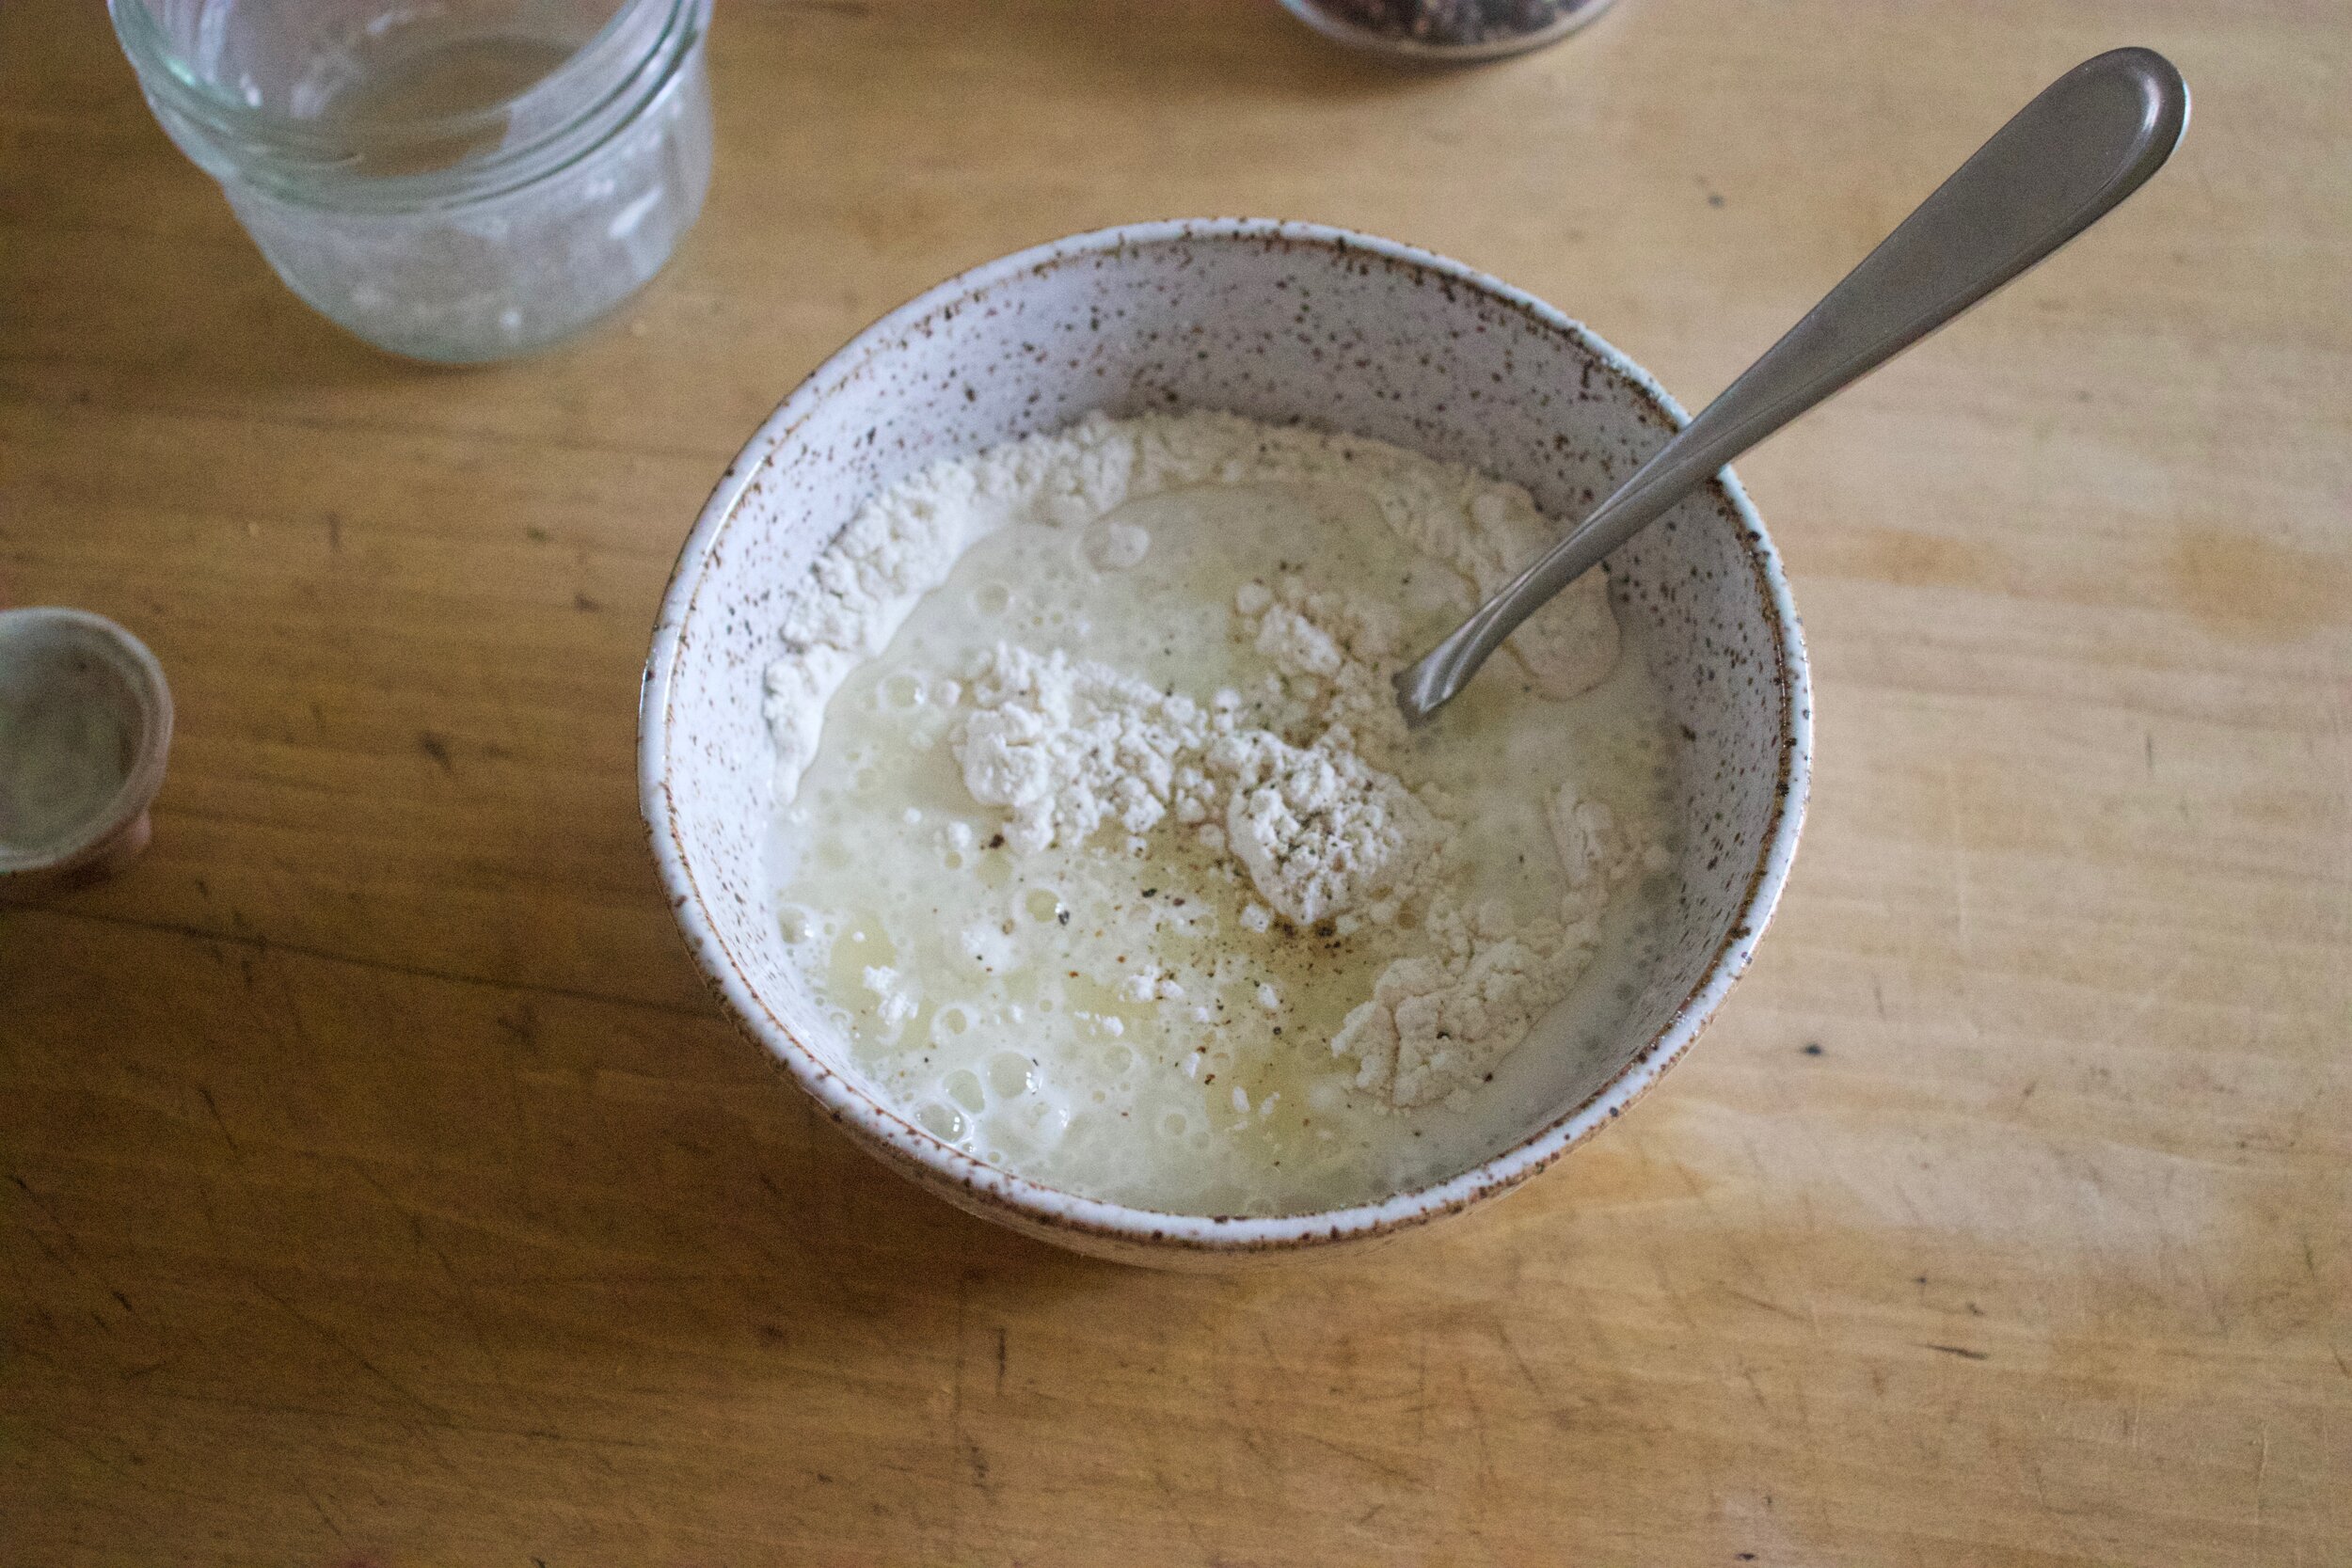
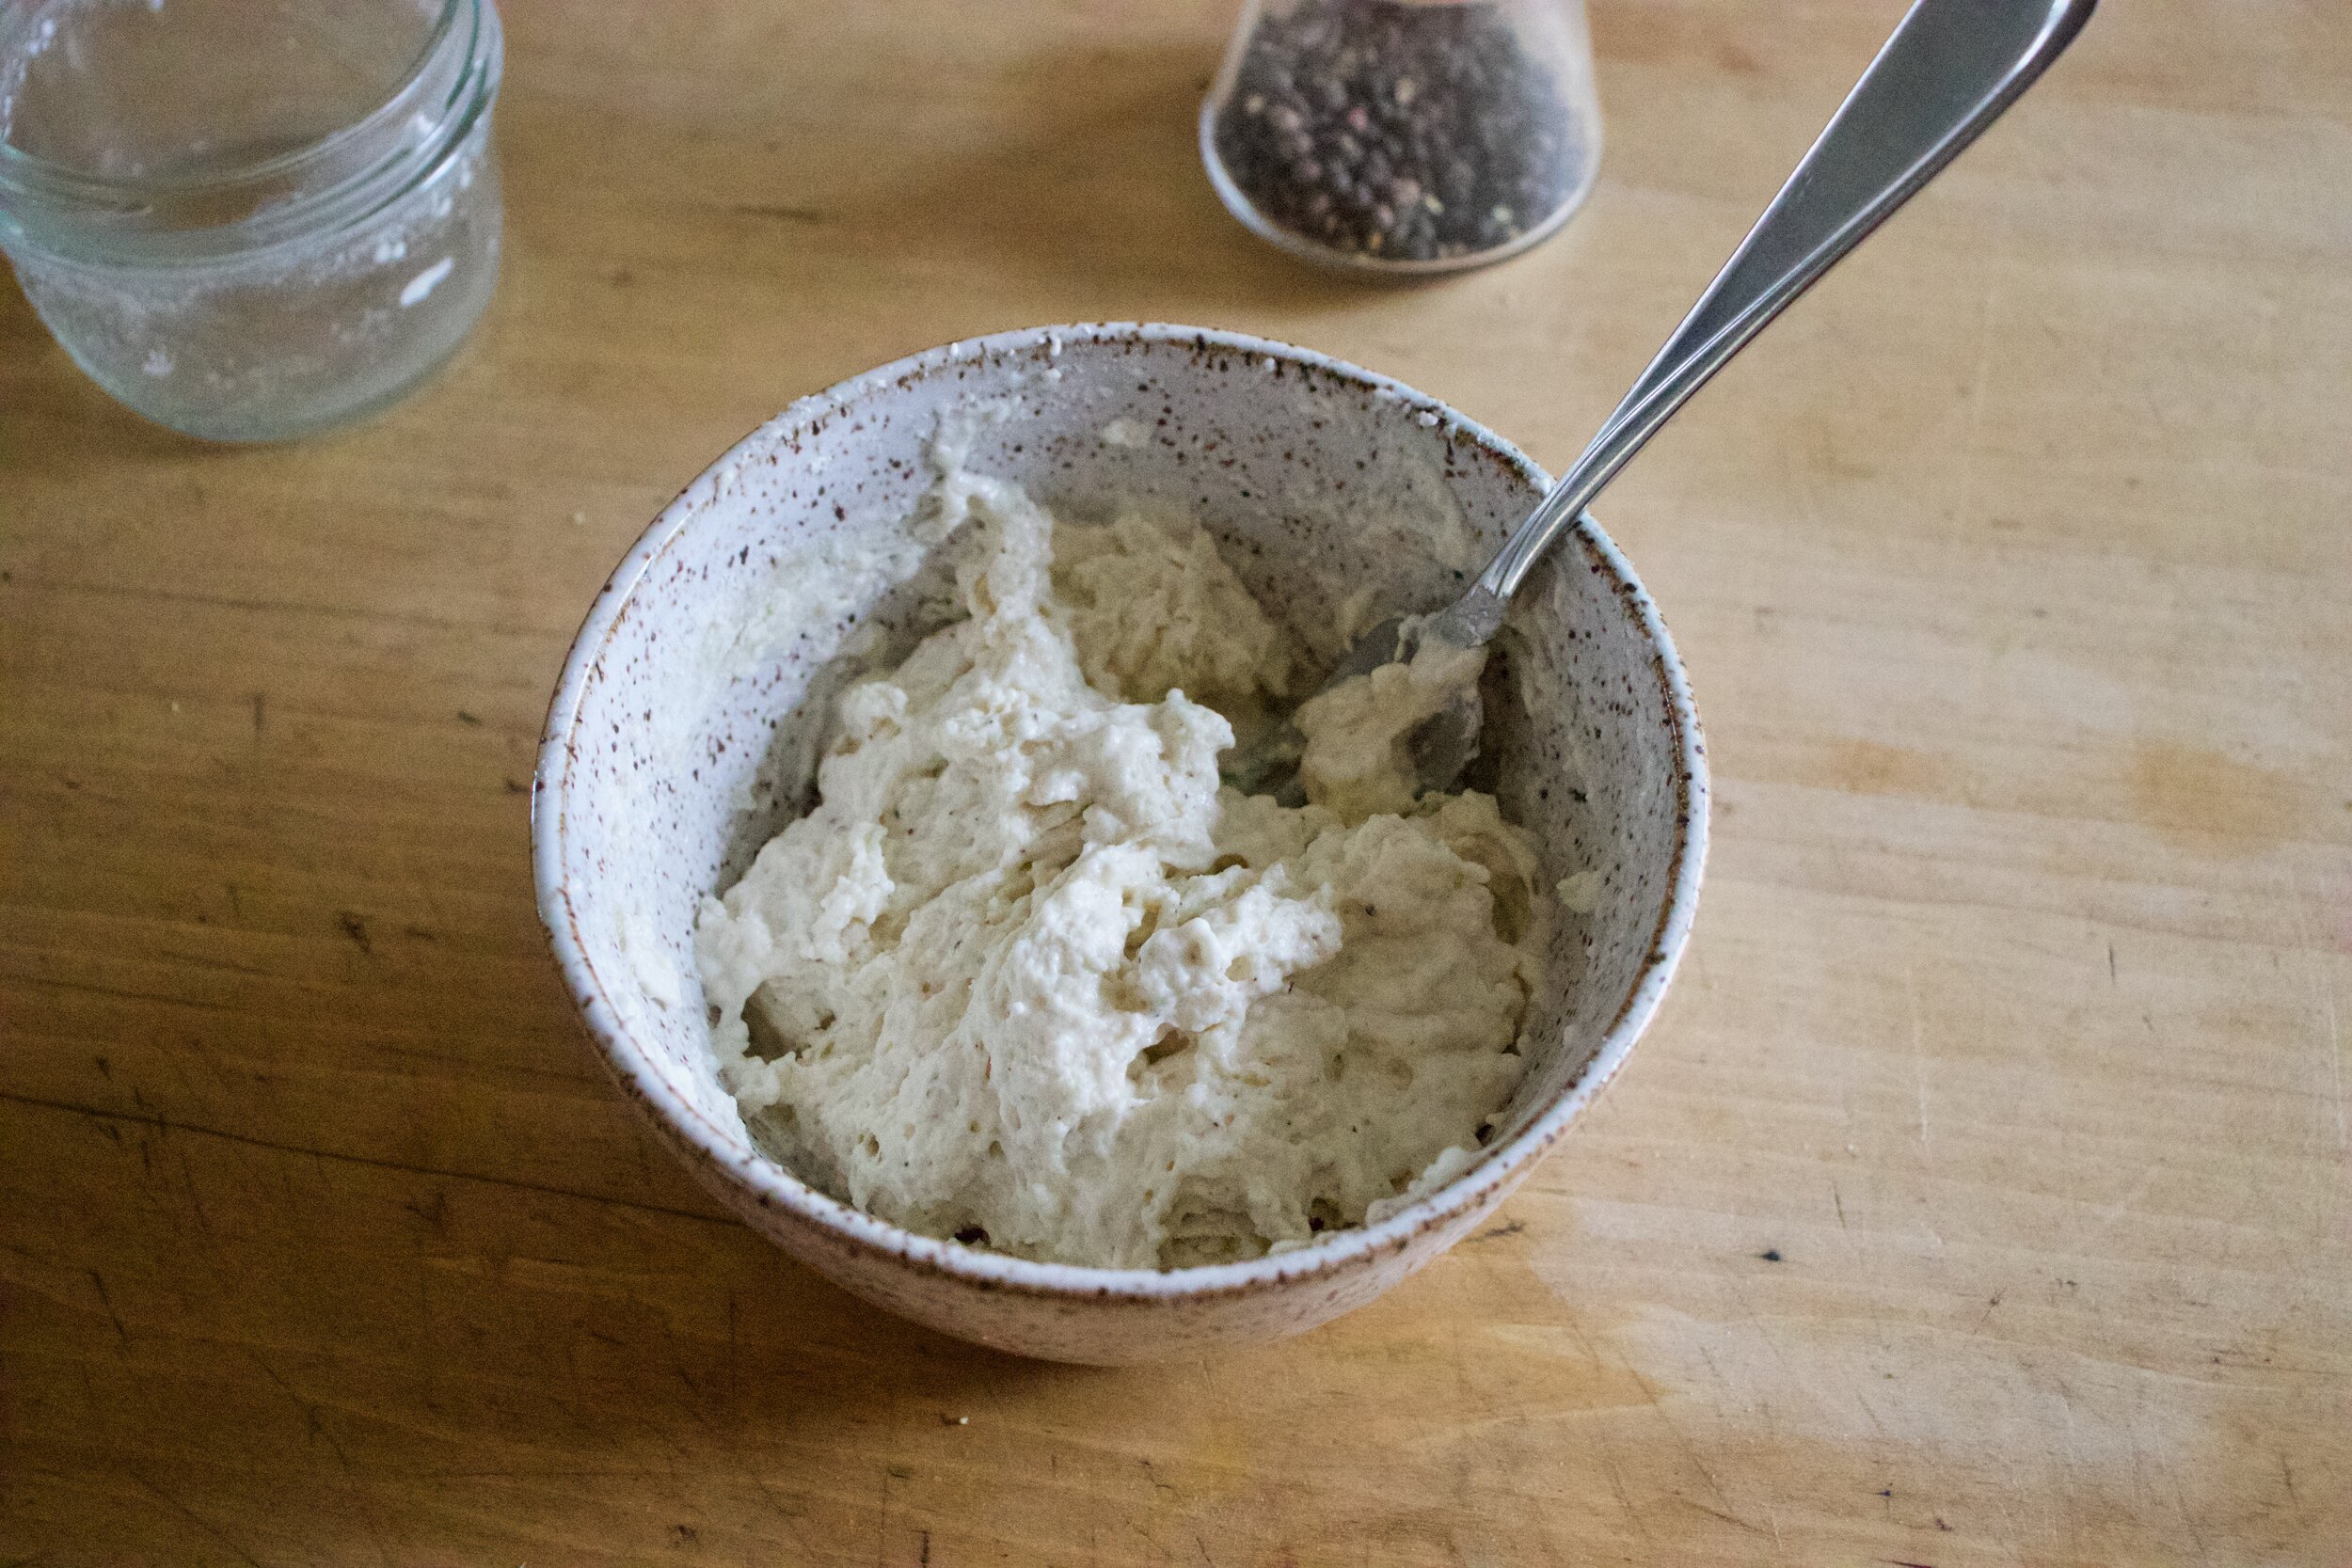
Dumpling batter. Mix together the dry ingredients then add in the wet. Mix until combined.

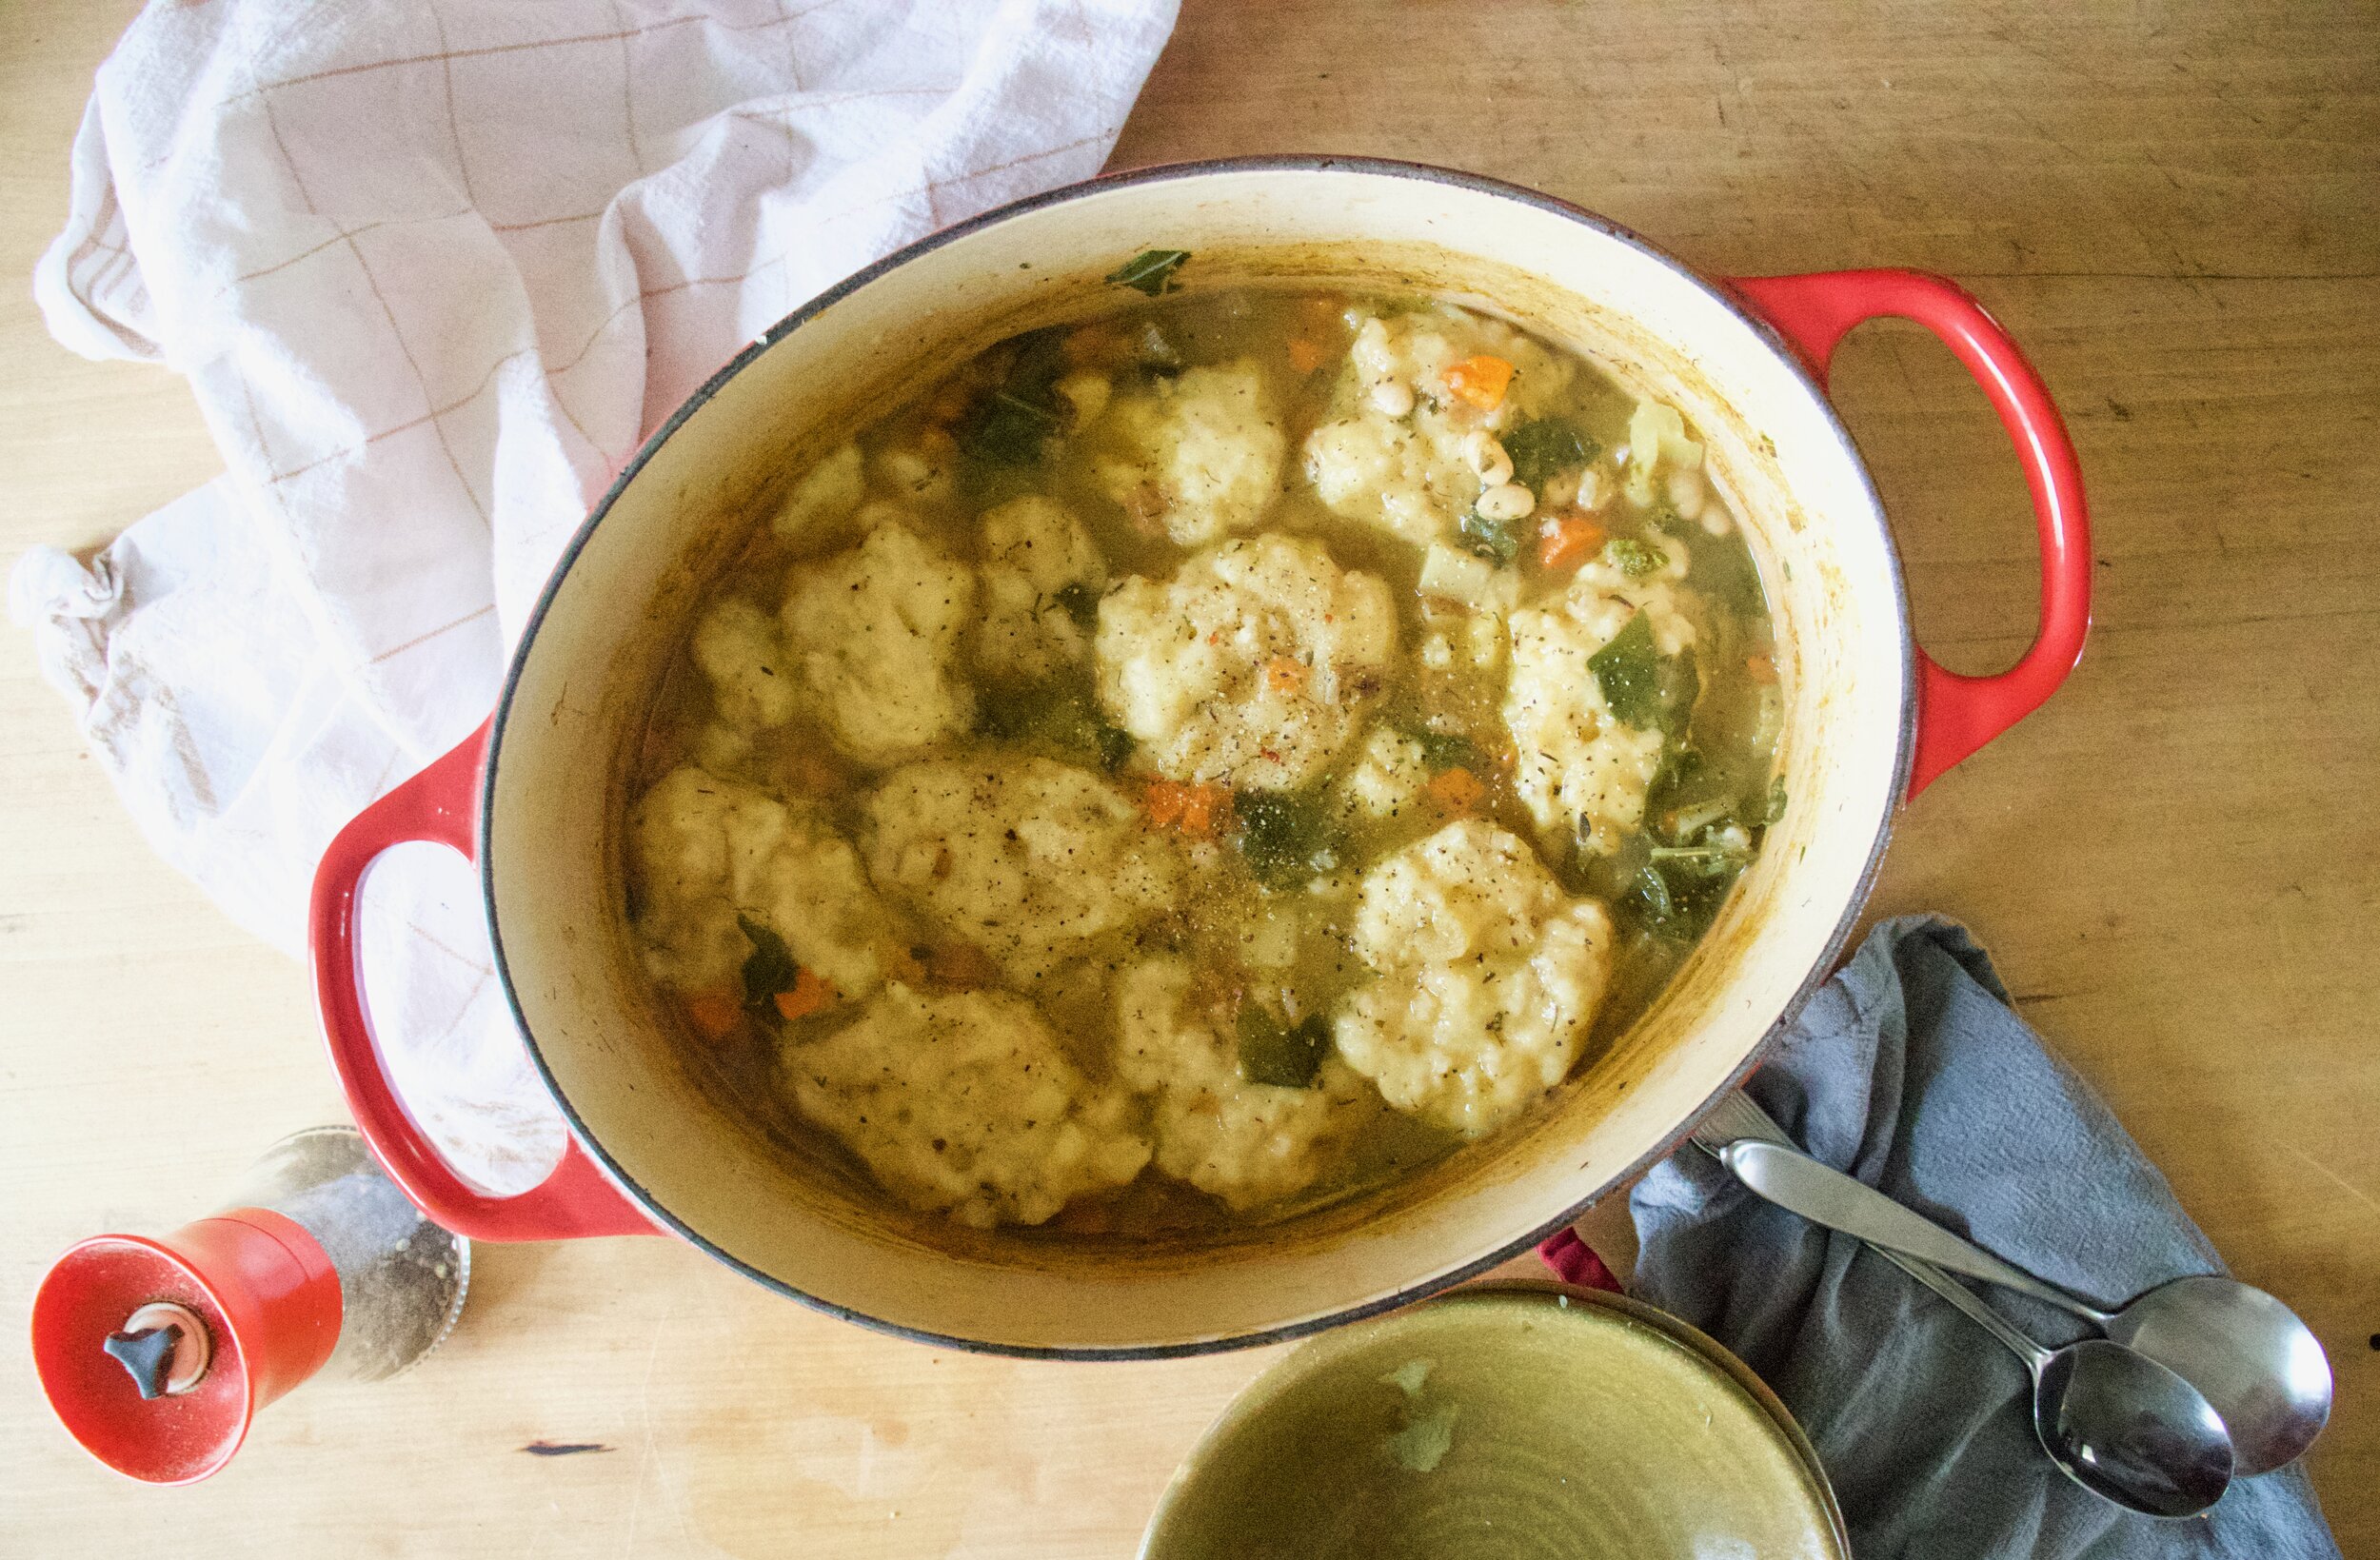
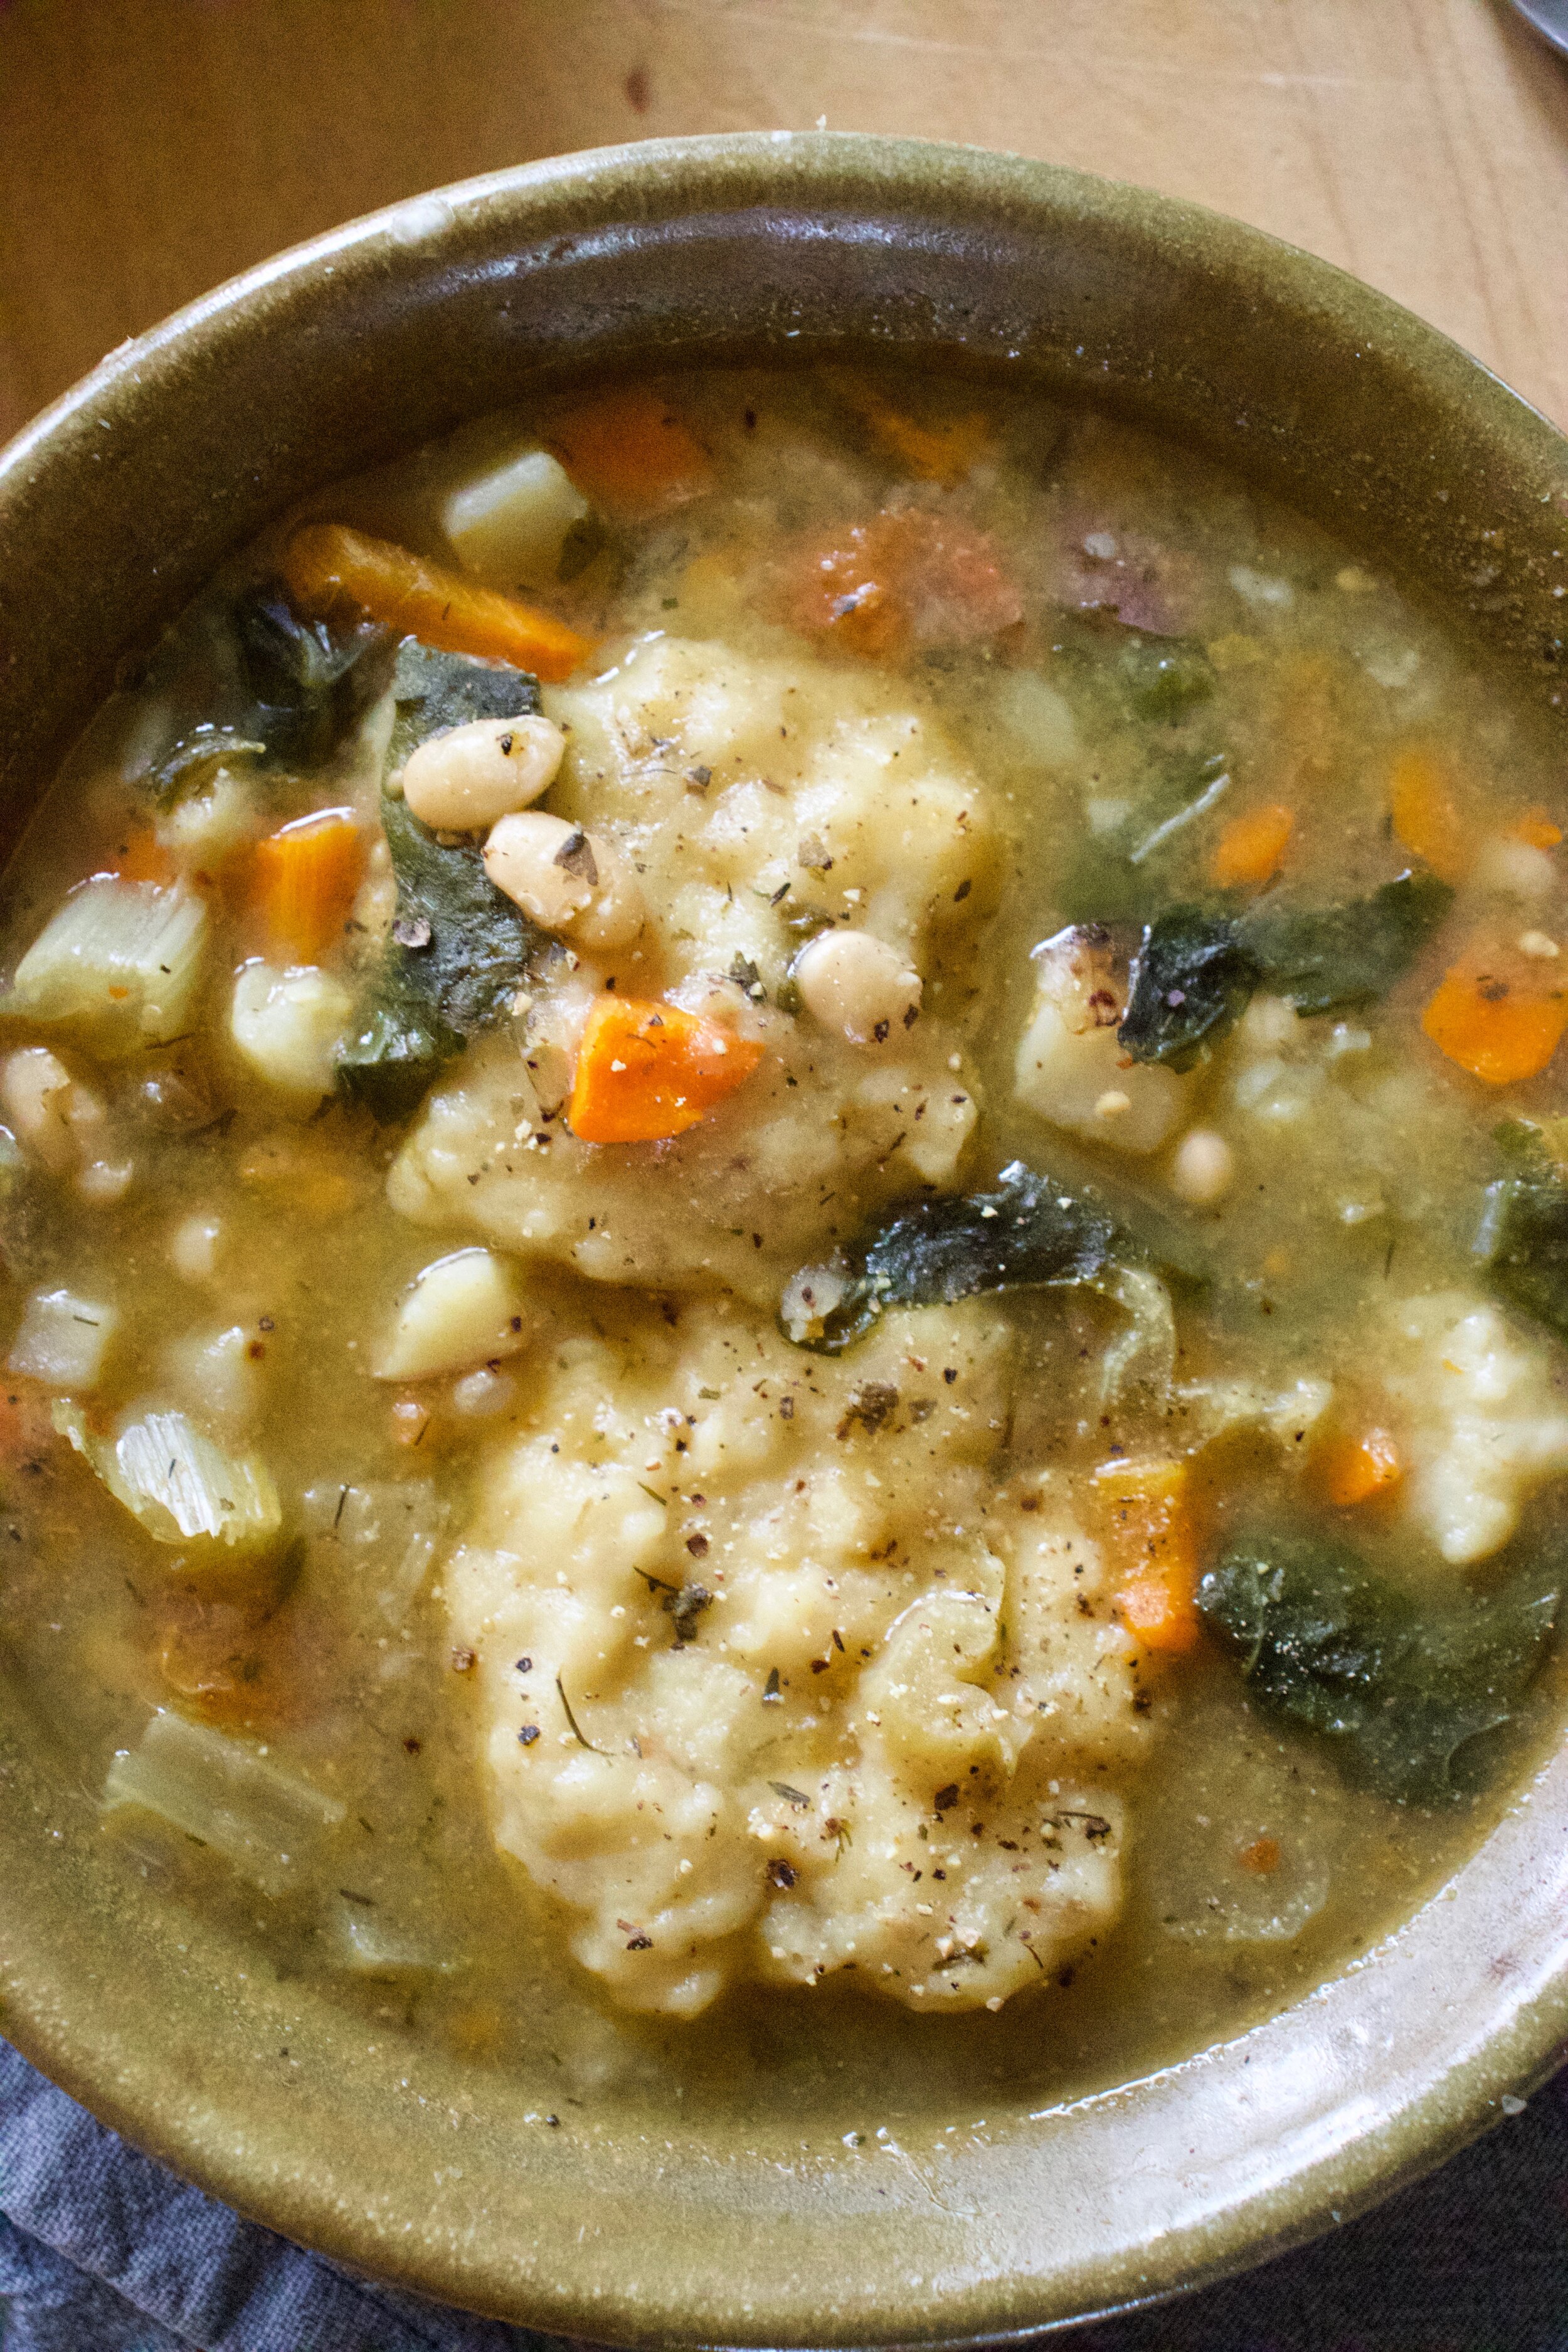
Soup. All nice and looking just about done. The vegges are soft and tender, the beans are cooked. Check and season for salt now then get ready to drop dumplings.

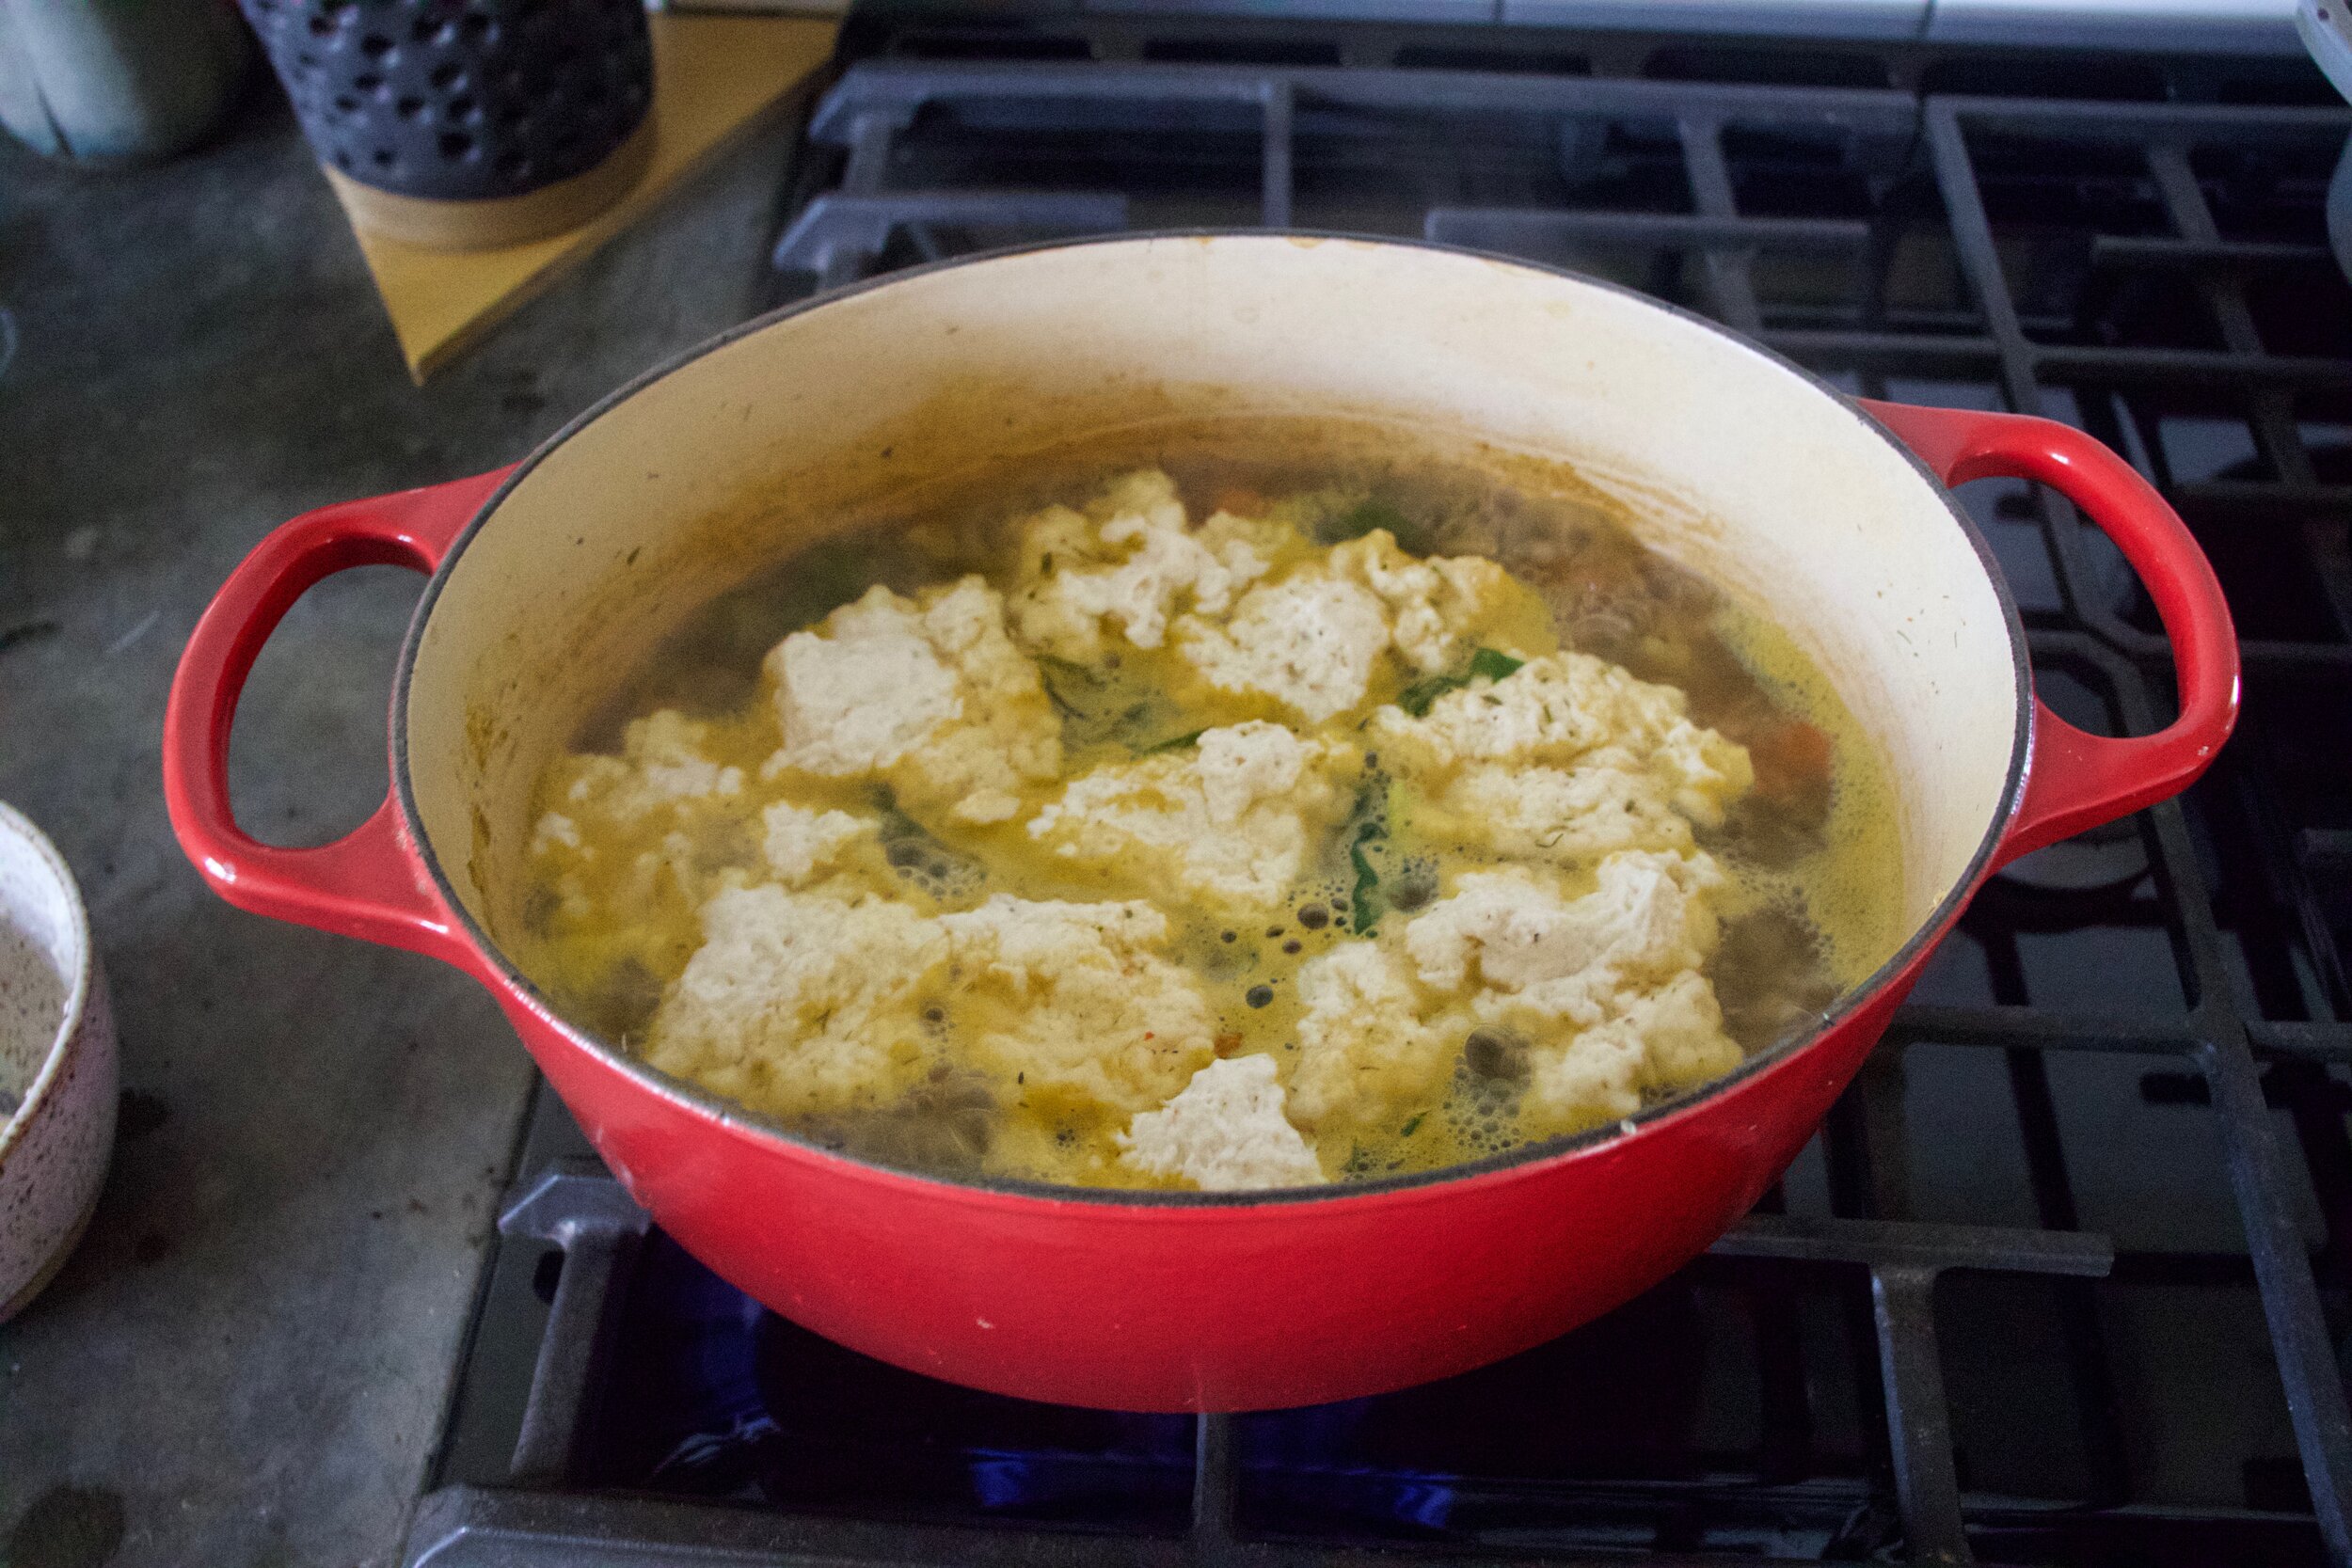
Drop the dumplings. Tablespoons of batter go right into the soup. Thencook, with a lid slightly covering pot, for about 15 minutes.

IMG_2690.jpg

Look at that. Soup with soft, fluffy, dumpling ready for consumption.

Now all you have to do it serve it up and eat it up.

Soup all day. Every day. Dumplings too!

-C


Vegetable Dumpling Soup

makes 4-6 servings

  • For the soup

  • 1/2 cup dried small white beans

  • 1 large onion

  • 2 carrots

  • 2 small red potatoes

  • 3 Swiss chard leaves and stalks

  • handful of cherry tomatoes (about a cup or so)

  • 1 teaspoon garlic powder

  • 1 teaspoon dill

  • 1 teaspoon thyme

  • 1 teaspoon ginger

  • 1 teaspoon marjoram

  • 1 teaspoon ground mustard

  • 1/2 teaspoon sage

  • 1/2 red pepper flakes

  • 12 cups water

  • salt and pepper to taste

  • For dumplings

  • 1 cup all purpose flour

  • 1 tablespoons oil

  • 1 teaspoon baking powder

  • 1/2 teaspoon salt

  • 1 teaspoon black pepper

  • 1/2 cup warm water or plant based milk

Couple quick notes. I use water but if you really want, use veggie stalk. I find stalk overpowers soup and makes it taste salty, even when it is low sodium. Plus water is there and free but again, use stalk if you want. Also, you can use just about any veggie that you like so if you want to replace chard with celery and spinach or throw some red peppers into the soup, go for it.

Start by small dicing the potatoes, the onion, the carrots, and the stalks of the chard. Dump it all into a large pot, along with all the spices and a good pinch of salt and pepper, and place on the stove on medium high heat with about 1/2 cup water and cook for a few minutes. Cut the cherry tomatoes in half and cut the chard leaves into small ribbons. Set aside.

Once the veggies and spices have had a few minutes on the stove, add in the dried beans and 10 cups of water. Bring the pot to a boil then reduce to a medium heat. Cook for about an hour, giving it a stir once in a while. After an hour, check beans for doneness but removing one or two and pinching between fingers. . They should be close to done by now. If they are still really heard, cook for another 20 minutes, if almost cooked through, toss in the tomatoes, the chard greens and the other 2 cups of water. Keep cooking.

In the meantime, make dumpling dough. Mix the dry together then add in the oil and milk. Mix until just combined. Set aside.

Once the soup is done (the veggies are all soft and tender, the beans are cooked through which should take a total of 1 1/2 hours), it’s time to dumpling. Turn the soup up to a medium high heat and carefully drop tablespoons of the dumpling batter right into the soup. The batter will float. Once all the dumplings are in, half cover the pot and let the dumpling cook for 15 minutes or until the dumplings are big, light. and fluffy.

Remove pot from heat and serve and eat right away. Big bowls, Big spoons. Pinch more of salt if needed. Lots of pepper.

In Vegetables, Vegan, soups/stews/chilis, pulses, Dairy Free, beans Tags Vegetable Dumpling Soup, Soup, vegetables soup, dumpling soup, beans, vegan, dinner, lunch, plant based, fall food, food, fall, winter, warm, hardy, comfort food, stew, pulses, dairy free
Comment

Falafel Stuffed Peppers With Pickled onions and Tahini

September 21, 2019 Colleen Stem
IMG_2407.jpg
IMG_2383.jpg

I love me some falafel. I love me some peppers. So I guess it is natural that I would want to stuff falafel inside of peppers and eat them all to my face right? I think so.

As we all already know, most of what I cook is depicted by whatever I get at farm share. And the past few weeks we have been getting a lot of peppers. I have been happily eating one or two a day, just as they are, but I figured it was time that I did something else with them. Now what is the first thing that comes to mind with peppers? Stuffed peppers of course. And there you have it, falafel stuffed peppers.

So I am not going to lie and say the mr ate them and swooned. He is not the biggest fan of peppers (I am starting to realize that he doesn’t have all the right taste buds in his mouth. So sad for him.) so he dumped the falafel out of the pepper and ate it with most of the pickled onions, the tahini, and rice. That he really liked. Lucky me, I wanted his pepper anyway because roasted peppers are freaking fantastic amazing and whatever him. Me, as a pepper and falafel lover, I found these stuffed peppers to be everything that I wanted and needed and then some. Eaten pretty much right away warm, with pickled onion and covered in all the tahini, it was a very very satisfying meal. But also a left over stuffed pepper that was stuck in the fridge, eaten cold standing in front of said fridge, right before bed. That was something great as well. I might have even gone in for a second one……

Anyway, a pepper stuffed with falafel is a good idea if you want food, like peppers, like falafel, and are cool. Just saying.

To the falafel stuffed peppers!

The stuff. A few sweet peppers, some cooked chickpeas, chickpea flour, an onion, a bunch of fresh cilantro and parsley, a few cloves of garlic, red wine vinegar, a little water, tahini, cumin, chili pepper flakes, and salt and pepper.

First, take the onion and cut in half. Take one half and cut into very thin slices, place in a bowl, sprinkle with a pinch of salt and toss with the vinegar and a few tablespoons of water. Set that bowl aside. The other half of onion just cut into a few smaller chunks.

IMG_2228.jpg
IMG_2232 2.jpg
IMG_2242.jpg
IMG_2258.jpg

To make falafel. Add the chunks of onion and garlic to food processor and pules a few times to start chopping it up. Add in the cilantro and parsley, the chickpeas and chickpea flour, the cumin and chili pepper flakes, and a good few pinches of salt and lots of pepper. Pulse until completely combined but still a bit chunky. OR pulse until smooth if you would rather it like that. It’s up to you.

Grab peppers and cut each in half. Remove the ribs ad the seeds.

Take falafel mix and stuff it into peppers.

Place peppers onto a baking sheet and into the oven they go.

IMG_2311.jpg

In the meantime while the peppers are cooking, toss the onions around in the brine a few times. Then right before you take the peppers from the oven, drain the brine from the onions into a jar with the tahini and mix until smooth. Add a splash of water to the mix if you need to loosen it up a bit more to make the consistency of the tahini drizzle-able.

And out they come when all roasted and crispy and my oh my, so good!

Now you eat. Garb a bowl, maybe a grain of some sort if you like (I made the mr rice), plop a pepper down, add some pickled onions and drizzle that tahini all over.

Eat.

-C


Falafel Stuffed peppers with Pickled Onions and Tahini

Makes 6 half peppers stuffed

  • 3 medium sized sweet peppers

  • 2 cups cooked and drained chickpeas (or one can)

  • 1 large onion

  • 1 bunch (about 1/2 cup packed) cilantro

  • 1 bunch (about 1/2 cup packed parley

  • 2-3 cloves garlic

  • 2 teaspoons cumin

  • 1 teaspoon chili peper flakes

  • 1/3 cup chickpea flour or oat flour if you don’t have chickpea

  • salt and pepper

  • 1/4 cup tahini

  • a few tablespoons water

  • 3 tablespoon red wine vinegar

Preheat oven to 425

Grab the onion and cut in half. Take one half and cut into very thin slices and place in a bowl. Spinkle with a pinch of salt and dump in the vinegar along with about 2 tablespoon water. Toss around until all the onion is coated and set aside.

Take remaining half onion and cut into big chunks. Toss into a food processor along with the garlic and pulse a few times until the onion is chopped up. Add in the cilantro, parsley, chickpeas, chickpea flour, cumin, chili pepper flakes, and a good pinch of salt and lots of pepper. Pulse the hole shebang until the mixture is combined, the herbs are incropeted, but there is a little chunk left. Or you could make it smooth if you wanted too. It’s up to you.

Grab the peppers and cut them in half. Remove the ribs and seeds then take the falafel mixture and evenly distribute it between the peppers halves.

Place stuffed peppers on a baking sheet, falafel side up, and place into oven to bake for about 45 minutes. You want the falafel mix to have a chance to cook inside and out and to get nice and golden brown and crispy on top.

Right before the peppers are done, grab the onions and the tahini. Toss the onions one last time in the briny mix it’s been sitting in, then drain that brine into the tahini. Mix around until smooth. The tahini should be at the consistency to drizzle so if it is still to thick, add in a splash of hot water to loosen it up.

Once peppers are cooked, remove fro oven. Place on a plate with or without some grain, toss on some pickled onion and drizzle tahini all over.

Eat.

Store left over peppers in a the fridge. To eat, just reheat or eat cold. I really enjoyed eating one cold.

In Vegetables, Vegan, pulses, Pickled, grain free, Gluten Free, entree, Dairy Free, beans Tags Falafel Stuffed peppers with Pickled Onions and Tahini, Stuffed peppers, vegan, dinner, Vegan stuffed peppers, Gluten free, Gluten free stuffed peppers, grain free, grain free stuffed peppers, falafel, dairy free, sweet peppers, entree, protein, pulses, chickpeas, homemade, easy, healthy
Comment

Fresh Corn and Oat Fritters

September 7, 2019 Colleen Stem
IMG_1926.jpg
IMG_1794.jpg
IMG_1803.jpg

Corn is the name of the game, and this game I won!

The mr doesn’t much like to eat corn. But I do. And this time of year I get like 10 ears of corn every week from farm share, which is a lot of corn for one person to have to eat every week and sometimes I just can’t do it. So every now and then I make something that I think the mr will tolerate, if not like, to get him to help me eat the stash of a hundred ears or corn that I have going on in the fridge.

These fritters helped me with that and I think with all the future corn that I will get from the farm. They are soooo good! The mr liked them! As for me, I couldn't stop eating them and almost didn't want to share because they we just so dang good. Sweet fresh corn, nutty and slightly chewy oats. Scallions. And that’s pretty much it. So fresh and clean and yummy tasting. A summertime fritter situation that takes corn to a place where even the corn hater likes it.

Although who the hell hates corn? I know one person. One. And I live with him. Weirdo.

Anyway, to the fritters!

IMG_1710.jpg

The stuff. Fresh sweet corn, old fashion rolled oats, and a few scallion. Also some ground flax seed, water, baking powder, salt and pepper, and a little oil.

IMG_1722.jpg
IMG_1725.jpg

Start with oats. Add most of what we need to a blender and blend until it becomes oat flour.

Then the corn. Remove the kernels from the cobs. Best way is to hold corn in a large bowl and cut downward. Don’t want corn flying all over the place!

IMG_1740.jpg
IMG_1744.jpg

Add most of the corn you just cut off the cob to the blender with the oat flour, along with with flax and water. Blend until smooth.

IMG_1732.jpg

Chop the scallions into thin and tiny pieces.

IMG_1750.jpg

Now dump the contents of the blender into a bowl, add in the scallions, the baking powder, and the extra oats and corn. Mix it all up and then let the batter rest for a few minutes (like 10) so the oats have a chance to really absorb all the liquid.

IMG_1773.jpg

And then to cook them. Heat a lightly oiled skillet to medium high heat. Once skillet is hot, drop scoops of batter into it. Cook for 3-4 minutes or until the bottom is a nice deep golden brown. Flip and cook the other side the same.

Fritters be cookin!

IMG_1794.jpg

When fritters are done cooking, place them on a wire rack. So they don’t get soggy.

And then serve them right away. I ate mine with fresh salsa. Definitely the way to go. So GOOD!

Now eat your corn.

-C


Fresh Corn and Oat Fritters

makes about 12 fritters

  • 3 ears fresh corn ( about 1 1/2 cups of kernels)

  • 1 1/2 cups rolled oats (gluten free if needed)

  • 1/2 teaspoon baking powder

  • 2-3 scallions

  • 1 tablespoon flax meal

  • 3 tablespoons water

  • salt and pepper

  • a little oil for skillet

Combine water and flax meal, mix and set aside.

Place 1 cup of oats into blender or food processor and blend for about a minutes or until the oats are a fine flour.

Grab corn and remove from cob. Best way to do this is to place corn vertically in a big bowl and cut downwards so the bowl catches all the kernels. Cut enough corn until you have about 1 1/2 cups of kernels. Also, garb scallions and chop into very small, thin pieces.

Add in a cup of the corn, the flax and water mixture, baking powder, and a pinch of salt and pepper. Pulse or blend until completely combined and the mixture is mostly smooth.. Dump mixture into a bowl and add in the remaining corn, chopped scallions, and oats and mix together. The mixture should not be runny, but also should not be dry enough to pack together. If the mixture seems too dry and tight, add in a tablespoon or two more or water. To wet, add in a small handful of oats.

Once batter is mixed, set aside for about 10 minutes to rest.

Grab skillet and place on medium high heat. Add a touch of oil to pan and make sure it evenly coats the bottom. Once pan is preheated, add scoops batter into pan (about 2 tablespoons each). Cook first side for about 3-4 minutes or until dark golden brown, then flip and cook the other sides for another 2-3 minutes until a dark golden brown. Remove from pan and either place on a wire rack or a plate. ( I recommend a wire rack just to keep them from getting soggy.)

Serve right away. Fresh salsa goes amazingly with them!

Any left overs can be stored in fridge and reheated in the oven.

In Dairy Free, Vegetables, Vegan, summer, Gluten Free, grains Tags Fresh Corn and Oat Fritters, fritters, vegan, gluten free, corn, oats, dinner, snack, plant based, food52, food, recipe, farm fresh, healthy, easy, summer, dairy free
2 Comments

Beet Chips

August 31, 2019 Colleen Stem
IMG_1570.jpg
IMG_1518 2.jpg

When your sister drops off 50 lbs of beets, on top of the 50 lbs that you have to harvest that are growing in your garden, what do you do?

Well chips of course.

Yeah, chips. That’s right. When I got home from camping on Monday and there was a humongous pile of beets sitting next to my front door, I am not going to lie, I was a little shocked. I mean there wasn't just a few little ones. These beets were freaking huge, like the size of my arm, and so many. But pretty much right after my initial shock I knew what needed to be done. First, eat a few roasted, second, roast extra to freeze for later, and lastly, make a few bunches of chips.

Have you ever had beet chip? They are amazing. Crispy, crunchy, tasty as all heck. If you like beets, even in the slightest, you will love these. If you hate beets, well maybe don’t? Either way, beet chips are the best chip. Wha't’s not to love? Pink, and chippy. Sweet, and salty. And then you add the fact that making beets into chips is a good way to get your veggies in and that you can eat a whole bowl full and feel zero guilt because you are just eating beets. Plus making beets into chips is a good way to use up any extra beets you might have laying around or that have been dropped off at your front door.

These chips, once they are made, will not last long. So when you do make them, know you will probably be making them again soon there after. Me, I have still have to harvest all my garden beets so beet chips are happening again soon. Real soon (like this afternoon!)

To the beets!

The stuff. Beets (these are Formanova beets but any variety works) salt and pepper ,and oil.

Ok so you need to cut these bad boys reallllllly thin. Like 1/15th a inch. So, what I am saying is, use a mandolin. If you don’t have one, a knife will do, but you are going to have a hard time getting them as thin as you need to and all of them consistent so baking is going to be a little more tricky so maybe you should just go borrow or invest in a mandolin.

Grab baking sheets, oil, and salt and pepper. You can either dump the oil directly onto the pile of sliced beets and really toss to make sure each one has been coasted or do what I did which was I drizzled oil into my hands and rubbed each sliced beet between my oiled hands before placing on the sheet.

After you get them on there, single layered with no overlapping, sprinkle tops with a pinch of salt and pepper.

On the way into the oven.

IMG_1552.jpg

After the oven. Baked for about 18 minutes. You really have to watch after the first 13 or so minutes to make sure you catch them at the perfect time. Crispy, but not burnt.

IMG_1550.jpg

A side by side shot. Crazy shrinking will happen!

IMG_1540.jpg

Oh man, so delicious. And so pretty!.

Let the chips cool before eating, you know, so you don’t burn your tongue. Plus they crisp up a wee bit more.

IMG_1600.jpg

Once cooled, pile them into bowl, and then eat them. And eat them all. They are only beets after all. And you won’t be able to stop yourself anyway. Ha

-C


Beet Chips

Makes enough for an evening of chip eating for 1-2 people

  • 2 Large beets (think softball sized)

  • a tablespoon or two of oil (I used grape seed but really any would work)

  • salt and pepper

Note. Making these without cutting with a mandolin will be a pain in the ass. It can be done, but if you have a mandolin, use it.

Preheat oven to 350

With a mandolin, slice the beets about 1/15 inch thick. (No need to peel the beets unless you want to.) Once beets are all sliced, either drizzle them all with a tablespoon or so of oil and toss until all are coated. OR what I did and found worked really well was drizzled oil into my hands and rubbed each beet between my oiled hands as I was placing them on the baking sheets. Either way.

Now place oiled beets, single layered, without overlapping, on baking sheets. Sprinkle with a pinch of salt and pepper and place into oven. Bake for about 13 minutes without worrying then start to check every minute or so until the beets are a deep golden brown and crispy ,which will be between 15-20 minutes. Also, even though you cut them all the exact same thickness, some might crisp up faster so you should remove done chips as they happen. Once they are done, place on a rack to cool. And then do another batch. And not, they do crisp up a tiny bit more as they cool.

Once chips are cool and crisp, eat.

Store uneaten (how did you not eat them all?) chips in an air tight container. If you notice that they turned a bit chew, just place them back into oven while preheating oven to 300 then turn oven off and let sit in there for a few minutes.

In 5 ingerdients or less, crackers and chips, quick and easy, snack, Vegan, Vegetables Tags Beets, Baked chips, Beet Chips, chips, veggie chips, veggies, plant based, vegan, food, recipe, gluten free, heathy, snack, baked, not fried, simple
Comment

Fresh And Chunky Cherry Tomato Peach Salsa

August 24, 2019 Colleen Stem
IMG_1409.jpg
IMG_1446.jpg
IMG_1420.jpg

There are a million things you can, and should, do with tomatoes. Salsa is one of those things. Especially with the super fresh and ripe summertime tomatoes that may or may not be overflowing every empty surface of your kitchen (my current predicament). And peaches. Now is the time friends to eat your peaches. In season and oh so tasty. Do it now before it’s too late and those oh so deliciously ripe and sweet peaches are gone and all that is left are mealy, gross, supermarket fakes. Only eat in season peaches. That is a life lesson everyone should know.

This salsa is perfect. Super fresh, sweet and slightly spicy, with a hint of tangy goodness and just, you, really freaking perfect. A salsa that hits all the right notes with out being overly anything and underly nothing if you know what I mean. All the tastes of summertime. A darn good salsa. Darn good.

This salsa also makes me a winner at the game I am playing with myself called “Get the mr to eat tomatoes and like it"“. The game started when he told me he was sick of tomatoes and he didn't want to eat anymore. I made the salsa (which also made me a winner in the other game I play called “Get the mr to eat fruit in his savory dishes”, because he also tells me how much he hates fruit in savory), he tried the salsa, raved about the salsa, and then went and ate the rest of the salsa with his rice and beans. .

I win again! Haha

Anyway, super fast, super fresh, super super. A great way to use up a any of your shit load of tomatoes you might have laying around and to get in a few more of those summertime peaches before they are gone again for the year.

Now to the salsa.

The stuff. Cherry tomatoes, peaches, an onion, a jalapeño, a lime, a bunch of cilantro, salt and pepper, and a little vinegar.

IMG_1359.jpg
IMG_1364.jpg

Start by cutting up the tomatoes into quarters. Do this carefully or else you will have tomatoes rolling around everywhere. Place chopped tomatoes into a bowl.

IMG_1367.jpg
IMG_1371.jpg

Then dice up those peaches into small little pieces and toss into bowl with tomatoes.

IMG_1373.jpg
IMG_1380.jpg

Onion gets diced up too and placed into bowl.

IMG_1384.jpg
IMG_1388.jpg

Jalapeno, seeds removed, diced up nice and small. Get it into the bowl.

IMG_1393.jpg
IMG_1397.jpg

And cilantro. Give it a rough chop and into the bowl it goes.

IMG_1412 2.jpg

A sprinkle of salt, lots of pepper (to taste of course), the juice of the lime, and a splash of vinegar. Mix it all up and there you have it.

Into a jar (or you can just keep it in the bowl if you want), and it’s ready for eating. Chips, tacos, to top a salad… This salsa does it all. Heck, just eat it with a spoon. There is absolutely nothing wrong with that.

-C


Fresh And Chunky Cherry Tomato Peach Salsa

Makes about 32 oz of the good stuff

  • 1 overflowing pint cherry tomatoes (red, yellow, sun gold or a mix of any)

  • 2 ripe but firm peaches

  • 1 bunch cilantro

  • 1-2 jalapeños (depending on how hot you want it)

  • 1 small red or white onion

  • a lime

  • salt and pepper

  • splash red or white wine vinegar

Grab the tomatoes and carefully, so they don’t roll away, cut each one into quarters. Place in a big bowl. Cut peaches in half, remove pit, and dice the flesh into very small little piece and toss into bowl. Now onion, dice that into small little pieces, along with the jalapeño and toss into bowl. Cilantro gets a rough chop then into the bowl it goes. Now sprinkle in a little salt and lots of black pepper. Add the juice of the lime and a splash of the vinegar and toss it all around. Let sit for a few minutes, taste, then season with more salt and pepper if needed. Can add more vinegar for more acid if needed too.

This salsa only gets better with a little age so you can definitely make it a day or two ahead of time.

Store in a bowl to serve or a jar for longer storage. Use within a 4-5 days of making it.

In Vegetables, Vegan, summer, Raw, quick and easy, fruit, condiment Tags Fresh And Chunky Cherry Tomato Peach Salsa, Peach, Salas, fresh, homemade, vegan, clean eating, plant based, summer, sweet and savory, condiment, side dish, party, bbq, cherry tomatoes
Comment
← Newer Posts Older Posts →
 

https://thelovelycrazy.squarespace.com/config#/|/about/

Me. Food Maker.Food eater. Woo HOO!

STEM+NODE  SMALL BATCH AND ONE OF A KIND POTTERY

stem+node ceramics


____________________

Subscribe

GET NEW POSTS IN YO EMAIL

You are AWESOME!!!


@thelovelycrazy 2014-2021