• stem+node ceramics
  • HOME
  • Food Recipes
  • About
  • Contact
Menu

The Lovely Crazy

Street Address
City, State, Zip
Phone Number

Your Custom Text Here

The Lovely Crazy

  • stem+node ceramics
  • HOME
  • Food Recipes
  • About
  • Contact

Falafel Stuffed Peppers With Pickled onions and Tahini

September 21, 2019 Colleen Stem
IMG_2407.jpg
IMG_2383.jpg

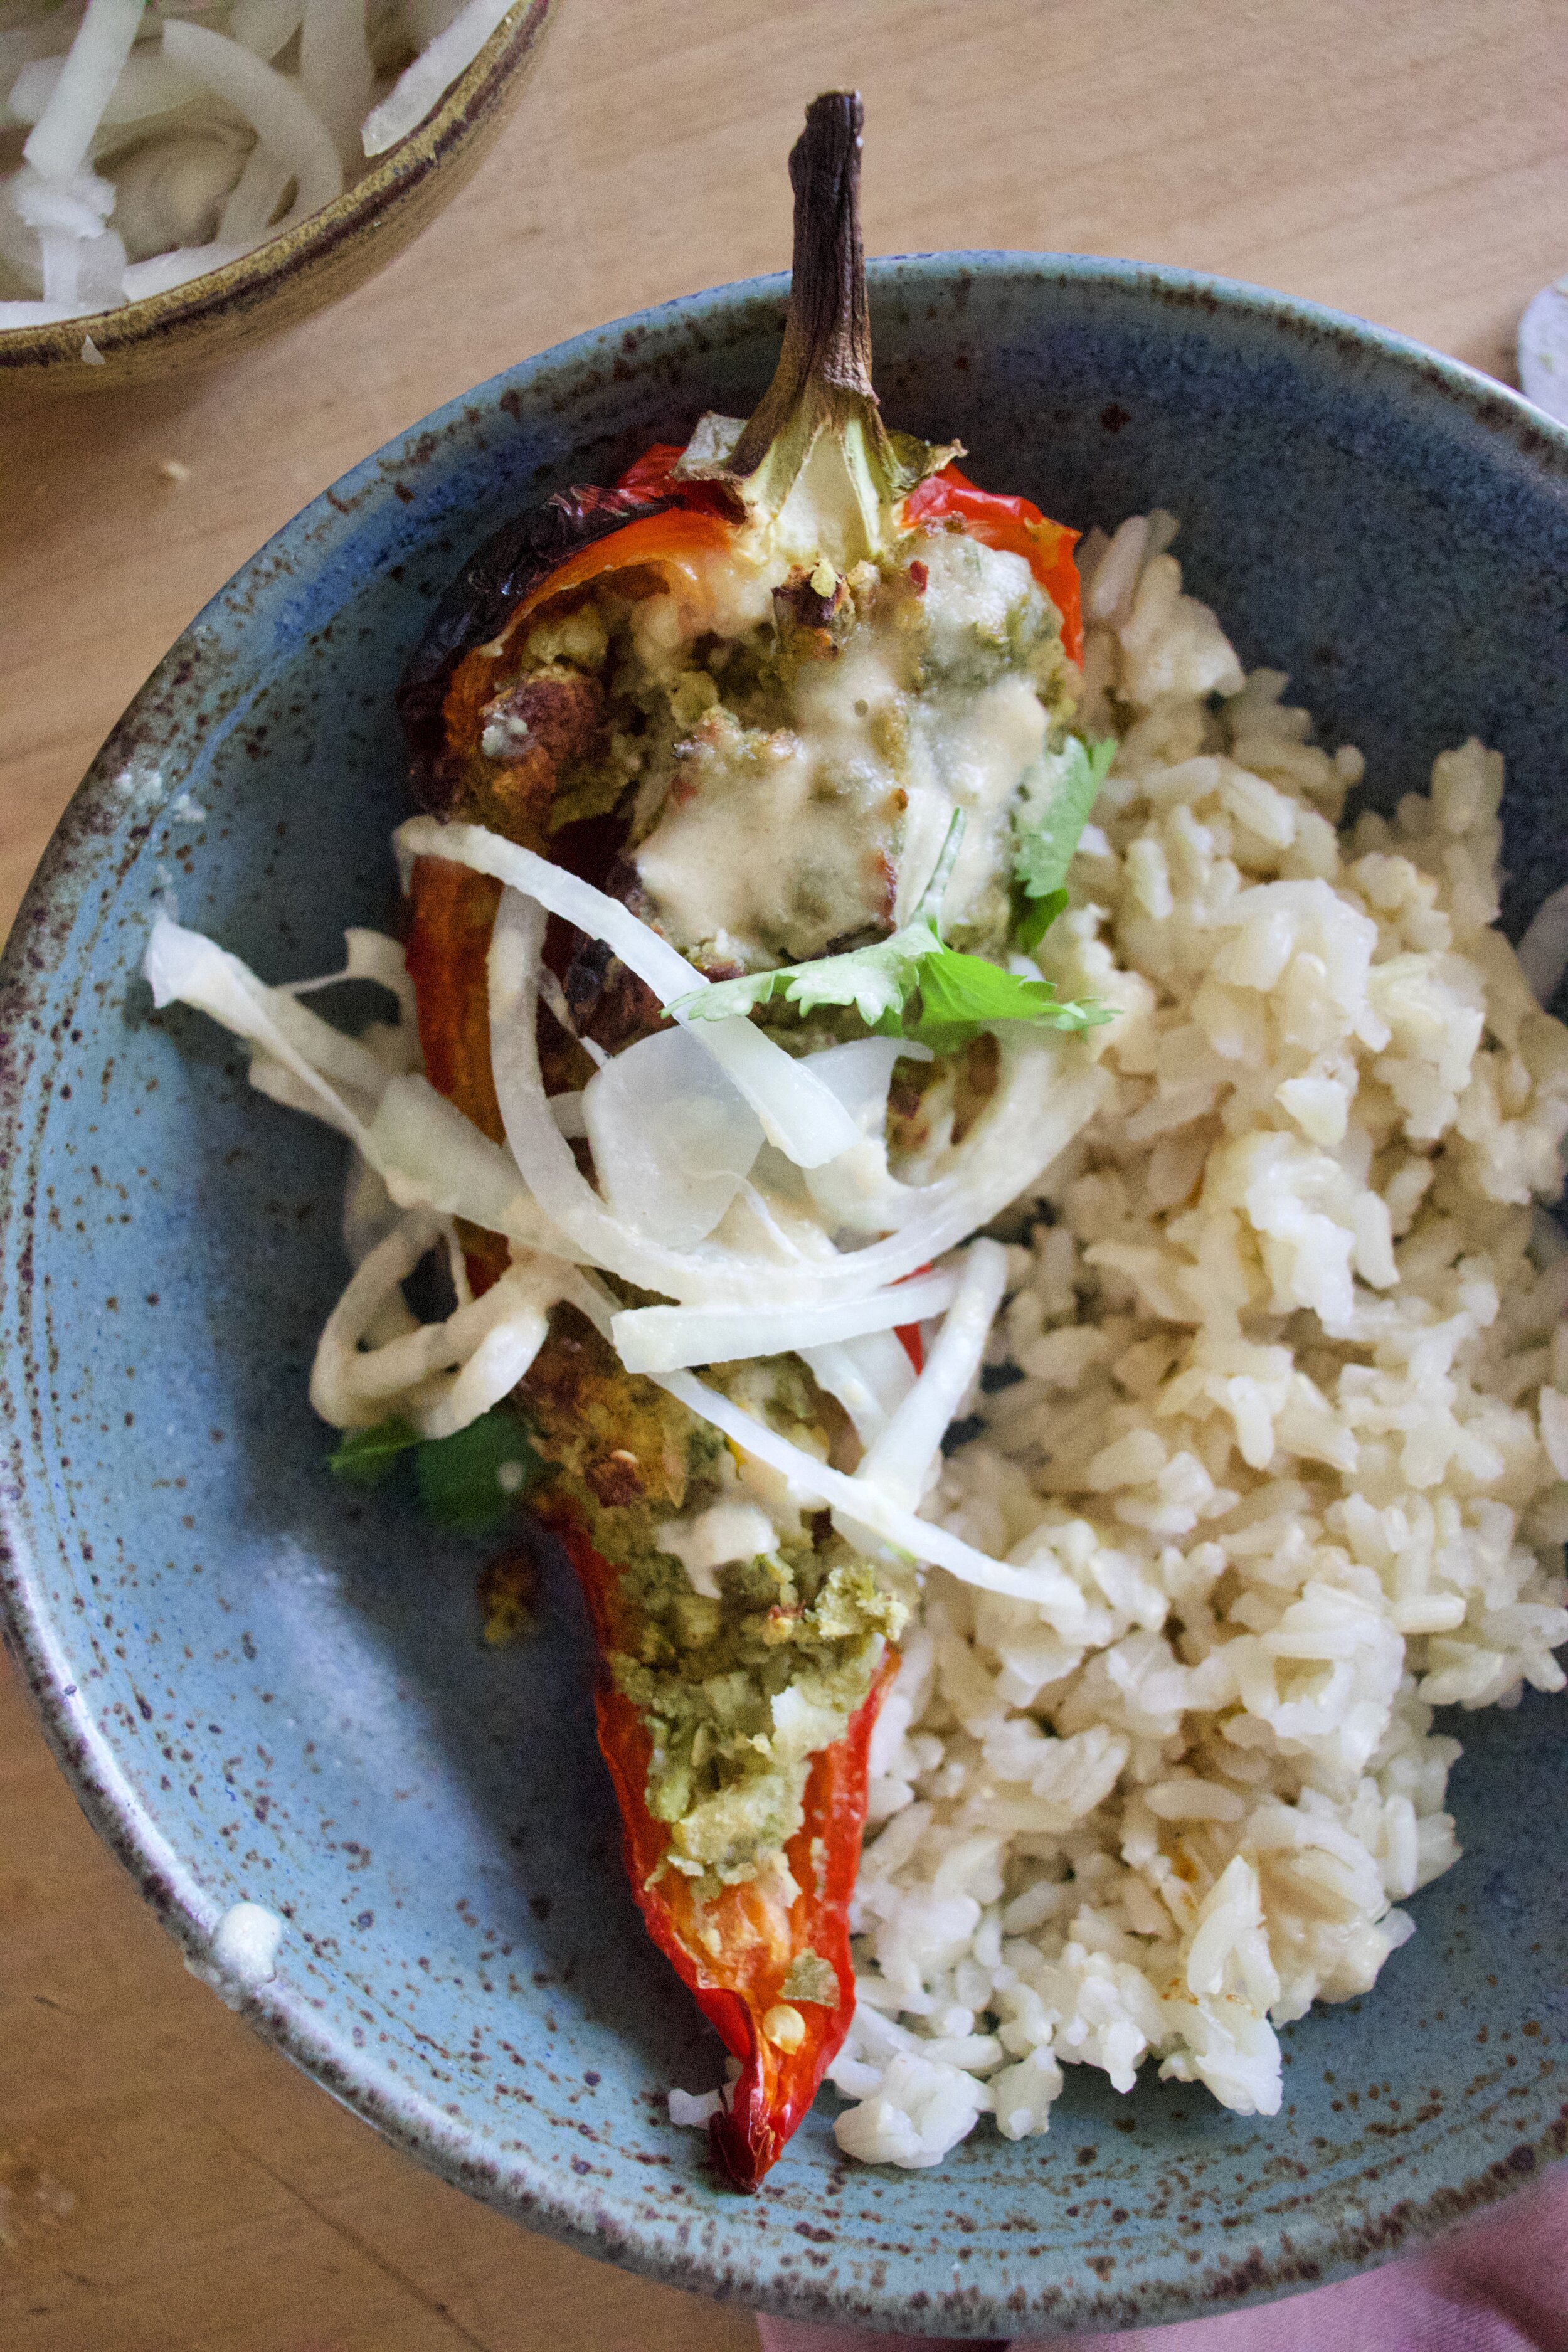
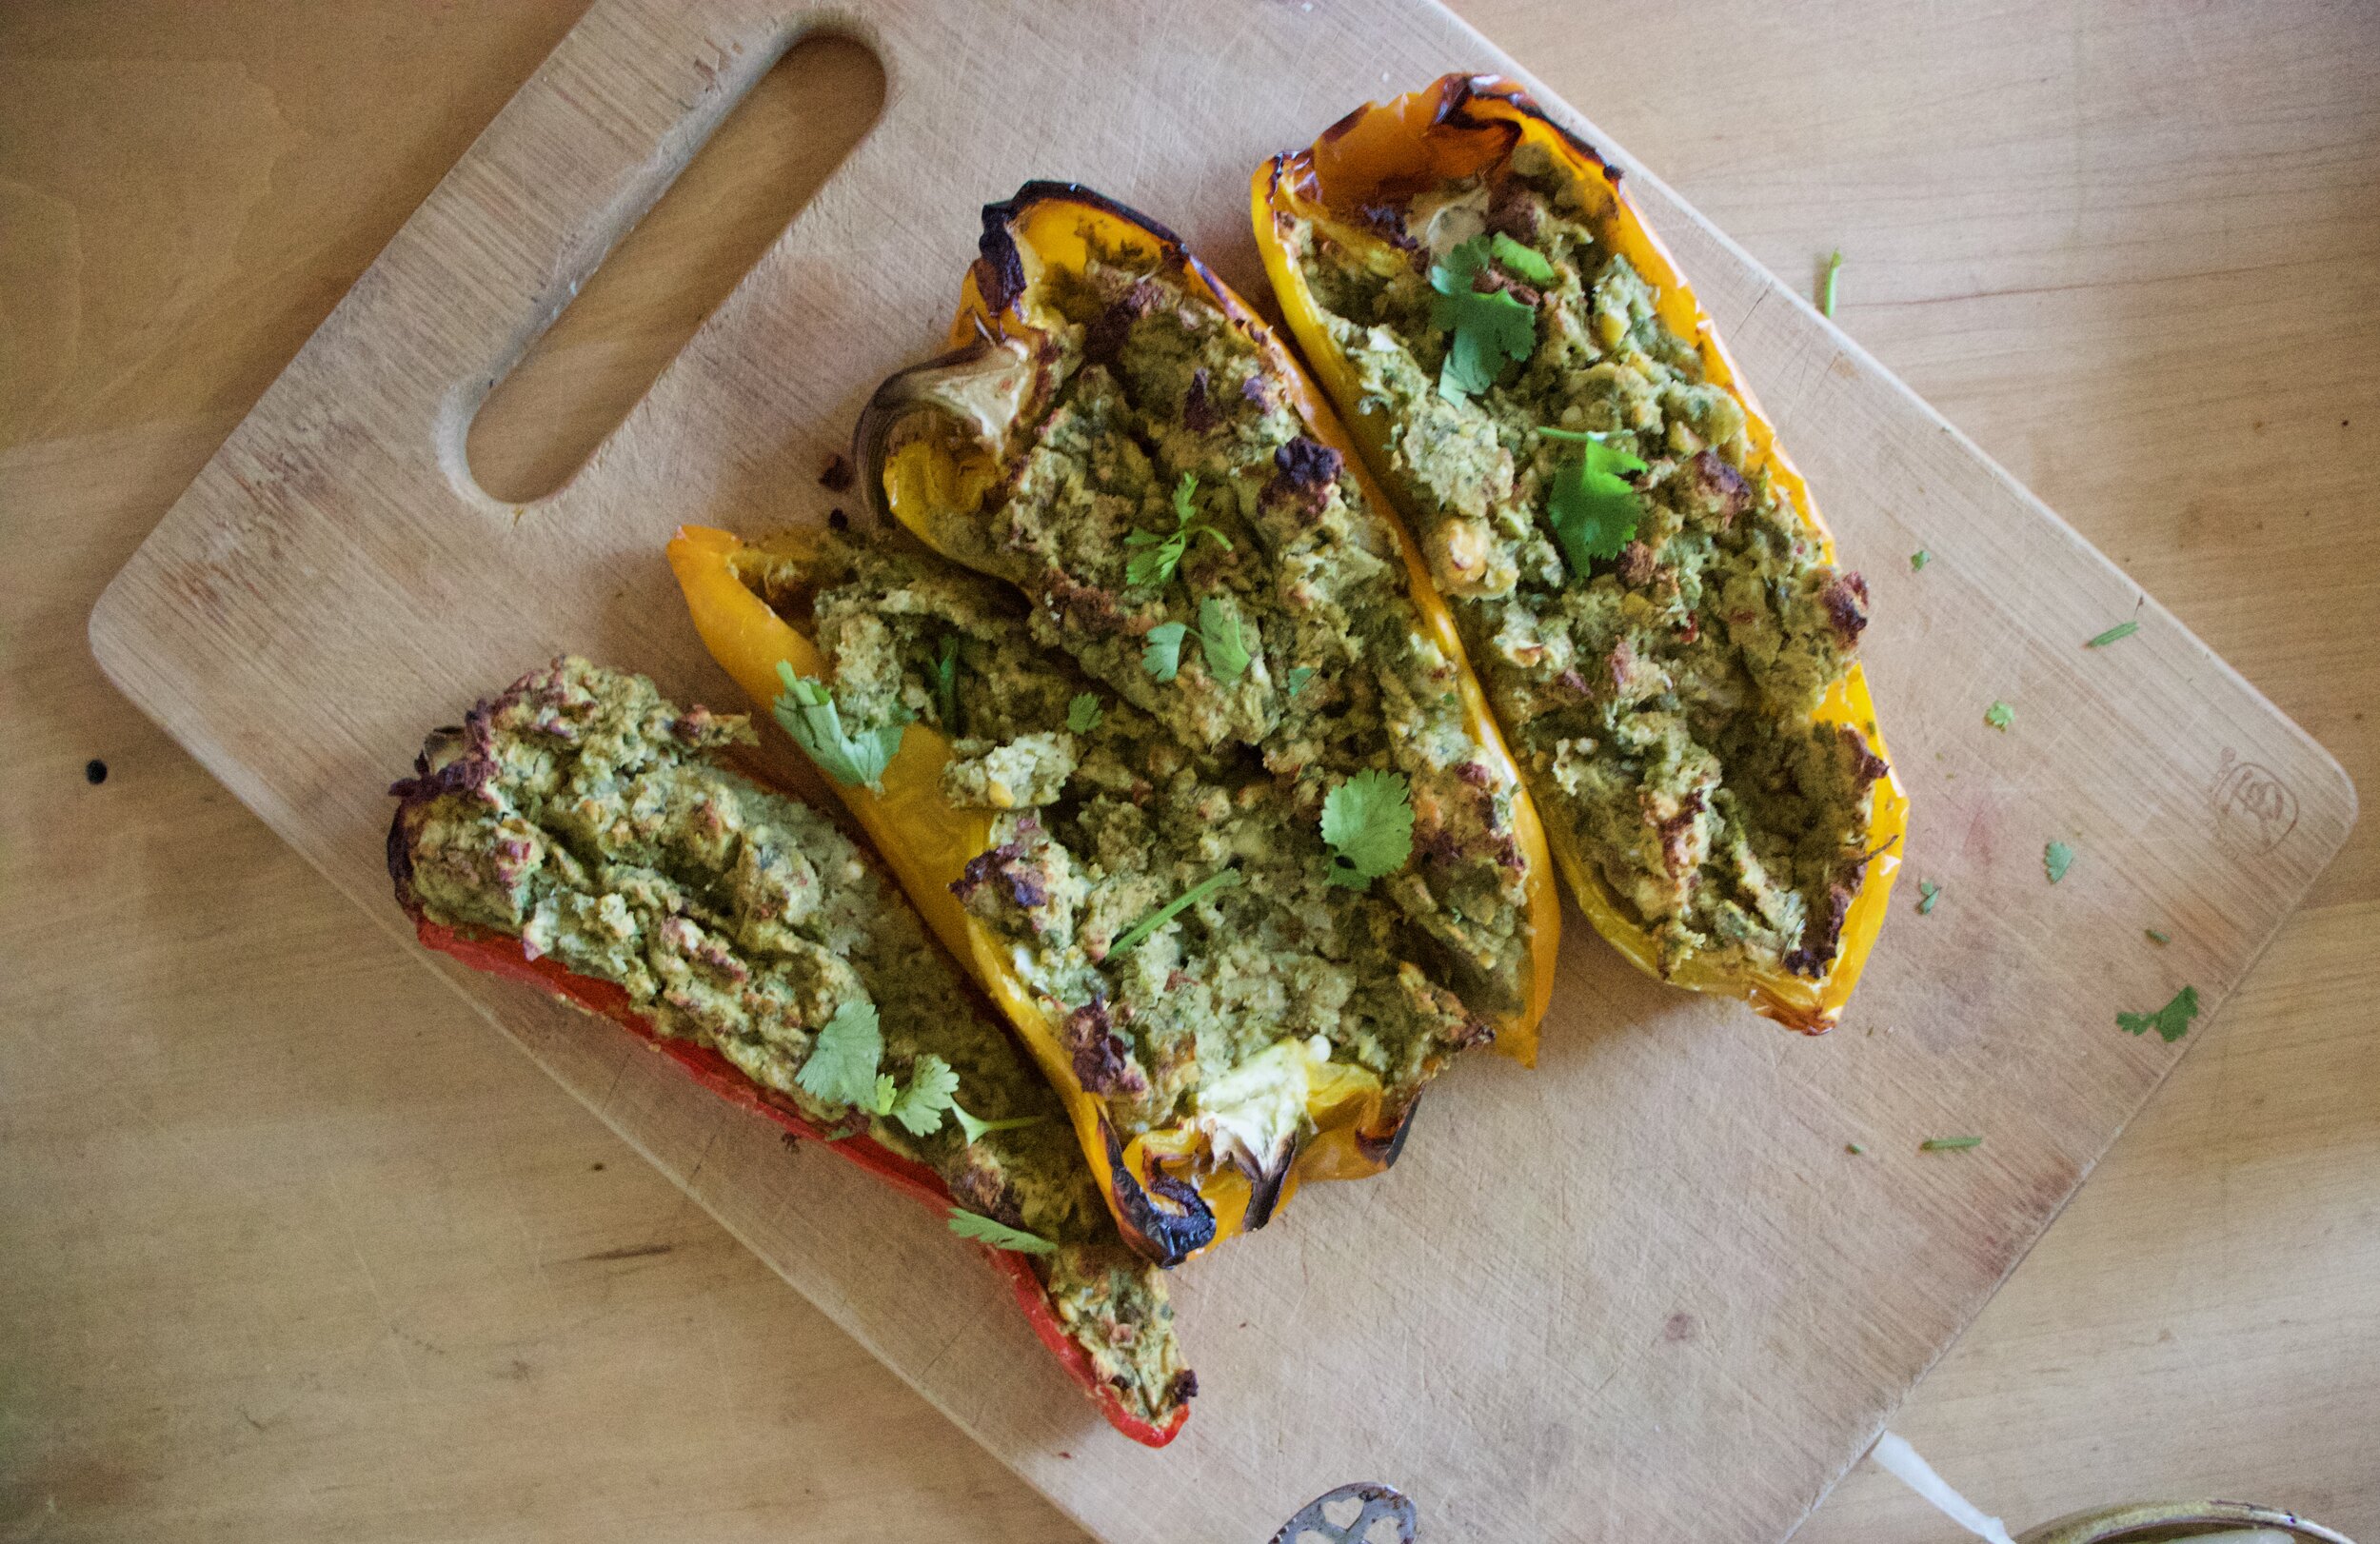
I love me some falafel. I love me some peppers. So I guess it is natural that I would want to stuff falafel inside of peppers and eat them all to my face right? I think so.

As we all already know, most of what I cook is depicted by whatever I get at farm share. And the past few weeks we have been getting a lot of peppers. I have been happily eating one or two a day, just as they are, but I figured it was time that I did something else with them. Now what is the first thing that comes to mind with peppers? Stuffed peppers of course. And there you have it, falafel stuffed peppers.

So I am not going to lie and say the mr ate them and swooned. He is not the biggest fan of peppers (I am starting to realize that he doesn’t have all the right taste buds in his mouth. So sad for him.) so he dumped the falafel out of the pepper and ate it with most of the pickled onions, the tahini, and rice. That he really liked. Lucky me, I wanted his pepper anyway because roasted peppers are freaking fantastic amazing and whatever him. Me, as a pepper and falafel lover, I found these stuffed peppers to be everything that I wanted and needed and then some. Eaten pretty much right away warm, with pickled onion and covered in all the tahini, it was a very very satisfying meal. But also a left over stuffed pepper that was stuck in the fridge, eaten cold standing in front of said fridge, right before bed. That was something great as well. I might have even gone in for a second one……

Anyway, a pepper stuffed with falafel is a good idea if you want food, like peppers, like falafel, and are cool. Just saying.

To the falafel stuffed peppers!

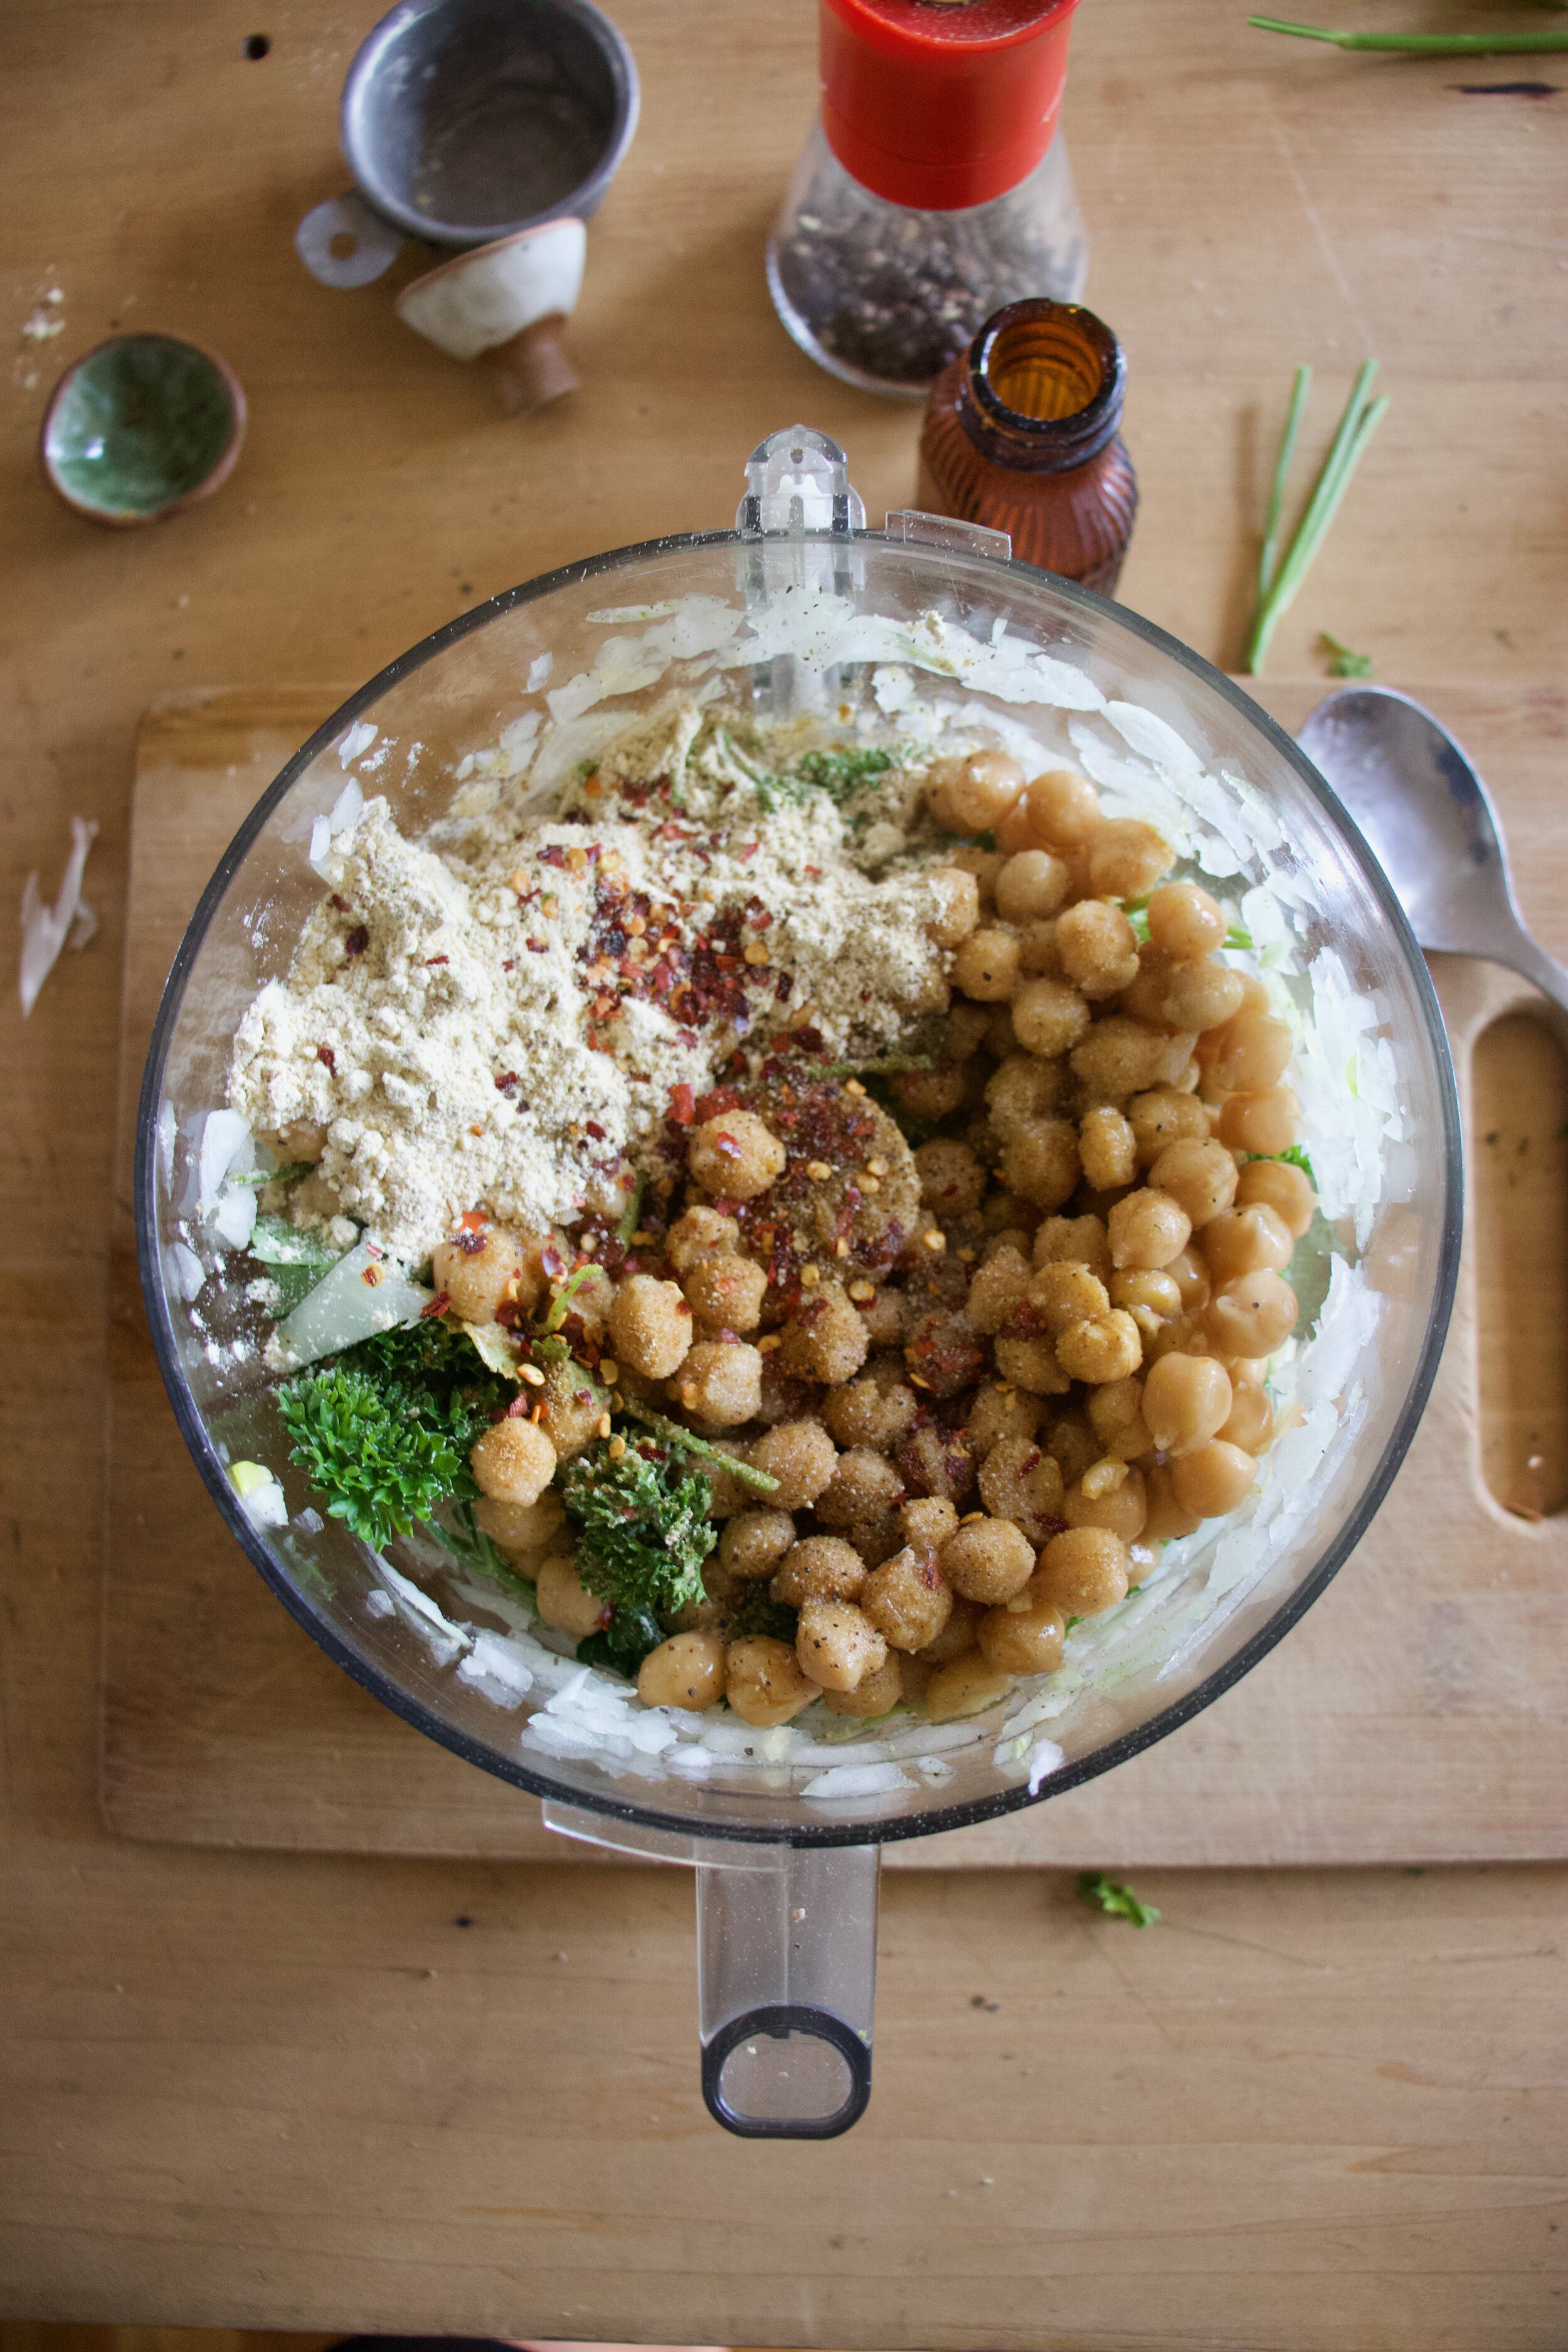
The stuff. A few sweet peppers, some cooked chickpeas, chickpea flour, an onion, a bunch of fresh cilantro and parsley, a few cloves of garlic, red wine vinegar, a little water, tahini, cumin, chili pepper flakes, and salt and pepper.

First, take the onion and cut in half. Take one half and cut into very thin slices, place in a bowl, sprinkle with a pinch of salt and toss with the vinegar and a few tablespoons of water. Set that bowl aside. The other half of onion just cut into a few smaller chunks.

IMG_2228.jpg
IMG_2232 2.jpg
IMG_2242.jpg
IMG_2258.jpg

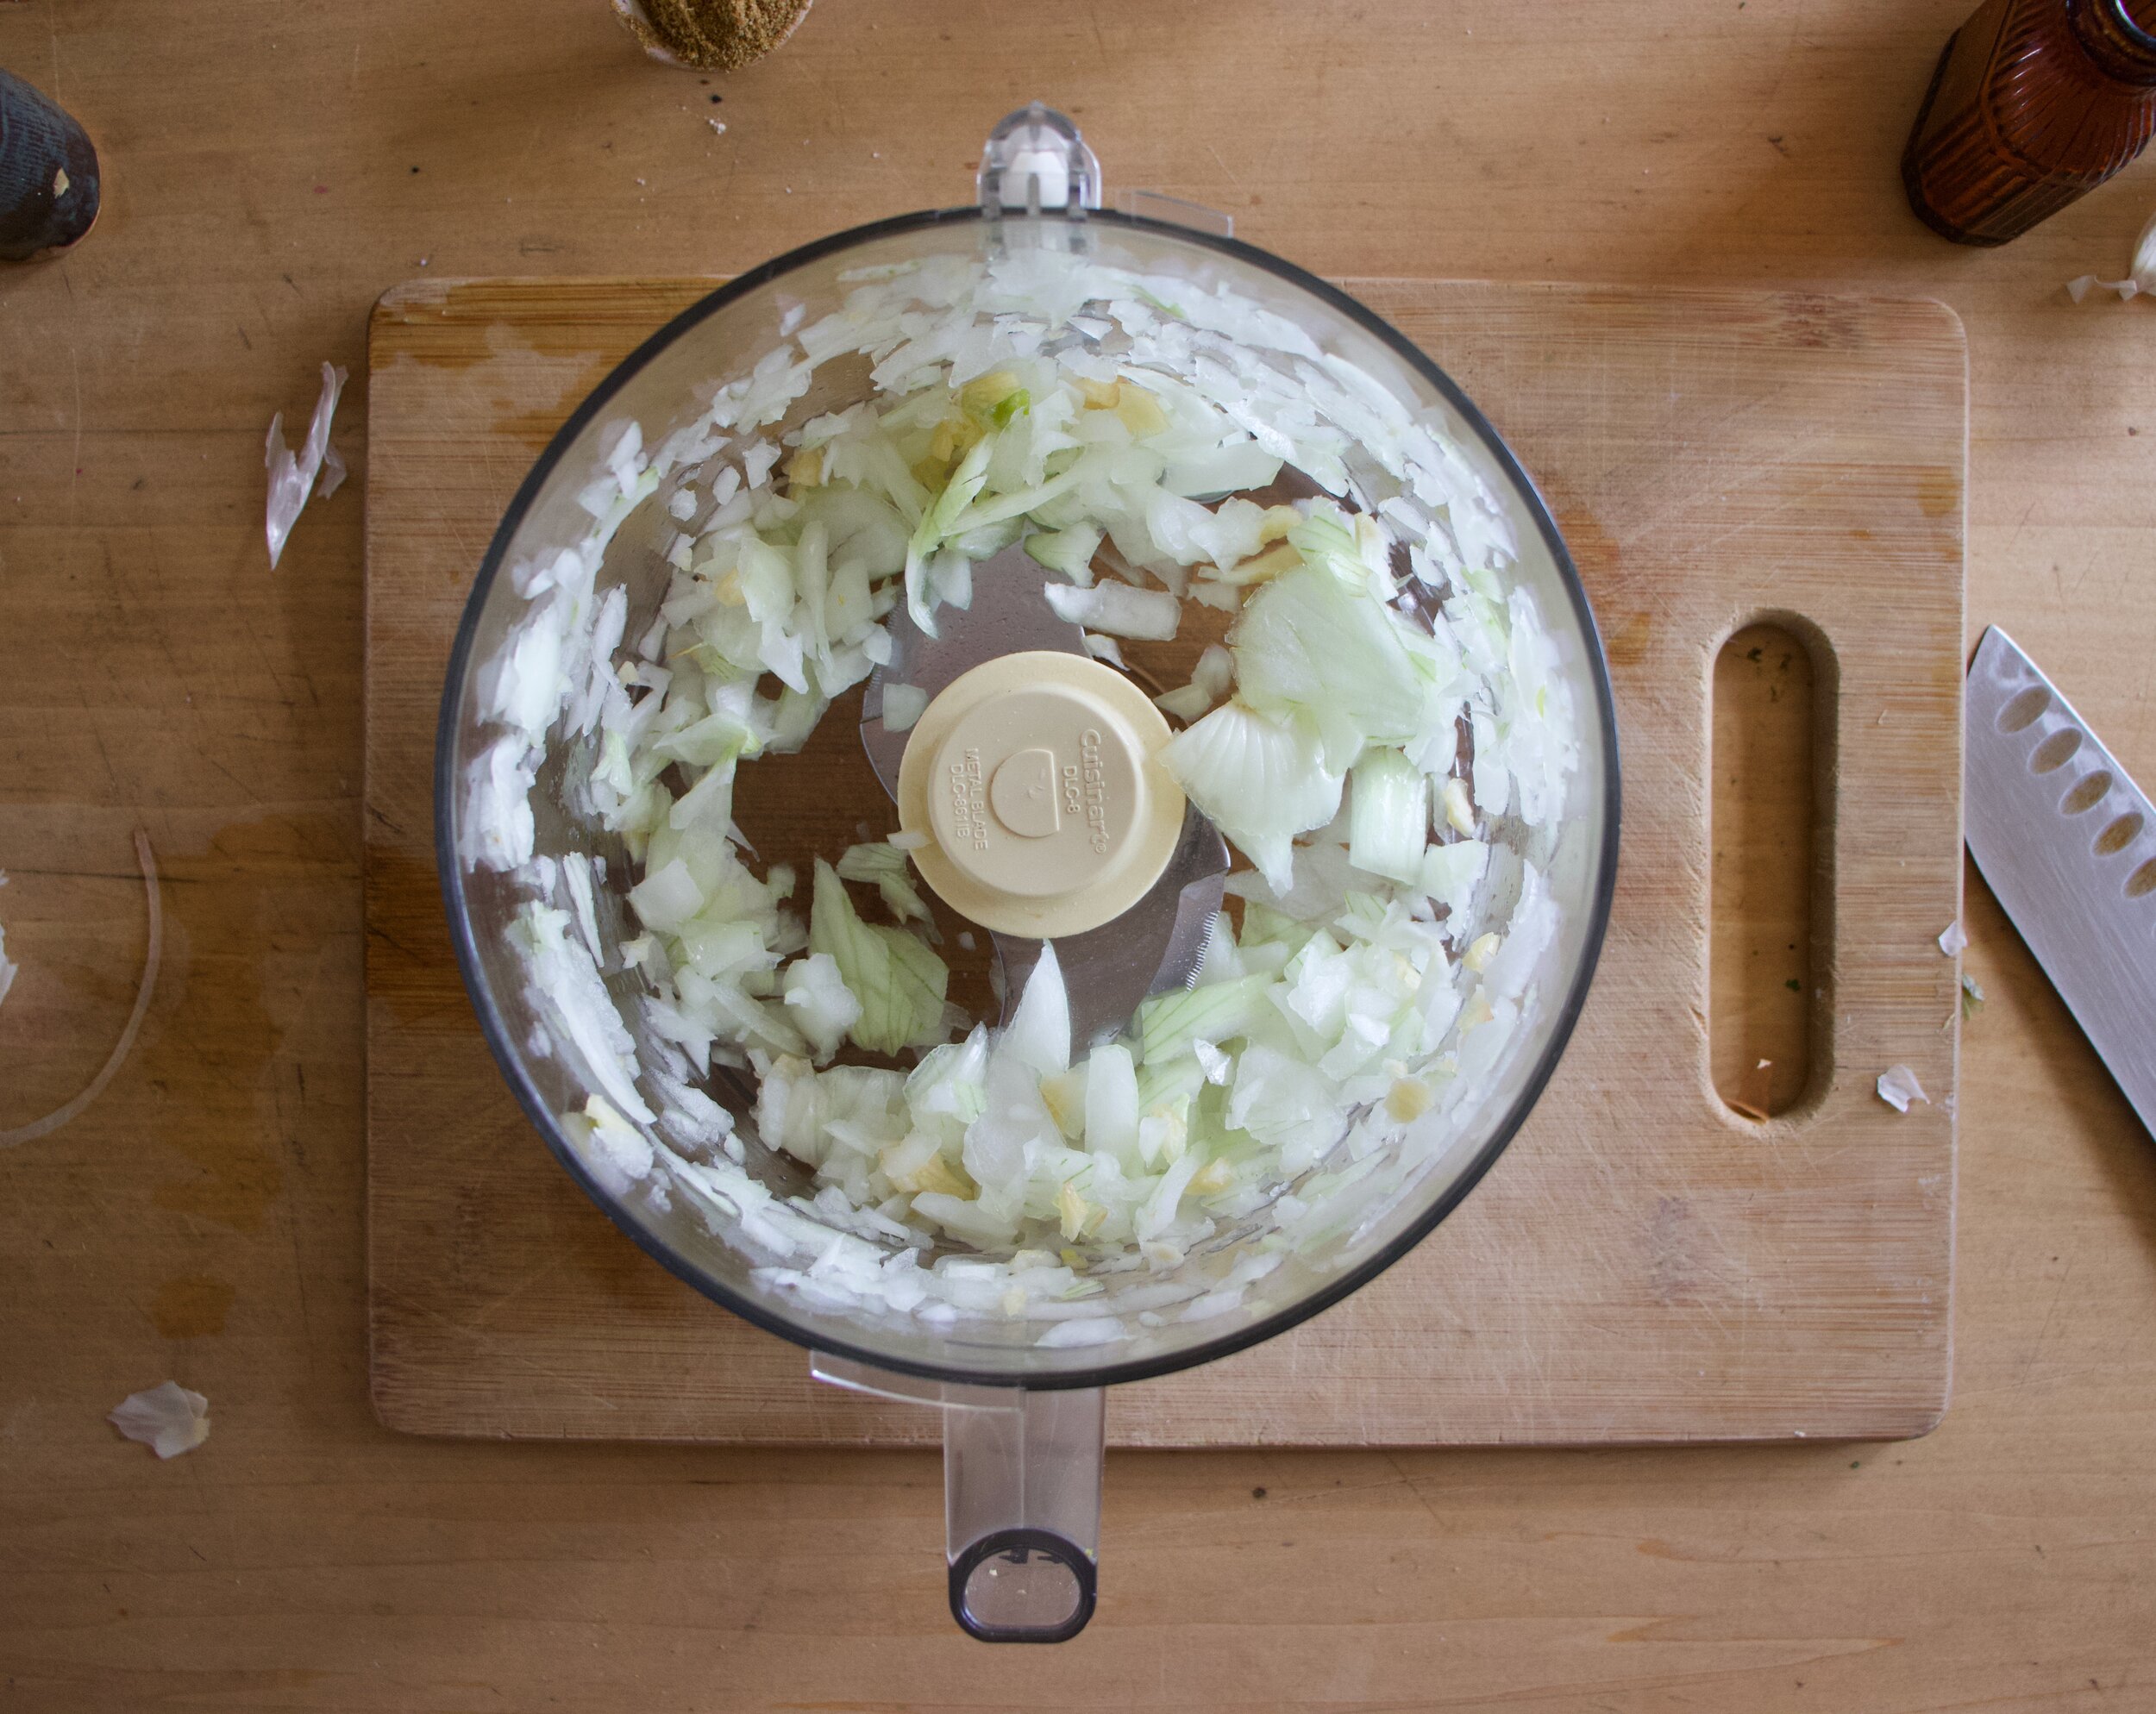
To make falafel. Add the chunks of onion and garlic to food processor and pules a few times to start chopping it up. Add in the cilantro and parsley, the chickpeas and chickpea flour, the cumin and chili pepper flakes, and a good few pinches of salt and lots of pepper. Pulse until completely combined but still a bit chunky. OR pulse until smooth if you would rather it like that. It’s up to you.

Grab peppers and cut each in half. Remove the ribs ad the seeds.

Take falafel mix and stuff it into peppers.

Place peppers onto a baking sheet and into the oven they go.

IMG_2311.jpg

In the meantime while the peppers are cooking, toss the onions around in the brine a few times. Then right before you take the peppers from the oven, drain the brine from the onions into a jar with the tahini and mix until smooth. Add a splash of water to the mix if you need to loosen it up a bit more to make the consistency of the tahini drizzle-able.

And out they come when all roasted and crispy and my oh my, so good!

Now you eat. Garb a bowl, maybe a grain of some sort if you like (I made the mr rice), plop a pepper down, add some pickled onions and drizzle that tahini all over.

Eat.

-C


Falafel Stuffed peppers with Pickled Onions and Tahini

Makes 6 half peppers stuffed

  • 3 medium sized sweet peppers

  • 2 cups cooked and drained chickpeas (or one can)

  • 1 large onion

  • 1 bunch (about 1/2 cup packed) cilantro

  • 1 bunch (about 1/2 cup packed parley

  • 2-3 cloves garlic

  • 2 teaspoons cumin

  • 1 teaspoon chili peper flakes

  • 1/3 cup chickpea flour or oat flour if you don’t have chickpea

  • salt and pepper

  • 1/4 cup tahini

  • a few tablespoons water

  • 3 tablespoon red wine vinegar

Preheat oven to 425

Grab the onion and cut in half. Take one half and cut into very thin slices and place in a bowl. Spinkle with a pinch of salt and dump in the vinegar along with about 2 tablespoon water. Toss around until all the onion is coated and set aside.

Take remaining half onion and cut into big chunks. Toss into a food processor along with the garlic and pulse a few times until the onion is chopped up. Add in the cilantro, parsley, chickpeas, chickpea flour, cumin, chili pepper flakes, and a good pinch of salt and lots of pepper. Pulse the hole shebang until the mixture is combined, the herbs are incropeted, but there is a little chunk left. Or you could make it smooth if you wanted too. It’s up to you.

Grab the peppers and cut them in half. Remove the ribs and seeds then take the falafel mixture and evenly distribute it between the peppers halves.

Place stuffed peppers on a baking sheet, falafel side up, and place into oven to bake for about 45 minutes. You want the falafel mix to have a chance to cook inside and out and to get nice and golden brown and crispy on top.

Right before the peppers are done, grab the onions and the tahini. Toss the onions one last time in the briny mix it’s been sitting in, then drain that brine into the tahini. Mix around until smooth. The tahini should be at the consistency to drizzle so if it is still to thick, add in a splash of hot water to loosen it up.

Once peppers are cooked, remove fro oven. Place on a plate with or without some grain, toss on some pickled onion and drizzle tahini all over.

Eat.

Store left over peppers in a the fridge. To eat, just reheat or eat cold. I really enjoyed eating one cold.

In Vegetables, Vegan, pulses, Pickled, grain free, Gluten Free, entree, Dairy Free, beans Tags Falafel Stuffed peppers with Pickled Onions and Tahini, Stuffed peppers, vegan, dinner, Vegan stuffed peppers, Gluten free, Gluten free stuffed peppers, grain free, grain free stuffed peppers, falafel, dairy free, sweet peppers, entree, protein, pulses, chickpeas, homemade, easy, healthy
Comment

Butter Bean Cabbage Rolls

October 6, 2018 Colleen Stem
IMG_1293.jpg
IMG_1265.jpg

A lot of times I make food that I don’t nessasrily care to eat because well, I love to make for other people. Take all the cakes, I love to make cake, it makes me so happy to make a cake, but I don’t eat cake. I never eat cake.

This is not one of those times. I basically made these cabbage rolls all for me. Sure I shared them with the mr because it was dinner but honestly, he was’t the biggest fan (he hate celery). And to be honest, I was glad he didn’t really like them because these things were bonkers amazing to me whichh means I got to eat them all myself. In fact I thought they were so good that I made them twice this week. And not just because I have a shit load of cabbage right now, (I stocked up on cabbage and have like 15 heads in the pantry and stuffed in the fridge), although it helped that I do.

I ♥️ cabbage.

And now I ♥️ these cabbage rolls.

To the rolls!

IMG_1166.jpg

The stuff. A head of cabbage, a can of butter beans (cooked from dried beans or canned), crushed tomato (also home made or canned), a couple stocks of celery, a carrot, an onion, some garlic, Italian seasoning, salt and pepper, and a little olive oil.

IMG_0987.jpg
IMG_0997.jpg
IMG_0999.jpg

Start by getting the cabbage leaves to roll the filling in. You are basically just going to dunk the whole head of cabbage, with the core removed, into a big pot of boiling water until the outer leaves are tender enough to peel away. You are going to want to 12-14 nice leaves so peel away using tongs. Once you have all the leaves, remove the rest of the cabbage ans place the leaves back into the pot to cook until completely tender and soft. Remove then from the water and place them into a bowl and let them cool.

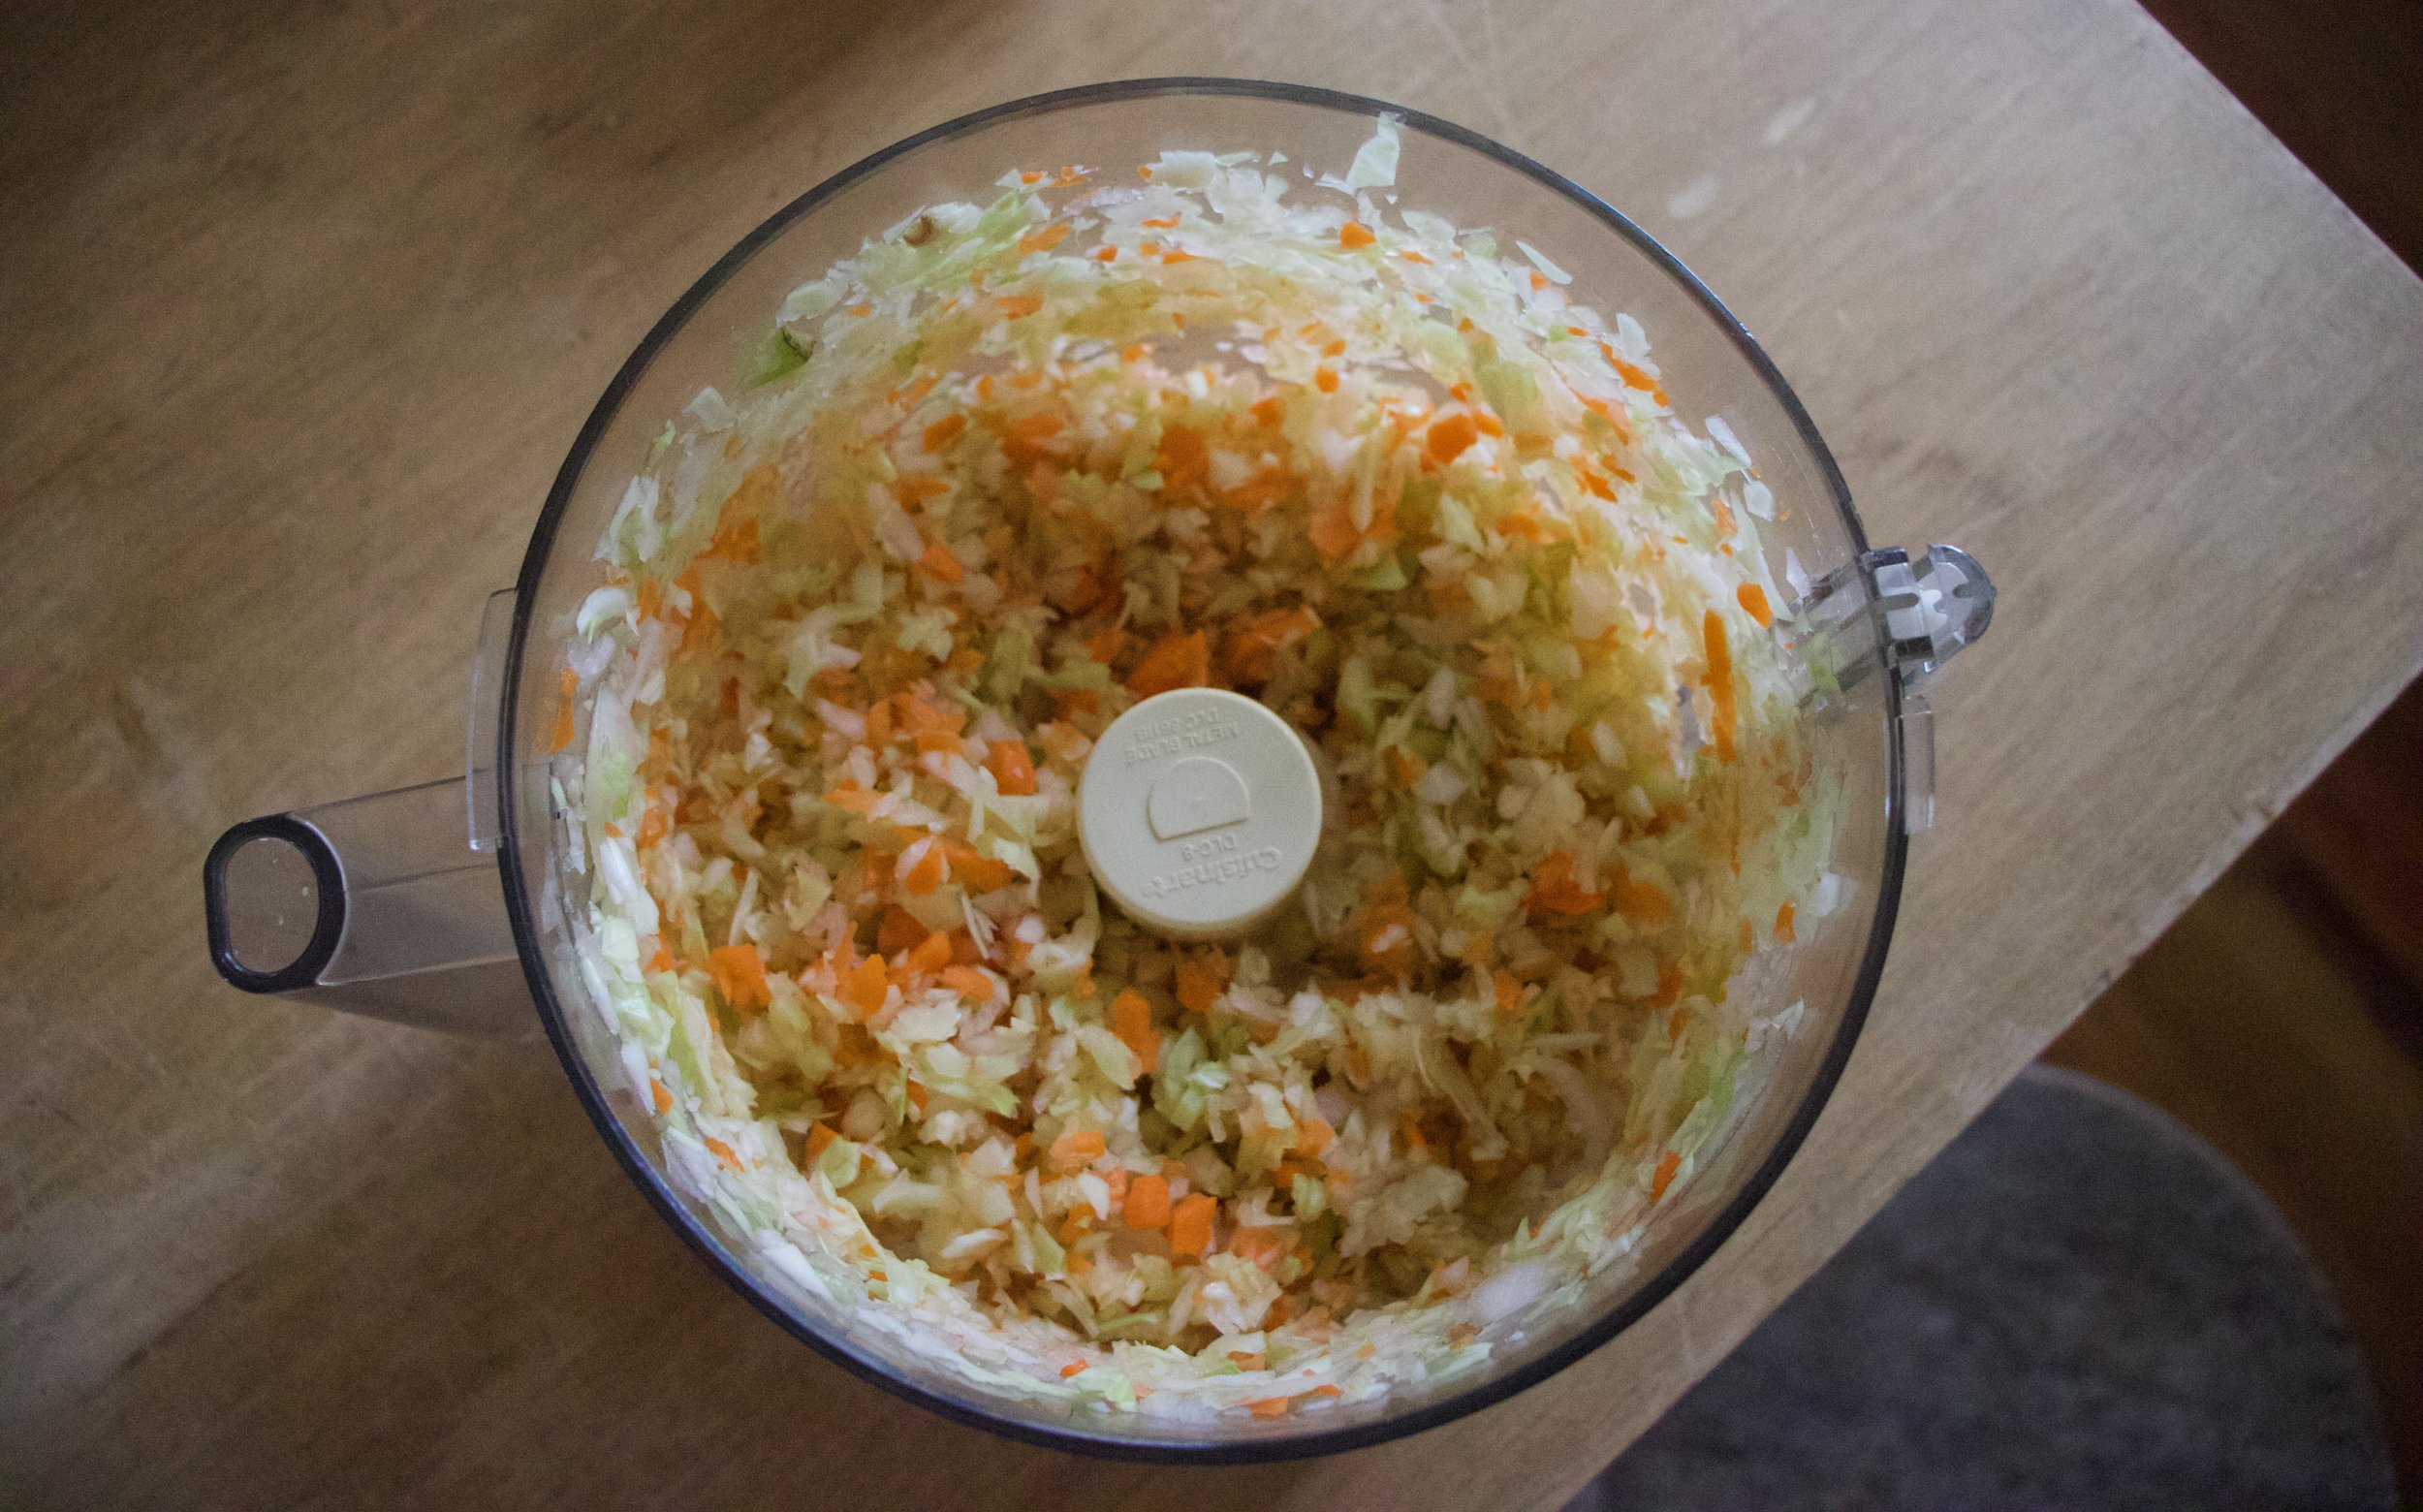
Meanwhile the filling. Take roughly half of the remaining cabbage and rough chop it up along with the celery, carrot, onion and garlic.

IMG_1176.jpg
IMG_1182 2.jpg

Place it all into food processor and pulse until its a small chunky chunk consistancy.

Add a splash of olive oil to a pan then dump the veggies on in. Sprinkle with salt and pepper and the Italian seasoning then set on a medium heat on the stove to start to cook the veggies a bit.

IMG_1190.jpg
IMG_1193.jpg

One the veggies are out and cooking, pulse up the butter beans in the food processor until not quite smooth. Some chunk is good.

Veggies a bit cooked.

Dump the veggies back into the food processor with the beans, along with a little of the crushed tomato. Pulse a few times.

IMG_1208.jpg

That is the filling. Time to roll.

IMG_1220.jpg
IMG_1222.jpg
IMG_1225.jpg

Pat each leave dry and lay flat on counter. If your cabbage leaves have thick ribs you can slice them down the middle, just not to far up into the leaf. Add about 1/3 of a cup of the filling (add less for smaller leaves) and then roll as tightly as you can like a burrito without the filling coming out. Repeat until all the filling is gone.

IMG_1229.jpg
IMG_1243.jpg

Place all of the rolls nice and cozy into a oven safe pan, preferably the pan you have been using to cook the veggies in (you want them to fit close together, it helps then from opening up during cooking ) and cover then all up with crushed tomato.

Now all you need to do is stick the whole thing in the oven.

IMG_1251.jpg

Cooked and looking good.

IMG_1270 2.jpg

If you got it, spinkled with some green scallions and parsley for color and flavor and the all you need to do it eat. Eat one or eat them all because they are freaking fantastic!

P.S. Left overs are just as good, if not better cold.

YAY CABBAGE!

Stay cool.

-C


Butter Bean Cabbage Rolls

  • A medium sized head of cabbage

  • 2 cups (or 1 can) cooked butter beans

  • an onion

  • 1 large carrots

  • 2 stalks of celery

  • 3 cloves garlic

  • 3 1/2 cups crushed tomatoes (or a 28 oz can)

  • 1 tablespoon Italian seasoning

  • olive oil

  • salt and pepper

First thing, bring a large pot of water to a boil. Remove the core from the head of cabbage and place the cabbage head into the boiling water. Gently peal away 12-14 of the outer leaves from the head then remove the head. Place the leaves back into the boiling water until they are soft and plyable. Remove from water and place in a large bowl.

Preheat oven to 400

Rough chop about half of the remaining cabbage head (like a little more then a cup) the carrot, celery, onion, and the garlic and place into a food processor. Pulse until its a small chunk consistency. Add a drizzle of olive oil to a skillet (if you can, use a oven safe skillet the can also be used to bake the rolls in) and dump the veggies in. Sprinkle with the Italian seasoning, salt and pepper, and place on a medium heat to cook for a few minutes. While the veggies are cooking, drain the beans and dump them into the food processsor. Pulse until not quite smooth. After the veggies have started to become fragrant and are not completely raw, dump those veggies back into the food processor with the beans. Add about 1/3 cup of the crushed tomato and pulse until combined.

To assemble the rolls. Pat the leaves dry and lay flat. If a leaf has a really thick rib, cut it down the middle, but not to far up the leaf.. Place about 1/3 cup of filling into each leaf (less if the leaves are small) and roll each one up like a burrito, as tight as you can without ripping the cabbage. Place rolls into oven safe skillet, bumped up against each other if they can. Once all the rolls are assembled and in skillet, pour the crushed tomatoes all over, getting the sauce in between each of the rolls.

And then place the rolls into oven to bake for an hour.

Once the rolls looked cooked and maybe a little crisp on an edge or two, remove and let cool a few minutes before serving.

Chopped parsley and scallions are nice to sprinkle on top if you got it.

Eat, and eat some more. Any left over should be placed into the fridge and eaten just a short few hours later cold, while standing in from of the fridge because these cold are almost better then hot. So good!

In Vegetables, Vegan, pulses, grain free, Gluten Free, entree, Dairy Free, casserole, beans Tags Butter Bean Cabbage Rolls, beans, pulses, lima beans, vegan, gluten free, grain free, dairy free, plant based, dinner, cabbage rolls, healthy, entree
Comment

Pineapple Broccoli and Tofu Stir fry

March 31, 2018 Colleen Stem
IMG_1229.jpg
IMG_1205.jpg

Pineapples have been on sale all week long. I think it's because Easter and I guess people need pineapples for Easter for some reason. Does Pineapple have anything to do with bunnies or Jesus? I think not. Pretty sure it has something to do with cake or ham or some shit, but I honestly don't care because I just like the fact that I can buy a few (like 3) pineapples without breaking the bank. (I think I am going to buy 3 more for the dehydrator) Plus it is always good to have a pineapple or 3 on the counter at home. You never know when you are going to need one. So lets give a shout out to the Easter bunny and  Jesus. Thanks for the cheap pineapples.  HA!

So now you are have those pineapples, you are going want to eat them. And maybe you don't want to eat them with cake or ham or some shit. You are going to want to eat it the best way...In a stir fry. 

This is by far one of my favorite stir fry combinations. Pineapple does amazing things when cooked a bit, especially with soy, broccoli, and tofu. This dish definitely let's pineapple reach it's full pineapple potential. It is so good that tI think I might even prefer my pineapple cooked along with savory stuff. It is just so right and seriously so freaking good. The mr even get excited for it and he is not the excitable kind of guy. Plus it's fast (especially if you have already cut up your pineapple) and easy because stir fry and that's what stir fries are. Fast and easy, just like..........(insert your favorite fast and easy person and then chuckle)

And don't try to use canned pineapple because no.  Just get the fresh one,even if it's not on sale. It's a must. 

IMG_1110.jpg

The stuff. A pineapple (you are only going to need 1/3 of this, but you can never have too much fresh pineapple on hand), a big head of broccoli, a little cabbage, and some firm tofu.  Also need some soy, a few cloves of garlic, a little fresh ginger, a bit of oil, and pepper. 

IMG_1114.jpg
IMG_1152.jpg

Dice up the tofu into cubes and place on a clean dish towel to absorb some moisture. 

IMG_1135.jpg

Grab the fresh pineapple. Cut it up the way you do, but the easiest way  for me is to cut in half the cut that half into fourths then cut the skin away. You are going to have a lot of extra pineapple so snack as you need too. I always eat like half of what I am cutting up and end up with pineapple gut. SO maybe watch yourself.  

IMG_1121.jpg

Pour some soy into a cup and mince the garlic and ginger. 

IMG_1125.jpg

Garlic, ginger, soy. Looking good.

IMG_1146.jpg

Cut up about 2ish (or more if you want) pineapple into small mouth sized pieces. Break Broccoli head into small florets and shredded the cabbage. 

IMG_1157.jpg
IMG_1167.jpg

Tofu into a lightly oiled hot skillet with a splash of soy, cooked until a nice crisp brown on all sides.  Once it is cooked, remove from pan and set aside.

It's the broccolis turn. Add in the florets and a splash of water to start cooking down for a few minutes, it need the head start. 

IMG_1173.jpg
IMG_1174.jpg

Once the broccoli turns bright green and is slightly less raw, add in the pineapple and cook until the broccoli is slightly tender and the pineapple starts to caramalize which will take about 5-7 minutes. 

Add the tofu back in along with the shredded cabbage and dump the soy ginger garlic mixture all over.. Keep cooking and stirring around until everything is hot and the liquid has mostly been absorbed. 

That's some stir fry ladies and gentlemen. 

You might want some rice to accompany your stir fry so think about it and have it ready. Other then that, it's food to face time. 

Enjoy the best stir fry ever. 

Bye.

-C


Pineapple Broccoli And Tofu Stir Fry 

serves 2

  • 1/3 of a fresh pineapple (about 2 cups cubed)
  • 1/2  block firm tofu
  • a large head of broccoli (about 2 1/2-3 cups of florets)
  • 1/4 head of red or green cabbage (about a cup shredded)
  • 2-3 cloves garlic
  • 3 tablespoons soy or tamari
  • 1 tablespoon freshly grated ginger
  • pepper
  • Cooked rice to serve with (Optional)


Cube tofu into 1 inch pieces and either place on a dry towel to absorb the moisture or place the tofu into the microwave and heat for 2 minutes. When you take it out of the microwave there will be a lot of liquid...pour it off and pat the tofu dry. 

Cube fresh pineapple into similar sized pieces and break broccoli into small florets. Shred cabbage. 

Mince garlic and add to a bowl or jar with the grated ginger and soy sauce. 

Place a large skillet on the stove an medium heat. Drizzle in a little olive oil. Once oil is hot, place the tofu in with a splash of soy, cooking until all sides are a nice dark browned. Remove the tofu from pan and add the in the broccoli. Add a splash of water and cook for 5 minutes. Then add in the pineapple and cook for another 5-7 minutes or until the pineapple starts to caramelize and the broccoli os no longer raw.  Add the tofu back in along with the shredded cabbage and pour the soy garlic ginger mixture all over. Sprinkle with pepper to taste. Cook for another 5 minutes or until the liquid has cooked down. 

Serve with rice or quinoa and extra soy if needed.

In Vegetables, Vegan, Savory, quick and easy, one pot meal, Gluten Free, grain free, entree, dinner, tofu Tags Pineapple Broccoli And Tofu Stir Fry, Stir fry, pineapple, savory pineapple, tofu, broccoli, vegan, gluten free, plant based, healthy, dinner, entree, easy, fresh, home cooking, food52
1 Comment

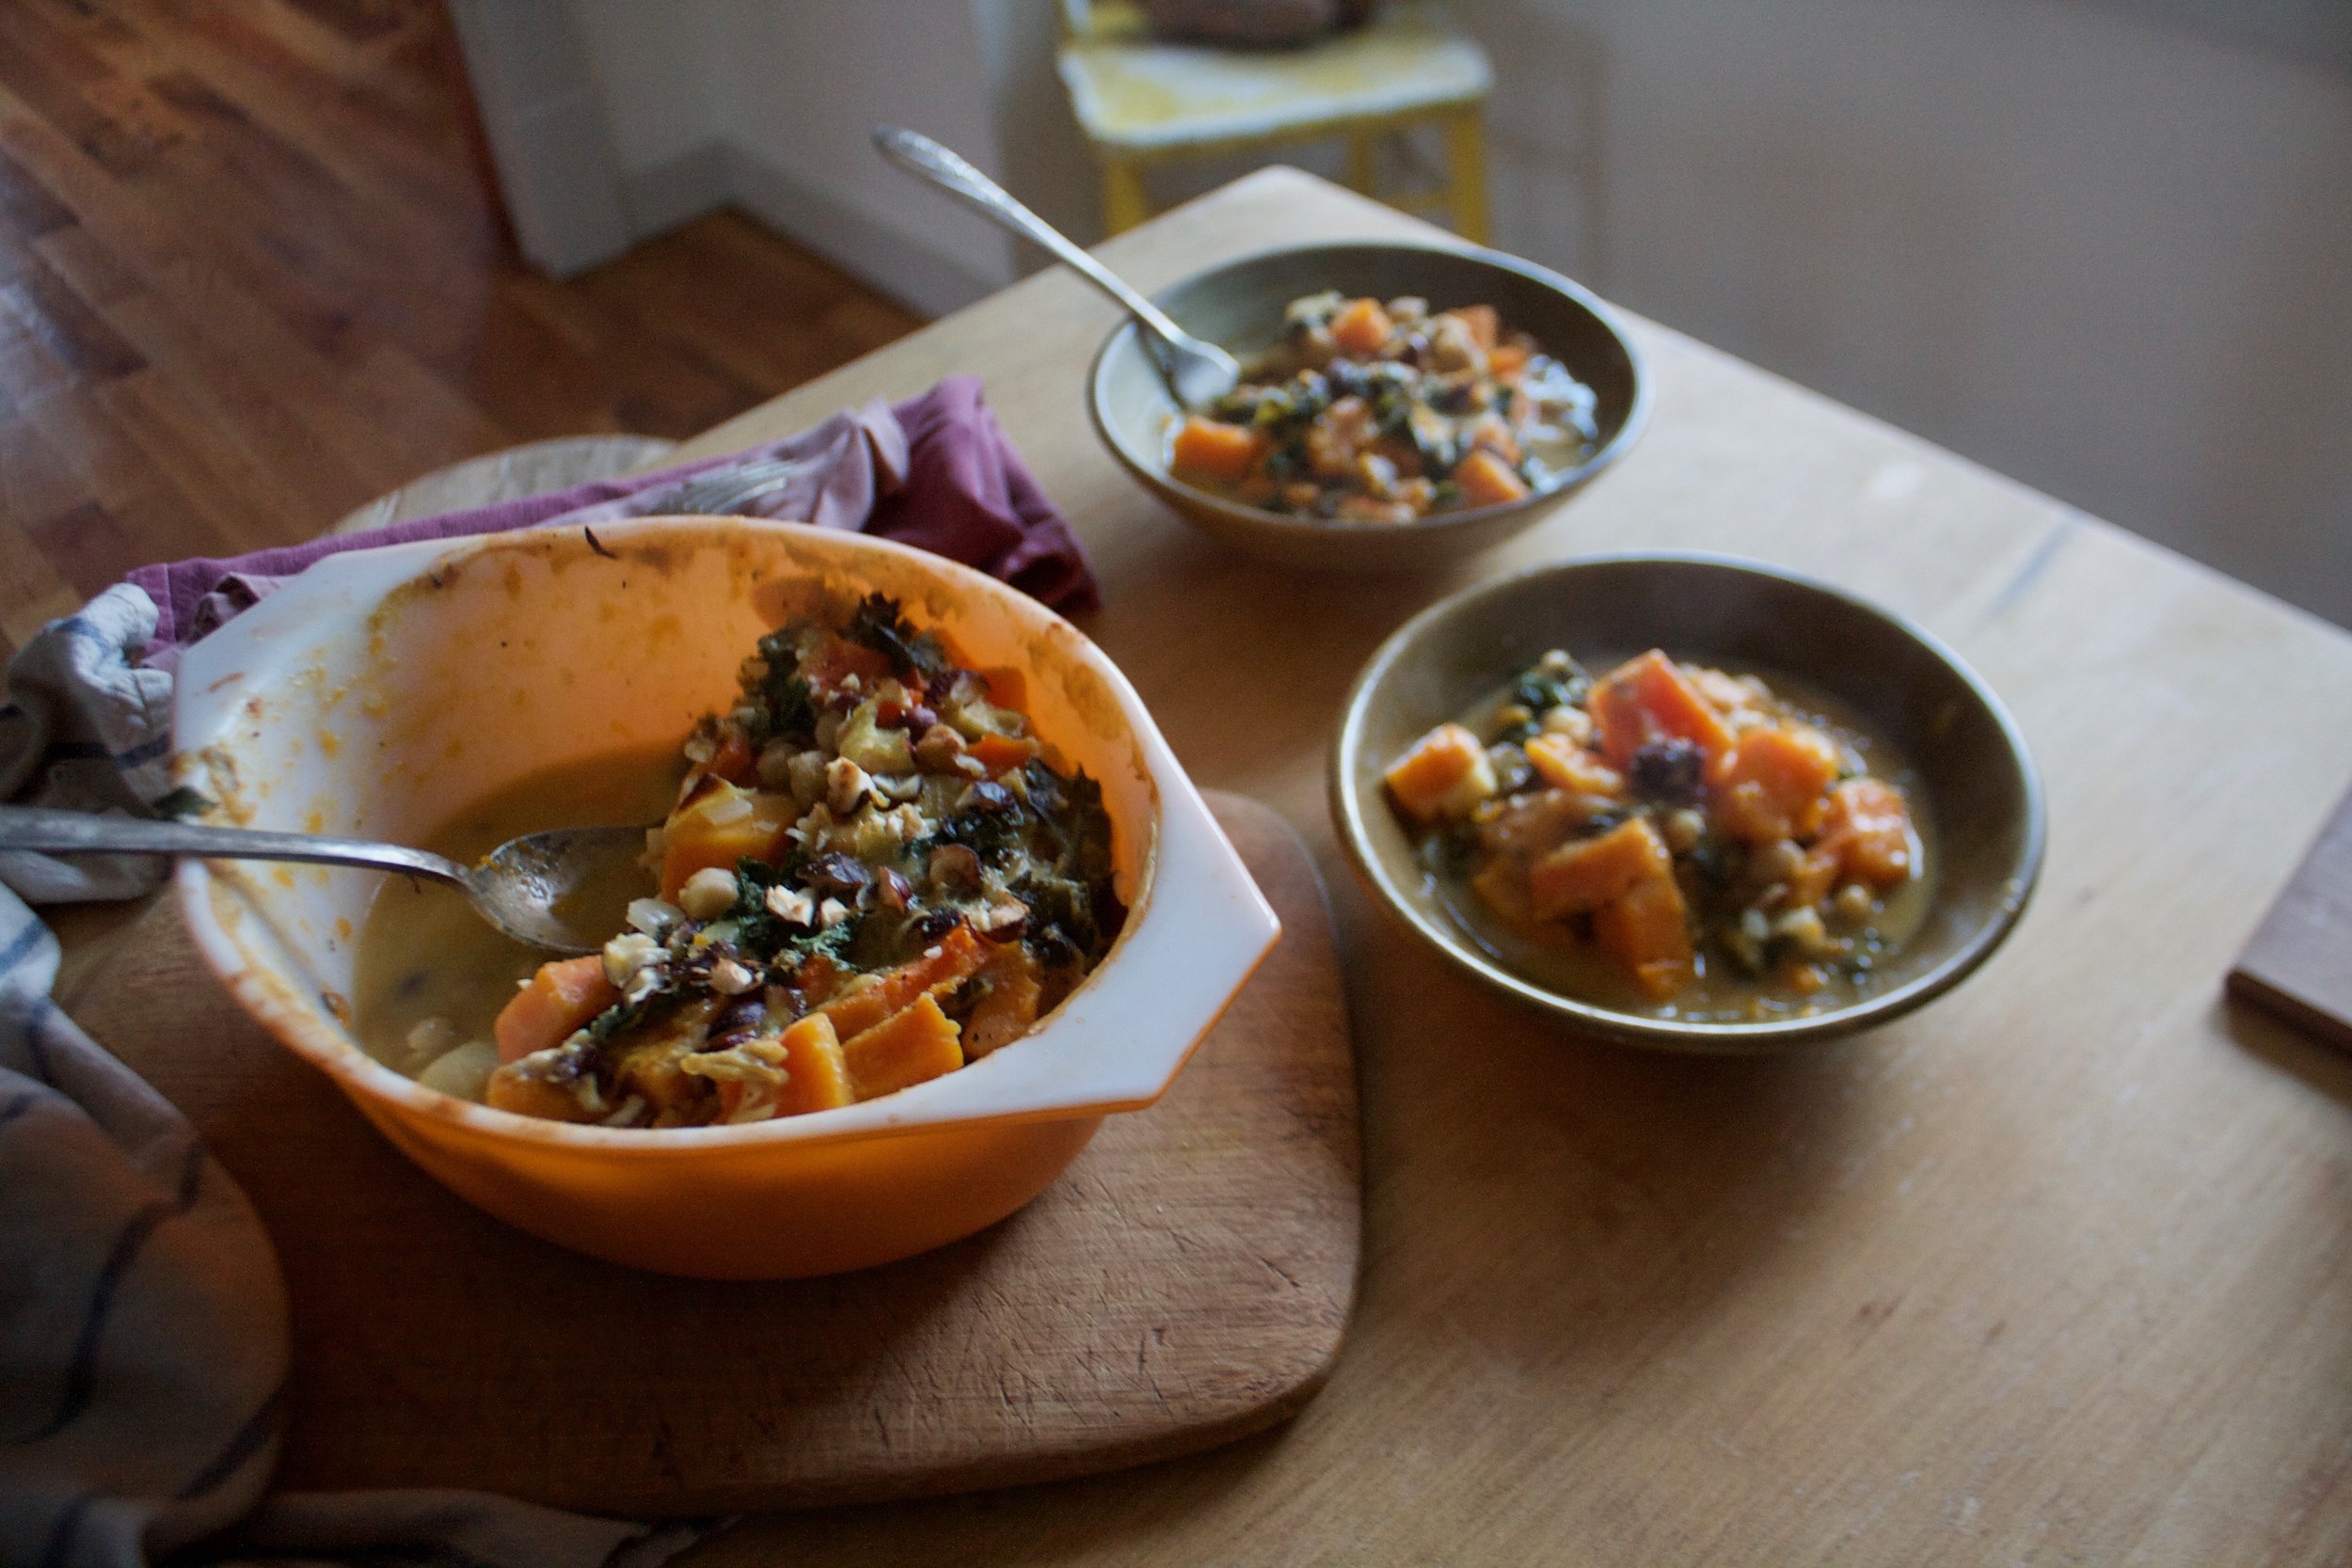
Butternut Chickpea kale coconut casserole topped with hazelnuts

December 9, 2017 Colleen Stem
IMG_8680.jpg
IMG_8712.jpg

Casseroles are a winter staple. So versatile, easy to make, can feed a few or feed a crowd, and best part is you can stick one into the oven and and kind of forget about it for a while. On a cold day having the oven on is always welcome, and timing with these things, well you can keep it in the oven for a little while longer then it needs because the worst thing that will happen is that it will get a little more crispy, and that is only an added bonus because the crispy bits are the best.  And what I really love about casseroles is left overs. If you are smart you make it bigger then needed so you have some left over to either eat the next day or freeze for a meal later. Leftover casseroles are the best. 

This casserole is a nice, hearty, stick toy your bone with our feeling heavy and gross casserole. Coconut milk and butternut squash give a creaminess, chickpeas for protein and goodness, kale because, and hazelnuts for a nice yummy crunch. All the flavors pair well together and also pair well with many different types of seasonings. I was going to go curry, then I was thinking rosemary, but ended up keeping it simple without any spices which was really nice because the flavors were all rich and clean. But really, you could go a bunch of different ways with this because its a casserole and thats what casserole do. 

IMG_8585.jpg

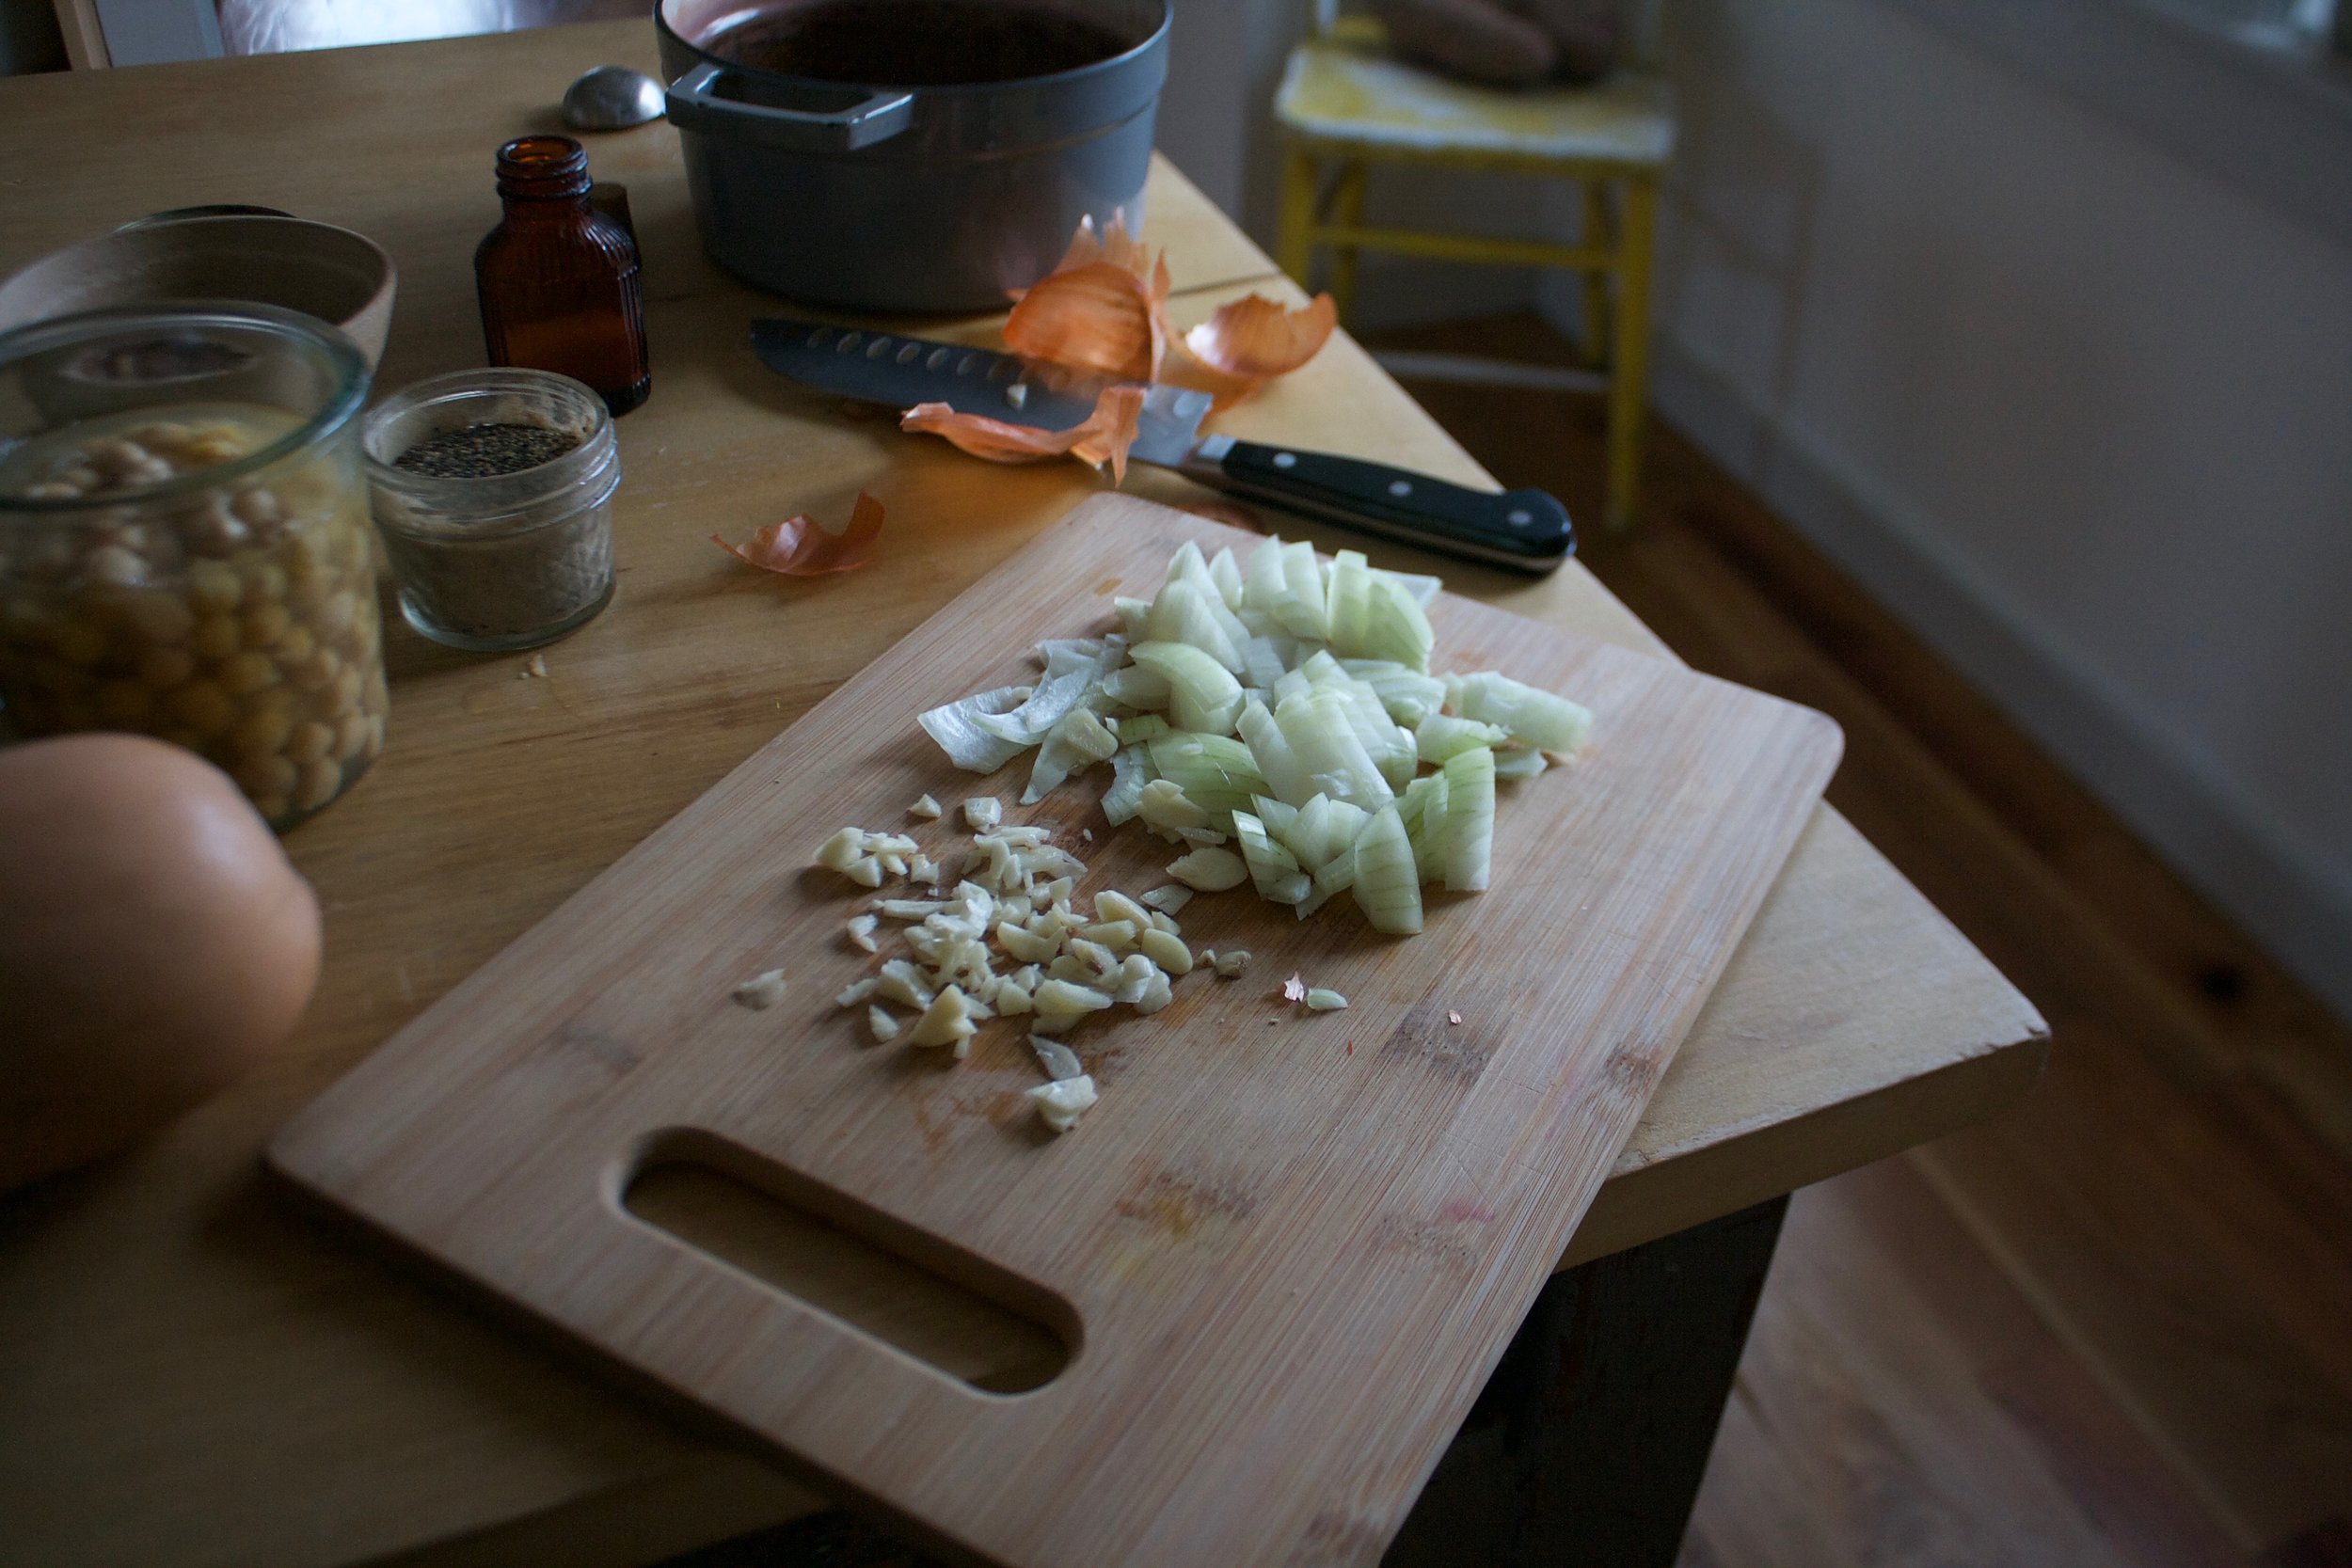
The stuff. You will need a can of chickpeas, a can of coconut milk (I used light coconut), some kale, an onion, and a butternut squash (you will only need about 3 -ish cups cubed so your squash doesn't need to be as big as mine was). Also need some garlic, raw hazelnuts, olive oil, coconut flour, and salt and pepper 

IMG_8590.jpg
IMG_8605.jpg

Start by chopping the onion into small pieces and mincing the garlic. Add to a big pot with a little olive oil and get it on a medium heat to start to cook it all down. 

While the onions and garlic are cooking,  cube the squash. You probably only need the neck, so cut the bottom off (save for later) and peel the skin (also save for later , for soup or stock). Cut the peeled squash into mouth sized cubes. 

IMG_8608.jpg

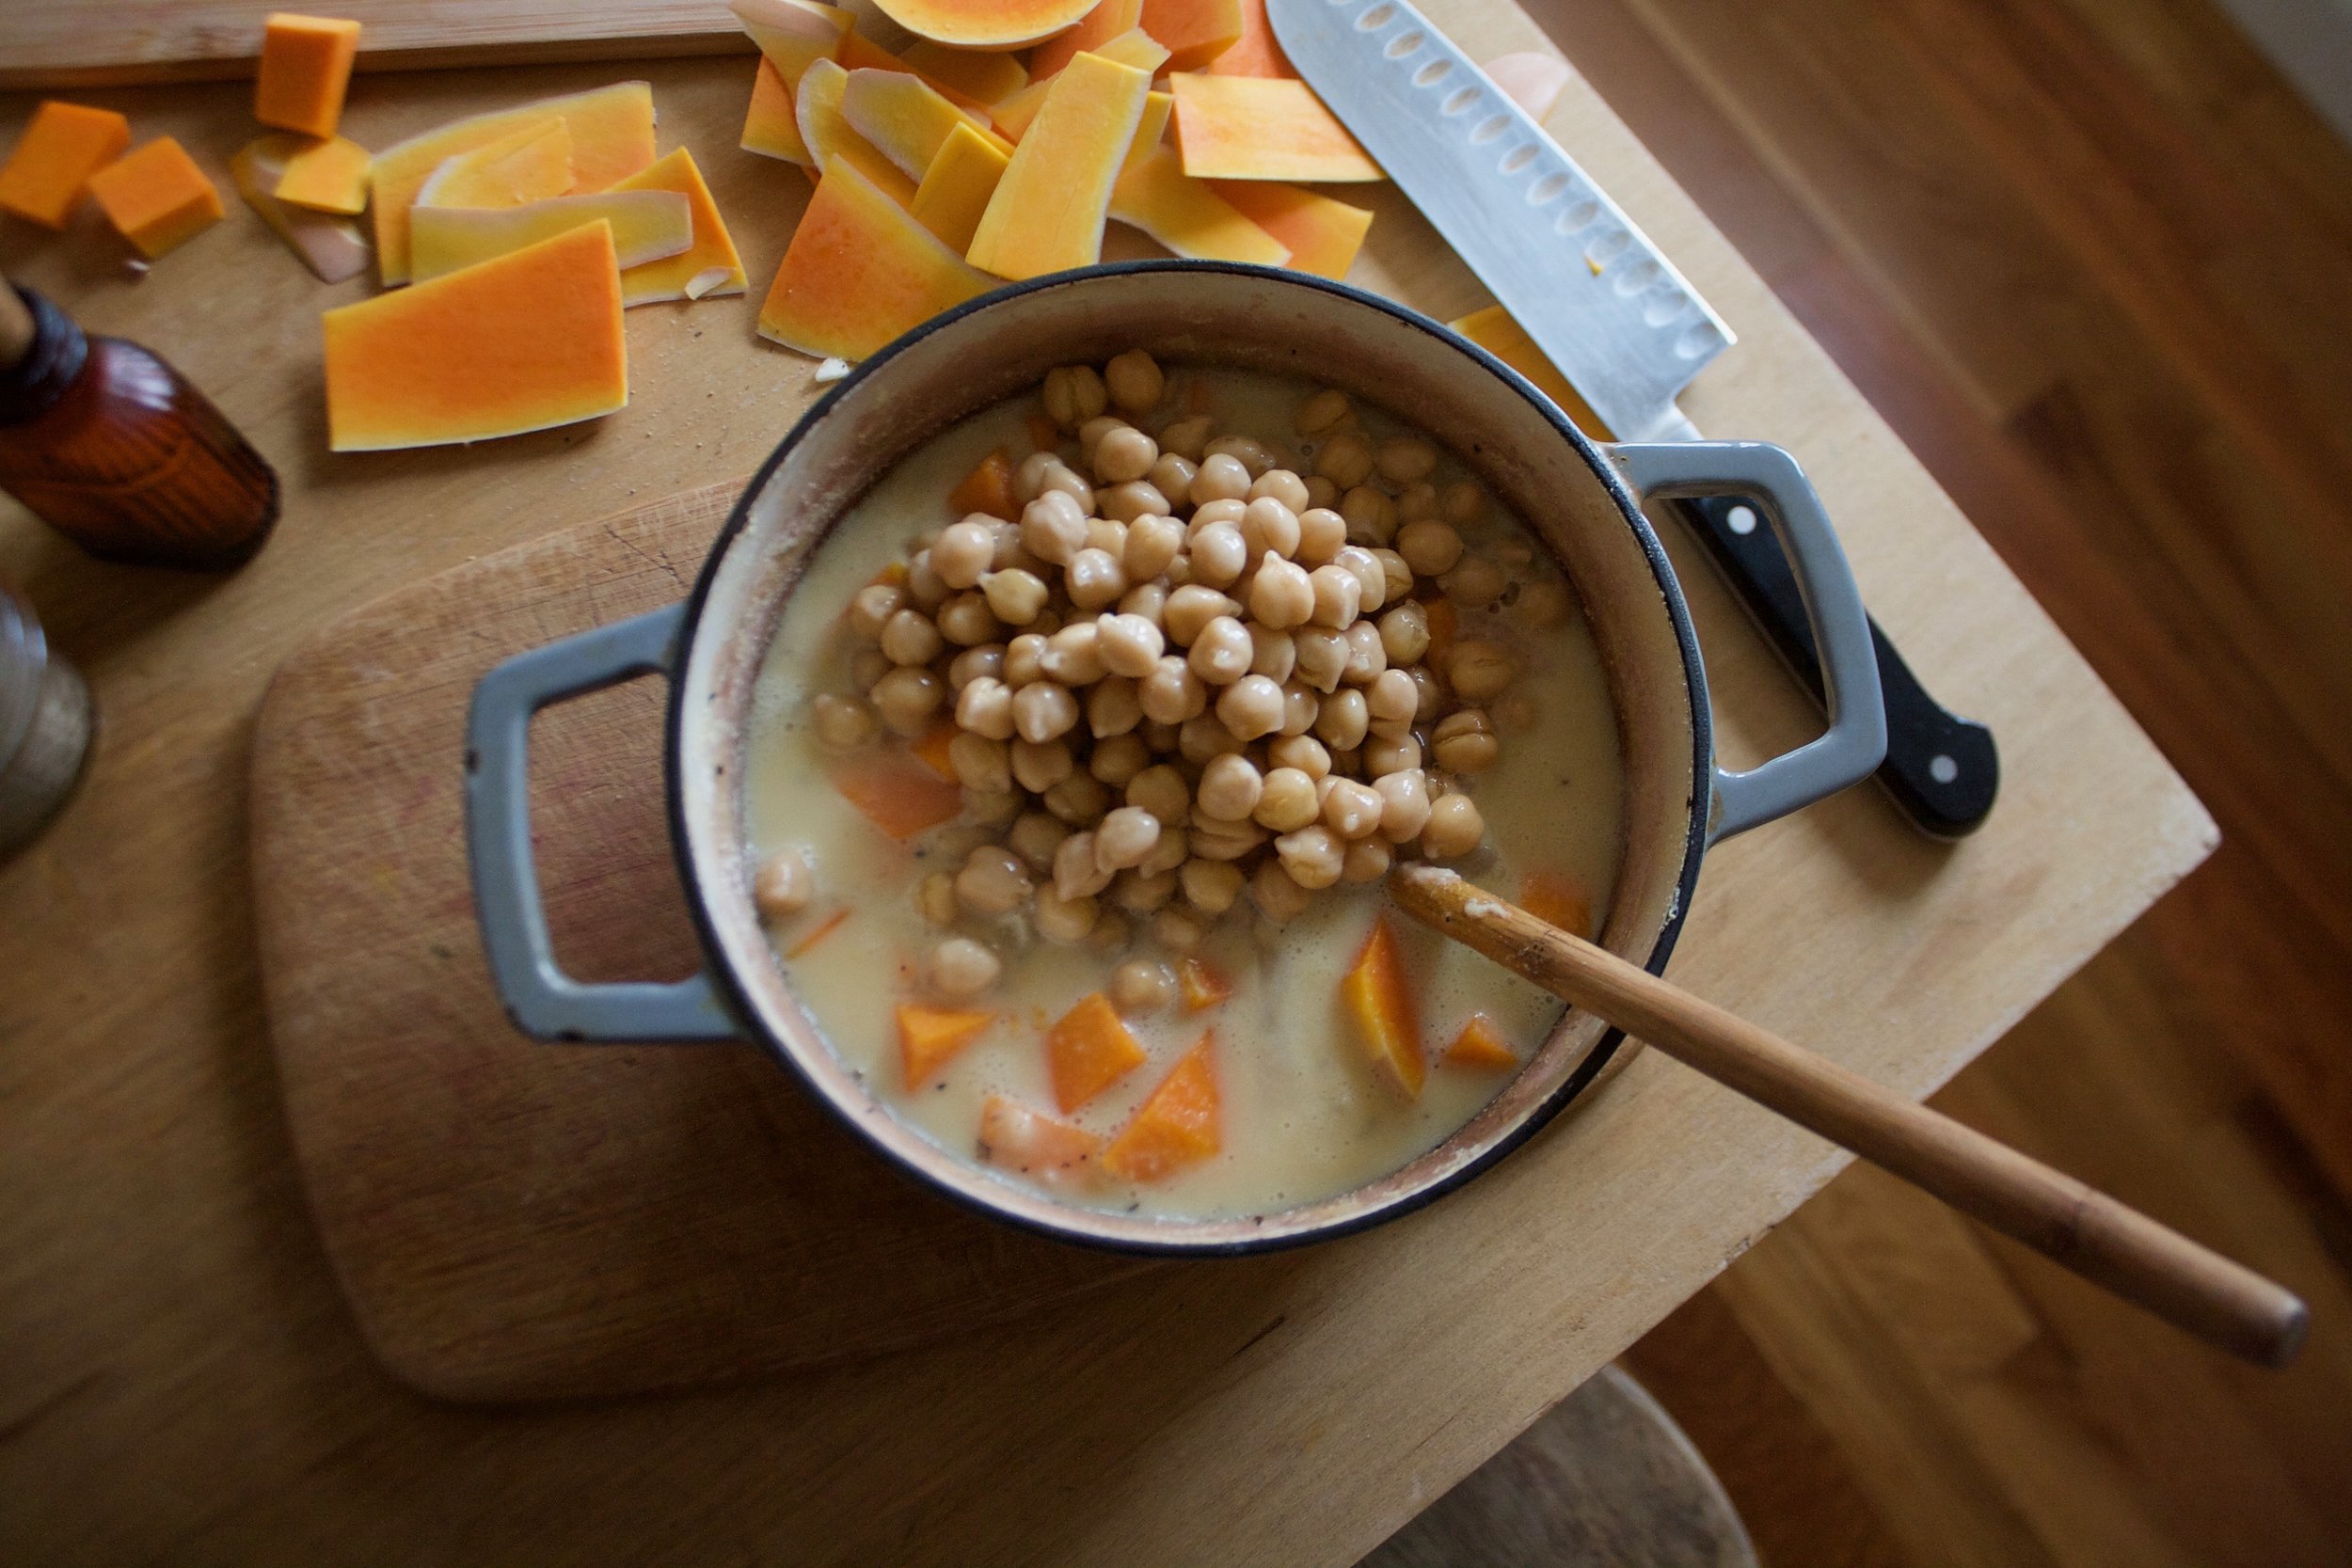
And by the time you are done with the squash, the onion and garlic have had enough time cooking. Add in the can of coconut milk and the coconut flour. Stir in the flour and bring the pot to a boil, then turn heat down to medium again and let cook for a few minutes until it starts to thicken a bit.

IMG_8615 2.jpg
IMG_8619.jpg

Remove from heat and add in the squash, the chickpeas, and salt and pepper. Mix it all around.

IMG_8623.jpg

Pour directly into the casserole dish filled with kale and give that all a good mix around.

Level it all out and top with the chopped hazelnuts.  Now into the oven it goes. 

And hour or so later, you have yourself a casserole ready for for your face.

Grab a bowl and dig on in.

-C

P.S. We realized as we are eating that a really goof vinegary hot sauce or lime juice are perfect addition to this dish. So do that. 


Butternut Chickpea Kale Coconut Casserole Topped with Hazelnuts 

serves 3-5

  • 1 can light coconut milk
  • 1 can chick peas drained 
  • 3 ish cups cubed butternut squash
  • 1/2 bundle of kale (like 5 big handfuls chopped up)
  • 1/2 cup chopped raw hazelnuts
  • 1 onion
  • 2 tablespoons coconut flour ( can sub regular flour)
  • 4-5 cloves garlic
  • olive oil
  • salt and pepper 
  • Either vinegary hot sauce or a lime wedges (optional for serving)

preheat oven to 375

Start by chopping the onion into small pieces and mincing the garlic. Add to a large pot with a tablespoon of olive oil and place on a medium heat to start cooking. 

While the onions are going, peel and dice your squash. The easiest way to do this is to cut the neck off and then peel that. (save the peels and the base for soup) Dice the peeled squash into mouth sized cubes and set aside.

Once the onions are lightly cooked, whisk in the canned coconut milk and the coconut flour. Bring mixture to a boil then return to a medium heat. Cook for about 5 minutes or until the milk starts to thicken a bit. Add in the squash, the chick peas, and a teaspoon of salt and pepper. Mix together. Add in the chopped up kale and mix that it then dump it all into 3 quart casserole dish. Level it out and top with the chopped hazelnuts. Place the casserole into the oven and bake for 1 hour ( or a little longer for the crispier crunchy parts. 

Once you remove from oven, let sit for 5-10 minutes to set up and then call it ready. 

Serve with hot sauce and or lime wedges.

Any left over is great for a meal  within then next few days or frozen for a meal down the road 


In winter, vermont, Vegetables, Vegan, pulses, one pot meal, grain free, Gluten Free, entree, dinner, Dairy Free, casserole, beans Tags Butternut Chickpea kale coconut casserole topped with hazelnuts, vegan, gluten free, grain free, casserole, hot dish, pulses, plant based, dinner, entree, serves a crowd, icf, intervale community farm, local, nuts, easy, winter meals, squash, protein, vermont, vegetables, roots
Comment

Cabbage and Kidney Bean Pot Roast

March 17, 2016 Colleen Stem
IMG_0926.jpg
IMG_0945.jpg

Every year I look forward to St Patrick's day.. And not because I am Irish, (which I am) or because I want to drink on excess (which I do not) and no,  green eggs and ham are not something that I plan on making. No Ido not look forward to any of those things (although I actually do like to pinch the littles that wear no green and talk about pots of gold and rainbows) I love this time of year because cabbage is always on a freaking super sale everywhere you go.  Something that is usually 80-99 cents a pound goes down to like 20 cents a pound. And for someone that eats like 10 heads of cabbage a week, this is a hug savings. SO yeah, I buy so so much (I have already bought 12 heads, but I actually plan on buying a full case before the sale is over)

No, I am not crazy, I will eat it all..... and I am going to be making so much sauerkraut. Woo hoo!

But until then. A cabbage pot roast. Yes. I remember growing up my mom would make pot roasts once in a while. A big pot full of big chunks of veggies topped with a big slab of some kind of meat. I never liked the meat, but I always loved the big chunks of the veggies at the bottom of the pot. So I figured I would make a big pot roast, replace the meat with a head of cabbage (I have so much) and add beans because protein and because they are just so good. . And when it's all cooked and said and done, you end up with a big pot of plump and so flavorful veggies and beans and the most tender wedged of roasted braised cabbage.  This is my kind of pot roast.

Now go quick.. the cabbage sales will be over soon.

The stuff. One good sized head of cabbage, a few carrots, a big onion, and a hunk of rutabaga. Also have some dried kidney beans, caraway and fennel seeds, dried ground mustard, a bay leaf, some garlic, and salt and pepper. And water... water is needed.

Note. You can use just caraway or just fennel and you can replace or even add a potato in place of the rutabaga.

Dried beans, fennel and caraway into a pot with water. Stick the pot on the stove ans bring to a boil, then to a simmer to give the beans a quick head start before going into the oven.

While the beans are simmering, dice up the garlic and chop up the veggies into big chunks... you don't want small chunks or they will kind of turn to mush while cooking.

And turn over the cabbage head, take a knife, and slice a deep x into the core. DO THIS or else the inside of the cabbage will not cook through. Oh and preheat the oven to 375.

Beans looking a bit plumped..

IMG_0838.jpg
IMG_0843.jpg

Top those beans with all the chopped veggies,(don't stir them in., you want to keep the bean under submerged in the water) sprinkle those with the mustard, salt and pepper and place that lovely cabbage head right on top...

Place a lid on the pot and slide it into the oven to cook away. It's going to take a bit of time (about an hour) but it's pretty much hands off. Just take a look after about 45 minutes, check the bean doneness, add in another cup or so of water and place lid bacck on and cook for another 12-20 minutes until the beans are done. When they are, take the lid off, crank the oven to 450 and cook for another 15 or so minutes until the cabbage gets all golden brown

Look at that... Tender roasted veggies, plump beans. Everything about this is right.

Grab a knife and cut the cabbage (its so tender) into big wedges.

A wedge into a bowl along with a big spoonful or two of the beans and veggies..

Finished with a dash of salt and pepper and (not shown here,) lots of mustard.. Oh cabbage... you are so good!

Eat away and Happy St Patrick's Day.

-C


Cabbage and Kidney Bean Pot Roast

serves 3-4

  • 1 cup dried kidney beans
  • 3-4 cups water
  • a medium sized head of cabbage
  • 2-3 carrots
  • 1 large onion
  •  a potato or a a small rutabaga(or both)
  • 1 heaping teaspoon caraway seeds
  • 1 heaping teaspoon fennel seeds
  • 1 heaping teaspoon ground mustard
  • a bay leaf
  • salt and pepper

Place the fennel, the caraway, and the bay leaf into a large dutch oven along with the dried beans and 3 cups of water. Place on the stove and being to a boil then, turn heat to low and simmer the beans for about 15 minutes.

While beans are simmering, chop up the carrot, onion and rutabaga into big chunks and dice up the garlic. Take head of cabbage and slice a deep x into the core.

Preheat oven to 375

Once the beans have simmered a bit, add in the chunks of veggies, the ground mustard and salt and pepper (Don't stir, you want to keep the bean submerged in the water). Place the head of cabbage right on top of the veggies and sprinkle with salt and pepper.

Place a lid on the pot and stick the whole thing into the oven. After about 45 minutes, check the roast and the beans for doneness and adding in another cup of water id needed. Back into oven with the lid for another 15-20 minutes or until the beans are tender Onnce they are, remove the lid form the pot and crank the oven up to 425. Cook for another 15 minutes or so until the cabbage turns a nice golden brown.

Remove from oven, let cool for a few minutes, cut the cabbage head into wedges and serve it up with big spoonfuls of beans and veggies.

Eat until your full.

.

In beans, Dairy Free, dinner, entree, Gluten Free, grain free, holiday, photography, pulses, recipes, Savory, Vegan, one pot meal, Vegetables Tags Cabbage and Kidney Bean Pot Roast, cabbage, kidney beans, pulses, vegan, gluten free, plant based, healthy, veggies, clean eating, entree, pot roast, beans
Comment
Older Posts →
 

https://thelovelycrazy.squarespace.com/config#/|/about/

Me. Food Maker.Food eater. Woo HOO!

STEM+NODE  SMALL BATCH AND ONE OF A KIND POTTERY

stem+node ceramics


____________________

Subscribe

GET NEW POSTS IN YO EMAIL

You are AWESOME!!!


@thelovelycrazy 2014-2021