• stem+node ceramics
  • HOME
  • Food Recipes
  • About
  • Contact
Menu

The Lovely Crazy

Street Address
City, State, Zip
Phone Number

Your Custom Text Here

The Lovely Crazy

  • stem+node ceramics
  • HOME
  • Food Recipes
  • About
  • Contact

Lemon Rainbow Sprinkle Cupcakes

April 28, 2018 Colleen Stem
IMG_1672.jpg
IMG_1678 2.jpg

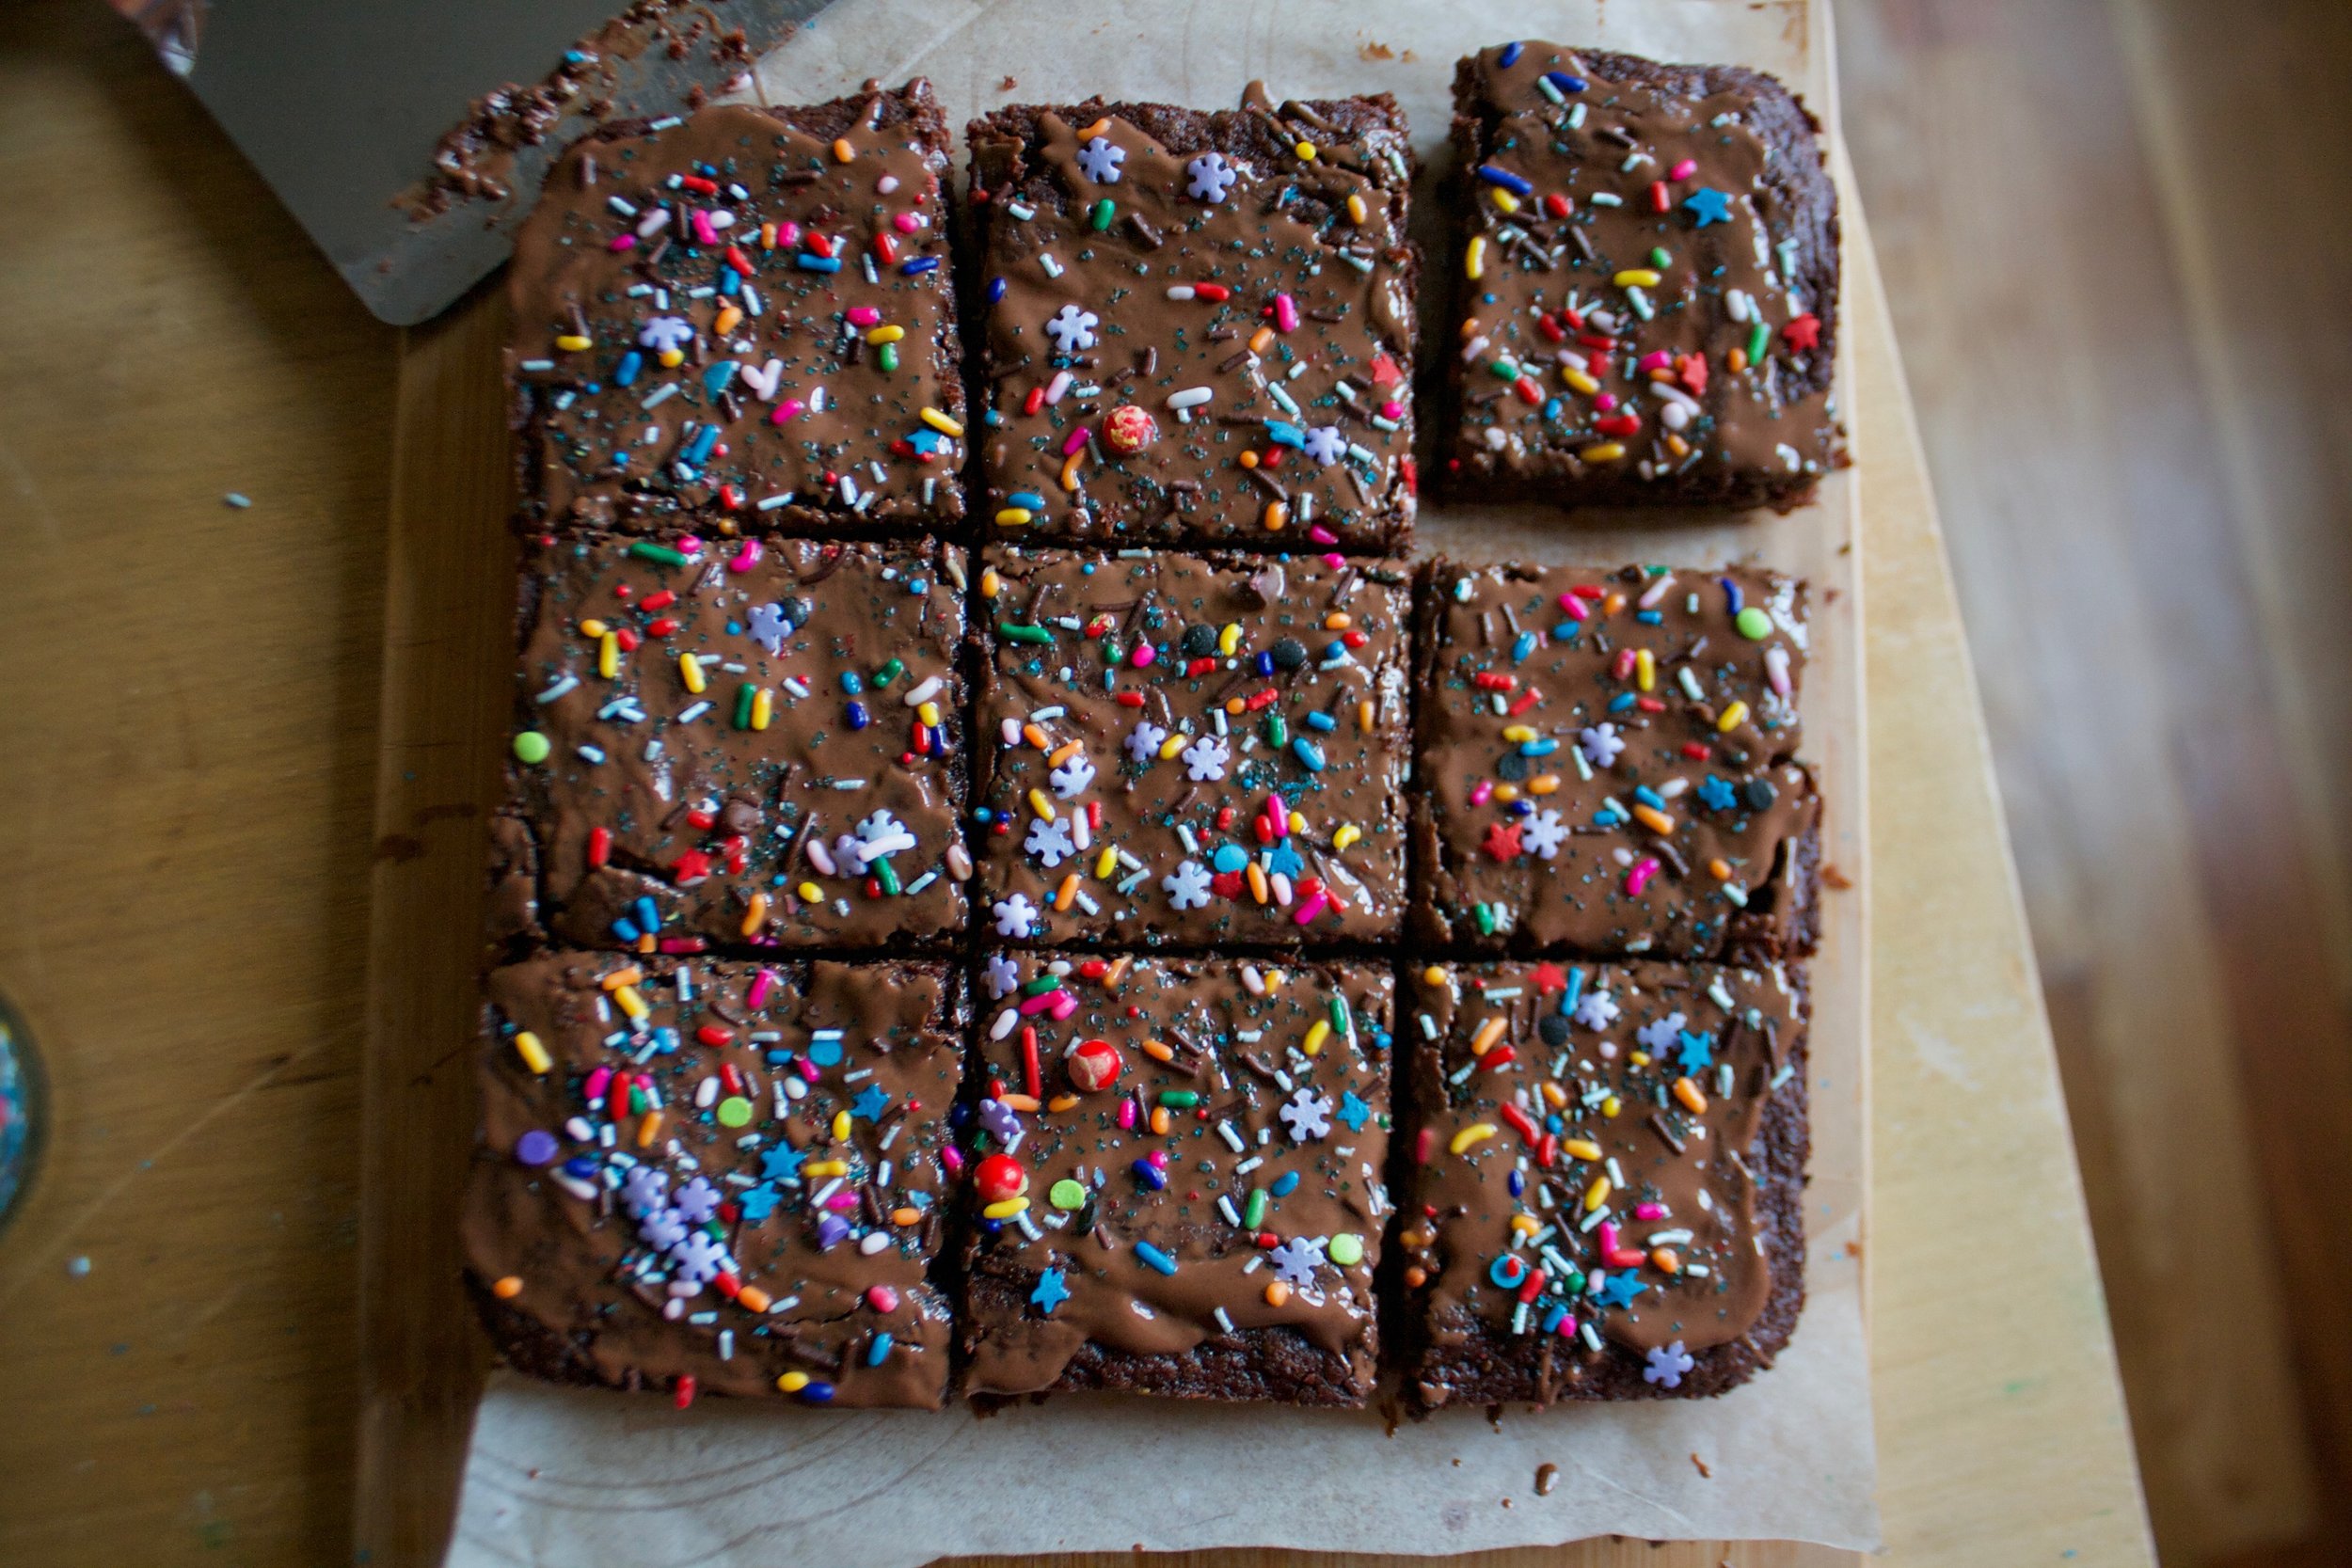
The person that invented sprinkles is a very smart person. Whoever they are, I wonder if they new exactly what they were doing, that even the mention of sprinkles can, and does, drive a person (mostly littles) mad with the need for sugar. Just the mere glimpse of the rainbow colored topping was enough to bribe a few little littles into somewhat decent behaviors, even for just a little while (especially when I let them know about the sprinkles on the inside, well they just snapped into line). No rainbow sprinkle cupcake if you don't clean up and eat all you peas!. That goes for everyone, not just the littles. Haha. 

Have you notice that most of the snow melted and it's finally spring? Whoop whoop. Now that the house is feeling fresh because the windows and doors are thrown open, I feel the need to blast music and bake. I went with cupcakes because I haven't in a while, and lemon because its fresh, and sprinkles because we need to celebrate spring and really, sprinkles in and on everything will never be a bad idea.

 I have more or less been using kind of the same recipe for a vegan vanilla cake for a while. And while it was a good cake, it was never a great cake. When I made these I decided to tweak it a bit and they came out awesome. Finally a great cake. The mr, the littles, everyone who has eaten one has reached for another. And eaten the crumbs off the table and licked the parchment wrappers clean. The littles even asked if they could have the recipe so when they grow up they can make them by themselves. (So cute.) A cake winner here for sure.  

So if you are feeling sprinkly and lemony and want a sweet, then go, go to your kitchen. Throw open the windows, blast some tunes, and bake away. 

IMG_1613.jpg

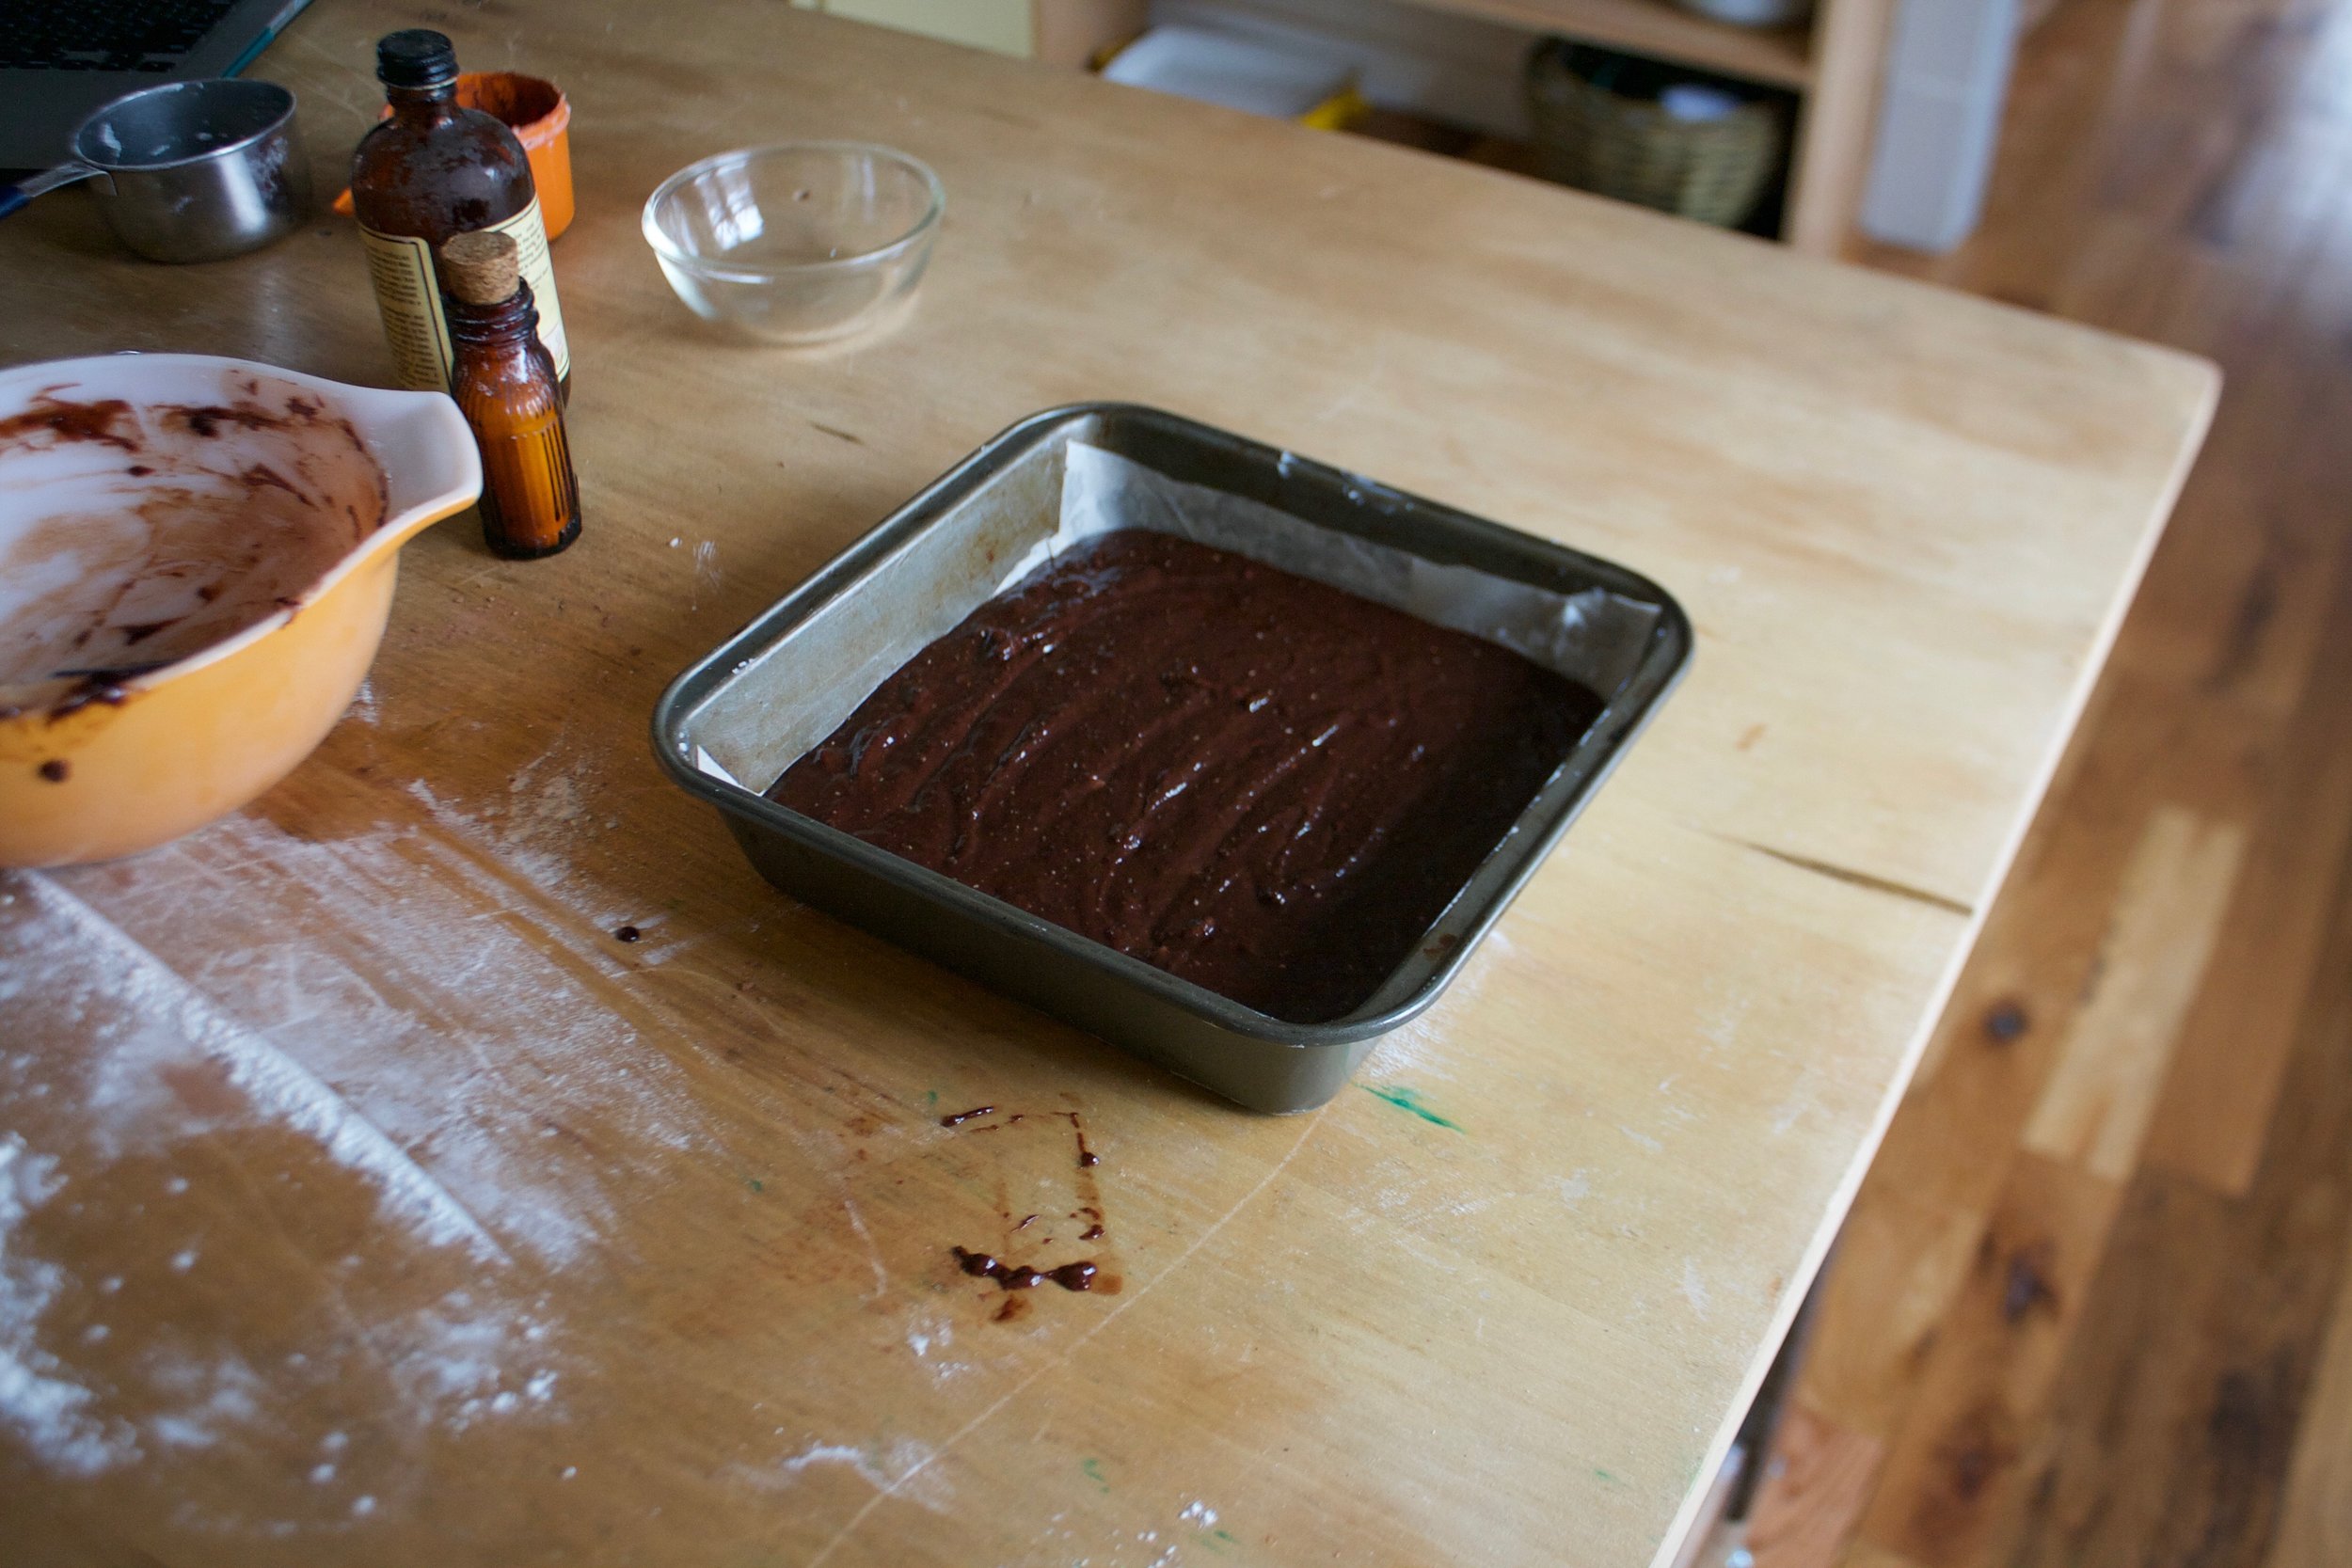
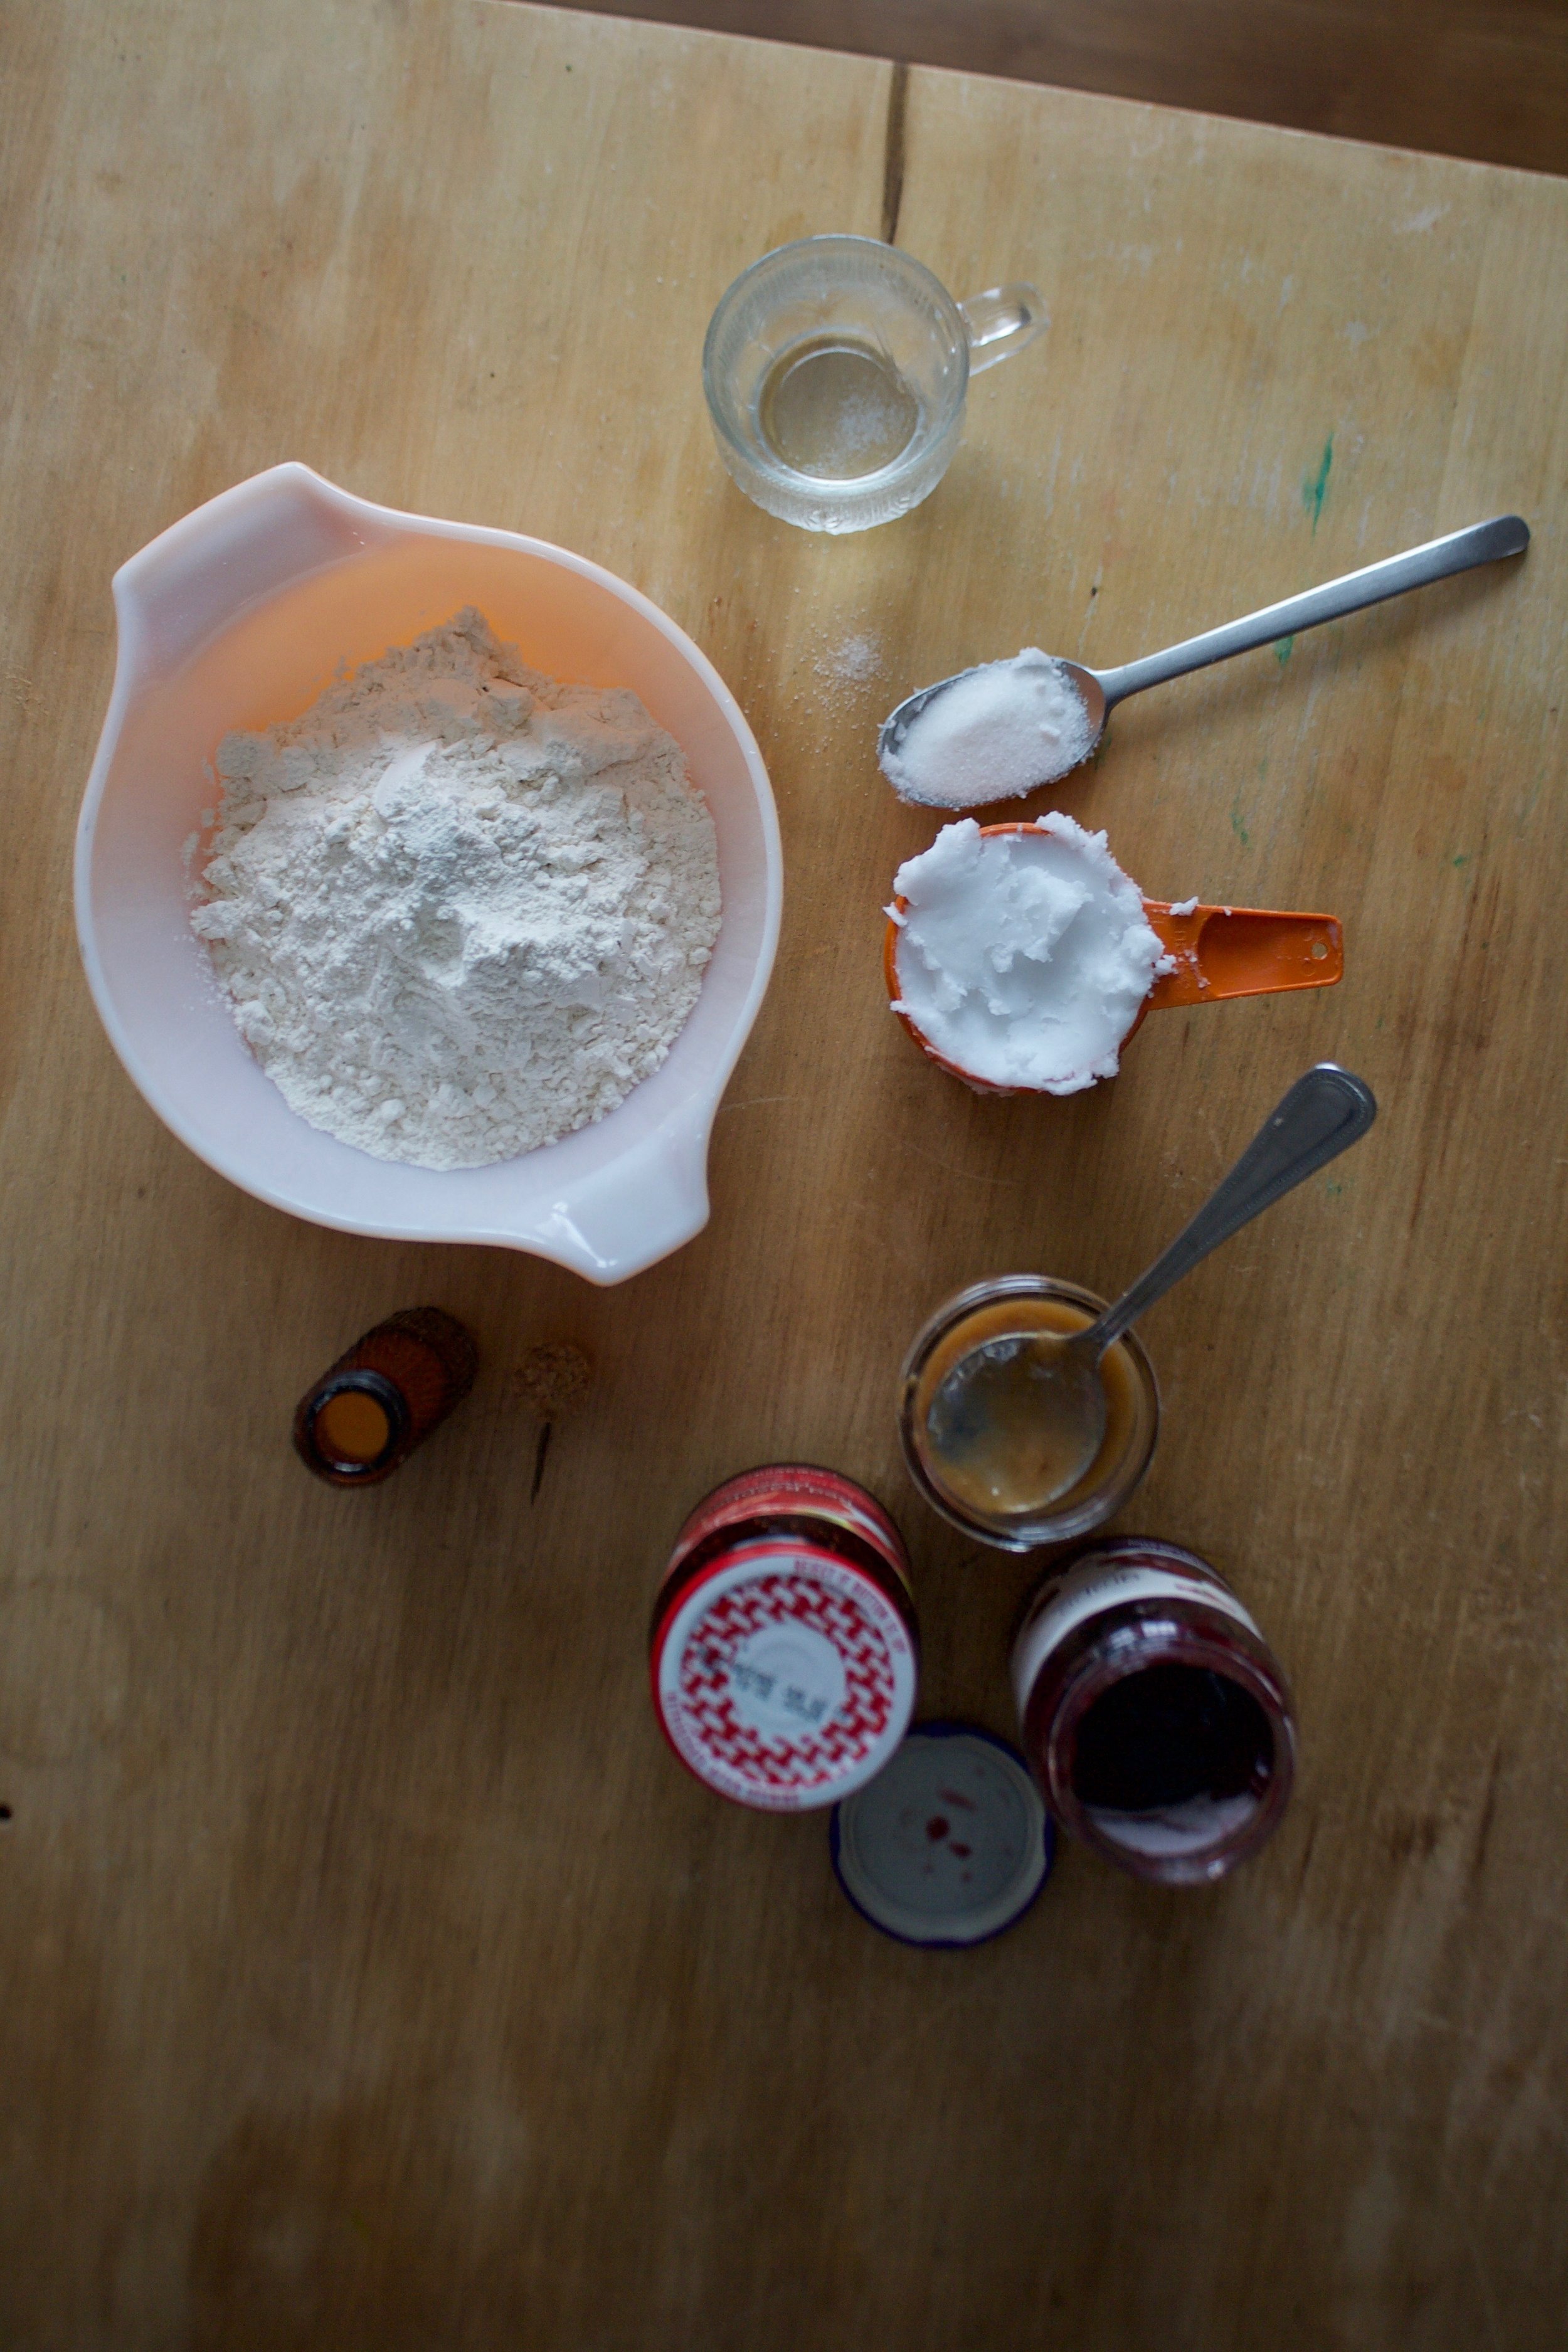
The stuff. Vegan butter, oil, sugar, and a few lemons. Flour, baking soda and powder, salt, plant milk, apple cider vinegar, vanilla extract*, and of course sprinkles. 

*I used imitation vanilla extract because I have read in more then a few placed that the typical funfetti cake uses it. So I did and there were zero complaints. 

IMG_1616.jpg

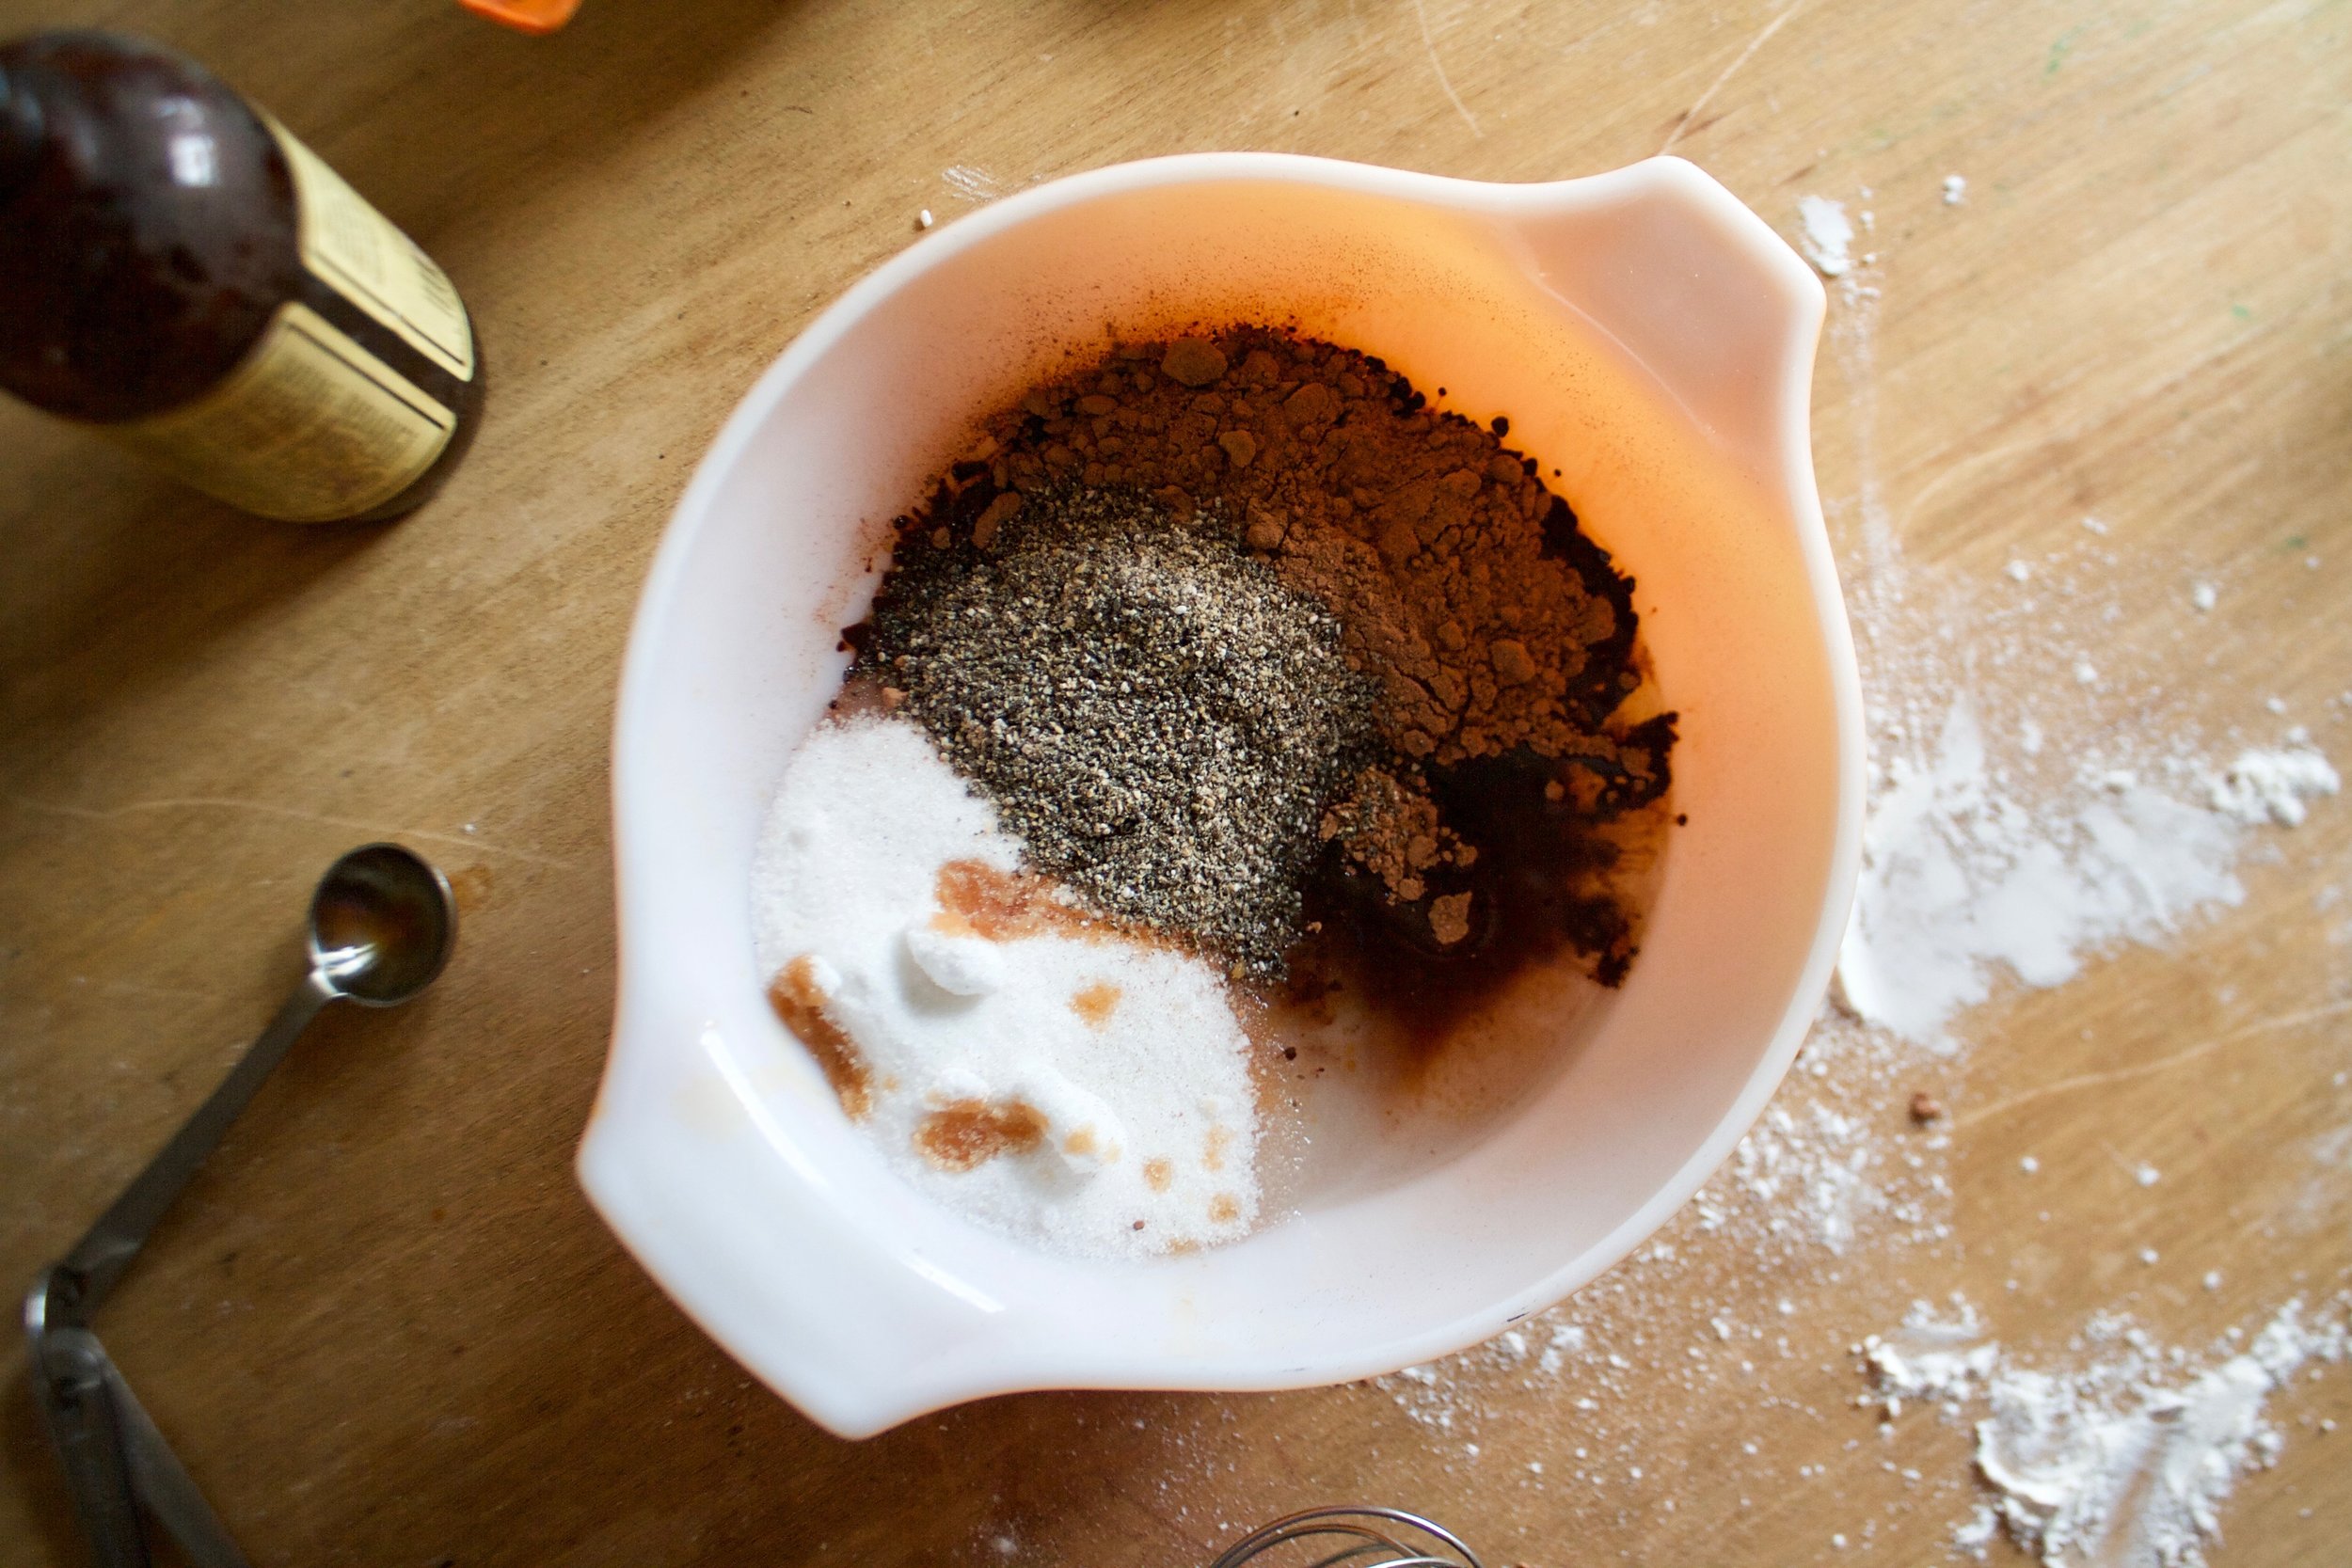
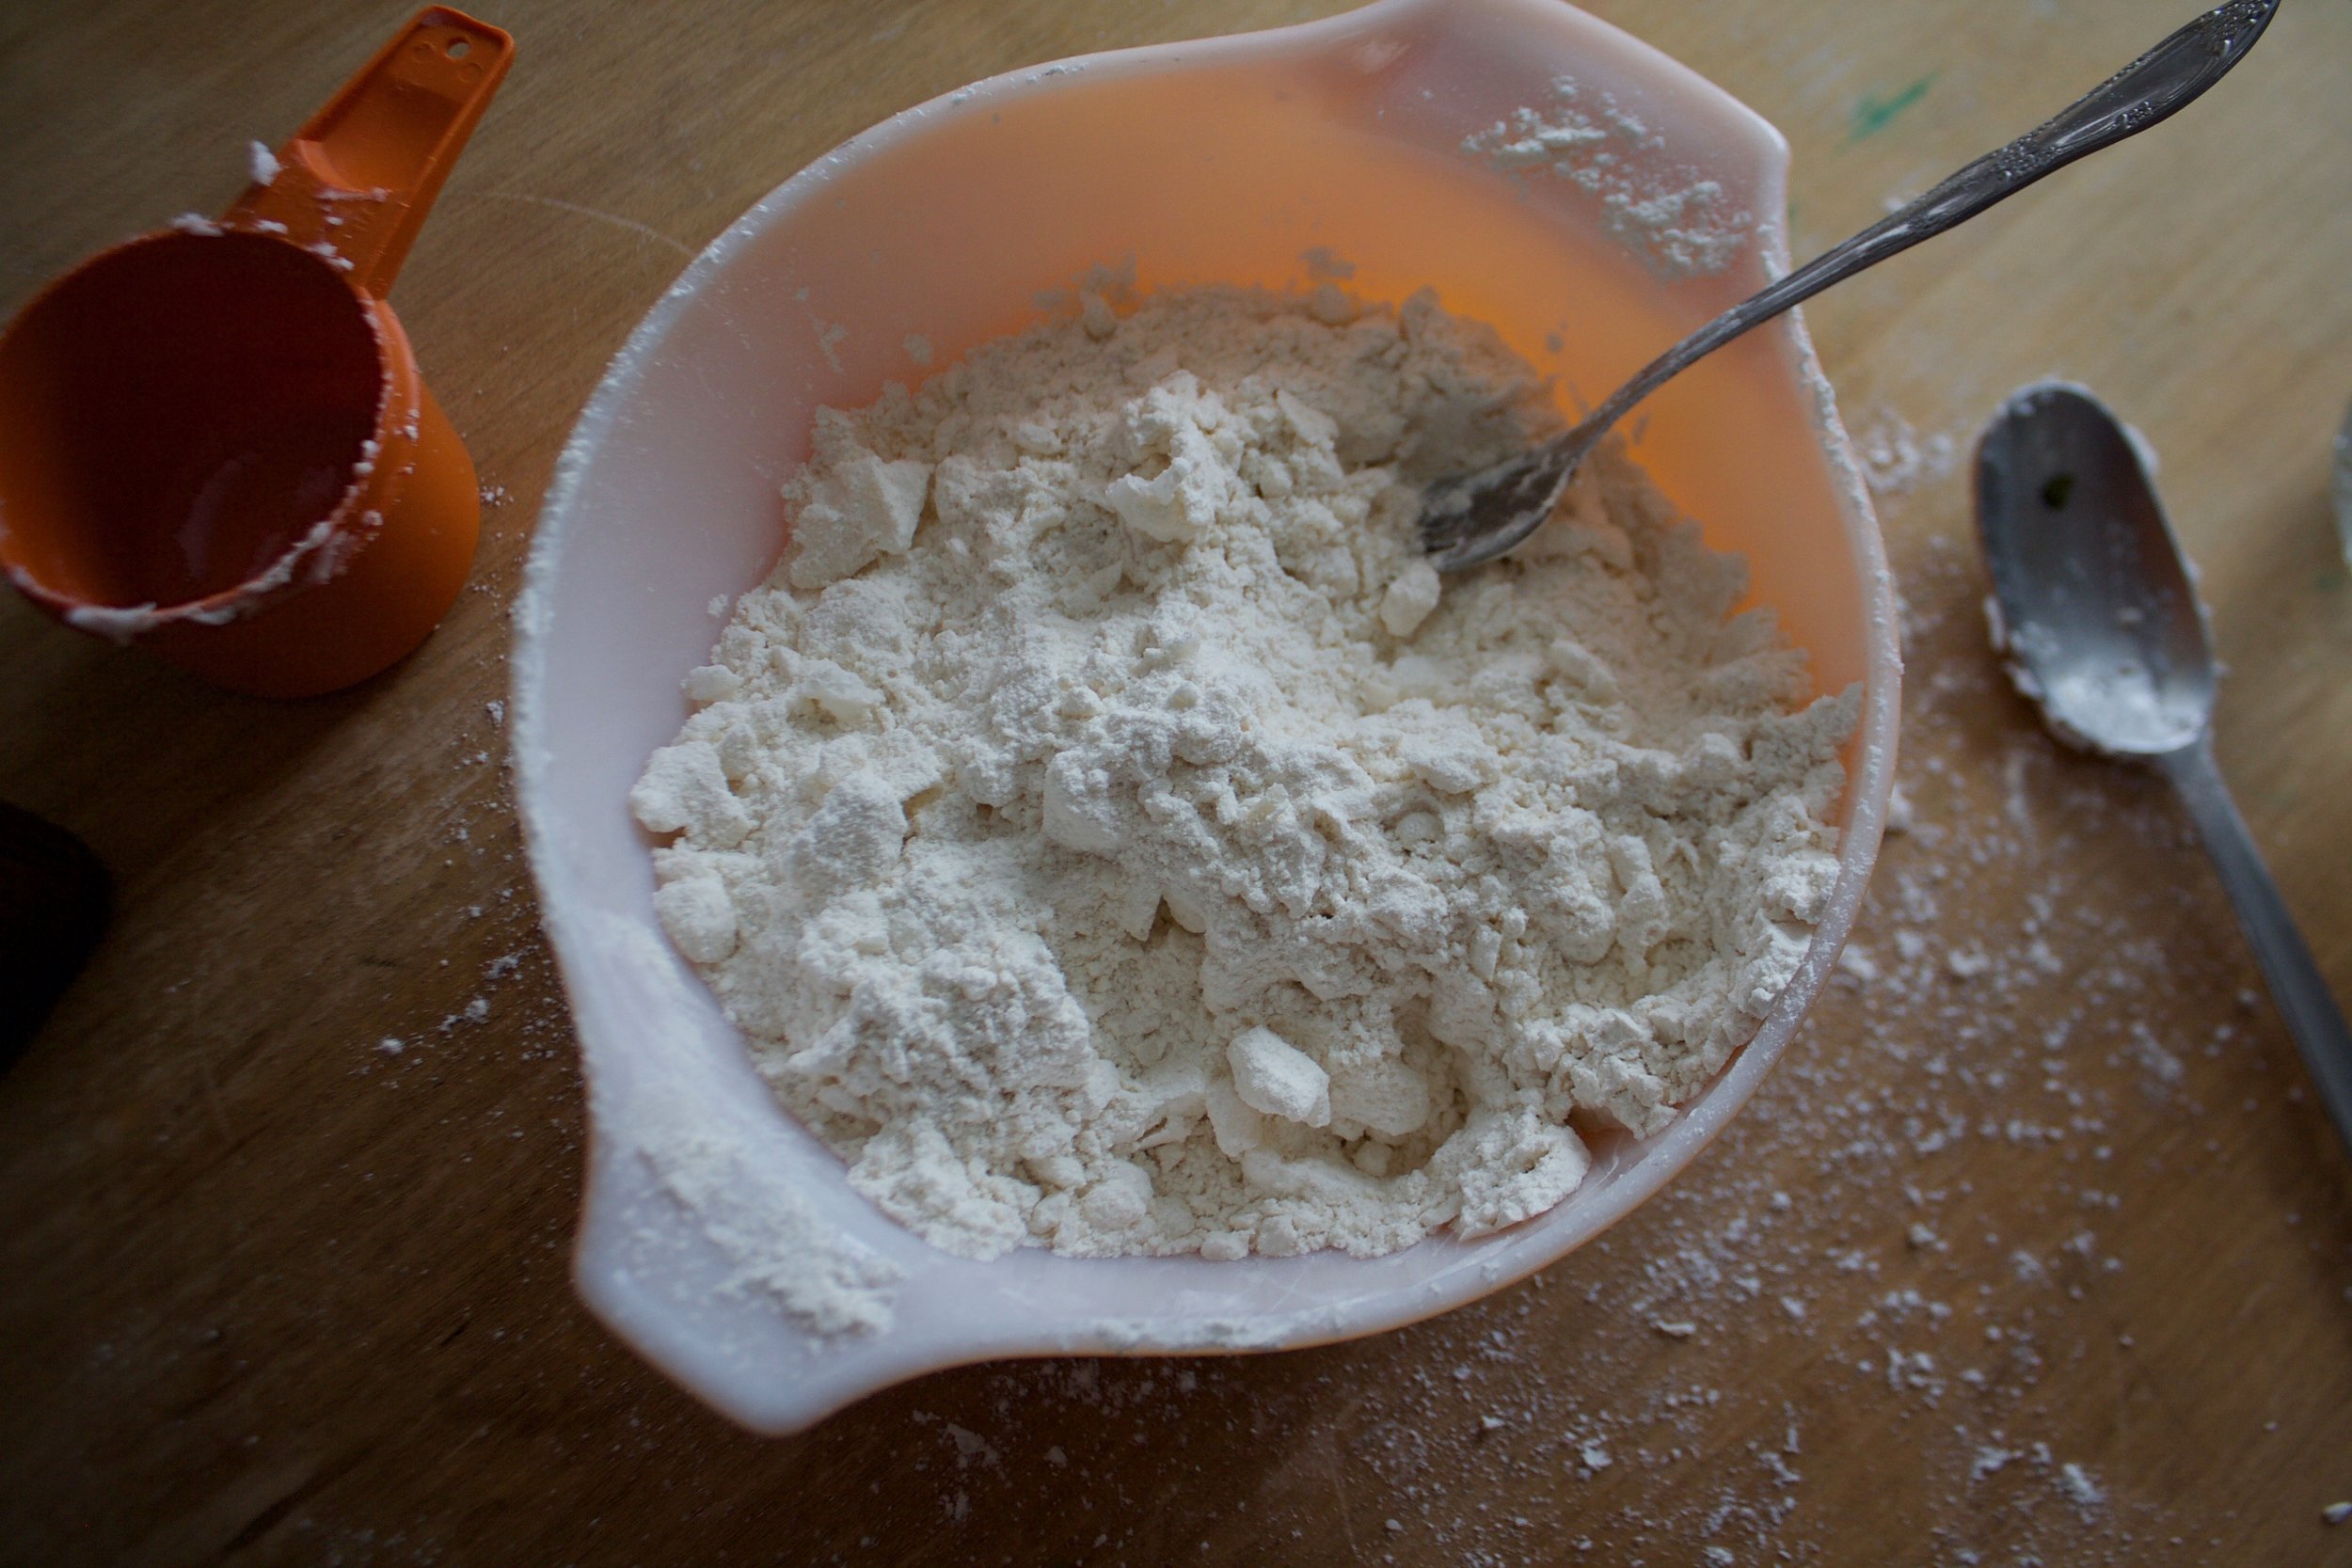
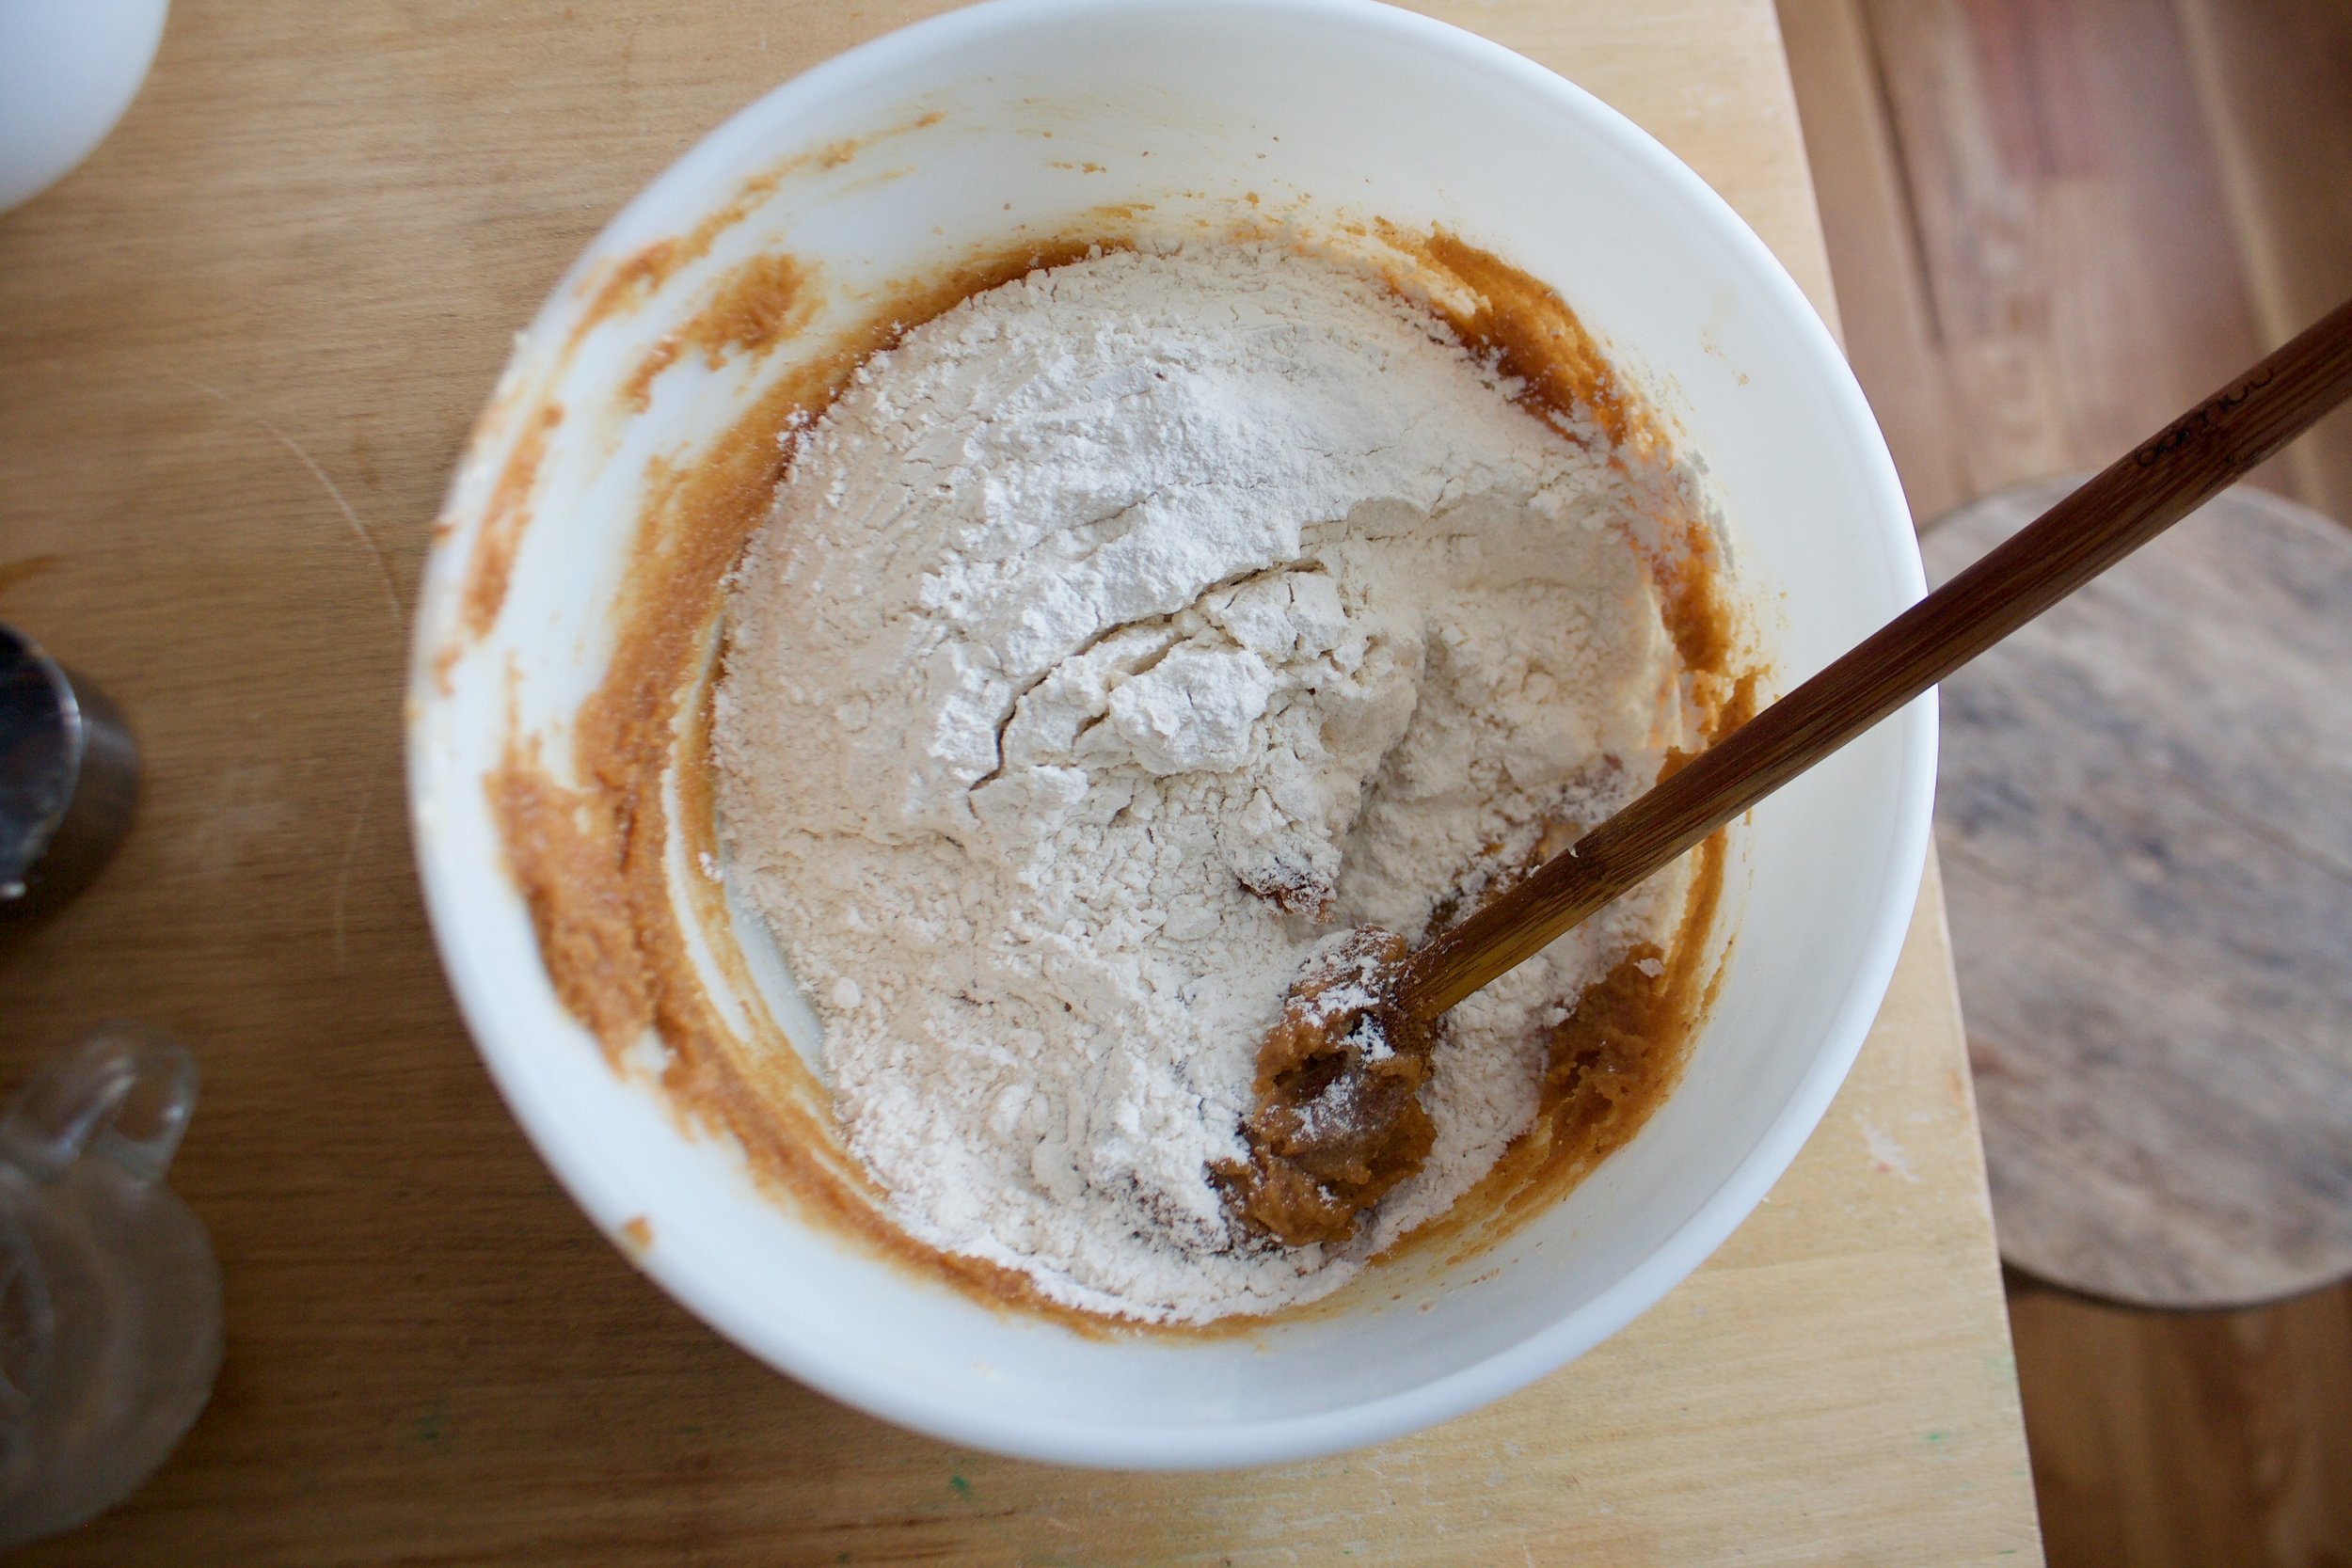
Start by mixing the dry together along with the zest of the lemon. After zesting, add the juice of one of the lemons and the apple cider vinegar the milk and give it a mix. 

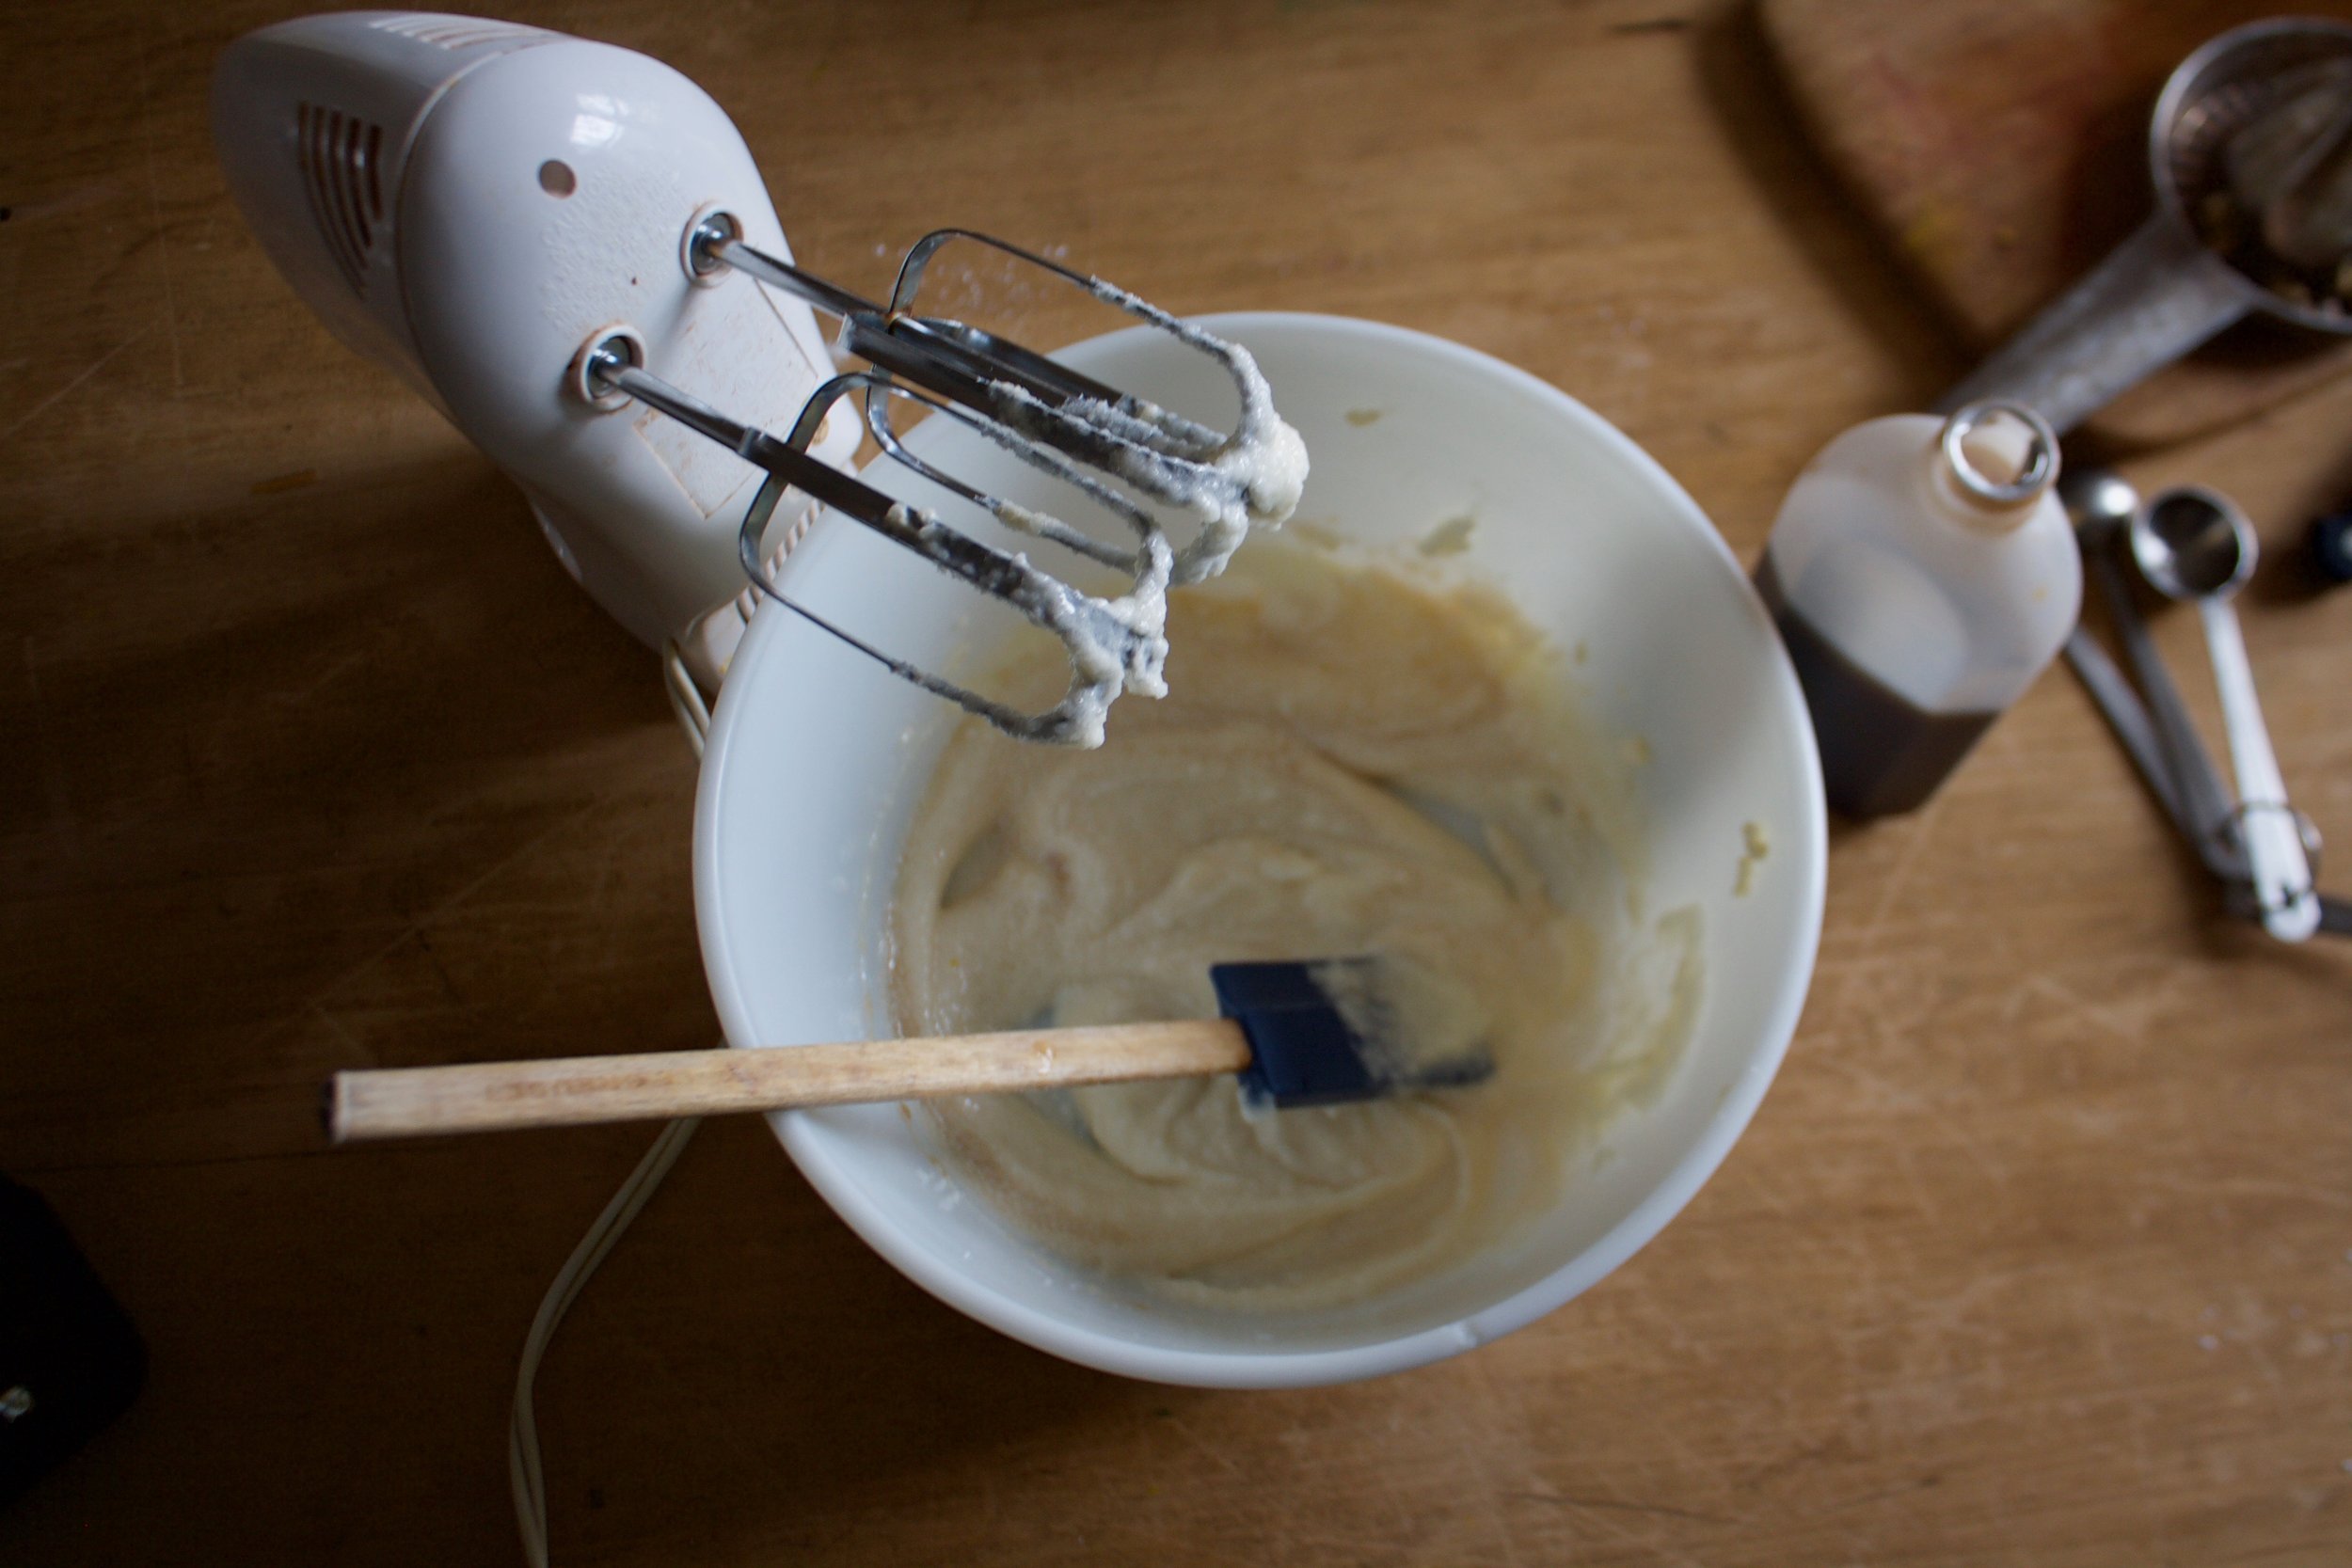
Beat together the sugar, butter, and oil until light and fluffy. Add in the vanilla. 

IMG_1631.jpg

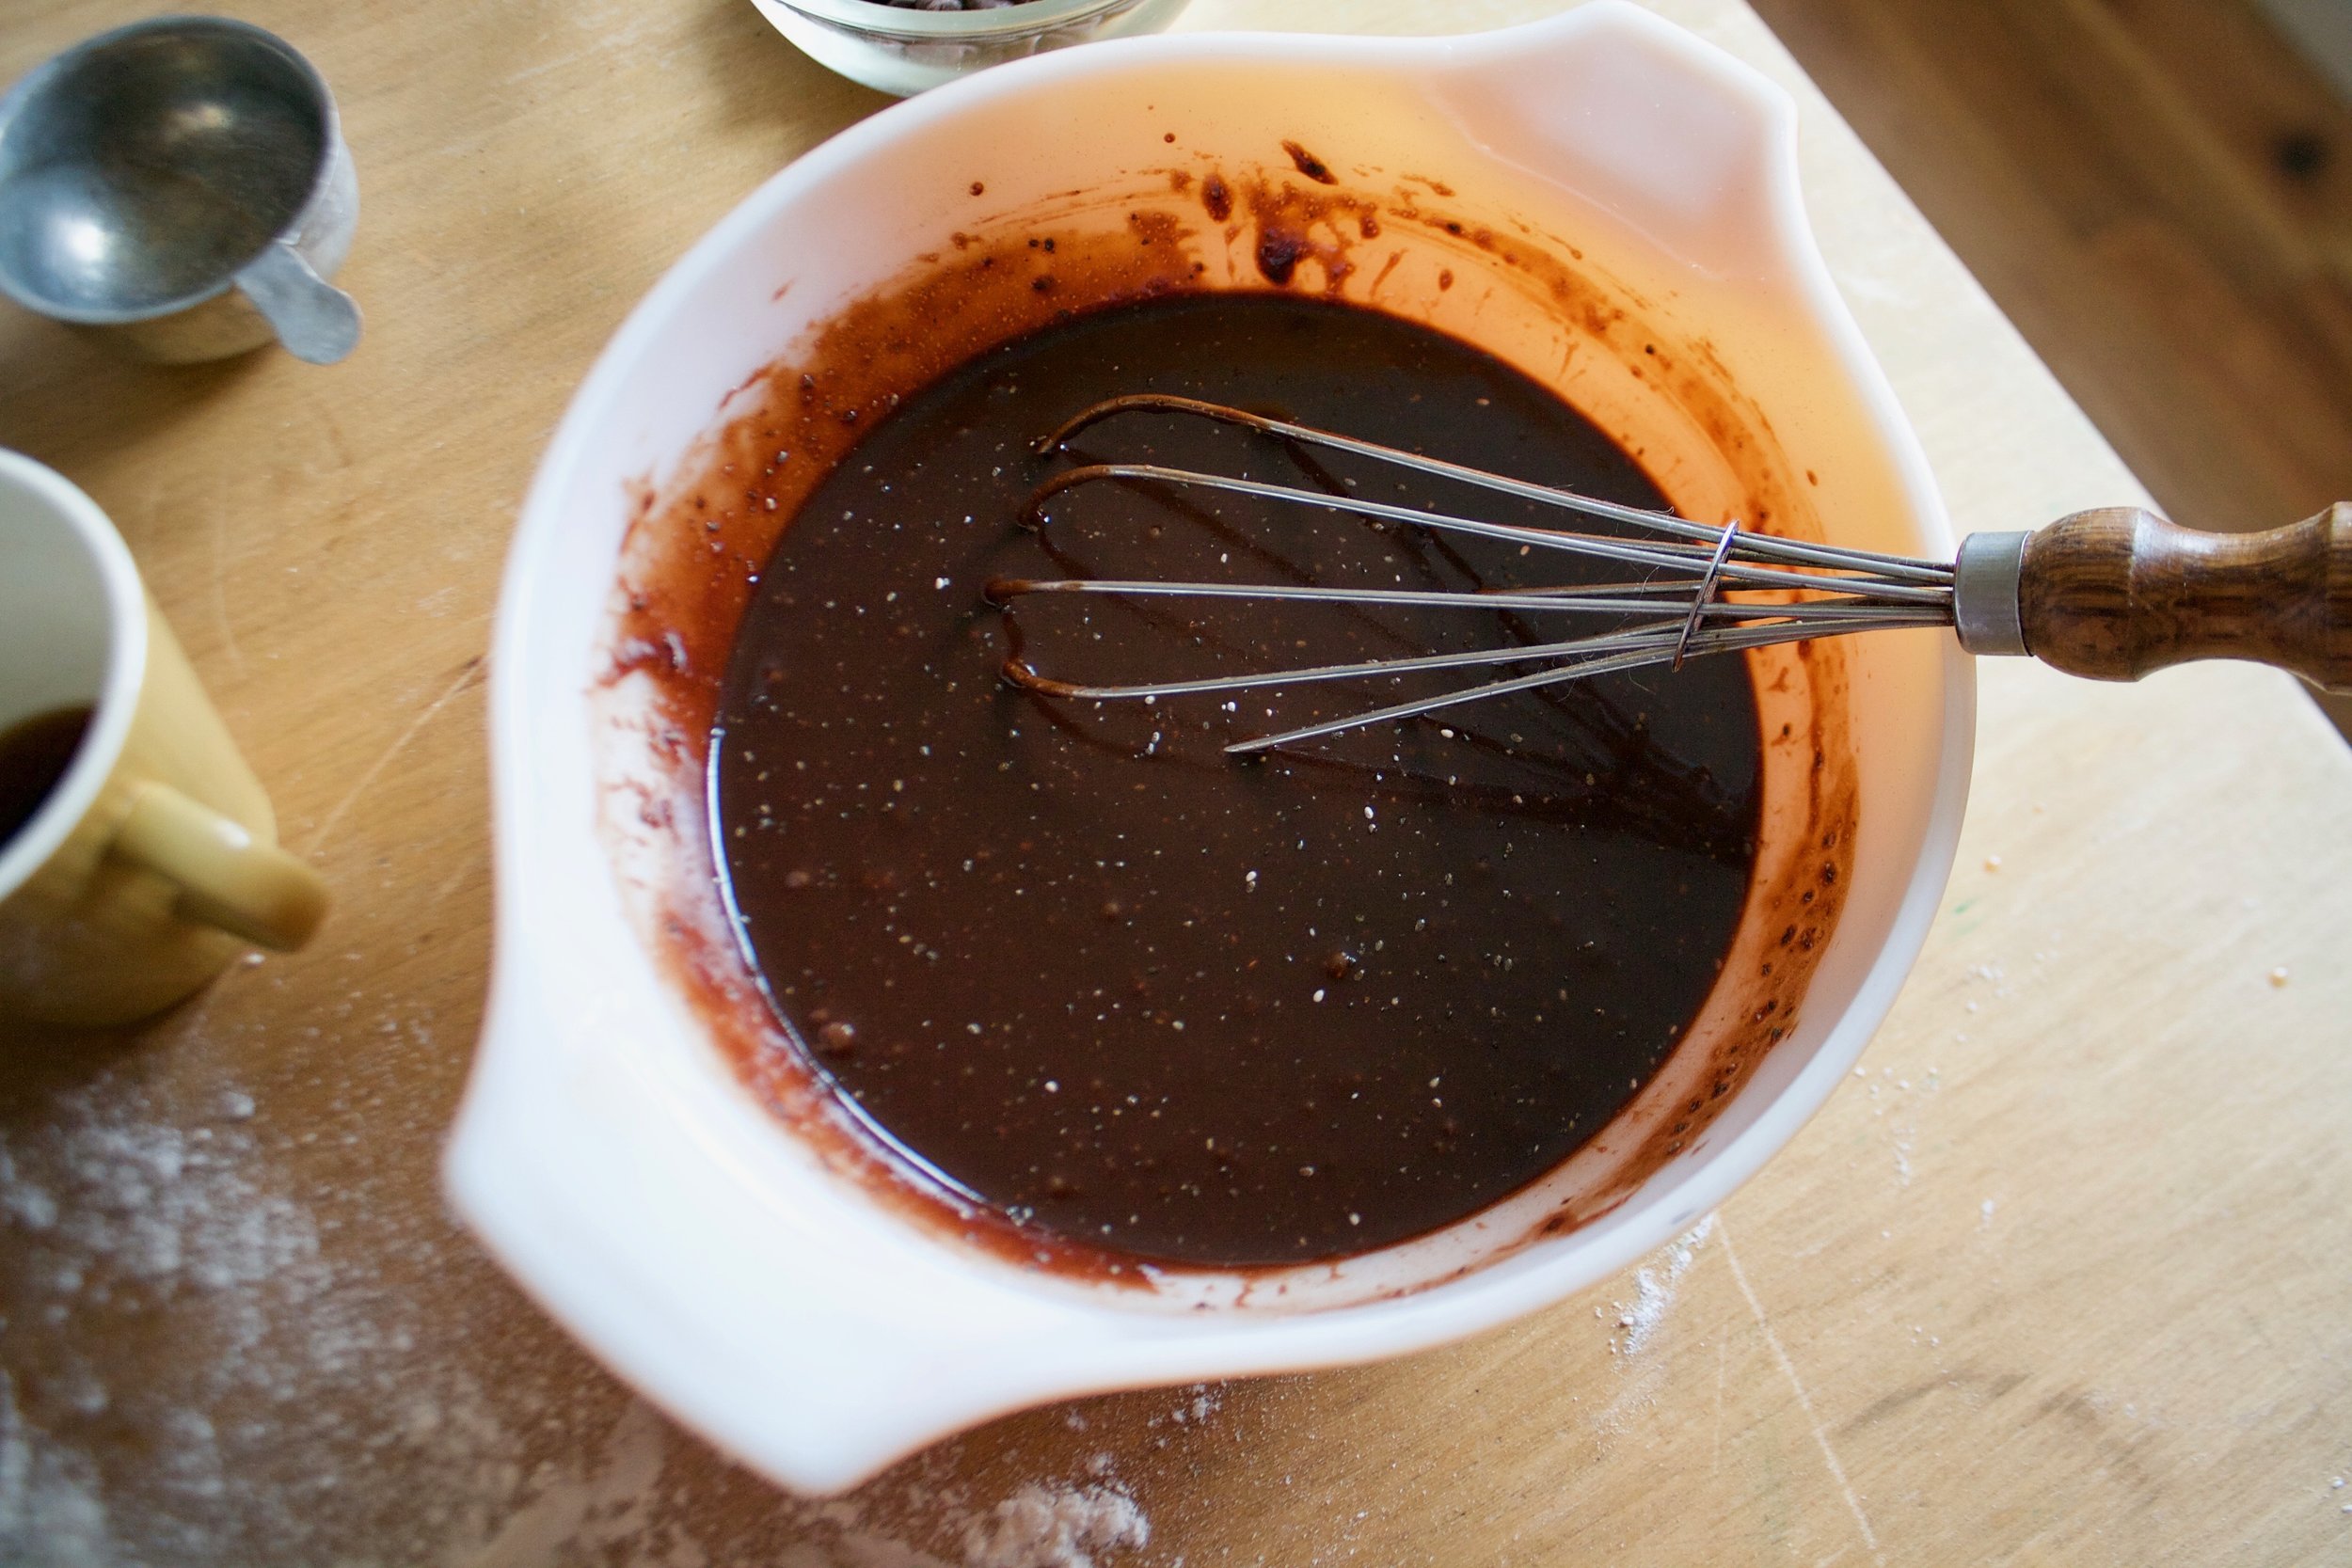
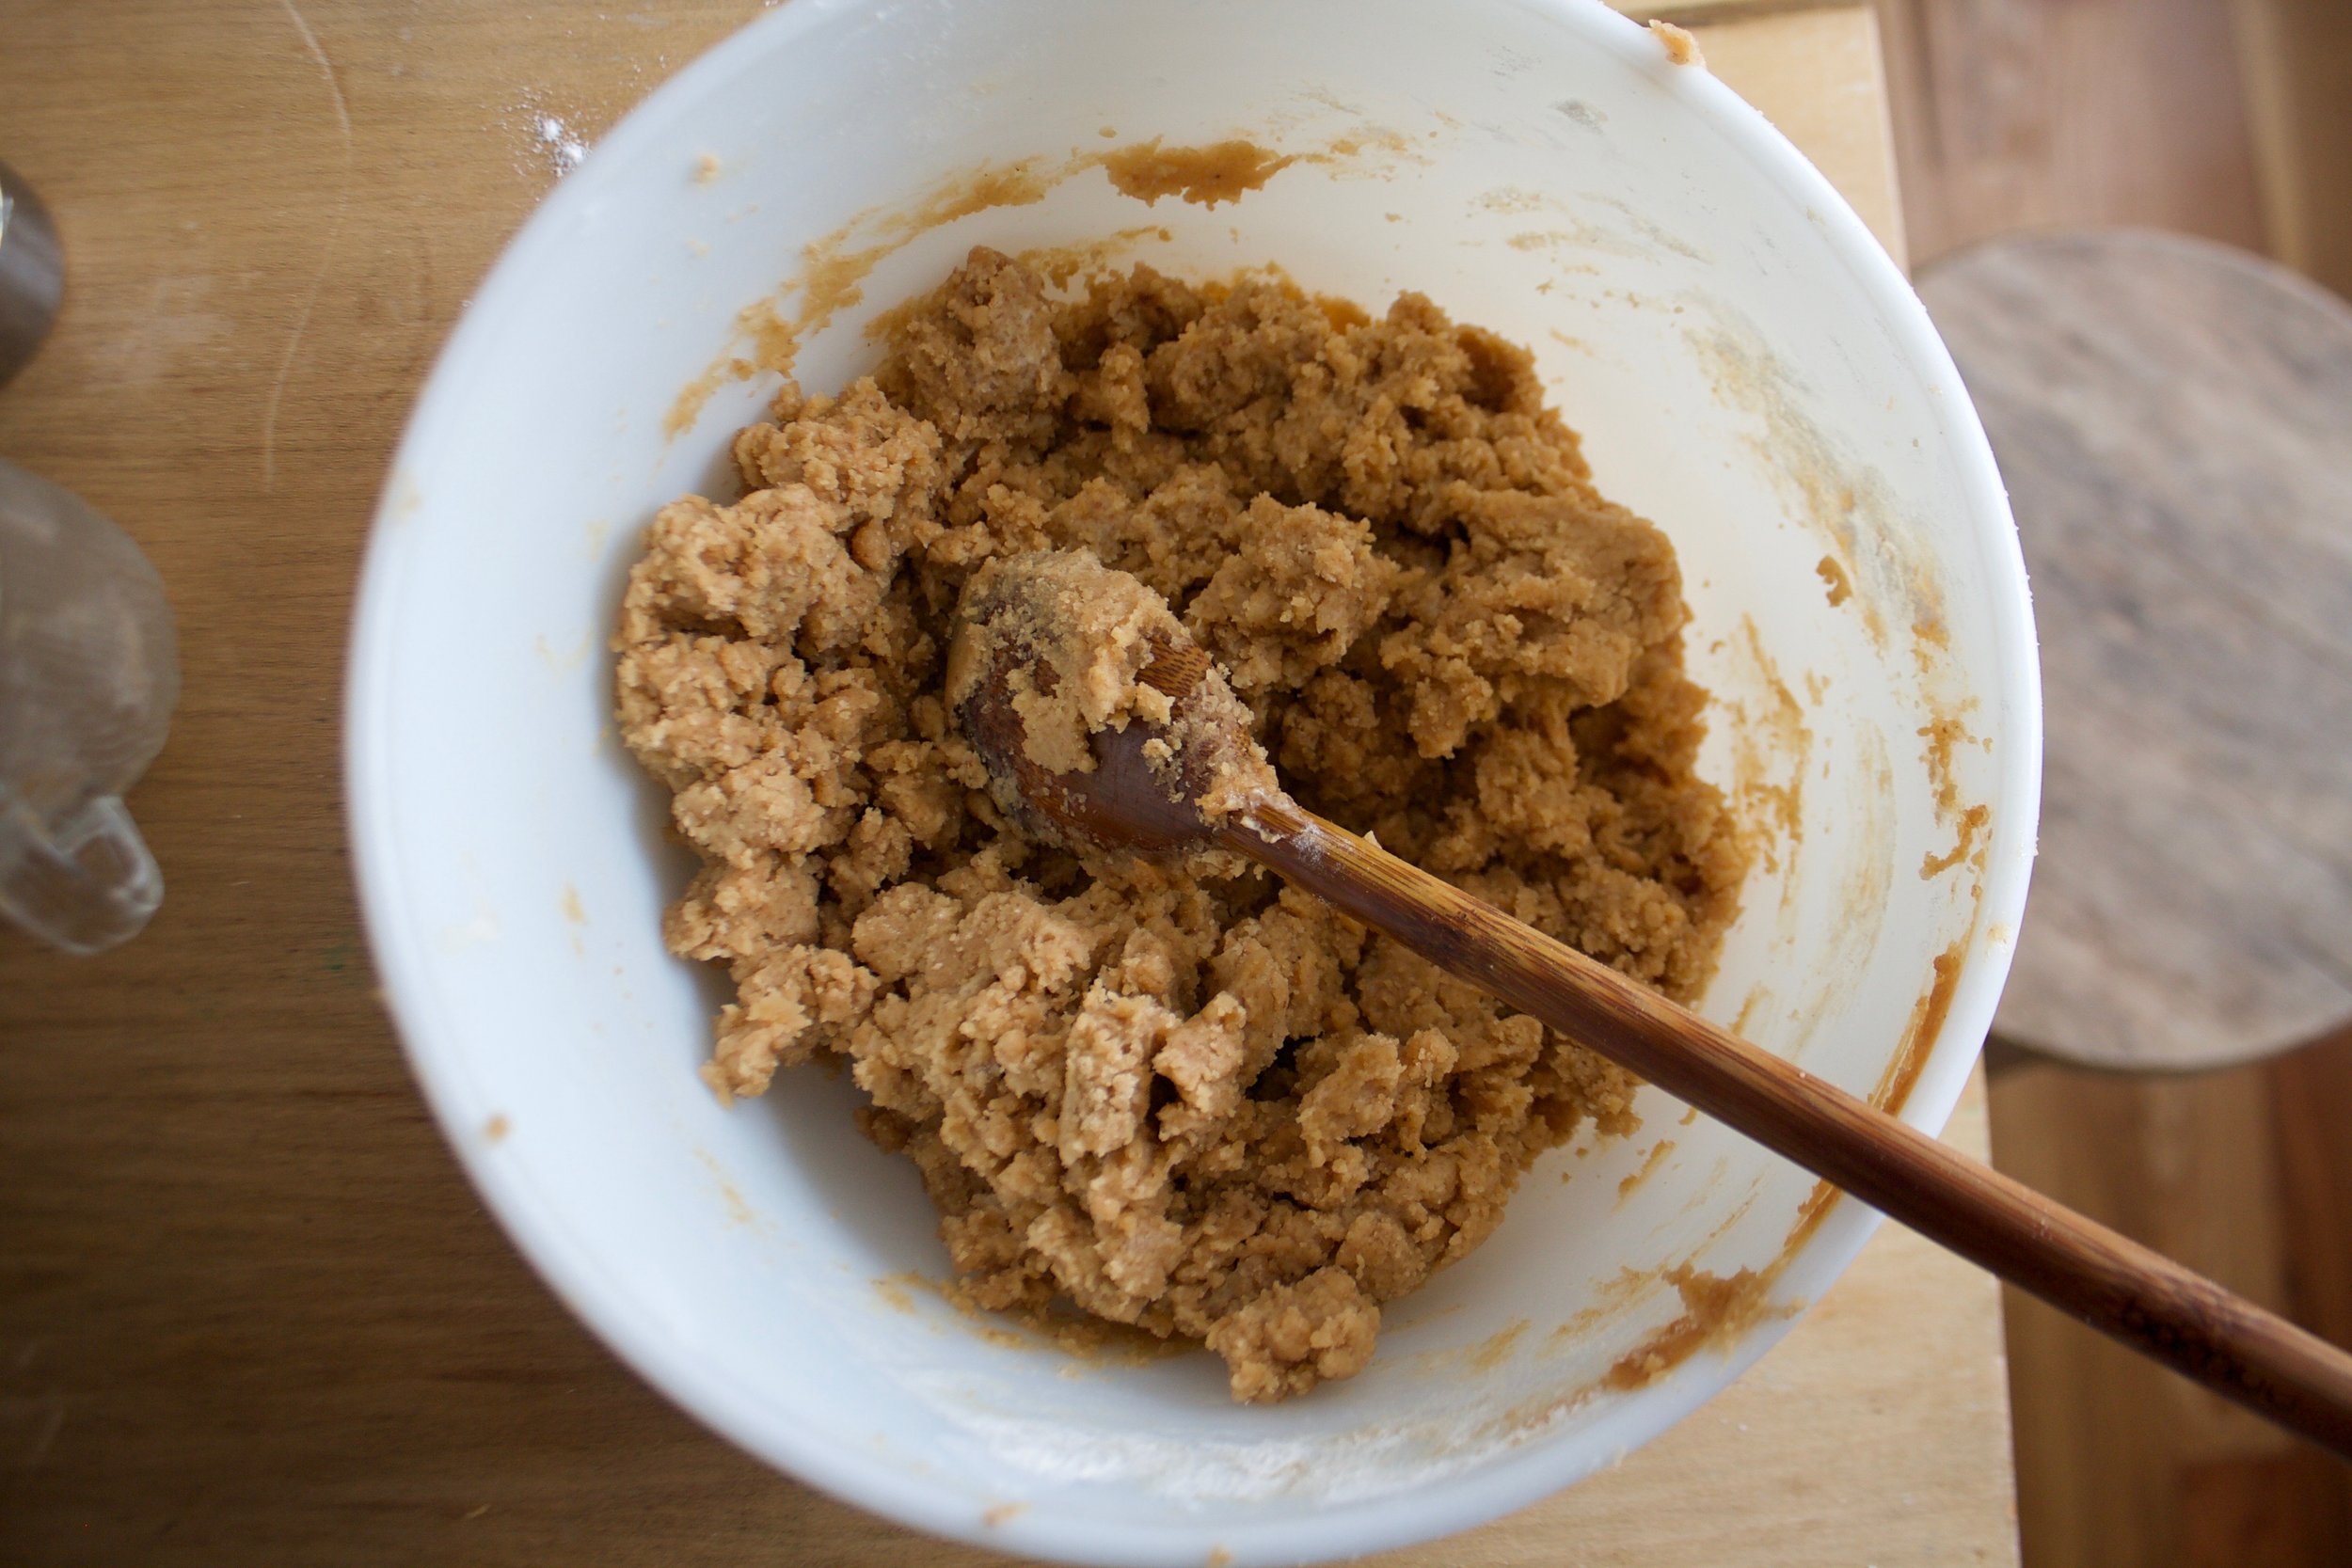
Then to mix it all together. Interchange adding dry to the butter mixture and beating, then add some milk mixture. Repeat until lit's all mixed and beat just until everything is all incorporated. Don't over beat the mixture. 

IMG_1641.jpg

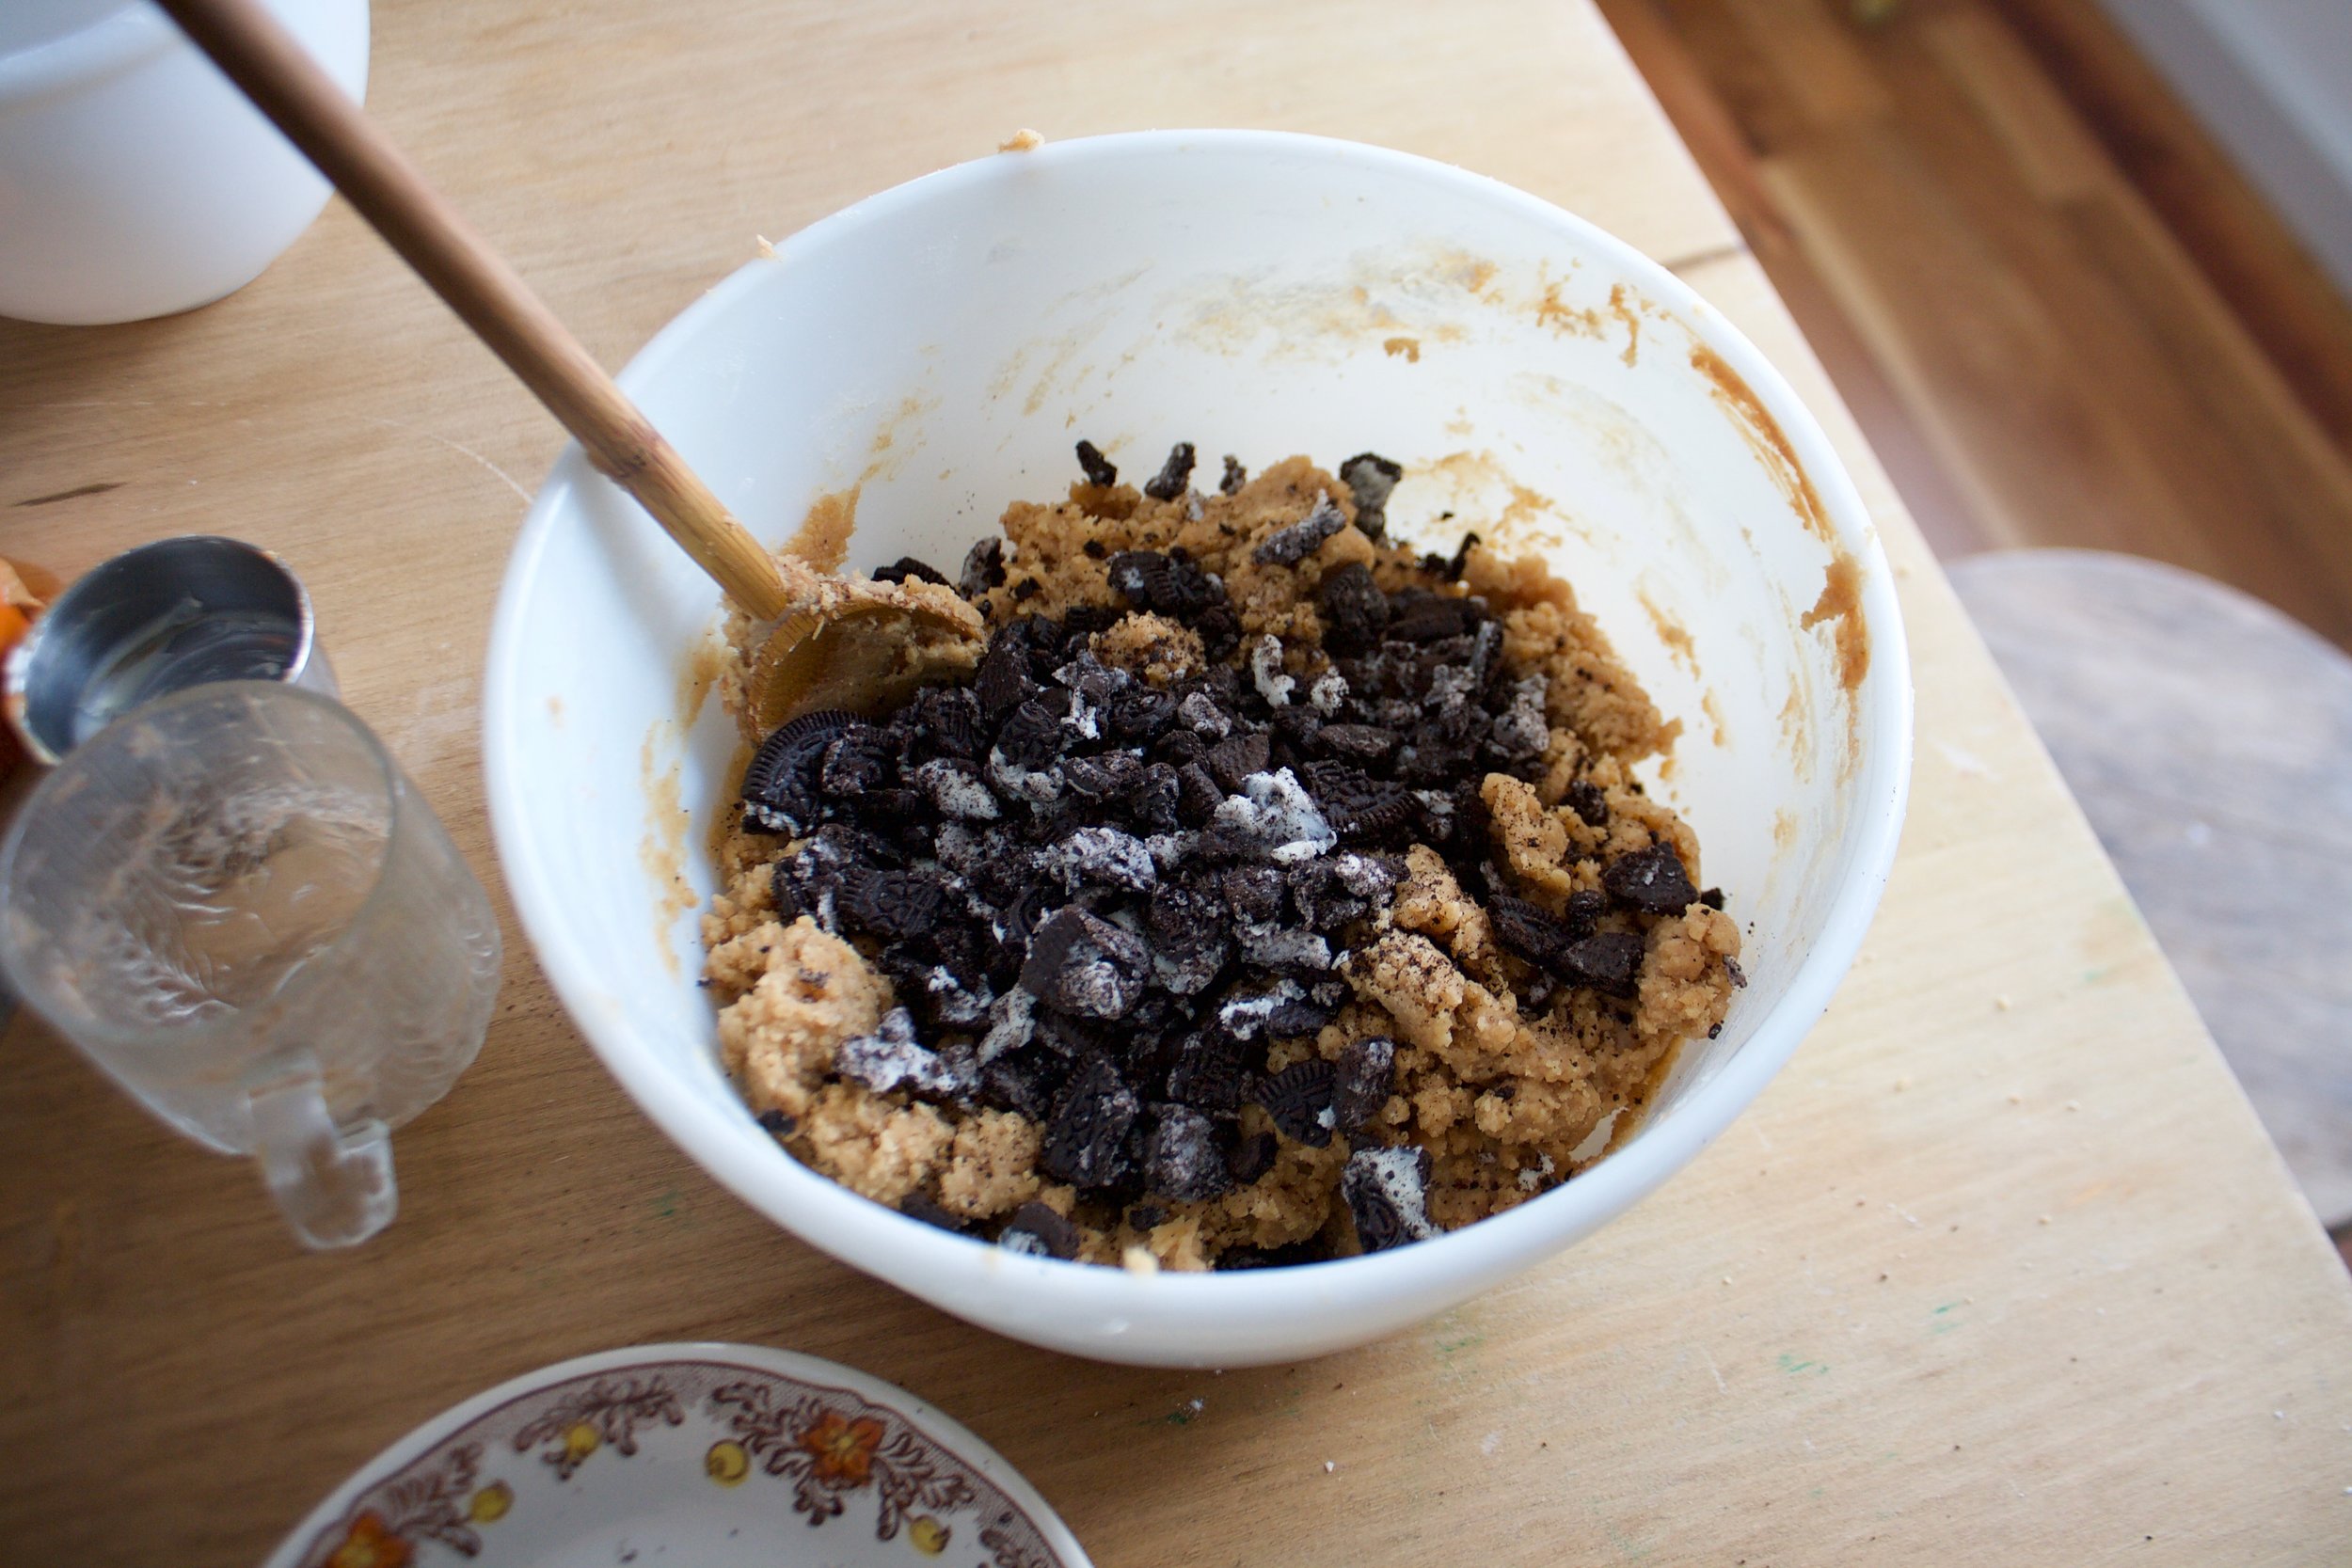
And for the happiness. Fold in the sprinkles.

IMG_1643.jpg

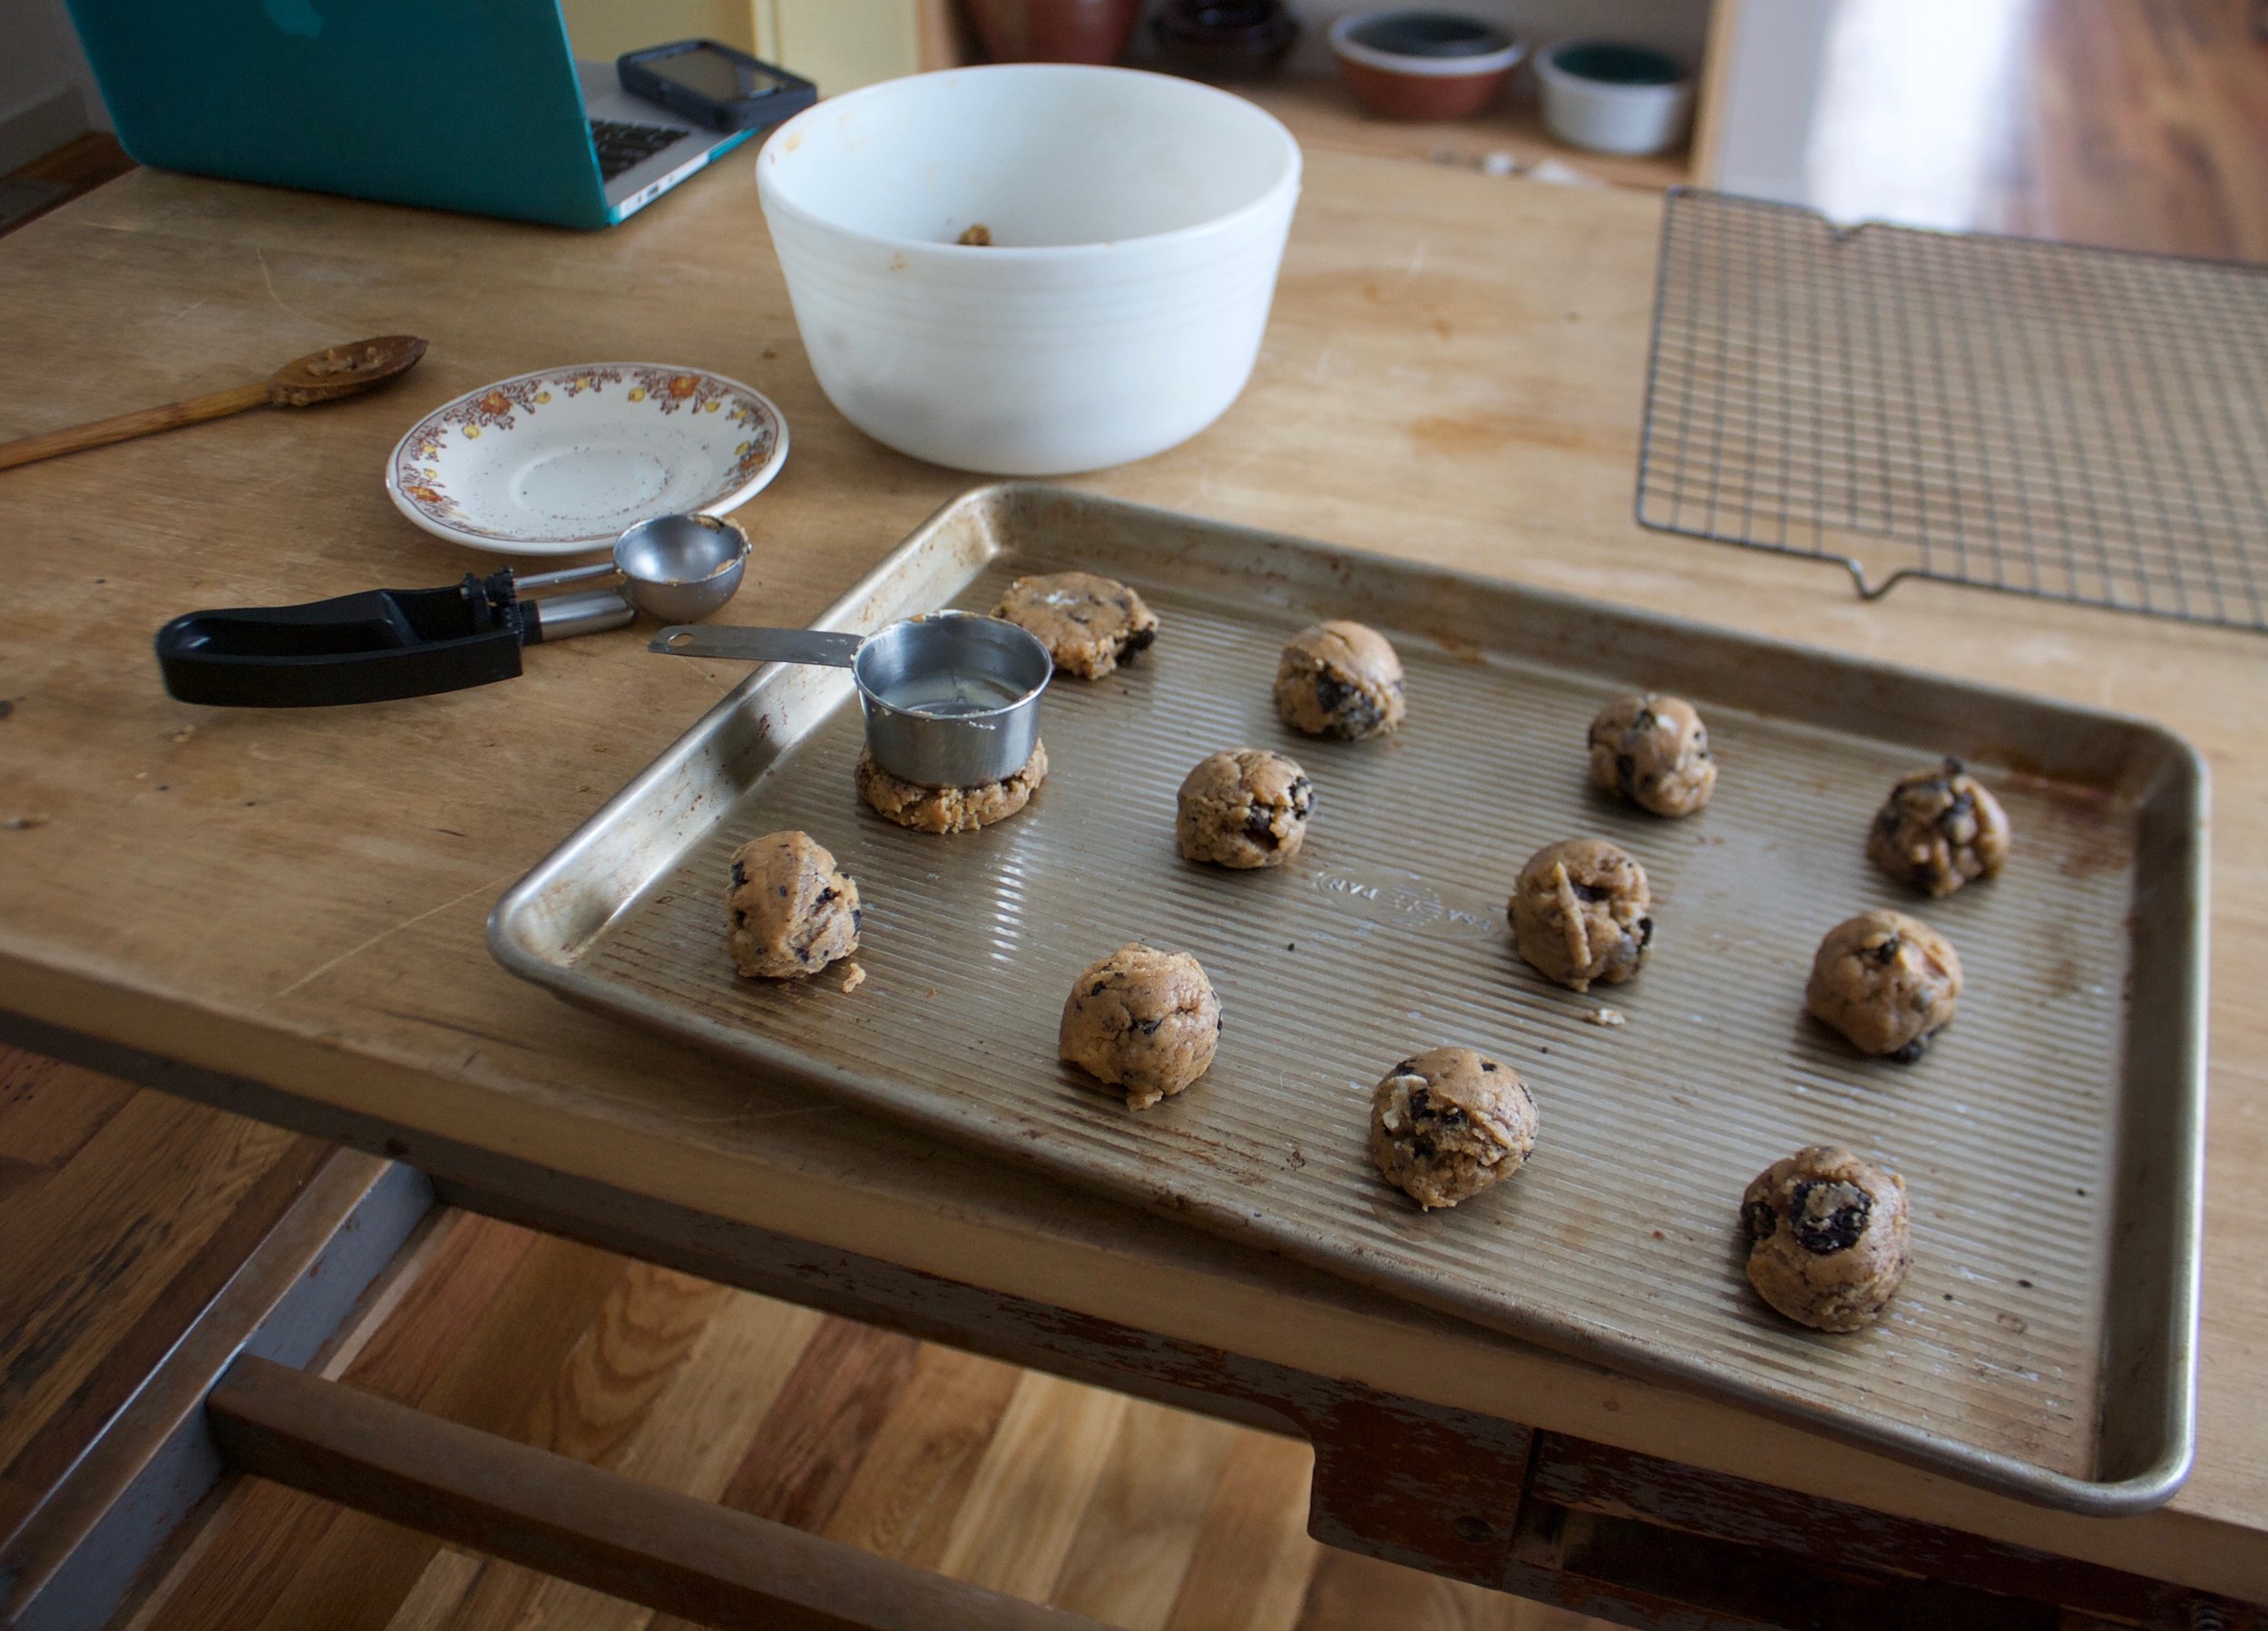
Cupcake tin lined and greases. Fill each equally until you have no batter left. 

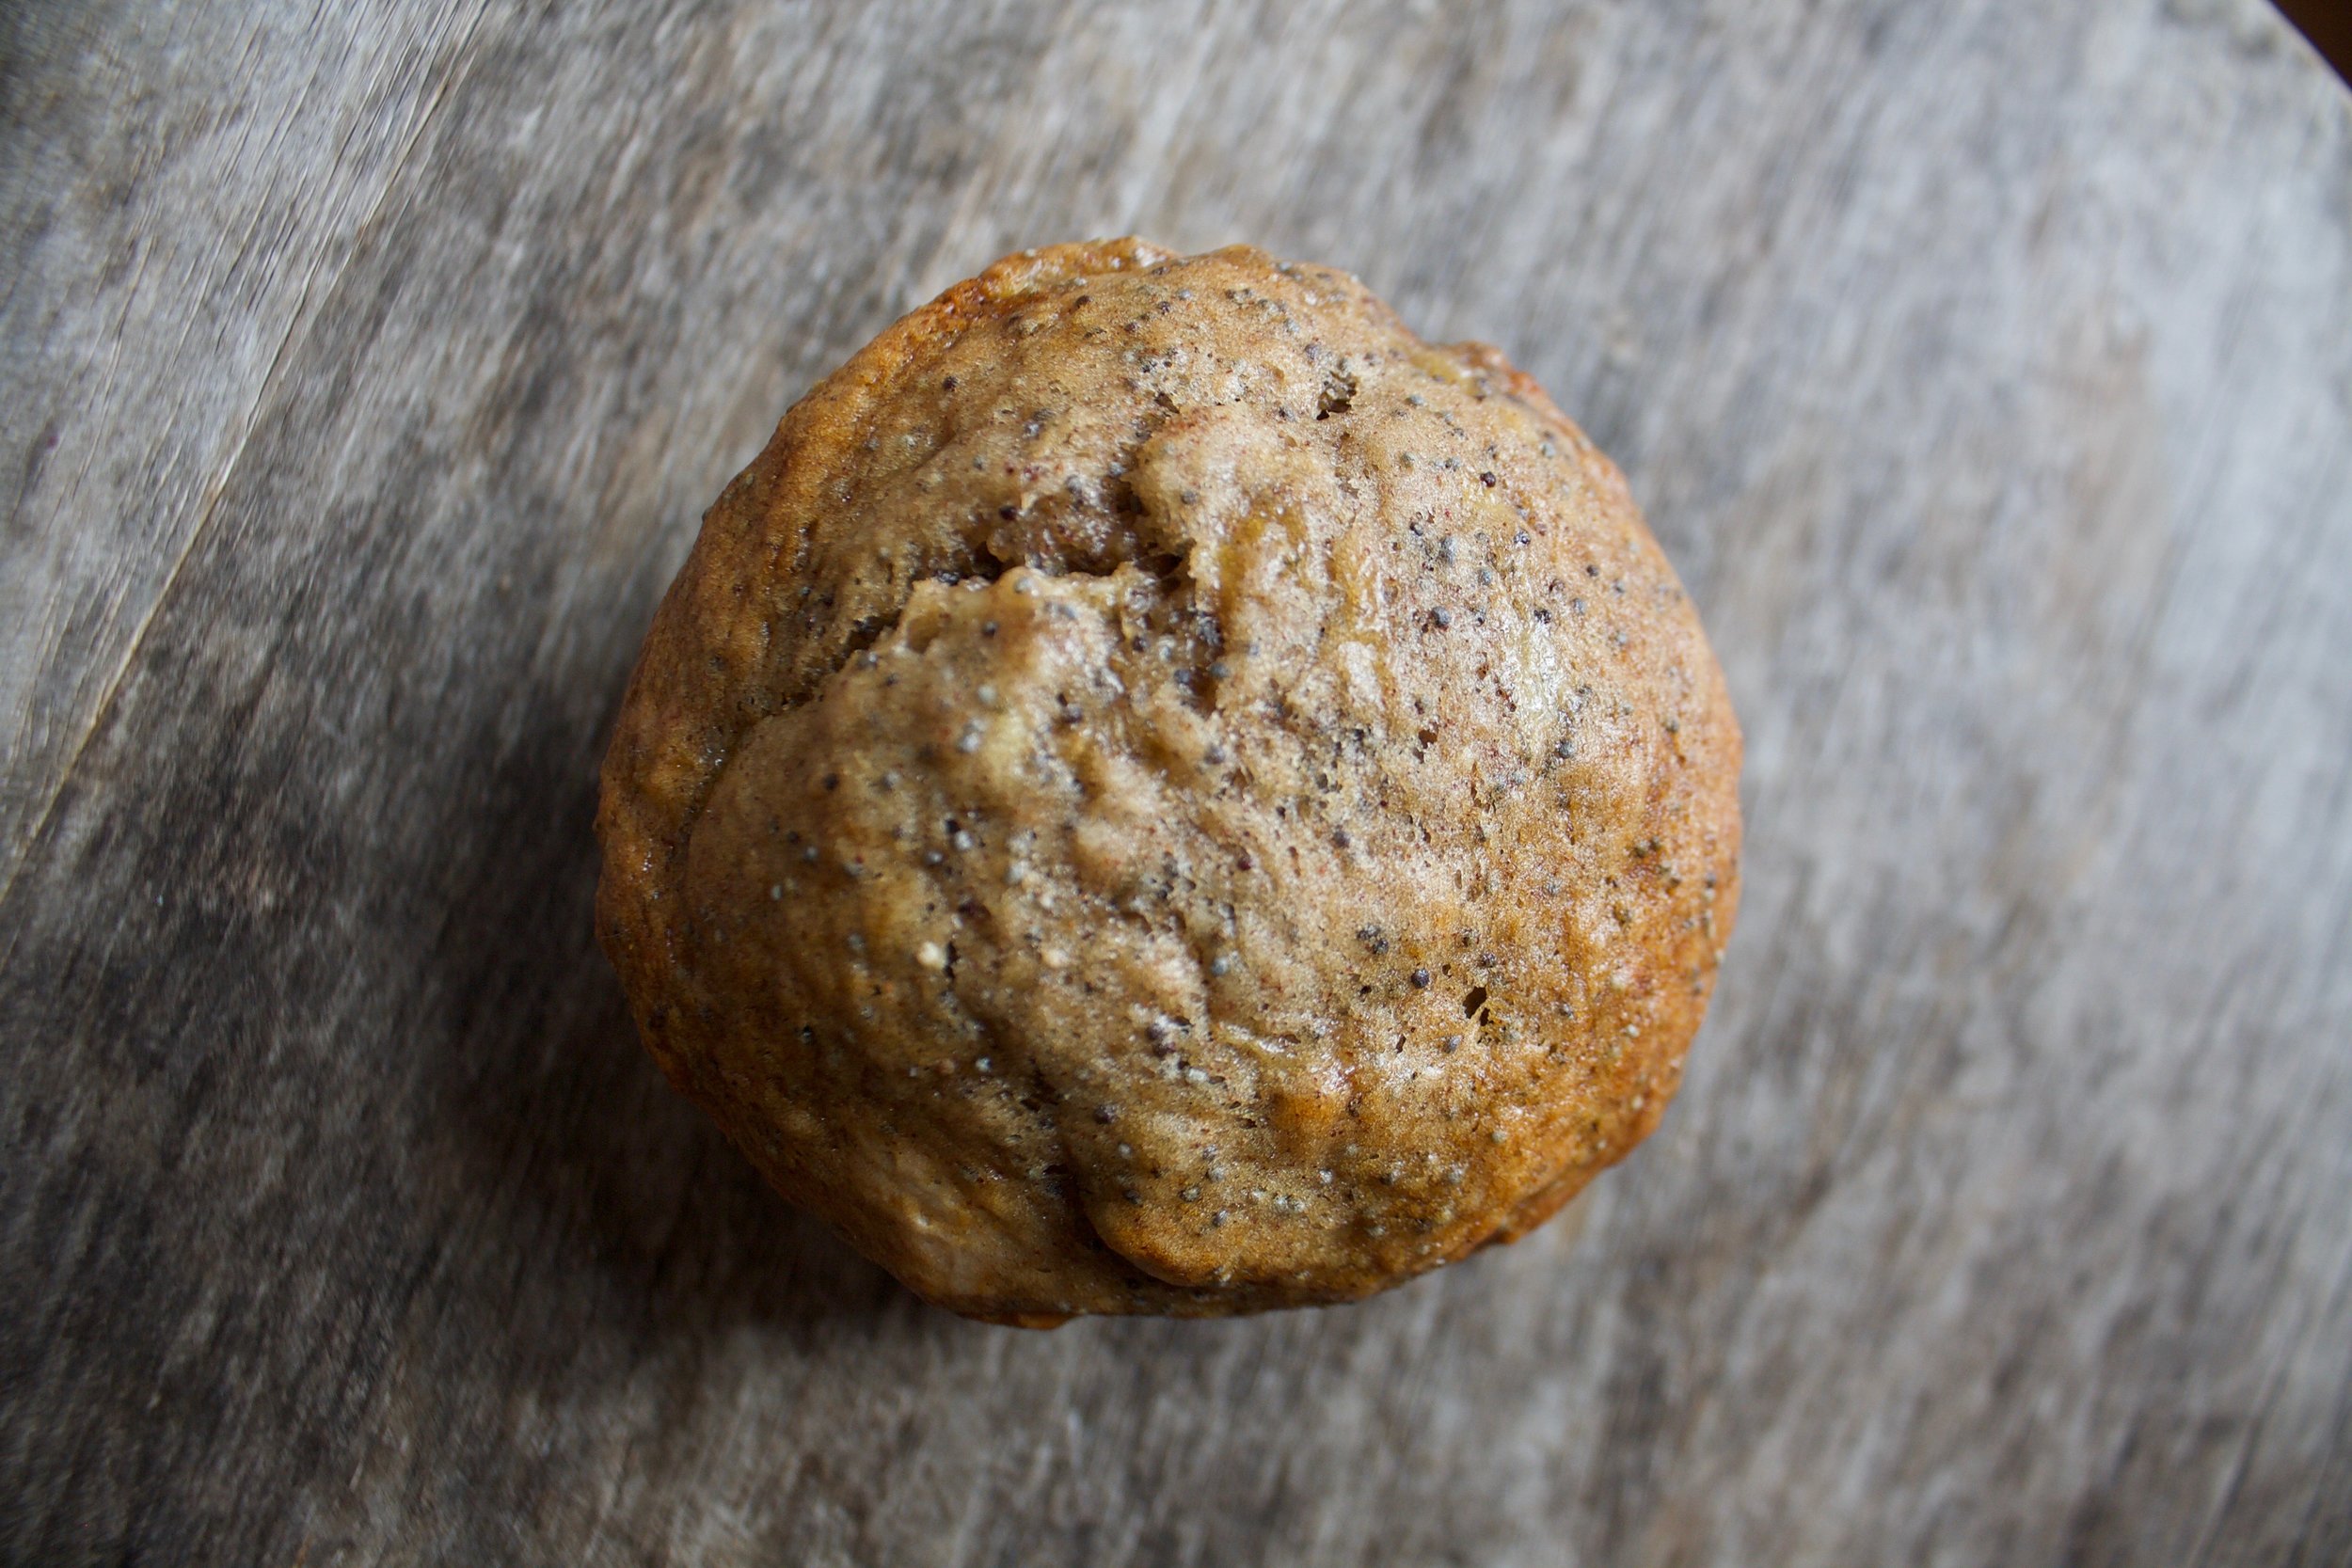
Into a hot oven they go to bake and be great.

IMG_1645.jpg

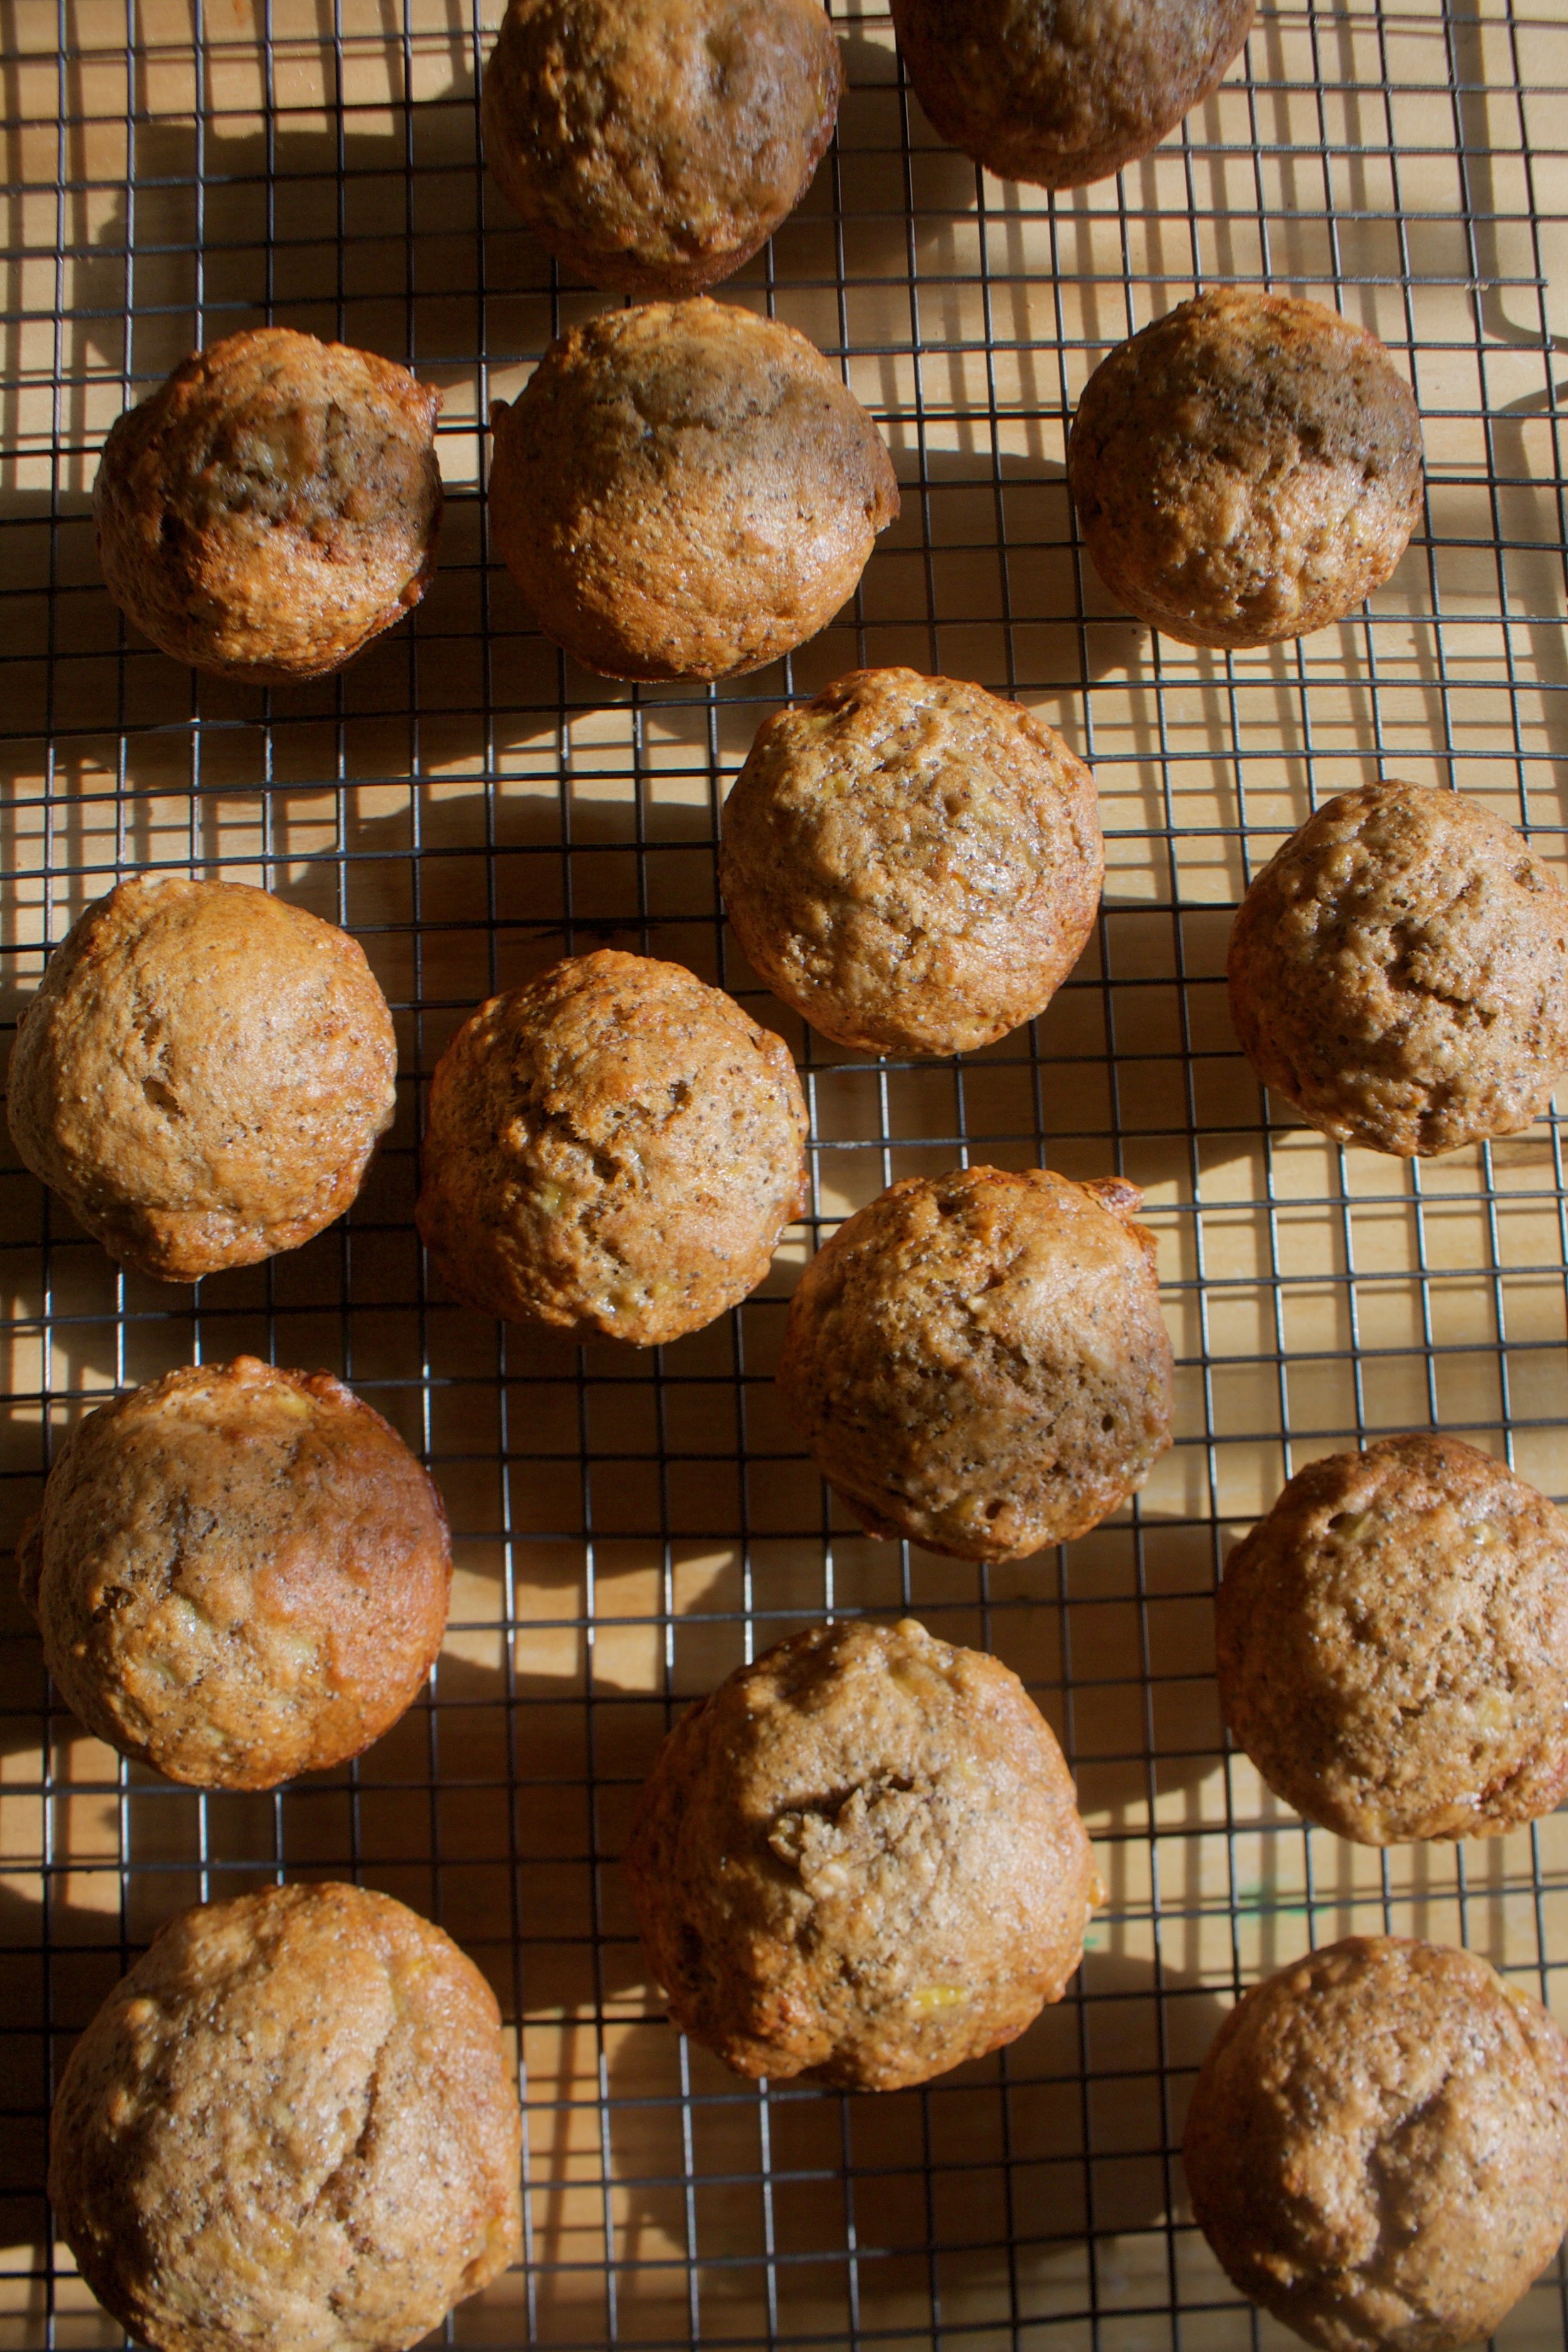
Baked and looking all sprinkly.  Get them out of the tin and onto a wire rack to cool. 

IMG_1654 2.jpg

While the cupcakes are cooling, make thefrosting. Vegan butter, powdered sugar, lemon zest and lemon juice  with a splash of vanilla. Or if you want to make it all vanilla, omit lemon zest and juice with  more vanilla extract and a little splash or plant milk. 

IMG_1657.jpg

All beaten together until nice and thick and creamy. 

IMG_1667.jpg

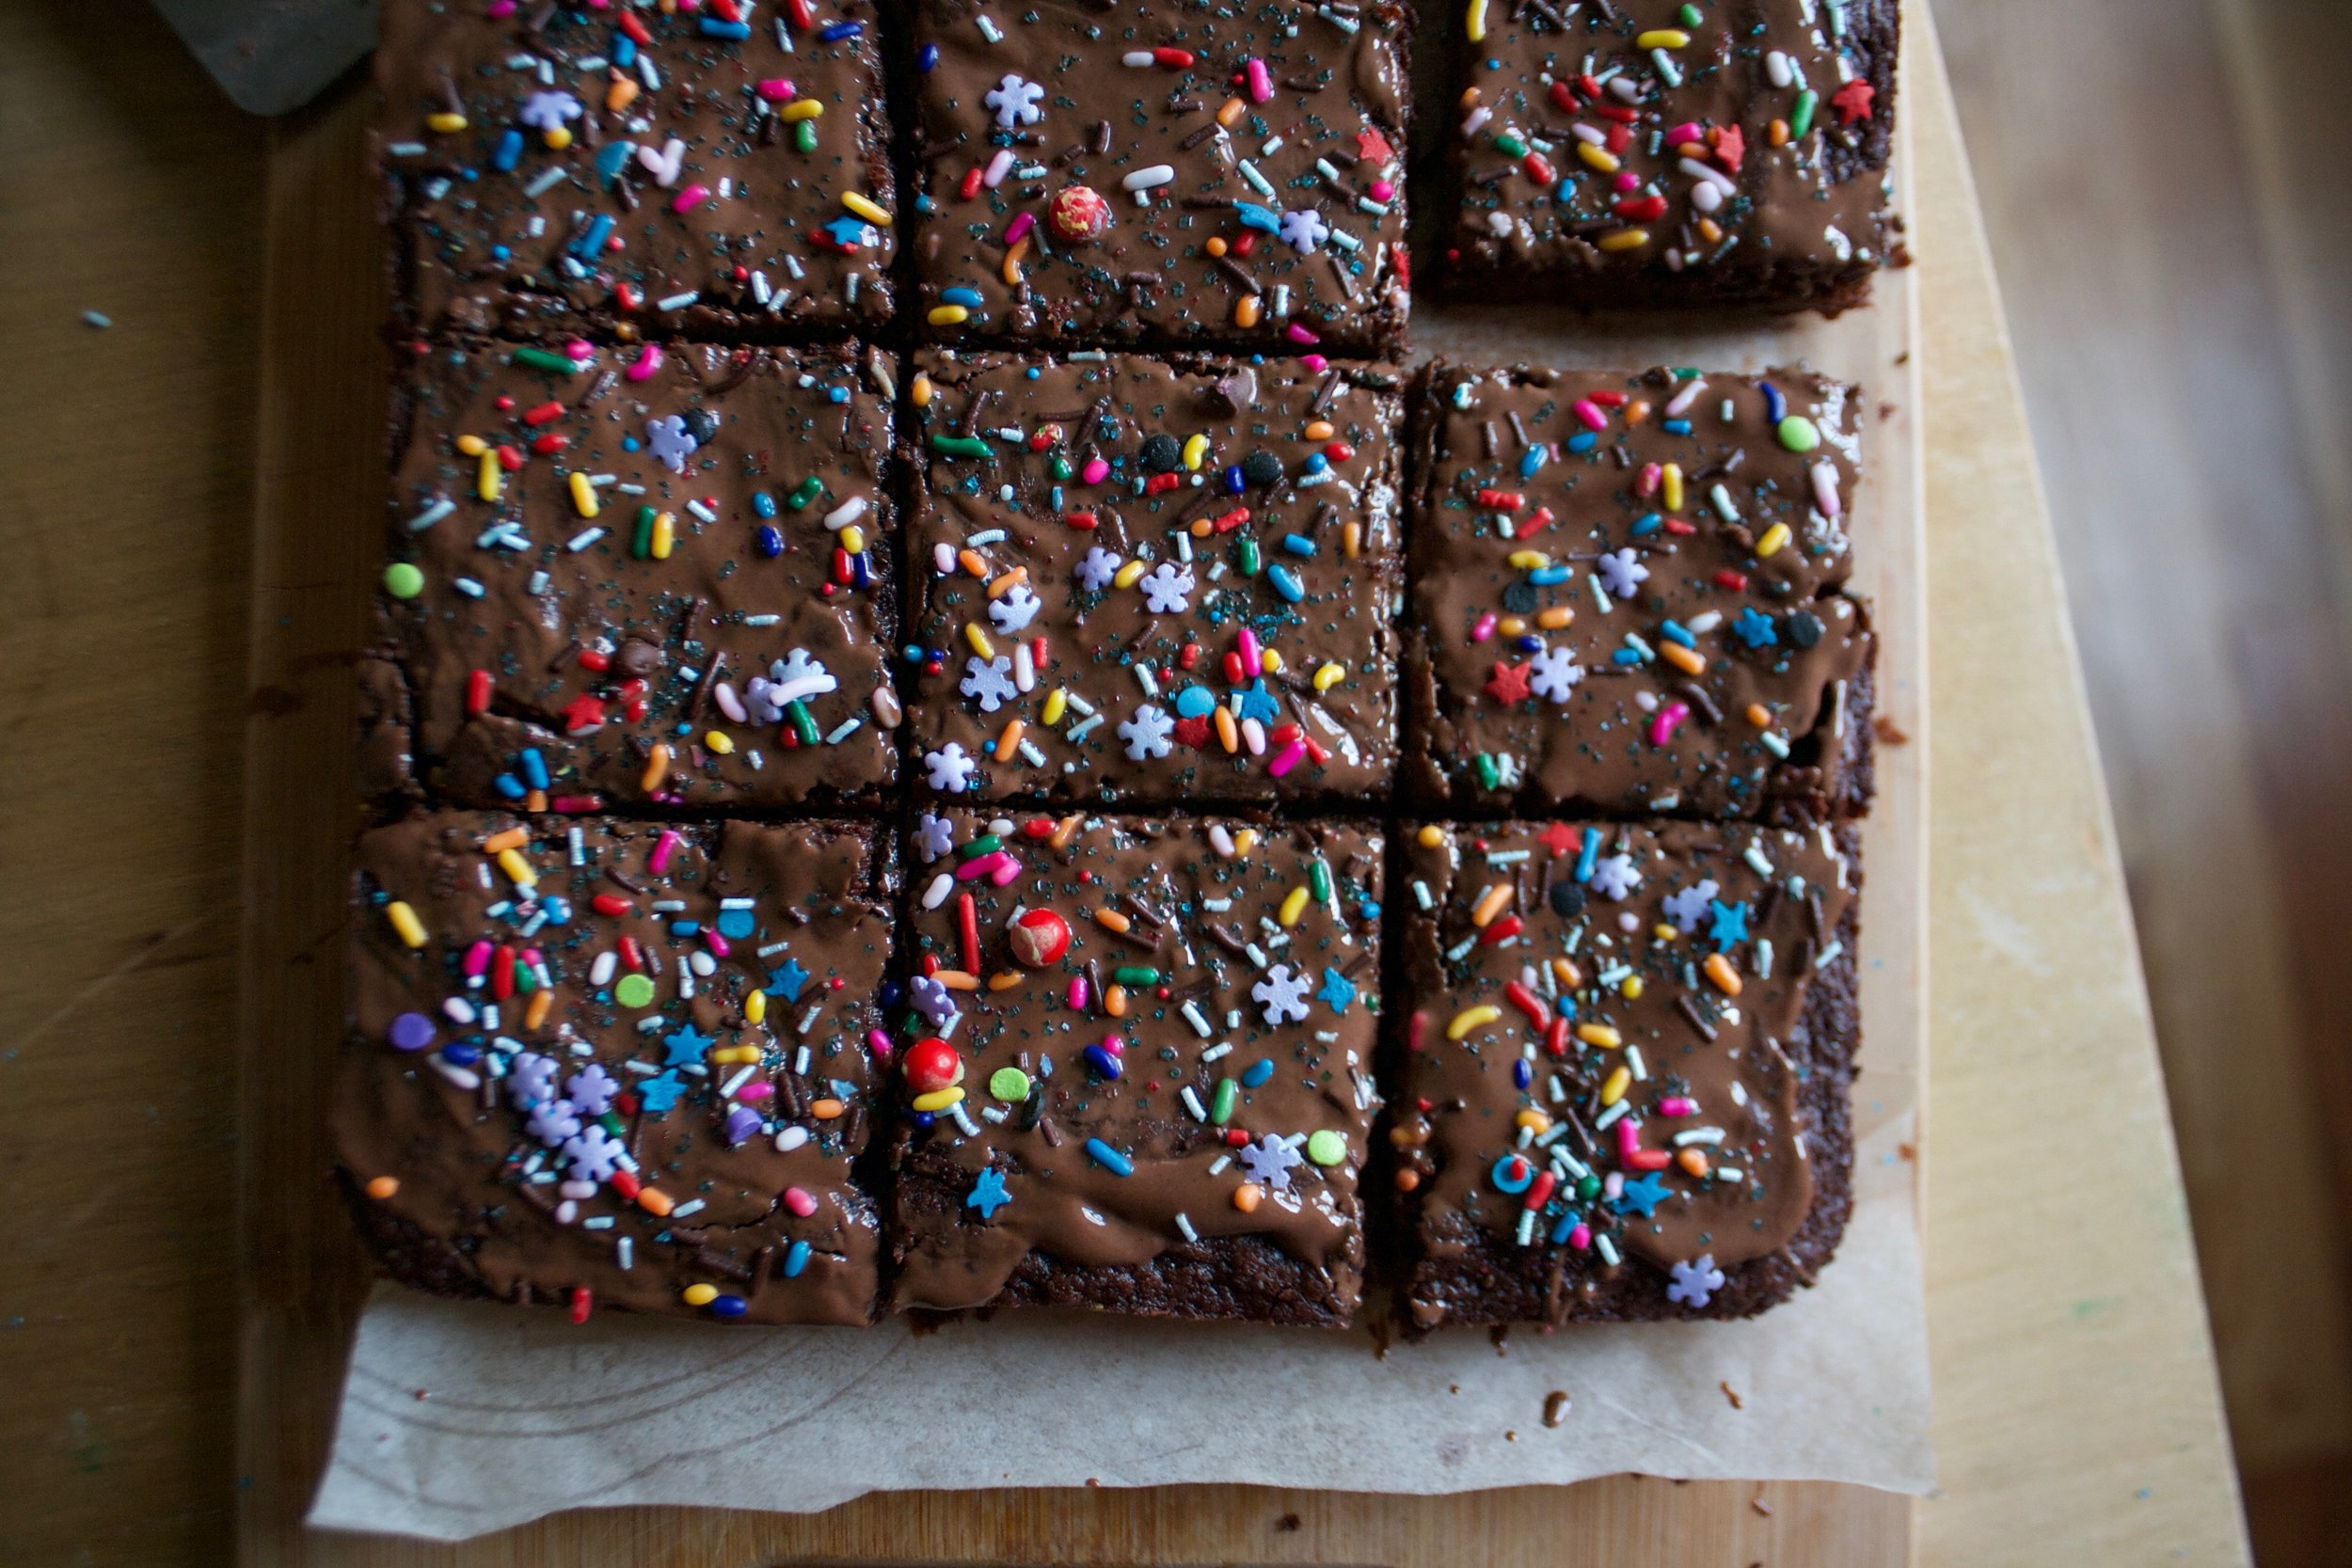
Then it's time. Get them frosted.

And don't forget to add more sprinkles.

IMG_1681 2.jpg

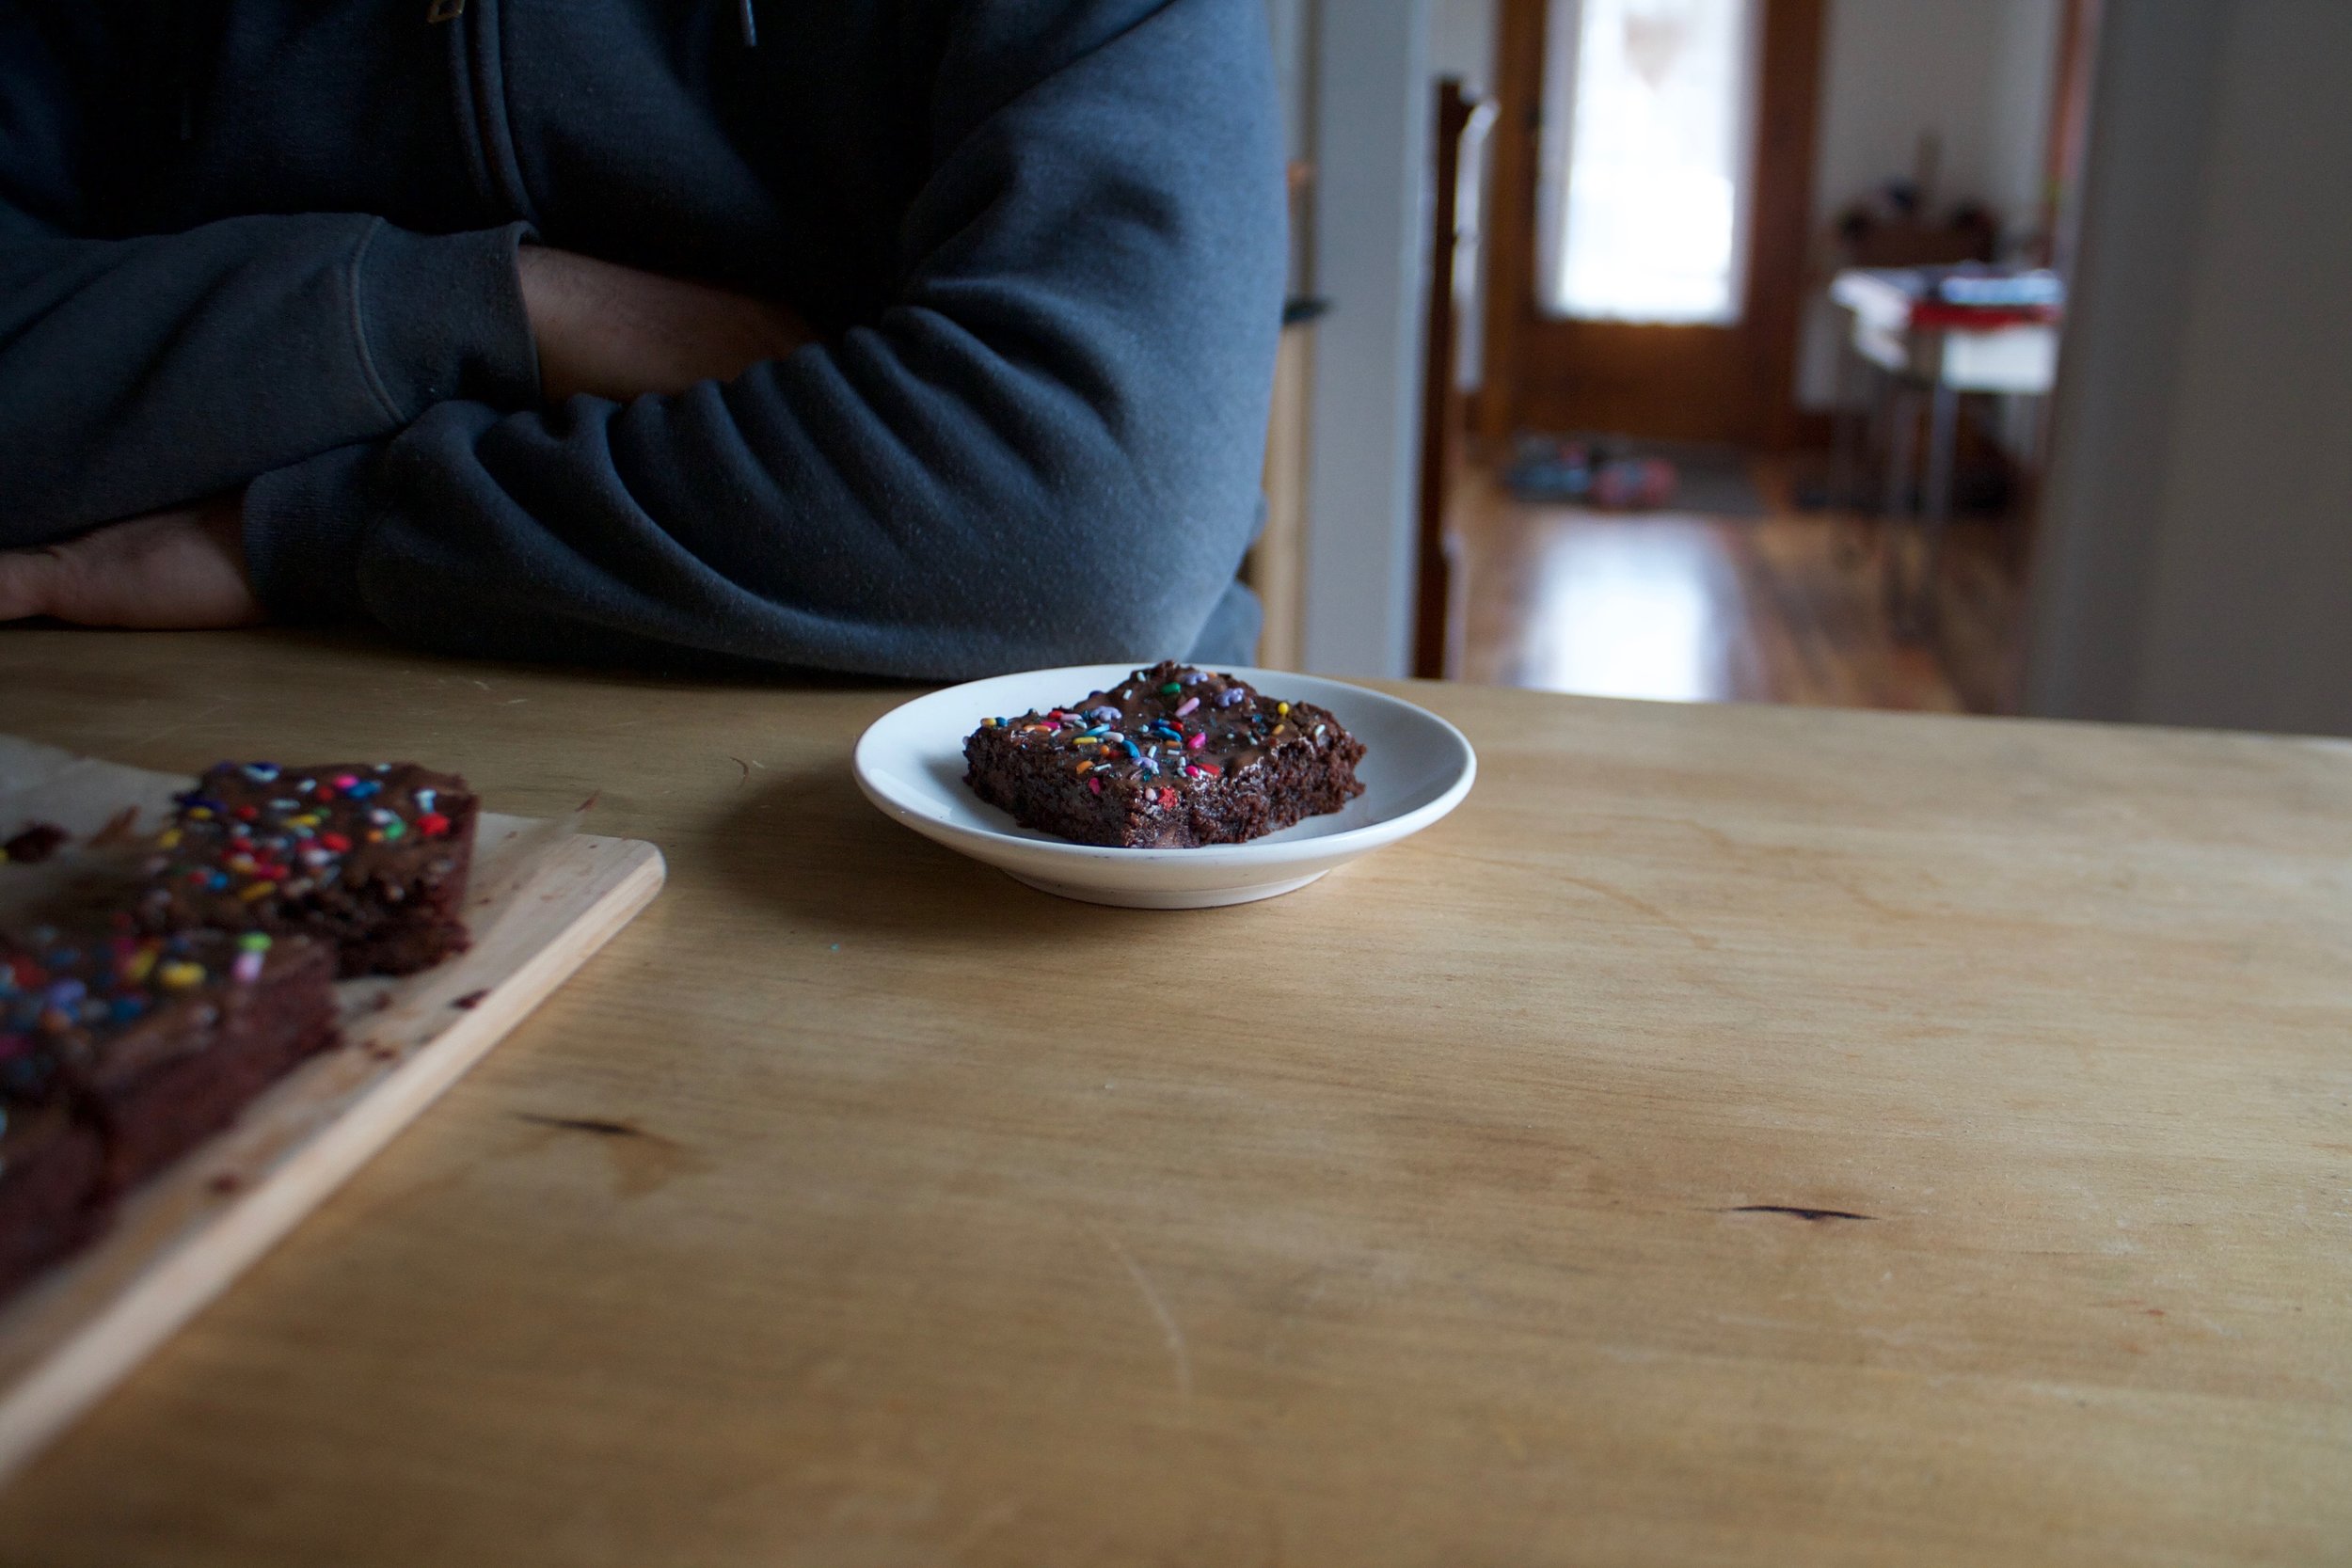
Now you are done and now you eat.

The rainbow coffee cup was a completely coincidence. 

-C


Lemon Rainbow Sprinkle Cupcakes 

makes 12 cupcakes 

  • 1 1/2 cups all purpose flour
  • 3/4 cups sugar
  • 2 teaspoon baking powder
  • 1 teaspoon baking soda
  • 1/2 teaspoon salt
  • 1/4 cup vegan butter
  • 1/4 cup neutral oil
  • 3/4 cup plant milk
  • 1 teaspoon vanilla extract (I used imitation vanilla)
  • zest of 2 lemons
  • juice of 1 lemon
  • teaspoon apple cider vinegar 
  • 1/4 cup spinkles 

For the frosting 

  • 1/3 cup vegan butter
  • 3 cups powdered sugar
  • 1 lemon (zest and juice )
  •  1/2 teaspoon of vanilla extract 

Preheat 350

First zest the lemons because it is alway easier to zest a whole lemon then a half of one. Measure out the milk and add In the juice of one lemon and the apple cider vinegar. In a small bowl mix together the flour, baking soda, baking powder, salt and  the zest of the two lemons . In another bowl beat together the sugar, vegan butter, oil, and the vanilla. Interchange adding  the dry mixture into the butter sugar mixture and bating with the wet mixture. Once all is together,  beat only until all the ingredients are incorporated, then stop so you don't over beat. 

Grease and line a cupcake pan and fill each mold evenly until batter is gone.. Bake for about 20- 22  minutes or until a slight golden brown and a tester comes out clean.  Once baked, remove from pan and place on a rack to cool completely. 

While cupcakes are cooling, make the frosting. Beat together the butter, sugar, and the juice and zest of a lemon until light and fluffy. IF the frosting seems to thin add in a splash of milk or too the, a few tablespoons more of powdered sugar.  !f you prefer vanilla frosting, omit the lemon and add another 1/2  teaspoon of vanilla and a splash of plant milk. 

Once cupcakes are cooled, frost them and cover with sprinkles. 

Eat at your leisure. Cupcakes will last in a airtight container for 3-4 days but really, they probably will be gone before you get a chance to hide them. 

In Sweets, Spring, desserts, Dairy Free, cake Tags Lemon Rainbow Sprinkle Cupcakes, Funfetti, Vegan Vanilla cake, vegan cupcakes, vanilla cupcakes, sprinkles, vegan funfetti cake, vegan dessert, plant based, lemon cake, spring cake
Comment

Brownie Brownies

February 24, 2018 Colleen Stem
IMG_0464.jpg
IMG_0501.jpg

Things that run through my mind while I am trying to do annoying paperwork.... I need to repot all my plants. And why is paper made out of trees and not banana peels or avocado skins? And are people really that crazy about avocados that it is now a trend to propose with a ring in a avocado? Apparely it is a thing now and I don't feel very good about it.  And why haven't I made brownies in a long time?

Paperwork set aside, I couldn't repot my plant because I need to get potting soil, I didn't want to think to much more about avocado rings because, blah, but I could make brownies. I did a quick hustle and got all the stuff together. A measure and a mix, a little time in the oven, and then done. Wonder no longer, the brownies were made. And perfect timing too cause a bunch of littles were on their way over to trash my house. Got to have some chocolate sugary things to fuel their madness. Now when to finish all that paperwork......

 This is a good recipe to have on hand because it is simple, doesn't require to have any fancy stuff to make them so I always have the ingredients, and they make the  house smell like chocolate. As far as brownies go, these are more fudgy then cakey. Just so you know. 

IMG_0383.jpg

The stuff. Cocoa powder, flour, baking powder and salt.  Also some coconut oil, vanilla, sugar, ground chia seeds, coffee, and chocolate chips.  All to become brownies. 

IMG_0390.jpg
IMG_0395.jpg

The coca powder, sugar, vanilla, chia seeds, and hot coffee get whisked together with the melted coconut oil (which I melted in the microwave in the bowl first). Whisk it until smooth and lump free. 

I usually mix dry together before I add  it to the wet but I really didn't want to get another bowl so I sprinkle on the baking powder, then the salt, then top wth the flour. Use a rubber spatula to fold the dry into the wet unit just incorporated to avoid over mixing he batter. 

IMG_0411.jpg

Can't forget the chocolate chips. Fold those chocolate chips into the batter as well.

Pour batter into a well greased and lined pan and pop it into the oven to bake.

IMG_0431 2.jpg

20ish minutes later you are looking at a pan of brownies. And when I pulled them out I realized that there was something missing. 

More chocolate and sprinkles.

IMG_0457.jpg

Melted the chocolate with coconut oil and smothered it all over the suckers and sprinkles on the sprinkles . 

IMG_0463.jpg

Cut up and ready to go.

Brownie Brownies because because. 

-C


Brownie Brownies 

makes and 8x8 pan which could feed anywhere  between 1person to 9 people. 

  • 1 cup flour
  • 1 cup white sugar
  • 3/4 cup cocoa powder
  • 2/3 cup melted coconut oil
  • 1/2 cup hot coffee
  • 2 tablespoons  ground flax or chia seeds
  • 1/2 teaspoon salt
  • 1 teaspoon baking powder
  • 1 teaspoon vanilla
  • 1/2 cup chocolate chips plus 

Optional chocolate glaze is 1/4 cup chocolate chips and 1 teaspoon coconut oil. And sprinkles to finish.

Preheat oven to 350

Combine the melted coconut oil (I microwaved the coconut oil in the bowl) sugar, cocoa powder, ground chia, vanilla, and hot coffee in a medium bowl. Whisk together until completely combined and smooth. Let sit for a few minutes then add in the flour, baking powder, and salt together and fold in in with a spatula. Once combined, add in chocolate chip and fold those in as well. Be careful not not overmix or you will end up with gummy brownies. 

Grease and line a 8x8 baking pan. and pour/scoop the batter in. Bake for 22-25 minutes or until a test in the middle barely cames out clean. (under baking is better then overtaking)

Remove from oven and let cool completely

To make the chocolate glaze, combine chocolate with coconut oil and microwave for 30 seconds then mix until a smooth consistency. Pour onto cooled brownies, disperse, then cover with sprinkles .

Cut into squares and eat..


In desserts, Vegan, Sweets, quick and easy, brownies and bars Tags Brownies, Vegan brownies, homemade brownies, chocolate, simple, plant based dessert, dairy free, egg free, coconut oil
Comment

Jam Heart Hand Pies

February 10, 2018 Colleen Stem
IMG_0193.jpg
IMG_0143.jpg
IMG_0100.jpg

I have had a shit ton of rhubarb in the freezer all winter and the other day I just needed it gone so I made a big old batch of rhubarb jam. I was actually saving the rhubarb to make the mr a pie for his birthday, but that was like 2 months ago and he ended up with ice cream sandwiches and that is why the rhubarb was still there. Oops. But now we have rhubarb jam. And I think I was feeling a little guilty about not making the pie so I, like the nicest girlfriend in the entire universe (self proclaimed yes, but so so true), used that jam to make little hand pies. And in the shape of hearts no less because hearts are amazing and it doesn't hurt that it is Valentine Day next week.  

 Valentines Day. What does that even mean? I think the primary meaning of Valentines Day is that all things should be in the shape of hearts. The rest is to be determined by however you may feel about the day. Whether you hate it or love it, (we love it, It's an excuse to take the day off and cover the house in hearts) you get to make the day yours. Just make sure that whatever you do, you make it with hearts. And with pie. 

These heart pies make for great little additions to hand made Valentines day cards ( I see maybe for a kids class), are great for breakfast because they are basically just like heart shaped pop tarts, or even for an evening of bindge watching Netflix with a loved one or by yourself. It's pie my friends. Eat it whenever, and with whomever you want.

Also, hearts are not just for Valentines Day. And pie sure the hell isn't either. They both just happen to work for the occasion. 

IMG_9991.jpg

The stuff. Basically just pie crust things. Flour, a little sugar, salt, coconut oil, and ice water. Then you need jam. Jam or perseveres of any flavor(s)  you like. I used grape and rhubarb and  had raspberry here, but I didn't use it because I didn't want to open it. 

IMG_9992.jpg
IMG_9995.jpg

Make the crust. Flour gets mixed with the salt and sugar  and the the coconut oil gets cut in until it  looks all crumbly.

IMG_0005.jpg

The water is added  in tablespoons until a shaggy from forms.

IMG_0010.jpg

Dump the dough onto the counter to gather all together and rest for a bit. Or if you like, wrap in plastic and refrigerate  for up to a day or two.

IMG_0026.jpg

After the dough got a good rest, roll it out and cut your hearts out. (Not your actual heart. Please and thank you)

IMG_0034.jpg

Half of the hearts get a dollop of jam

IMG_0075.jpg

Then each heart gets a top and crimped together with a fork. Poke a little hole into the tops to allow for steam to escape then all of the hearts get stuck into the fridge (or place on the back porch) to get nice and cold for a bit.

 After the chill, off they go into the hot oven to bake and be.

IMG_0086.jpg

Look at these cuties. A little jam overflow, but all is good. 

IMG_0084.jpg

I decided last minute that they needed a little something. Powdered sugar, lime zest, and lime juice. The easiest of glazes. You could do lemon, or vanilla, or almond, or even melt a little chocolate and drizzle that on. Next time I will do chocolate because because. 

Drizzle that glaze all over. 

There you have it. The cutest little hand pies ever .

Share if you like, or just eat them all. They are your hearts so do what you will. 

-C


Jam Heart Hand Pies

makes 18  three inch pies

  • 2 1/4 cup flour
  • 1 teaspoon salr
  • 1 tablespoon sugar
  • 8 tablespoons ice water
  • 3/4 cup solid coconut oil
  • about 1 1/4 cups of some sweet ass jam (any kind you have)
  • 1 cup powdered sugar
  • 1 lemon or lime 

Combine the flour, salt and sugar in a large bowl. add coconut oil in large chunks then with a pastry cutter or a fork (I used a fork) cut the oil into the flour until the flour looks crumbly and there are lots of tiny little chunks of coconut oil throughout the mixture. Add in 5 of the tablespoons ice water, toss around, then add in another 3. Mix around until the dough starts to come together when squished. If it still seems too dry, add in a tablespoon or 2 more water. (I always end up using a little more in the winter months) You want the dough to just be able to come together. Dump dough onto counter and press and smoosh dough into a ball. Let dough sit for 1/2 hour or wrap in plastic and place in fridge and using within the next day or two. 

After the dough has had some time to sit, flour the counter and roll it out to about 1/2 inch thick. Take a cookie cutter ( I used a 3 inch at the widest part heart cookie cutter) and cut out the hearts (or whatever shape you want) Make sure you have 2 cutouts for each hand pie. After you have cut out as many as you can, gather dough into a ball and roll out again. Repeat until dough it gone. 

To assemble.

Place a tablespoon of jam into the middle of half of the cut out hearts . Gently place the remaining heart cut outs on top of those. . Take a fork and press the edges together and then with the fork or a knife, pierce of cut a small slit into the tops to allow the steam to escape while baking. I did this directly on the baking sheet but found out after it was easier to do on the counter and then move it to the baking sheet. Do what ever it easier for you. Once they are all assembled and on the baking sheet, refrigerate for 15 minutes. 

Preheat oven to 350

After the time in the fridge, remove and place directly into the hot oven. Bake for 20-25 minutes or until the bottoms are a nice   golden brown. The tops will be slightly pale so check the bottoms. 

Remove and let cool on the baking sheet. 

While they are cooing, make the glaze. Zest the lime and juice the lime and combine with the sugar. If it is too runny, add a little more sugar, too dry, add in a splash of water. Once the pies are cooled, drizzle each one with icing.

Now you have a bunch of cute little heart shaped hand pies and you should probably eat one (or a few)


In 5 ingerdients or less, breakfast, cookies, Dairy Free, desserts, fruit, pie, Sweets, Vegan Tags Jam Heart Hand Pies, vegan, vegan pie, jam pies, hand pies, Valentines Day, hearts, heart shaped dessert, dessert, love, plant based, coconut oil pie crust, pie crust
Comment

Banana Poppy Seed Muffins

February 3, 2018 Colleen Stem
IMG_9918.jpg
IMG_9946.jpg
IMG_9890.jpg

Banana bread never goes out of style. It is a clsasic, everyday, everybody type of food. Have a slice for dessert, maybe drizzled with some chocolate, definitely.  How about for a grab and go breakfast, sure sure.. A chunk slathered in peanut butter for snack time or anytime, well  isn't that's why you make it?  And who doesn't always have a banana bowl in the kitchen? A banana bowl that is always full of bananas because the banana just always makes it's way home. They seem to pile up, even when I don't mean for them to. And I know I am not the only one. I see it all the time. A fruit bowl in the kitchen with a least a couple of really really ripe bananas, waiting for that moment when you know there is no freaking way anyone in their right mind would eat those banana because gross. That's when you have it, the perfect banana for some banana bread, or in this case, banana muffins.  

Here I went muffin style because I had already made a loaf of banana bread earlier in the week and because I wanted to send half of the muffins to the boys at the front desk at the gym. (They give me coffee, I give them muffins) And also, muffins cook a lot faster then bread so if you are a little low on time, muffins are the way to go. But if you would rather bread, you can make it bread. Bananas are there for you and are not fussy. 

IMG_9829.jpg

The stuff. Ripe bananas, poppy seeds, brown sugar, oil, and apple cider vinegar. Also have flour, cinnamon, baking soda, baking powder, and a little salt in the bowl. 

IMG_9838.jpg
IMG_9833.jpg

Mash the bananas in a bowl, like really mash them up until it turns to a sugar banana slop. Then add in the oil and the vinegar and mix together.

IMG_9850 2.jpg

Dump in the dry and the poppy seeds and mix it all up until combined but then stop. Don't over mix the batter or else you will get tuff muffins. 

IMG_9870.jpg

Scoop into well greased muffin pans and pop them into the preheated oven to bake. 

Done! And in only took like 20 minutes appose to an hour if I made banana bread. 

IMG_9934.jpg

And here is when you grab a coffee, a muffin, and have yourself a moment.

Stay good.

-C


Banana Poppy seed Muffins

makes 12-14 muffins

  • 2 cups flour
  • 1 teaspoon baking soda
  • 1 teaspoon baking powder 
  • 1 teaspoon salt
  • 1 tablespoon cinnamon 
  • 1/4 cup poppy seeds
  • 2/3 cups packed  brown sugar
  • 1/2 cup neutral flavored oil
  • 4 really ripe bananas (they need to be really ripe of the mixture will be to dry)
  • 1 tablespoon apple cider vinegar 

Preheat oven to 350

In a large bowl, mash the bananas with the sugar until the mixture turns wet and sloppy, but there are still a few little chunks of banana.  Mix in the oil and vinegar. In a separate bowl mix the  flour, cinnamon , baking powder and soda, salt, and poppy seeds together. Dump the dry into the wet and mix until all is combined but then stop. Don't over mix batter. 

Scoop mixture into well greased muffin tins and place into oven once it has preheated. Bake the muffins for about 20- 22 minutes or until nicely browned and a tester stuck into the middle of one comes out clean.

Remove from oven and let sit in tin for a few minutes until it cools down. Remove the muffins from the tin and let completely cool on a wire rack. 

Eat whenever and how many you want, store the rest in an air tight container for a couple of days or wrap a few and  freeze. 

In Sweets, snack, seeds, fruit, desserts, Dairy Free, breakfast, bread, sweet breads and muffins Tags Banana Poppy Seed Muffins, vegan, muffins, poppy seeds, bananas, fruit, breakfast, snack time, nut free, dairy free, plant based, everyday baking, vegan baking, bread, dessert
3 Comments

Crushed Oreo Peanut Butter Cookies 

January 20, 2018 Colleen Stem
IMG_9557.jpg
IMG_9574.jpg
IMG_9550 2.jpg

Is it weird to crush up a cookie to make a new cookies? I don't think so , I actually think it's kind of my best idea ever (although I am sure that I am not the first to think of this). I now have this desire to make all sorts of crushed cookie cookies and crushed cake cookies, and crushed up cookies in cinnamon buns and you get the idea. Picture it now. A cookie full of huge hunks of birthday cake, or a crushed chocolate chip cookie inside a chocolate chocolate cookie crushed up inside of a peanut butter cookie rolled in crushed up chips....This could get dangerous.

Back to these cookies. 

Not going to lie, these cookies were 99 percent inspired but Lindsey Lohan. And no, not because they are like crack (although that's what the mr's brother thought) but because of the movie, The Parent Trap. Yes, it is now on Hulu and yes, I watched it, and yes I was by myself, and no I will not feel shame for that.  In the movie the Lindsey's (well, the one Lindsey that plays two Lindsey's.. you should watch it if you don't know what I am talking about) are away at summer camp being all innocent and cute (what happened to you Lindsey?) but get into a little trouble and are banished to a cabin away from other campers. After getting over there anger at one another, they start talking about their parents and how they share the same birthday and how they look exactly alike. Then they start to eat Oreos dipped in peanut butter. This is the point in the movie where they know something is up and that they are actually twins separated at birth. (Not because they look exactly the same or share the same birthday, it's totally the cookies. Powerful Disney moment.)  I mean, if that food combination could do that for these girls, well what could it do for me? (so far not a damn thing)  But I had the peanut butter and a few Oreos left from a ice cream cake and I needed to bake because I needed to so I listened to the innocent cute Lindsey's and make these crushed up Oreo and peanut butter cookies. And the world thanked me, but really, we should thank Lindsey too.I hear she could really use a win right now. And maybe I will eventually find a girl that looks like me and share my birthday and can be my twin too. I'll make her these cookies.

IMG_9459.jpg

The stuff. We are gonna need some white and brown sugar, vanilla extract, flax eggs, peanut butter and earth balance. Also flour, baking soda and baking powder, a little bit of salt, and of course, Oreo cookies.

IMG_9464.jpg

Add to a bowl the sugars, flax eggs, peanut butter, vanilla, and the earth balance. 

Mix until smooth and creamy.

IMG_9477 2.jpg
IMG_9479.jpg

After mixing all the dry together, dump it into the wet and mix until cookie dough happens. 

IMG_9490.jpg

Then add in your crushed Oreos! I just used my hands and crushed them directly into the bowl, but you could also stick them in a bag and smash them. Your choice. 

Cookies in the cookie dough.. Don't eat it. Ok, maybe eat a little. 

IMG_9507.jpg

Scoop same sized amounts of dough onto a cookies sheet and take a flat something or another and smoosh the balls into flat disks.

Once the oven is preheated, pop those suckers into the oven to bake. I did 12-13 minutes and they came out perfect. 

See, perfect. 

IMG_9574.jpg

Now fill your cookie jar with al those perfect cookies and hide it. If seen, they will be devoured. Share with your long lost twin. 

-C


Crushed Oreo Peanut Butter Cookies 

make 2 dozen 

  • 1 3/4  cups all  purpose flour
  • 1/2 cup white sugar
  • 1/2 cup brown sugar
  • 2/3 cup creamy peanut butter
  • 1/3 cup earth balance or other vegan butter
  • 1 teaspoon vanilla extract
  • 1/2 teaspoon baking soda
  • 1/2 teaspoon baking powder
  • 1/2 teaspoon salt
  • 2 flax eggs (2 tablespoon flax meal with 6 tablespoons water)
  • 10 Oreos 

Preheat oven to 350

In a large bowl combine the sugars, the peanut butter, vanilla, earth balance, and the flax eggs. Mix until all completely combined and smooth. In a smaller bowl combine the flour, baking soda and powder, and salt and whisk to mix. Dump the dry into the wet and mix until combined. Take Oreos and crush them into small pieces (I used my hands but you could stick them in a bag and smash them with a rolling pin or something) into the dough. Mix until evenly disturbed.

Measure out same sized balls of dough and place them on a cookie sheet. Take a flat surface and smoosh the dough so it it a flat dish. Bake cookies for 11-13 minutes or until the edges are starting to lightly brown. Remove and place on a cooling rack.

Eat the cookies.  Hide the cookies. 


In Vegan, Sweets, desserts, Dairy Free, cookies Tags Crushed Oreo Peanut Butter Cookies, Peanut Butter cookies, Oreo Cookies, vegan, vegan cookies, plant based, snack time, cookie cookies, Lindsey Lohan, The Parent Trap, dessert, cookies, eggless, dairy free
Comment
← Newer Posts Older Posts →
 

https://thelovelycrazy.squarespace.com/config#/|/about/

Me. Food Maker.Food eater. Woo HOO!

STEM+NODE  SMALL BATCH AND ONE OF A KIND POTTERY

stem+node ceramics


____________________

Subscribe

GET NEW POSTS IN YO EMAIL

You are AWESOME!!!


@thelovelycrazy 2014-2021