• stem+node ceramics
  • HOME
  • Food Recipes
  • About
  • Contact
Menu

The Lovely Crazy

Street Address
City, State, Zip
Phone Number

Your Custom Text Here

The Lovely Crazy

  • stem+node ceramics
  • HOME
  • Food Recipes
  • About
  • Contact

Zucchini Dill Empanadas

June 19, 2021 Colleen Stem
IMG_6054.jpg
IMG_5986.jpg
IMG_6004.jpg

YAY for the first zucchinis of the season! Zucchini is one of the main reasons I tolerate summer. Sure I complain a lot about being hot all time and the sun being just too freaking bright but the zucchini helps make it all worth dealing with.

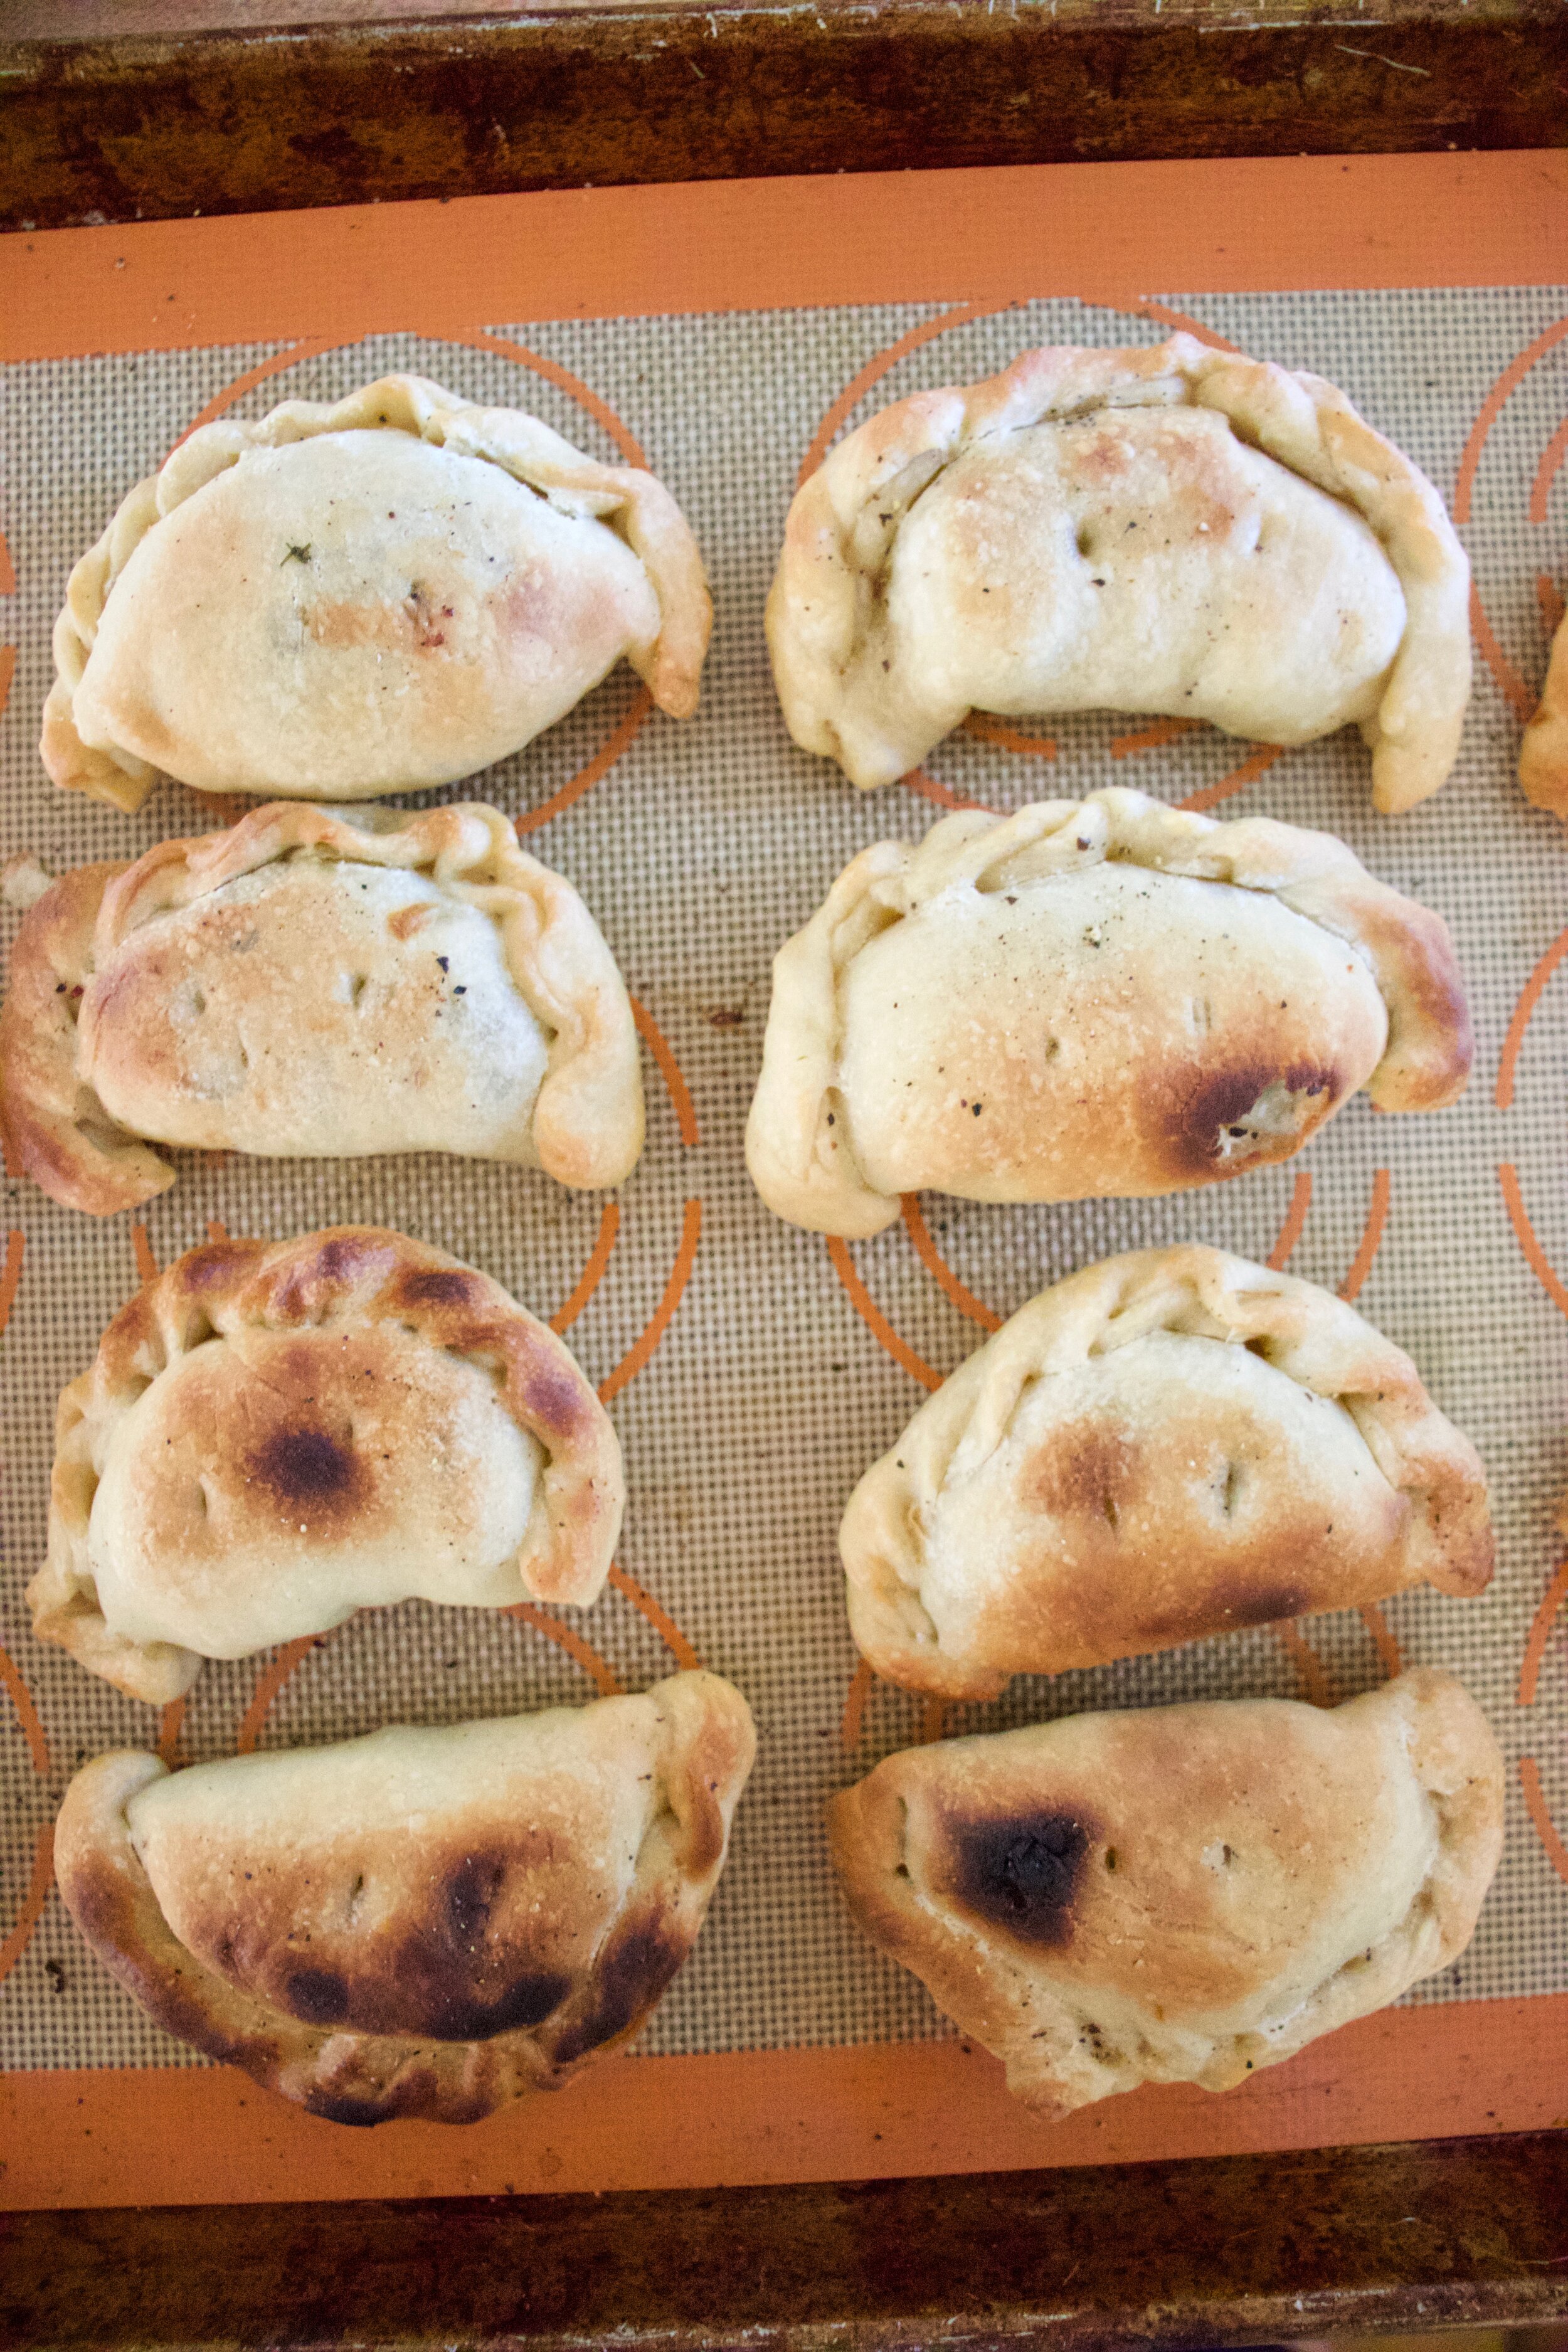
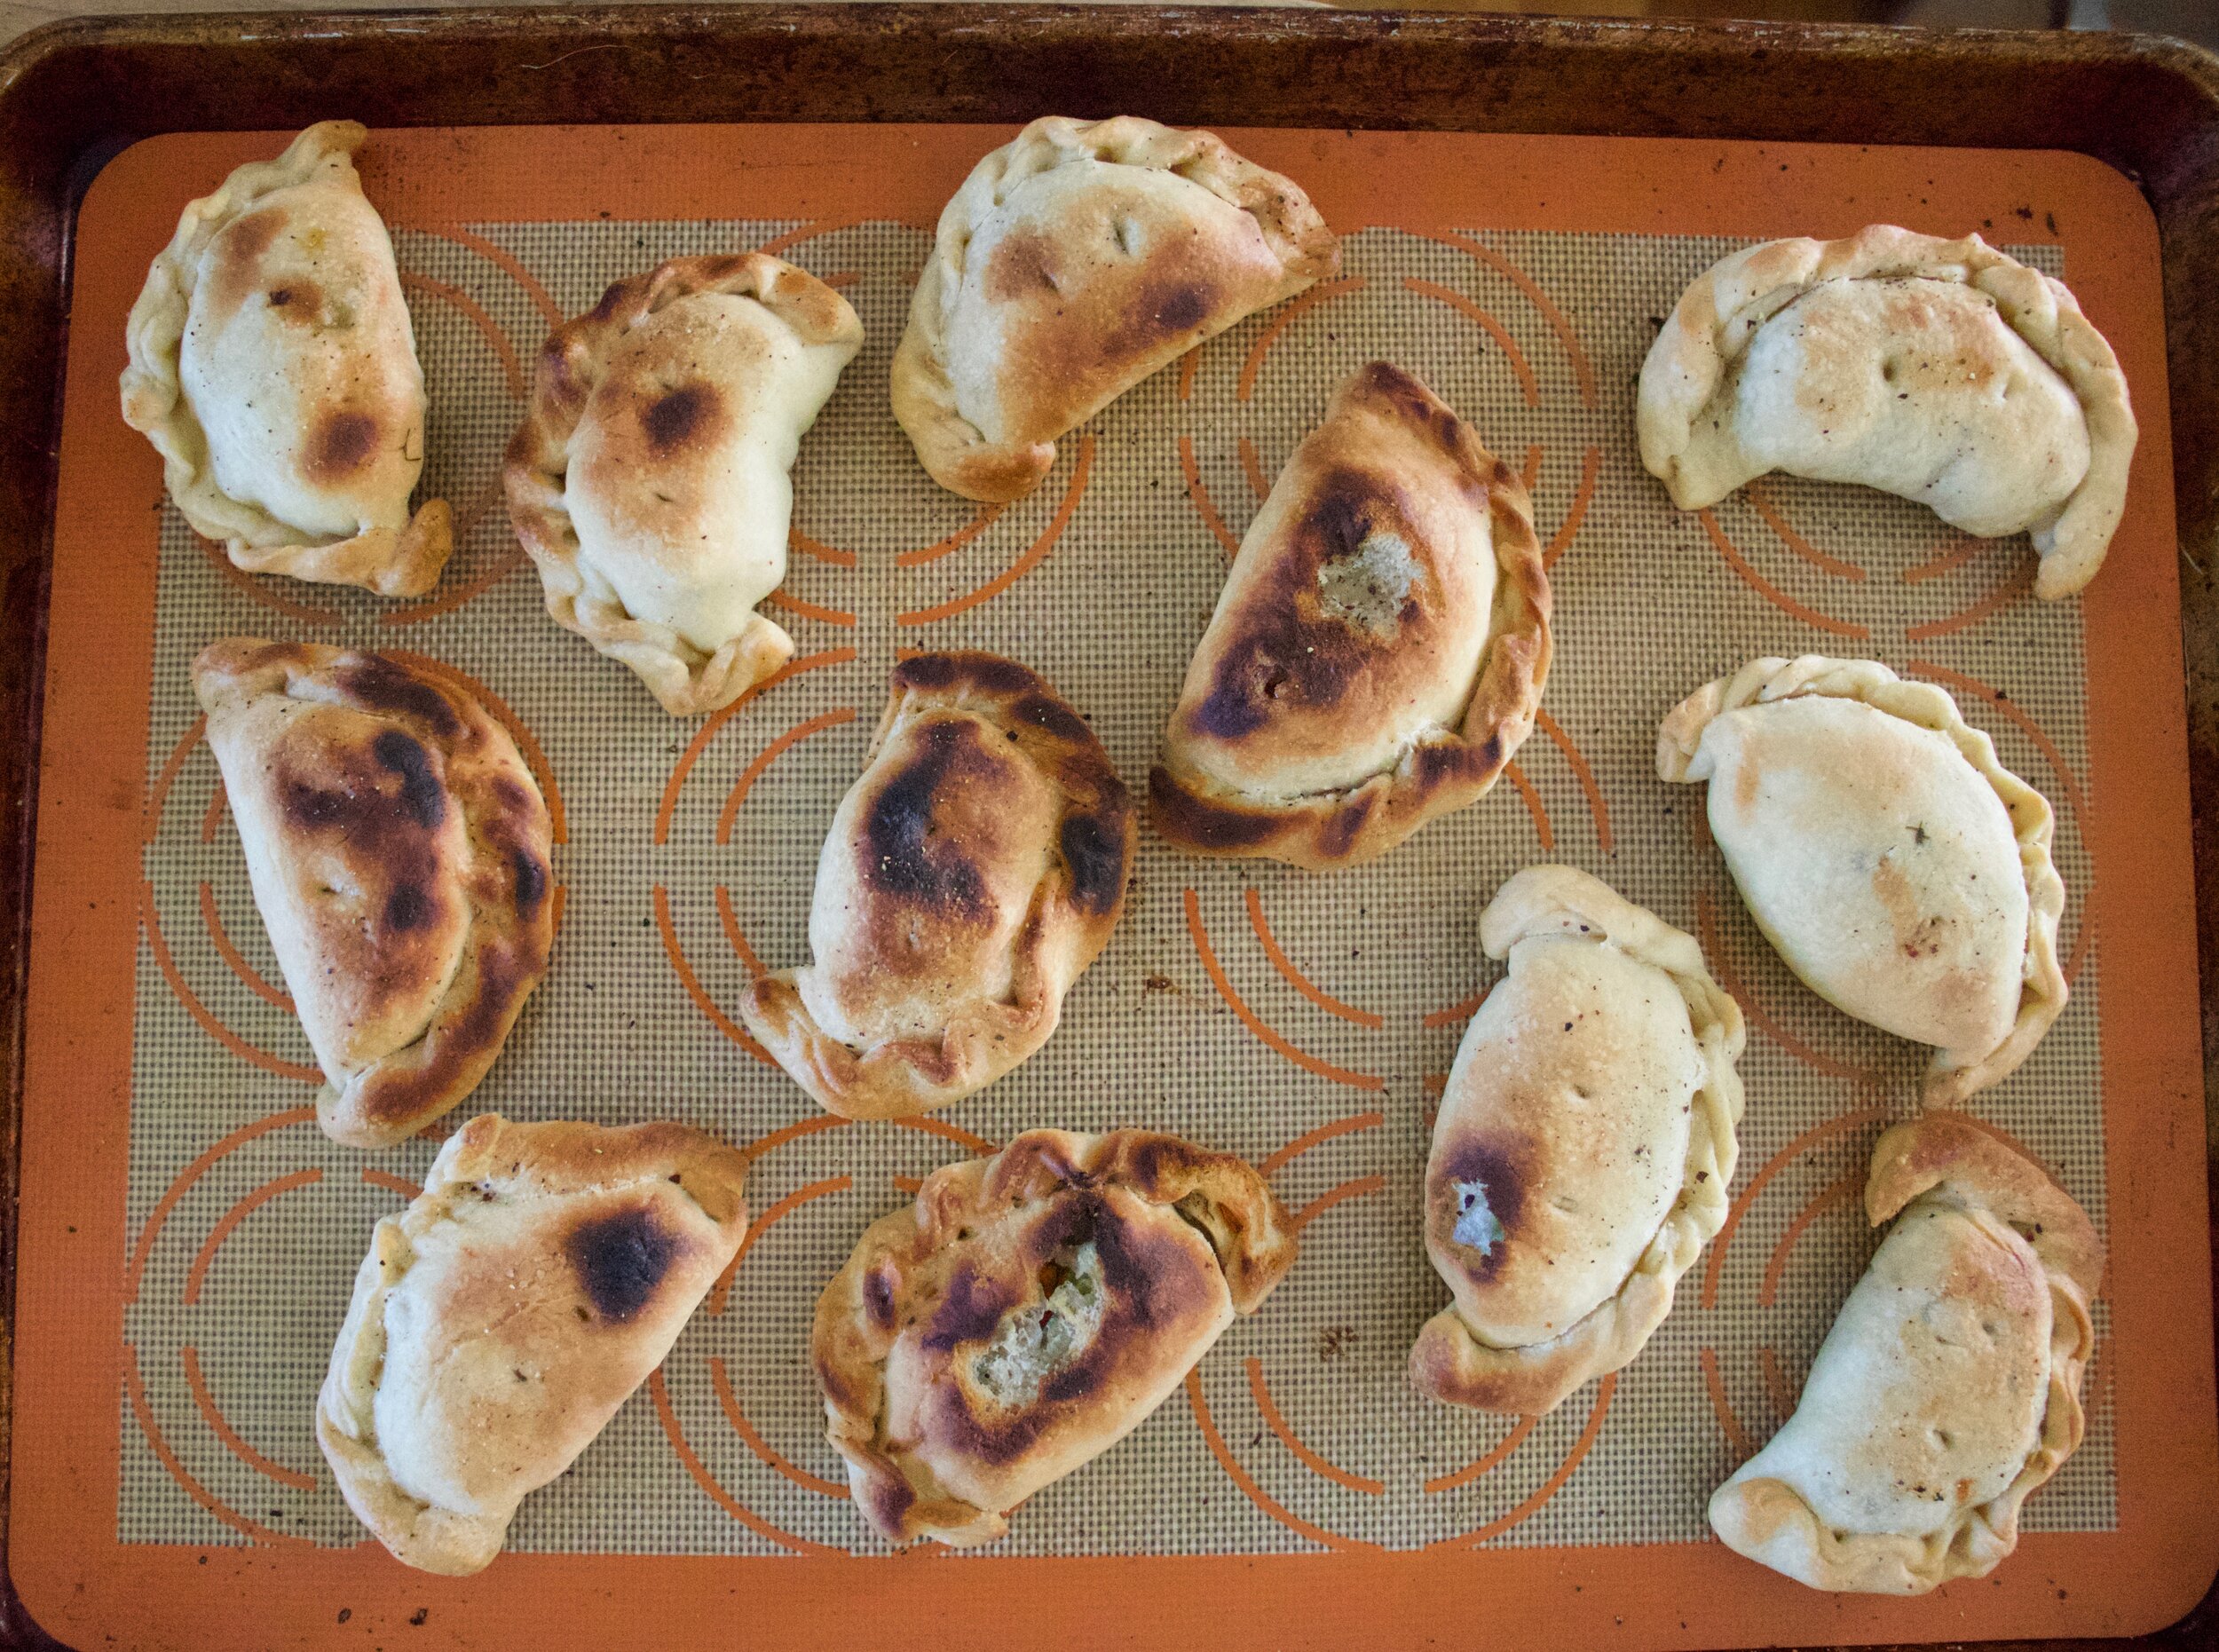
Empanadas. Little hard pies. A perfect little vessel to stuff some zucchini into. Add some dill and it makes it all the better. I mean who wouldn't a zucchini and dill stuffed pastry on a warm summer afternoon (or whatever time you feel like eating). They are super easy to make, light and crispy, and are little pies of zucchini. What is not to like? Plus they require no utensils to eat them . Think about it, Make batch, throw them into a picnic basket and head to a nice little grassy patch under a tree. Doesn't that sound just so nice? That does sound nice. Why didn't I do that? Oh because I was busy being pissy because I made a perfect batch and while letting them cool off in the oven for a few minutes I accidentally turned on the broiler and burnt a few. But whatever, the mr actually really liked them burnt so no harm no foul, But next time I make them it will definitely be for a picnic.

Now to the zucchini dill empanadas!

IMG_5851.jpg

The stuff. Zucchinis, a carrot and a onion, some dill and ground ginger, salt and pepper, water, oil, flour, and baking powder.

IMG_5862.jpg

Start with making the filling. Chop the carrots into little cubes then grate up the onion and zucchinis.

IMG_5869.jpg

Gather the zucchini and onion into a tea towel (or cheese cloth) and squeeze out he excess liquid. ( I squeezed it into the dough mixture)

IMG_5892.jpg
IMG_5901.jpg

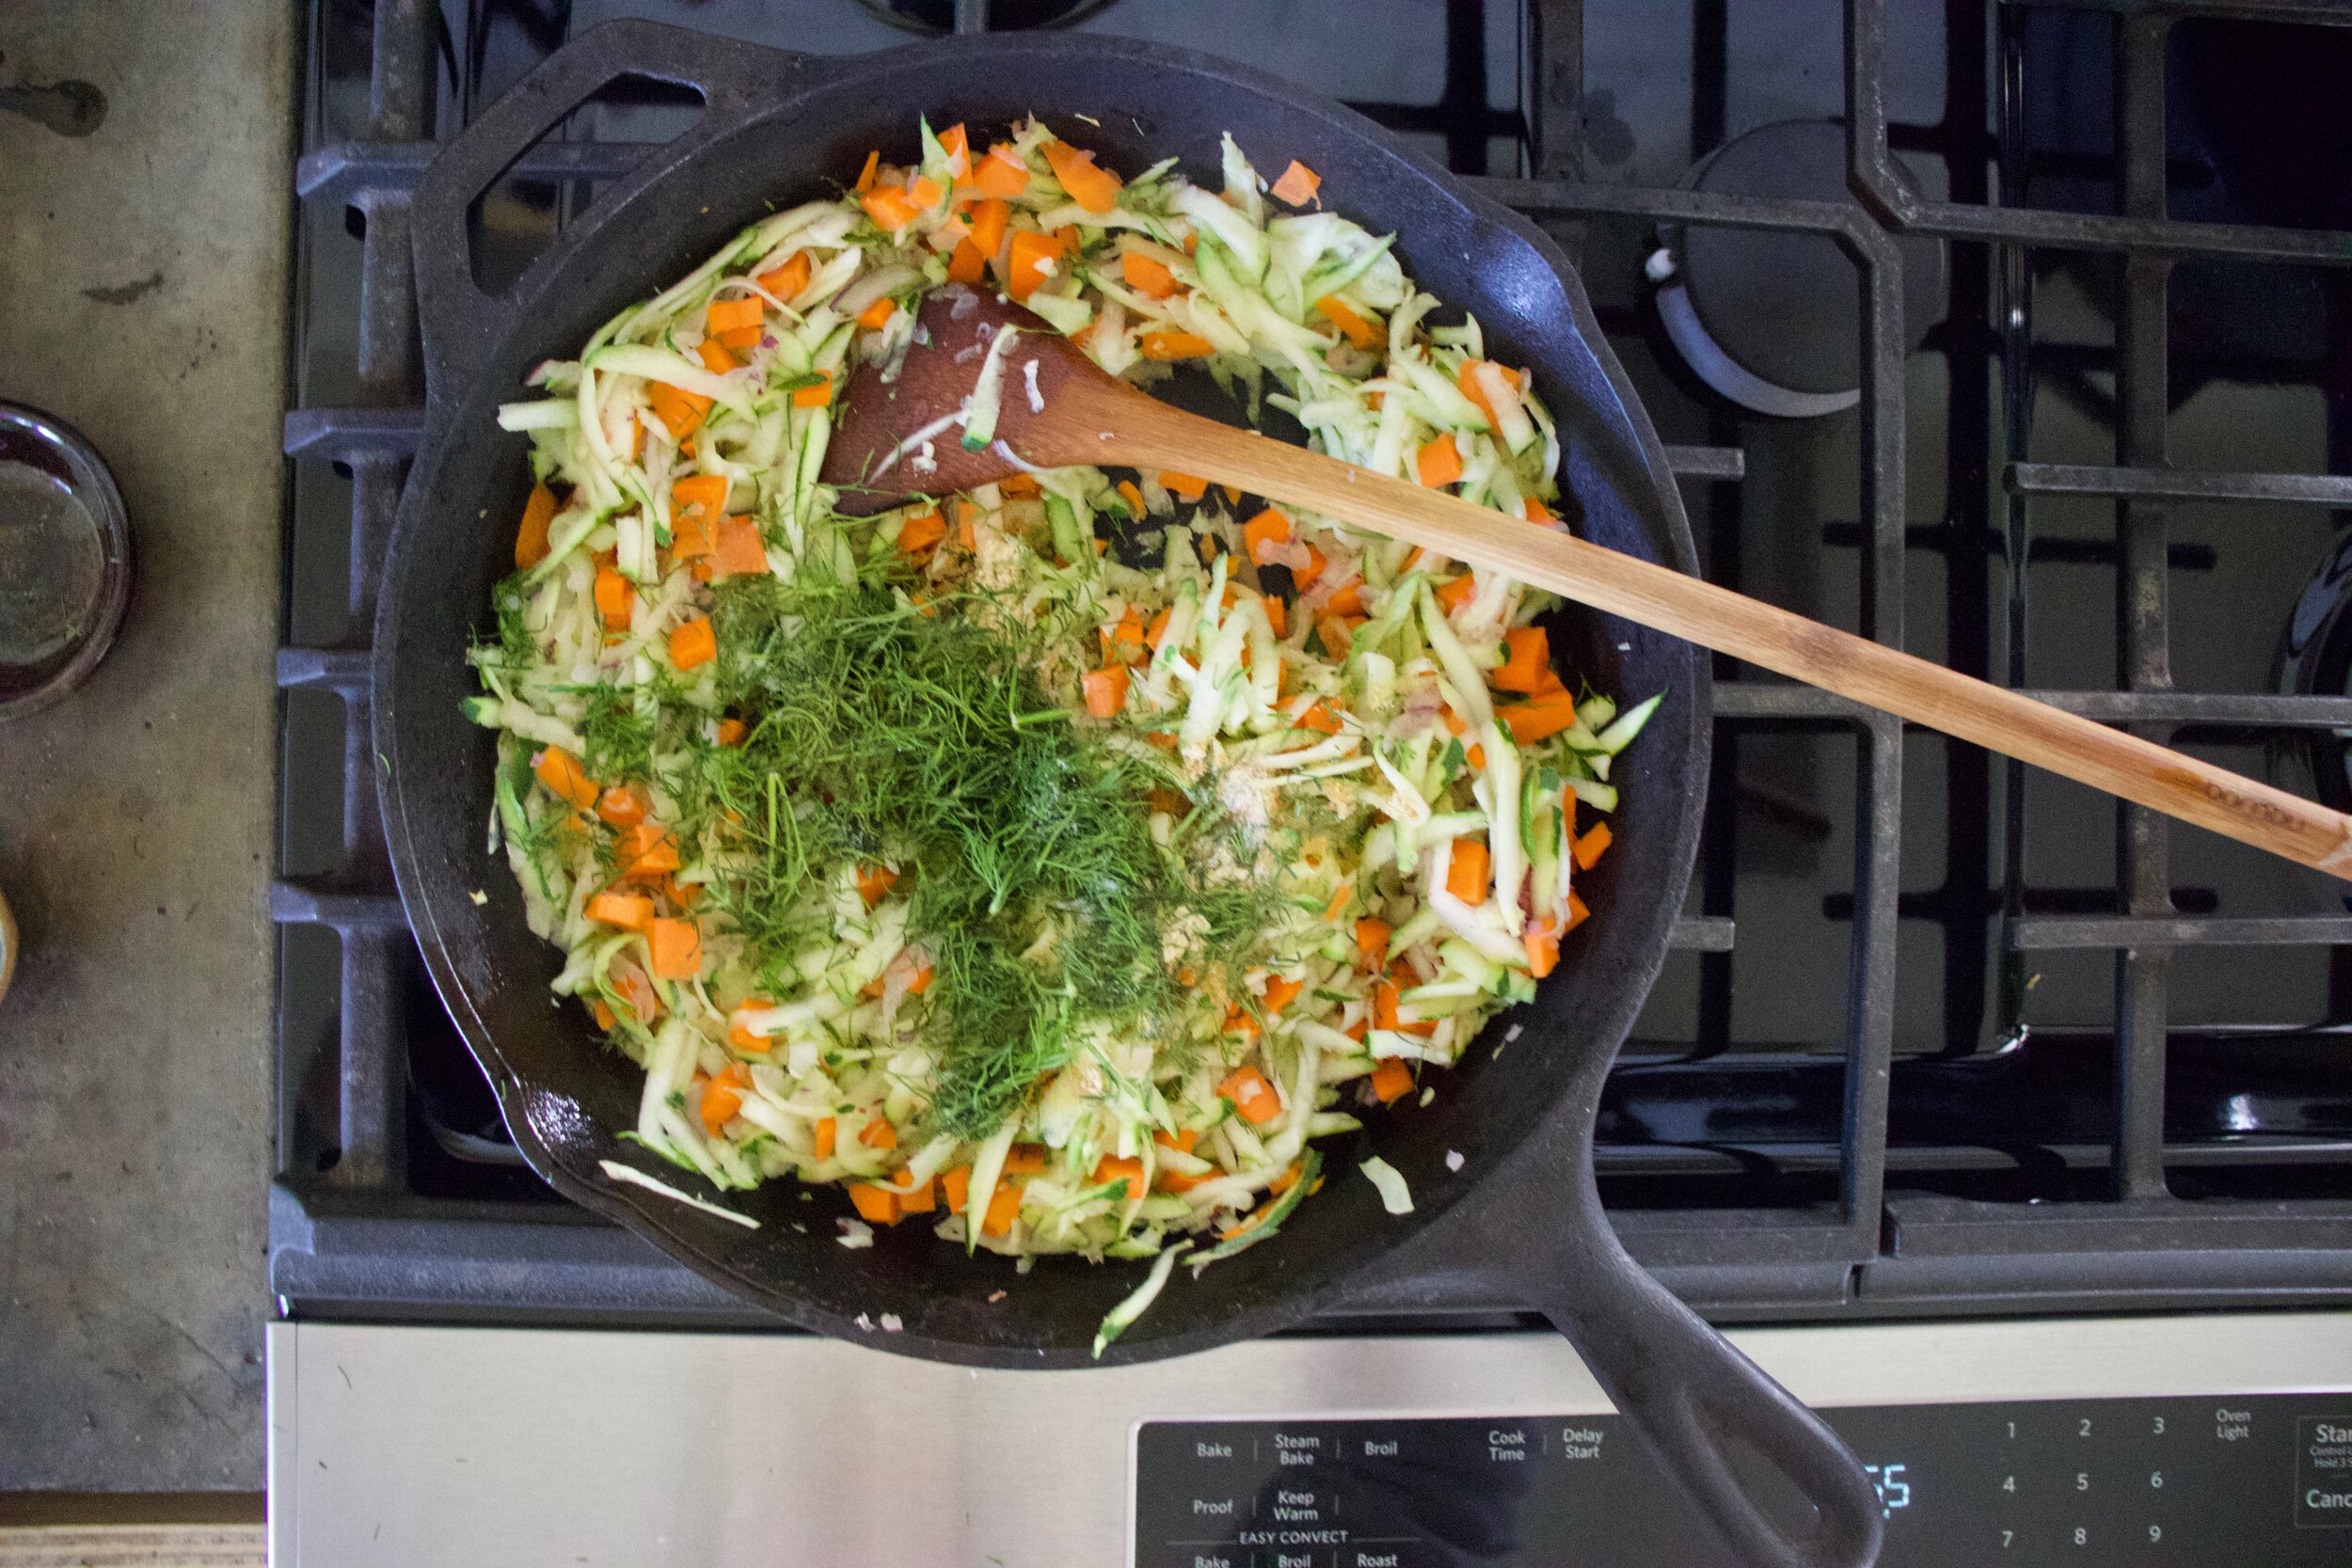
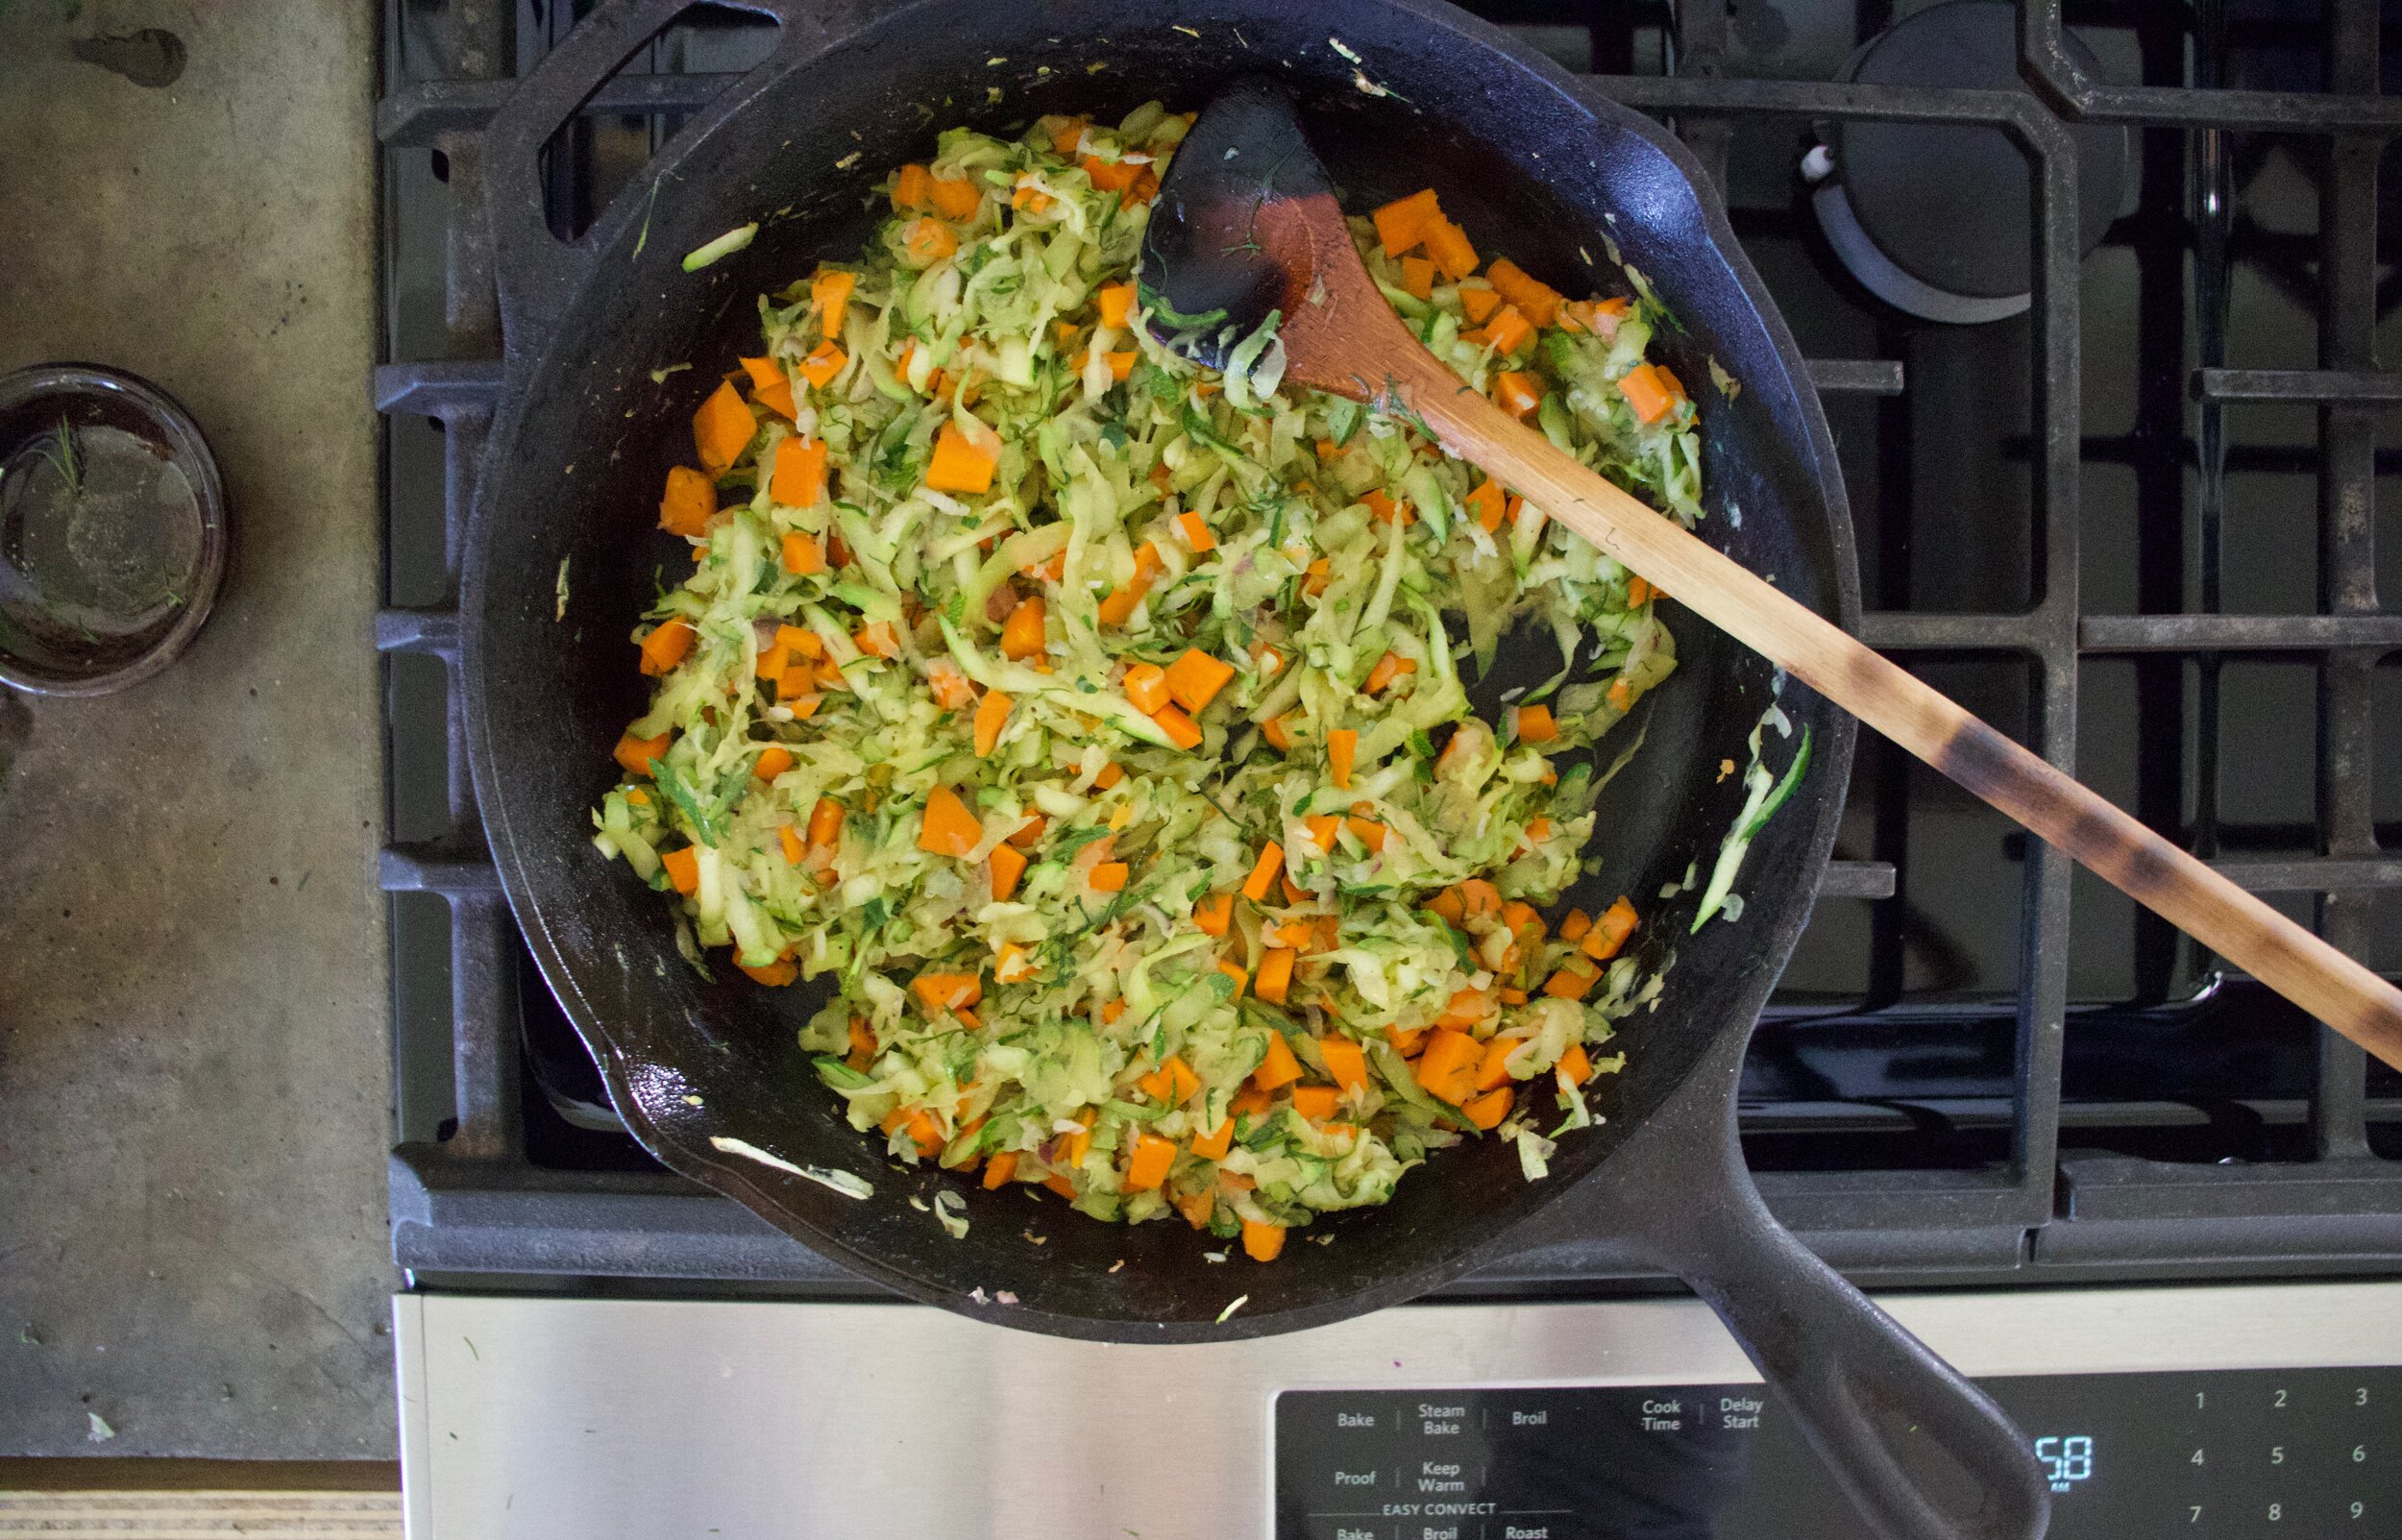
dump the zucchini and onion into a heated and lightly oiled skillet. Add in the carrots, the ginger and dill, and a good pinch of salt and pepper. mix around a cook until the zucchini has gone cooked down and the carrots are slightly tender. Remove from heat.

IMG_5905.jpg
IMG_5907.jpg

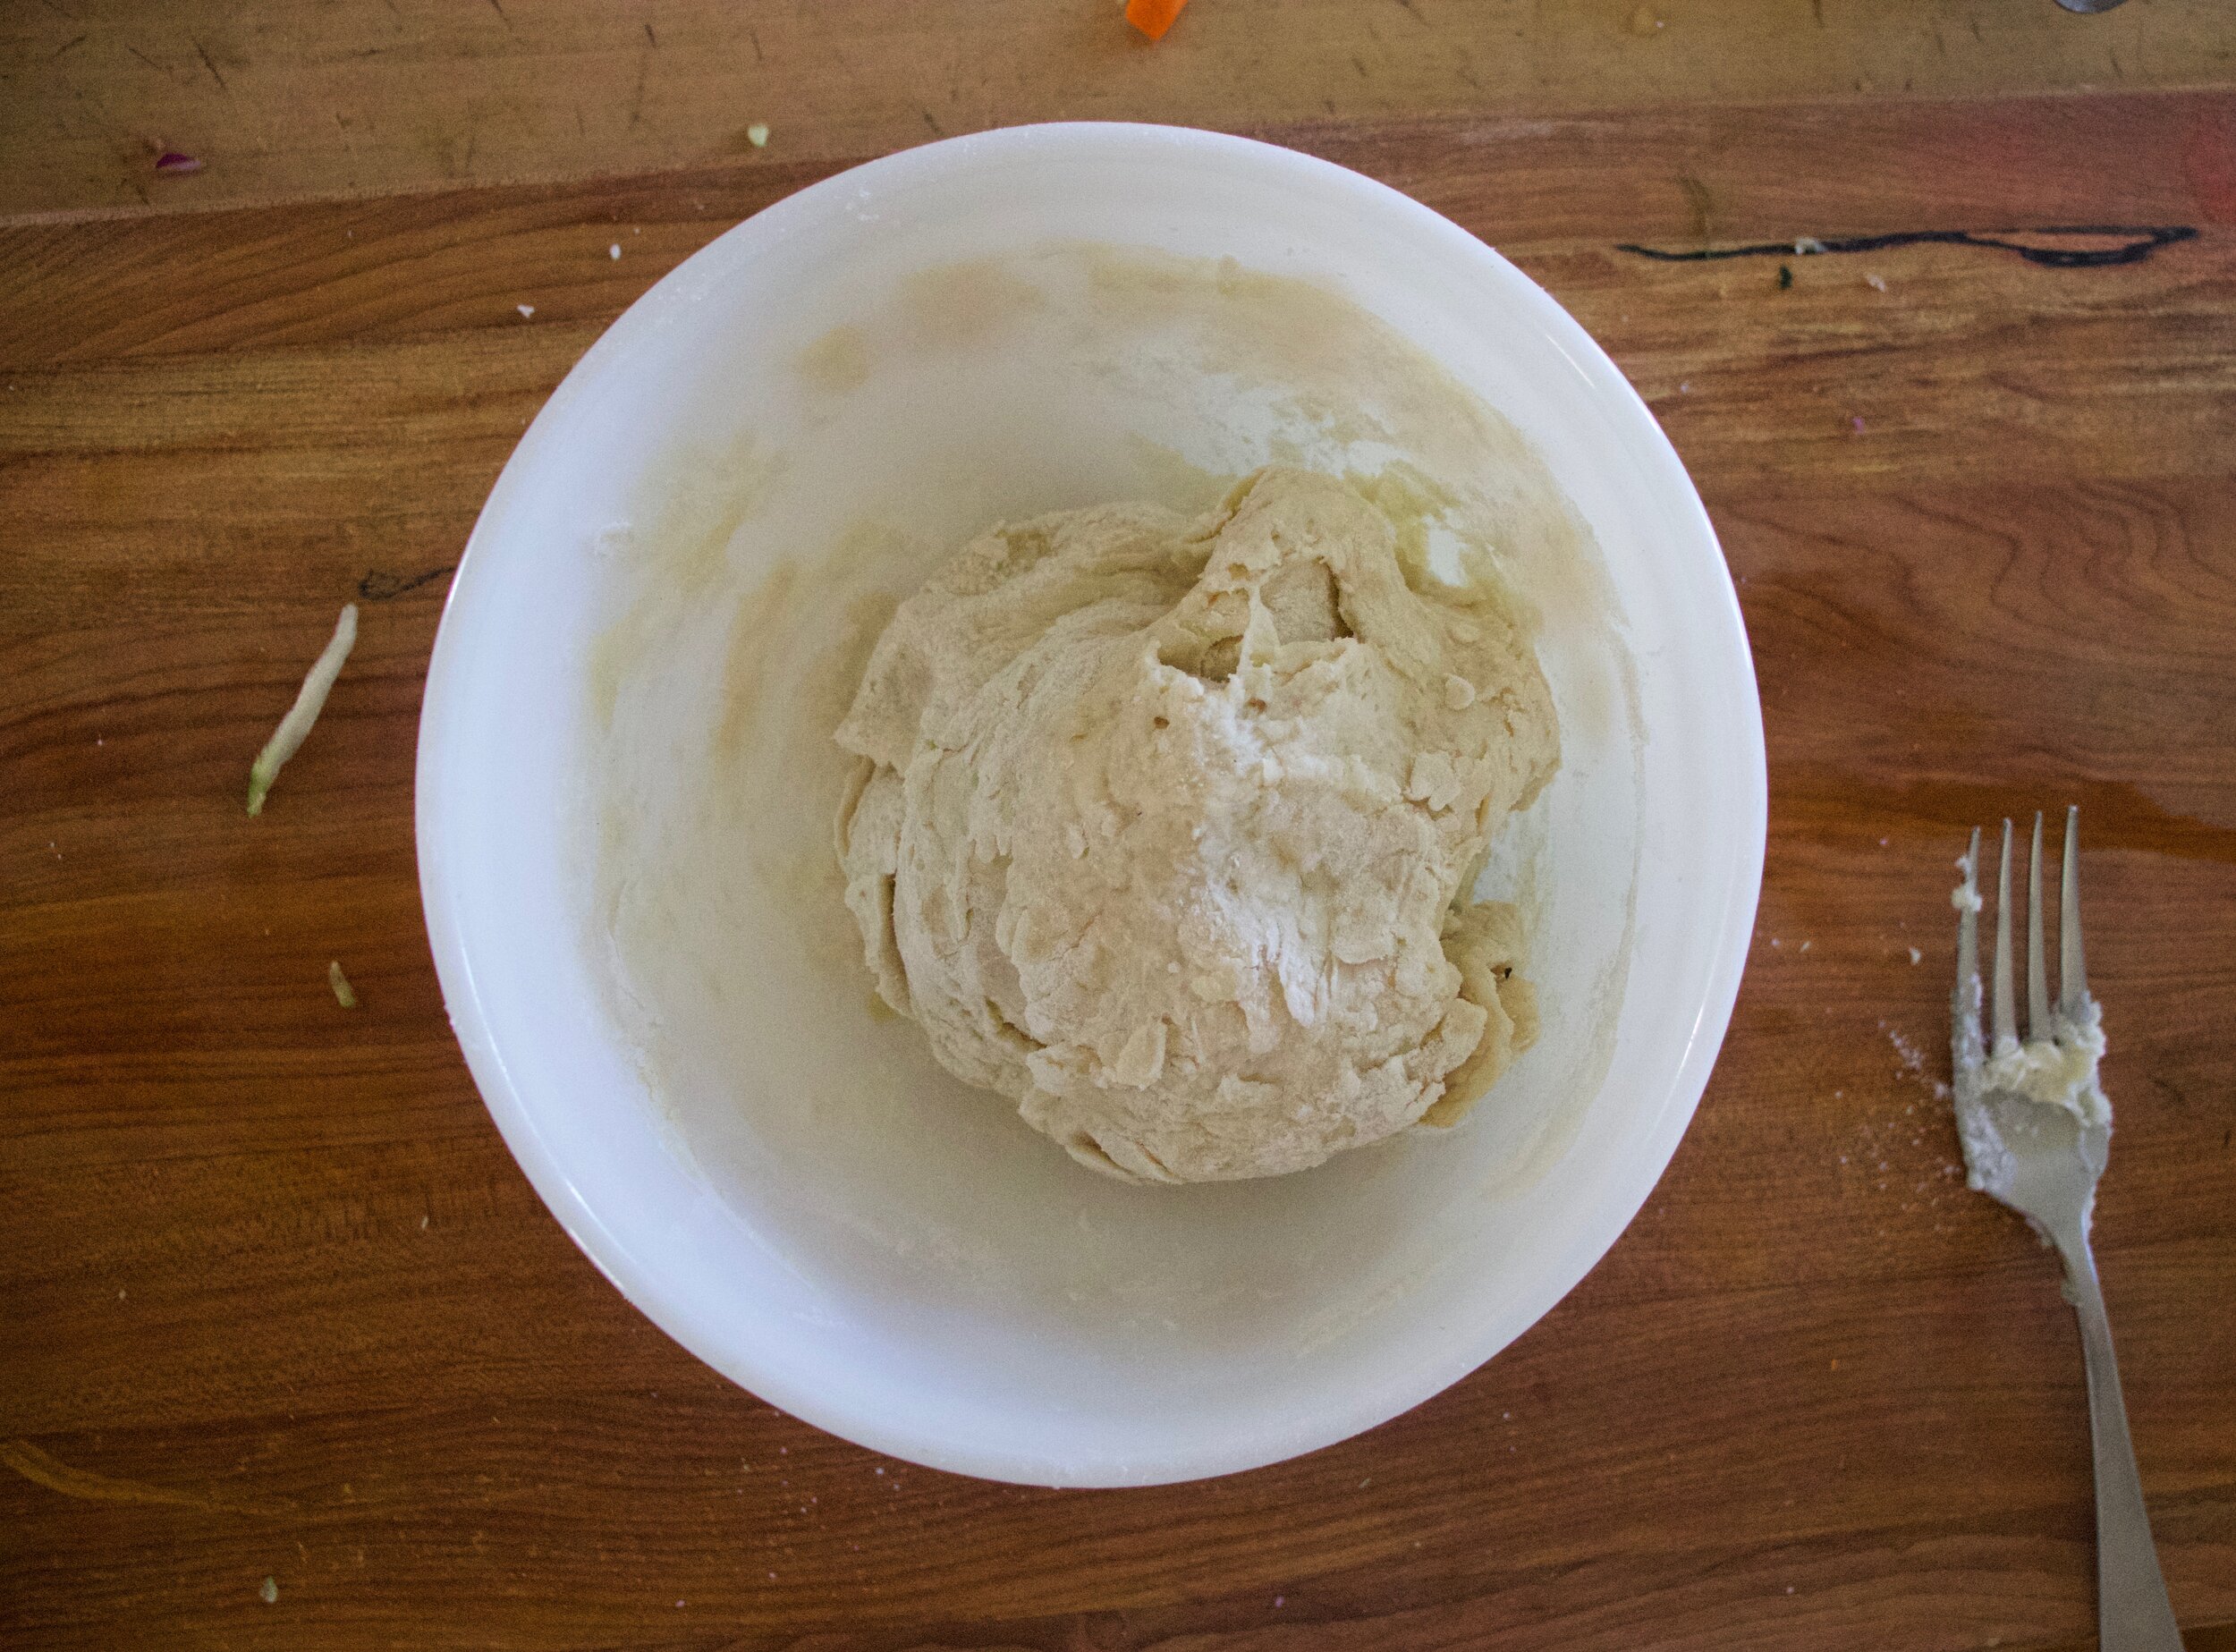
Now make the dough. Ad the wet the dry and mix around unit a shaggy dough form then knead it for about a minute and place in a clean bowl covered with a towel to rest for 15 or so minutes.

IMG_5910.jpg
IMG_5919.jpg

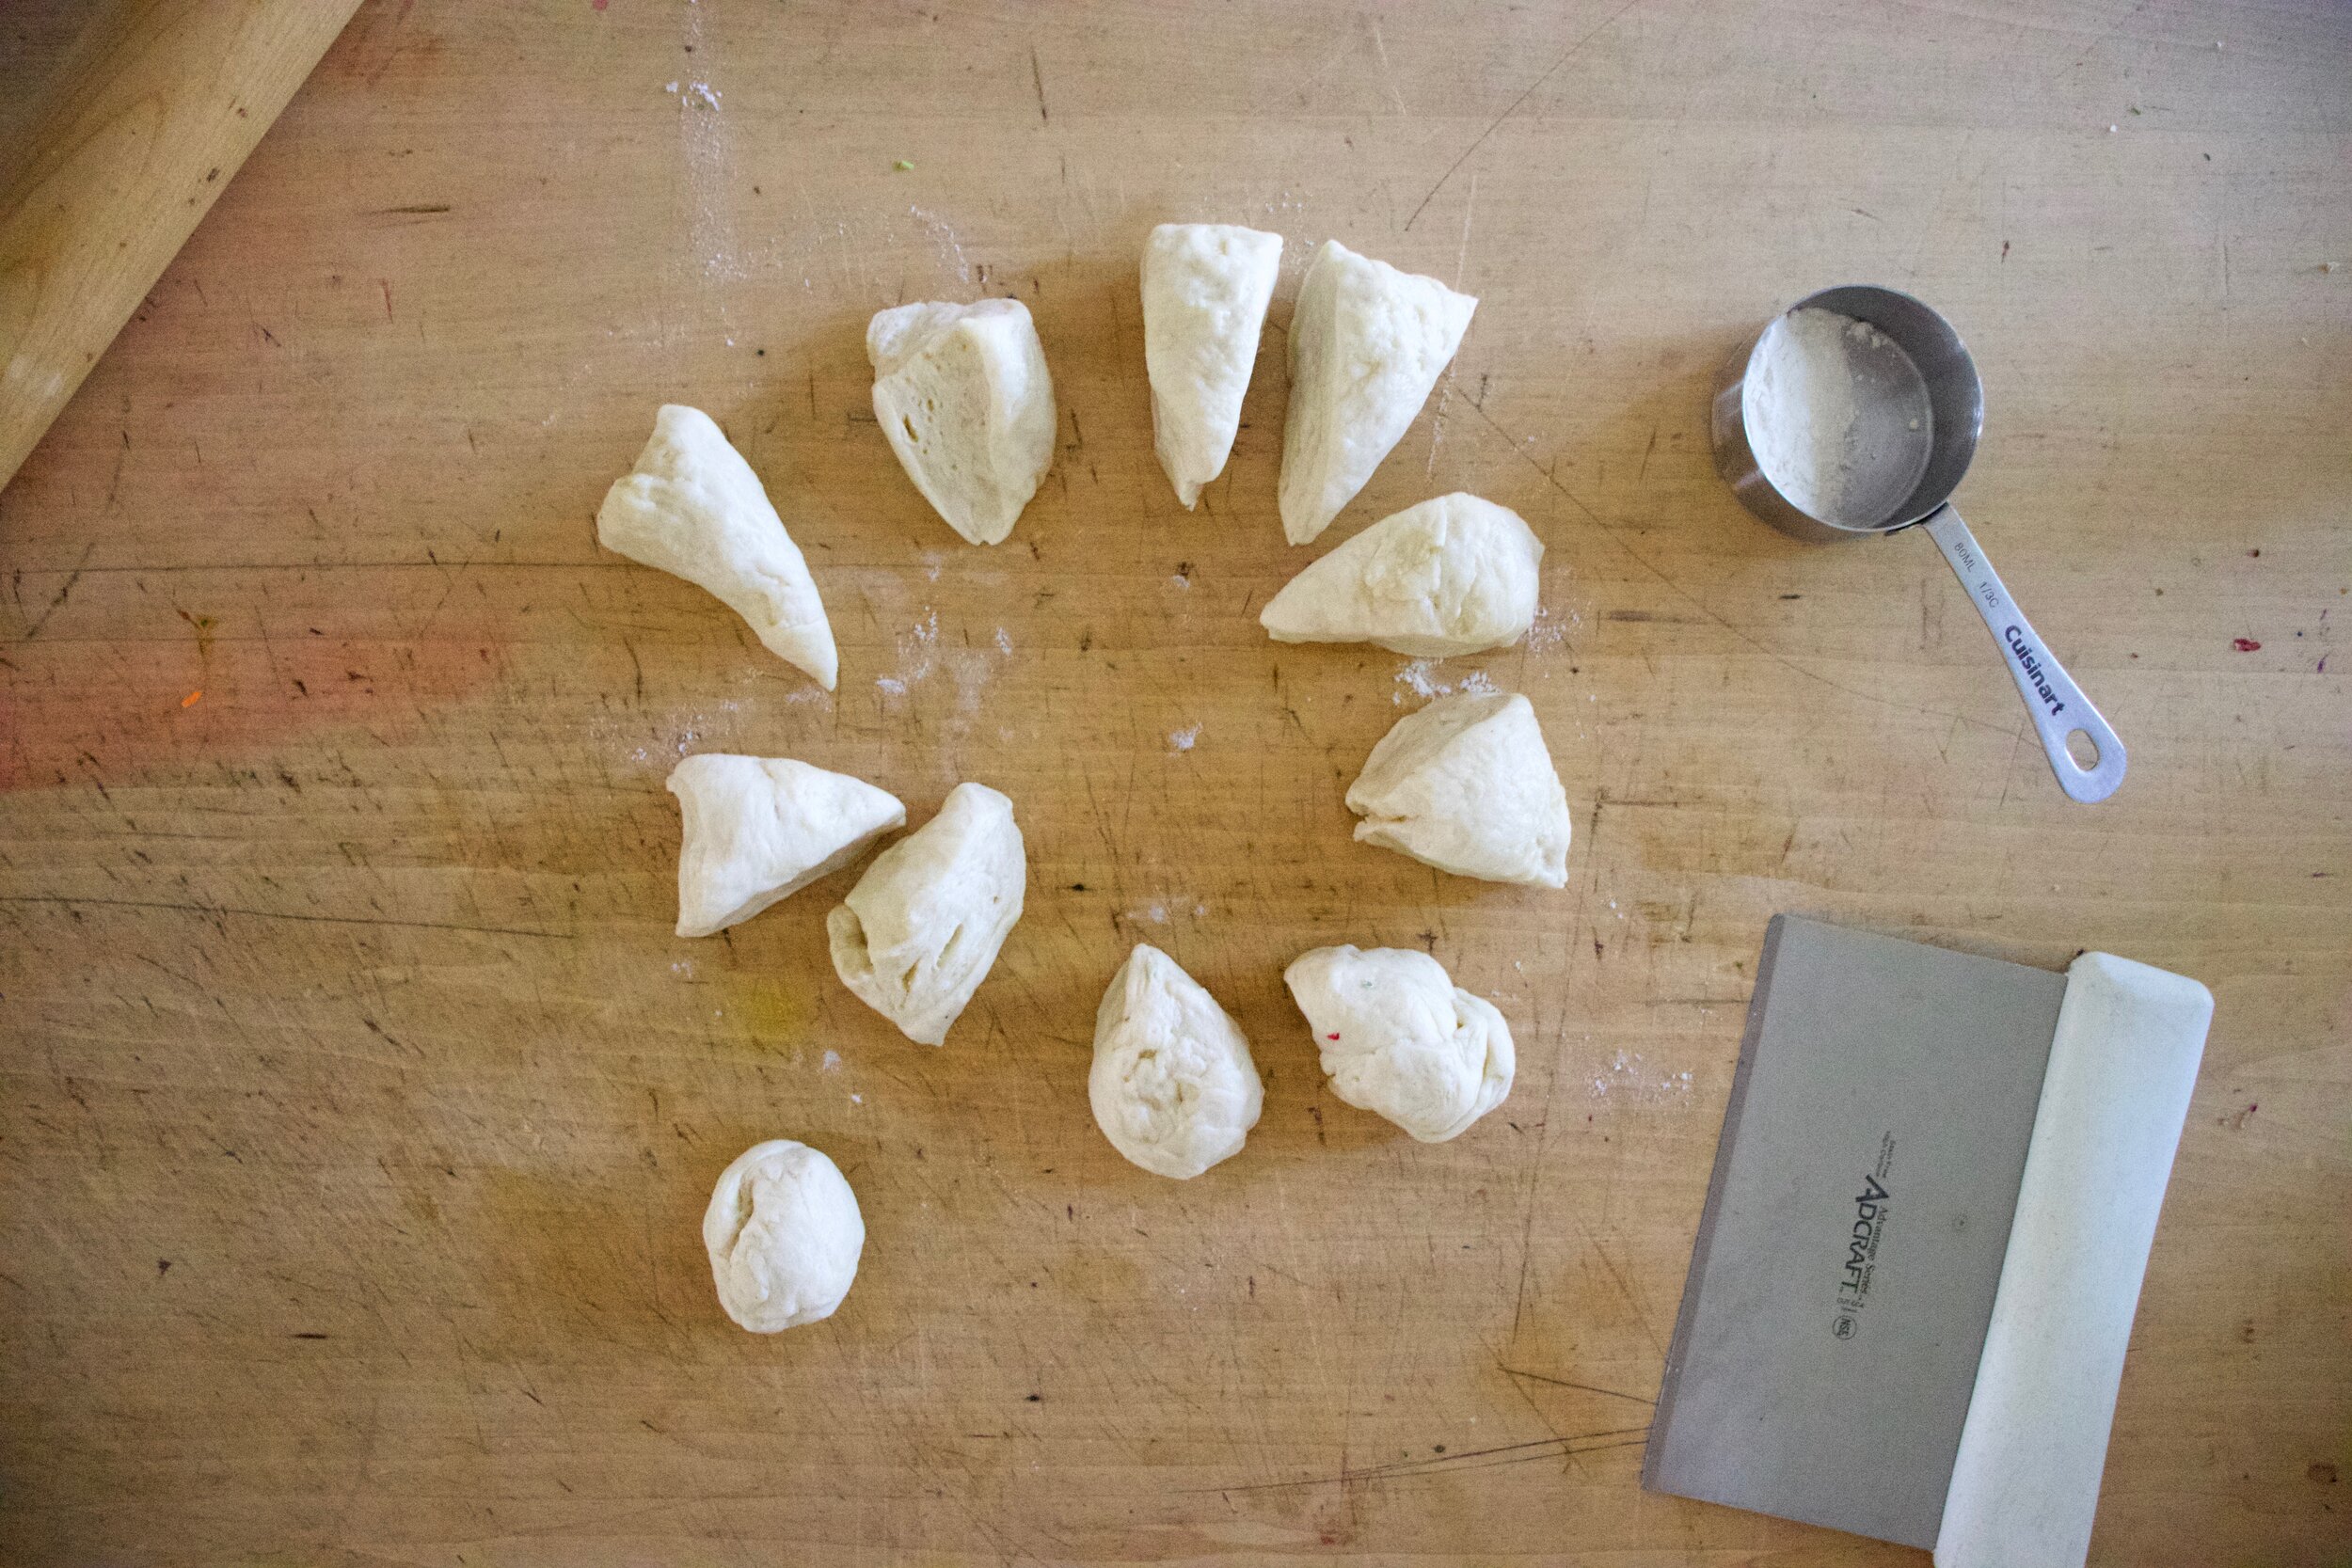
After the dough has rested, dump into counter, pat into a disk and cut into 12 equal pieces.

IMG_5924.jpg

Then roll each piece into a ball. Take a ball and on a lightly floured surface, roll out into a disk.

IMG_5930.jpg
IMG_5931.jpg
IMG_5939.jpg

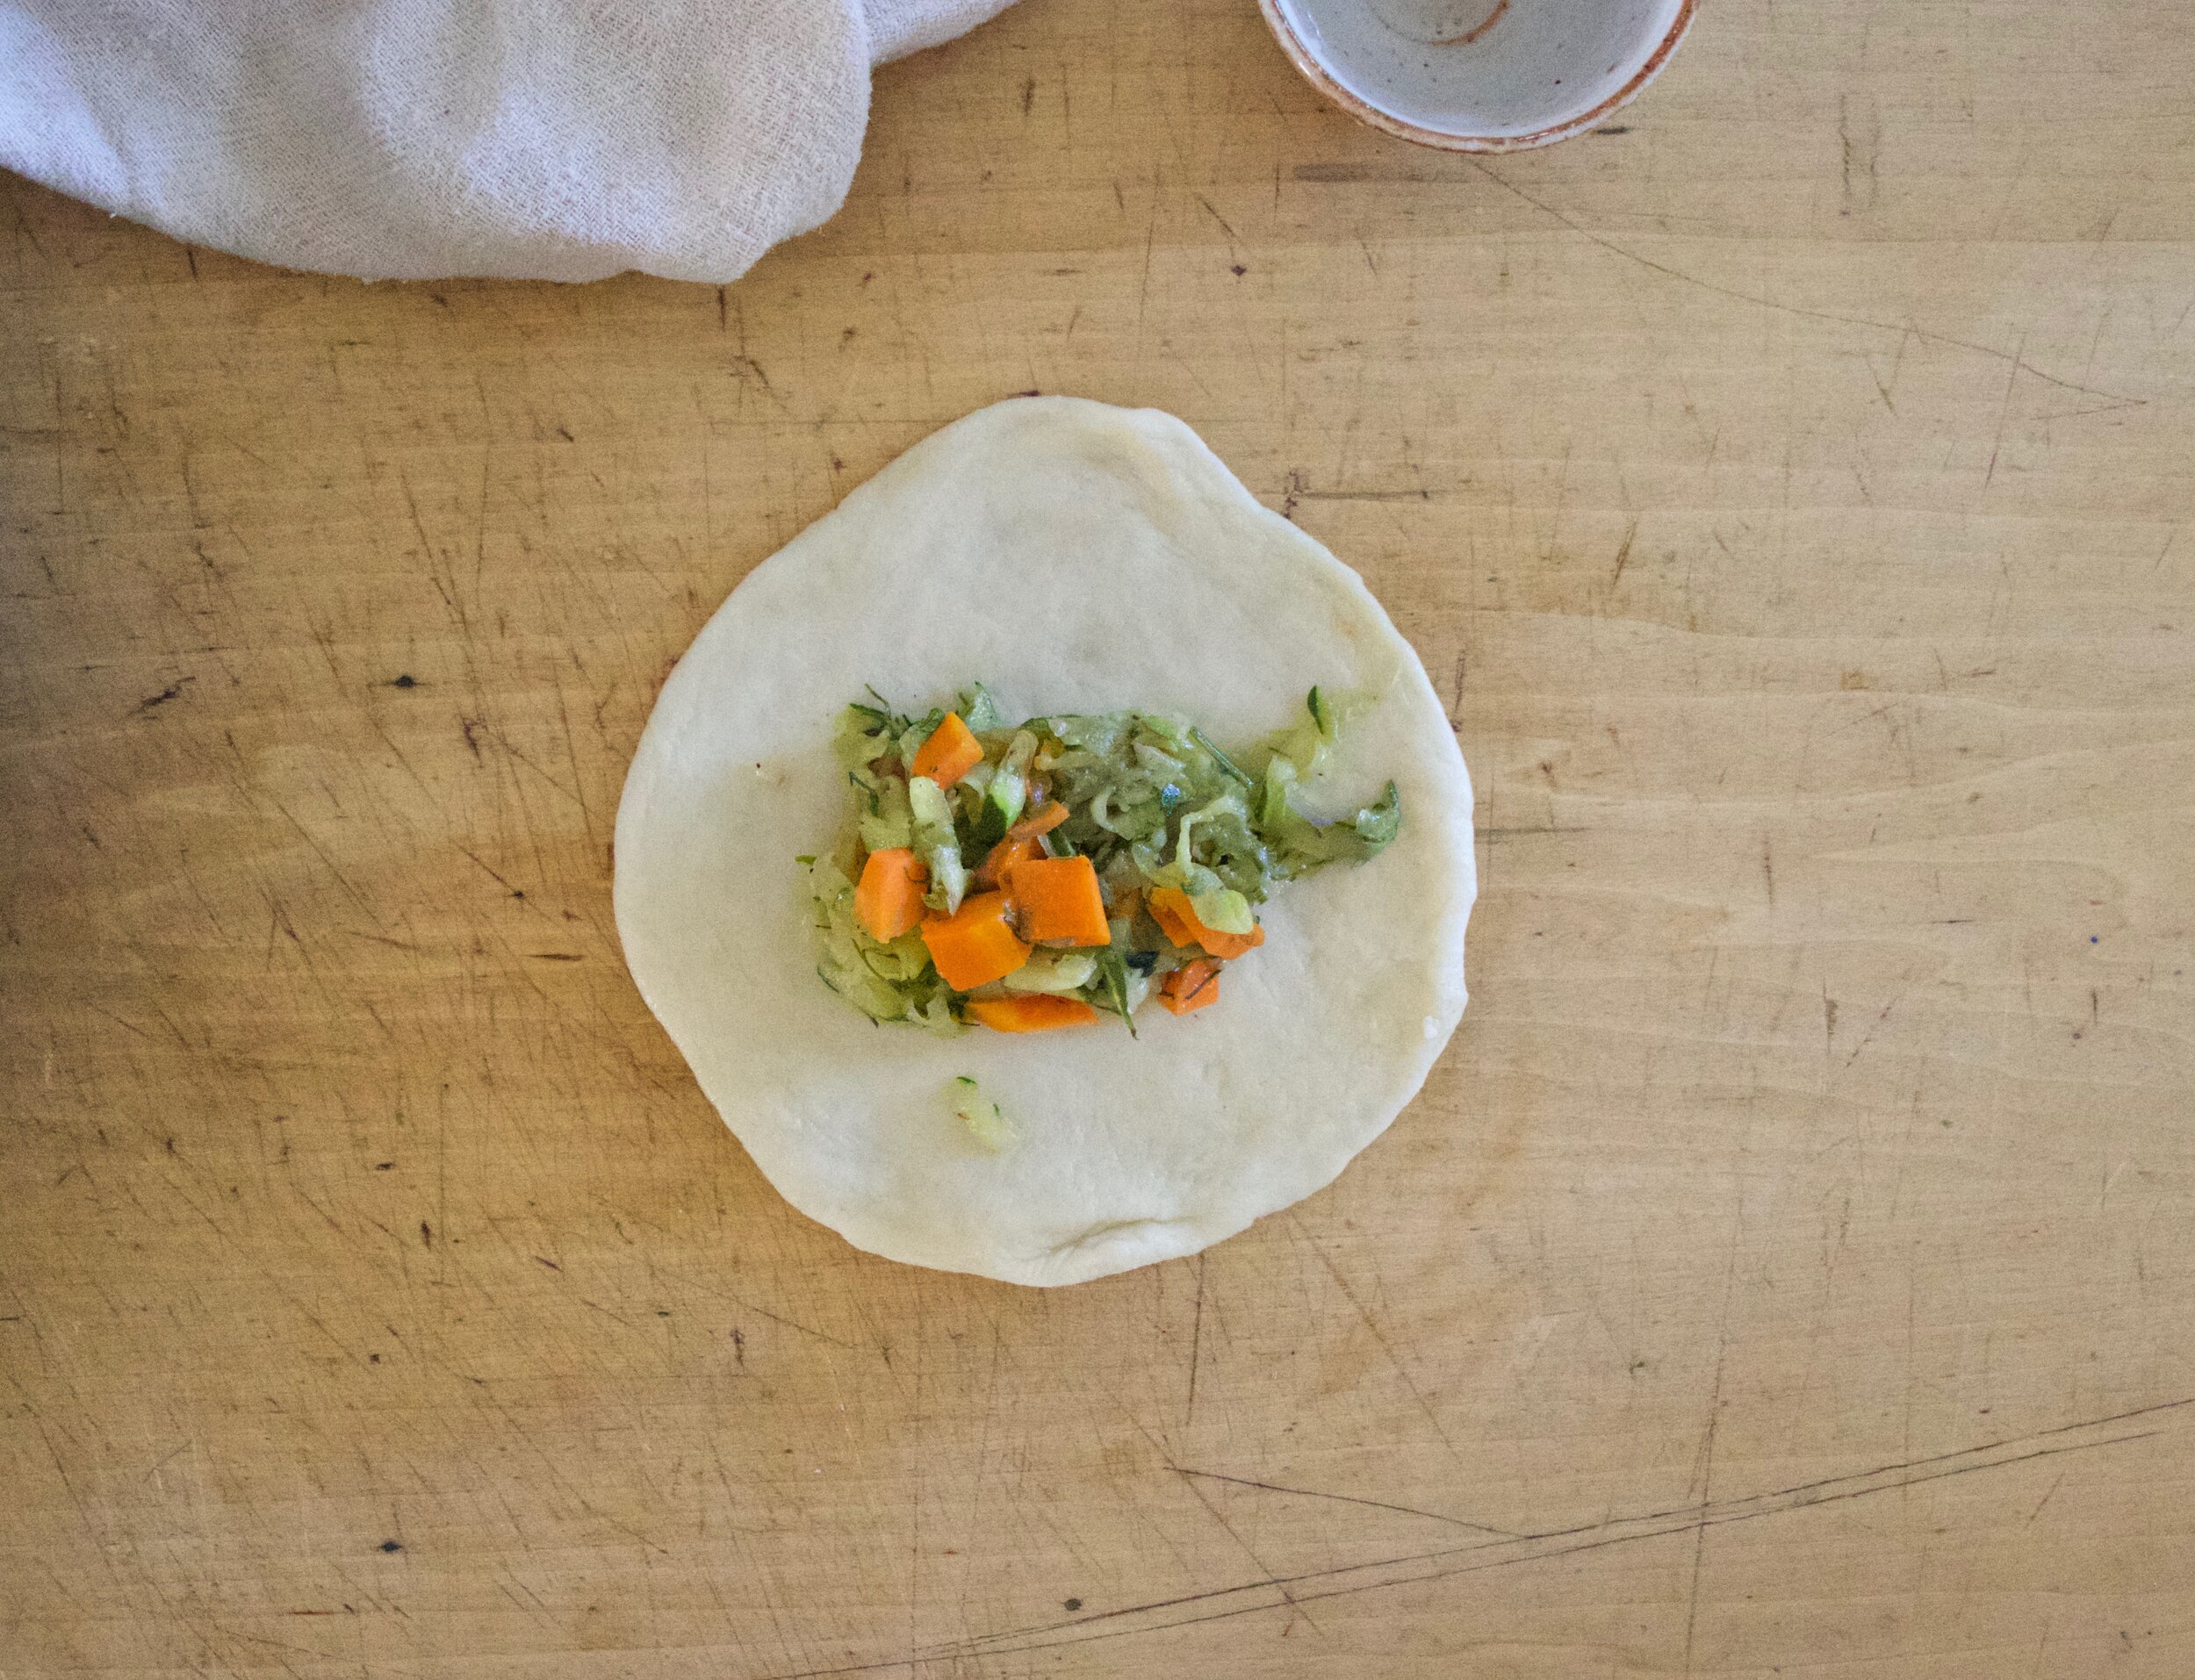
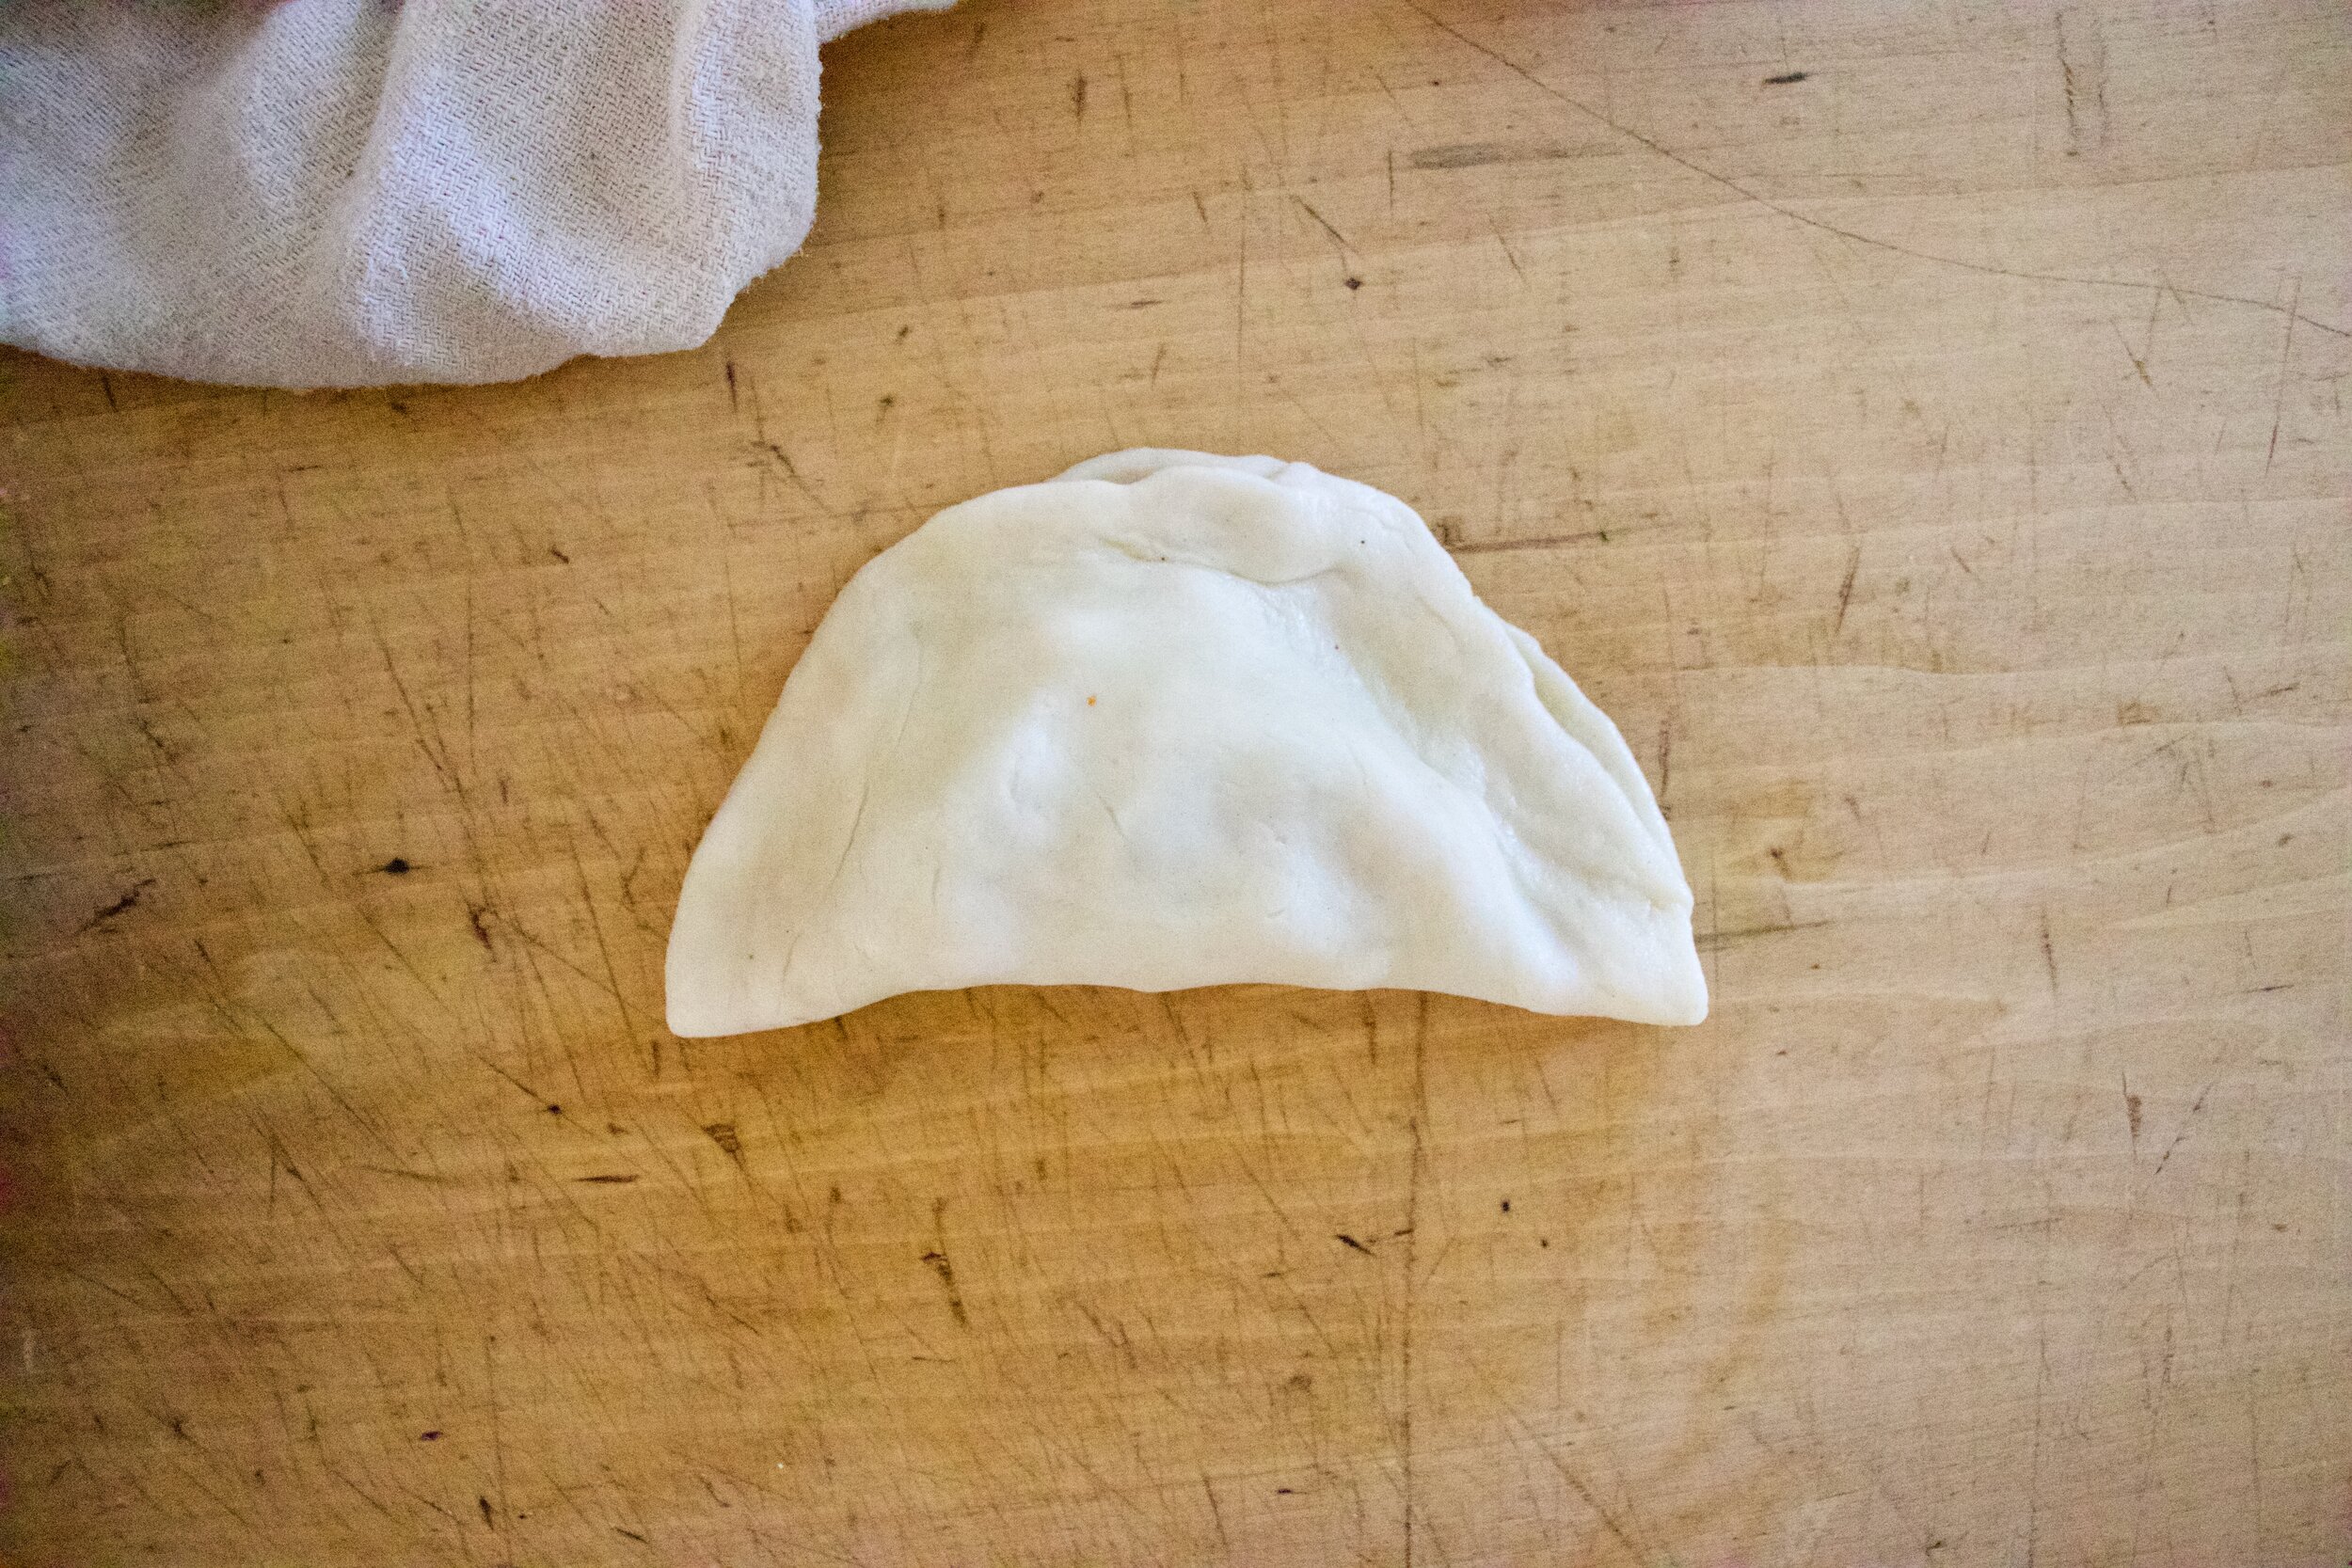
Then add the filling, A couple heading tablespoons of cooled filling go Into the middle. Have a little bowl or water and dip a finger into the bowl and run wet finger around the edge od dough. Fold the filed disk in half and lightly press the dough together. Now you can either try to twist the edges or just crimp them with a fork. Take a knife and cut a little steam vent into he top the place onto a baking sheet. Repeat until all empanadas are made.

IMG_5942.jpg

Brush tops with a little oiled sprinkle with pepper. Pop into the oven to bake.

IMG_5964.jpg

Pro tip. Don’t accidentally turn on the broiler right before you pull them out (especially if they were perfect. But in all honesty the mr liked the burnt ones so whatever.) Once they are nice and golden brown, pop them out of the oven.

IMG_6023.jpg

Now toss them onto a plate and start feeding your face. No utensils required. Dipping sauce is up to you.

-C


Zucchini Dill Empanadas

makes 12

For dough

  • 2 1/4 cups all-purpose flour

  • 1/2 teaspoon salt

  • 1/2 teaspoon baking powder

  • 1/3 cup vegetable oil

  • 1/2 cup cold water

Filling

  • 2 small zucchinis (3 packed cups grated)

  • a small onion

  • a carrot

  • 2 tablespoons fresh or 1 tablespoon dried dill

  • 1/2 teaspoon ground ginger (optional)

  • salt and pepper

  • vegetable oil

Start with making the filling. Chop the carrot into small little cubes then shred the zucchini and onion on a box grater. Gather the zucchini and onion and place in a clean tea towel of cheese cloth and ring to excess liquid. Place the carrot and the zucchini and onions into a preheated and lightly oiled skillet. Add in the dill, ginger, and a pinch of salt and pepper. Cook down for 7-9 minutes or until zucchini has lost a lot of liquid and the carrot pieces are fork tender. Remove from heat and let cool.

Make dough. Place the dry ingredients into a bowl and mix around. Add in the water and oil and mix until it comes together into a shaggy dough. Dump out onto counter and knead for about a minutes them place dough back into the bowl ( wipe it out) and cover with a towel. Let dough rest for 15 or so minutes.

Preheat oven to 375.

Once dough has rested, plop onto counter, pat into a disk shape, then cut into 12 equal pieces and roll each piece into a ball. Lightly flour the counter and start to roll each ball out into a round disk about 4-5 inches wide. You can one at a time and fill it or roll them all out and fill all at the same time.

To fill, take about 2 heaping teaspoons of the cooled filling and place in the center of the rolled out disk. dip your finger into water and and run it around the edge of the dough then fold in half and lightly press the edge together. Then either twist the edge or crimp the edge with a fork. Take a knife and cut a small slit into the top then place on a baking sheet. Once all the empanadas are on the sheet, lightly brush the tops with oil and sprinkle with black pepper. Pop into the oven and bake for 20 -25 minutes or unit the empanadas are a nice golden brown.

Remove from oven. Eat while hot.

Place any left overs in a container in the fridge for 5-7 days. Reheat in oven or toaster oven.

In Savory, summer, Vegan, Vegetables, pie Tags Zucchini Dill Empanadas, vegan, plant based, empanada, dill, summer, zucchini, easy, home made dough, fresh, dairy free, vegetable, hand pie
2 Comments

Sweet Potato Hand Pies

November 21, 2020 Colleen Stem
IMG_2132.jpg
IMG_2076.jpg

What, you did’t skip an afternoon of life to stay home avoiding all the things that need to be done to watch the snow gently fall with the twinkle lights on, Sufjan Stevens Christmas playing and make little hand pies? Well shit, maybe that is exactly what you should do because I got to tell you, it was probably one of the best afternoons I have had in a while.

And don’t get at me about the Christmas music. Sufjan Stevens Christmas is one of the things I look forward to the most about this time of year. If you know, you know. If you don’t know, then stop what you are doing and go listen to it. Trust.

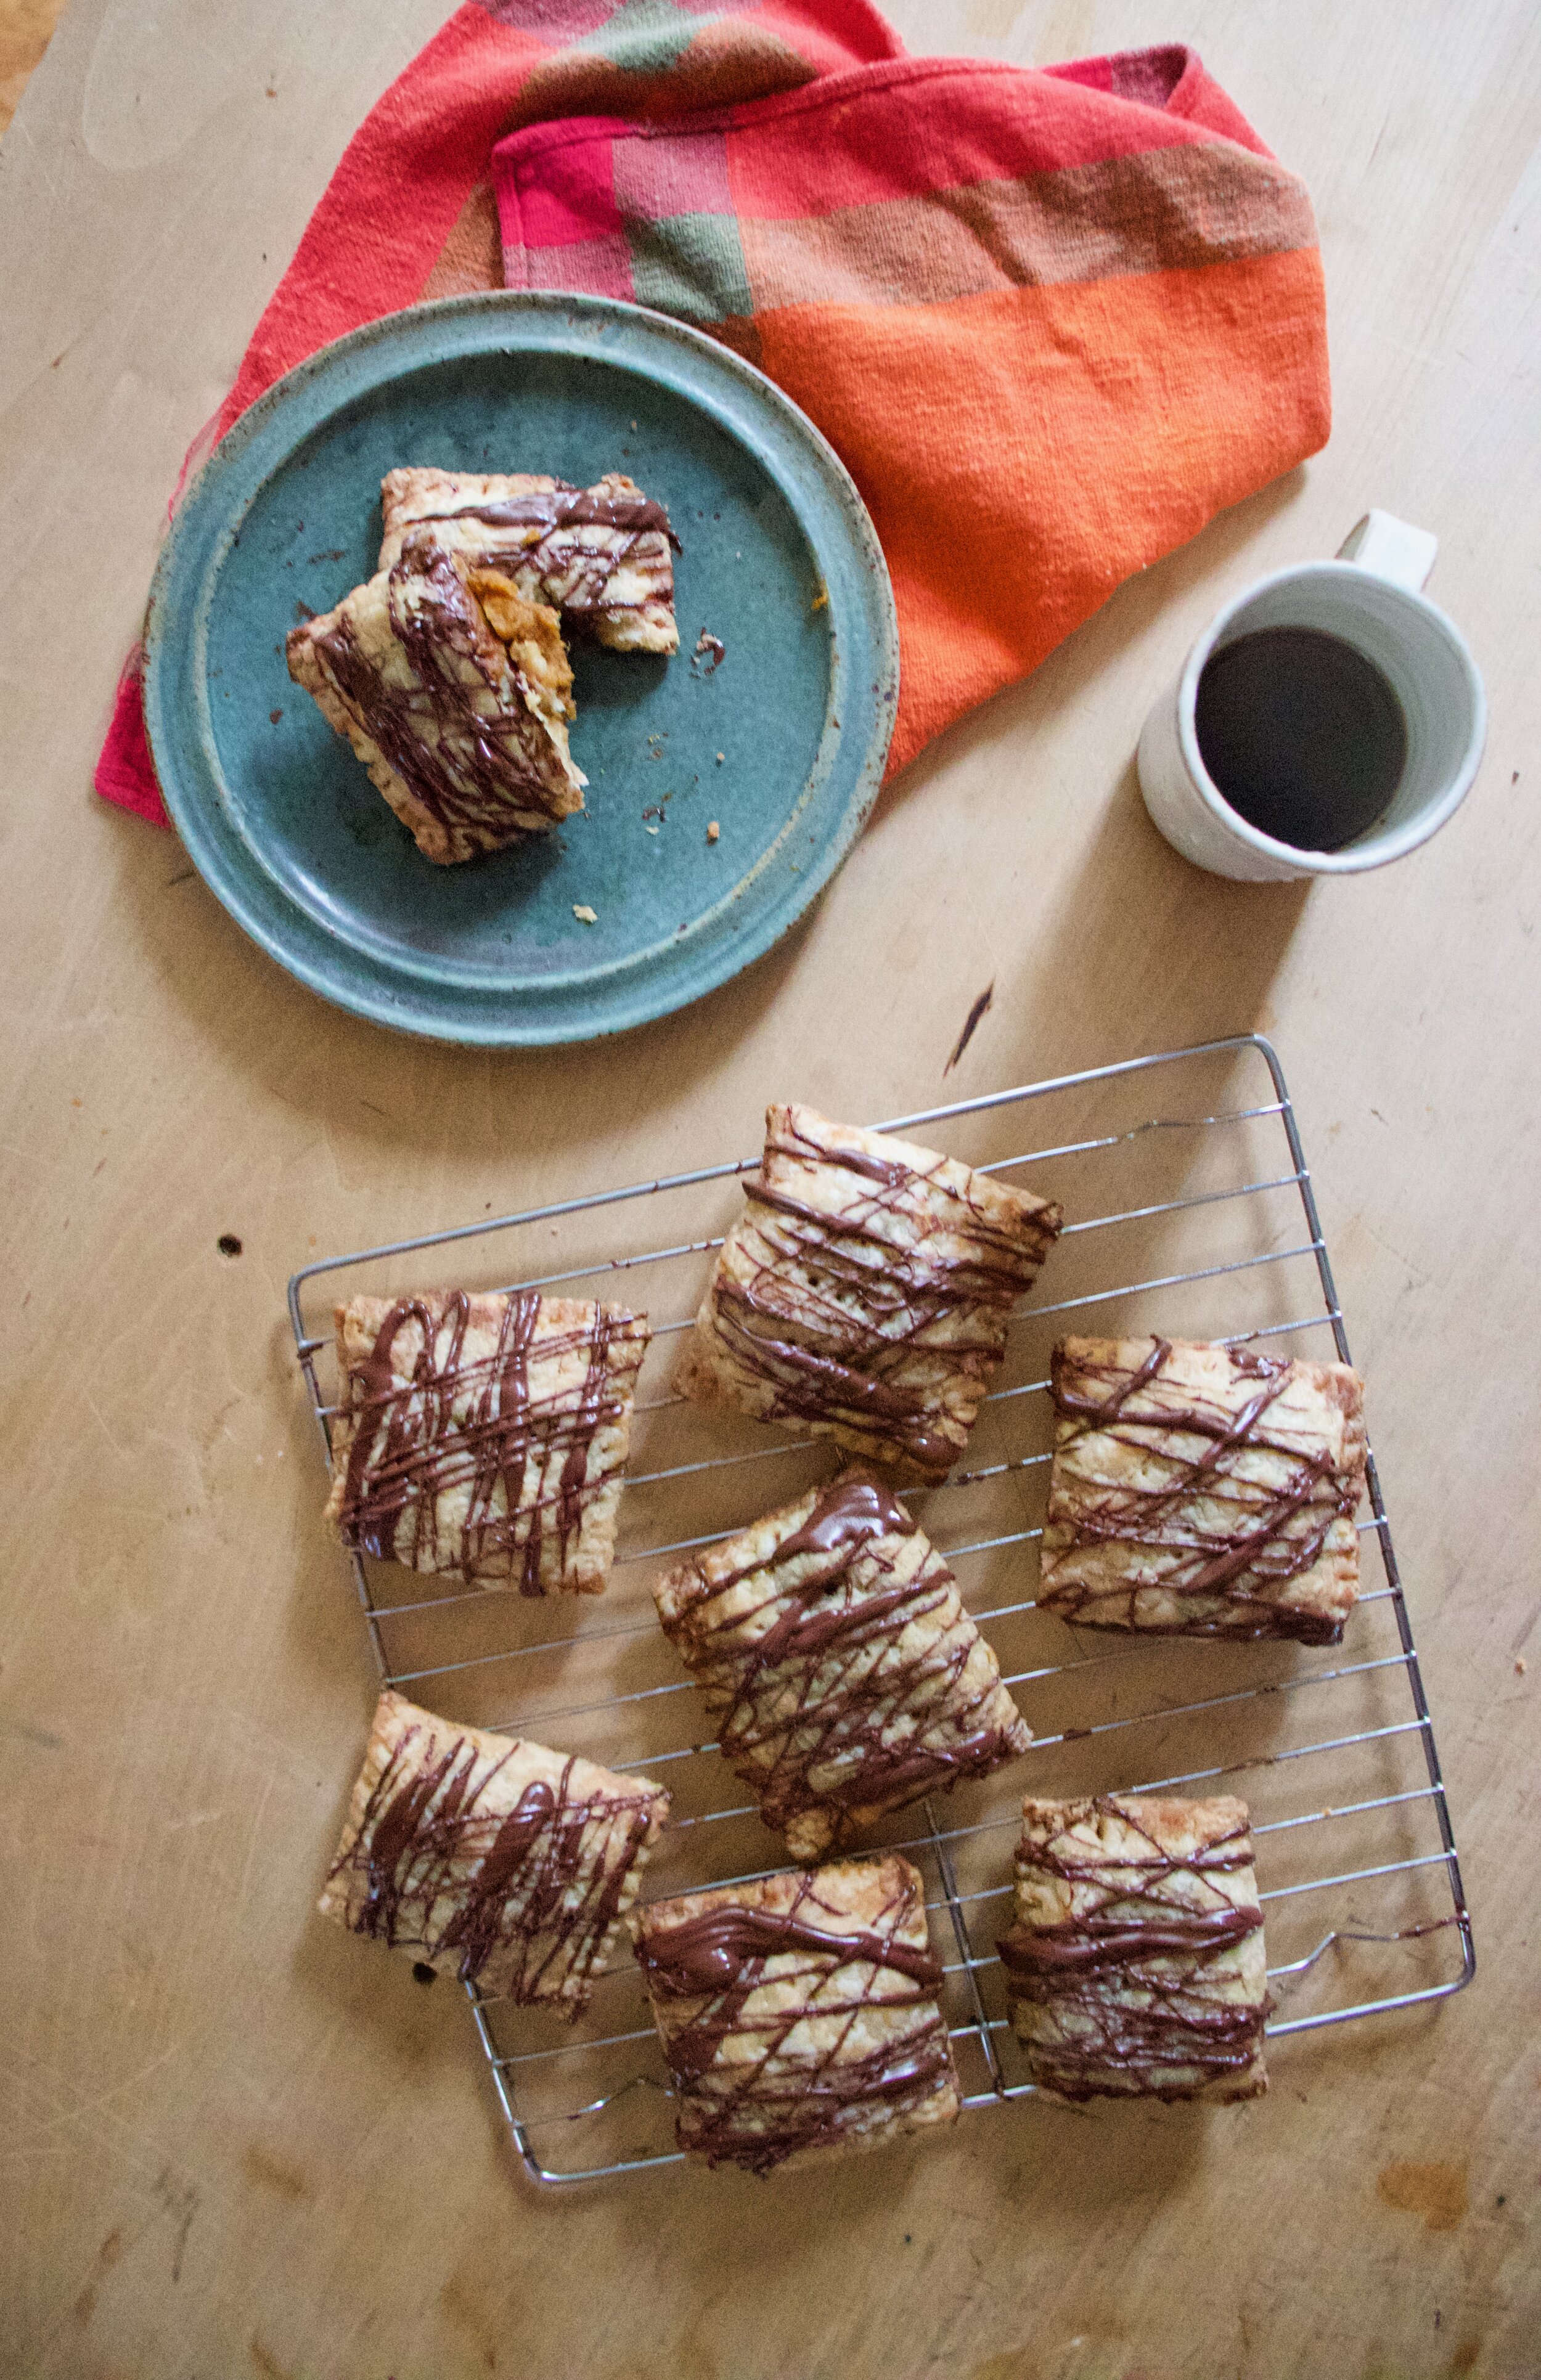
These little hand held pies are perfect for the upcoming holiday season, but anytime really. Crispy flaky pie crust filled with spiced sweet potato the is creamy and custard like then topped with a nice chocolate drizzle. All packed nicely into a square that you can eat without plate or fork plus they pack up so nicely (they make great gifts) and are just really freaking amazing. I made a batch and basically the mr and Barb fought over who was going to eat them all because they were just that good. And the mr isn’t even a sweet potato fan. (When will he realize he likes all food?)

Anyway, Take a couple hours and listen to Sufjan Stevens, watch it snow (if you can get it to do that), and make these hand pie, It will make you happy.

Now to the hand pies!

The stuff. For the dough you need flour, salt, brown sugar, ice water, and a stick of frozen vegan butter. (I use country crock vegan butter and it is AMAZING for pie crust). For filling it is baked sweet potatoes, cinnamon, ground ginger and nutmeg, and maple syrup. Also need chocolate chips and a little coconut oil for a nice chocolate drizzle.

IMG_1971.jpg
IMG_1981.jpg
IMG_1984.jpg
IMG_1985.jpg

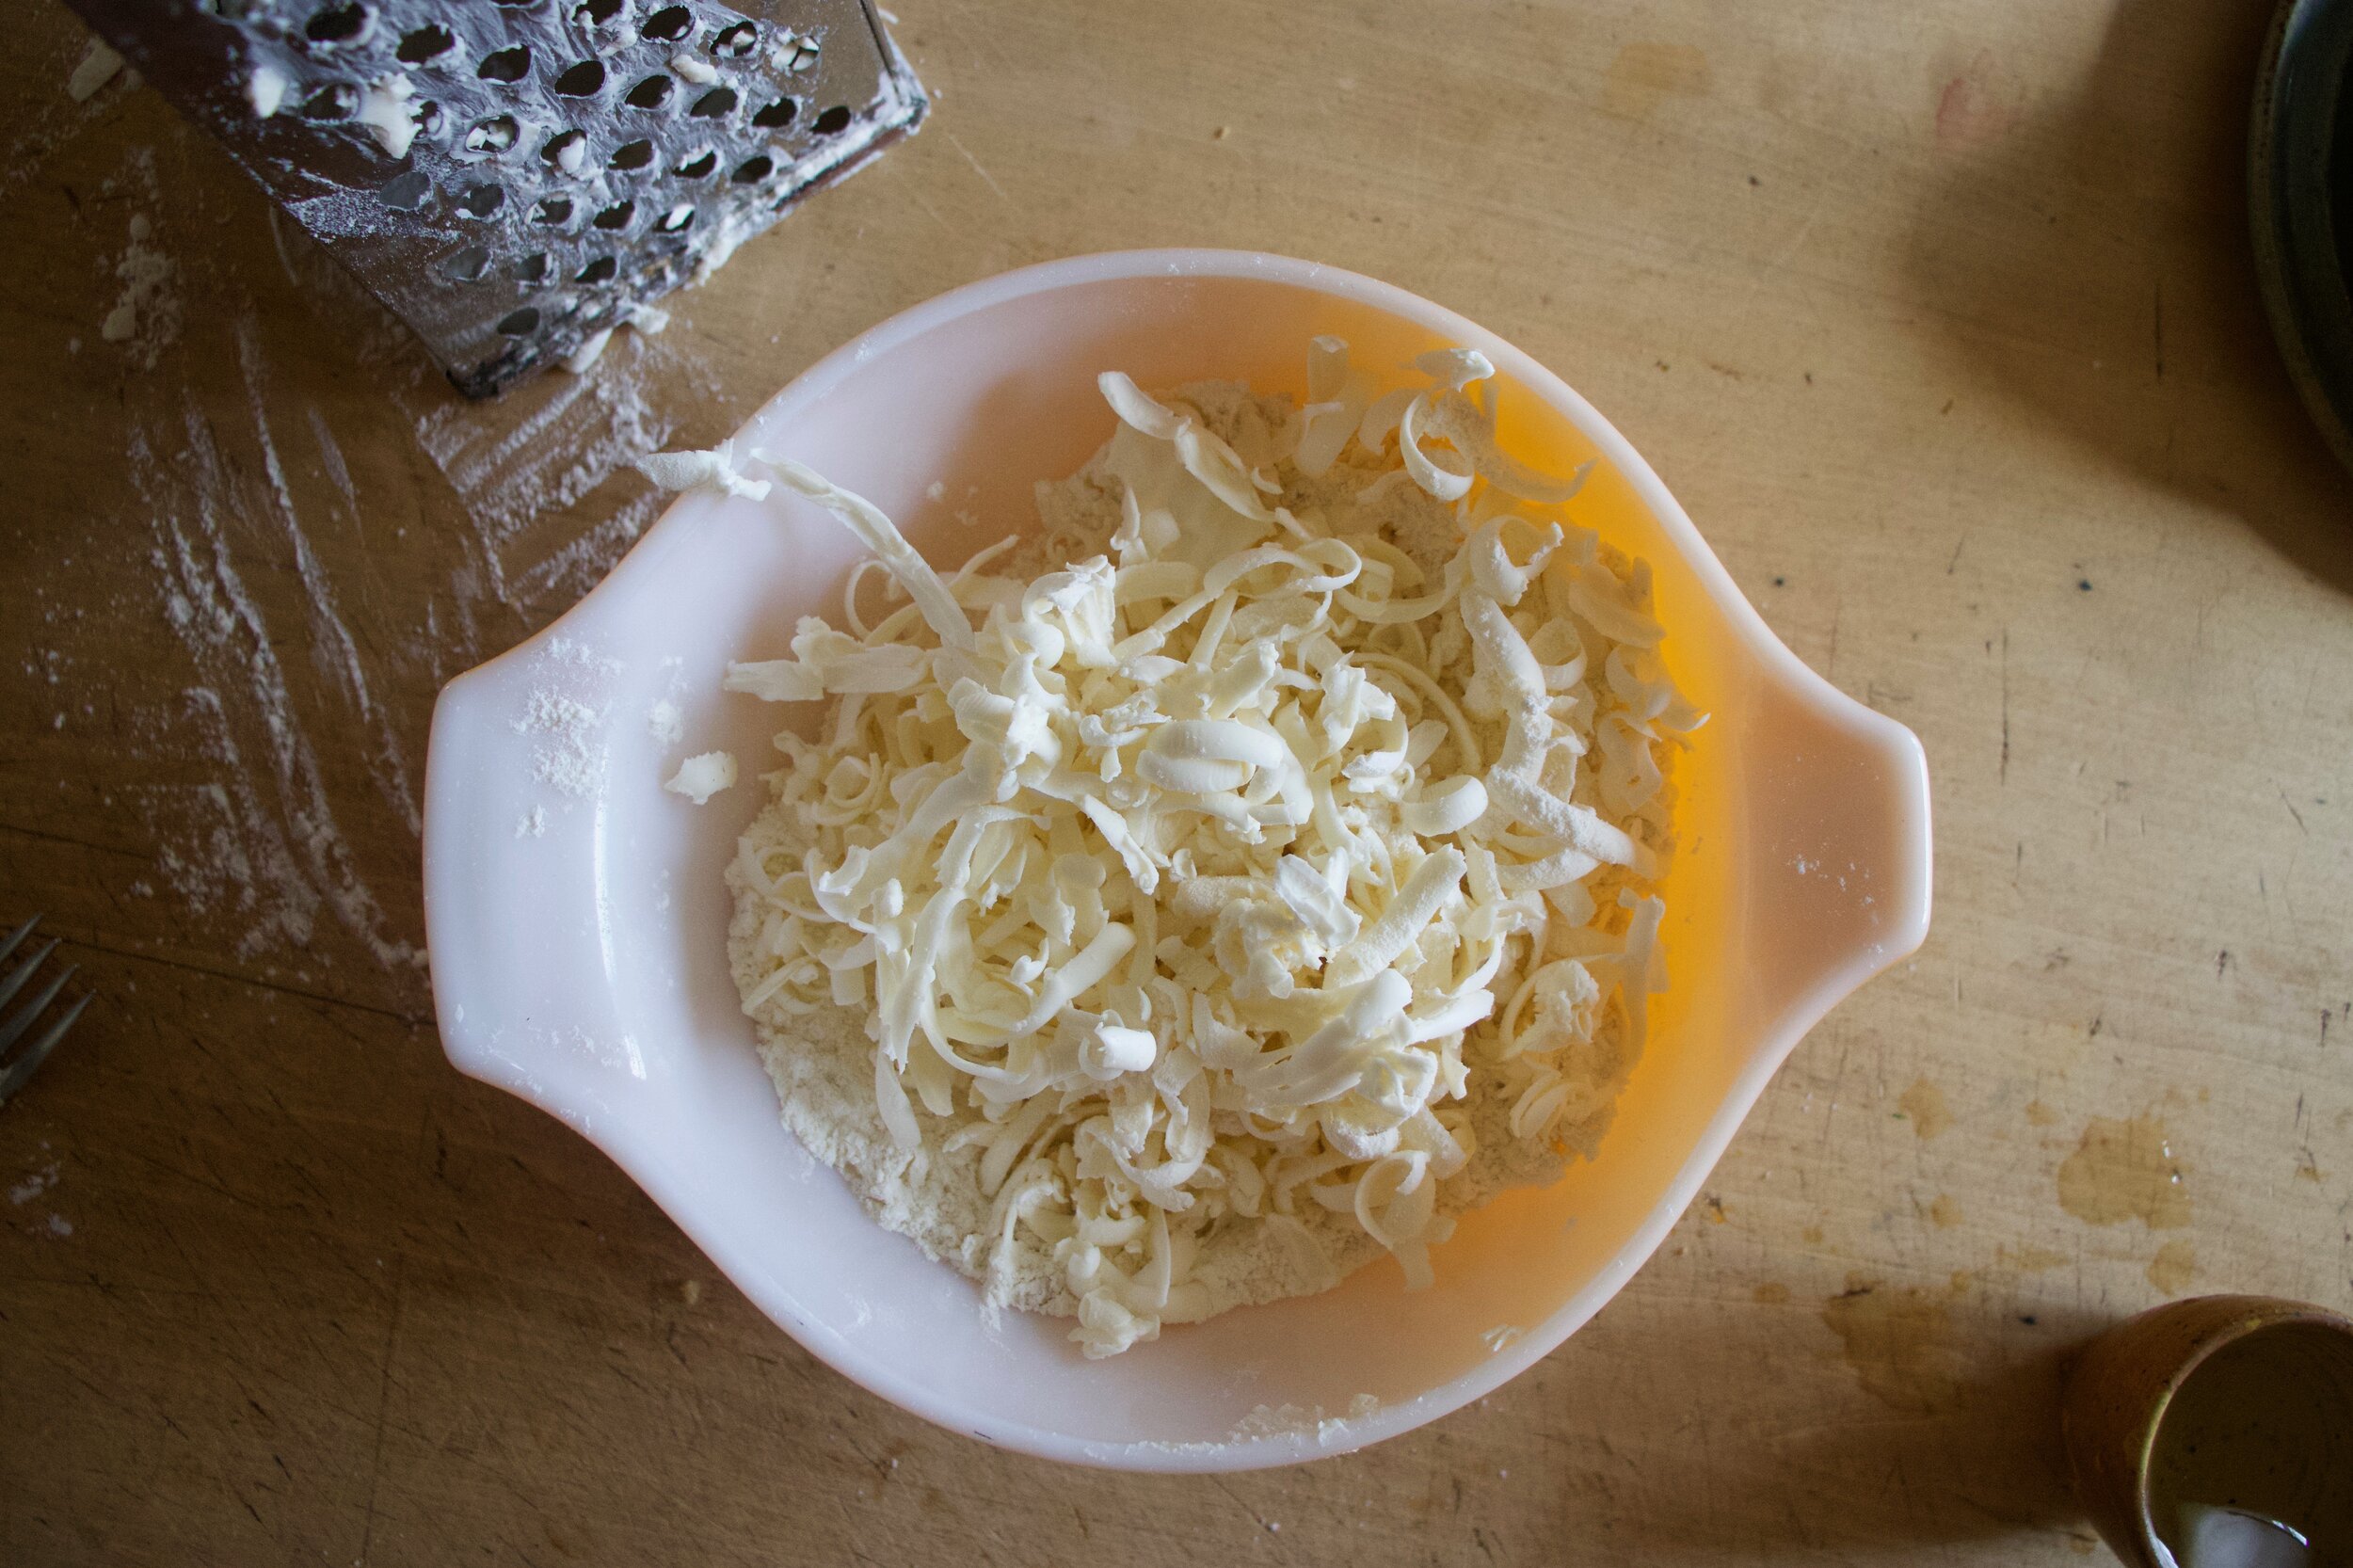
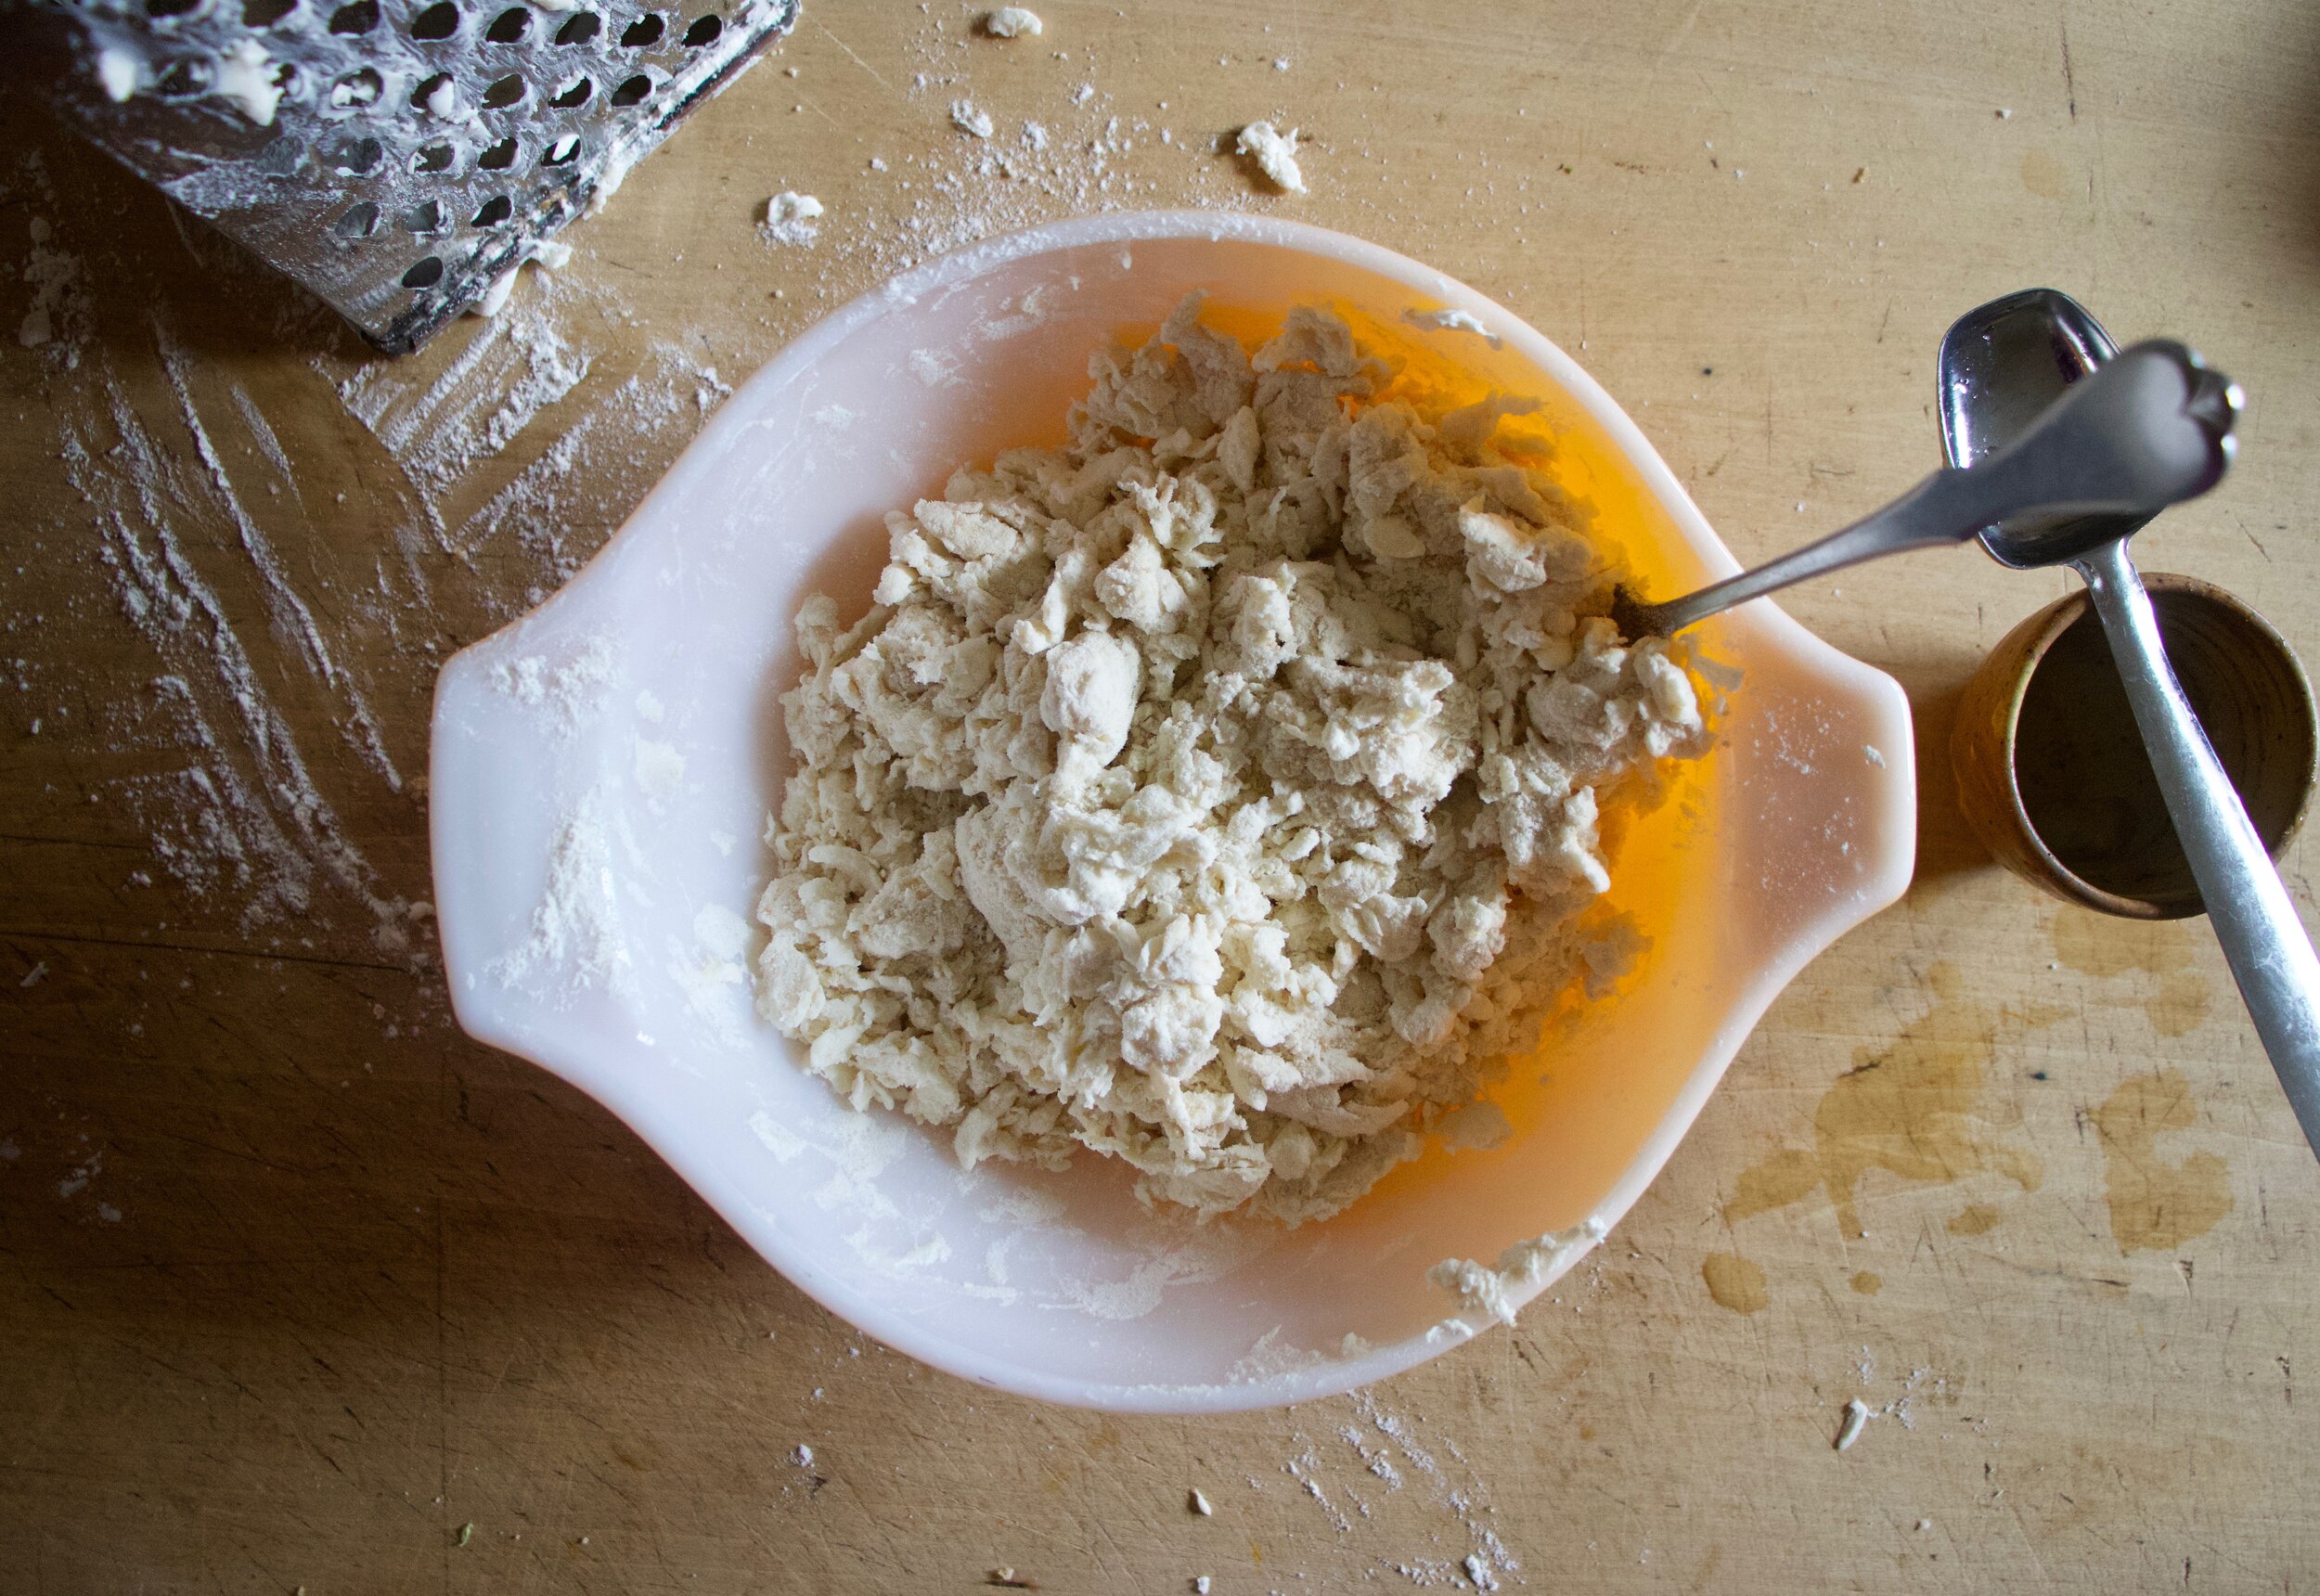
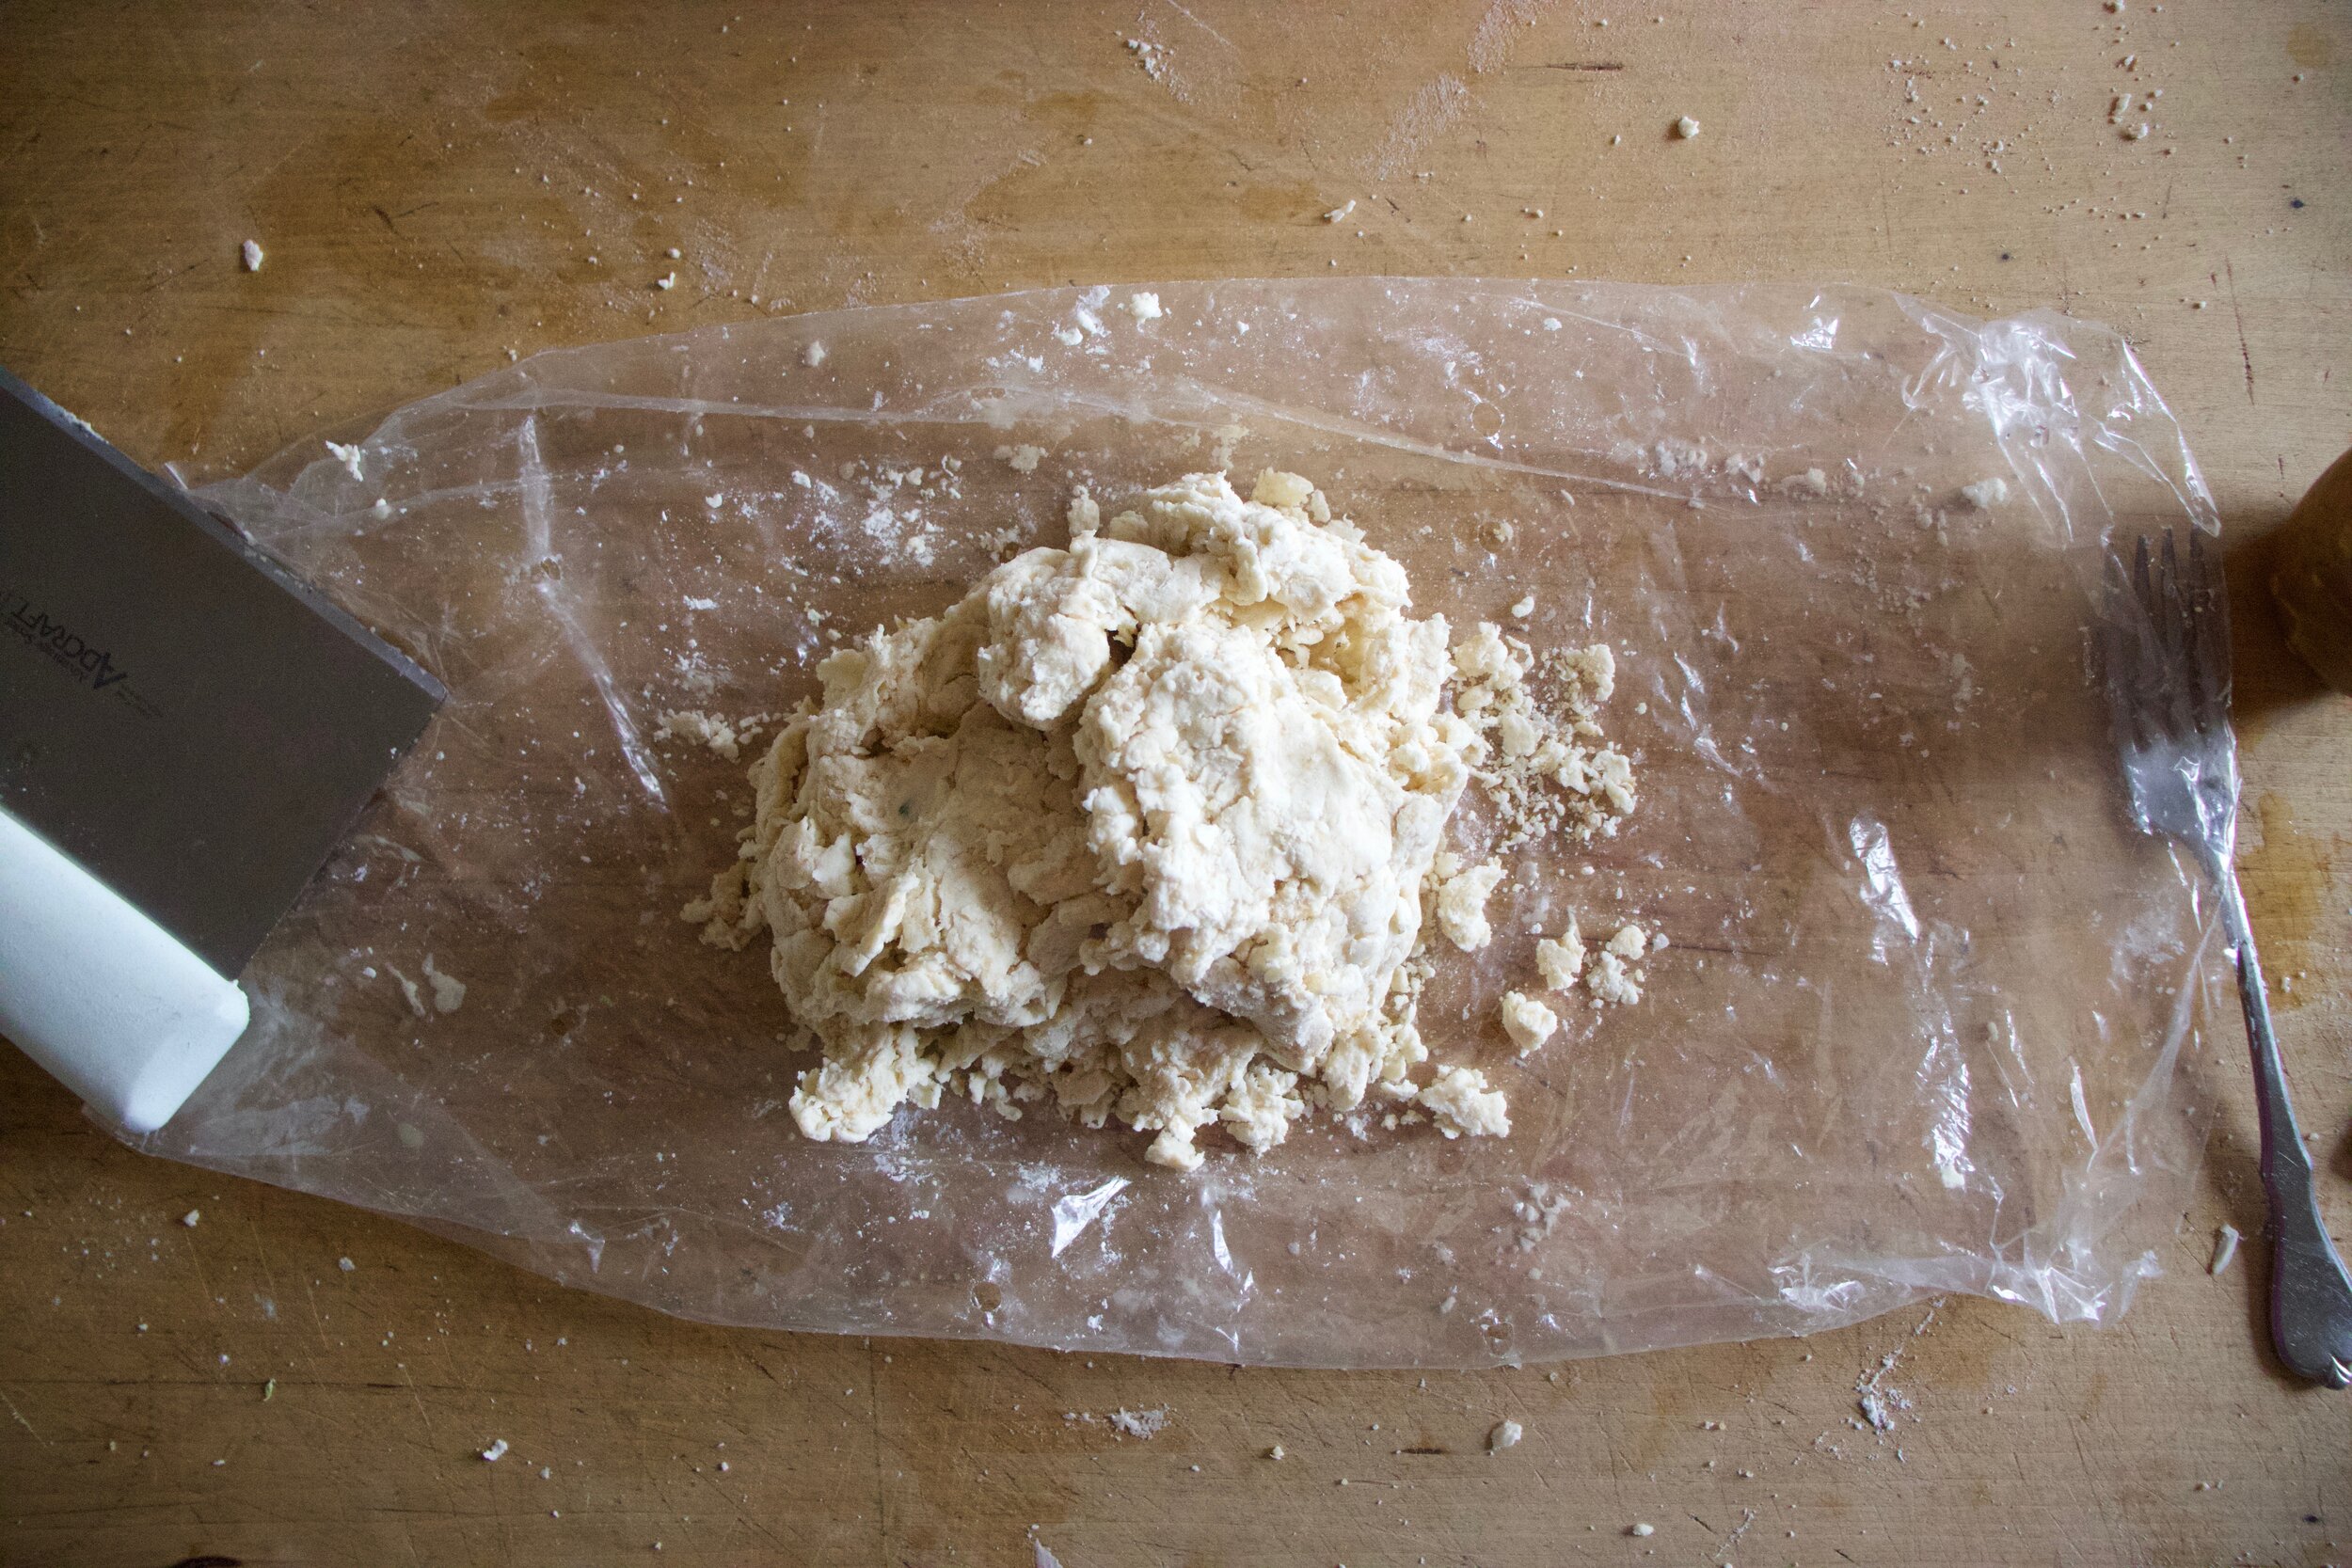
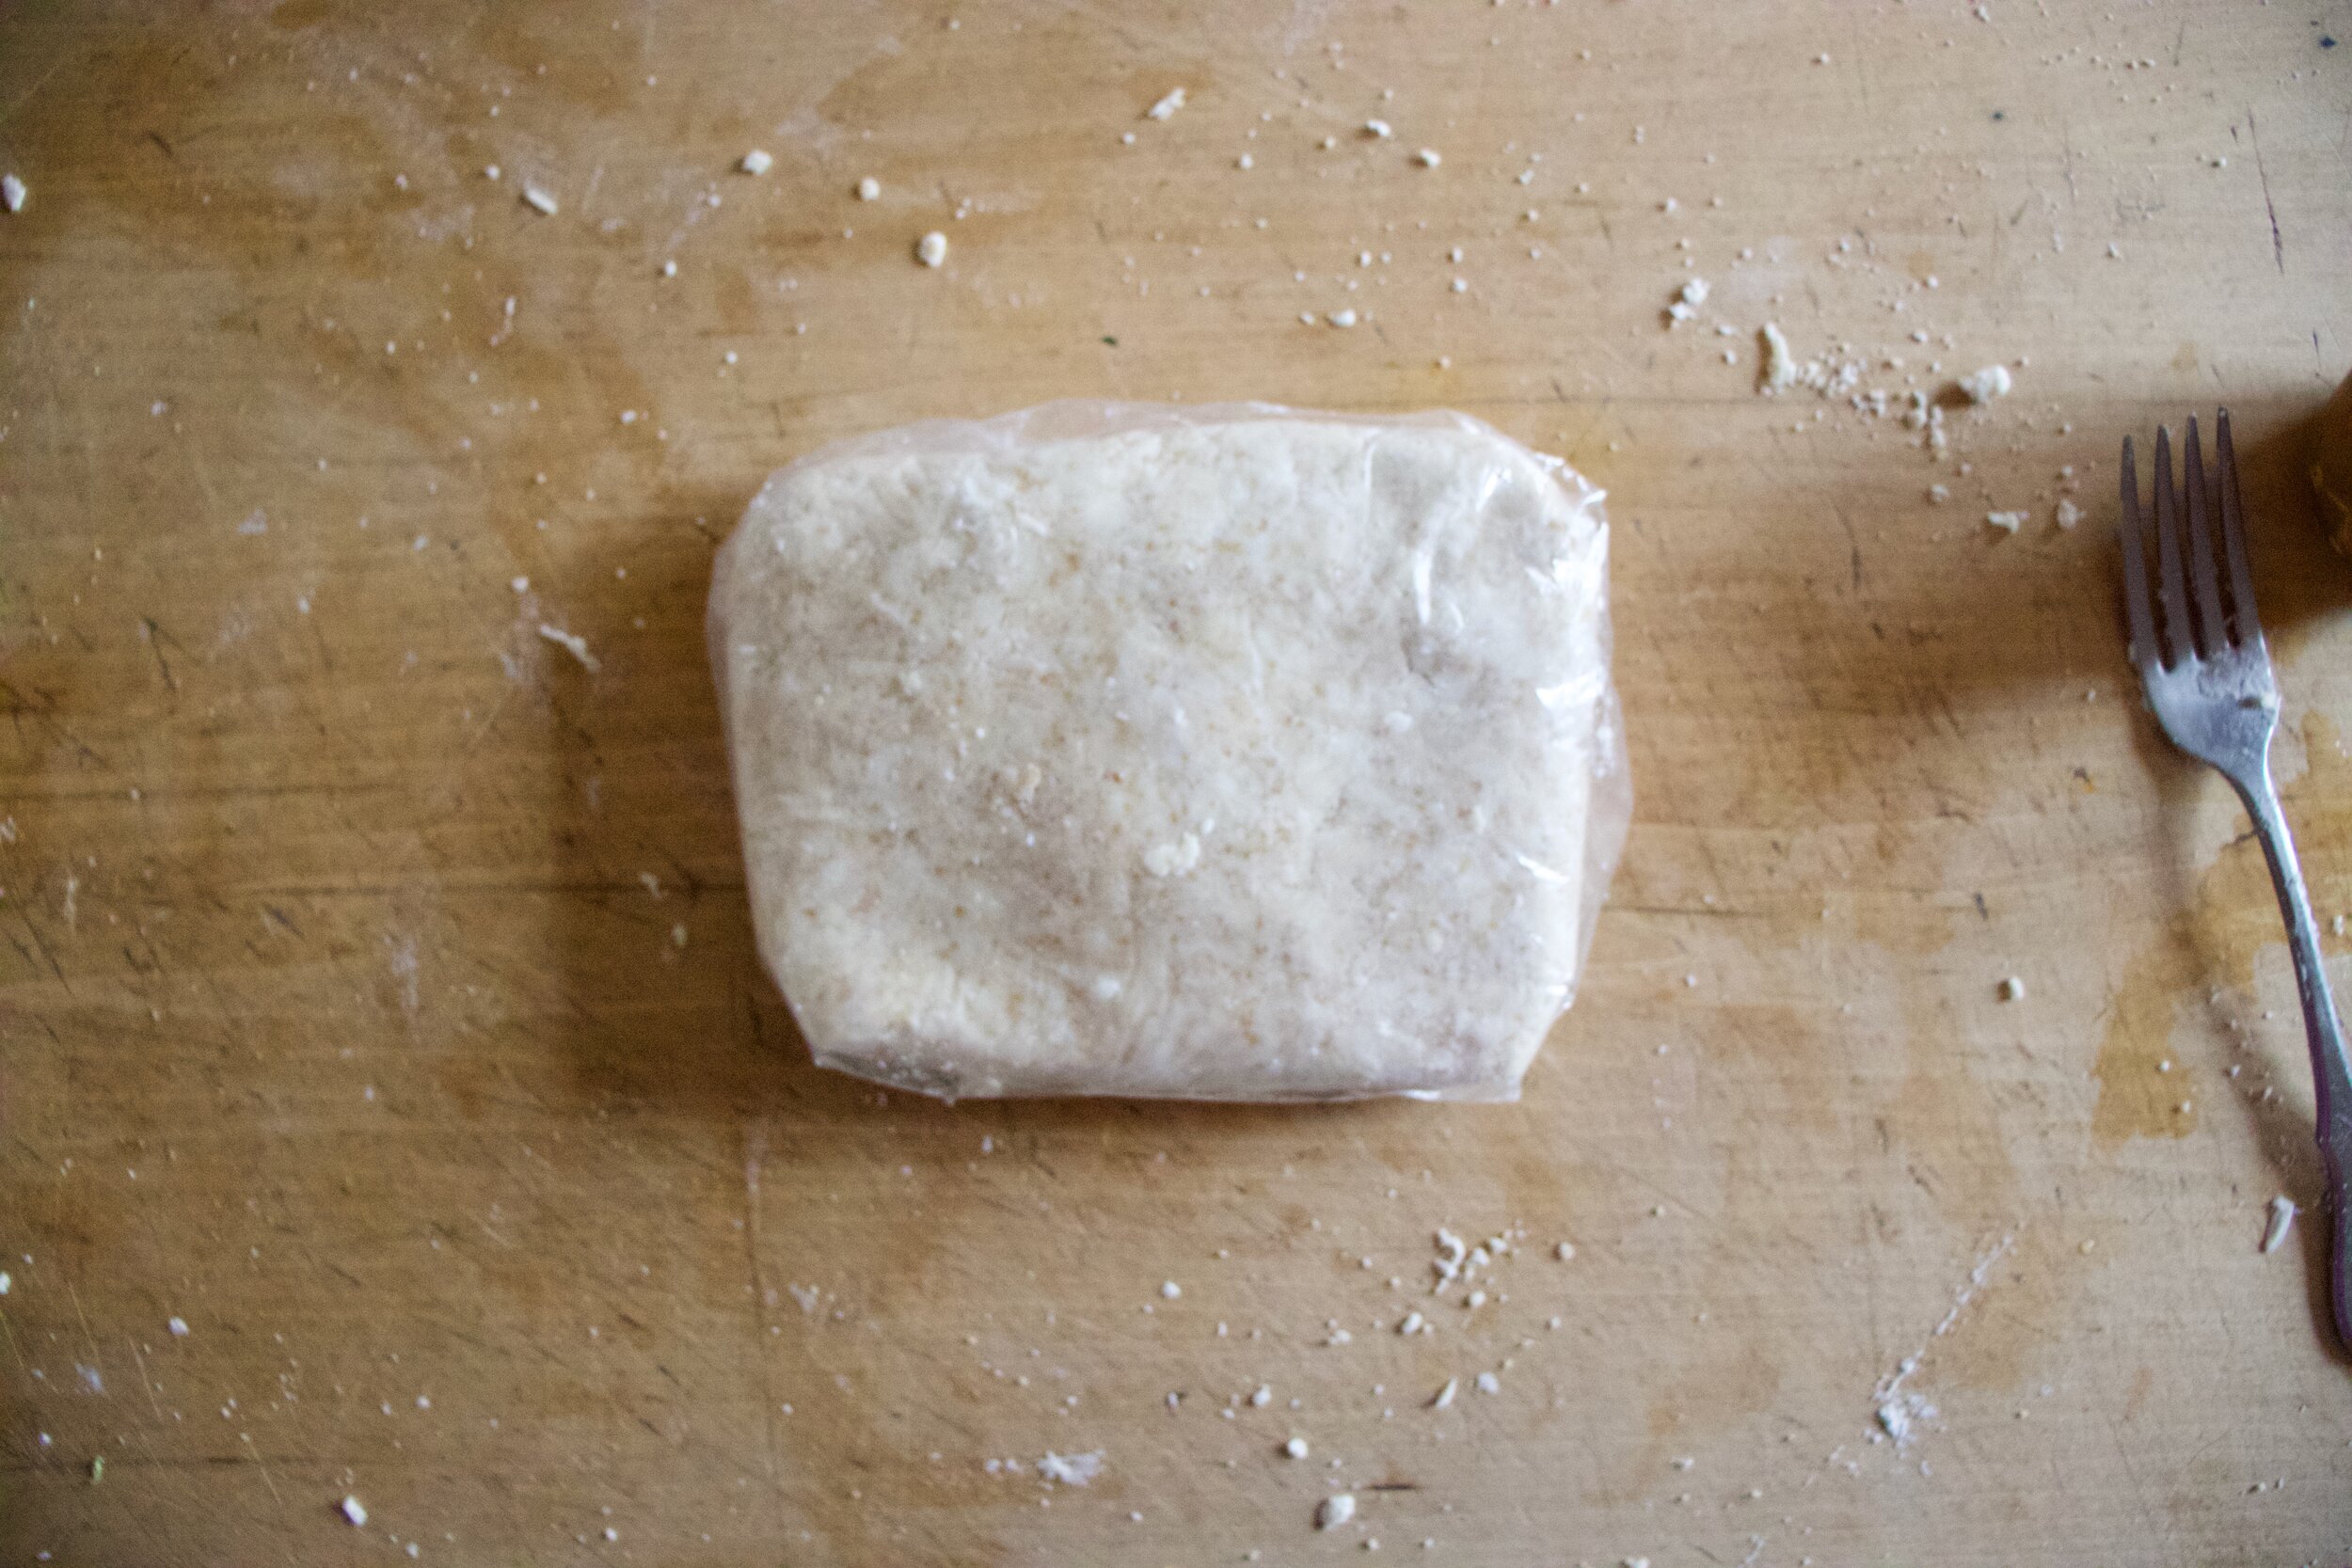
Make dough. Whisk together the dry and grate the butter into it. Toss around with a fork and drizzle in ice water, a tablespoon at a time, until dough looks a little shaggy but can kind of smoosh together into a dough. Dump the dough out onto a piece of plastic wrap and gather together into a tight disk. Wrap completely and place into fridge to rest for about an hour. Also can be made a day or two in advance.

IMG_1997.jpg
IMG_2000.jpg

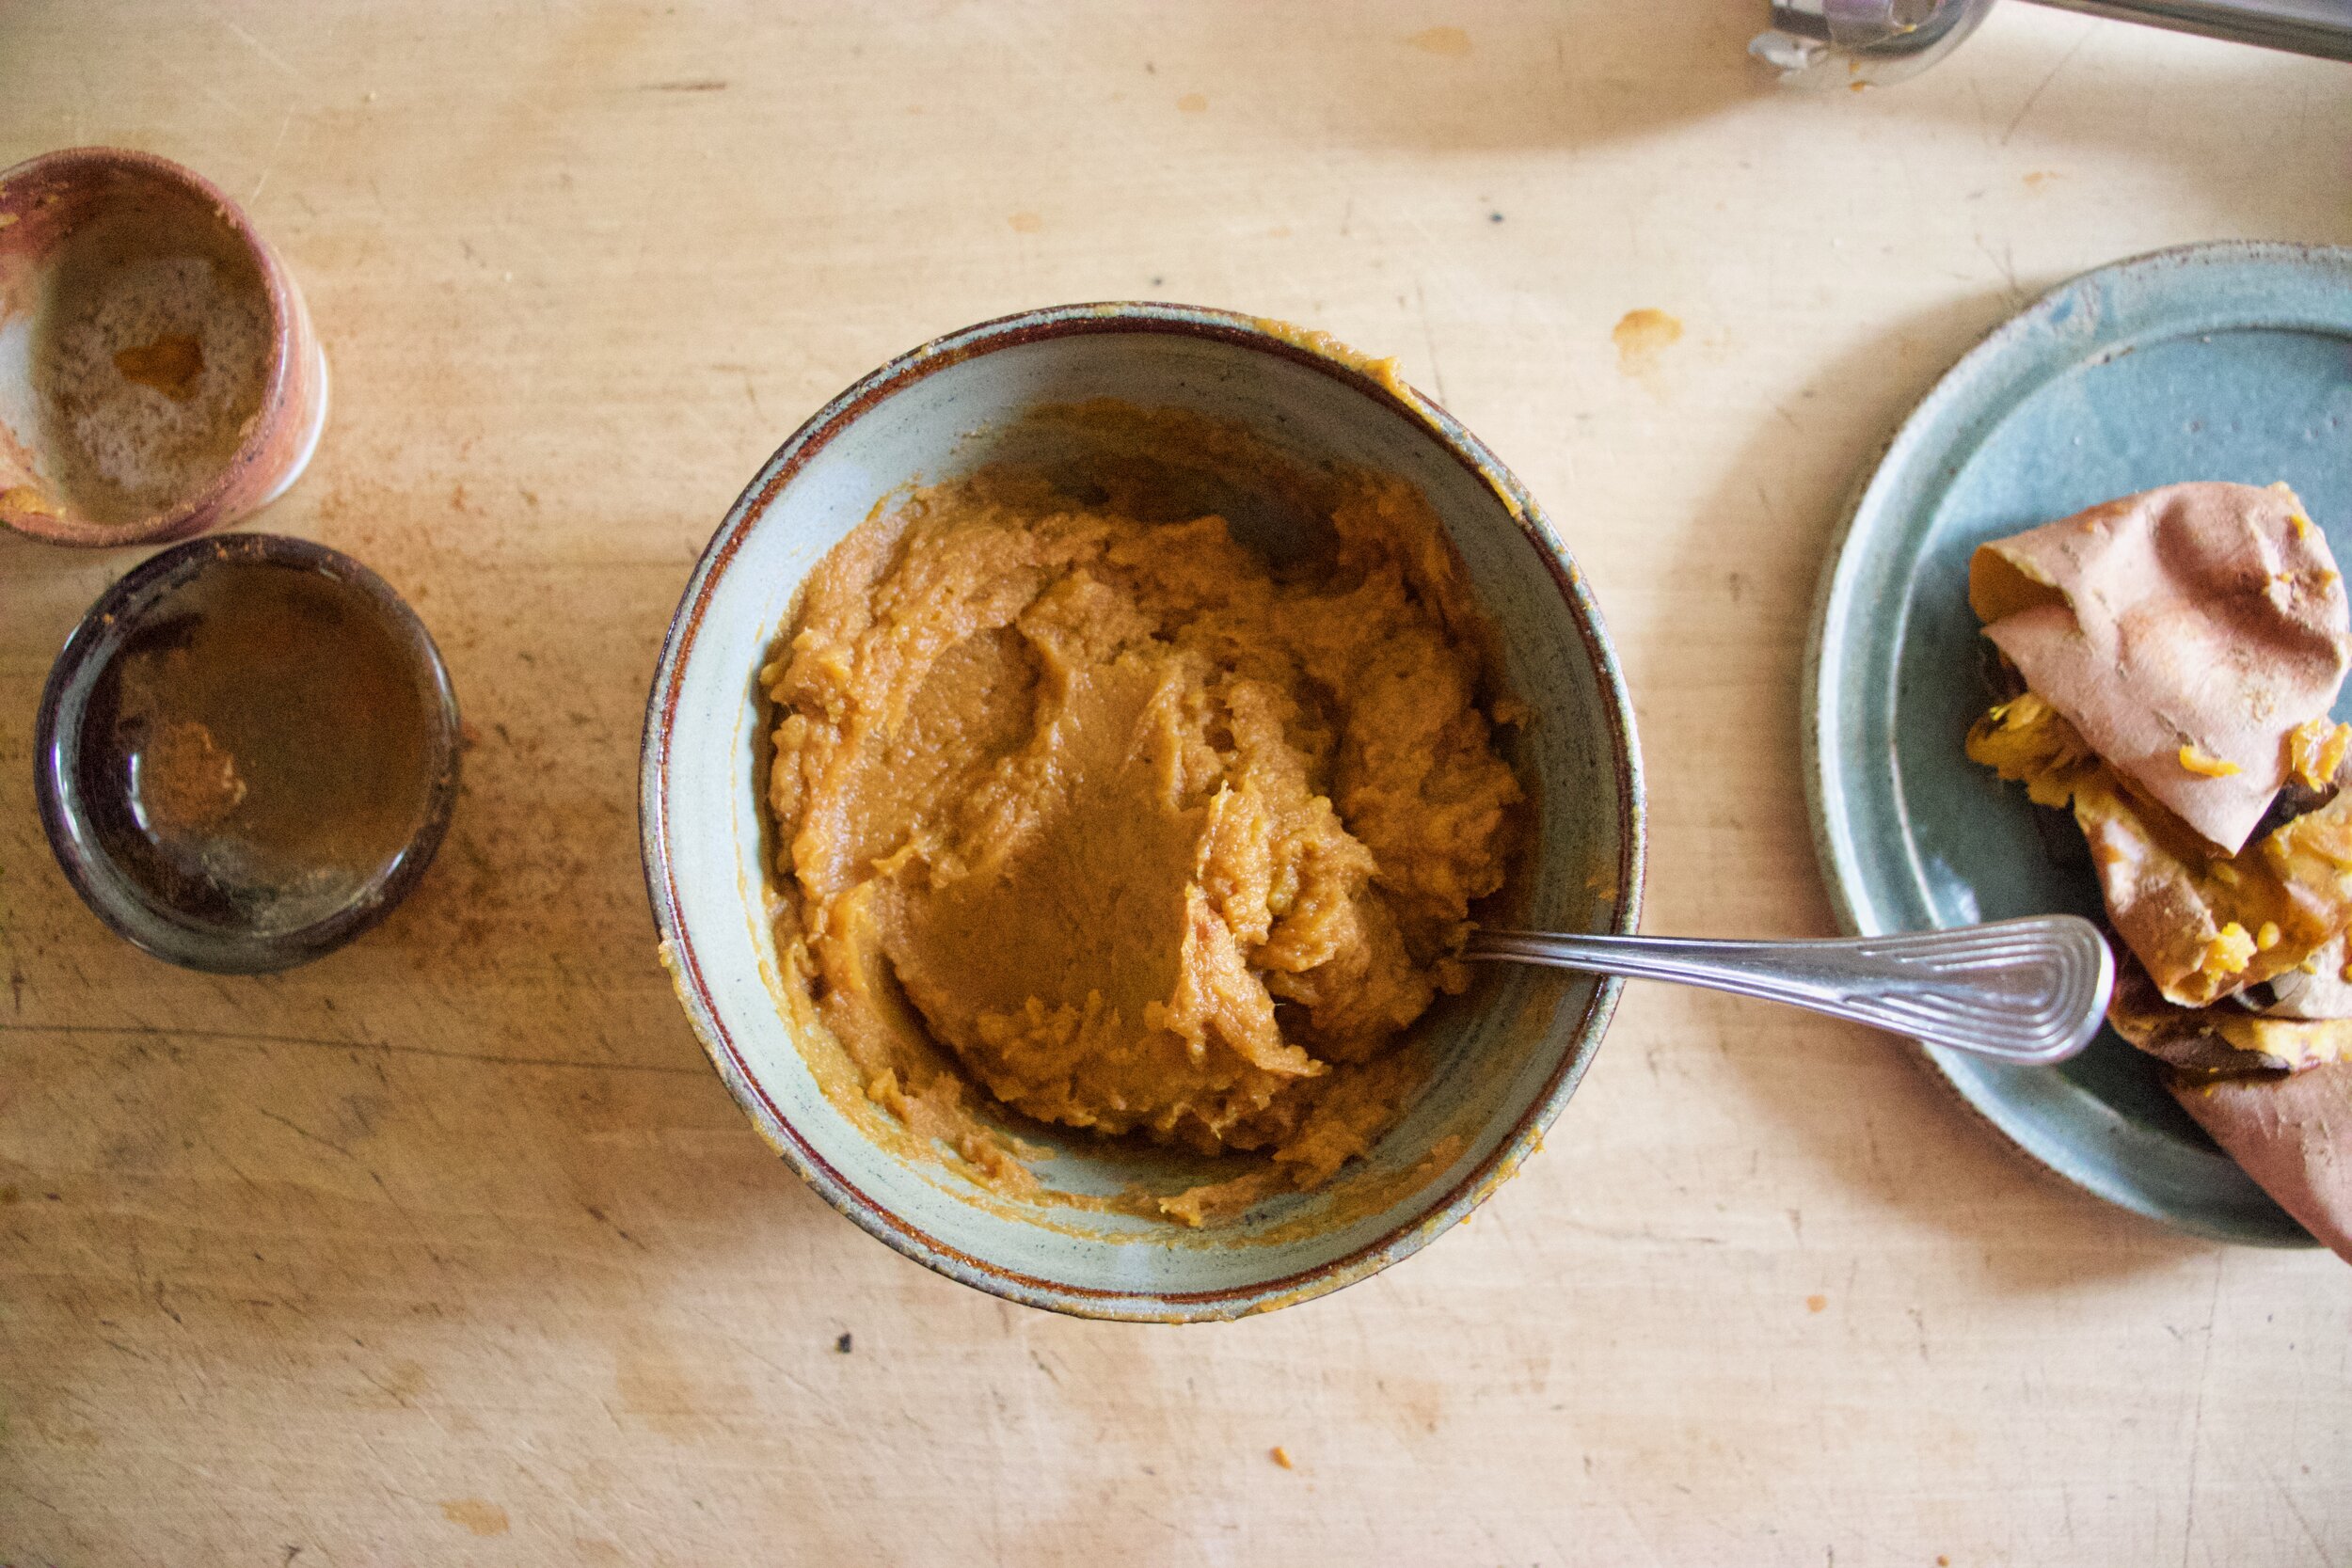
Filling. Just scoop baked sweet potatoes into a bowl, add in the spices and maple, and blend (use a hand blender or normal blender) until mixed and smooth. You could actually just mix it with a fork too if you want, just won’t be as smooth.

Once dough has chilled, place on a lightly flour surface and roll into a large rectangle roughly 12x14 inches.

Cut down the center then each side into 4 rectangle pieces.

Scoop filling onto each piece, fold in half and crimp the edges closed with a fork. Poke the tops so they don’t explode, and place on a baking sheet. Once they are all filled and on the beige sheet, pop them into the fridge for about 15 minutes and preheat oven to 350.

Once oven is hot, into the oven they go. Bake for about and hour, give or take a minute or 5.

Now would you look at that. Golden brown and damn near perfection. Get them off baking sheet and onto a metal rack to cool.

IMG_2049.jpg
IMG_2052.jpg

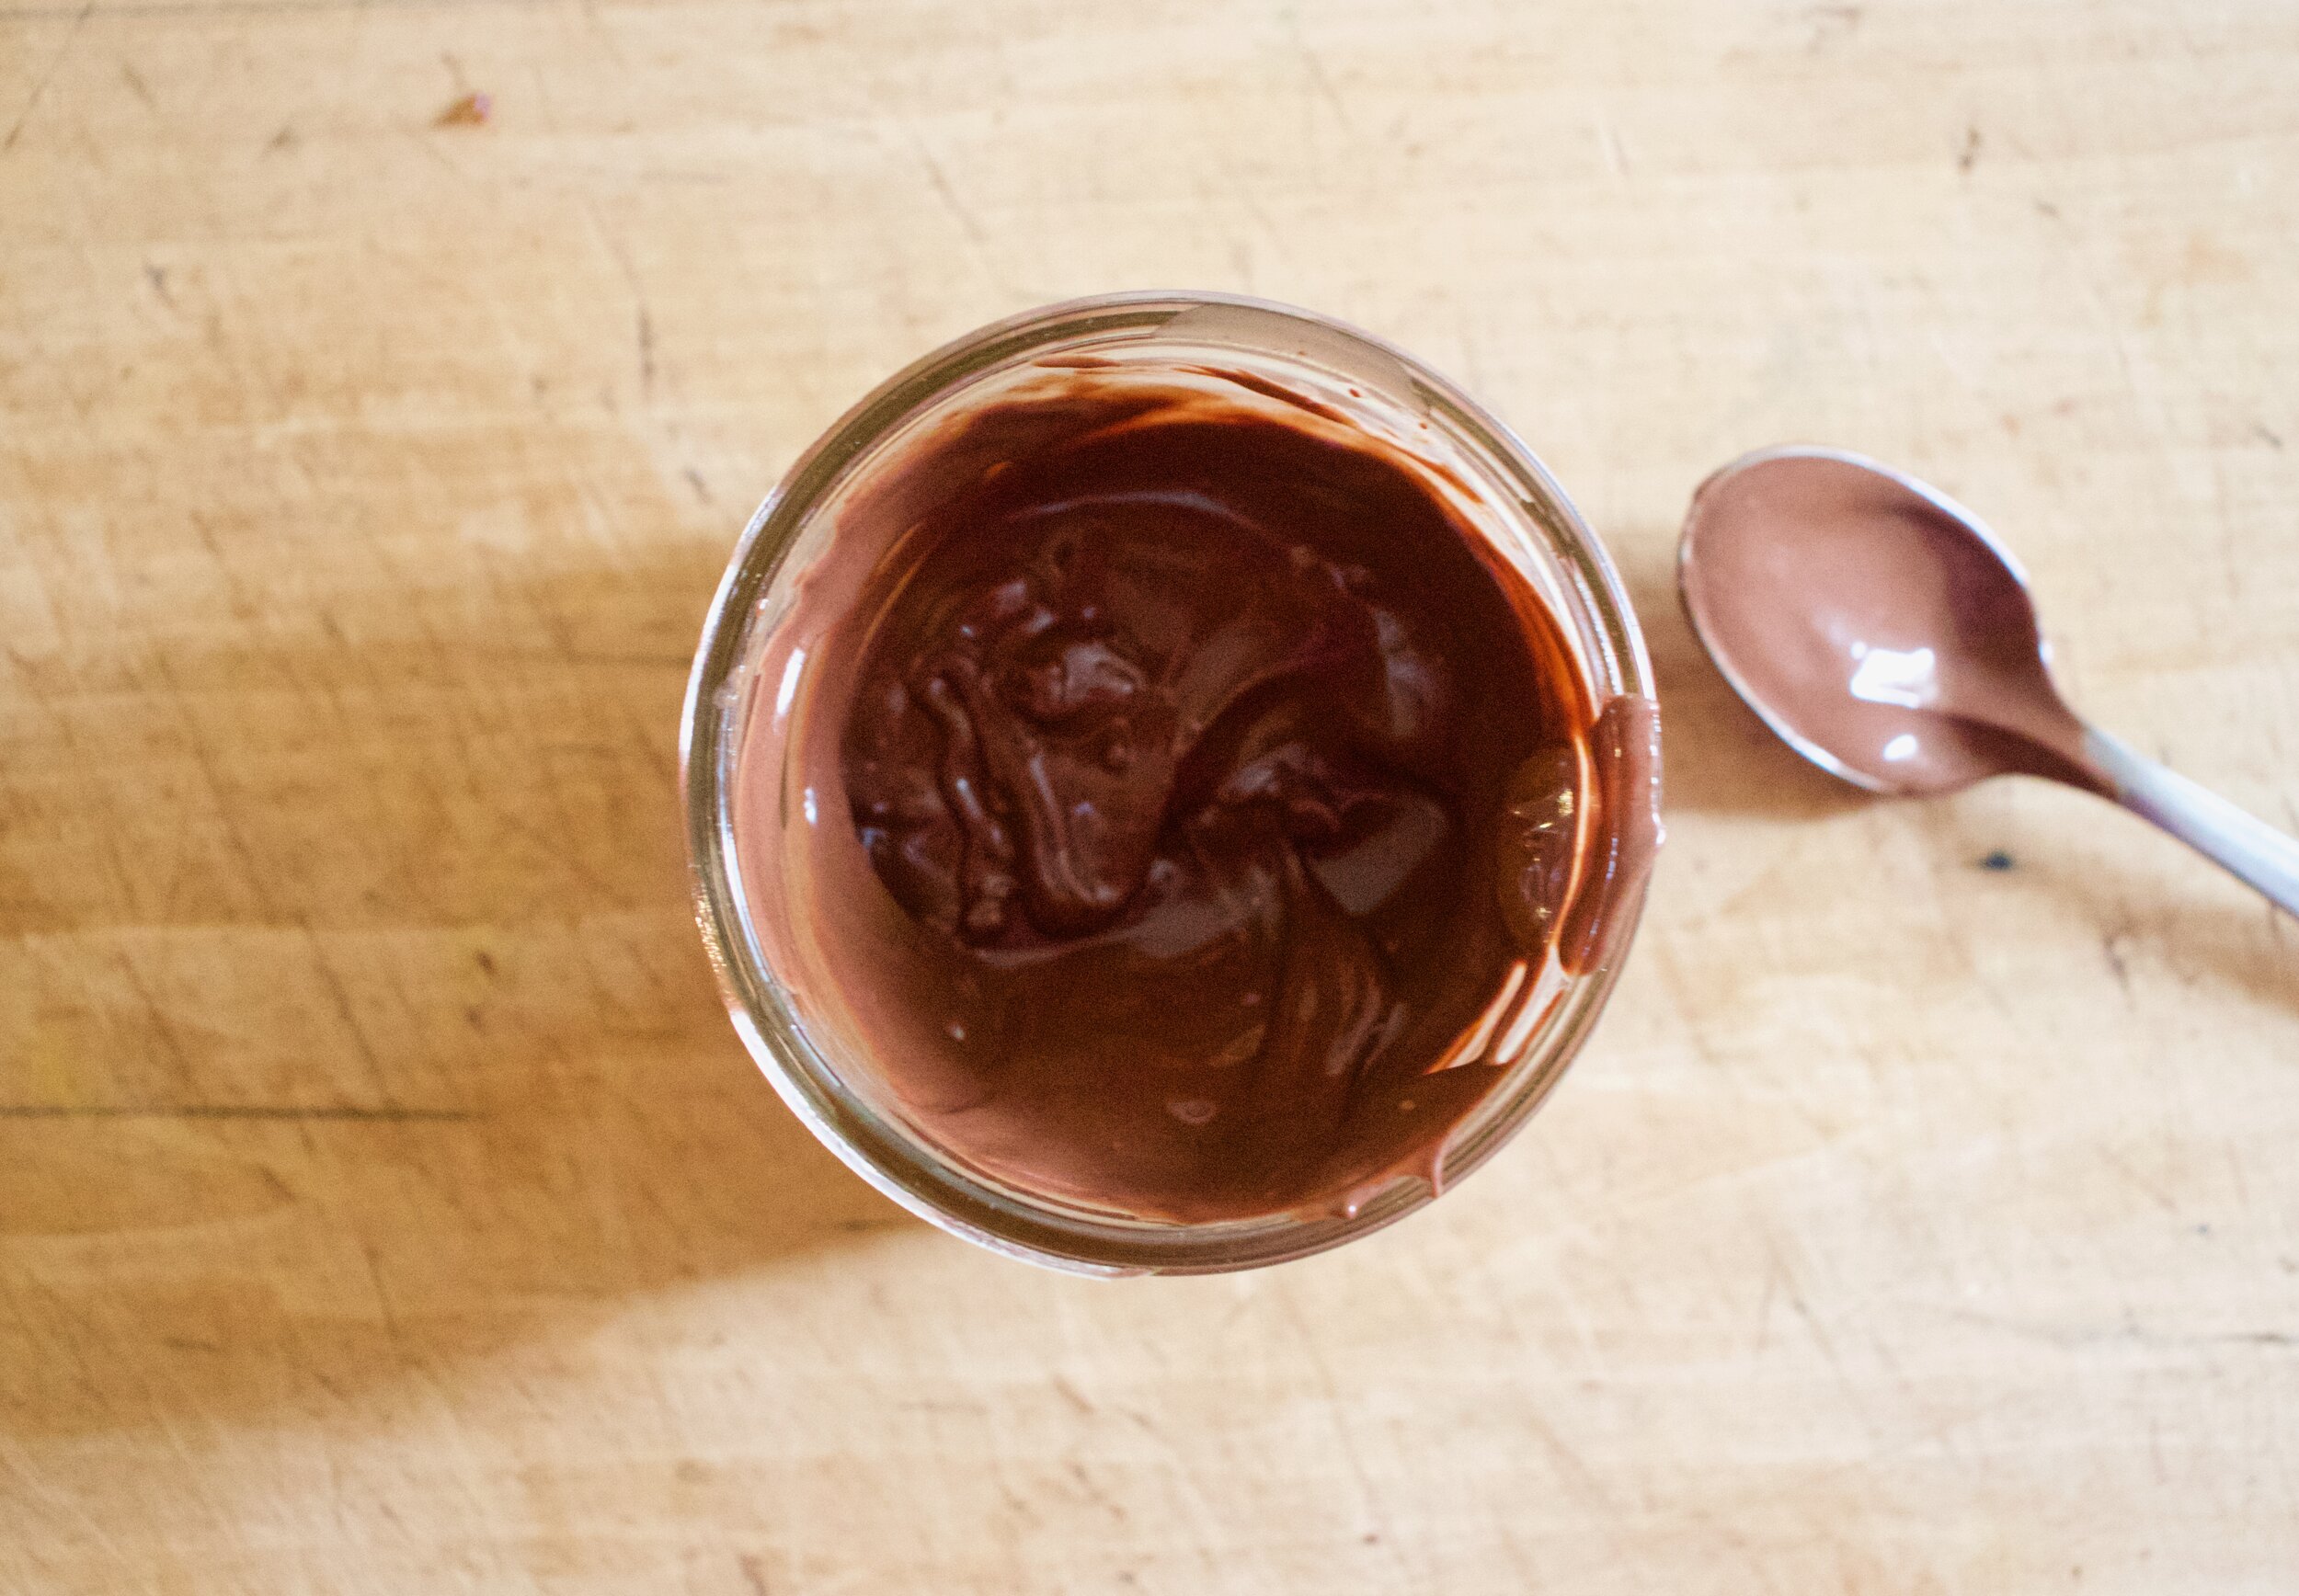
While they are cooling, make up a little chocolate drizzle situation. Chocolate chips and coconut oil. Just pop into microwave (or do it on a stove) for 30 second increments until mostly melted. Stir around until smooth and drizzle able.

Then drizzle, all over. Make it nice!

That is it. You now have hand pies and you now eat one.

Happy Holidays!

-C


Sweet Potato Hand Pies

makes 8 hand pies

  • 1 1/2 cups all purpose flour

  • 1/2 teaspoon salt

  • 1/3-1/2 cup ice water

  • 1 stick or 8 tablespoons vegan butter, FROZEN (country crock vegan butter works amazing, but so does earth balance)

  • 1 tablespoon brown sugar

  • 1 1/2 cups sweet potato puree (Around 2 large baked sweet potatoes)

  • 1 tablespoon maple syrup

  • 1 1/2 teaspoon cinnamon

  • 1/2 teaspoon ginger

  • pinch of nutmeg

  • 1/3 cup chocolate chip

  • 1 teaspoon coconut oil

Start by making dough. Whisk together the flour, brown sugar, and salt. Take the frown stick of butter and grate it into bowl. (Frozen grates so much better). Mix gently with a fork while drizzling in ice water until the dough starts to look shaggy. Grab a clump and smoosh it together. If it completely crumbles, add a little more water until it can smoosh into a dough. Dump it out onto a piece of plastic warp and pulling up the sides, gather it into a tight disk. IF it is still really crumbly, toss in another tablespoon of water. Wrap the dogs tightly and smoosh it into a rectangle and then place in fridge for about an hour. Can also be made a few days in advance.

For filling. Blend together sweet potato puree, the spices, and the maple syrup until smooth.

To assemble. Roll out chilled pie dough into a rectangle around 12x14 inches. Cut the half the long way down then cut each side into 4 equal sized rectangles. Take the filling and place about 2 tablespoons onto the end, leaving a little lip, of each rectangle. Fold in half and with a fork, feel the edges. Poke the tops with fork. Place the assembled pies on a baking sheet and pop the sheet into the fridge for 15ish minutes.

Preheat oven to 350.

After the fridge and when the oven is hot, pop the pie into the oven. Bake for about 60 minutes or until the crusts are golden brown and bottoms are a nice dark(not burnt) brown.

Remove from oven and place pies on wire rack to cool.

For chocolate drizzle just place the chocolate chips into a microwave safe bowl with the coconut oil. Heat for about a minutes or so until the chips start to melt and then mix together until it is smooth and drizzlable. Now drizzle the chocolate all over cooling pies.

And that is it. You can let the pies cool completely and the chocolate will set so it won’t smear, but you can also jus start eating them.

Pies are good for 4-5 days left on counter but really, they will not last that long.

  • 350 for 60 minutes

In Vegan, Sweets, pie, holiday Tags Sweet Potato Hand Pies, Sweet Potato, Country Crock Vegan Butter, pie, hand pies, thanksgiving, Vegan, plant based, easy, desert, holidays, pumpkin, dairy free, king Arthur flour, Food 52, chocolate
Comment

Tofu Veggie Pot Pie

February 15, 2020 Colleen Stem
IMG_5683.jpg
IMG_5770.jpg

Pot pies. I grew up on them. But not real pot pies, no, it was those little frozen, single serve, terribly terrible nasty things. Yup. All you needed to do was turn on the oven or better yet, open the microwave, poke a few holes in the frozen pie, and 10 minutes later, food. The ultimate in afterschool snacks. Oh those days. What the heck was I thinking? But my best or, most vivid memory of those pies was when I was like 10 and was stabbing one of those frozen pot pies with a very sharp knife (again, the directions stated to add a vent hole) that went threw said pie and right into the palm of my hand. I remember screaming, blood everywhere, and thinking I just cut my hand off. Luckly, it was just a big gash and the knife didn’t go all the way threw my hand so that was good. And I think that was the last time I made a pot pie. Ha.

This pot pie is nothing like those pot pies. First off, it is not frozen which is good because you won’t accidentally stab a hole into your and. Secondly, it is not nasty. And third, it is freaking awesome. There are other things that make them vastly different, but you get the idea. This pot pie is full of good veggies and tofu that are nicely spiced with a creamy oat sauce that is alll wrapped up in a easy hot water pastry crust. Everything and more a real pot pie should be. Sure, it is definitely not as quick and easy as opening a cardboard box, stabbing, and tossing the contents into the microwave but screw that, we are here for the good stuff.

To the pot pie!

The stuff. Tofu, an onion, a couple carrots and a couple mushrooms, some frozen pies, garlic, oats, spicy mustard, and spices. Also salt and pepper, oil, flour, and some boiling water.

IMG_5554 2.jpg
IMG_5560.jpg

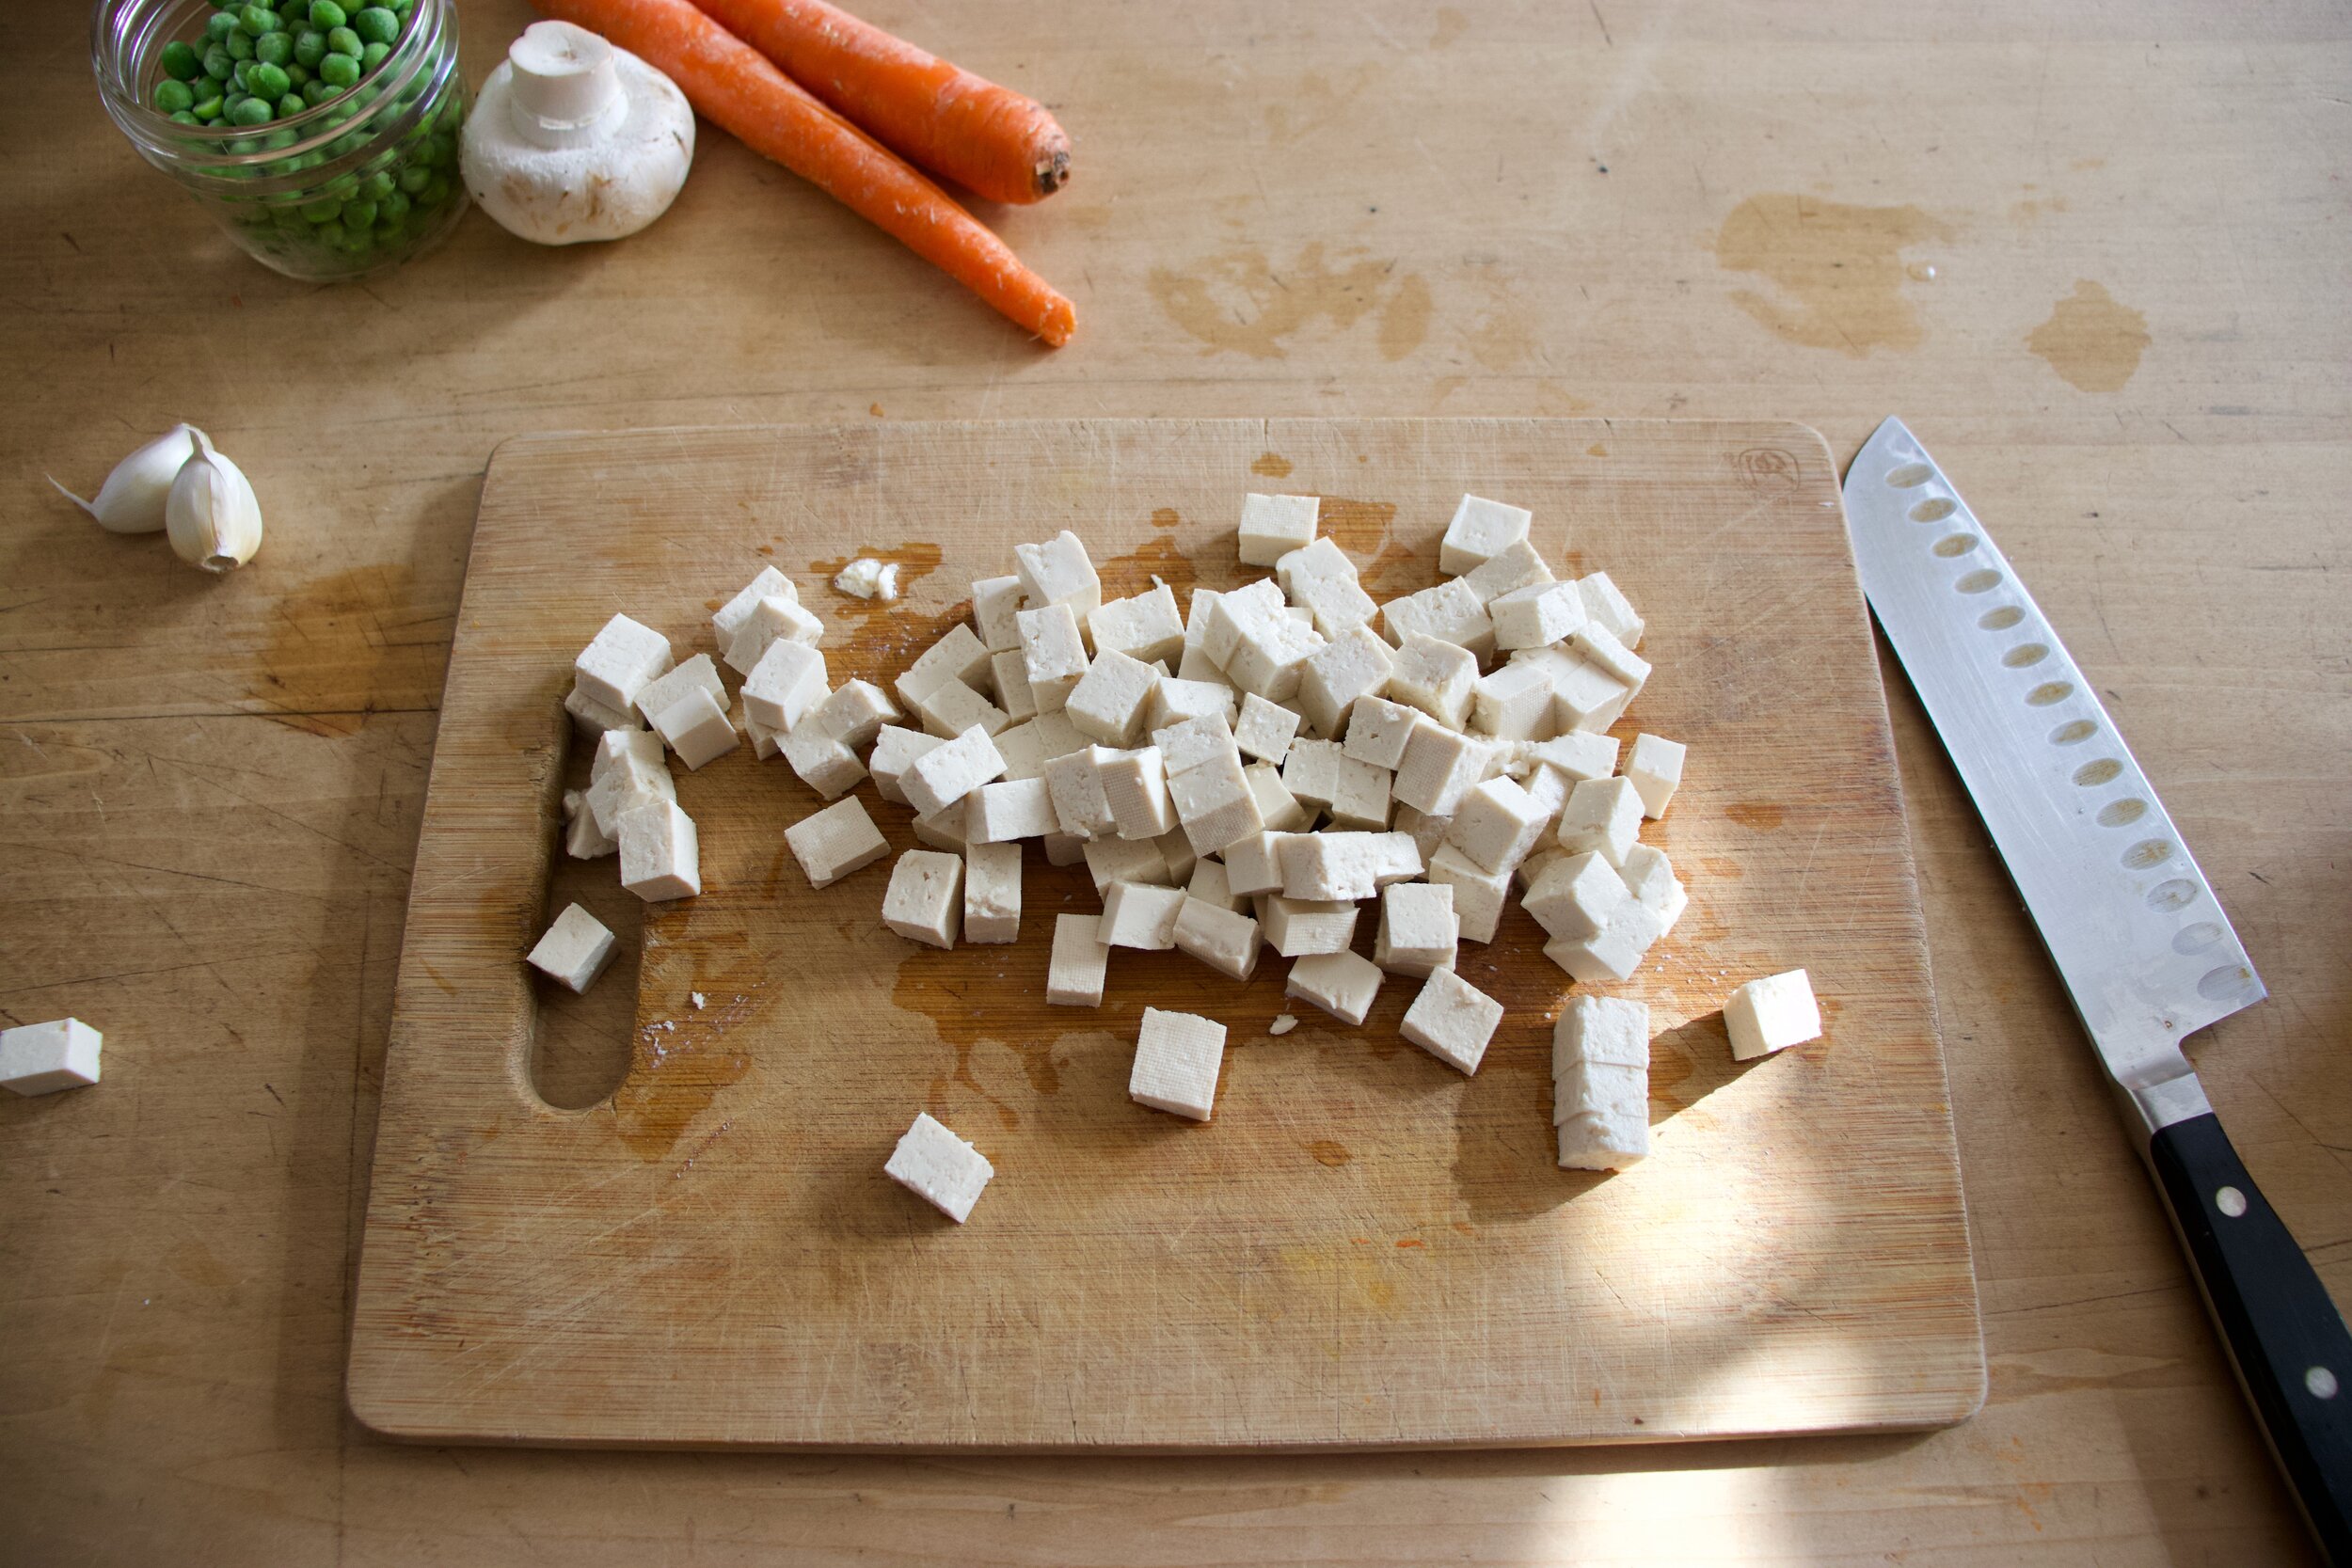
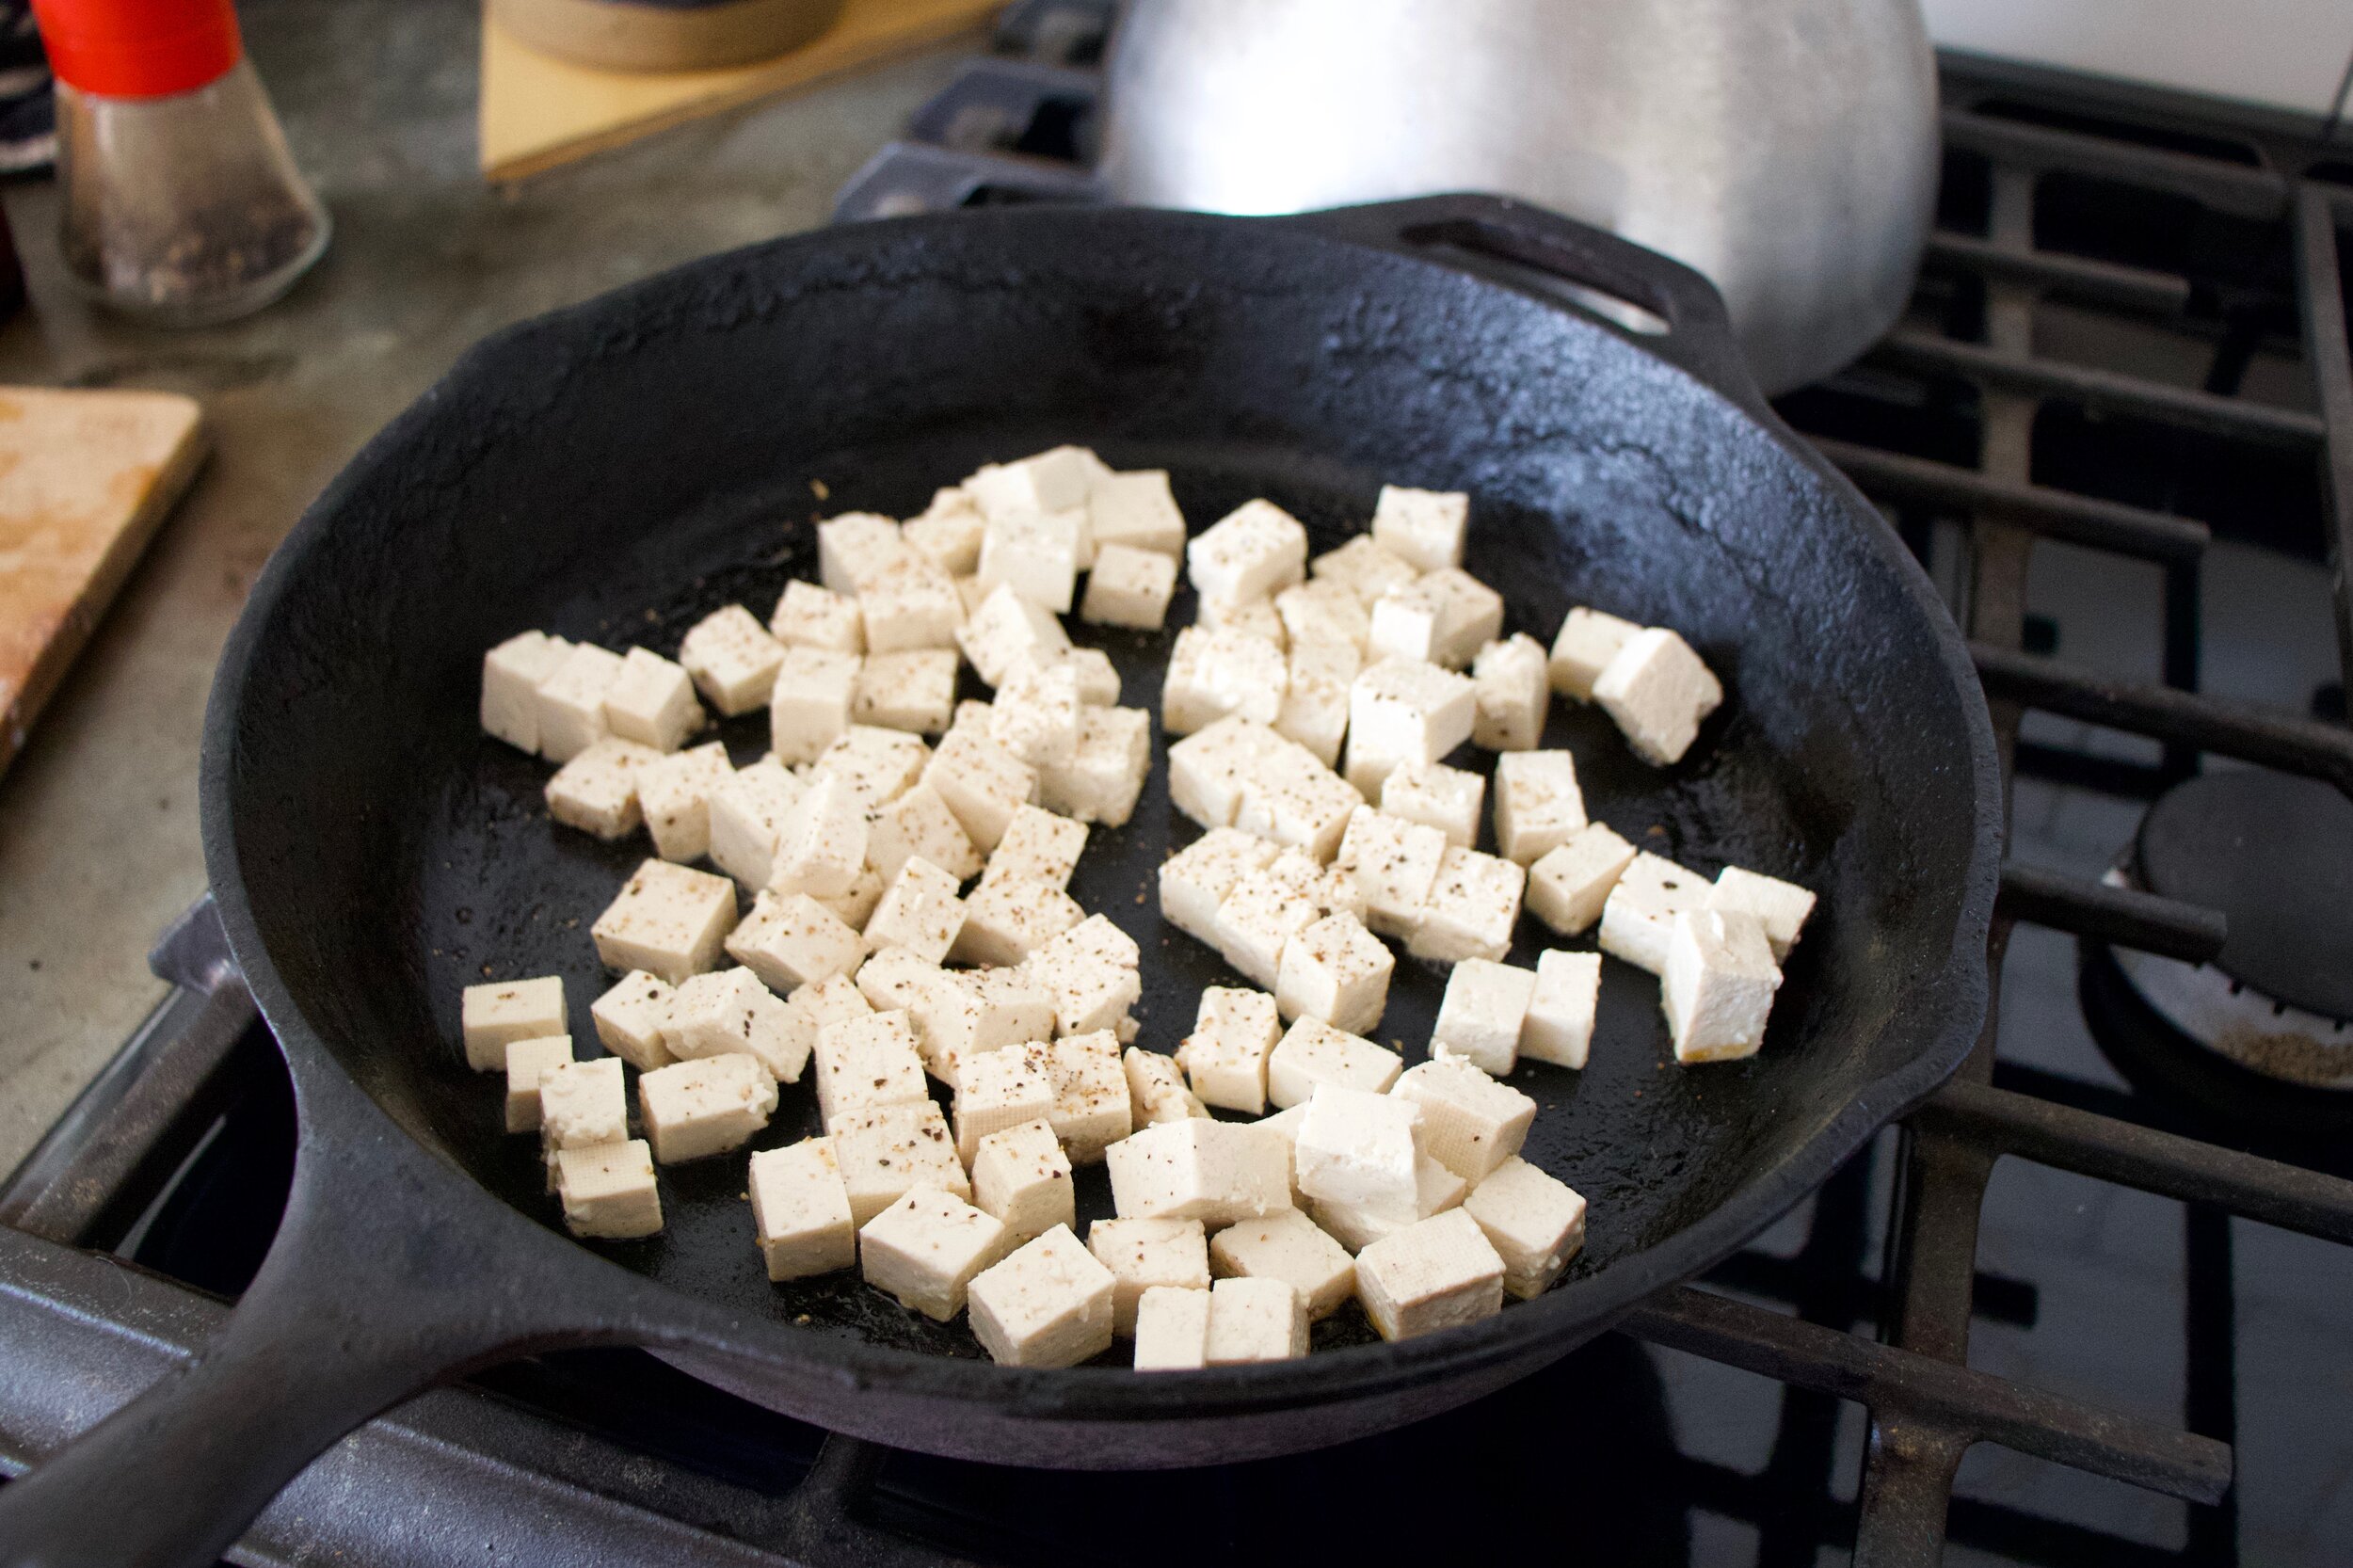
Start with the tofu. Grab a skillet, add a dash of oil and set o the stove on median heat. Cut the tofu into small cubs and pat as much of the liquid out as you can. Place tofu into skillet, sprinkle with a little salt, and let cook.

IMG_5561.jpg

Whle tofu is cooking, cut up veggies into small, not tiny, pieces. And mince the garlic too.

Browned and tasty tofu.

IMG_5584.jpg

Remove tofu from skillet and place into a bowl. Add all the veggies you just cut up into the skillet along with the spices and another pinch of slat ans lots of pepper. Keep on heat and cook.

While veggies are cooking, place water and oats into blender and blend until smooth. Making oat milk to thicken the whole shebang.

IMG_5604 2.jpg
IMG_5611.jpg

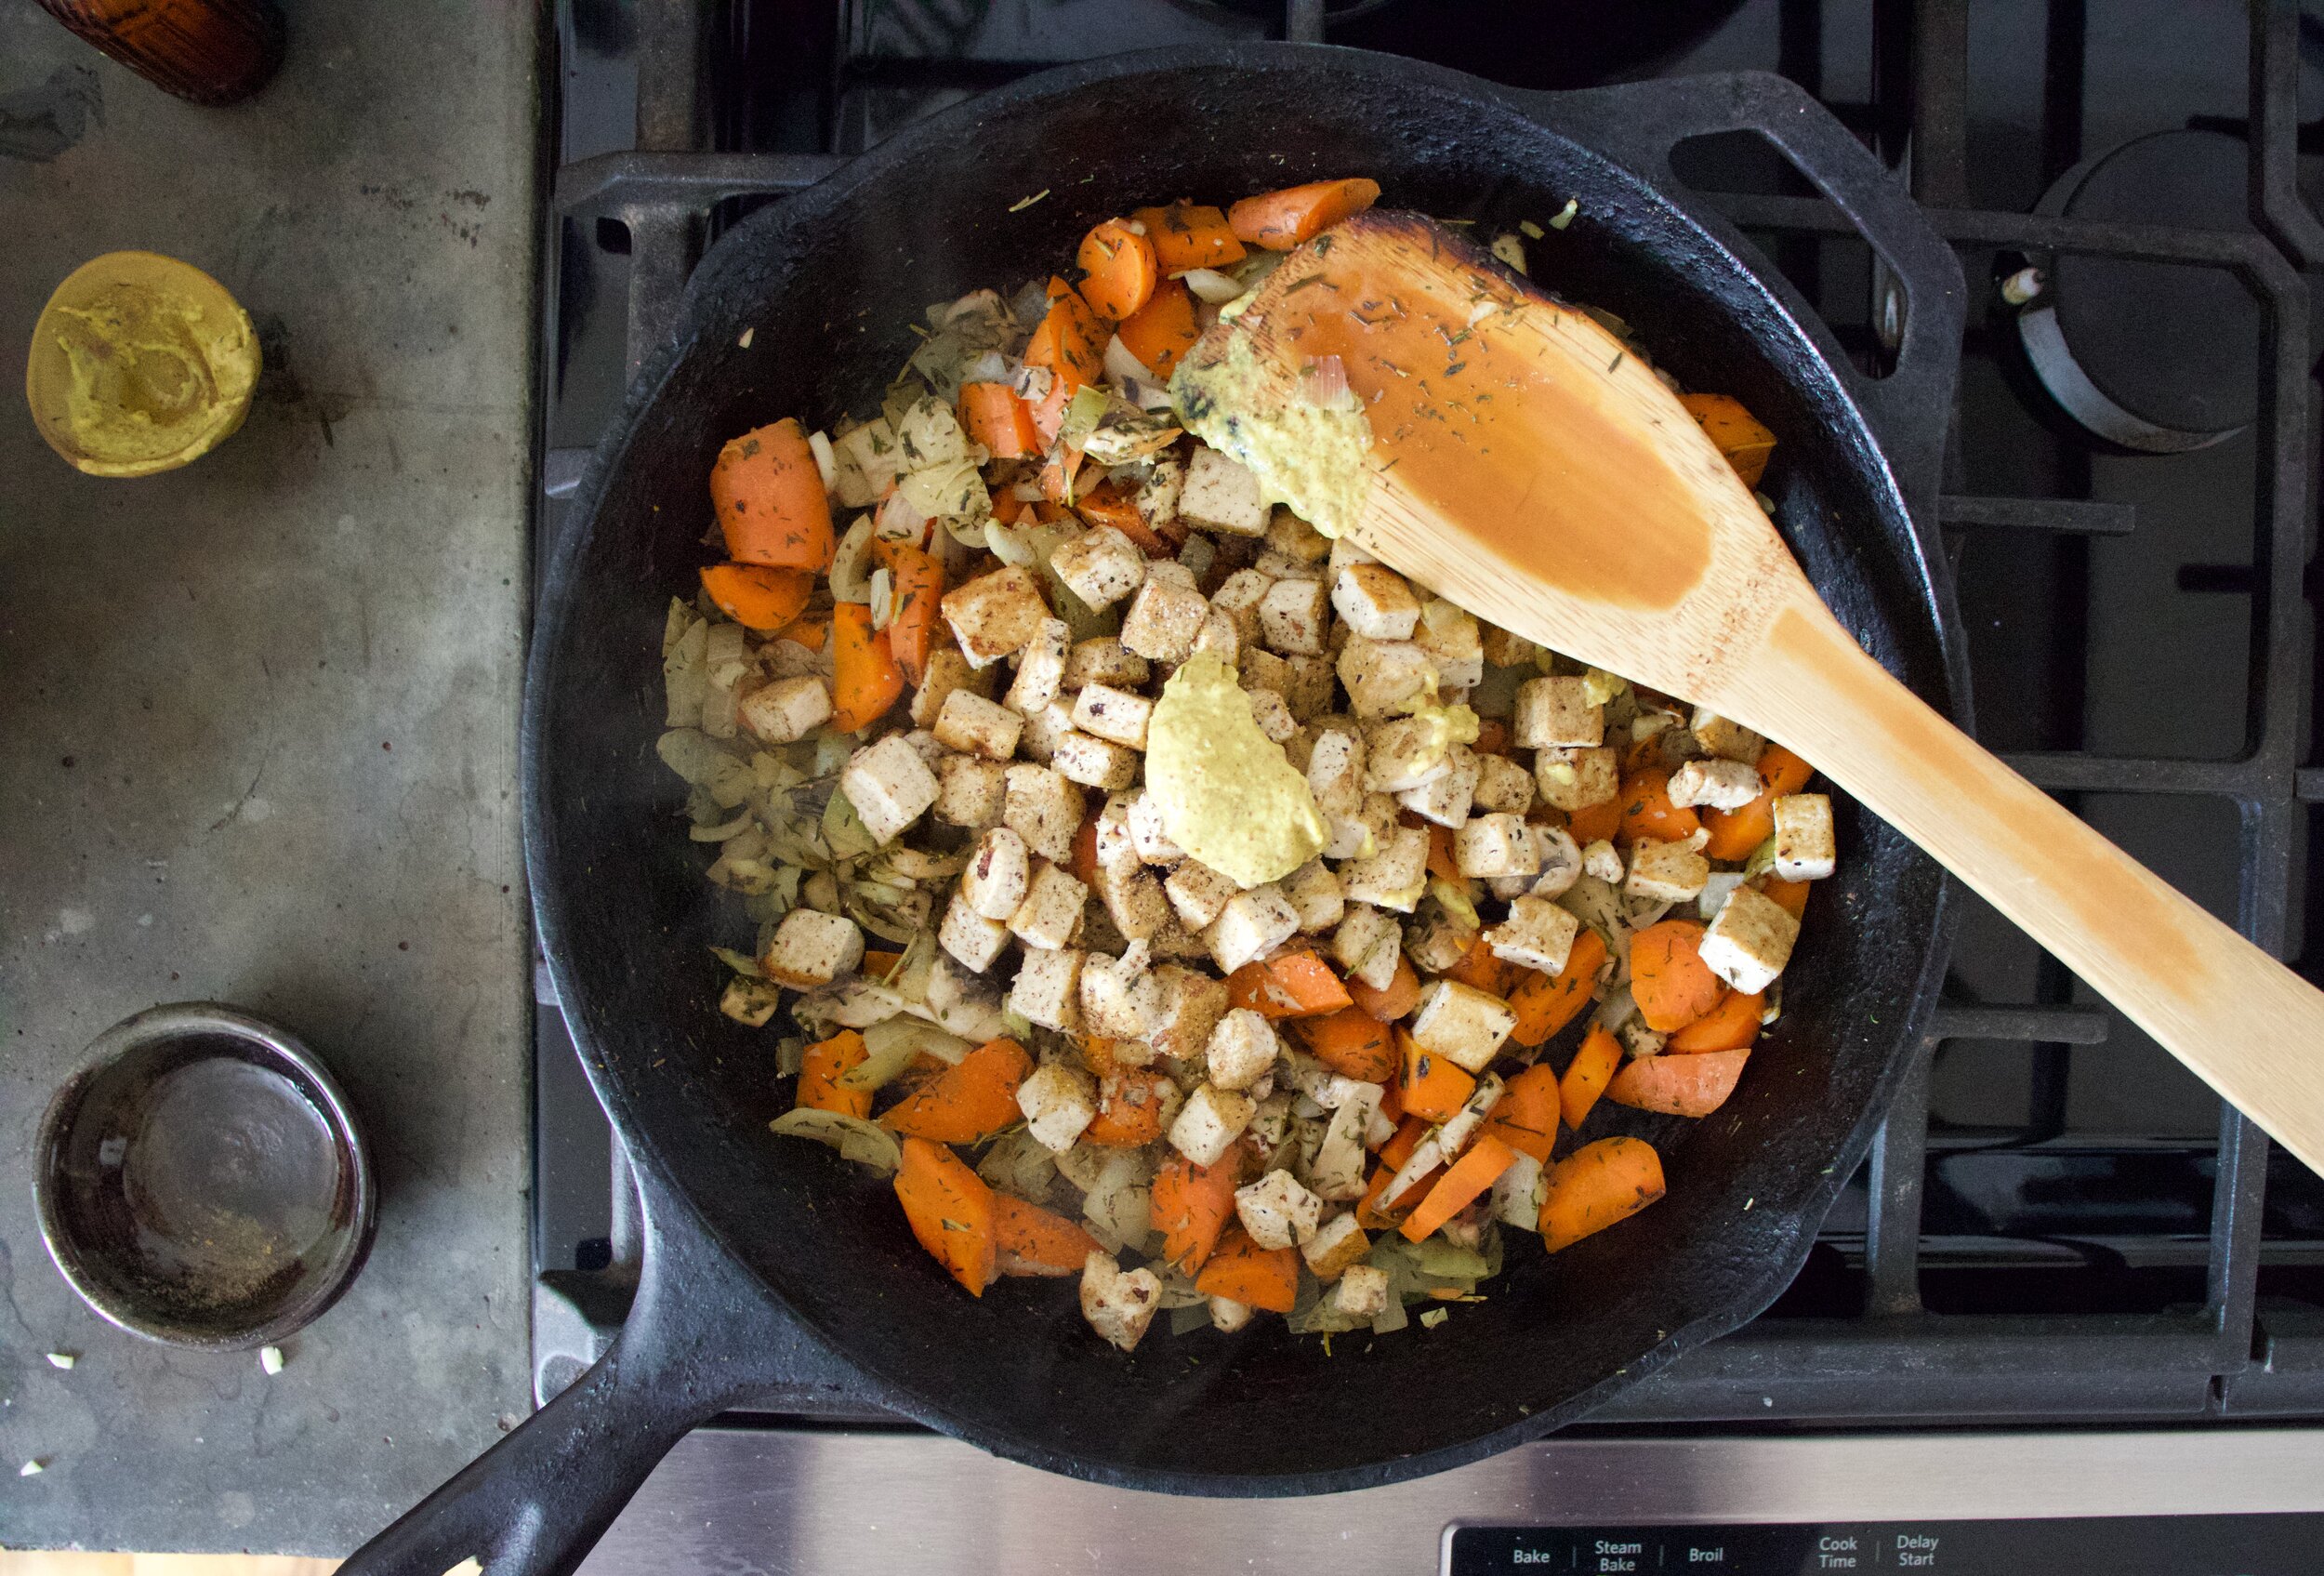
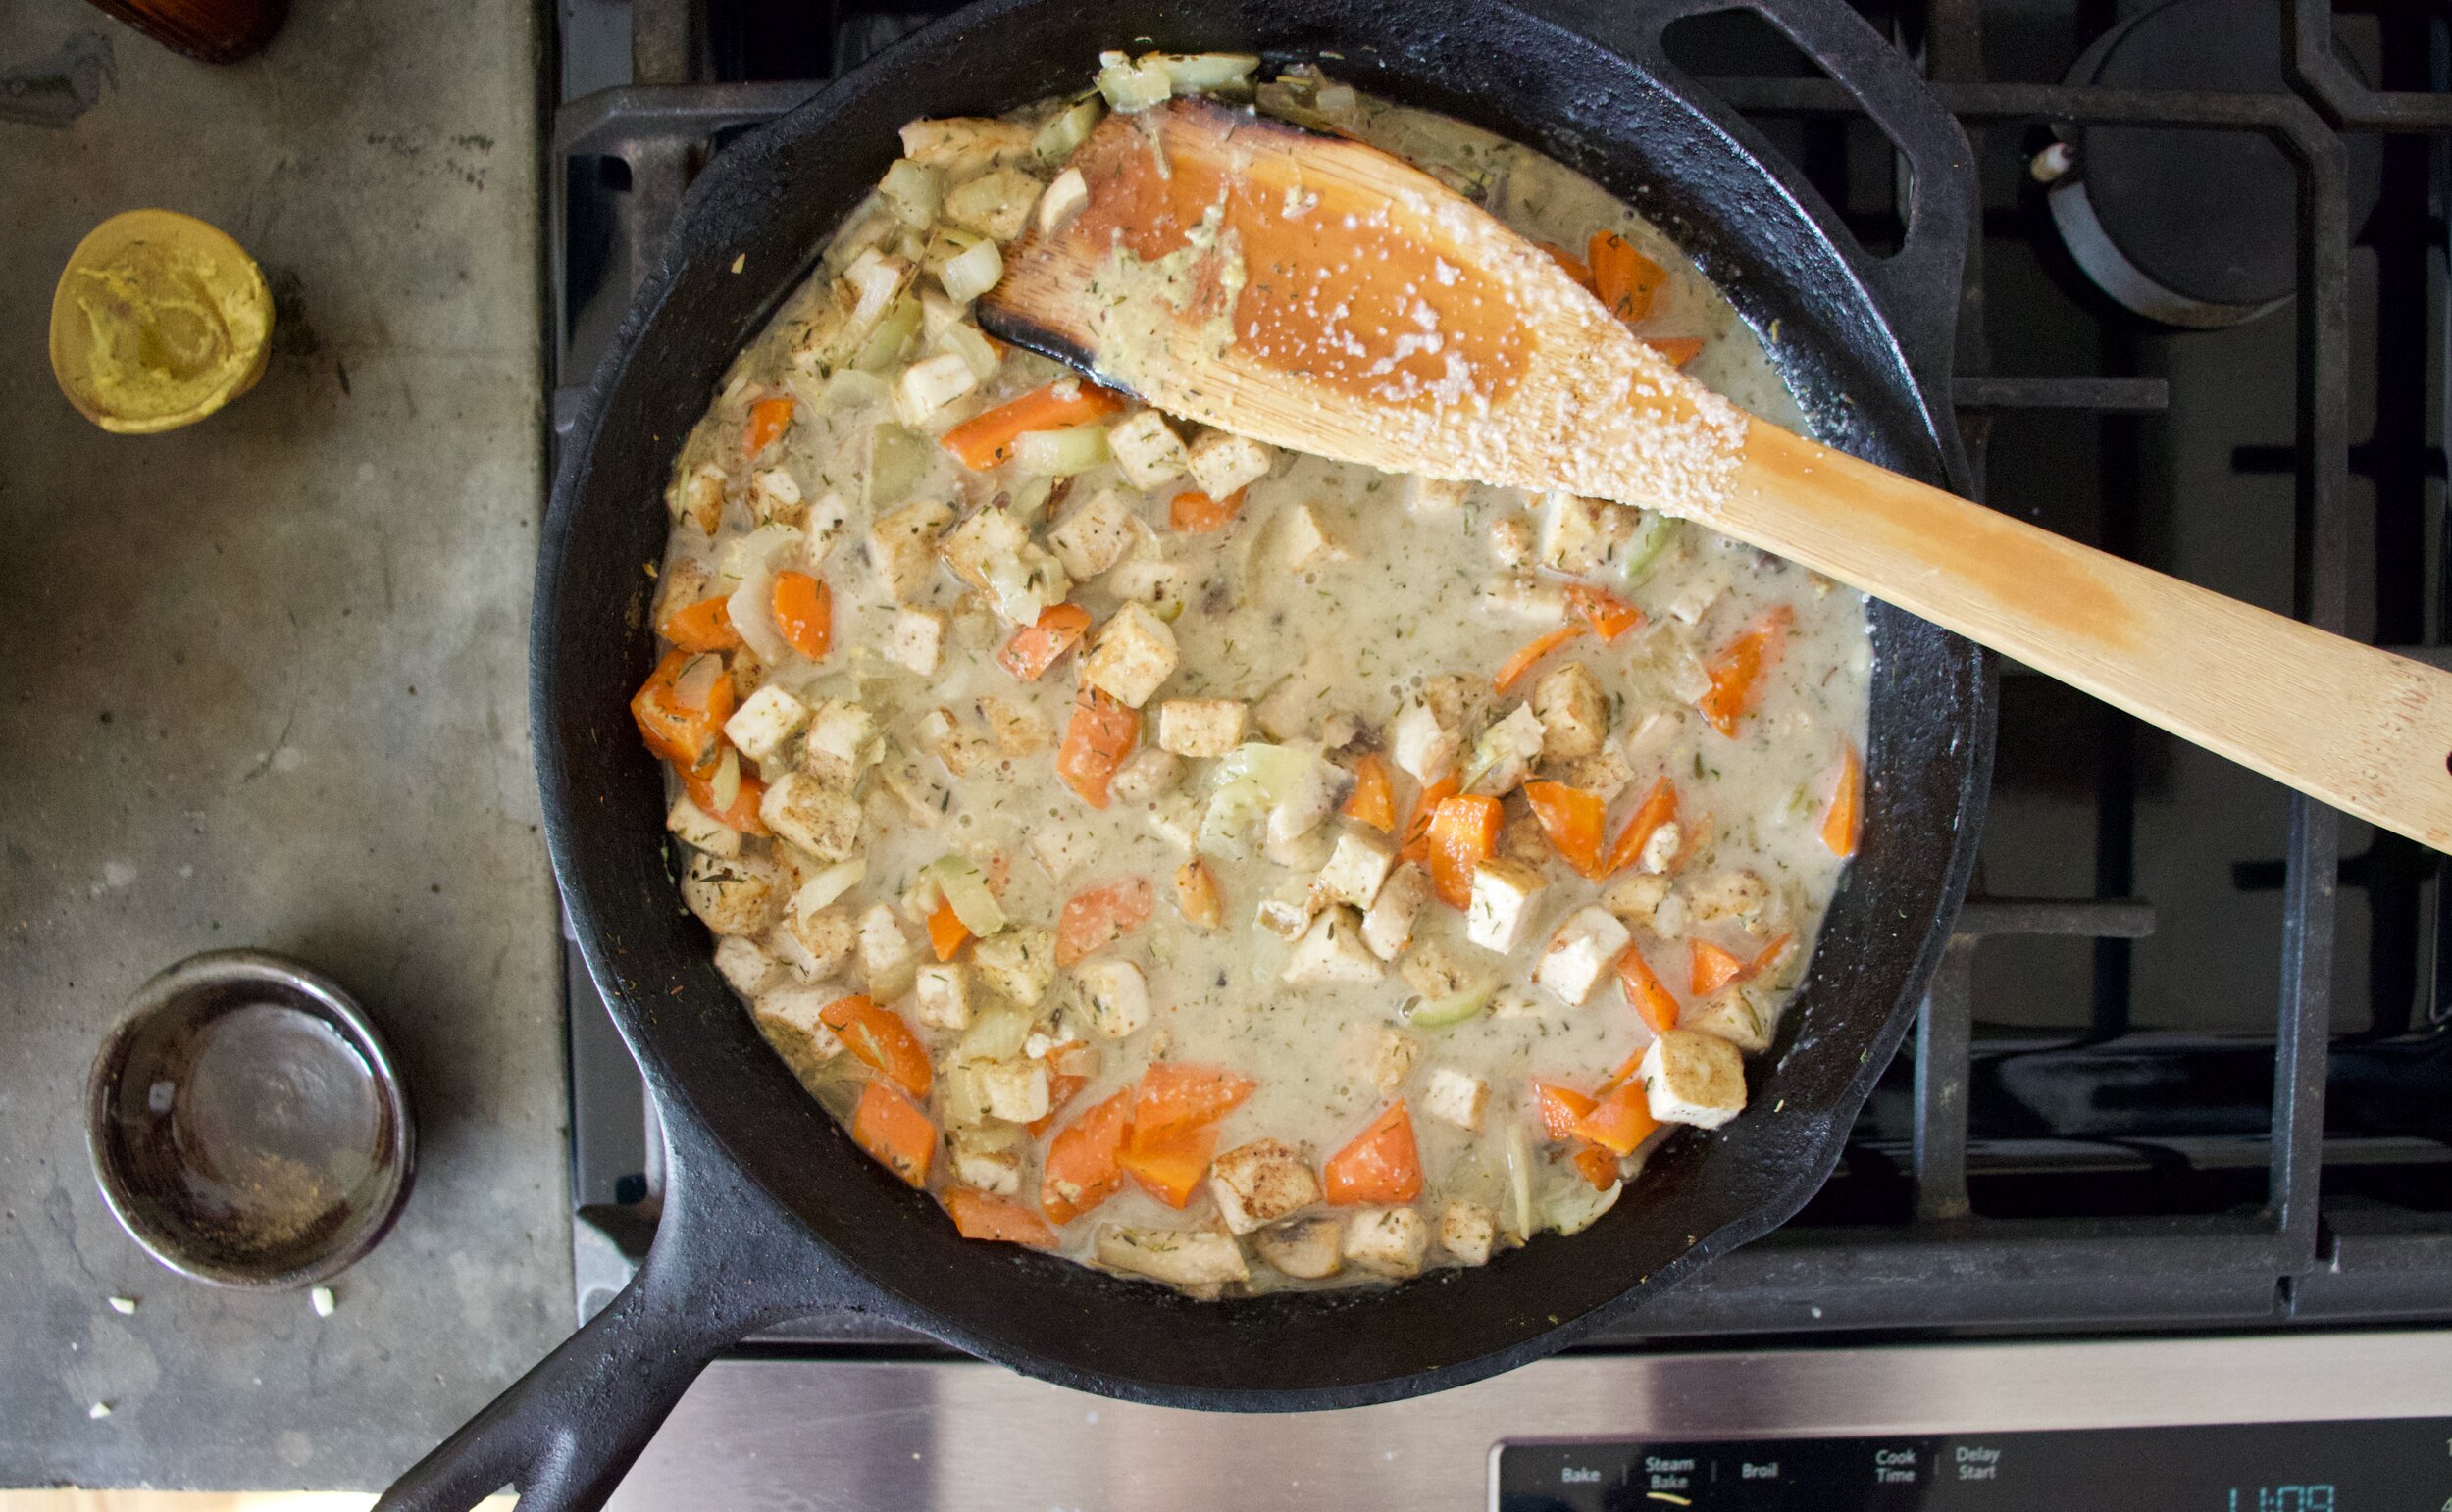
Once the veggies start to soften just a bit, add the tofu back in and add the mustard too. Then dump in the oat mixture you just blend up. Mix it al up and cook for a until it just start to thicken.

IMG_5625.jpg

Now add in frozen peas, mix, and remove from heat. Set aside. It’s now time to make the crust.

IMG_5636.jpg

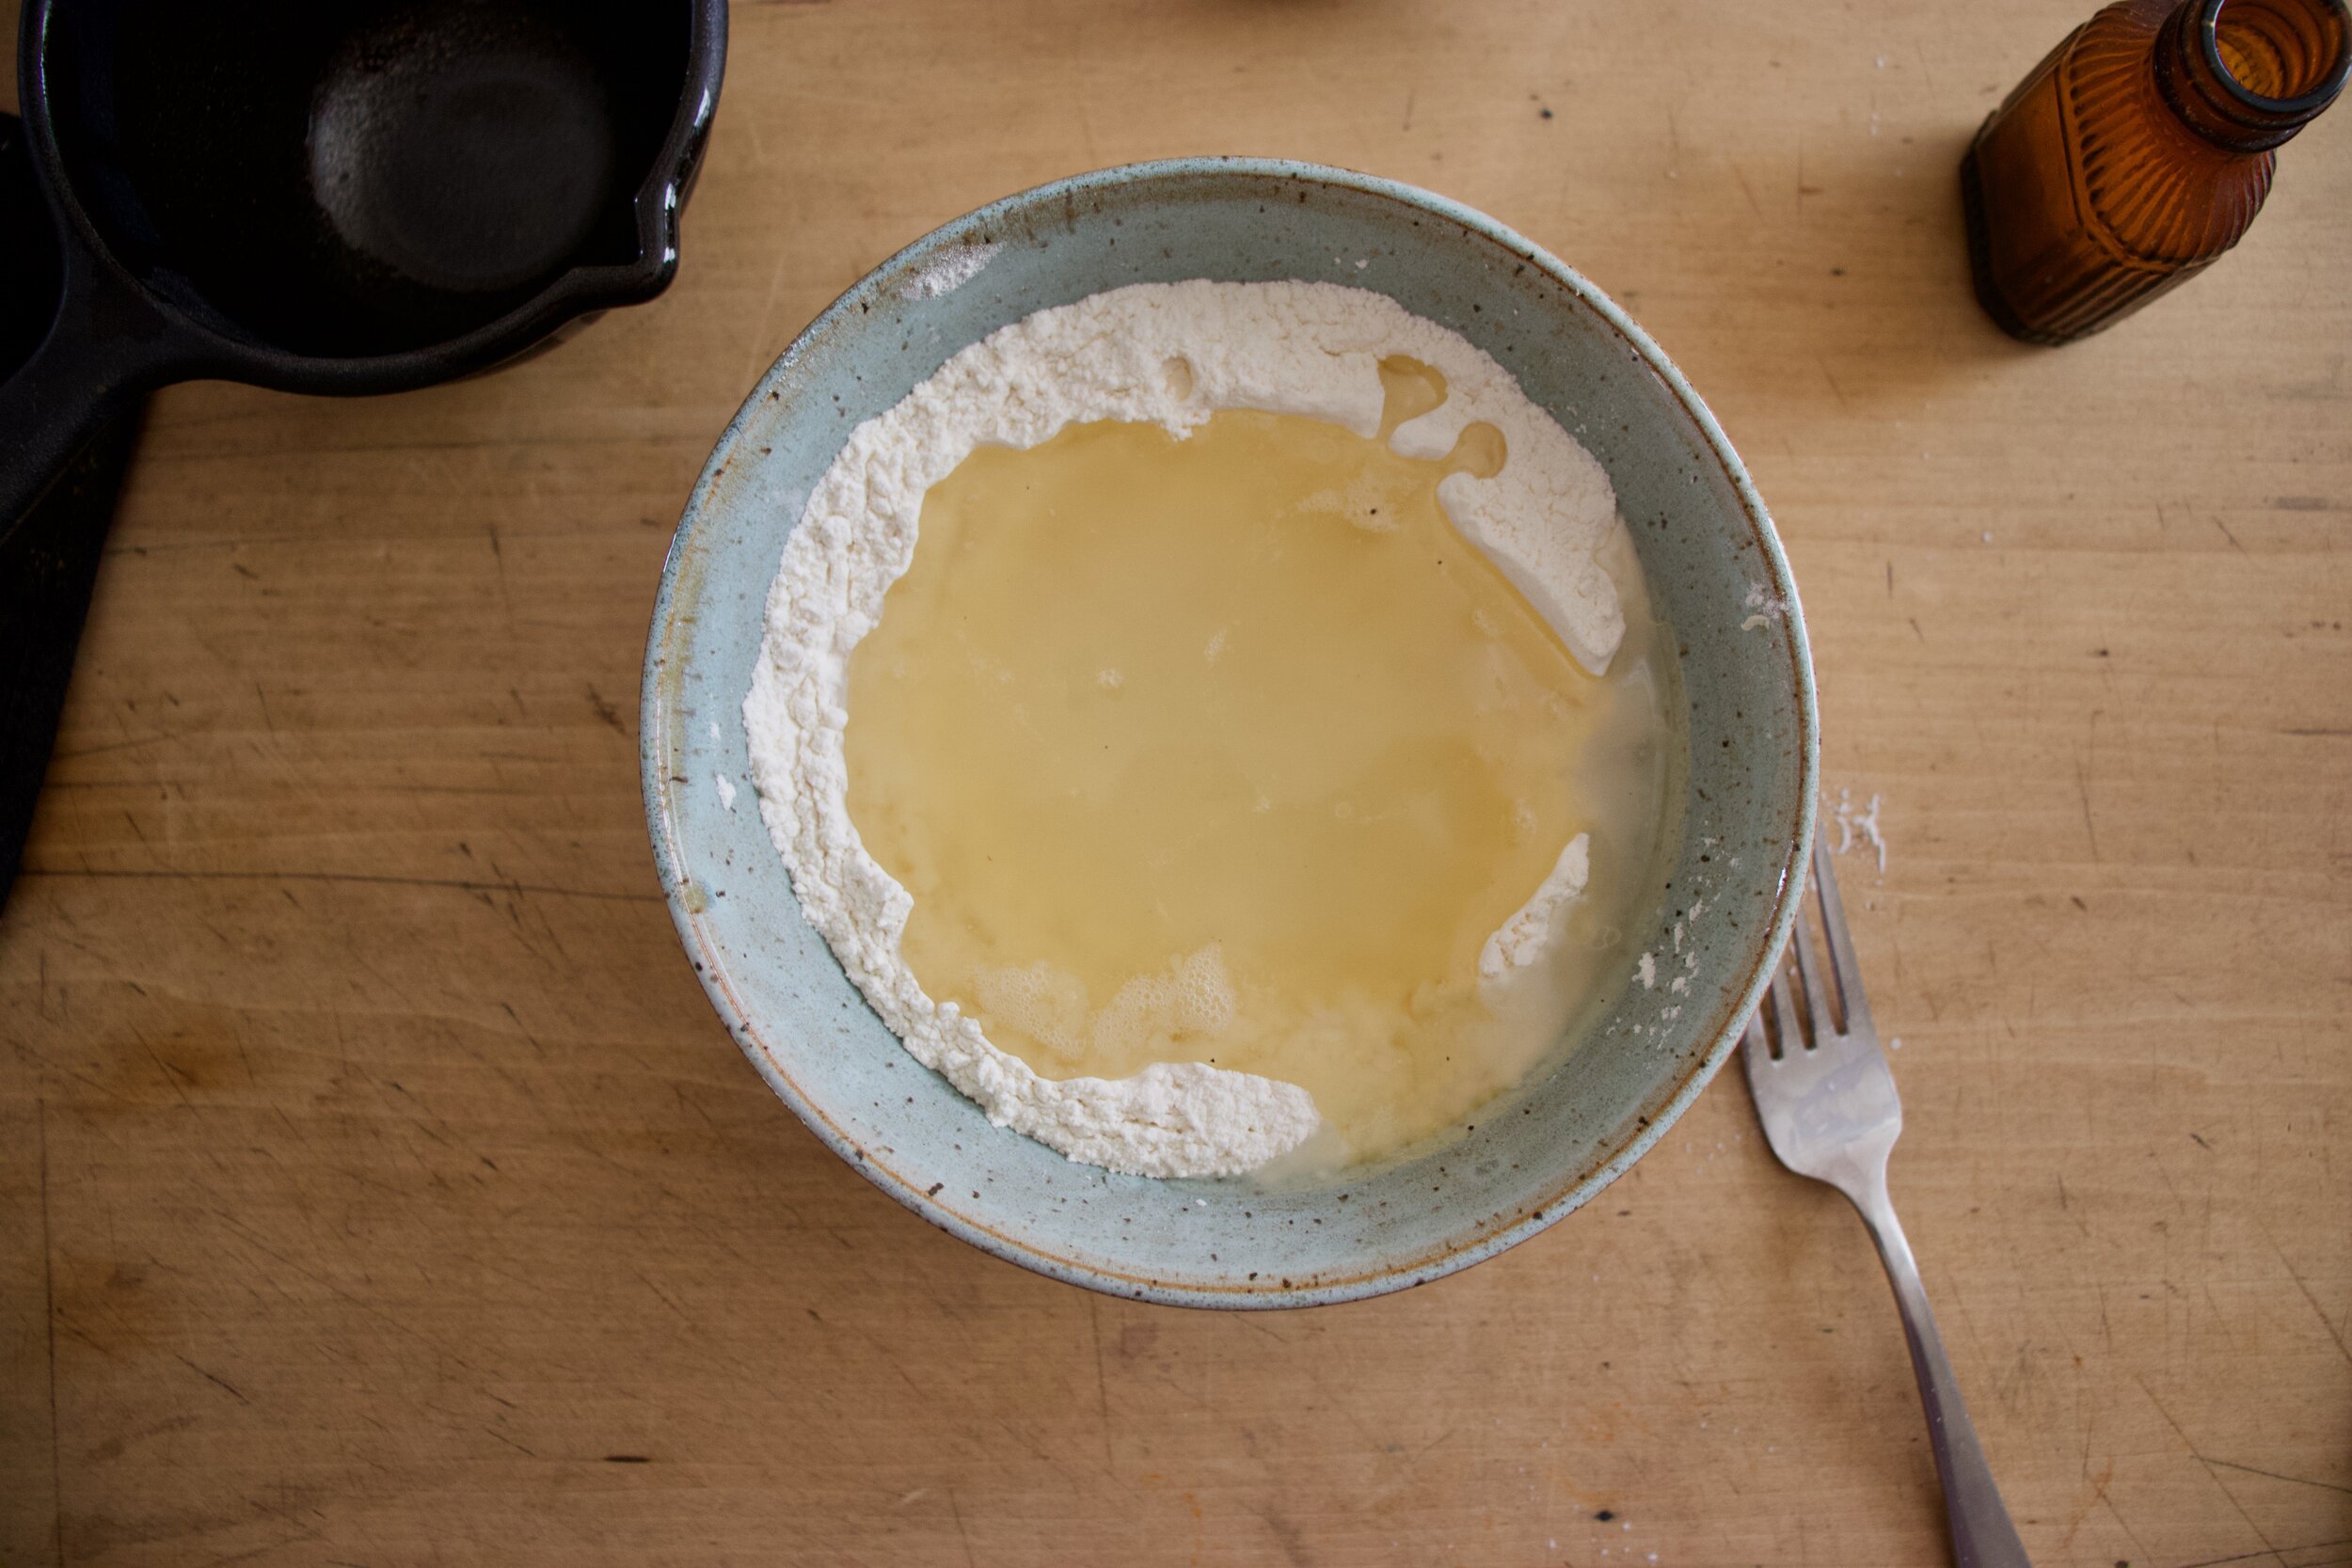
FLour, hot oil, boil water and salt.

IMG_5637.jpg
IMG_5639.jpg

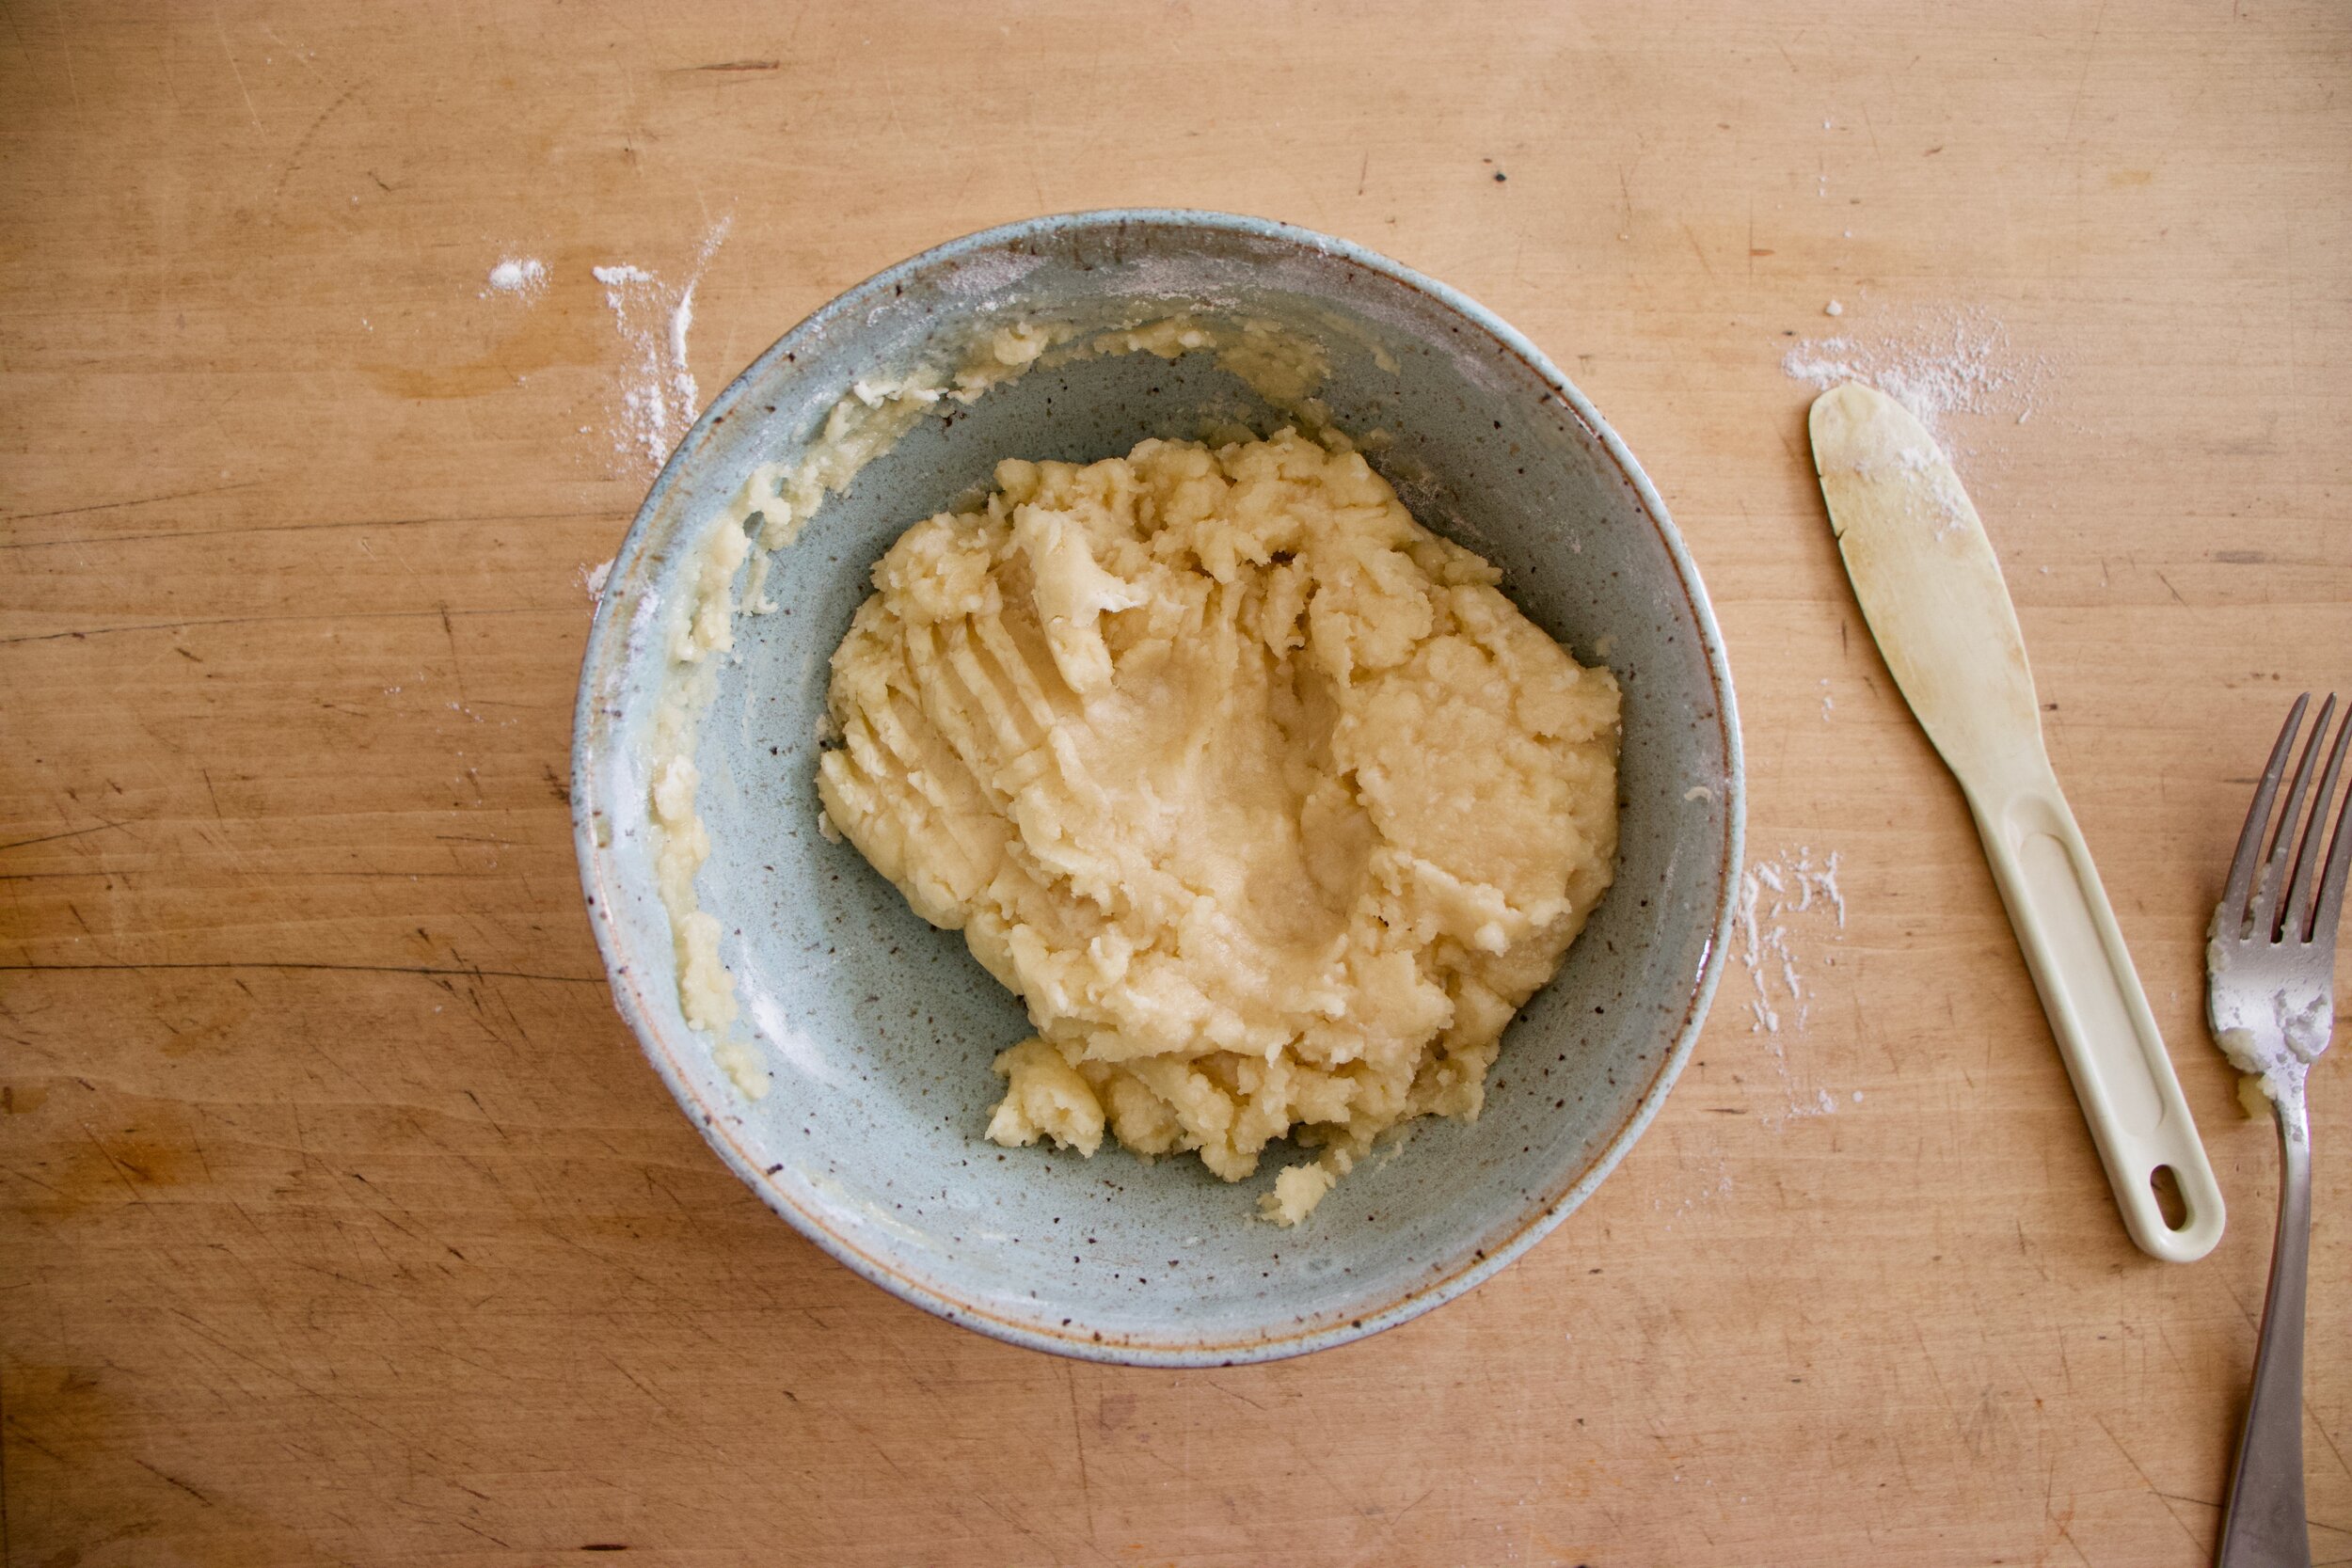
Add all the stuff together and mix until dough forms.

Dump hot dough onto counter and kneed for a minute of two. It shouldn’t be too hot to handle, but if it is, just wait a minute.

Once kneaded and unicorn. cut 2/3 of dough off and roll out about 1/8 inch thick either on a piece of parchment or a splat mat. IT is way, way easier to deal with then trying to roll it directly on the counter.

IMG_5654.jpg
IMG_5657.jpg

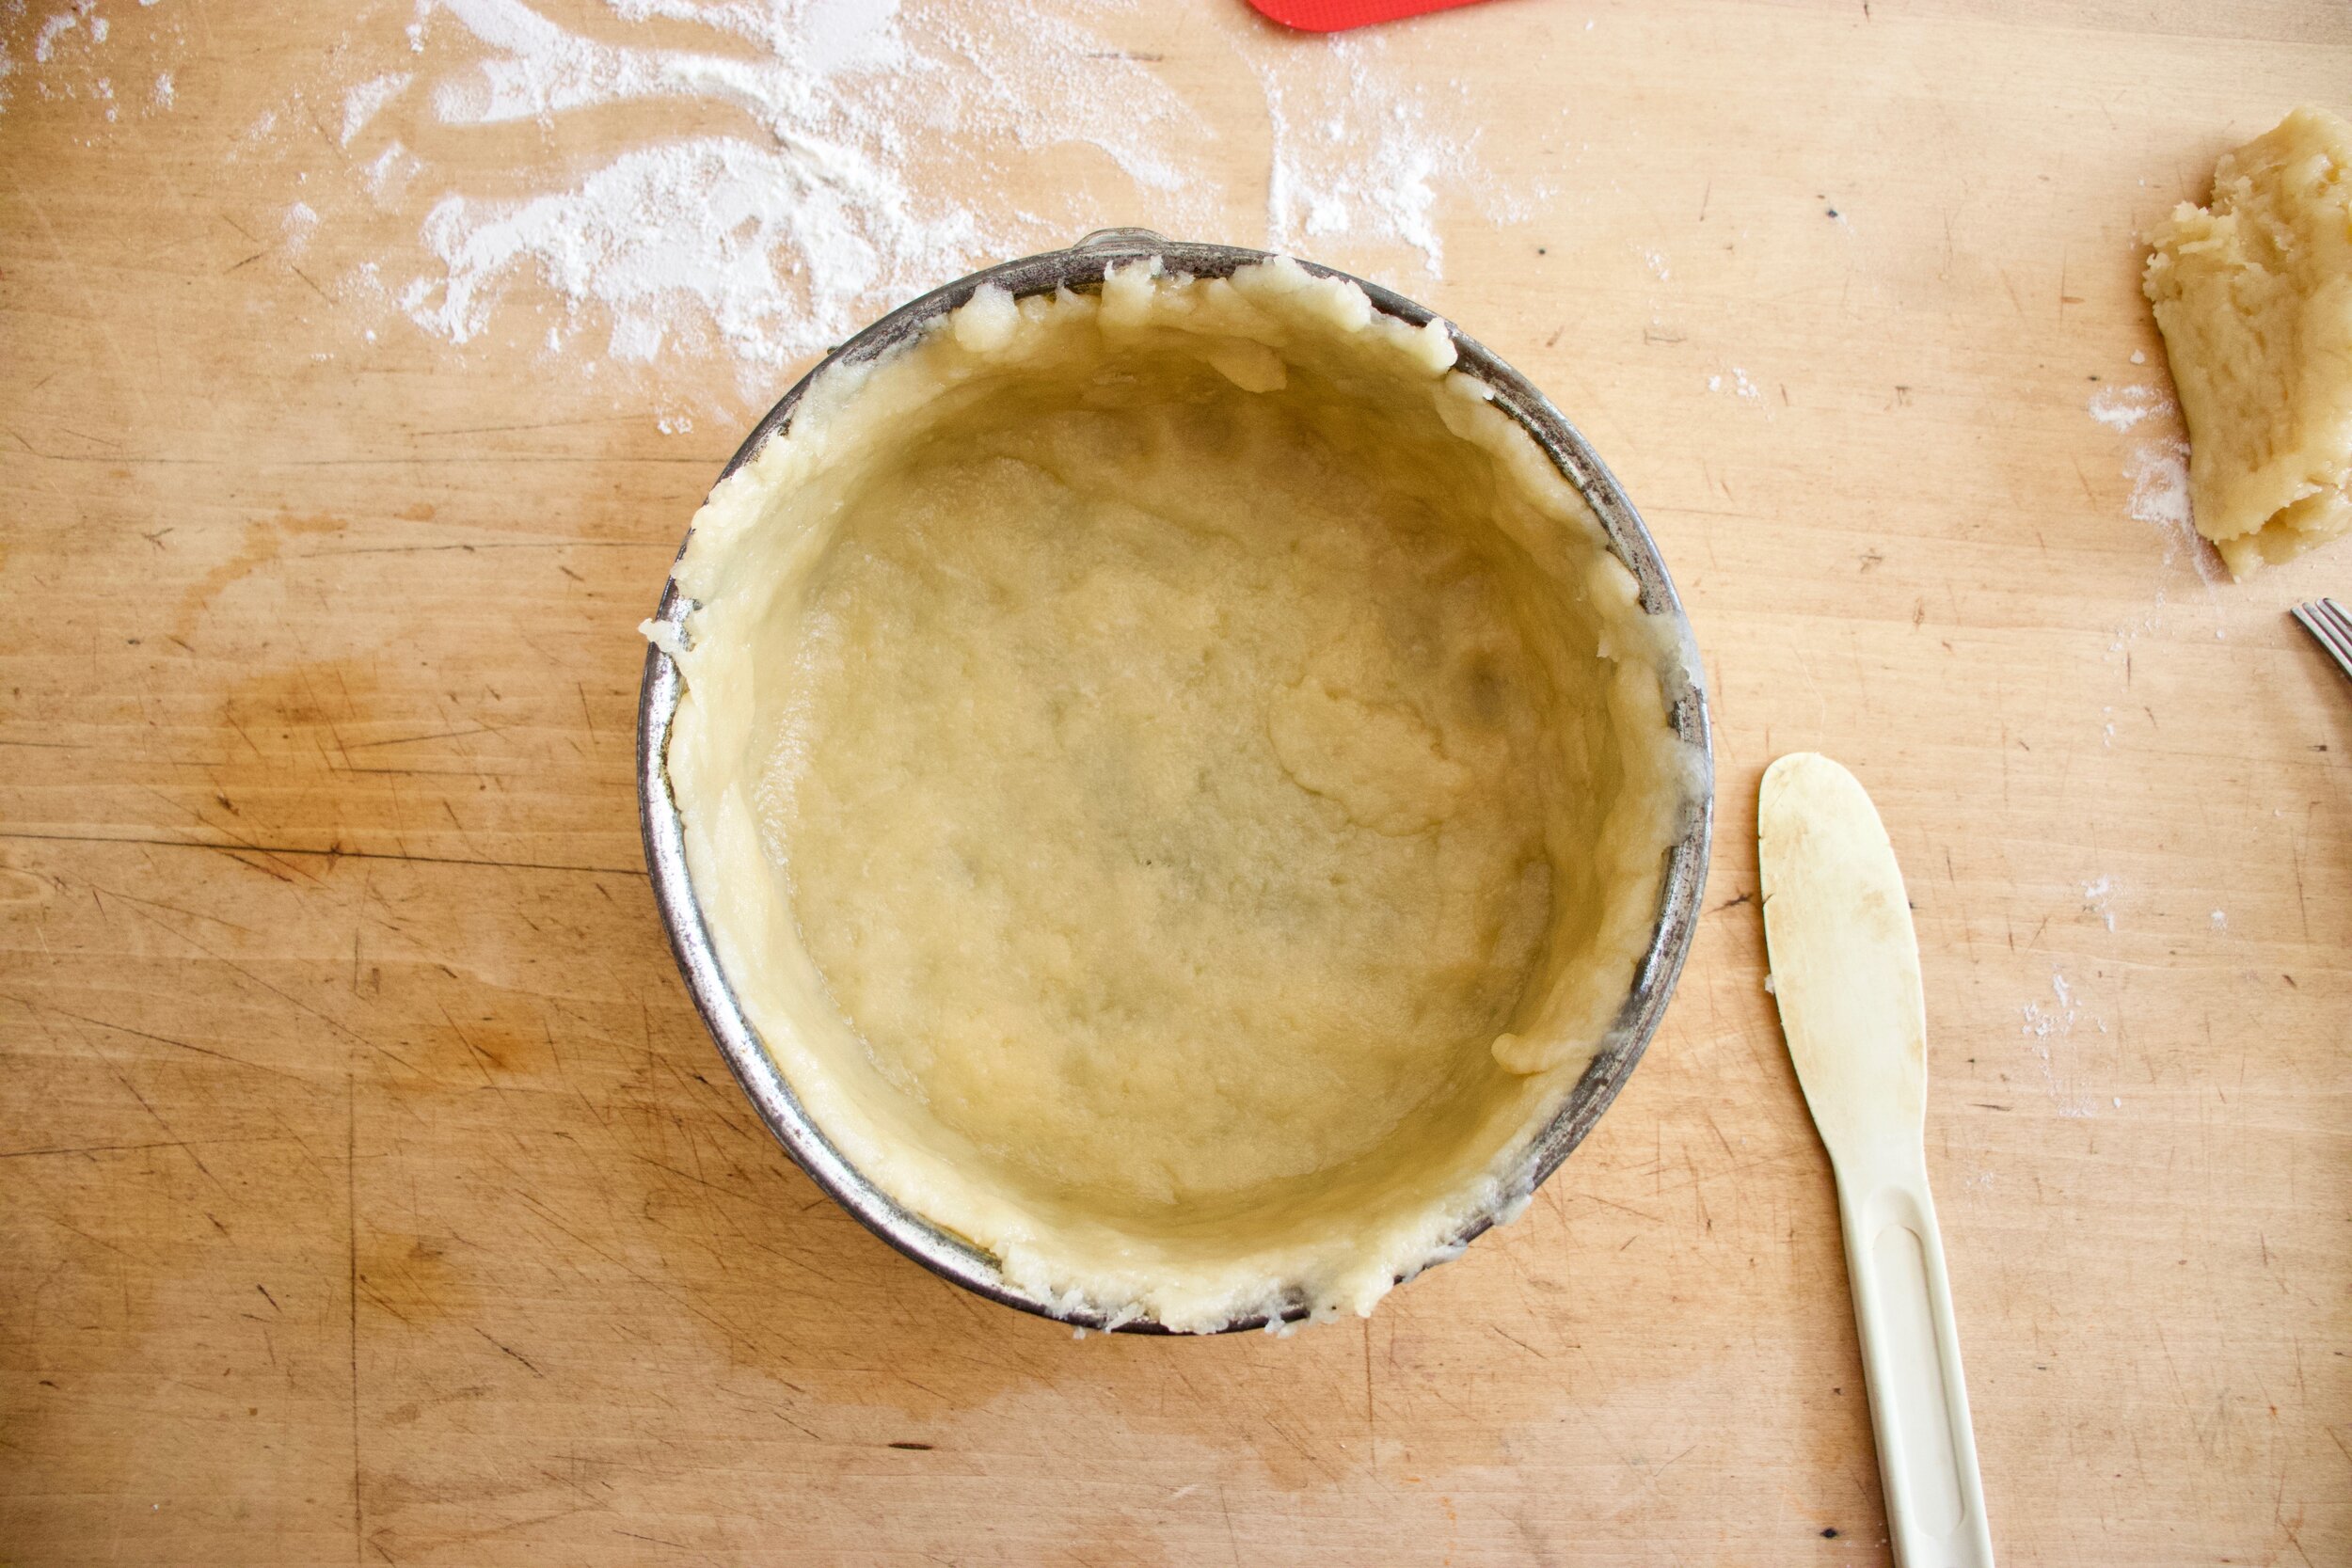
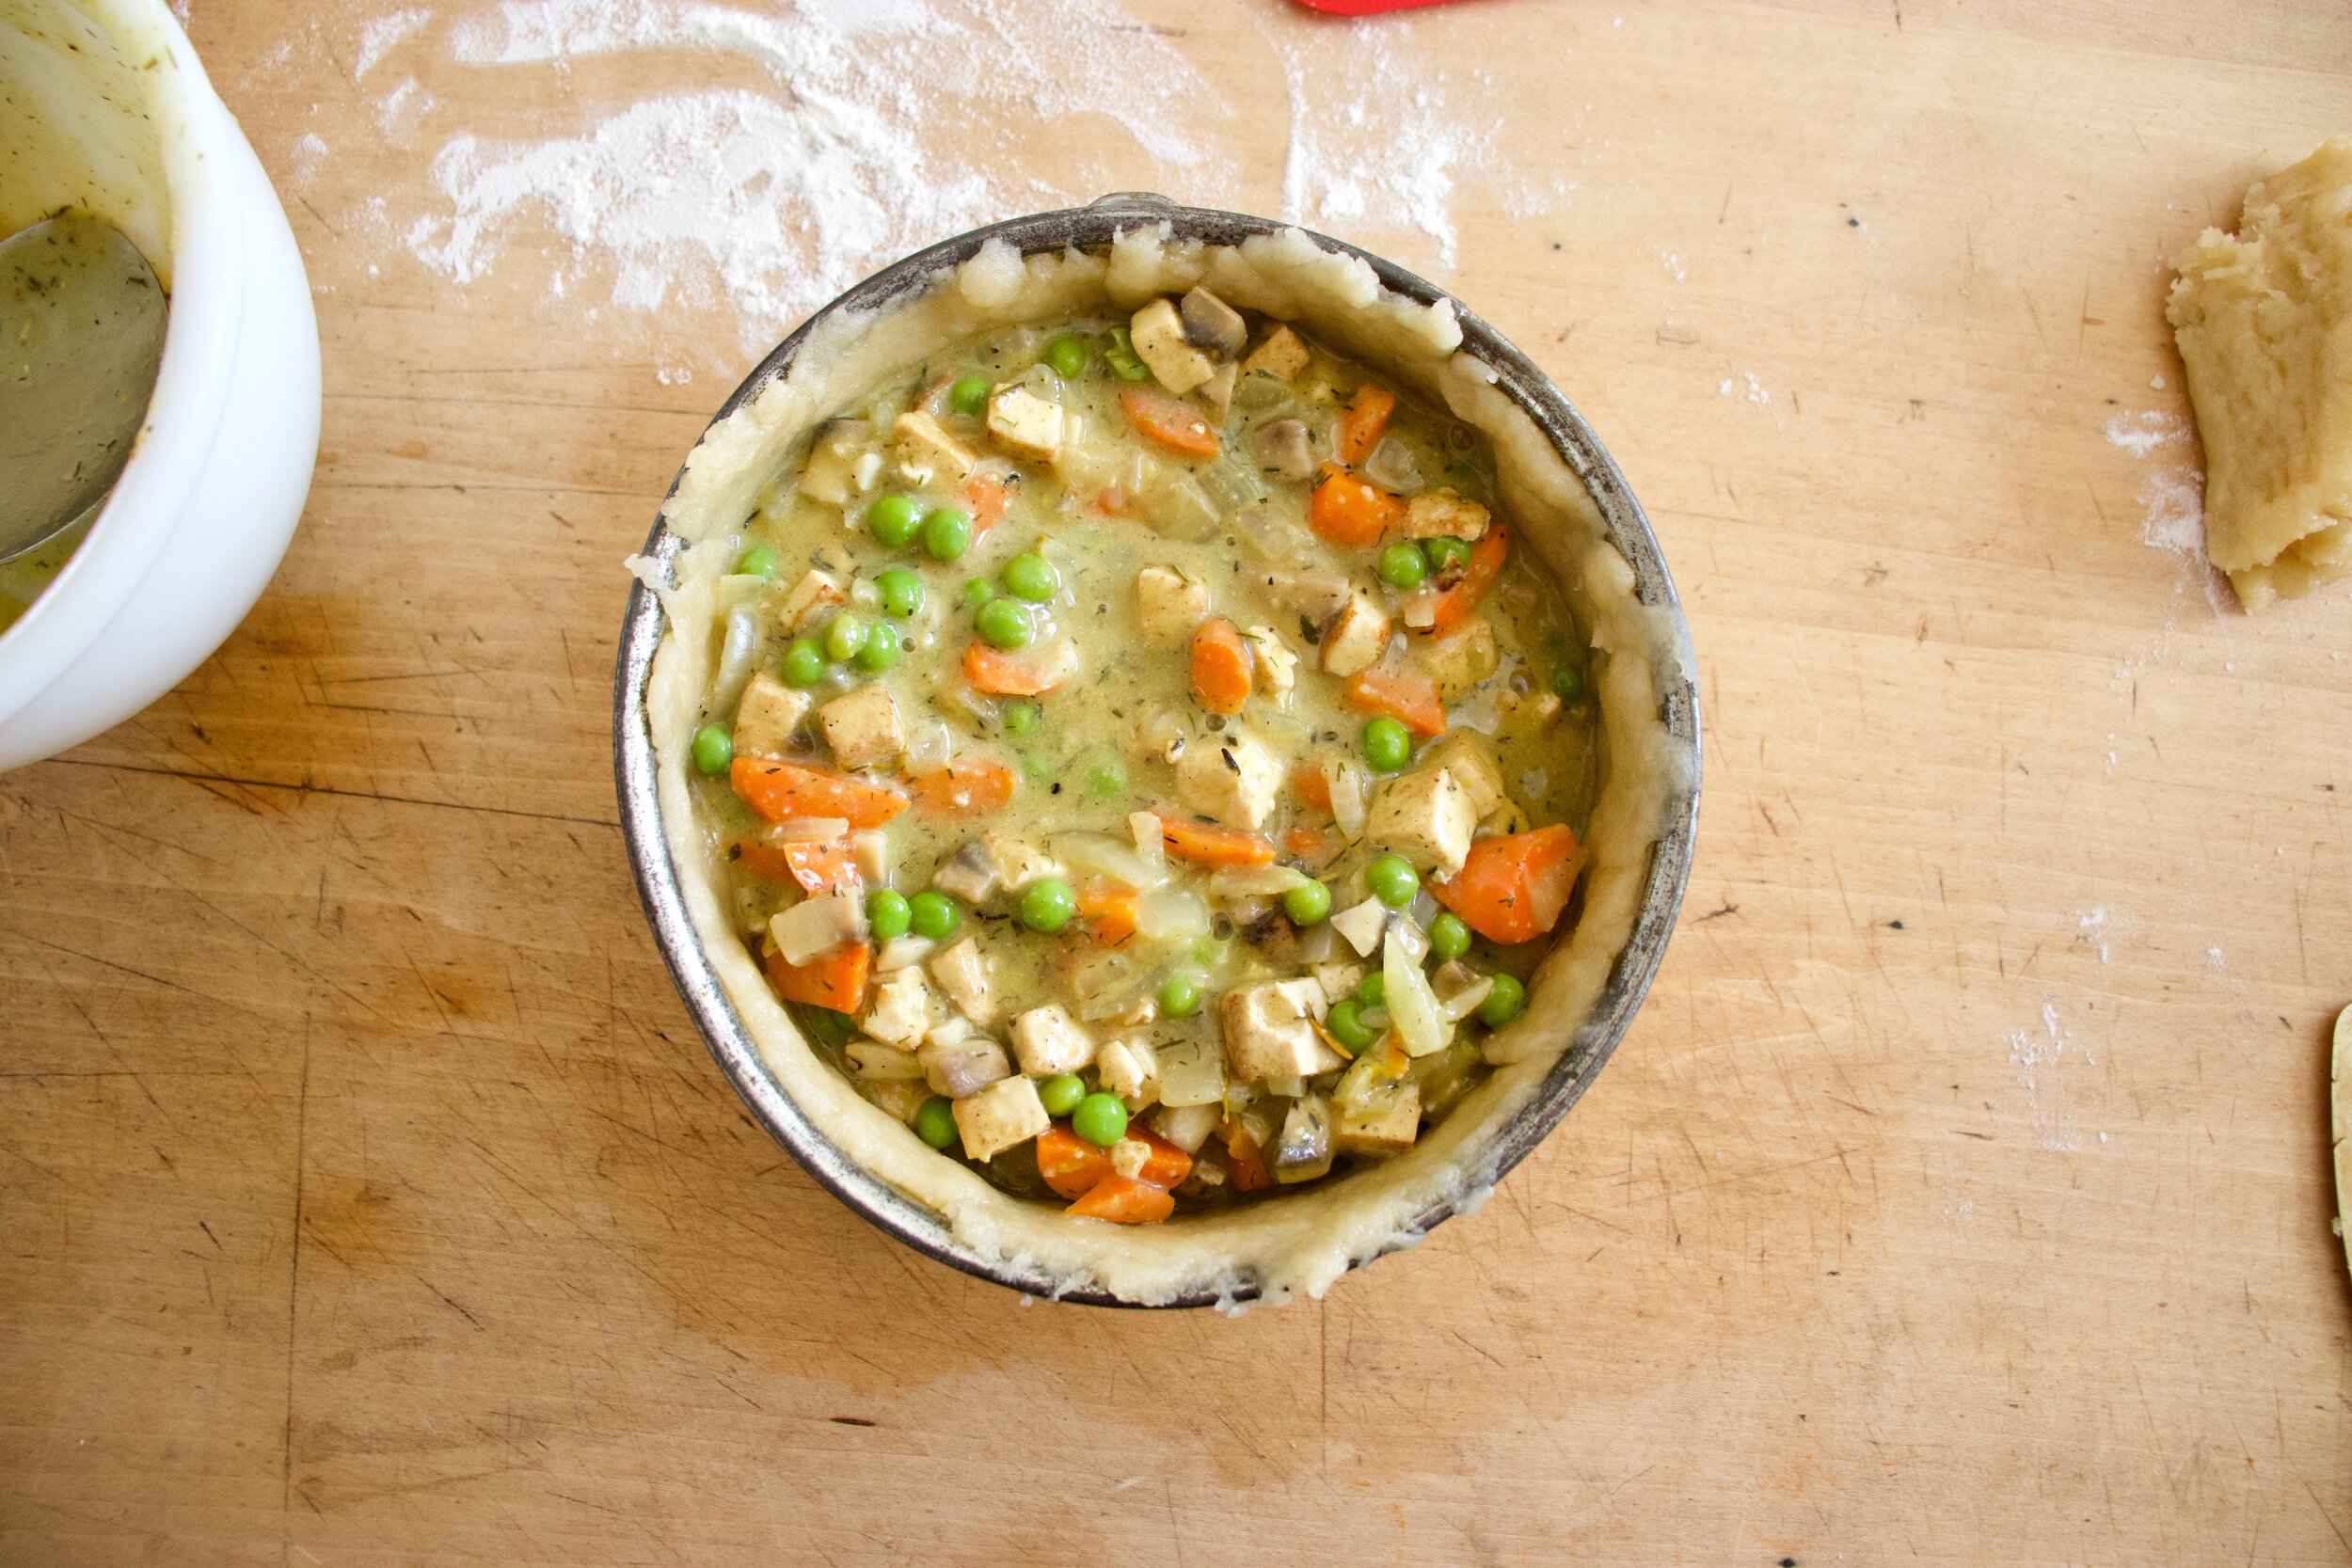
Place rolled out dough into spring form pan. It is going to rip and tear but guess what, no big deal. Just mush and patch the holes. That is the beauty of hot water crust. Once crust is all nice and uniform and all in the pan, dump in the filling.

Now roll out the top.

IMG_5670.jpg

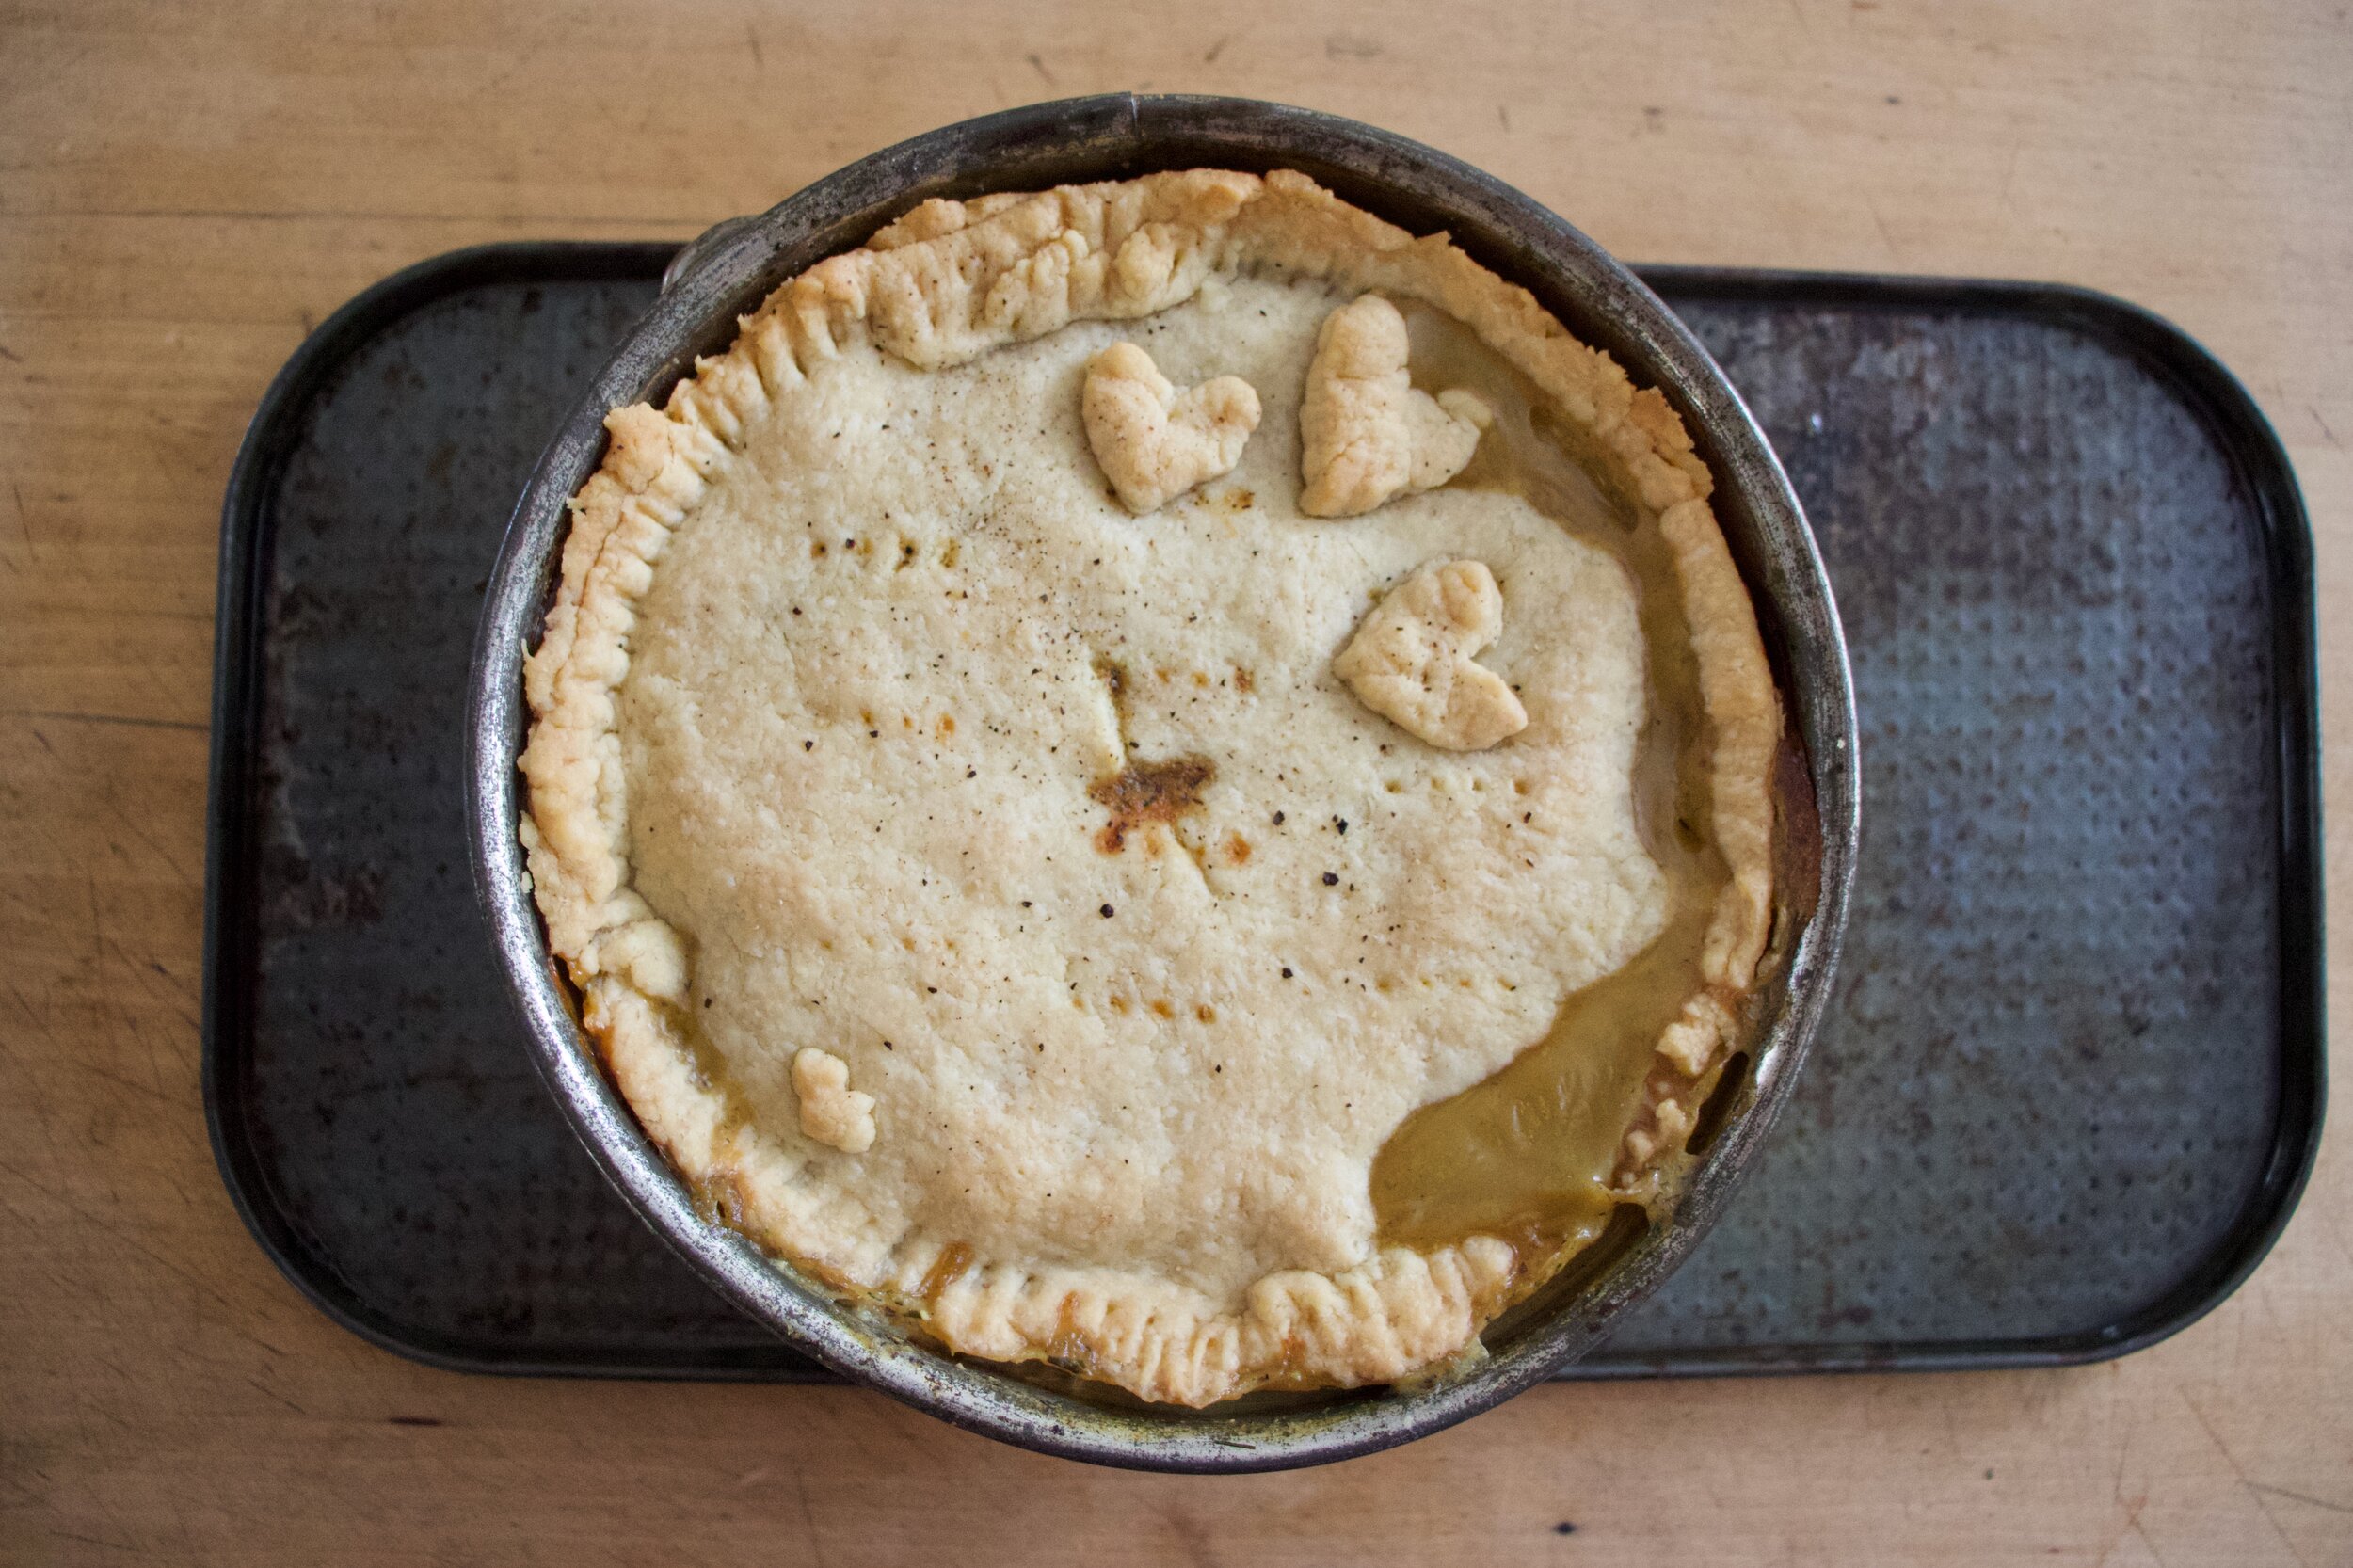
Place top on, seal it up, add some vent hole and make a few little hearts with any scraps you have (only if you want too!) Now into the oven this baby goes, about and hour, until a nice golden brown.

IMG_5680.jpg

Done and beautiful and yeah, it sprang a little leak, but thats quite all right with me.

IMG_5688.jpg

Remove he spring form. And probably do it on a pan. Any little leaks will well, leak out a bit. But again, it’s all good.

And now all you heave to do is eat it.

A pot pie in all its glory!

-C


Tofu Veggie Pot Pie

makes one 8 inch, 2 inch deep, pie

For the filling

  • 1 medium sized yellow onion

  • a few white button mushrooms (about a 1/2 cup diced)

  • 1/2 cup frozen peas

  • 2 small carrots

  • 1/2 block (8oz) firm tofu

  • 1 teaspoon each thyme, dill, rosemary, and ground ginger

  • 2-3 cloves garlic

  • 2 heaping tablespoons spicy brown or dijon mustard

  • 1/4 cup old fashion oats

  • 1 1/2 cups water

  • salt and pepper

  • a splash of oil

For Hot Water Crust

  • 1 3/4 cups flour

  • 1/2 teaspoon salt

  • 1/3 cup coconut oil,warmed

  • 1/3 cup neutral oil,warmed

  • 1/3 cup boiling water

Before you start cooking know that you need to make the filling first and can even make it ahead of time. The crust needs to be used right away so don’t make that in advance!

Start with tofu. Cut into small 1/2 inch cubes then press as much liquid out as you can. Place a drop of oil into a large skillet and turn onto medium heat. Drop in cubed tofu and sprinkle with a pinch of salt. Cook until browned.

While tofu cooks, dice up carrots, onion, and mushrooms. Mince the garlic. Once the tofu is browned, dump it in a bowl then add the veggies and garlic to the skillet. Also add in all the spices and another good pinch of salt and lots of pepper. Stir and then cook until veggies are slightly tender.

While veggies cook, place the oats and 1 1/2 cups water into blender and blend until smooth.

And after the veggies are slightly soften, add the tofu back in, along with the mustard and the oat mixture. Stir it all around and keep on medium heat for another few minutes until the oat milk just starts to thicken. Add in the frozen peas, stir, then remove from heat. Give it a taste and season with more salt and pepper if needed.

Preheat oven to 375

Now for the crust. Place flour and salt in a big bowl and mix. Then add in warm oil (either heat on stove or in microwave) and boiling hot water. Mix unit it all comes together. Dump dough onto counter and knead for couple minutes until dough is uniform and smooth.

Cut 2/3 of the dough off and roll out in between parchment paper or on a splat mat to about 1/8 inch thick. Place into a spring form pan. It’s going to fall apart a bit but that is ok, just mush and patch up all the rips and tears so there are no holes. This dough is like play dough, very easy to manipulate. Once bottom crust is in, dump in the filling. Take the remaining dough and roll out the same way you did bottom and place on top. Seal the bottom and top crust by pinching it together. You want to try and avoid any holes so the filling doesn’t leak out. Once the crust is sealed, cut a little vent hole into the middle of the top then place pie into oven. Bake for an 60 -70 minutes or until crust is a nice golden brown.

Once baked, remove from oven and let cook for a few minutes. Then remove from pan by place pie on something like a bowl or cup that fits underneath the bottom of pan. Unlock the pan and slip ring down while the pie stays perched on cup. You can even pop the bottom of pan off if you feel like you can, but I say, why risk it. That is up to you. And sure, the pie might have sprung a little leak, but that is very much ok.

Now basically all you need to do is eat it so place pie on a big plate, grab a knife, and fork, and cut yourself a big ass piece of pot pie.

Leftovers store great in the fridge for a few days.

In dinner, entree, pie, tofu, Vegan, Vegetables Tags Tofu Veggie Pot Pie, Pot pie, vegan, tofu, plant based, hot water crust, oat milk, homemade, dairy free, veggies, healthy, crowd pleaser
Comment

Jam Heart Hand Pies

February 10, 2018 Colleen Stem
IMG_0193.jpg
IMG_0143.jpg
IMG_0100.jpg

I have had a shit ton of rhubarb in the freezer all winter and the other day I just needed it gone so I made a big old batch of rhubarb jam. I was actually saving the rhubarb to make the mr a pie for his birthday, but that was like 2 months ago and he ended up with ice cream sandwiches and that is why the rhubarb was still there. Oops. But now we have rhubarb jam. And I think I was feeling a little guilty about not making the pie so I, like the nicest girlfriend in the entire universe (self proclaimed yes, but so so true), used that jam to make little hand pies. And in the shape of hearts no less because hearts are amazing and it doesn't hurt that it is Valentine Day next week.  

 Valentines Day. What does that even mean? I think the primary meaning of Valentines Day is that all things should be in the shape of hearts. The rest is to be determined by however you may feel about the day. Whether you hate it or love it, (we love it, It's an excuse to take the day off and cover the house in hearts) you get to make the day yours. Just make sure that whatever you do, you make it with hearts. And with pie. 

These heart pies make for great little additions to hand made Valentines day cards ( I see maybe for a kids class), are great for breakfast because they are basically just like heart shaped pop tarts, or even for an evening of bindge watching Netflix with a loved one or by yourself. It's pie my friends. Eat it whenever, and with whomever you want.

Also, hearts are not just for Valentines Day. And pie sure the hell isn't either. They both just happen to work for the occasion. 

IMG_9991.jpg

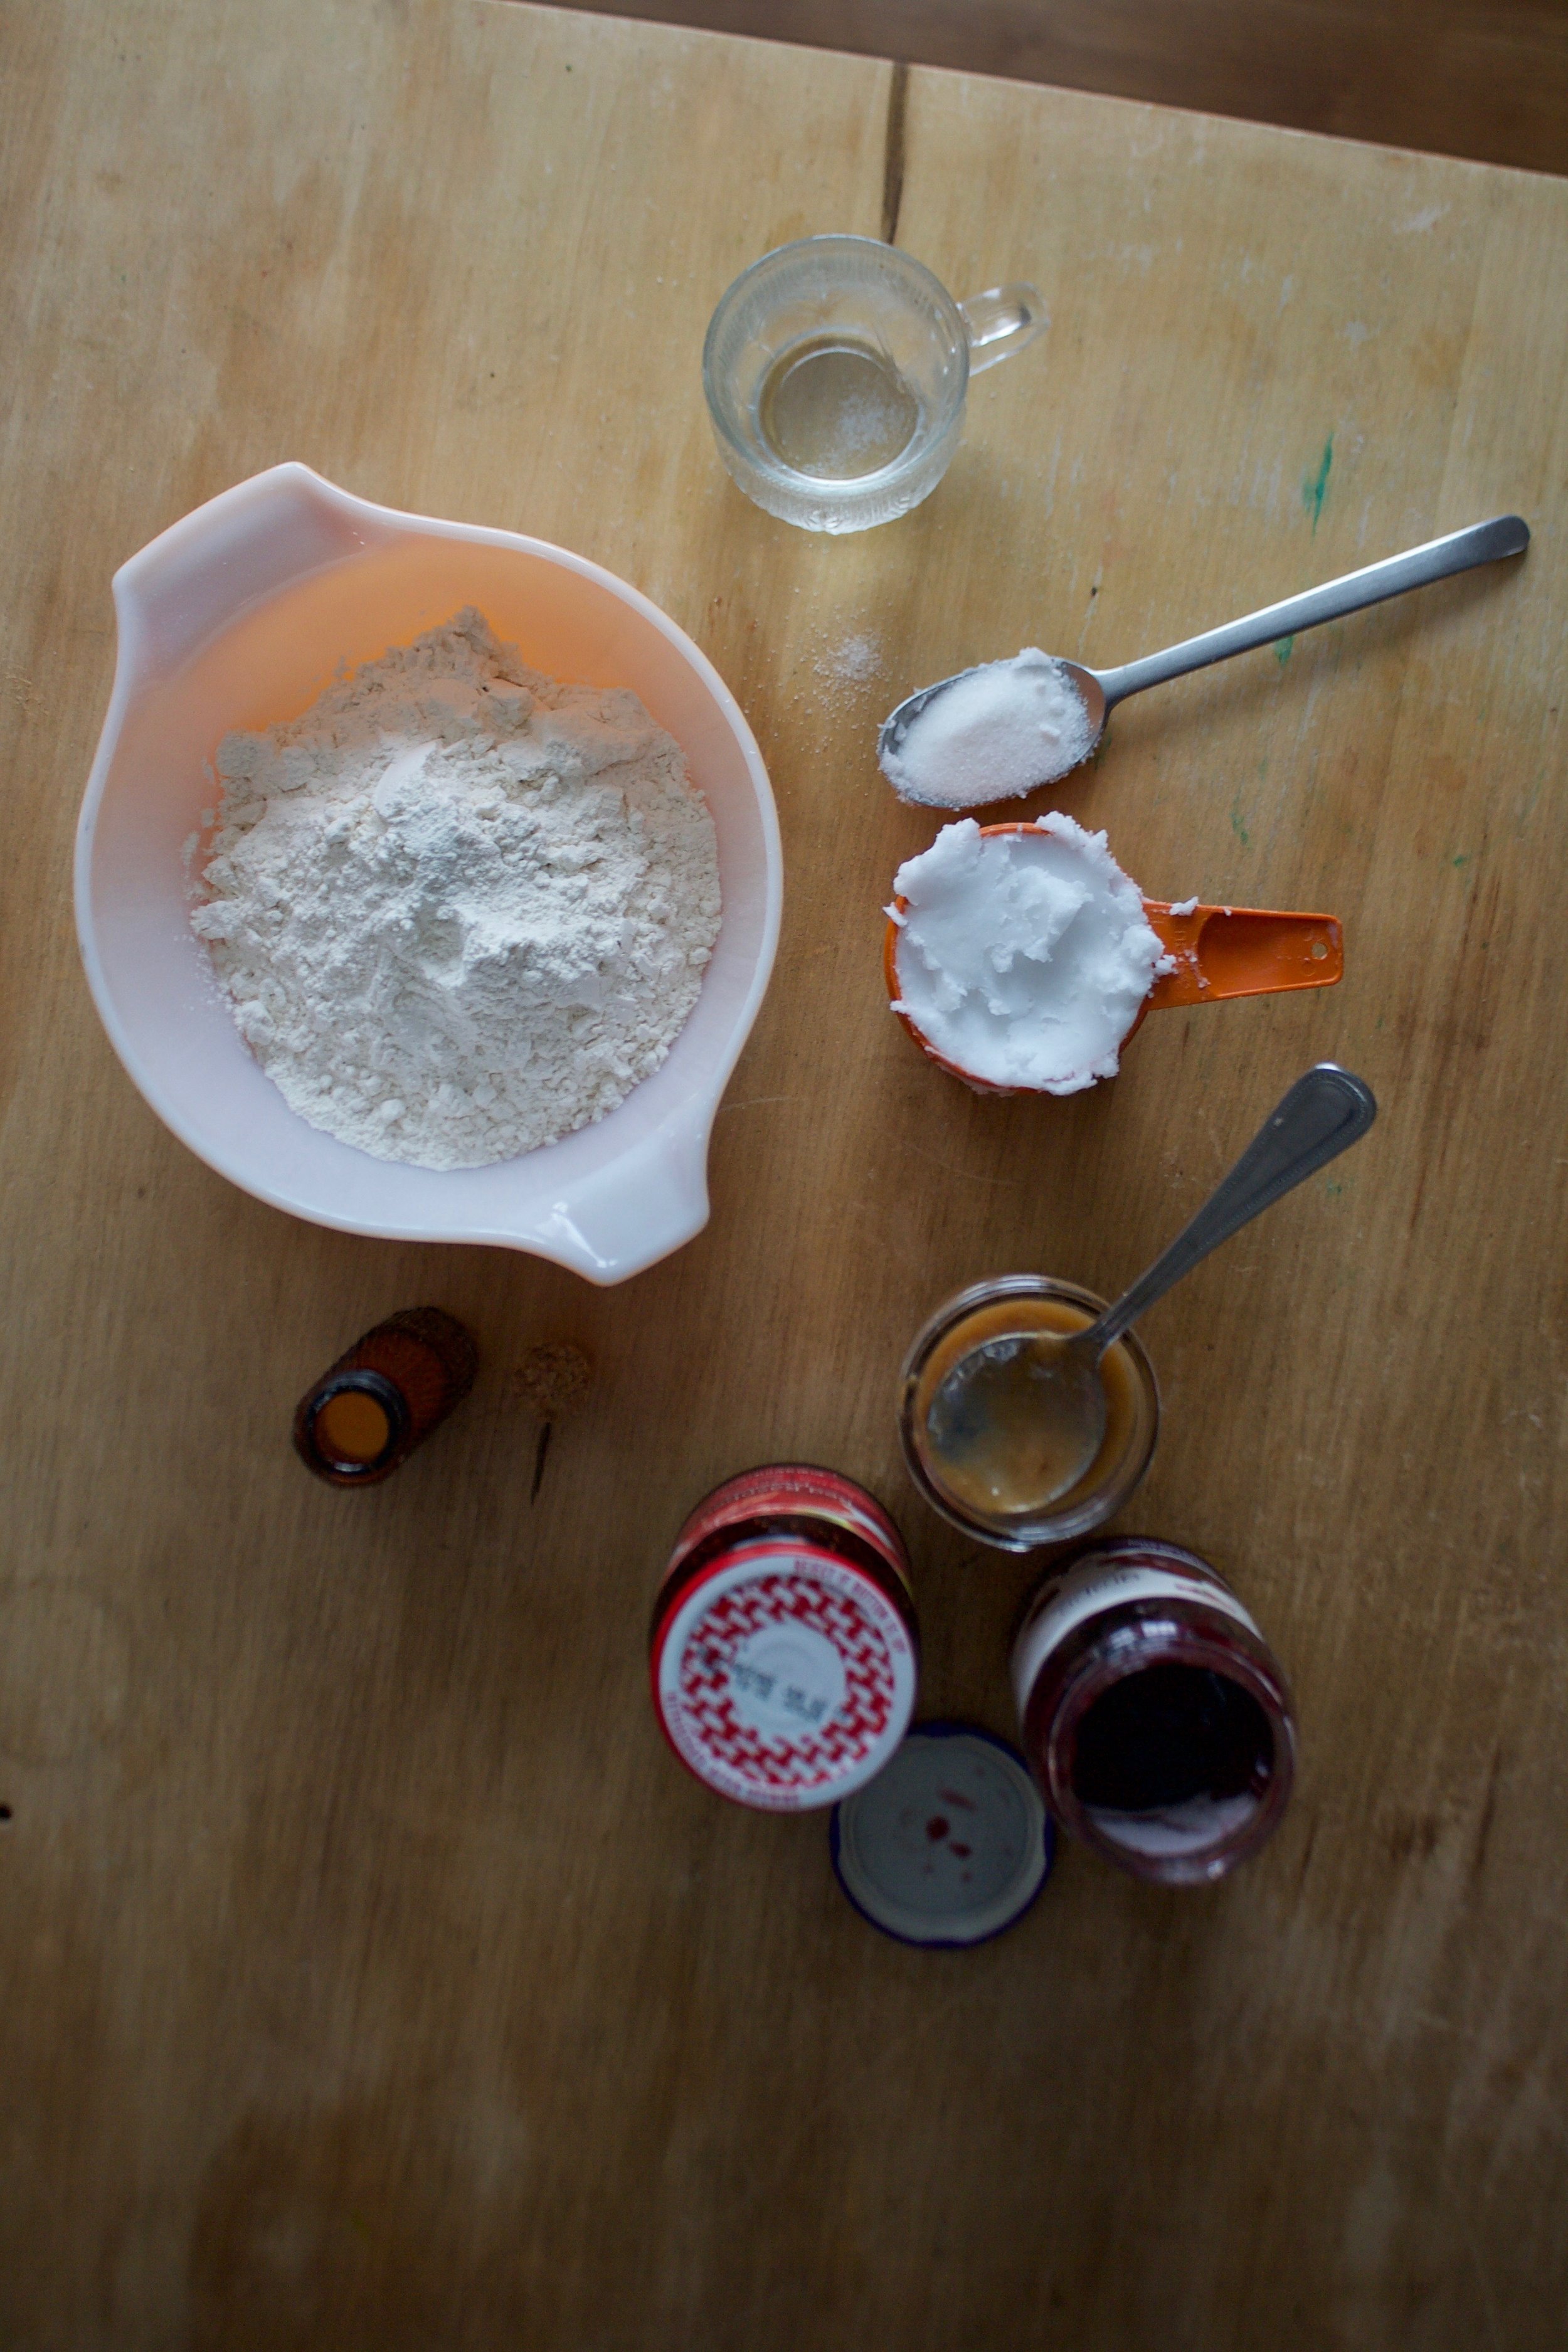
The stuff. Basically just pie crust things. Flour, a little sugar, salt, coconut oil, and ice water. Then you need jam. Jam or perseveres of any flavor(s)  you like. I used grape and rhubarb and  had raspberry here, but I didn't use it because I didn't want to open it. 

IMG_9992.jpg
IMG_9995.jpg

Make the crust. Flour gets mixed with the salt and sugar  and the the coconut oil gets cut in until it  looks all crumbly.

IMG_0005.jpg

The water is added  in tablespoons until a shaggy from forms.

IMG_0010.jpg

Dump the dough onto the counter to gather all together and rest for a bit. Or if you like, wrap in plastic and refrigerate  for up to a day or two.

IMG_0026.jpg

After the dough got a good rest, roll it out and cut your hearts out. (Not your actual heart. Please and thank you)

IMG_0034.jpg

Half of the hearts get a dollop of jam

IMG_0075.jpg

Then each heart gets a top and crimped together with a fork. Poke a little hole into the tops to allow for steam to escape then all of the hearts get stuck into the fridge (or place on the back porch) to get nice and cold for a bit.

 After the chill, off they go into the hot oven to bake and be.

IMG_0086.jpg

Look at these cuties. A little jam overflow, but all is good. 

IMG_0084.jpg

I decided last minute that they needed a little something. Powdered sugar, lime zest, and lime juice. The easiest of glazes. You could do lemon, or vanilla, or almond, or even melt a little chocolate and drizzle that on. Next time I will do chocolate because because. 

Drizzle that glaze all over. 

There you have it. The cutest little hand pies ever .

Share if you like, or just eat them all. They are your hearts so do what you will. 

-C


Jam Heart Hand Pies

makes 18  three inch pies

  • 2 1/4 cup flour
  • 1 teaspoon salr
  • 1 tablespoon sugar
  • 8 tablespoons ice water
  • 3/4 cup solid coconut oil
  • about 1 1/4 cups of some sweet ass jam (any kind you have)
  • 1 cup powdered sugar
  • 1 lemon or lime 

Combine the flour, salt and sugar in a large bowl. add coconut oil in large chunks then with a pastry cutter or a fork (I used a fork) cut the oil into the flour until the flour looks crumbly and there are lots of tiny little chunks of coconut oil throughout the mixture. Add in 5 of the tablespoons ice water, toss around, then add in another 3. Mix around until the dough starts to come together when squished. If it still seems too dry, add in a tablespoon or 2 more water. (I always end up using a little more in the winter months) You want the dough to just be able to come together. Dump dough onto counter and press and smoosh dough into a ball. Let dough sit for 1/2 hour or wrap in plastic and place in fridge and using within the next day or two. 

After the dough has had some time to sit, flour the counter and roll it out to about 1/2 inch thick. Take a cookie cutter ( I used a 3 inch at the widest part heart cookie cutter) and cut out the hearts (or whatever shape you want) Make sure you have 2 cutouts for each hand pie. After you have cut out as many as you can, gather dough into a ball and roll out again. Repeat until dough it gone. 

To assemble.

Place a tablespoon of jam into the middle of half of the cut out hearts . Gently place the remaining heart cut outs on top of those. . Take a fork and press the edges together and then with the fork or a knife, pierce of cut a small slit into the tops to allow the steam to escape while baking. I did this directly on the baking sheet but found out after it was easier to do on the counter and then move it to the baking sheet. Do what ever it easier for you. Once they are all assembled and on the baking sheet, refrigerate for 15 minutes. 

Preheat oven to 350

After the time in the fridge, remove and place directly into the hot oven. Bake for 20-25 minutes or until the bottoms are a nice   golden brown. The tops will be slightly pale so check the bottoms. 
Remove and let cool on the baking sheet. 

While they are cooing, make the glaze. Zest the lime and juice the lime and combine with the sugar. If it is too runny, add a little more sugar, too dry, add in a splash of water. Once the pies are cooled, drizzle each one with icing.

Now you have a bunch of cute little heart shaped hand pies and you should probably eat one (or a few)


In 5 ingerdients or less, breakfast, cookies, Dairy Free, desserts, fruit, pie, Sweets, Vegan Tags Jam Heart Hand Pies, vegan, vegan pie, jam pies, hand pies, Valentines Day, hearts, heart shaped dessert, dessert, love, plant based, coconut oil pie crust, pie crust
Comment

Blackberry Pie Crumble Squares

August 12, 2017 Colleen Stem
IMG_6368.jpg
IMG_6384.jpg

The house next door to us is for sale and in the backyard of the house is a whole lot of blackberry bushes. The mr and I have been hopping the fence over there like ninjas and filling large bowls of berries and sneaking back home to eat our weight in those blackberries. (Ok, not entirely true. We are not good enough ninjas to jump the fence so we have been walking through the fence gate. Plus we checked with the current owner, she told us to pick all we wanted to. We are not asshole ninjas stealing fruit)

So many berries. I check every few days and they just keep on coming and I am not one to let perfectly good berries (or any food) go to waste, so I just keep picking. I froze some , ate so so many, and then I was going to make a straight up pie but decided to do pie bars instead because one, I couldn't find my pie plate (I think Shannon has it) and two, these are just a bit less formal, like pie can sometime be. Plus easier to share because they are cut into little squares and hold there shape really well. And lets be honest, I didn't want to have to roll out pie dough if I didn't have to.

Such a good way to use up and share an excess of berries. Now off you go to make some pie crumble bars while I go play with the kittens (I'll tell you all about the kittens tomorrow....)

The stuff. Flour, sugar, baking powder, and salt. A little soy milk and coconut oil, a lemon, and arrowroot powder. And of course lots of blackberries.

IMG_6280.jpg
IMG_6281.jpg

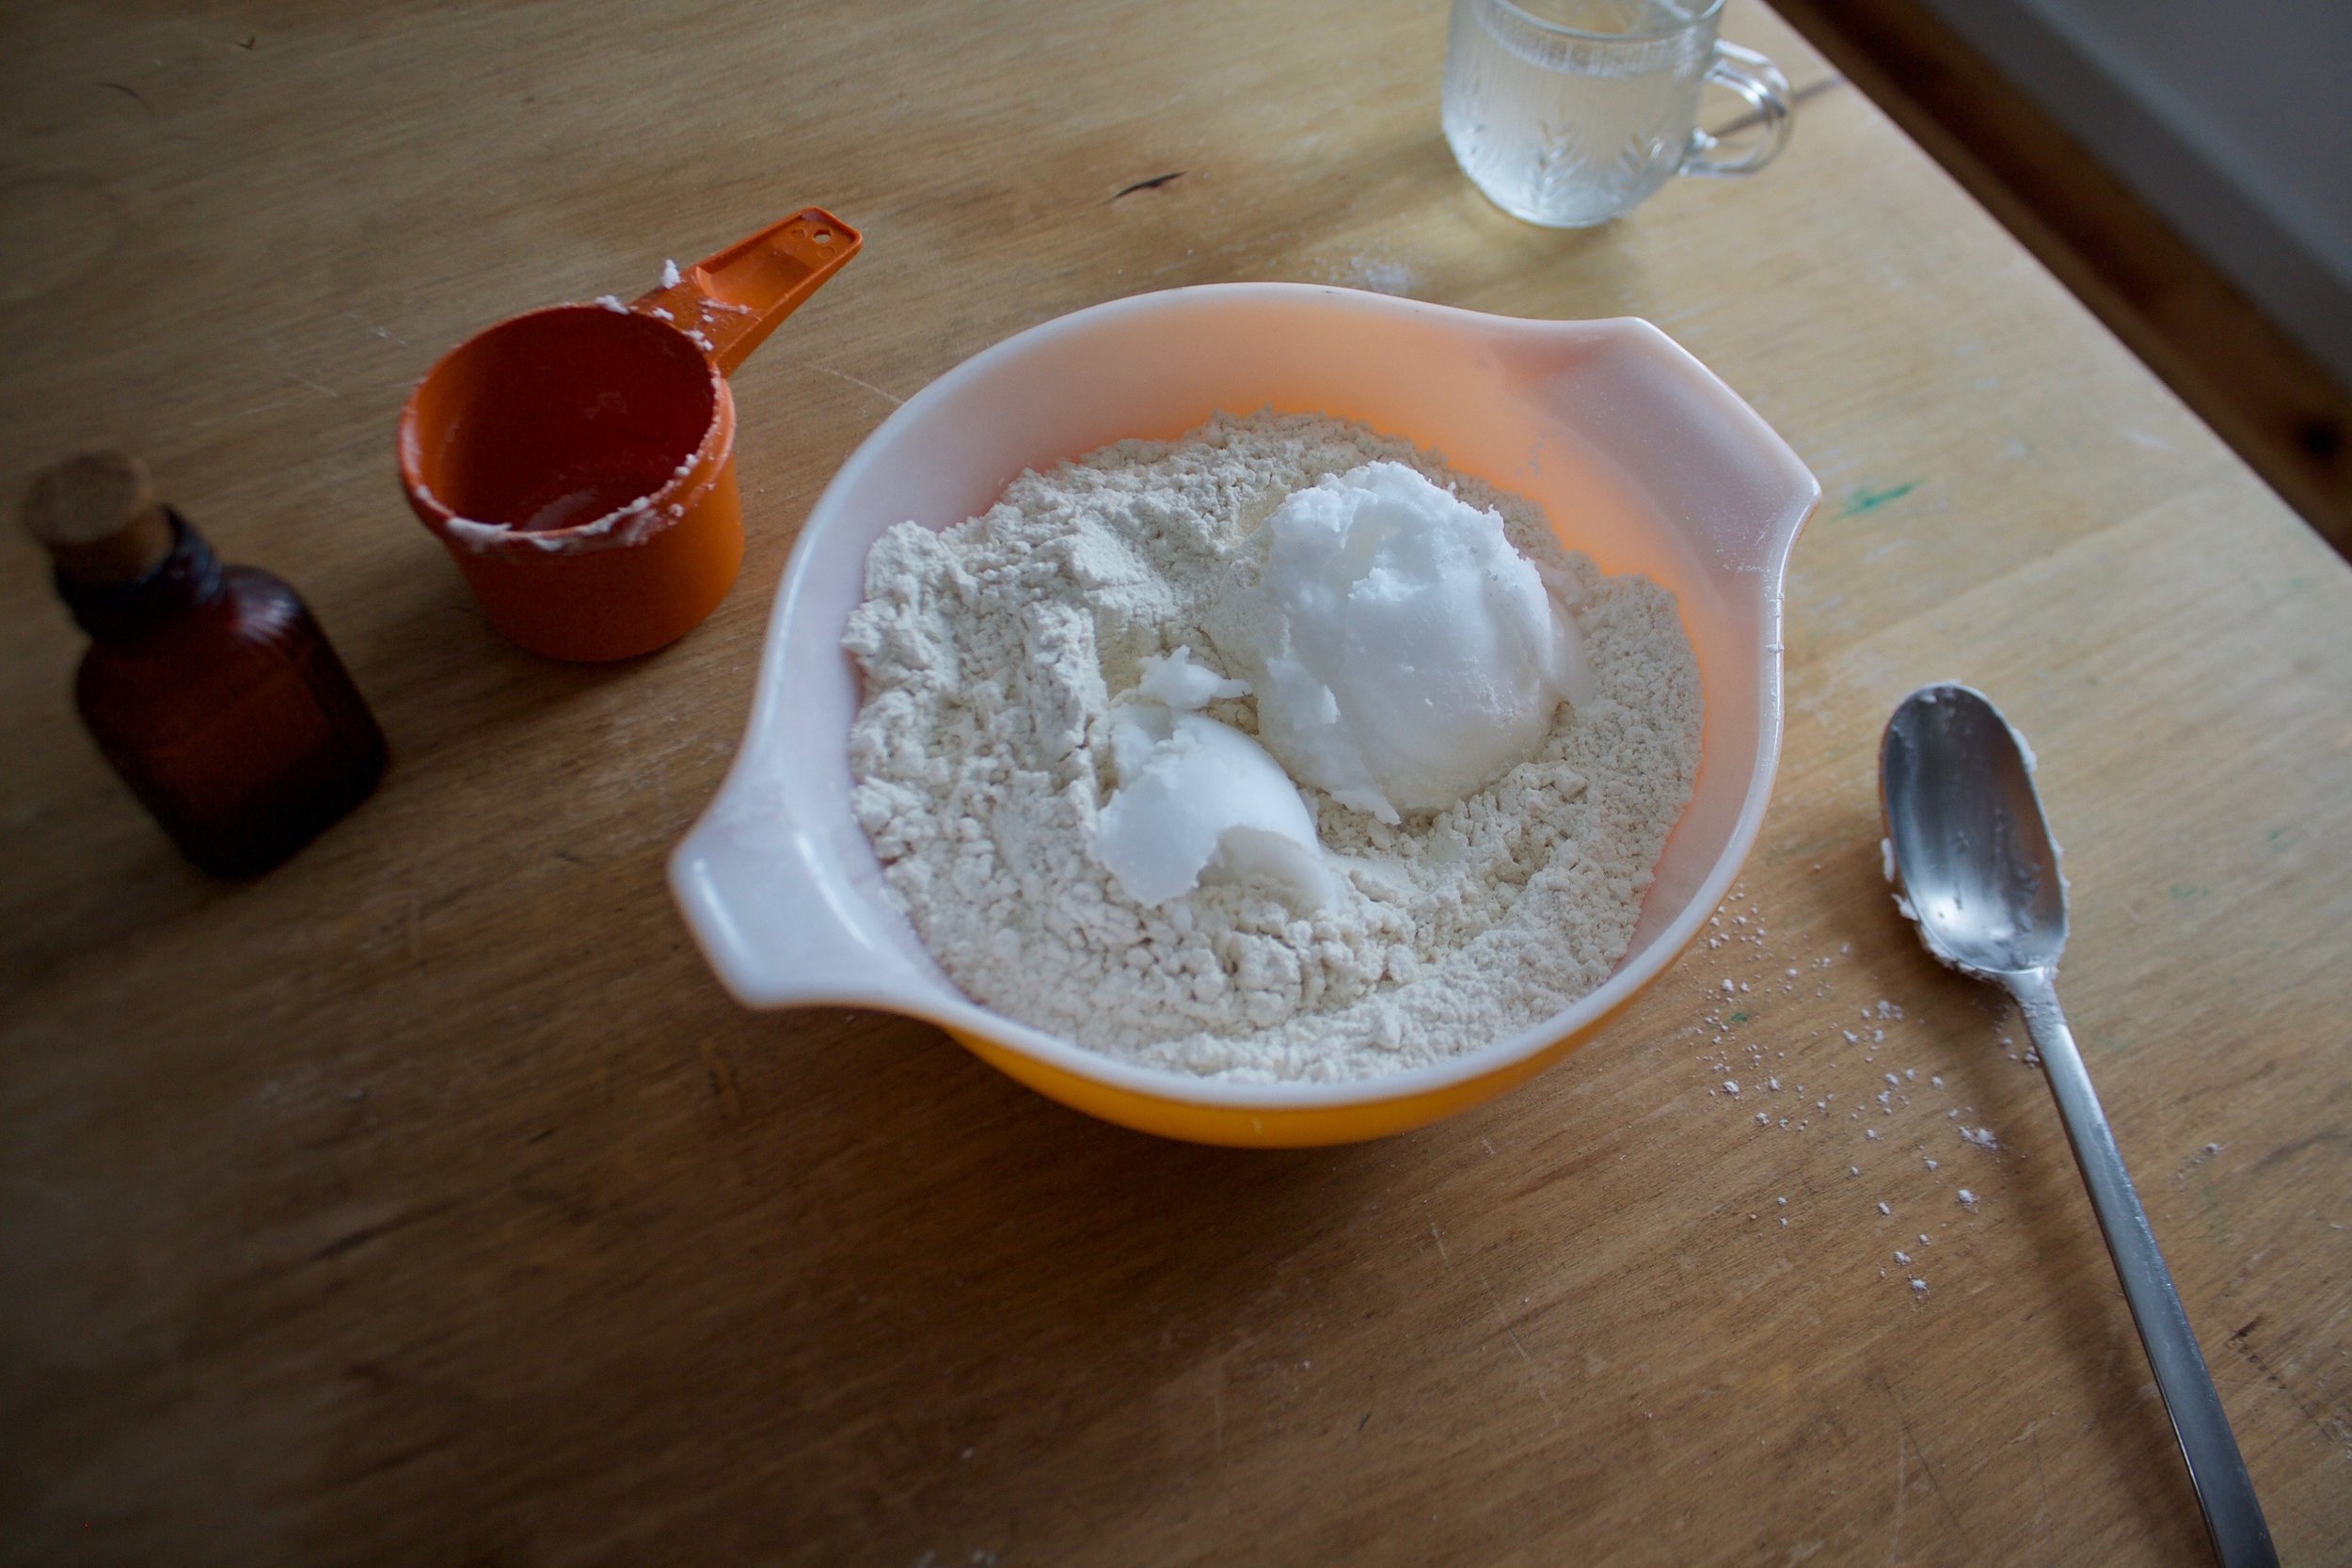
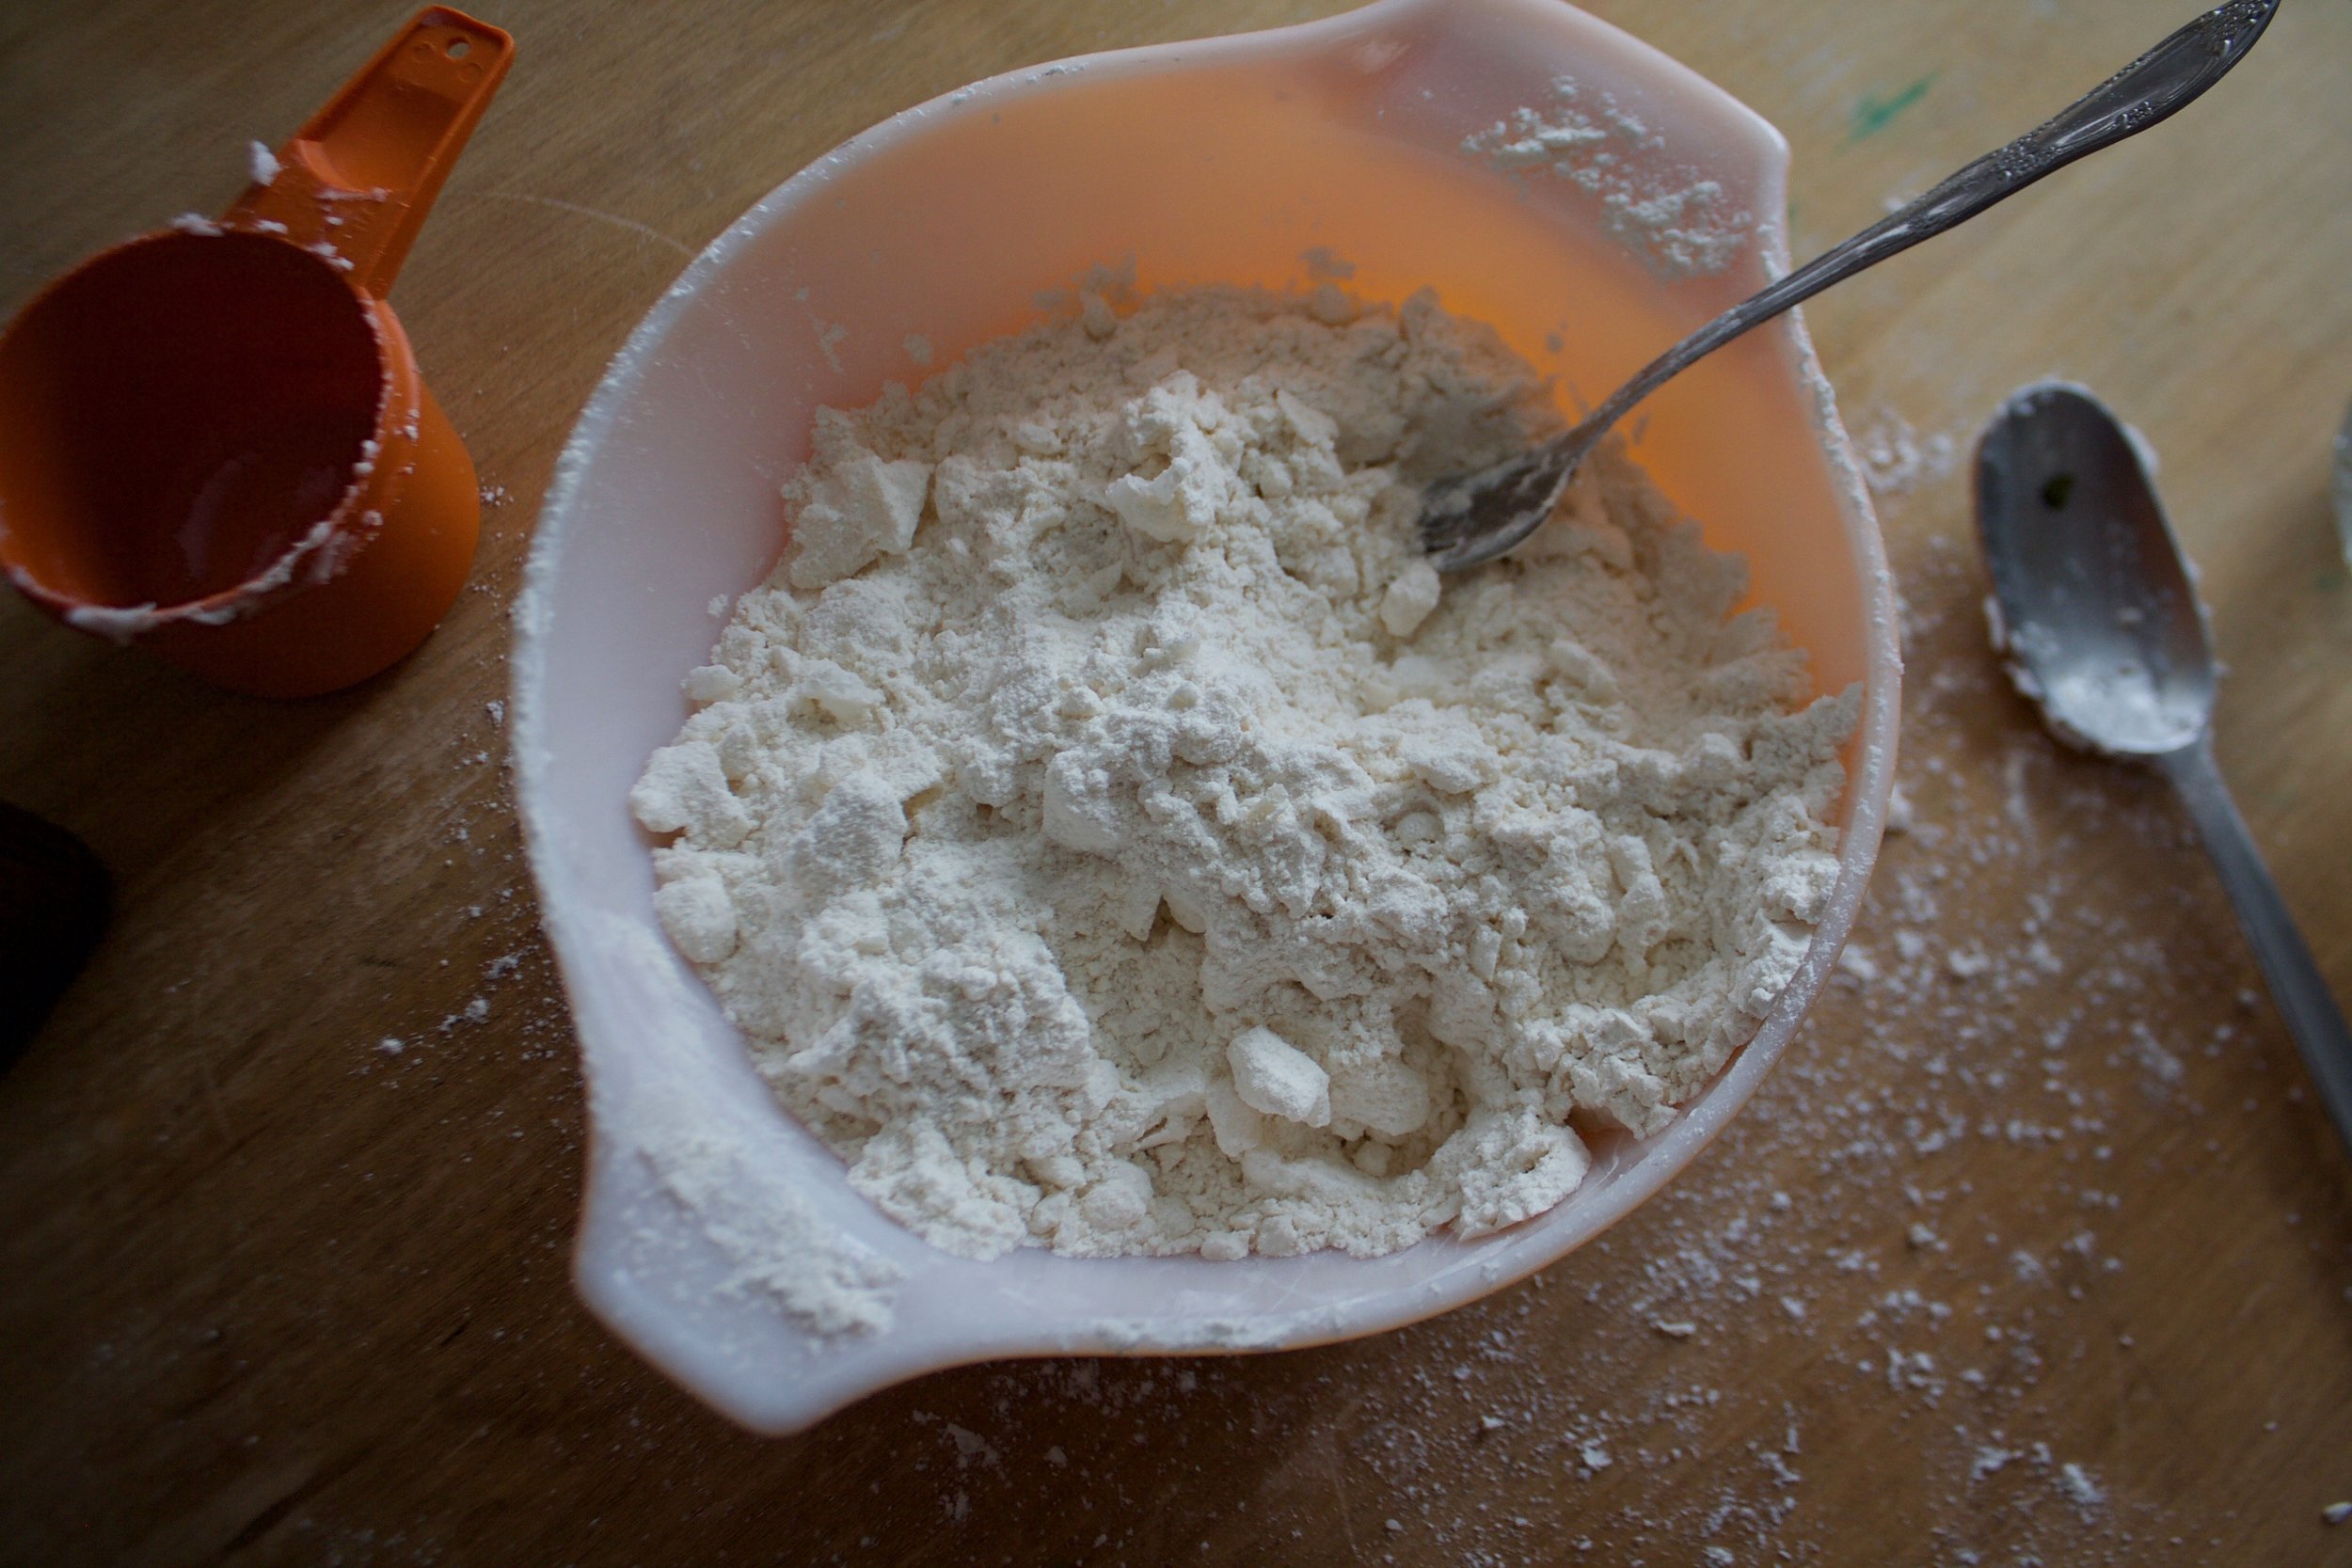
The flour, salt, baking soda, and sugar get mixed in a big bowl then the coconut oil get mixed in into a crumble.  Now in goes the soy milk to get it all a little wet.

A little more then half the mixture gets patted down into a greases and lined pan

Berries, sugar, arrowroot powder, lemon juice and lemon zest go into a bowl. Give it a mix.

Dump and distribute all over recently patted down dough..

And crumble the rest of the crumble all over the top.

Now into the oven it go.

All cooked and cooling while you put away the clean dishes (or anything that will distract you for at least a half hour while they cool.)

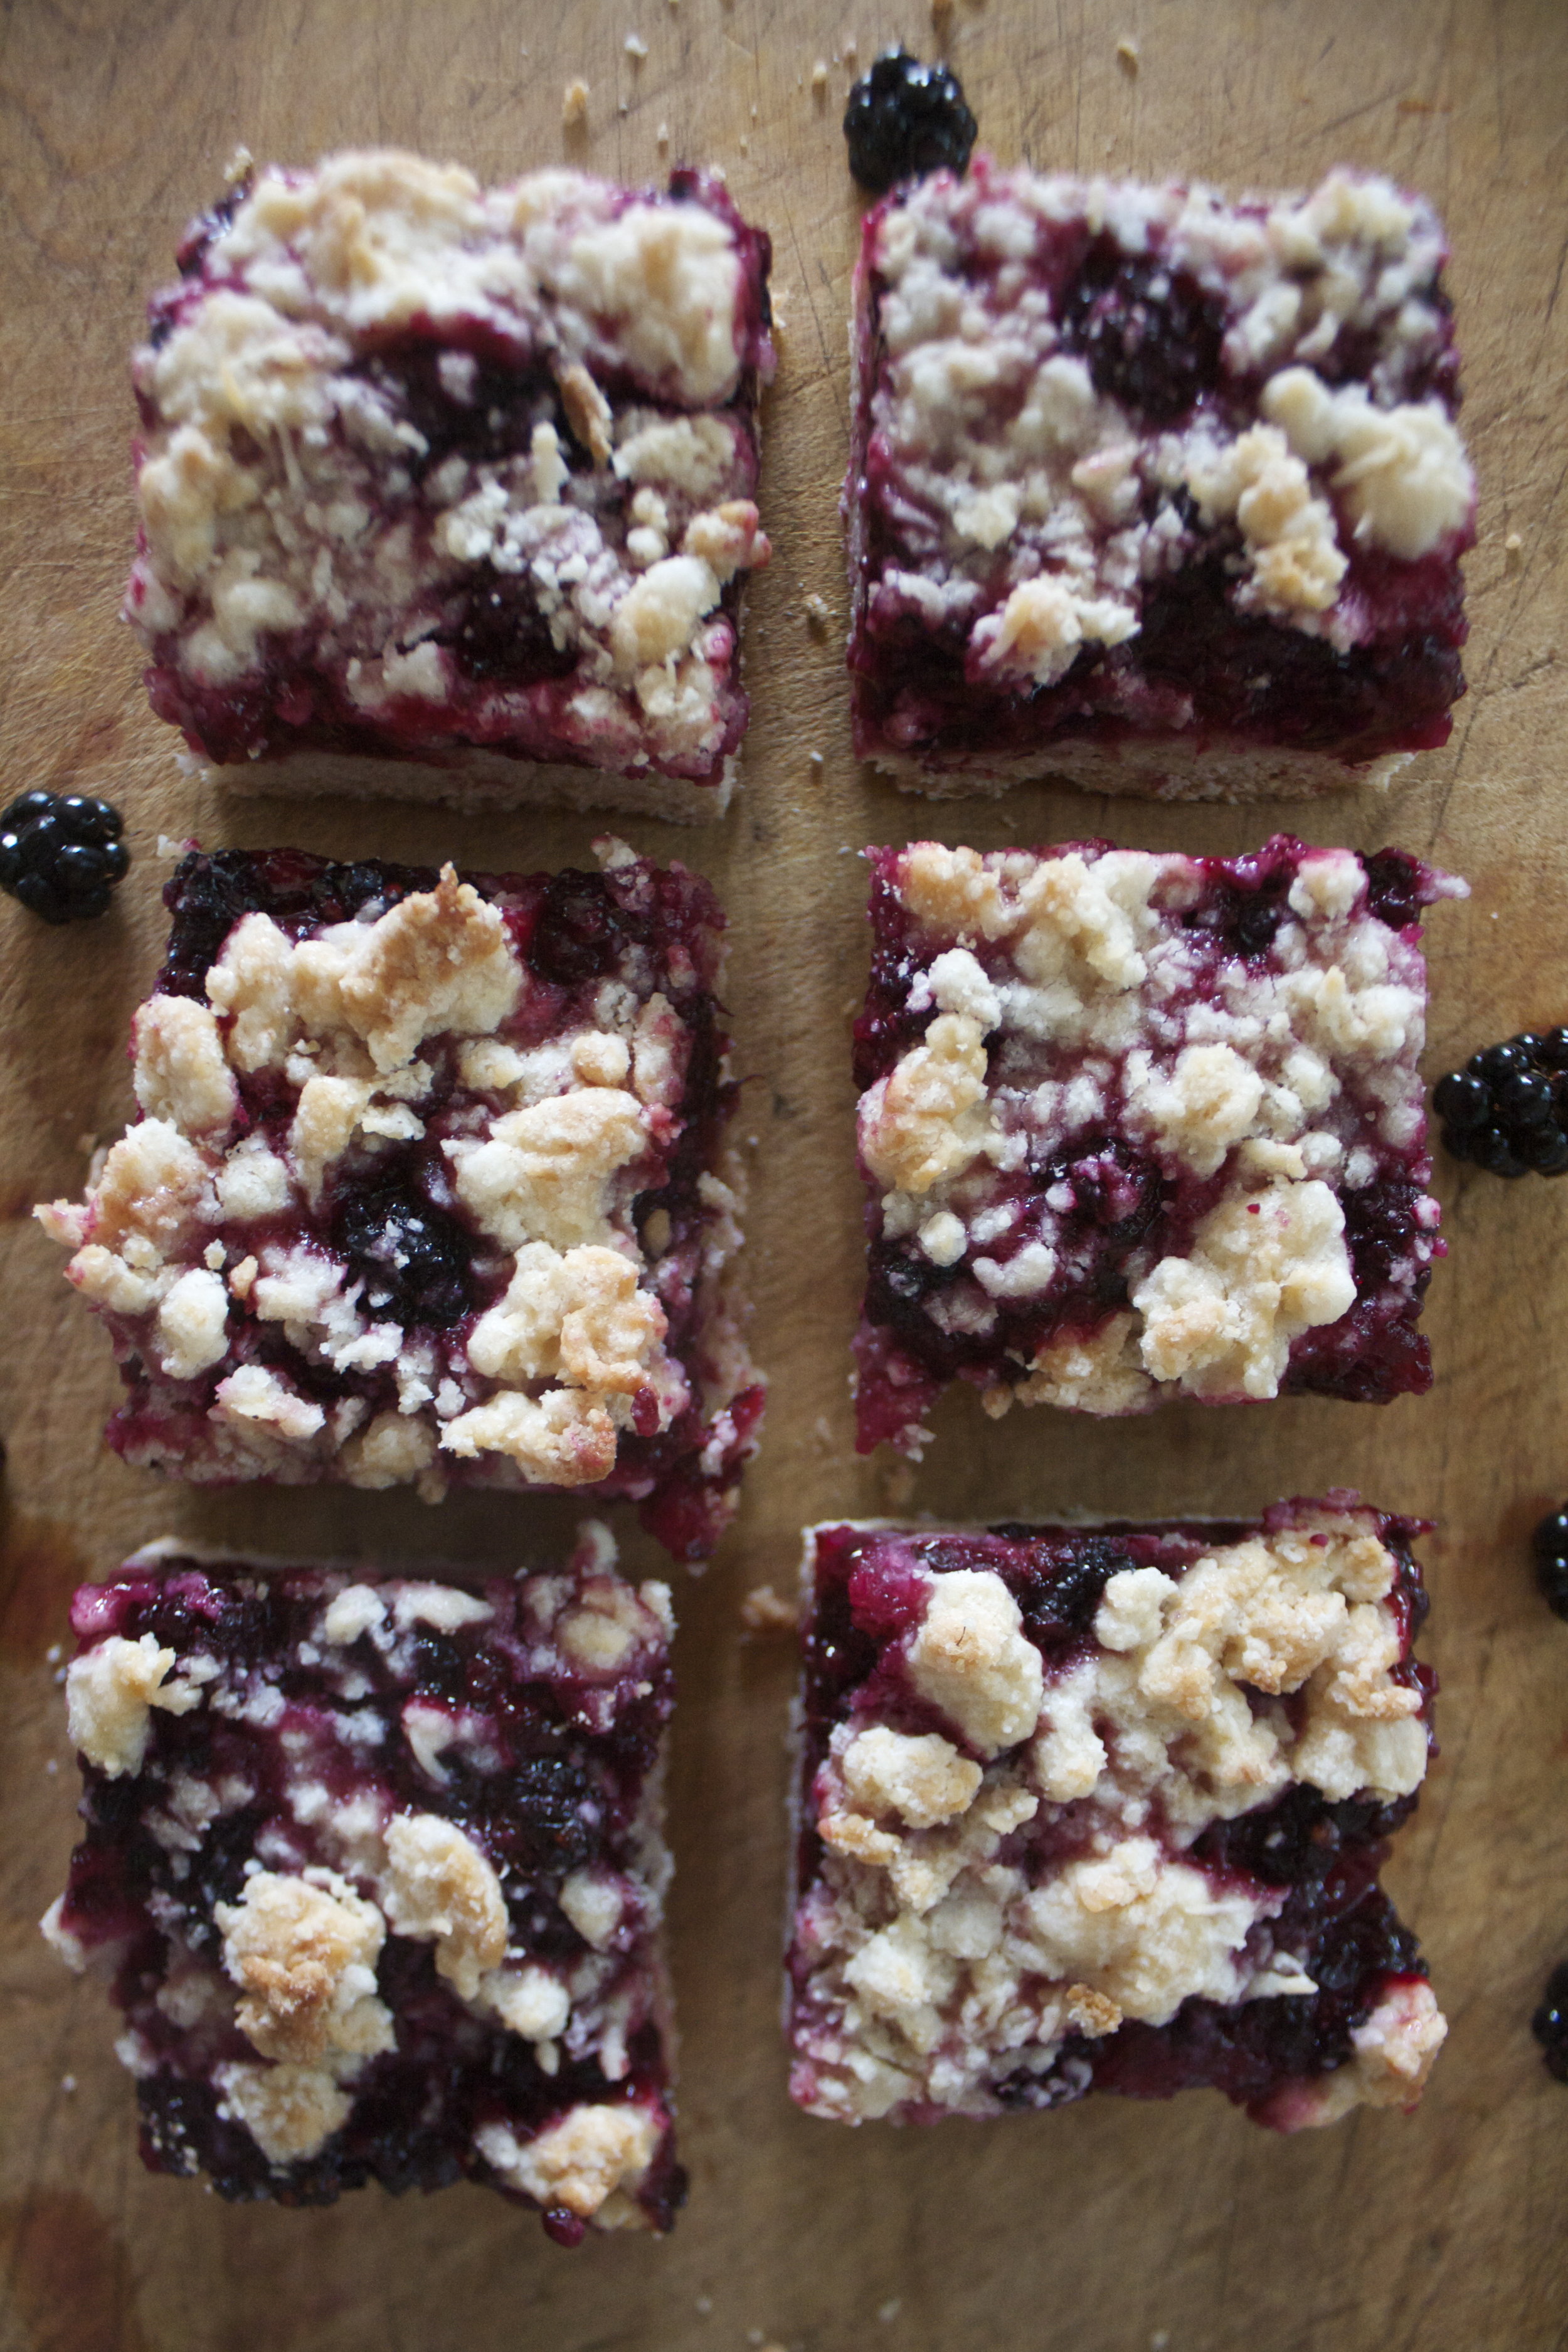
And when they have cooled enough to cut, it's time for you to eat.

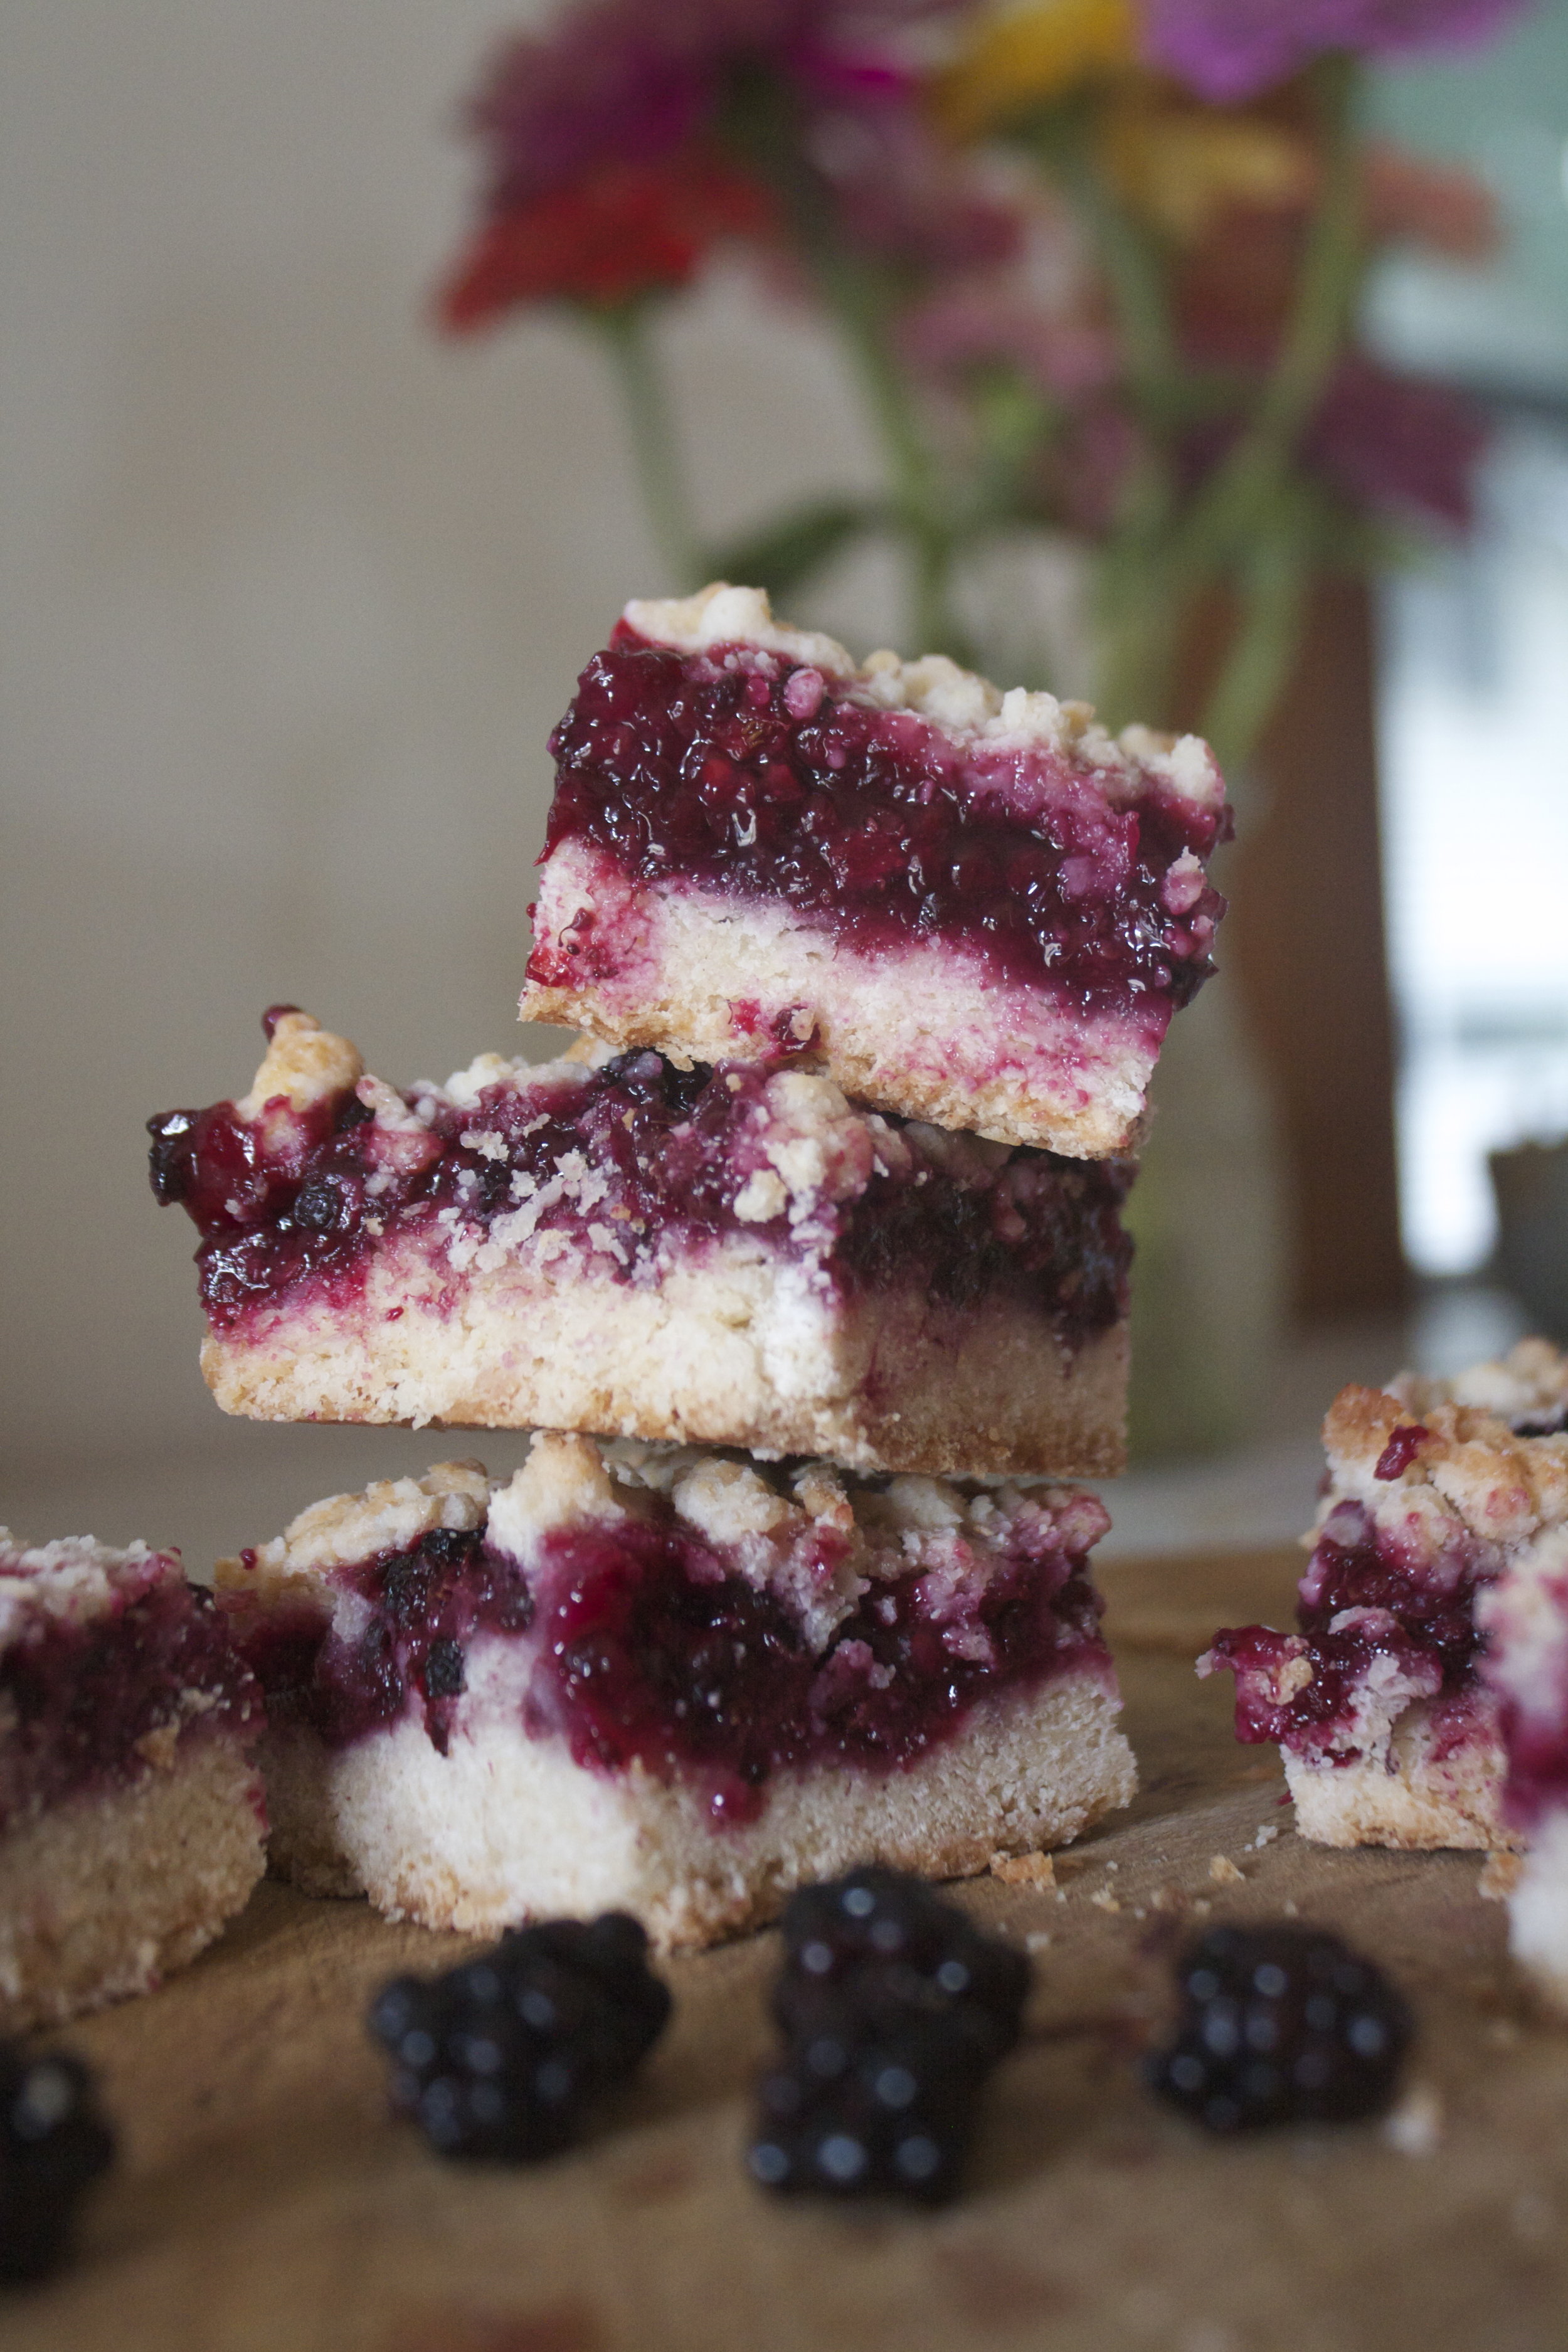
And yes, these are totally perfect for dessert and breakfast.

-C


Blackberry Pie Crumble Squares

makes 16 squares

For the crust

  • 2 1/2 cups flour
  • 1 teaspoon baking powder
  • 1/2 teaspoon salt
  • 2/3 cup coconut oil melted then cooled to soft
  • 2/3 cup cane sugar
  • 4 tablespoons soy milk

For the berry filling

  • 3 cups fresh blackberries
  • 3 tablespoons arrowroot powder
  • 1/3 cup cane sugar
  • zest and juice of a lemon

Preheat oven to 375

Mix the flour, sugar, salt, and baking powder together in a large bowl. Add in coconut oil and incorporate with a fork or pastry cutter until the dough looks crumbly, add in soy milk and mix in with for again just til until incorporated. (think pie dough-like)  Don't worry if some of the dough seems dry, it's fine.

Grease and line a 9x9 pan. Dump a little more then half of the dough mixture in and pat down to cover bottom of pan. Try to make sure it's all an even thickness.

In a separate bowl, toss together the berries, sugar, arrowroot powder, lemon zest and juice of that lemon. Dump the mixture into pan and evenly distribute over dough. Take the remaining dough and crumble all over the top then just stick it into the hot oven.

Bake for about 50 minutes or until the crumble on top is a nice golden brown.

Remove and let cool completely before cutting.

Cut then eat.

Store squares in fridge, some even say they taste better cold.

In Vegan, Sweets, summer, fruit, desserts, Dairy Free, cookies, pie Tags blackberry pie, crumb bars, vegan, plant based, king arthur flour, local, coconut oil, summer
Comment
 

https://thelovelycrazy.squarespace.com/config#/|/about/

Me. Food Maker.Food eater. Woo HOO!

STEM+NODE  SMALL BATCH AND ONE OF A KIND POTTERY

stem+node ceramics


____________________

Subscribe

GET NEW POSTS IN YO EMAIL

You are AWESOME!!!


@thelovelycrazy 2014-2021