• stem+node ceramics
  • HOME
  • Food Recipes
  • About
  • Contact
Menu

The Lovely Crazy

Street Address
City, State, Zip
Phone Number

Your Custom Text Here

The Lovely Crazy

  • stem+node ceramics
  • HOME
  • Food Recipes
  • About
  • Contact

Clementine Cake

December 28, 2019 Colleen Stem
IMG_4524.jpg
IMG_4602.jpg

It’s not too late to get in a little end of the year baking. It is actually the perfect time to bake. All the holiday hub bub is still going on so there is usually still people all around still willing and able to eat your offerings (if you were so inclined to share), the days just feel more slow and of need of warmth and lovely smells. Plus we need something to do while while waiting for New Years, because we are just all sitting around waiting for that ball to drop, right? HAHAHA. No.

Anyway, I have been wanting to make some version of a boiled clementine cake for a while now. I love that fact the the whole clementine goes into the cake, that there is no peeling or zesting or juicing. It is just boil the clems for a little while to get the bitterness out and you are good to go. And it doesn’t hurt that right now is citrus season so I have a humngo bowl of clementines, plus a shit load of other oranges and other citrus to go through so the thought of tossing a good few clementines into a cake, well it was just what needed to be done.

And the family is coming over to eat and trash my house so I needed another dessert besides the half eaten ice cream cake left in the freezer from Camereon’s birthday/Christmas. So I baked that they will eat. And there we go. Win win.

Now to the clementine cake.

The stuff. Flour, baking powder and soda, salt, sugar, oil, cinnamon, vinegar, clementines, and powdered sugar.

First you need to boil the clementines. Big pot, fill with water, place clems inside, bring to a boil, then simmer for 2 hours. Seems like a long time but just do it while you are making and drinking coffee or doing laundry or whatever. You don’t need to keep an eye on them, other then to check that the water hasn’t evaporated, and it smells so nice.

After the 2 hours are up, remove clementines from water and let cool enough to handle. Cut in half. If there are giant seeds, remove them.

IMG_4432.jpg
IMG_4446.jpg

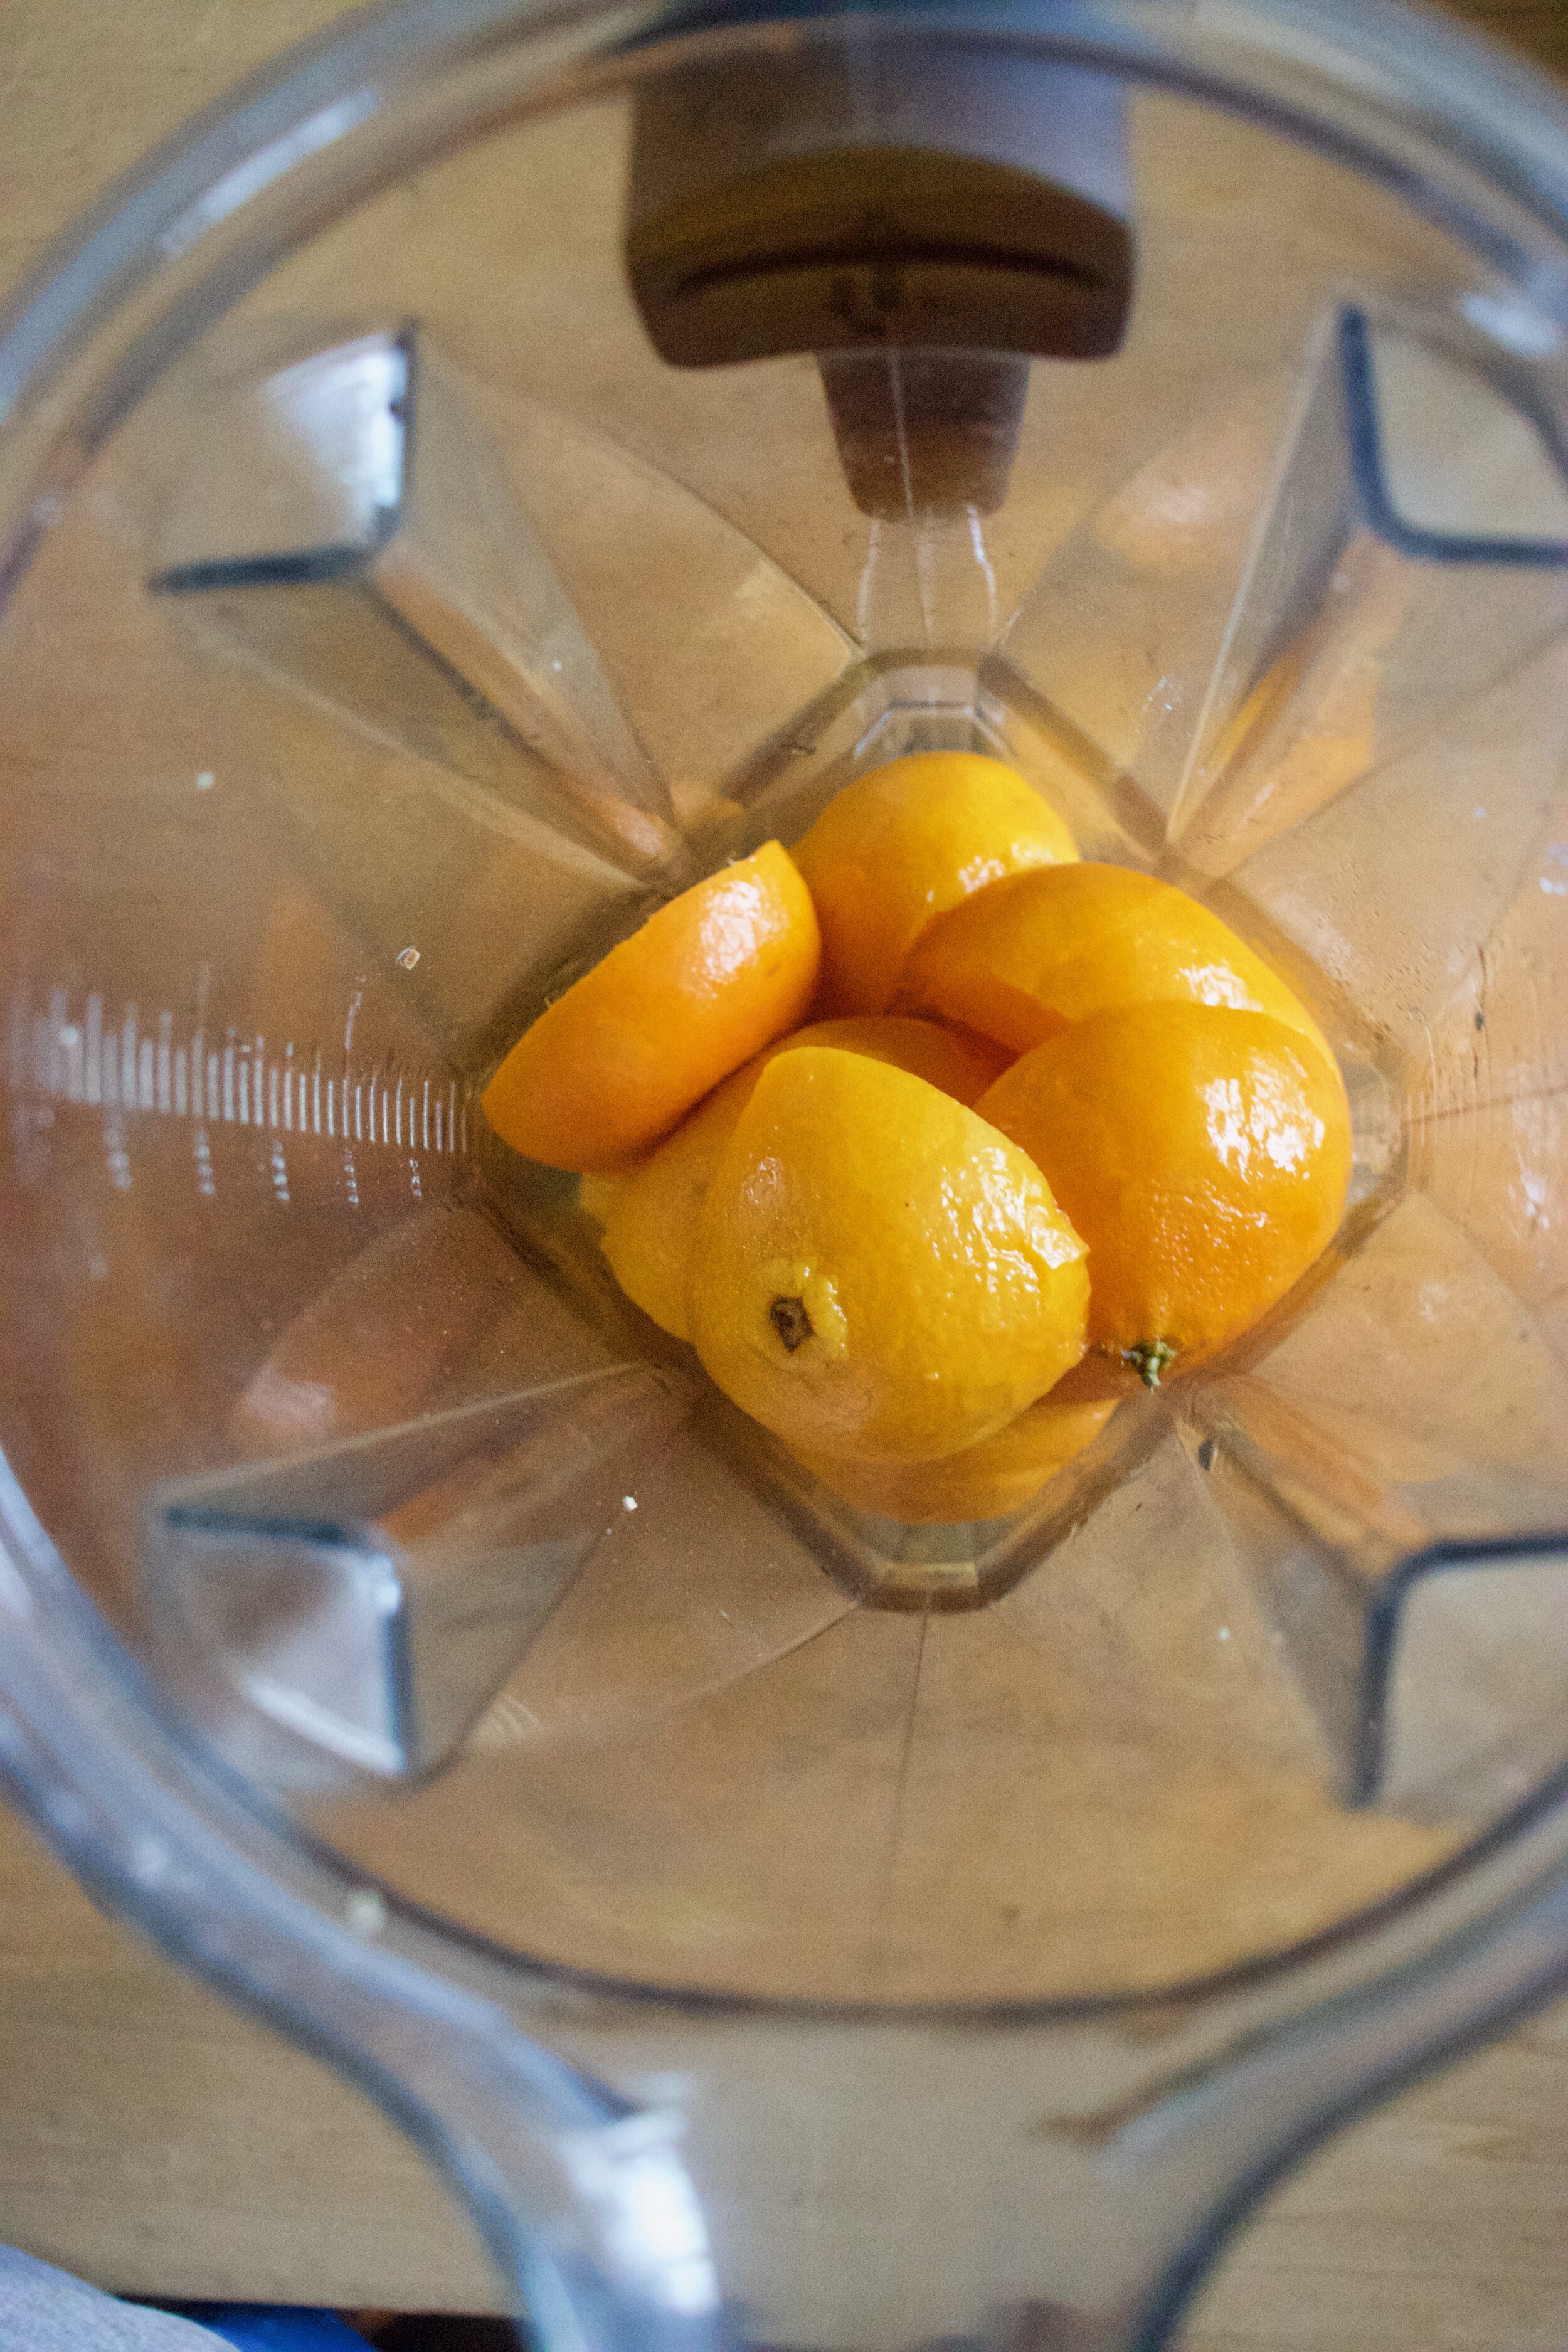
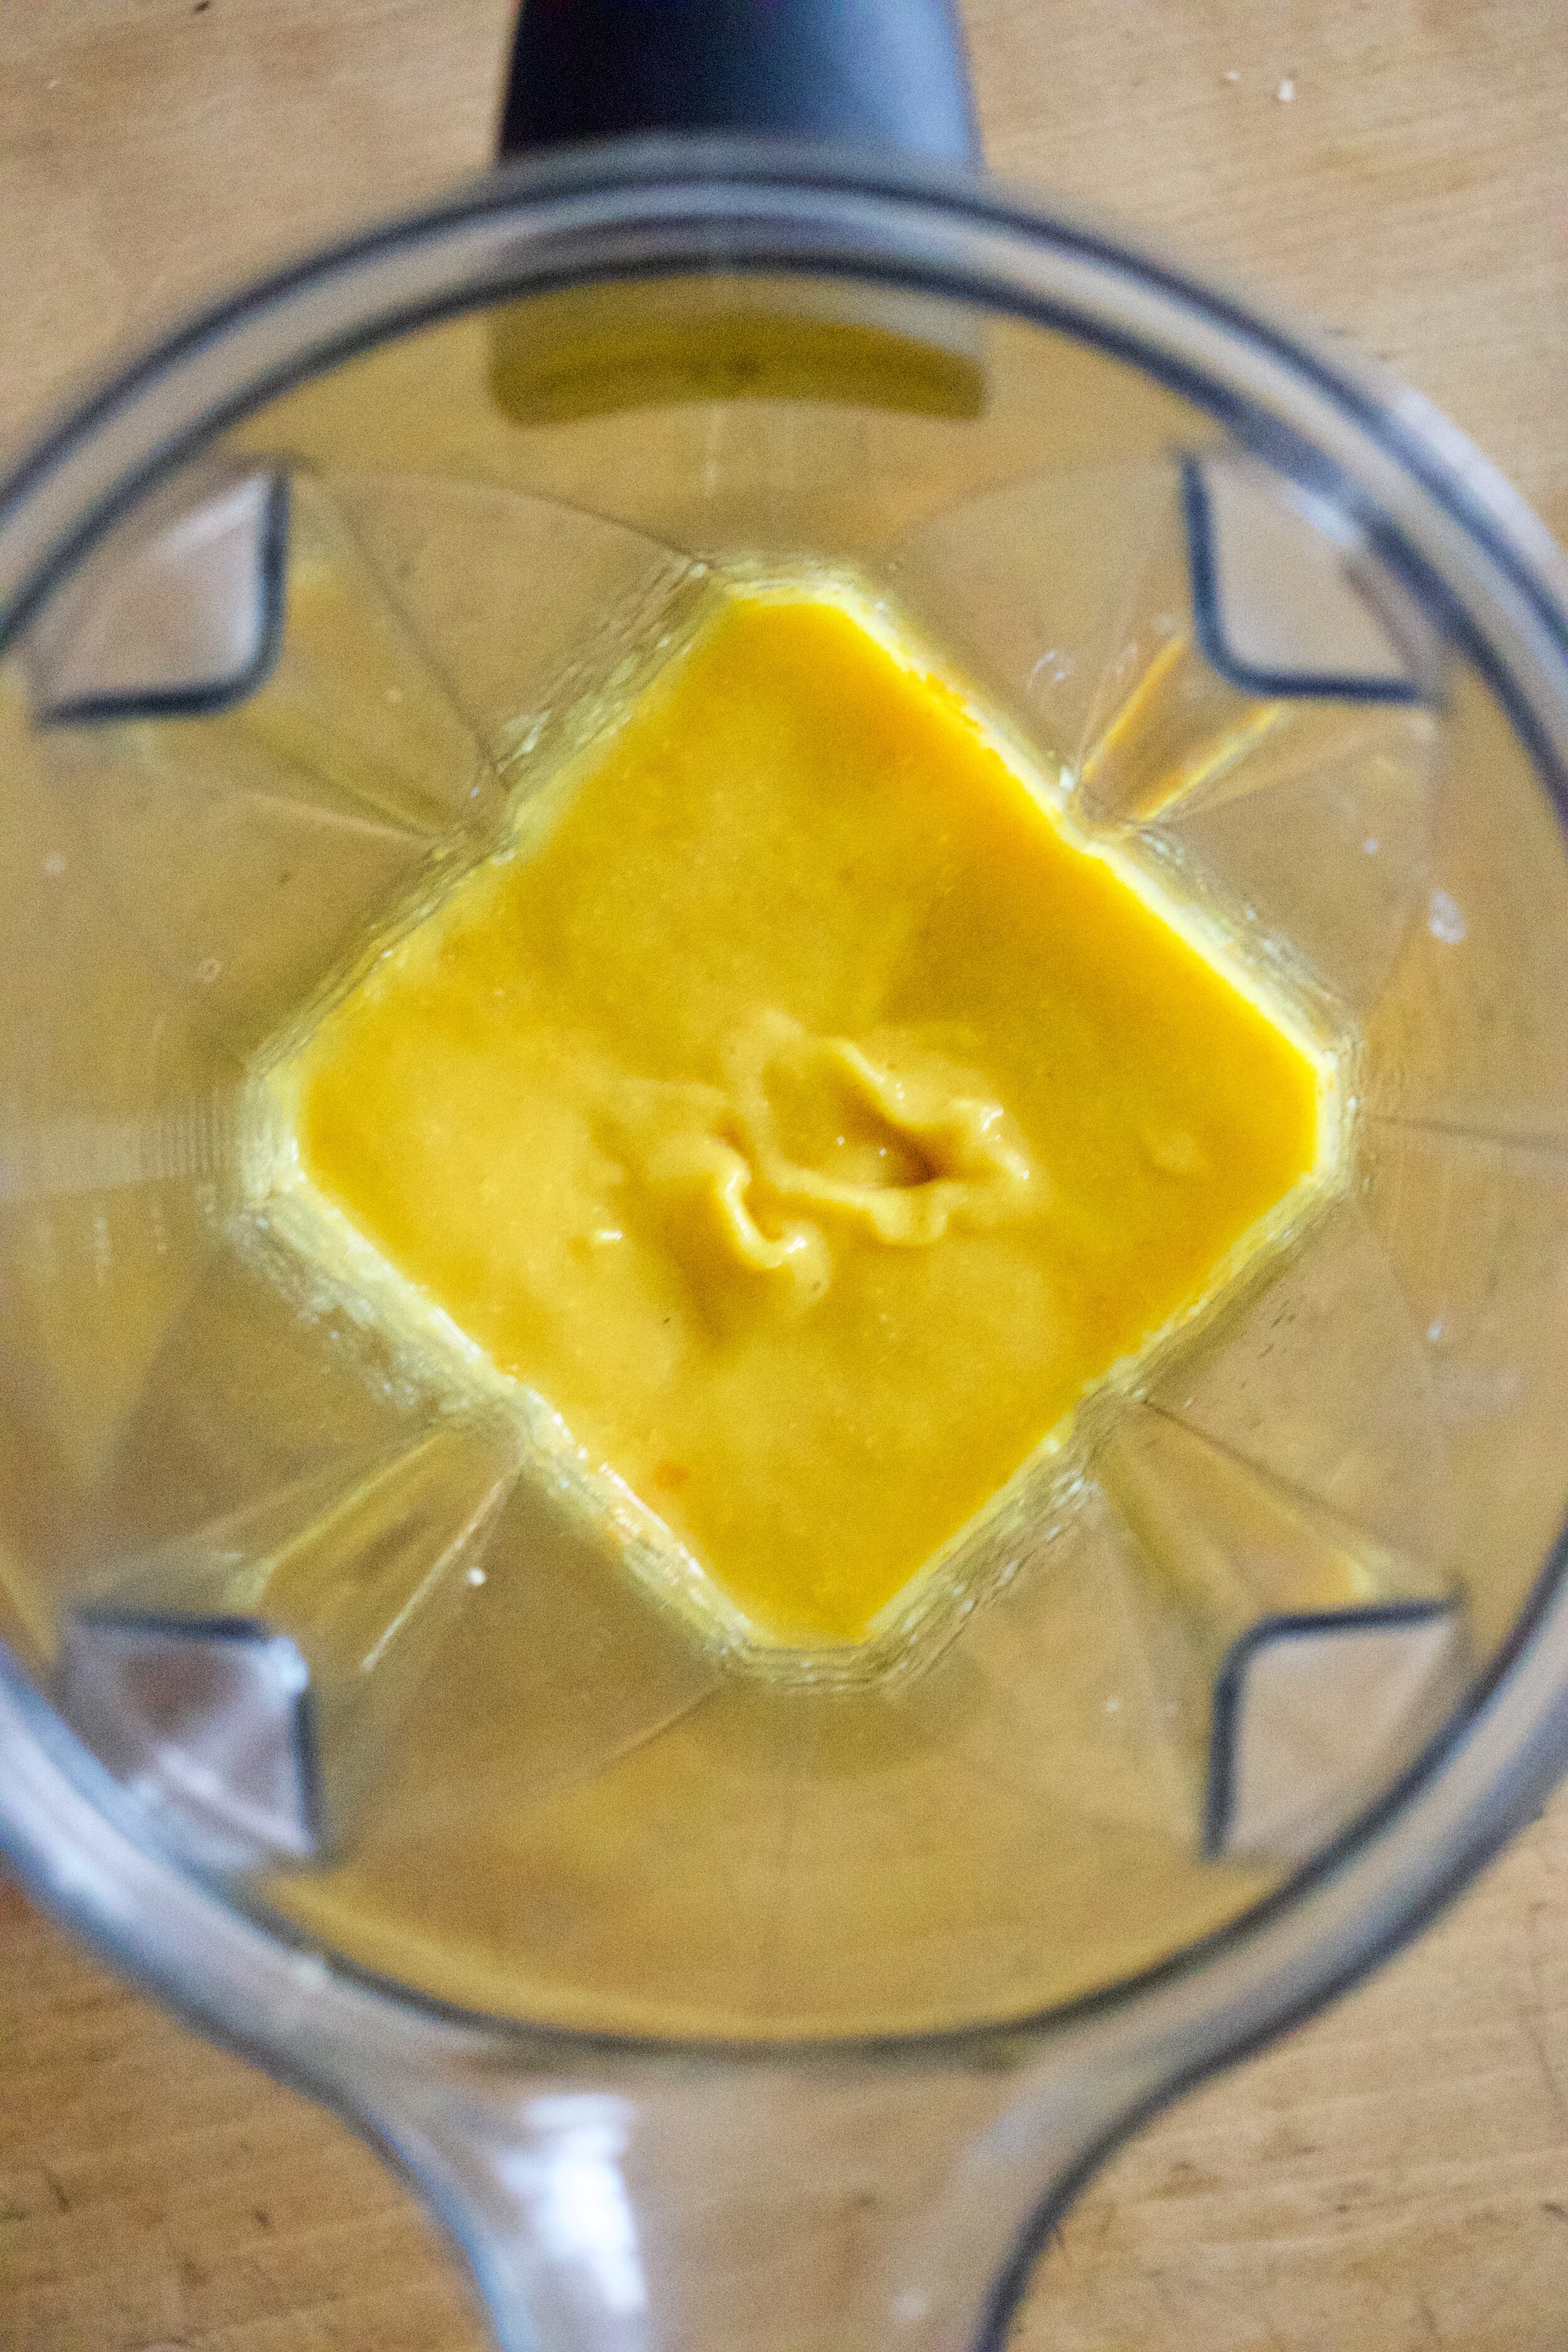
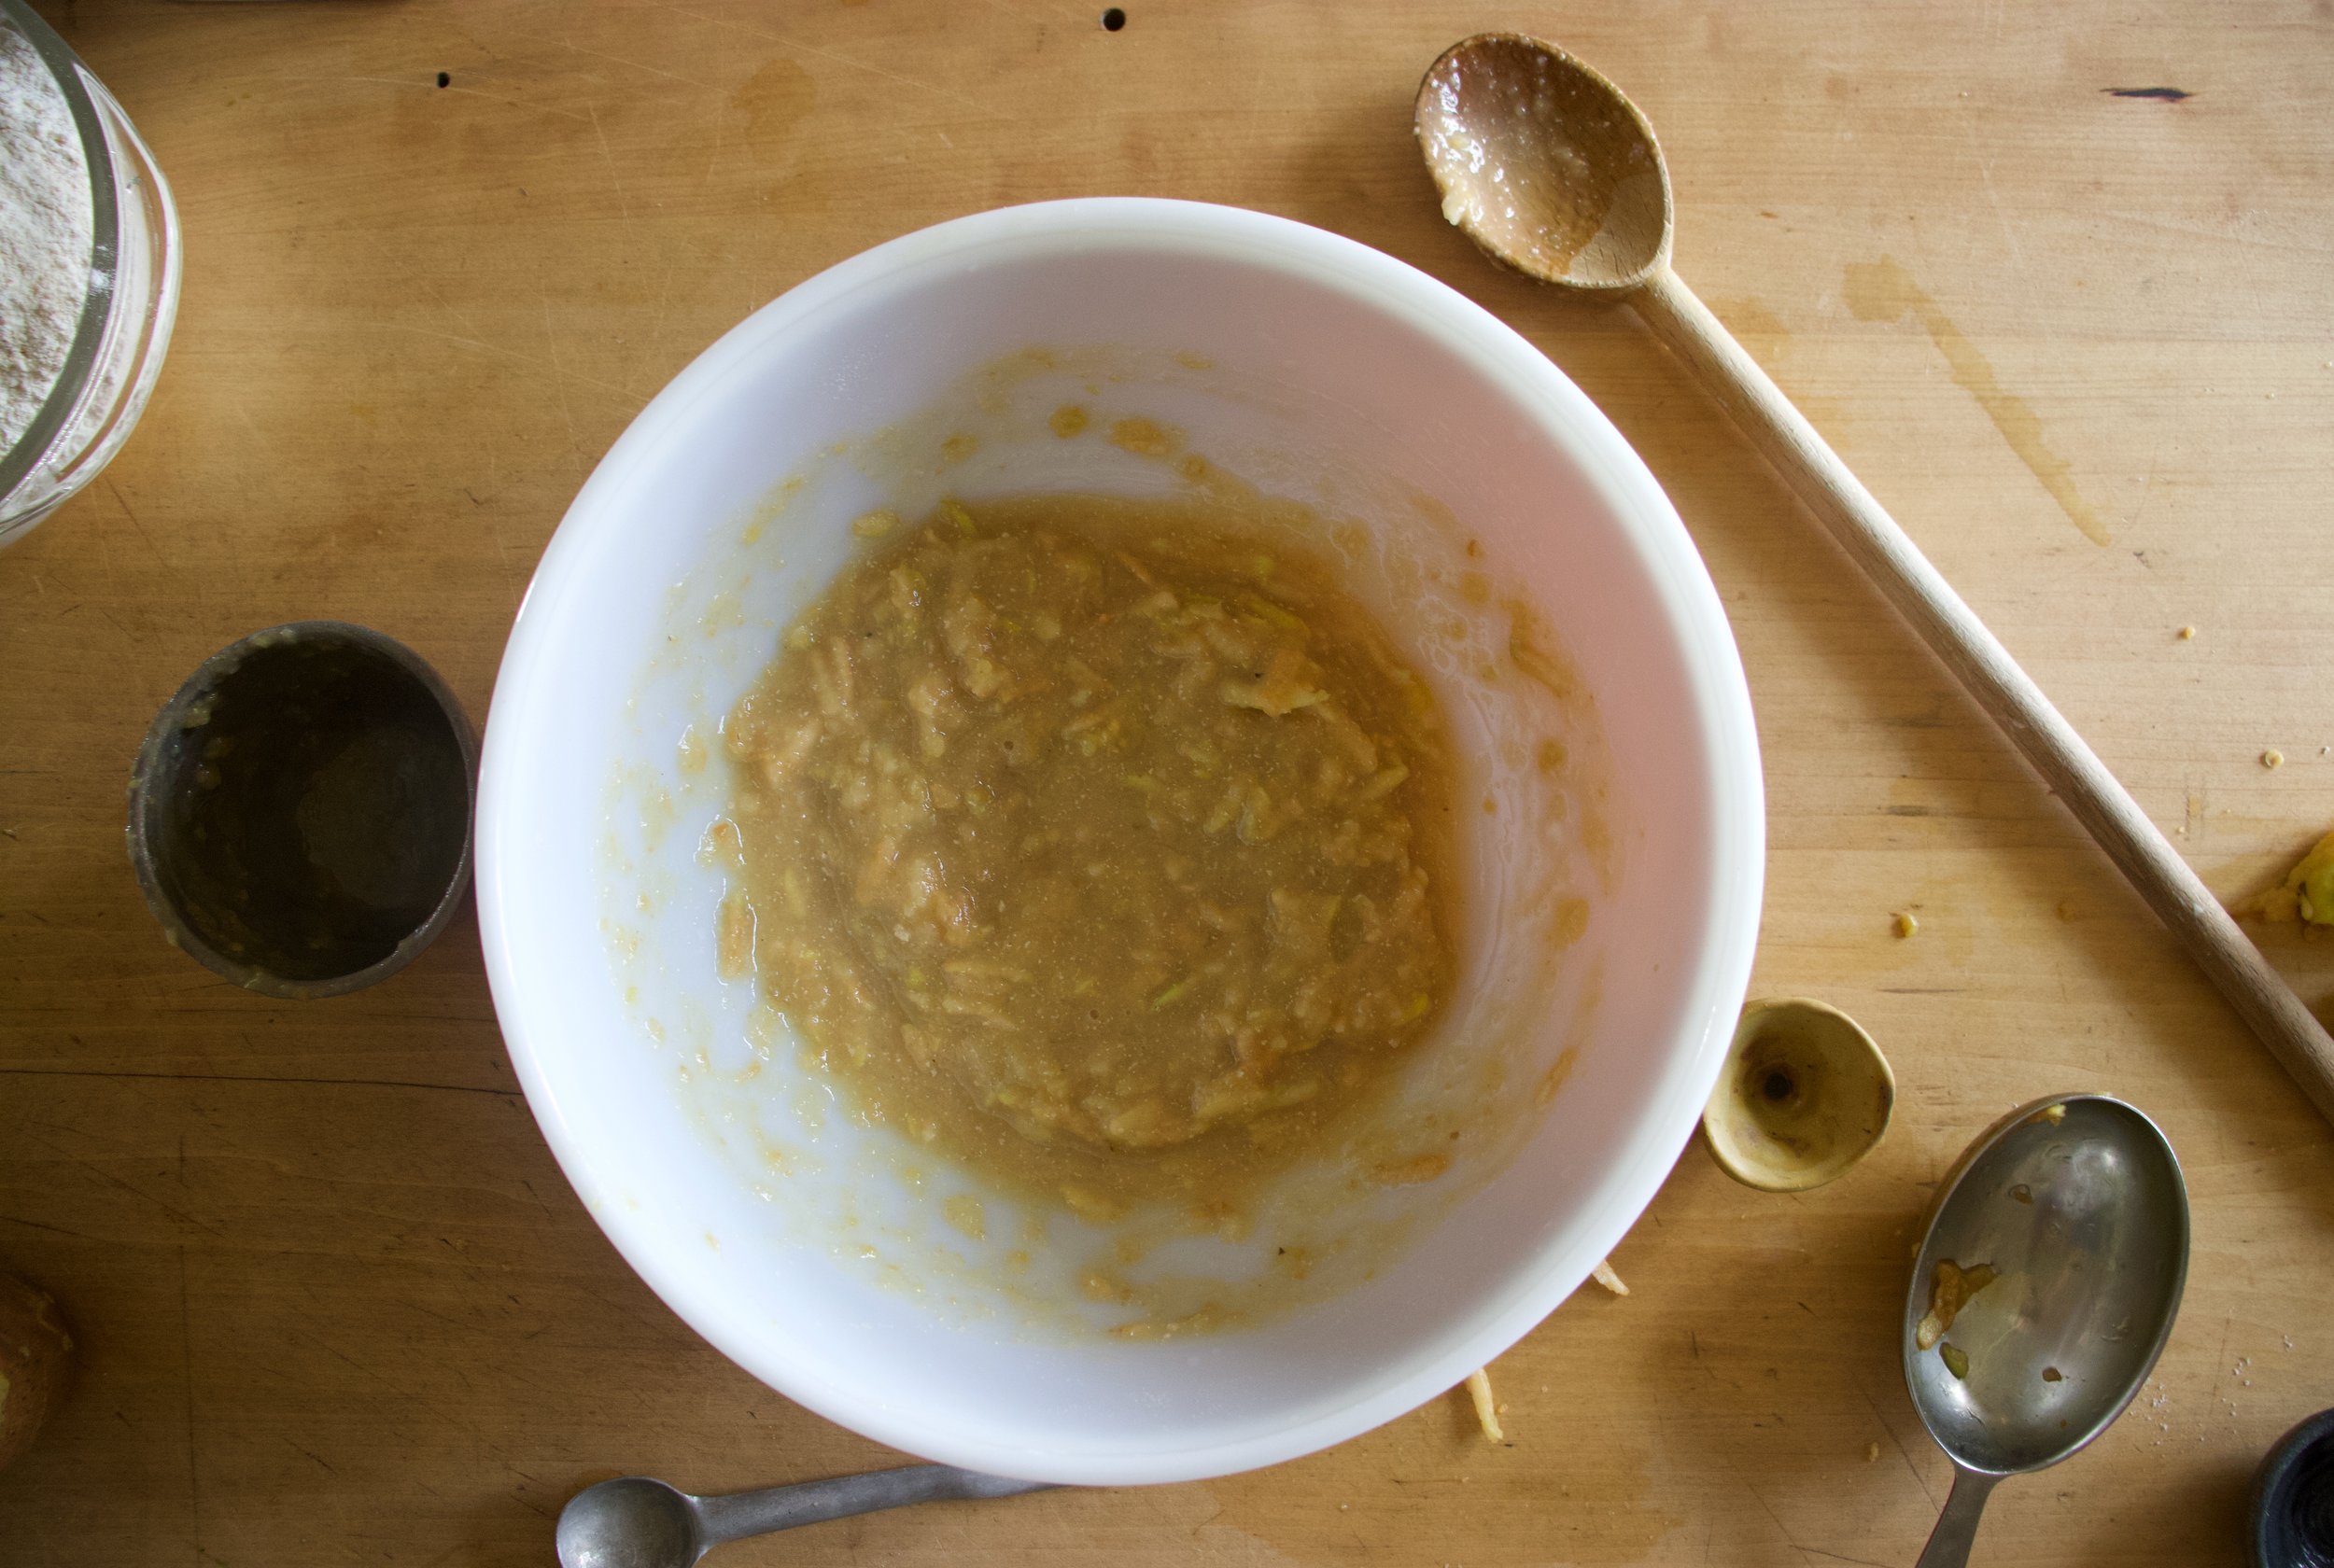
Place the clementines into blender and blend until silky smooth.

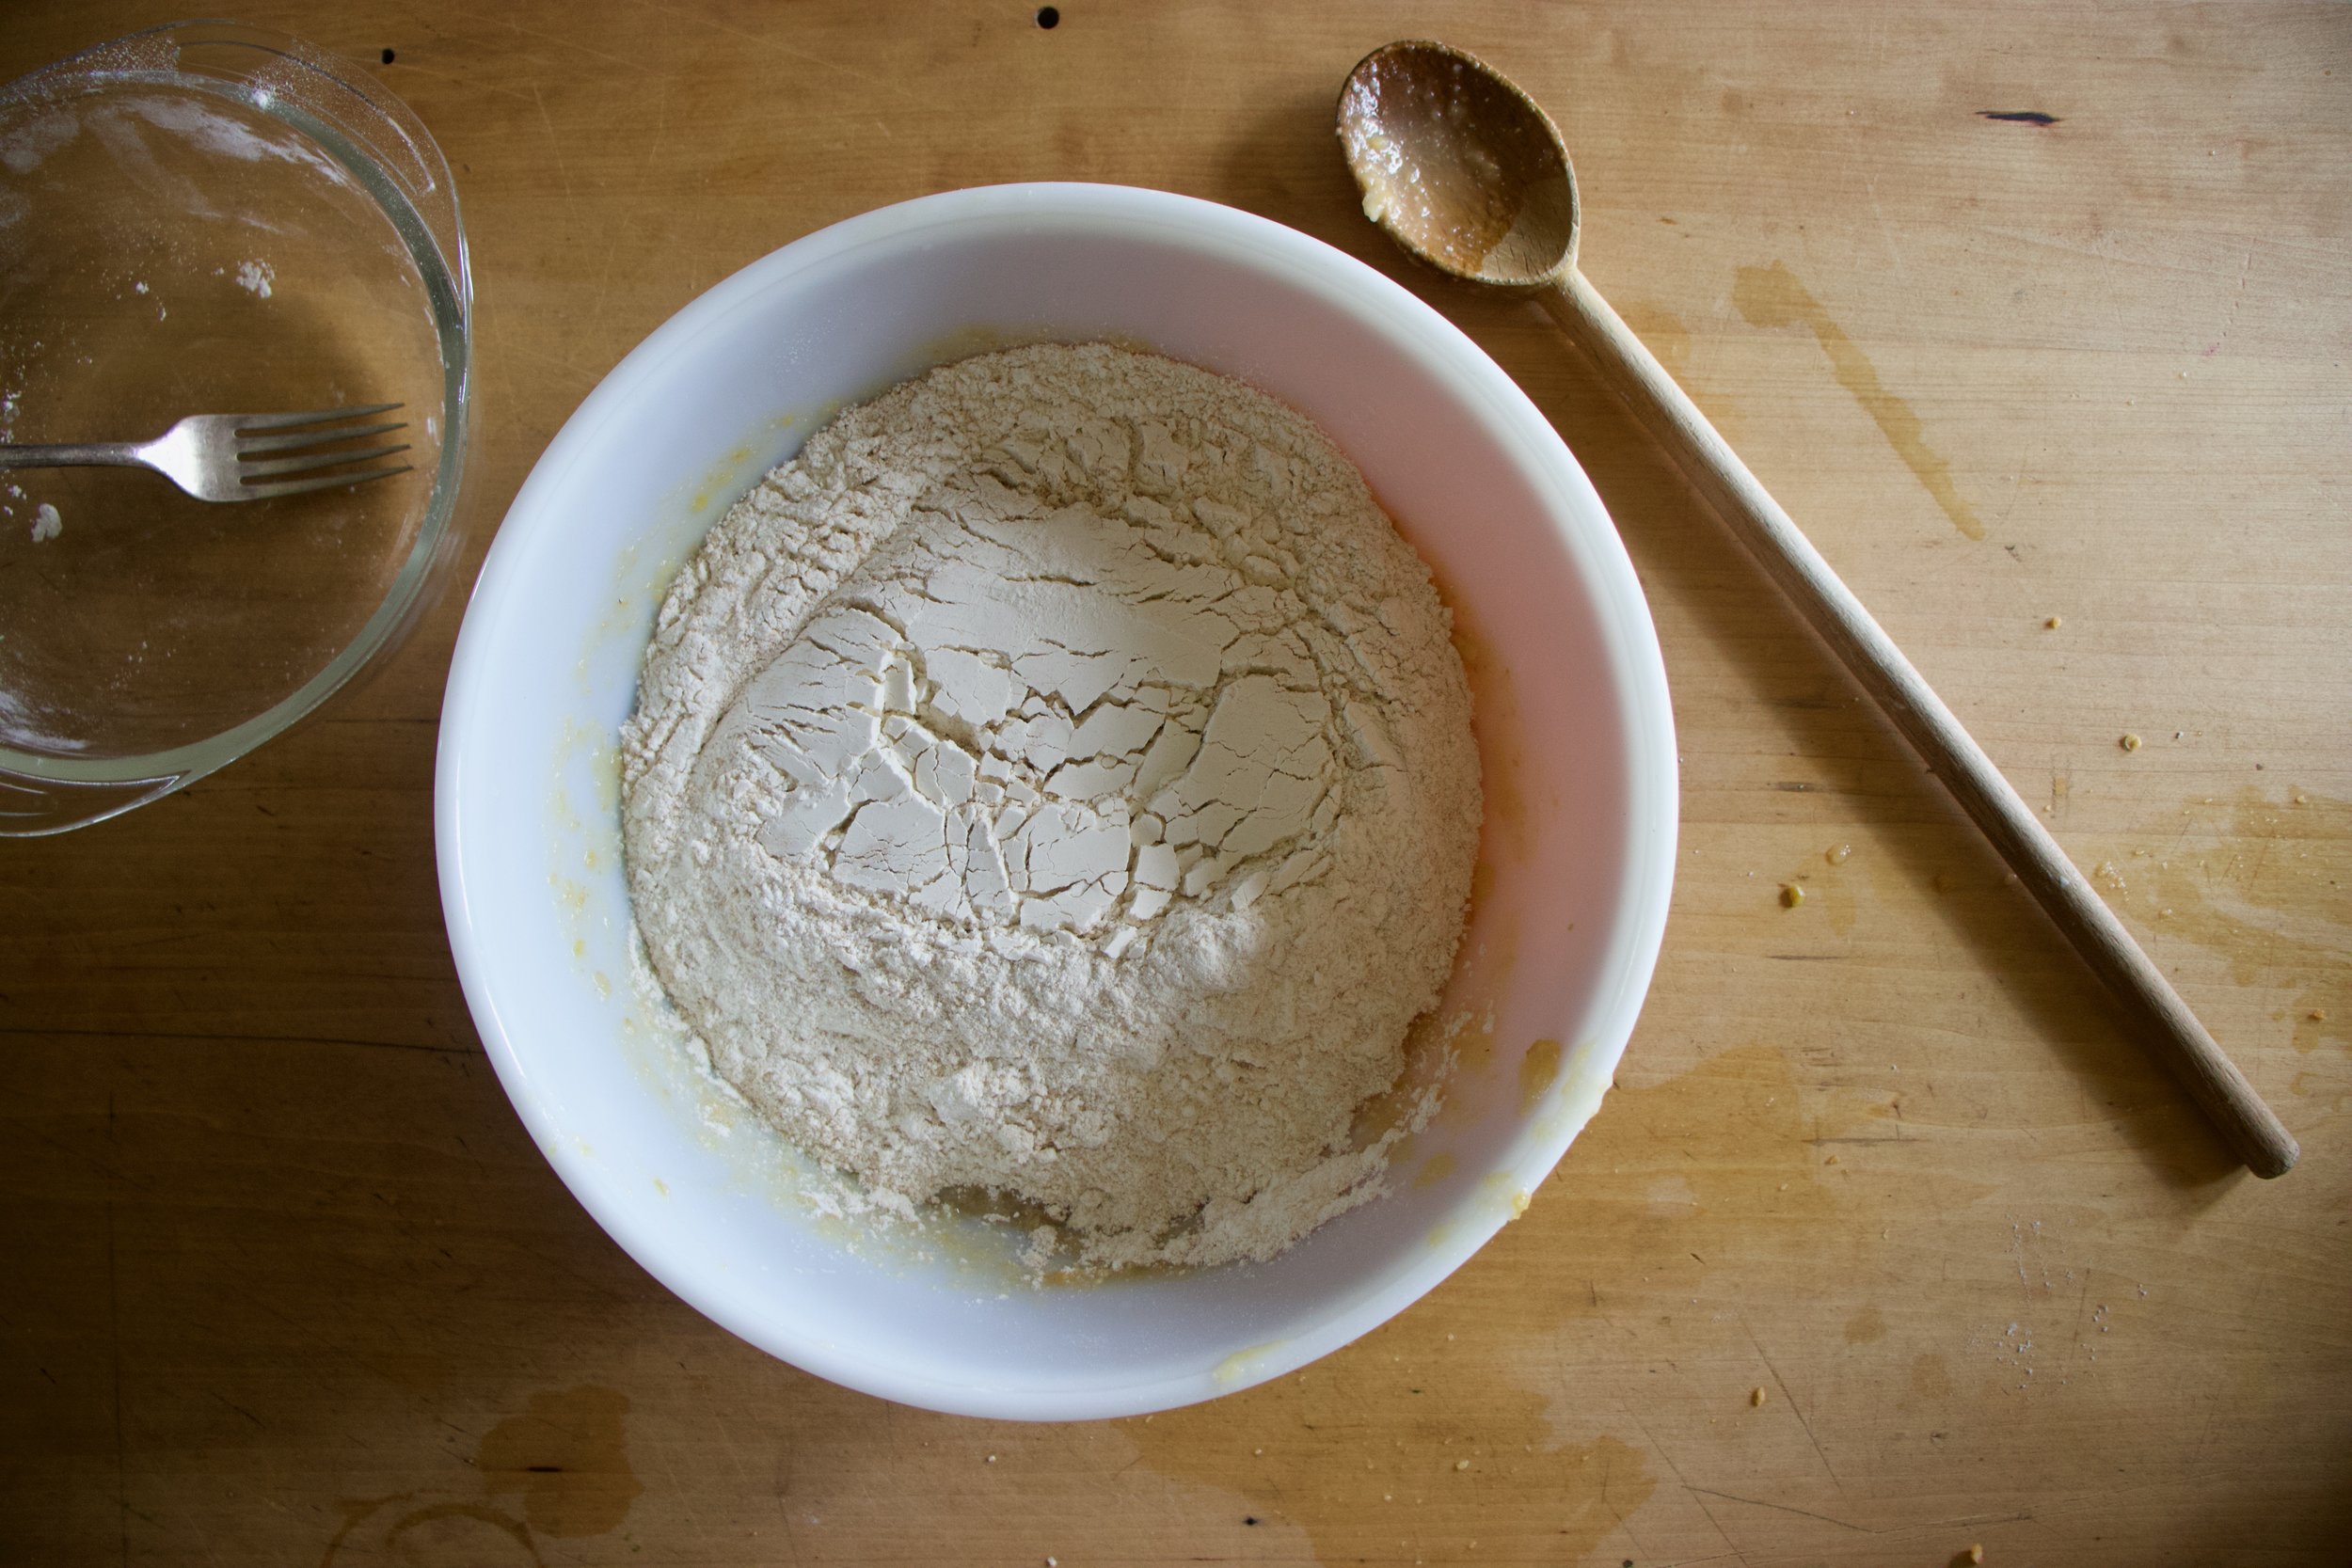
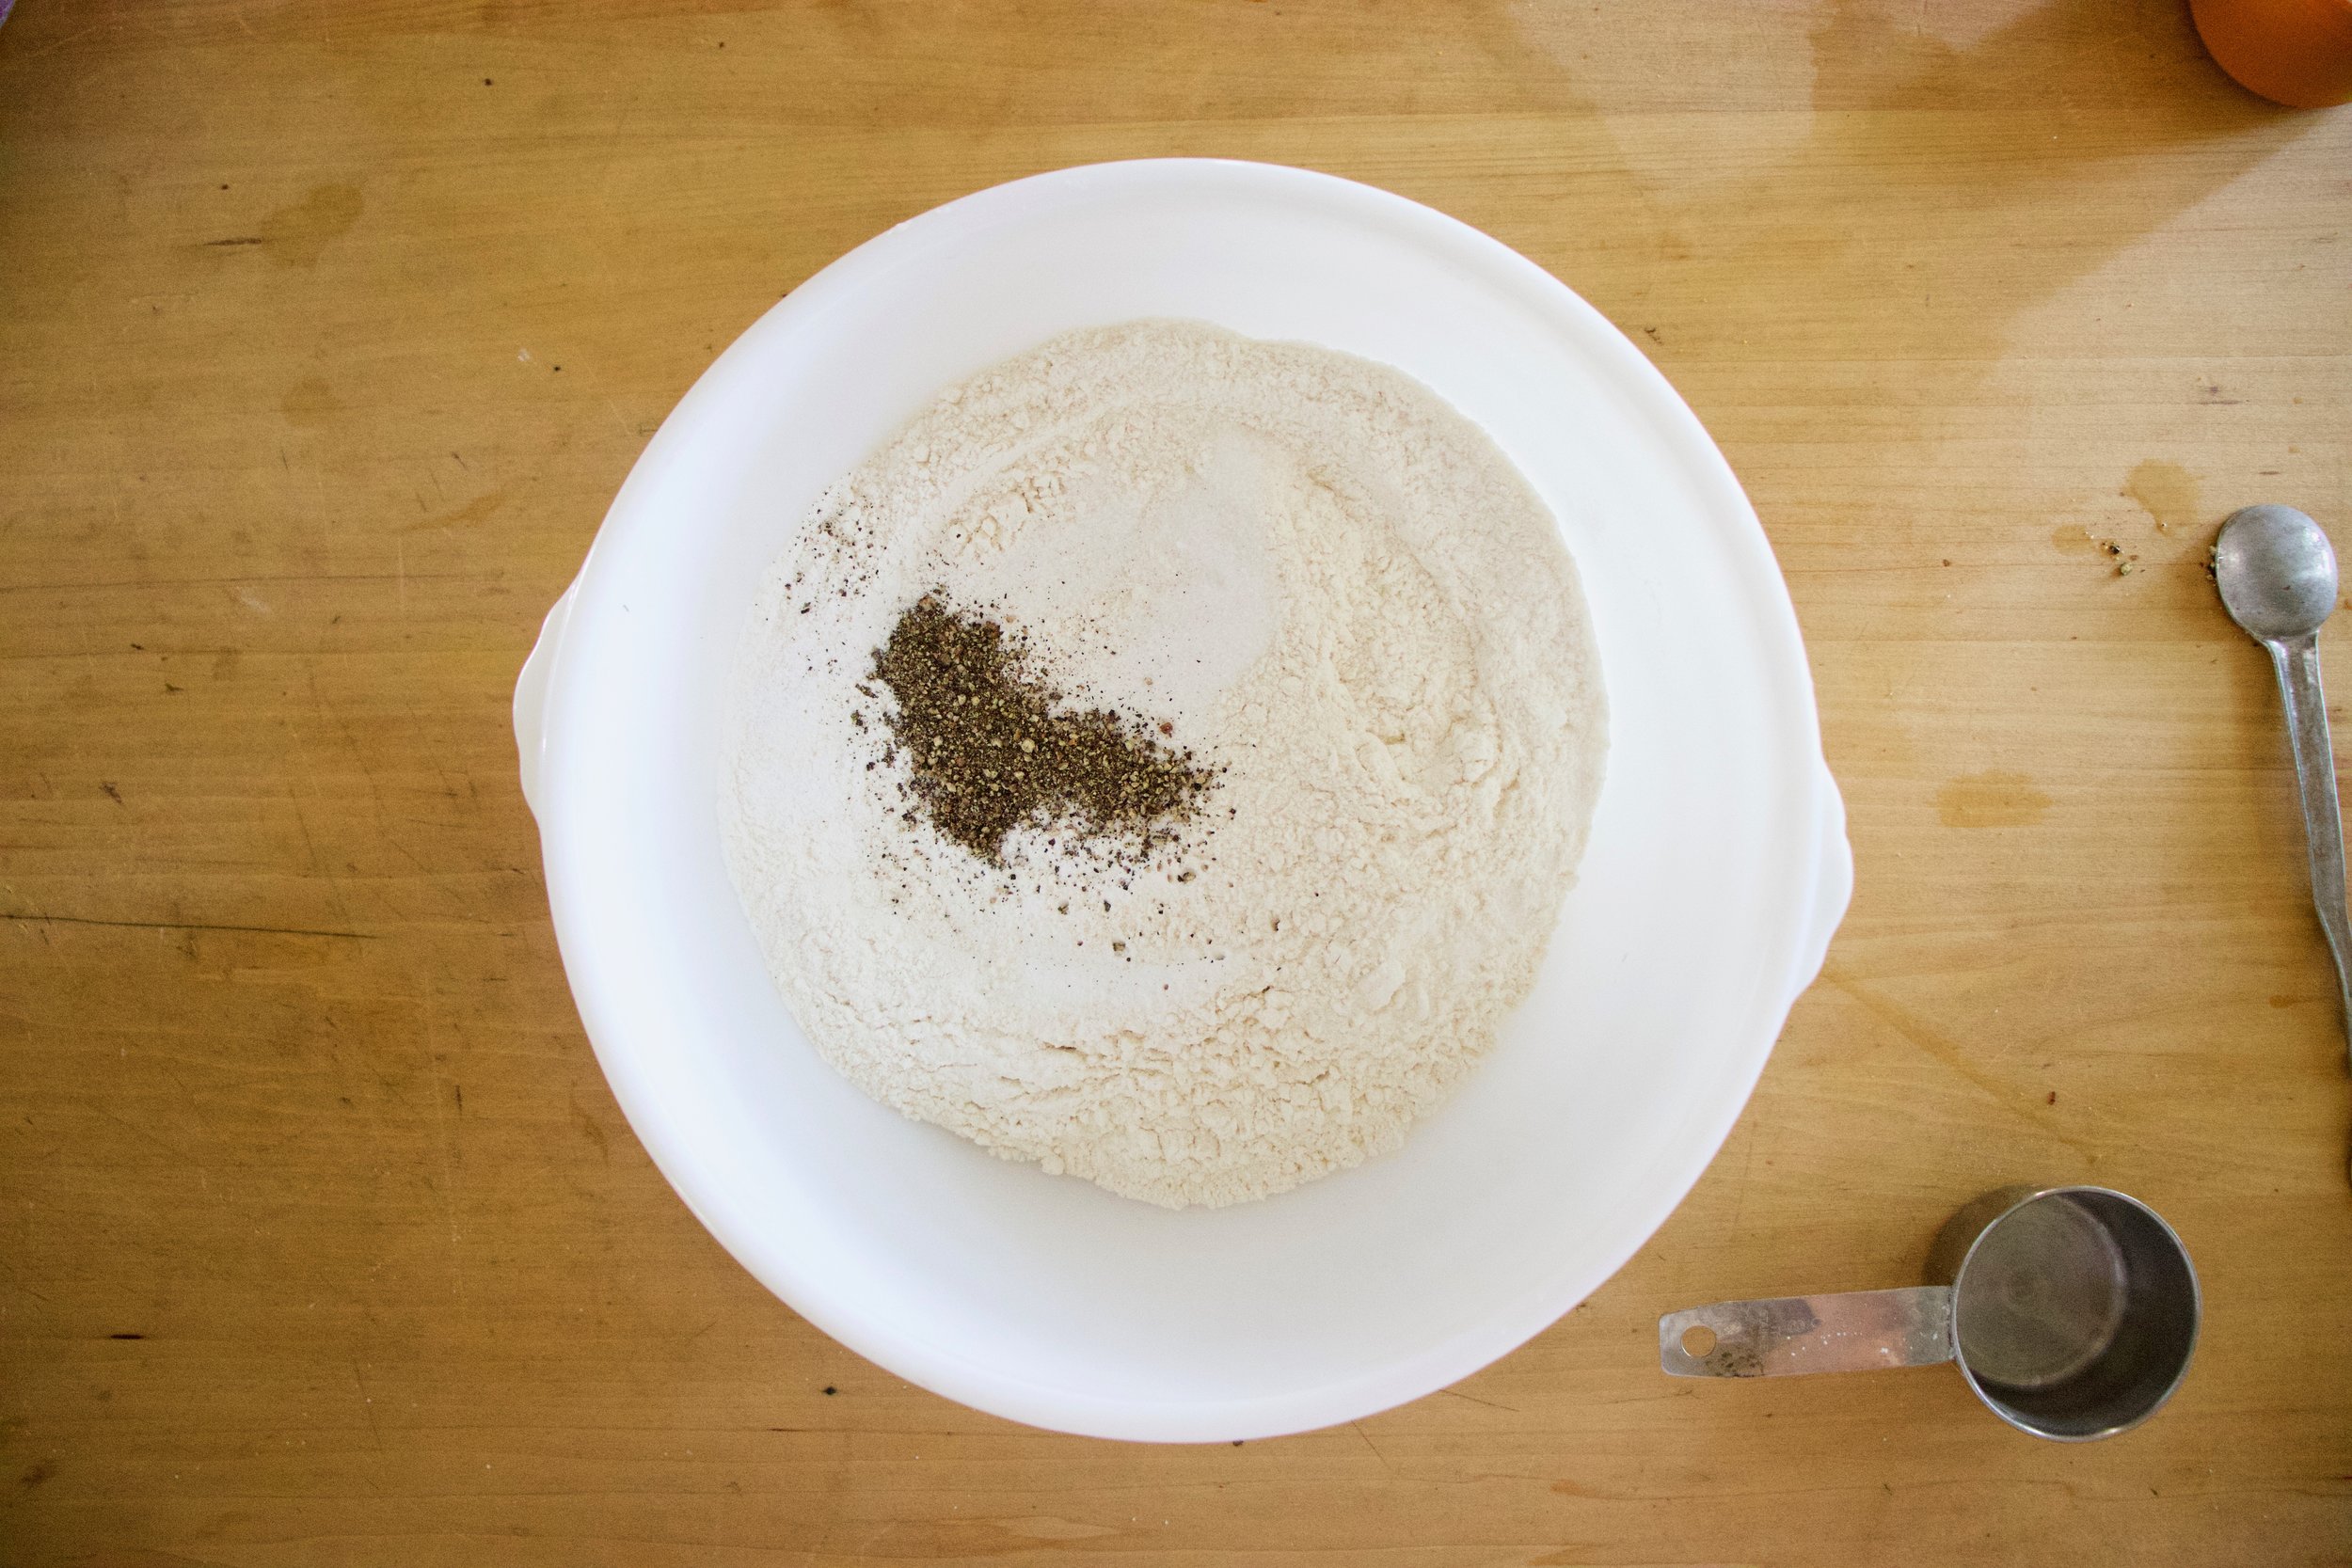
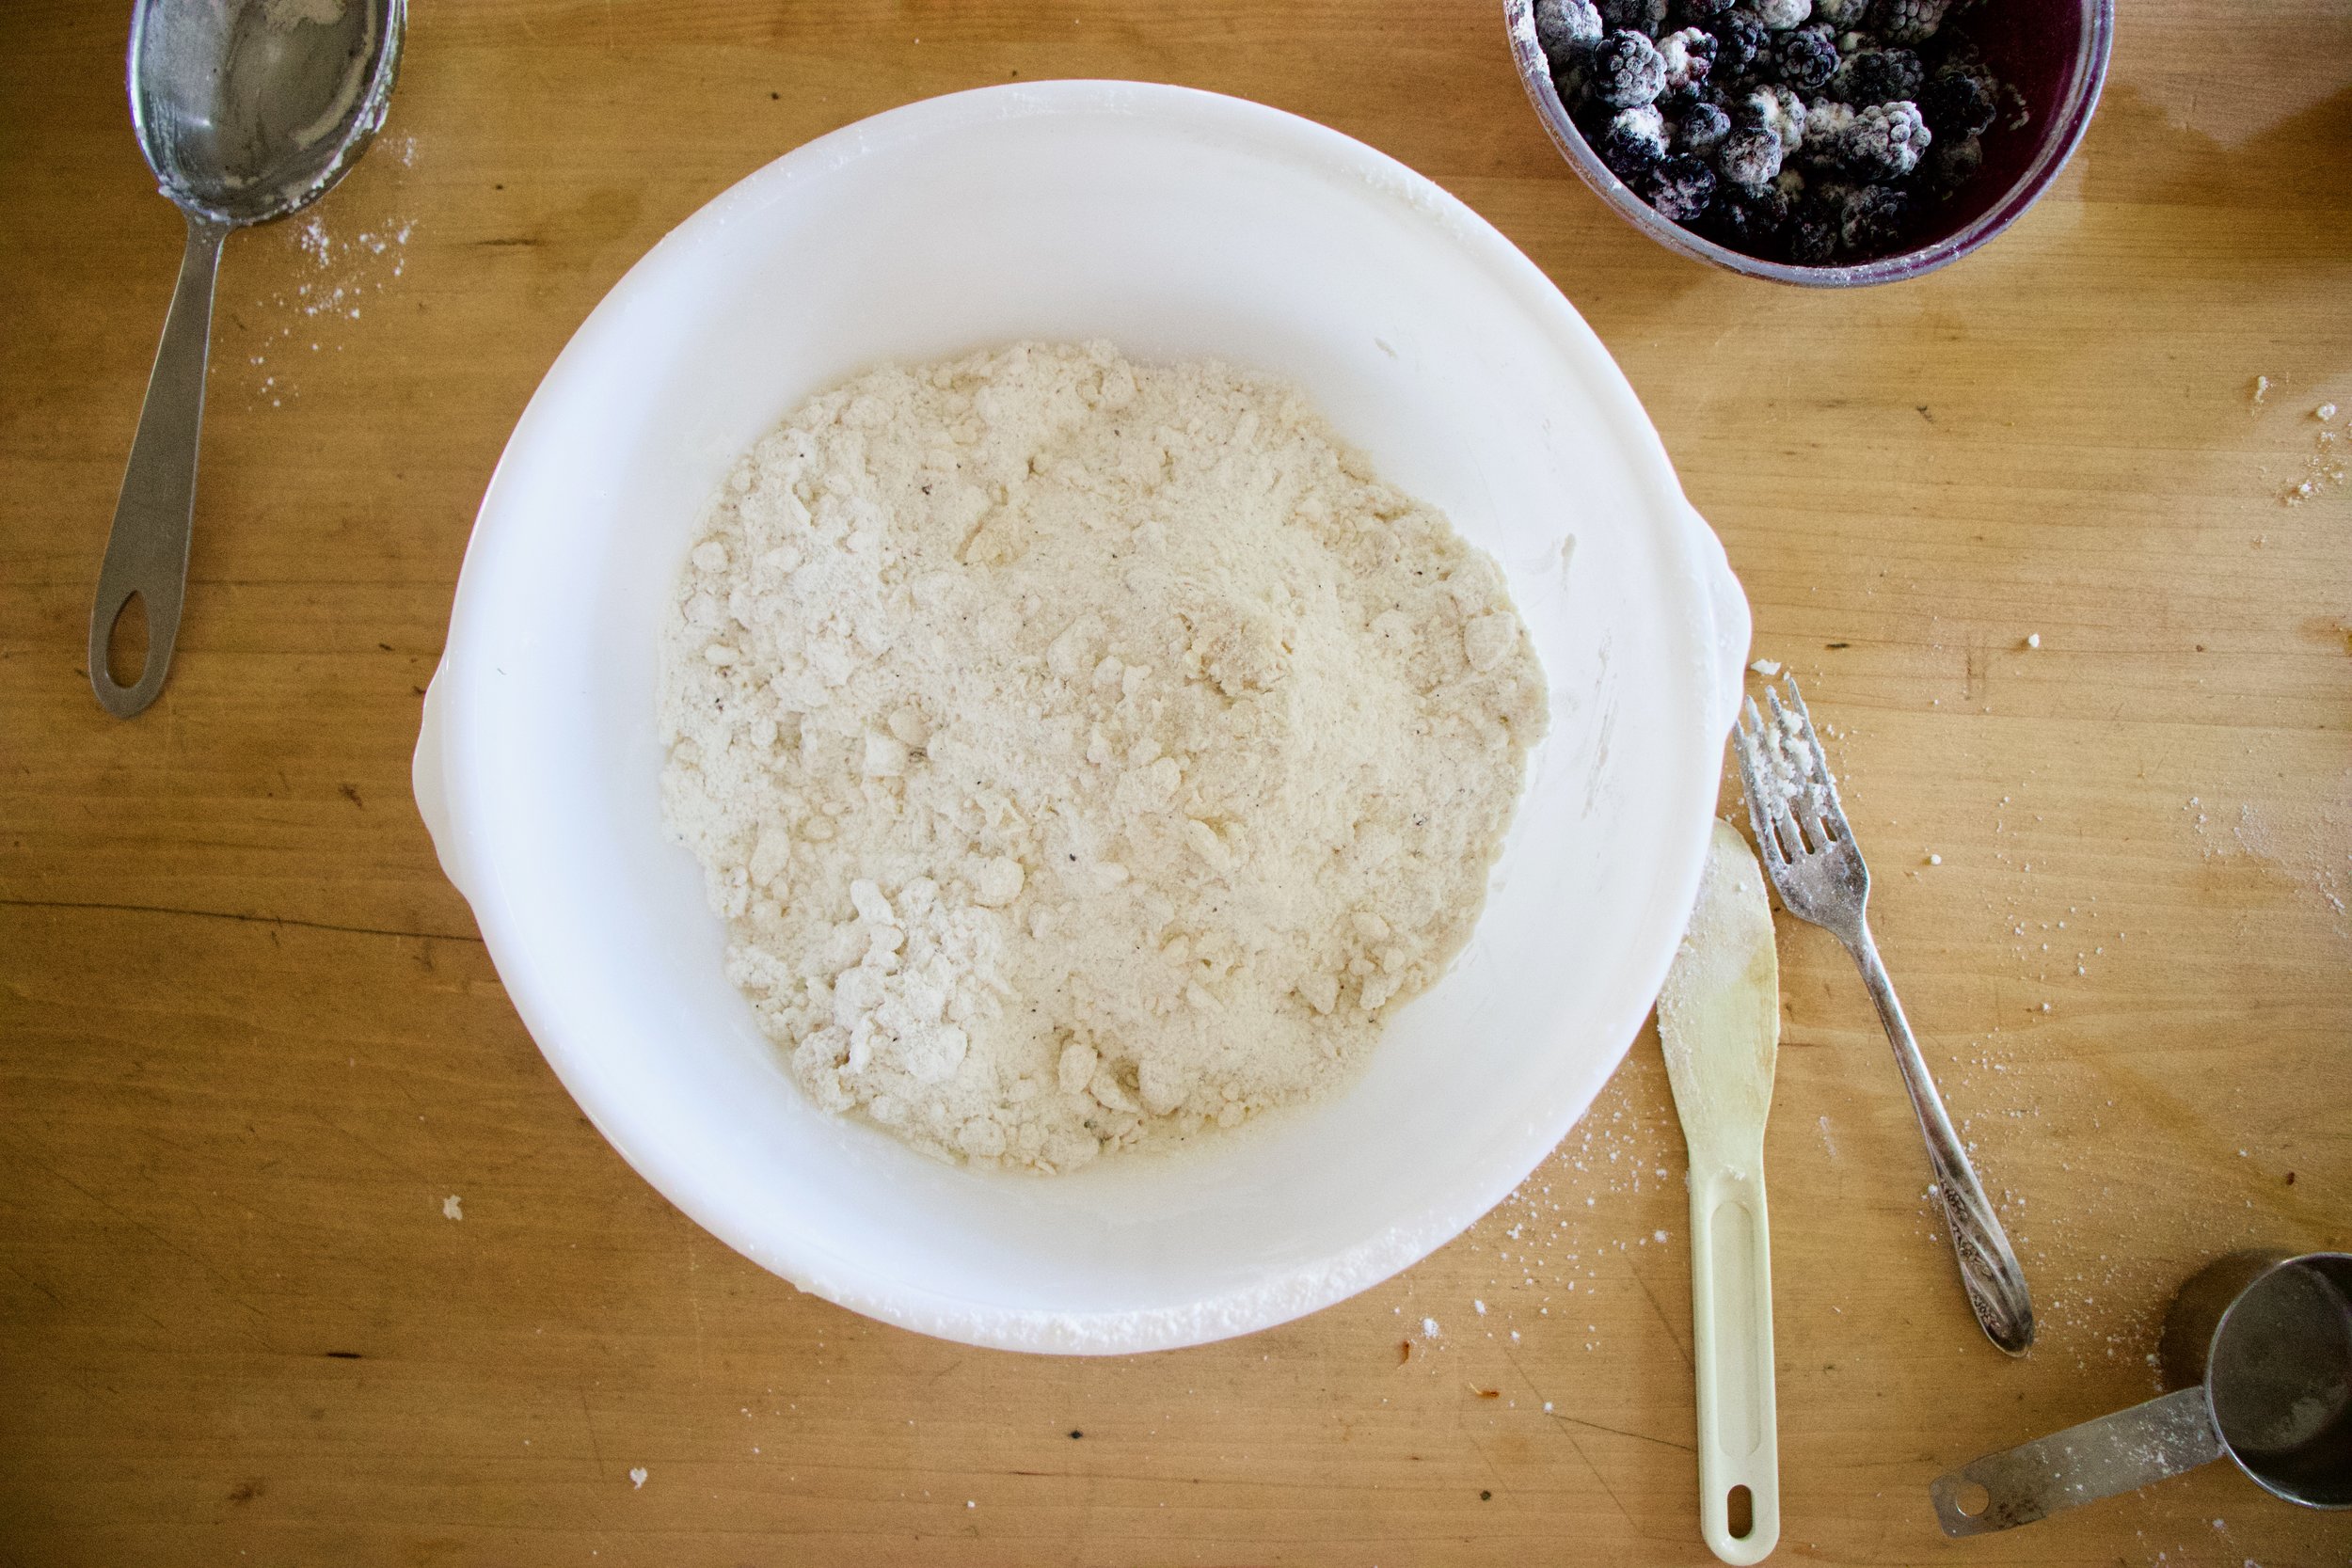
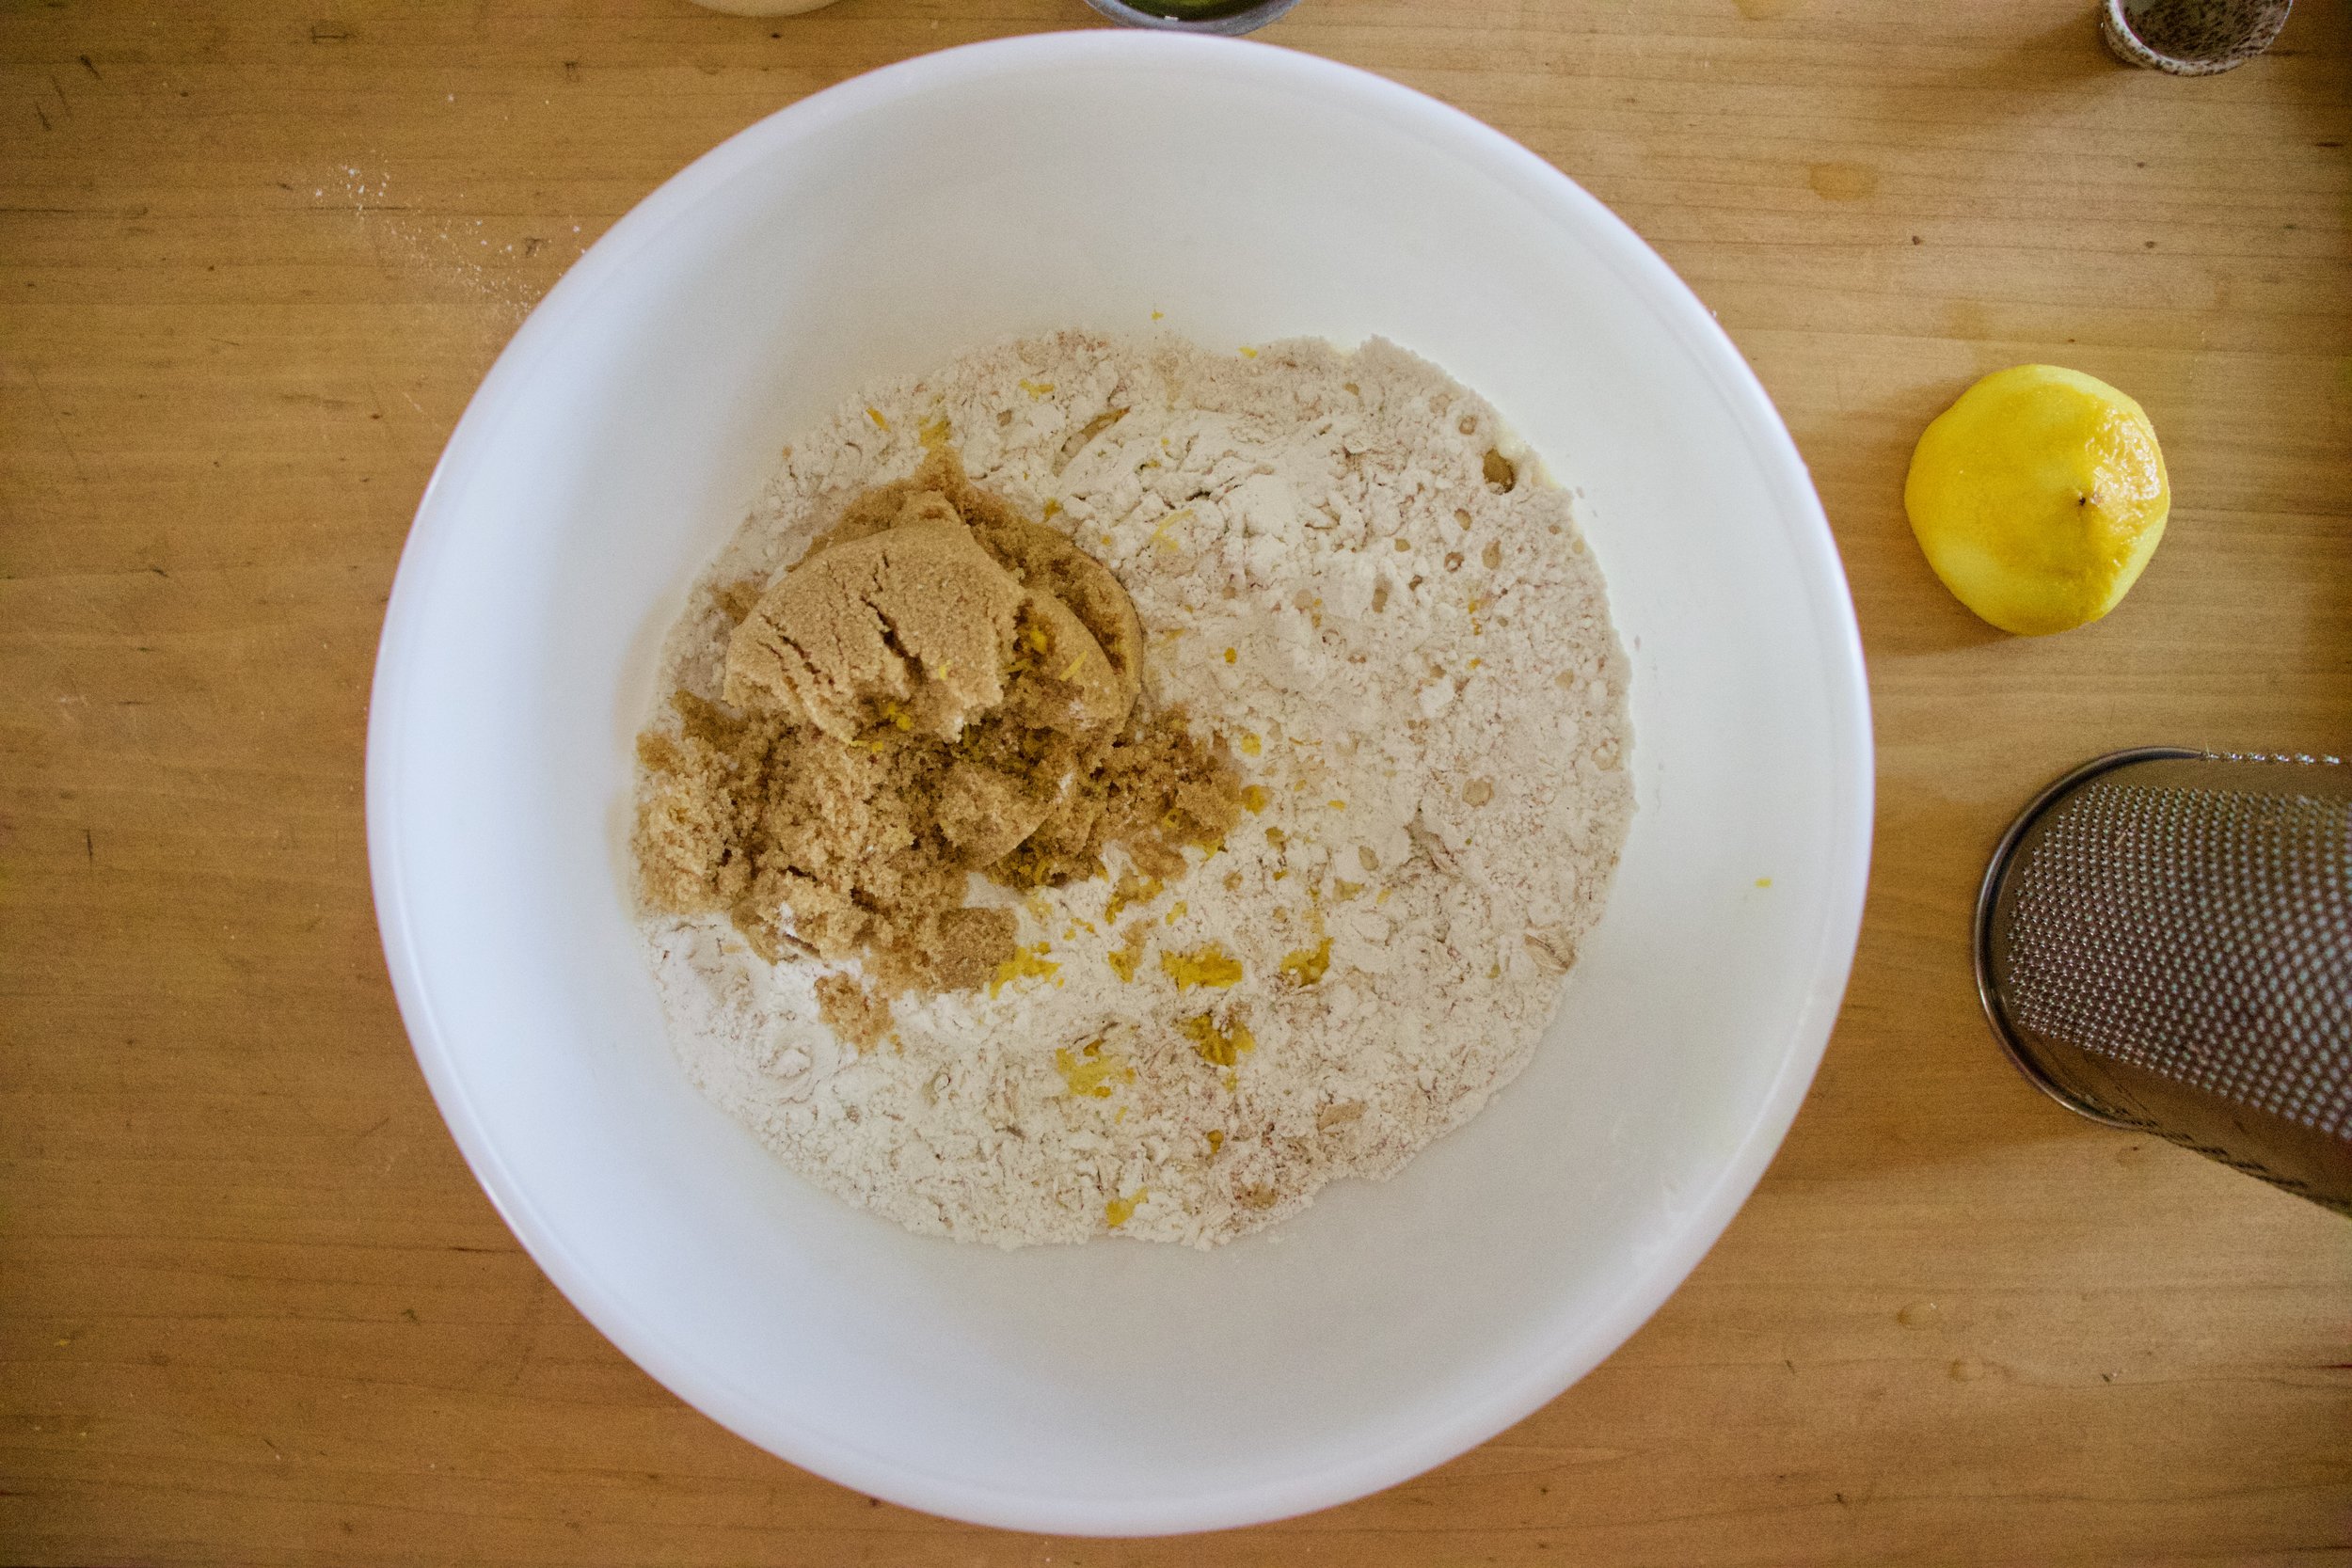
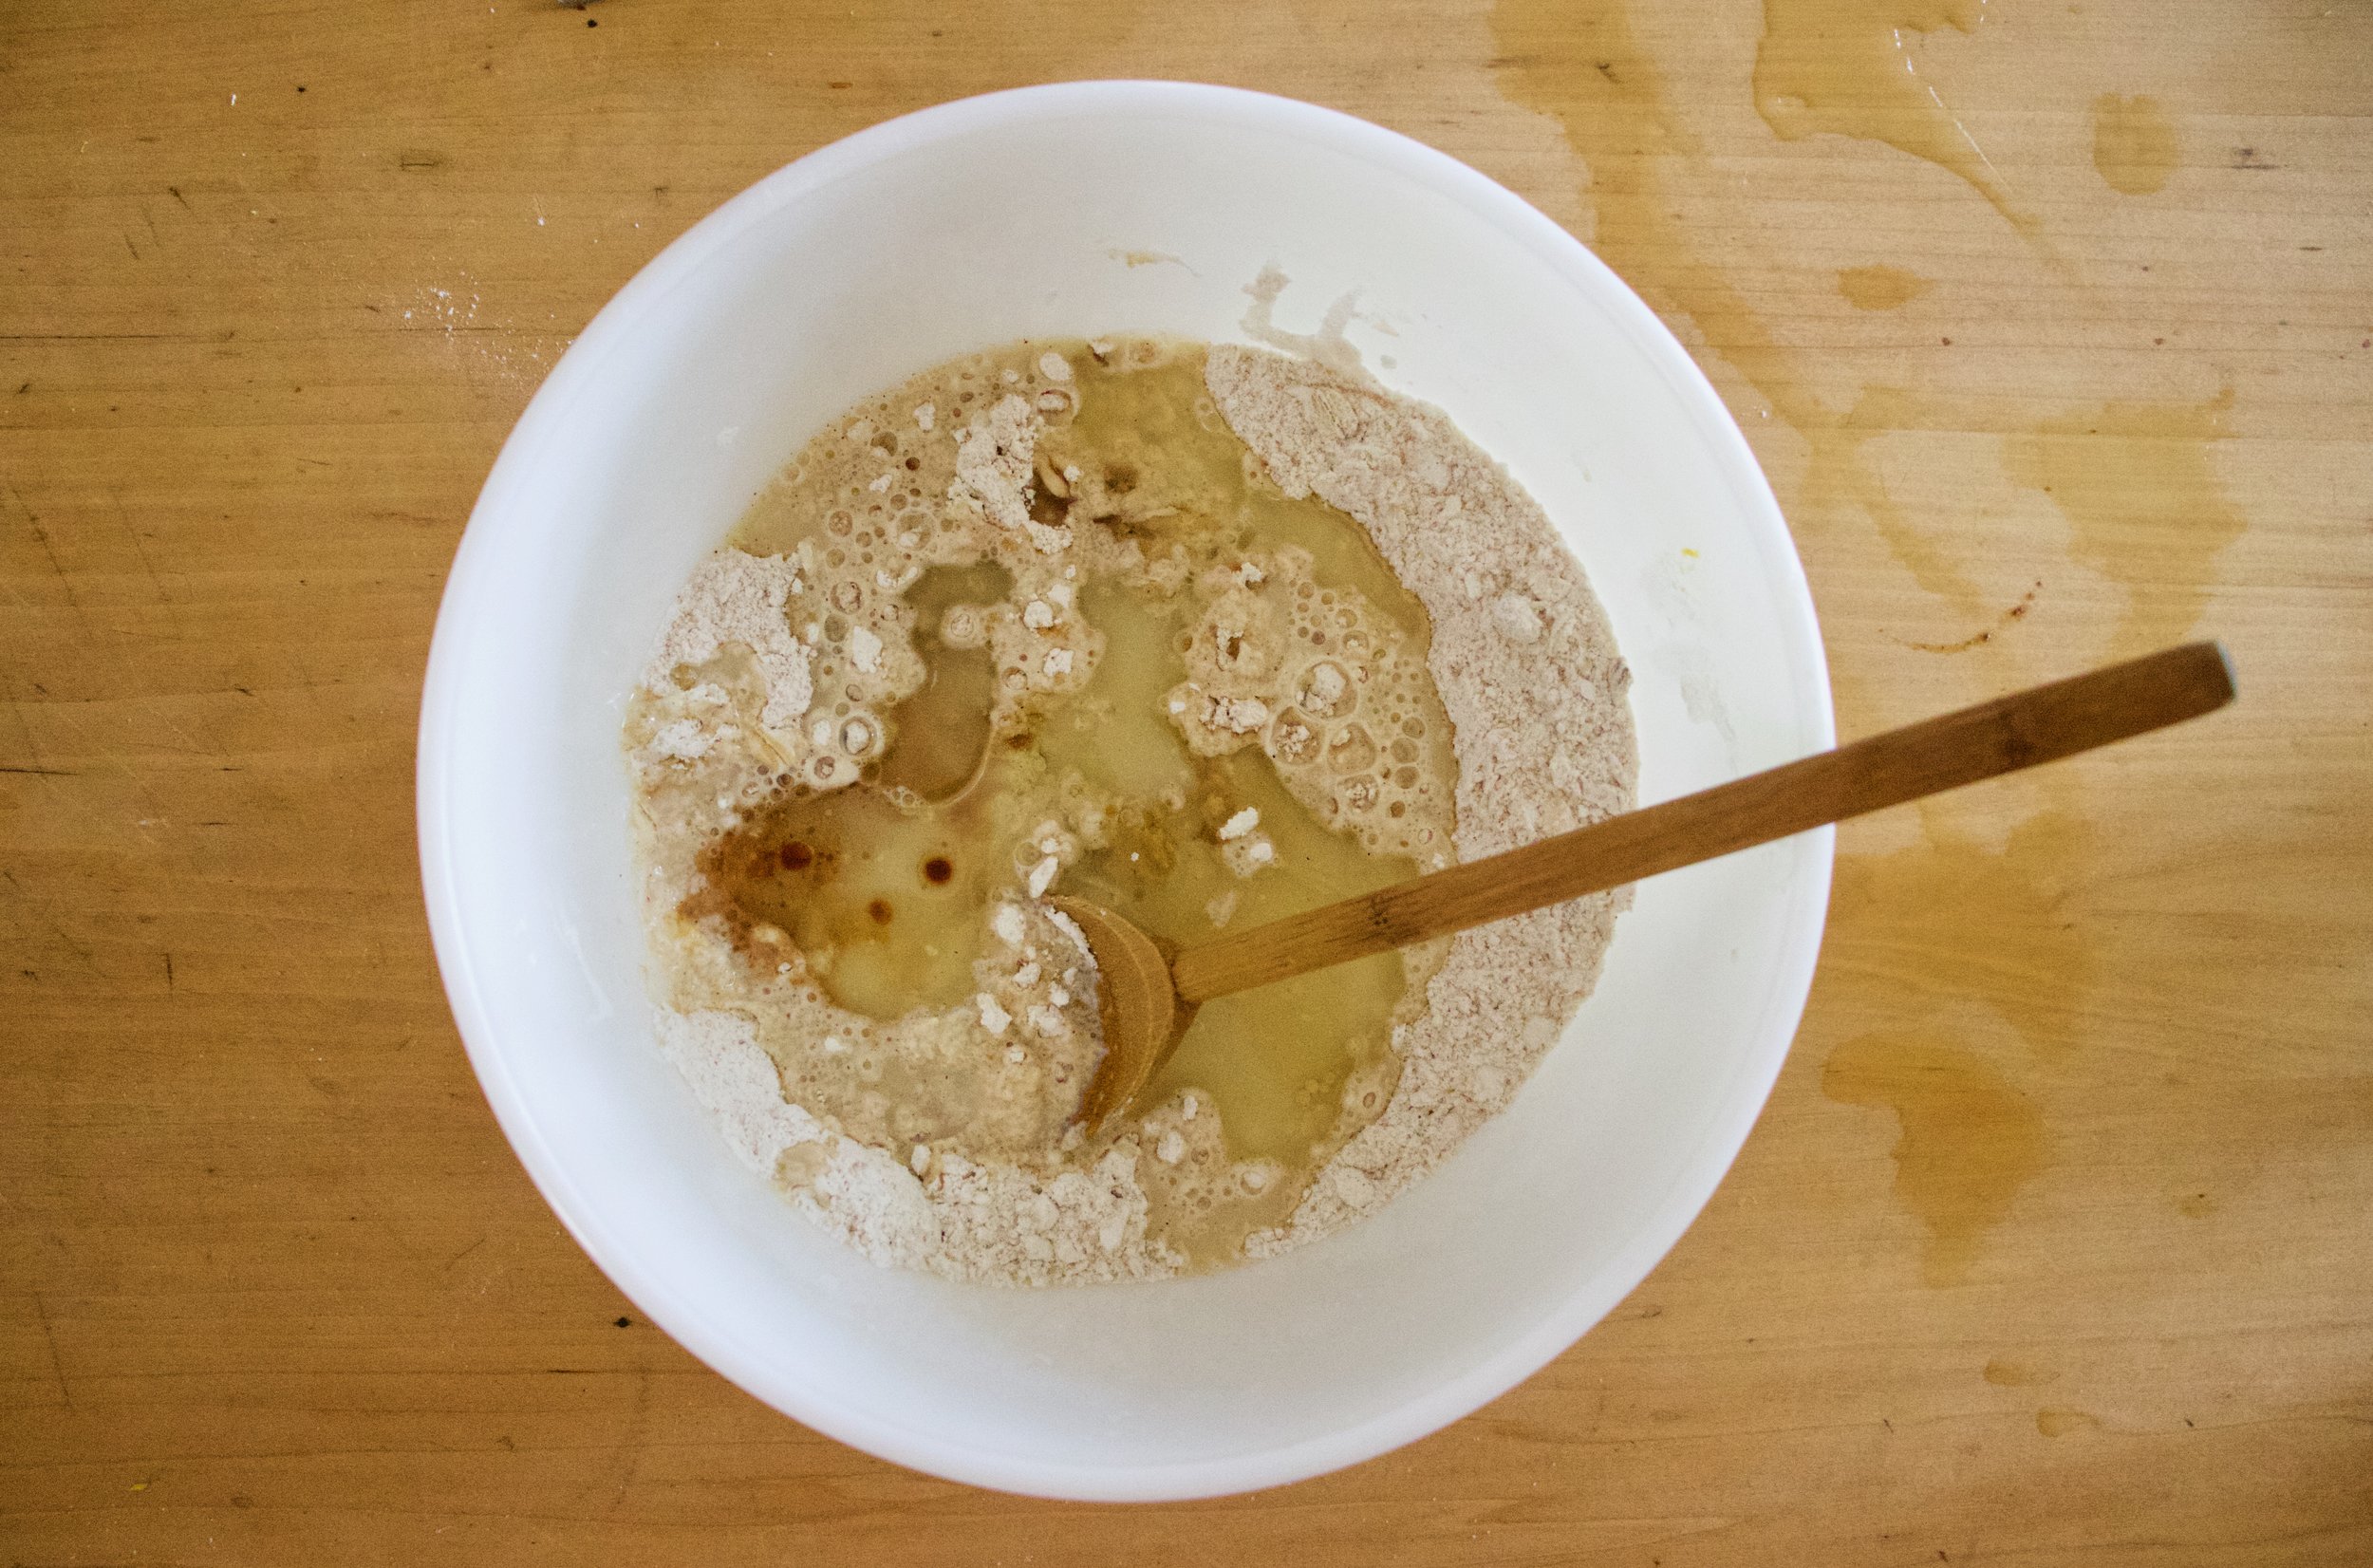
Now the other stuff. Flour, sugar, salt, baking powder and soda, and cinnamon. All into big bowl.

IMG_4453.jpg
IMG_4455.jpg

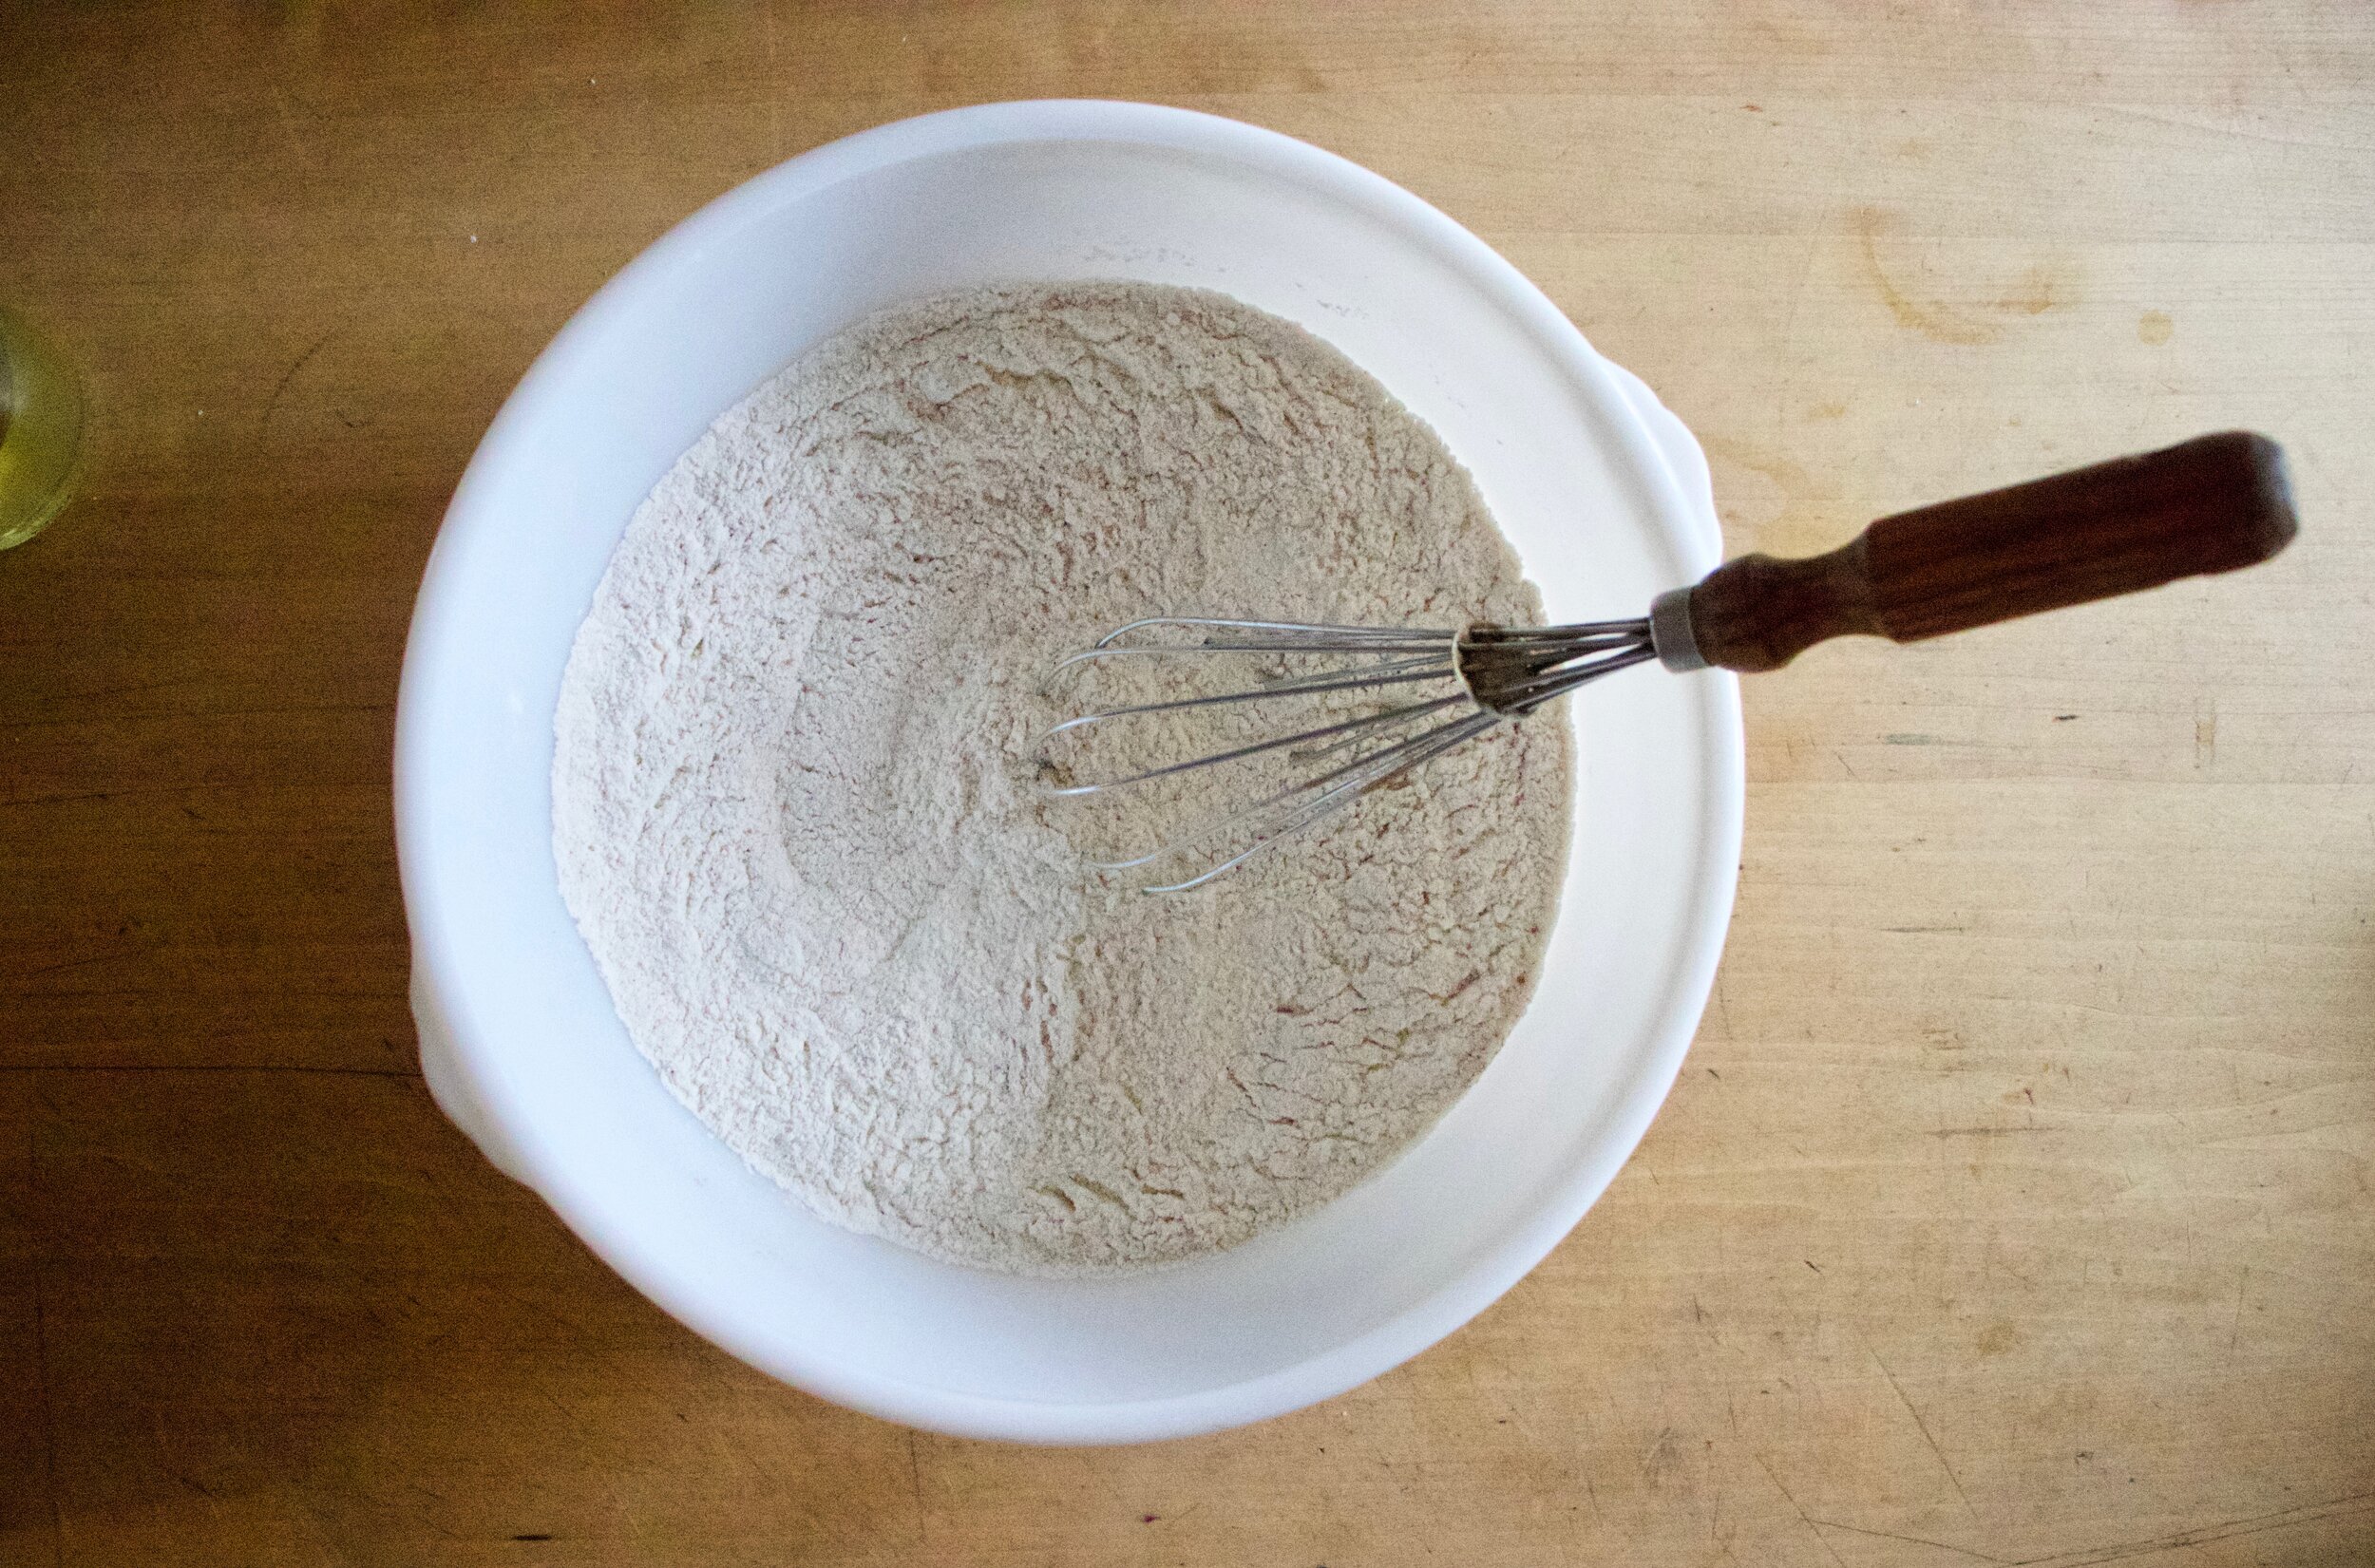
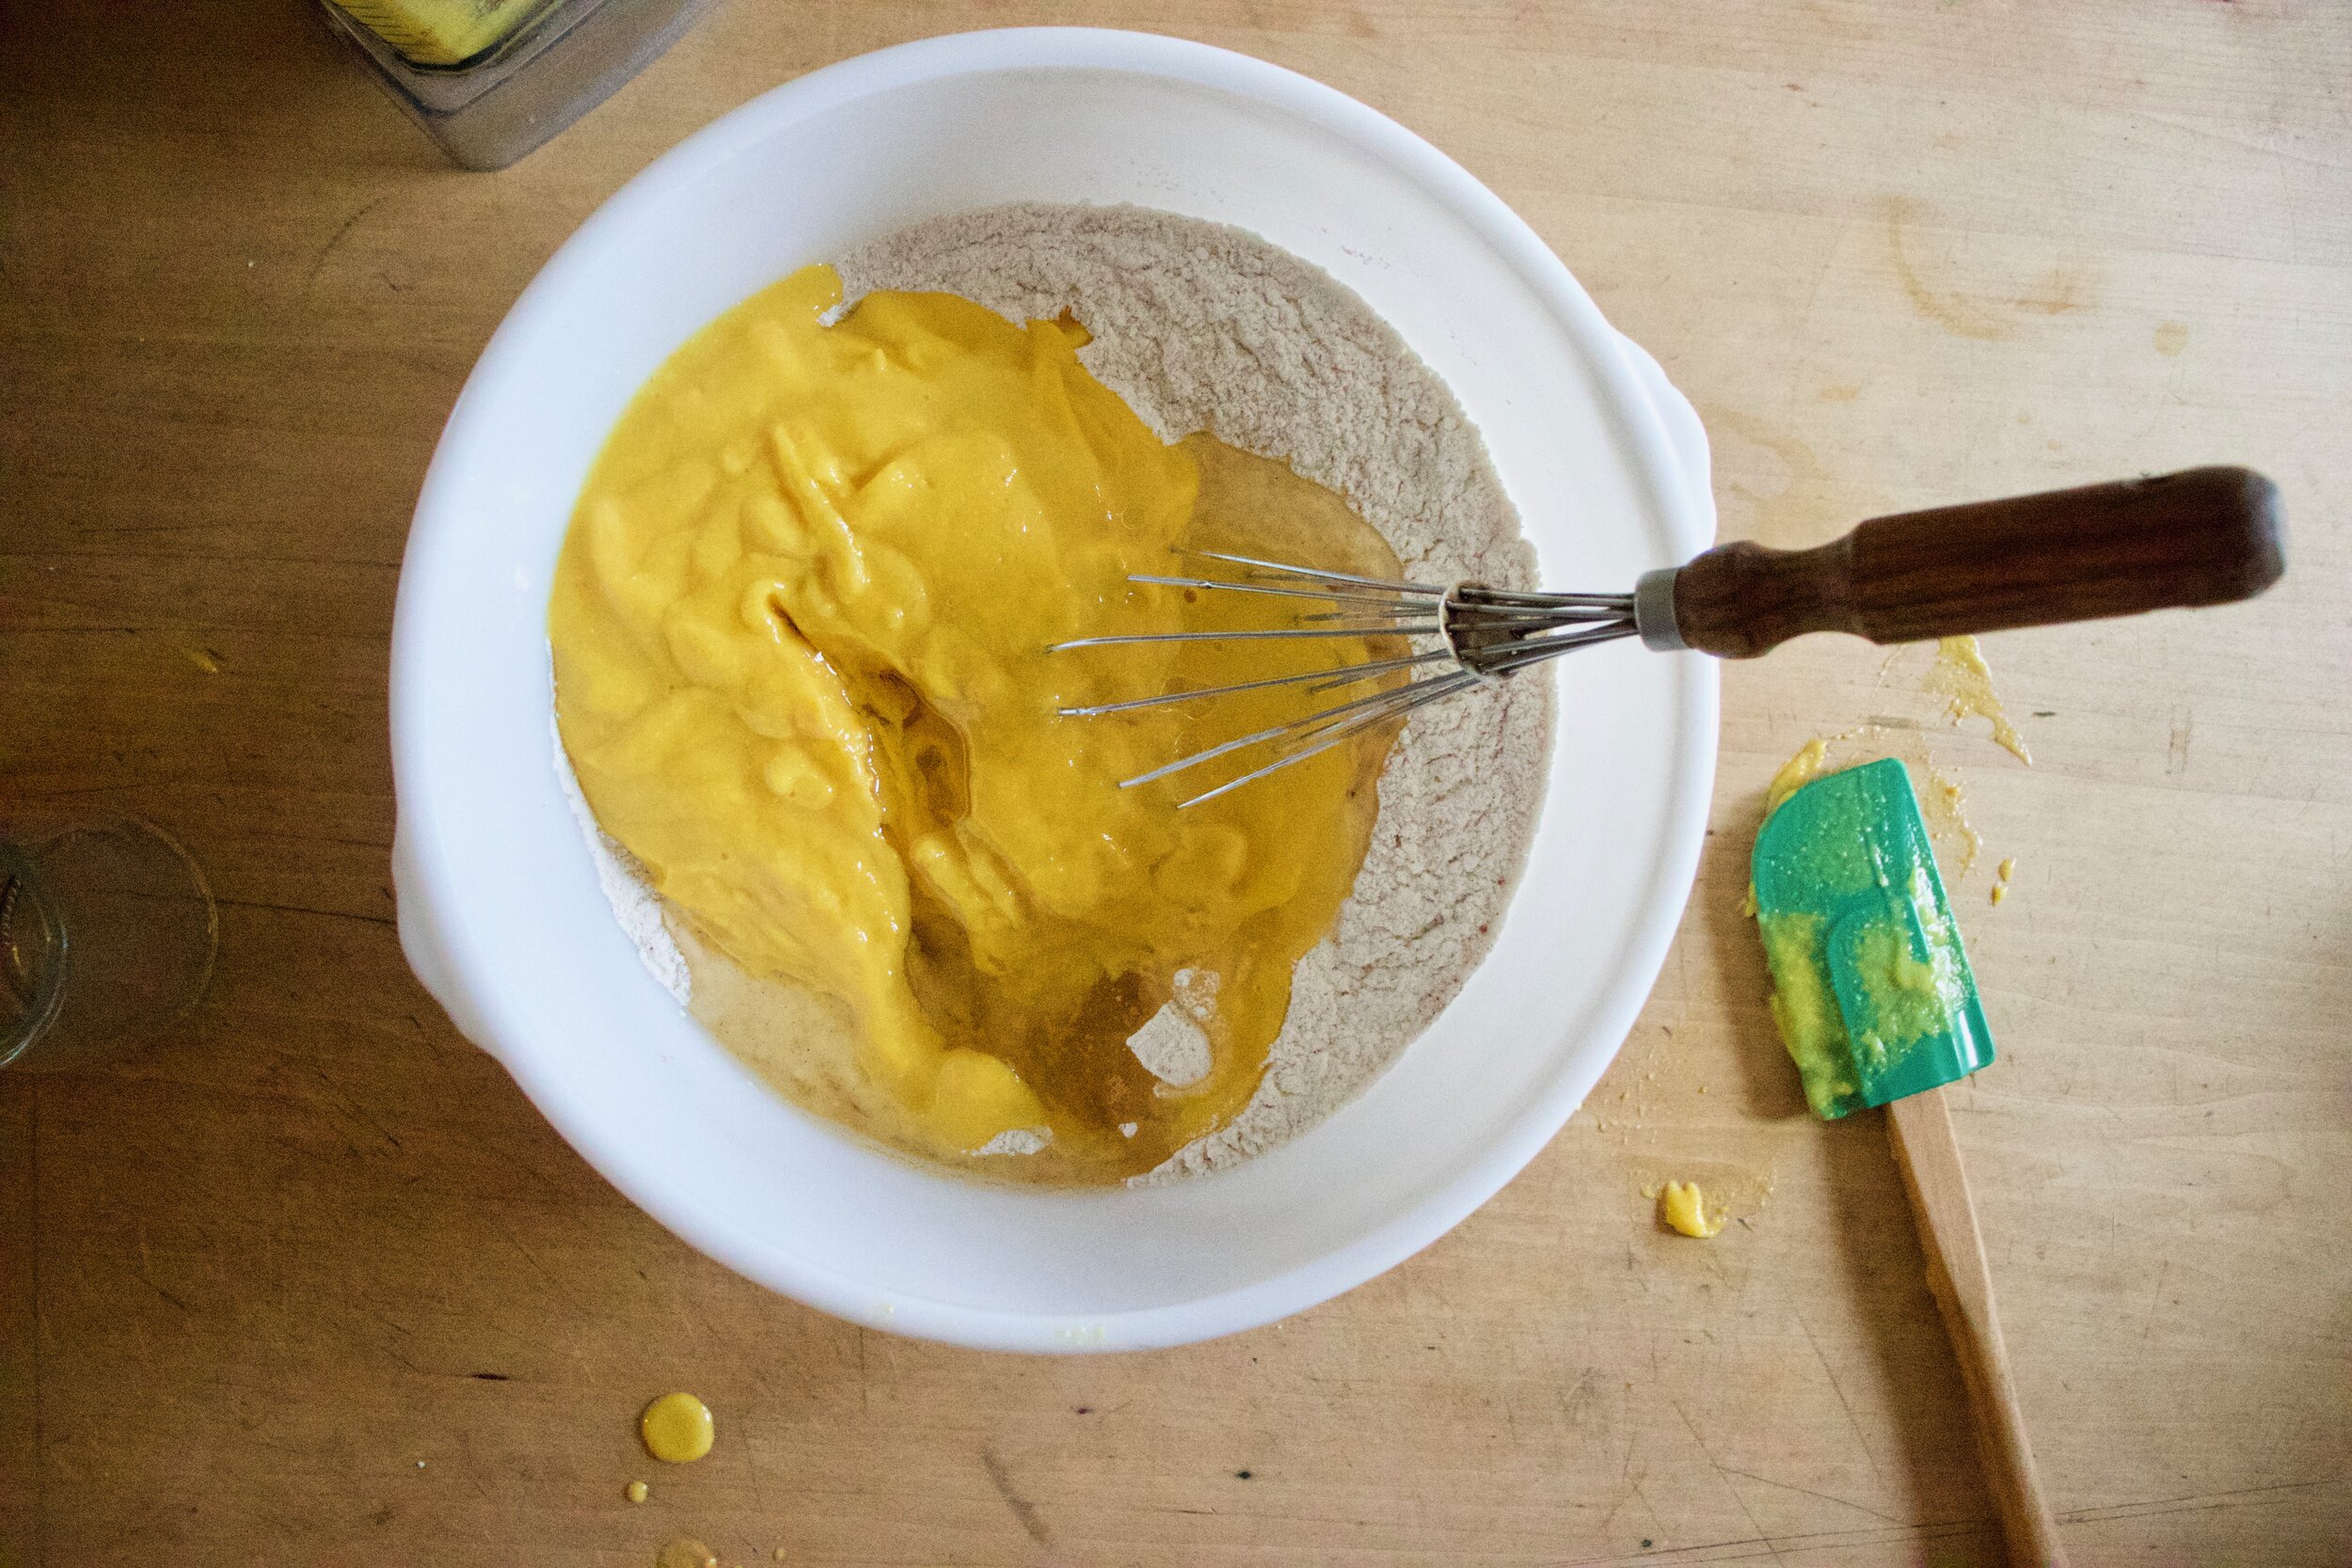
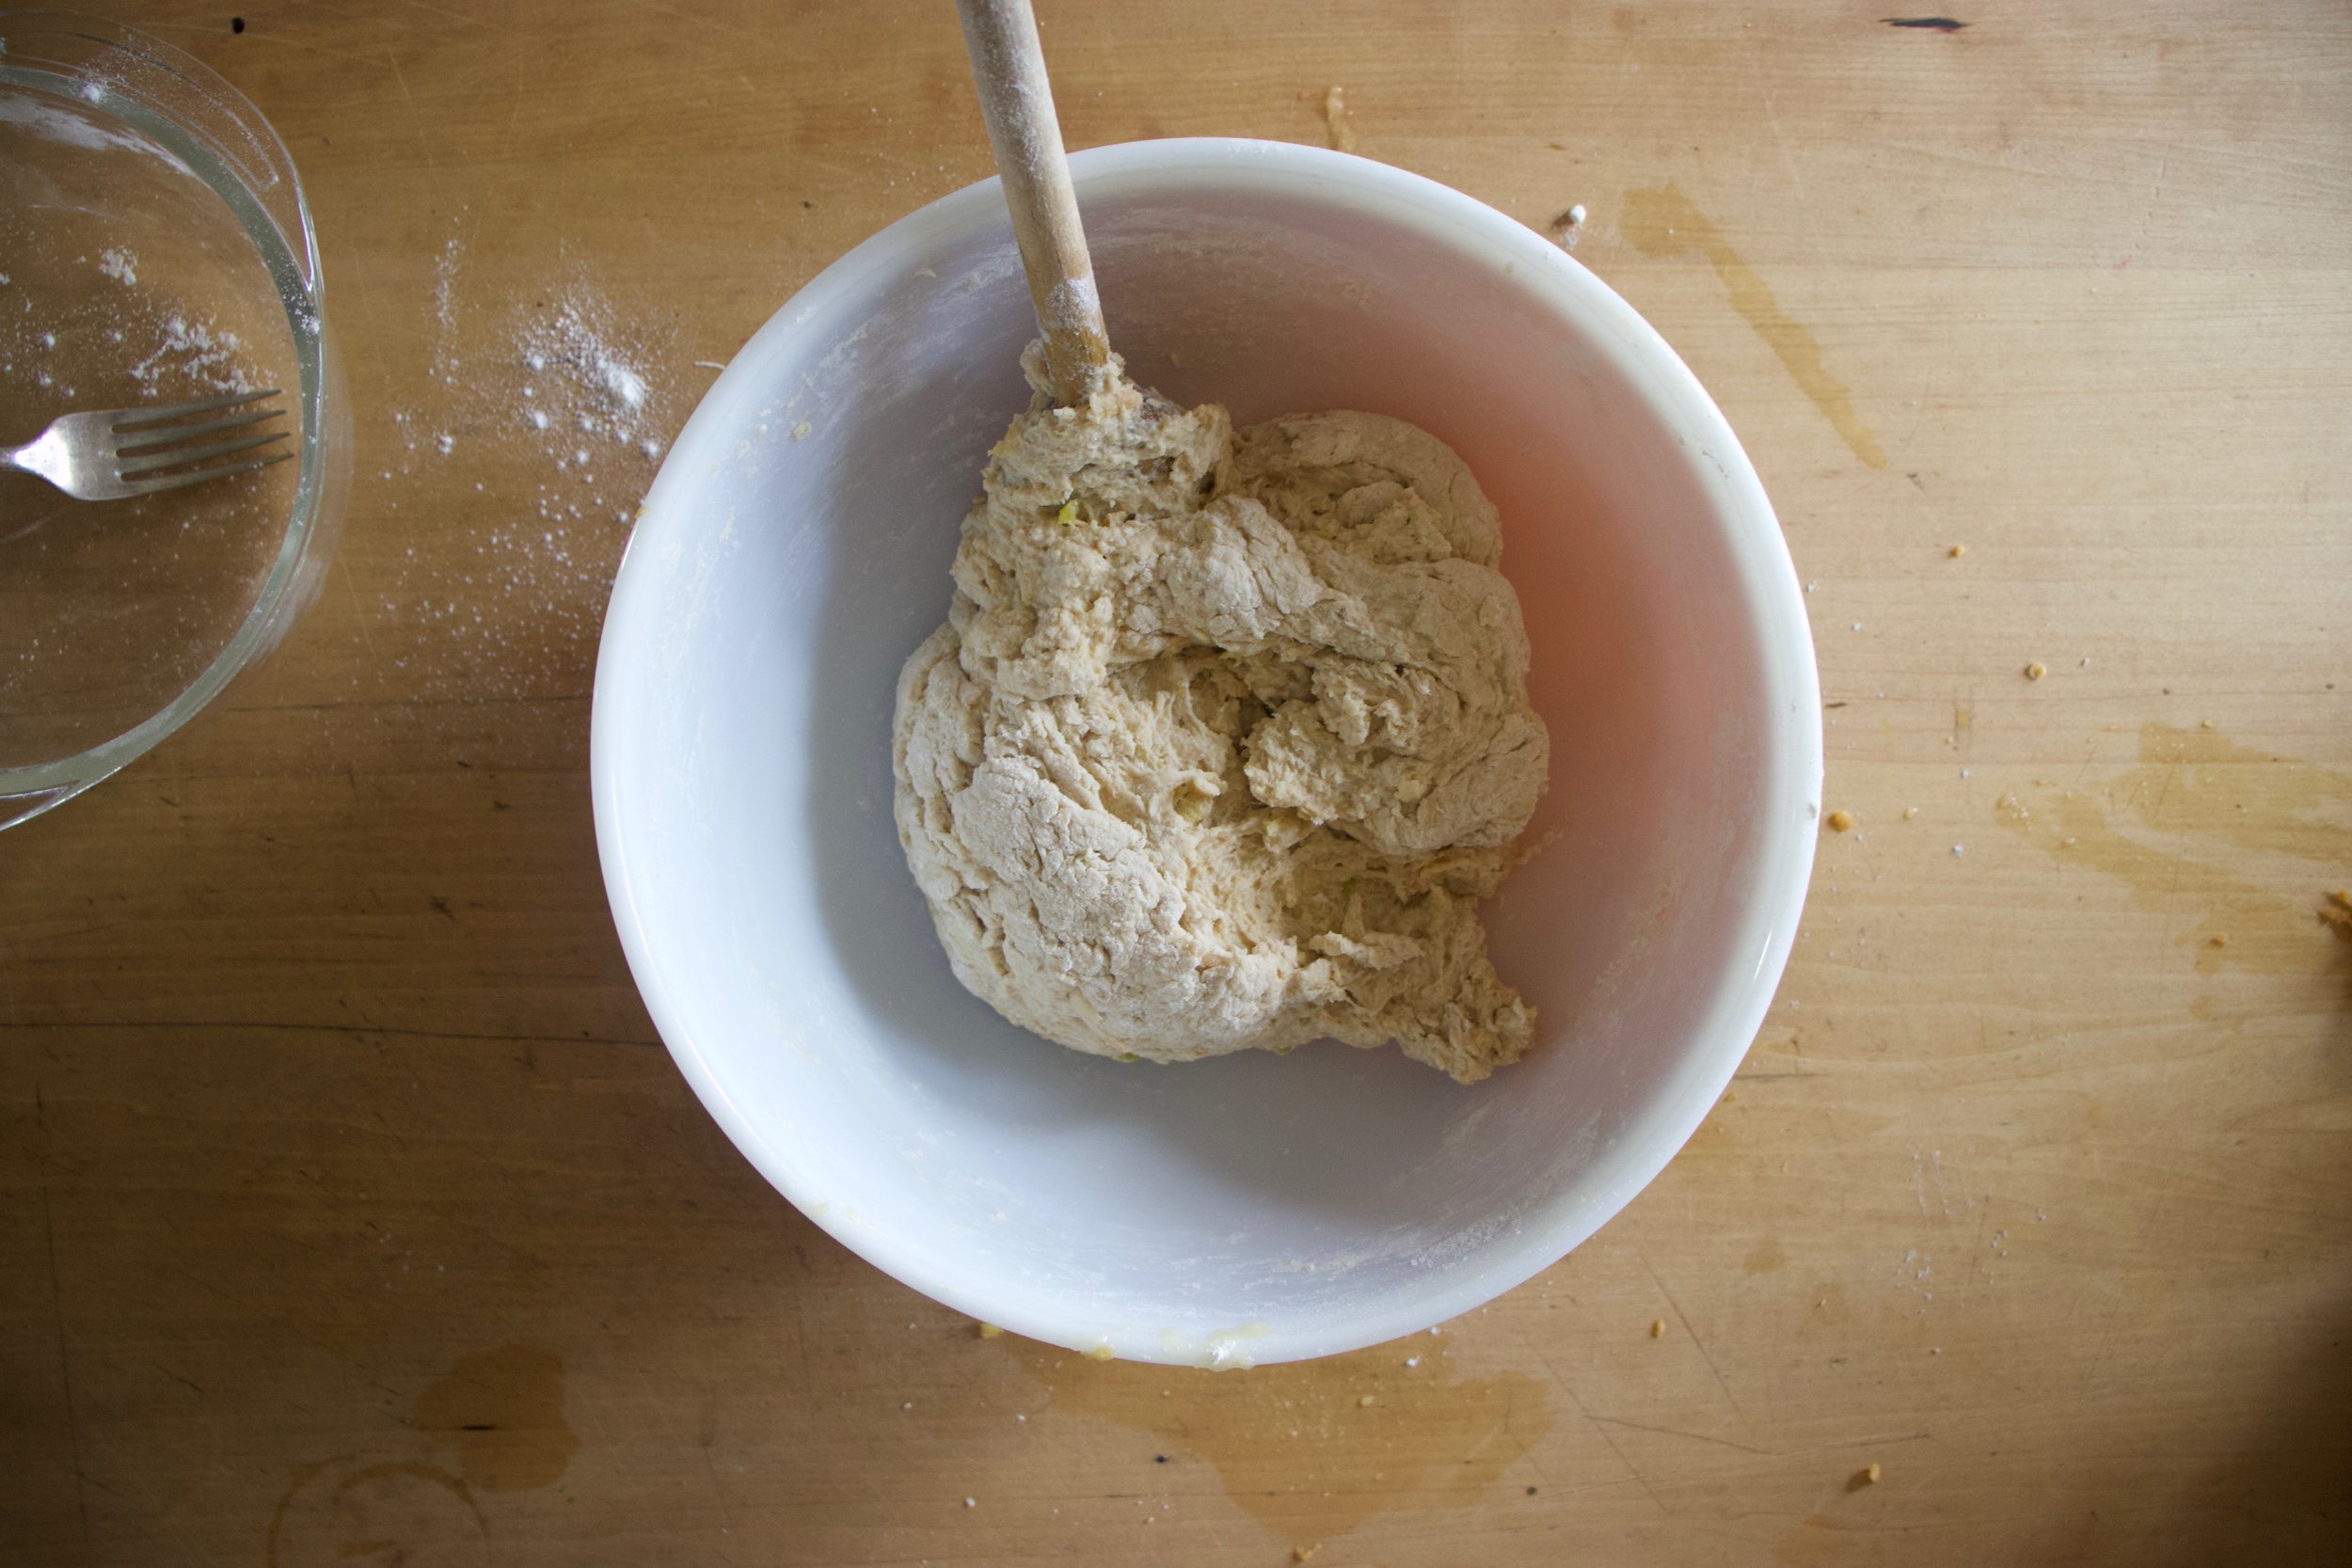
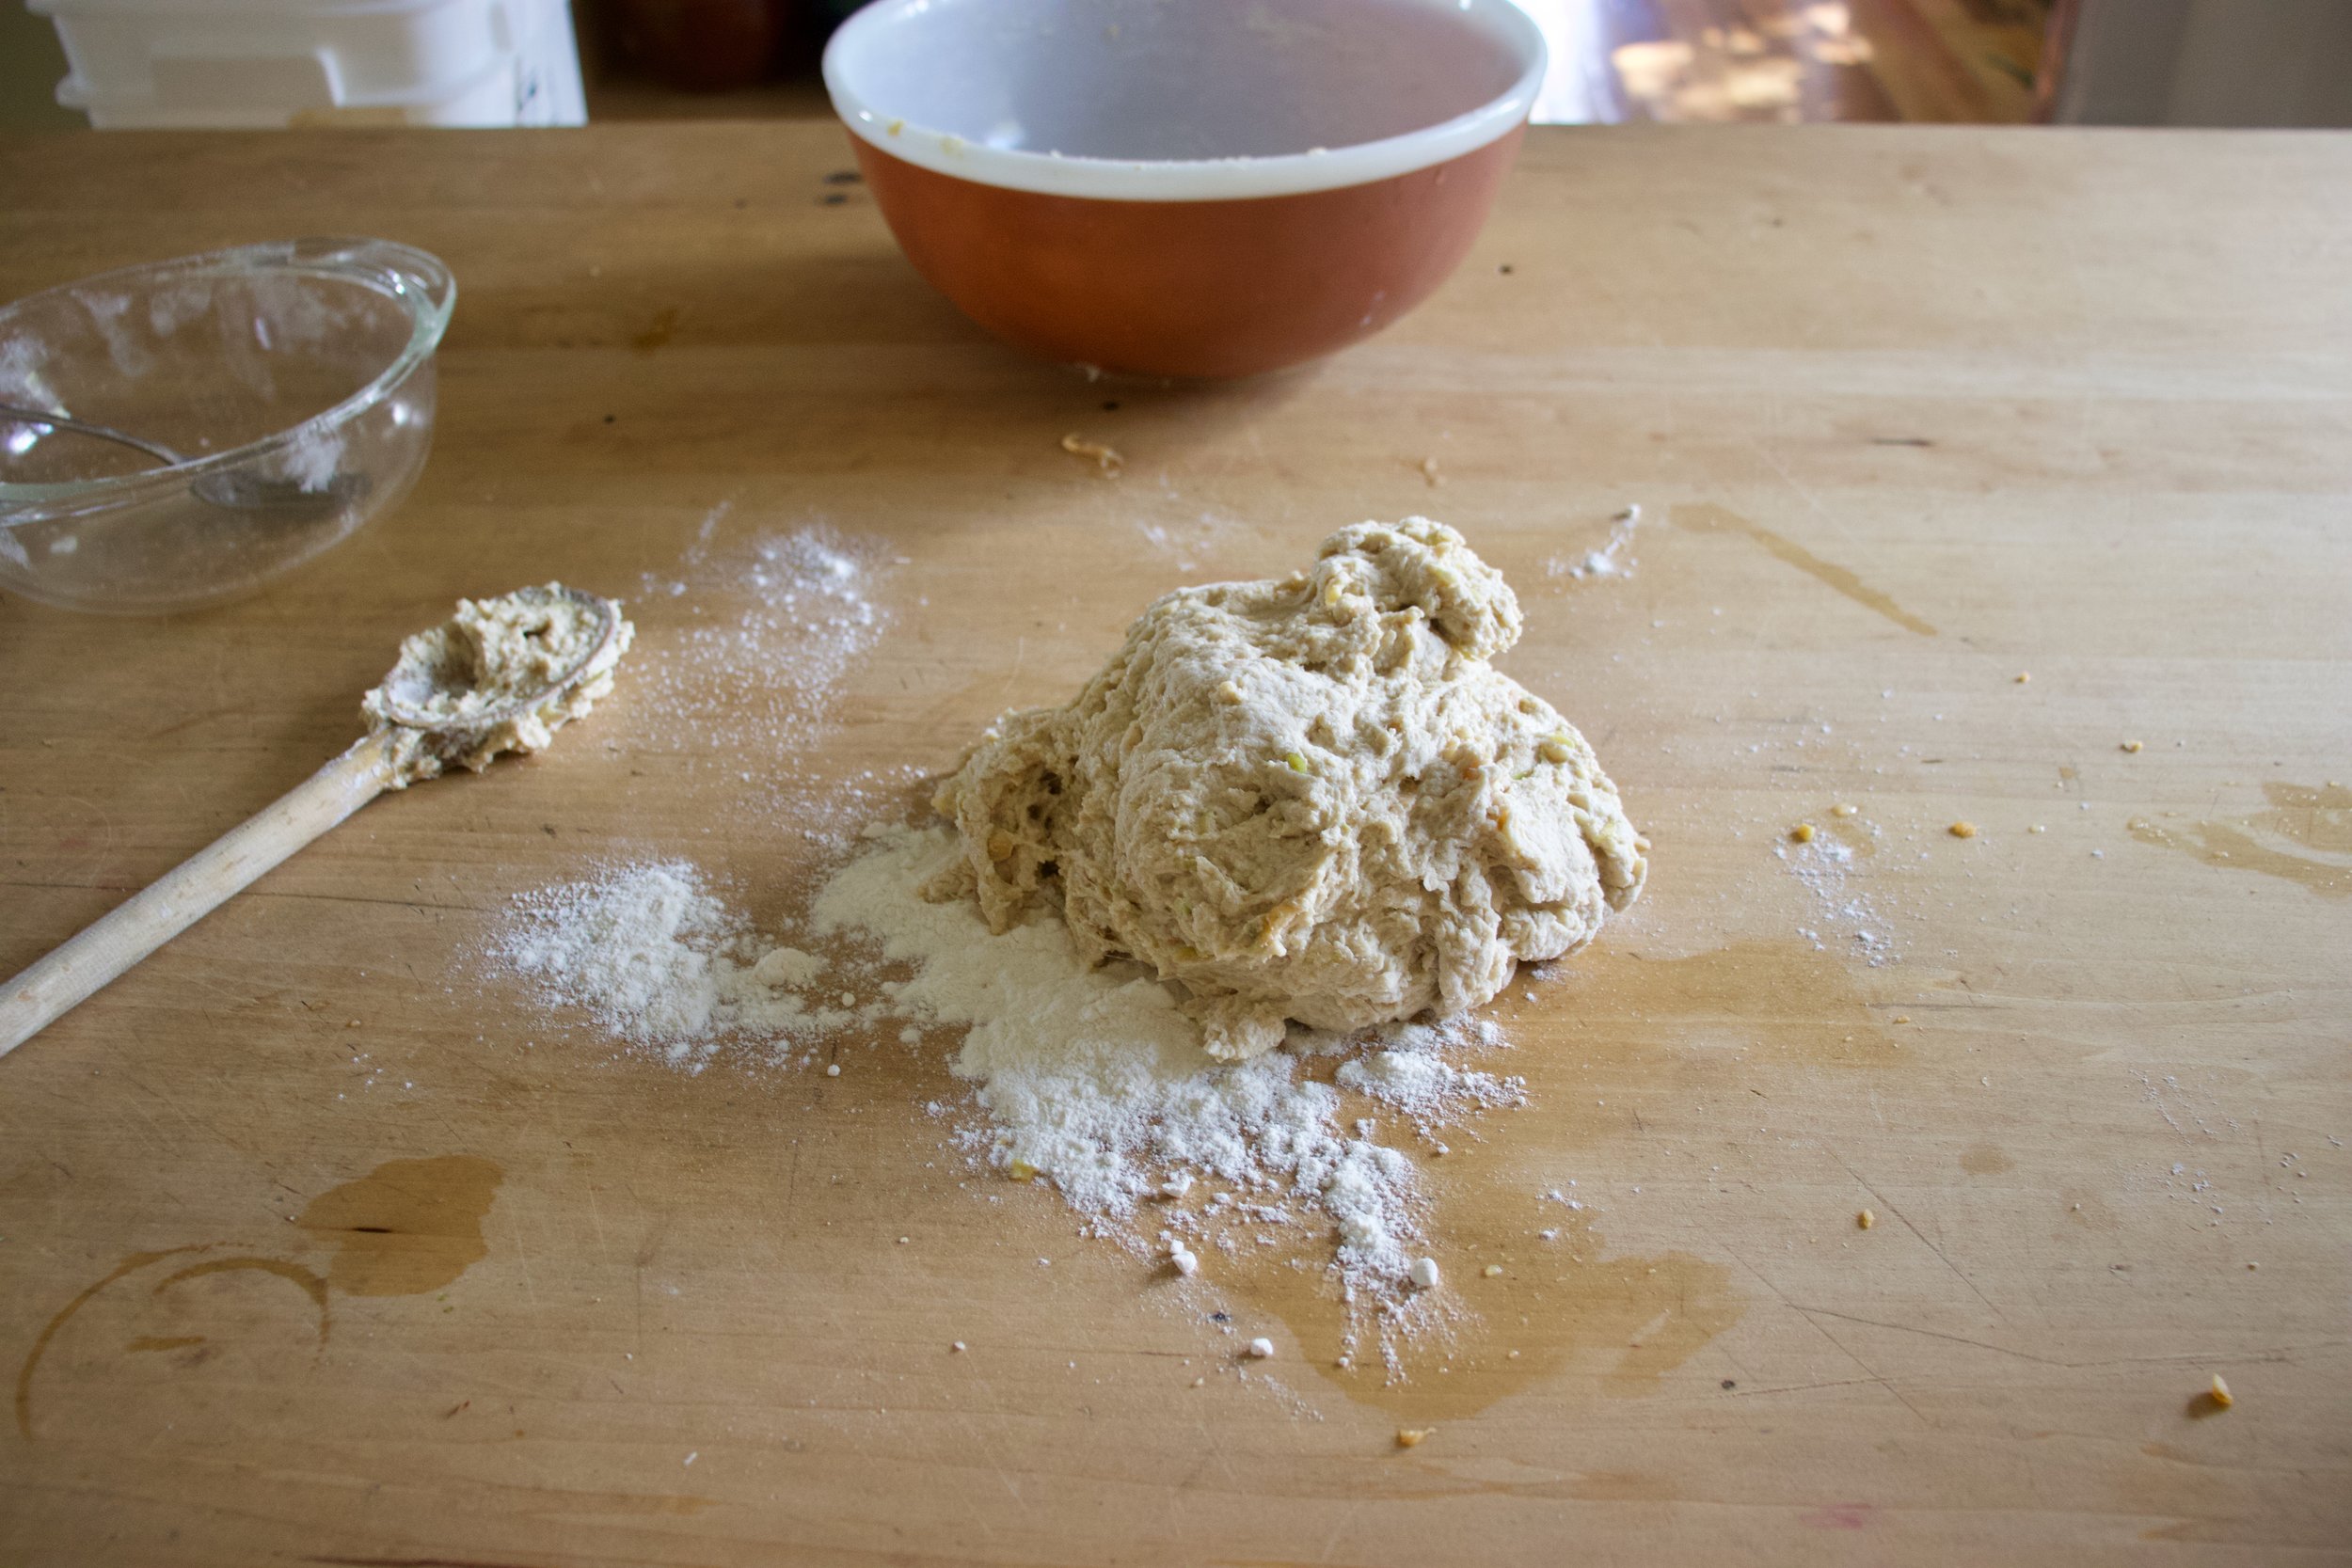
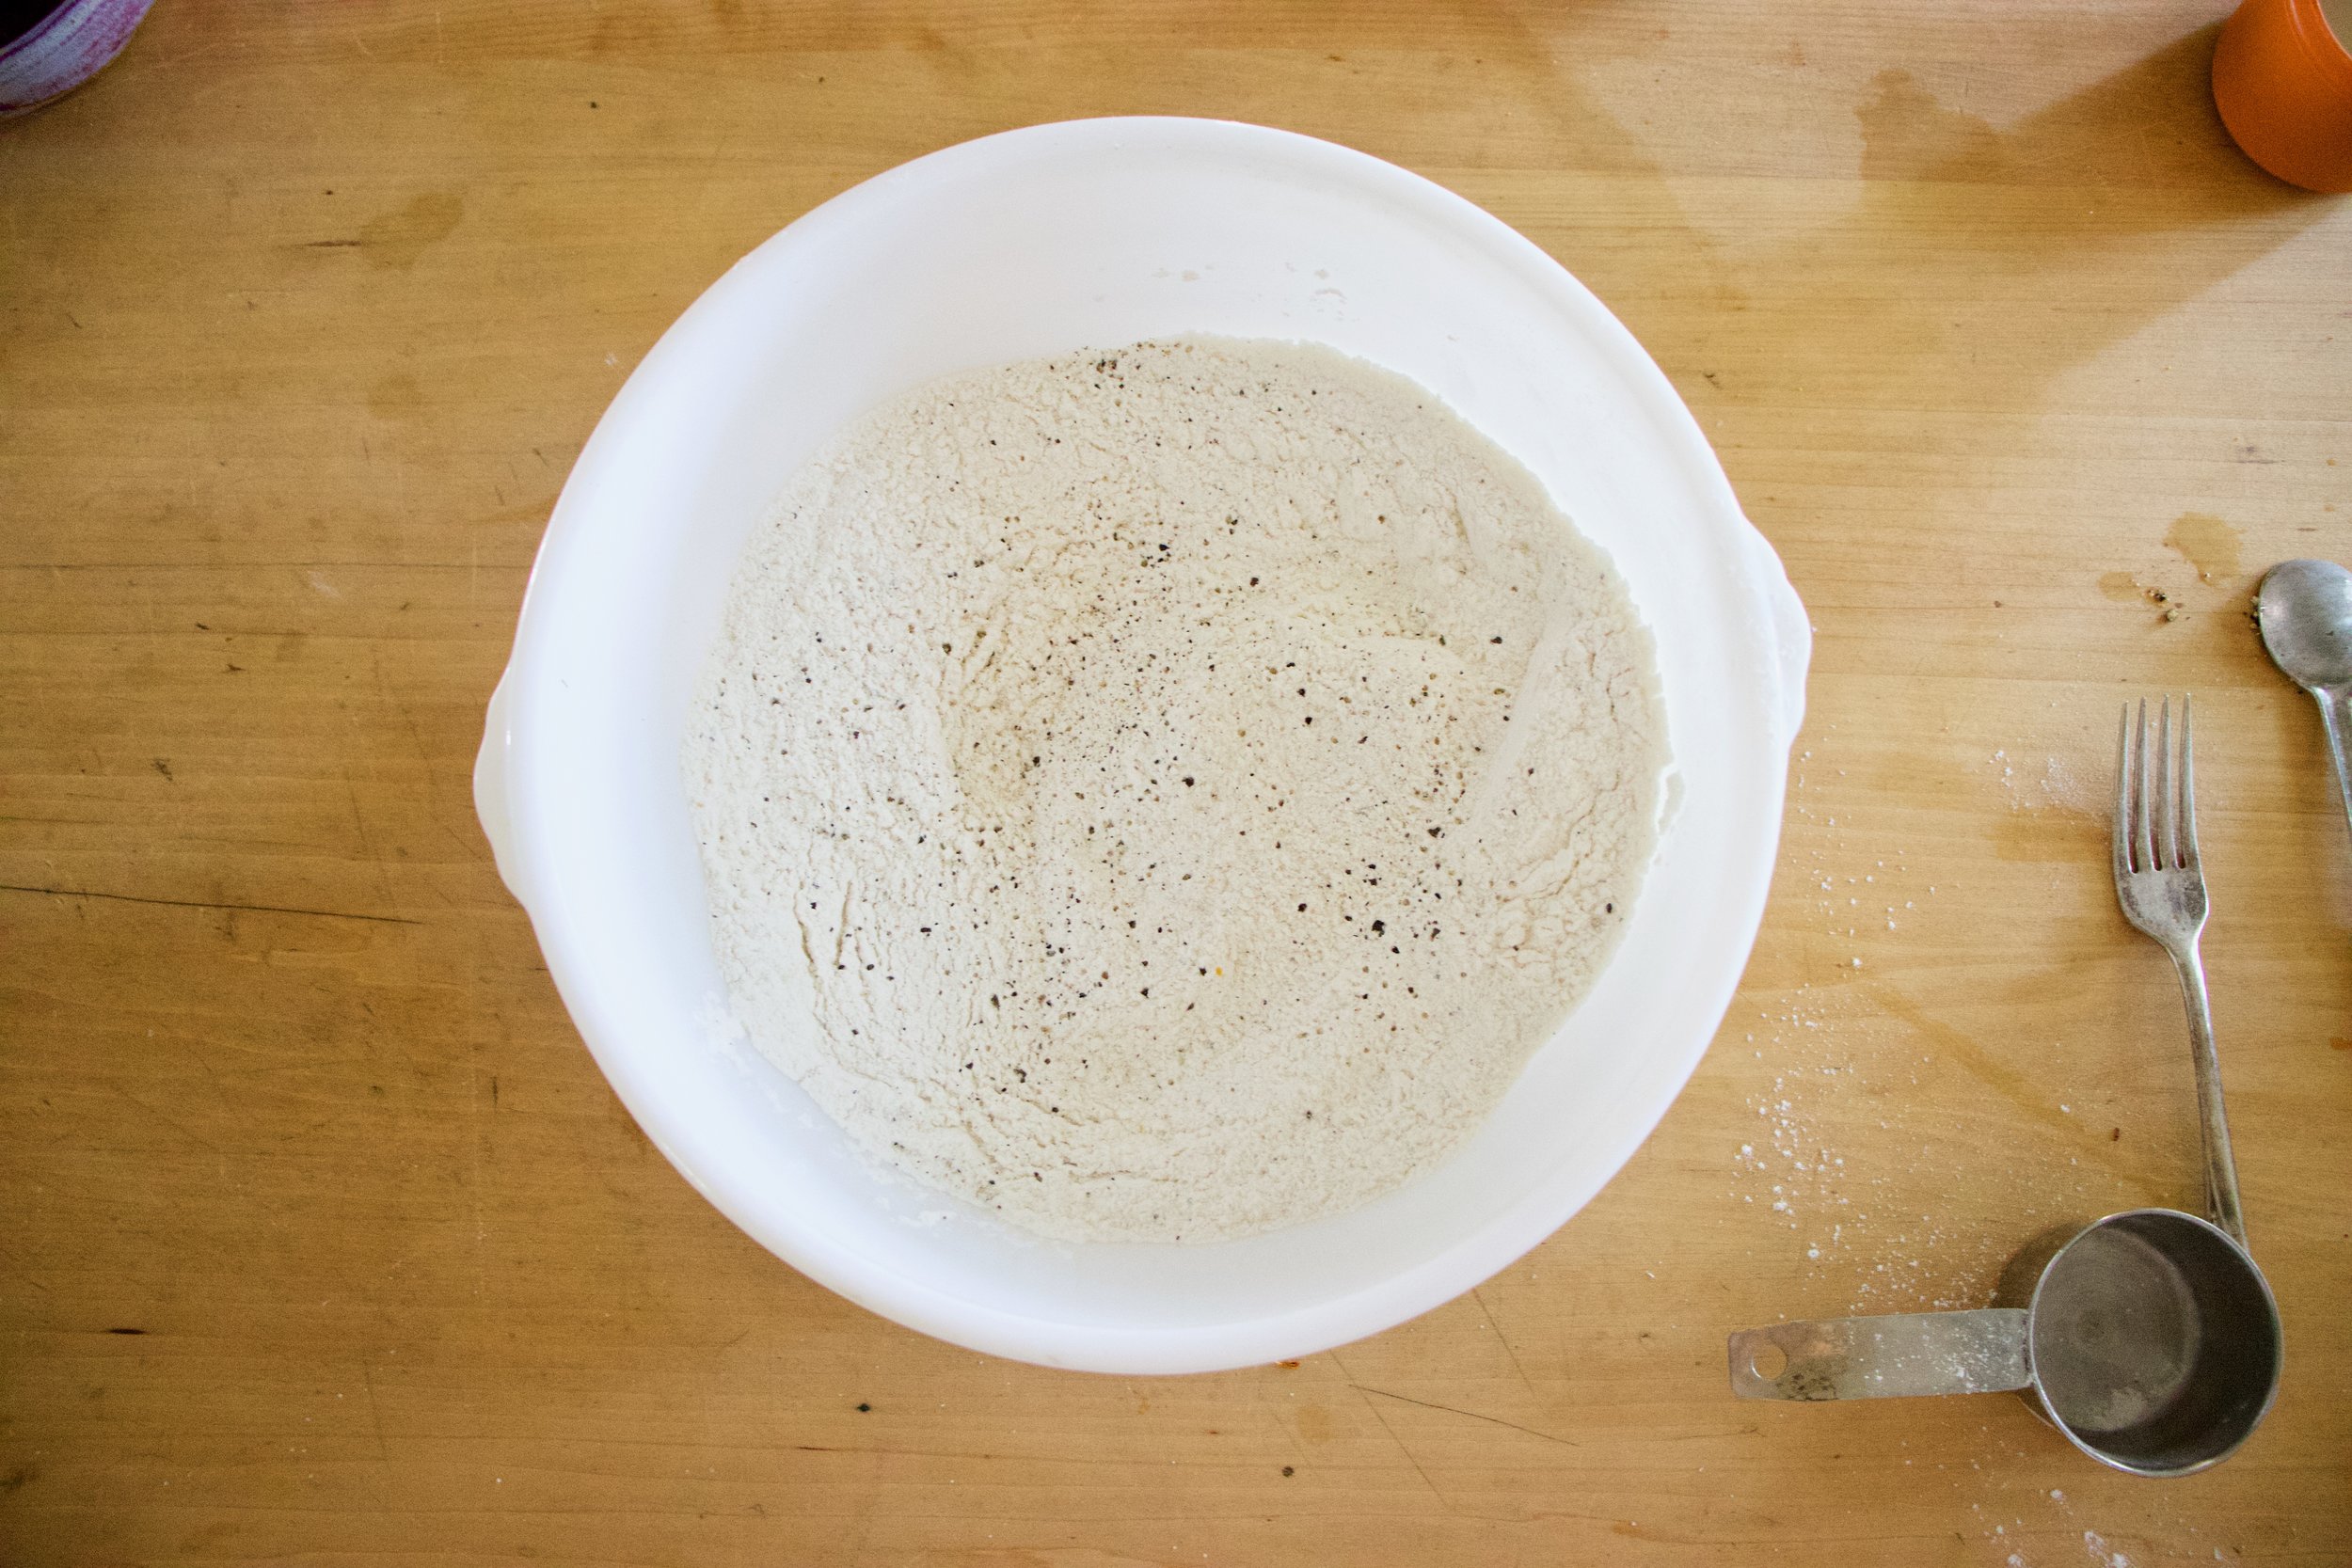
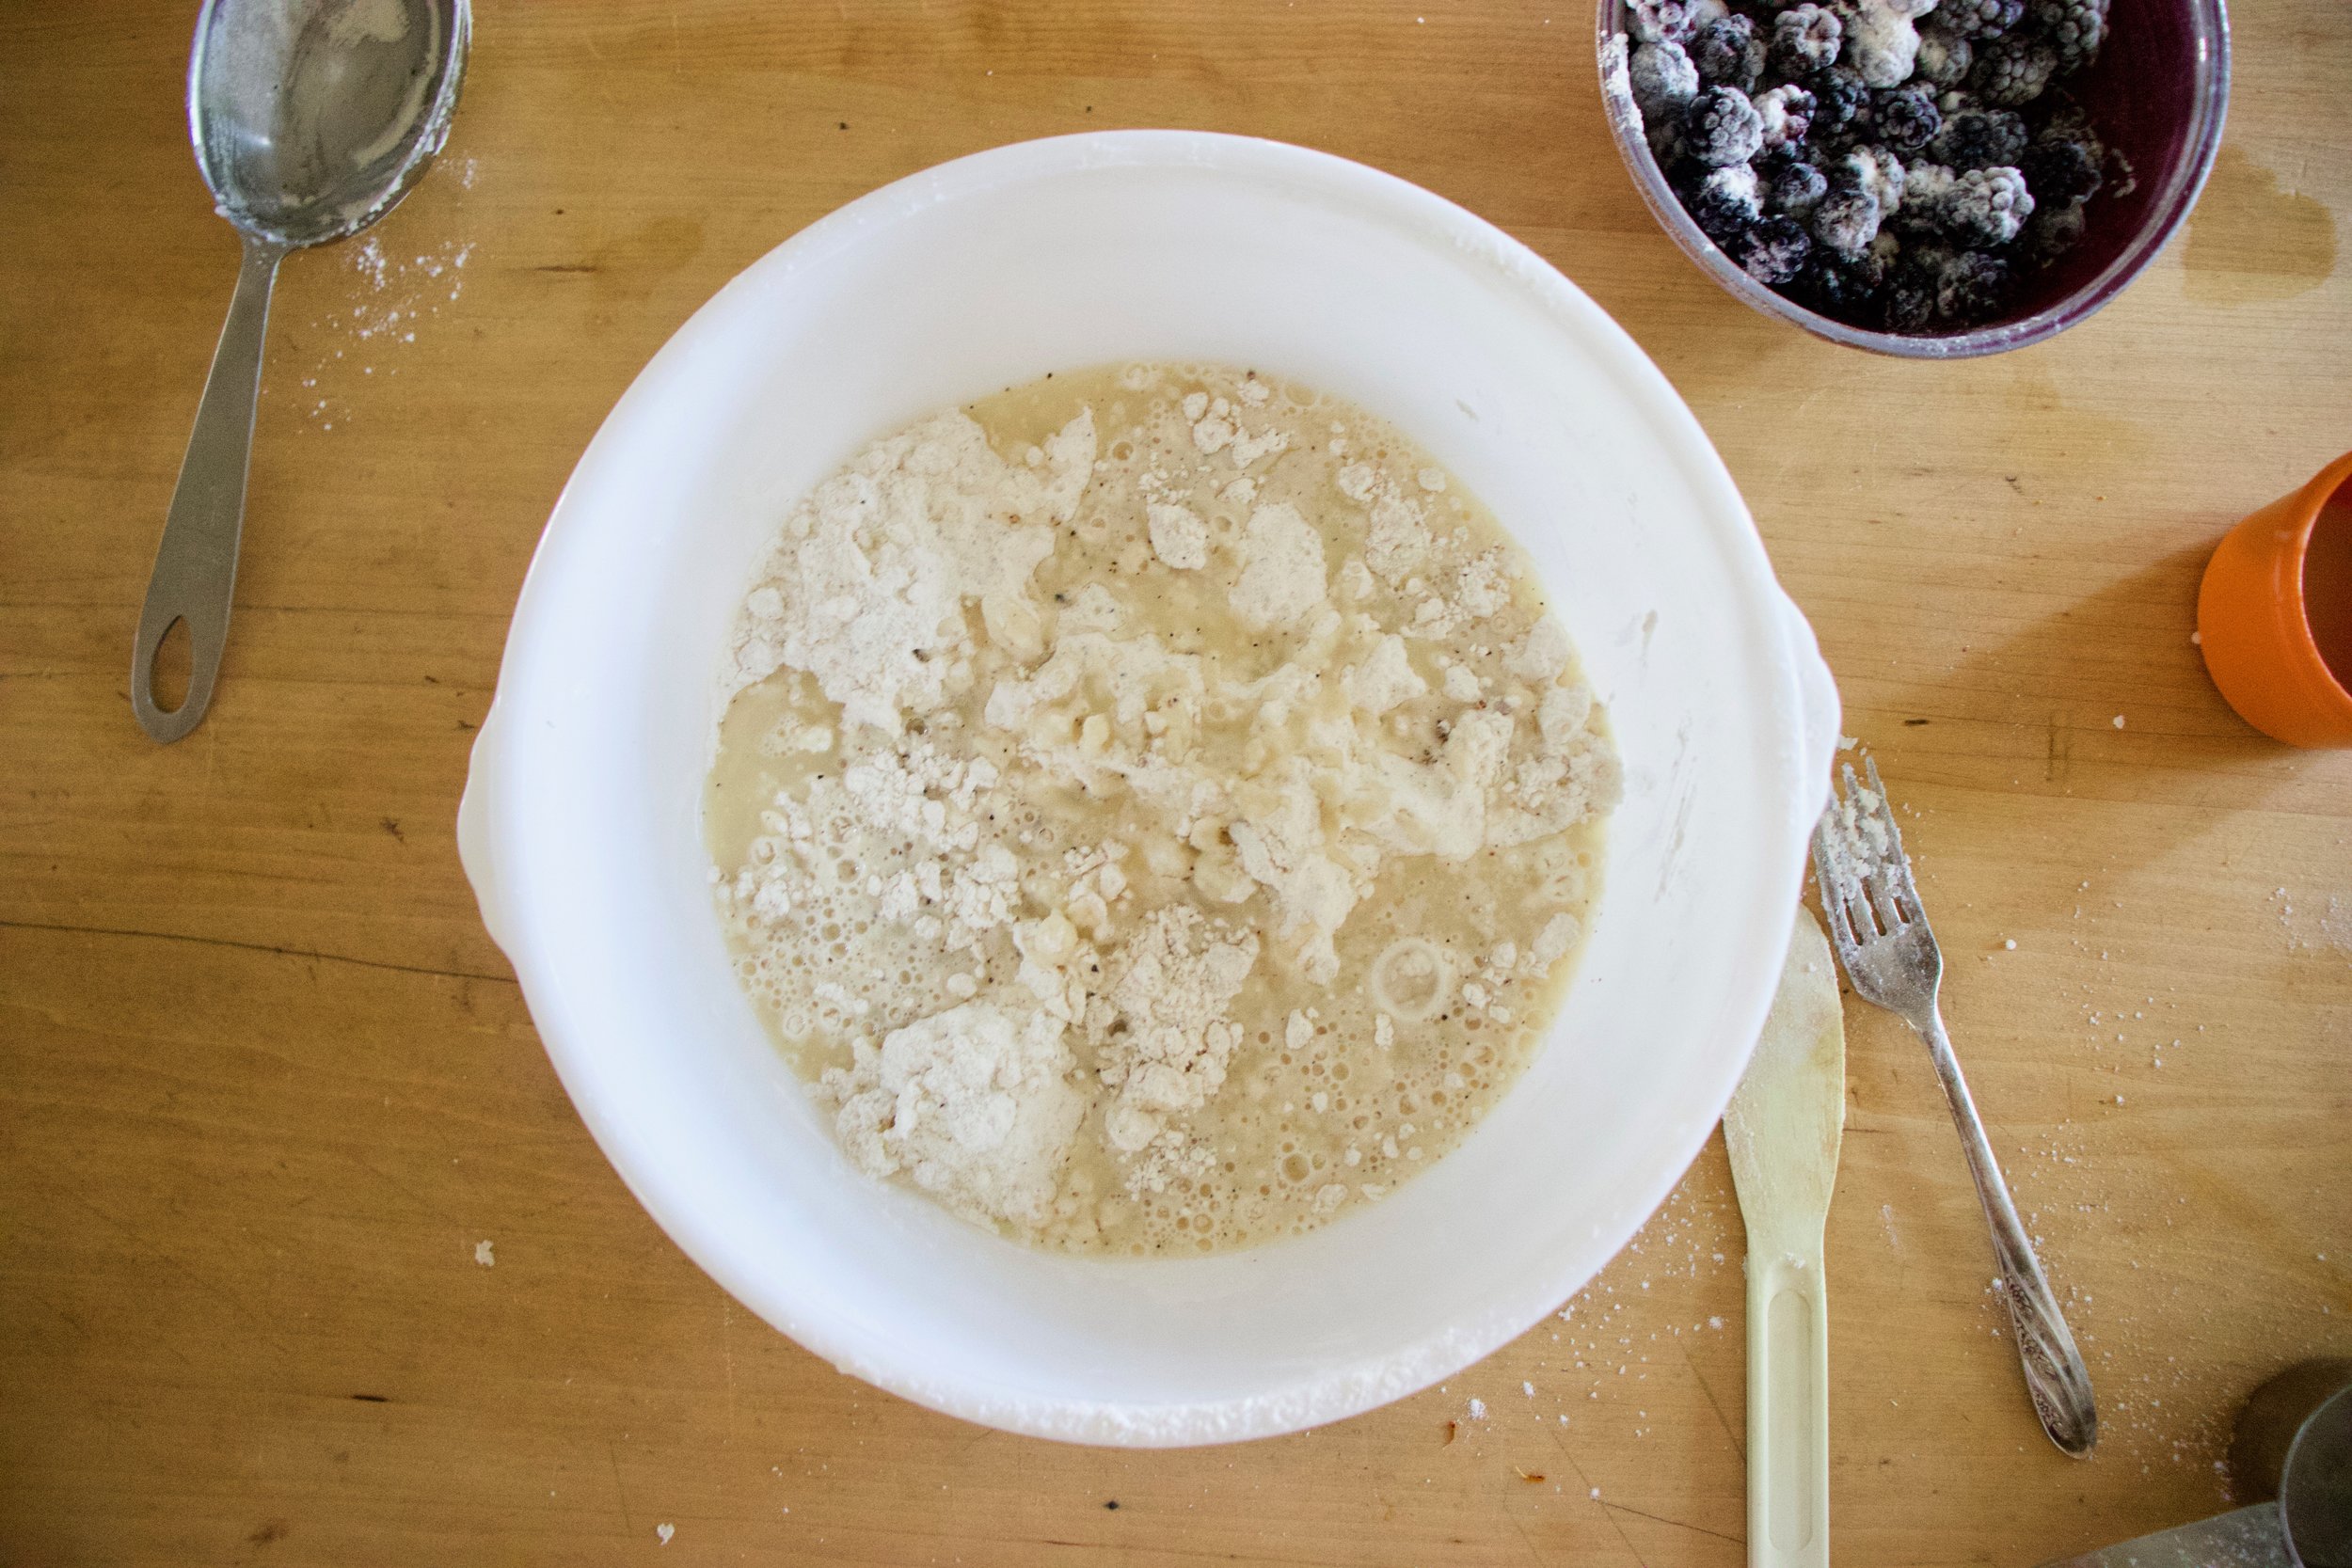
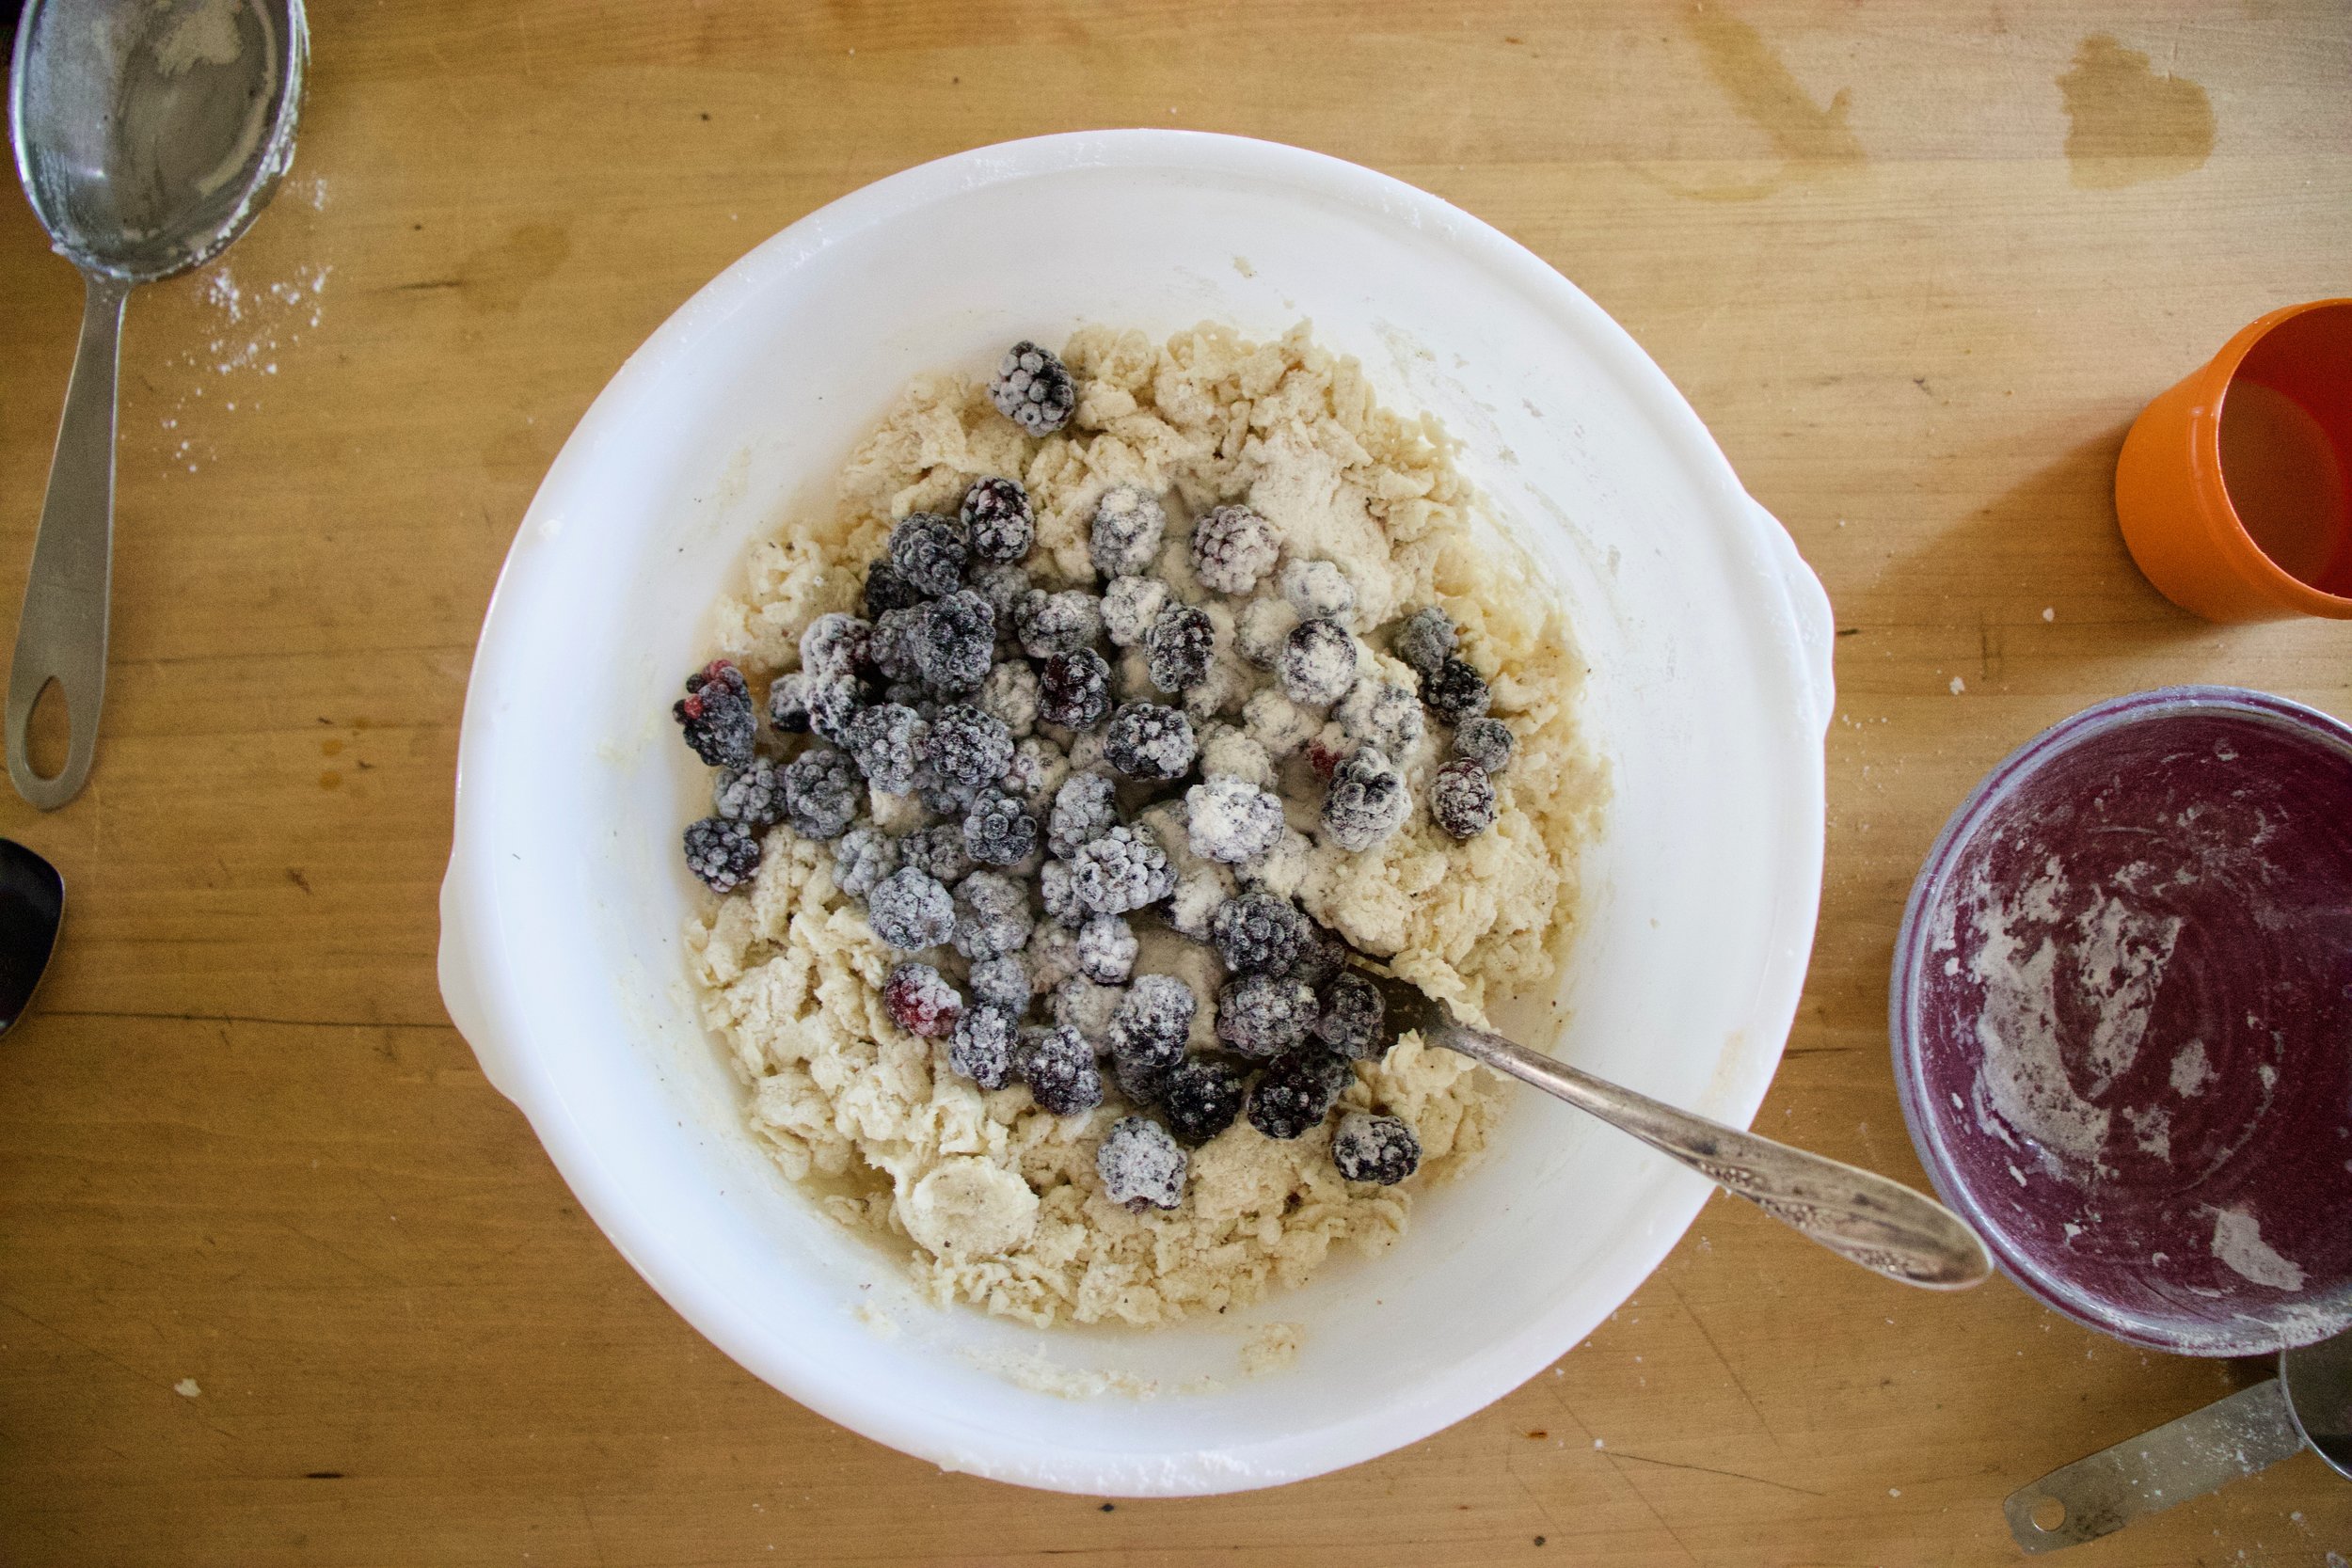
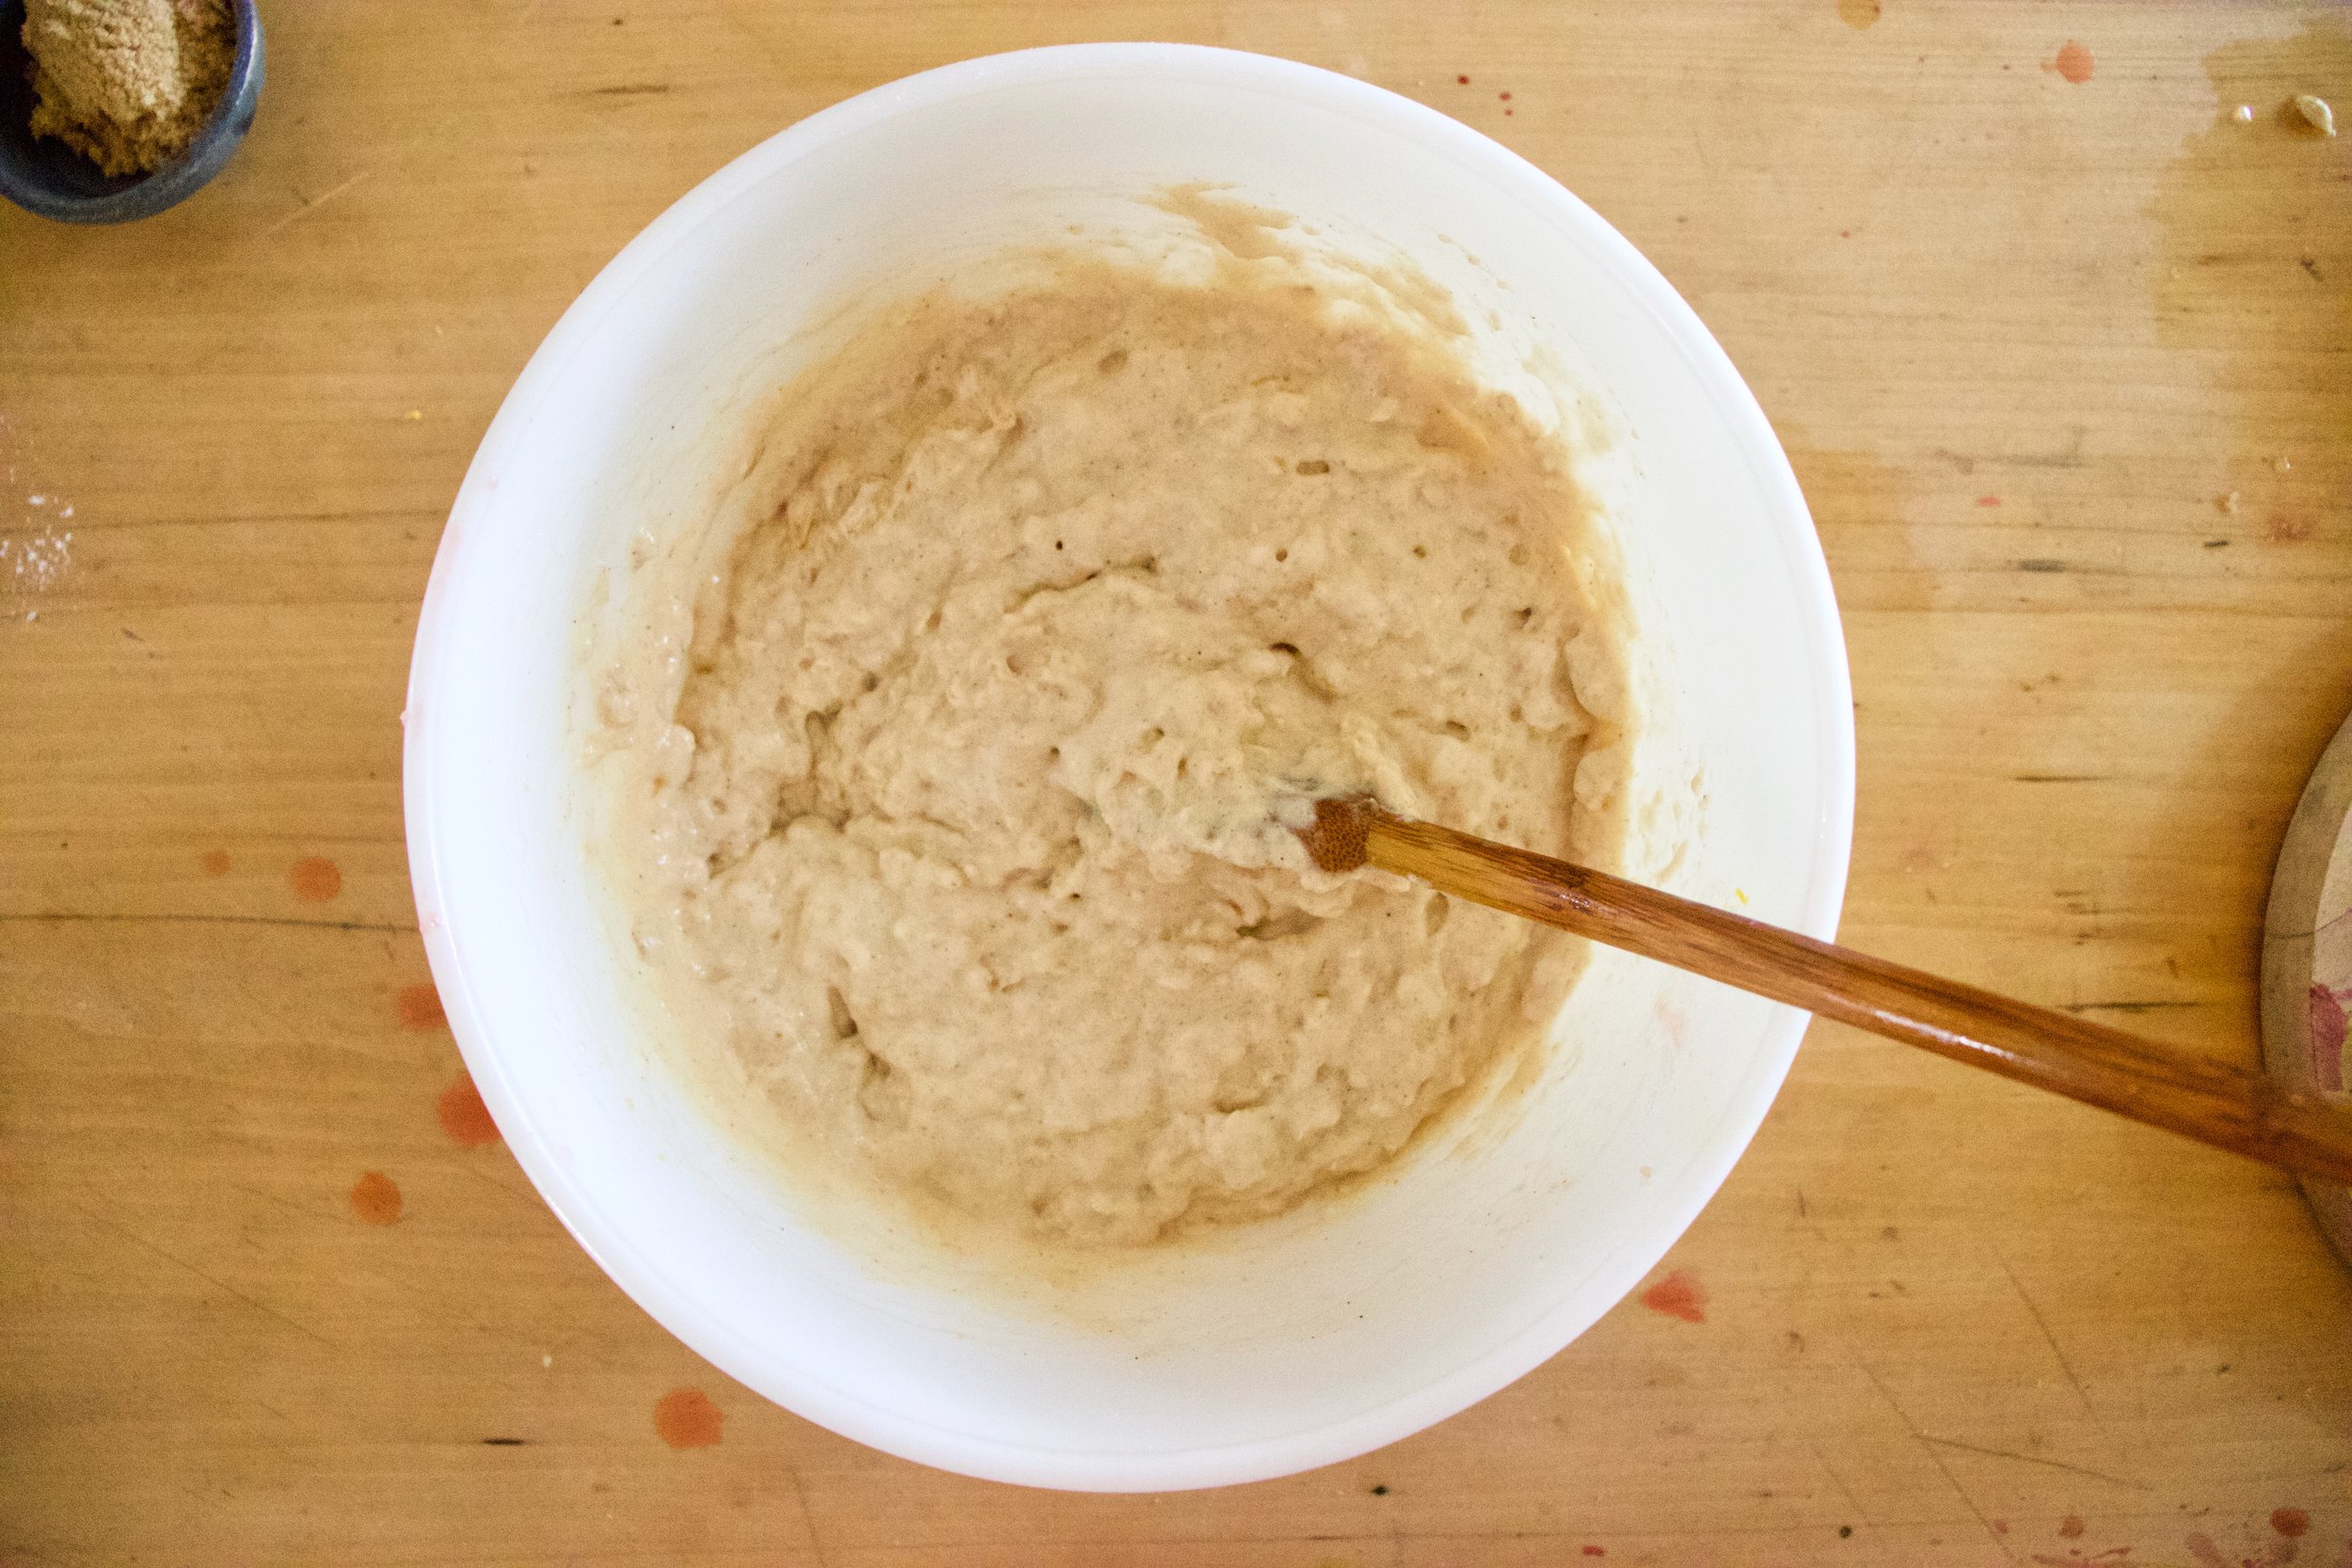
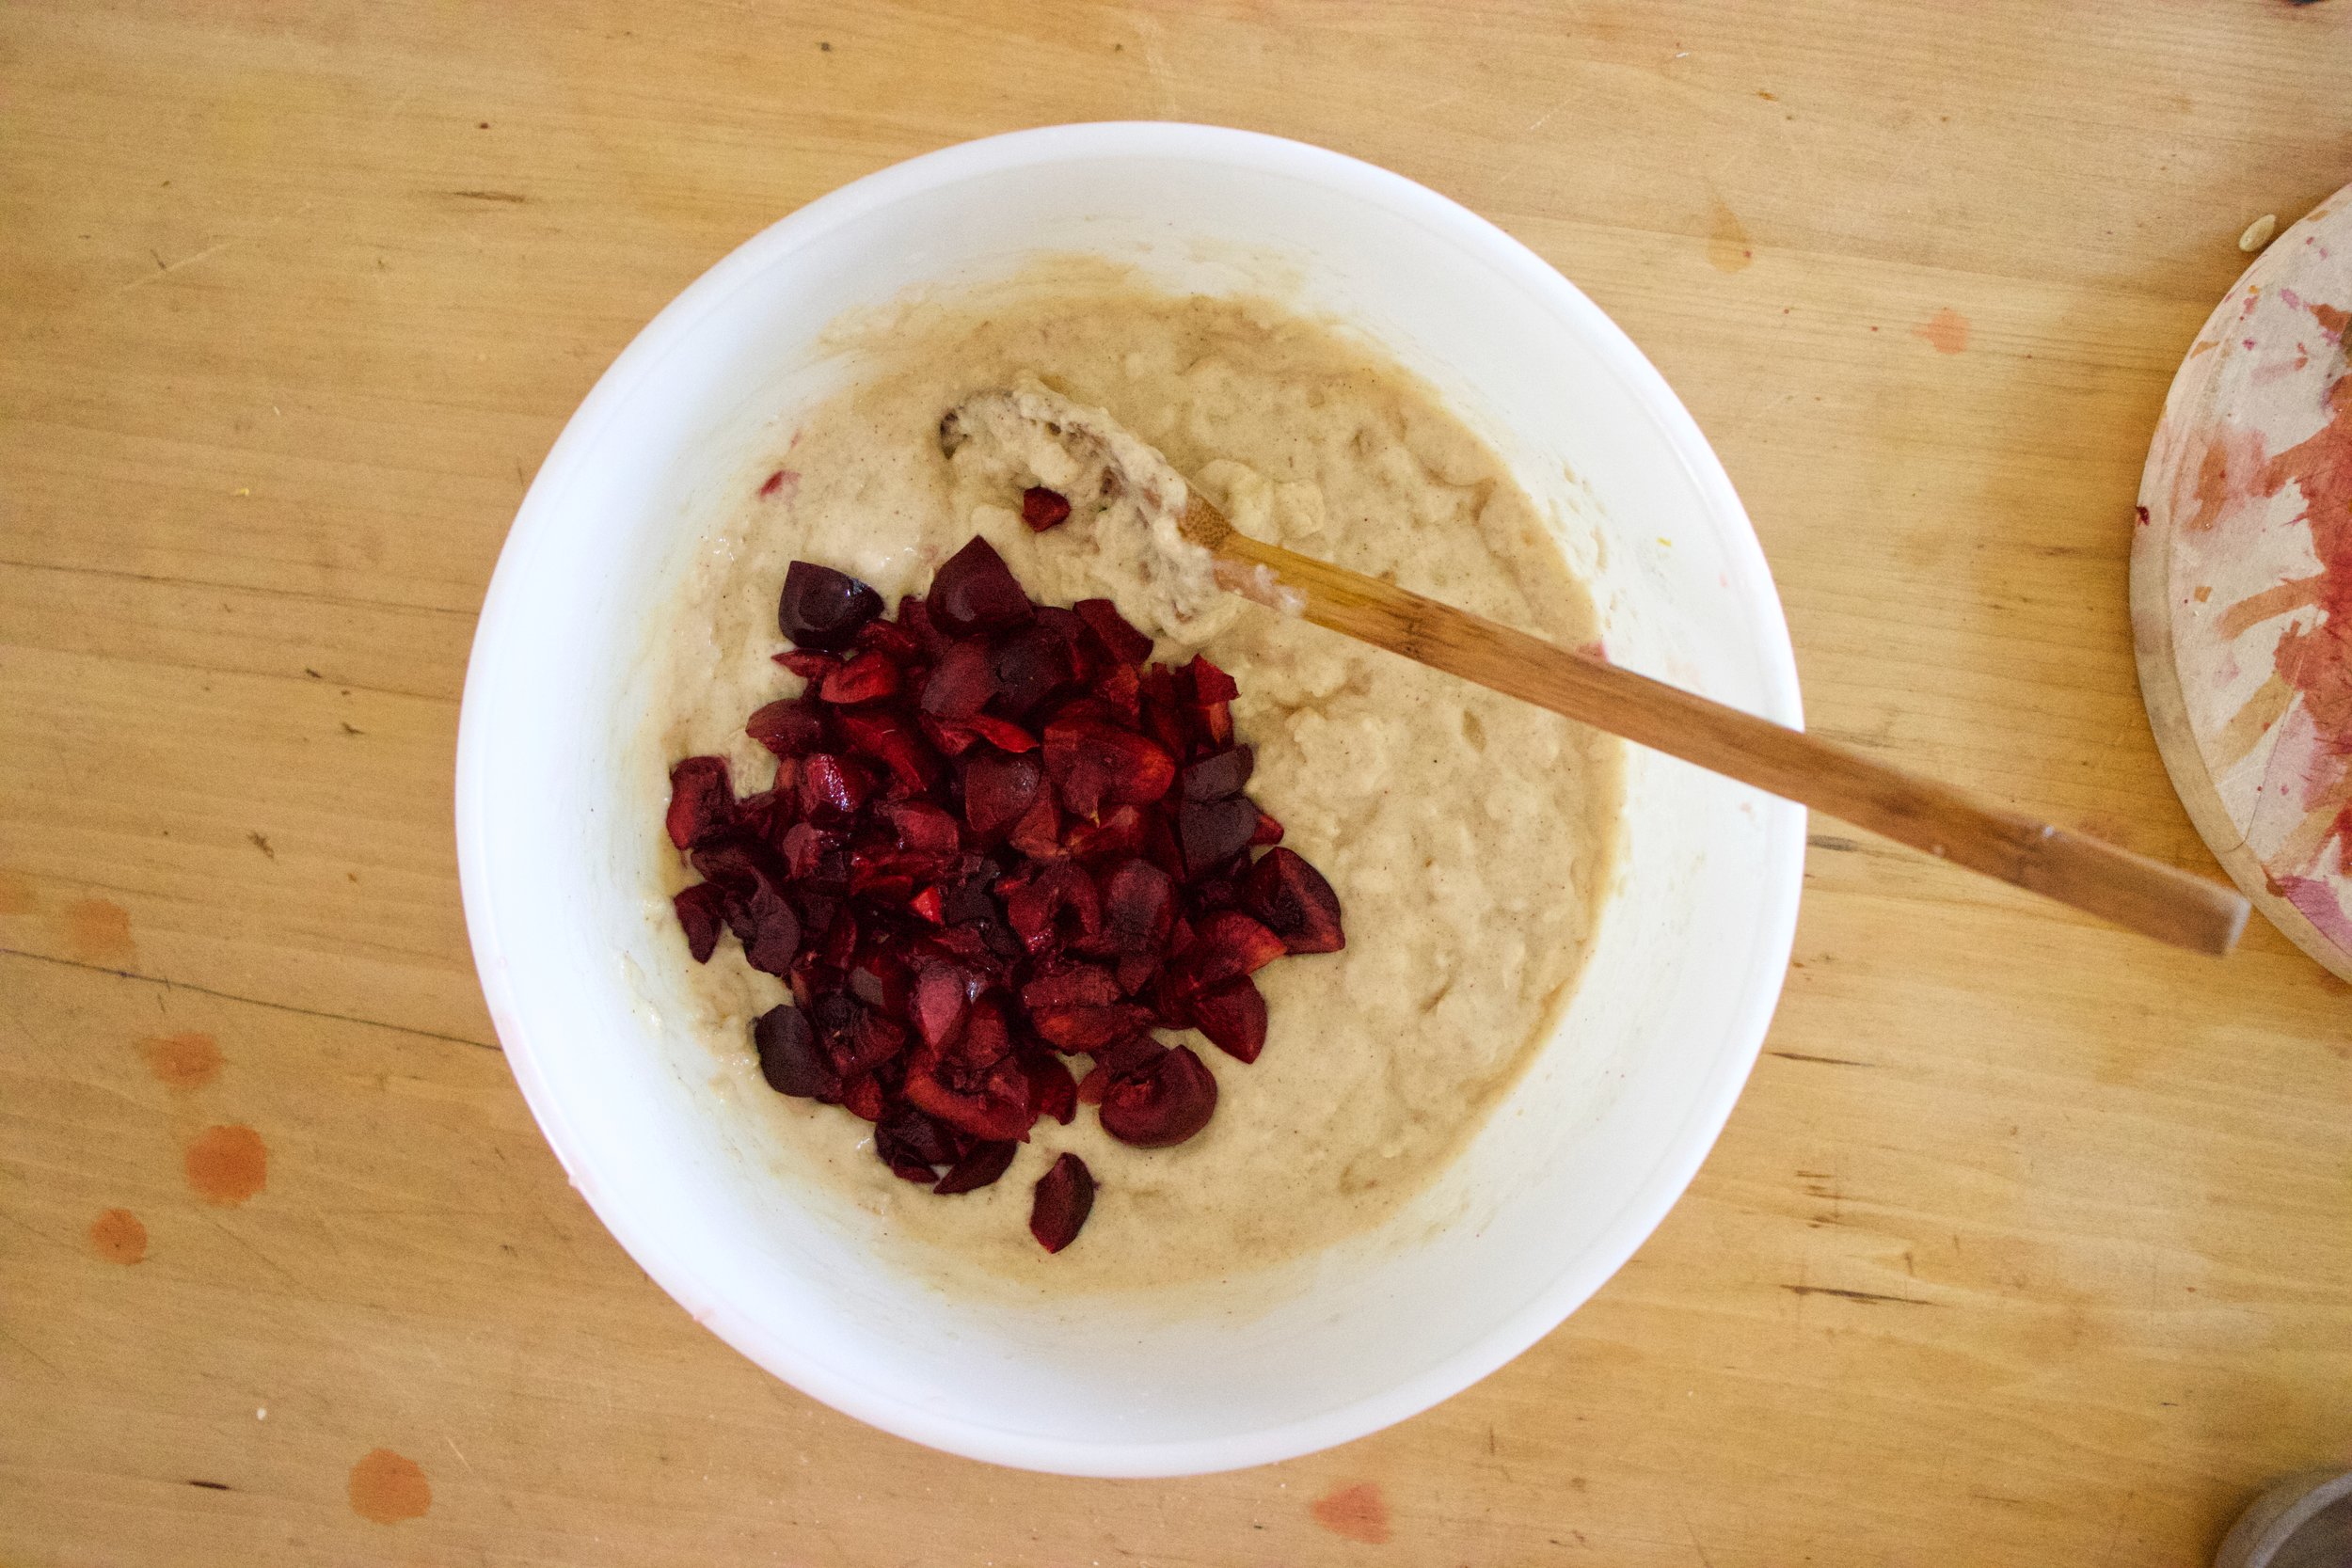
Whisk together until incorporated then add in the clementine puree, the oil, and the vinegar. Whisk together until it becomes a uniform batter.

IMG_4466.jpg

Unbaked cake.

IMG_4472.jpg
IMG_4473.jpg

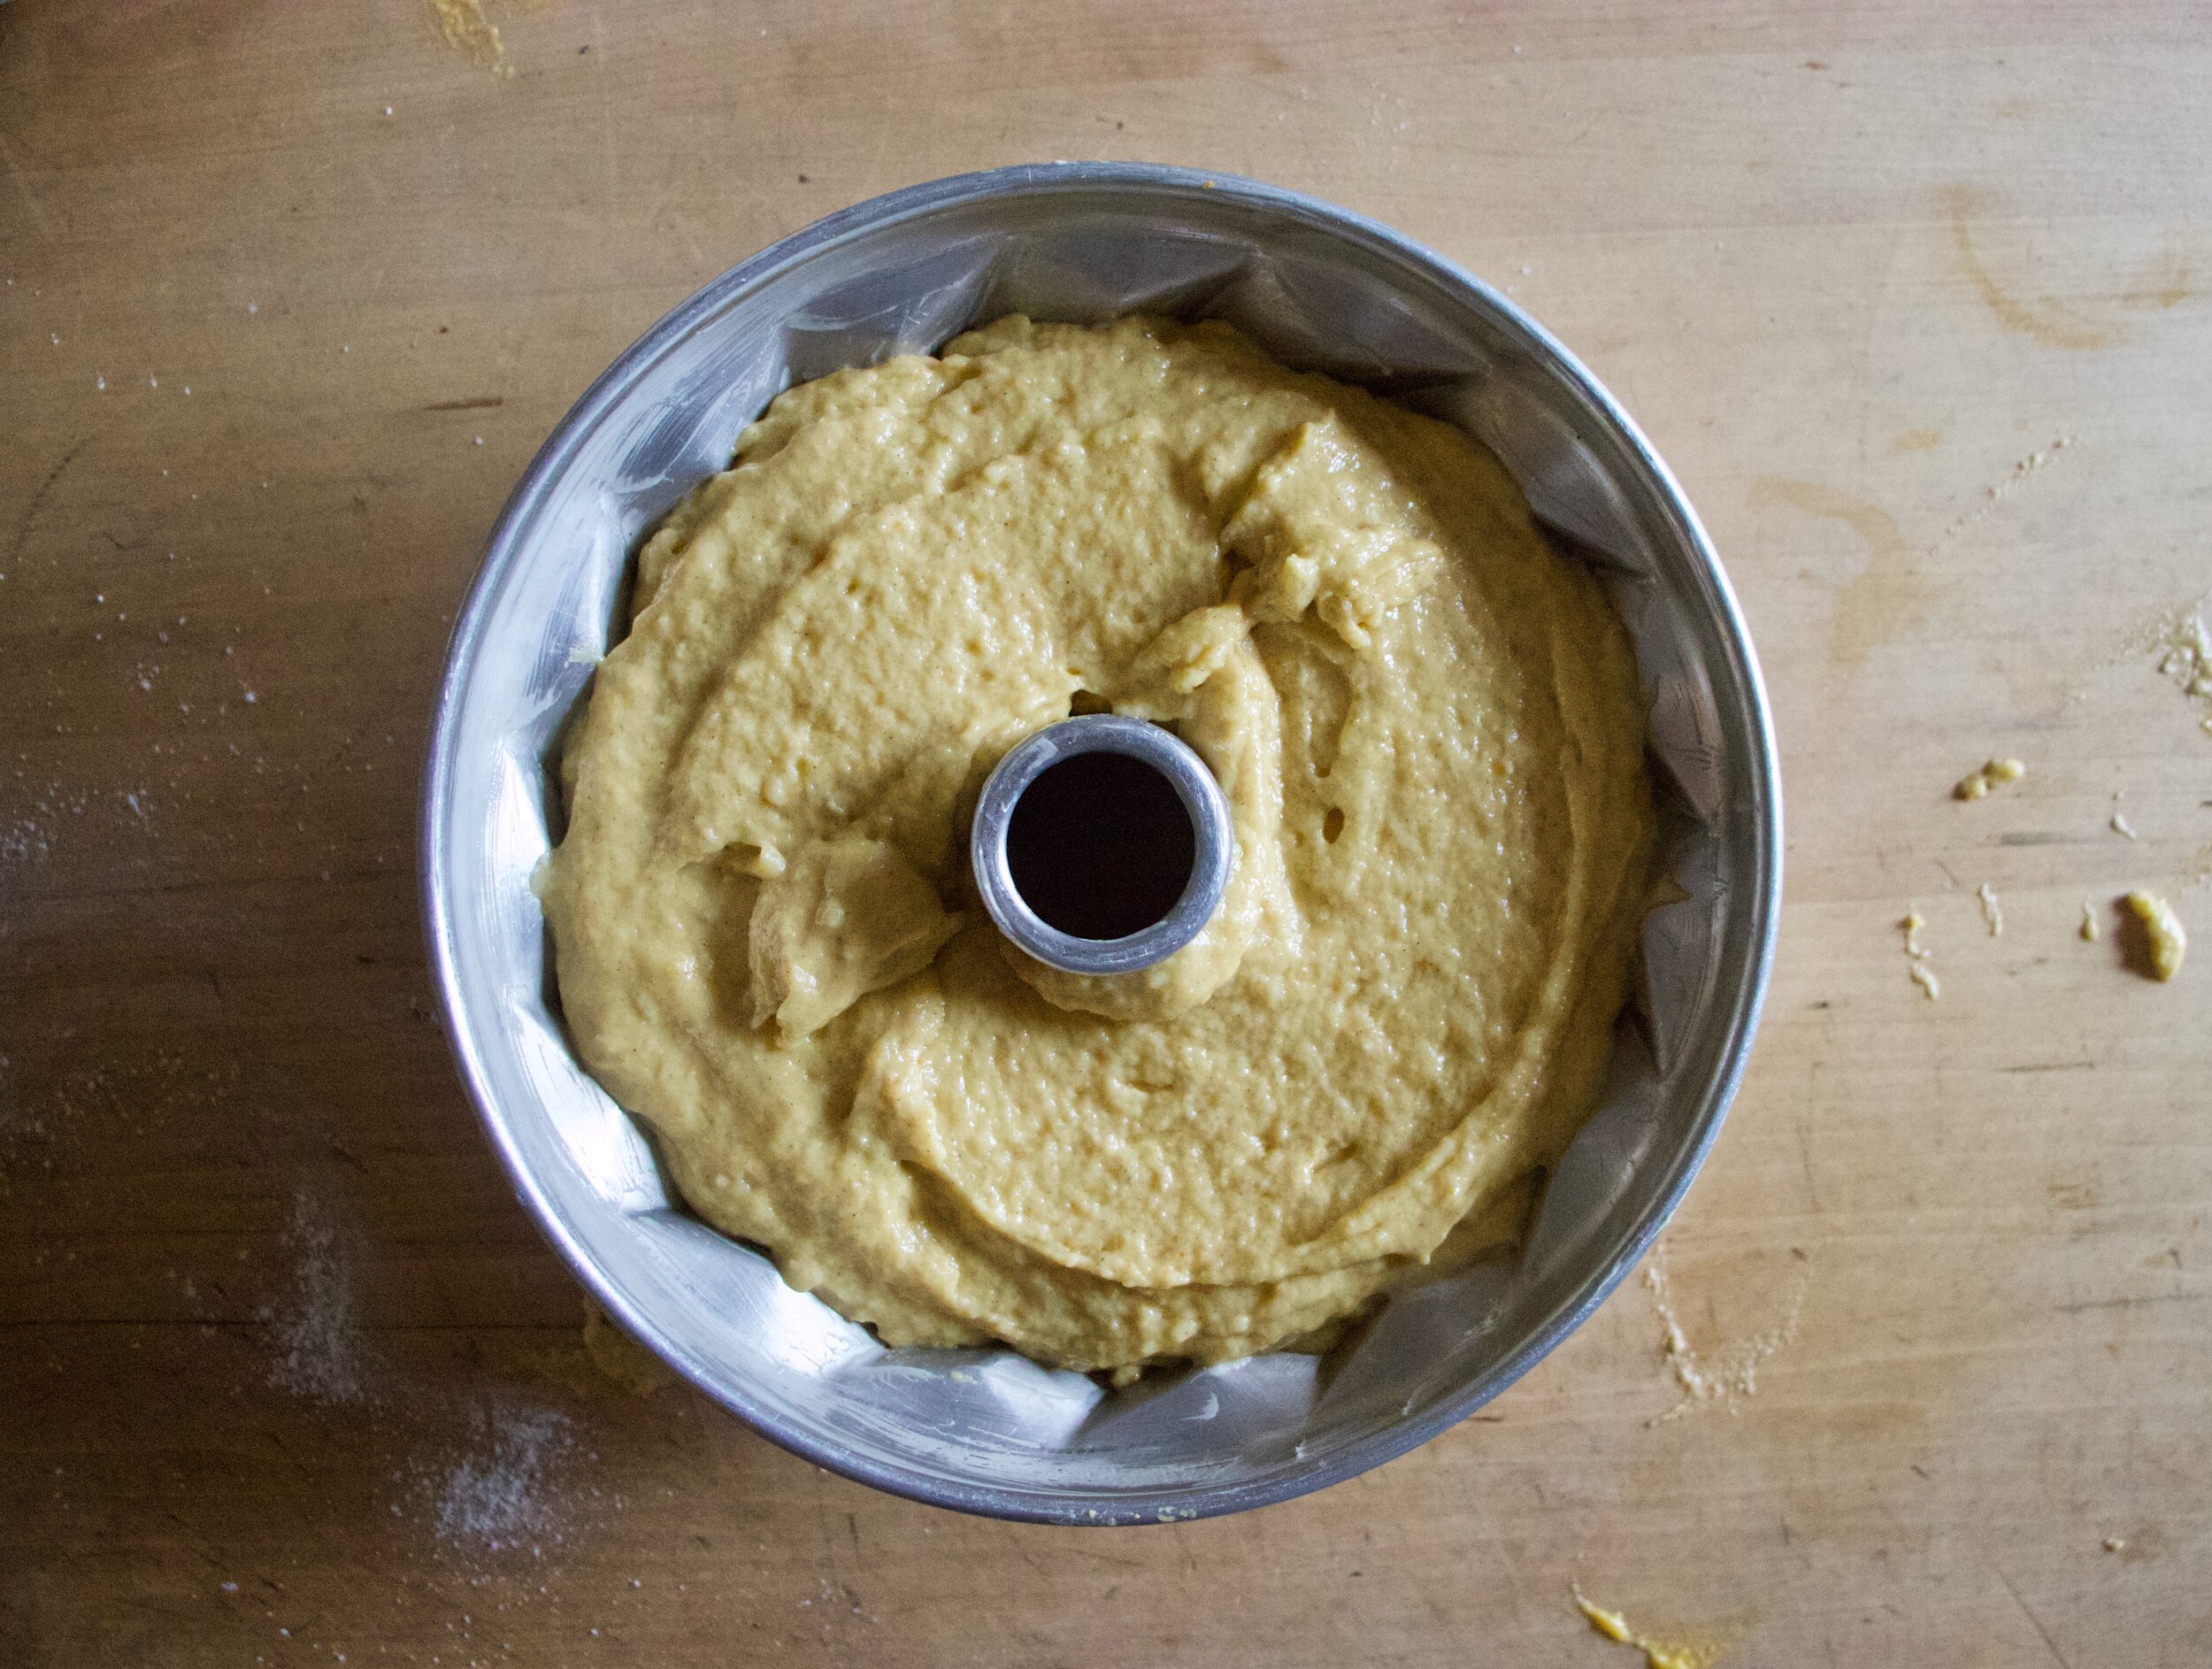
Scoop batter into a very well greased bundt cake pan and bake, 50-60 minutes, until tester comes out clean.

IMG_4479.jpg

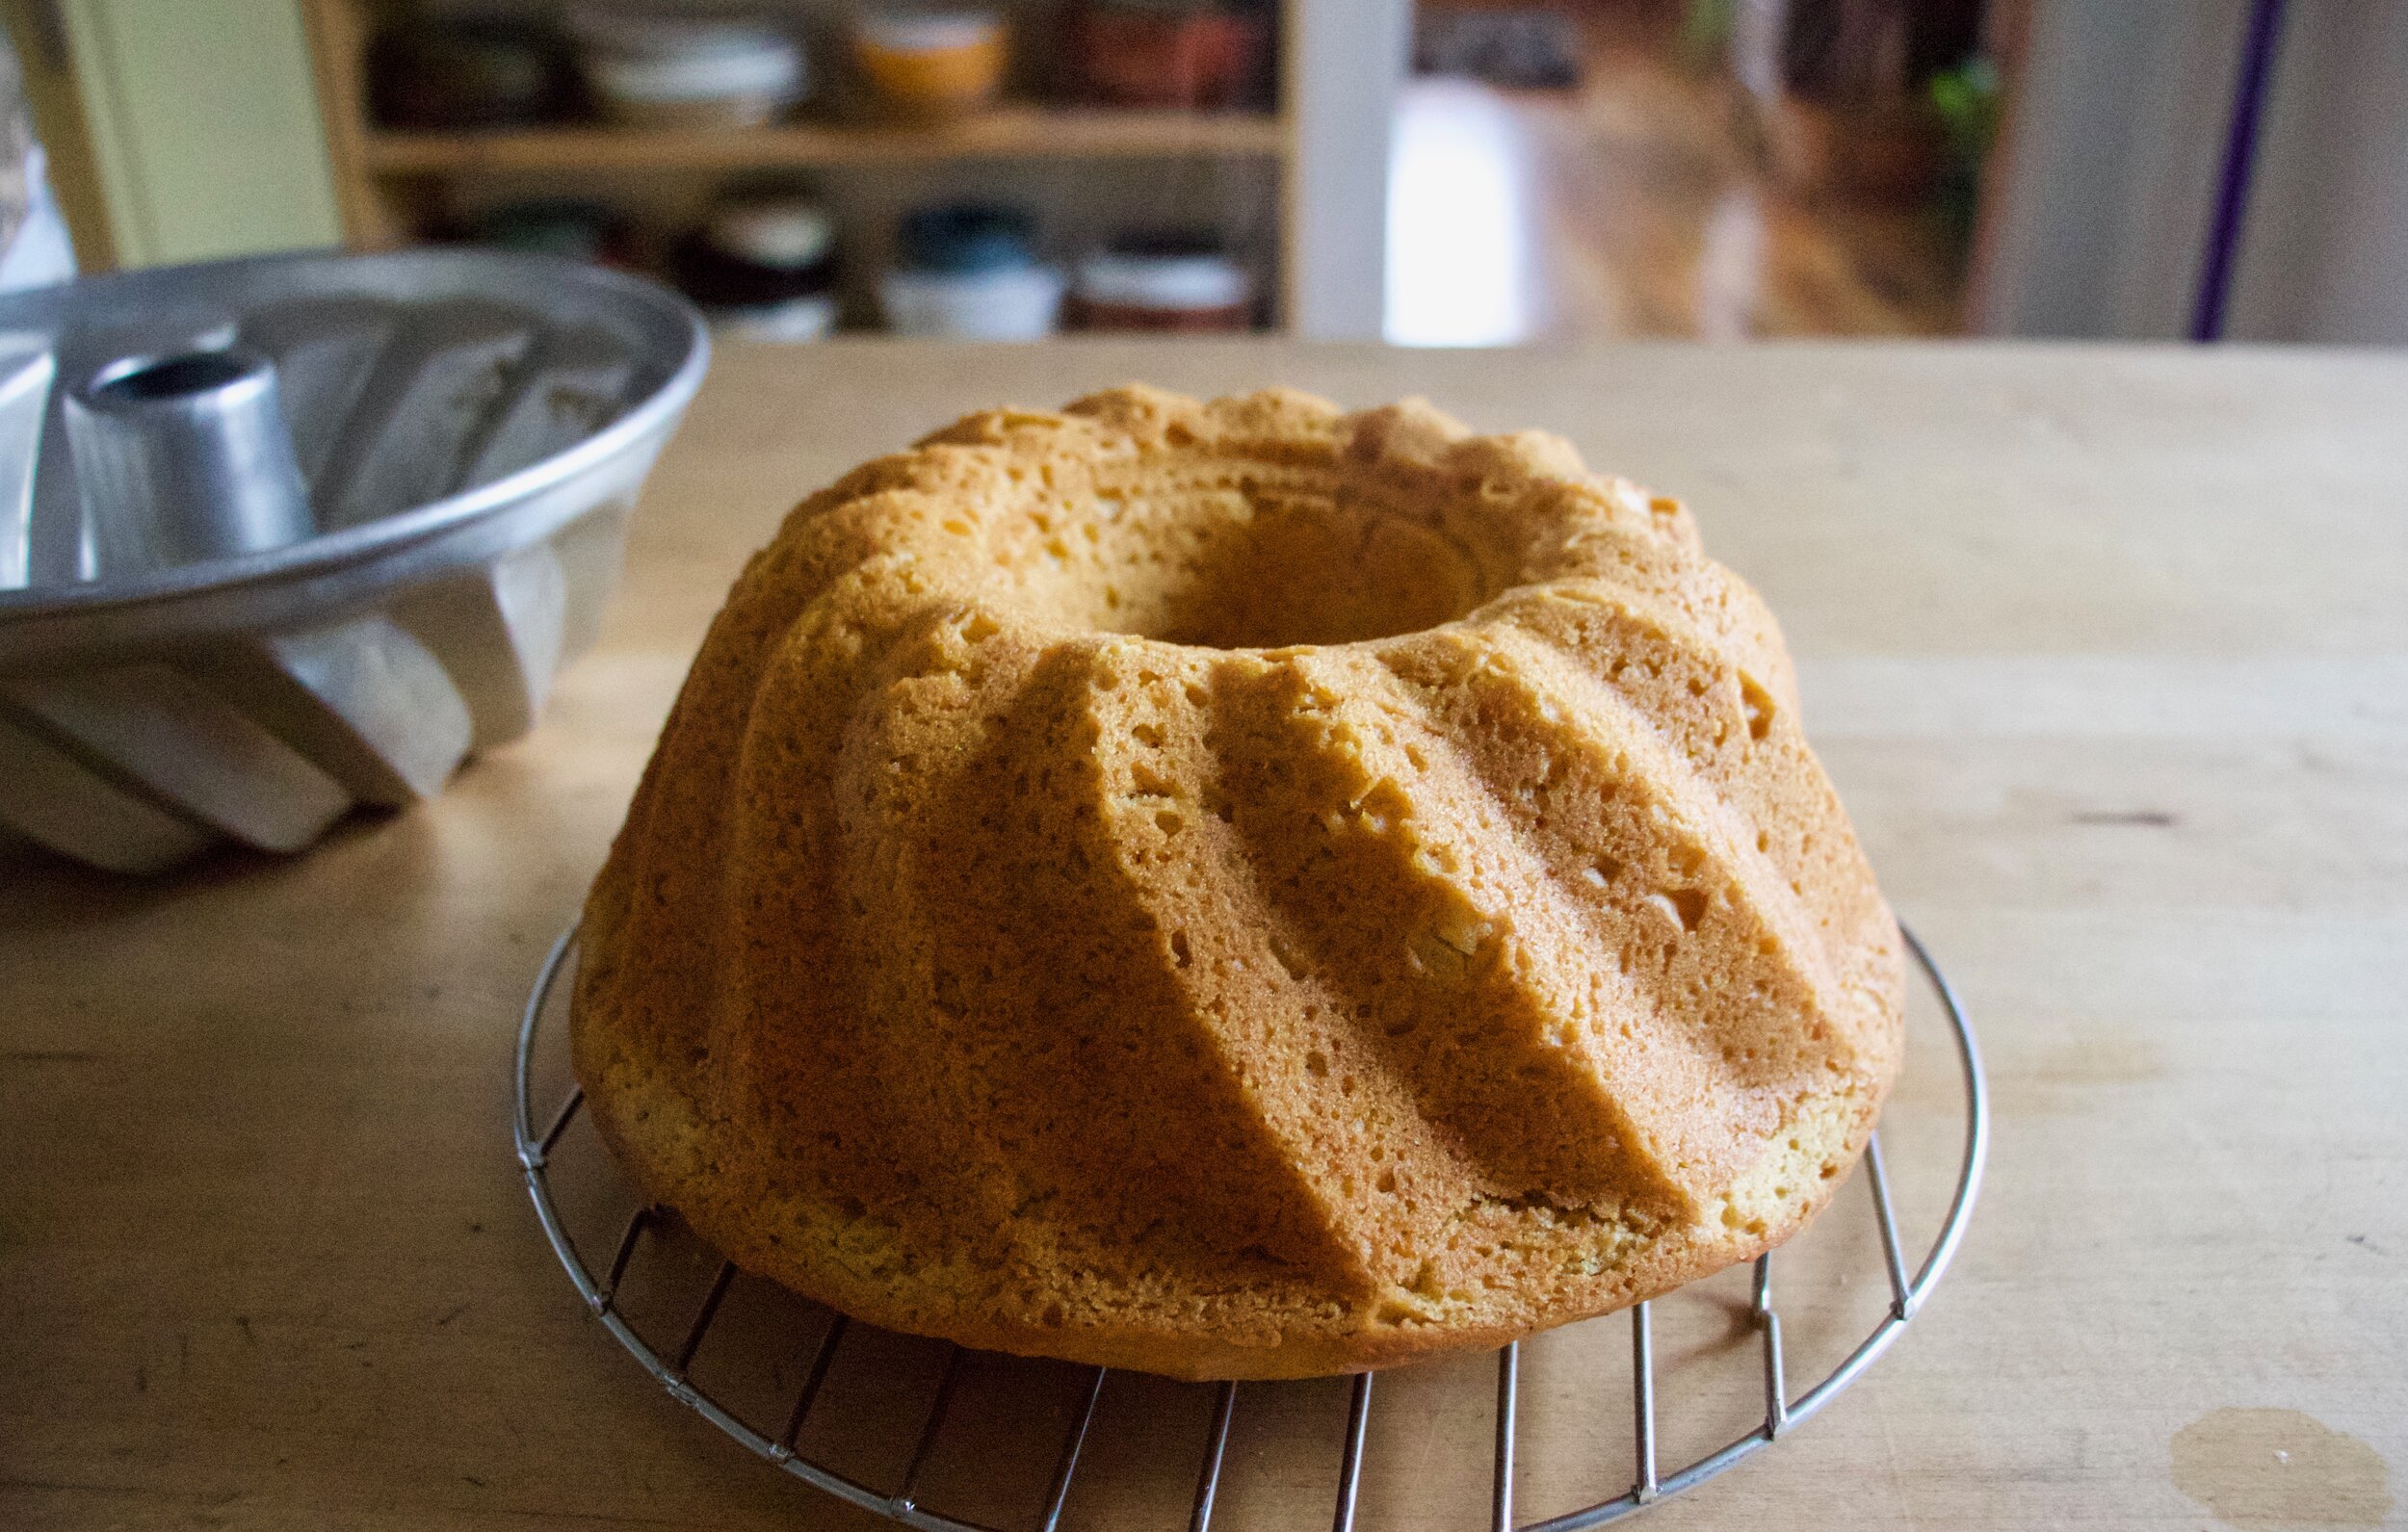
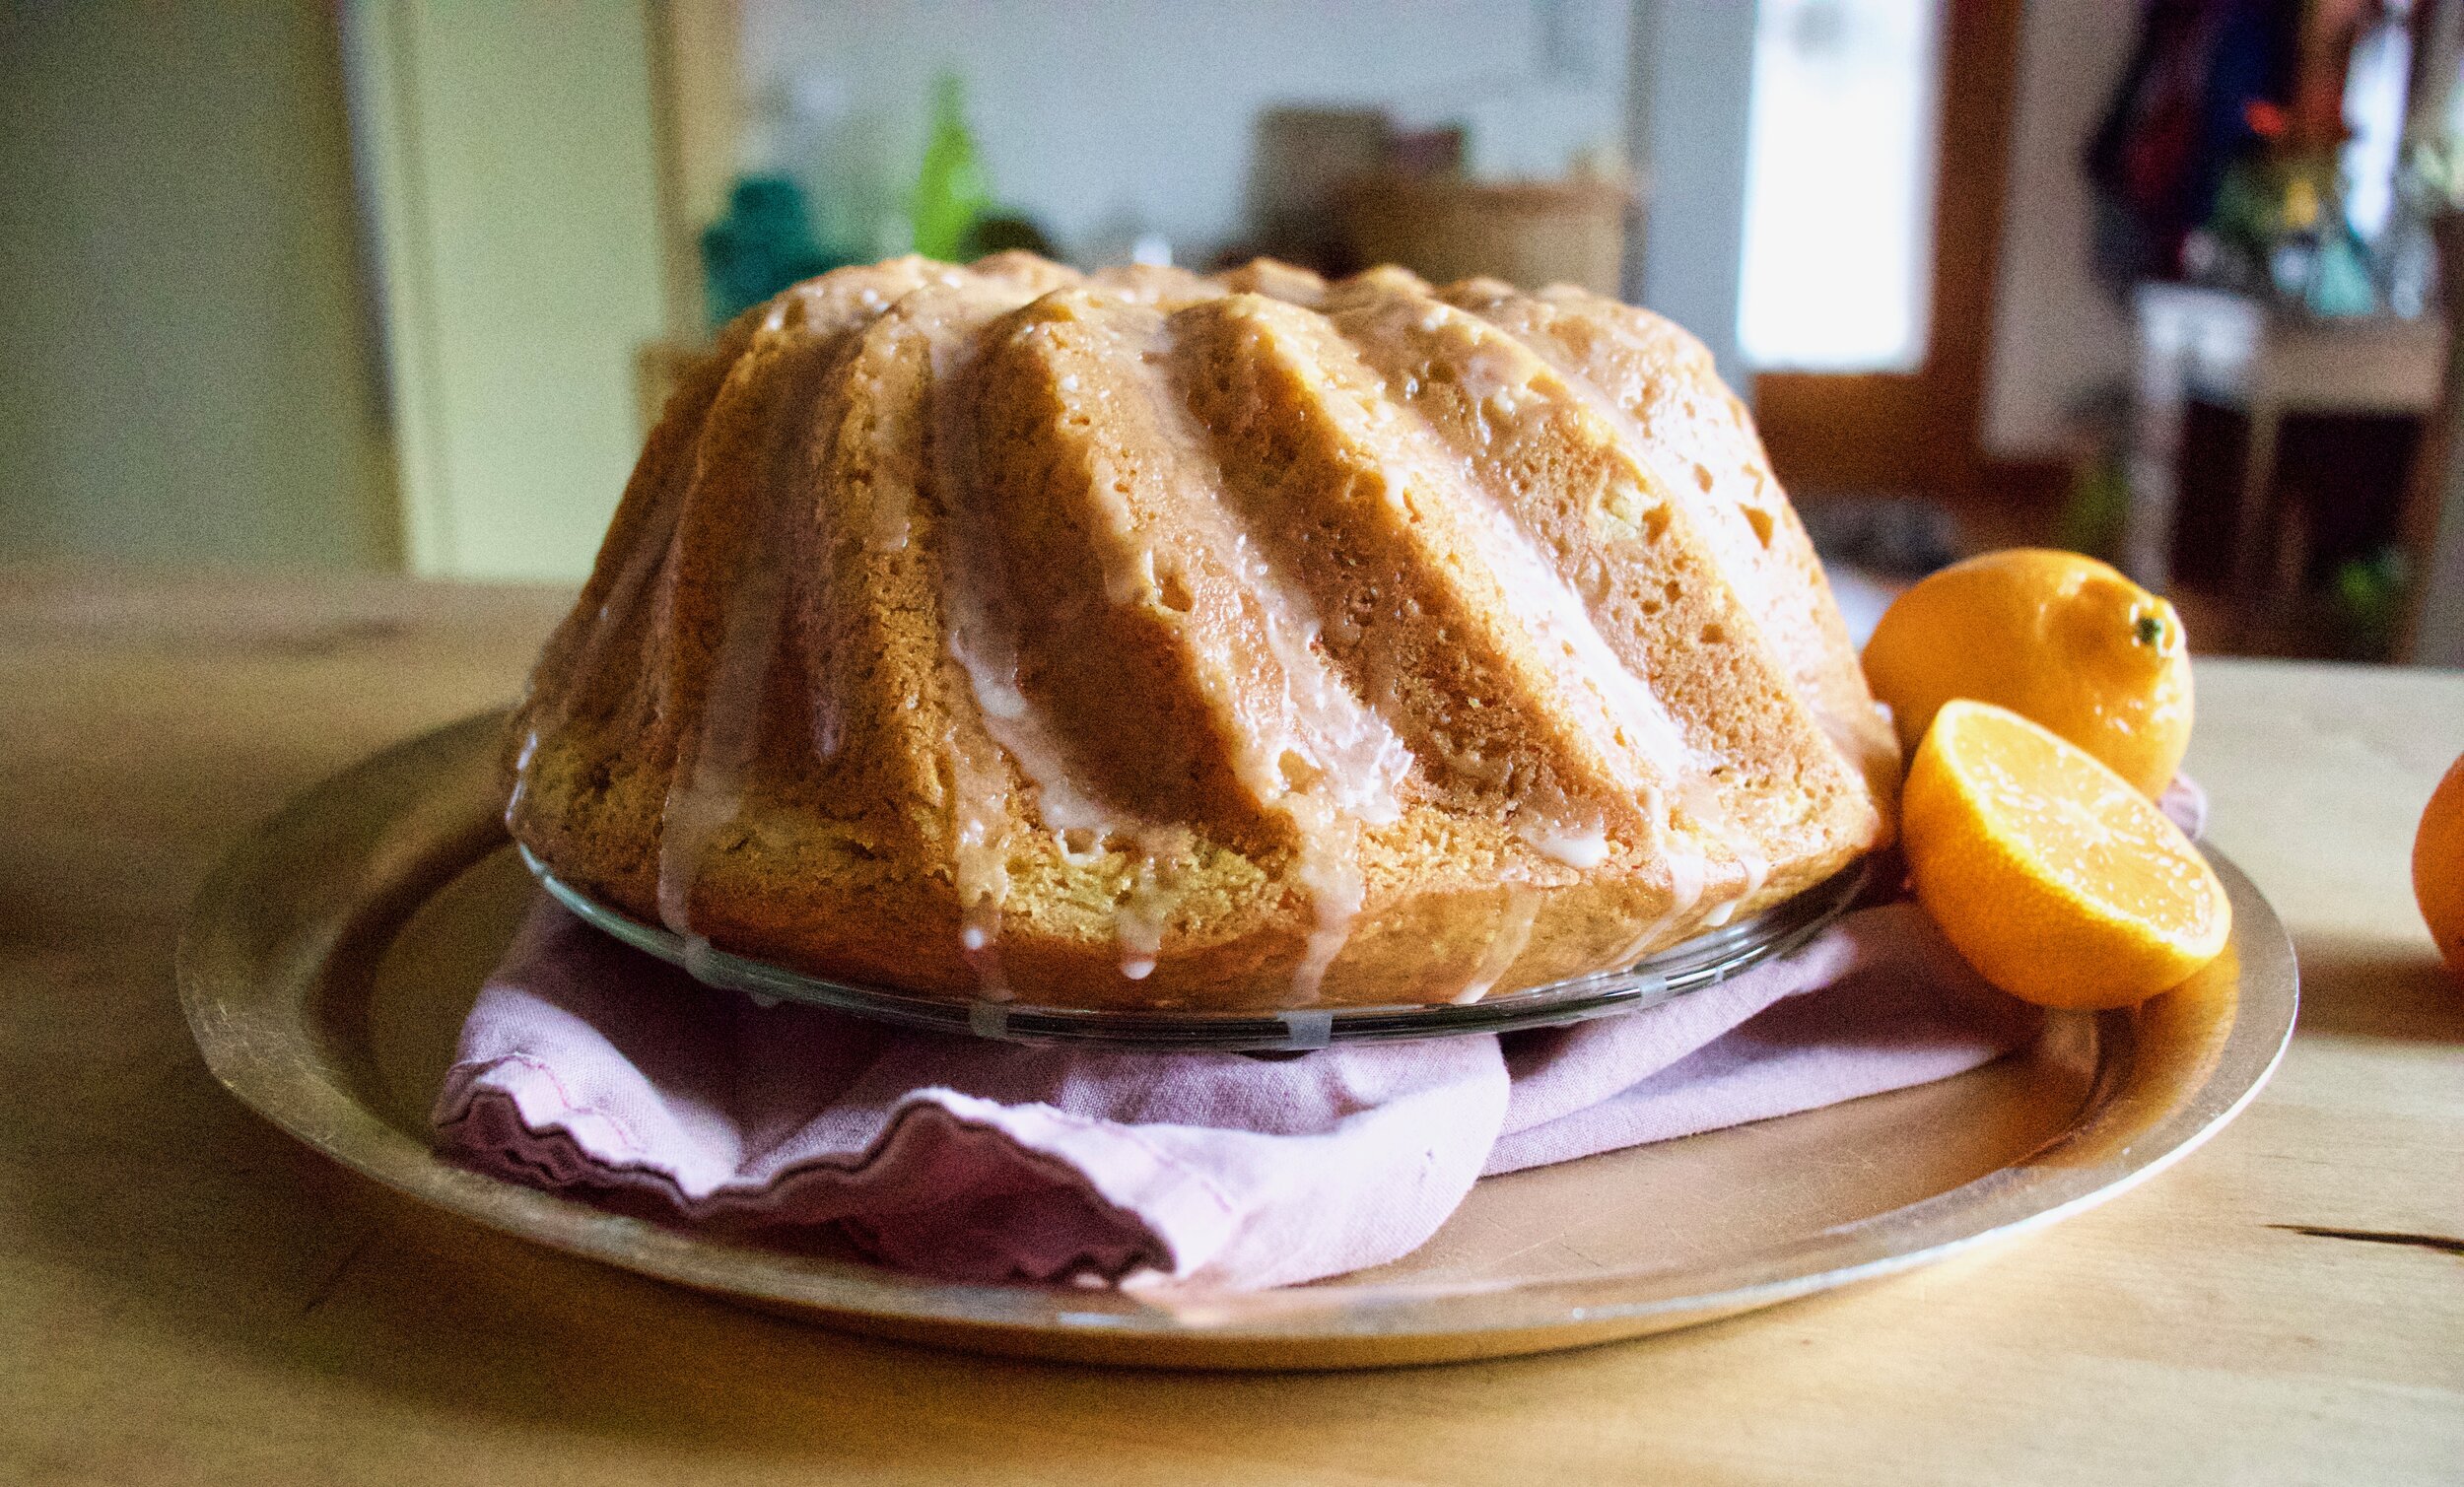
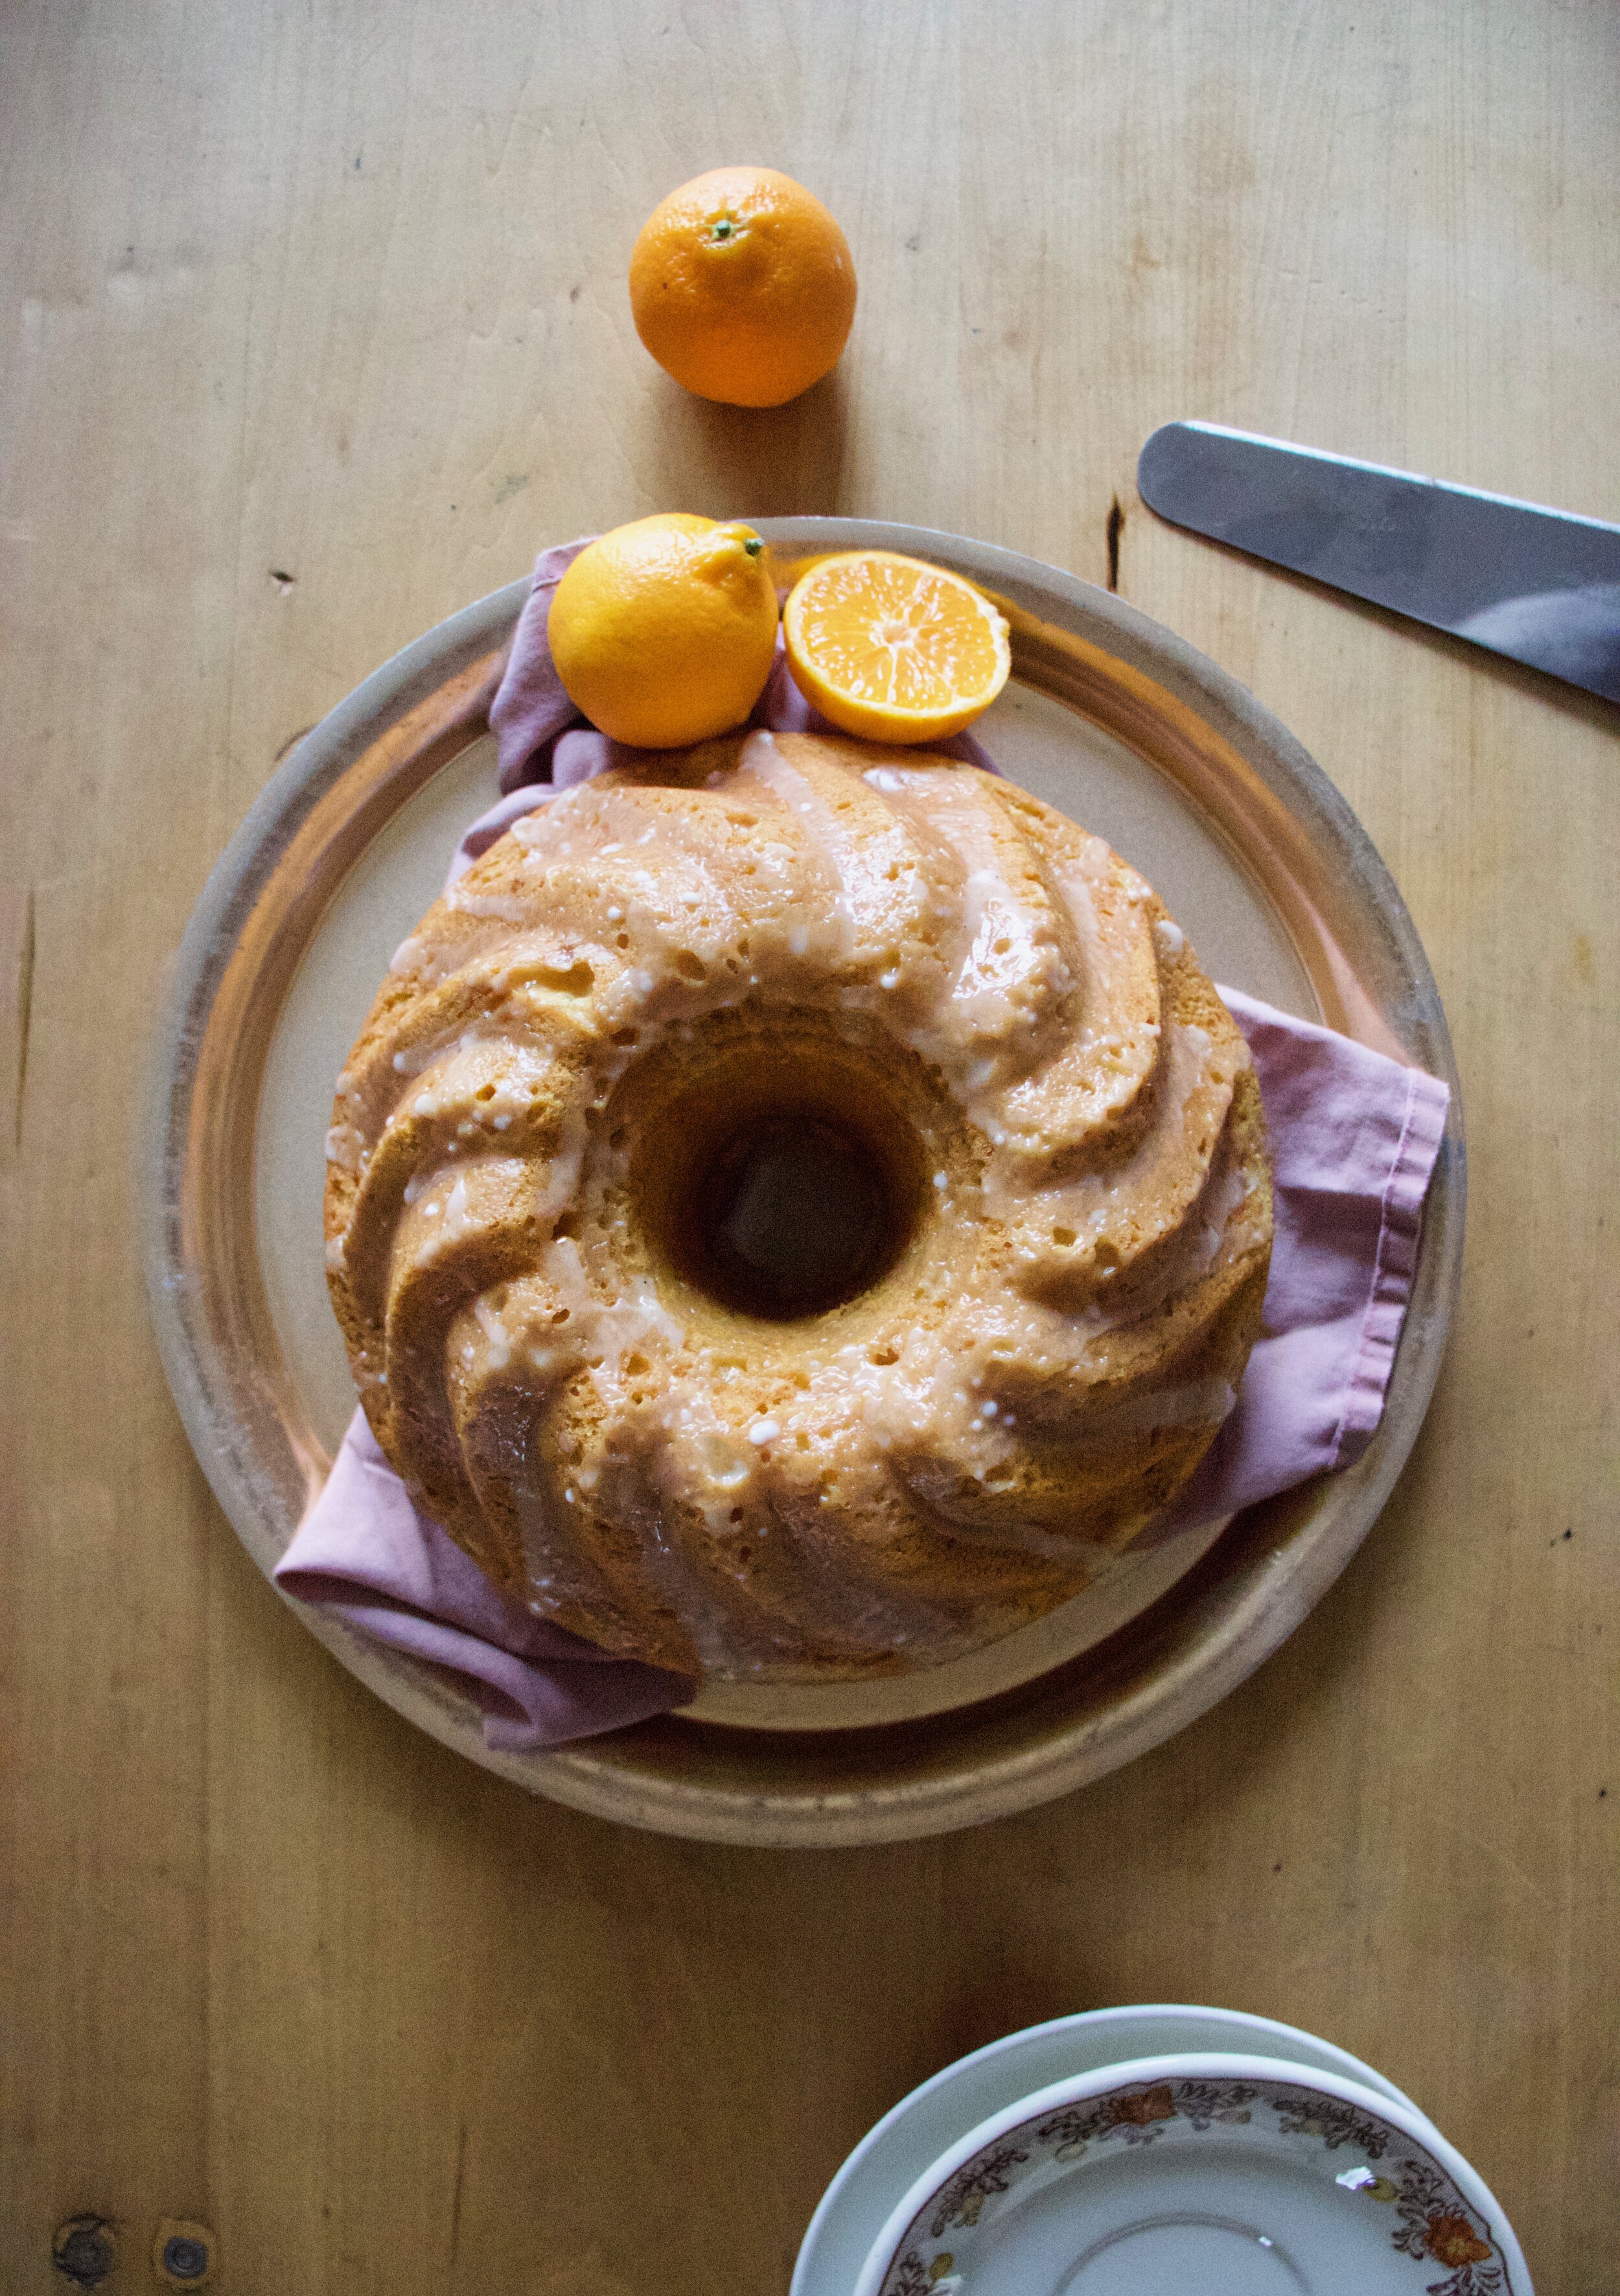
The big revel…. And it went perfect! Now time to let this sucker cool a bit on a wire rack.

IMG_4496.jpg

While the cake is cooling, make a simple glaze. Just powdered sugar and fresh (not boiled) clementine juice. Mixed unit glaze consistency.

Once the cake is pretty much cooled, pour on the glaze.

IMG_4525.jpg

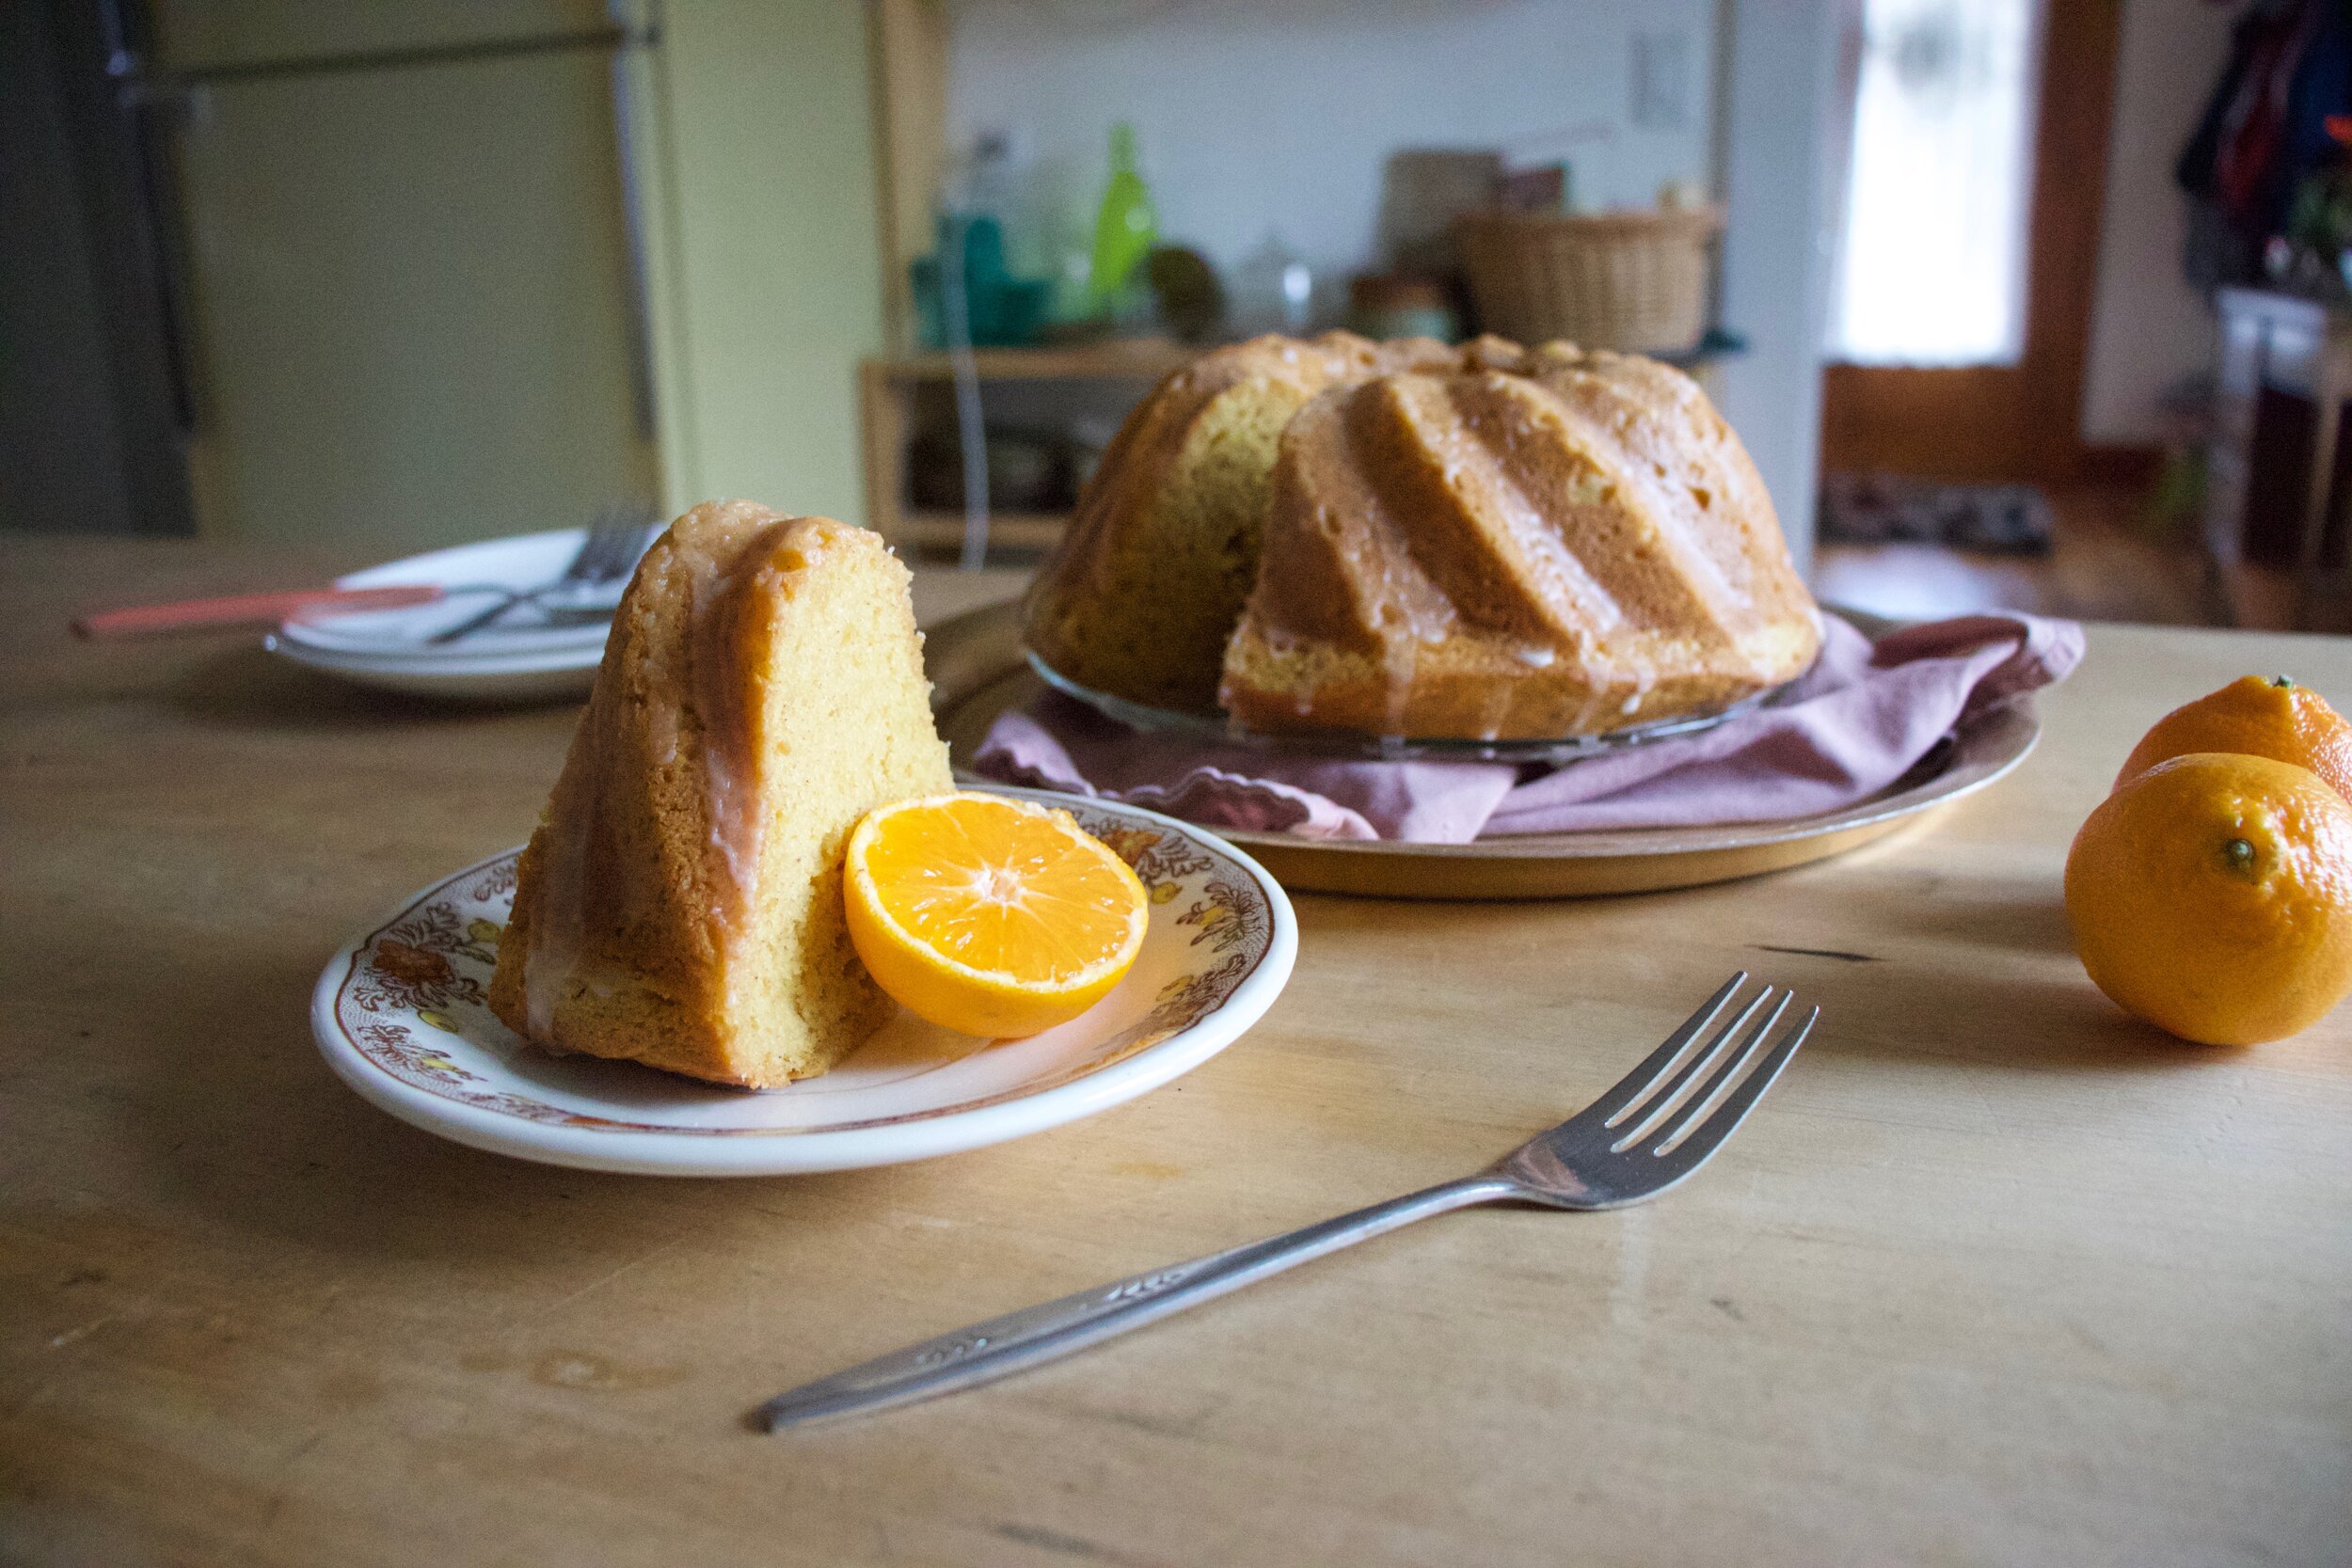
And now it is cake time.

-C


Clementine Cake

Makes one bundt cake

  • 2 1/4 cups all pupose flour

  • 1 cup white sugar

  • 1/2 teaspoon salt

  • 1 teaspoon baking powder

  • 1 teaspoon baking soda

  • 1 tablespoon vinegar

  • 1/2 cup any neutral oil

  • 1 teaspoon cinnamon

  • 6 clementines (you need 2 cups pureed)

    For the glaze

  • 1 cup powdered sugar

  • 1 clementine

To start, place 6 clementines into large pot and fill with water. Place on stove and bring water to a rapid boil then reduce heat and continue to simmer clementines for about 2 hours.

Once clementines are cooked, cut in half and check and discard any large seeds. Place the clementines into a blended and blend until smooth. Should have about 2 cups puree. If you are short on volume, add water to make up the difference.

Preheat oven to 350

Grab a large bowl. Dump the flour, baking powder and soda, salt, cinnamon, and sugar and whisk together until completely incorporated. Now add in the clementine puree along with the oil and the vinegar. Mix until completely incorporated. Scoop batter into a well greased burnt pan (at least 10 cup capacity) then place into oven on middle rack and bake for 50-60 minutes until a tester (or a fork) stuck in to the deepest part of the cake comes out clean.

Once baked, remove cake from oven and allow to cool for a few minutes in pan, then flip the cake out of pan, gently of course, and hope you greased it well enough for it to just pop out. Once removed from pan, allow to cool on a wire rack.

While cake is cooling, make the glaze. Powered sugar into a bowl along with the juice of a clementine. Mix together. If the glaze is to thick, add more juice (or water), to thin, a little more powdered sugar until you reach your desired consistency (pourable but not runny is good) and once cake is cooled, pour glaze all over.

And then eat cake.

In cake, Dairy Free, fruit, Vegan Tags Clementine Cake, bundt cake, vegan, no eggs, dairy free, King Arthur flour, food, food 52, citrus, dessert, Homemade, sweets, holiday, easy, boiled clementines
Comment

Yeasted Appley Applesauce Bread

September 28, 2019 Colleen Stem
IMG_2584.jpg
IMG_2535.jpg

It is exactly that time of year. Apples galore, cool days in need of a little extra warm, meaning a warm oven is welcome, if not needed. It’s the best time of year, or at least one of them.

And so I bake bread. Sometimes just a roll, and sometime a loaf, almost everyday. I love bread baking because, well just because. Plus it’s what people want to eat and will always eat because I guess bread=love. Makes sense to me.

This bread was made from a small dip in the 2 gallons of applesauce I made the night before. (We had sooooo many apples). The mr isn’t the biggest fan of applesauce, says he would rather eat a fresh apple. I kind of get it, but dude, warm, chunky, slightly cinnamon-y applesauce… I mean, that is happiness right there. Right? Anyway, I am trying not to eat all the applesauce to my face by myself at once (it has been a challenge) and plus I needed to make the mr some bread, so I figured what the hell. I’ll just use applesauce as my liquid in the bread. And so I did and that is that and now that mr really like applesacue (when it is baked into bread)

This bread is a basic sandwich type bread. The apple taste is there but not overwhelming so it can be used for sandwiches of all kinds, toast, just eating with a smear od something, or not. Just a overall good loaf of bread with a little extra from the apple. And braided because I was feeling classy. It’s amazing what at little braiding of bread dough can do for your self esteem. Made me feel like I was the coolest person in the world. Haha!

Now to the bread.

IMG_2420.jpg

The stuff. A few apples, regular all purpose and white whole wheat flour, salt, applesauce, maple syrup, yeast, and warm water.

First, shred some apple.

IMG_2437.jpg
IMG_2444.jpg
IMG_2448.jpg
IMG_2449.jpg

Applesauce, shredded apple, maple, yeast, and a little water get mix up and let to sit for a few minutes to activate yeast. Then the salt gets mixed in, along with all the flour. Stir until dough forms. Dough should be slightly sticky, ut not wet. IF wet, add a handful more flour. To dry, add more water.

Dump the dough onto a floured surface, cover your hands in flour, and knead dough for about 5 or so minutes, adding more flour as needed to keep dough from sticking, until the dough is a nice and cohesive texture.

Nice looking dough. Now roll dough into a ball.

IMG_2467.jpg
IMG_2470.jpg

Place dough in a clean wet or oiled bowl and cover with a damp cloth for one to one and a half hours or until dough doubles in size.

Dump dough onto floured surface.

Cut dough into 3 equal pieces and roll out into long longs.

IMG_2483.jpg

Braid logs together. You can stop here bake it this way or…

After placing it on a parchment lined baking sheet, tuck the ends of the braids underneath each other and make it like this. Either way. And once you have the dough on the baking sheet, brush a little water or plant milk on top and let dough rest for 15 minutes of so while the oven preheats.

IMG_2497.jpg
IMG_2506.jpg

Before oven and after oven. Classy, right?

Then for shin and soft crust, rub warm loaf with some plant butter.

And for the hard part. Let it cool before slicing it. Ok sure, a little warm is fine, but wait at least 20 minutes (an hour would be best) and then eat you some bread.

Eat you some bread. That’s a t-shirt right there.

Happy Fall friends!

-C


Yeasted Appley Applesauce Bread

makes pretty one loaf

  • 2 cups all purpose flour

  • 1 1/2 cups white whole wheat flour plus more for kneading

  • 1 cup unsweetened room temperature applesauce

  • 1 large or 2 small apples ( about 2/3 cup shredded apple)

  • 1/4- 1/2 cup warm water

  • 1 tablespoon maple syrup or honey

  • 2 teaspoons active yeast

  • 1 teaspoon salt

  • 1 tablespoon or so plant milk or water

  • 1 tablespoon plant based butter (optional for rubbing on finished bread)

Grab the apples and shred them until you have 2/3 cup shredded apple. In a large bowl, mix together the applesauce, shredded apples, yeast, 1/4 cup warm water, and sweetener.and let yeast activate for a few minutes. Add in salt, the all purpose flour and the 1 1/2 cups white wheat flour. Stir together until dough forms. The dough should be a little bit sticky so if the dough seems to dry, add in 1/4 cup more warm water. If it seems really wet, add in a handful more flour.

Dump dough out onto a well floured surface and knead for about 5 minutes adding a little bit of flour to the counter as needed to prevent it from sticking. Once dough is cohesive in texture, roll into a ball and place into a clean wet or oiled bowl. Cover with a damp towel and allow the dough to double in size. Should take between an hour and an hour and a half.

Once dough doubles in size preheat oven to 400

Dump risen dough back onto a well flour counter. Cut the dough into 3 equal sizes and roll each piece into long logs about 20 inches or so long. Place each roll next to each other and braid. Grab a baking sheet and line with a piece of parchment paper. Sprinkle with a bit of flour and place braided dough onto sheet, either as a braid or if you want, like I did, wrap the braid around itself into a rounded braid situation. Tuck ends into each other and under the loaf. Brush the top gently with a little plant milk or water and let rest for about another 15 minutes or so.

After the rest, place dough into preheated oven. Bake for 35-45 minutes (Less if left long braid, more if wrapped braid) or until the top is a deep golden brown and when tapped on the bottom, it sounds hollow. Also can use an insta read thermometer and check temperature. You want it to reach 190 degrees.

Once bread is baked, remove from oven. If you want the top to stay a little crispy, don’t do anything but let it cool. For a softer, shinny crust, rub the top while it is still warm with some plant based butter.

Let bread cool completely before cutting.

Then eat it like you would eat bread. Any and every way.

Store cooled loaf in a airtight bag on counter for 2-3 days but if not eating that fast, slice and place into freezer. That way you can pull out individual pieces and toast as you want.

In bread, Dairy Free, fall, fruit, Vegan Tags Yeasted Appley Applesauce Bread, Yeasted Bread, sandwich bread, bread, whole wheat bread, King Arthur flour, yeasted, plant based, vegan, apple, applesauce, fresh, baked, fall, simple, easy
Comment

Fresh And Chunky Cherry Tomato Peach Salsa

August 24, 2019 Colleen Stem
IMG_1409.jpg
IMG_1446.jpg
IMG_1420.jpg

There are a million things you can, and should, do with tomatoes. Salsa is one of those things. Especially with the super fresh and ripe summertime tomatoes that may or may not be overflowing every empty surface of your kitchen (my current predicament). And peaches. Now is the time friends to eat your peaches. In season and oh so tasty. Do it now before it’s too late and those oh so deliciously ripe and sweet peaches are gone and all that is left are mealy, gross, supermarket fakes. Only eat in season peaches. That is a life lesson everyone should know.

This salsa is perfect. Super fresh, sweet and slightly spicy, with a hint of tangy goodness and just, you, really freaking perfect. A salsa that hits all the right notes with out being overly anything and underly nothing if you know what I mean. All the tastes of summertime. A darn good salsa. Darn good.

This salsa also makes me a winner at the game I am playing with myself called “Get the mr to eat tomatoes and like it"“. The game started when he told me he was sick of tomatoes and he didn't want to eat anymore. I made the salsa (which also made me a winner in the other game I play called “Get the mr to eat fruit in his savory dishes”, because he also tells me how much he hates fruit in savory), he tried the salsa, raved about the salsa, and then went and ate the rest of the salsa with his rice and beans. .

I win again! Haha

Anyway, super fast, super fresh, super super. A great way to use up a any of your shit load of tomatoes you might have laying around and to get in a few more of those summertime peaches before they are gone again for the year.

Now to the salsa.

The stuff. Cherry tomatoes, peaches, an onion, a jalapeño, a lime, a bunch of cilantro, salt and pepper, and a little vinegar.

IMG_1359.jpg
IMG_1364.jpg

Start by cutting up the tomatoes into quarters. Do this carefully or else you will have tomatoes rolling around everywhere. Place chopped tomatoes into a bowl.

IMG_1367.jpg
IMG_1371.jpg

Then dice up those peaches into small little pieces and toss into bowl with tomatoes.

IMG_1373.jpg
IMG_1380.jpg

Onion gets diced up too and placed into bowl.

IMG_1384.jpg
IMG_1388.jpg

Jalapeno, seeds removed, diced up nice and small. Get it into the bowl.

IMG_1393.jpg
IMG_1397.jpg

And cilantro. Give it a rough chop and into the bowl it goes.

IMG_1412 2.jpg

A sprinkle of salt, lots of pepper (to taste of course), the juice of the lime, and a splash of vinegar. Mix it all up and there you have it.

Into a jar (or you can just keep it in the bowl if you want), and it’s ready for eating. Chips, tacos, to top a salad… This salsa does it all. Heck, just eat it with a spoon. There is absolutely nothing wrong with that.

-C


Fresh And Chunky Cherry Tomato Peach Salsa

Makes about 32 oz of the good stuff

  • 1 overflowing pint cherry tomatoes (red, yellow, sun gold or a mix of any)

  • 2 ripe but firm peaches

  • 1 bunch cilantro

  • 1-2 jalapeños (depending on how hot you want it)

  • 1 small red or white onion

  • a lime

  • salt and pepper

  • splash red or white wine vinegar

Grab the tomatoes and carefully, so they don’t roll away, cut each one into quarters. Place in a big bowl. Cut peaches in half, remove pit, and dice the flesh into very small little piece and toss into bowl. Now onion, dice that into small little pieces, along with the jalapeño and toss into bowl. Cilantro gets a rough chop then into the bowl it goes. Now sprinkle in a little salt and lots of black pepper. Add the juice of the lime and a splash of the vinegar and toss it all around. Let sit for a few minutes, taste, then season with more salt and pepper if needed. Can add more vinegar for more acid if needed too.

This salsa only gets better with a little age so you can definitely make it a day or two ahead of time.

Store in a bowl to serve or a jar for longer storage. Use within a 4-5 days of making it.

In Vegetables, Vegan, summer, Raw, quick and easy, fruit, condiment Tags Fresh And Chunky Cherry Tomato Peach Salsa, Peach, Salas, fresh, homemade, vegan, clean eating, plant based, summer, sweet and savory, condiment, side dish, party, bbq, cherry tomatoes
Comment

Blackberry Black Pepper Scones

August 17, 2019 Colleen Stem
IMG_1286.jpg
IMG_1272.jpg
IMG_1296.jpg

10 years ago, or maybe even longer, the mr and I planted 2 little blackberry canes in the way way back yard of our first house. Nothing big and we were not expecting much, which was good because for the years we lived there after that, nothing really happened with them beside becoming bigger and more thorny.

And then we moved and I kind of forgot about them.

But the other day while the mr was over there (we still own the building and have a barn that the mr works out of) he told me to go check out the bushes. Holy shit, those suckers are humongous, viscous as all hell, and were dripping (literally) with big, fat, juicy blackberries. So many in fact that I could barely pick them off before they all started to just fall off. I filled up two big containers, after eating like 2 pounds at least, and could have gotten more but I had no where else to stick them. Plus I was covered in gashed from the thorns. So I left the rest for another day.

I asked what the mr wanted me to make with the berries (in between eating big handfuls of the berries) and he asked for scones. So scones it was. Easy enough but I felt that I needed to add a little something something to spice it up a bit and that is why I added the black pepper. And because I like pepper and berried together and figured everyone will too. And let me tell you, so far they do, like really really do.

I mean who wouldn’t like a sweet and spicy scone made with hand picked berries from berry bushes long ago planted with love that grew into monsters with thorns the size of knives that nearly killed me?

No one wouldn’t. Everyone wants a scone.

And don’t worry if you don’t have killer blackberry bushes in which to harvest berries from. You can buy them too. Just won’t be as special is all. HA.

To the scones.

The stuff. Flour, baking powder, baking soda, and salt are in the big bowl. Then there is coconut oil, almond milk, sugar, vanilla, and apple cider vinegar. And course ground black pepper and blackberries that I froze. You need to use frozen berries or else you will have yourself a hot mess.

IMG_1069 2.jpg
IMG_1072 2.jpg
IMG_1082 2.jpg
IMG_1084 3.jpg
IMG_1092 2.jpg
IMG_1096 2.jpg

Easy peasy. Dump pepper and sugar into the bowl with the rest of the dy and mix well. Dump in the solid coconut oil and cut it in like you would butter, until it is crumbly. Add in the milk, vinegar, and vanilla and gently mix until most the dough starts to come together, then add in in frozen berries.

Dump the dough onto a lightly flour surface. Yes, the dough is barely sticking together but that is alright, just smash and pat it until it sticks and comes together. Once together, pat it down into a round disk about an inch thick. Just know, as you are working it, the berries are gonna start to break apart which is totally fine, but your hands will turn purple.

Flatten and cut. Just about scones now, but not quite.

Place scones on a baking sheet and brush the tops with a little milk then lighty sprinkle more sugar and black pepper on the tops and then pop them into a hot oven.

IMG_1138.jpg

Bakes and lovely and cooling ever so slightly..

Grab a plate, something hot to drink, and more berries because you can never have to many berries.

And eat. Still warm and all sorts of good.

Blackberry black pepper scone. Now you have them and everyone will want them. But know, there is no shame in hiding what you don’t not want to share.

-C


blackberry black Pepper Scones

makes 8-12 scones (depending how big you cut them)

  • 2 1/2 cups all purpose flour

  • 1/3 cup white sugar plus a tablespoon more for dusting tops

  • 2 teaspoons baking powder

  • 1/2 teaspoon baking soda

  • 1 1/2 teaspoons course ground black pepper plus a little more for dusting tops

  • 1/2 teaspoon salt

  • 1/2 cup solid coconut oil

  • 1 teaspoon vanilla

  • 1 hefty cup frozen blackberries

  • 1 tablespoon apple cider vinegar

  • 3/4 cup cold plant milk plus about a tablespoon more for brushing on top

Preheat oven to 375

In a large bowl mix together the flour, baking powder and soda, salt, sugar, and pepper until well combined. Dump in the solid coconut oil and using a fork or pastry cutter, cut it into the dry until the mixture becomes crumbly. You do not want to fully incorporate the oil. Now dump in the cold milk, the vanilla, and the vinegar and gently mix until a dough starts to form. Dump in the blackberries and continue to gently mix until the dough just start to stick together.

Dump dough onto a lightly flour surface and gently squish, mush, and part the dough until it forms a ball. The berries will start to break apart and that is ok. Then flatten the dough into a disk that is about an inch thick. Take a knife of dough cutter and cut in half, then those halves into half, and then those halves in half. (8 pieces) You can even cut a few smaller if you want.

Place cut scones on a baking sheet and brush the tops with remaining milk then sprinkle tops with sugar and a little more pepper

Bake for 30 minutes or until golden brown. Once baked, remove from oven and place on a wire rack to cool.

Eat, warm of room temperature. Just don’t wait too long.

Store left overs in airtight container at room temperature for 2 day, 3-5 in fridge, or freeze individual scones for months. Just pop them back into a hot oven for 10 or so minutes to reheat.

In Vegan, sweet breads and muffins, fruit, Dairy Free, biscuits and such Tags Blackberry Black Pepper Scones, scones, vegan, king Arthur flour, vegan scones, blackberries, berries, vegan desserts, coconut oil, breakfast, black pepper, peper and fruit, spice, dairy free
Comment

Cherry Oat Muffins

July 13, 2019 Colleen Stem
IMG_0325.jpg
IMG_0334.jpg

I recently found my old cast iron muffin pan hiding in the basement over at the loft. I totally forgot I had it and was very much happy to find it not covered in rust and still looking all nice and basically ready for use. Not even the seasoning and non stickness that I worked hard to produce on it was messed up, which is amazing because I also found another cast iron pan that I left down there and it did not fair as well. It had a little rust and was grimy. Fine by me, I didn’t even want that pan anyway.

And that is basically why I made muffins. Because I wanted to use my muffin pan again.

These muffins. First off, muffins are muffins and are not meant to be a pain in the ass to make. This muffins are not, unless you think pitting cherries is a pain. For that I am sorry, but that is a small price to pay for a tasty ass muffin situation. Secondly, these muffins are well worth the tiny effort it takes to pit cherries because you end up with cherry muffins, and that alone should be enough of a reason. And the fact that they are damn tasty. The mr, who eats everything but never says too much about whatever is going into his mouth, texted me at 630 in the morning while I was at the gym just to tell me how amazing he thought they were….

Amazing at 630 am. That’a validation.

Now go get yourself some cherries and make some muffins. And it is ok if you don’t have a super sweet cast iron muffin pan. Most don’t. But you are still cool, don’t worry.

To the muffins!

The stuff. In the bowl is flour, rolled oats, baking soda and powder, salt and cinnamon. Also have cherries, brown sugar, almond milk, canola oil, apple cider vinegar, vanilla extract, and a lemon.

Hardest part of the whole shebang… pitting the cherries. Not my favorite thing to do, but definitely not the worst.

Do it any way you see fit, but I just cut them in half and kind of wedge the pit out with my thumb.

Once all the pits are removed, chop those sherries up into small pieces.

IMG_0117.jpg
IMG_0126.jpg
IMG_0149.jpg
IMG_0165.jpg

Then make the batter. Mix the dry together with the sugar and the zest of the lemon. Just make sure there are not huge clumps of the sugar in the mixture. Then add in all the wet and gently mix until combined. And then fold in the cherries.

IMG_0174 2.jpg

So purty.

IMG_0178.jpg

Fill up well grease muffin pans with the batter then sprinkle a little brown sugar and a few oats on top.

Pop those soon to be muffins into a hot oven.

IMG_0204.jpg

Baked for your pleasure.

IMG_0231.jpg

Remove the muffins from pan and let cool on a wire rack.

IMG_0296.jpg

Cherry oat muffins. You are good.

-C


Cherry Oat Muffins

makes 11-12 muffins

  • 1 1/2 cup all purpose flour

  • 2/3 cup of old fashion rolled oats (plus 2 tablespoons to sprinkle tops with)

  • 1/2 teaspoon baking soda

  • 1 1/2 teaspoon baking powder

  • 1/2 teaspoon salt

  • 1/2 cup brown sugar (plus 2 tablespoons to sprinkle tops with)

  • 1/2 teaspoon cinnamon

  • A lemon (juice and zest)

  • 1 teaspoon vanilla

  • 1 tablespoon apple cider vinegar

  • 1 cup plant based milk

  • 1/3 cup canola oil

Preheat oven to 350

First thing first, remove steams and pits from cherries. Do it any way that you want, but I find just cutting them in half and kind of popping the pit out with my thumb works best for me. Anyway, once the pits are remove, chop cherries up into small pieces.

Place flour, oats, baking powder and soda, salt, cinnamon, brown sugar, and zest of lemon into a big bowl. Mix together until completely incorporated. Make sure there are not huge clumps of brown sugar, if there are, break them up with your fingers. Add in the milk, oil, vanilla, vinegar, and juice of half a lemon. Gently mix until just incorporated. Now fold in chopped cherries.

Evenly scoop the batter into a well greased muffin tin. (There is enough batter for12 normal sized muffins.) Sprinkle the tops with the extra brown sugar and oats then pop the pan Ito the oven. Bake for 28-32 minutes or until the tops of the muffins are a nice golden brown and a taster poked into one of the muffins comes out clean.

When fully baked, remove muffins from oven and pop them out of the pan. Let cool on a wire rack but feel free to eat one or two warm.

Store any extra in an airtight container on counter for a day or two but in the fridge for about a week. Individual muffins can be wrapped and frozen for a good long will too.

In breakfast, Vegan, sweet breads and muffins, fruit, Dairy Free Tags Cherry, Cherry oat muffins, muffins, vegan, vegan food, food, breakfast, snack, plant based, king Arthur flour
Comment
← Newer Posts Older Posts →
 

https://thelovelycrazy.squarespace.com/config#/|/about/

Me. Food Maker.Food eater. Woo HOO!

STEM+NODE  SMALL BATCH AND ONE OF A KIND POTTERY

stem+node ceramics


____________________

Subscribe

GET NEW POSTS IN YO EMAIL

You are AWESOME!!!


@thelovelycrazy 2014-2021