• stem+node ceramics
  • HOME
  • Food Recipes
  • About
  • Contact
Menu

The Lovely Crazy

Street Address
City, State, Zip
Phone Number

Your Custom Text Here

The Lovely Crazy

  • stem+node ceramics
  • HOME
  • Food Recipes
  • About
  • Contact

Sourdough Bagels

February 26, 2022 Colleen Stem
IMG_1321 2.jpg
IMG_1258 2.jpg

I don’t know about you and your people situation but my people, they are bagel people, like my whole entire family (and it is a big one). I swear that they (especially the littles) could eat bagels every day and be happy about it They like them so much that we even do bagels at just about all of our special family get togethers, which is fine by me because the get togethers are always at my house and they don’t make as big a mess as lets say spaghetti. They can really make a mess with that. So bagels, they are good.

I made this batch for the littles. (And that is why I made them plain. Can’t go wrong with plain). They have winter break right now so they came over for an afternoon of sledding, hot cocoa, and lunch. I asked them the day before what they wanted me to make for lunch and they said bagels. Big surprise. HA! But really, they all know what they like so why mess with a good things?

A little about these bagels. It is not the fastest recipe you will find. The hands on time commitment is no too much but there is a good amount of time that the dough is spent rising in the fridge. Because they are sourdough the dough needs at least 12 hours to rise so if you want bagels right now then this is not the recipe to use. But the great thing about this bagel dough is that you can make it and leave in fridge for 12 hours but I have left it in the fridge for like 3 days and the dough was still great. If you want bagels anytime in the next few days, then this is the recipe for you. Also a lot of bagel recipes have barely malt and that is not always easy to find or buy in not gigantic quantities but this recipe just uses molasses and the results are pretty close to perfect. So time yes, but fancy ingredients no. And they taste amazing. Plus who doesn't want to make their own bagels and just be that bad ass? Because yes. Bagel making is badass.

Now to the bagels!

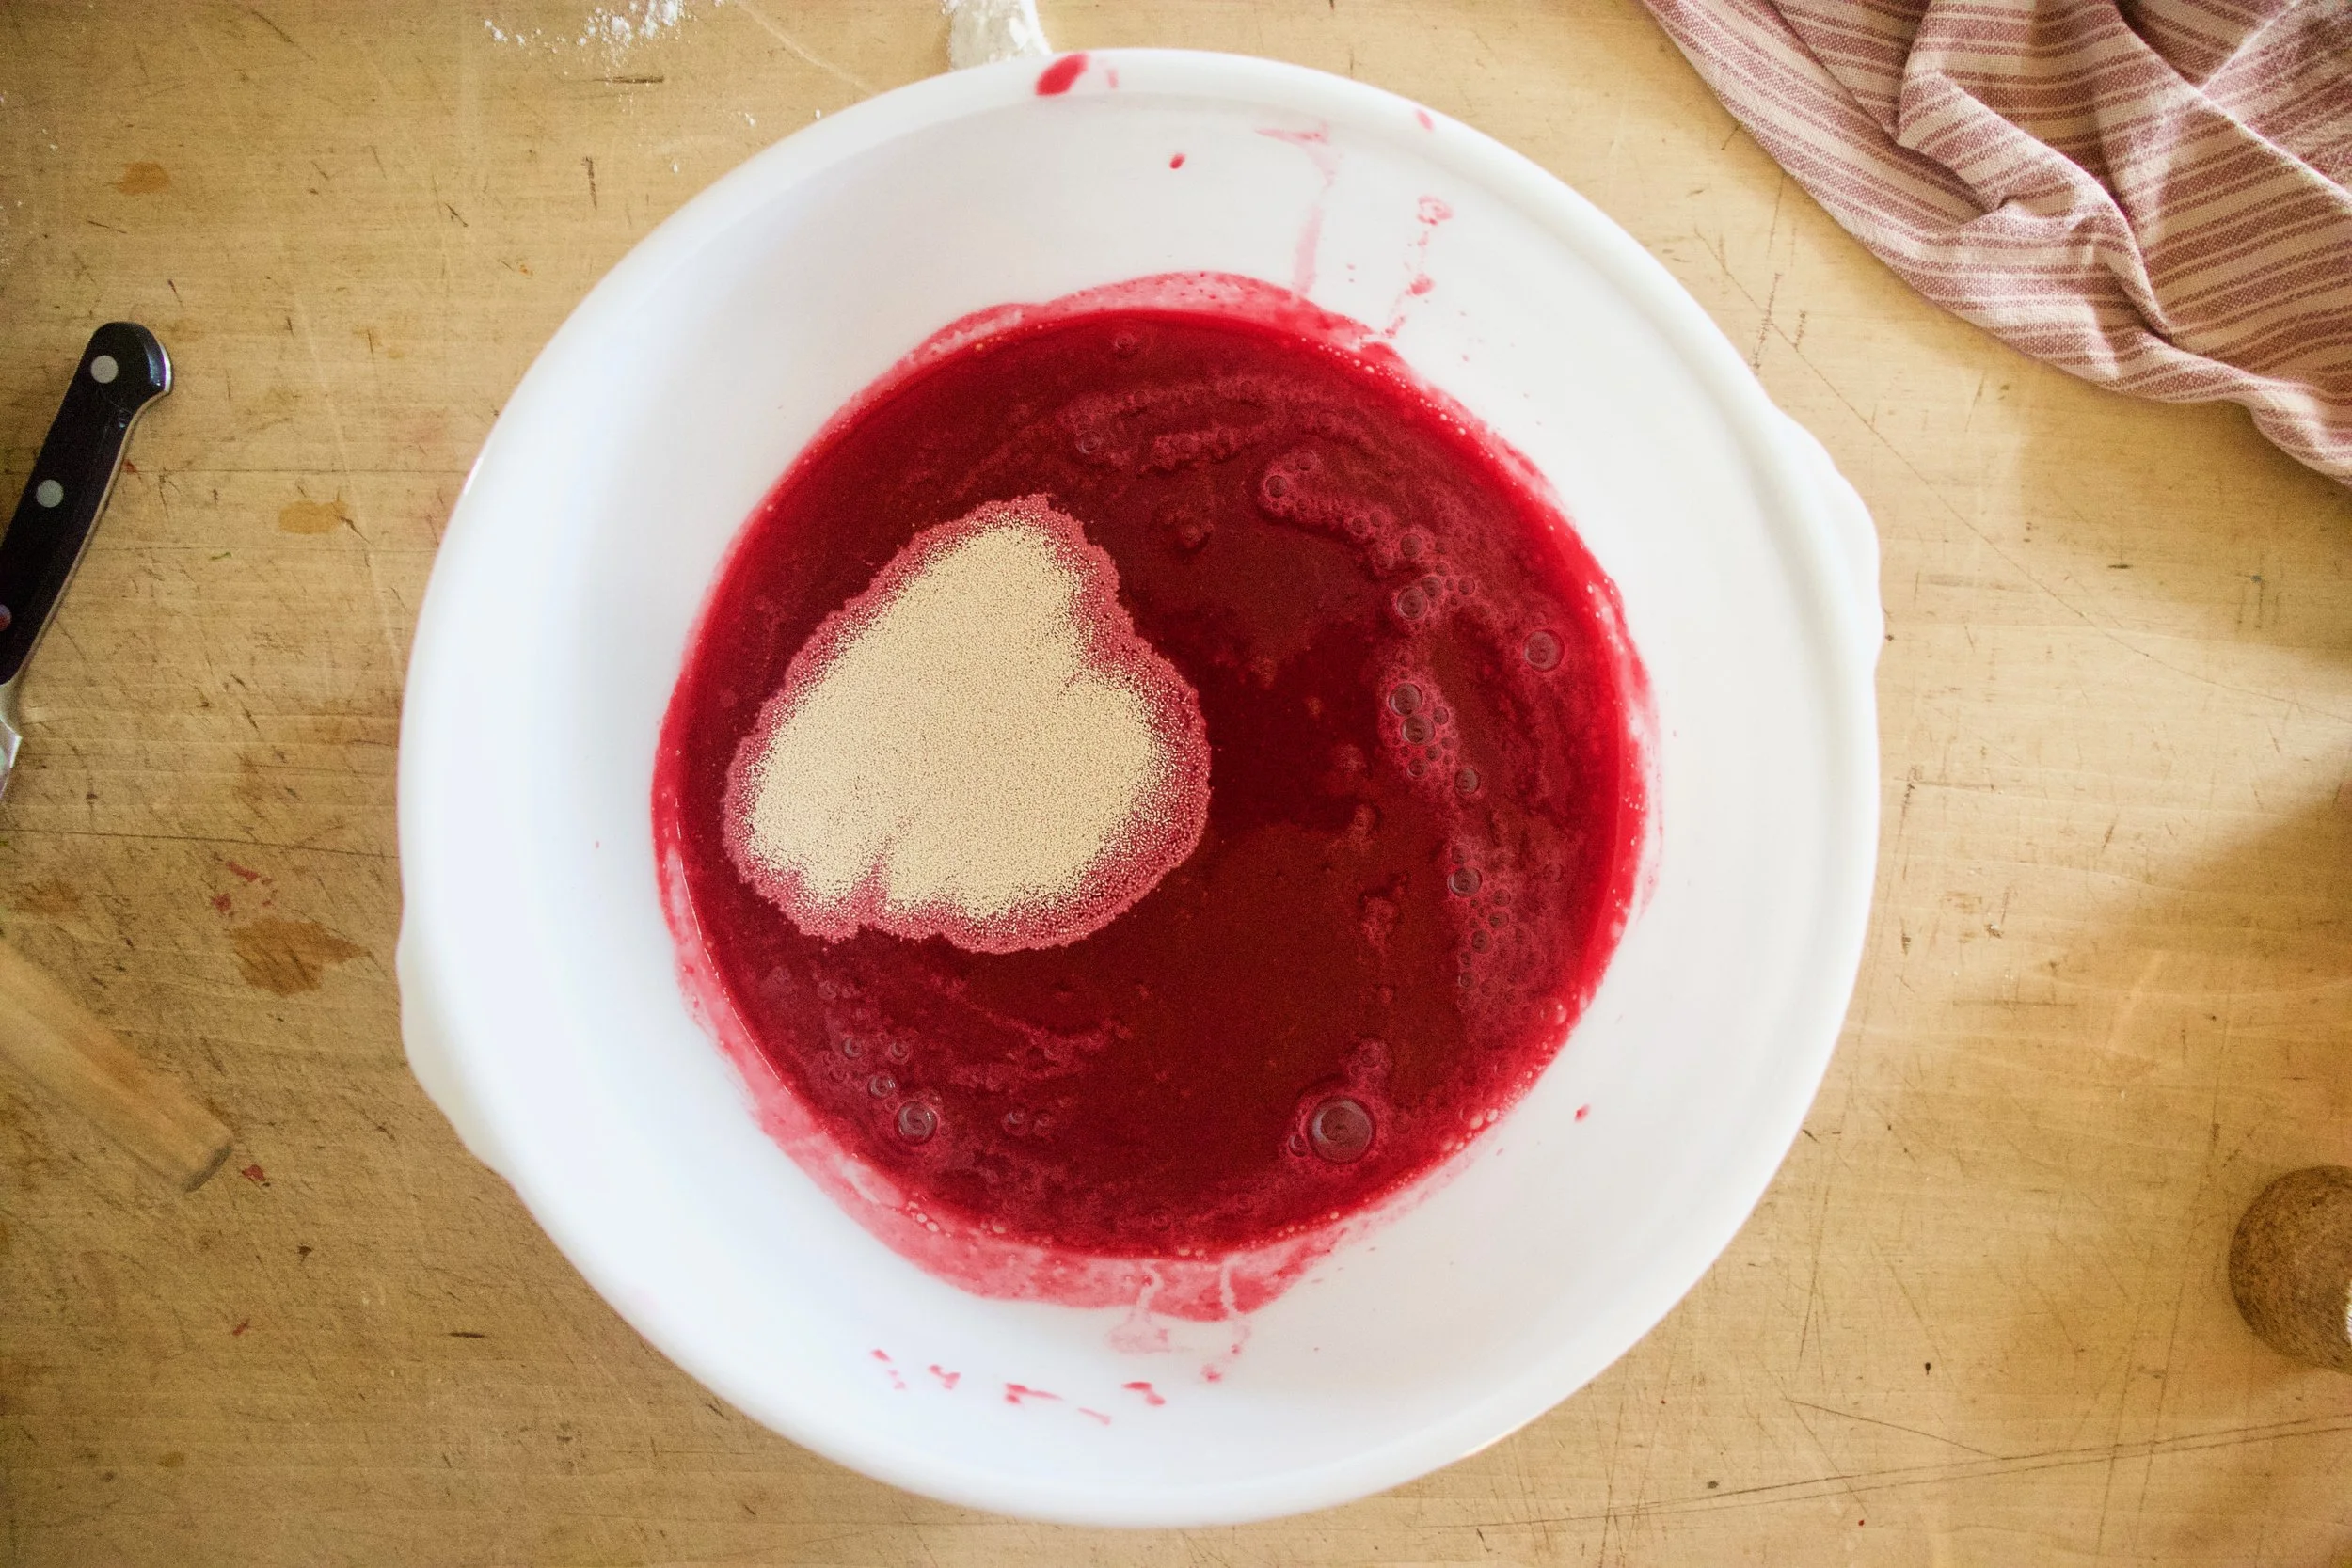
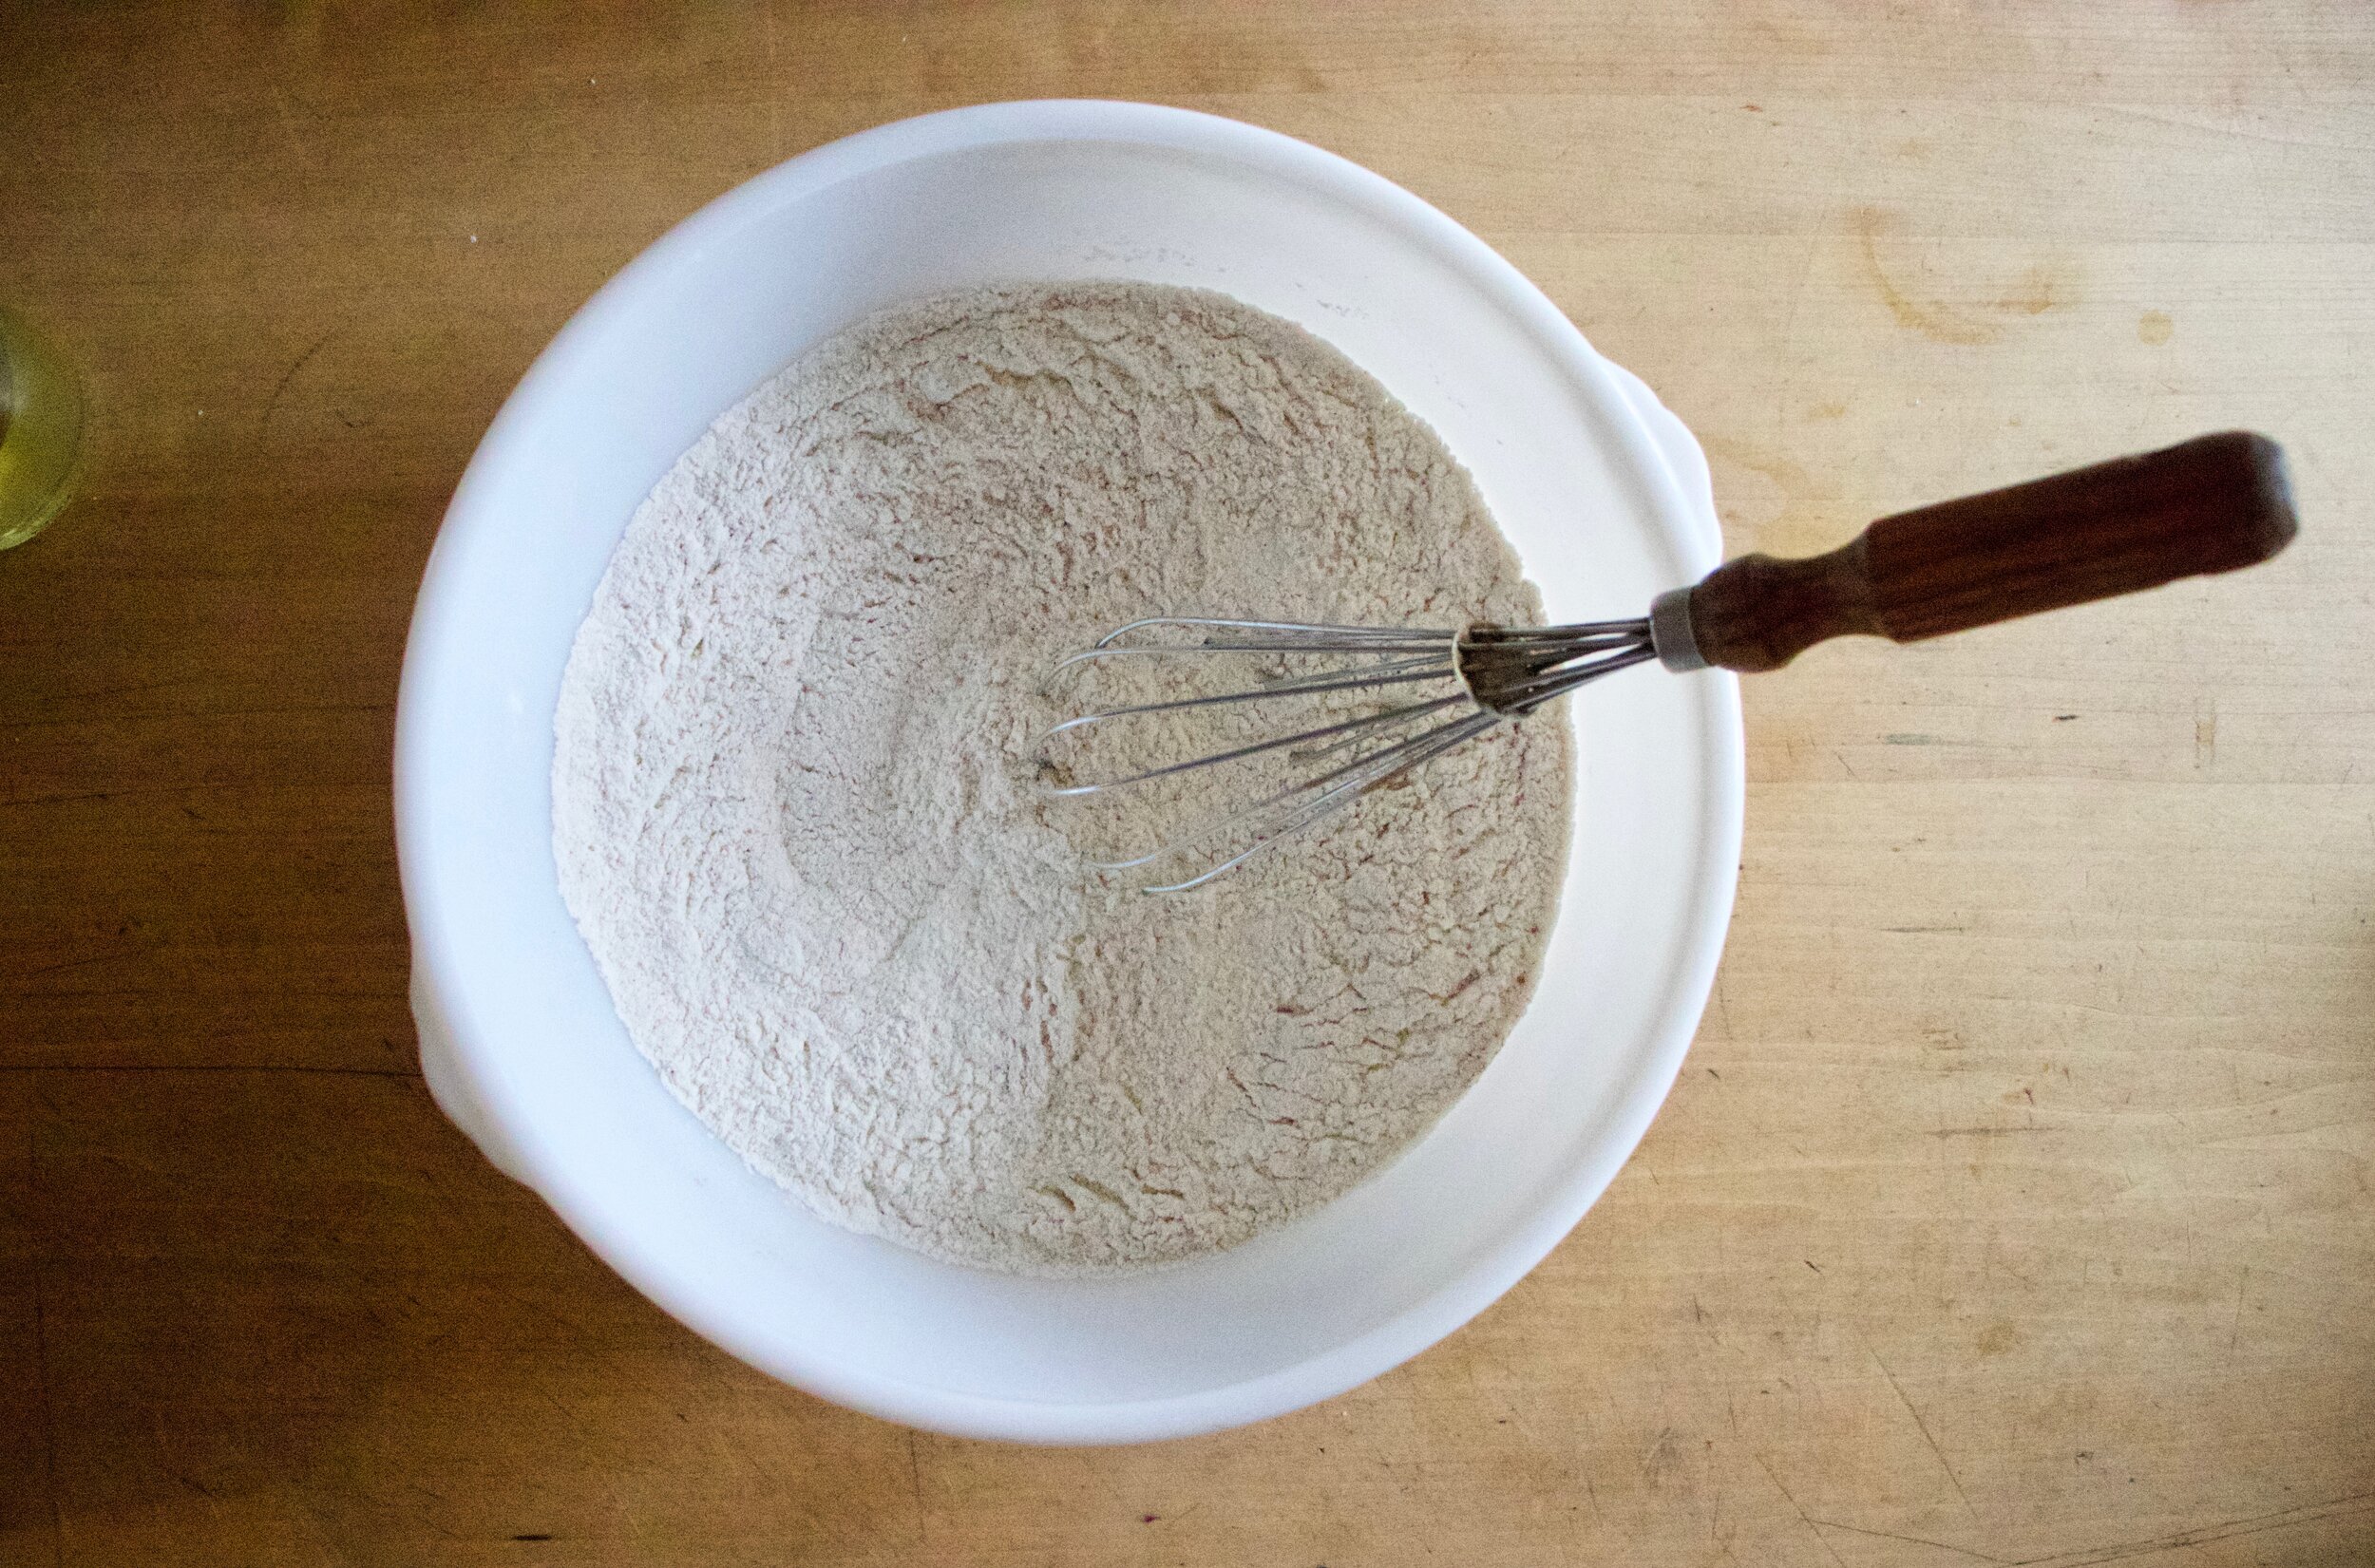
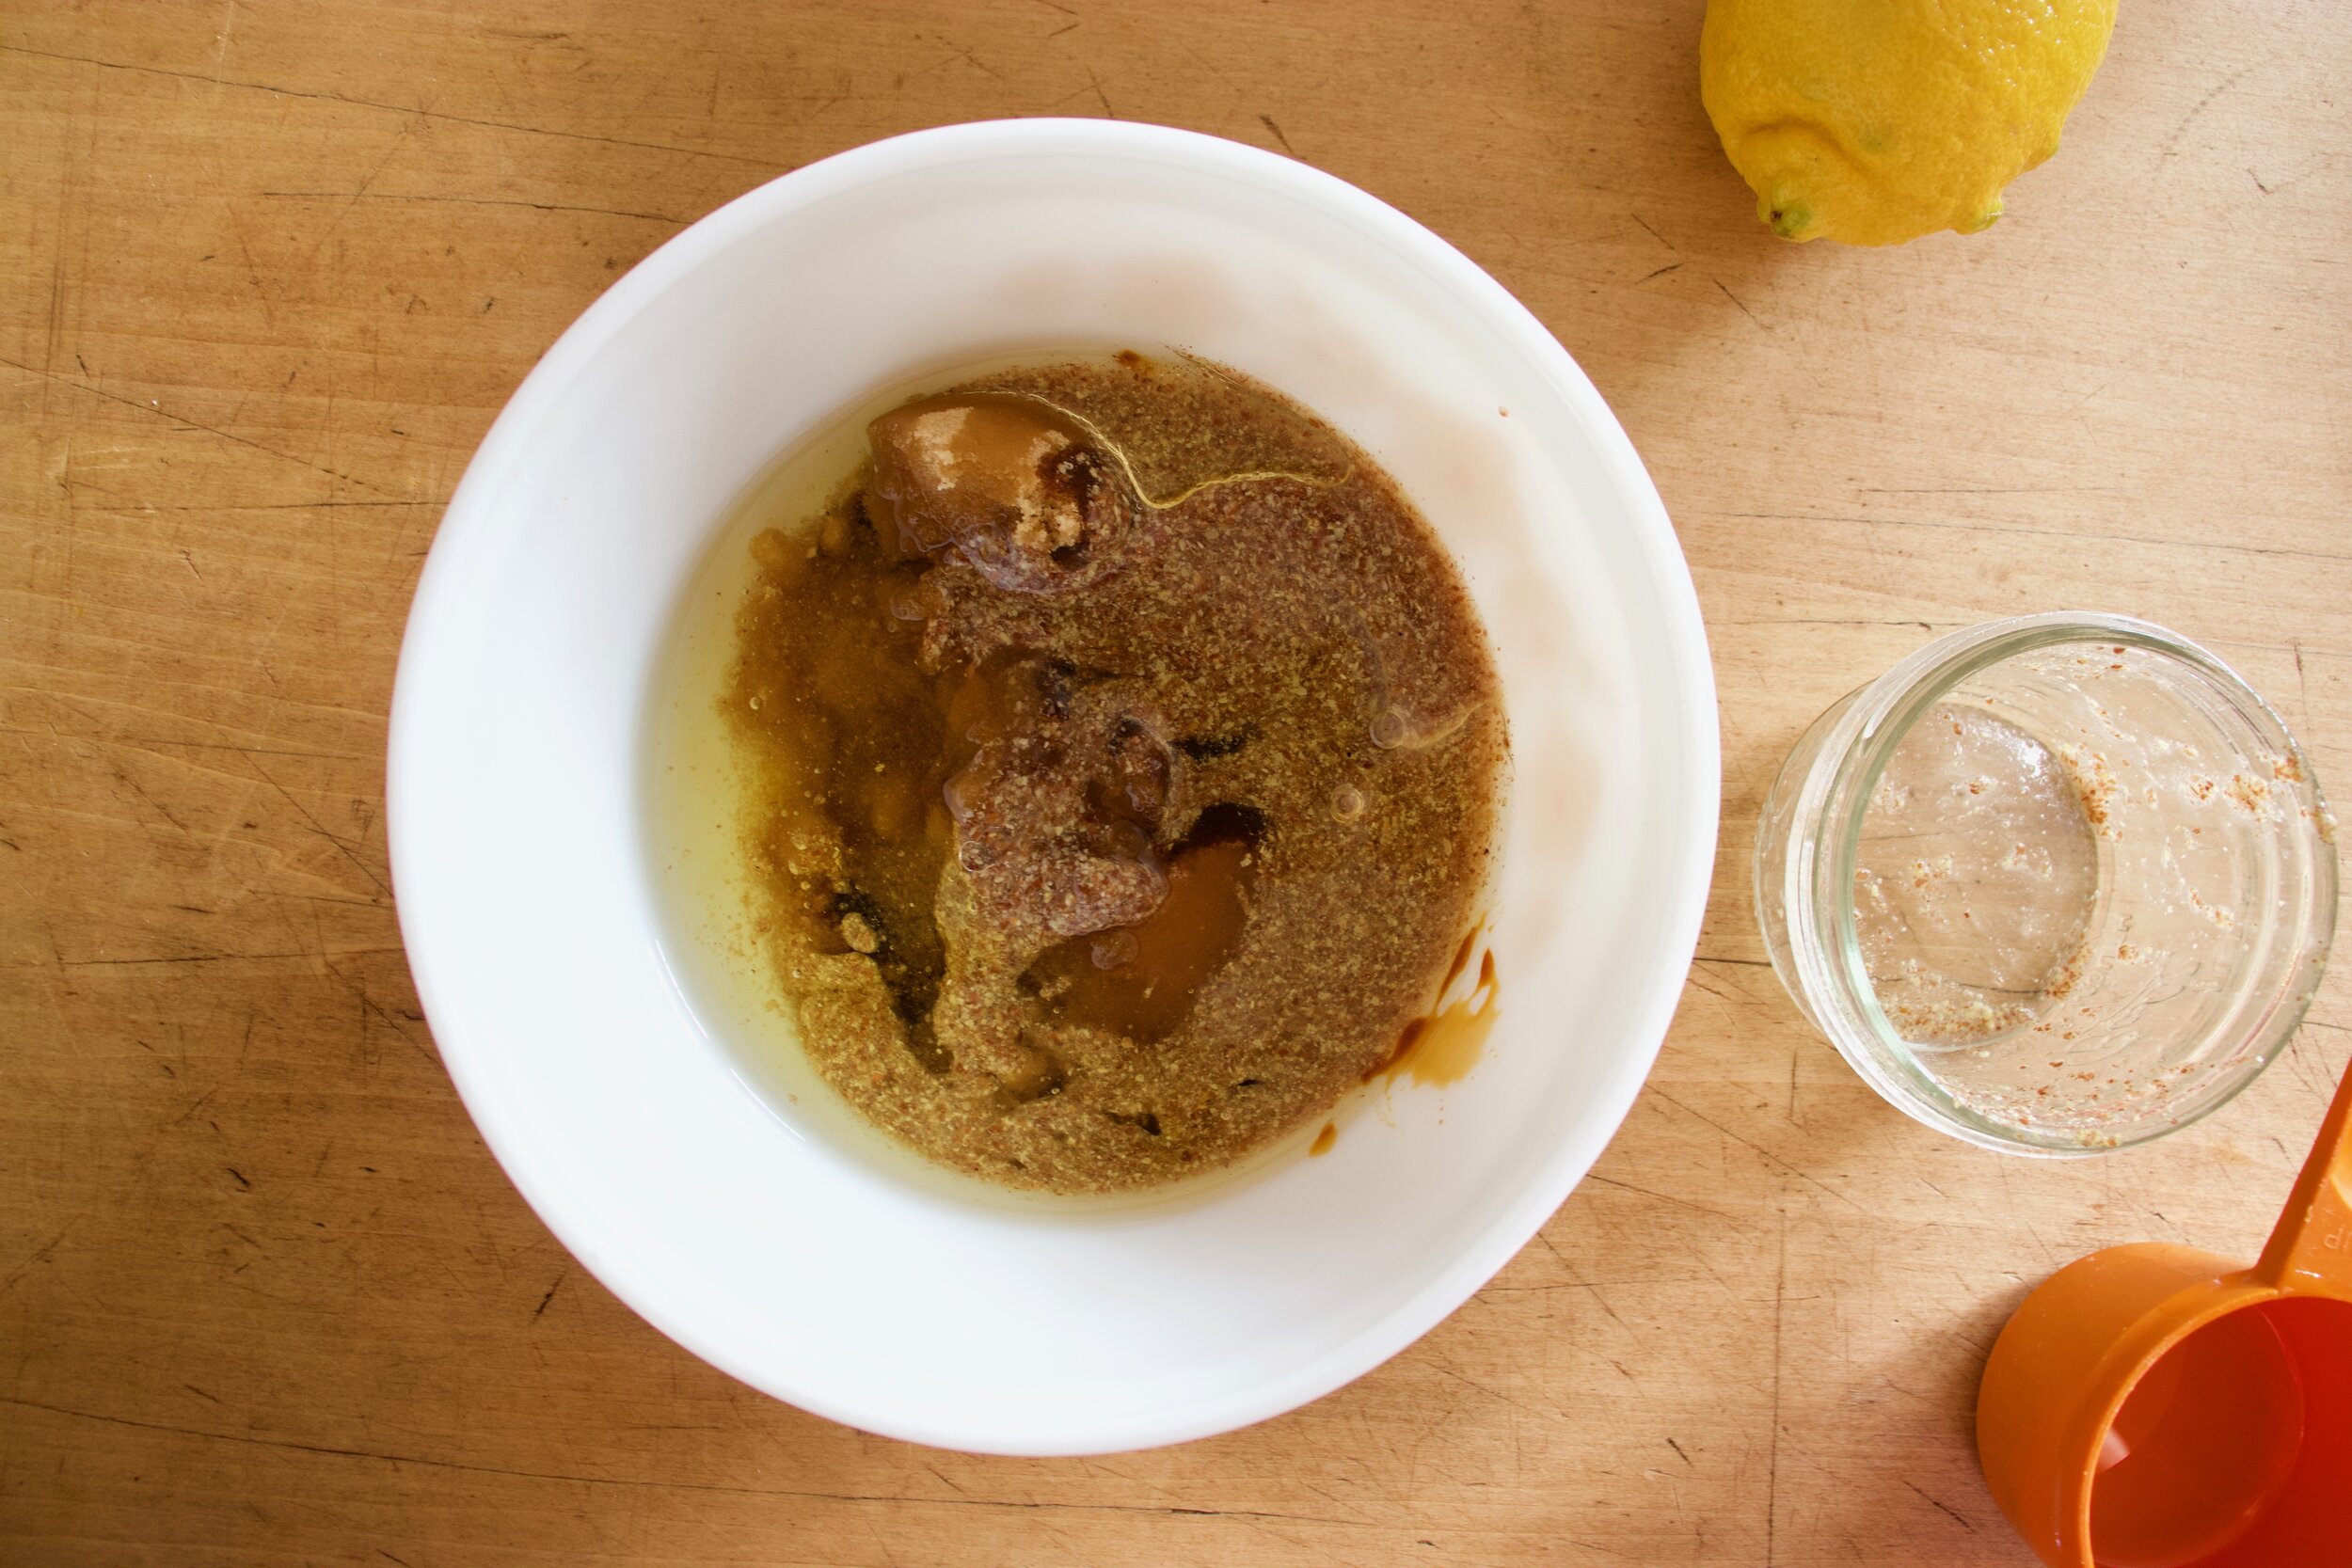
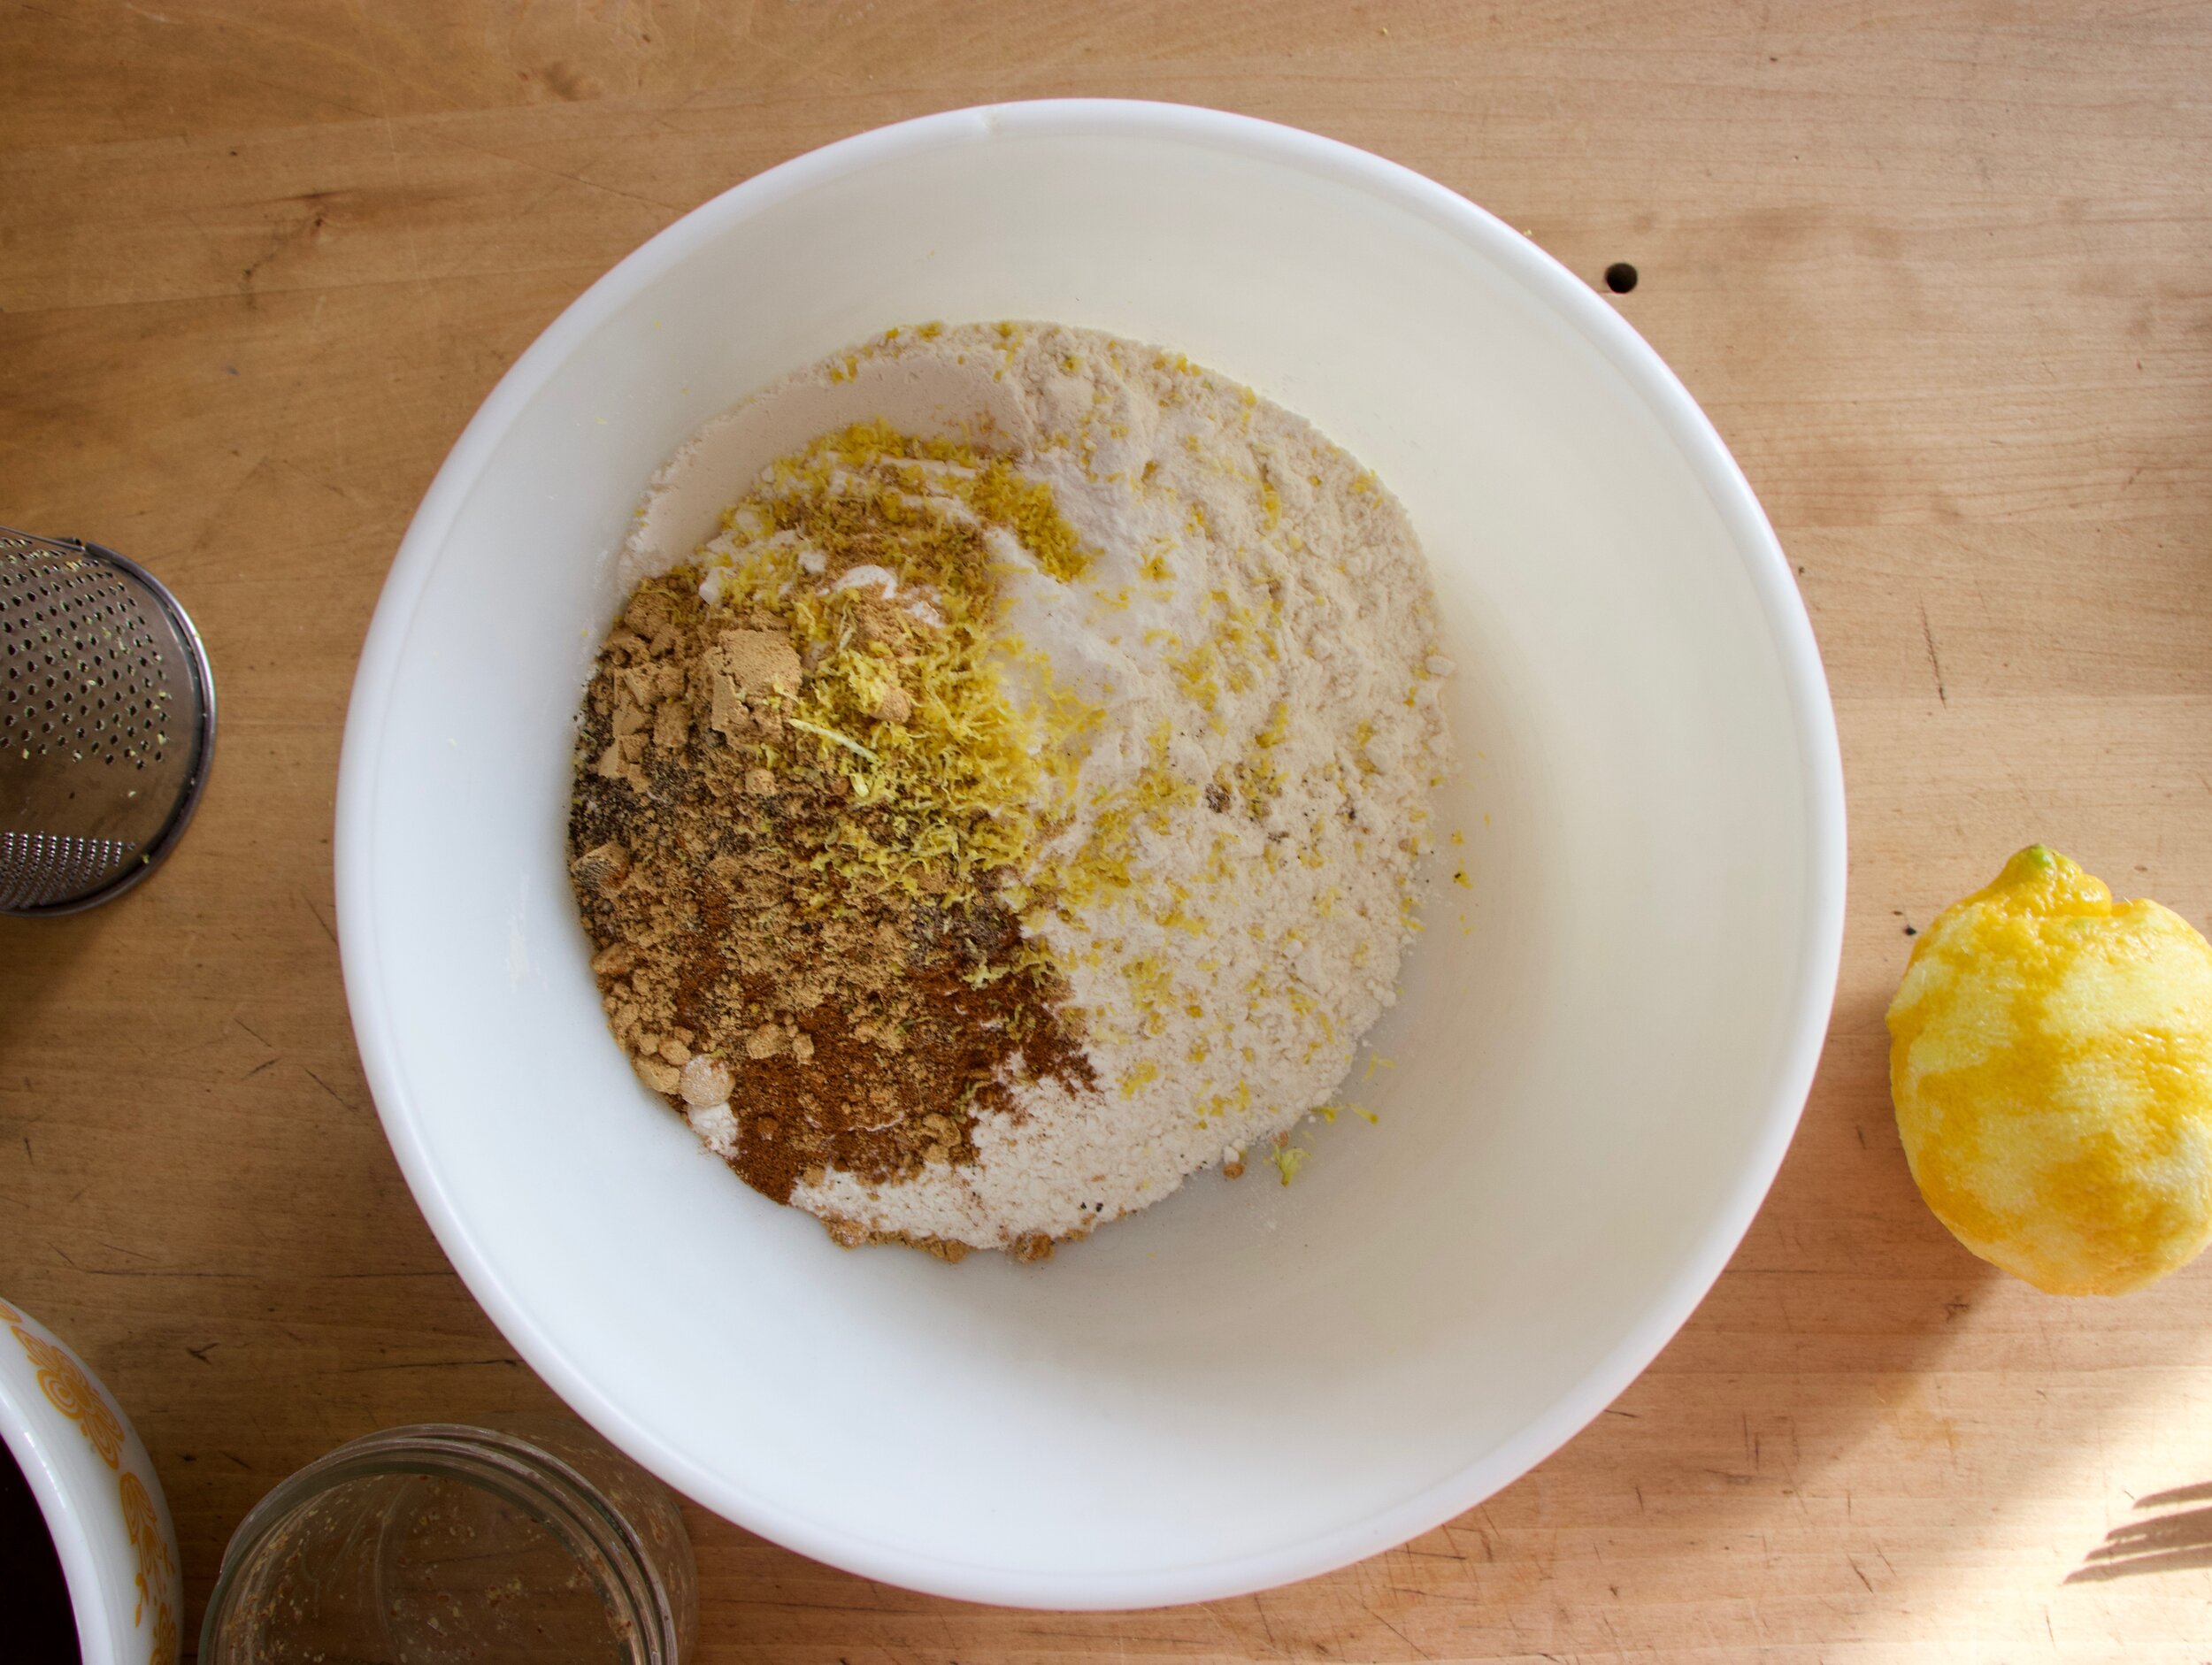
The stuff. Flour, water, salt, ripe sourdough started, yeast, and molasses.

IMG_1111.jpg
IMG_1118.jpg
IMG_1122.jpg
IMG_1130.jpg

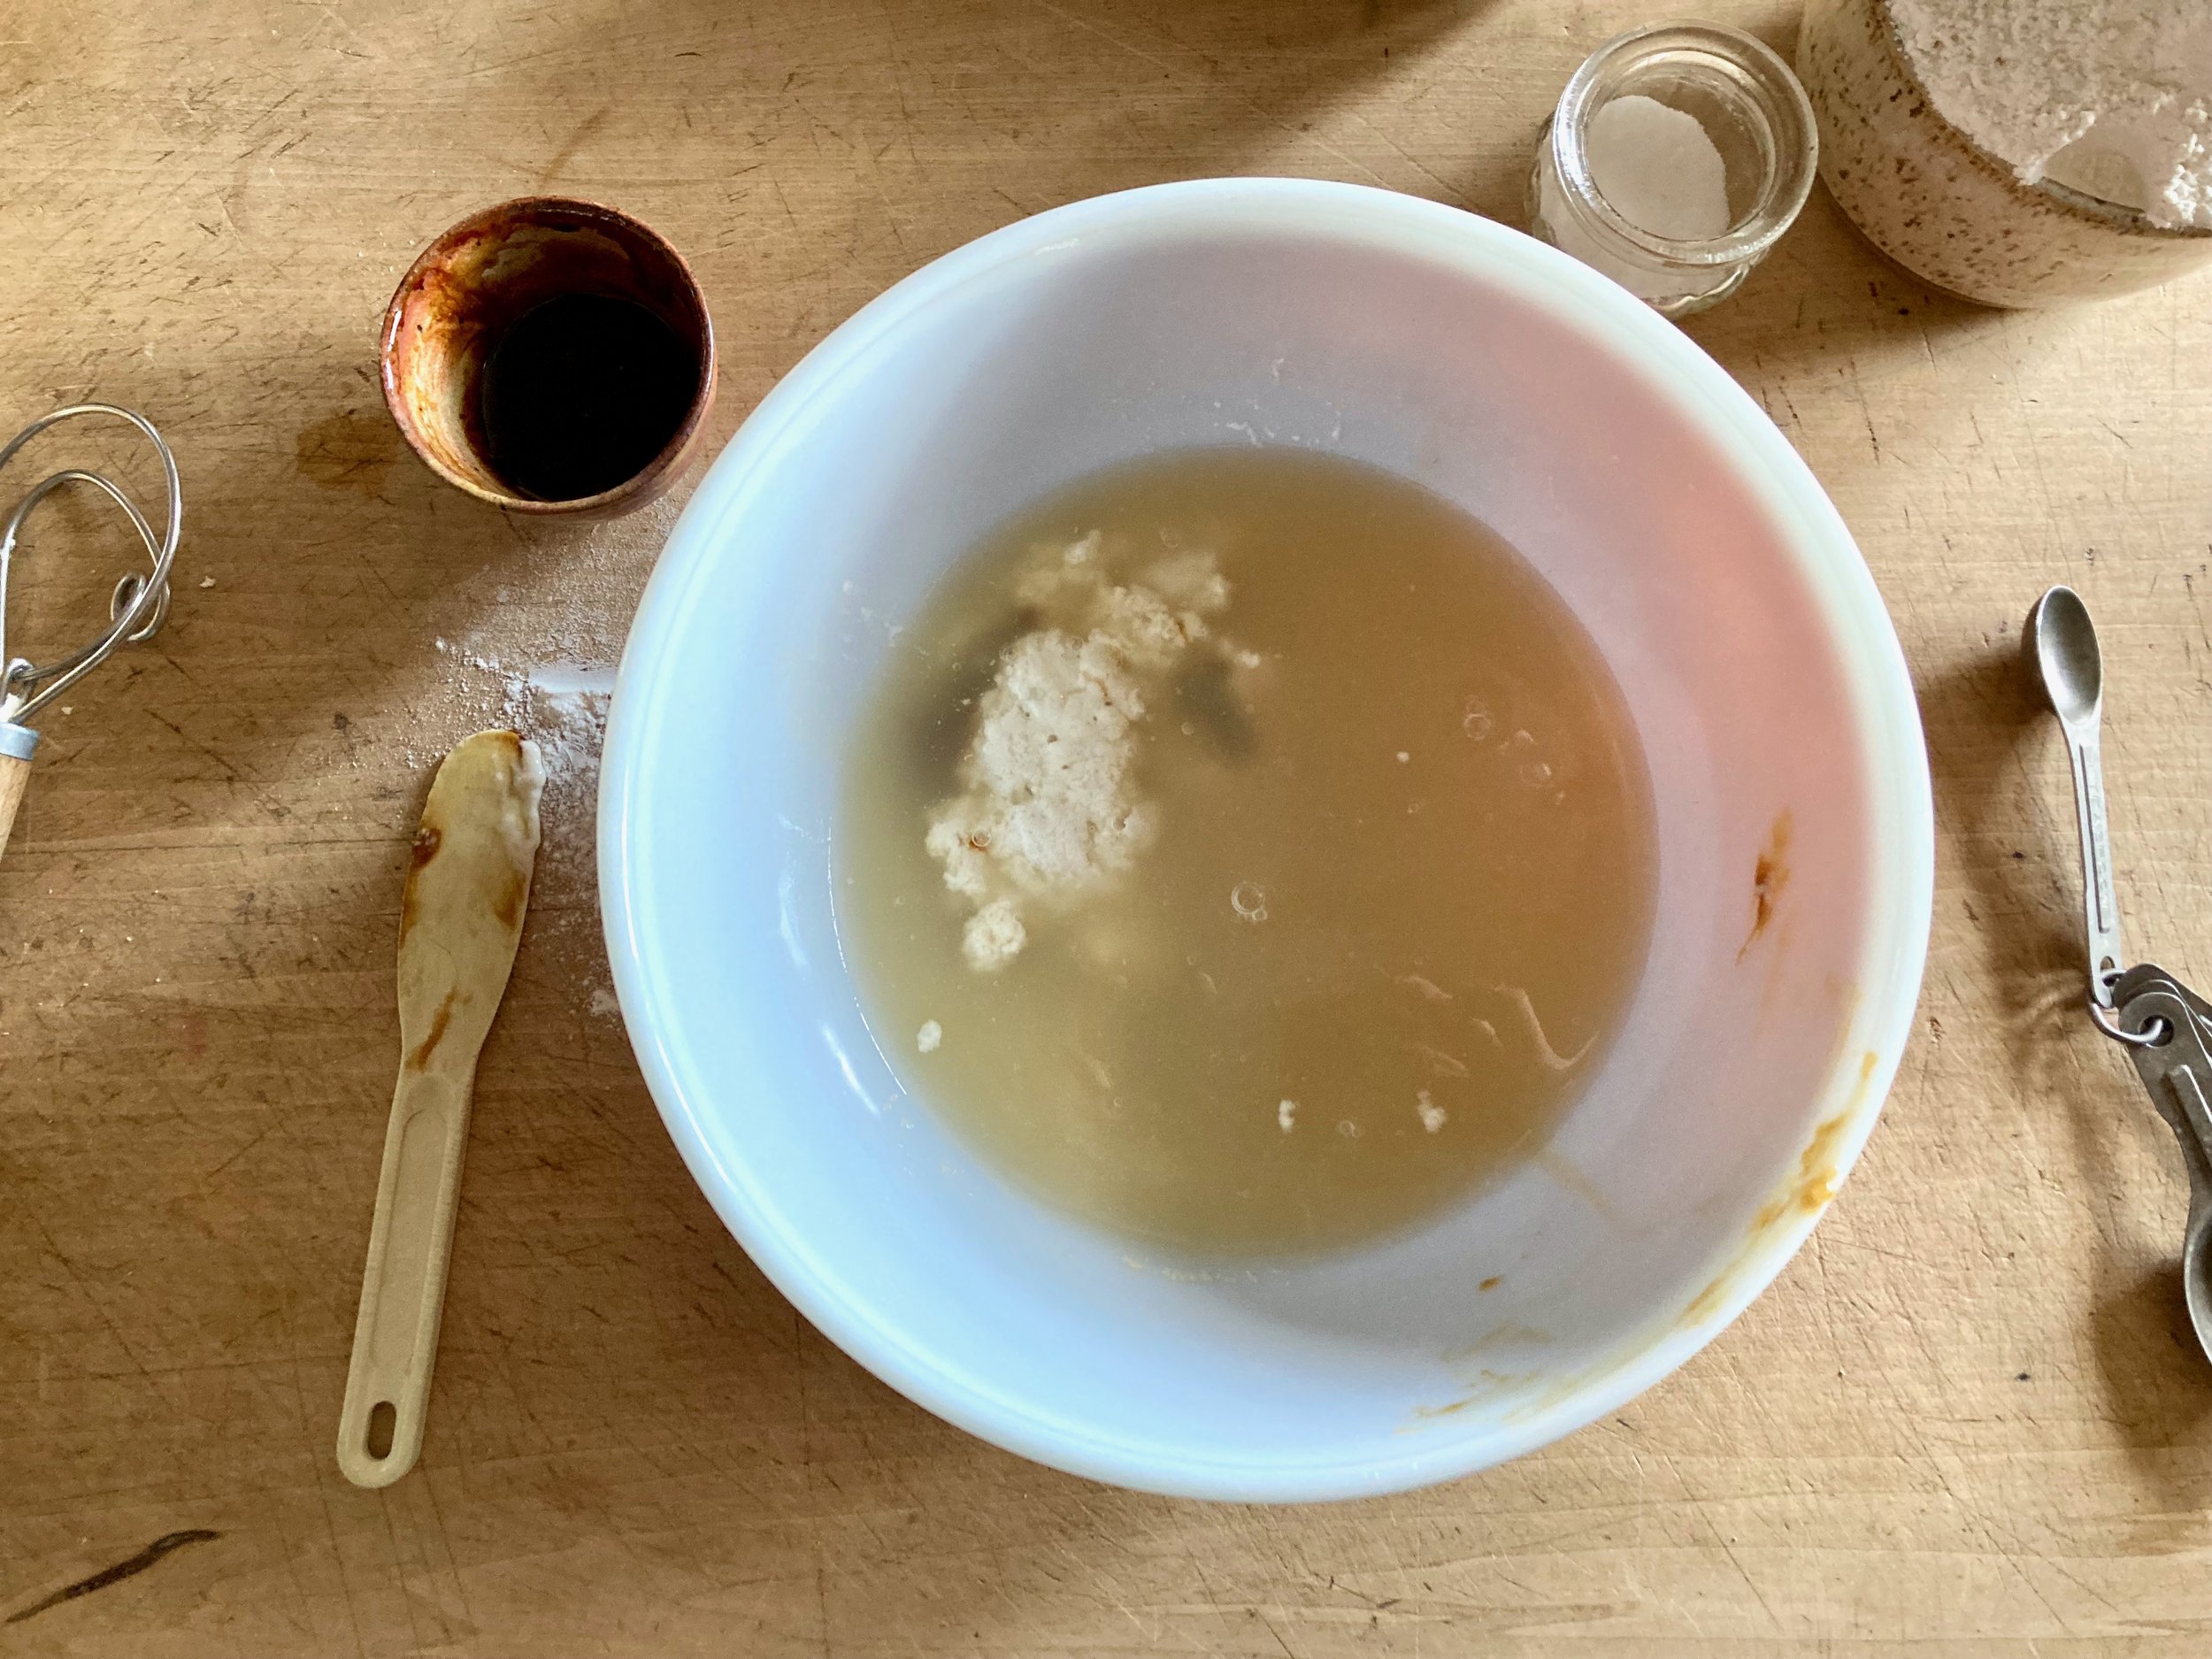
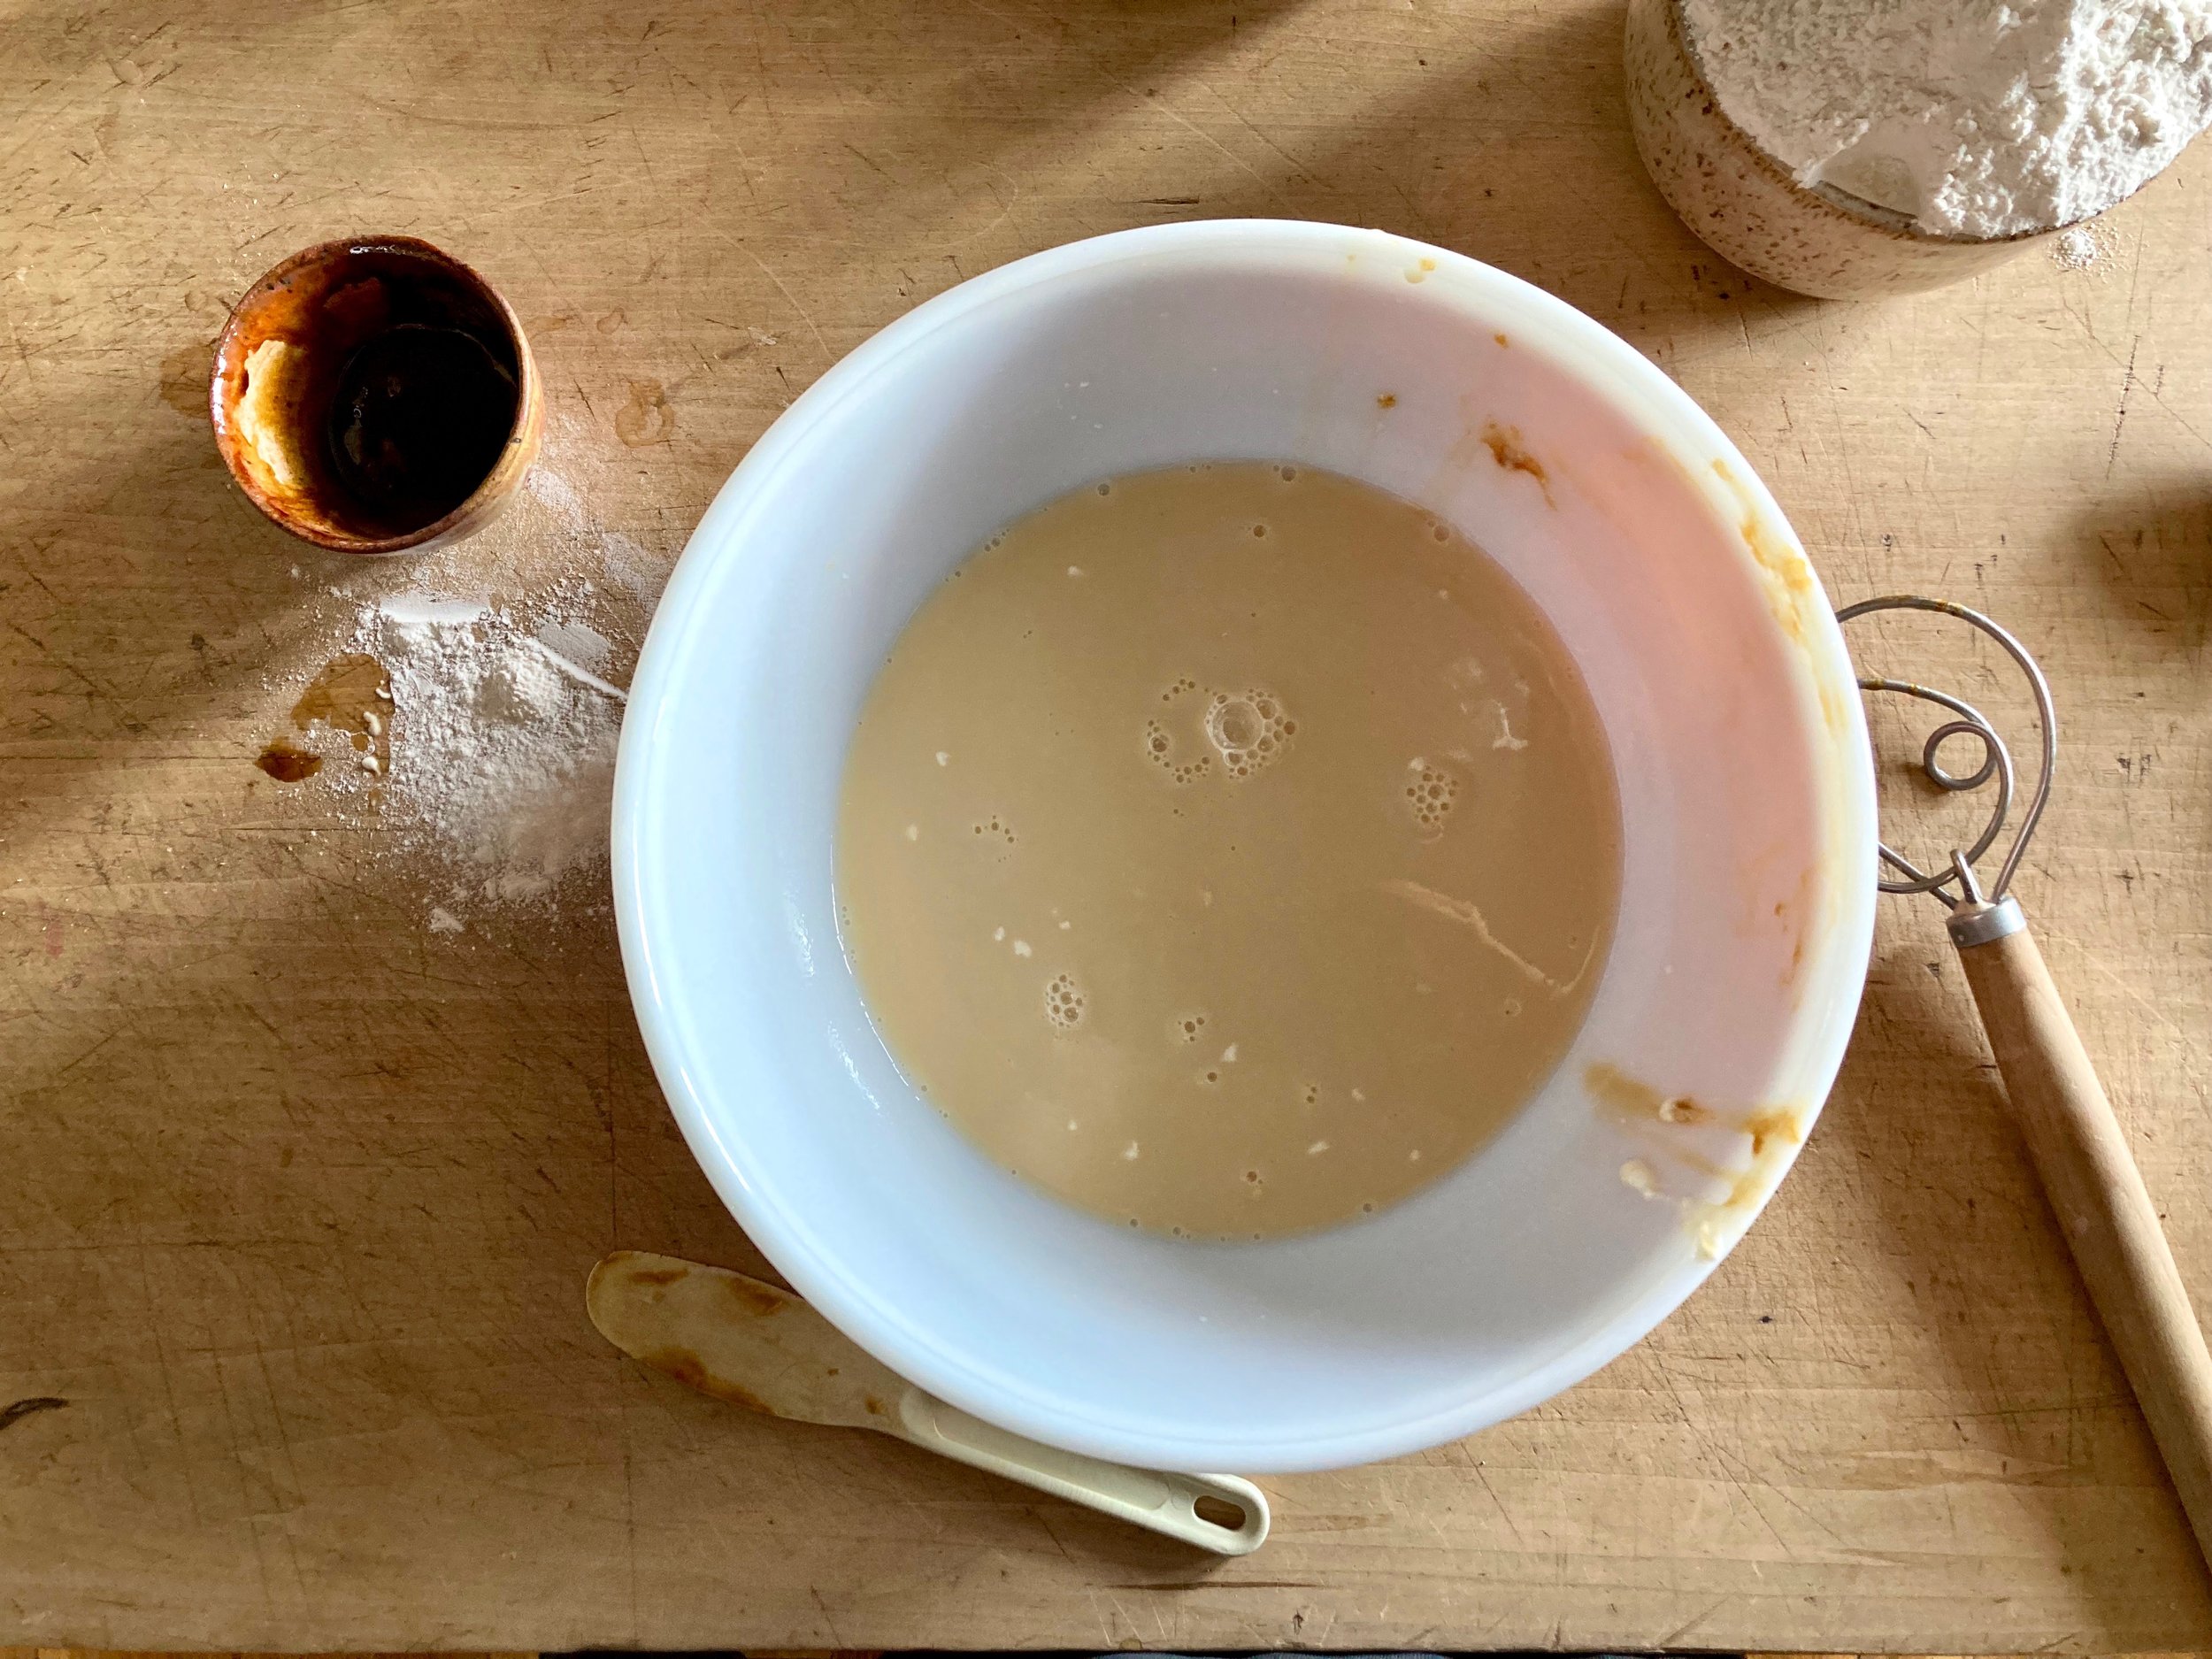
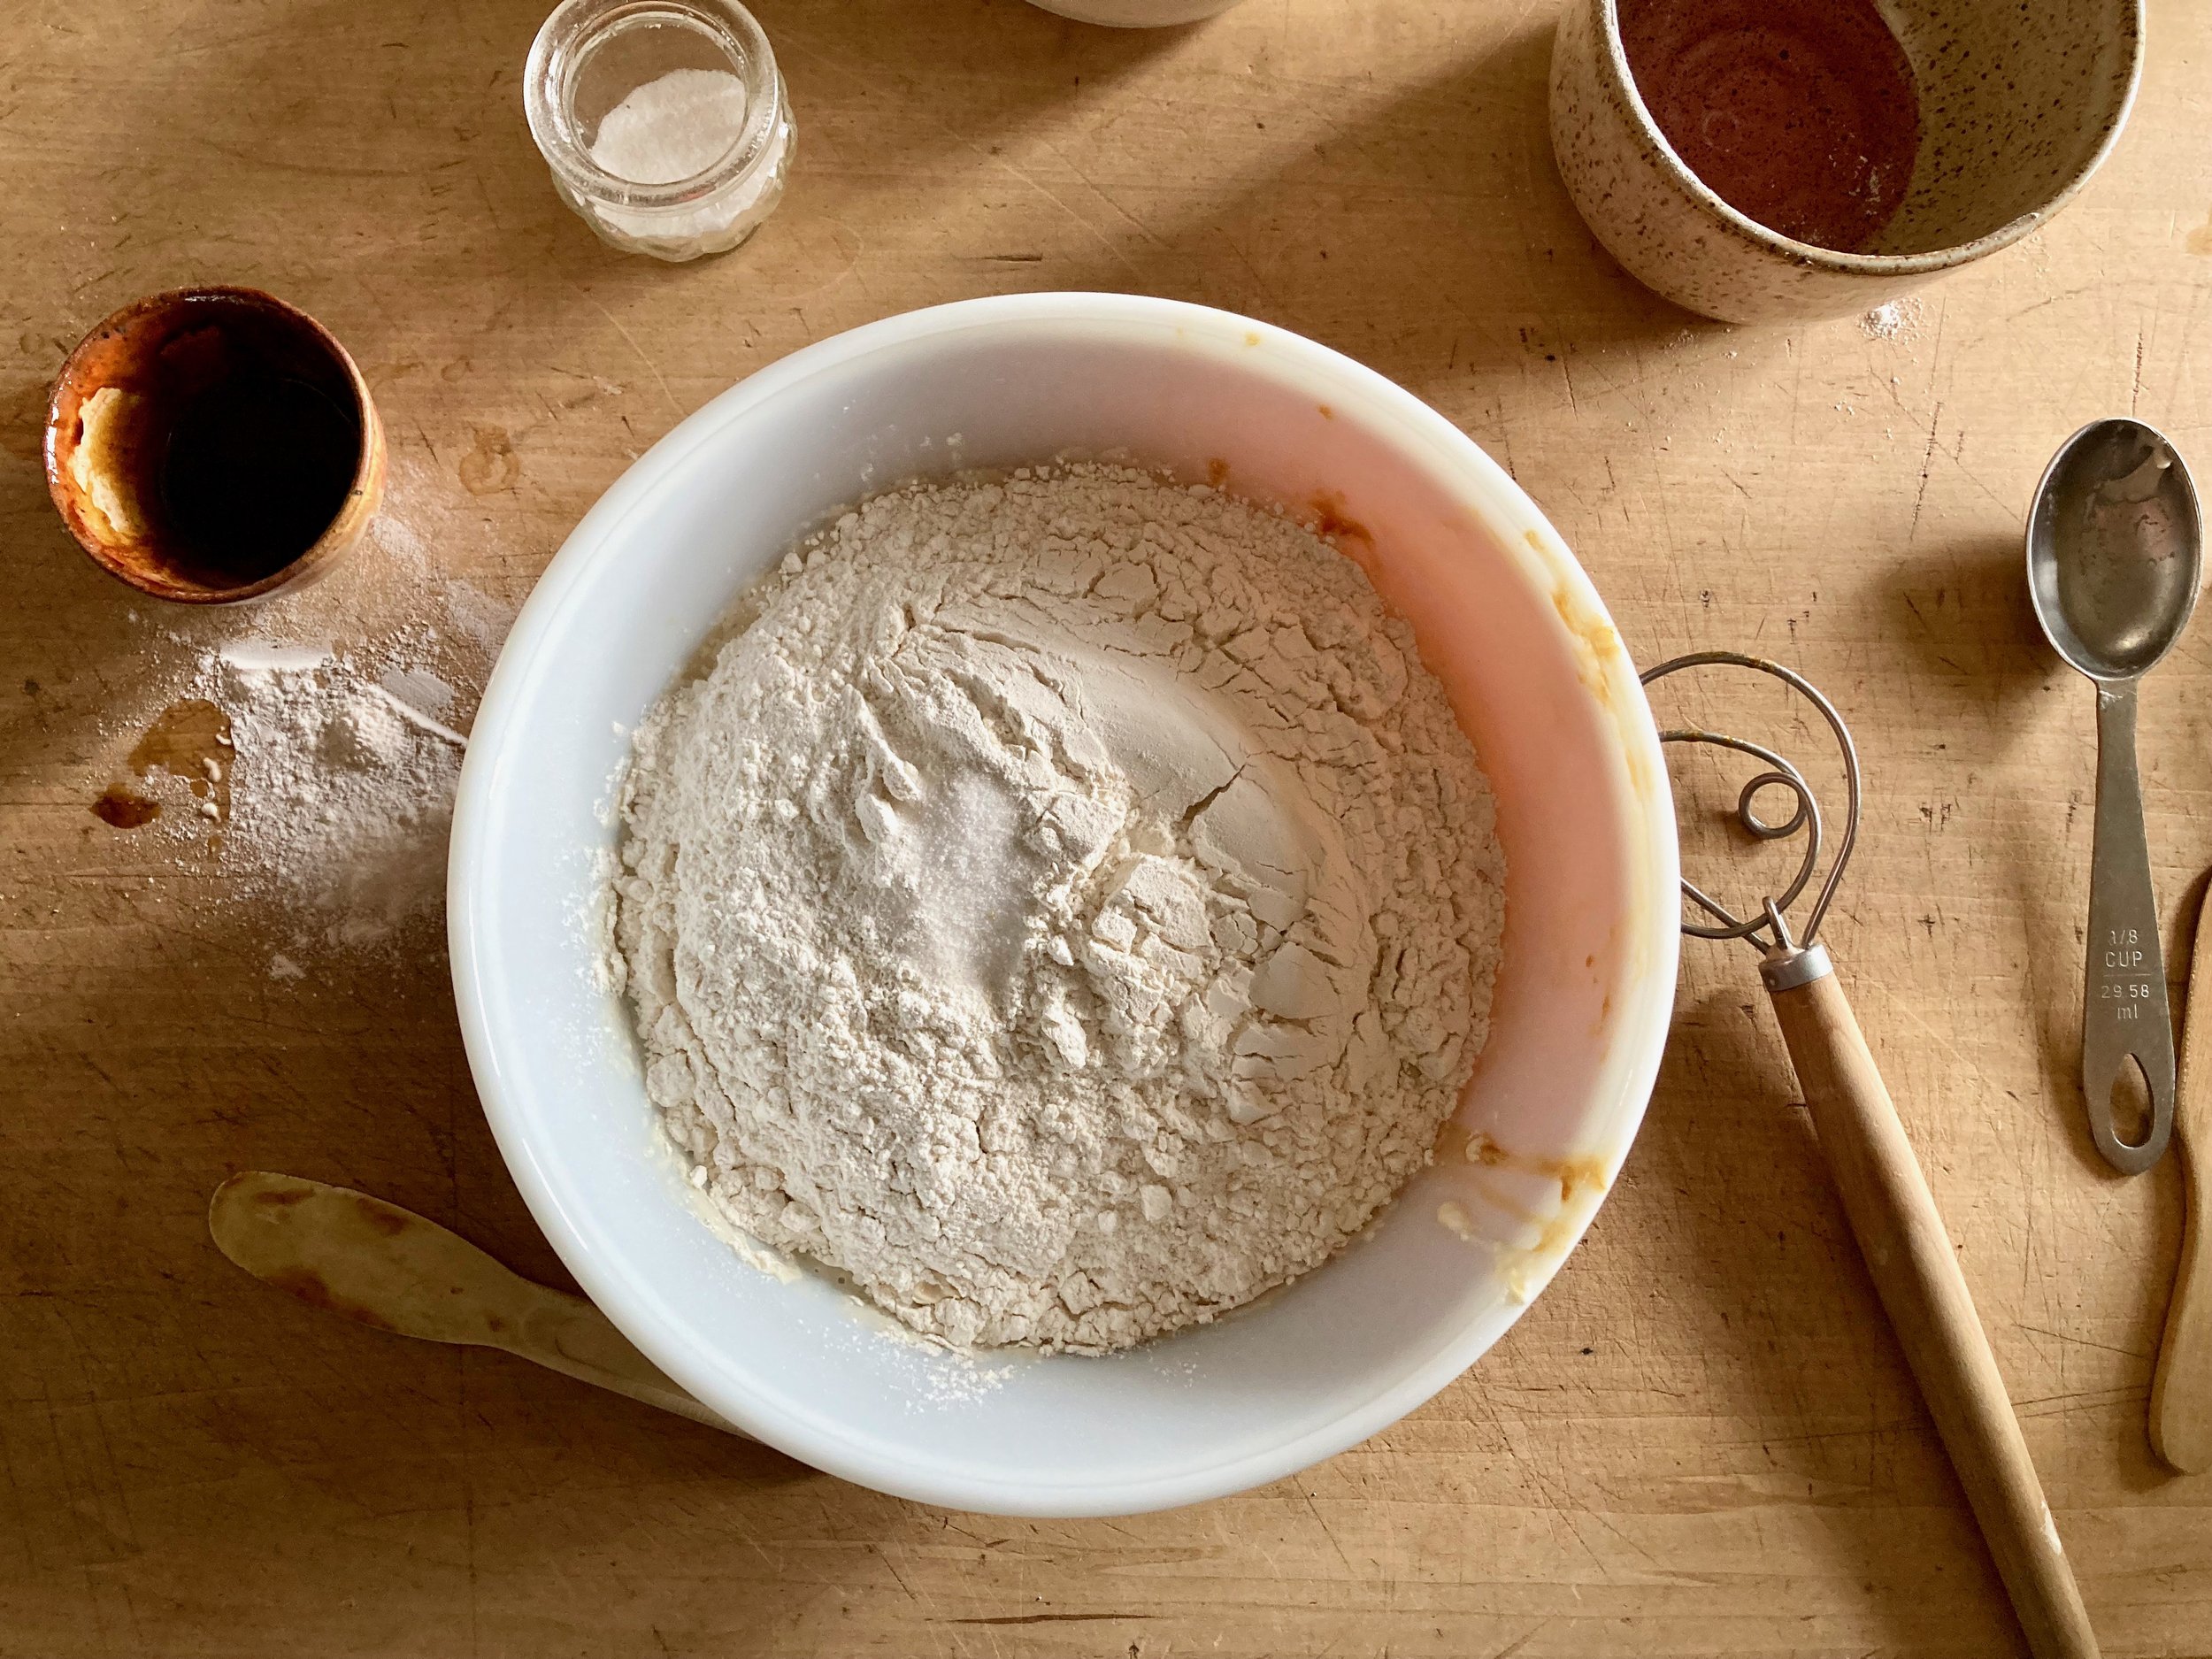
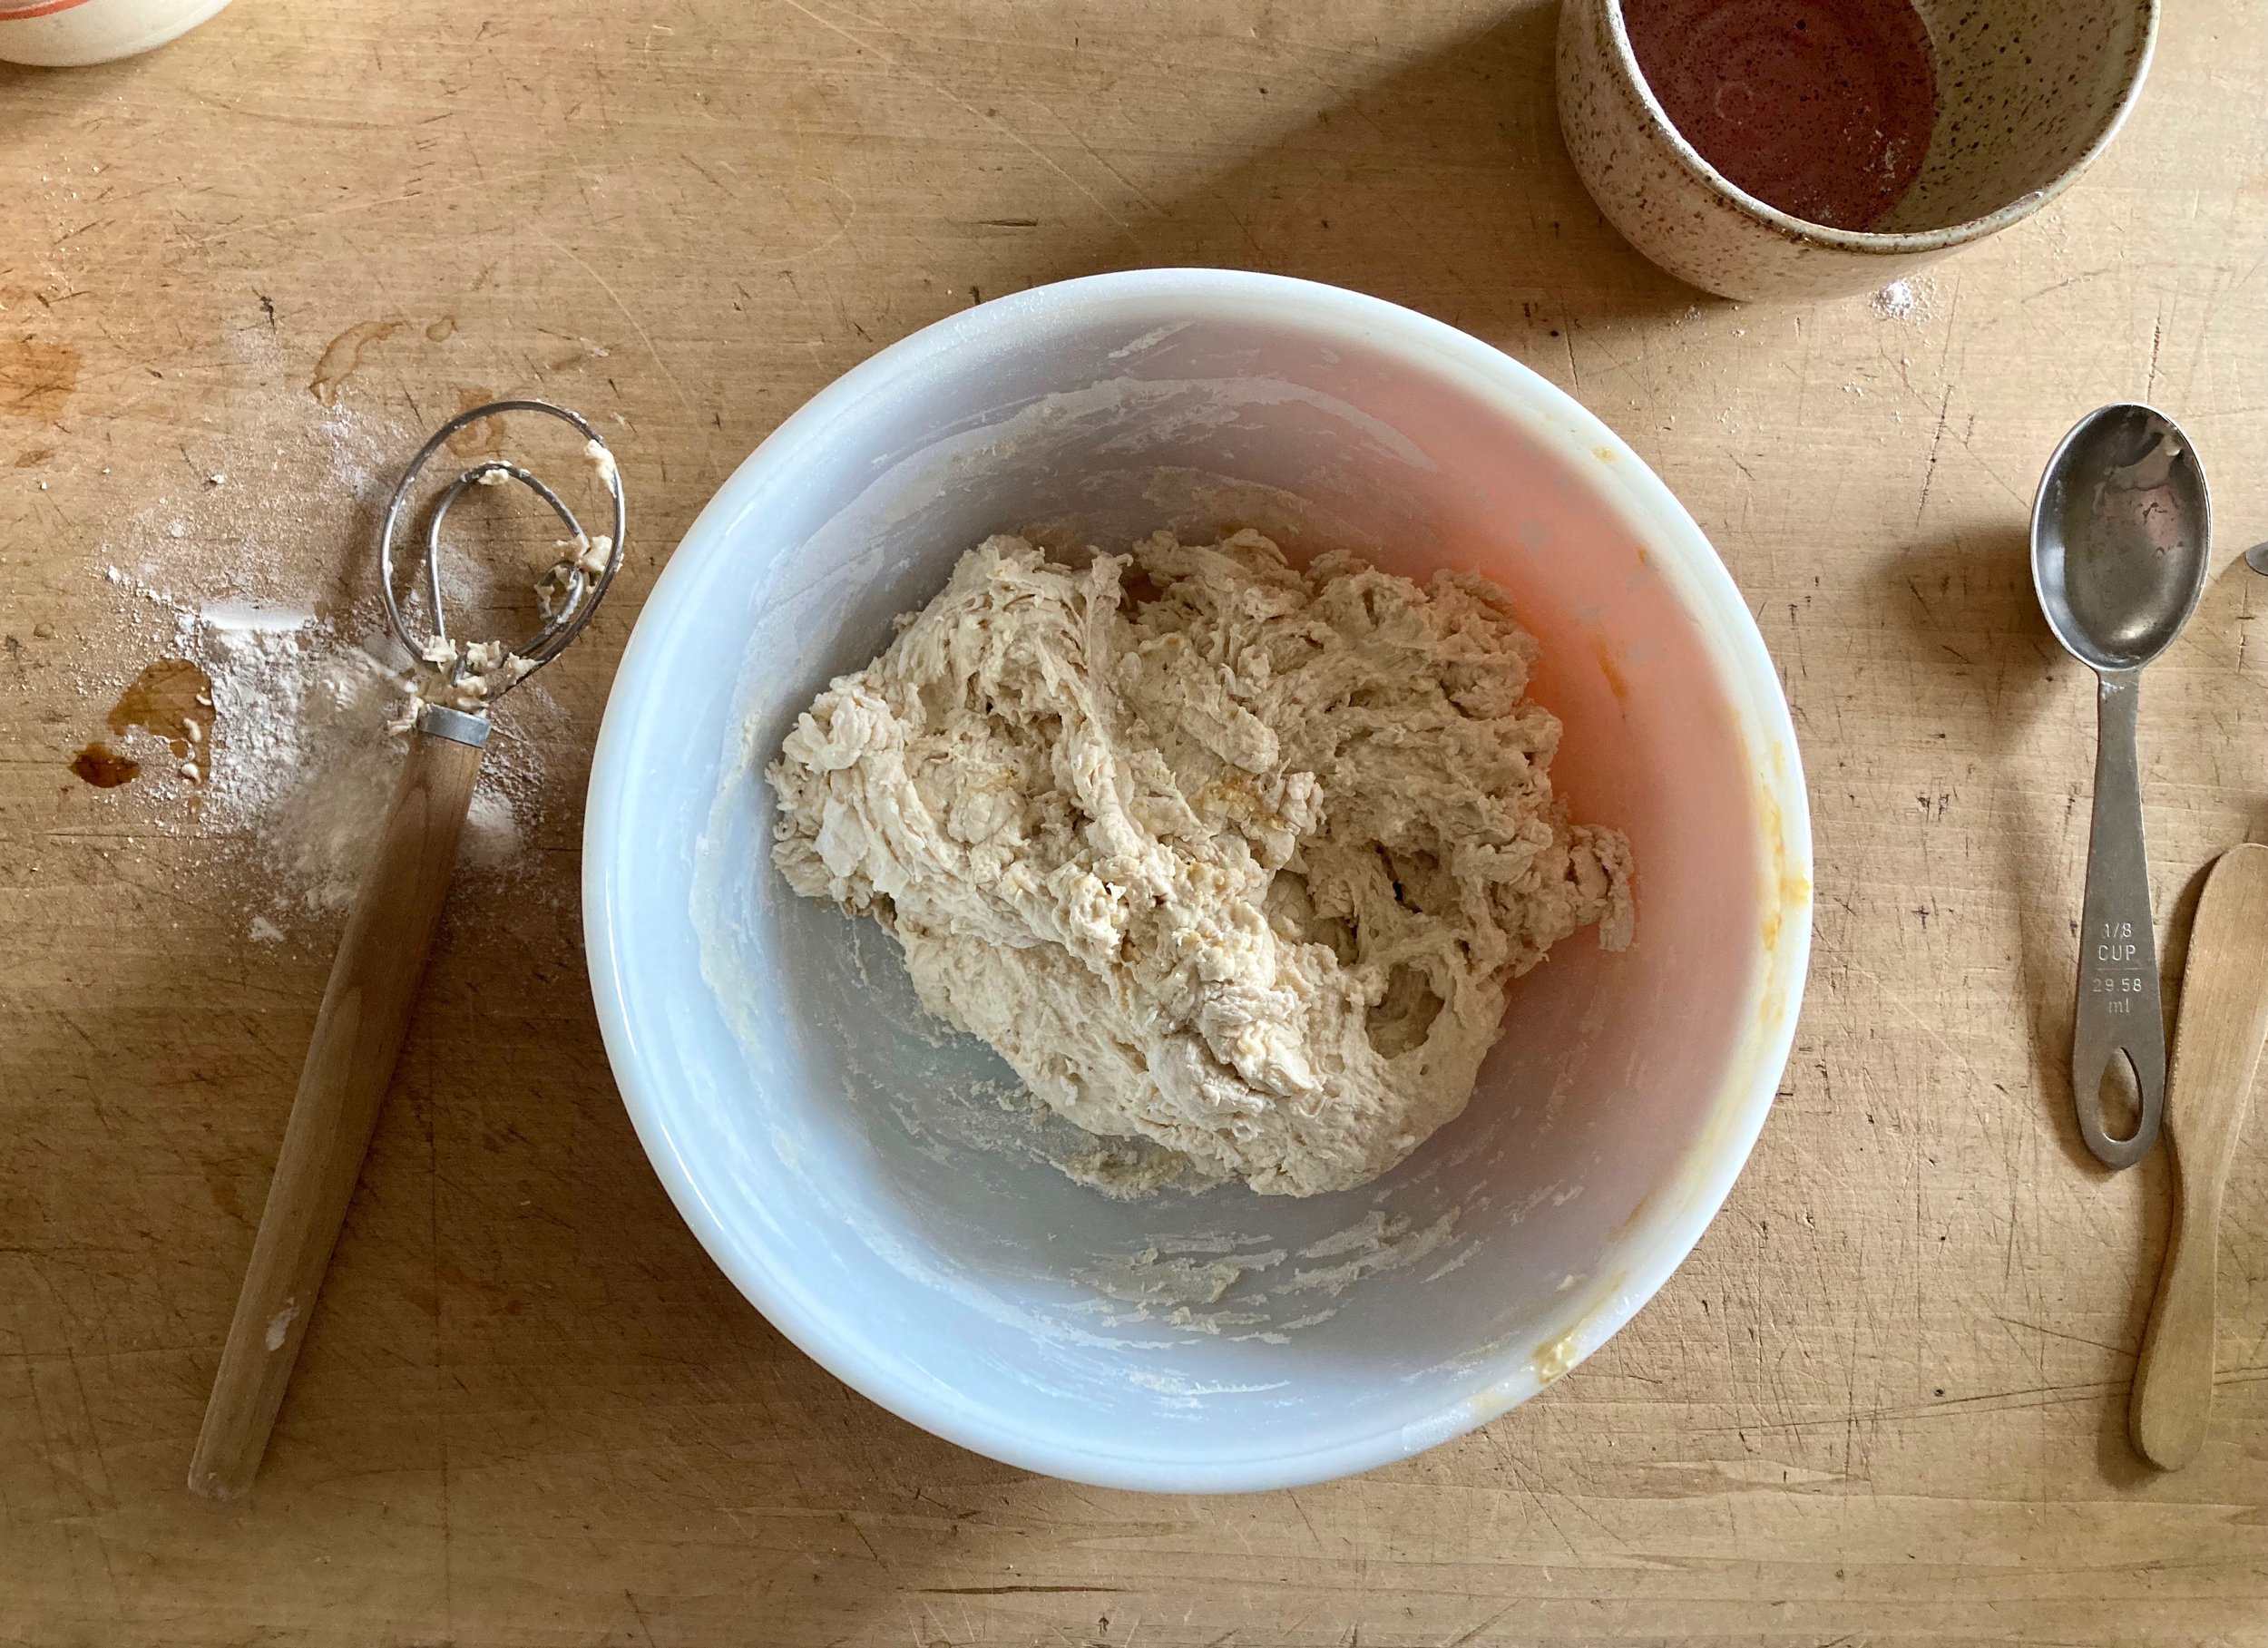
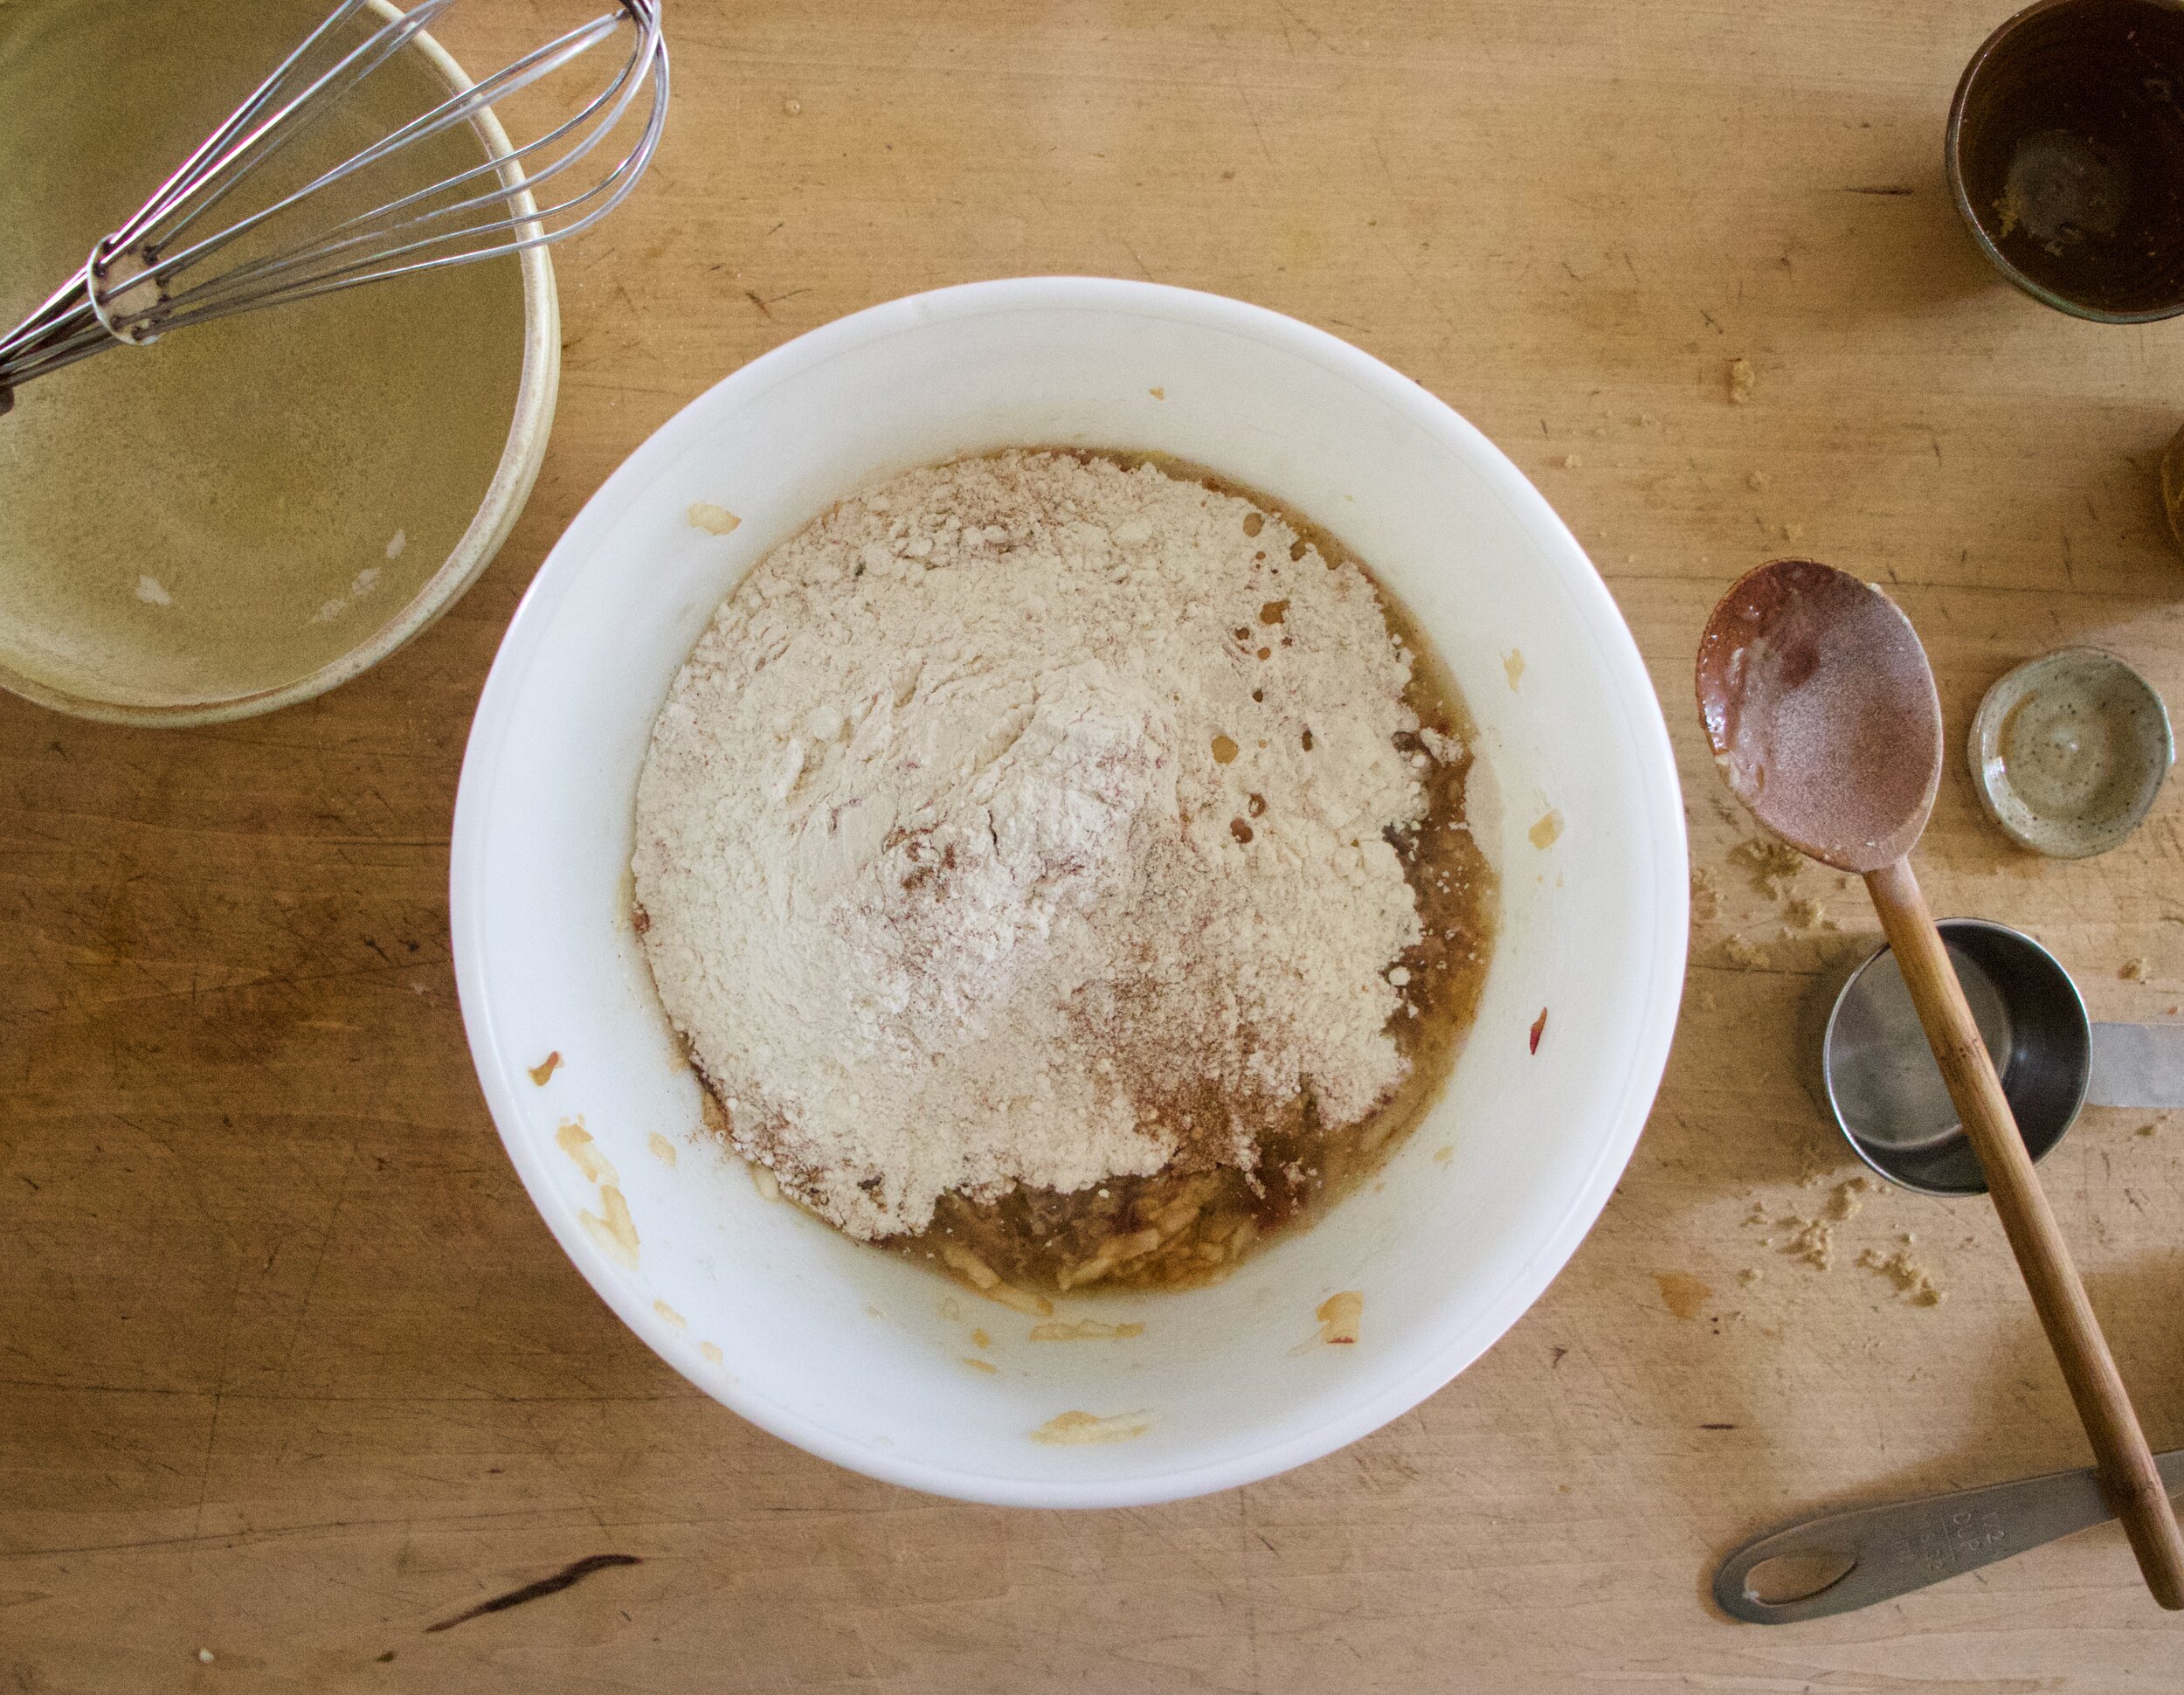
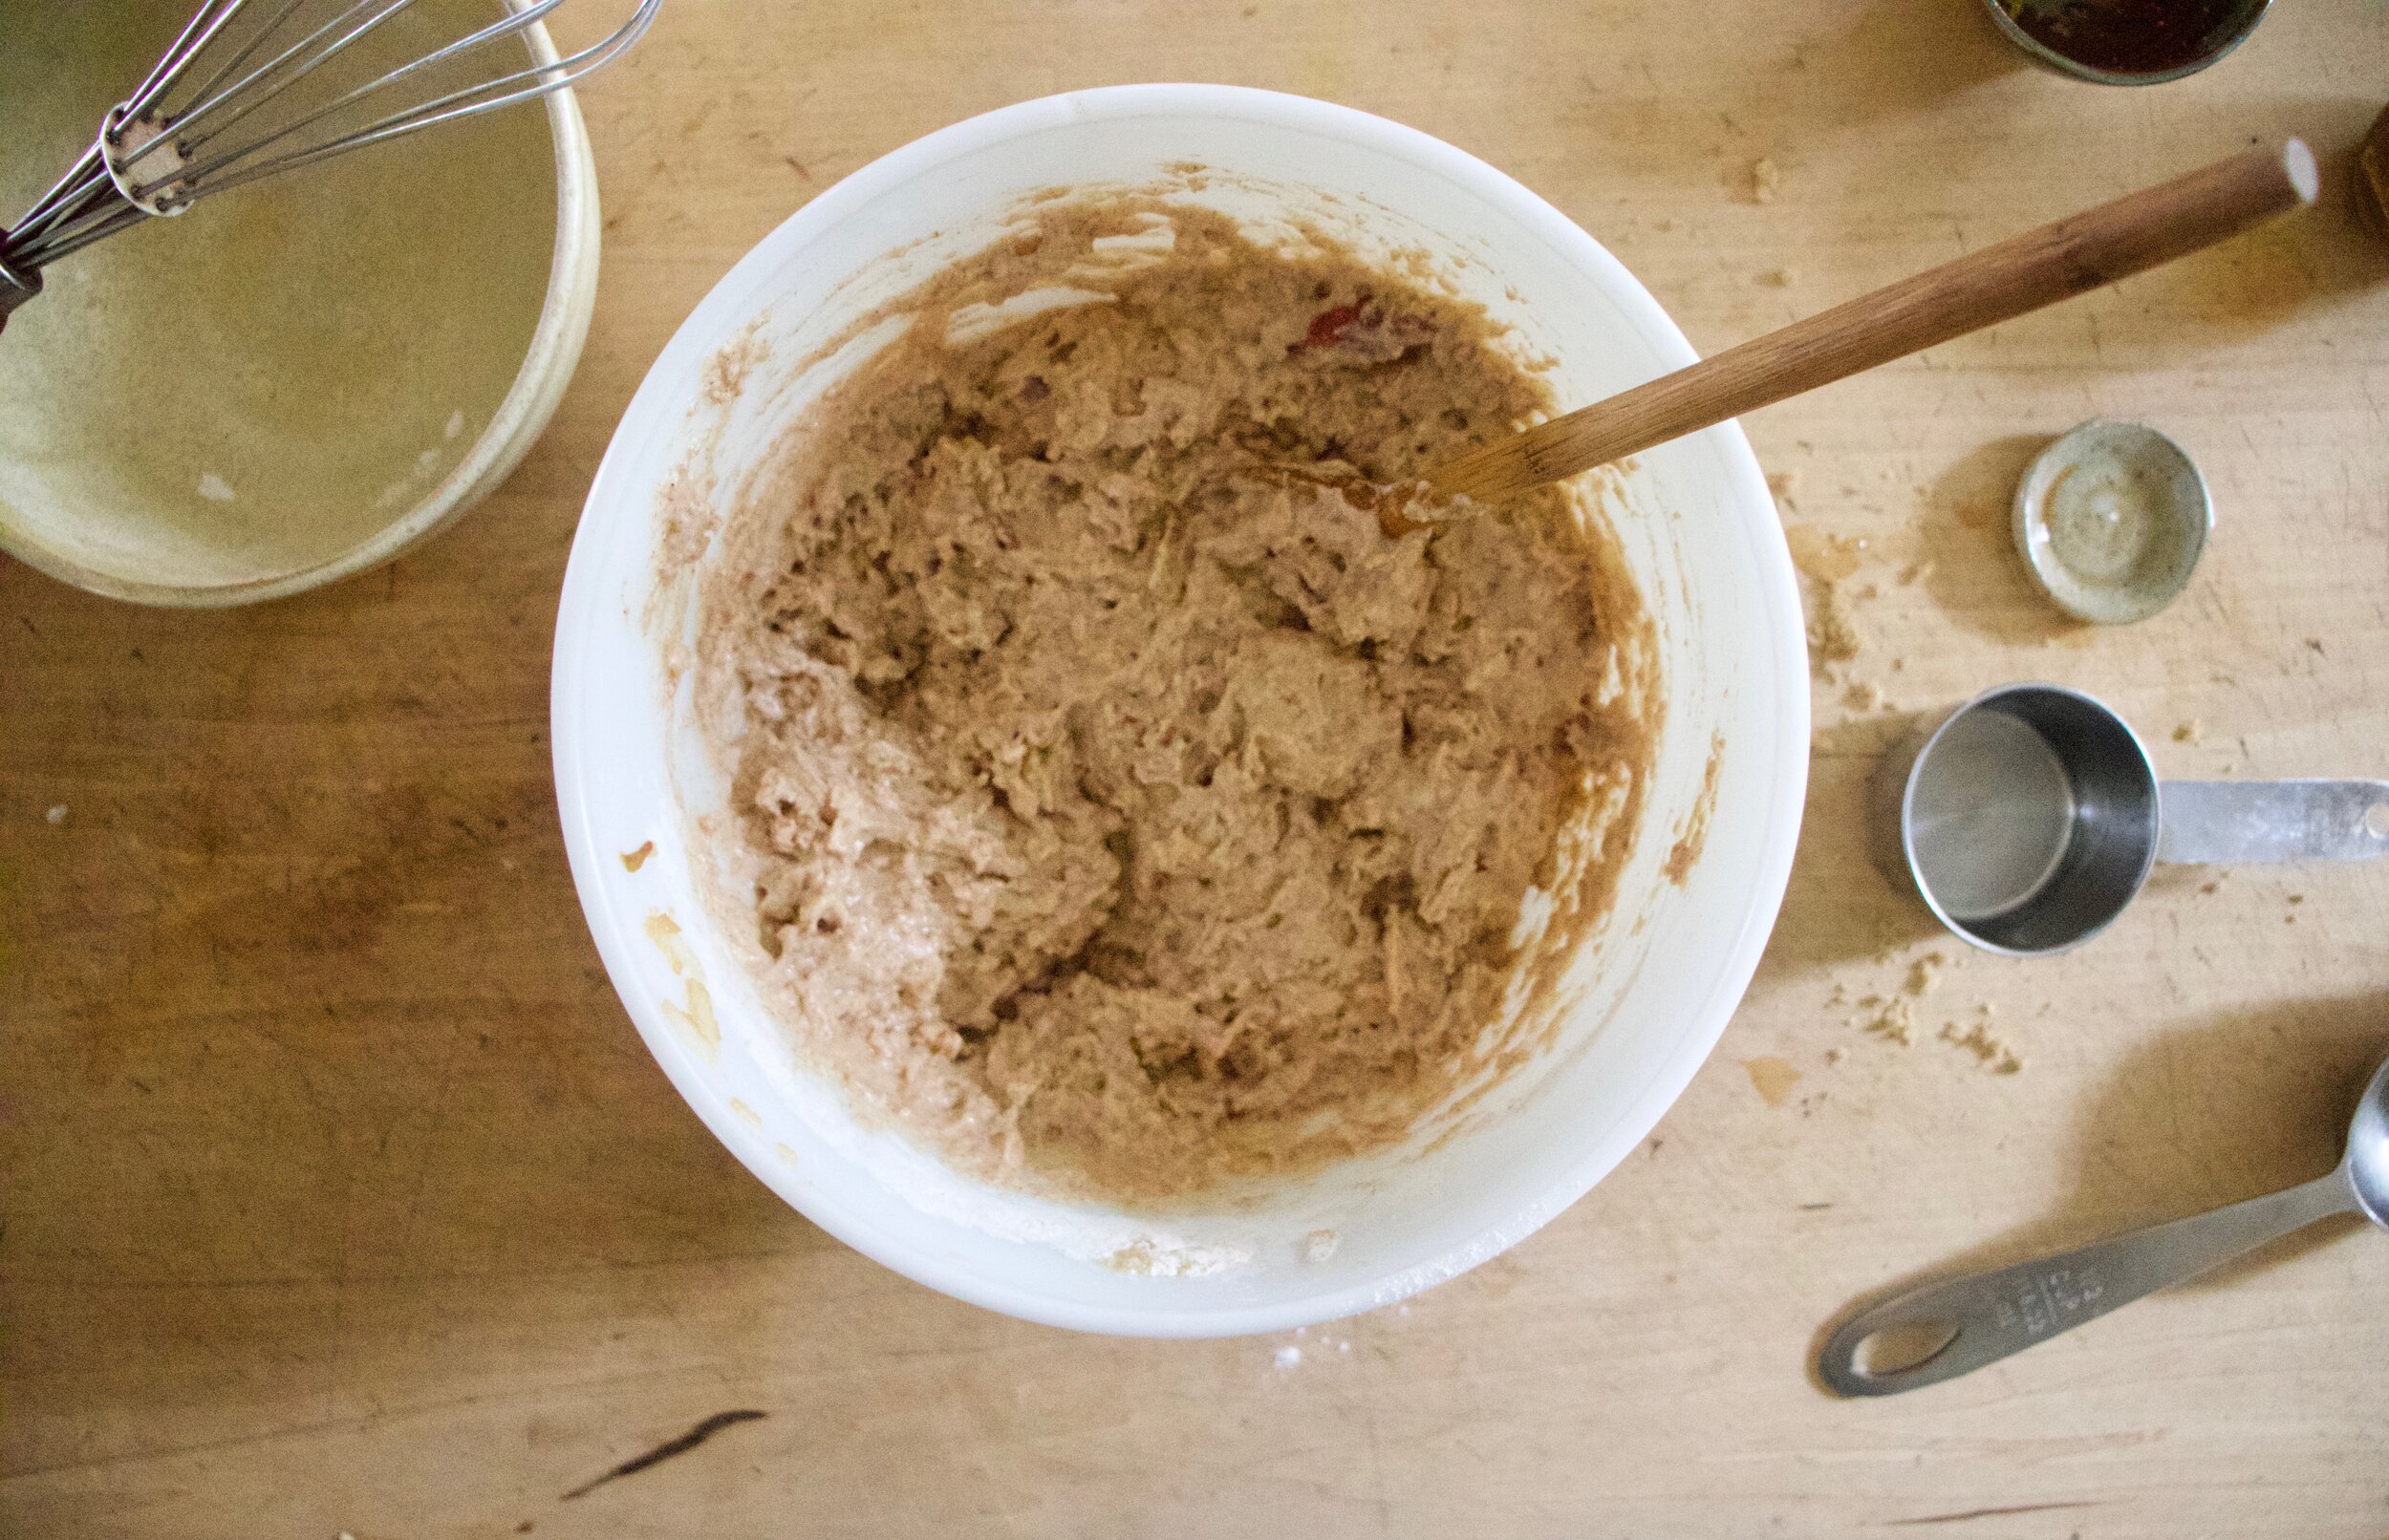
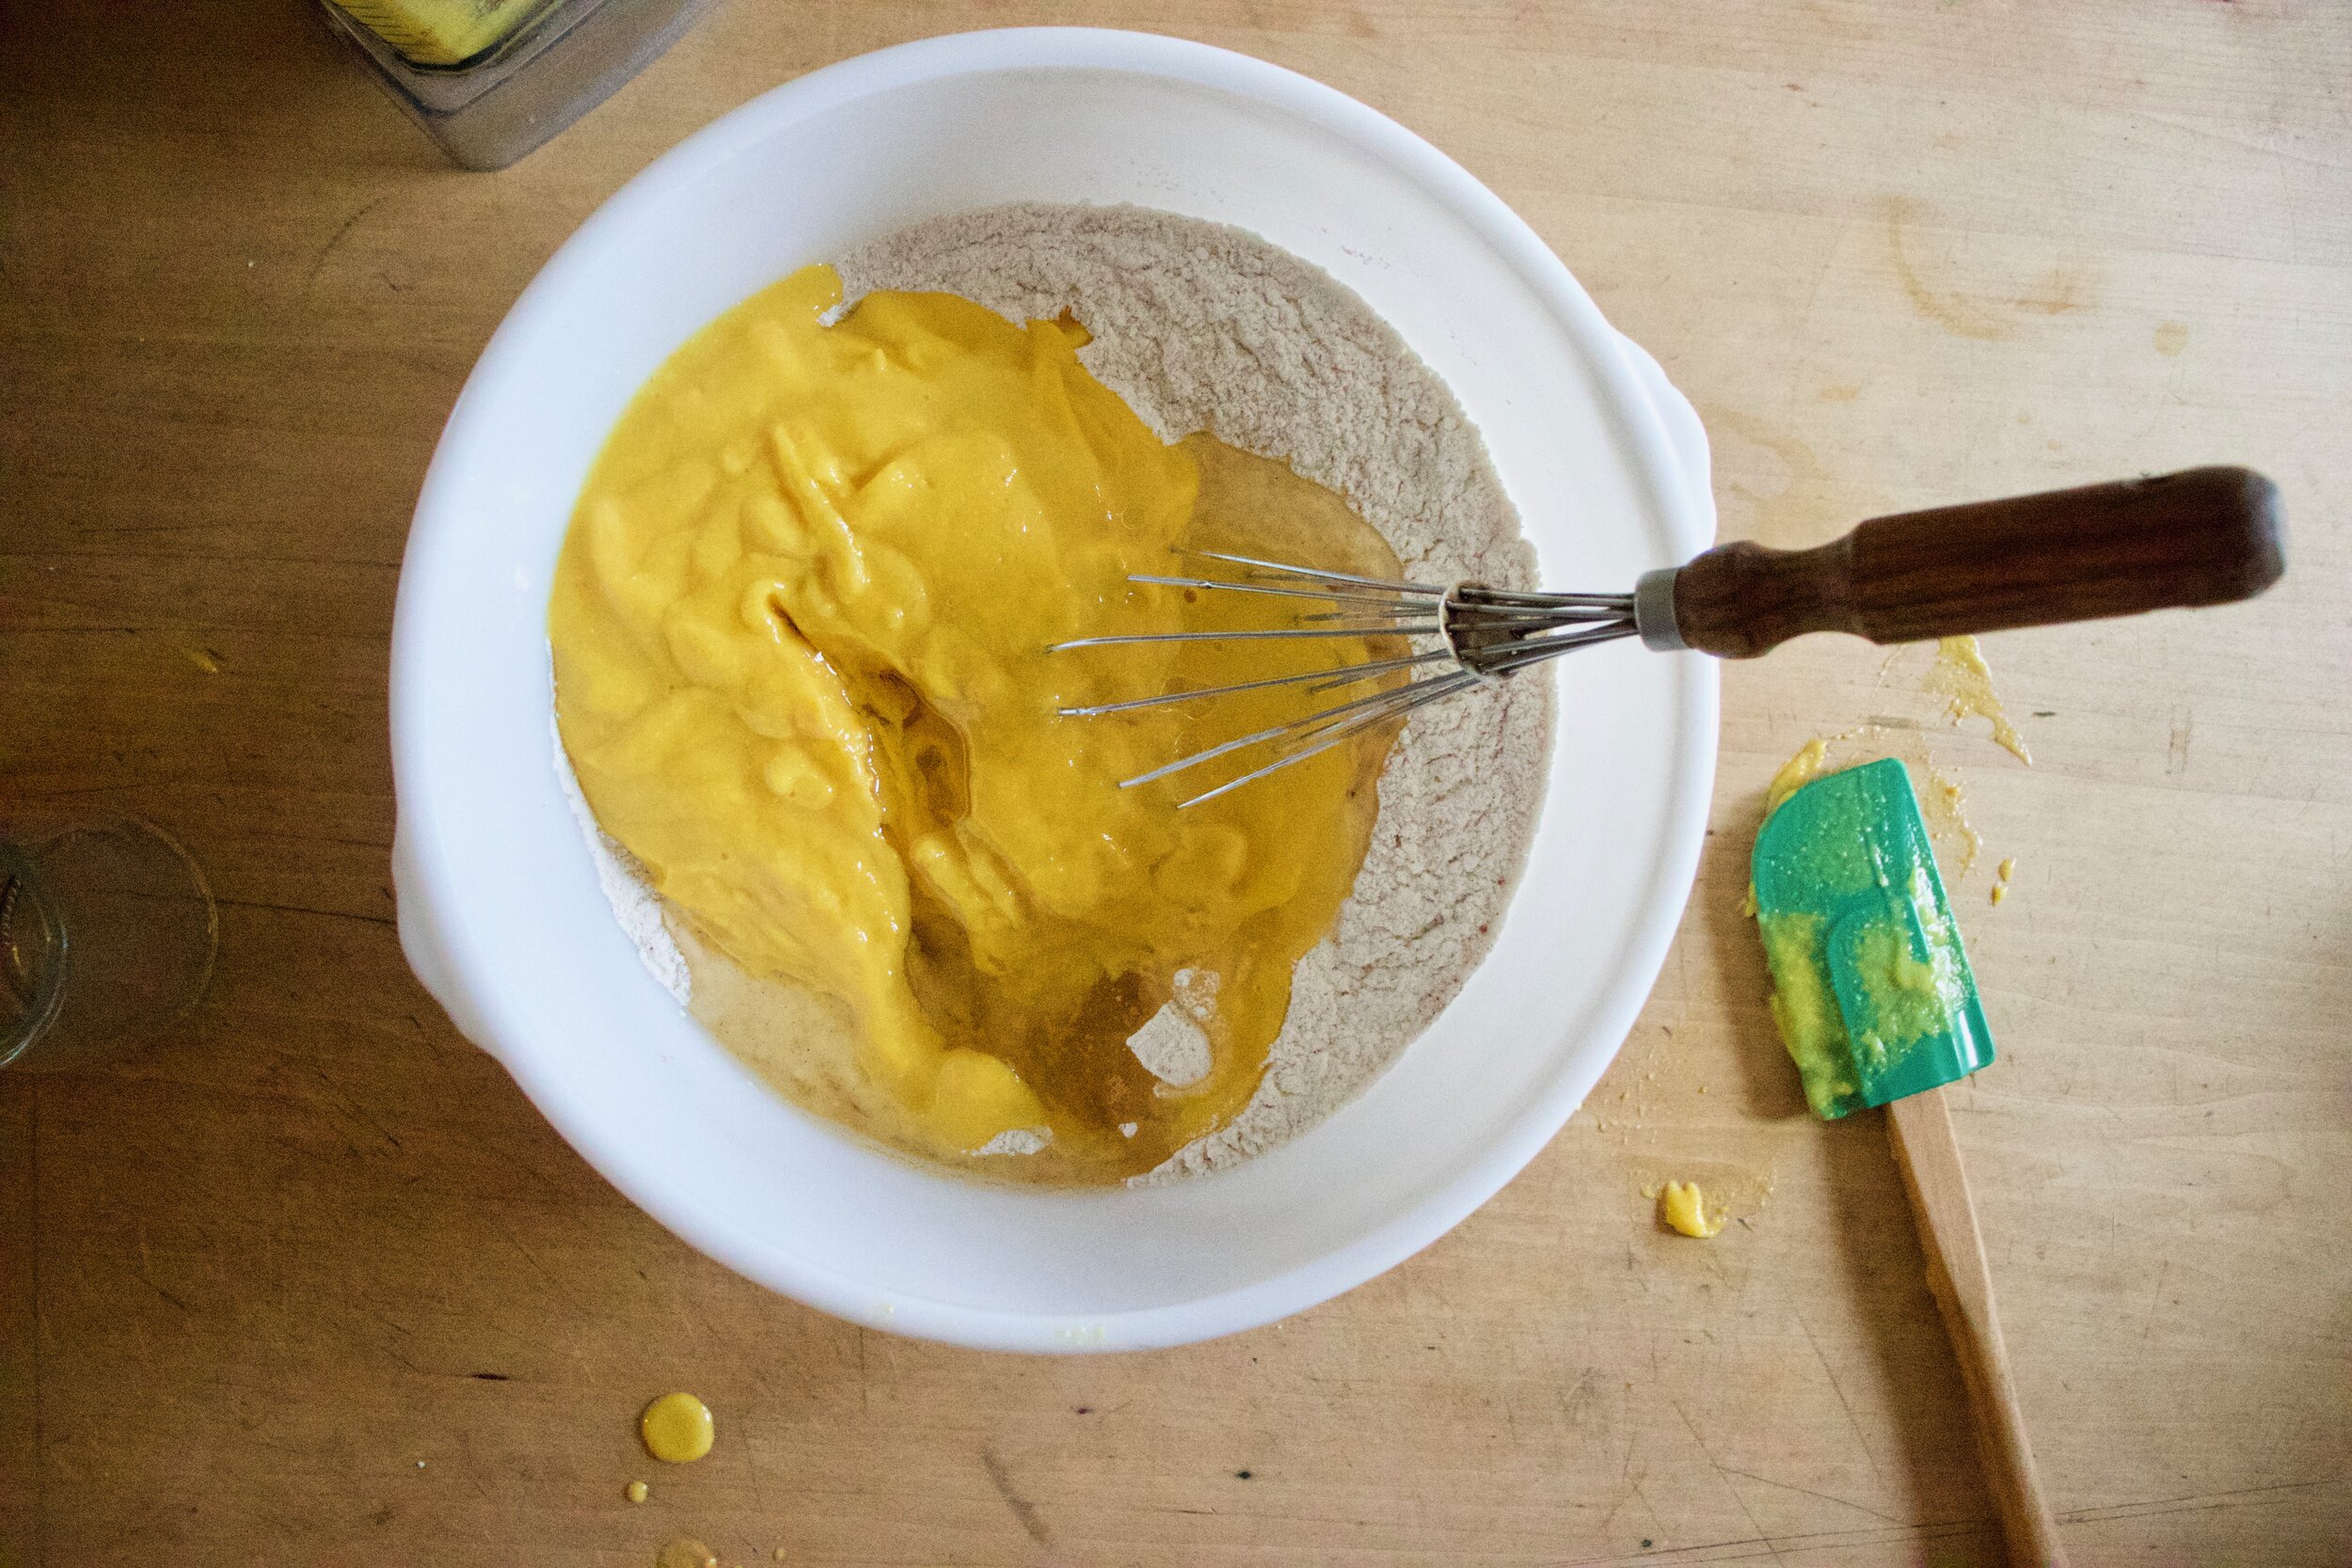
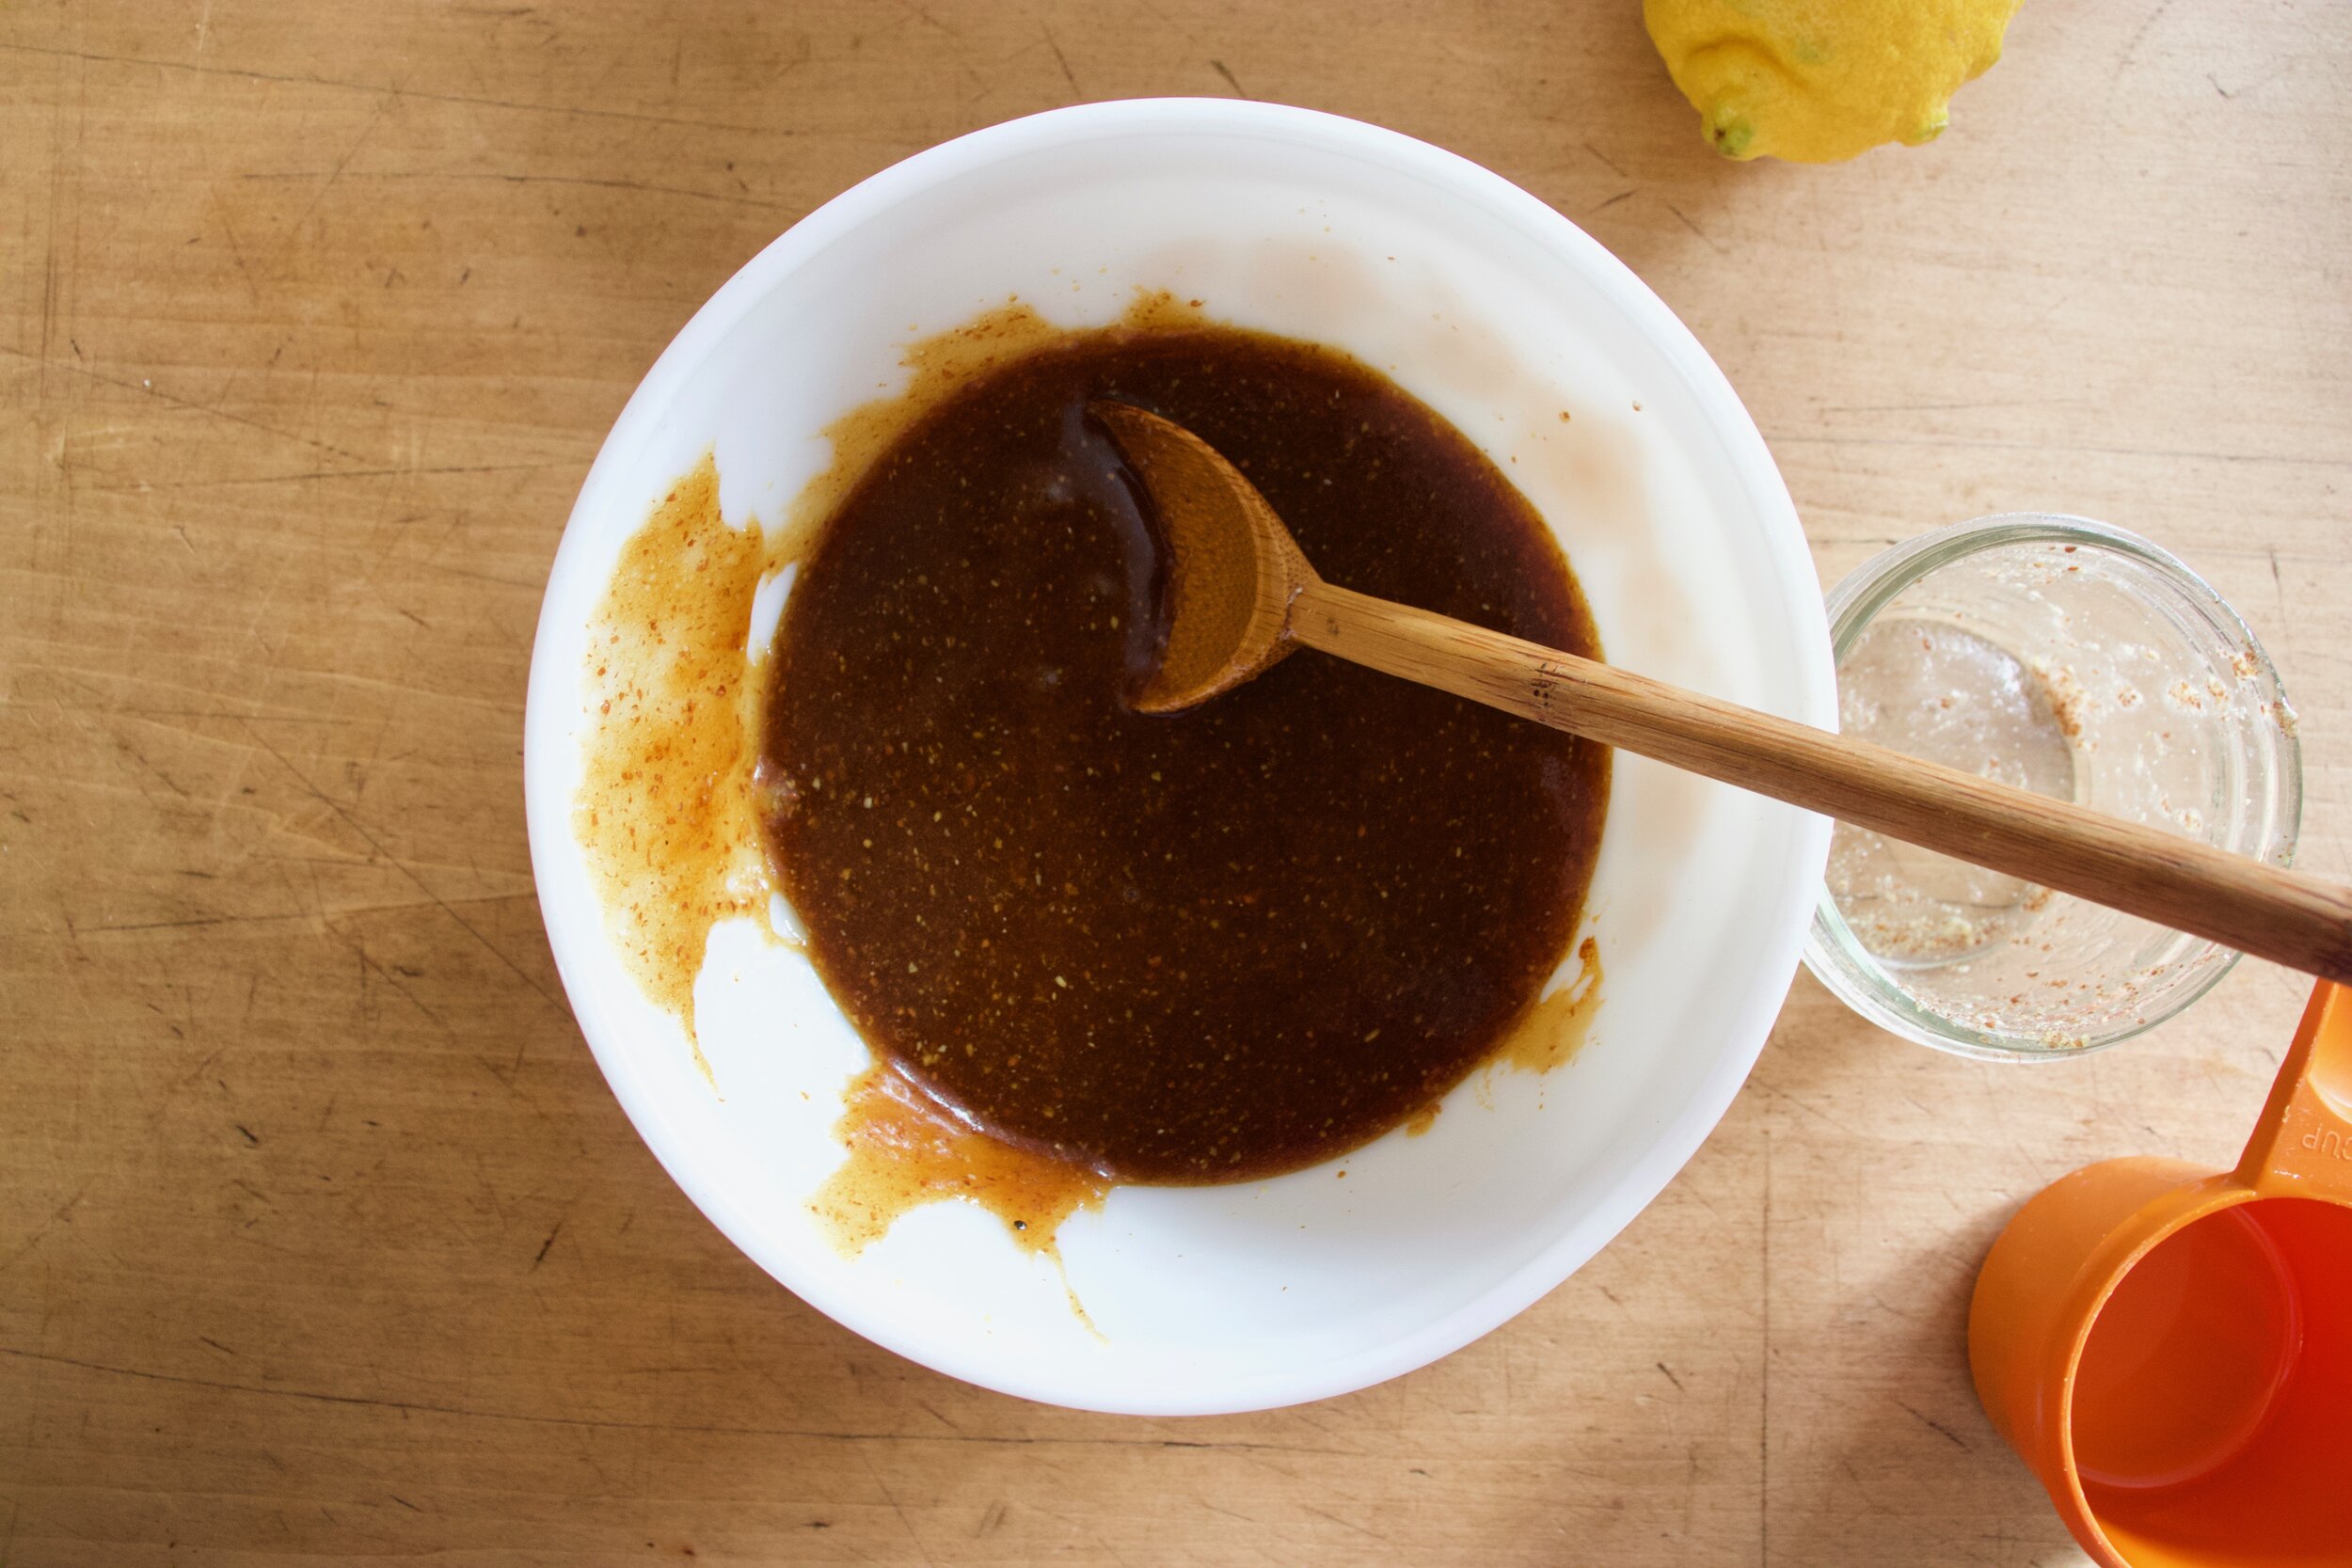
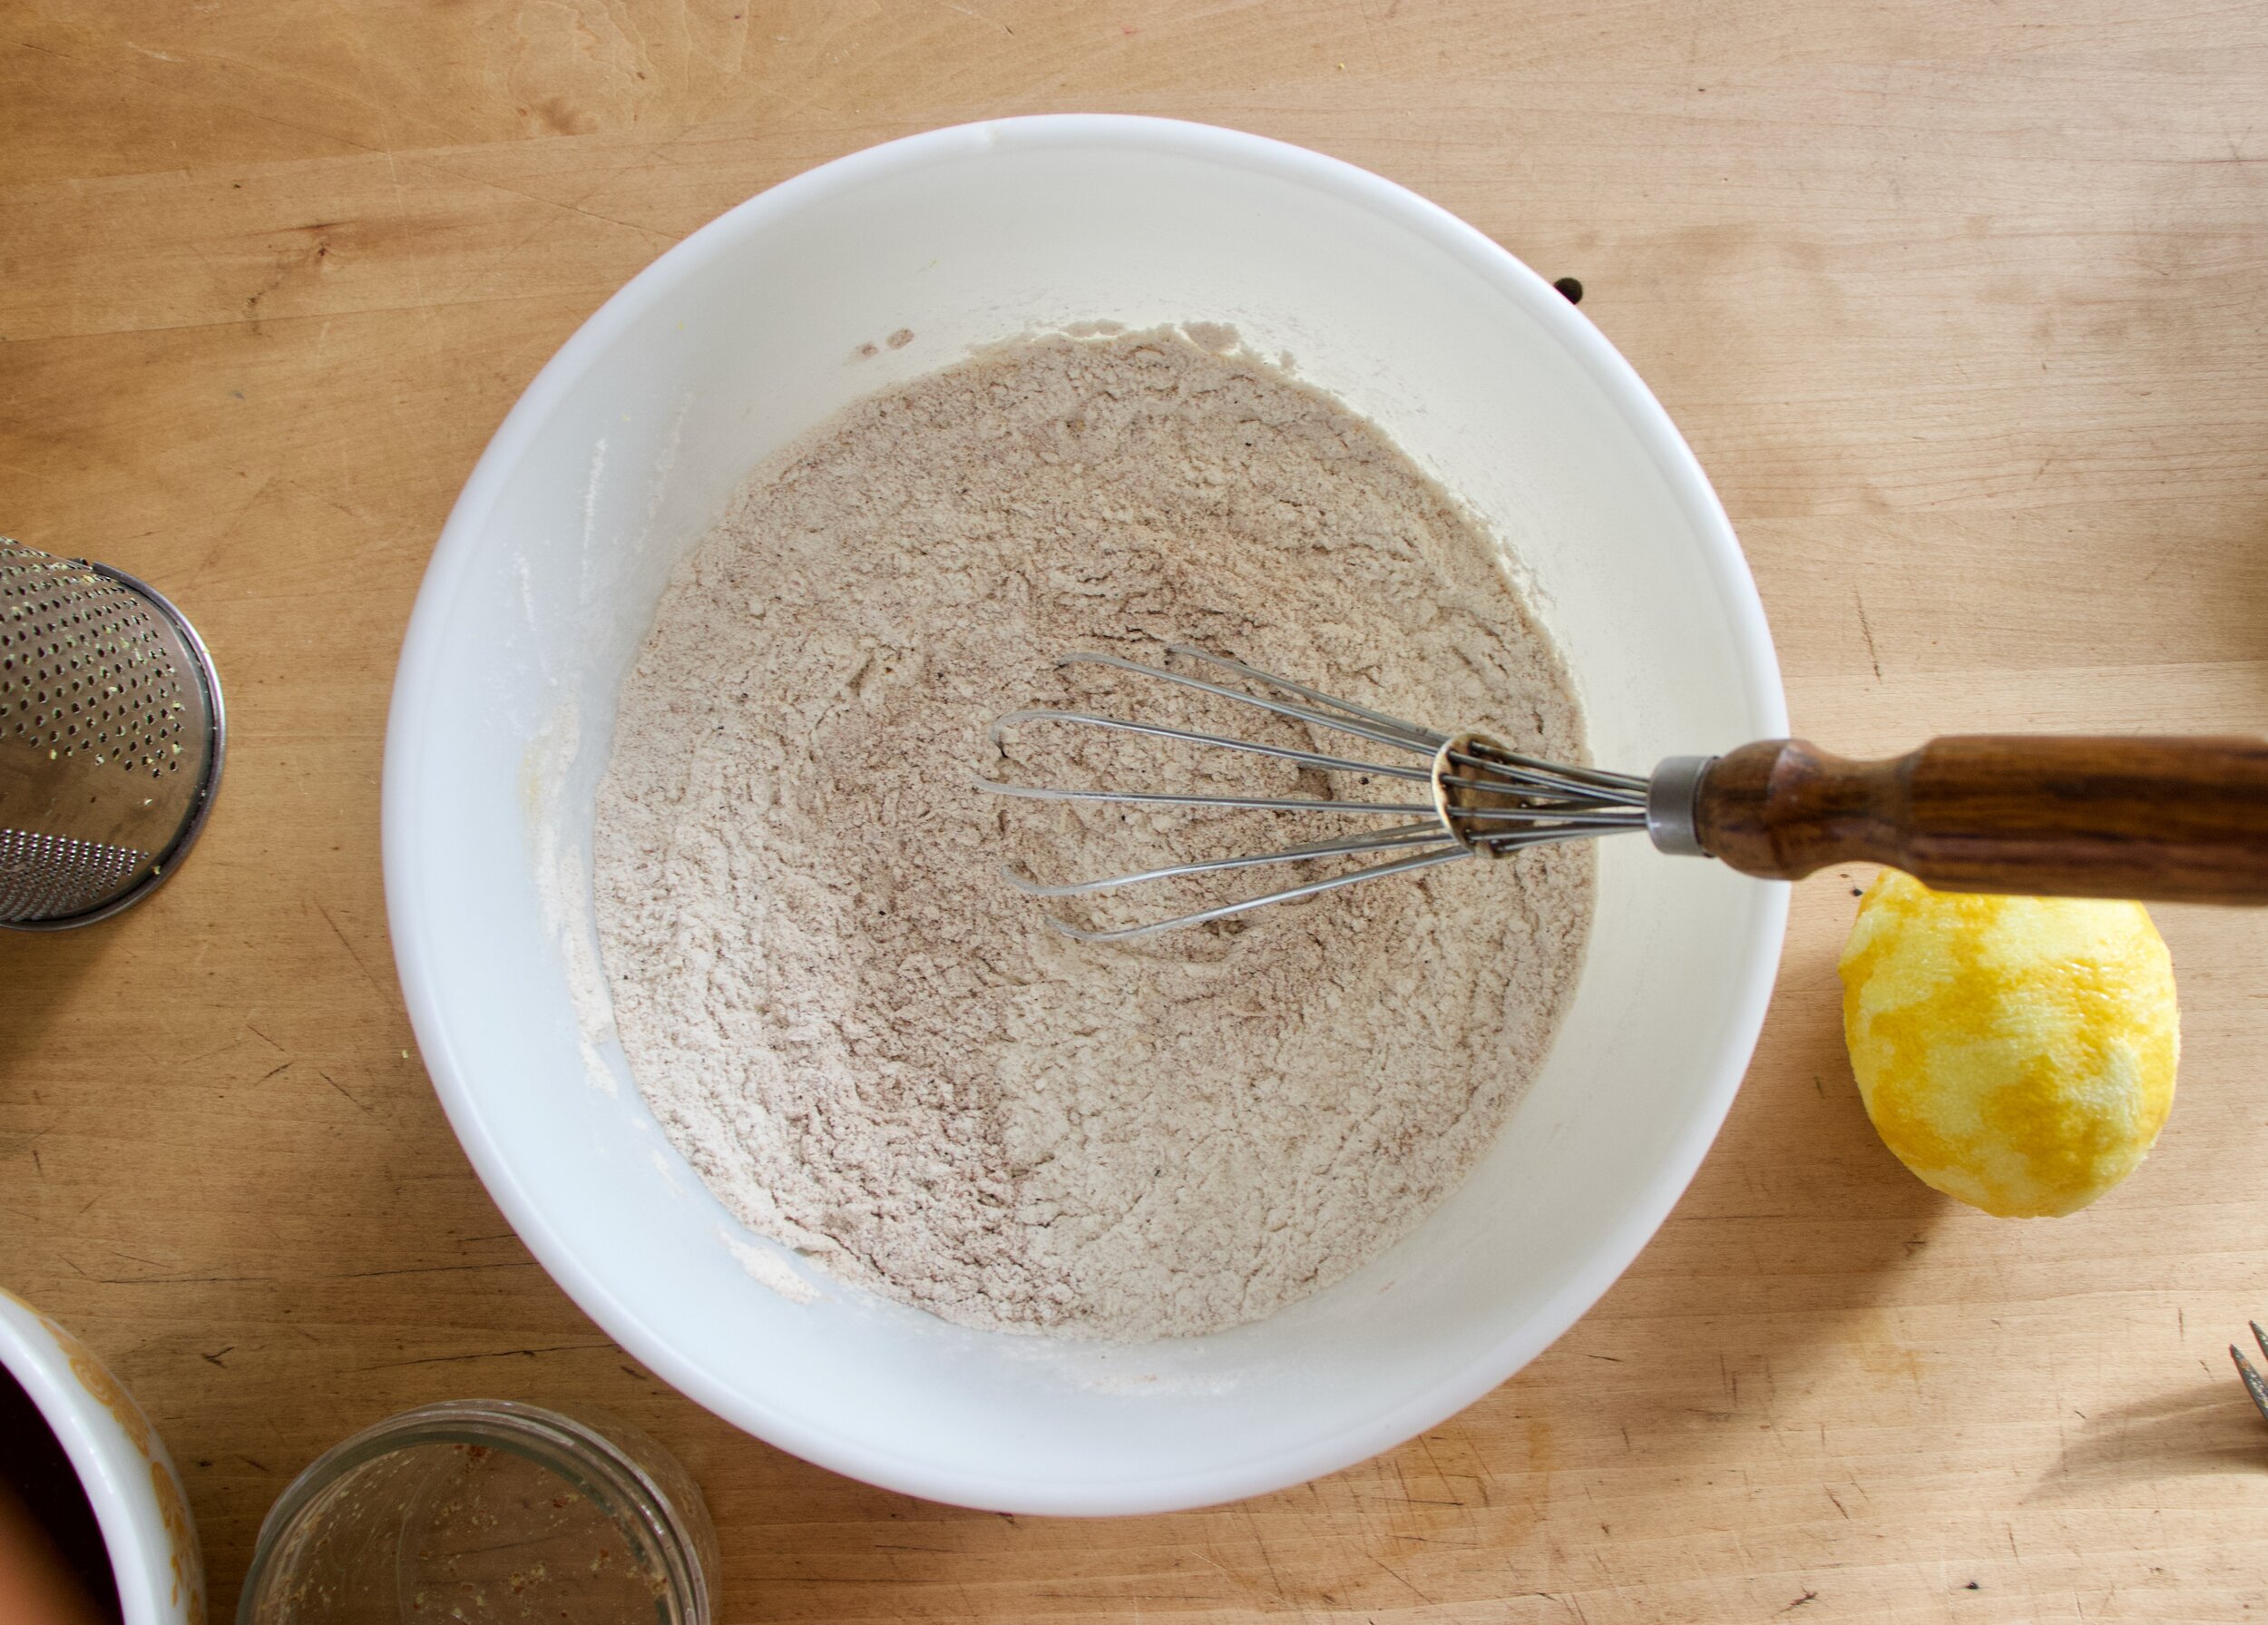
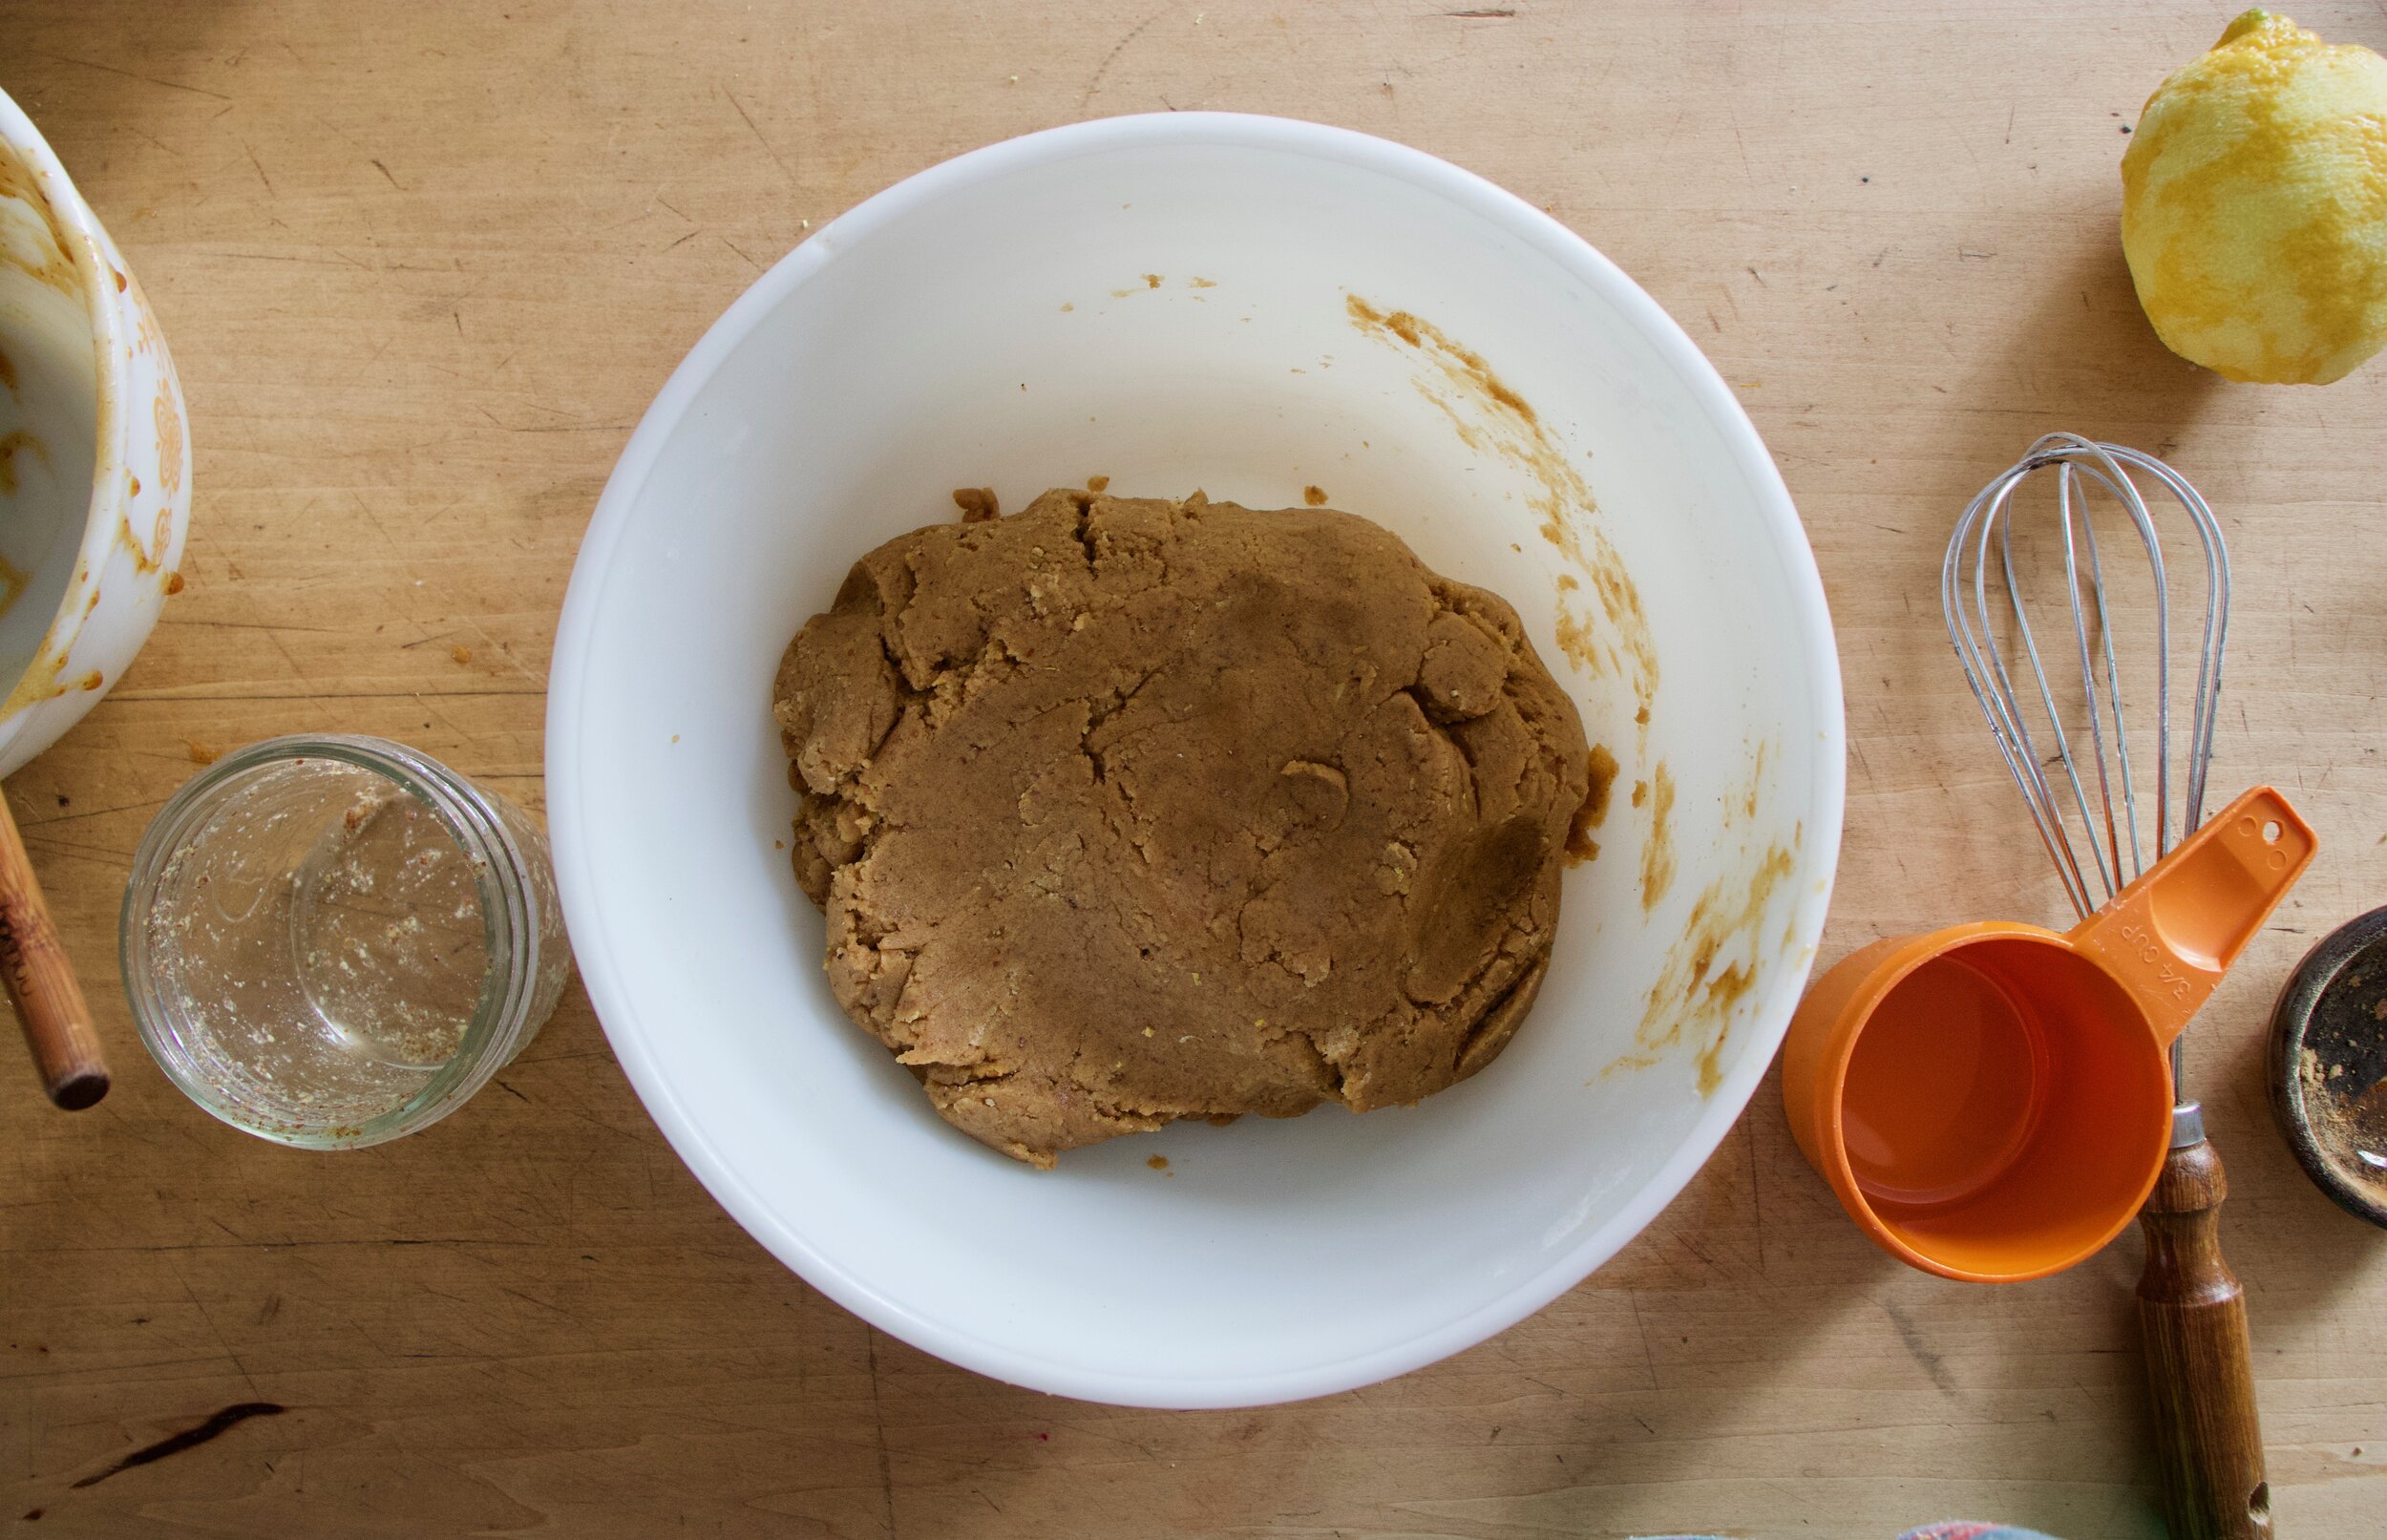
Day one. Mix the water with the starter, yeast, and a bit of the molasses until combined. Add in the salt and flour and mix unit it becomes a shaggy dough.

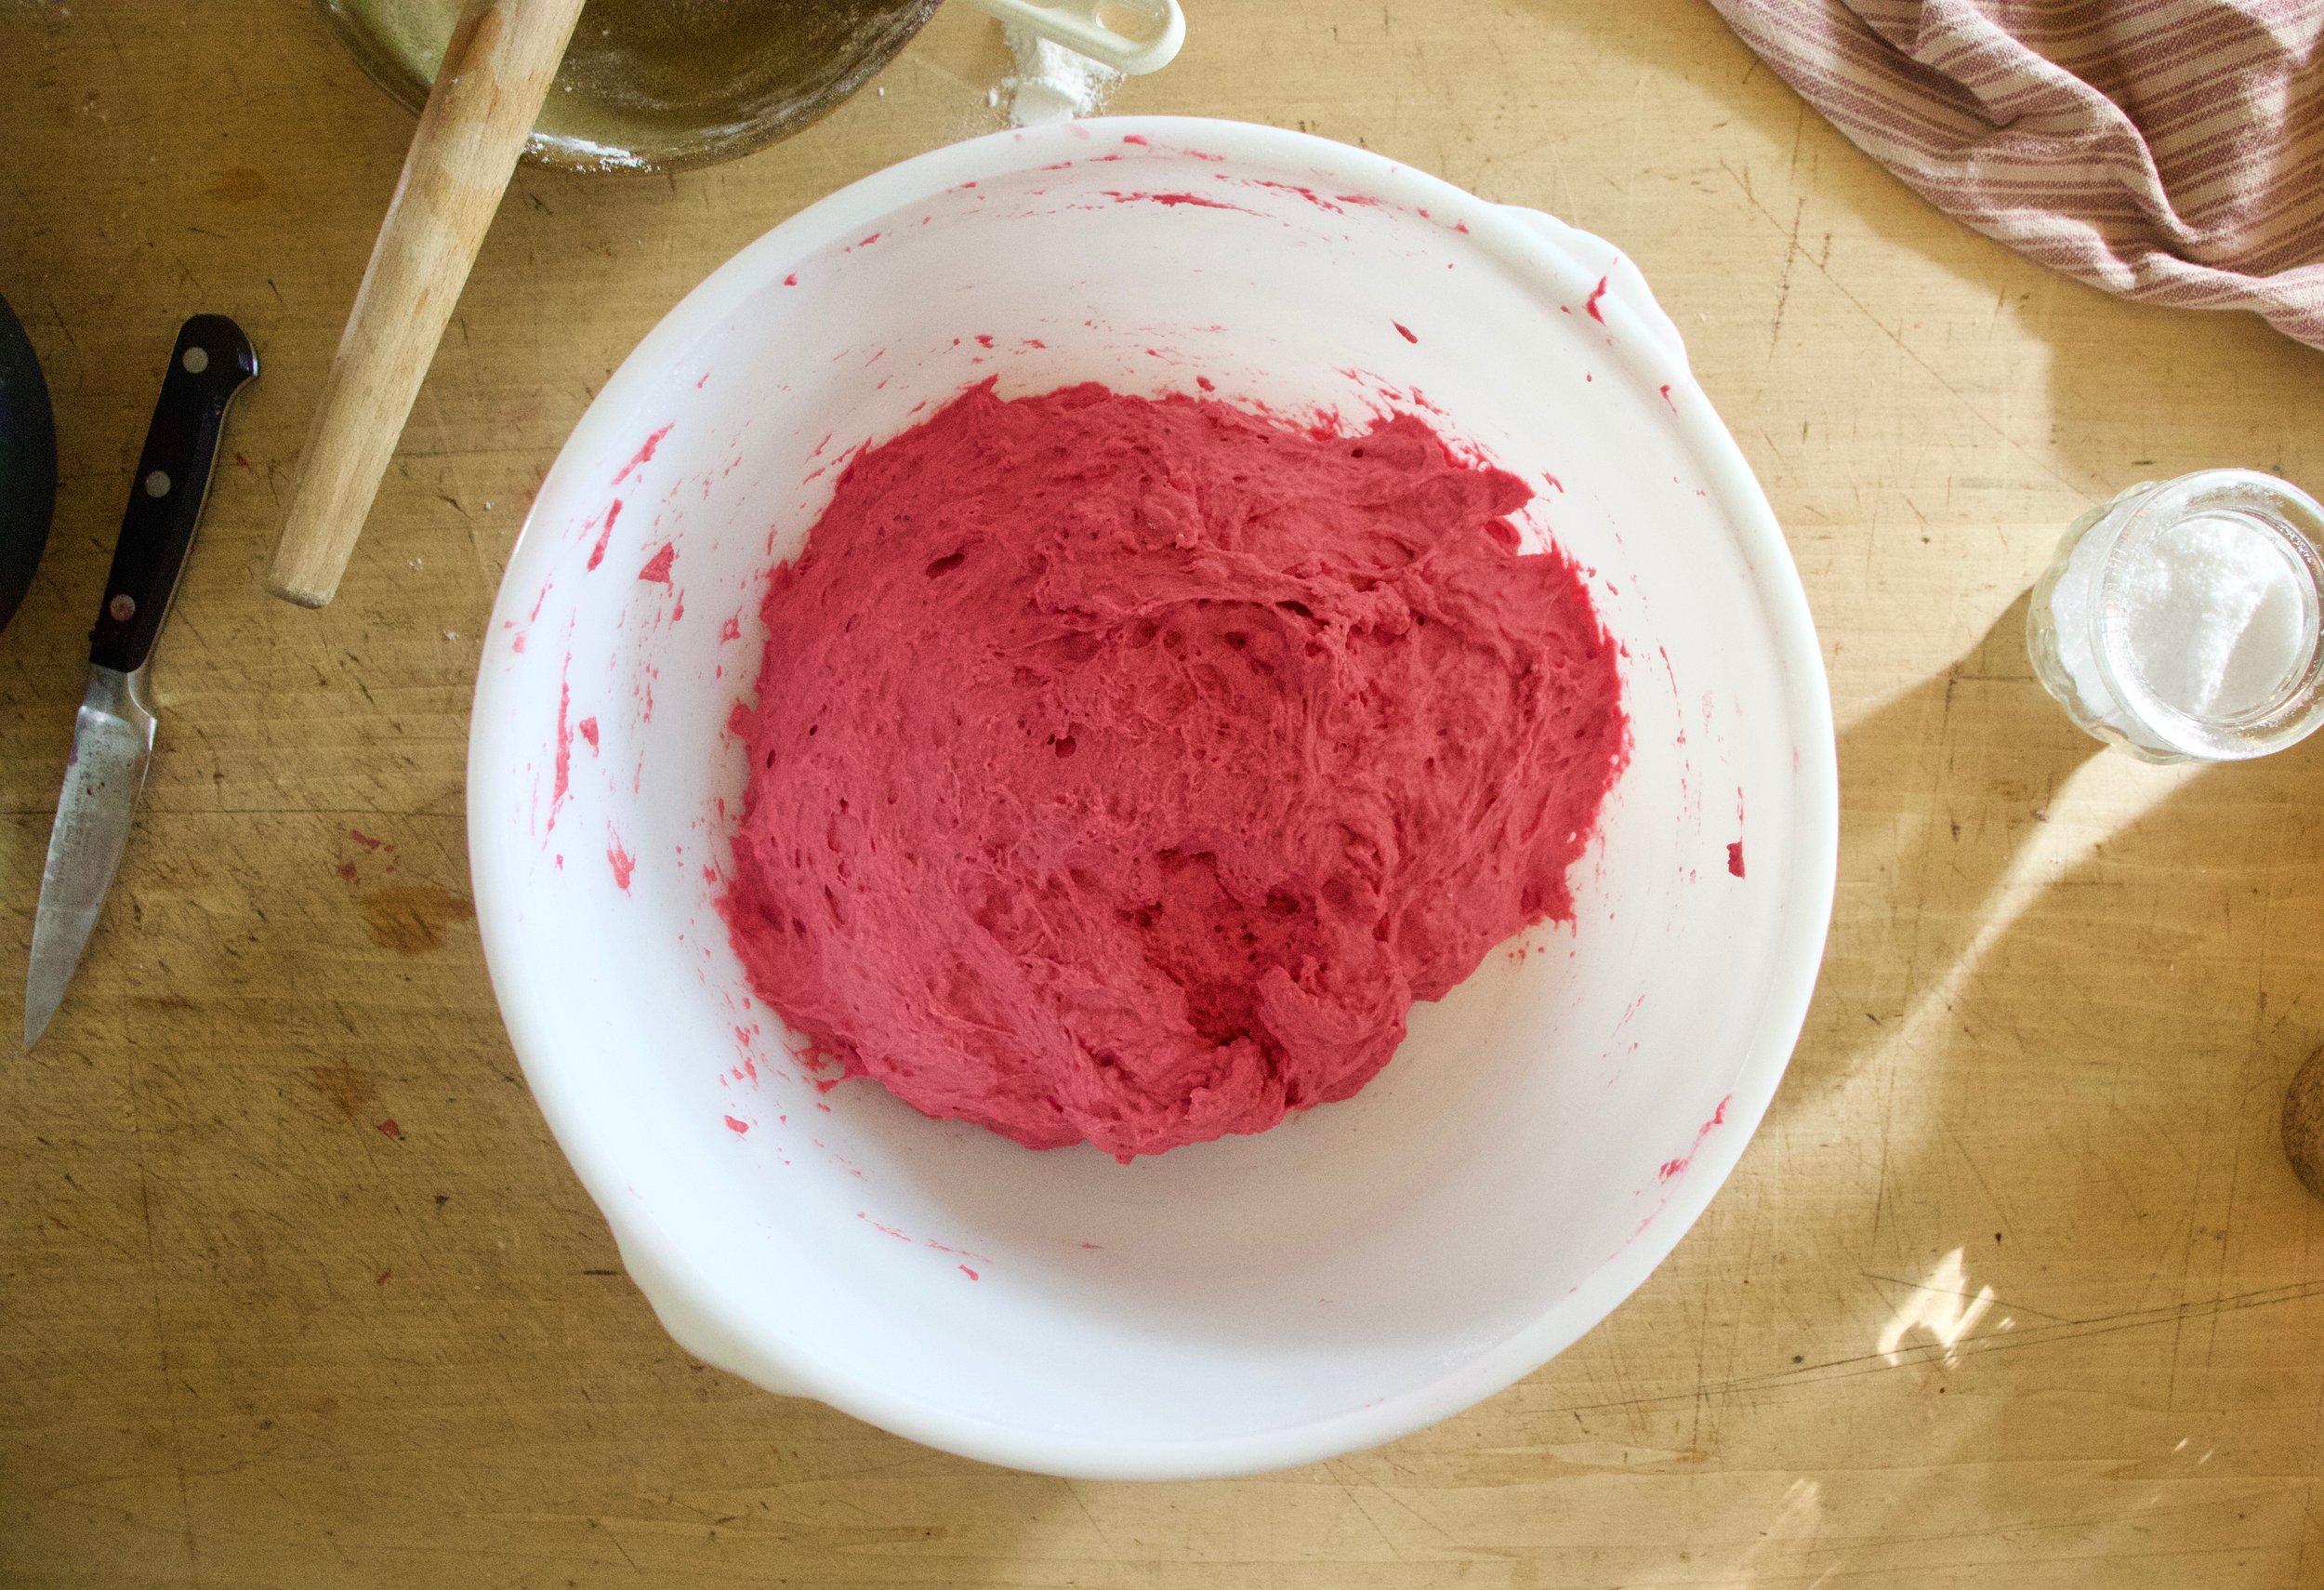
Dump dough onto a floured surface and… get to kneading. About 10 minutes, (a few extra if you are slow). Have about 1/2 a cup of extra four on the side to flour the counter as needed.

soft and suple and kneaded all nice. Place kneaded dough into a clean wet bowl and cover.

IMG_1151.jpg
IMG_1172.jpg

Before rise and after rise dough.

Dump risen dough onto a lightly floured surface and cut into 8-12 pieces. (8 for larger bagels, 12 for smaller)

IMG_1191.jpg
IMG_1181.jpg
IMG_1190.jpg

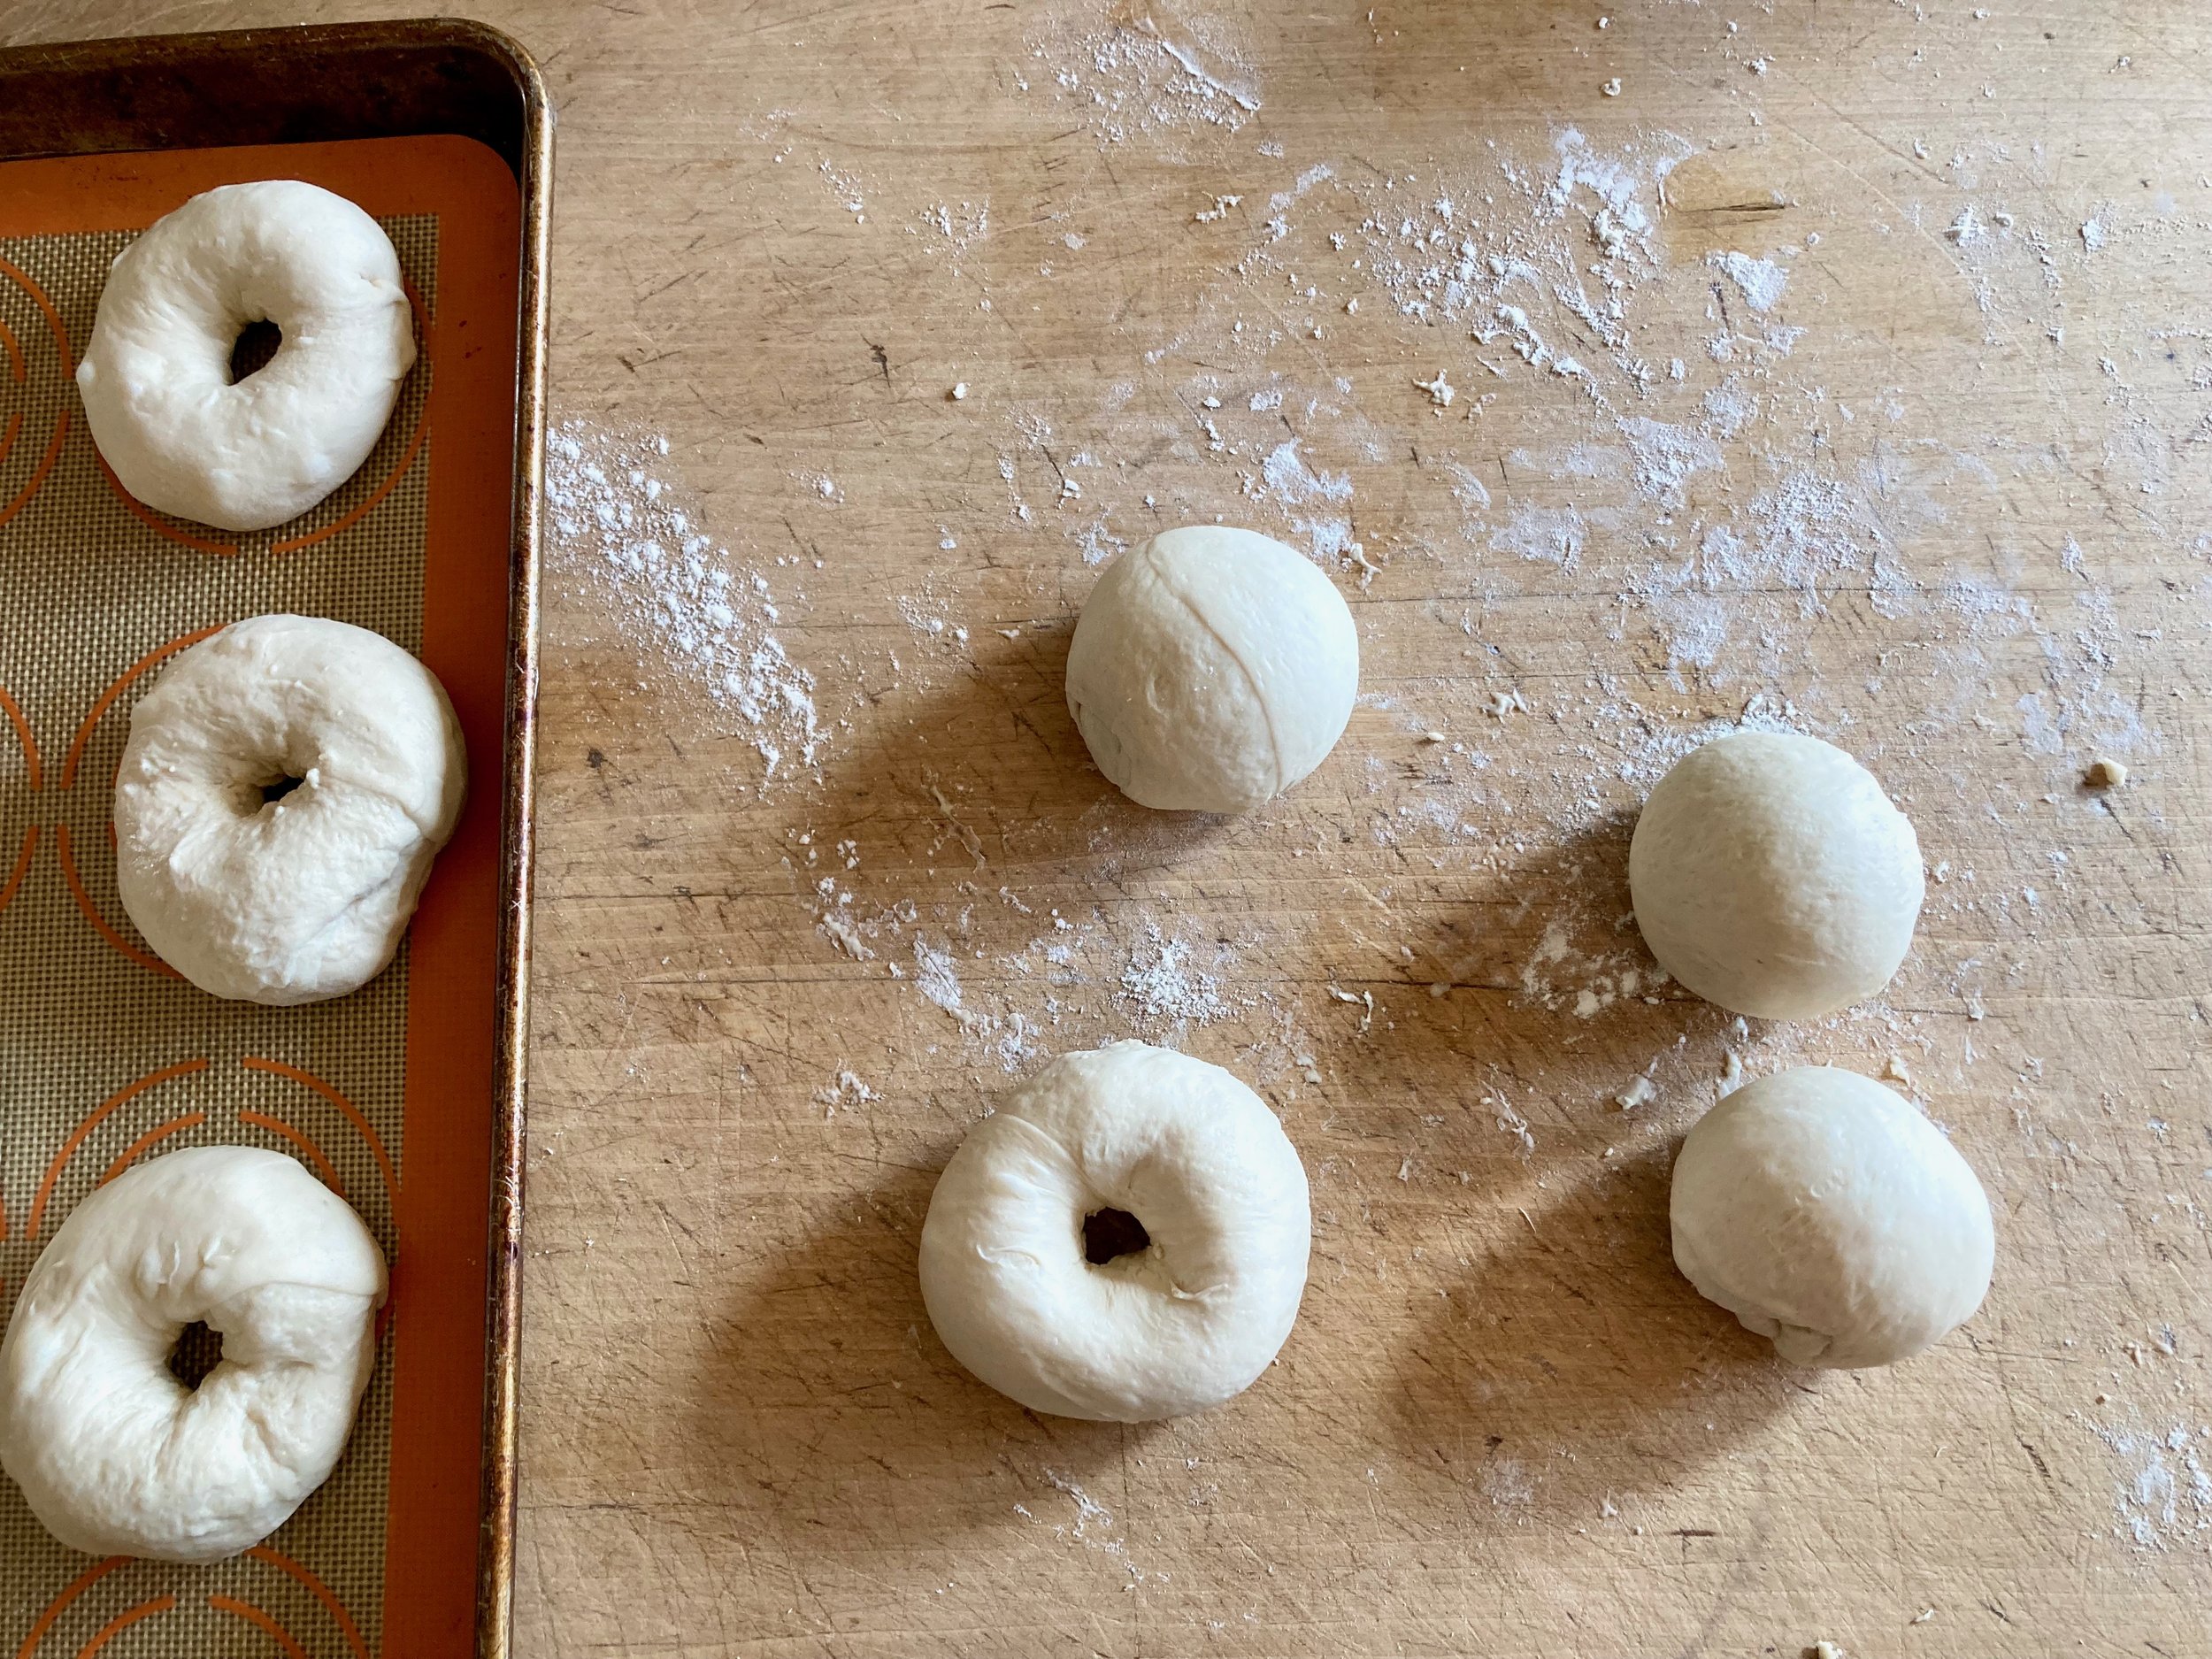
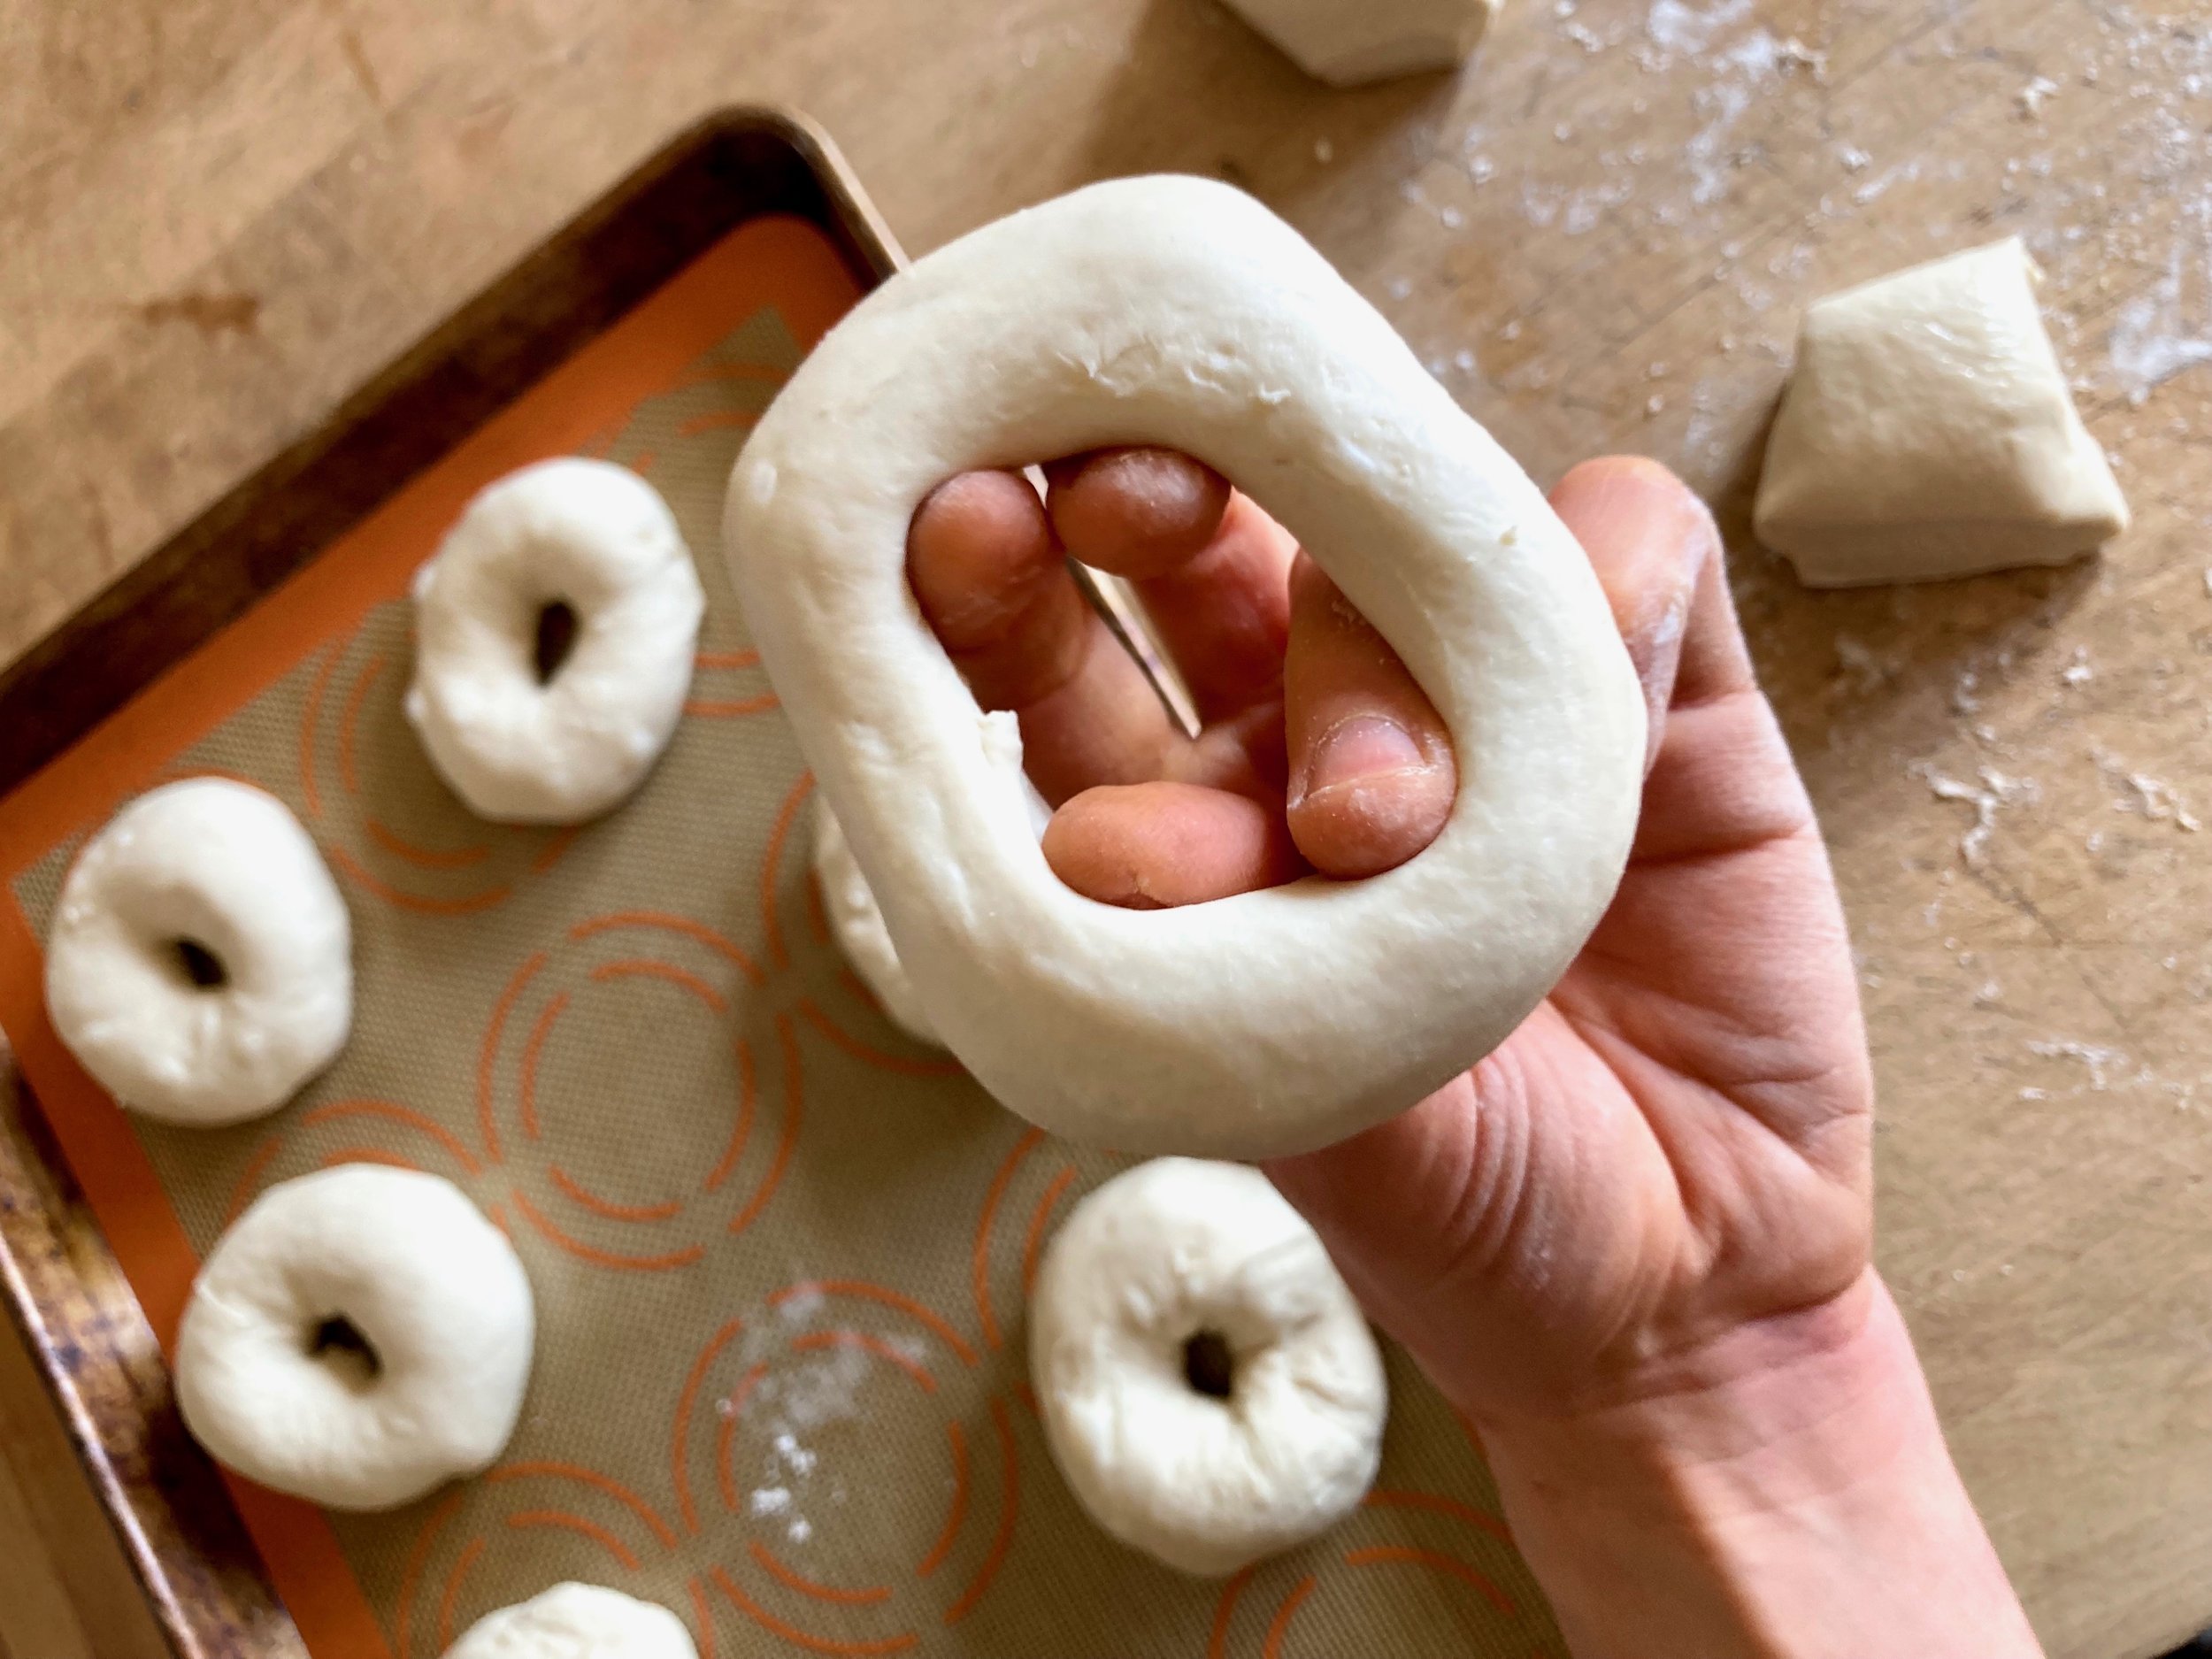
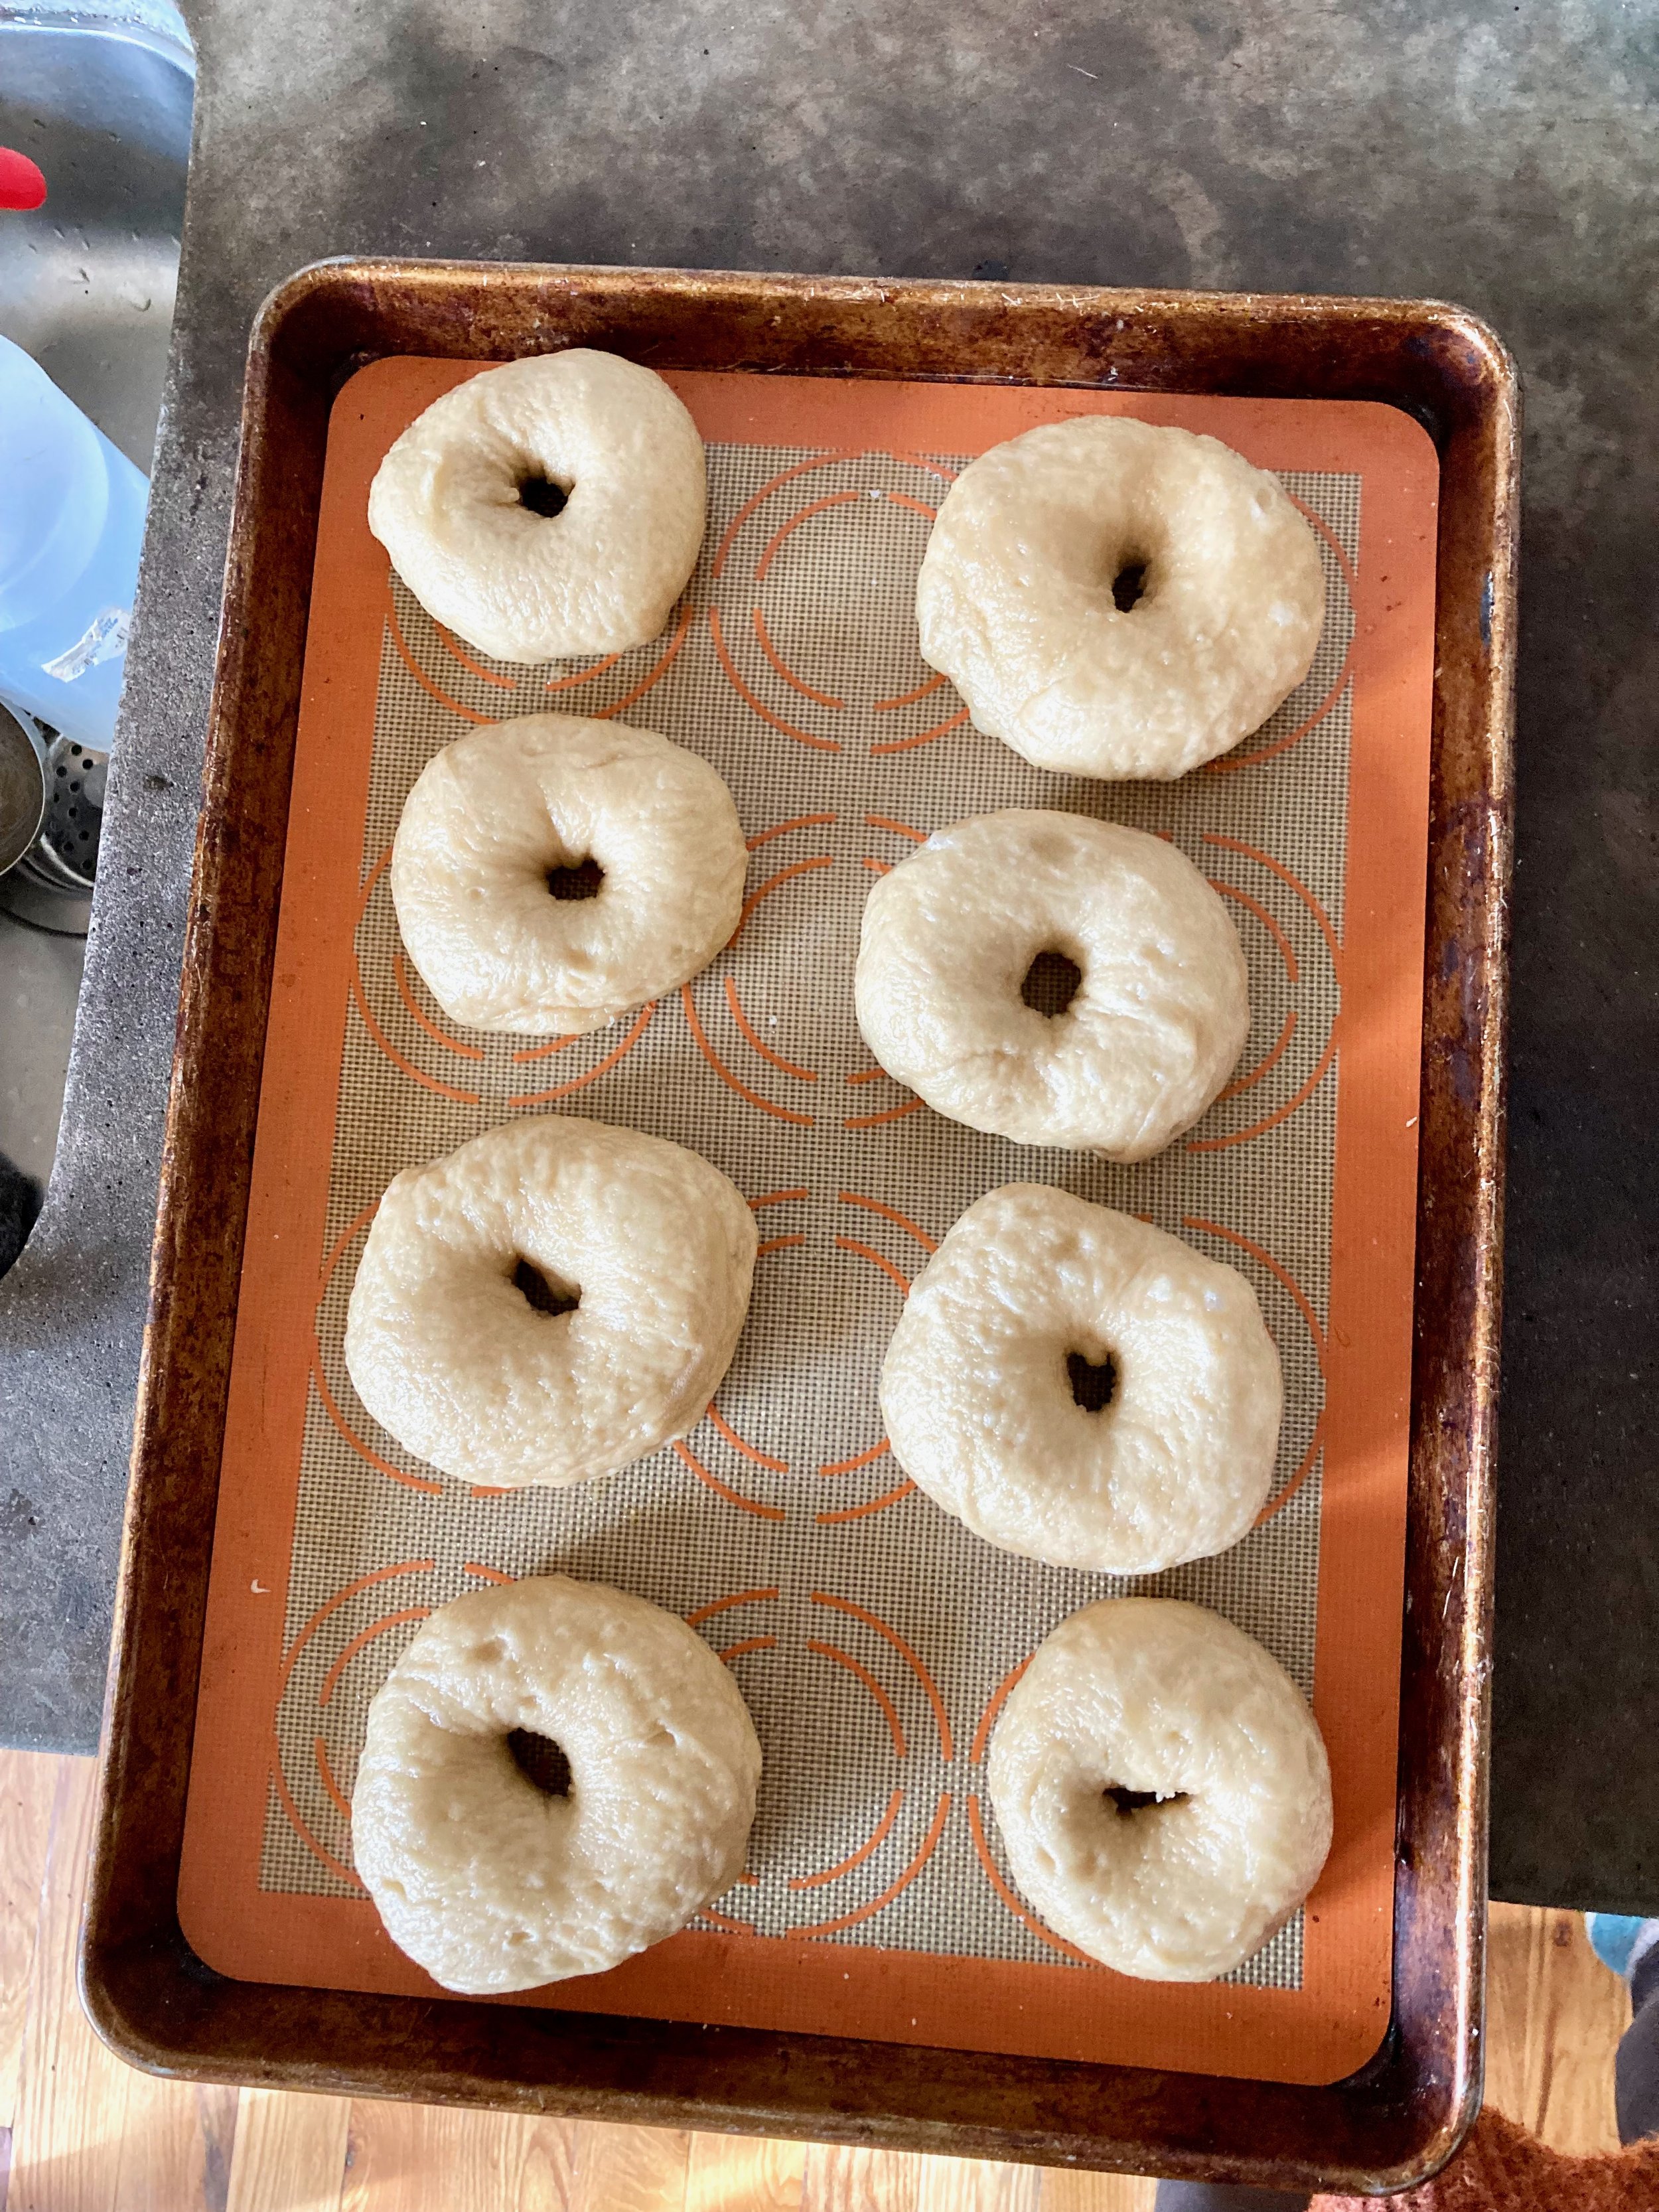
Shape bagels. Roll each piece of dough into a ball and stick a whole into the middle. Carefully stretch the hole out about twice as big as you think it should be. (it will shrink). Place shapped bagels ontoa lined and or greased baking hseet, giving each a bit of room to groww.

Now it all looks like bagels. Cover and let them sit and proof for about 35-45 minutes.

Before bagels are comeplety done their second proof, prepare the molasses water bath. Just add water and molasees to a big wide pot and bring to a boil.

Once water bath is boil and bagels are done the second proof it is time to boil. Carefully drop bagels inot boiling water and boil for 2 minutes. Flip then boil for another minute. REmove boiled bagelss with a slooted spaturla and place back on lined or greased baking sheet.

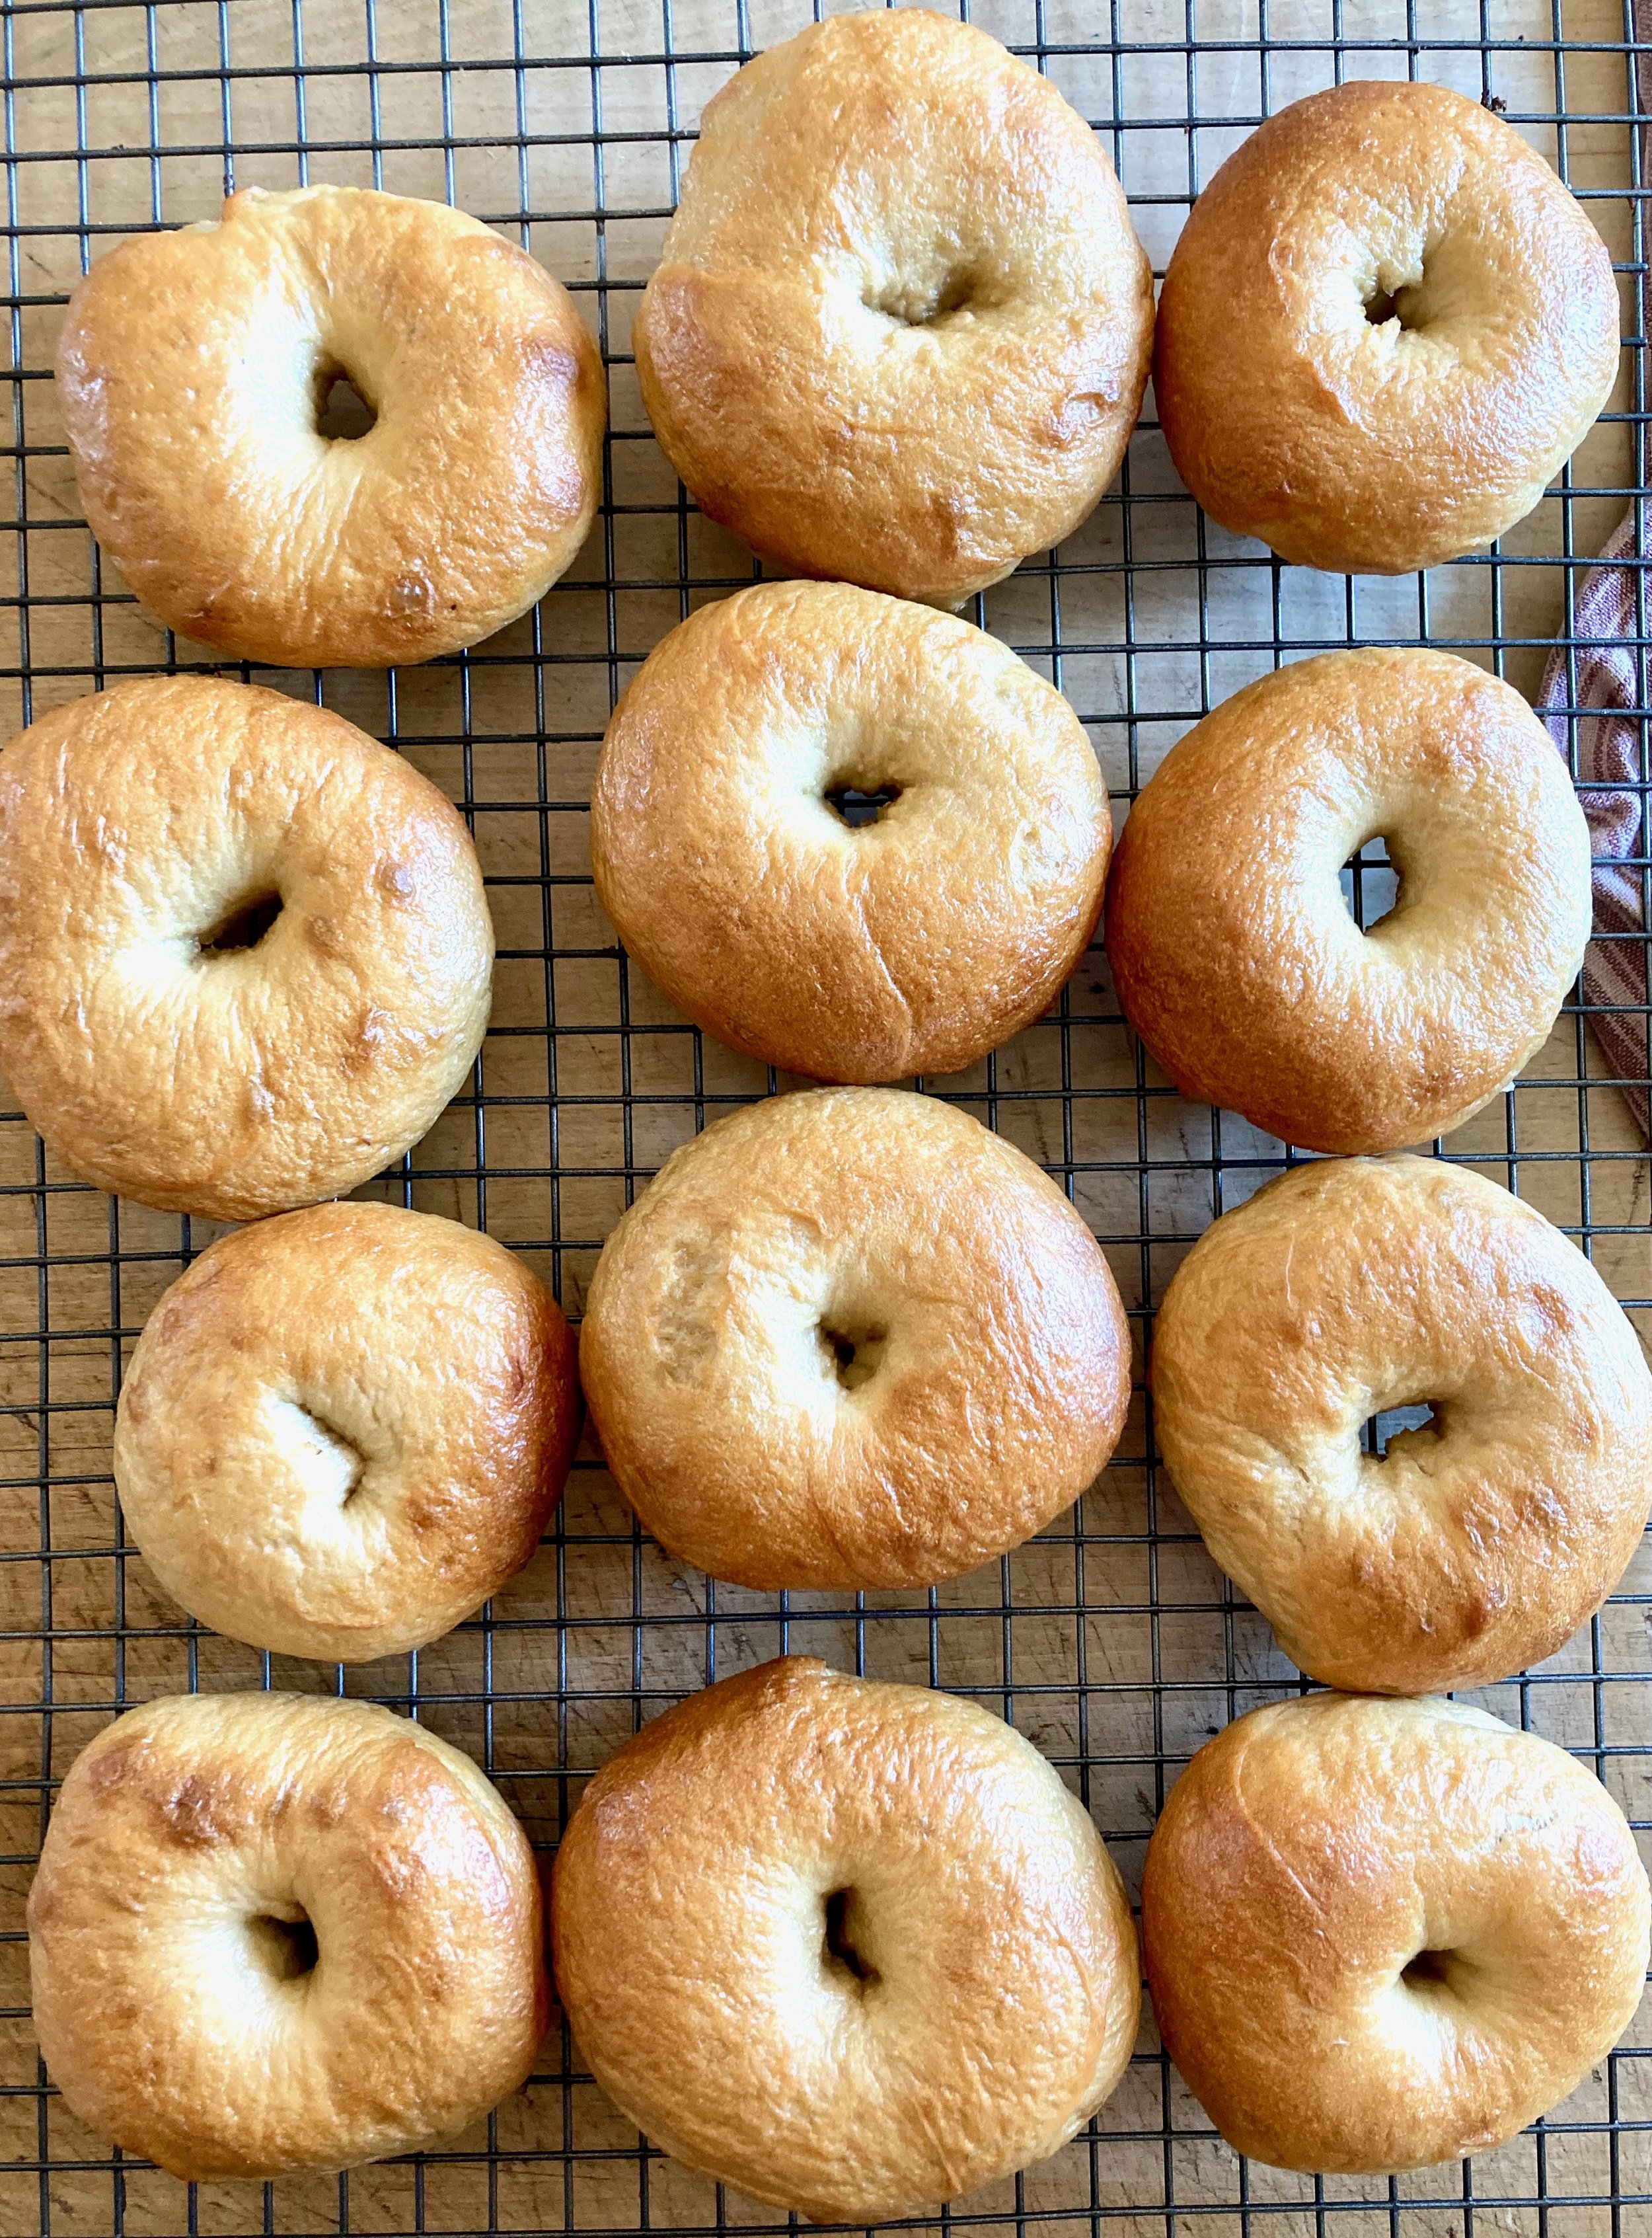
boiled bagels. Now pop the into hot oven and bake. 22-25 minutes, until nice and golden brown.

Gorgeous!

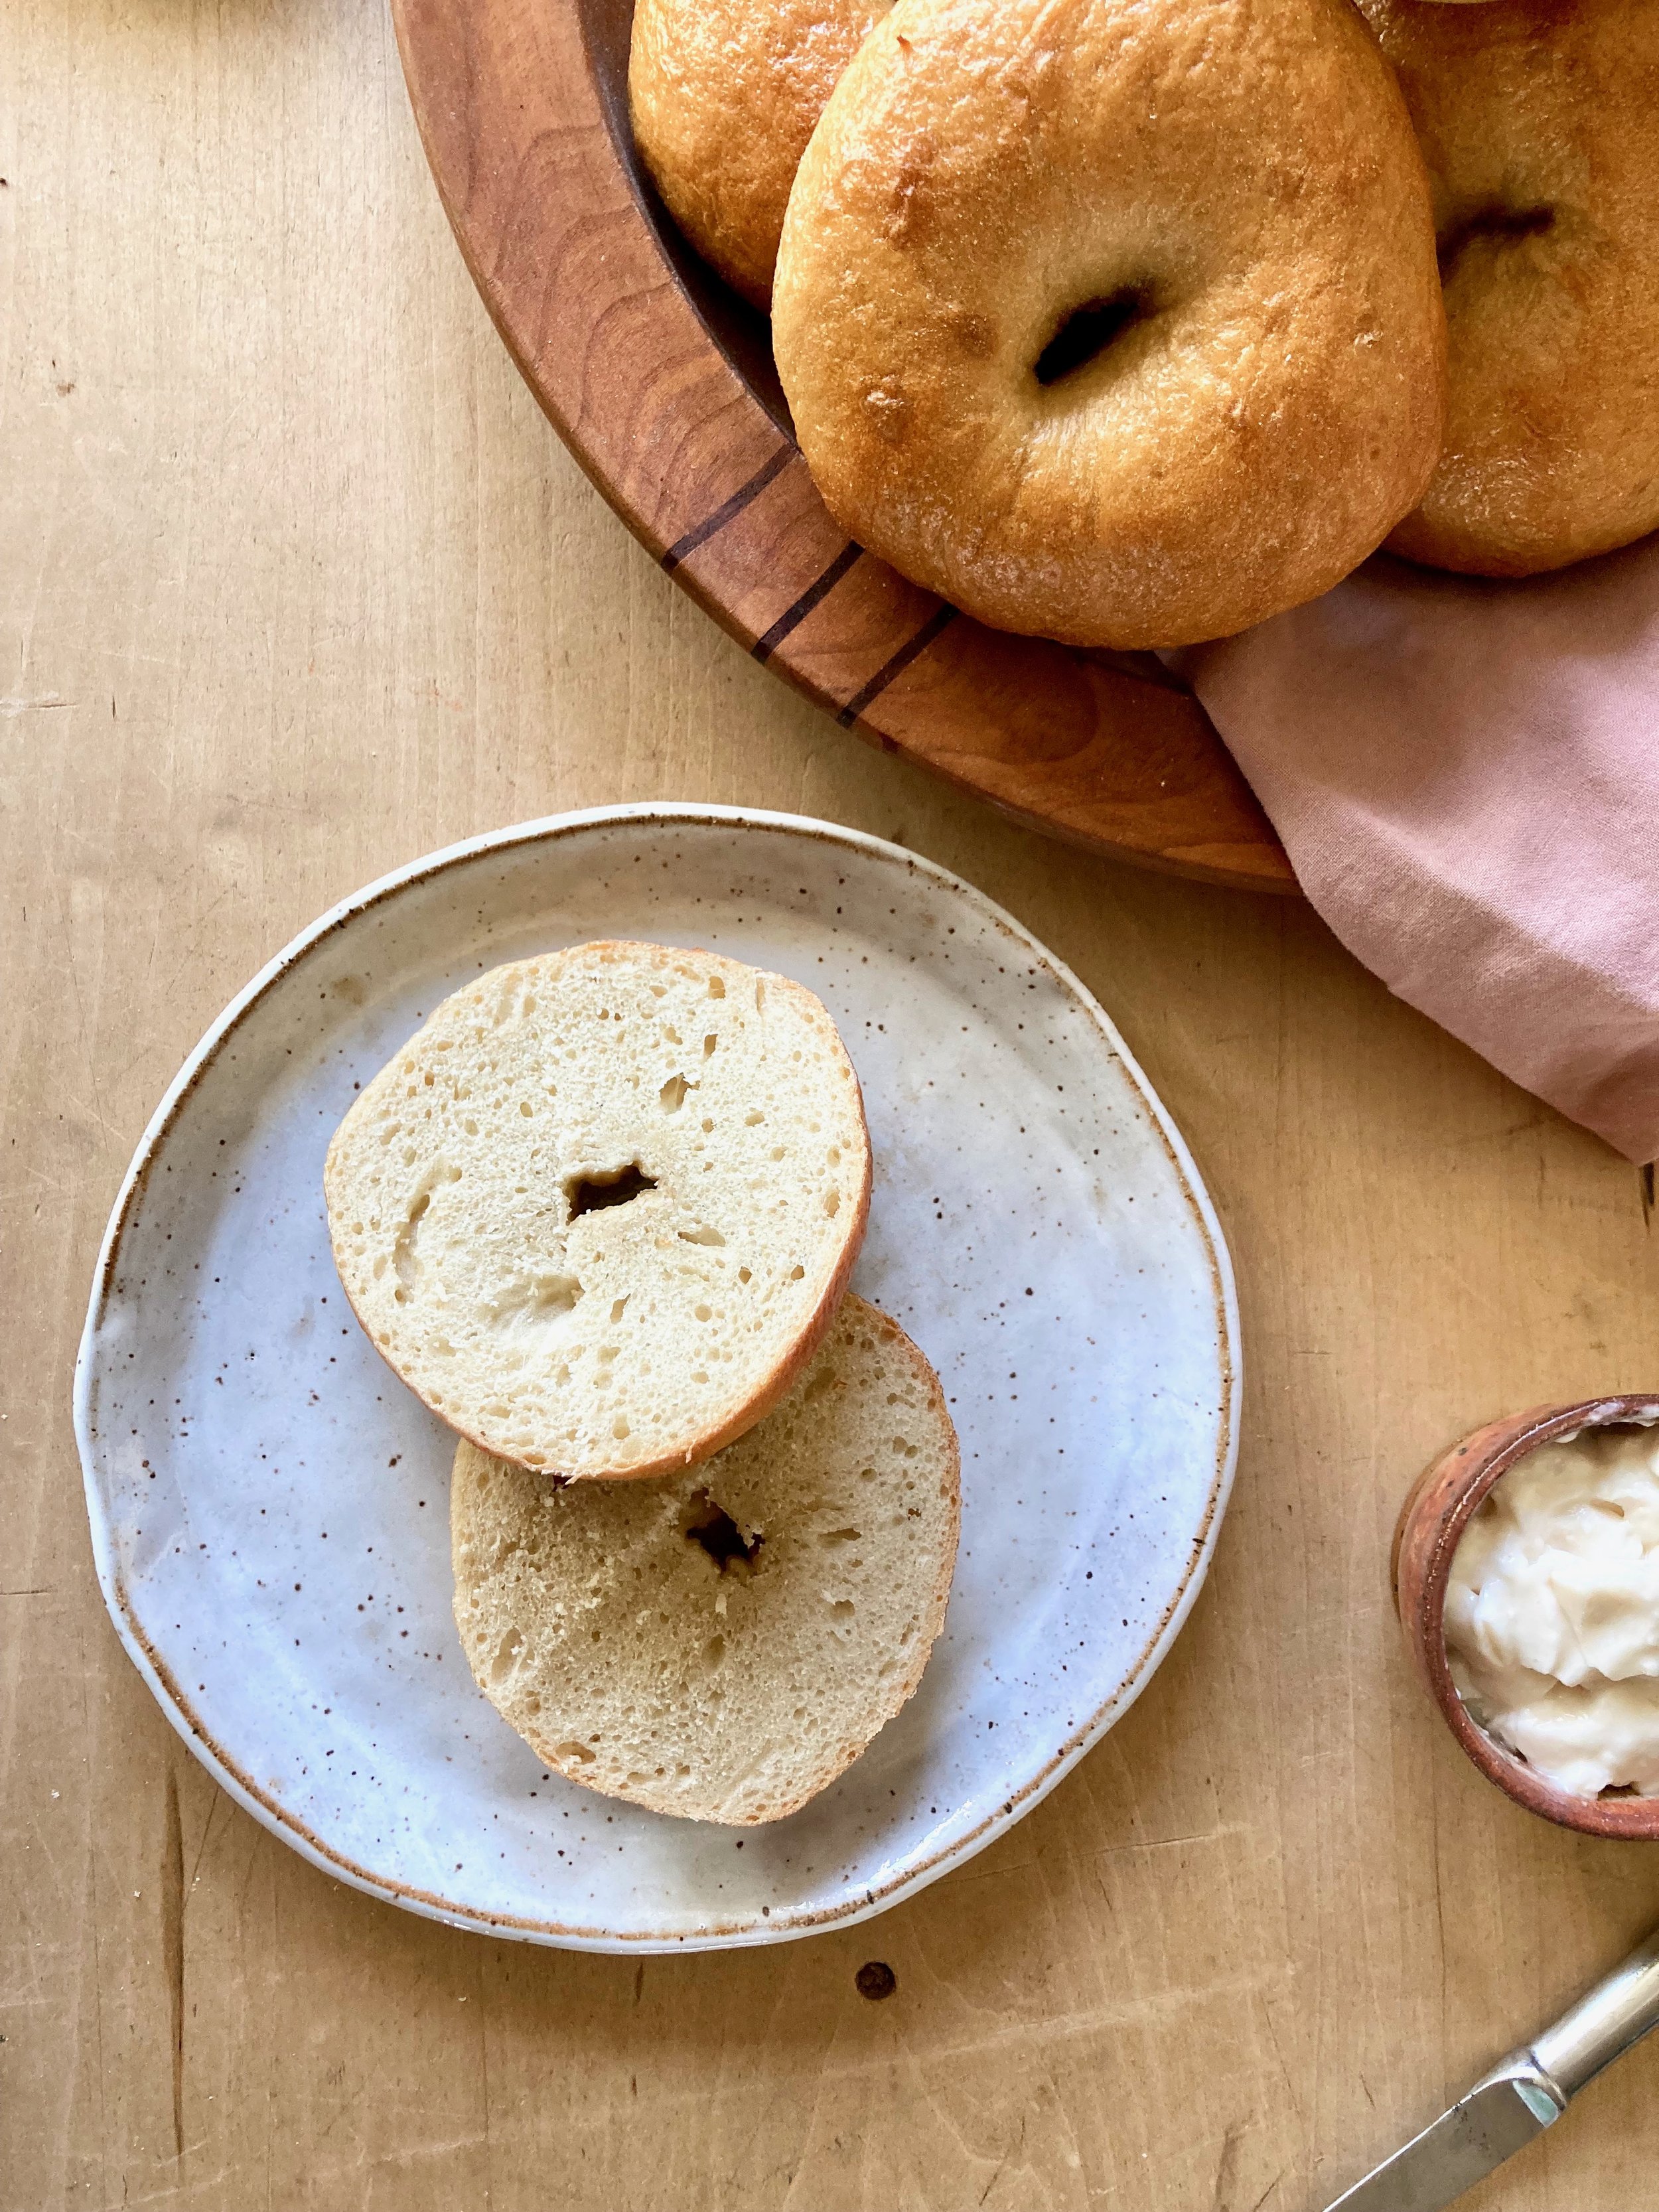
Place them on a wire rack to cool just a bit.

And then you serve them up and eat them. How do you eat the bagels is up to you. My people are easy. Plan cream cheese or peanut butter so that is what they get.

-C


Sourdough Bagels

makes 8- 12 (depending on size)

  • 5 1/2 cups al purpose flour

  • 1/4 cup active starter

  • 1 teaspoon active yeast

  • 1 tablespoon molasses

  • 1 teaspoon salt

  • 2 cups warm water

    WATERBATH

  • 6-7 cups water

  • 2 tablespoon molasses

In a large bowl mix the warm water, starter, yeast, and molasses until combined. Add in salt and 5 cups of flour and mix until a shaggy dough forms. Dump dough onto a floured surface and start kneading, dusting counter (you might use 1/2 cup or even a little more) whenever dough gets too sticky, for 10 minutes (add a few extra minutes if you are kind of slow). The dough should be smooth and not sticky and feel dense.

Place kneaded dough into a wet large bowl, cover with plastic or a silicone lid, and place in fridge for 12-24 hours.

After dough had risen in fridge, remove and dump dough onto a lightly floured surface and divide into 8-12 equal sized pieces. Pinch and roll each piece into a ball then punch your thumb into the middle all the way through. Carefully stretch the hole about an inch in diameter then place the shaped bagel onto a lined and greased baking sheet. Repeat with all dough. Once the bagels are all shapped, lightly cover and let them sit and proof for another 35-40 minutes.

While bagels are proofing, pre heat oven to 450 degrees and get the water bath ready.

For water bath combine water and molasses in a pot as wide as you got and bring it to a boil.

Once bagels are done their second proof, carefully drop bagels (a few at a time so not to overcrowded) into the boiling water. Boil first side for 2 minutes then flip and boil other side for 1 minute. Remove boiled bagels with a slotted spatula and place back on baking sheets. Repeat until all bagels are boiled and once they are, pop them into hot oven. Bake for 22-25 minute, rotating baking sheets half way, until bagels are nice and golden brown.

Remove bagels from oven and place on a wire rack to cool. Eat right away or whenever you want. Bagels can be stored in airtight container or bag for 3-4 days at room temperature but if you are not eating them within a day or two, it is better to slice and freeze them. Frozen bagels last a few months and are easy to pop from oven and toast!

In bread, Vegan Tags sourdough, bagels, vegan, King Arthur flour, wheat, easy, plain, bread, recipe
Comment

Beet Focaccia

October 30, 2021 Colleen Stem
IMG_7745.jpg
IMG_7757.jpg

This is me trying to get into the holiday spirit (and also trying to keep my kitchen warm. We have’t turned the heat on yet), but I think I might be thinking of the wrong holiday. Whatever. Pink bread can be spooky and Halloweenie right? And it really doesn’t even matter cause it is bread and pink and awesome so no holiday needed to eat it.

So this focaccia is pink because it is made with pureed beets and before you go and say anything, no it doesn’t really taste like beets. It tastes like amazing bread with a soft tender interior and a nice crispy crust that might have a very slight earthiness to it that only makes it better. It is simple and delicious and again, pink. That is it.

Now you want to make it and all you need is a few beets, flour, yeast, salt sand oil then you are good to go. What a nice little weekend baking project for the last few days of October. And if the pink bread creeps anyone out, well all the better!

Now to the beet focaccia.

The stuff. Roasted beets, flour, yeast. salt, water, and there should definitely be olive oil in this picture.. I don’t know where it went.

First, peel your roasted beets (or roast them and then peel them) The skin should come right off and a little left over skin is fine. Oh and make sure you eat left over skins. They are fanatic.

IMG_7672.jpg
IMG_7682.jpg

Now puree the skinned beets unite smooth.

IMG_7684.jpg
IMG_7690.jpg
IMG_7694.jpg

Pureed beets and water go into a big bowl along with the yeast and get mixed around. Then add in flour and a little salt and mix until a shaggy dough is formed. Cover and left rise.

Risen dough.

IMG_7714.jpg
IMG_7721.jpg

Grease baking sheet and add a puddle of olive oil to the middle. Scrap dough into the oil and gently smoosh and push dough into pan. Cove and let rest for another 1/2 hour and preheat oven.

Once dough has rested, drizzle more oil on top and dimple the dough with your fingers. Sprinkle the top with some good salt and pop into the hot oven and bake for about half an hour.

Done!

Pink and pretty and all sorts of good. Focaccia at its finest!

Now cut it up and eat it!


Beet Focaccia

makes a 9x13 inch loaf

  • 4 cups all purpose flour

  • 2 teaspoons yeast

  • 1 cup pureed roasted beets (3-4 medium beets should do)

  • 1 cup warm water

  • 2-3 teaspoons salt

  • 3-4 tablespoons olive oil

If you haven't roasted your beets yet, do that. Just toss beets on a sheet pan and stick into hot (like 450 degree) oven for about an hour until tender.

Start with beets. If still hot from roasting, wait until cooled and peel off skin. Place peeled beets into a blender and blend until smooth. You should get about a cup if puree. Any extra, well you got yourself a snack

Place the cup of beet puree into a large bowl along with the warm water and yeast. Mix until combined. Add in a teaspoon of salt and the flour. Mix until a shaggy and wet dough forms and there is not dry flour left. Scrap all the dough into a ball and then cover bowl with a bowl and place somewhere warm to rise for an hour, to an hour and a half (longer if your kitchen is cold)

Once dough has doubled in size, preheat oven to 425

Grab a 9x13 sheet pan and grease with a butter or shortening (this helps with sticking) them drizzle 2 tablespoon of olive oil in the middle. Scrap the dough into the oil oil puddle the with oiled fingers gently smoosh the dough into the pan. Cover again and le dough rest and poof up again for about 30 minutes.

The oven should be nice and hot and when you check the dough it should have poofed up a bit and spread little. Drizzle another tablespoon of oil on top of dough and with oiled fingers, dimple the dough. Press nearly to the bottom of the pan but be gentle about it to try and not knock all the air out. Once dimpled sprinkle the top with a teaspoon or two of good course or fishing salt and pop into the oven. Bake for about a 1/2 hour or until the top is starting to brown. Remove the bread from oven and let cool a few minutes in pan then transfer to a wire rack to cool some more. Or just cut into it warm and eat it.

Focaccia is best eaten within a day or two but freezes well.

In bread, Vegan, Vegetables Tags Beet Focaccia, Focaccia, beets, pink, bread, King Arthur flour, flour, easy, yeasted, spooky, vegan, roots
Comment

Apple Spice Donuts

October 10, 2020 Colleen Stem
IMG_0908.jpg
IMG_0861 2.jpg

Have you ever sat in front of all your baking pans and tins just go through them and see which ones haven’t gotten much baking time lately? That is basically what I did the other day and that is when I realized that the donut pan hasn't seen the light of the oven in quite some time.

I fixed that right then and there. I made apple donuts. Donuts are always a good idea and apple donuts are always Always a good idea, especially when it is fall and the weather is nice and cool and crisp and you just want to bake stuff to keep the kitchen warm.

And the guilt of not using my donut pan in a while pan is no longer an issue… But the big bundt pan, that is another story. (Probably going to be a bundt cake coming soon)

So donuts. Baked in a pan (obviously), super easy to throw together, and bake up really fast. Full of warm spices and small shreds of apples then tossed in cinnamon sugar after baking and there it is. Everyones favorite fall donut. Don’t think about it to much, just make these donuts because you will be happy eating the donuts and make anyone you choose to share with happy too.

Now to the donuts!

The stuff. A couple apples. Flour, baking powder and soda, salt. Cinnamon, ginger, and cardamon, and vanilla extract. Apple cider vinegar, brown sugar, oil, water. a little white sugar with cinnamon, and vegan butter.

First to do is grate the apples. They will turn brown fast but it don’t matter.

IMG_0773.jpg
IMG_0779 2.jpg
IMG_0783.jpg

Add in the wet and mix, add in the dry, and mix and Ta da! Donut batter.

Scoop batter into well greased donut pan. (if you have 2 pans you are better then me. I have to do one batch a a time)

IMG_0802.jpg

Poof. Baked and donut.

Flip hot donuts out of pan and let cool for a few minutes. Once they are cool enough to handle, brush each donut with melted butter all ver and toss in cinnamon sugar mixture.

Donuts are done.

We are good.

-C


Apple Spice Donuts

makes 12

  • 2 cups all purpose flour

  • 2 teaspoon baking powder

  • 1 teaspoon baking soda

  • 1/2 teaspoon salt

  • 1/2 cup warm sugar

  • 1/2 cup boiling water

  • 1 teaspoon vanilla

  • 1/2 teaspoon each ground ginger and cardamon

  • 2 teaspoon cinnamon

  • 1/3 cup neutral oil (I used canola)

  • 2 tablespoon apple cider vinegar

  • 2-3 apples that equal 1cup shredded (I used 2 big Macintosh)

    For cinnamon sugar coating

  • 2 tablespoon melted vegan butter

  • 3 tablespoons white sugar

  • 1 tablespoon cinnamon

Preheat oven to 350

In a large bowl, shred your apples until you have 1 packed cup. Eat any left over apple.

Add in the brown sugar, oil, vanilla, apple cider vinegar, and water and mix until combined. In seperate bowl, whisk together the flour, salt, baking soda and powder, and all cinnamon, ginger, and cardamon. Dump dry into wet and gently mix until completely incorporated.

Scoop batter into greased donut pan(s) and place into oven. Bake for 12-14 minutes or until the donut is big and fluffy and a when poked with a tester, it comes out clean.

Remove donuts from oven and flip our of pan onto a wire rack. (Clean and and bake second batch if you are working with one pan.) Mix together the cinnamon and white sugar into a wide shallow bowl. Once donuts cool enough to handle, bruh each donut with melted butter all over then toss around in cinnamon sugar mixture. Place back on rack to cool completely.

Eat.

Left overs wiill last in air tight container at room temperature for 3-4 days. The cinnamon sugar crunch will just not be crunchy anymore after the first day.

In breakfast, cake, desserts, donut, Vegan Tags Apple Spice Donuts, Veagn, dairy free, apples, fall, baked donuts, donuts, King Arthur flour, plant based, food, recipe, dessert, breakfast, fruit, spice, homemade, easy
Comment

Clementine Cake

December 28, 2019 Colleen Stem
IMG_4524.jpg
IMG_4602.jpg

It’s not too late to get in a little end of the year baking. It is actually the perfect time to bake. All the holiday hub bub is still going on so there is usually still people all around still willing and able to eat your offerings (if you were so inclined to share), the days just feel more slow and of need of warmth and lovely smells. Plus we need something to do while while waiting for New Years, because we are just all sitting around waiting for that ball to drop, right? HAHAHA. No.

Anyway, I have been wanting to make some version of a boiled clementine cake for a while now. I love that fact the the whole clementine goes into the cake, that there is no peeling or zesting or juicing. It is just boil the clems for a little while to get the bitterness out and you are good to go. And it doesn’t hurt that right now is citrus season so I have a humngo bowl of clementines, plus a shit load of other oranges and other citrus to go through so the thought of tossing a good few clementines into a cake, well it was just what needed to be done.

And the family is coming over to eat and trash my house so I needed another dessert besides the half eaten ice cream cake left in the freezer from Camereon’s birthday/Christmas. So I baked that they will eat. And there we go. Win win.

Now to the clementine cake.

The stuff. Flour, baking powder and soda, salt, sugar, oil, cinnamon, vinegar, clementines, and powdered sugar.

First you need to boil the clementines. Big pot, fill with water, place clems inside, bring to a boil, then simmer for 2 hours. Seems like a long time but just do it while you are making and drinking coffee or doing laundry or whatever. You don’t need to keep an eye on them, other then to check that the water hasn’t evaporated, and it smells so nice.

After the 2 hours are up, remove clementines from water and let cool enough to handle. Cut in half. If there are giant seeds, remove them.

IMG_4432.jpg
IMG_4446.jpg

Place the clementines into blender and blend until silky smooth.

Now the other stuff. Flour, sugar, salt, baking powder and soda, and cinnamon. All into big bowl.

IMG_4453.jpg
IMG_4455.jpg

Whisk together until incorporated then add in the clementine puree, the oil, and the vinegar. Whisk together until it becomes a uniform batter.

IMG_4466.jpg

Unbaked cake.

IMG_4472.jpg
IMG_4473.jpg

Scoop batter into a very well greased bundt cake pan and bake, 50-60 minutes, until tester comes out clean.

IMG_4479.jpg

The big revel…. And it went perfect! Now time to let this sucker cool a bit on a wire rack.

IMG_4496.jpg

While the cake is cooling, make a simple glaze. Just powdered sugar and fresh (not boiled) clementine juice. Mixed unit glaze consistency.

Once the cake is pretty much cooled, pour on the glaze.

IMG_4525.jpg

And now it is cake time.

-C


Clementine Cake

Makes one bundt cake

  • 2 1/4 cups all pupose flour

  • 1 cup white sugar

  • 1/2 teaspoon salt

  • 1 teaspoon baking powder

  • 1 teaspoon baking soda

  • 1 tablespoon vinegar

  • 1/2 cup any neutral oil

  • 1 teaspoon cinnamon

  • 6 clementines (you need 2 cups pureed)

    For the glaze

  • 1 cup powdered sugar

  • 1 clementine

To start, place 6 clementines into large pot and fill with water. Place on stove and bring water to a rapid boil then reduce heat and continue to simmer clementines for about 2 hours.

Once clementines are cooked, cut in half and check and discard any large seeds. Place the clementines into a blended and blend until smooth. Should have about 2 cups puree. If you are short on volume, add water to make up the difference.

Preheat oven to 350

Grab a large bowl. Dump the flour, baking powder and soda, salt, cinnamon, and sugar and whisk together until completely incorporated. Now add in the clementine puree along with the oil and the vinegar. Mix until completely incorporated. Scoop batter into a well greased burnt pan (at least 10 cup capacity) then place into oven on middle rack and bake for 50-60 minutes until a tester (or a fork) stuck in to the deepest part of the cake comes out clean.

Once baked, remove cake from oven and allow to cool for a few minutes in pan, then flip the cake out of pan, gently of course, and hope you greased it well enough for it to just pop out. Once removed from pan, allow to cool on a wire rack.

While cake is cooling, make the glaze. Powered sugar into a bowl along with the juice of a clementine. Mix together. If the glaze is to thick, add more juice (or water), to thin, a little more powdered sugar until you reach your desired consistency (pourable but not runny is good) and once cake is cooled, pour glaze all over.

And then eat cake.

In cake, Dairy Free, fruit, Vegan Tags Clementine Cake, bundt cake, vegan, no eggs, dairy free, King Arthur flour, food, food 52, citrus, dessert, Homemade, sweets, holiday, easy, boiled clementines
Comment

Lemon Cardamom Gingerbread Crinkle Cookies

December 21, 2019 Colleen Stem
IMG_4314 2.jpg
IMG_4389 2.jpg
IMG_4347 2.jpg

I love December, basically because it is a month long excuse to always be baking cookies. And listen to Christmas music. And have a lovely big ass tree in the house covered in lights and dried fruit. Plus snow if we are really lucky. December. It’s a good month.

And we are getting to that time when now most of us have serious cookie making on the brain. I bet if you ask 5 people what they are planning on doing in the next few days leading up to Christmas, at least 3 of them will tell you they are making cookies because really, that is what you should be doing. That is if you like to bake. If not, then by all means, skip cookie baking.

Now what cookies to bake? Well you got to have chocolate chip, and peanut butter. Plus some no bakes and sugar cookies, but also, I think, some type of gingerbread.

These cookies are the gingerbread something. I added cardamon because I think cardamom is delicious and think everyone will think so too, And lemon because lemon goes with cardamom and ginger and lemon cardamon ginger just has a nice ring to it. Then crinkle because I didn’t really want to roll out dough and cut out shapes (I was being lazy), but I wanted pretty and I am really Into the crinkle look.

These cookies were a huge hit. Not crispy like a snap, but not cakey or overly soft. A nice chew and deep in flavor. The mr was basically smuggling these cookies all day before I had a chance to really hide them and he is not a typical gingerbread lover but he told me that these cookies might just be the best cookies he has ever had. So yeah, I guess this is now my new winner gingerbread cookie recipe.

And no joke, these are probably the best smelling cookies I have ever made. I wanted to bottle up the smell and wear it on me like a teenage boy wears a new bottle of axe. Seriously, I kept sniffing my sweater all day long just to get a good hit of the smell. So good!

Now to the cookies!

The stuff. In one bowl there is flour, salt, and baking soda and powder. The other bowl is brown sugar and molasses. There there is a couple flax eggs, some oil, a lemon for it’s zest, and spices of ginger, cardamon, cinnamon, and black pepper. Also powdered sugar to roll and crinkle these cookies.

IMG_4242.jpg
IMG_4245.jpg

Wet stuff. Sugar, molasses, flax eggs, and oil. Mix until combined.

IMG_4251.jpg
IMG_4254 2.jpg

Dry stuff. Flour, baking soda and powder, salt, and the spices. Add in the lemon zest too and whisk to combine.

IMG_4261.jpg
IMG_4264.jpg

Wet into dry. Grab a wooden spoon and mix until a cohesive dough forms. And yes you can give up the spoon after a minute and use your hands to complete the mixing… I did.

After dough is mixed and uniform, pop the bowl into the fridge for a little while to give he dough some time to rest. Half an hour is good and you could even leave it for a day if you wanted to, just cover it if you do.

IMG_4277.jpg

And when the dough has had it’s time, scoop, roll into balls, ans roll around and completely coat in powdered sugar.

IMG_4298 2.jpg

Sugars balls of dough. Now pop them into the oven.

TA DA! Baked and all crinkly.

Let the cookies cool on a wire rack because that’s how all cookie cool. And smell that delicious oh so lovely smell. It really is amazing, no?

Then onto a serving plate and now you have cookies for your mouth face.

Happiest happys of all the days to come! Now go eat cookies!

-C


Lemon Cardamom Gingerbread Crinkle Cookies

makes around 2 dozen cookies

  • 2 1/2 cups all purpose flour

  • 1 teaspoon baking soda

  • 1/2 teaspoon baking powder

  • 1/2 teaspoon salt

  • 1 tablespoon ground ginger

  • 3/4 teaspoon ground cardamom

  • 2 teaspoon cinnamon

  • 1 teaspoon pepper

  • zest of a lemon (about 2 teaspoons)

  • 3/4 cup brown sugar

  • 1/4 cup molasses

  • 2/3 cup neutral oil (I used canola)

  • 2 flax eggs (6 tablespoon warm water mixed with 2 tablespoon ground flax seed)

  • 1/2 -3/4 cup powdered sugar

To start, grab a bowl and mix together the brown sugar, molasses, oil, and flax seed eggs until completely combines. In another large bowl, whisk together the flour, all the spices (ginger, cardamon, cinnamon,and pepper), the zest of the lemon, baking powder and soda, and salt. Pour the wet mixture into the bowl with the dry and mix together until a cohesive dough forms. Place dough in fridge for about a 1/2 hour to up to a day to let dough rest for a bit. If you are going to keep in the fridge for a while, just cover it up.

When ready to bake, preheat oven to 350 and measure out powdered sugar into a bowl

Remove dough from fridge and using a scoop or just eyeballing it, scoop about 2 tablespoons worth of dough. With each scoop, roll the dough into a ball and place into the bowl of the powdered sugar and roll around unit completely coated. Place ball on a baking sheet, giving it a little pat down, NOT squishing it down, just a little indent. And don’t overcrowd balls, give them a little space.

When your baking sheet full, place Into hot oven and bake for 12-13 minutes or until the cookies have puffed and flattened out a bit, are golden brown on the bottoms, and the tops are all crinkly and lovely. Once cooked all the way, remove from oven and transfer cookies onto a wire rack to cool.

Then eat a warm one. Heck, eat 2 warm ones, then do what you will with the rest.

Store cooled cookies in an air tight container at room temp for 3-4 days. They can also be frozen for long term storage but why do you need to store your cookies? Jest eat them.

In Vegan, cookies, Sweets Tags vegan, vegan cookies, plant based, crinkle cookie, gingerbread, King Arthur flour, holidays, cookie swap, Christmas, sweets, easy, plant based cookies, oil, dairy free, Lemon Cardamom Gingerbread Crinkle Cookies
10 Comments
Older Posts →
 

https://thelovelycrazy.squarespace.com/config#/|/about/

Me. Food Maker.Food eater. Woo HOO!

STEM+NODE  SMALL BATCH AND ONE OF A KIND POTTERY

stem+node ceramics


____________________

Subscribe

GET NEW POSTS IN YO EMAIL

You are AWESOME!!!


@thelovelycrazy 2014-2021