• stem+node ceramics
  • HOME
  • Food Recipes
  • About
  • Contact
Menu

The Lovely Crazy

Street Address
City, State, Zip
Phone Number

Your Custom Text Here

The Lovely Crazy

  • stem+node ceramics
  • HOME
  • Food Recipes
  • About
  • Contact

No knead Raisin Walnut Sourdough Bread

February 20, 2021 Colleen Stem
IMG_3972.jpg
IMG_3948.jpg
IMG_3896.jpg

I bake a lot of bread in my house . A LOT. Like at least 2-3 times a week and have been doing so for years now so I know a thing or two about bread. And when I bake bread, I almost always use starter unless I really really need dough fast. Then I will add yeast but honestly, I haven’t used yeast in bread in probably 3+ years. I have developed such a rhythm with bread that I just have dough in the fridge at all times.

One reason I have never shared a sourdough recipe before on the blog is that I think a lot of people feel intimidated by baking bread and especially making bread with just a starter. Another reason is that up until the past year, I don’t think having a starter was as common as it is now (but thanks to COVID it is more common then ever!). Anyway, now more people are on the home made bread band wagon (about stinkin time) and I am here for it.

A word of advice if you are new to the bread game…. Don’t take it to seriously! I remember back in my early days of bread baking I would freak out about if I was doing it right. About timing and wondering if it is exactly the right amount of rising or if the temperature of this or that was exactly, or if I handled the dough to rough. Now after all these years, I have gotten pretty intuitive with bread dough but also I don’t worry to much. It will be good. It will be bread and you will love ever single bite.

This bread is a basic no knead bread with a little added goodness of walnuts and raisins. Easy, simple, and freaking delicious. A great bread to make if you are just getting into the sourdough bread game. Or if you want really dank ass bread!

To the bread!

IMG_3783.jpg

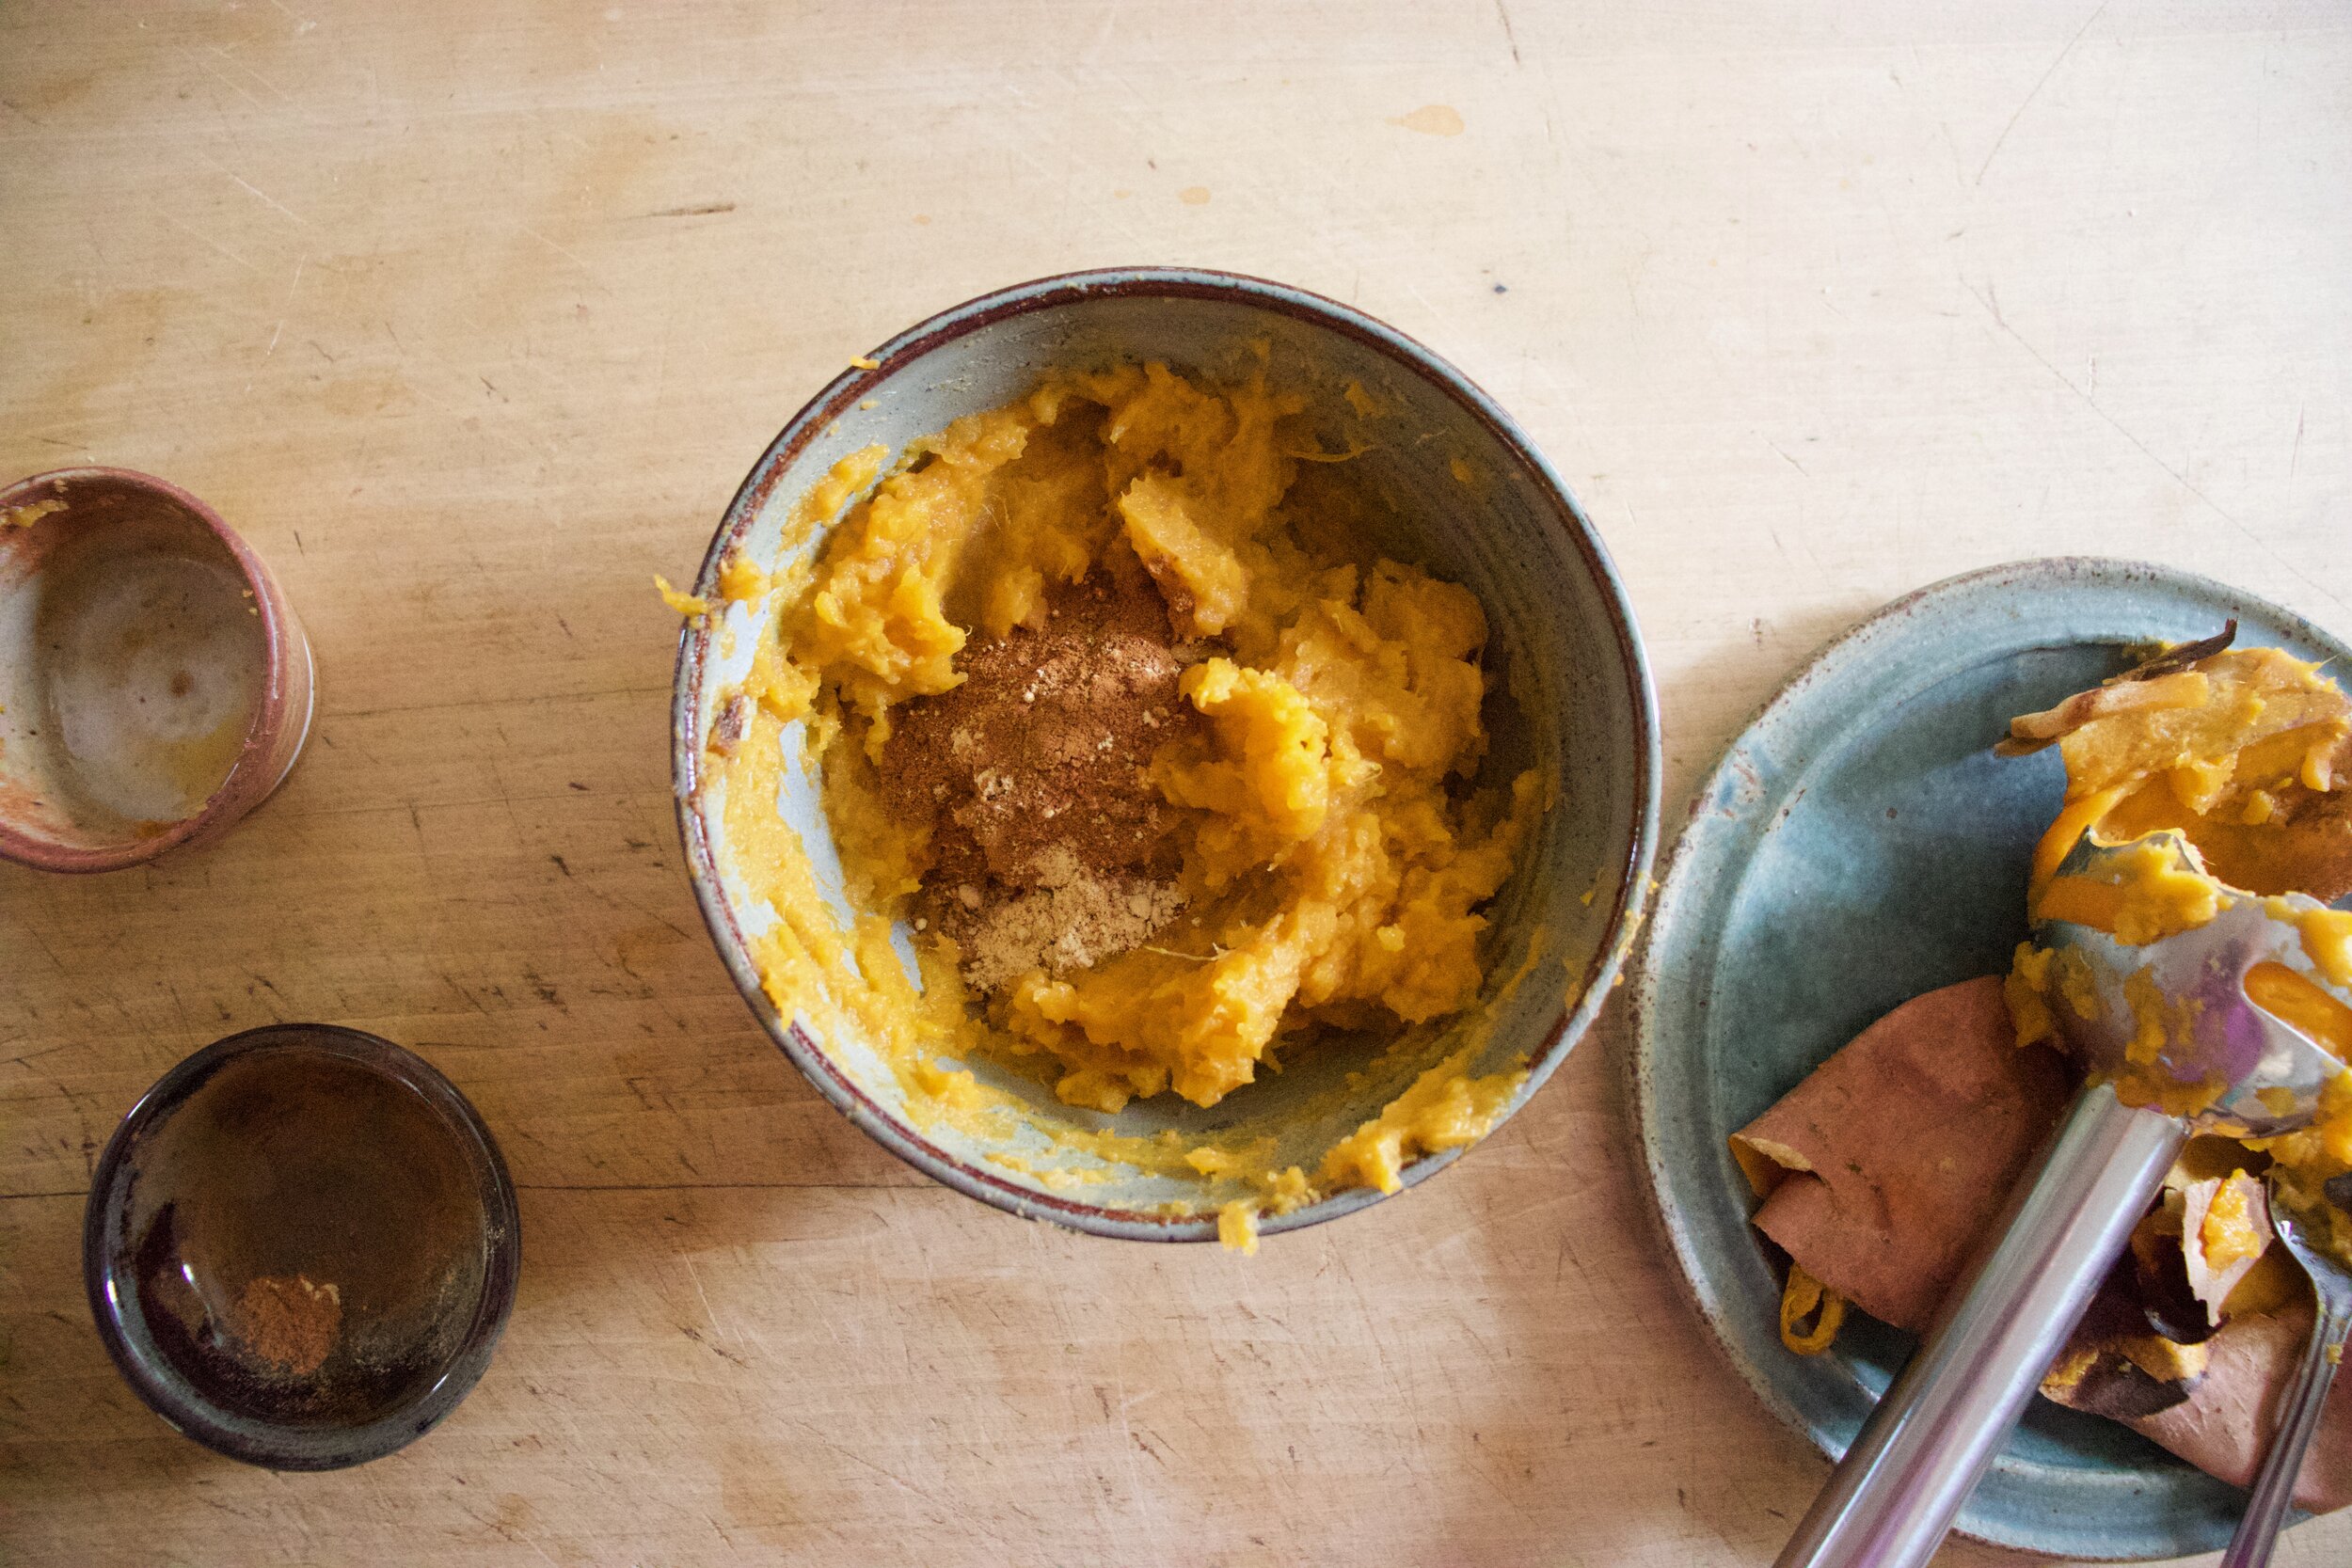
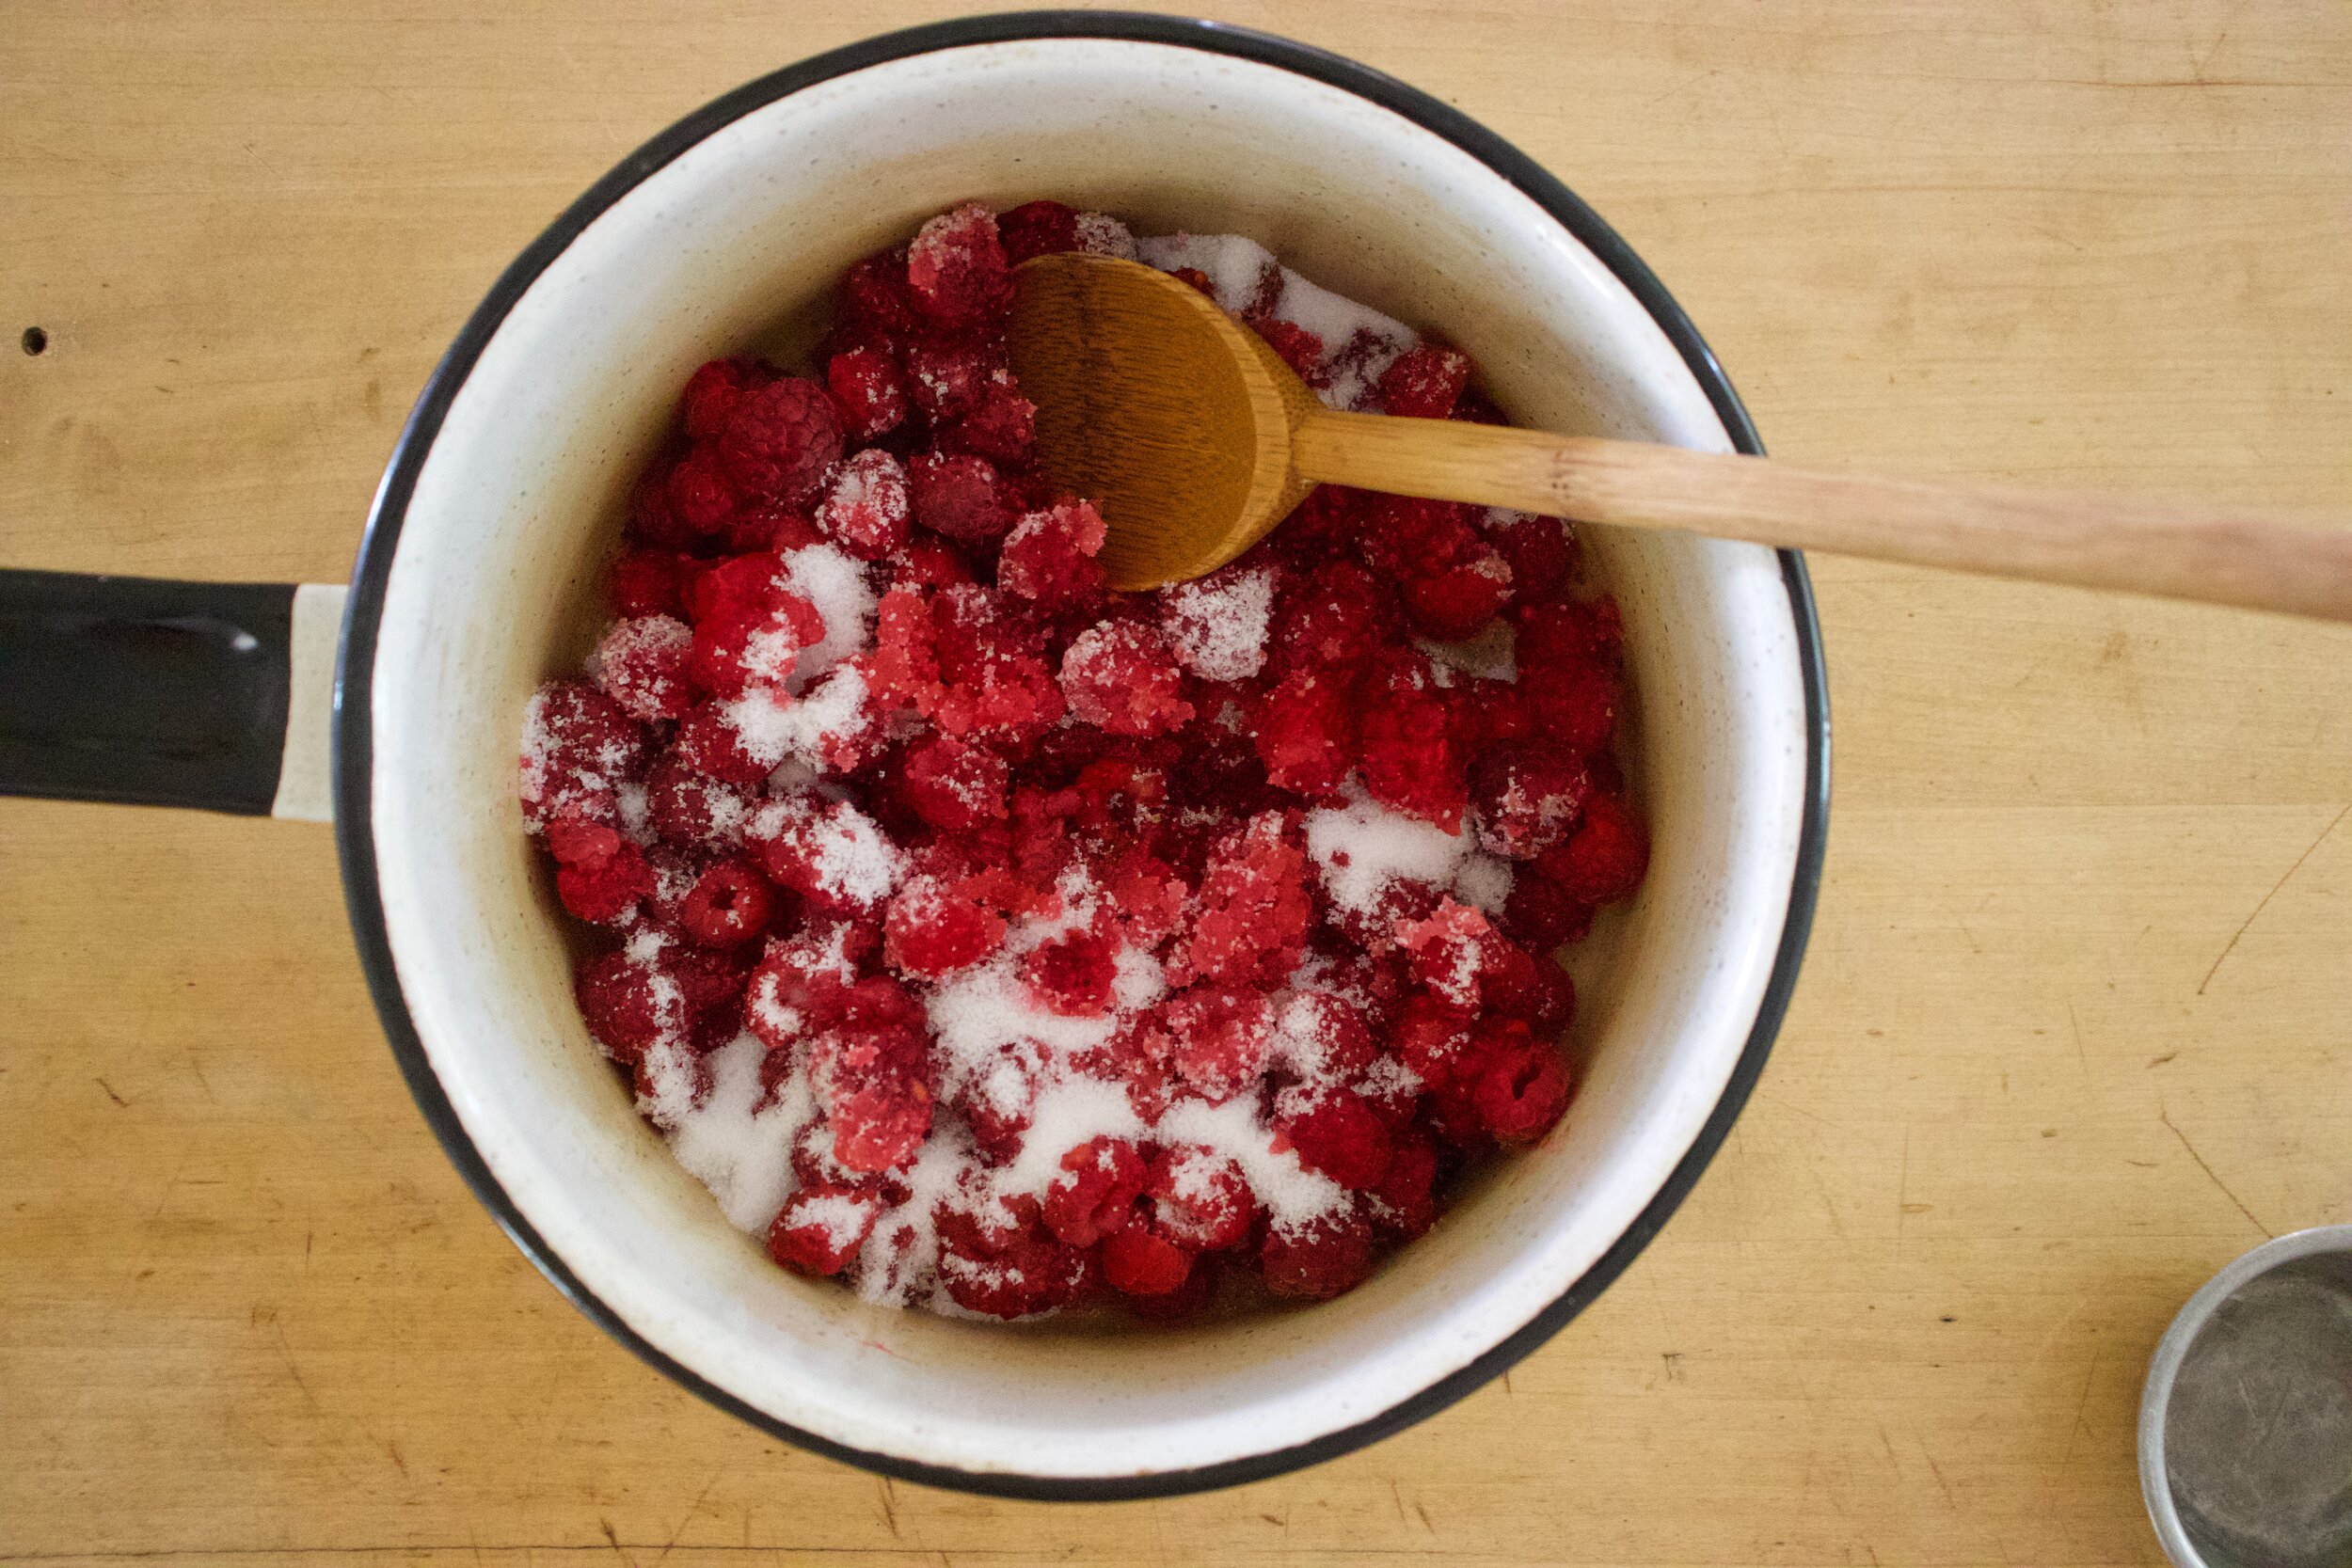
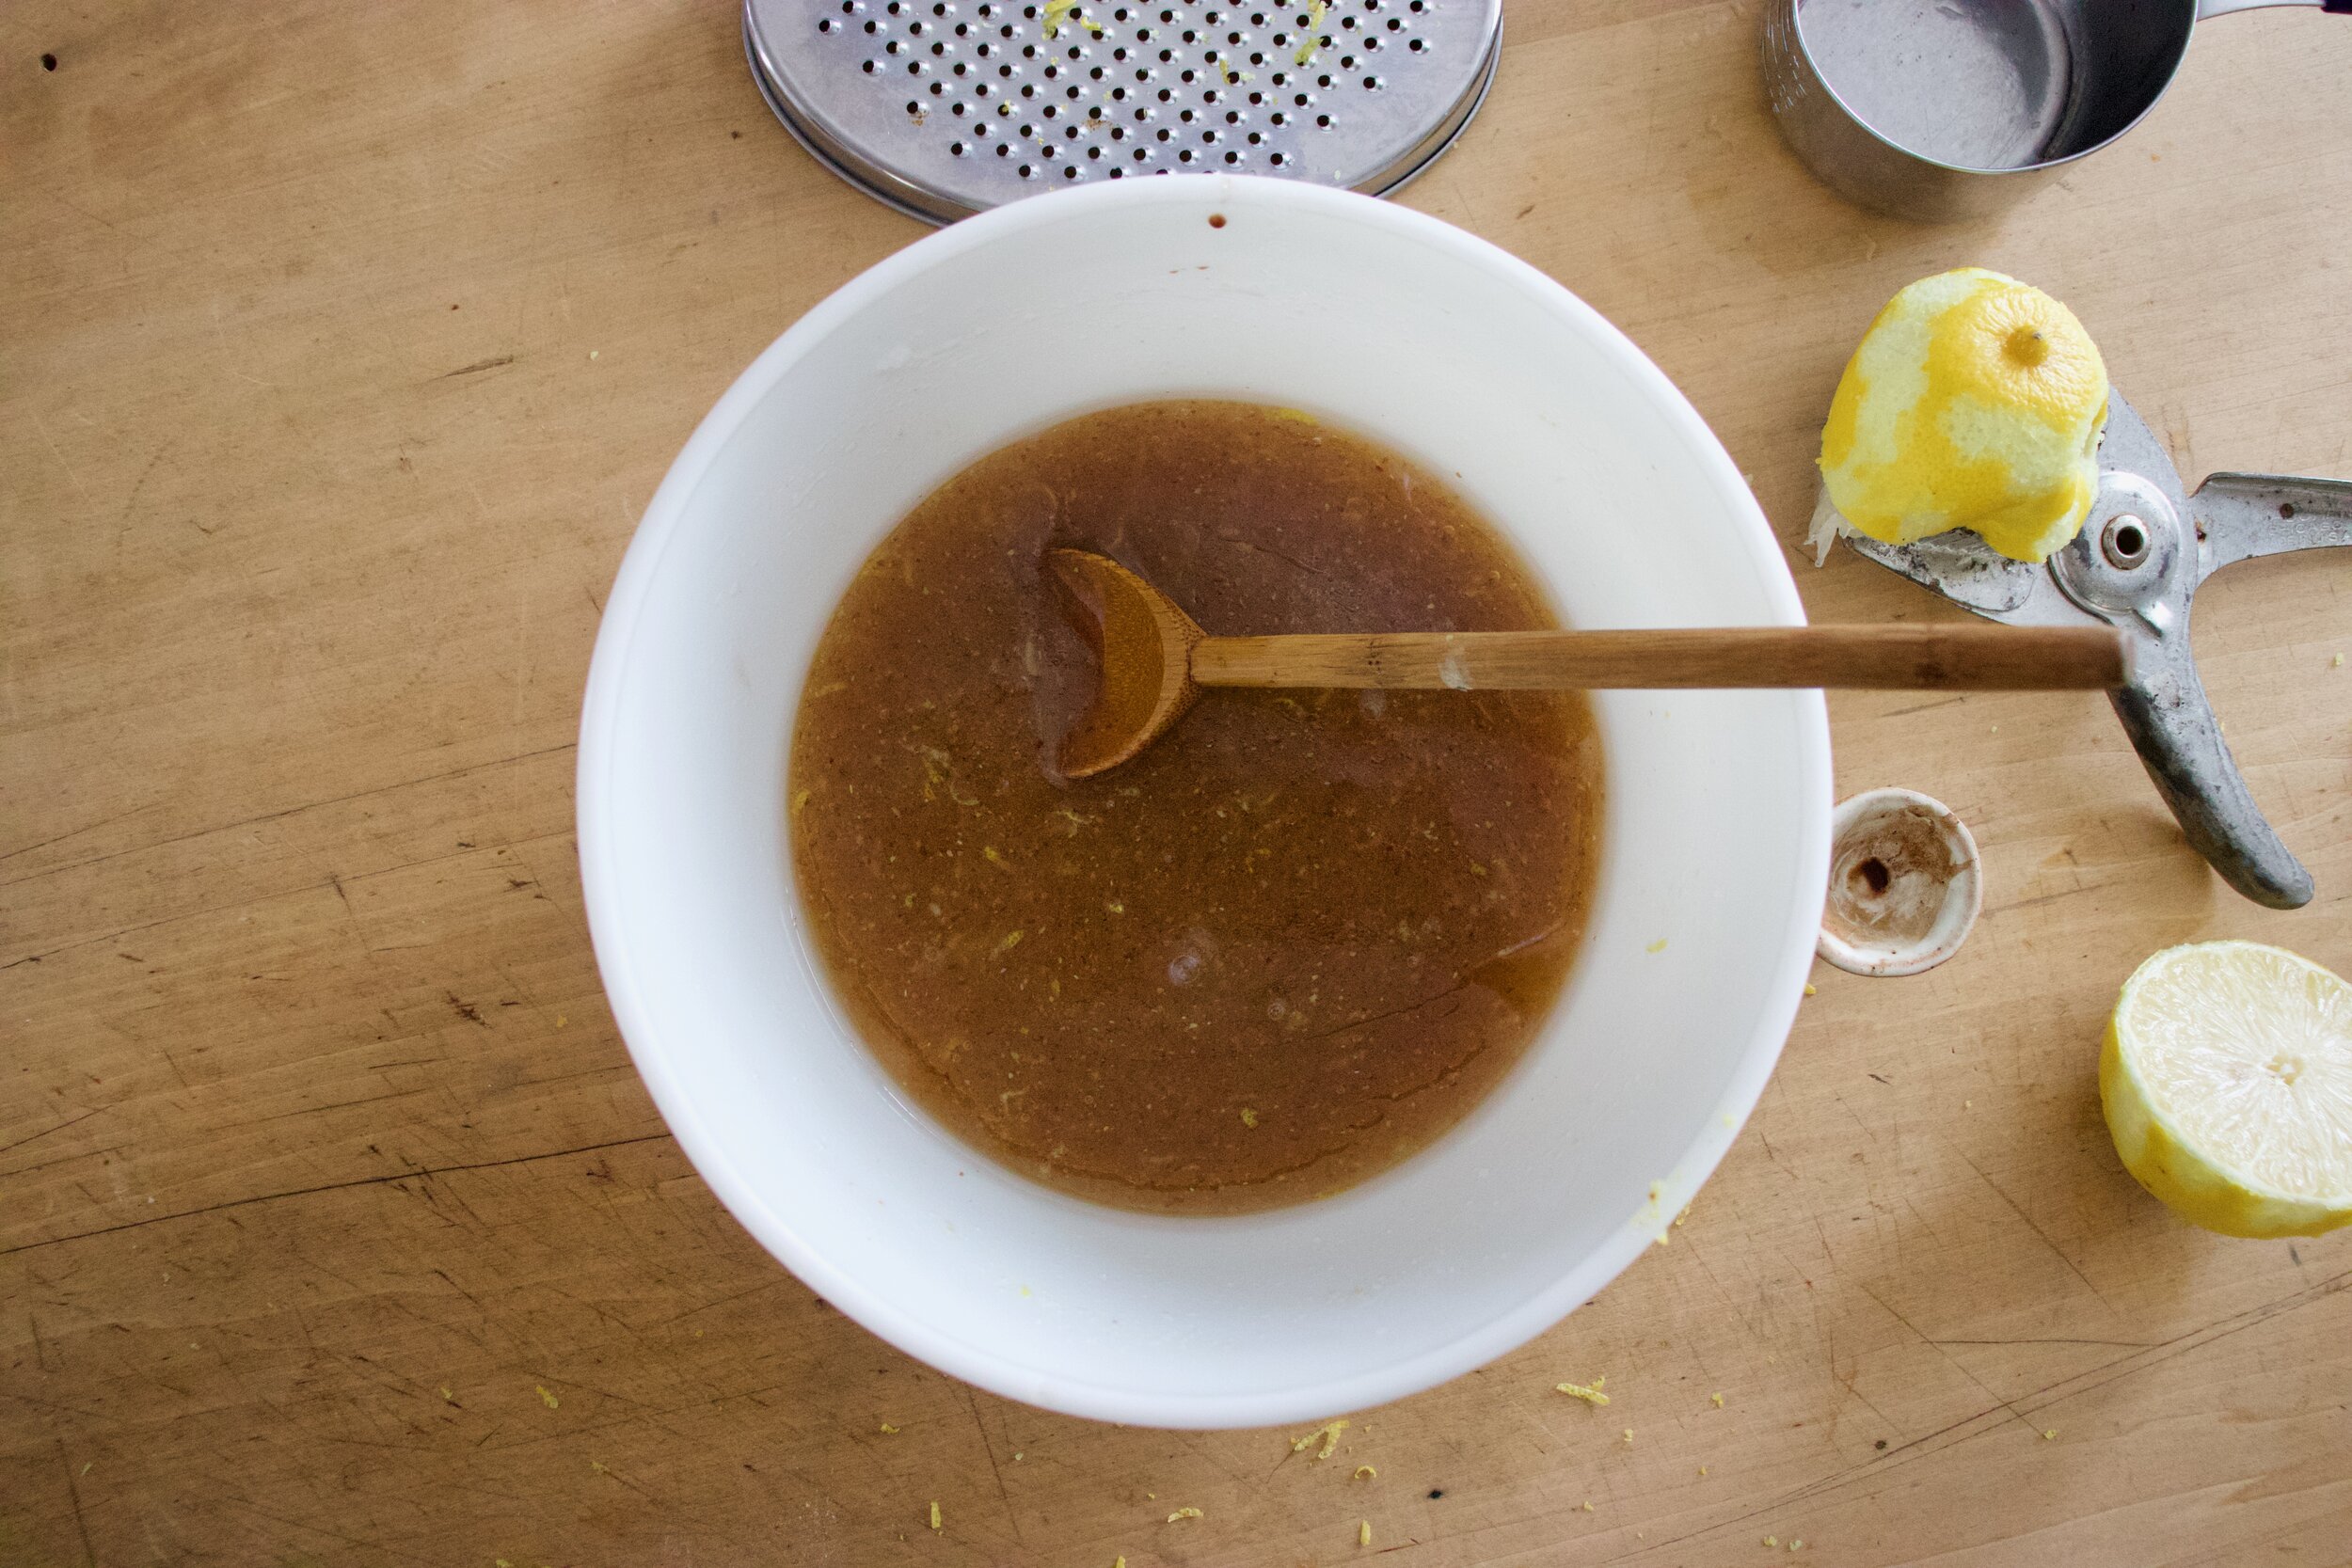
The stuff. Ripe starter, flour, warm water, salt, raisins , walnuts, and a little cinnamon.

IMG_3791.jpg

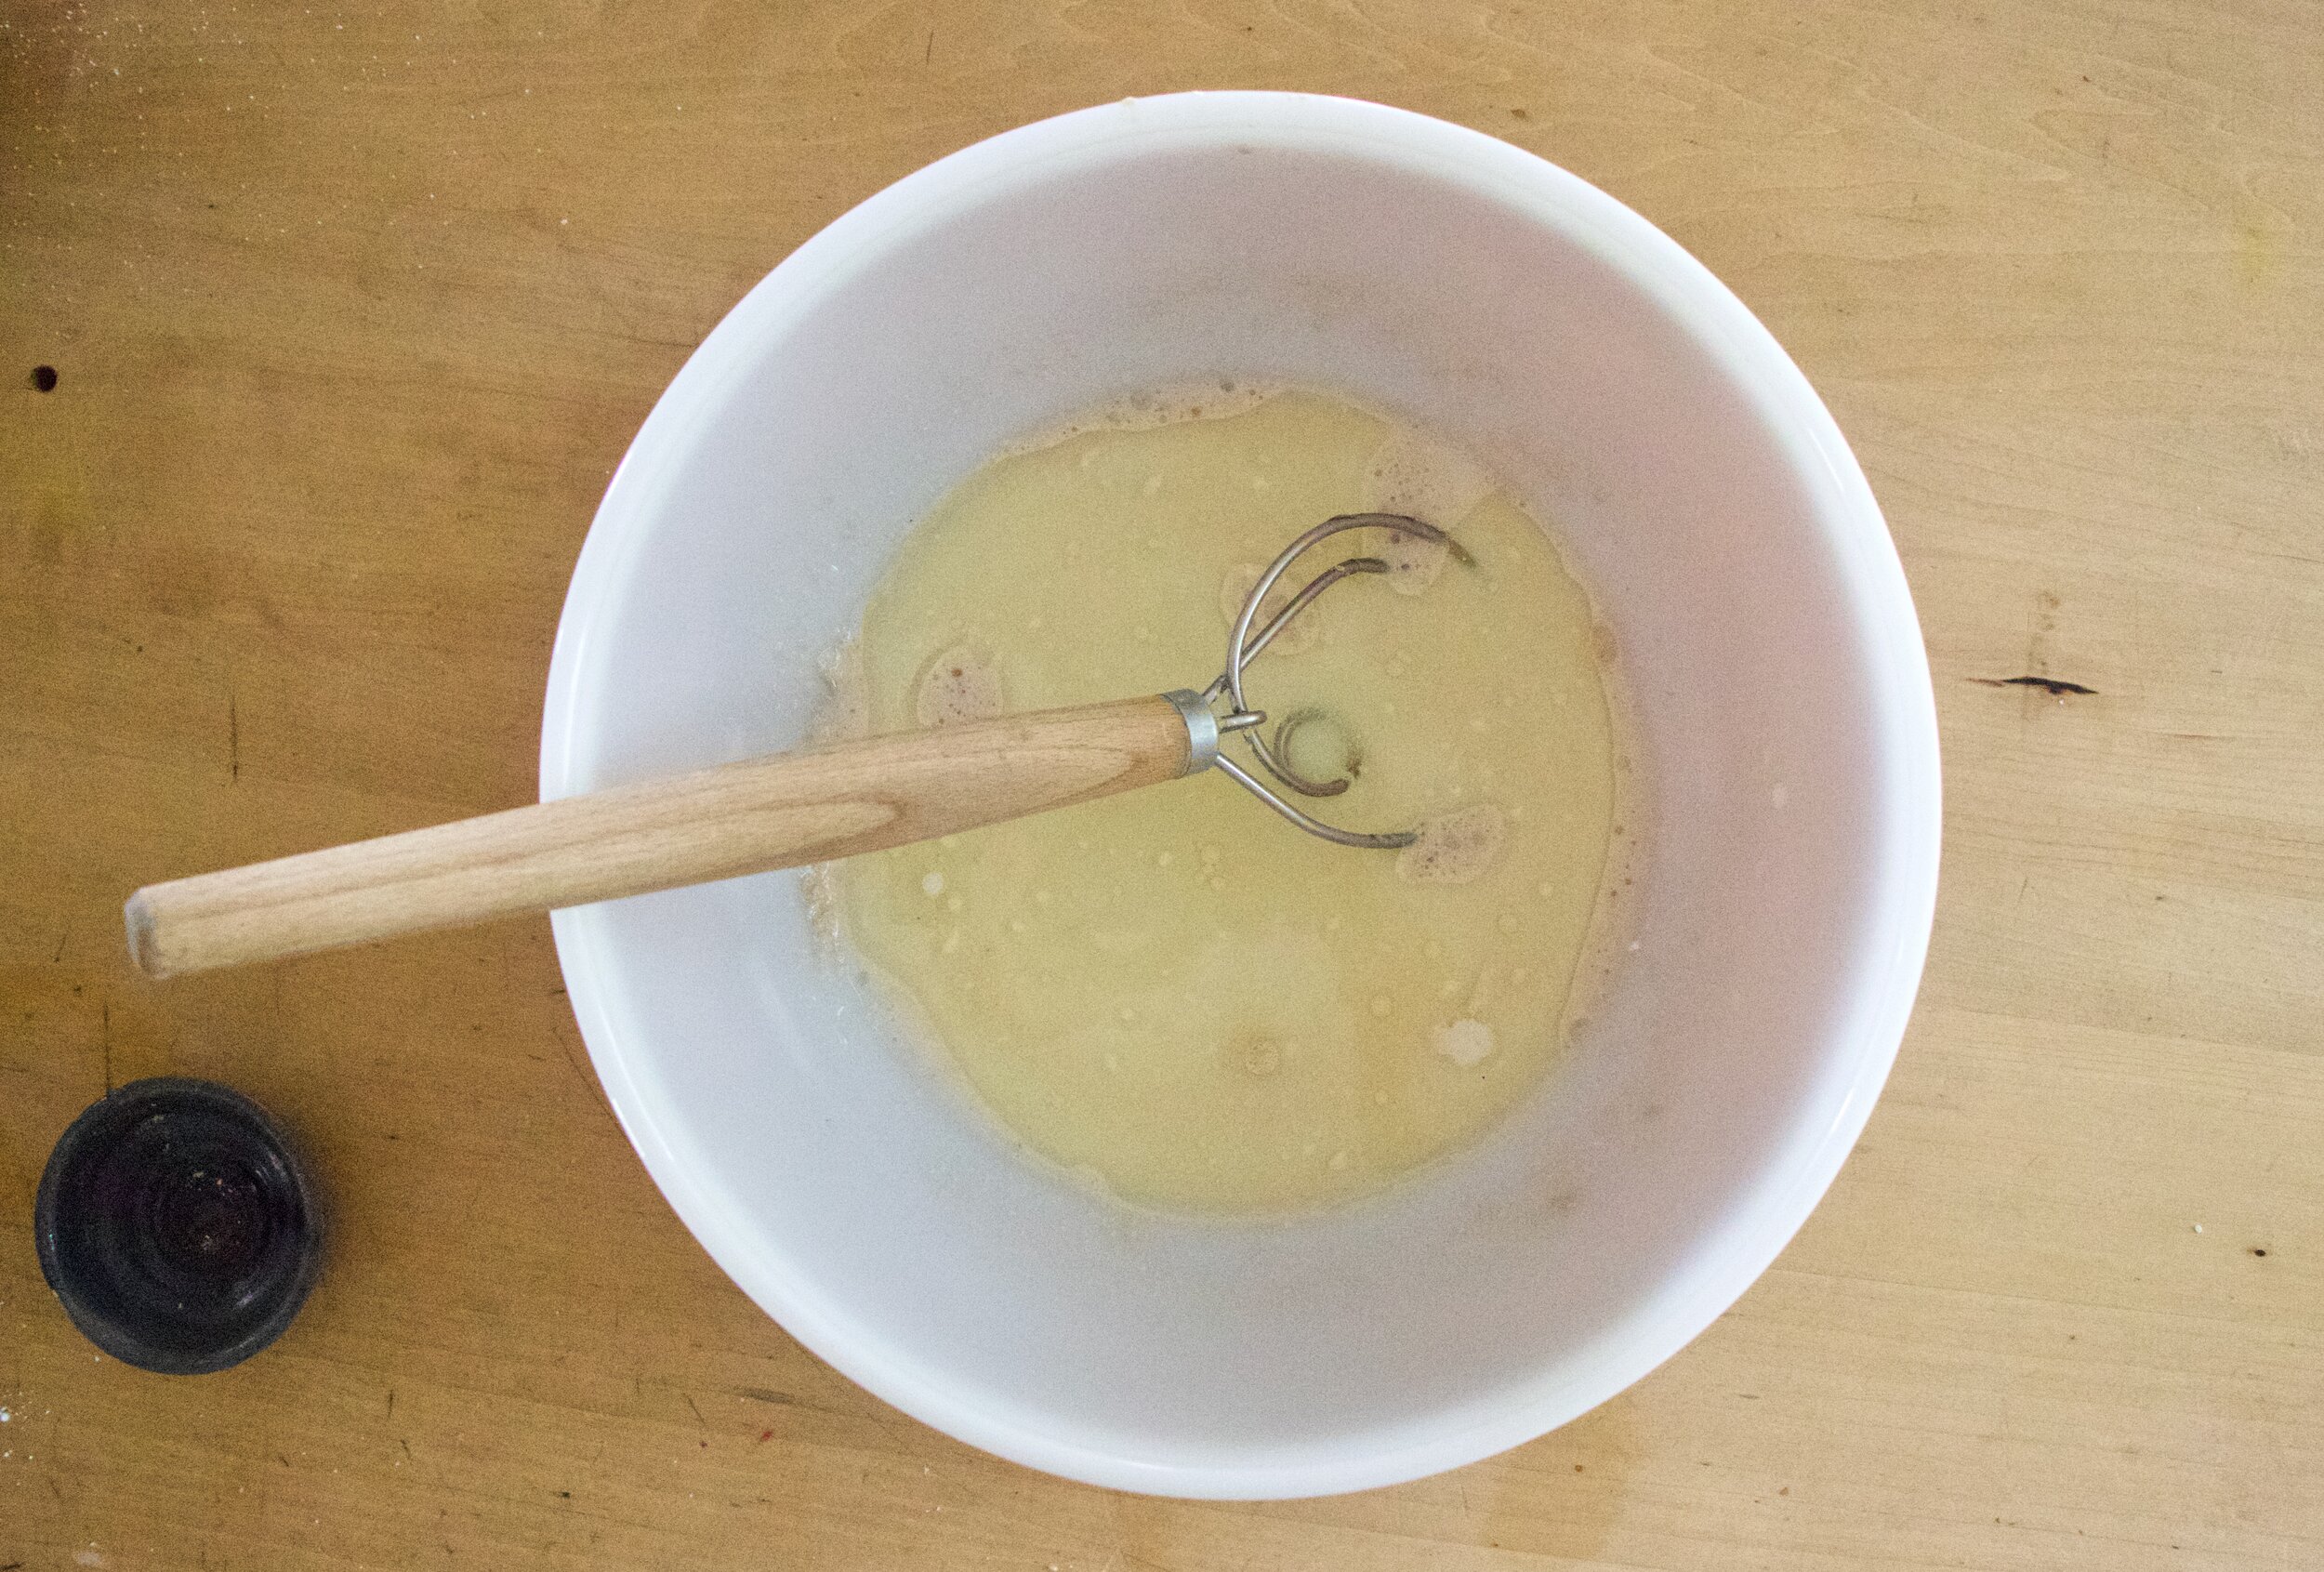
Start by dumping a little of the warm water onto the raisins to plump them up a bit and to make sure they are not all stuck together.

IMG_3801.jpg
IMG_3806.jpg
IMG_3809.jpg
IMG_3816.jpg

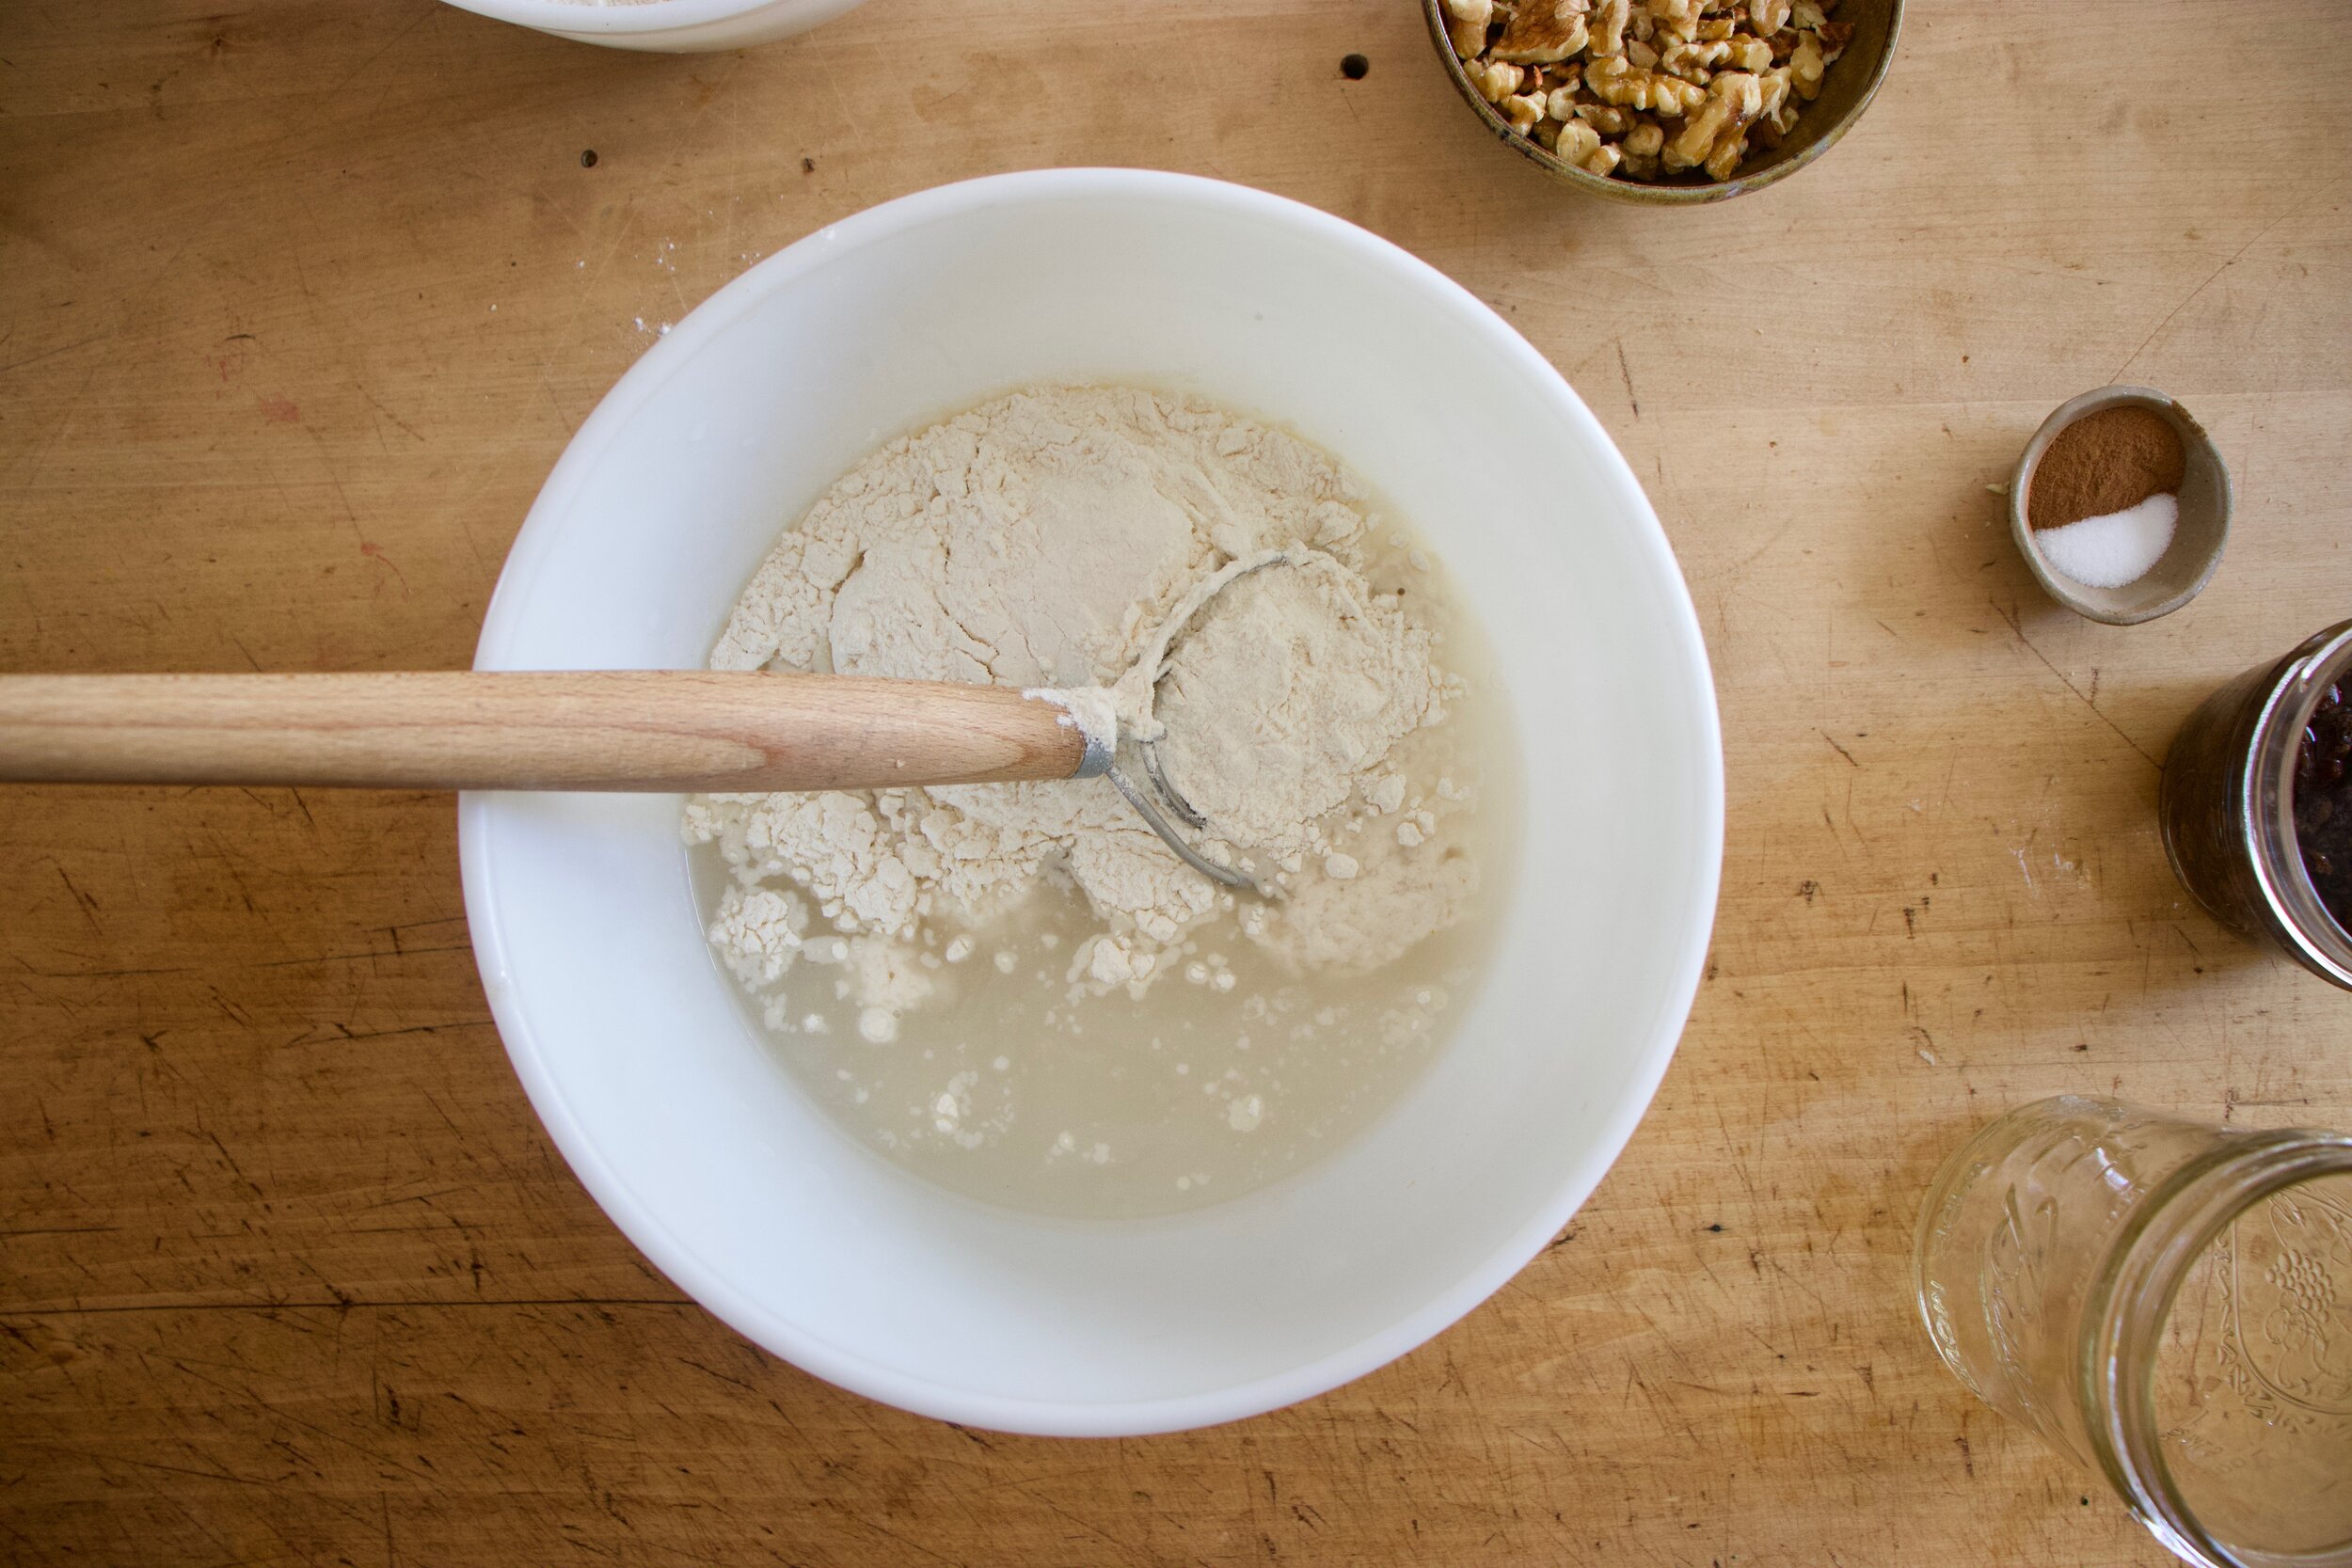
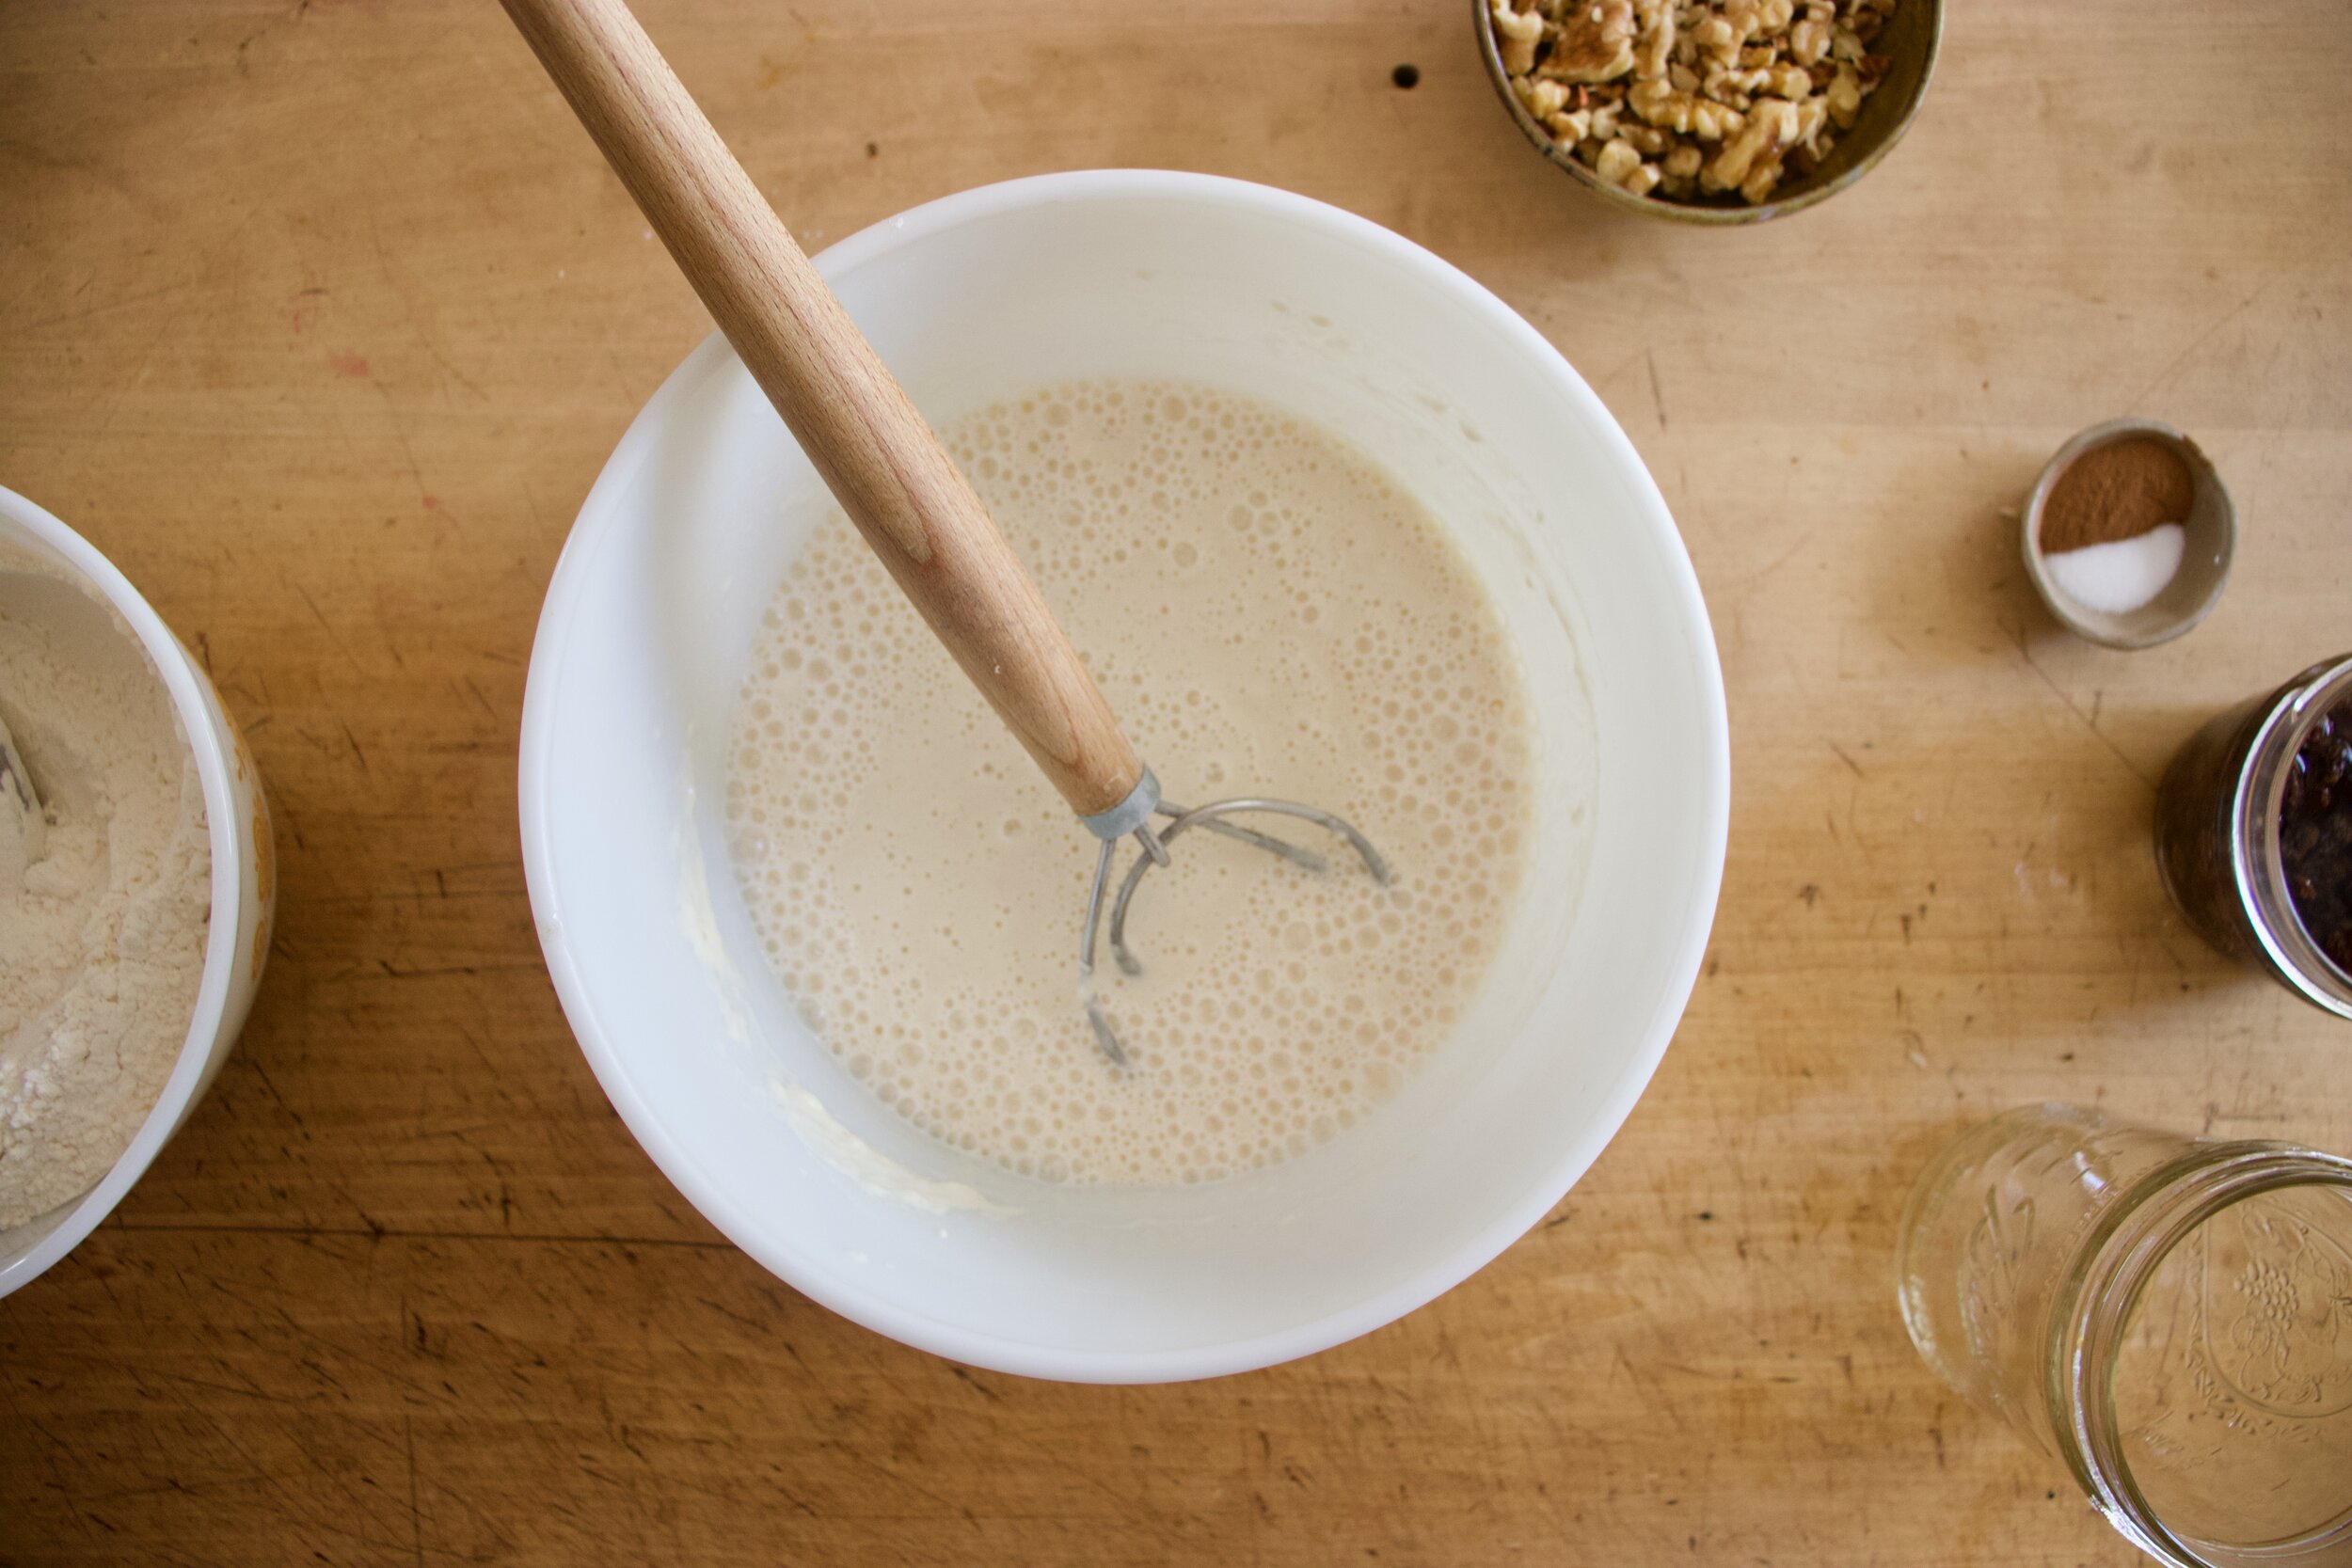
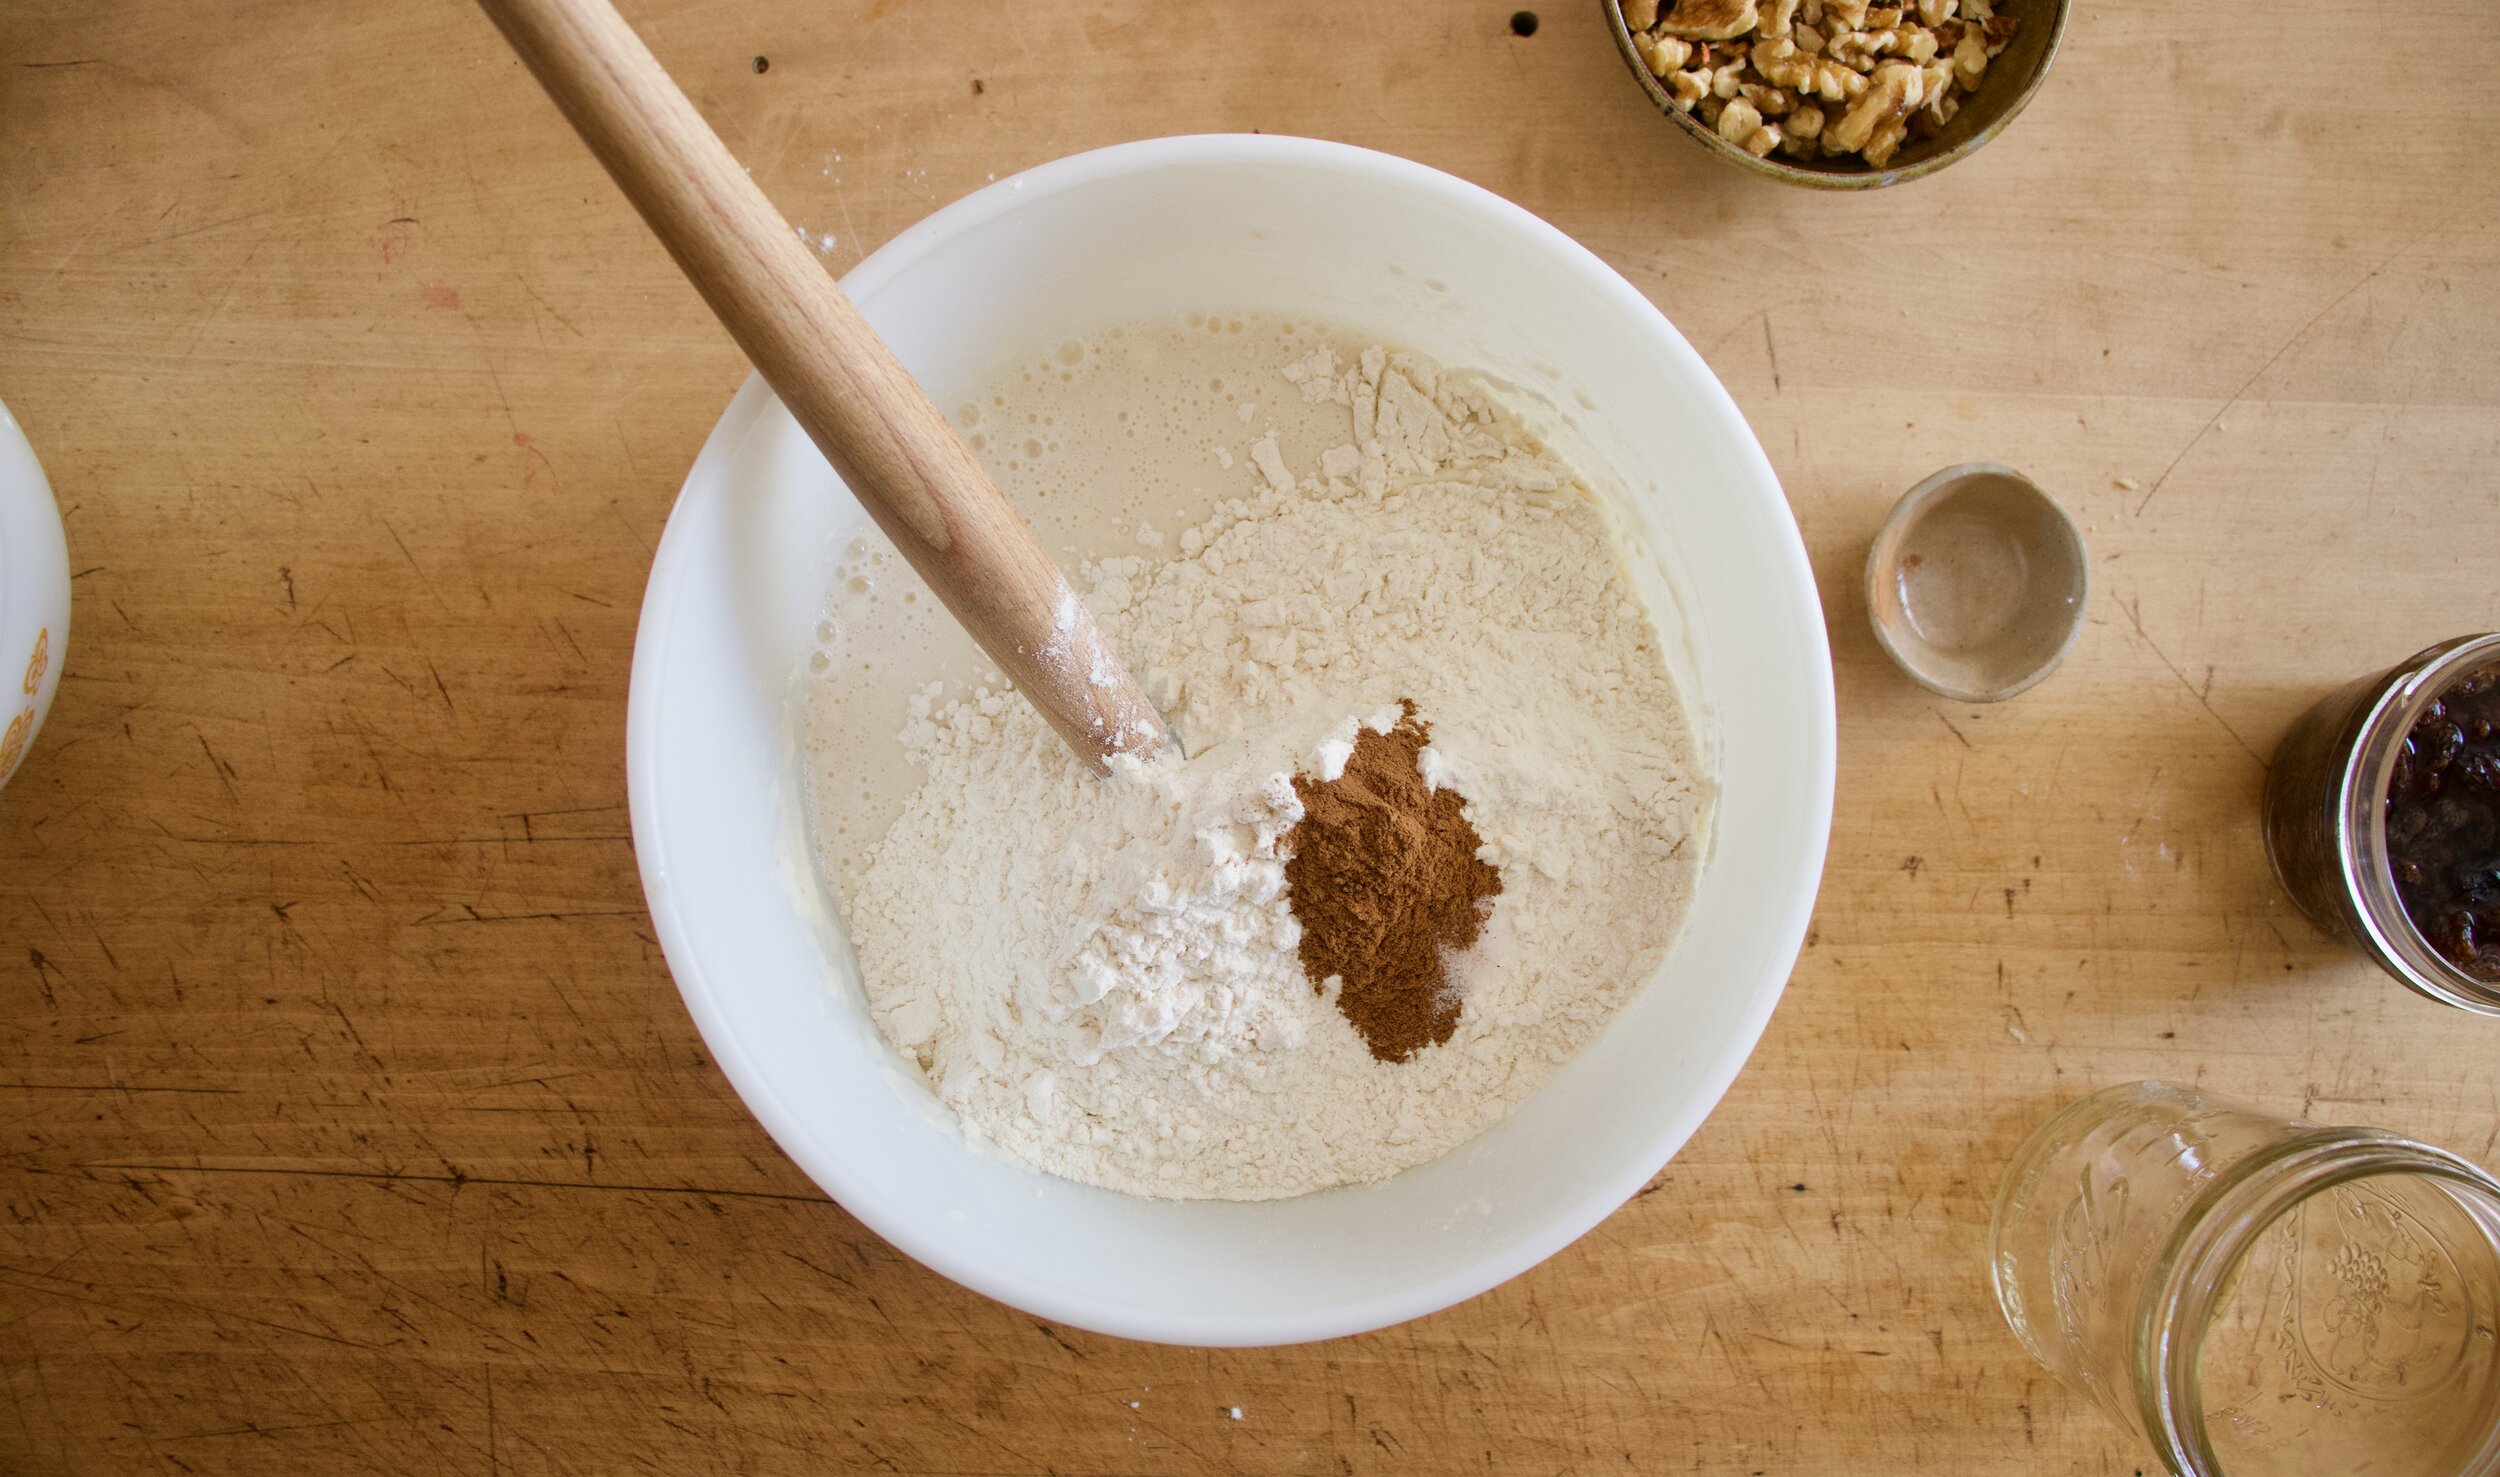
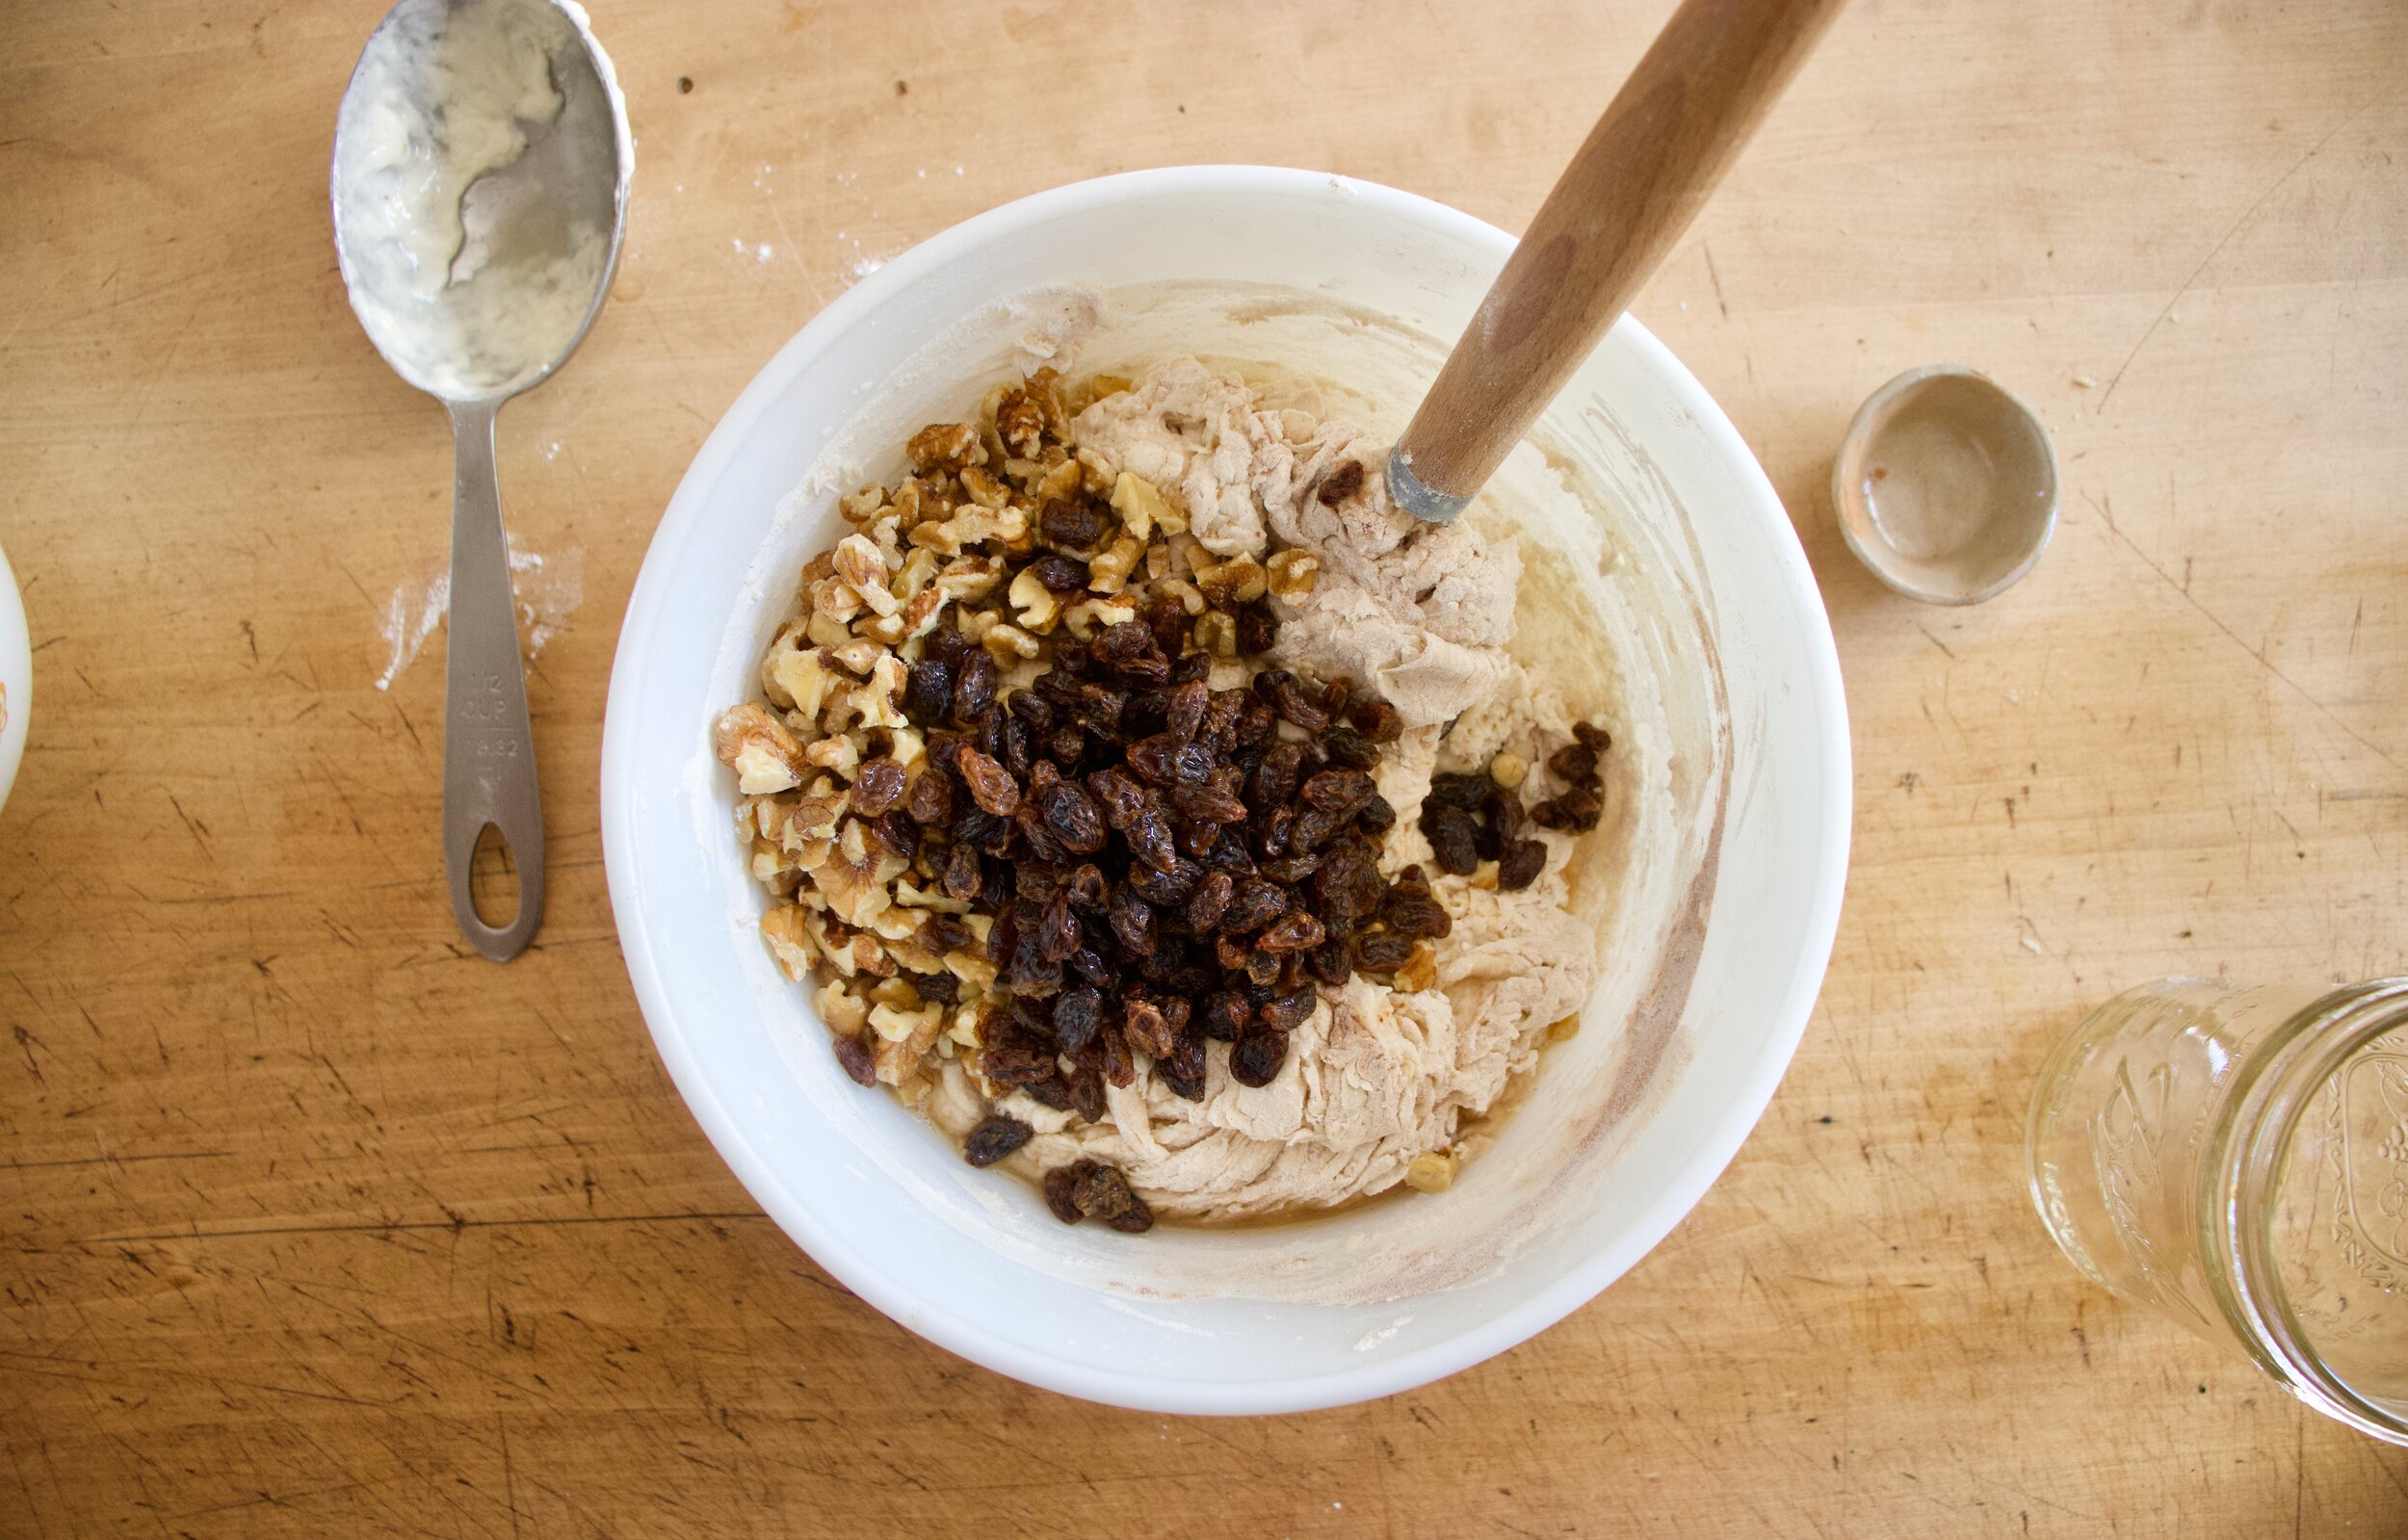
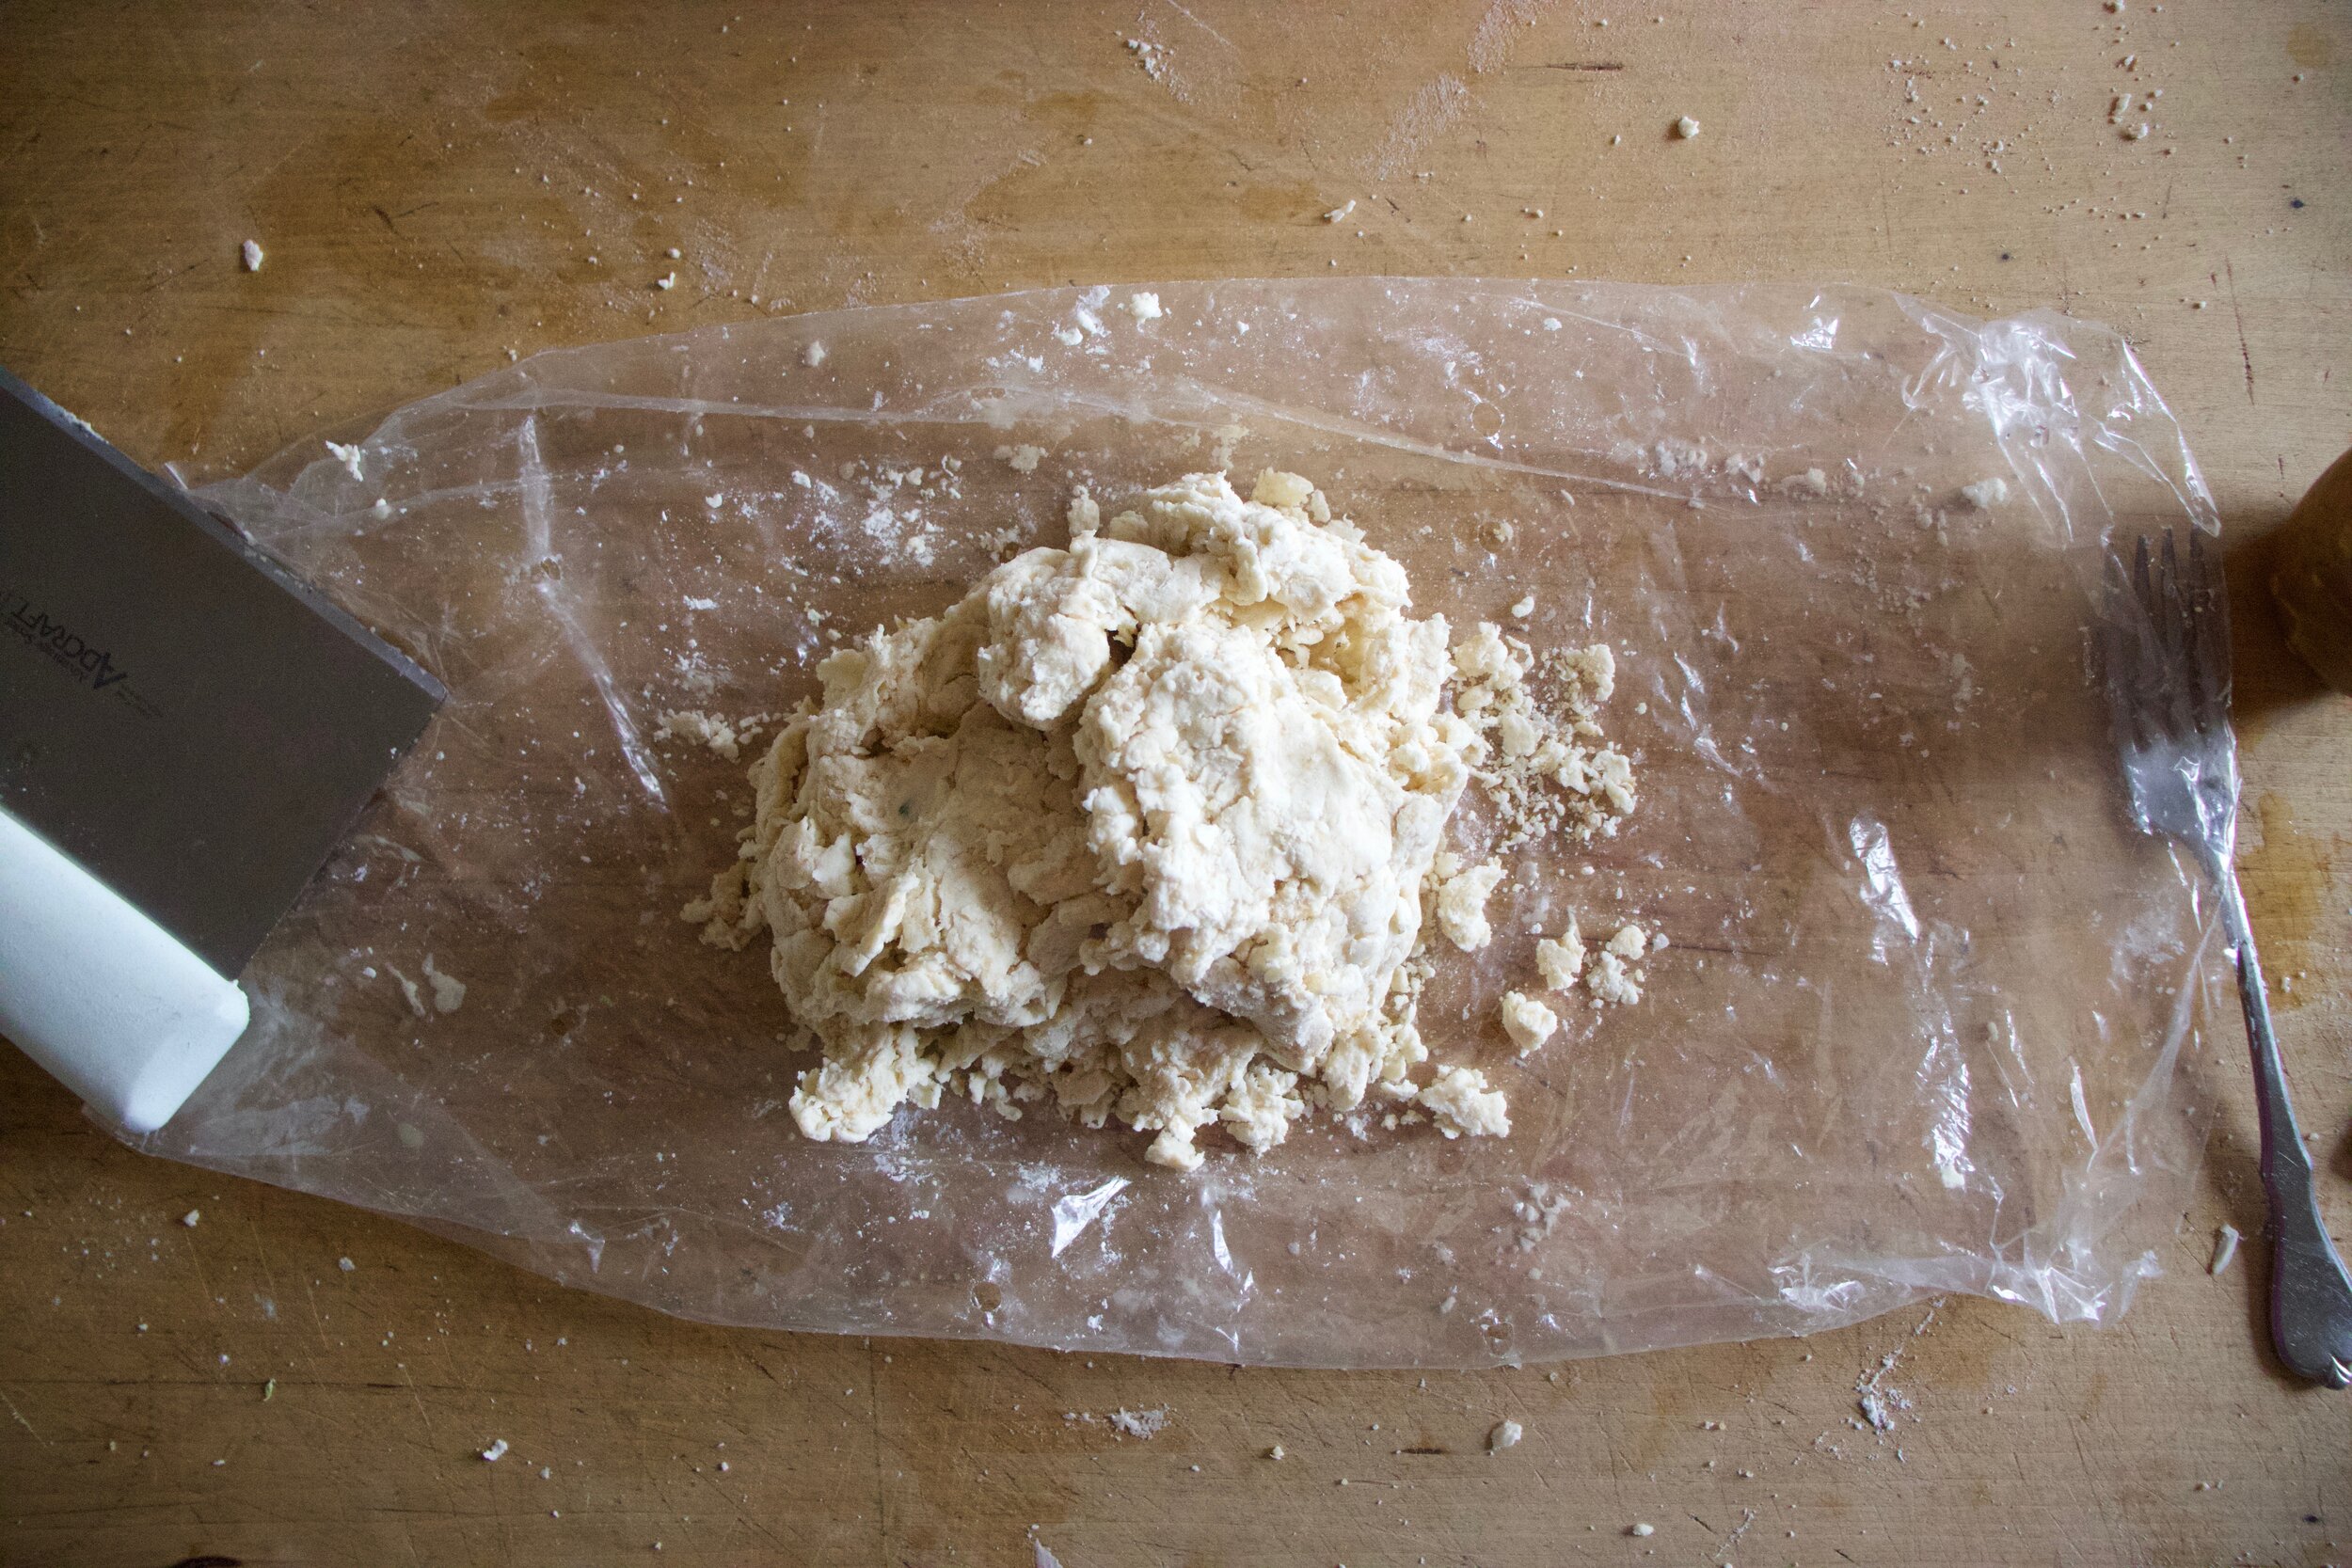
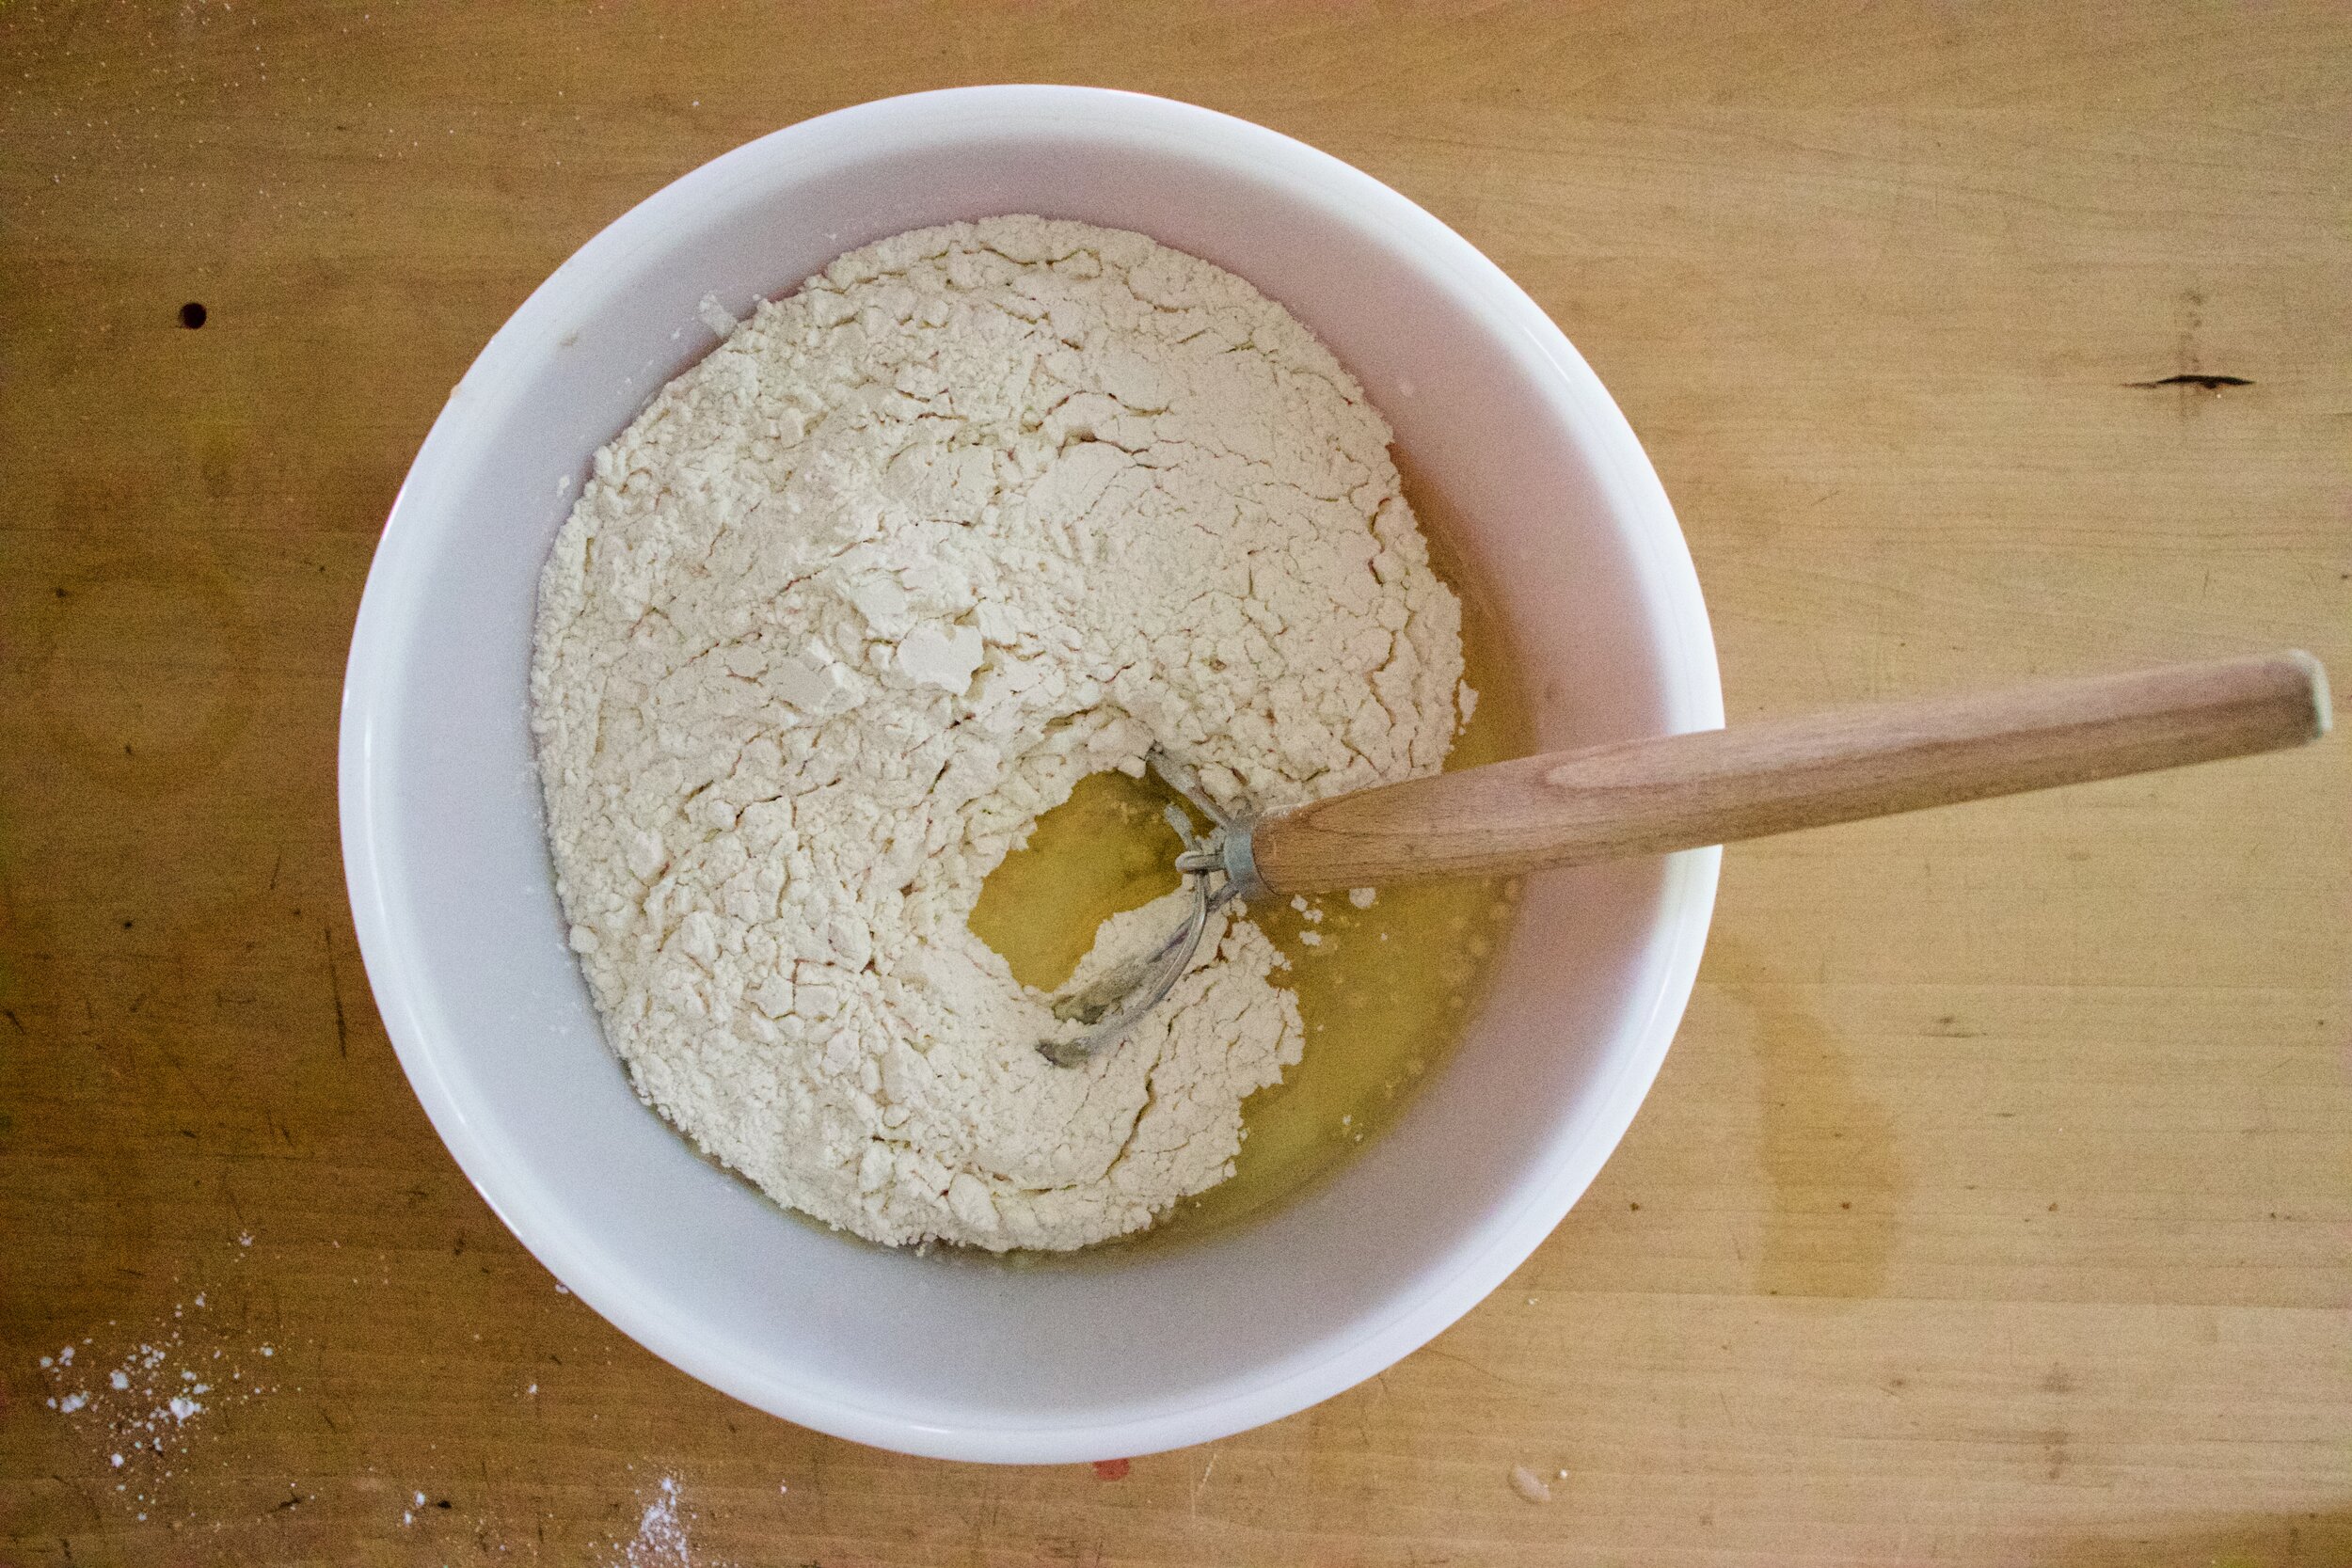
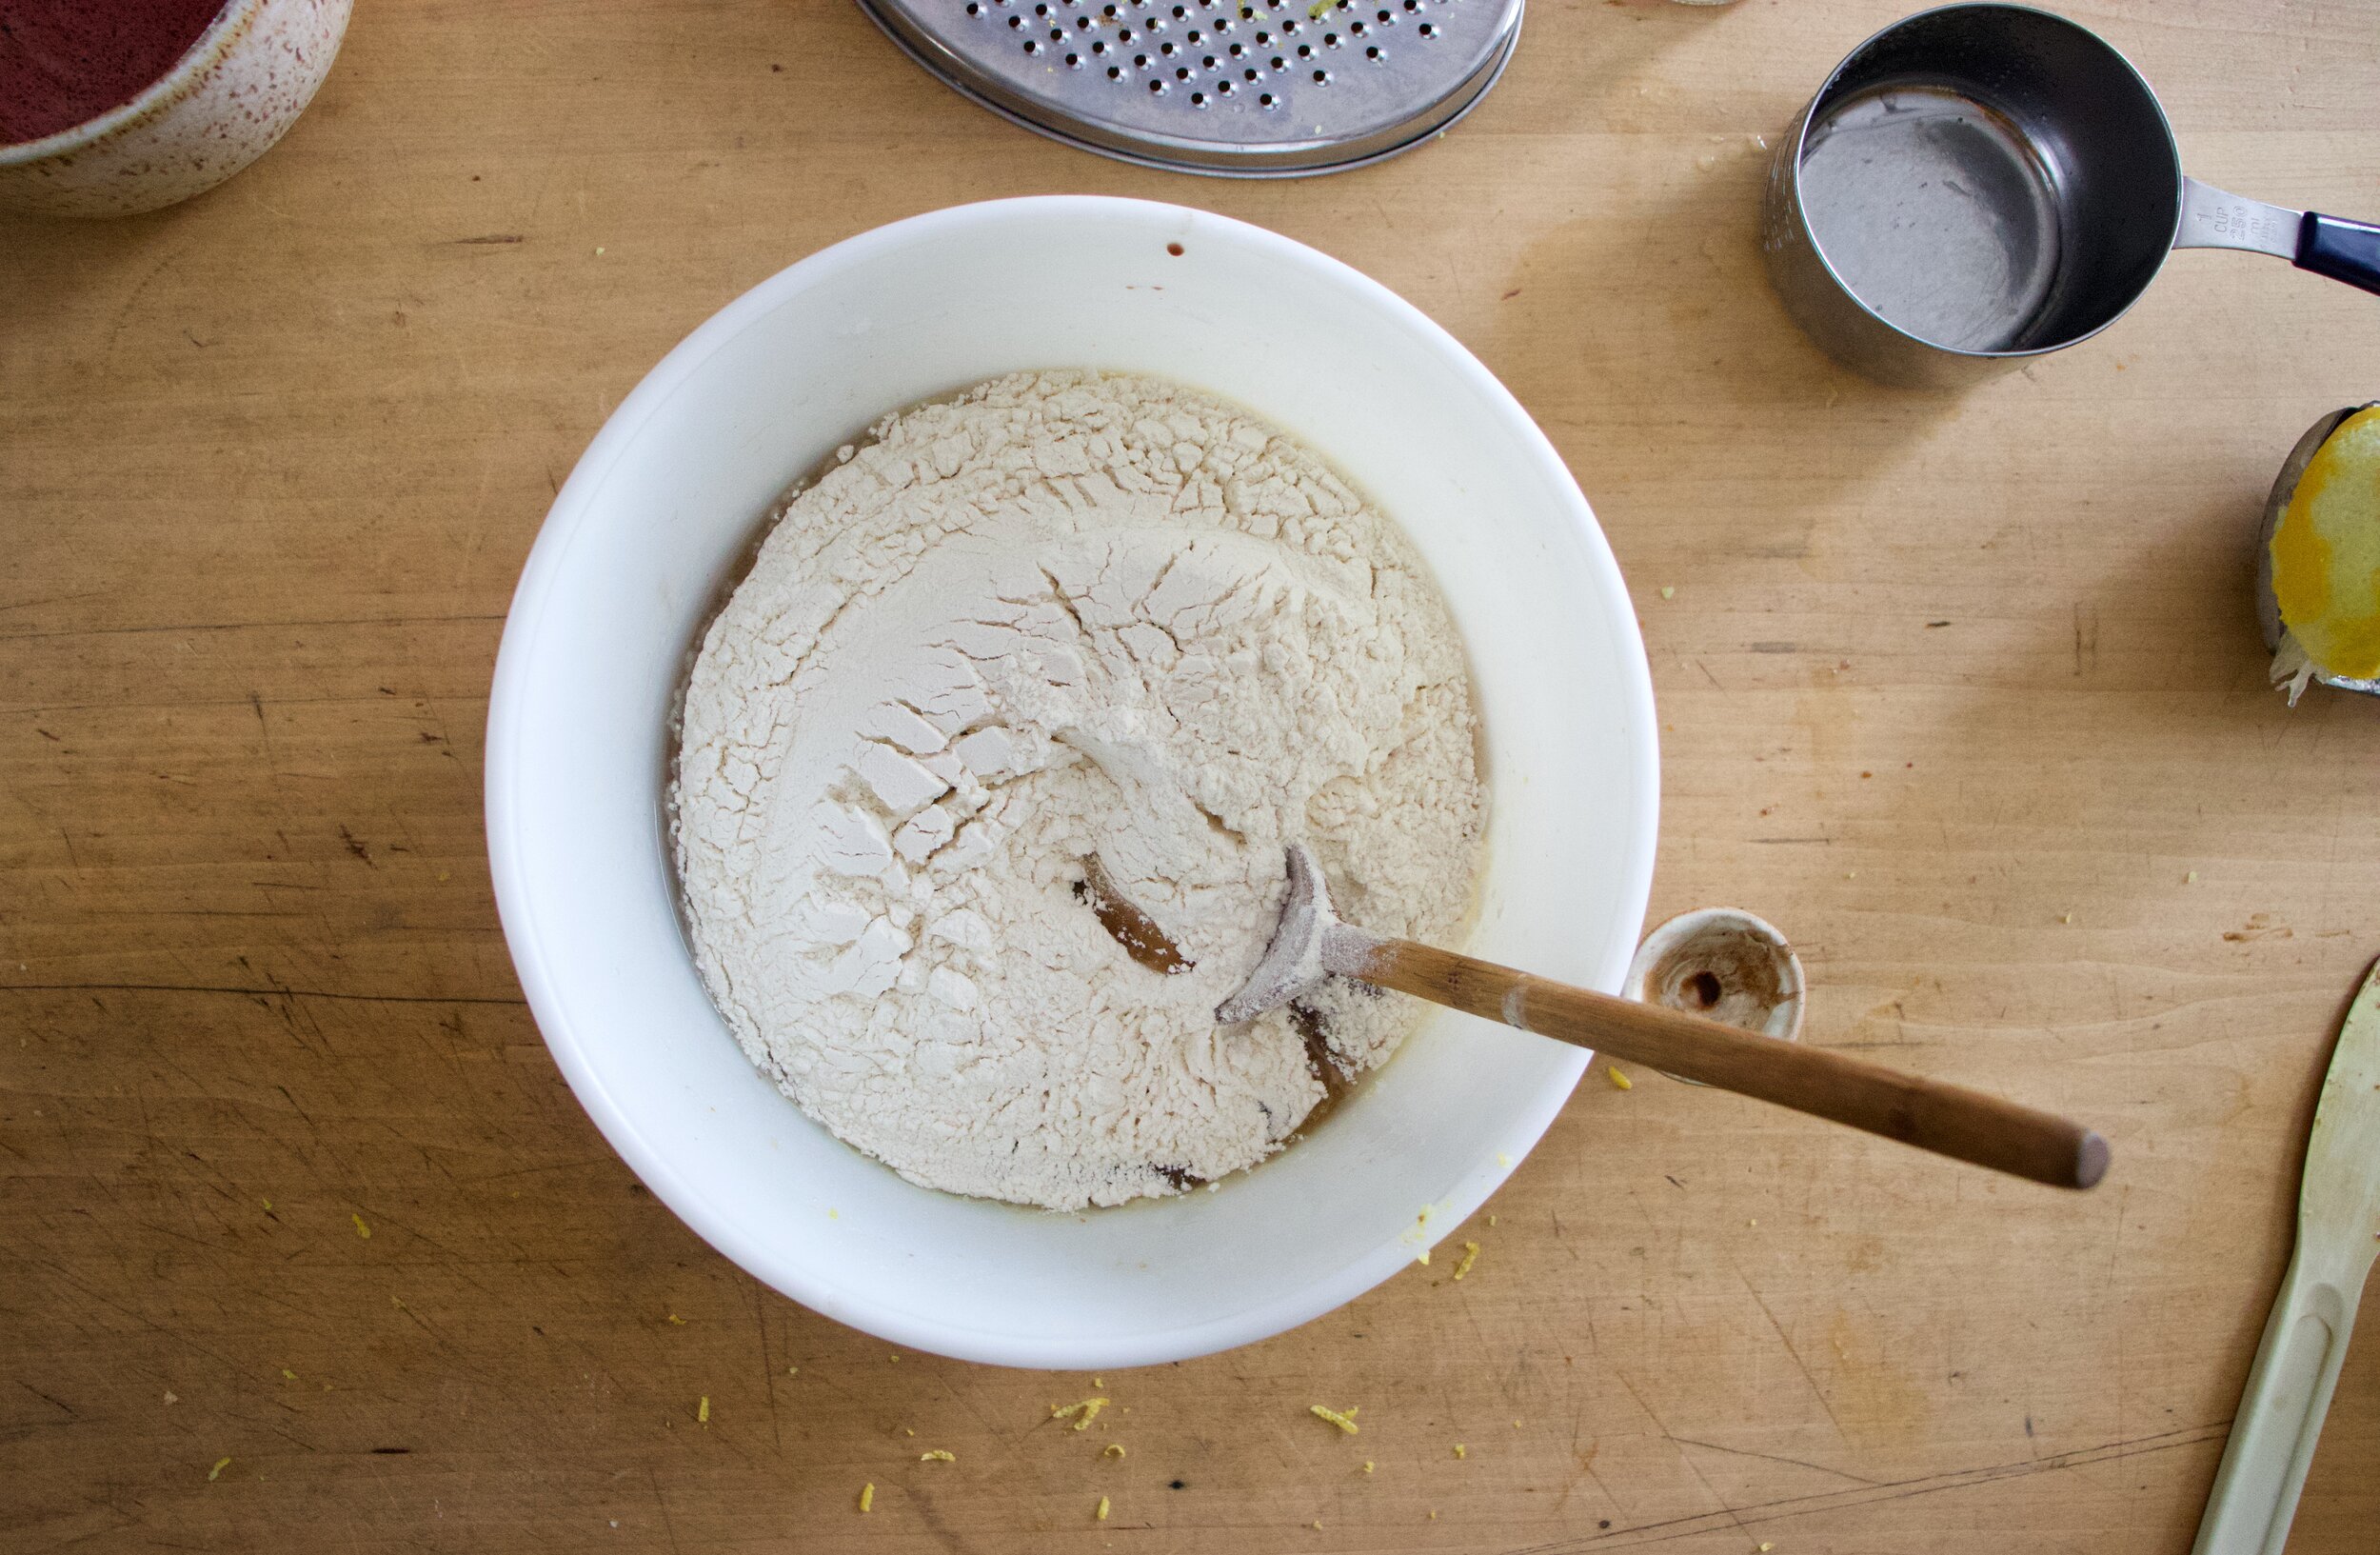
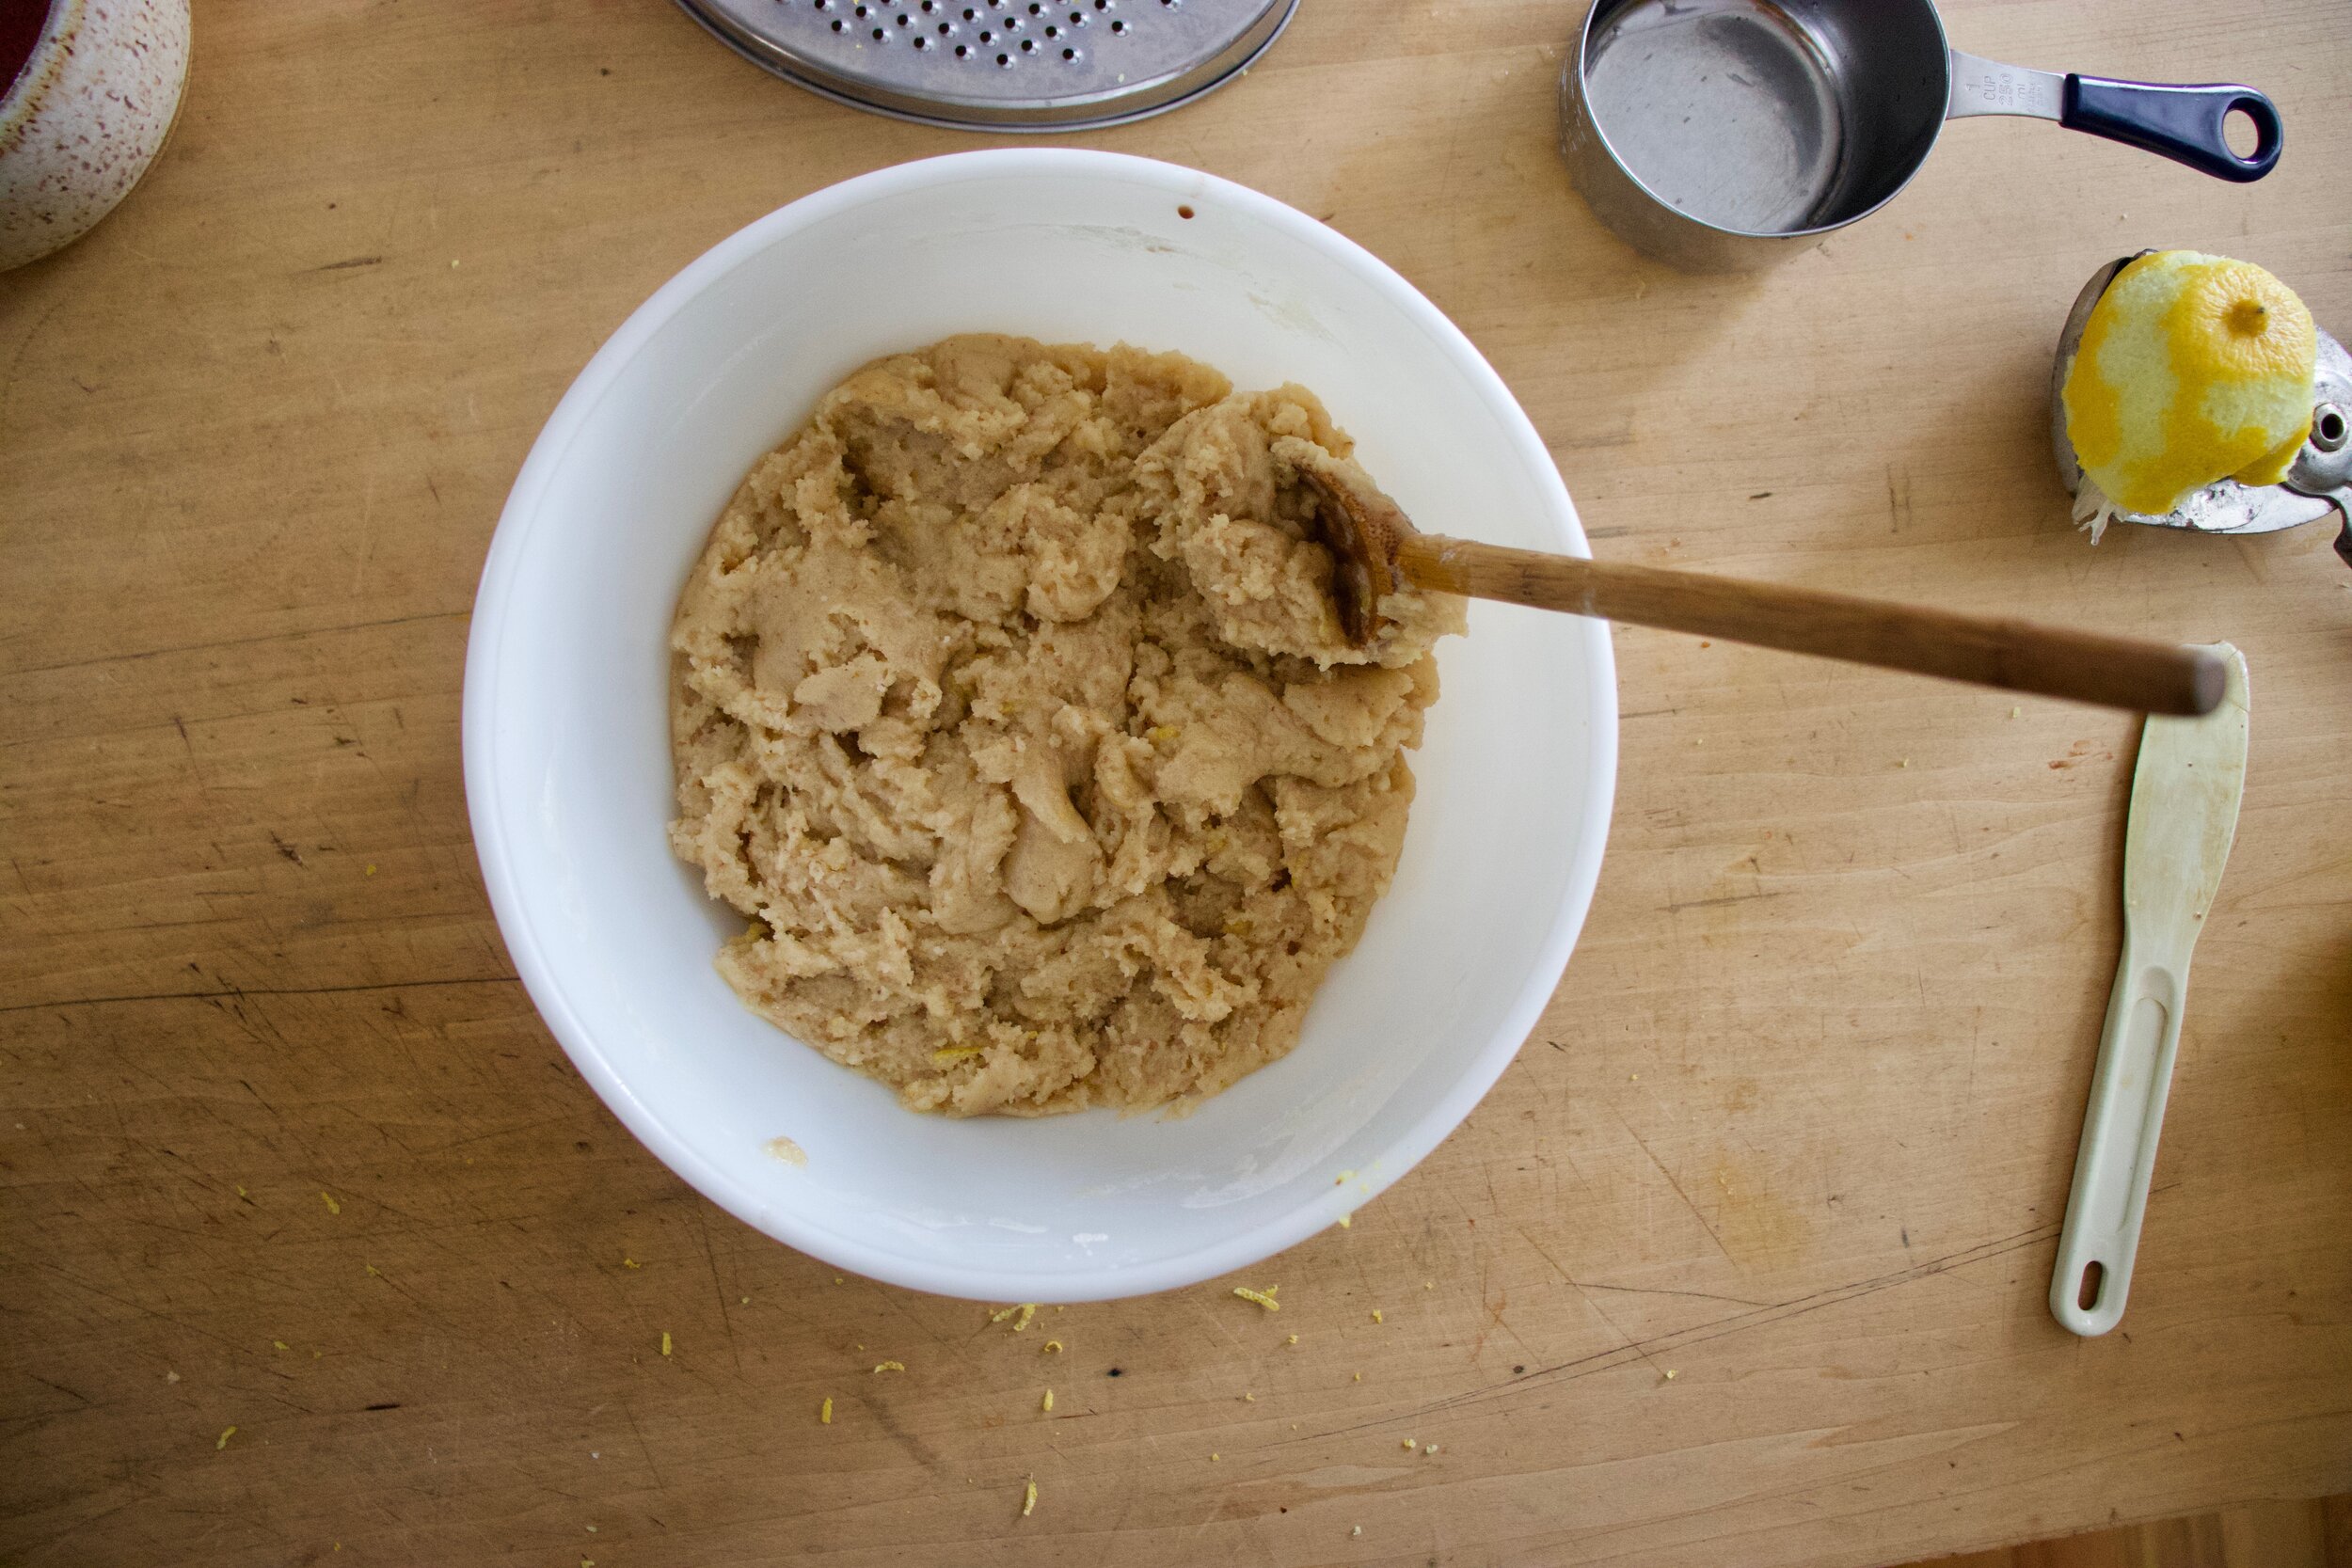
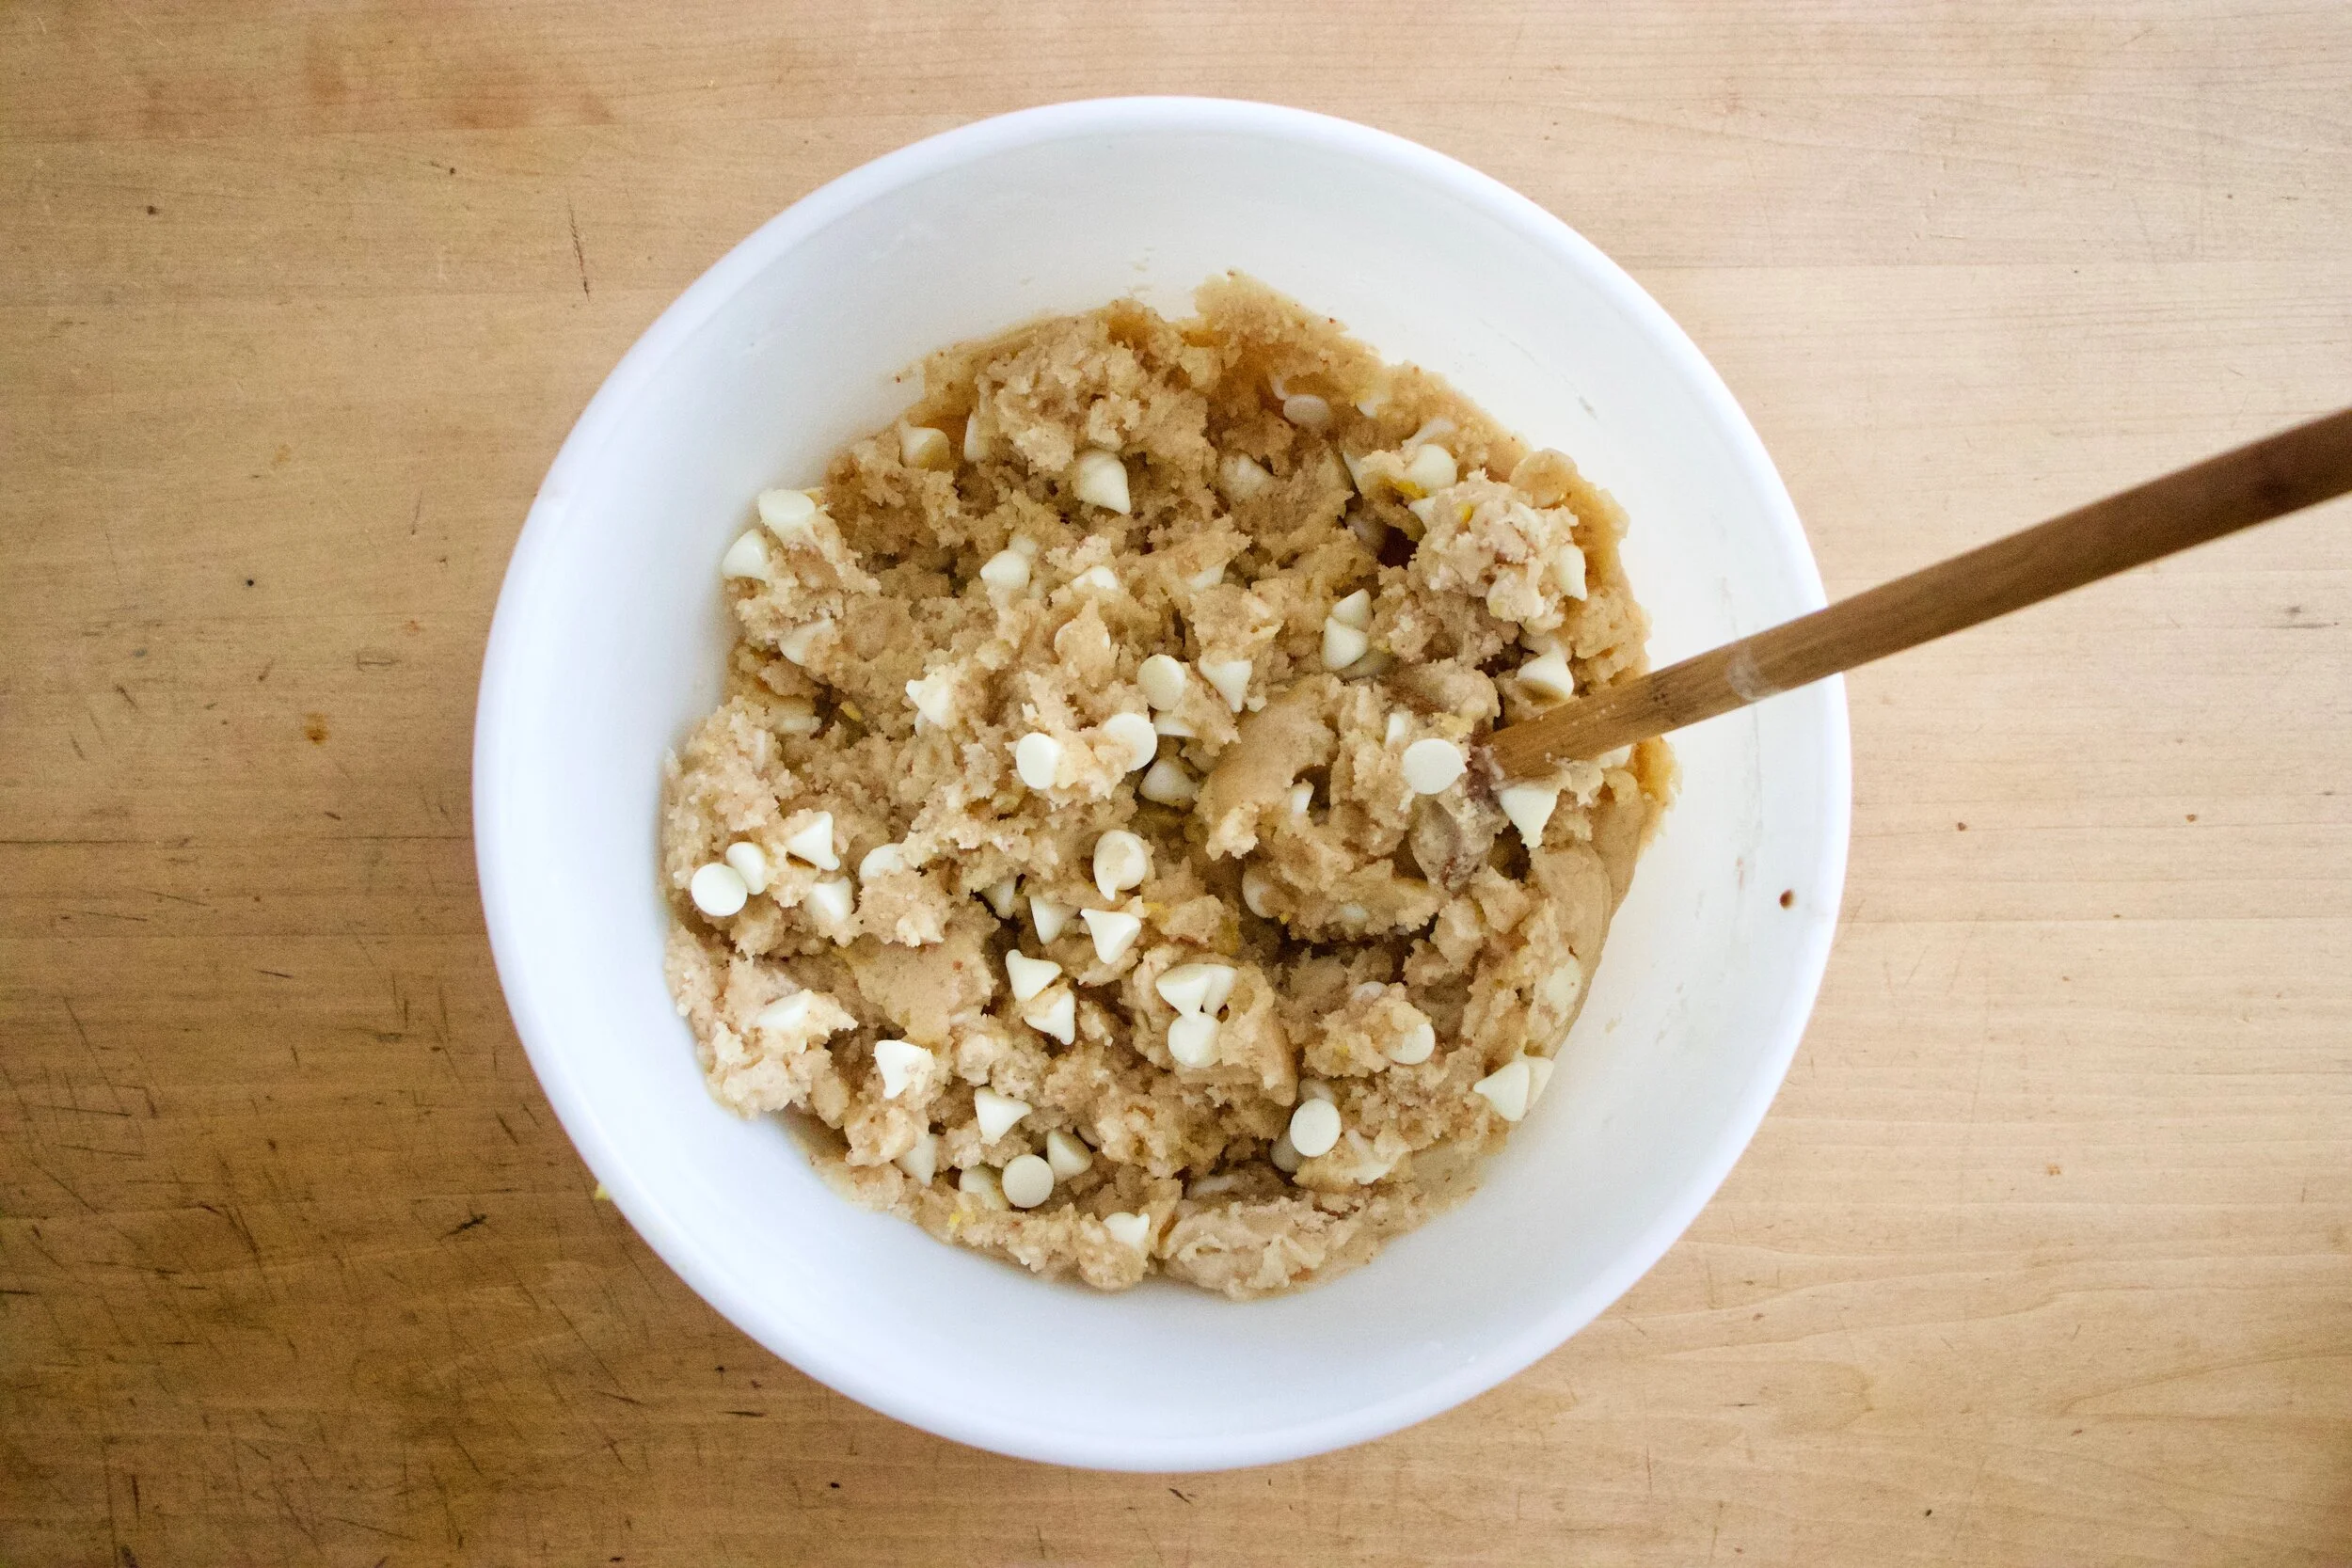
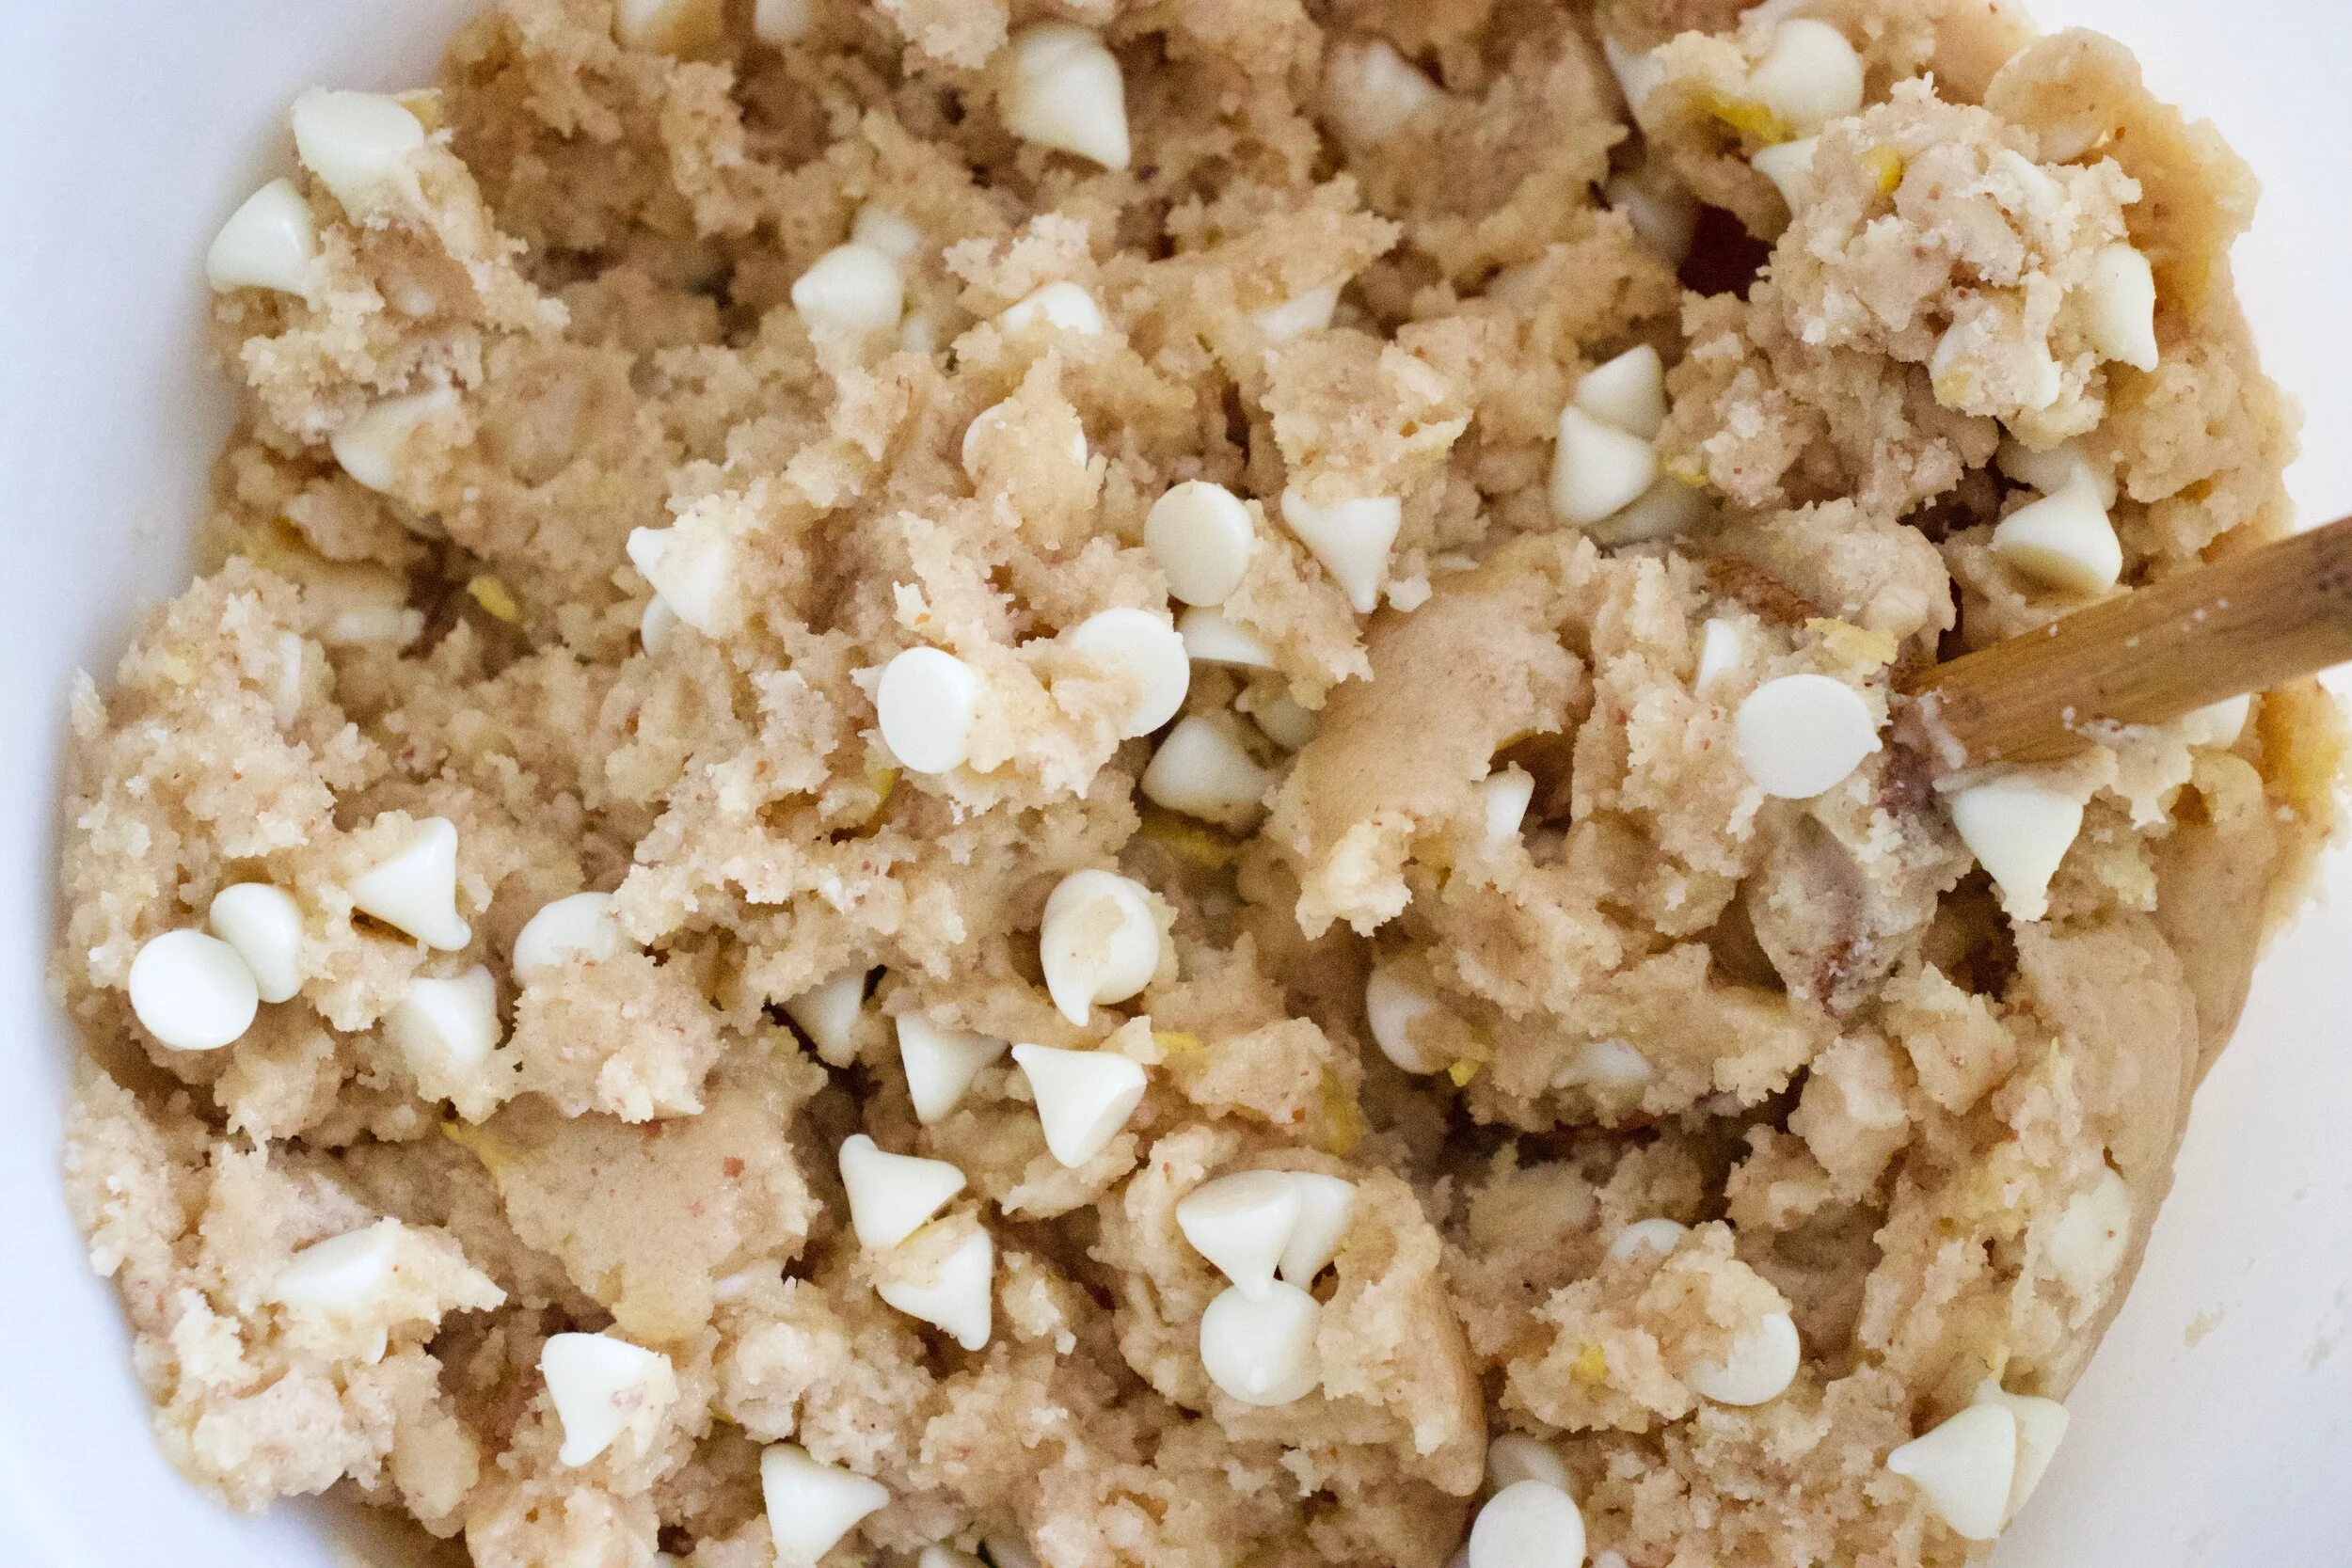
Make the dough. Stain the water from the raisins into a big bowl and add the rest of the water, along with the starter and a little flour. Mix until incorporated. Add in the salt, cinnamon, and rest of flour and mix until all the dry is mixed into wet you have a shaggy wet dough. Add in the raisins and walnuts and mix until incorporated.

IMG_3820.jpg

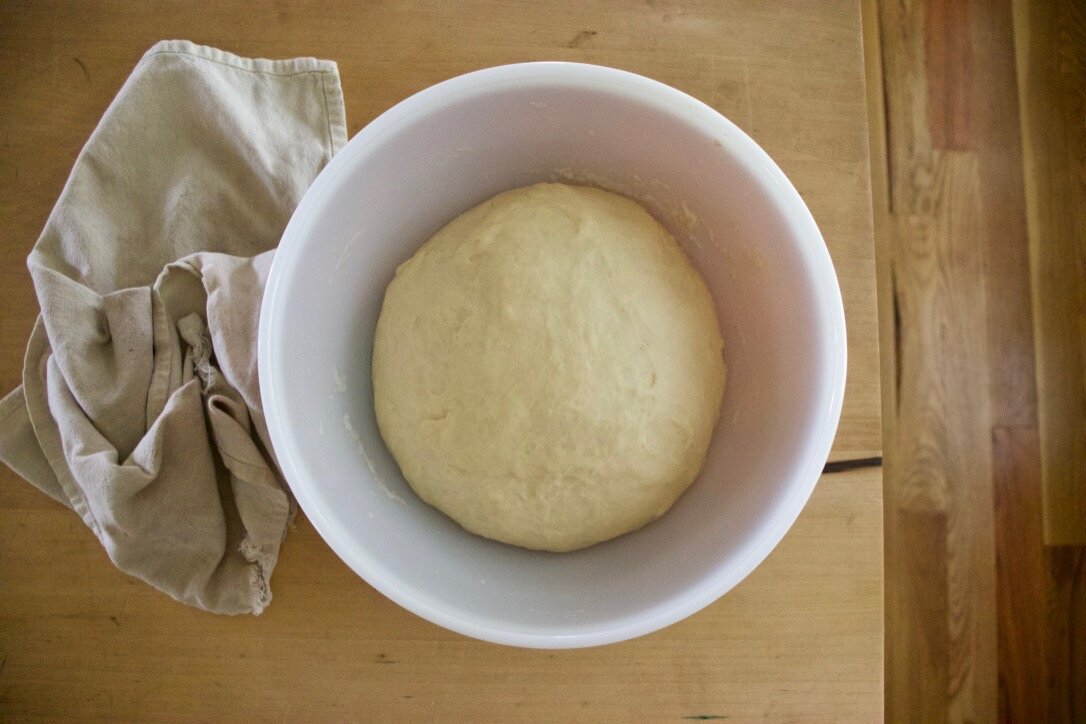
All mixed and ready to rest. Scrap sides of bowl and cover. Place In a warm spot for a couple hours.

IMG_3850.jpg

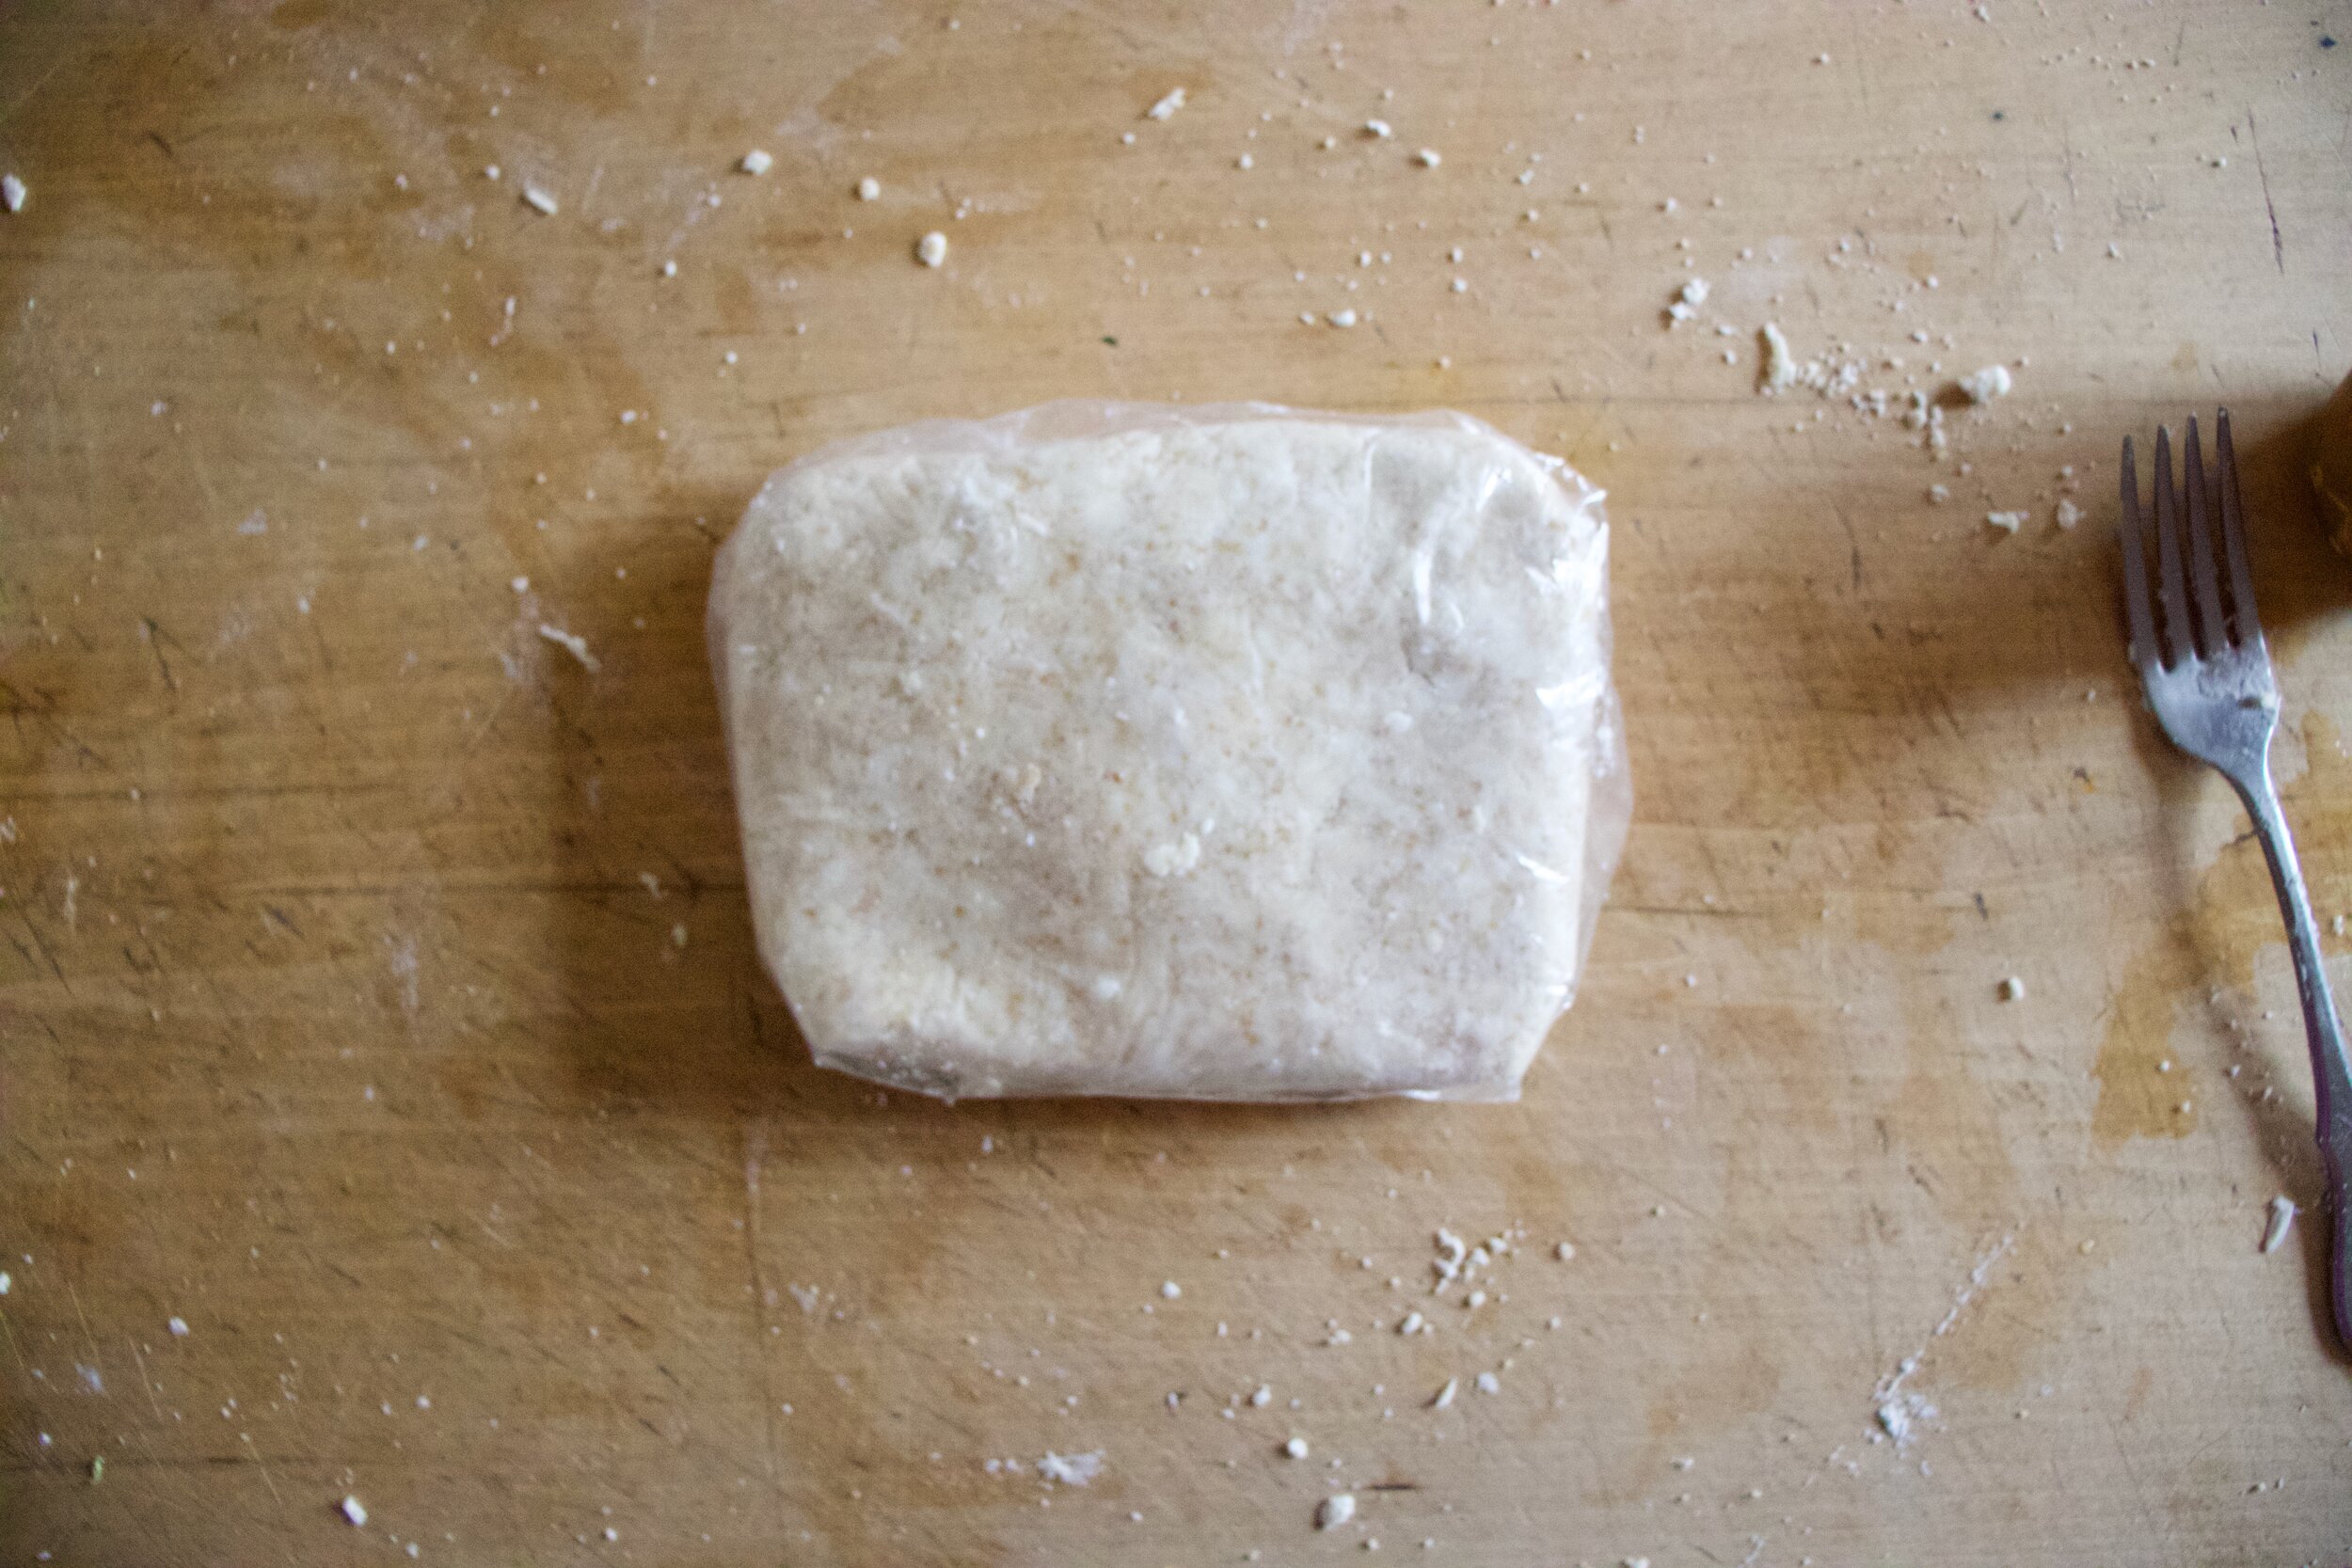
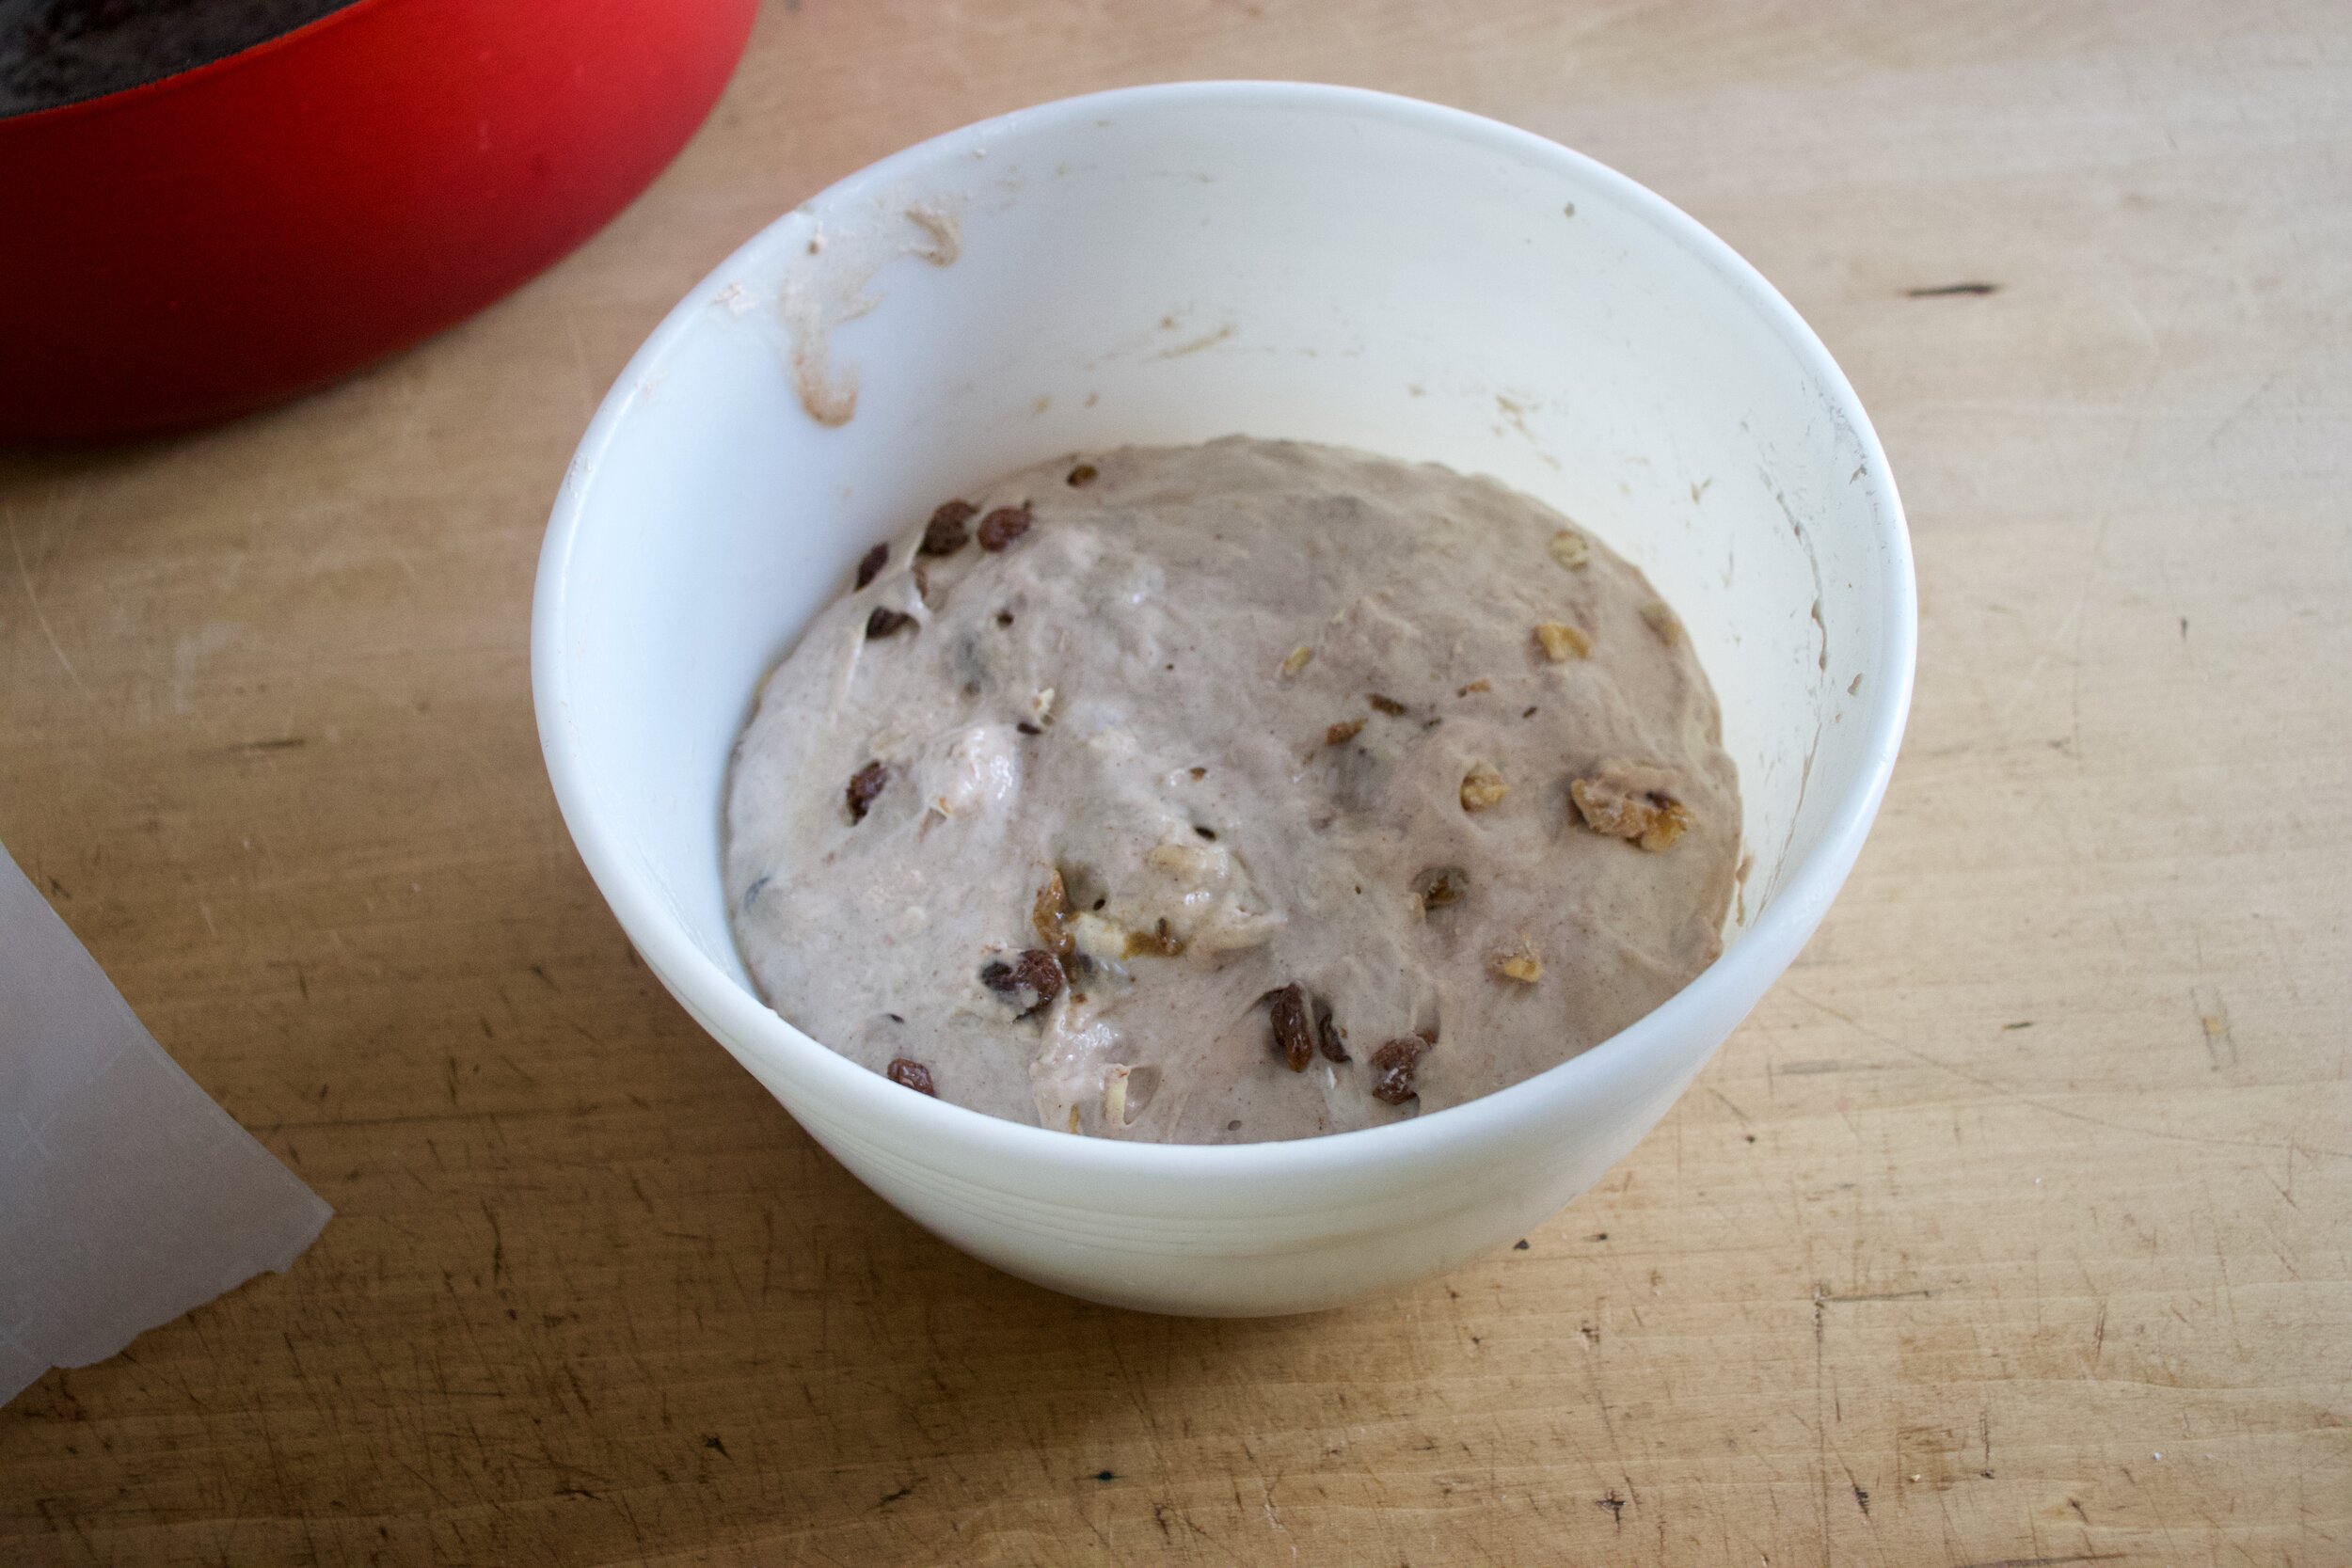
After about 2 hours, the dough hasn’t done much rising but that is what is suppose to happen. Take a damp hand and fold dough over itself a few times then cover ( with plastic or a silicon bowl topper) and place dough into fridge. Leave it in there over night. (at least 10 hours or for up to a week)

IMG_3861.jpg

Dough the next day. It hasn't double, but that is fine.

IMG_3866.jpg
IMG_3868.jpg
IMG_3872.jpg

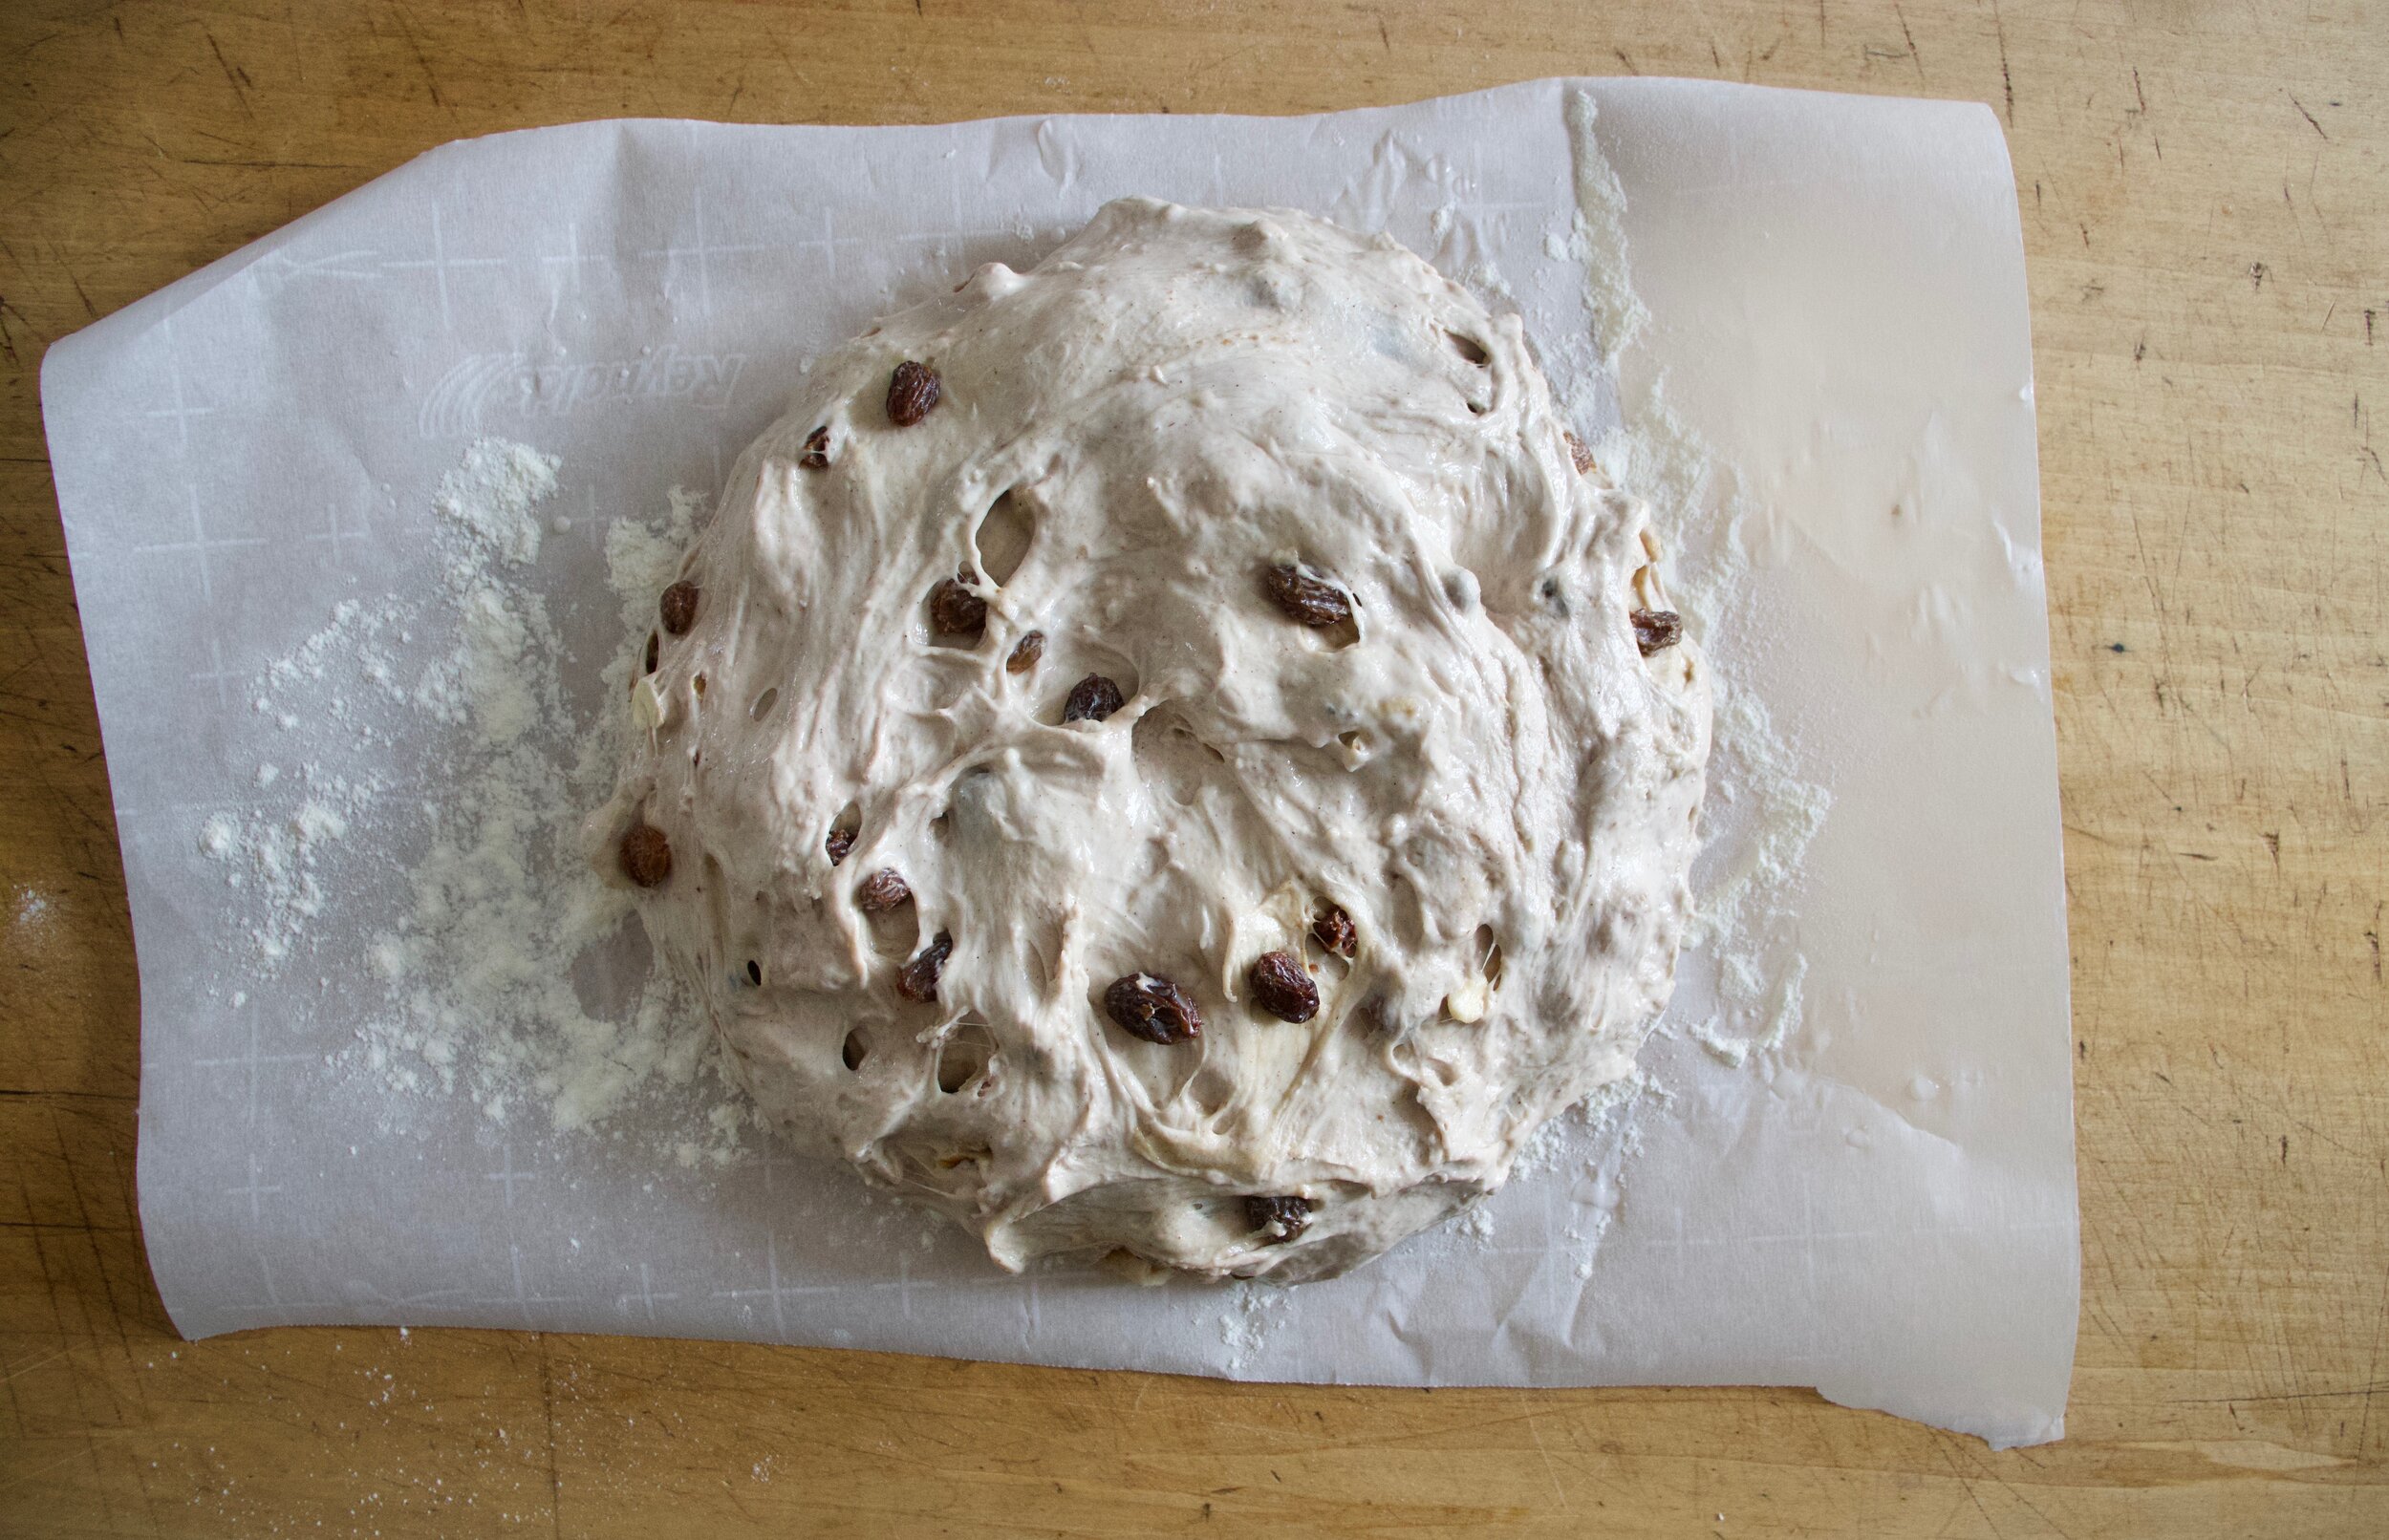
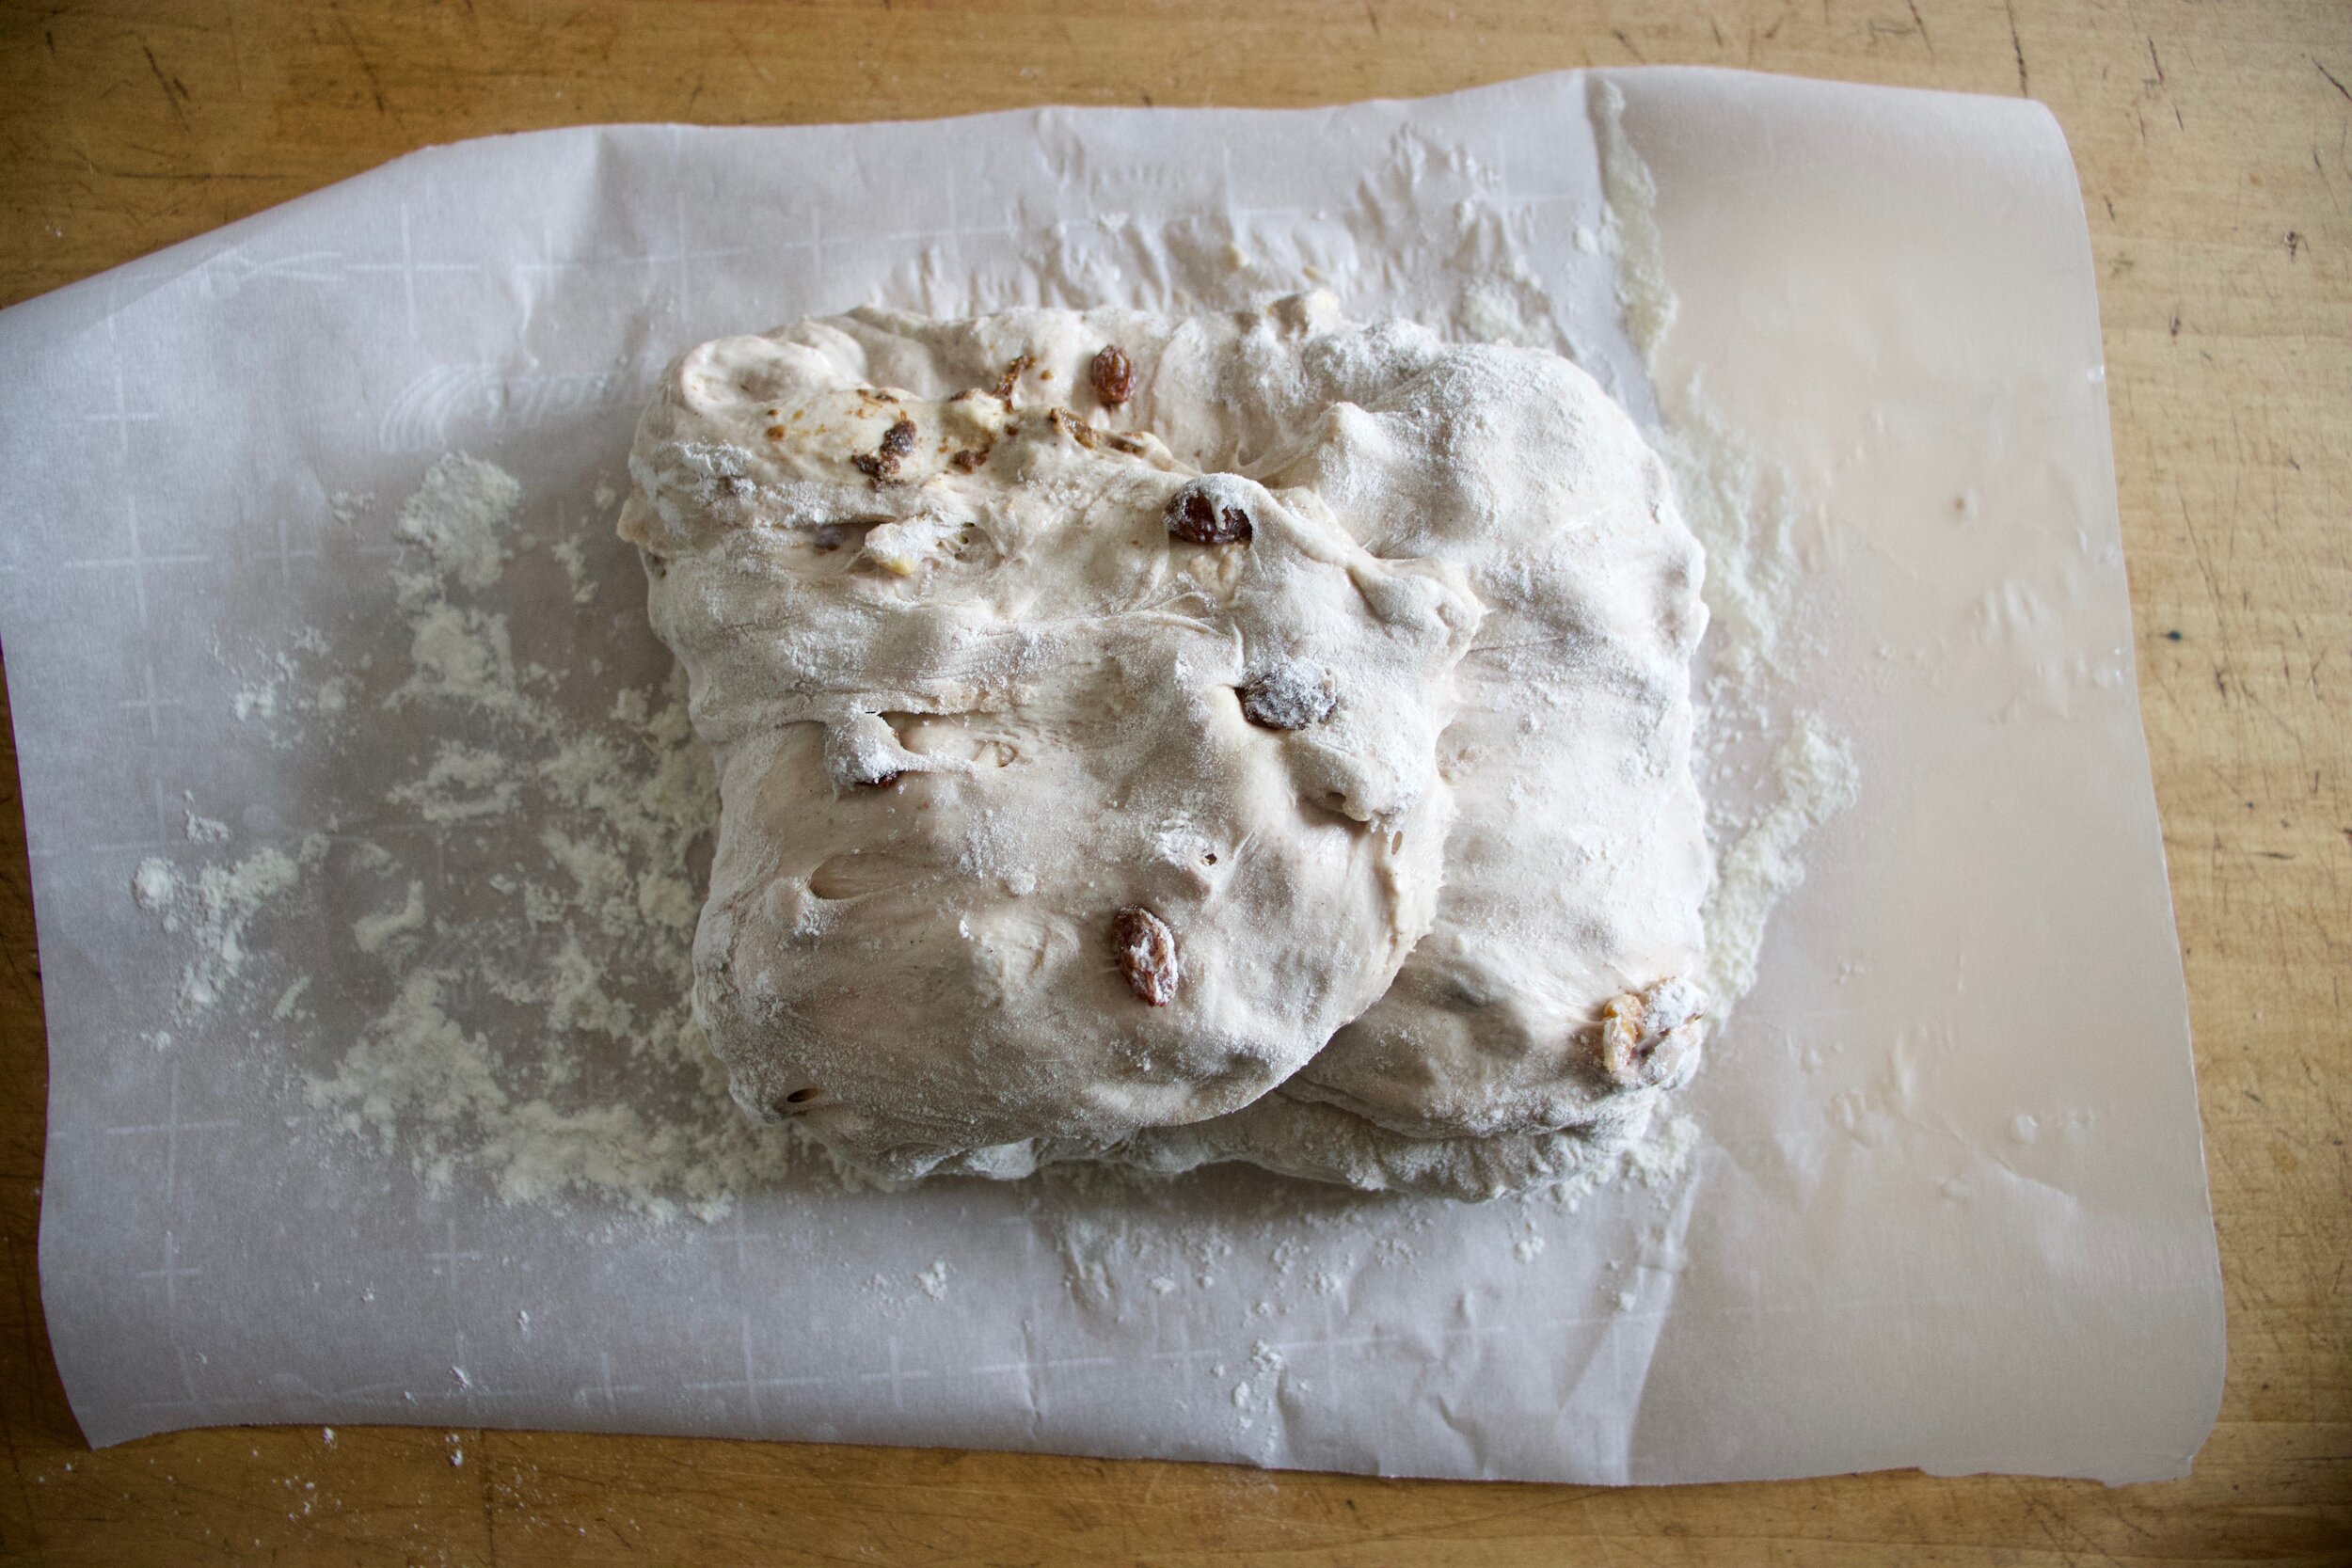
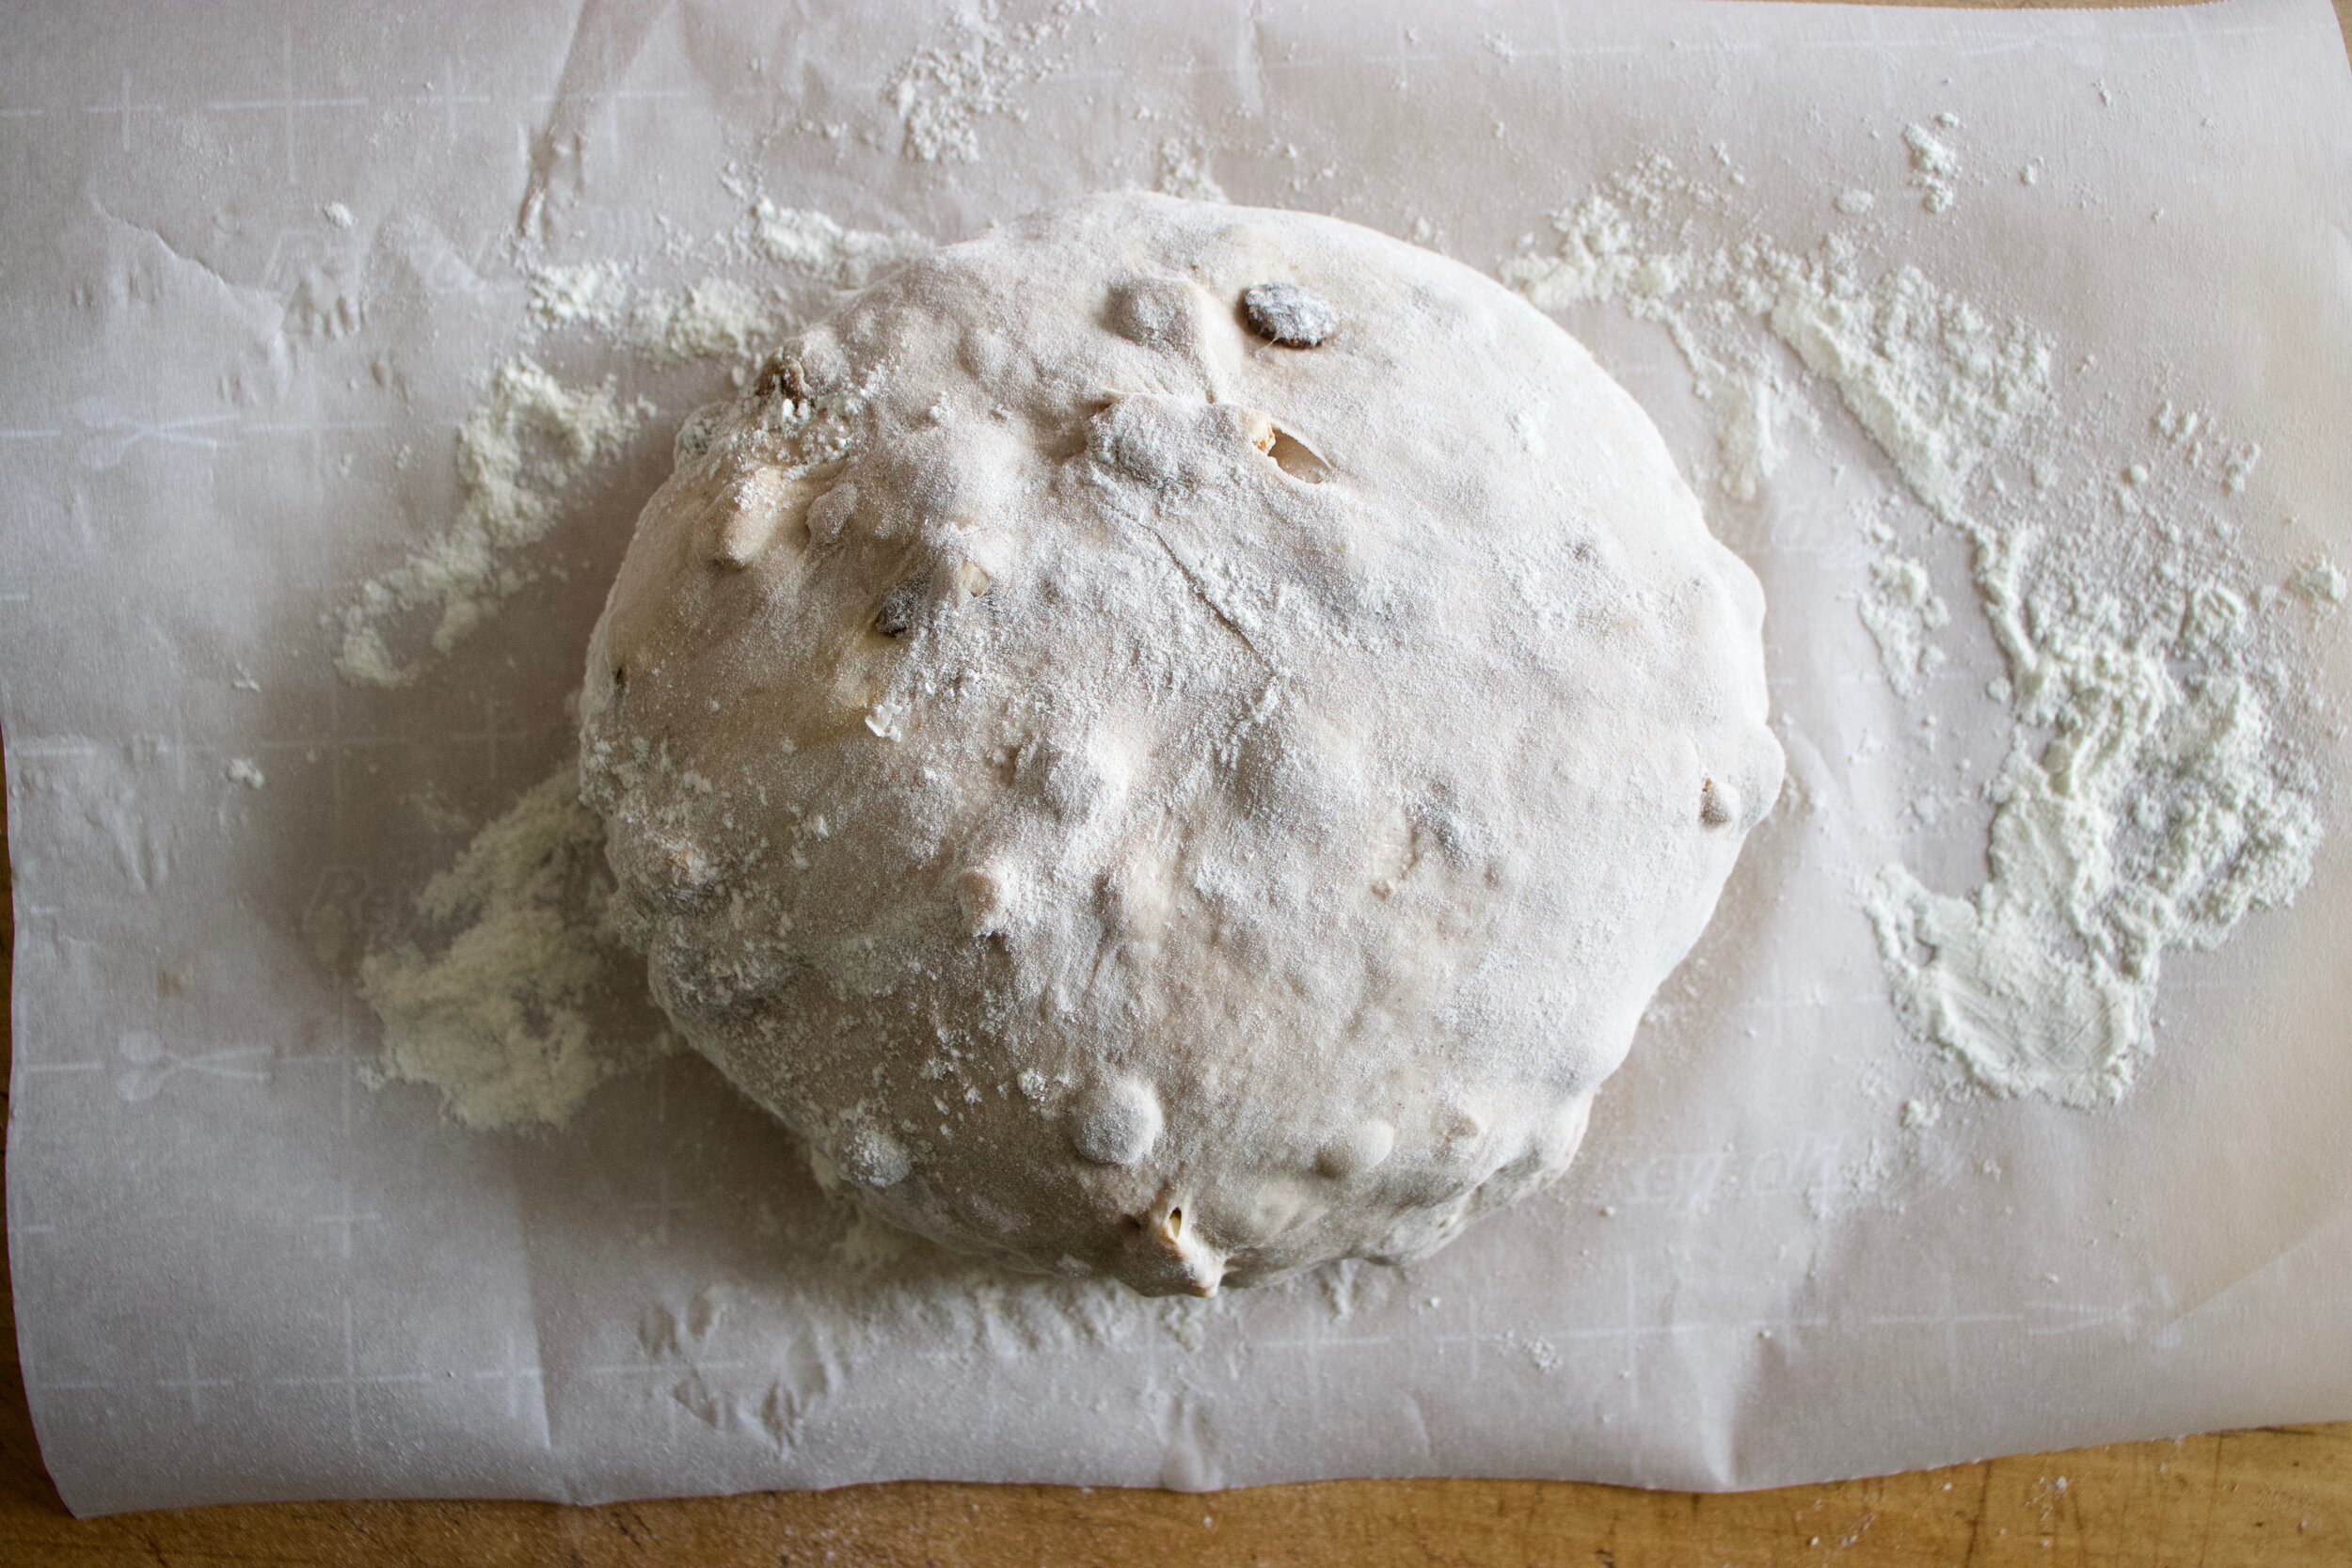
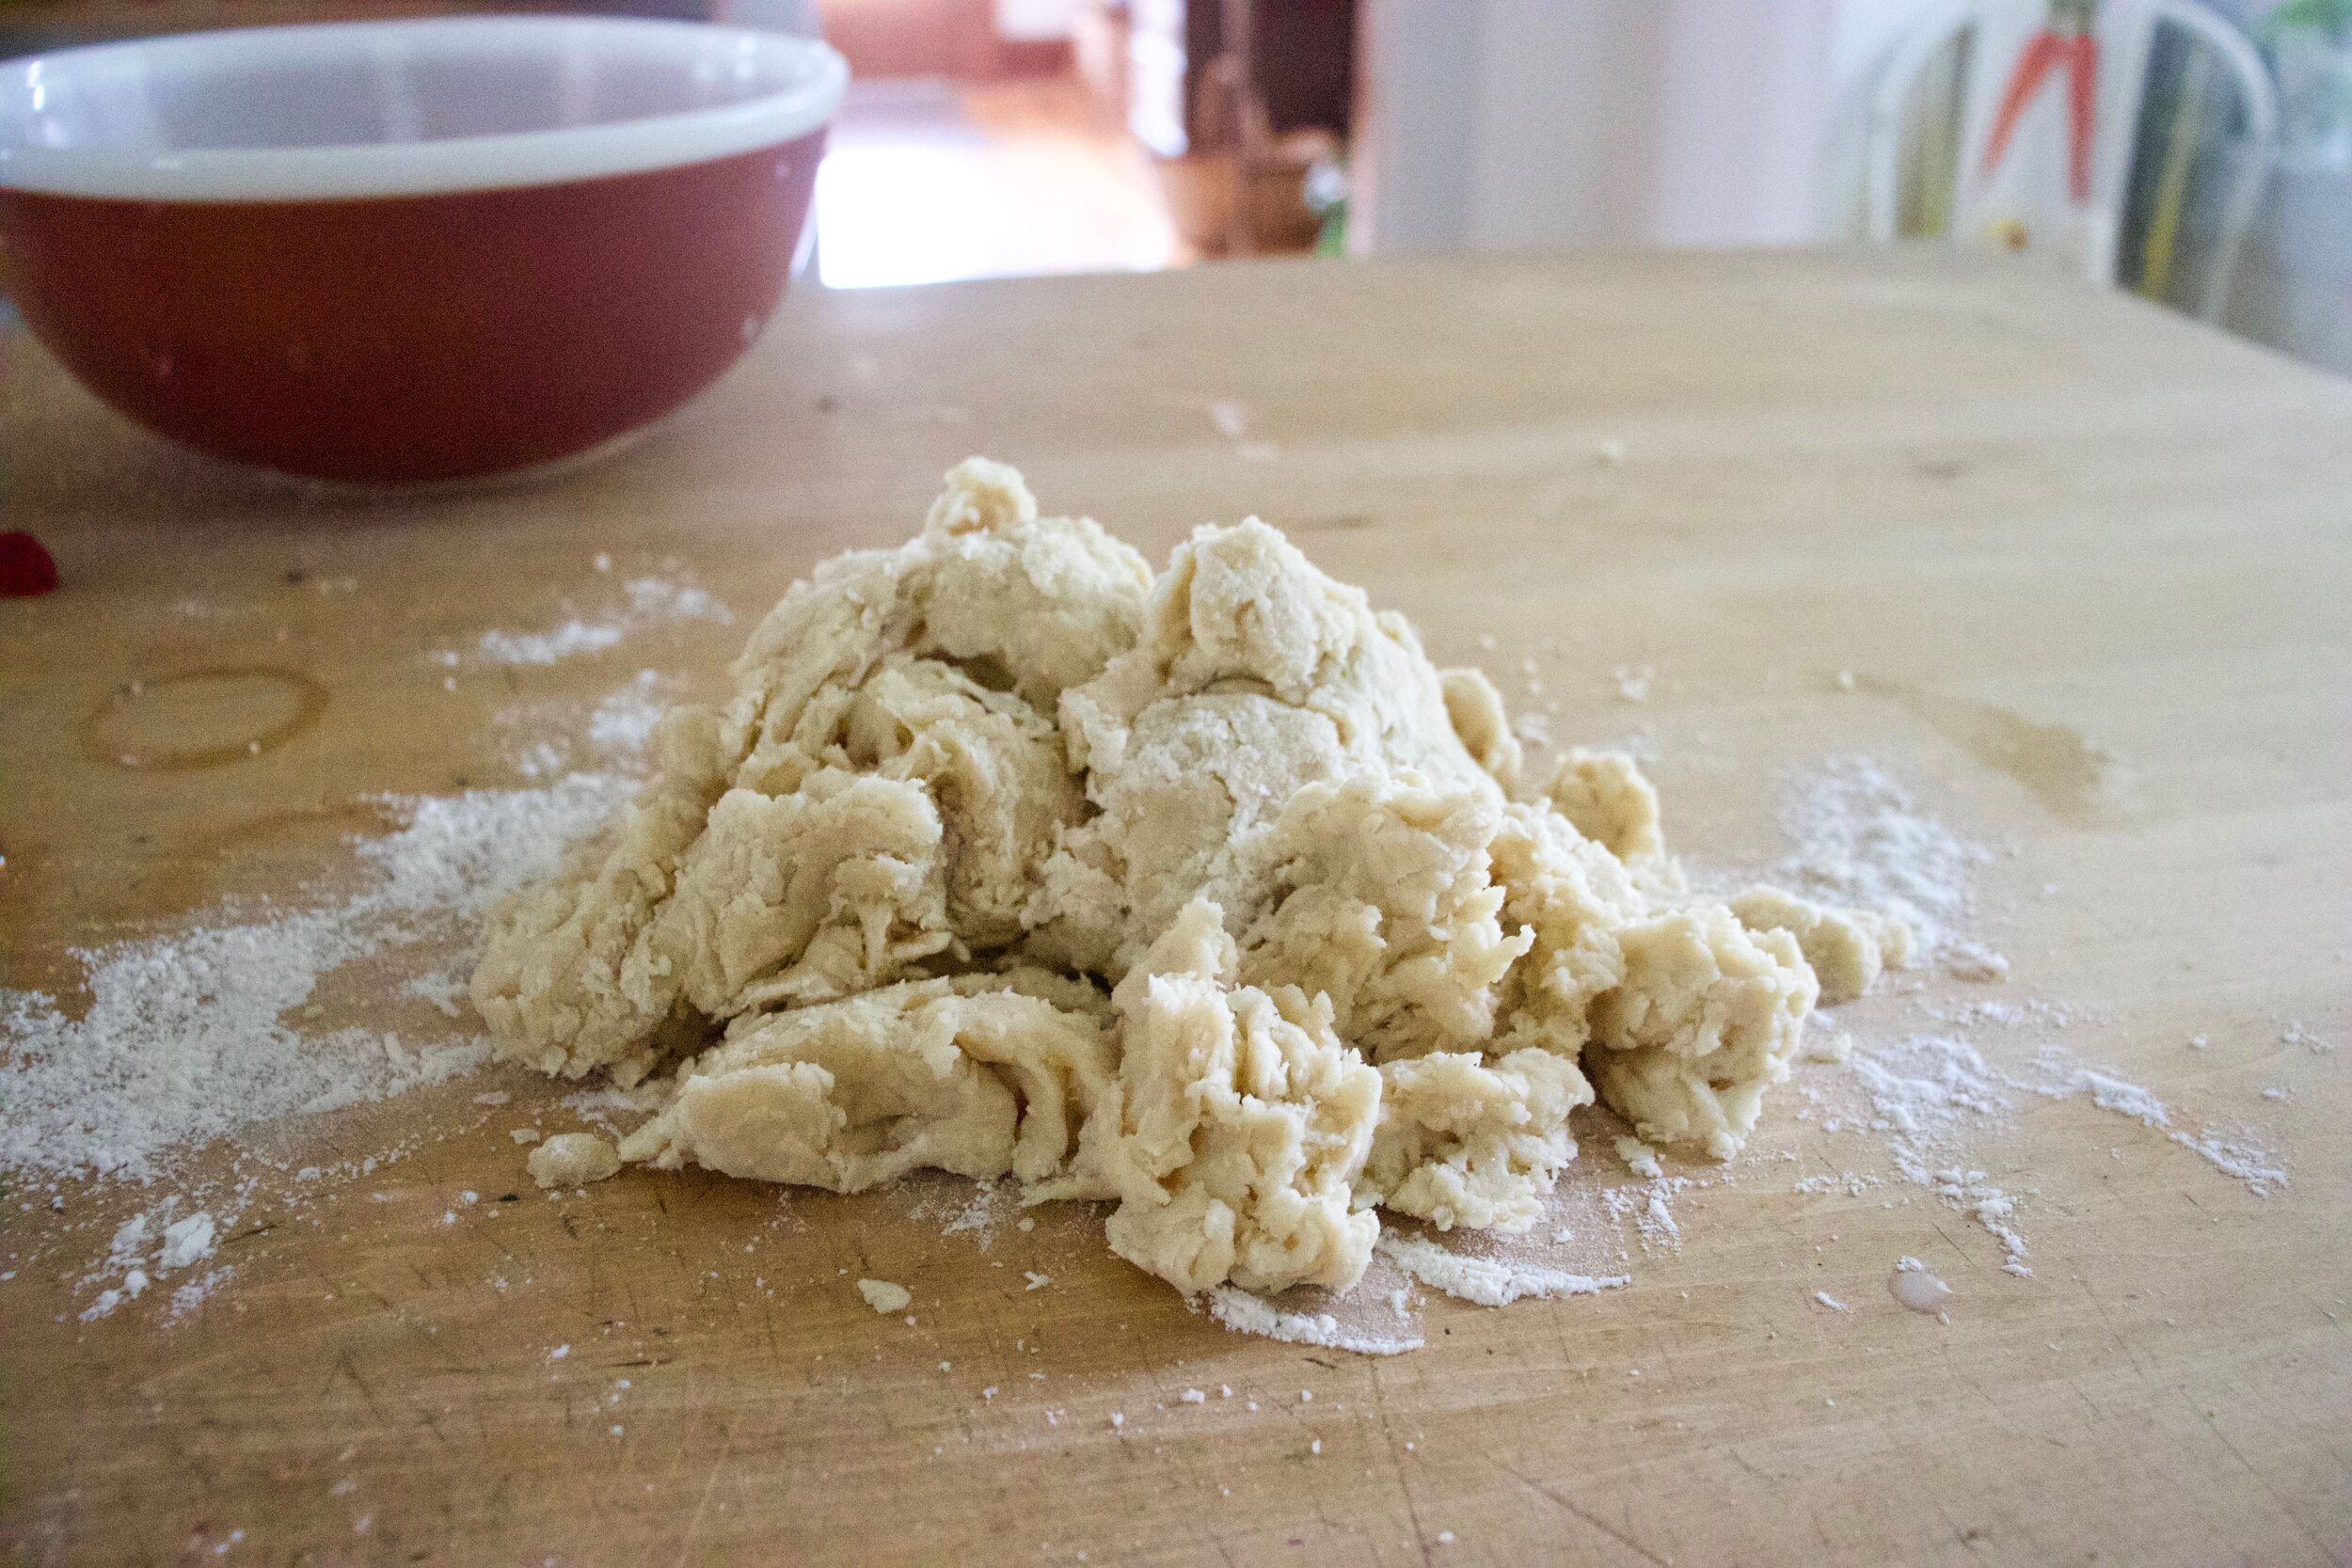
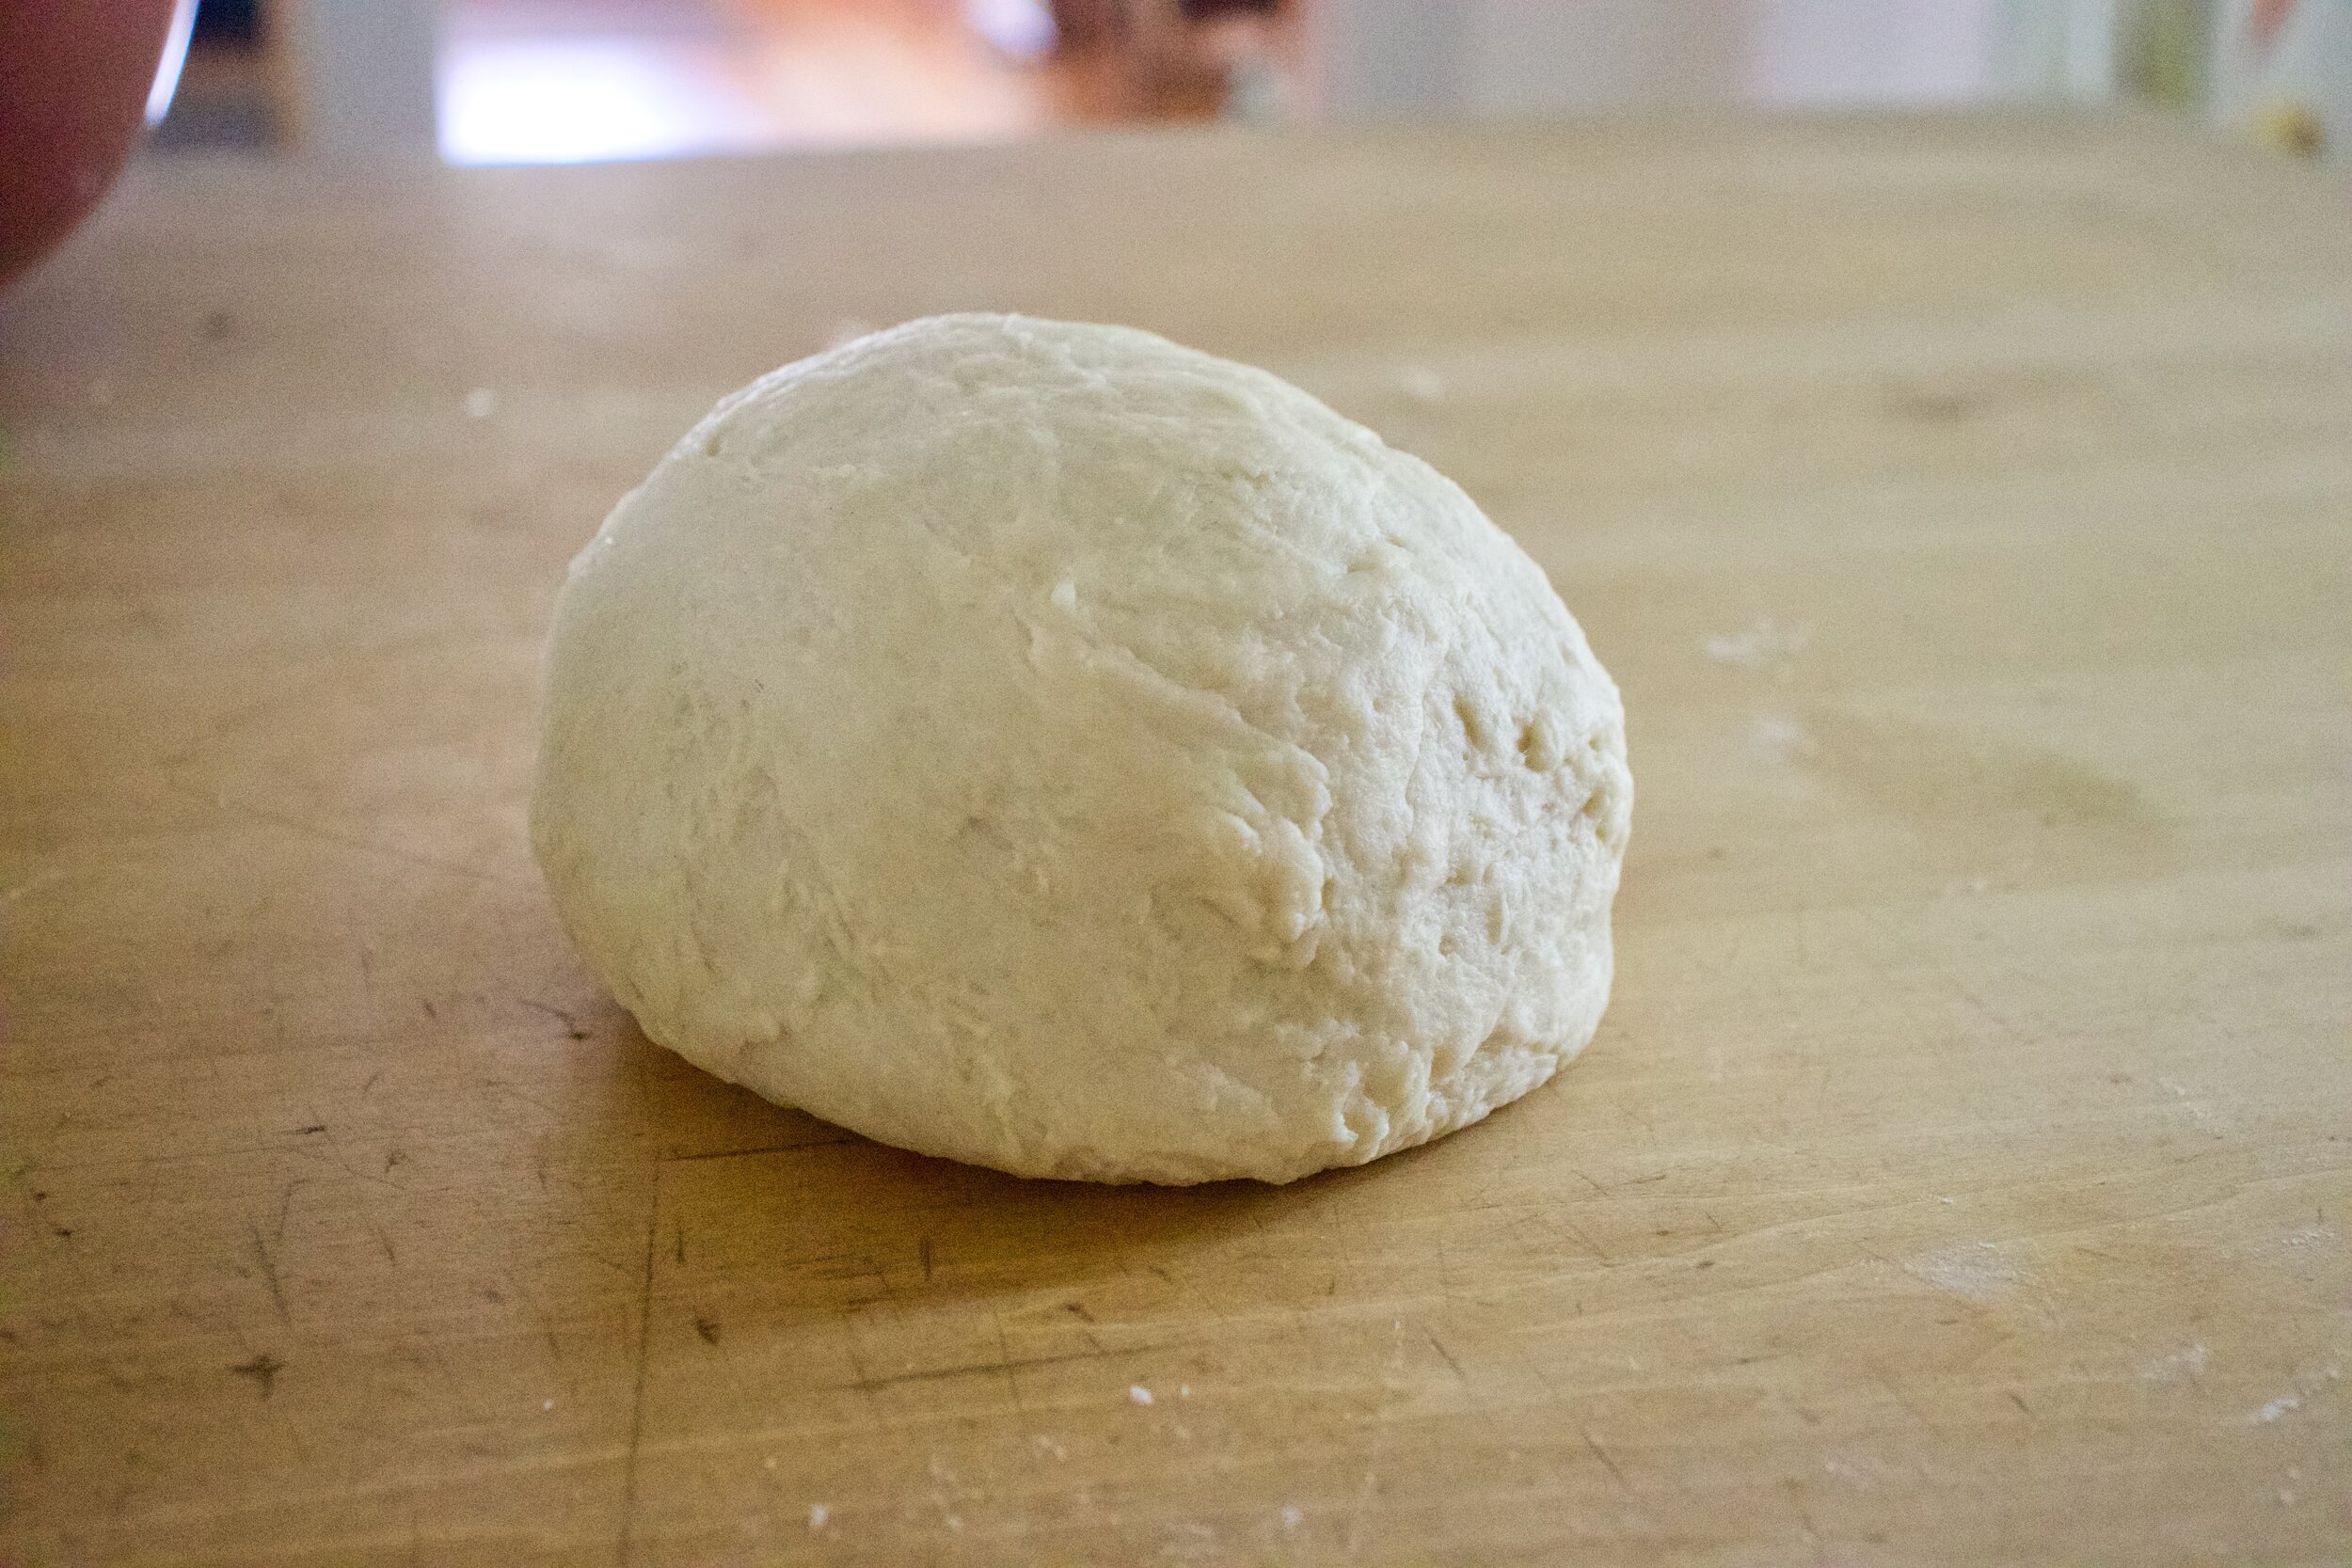
Dump dough out onto a flour piece of parchment. Fold each side over onto the top and them flip top side down. Gently shape into a nice ball.

IMG_3874.jpg

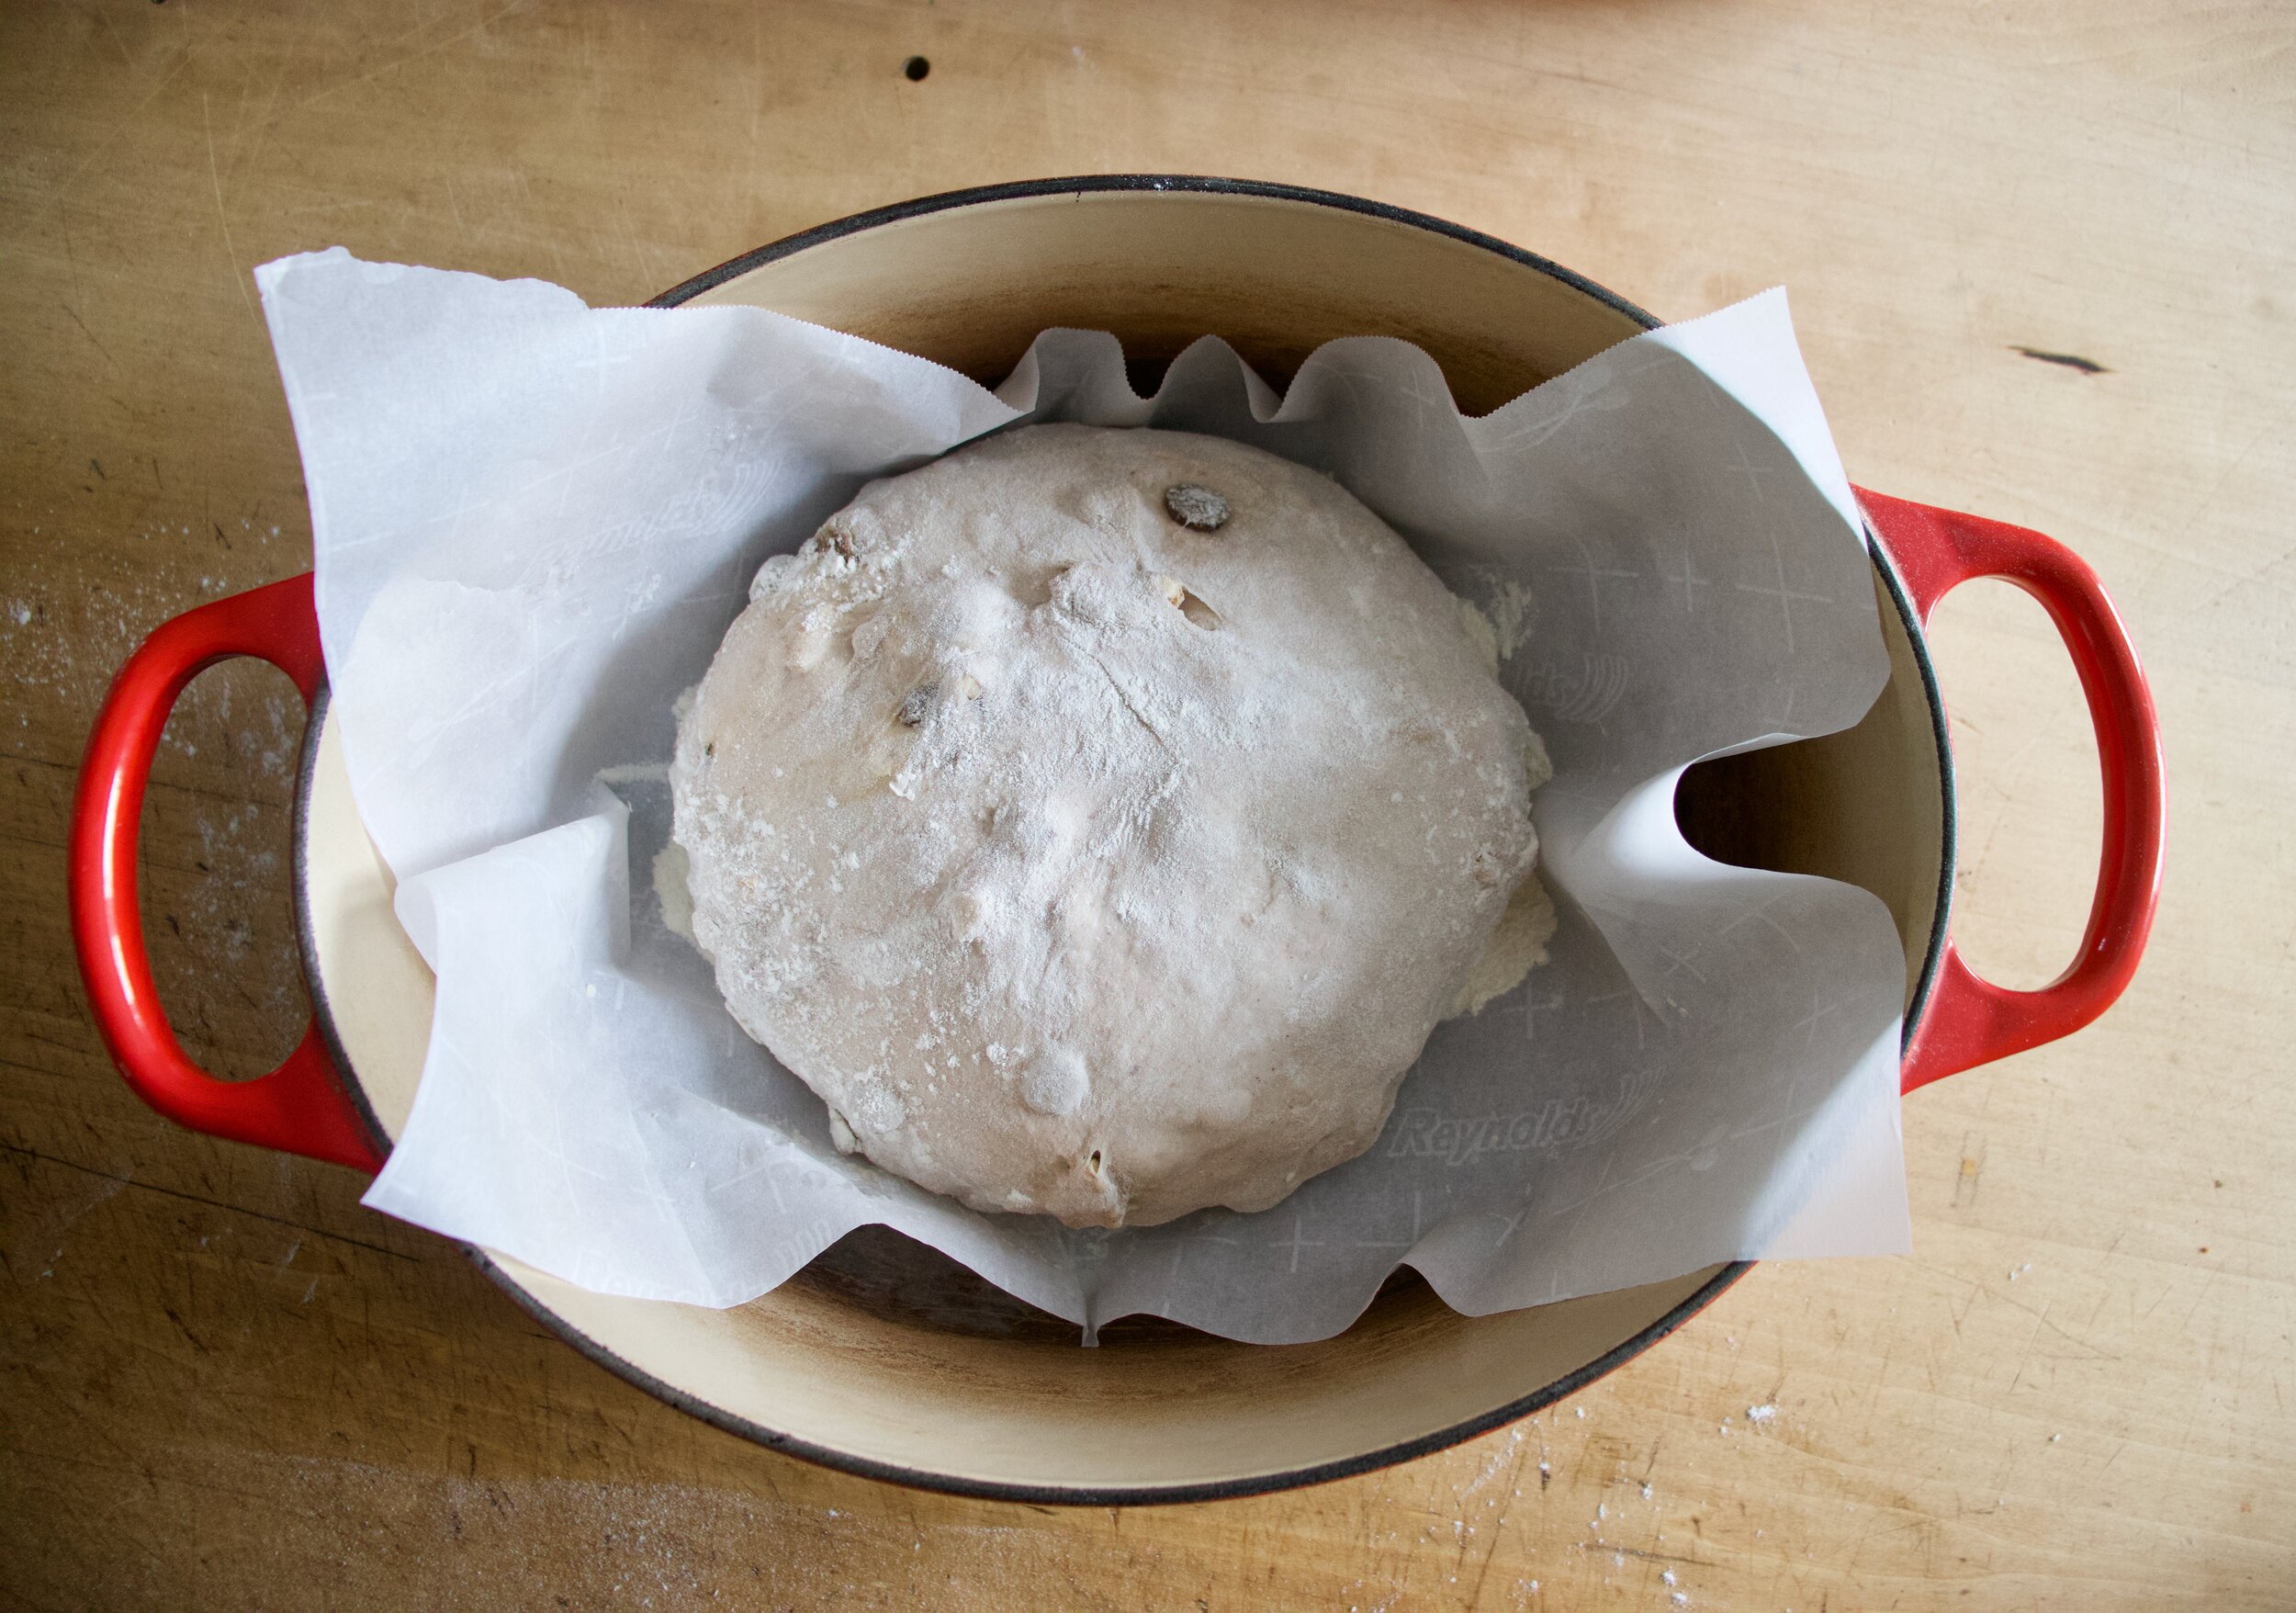
Place doughstill on parchment into a large dutch oven. Cover and let rest for 2ish hours.

Preheat oven!

IMG_3889 2.jpg

After the two hours and once the oven is nice and hot, remove lid and take a lame of serrated knife and slash the top of the loaf. One or two slashes or a few fancy placed ones. Just don’t press down to hard of cut it up to much. Now place lid back onto pot and place pot into hot oven. Bake for 30 minutes then carefully remove lid. Bake for another 20-25 minutes or until a deep golden brown.

IMG_3896.jpg

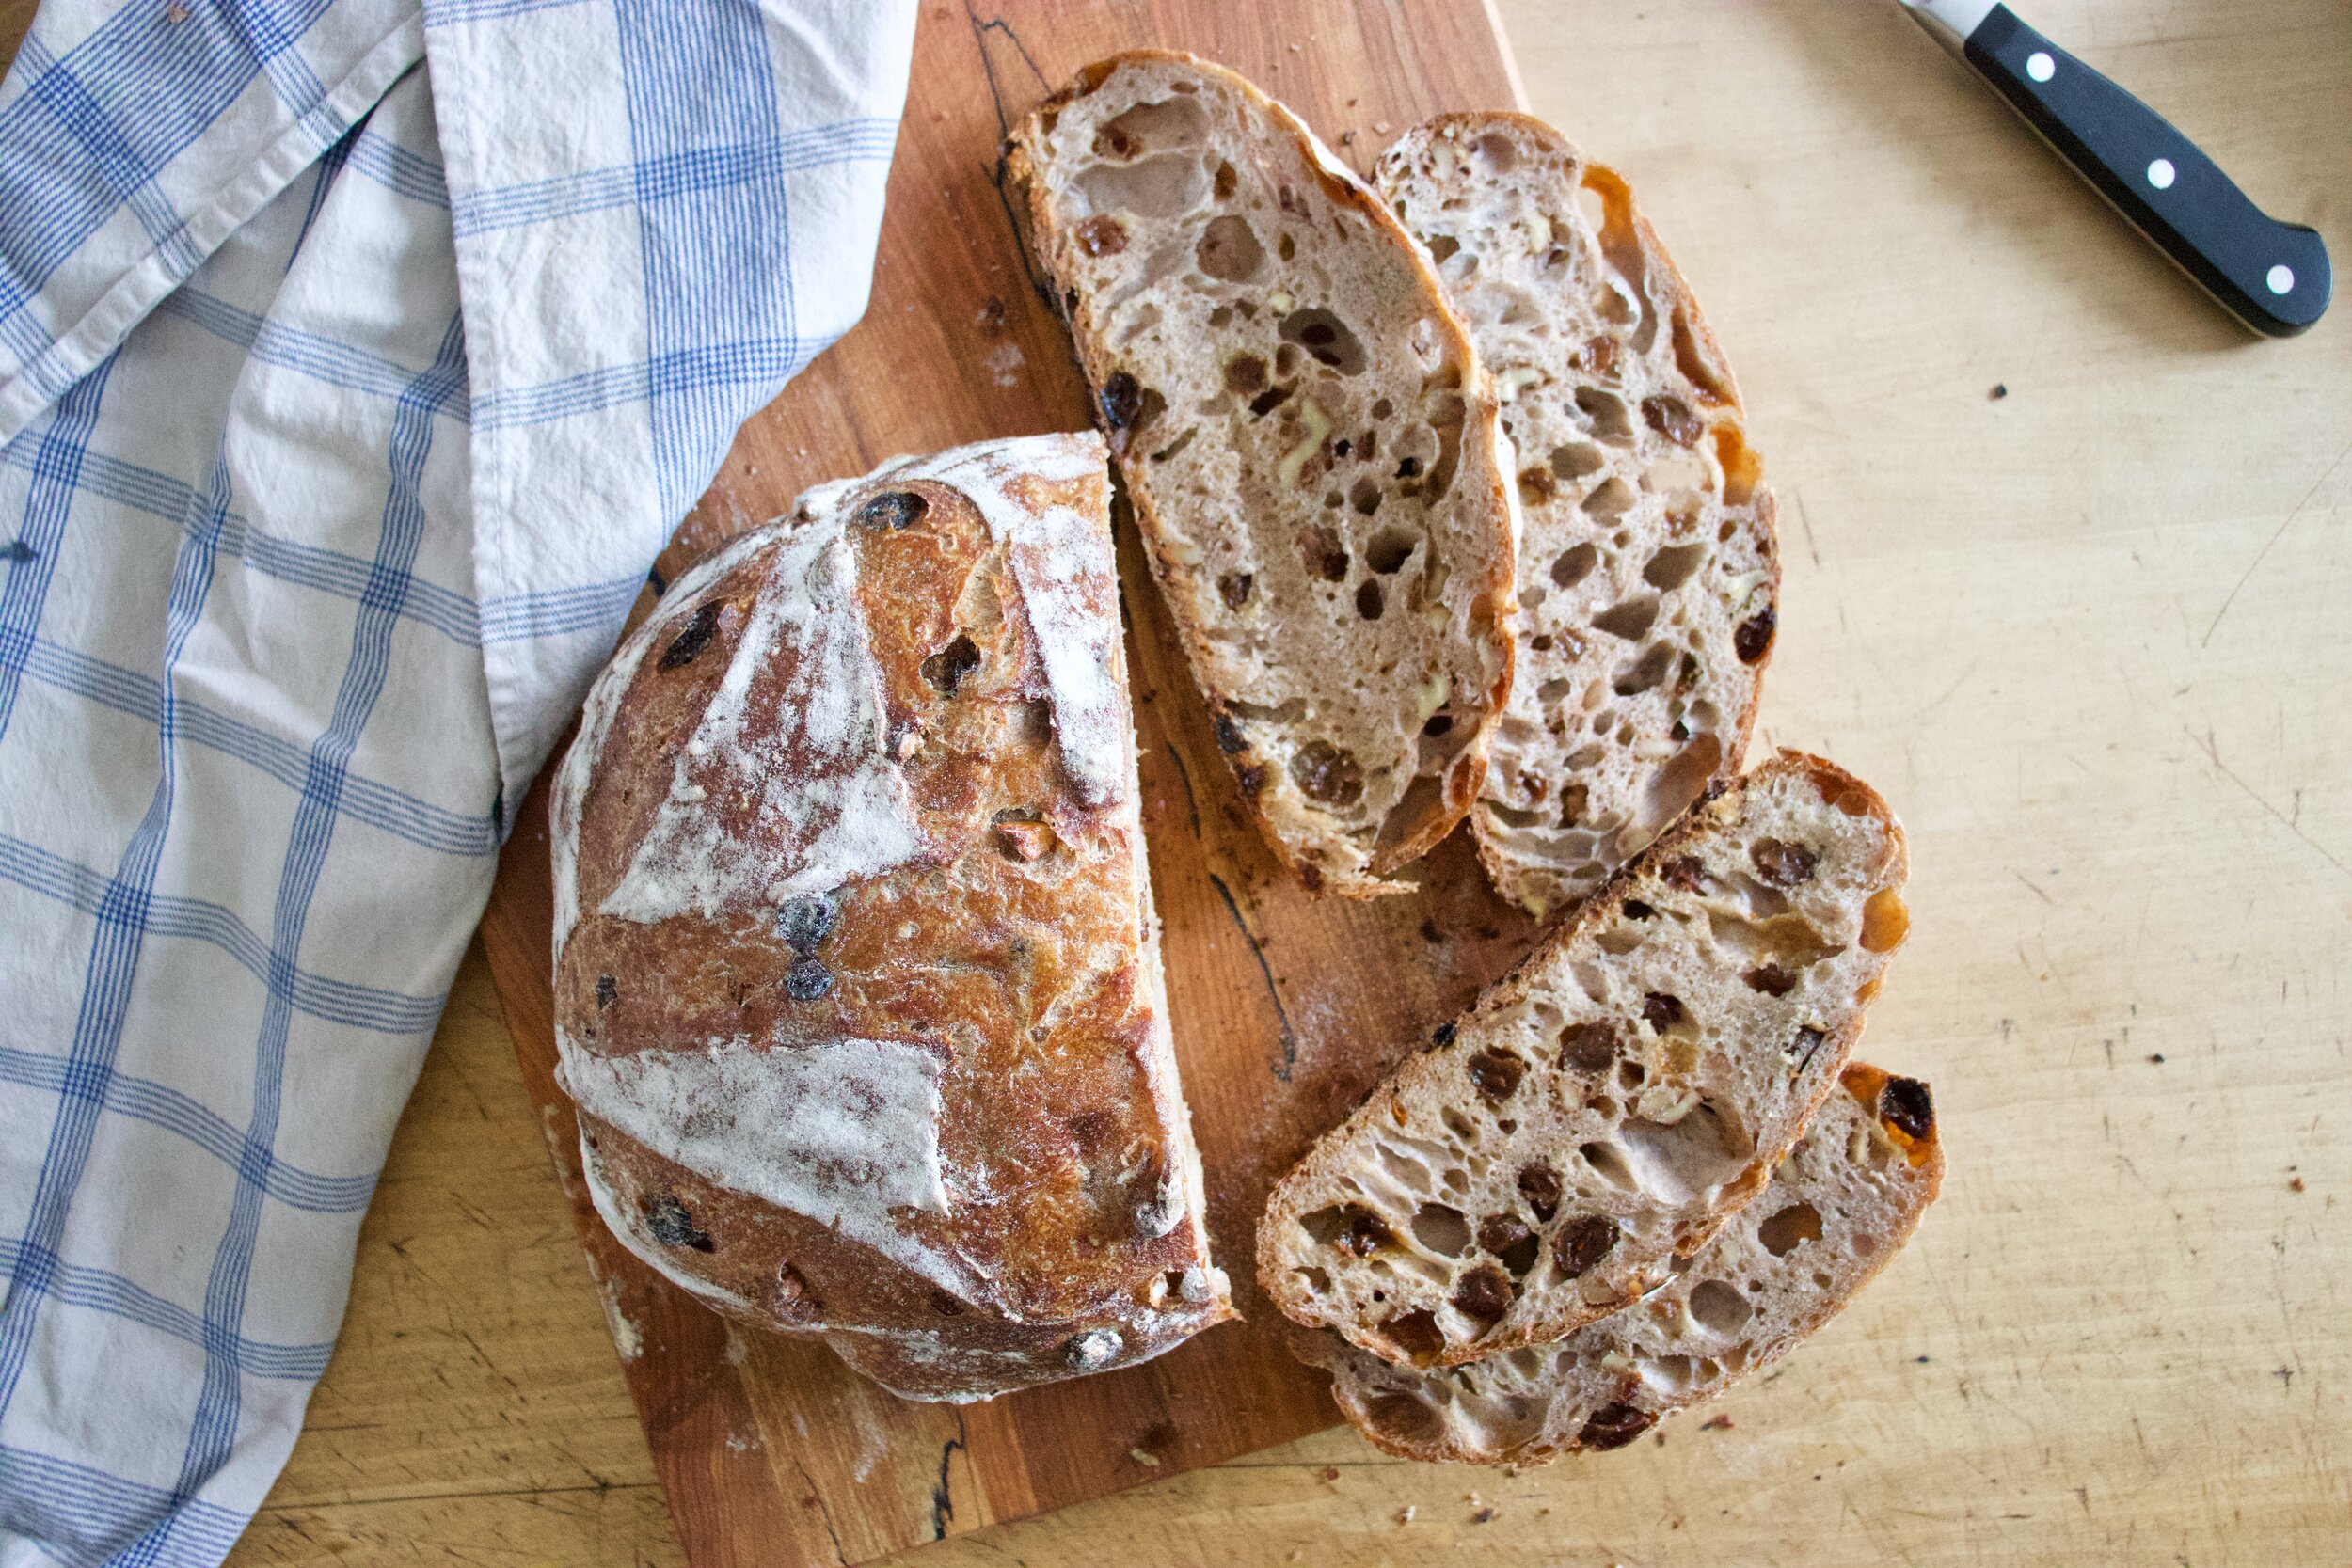
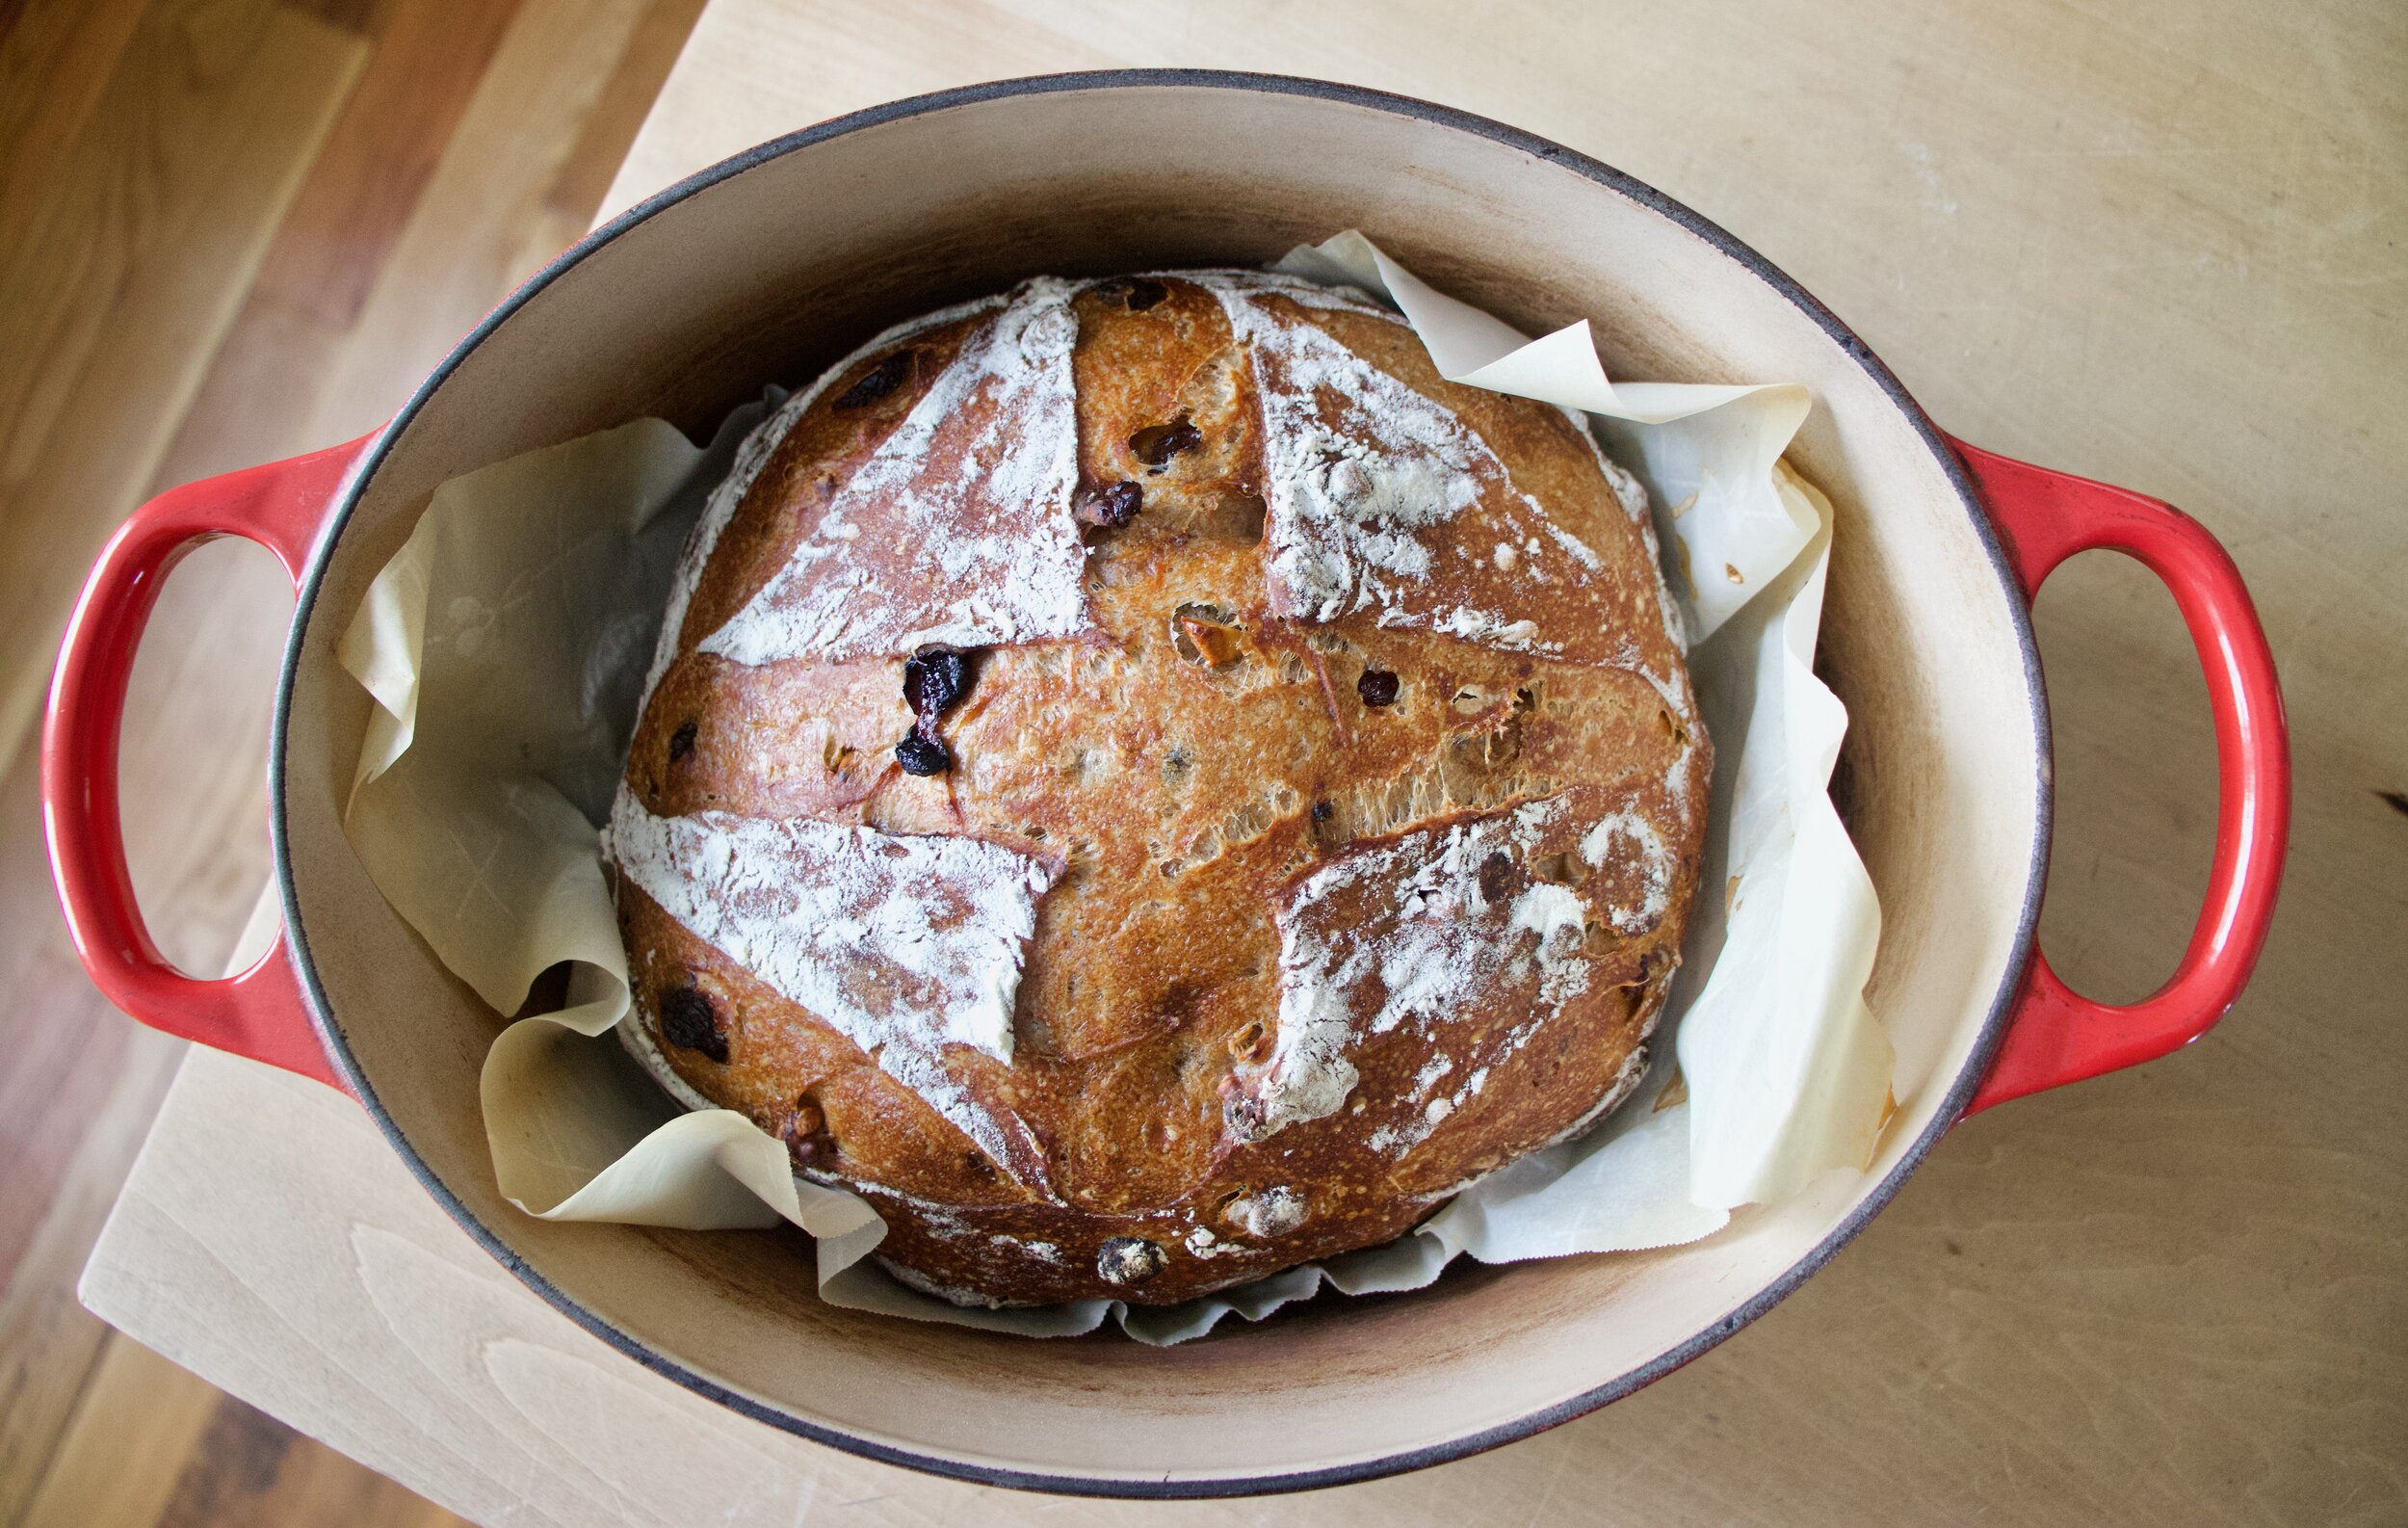
What a beauty! Now take the bread out of pot and yes, you MUST wait to cut into it. Let cool for at least an hour. I know you want bread now but it will not end well if you try to cut into this loaf hot.

IMG_3960.jpg

But once it is cooled and you slice into.. Worth every minutes of waiting.

-C


No knead Raisin Walnut Sourdough Bread

Makes one big road loaf but can also make 2 smaller round loafs

  • 4 cups all purpose flour plus more for shaping

  • 1 3/4 cup warm water

  • 1/2 cup ripe sourdough starter

  • 1 cup raisins

  • 1 cup chopped walnuts

  • 1 teaspoon salt

  • 1 heapingtaspoon cinnamon

Start by dumping some of the warm water into a bowl with the raisins. Let sit for a few minutes until the y plump up a bit. Stain the water from raisins into a big bowl only with the starter and the rest of the warm water. Add in a cup or so of flour and mix until incorporated. Next add in the rest of the flour, the salt, and the cinnamon. Mix until all the dry flour is now wet and you have a shaggy wet dough. Dump in the walnuts and raisins and mix in. Scrape down sides of bowl, cover, and place in a warm spot for an hour to two. After sitting for a while, the dough should have risen a bit but to doubled in size. Grab the edge of dough and fold it over itself , cover back up (use plastic of a silicon top), and stick it in fridge overnight (at least 10 hours but up to a week)

The next day when you are ready to bake it off, remove the dough from fridge, dump out onto a floured covered piece of parchment, and fold side over to the top. Then roll the folded side over. Keep on parchment and gently shape into a round. Place shaped dough (pick up by the parchment paper) into a large dutch oven. Put the cover on and let rest. (You can also place on a baking sheet if you don’t have a dutch oven and gently cover a plastic bag that is not touching he dough). After about and hour and a half start reheating the oven to 500 degrees.

After the oven has been preheated (give it a good 1/2 hour so oven temp is truly hot) remove lid (or bag) and sprinkle a little flour on top of dough. With a lame or a sharp serrated knife, score the stop of the bread. One or two slashed should be fine. Now place lid back onto pot and place pot into hot oven. Or if not using dutch oven, add a separate baking pan to the bottom of oven with a cup of water to create steam and just slide baking sheet into oven. i After a few minutes, turn heat down to 450. For dutch oven, bake for 1/2 hour then carefully remove lid from pot and continue to cook for another 20- 25 minutes or until the bread is a nice deep golden brown. If not using dutch oven, the bread will back a bit faster so check after 40 minutes for a nice deep golden brown loaf. (When in doubt of doneness check internal temperature . 200- 210 degrees)

Once baked through, remove pot from oven, pop bread out of pot and place on a cooling rack. Let cool for at least an hour before cutting into it.

Once cooled, slice and eat. Best eaten within 2-3 days and if you are not going to eat it that fast, just slice it up and stick in the freezer.

Tags bread, vegan, no knead, sourdough, starter, no yeast, walnut, raisin, king Arthur flour, fresh, easy, long fermentation
1 Comment

Sweet Potato Hand Pies

November 21, 2020 Colleen Stem
IMG_2132.jpg
IMG_2076.jpg

What, you did’t skip an afternoon of life to stay home avoiding all the things that need to be done to watch the snow gently fall with the twinkle lights on, Sufjan Stevens Christmas playing and make little hand pies? Well shit, maybe that is exactly what you should do because I got to tell you, it was probably one of the best afternoons I have had in a while.

And don’t get at me about the Christmas music. Sufjan Stevens Christmas is one of the things I look forward to the most about this time of year. If you know, you know. If you don’t know, then stop what you are doing and go listen to it. Trust.

These little hand held pies are perfect for the upcoming holiday season, but anytime really. Crispy flaky pie crust filled with spiced sweet potato the is creamy and custard like then topped with a nice chocolate drizzle. All packed nicely into a square that you can eat without plate or fork plus they pack up so nicely (they make great gifts) and are just really freaking amazing. I made a batch and basically the mr and Barb fought over who was going to eat them all because they were just that good. And the mr isn’t even a sweet potato fan. (When will he realize he likes all food?)

Anyway, Take a couple hours and listen to Sufjan Stevens, watch it snow (if you can get it to do that), and make these hand pie, It will make you happy.

Now to the hand pies!

The stuff. For the dough you need flour, salt, brown sugar, ice water, and a stick of frozen vegan butter. (I use country crock vegan butter and it is AMAZING for pie crust). For filling it is baked sweet potatoes, cinnamon, ground ginger and nutmeg, and maple syrup. Also need chocolate chips and a little coconut oil for a nice chocolate drizzle.

IMG_1971.jpg
IMG_1981.jpg
IMG_1984.jpg
IMG_1985.jpg

Make dough. Whisk together the dry and grate the butter into it. Toss around with a fork and drizzle in ice water, a tablespoon at a time, until dough looks a little shaggy but can kind of smoosh together into a dough. Dump the dough out onto a piece of plastic wrap and gather together into a tight disk. Wrap completely and place into fridge to rest for about an hour. Also can be made a day or two in advance.

IMG_1997.jpg
IMG_2000.jpg

Filling. Just scoop baked sweet potatoes into a bowl, add in the spices and maple, and blend (use a hand blender or normal blender) until mixed and smooth. You could actually just mix it with a fork too if you want, just won’t be as smooth.

Once dough has chilled, place on a lightly flour surface and roll into a large rectangle roughly 12x14 inches.

Cut down the center then each side into 4 rectangle pieces.

Scoop filling onto each piece, fold in half and crimp the edges closed with a fork. Poke the tops so they don’t explode, and place on a baking sheet. Once they are all filled and on the beige sheet, pop them into the fridge for about 15 minutes and preheat oven to 350.

Once oven is hot, into the oven they go. Bake for about and hour, give or take a minute or 5.

Now would you look at that. Golden brown and damn near perfection. Get them off baking sheet and onto a metal rack to cool.

IMG_2049.jpg
IMG_2052.jpg

While they are cooling, make up a little chocolate drizzle situation. Chocolate chips and coconut oil. Just pop into microwave (or do it on a stove) for 30 second increments until mostly melted. Stir around until smooth and drizzle able.

Then drizzle, all over. Make it nice!

That is it. You now have hand pies and you now eat one.

Happy Holidays!

-C


Sweet Potato Hand Pies

makes 8 hand pies

  • 1 1/2 cups all purpose flour

  • 1/2 teaspoon salt

  • 1/3-1/2 cup ice water

  • 1 stick or 8 tablespoons vegan butter, FROZEN (country crock vegan butter works amazing, but so does earth balance)

  • 1 tablespoon brown sugar

  • 1 1/2 cups sweet potato puree (Around 2 large baked sweet potatoes)

  • 1 tablespoon maple syrup

  • 1 1/2 teaspoon cinnamon

  • 1/2 teaspoon ginger

  • pinch of nutmeg

  • 1/3 cup chocolate chip

  • 1 teaspoon coconut oil

Start by making dough. Whisk together the flour, brown sugar, and salt. Take the frown stick of butter and grate it into bowl. (Frozen grates so much better). Mix gently with a fork while drizzling in ice water until the dough starts to look shaggy. Grab a clump and smoosh it together. If it completely crumbles, add a little more water until it can smoosh into a dough. Dump it out onto a piece of plastic warp and pulling up the sides, gather it into a tight disk. IF it is still really crumbly, toss in another tablespoon of water. Wrap the dogs tightly and smoosh it into a rectangle and then place in fridge for about an hour. Can also be made a few days in advance.

For filling. Blend together sweet potato puree, the spices, and the maple syrup until smooth.

To assemble. Roll out chilled pie dough into a rectangle around 12x14 inches. Cut the half the long way down then cut each side into 4 equal sized rectangles. Take the filling and place about 2 tablespoons onto the end, leaving a little lip, of each rectangle. Fold in half and with a fork, feel the edges. Poke the tops with fork. Place the assembled pies on a baking sheet and pop the sheet into the fridge for 15ish minutes.

Preheat oven to 350.

After the fridge and when the oven is hot, pop the pie into the oven. Bake for about 60 minutes or until the crusts are golden brown and bottoms are a nice dark(not burnt) brown.

Remove from oven and place pies on wire rack to cool.

For chocolate drizzle just place the chocolate chips into a microwave safe bowl with the coconut oil. Heat for about a minutes or so until the chips start to melt and then mix together until it is smooth and drizzlable. Now drizzle the chocolate all over cooling pies.

And that is it. You can let the pies cool completely and the chocolate will set so it won’t smear, but you can also jus start eating them.

Pies are good for 4-5 days left on counter but really, they will not last that long.

  • 350 for 60 minutes

In Vegan, Sweets, pie, holiday Tags Sweet Potato Hand Pies, Sweet Potato, Country Crock Vegan Butter, pie, hand pies, thanksgiving, Vegan, plant based, easy, desert, holidays, pumpkin, dairy free, king Arthur flour, Food 52, chocolate
Comment

Apple Cinnamon Oatmeal Cookies

September 19, 2020 Colleen Stem
IMG_0496.jpg
IMG_0455.jpg

Nothing validates a cookie more then a 13 year old girl (who knows her way around sweets) who eats a couple of the freshly baked cookies you made but doesn’t say much. Then asks to takes a couple home. Then texts you in the middle of the night to ask you to make more cookies because they are the best cookies that she has ever had. That is a true story and even though she woke me out of my well needed slumber, that girl is for sure going to get her own batch of these here, best cookies she has ever had. I guess I am a sucker for a baking complement.

These cookies, they are a chewy, cinnamon apple-y, oatmeal situation. Everything and more you could want out a cookie that just might taste a bit like apple pie. And who doesn’t want to eat apples right now? Especially if you are an apple picker (who isn’t?) Using fresh from the tree apples, they really are the perfect cookie for this time of year.

Ah, fall. It really is the best.

Now to the best cookies a 13 year old girl has ever had!

The stuff. White whole wheat flour, old fashion oats, brown sugar, baking soda and powder, salt, coconut oil, flax eggs, vanilla, a raw sugar and cinnamon mixture, and of course, apples.

Start by taking apples, cutting away seeds and core, and dicing into small little bits, like the size of a chocolate chip.

IMG_0380.jpg
IMG_0386.jpg
IMG_0393.jpg
IMG_0396.jpg

Now dough. Mix together the wet until combined then add in dry and mix until completely incorporated.

Fold in th apple chunks.

Scoop dough into balls and dip each ball into the raw sugar and cinnamon mixture. Place each cookie on baking sheet and smoosh down a little to help with the spreading. Once baking sheet is full with enough space for cookies to spread while they bake, place into oven.

Bake for 15-17 minutes or until tops look baked and not gooey and bottoms are nice deep golden brown.

Lovey baked cookies.

IMG_0455.jpg

Get them onto a wire rack to cool and to free up the baking sheet for the next batch.

IMG_0513.jpg

And then cookies. To eat at your very leisure.

Enjoy your apples and Happy FALL!

-C


Apple Cinnamon Oatmeal Cookies

makes about 2 dozen

  • 2 cups white whole wheat flour

  • 2 cups old fashion rolled oats

  • 2 tablespoons cinnamon

  • 1 teaspoon each baking soda and baking powder

  • 1 teaspoon salt

  • 1 1/2 cups packed brown sugar

  • 3/4 cups coconut oil melted but not hot

  • 2 flax eggs (2 tablespoons ground flax seeds and 6 tablespoons warm water)

  • 1 teaspoon vanilla extract

  • 1/4 cup turbano (raw) or white sugar mixed with 2 teaspoon cinnamon

  • 1 large or 2 small Macintosh apples (about 1 1/2 cups small diced)

Preheat oven to 350

In a large bowl, mix together the sugar, oil, flax eggs, and vanilla until completely incorporated and there are no big chunks of sugar. Dump in flour, oats, baking powder and soda, salt, and cinnamon and fold into wet until completely combined. Fold in apple chunks until evenly distributed.

Scoop dough into a ball and dip the top into the raw sugar and cinnamon mixture then place on a cookie sheet. Gently smoosh each dough ball down a bit. Once baking sheet is full, with enough room for spreading, place in the oven and bake for 15-17 minutes or until cookies look cooked on top and are golden brown on the bottoms. Once baked, remove from baking sheet (gently) and place on a wire rack to cool.

Then eat. And store left over cookies in a air tight container at room temp for up to a week (if they last that long). Also can be frozen.

In cookies, Vegan, fruit Tags apple, apple cinnamon, cookies, apple cinnamon oatmeal cookies, vegan, fall, apple desserts, oatmeal, plant based, home made, king Arthur flour, fall baking, recipe, dessert, fruit, fresh apples, best cookies, vegan cookies
2 Comments

Raspberry Danishes

July 18, 2020 Colleen Stem
IMG_9203.jpg
IMG_9174.jpg

When your neighbor tells you to pick as many raspberries as you can, well you go pick as many raspberries as you can. Just a few houses down the street, she has a yard full of the heaviest fruited raspberry bushes that have seen. So I grabbed my biggest mixing bowl and went at it. So many raspberries, they were basically falling off into the bowl (and into my mouth). Fresh raspberries, there is not much better.

And she wants me to come back for anther round. We have good neighbors.

I had quite the raspberry loot. The mr and I ate some (maybe too many), froze some, and then I made danishes for no other reason then I wanted to. And that was a just decision because everyone loves a good danish.

And these were good, or sooo good, according to the mr. He ate half while the other half were demolished when I brought them to my moms for dessert which was the plan so it worked out. People and their danishes. It’s a thing you know.(No, not really)

Now to the danishes!

The stuff. Fresh raspberries (You can use frozen or if you really want, raspberry jam) flour, sugar, salt, plant milk, oil, yeast, a lemon, powdered sugar, vanilla. and that is it.

IMG_9048.jpg
IMG_9052.jpg

Start with mixing the yeast with the oil, milk, and sugar in a large bowl. Add in the flour and slat ads mix mix mix until you can’t mix no more.

IMG_9055.jpg

Dough.

IMG_9060.jpg
IMG_9062.jpg

Dump onto a floured surface aaaaaanf. Knead. 5-8 minutes until the dough is all soft and smooth and uniformly dough.

Place the dough into cleaned bowl and cover. Set somewhere warm to rise.

IMG_9078.jpg
IMG_9088.jpg

In the mean time, make raspberry jam. Place raspberries and sugar into a pot and cook down until mixture is thick and jam like. Once the mixture sticks to a spoon like warm jam, turn heat off and let cool.

IMG_9092.jpg

Dough doubled and ready.

Dump dough out and cut into 12 equal pieces. Roll each piece into ball then roll out into a dish about a 1/2 inch thick.

Place dough disks onto splat or parchment lined baking sheet then indent each dough disk with a spoon or your fingers. Dollop a good plop of raspberry jammy into said intents. Once they are all jammed, pop them into the oven to bake. 15-18 minute should do it.

Look at those. Get them out of the oven and on to a wire rack for cooling time.

IMG_9138.jpg
IMG_9139.jpg

Make glaze. Sugar, lemon zest, vanilla, and lemon juice Mix until combined and yeah, that it glaze.

Drizzle the glaze all over those lovelies.

IMG_9209.jpg

And then you eat becucae that is why you made them.

Share with your people. Or just eat them all to yourself, you made them and they are yours.

-C


Raspberry Danishes 

makes 12

  • 4 cups of all purpose flour

  • 1 teaspoon salt

  • 2 teaspoons yeast

  • 1 cup room temperature plant based milk

  • 1/2 cup neutral oil

  • 1/3 cup white sugar

    For raspberry jam

  • 1/4 cup white sugar

  • 2 cups fresh raspberry

    For glaze

  • 1 lemon

  • 1 1/2 cups powdered sugar

  • splash of vanilla

In a large bowl combine the yeast, sugar, oil and milk. Really mix well and let sit for a minute to just get yeast activated. Dump in flour and salt and mix with a wooden spoon or whisk until it becomes to hard to stir. Dump mixture onto a lightly floured surface and knead dough for about 5-8 minutes or until the dough is soft and smooth. Place dough in a clean bowl and cover and let rise for about an hour or so or until the dough doubles in size.

While dough is rising, make raspberry jam. Mix raspberries and sugar together into a pot and place on medium heat on stove. Let cook for a couple minutes and once the raspebrries start to break down, stir. Let mixture cook down for about 10 minutes, stirring often, until the mixture becomes thick and sticks to a spoon like warm jam should. Take off heat and let cool.

Preheat oven to 350

Once dough has doubled in size, dump onto it onto a floured surface and with a knife or dough scraper, cut into 12 equal sized pieces. Roll each piece into a ball then flatten out into a disk about 1/2 inch thick. Place dough disks on a parchment or splat mat lined baking sheets (you will need 2). With a spoon, lightly push a intent into the center of each disk then place a good plop or the cooled raspberry jam into the intent. Once all the dough has its berries, place the baking sheets into the oven to bake, for about 15-18 minutes, or until the danishes are a nice golden brown.

When they are done baking, remove from oven and place on wire rack to cool.

While cooling, make the glaze. Zest lemon and place in a bowl with the powdered sugar and vanilla. Add in half the juice of the lemon and stir until completely combined. If the mixture is too thick, add more juice, to thin, add a little more powdered sugar.

And once the danishes are cooled, drizzle on the glaze. And then thats it. You can eat them now.

Any left over why are there left overs?) should be stored in a airtight container for a few days at room temp or in the fridge . They also freeze well.

In Vegan, sweet breads and muffins, summer, fruit, desserts, breakfast Tags Raspberry Danishes, danish, raspberry, vegan, plant based, jam, fresh, dairy free, easy, dough, king Arthur flour, berries, summer, food, desserts, breakfast, fun
Comment

Lemon White Chocolate Chip Cookies

February 22, 2020 Colleen Stem
IMG_6053.jpg
IMG_6167.jpg
IMG_6101.jpg

I was having one of those weeks, a week when I just needed to make some cookies. You know those weeks right? And so cookies were made. White chocolate chip because thats all I had (Or thought I had. I forgot that I dumped all the regular chocolate chips into humongous jar in the pantry) and lemon because it just sounded right and also I had this giant lemon, which is the best part about these cookies. The giant lemon I used was the single lemon that I grew, in my own house, here in Vermont, on my little lemon tree. Crazy right? A $40 dollar lemon (because the plant cost that much), so these are some expansive ass cookies. HAHA.

So I know I make good cookies, but there was something about this flavor combination that had everyone drooling over them. A cookie that is chewy and crisp, but not hard and crunchy. They smell all sweet and citrusy and amazing. Probably the exact perfect cookie that anyone and everyone wants. The littles, they tried to eat them all. Barb, she ate one when she came over then texted me in the middle of the night to ask if I had anymore cookies left. Cameron, the boy (or gigantic man now) stopped over and raved about the cookies and that is saying a lot because that boy is picky. And the mr. of course, was skeptical of the flavor combination at first but that went out the window when he sat down and ate like 4 within minutes. So if you have any doubts, know that these are some good cookies. And also, you don’t need to grow your own lemon for these cookies. A regulate grocery store lemon will be just fine.

To the cookies!

The stuff. White and brown sugar, coconut oil, a flax egg, a lemon, vanilla extract, flour, salt, baking soda, and white chocolate chips.

IMG_5990.jpg
IMG_5994.jpg
IMG_5997.jpg
IMG_6000.jpg

Simple and straight forward. Grab a big bowl and add in the sugars, coconut oil, flax egg, vanilla, lemon zest and lemon juice. Mix until completely combined. Add in the baking soda, salt, and flour. Mix again until combined.

IMG_6002.jpg

And don’t forget to to mix in the chocolate chips!

IMG_6011 2.jpg

Up close for your pleasure.

IMG_6027.jpg

Scoop dough onto baking sheets and give them a little tap to flatten the tops. Not too smooshed, just a bit, and toss that pan into the oven to bake.

IMG_6033.jpg

And would you look at that, baked to perfection.

Place cookies on rack to cool.

IMG_6064.jpg

And thats it.

Pile of cookies, cup of coffee… Do it. Do you.

-C


Lemon White Chocolate Chip Cookies

makes 2 dozen

  • 2 1/4 cups all-purpose flour

  • 1 teaspoon baking soda

  • 1 teaspoon salt

  • 1 cup coconut oil, softened

  • 3/4 cup white sugar

  • 1/2 cup packed brown sugar

  • 1 teaspoon vanilla extract

  • 1 flax egg (1 tablespoon ground flax mixed with 3 tablespoon warm water)

  • 1 Large lemon ( or 1 hefty tablespoon zest and 1 tablespoon lemon juice)

  • 1 1/2 cups white chocolate chips (the vegan ones, if you care)

Preheat oven to 350

Place oil, sugars, vanilla, flax egg, the zest of the lemon, and a tablespoon of lemon juice into a big bowl, Mix together until completely incorporated. Add in a the flour, salt, and baking soda and mix until dough forms then add in the white chocolate chips and mix until combined.

Stoop out dough balls, about 2 tablespoons worth, onto a baking sheet. Make sure to give each ball a good amount of room because these cookies will spread a good bit. Give each dough ball a little press, not completely flat, just a little tap so the tops are not domed and then place cookies into oven to bake. Bake for 11-13 minutes or until the cookies are turning slightly golden brown on top and golden brown on the bottom.

Once out of the oven, place cookies on a cooling rack to cool. Be careful because they are really fragile until they cool.

And then eat your cookies.

Store cookies at room tempature in airtight counter for up to a week. OR freeze them for a few months. But they will be gone in days so yeah.

In Vegan, cookies Tags Lemon White Chocolate Chip Cookies, vegan, cookies, Vermont grown lemon, plant based, coconut oil, dairy free, vegan white chocolate chips, dessert, king Arthur flour, chewy
Comment
Older Posts →
 

https://thelovelycrazy.squarespace.com/config#/|/about/

Me. Food Maker.Food eater. Woo HOO!

STEM+NODE  SMALL BATCH AND ONE OF A KIND POTTERY

stem+node ceramics


____________________

Subscribe

GET NEW POSTS IN YO EMAIL

You are AWESOME!!!


@thelovelycrazy 2014-2021