• stem+node ceramics
  • HOME
  • Food Recipes
  • About
  • Contact
Menu

The Lovely Crazy

Street Address
City, State, Zip
Phone Number

Your Custom Text Here

The Lovely Crazy

  • stem+node ceramics
  • HOME
  • Food Recipes
  • About
  • Contact

Spicy Maple Candied Walnuts

October 27, 2015 Colleen Stem
IMG_2126.jpg
IMG_2099.jpg

My oven is fixed!! The part came in yesterday afternoon, right before we were about to leave for dinner at my sisters. The mr ripped the package open, popped the stove out and within 5 minutes I had a brand new, working ovens! (not really brand new, but it is much cleaner now after taking it apart and seeing how nasty it was)

But before this happened, I was working with no oven. And all I wanted to do ( all I wanted to do all weekend) was bake something.  So yesterday, instead of just waiting around moping, I decided to make something with the part of the oven that still worked. And being that it's the week before Halloween, I have got candy on my mind, plus  a hugmongo bag of walnuts. Hmm, the possibilities. 

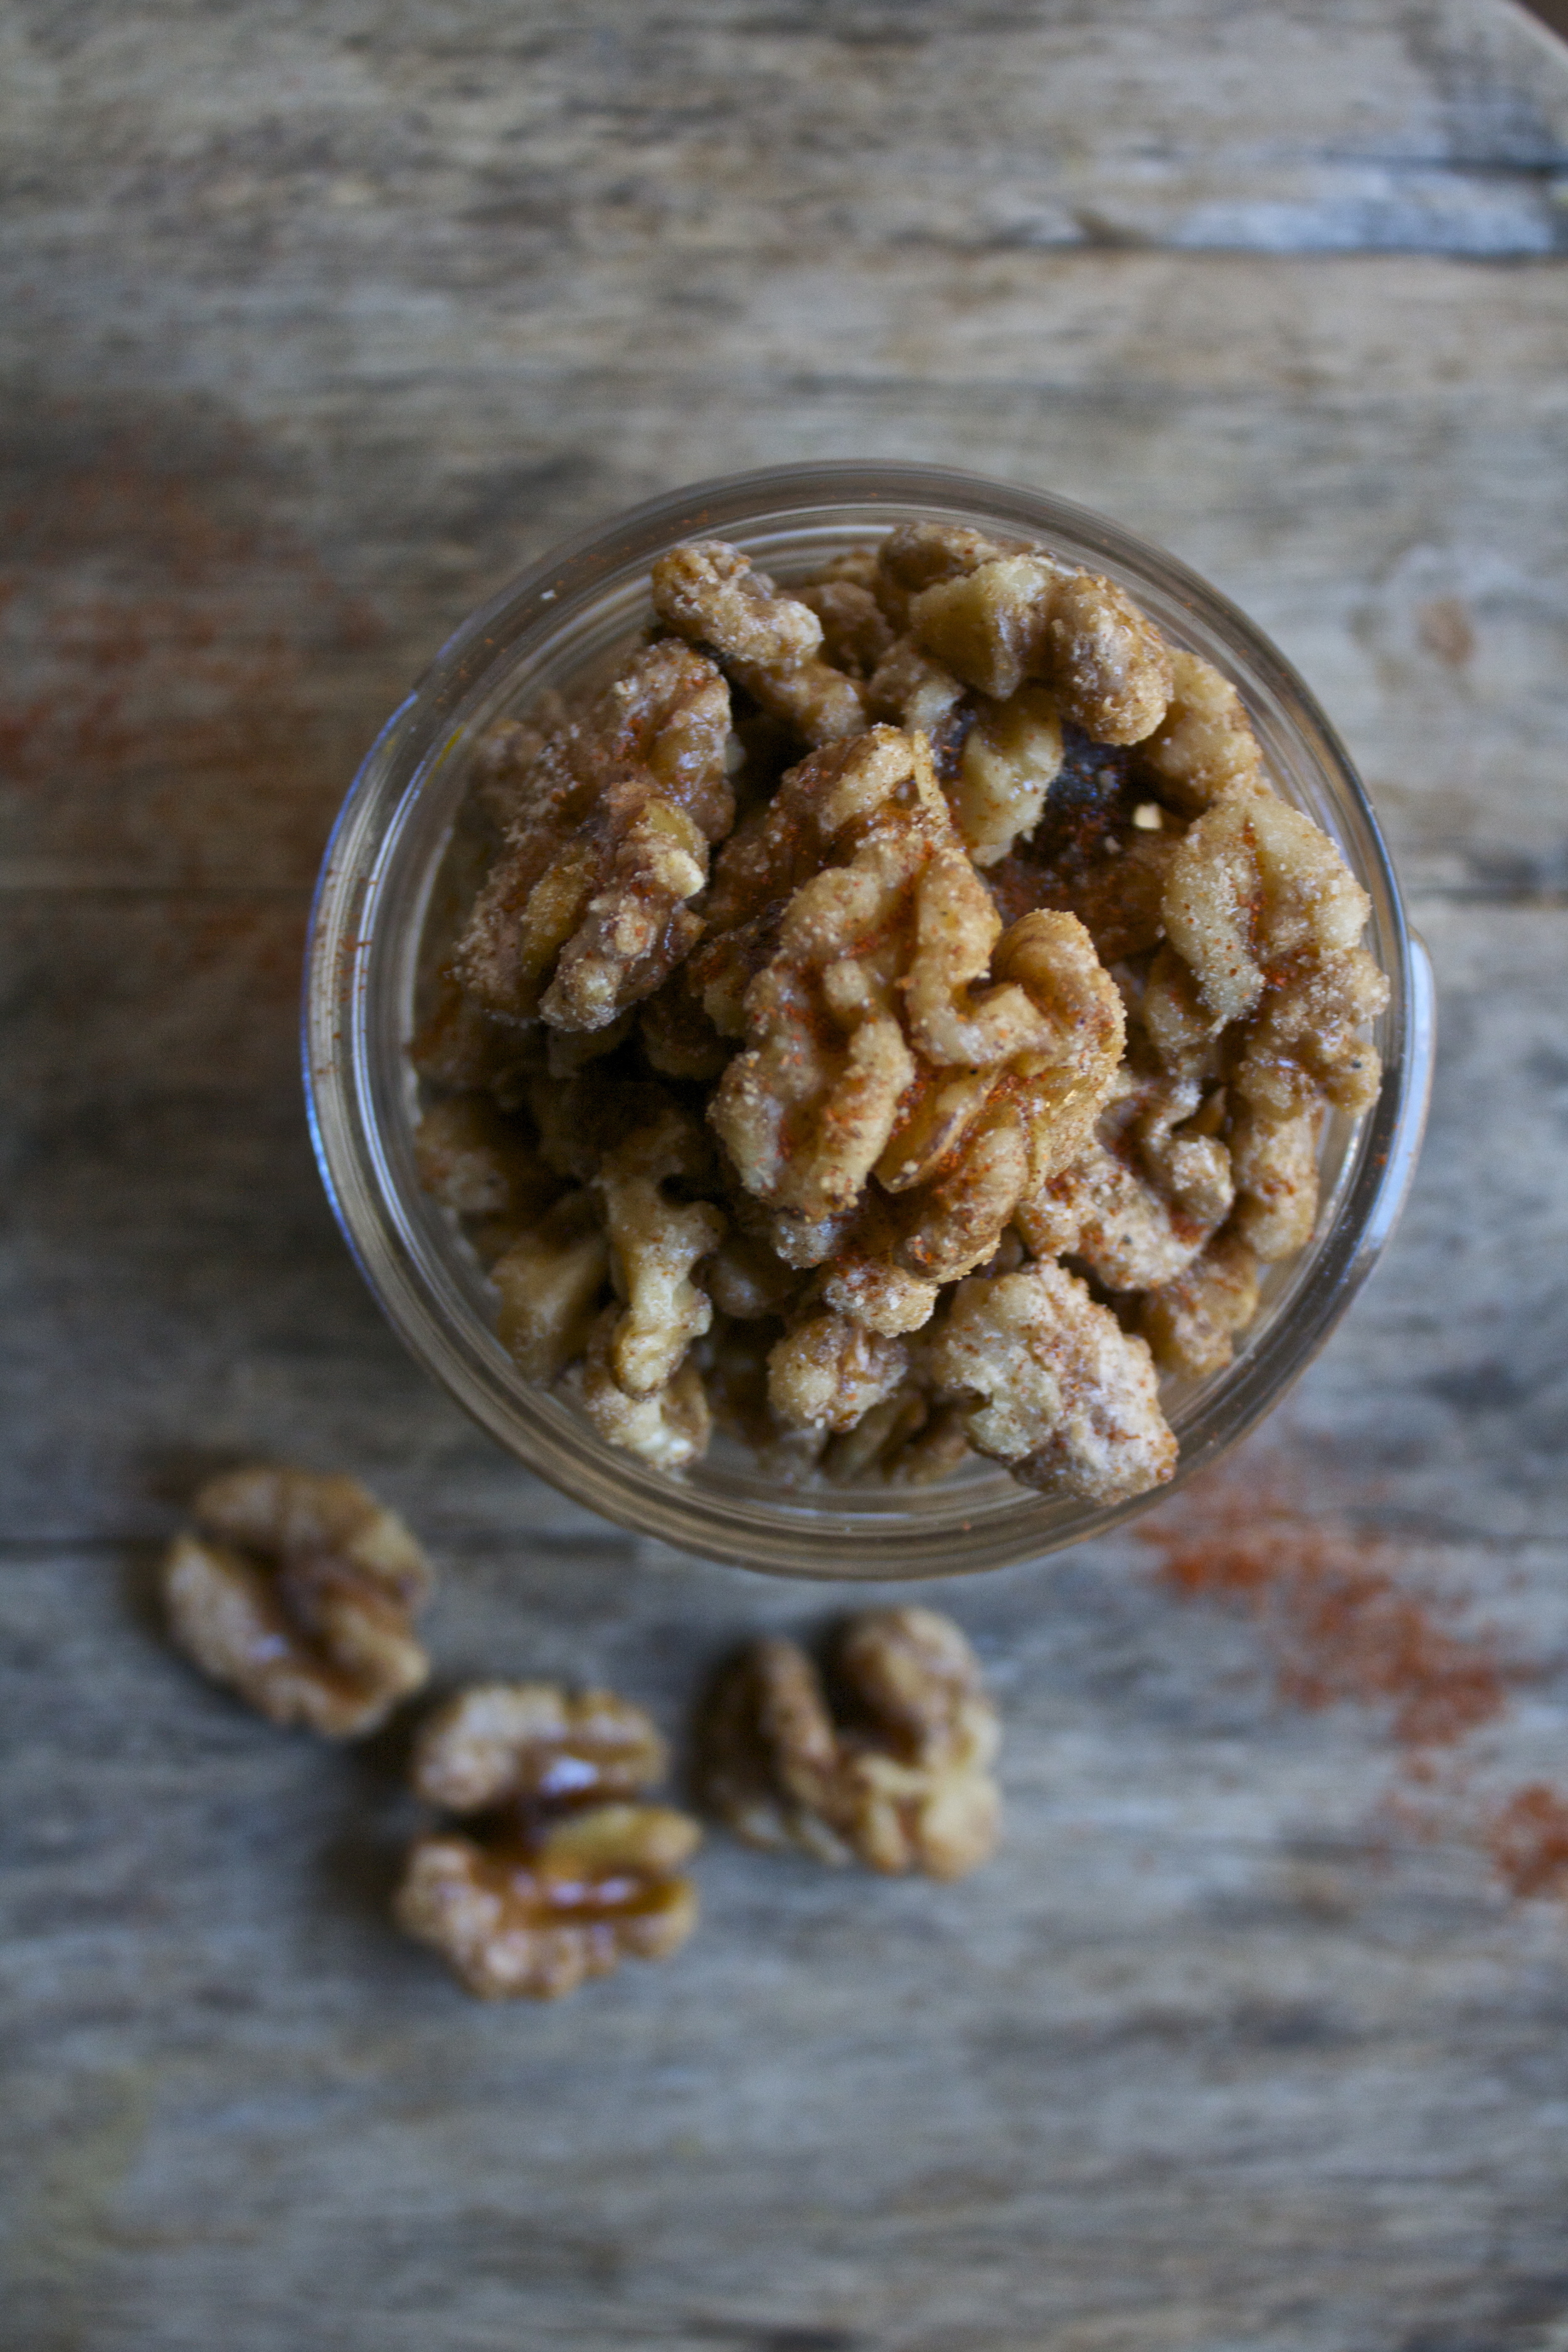
No oven, big bag of nuts, candy thoughts = Spicy maple candied walnuts A perfectly sweet and spicy treat that packs lots of flavor, protein, and healthy stuff and not a bunch  of shit. Made on the stove top with no fancy equipment., takes about 5 minutes to make and tastes like Woo hoo! A (kinda )candy to feel good about eating.

Ask the mr. I think he ate them all last night. And I am ok with that cause it's way better then him eating that shit candy and also, he fixed my oven. Thanks love! 

Now to the nuts!

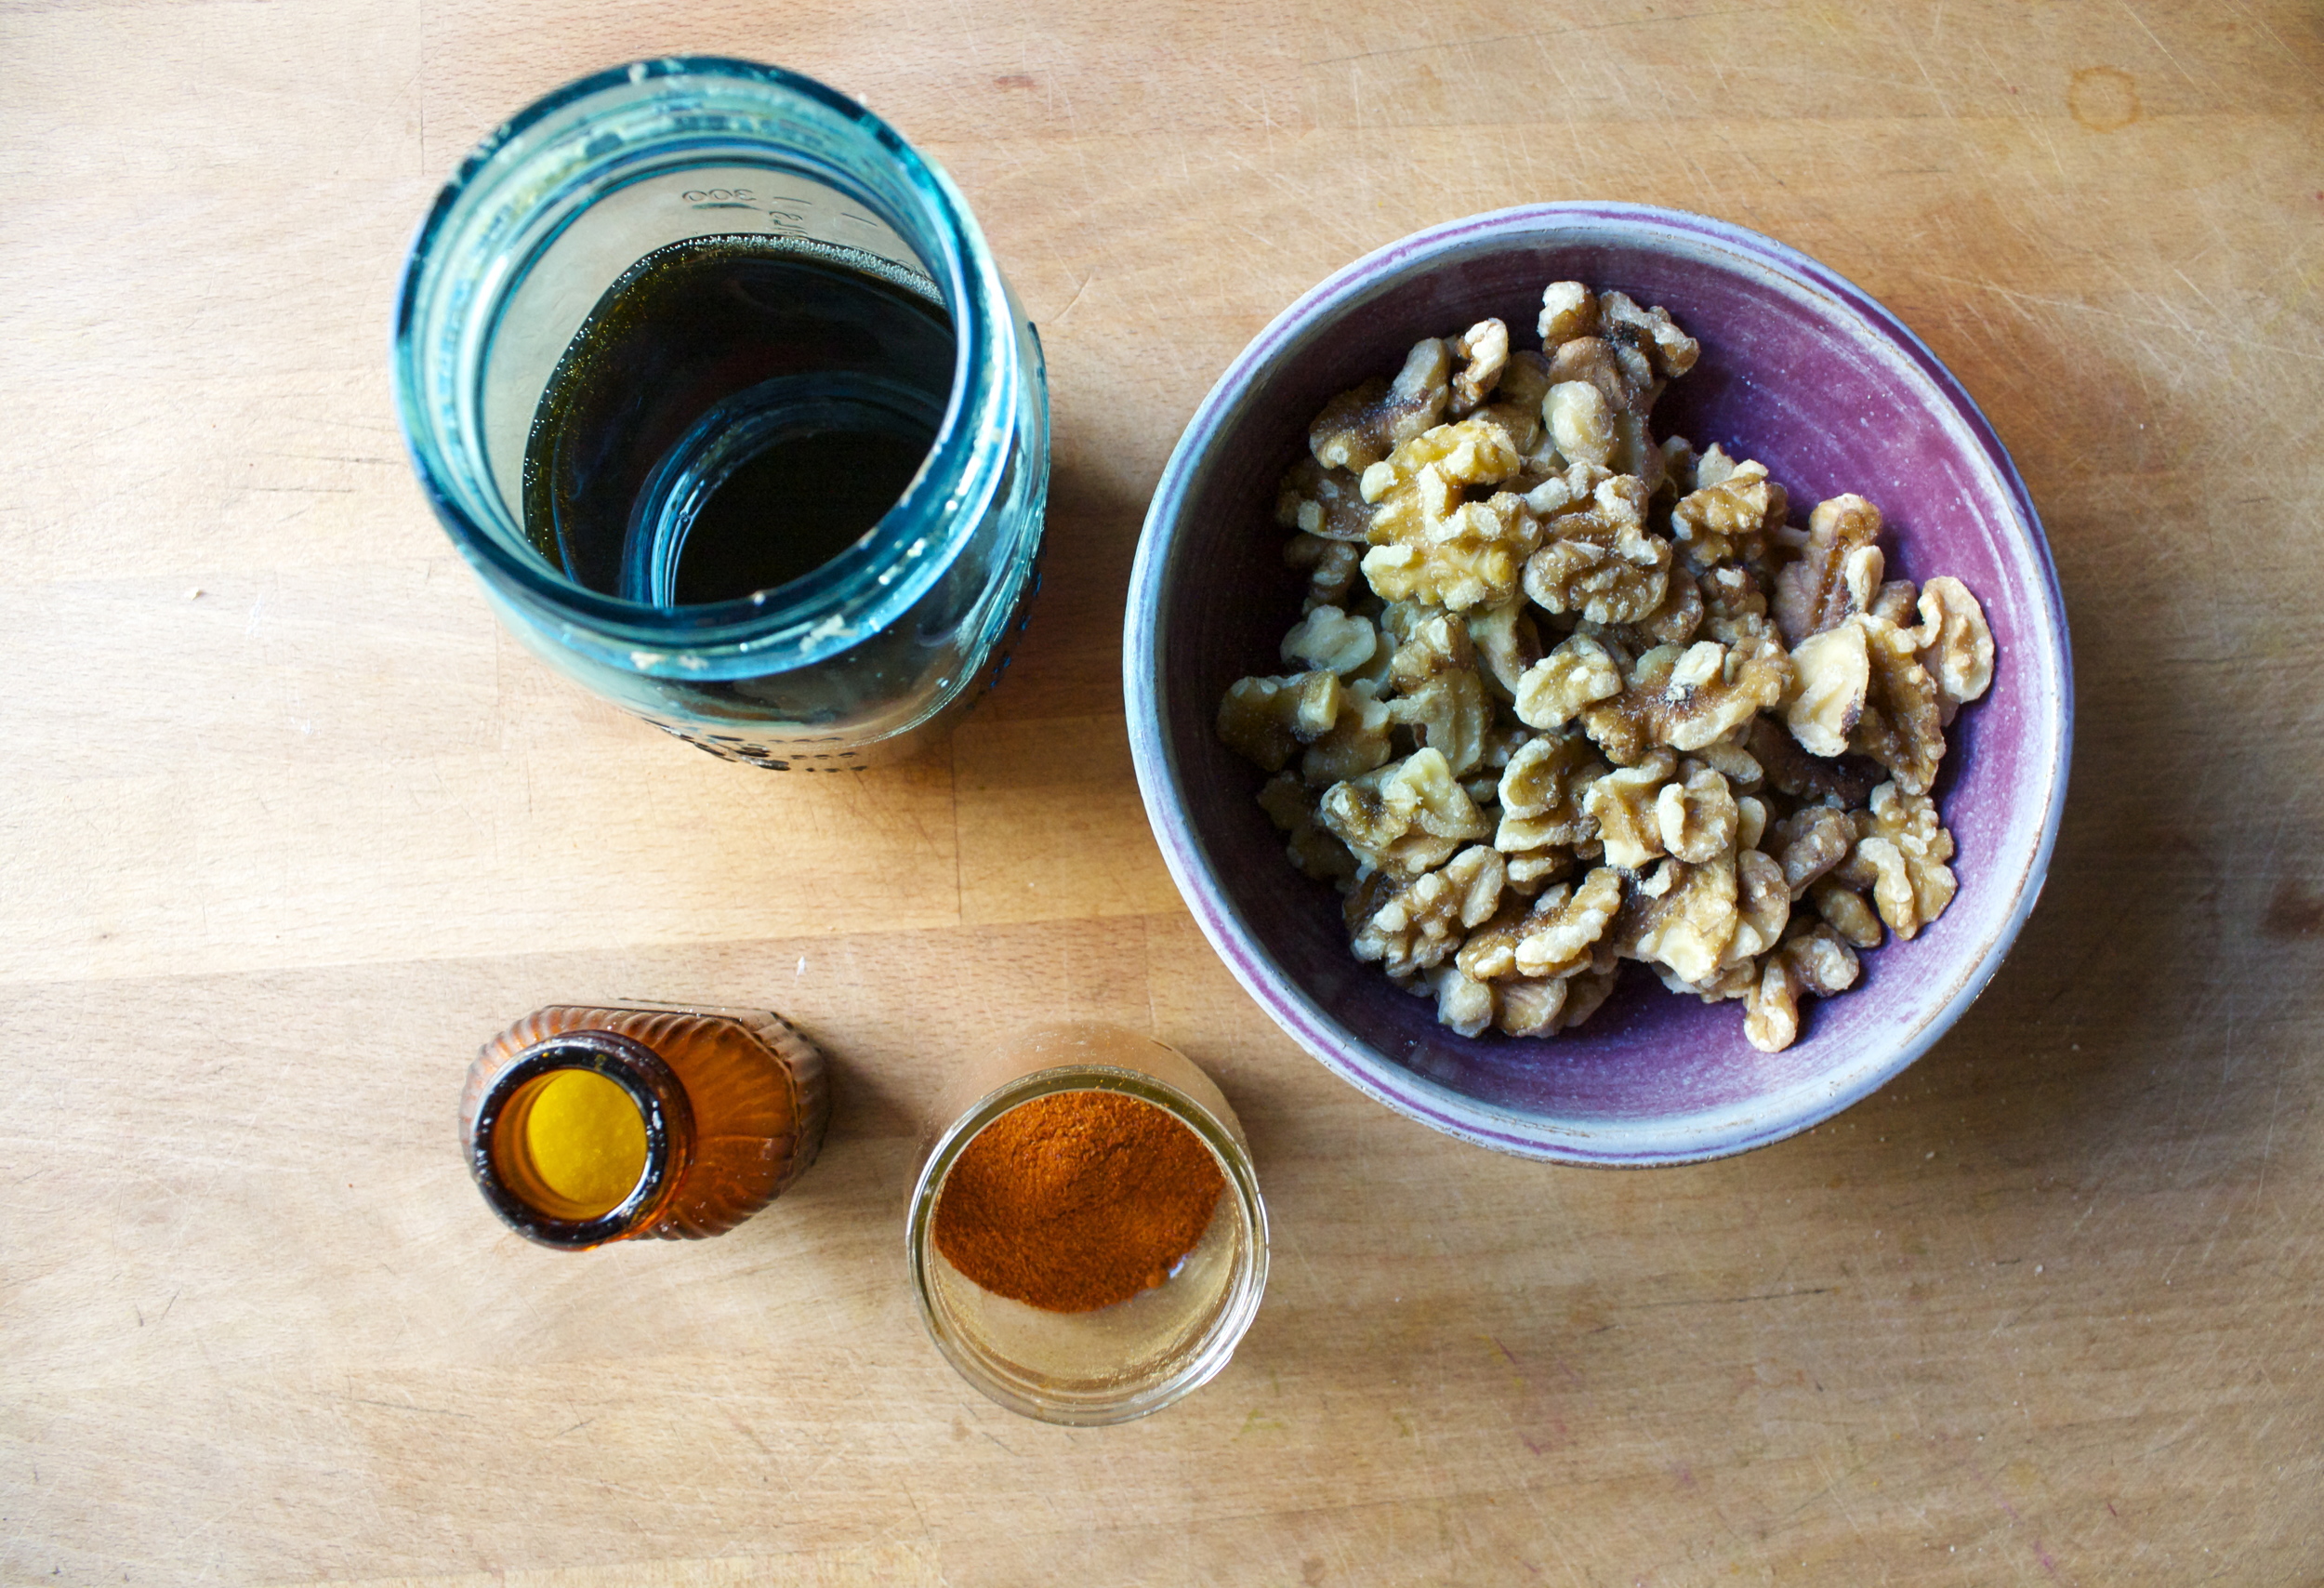
The stuff. Whole walnuts, real pure Vermont maple syrup, cayenne pepper and salt. 

Stick the walnuts into a dry skillet and place on the stove on medium high heat to give the nuts a little pre toast and to preheat the skillet.

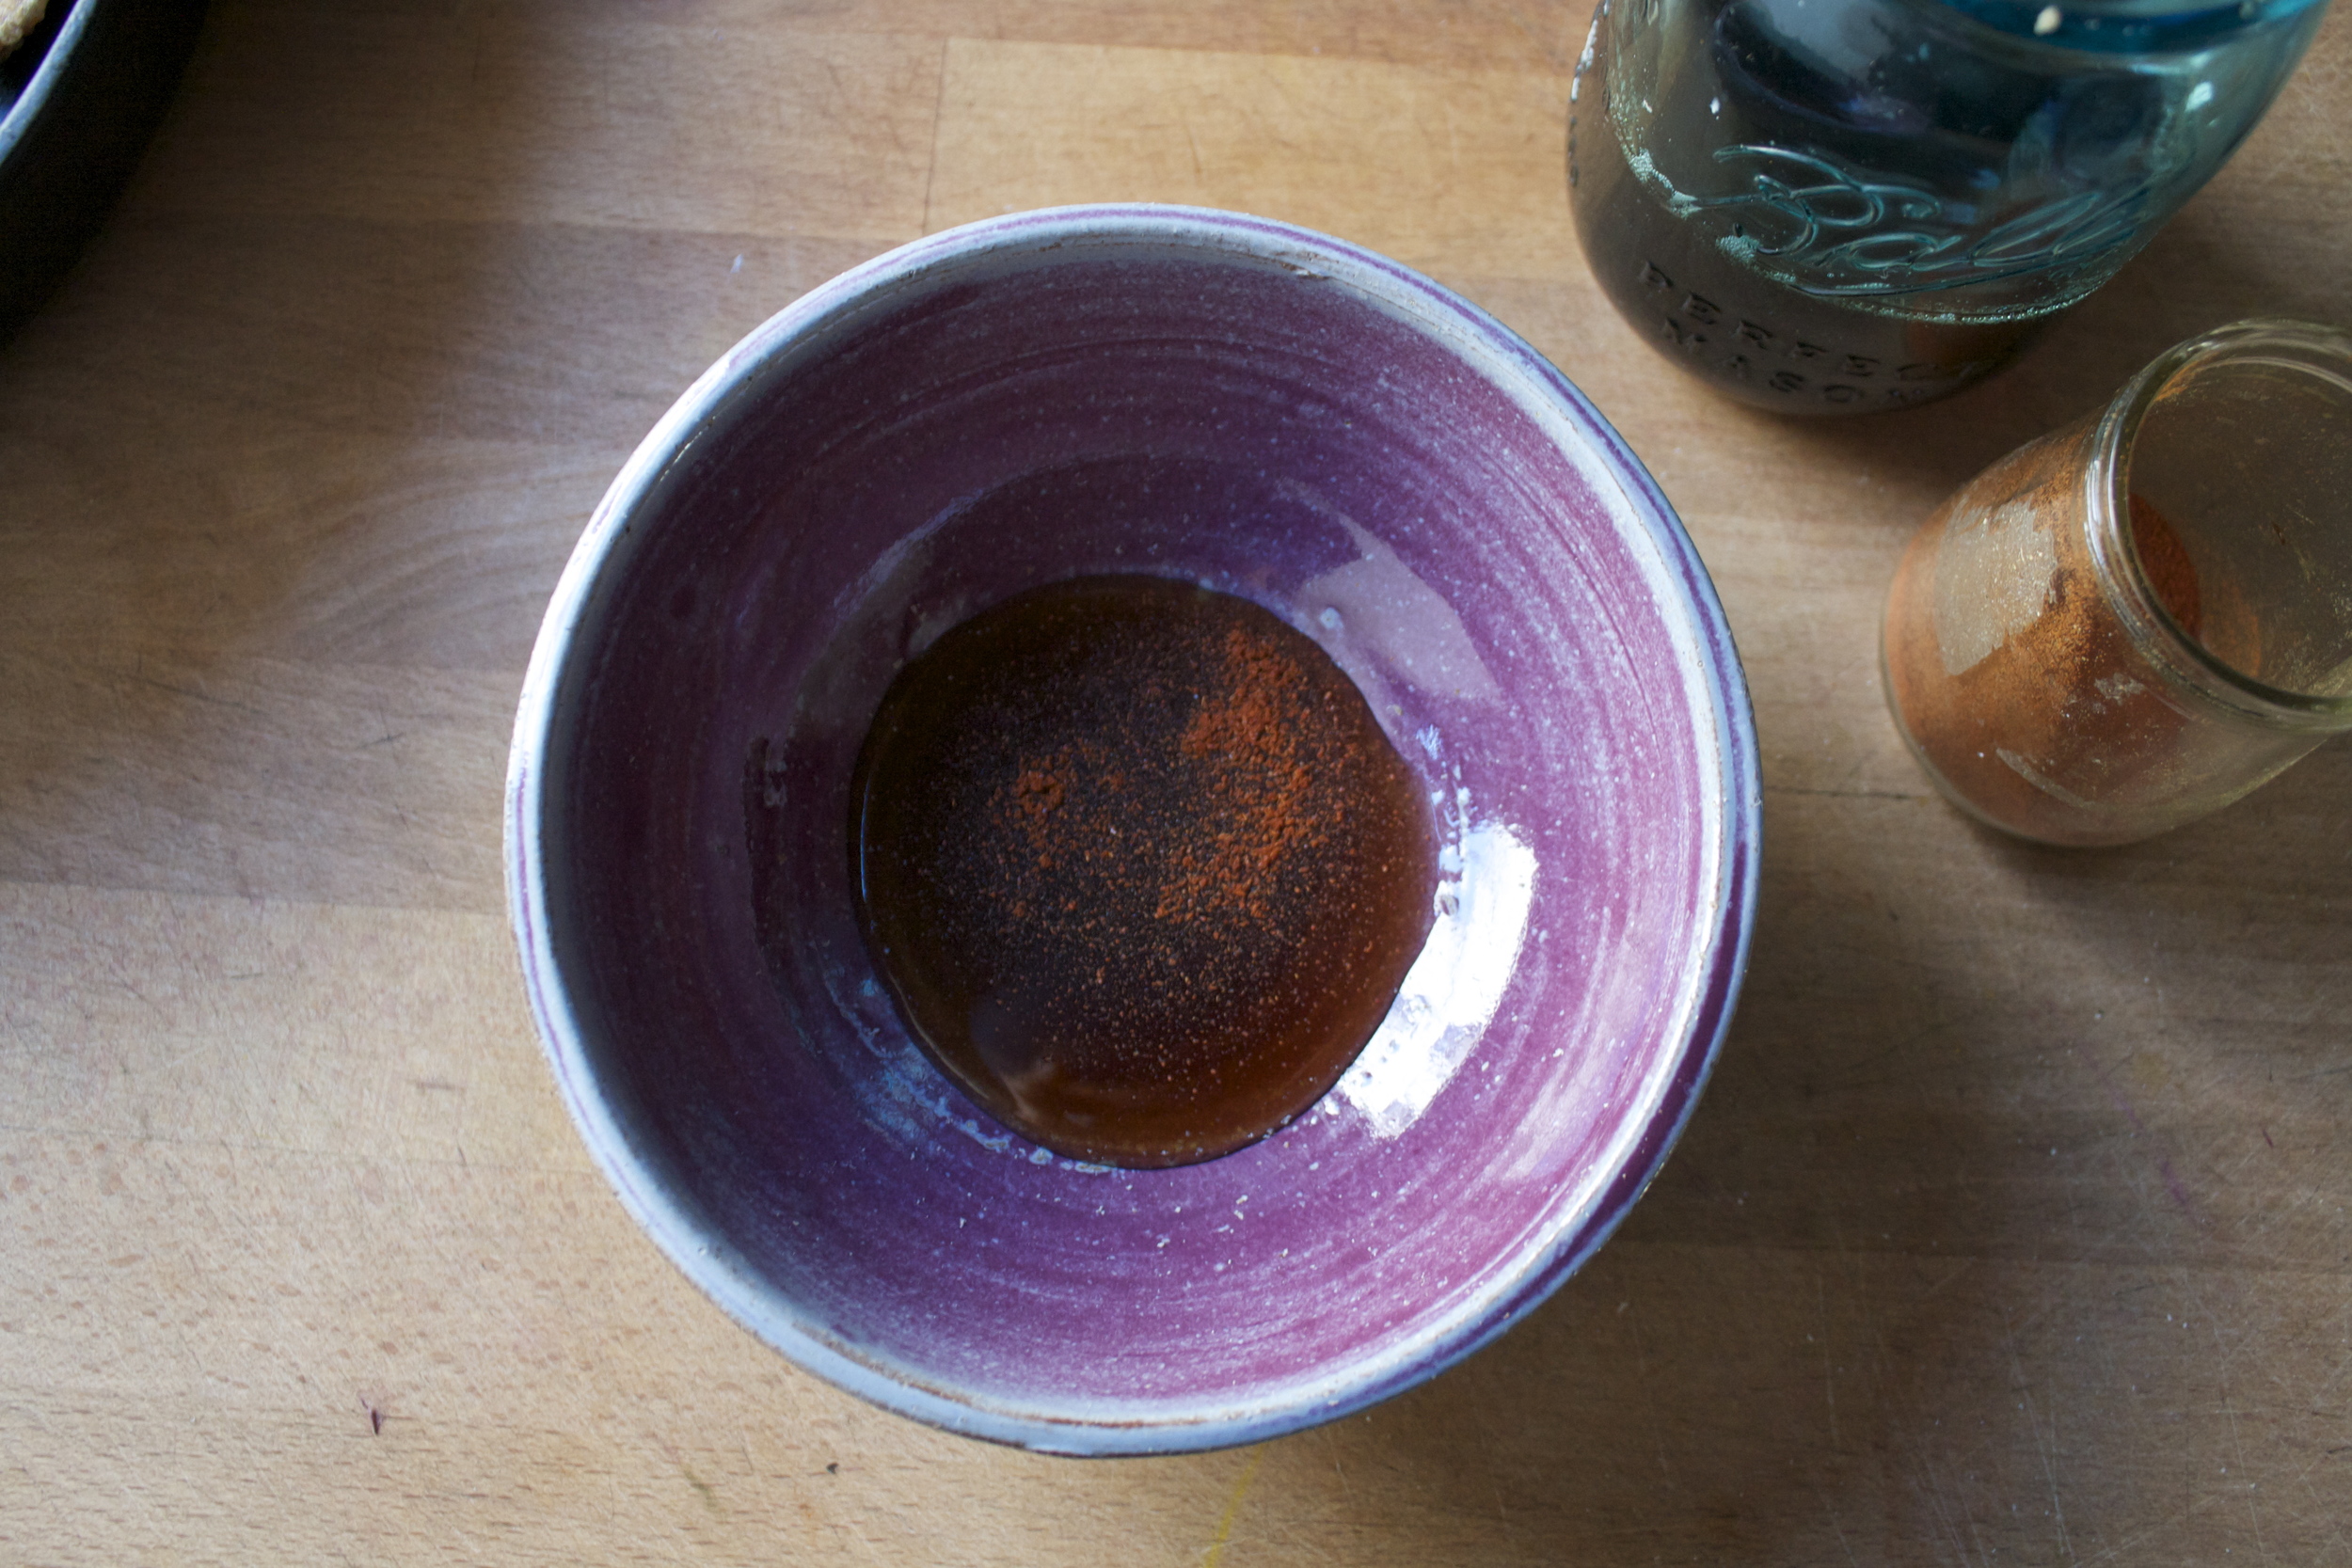
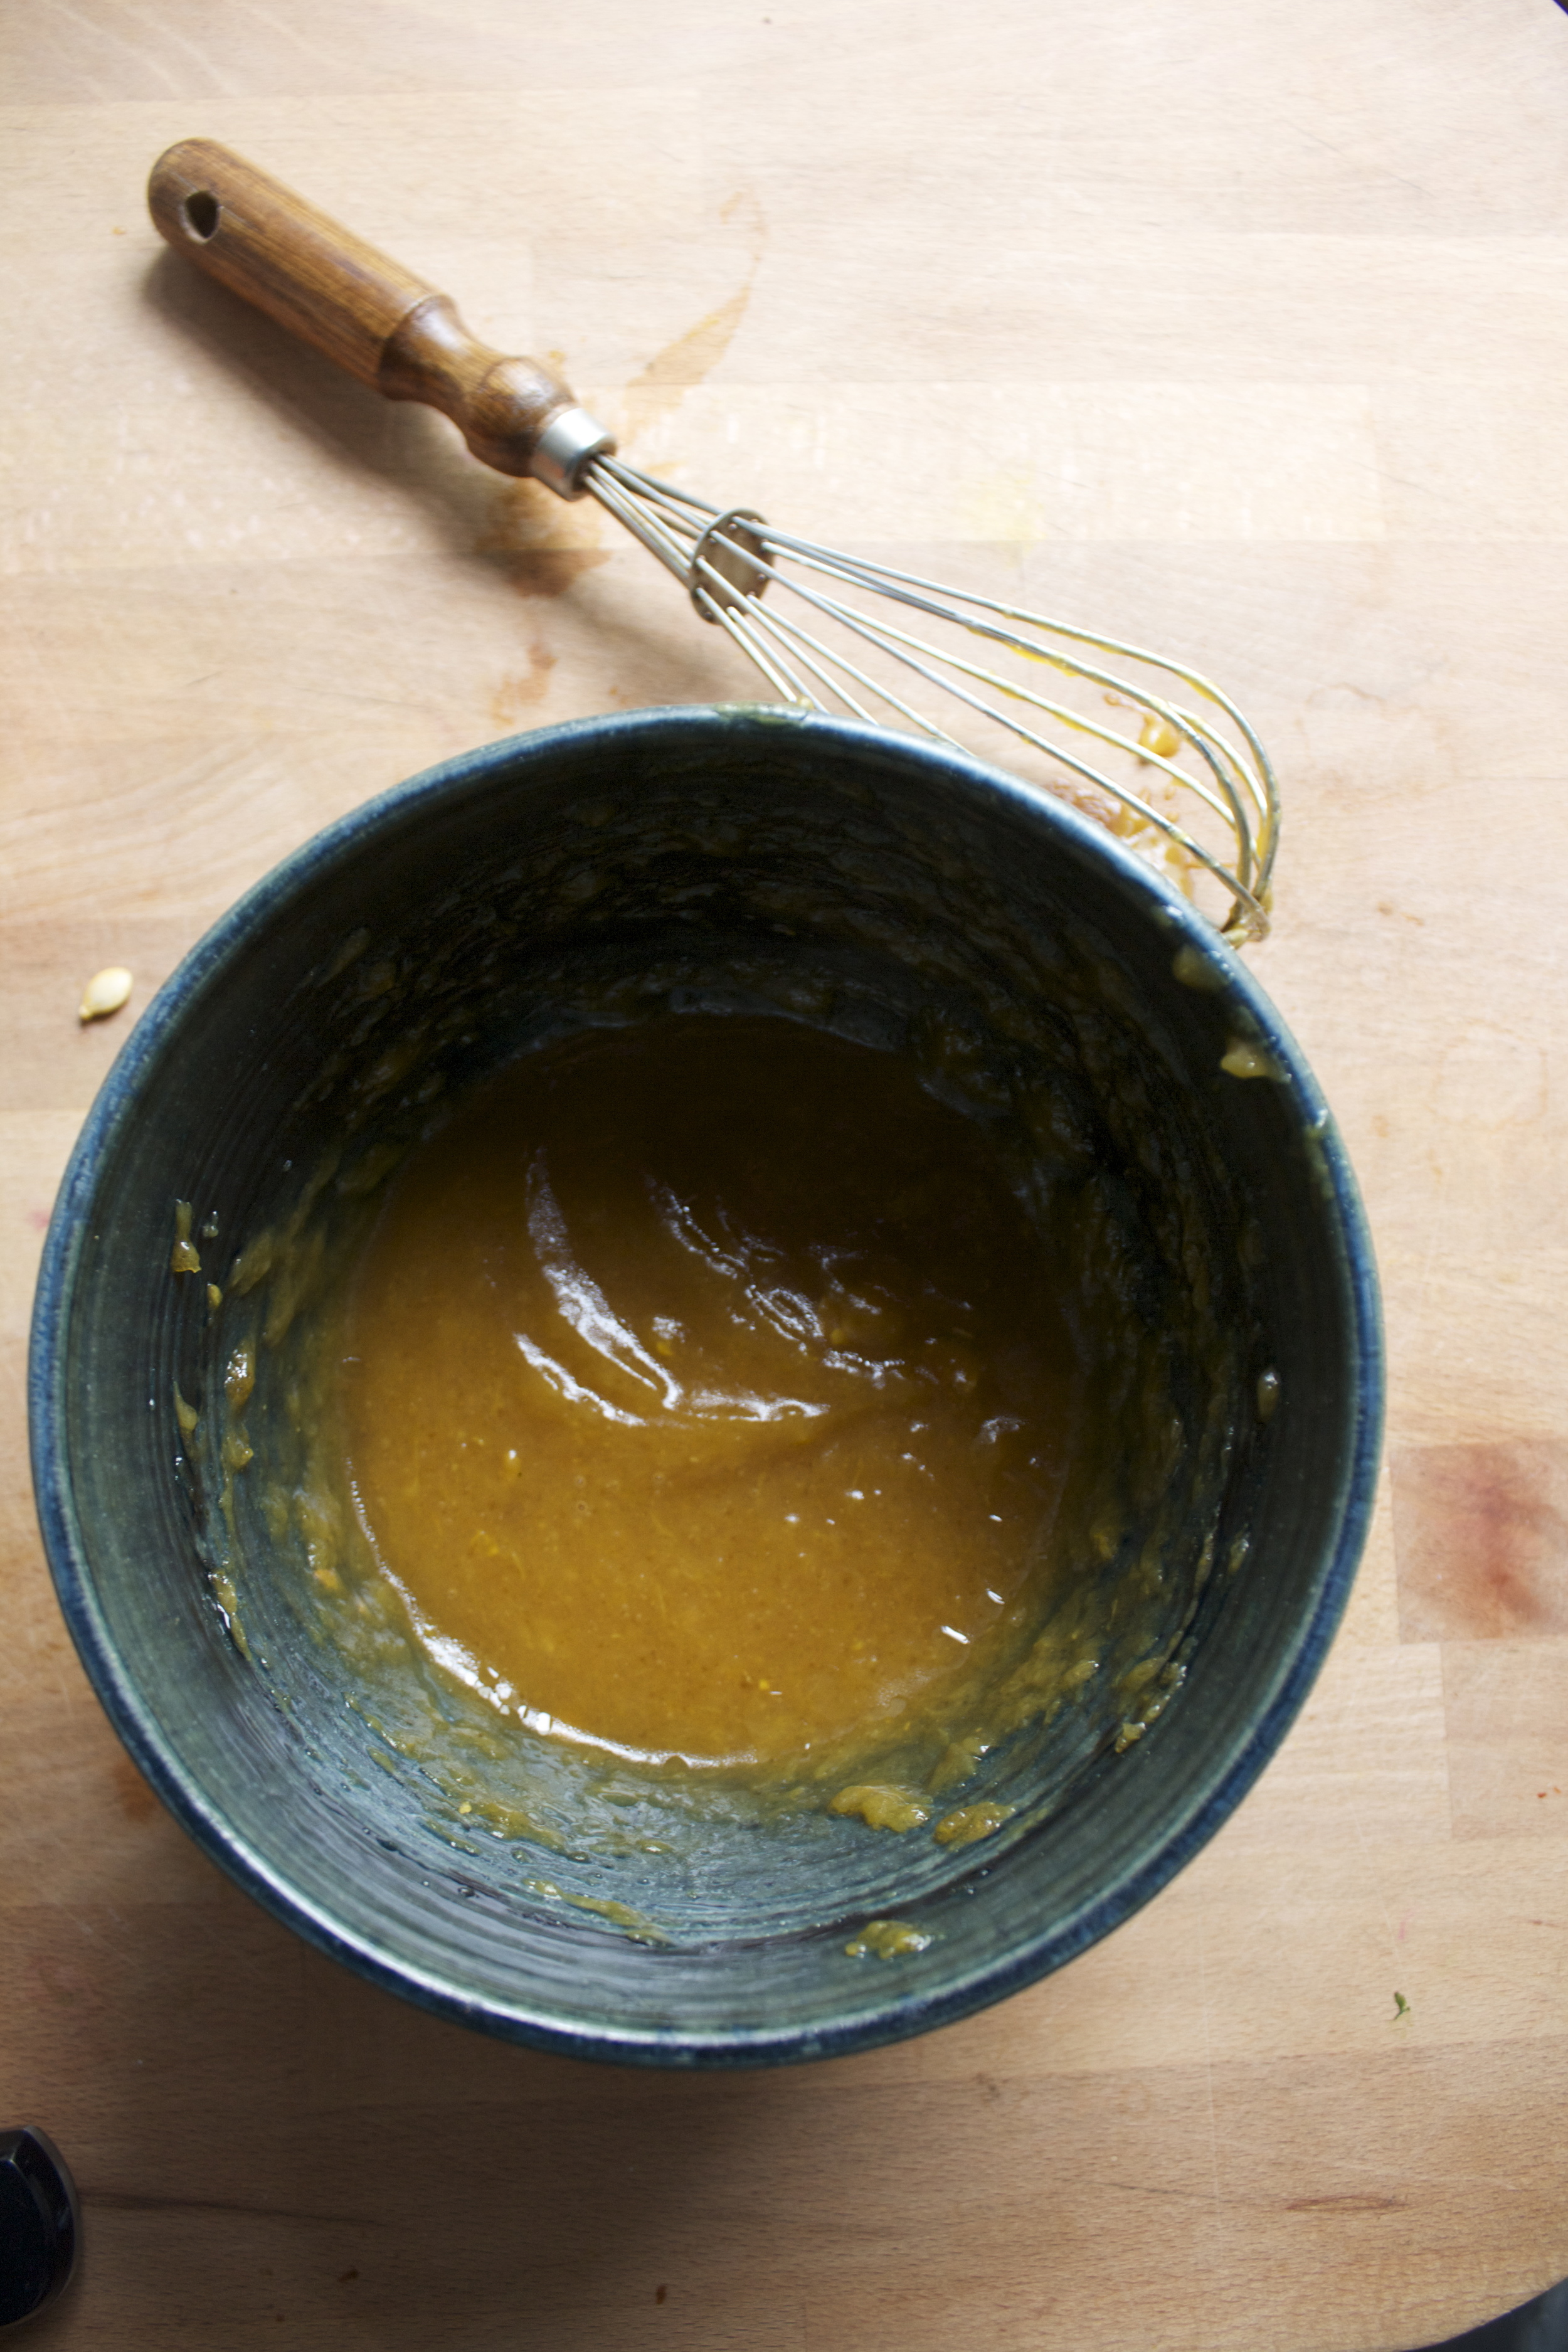
While the walnuts are slightly toasting, dump the maple syrup in a bowl with cayenne and give it a little stir.

Once the skillet has heated and the walnuts are slightly toasted and starting to smell all nutty ,dump the syrup into the skillet while string until the nuts until all are coated.

And for the next few minutes, continue to stir the nuts until the maple syrup starts to caramelize and  there is no longer any liquid left in the pan.(like 3-5 minutes)

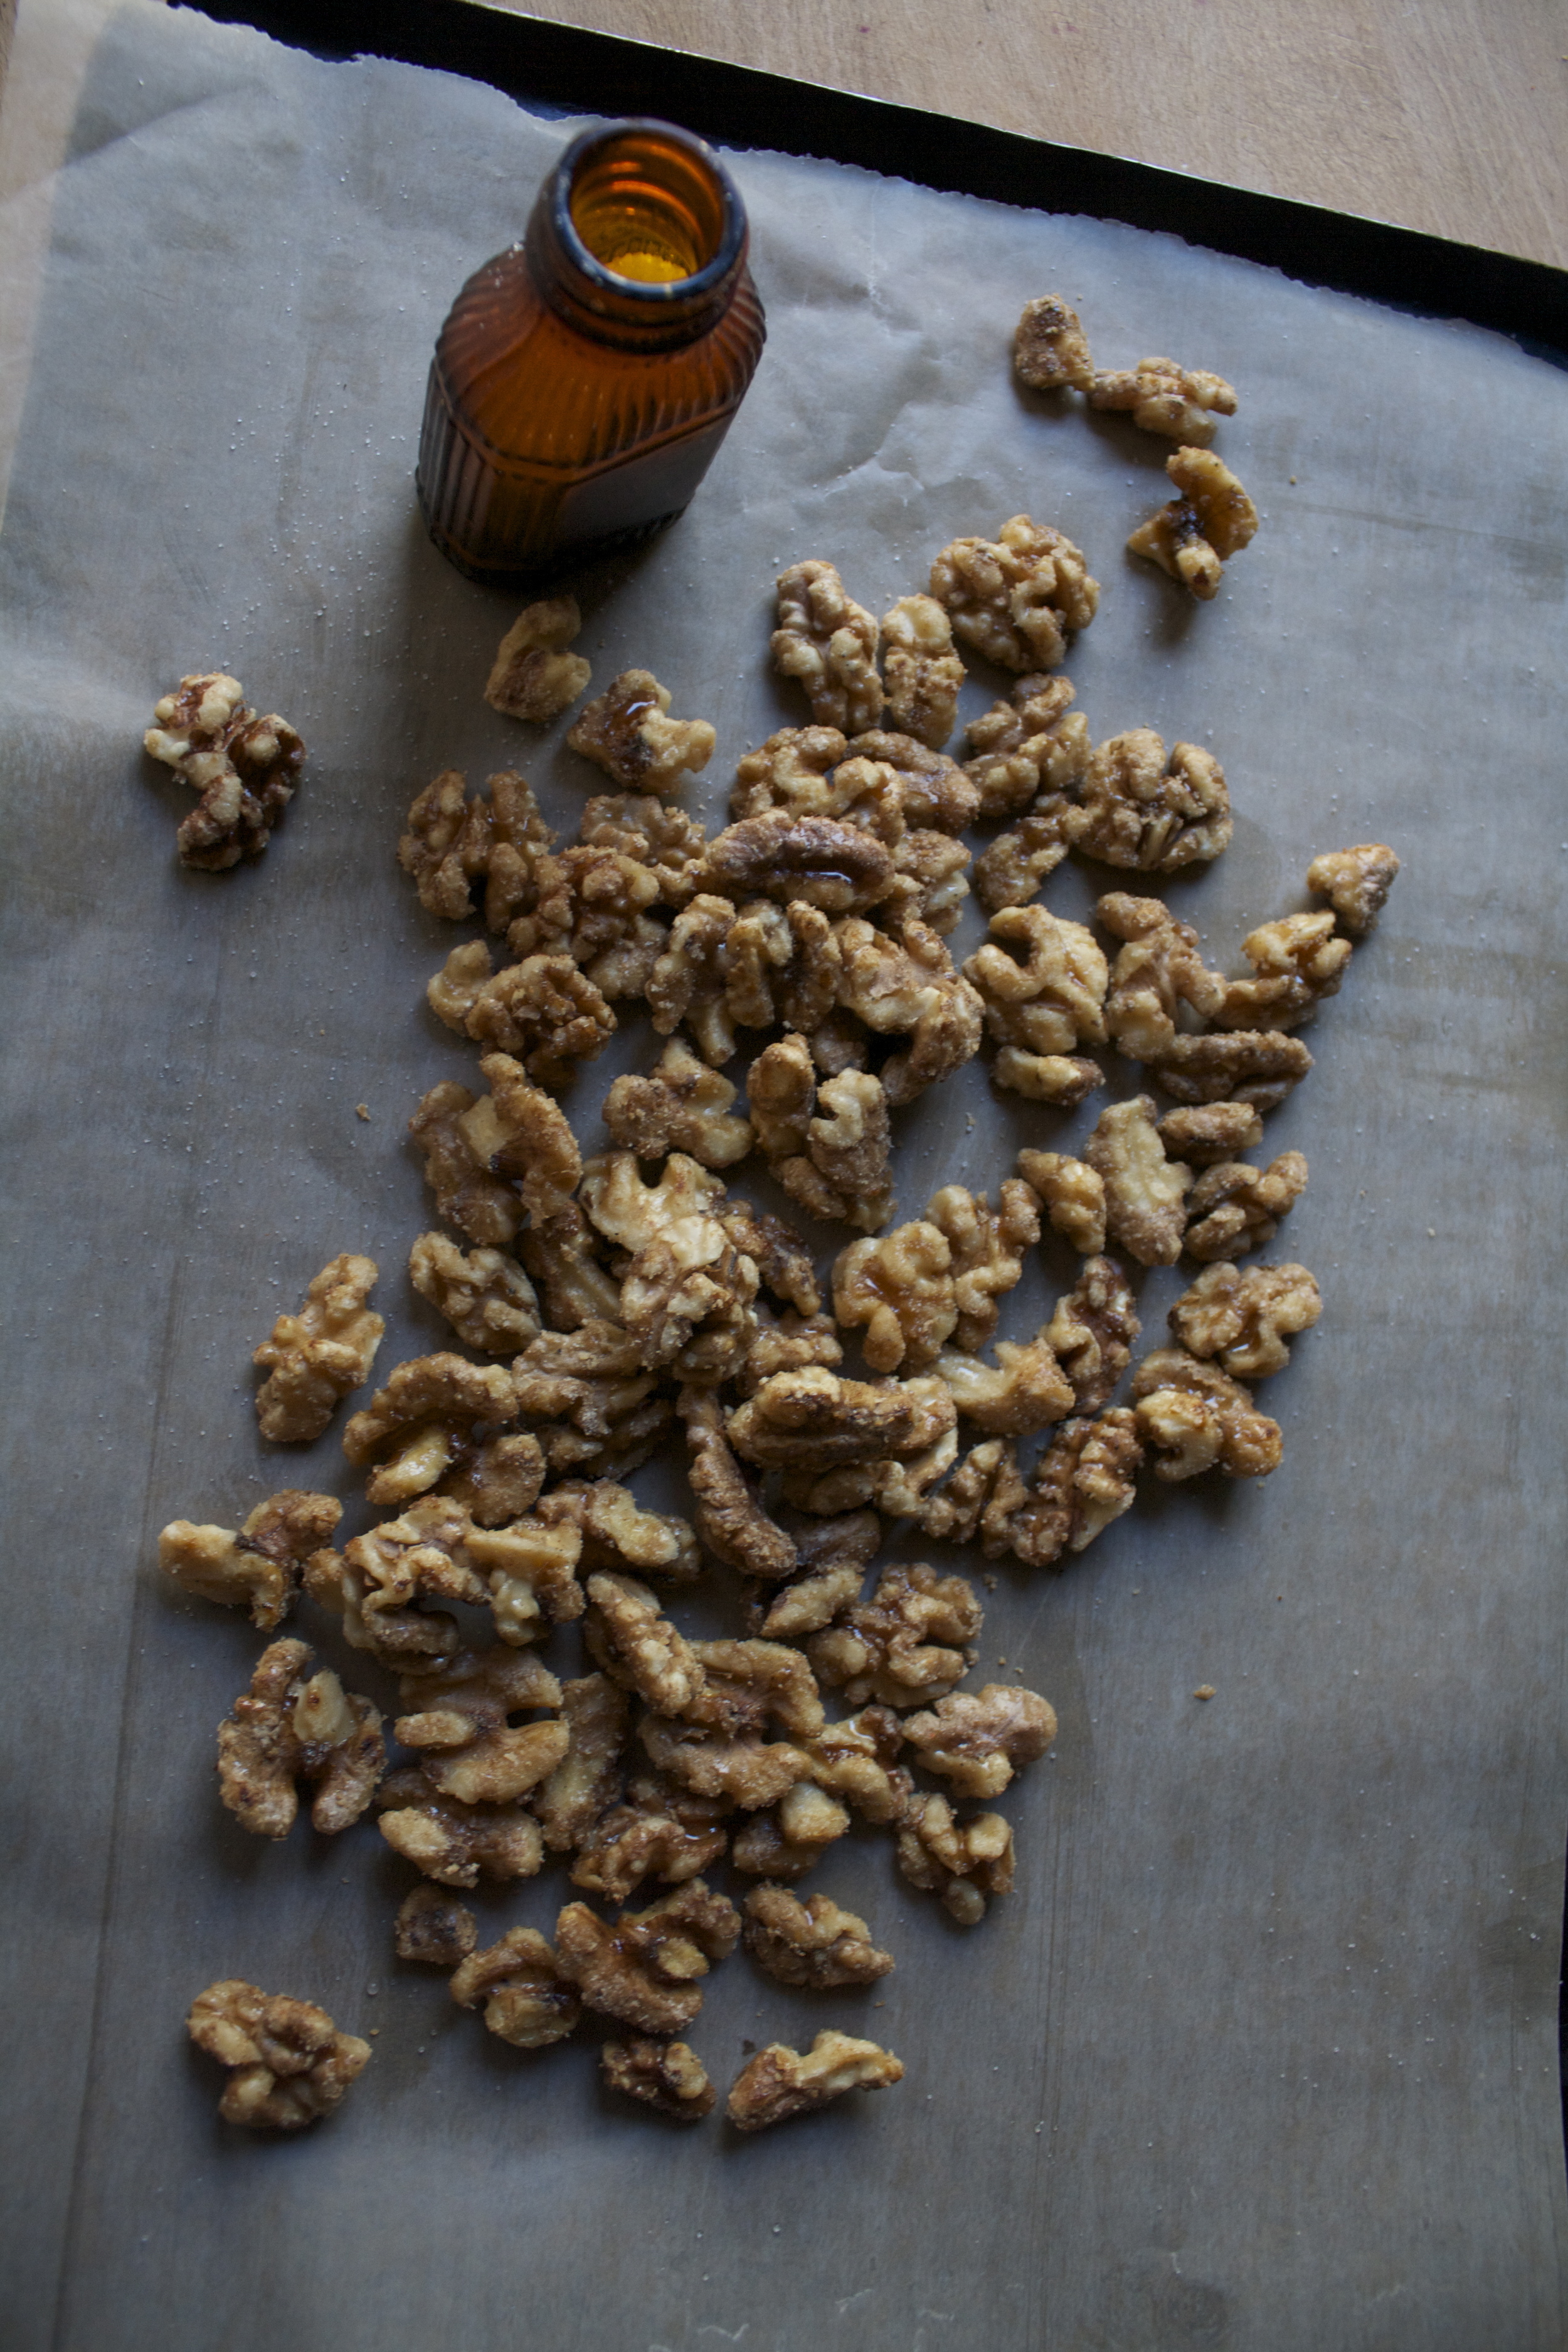
Now dump the nuts onto a lined baking sheet and spinkle with a pinch or two of salt, and if you like spice, a pinch more of cayenne pepper (you can make them as salty and spicy as you like!)

Note. As soon as you dump the nuts, stick your skillet in the sink and fill with water to avoid a crappy stuck on sugar mess.

Walnuts a plenty cooling off. 

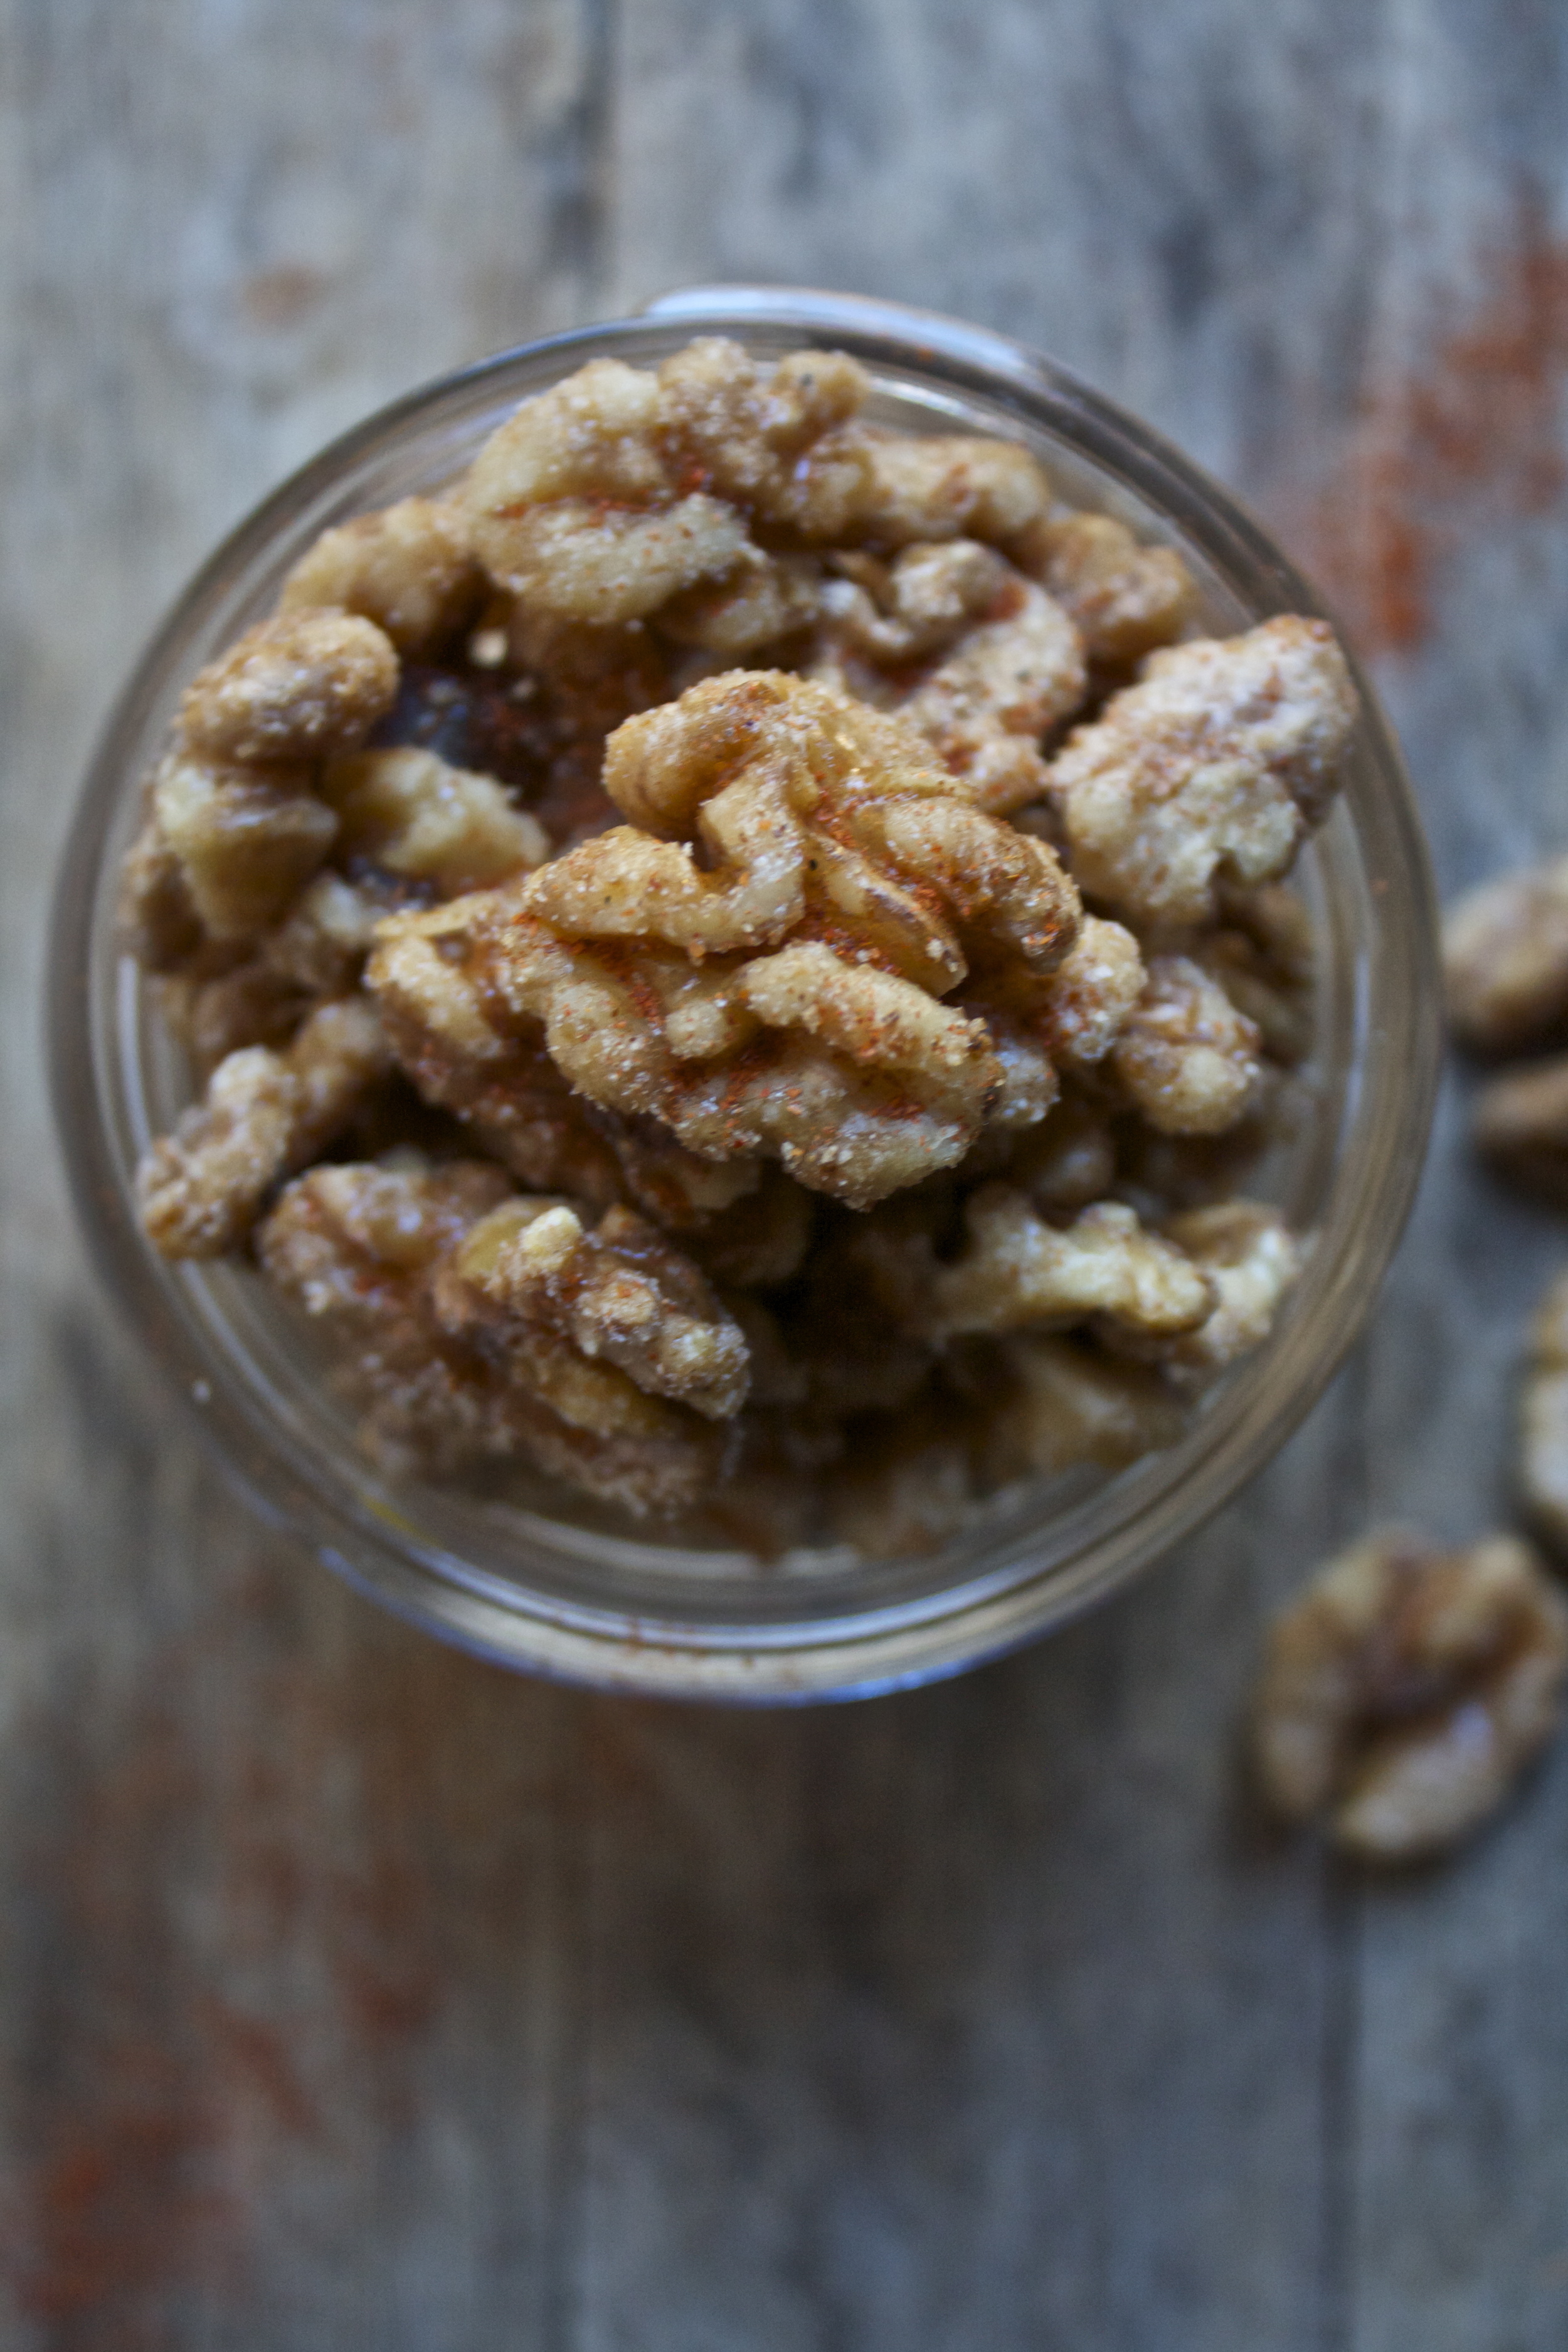
Oh man.. dez nuts! (I am sorry, I couldn't resists)

Snack on these, it will make you happy.

Enjoy your Tuesday! 

-C


Spicy Maple Candied Walnuts

  • 1 1/2 cups raw, whole walnuts
  • 1/4 cup maple syrup
  • 1/2 teaspoon cayanne powder (more if you like really spicy)
  • a couple pinches of salt 

Place walnuts into a large dry skillet  and stick on stove on medium heat. In a little bowl, mix the maple and the cayenne pepper together. When the skillet has preheated and the walnuts are slightly toasted ash giving off a nutty smell, pour mixture onto walnuts, string to evenly coat each nut. COntinue to cook and stir for another 3-4 minutes or until the syrup has caramelized ash dried. Once done, dump the mixture onto a lined baking sheet  and sprinkle with salt and maybe more cayenne pepper if yu want. Let cool, then eat…

These suckers make a great snack,  tossed into salads, or added to some apple strudel. Eat them whatever way floats your boat. 

In Dairy Free, Gluten Free, holiday, Paleo, recipes, Savory, Vegan, Vegetables Tags Spicy maple candied walnuts, walnuts, candy, vegan, gluten free, paleo, healthy, clean eating, plant based, snack, protein, halloween, nuts
Comment

Delicata Upside down Cake

October 23, 2015 Colleen Stem
IMG_1942.jpg
IMG_1980.jpg

I have so so so many winter squash. It's getting kind of out of hand. The mr is even making me a couple of wall shelves specifically for the squash so we can get our table back (it is currently covered in squash and tomatoes). I hoard them and I can't exactly tell you why. I think there is a part of me that is afraid that sometime durning the winter I am going to ran out of squash and am going to be forced to eat, I don't know, other food. And there also the part of me that knows that I will eat it all and why the hell not hoard them.. they are so pretty and lovely and…..well because I can! When I sit here and think about it,  there is no real logical reason for me to have so many, especially sense I will be doing a winter farm share and we get squash at each pick up all winter long. 

Hum….Things to think about..Oh well. I'll just call it a little werido quork of mine… squash hoarder, which is much better then a trash hoarder or a "stupid shit I found on the side of the road"  hoarder (that would be the mr.. but I don't judge).

So yeah,  I might need a squash intervention, or I can just make everyone around me happy by baking them sweet ass squash treats. I have shared and I always like to share my squash loot (see, another resin to have so many) but I found that most of the people in my life do not have the same kind of hunger for savory cooked squash.(weirdos) But you know what they do like? Cake Everyone will eat cake.

And for this cake I used delicata. It is really sweet,(I think all on its own it taste like a sweet dessert) so tasty, and easy to cook, The perfect squash for a cake. Add in the warm fall spices and you got yourself a winner. And bonus.. if you have heard that there is a canned pumpkin shortage this year and are are worried about you pumpkin fix. Stop. You don't need canned pumpkin. Just make your own puree and make it with all the squashes, especially delicata. 

Now go bake a cake.. I will probably make another one this weekend while I start on eating/baking with the sweet dumplings and buttercups that are piled on the fridge (seriously.. I have squash EVERYWHERE!)

The stuff. In the big white bowl there is white whole wheat pastry flour, baking soda and powder, salt, cinnamon and nutmeg. Then we have some brown sugar, oil, water with some vinegar and a already baked delicata squash. Also going to need another uncooked squash, earth balance and a little more brown sugar for the upside down part.

First off, grab yourself 10-12 inch skillet, preferably one that you have not just cooked garlic in. 

Slice up the uncooked delicata into 1/2 inch slices and remove the seeds (to roast later)

Stick the earth balance and the lesser amount of brown sugar into the skillet and place it on low heat, just to melt the butter and sugar down to form a sauce.

Now layer the squash rounds in the sauce. Fill in the skillet as much as you can. ( any left over can be for  cooked for lunch)

IMG_1869.jpg
IMG_1873.jpg
IMG_1878.jpg

The already baked delicata squash (minus the seed and skin.. save the seeds to roast, skin you eat right away) goes into a bowl with the brown sugar and oil. Mix it all together until combined. 

Note.. My squash was still warm when I mixed it with the sugar and oil. which really helped the sugar resolve and for the mixture to be smooth. If you squash is cold, warm it up a bit..

Whisk together all the dry and dump in the squash mixture and mix.

And slowly pour in the water/ vinegar mixture and mix until just incorporated.

Now slowly pour batter over the delicata in the skillet.

And into the oven it goes!

After 45-50 minutes, the cake should be browned and beautiful and a tester should come out clean when stuck in the middle. Remove the cake and place on cooling rack for about 8-10 minutes to cool. Don't get to excited and do it to soon or else the caramelization on the bottom will still be too liquid and completely soak into cake. Giving it a few minutes will let it cool enough to set up and stick to the top….so just wait!

And for the best and scary part…flip the skillet onto a plate or cutting board and be amazed. oh, but right before you do, run a spatula or knife around the edge to make sure the cake is loose.

It really should have no problem coming out of the skillet, but if any of the squash sticks (one piece of mine did) just scrap it out and place it back on the cake… no one will notice)

Now time for a slice… or maybe two!

And for reals, go get yourself lots of squash, even if it's just to make cakes with!

Have a fantastic weekend!

-C


Delicata Upside-down Cake 

Makes a 12 inch skillet cake (can be made in a can pan)

For the cake

  • 1 3/4 cup white whole wheat pastry flour (can use white pastry, wheat pastry, or all purpose)
  • 3/4 cup brown sugar
  • 1 cup warm delicata squash puree*
  • 1 teaspoon baking soda
  • 1 teaspoon baking powder
  • 1/3 cup mild flavored oil (canola or veggie)
  • 1 cup water 
  • 1 tablespoon apple cider vineagr
  • 1 teaspoon salt
  • 2 teaspoons cinnamon
  • 1/2 teaspoon nutmeg 

For the upside down part

  • 1/4 cup of brown sugar
  • 3 tablespoons earth balance]
  • 1 small uncooked delicata squash 

*Note.. To make delicata puree, simply stick the whole squash into the oven and roast until fork tender. Remove and let cool enough to handle. Cut in half, scoop to the seeds and scoop the flesh into a bowl….thats it. Oh, save seeds to roast and eat the skin as a snack (skin is my favorite part and the seeds are almost better then pumpkin!)

Preheat oven to 350 degrees. 

Grab yourself a 10-12 inch clean cast iron skillet (maybe don't cook garlic in it before you make this cake). Stick the earth balance and the brown sugar in it and place on low heat until the butter and sugar melt together and form a sauce. Remove pan from heat. Take the raw delicata squash and slice it into 1/2 inch rounds. Remove the seeds(save for roasting) and place the rounds into the bottom of the skillet, fitting in as many as you can, without overlapping. Set aside and make cake batter.

In a large bowl, whisk together the flour, salt, baking soda and powder and the cinnamon and nutmeg. In a separate bowl, combine the cooked warm squashwith the oil and the brown sugar. (if you squash puree is cold, warm it up. It mixes better warm) Mix until completely combined. Dump wet into dry and whack together then slowly pour in water/ vinegar mixture and whack until everything is full incorporated. 

Pour cake batter over the stuff in the skillet and place into the oven. Bake for 45-50 minutes , until a nice golden brown and tester in middle comes out clean. Remove and place on a cooling rack or ontop of the oven to cool for 8-10 minutes. Once  cooled, take a plate, cooling rack, or cutting board that is a least a little bigger therm the skillet, place it ontop pif the killet, and flip. The cake should drop right out…. if anything sticks in the skillet, trust scrap it off and stick it back on the cake.

Now the cake is ready to eat.. so grab a knife, cut a slice and do it.

In Vegan, Sweets, recipes, holiday, Dairy Free, breakfast Tags Upside down delicata cake, delicata squash, cake, winter squash, sweet, pumpkin, pumpkin shortage, local, organic, vegan, vegan cake, plant based
Comment

Flying Bats Garland

October 6, 2015 Colleen Stem
IMG_9892.jpg
IMG_9964.jpg

I never can really tell how I honestly feel about halloween. I love fall, I love pumpkins and cider, but thats fall ,not halloween.  I love to see all the happy little littles running around being super cute. all jacked up on way to much sugar.  And  I know when I was a kid I was all about it. I mean, what kid doesn't get jazzed to run around, dressed up (I was alway a black cat), with a pillowcase full of candy all night long? That is just magic. But as an adult, I haven't really done too much. Sure I help wit the costumes of the littles and sometime I hand out candy, but where we live now, it's not possible to give out candy. And the littles, they go do stuff with there friends, not there old lady aunt. And I guess me and the mr could dress up and go to a party or something, but  honestly, we are not really party people…. So yeah, don't know. I think when I finally have my own kids It will be more fun. But whatever, at least I can do a little decorating.

For as long as I have been as adult with my own living place, I have really gotten into holiday decoataing. But here is the thing. I like my decor to be minimalistic, not to over the top, or super cheesy. (although I really do like when other people go super overboard and cheesy) But no, you won't find a 20 foot blow up of a witch or severed hands in my front lawn.(maybe a few dead mice, but thats the cat, not me) And I like to make my decorations. I even like to get some littles in one it, cause hand made kiddo decorations are the best. 

These bats are the perfect bit of halloween decoration. I made a ton of them a few years back and lost them, so I just whipped up a new strand. Fast and easy to make, are not overly crazy or gory, and can be hung anywhere. An yeah, making them with a few littles is fun, but you don't need them. I made them all on my lonesome…. Oh me..

Anyway, to the bat mobile (garland)!

The bat stuff

  • 2-3 pieces of Black card stock (construction paper  is fine, but will the color will fade over time)
  • scissors
  • pencil
  • needle and thread*
  • clear tape or tacks (not shown.. to hang bats)

Note. You can use embroidery floss instead of thread, but the thread is much more visible and you are going to need a tapestry needle. 

IMG_9877.jpg

Take a piece of paper and fold in half, either length or width wise.( If you do lenght wise, you can cut out a few more bats per piece of a paper, width wise, the bats wings are longer.. up to you, do it both ways if you want) 

Outline a bat.

Bats are all jagged  lines.. nothing too complicated so I figured a stencil is not needed. If you really need a stencil, I can email you one...

Cut out bat and open up.

See, easy. And now you have a bat. If you do not like the exact way it looks, fold in again and cut a little more, but don't get to picky, you have many more to cut.

Now make yourself a  bat army. As many or as few as you like. I think 12 is a good number. If you want, take the first bat that you cut out and use that as a stencil. Me, actually just free form cut the guys, so none of them look the same.

Bats are ready, now thread you needle.  Don't cut the end loose or tie the two ends together.

Fold bats back flat and thread them through the upper portion of the wings.  Do that to all your bats.. and make sure that you are threading them on all the dame direction (if you care)

Once all the bats are threaded on. remove needle and tape the end of the thread. Space the bats out evenly or however you like, and hoe ever far apart you like, and cut thread of spool. Tape that end off too.

And hang them…. Most of my bats stay where I placed them, but a couple wanted to slide around on the thread, so I just stuck a tiny piece of tape on the inside of the wing over the thread to stop that.

They can fly threw the air….

Or drape on the wall. 

Any way, these bats are freaking bad ass and the coolest!

Happy Holiday Decorating! 

-C

In DIY, crafts, arts, holiday, decorations Tags bats, garland, diy, halloween, hand made, decoration, craft, simple, paper craft, arts
Comment
← Newer Posts
 

https://thelovelycrazy.squarespace.com/config#/|/about/

Me. Food Maker.Food eater. Woo HOO!

STEM+NODE  SMALL BATCH AND ONE OF A KIND POTTERY

stem+node ceramics


____________________

Subscribe

GET NEW POSTS IN YO EMAIL

You are AWESOME!!!


@thelovelycrazy 2014-2021