• stem+node ceramics
  • HOME
  • Food Recipes
  • About
  • Contact
Menu

The Lovely Crazy

Street Address
City, State, Zip
Phone Number

Your Custom Text Here

The Lovely Crazy

  • stem+node ceramics
  • HOME
  • Food Recipes
  • About
  • Contact

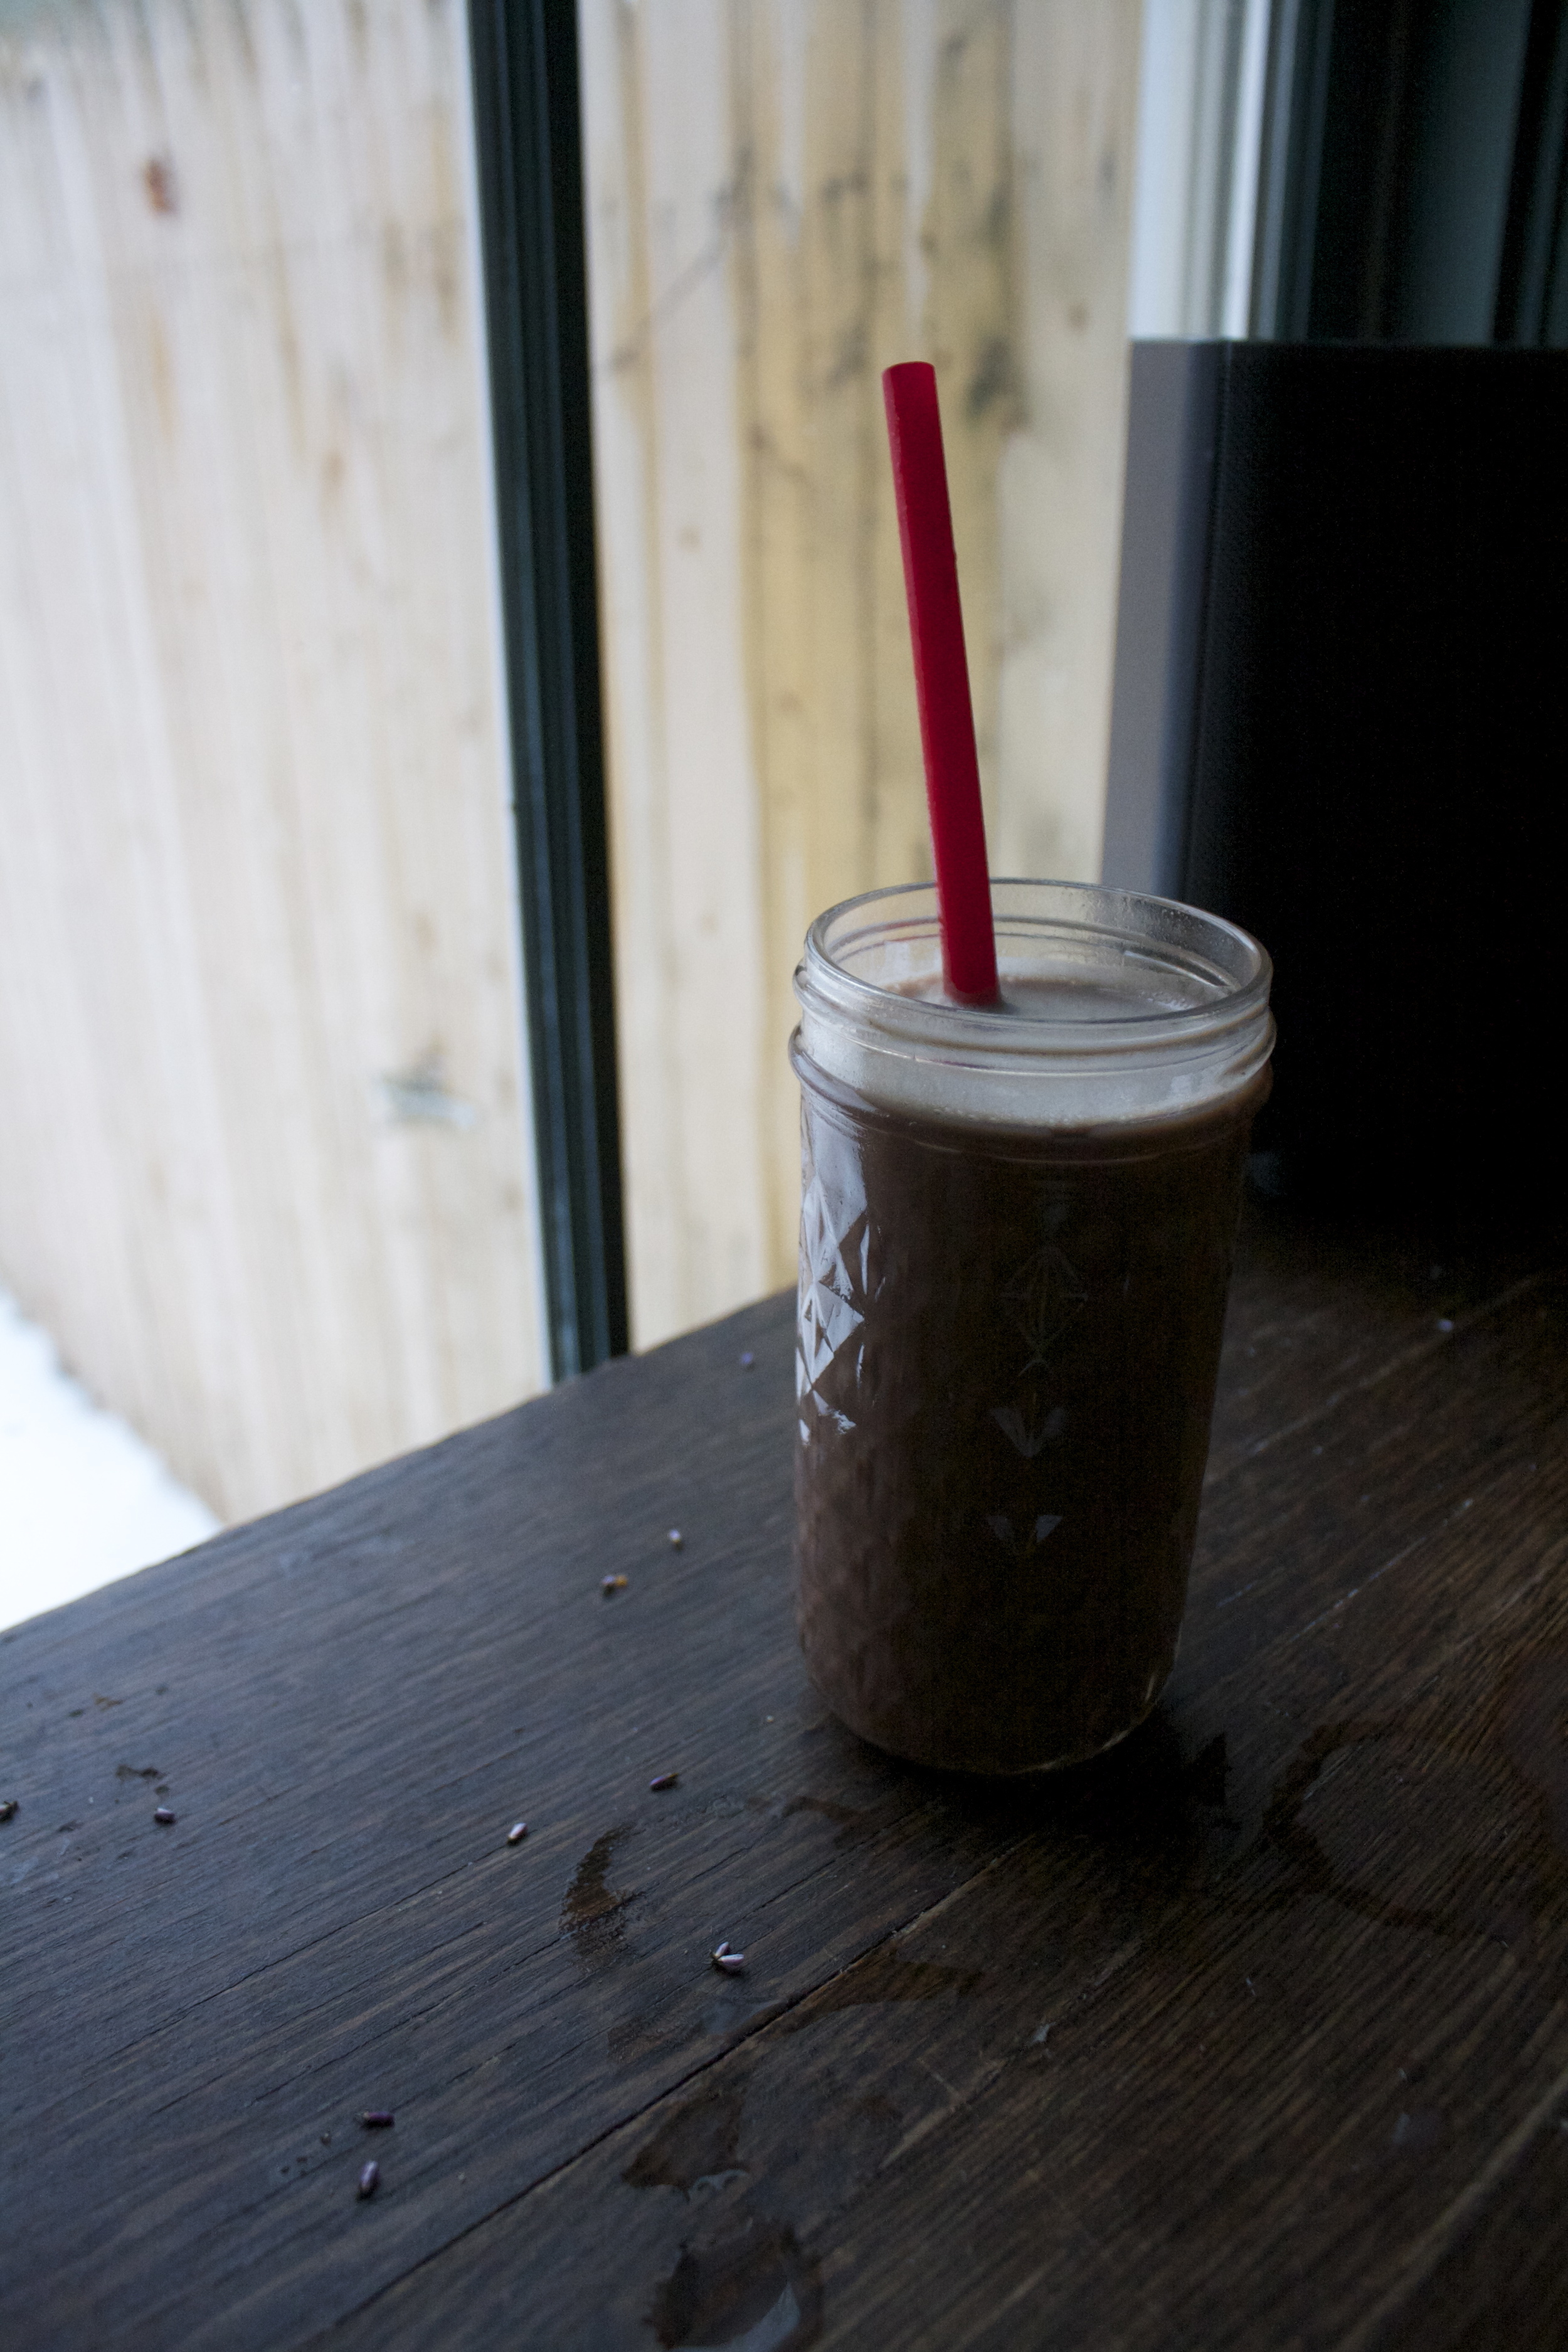
Strawberry Chocolate Egg cream

December 31, 2015 Colleen Stem
IMG_6588.jpg
IMG_6593.jpg

A few month ago I read an article about NYC seltzer water (which I have still yet to have) and fell in love with those super cool glass seltzer bottles. (I really want to get my hands on a few). In the article, there was the mention of egg creams. Now at first I was kind of disgusted because who the hell drinks eggs, but then after doing super duper internet research (google) I found that egg creams are not actual egg.. It's pretty much just bubbly chocolate milk.

Yesterday I was thinking of a non alcoholic beverage that people that are opting out of the alcohol can drink, something maybe a bit different and fun and I had that brain spark.. Egg creams! And I just so happen to be babysitting a gaggle of littles for the day and who better to serve a fun non alcohol drink too! (after that, save all he alcohol for me!) It was perfect cause these littles are down for anything with chocolate and it just so happened to be one of those littles birthday (HAPPY BIRTHDAY JUDAH BUG!) .so special party drinks were in order.

Here is how the egg creams when down. I made the chocolate syrup. The kids all loved it and where sticking there fingers in it. Then I assembled the egg creams. All the kids took a glass, drank some, and took off. I found 1/2empty cups of drinks around the house. But here is the thing. When I asked if they liked it, two said yes.,one said it was weird but good, and one little ran away from me with the bag of chocolate quinoa bark ! brought. (I didn't run after her) The mr came by a few hours later and tried some of the dregs of one and he wasn't into it at all , but then again he hates chocolate milk and it was sitting around for a while. So the verdict .... not sure.  Kids like it if they like chocolate milk but treat it like they would treat any drink (drink half and abandon the rest). Adults could totally get into it if there is some nostalgia behind it or maybe a shot of vodka added.  So yeah. I think anyone that is interested should definitely try it. And if you do, let me know. I am very curious what people think.

Oh, and to make the afternoon that much more interesting, I am currently still suffering from laryngitis (hahaha) So yesterday was some fun stuff. 

The stuff for the chocolate syrup. Cocoa powder, sugar, water, a pinch of salt and a little splash of vanilla. And for the actual egg cream.. milk (a plain plant, nut, or animal) and strawberry flavored seltzer water. (if you don't like strawberry use any flavor or plain)

IMG_6523.jpg
IMG_6530.jpg

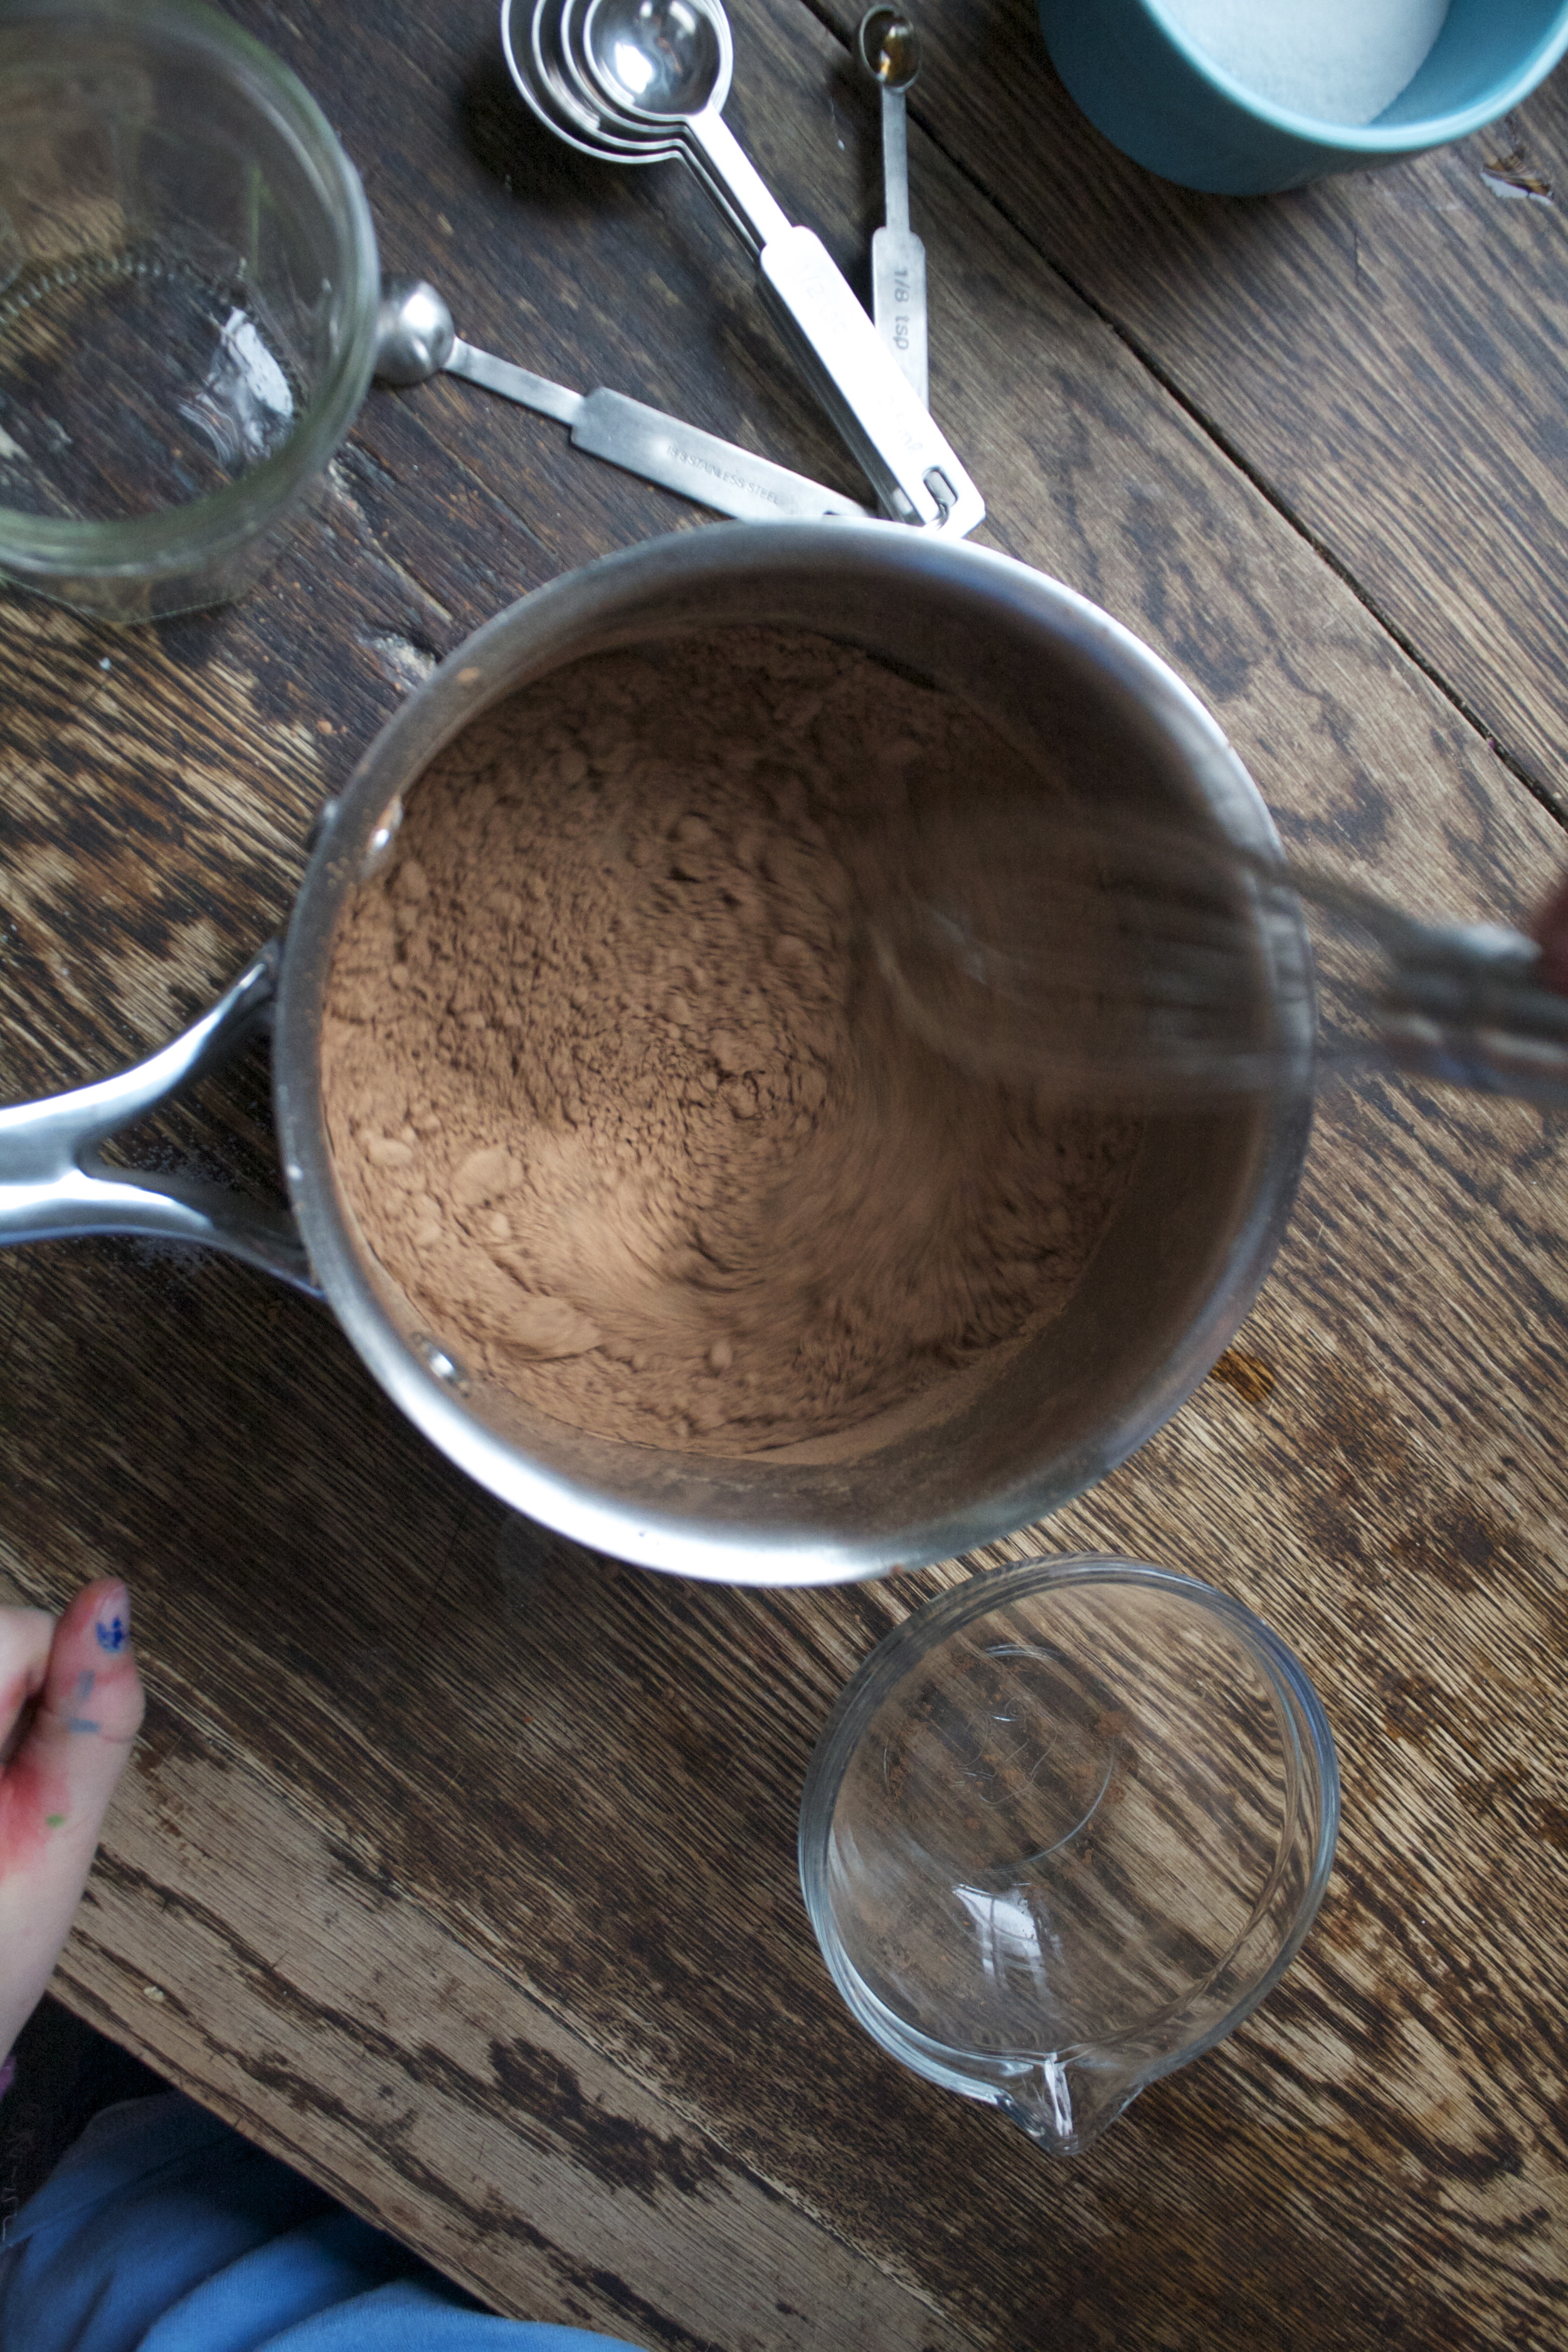
To make the syrup, combine the cocoa, sugar, water, vanilla and salt into a sauce pan and bring to a boil while whisking continuously. Keep whisking until sauce starts to thicken then remove from heat and pour into a jar and let cool.

Now for the egg cream assembly

Syrup goes into glass.

Milk into syrup and mix it all around.

And top with seltzer.

Give it another little whirl with a spoon or straw and if you want a more bubbly head, blow into the straw(works the best!)

and get down to business.

HAPPY NEW YEARS!

-C


Strawberry Chocolate Egg Cream


For the chocolate syrup (makes enough for a few egg creams but the syrup is good for anything calling for chocolate)

  • 1/2 cup cocoa powder
  • 1/2 cup sugar
  • 1/2 cup water
  • pinch of salt
  • splash of vanilla extract

Stuff for one egg cream

  • 1 cup cold strawberry flavored seltzer (can use plain or any flavor that you like)
  • 1/2 cup cold, plan flavored milk (plant, nut or animal)
  • 4-5 tablespoons chocolate syrup

To make the syrup, combine the cocoa, sugar, water, vanilla and salt into a sauce pan and bring to a boil while whisking continuously. turn heat down a little and keep whisking for another 2-3 minutes until sauce starts to thicken. Remove from heat and pour into a jar and let cool.

In a glass that holds are least 16 oz, add in the milk and the chocolate syrup. Mix together (can be shaken or stirred) then pour in about 1 cup of the seltzer water. Give the drink a good mix with a spoon and serve it on up. A straw is recommended to blow bubbles into drink!

Note.. I am aware that there are a few different ways to prepare an egg cream so if you know of a way that is better (milk in last. seltzer mixed with chocolate syrup..). then do it your way!

In Vegan, Sweets, snack, recipes, holiday, Gluten Free, drinks, desserts, Dairy Free, breakfast, 5 ingerdients or less Tags Strawberry Chocolate Egg Cream, egg cream, vegan egg cream, vegan, gluten free, drink, non alcoholic drink, party drink
Comment

Honey Orange Ricotta Biscuits

December 29, 2015 Colleen Stem
IMG_6430.jpg
IMG_6472.jpg

I bought a tub of ricotta cheese about a month ago to make the mr his birthday lasagna, and for some reason, I can't seem to get rid of it. I have been adding spoonfuls of the stuff into his food every now and then, but I still have not managed to go through it. I am starting to think that I bought a magic container that will never empty. And if that is that case, is there a never ending tub of hummus I can buy?

Yesterday I cleaned out the fridge.  The cleaning that involves defrosting, washing the shelves, removing the stuck on crap that has so steadily hung on for the past few months and using any food that needs to be used up. To be honest, there isn't much in the fridge at the moment(which is why I am cleaning the it) but there is the freaking tub of ricotta, ans I want it gone, it is taking up to much space. (for real,. my fridge is tiny) And because we all know that I am the worlds greatest girlfriend lady person in all the land, I decided to, once ans for all, get rid of the ricotta and make the mr some biscuits.

Off topic here but... It's SNOWING!! And not just a tiny bit, we are going to have a couple of inches of white stuff. I am so excited! I must get my winter boots out (I have to find them first)

But the biscuits. These biscuits are super freaking easy. Just a few simple ingredients and 15 minutes and you got yourself home made goodness to make your people(or yourself) happy. They would make a great breakfast thing, made for a brunch situation, or even made with the help of the littles that may or may not be hove from school and eaten as a afternoon snack.  As for me, I am just thrilled to have the space back in the fridge and an empty container that may or may not be magical.

The stuff. A bowl of self rising flour, ricotta cheese, a little bit of honey, and an orange.

Dump the ricotta, a few couple tablespoons of honey, and the zest of the orange into the flour.

IMG_6398.jpg
IMG_6401.jpg

And say hi to my new amazing bowl! (Hi bowl, you are so pretty!)

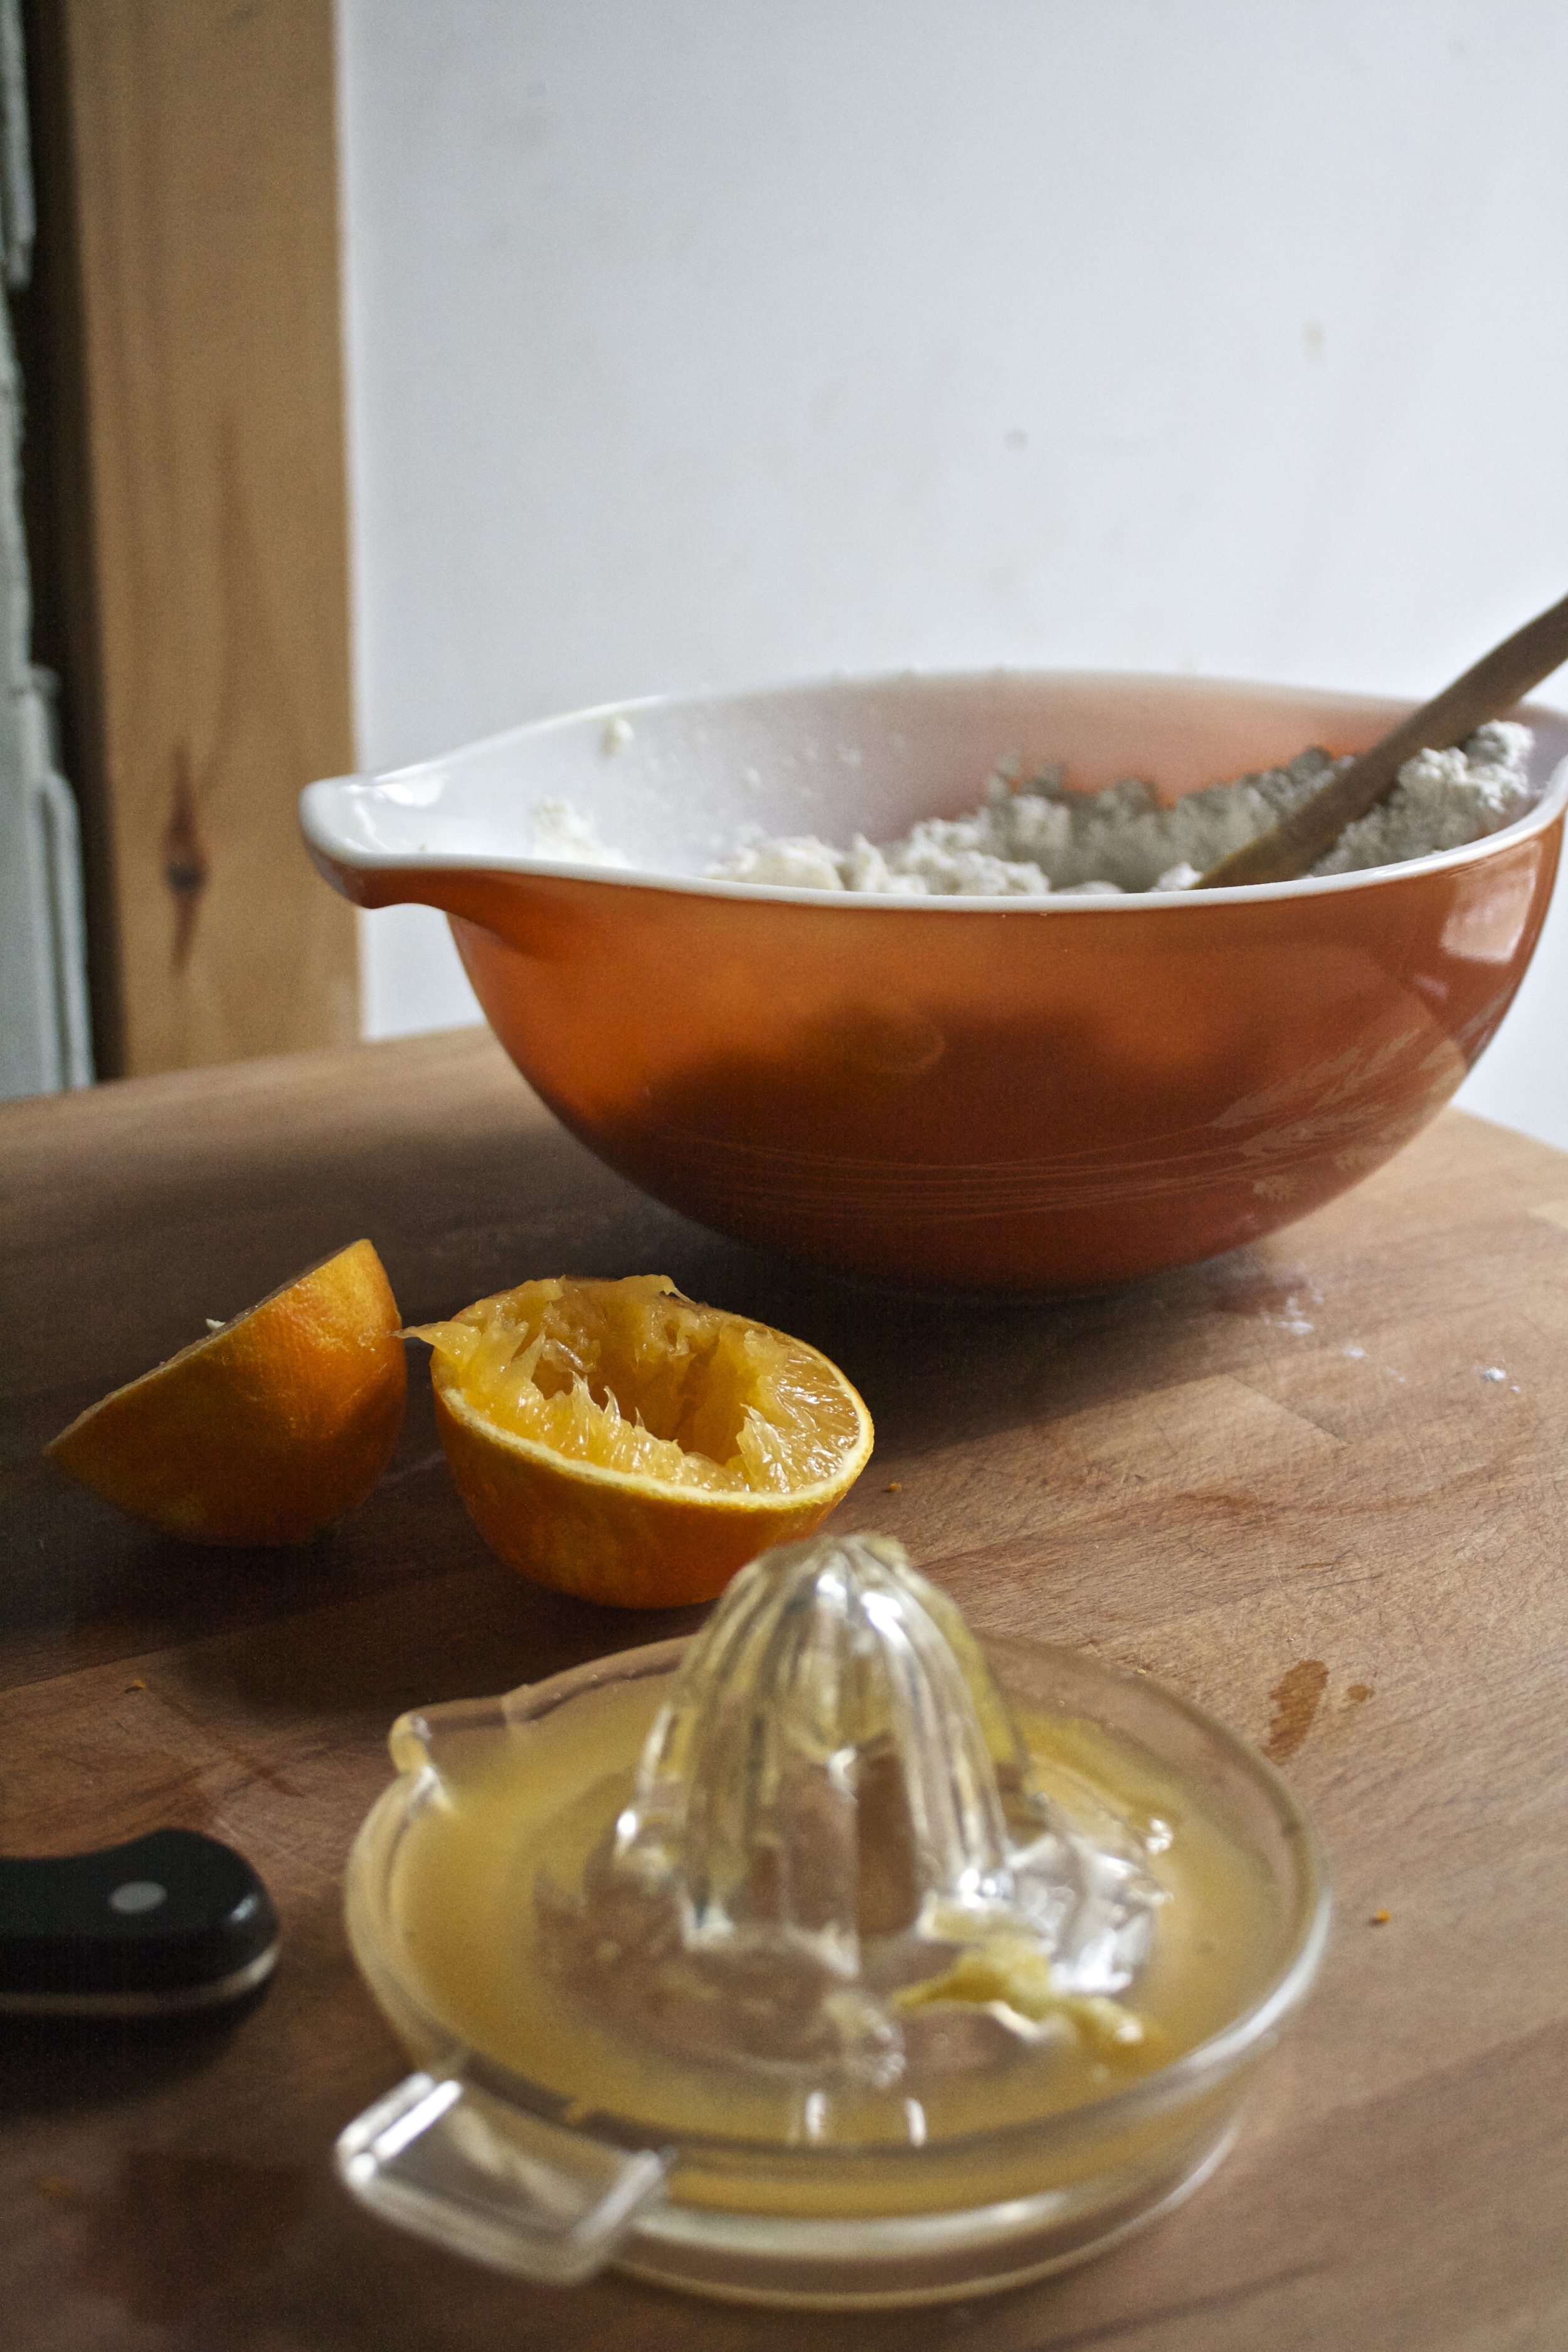
Juice the zested orange and add in 1/2 a cup of the juice.

Now mix everything together until just incorporated.

Scoop dough onto a baking sheet in 12 similar sized balls. Brush the tops with any remaining orange juice you have (if you don't have any, use water) and stick those puppies into the oven (not actual puppies please)

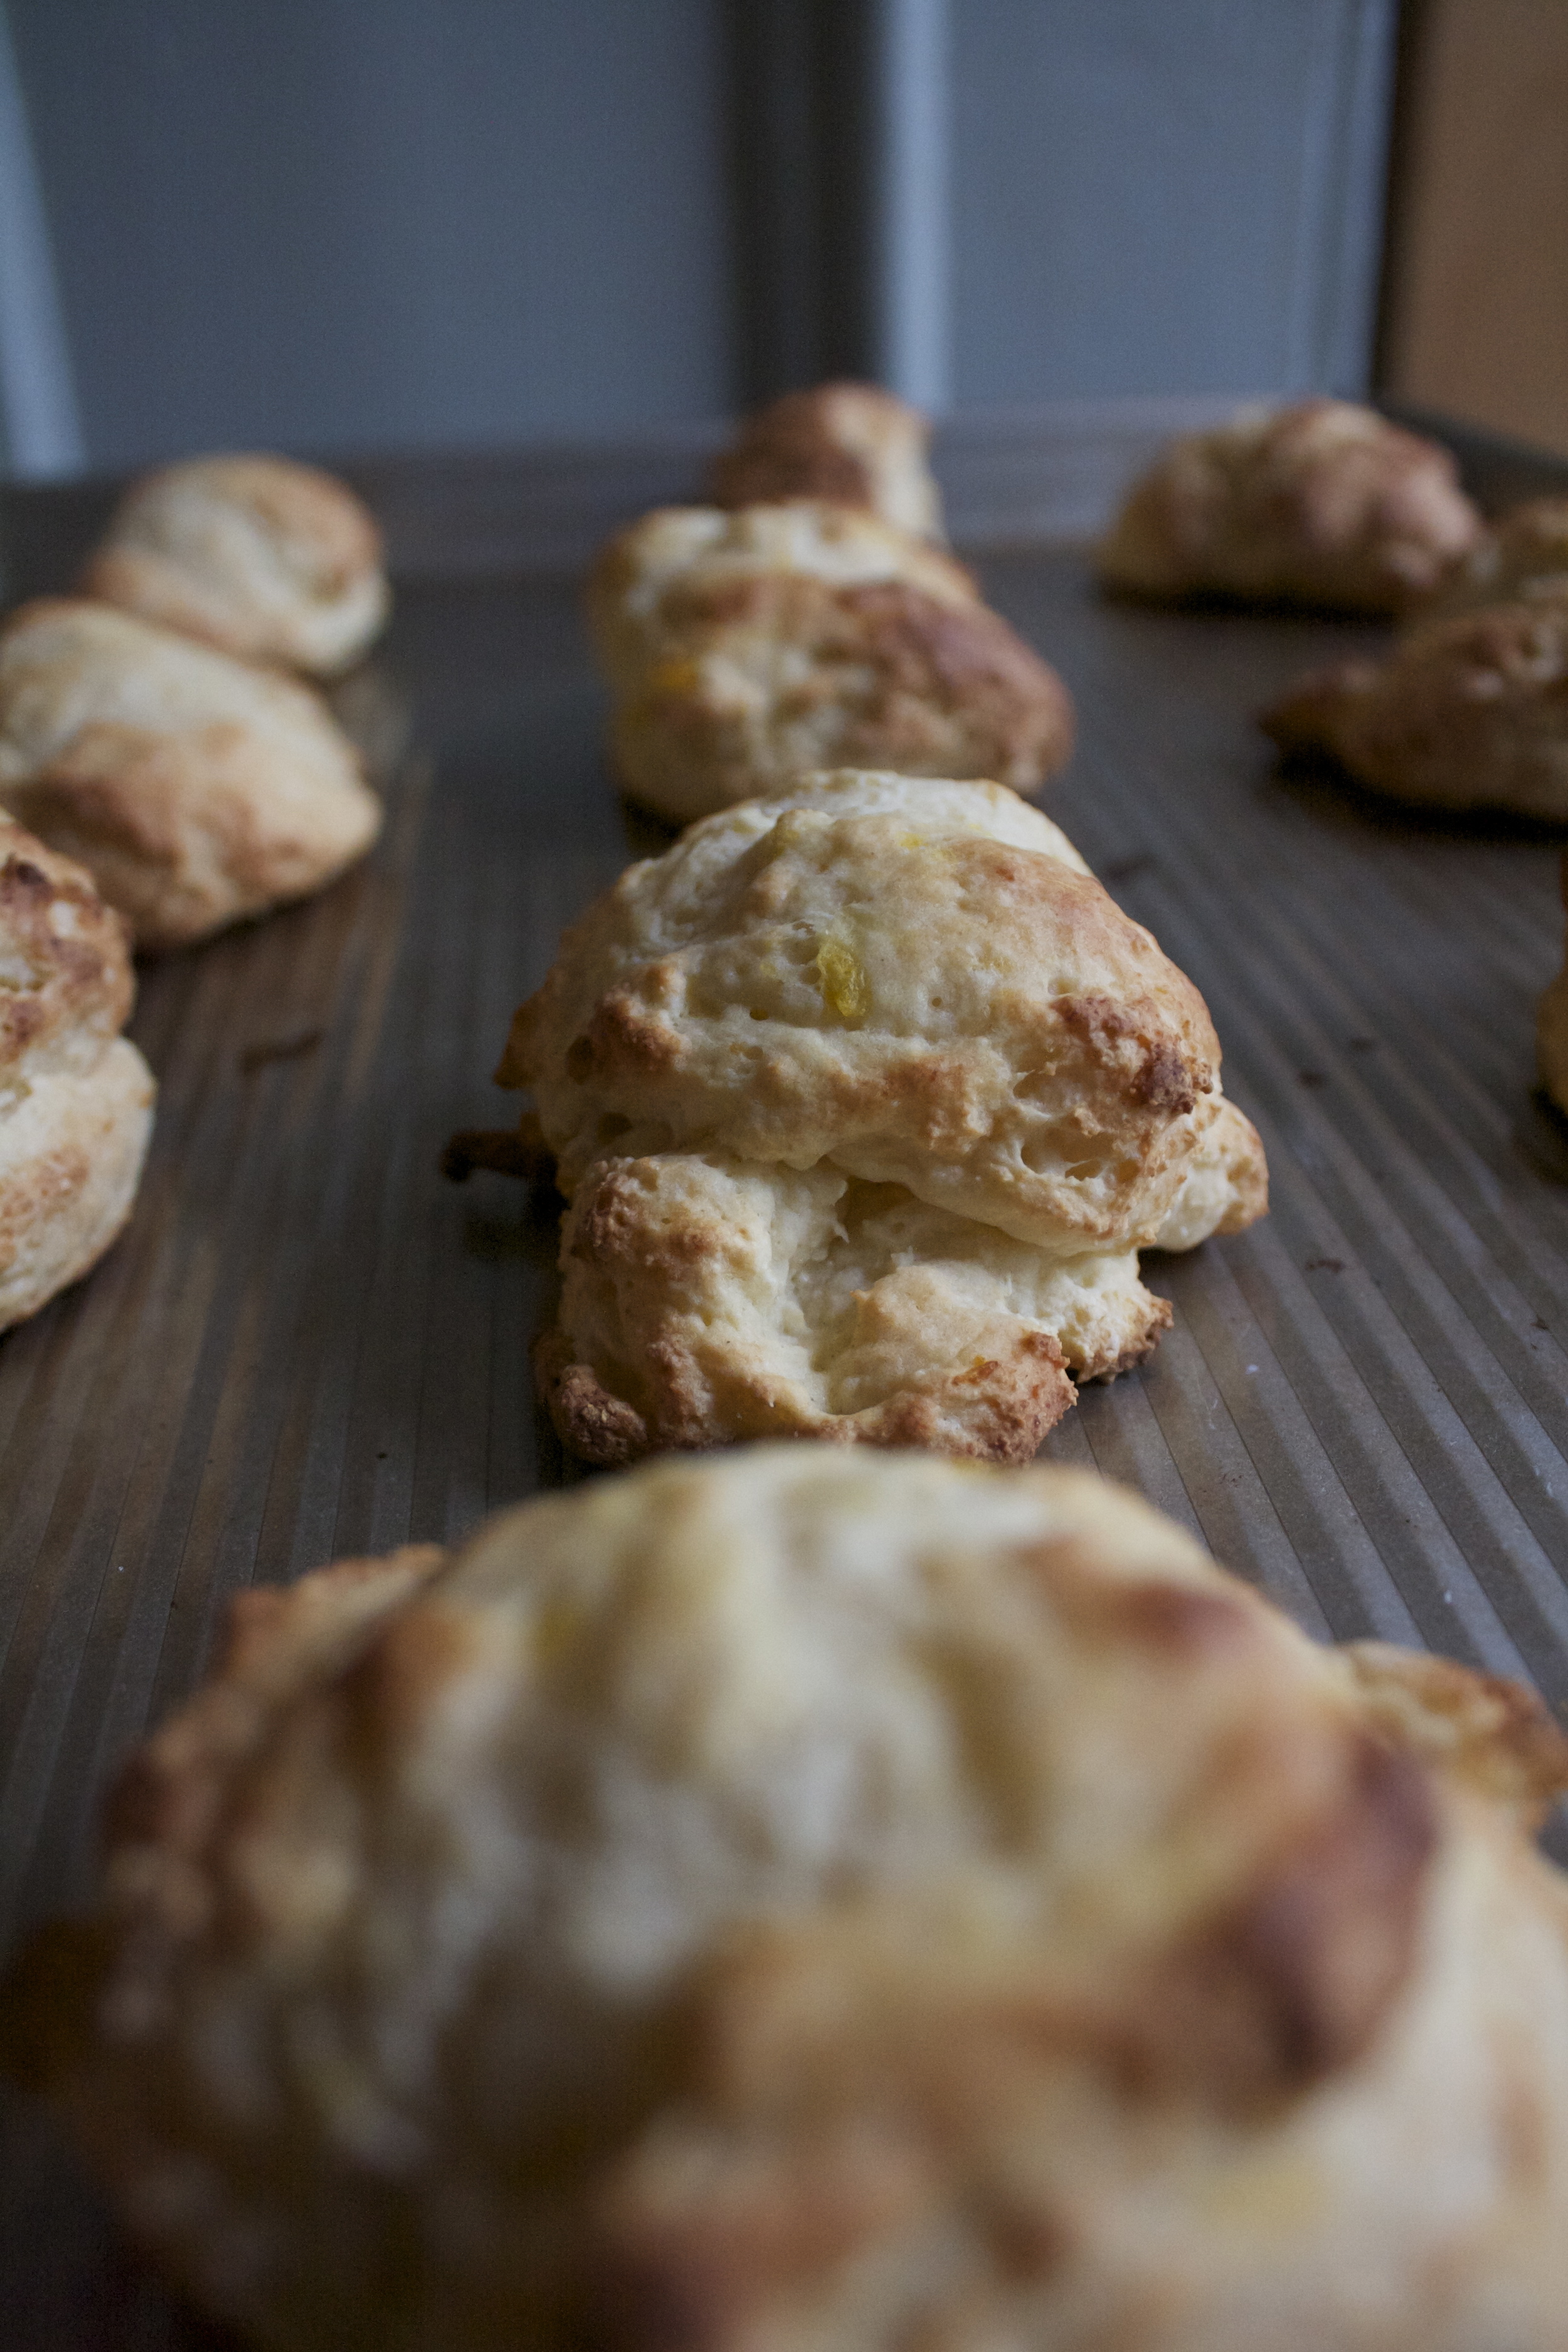
After a quick 9-10 minutes, the biscuit cooking is complete! Golden brown and smelling all biscuit like.

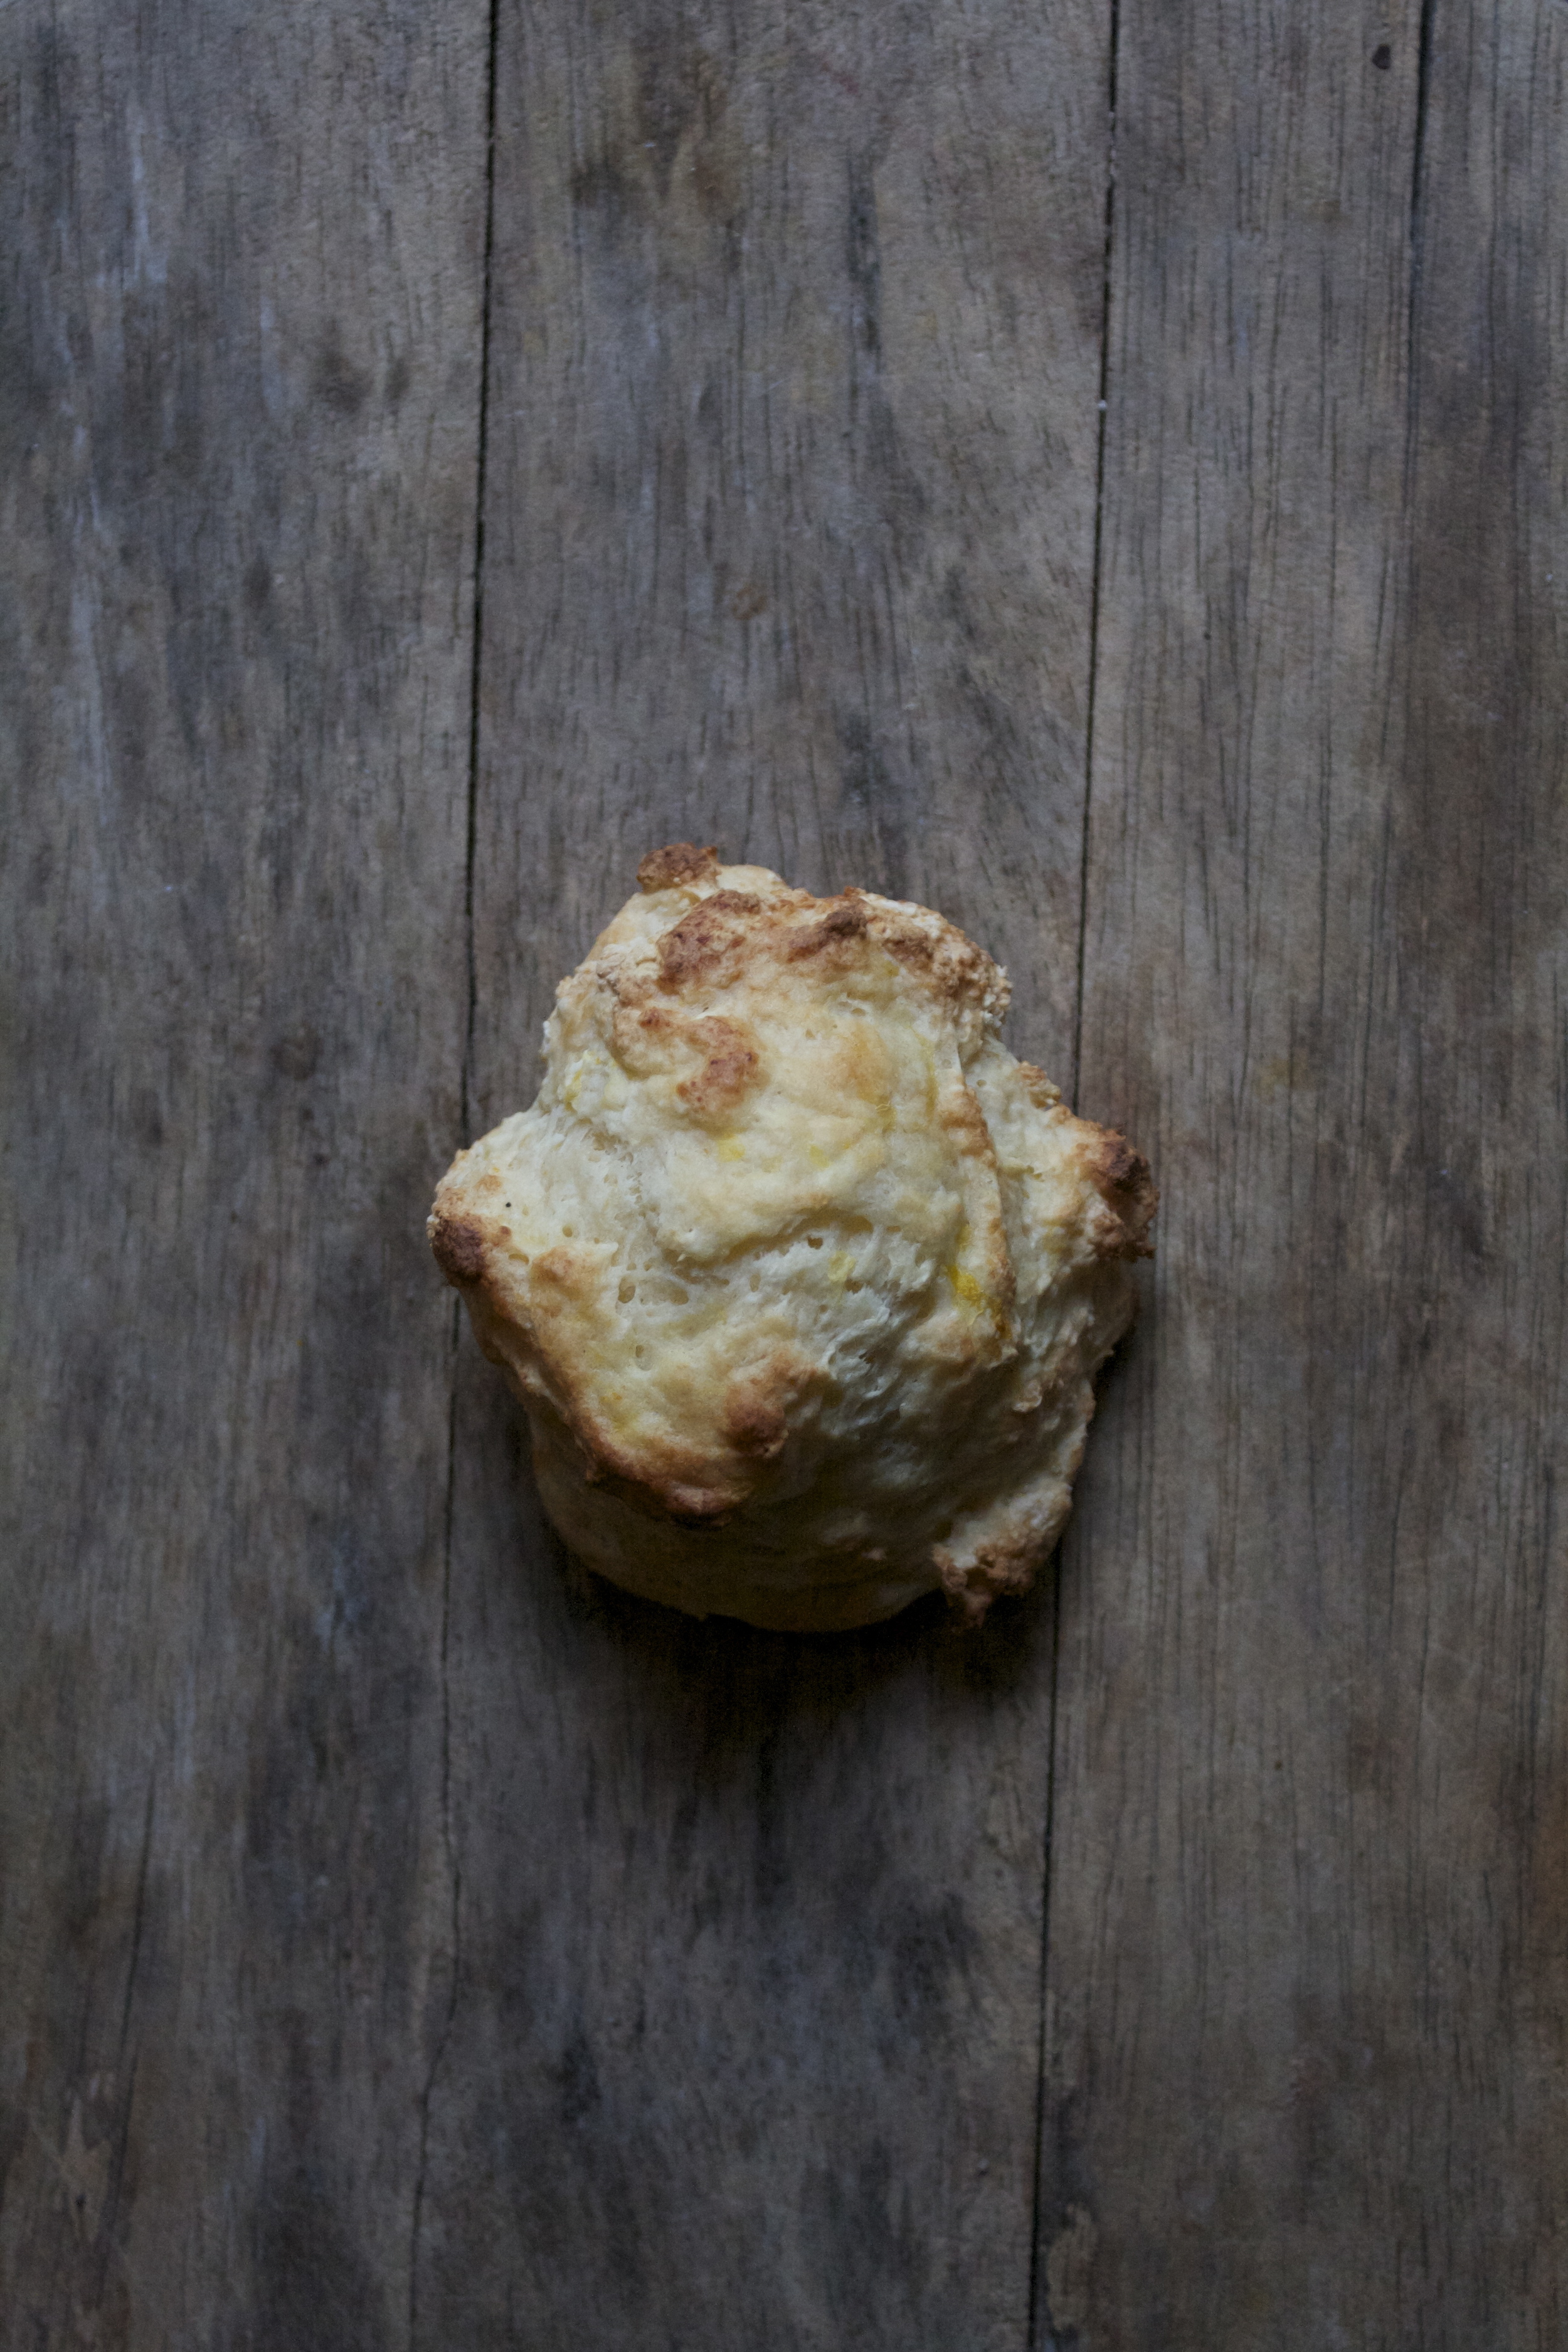
Bust one open, maybe a smear of honey or jam...

And so the things you do with biscuits.. Eat them. I served the first one up tothe mr with a little drizzle of honey (cause I am sweet like that)

Keep on people!

-C


Honey Orange Ricotta Biscuits

makes 12respectable sized biscuits

  • 1 1/2 cups self rising flour
  • 1 navel orange (1/2 cup juice and 2 teaspoon zest)
  • 2 tablespoon honey
  • 1 cup ricotta cheese

In a large bowl, mix together the flour, honey and ricotta. Zest in the rind of the oragne (about 2 teaspoons) then juice the orange and hopefully get at least 1/2 a cup of juice. Add in the 1/ 2 cup of juice and mix until everything is just combined. Scoop out dough into 12 similar sized blobs and place onto a baking sheet. Brush tops of biscuits with any remainingorange juice or water if you don;t have it

Place in oven and bake for 9-11 minutes or until the tops are golden brown and the insides are completely baked.

Remove from baking sheet and let cool for a few minutes.

Bust one open and either eat as is or slather with honey, butter, jam, or all three.

Any left overs can be stored in airtight container for 2-3 days. Can be frozen.


In breakfast, bread, desserts, recipes, snack, Sweets, 5 ingerdients or less, brunch Tags Honey Orage Ricotta Biscuits, Biscuits, ricotta, bread, 4 ingredients, easy, fast, simple, breakfast, brunch
Comment

Popped Quinoa Chocolate Crunch Bark

December 23, 2015 Colleen Stem
IMG_6193.jpg
IMG_6170.jpg

My family is big. And my family is crazy. This makes for interesting gift giving.Over the years as we have all gotten older and started having littles, our gift giving has evolved. We use to buy each other presents, but then that got a little to intense and expensive. Then we started coming up withweird gift games where we had to buy 10 things made out of wood or glass and did a kind of white elephant things, which was fun, but we all ended up with wooden spoons and shot glasses.  Or the stockings. We did stockings for a few years where we all stuffed something into each of the stockings, but that got kinda lame when everyone started stuffing packs of gum into them....It was getting to be kinda ridiculous. So this year we decided to give secret Santa a try. The deal is that the 9 older siblings drew names and then the 9 cousins drew names, all with a spending limit of $25. It works out for the best because the littles get to have a little fun and participate, and the adults don't have to go and blow stupid money for kinda stupid shit.  Everyone is responsible for one persons gift of happiness..... And they better make it good!

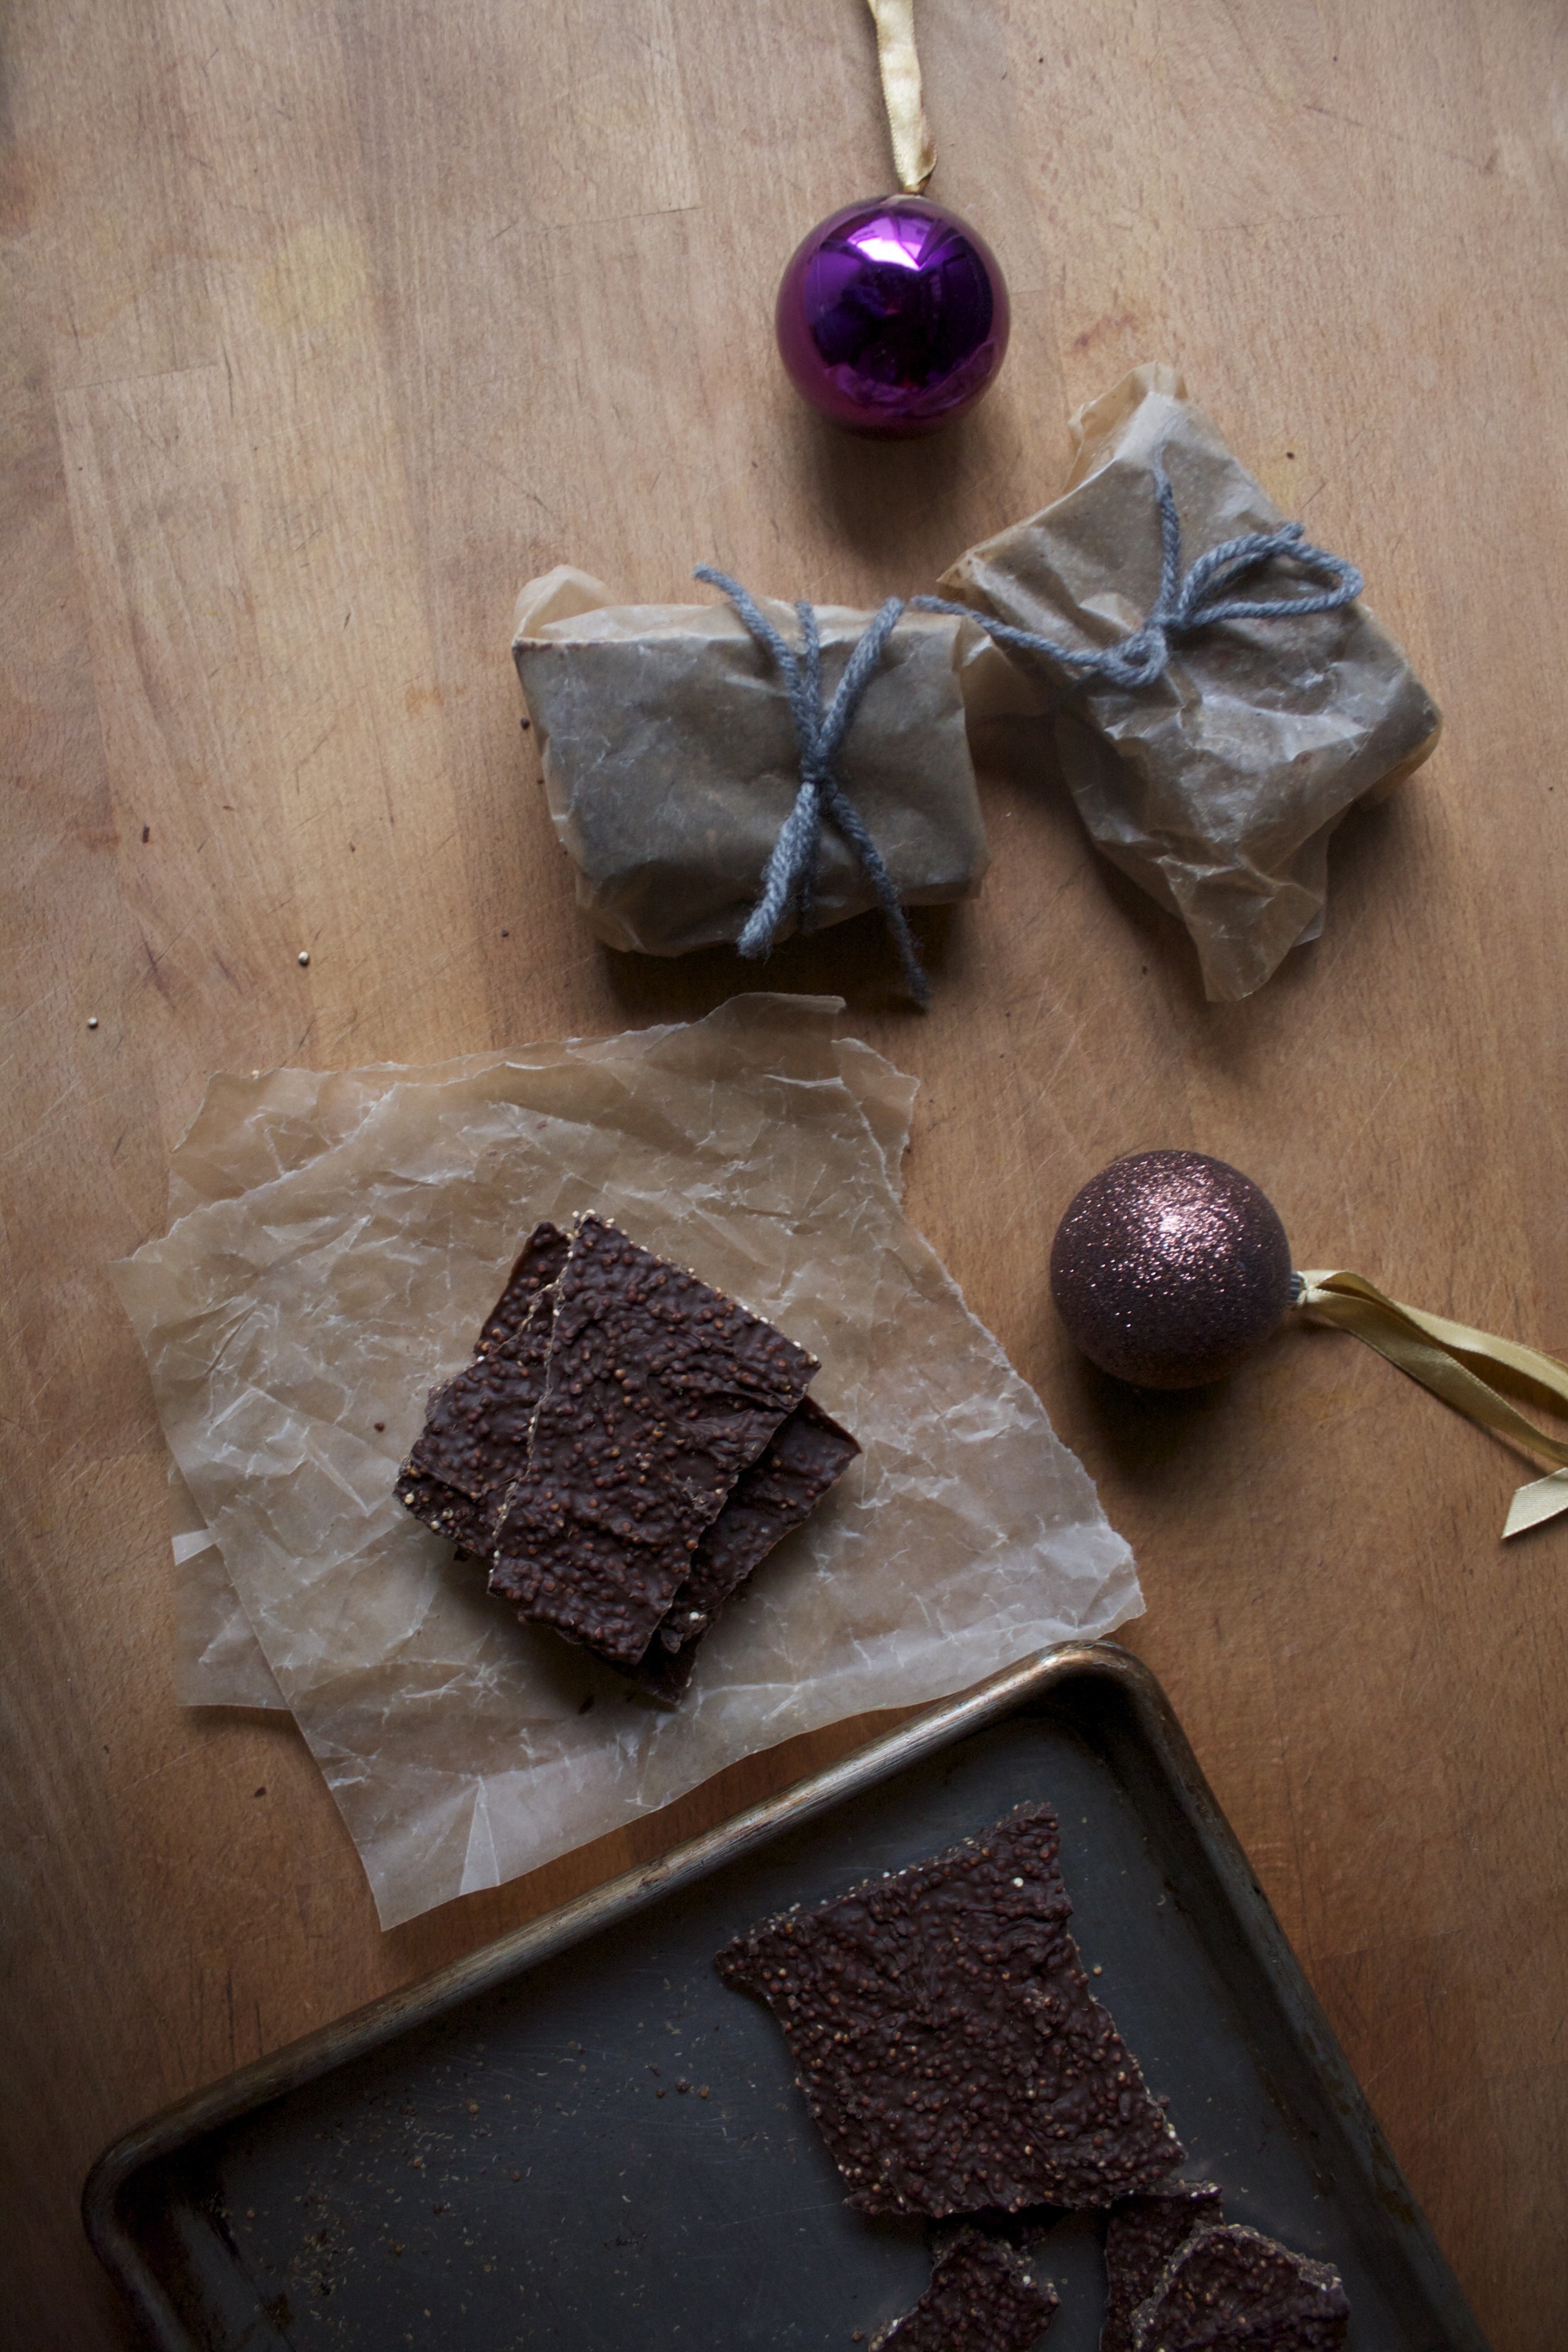
But one of the things that I love about Christmas is making all the little something. One year I made them each a veggie shaped pillow, and another they each got a hand made box. (I love to give handmade gifts.)So this year I still wanted to give each of the littles a little something too. And not anything to crazy, just something small. And now that we are not stuffing stockings with gum, I figured it wouldn't hurt to give them each a little candy.  They all like chocolate so chocolate it was.  And to zaz it up a little, I popped some quinoa to add some crunch and dear I say, a bit of healthy protein, to the candy. ( sneaky sneaky)

And bonus. this bark can be made in like 5 minutes (1/2 hour to cool) . Wrapped into little wax paper packages with a cute little string, its a super simple, easy, but sweet gift that almost anyone would enjoy (even if you make it and give it to yourself)  And no, you don't have to make it specifically for the holidays, this is just a great little bit of chocolate snack that can be made whenever you damn well please to make it!

The stuff. Chocolate chips (milk, semi sweet, dark, or a mixture) and uncooked quinoa.

Popped quinoa. Fun stuff. Working in small batched,  all you need to do is stick the a layer of uncooked quinoa into a heavy bottom pot, turn heat onto high, grab a spoon and mix the quinoa constantly until it starts to pop. (The seeds will pop up, but as long as you pot is big, they should stay inside) When it starts popping, turn heat down to medium low and continue to stir until the quinoa is golden brown and stops popping as frequently. Don't over pop it our else you will burn it!

Dump the popped quinoa into a holding vessel and pop some more.

Now melt the chocolate. I used the double boiler method (pot of simmering water and a glass bowl) but if you have a microwave, go ahead ans use it.(chocolate in a glass bowl, microwave for 30 second intervals until melted)

Either way you choose, just melt down the chocolate until nice and silky smooth.

Mix the popped quinoa into the melted chocolate...

Then scrap onto a wax paper lined baking sheet and spread out to about 1/4-1/2 inch thick.

Place in the fridge to set up

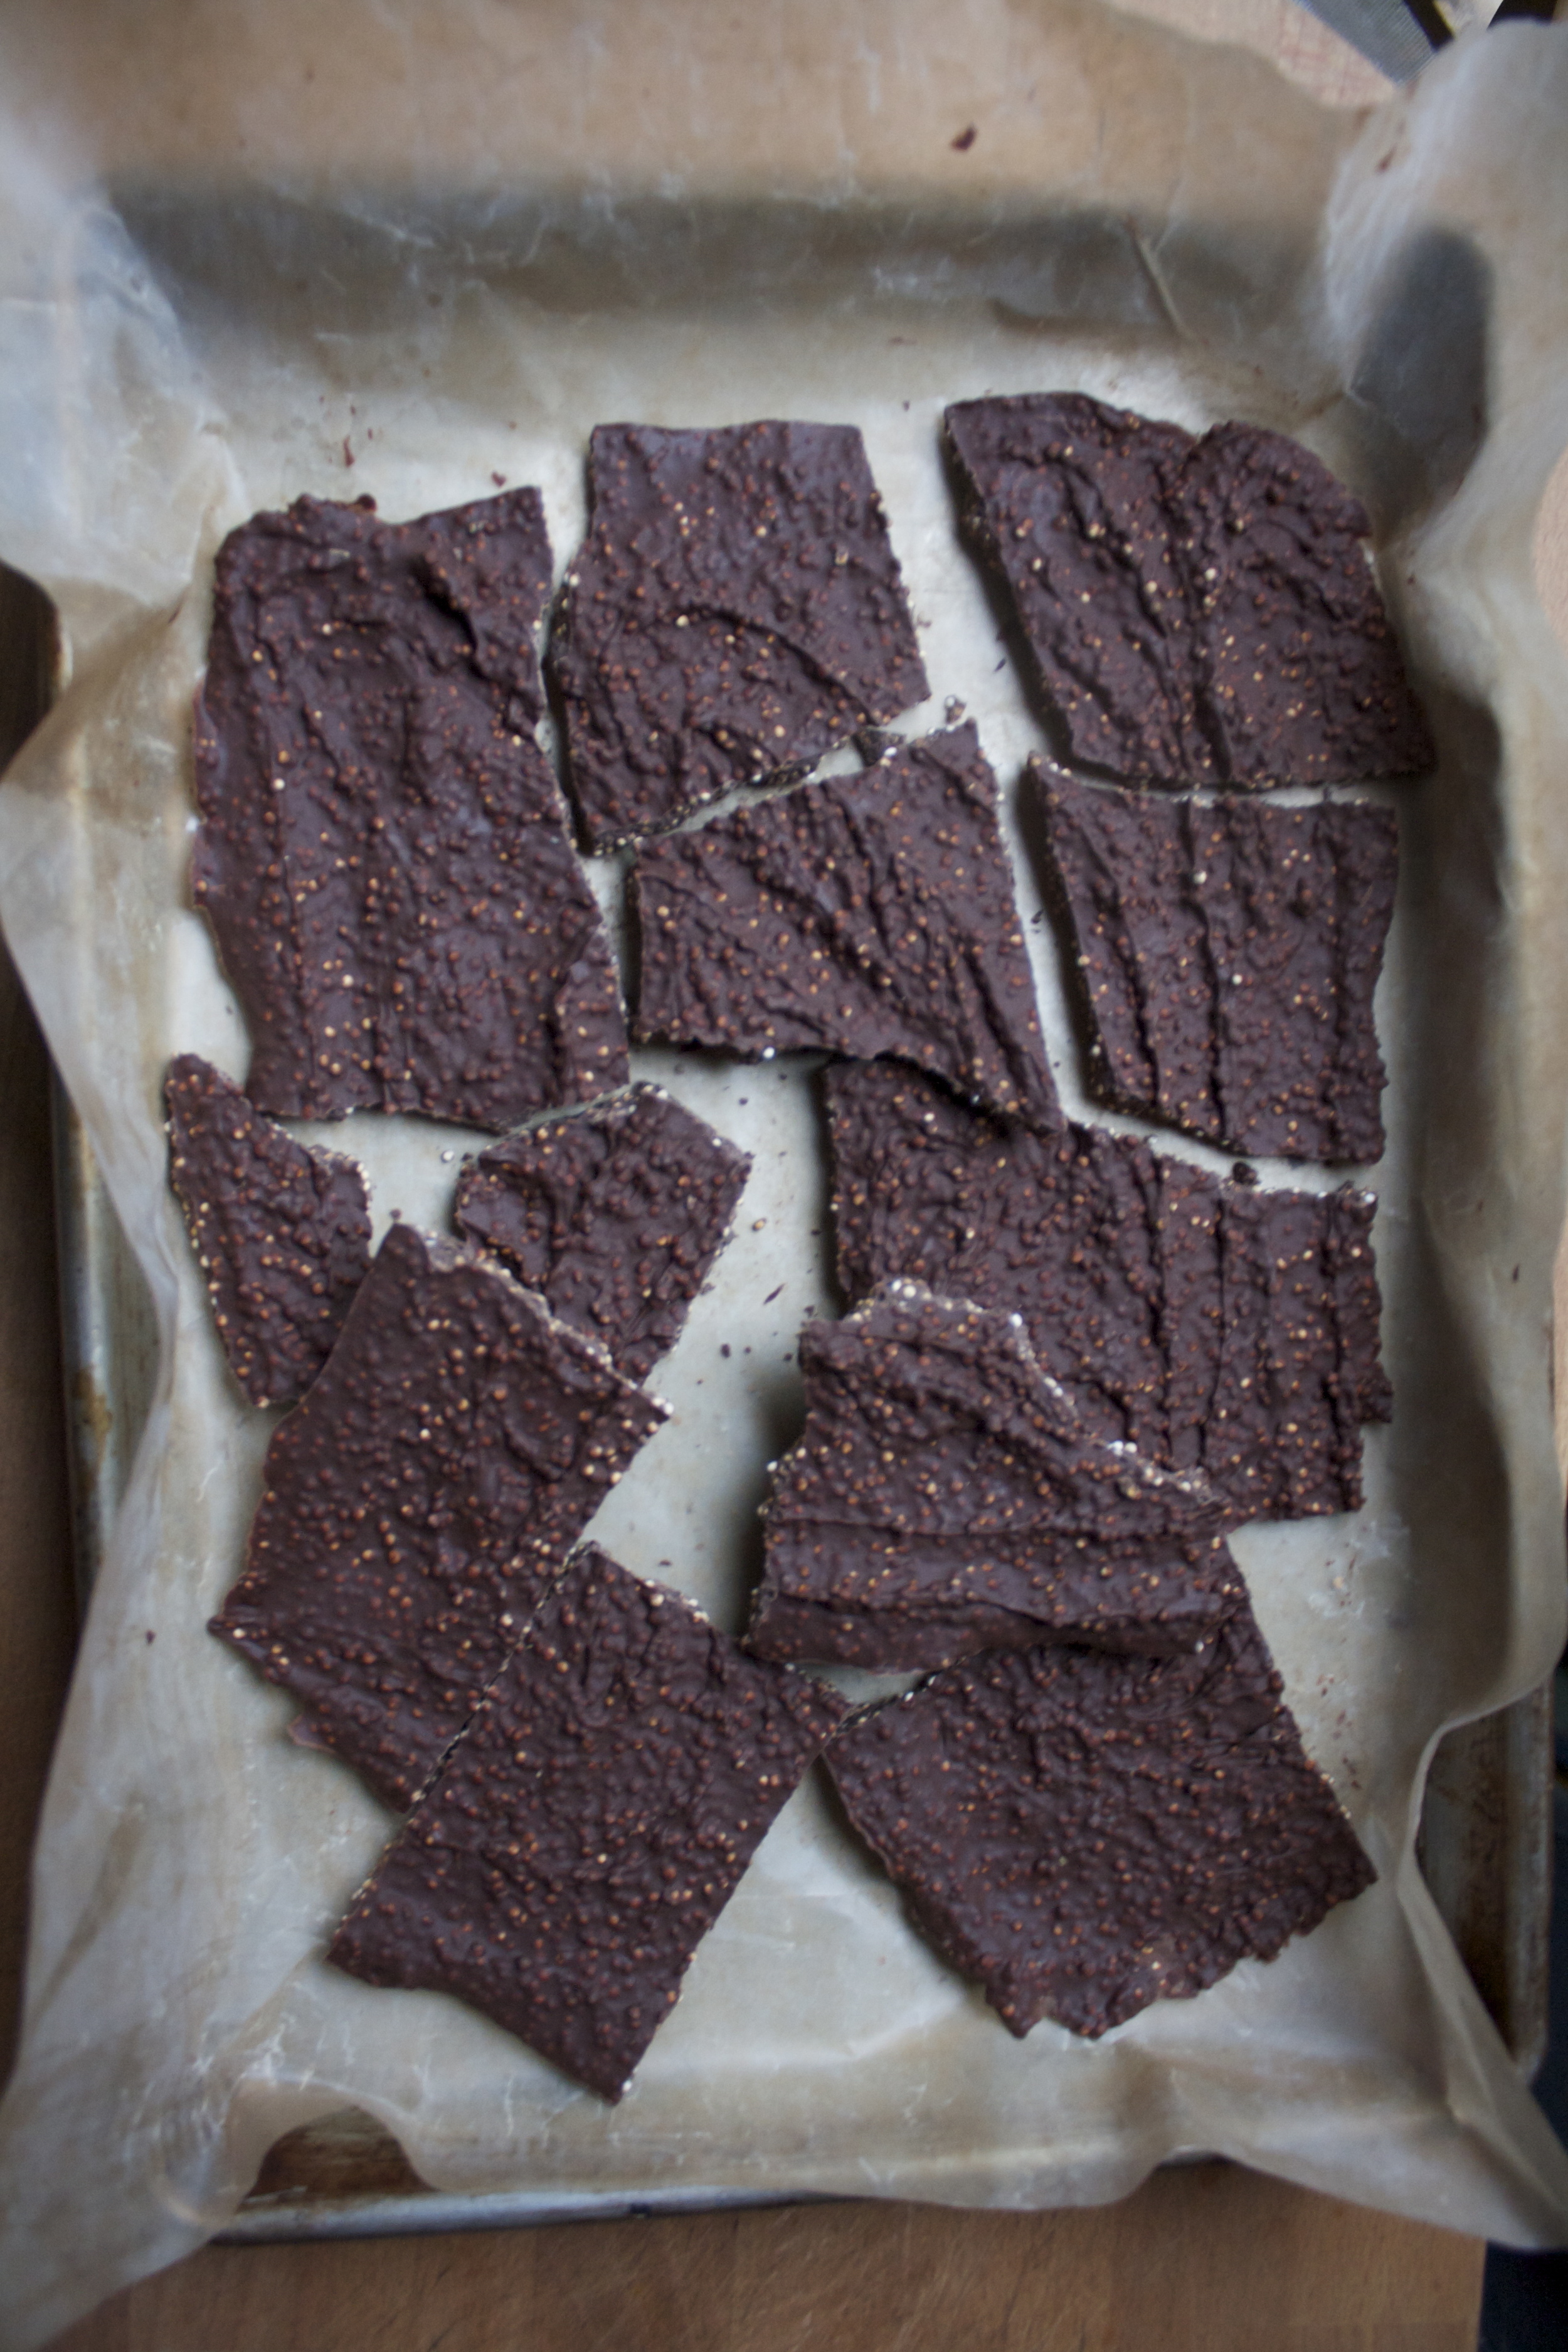
Once the chocolate has harden, break that shit apart! Big pieces, little pieces. All up to you.

IMG_6198.jpg

And do what your going to do with it. (wrapped in wax paper with a sting looks so nice if you giving it as a gift)

So simple, so good, so the perfect heartfelt, maybe a little last minutes, gift. Or just a nice little sweet snack with a healthy little kick to it.

And I probably won't be posting until after the holiday so...

Merry Christmas, Happy Holidays, blah!!!!!

Bye!

-C


Popped Quinoa Chocolate Crunch Bark

makes 3 cups of bark


  • 2 cups chocolate chips (any kind you like)
  • 1 cup dried quinoa

To pop quinoa, add enough quinoa to cover the bottom of a heavy bottom pot. Turn heat on high and slowly stir the quinoa until it starts to pop. Once it's popping, turn down to low and continue to stir until all the quinoa is nice and golden brown and the popping isn't as frequent. Dump the quinoa into a bowl ans continue on until you have popped all of it.

To melt chocolate, either use a double boiler (glass boil on top a low boiling pot of water. Add chocolate to bowl and mix until melted) Or use the microwave. (Heat in glass bowl at 30 second intervals until melted)

Combine the popped quinoa to the melted chocolate, mix until combined then pour out onto a wax paper lined baking sheet. Spread the chocolate to about 1/4 inch to a 1/2 inch thick with a spatula and place in he fridge to set.

Once chocolate is hard, remove from fridge and break into chunks.

And eat, share, and save a little for later.

Store whatever uneaten candy away from heat.


In desserts, Gluten Free, holiday, recipes, snack, Sweets, Vegan, candy Tags popped quinoa, quinoa, holiday, holiday gift, chocolate, popped quinoa chocolate crunch bark, candy, protein, vegan, fast, easy, healthy
Comment

Chocolate Bread

December 22, 2015 Colleen Stem
IMG_6086.jpg
IMG_6049.jpg

It was the perfect Sunday. Cold, snow covered, cozy and quite. Everything a Sunday should be. (now its warm ,rainy and chaotic. Poop) The perfect day spent reading, drawing, drinking way to much coffee and putzing around. And baking a loaf of bread.. chocolate bread. If everyday was like this.........

Chocolate bread? Well yeah, it is the holiday season after all and I figured that it would make something that would last all week and can is multi -purpose.(breakfast or dinner) I could have made more cookies, but I am airing on the side of not feeding the mr sugar bombs for breakfast these days. But this chocolate bread. He can eat it whenever he wants. It's basically just a loaf of bread (I made it with whole wheat for extra goodness) with a tuch of sweetness ans a lot of chocolate flavor. It makes agreat breakfast toast, a hearty snack, or would be great for some type of french toast situation. Or maybeyou want to make some chocolate bread pudding, or woy are going to be making chili and want something to serve it with. (I was thinking a black bean chili would pair really nicely). There are no rules here. The mr, he has been eating it with peanut butter banana or mashed avocado. Its nothing to complicated, just chocolaty bread.

So of you are around this week, maybe spending some time at home, I think you should make bread.  It's really easy, not much in terms of mess and who doesn't love the smell of baking bread? And bonus.. IF you have any friends or family visiting, or if you are visiting them, why not impress them with a freshly baked loaf of bread, You will be the coolest.

The stuff. White whole wheat flour, cocoa powder, salt, soy milk, coffee, yeast and turbinado sugar.

The sugar and yeast get whisked together with the soy milk and coffee and left for a few minutes to make sure its active (or if you know your yeast is good, then just get on with it.)

Flour, cocoa powder, and the salt get a good whisk together as well. 

Then dumped into the yeast mixture.

Mix until the dough starts to come together, then dump it onto a lightly floured surface and start. Gather together with your hands ans start to knead.

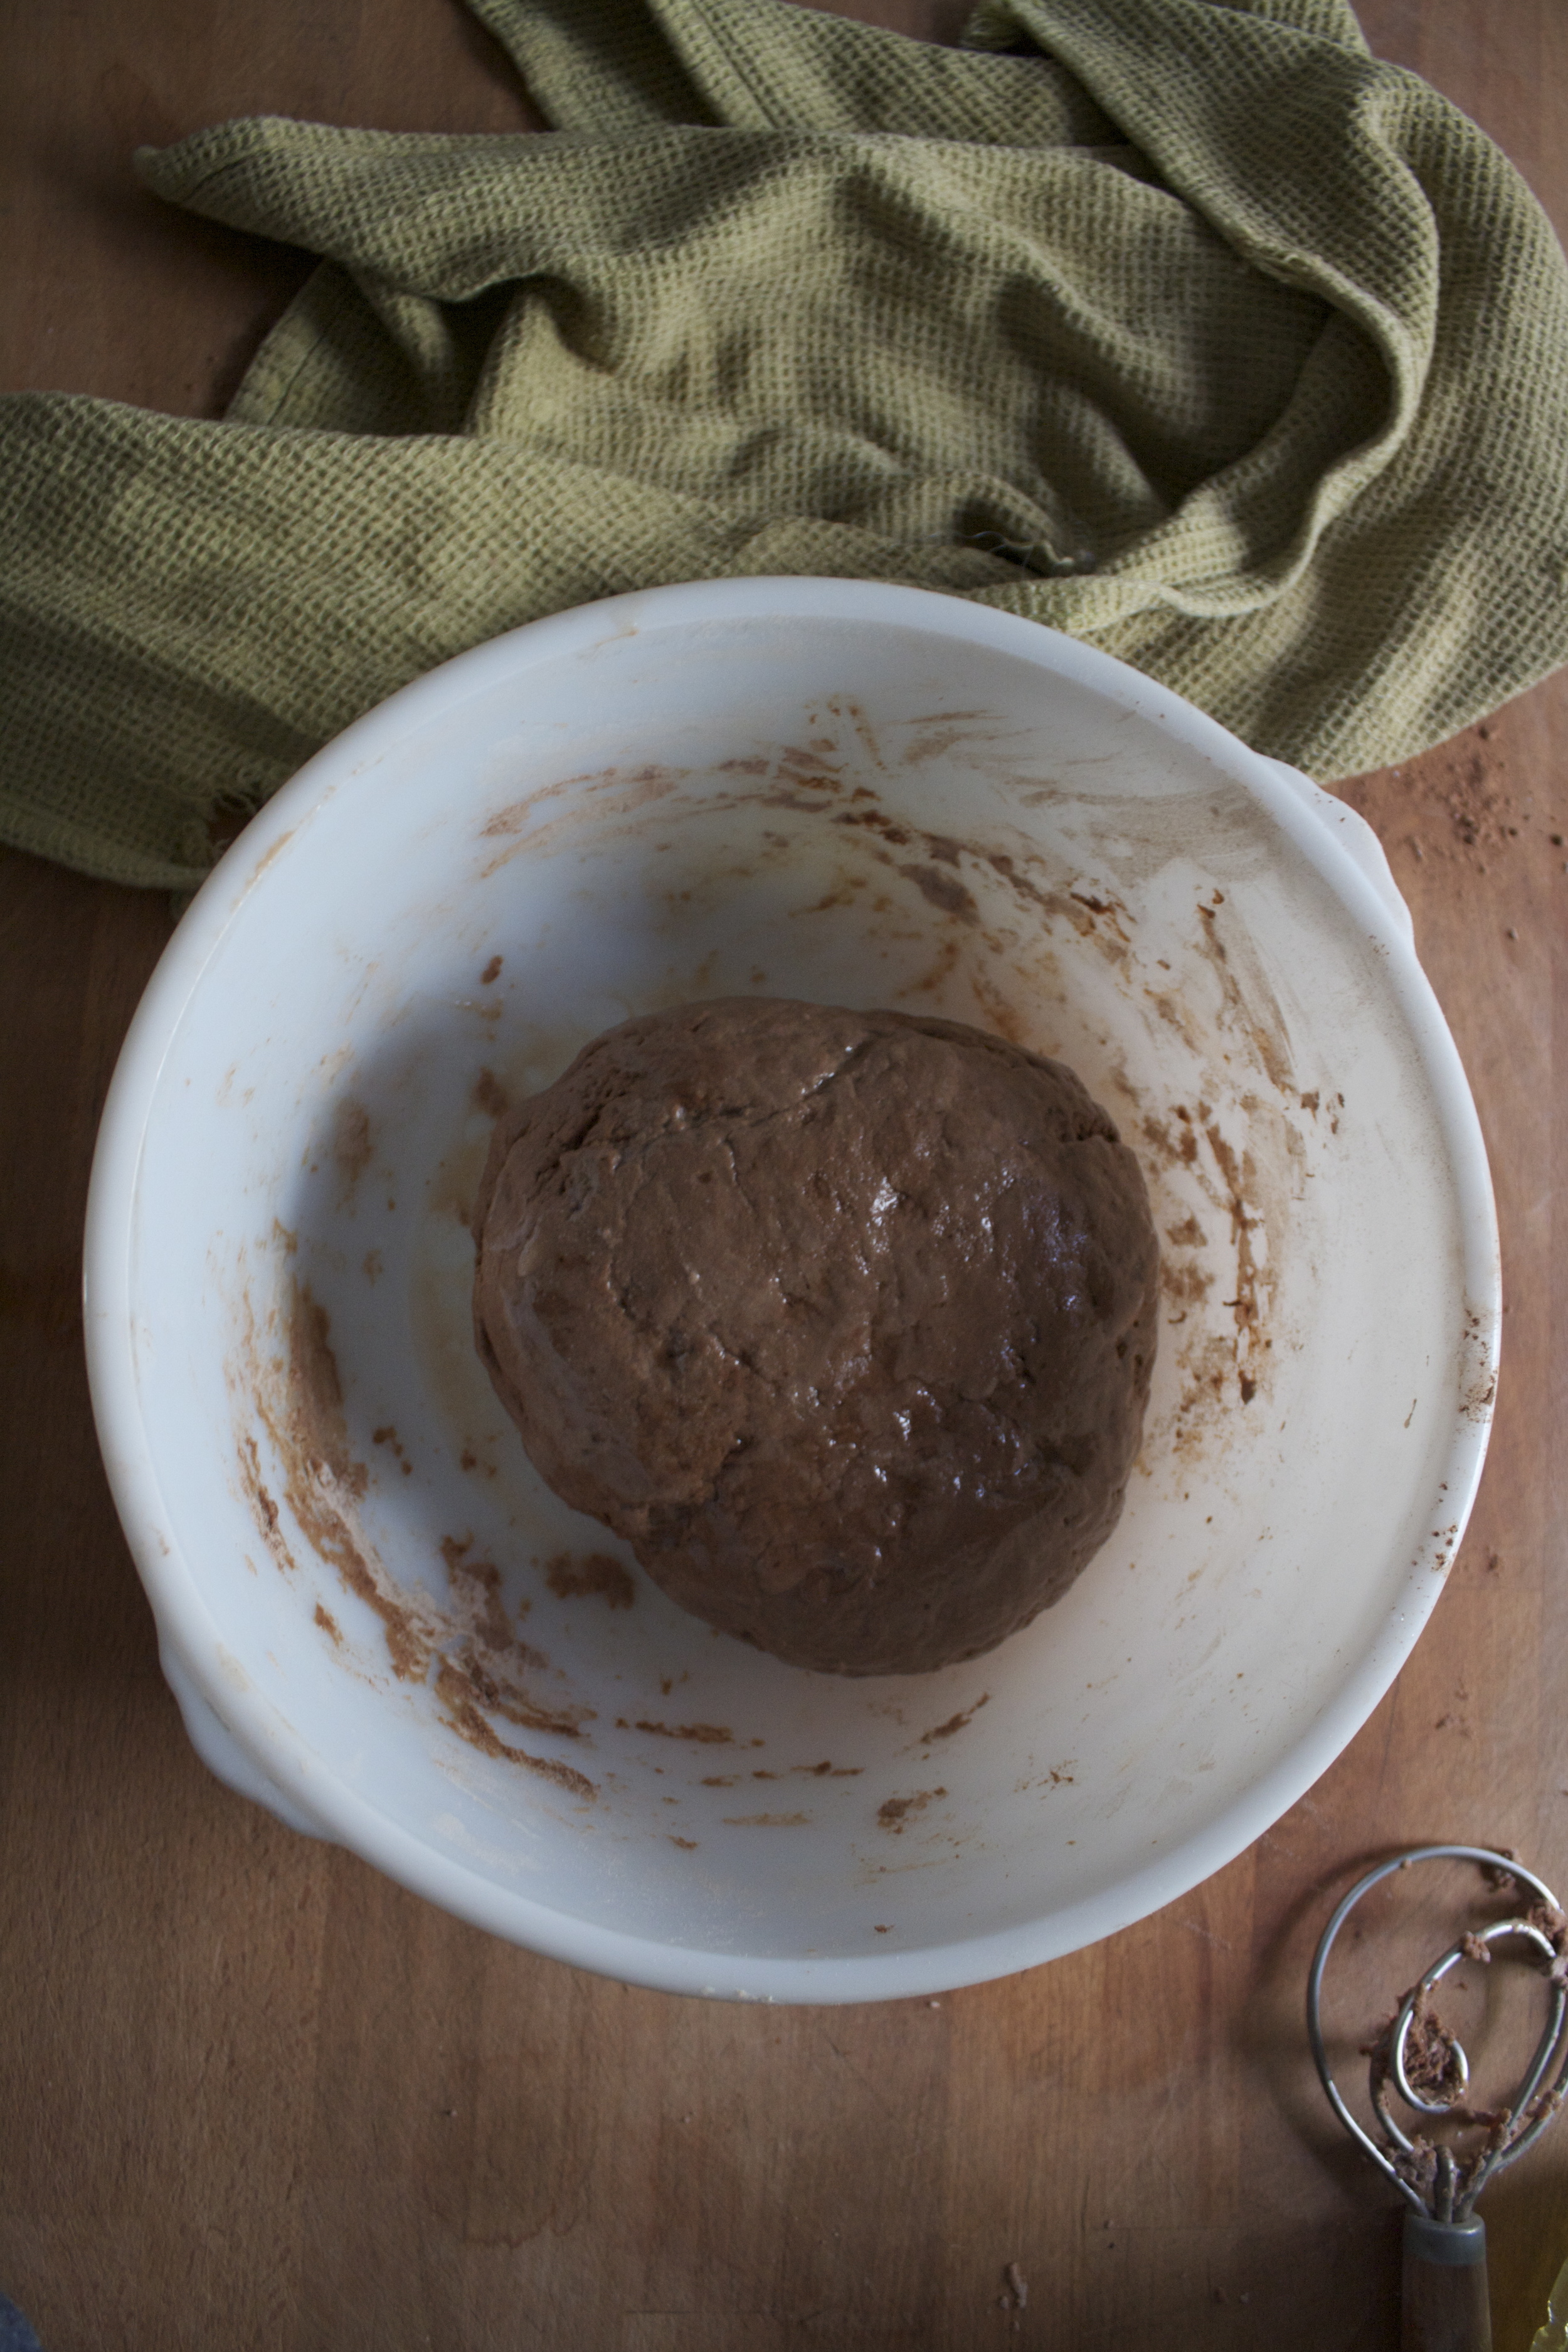
Keep kneading (about 5 minutes or so) until the dough is a cohesive texture, slightly glossy,  ball of goodness.

IMG_6022.jpg
IMG_6023.jpg

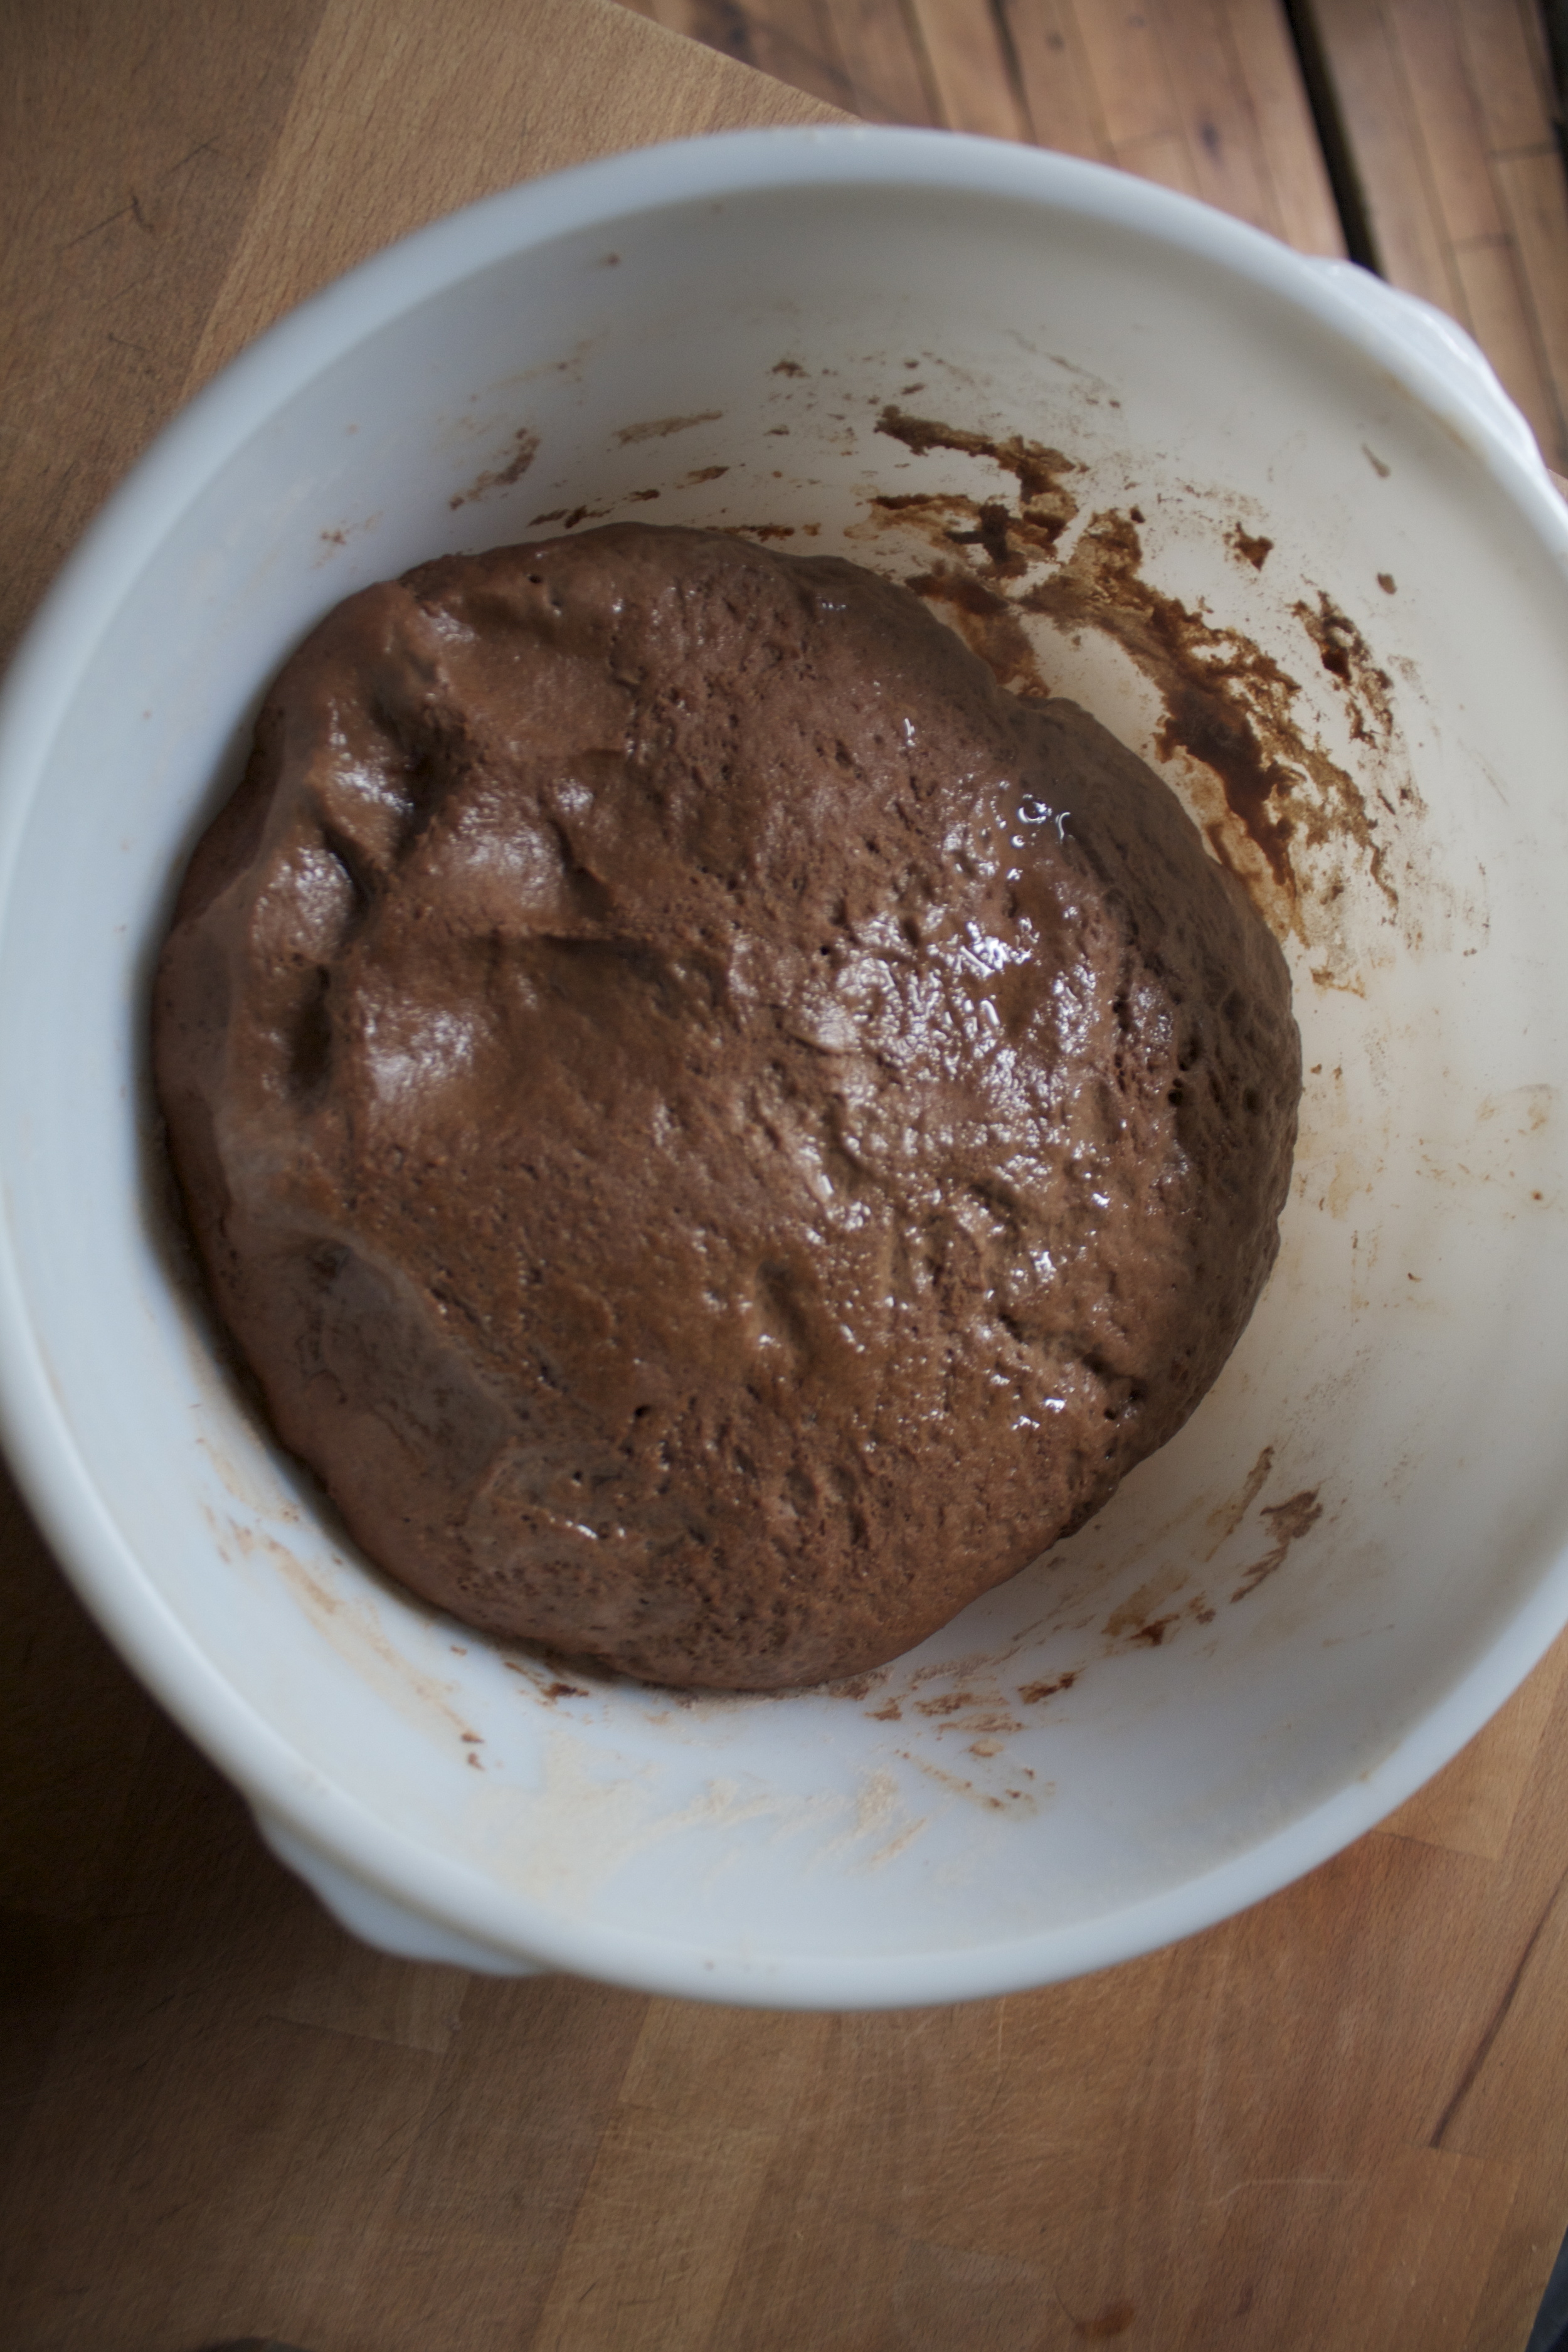
Place the dough back into the bowl and drizzle and rub down with a oil (use a neutral flavor) Place a damp towel over the top and stick in a warm place to rise and double in size, which should take between an hour,, hour and a half, (depending on how warm you place is)

Once it has doubled, push down dough, shape into a loaf shape, and place in a greased load pan. Rub a little more oil on the top, cover with plastic this time (a towel will absorb the moisture from the dough), and place back into the place to rise again.

And once the dough starts to crest the pan and has double again,(another 30 minutes) it's tie to bake. Stick the dough into a preheated oven and bake away.  Optional step but yoi should do it. Stick a pan with about an inch of water on the bottom of the oven when you stick the dough in. It makes the crust a little crustier and pretty. and keep the bread a but more moist.

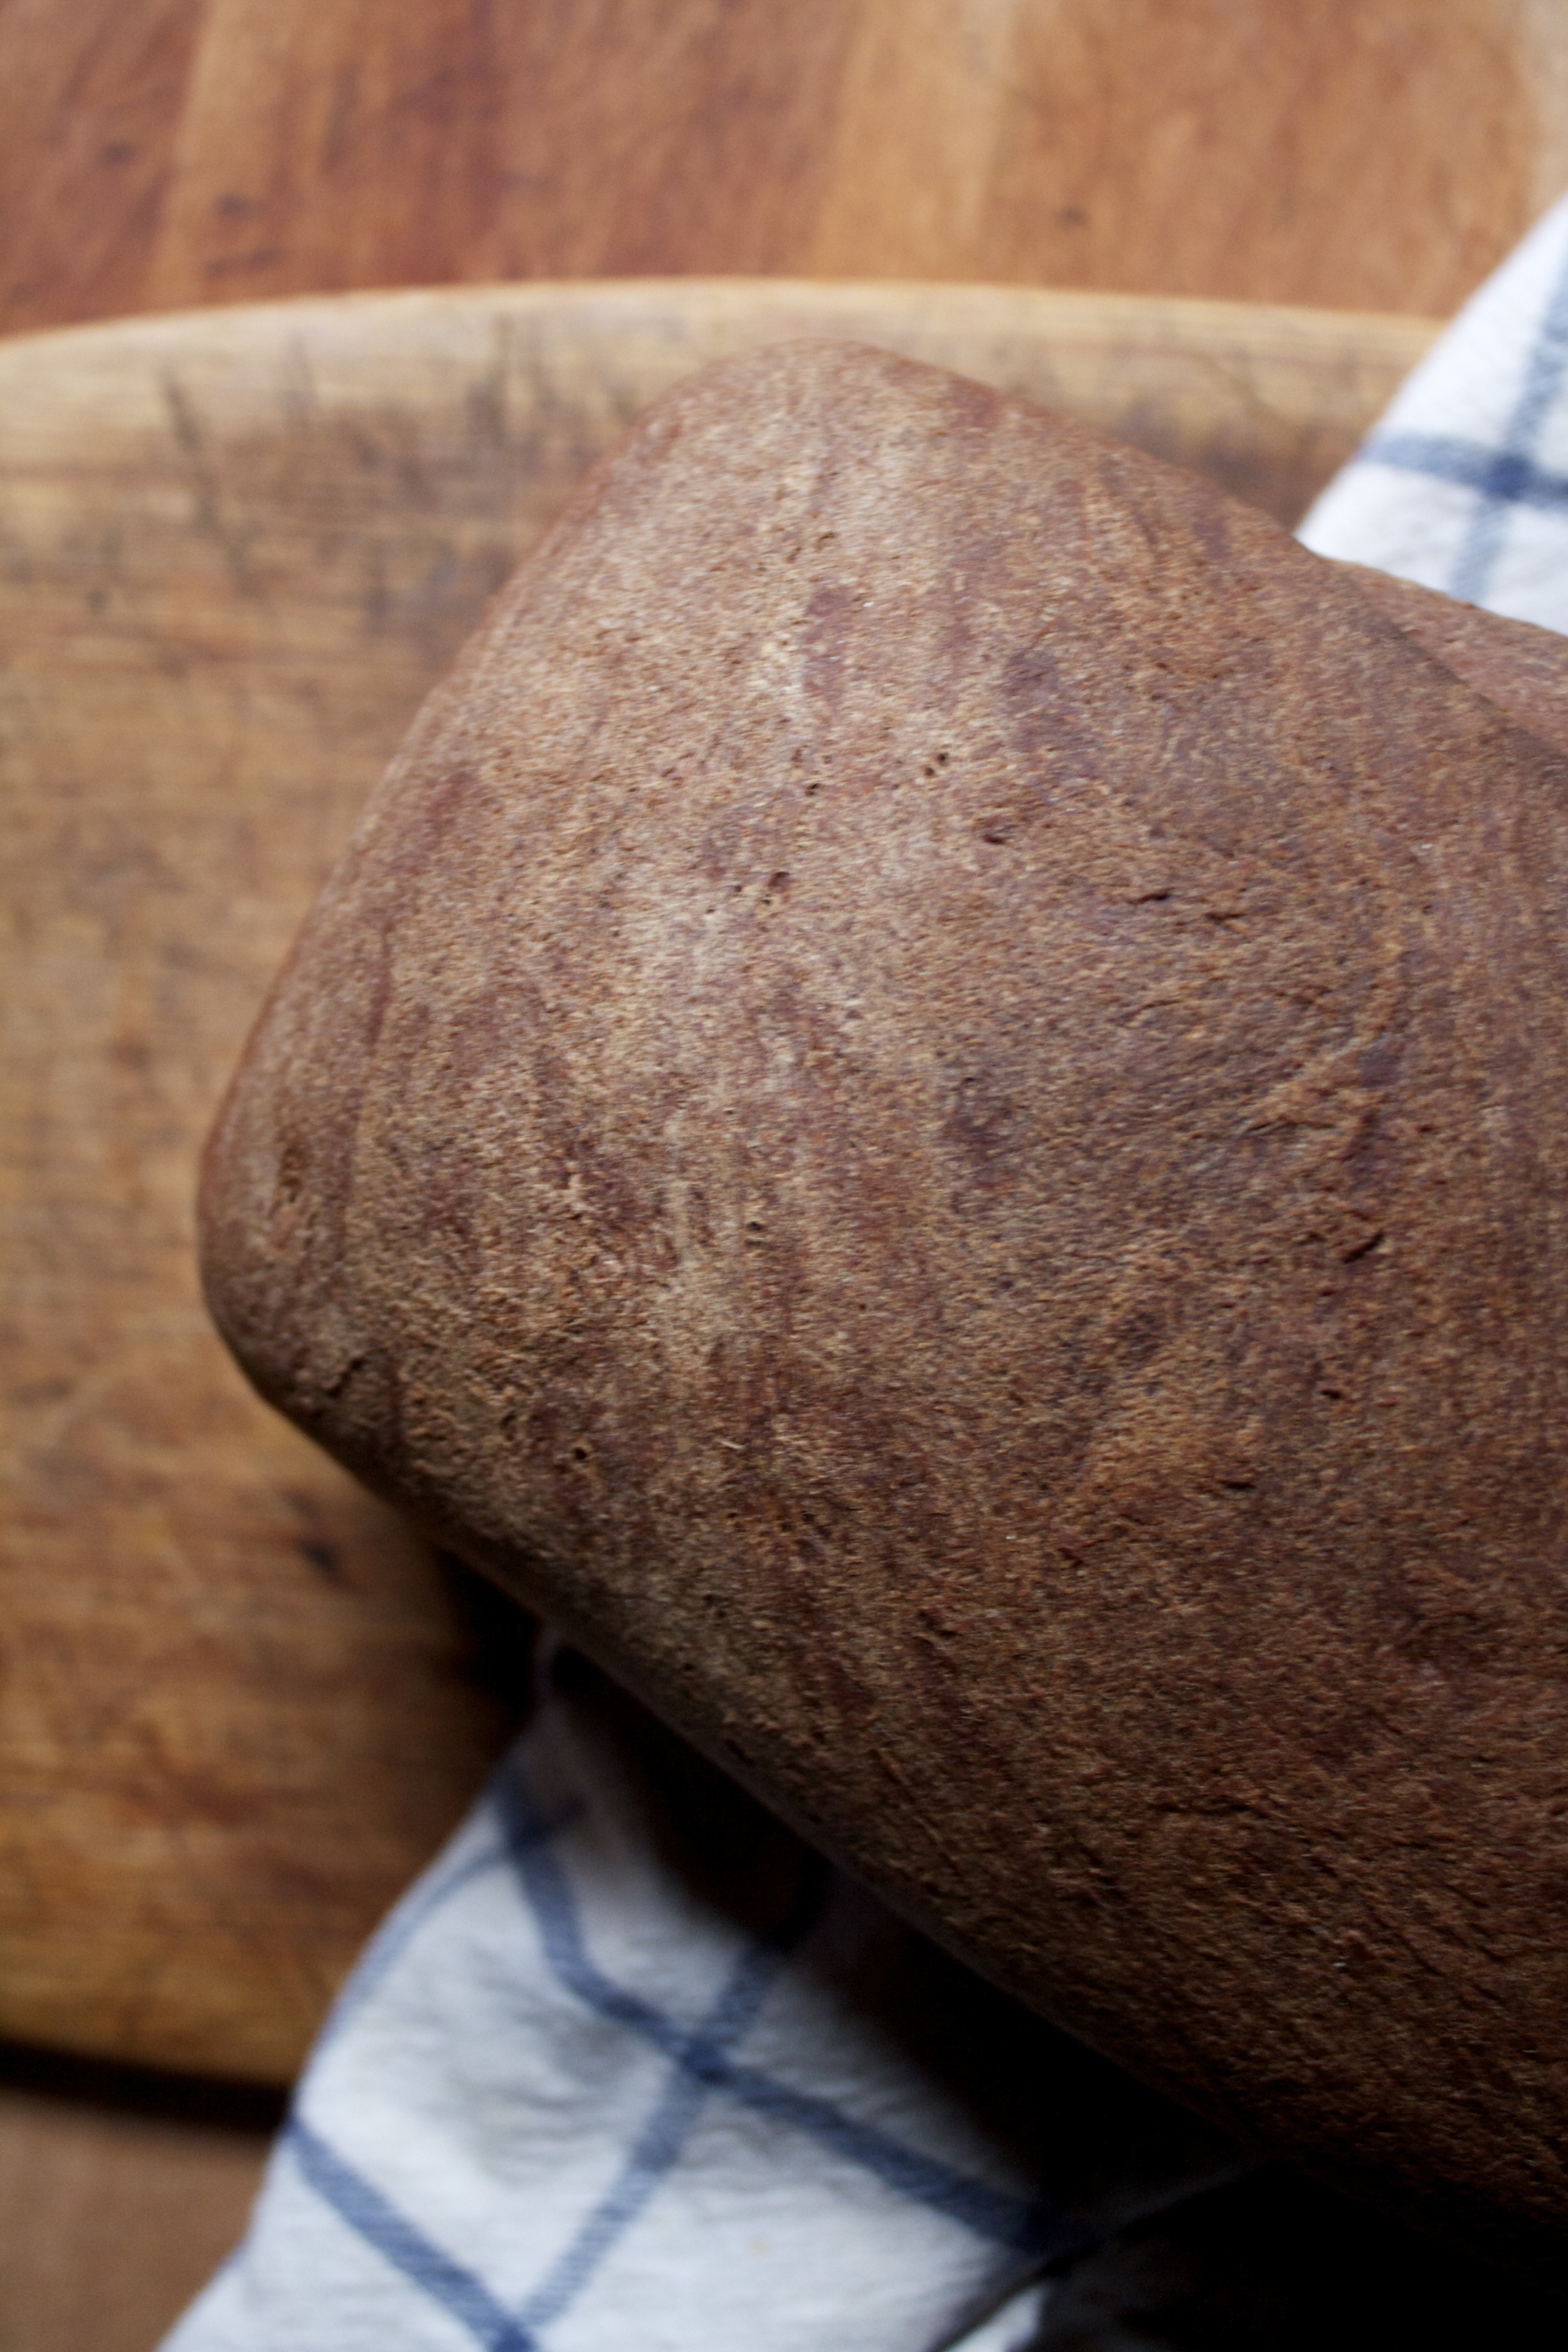
And once the bread is done (45-50 minutes, with a internal temp of 190) remove from the oven and let cool(for at least 15 minutes.. (you can do it!)

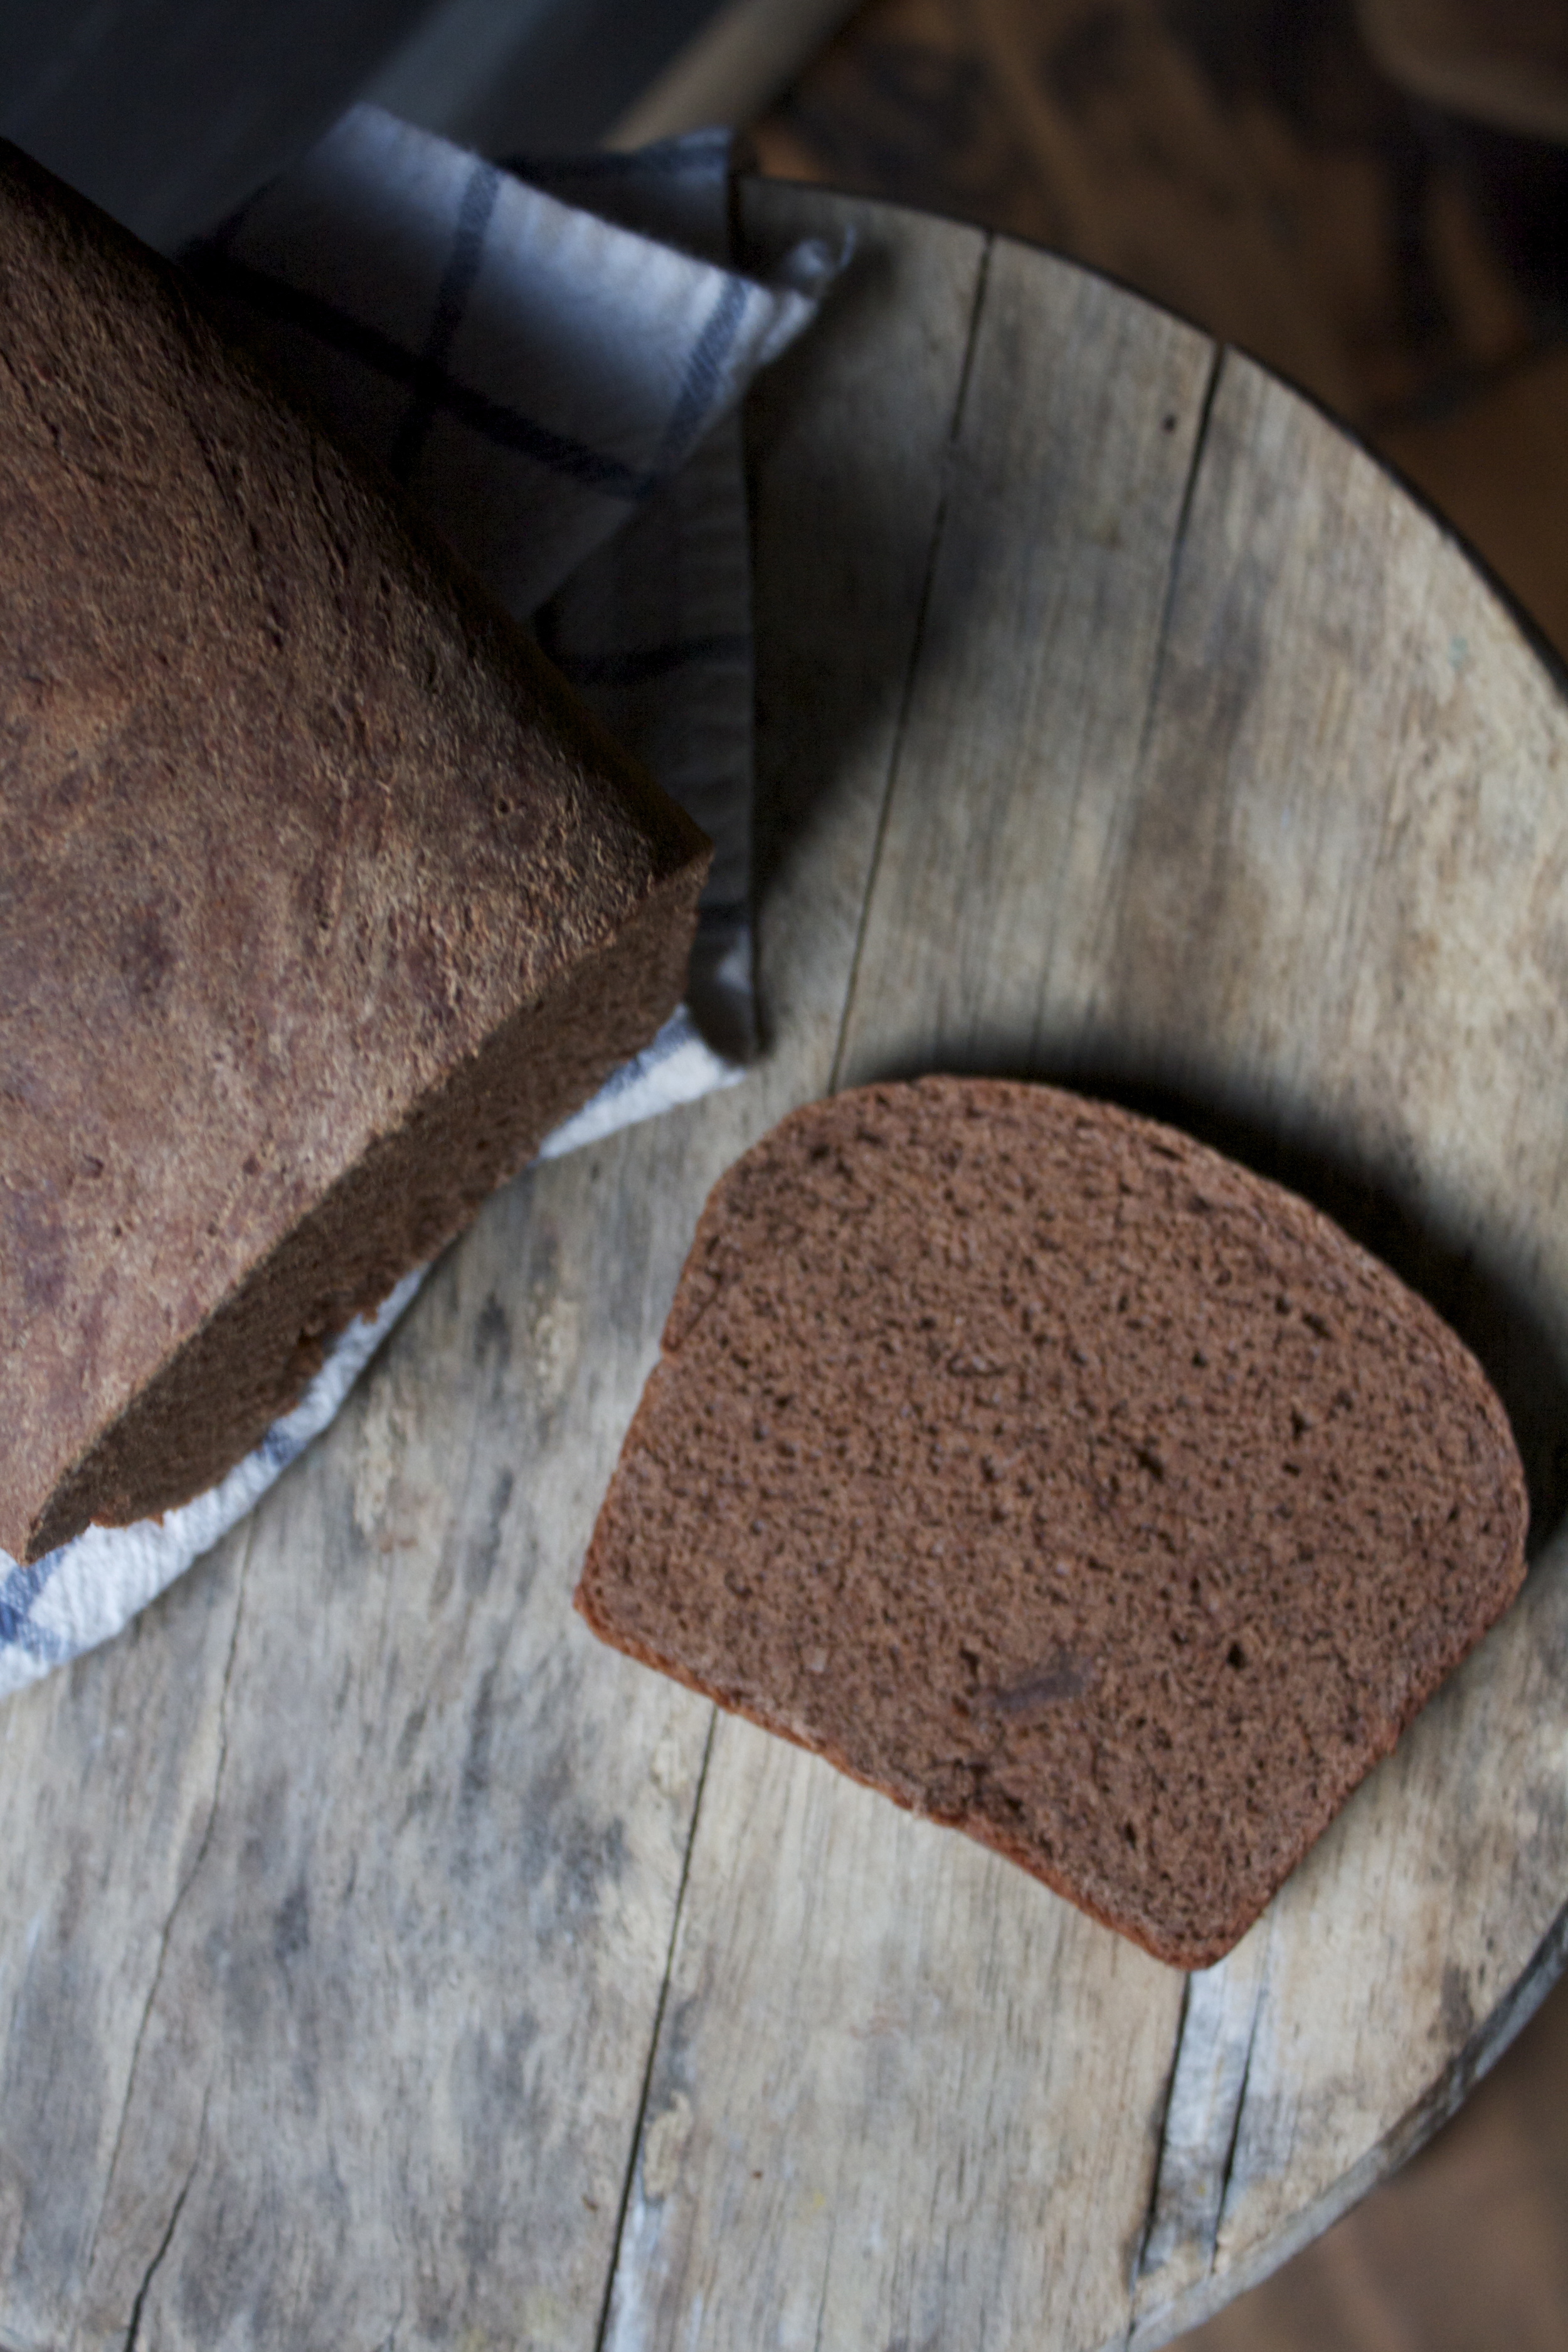
Sliced to your preferred thickness, eaten as is or slathered with some peanut butter. Save some for the morning for french toast or strawberry jam toast.
The possibilities are endless.

Enjoy you day.

-C


Chocolate Bread

Makes one loaf

  • 3 cups white whole wheat bread flour (plus a little more if needed)
  • 1/2 cup natural cocoa powder
  • 1 cup soy milk
  • 2/3 cup warm coffee
  • 1/3 cup turbinado sugar (can use cane sugar)
  • 2 1/4 teaspoon yeast
  • 1 teaspoon salt

Note. If you want to make 2 loaves (why not right) just double everything except the yeast. Still only use the 2 1/4 teaspoons.

In a large bowl, whisk together the soy, sugar, and the yeast, then add in the coffee last. (just to make sure the coffee isn't to hot that it kills the yeast) In a separate bowl, whisk together the flour, cocoa powder and salt. Once you are sure the yeast is active, dump the dry into the wet and mix with together until the dough starts to form. If the dough seems to wet, add in another tablespoon or two of flour. Dump onto a slightly floured counter and knead until a cohesive texture that is somewhat smooth a glossy. Place dough back into bowl, drizzle and rub with oil, then place a damp towel over the bowl ans stick it in a warm place. Let the dough rise until it has doubled in size, which should take about 1- 1 1/2 (depending ho warm the spot) Once doubles, dump onto counter and push down. Shape into a loaf and place into a greased loaf pan. Rub a little more oil on top and cover with plastic. Let the dough rise for about another 30 minutes or until the dough is cresting the brim of the pan. 

Preheat the oven to 400

When dough is done it's second rise, place a pan with about an inch of water into the oven on he lowest rack. Place dough in oven on the middle rack. Turn heat down to 375 and bake between 45-50 minutes or until the dough is golden brown and sounds hollow when tapped on. (also can check for temperature of 190 with a instant read thermometer)

When done, remove from pan ans let cool completely (or at least 20 minutes) before cutting.

When cooled, cut into slices and do what you will (straight up or covered in peanut butter.....)

Store uneaten bread in a air tight bag for about 3 days or just cut it all up and stick slices in the freezer and grab pieces as you need them. Either toast or lest thaw to room temp.


In Vegan, Sweets, recipes, desserts, Dairy Free, breakfast, bread Tags Chocolate, chocolate bread, yeasted bread, vegan, breakfast bread, snack bread, easy bread, chocolate bread loaf, vegan bread
Comment

Peanut Ginger Chickpea Salad Sandwich

December 17, 2015 Colleen Stem
IMG_5893.jpg
IMG_5902.jpg

My head is in hyper crazy mode lately,and I am sure I am not the only one. There are so many things going on all at once. I can get a little frazzled and fizzled and just plan beat ass tired. And then I think about what to make for dinner.

Boom. My mind melts and my stomach growls. Some nights all I want to do is come home, skip real dinner, and just eat carrots dipped in mustard and call it a night.  But the mr, he can't live off of carrots.(I probably couldn't either) So I make.dinner. (Where is my trophy for being the best?) But nothing to fancy and it needs to be fast ans easy.  I have been thinking more about things that I can make on the fly, things that are healthy and satisfying. Foods I can make that can be wrapped, packed and eaten on a milk crate in between tearing down a wall. And tasty...needs to be good.

Sandwiches. That is where it's at. And this sandwich. Watch out!

Nothing to do with this sandwich but I am sitting here at 8pm on the couch, writing out this post, getting a face time call from a 5 year old little. He really needs to talk to me.... and about what? What does a 5 year old need to talk about this late at night? Well he needs to talk birthday cake, a duh. He needs to show me his cake diagram he made that consists of 9 full sized pieces of paper taped together. (he said the cake didn't have to be that big). And he cannot possibly go to sleep until I am aware of his cake design. Well little dude, I got it. A chocolate/vanilla/red/green/and purple cake only 2 feet high, in the shape of mind craft and flavored like happiness. I am on it. Now go to bed.

So yeah, back to sandwich. This is probably one of the quickest, most satisfying sandwich that I have ever made in my entire life (seriously) Creamy and rich peanut ginger smothered chickpeas paired with crisp, slightly tangy veggies.. Ridiculously fast and easy to make. A sandwich that is worth having a famous person eat it, declare it #1, rename it the (insert cool famous person name) sandwich and forever be known in the sandwich world. But until then, or before then, you can get on this sandwich band wagon and say you ate it before it was famous. You will then be the coolest person ever. (maybe a slight exaggeration)

The stuff. Chick peas in bean juice, apple cider vinegar, a big scoop of creamy peanut butter, some soy sauce, a few cloves of garlic, fresh ginger and a little bit of honey, Also going to need some cabbage, a carrot and a half of ared onion.

Do this first... Slice the veggies as thinly as you can, stick them into a bowl and splash with apple cider vinegar. Give it a good toss and set aside.

Grab another bowl and stick in the peanut butter, soy, and honey. Grate or super finely mince the garlic and about a tablespoon of the fresh ginger and add that in, along with a splash or two of the apple cider vinegar. Grab a little whisk (a fork will do) and start mixing.

As your whisking, add in about 2-3 tablepoons of the bean juice. Whisk until the sauce is light and fluffy.

Strain the chickpeas from the remaining liquid,  toss them into the sauce and mix all around.

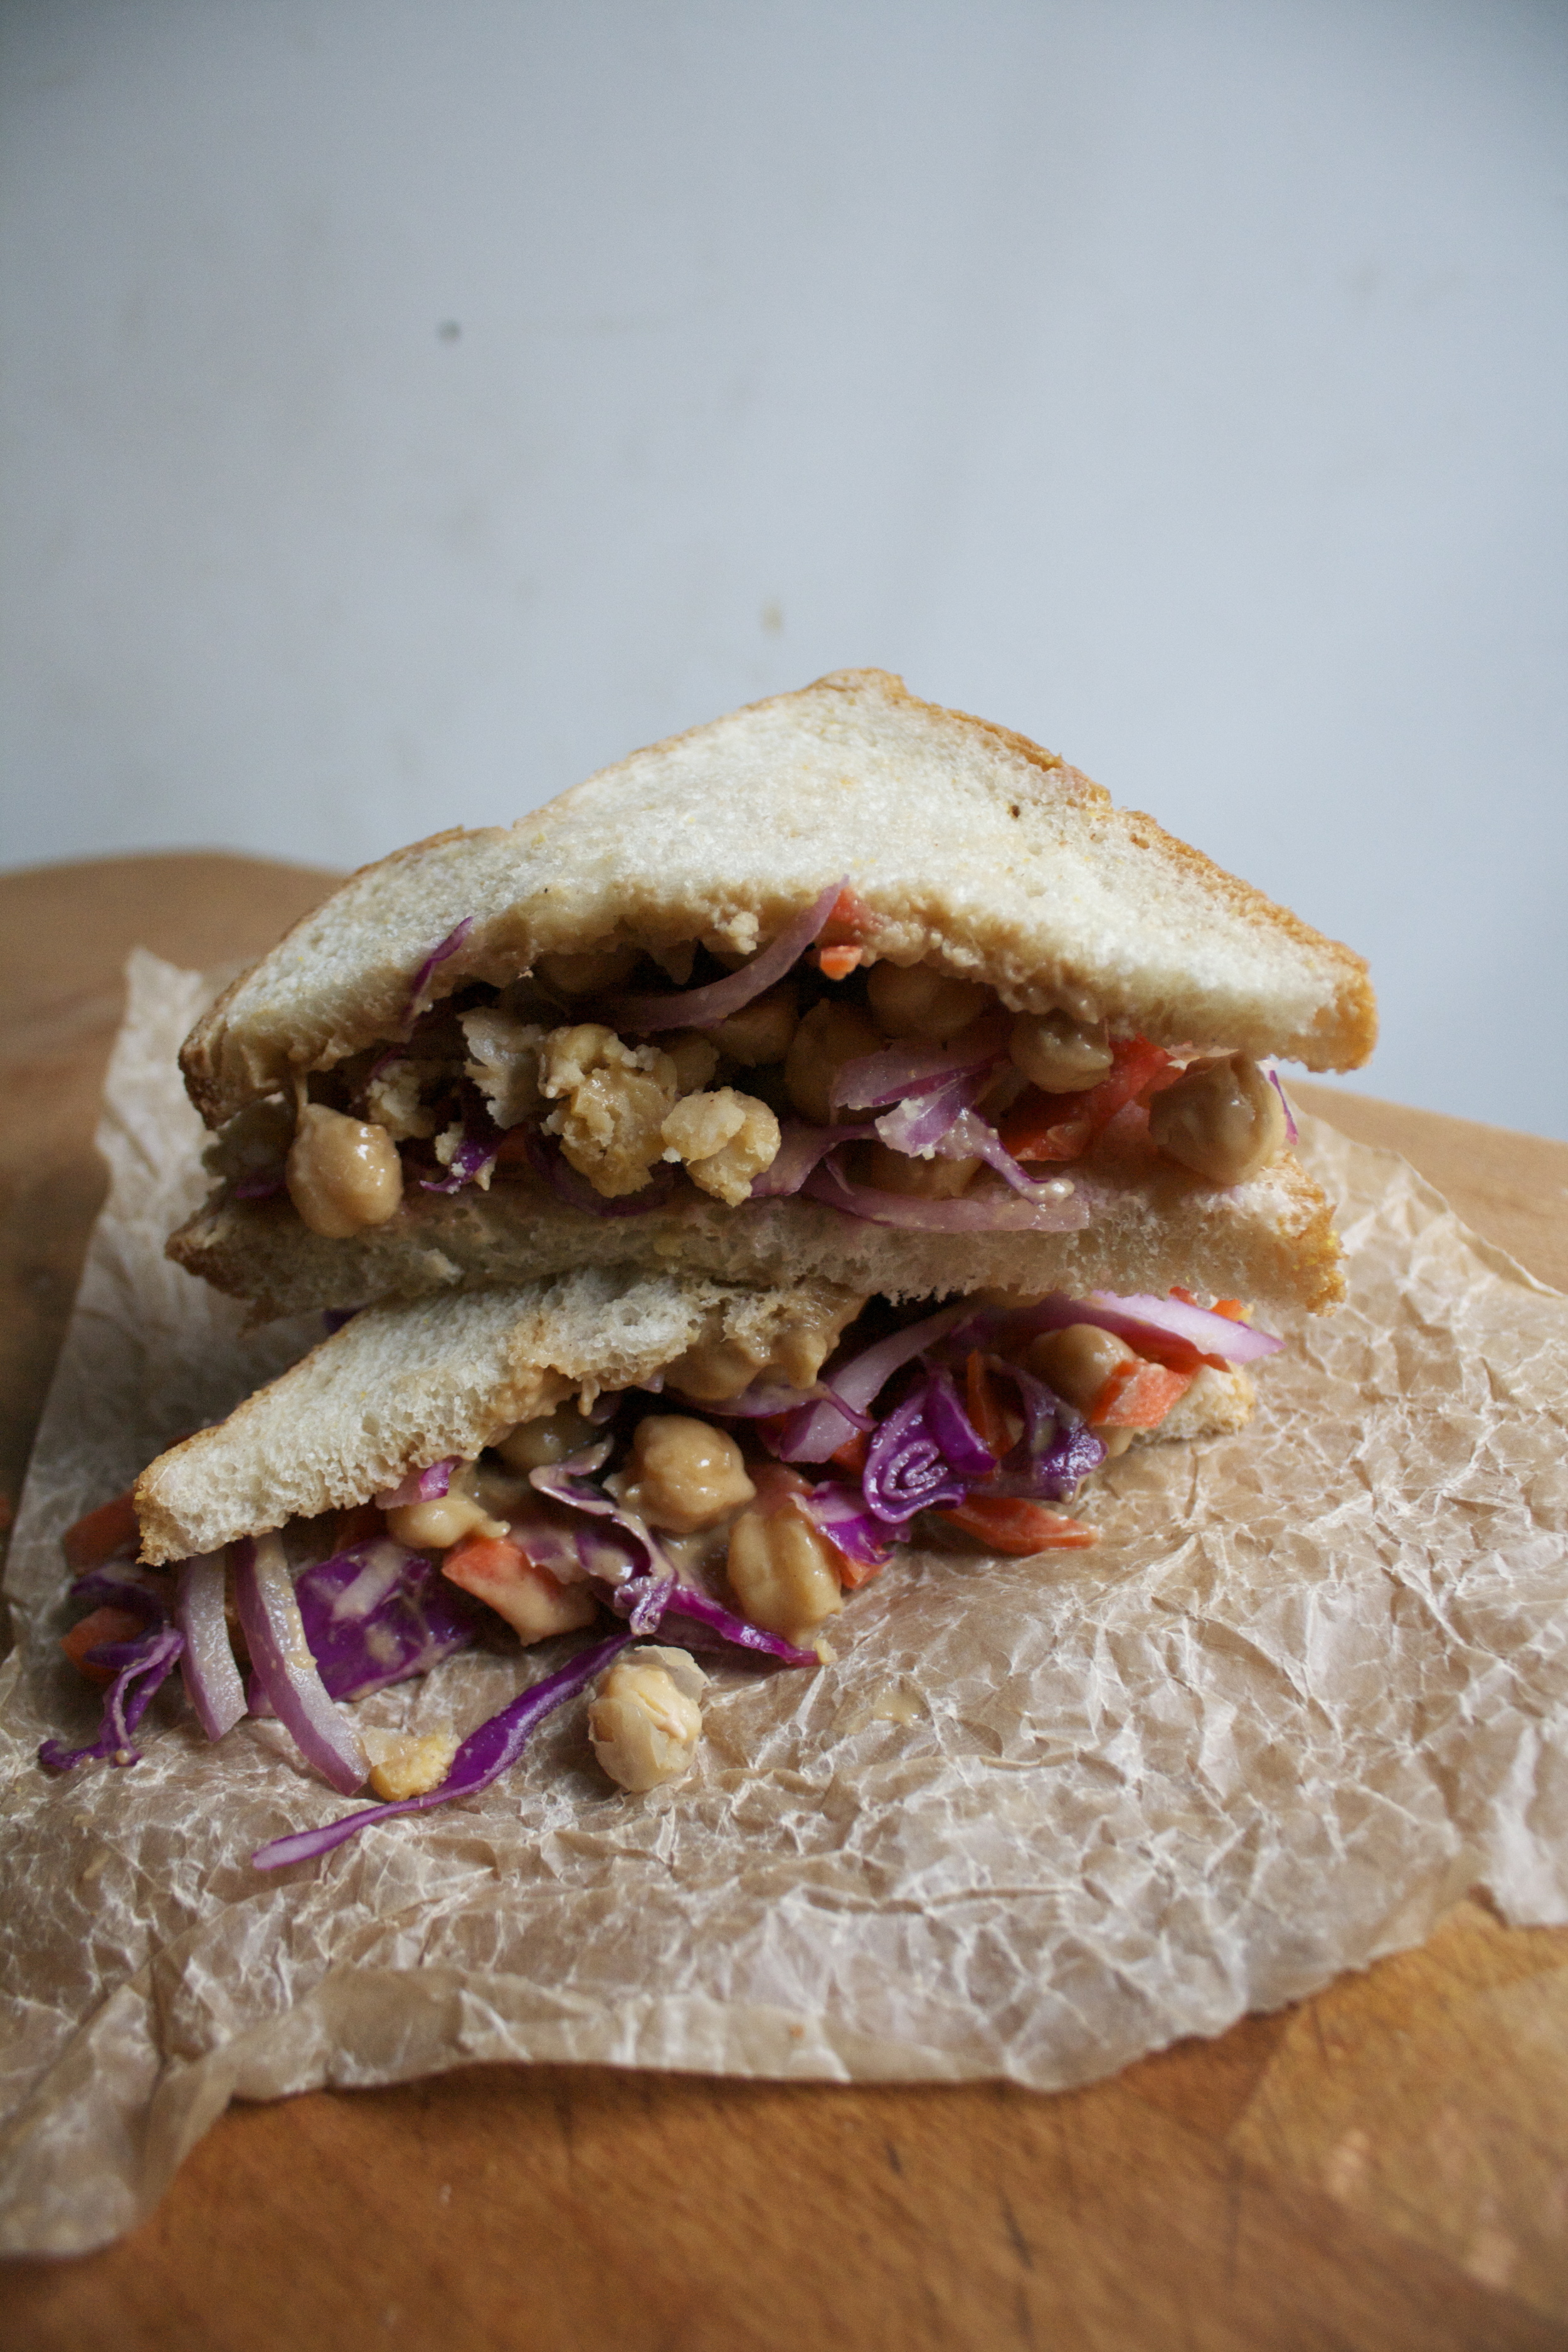
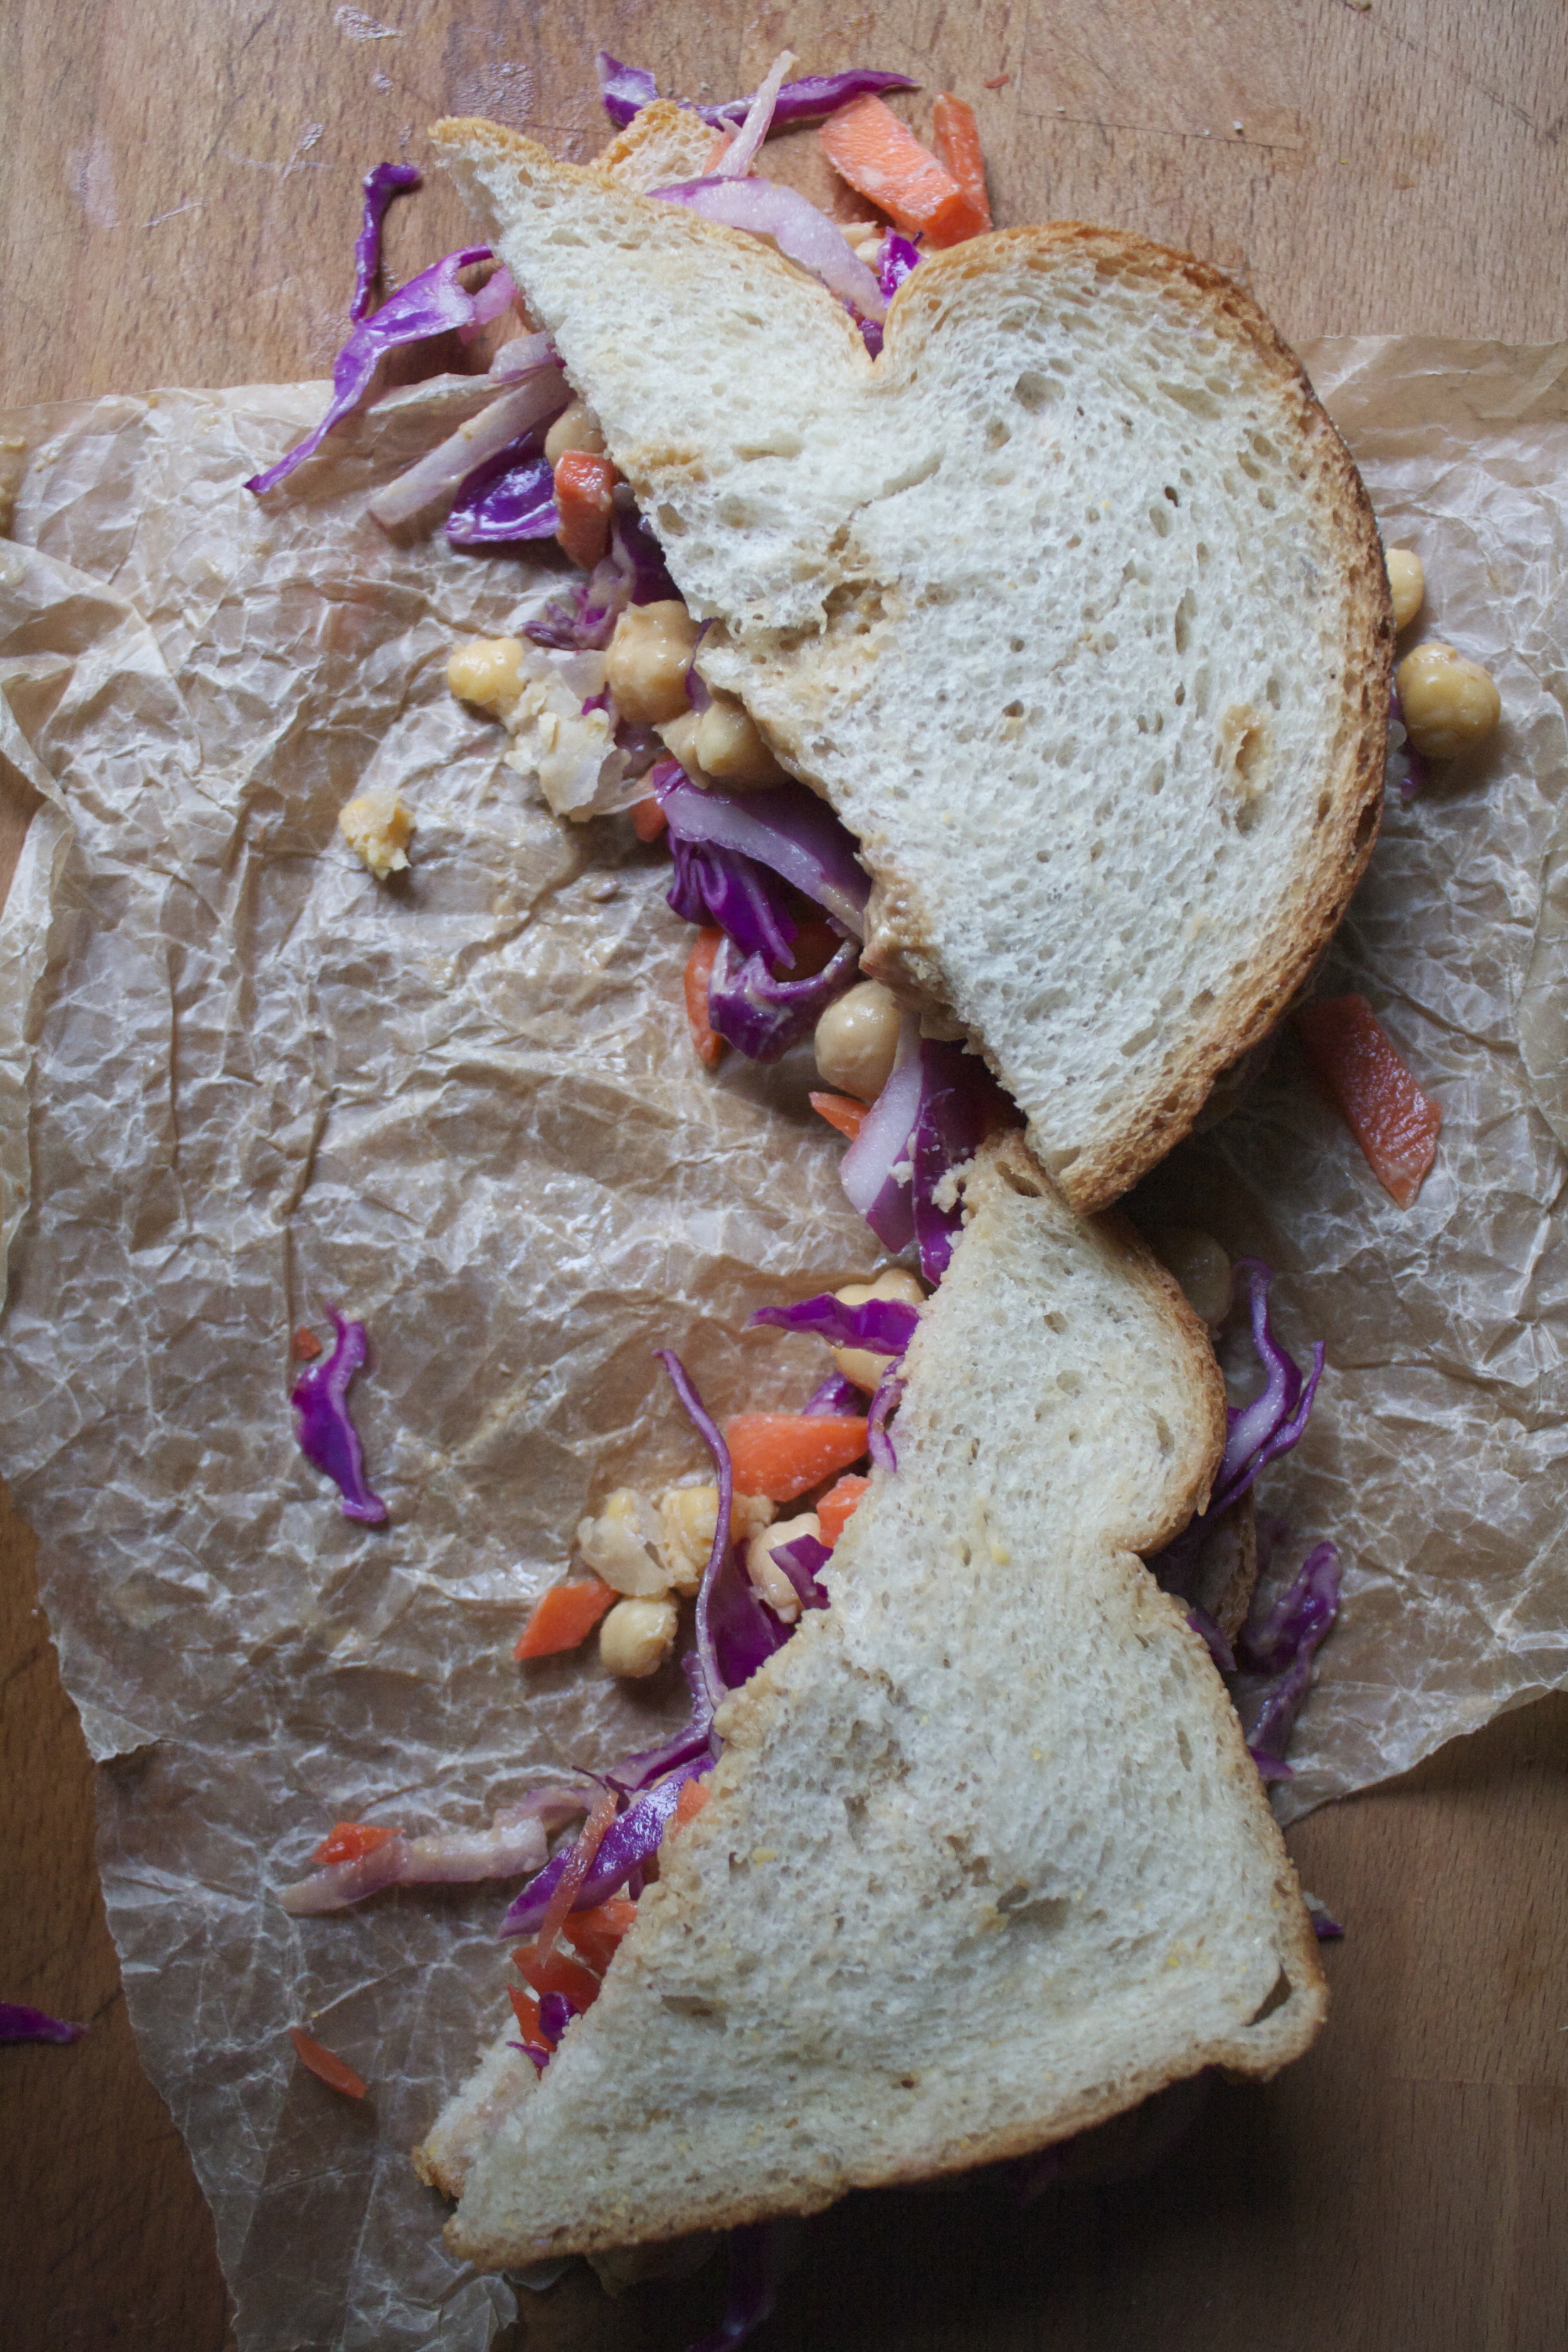
Sandwich time.. I think you get the idea. The veggies and the beans get stuck onto the bread.

And closed onto each other. A sandwich to make anyone, anytime, anywhere, all day long....HAPPY.

Bye!

-C


Peanut Ginger Chickpea Salad Sandwich

makes 2-3 sandwiches

  • 2 cups chickpeas (and a few tablespoons of the bean juice)
  • 1/4 cup creamy natural peanut butter (I am a fan of Trader Joe's)
  • 1 teaspoon honey or brown sugar if vegan
  • 1 tablespoon soy (I actually used Braggs liquid aminos, but either will work)
  • 2 tablespoons apple cider vinegar (plus another tablespoon for veggies)
  • 1-2 cloves garlic
  • 1 tablespoon freshly grated ginger
  • Abut 1 1/2 cups of shredded cabbage
  • a small carrot shredded or thinly sliced
  • 1/2 a small red onion sliced super thin
  • bread/wrap/whatever you want to sandwich the salad in

Right away stick the carrot, cabbage, and the onion into a shallow bowl and drizzle on about 1tablespoon of vinegar. Give them a good toss and set aside. ( the longer they sit, the better they taste)

In a separate bowl, whisk together the peanut butter, honey, soy, and the other 1 tablespoon vinegar. Grate or mince the garlic and the fresh ginger and add that in as well. As you are whisking this together, add in about 2 tablespoons of the bean juice. Mix until light and fluffy. Strain the remaining juice from the chickpeas and add them into the sauce. Toss to coat.

Note... I did not show it, but i mashed the chick peas a little bit, so they were not all rolling around and completely falling off the bread.. so you might want to do it too.

Now compile the sandwich.. A handful of the crispy sour veggies and a scoop or two (or however much you want) of the chick peas goes in between two slices of bread (or in a wrap). Toast the bread if you wish.

And eat. Smile, lick your fingers, and be satisfied that you can forever make this amazing sandwich in like 3 minutes whenever you feel like it and that it is most likely going to have a cool famous person name.

In Dairy Free, Gluten Free, grain free, recipes, sauce, Savory, Vegan, Vegetables, beans Tags Peanut Ginger Chickpea Salad Sanwich, Sandwich, vegan, chickpea, gluten free, clean eating, plant based, fast, easy, healthy, protein, fast easy meals, beans
Comment
← Newer Posts Older Posts →
 

https://thelovelycrazy.squarespace.com/config#/|/about/

Me. Food Maker.Food eater. Woo HOO!

STEM+NODE  SMALL BATCH AND ONE OF A KIND POTTERY

stem+node ceramics


____________________

Subscribe

GET NEW POSTS IN YO EMAIL

You are AWESOME!!!


@thelovelycrazy 2014-2021