• stem+node ceramics
  • HOME
  • Food Recipes
  • About
  • Contact
Menu

The Lovely Crazy

Street Address
City, State, Zip
Phone Number

Your Custom Text Here

The Lovely Crazy

  • stem+node ceramics
  • HOME
  • Food Recipes
  • About
  • Contact

Rainbow Slaw Salad

May 14, 2016 Colleen Stem
IMG_3662.jpg
IMG_3653.jpg

It was summer for a day and it was great. Then it rained a bunch the next day and that was equally as great cause I love warm rainy days.  And then the weather lady said that there is a chance of snowflakes in the valley Sunday night. (really?) It's ok, one more cool day will be kinda nice because we all know it's going to get hot and we will be looking back on this cool weather fondly. But until then, the lilacs are blooming and the trees are like POW with so much green... It's all happy and pretty and just what I have been needing.

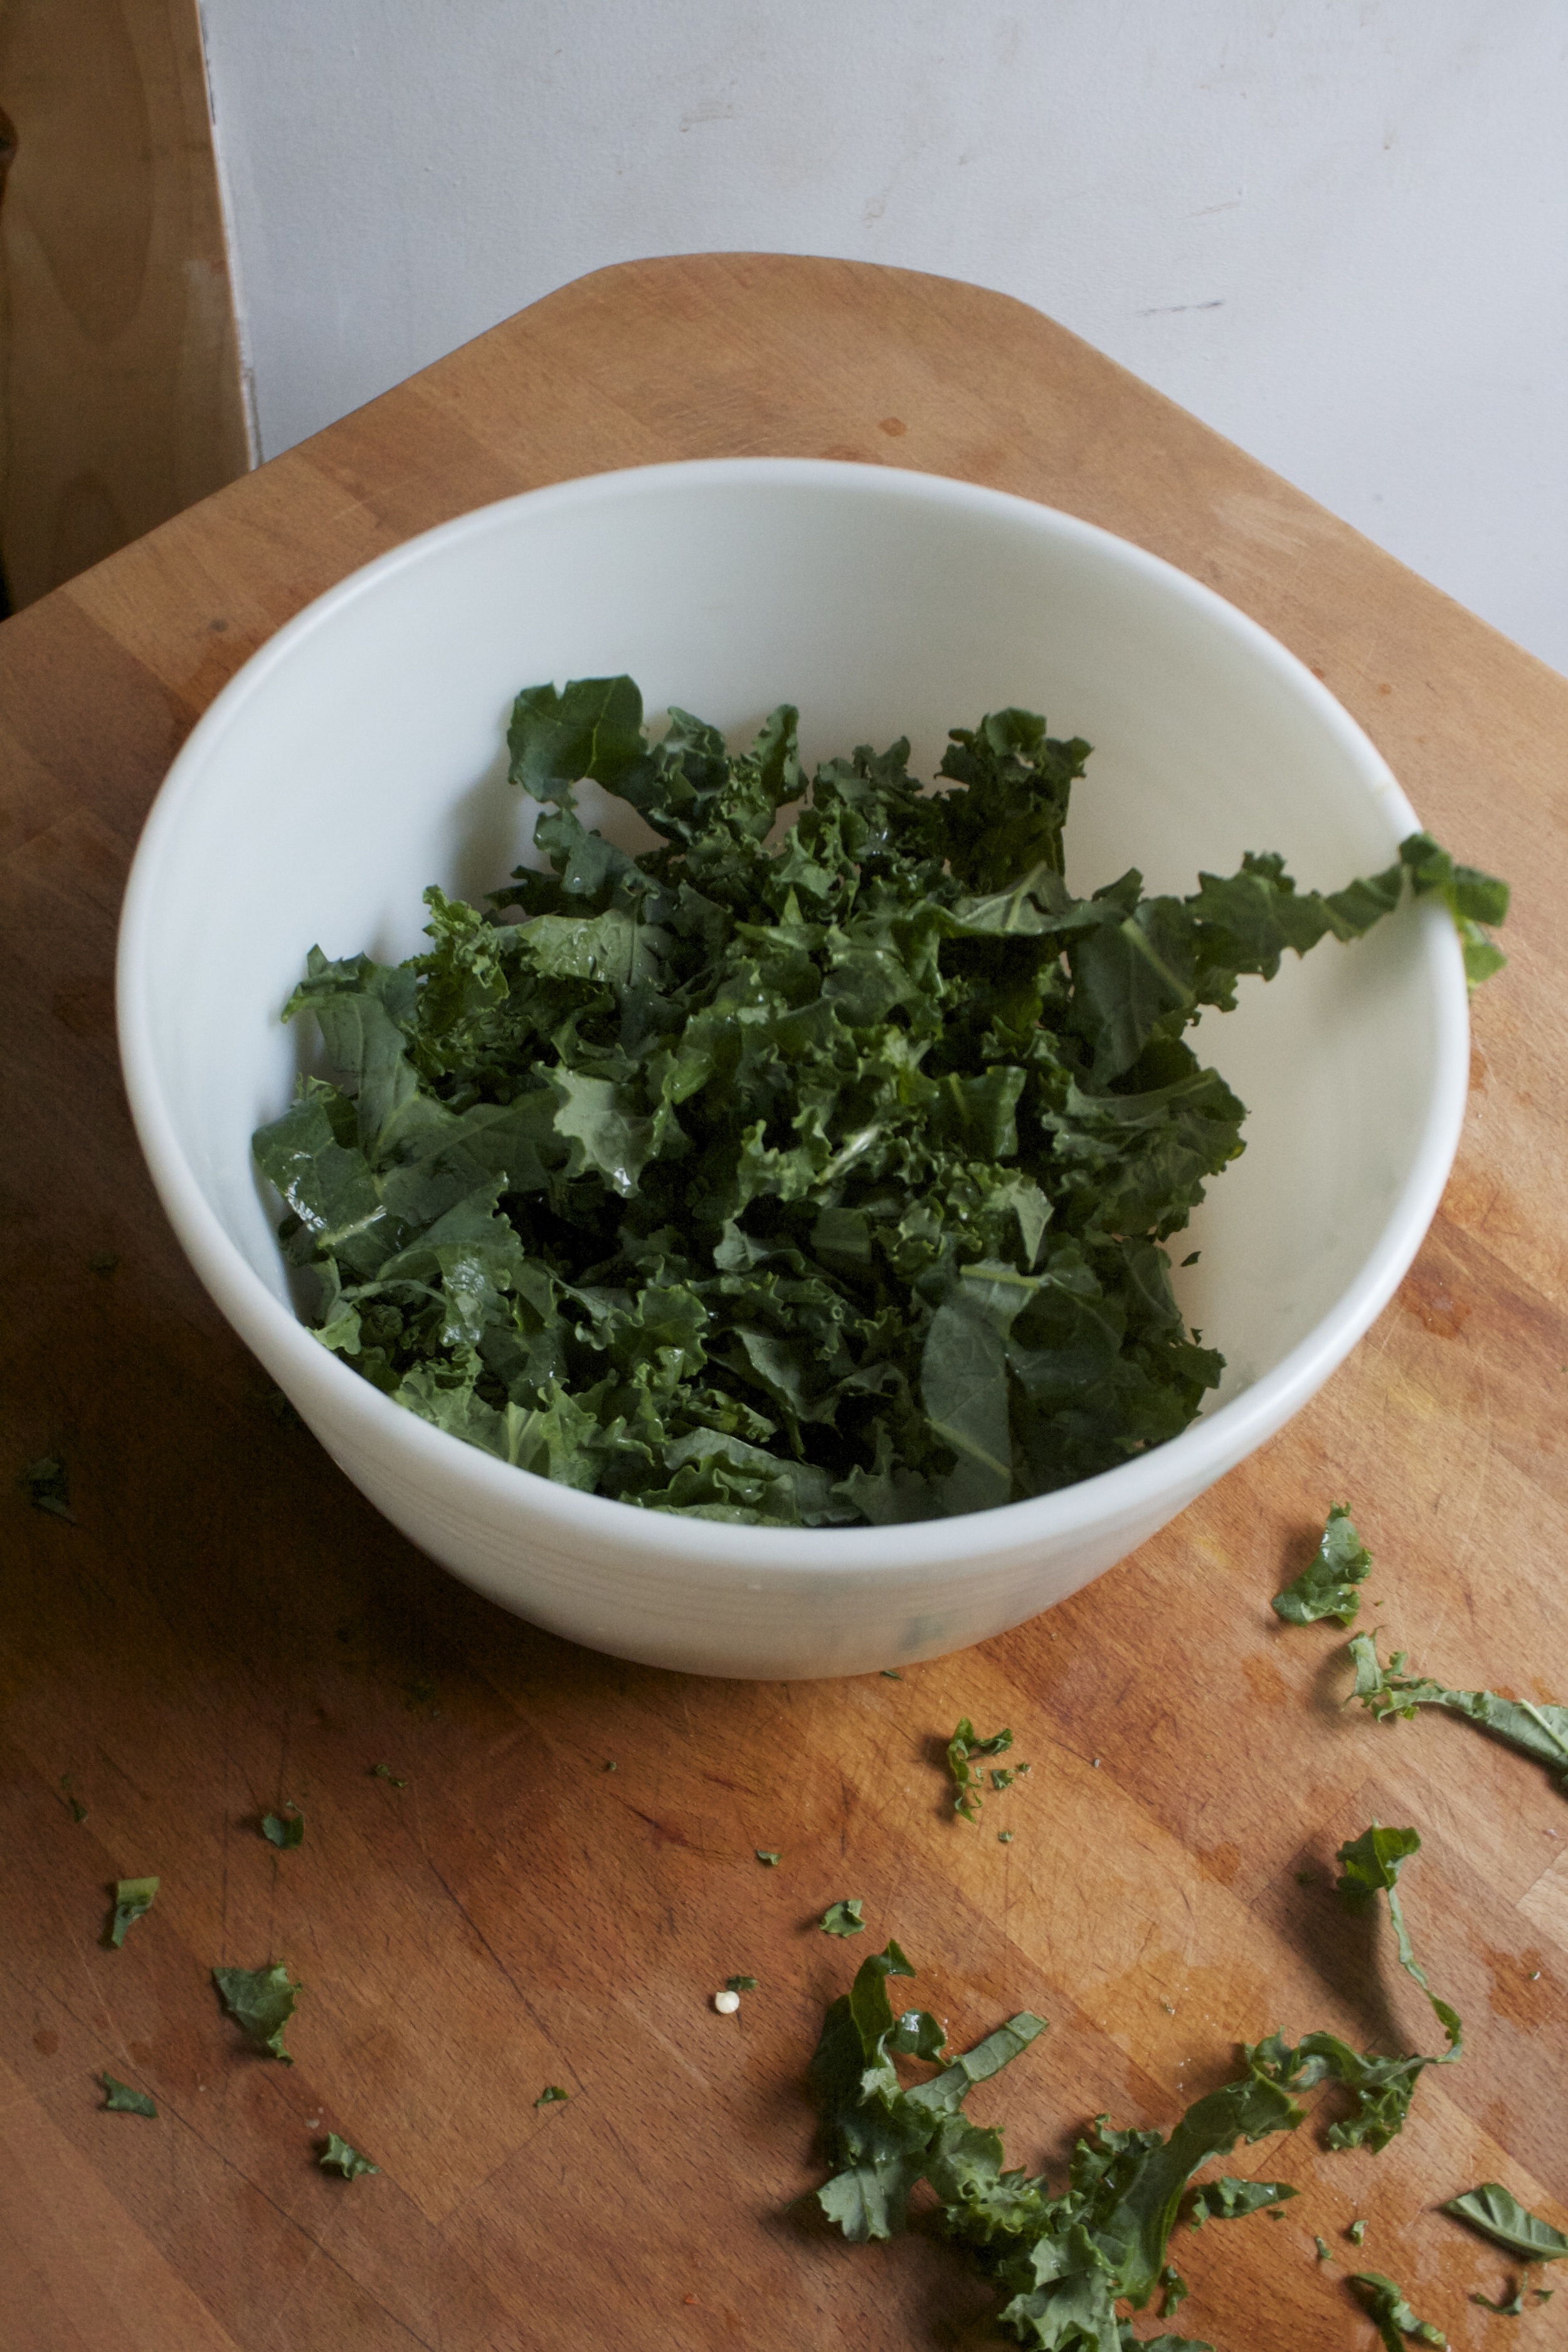
With all this nice weather lately, the mr and I have been spending a lot of time working on outdoor stuff (fencing trimming trees, moving plants) When it's as nice as it has been, I don't feel like going inside for a long lunch to feed myself and the food that I do eat, I want to be light and fresh, you know, like summer food. Nothing heavy or that can make me feel gross in warm weather. So my go to for lunch these days. A big ass bowl (usually a jar) of shredded veggies coated in mustard, vinegar, and salt and pepper, all the best things. (the best things being that it's quick and easy and so tasty and pretty) 

And note about this salad slaw. It is great when made and eaten right away, but also travels really well. So if you need food to bring on the go (like to the beach, on a hike, or to the airport), this is what you should pack. It only tastes better the longer it sits.

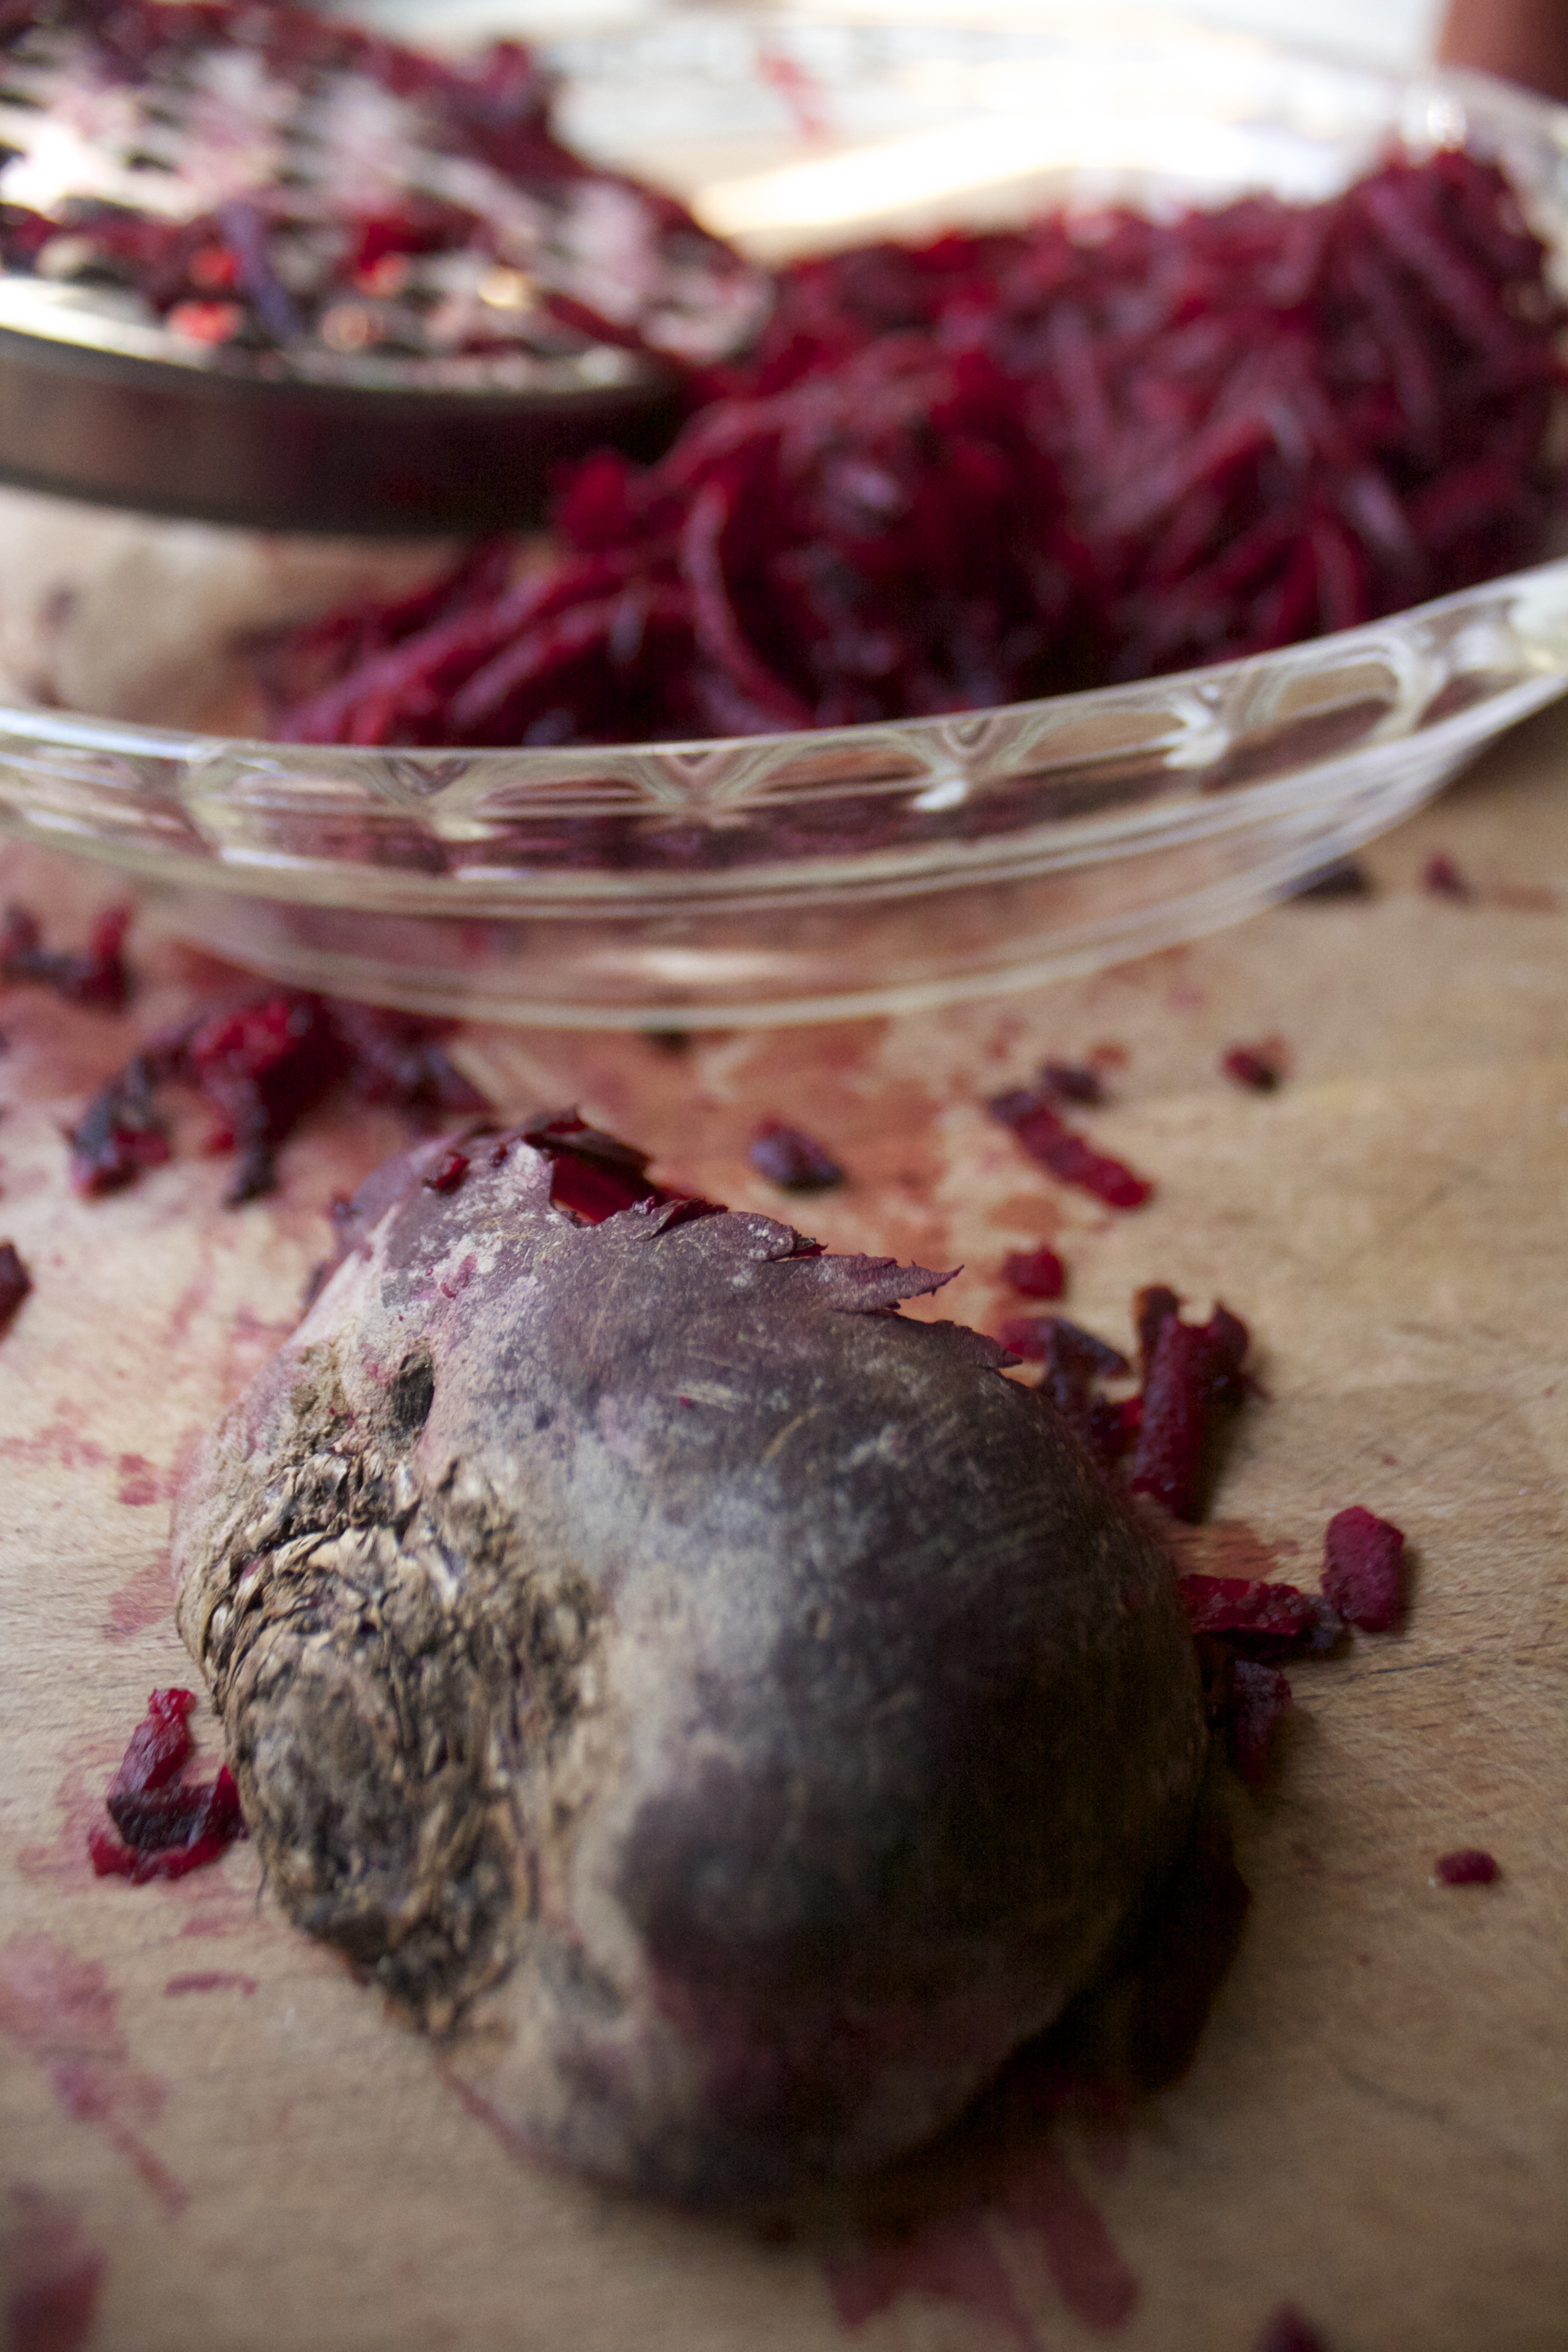
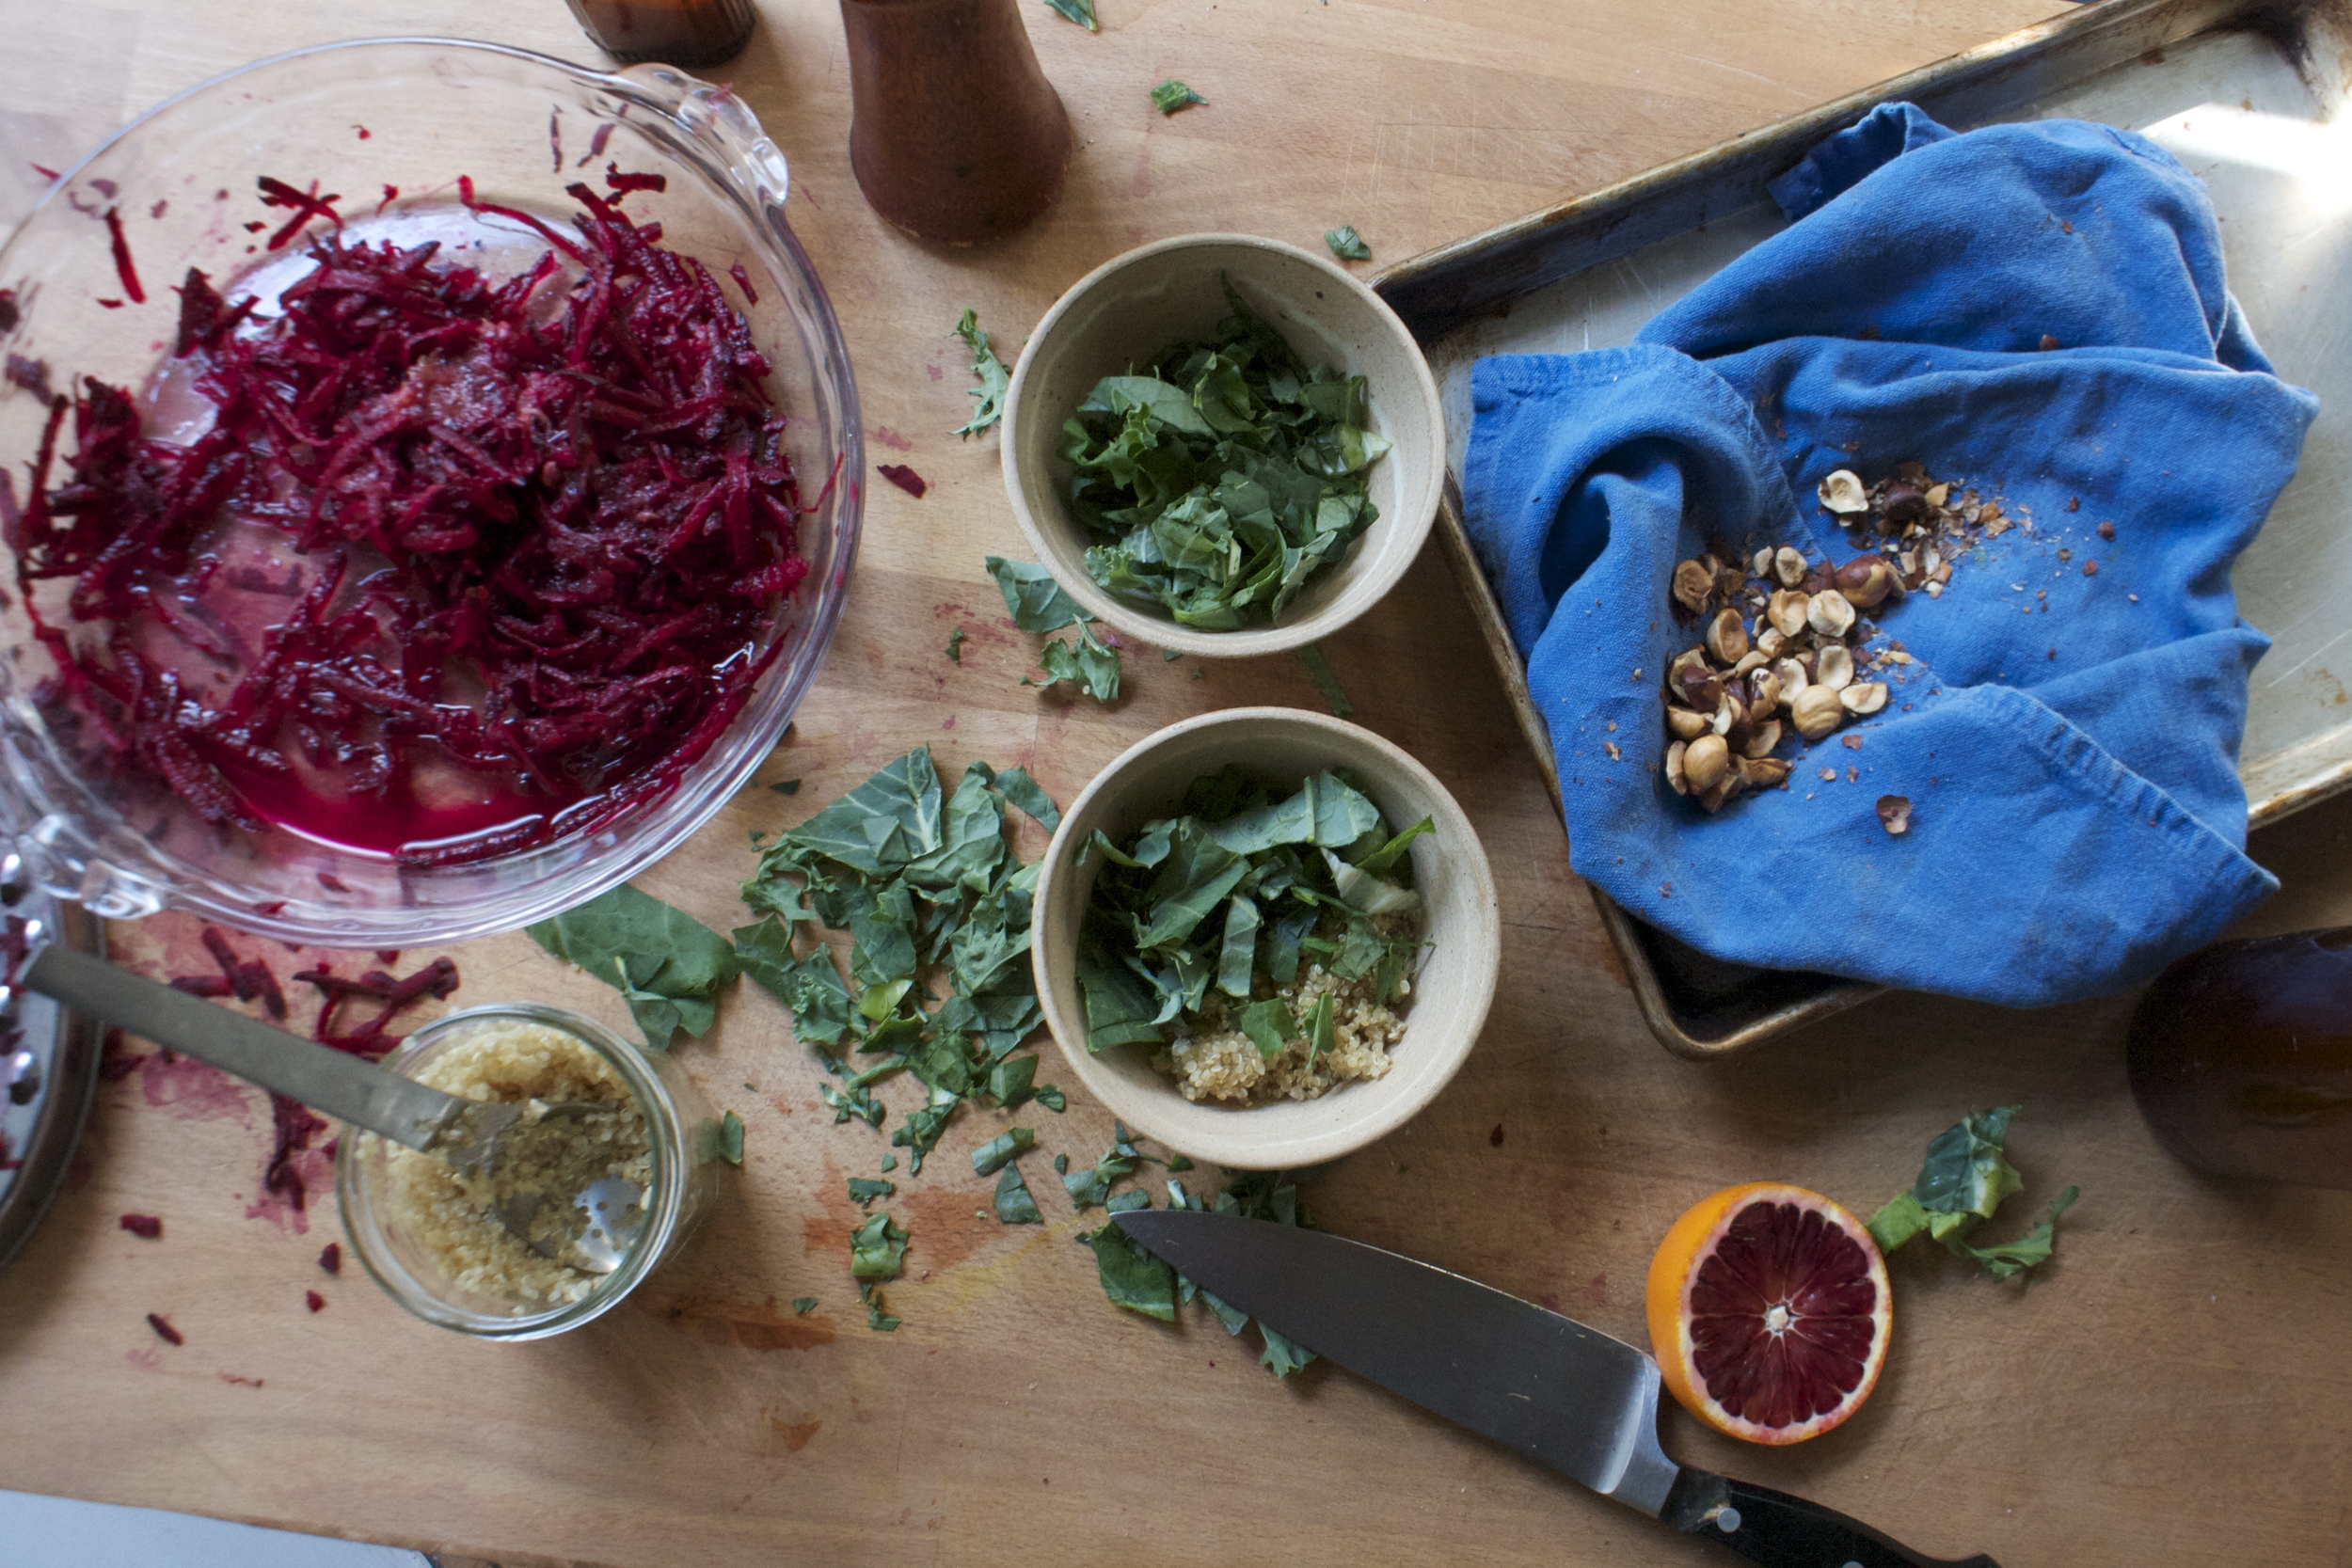
The Stuff. Zucchini, summer squash, a beet, a few carrots, onion, and some cabbage (I used red and green but one or the other is good). Also need yellow mustard, red wine vinegar, and salt and pepper.

Shred, shave, or julienne all you veggies.. no precision, just do it.

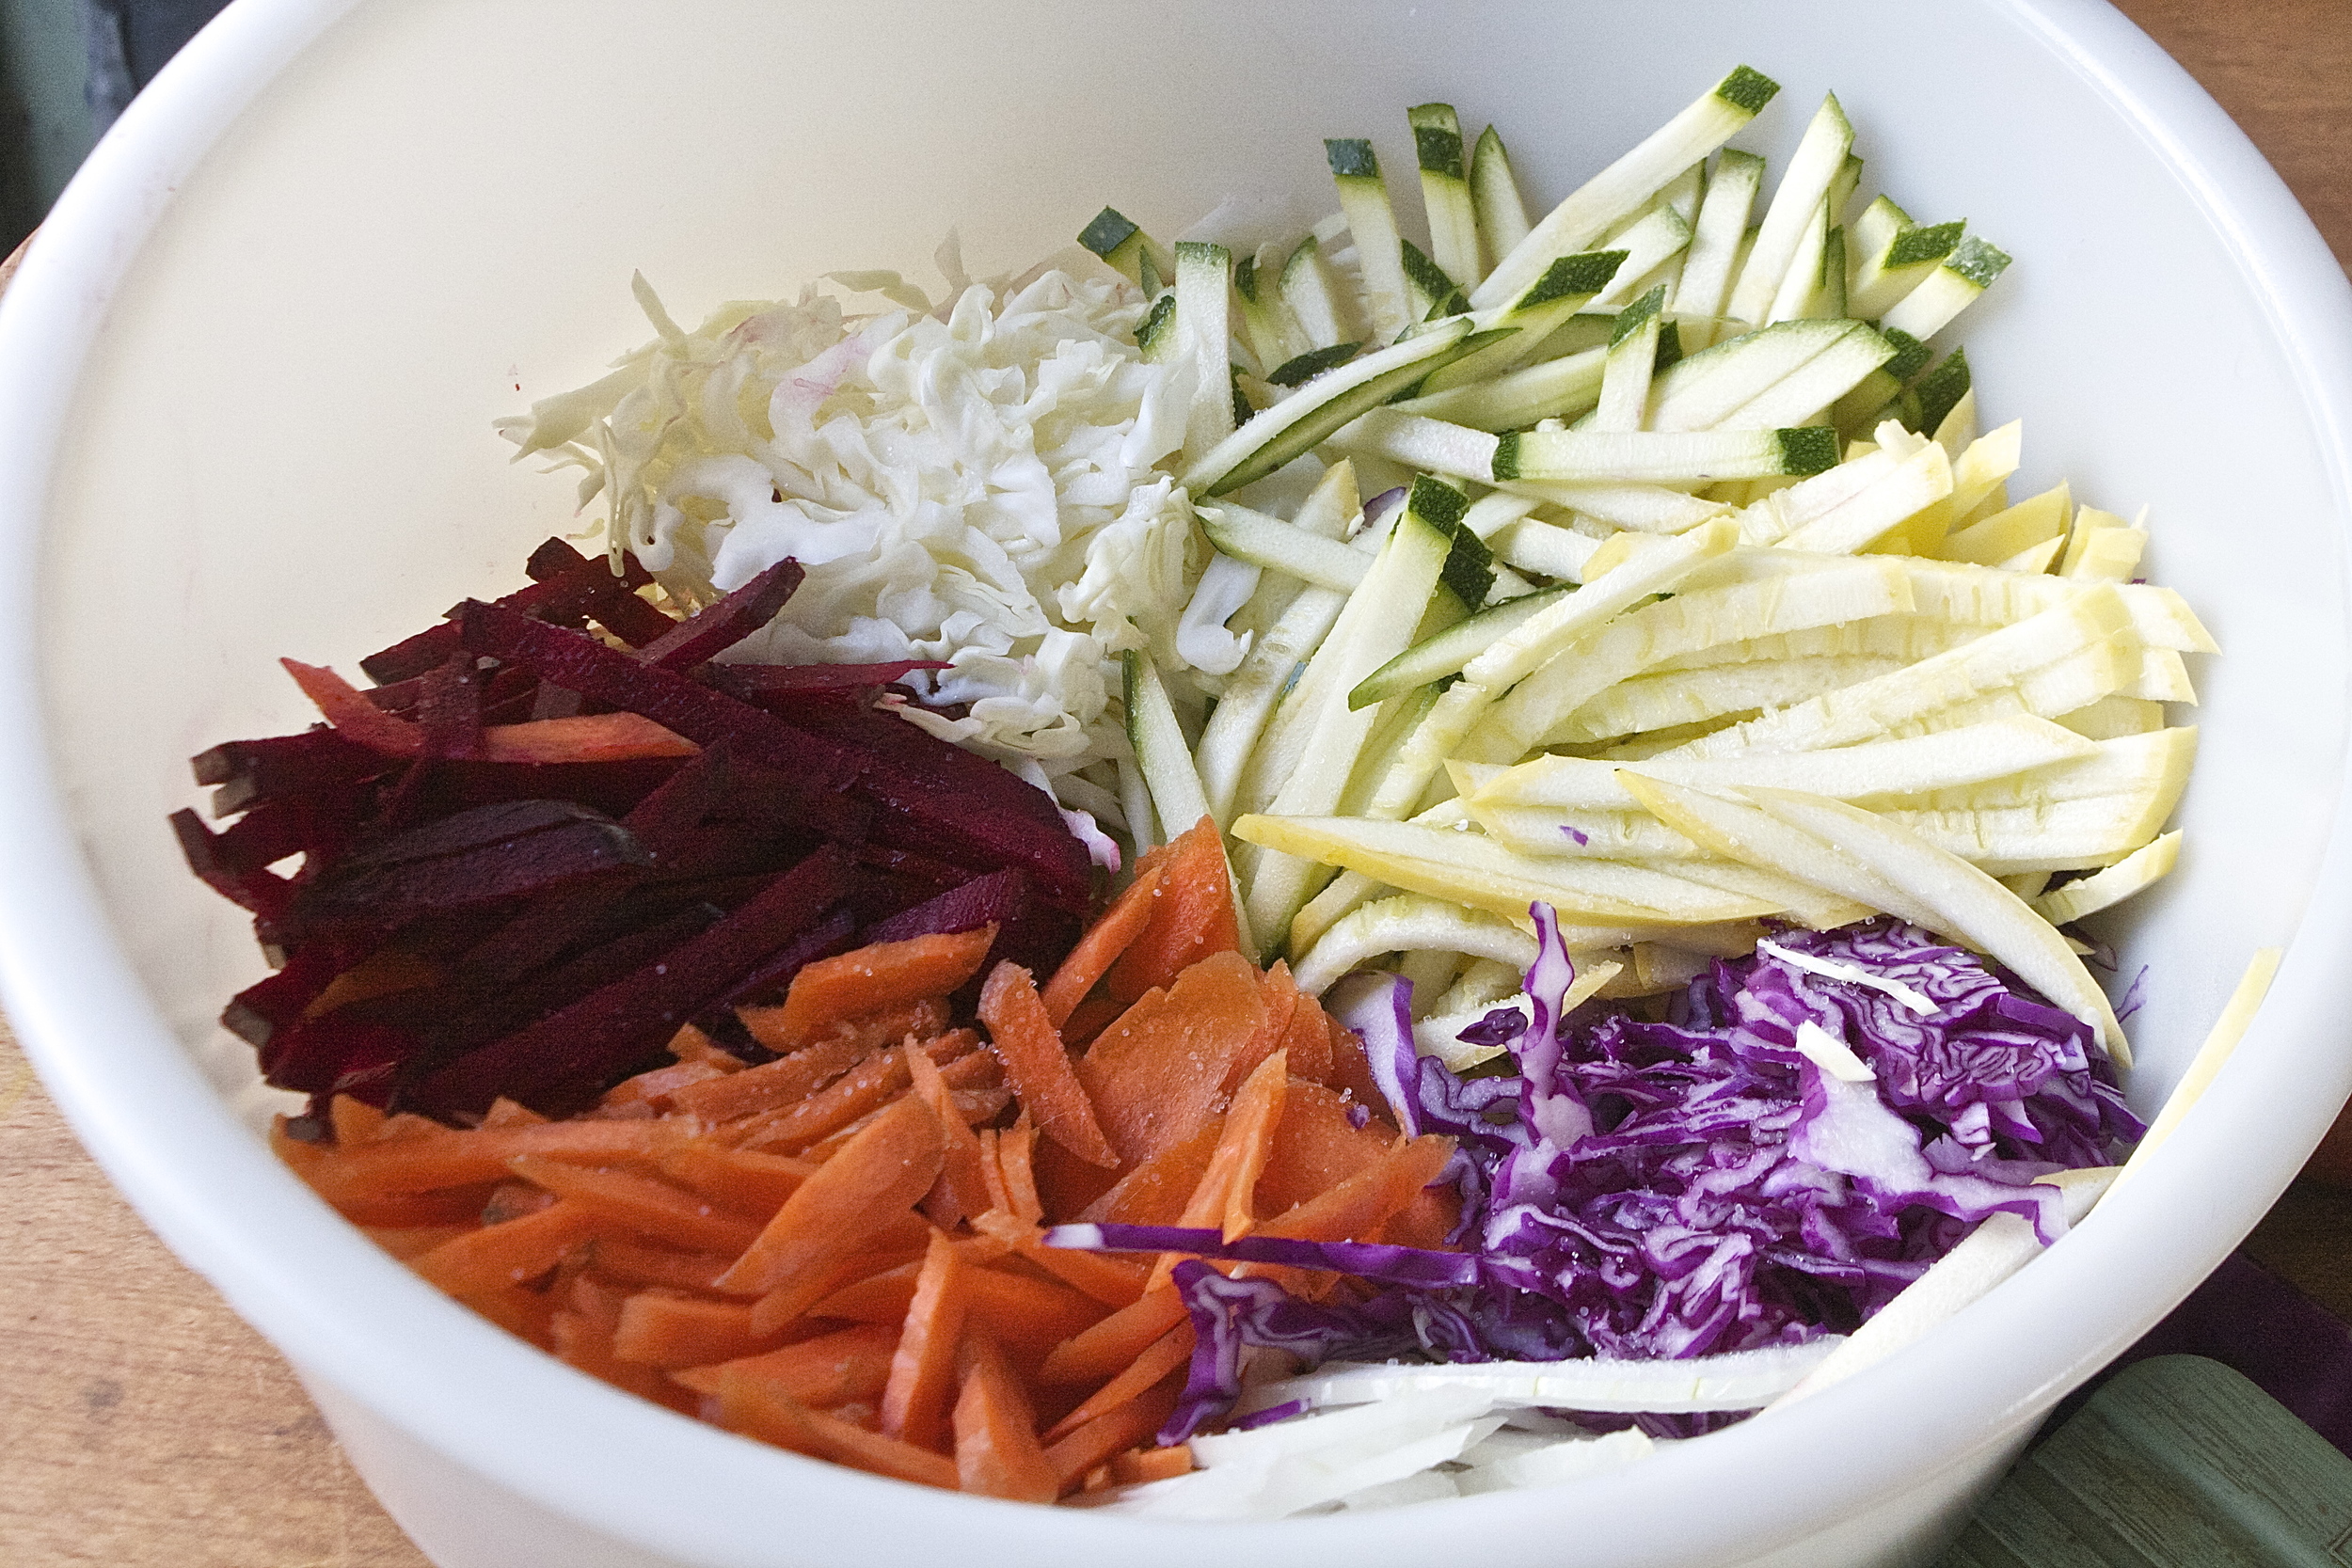
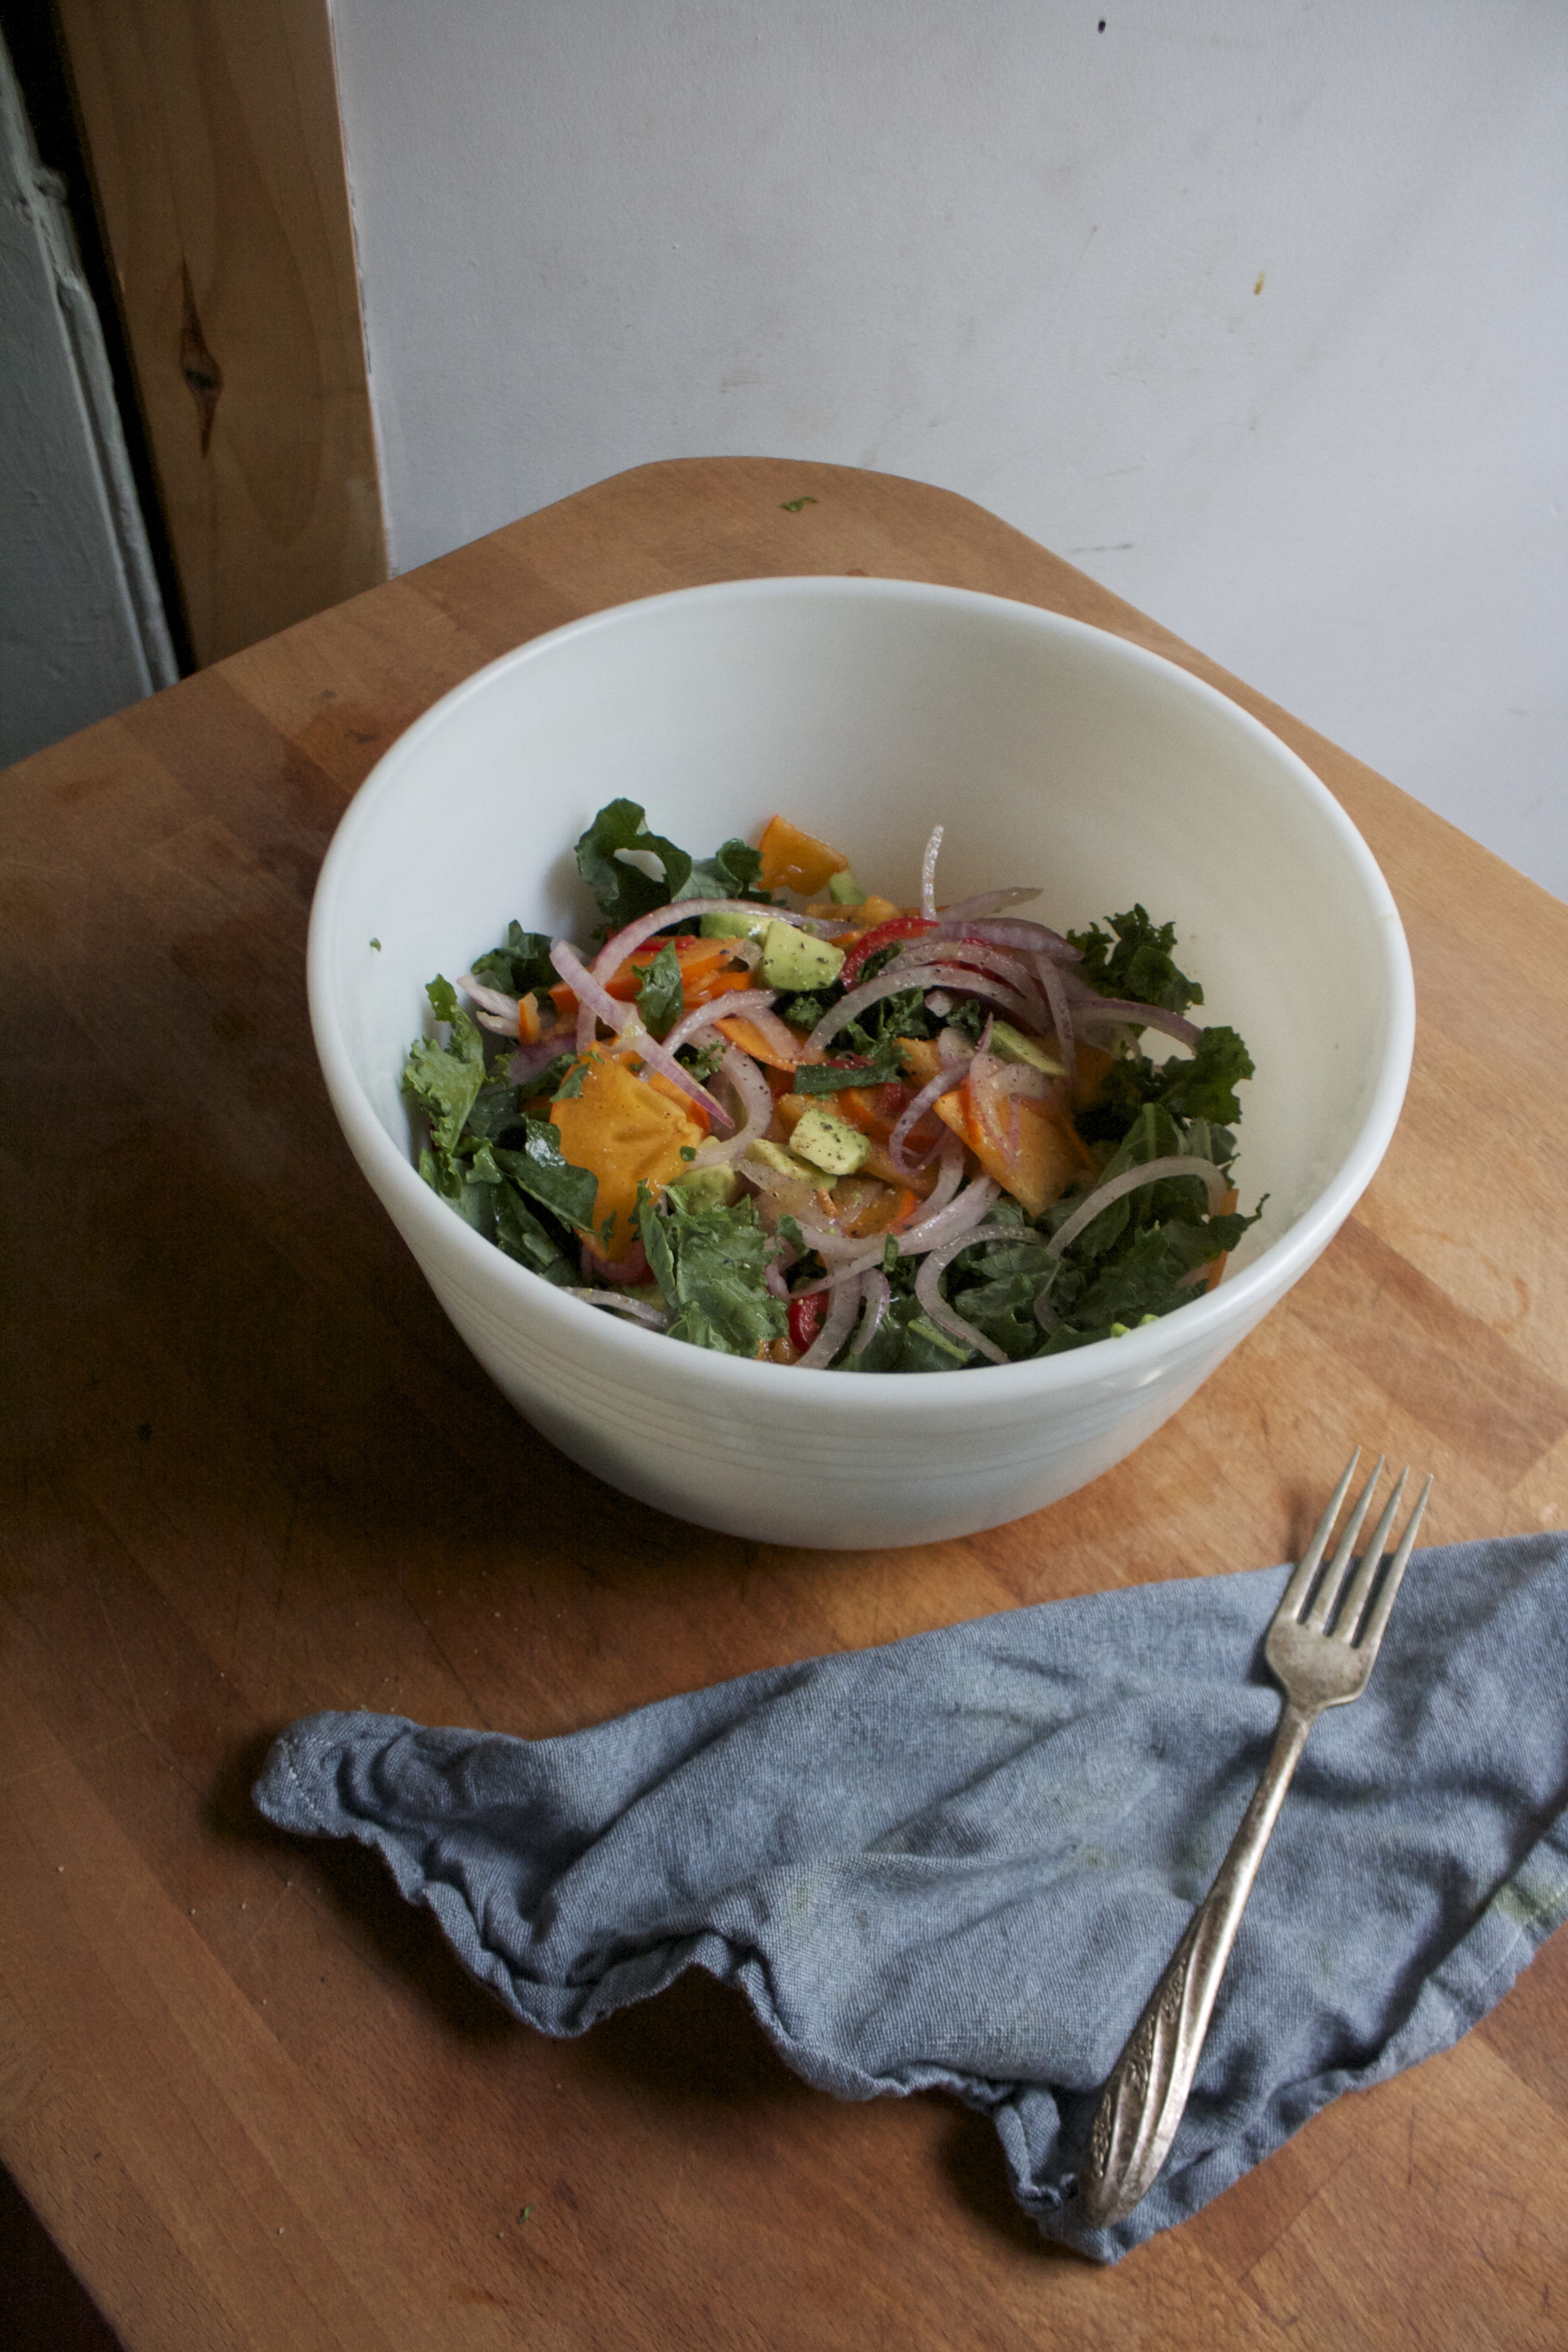
All the pretty colors in a big bowl ( they don't need to be separated, I just wanted to see the pretty)

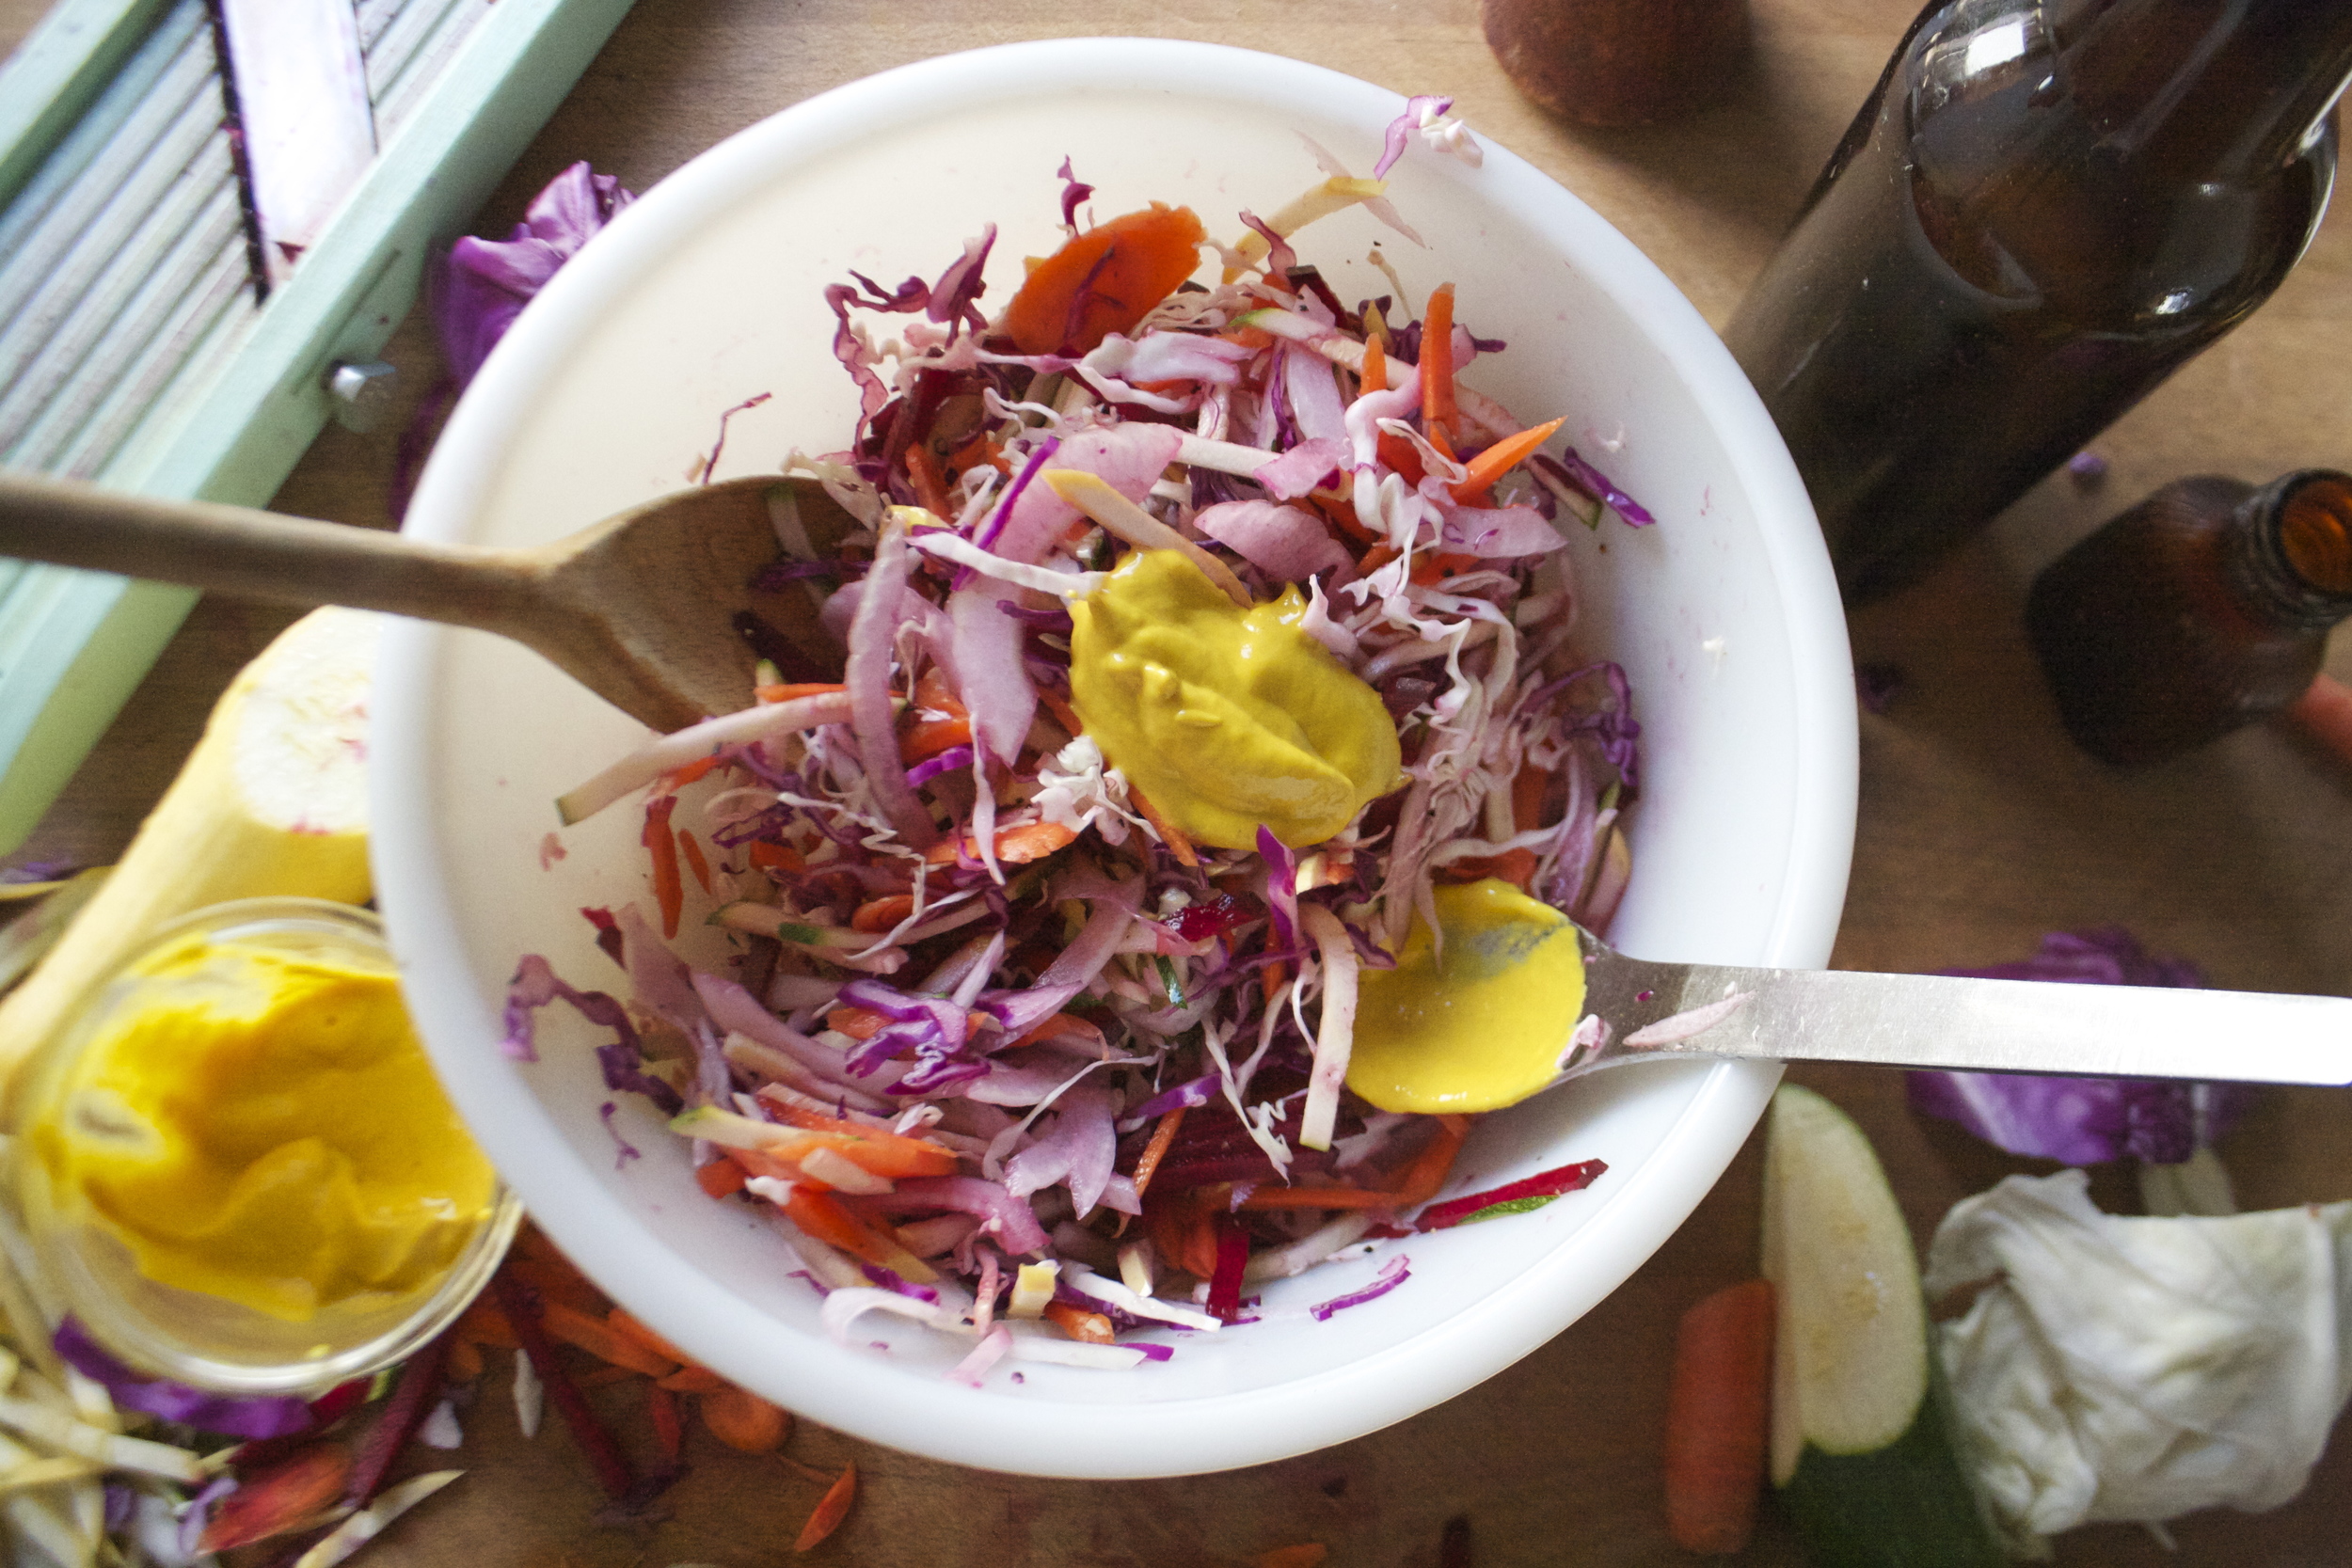
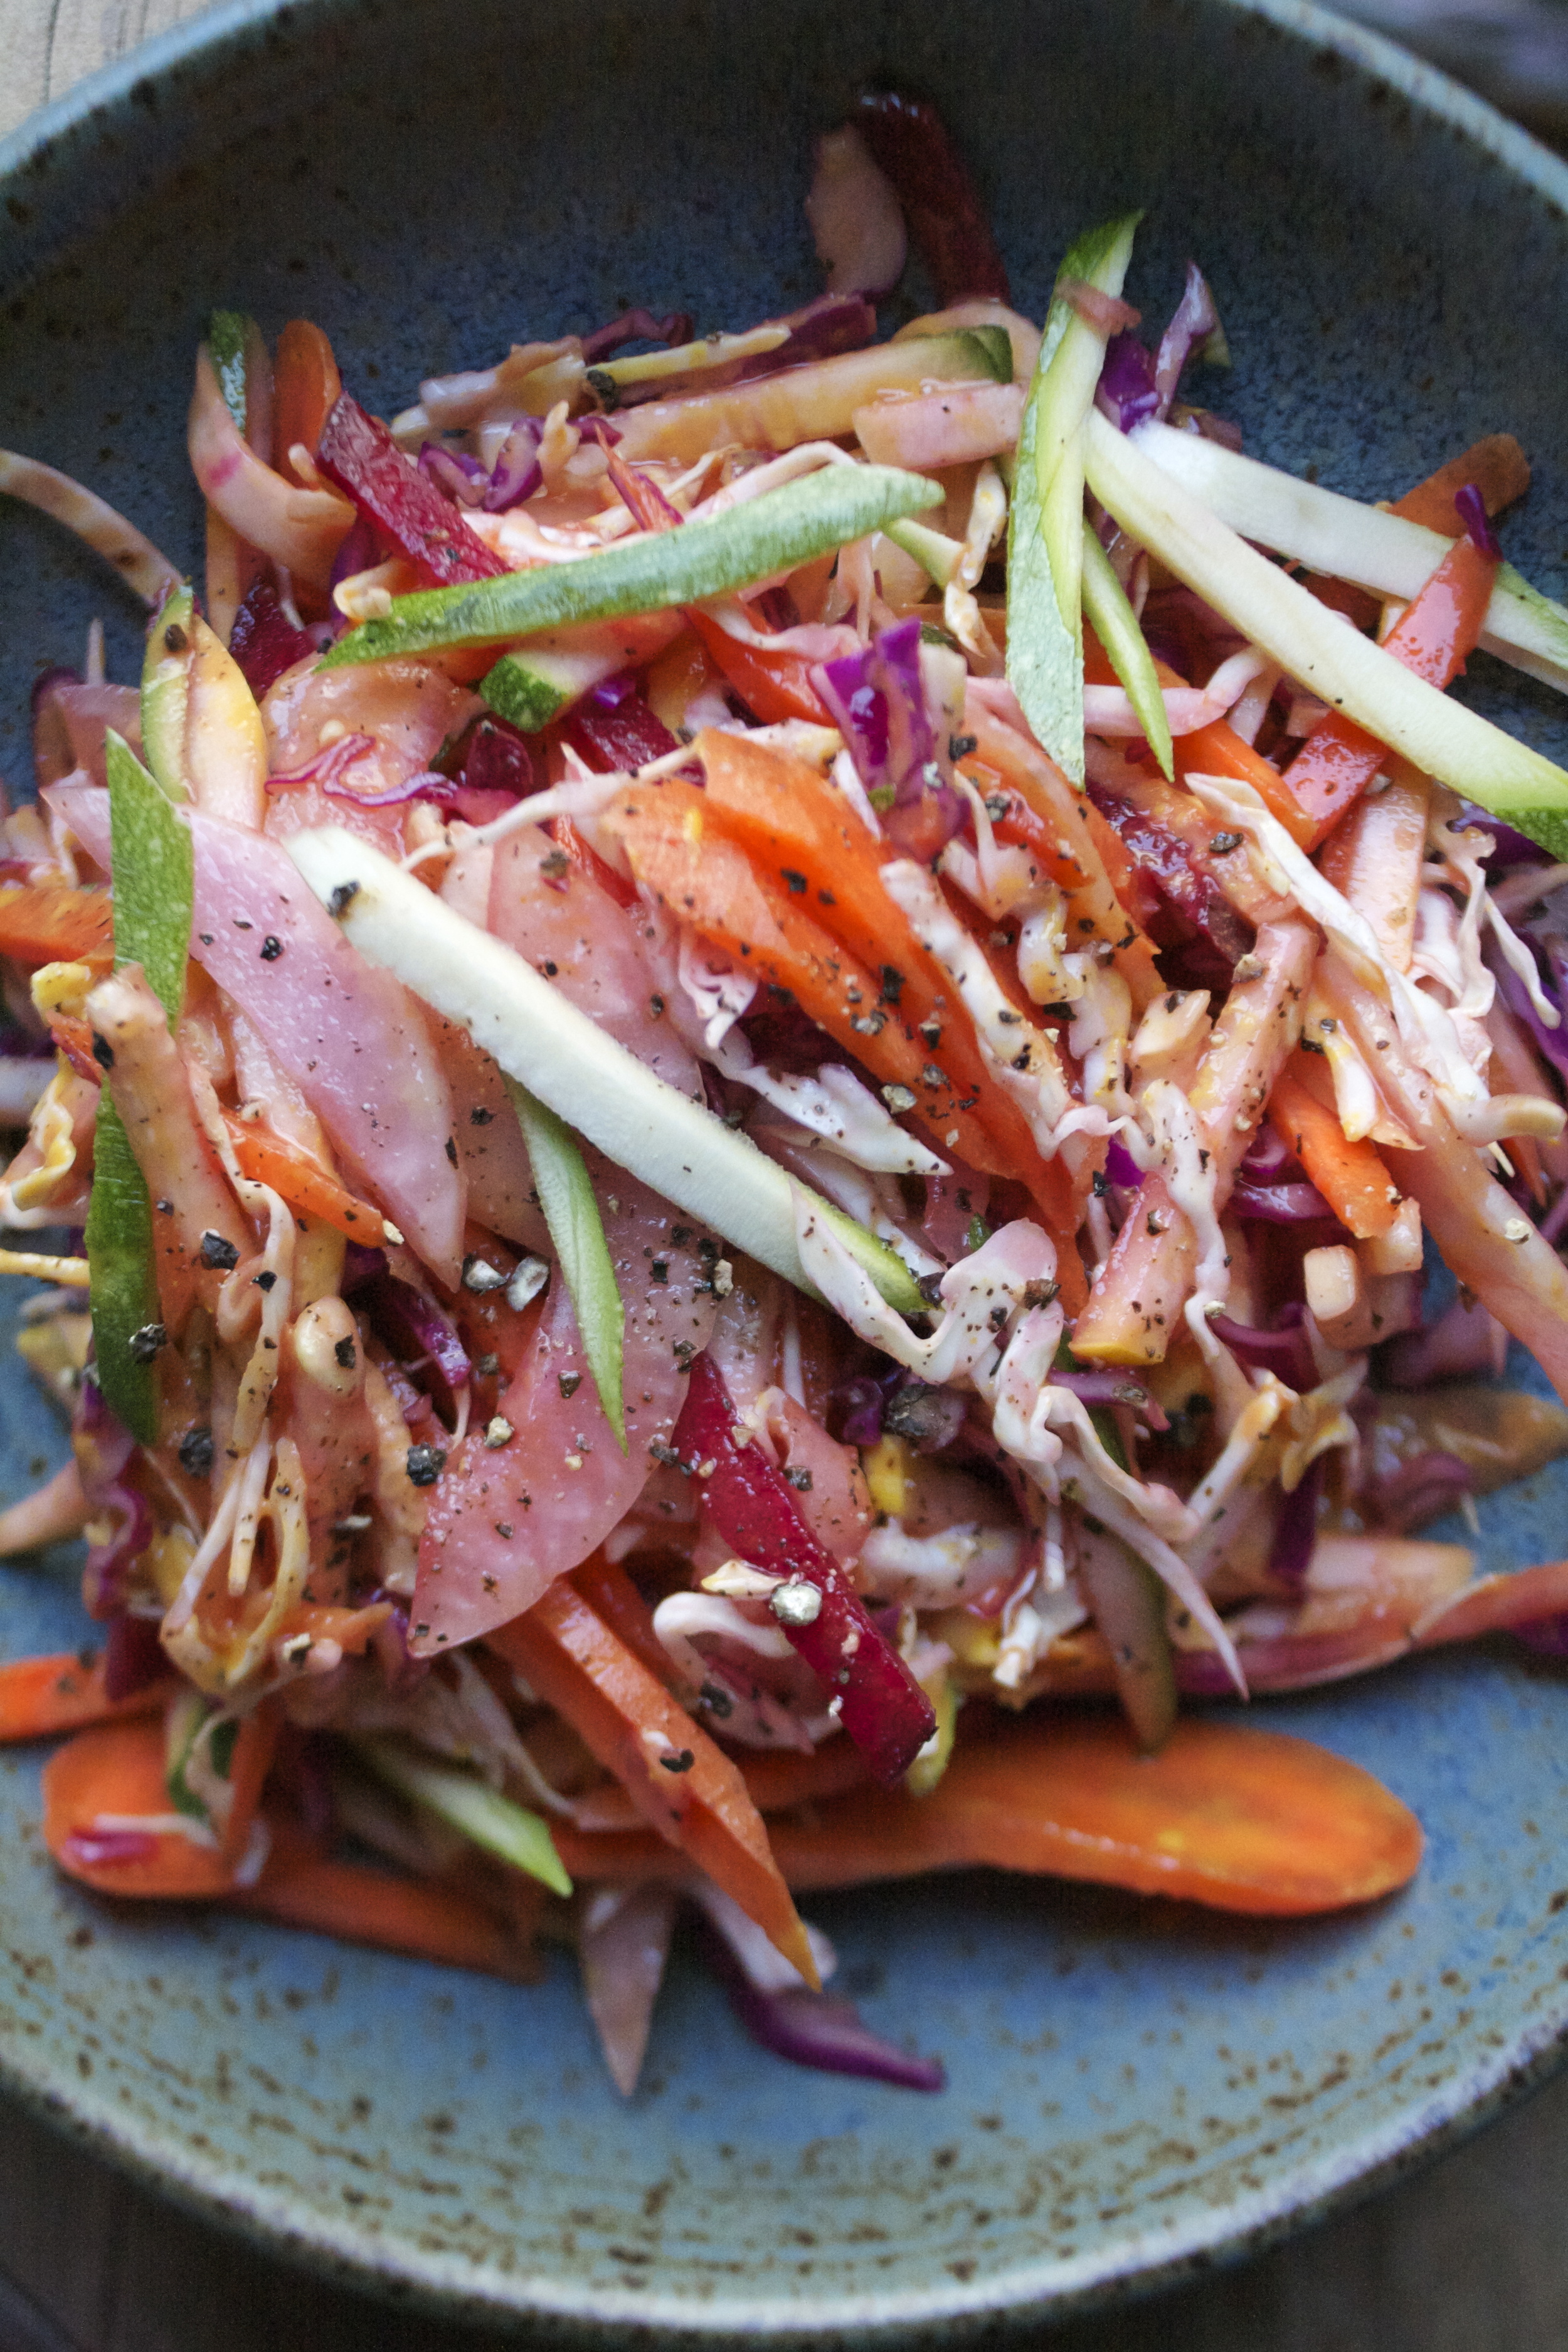
And then it gets tossed all around. Add in a good sprinkle of salt and pepper, a glug glug of vinegar and a big ass scoop of yellow mustard. Give it another big toss.

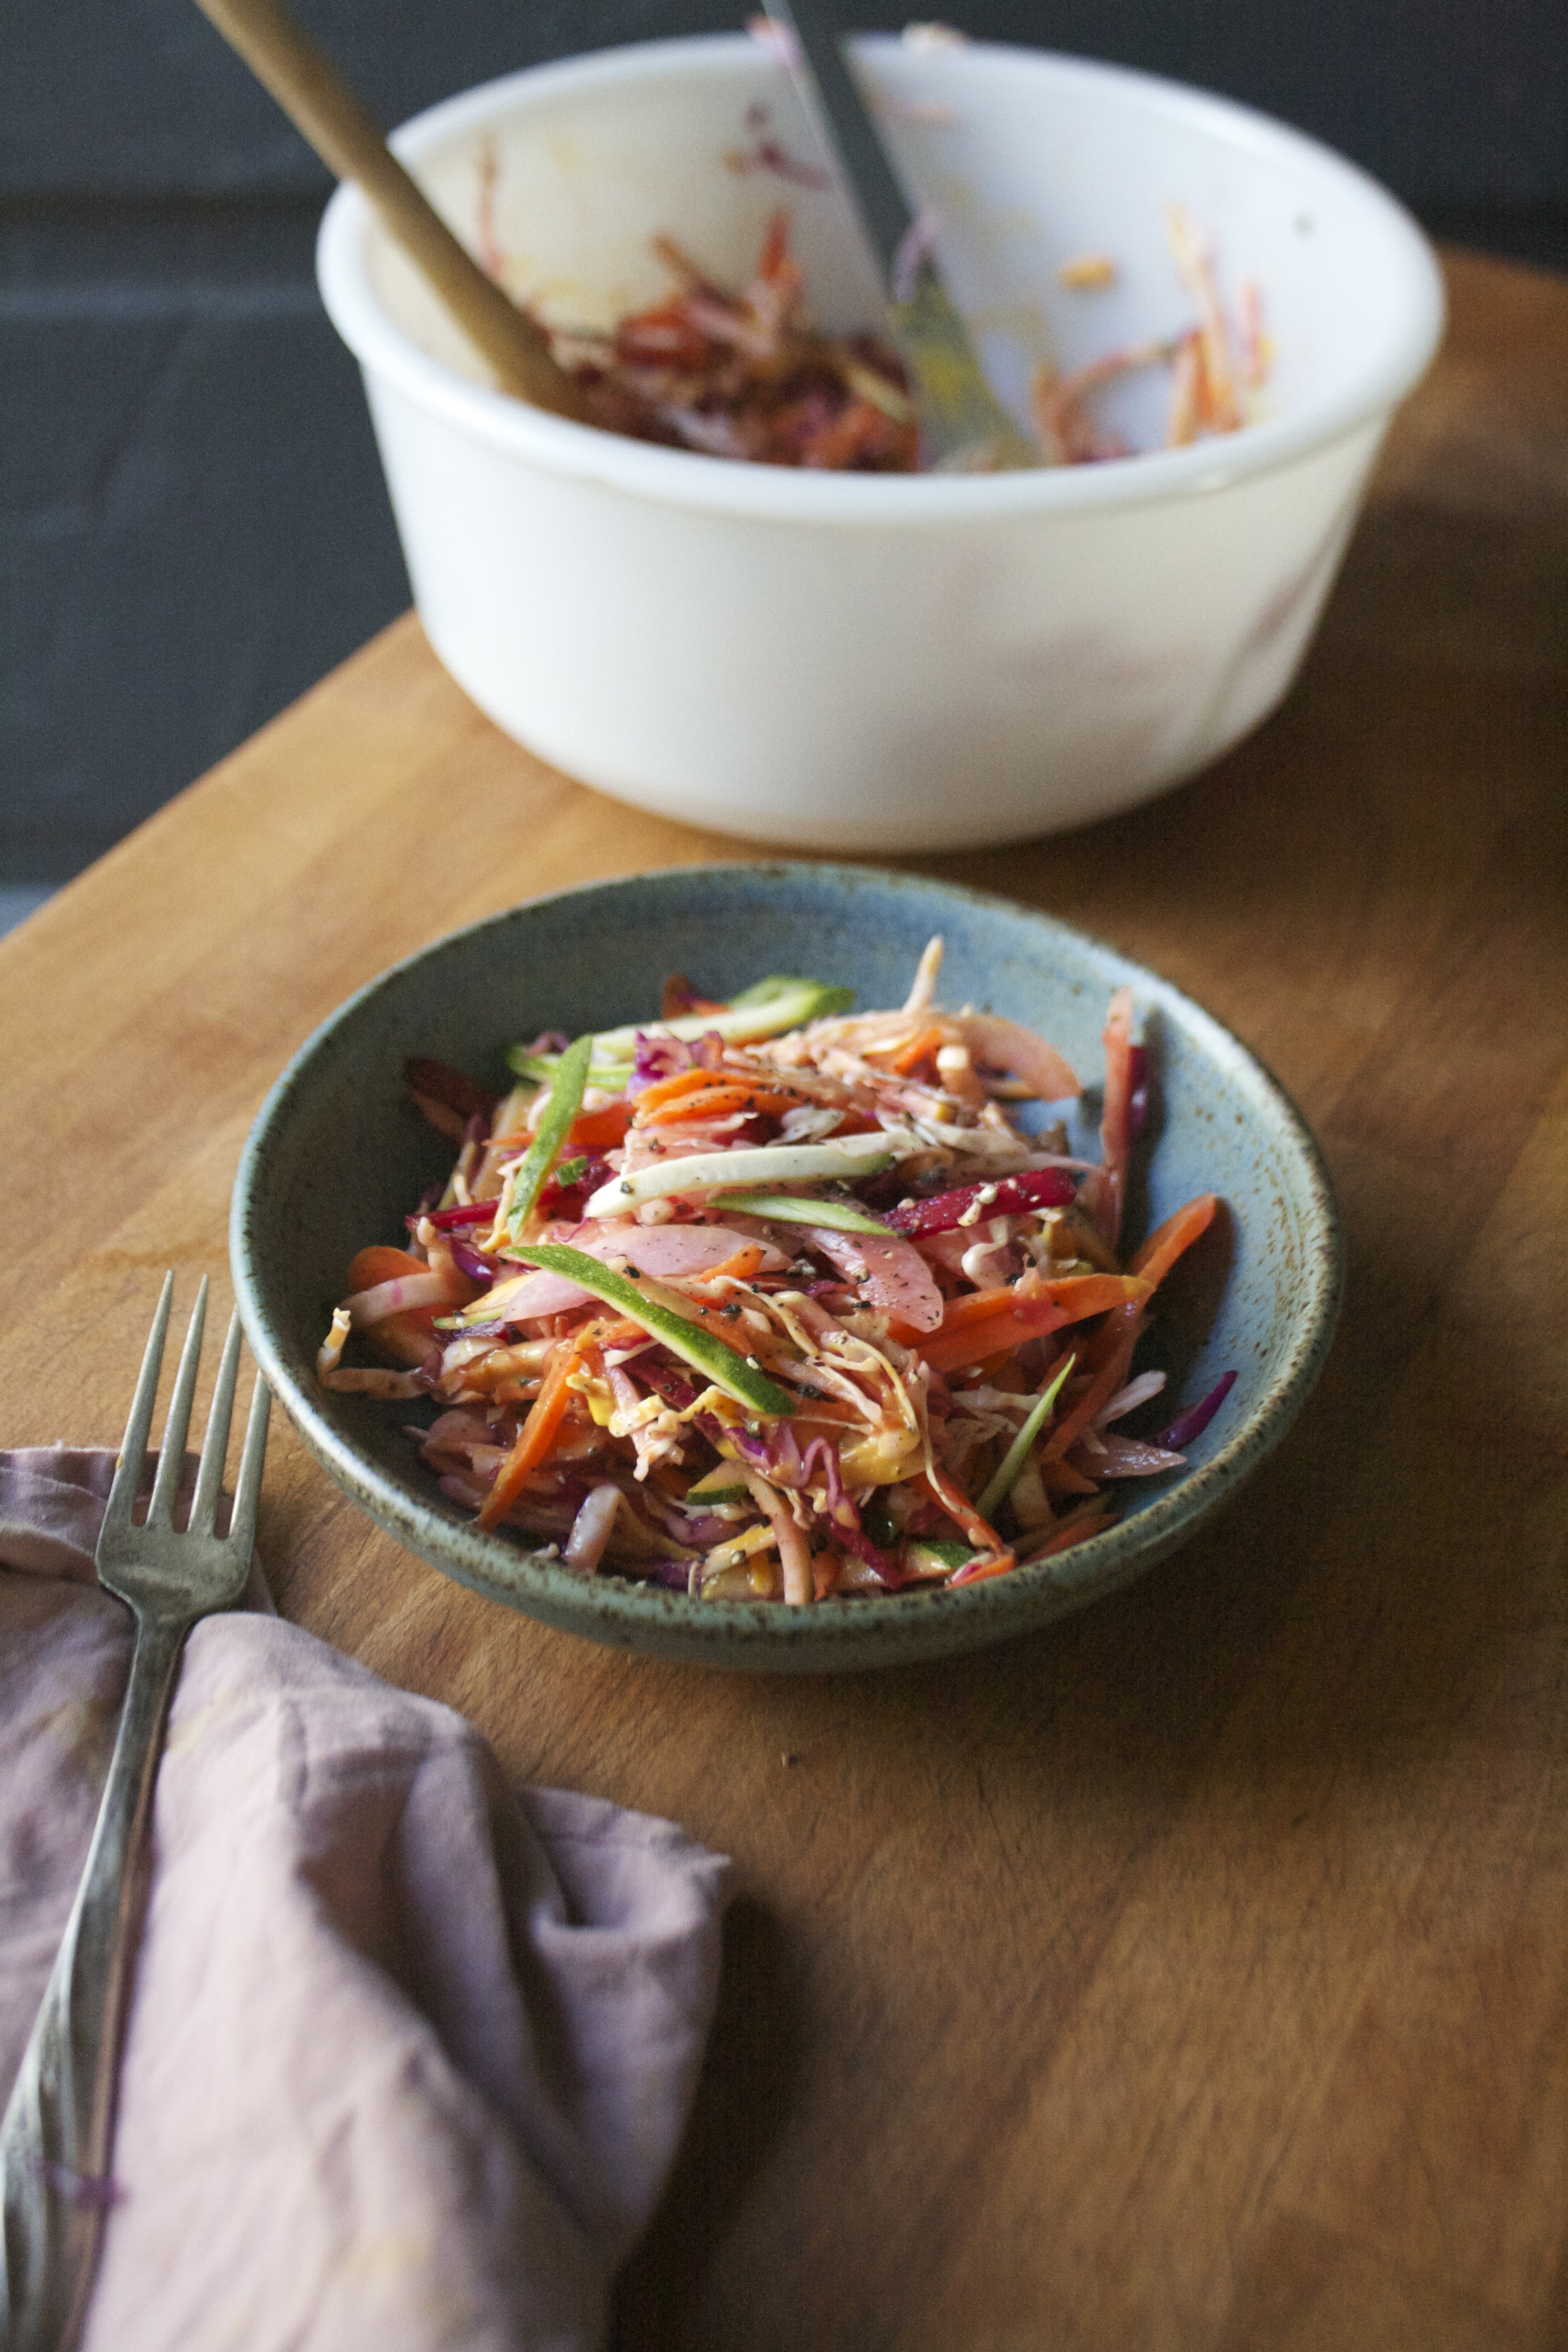
And you good to go, or, let this sit for a while, it only ends up tasting better.
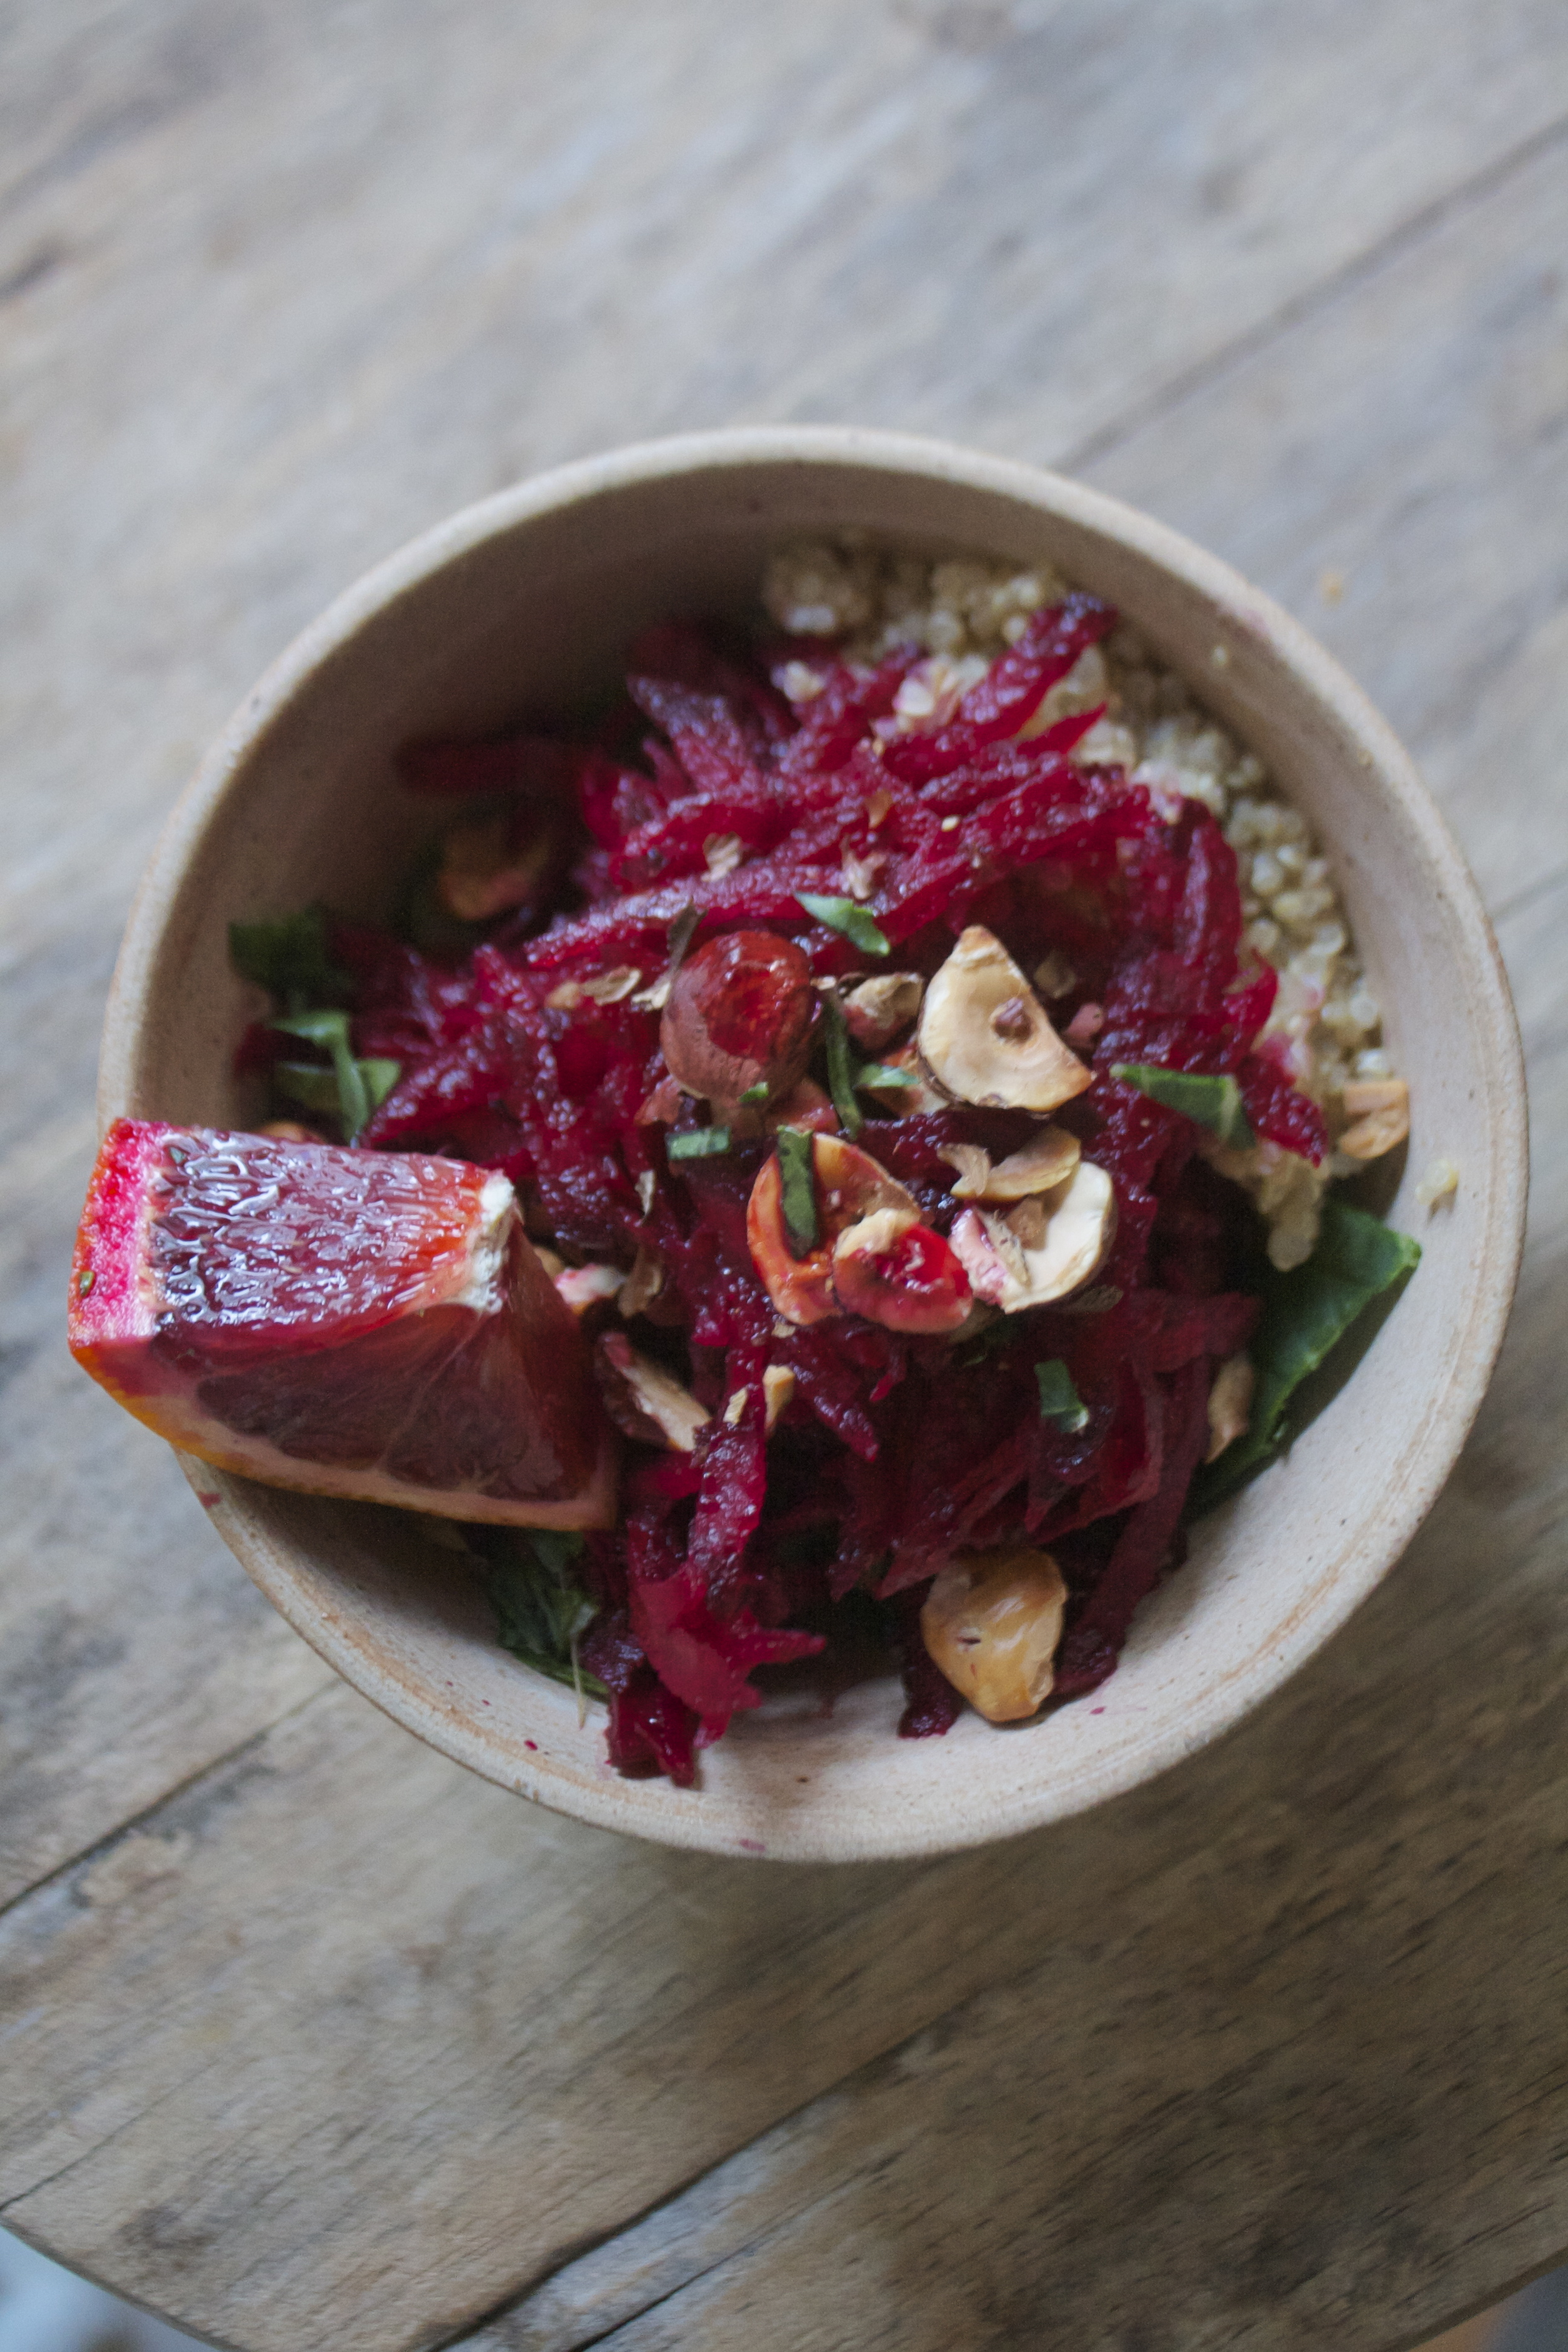
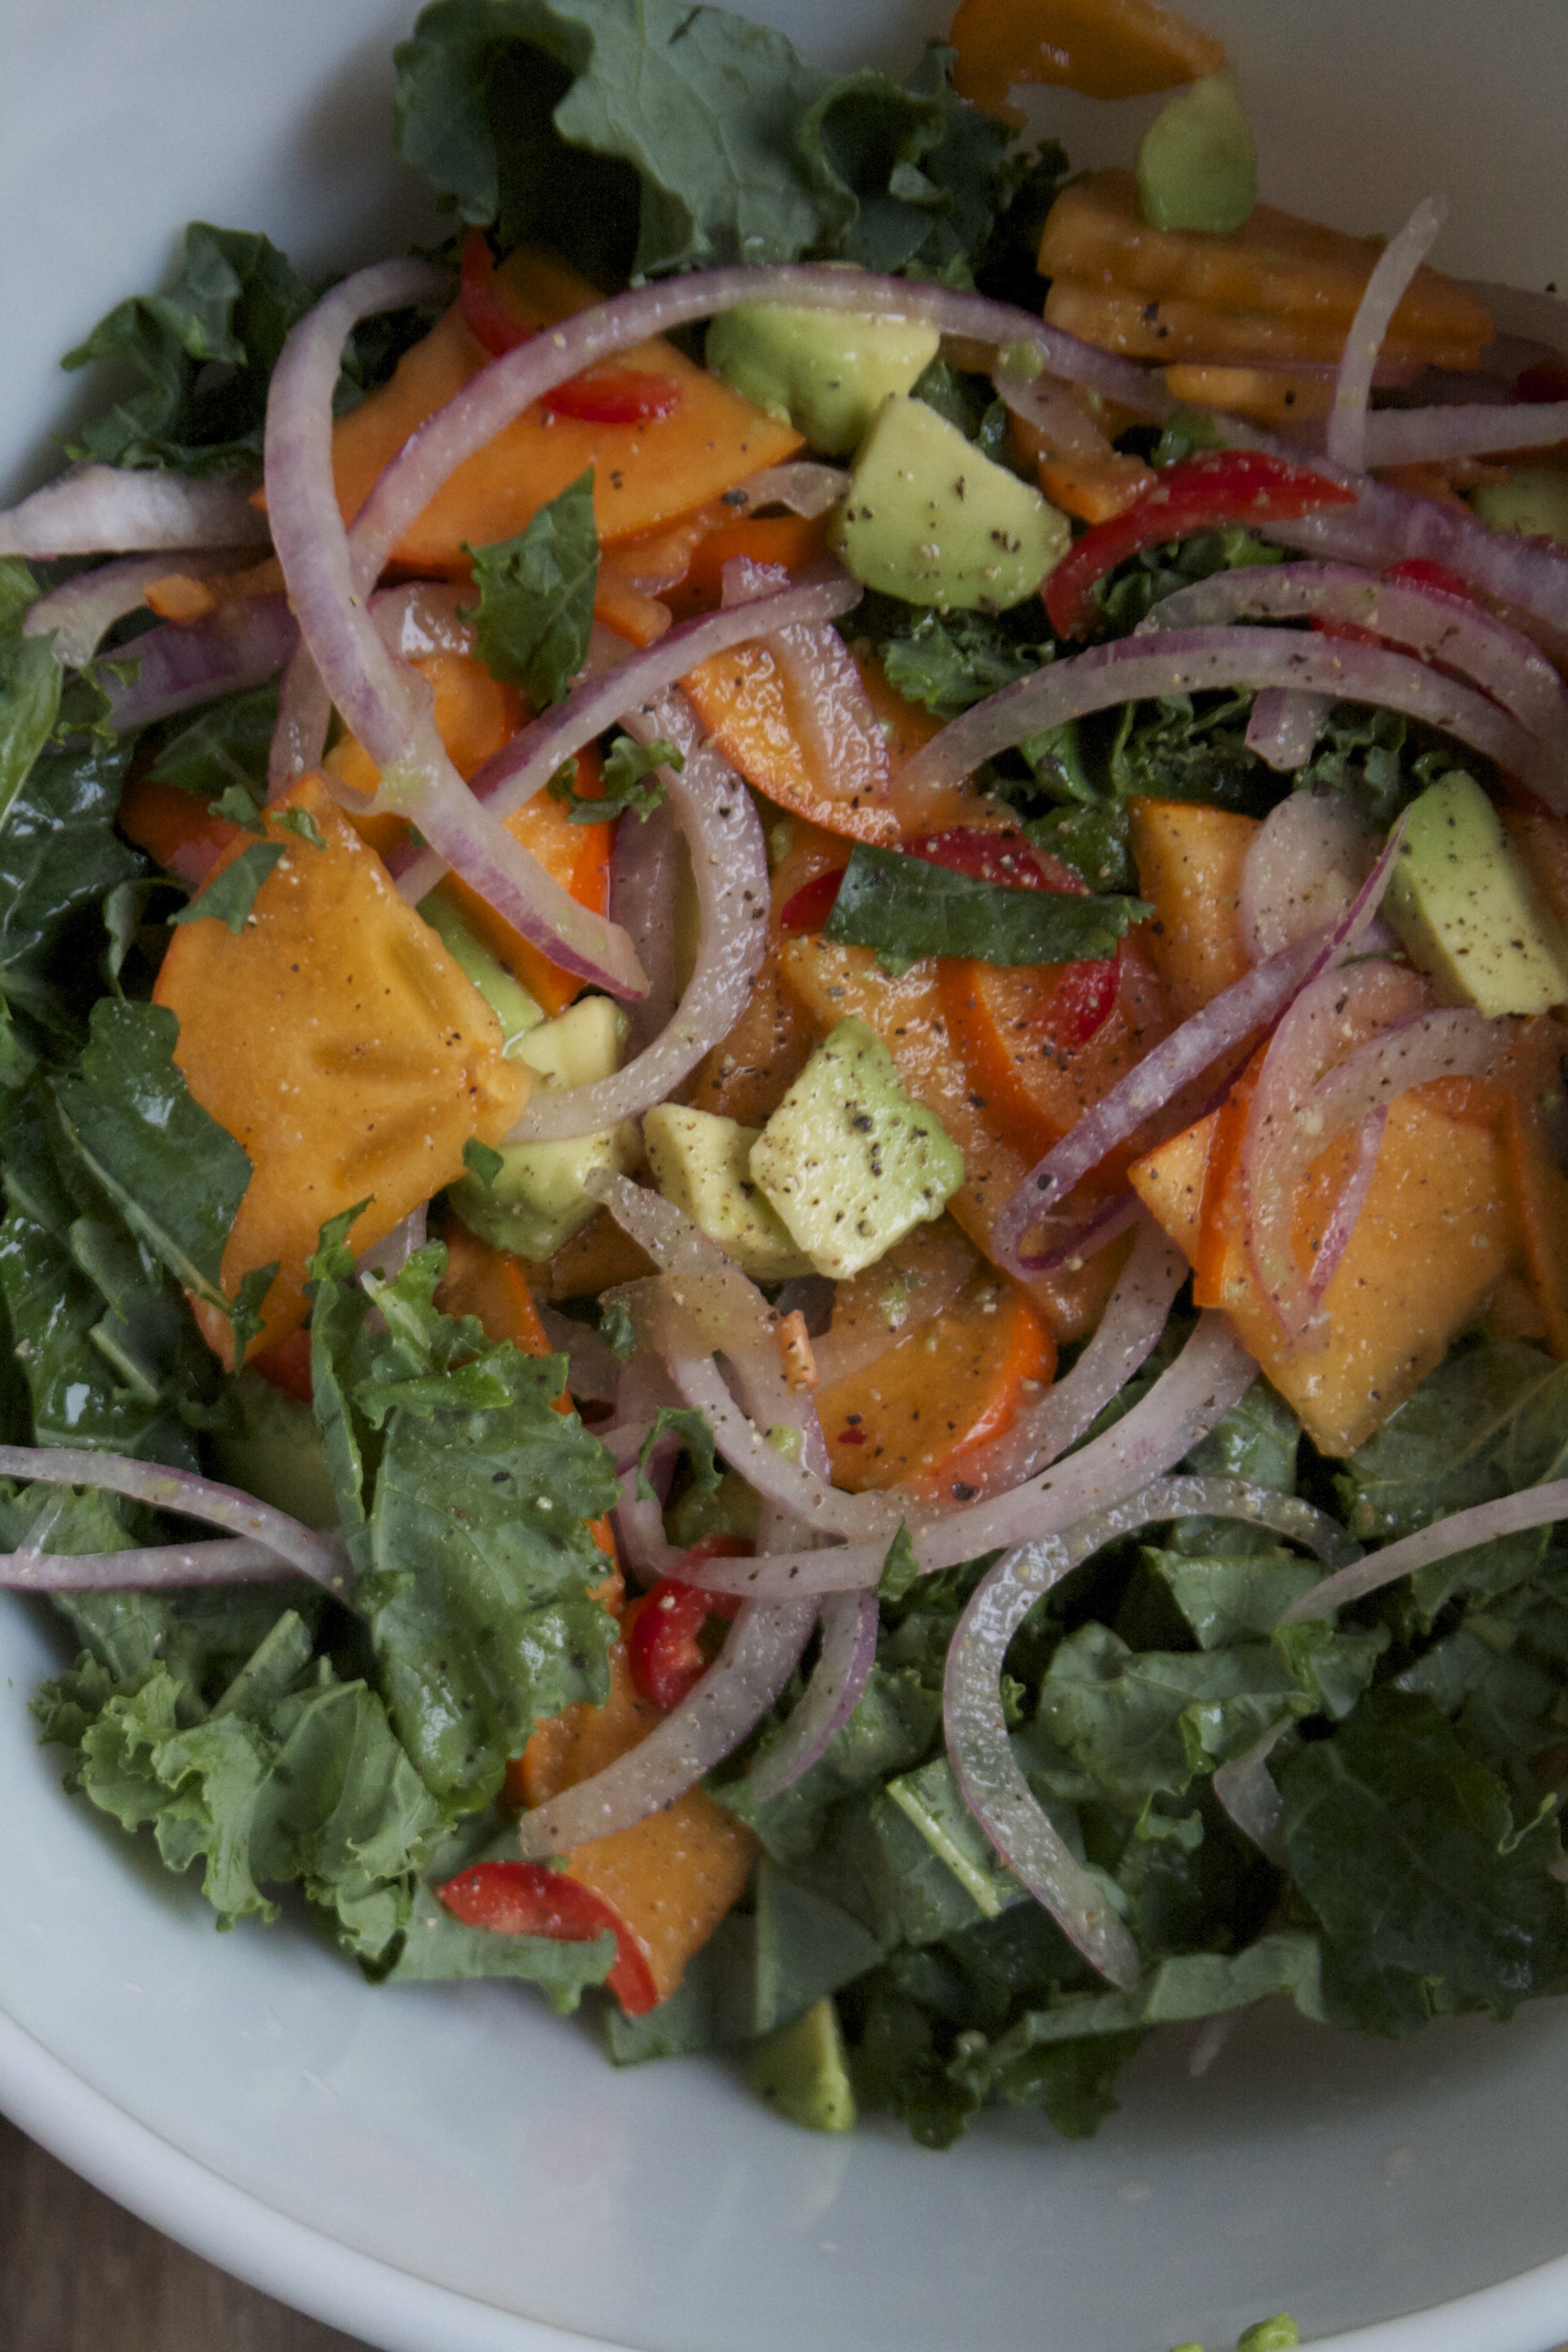
Just look at that.

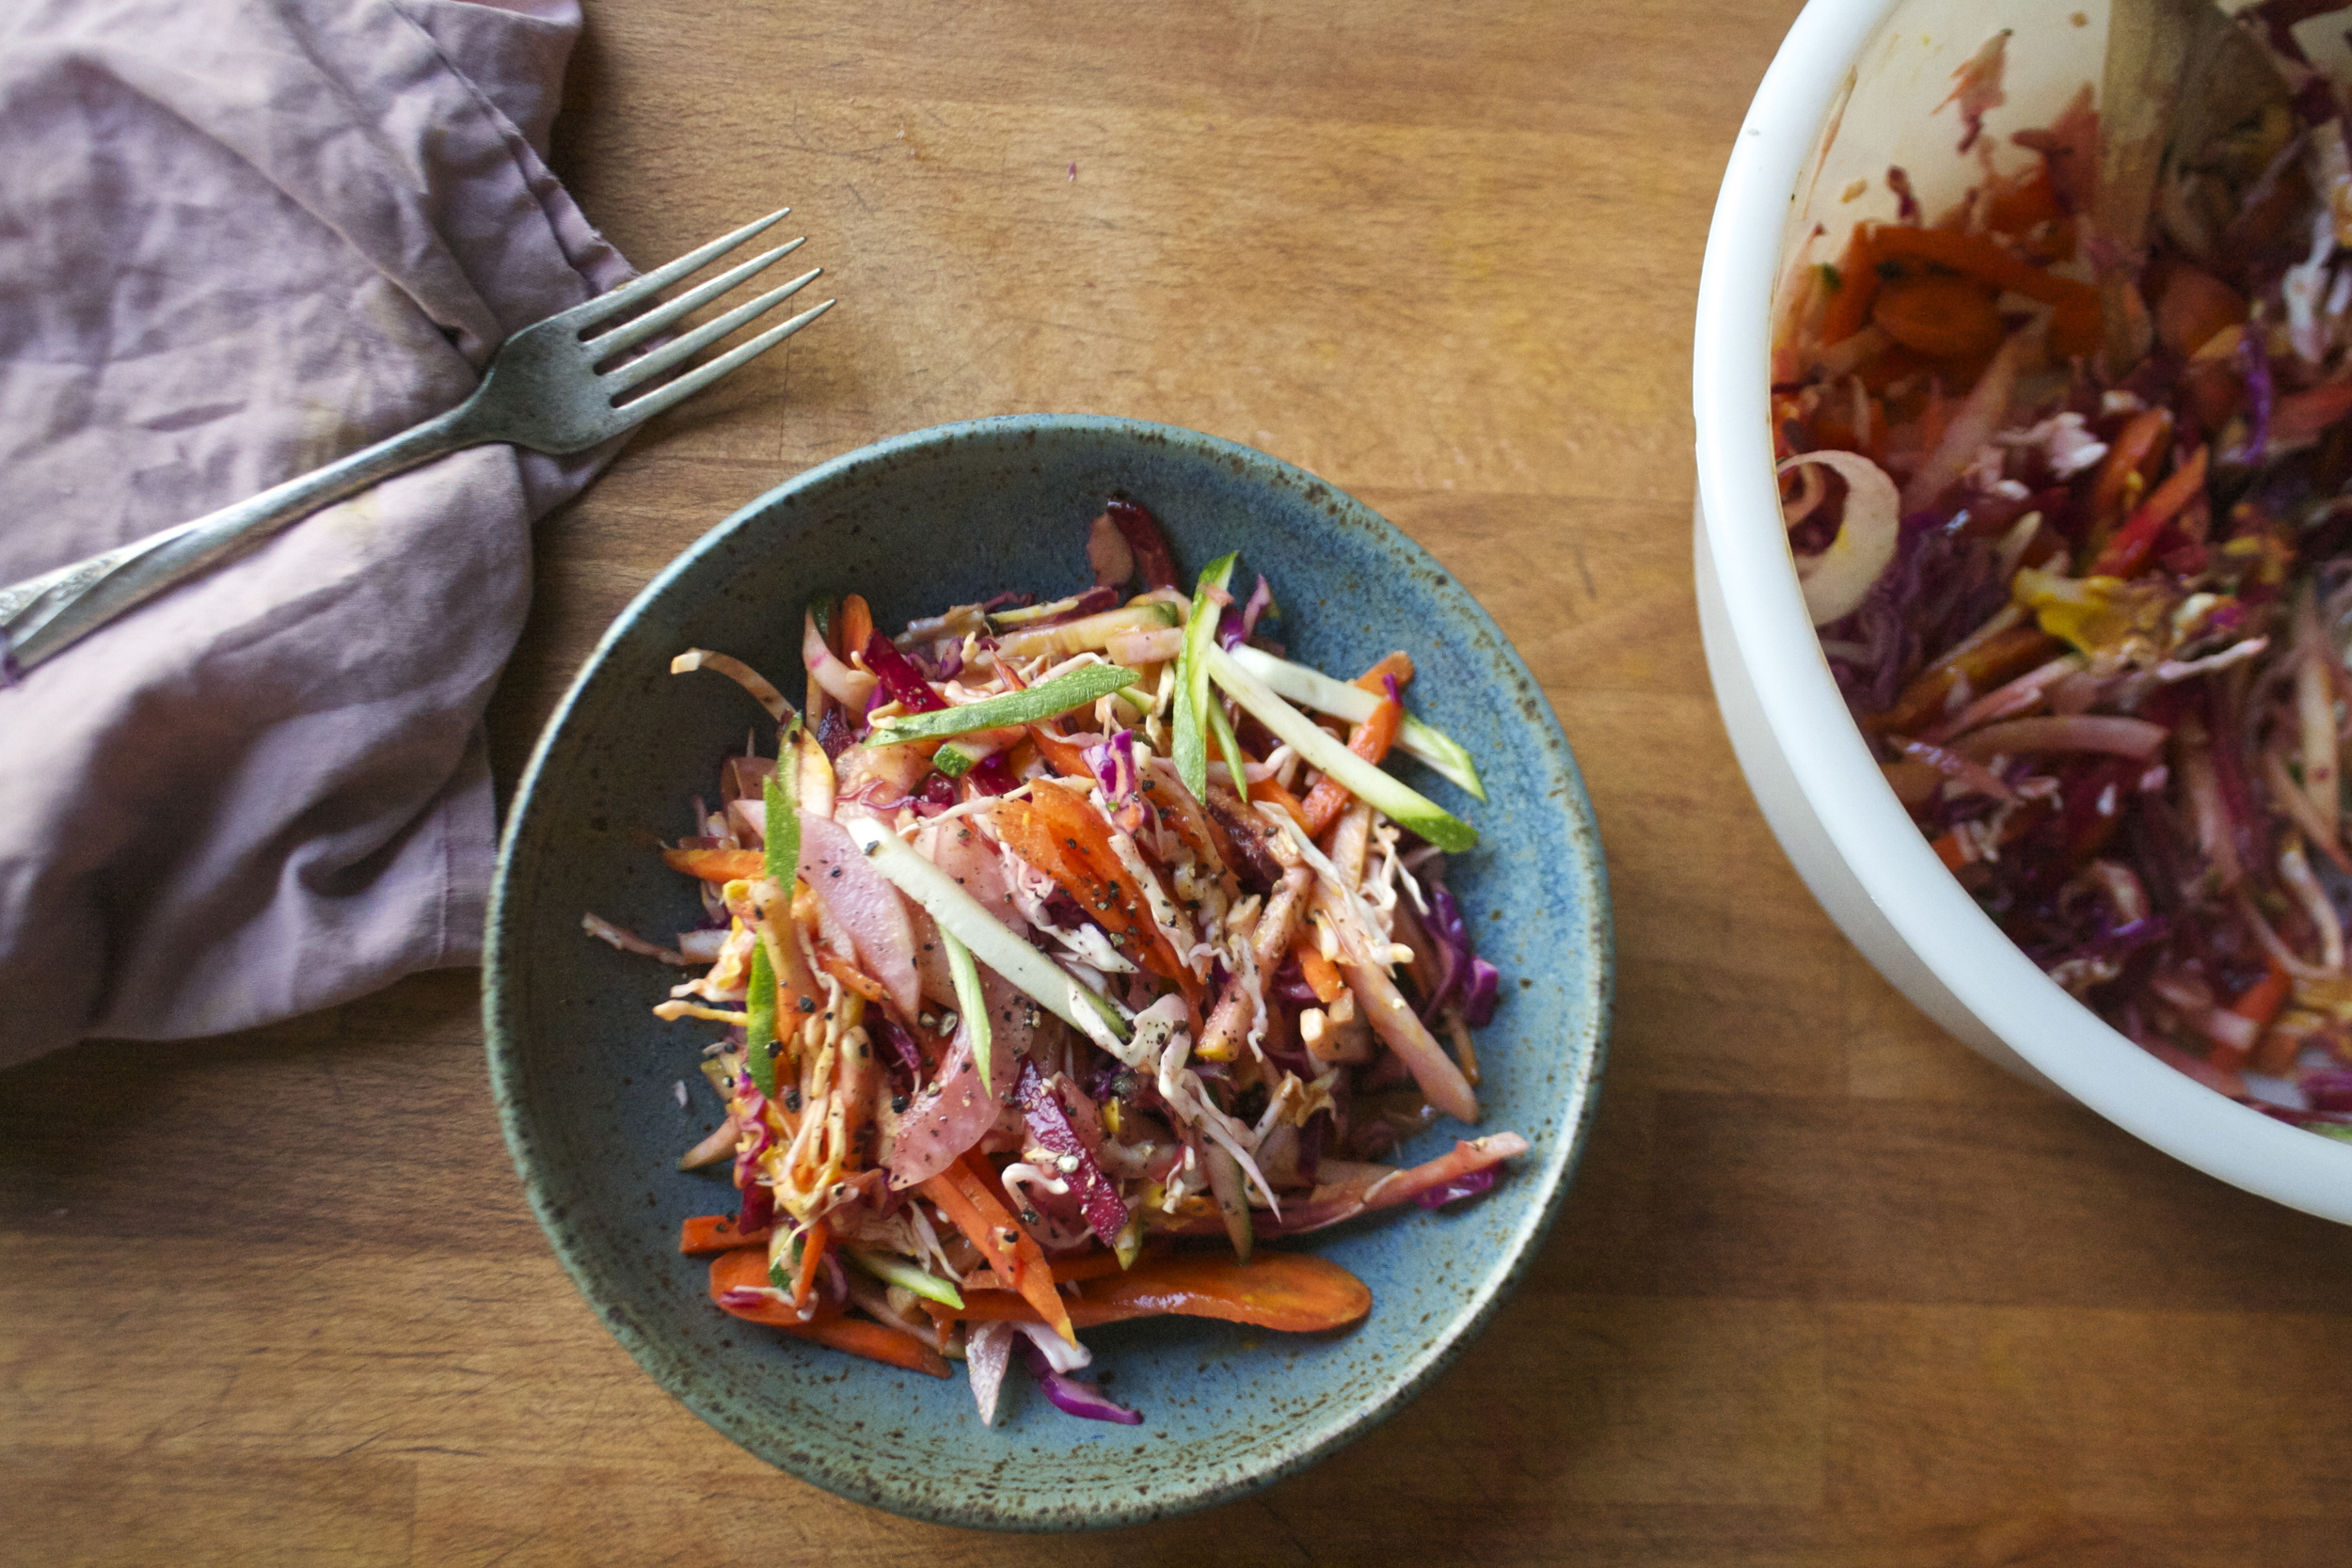
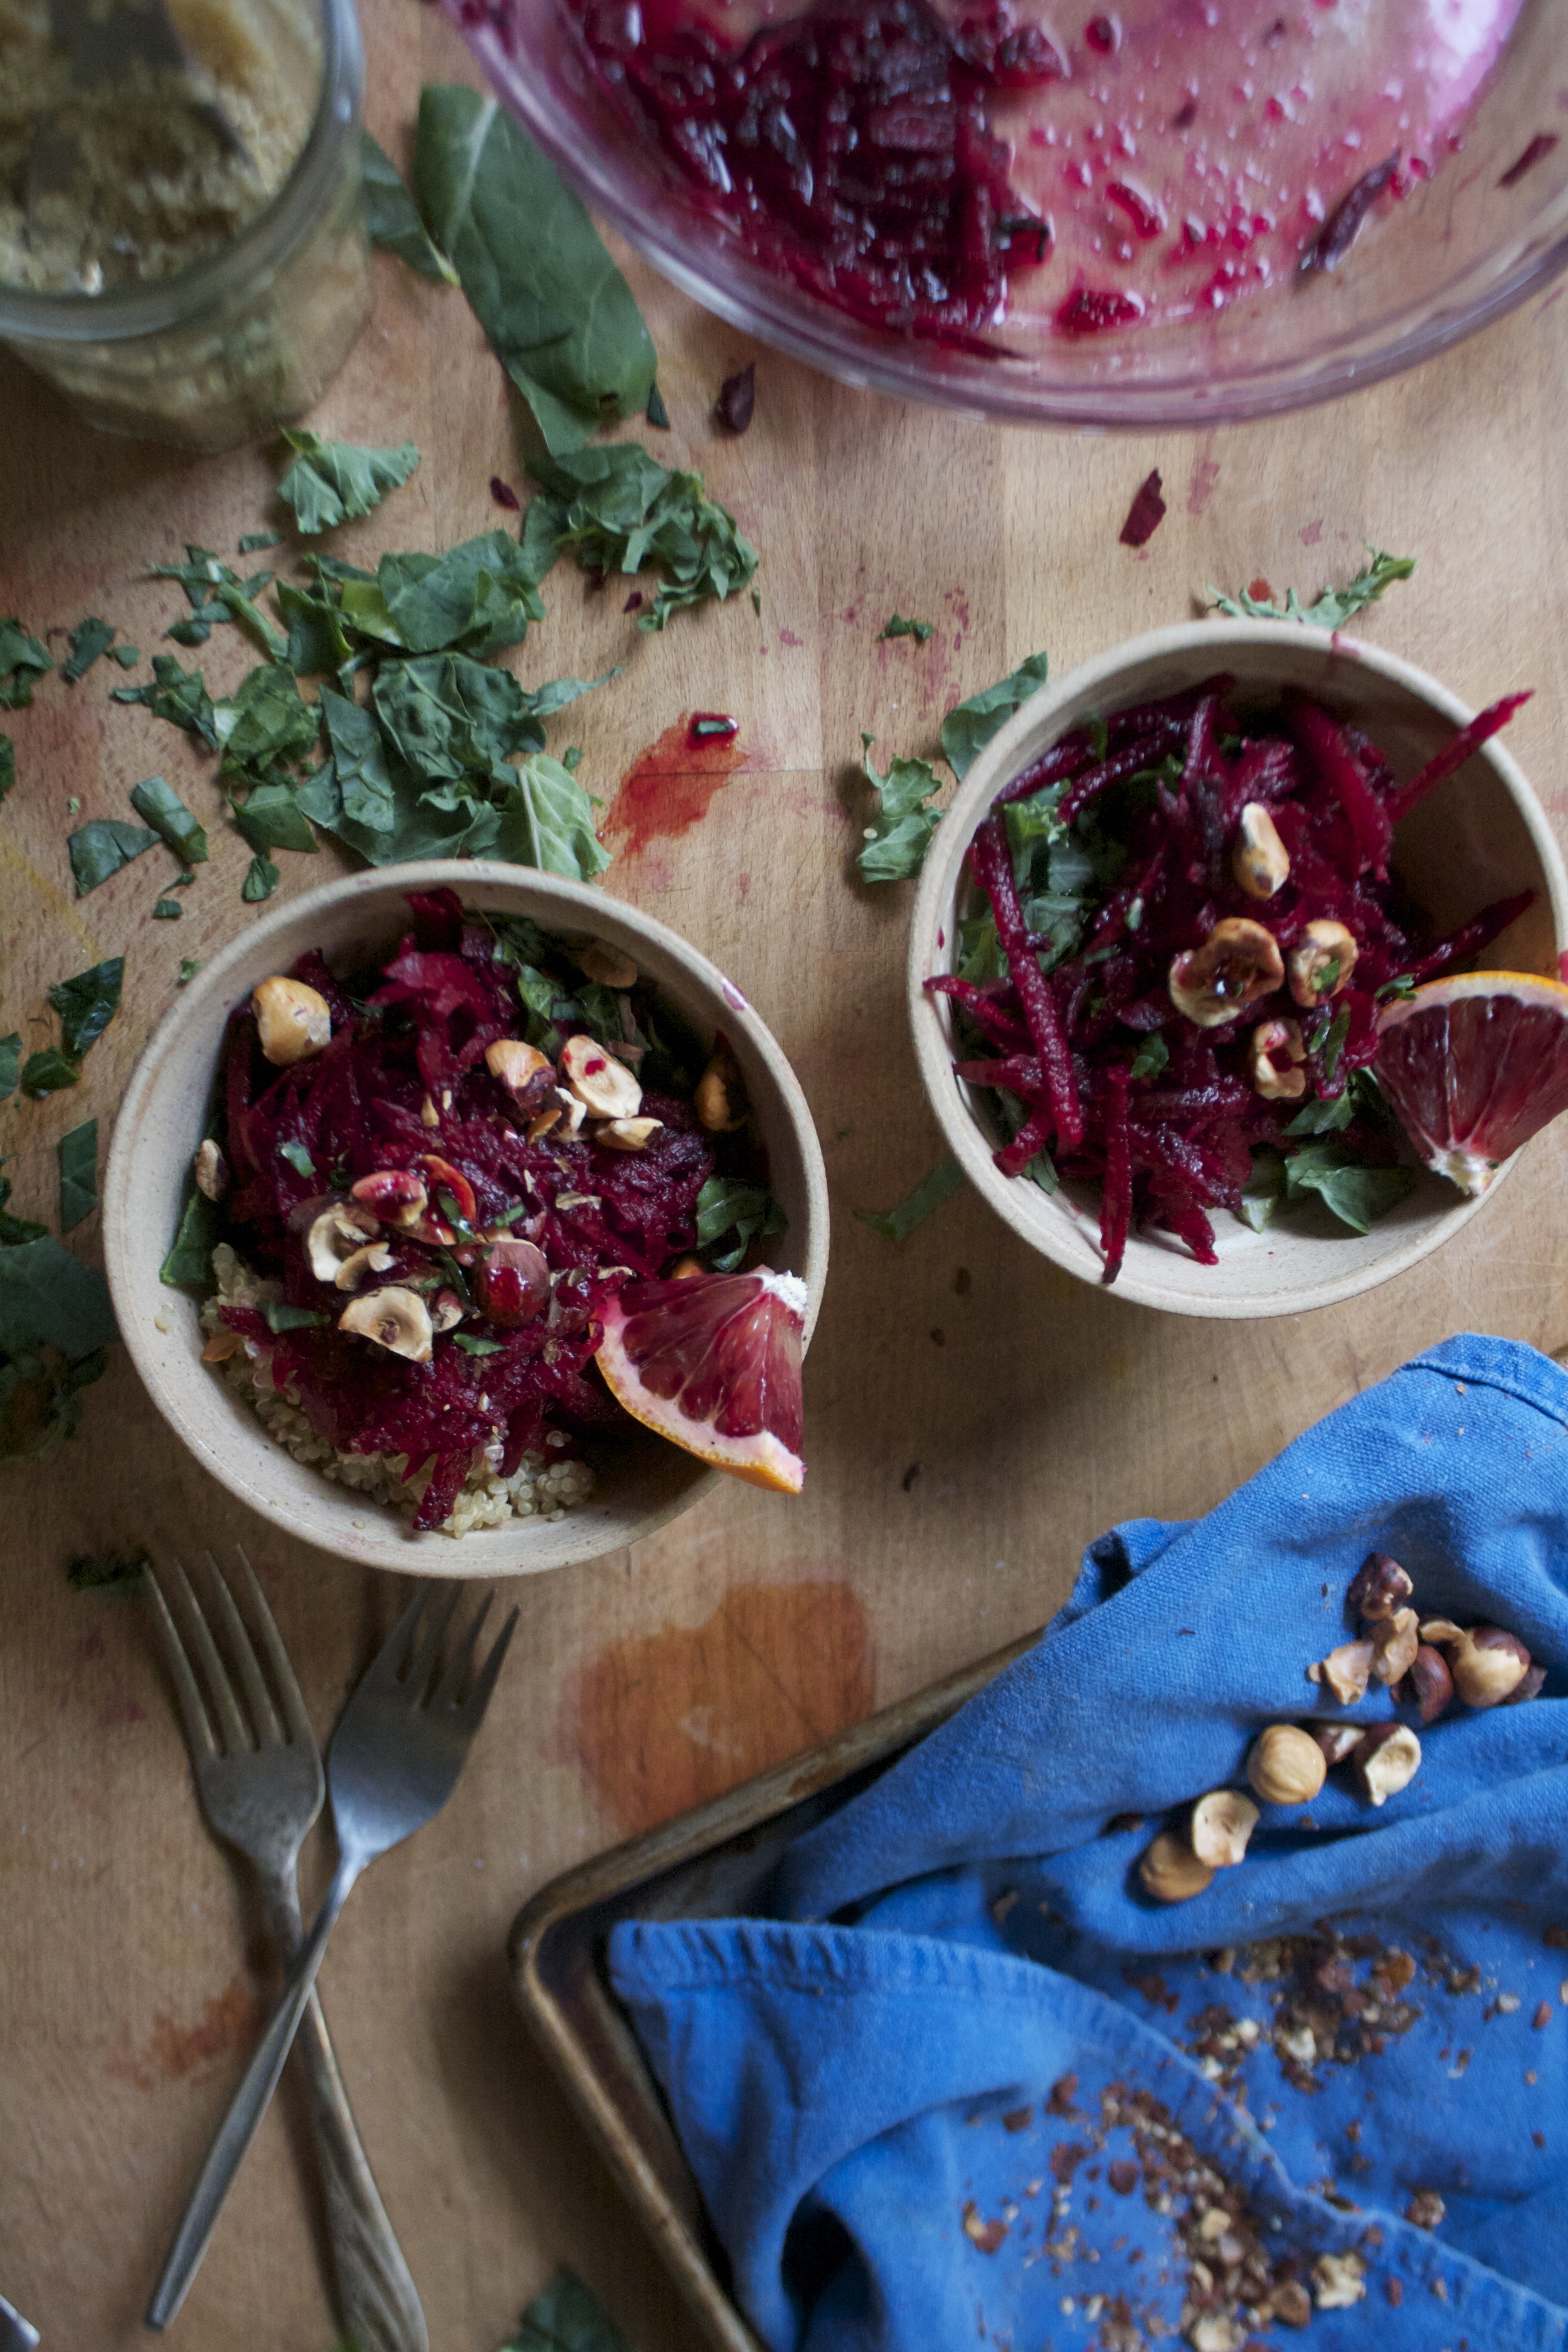
So simple and easy, but so good. Eat it as it is or toss it with greens, some lentils, on a sandwich or into some rice. Possibilities are endless.

Summertime here we come!

-C


Rainbow Slaw Salad

Serves 1 as a meal, 2-3 as a side

  • a small zucchini
  • a small summer squash
  • a beet
  • a few carrots
  • a small onion
  • 1/2 a head of cabbage (red or green or a little of both)
  • 2 tablespoons yellow mustard
  • 2-3 tablespoon red wine vinegar
  • salt and pepper

Note. Feel free to add more or less of your favorite veggie into the mix, even add one that isn't on the list. And not a fan of yellow mustard, use stone ground or dijon or some fancy kinda of your liking.

Grab a bowl and all the veggies. Shred, shave, or julienne all of them into the bowl and mix around. Add in the mustard, vinegar and season with salt and pepper and toss around until evenly coated..

Can eat right away but tastes better after sitting for at least 10 minutes. 

In Vegetables, Vegan, salad, Raw, grain free, Gluten Free, dinner, Dairy Free Tags rainbow slaw salad, veggie slaw, salad, summer, colorful food, plant based, vegan, gluten free, healthy, fresh, raw
Comment

Raw Beet and Orange Salad with Roasted Hazelnuts

March 24, 2016 Colleen Stem
IMG_1238.jpg
IMG_1232.jpg

My fingers are almost always stained a bright pink. My cutting board and counter tops, pink. Look closely at at dish towels and you will find pink blotches all over them as with any of my light colored clothes. You would think after years of trying to remove beet stains form everything that I would have gotten a system down or at least had a designated cutting board for them, but no. That would be to easy and really,  I think I kinda don't care.  So pink my things will be.

Beets. You either love them or you hate them. I love them (so much), the mr, well I am making him love them. He needs to love them because I end up putting beets in everything. If you are a hater, there is still turn into a lover. But maybe you have never even eaten a beet or haven't in a long long time.  I am actually surprised at how many people I have talked to that have never tried beets before. If you are one of those people, stop being that person and eat one already. OR if you think you hate them, why don't you give them a second try, I bet you will change your mind. Sweet but earthy and nice and crisp but kind of juicy..they really are super tasty. And not to mention all the great health benefits(you can look those up yourself) Yup, beets be the shit!

 And I love a good roasted beet, but really, I prefer my beets raw. Which brings us to this salad. A simple salad of grated up beets, orange juice and toasted hazelnuts. Fast, easy, and tummy satisfying.  As long as you don't hate beets (how could you) then you will love it.

Now you get those beets!

The stuff. A big beet, (or two smaller ones) an orange,( I bought navel oranges and sliced into this one to find it was a blood orange... not complaining), hazelnuts (raw or toasted) apple cider vinegar, and salt and pepper. Optional but also very nice, some greens and or some type of grain. (I happen to have a some quinoa in the fridge)

IMG_1152.jpg
IMG_1179.jpg

Hazelnuts. If yours are already toasted, then no need to do it again, but if they are raw, toss them into the oven for a few minutes (hazelnuts taste so much better toasted)

And grab the beet and a shallow dish and grate it all up.

Add to the beet the juice of the orange, a small splash of vinegar to cut the sweetness, and salt and pepper to taste. Give it a good toss and let it sit for at least 5 minutes, if not longer.

And if the hazelnuts are in the oven, take them out when they are slight golden brown. If you want to remove the skins, just stick them in a clean towel and rub it off.

Everything all ready to go.. Any extras are added to bowls.

Beets into bowls, topped with toasted nuts and a cute little orange segment.(if you happen to have one lying around)

Isn't that just something. Beets are so pretty,, but more importantly, so freaking tasty good.

Enjoy Today!

-C


 Raw Beet and Orange Salad with Roasted Hazelnuts

makes enough for 2 people as a side

  • 1 large beet or 2 smaller beets
  • 1 orange (I used blood orange but any orange would be good)
  • handful of hazelnuts (either already roasted or raw that need to be roasted)
  • apple cider vinegar
  • salt and pepper
  • Optional - quinoa (any grain would work) and or greens

If you hazelnuts are raw, toss them onto a baking sheet ans place them into the oven at 300 for about 6-8 minutes until slightly golden brown and smell so nice. When done remove and if you don't like the skins, place nuts in a clean towel and rub the skins right off.

Wash beet(s) and grate into a swallow bowl. I don't peel mine, but peel if you must. Add in the juice of the orange, a splash of vinegar and a dash of salt and pepper. Mix around and let sit for at least 5 minutes (the longer the better)

When you are ready for food, grab a bowl (add anything you want to add to the bottom, like quinoa or greens) and fill that bowl up with the beet salad and top with roasted hazelnuts.

Grab a fork and eat.


In Vegetables, Vegan, salad, recipes, Raw, Gluten Free, dinner, Dairy Free, 5 ingerdients or less Tags Raw Beet and Orange Salad with Roasted Hazelnuts, raw, beets, clean eating, fresh, local, roots, vegan, salad, nuts, plant based, orange
Comment

Avocado Mango Popsicles

March 22, 2016 Colleen Stem
IMG_1016.jpg
IMG_0879.jpg

I was cleaning out the fridge and found that I had a good few really ripe avocados that were in need of eating ASAP. (I bought like 8 at once... super sale!) My first thought was I wish I could freeze these and save them for later. Then I thought well why the heck don't I freeze them. So that's what I did. I pureed them up, added a little lemon juice and stuck a jar of tangy green creamy goodness into the freezer and all throughout the week found myself standing in front of the fridge with a spoon scraping at the jar of avocado. It was so good. I even added a little fruit to it toward the end. Avocado and fruit = oh hell yes.

And now that is is officially spring we should be eating popsicles (right?!). I figured you guys are cool enough that I would share my new found love of frozen avocados and you would be down with it.

I know, some might think that plain old frozen avocado doesn't sound amazing, but when you add a little sweetness and swirl it around with super sweet and creamy mango. Trust me, it's freaking amazing. The flavors go perfectly together, and the texture, it's almost like ice cream... SO GOOD! Anyway, I know that it might not be the perfect spring weather as of today, but the beauty of these is that you make them, freeze them and leave them until the perfect moment. Say a good long day of raking up all the cat poop that the neighbors cat has left in all your spring flower beds, or picking up all the recycling that has blow into the bushes all winter long. Maybe a day of cleaning out the closet or dusting the ceilings. Make these popsicles now and treat yourself to one after doing some kind of crappy spring chores, its what you need to do.. Or better yet, bribe a little with a popsicle to do your spring cleaning..... Yeah, I might just do that.

Or just make them and eat them... no spring chores required.

The stuff. A nice ripe mango and a nice ripe avocado. A bit of lemon juice (from half a lemon),  a little maple syrup, and a some water.

Scoop the avocado into a jar and cut up the mango ans stick into a jar.....

Splash a little water into each jar and blend them up. (I used my hand blender. but use the blending device of your choice) Add the maple syrup to the avocado.. as much as you need, and if your mango is not super sweet, you can add a little to that too.

Scoop the avocado puree into the mango and gently swirl it around

Now pour/scoop the mixture into your popsicle molds. And because mine was thick enough, I was able to stick the wood sticks without them sinking.

Noe get them quick into the freezer

A good few hours (I didn't even check until the next day but I bet 4-5 hours in a good freezer will do) the popsicles are nowposicles!!!!!

Pop them out of the mold (a few minutes on the counter and or a quick rinse under warm water) and do what needs to be done.

So creamy sweet and refreshing... This is a happy spring popsicle for sure.

Have a great day!

-C


Avocado Mango Popsicles

Makes four 4oz popsicles

  • 1 ripe avocado
  • 1 ripe mango
  • 1/2 a lemon or lime
  • 1-2 tablespoons maple syrup (or any sweetener of you liking)
  • about 1/2 cup of water

Note.sIF your mango is not super sweet you might want to add a little maple syrup to thatto that as well. And depending on the actual size of your mango and avocado, you might find yourself with a little extra fruit puree.... so maybe an extra popsicle can be made or you can just eat it now.

Scoop avocado into a jar and cut and dice mango and place in a separate jar. Add maple to the avocado (and the mango if you want) and about 1/4 cup of water to each.  With a hand blender, blend each until smooth ( or use a regular blender) Once both are blended, dump one into the other and gently swirl around. Pour mixture into popsicle molds, add the sticks and stick into the freeze. Keep freezing until frozen which should take at least 4-5 hours.

And once frozen, pop out of molds (run mold under warm water or just leave on counter for a few minutes) and eat them like it hot!


In 5 ingerdients or less, breakfast, Dairy Free, desserts, Gluten Free, Paleo, Raw, snack, Sweets, Vegan, frozen Tags Avocado Mango Popsicles, mango, avocado, popsicles, spring, vegan, frozen dessert, clean eating, plant based, paleo, healthy, raw
Comment

Tahini Chocolate Chip Granola Bars

February 9, 2016 Colleen Stem
IMG_8923.jpg
IMG_8917.jpg
IMG_8917.jpg

I wanted to be in the kitchen so I asked the mr what he wanted me to make him. Anything he wanted, like a cake, or cookies, or donuts.

He asked for granola bars. (so cute)

I think the reason that he requested granola bars was that he knew I wanted to test out the golden syrup that I brought back from Ireland and I had mentioned that I was going to make myself some granola.  (not him, me) but I went with it. And really, I was excited to bust out the golden syrup.

Now what kind of granola bars was the question, but I didn't even ask him I just went with tahini chocolate chip. Tahini cause its amazing, chocolate chips because, just because. And the golden syrup. The bit of research that I have done on golden syrup had told me that this stuff is like glue (it really is) and that it can be used in lu of other binders that I would normally add to granola bars (like dates) It is pure can sugar that has been turned into a thick, golden syrup (hence the name) and has a more nutty, earthy flavor then just sugar, which went together quite nicely with the oats ans tahini in these bars. (next thing to try it with.. rice crispy treats!)

 So I got some kitchen time, the bars where made, the syrup was used, the mr was happy.

Win win win. WIN!

The stuff. Oats, tahini, golden syrup, cinnamon, sesame seeds, chocolate chips, and sea salt. Not a whole lot of stuff and nothing else is needed. But if you are feeling it, add some more. (cranberries, chopped dates, coconut, some nuts)

In a big bowl, combine the oats, cinnamon, sesame seed and chocolate chips.

In a separate (microwave safe) bowl or jar mix together the golden syrup and the tahini. Stick it in the microwave for 15 seconds, take it out, stir it, then another stick it in for another 15 seconds. You just want the mixture to be runny. Another way you could do this is on the stove top or, Like me, place jar in the oven and stir until loose. (I don't have a microwave and I didn't want to dirty a pot)

Pour the warm mixture into the oat mixture and stir until all the oats and stuff are all coated.

IMG_8874.jpg
IMG_8881.jpg

Dump the mixture into a parchment lined pan and press it down as hard as you can with your hands or a bottom of a glass

And optional, but really good, sprinkle the top with sea salt. (do not use table salt)

Now here is the deal. You can do one of two things. If you want a chewer granola bar, place these bars in the fridge for at least an hour until they set up and call them done. For a cruncher bar,  stick the granola into the oven for a little bit to give them a slightly crunchier texture

I tossed my into the oven, just for like 12 minutes, just to give them a little color and a bit of crunch. (the longer you leave them in there, the harder and crunchier they become)

Pulled from the oven, chillin out and waiting to be cut.

And piled high. a stack of bars, awaiting a mouth to eat them.

What a bar. The mr is a lucky guy.

Happy day to you!

-C


Tahini Chocolate Chip Granola Bars

makes 8 Bars

  • 3 cups oats (gluten free if needed)
  • 1/3 heaping cup golden syrup (can be bought at some grocery stores but can be found online as well)
  • 1/3 heaping cup tahini
  • teaspoon of cinnamon
  • 1/2-1 cup of chocolate chips
  • a few pinches of sea salt(optional)

Note. Feel free to add more mix ins if you want (nuts, coconut, dried fruit) just don't add more then another 1/2 cup of stuff.

In a large bowl toss together the oats, cinnamon, sesame seeds and chocolate chips. In a separate microwave safe bowl (or a pot), combine the golden syrup and the tahini. Place in microwave for 15 second increments,  stirring in between until the mixture is loose and pourable. (or heat on stove on low heat until pourable)

Add tahini mixture into oat mixture and mix until all the oats are evenly coated.  Dump into a parchment lined, 9x9 inch baking pan and evenly press the granola down as hard as you can with either your hands or a bottom of a glass (or whatever) Sprinkle the top with sea salt.

And now you have two decide if you want a more chewy granola bar or or a slightly crunchier bar. For a chewier one,  stick the pan into the fridge for at least an hour until they firm up. For a but more crunch,. place bars in the oven for 10-15 minutes at 350, just until they get a slight golden brown and a little bit of crunch on top.  Remove from oven and let cool.

Once bars are ready, remove from pan, grab a knife, cut into bars (or whatever shape you want) and eat them. Store extra in an airtight container (raw ones in the fridge, baked ones are ok on the counter)


In 5 ingerdients or less, breakfast, brunch, Dairy Free, desserts, Gluten Free, Raw, recipes, snack, Sweets, Vegan Tags Tahini Chocolate chip granola bars, granola bars, raw, vegan, gluten free, chocolate chips, plant based, oats, sesame, breakfast, snack, protein
Comment

Persimmon Jalapeño Avocado Salad

January 20, 2016 Colleen Stem
IMG_7522.jpg
IMG_7539.jpg

Sitting at the airport in Copenhagen ……

What What!!!  Thats right people. Our travel adventure has begun!

And you guys, I made it alive, my very first ( and second) plane ride ever! And oh boy was it a dozy.

The flight from boston to Iceland was just about as scary as I could have imagined. The plane felt like it was jolting back and forth the entire time. So much turblance. I pretty much couldn’t lift my head off of the mr’s shoulder the entire flight or else I was going to barf. And sleep. Not a chance. I was to busy wondering how long we would make it in the sub artic waters if the plane went down. I was thinking a similar situation to Kate and Leo in the Titanic, although I would never let Nick go. (gag. I did a little too.) 

So now we are sitting and hanging at the airport waiting for eight, yes EIGHT HOURS for our next flight into Ireland. Yeah, we are a little bored and sure, we could lock up our bags and venture out into the city, but honestly, we are beat ass tired. We kind of planed on hanging here anyway so we could spend a little time recouping from the time difference (sleeping like bum style) and checking out the place so when we do come back next week for our stay we will know what to do. And really, just sitting here watching all the cool people with there funky luggage and hockey sticks??.. It’s a good bit of fun. I just wish I packed me one of those donut pillows.

Anyway enough about our travel adventures for now cause I know what you really want to know about is this salad.

This is one of those salads that leaves your mouth puckering and wanting more. Sweet, acitic, spicy.. it hits it all. I really wish I had me some of this salad right now. I made it this past weekend and as I am sitting here writing this, all I can think about it how I wish I packed it to bring we me. I actually might done that but I was worried that any fantastic food I brought with me to the airport was going to get confiscated. So all I have left to eat, until we get to Ireland and a grocery store, is a can beans.  Oh well. Next time. But you, you can go make this salad right now and eat it and be happy. I'll just have to wait until I get back to make it again.

The stuff. A persimmon (I used half), a small jalapeno (red or green) half and avocado and some red onion.  Then you need some greenage in the form of kale or whatever greens you want and a lime, some red wine vinegar, and a bit of salt. 

Slice the persimmon and the onion nice and thin and into mouth sized pieces. Cut the avocado into chucks and de-seed and slice the jalapeno into thin little pieces

Stick it all into a bowl and cover with the juice of the lime, a splash splash of vinegar , and a pinch of salt.

 Toss around and let chill for a bit (the longer the better)

Chop up the kale into piece that will fit into your mouth

And then dump the stuff right into the greens

Agh, I want some salad….Jjust one more plane ride.

Have a swell day my friends! 

-C


Persimmon Jalapeño Avocado Salad

serves 1-2

  • ½ of a ripe persimmon
  • ½ of an avocado
  • 1 small jalapeño (red or green)
  • ½ of a red onion
  • ½ a bunch of kale
  • 1 lime
  • a few splashes of red wine vinegar
  • salt and pepper to taste

Note.. You as much or as little the stuff as you like.

De-seed the jalapeño and thinly slice it, along with the persimmon and onion and place into a bowl. Cut the avocado into small chunks and into the bowl that goes too. Add in the juice of the lime and about 2 splashes of vinegar along with a pinch of salt. Toss around ad let sit on the counter for at least 5 minutes, but the long the better. And chop up your greens. When your marinating stuff tastes good enough to eat, toss into the greens. Sprinkle with pepper and grab a fork.

Eat. Yum.

In Gluten Free, grain free, Raw, recipes, Savory, Vegan, Vegetables, salad Tags Persimmon, Jalapeno, Kale, Salad, Persimmon Jalapeño avocado salad, avocado, clean eating, vegan, raw, gluten free, healthy, travel, adventure
2 Comments
← Newer Posts Older Posts →
 

https://thelovelycrazy.squarespace.com/config#/|/about/

Me. Food Maker.Food eater. Woo HOO!

STEM+NODE  SMALL BATCH AND ONE OF A KIND POTTERY

stem+node ceramics


____________________

Subscribe

GET NEW POSTS IN YO EMAIL

You are AWESOME!!!


@thelovelycrazy 2014-2021