• stem+node ceramics
  • HOME
  • Food Recipes
  • About
  • Contact
Menu

The Lovely Crazy

Street Address
City, State, Zip
Phone Number

Your Custom Text Here

The Lovely Crazy

  • stem+node ceramics
  • HOME
  • Food Recipes
  • About
  • Contact

Green pea and Watermelon Radish Salad

March 5, 2022 Colleen Stem

We are getting closer and closer to spring (2 weeks!) and with spring comes color, in the form of all things, food included. (I am so ready for all the greens!!!!)

Speaking of color. Have you ever cut open a watermelon radish? It is pure joy. You have this creamy white and slightly green bulb, nothing much out of the ordinary but when you slice it open the inside is the brightest purplish pink. So freaking pretty! But better then pretty, watermelon radishes taste so freaking good! And then we have peas. They are just the best bright green and creamy little gems which pair perfectly prefect with the radish.

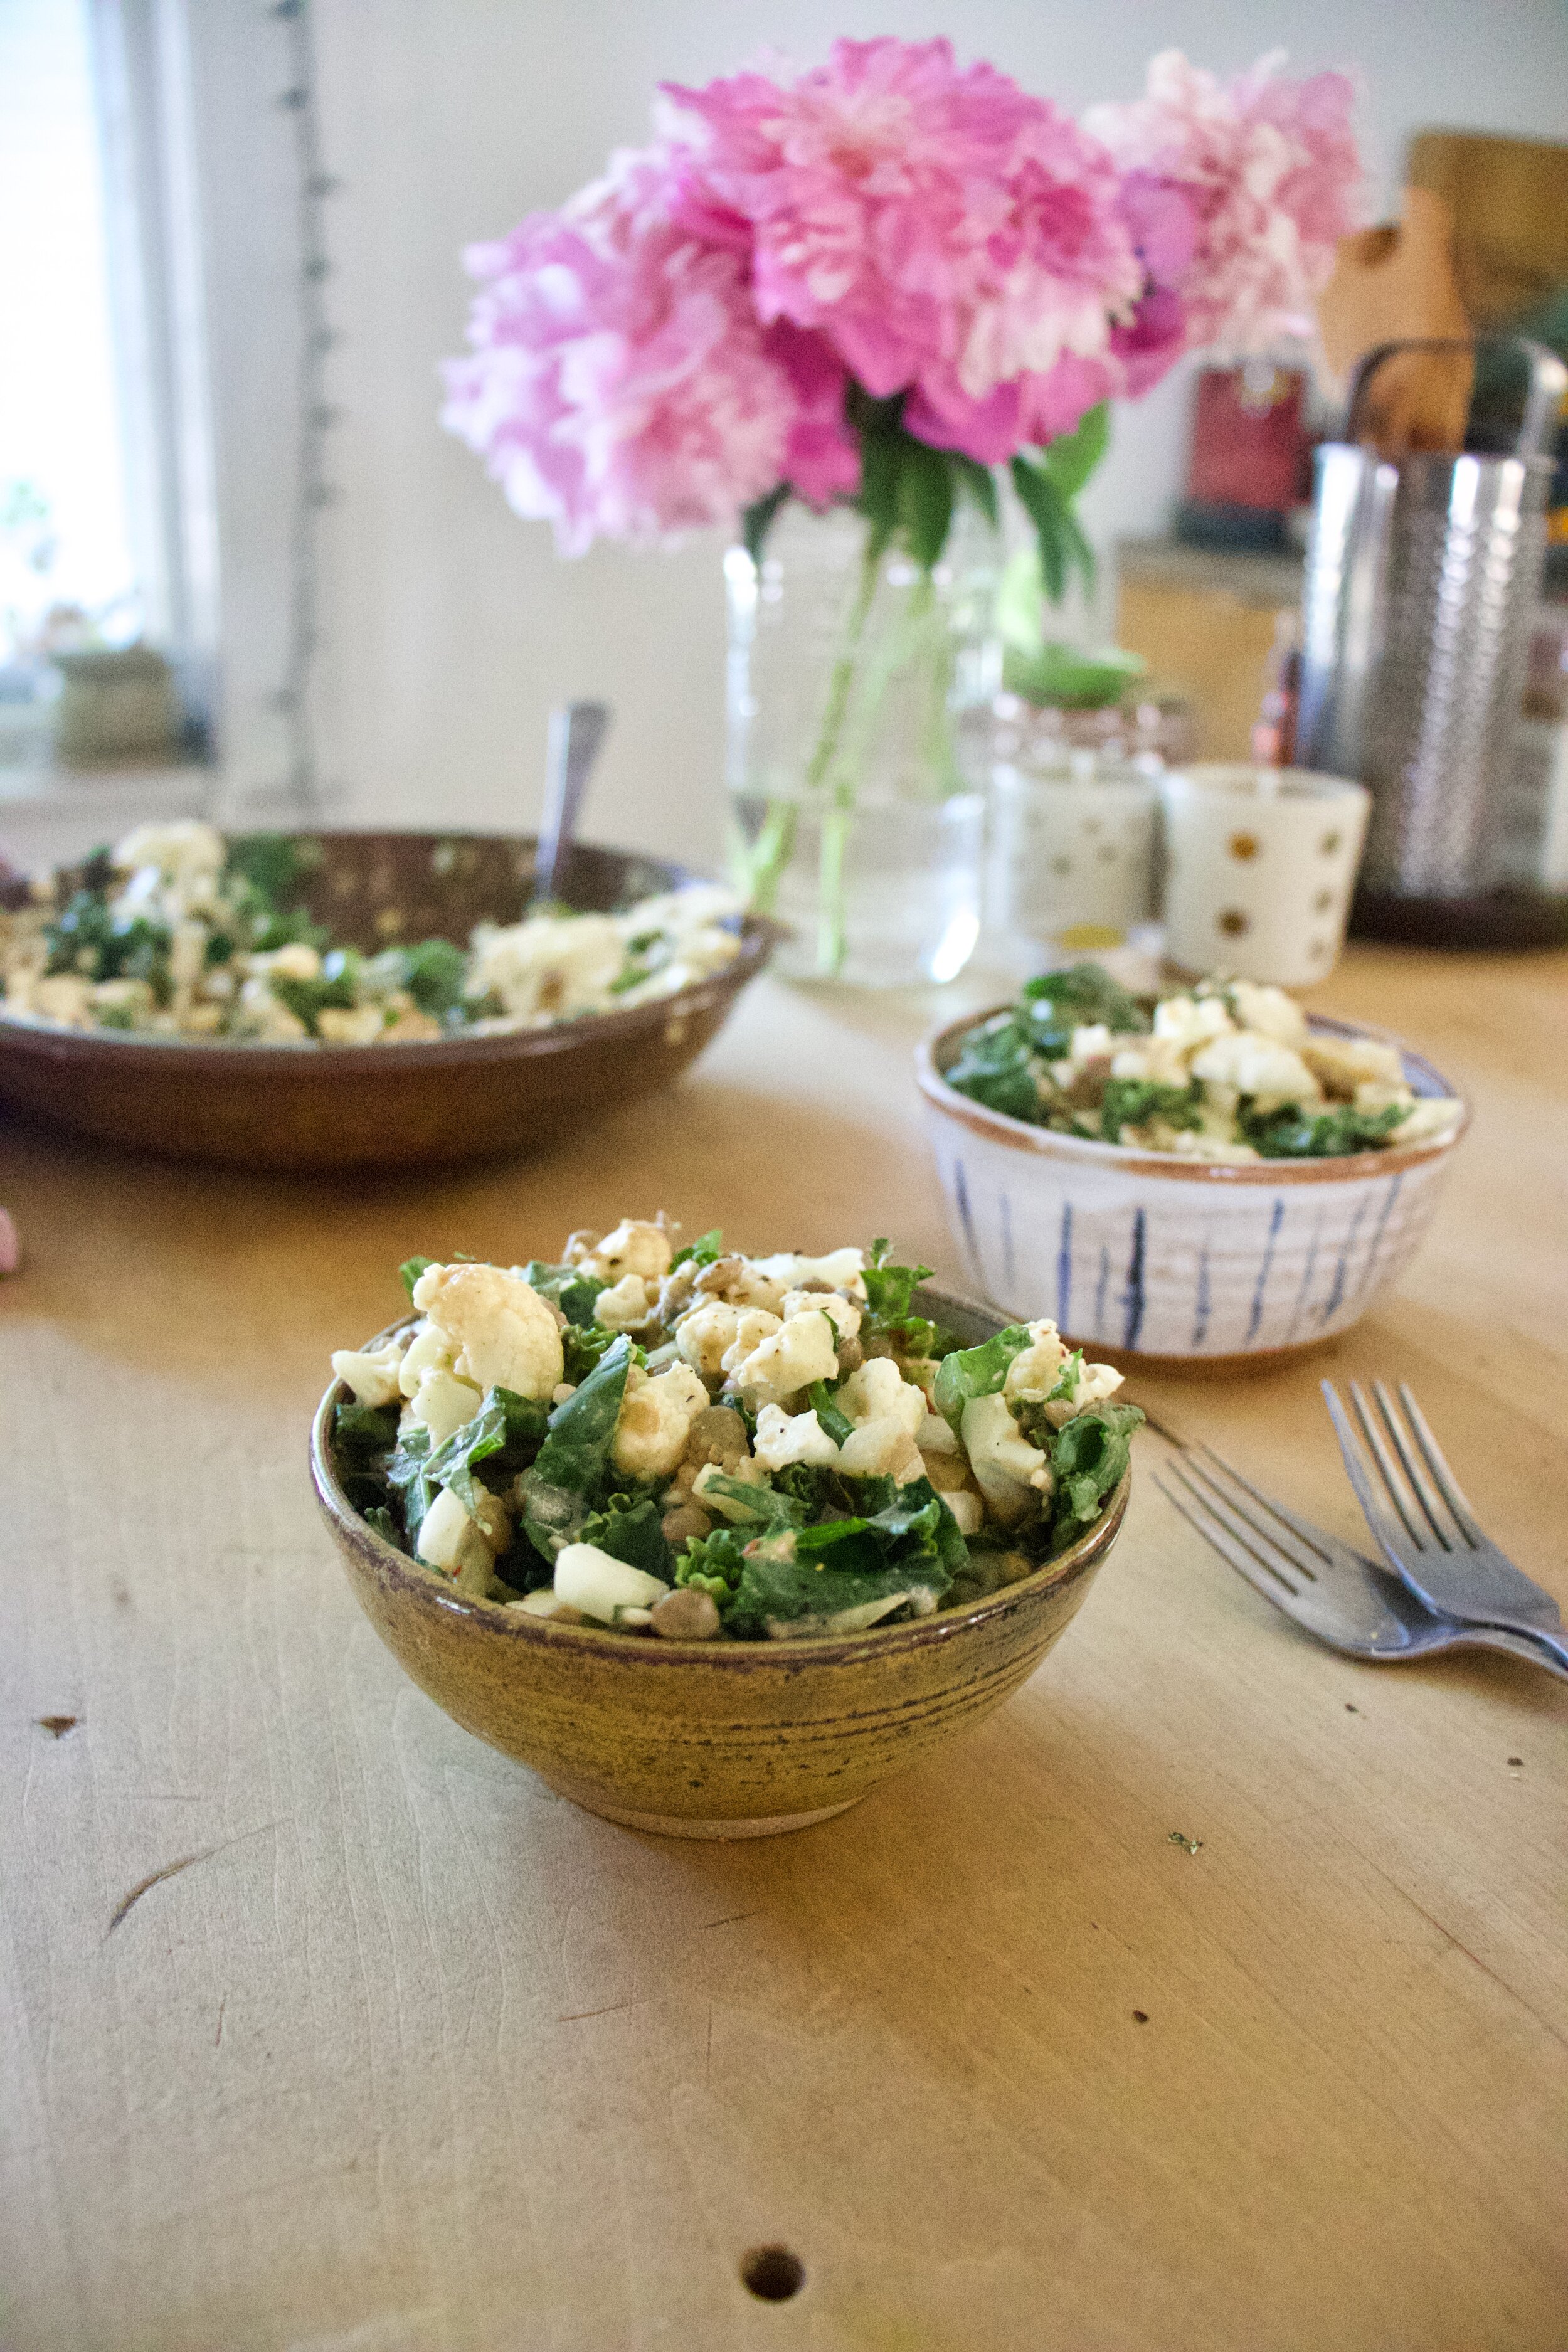
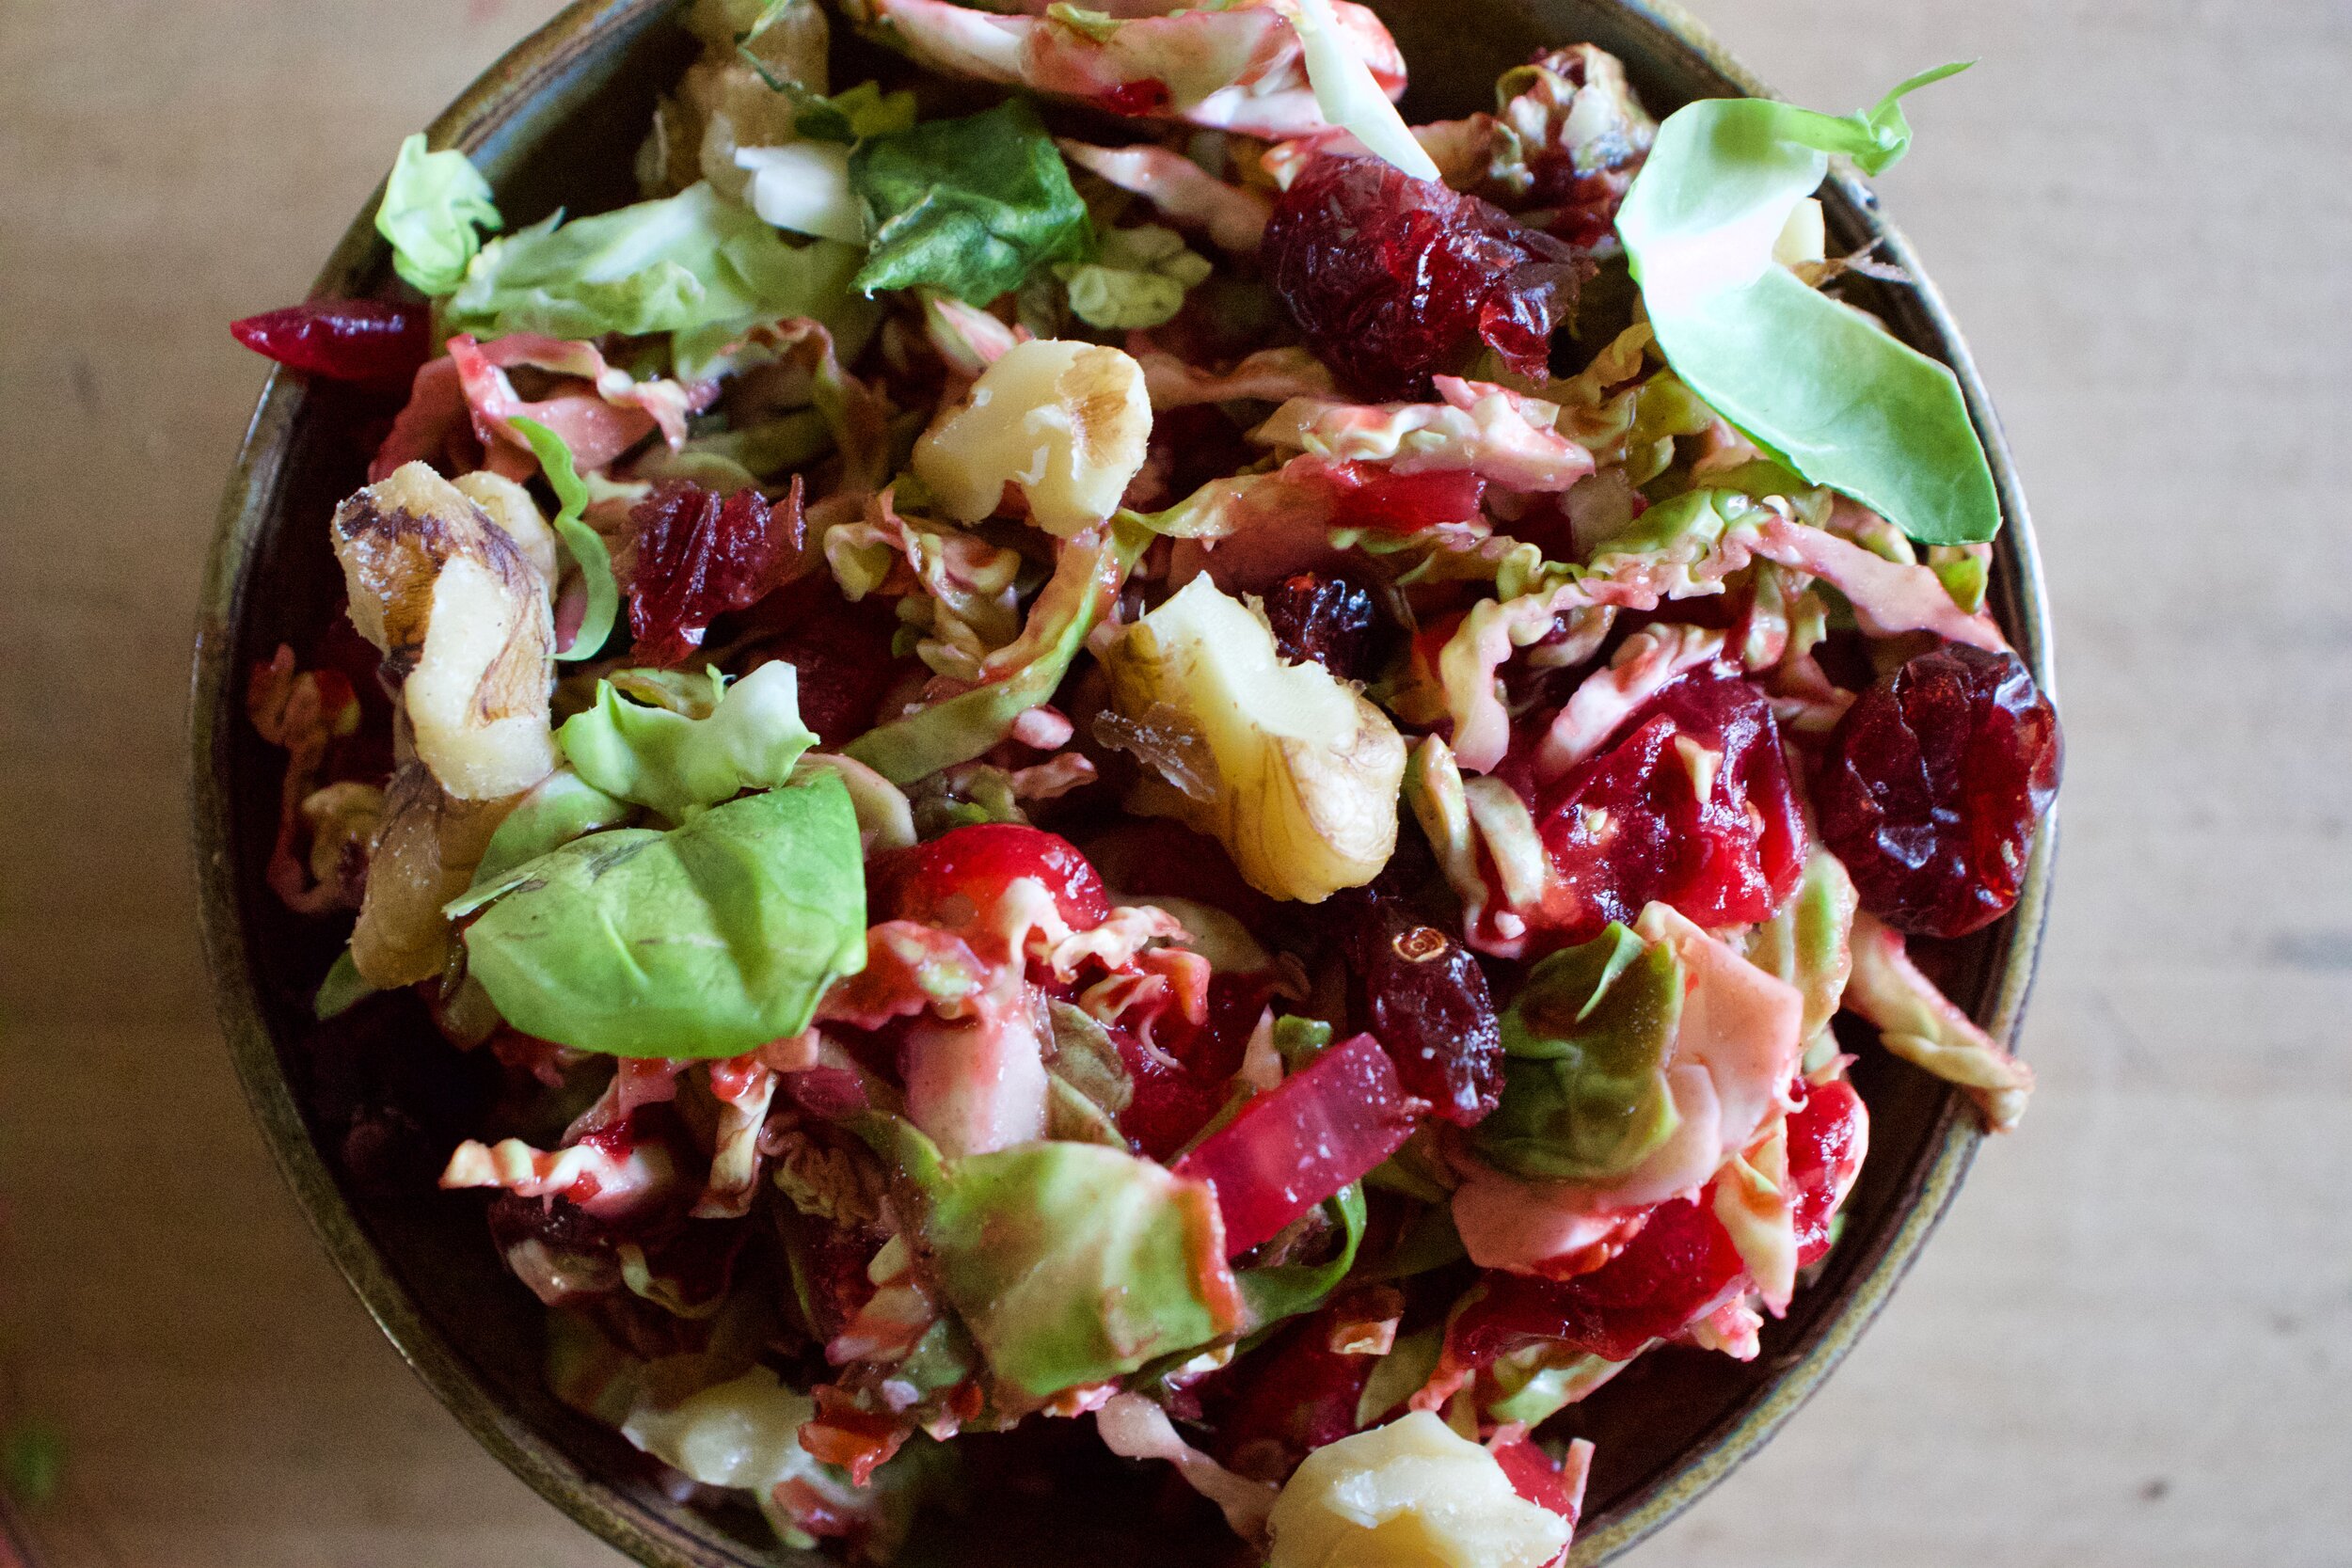
Bright purple radish and green peas tossed together with some onion and tahini. Yes and yes. On freaking tasty as all heck salad. A true spring delight!

Now to the pretty as all heck salad!

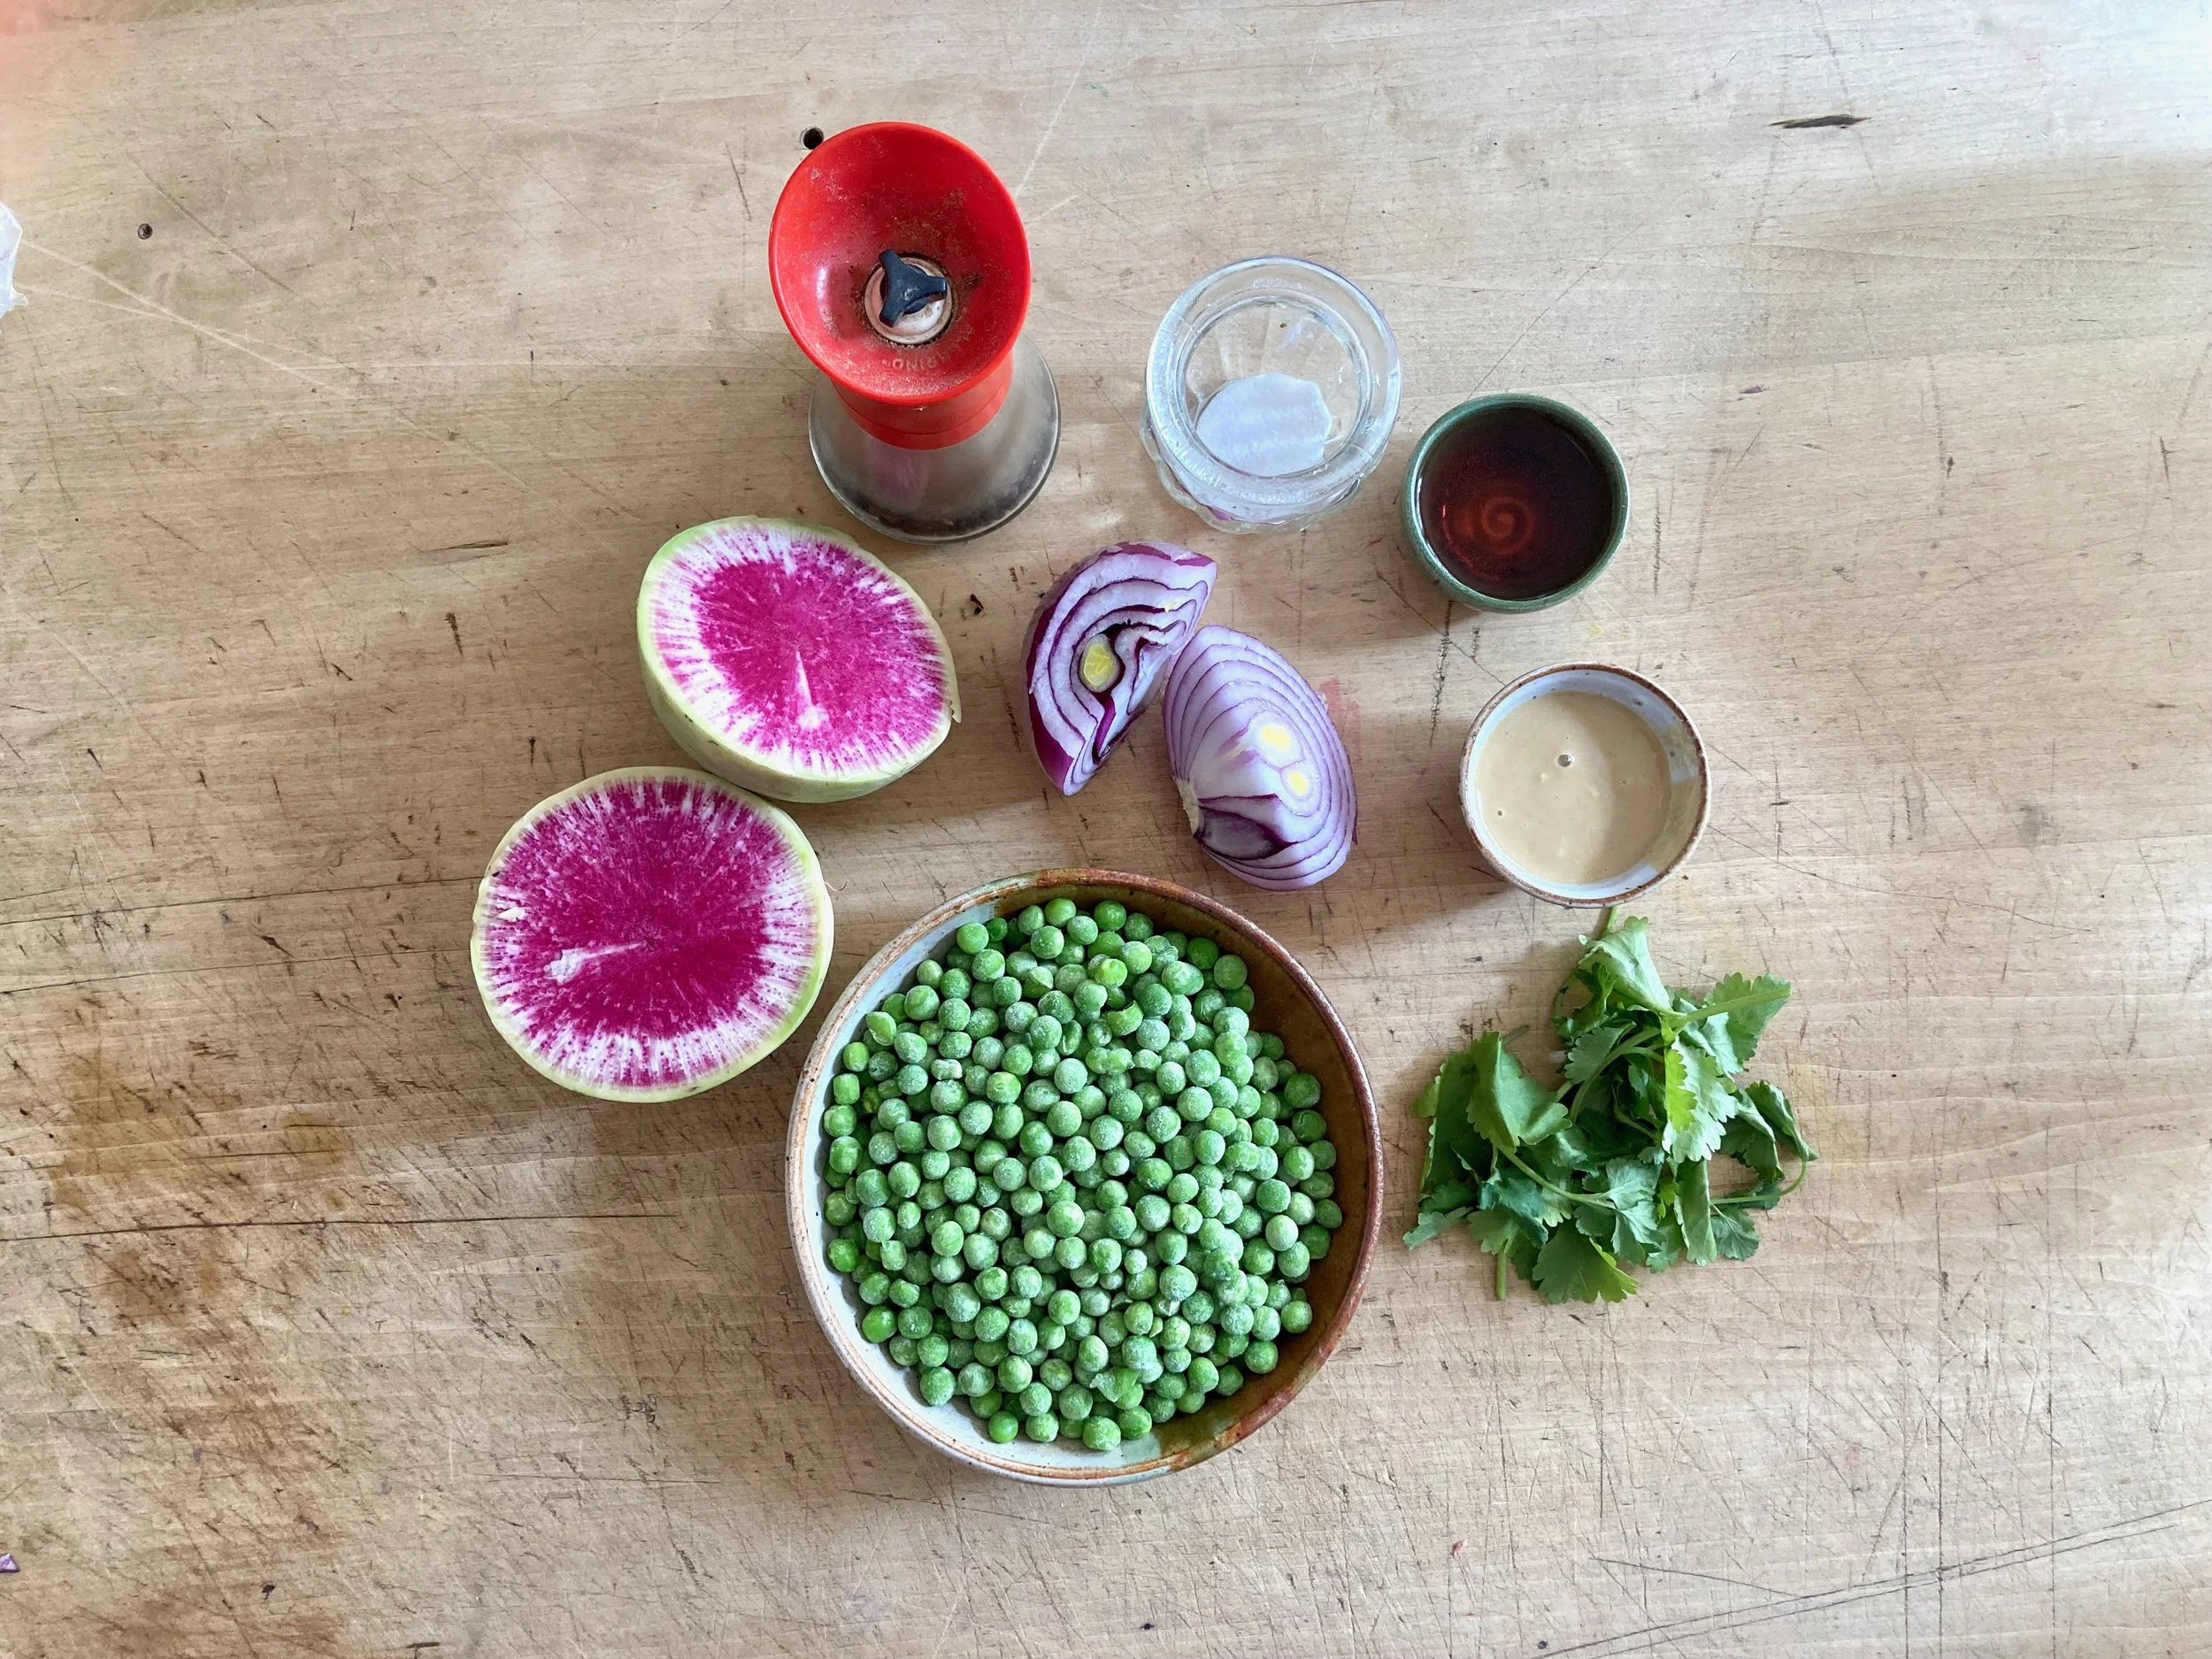
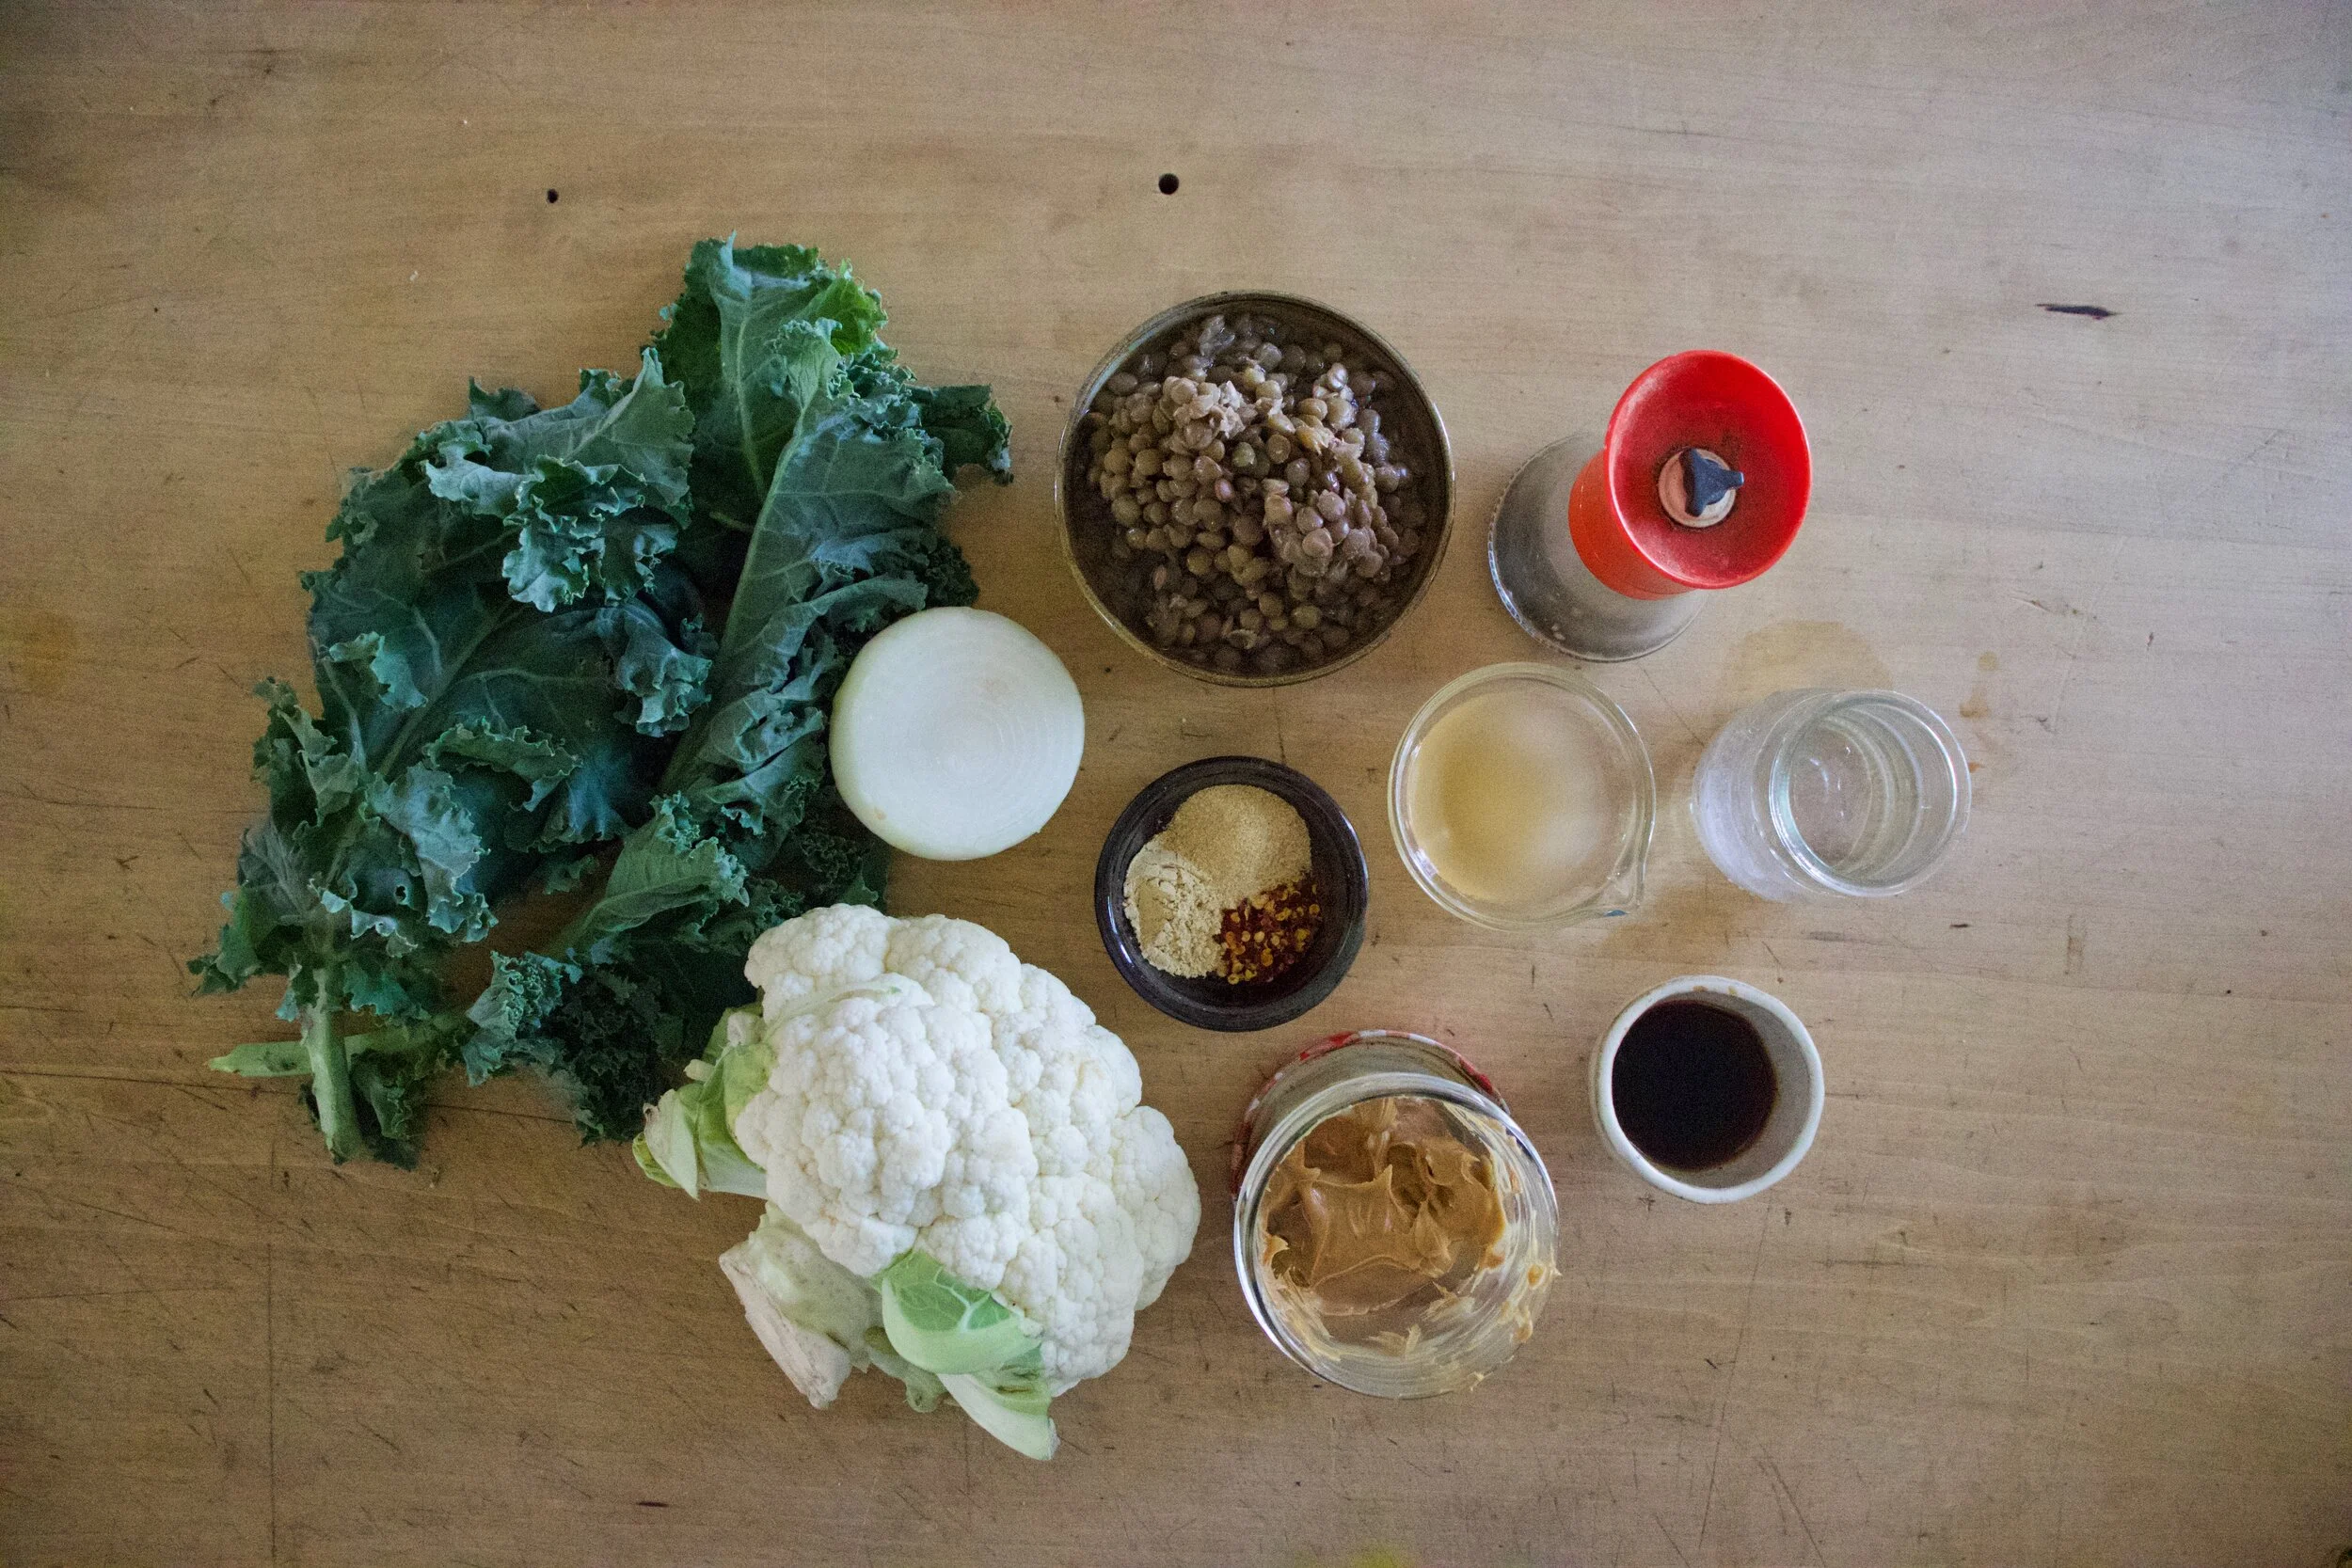
The stuff. A large watermelon radish, frozen and thawed green peas, red onion, tahini, red wine vinegar, salt and pepper, and aa small handful of cilantro.

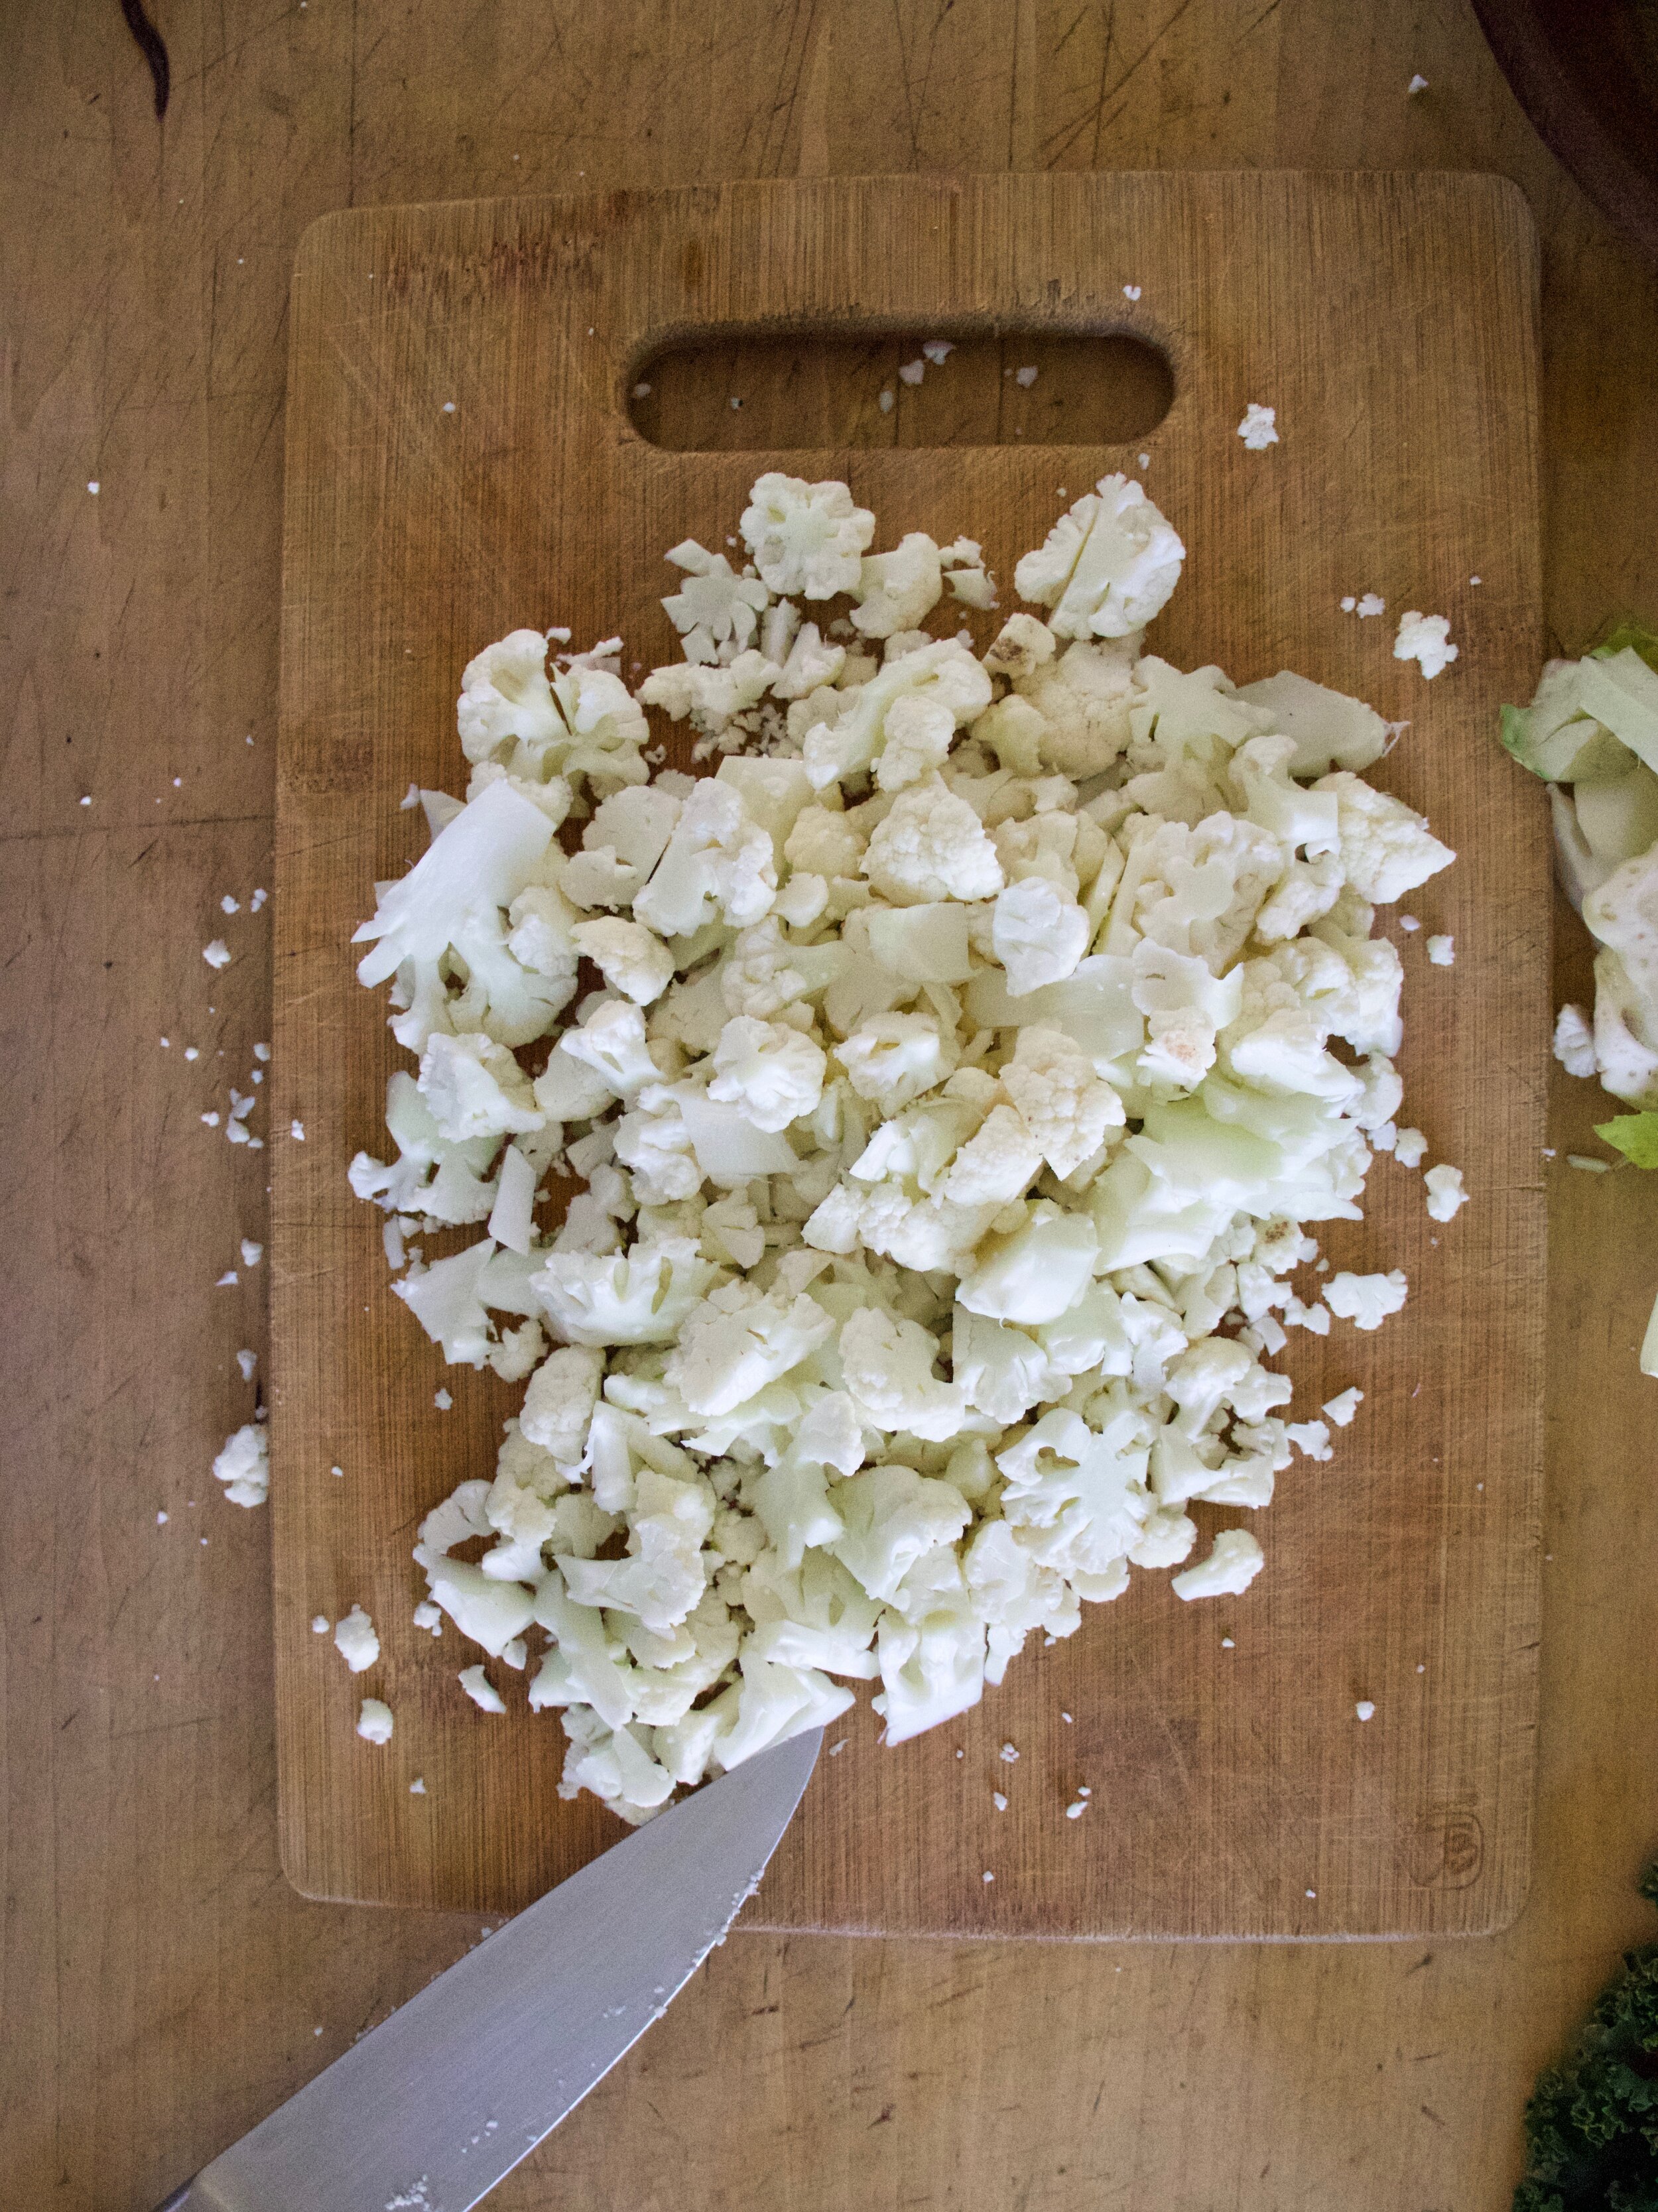
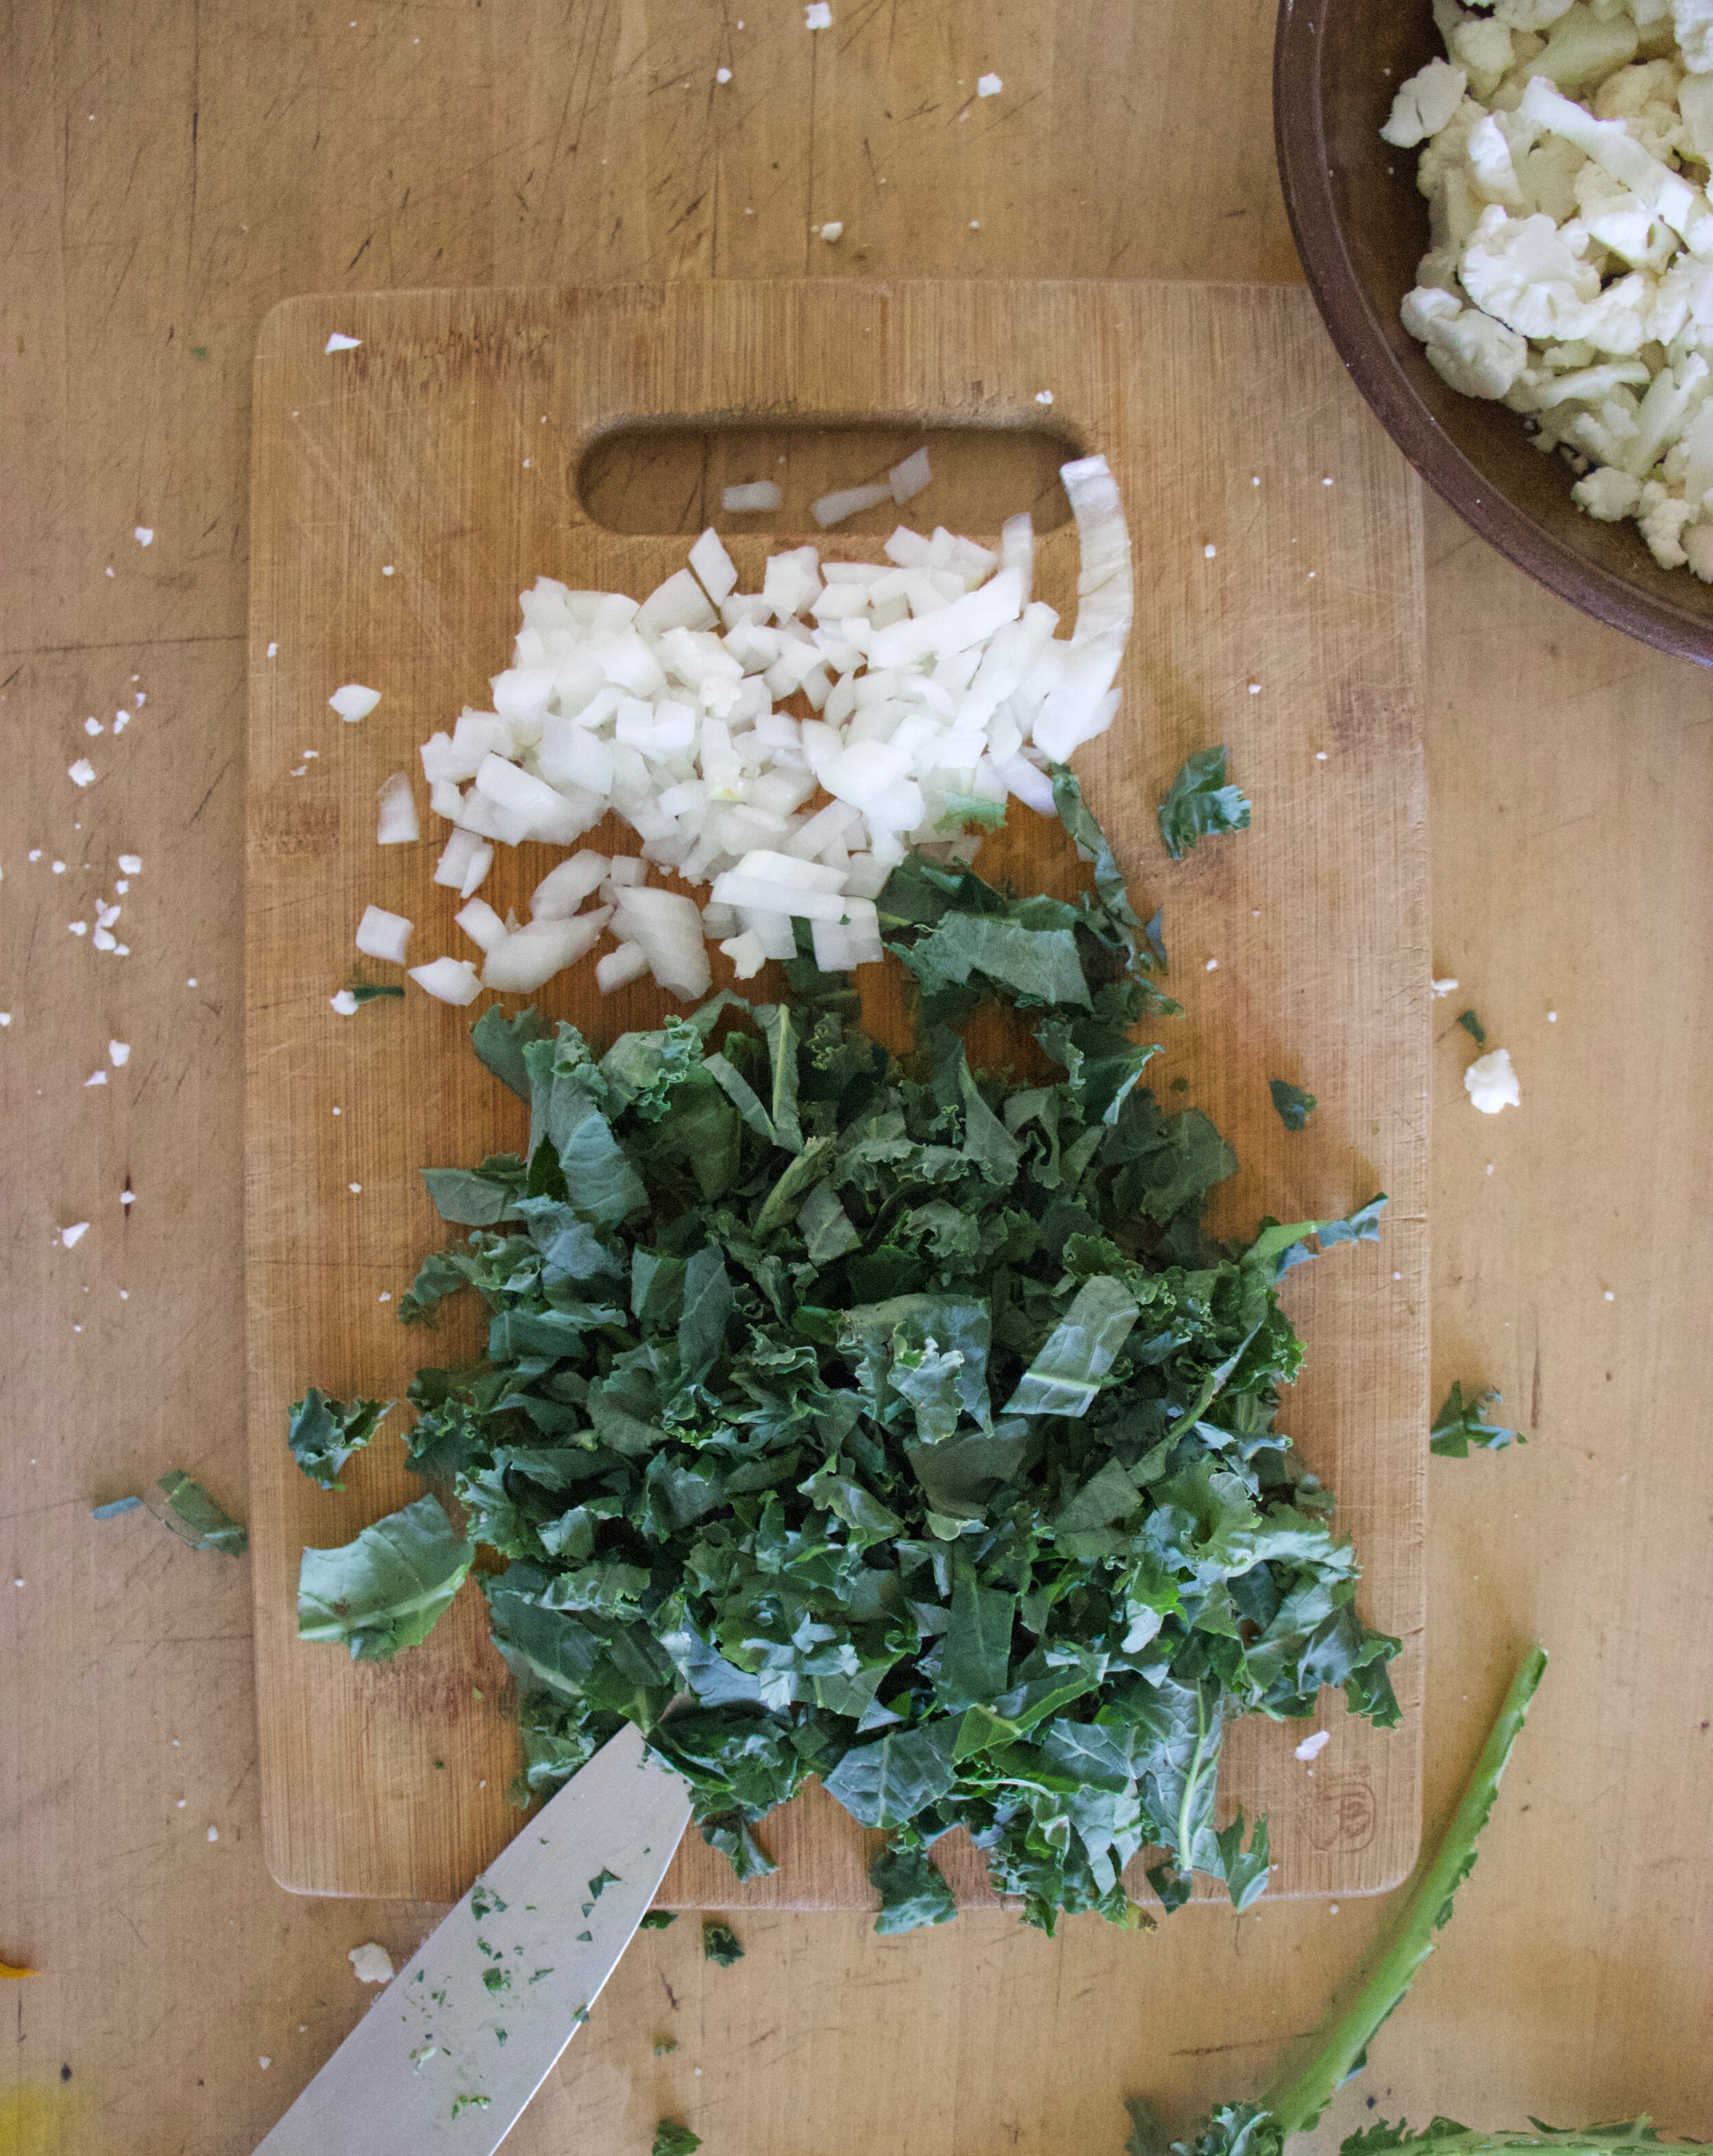
First thing is to dice up radish. Cut into cubes about twice the size of a pea.

Place diced rashes on a lined baking sheet and pop into a hot oven.

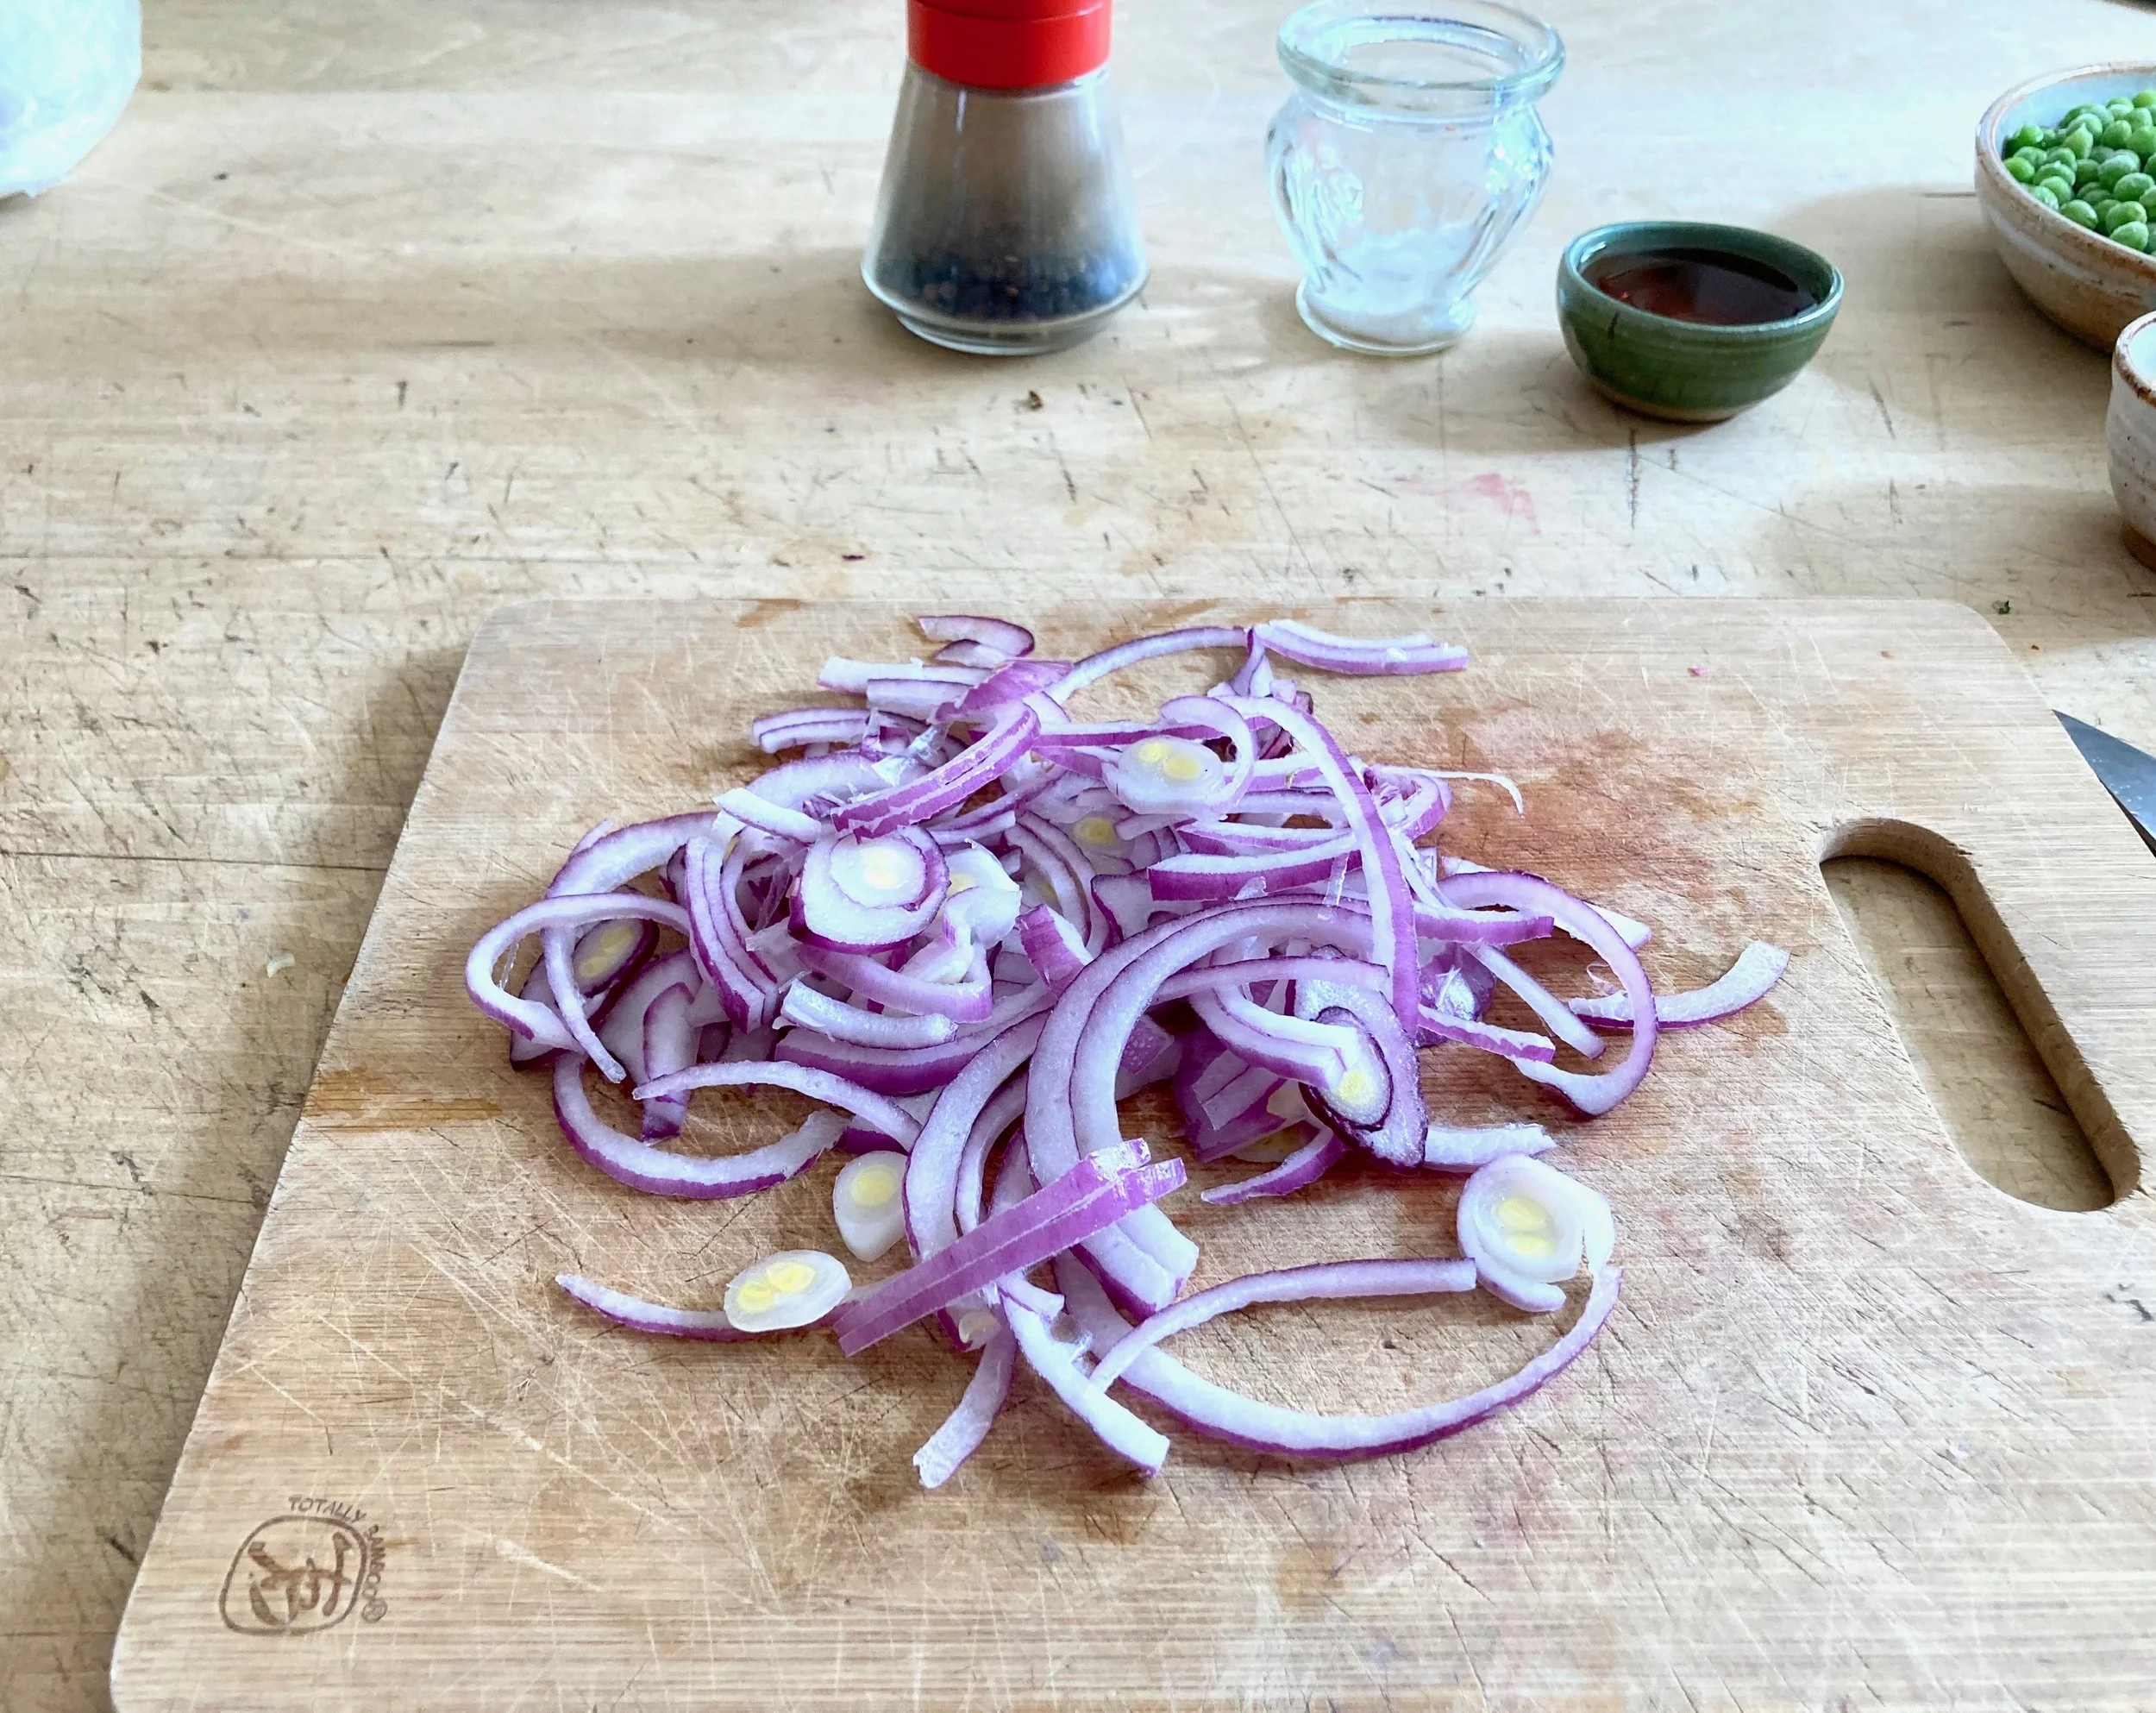
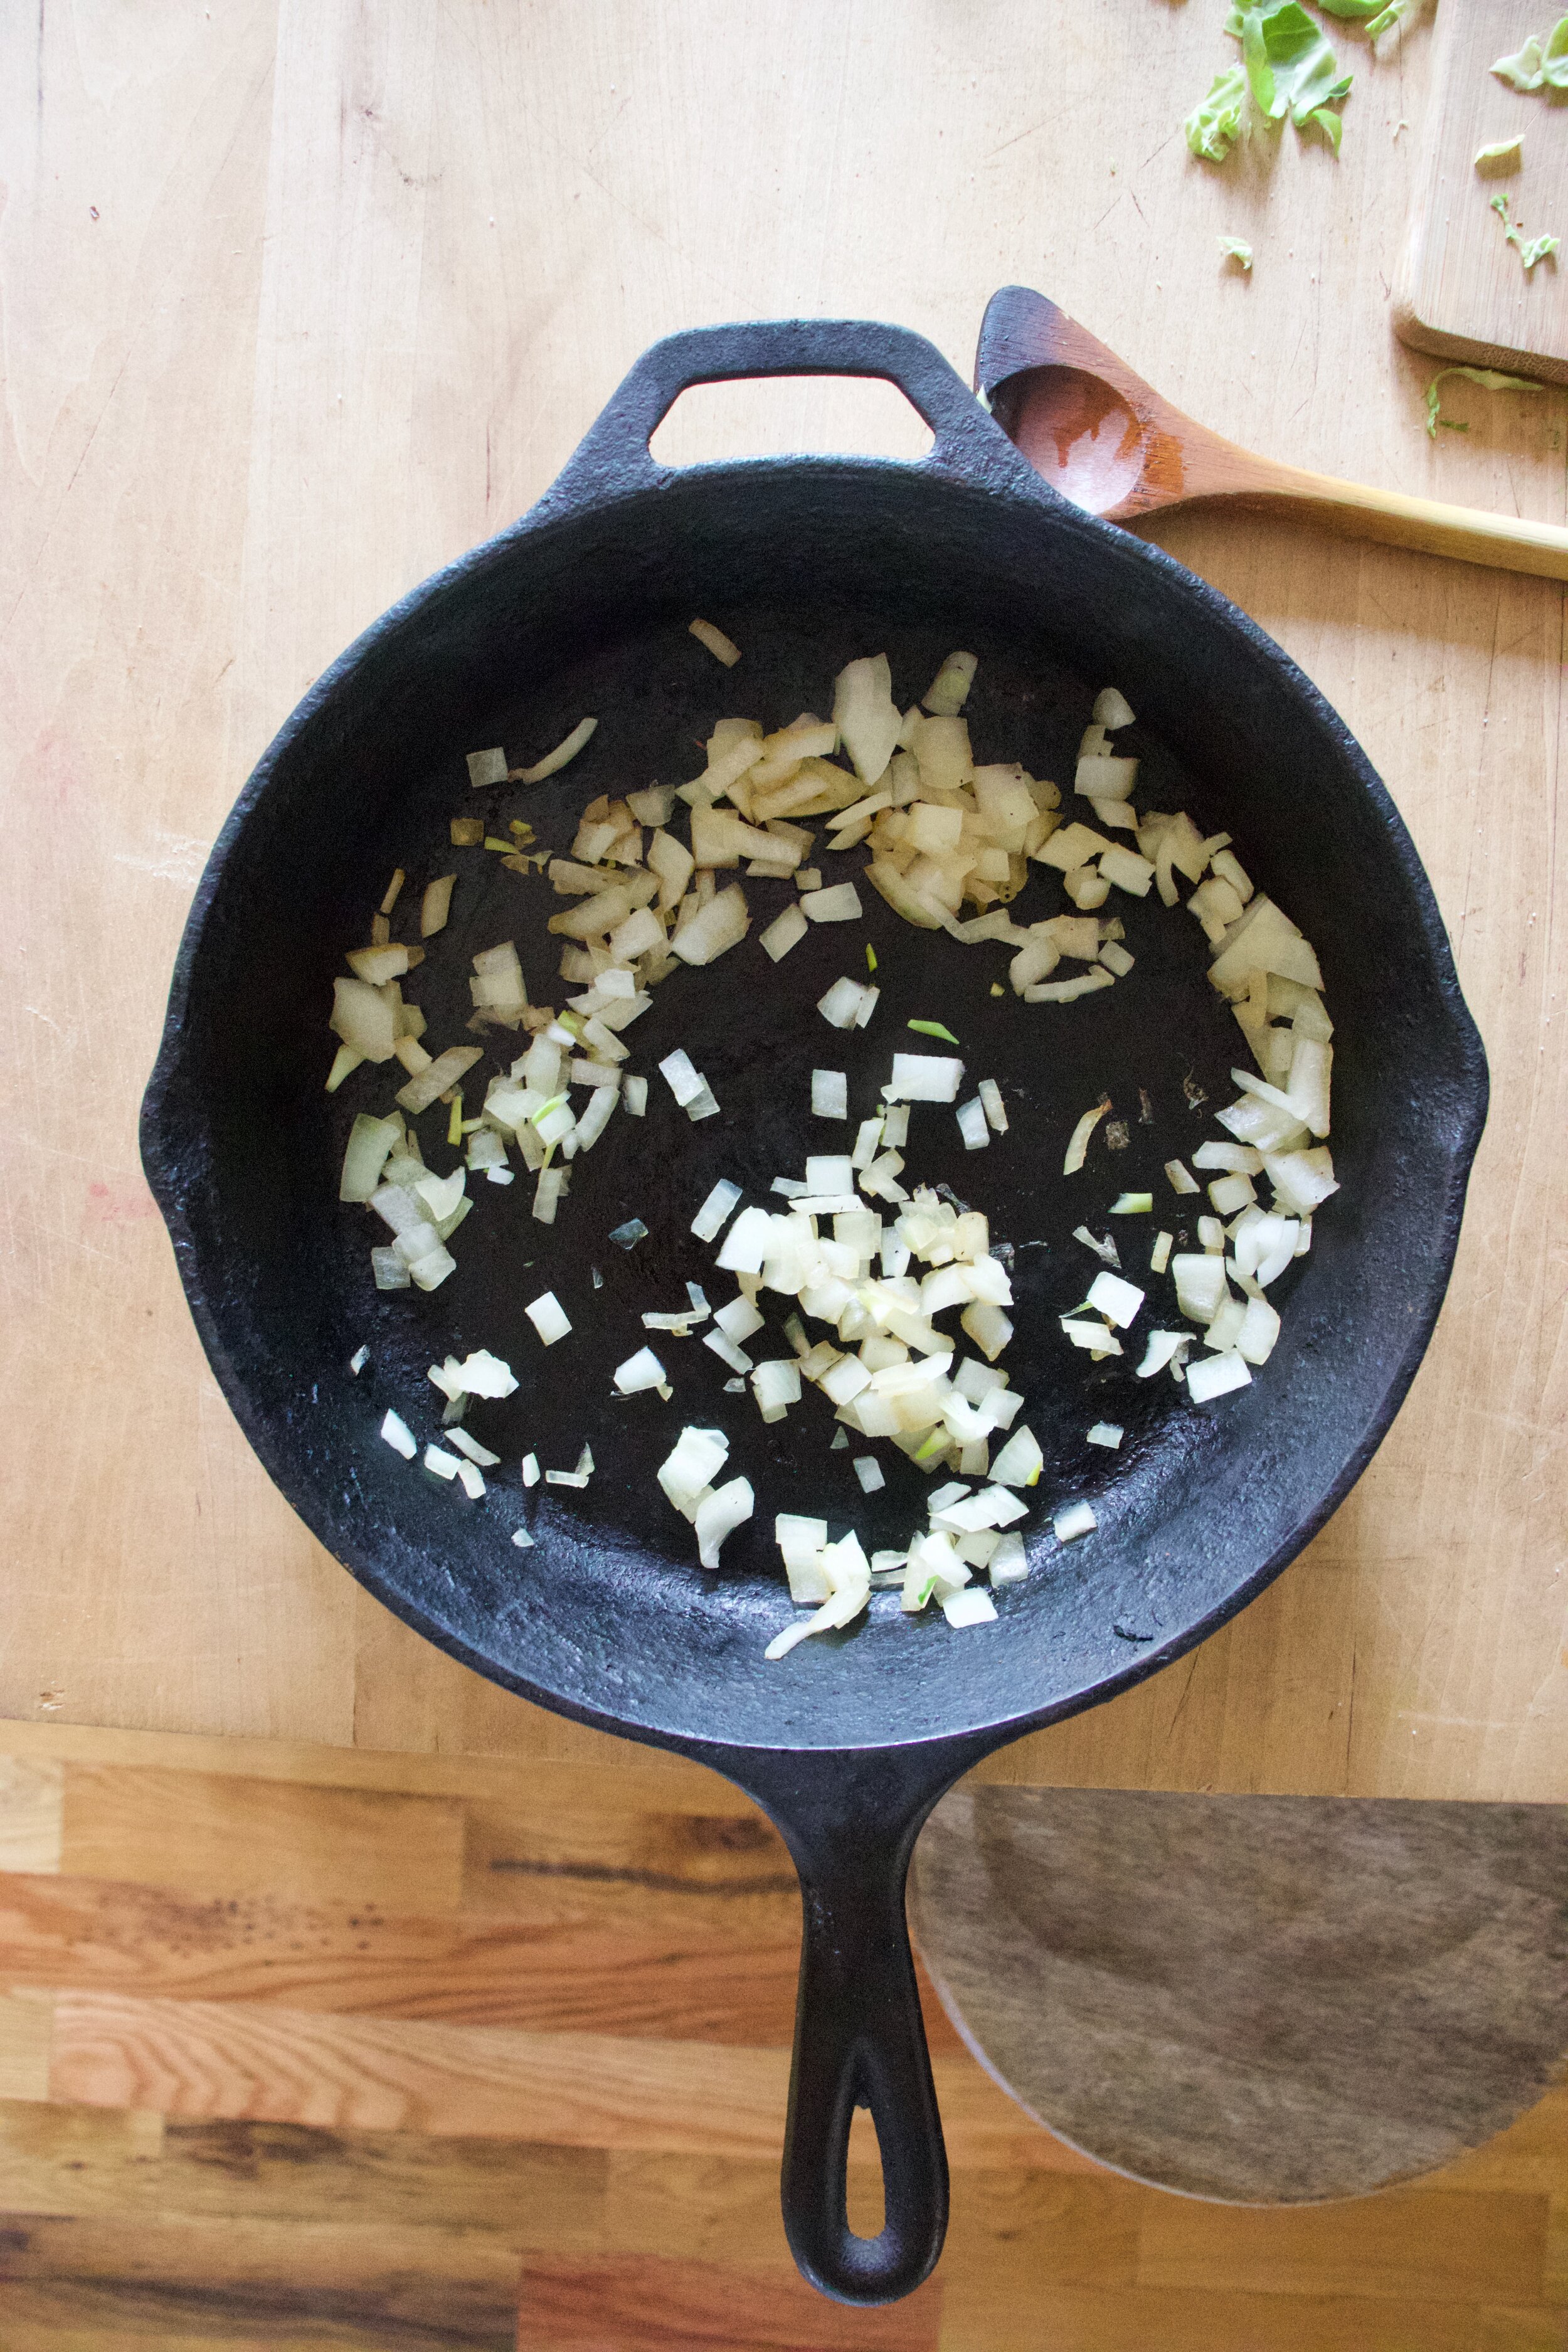
In the mean time cut up the onion nice an thin.

IMG_1586.jpg
IMG_1592.jpg
IMG_1598.jpg

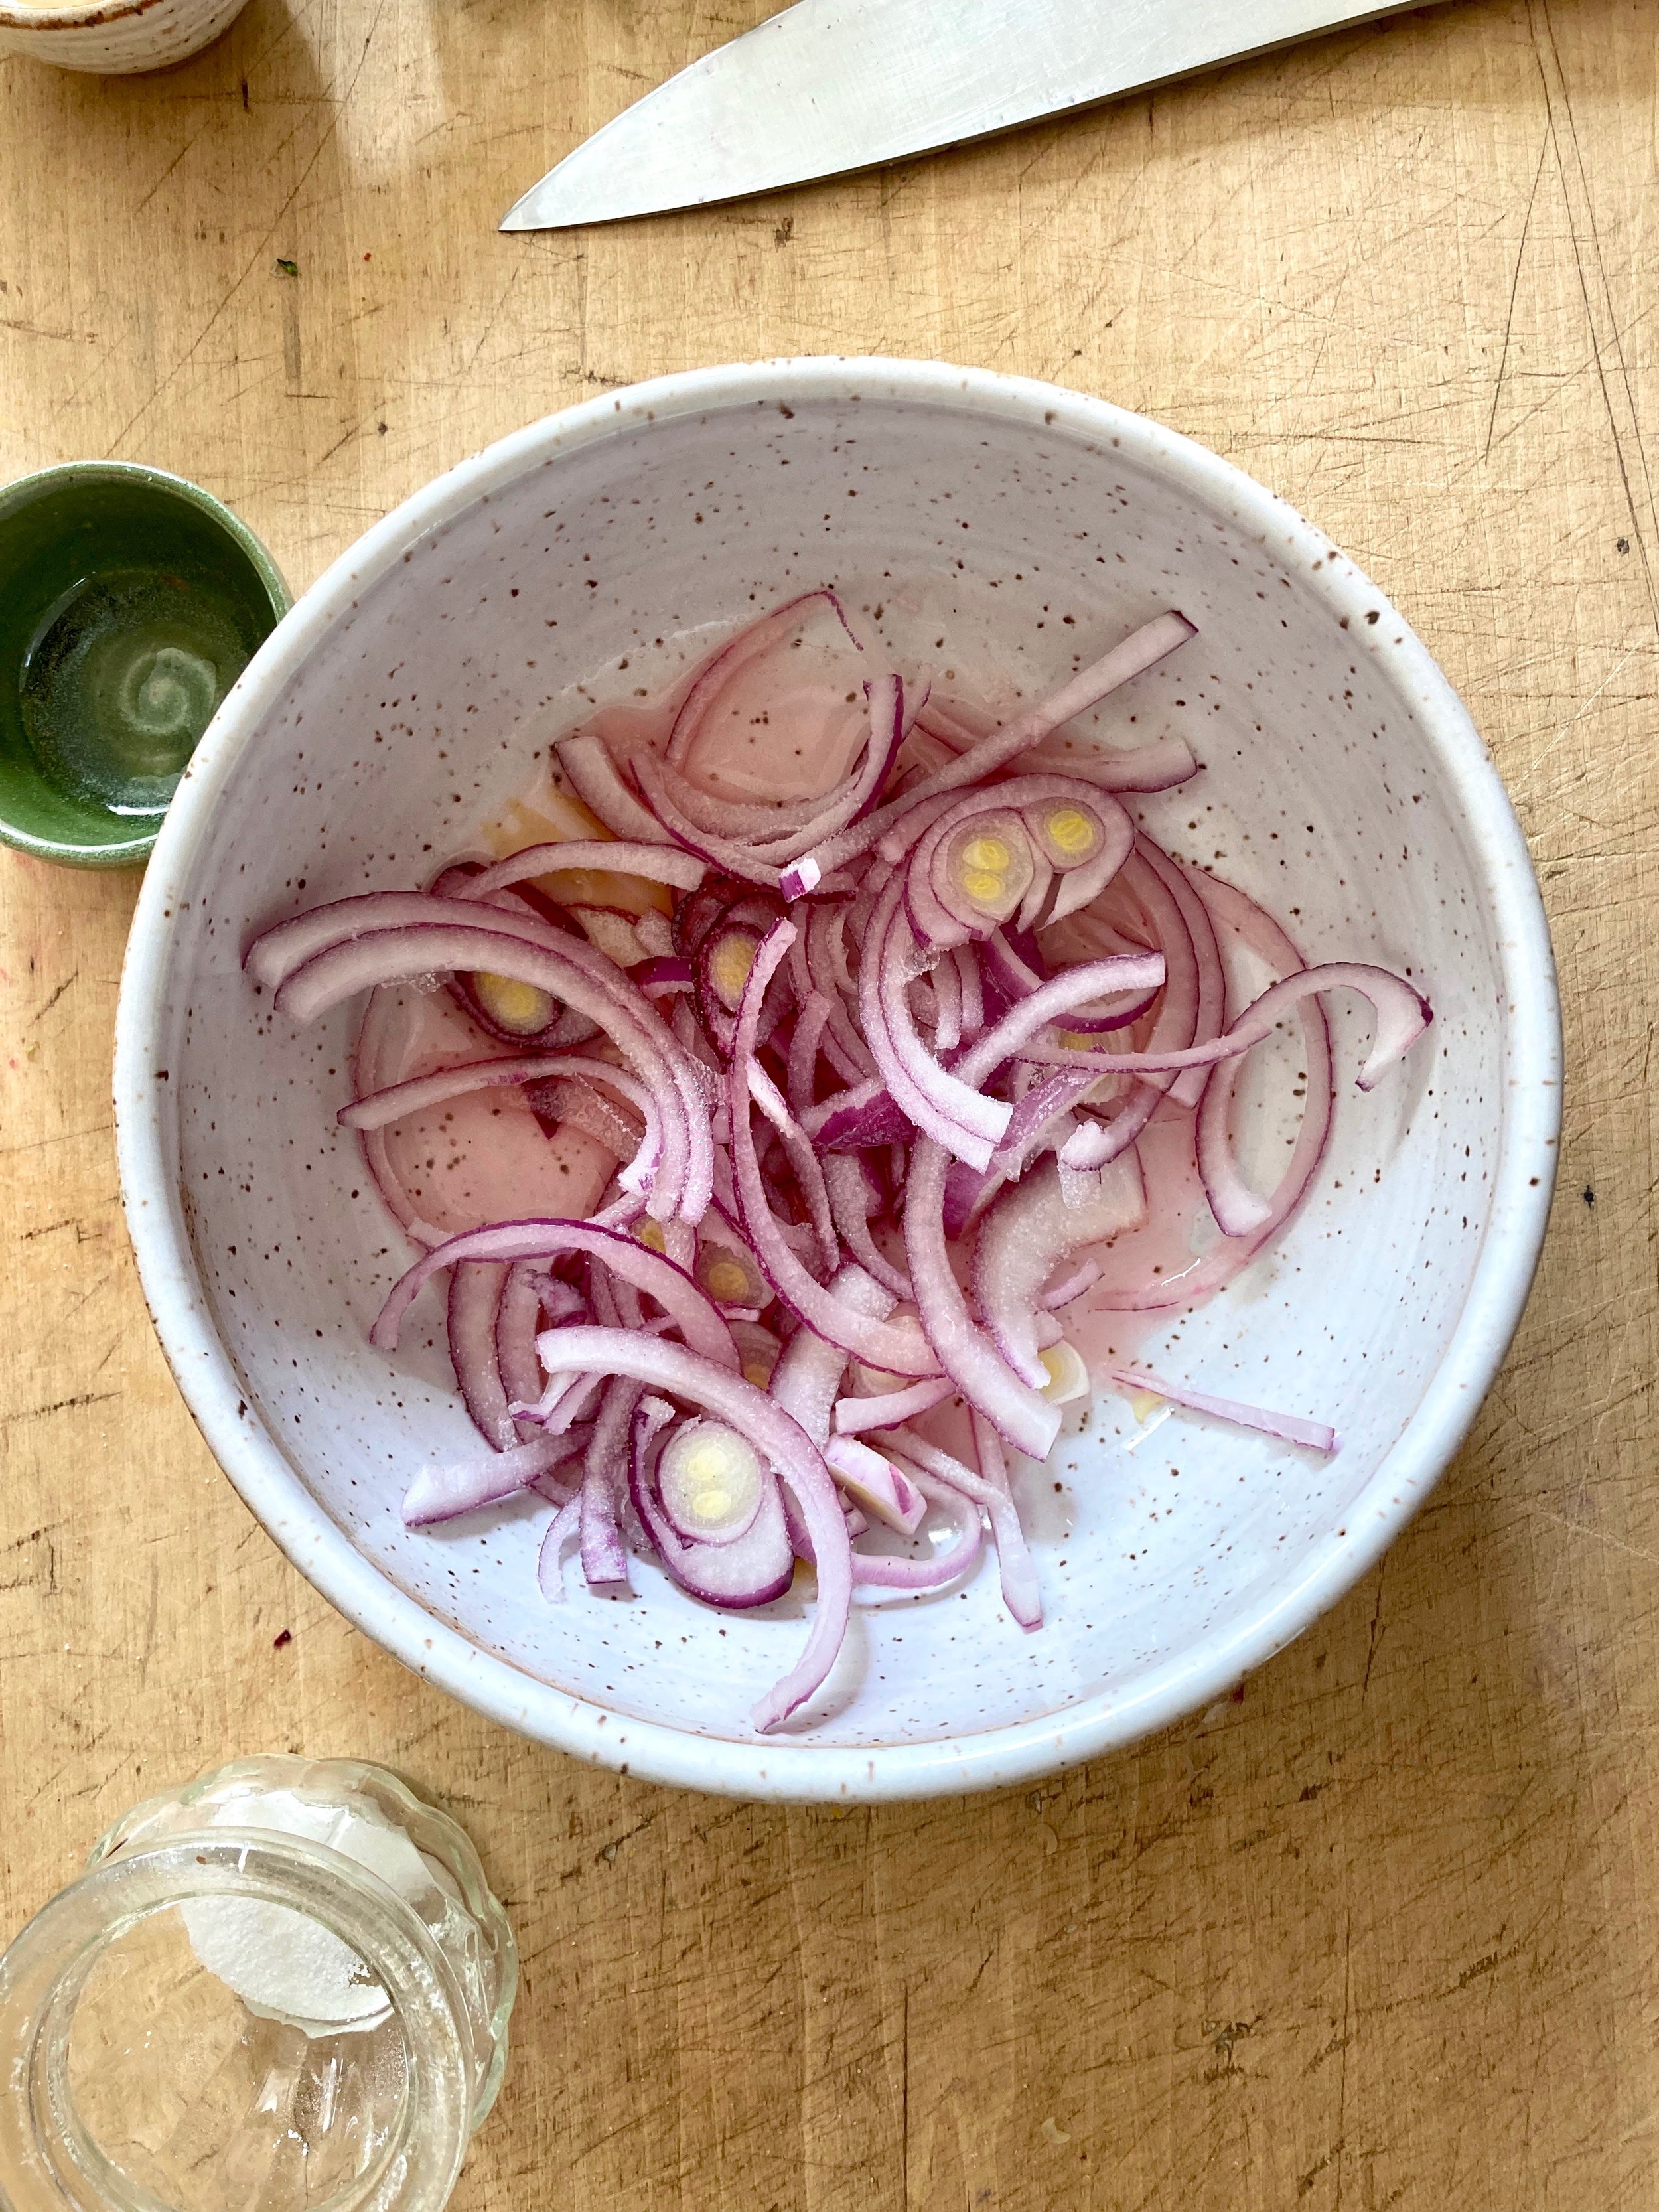
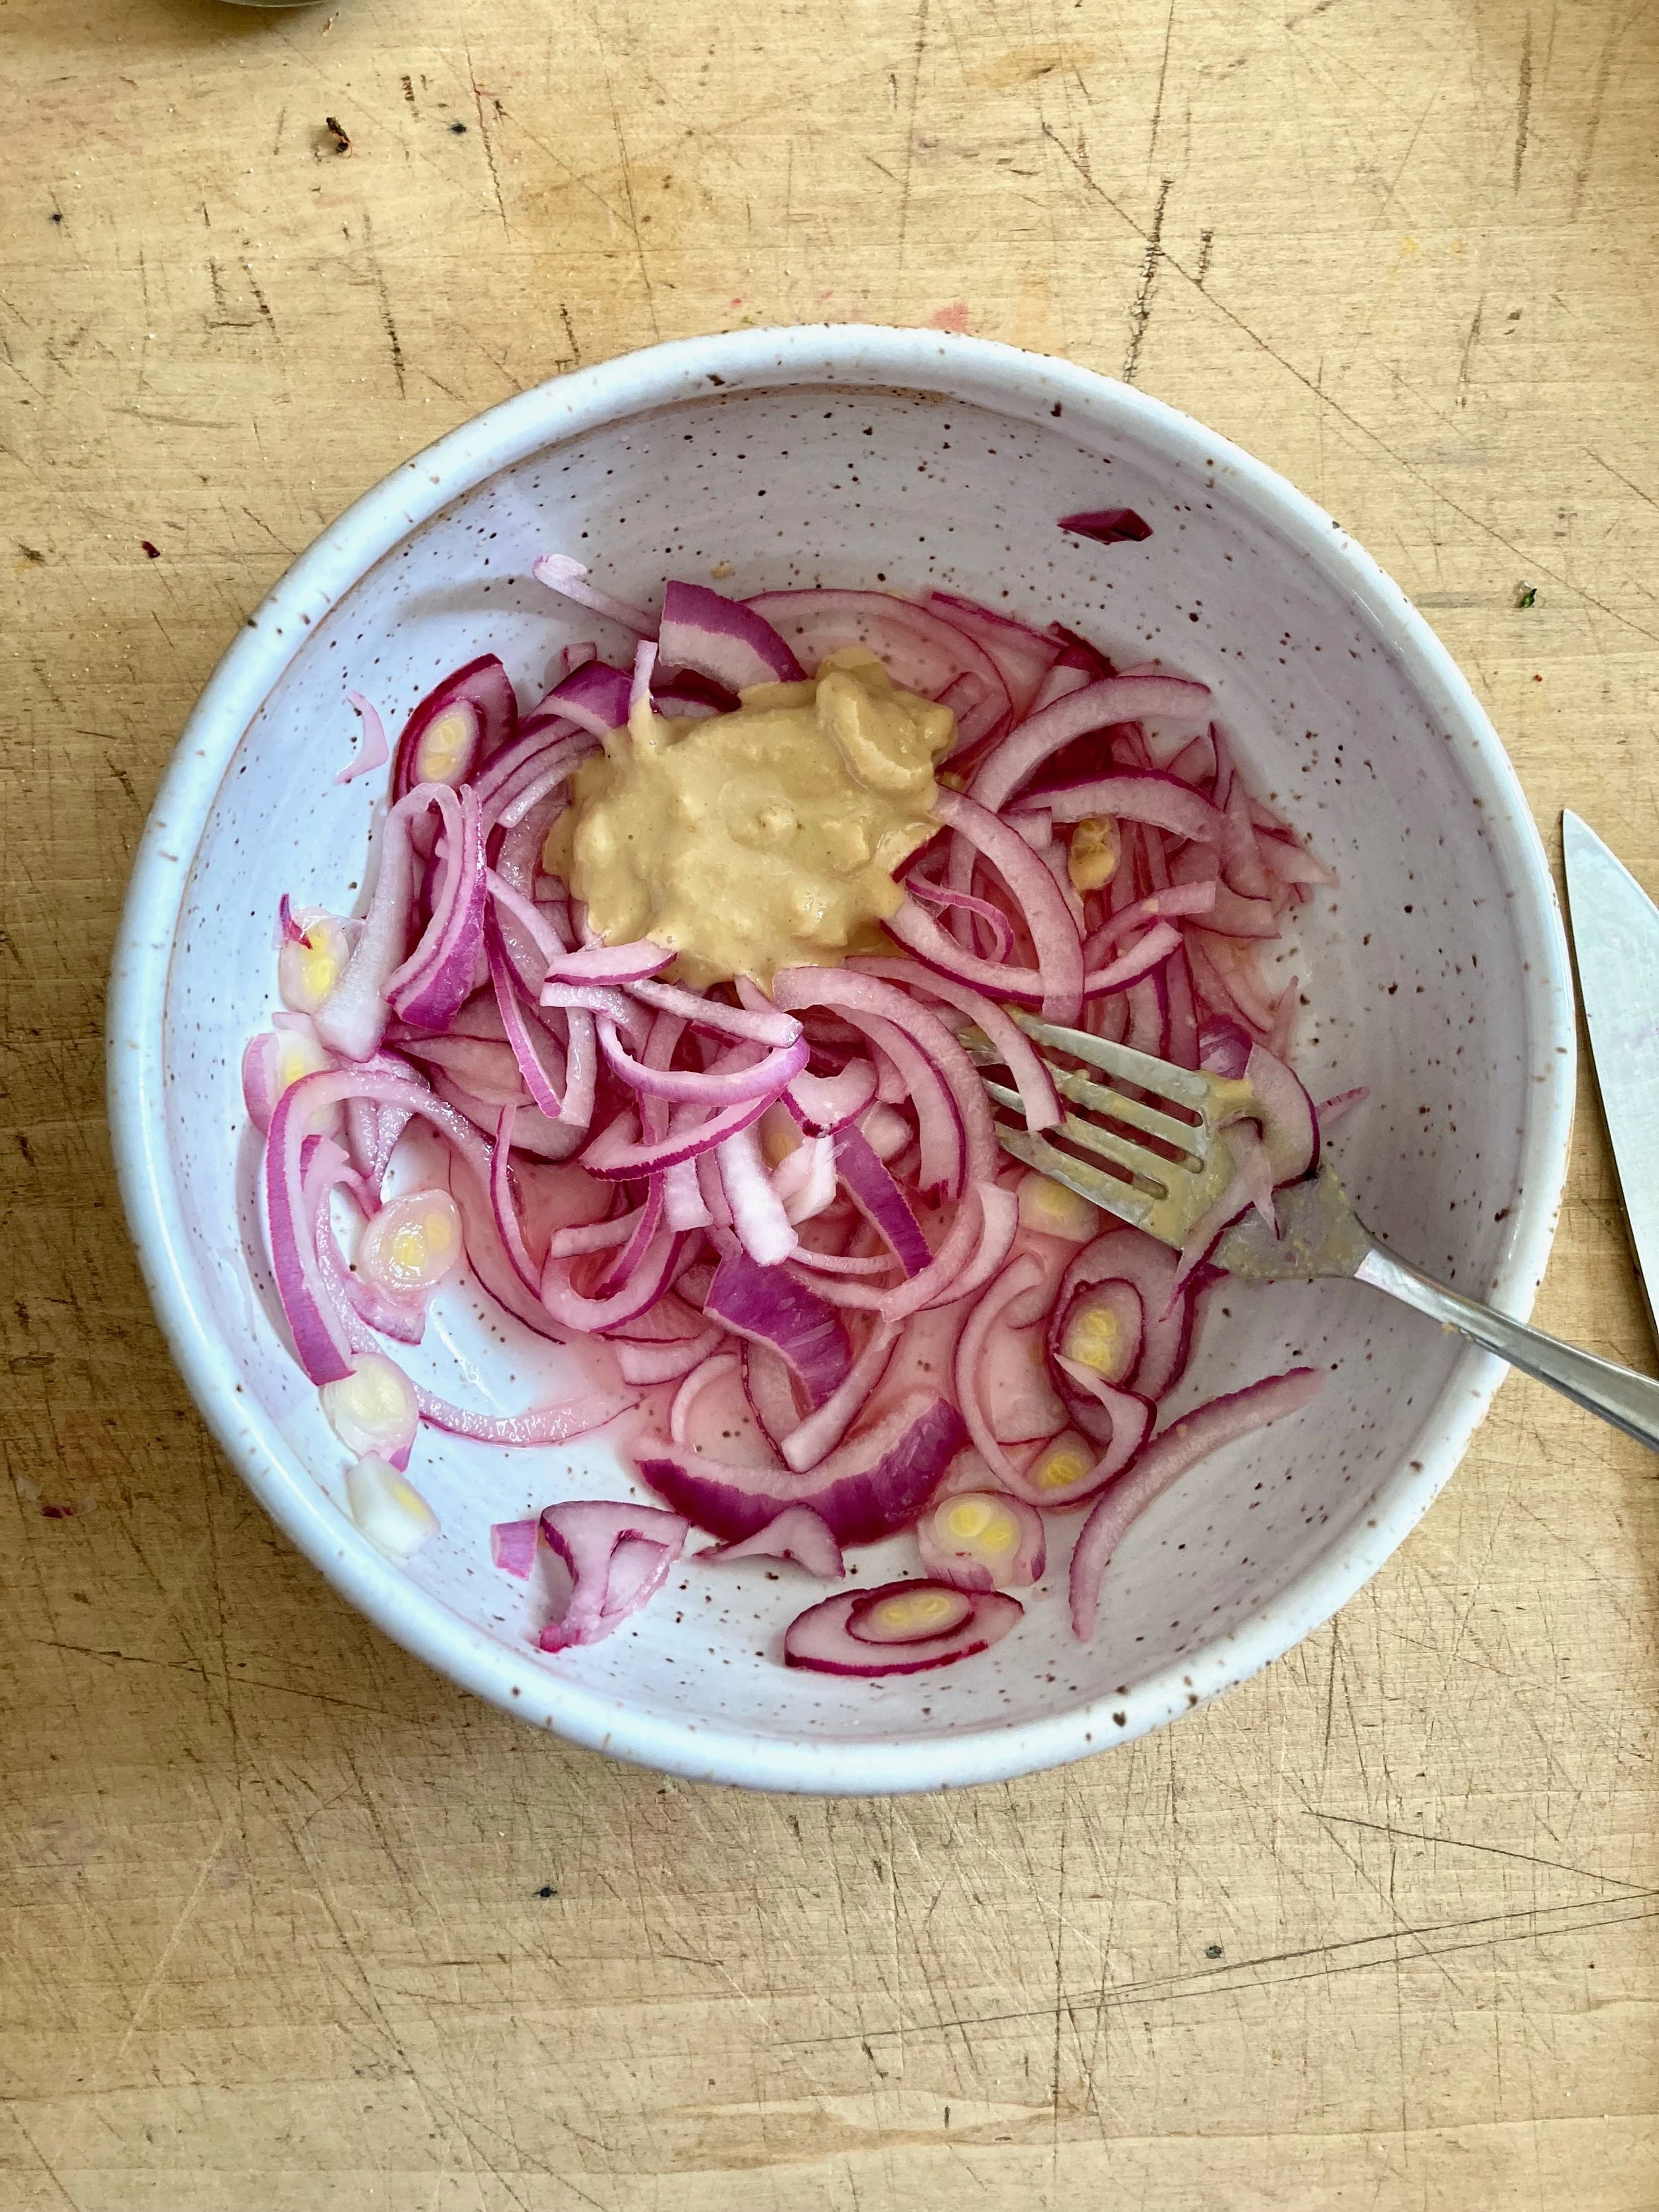
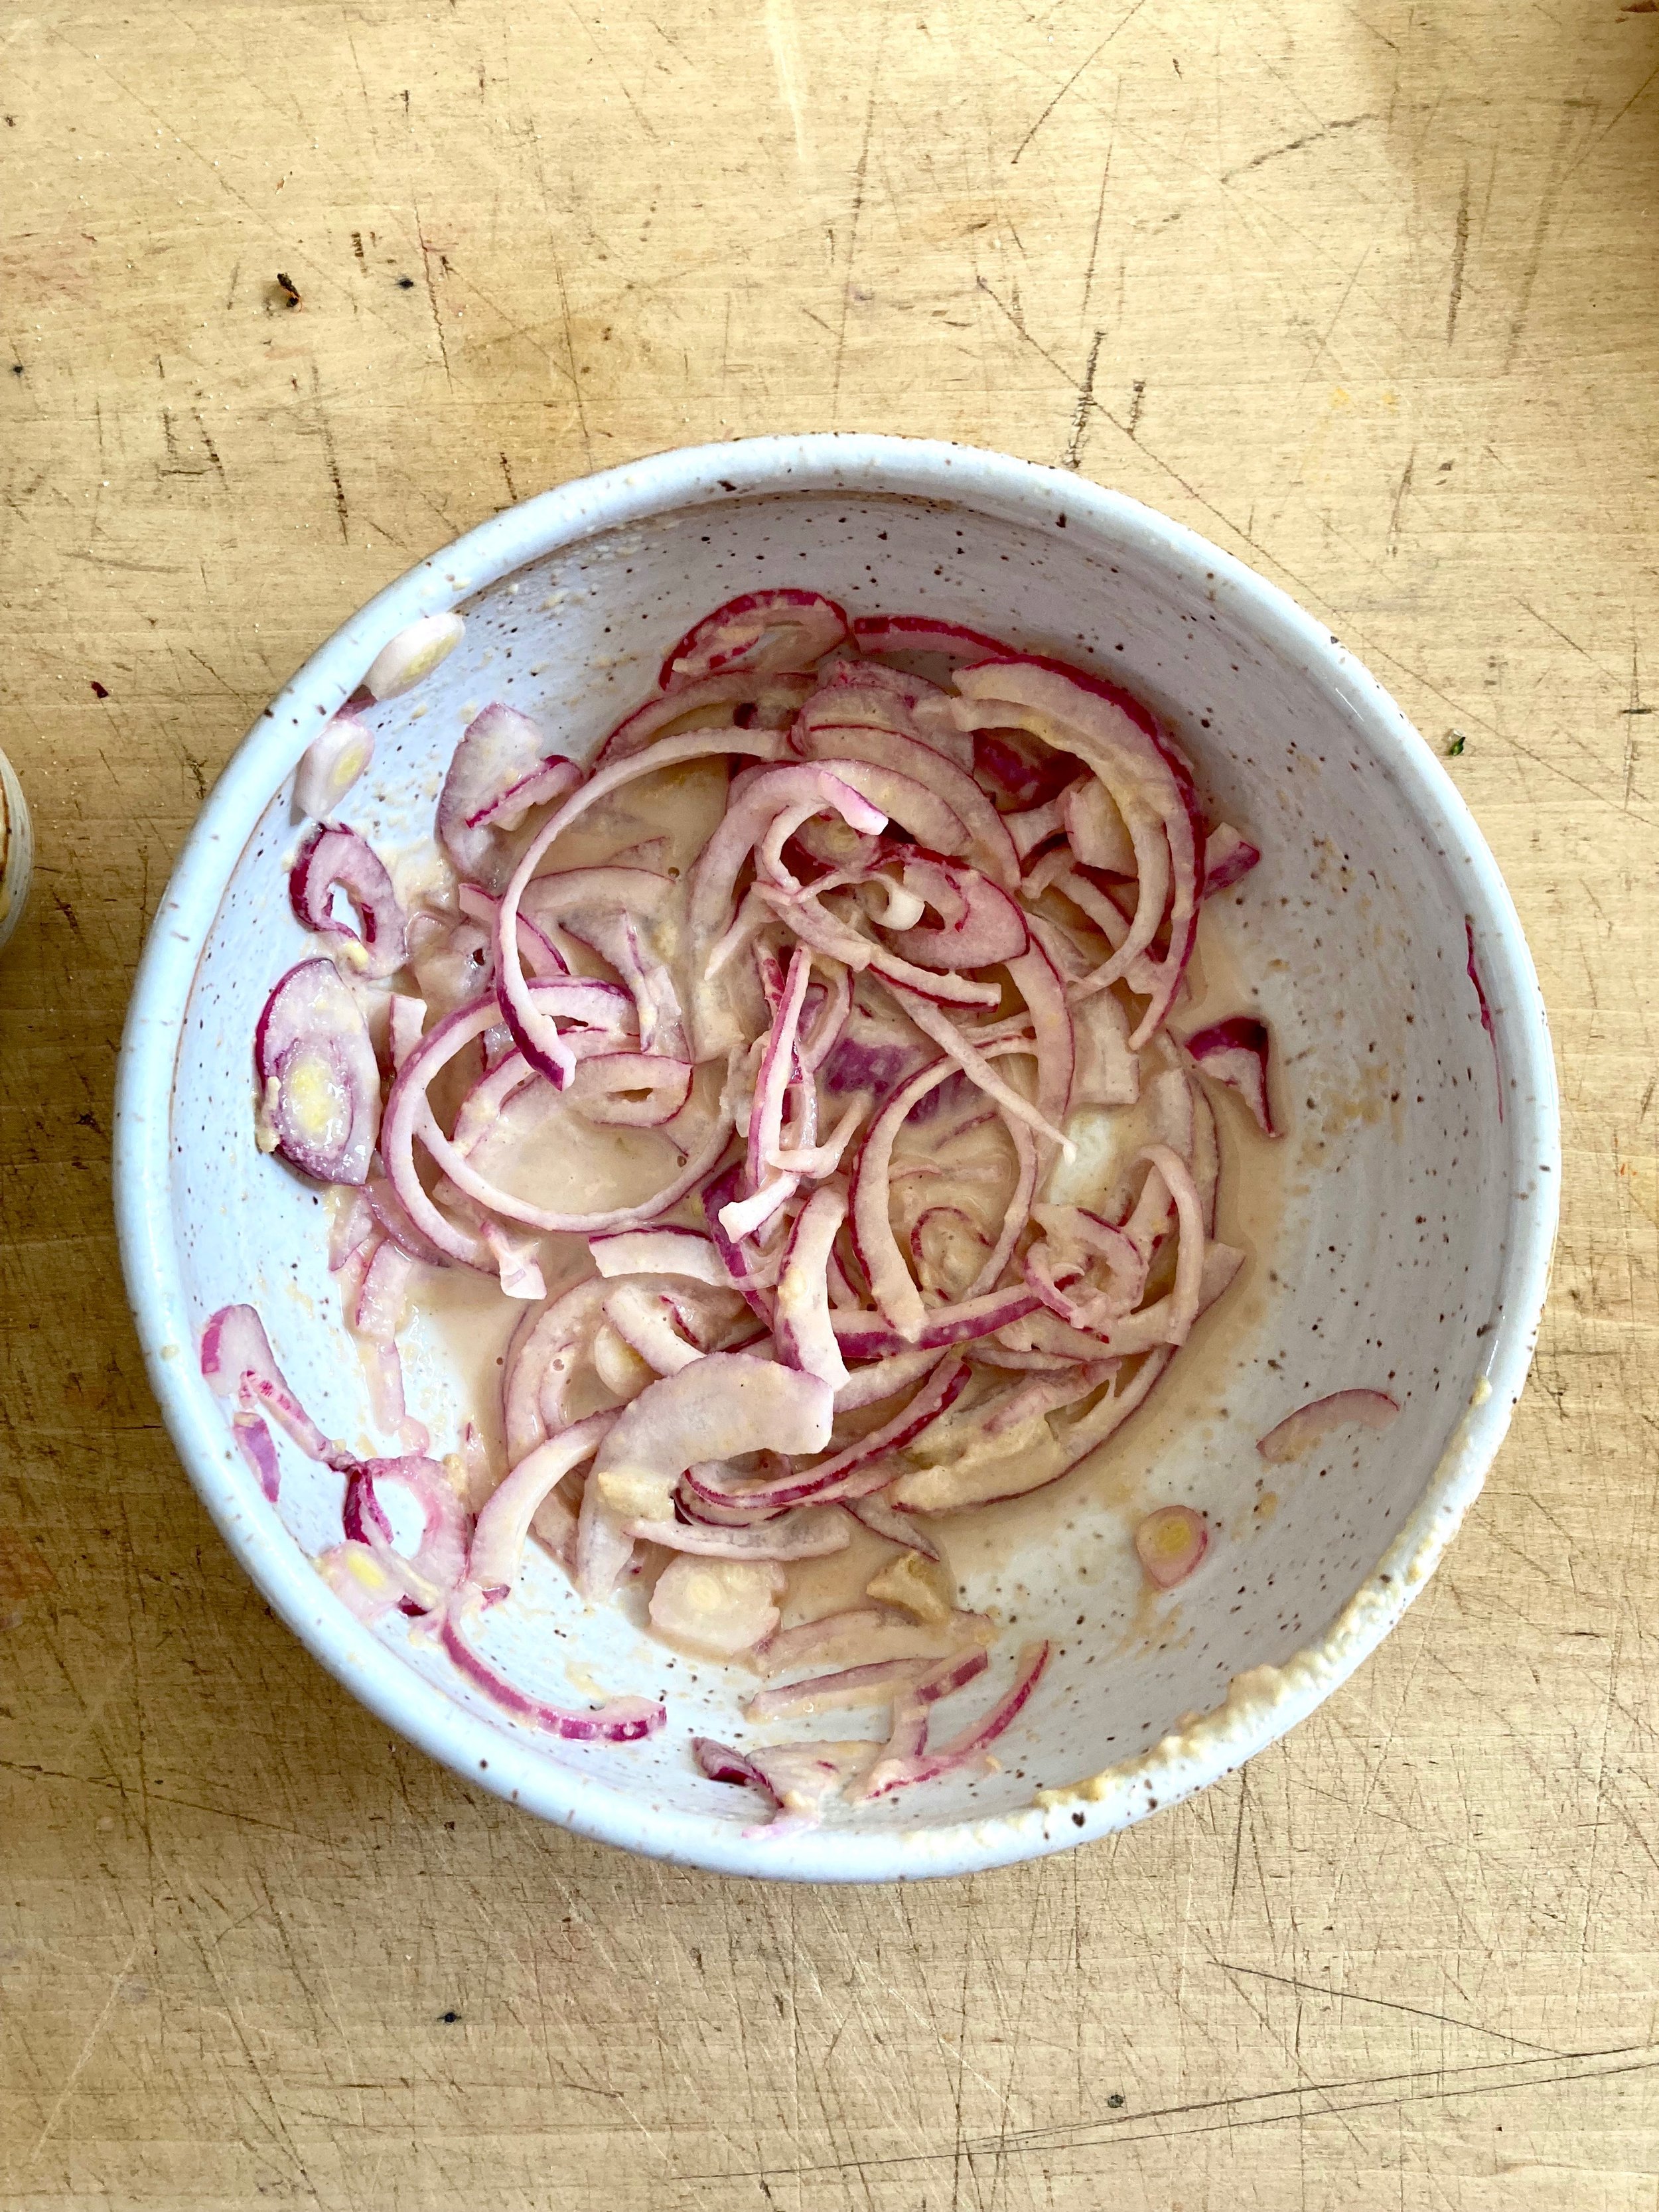
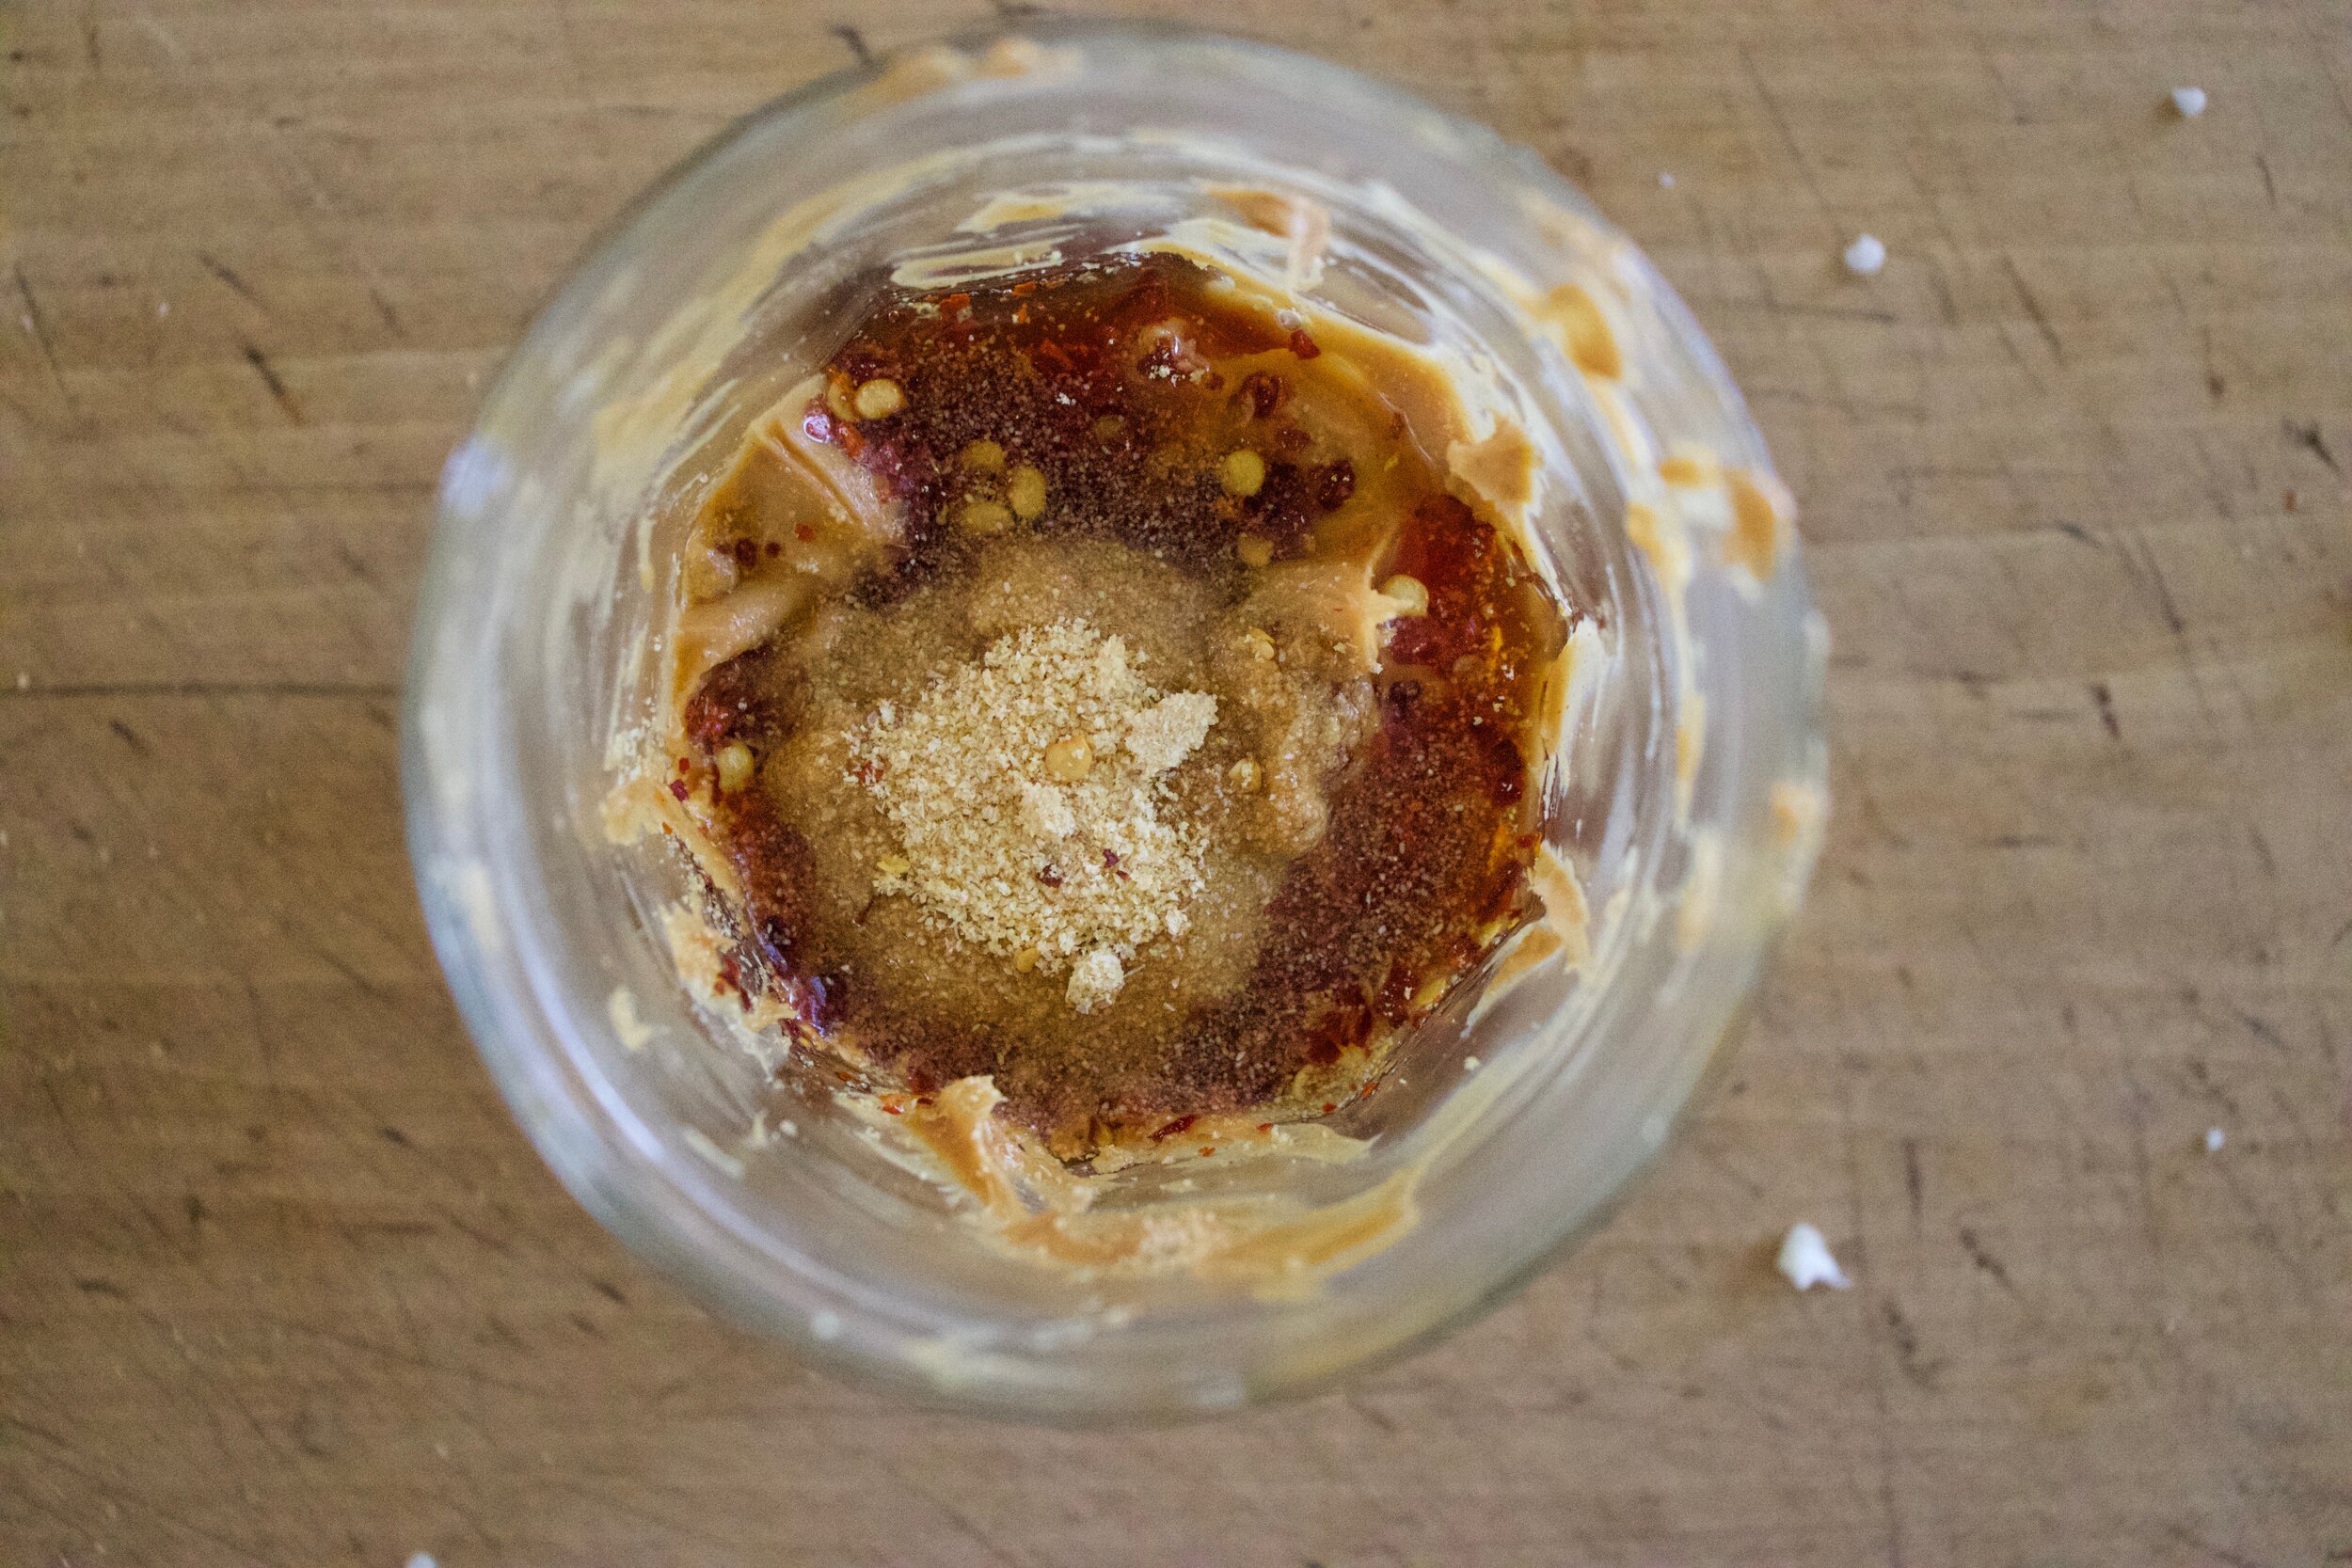
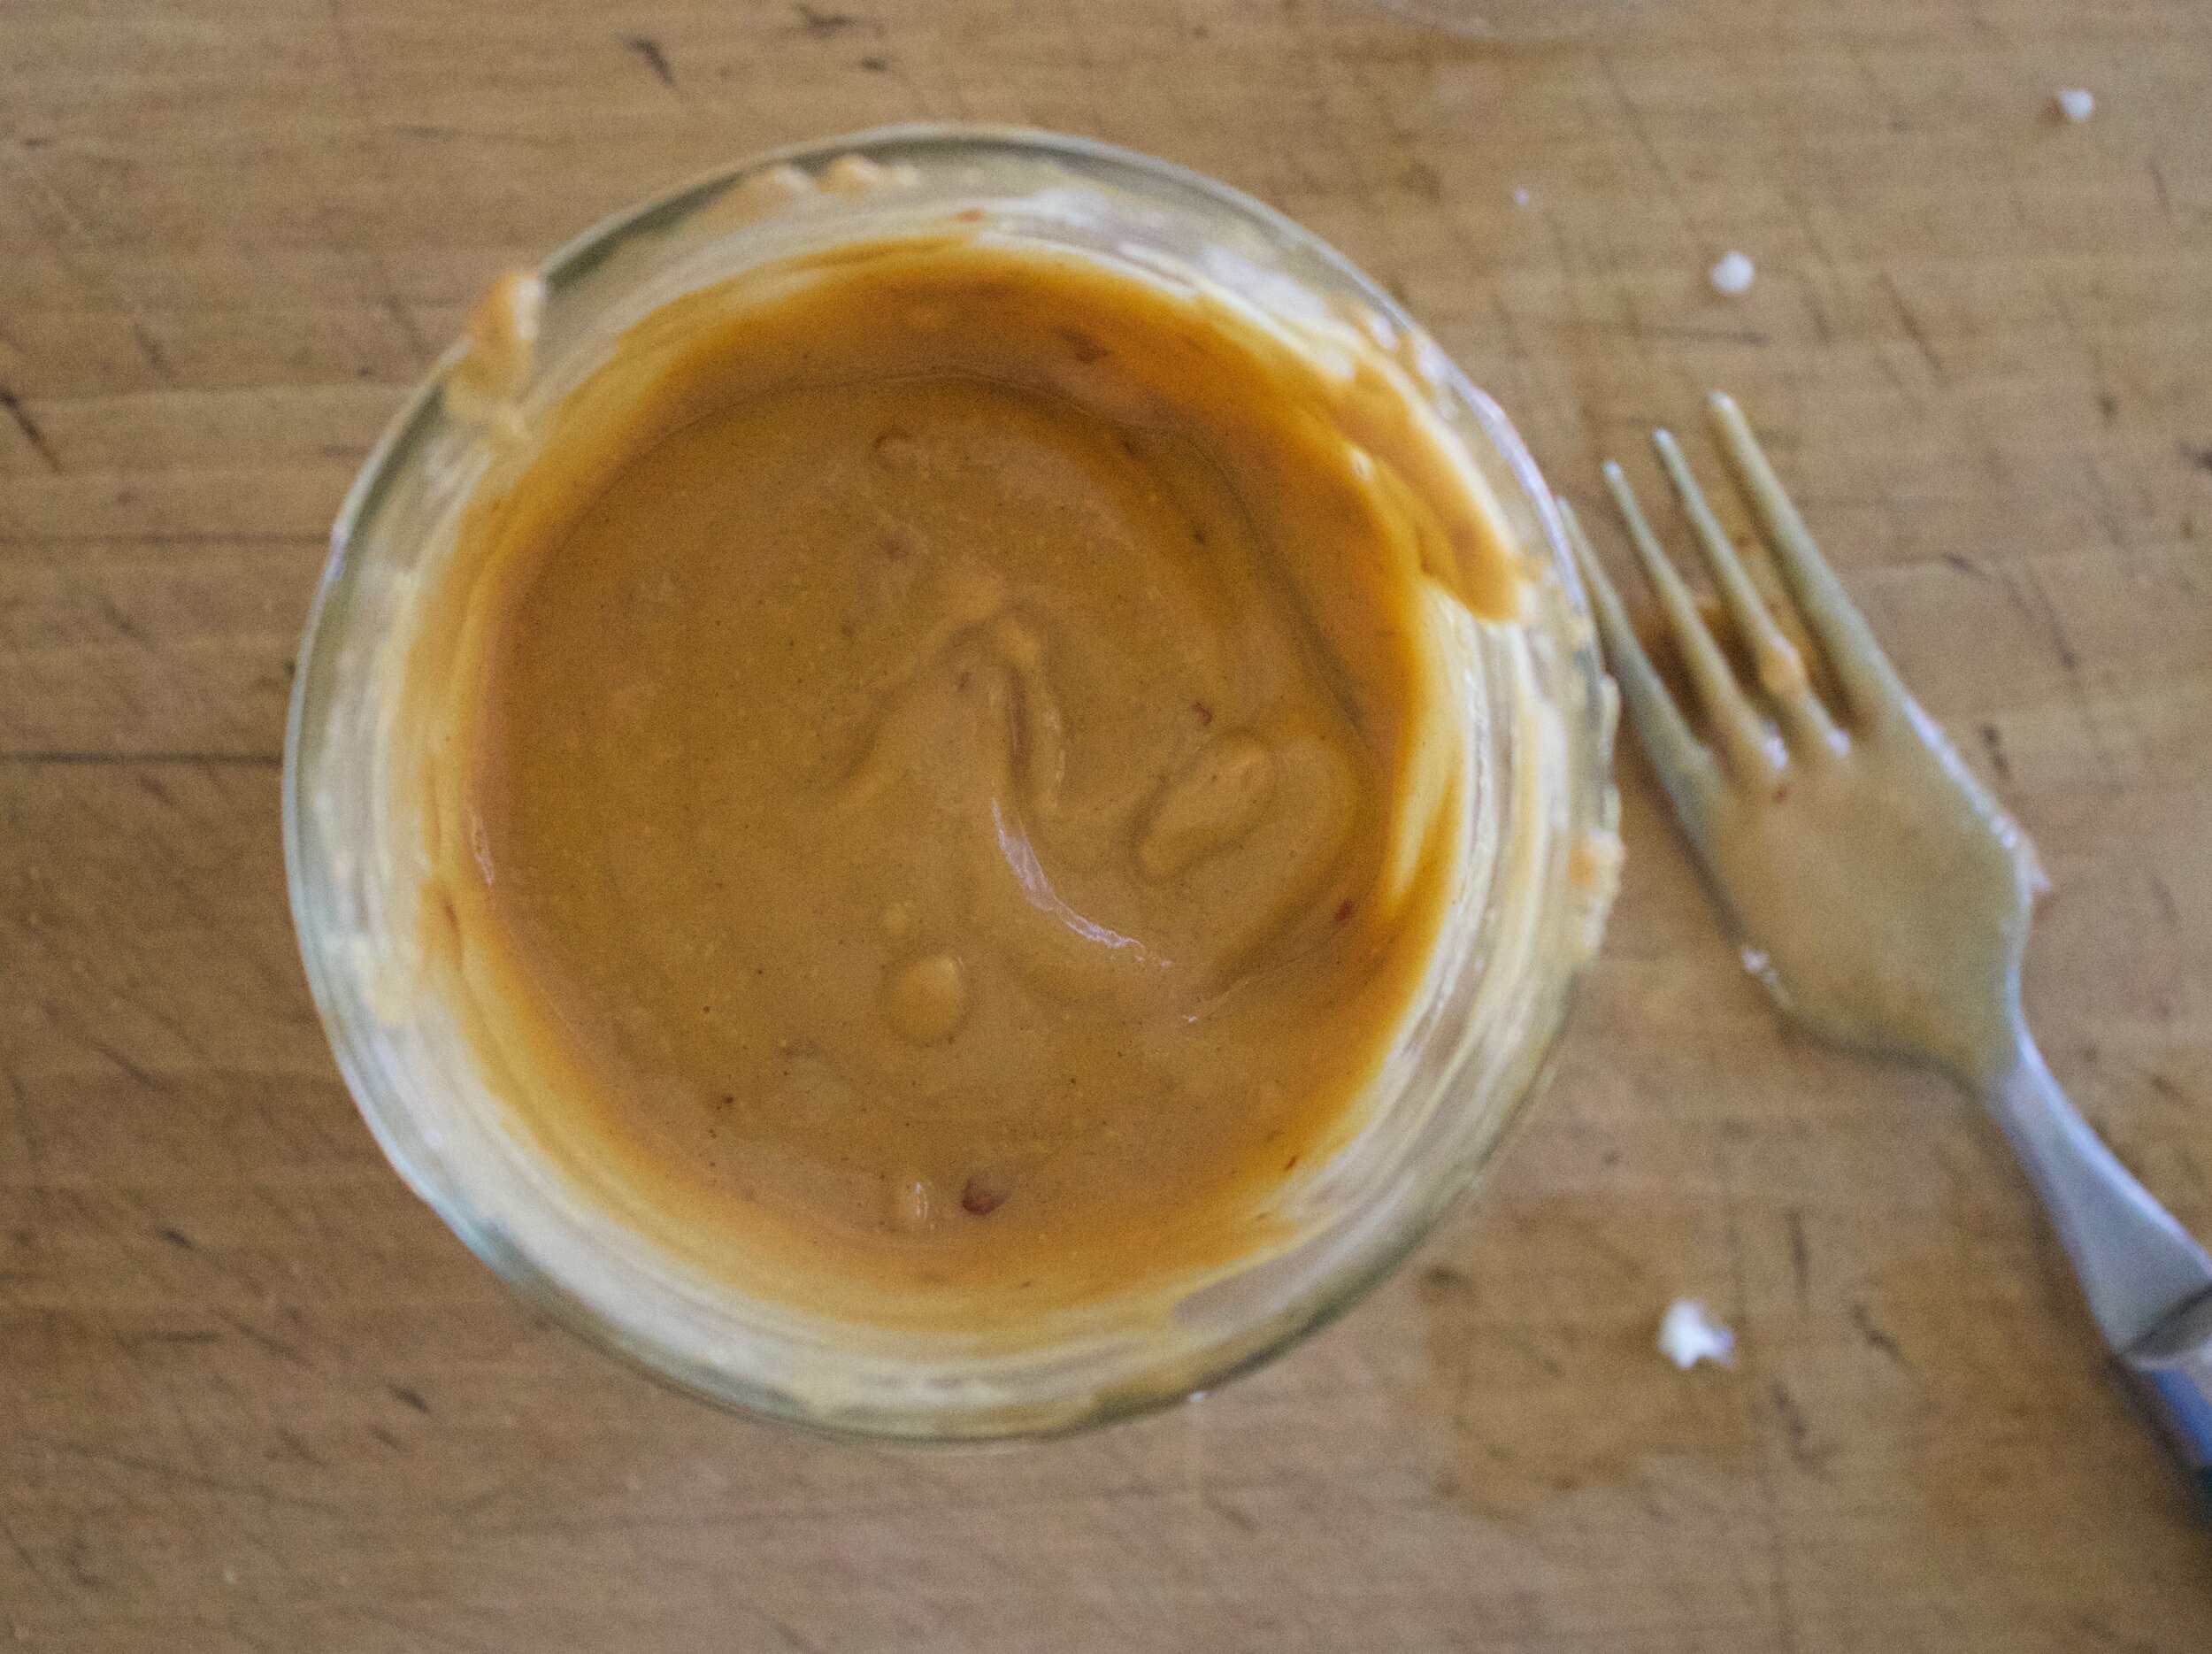
Place cut onion into a big bowl, add a sprinkle of salt, and add in the vinegar. Toss around and let sit for 5 minutes or so then add in the tahini and toss around until creamy.

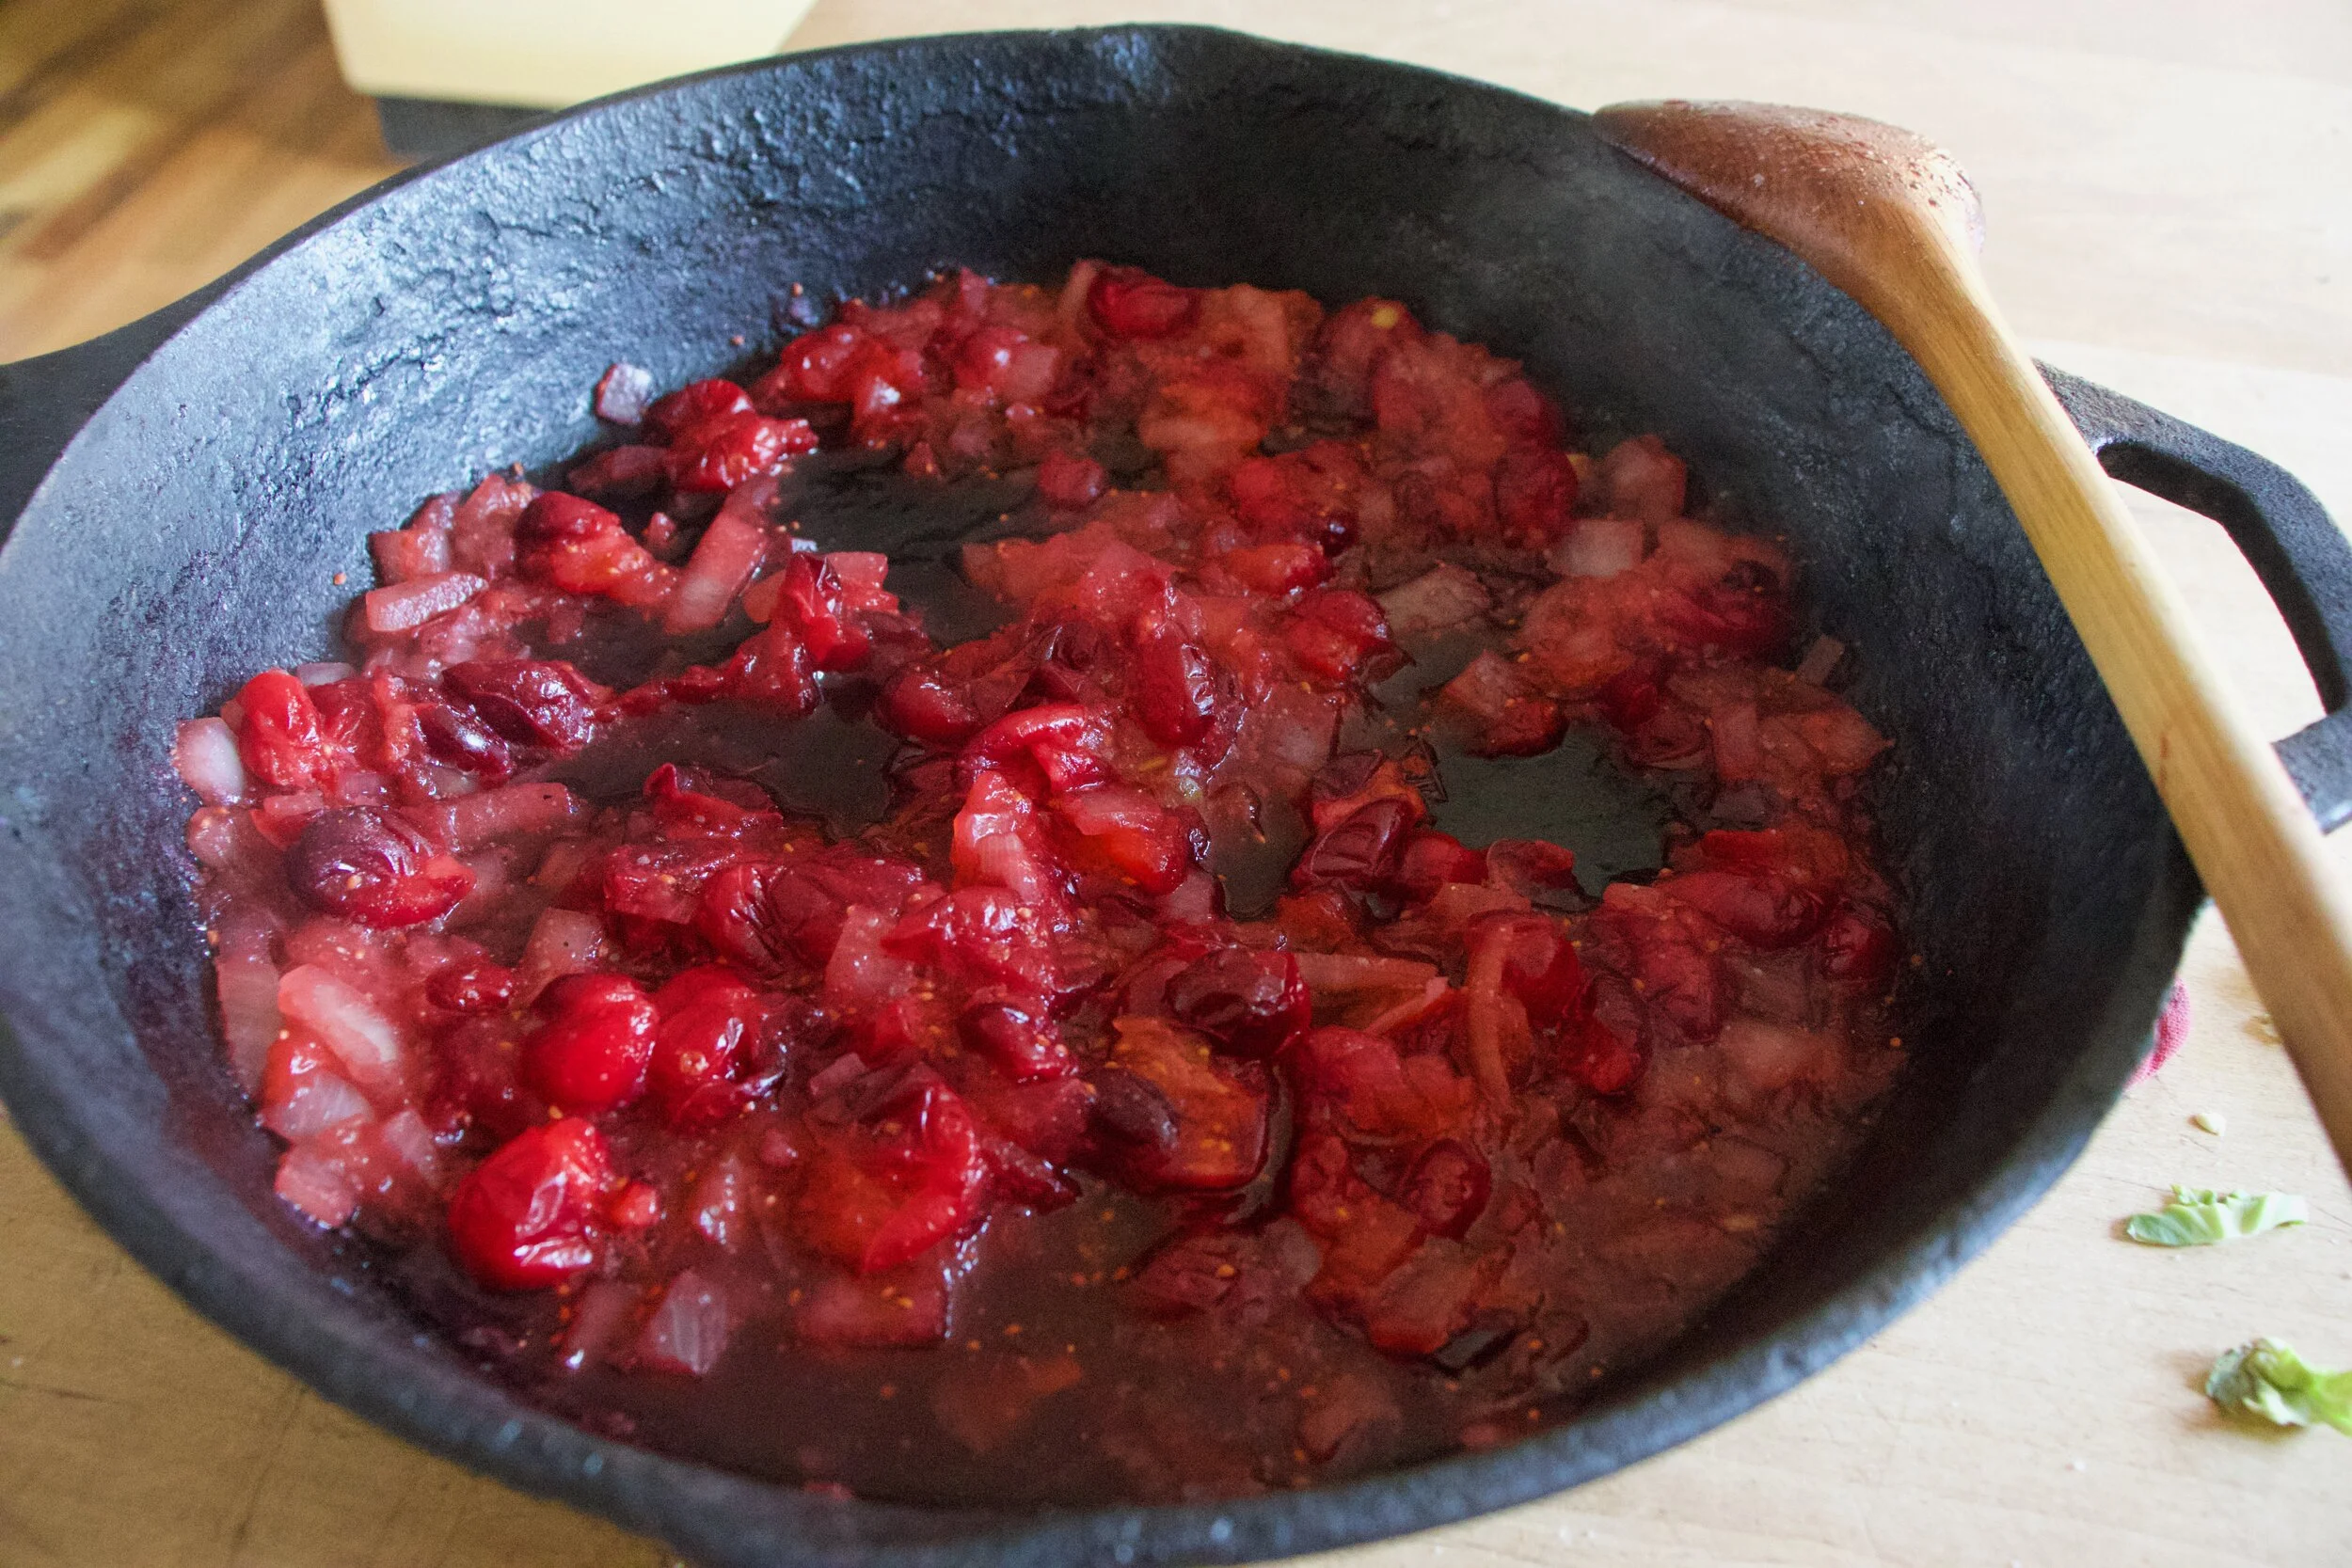
Slightly roasted radishes. You can roast them more but I find a good 20 minutes so they are slightly tender and haven’t lost have much color to e the best.

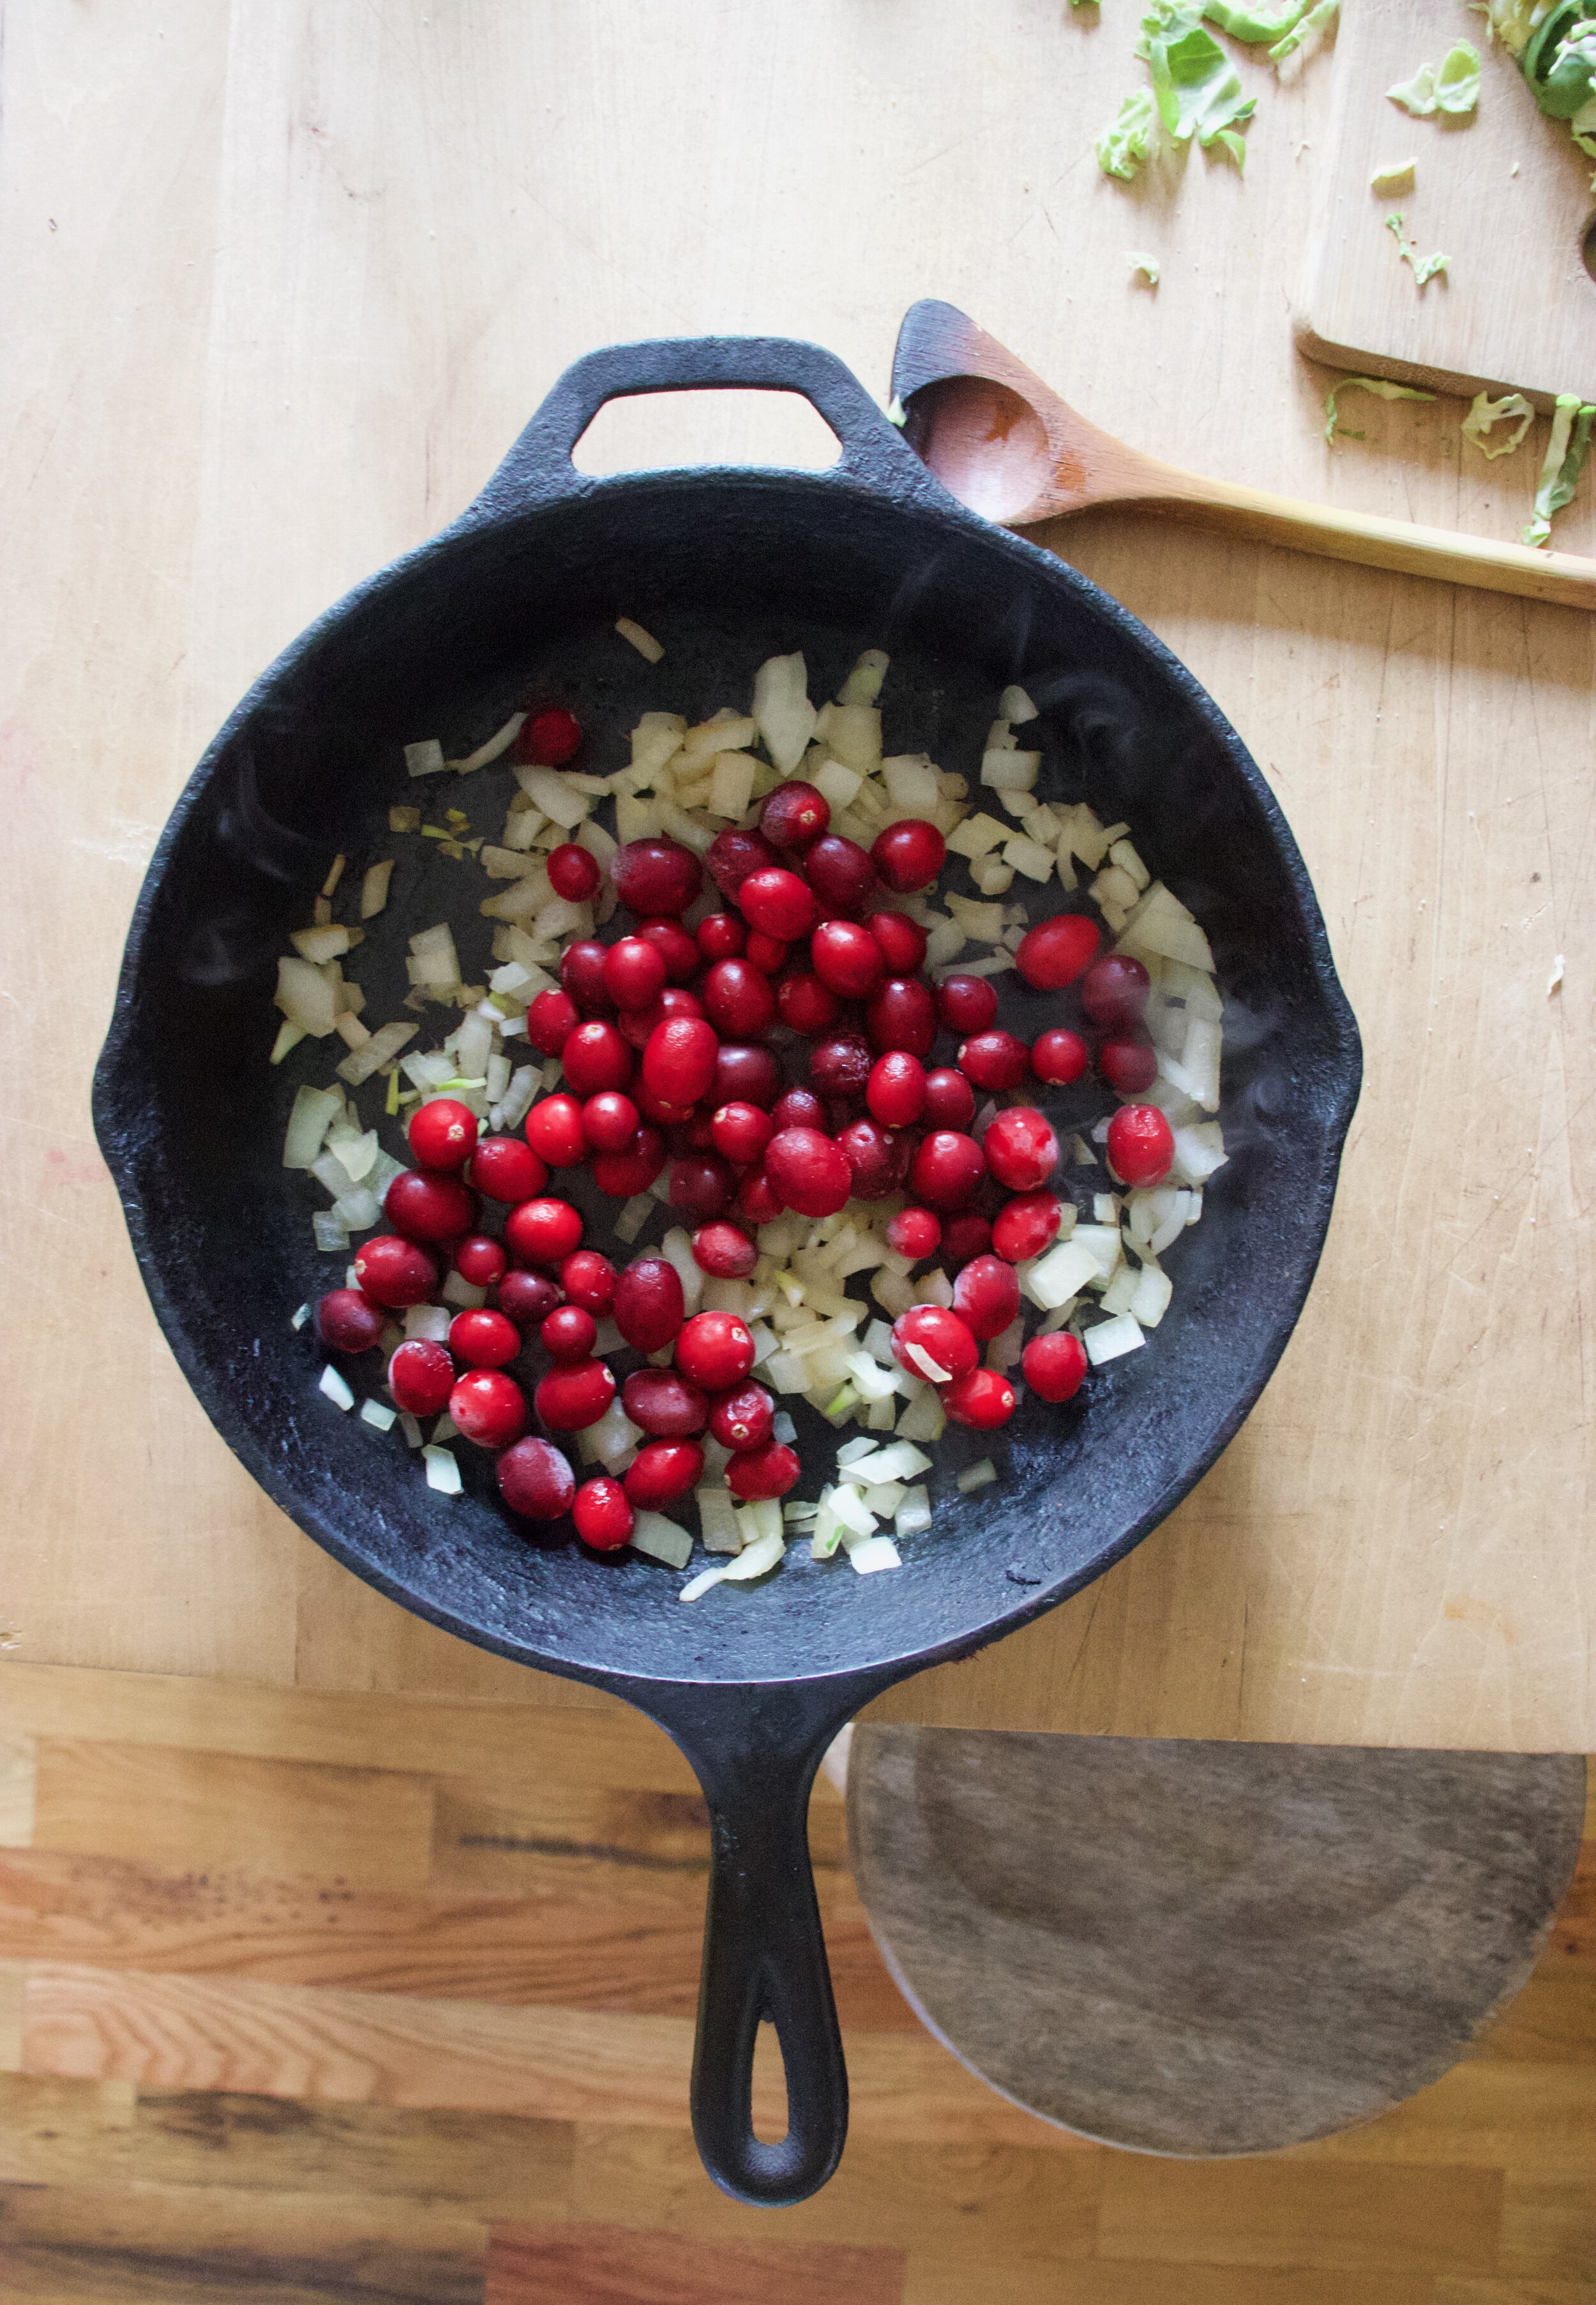
Toss the peas onto the hot sheet pan with the radishes and let them sit for a fe minutes just slightly warm up.

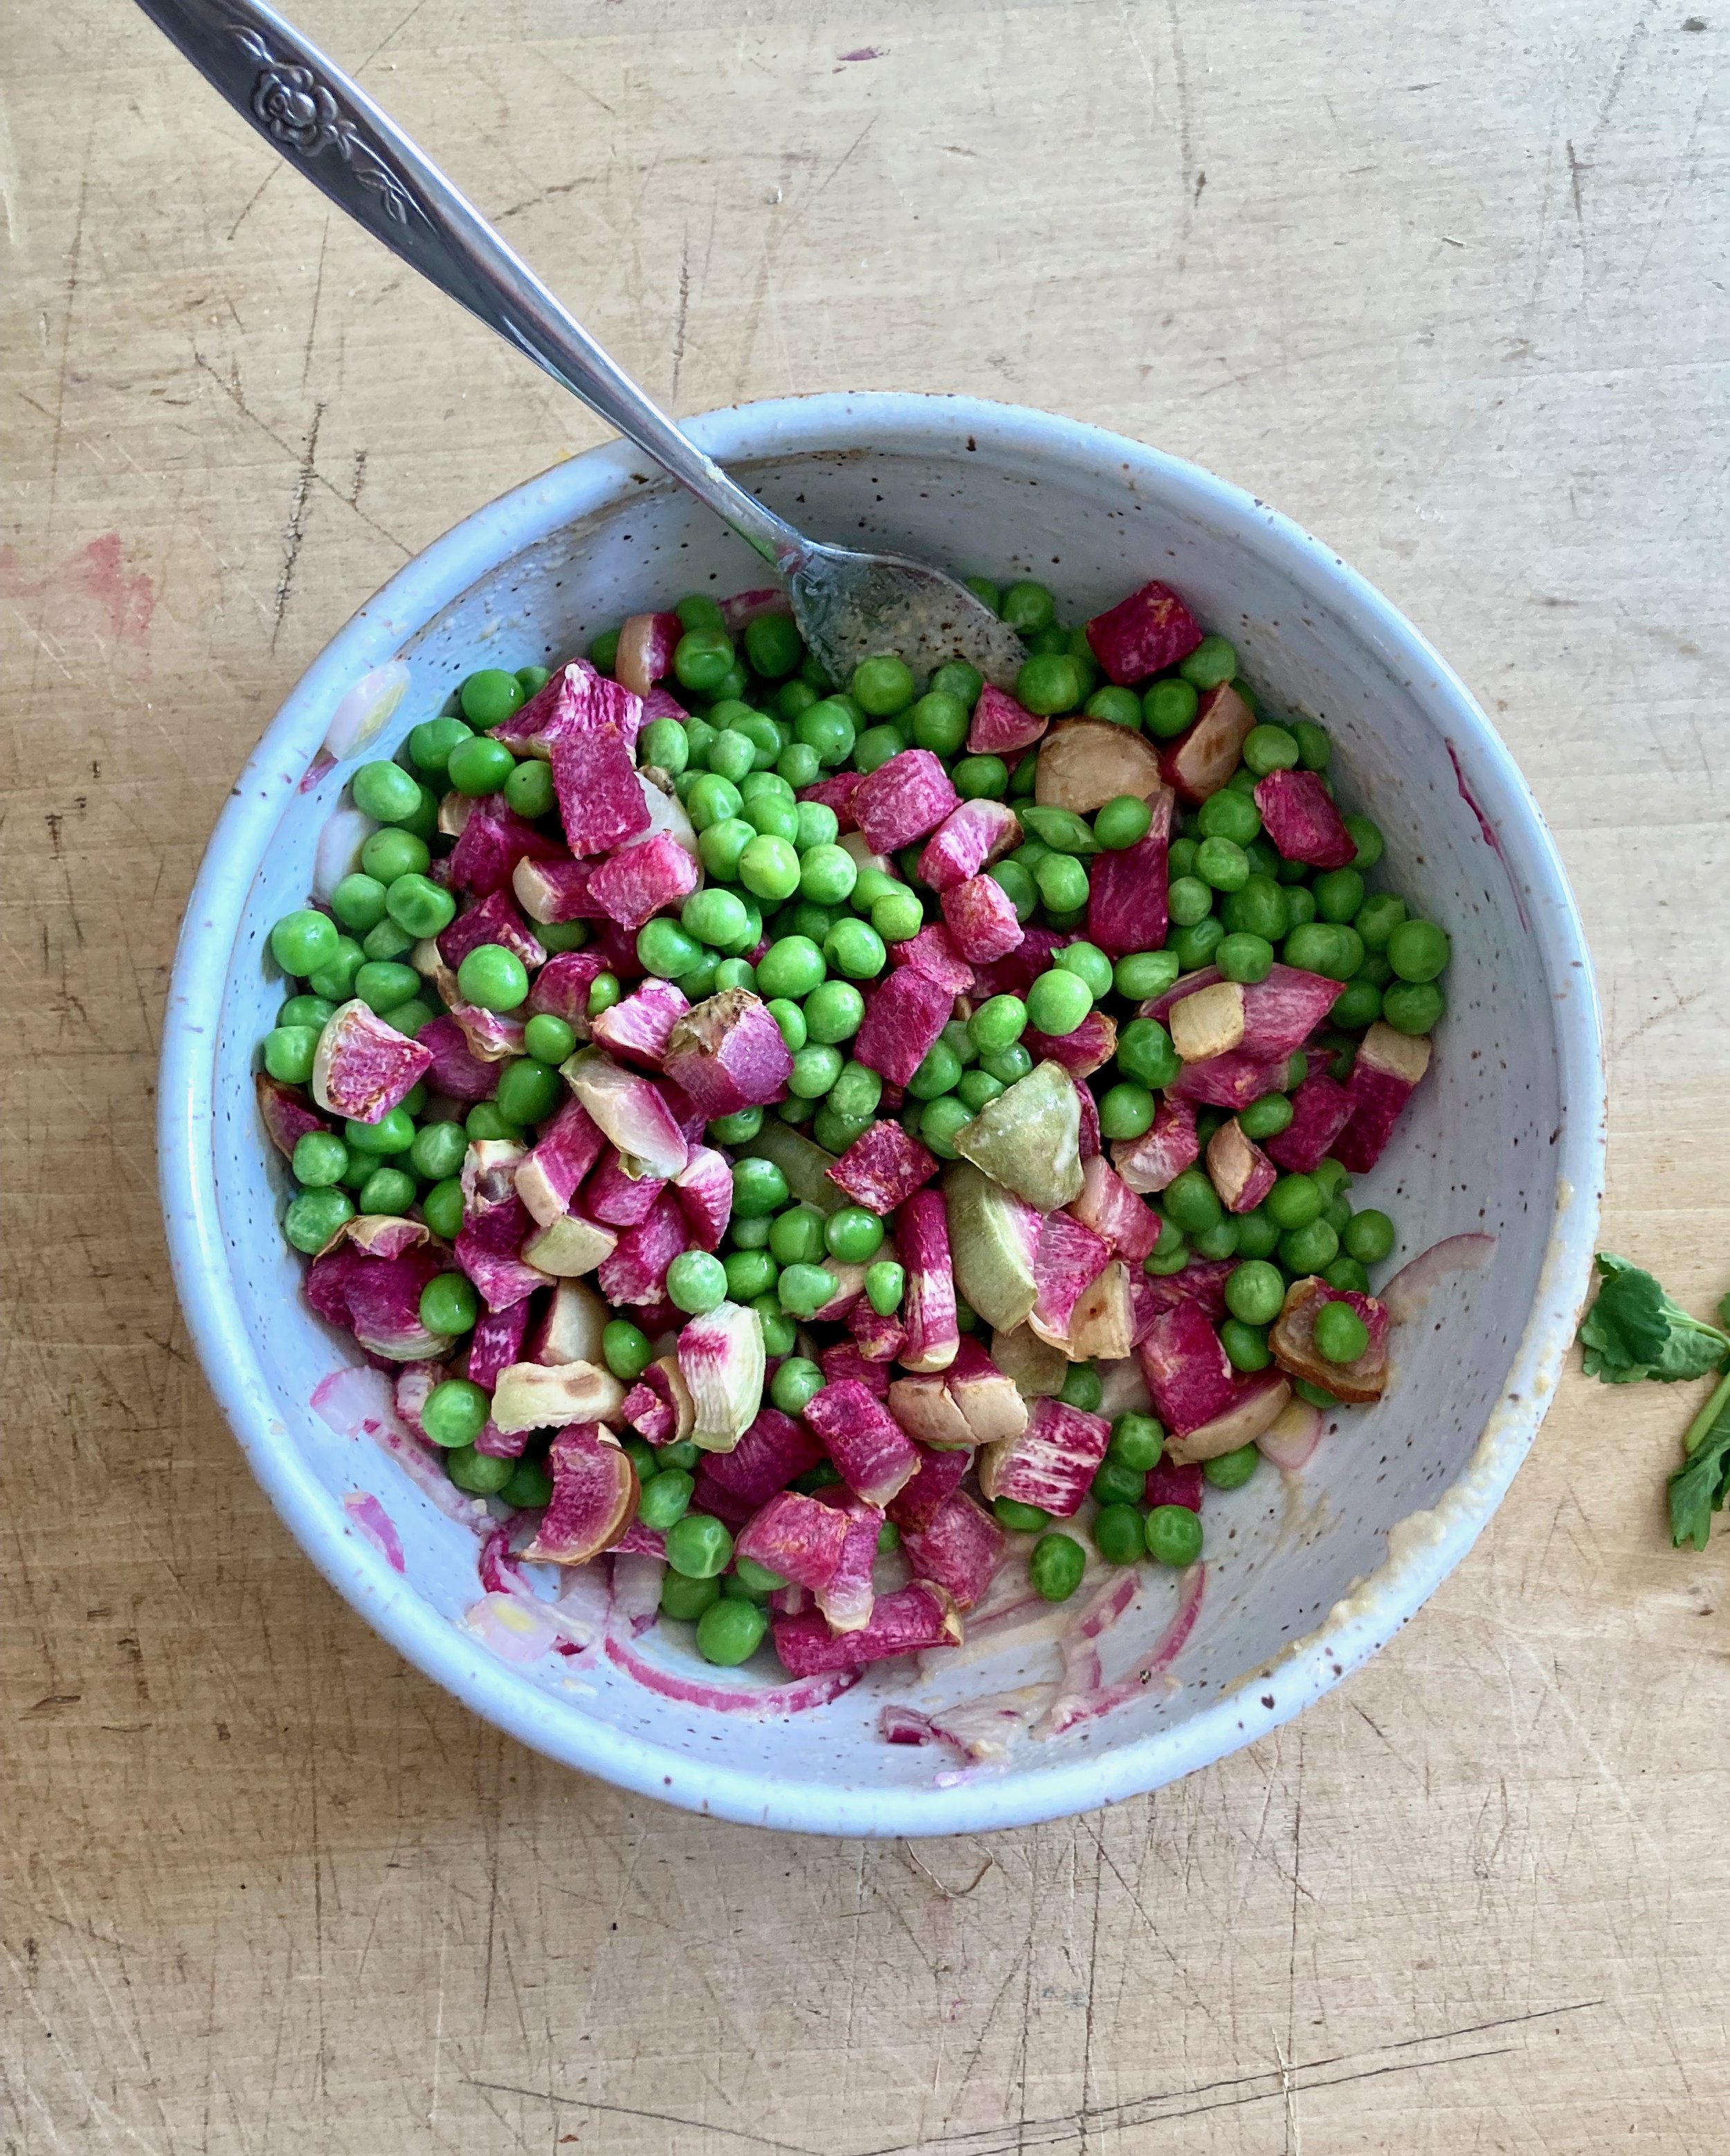
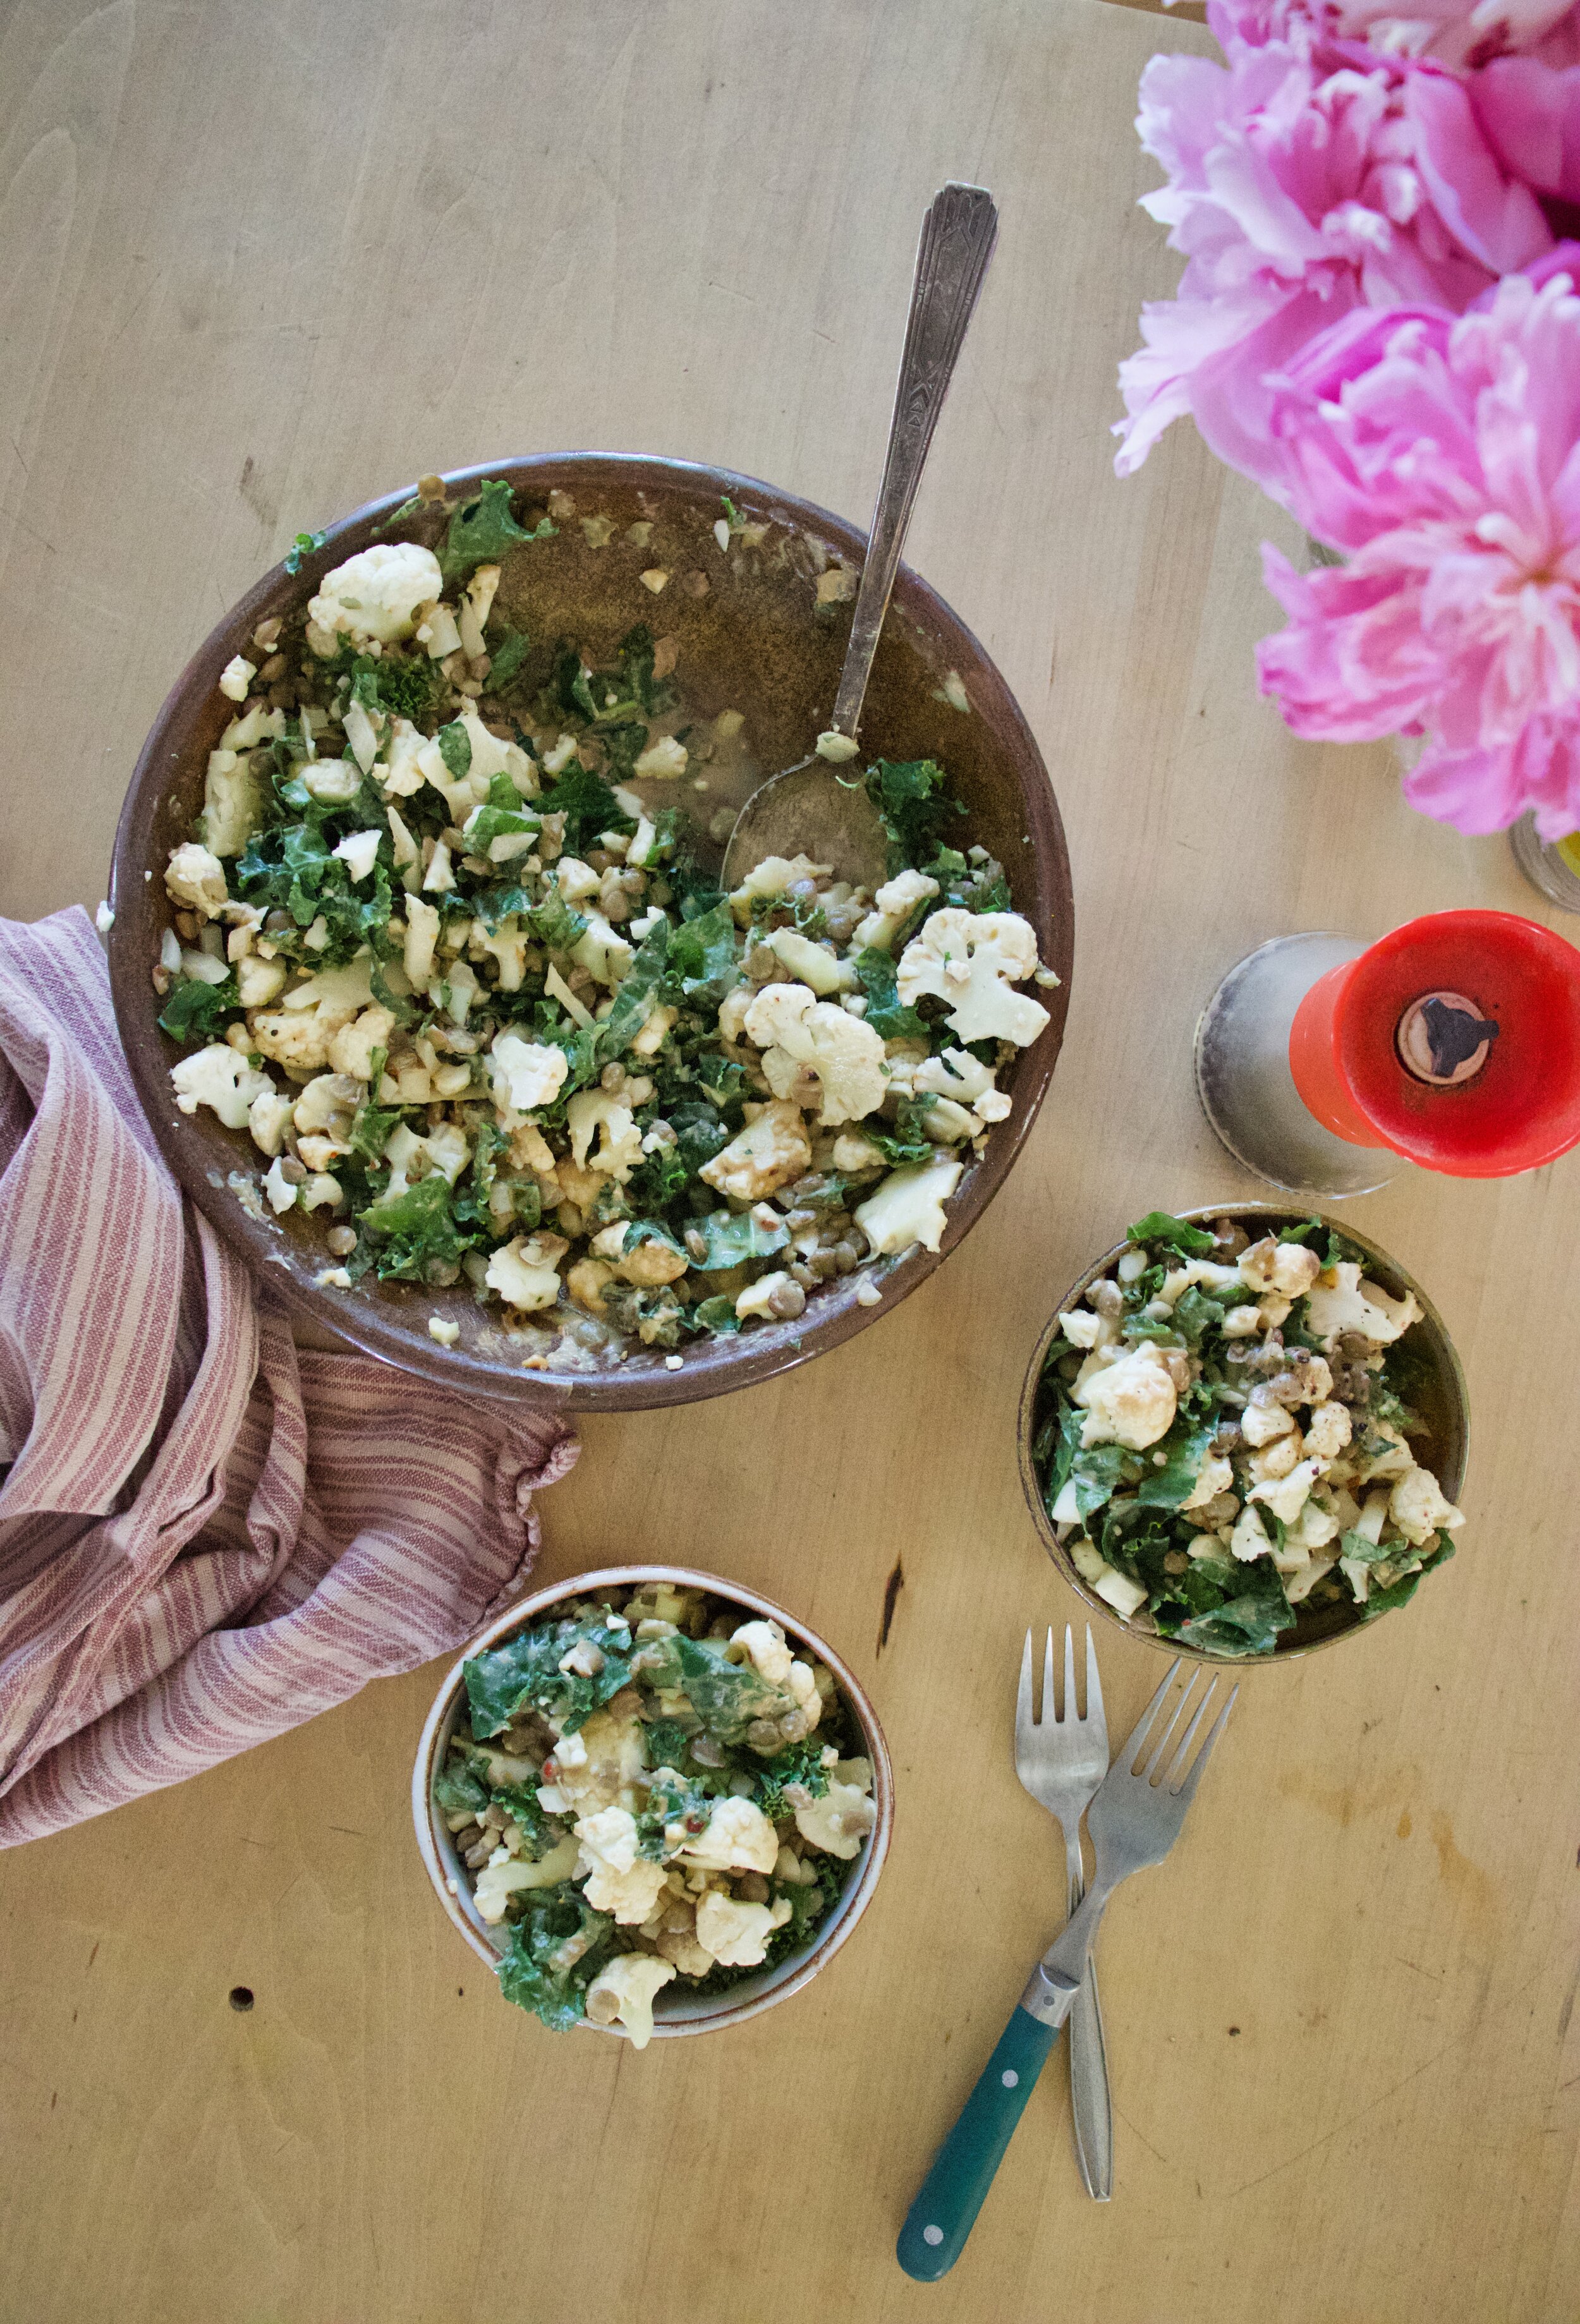
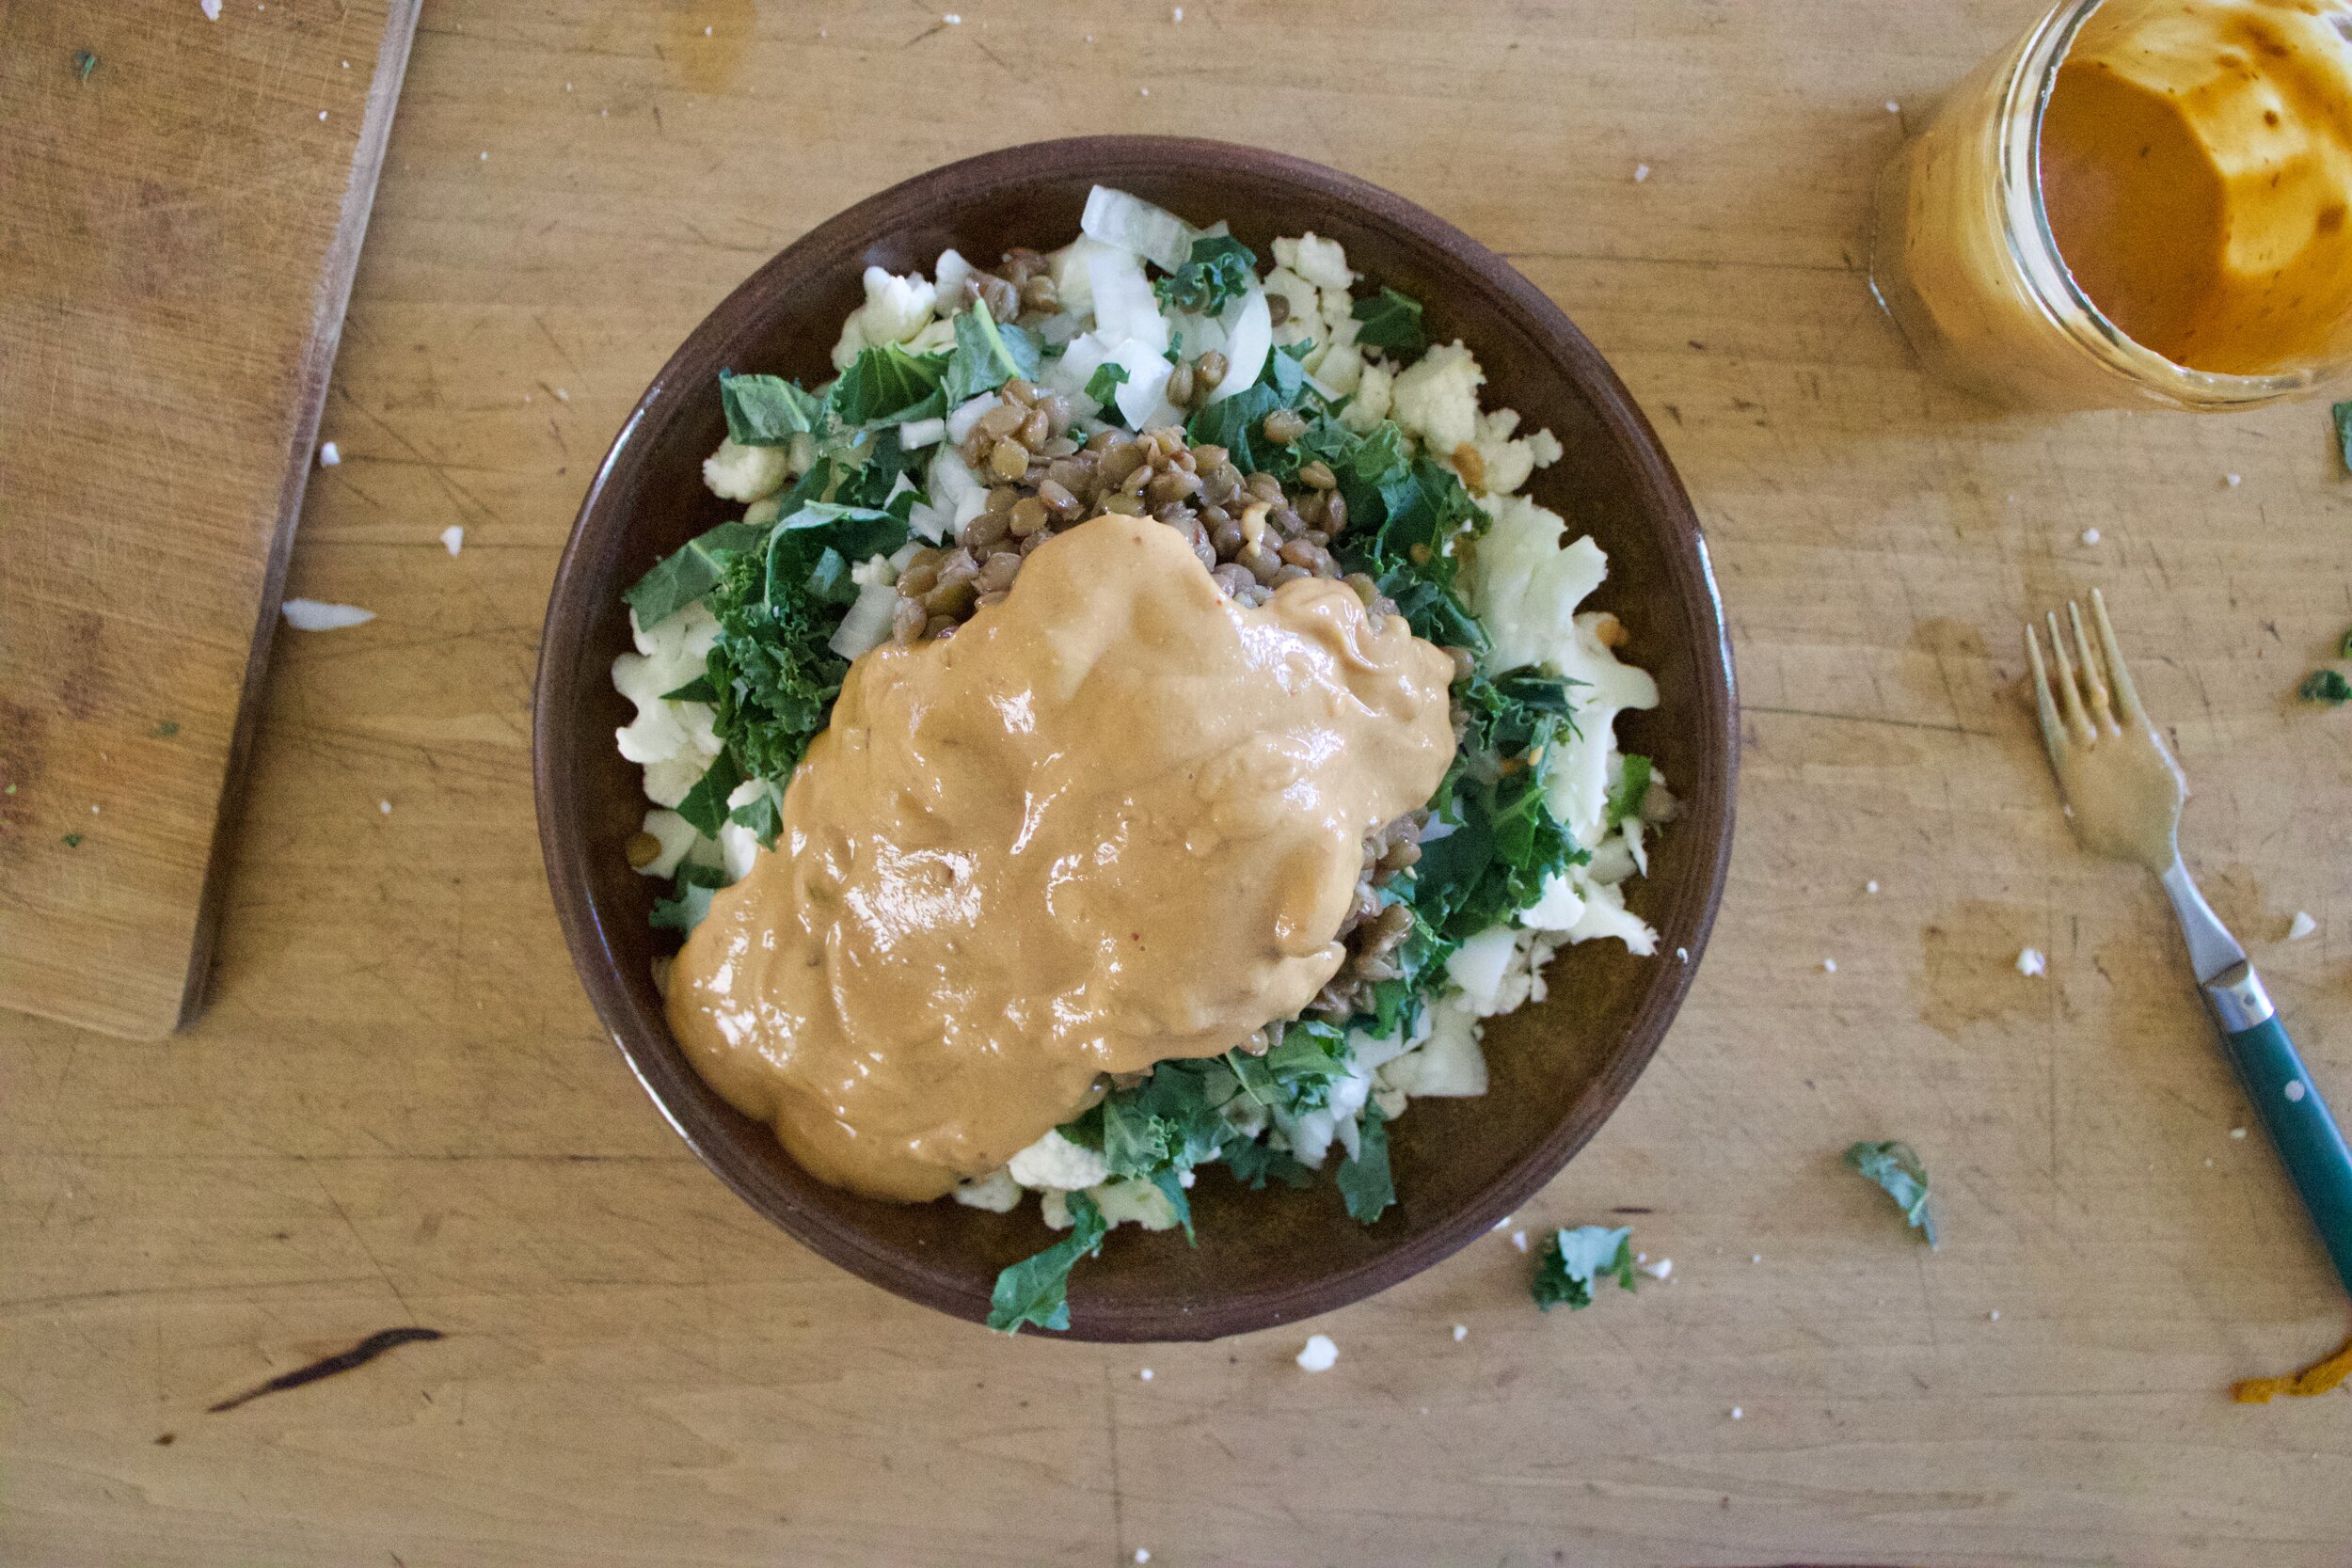
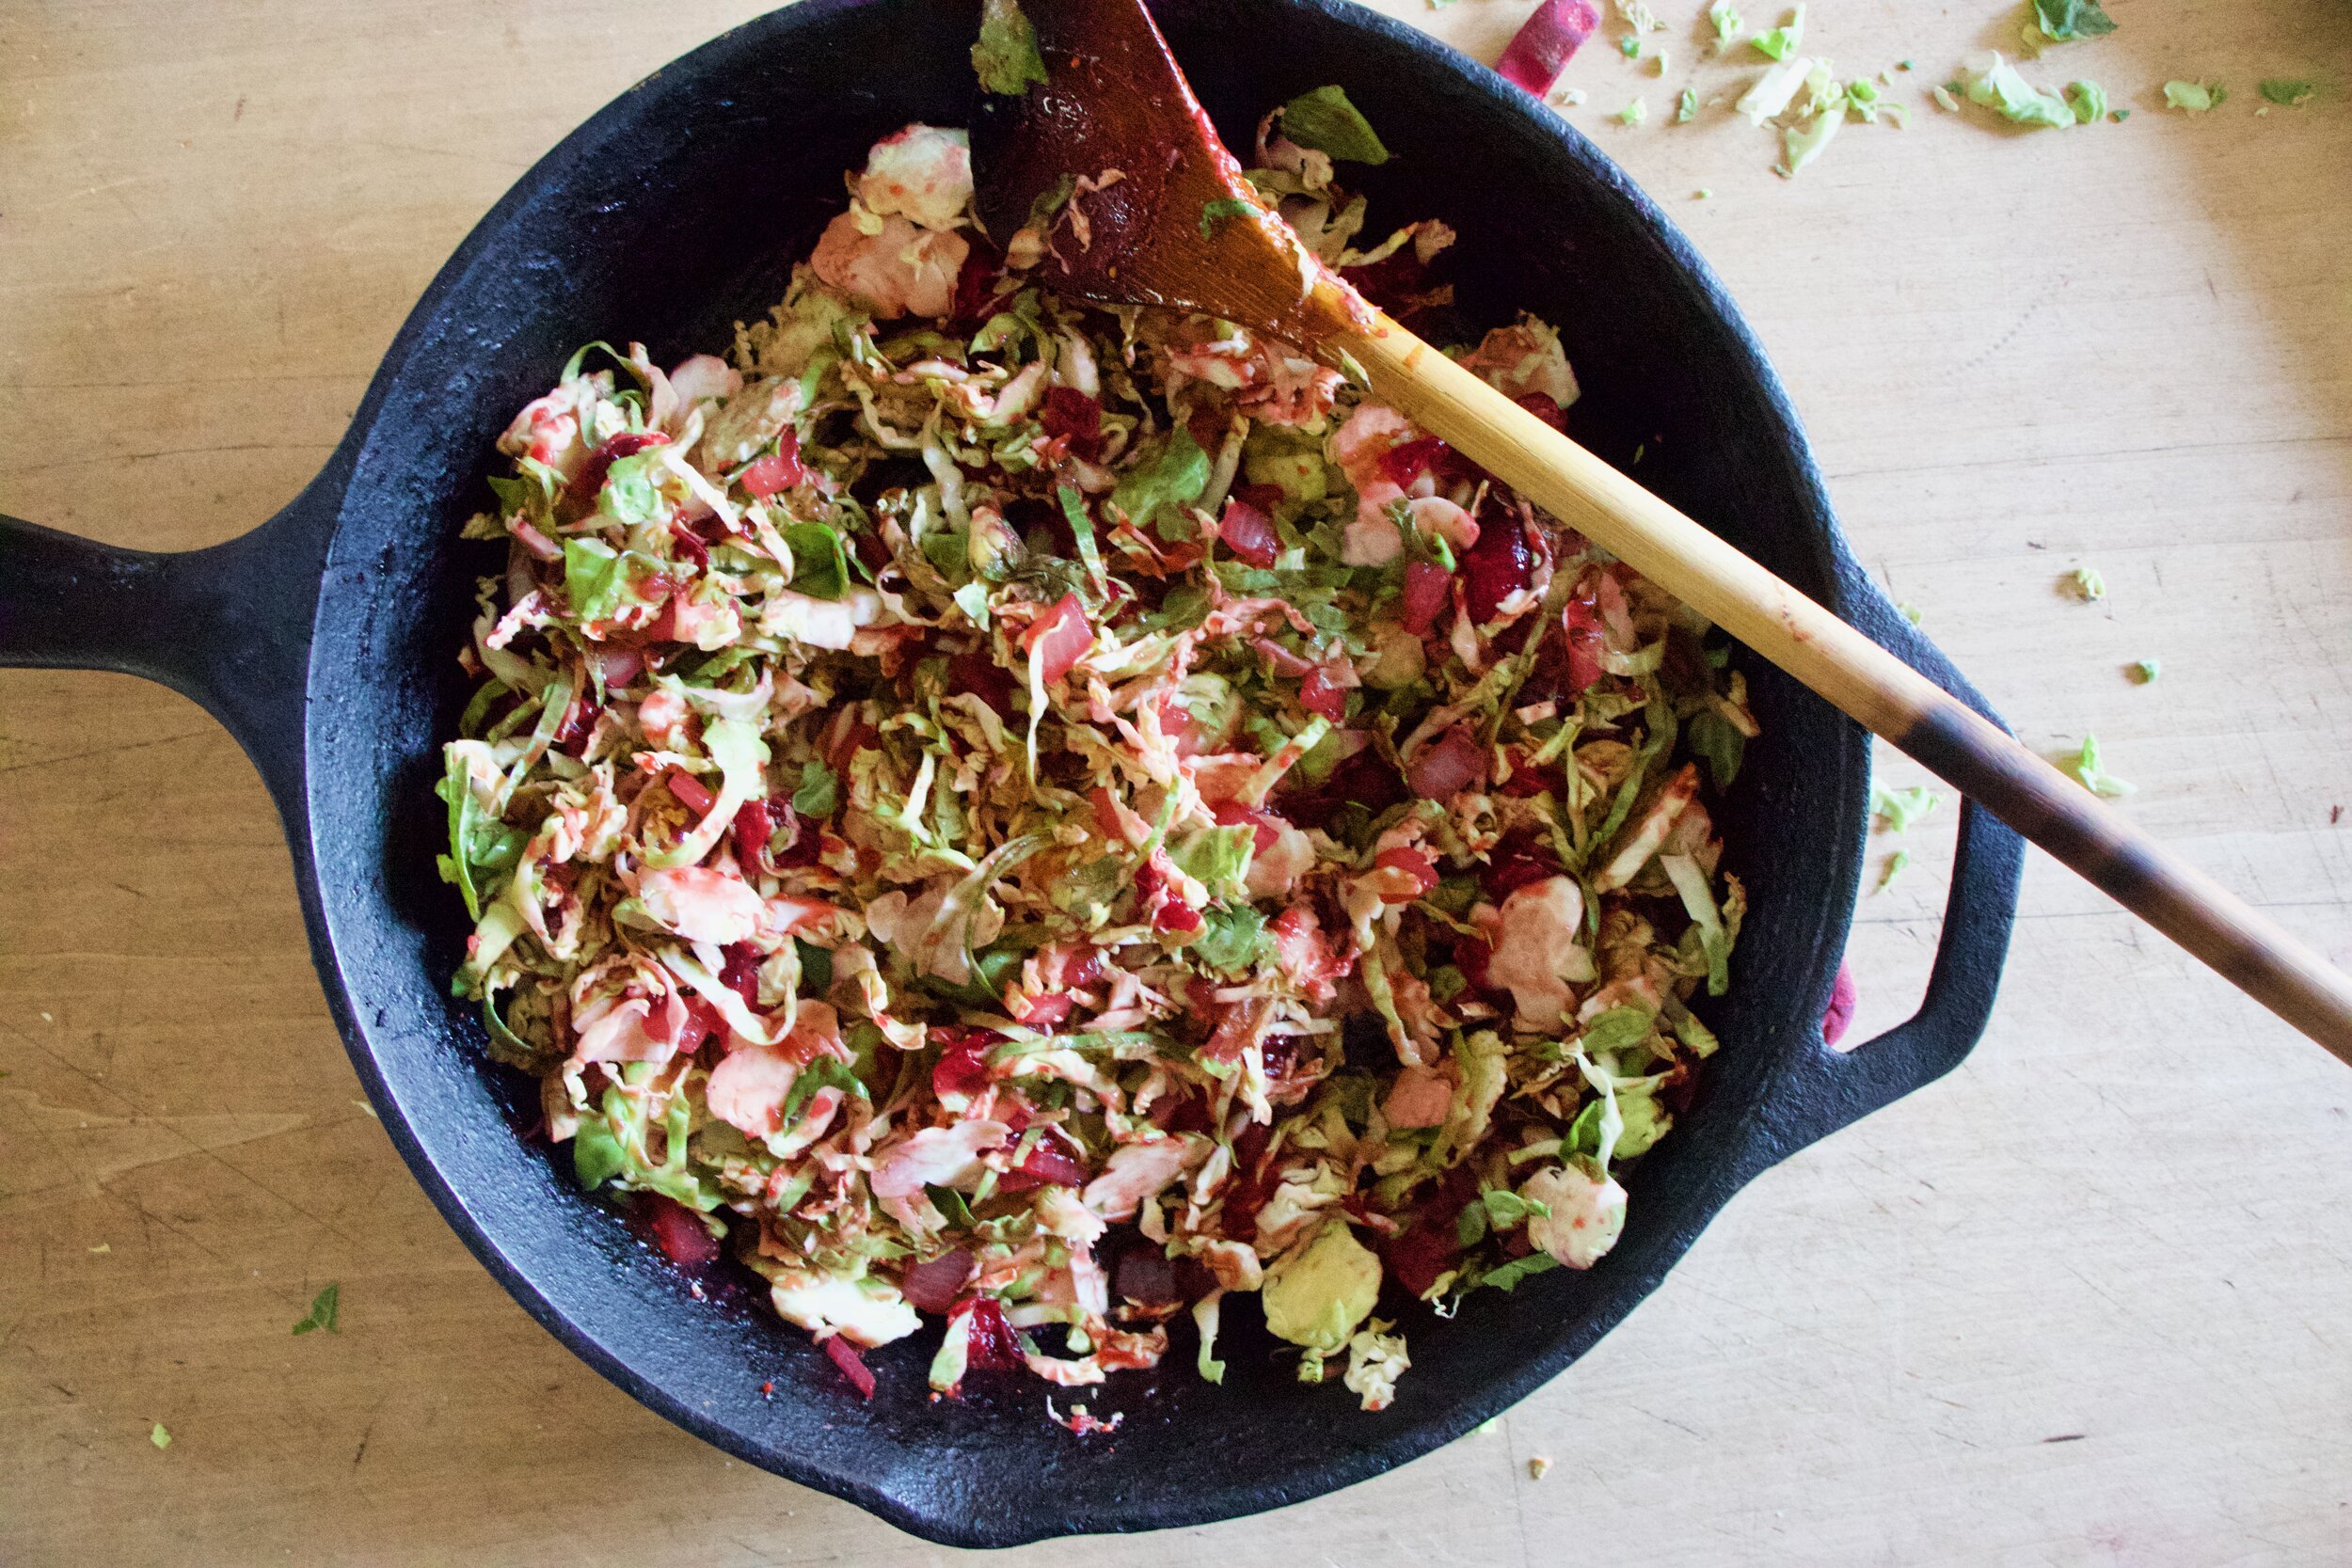
Then dump the peas and radishes into the bowl with the tahini onions. Sprinkle with pepper and toss around.

Look at that. Gorgeous right? And if you have and want, toss some fresh cilantro or parsley onto top because why not.

No stop starting at the how pretty it is and you know, eat it.

-C


Green pea and Watermelon Radish Salad

serve 2-4 as a side

  • 2 cups green peas (fresh or frozen andthawed)

  • 1 large (softball sized) watermelon radish

  • 1 small red onion

  • 3 tablespoons tahini

  • 2 tablespoons red wine vinegar

  • salt and pwpper

  • handful of fresh cilantro or parsley (optional)

Preheat oven to 425.

Grab radish and cut into small cubes about twice the size of a pea. Place on a lined baking sheet and pop into hot oven.

While radishes are roasting, grab onion and slice as thin as you can Place sliced onion along with the vinegar into a big bowl and toss around with a pinch of salt. Let sit for a few minutes then add in the tahini. Toss around until creamy.

After about 20 minutes pull the radishes form oven They should be slightly tender. Dump peas onto baking sheet with radishes and let them warm up for a few minutes.

Dump the peas and radishes into the bowl with the tahini onions. Add black pepper and another small pinch of salt. Toss around until evenly coasted. Top with sm ripped up fresh herbs (if using).

Eat.

Store any leftovers (there will be none) in an airtight container for 4-5 days.

In Vegetables, Vegan, salad Tags Green pea and Watermelon Radish Salad, tahini, plant based, vegan, raw, fresh, spring, side dish, color, vegetables, peas, grain free, oil free, salad, simple, dairy free, food, recipe
Comment

Chocolate Covered Peanut Butter Date Balls

June 12, 2021 Colleen Stem
IMG_5841.jpg

This is me here trying to be nice and make a sweet little treat for the mr. And to prove to him (without him knowing) that he really does like dates because really, every one does they just might not know it.

Why do I care if he likes dates or not? Well I don’t think I really care but the past few weeks I have been making batches of trail mix with all sorts of goodies (dried fruits and nuts ) and have been chopping up dates and throwing them in as well. He’s been picking around the dates because he thinks they are gross. And that is just not true. He just doesn’t understand. So I made him understand. And understand he did when I made a batch and he ate them al within a day. Don’t like dates my ass.

These little chocolate covered peanut butter balls are freaking awesome. I would describe them as tasting like a soft, chewy, more nutty peanut butter cup and who doesn't want that? Plus they take little to no hands on time, require no oven, and all you need are just a a few ingredients. Win win win!

Are these little sweet peanut butter date balls made of love? Of course. Are they vindictive? Maybe a little but I don’t really care because they are awesome and everyone loves them. Even if they say they hate dates.

Now to the peanut butter date balls!

IMG_5696.jpg

The stuff. Pitted delget dates, oats, peanut butter, chocolate chips, a little coconut oil, and flaky salt.

IMG_5698.jpg

Soak the dates in hot water for a few minutes to make sure they are really soft.

IMG_5707.jpg
IMG_5724 2.jpg

Then you place dates, peanut butter, and oats into a food processor and blend unit la smooth stick dough forms.

IMG_5726.jpg

Scoop and roll dough into balls and place into freezer for 1/2 hour or so to firm up.

IMG_5738.jpg
IMG_5744 2.jpg

And melt the chocolate with the coconut oil until smooth.

IMG_5751.jpg

Once chocolate is melted, remove balls from freezer and start dipping them into chocolate. After a few are covered, sprinkle the tops with a few flakes of salt before he chocolate hardens.

IMG_5827.jpg

And that is it. Place balls in a airtight container and keep in freezer. Eat whenever. And you will eat them fast because, BECAUSE! dates are delicious.

-C


Chocolate Covered Peanut Butter Date Balls

makes 12-16 balls

  • 20 pitted delget dates ( You can use medjool but they are twice as expensive and sweeter., and bigger so only use 12 or so)

  • 1/2 cup old fashion oats

  • 1/3 cup peanut butter

  • 1/3 cup chocolate chips

  • 1 teaspoon coconut oil

  • flaky sea salt

Start by soaking dates in hot water for 5-10 minutes until they soften a bit. Drain water and place the dates, oats, and peanut butter into a food processor. Pulse then blend until a everything is all blended smooth and a sticky dough forms. You are going to have to stop a few times to scrap the sides down. Once dough forms, take a spoon or scooper and scoop out the dough into 12 equal sized balls. With take each ball and roll around to make smooth and place on a plate or a baking sheet. Once all balls are scooped and rolled, place in freezer for 1/2 hour to firm up.

Right before taking the balls out, add coconut oil to chocolate chips and melt either in microwave (15 second intervals until melted) or on stove. Grab frozen balls (they don’t get hard, just firm), and start dipping them into the chocolate. After doing 2-3 three, sprinkle the tops with a couple flakes of sea salt.

Once all balls are covered( eat one) place in the freezer in air tight container until you want to eat them.

They should be good for a least a month in the freezer but I wouldn't know for sure seeing as these were gone the day after I made them. Both times.

In Vegan, snack, Raw, quick and easy, fruit, Dairy Free, Gluten Free, cookies, candy Tags Chocolate Covered Peanut Butter Date Balls, dates, vegan, gluten free, simple, no bake, frezzer, freezer, balls, oats, plant based, snack, energy, raw
1 Comment

Chili Lime Jicama Slaw

April 24, 2021 Colleen Stem
IMG_4889.jpg

I don’t know about you but springtime has got me wanting to eat all the things that are fresh and bright and not super heavy. Things like big salads are on the top of my list. Or slaws like this jicama slaw. It is A+ and perfect for springtime munching.

Jicama. Maybe you have heard of it, maybe not. It is a vegetable, a tuber to be precise. And it tastes like a crunchy, juicy, not sweet apple, but also kind of reminds me of kohlrabi. And it slightly nutty, with a hint of potato? Just know it is delicious. You might have even had it and not even been aware of it, in say a salad or maybe spring rolls. Anyway, if you haven’t had it, it is definitely worth trying like in this slaw which is basically just jicama with cabbage, carrot and onion tossed in a cumin chili lime situation. It is fresh and crunchy and spicy and filling and all the things that I want be eating right now.

What we have it a really dang tasty and a quick toss together situation. What more can we ask for?

To the jicama slaw!

IMG_4860.jpg

The stuff. A small jicama, a carrot, a hunk of red cabbage, chili powder, cumin, a lime, red wine vinegar,a little maple syrup, and salt and pepper.

IMG_4865.jpg

Cumin, chili, maple, and vinegar go into a big bowl and get mixed around. Pop the bowl into the microwave if you can and heat it up for like 30 seconds, just o take a bit of the rawness of of the spices.

IMG_4872.jpg

Now peel the jicama. Use a sharp knife and carefully peel away the brown skin from the white flesh. Do not leave any of the skin on cause it is not good to eat!

IMG_4877.jpg

Once the jicama is peeled, grab a mandolin and julienne it (or cut into thin matchsticks with a knife). Then julienne the carrot and shredded the cabbage and onion.

IMG_4879.jpg

Dump all the veggies into the bowl with the spices then add in the juice of the lime and a pinch of salt and pepper.Toss around until evenly combined and coated.

IMG_4897.jpg

There you have it. Chili lime jicama slaw. Now you eat it. As a side to any dish you wish or just as it is, a big bowl of goodness.

-C


Chili Lime Jicama Slaw

Serves 3-4 (as a side)

  • 1 medium Jicama (around 3 cups julienned)

  • 1 small carrot

  • 1 small onion

  • a small hunk of red cabbage

  • a lime

  • 3/4 teaspoon cumin

  • 3/4 teaspoon chili powder

  • 1 teaspoon maple syrup

  • 1 tablespoon red wine vinegar

  • salt and pepper

Place cumin, chili, maple, and vinegar into a large bowl. Mix around and pop into the microwave for 20-30 seconds just to heat it up a bit and remove some of the rawness of the spices.

Peel the jicama. Do it with a knife (so carefully) and remove all of the tough brown skin away from the white flesh. (Do not eat skin..It can make you sick). Now either with a mandolin of a knife, julienne the jicama along with the carrot. Use a thicker setting for the jicama and a thinner one for the carrot. Shred or thinly slice up the cabbage and onion as well. Toss all the veggies into the bowl with the spices. Squeeze in the juice of the lime, add a pinch or two of salt and some black pepper and toss around until everything is evenly combined and coated.

You can eat it right away but It taste better when it has had a chance to sit for a little while.

Serve cold along with anything. Or eat on it’s own. Store left overs in fridge for up to a week.

In quick and easy, Raw, salad, Vegan, Vegetables Tags Chili Lime Jicama Slaw, jicama, slaw, raw, salad, plant based, grain free, gluten free, dairy free, vegetable, fresh, spring, easy, chili lime
Comment

Cauliflower, Kale, and Lentil Bowl with Peanut Sauce

June 20, 2020 Colleen Stem
IMG_8622.jpg
IMG_8615.jpg

I am freaking hot. We are currently in a heat wave right this very minute and I am not happy about it. This is my problem with summer, the heat. Or better yet, the heat with humidity. It turns me sour and I can’t deal with anything, including myself. It is not a good look on me.

But a redeeming quality summer does have is all the fresh produce. The farm share is really starting to pick up and we are getting a good amount of fresh goody goods and that is something I can’t not be happy about. But it is still to hot and when it’s to hot, no one (I think) wants to cook. So don’t cook, just compile. A big ass bowl of veggies, some lentil (or use beans if you want) , and creamy peanut sauce. Thrown together within minutes, hardy and satisfying without being heavy and hot, and tasted really freaking good. A meal on it’s own or a fantastic side dish or snack dish or you know, anytime eating time food dish.

It is just a good dish to make and even better to eat. Heatwave or not.

Now to the cauliflower, kale, and lentil bowl with all the peanut sauce!

The stuff. Half a head of cauliflower, a few big kale leaves, half an onion, cooked lentils, peanut butter, apple cider vinegar, hot water, soy sauce, ginger, garlic powder, red pepper flakes, and black pepper.

IMG_8527.jpg
IMG_8536.jpg

Cut up cauliflower. Just go at it with a knife until it is a pile of small little pieces. Then dice up the onion into small pieces and cut up kale into small pieces as well.

Toss all of that into a bowl and top with the lentils.

IMG_8552.jpg
IMG_8564.jpg

Peanut sauce. Mix together the peanut butter, vinegar, soy, ginger, garlic, and red pepper flakes. Stir and add in enough hot water to make it creamy, smooth, and pourable.

IMG_8568.jpg

Dump the peanut sauce into the bowl with everything else.

Toss until everything is evenly coated. And don’t forget to add a good amount of black pepper.

And that is it. Now grab a bowl and a fork and eat. It is really really good.

-C


Cauliflower, Kale, and Lentil Bowl with Peanut Sauce 

Serves 1-2 as a big salad or 3-4 as a side

  • 1/2 head of cauliflower

  • 1 1/2 cup cooked lentils

  • 2-3 large kale leaves

  • 1/2 a small onion

Peanut Sauce

  • 1/4 heaping cup of peanut butter

  • 2 tablespoons soy or liquid aminos

  • 2 tablespoons apple cider vinegar

  • 1 teaspoon garlic powder

  • 1/2 teaspoon ground ginger

  • 1/2 teaspoon chili flakes

  • 4-5 tablespoons hot water

  • black pepper

Start by chopping up cauliflower into little pieces. Some pieces will be like crumble and that is good. Also dice up onion into small pieces and chop kale into small pieces. Place it all into a bowl and top with the cooked lentils.

Make peanut sauce. Place peanut butter, soy ,vinegar, the ginger, garlic and red pepper flakes, and 4 tablespoons hot water into a jar or bowl and mix until incorporated. It should be smooth and thick, but pourable. If to thick, add in another tablespoon or two of hot water.

Once sauce is made, dump into bowl with the rest of the stuff and toss until everything is coated and combined. Top with lots of black pepper and then, well, eat. Or set aside until meal time. Then eat.

In Vegetables, Vegan, side dish, salad, Raw, pulses, quick and easy, grain free, Gluten Free, dinner, Dairy Free Tags Cauliflower, Kale, and Lentil Bowl with Peanut Sauce, cauliflower, lentils, pulses, vegan, grain free, gluten free, peanut sauce, healthy, plant based, dinner, quick and easy, summer, no cooking, saald, salad, BBQ, Summer, fresh, raw, dairy free
Comment

Cranberry Brussels Sprout Slaw

December 14, 2019 Colleen Stem
IMG_4185.jpg
IMG_4180.jpg

What do you think about at 5 o’clock in the morning? Wait, are you awake at 5? Well I am and yes, I know that most people are not and think I am crazy for waking up so early, but it is and I do and whatever. Anyway, it’s 5 o'clock and I am at the gym (yes, I wake up at 5 AND go to the gym) and me and my gym friend start talking about food (as usual) and what we were going to do with our Brussels sprouts that we got from the farm (I got her to join my CSA!). That is what I am usual thinking at 5. Food, and how to prepare it. And as the sprout conversation commerced, this is what materialized in my head. Crisp, crunchy fresh Brussels spouts, shredded up and tossed in a warm tangy cranberry sauce. My mouth was salivating and as usual, I left the gym hungry.

So I came home, drank all my coffee and then proceeded to make the sprout dish for lunch and let me tell you, this sprout slaw is amazing. Tangy and crunchy and all Brussels sprouty. It has a hardy salad feel without being heavy. It is a slaw that really get me, you know. (I actually don’t know.)

Anyway, you should really get on the eating this Brussels sprouts slaw (or any Brussels sprouts dish) train now, before they go out of season and you end up buying kind of not great sprouts from the market that don’t taste as good. Bad Brussels sprouts suck.

To the cranberry Brussels sprout slaw.

The stuff. Fresh Brussels sprouts, cranberries (fresh or frozen), some onion, balsamic vinegar, a little maple, dried cranberries and toasted walnuts, and salt and pepper.

Start with onion. Grab it and dice it nice and small.

IMG_4129.jpg
IMG_4131.jpg

Dump the onion into a skillet with a little pinch of salt and a splash of water and cook for a few minutes, just unit they are not raw anymore. Then add in the cranberries and 1/2 cup water. Cook on a low heat until the cranberries all pop and the sauce starts to thicken.

While cranberries are cooking, shred up the sprouts. Thin as you can get them.

Cranberries are now a thick and chunky sauce and oh so delicious. Add in the vinegar and maple here and give it a good stir and a taste test too. If it is too tart for your liking, add more maple. Think you might need a bit more vinegar, well splash it on it.

IMG_4157.jpg

Now toss those shredded spouts it.

IMG_4161.jpg

Stir it around. Season with salt and pepper and there it is.

IMG_4174 2.jpg

Scoop into a bowl. Top with dried cranberries and walnuts and grab a fork.

This is good.

-C


Cranberry Brussels Sprout Slaw

serves 3-4 as a side or one person who wants to eat it all to themselves

  • 1 1/2 cups fresh or frozen cranberries

  • 1/2 a pound Brussels sprouts ( around 3 1/2- 4 cups shredded)

  • 1 small or 1/2 a large onion

  • 3 tablespoons balsamic vinegar

  • 1 tablespoon maple syrup (or more to taste)

  • salt and pepper

  • 1/2 -3/4 cup water

  • small handful dried cranberries (optional)

  • smal handfuls toasted walnuts (optional)

Start with dicing the onion up into small pieces. Place in a skillet with a small pinch of salt and a good splash of water and place on medium heat. Cook for a few minutes or until the water has evaporated and the onions are not raw. Add in the cranberries and 1/2 cup water. Keep on low heat and cook until the cranberries pop and start to thicken. If the cranberries are not cooked all the way and the water has evaporated out, just add another 1/2 cup.

While cranberries are cooking, shredded the Brussels sprouts, as thin as you can. A mandolin is great for this but a knife works too.

Once the cranberries have cooked down to a saucey consistency add in the vinegar and maple and stir around. Remove from heat and carefully taste the sauce. If you think it needs more maple or vinegar, add in another tablespoon until it tastes good to you. Dump in the shredded sprouts and mix. Season with salt and pepper to taste.

And then it’s done. You can dump it all into a bowl and sprinkle the dried cranberries and walnuts on top, or leave it in the skillet and do the same. Me,I scooped half into a bowl for pictures sake and ate the rest right out of the skillet. I then licked the skillet clean with my finger. Then ate the bowl full. SO good.

In quick and easy, Raw, salad, side dish, Vegan, Vegetables, winter Tags Cranberry Brussels Sprout Slaw, vegan, plant based, healthy, Brussels Sprout, raw, cranberry, salad, side dish, grain free, gluten free, vegetables, winter, hearty
Comment
Older Posts →
 

https://thelovelycrazy.squarespace.com/config#/|/about/

Me. Food Maker.Food eater. Woo HOO!

STEM+NODE  SMALL BATCH AND ONE OF A KIND POTTERY

stem+node ceramics


____________________

Subscribe

GET NEW POSTS IN YO EMAIL

You are AWESOME!!!


@thelovelycrazy 2014-2021