• stem+node ceramics
  • HOME
  • Food Recipes
  • About
  • Contact
Menu

The Lovely Crazy

Street Address
City, State, Zip
Phone Number

Your Custom Text Here

The Lovely Crazy

  • stem+node ceramics
  • HOME
  • Food Recipes
  • About
  • Contact

Chickpea Flour Onion Rings

May 16, 2020 Colleen Stem
IMG_8021.jpg
IMG_8005.jpg

I love me some onions, I mean I eat one everyday so I asked myself why the heck haven’t I made onion rings before? Probably because when I usually think onion rings, I think greasy and fried and that is not really my jam. But early in the week the lightbulb went off in my brain. I have been making a lot of stuff with bean flours lately and thought that chickpea flour would make an excellent batter for onions. And low and behold, I was right. Very very right.

These onion rings are so f-ing amazing. Sure they might not be the most traditional of onion ring but they are for sure just as good. A spicy crispy crunchy outer layer with a soft and creamy onion inside. Baked, not fried, and just really delightful. Easy to throw together and yeah, you got onion rings. I have made them twice this week already. Probably going to make them again tonight because why the hell not? They are simply a vegetable covered in bean. I should be eating them every day and you probably should be eating them everyday too.

Now to the onion rings!

IMG_7970.jpg

The stuff. Onions (I used valida but any sweet variety will work) chickpea flour, spices (garlic, ginger, cumin, chili powder, paprika, and a pick or red pepper flakes), warm water, oil, and salt and pepper.

IMG_7971 2.jpg
IMG_7973 2.jpg
IMG_7976 2.jpg
IMG_7980 3.jpg

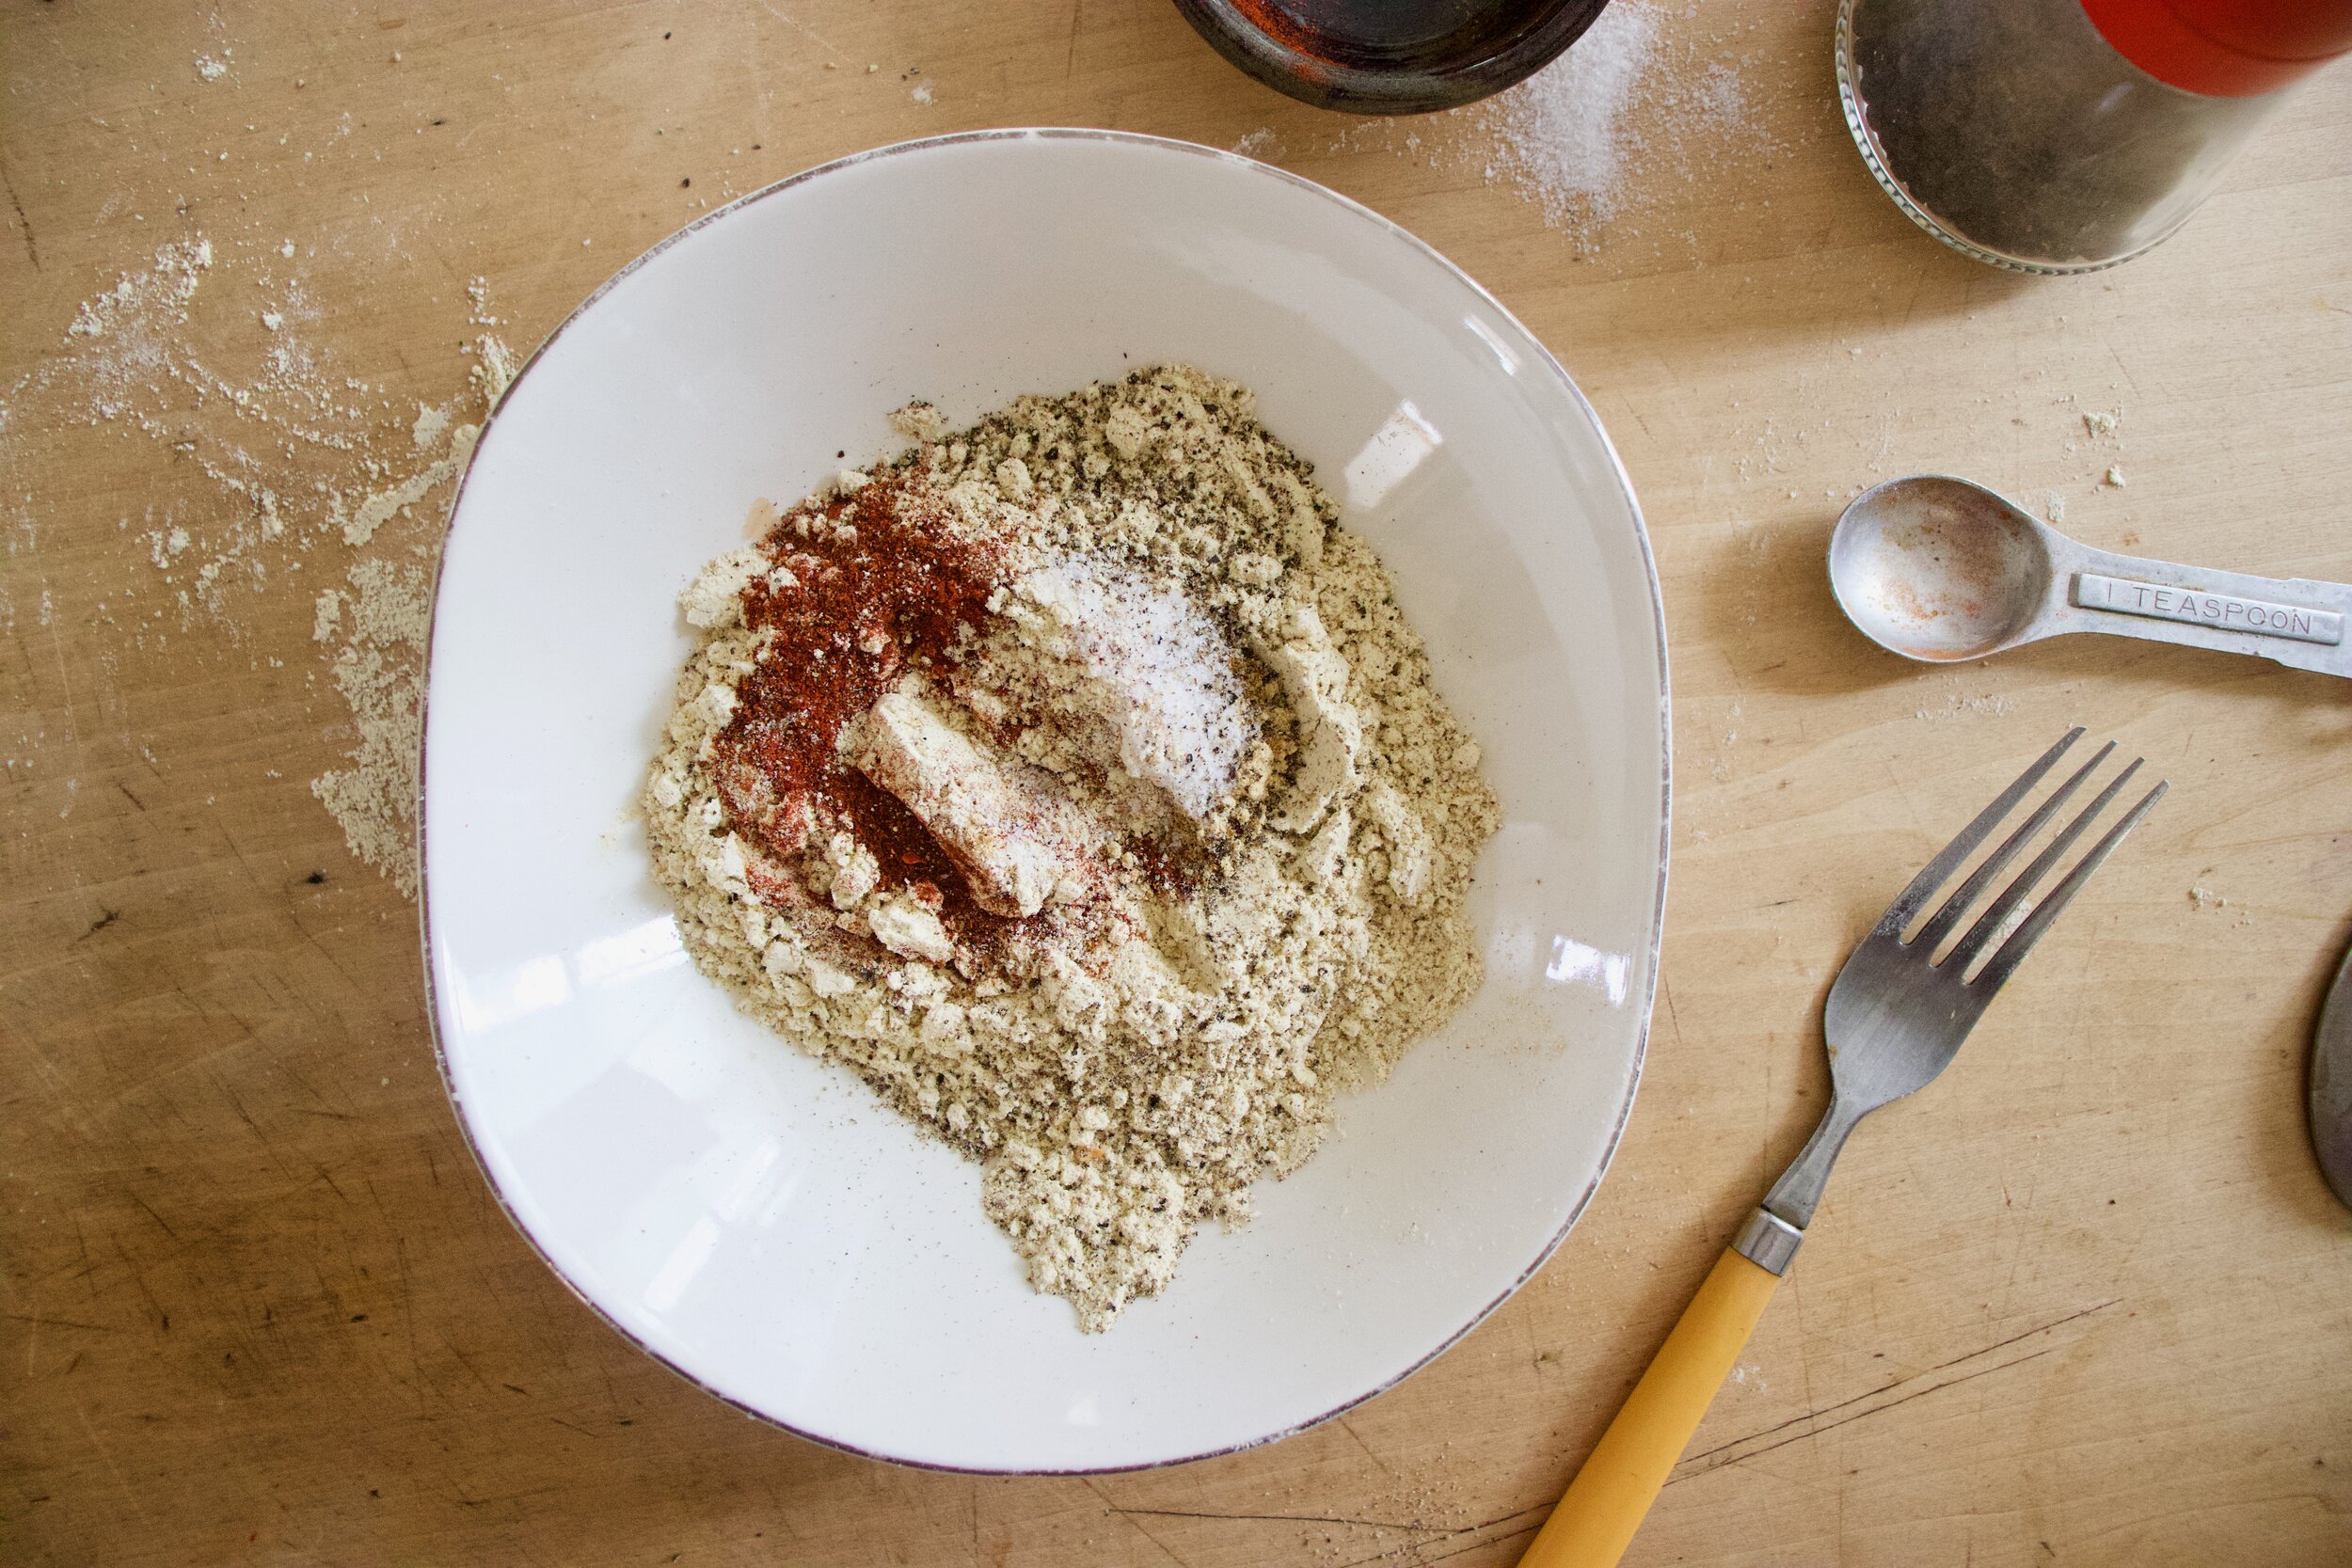
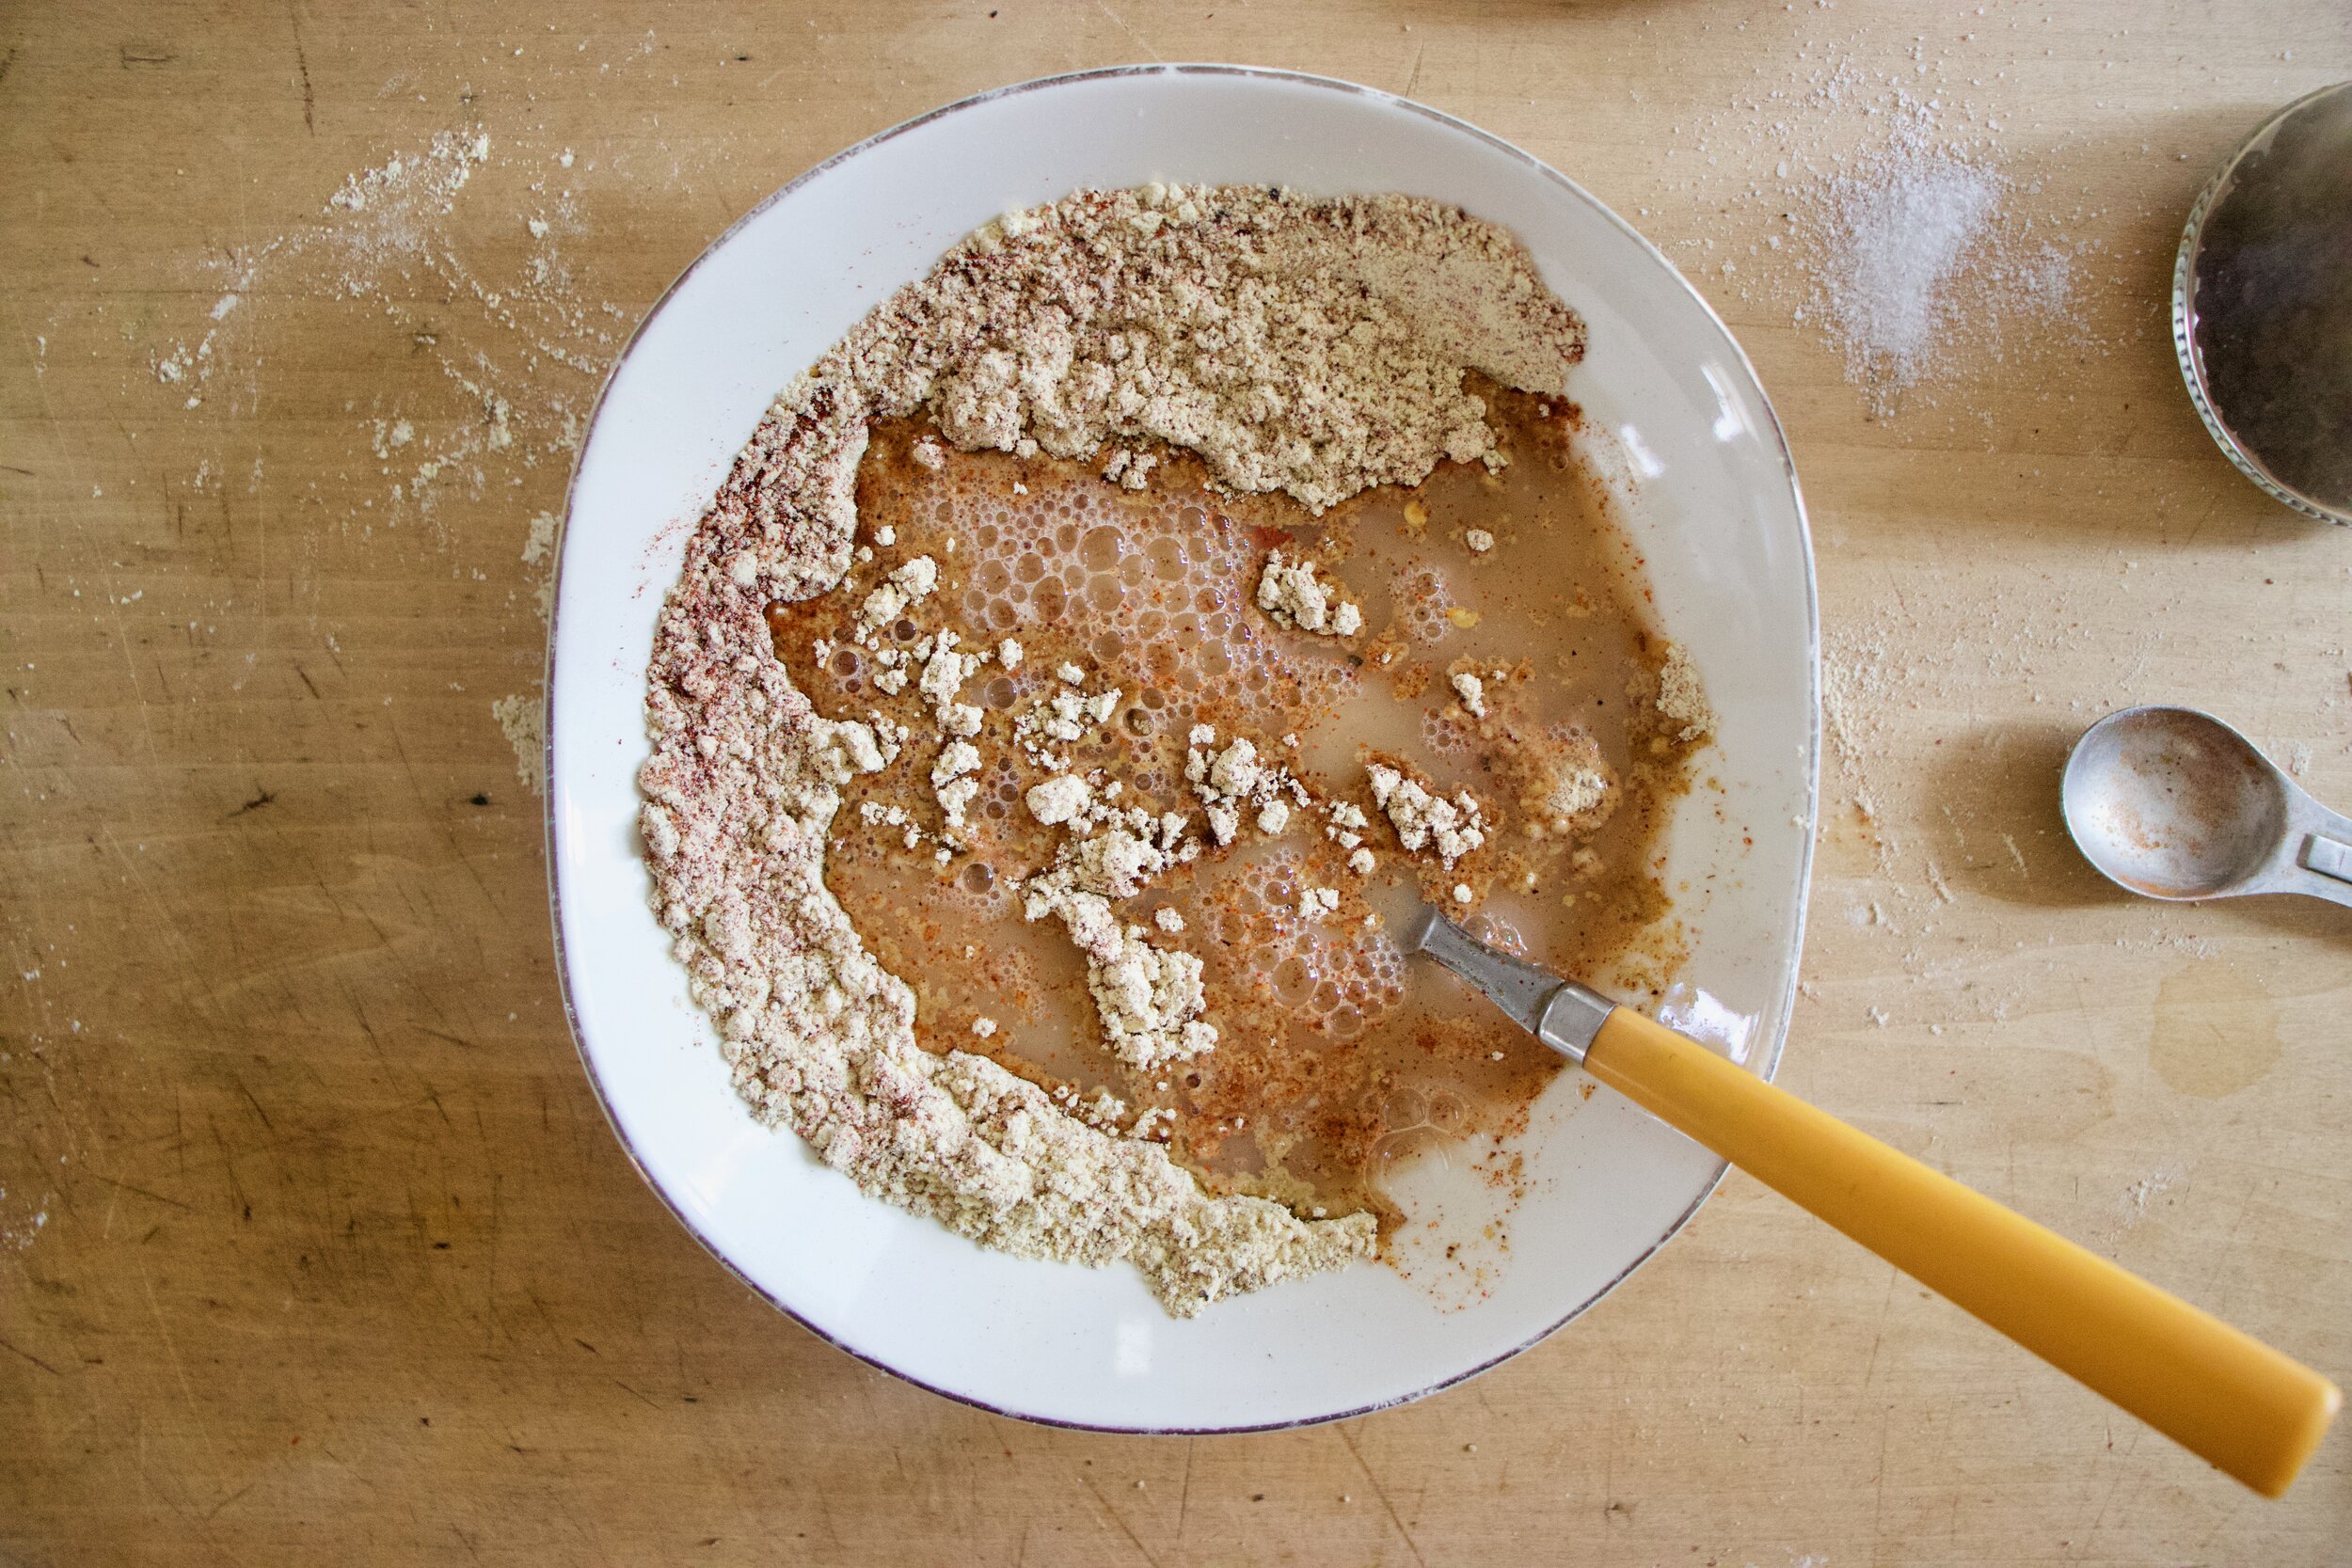
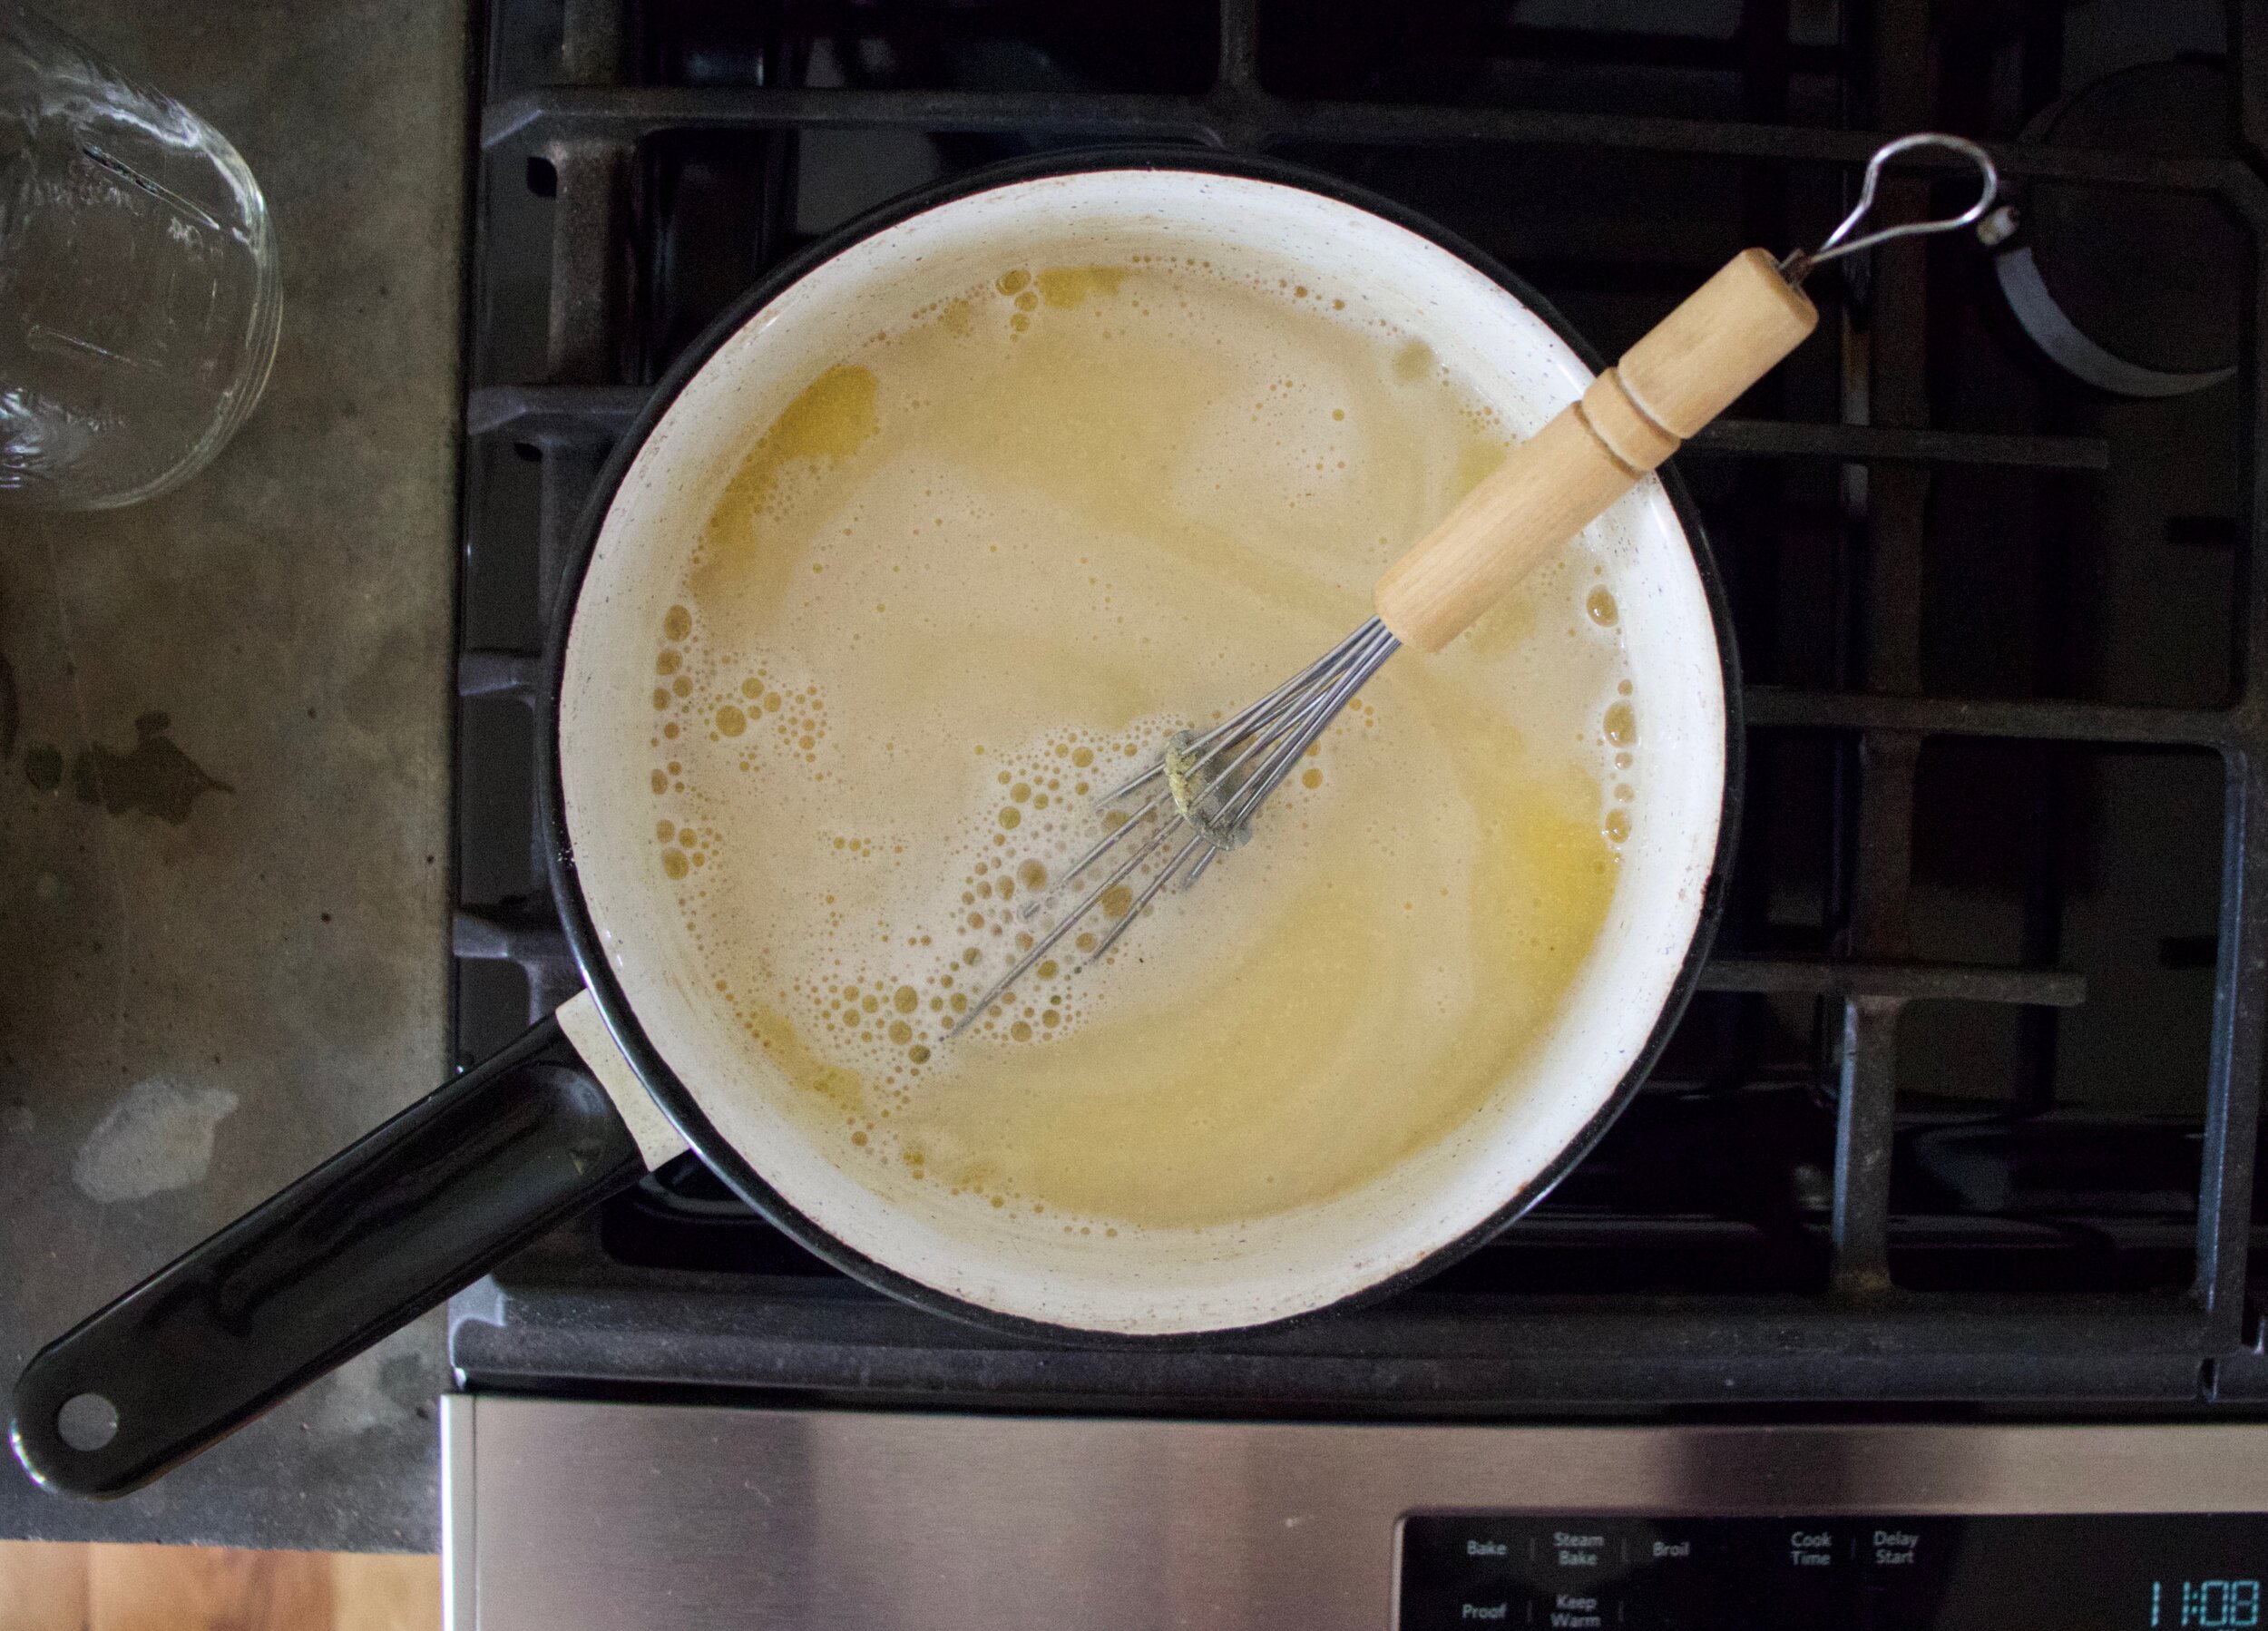
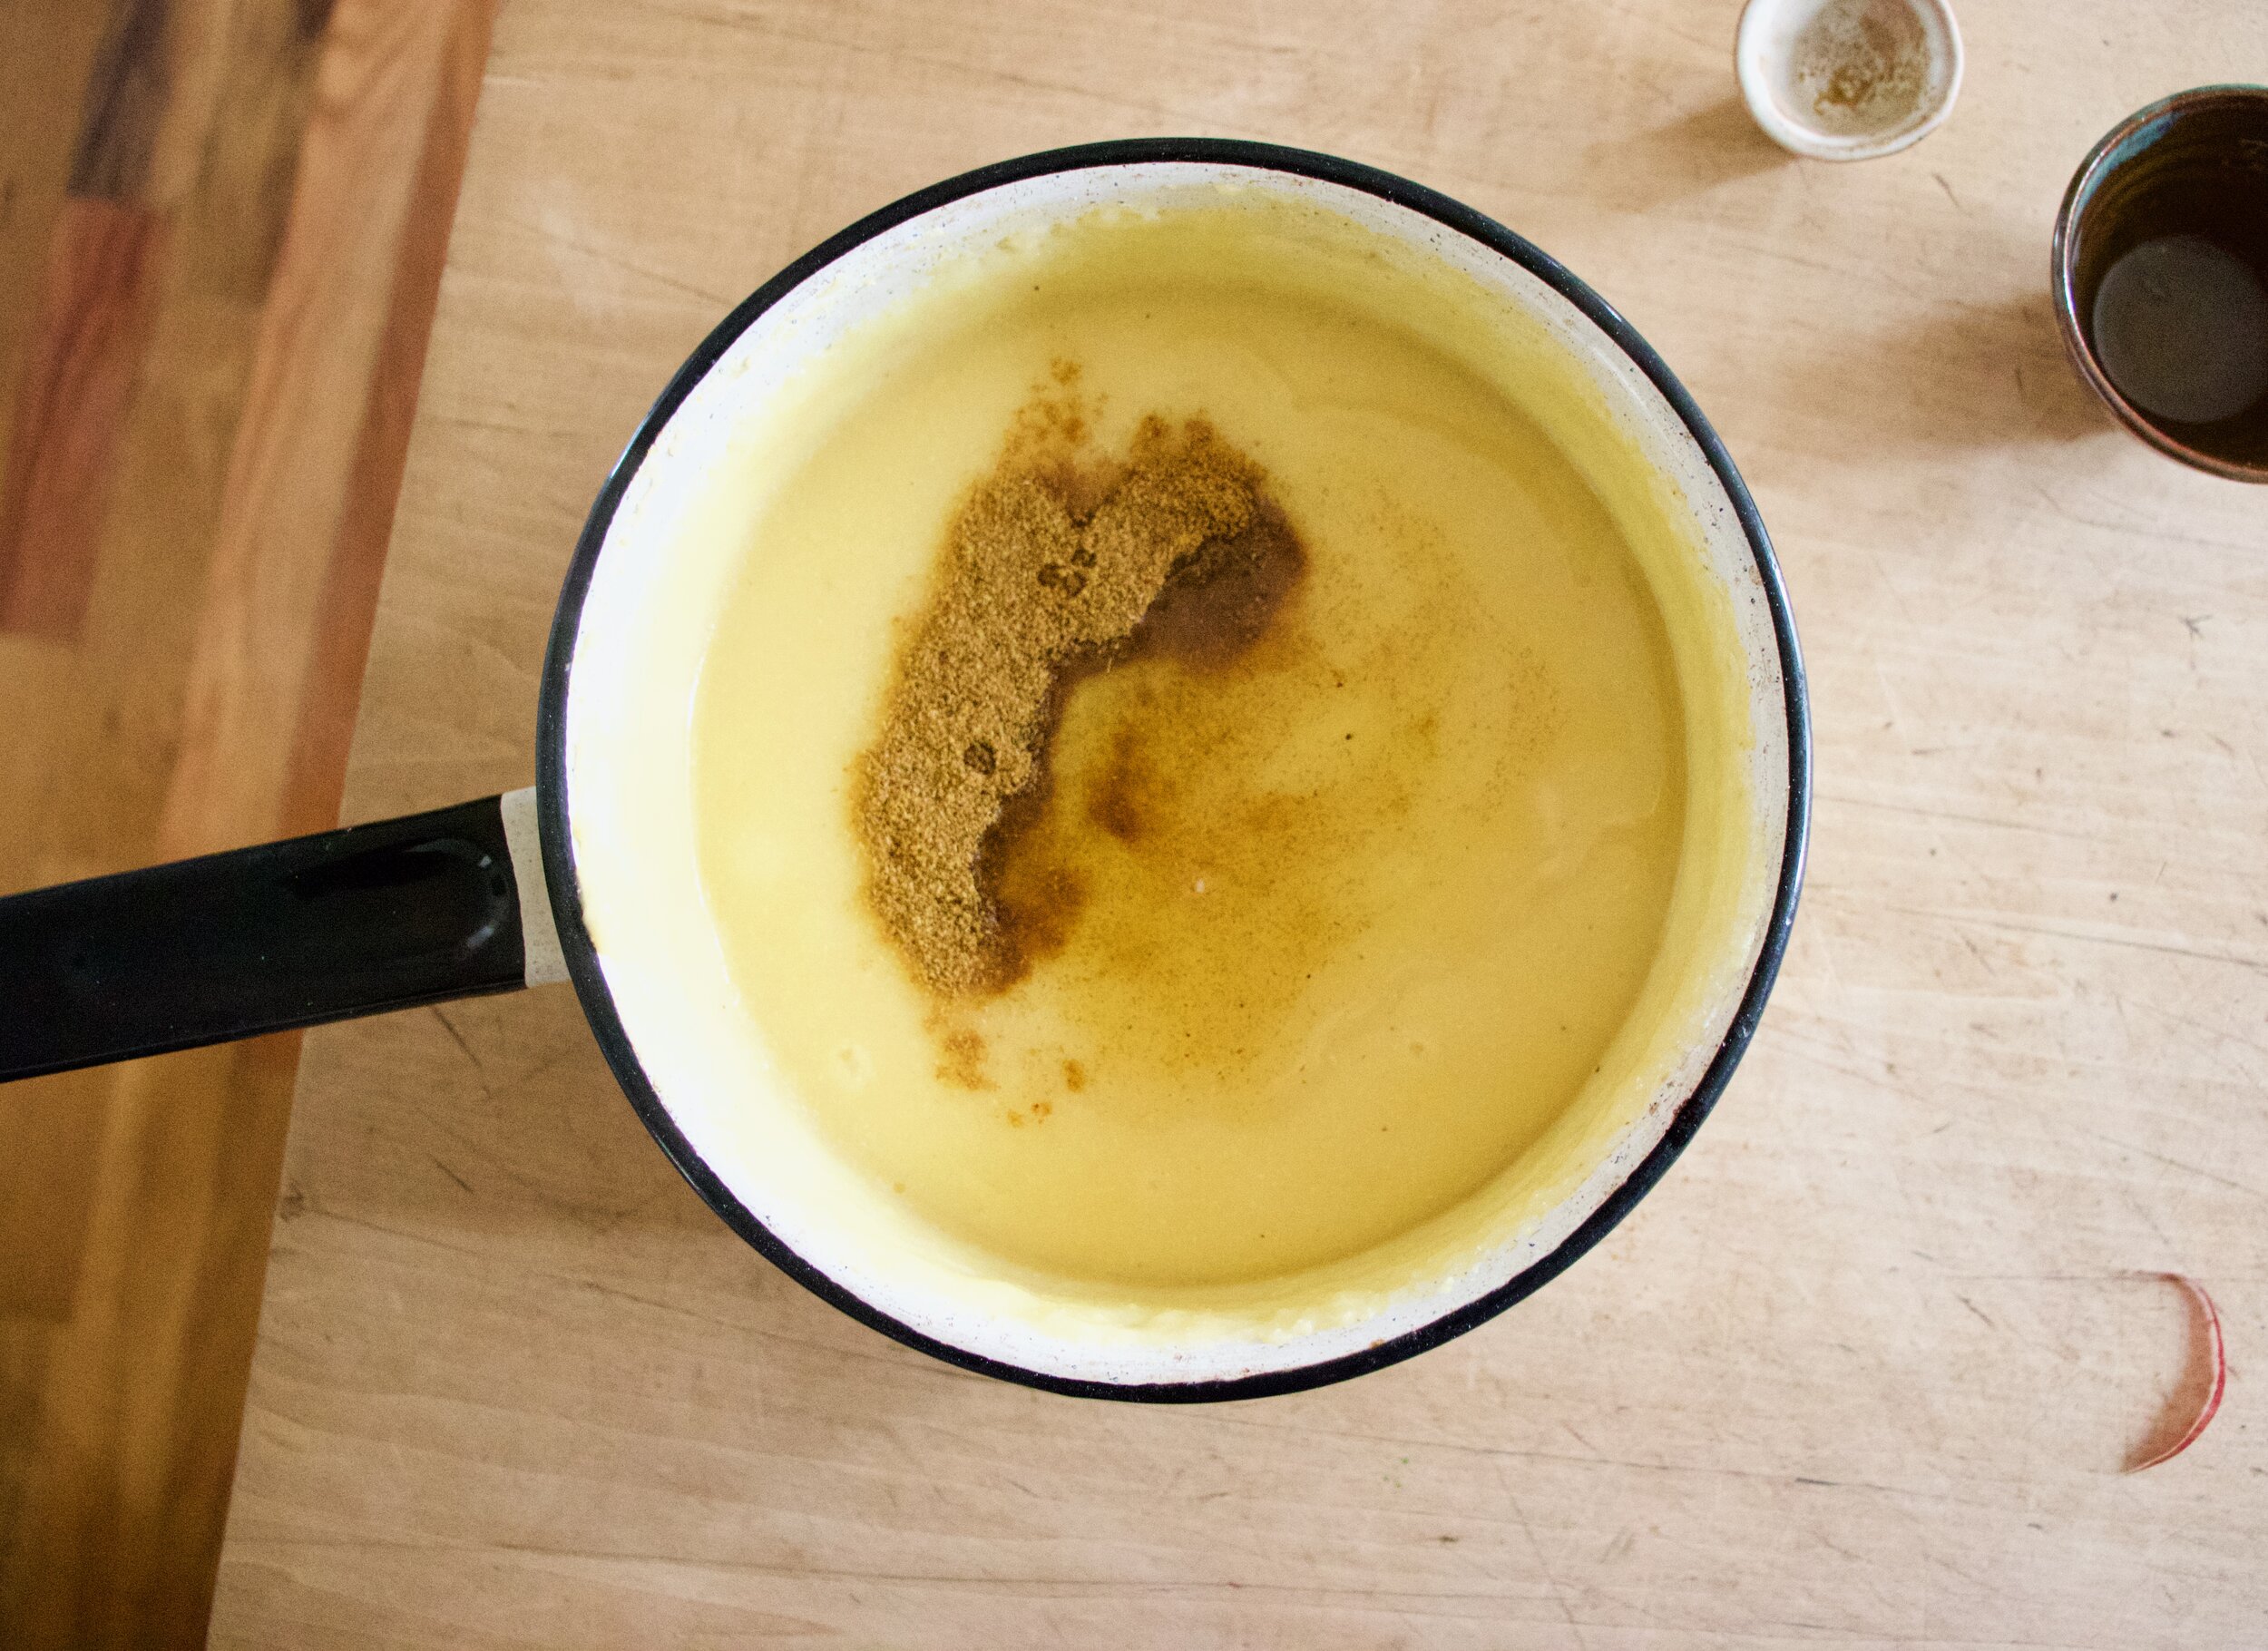
Mix up the batter. All the spices get mix together with the chickpea flour. Add in the water and then mix unit completely combined and all batter like.

IMG_7983.jpg

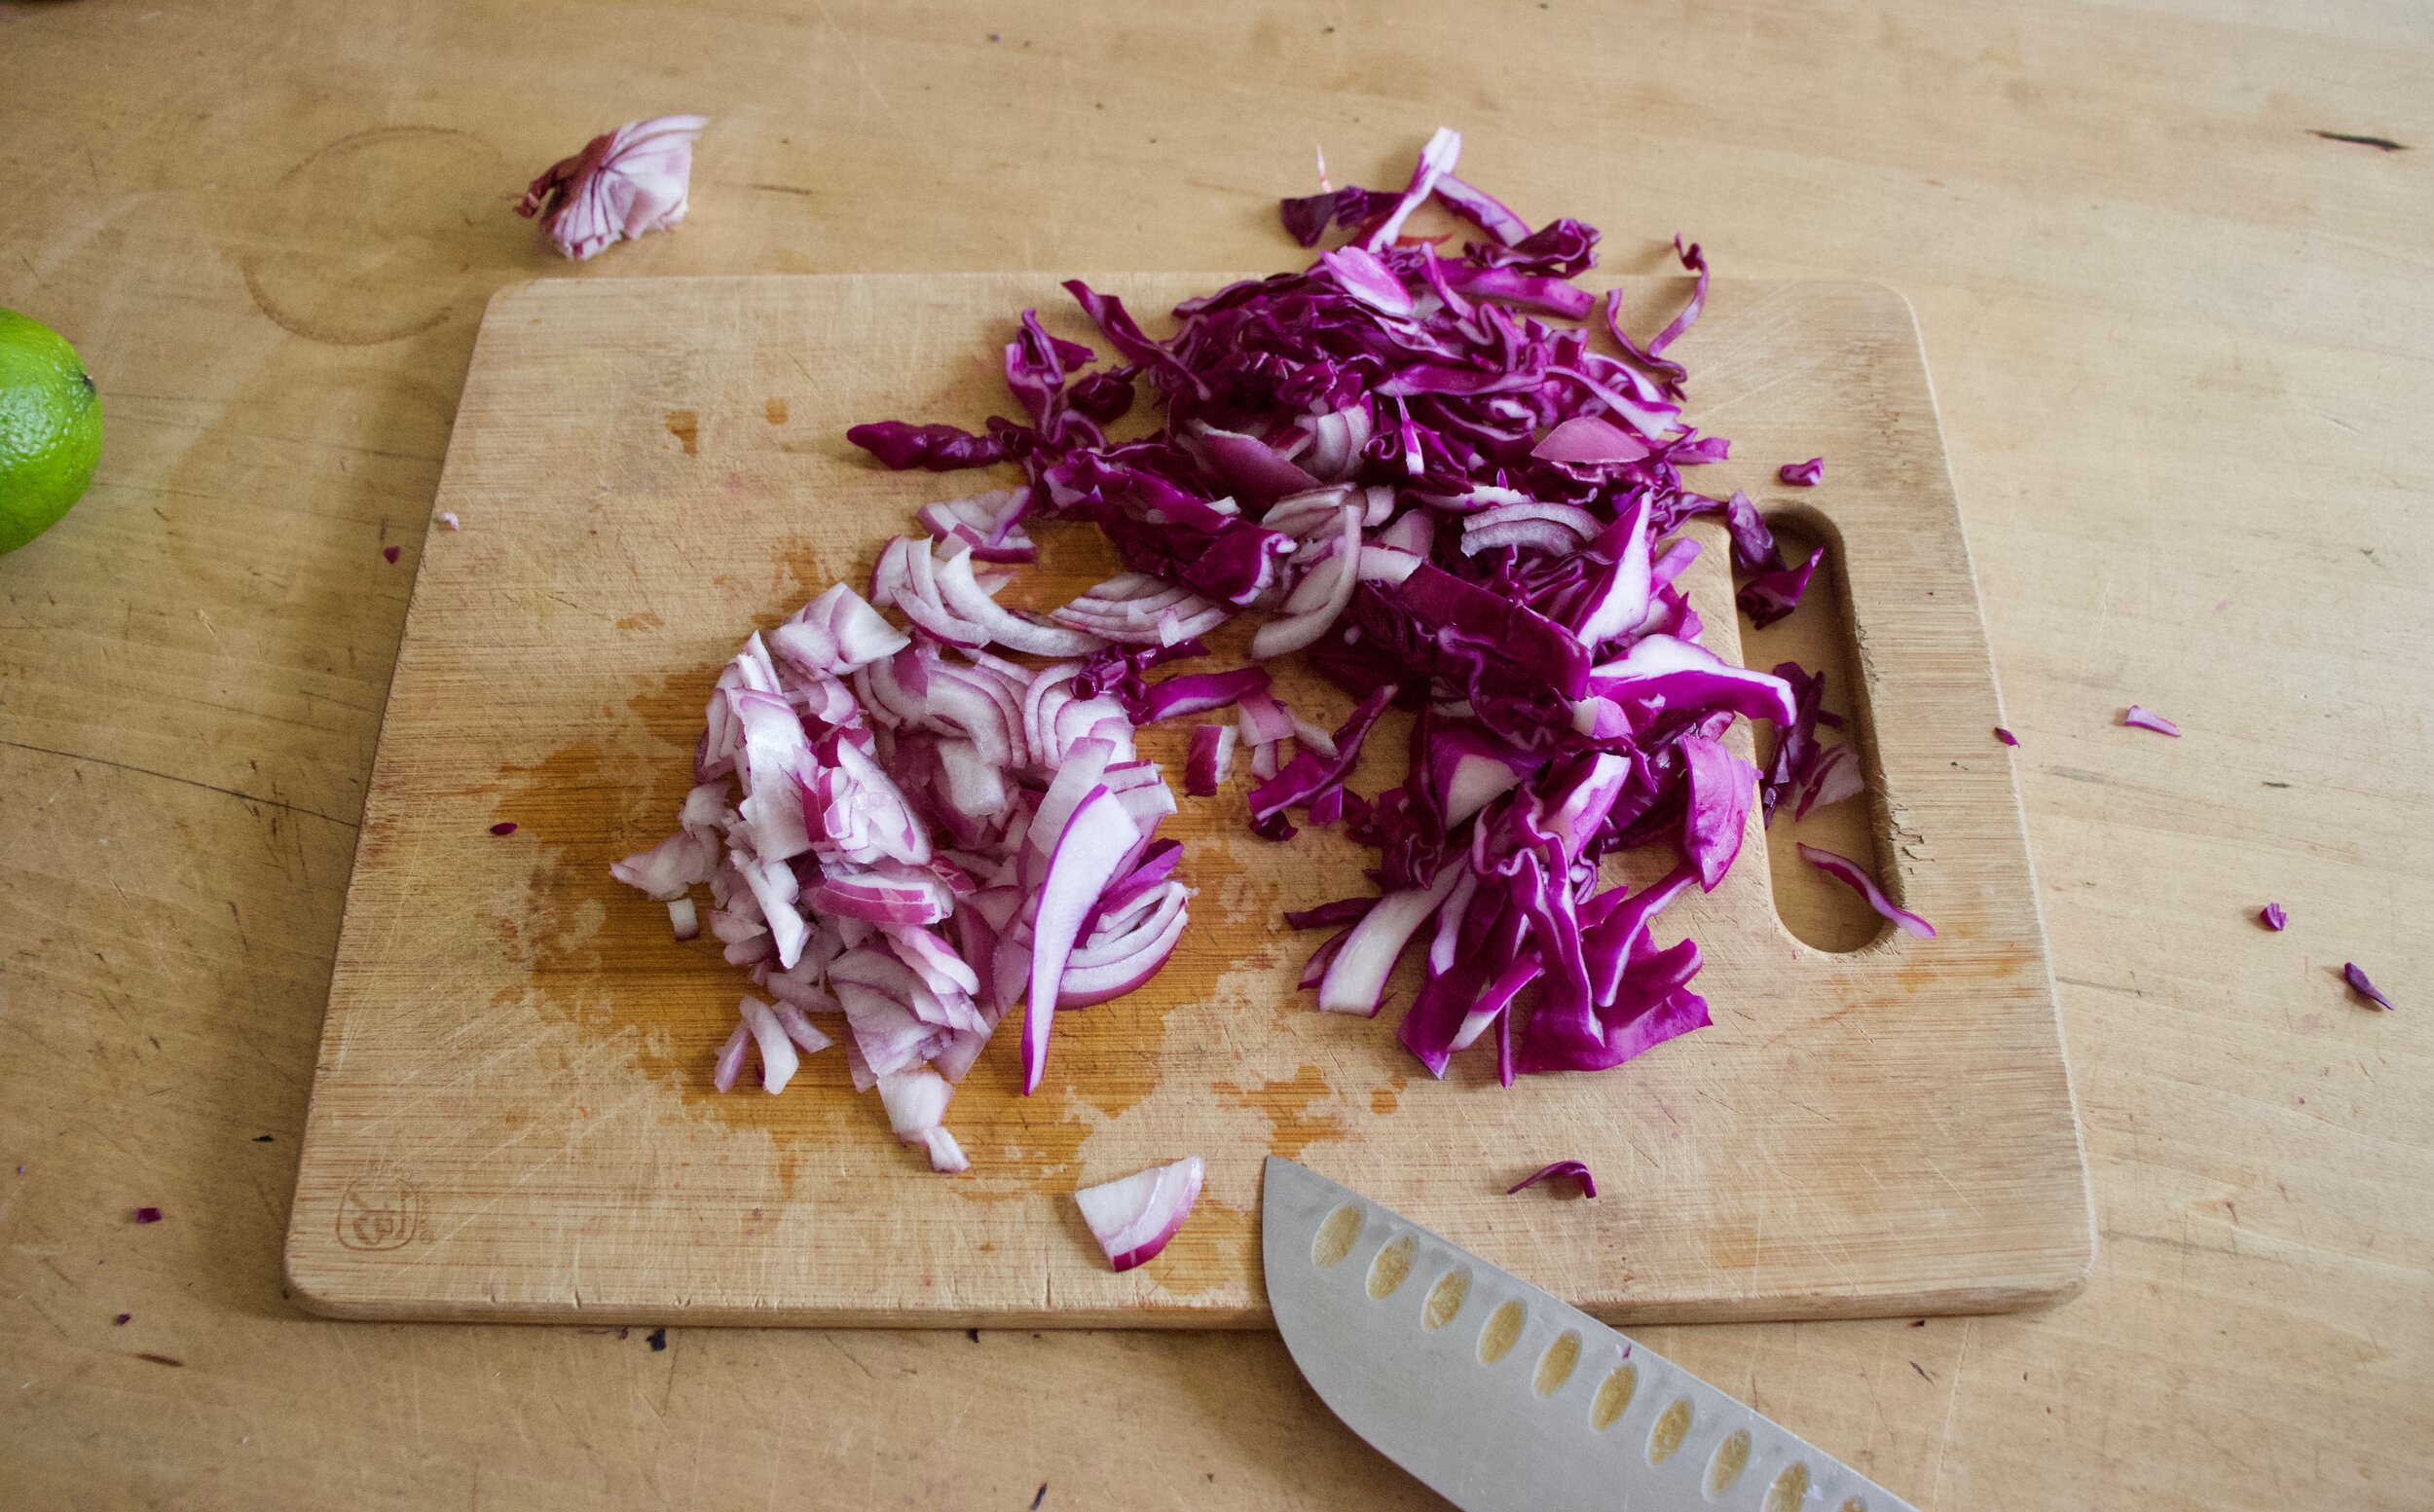
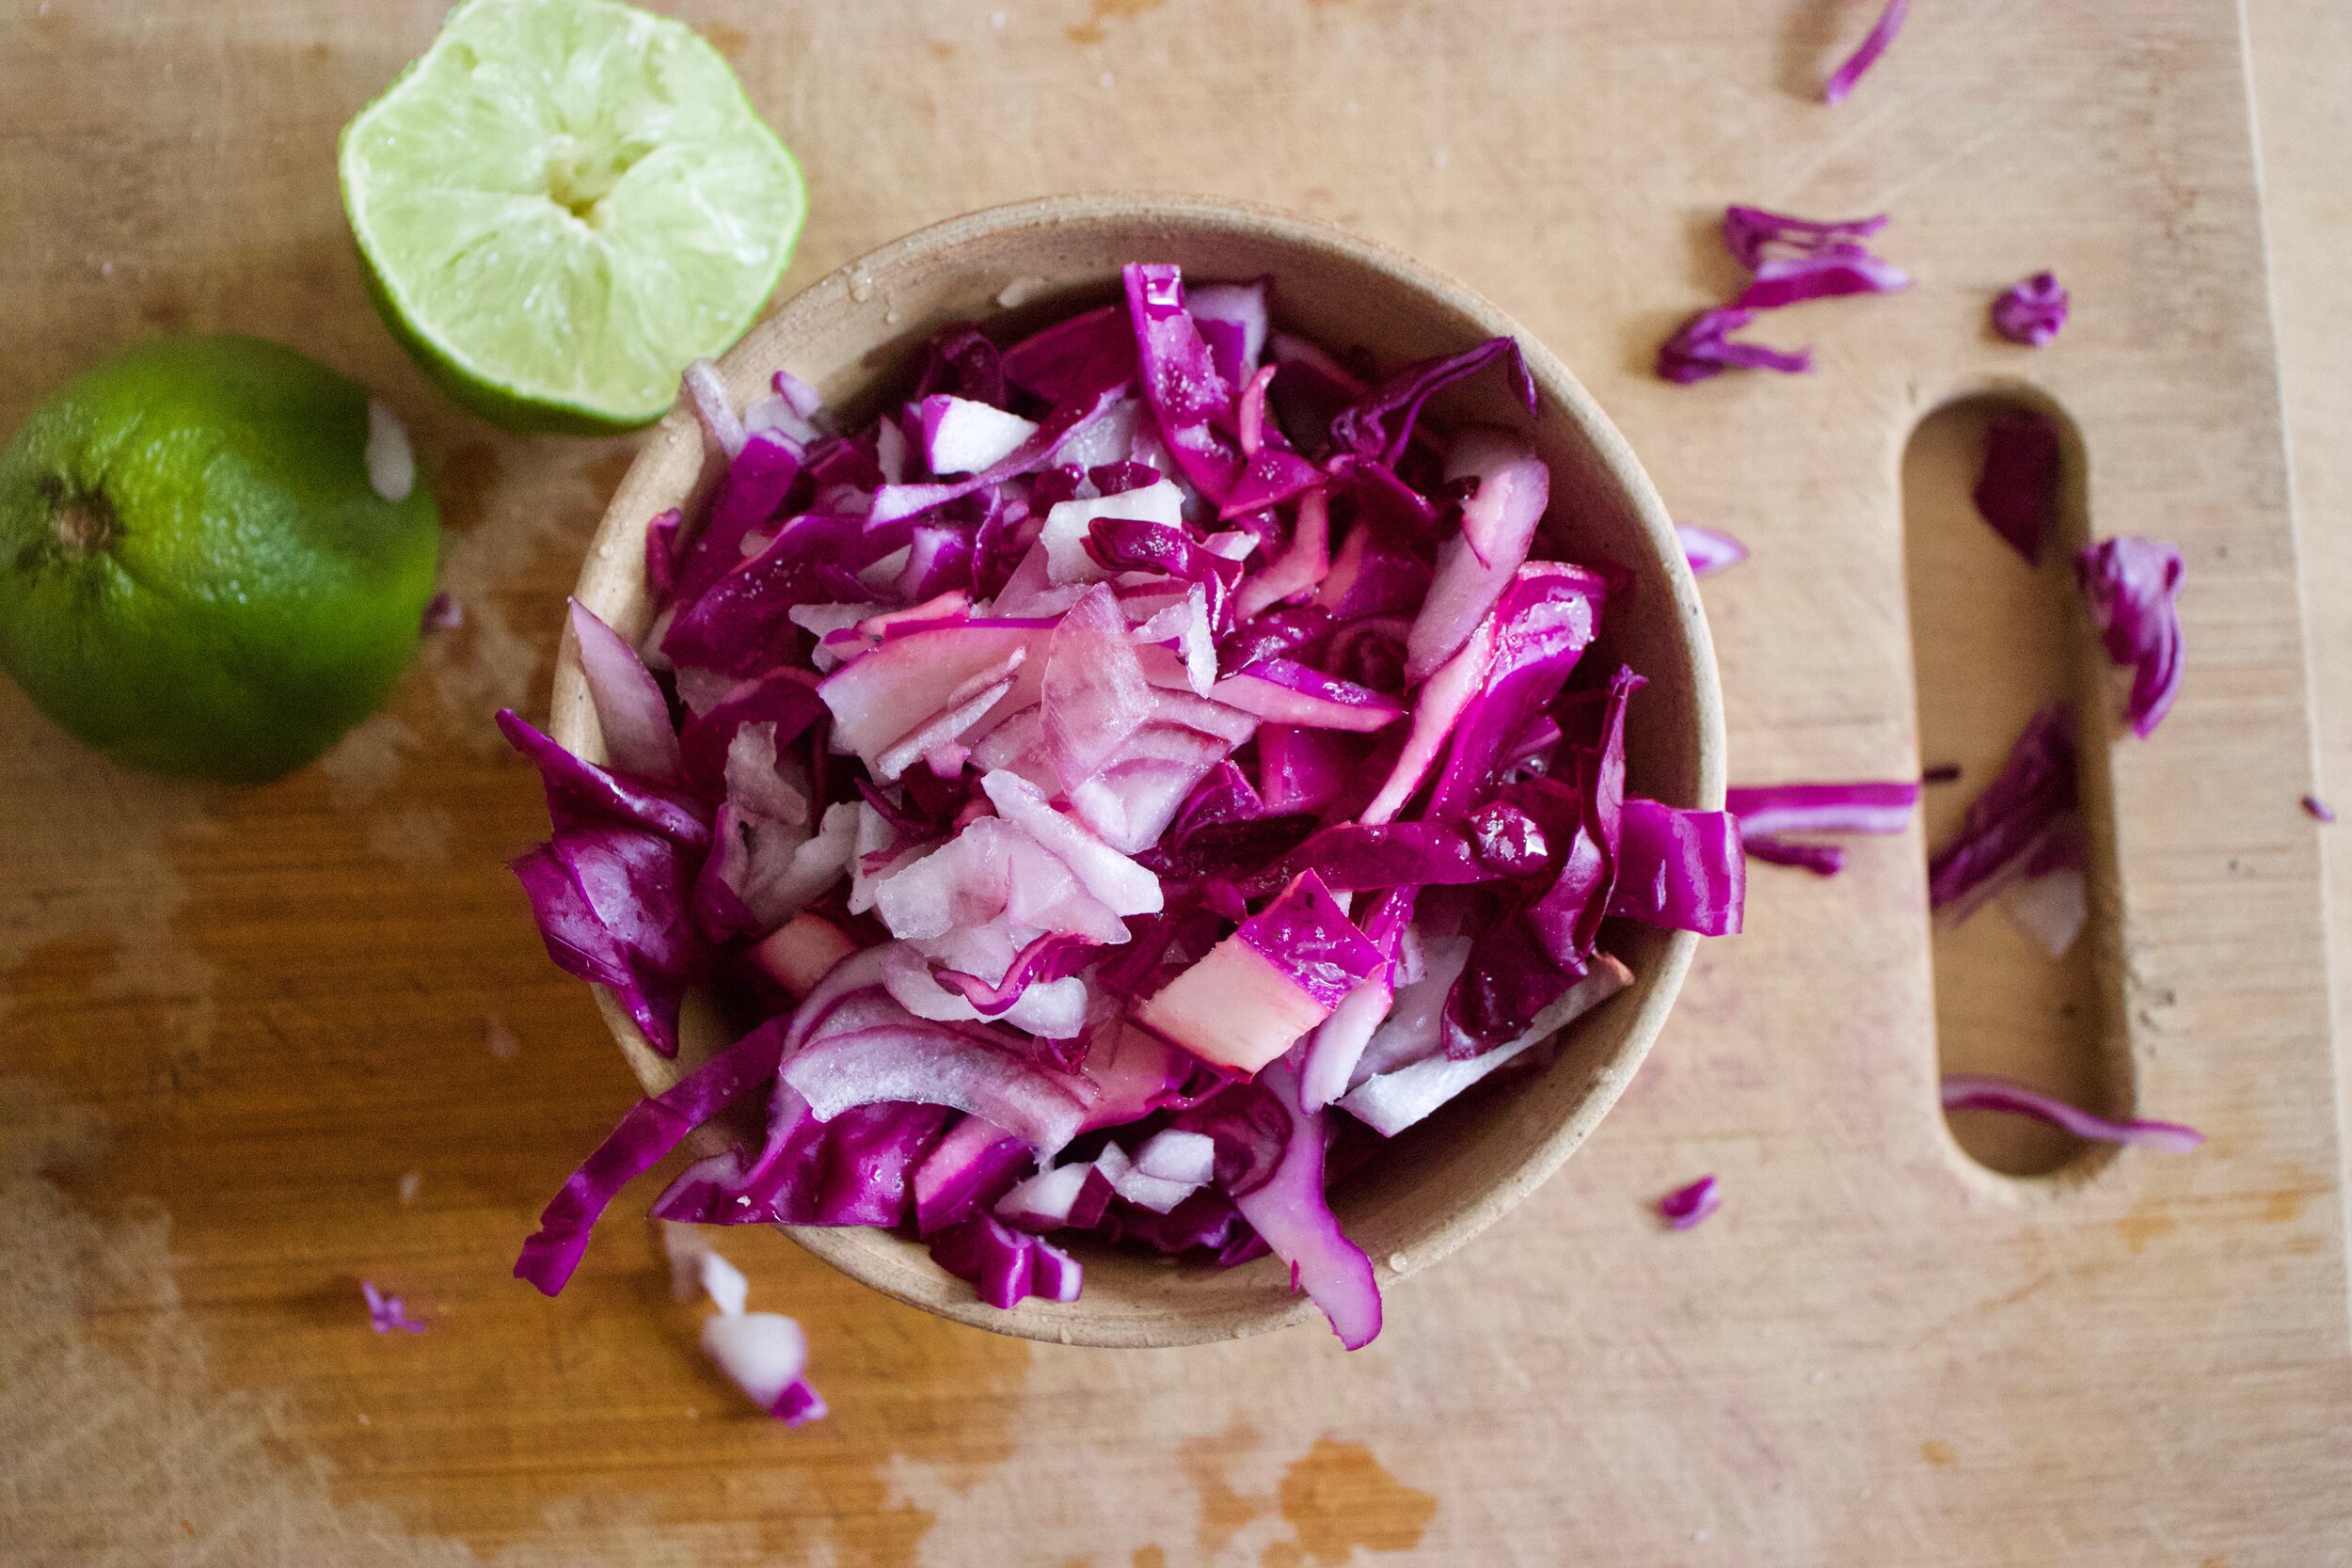
Cut onions into rings.

IMG_7990.jpg

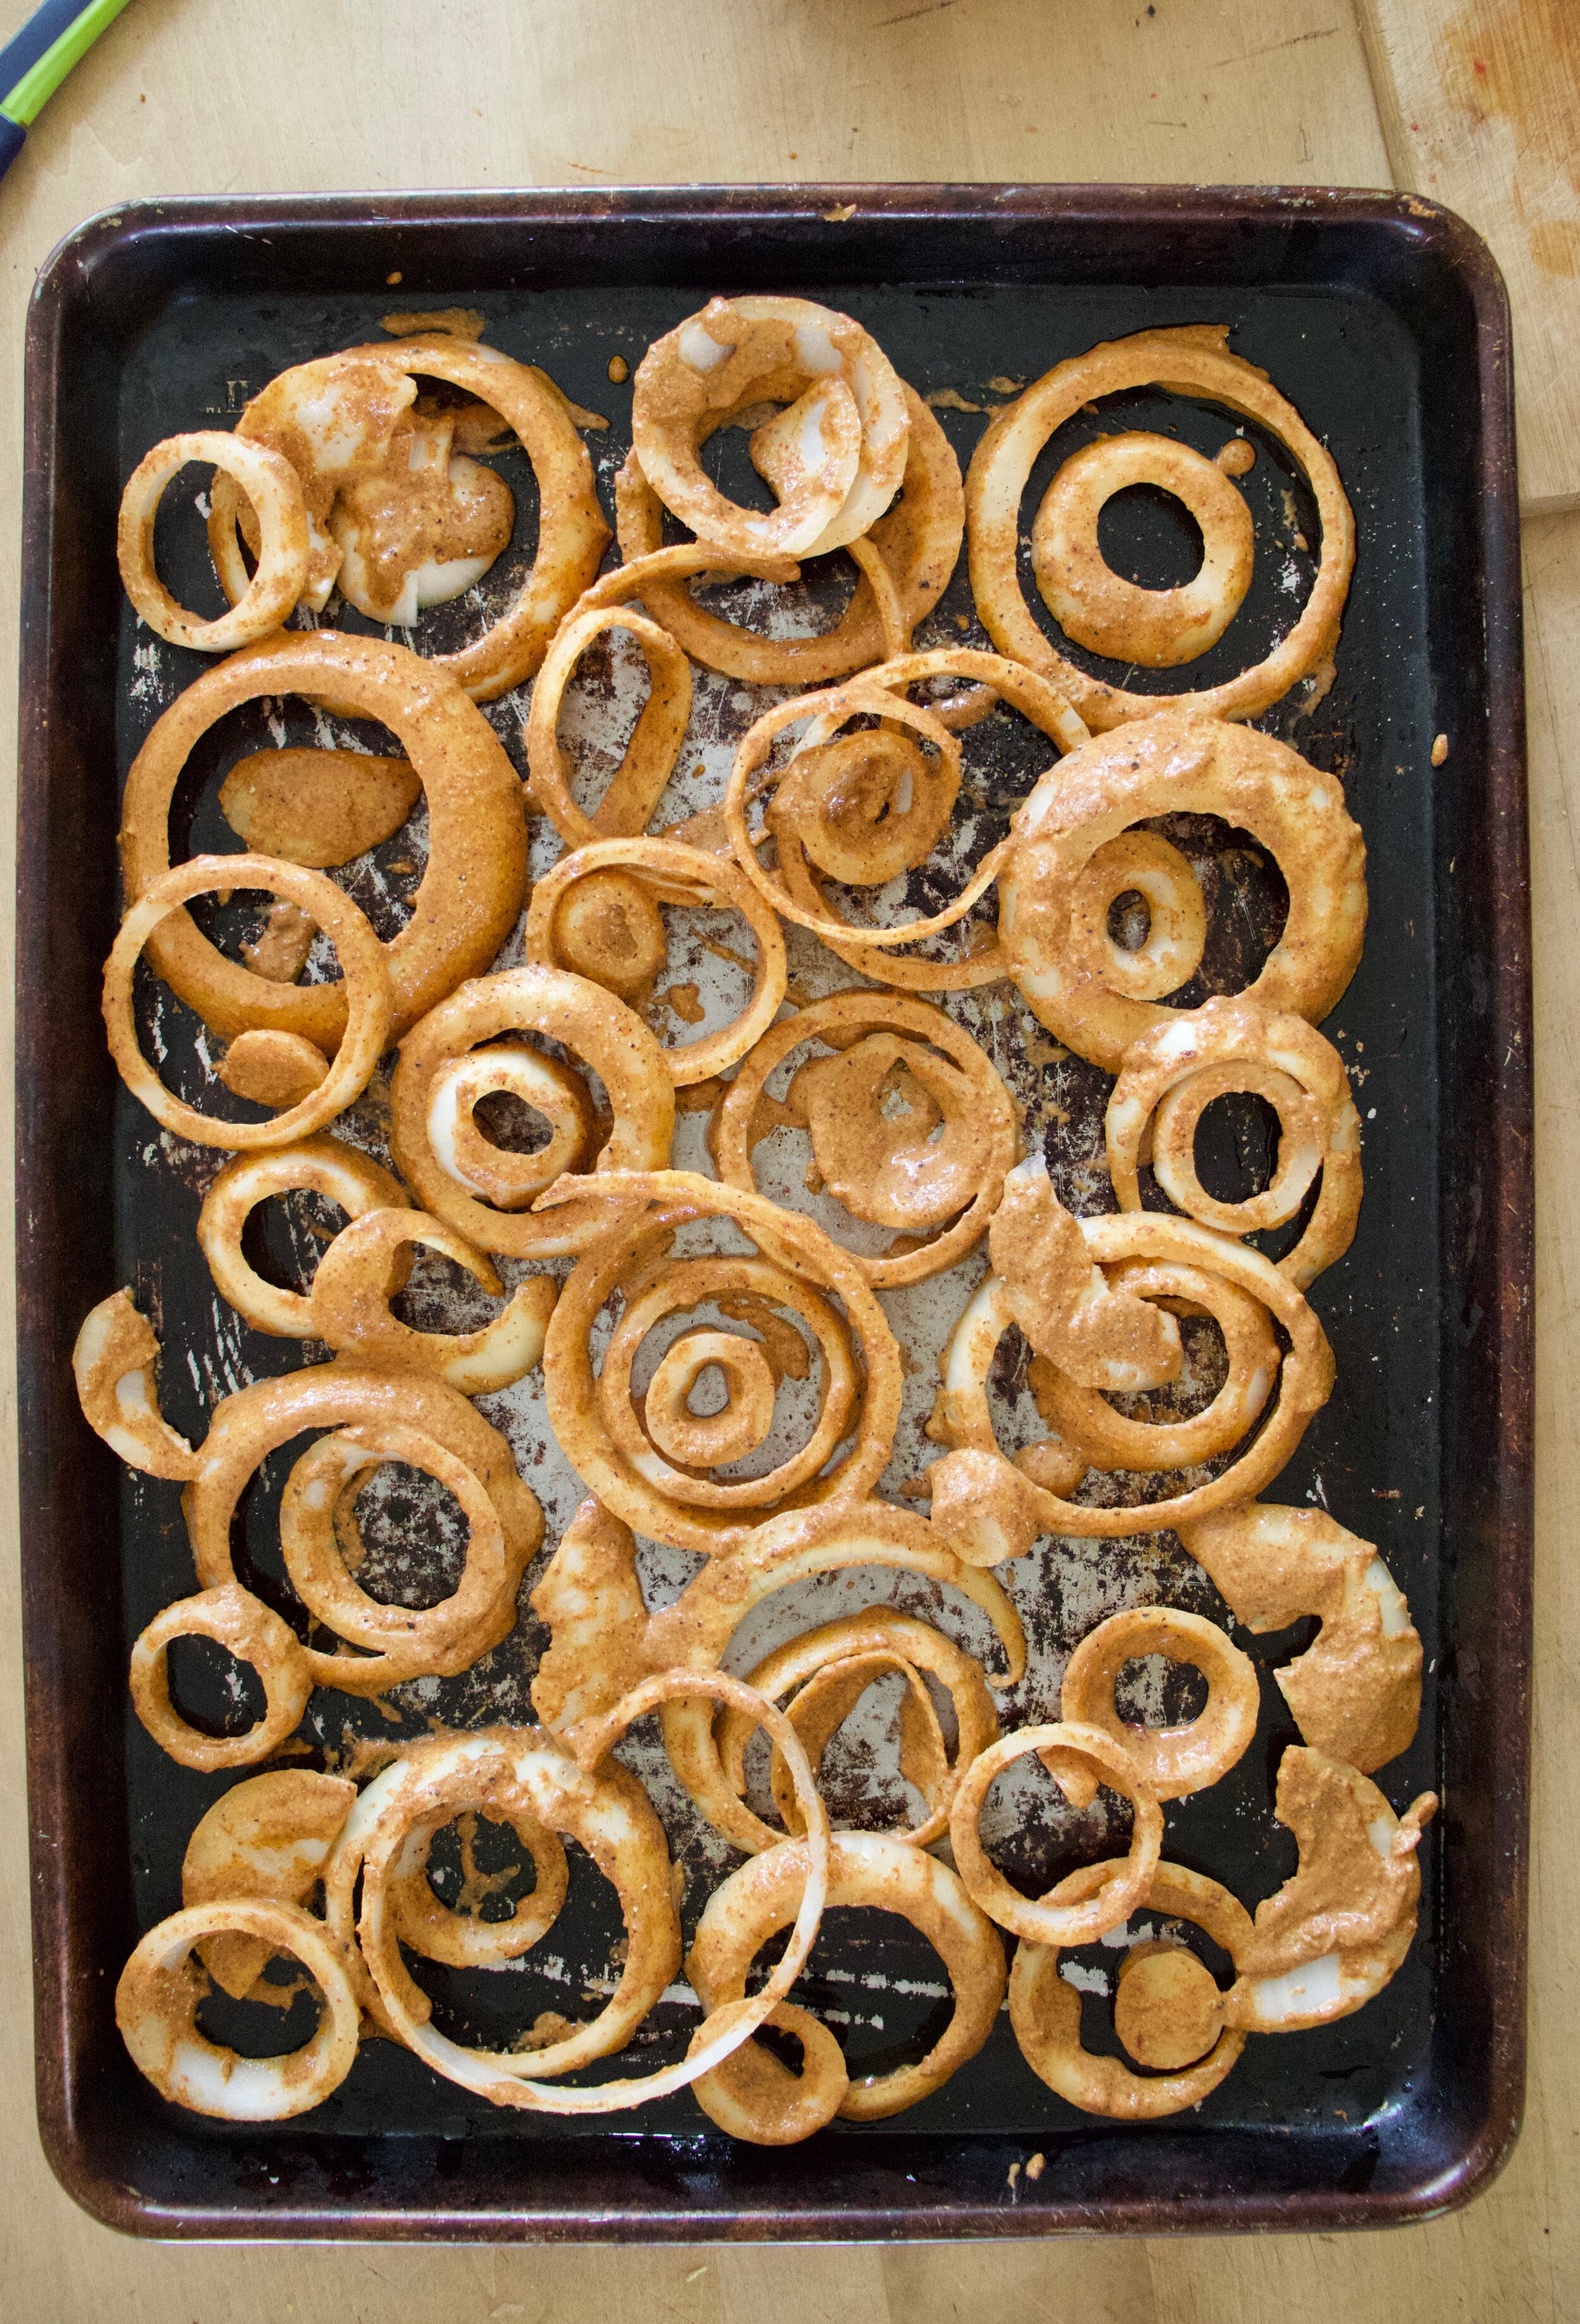
Dip the onions into the batter and place on a oiled baking sheet. Try not to overlap too much and use the insides of large rings to place the small ones!

IMG_7999.jpg
IMG_8006.jpg

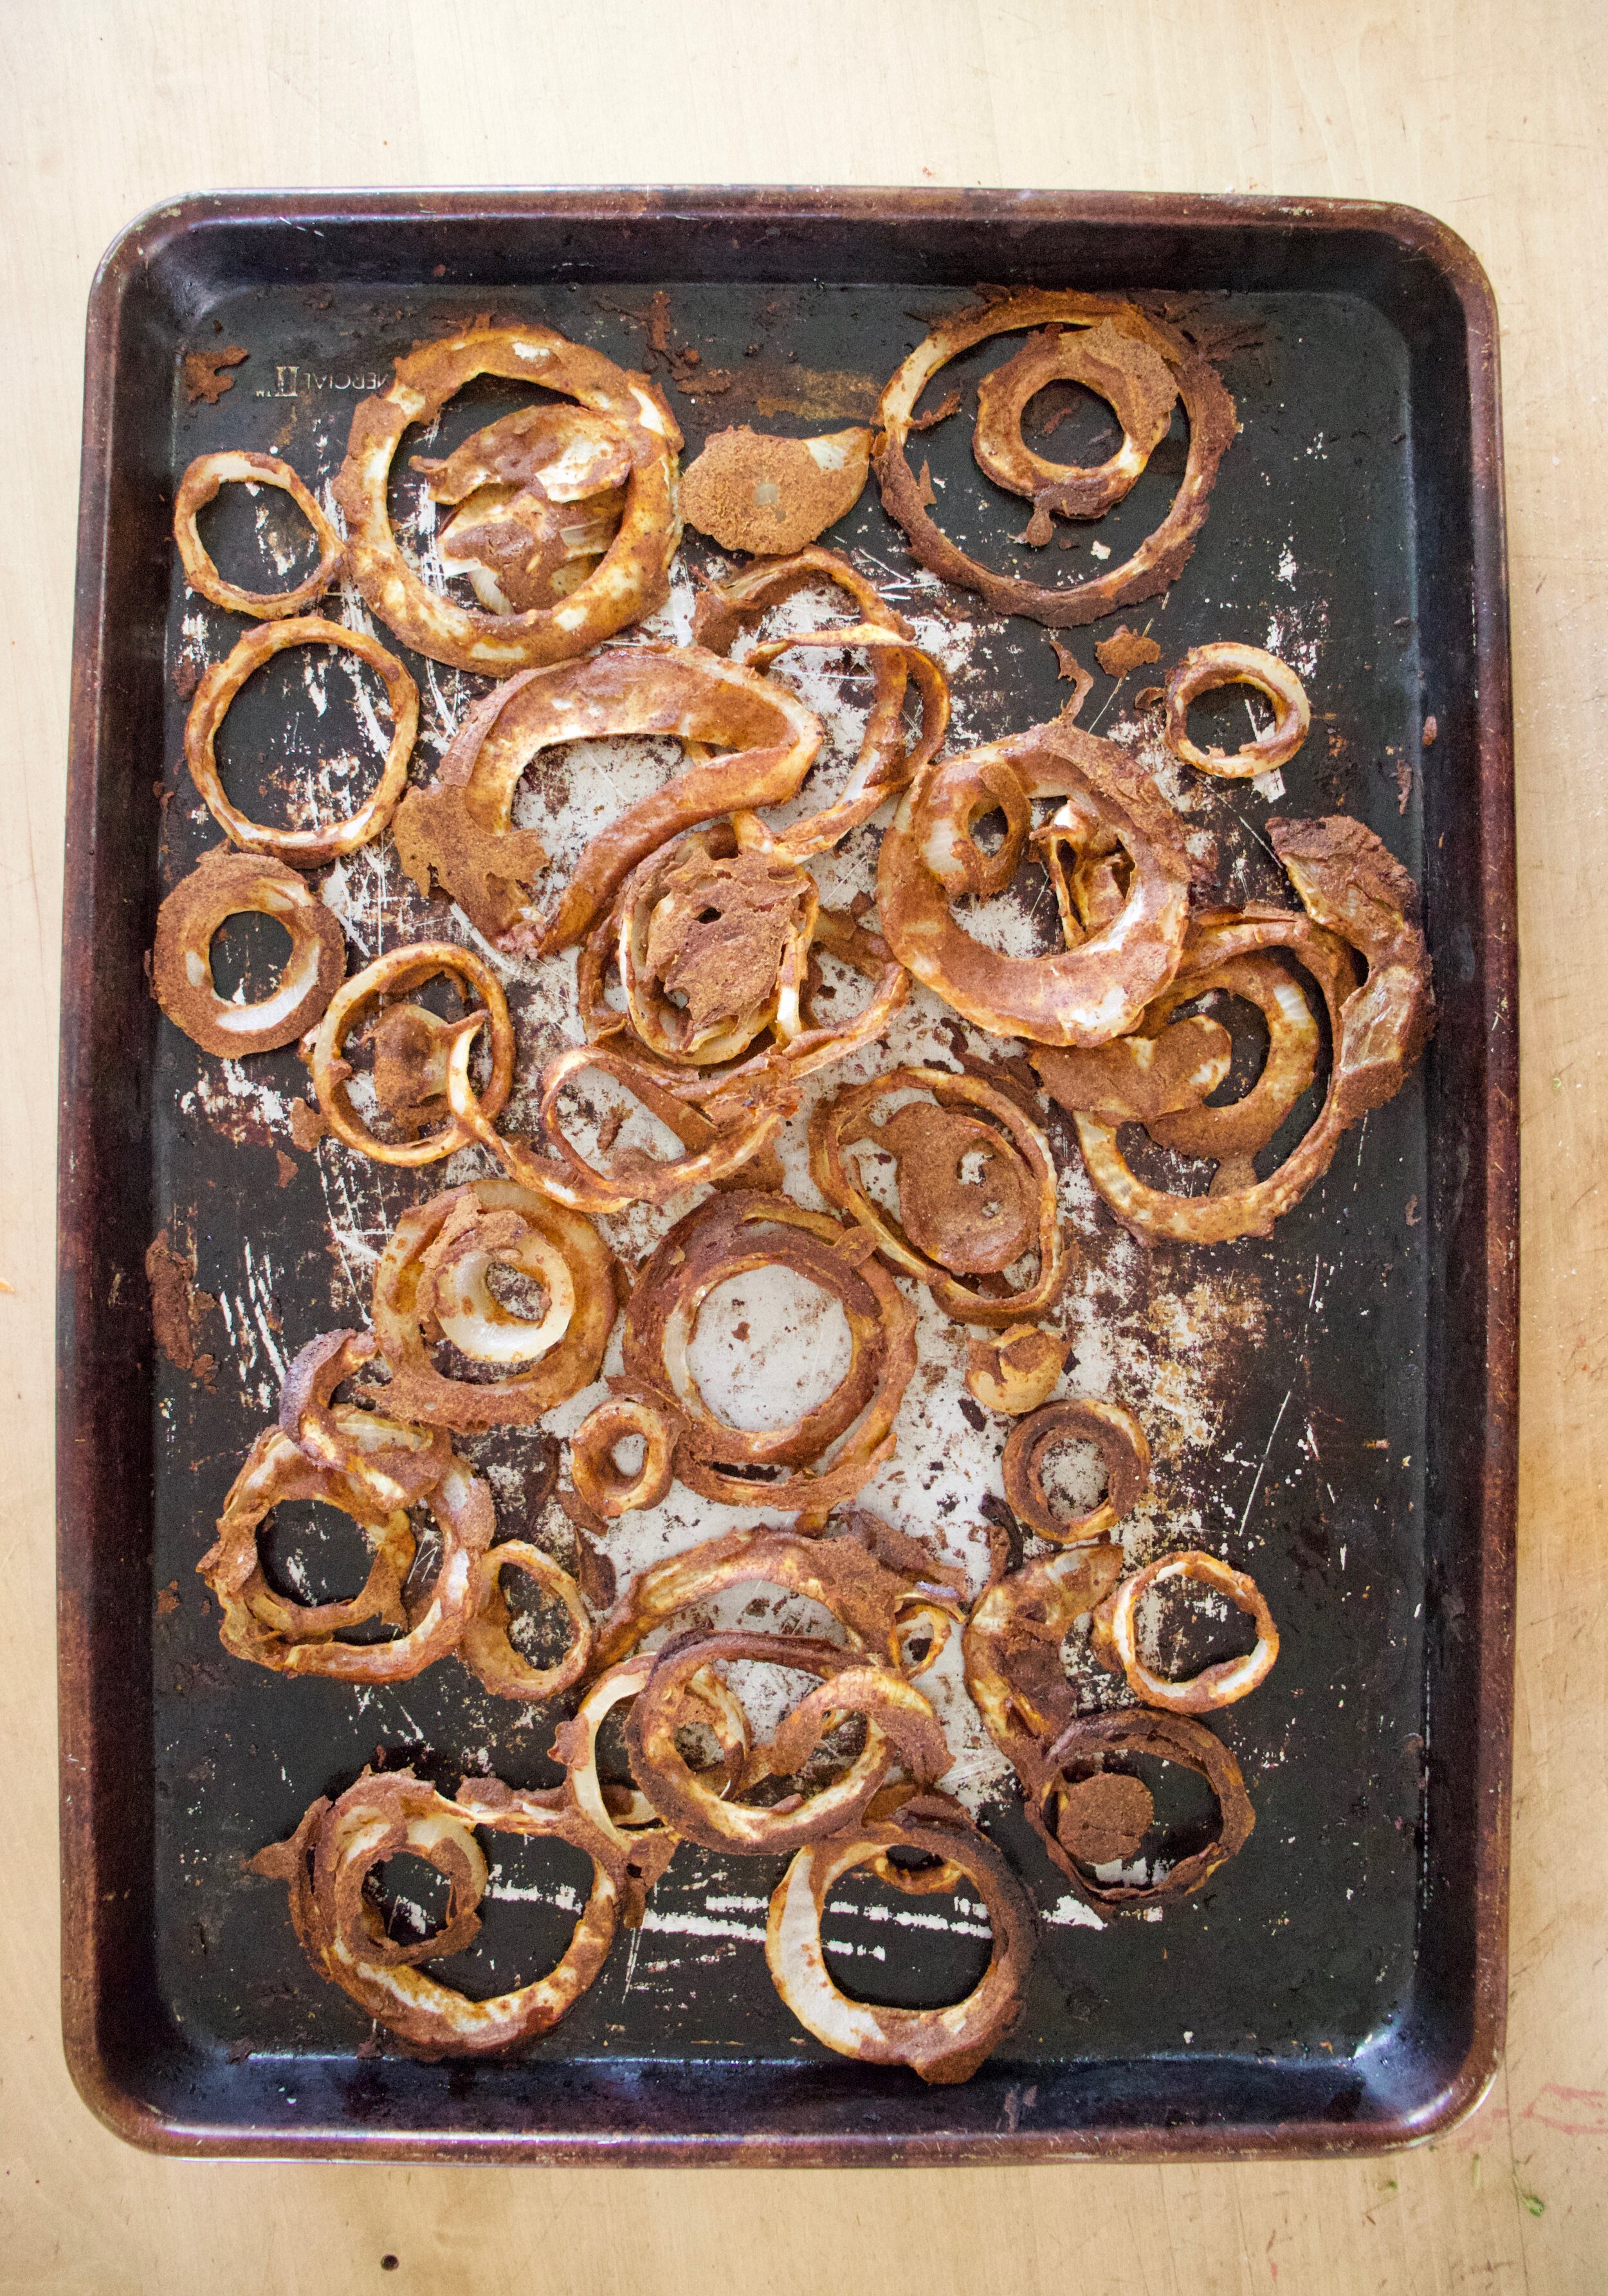
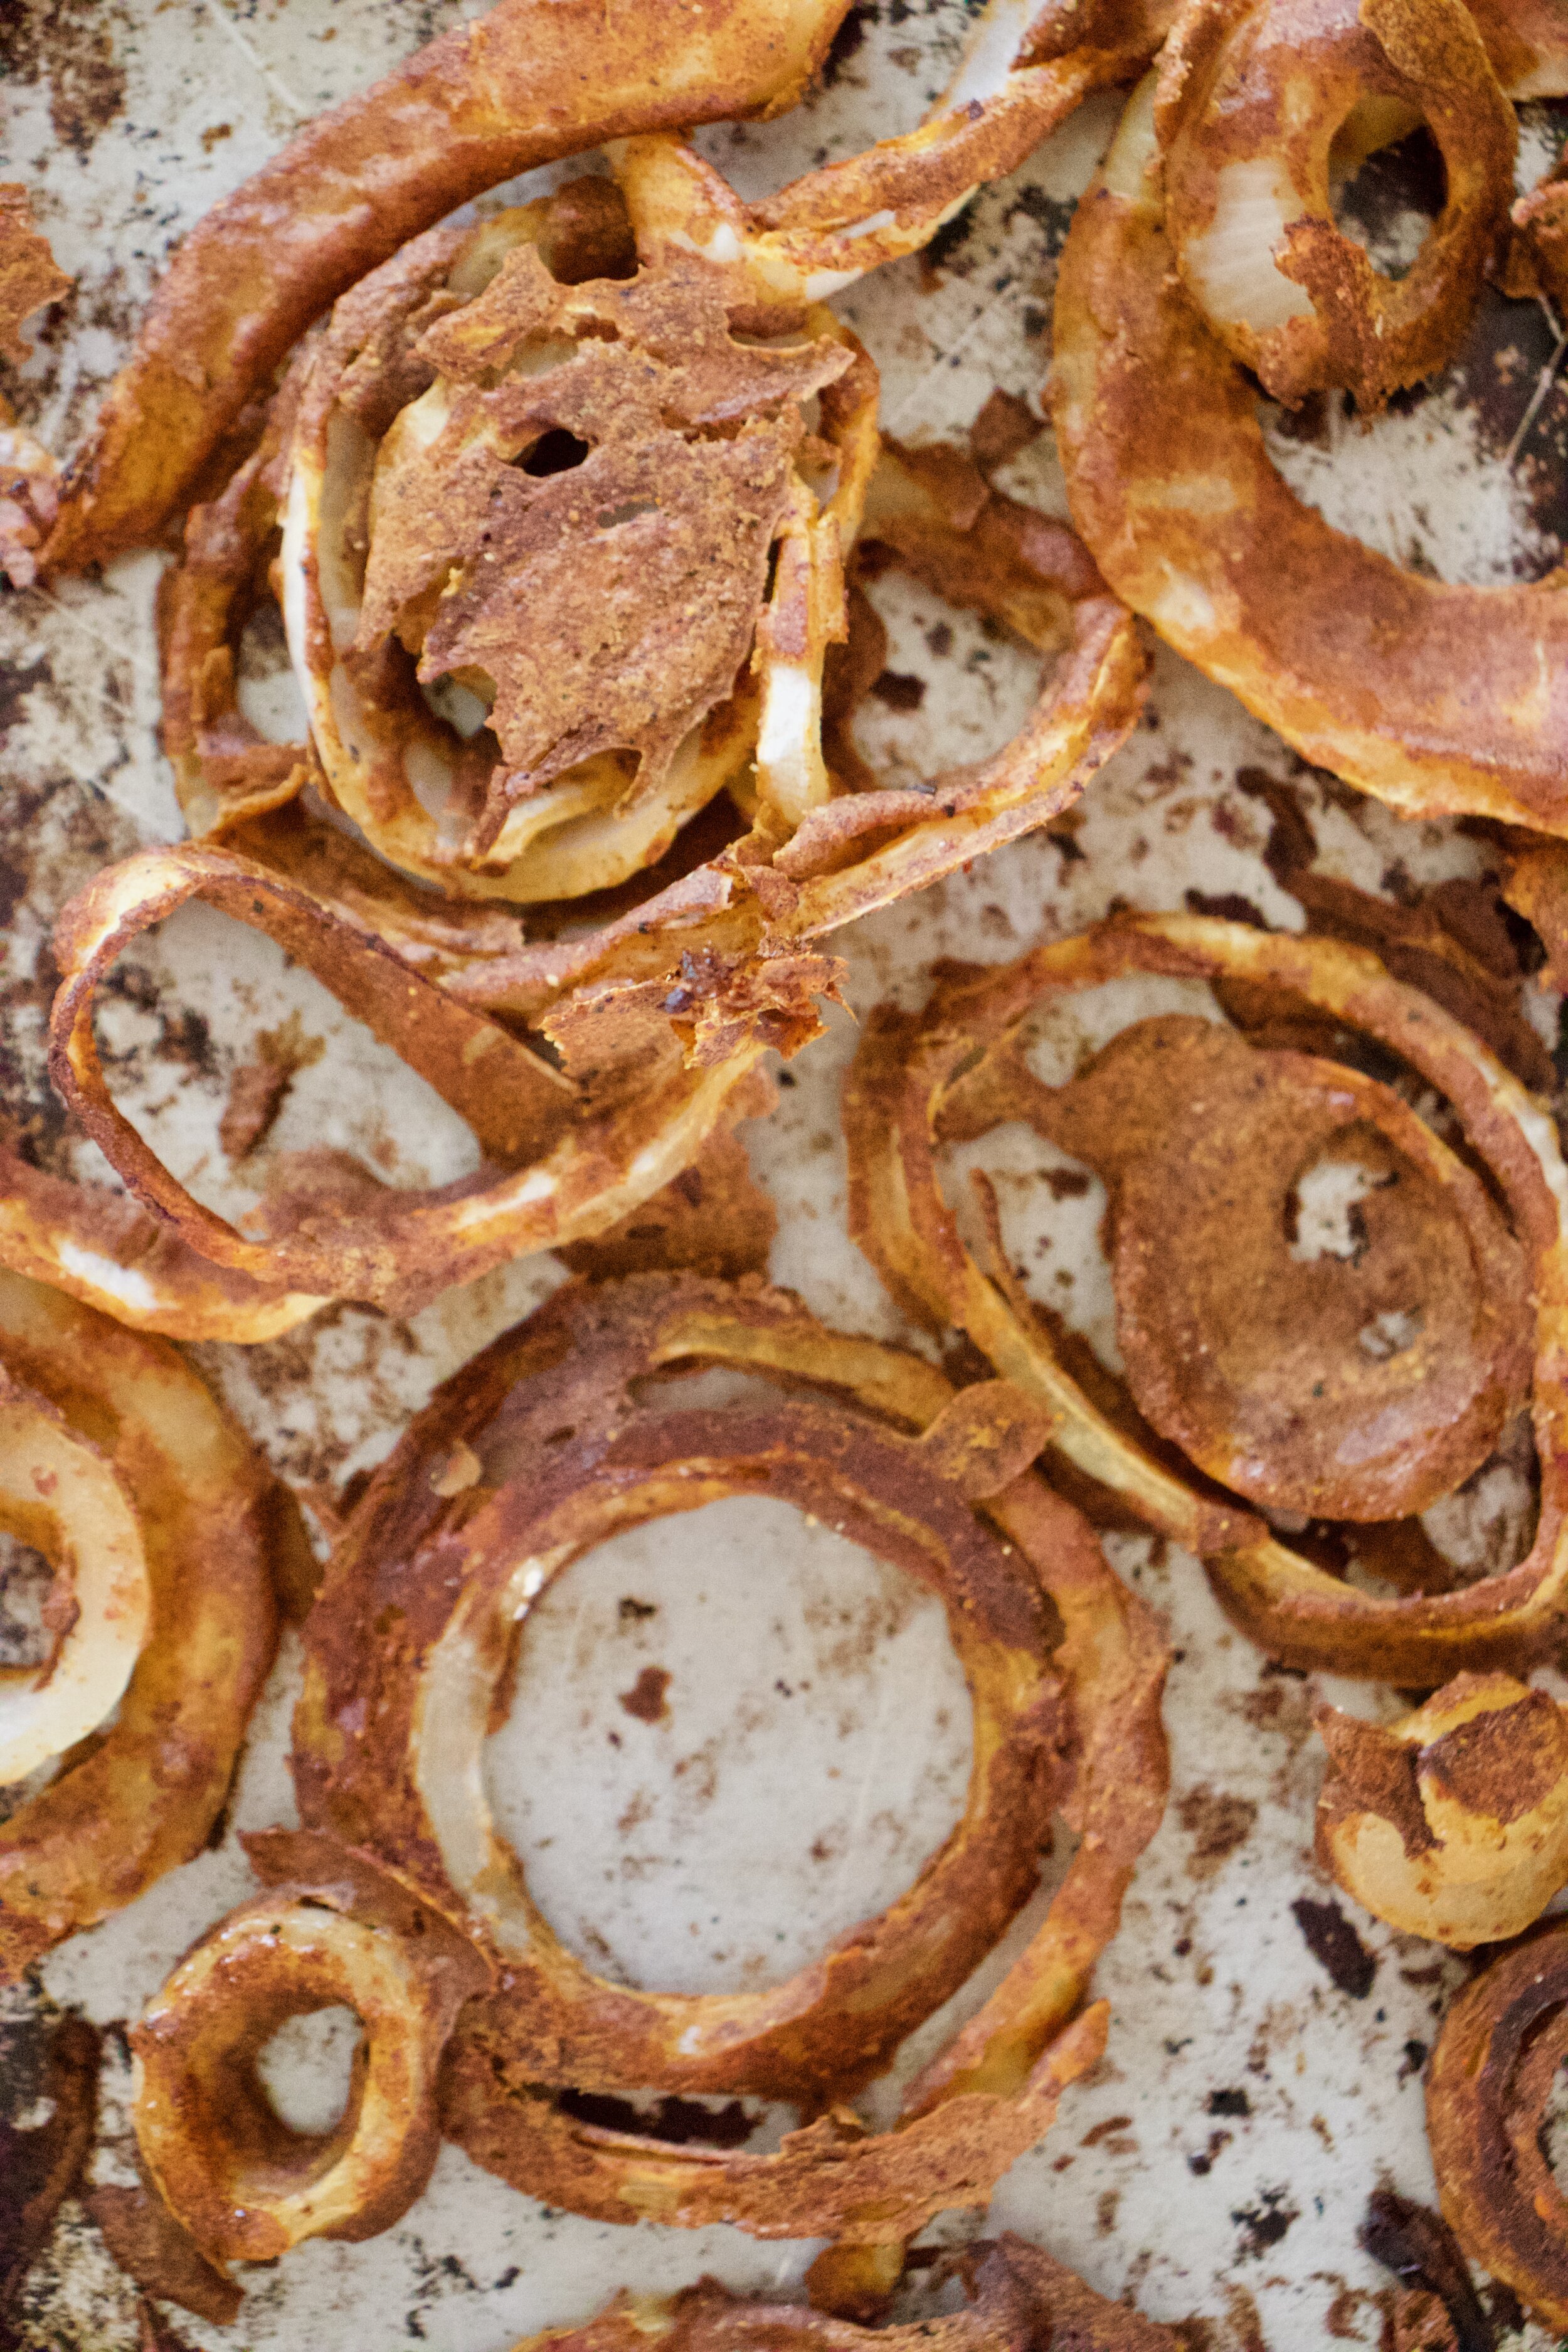
Into the oven and out of the oven. Crispy, dark, and delicious!

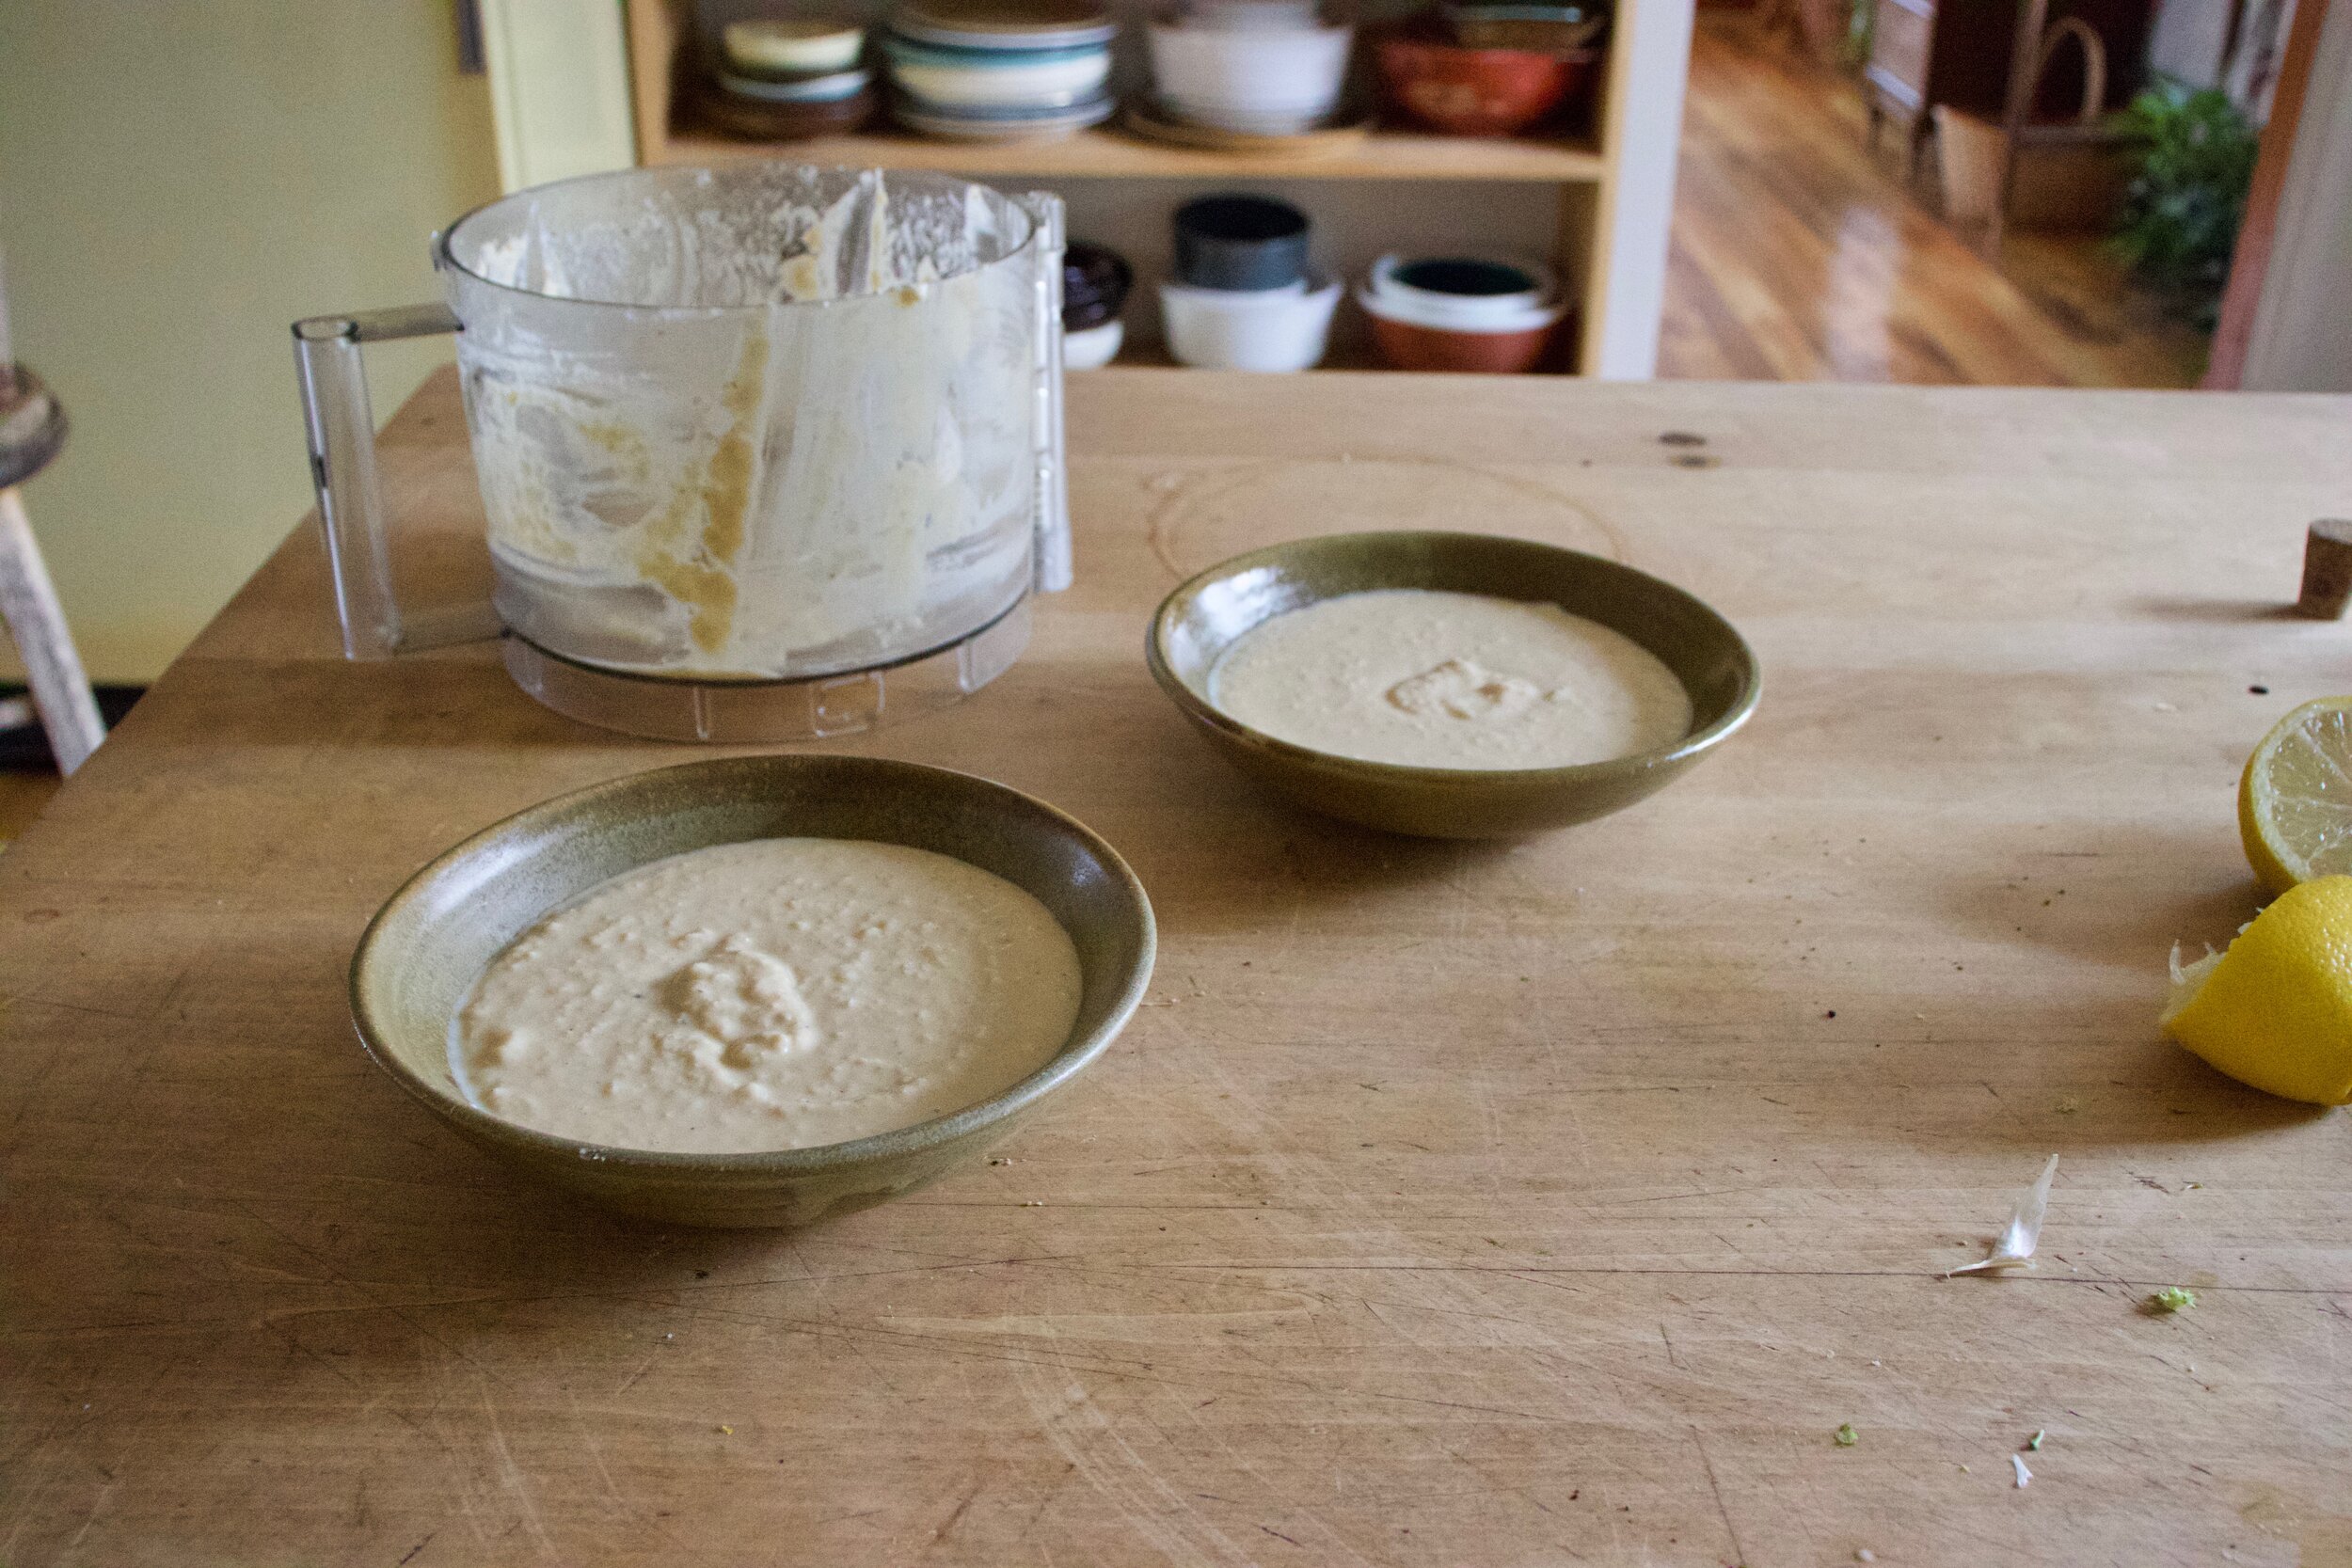
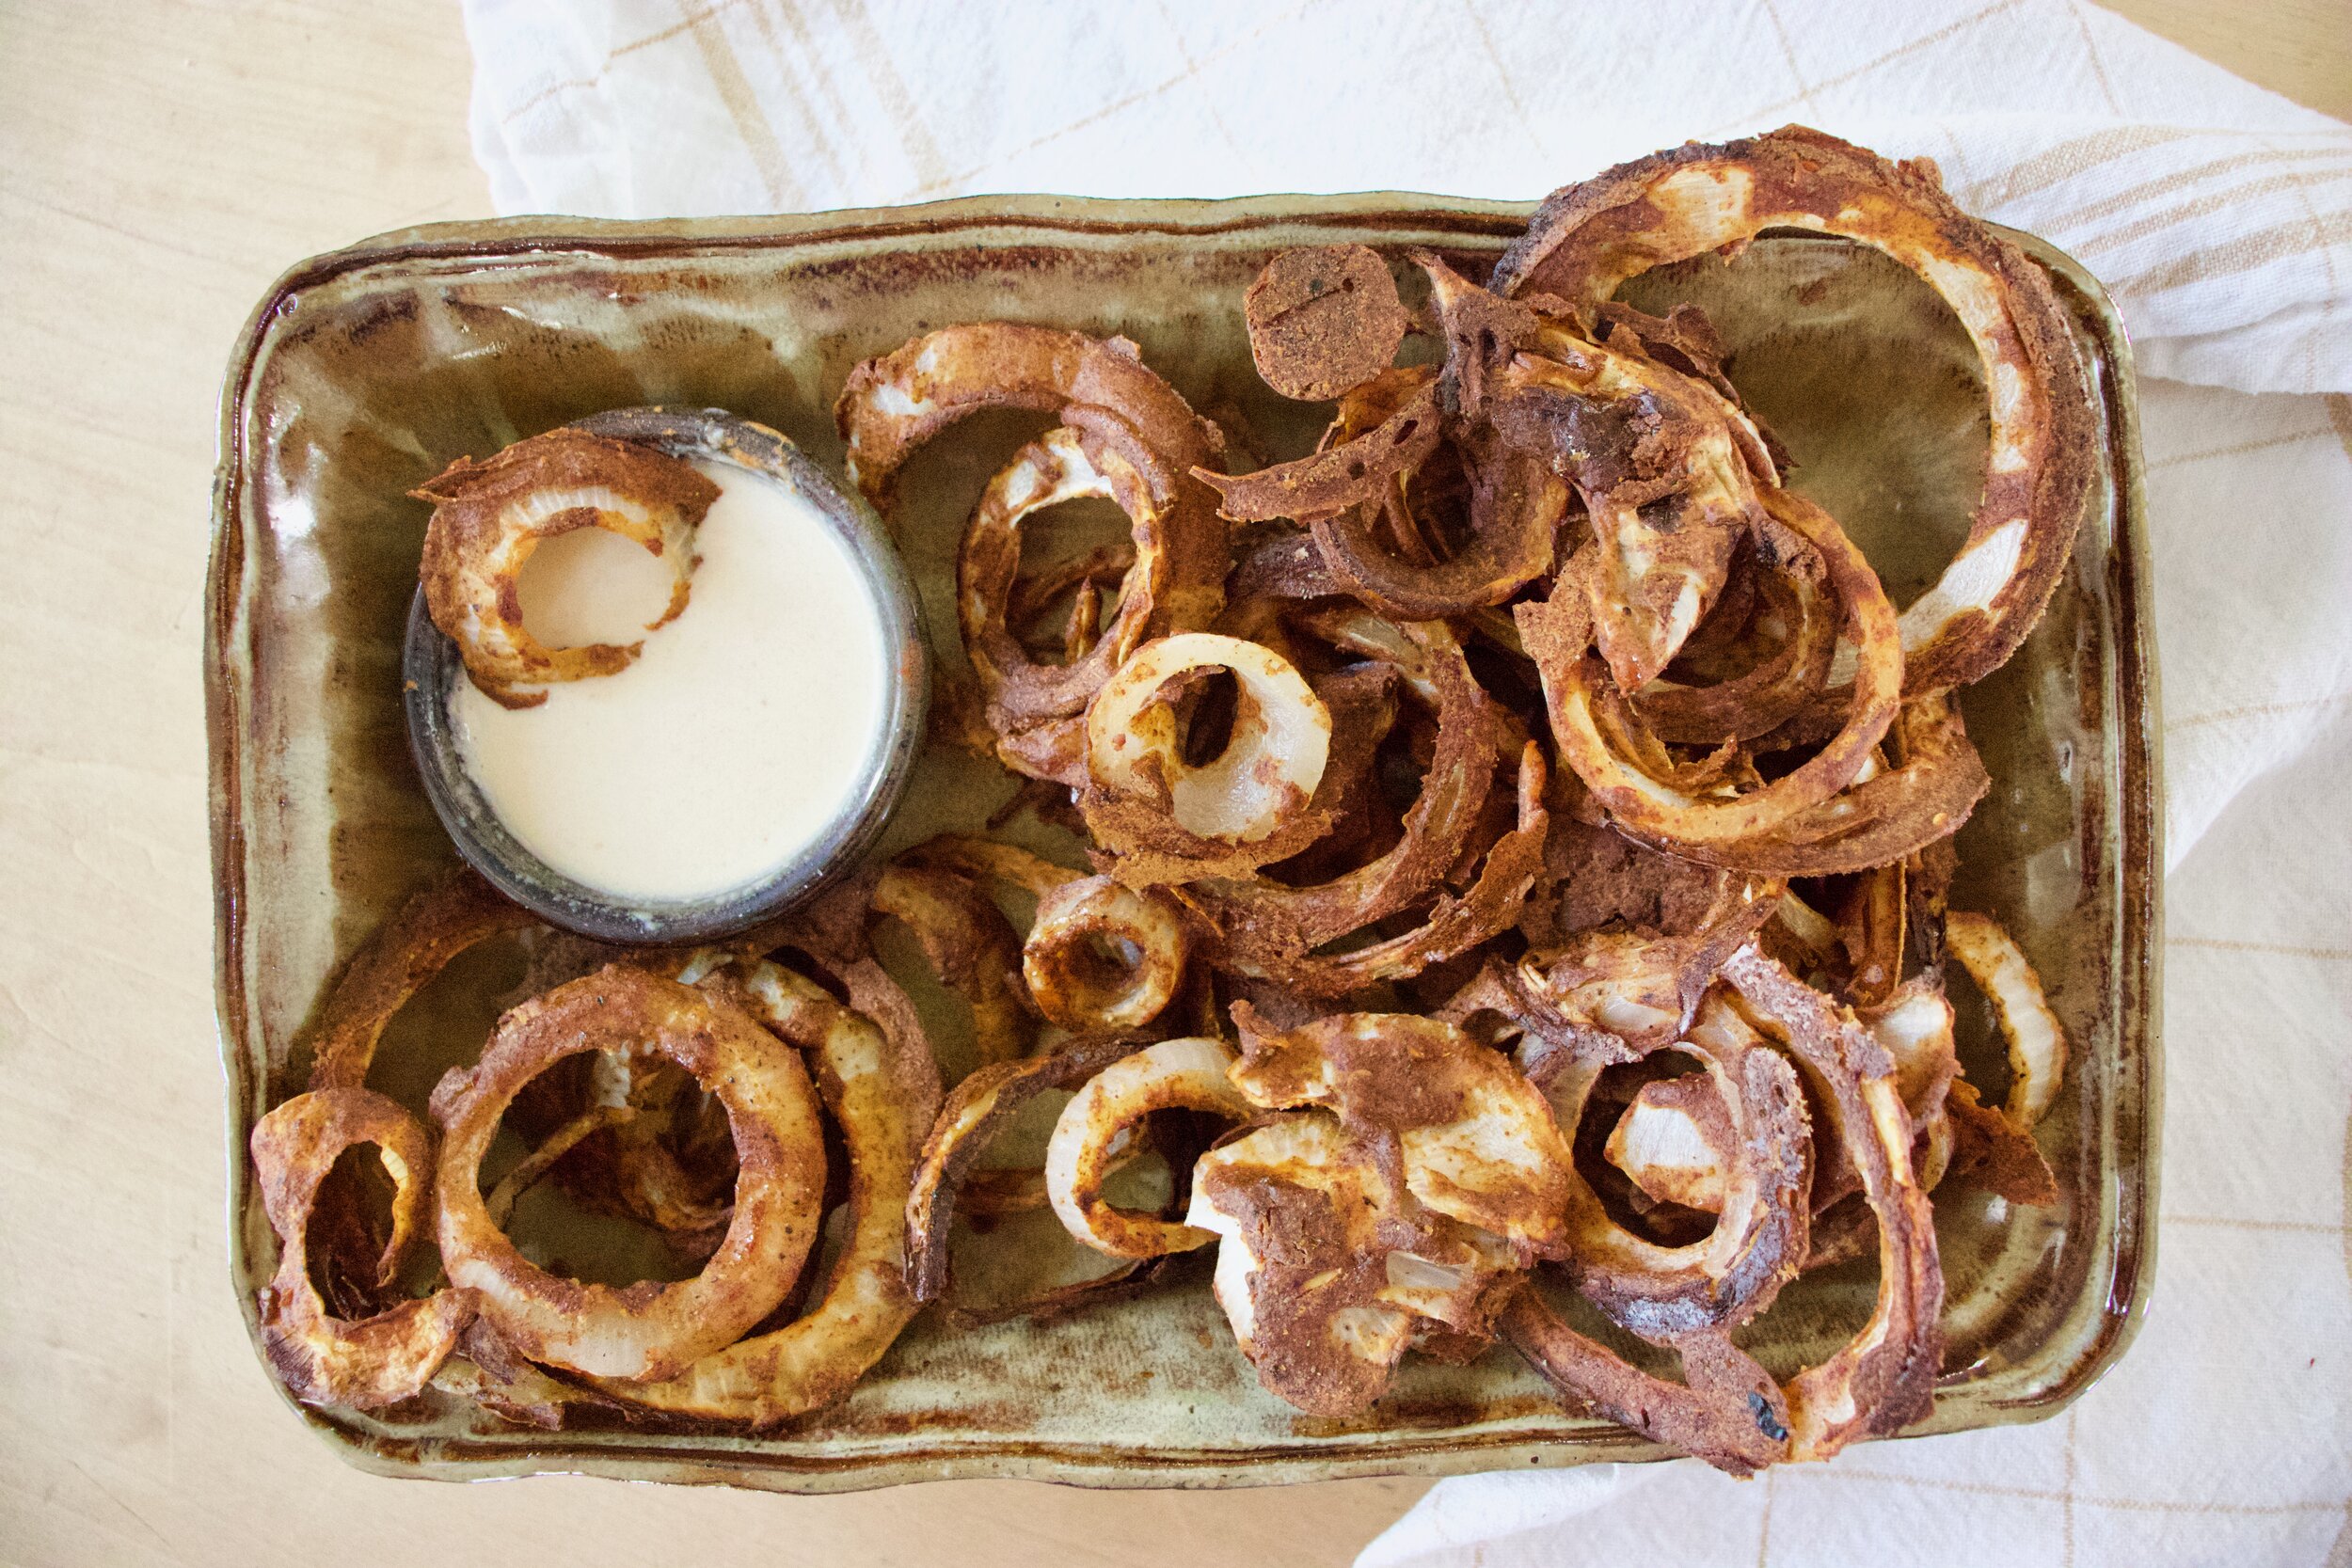
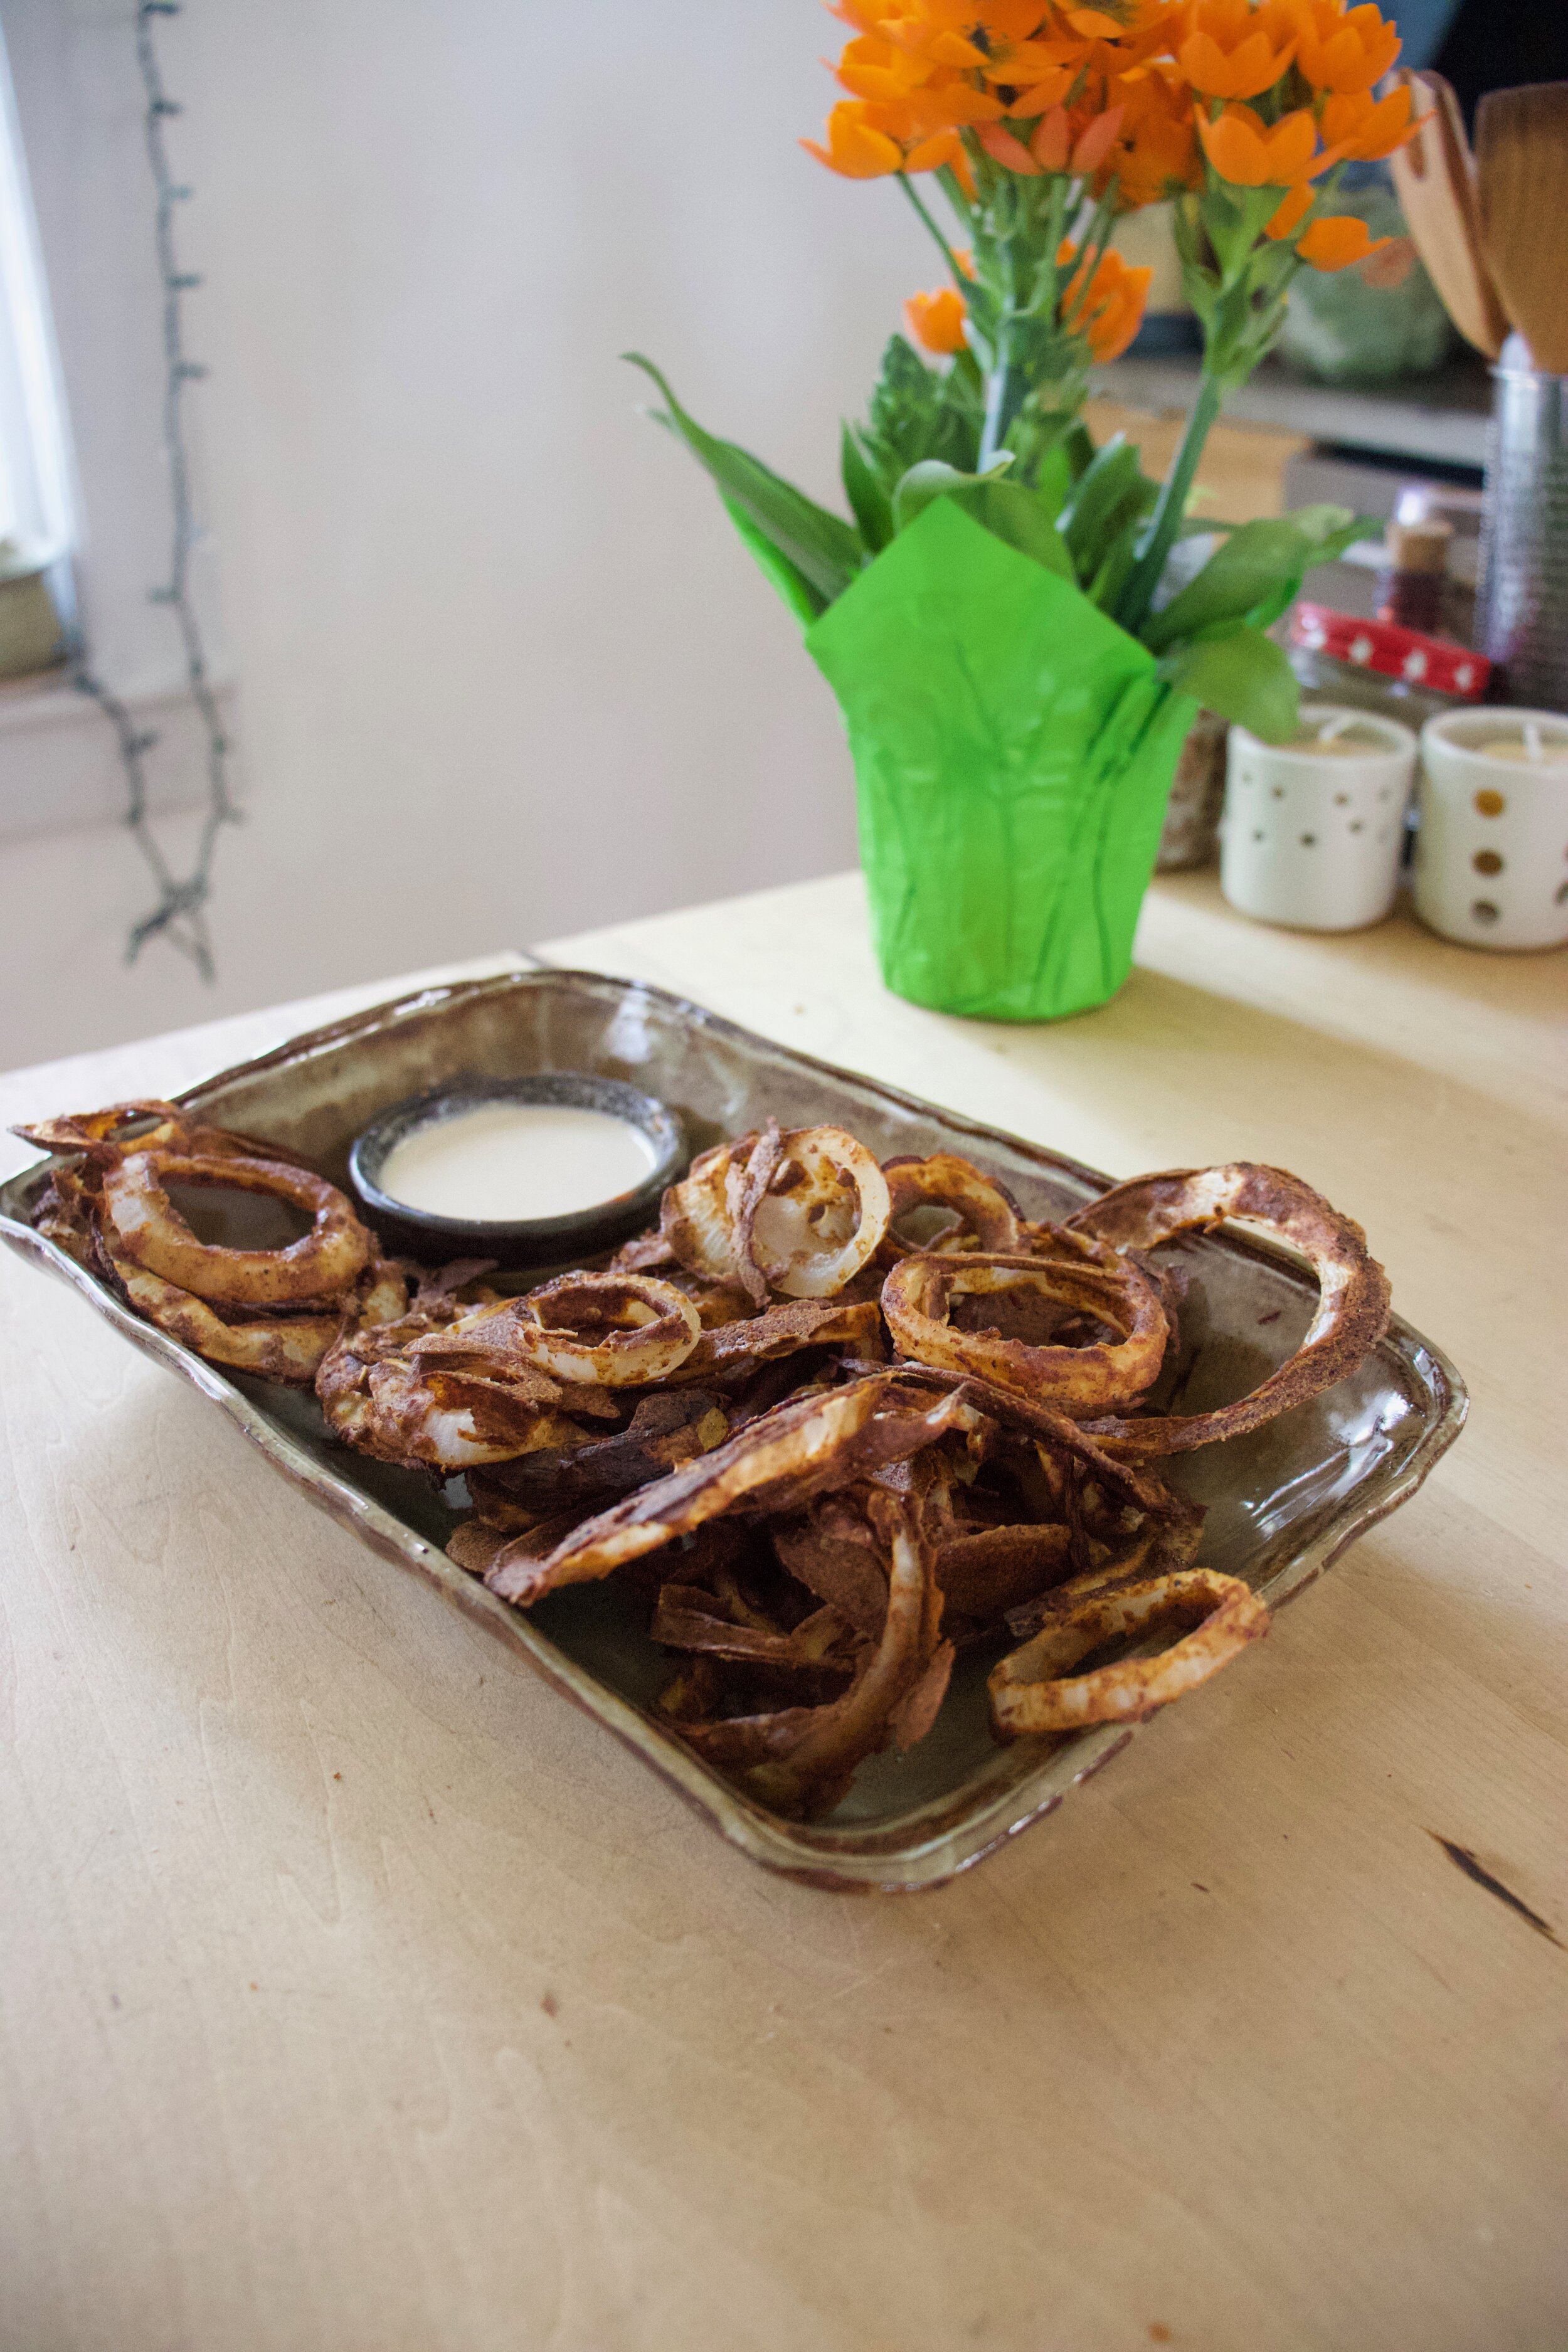
Get those rings onto a plate while they are hot, grab some dipping sauce of choice (tahini for me) and eat.

Get into this.

-C


Chickpea Flour Onion Rings

  • 3/4 cup checkpea flour

  • 1 teaspoon each cumin and chili powder

  • 1/2 teaspoon each garlic, paprika and ground ginger

  • pinch of red pepper flakes

  • 2 medium sized valida onions (or whatever onions you have)

  • 3/4 cup warm water

  • 1/2 teaspoon salt

  • cracked pepper

  • tablespoon or so of oil to oil baking sheet

Preheat oven to 425.

In a wide bottomed bowl mix together the chickpea flour. salt. and all the spices. Add in the warm water and mix until completely incorporated and smooth. You want the batter to coat the onions when dipped but not be overly thick. If you think it needs to thicken up a bit, add a tablespoon more chickpea flour. To thin it, just add a splash more water.

Grab onions and peel off papery skin then slice into 1/4-1/2 inch rounds. Take onion rings and dip them into the batter then place rings on a large oiled baking sheet. Try not to overlap to much and definitely place smaller rings inside bigger rings. Also use a second baking sheet if you need to.

Once rings are all battered, place in preheated oven and bake for 40 minutes, giving them a flip atfter about 25-30 minutes.

Once dark brown and crispy, remove from the oven. Place rings on a plate and eat. Dipping sauce recommendation is tahini but anything or nothing at all is also right.

In appetizers, Gluten Free, grain free, pulses, quick and easy, side dish, Vegan, Vegetables Tags baked onion rings, chickpea flour, gluten free, onion rings, dairy free, baked, plant based, easy, simple, healthy, protein, side dish, onion, savory, spicy, food, homemade, fresh, yummy, eater, delicious, vegan, grain free, pulses, beans, besem flour
Comment

Baked Polenta with Black Beans and Fixins

April 4, 2020 Colleen Stem
IMG_7087.jpg
IMG_7081 2.jpg

I know that everyone in the world right now is making bread. And that is great, that is awesome, and I am (although I always have been) one of those people making bread. But I was thinking about all those that are not bread eaters, or people that can’t find a freaking bag of flour because the world has gone crazy and all we do now is bake. Well I got you. Polenta friends. Basically all you need for polenta is cornmeal and water and you are good to go. No flour needed.

This polenta situation is a little more then just make polenta and eat. No, it has been cooled, seared, baked, then topped with basically anything you would throw into a burrito because why the heck not. And really, that is what you really should do with polenta because it is like a big crispy, yet soft and creamy corn tortilla (I know right.) Plus you can show pictures to all of your friends of this amazing meal you whipped up and made look all nicey nice and shit. You will say “What bread, no, you should see this polenta!” And then soon after the internet will be ablaze with polenta cakes with beans. Seriously. It’s gonna happen., and think, it could be you who makes it so. Haha!

To the polenta a fixins!

The stuff. Cornemal, water, salt and pepper, cumin, and olive oil. Then fixing of cooked black beans, salsa, some shredded cabbage, 1/2 a big onion, avocado, a lime, and some pickled jalapeño.

Note that you can use all these fixings or none of these. Use what you have!

IMG_6989 2.jpg
IMG_6998.jpg
IMG_7001.jpg
IMG_7006 2.jpg

The polenta. First off, you need to make this at least an hour before you start to bake it because it needs time to set so factor that into your time.

To make polenta, water goes into a big pot and placed on stove to boil. Once water is boiling, slowly pour cornmeal into water while continuously whisking. Once all in, turn heat to medium low and keep whisking, for about 15 minute, until polenta is nice and thick and creamy. Remove from heat, dump in cumin and olive oil, mix and mix until incorporated.

Quickly pour polenta into an oiled baking pan and pop that pan into the fridge for the polenta to set.

IMG_6984.jpg
IMG_6988.jpg

In the meantime, slice and dice up onion and toss it around with cabbage, a pinch of salt, and juice of lime.

Once polenta is set, turn it out of pan onto a cutting board. Cut into 4-6 equal sized pieces.

Another note. You can for sure only cook a serving or two and save some for a later time. Just place unbaked polenta in a airtight container and it should be good in fridge for up to a week.

Sear polena. Get a skillet oiled and nice and hot and cook each side for about 5 minutes or until golden crispy. Then either place on a baking sheet or keep in skillet if it’s oven safe and pop into oven to bake for about 1/2 and hour.

IMG_7065.jpg

Done polenta. DONE!

Now for the fixins. I won’t go to into details, I trust you know what to do.

IMG_7123.jpg

What are you waiting for? EAT!

-C


Baked Polenta with Black Beans and Fixins

serves 4-6

For the polenta

  • 1 cup cornmeal

  • 4 cups water

  • 2 tablespoons olive oil

  • salt and pepper

  • 1 tablespoon cumin

FIxins

  • 3 cups cooked black beans (about a 3/4 cup per serving )

  • 3 cups shredded cabbage

  • 1 small or 1/2 a large red onion

  • A lime

  • Salsa

  • An avocado

  • fresh or pickled jalapeño

  • And anything else you want (Greens, cheese, yogurt, sour cream…. )

Start off by making polenta. Add water ro a medium sized pot and bring to a boil. Once boiling, grab a whisk and the cornmeal and slowly add cornmeal into water while whisking. Once all cornmeal is in, turn heat to low and pretty much continuously whisk for about 15 minutes. Careful to really whisk all around the bottom of the pot so you don’t burn the bottom of pot. Once the polenta is nice and thick and creamy, remove from heat and dump in the cumin, a good pinch of salt and pepper, and oil olive. Mix until completely incorporated then pour mixture into a oiled 9x9 or 10x10 baking pan. Place pan in fridge to let the polenta to set, which should take about an hour but can stay all day if you want.

In the meantime, slice onion up and place into a bowl with shredded cabbage. Add juice of 1/2 the lime and a pinch of salt and toss. Set aside.

Once polenta has set, preheat oven to 400.

Take pan and invert it onto a cutting board then cut into 4-6 equal sized pieces (any size and or shape works). Grab a skillet and drizzle a in a little oil. Get it nice and hot on the stove then sear the polenta, both sides for about 5 minutes or until nice and crispy. Once the polenta is seared, place either on a baking sheet or keep in the skillet (if it is oven safe) and place in oven to bake for about 1/2 or until nice and firm and crispy. Warm up the black beans while you are waiting.

When the polenta is baked to your liking, remove from oven and place on plates. Scoop on black beans, grab a handful of cabbage onion slaw, top with salsa, jalapeños , avocado , and anything else you want.

Eat.

Left over polenta is great to have in the fridge. Just store in an airtight canters for up to a week. Sear it or bake it up whenever you are in the need.

In Vegan, pulses, Gluten Free, entree, Dairy Free, biscuits and such, beans Tags Baked Polenta With Black Beans And Fixins, vegan, gluten free, dairy free, quarantine food, dried beans, canned beans, pulses, healthy, plant based, mexican, polenta, baked polenta, dinner, cornmeal, no flour, substitutions
Comment

Beans and Greens on Toast

March 21, 2020 Colleen Stem
IMG_6763.jpg
IMG_6778.jpg
IMG_6752.jpg

It was a toss up this week. Share this recipe or share home remedies for flatulence!!!! Mah haha! (But honestly, should I share some home remedies for bloating and the toots?)

Ok, so we all know what is going on in the world at the moment and jeezm fuck. I’ll leave it at that.

Word on the streets (or in the news) is that everyone and their mom went out the past few weeks and stock piled a shit ton of food, especially beans. And you know what, that’s cool because beans are amazing and sometimes the silver lining behind bad shit is that you discover something magical. Like beans.

But there is also the issue of all the food people stocked up on in a slight frenzy and might not have had exact intentions for it. Maybe some greens? Did you buy greens? Are they, right now, sitting in your fridge, maybe a little sad, getting neglected because you have been binge eating up the rest of the girl scout cookies like what?

Well maybe this is a good time to use those greens before they go completely bad and you end up tossing them. Even though shit is mad crazy right now, we need to get perspective, especially on food. Waste is preventable. You don’t need to be that person. If you bought it, you for sure better be eating it.

But let me be clear. This is not just a recipe to use up greens and beans because you have to. No no no. These beans and greens are so freaking delicious. It is spring after all and greens are so bountiful and amazing right now. All I want to do is stuff handfuls of the tender green things into my mouth. After months of roots on top of roots, I could gladly eat nothing but greens for the next month. (Until all the other spring veggies start growing!)

This dish is quick and easy and tasty as AF. You can use any type of bean that you have, pretty much any greens you have, and any bread you have. As for the tahini sauce that gets drizzled on top, if you don’t have tahini, you can make it with another nut butter or just use some other dressing situation. It really is that simple and adaptable. And delicious and nutritious. All the boxes are checked!✔️

Now to the beans and greens on toast!

The stuff. Beans, greens. bread, tahini, an onion, a lemon, a little garlic powder, salt and pepper, and olive oil.

Chop onion.

Onions into a skillet with a touch of oil. Cook until soft.

IMG_6722.jpg

Once onions are soft, toss in the beans! Keep on heat and cook for a few minutes.

And lastly the greens. Right on in, just mix then around and let them wilt down to your preferable wiltedness.

IMG_6706.jpg
IMG_6708.jpg

Tahini sauce. All you do is mix the thin with lemon, garlic, a little pinch of salt and pepper, and water until it is creamy.

Lastly, toast the bread. I used a skillet but use the toaster or oven. Whatever you want to do.

And that is it. Toast on plate, pile on the beans and greens and get that tahini sauce drizzled also over!

IMG_6775.jpg

Now eat. And revel in the greatness of all the good that is now in your mouth!

Stay safe and healthy and aware!

-C


Beans and Greens on Toast

Serves 1

  • 2 cups cooked or canned beans (I used navy but any bean will work)

  • 2-3 large handfuls of greens (I used a mixture of spinach, kale, and chard, but again, any green will do, even romaine or spring mix)

  • 1 small onion

  • 2 pieces of bread

  • a lemon (you can sub a tablespoon vinegar if you don’t have a lemon)

  • a tablespoon or so water

  • a clove of garlic minced or a pinch of garlic powder

  • olive oil

  • salt and pepper

First dice up the onion and toss into a medium sized skillet with a drizzle of olive oil and a pinch of salt. Place on medium heat and cook until soft which should take about 5-6 minutes. Once cooked, add in the beans and stir around.

Let those hang out for a few minutes and start the toast. I think you can figure out how to make toast so I will let you do that. Also make the tahini sauce. Mix the tahini, the juice of the lemon, garlic, and a pinch of salt and pepper together until completely incorporated. Drizzle in enough water to thin it out to a drizzle-able consistency.

After beans and onions have had the past few minutes to warm and cook, toss in all the greens and a splash of water. Cook for another minutes to 2 or until greens have wilted.

Grab a plate, place toast on plate, pile the beans and greens on toast then drizzle all the tahini sauce on top. Season with salt and pepper if needed.

Smile and then eat.

In beans, bread, dinner, Vegan, Vegetables Tags beans, greens, toast, no waste, vegan, food, healthy, dried beans, canned beans, white beans, pulses, gluten free, protein, plant based, healthy dinner, quick and easy, spring, greens about to go bad, fresh greens, food recipes, dairy free
Comment

Orange Black Bean Chili

January 18, 2020 Colleen Stem
IMG_5050.jpg
IMG_5025.jpg

I have been on a severe citrus kick lately. Oranges, limes, lemons, kumquats. I want it all and have been eating it all. A lot of it all. Espeically the oranges which are just so good right now. We have been going through bags of them faster then ever and I am not mad about it.

Which then brings us to chili. Chili is one of the things that I make on a very regular bases. It’s beans, veggies, tomatoes, and a ton of spices. Easy as can be, most people like it, and I never get sick of it. I mean, how could you get sick of it, it is so good! Anyway. Chili, its great but have you ever added orange to it? Oh man is it amazing. Bright and acidic and sweet. The whole pot of chili just radiates more goodness, more intensity, more, moreness. (I know that doesn’t make sense but you get it.) It’s a whole new level of chili and I don’t if there will ever be a time when I don’t add orange to my chili again. Well at least during citrus season.

But enough about all that, what you really want is to just start making this orange black bean chili so you can eat it. I hear you, so I’ll let you at it.

To the chili!

The stuff. Oranges, black beans, crushed tomatoes, an onion, a couple carrots, a pepper, and jalapeños. Also lots of cumin, chili powder, ground ginger, garlic powder, and salt and pepper.

Small dice up the pepper, onion, carrots, and jalapeños. Don’t want it super spicy, don’t add the jalapeños.

IMG_4980 2.jpg

All that stuff gets tossed into a big pot along with all the spices, some salt and pepper, and a little water too. Place on stove to start cooking down the veggies.

Slightly tender and smells amazing.

IMG_5008.jpg

Now add in the beans, the tomatoes, and the zest and juice of an orange. Mix it all up, set it back on stove and keep on cooking,

Done and ready.

Now eat your chili, with extra orange slices to squeeze all over it of course. And maybe you want to serve it with some corn bread? That is entirely up to you, but who would be made about it?

-C


Orange Black Bean Chili

Serves 4-6 people

  • 1 pound cooked black beans drained (about 5 cups or 3 cans)

  • 5 cups crushed tomatoes (or 2 28oz cans)

  • 2 oranges (navel or cara cara work)

  • 2 carrots

  • 1 large onion

  • 1 bell pepper

  • 2 jalapenos (optional)

  • 2 heaping tablespoons cumin

  • 2 tablespoon chili powder

  • 2 teaspoons garlic powder

  • 2 teaspoons ground ginger

  • salt and pepper

Start by chopping up the veggies. Small dice the carrot, the onion and the pepper. If using jalapeño, dice that into small little bits too. And remove seeds for less heat or leave them if you like it. Once that is all cut up, dump it all into a large heavy bottom pot along with the cumin, chili powder, garlic and ginger powder, and about a teaspoon or so each of salt and pepper. Add about 1/2 cup water, mix it all up, and place the pot on stove on medium heat and start to cook the veggies and spices until they begin to smell fragrant and are ever so slightly tender, which should take 5-10 minutes.

Now add in the beans, the tomatoes, and the zest and juice of one orange. Mix together and keep cooking on medium heat, partially lidded, for about 45 minutes to an hour, stirring once in a while, until the chili has thicken and tastes good to you.

Once done, season to taste with more salt and pepper and either stir the juice of the second orange into the whole pot or serve with slices of orange to squeeze on top.

Eat. Store any left overs in fridge. Tastes delicious cold too.

In beans, dinner, one pot meal, soups/stews/chilis, Vegan, Vegetables Tags Orange Black Bean Chili, Vegan, beans, pulses, vegan dinner, one pot meal, plant based, grain free, gluten free, citrus, orange, heathy, dinner, food, delicious, tasty, yummy, protein
Comment

Hummus Bowl with Roasted Veggies

November 30, 2019 Colleen Stem
IMG_4035 3.jpg

I eat so much hummus. Everyday, all day. Homemade, store bought. If there is hummus, I will be consuming it. But the thing is, I usually don’t eat more then a little at a time. (A little being like 1/2 a cup). And sure, sometimes that is just fine and enough, but other times, what I really want to do is garb a spoon and a bag of carrots and eat it all. And then I do.

But there is that little voice in the back of my head telling me that if someone where to catch me eating mounds of hummus, they would liken my eating behavior to that of someone eating a jar of mustard (Not going to lie, it happens sometimes) or of a bottle of ketchup (but I don’t eat ketchup) and that have a problem and shouldn’t being eating it like that. Because hummus, for some reason, has been put into the condiment category. It’s treated like a dip or a spread and that is fine and dandy to eat it as such, but hummus is so much more. It can, and should be treated more like a main component to a dish. So let us step outside of that box and eat it how we really want to eat it.

Hummus by the bowlful. I know right! It just makes so much sense to me. And now to you too. We need to stop stopping ourselves from just a scoop or two because really, that is just not enough. Nope, this is for real. A bowl, full of hummus, topped with roasted veggies because that is just more deliciousness. And we get to eat it all.

Life can be pretty great sometime, you know. HA

Now to the bowl of hummus!

IMG_3887.jpg

The stuff. We got chickpeas, tahini, a lemon, red wine vinegar, garlic, salt and pepper. And Veggies. Brussel Sprouts, broccoli, onion, Swiss chard, and kale.

IMG_3892.jpg
IMG_3931.jpg

Chop up the broccoli, the onion and half or quarter the Brussel sprouts. And separately, chop up the kale and chard.

Toss the chopped Brussels, broccoli and onion into a baking sheet or oven safe skillet and season with salt and pepper. IF you want to toss in a little oil, go for it. Then pop the veggies into a hot oven to roast away.

IMG_3939 2.jpg

Once the veggies are just about done to your liking, grab the chopped kale and chard and off to the veggies. Toss and roast for a few more minutes.

Done.

IMG_3904.jpg
IMG_3913.jpg

Hummus. Chickpeas with liquid, garlic, tahini, juice of lemon, and blend. Creamy smooth and delicious.

Dump that hummus into bowls.

And top with roasted veggies.

Would you look at that. Now all you need to to is dig in. Serve with extra lemon and black pepper. Grab your utensil of choice and eat.

-C


Hummus Bowl with Roasted Veggies

makes 2 servings if eating as a meal

  • 3 cups cooked chickpeas in liquid

  • A lemon

  • 1 tablespoon red wine vinegar

  • 2-3 cloves garlic

  • 1/4 cup tahini

  • salt and pepper

  • 10 or so Brussel sprouts

  • A small head of broccoli

  • A small onion

  • 5-6 kale and or Swiss chard leaves

Note. Use whatever veggies you want. Fresh or already prepared. All and any leftovers would be great.

Preheat oven to 450.

Cut Brussel sprouts in half, chop the onion into small pieces, and cut up the broccoli and toss onto a baking sheet or an oven safe skillet. Sprinkle with a little salt and pepper and stick into the oven to roast for about 20 ish minutes or until nice and roasted. Feel free to toss the veggies in a little oil if you want. Chop up the kale and chard into smaller pieces. Once veggies are just a few minutes from being cooked to you liking, remove from oven, and toss in the greens. Cook for another 5 or so minutes until those are nice and wilted. Remove veggies from oven.

While veggies are roasting, make hummus. Place chick peas with liquid, the juice of the lemon, vinegar, garlic, and tahini into a food processor. Blend until smooth and creamy. Taste and season with salt and pepper to your liking. Dump into a bowls.

And when you have hummus make and veggies roasted, its time to compile. Dump the hummus into 2 bowls. Dump half of the roasted veggies into each bowl.. Squeeze more lemon juice onto both then grab a fork.

Eat. And yes, lick bowl clean. No shame.

In beans, dinner, Gluten Free, grain free, pulses, quick and easy, Vegan, Vegetables Tags Hummus Bowl With Roasted Veggies, Hummus, roasted veggies, clean eating, plant based, grain free, gluten free, dairy free, vegan, vegetables, vegetarian, simple, easy, fast, pulses, beans, fresh, farm, protein, dinner, main dish, left overs
Comment
← Newer Posts Older Posts →
 

https://thelovelycrazy.squarespace.com/config#/|/about/

Me. Food Maker.Food eater. Woo HOO!

STEM+NODE  SMALL BATCH AND ONE OF A KIND POTTERY

stem+node ceramics


____________________

Subscribe

GET NEW POSTS IN YO EMAIL

You are AWESOME!!!


@thelovelycrazy 2014-2021