• stem+node ceramics
  • HOME
  • Food Recipes
  • About
  • Contact
Menu

The Lovely Crazy

Street Address
City, State, Zip
Phone Number

Your Custom Text Here

The Lovely Crazy

  • stem+node ceramics
  • HOME
  • Food Recipes
  • About
  • Contact

Sautéed Beet Greens and Onions

July 11, 2020 Colleen Stem
IMG_9020 2.jpg

The short of it is, people, stop wasting your beet greens!

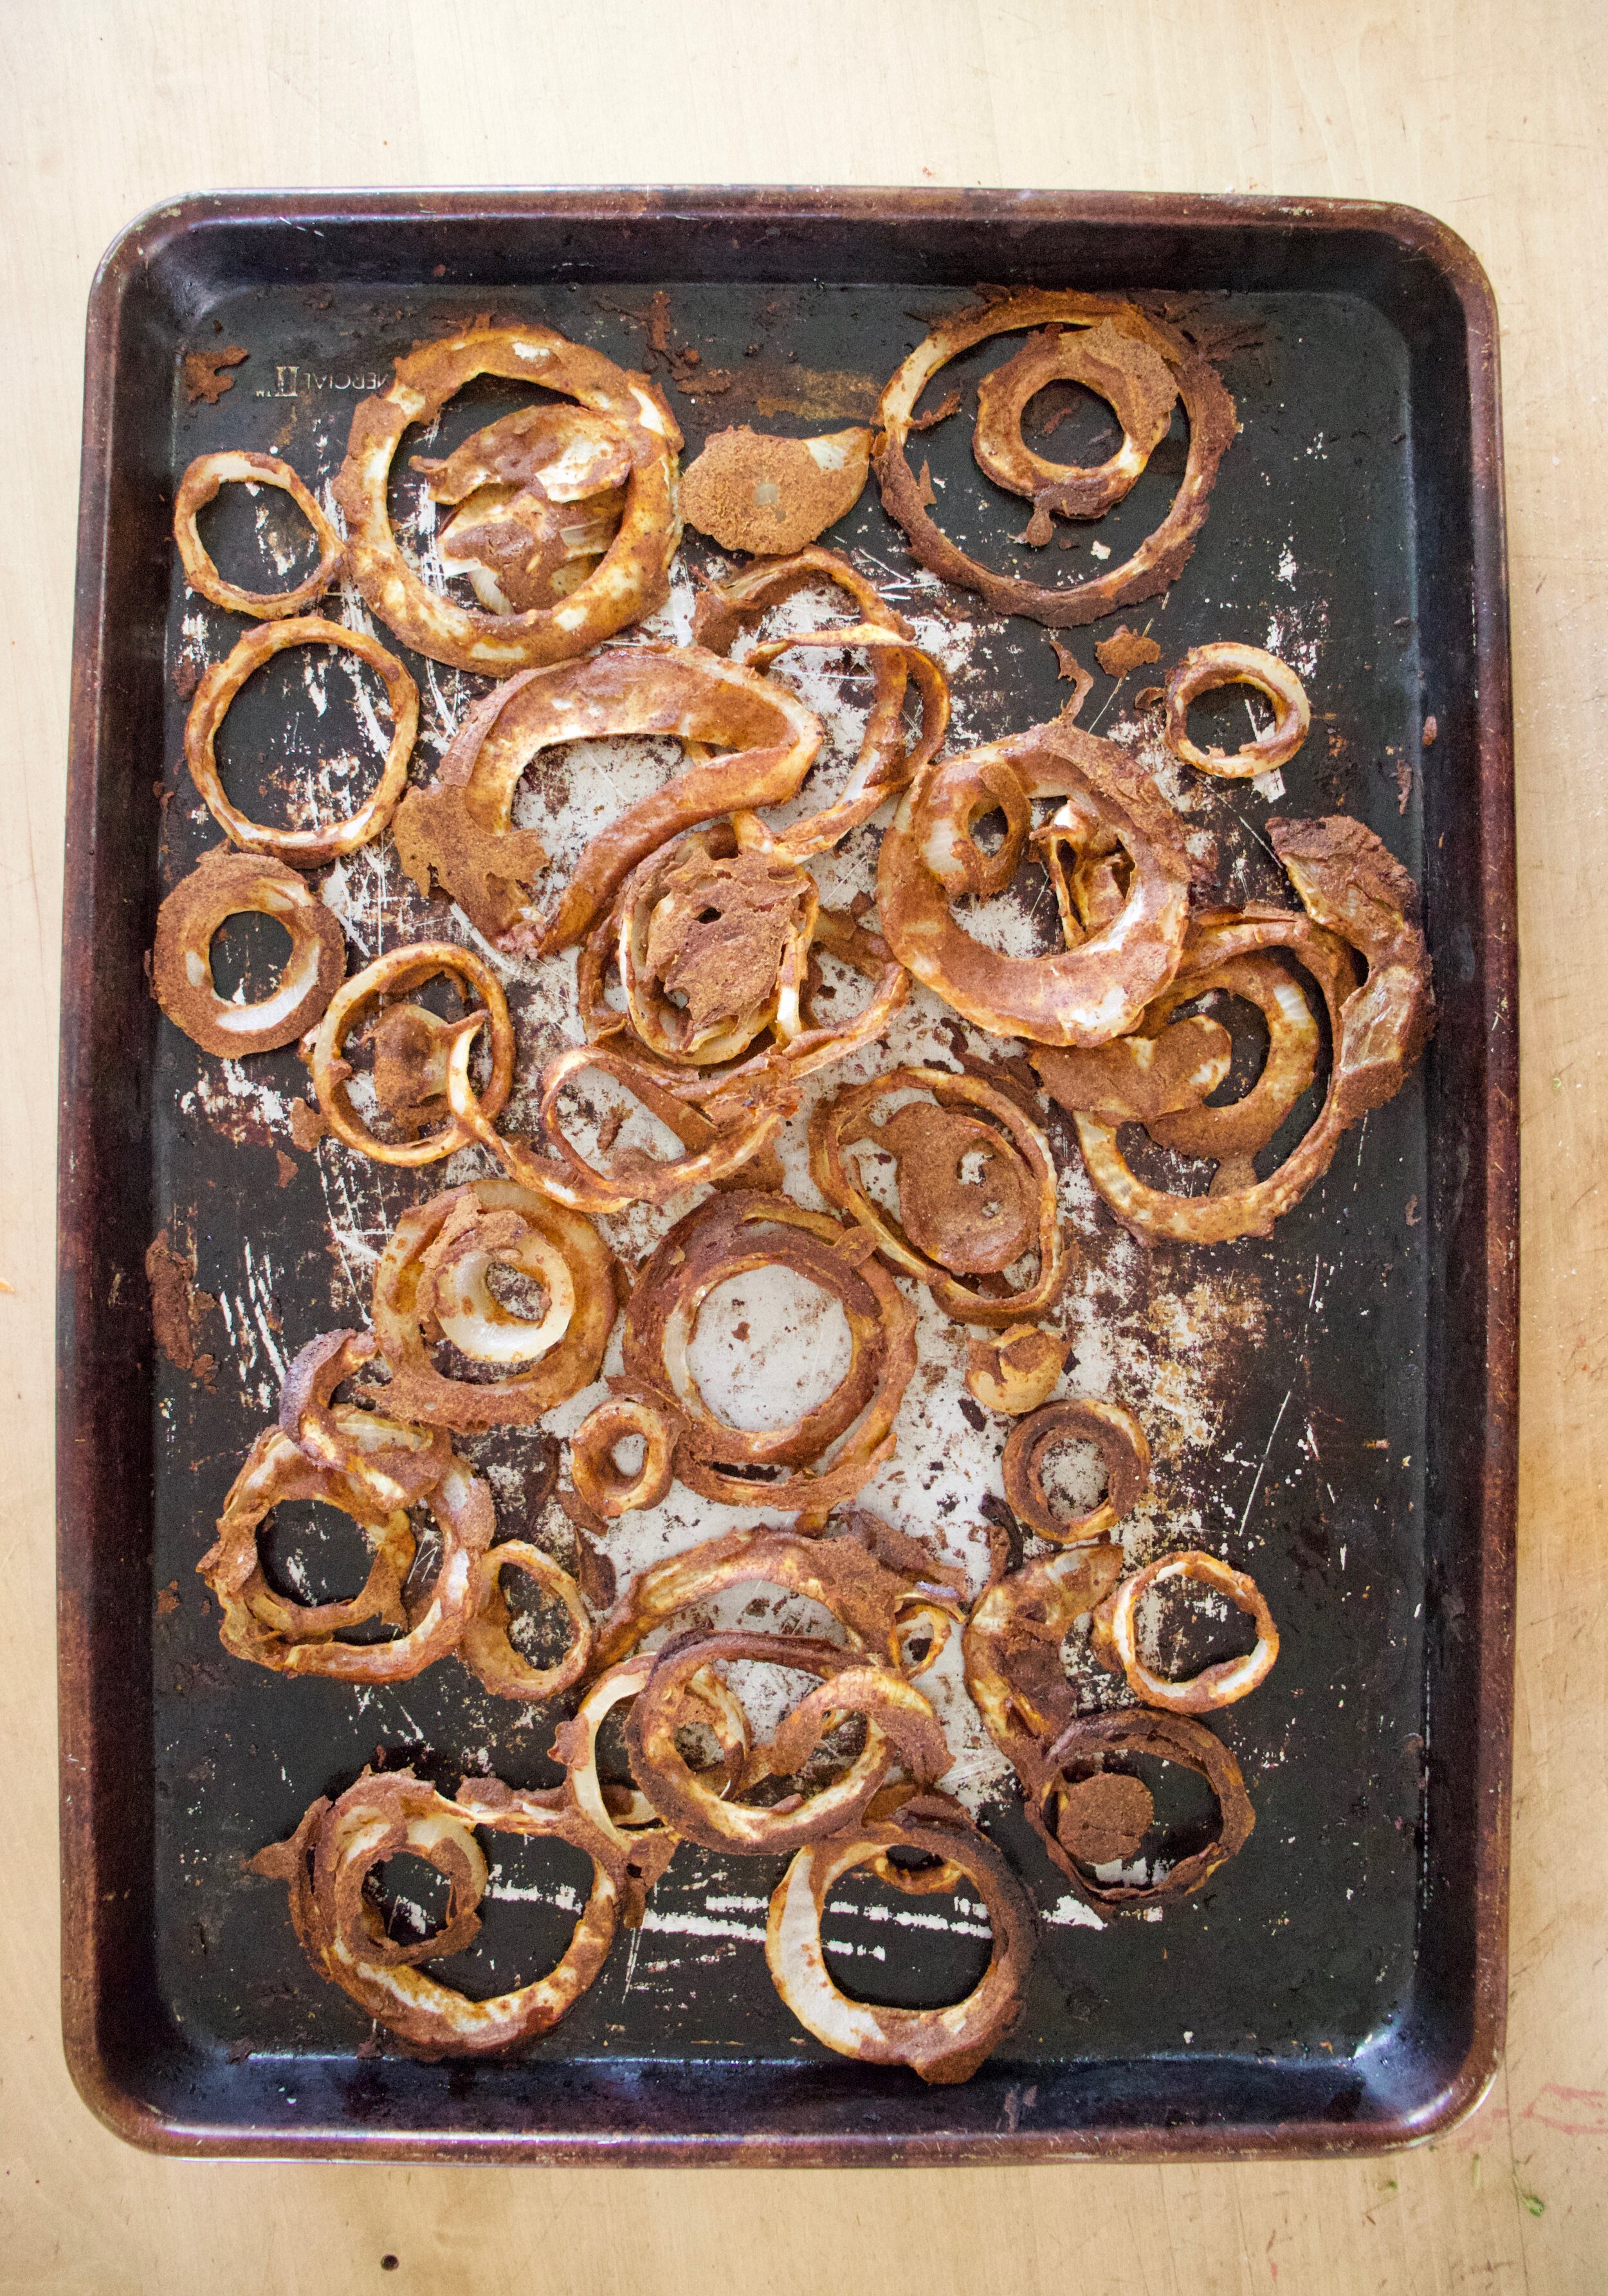
The long of it is that I went to pick up my farm share this week and ooh lovely we got bunch beets. Bunched beets are my favorite becuase when they come bunched, they come with the greens and I can honestly say that the greens are some of my favorites. So I grabbed my bunched beets and continued picking up the rest of my veggies. As I tuned the corner I passed the compost. Know what I saw? Beet greens. People were grabbing there beets and ripping the greens off and tossing them into the compost. Oh that just pissed me off. First because it still shocks me that people don’t realize they can, and should, eat the greens but more because I wish they just left the greens in the extras pile. I would have gladly taken them home. I almost went into the compost but there was some gross stuff in there and plus there was a line of people waiting patiently to get the to cucumbers. I had to walk away.

Oh how I can’t stand wasted food!

So now that we all know that beet greens are food and are amazing, you might ask how do you eat beet greens? Any way you want really, but you can use them like any other green. They are kind of like chard orkale, but more beety and are just really really good. One on my favorite and simple things to do is beet greens sautéed with garlic and ginger and a little soy with thinly sliced vinegary onions. Fast, easy, and tasty as hell.

There you go. Now never waste your beet greens again. Or if you don’t want them you can give them to me!

Now to the beet greens!

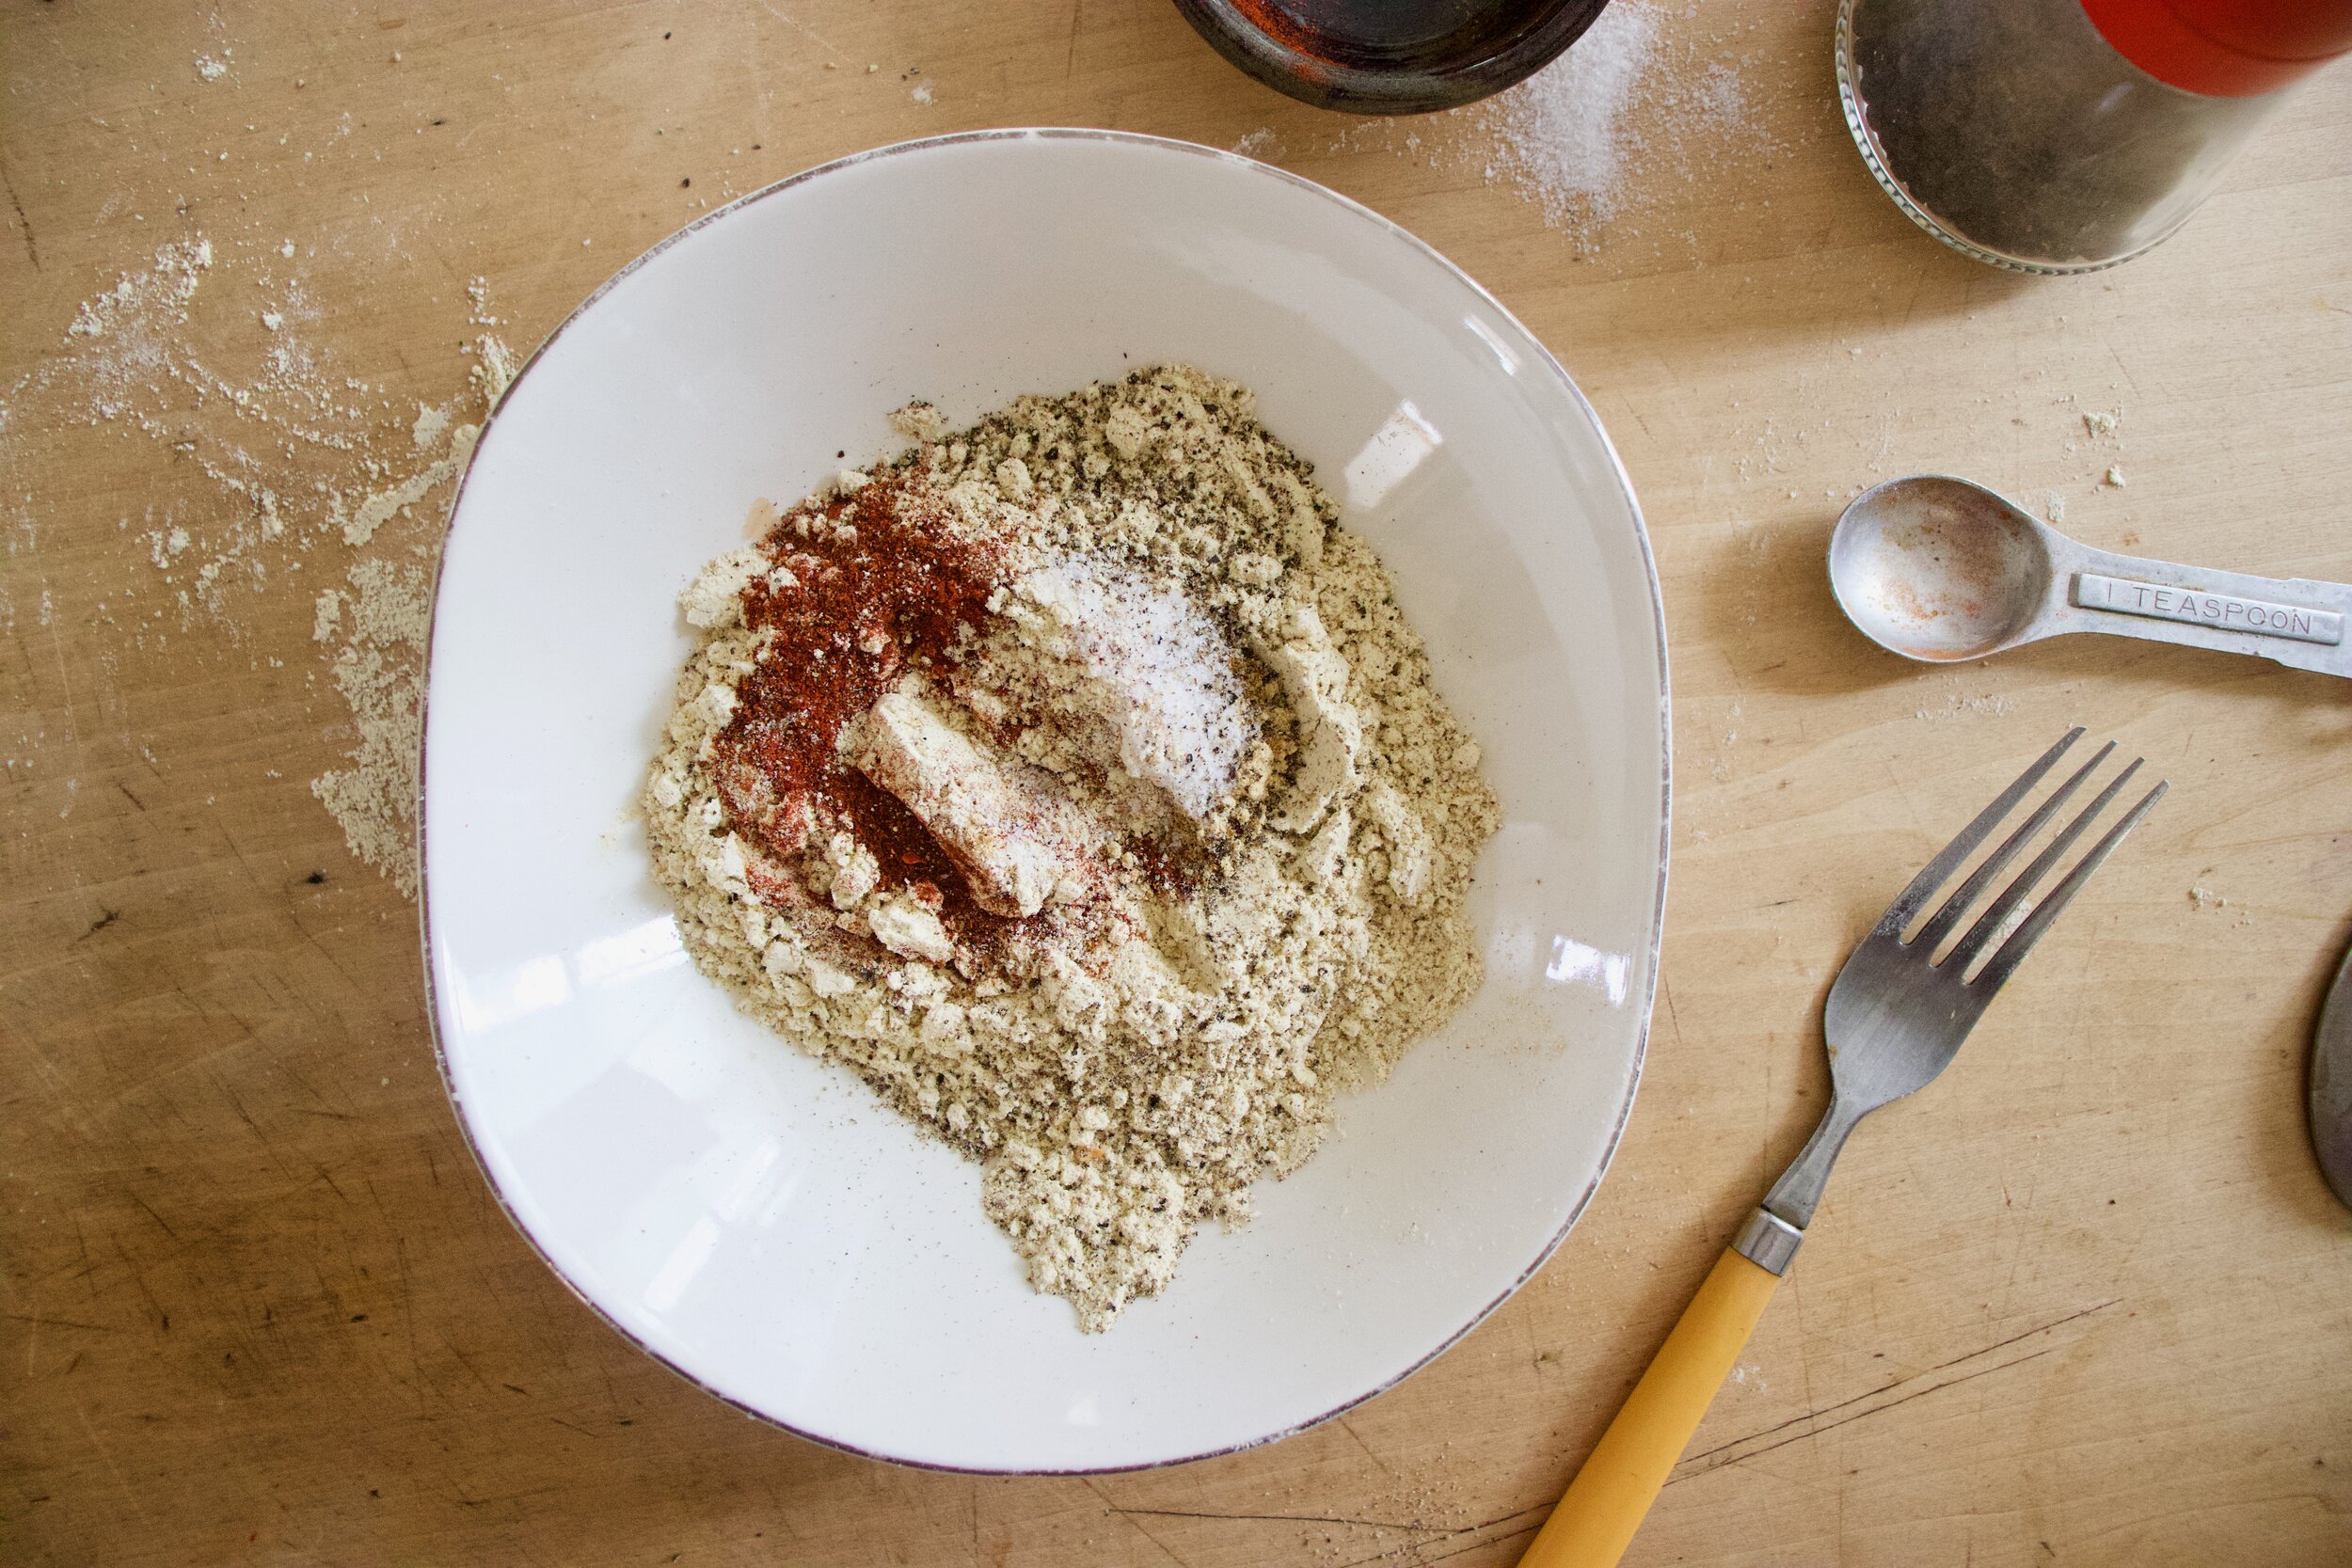
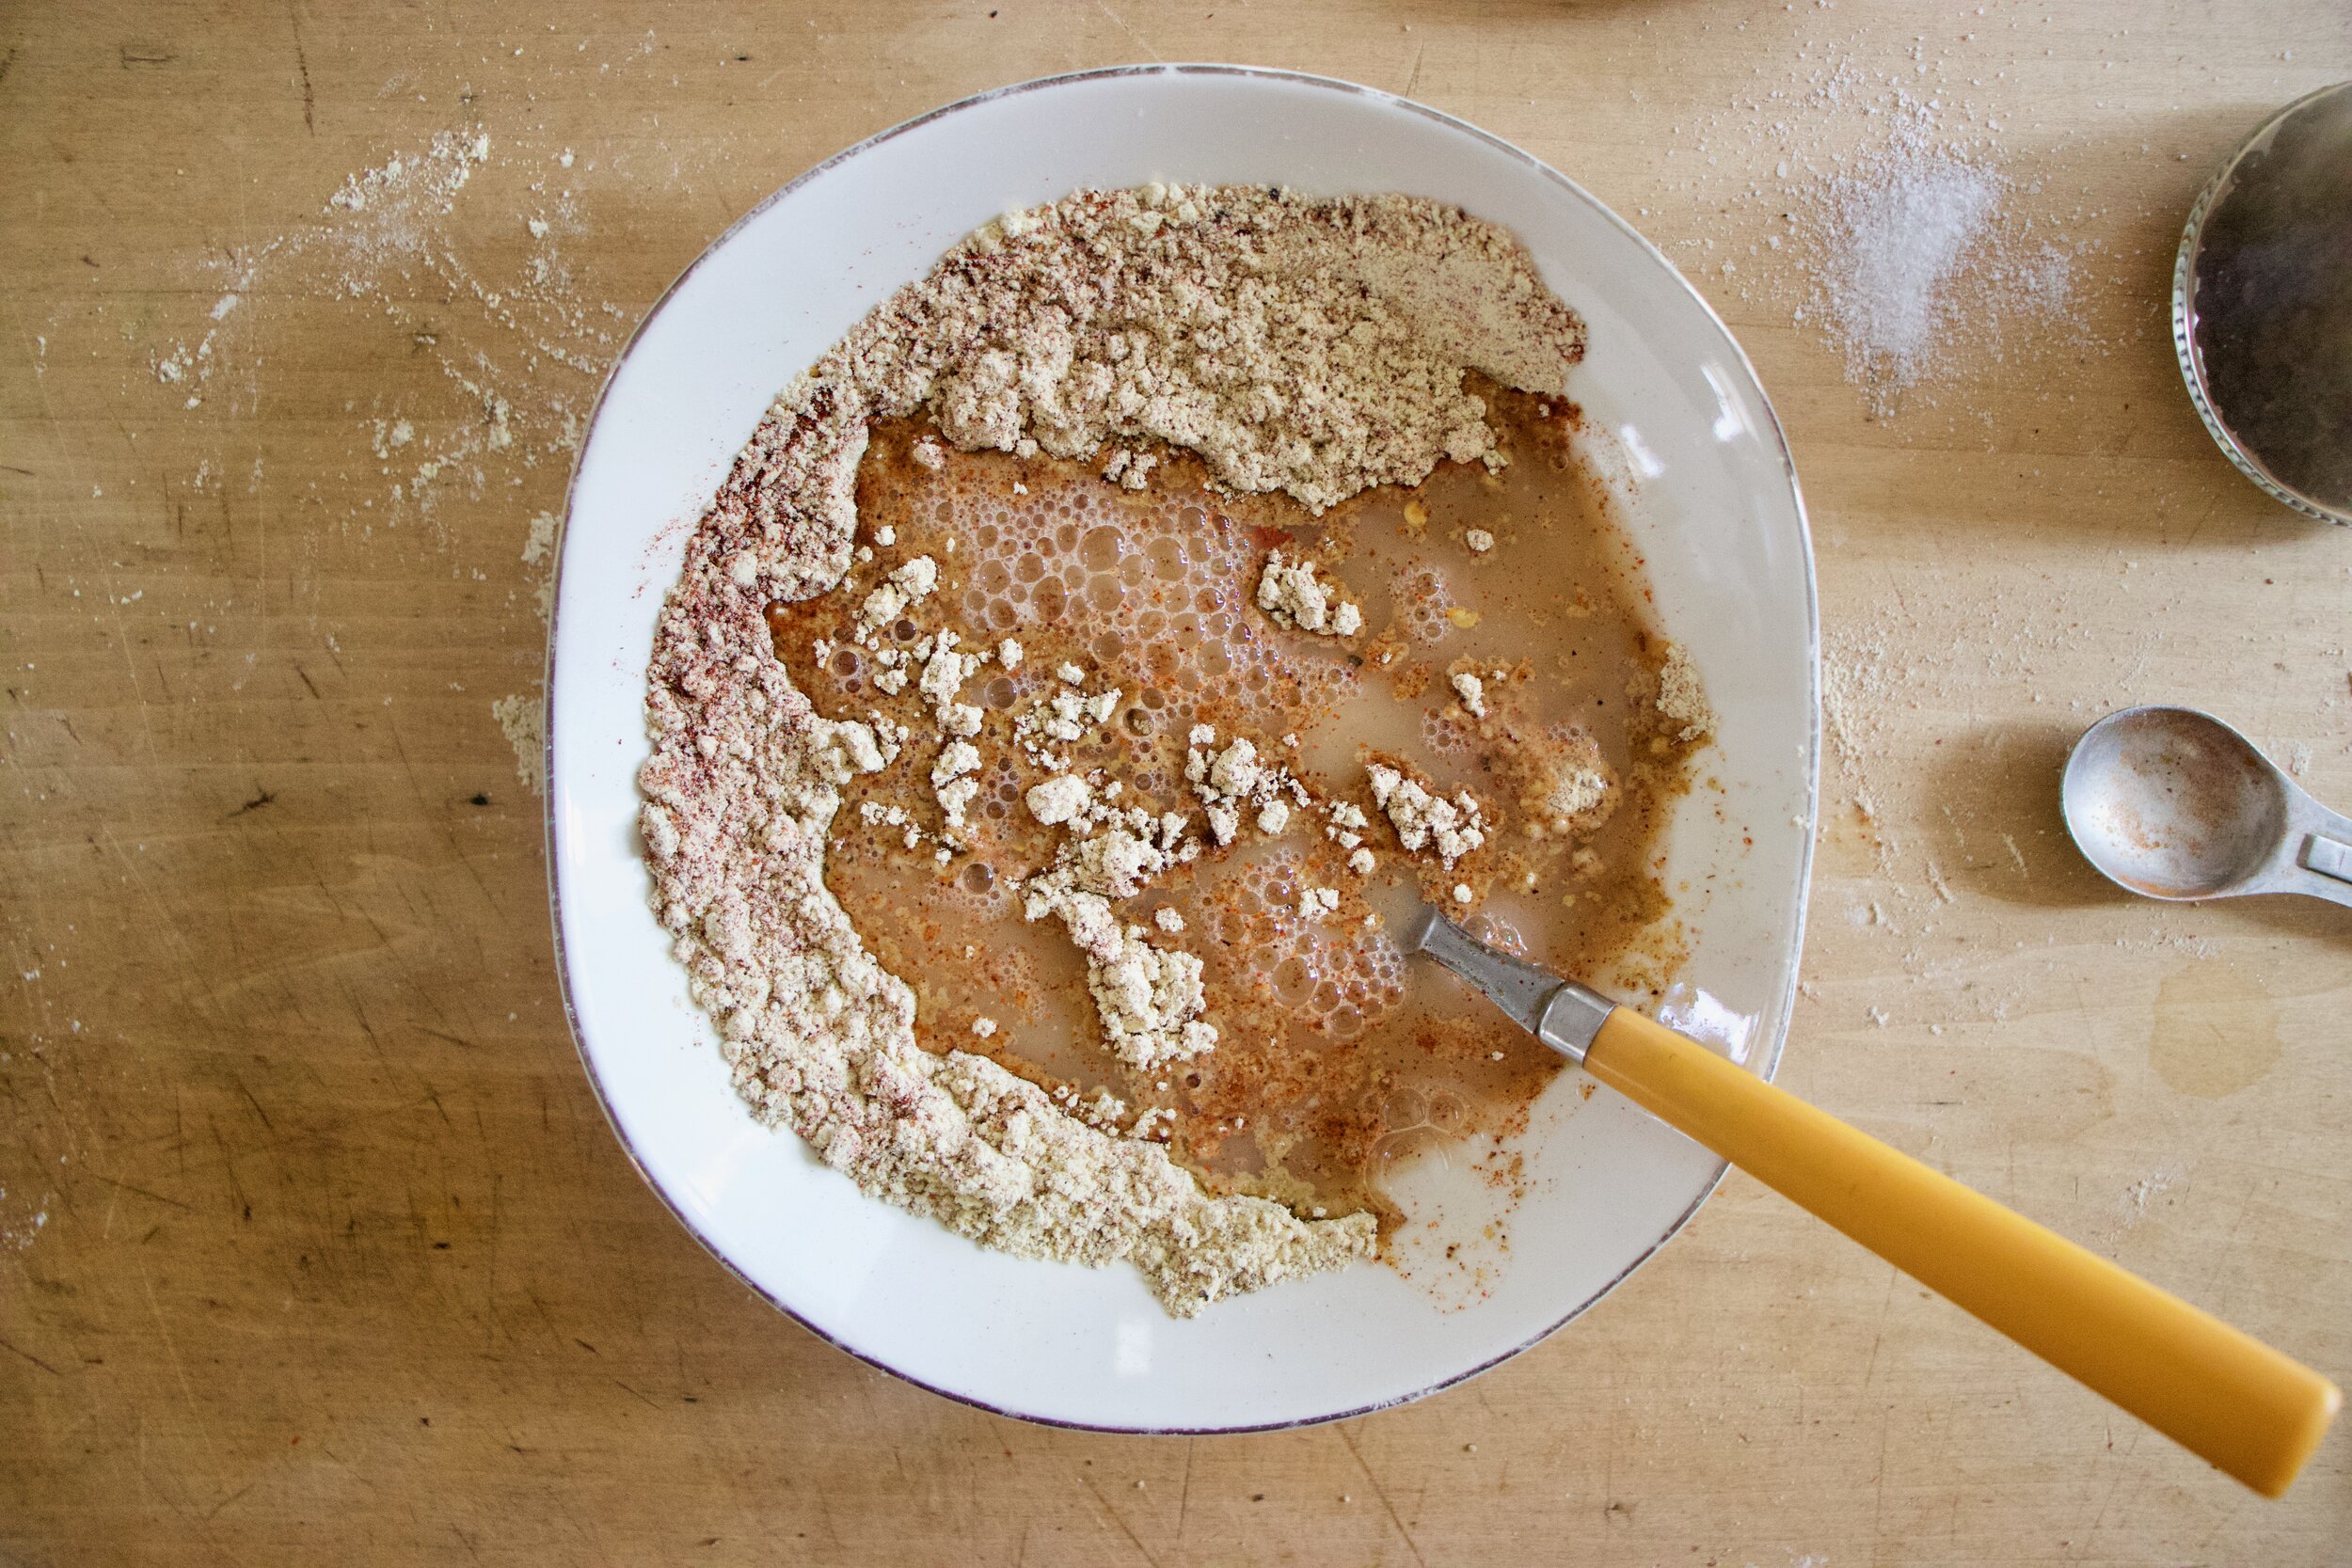
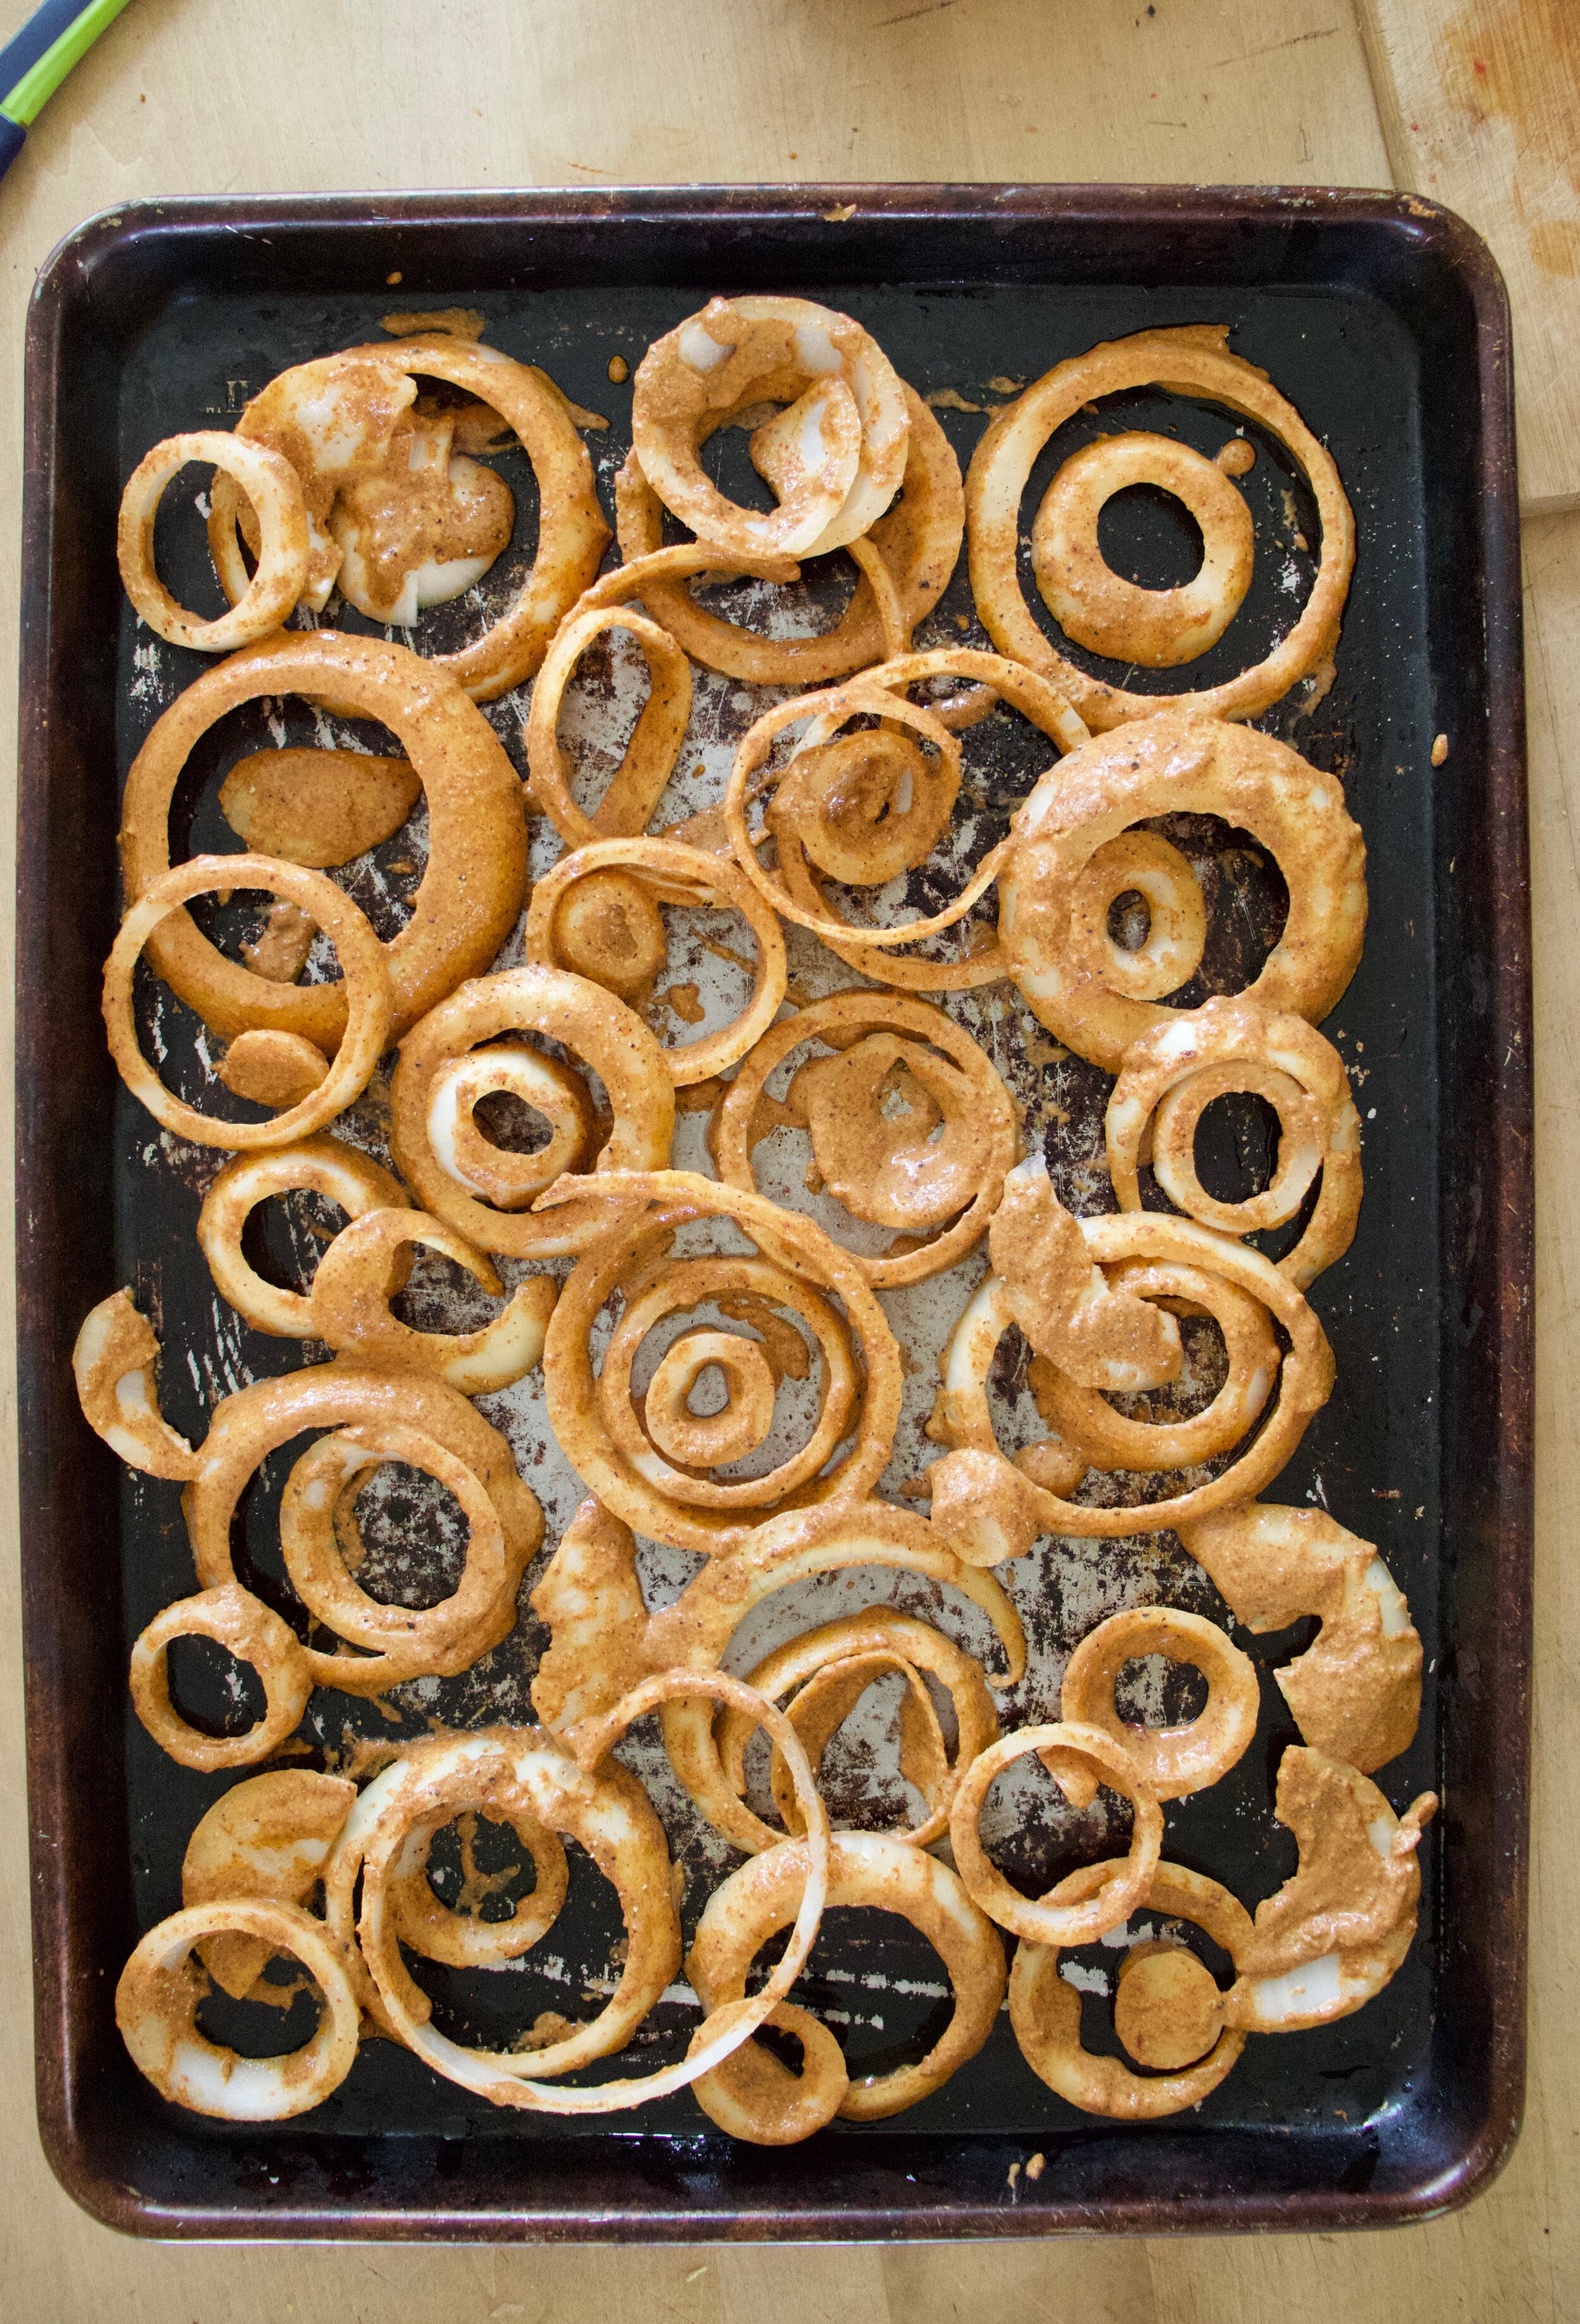
The stuff. A bunch of beet greens (you don’t need the beets) an onion (Or 2 really small onions) soy or aminos, garlic, ginger, red wine vinegar, and a splash of oil.

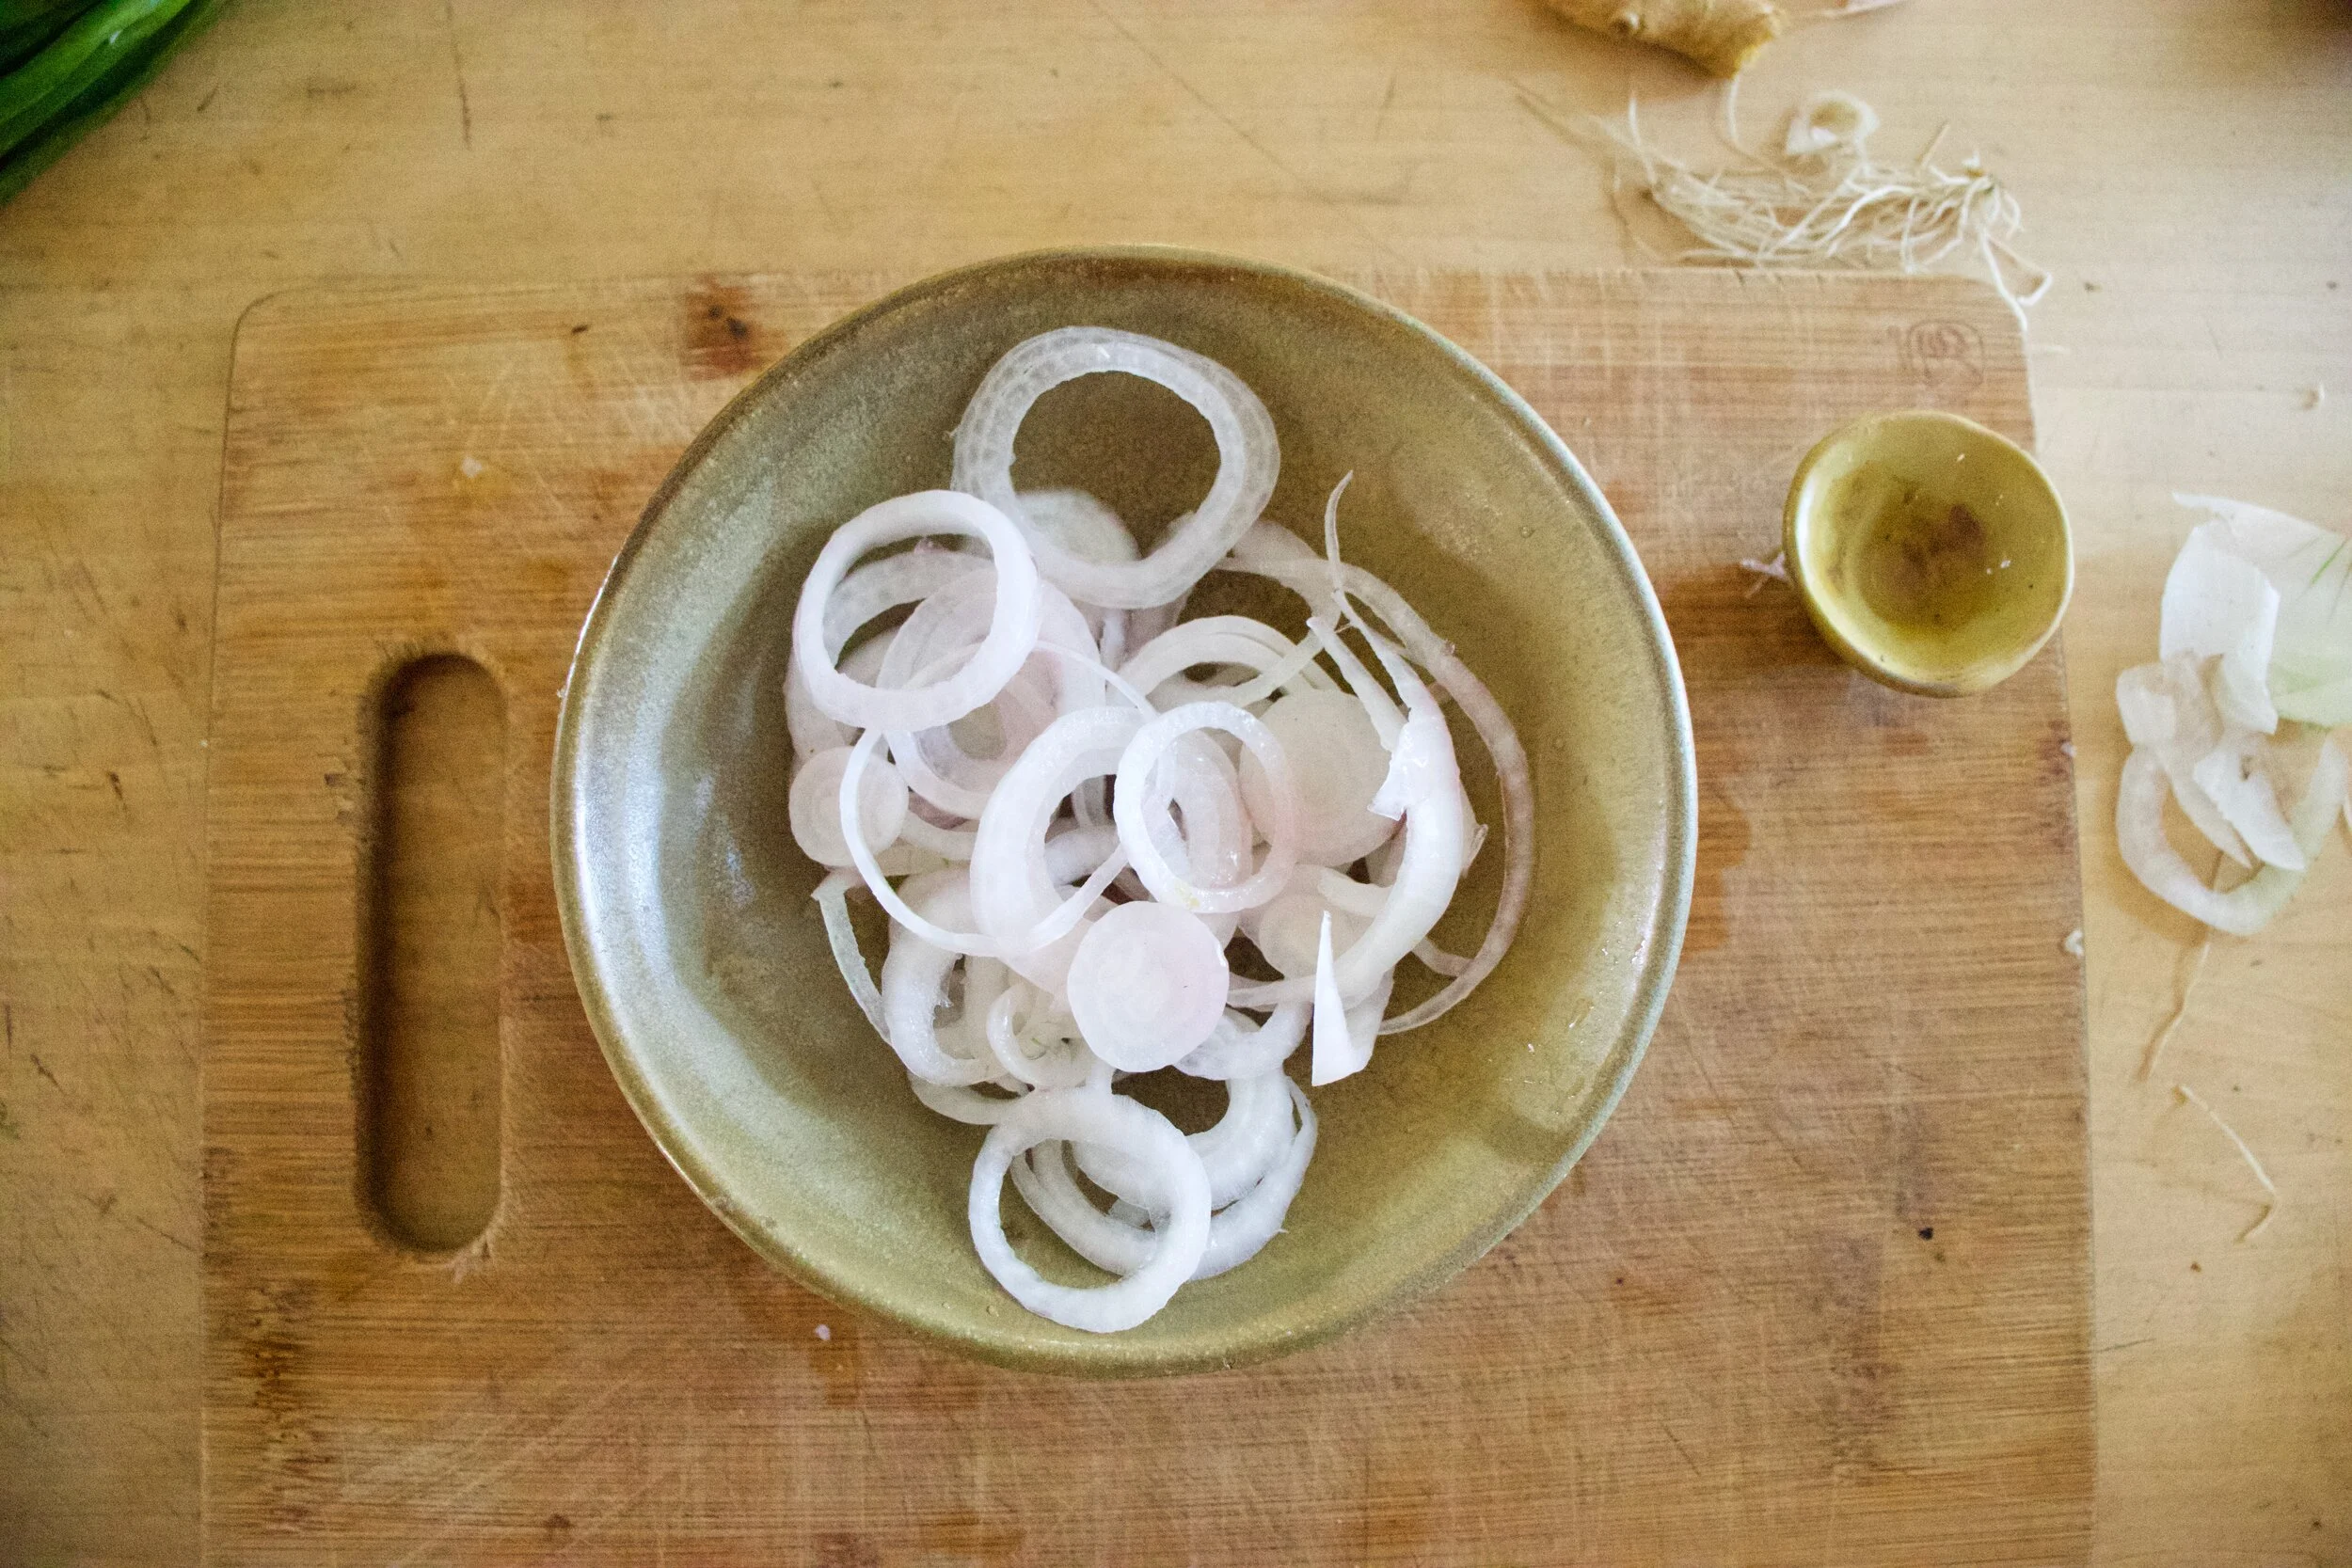
First, thinly slice onion and place into a bowl. Dump in the vinegar and toss around.

Grab the beet greens and cut the leafy parts from the stem. Chop the stems up into small pieces.

Place stems into a skillet with a tiny splash of oil and water and cook on medium heat.

Mince up garlic and ginger.

Once stems are tender, toss in the garlic and ginger and mix around. Keep on heat.

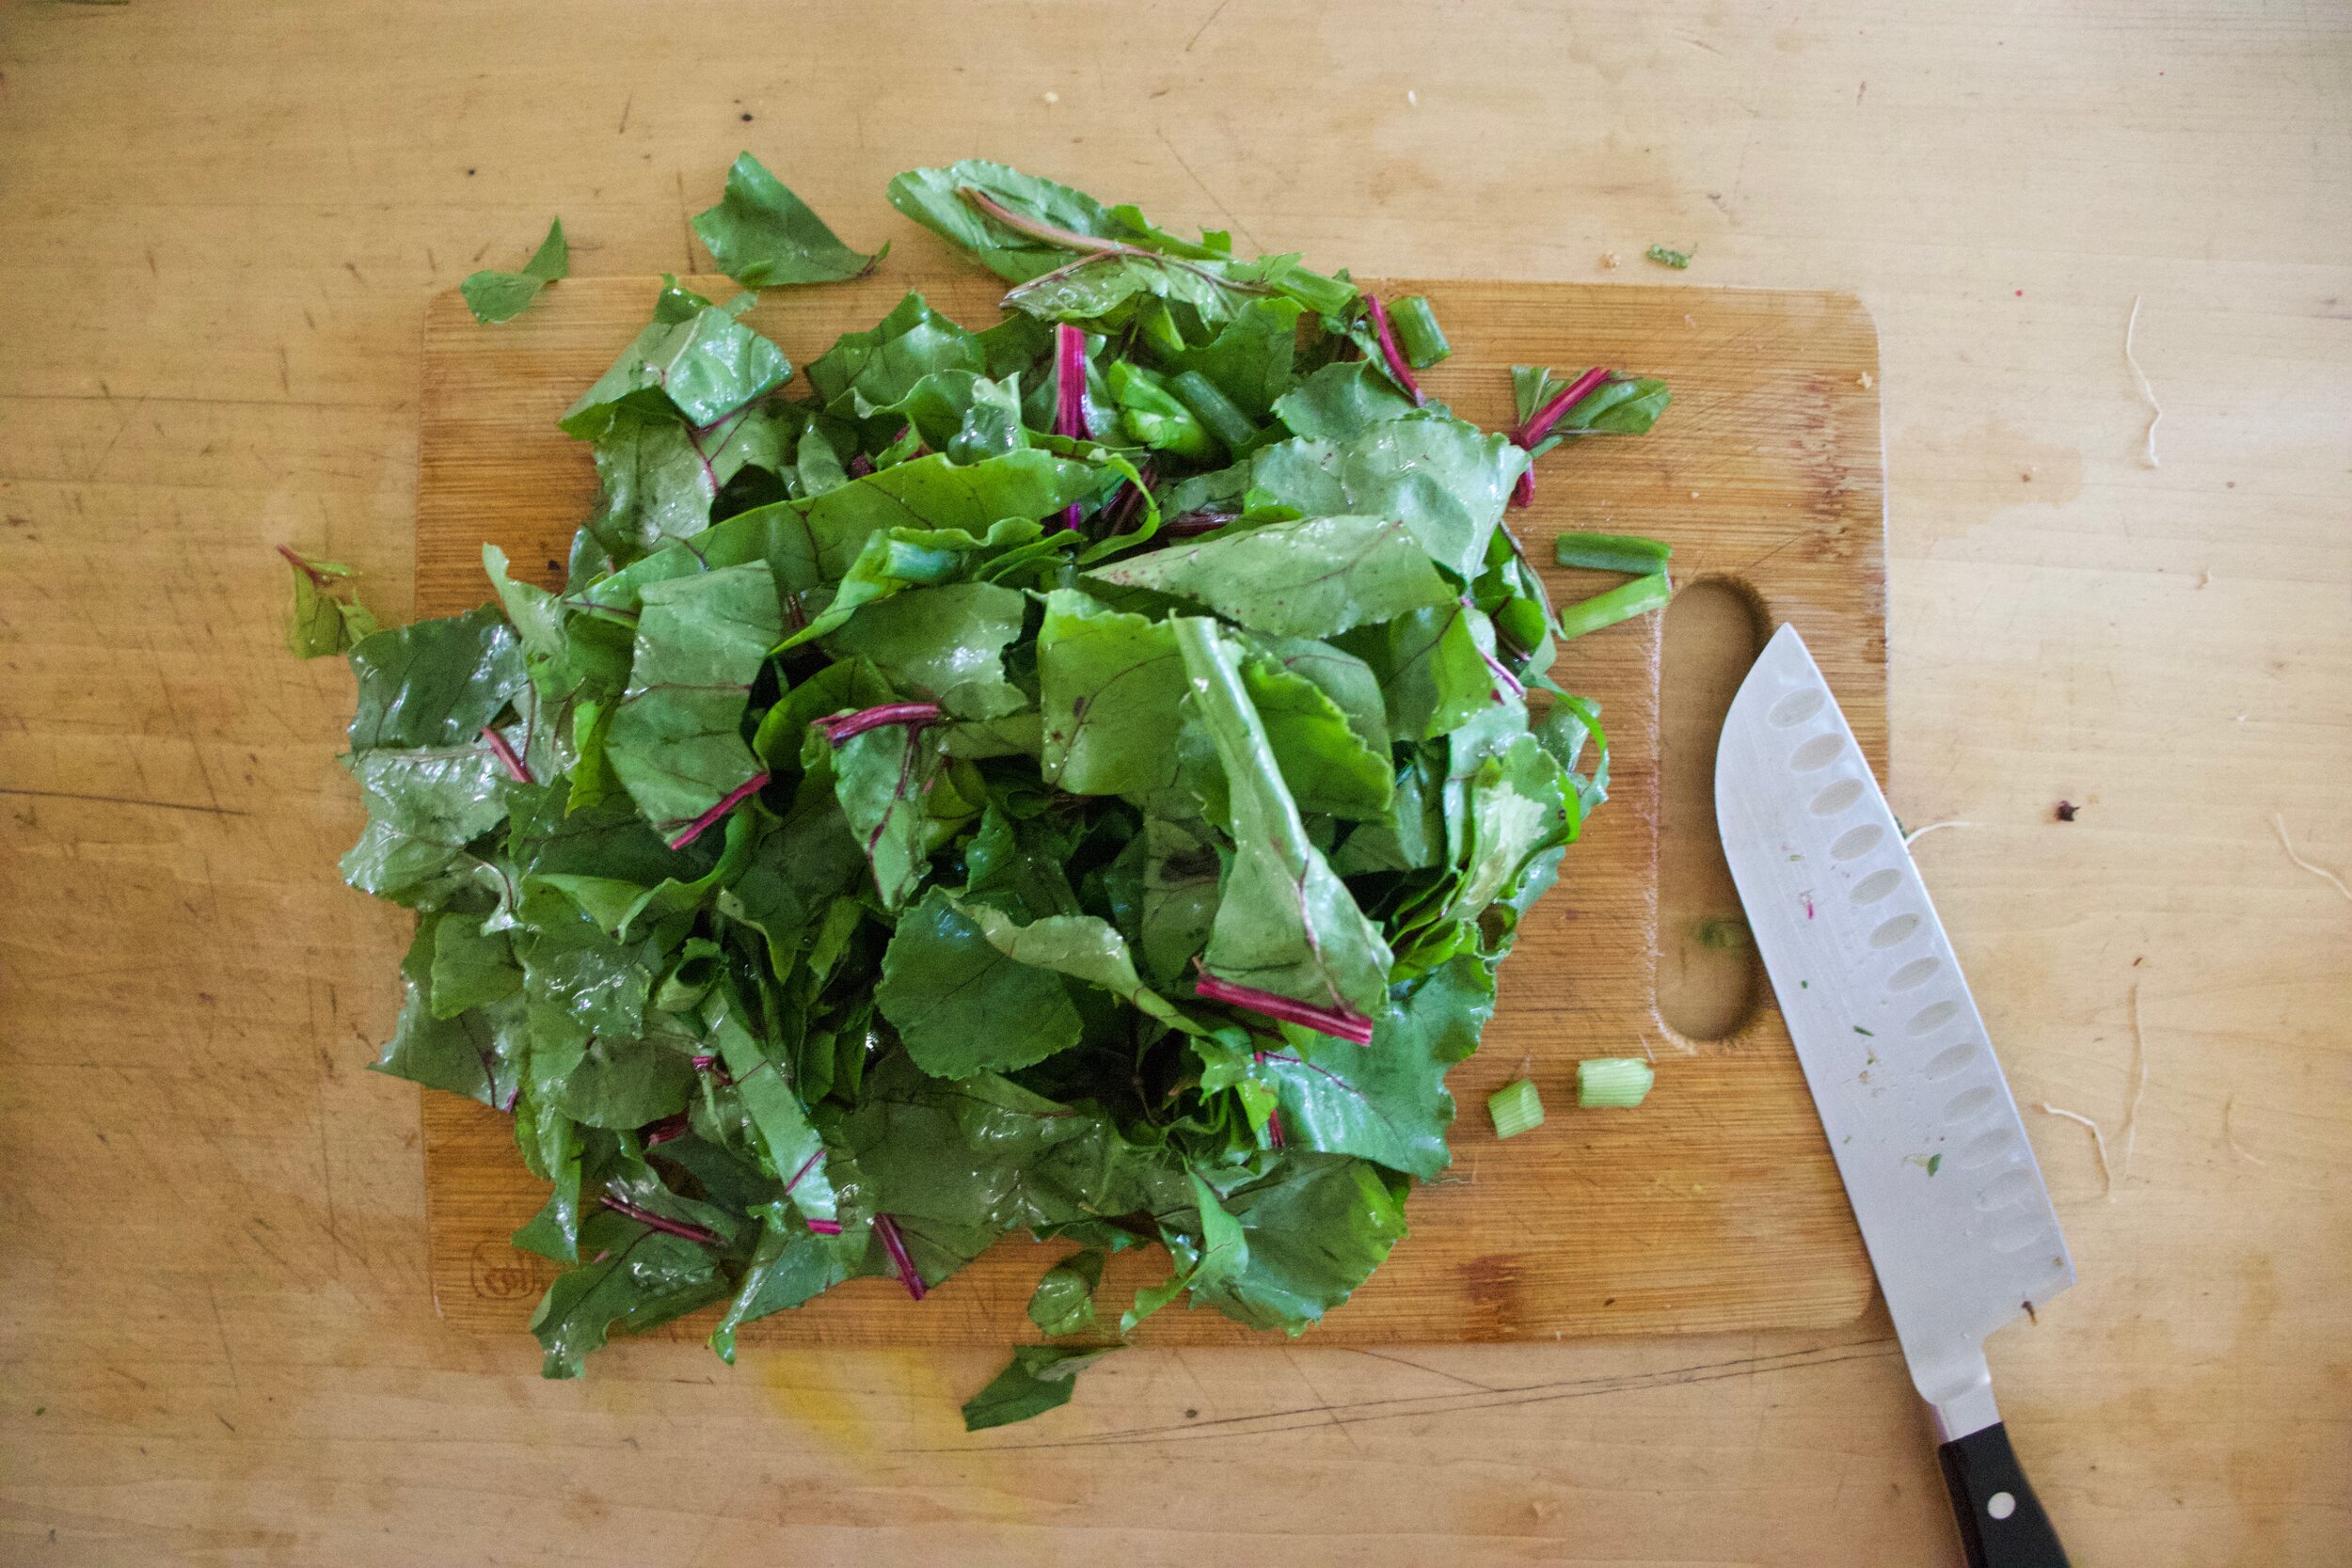
Now grab the greens and rough chop into smaller pieces

IMG_8950.jpg
IMG_8973.jpg

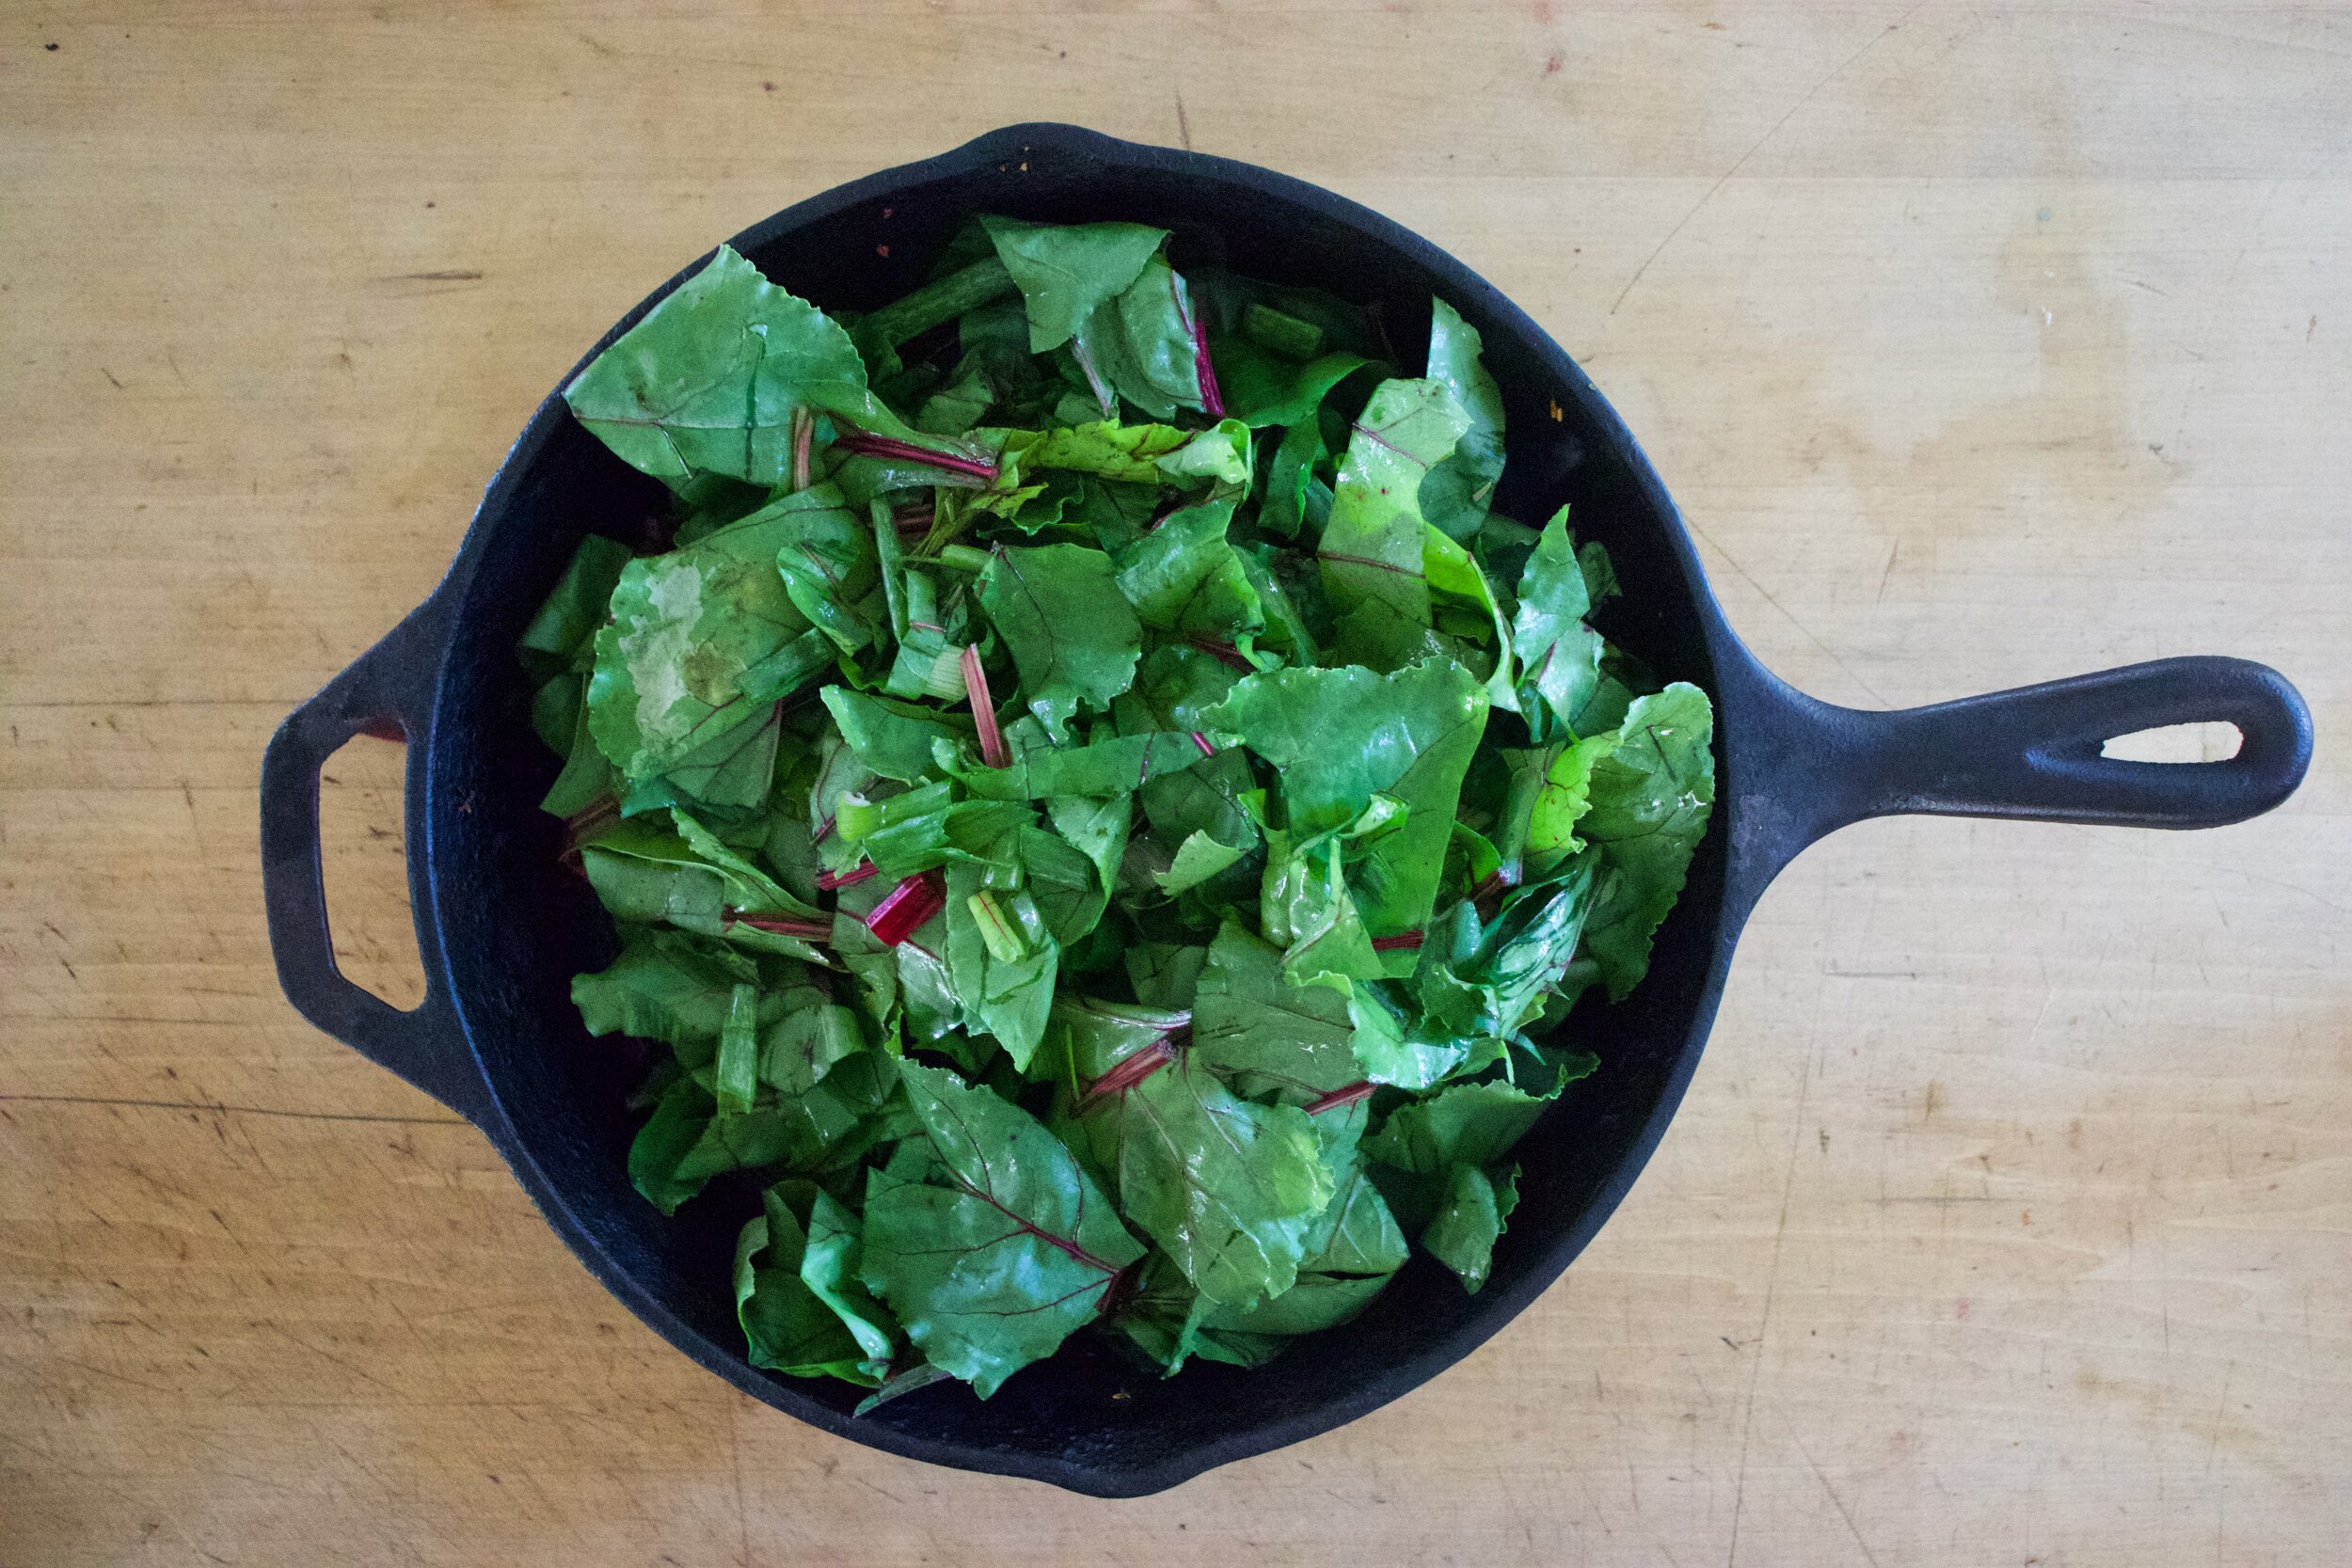
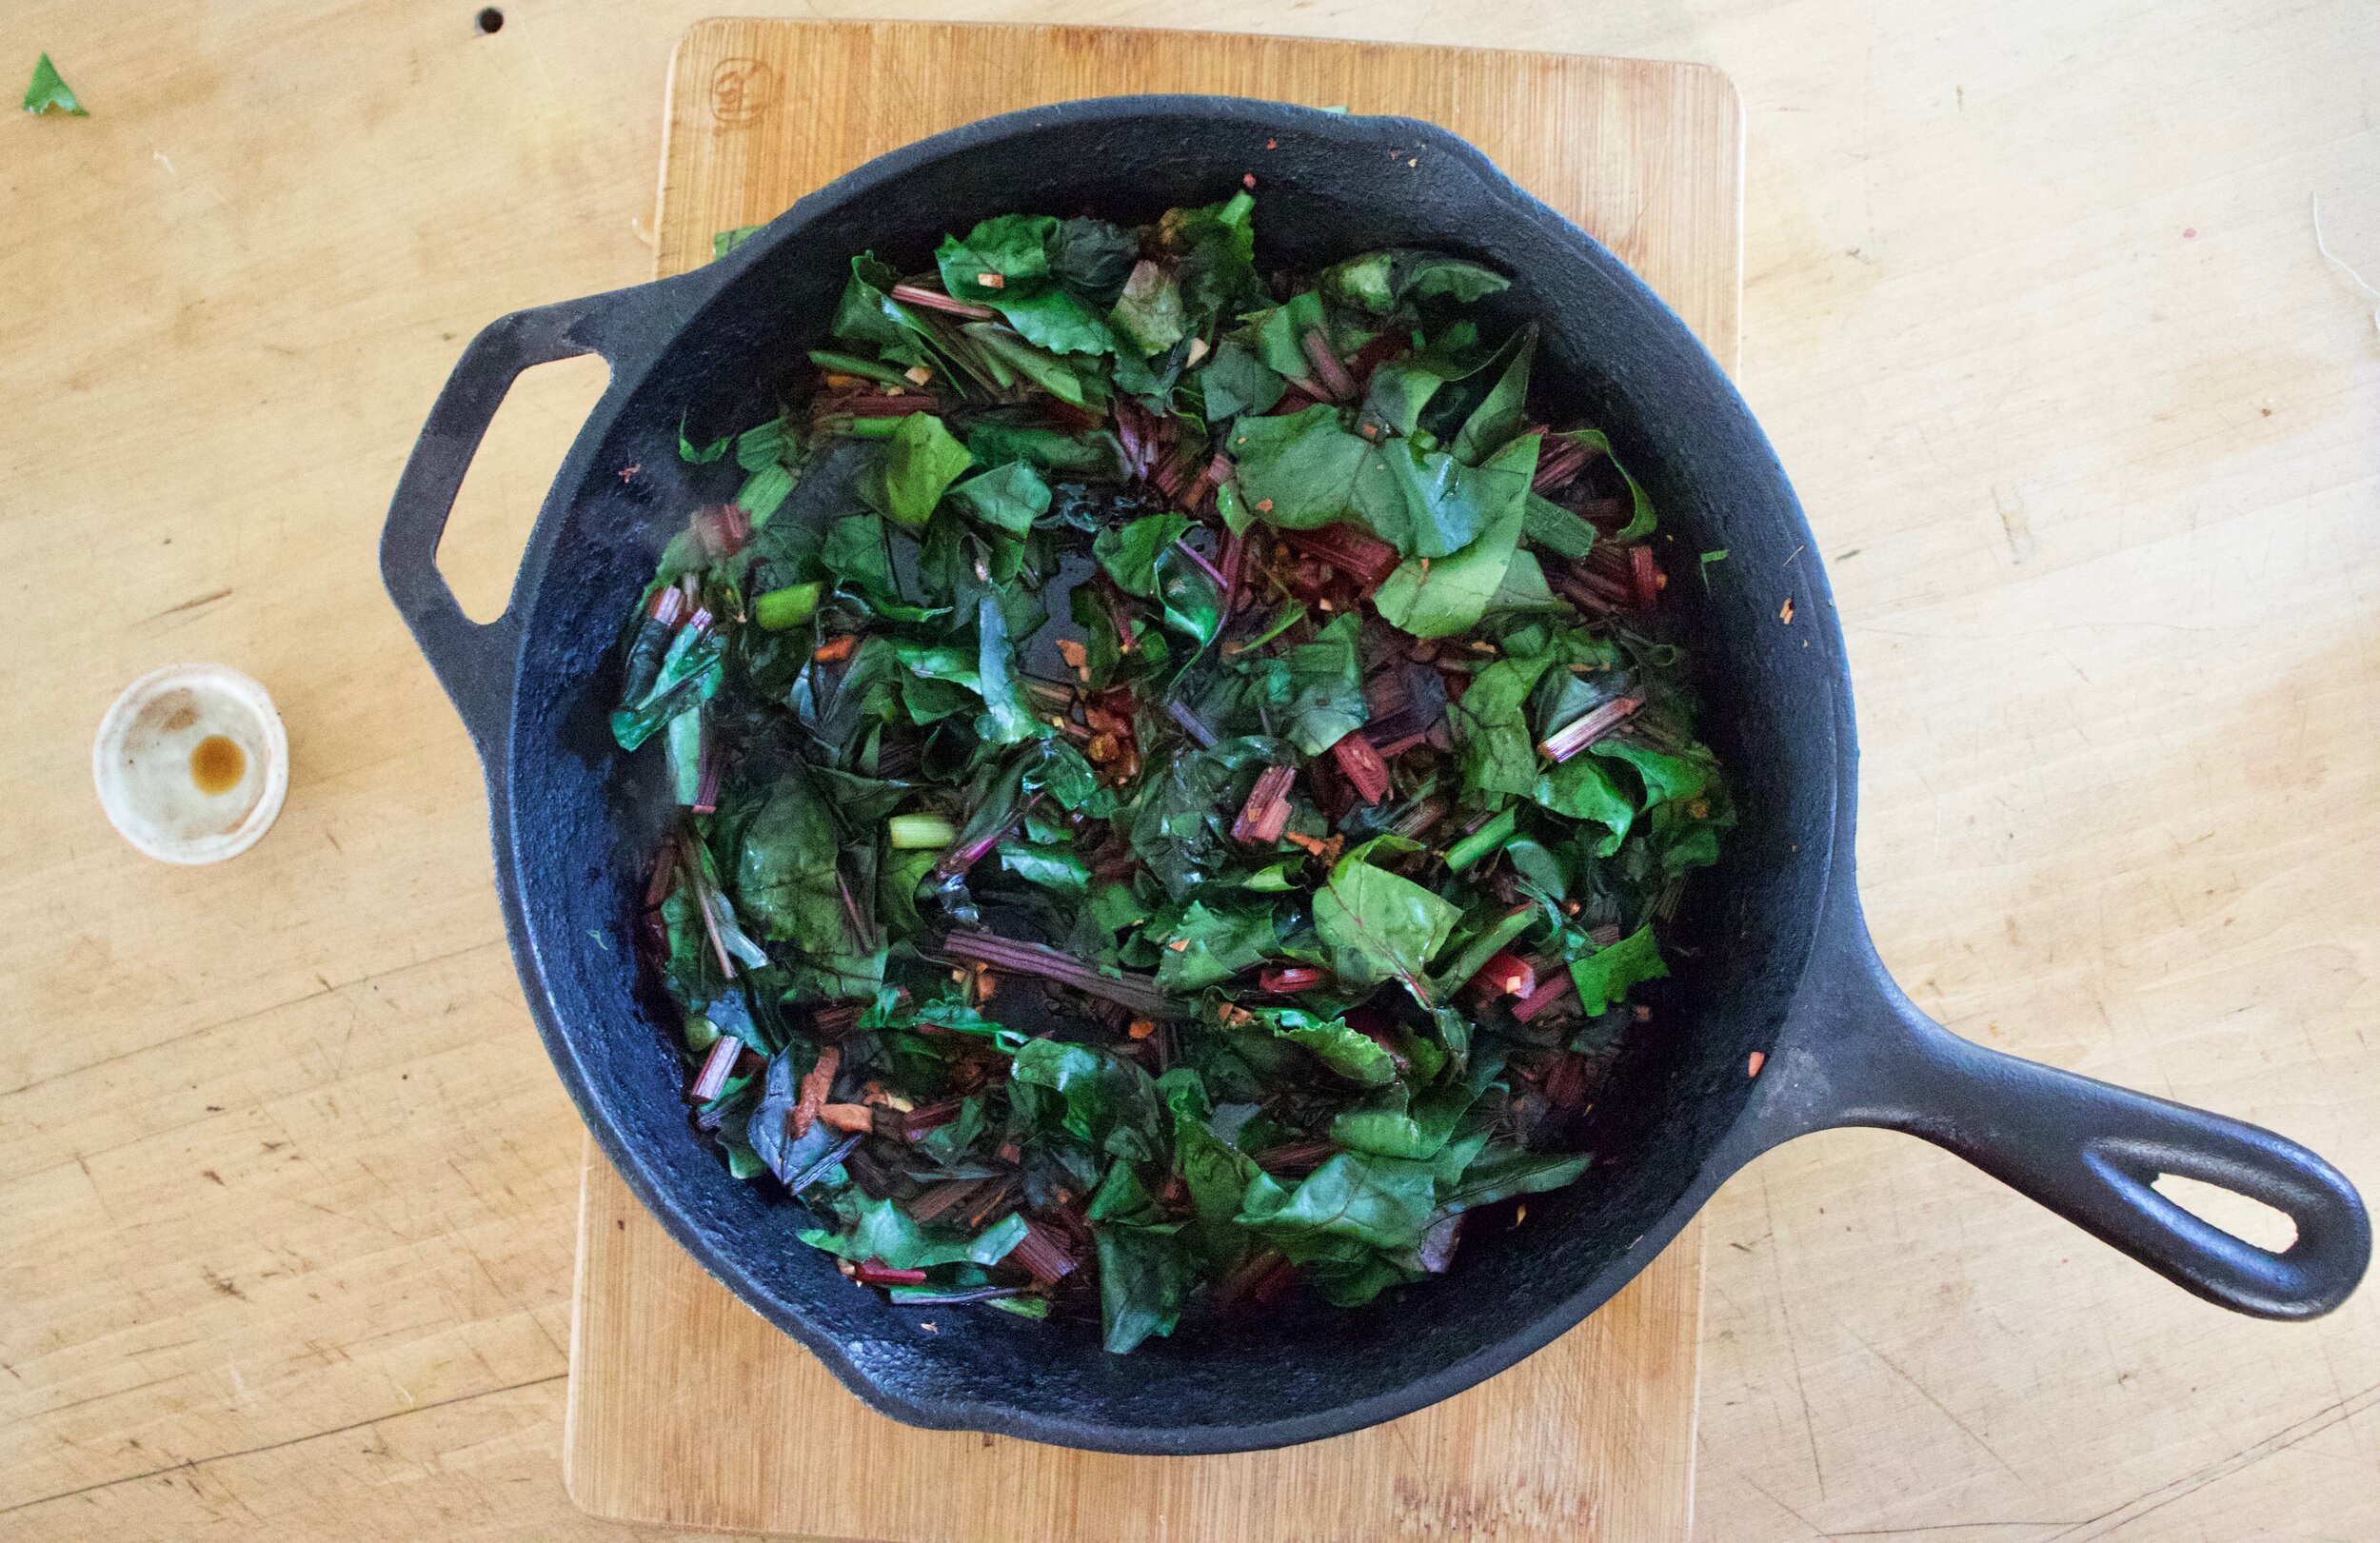
Once the garlic and ginger becomes fragrant, toss in the greens and stir in until wilted. Once wilted, dump in the soy and mix around. cook for another minute or so then remove from heat.

Toss in the onions and mix around.

Now just eat. From skillet or grab a bowl. You do you.

-C


Sautéed Beet Greens and Onions

serves 1-3

  • 1 bunch of beet greens

  • 1 regular sized onions (or 2 very small onions)

  • 2 cloves garlic

  • inch piece of fresh ginger

  • 2 tablespoons red wine vinegar

  • 1-2 tablespoons soy, tamari, or aminos

  • a splash of oil.

  • a splash of water

First, if there are beets attached to the greens, cut them off and save them for later.

Take the onion and slice into very thin pieces, place into a bowl, and toss them with the vinegar. Set aside.

Grab greens and cut the leafy parts from the stem. Cut the stem up into little pieces and toss into a skillet with a splash of oil and a splash of water. Set on medium heat to cook. While cooking, mince garlic and ginger and once the stems become tender, toss garlic and given into the pan and mix around. Keep on heat. Now grab greens and give them a good rough chop then toss them into skillet once the garlic and ginger become fragrant. Mix around until wilted. Once wilted, add in the soy and mix. Cook for another minutes or so then remove from heat. Toss in the onions with the vinegar. And that is it. And now you eat.

In quick and easy, salad, Vegetables, Vegan Tags Sautéed Beet Greens and Onions, beets, greens, bitters, vegan, gluten free, plant based, healthy, onion, summer, food, dinner, salad, side
Comment

Chocolate Chip Zucchini Muffins

July 4, 2020 Colleen Stem
IMG_8865.jpg
IMG_8771.jpg

Zucchini. One of the best summertime veggies. If you have been around here (as in my blog) for long enough, you all know how I am a zucchini feen. Once they start growing, I take them all. From my garden, from your garden, even my sisters mother in laws extra, plus the million I get with my farm share. At any given time I could have upwards of fifty zucchini spilling out all over the counter and shoved into any crevice I can find in the fridge. But the excess never lasts long because I eat them all. Mostly to myself, and I feel great about it. (Ok, I do end up freezing some of it for winter, but I am still eating it all!)

And every year when the first zucchinis start to hit the ground, all the people are up in my squash asking for zucchini bread, like they can’t possibly make it themselves or anything. But I don’t mind what so ever because sharing is caring and I guess I care. Plus I like to bake so it works, you know?

When I was recently asked to bake a loaf of zucchini bread, I made the decision to go the muffin route instead because aren’t muffins just individual little breads that take half the time to cook them a loaf? Yup, and that is very nice when you want to minimize any hot oven time because summer is hot enough as it is.

And because they are muffins, they acceptable for breakfast, even with all the chocolate chips.

Win!

Now to the muffins!

The stuff. A good sized zucchini, flour, baking soda and powder, salt, brown sugar, oil, cinnamon, raw sugar, apple cider vinegar, and some chocolate chips.

IMG_8721.jpg
IMG_8722.jpg

In a large bowl, whisk together the flour, baking soda and powder, salt, cinnamon, and brown sugar until completely incorporated and there are no lumps of sugar.

Shred the zucchini. I used a smaller shredder so the pieced are very thin but a normal sized box grater shred works just as well

IMG_8732.jpg
IMG_8736.jpg

Add zucchini, oil, and vinegar to bowl and fold in until completely combined.

Then fold in chocolate chips. Duh.

Scoop batter into a greased muffin pan and sprinkle the tops with raw sugar. Pop into the hot oven to bake.

IMG_8761.jpg

Oh yeah. Perfect.

Pop out of tins to cool on a rack.

And eat. All to yourself or share, that is on you.

-C


Chocolate Chip Zucchini Muffins

makes 12 muffins

  • 2 1/2 cups all purpose flour

  • 1 1/2 teaspoon baking powder

  • 1 teaspoon baking soda

  • 1/2 teaspoon salt

  • 1 tablespoon cinnamon

  • 3/4 cup packed brown sugar

  • 1/2 cup neutral flavored oil

  • 2 tablespoons apple cider vinegar

  • 1 medium zucchini (2 cups packed shredded zucchini)

  • 2/3 cup chocolate chips

  • 1/4 cup raw sugar (to sprinkle the tops) optional

Preheat oven to 350.

Grab a large bowl and add in the flour, baking powder and soda, cinnamon, and salt. Whisk together then add in the brown sugar and whisk in, making sure there are no big clumps.

Shred zucchini uniti you have 2 hefty cups. If you have a fine shredder, use that, if not, a normal sized shred will do.

Place shredded zucchini into the bowl along with the oil and the vinegar. Start folding with a spatula until everything is incorporated. Resist the urge to aggressively mix, it takes a minute for the liquid from the zucchini to absorb into the flour. (Over mixing it will make the muffins tough) Once the batter is uniform, fold in chocolate chips.

Scoop batter into a well greased or lined muffin tin. Sprinkle the tops with raw sugar and pop the pan into the preheated oven. Bake for about 30 minutes or until fluffily and domed and a tester stuck in one comes out clean.

When baked, remove from oven and pop out if tin. Let cool on a wire rack but feel free to eat one warm.

Store uneaten muffins in airtight container at room temp for a 2-3 days but if it is really hot out, just stick them in the fridge. Also can be frozen.

In Vegetables, Vegan, sweet breads and muffins Tags Chocolate Chip Zucchini Muffins, vegan, muffins, baked goods, zucchini, summer, chocolate chip, home made, plant based, dairy free, easy, dessert, breakfast, food, feedfeed
Comment

Sunday Happy

June 14, 2020 Colleen Stem
IMG_5935 3.jpg

My eyes itch like a mofo. Gunky and funky, I can barely see my computer screen. Allergies right now… I forget every year until they hit me. But I am ok and I deal with it (by bitching and itching). So I’m good. As long as I don’t think about anything else. Haha, but for real.

The week. Another one to cross off the old calendar. Not a whole heck of a lot different then the usual. Made dinner for my mom, Barb, and boys. Caught up with Ryan and his girls for a while. The mr and I looked at a piece of land that was so close but not right, and picked up my first summer farm share! But the overall theme of the week was to finish up assignments, collect and drop off all the littles stuff back to the school because, Hooray for us all!! School ended and now there is no more trying to make sure all the work is done and no more “I do not understand your 4th grade math homework so..” to deal with. Yes, very exiting for not just the littles this year, I think the parents and all the people dealing with home schooling are probably just as excited too. And not only is school out but there were two big endings this year. Alex graduated form 8th grade and is off to high school this fall. (We had a little dinner and ice cream cake party at my house for him.) But the one that really gets me is Anthony. Graduated high school and is off (if people can go off )to college in the fall. That kills me. The first of my nephews and nieces to graduate from high school. I am really proud of him but honestly it makes me want to barf because it makes me feel so old. And probably not as cool as I think I am. (meh, I still am the coolest! HA!)

Today there are a few things. The mr and I have to drop the car off so tomorrow it can get inspected and the oil changed. I need to go grocery shopping and to curb side pick up my library books. And then there is a family BBQ for Anthony, to celebrate his public school achievements. That will be fun and a little jarring. Just the family, but I think it is going to be the biggest gathering of people that I have attended in a long time. Gonna be interesting for us all to be together again….Just glad it’s not at my house. HAHA!

Links from the internet from my browser to yours.

-Microaggressions Are A Big Deal: How To Talk Them Out And When To Walk Away. Lets all (especially us prevailed folks) make sure that when people are speaking they are not being assholes and to educate on human decency.

- When we were told we needed to wear masks, I made a few, just kind of whatever ones because I didn’t think I would need them for too long. Now I have a bag full of masks, all well made, because I know it’s gonna be reality for a longer time then I think we all first thought. Our masked future.

-I didn't even know that this ever happened. The Last Person Hand Painting Movie Posters in Greece

-This Farmer’s Home Consists of a Tiny House, Small Trailer, and Gorgeous Garden. In my wheelhouse of dreams.

-You don’t need to toss away shower liners every time they get gross. How to Clean a Plastic Shower Curtain the Right Way

-Another thing in the bathroom. 10 Easy Pieces: Modern Metal Toilet Paper Holders. I really appreciate a nice toilet paper holder. No joke.

-Sometimes the back of the box just knows how to cook the contents of said box exactly how it should be cooked. (think pasta, rice, biquick, and toll house cookies) Just Cook From the Back of the Box 

-When I am stressed or bored, I spend a lot of time thinking of food and all the crazy things I could make, so I 100% get this. The Wild, Wondrous Cooking I Do in My Head

-So I need to get a new sleeping bag really bad. Thinking a double. Any suggestions?

Pictures from the week

IMG_5940.jpg
IMG_5939.jpg
IMG_5942.jpg
IMG_5964.jpg
IMG_5965 2.jpg
IMG_5948.jpg
IMG_5949 2.jpg
IMG_6533.jpg
IMG_5952.gif
IMG_5953.jpg
IMG_5974.gif
IMG_5977.jpg
IMG_5978 2.jpg
IMG_5987 2.jpg
IMG_5982 3.jpg
IMG_5992.jpg
IMG_5991 2.jpg
IMG_5989.gif
IMG_5979 2.jpg
IMG_5995.jpg
IMG_6019.jpg
In sunday happy, summer, internet links Tags Sunday happy, family, everyday life, internet links, vermont, the great outdoors, school, pictures from the week, food, summer
Comment

Apple Strawberry Granitas

May 30, 2020 Colleen Stem
IMG_8297.jpg
IMG_8250.jpg

Ever since schools have been canceled and we have turned to homeschooling, the school systems around my parts have been dropping lunches off to all the littles. Both my sisters with littles have been getting food every day and it is great and amazing and makes me less worried about all the kids that really depend on school for food. Thank you school systems for being awesome!

The thing with the food is that you get what you get. Just about everyday, packed with the lunches,are either applesauce cups or strawberry puree cups.

The little shits, well none of them eat them. I don’t know if they just don’t like them or are sick of them but yeah, they are really starting to pile up. And so sisters have been sending apple and strawberry cups my way and now I have shit ton too.

I figured I would just bake with them and that is what I have been doing, but I still have so many and it is way to hot to be baking all the time. What to do with an excess of fruit puree cups? Freeze them. And make them into granitas. Whats a granita? A granita is flaked frozen fruit, kind of like a slushy you eat with a spoon. And wouldn’t you know, once the applesauce and strawberry cups were frozen and called something else, the littles were all over them. I am a genius.

It also helped that is was like a 95 degrees out and when it is that gross, no one wants to eat anything that isn’t frozen. Blah. Too hot way too early!

So if you find yourself with an excess amount of fruit cups or just want to make a healthy and delicious cold treat for your littles or yourself, do this.

Now to the apple strawberry granitias!

The stuff. Applesauce cups and strawberry puree cups. If you don’t have the actually cups, you can use applesauce from a jar or homemade and make your own strawberry puree by tossing fresh or frozen strawberries into a blender. Easy peasy.

The apple and strawberry purees into a bowl

IMG_8217.jpg

Mix together. Have a taste, it is delicious.

IMG_8223.jpg

Dump mixture into a baking sheet or pan, preferably a metal one, and place in freezer.

IMG_8236.jpg
IMG_8239.jpg

After about and hour, once it is slightly frozen, remove from freezer. Grab a fork and scrape the puree to kind of fluff it up. Place back into freezer for another hour and repeat one or two more time until the texture is nice and fluffy. Once you like texture, place in freezer for another 1/2 to really freeze up.

When you are ready to eat, scoop and serve.

Once scooped, eat. Right away because frozen things don’t stay frozen for long!

-C


Apple Strawberry Granitas

makes about 4 servings

  • 2 applesauce cups (or 2 cups applesauce)

  • 2 strawberry cups (or 2 cups strawberries pureed)

  • 1 tablespoon sugar (optional)

Dump the applesauce and strawberry puree into a bowl. Mix together and taste. If you think it could use a little sugar, mix it in. Remember, once frozen, it won’t taste quite as sweet.

Dump mixture into a baking pan or sheet, preferable a metal one, and place in freezer. After about an hour, or once it has frozen a bit, remove from freezer, grab a fork, and scrape the puree to losses it up. Place back in freezer for another hour. Repeat with the fork one or two more times until the texture is that of fluffy ice. After the last scrape, keep in freezer for another 1/2 hour or so to get it really frozen again then when you are ready, scoop out into bowl and eat.

Any that doesn’t get eaten right away, keep in freezer. You can transfer to a smaller container with a lid.

In 5 ingerdients or less, frozen, fruit Tags frozen, fruit, dairy free, food, vegan, dessert, apple strawberry granita, granita, applesauce, fresh, homemade, fruit cups, school lunches, summer
Comment

Chickpea Flour Onion Rings

May 16, 2020 Colleen Stem
IMG_8021.jpg
IMG_8005.jpg

I love me some onions, I mean I eat one everyday so I asked myself why the heck haven’t I made onion rings before? Probably because when I usually think onion rings, I think greasy and fried and that is not really my jam. But early in the week the lightbulb went off in my brain. I have been making a lot of stuff with bean flours lately and thought that chickpea flour would make an excellent batter for onions. And low and behold, I was right. Very very right.

These onion rings are so f-ing amazing. Sure they might not be the most traditional of onion ring but they are for sure just as good. A spicy crispy crunchy outer layer with a soft and creamy onion inside. Baked, not fried, and just really delightful. Easy to throw together and yeah, you got onion rings. I have made them twice this week already. Probably going to make them again tonight because why the hell not? They are simply a vegetable covered in bean. I should be eating them every day and you probably should be eating them everyday too.

Now to the onion rings!

IMG_7970.jpg

The stuff. Onions (I used valida but any sweet variety will work) chickpea flour, spices (garlic, ginger, cumin, chili powder, paprika, and a pick or red pepper flakes), warm water, oil, and salt and pepper.

IMG_7971 2.jpg
IMG_7973 2.jpg
IMG_7976 2.jpg
IMG_7980 3.jpg

Mix up the batter. All the spices get mix together with the chickpea flour. Add in the water and then mix unit completely combined and all batter like.

IMG_7983.jpg

Cut onions into rings.

IMG_7990.jpg

Dip the onions into the batter and place on a oiled baking sheet. Try not to overlap too much and use the insides of large rings to place the small ones!

IMG_7999.jpg
IMG_8006.jpg

Into the oven and out of the oven. Crispy, dark, and delicious!

Get those rings onto a plate while they are hot, grab some dipping sauce of choice (tahini for me) and eat.

Get into this.

-C


Chickpea Flour Onion Rings

  • 3/4 cup checkpea flour

  • 1 teaspoon each cumin and chili powder

  • 1/2 teaspoon each garlic, paprika and ground ginger

  • pinch of red pepper flakes

  • 2 medium sized valida onions (or whatever onions you have)

  • 3/4 cup warm water

  • 1/2 teaspoon salt

  • cracked pepper

  • tablespoon or so of oil to oil baking sheet

Preheat oven to 425.

In a wide bottomed bowl mix together the chickpea flour. salt. and all the spices. Add in the warm water and mix until completely incorporated and smooth. You want the batter to coat the onions when dipped but not be overly thick. If you think it needs to thicken up a bit, add a tablespoon more chickpea flour. To thin it, just add a splash more water.

Grab onions and peel off papery skin then slice into 1/4-1/2 inch rounds. Take onion rings and dip them into the batter then place rings on a large oiled baking sheet. Try not to overlap to much and definitely place smaller rings inside bigger rings. Also use a second baking sheet if you need to.

Once rings are all battered, place in preheated oven and bake for 40 minutes, giving them a flip atfter about 25-30 minutes.

Once dark brown and crispy, remove from the oven. Place rings on a plate and eat. Dipping sauce recommendation is tahini but anything or nothing at all is also right.

In appetizers, Gluten Free, grain free, pulses, quick and easy, side dish, Vegan, Vegetables Tags baked onion rings, chickpea flour, gluten free, onion rings, dairy free, baked, plant based, easy, simple, healthy, protein, side dish, onion, savory, spicy, food, homemade, fresh, yummy, eater, delicious, vegan, grain free, pulses, beans, besem flour
Comment
← Newer Posts Older Posts →
 

https://thelovelycrazy.squarespace.com/config#/|/about/

Me. Food Maker.Food eater. Woo HOO!

STEM+NODE  SMALL BATCH AND ONE OF A KIND POTTERY

stem+node ceramics


____________________

Subscribe

GET NEW POSTS IN YO EMAIL

You are AWESOME!!!


@thelovelycrazy 2014-2021