• stem+node ceramics
  • HOME
  • Food Recipes
  • About
  • Contact
Menu

The Lovely Crazy

Street Address
City, State, Zip
Phone Number

Your Custom Text Here

The Lovely Crazy

  • stem+node ceramics
  • HOME
  • Food Recipes
  • About
  • Contact

Carob Snack Cake with Tahini Maple Frosting

January 22, 2022 Colleen Stem
IMG_9911.jpg
IMG_9934 2.jpg

I made a snack cake and did so for a couple reasons. The first reason is cake and the mr loves him some snack cake so you know. Secondly is what else is there to do when you are basically suck inside because it is so cold that if you leave the house for more then15 minutes you are risking frost bite. (Ok so I have been going for my morning runs in the -20 degrees but that is different because I am running and getting relay hot. Once I come back I stay back.) It only makes sense to have the oven going for both reasons and who doesn’t want to get down with baked goods all winter.

Flavor wise, this snack cake is carob, not chocolate, although it looks like it. If you have never eaten carob it tastes somewhat chocolaty but way more fruity, less bitter, more sweet, more nutty. It is just really good. And it pairs really well with maple and tahini so that is the frosting situation. A cake of good flavors that is easy to throw together and you get to enjoy the residual heat from the oven…It is a no brainer. Basically what I am saying it that you should be making this cake. It only makes sense.

Now to the snack cake!

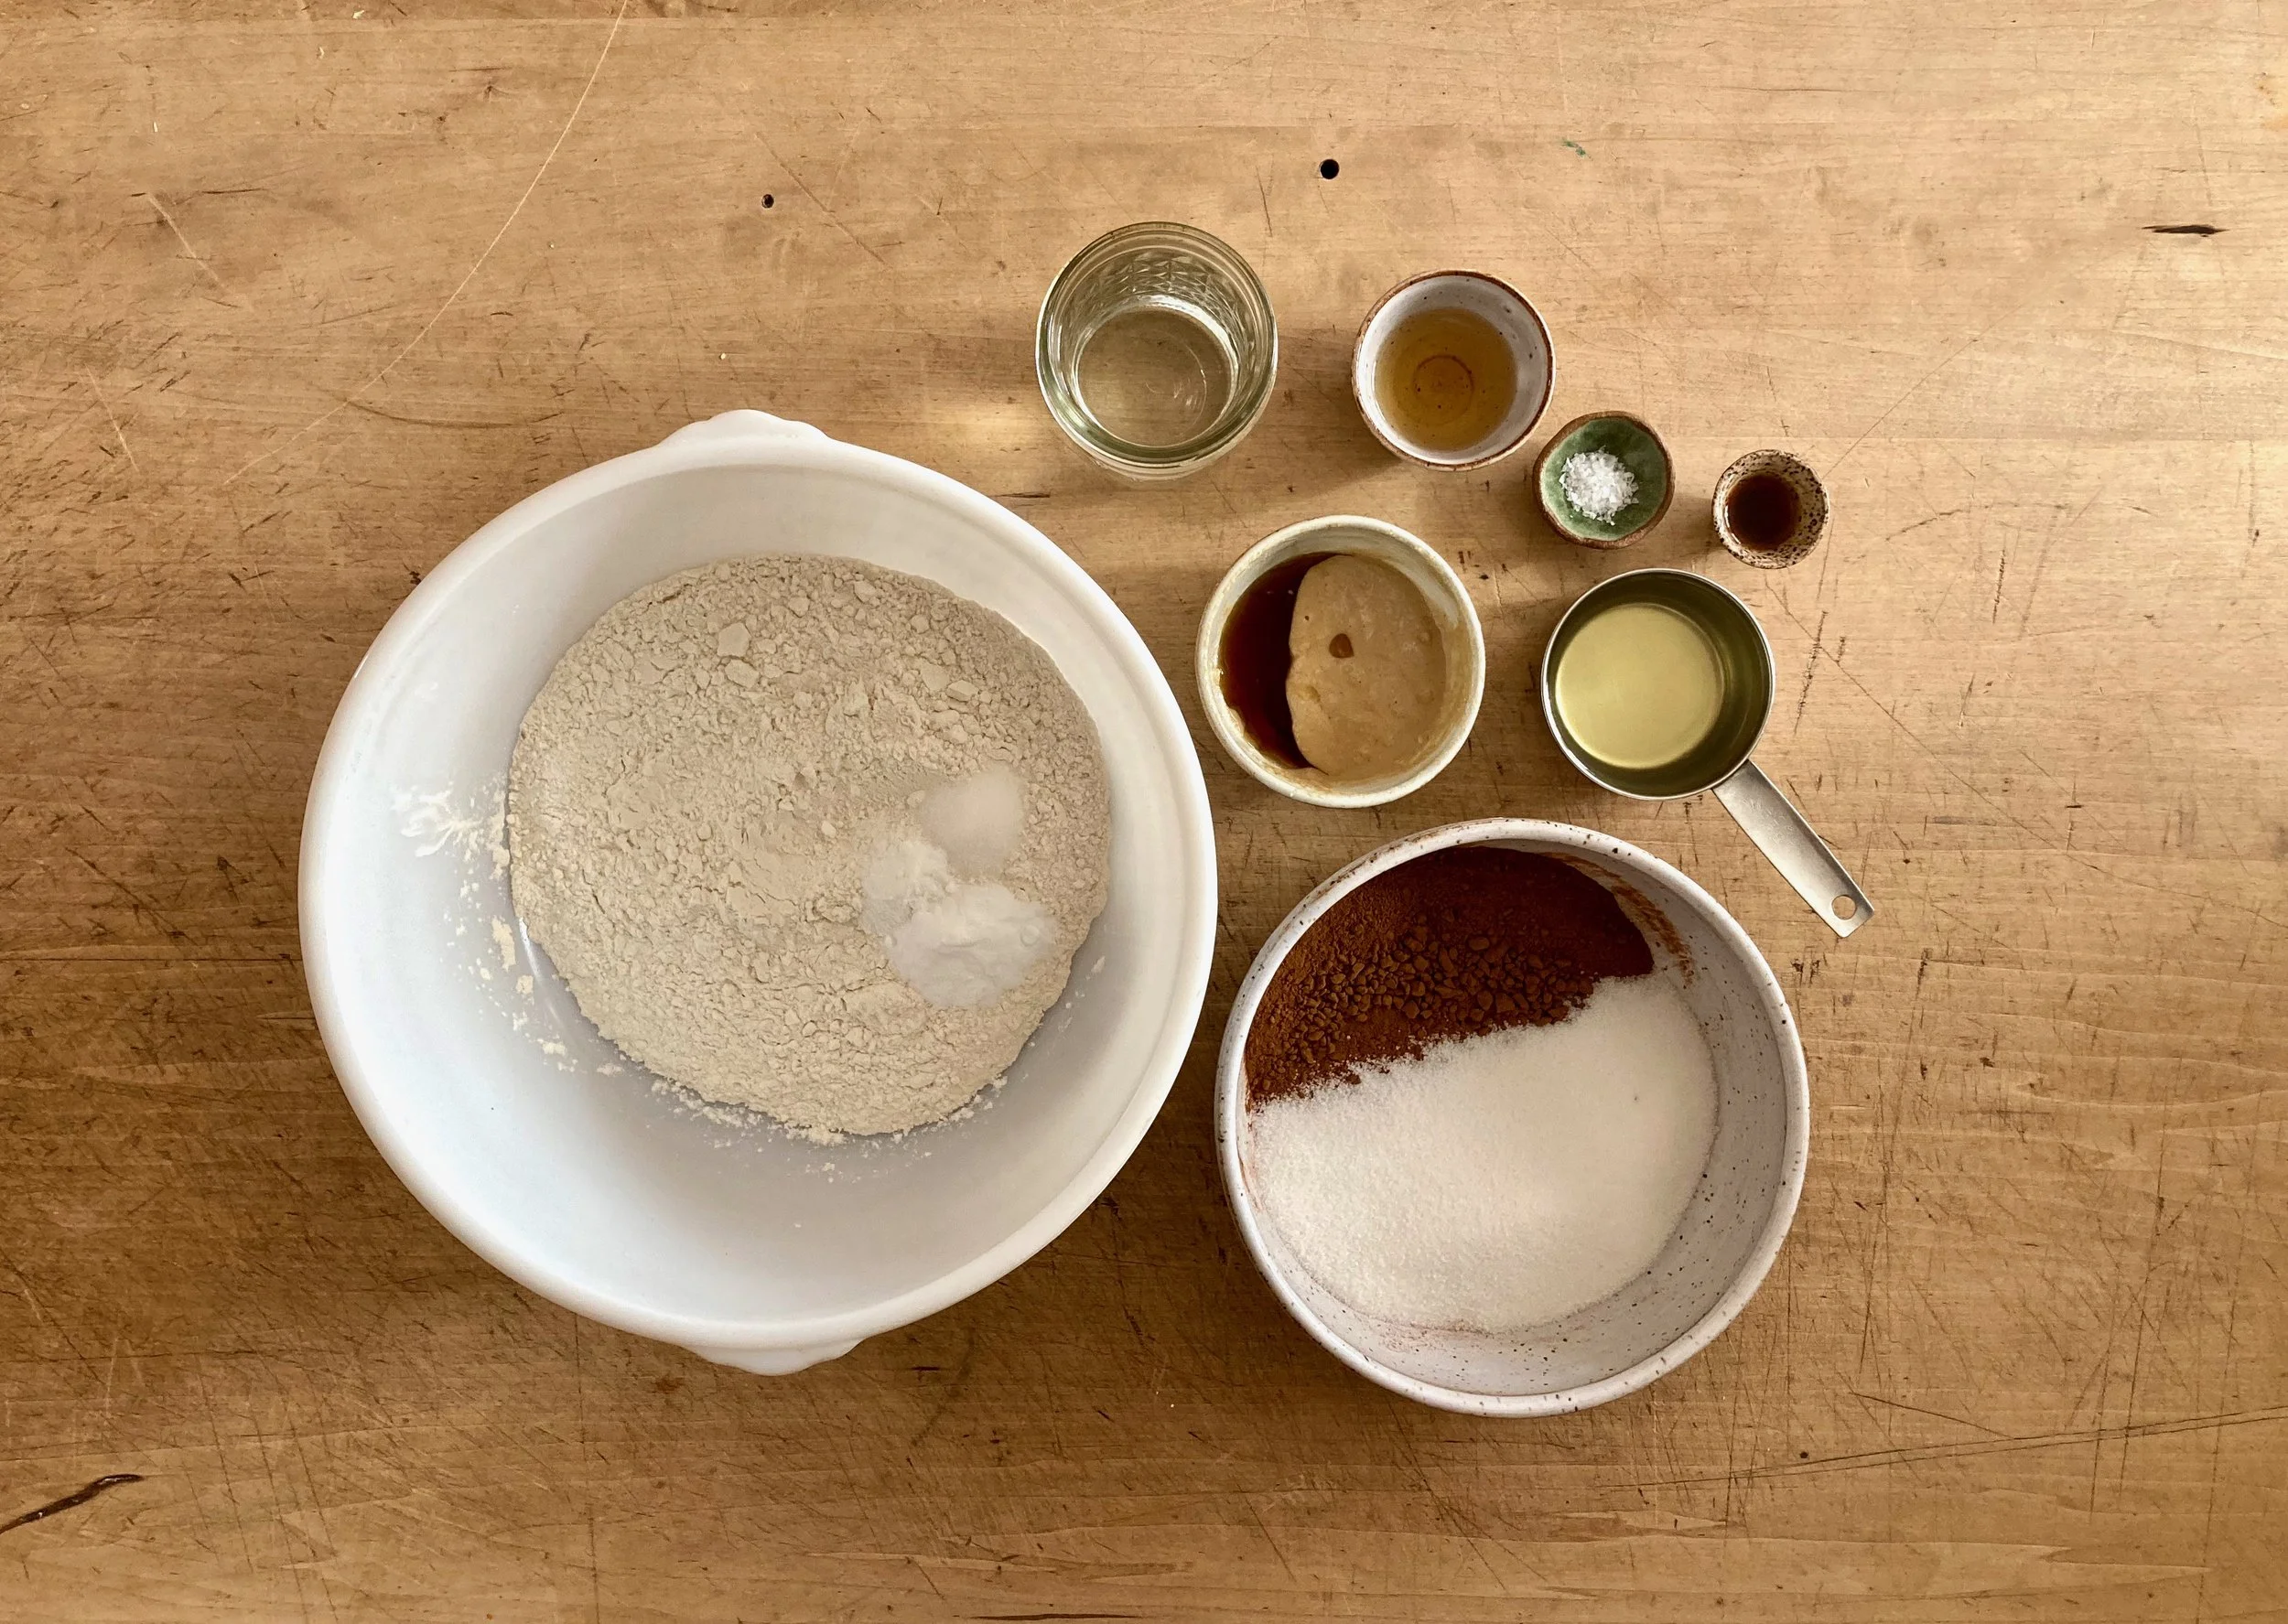
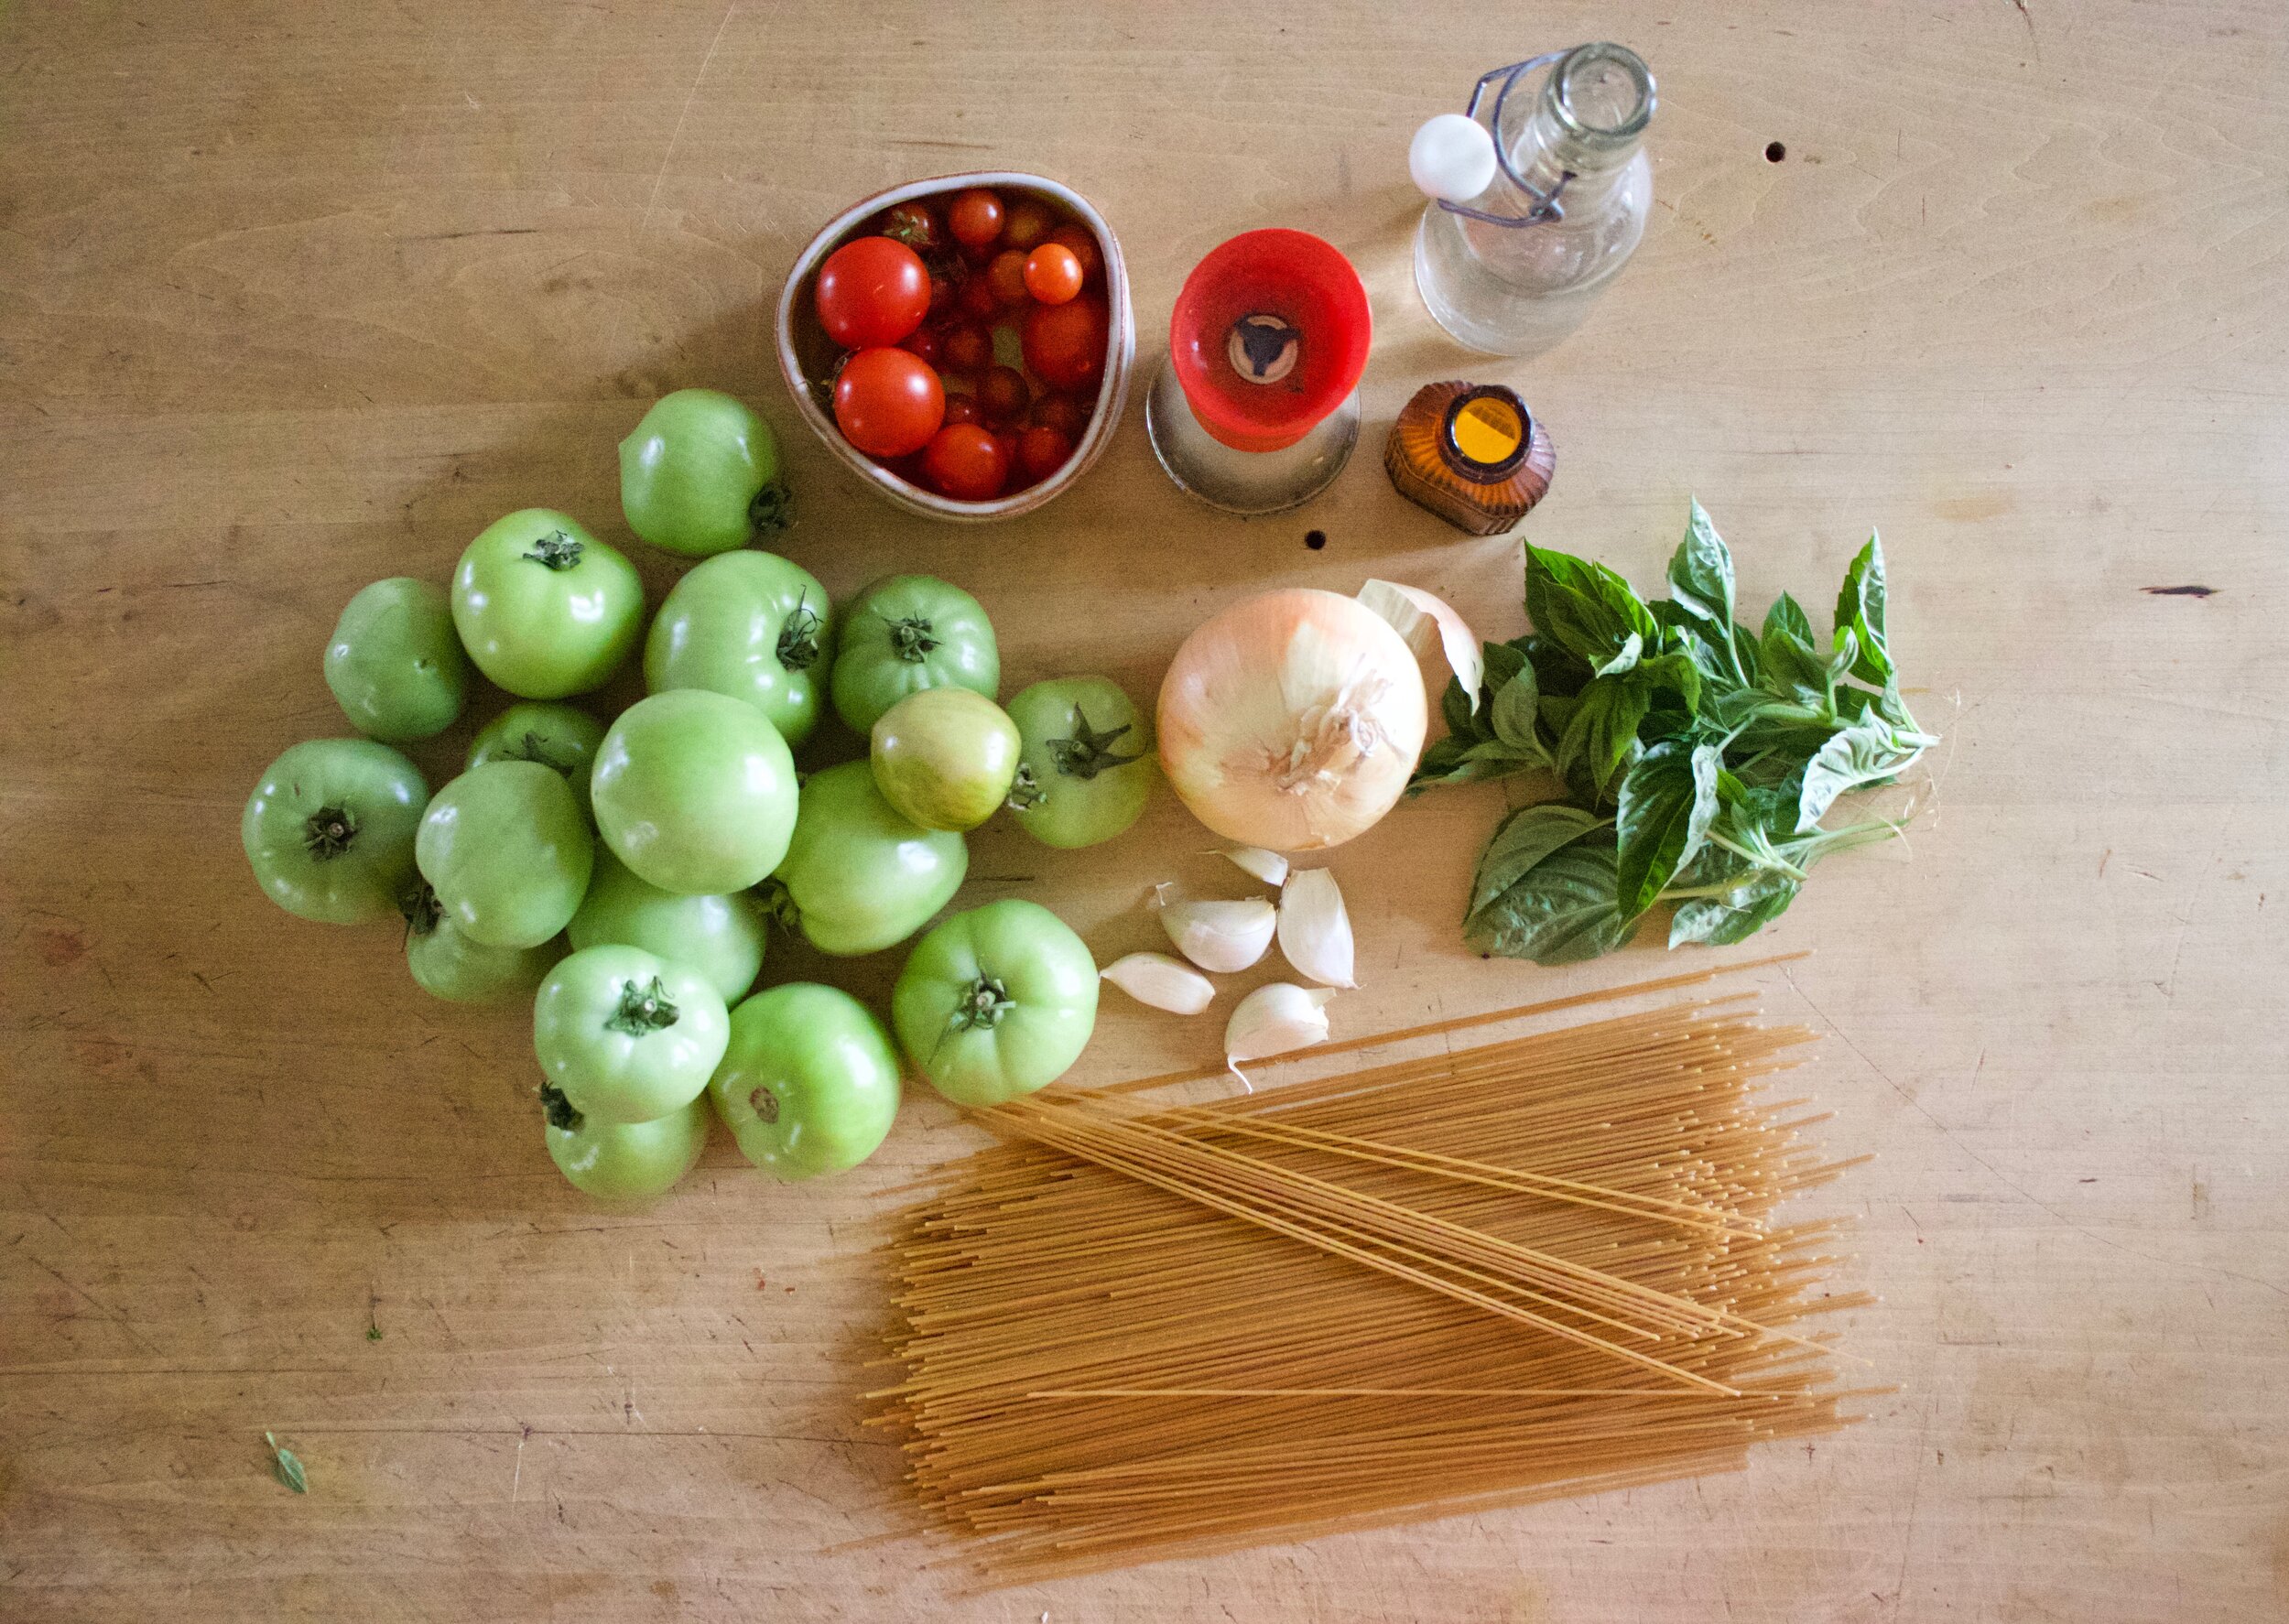
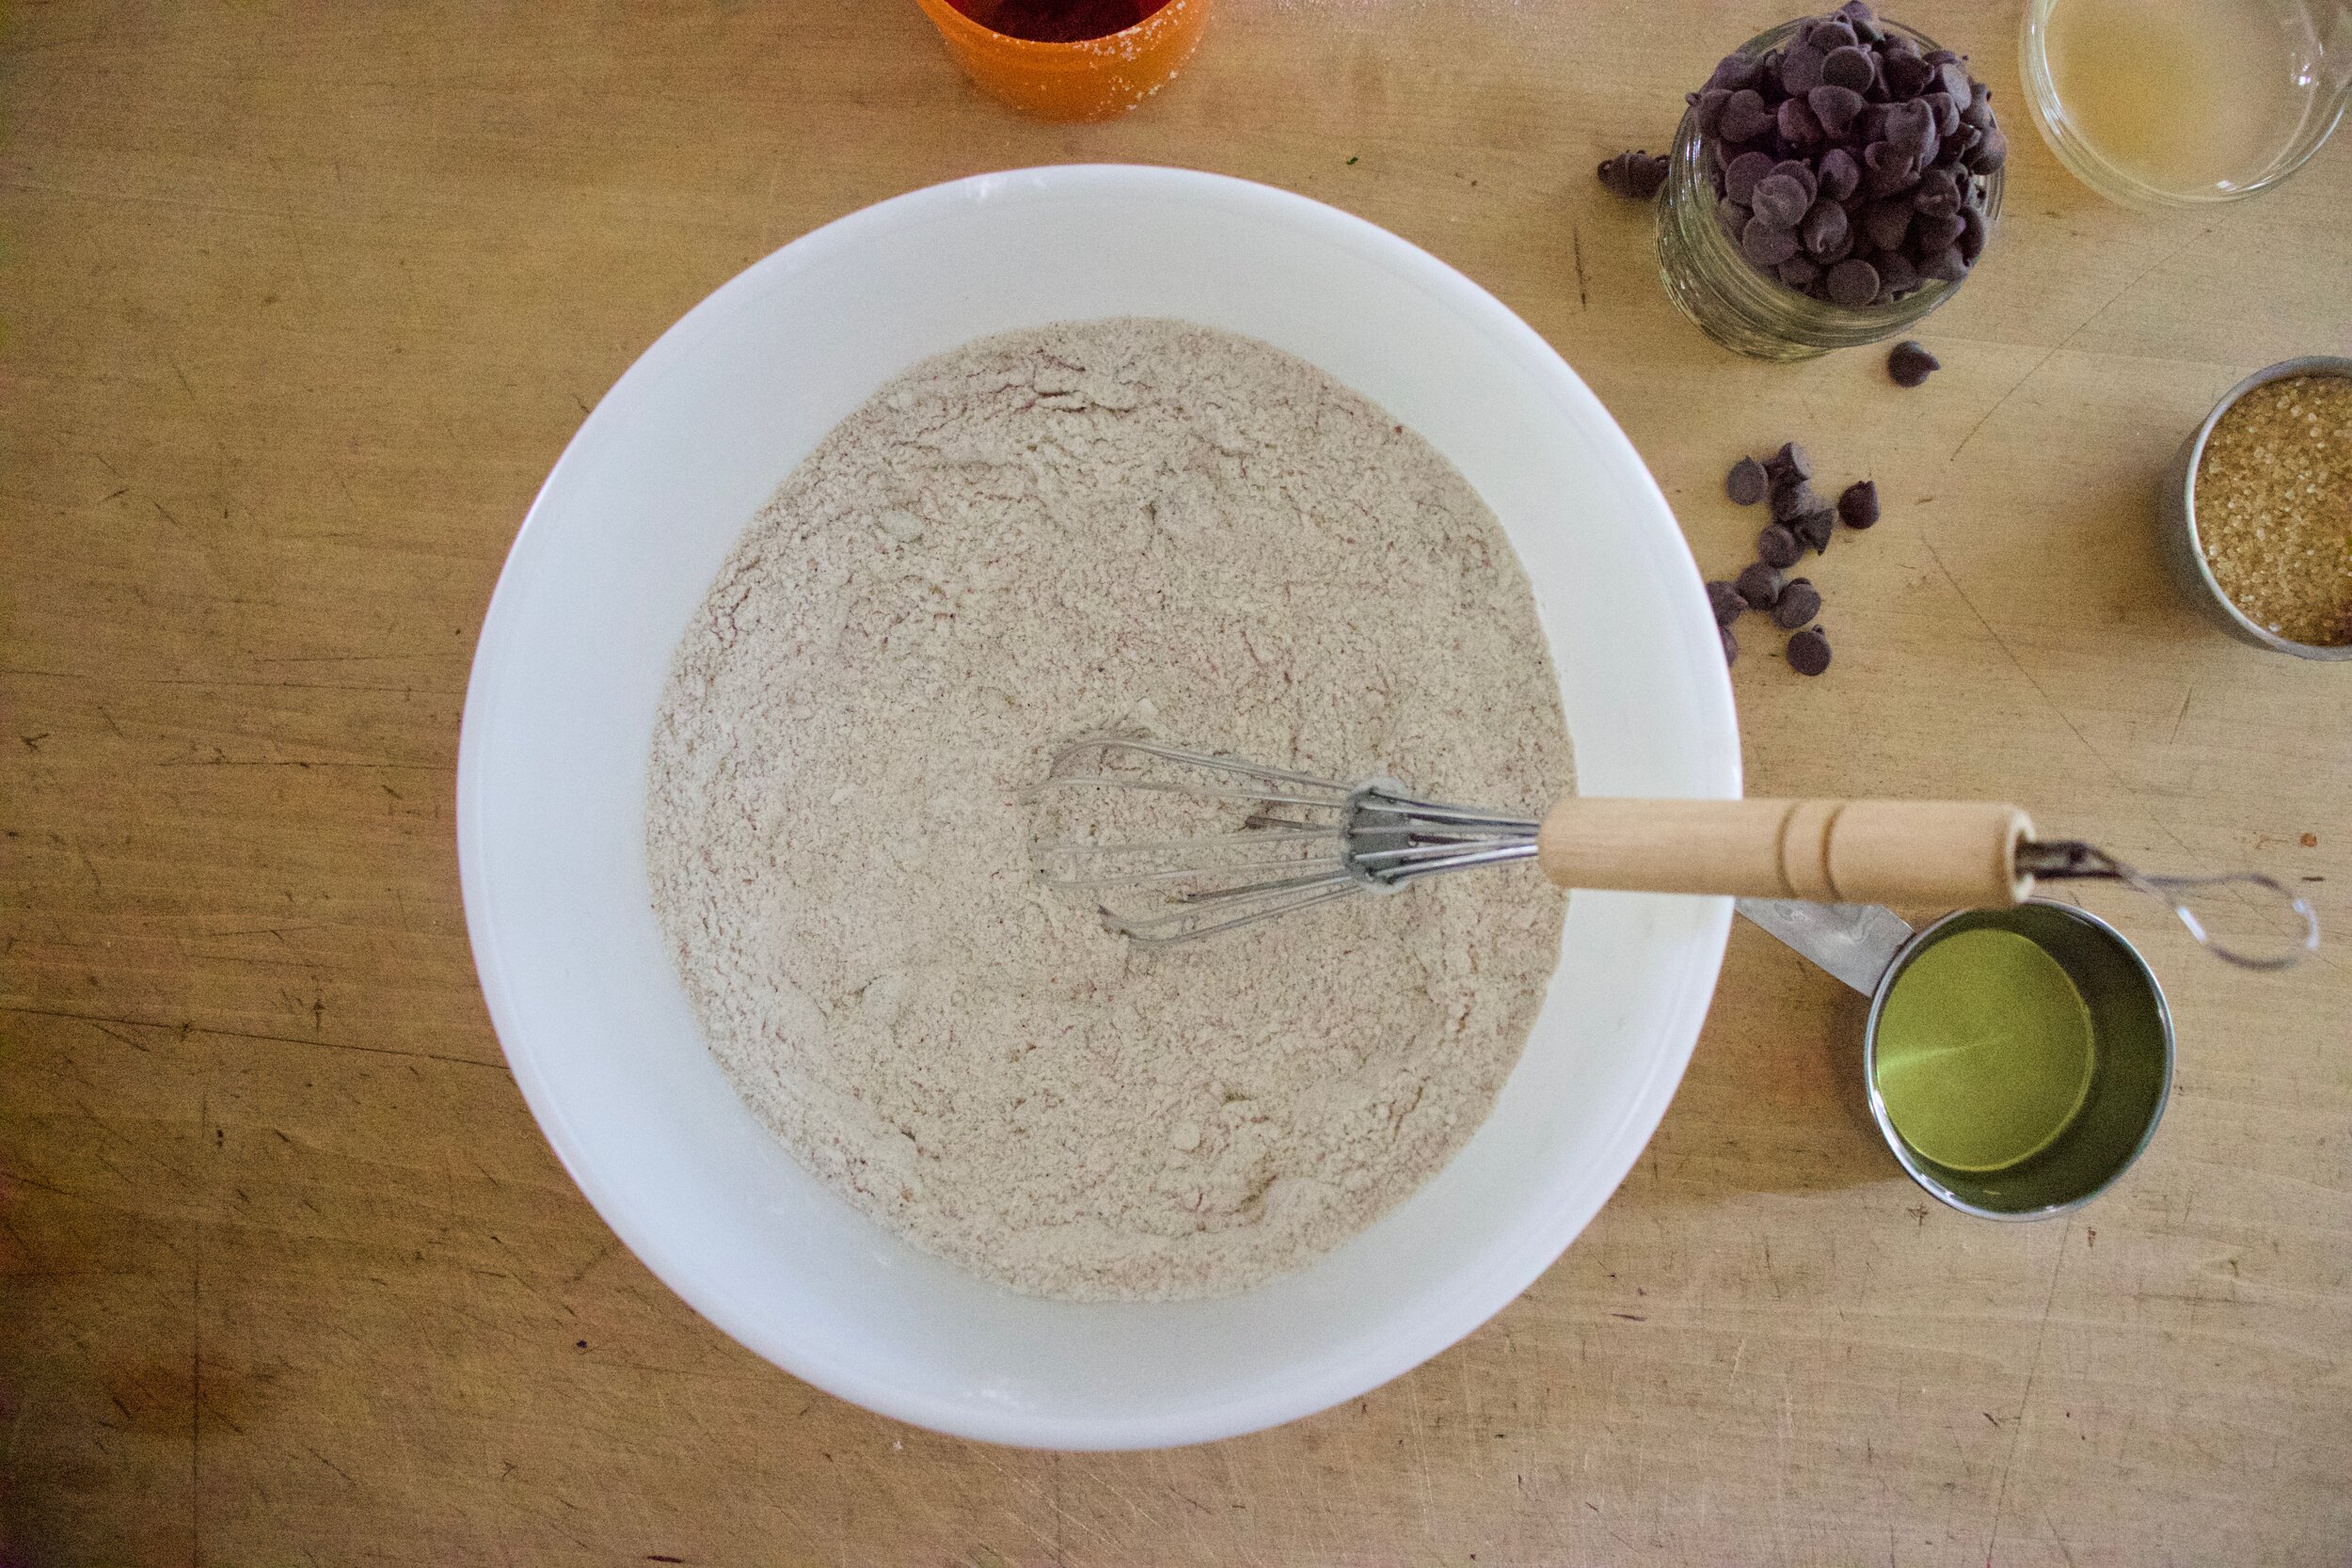
The stuff. Carob powder, flour, baking powder and soda, salt, oil, boiling water, vanilla extract, sugar, vinegar , tahini, and maple syrup.

IMG_9801 2.jpg
IMG_9803 2.jpg
IMG_9809 2.jpg
IMG_9811 2.jpg

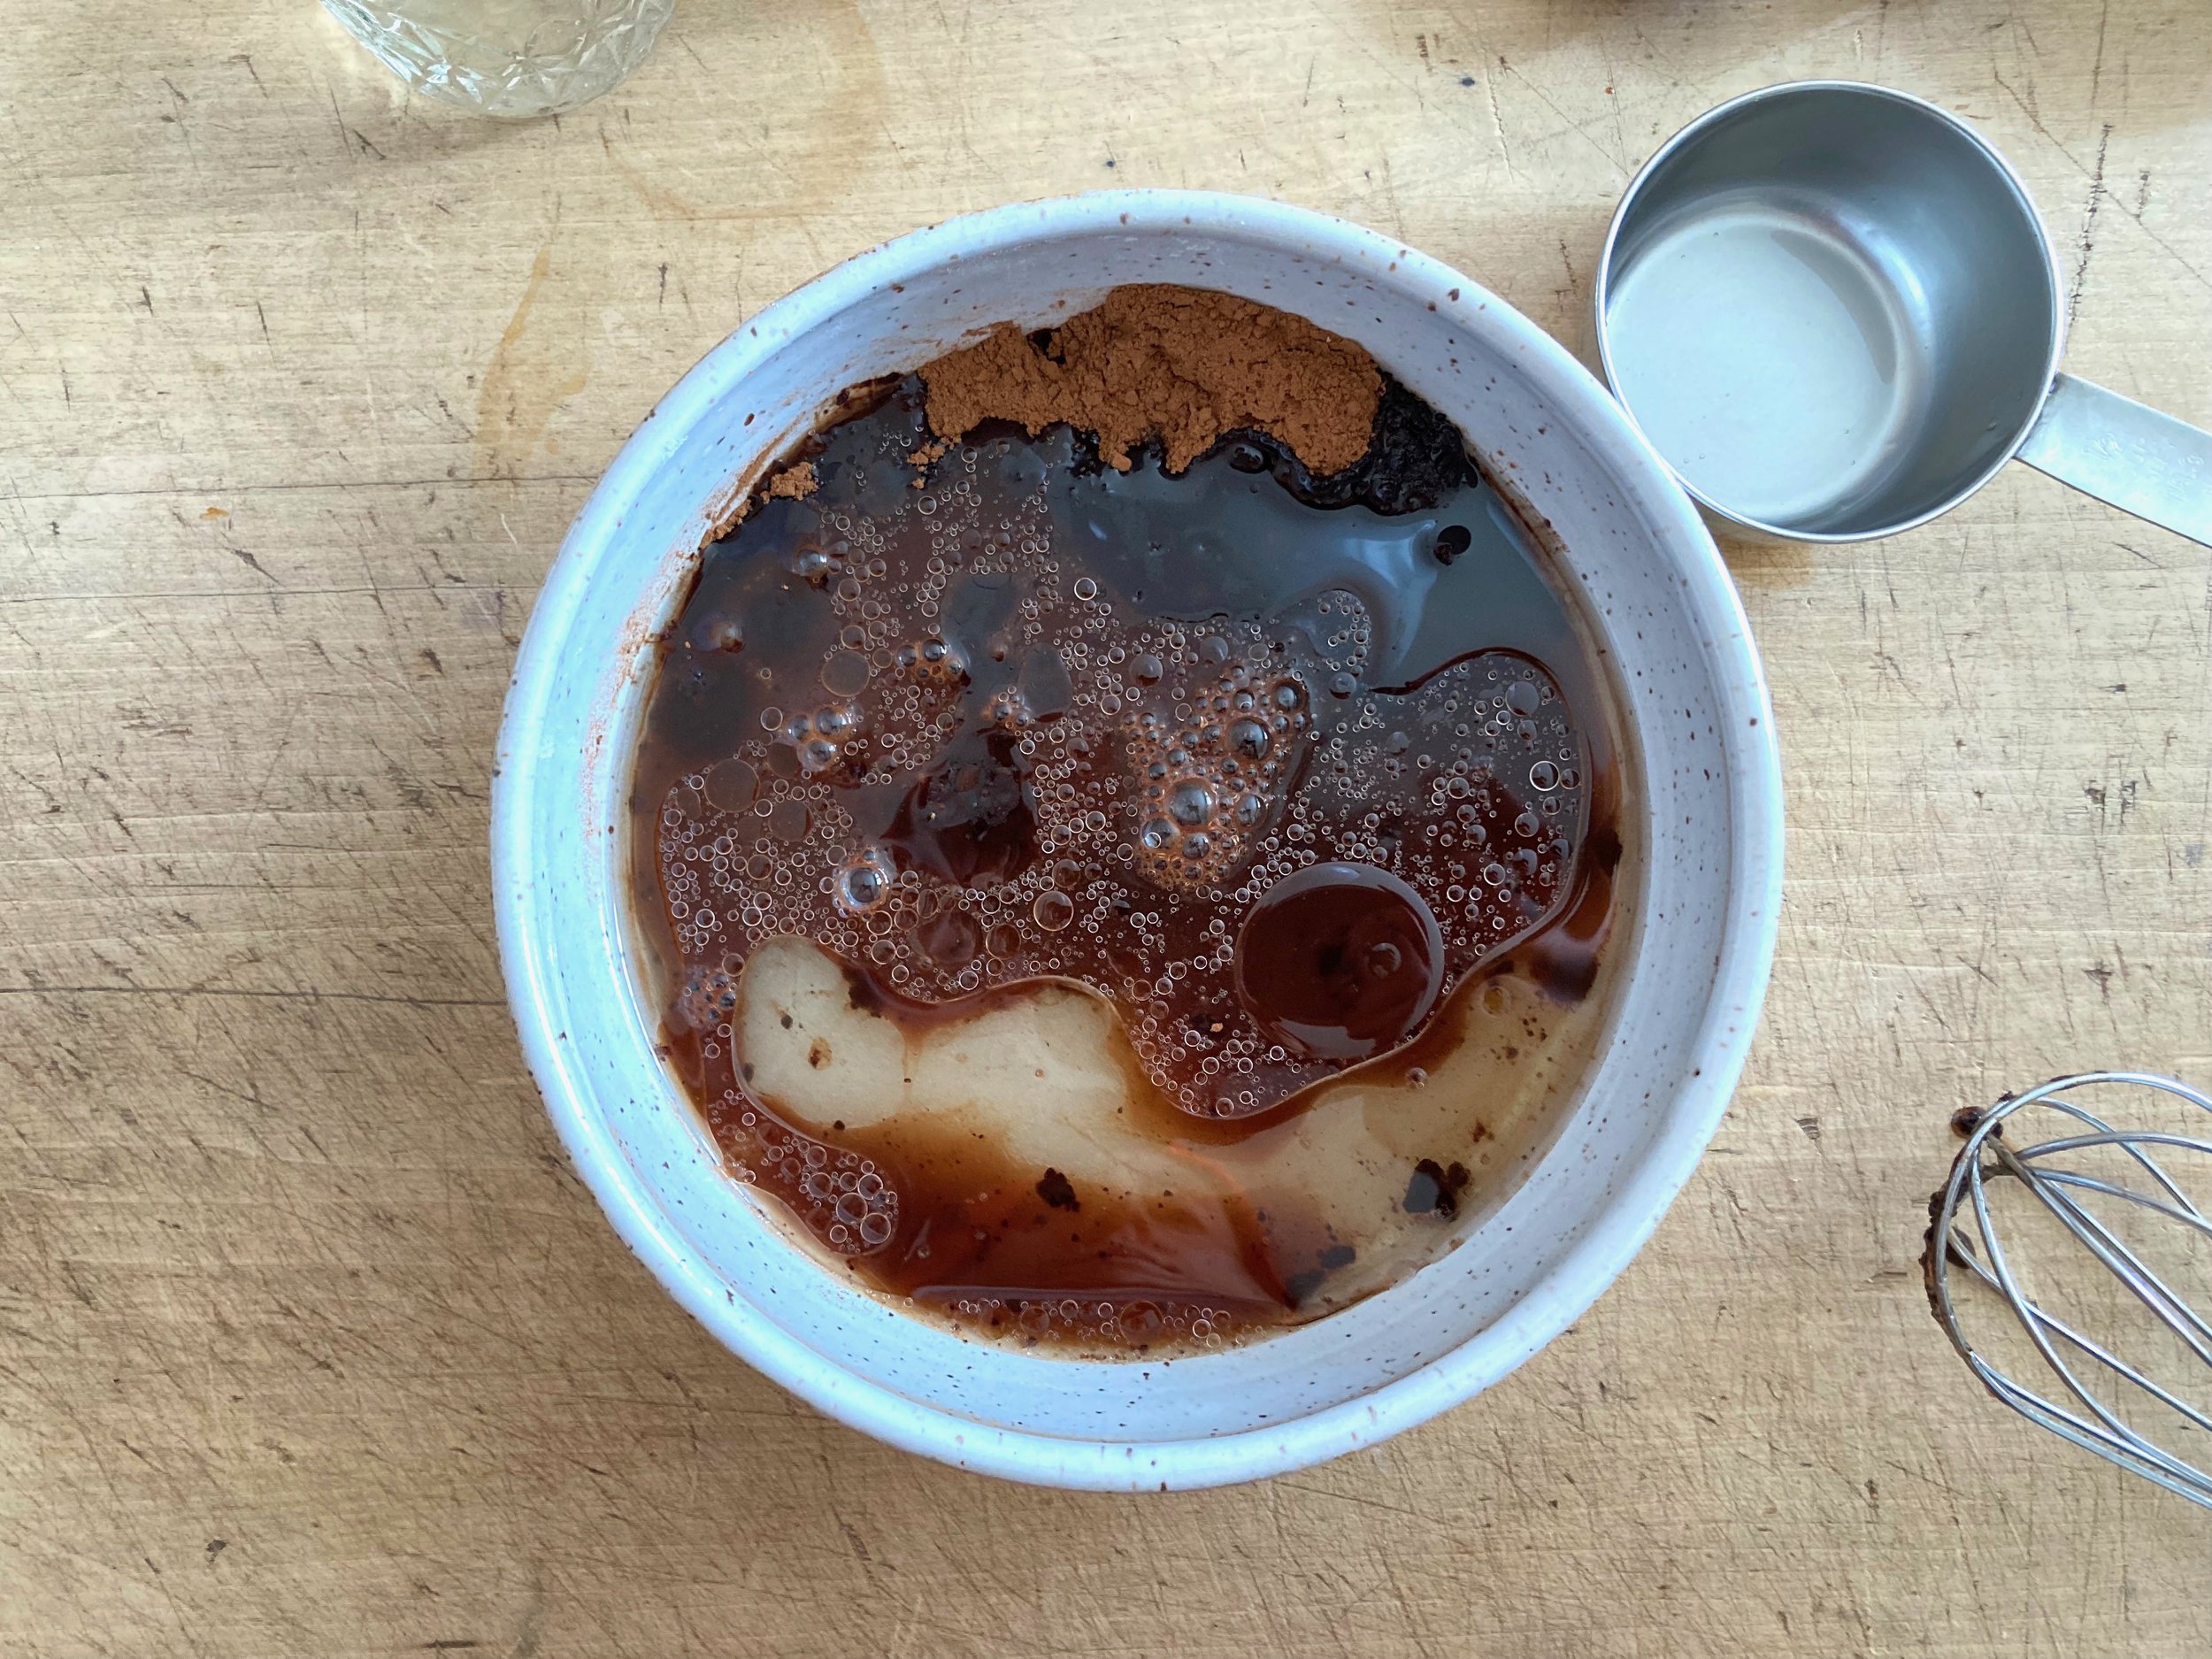
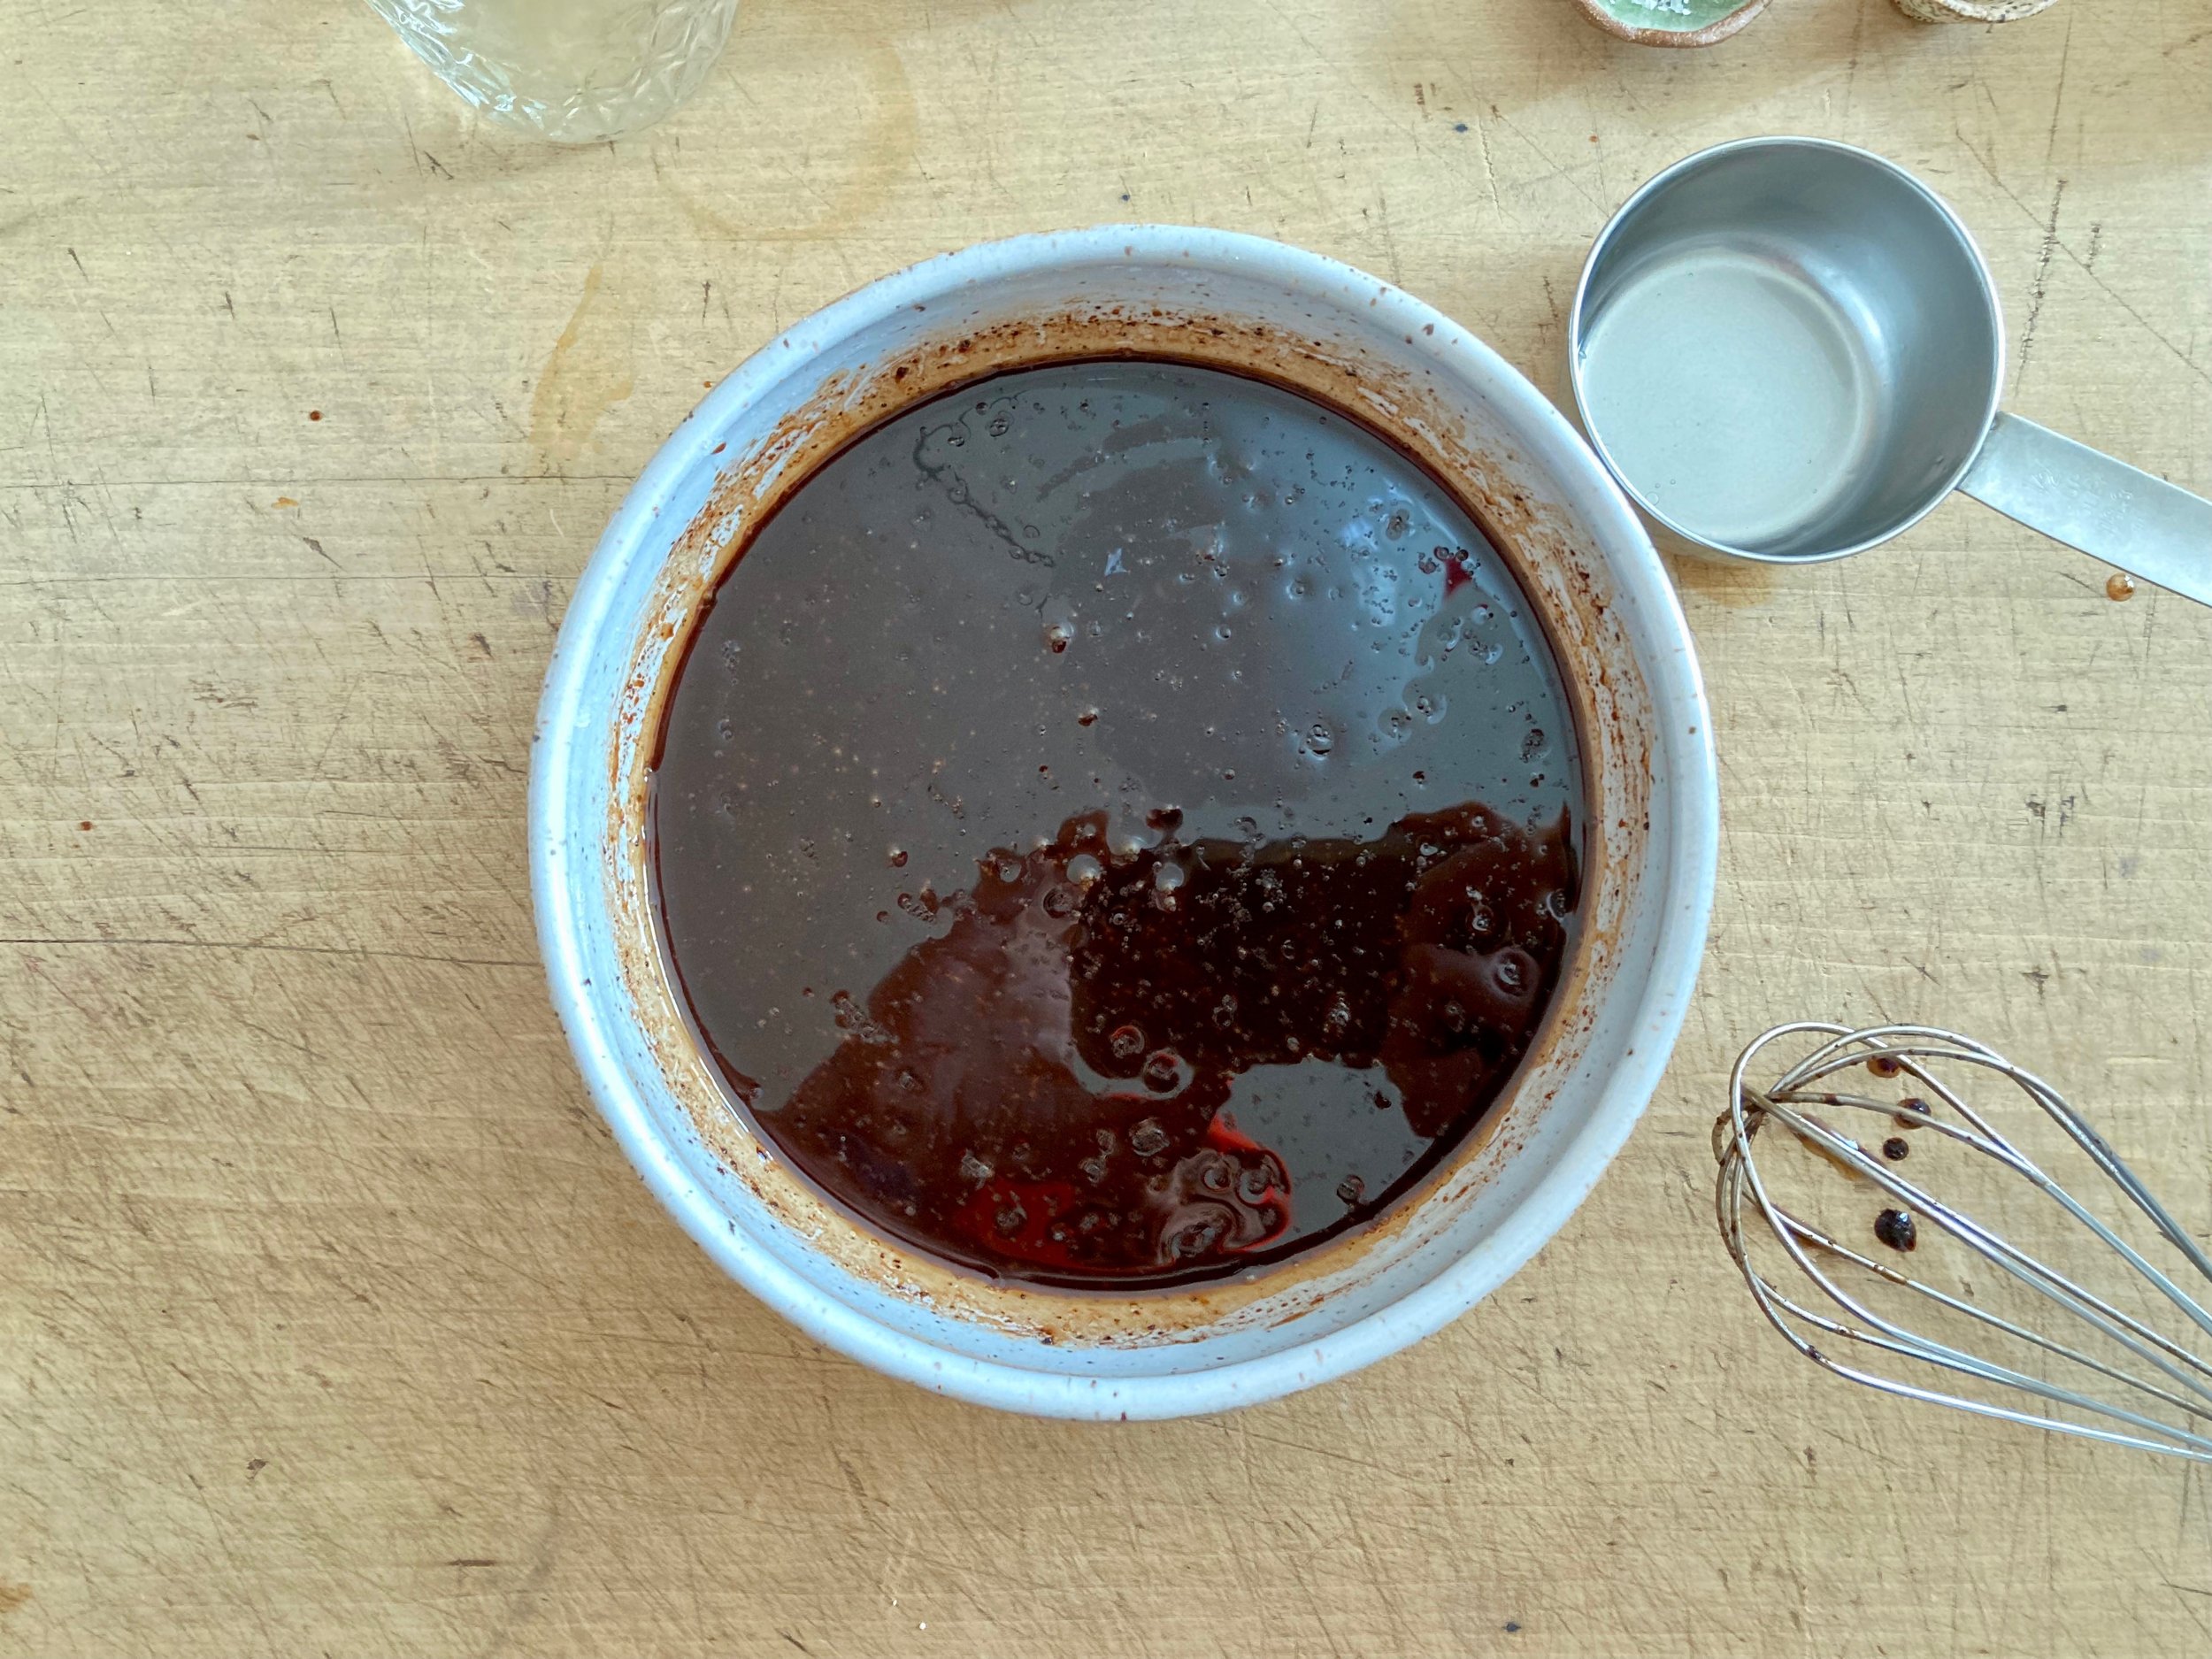
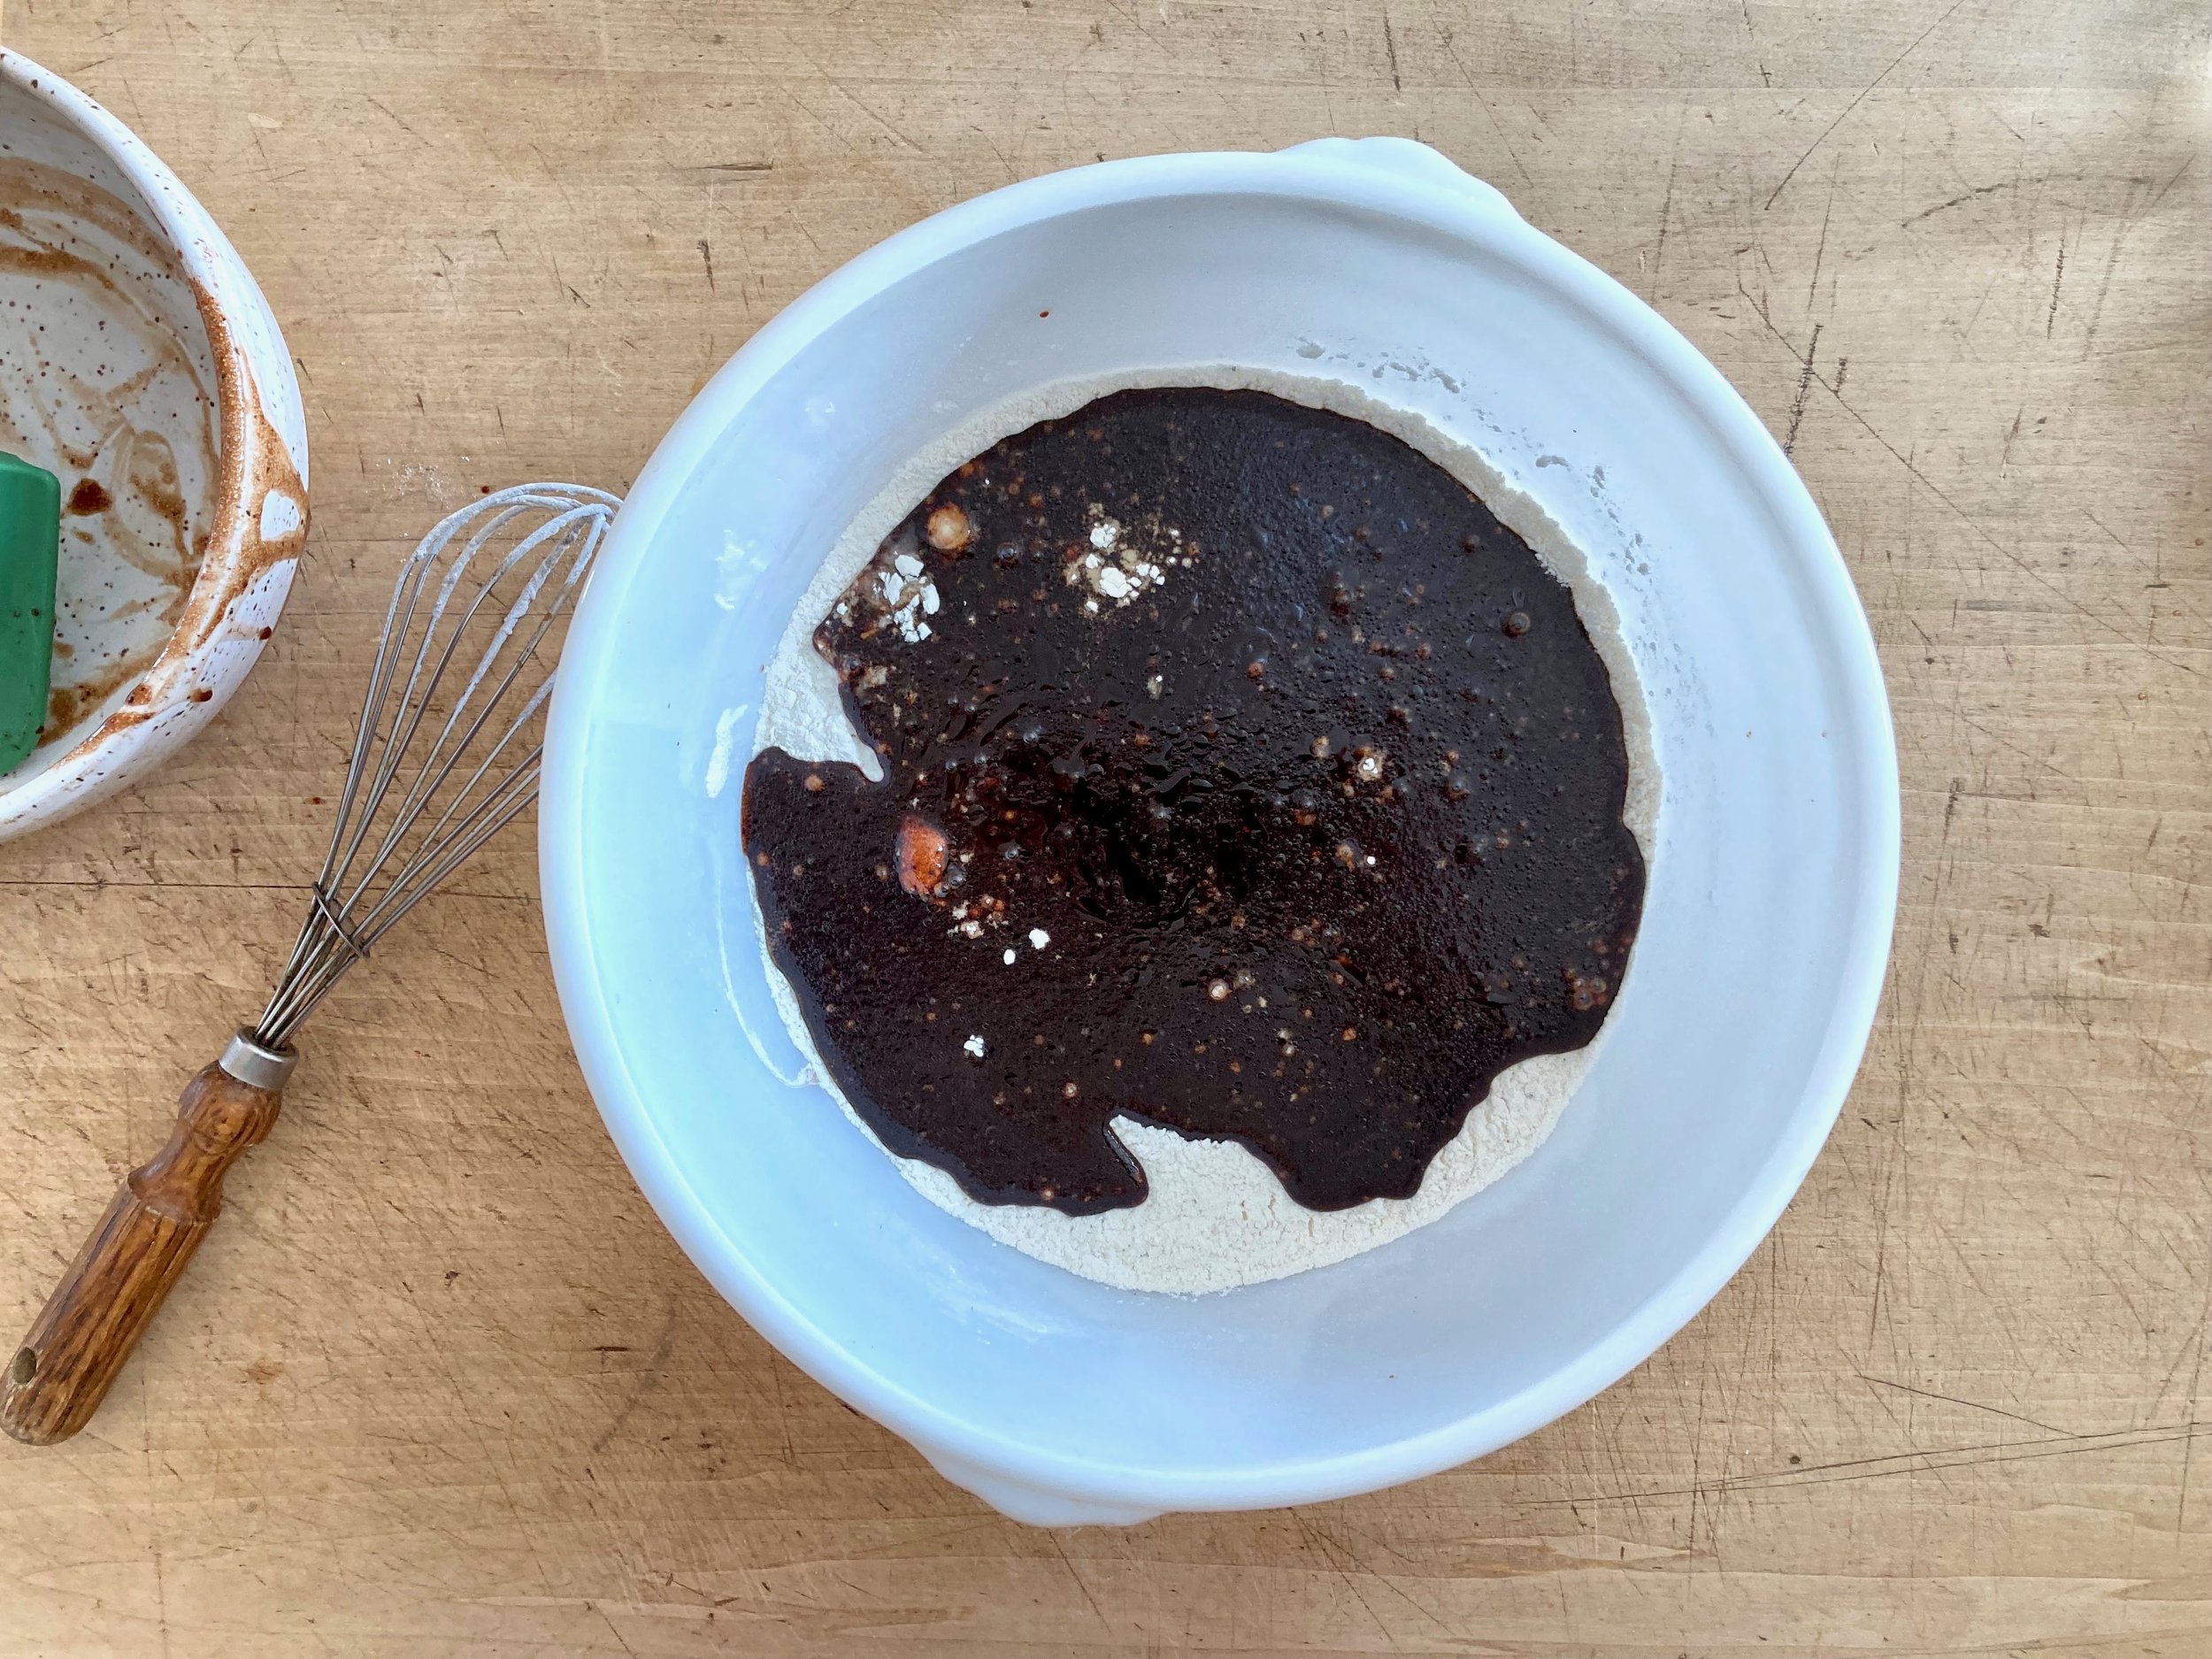
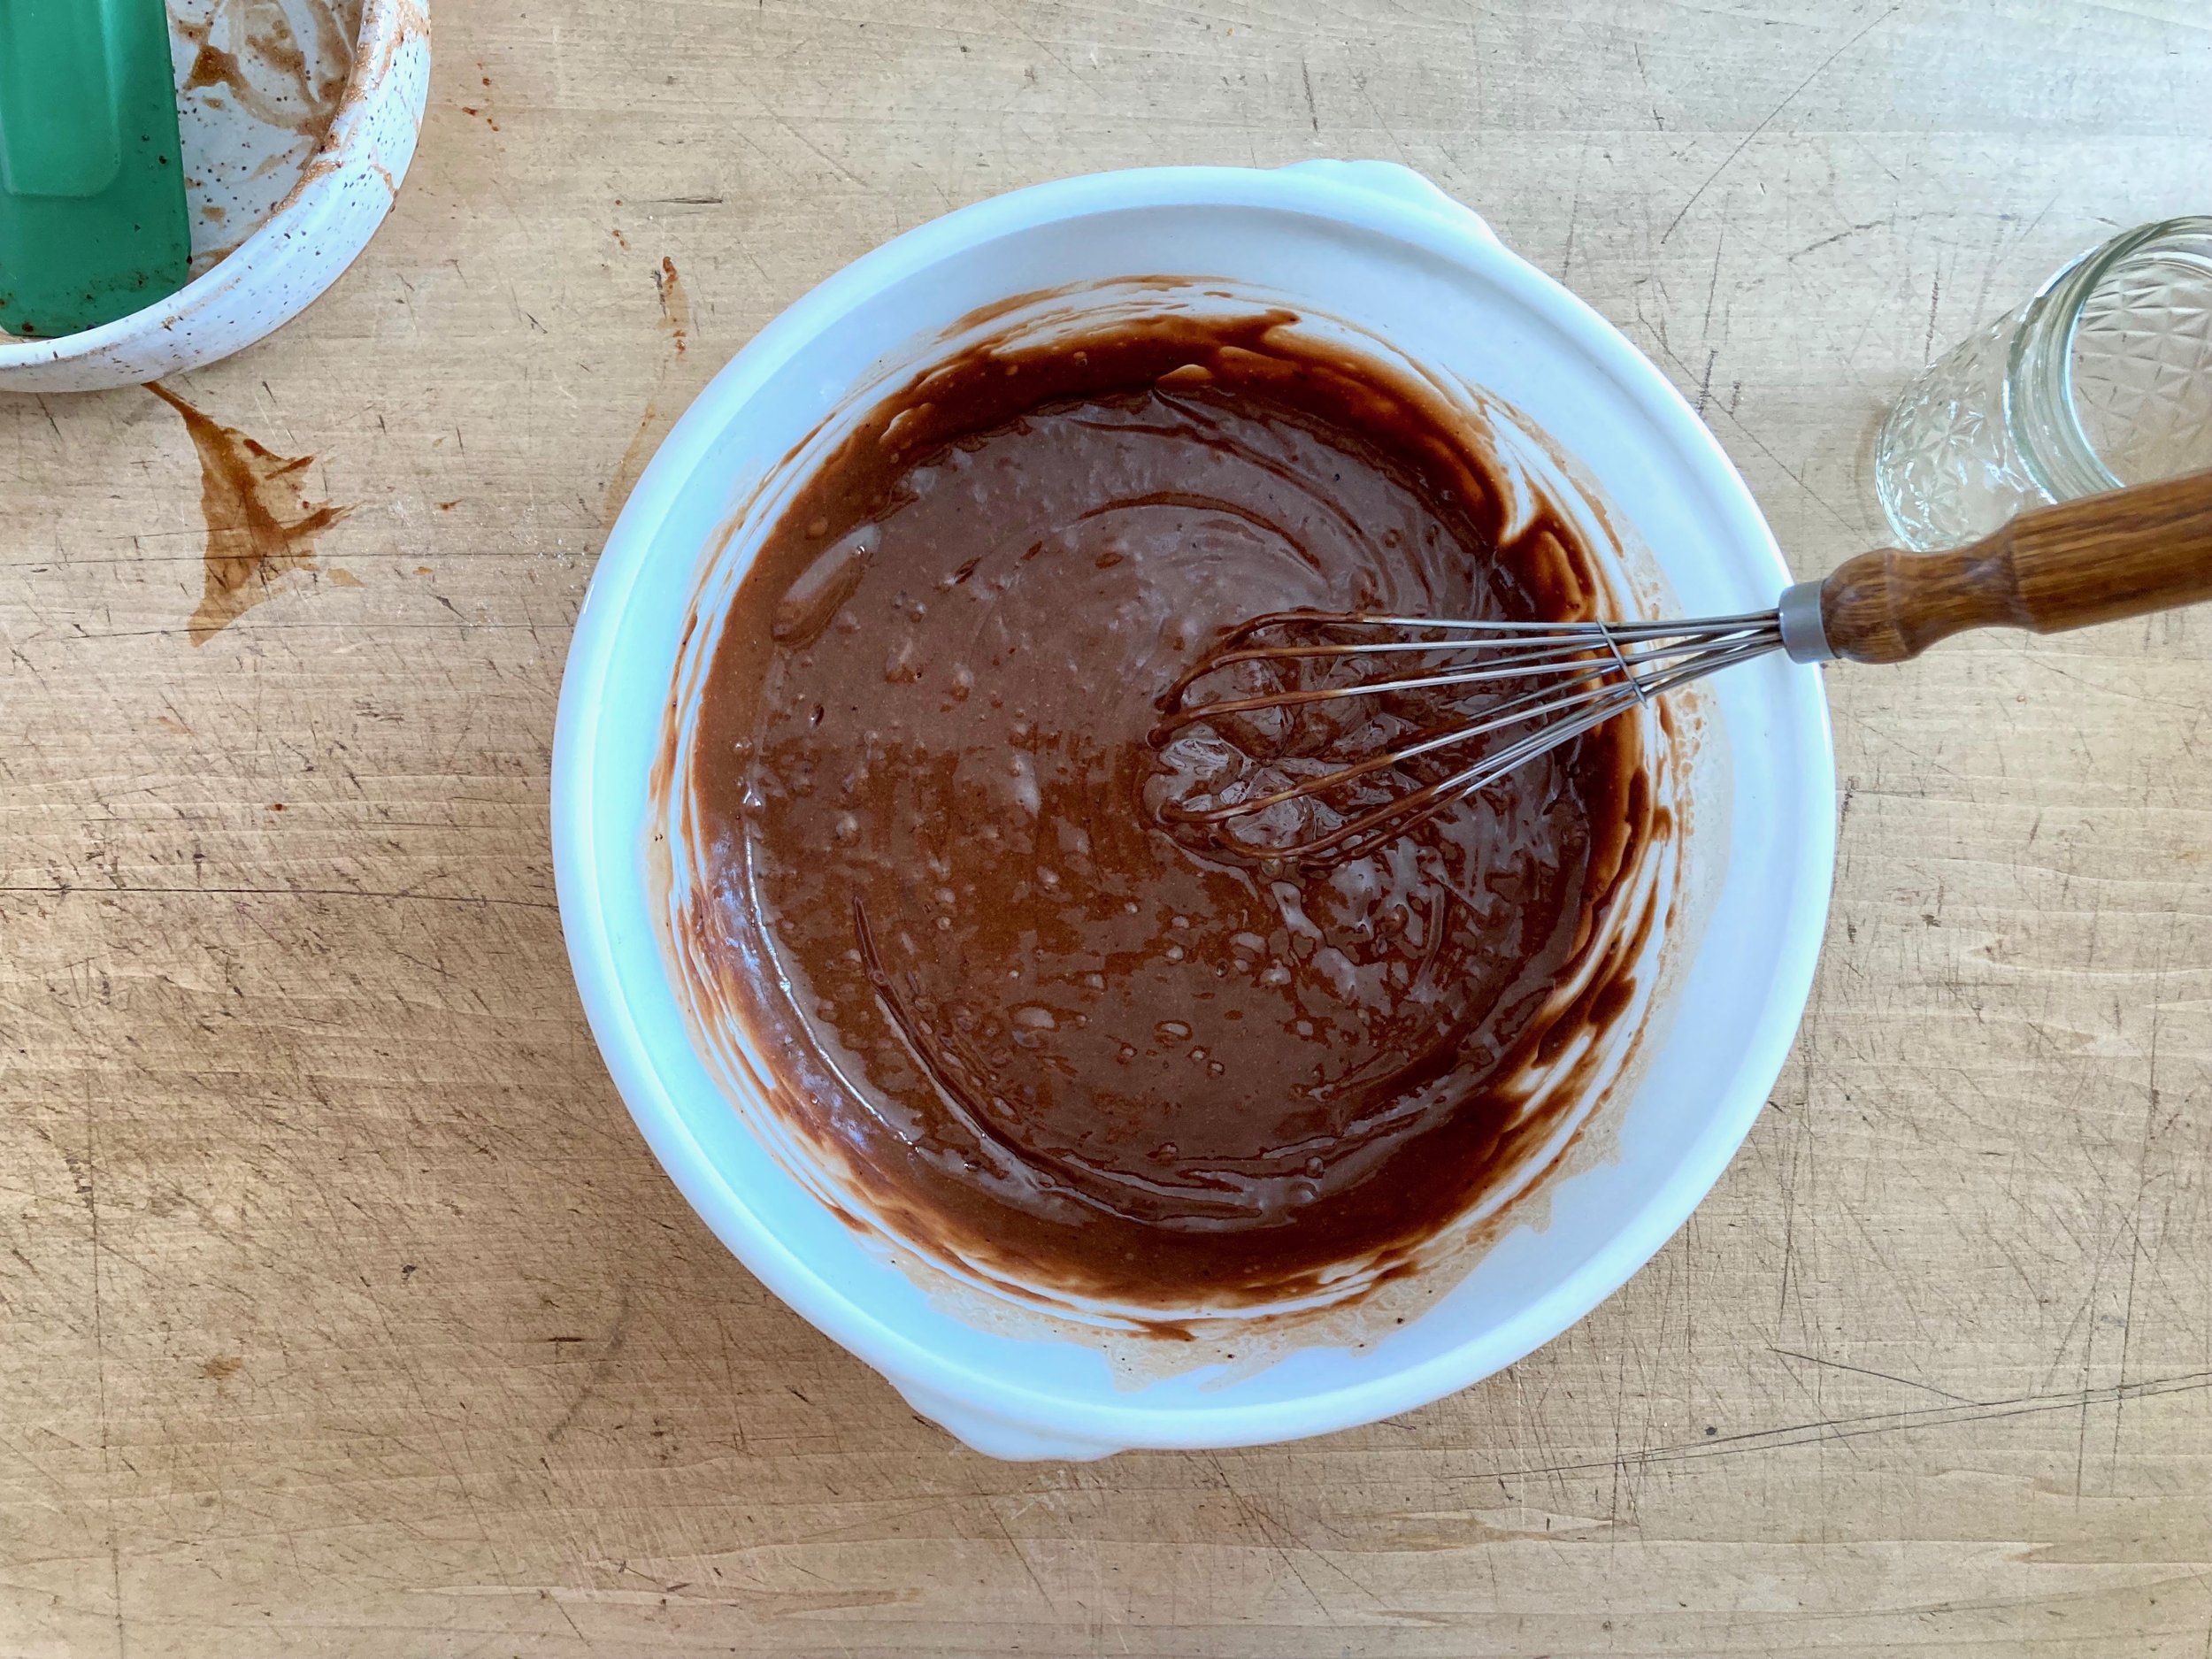
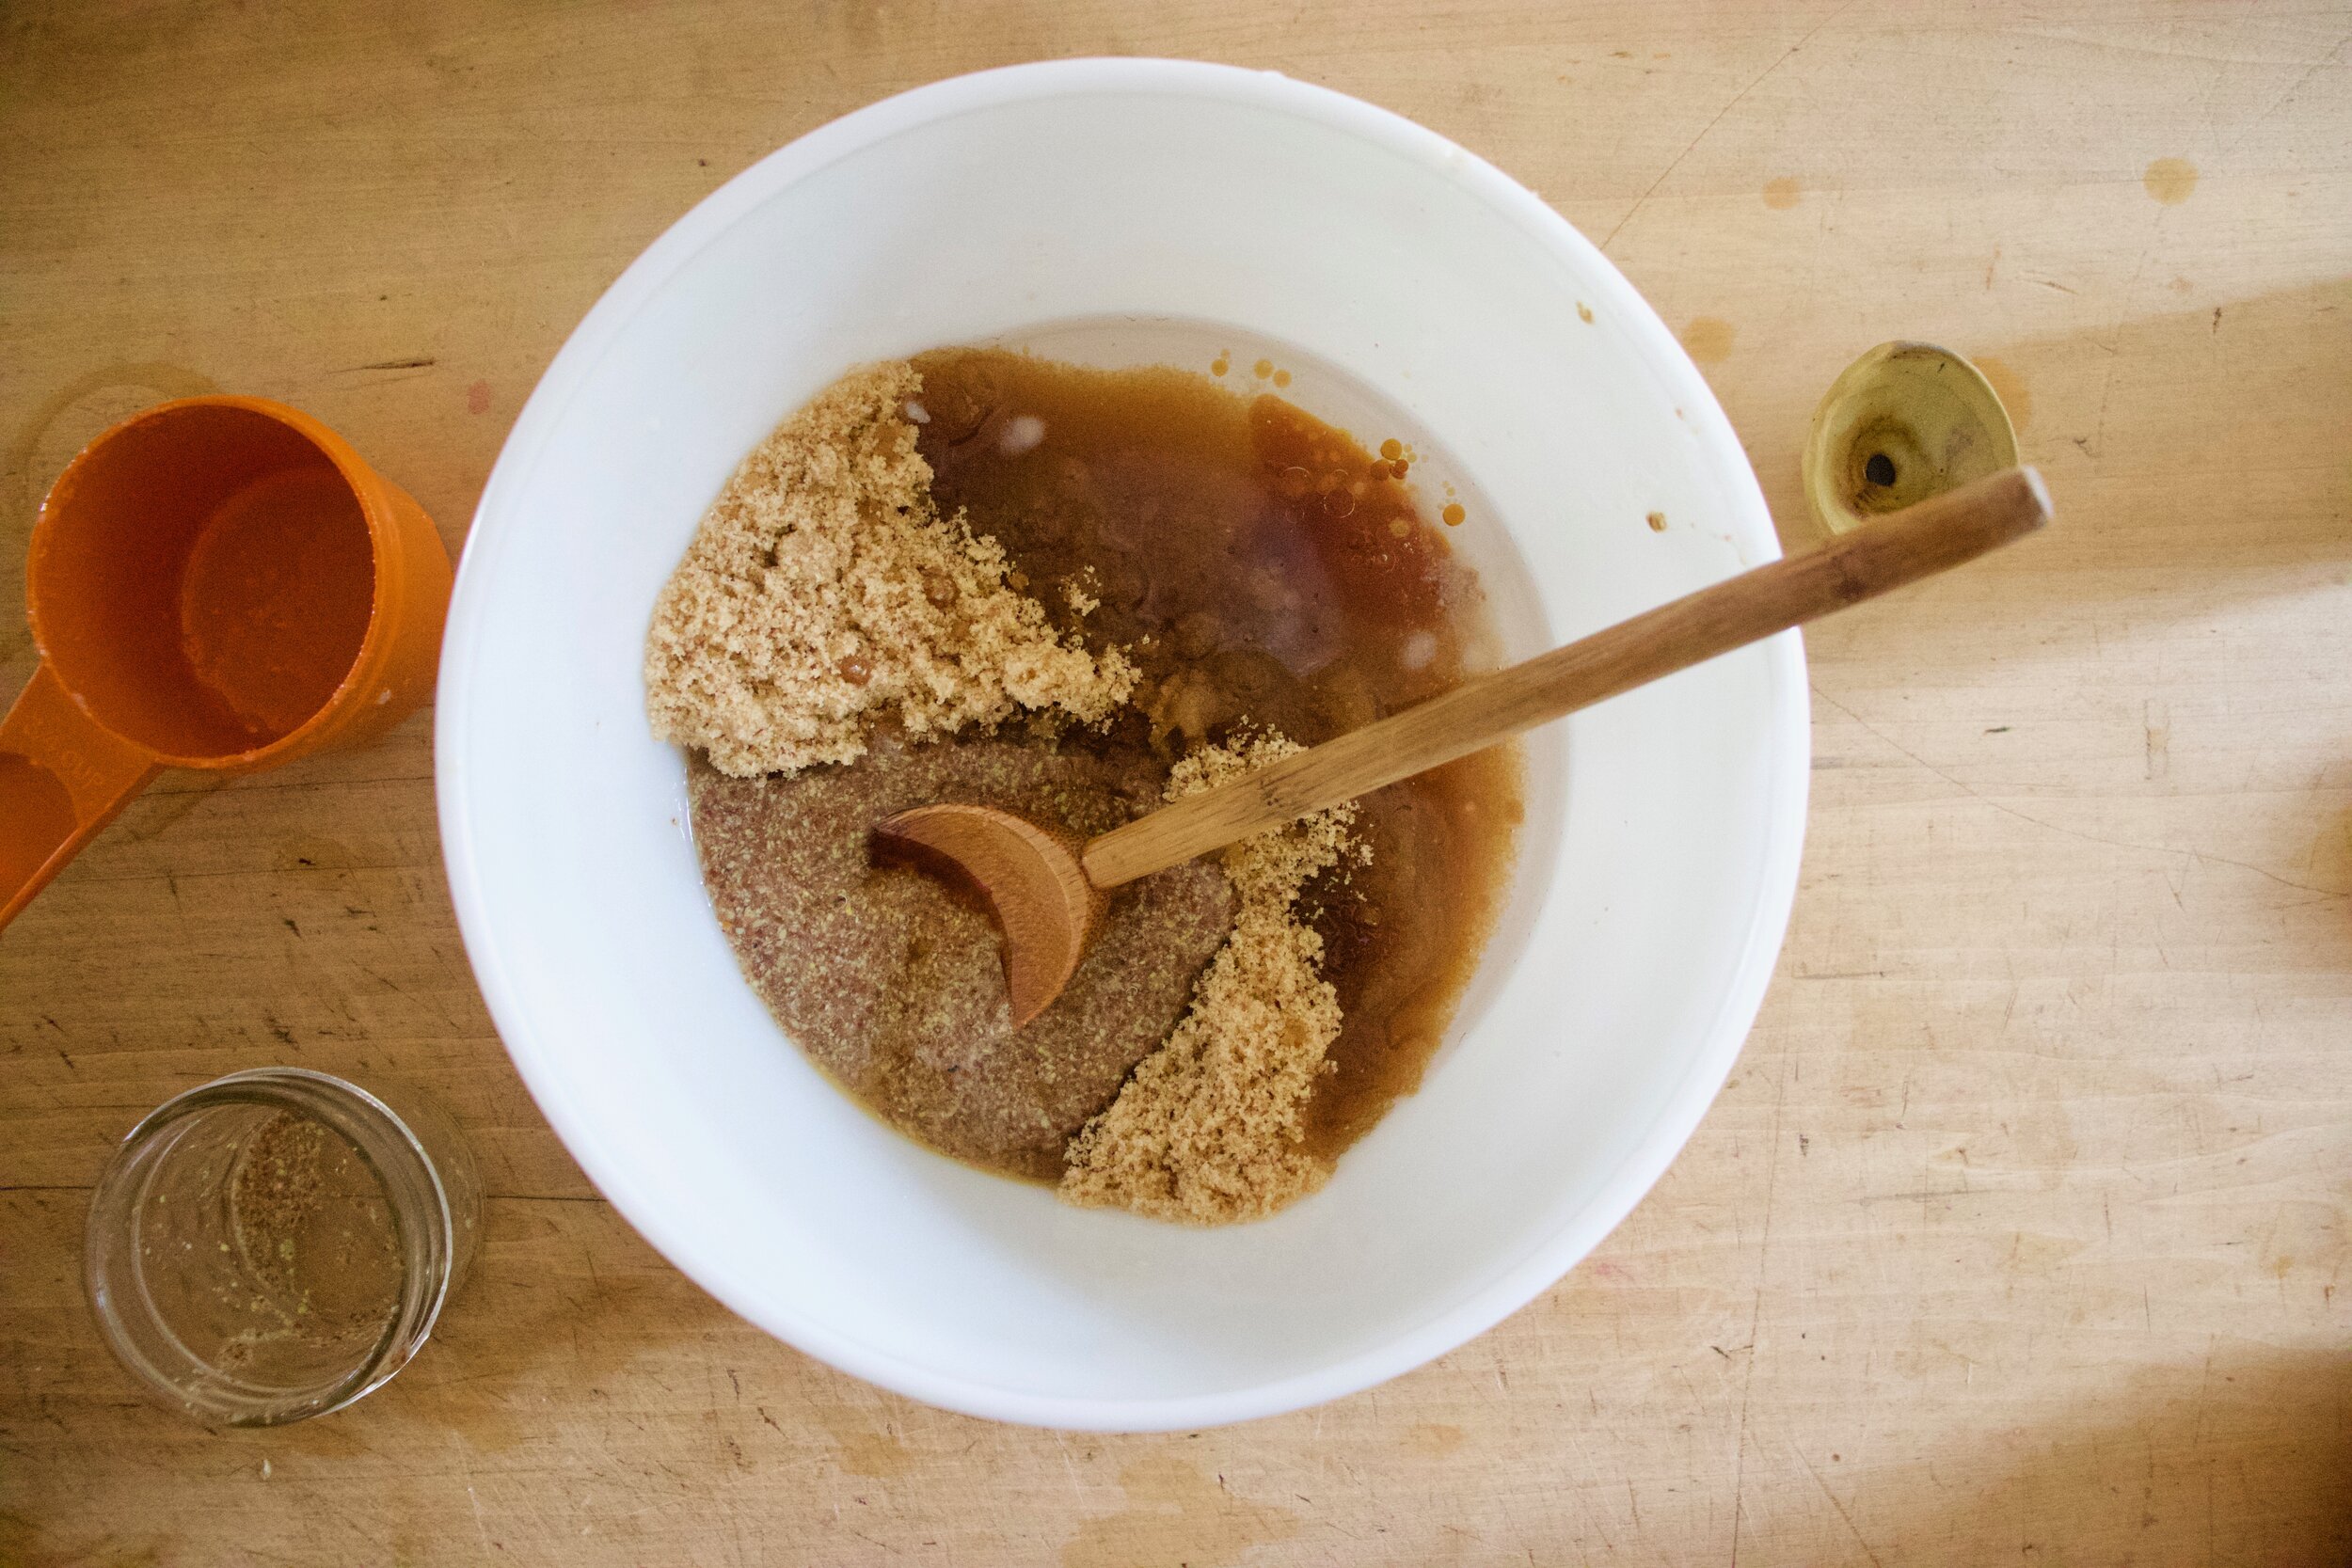
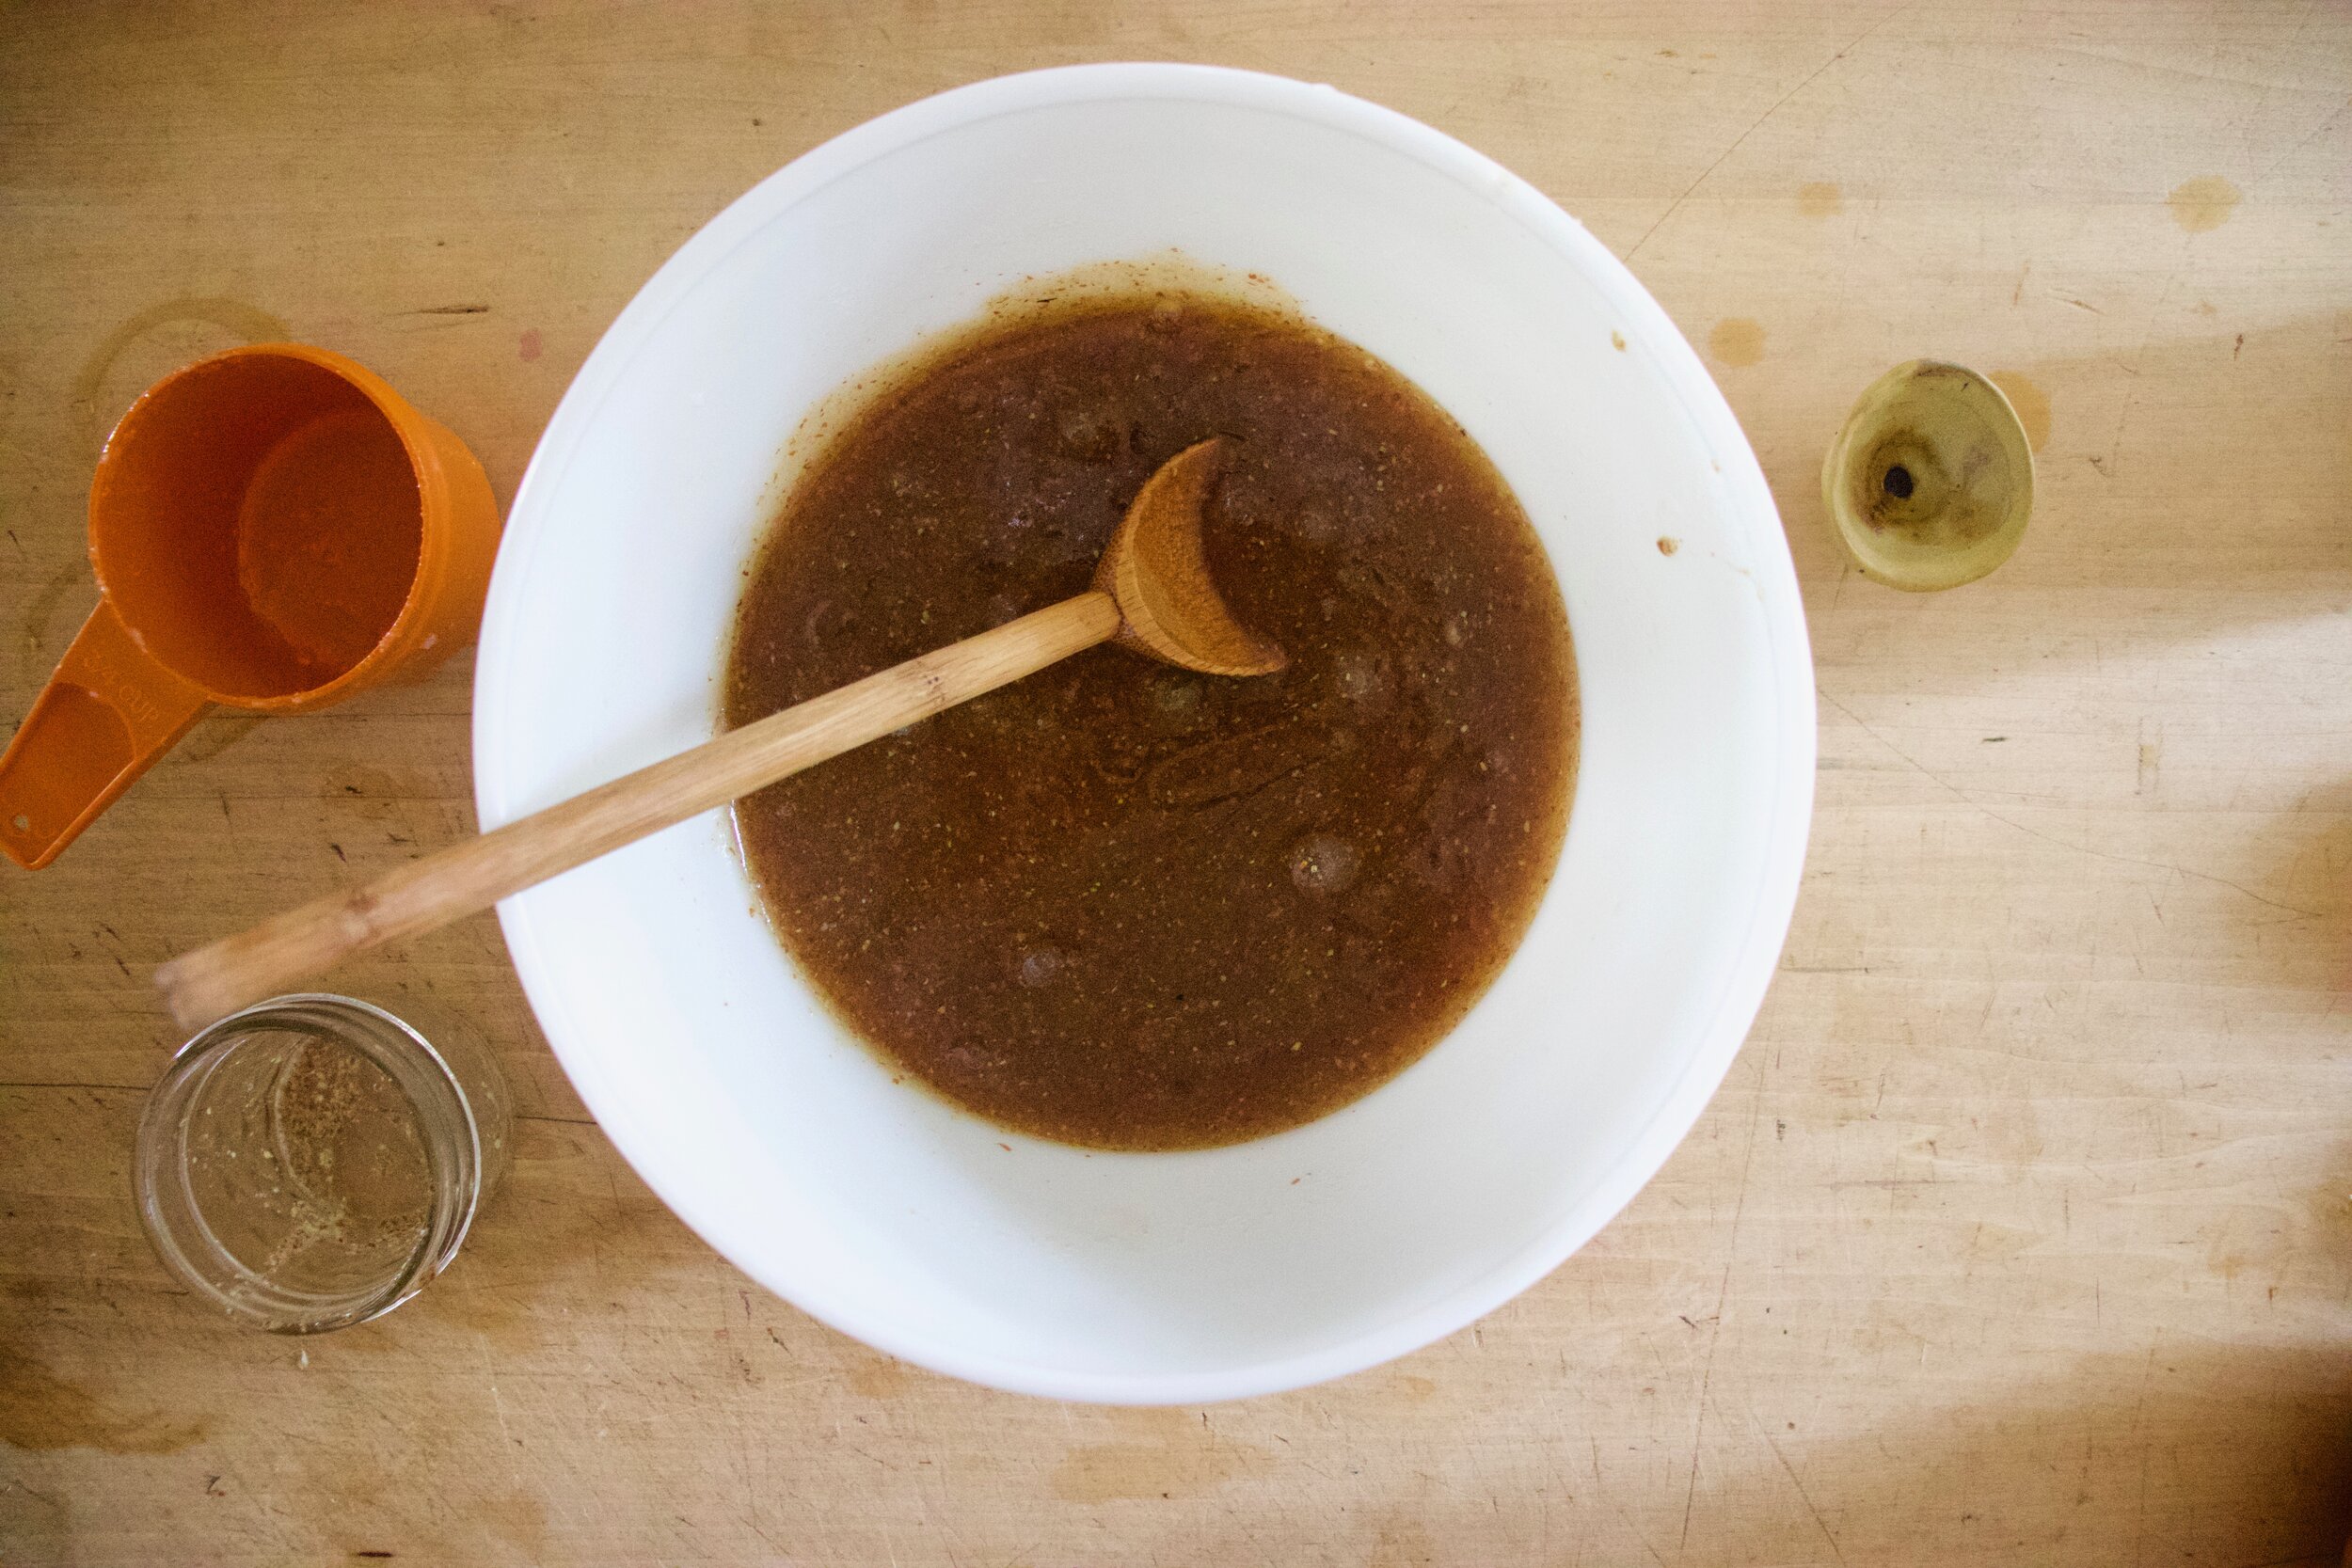
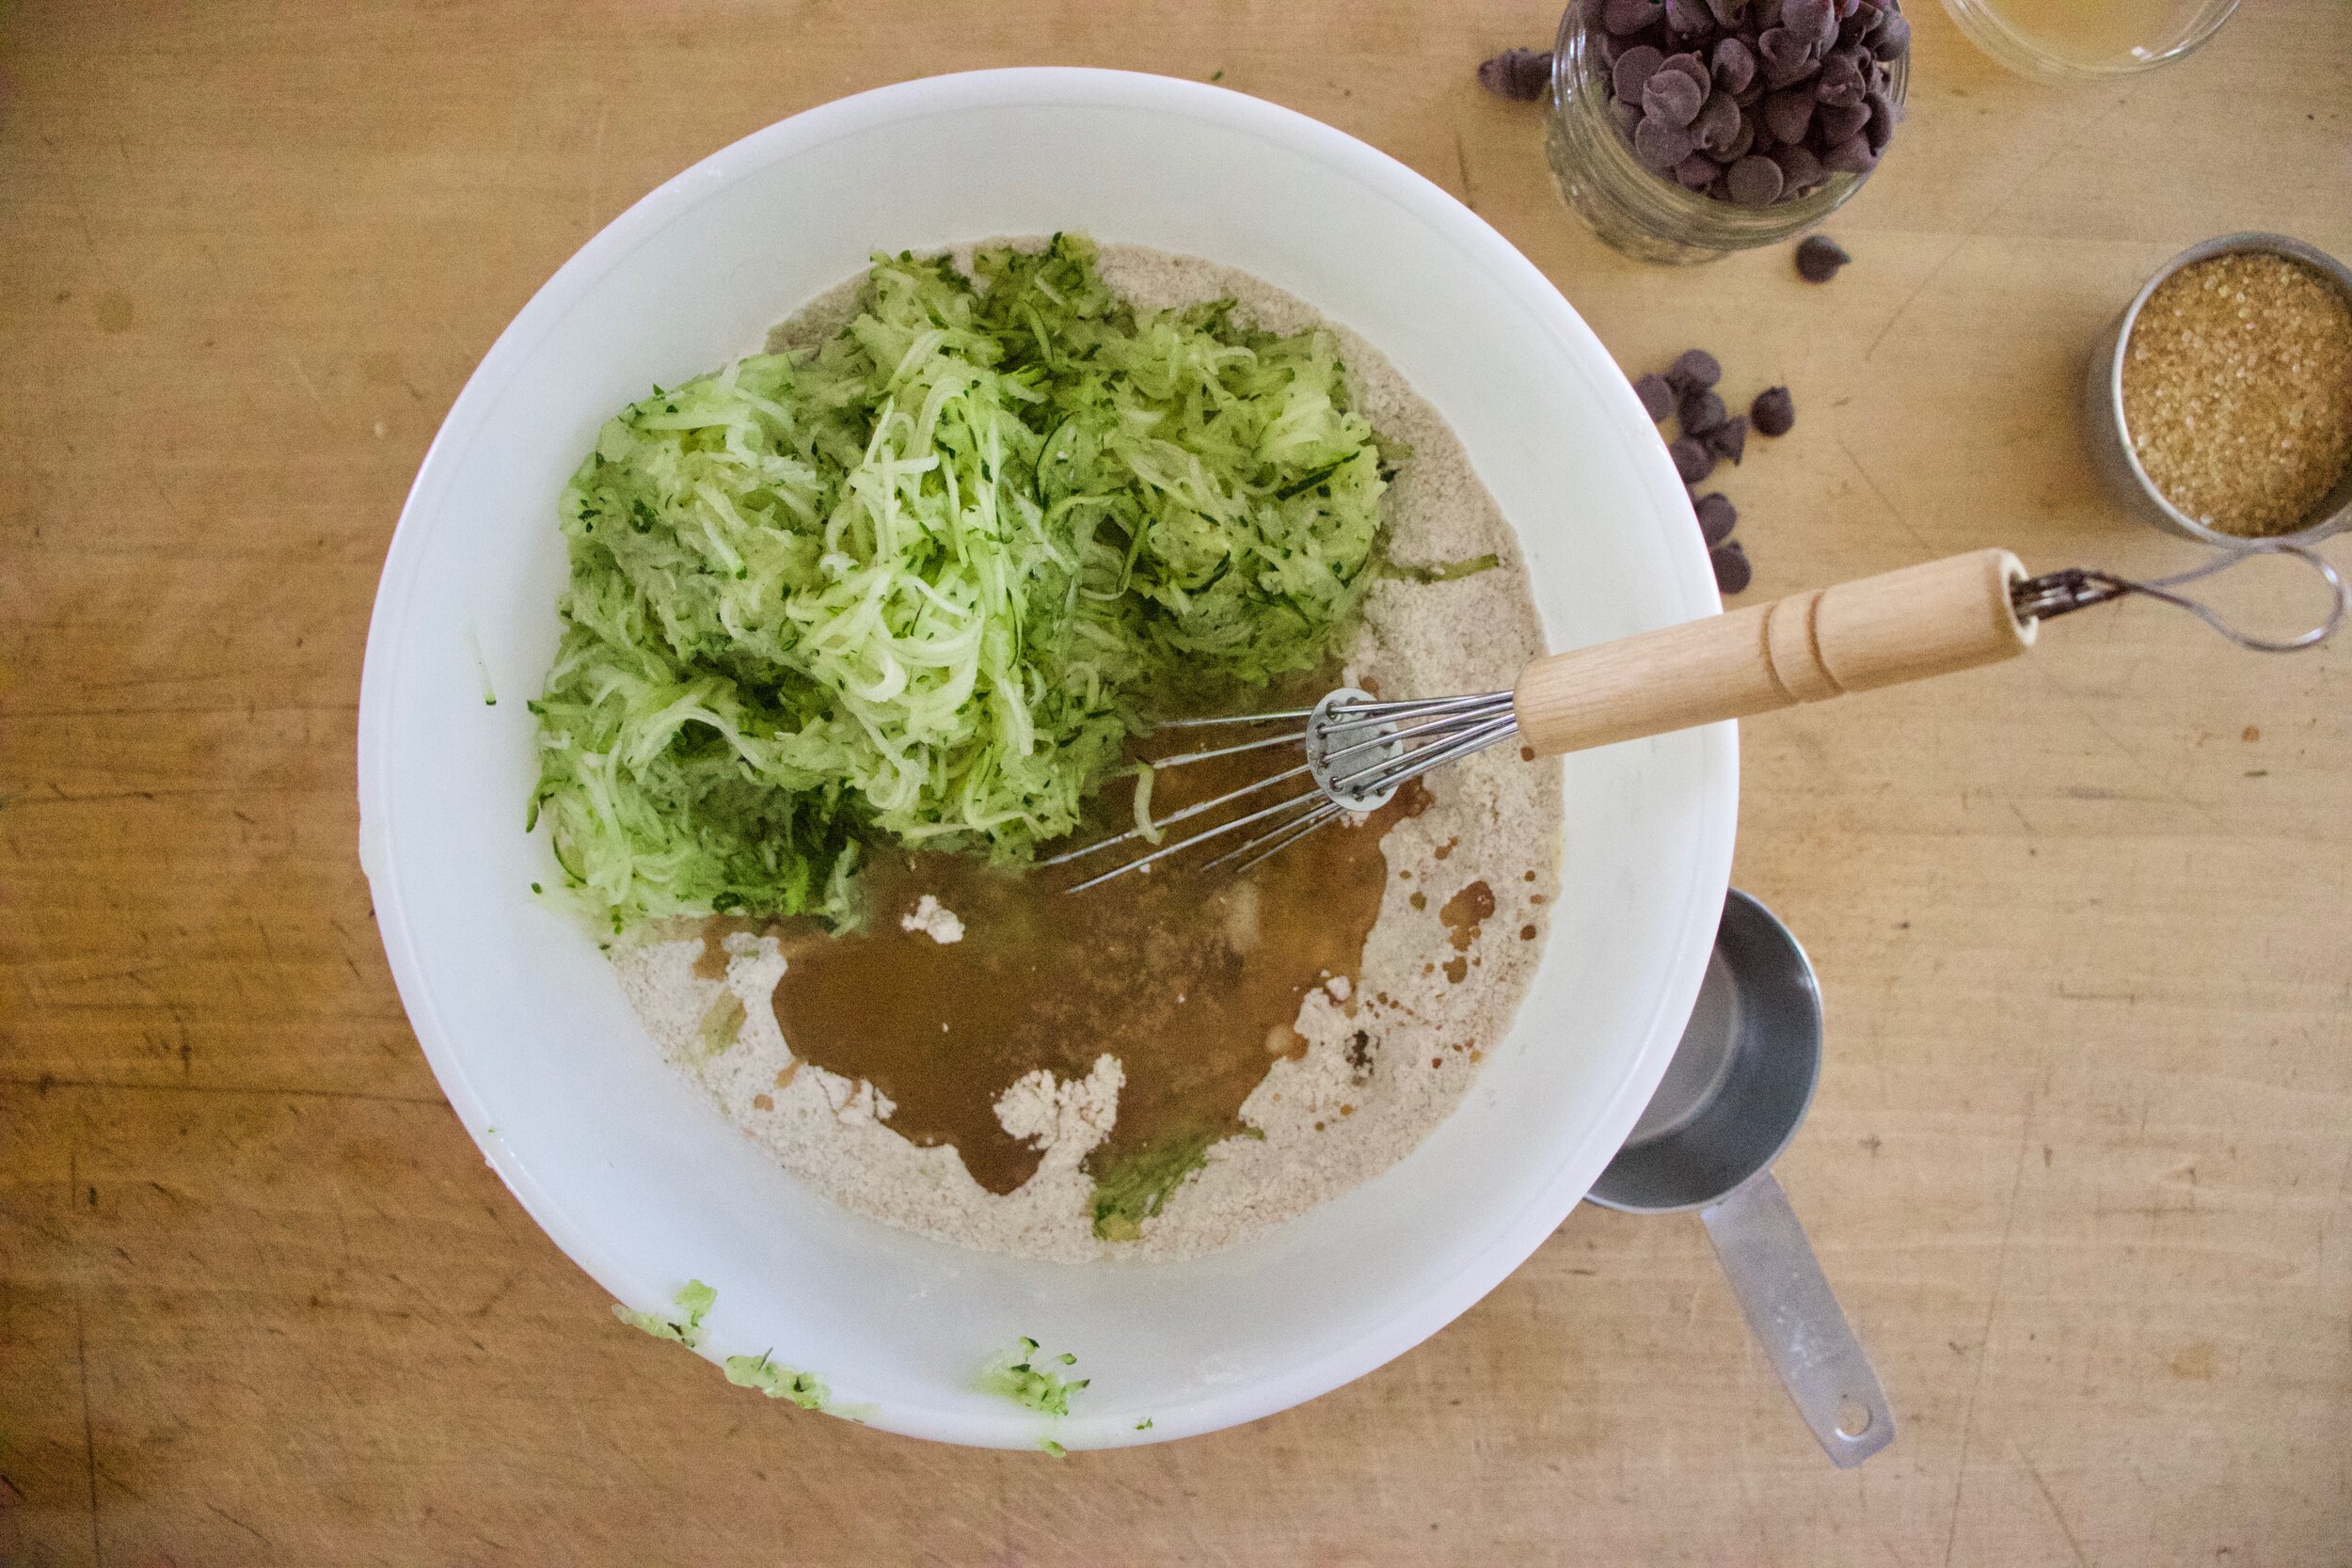
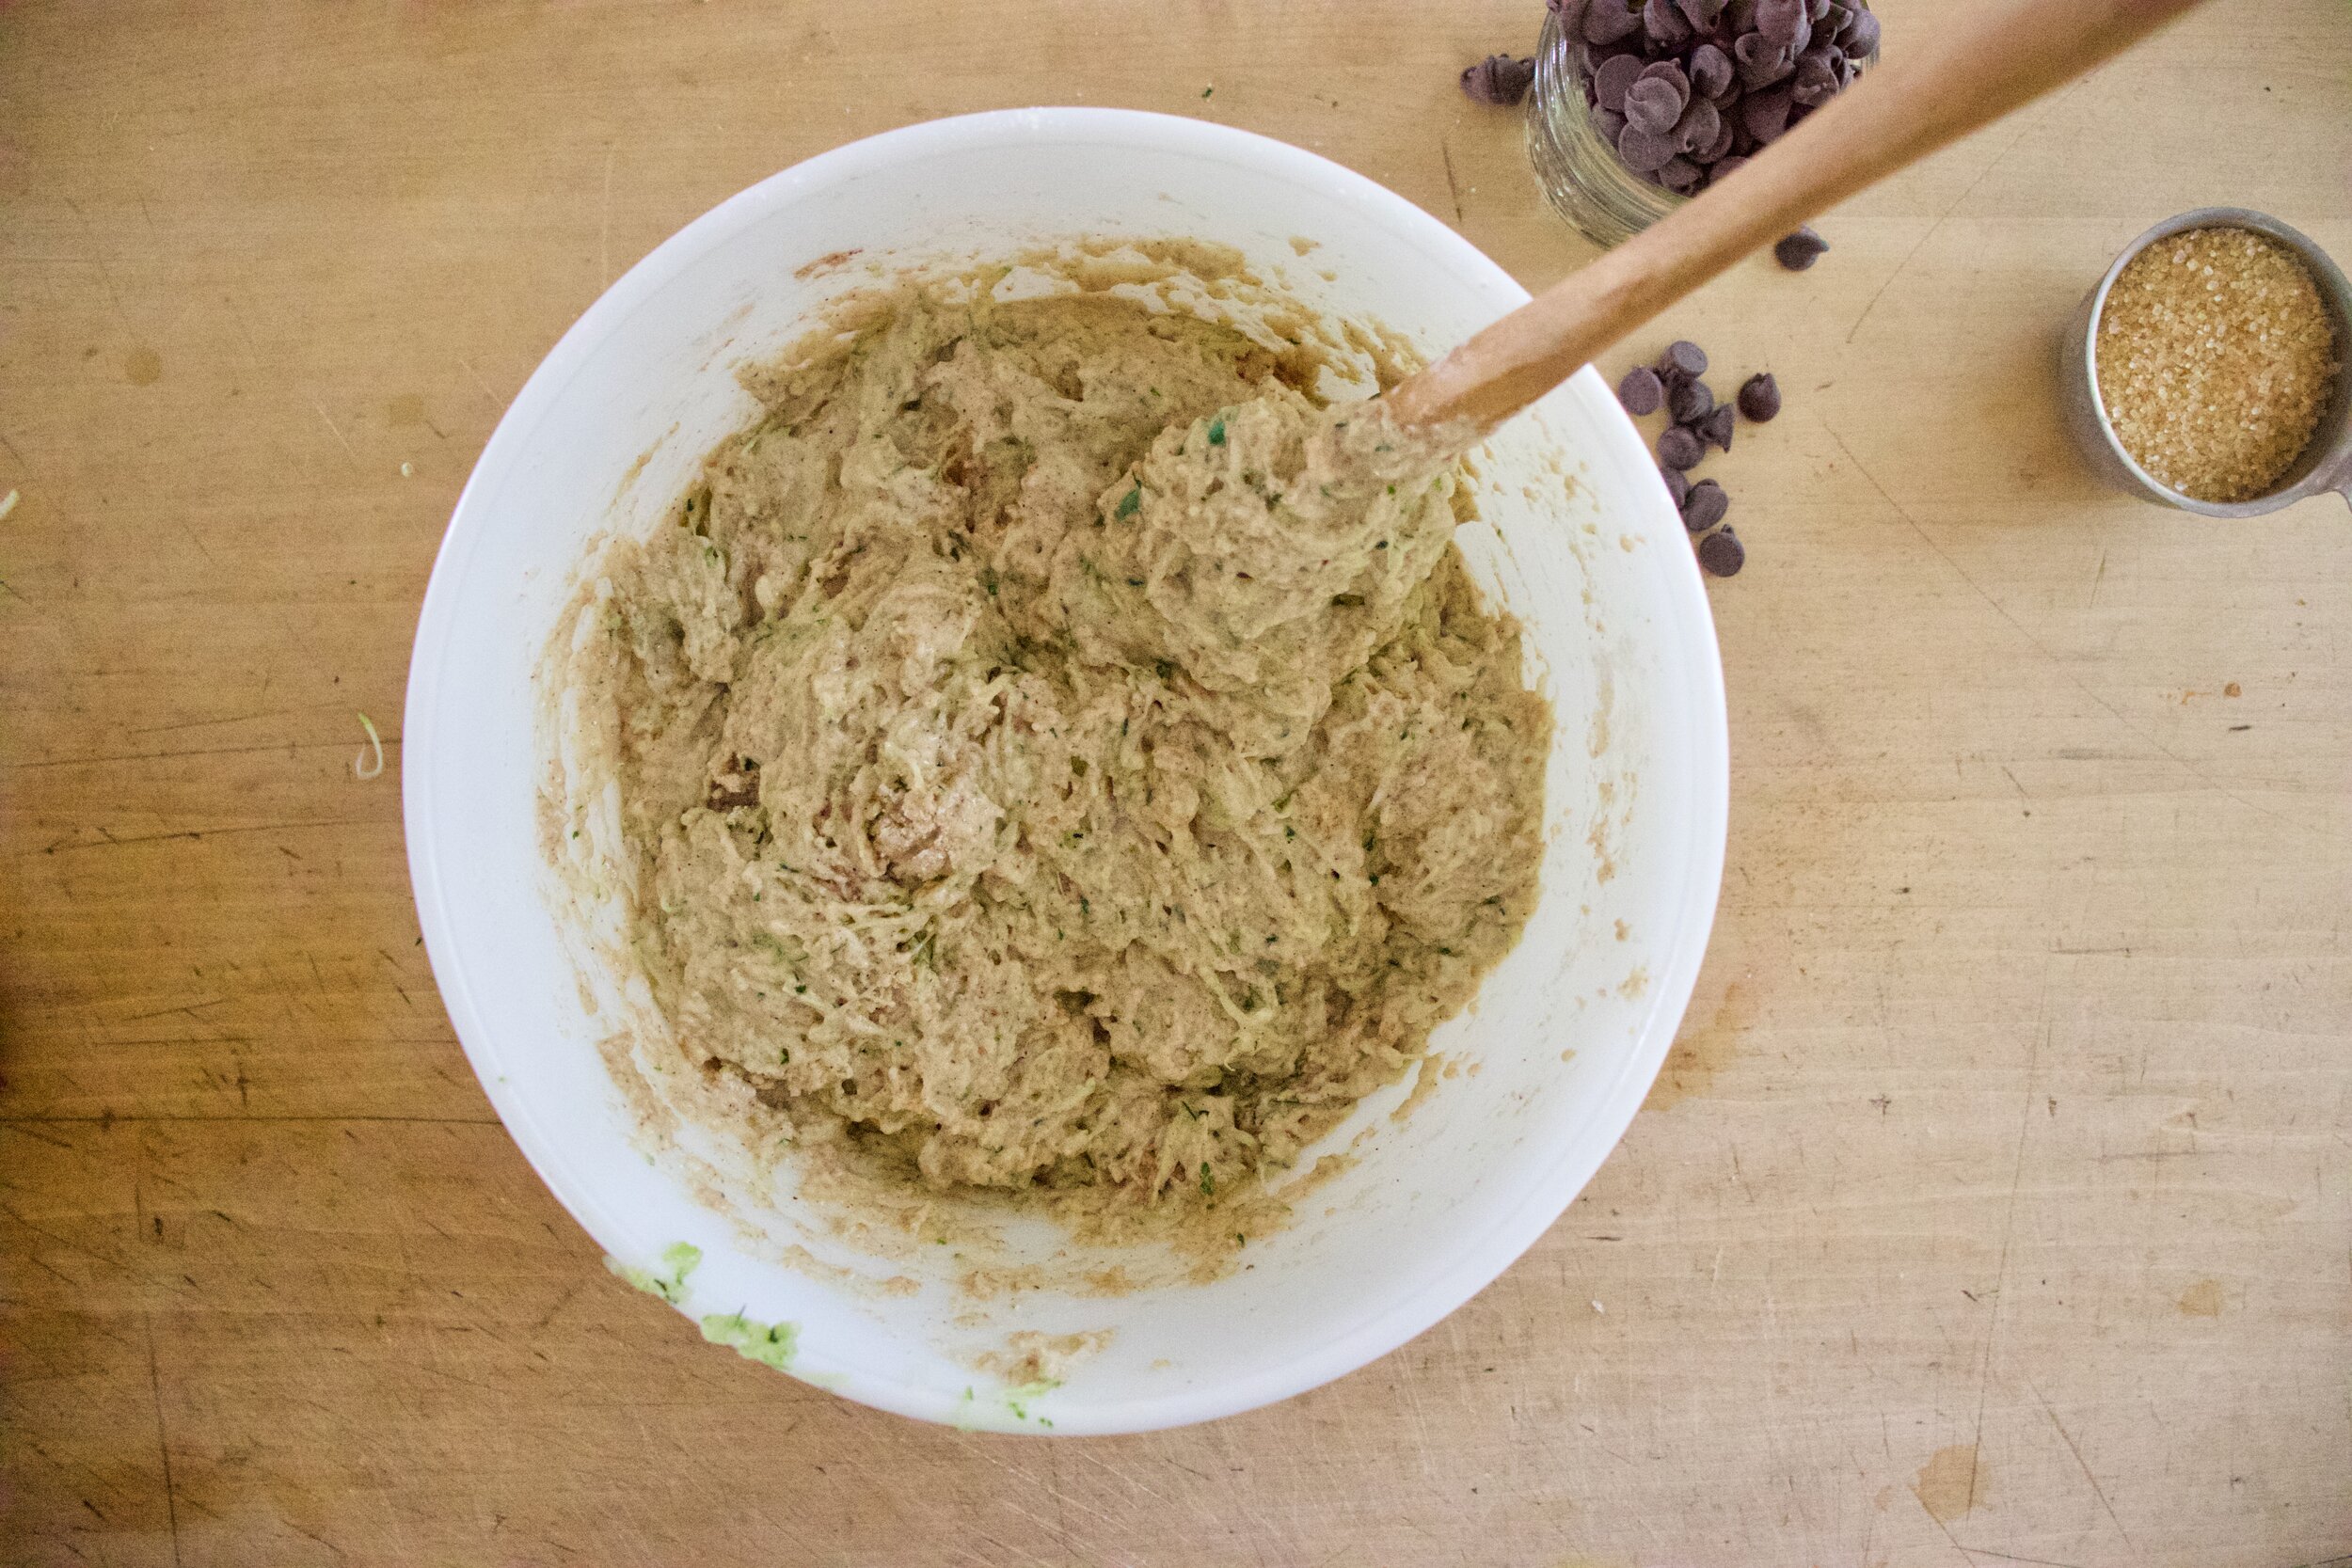
Make the cake batter. Mix dry ingredients into a big bowl then in a separate bowl mix the oil, sugar, carob, vanilla. vinegar and boiling water together until completely incorporated. Dump the wet mixture into the dry and mix until incorporated.

Pour batter into a well greased and lined cake pan and pop into the oven to bake.

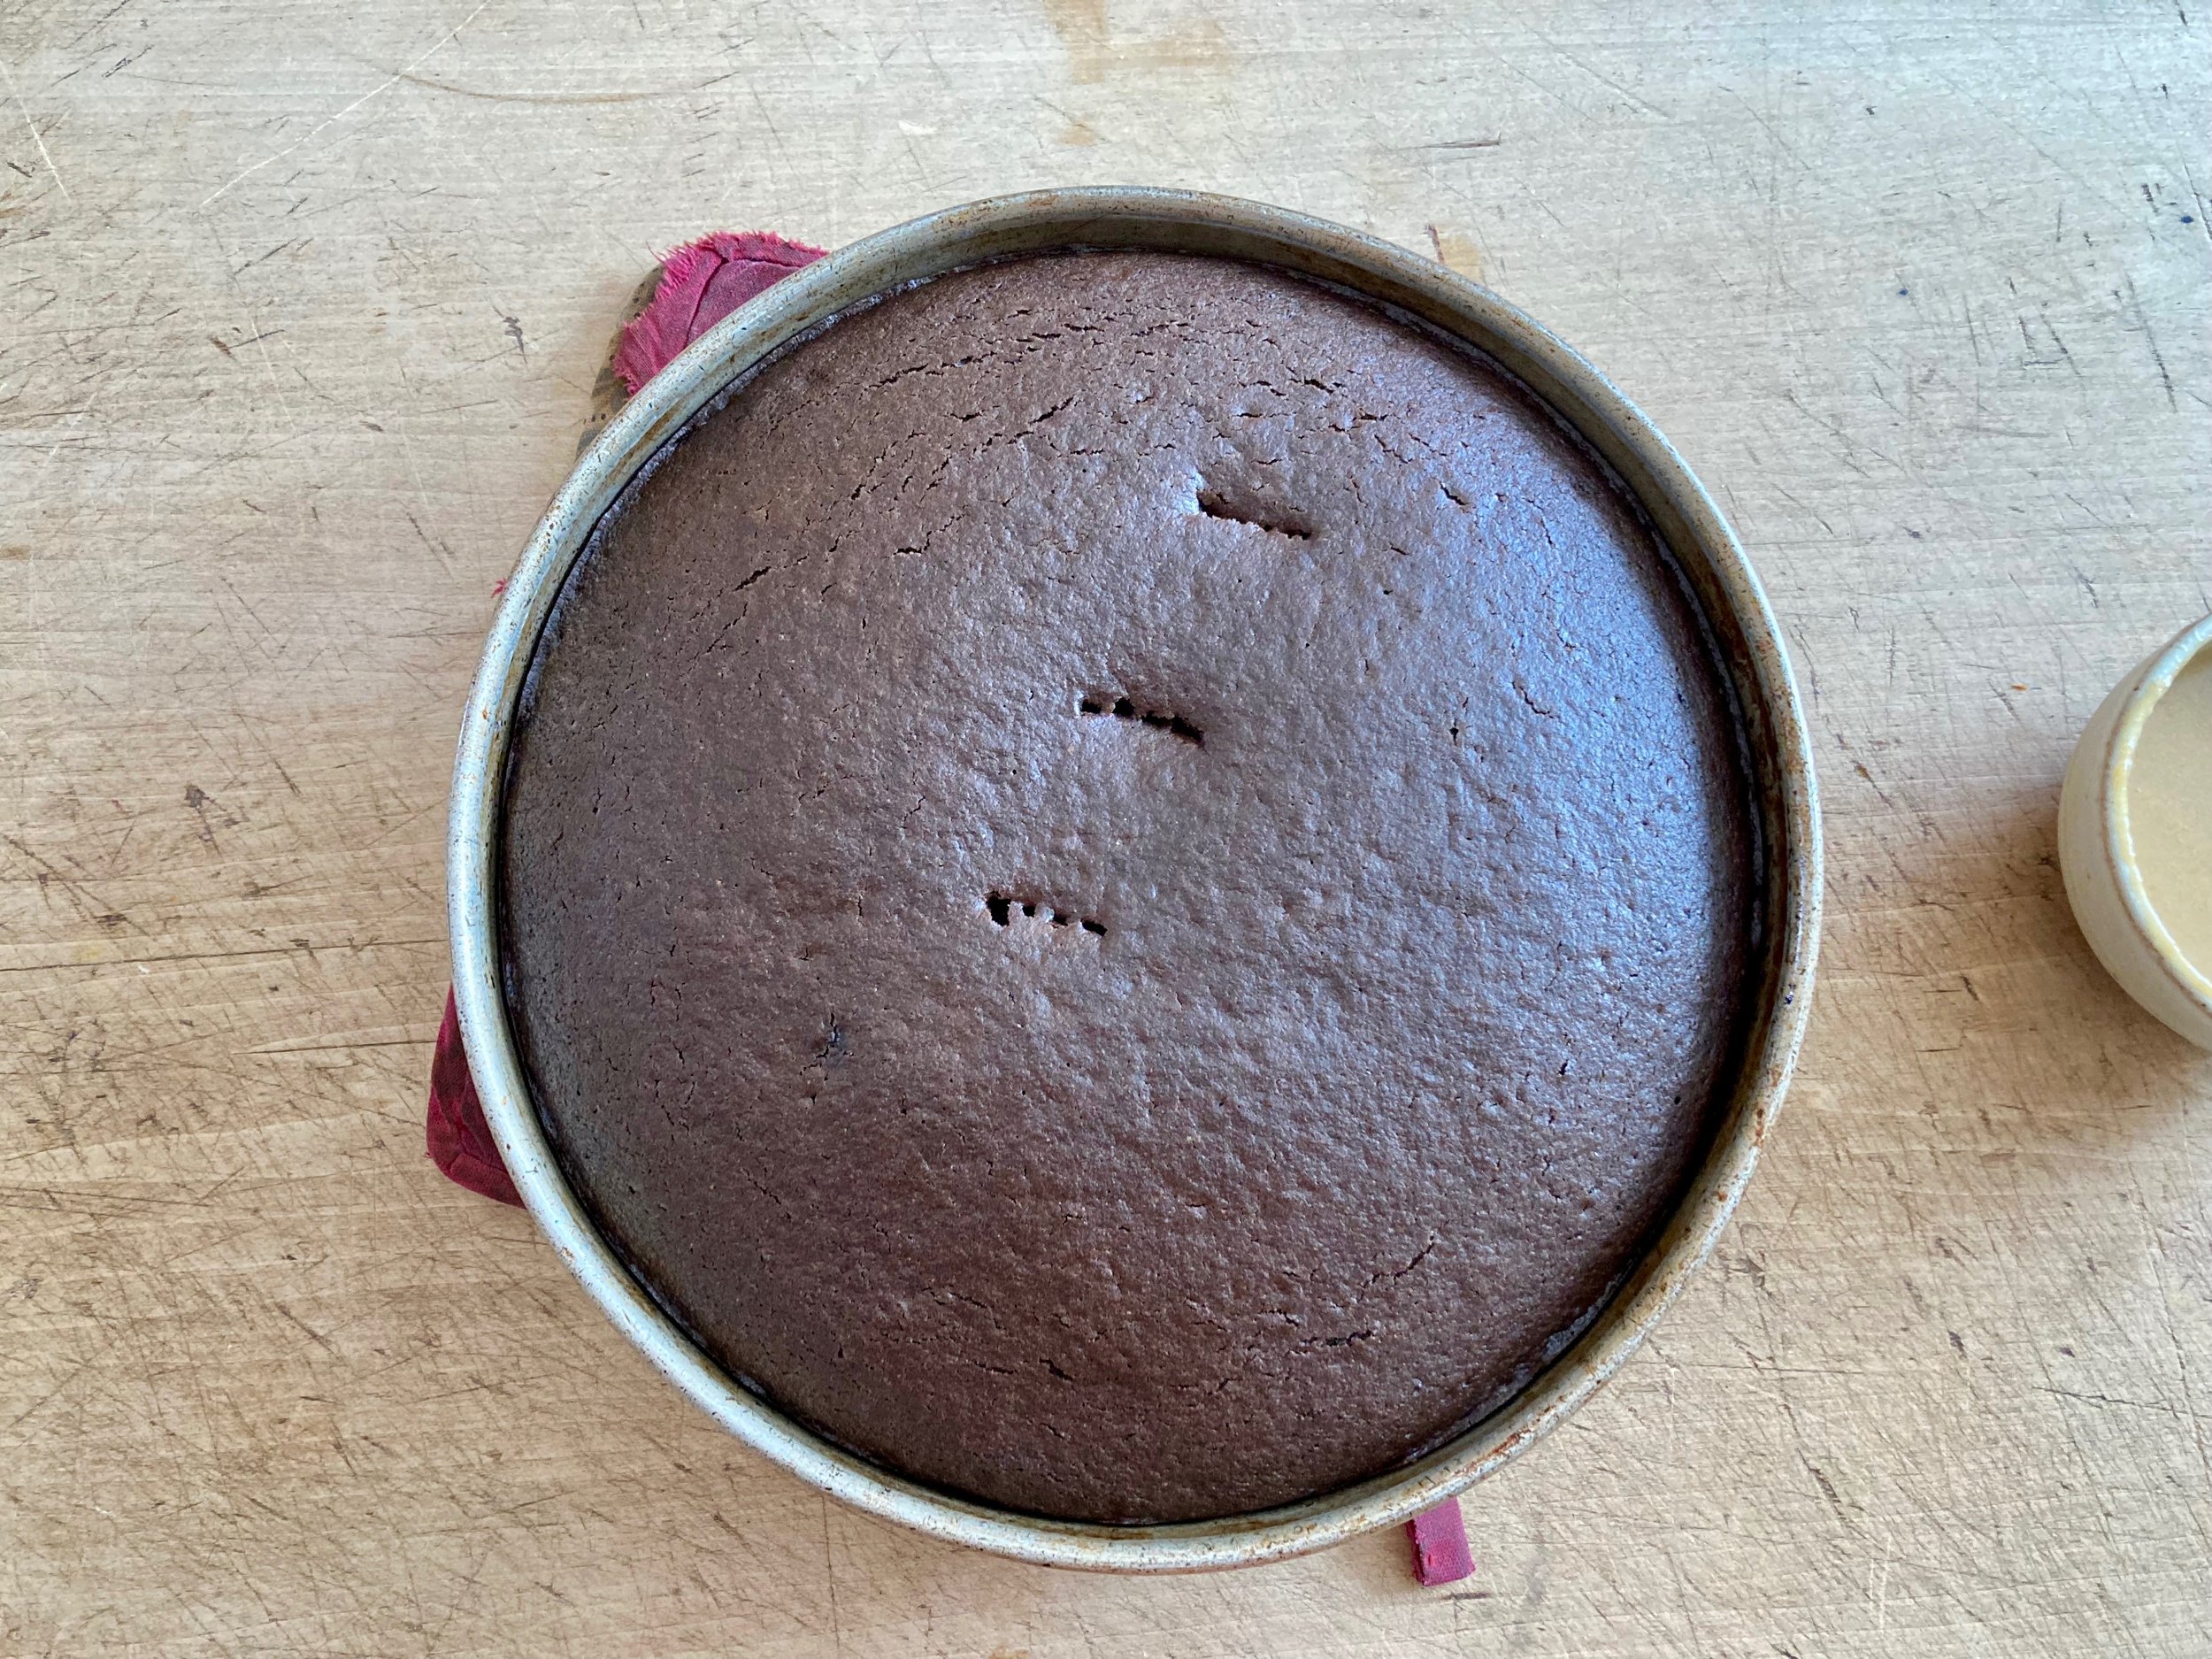
And baked it gets. Pop it out of the cake pan and place on wire rack to cool.

IMG_9821.jpg
IMG_9822.jpg

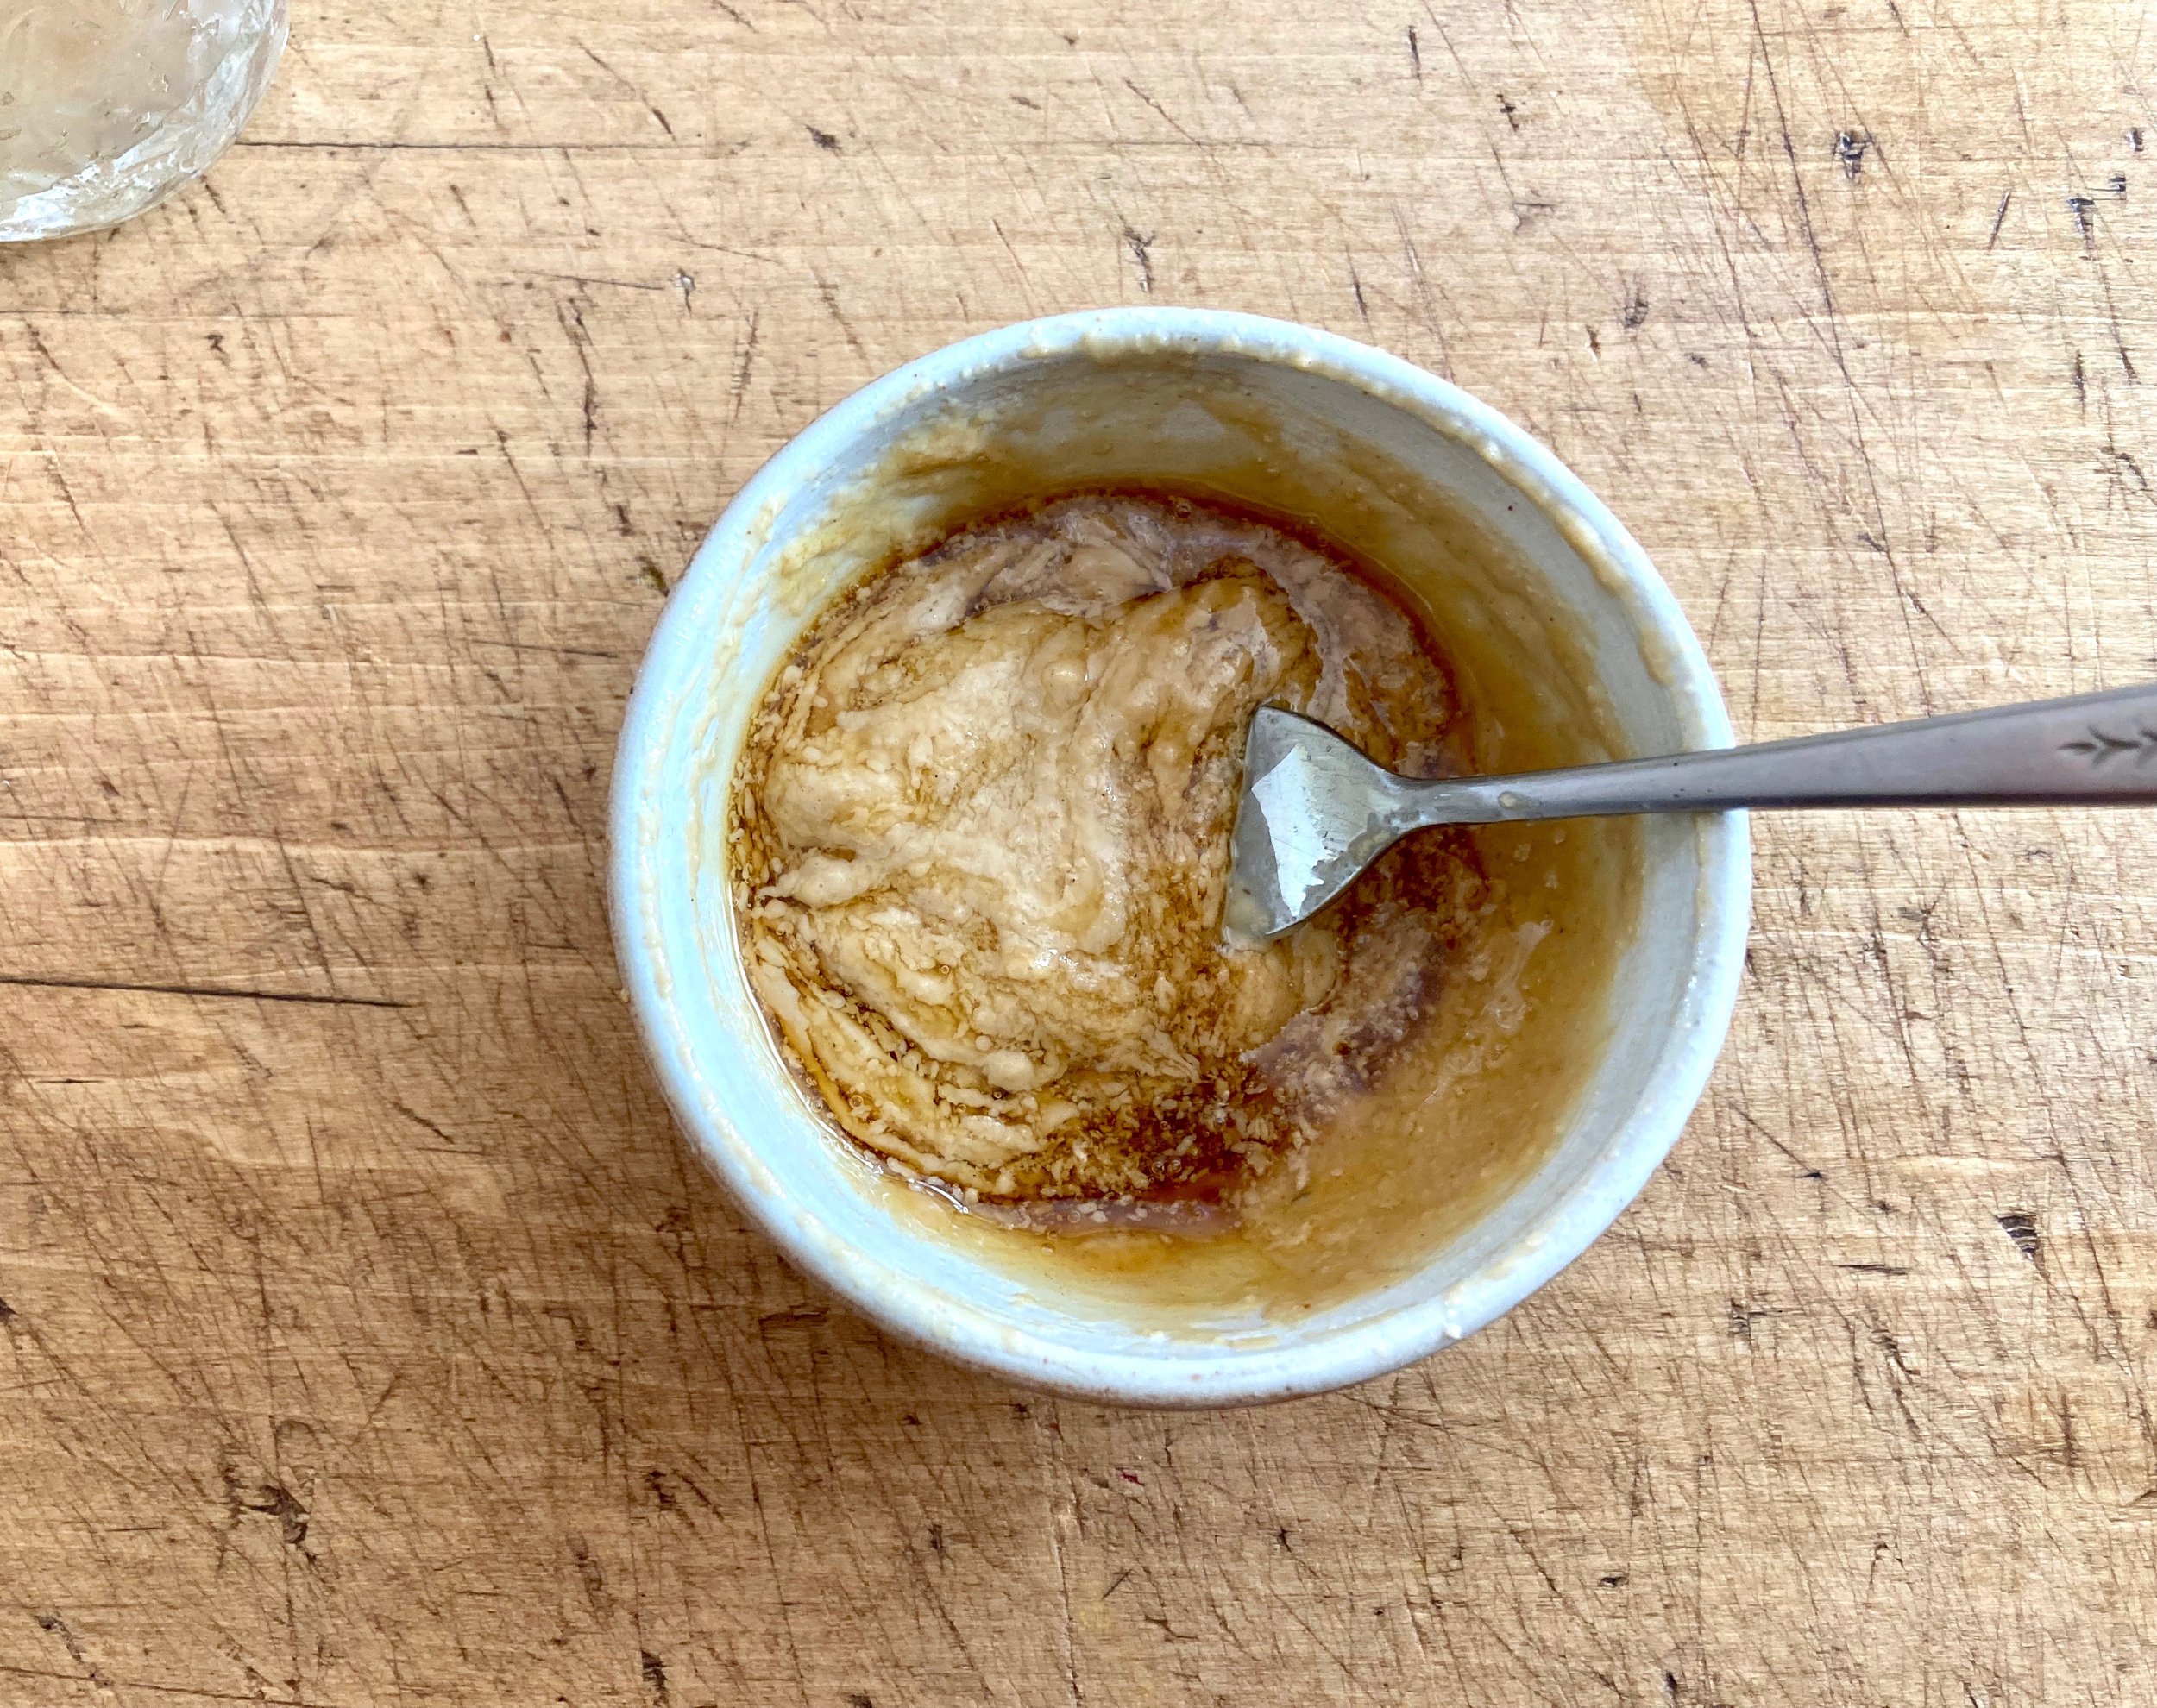
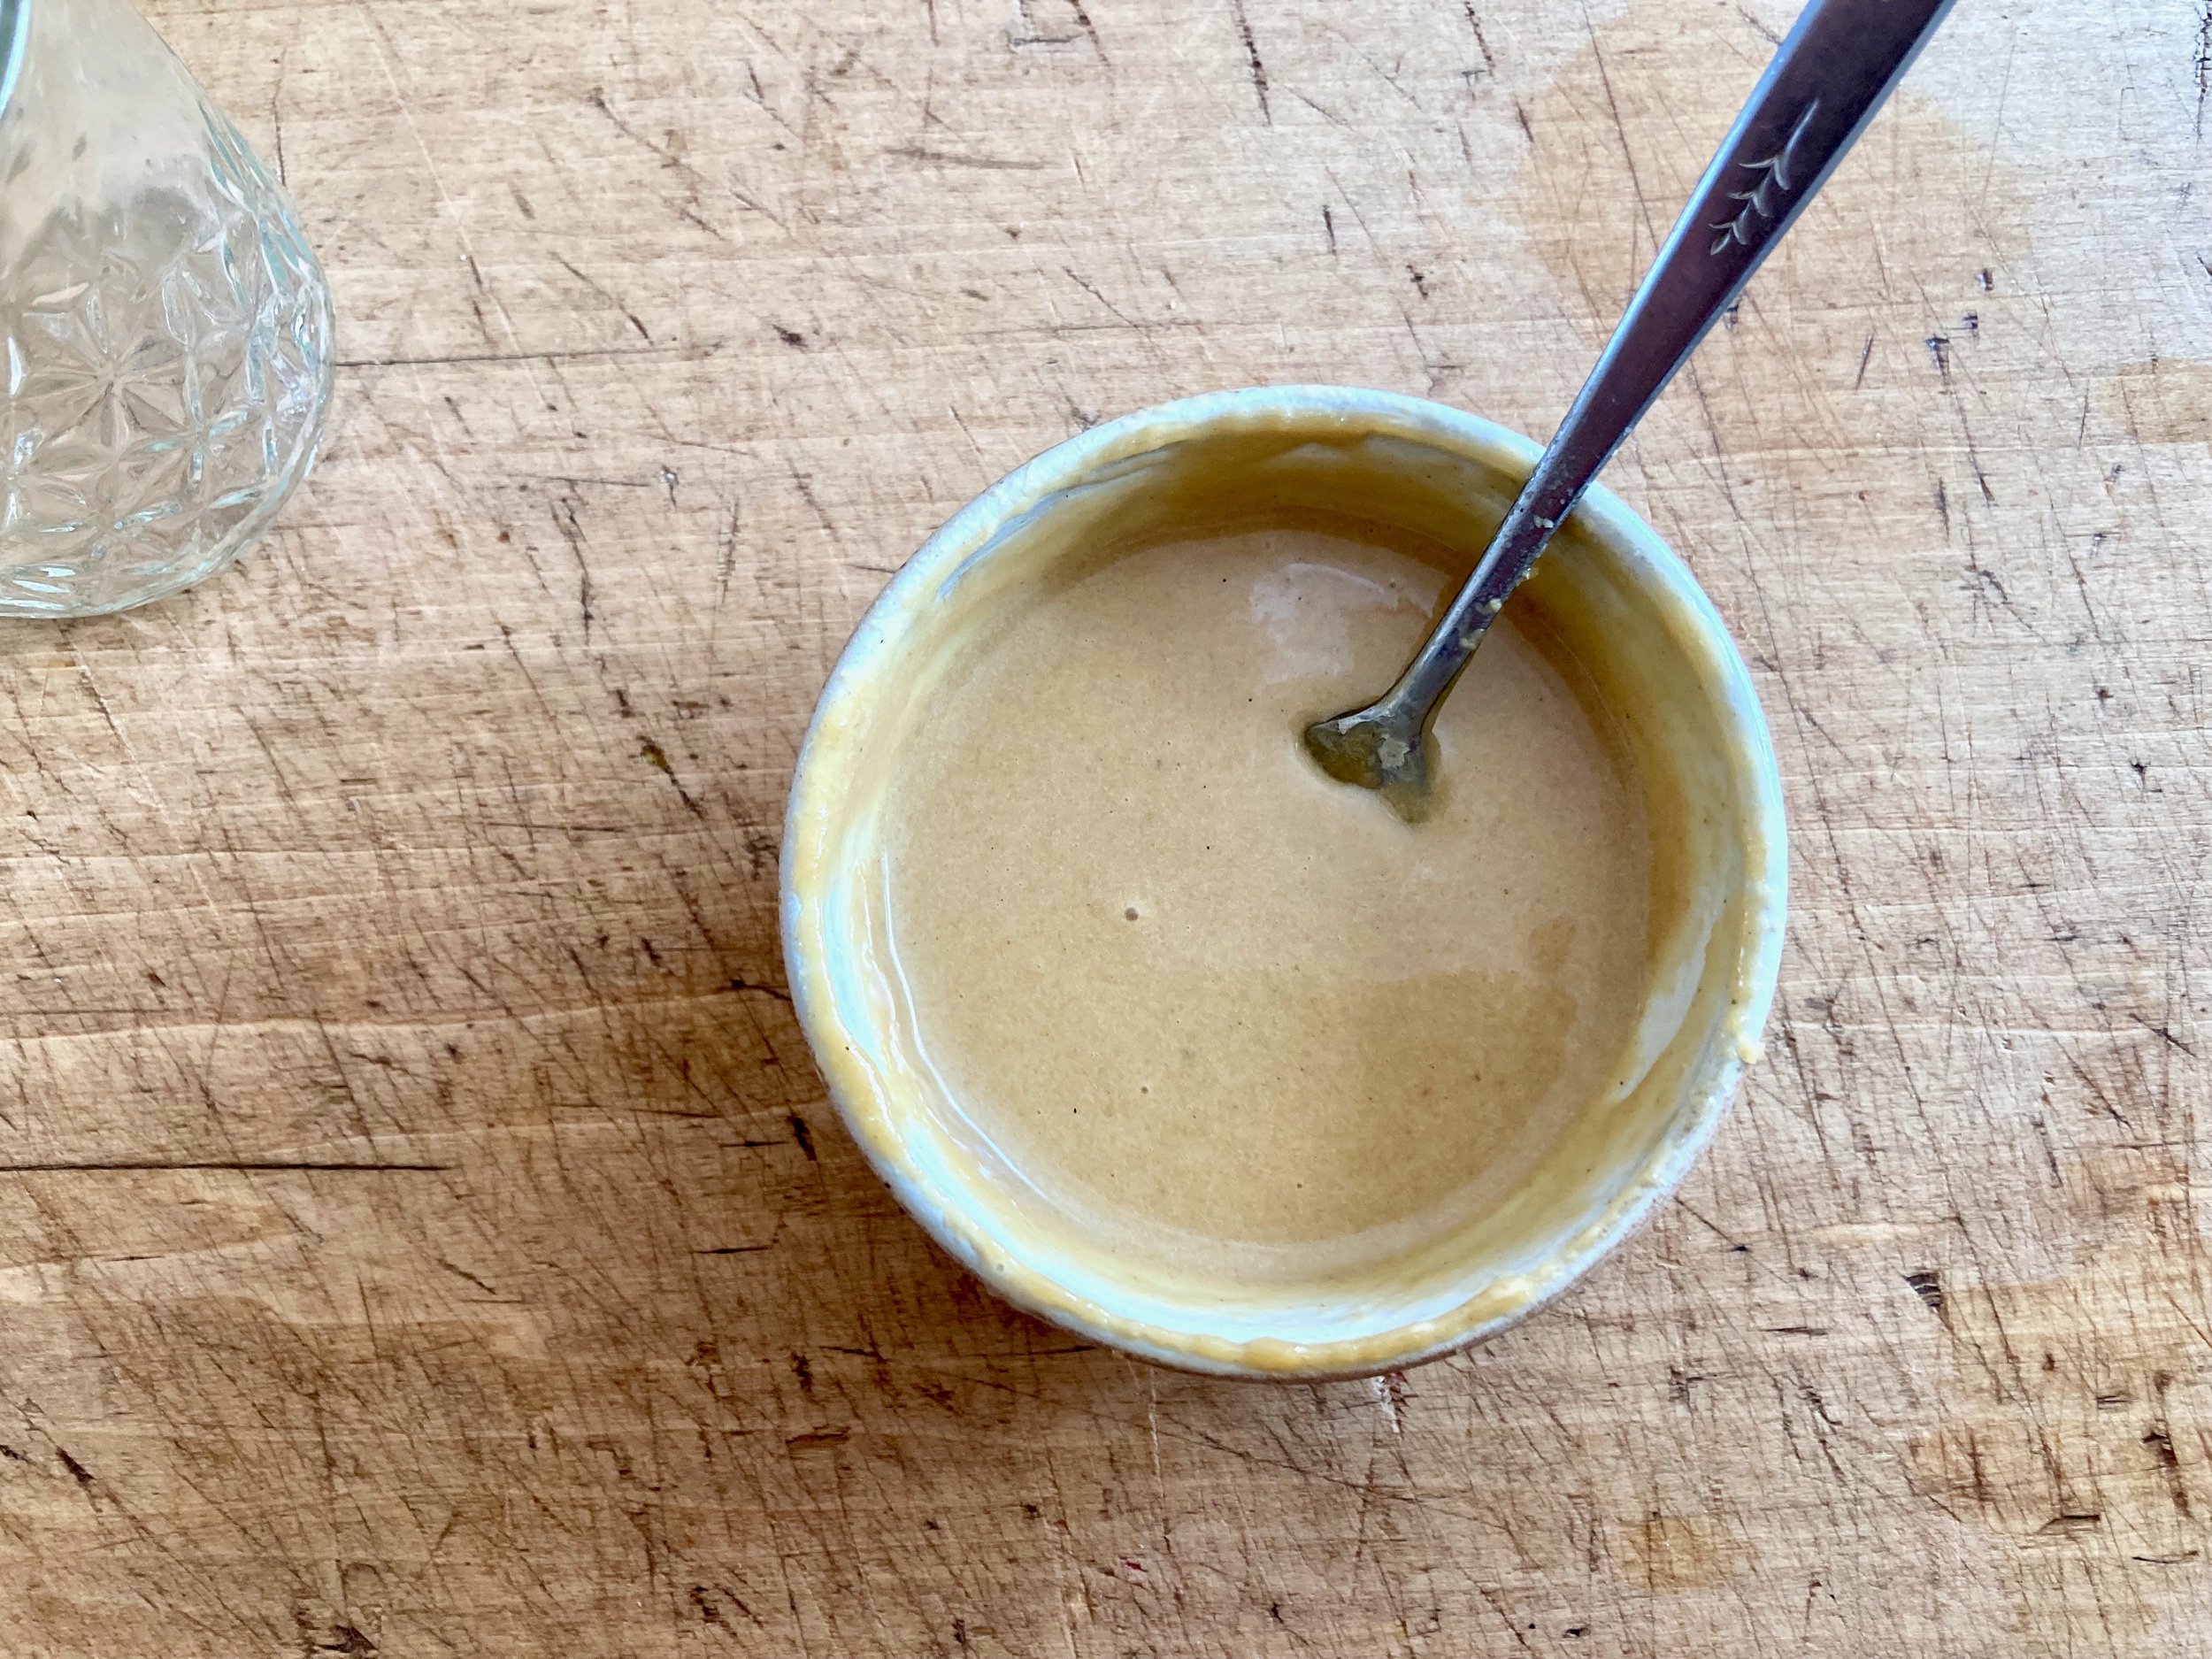
Now make maple tahini frosting. Just wish the two ingredients together with a fork and a splash or two of hot water until completely combined and creamy like frosting.

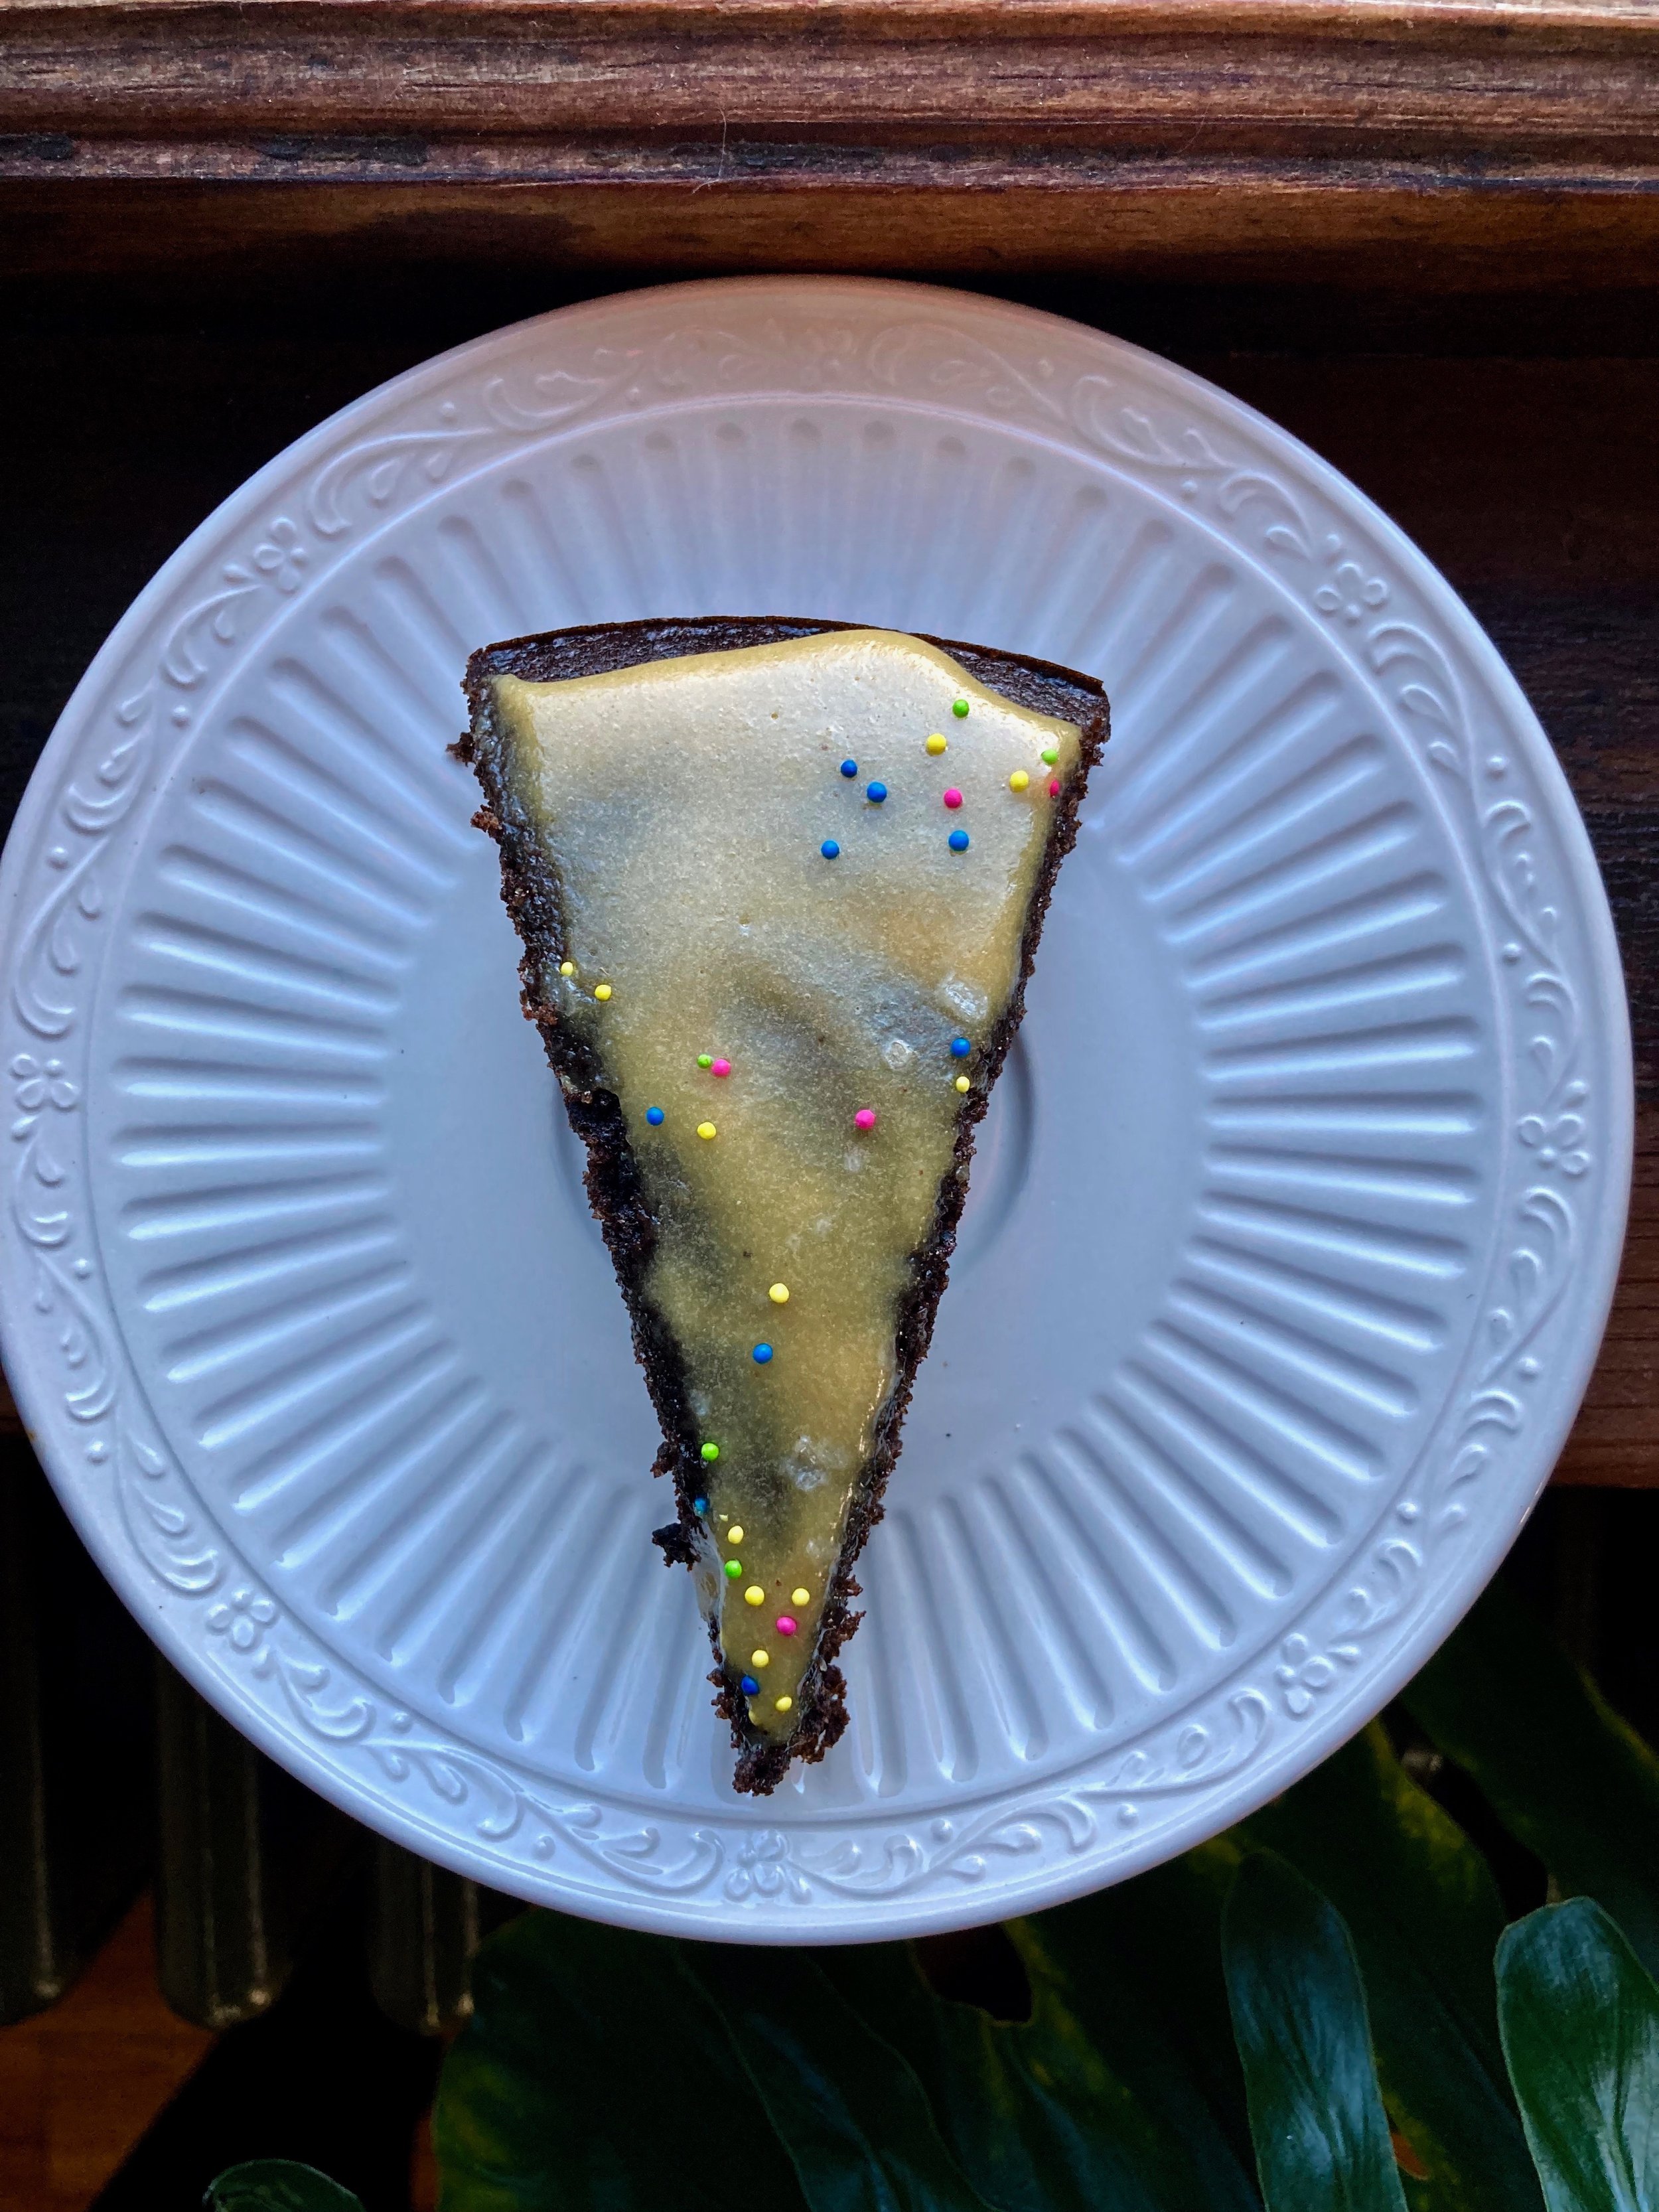
And frost cooled cake.

And for good measure add a sprinkle of sea solt and some sprinkles because why not.

And now you eat it because that is why you made the cake.

-c


Carob Snack Cake with tahini Maple Frosting

makes one 10 inch round

  • 1 1/2 all purple flour

  • 1/2 cup carob powder

  • 3/4 cup white sugar

  • 1 teaspoon baking soda

  • 1/2 teaspoon baking powder

  • 1/2 teaspoon salt

  • 1/2 cup oil

  • 1 cup boiling water

  • 1 teaspoon vanilla

  • 1/4 cup tahini

  • 3 teaspoons maple syrup

  • sea salt and sprinkles (optional)

Preheat oven to 375.

Grab a big mixing bowl and add in the flour, baking soda and powder, and salt and mix together. In separate bowl mix the carob, sugar, vanilla, vinegar, oil, and boil water together until completely incorporated and the sugar and carob start to dissolve. Pour wet mixture into dry and whisk until just incorporated. Pour batter into a well greased and parchment lined 10 inch round baking pan. (or a pan of similar size)

Place cake into oven and bake for 25-28 minutes , checking at 25 with a cake tester to see if it comes out clean.

Once baked, remove from oven, let cool for a minute in the pan, then pop out and finish cooling it on a wire rack.

To make the maple tahini frosting simply take the two ingredients and whisk them together with a tablespoon of hot water in a bowl with a fork until creamy. If the mixture seems to thick, add in another splash of hot water. The consistency should be a bit thinner then actually frosting, more like a thick glaze.

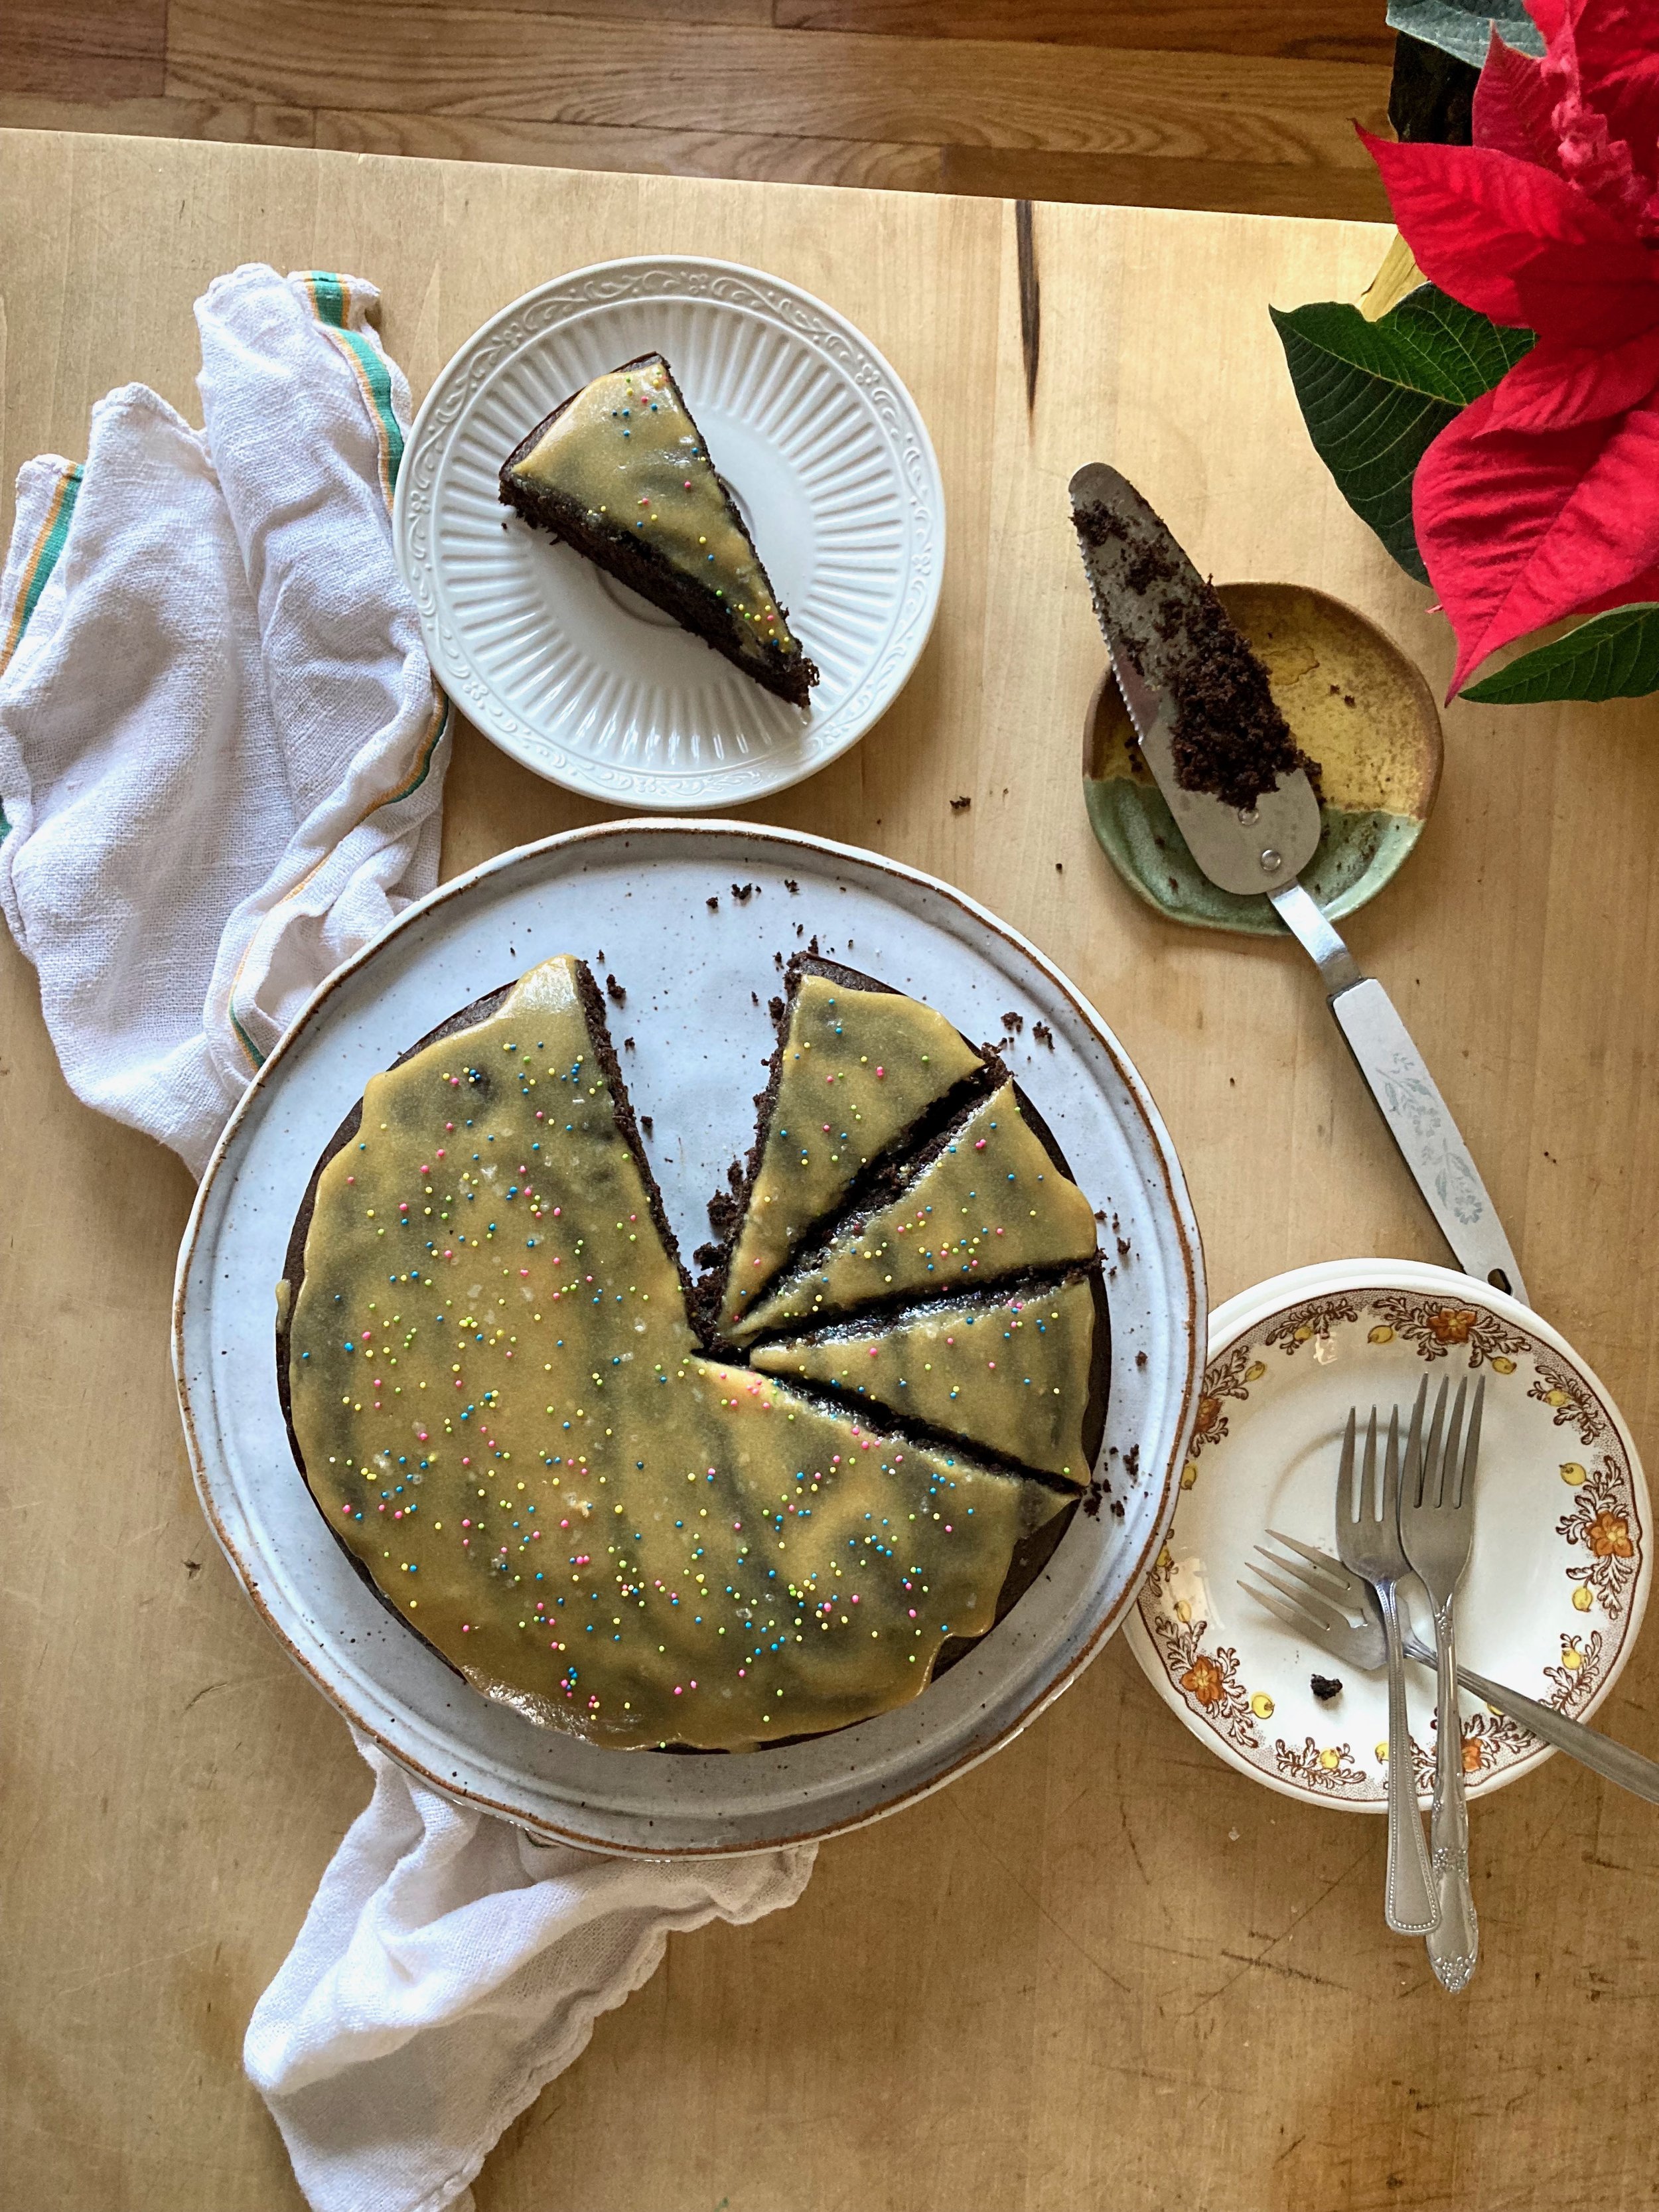
Once cake has cool frost it. Sprinkle top with a pinch of sea salt and add some sprinkles, if you want.

Then eat.

Left overs can be stored in airtight container for 5-7 days at room temperature.

In cake, Vegan Tags Carob Snack Cake with tahini Maple Frosting, carob, vegan, chocolate alternative, cake, snack, easy, vegan cake, dairy free, tahini, maple, bake, home made, chocolate
Comment

Camp Soup

September 25, 2021 Colleen Stem
IMG_6254.jpg

We camp a lot. Every weekend from early summer to late fall or as long as the weather is tolerable. But once the light goes and the cold damp rainy days come (a little snow is fine) we pack it in for. the season.

The most common question I get asked about when talking about our camping life is what I eat. And the answer is always and will always be soup.

I make soup every single time I go camping. And yes, even in the hot ass summer. Why? Well because soup is versatile, hearty, easy, delicious, adaptable, great on a cold night. It is just all around amazing and not just for camping but for all food consuming meals. That is fact.

So maybe you are going to do a little camping in the next few weeks and are in need of a little inspiration or direction when it comes to camp soup. I made a little list of tips for you.

Tips for making a camp soup.

  • First off, assemble a kitchen that fits your soup needs. A stove and a pot. Have a good sharp knife, a cutting board, and a container to collect any compost (don’t just toss any food into the trees…animals ya know ) plus, you know, a spoon. Also, don;t bring your favorite pot of best knife. You would probably be pretty pissed if you dung it or ruined it. Camping can get rough!

  • When at the camp site, set up a nice little zone to prepare you food. Trying to cut up veggies on the ground is a pain in the ass.

  • If you are making soup for just yourself or you and another person, eat out of the pot(s) that you make your soup in. The mr and I each have out own pots which is nice because I can customize our soups (I always add way more spice and usually more veggies to mine) and we don’t have to bring bowls. The less dishes the better!

  • Don’t bother with stock or brother, just use water.

  • Red lentils are the best. You don’t have to soak them, they cook really fast, and they get creamy and bothy and taste just delicious. Green lentils are also good, and if you have the time, split peas (they need more cooking time). Avoid dried beans because they take way too long. If you want beans, bring precooked or canned beans.

  • Most veggies are good without refrigeration for a few days if not cut up so you really have a good pick of what you want to use. Bring veggies that are on the small side so you use it all up.

  • Whole tomatoes are great to cut up and add, just pack them (or any easily bruised veggie) in a plastic container so they don’t get squashed.

  • For multiple day camp trips, bring sturdier roots like onions, turnips, and beets. Also cabbage and carrots last for days without refrigeration.

  • Greens are great but don’t bring tender greens like lettuce or spinach. Instead go for greens like chard or kale.

  • Winter squash or sweet potatoes are very much encouraged. Sugar pumpkins or delicata cut up really easy and cook super fast, You don’t have to remove the skin (just the seeds) and you can always find small ones.

  • Bring a preblended spice mix. I always just bring a curry mixture I make at home so it is all the spices in one jar. Having a bunch of jars of different spices may seem nice but keeping things simple (and having less stuff) is usually better. Oh and add salt to taste last.

  • When the soup is cooking, don’t walk away for more then a minute of two. You want to watch to make sure the soup doesn't boil over and also watch out for critters. We have encountered a few wily chipmunks in our days. They will come up and steal your food if you are not careful.

  • Have left over soup? Pour it into a jar and save it or breakfast or lunch the next day. No joke, we do it all the time. (The mr does, I never have left overs. I eat it ALL)

Here are some pictures of my soups from the past few weeks.

IMG_5311.jpg
IMG_5728.jpg
IMG_5544.jpg
IMG_5310.jpg
IMG_6693.jpg
IMG_6246 2.jpg

And lastly, remember that making soup at a campsite is suppose to be fun and is pretty much guaranteed to taste amazing, especially if you have spent the day running around in the woods or being really active. There is nothing better then eating a big ol’ pot of hot soup after climbing up and down a mountain!

-C

Tags soup, vegan, camping, food, outdoor cooking, vegetables, tips, stew, plant based, home made, healthy
Comment

Apple Cinnamon Oatmeal Cookies

September 19, 2020 Colleen Stem
IMG_0496.jpg
IMG_0455.jpg

Nothing validates a cookie more then a 13 year old girl (who knows her way around sweets) who eats a couple of the freshly baked cookies you made but doesn’t say much. Then asks to takes a couple home. Then texts you in the middle of the night to ask you to make more cookies because they are the best cookies that she has ever had. That is a true story and even though she woke me out of my well needed slumber, that girl is for sure going to get her own batch of these here, best cookies she has ever had. I guess I am a sucker for a baking complement.

These cookies, they are a chewy, cinnamon apple-y, oatmeal situation. Everything and more you could want out a cookie that just might taste a bit like apple pie. And who doesn’t want to eat apples right now? Especially if you are an apple picker (who isn’t?) Using fresh from the tree apples, they really are the perfect cookie for this time of year.

Ah, fall. It really is the best.

Now to the best cookies a 13 year old girl has ever had!

The stuff. White whole wheat flour, old fashion oats, brown sugar, baking soda and powder, salt, coconut oil, flax eggs, vanilla, a raw sugar and cinnamon mixture, and of course, apples.

Start by taking apples, cutting away seeds and core, and dicing into small little bits, like the size of a chocolate chip.

IMG_0380.jpg
IMG_0386.jpg
IMG_0393.jpg
IMG_0396.jpg

Now dough. Mix together the wet until combined then add in dry and mix until completely incorporated.

Fold in th apple chunks.

Scoop dough into balls and dip each ball into the raw sugar and cinnamon mixture. Place each cookie on baking sheet and smoosh down a little to help with the spreading. Once baking sheet is full with enough space for cookies to spread while they bake, place into oven.

Bake for 15-17 minutes or until tops look baked and not gooey and bottoms are nice deep golden brown.

Lovey baked cookies.

IMG_0455.jpg

Get them onto a wire rack to cool and to free up the baking sheet for the next batch.

IMG_0513.jpg

And then cookies. To eat at your very leisure.

Enjoy your apples and Happy FALL!

-C


Apple Cinnamon Oatmeal Cookies

makes about 2 dozen

  • 2 cups white whole wheat flour

  • 2 cups old fashion rolled oats

  • 2 tablespoons cinnamon

  • 1 teaspoon each baking soda and baking powder

  • 1 teaspoon salt

  • 1 1/2 cups packed brown sugar

  • 3/4 cups coconut oil melted but not hot

  • 2 flax eggs (2 tablespoons ground flax seeds and 6 tablespoons warm water)

  • 1 teaspoon vanilla extract

  • 1/4 cup turbano (raw) or white sugar mixed with 2 teaspoon cinnamon

  • 1 large or 2 small Macintosh apples (about 1 1/2 cups small diced)

Preheat oven to 350

In a large bowl, mix together the sugar, oil, flax eggs, and vanilla until completely incorporated and there are no big chunks of sugar. Dump in flour, oats, baking powder and soda, salt, and cinnamon and fold into wet until completely combined. Fold in apple chunks until evenly distributed.

Scoop dough into a ball and dip the top into the raw sugar and cinnamon mixture then place on a cookie sheet. Gently smoosh each dough ball down a bit. Once baking sheet is full, with enough room for spreading, place in the oven and bake for 15-17 minutes or until cookies look cooked on top and are golden brown on the bottoms. Once baked, remove from baking sheet (gently) and place on a wire rack to cool.

Then eat. And store left over cookies in a air tight container at room temp for up to a week (if they last that long). Also can be frozen.

In cookies, Vegan, fruit Tags apple, apple cinnamon, cookies, apple cinnamon oatmeal cookies, vegan, fall, apple desserts, oatmeal, plant based, home made, king Arthur flour, fall baking, recipe, dessert, fruit, fresh apples, best cookies, vegan cookies
2 Comments

Spaghetti with Roasted Green Tomato Sauce

September 12, 2020 Colleen Stem
IMG_0353.jpg
IMG_0334.jpg
IMG_0283.jpg

If you are a gardener or farmer (or know one) you know. It’s that time of year where there are so many tomatoes, and I right? And with the bounty of ripen tomatoes comes the many green tomatoes, There are always green tomatoes and they are not to be dismissed.

Sure a freshly picked gorgeous red or orange tomato, ripe and sweet, eaten within minutes of being plucked from the plant is one of life’s greatest pleasures , but don’t turn a nose at all those tomatoes that don’t make it to ripeness, that fall from the plant. or that you accidentally pick off while getting to the rip ones. Those green tomatoes might not seem like much, but given a little attention, well they can shine just as bright as all those ripe and colorful ones!

All green tomatoes need to be delicious is to be roasted. Then they are amazing, like seriously freaking delicious. Just as bright and flavorful as ripen tomatoes, maybe even more so.

Once roasted you then can make them into sauce. Sauce for pasta, for pizza, for eating straight out of the jar (That is me). It can do anything red tomato sauce can do.

So don’t just let those green tomatoes go to waste. Heck, maybe pluck a few extra green ones before they ripen just so you can enjoy the goodness of roasted green tomatoes!

To the green tomato sauce!

The stuff. Green tomatoes, a large onion, a few cloves of garlic, olive oil, salt and pepper, spaghetti, fresh basil, and a few rip cherry tomatoes.

IMG_0246.jpg
IMG_0249.jpg

Cut the onion into large chunks and slice all the green tomatoes in half (or quarters if they are large)

Place it all on a baking sheet and toss with a drizzle of olive oil and sprinkle on salt and pepper. Also place the unpeeled garlic into a corner and pop the baking sheet into a hot oven to roast.

Ah, all soft was tender and roasted.

(The garlic was removed after 15ish minutes of roasting, peeled and set aside.)

IMG_0293.jpg
IMG_0298.jpg

Dump it all into a blender and blend until smooth. Season with more salt and pepper if needed.

IMG_0299.jpg

And make spaghetti. I trust you know how to do this.

IMG_0271.jpg

Ripe up some fresh basil and chop the cherry tomatoes in half and…

IMG_0341.jpg

Place some of the cooked pasta into a bowl, pour in your desired amount of the sauce, and top with fresh basil and a few red cherry tomatoes.

It is ready. Now eat.

-C


Spaghetti with Roasted Green Tomato Sauce

Makes 5-6 cups

  • Around 20 smaller green tomatoes (or how many you can fit on a a large baking sheet)

  • a large sweet onion

  • 4-5 cloves garlic

  • 1-2 tablespoons olive oil

  • salt and pepper

  • Spagetthi (as much as you want to eat)

  • handful of fresh basil for erving of pasta resh basil

  • a few red cherry tomatoes for each serving of pasta

Preheat oven to 450

Cut tomatoes in half (or in quarters if they are large). Peel skin from onion and cut into large chunks. Place both cut tomatoes and onion onto a large baking sheet and drizzle with about a tablespoon of olive oil. Toss around and then sprinkle with salt and pepper. On the corner of the pan, place the garlic(still in skin) Place into oven.After 15ish minutes, remove the garlic and set aside. Continue baking the tomatoes and onions for another 35-45 minutes or until the tomatoes are fork tender.

Once the tomatoes are cooked, remove from oven and, being oh so careful, dump or scoop the tomatoes and onion into a blender. Add in the roasted garlic (skin removed) and blend until smooth. Taste the sauce then season with more salt and pepper and add another tablespoon of olive oil if you think it needs it.

To eat with spaghetti.

Make spaghetti as in instructed on box. Once you have cooked spaghetti, drained it, and placed it into a bowl, pour or scoop the green tomato sauce on top. Top with a handful of fresh basil and a few red cherry tomatoes.

Then eat.

Extra tomato sauce can be placed in a jar or container with a lid and refrigerated for about a week.

In sauce, Pasta, Vegan Tags Spaghetti With Roasted Green Tomato Sauce, vegan, green tomatoes, sauce, dinner, gluten free, dairy free, plant based, vegetarian, vegetable, simpl, easy, no waste, healthy, home made, fresh
1 Comment

Chocolate Chip Zucchini Muffins

July 4, 2020 Colleen Stem
IMG_8865.jpg
IMG_8771.jpg

Zucchini. One of the best summertime veggies. If you have been around here (as in my blog) for long enough, you all know how I am a zucchini feen. Once they start growing, I take them all. From my garden, from your garden, even my sisters mother in laws extra, plus the million I get with my farm share. At any given time I could have upwards of fifty zucchini spilling out all over the counter and shoved into any crevice I can find in the fridge. But the excess never lasts long because I eat them all. Mostly to myself, and I feel great about it. (Ok, I do end up freezing some of it for winter, but I am still eating it all!)

And every year when the first zucchinis start to hit the ground, all the people are up in my squash asking for zucchini bread, like they can’t possibly make it themselves or anything. But I don’t mind what so ever because sharing is caring and I guess I care. Plus I like to bake so it works, you know?

When I was recently asked to bake a loaf of zucchini bread, I made the decision to go the muffin route instead because aren’t muffins just individual little breads that take half the time to cook them a loaf? Yup, and that is very nice when you want to minimize any hot oven time because summer is hot enough as it is.

And because they are muffins, they acceptable for breakfast, even with all the chocolate chips.

Win!

Now to the muffins!

The stuff. A good sized zucchini, flour, baking soda and powder, salt, brown sugar, oil, cinnamon, raw sugar, apple cider vinegar, and some chocolate chips.

IMG_8721.jpg
IMG_8722.jpg

In a large bowl, whisk together the flour, baking soda and powder, salt, cinnamon, and brown sugar until completely incorporated and there are no lumps of sugar.

Shred the zucchini. I used a smaller shredder so the pieced are very thin but a normal sized box grater shred works just as well

IMG_8732.jpg
IMG_8736.jpg

Add zucchini, oil, and vinegar to bowl and fold in until completely combined.

Then fold in chocolate chips. Duh.

Scoop batter into a greased muffin pan and sprinkle the tops with raw sugar. Pop into the hot oven to bake.

IMG_8761.jpg

Oh yeah. Perfect.

Pop out of tins to cool on a rack.

And eat. All to yourself or share, that is on you.

-C


Chocolate Chip Zucchini Muffins

makes 12 muffins

  • 2 1/2 cups all purpose flour

  • 1 1/2 teaspoon baking powder

  • 1 teaspoon baking soda

  • 1/2 teaspoon salt

  • 1 tablespoon cinnamon

  • 3/4 cup packed brown sugar

  • 1/2 cup neutral flavored oil

  • 2 tablespoons apple cider vinegar

  • 1 medium zucchini (2 cups packed shredded zucchini)

  • 2/3 cup chocolate chips

  • 1/4 cup raw sugar (to sprinkle the tops) optional

Preheat oven to 350.

Grab a large bowl and add in the flour, baking powder and soda, cinnamon, and salt. Whisk together then add in the brown sugar and whisk in, making sure there are no big clumps.

Shred zucchini uniti you have 2 hefty cups. If you have a fine shredder, use that, if not, a normal sized shred will do.

Place shredded zucchini into the bowl along with the oil and the vinegar. Start folding with a spatula until everything is incorporated. Resist the urge to aggressively mix, it takes a minute for the liquid from the zucchini to absorb into the flour. (Over mixing it will make the muffins tough) Once the batter is uniform, fold in chocolate chips.

Scoop batter into a well greased or lined muffin tin. Sprinkle the tops with raw sugar and pop the pan into the preheated oven. Bake for about 30 minutes or until fluffily and domed and a tester stuck in one comes out clean.

When baked, remove from oven and pop out if tin. Let cool on a wire rack but feel free to eat one warm.

Store uneaten muffins in airtight container at room temp for a 2-3 days but if it is really hot out, just stick them in the fridge. Also can be frozen.

In Vegetables, Vegan, sweet breads and muffins Tags Chocolate Chip Zucchini Muffins, vegan, muffins, baked goods, zucchini, summer, chocolate chip, home made, plant based, dairy free, easy, dessert, breakfast, food, feedfeed
Comment
Older Posts →
 

https://thelovelycrazy.squarespace.com/config#/|/about/

Me. Food Maker.Food eater. Woo HOO!

STEM+NODE  SMALL BATCH AND ONE OF A KIND POTTERY

stem+node ceramics


____________________

Subscribe

GET NEW POSTS IN YO EMAIL

You are AWESOME!!!


@thelovelycrazy 2014-2021