
Well we did it, made it to a new year. And now here we go!
The week between Christmas and New Years is always a weird one. I think I need to start treating the time as time off and not time I need to feel crazy and try and do as much shit as I can. So next year I’ll do that. Anyway it was a busy but good The mr and I did a lot of house projects like shelf building in the basement and linen closet and cleaning light fixtures .The mr started a new bathroom remodel job and I have been setting myself up to get a bunch of pots done in the next few weeks (All the hearts for Valentines Day!) all the while trying not to bug out much over that fact that with a new year comes new taxes. Why the heck can’t I stop thinking about them!?! I really just want to get that shit done and out of my head sooner then later. I am trying to be organized and think ahead like a good, responsible adult. BLAH. But what I did do which only took like a year was, we FINALLY bought new phones! It got to the point that the mr’s phone completely broke and he was interacting with people through his email on the iPad. So I did it, just bought them. He immediately stuck his sim into it and has been rocking it out. Me, well mine is still wrapped in plastic in the box because I am lame like that. Plus I am waiting for the case to come in the mail. But mostly I don’t care enough yet. (Although it will be nice to use the camera. The camera on my phone now is busted and won’t focus. if you can tell.)
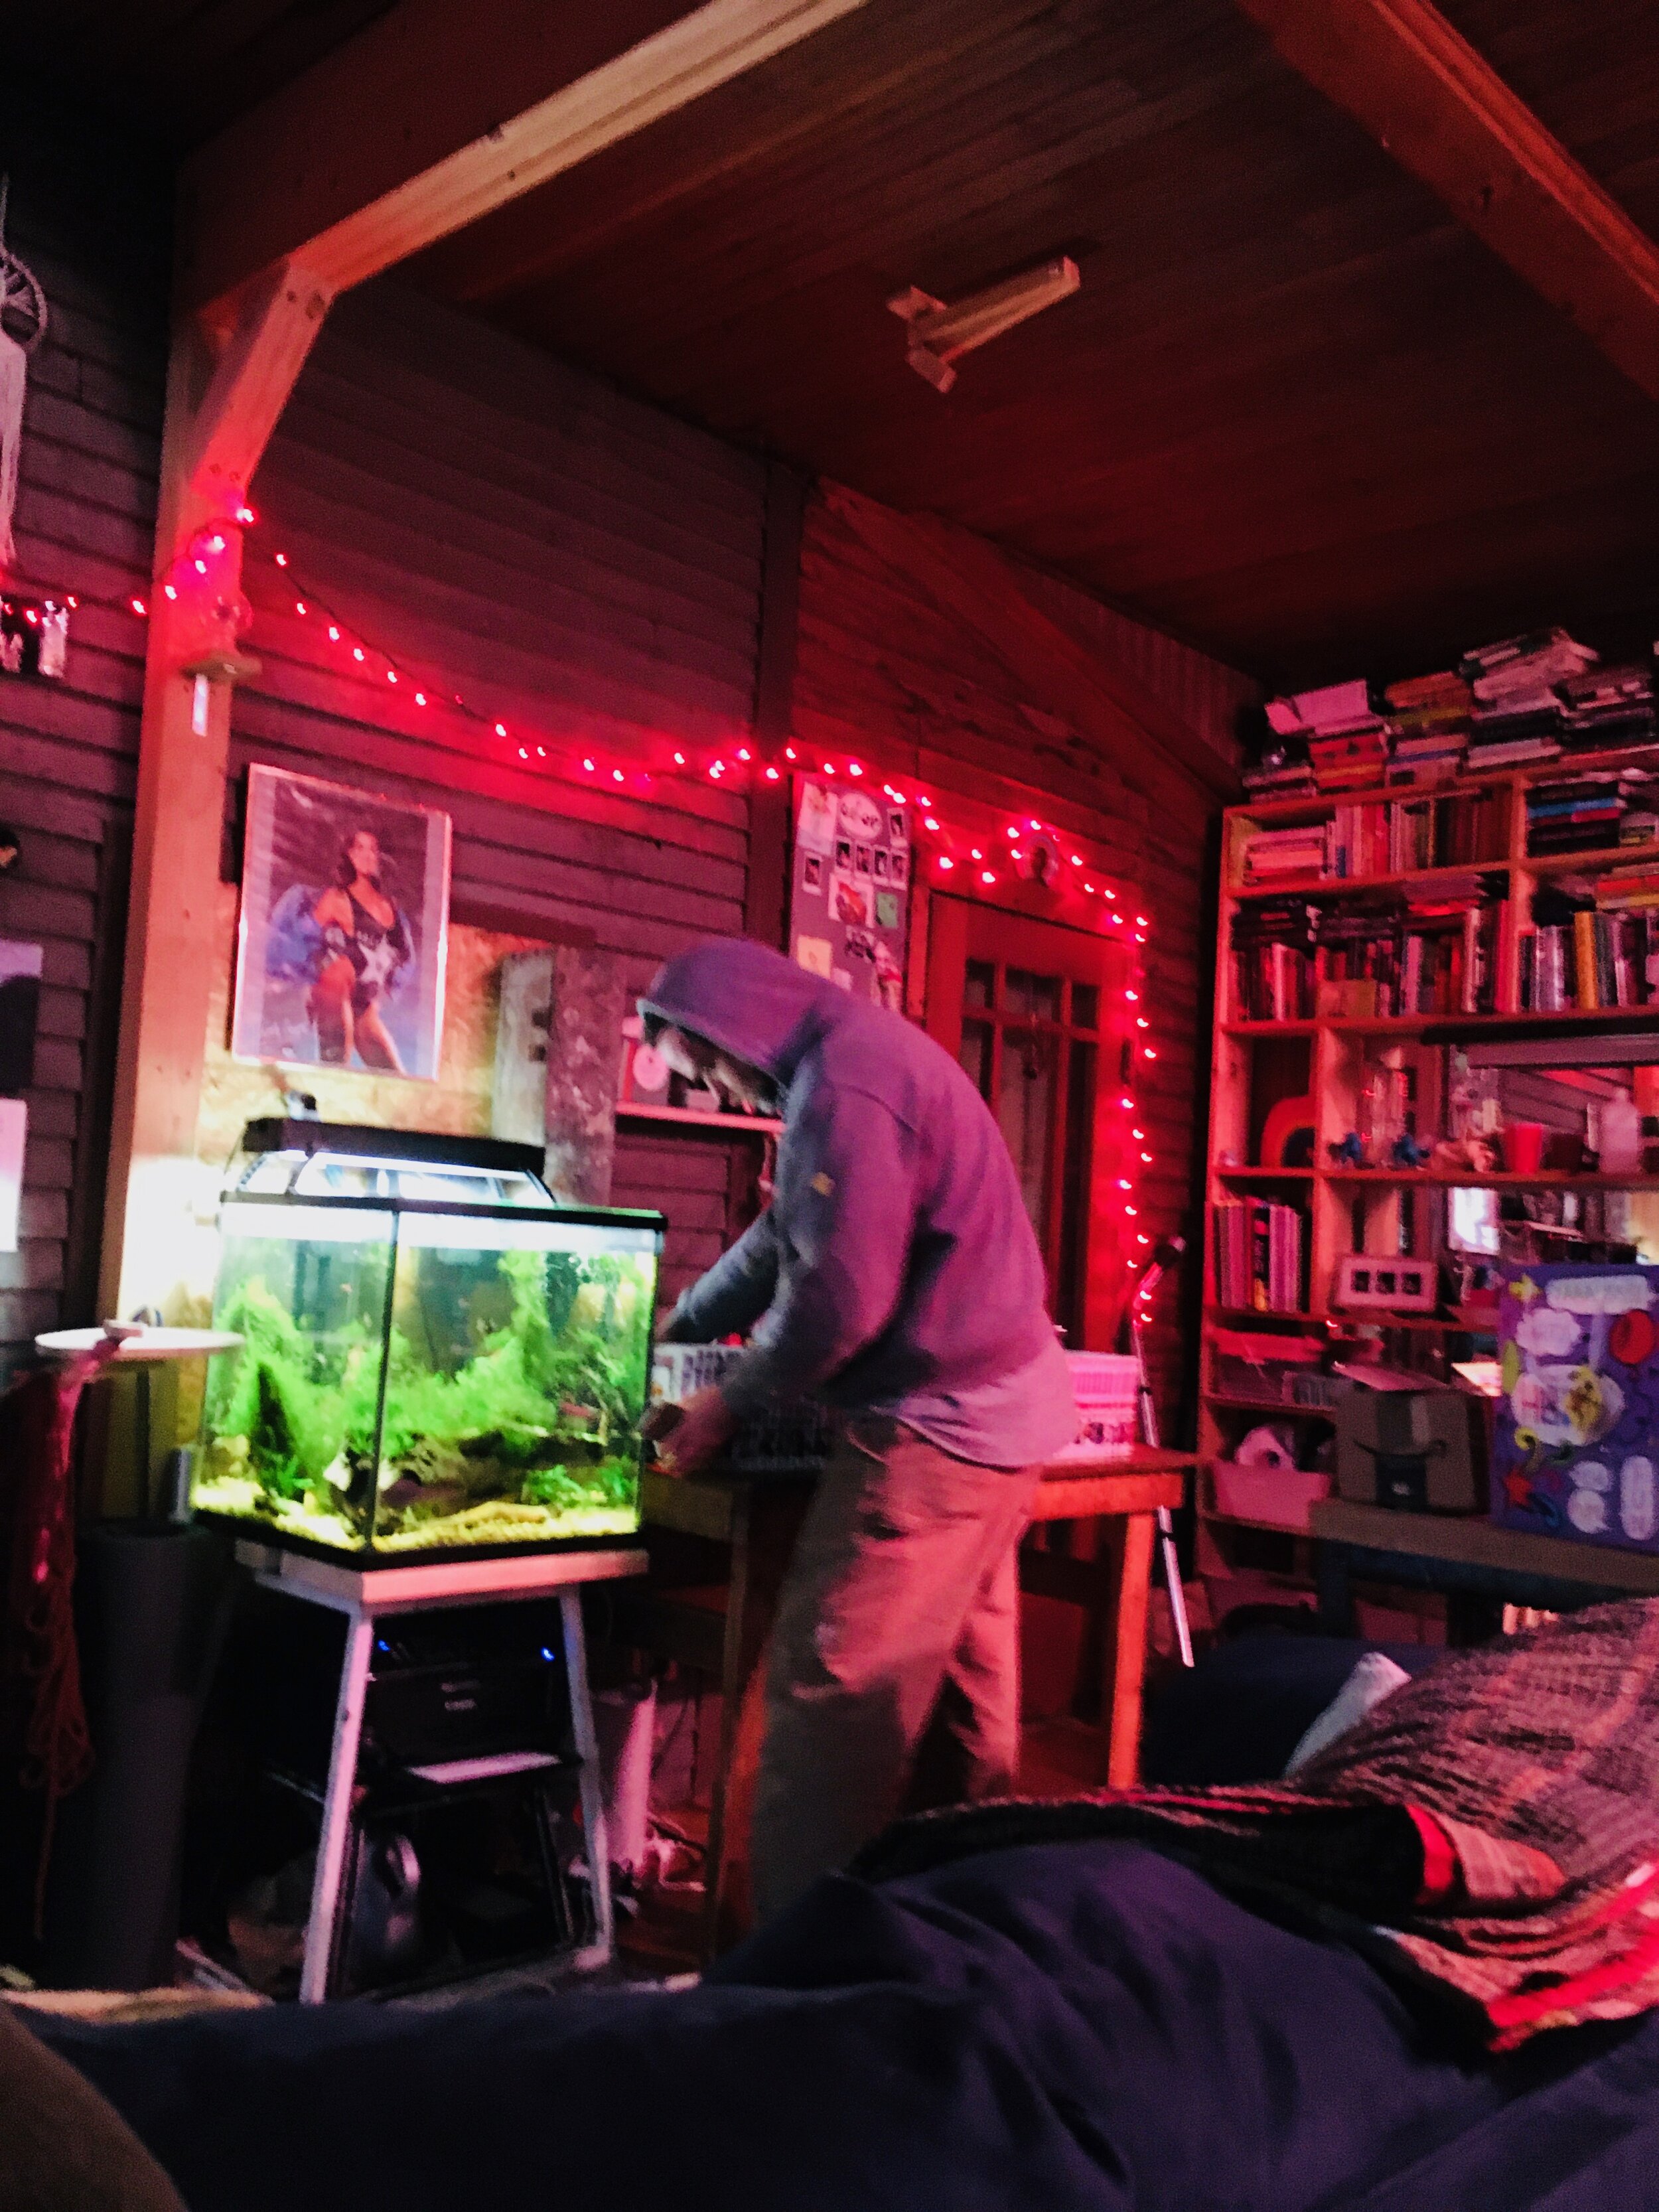
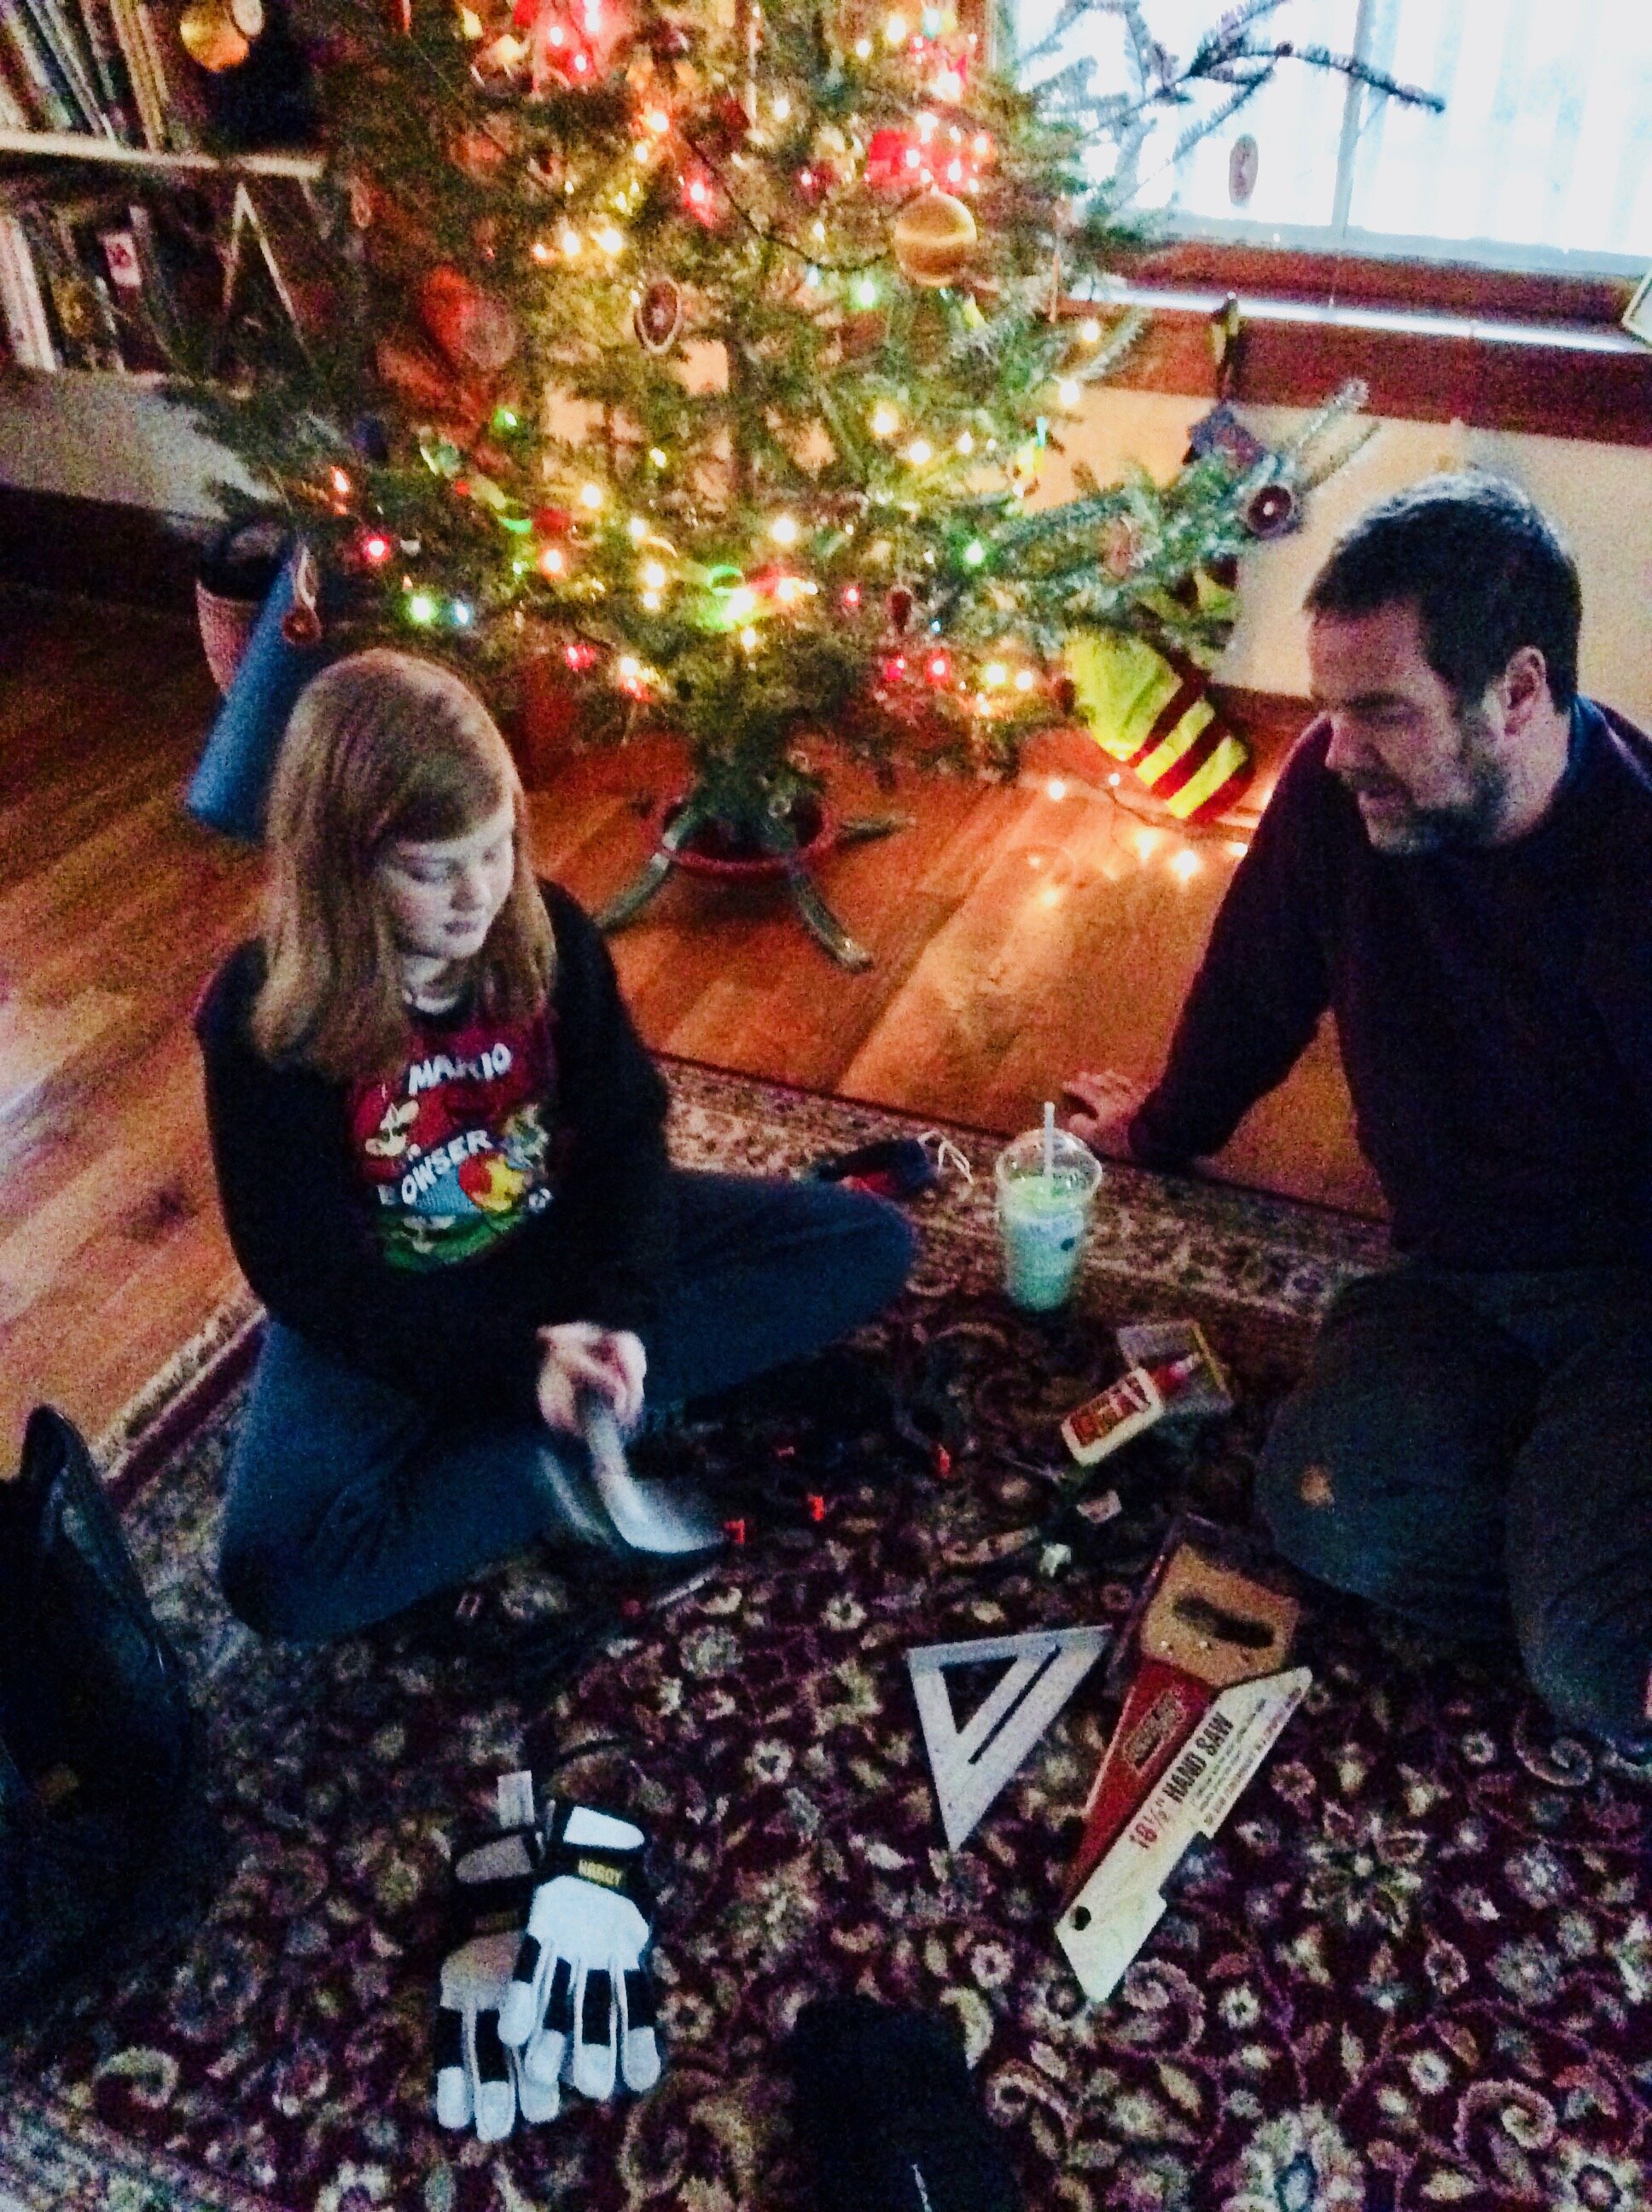
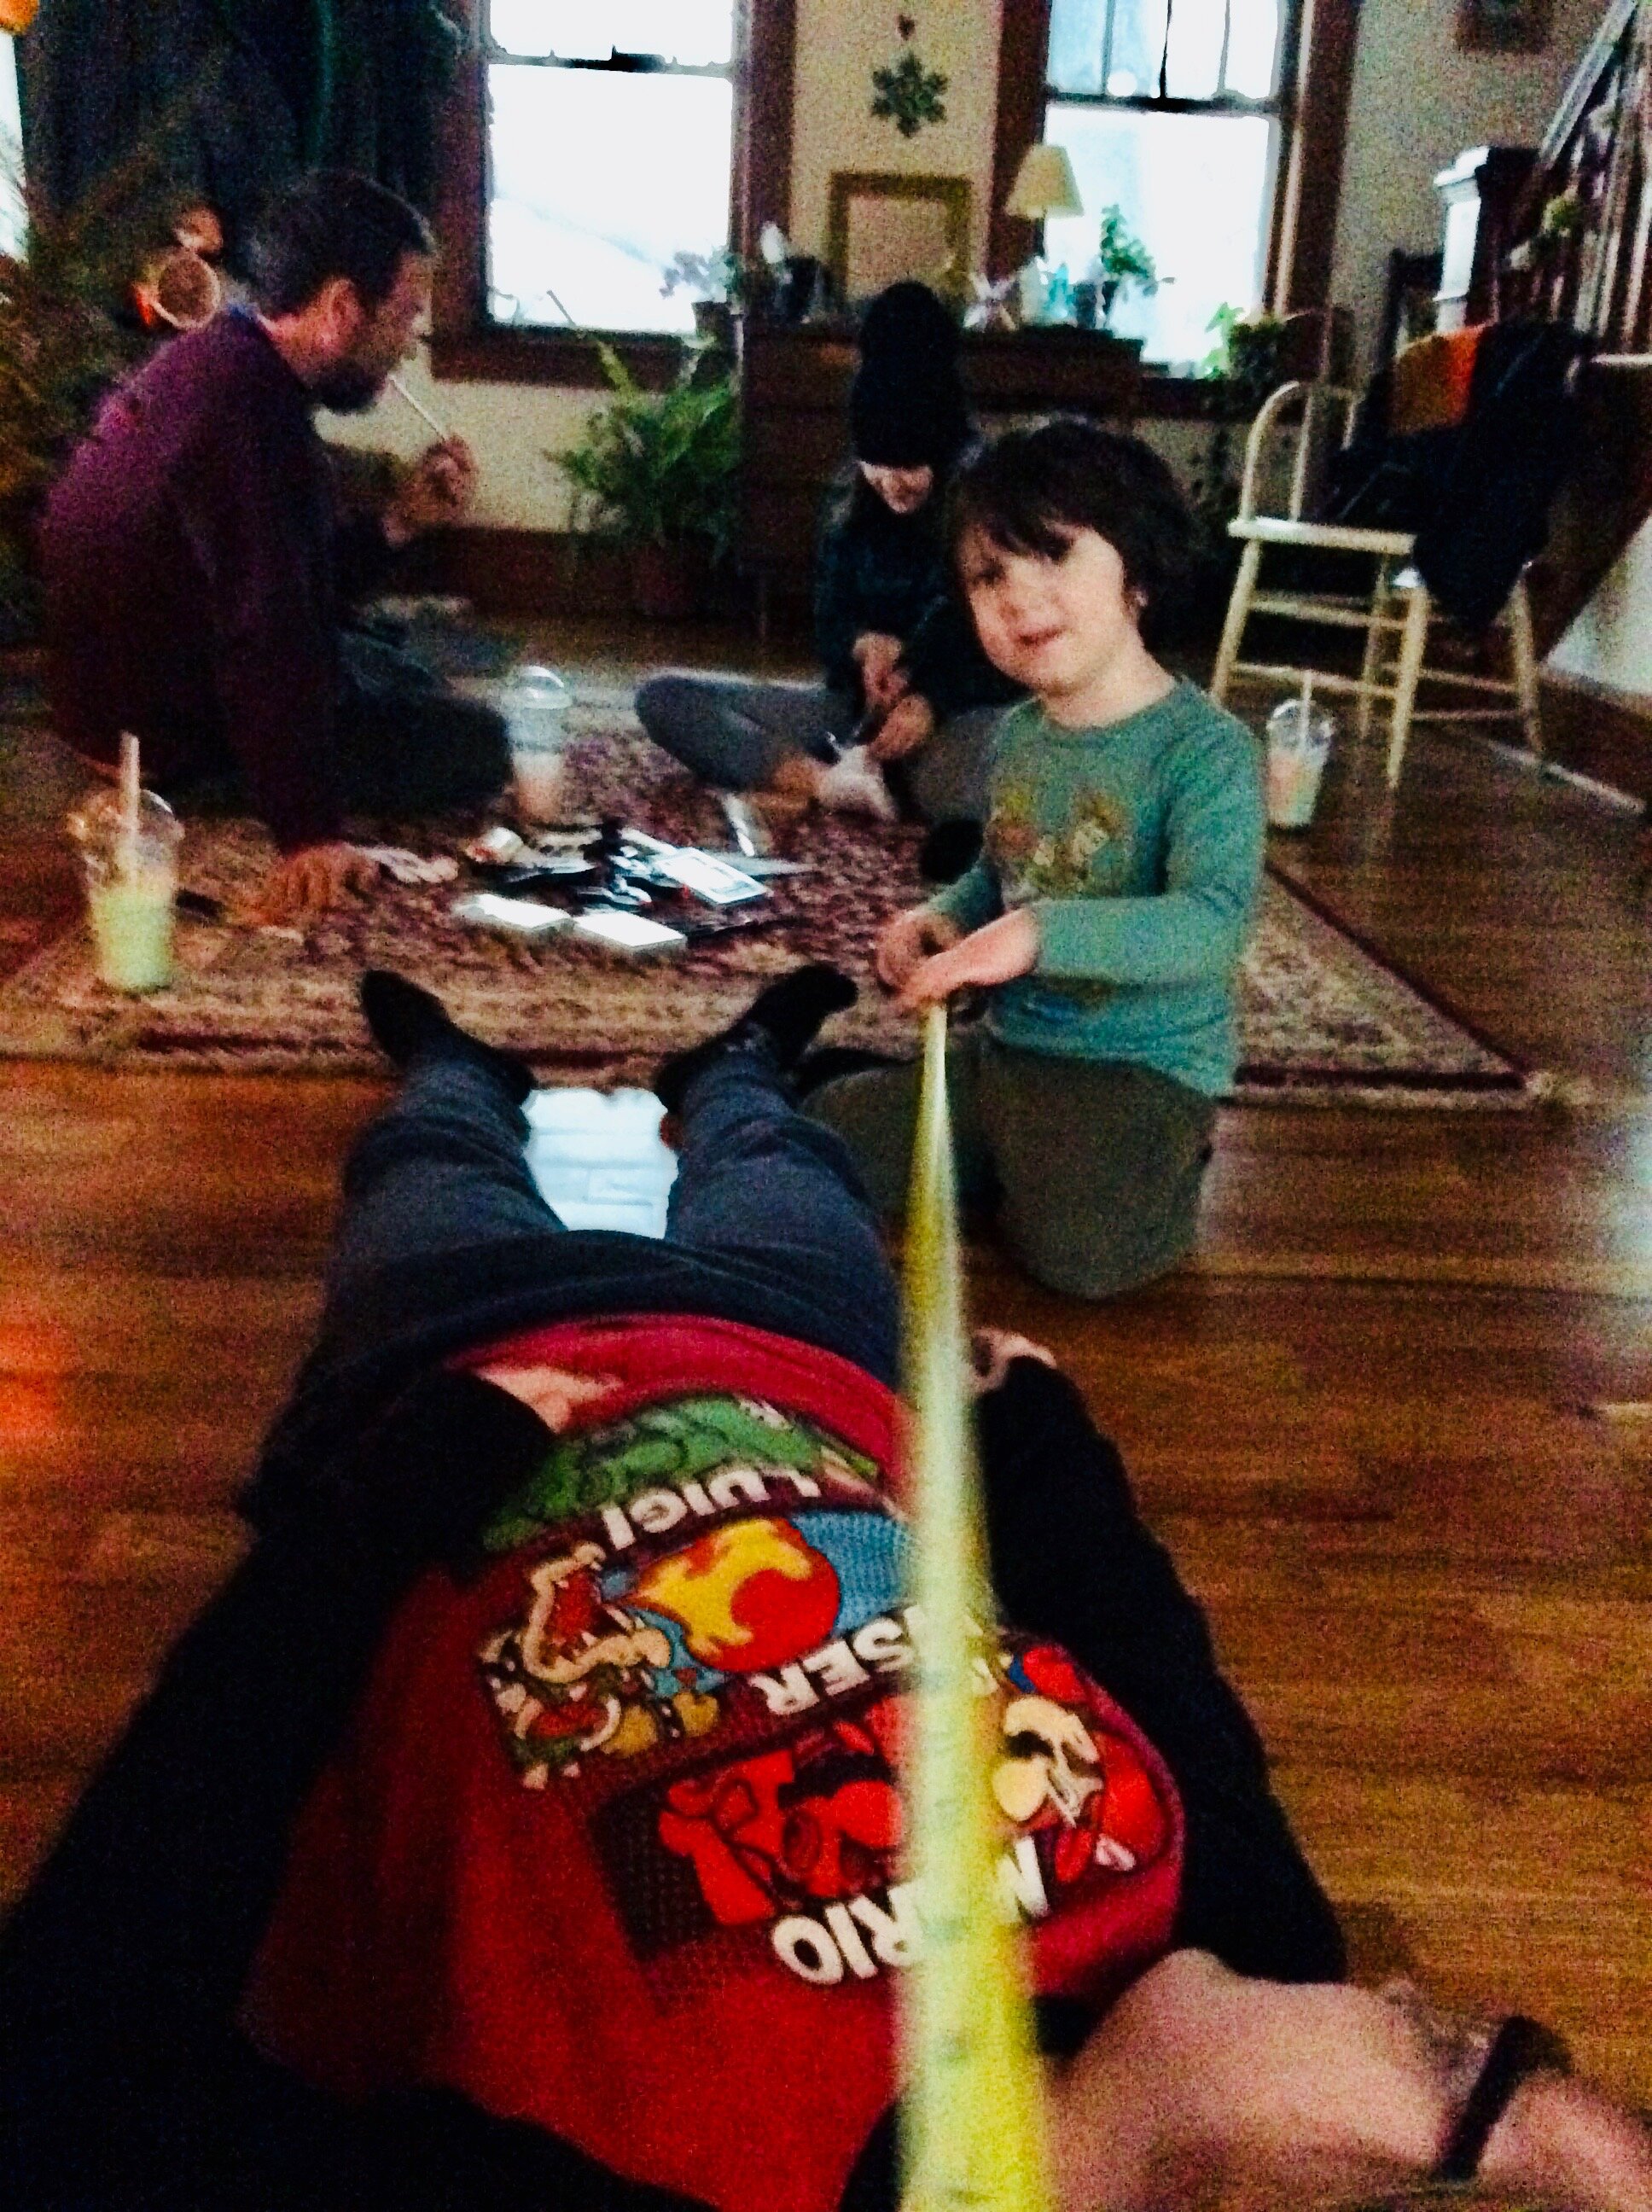
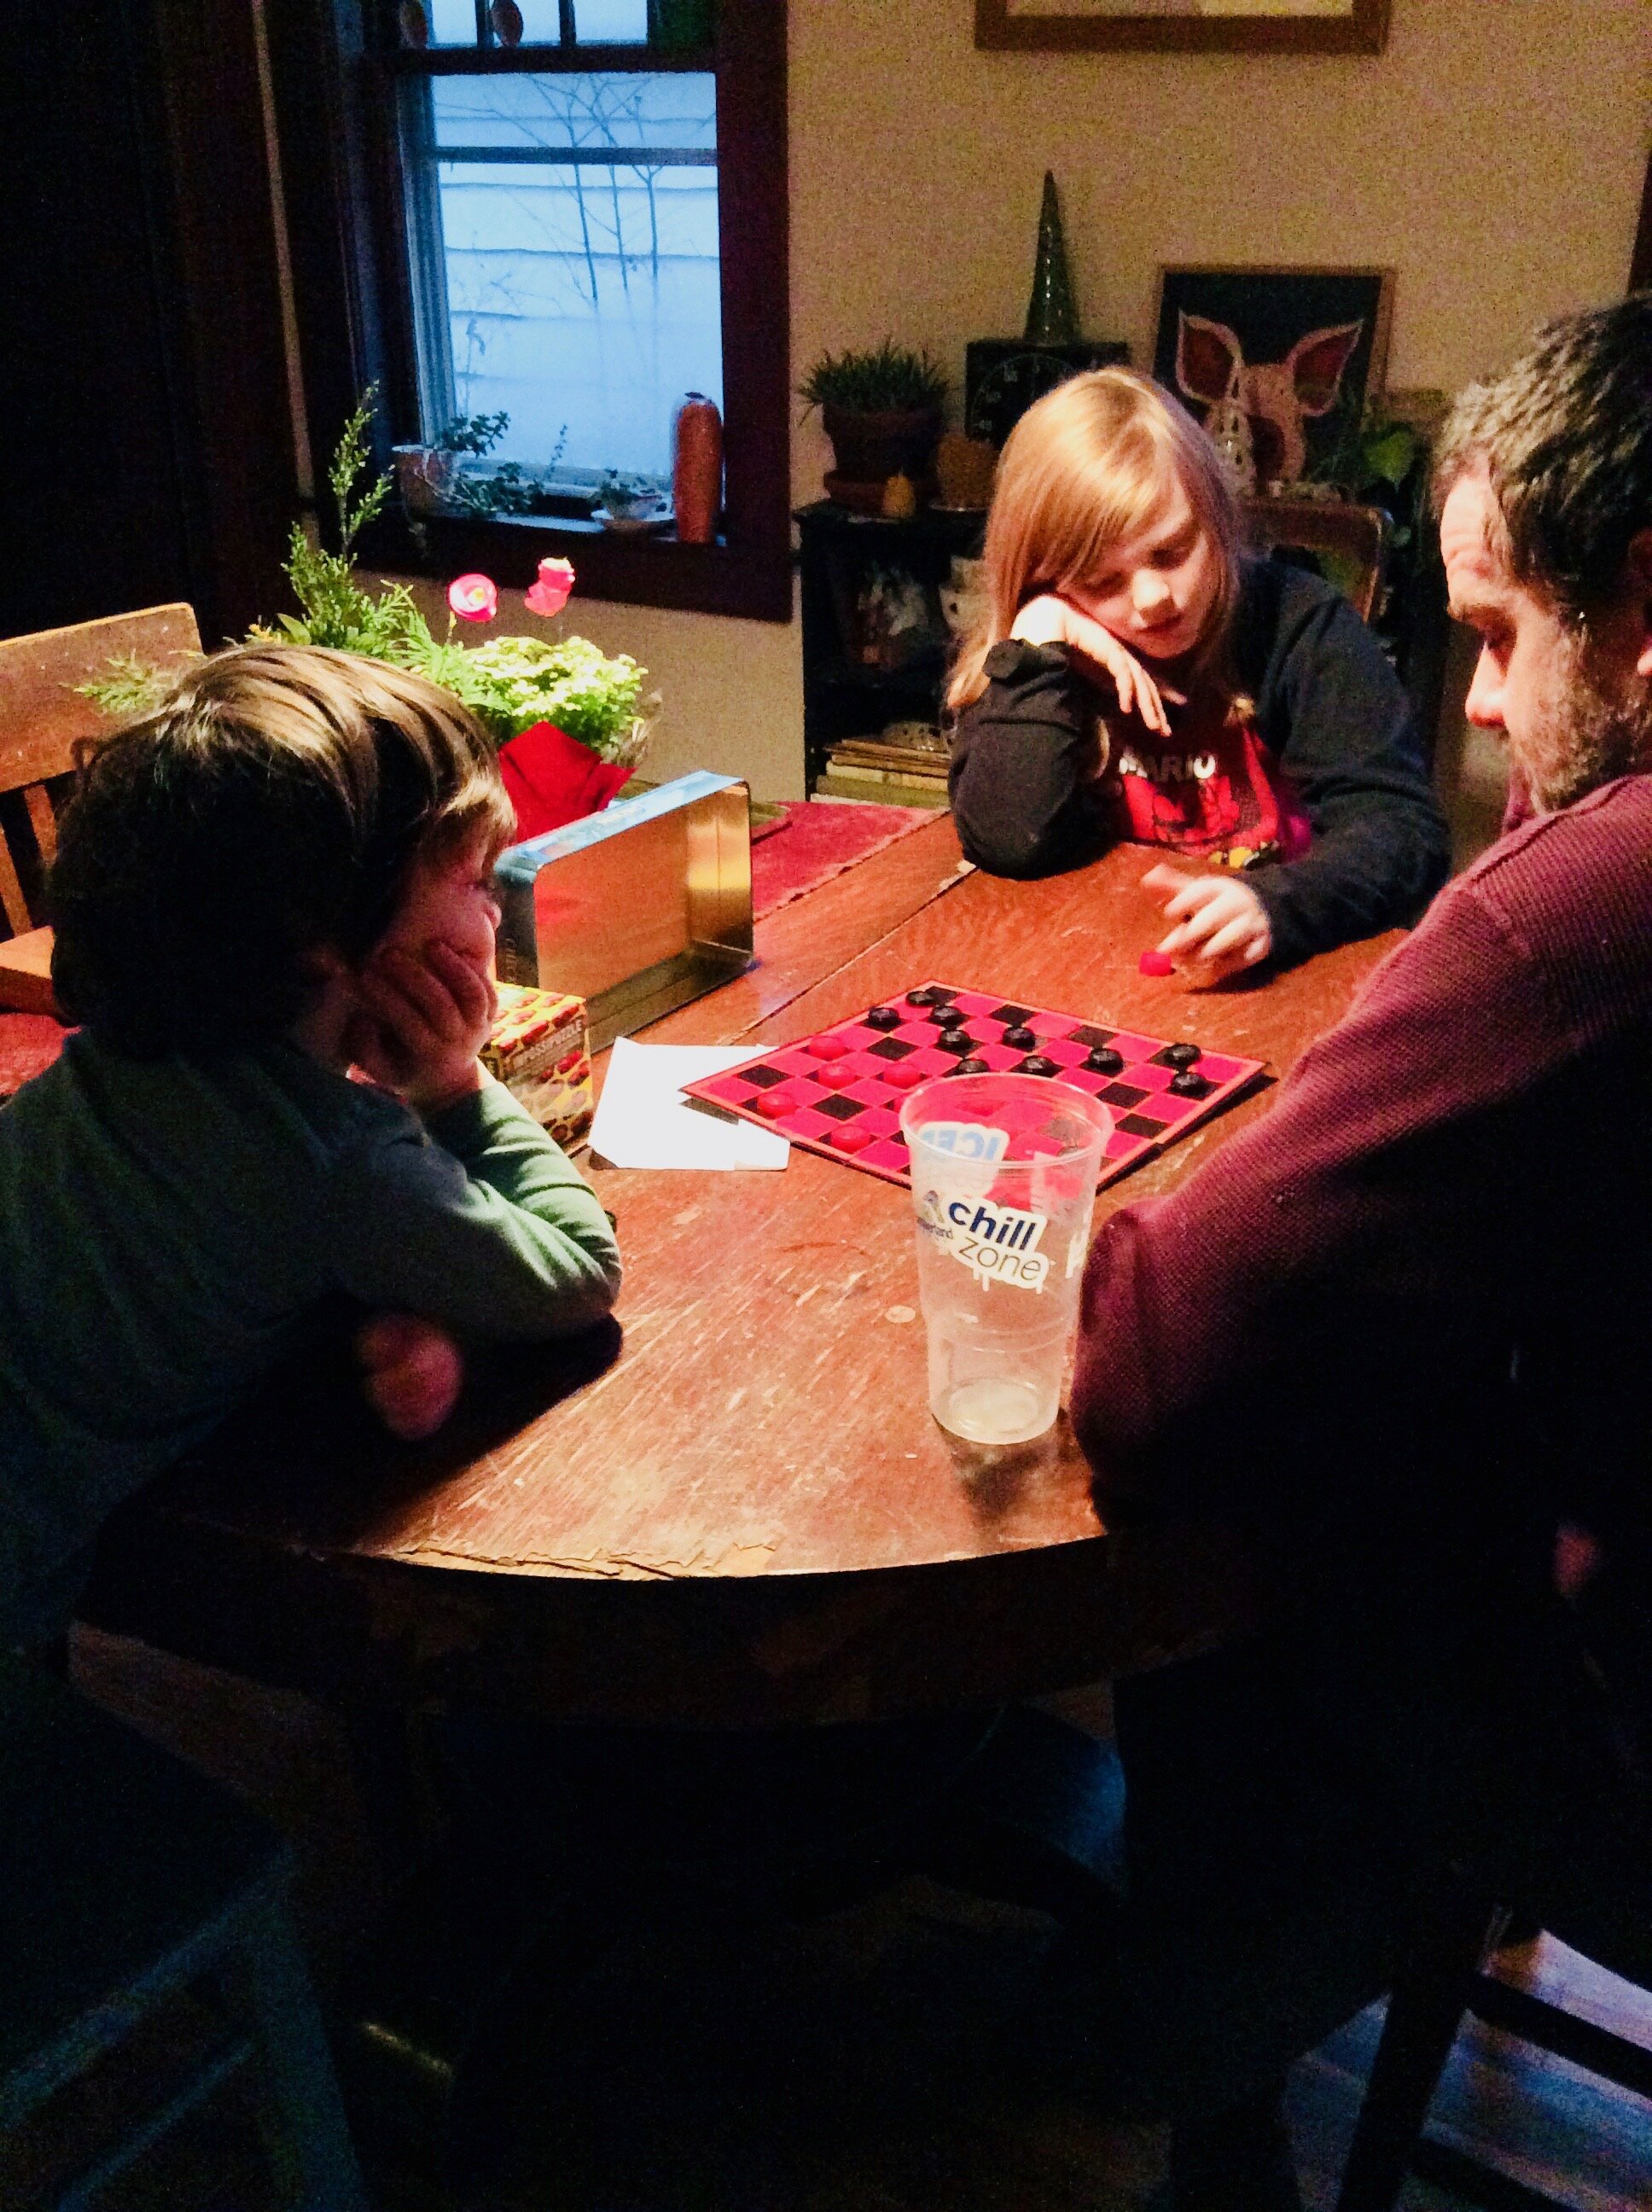
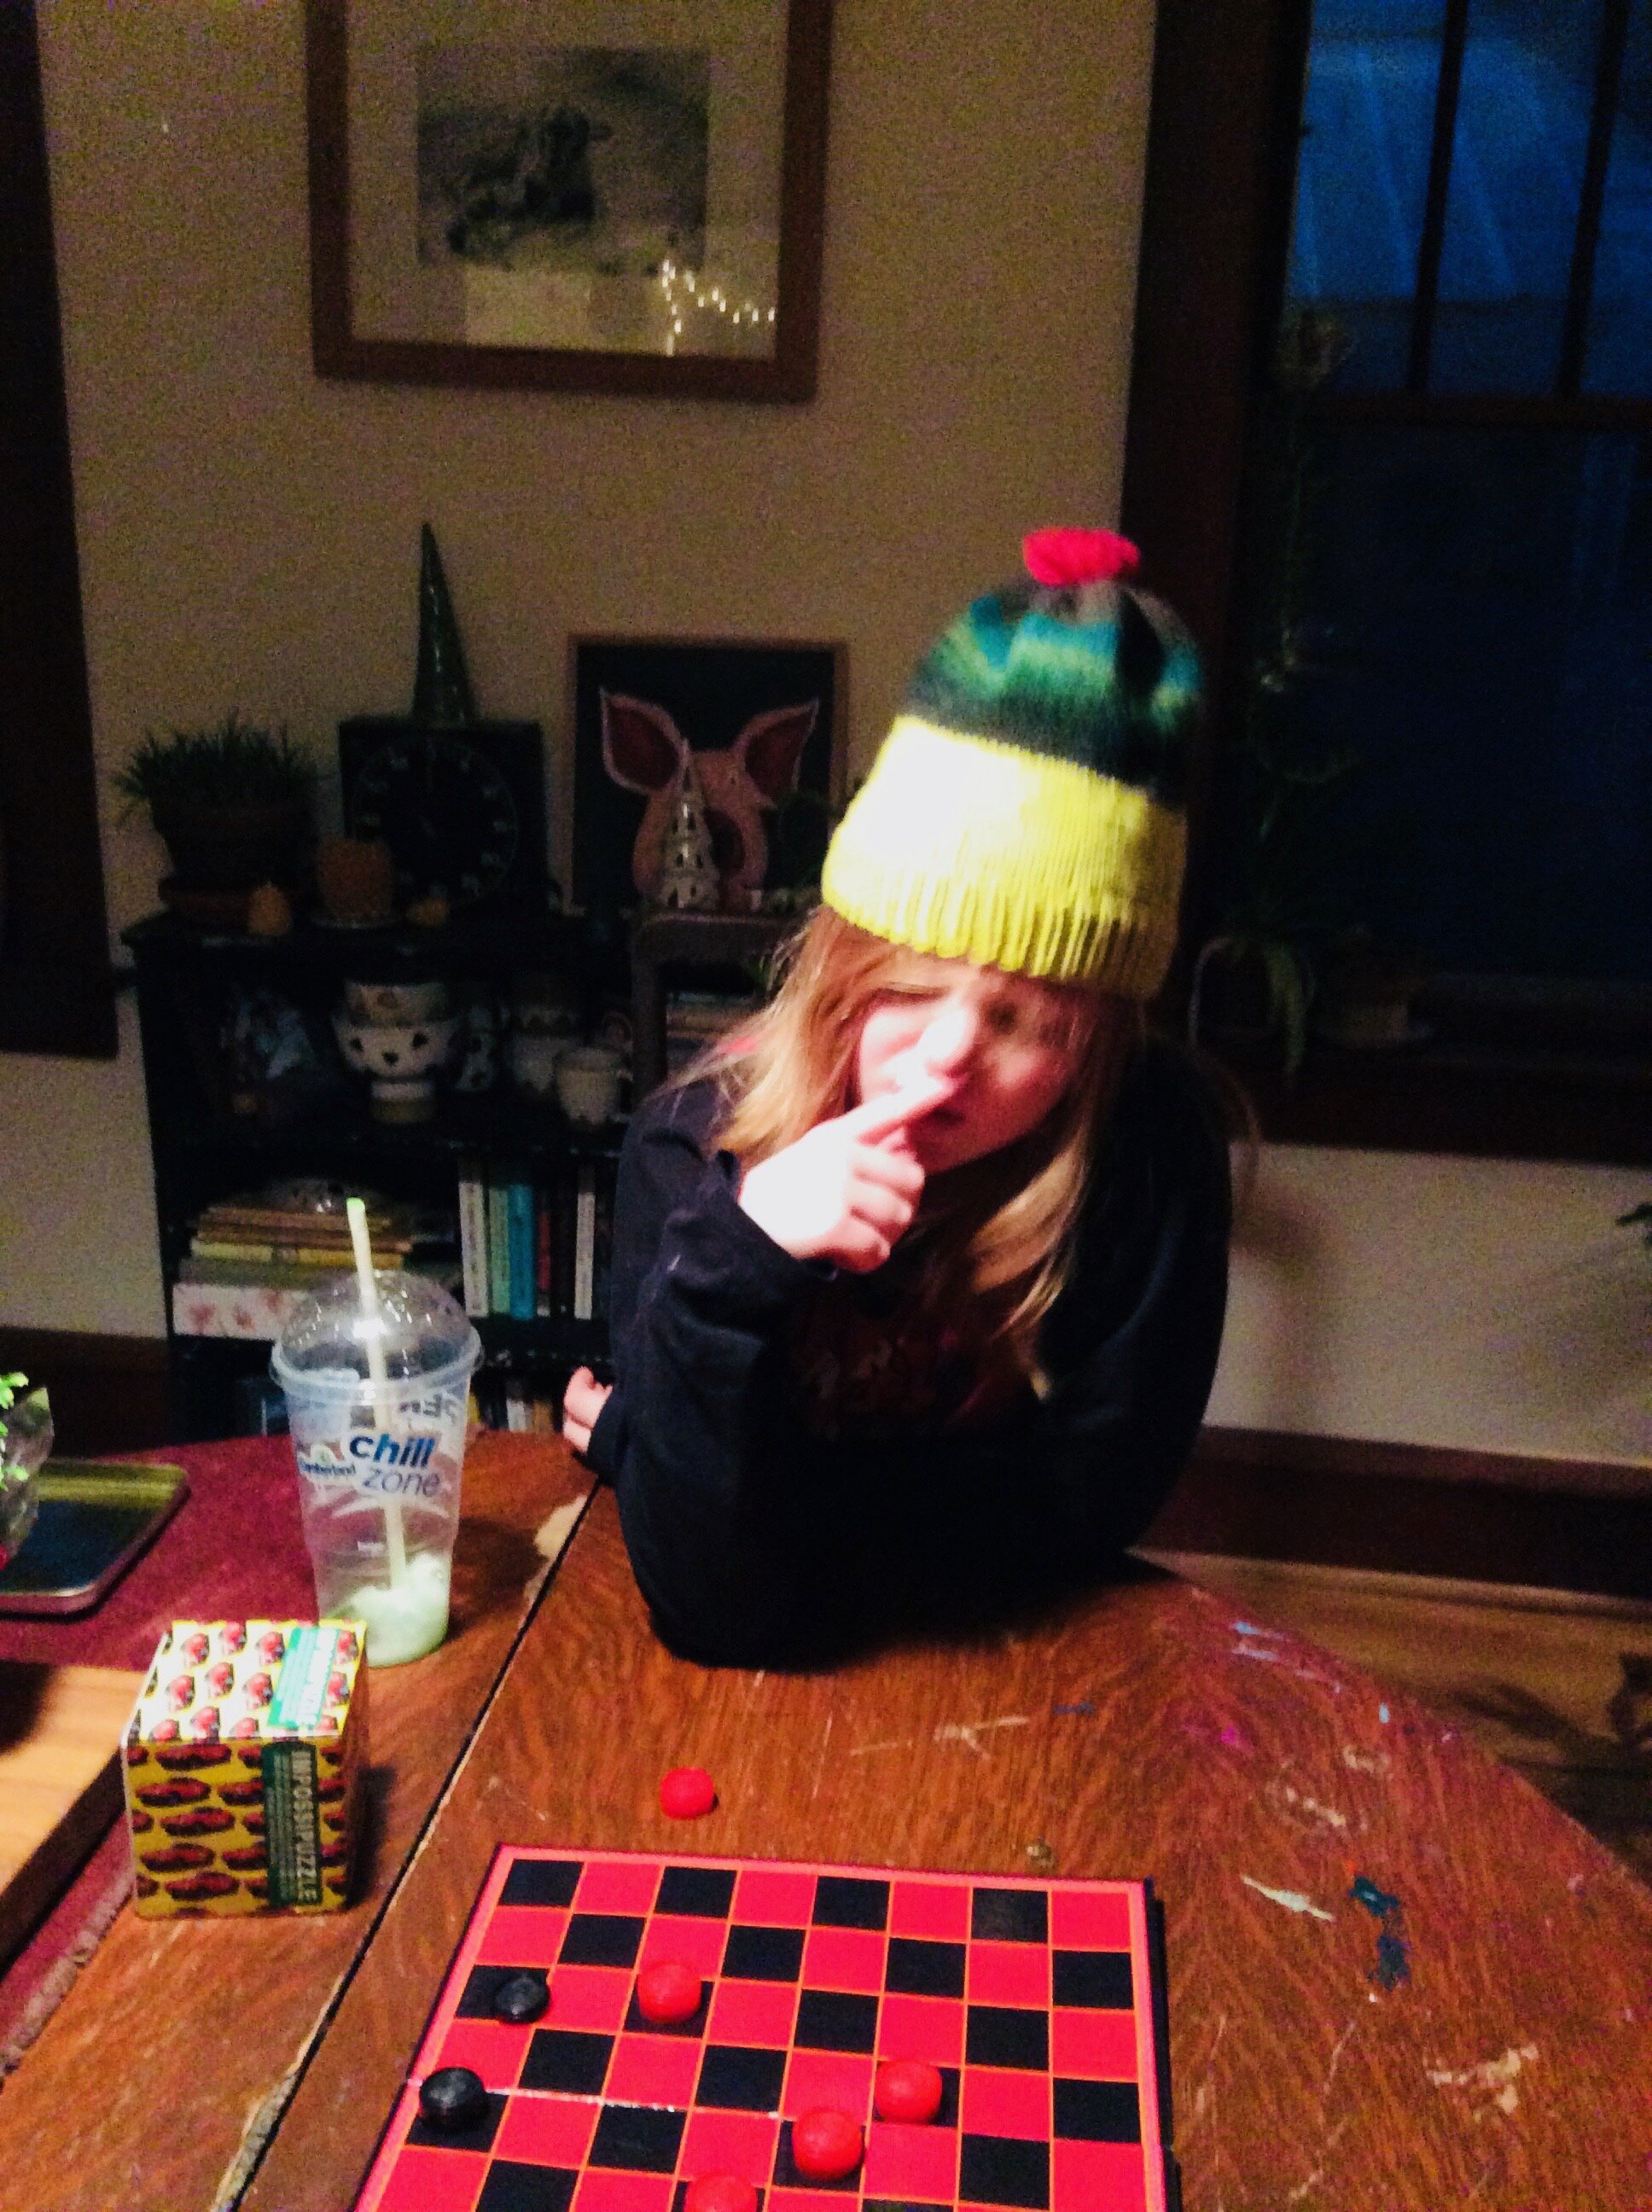
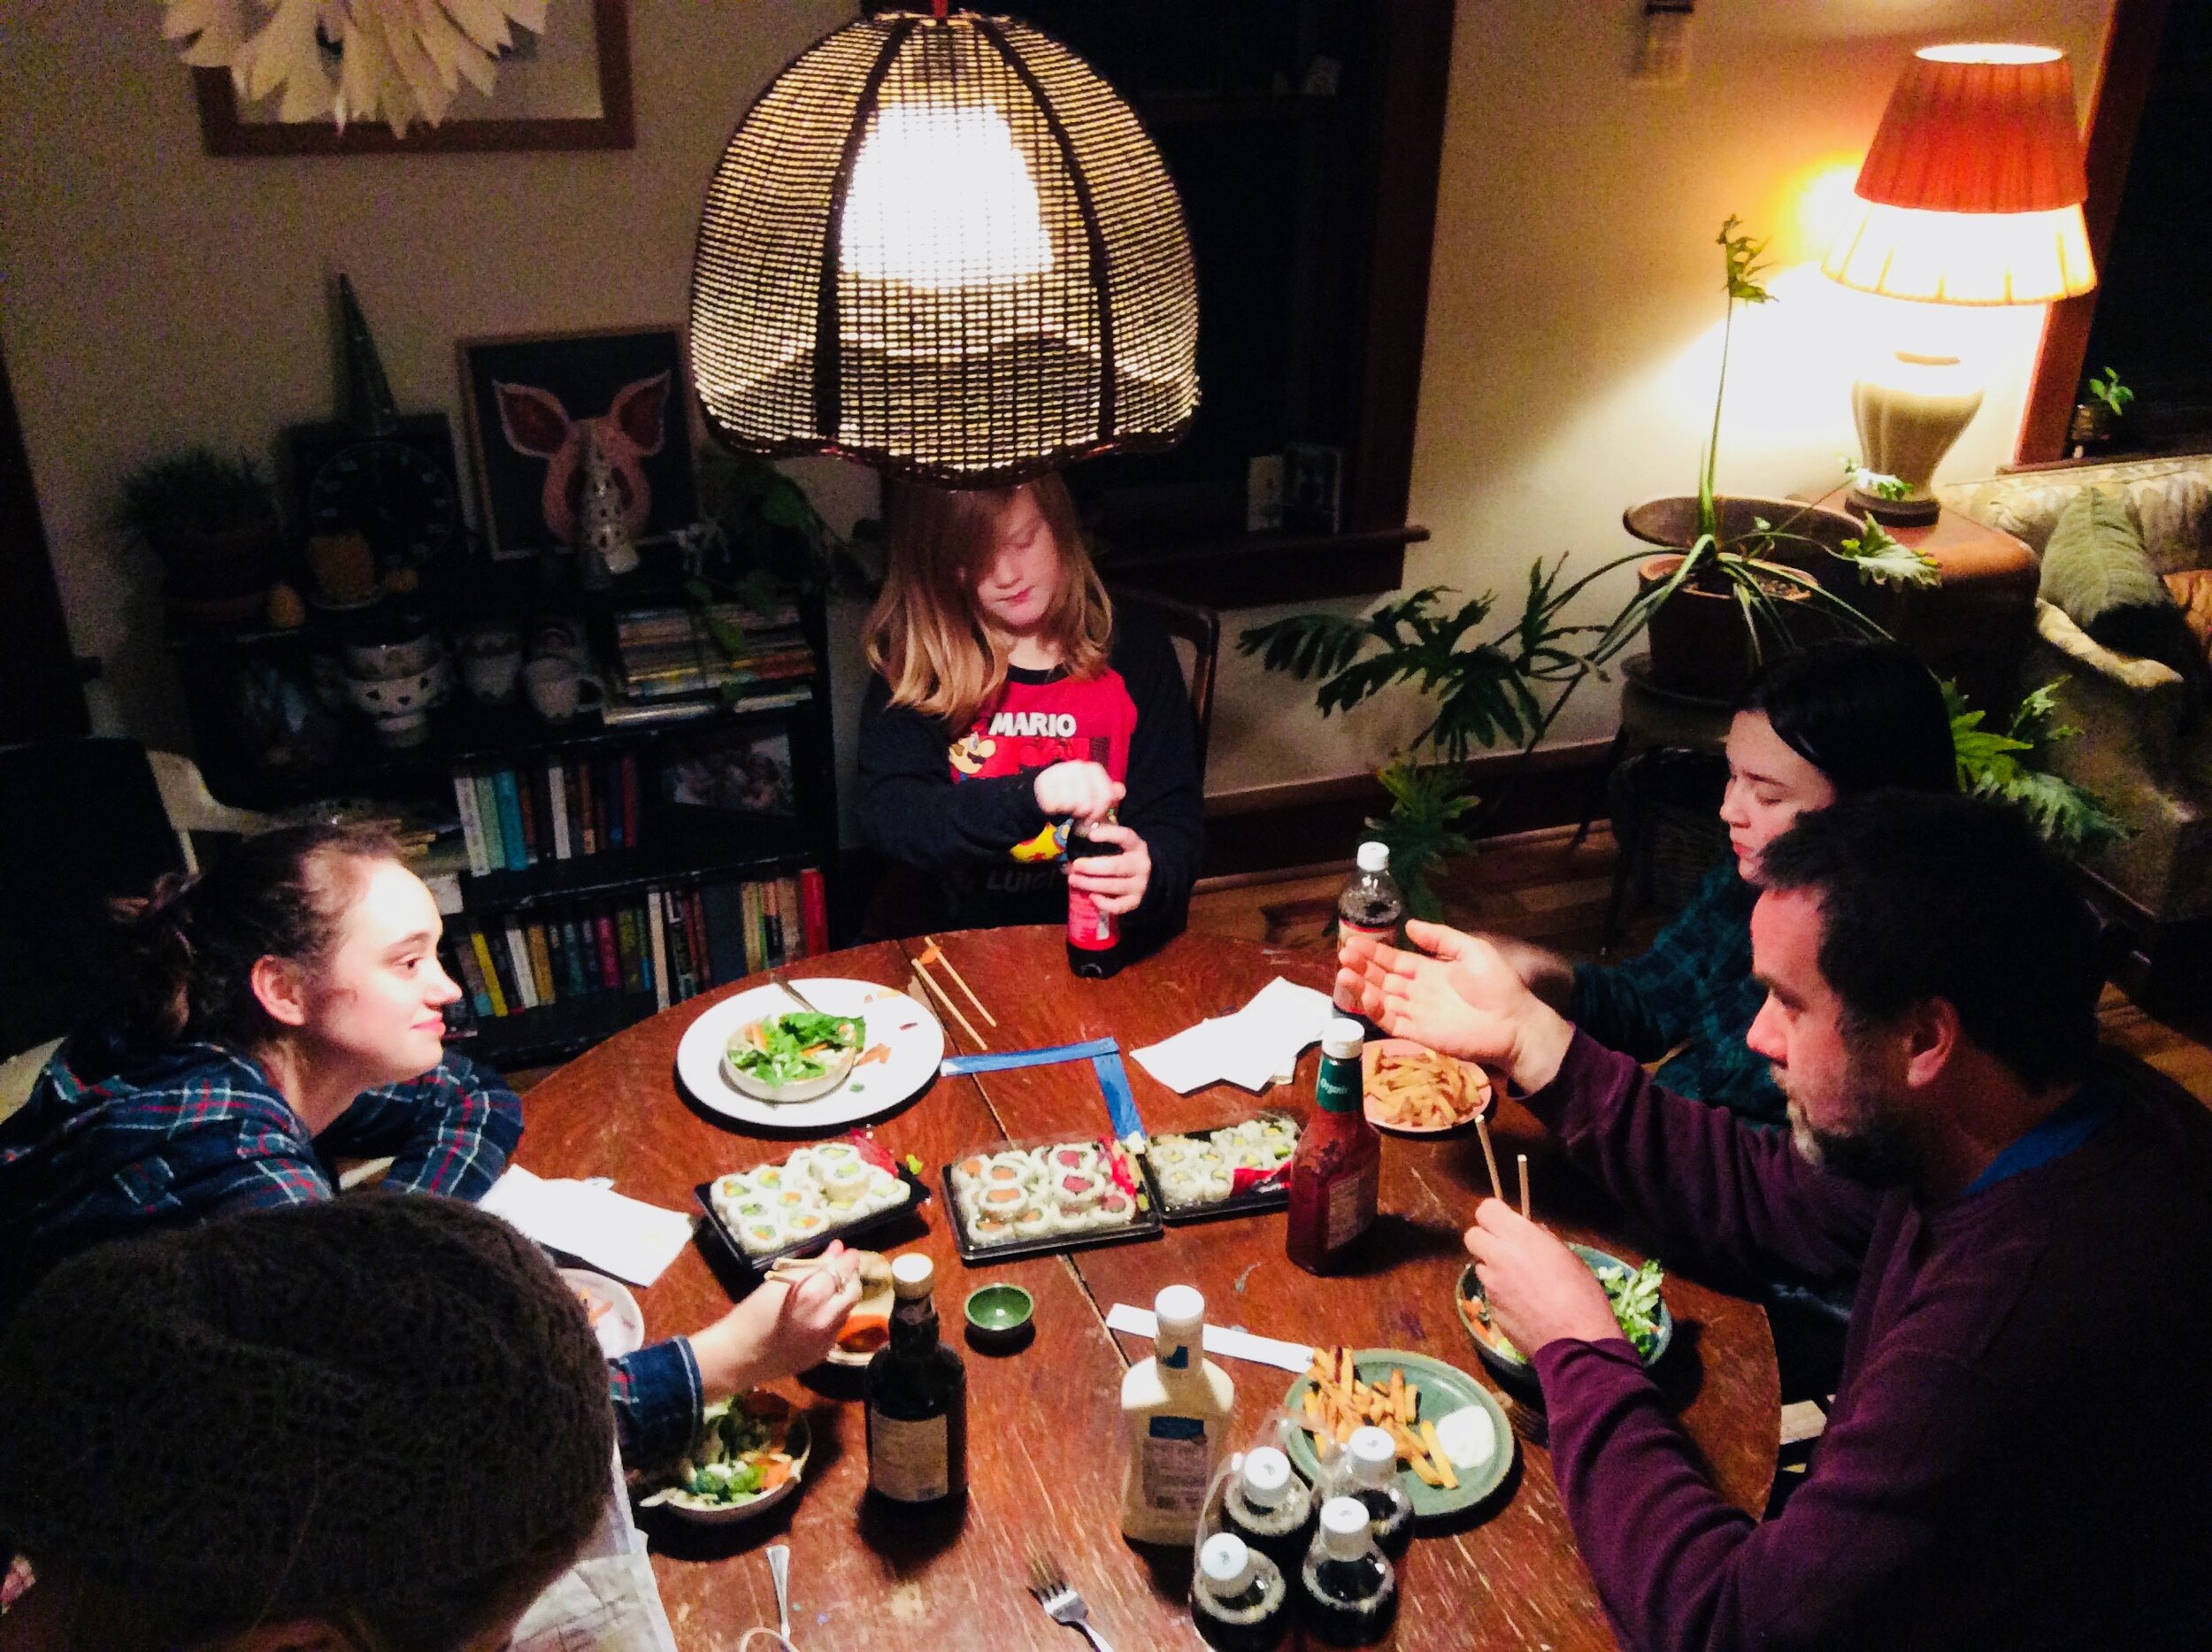
Besides all of that we also had the littles over for a little birthday party for Judah (HAPPY 11th BIRTHDAY!). He and the mr played with his new tools, engaged In some games of chess with Coco while Miley completely ignored us all and I made French fries, salad, and an ice cream cake. His mother brought the sushi (I don’t mess around with raw fish)! And we finished it all off with some wiggle dancing with Barb because what is a party without some wiggle dancing?
I am not a huge giver of a shit when it comes to New Years so NYE we just did whatever. I did try to watch a movie with the mr, but I just ended up falling asleep and was in bed by 930. New Years Day we took the day and went for a nice long drive out to the NEK and just spent time not doing. That was nice.
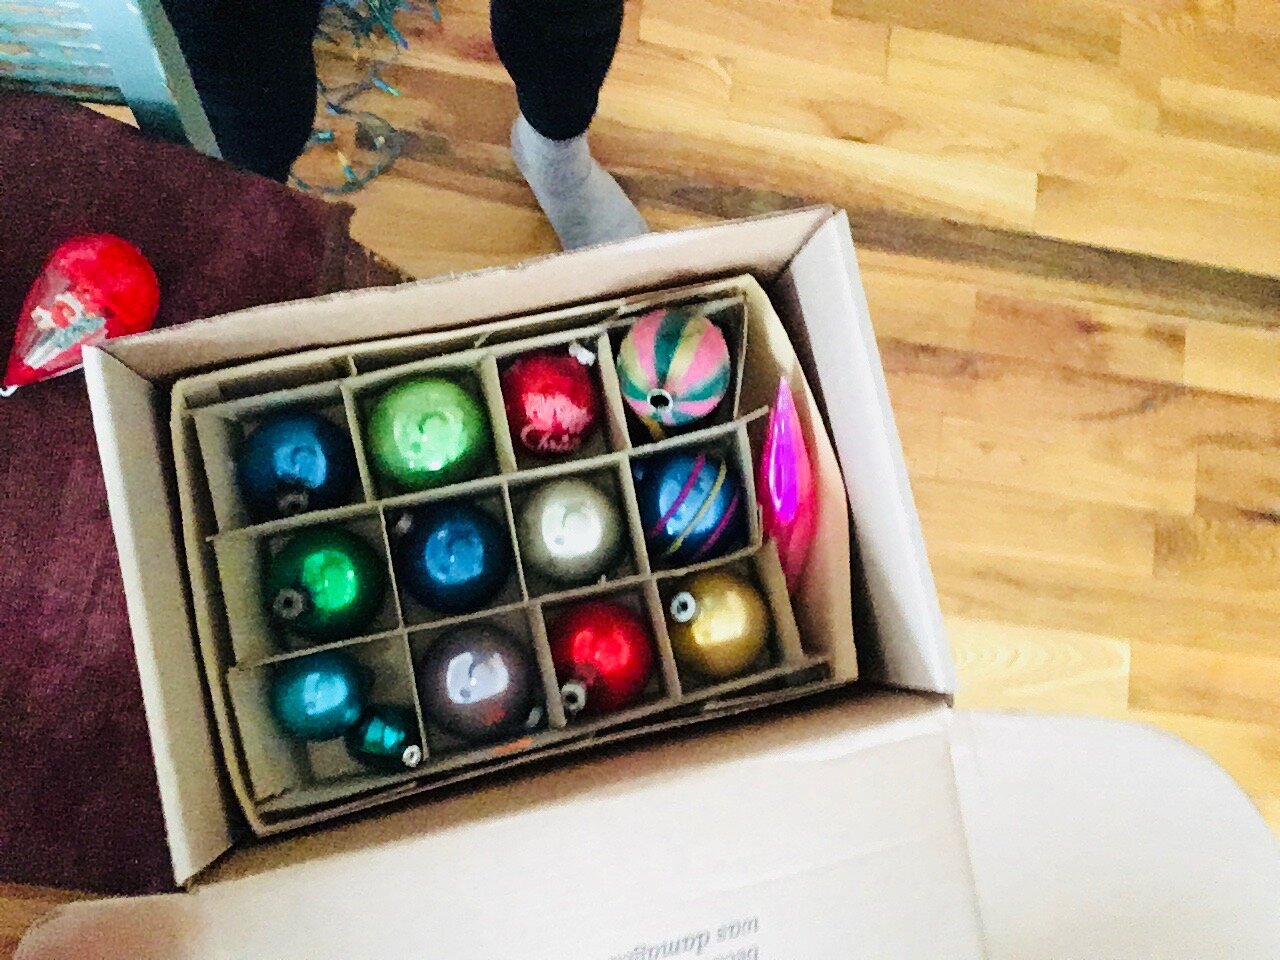
And then it was Saturday and it snowed and I was happy. Like really happy. I was even so happy to shovel out the driveway and smiled while I scrapped the ice of the car windshield because I really just like a cold snowy winter. You know? And then I started on my cleaning binge, took little breaks of snow time walks, went into the woods with the mr and Barb so they could get some snow time, and started packing up the Christmas decorations. It is all down except for the tree. All the ornaments are packed away but I left the lights up. One or two more days. I just love having a light wrapped tree in the house! (It is finally starting to drop needles so it won’t last long)
Today is day 2 of a weekend cleaning binge. First off though, me and Barb are going to go for a nice snowy hike and then maybe hit up a grocery store for food. But after that I am thinking today is the day I clear out my closet and just get rid of everything! (I really don’t have a lot of clothes but I stopped folding things and just started shoving things into the shelves few months back and now it looks a hot mess and I have basically not changed from the same 3 outfits for the past couple months). I need to remember what clothes I have and maybe even wear some of them! That and I might finally pull out the winter comforter but don’t tell the mr! I don’t want him to get his hopes up just incase I change my mind. (I hate the heavy comforter but he LOVES IT and I am trying to be nice.)
And that is it.
Happy New Year!
Internet from the week.
-Wow, what a trip to do this. Should I? Nope, It enough for me to just look at random pictures of myself and think how freaking young I was. The Photographer Who Set Out to Watch Herself Age.
-10 Things Nobody Tells You About Clutter (and How to Get Rid of It). Clutter sucks ad that we all know.
-I am not one for trends but I am on board with most of these. 21 Kitchen Design Trends We Predict Will Be Huge for 2021
-Liking this, especially the see through roof part. This Prefab Cabin Is Like Three Houses In One
-The only real way to detox your body. Water, but read for yourself.
-I have learned over there years that taking the time to organize and pack things nicely really is huge for when it comes time to pull it out again next year…. And ALWAYS wrap your lights! ORGANIZE AND STORE YOUR CHRISTMAS DECOR LIKE A PRO!
-The Weirdest Lies We Told as Children. I used to tell people my Dad was the drummer in the Beatles. More a misunderstanding then a lie though because he looked like George Harrison, played the drums in a band, and they covered a few Beatles songs..
-So cool.Sleeping Whales: Photographer Reveals What Whales Look Like When They Snooze
-Elementary School Kids Design the Christmas Lights in This Scottish Town. All towns should have their kids d this. I love it so much.
-Yurts, Igloos And Pop-Up Domes: How Safe Is 'Outside' Restaurant Dining This Winter?. I wonder. It seems like people thing if they eat inside of an outside structure, that it is not inside? The logic confuses me a bit.
And some pictures from the week.


-C
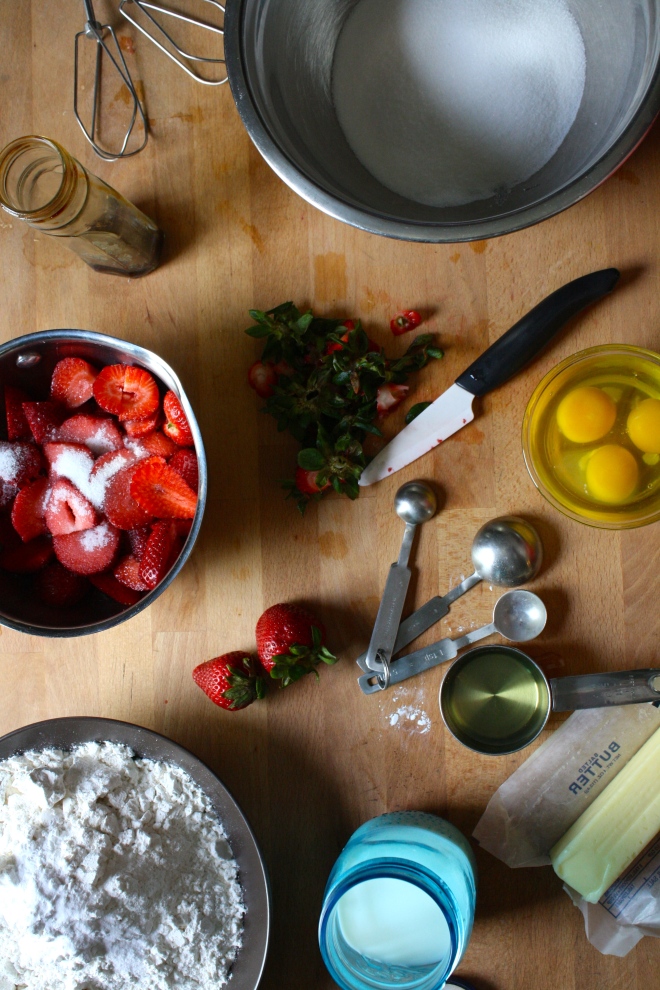 Cake Stuff. Flour, baking soda, baking powder, and salt whisked together in a bowl. Butter, a little oil, vanilla, eggs and buttermilk. Then of course we have strawberries cause it wouldn't be a strawberry cake with out them.
 First things first. Wash, trim and dice up the strawberries. Stick them into a pot and sprinkle with a few tablespoons of sugar. Heat on low and let the strawberries cook for about 10 minutes, stirring frequently, until they turn into a thick syrup.
  The sugar and the butter get beaten together until light and fluffy. Then goes in the oil, eggs, and vanilla. The milk is then added to the strawberry mixture. Add half the dry mixture to the wet, mix, then mix in half the strawberry mixture to that. Mix the rest of the dry in and finish off with the strawberry mixture.
 Cake gets pulled from the oven and set on a rack to cool.
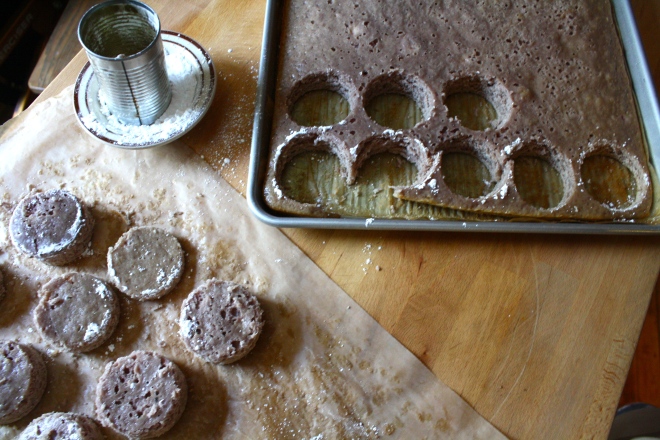 Tomato can cutout. (I couldn't find my biscuit cutters) A biscuit or cookie cutter would probably work a little better.. The cakes kept getting stuck in the can.
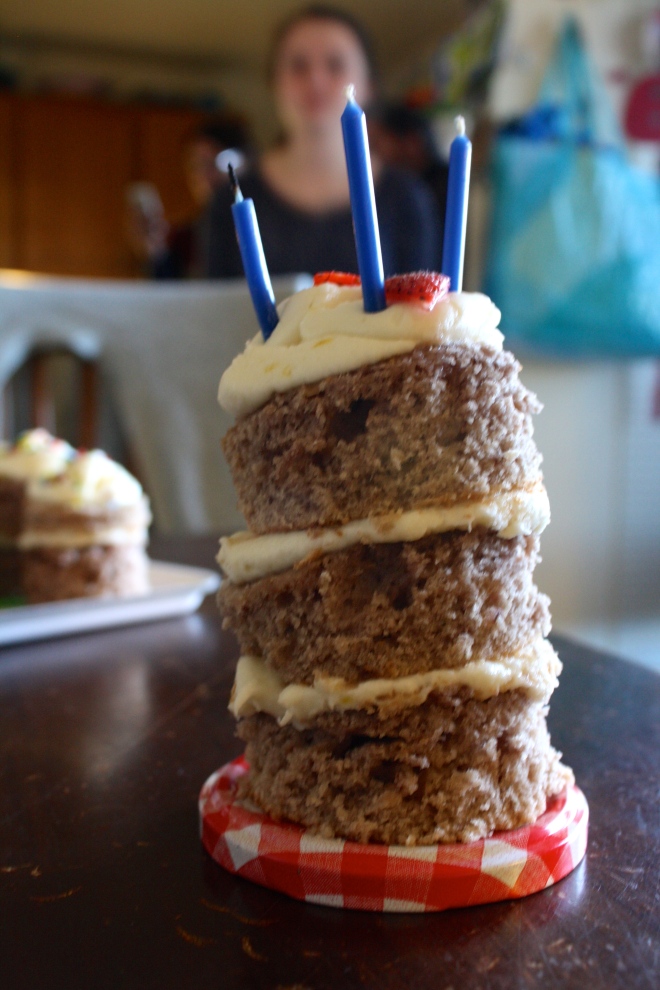
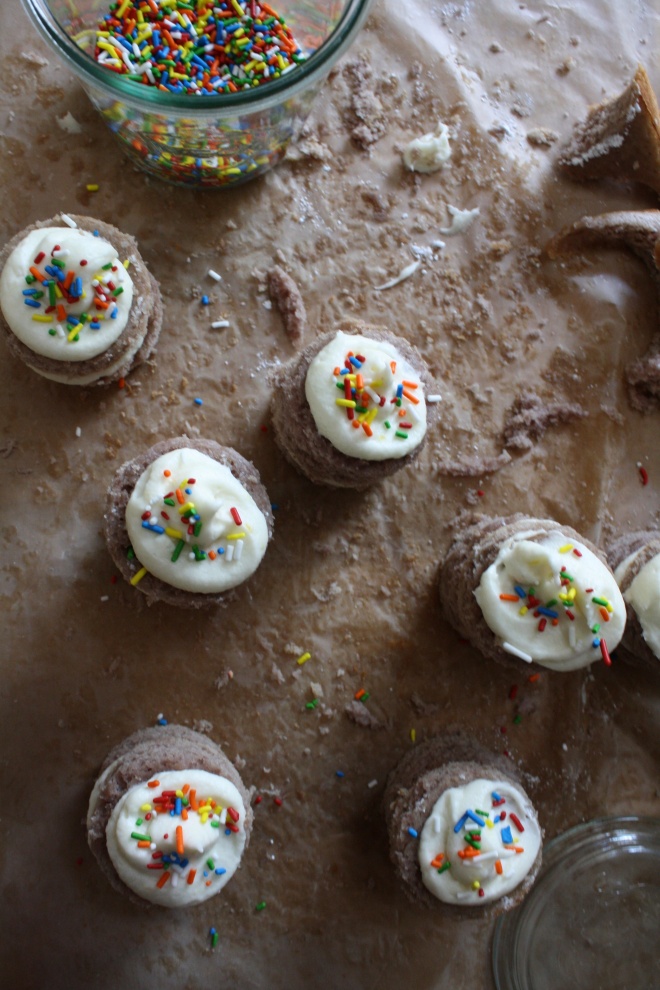
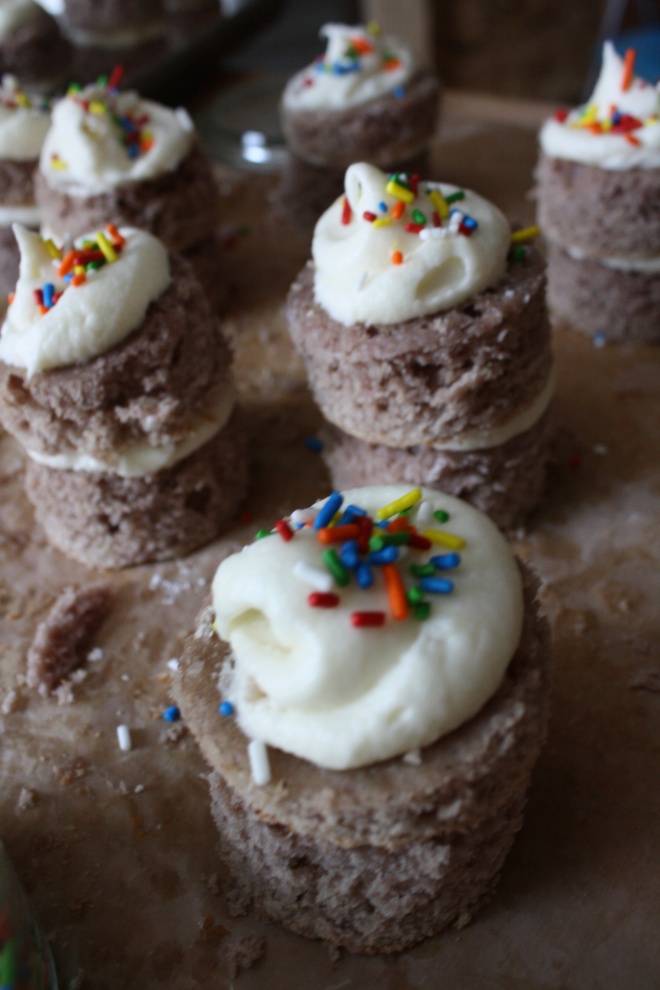
 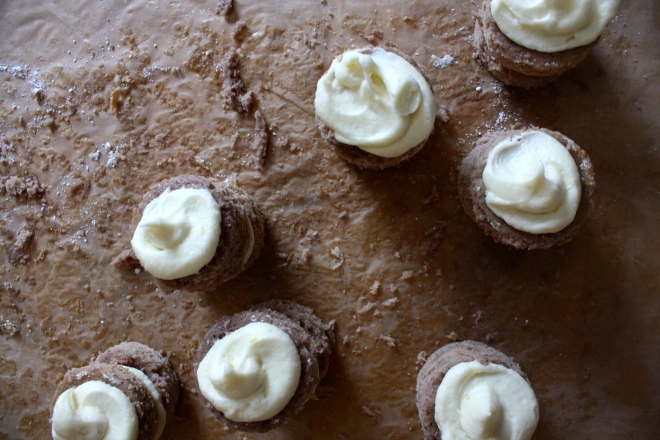 Frost the cake!! Place frosting into a piping bag or a big plastic zip lock with the tip cut off. 2 rounds to a cake. A squeeze of frosting goes on one, topped with another and given a little smoosh. A nice big dollop of frosting on top then….
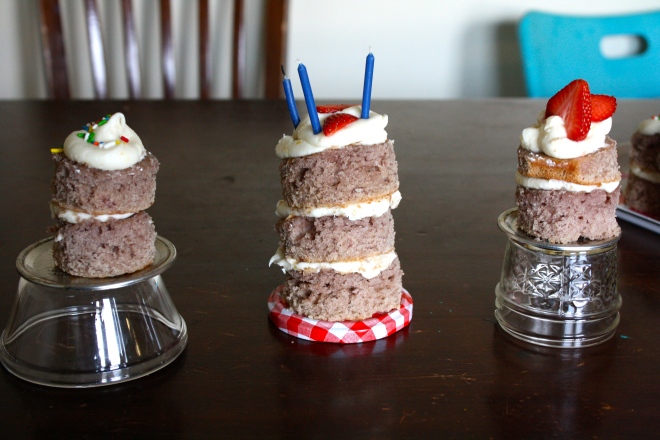

 Here is the list of what you will need to make the exact shelf with the same measurements that we used…but feel free to use and adjust the measurements to your want or need.
 Take one of the 17 1/2" pieces and with a straight edge, draw two lines form opposite corners to find dead center. Measure 8" from center on each line, that is where the legs are going to be placed. Working with one leg at a time, add a smear of wood glue to each leg as you are about to screw it down. Place leg on mark and sink a screw about an inch up from the inside of the leg, screwing at a slight angle (see photo)..
 Now grab the top piece (17 1/2 ") piece and the two sides pieces (25 1/2"). Add a bit of wood glue to the side ends and line up top piece with the sides. Sink 2 screws into each side. If you have another person helping, have them hold the pieces for you while you screw the top into the sides.. if not, use the bottom to rest a side against (like in picture).
  Now flip over and screw the bottom piece into the sides……
 Place shelf on the lines (The wood should fit in tight, you might even have to bang it a bit to get it into place….but you want it to fit nice and snug.) Now screw the shelf…two screws on each side.