• stem+node ceramics
  • HOME
  • Food Recipes
  • About
  • Contact
Menu

The Lovely Crazy

Street Address
City, State, Zip
Phone Number

Your Custom Text Here

The Lovely Crazy

  • stem+node ceramics
  • HOME
  • Food Recipes
  • About
  • Contact

Raspberry Zinger Lemonade

April 29, 2016 Colleen Stem
IMG_3015.jpg
IMG_3018.jpg

I am channeling all my summer time feels here in hopes for warmer weather. As of yesterday there was still a pile of snow outside of my house and I am still leaving every morning in a hat, mittens, and a winter jacket.

I want t-shirts and shorts, I want sandals, and I want to set my winter jacket on fire (not really, but kinda).

This cold weather has crept back into my soul and I needed something to remind me that there will be warmer days to come and I will soon be bitching about how hot I am and blah blah blah.. you know how it goes.

So I make lemonade. This lemonade as inspired by my favorite tea as of late, raspberry zinger. It's a nice and tangy tart and really tasty. I make great big jar of it at night and add a little squeeze or two of lemon to it for that little extra zing. I figured if it tastes good hot, it will taste great cold, which in fact, it does. It taste really freaking good. And it just occurred to me that there is probably a little subliminal inspiration from Beyonce in wanting lemonade, so thanks for the B.

Anyway, it's suppose to me nice and seasonably warm this weekend. Maybe bust out your lemonade game and try a batch of this one.

The stuff. Lemons, a raspberry zinger tea bag, honey (or any sweetener you like to use) water and ice.

Bring some of that water to aalmost boil and pour it over the tea bag (make sure you stick the bag into a jar or pitcher)

While the tea is steeping, juice the lemons. And a personal preference, you can strain out the pulp or not. I use the strainer to catch the seeds but then stick the pulp back in cause I like pulp. All up to you.

While the tea is steeping and still hot, add in any sweetener that you want to use. ( I used a little honey) Stir until that sweetness is all dissolved.

And after the tea has had a good steep, dump the brewed tea into the pitcher with the lemon juice then add in the really cold water. Stir it all around.

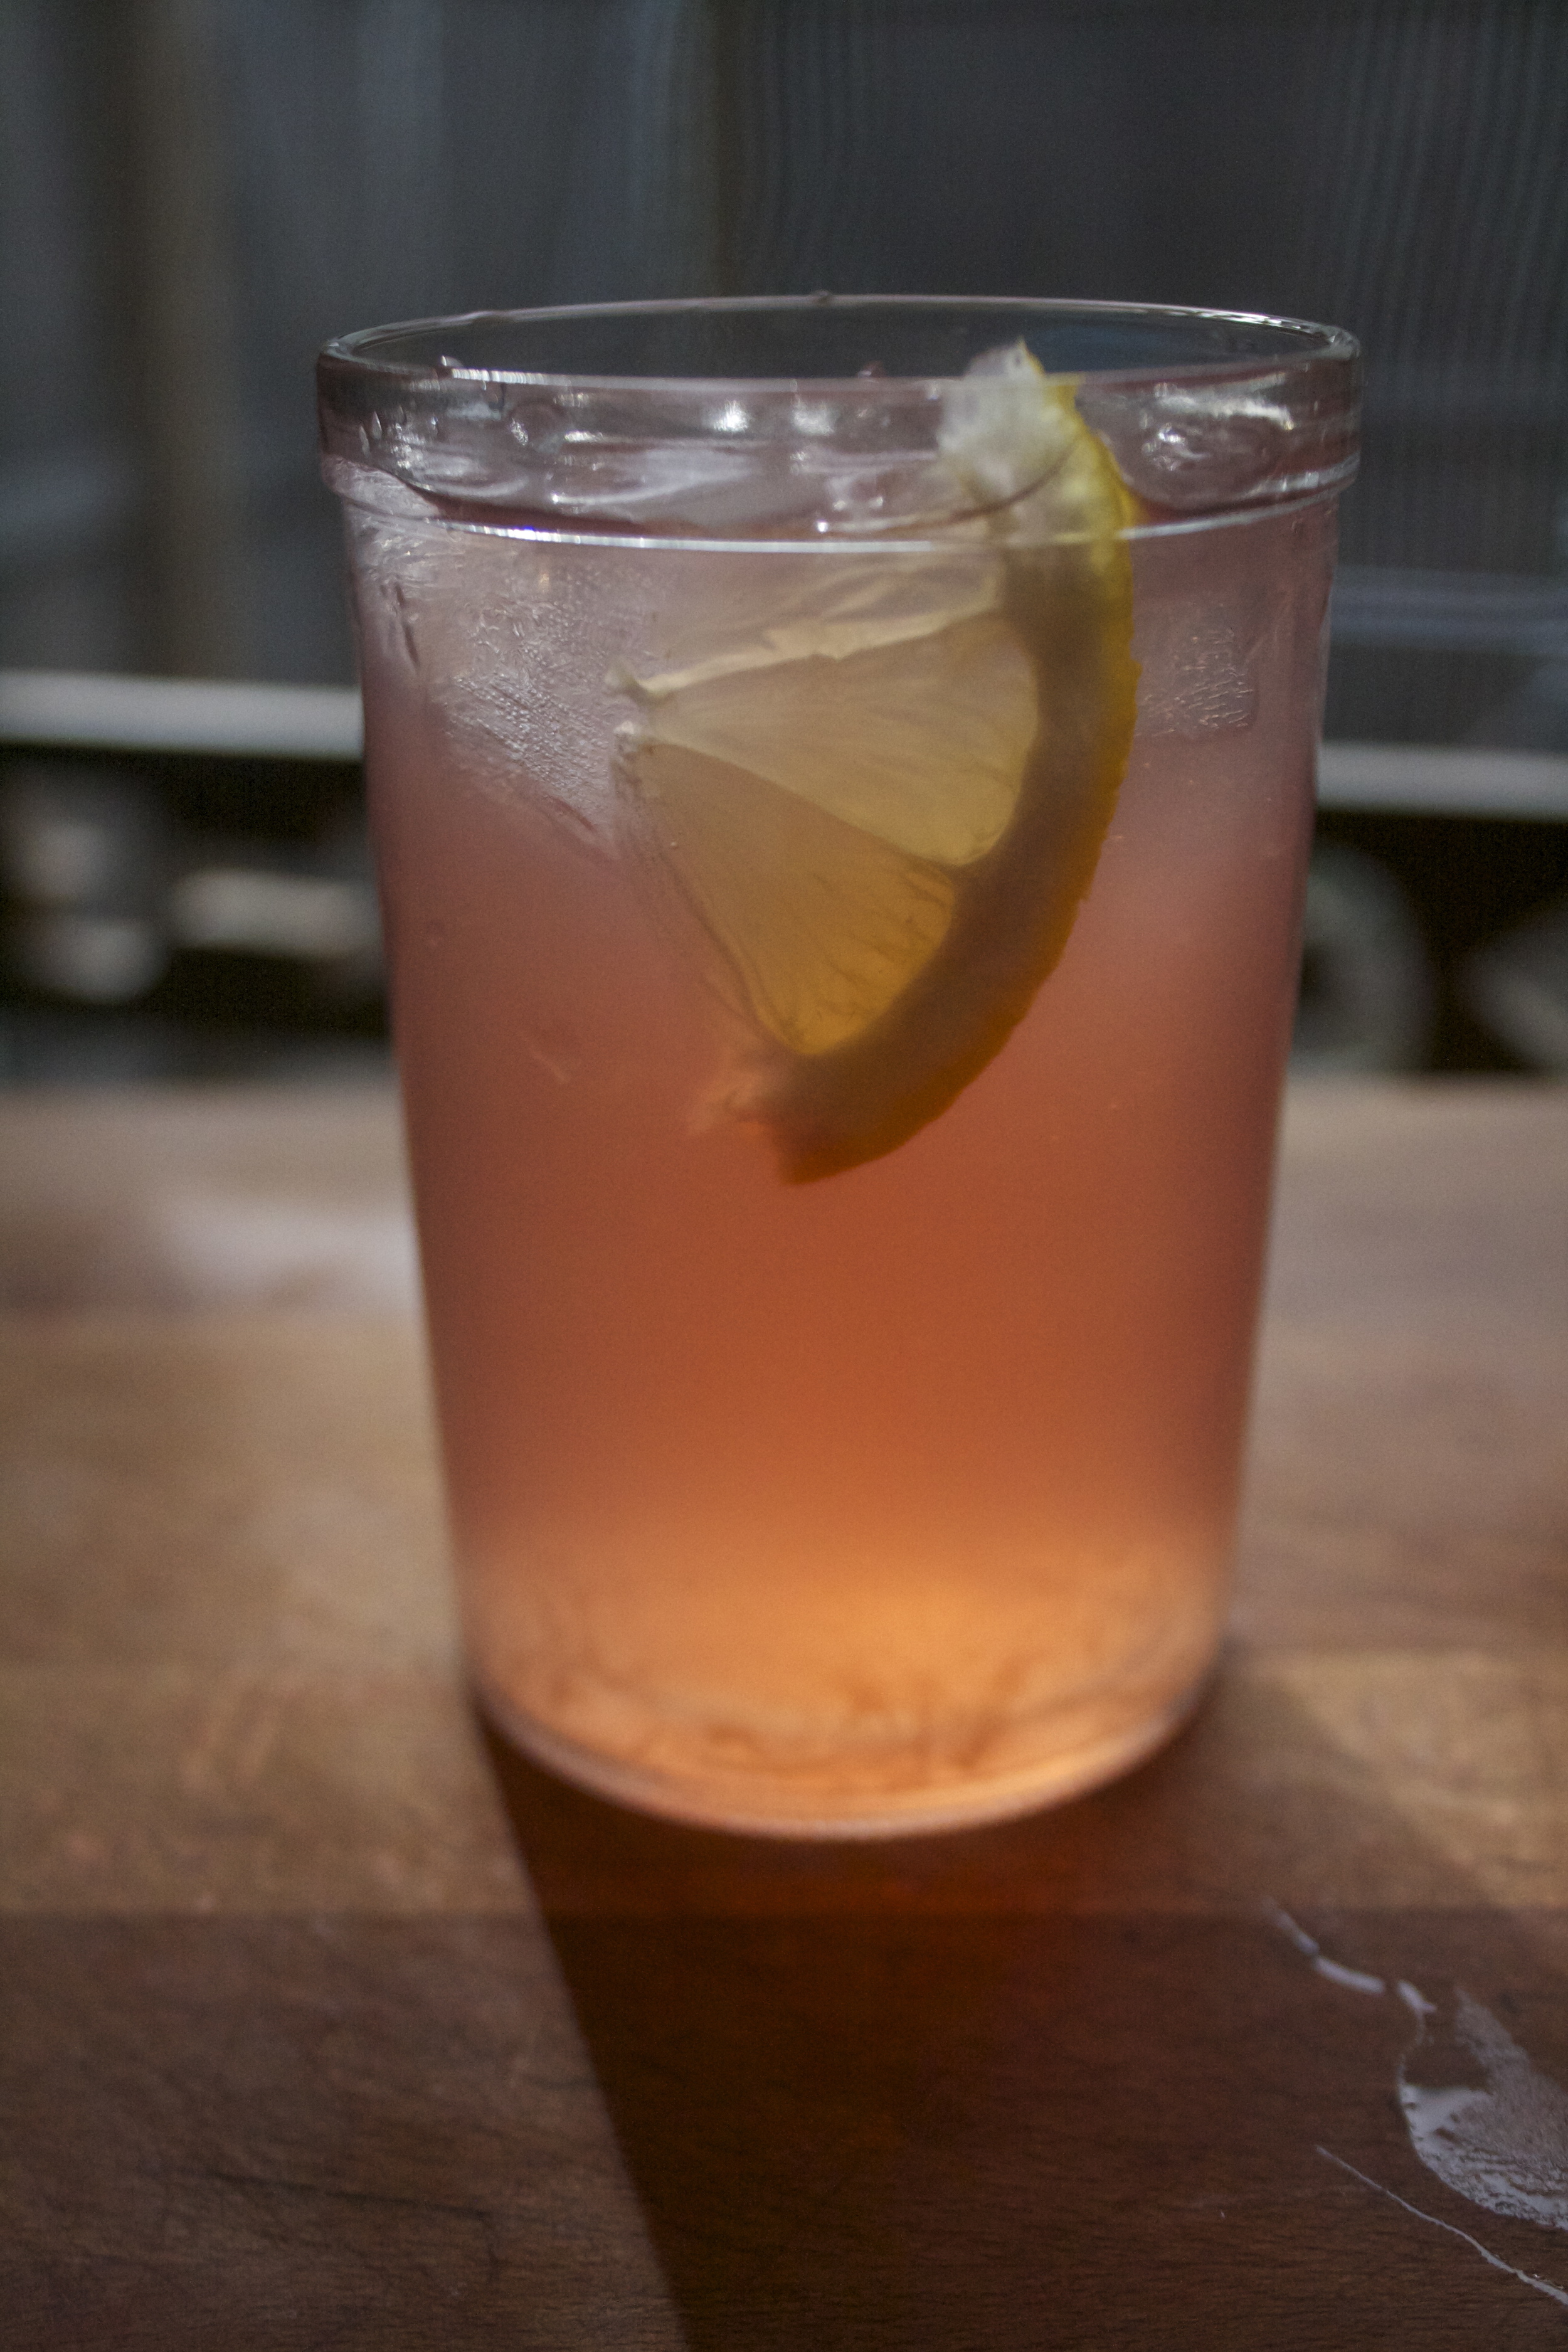
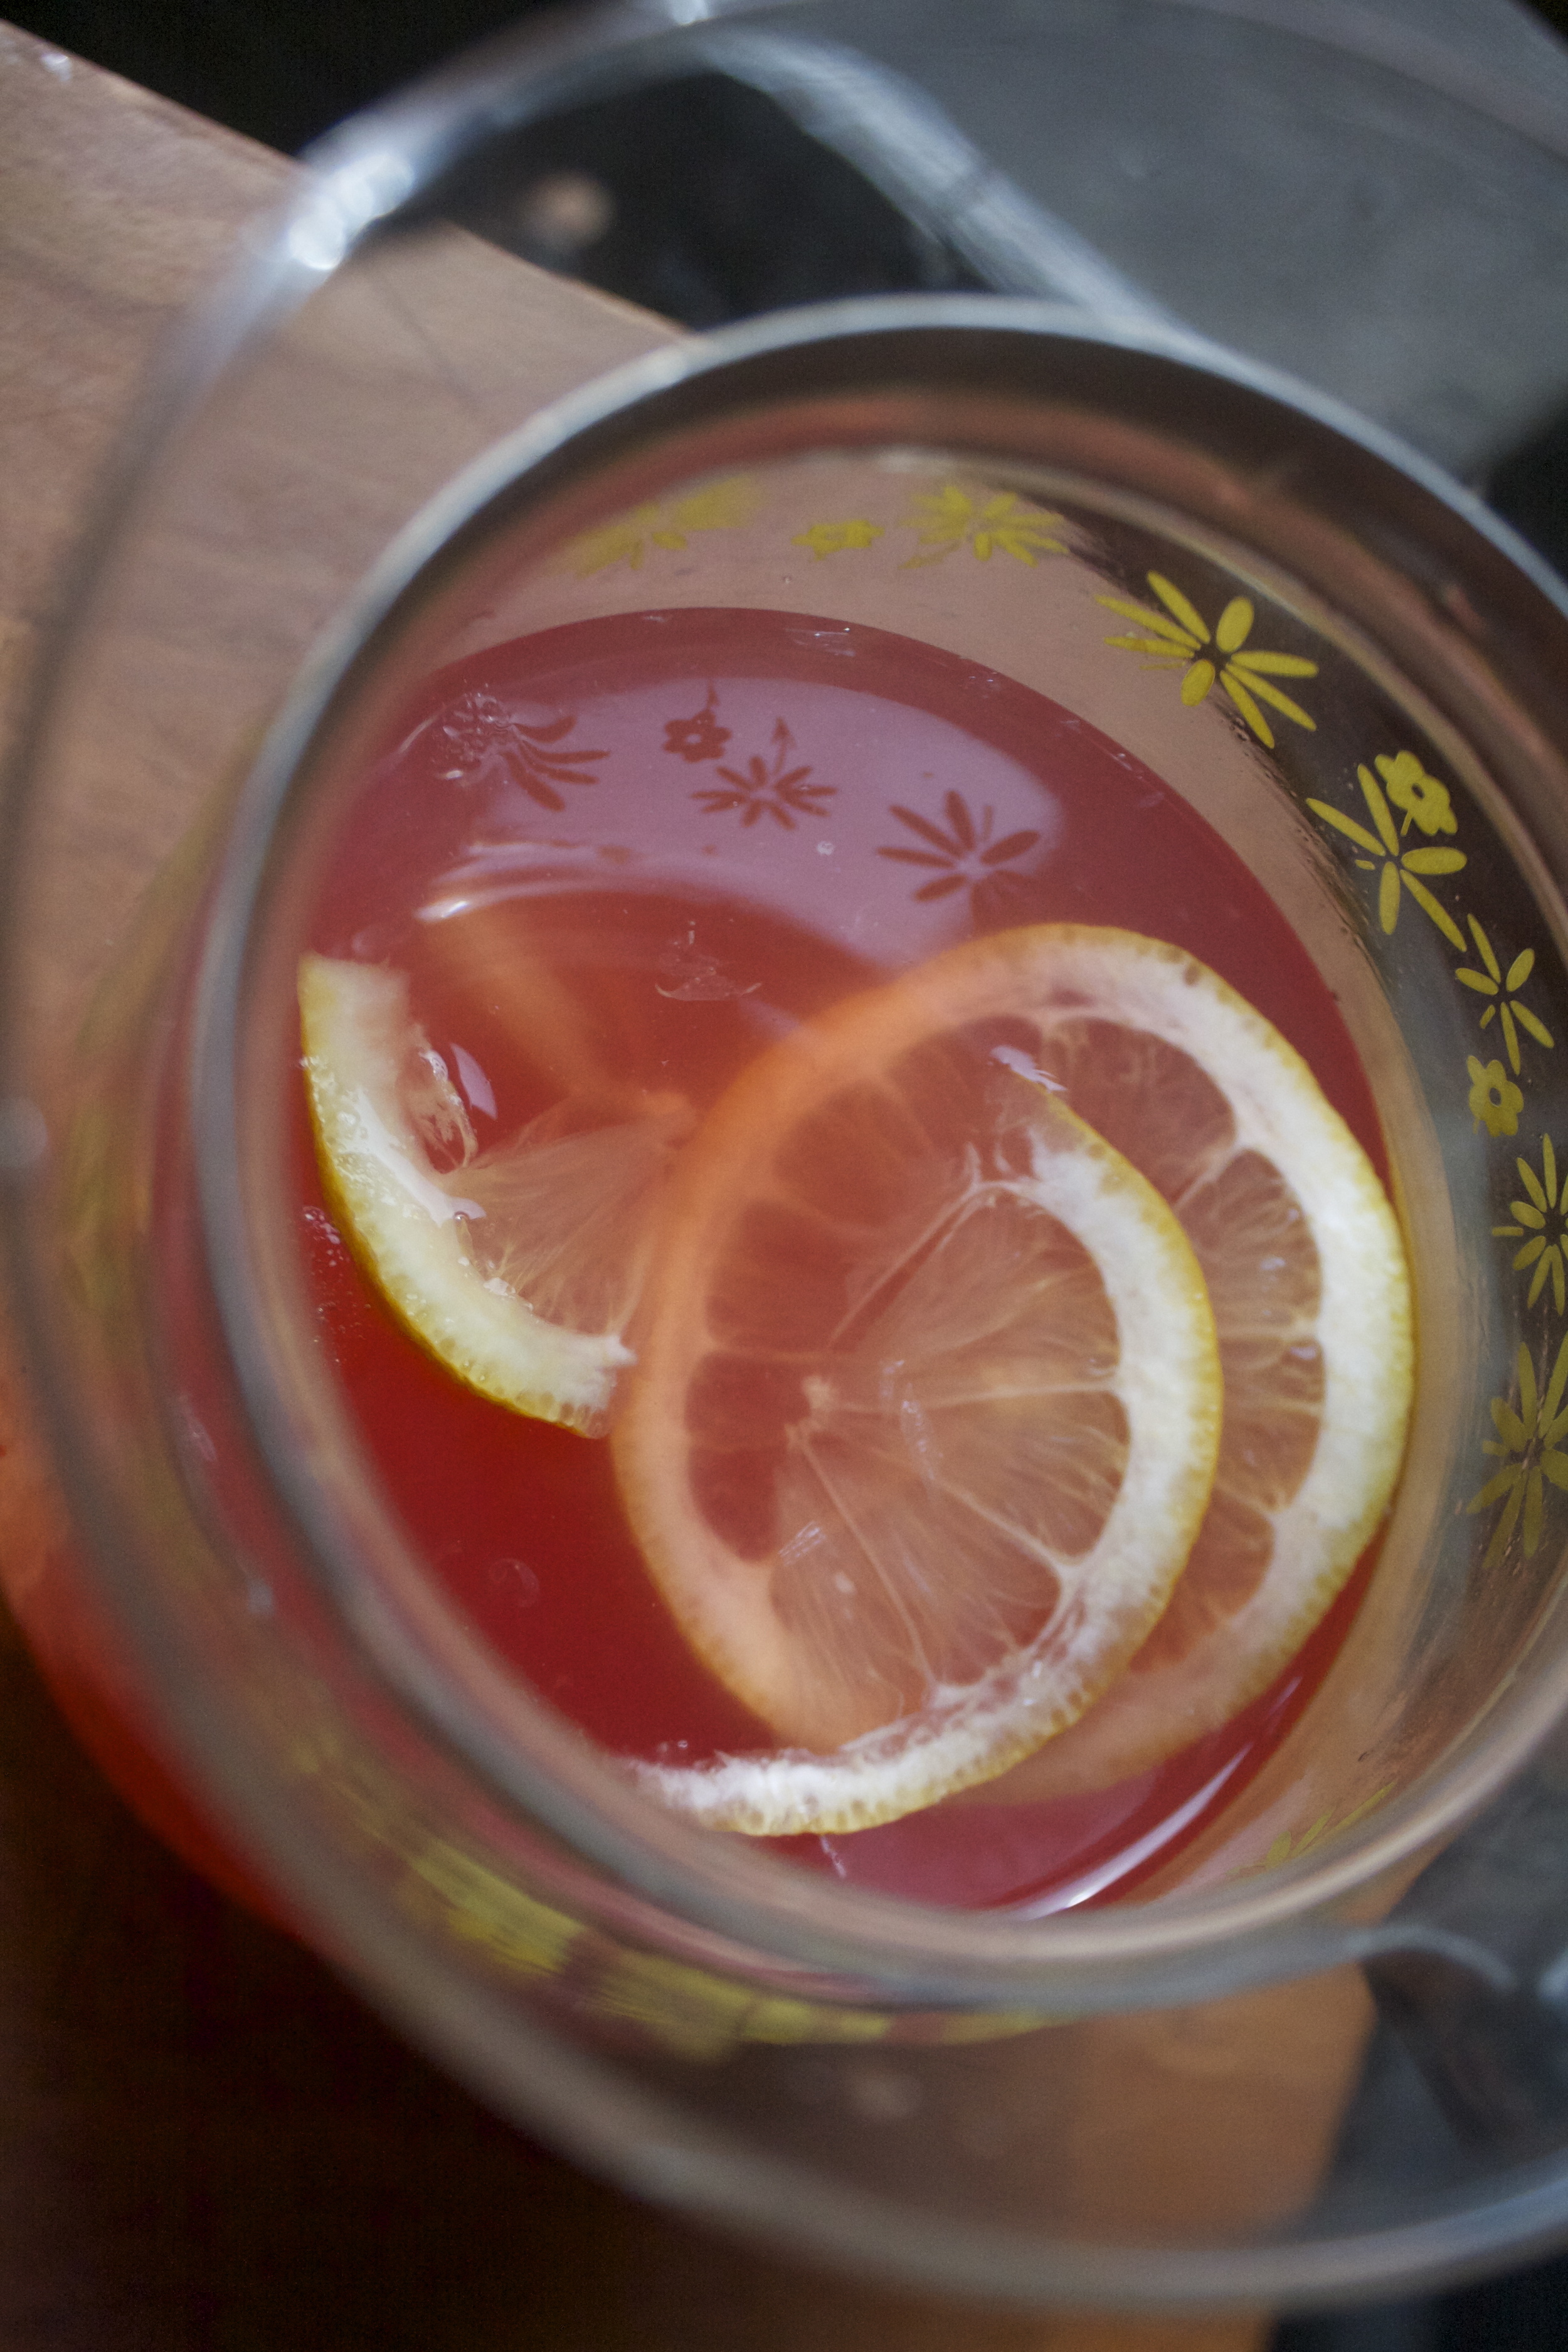
Add acouple thin slices of lemon to make it all fancy anda few big chunks of ice to make it super cold

Refreshing, crispy, tangy with a touch of sweet....Perfect for all those warm summer days to come (hopefully)

Have a great weekend people.

-C


Raspberry Zinger Lemonade

Makes 5 cups

  • 1 raspberry zinger tea bag( I used Celestial Seasonings)
  • 3/4 cup fresh lemon juice (3-5 lemons, depending on size)
  • Anywhere between no to 1/2 cup of sweeter (can use sugar, honey or maple, I like a touch of honey)
  • 4 cups water (2 hot, 2 cold)
  • ice

Place tea bag in 2 cups of hot water (can be done directly in a pitcher) Add in the sweetener while its still hot and mix until completely dissolved. Let steep for about 10 minutes.

Remove tea bag and add in the lemon juice, 2 more cups of cold water and mix, Top with ice and garnish with a few more lemon slices if your feeling fanciful.

Serve in a glass full of ice with a wedge of lemon and a smile on you face.

In Vegan, Sweets, drinks, Dairy Free, brunch, 5 ingerdients or less Tags Raspberry Zinger Lemonade, Lemonade, tea, raspberry zinger, fresh, drink, summer, pink lemonade, vegan, gluten free, fruit, beyonce, Celestial Seasoning
Comment

Raw Beet and Orange Salad with Roasted Hazelnuts

March 24, 2016 Colleen Stem
IMG_1238.jpg
IMG_1232.jpg

My fingers are almost always stained a bright pink. My cutting board and counter tops, pink. Look closely at at dish towels and you will find pink blotches all over them as with any of my light colored clothes. You would think after years of trying to remove beet stains form everything that I would have gotten a system down or at least had a designated cutting board for them, but no. That would be to easy and really,  I think I kinda don't care.  So pink my things will be.

Beets. You either love them or you hate them. I love them (so much), the mr, well I am making him love them. He needs to love them because I end up putting beets in everything. If you are a hater, there is still turn into a lover. But maybe you have never even eaten a beet or haven't in a long long time.  I am actually surprised at how many people I have talked to that have never tried beets before. If you are one of those people, stop being that person and eat one already. OR if you think you hate them, why don't you give them a second try, I bet you will change your mind. Sweet but earthy and nice and crisp but kind of juicy..they really are super tasty. And not to mention all the great health benefits(you can look those up yourself) Yup, beets be the shit!

 And I love a good roasted beet, but really, I prefer my beets raw. Which brings us to this salad. A simple salad of grated up beets, orange juice and toasted hazelnuts. Fast, easy, and tummy satisfying.  As long as you don't hate beets (how could you) then you will love it.

Now you get those beets!

The stuff. A big beet, (or two smaller ones) an orange,( I bought navel oranges and sliced into this one to find it was a blood orange... not complaining), hazelnuts (raw or toasted) apple cider vinegar, and salt and pepper. Optional but also very nice, some greens and or some type of grain. (I happen to have a some quinoa in the fridge)

IMG_1152.jpg
IMG_1179.jpg

Hazelnuts. If yours are already toasted, then no need to do it again, but if they are raw, toss them into the oven for a few minutes (hazelnuts taste so much better toasted)

And grab the beet and a shallow dish and grate it all up.

Add to the beet the juice of the orange, a small splash of vinegar to cut the sweetness, and salt and pepper to taste. Give it a good toss and let it sit for at least 5 minutes, if not longer.

And if the hazelnuts are in the oven, take them out when they are slight golden brown. If you want to remove the skins, just stick them in a clean towel and rub it off.

Everything all ready to go.. Any extras are added to bowls.

Beets into bowls, topped with toasted nuts and a cute little orange segment.(if you happen to have one lying around)

Isn't that just something. Beets are so pretty,, but more importantly, so freaking tasty good.

Enjoy Today!

-C


 Raw Beet and Orange Salad with Roasted Hazelnuts

makes enough for 2 people as a side

  • 1 large beet or 2 smaller beets
  • 1 orange (I used blood orange but any orange would be good)
  • handful of hazelnuts (either already roasted or raw that need to be roasted)
  • apple cider vinegar
  • salt and pepper
  • Optional - quinoa (any grain would work) and or greens

If you hazelnuts are raw, toss them onto a baking sheet ans place them into the oven at 300 for about 6-8 minutes until slightly golden brown and smell so nice. When done remove and if you don't like the skins, place nuts in a clean towel and rub the skins right off.

Wash beet(s) and grate into a swallow bowl. I don't peel mine, but peel if you must. Add in the juice of the orange, a splash of vinegar and a dash of salt and pepper. Mix around and let sit for at least 5 minutes (the longer the better)

When you are ready for food, grab a bowl (add anything you want to add to the bottom, like quinoa or greens) and fill that bowl up with the beet salad and top with roasted hazelnuts.

Grab a fork and eat.


In Vegetables, Vegan, salad, recipes, Raw, Gluten Free, dinner, Dairy Free, 5 ingerdients or less Tags Raw Beet and Orange Salad with Roasted Hazelnuts, raw, beets, clean eating, fresh, local, roots, vegan, salad, nuts, plant based, orange
Comment

Avocado Mango Popsicles

March 22, 2016 Colleen Stem
IMG_1016.jpg
IMG_0879.jpg

I was cleaning out the fridge and found that I had a good few really ripe avocados that were in need of eating ASAP. (I bought like 8 at once... super sale!) My first thought was I wish I could freeze these and save them for later. Then I thought well why the heck don't I freeze them. So that's what I did. I pureed them up, added a little lemon juice and stuck a jar of tangy green creamy goodness into the freezer and all throughout the week found myself standing in front of the fridge with a spoon scraping at the jar of avocado. It was so good. I even added a little fruit to it toward the end. Avocado and fruit = oh hell yes.

And now that is is officially spring we should be eating popsicles (right?!). I figured you guys are cool enough that I would share my new found love of frozen avocados and you would be down with it.

I know, some might think that plain old frozen avocado doesn't sound amazing, but when you add a little sweetness and swirl it around with super sweet and creamy mango. Trust me, it's freaking amazing. The flavors go perfectly together, and the texture, it's almost like ice cream... SO GOOD! Anyway, I know that it might not be the perfect spring weather as of today, but the beauty of these is that you make them, freeze them and leave them until the perfect moment. Say a good long day of raking up all the cat poop that the neighbors cat has left in all your spring flower beds, or picking up all the recycling that has blow into the bushes all winter long. Maybe a day of cleaning out the closet or dusting the ceilings. Make these popsicles now and treat yourself to one after doing some kind of crappy spring chores, its what you need to do.. Or better yet, bribe a little with a popsicle to do your spring cleaning..... Yeah, I might just do that.

Or just make them and eat them... no spring chores required.

The stuff. A nice ripe mango and a nice ripe avocado. A bit of lemon juice (from half a lemon),  a little maple syrup, and a some water.

Scoop the avocado into a jar and cut up the mango ans stick into a jar.....

Splash a little water into each jar and blend them up. (I used my hand blender. but use the blending device of your choice) Add the maple syrup to the avocado.. as much as you need, and if your mango is not super sweet, you can add a little to that too.

Scoop the avocado puree into the mango and gently swirl it around

Now pour/scoop the mixture into your popsicle molds. And because mine was thick enough, I was able to stick the wood sticks without them sinking.

Noe get them quick into the freezer

A good few hours (I didn't even check until the next day but I bet 4-5 hours in a good freezer will do) the popsicles are nowposicles!!!!!

Pop them out of the mold (a few minutes on the counter and or a quick rinse under warm water) and do what needs to be done.

So creamy sweet and refreshing... This is a happy spring popsicle for sure.

Have a great day!

-C


Avocado Mango Popsicles

Makes four 4oz popsicles

  • 1 ripe avocado
  • 1 ripe mango
  • 1/2 a lemon or lime
  • 1-2 tablespoons maple syrup (or any sweetener of you liking)
  • about 1/2 cup of water

Note.sIF your mango is not super sweet you might want to add a little maple syrup to thatto that as well. And depending on the actual size of your mango and avocado, you might find yourself with a little extra fruit puree.... so maybe an extra popsicle can be made or you can just eat it now.

Scoop avocado into a jar and cut and dice mango and place in a separate jar. Add maple to the avocado (and the mango if you want) and about 1/4 cup of water to each.  With a hand blender, blend each until smooth ( or use a regular blender) Once both are blended, dump one into the other and gently swirl around. Pour mixture into popsicle molds, add the sticks and stick into the freeze. Keep freezing until frozen which should take at least 4-5 hours.

And once frozen, pop out of molds (run mold under warm water or just leave on counter for a few minutes) and eat them like it hot!


In 5 ingerdients or less, breakfast, Dairy Free, desserts, Gluten Free, Paleo, Raw, snack, Sweets, Vegan, frozen Tags Avocado Mango Popsicles, mango, avocado, popsicles, spring, vegan, frozen dessert, clean eating, plant based, paleo, healthy, raw
Comment

Oven Baked TATER TOTS

March 15, 2016 Colleen Stem
IMG_0627.jpg
IMG_0575.jpg

Tuesday tater tot time!

Sometimes you just want a tater tot. So what are you to do about it? Well I fought off the feeling for far too long (why? I do not know) and finally gave in got my shit together, got some potatoes, and made the tots. And then I was happy.

What was taking me so long?  Tater tots are freaking good.

These are nothing like those tots that were served in the lunch room cafeteria that we all know and loved. No these are sooooo much better, and probably (definitely ) way way healthier too cause they are baked, not fried. And to make'em even better, after making the tater tot tower you're ready to eat, you can eat them up with whatever dippy type thing you can think of. Sure you could go with straight up ketchup (me, not a fan) or you could go nuts and make a big bowl of guacamole, grab the mustard and the hot sauce, and do that. Tater tots go so well with all sorts of stuff. (I was even thinking peanut butter but stopped myself for the time being)

. Next time I make them, I am so going to make a tater tot castle!

Tots away!

The stuff. Potatoes (duh), an onion, garlic powder, olive oil, and salt and pepper.

First thing to do is boil the potatoes...just a bit. Cut each potato into 4 wedges and stick into a big pot full of cold water, salted water. Stick pot on the stove ans bring to a boil, then turn heat down a little and continue to cook the potatoes until they are just barely for tender. Strain from the water and set aside to cool.

Once the potatoes have cooled off enough where you can handle them, grab a grate and grate them all up, along with the onion. ME, trying to use the least amount of dishes possible, I just grated it all onto the baking sheet that I was using to bake the tots off.... Worked like a charm. And once your taters and onion are grated, sprinkle in the garlic powder, a good amount of salt ans pepper ans drizzle it all with a little bit of olive oil. Mix it all around (I used my hands but a fork would work) and if you are using the baking sheet , just push the mound to one side.

And start forming the taters into tots.... Just grab a handful and squeeze it together into a tot shape.

Note. Have a dish towel close by to wipe your hands when they get to starchy... the tots stick together better when made with dry hands.

Tots ready for the oven. Bakes for 30-35 minutes at 400.. Flip after about 20 minutes.

Golden brown, all crispy an tot like. Ready for your eating pleasure.

Plate them up, serve with your favorite condiments (try guacamole , mustard and hot sauce) and eat them. Eat them all.

-C


Oven Baked Tater Tots

serves 3

  • 2 big russet potatoes
  • 1 sweet yellow onion
  • 1 tablespoon or so garlic powder
  • olive oil
  • salt and pepper

Slice the potatoes lengthwise into quarters and place into a pot of cold, salted water, making sure the potatoes are completely submerged.  Bring the potatoes to a boil then turn heat to medium and keep boiling until the potatoes are just barely fork tender., like 8-10 minutes. Drain the potatoes and let them cool.

Preheat oven to 400

Once cooled, grate the potato, along with the onion into a bowl or onto a baking sheet. Sprinkle with the garlic powder, add a good amount of salt ans pepper and drizzle with olive oil. Toss around until its evenly coated then start forming the mixture into tots. Place the tots on a baking sheet and once all the tots are formed ans ready to go, stick into the oven. Bake for about 20 minutes, remove, flip them over, then continue to bake for another 10-15 until they are all nice and golden brown.

Remove from oven, grab your favorite condiments and eat right away.


In Vegetables, Vegan, Savory, recipes, Paleo, grain free, Gluten Free, dinner, Dairy Free, brunch, breakfast, 5 ingerdients or less Tags tater tots, potato, oven baked tater tots, plant based, vegan, gluten free, clean eating, side dish
Comment

Sweet Potato Pudding

February 19, 2016 Colleen Stem
IMG_9567.jpg
IMG_9554.jpg

My little sister came over last night for a homework and dinner night. I love these nights because when she comes over she spends a good amount of time poking and harassing the mr while I get left alone to cook dinner.  But then always at some point during the evening,usually after feeding them dinner,  they both turn on me and start to poke at me. They are brats like that. But what I also like is I can sometimes help her a bit with the homework. (like last night,... girl did a bit of procrastination.Good thing I am awesome and maybe a little bit of a hard ass. She got it done with a bit of help and it all ended happily ever after) Maybe cause I am an old lady now, but I like the feeling of using my brain for things that I no longer think about. I makes me feel smart again (kinda) SO we get together and eat and do homework and make fun of each other... Good times. I love hanging out with my sister.

Ok, so this pudding, its one of my favorites.. I could probably live off of sweet potatoes in all shapes and forms.. A long while back I started making this pudding and got the sister hooked on it as well. So whenever she comes over for dinner I make it for us. And we eat it and exclaim how, "OMG this is so freaking good" and eat, then lick our bowls clean. And it's so easy and simple to make. Basically just sweet potato. So amazing.  The mr, he likes it, but doesn't share the same enthusiasm as we do....But he is not a teenage girl and her sister so yeah. who really knows.But Anyone out there with a spare sweet potato.. make this pudding. It will change your life in all the right ways!

Your welcome very much.

The stuff. A sweet potato, a couple of dates, ans some cinnamon. That's all you need!

Simple as can be. Bake the sweet potato until soft.  Remove the skin (I then eat the skin, but if you don't like it, the dog also loves potato skins) and stick it onto a food processor with the dates (make sure to remove the pits) and blend together. I usually add in a few a few splashes of water while I am blending just to think it out a tiny bit. But that is a preference I will leave up to you.

Add in the cinnamon and blend some more until so nice and silky smooth.

  And a note here. You can omit the cinnamon if you like, the pudding is amazing without it but you could even use more spices like ginger and allspice or added a little splash of vanilla. OR.. Add a scoop of some nut butter... so good.

Once the you have spiced your pudding, scoop it out into jars, bowls, whatever and how much ever you want (1 large sweet potato is good for 2-3 servings)

Oh whats this.. Coconut cream!!!! And yes, hand beaten like a boss!

You have the pudding, a the whipped coconut cream. Big spoonful of that right on top.

Sprinkled with another pinch of cinnamon and some chopped up walnuts...

Pudding so good and so easy it will knock  your socks off!

Have a great weekend!

-C


Sweet Potato Pudding

Serves 1- 3

  • 1 large sweet potato
  • 1-2 pitted dates (If I am making the pudding for myself I sometimes skip the dates)
  • 1 tablespoon Vietnamese cinnamon

Optional. A pinch of ground ginger or allspice. Pumpkin pie spice or a splash of vanilla. A scoop of nut butter or even a handful of nuts. Chocolate chips or creamy nutella. Berries. And whipped coconut cream or some yogurt to top with. So many possibilities.

Bake sweet potato until tender. This can be done a ahead of time or you can use up left over sweet potatoes from dinner....

Remove the skin from the potato and place into a food processor or blender with the dates and the cinnamon or whatever spices you want to use. Blend until smooth. Can add in a few splashes of water to thing out a bit.

Once smooth, scoop out into serving sizes or just into one big jar to eat all to yourself. Top with coconut cream and chopped nuts or nothing.

Eat with spoon, like bowl clean.. And can be eaten without shame for breakfast, lunch, dinner or snack.

In breakfast, Vegetables, Vegan, Sweets, snack, recipes, Paleo, grain free, Gluten Free, desserts, Dairy Free, brunch, 5 ingerdients or less Tags Sweet potato Pudding, sweet potato, pudding, vegan, gluten free, paleo, clean eating, plant based, healthy, quick, easy
Comment
← Newer Posts Older Posts →
 

https://thelovelycrazy.squarespace.com/config#/|/about/

Me. Food Maker.Food eater. Woo HOO!

STEM+NODE  SMALL BATCH AND ONE OF A KIND POTTERY

stem+node ceramics


____________________

Subscribe

GET NEW POSTS IN YO EMAIL

You are AWESOME!!!


@thelovelycrazy 2014-2021