• stem+node ceramics
  • HOME
  • Food Recipes
  • About
  • Contact
Menu

The Lovely Crazy

Street Address
City, State, Zip
Phone Number

Your Custom Text Here

The Lovely Crazy

  • stem+node ceramics
  • HOME
  • Food Recipes
  • About
  • Contact

Butternut and Beet Tacos

March 7, 2020 Colleen Stem
IMG_6533.jpg
IMG_6527.jpg

There come a point every year, about this time actually, when all of a sudden I am not exactly sick of, but maybe a little bored with the same roasted root situation. Don’t get me wrong, I love root veggies. I deeply love them all and will gladly keep on eating them for a few more months (it is only March after all so I am looking at at least 2 more good months of roots) but again, a little bored. So instead of just the usually roasted situation, we still roast but then, THEN, we taco them!. And we are not mad about it.

These tacos. Super easy and they bring out the best in roasted beets and butternut squash. Pilled in a tortilla (corn or flour, or not tortilla at all. Your choice) with some almond cream and topped with a crispy, crunchy, cabbage and onion slaw. A meal worth making any night or saving for a fun mid winter taco party. Or both because let face it, if you have a fridge like mine, it is packed with beets (and rutabagas, and turnips, and parsnips). And you probably have 4 butternut squash in your pantry too right? (Again, not mad about it.)

Now to the tacos!

The stuff. Some butternut squash, a few beets, shredded cabbage, half an onion, red wine vinegar, blanched and soaked almonds, a couple cloves of garlic, a little water, a lemon, salt and pepper, taco seasoning, an avocado, and tortillas.

IMG_6363.jpg
IMG_6368.jpg

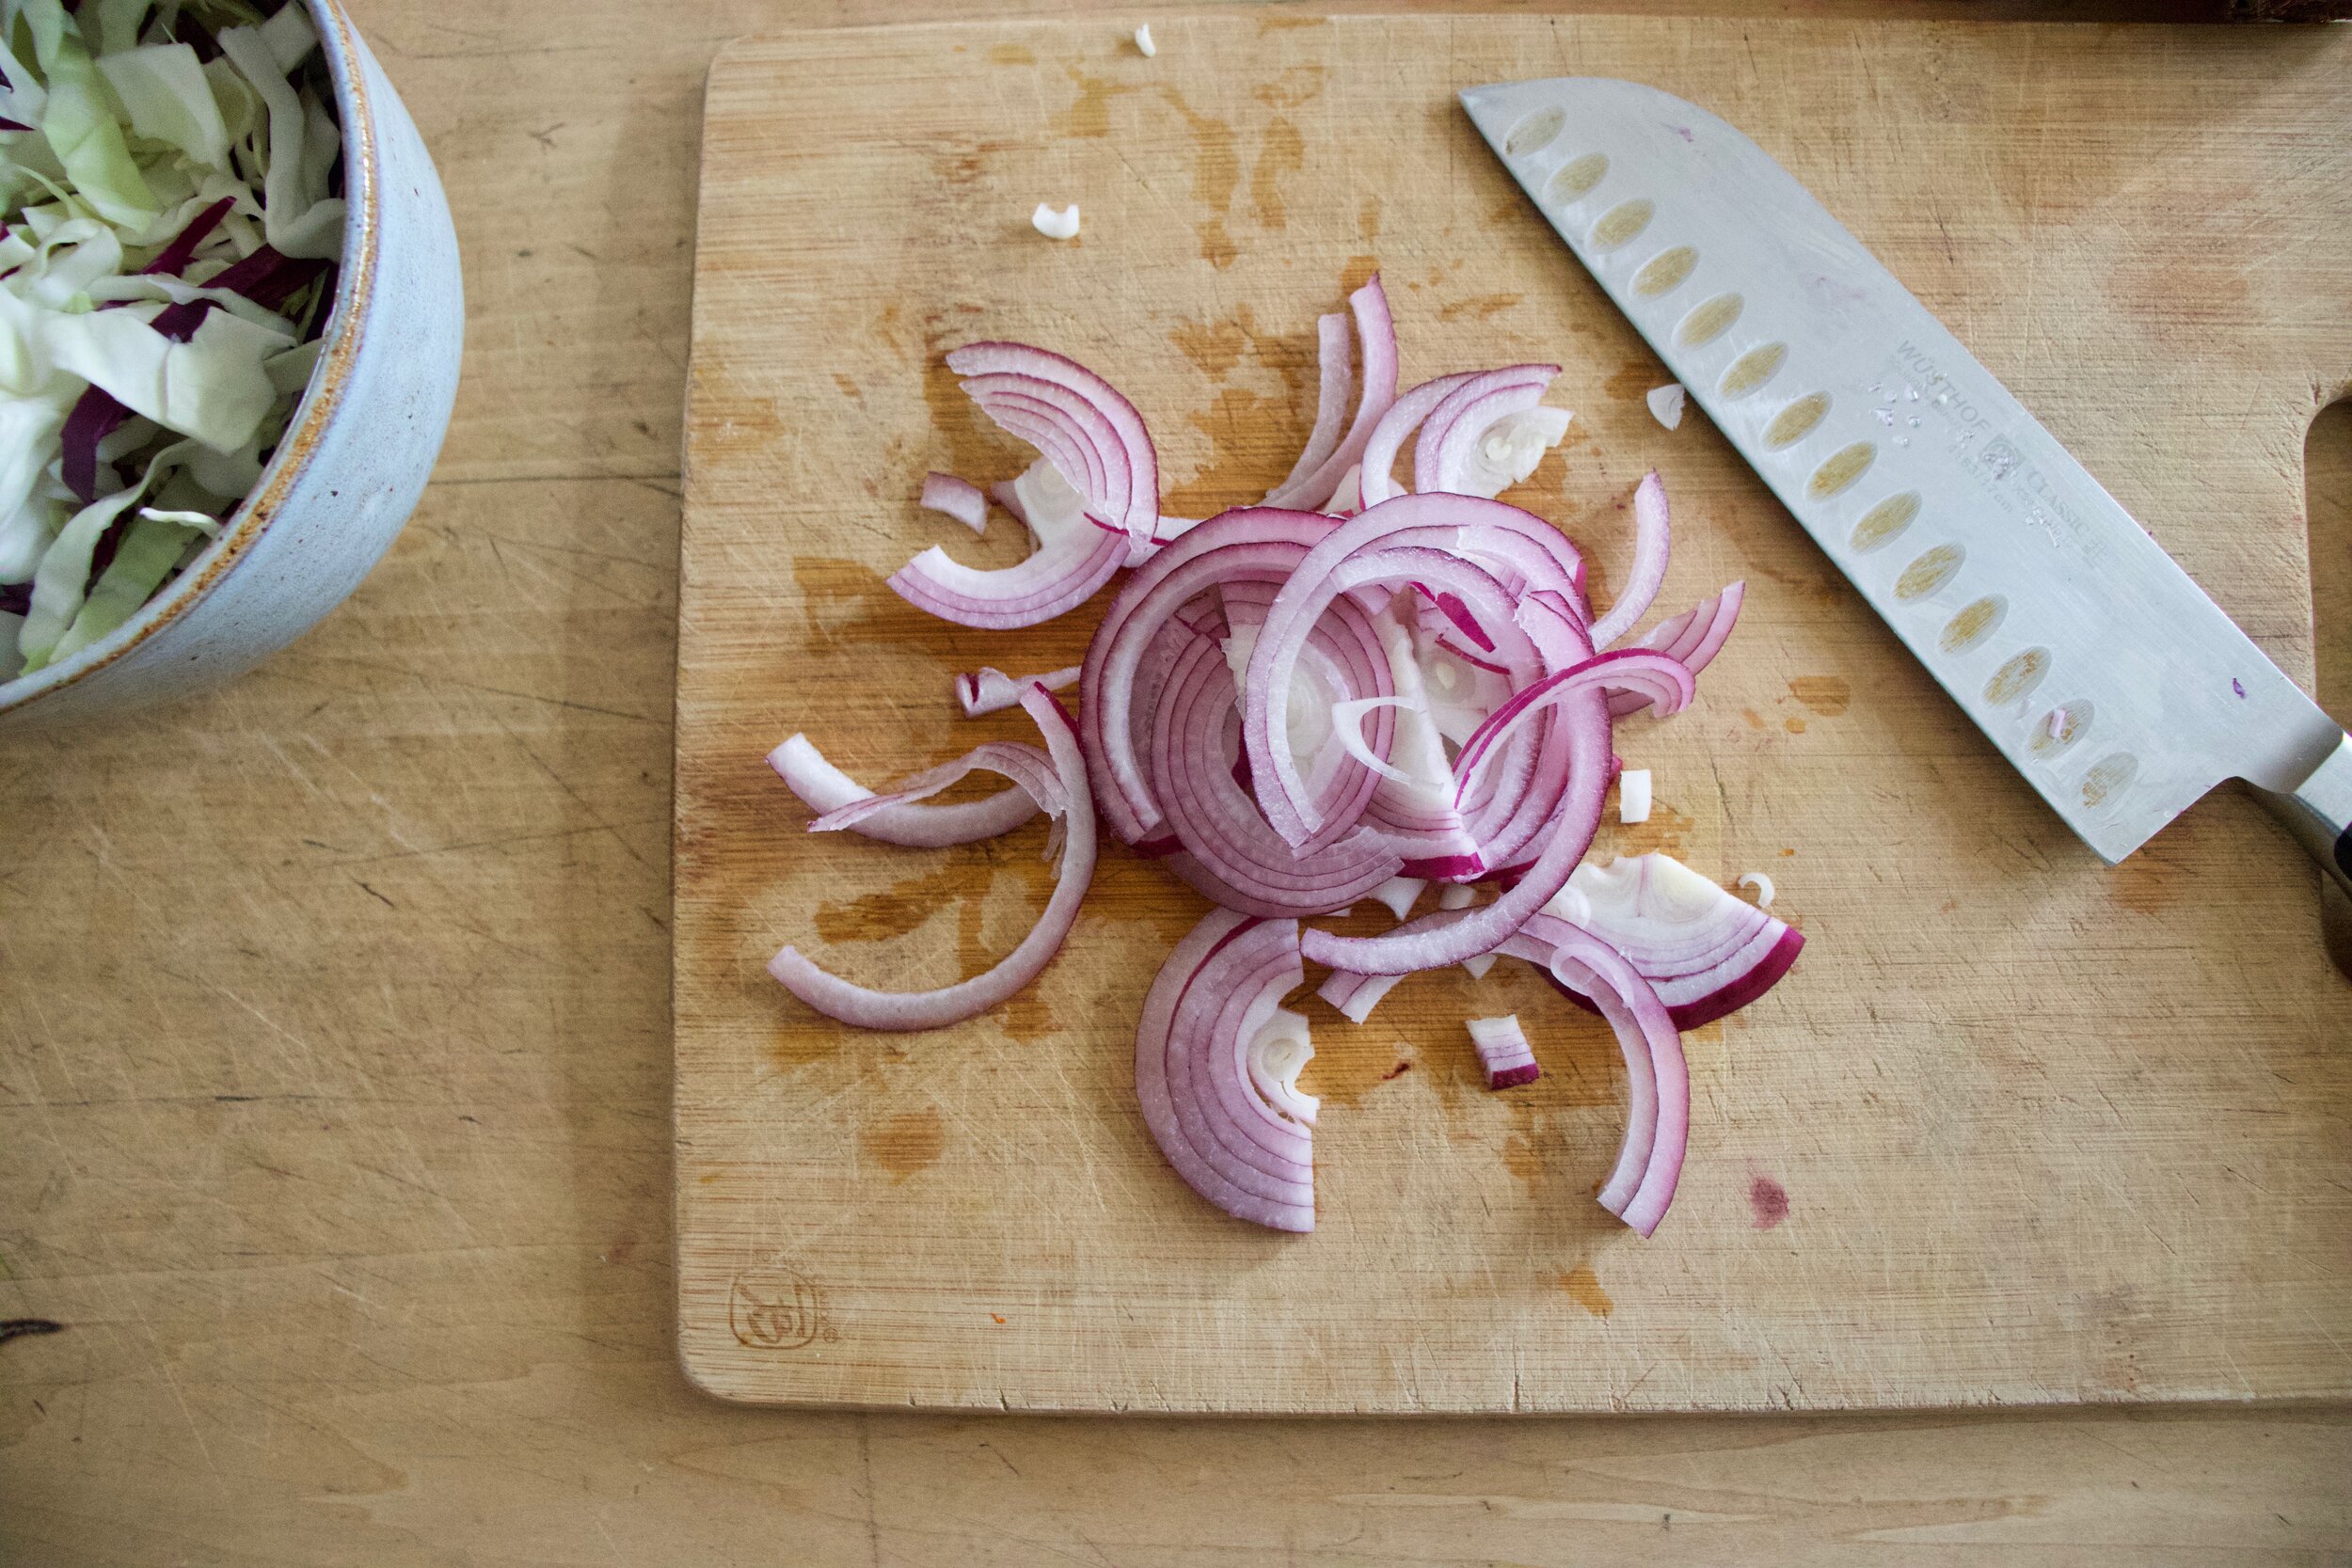
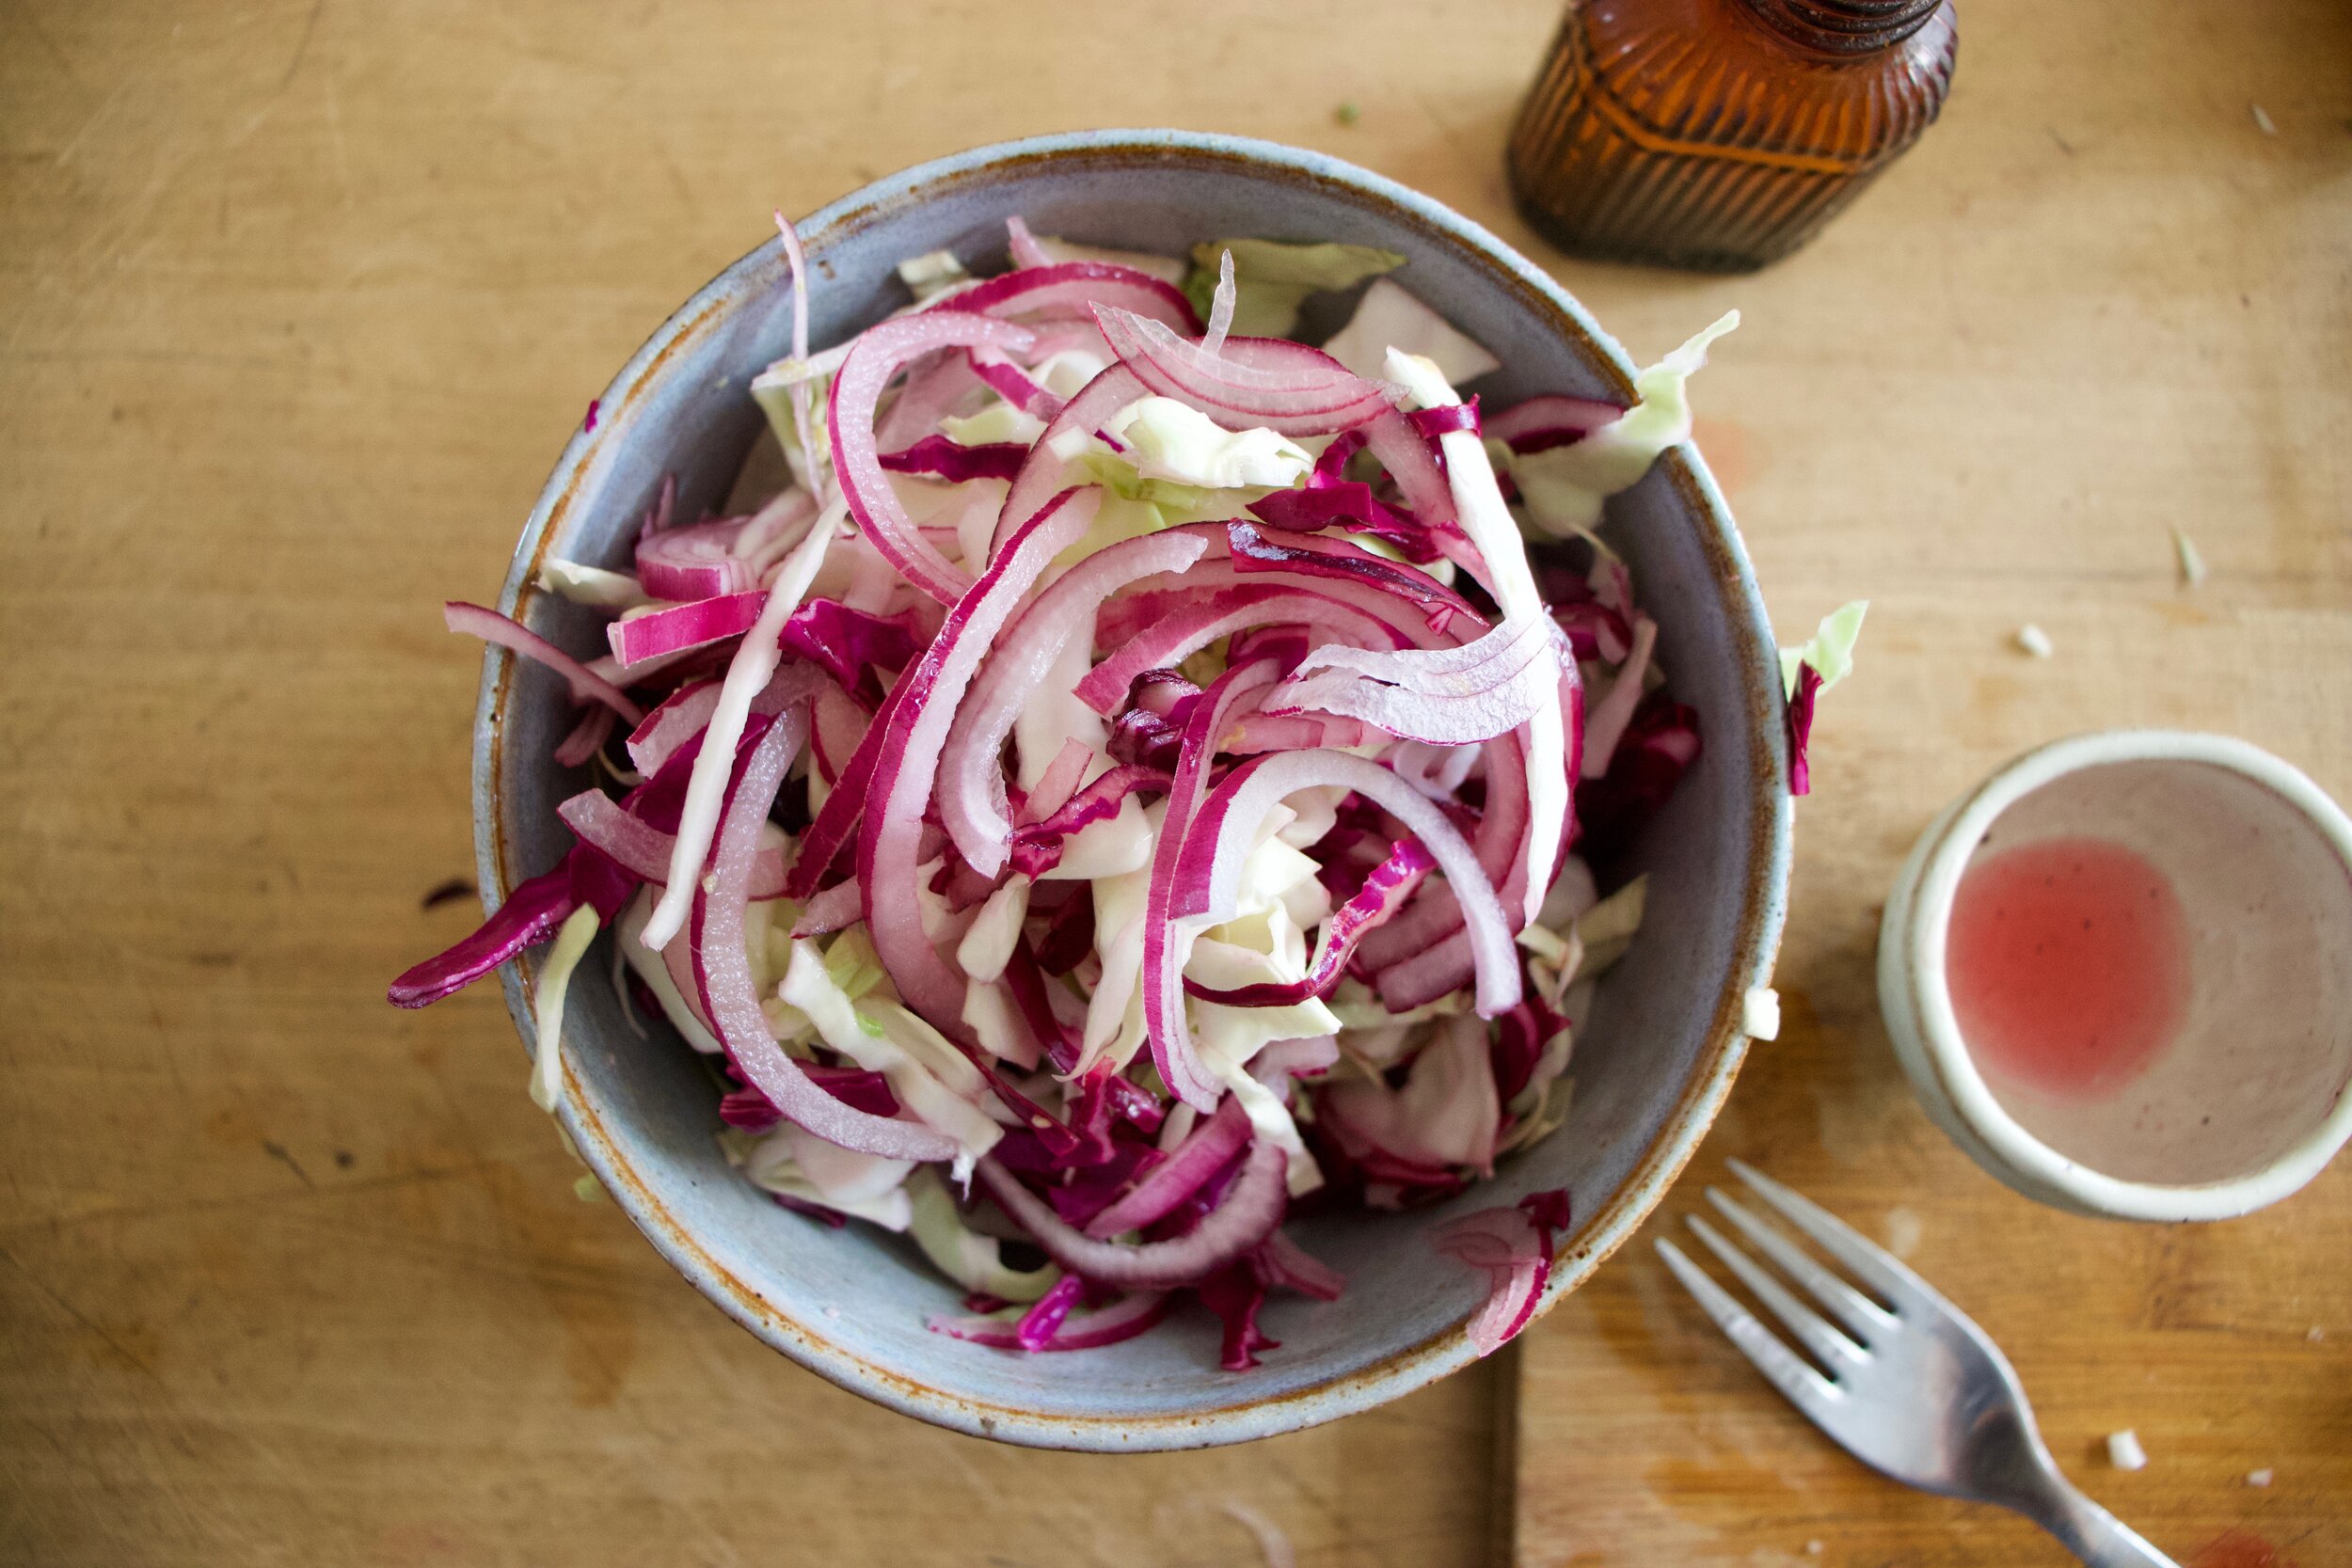
Thinly slice the onion and toss it into a bowl along with the shredded cabbage, a pinch of salt, and the red wine vinegar. Really mix it up and then set aside.

Cut up the squash and the beets. 1/2 inch cubes are a good size.

Place the cut up squash and beets on a baking sheet. Drizzle with a touch of oil then really toss around with all the tacos seasoning.

Now into the oven to roast.

IMG_6397.jpg
IMG_6403.jpg

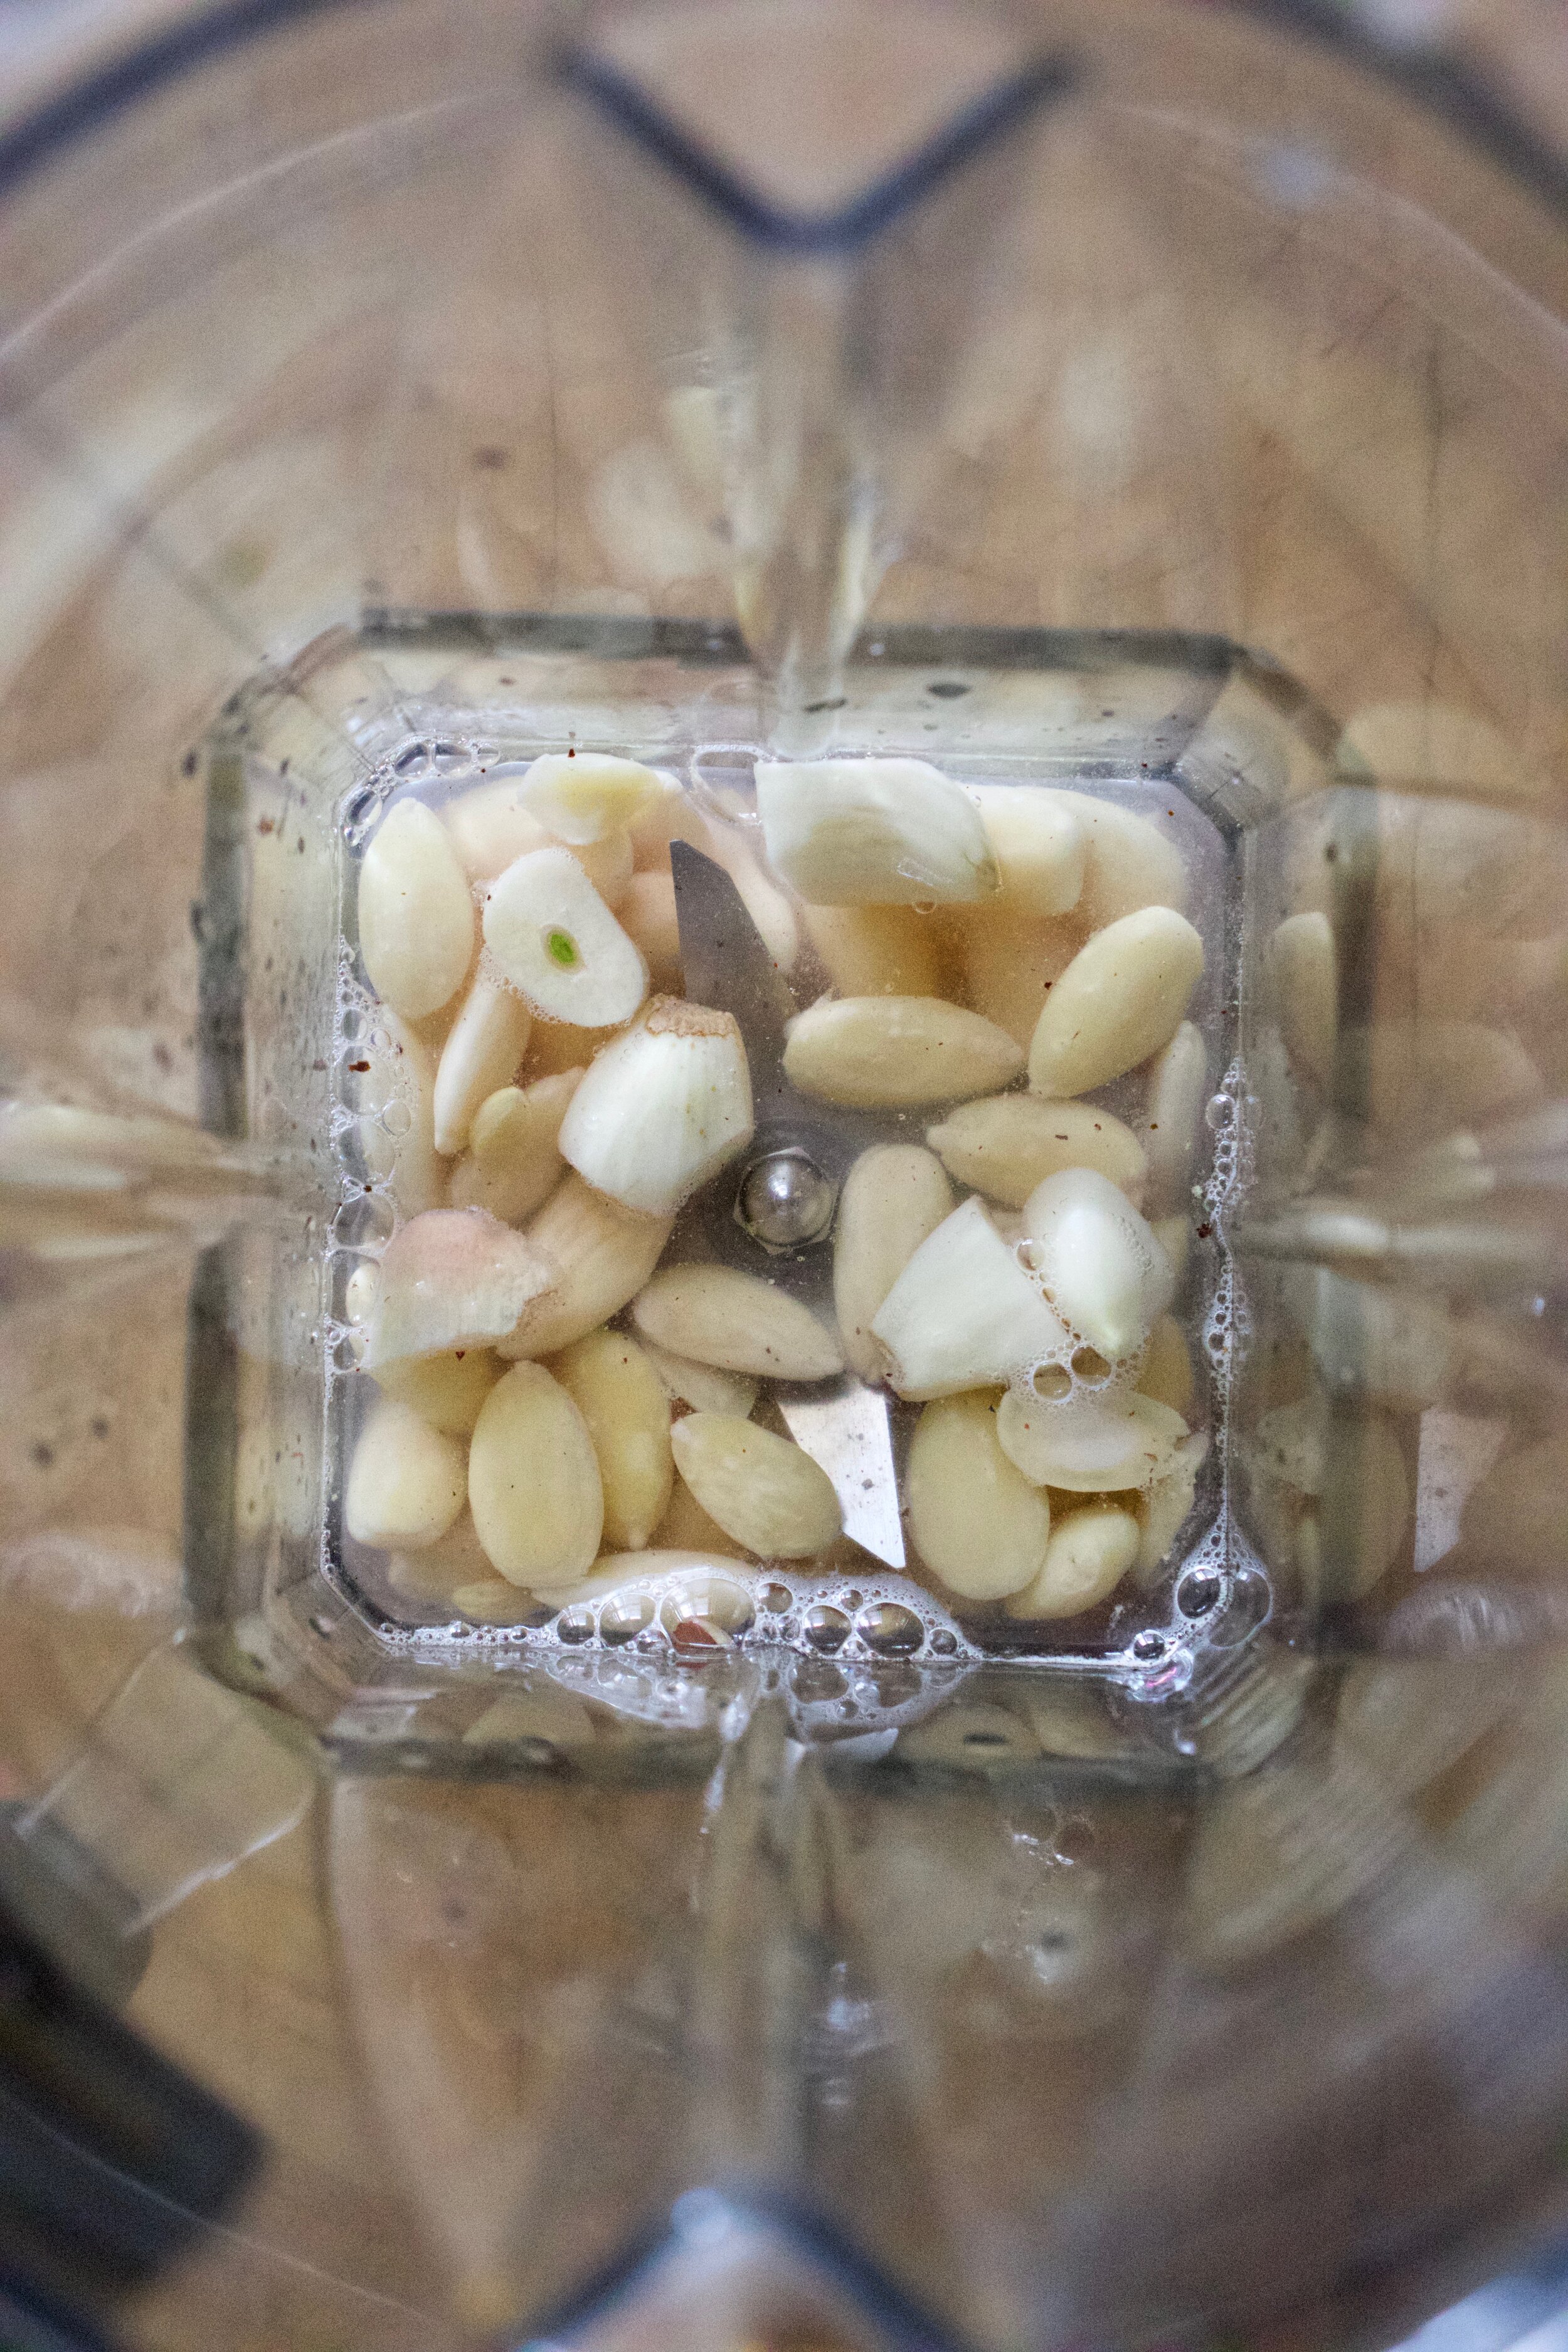
Almonds, garlic, salt and pepper, a little water, and juice of lemon, go into blender and blended until nice and smooth.

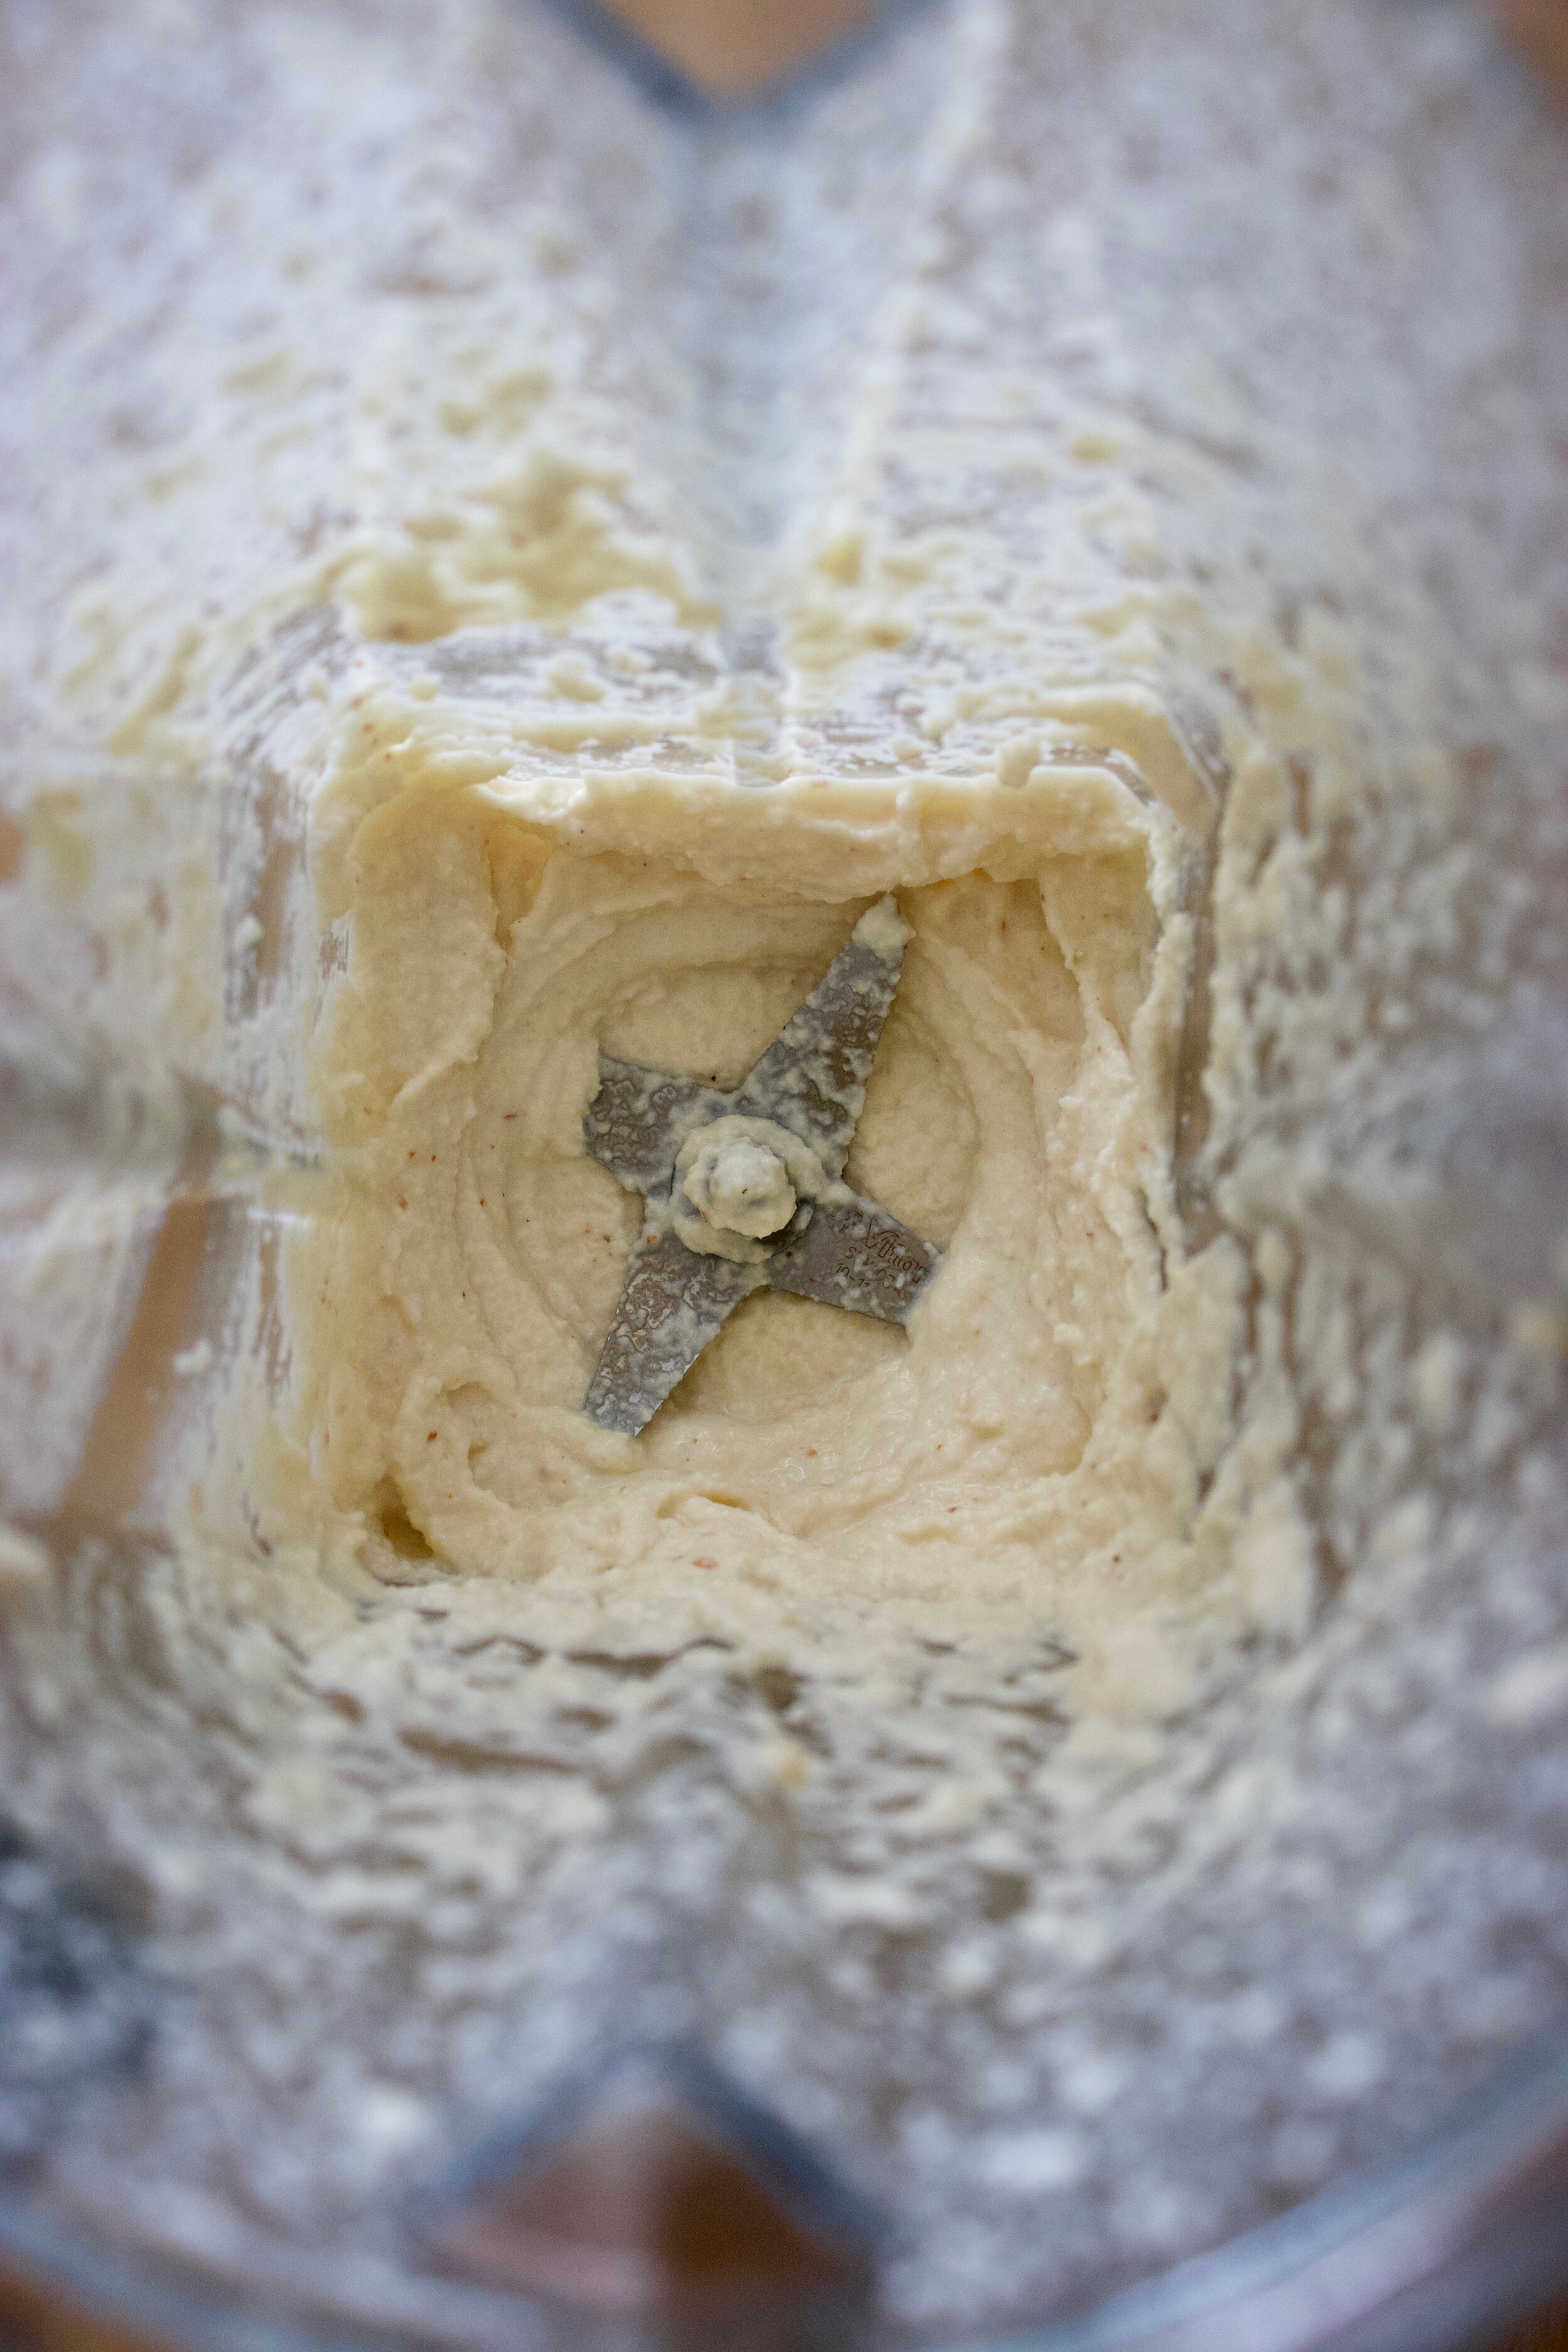
Oh almond cream. I could eat this entire bowl just like this, but don’t do that. You need it for the tacos.

IMG_6410.jpg

Roasted and ready.

IMG_6419.jpg

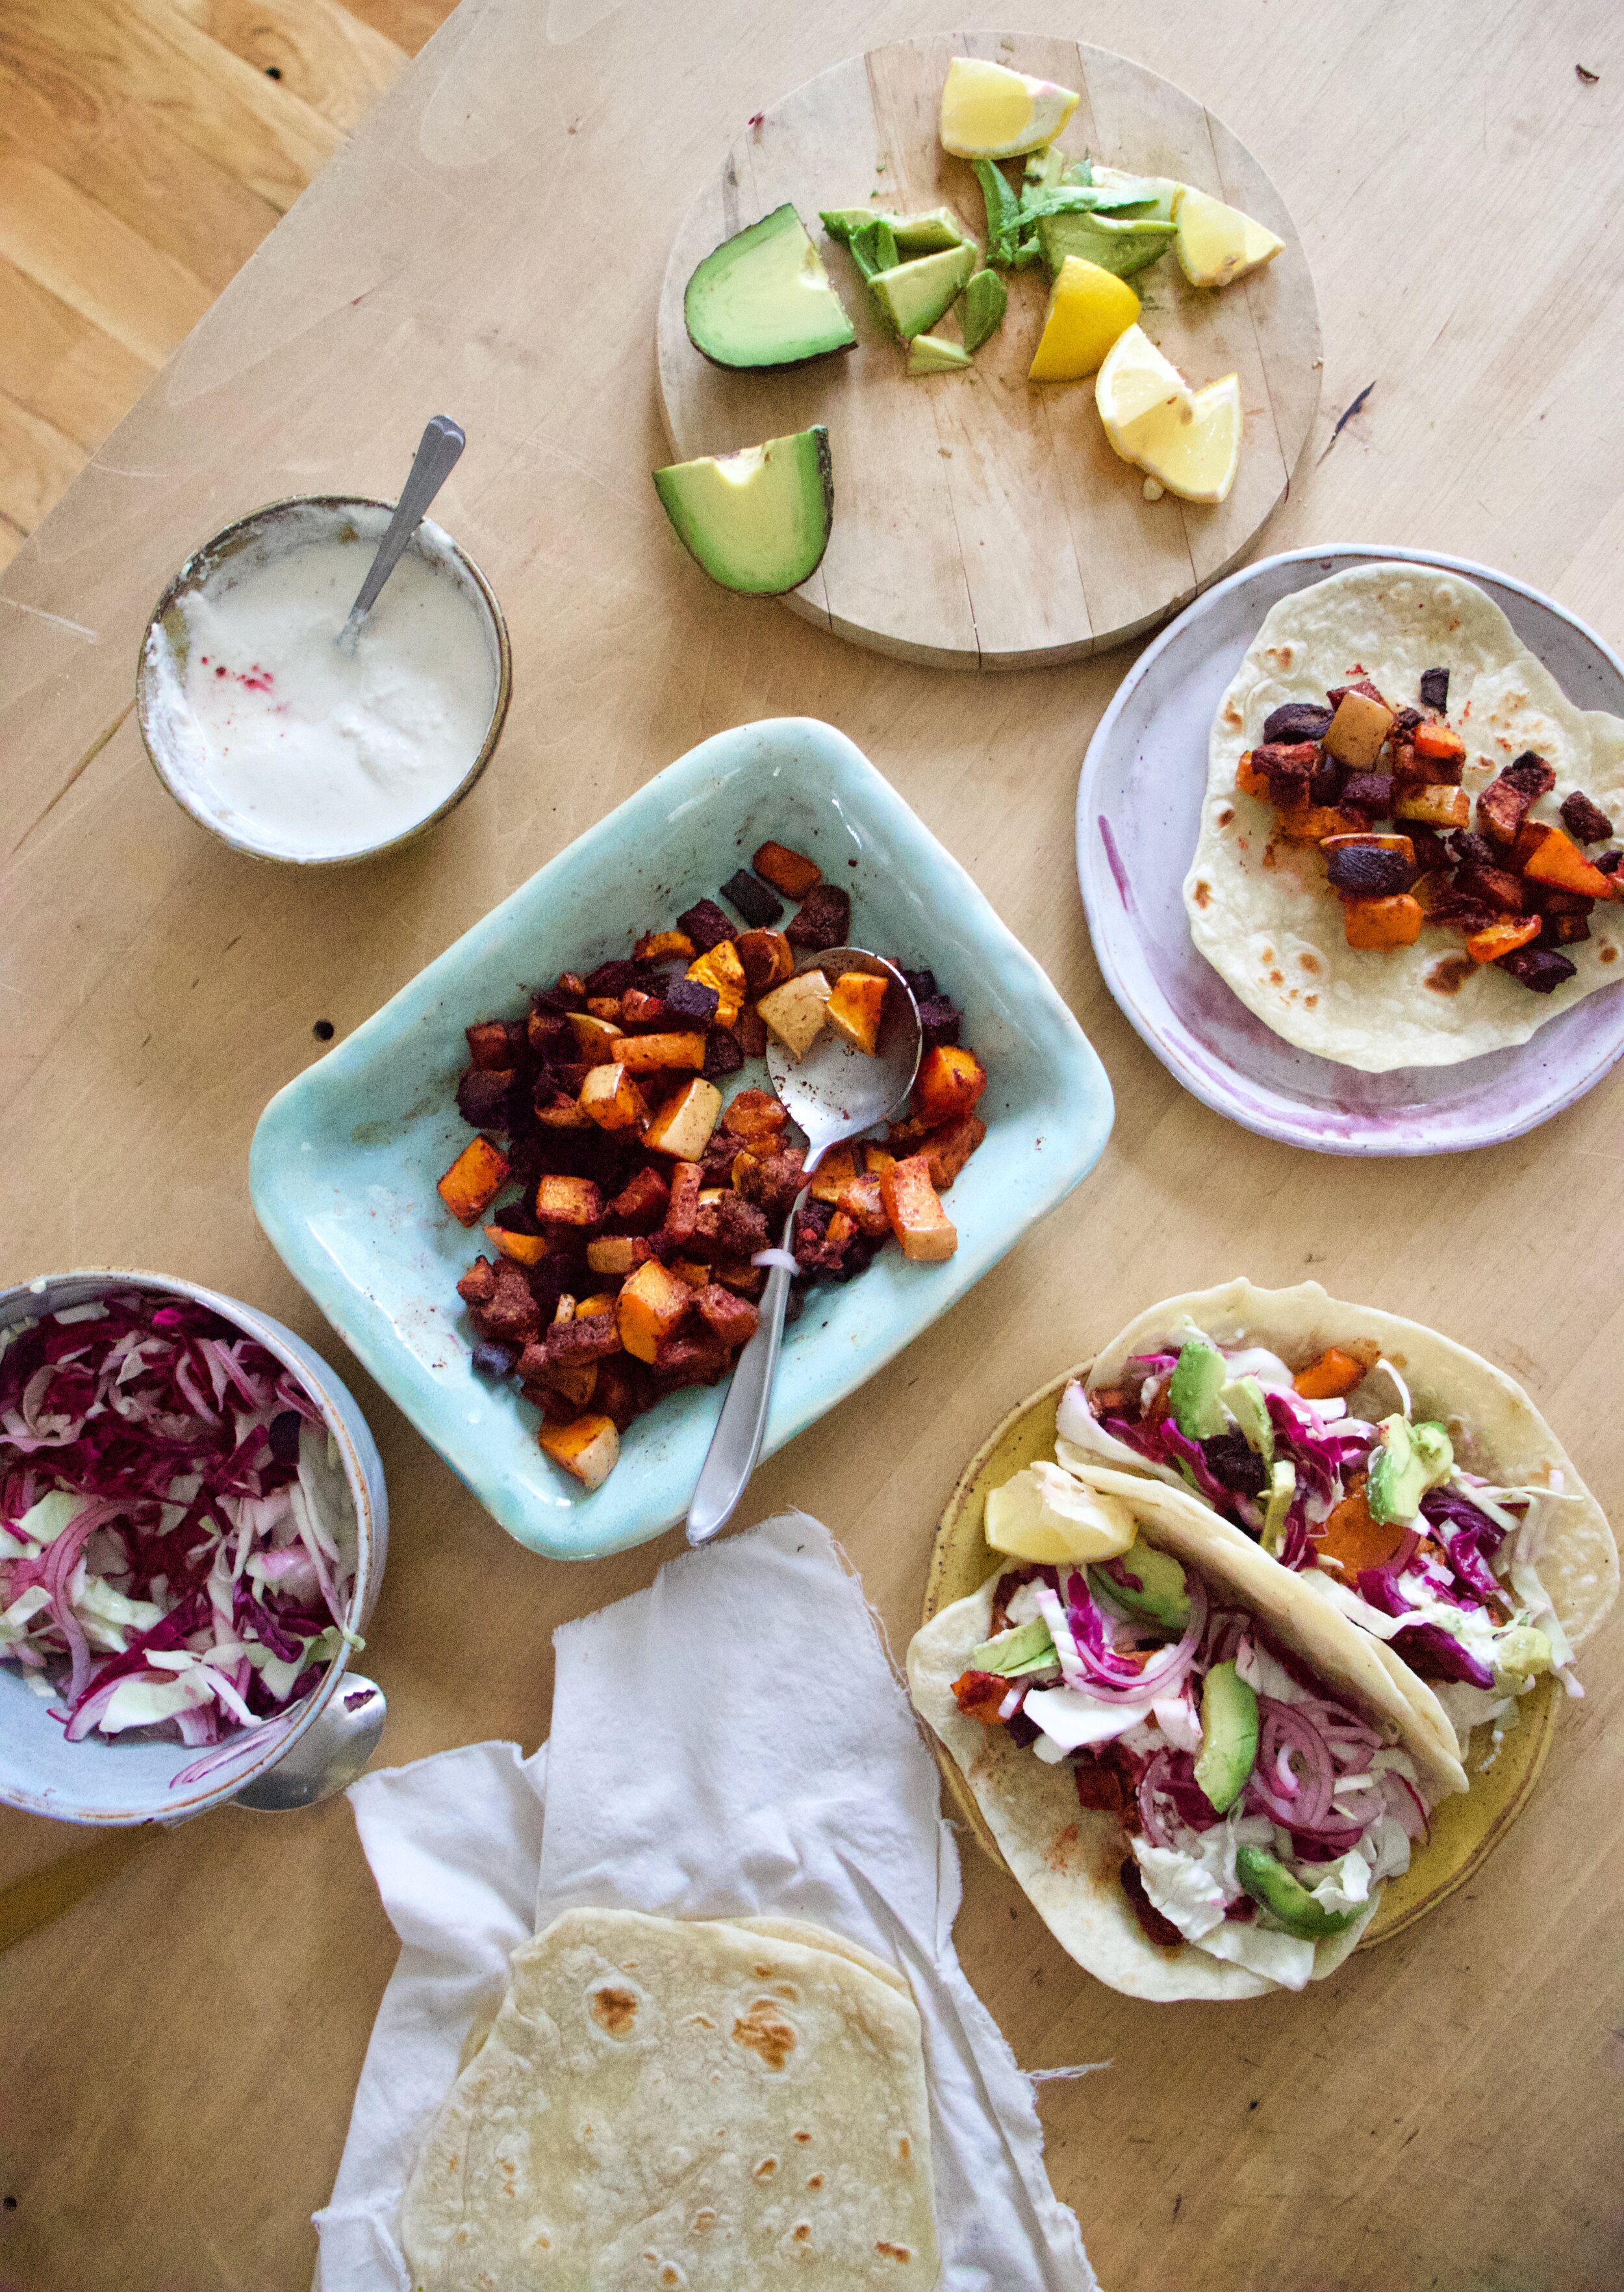
Now it’s taco time. You have your roasted squash and beets, almond cream, quick pickled crispy cabbage and onion slaw, tortillas (store bought or hand made), and avocado. Lemon or lime wedges are also a plus.

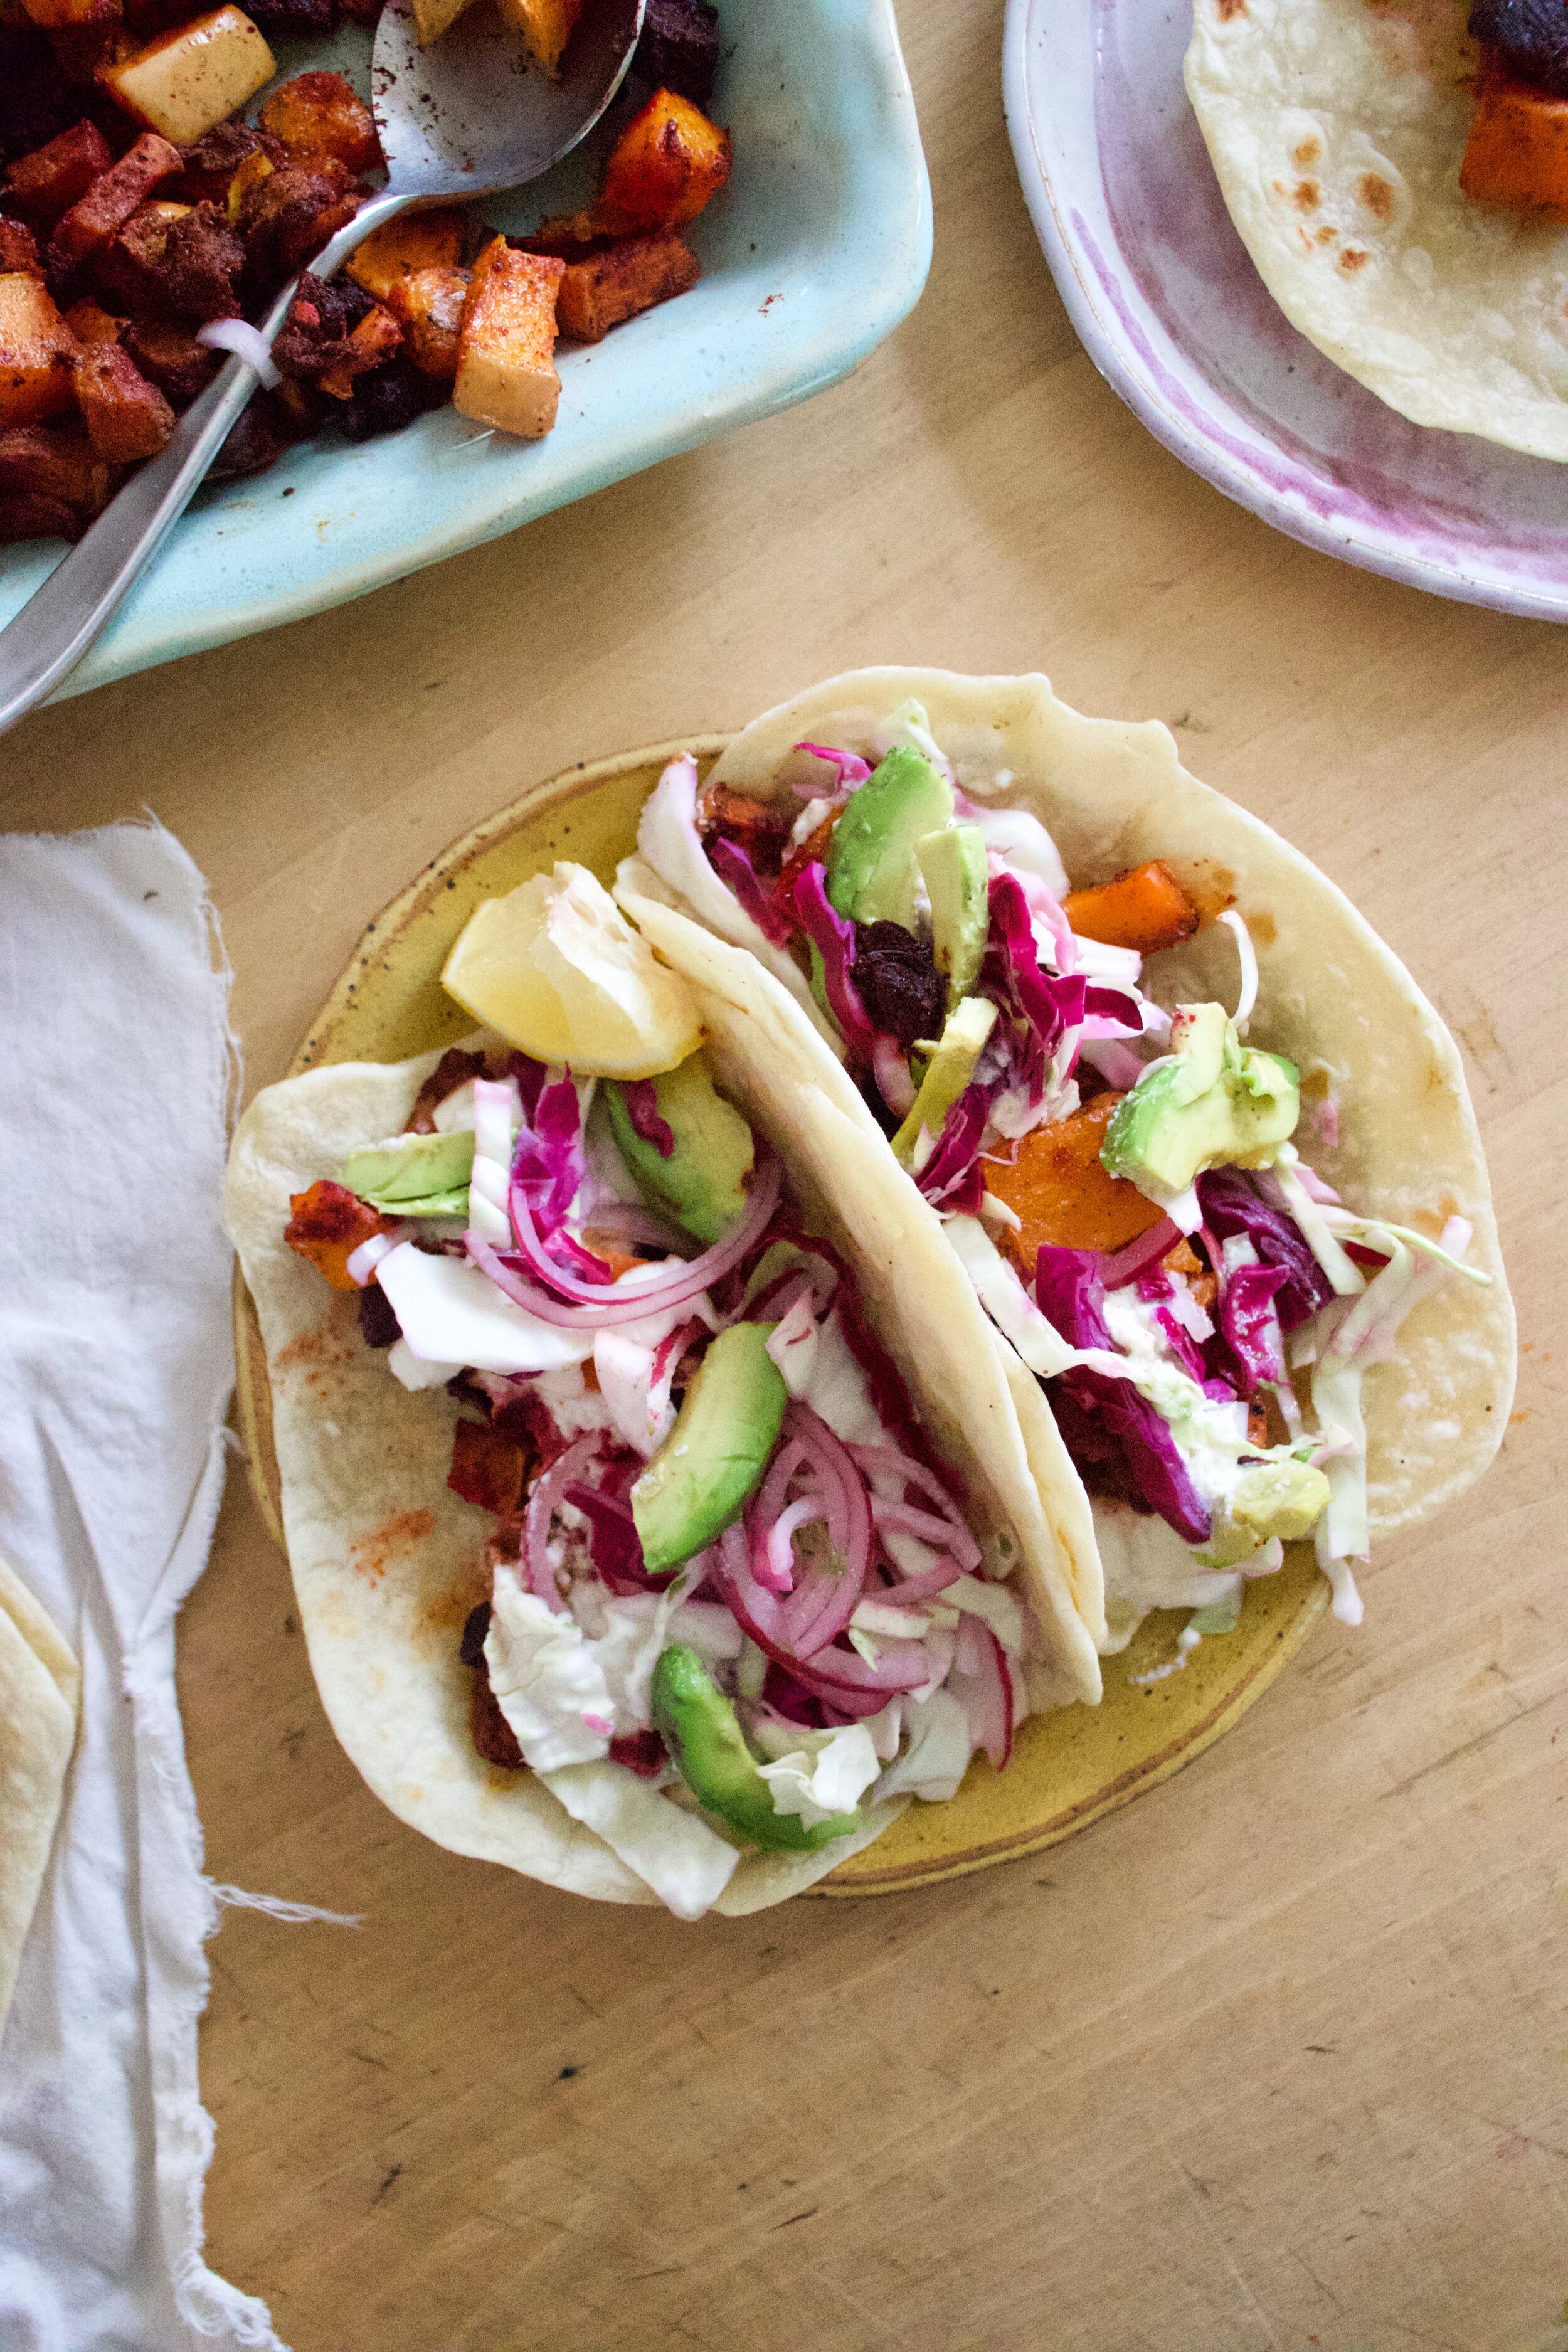
And then you make a taco. Roosts first, almond cream next, slaw on top of that, finished off with avocado. Squeeze on the lemon and into you mouth it goes.

-C


Butternut and Beet Tacos

makes 6-8 tacos

  • 2 1/2 cups diced beets (2-3 large beets should do it)

  • 2 1/2 cups diced butternut squash (peeled or not, up to you)

  • 3 tablespoons taco seasoning or (1 tablespoon each cumin and chili power plus 1 teaspoon each paprika, garlic powder, and onion powder. And a pinch or red pepper flakes)

  • 1/2 cup blanched almonds (soaked in hot water for an hour or so)

  • a lemon

  • 1/2 cup - 3/4 cup warm water

  • 2 cloves garlic

  • salt and pepper

  • Splash of oil

  • 3 cups shredded cabbage (red, green, or a mixture of both)

  • 1/2 an onion

  • 3 tablespoons red wine vinegar

  • avocado for serving

  • at least 6 small or medium sized flour or corn tortillas

Preheat oven to 450

Grab cabbage and onion. Thinly slice the onion and toss into a bowl with the shredded cabbage. Add a good sprinkle of salt and toss along with the red wine vinegar. Set aside but give it a good toss again before serving.

Dice up butternut squash and beets into 1/2 inch cube pieces. Place on baking sheet with a drizzle of oil and toss around along with the spice blend. Place into oven to bake for about 30 minutes.

While that’s roasting, strain almonds of soaking water and place into blender along with the 2 cloves garlic, the juice of the lemon, and 1/2 cup water. Blend until smooth. Add in a pinch of salt and pepper and blend. If the mixture is to thick, add in more water to thin it out. You want it to be like a sour cream consistency.

And when the squash and beets are nice and tender, remove from oven.

To assemble tacos.

Scoop some of the roasted beet and squash mixture onto a tortilla, add a good dollop or two of the almond cream, then top with some of the cabbage and onion slaw. Top it of with some sliced avocado and serve with a wedge of lemon or lime.
In dinner, entree, grain free, Nuts, Vegan, Vegetables, winter squash, taco Tags Butternut and Beet Tacos, vegan, tacos, squash, almond cream, cabbage, avocado, dinner, grain free, gluten free, healthy, plant based, taco seasoning, food, recipe
3 Comments

Peach Almond Shortbread Bars

June 22, 2019 Colleen Stem
IMG_9654.jpg
IMG_9697 3.jpg

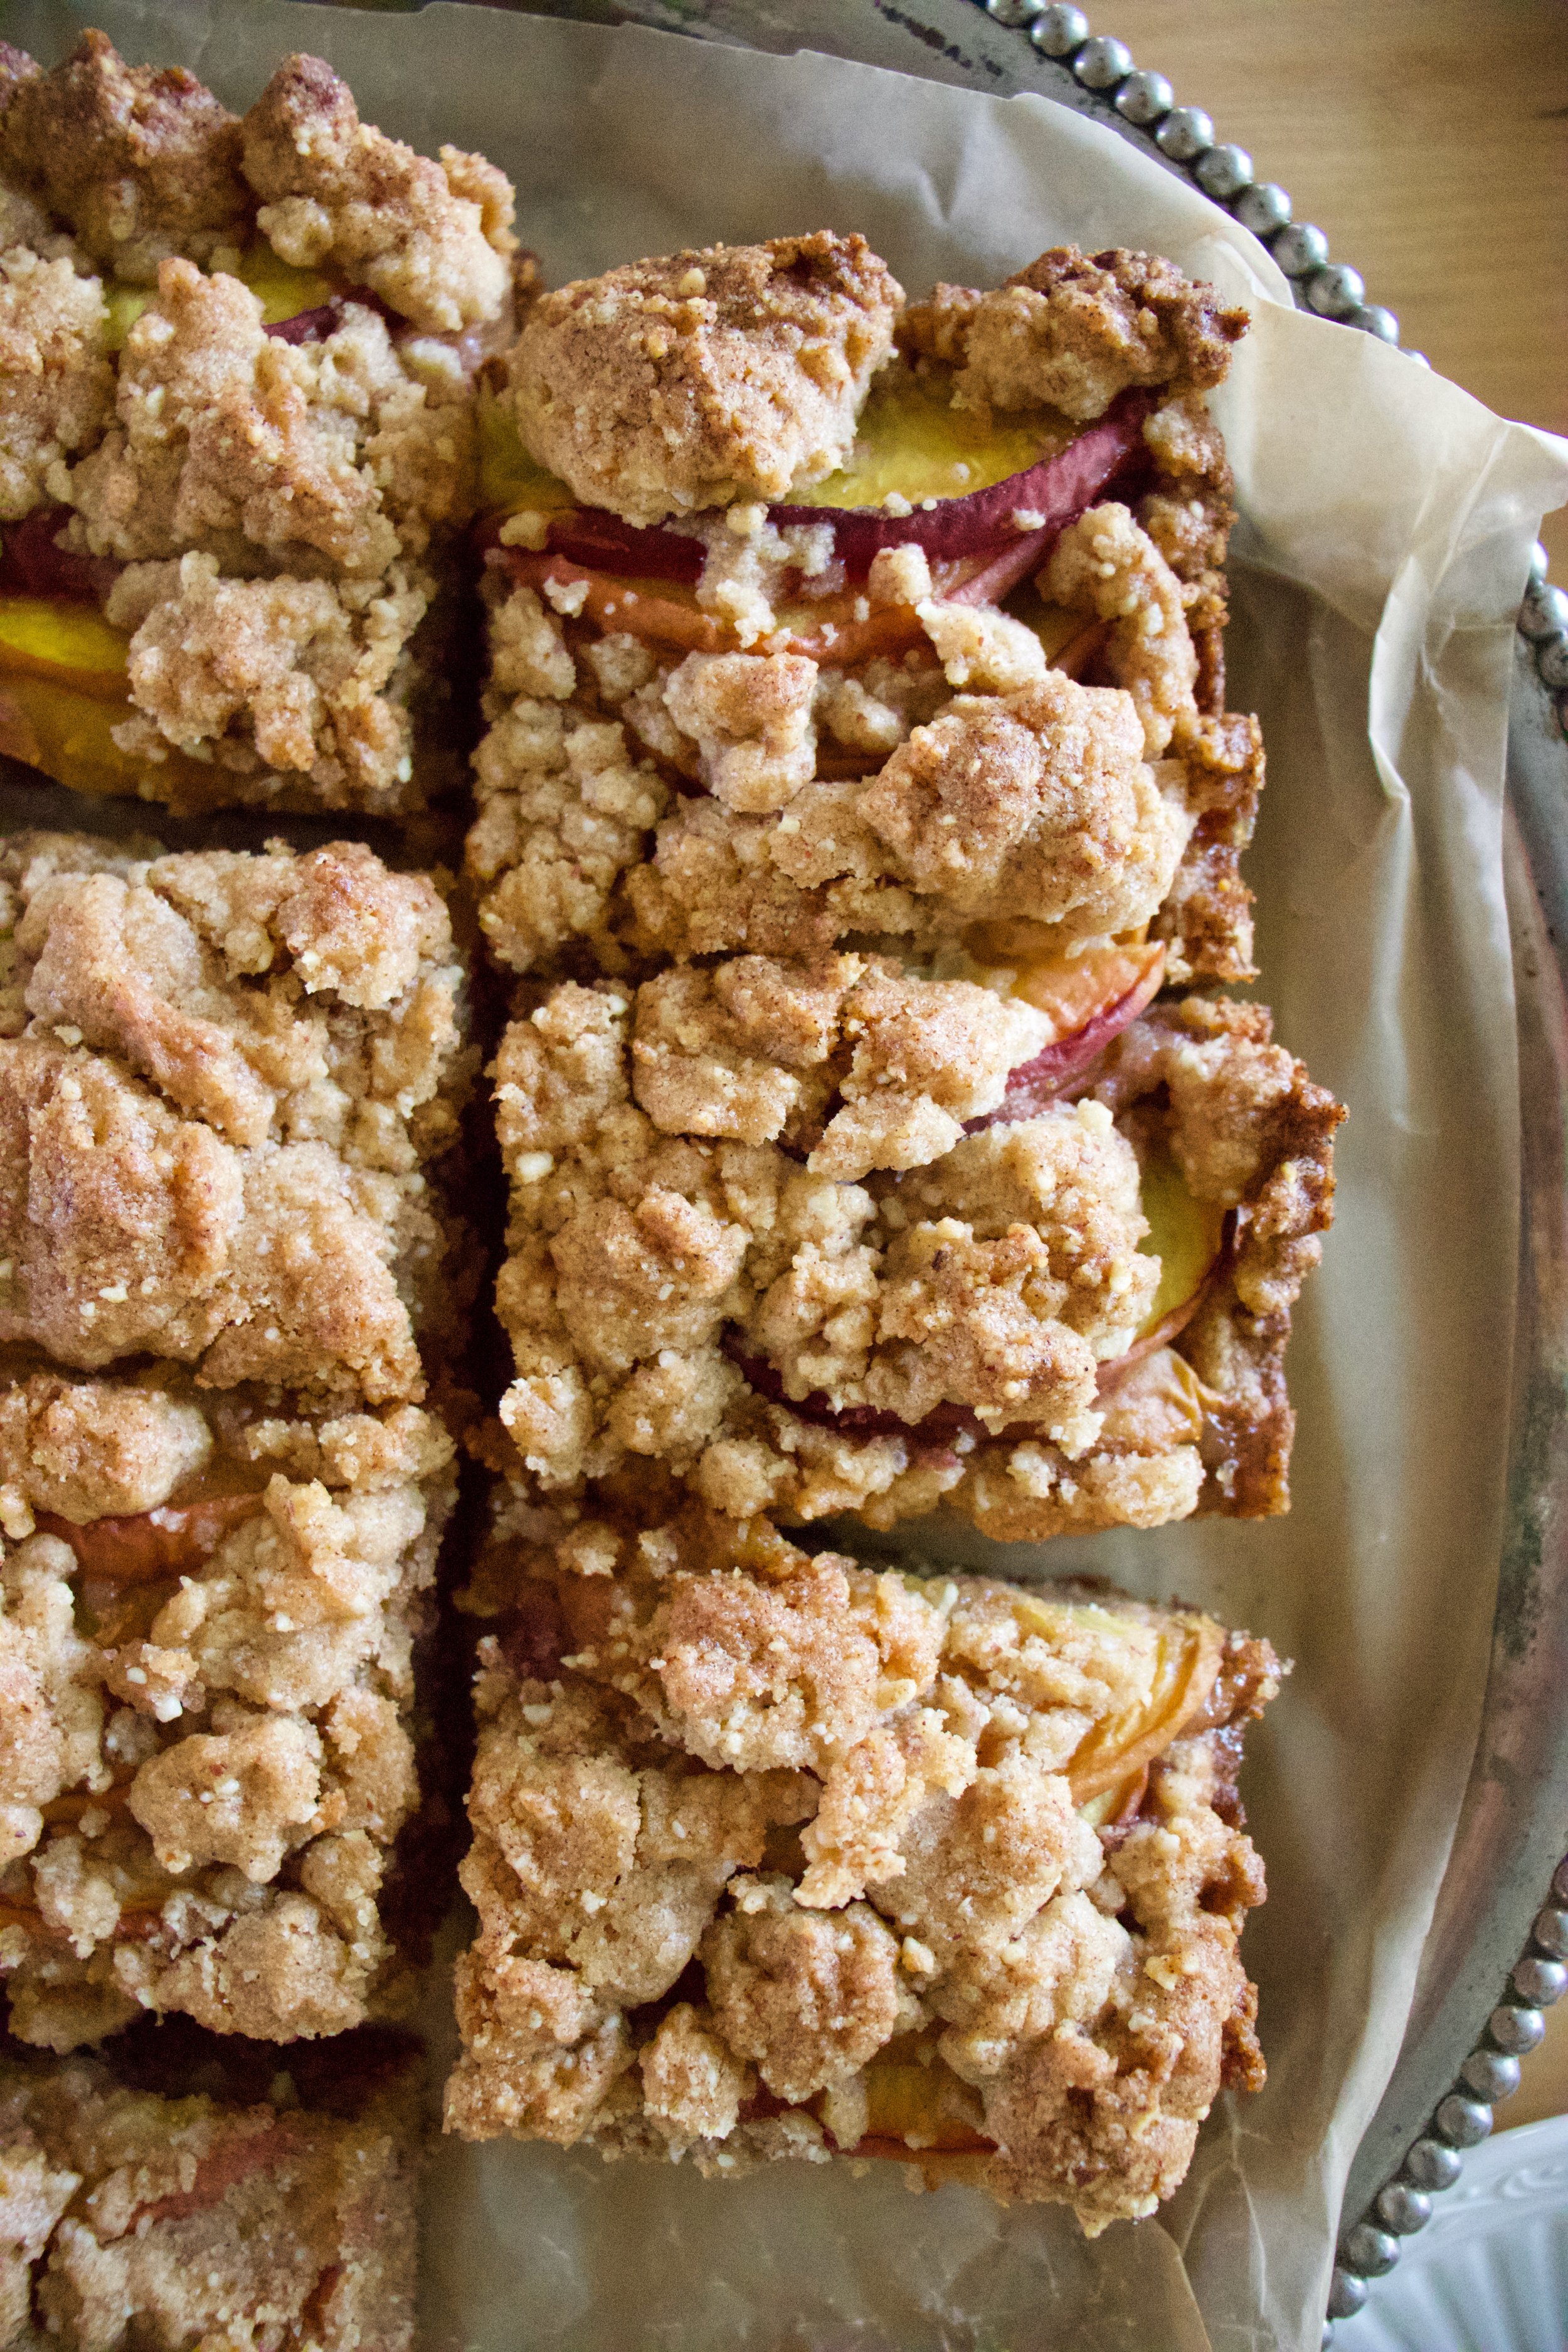
Peaches are here. YAY!!! Peaches are for sure one of those fleeting fruits, one that once in season, you need to eat as many fresh as you can because once they are out of season, they are not good. Not good at all. And me being me, I see peaches, I buy a shit load, and now I have a fridge drawer full. Not complaining in the slightest, but peaches cannot sit around all summer waiting to be eaten. So if you are going to buy a shit load, know what you are going to do with them all.

My peaches, well they haven’t had to wait long. I have been eating at least a peach a day and… I made these bars with a few. Sharing my peaches, thats what I do. HA.

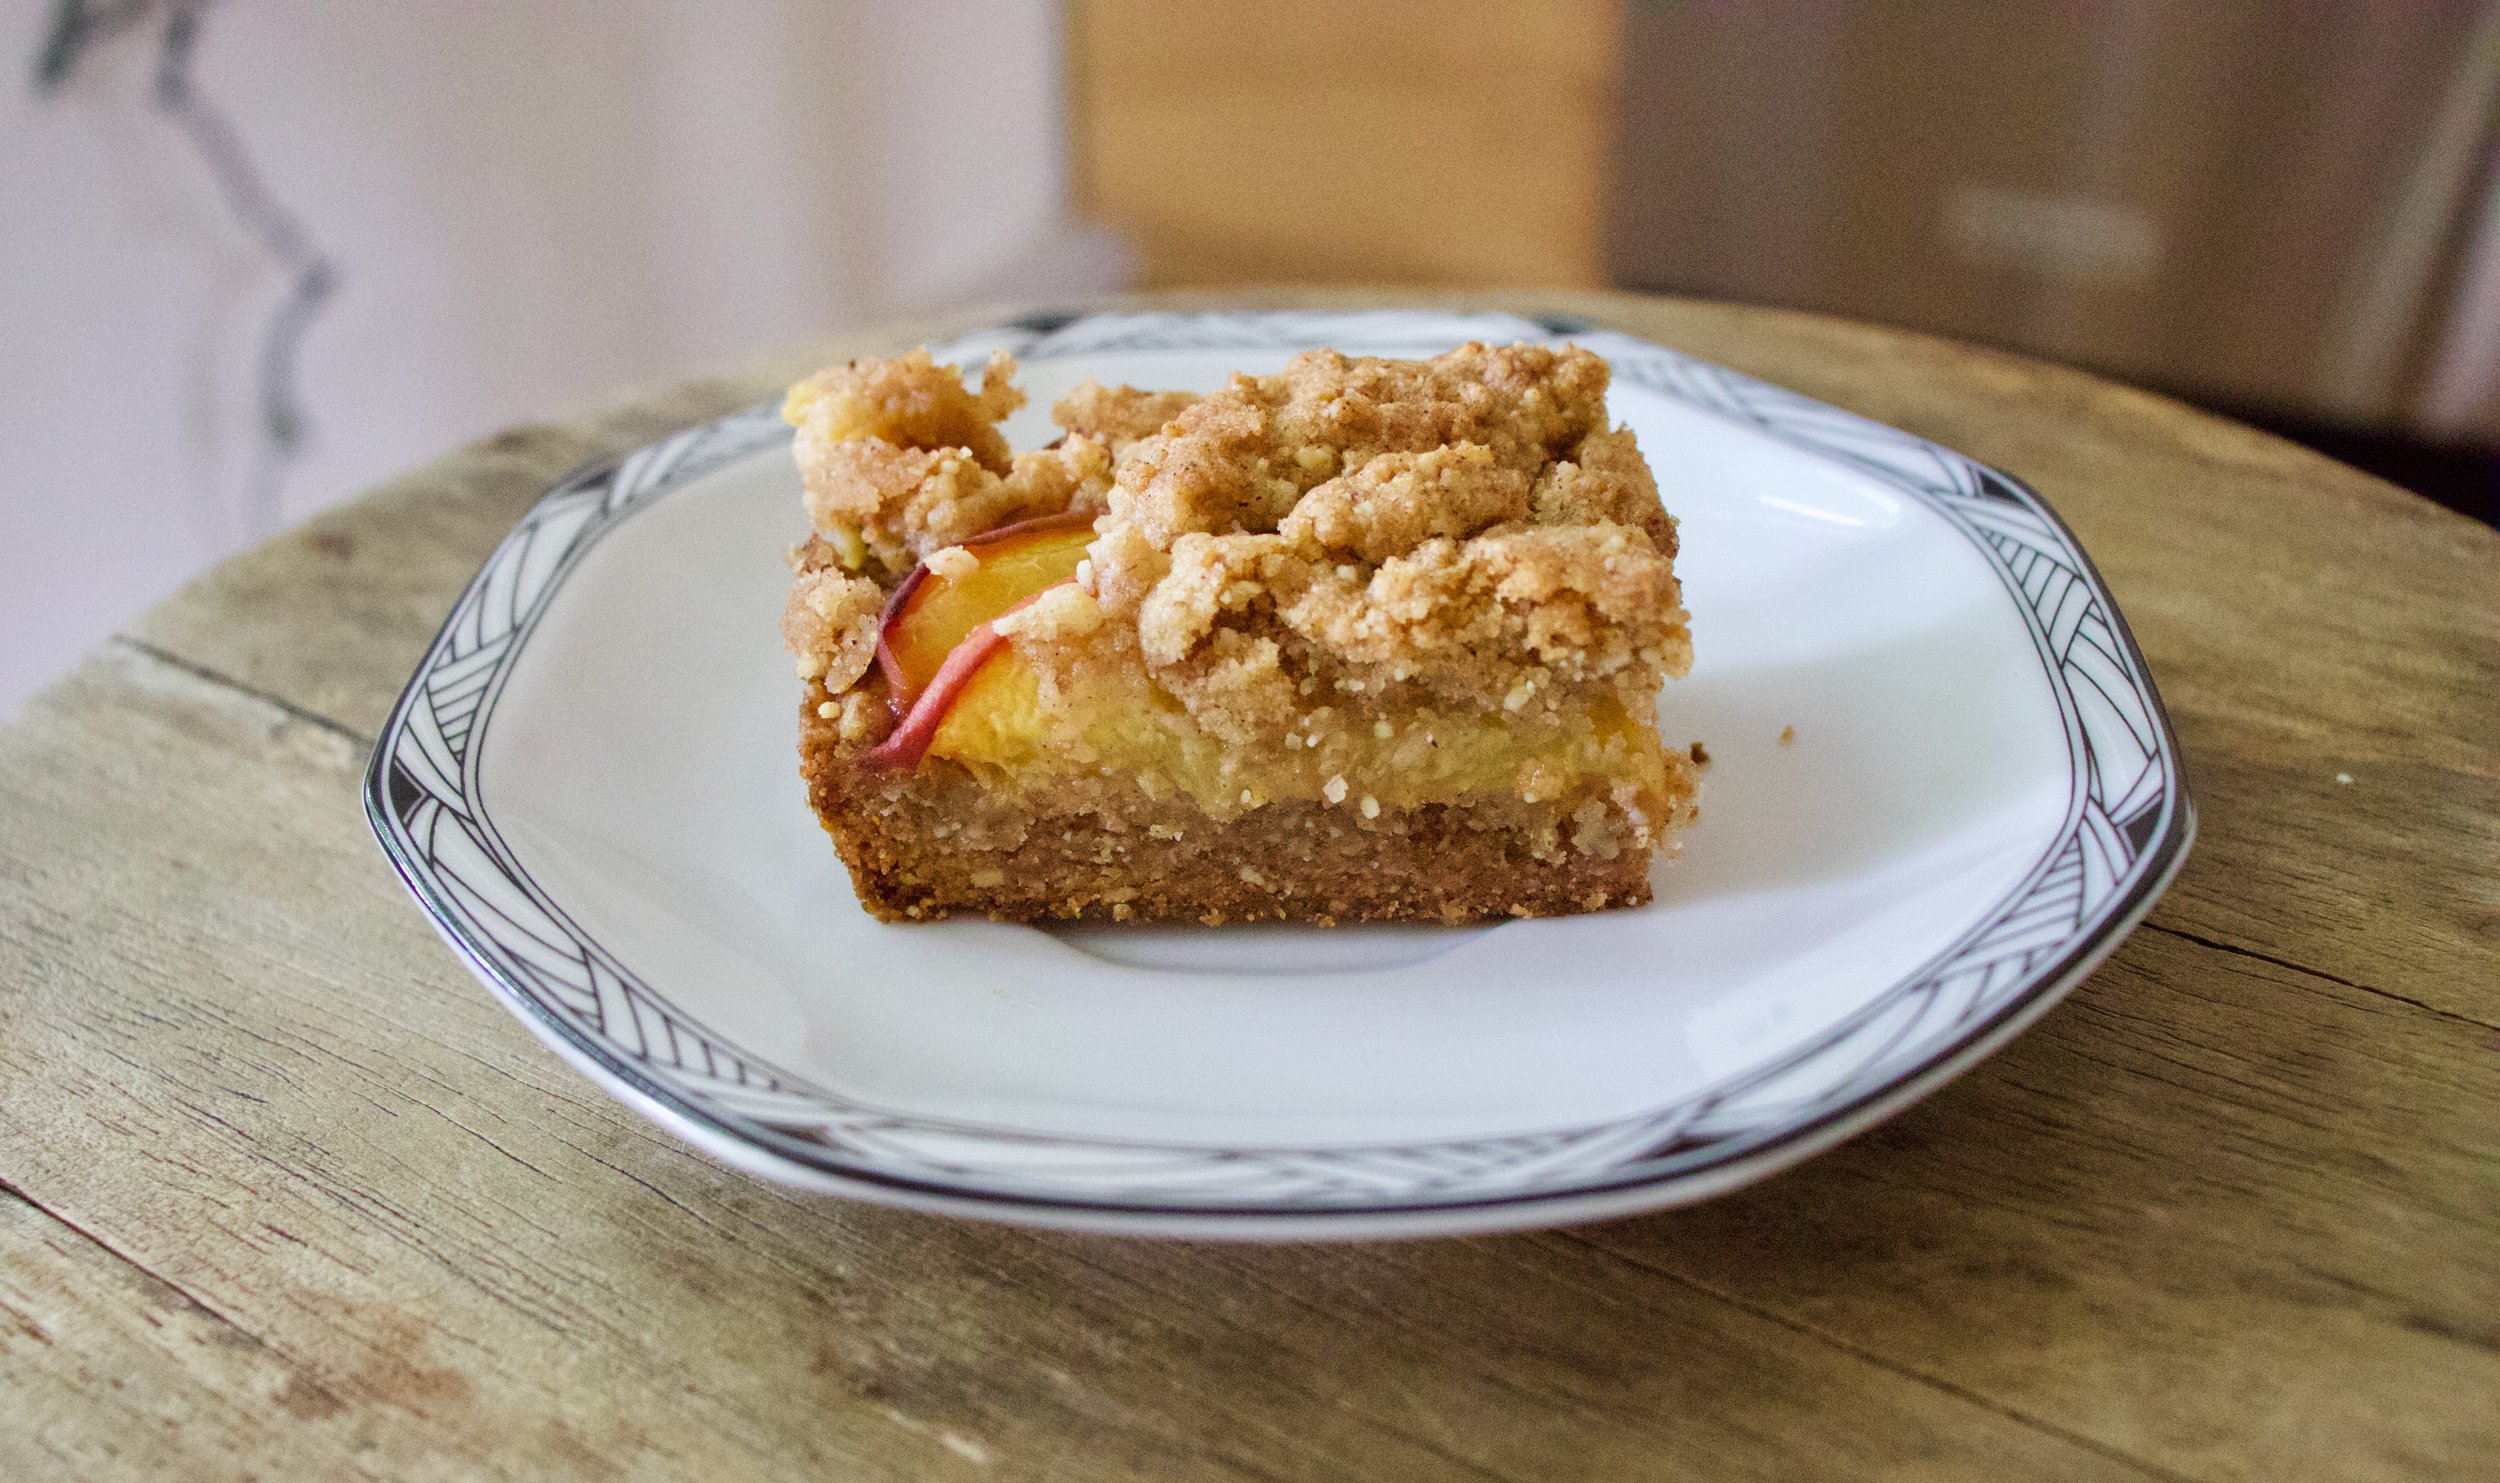
These almond peach shortbread bars. Fantastic A+ on all fronts. Easy to make, not a whole heck of a lot of ingredients, make the house smell amazing, and really kick off the peach, summer vibe thing that goes on around here.

'“Millions of peaches, peaches for me. Millions of Peaches, peaches for free” 🎶 (Peaches by The Presidents of the United States of America. If you have’t head the song, look it up. I don’t think I can even look at a peach without hearing the song in my head.)

Now to the peach almond shortbread bars!

IMG_9477.jpg

The stuff. Peaches, almonds, vegan butter, brown sugar, flour, cinnamon, salt, and baking powder.

IMG_9481.jpg
IMG_9483.jpg
IMG_9493.jpg
IMG_9503.jpg

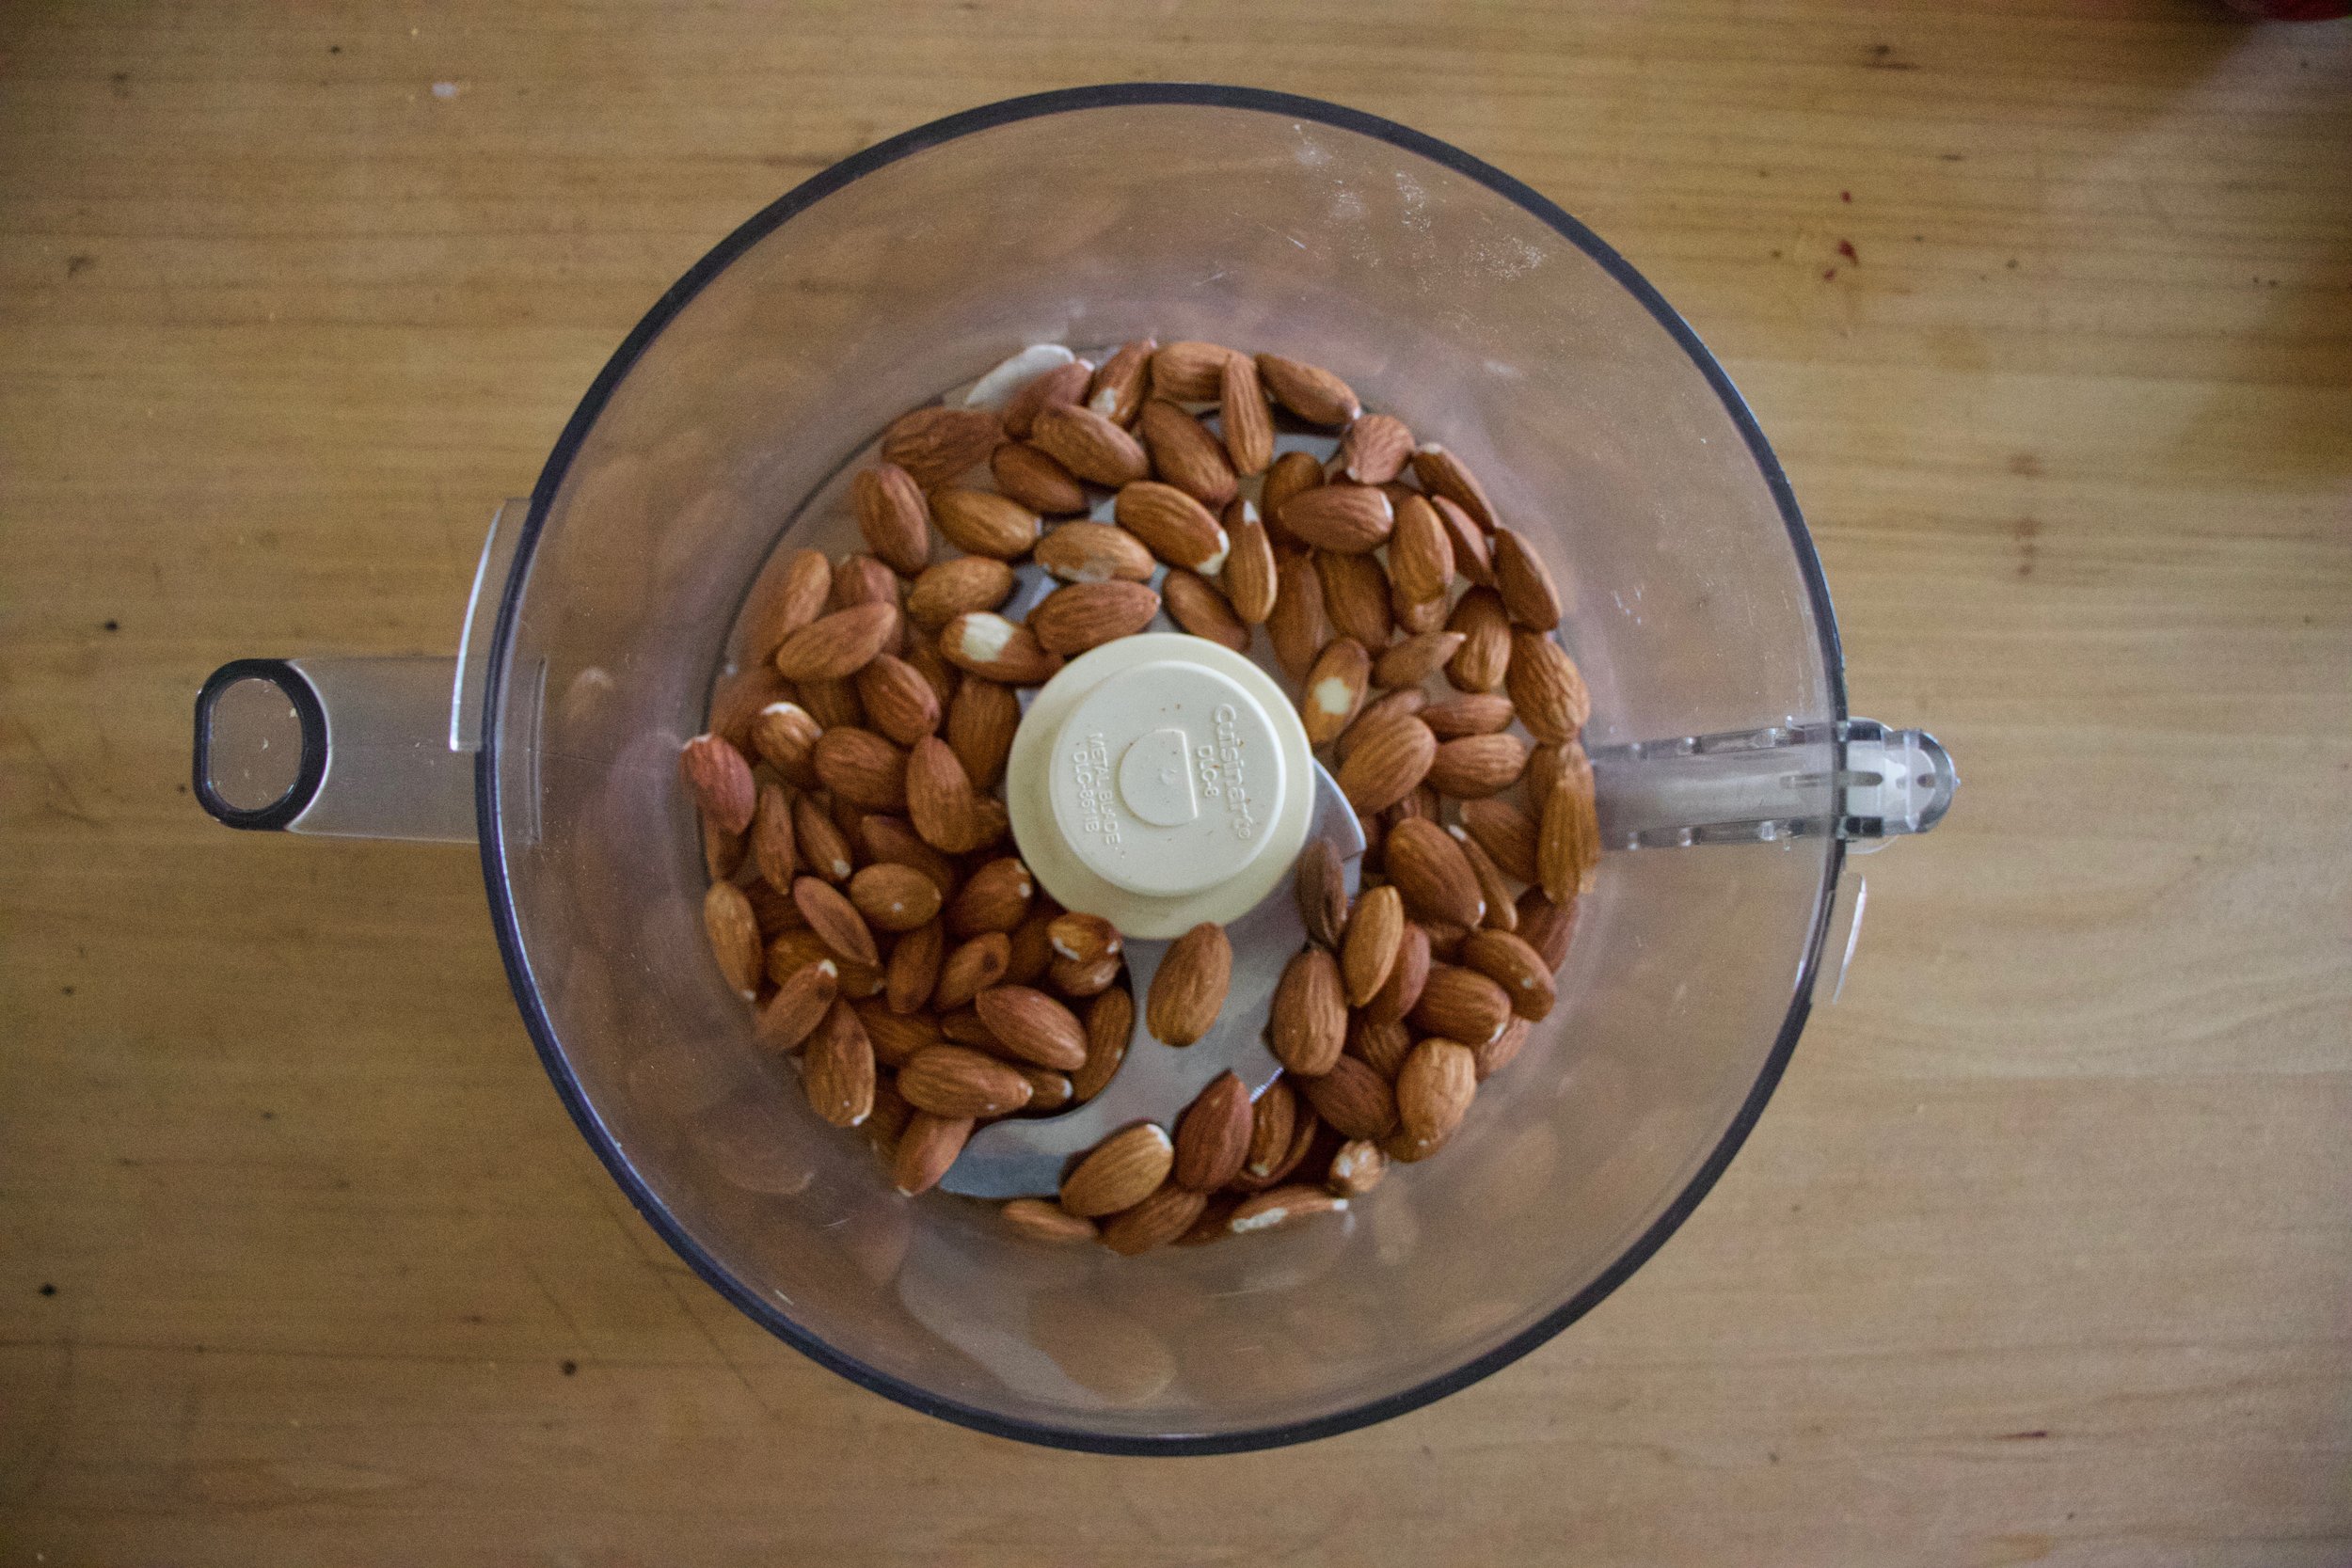
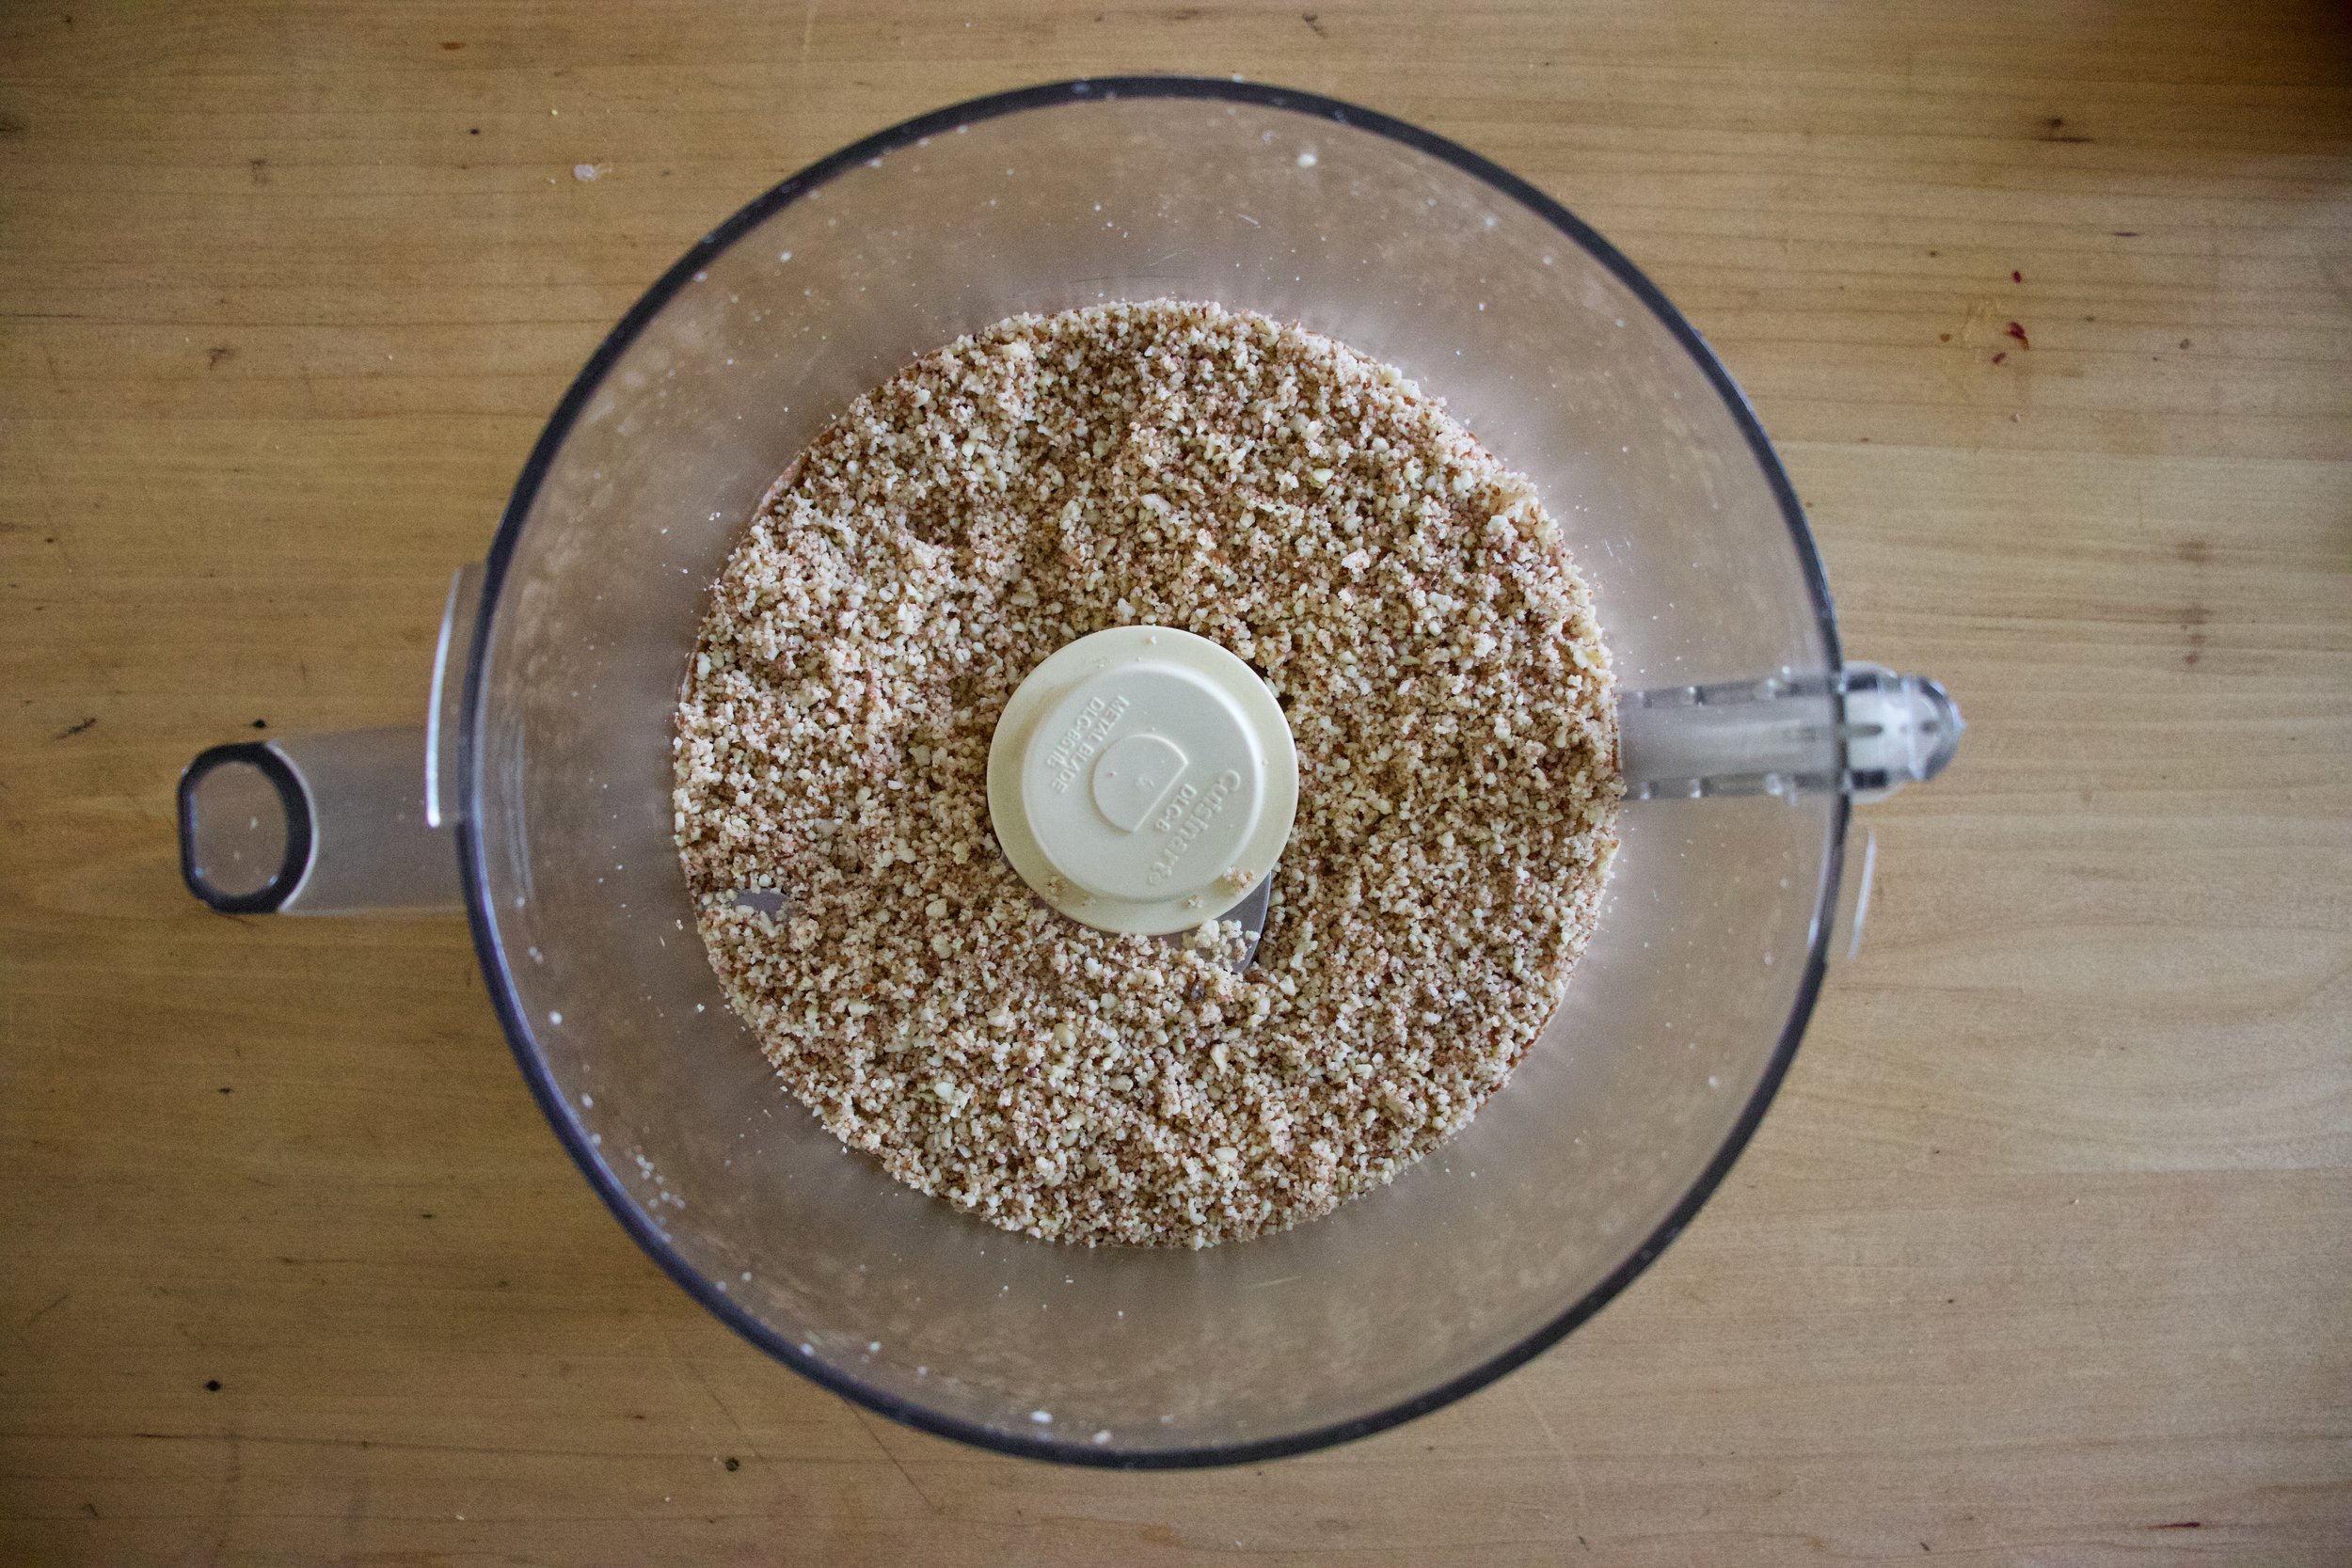
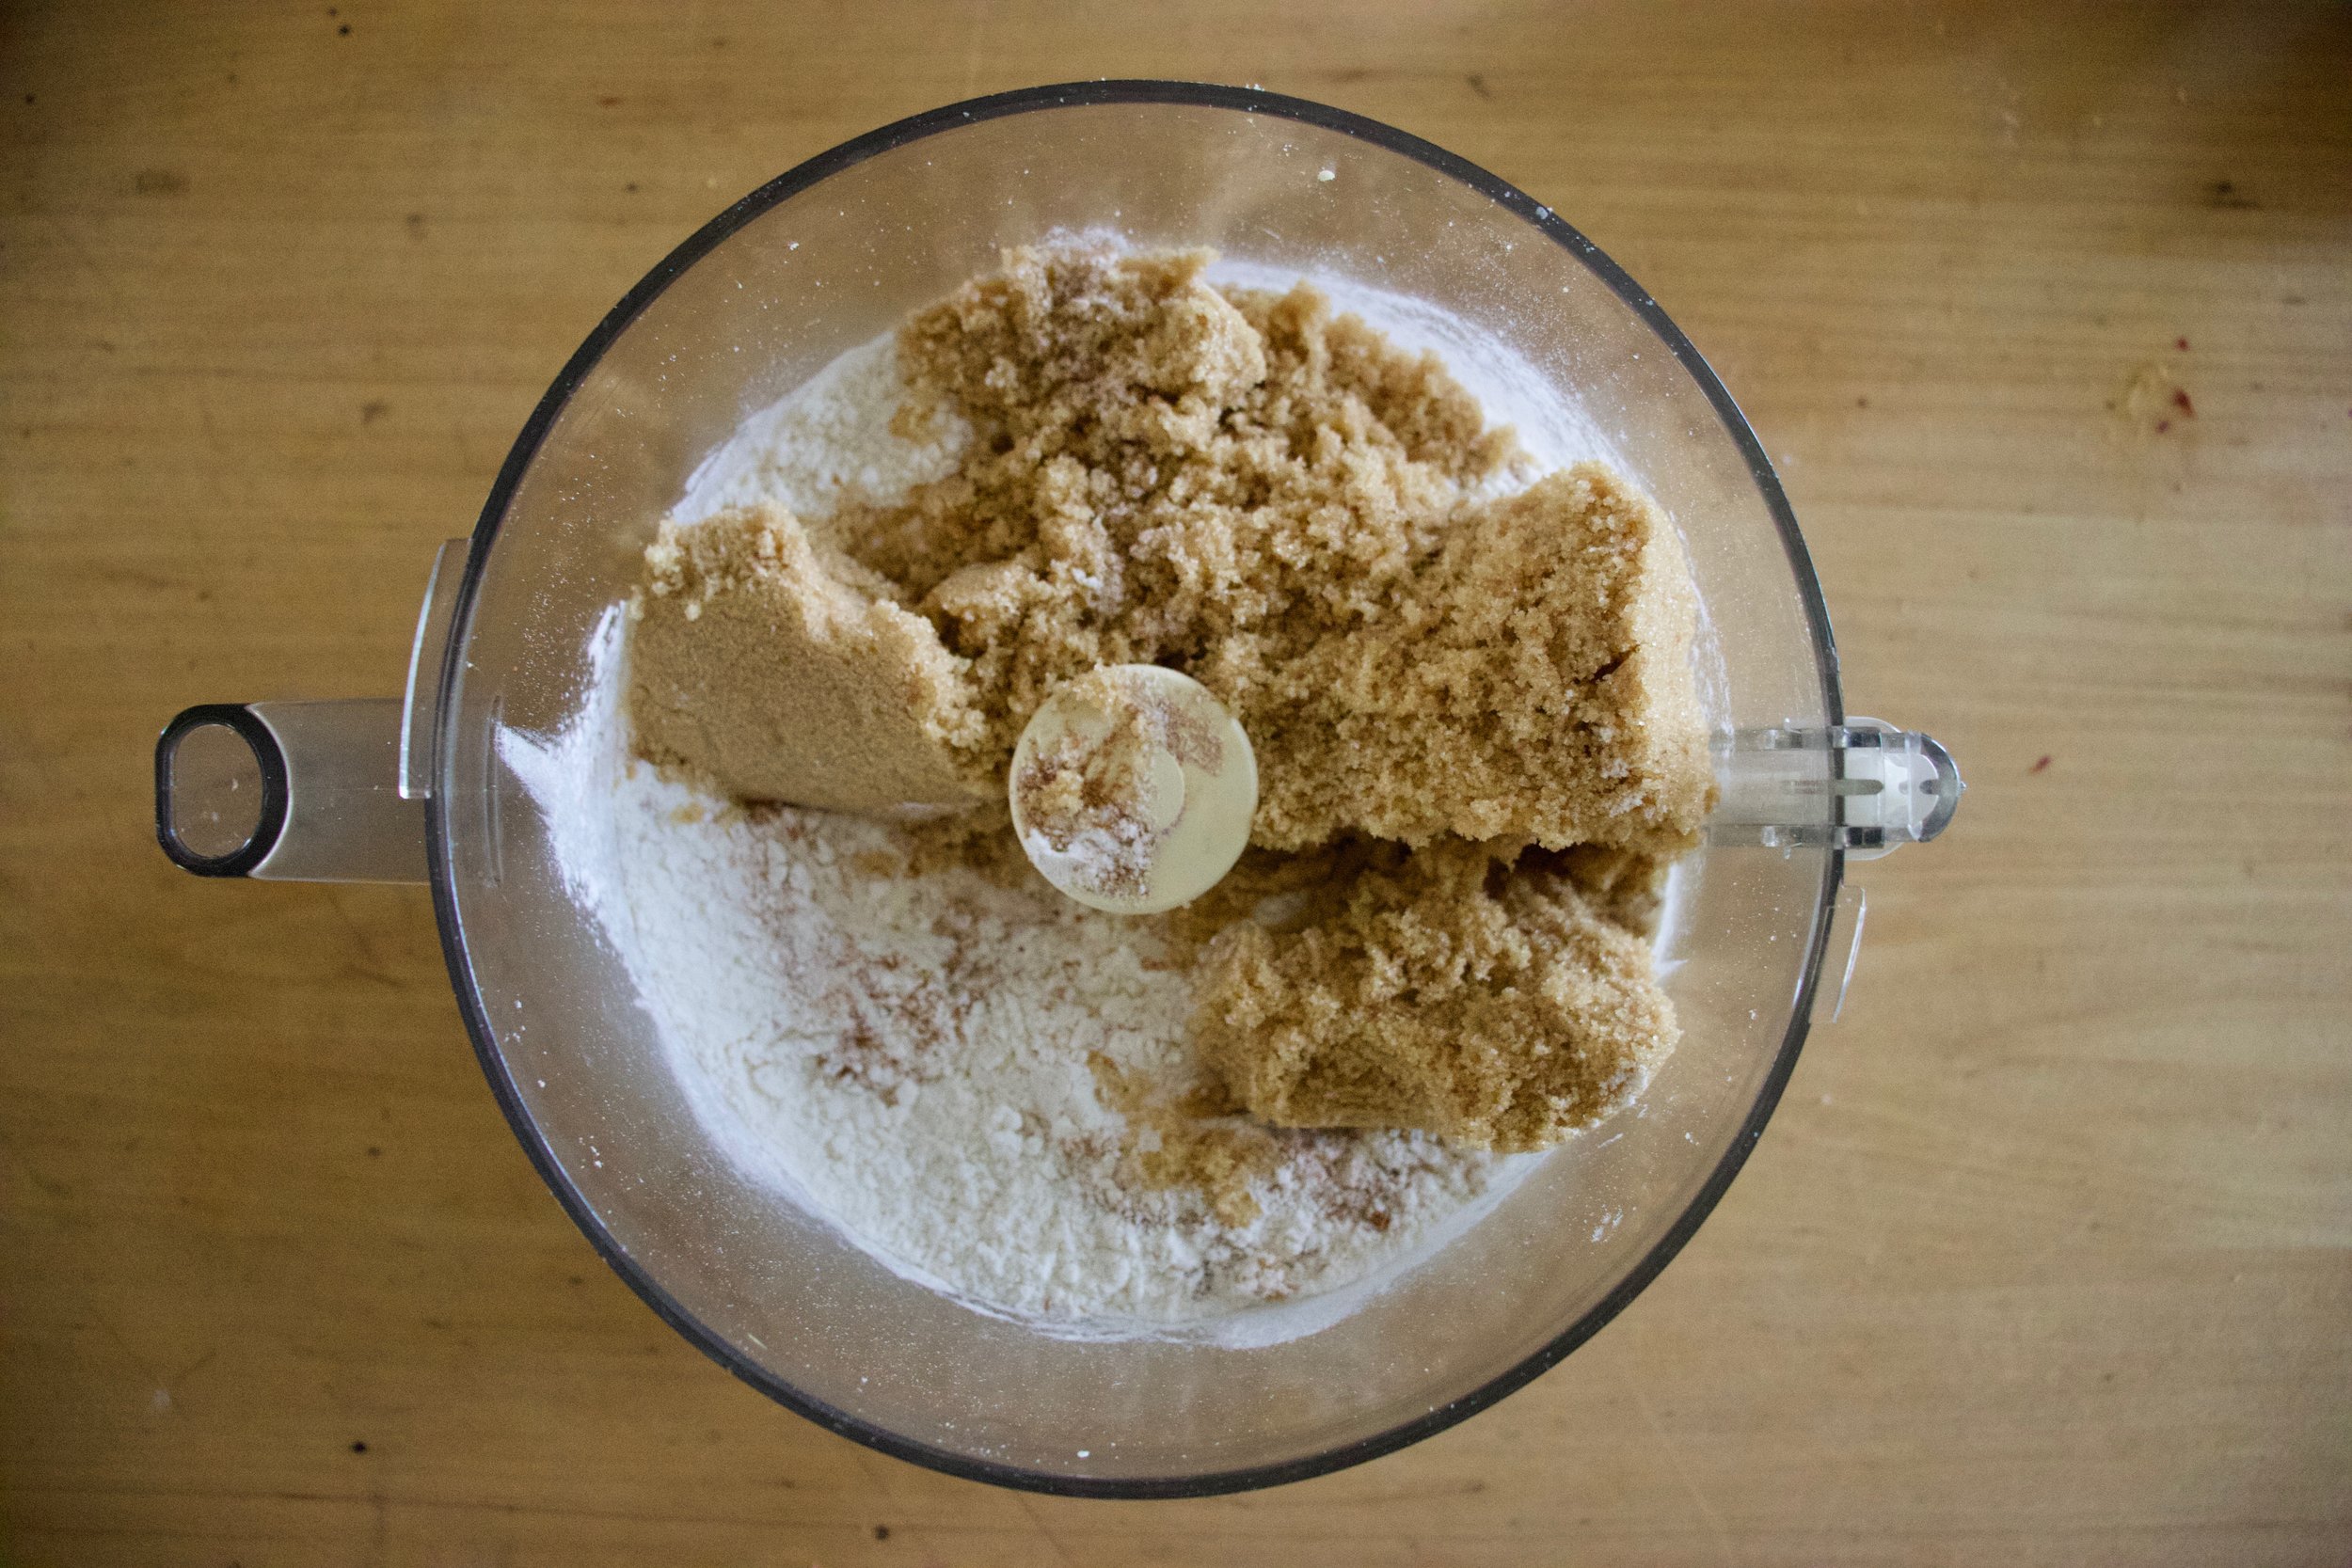
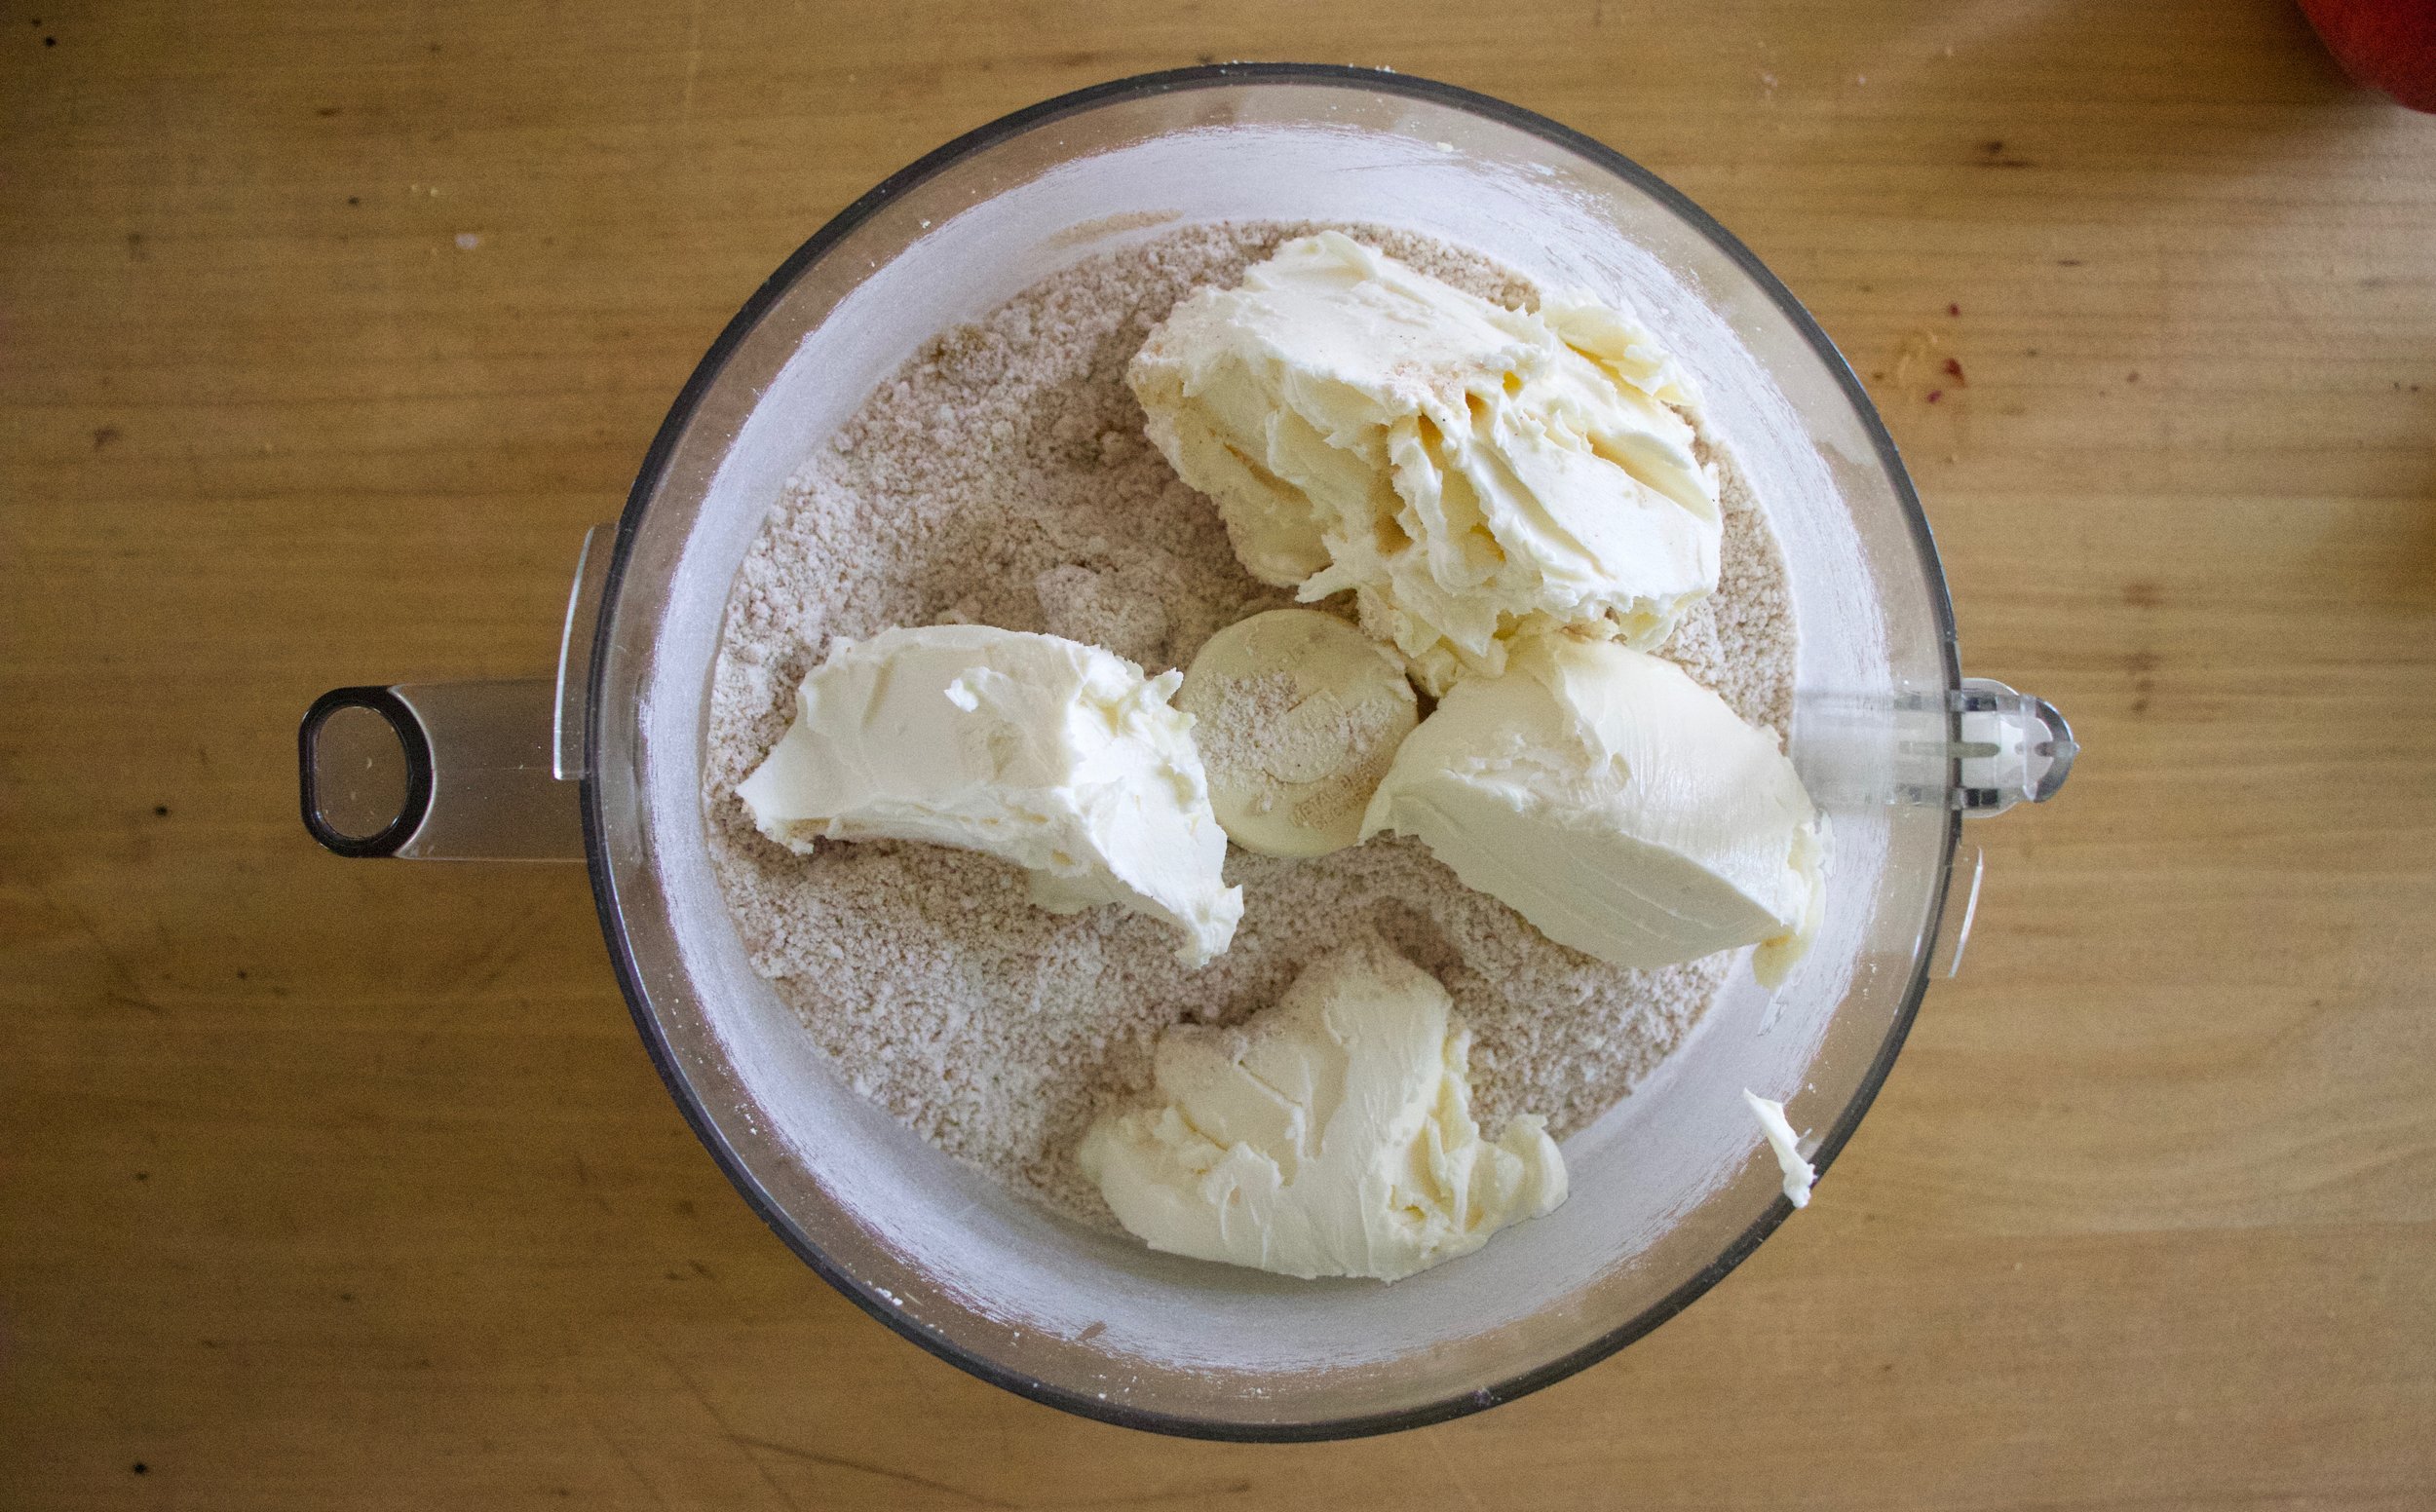
Easy peasy. Almonds go in to food processor first. Blend and pulse for a minute or two until they turn into a medium fine almond meal. (Don’t over blend or you will end up with almond butter.) When almonds are ground, add in the flour, baking powder, salt, cinnamon, and sugar. Pulse until combined. Then add in the butter in chunks and pulse until dough just starts to come together.

Almond shortbread dough.

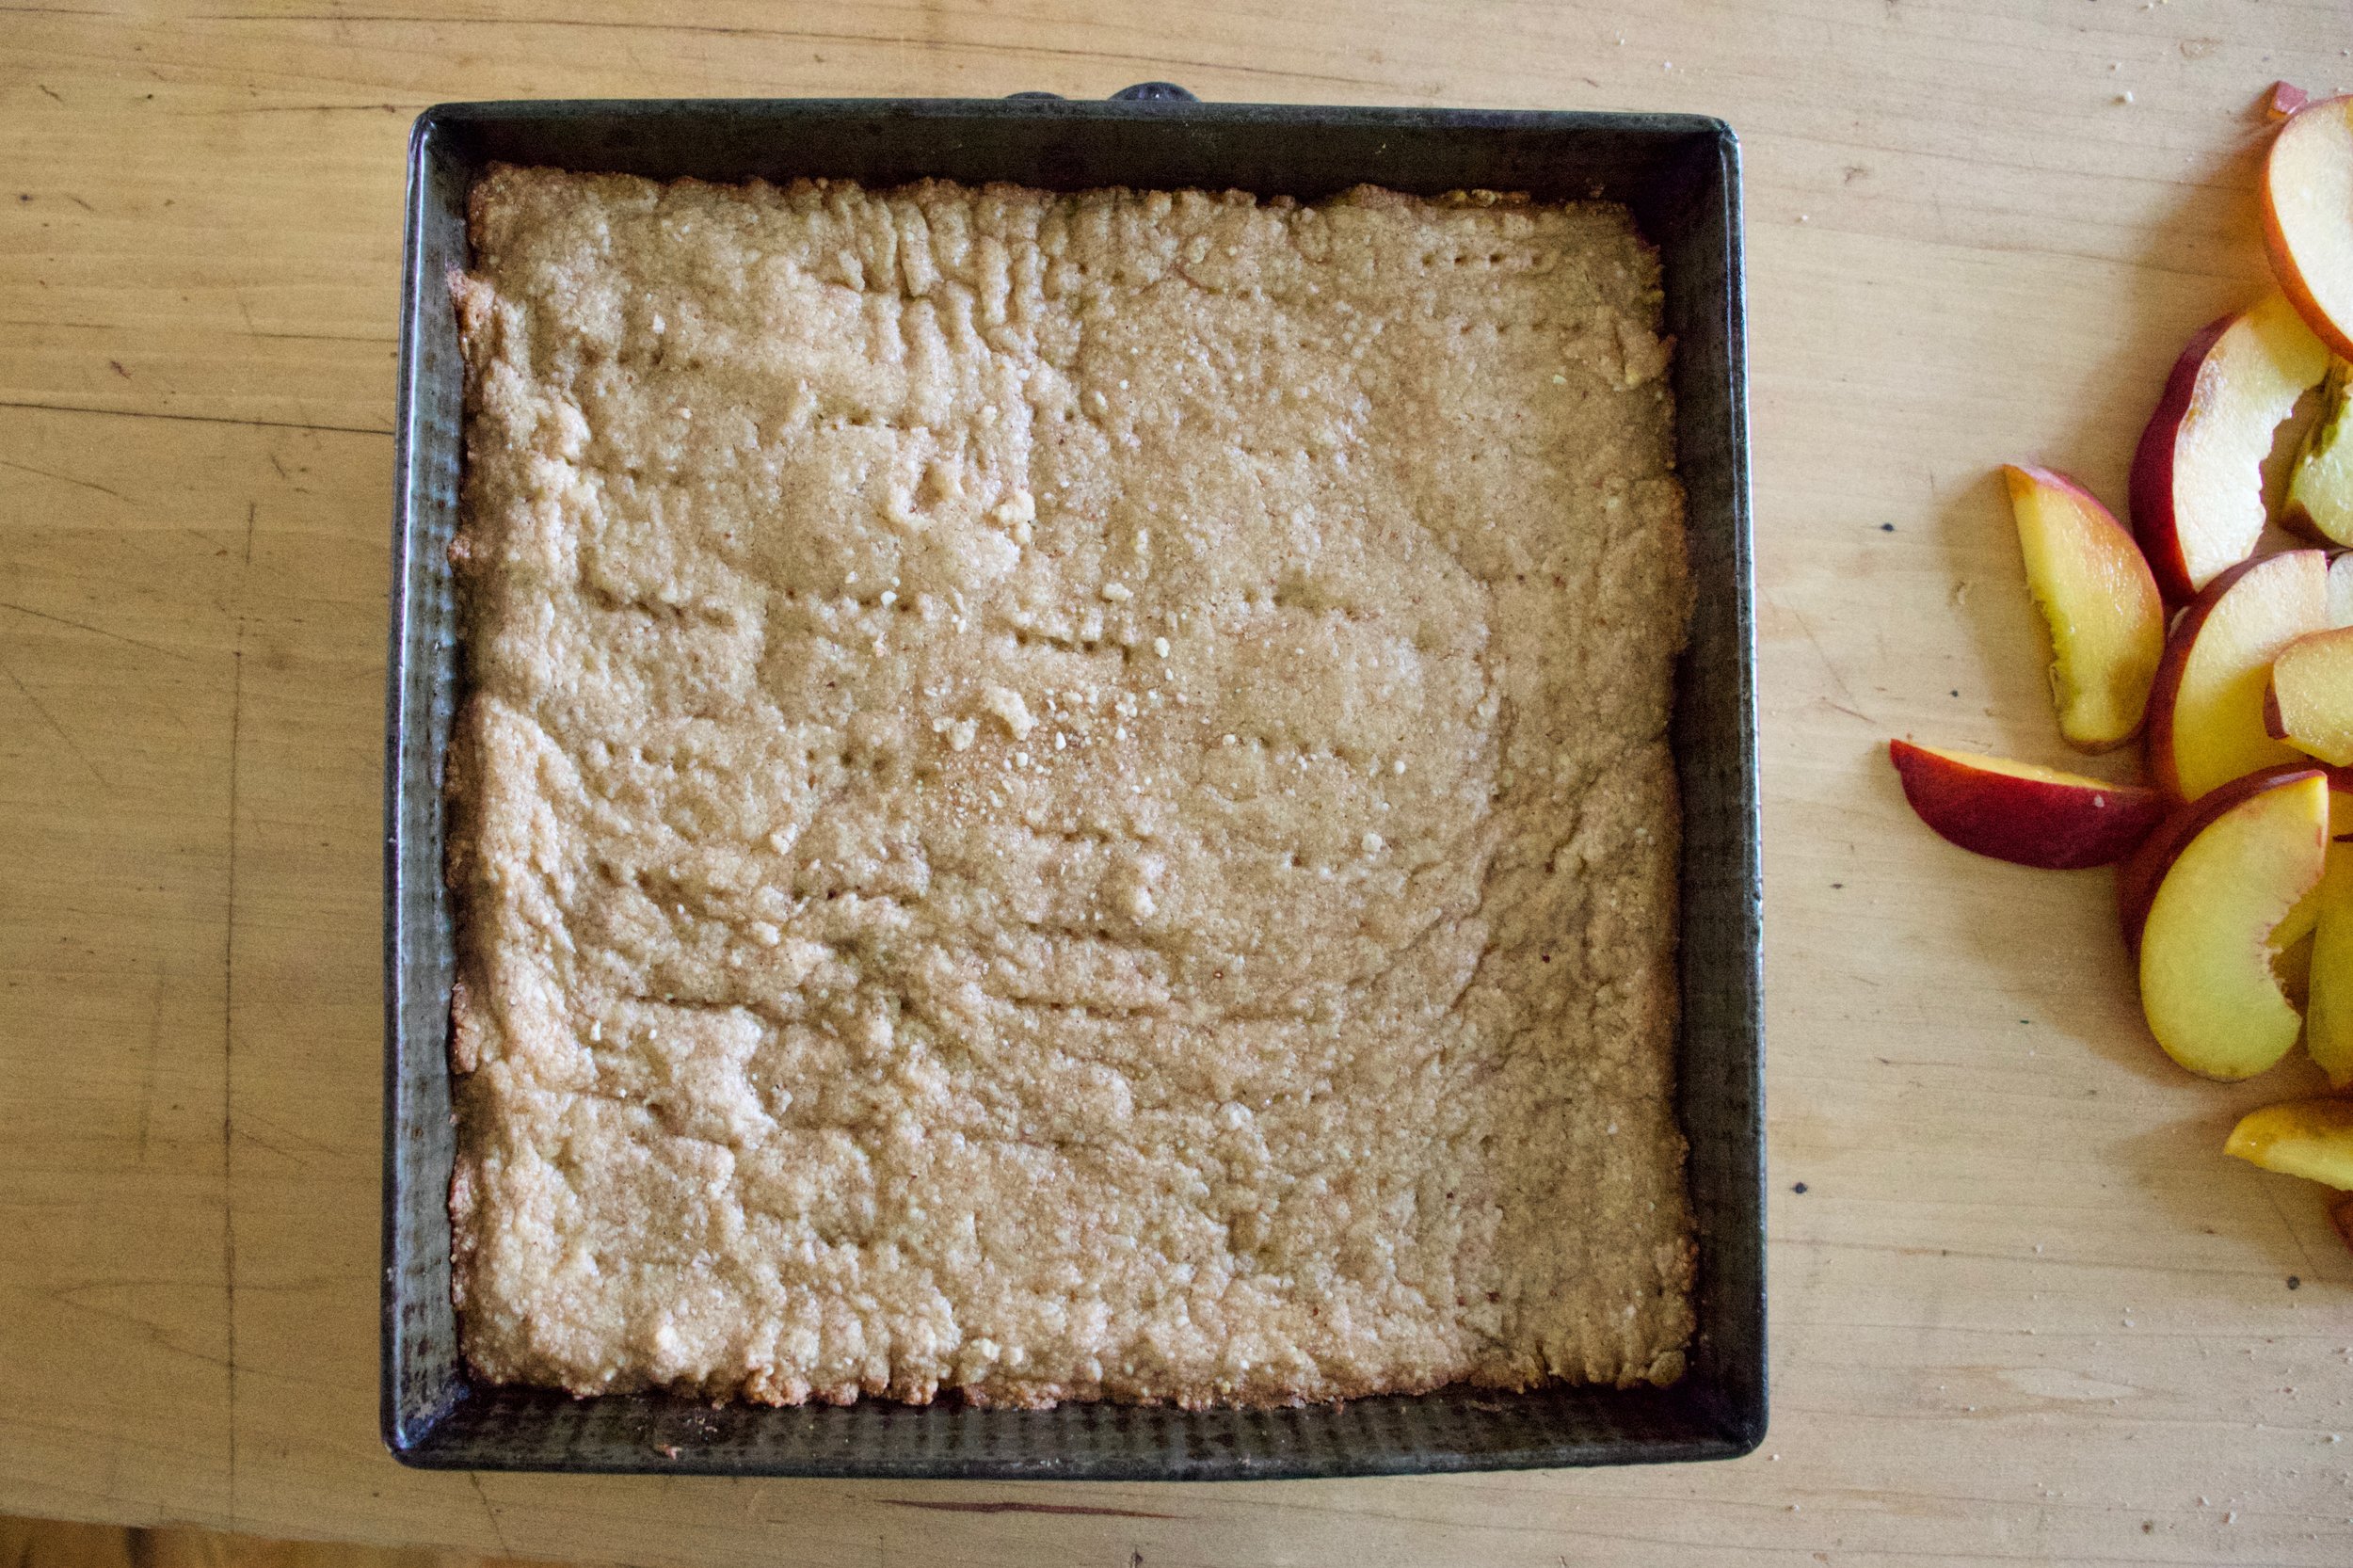
Half the dough goes into a 9x9 baking pan. Smooshed evenly all over the bottom poke it with a fork. Then it just needs to go into the oven to bake. 15-18 minutes or so, just until it starts to brown a bit.

Peaches need to be cut so cut them up. !/2 inch thick slices, after the pits be removed of course.

IMG_9539 2.jpg
IMG_9552.jpg

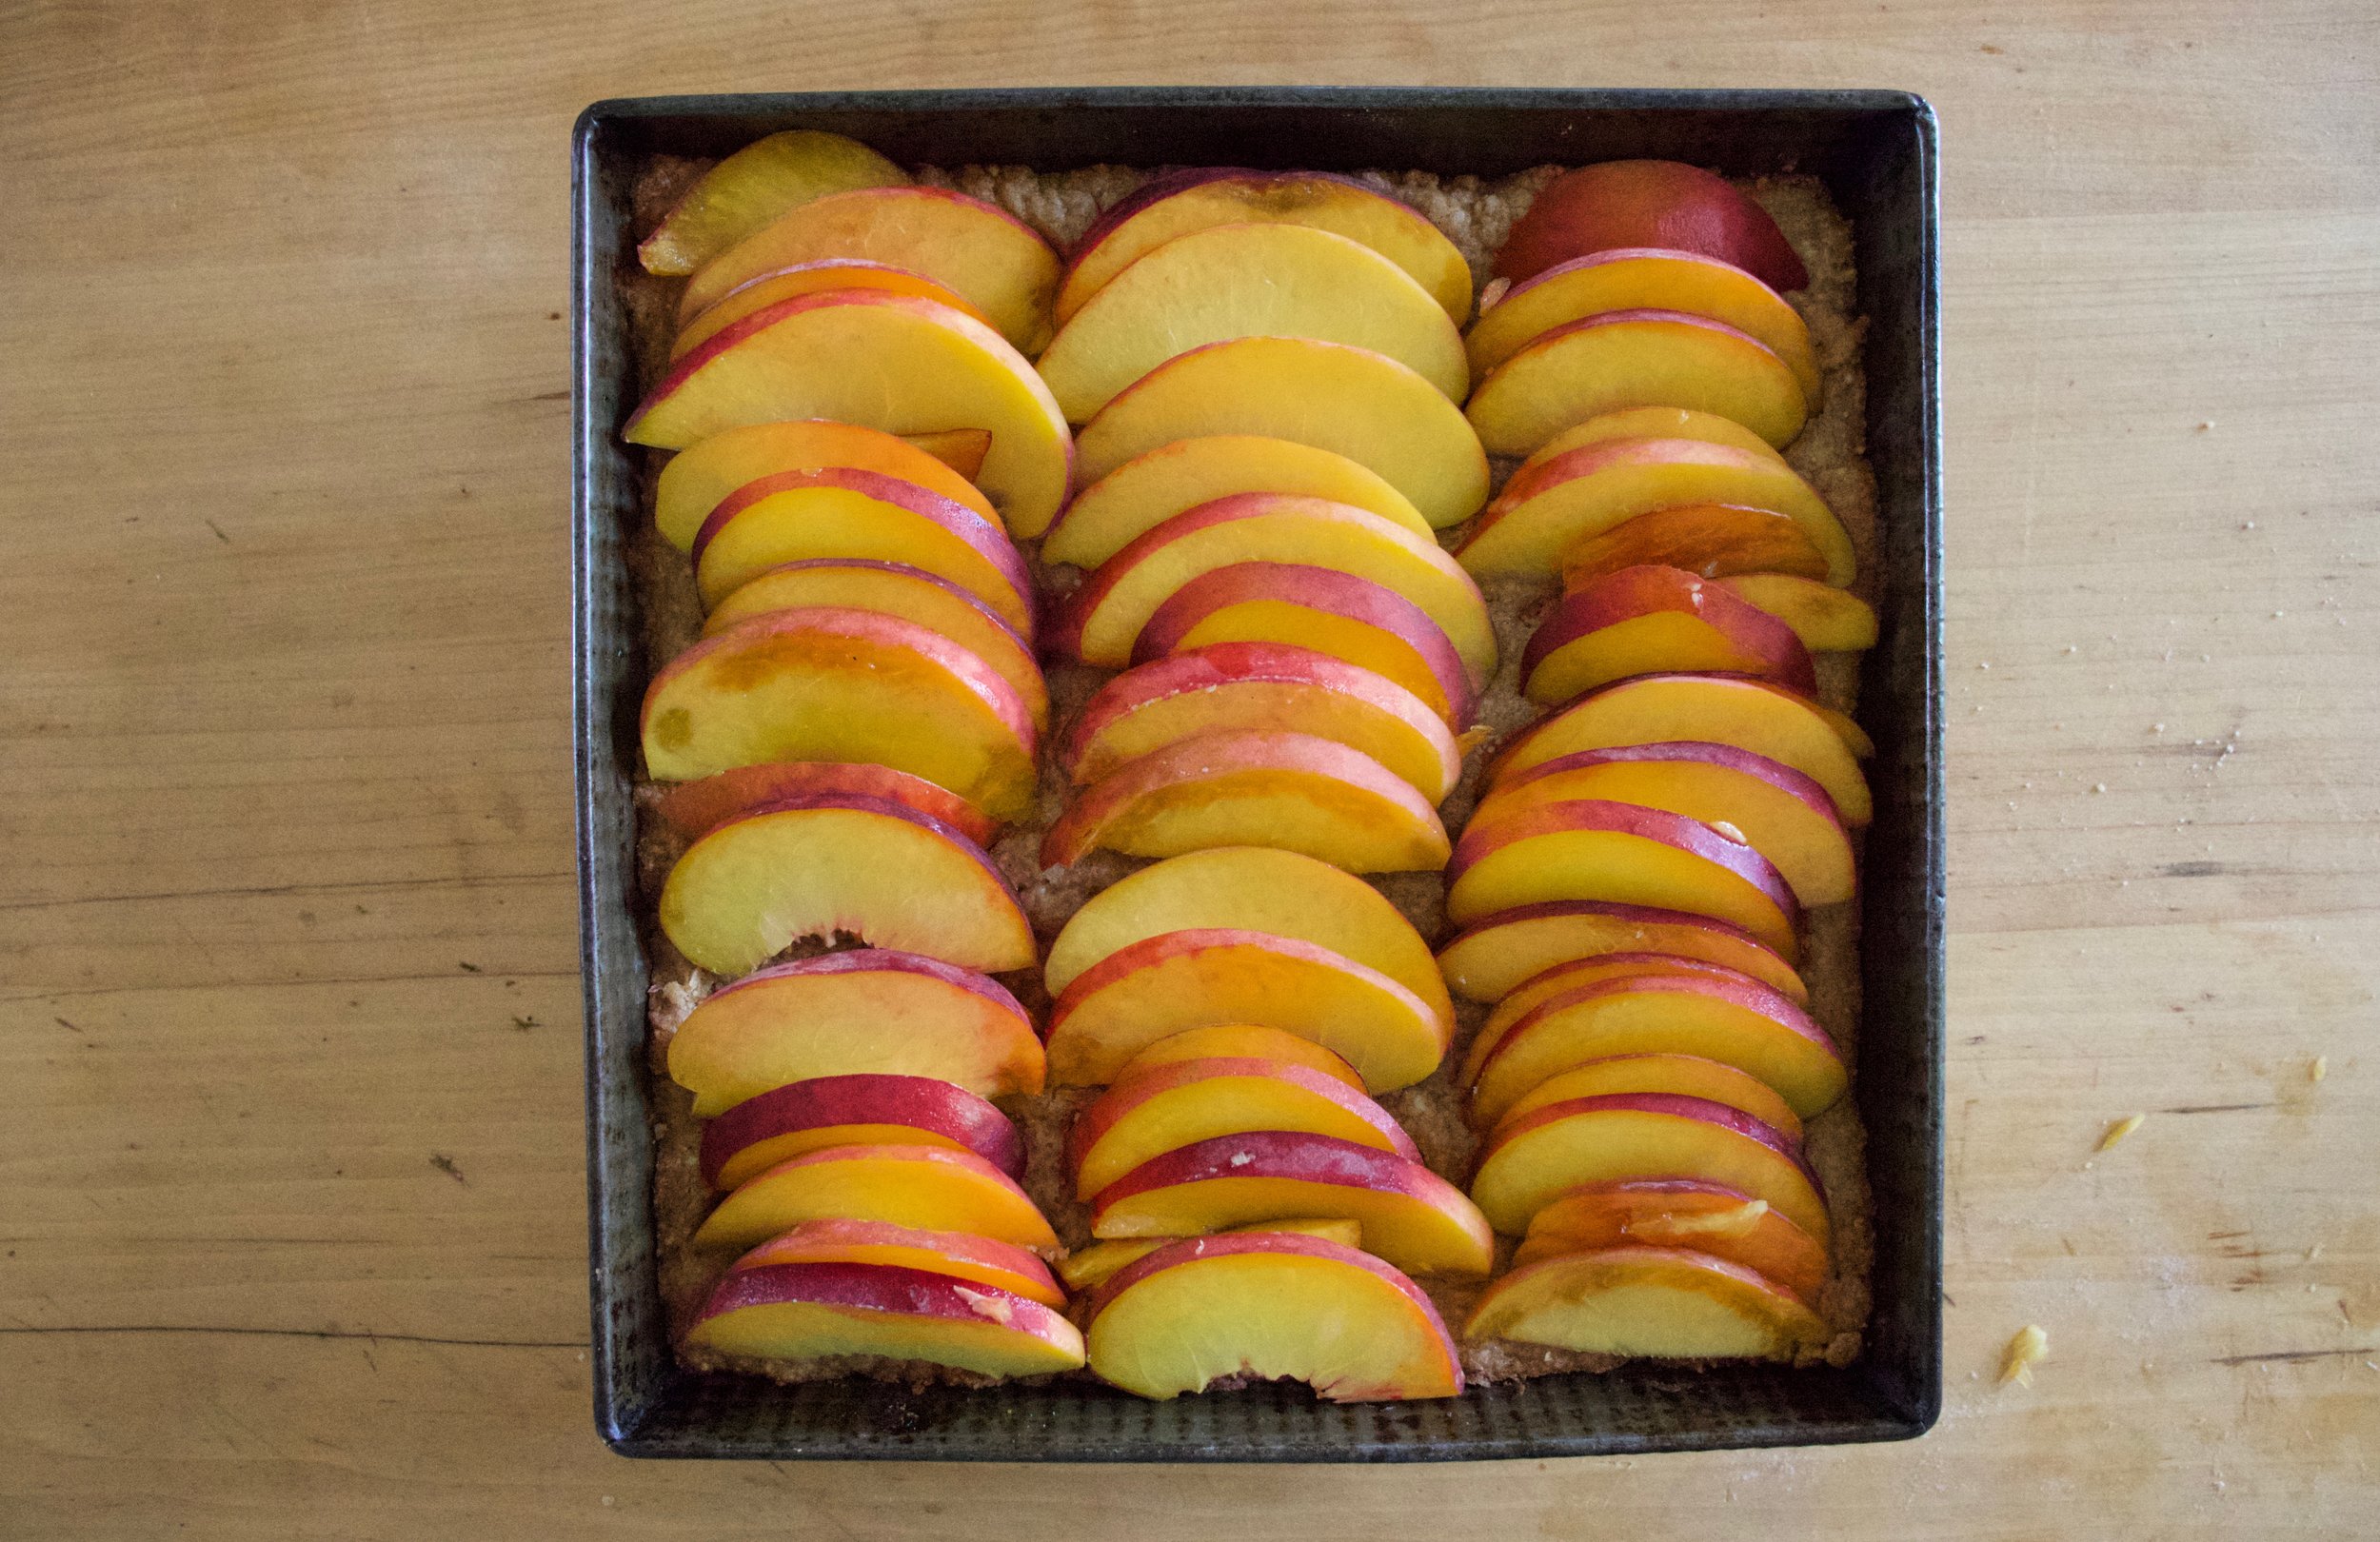
Blinded baked bottom. Looks good yeah? Let it cool for a few minutes and then it gets peaches. Three rows, all over lapping and nestled together.

IMG_9557.jpg

The top gets the remaining half of dough and is now it’s ready for the oven. Another 40-ish minutes or so to really seal the deal.

Taken from the oven when golden brown, cooled, cut up, and placed on a pretty plate because pretty is nice.

I am pretty sure you figured out what to do next…. EAT IT!

-C


Peach Almond Shortbread Bars

makes a 9x9 pan which can be cut Into the sizes of your choice

  • 1 cup vegan butter

  • 1 cup packed brown sugar

  • 2 cup cup all purpose flour

  • 1 cups raw almonds

  • 1 teaspoon baking powder

  • 1 teaspoon salt

  • 3 large firm peaches

  • 1 heaping teaspoon cinnamon

Preheat oven 350

Place almonds into a food processor and pulse and blend until a fine meal has formed. It should take only a minute or two and stop half way and scrape the edges and sides do the almonds don’t start to form a paste. Add in the flour, salt, baking powder, cinnamon,and sugar and pulse until combined. Add in the vegan butter in a few chunks and pulse until the mixture turns into a crumbly dough. Stop pulsing and dump mixture into big bowl.

Take half of the mixture and place into a 9x9 baking pan. Evenly distribute and press the dough into the bottom. Take a fork and poke the dough all over then place the pan in the oven. Bake for 15-17 minutes or until the dough just starts to lighly brown. Remove from oven.

While the bottom crust is cooling off for a few minutes, slice peaches into 1/2 inch slices. Obviously make sure to remove pit.

Now take your half baked crust and layer peaches evenly on top. It is easies to start at the top, make three rows across and then layer the peaches down (like in the picture above). Once peaches are layered, grab the remaining half of dough and evenly distribute on top. Place back into oven and bake for another 40-45 minutes or until the crumble on top is a nice deep golden brown.

Remove from oven, let coo completely (or as completely as you can) cut into pieces, and then you eat it.

Left over pieces should be placed in an airtight container in the fridge for up to 5 days. They freeze well individually wrapped too.

blind back for about 15 minutes of until the crust is starting to brown around the edges

bake for another 30 minutes

In Vegan, summer, Nuts, fruit, desserts, Dairy Free, brownies and bars Tags Peach Almond Shortbread Bars, Vegan, plant based, dairy free, pie bars, shortbread, almonds, peaches, dessert, crumble bars, sweets, bake, quick and easy
2 Comments

Almond Ricotta Tart with Spring Vegetables

May 4, 2019 Colleen Stem
IMG_8114 2.jpg
IMG_8045 2.jpg

Spring is here for reals, I think. No, it is here, it has just been a bit raw and maybe a bit more rainy then it really needs to be, but whatever, it is spring and it is good. Things are greener by the day, the temperatures although not exactly warm are still inhabitable and without cause for winter jackets (although I have still been rocking the mittens) and spring veggies are popping up all over. Things are looking good.

So last week I made a pie crust with the intention to make a veggie pot pie and stuck it into the freezer. When the time came to make said pot pie, I forgot to take it out of the freezer so the crust was not meant to be for pot pie (it will probably end up as a rhubarb pie…we shall see). Without pie crust, I wasn’t exactly feeling like I should make a pot pie, but a tart, well yeah, sure. A crispy and chewy crackery crusted thing with almond ricotta a spring veggies because that is where the mind went and what the mr agreed sounded good. (When I make up recipes I just start taking about ingredient and preparations and wait til the mr says “Yea, that loud good. I’ll eat that “ He usually will say it right away and for anything. Very easy to please or he just doesn’t care…hum? )

And so the tart was made and the tart was eaten in all entirety for dinner by the mr alone. Usually when he eats all of something it means it was one of the really good things. Or he is really really hungry. But he said it was a really good thing. I trust him because I agreed. I got in a few spoonfuls of the almond ricotta mixture and it is really freaking good if I do say so myself (I could eat bowls of almond ricotta all day long).

Anyway, heres to spring and all things that are green and good.

To the tart.

The stuff. Flours (white and white whole wheat), baking powder, and a little salt in the bowl. Water and olive oil, blanched almonds, a lemon, a clove of garlic, asparagus, peas, frozen and thawed spinach, a small red onion, and salt and pepper.

IMG_7961.jpg
IMG_7965.jpg

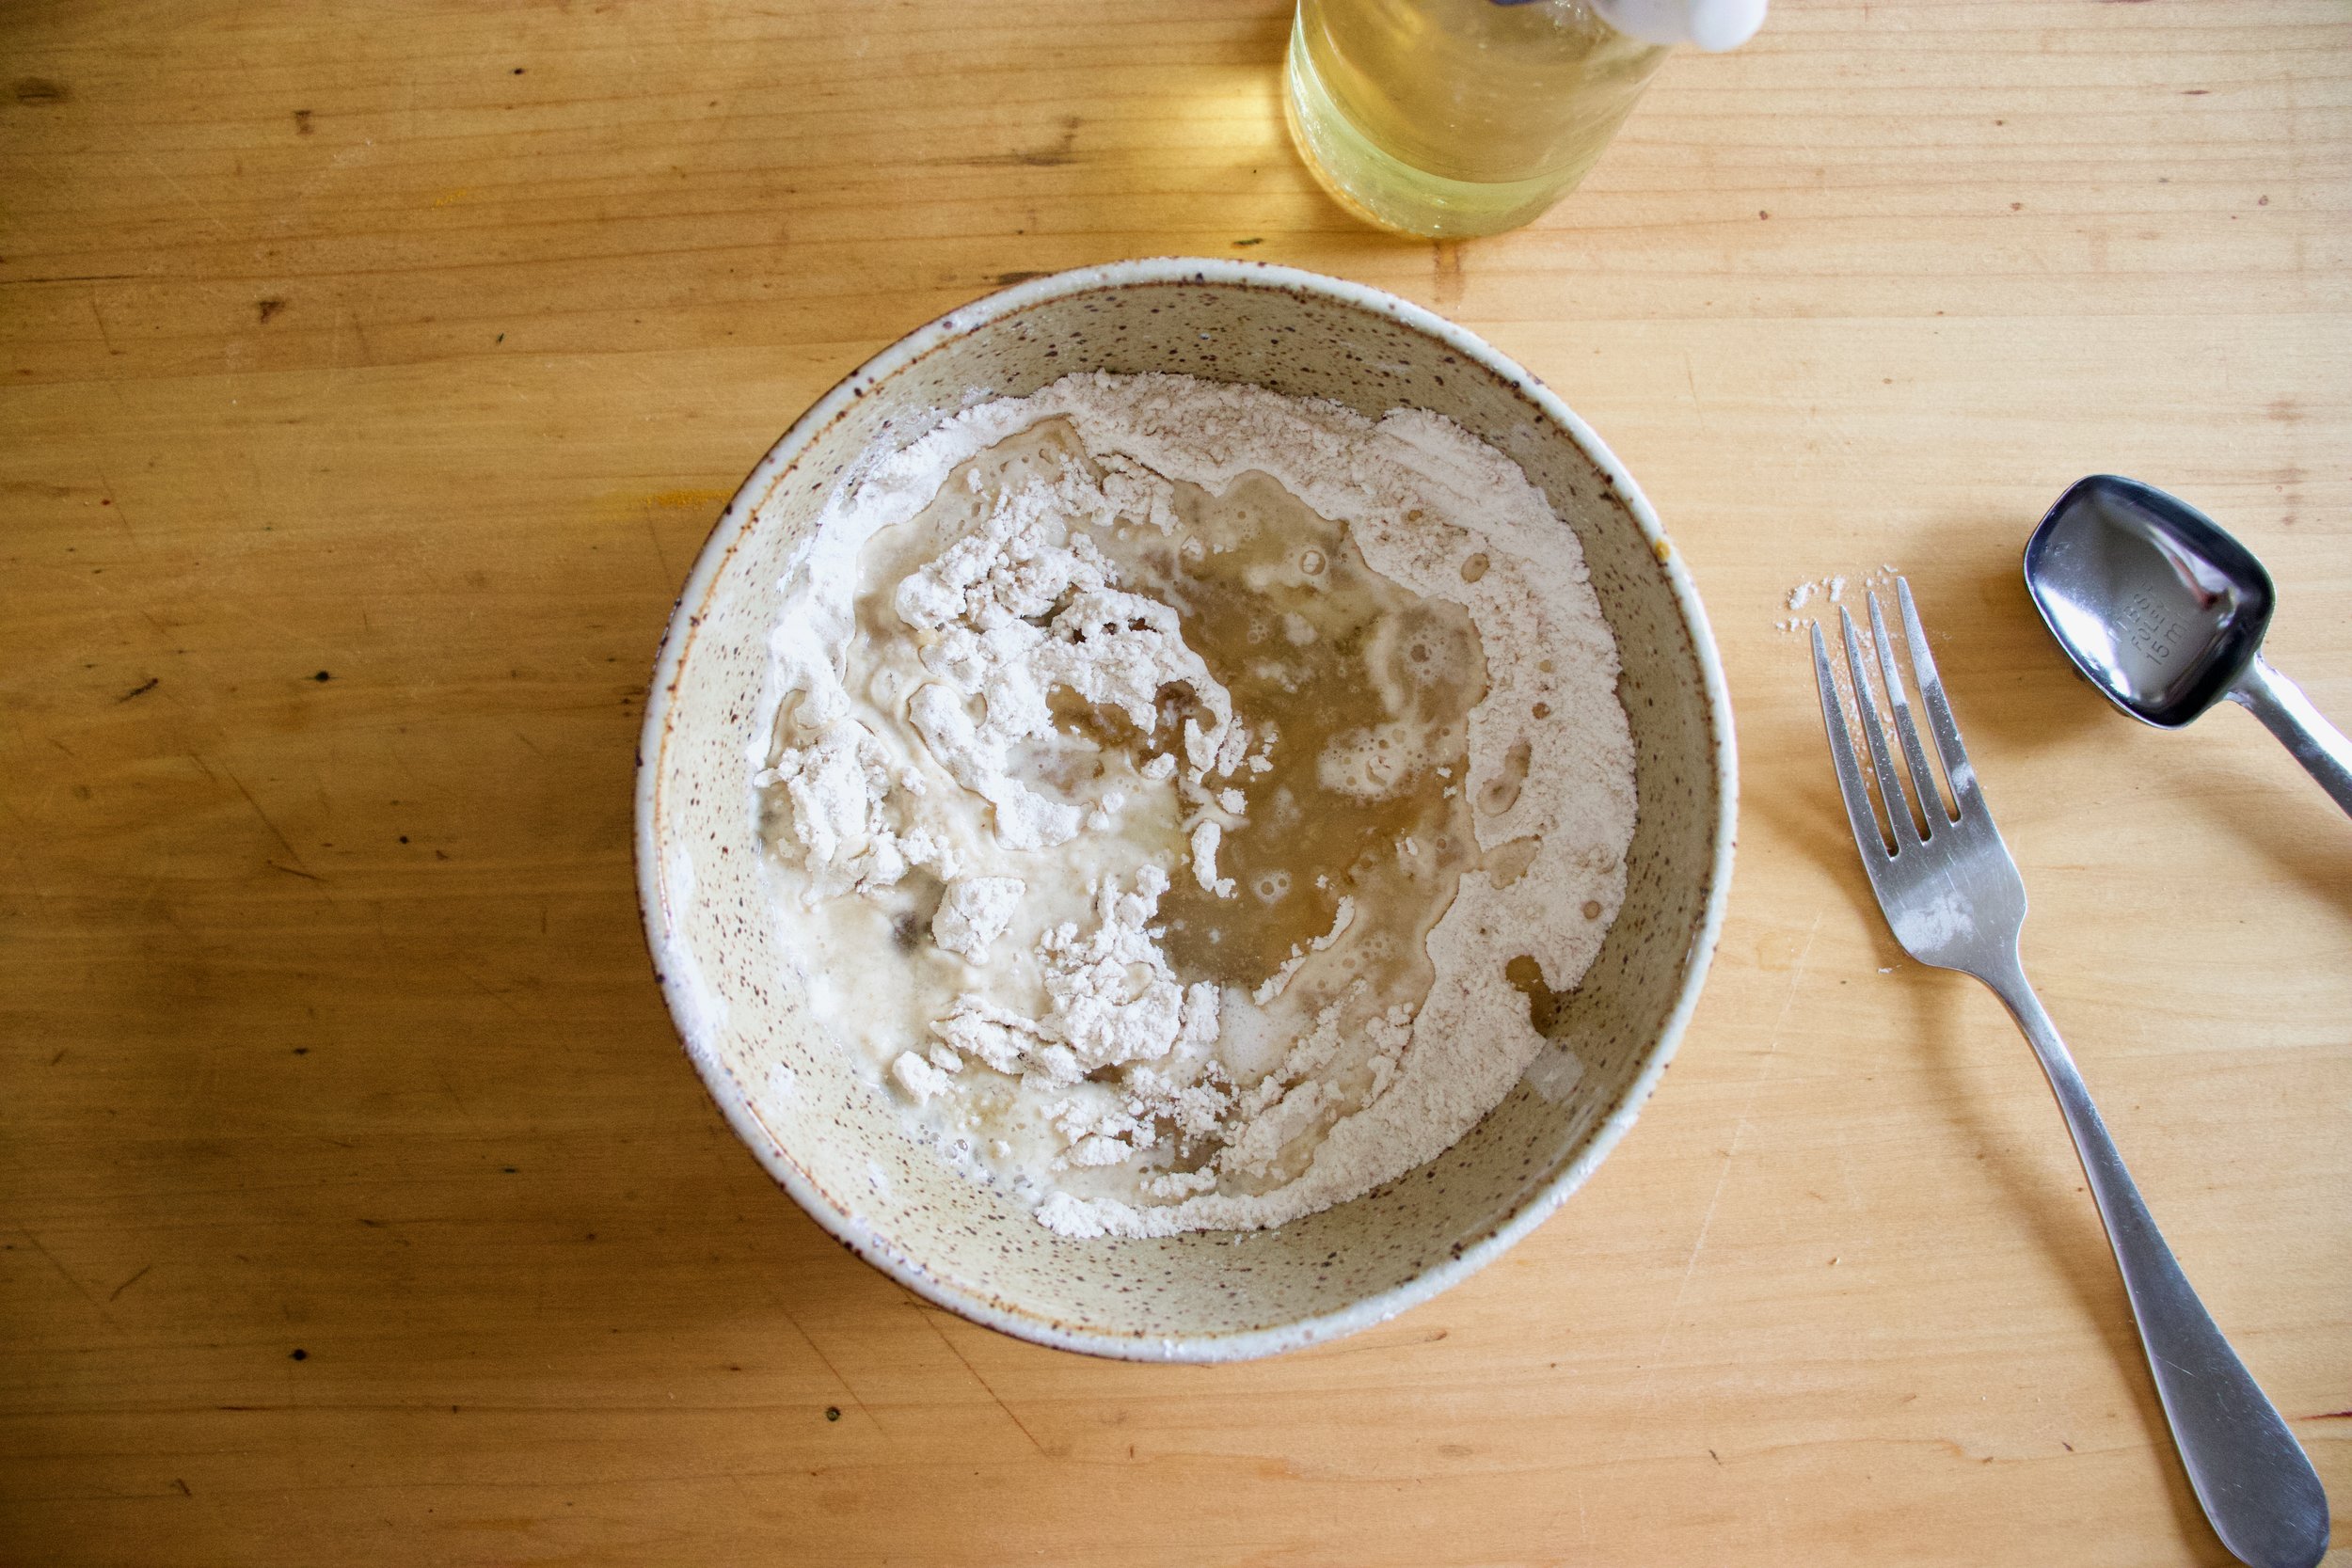
Start with making the crust. Mix the dry together then add in the oil and water to form a dough. Knead dough a minutes until the dough is uniform and place back in bowl and cover. Dough needs a few alone minutes to rest. I can relate to that.

While dough is resting, make the almond ricotta. Almonds, garlic, the juice of the lemon, and a bit of water go into blender. Add in a pinch of salt and pepper too.

IMG_7979 2.jpg

Blend until creamy and smooth.

Dump in the spinach and blend, just until combined.

IMG_7986.jpg

So good. So. Good.

Scoop ricotta into a bowl and mix in the peas. And sure give it another taste but try not to eat it all.

Grab the onion and slice it all nice and thin.

IMG_8010.jpg

And after the resting time, grab dough and roll it out. Try for a rectangular shape or as rectangular as you can get it, but nice and thin. Thiner is better.

IMG_8012.jpg
IMG_8022.jpg

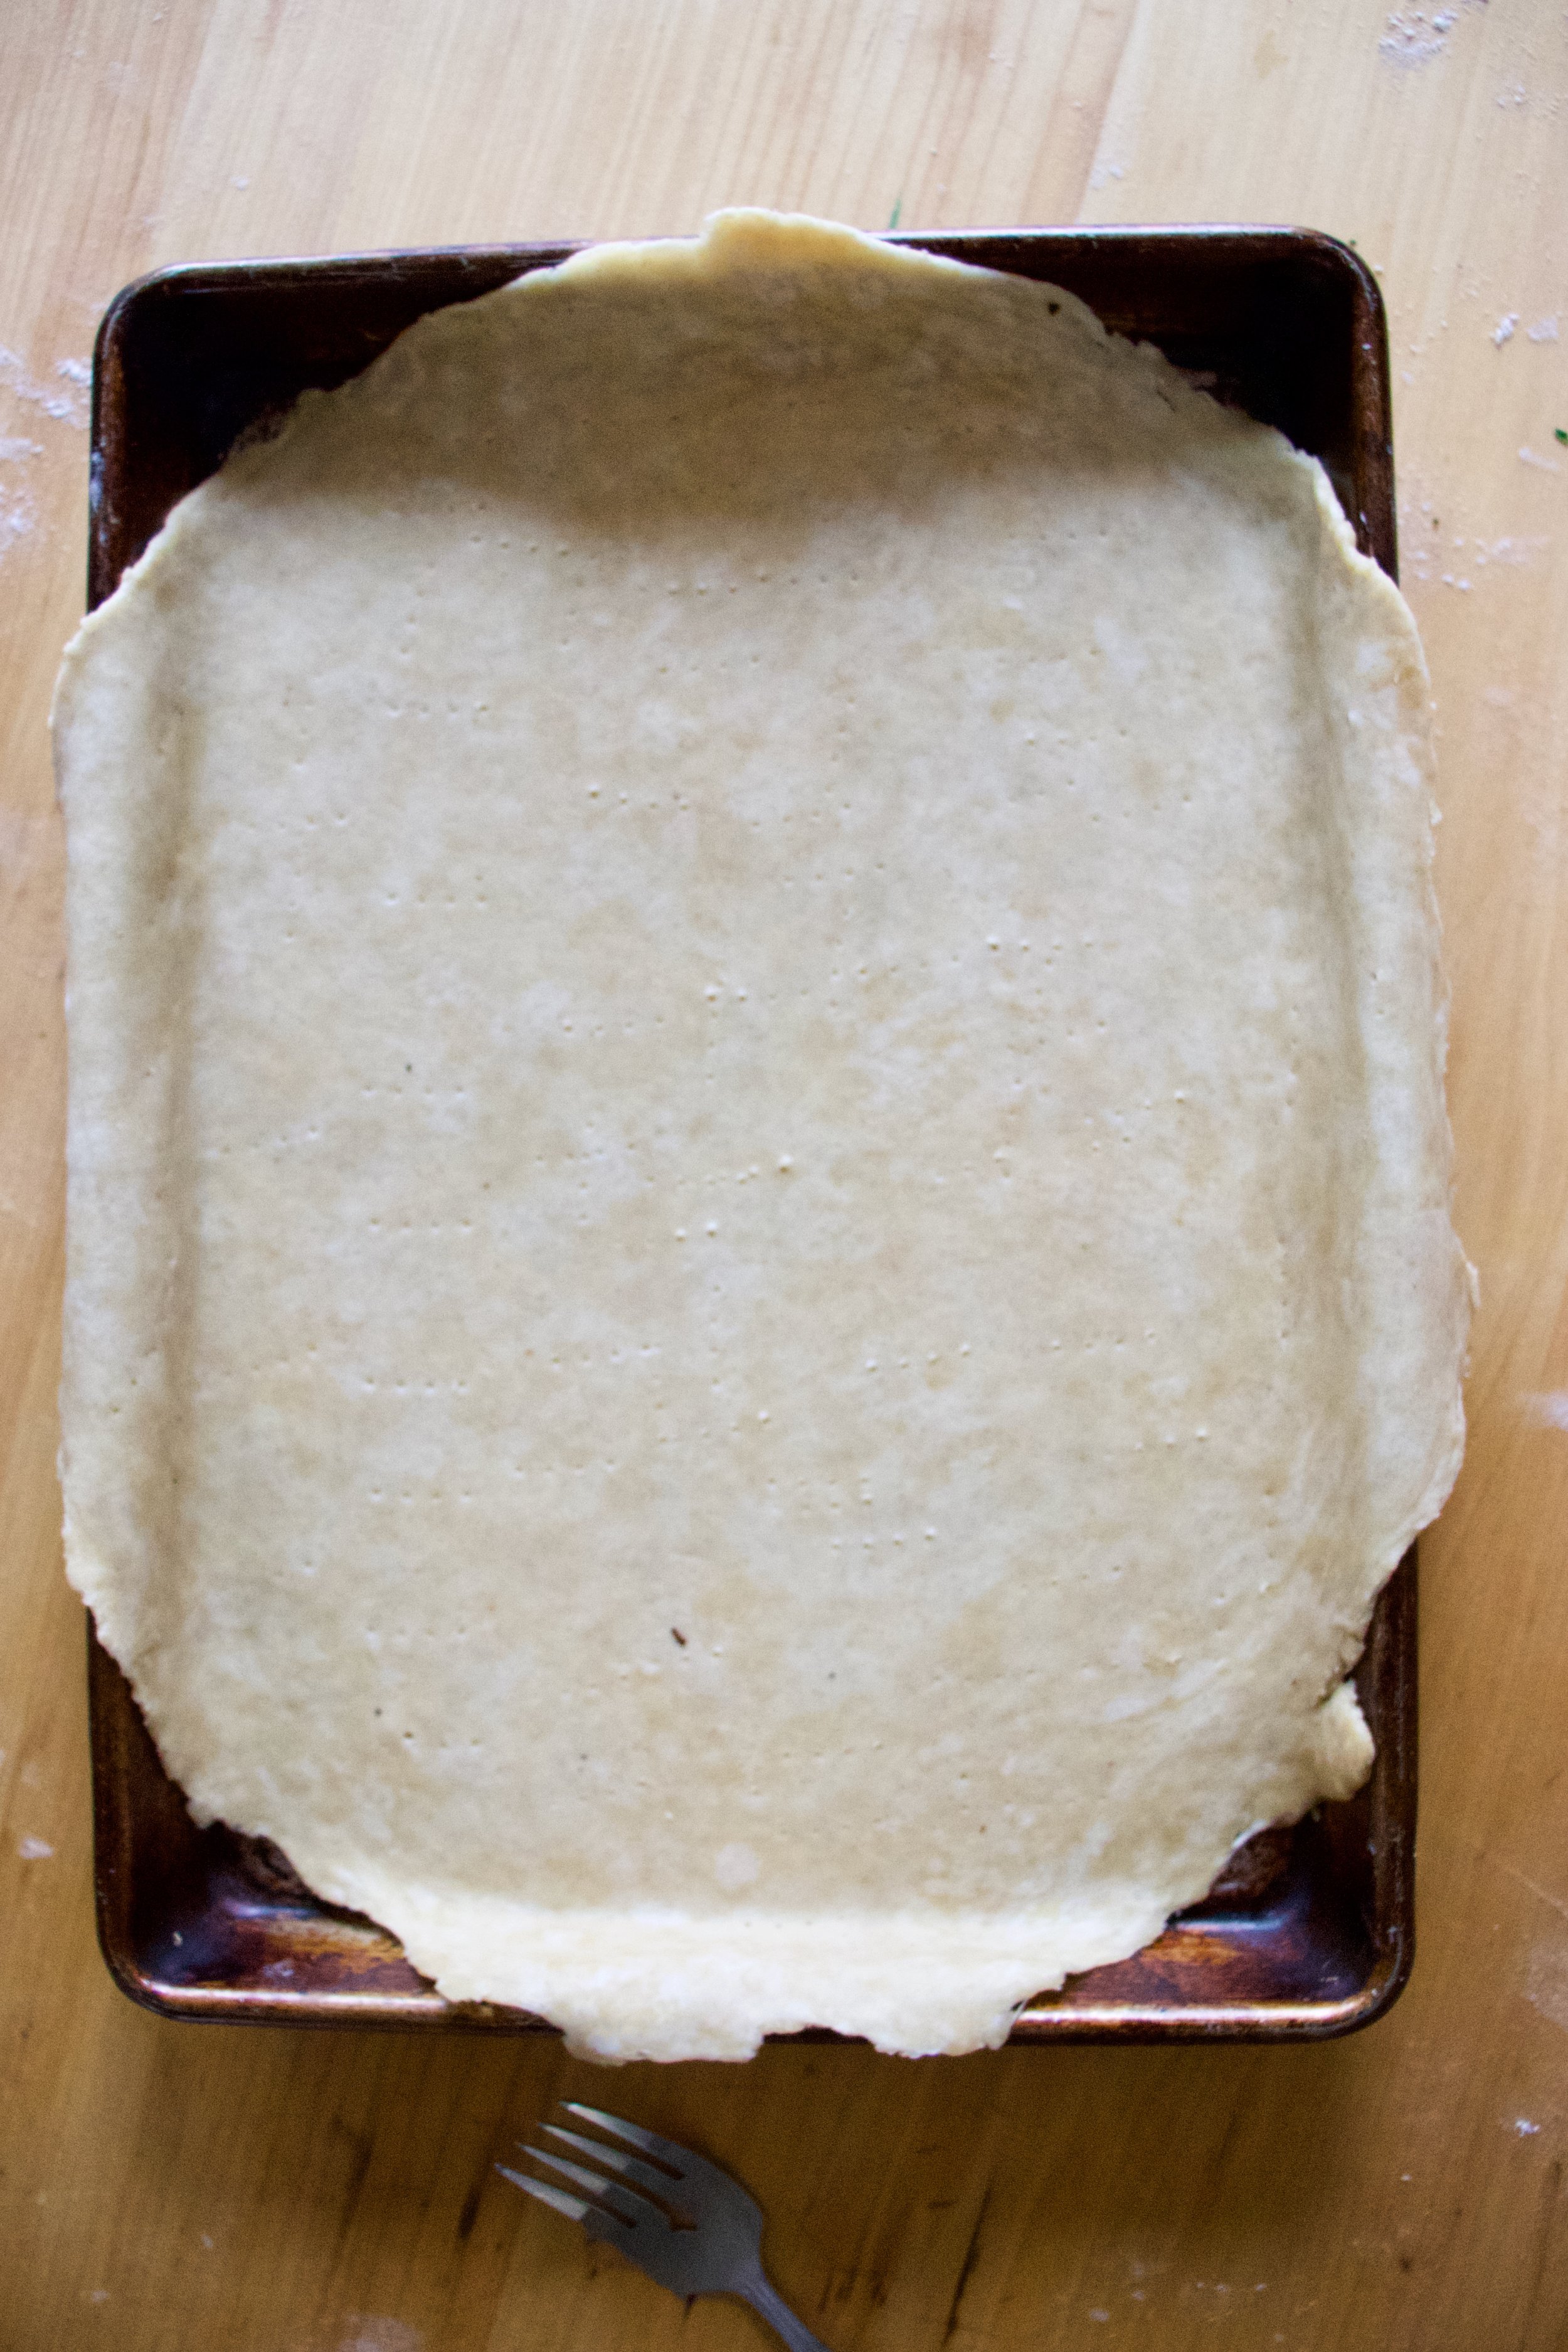
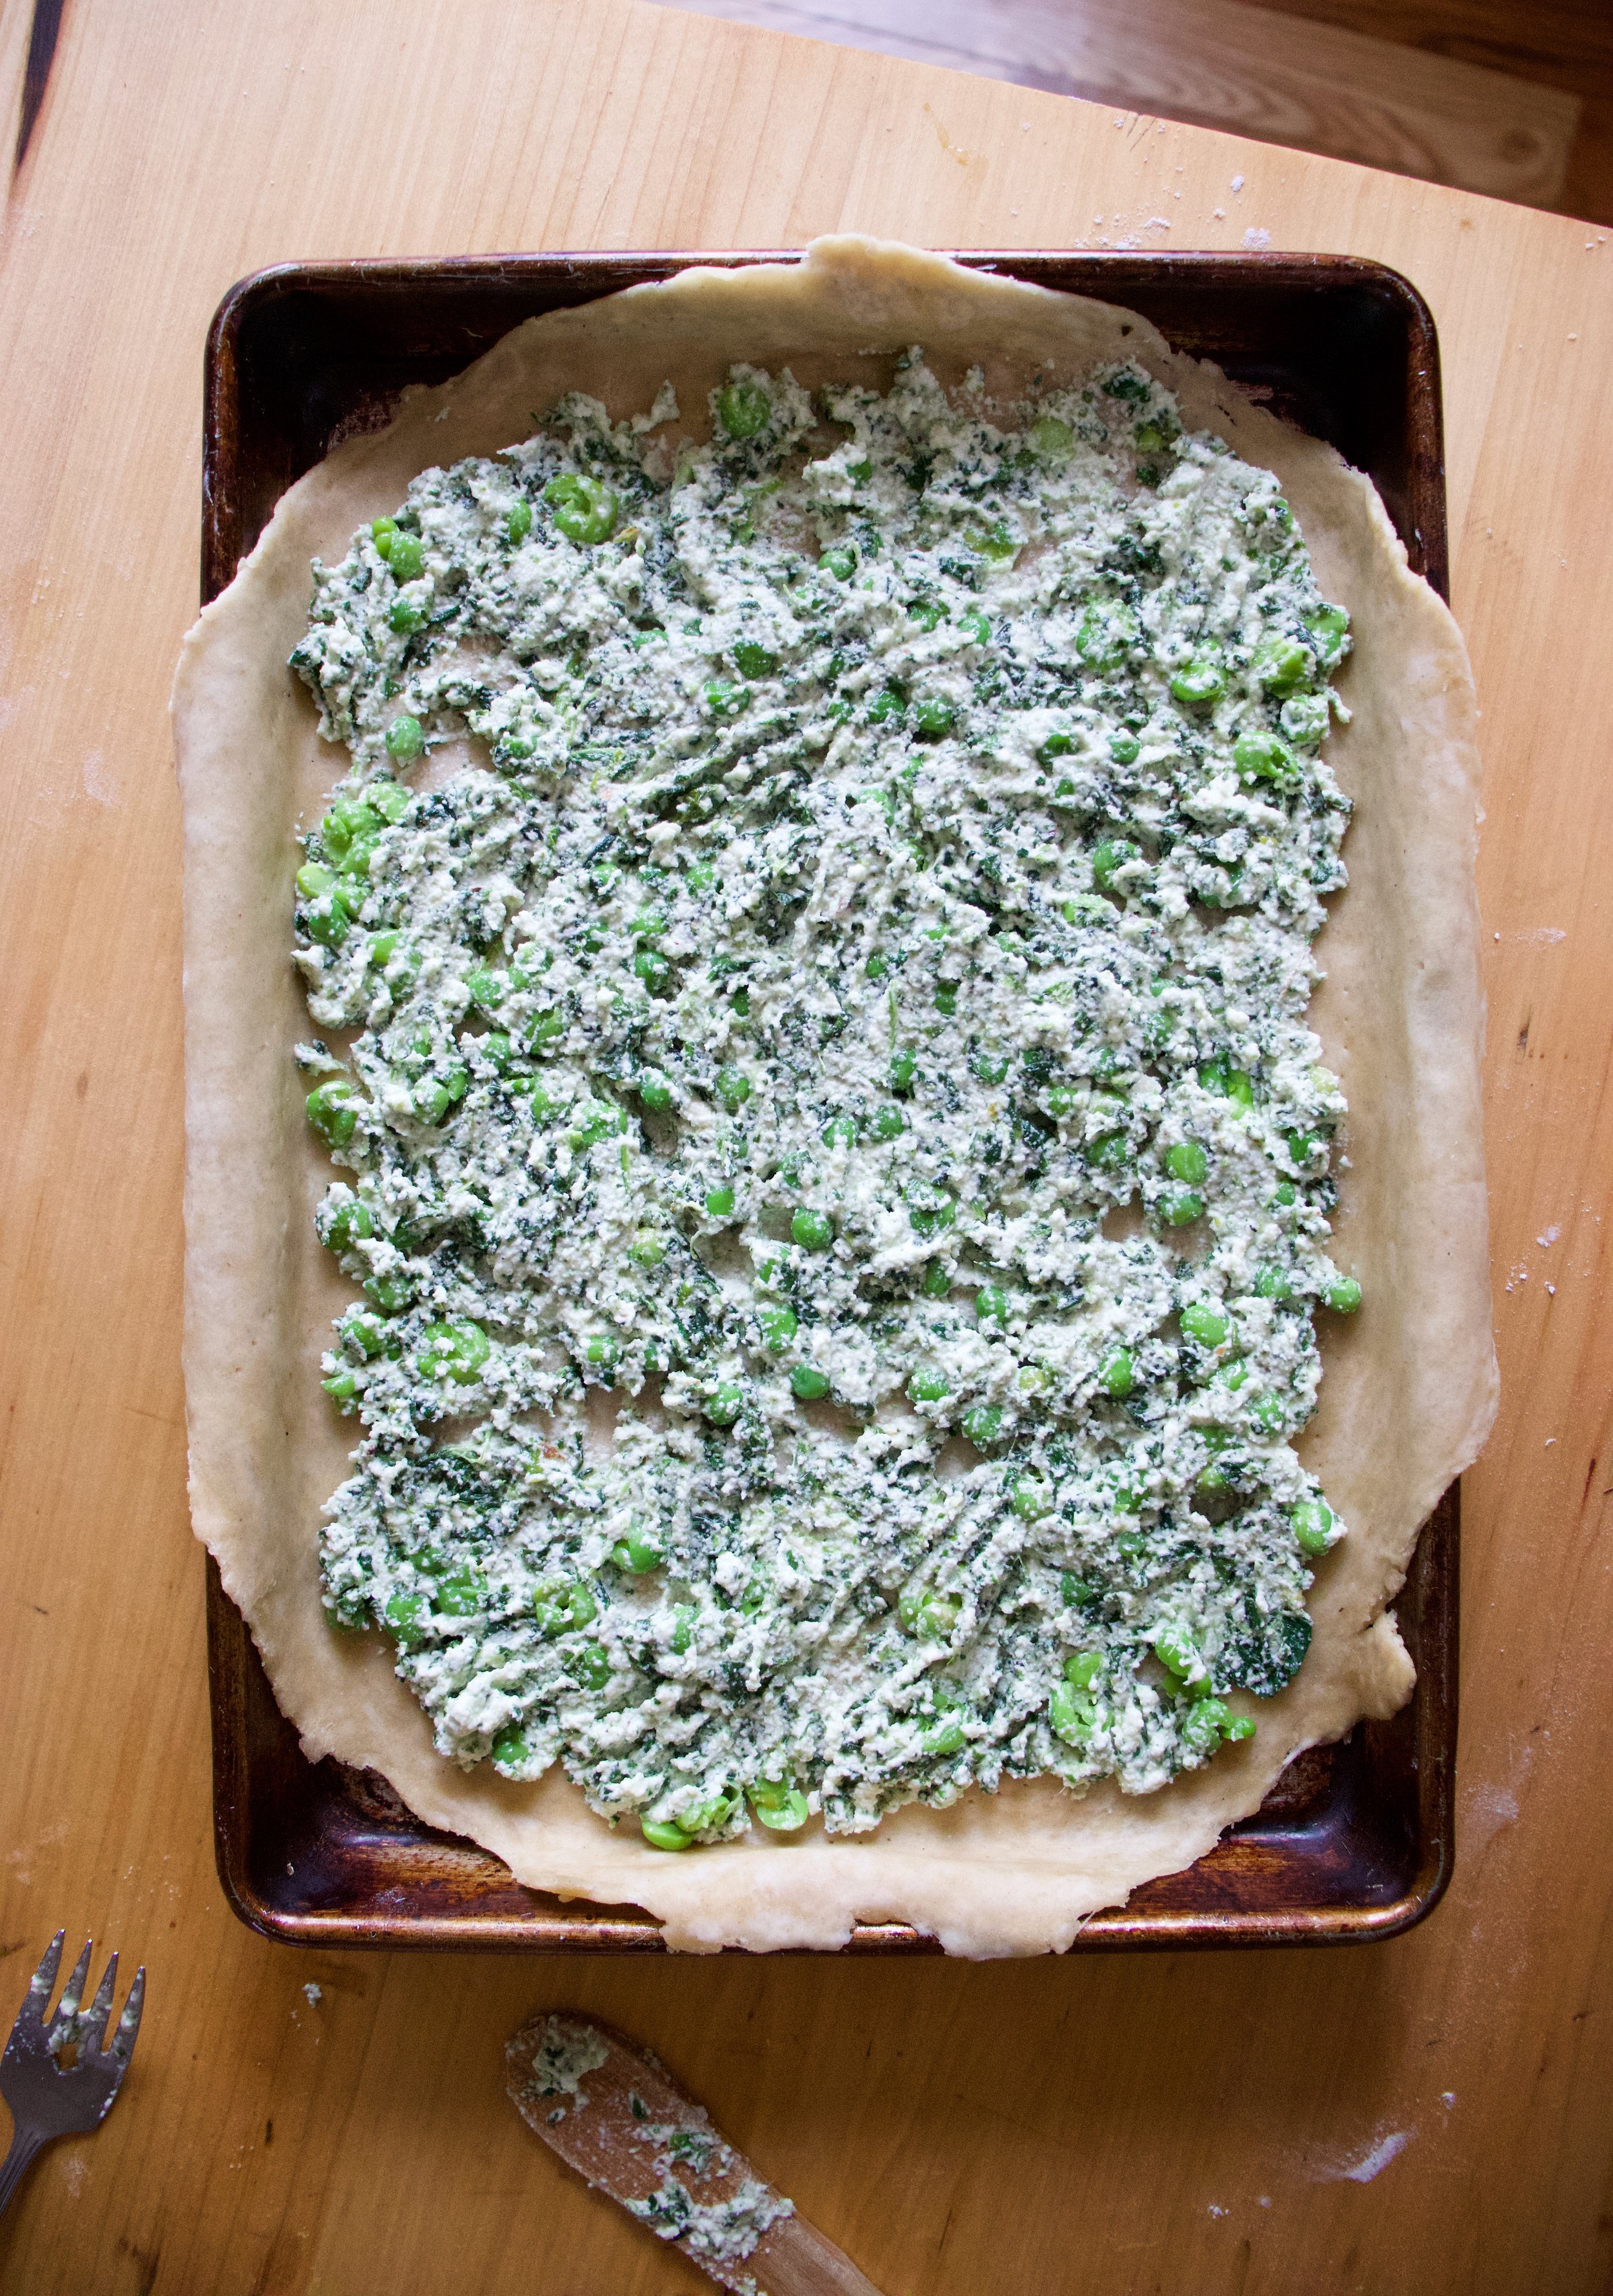
Place rolled out dough onto a baking sheet and poke the bottom with lots of little hole. Take ricotta mixture and spread evenly all over crust, leaving a 1 1/2 border all the way around.

IMG_8043.jpg

Add a layer of onions.

IMG_8047.jpg

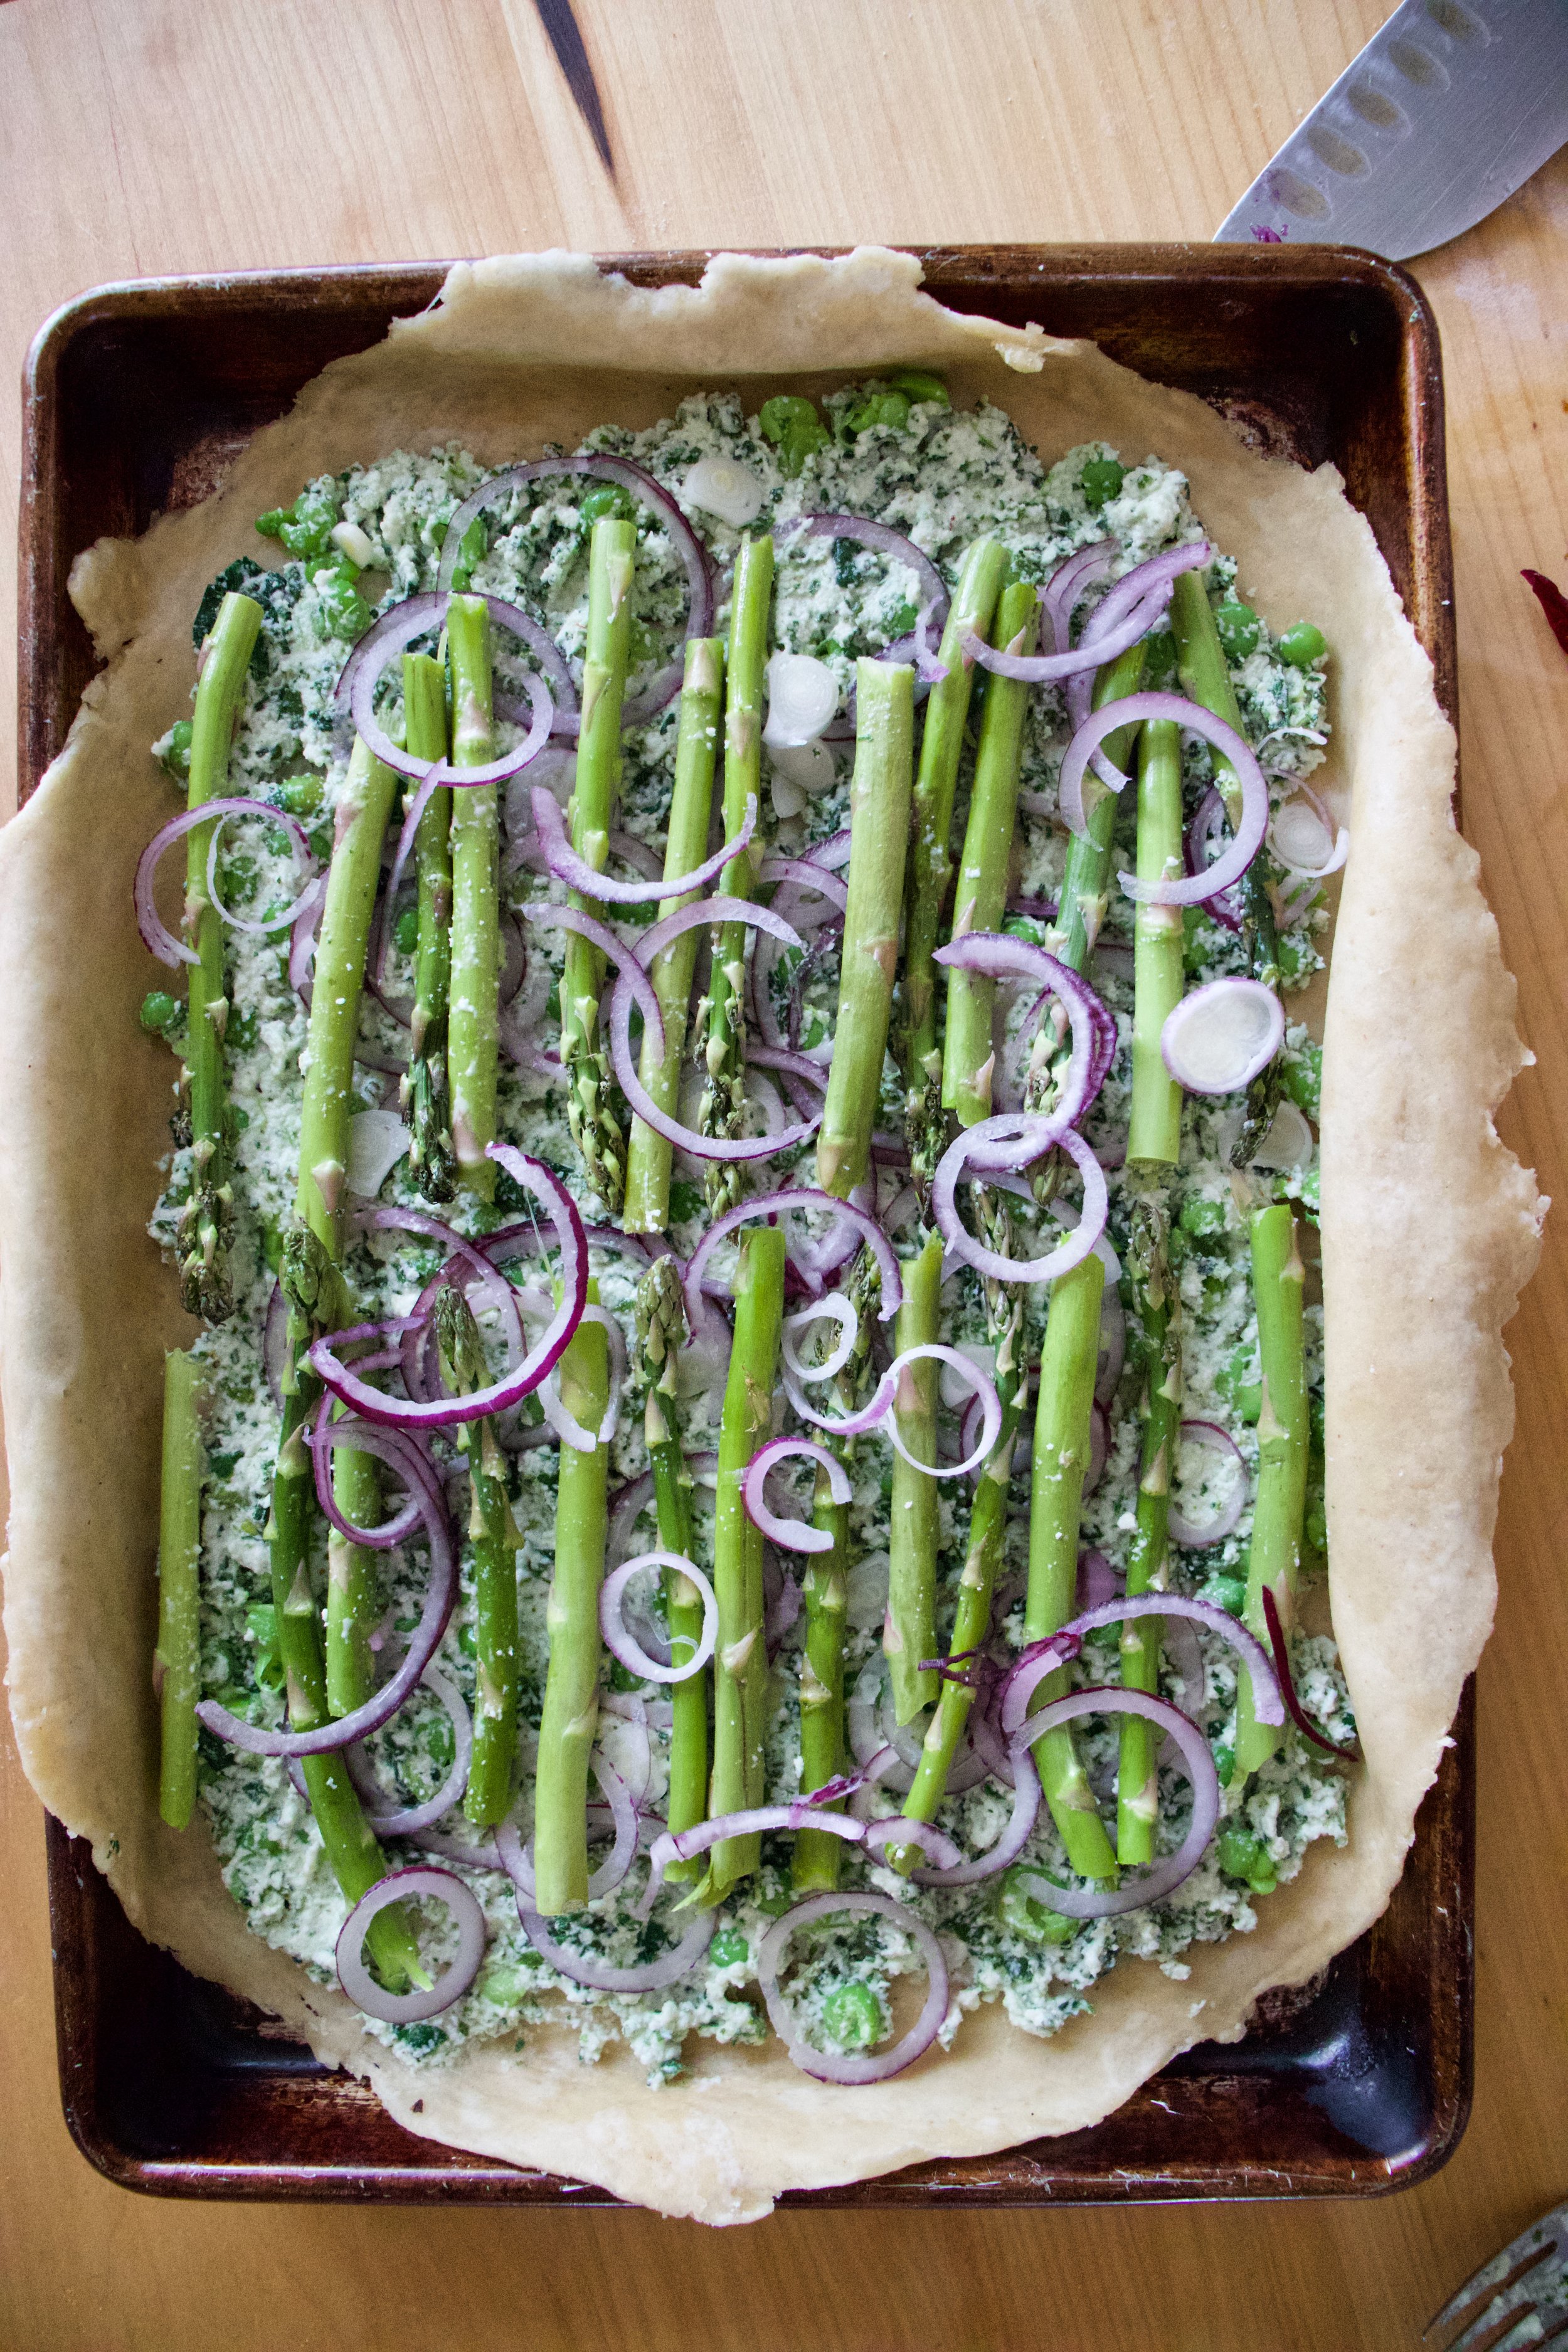
Then top with the asparagus and more onions.

IMG_8052 2.jpg

Fold over the edges of the crust, sprinkle with a pinch of salt and pepper, and into the oven it goes to bake.

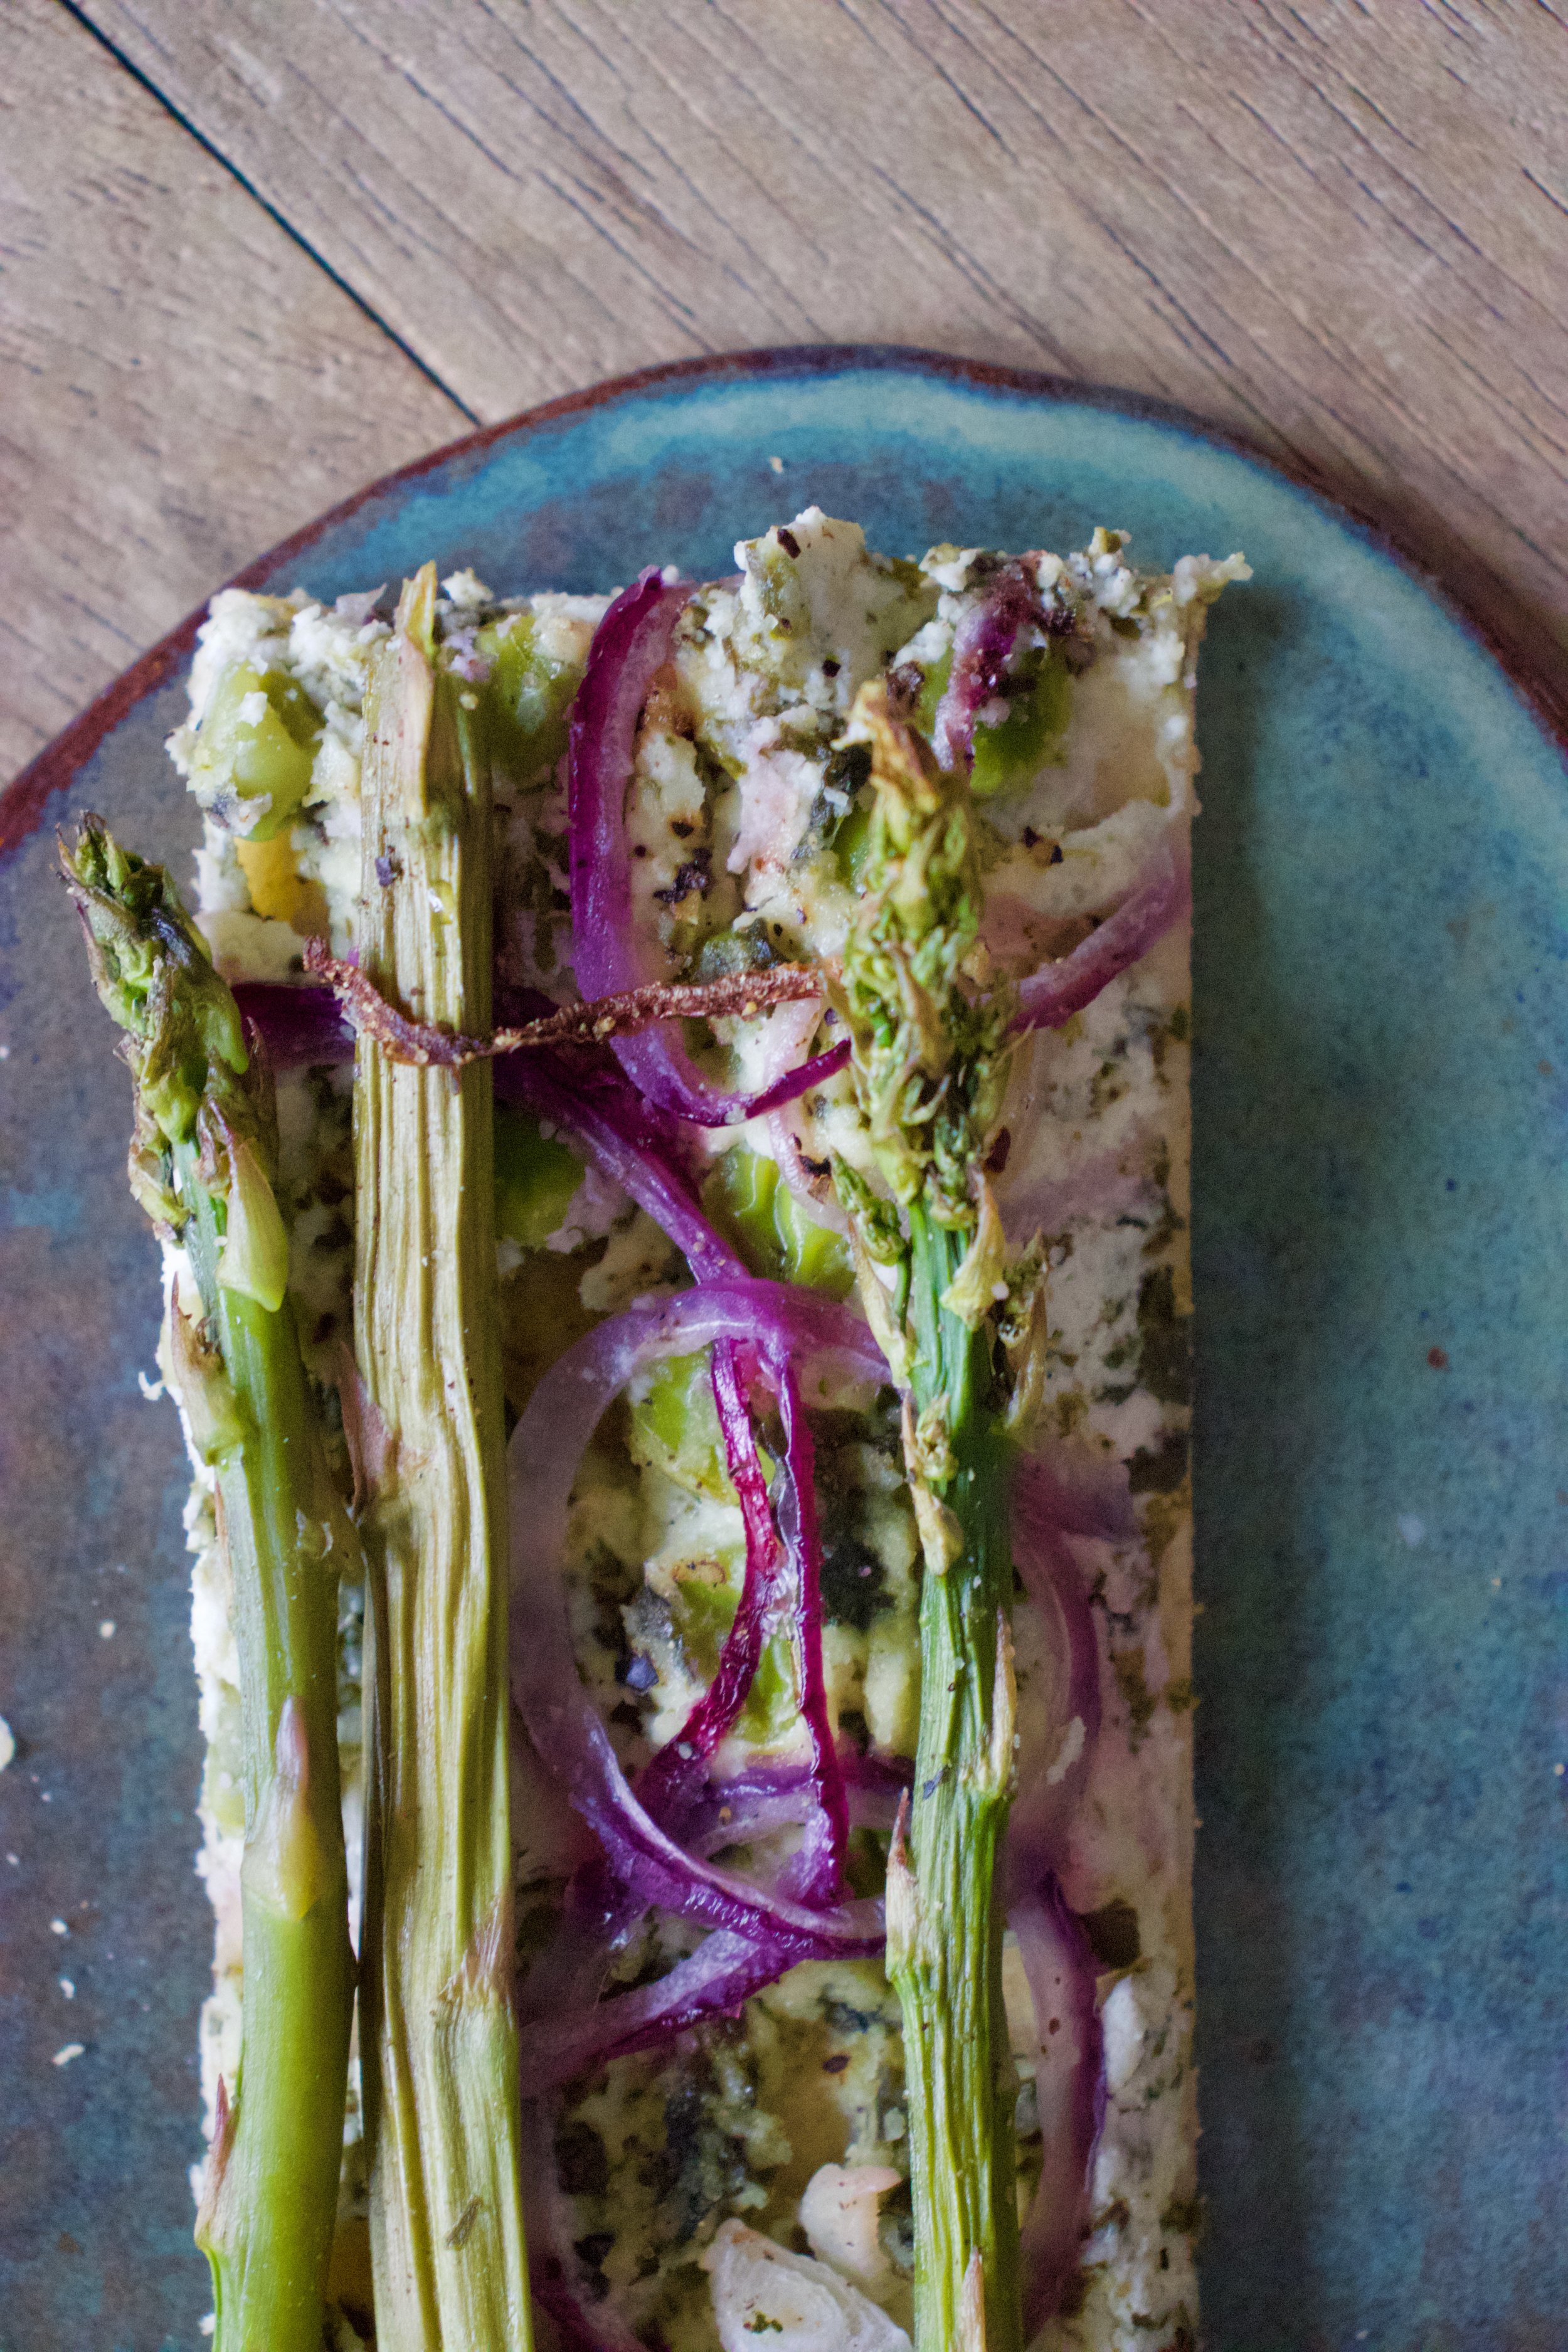
And then it is baked. And ready to eat (after a few minutes of cooling).

IMG_8126.jpg

Nothing left but to cut it up and eat it.

Spring. Green. Food.

Things are good.

-C


Almond Ricotta Tart with Spring Vegetables

Makes a 8x12(ish) tart

  • For the Crust

  • 1/2 cup all purpose flour

  • 1/2 cup white whole wheat (can sub for all purpose)

  • 3 tablespoon oil

  • 1/3 cup room temp water

  • 1/4 teaspoon baking powder

  • 1/2 teaspoon salt

  • For the Almond Ricotta and Veggies

  • 1/2 cup blanched almonds

  • 1/4- 1/3 cup warm water

  • 1 lemon

  • 1 clove garlic

  • 1/2 teaspoon salt and pepper or more to taste

  • 1/4 cup frozen and thawed spinach squeezed of liquid

  • 9-10 spears of Asparagus

  • 1/4 cup peas (fresh or frozen and thawed)

  • 1 /2 red onion

First make the crust. Whisk together the flours, salt, and baking soda. Add in the oil and water and mix until a dough forms. Form dough into a ball and knead for minute or two on counter then place dough back into the bowl and cover. The dough needs to rest for 10-15 minutes.

While dough is resting, make the almond ricotta. Place almonds, garlic, and juice of lemon into a blender. Start blending and add in the lesser amount of water, adding a little more until the stuff all starts to blend. Blend on high for a minute or two until the mixture is nice and creamy. Season with salt and pepper, blend a second to mix then add in the squeezed out spinach. Blend until mix together then dump or scoop the mixture into a bowl and mix in the peas. Then thinly slice up the onion.

Preheat the oven to 450

After doughs little rest, lightly flour a counter and roll it out, thin as you can, in a rectangular shape. Try for at least 12in x 16in. The rectangle doesn’t need to be perfect. Rough is good.

Place the rolled out crust onto a baking. Take a fork and dock the surface (poke holes into it to prevent air bubbles). Take the ricotta and pea mixture and spread evenly on crust, leaving about a 1 1/2 inch border all the way around. Add a layer of sliced red onion and then take asparagus (trim off woody ends) and either lay on whole or break in half and lay on. Add more onions on top. Fold the border of the crust over the top. Sprinkle the whole thing with pepper and place into the hot oven.

Bake for 22-25 minutes or until the crust becomes a nice golden brown. Remove and let cool a few minutes

And then cut up and eat. Right away or at room temperature. Or some now and some later. All up you you.

Store left over in fridge in air tight container for up to a few days. the crust will not be crispy but more chewy. Can stick it back in oven for a few minutes to crisp it up.

In appetizers, Dairy Free, Nuts, Savory, Spring, Vegan, Vegetables, tarts Tags Almond Ricotta Tart with Spring Vegetables, Vegan, Cracker Crust, Asparagus, Peas, Spinach, Almond Ricotta, nuts, nut cheese, sping, dinner, tart, galette, easy, protein, vegetables, dairy free, dairy free cheese, healthy, plant based, brunch
Comment

Maple Rhubarb Baked Oatmeal

March 23, 2019 Colleen Stem
IMG_6768.jpg
IMG_6708.jpg

I am sadly at my last few bags of frozen garden foods from last season. As of now I have a bag of tomatoes, a couple bags of shredded zucchini, and a bag of rhubarb. Well, had a bag of rhubarb. I think I have eaten almost all of it already. My rhubarb patch better get up and producing stalks soon. And as for the rest of the veggies that I will require. Guess I am going to be surviving mostly on roots from farm share (we are getting a lot more greens though!!!!) and probably doing a bit more grocery shopping then I care too. A few more months. I can do it.

Anyway, enough about my freezer and lack of fresh produce problems.

Here in Vermont maple season is well on it’s way making it a perfect time for anything maple. And rhubarb. Yeah I am using my frozen rhubarb from last year, but any time now (after the snow melts) there will be plenty of stalks for the taking. There will be so much maple and so much fresh rhubarb which are the perfect taste combination. Exciting times! And when added to oatmeal, things just get more gooder. (I know gooder is not a word but I think it should be) Oatmeal, especially baked, is the stuff where all gooder things start.

Have you had baked oatmeal yet? It truly is fantastic. Not at all gummy and gloopy like stove topped cooked oatmeal (but I like it like that too). It still has a good bite to it while still being soft and creamy and boy oh boy is it just the bees knees. With the addition of some crunchy almond friends, well even better. Trust me. If you are a oatmeal eater, you must try it baked. Best part is that it can be eaten as breakfast but also I have been serving it to the mr for dessert with a healthy drizzle of more maple. It’s that good friends. From breakfast to dessert. Everyone is happy.

To the baked oatmeal.

IMG_6643.jpg

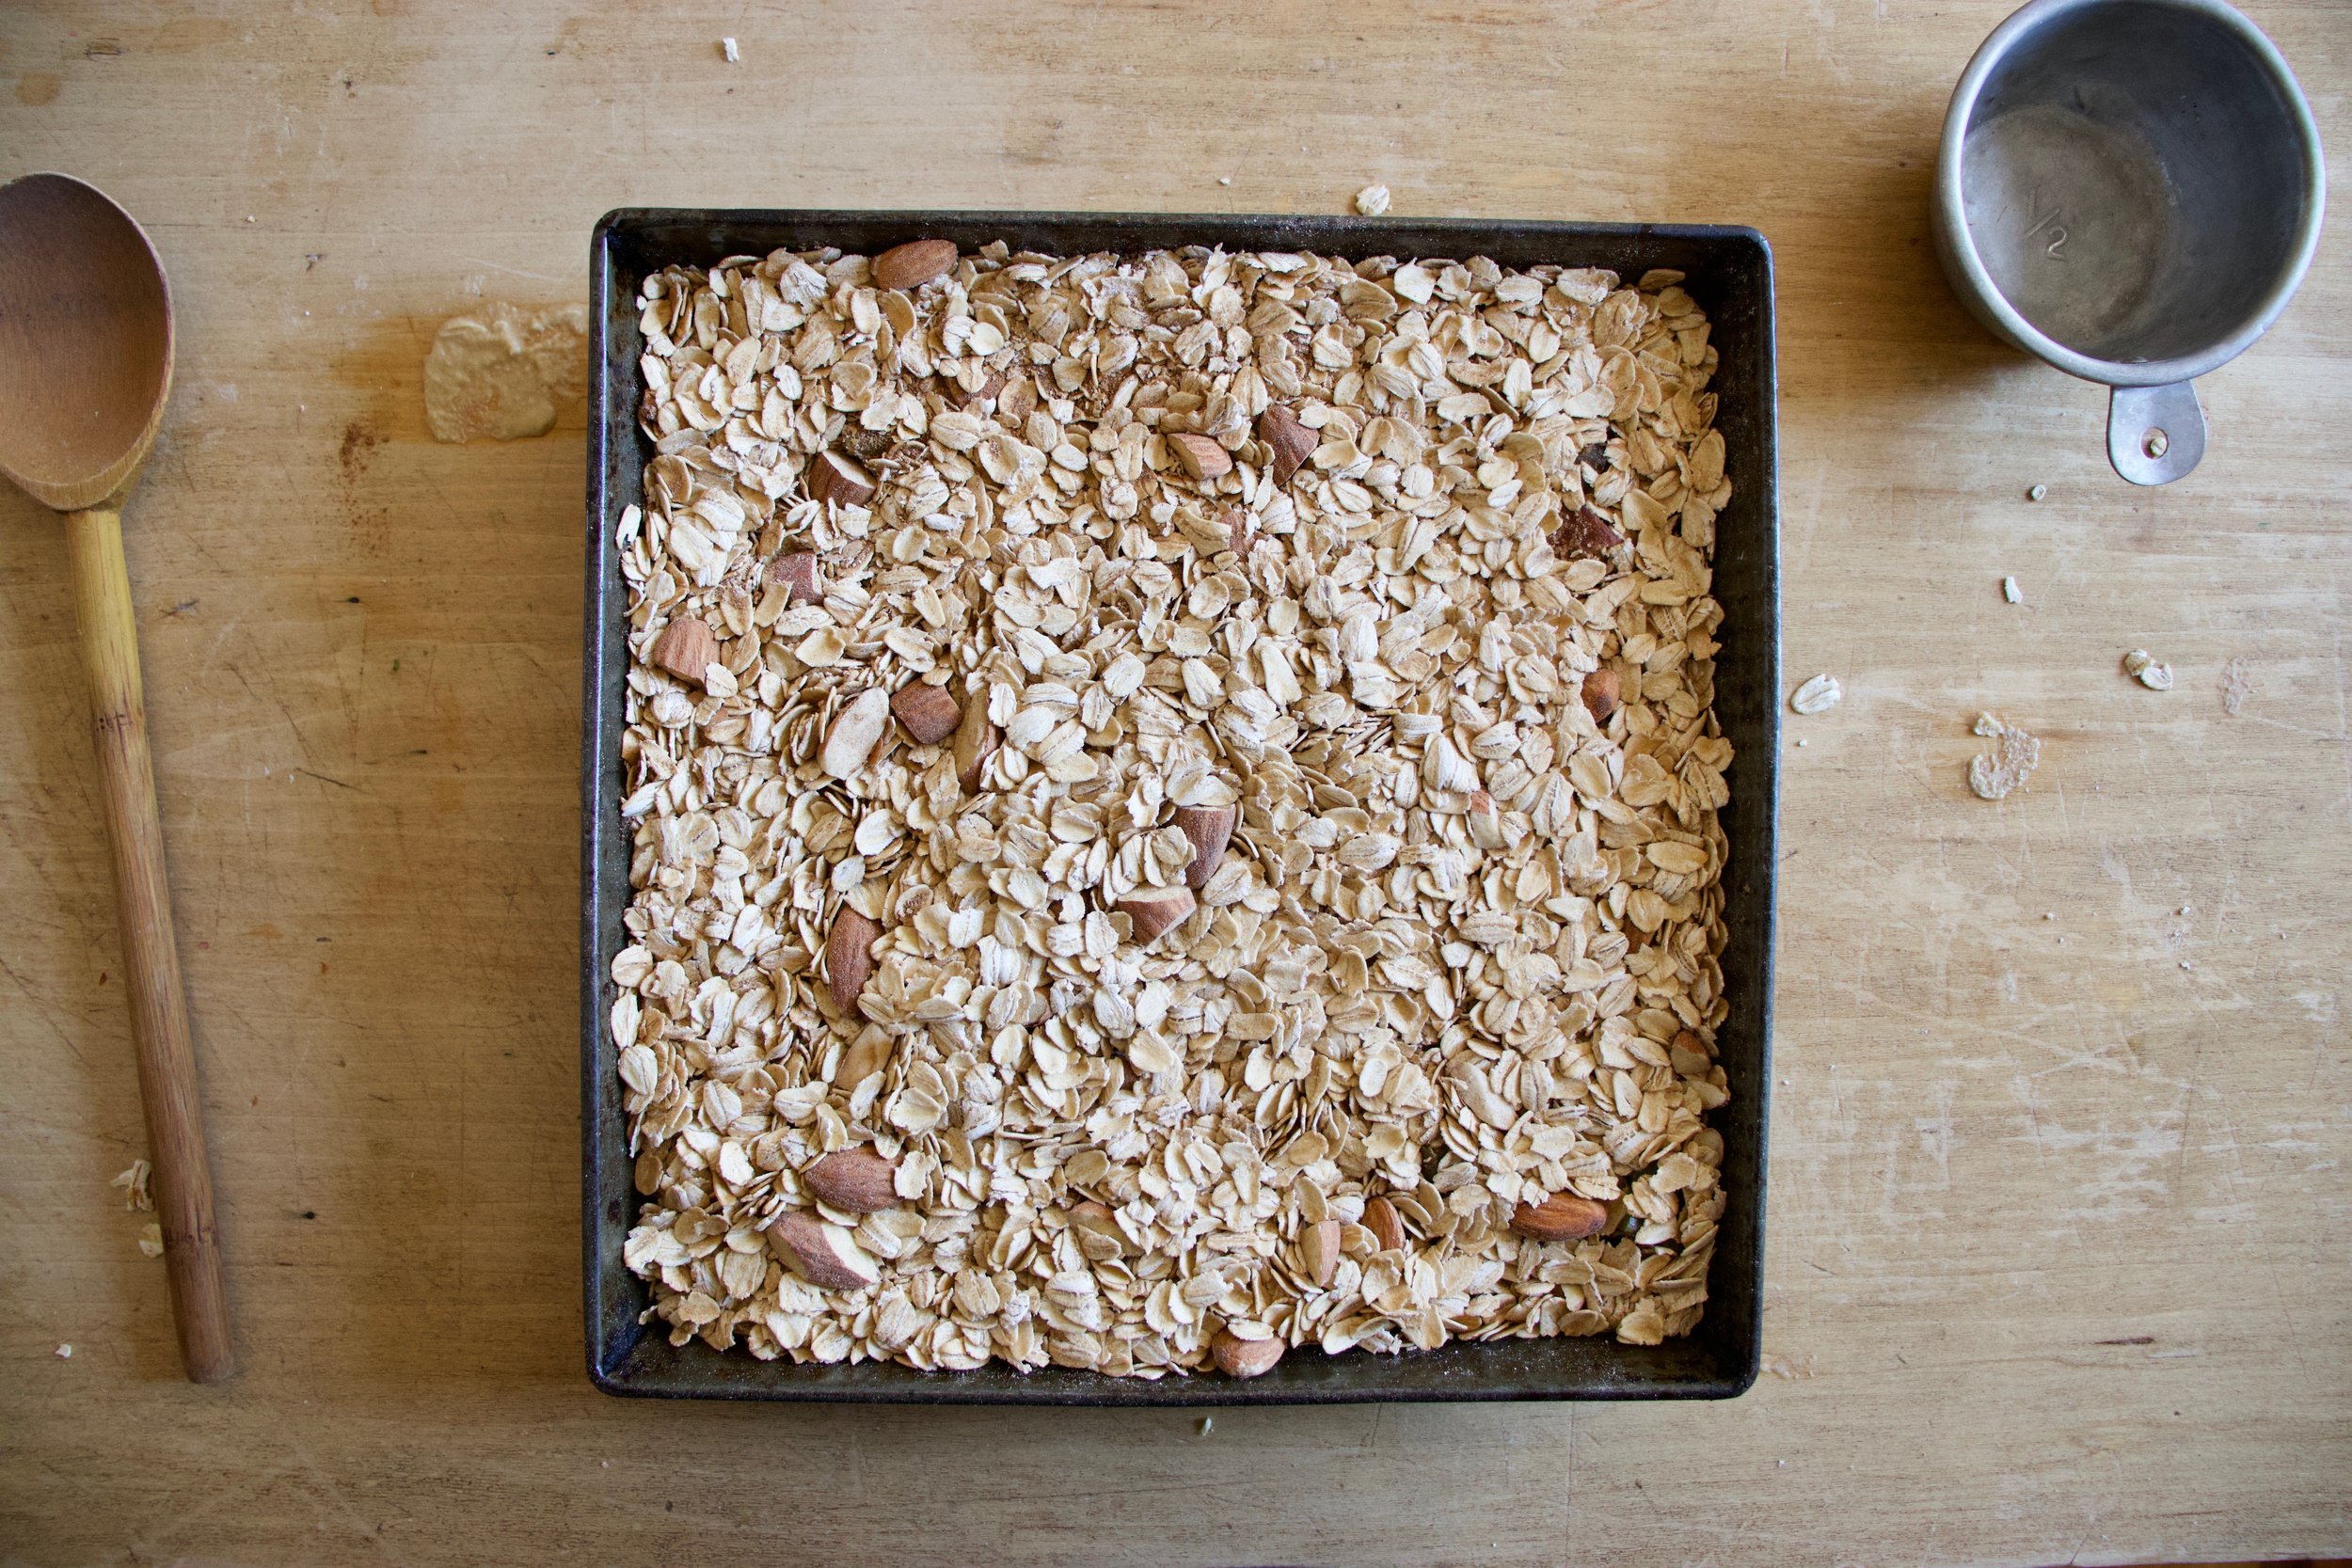
The stuff. Old fashion oats, cinnamon, salt, baking powder, rhubarb (fresh or frozen), REAL maple syrup, some plant milk, a few flax eggs, a bit of tahini, and some almonds.

To start. Oats, cinnamon. salt, baking powder and almonds get a quick toss together in a big bowl.

IMG_6648.jpg
IMG_6661.jpg

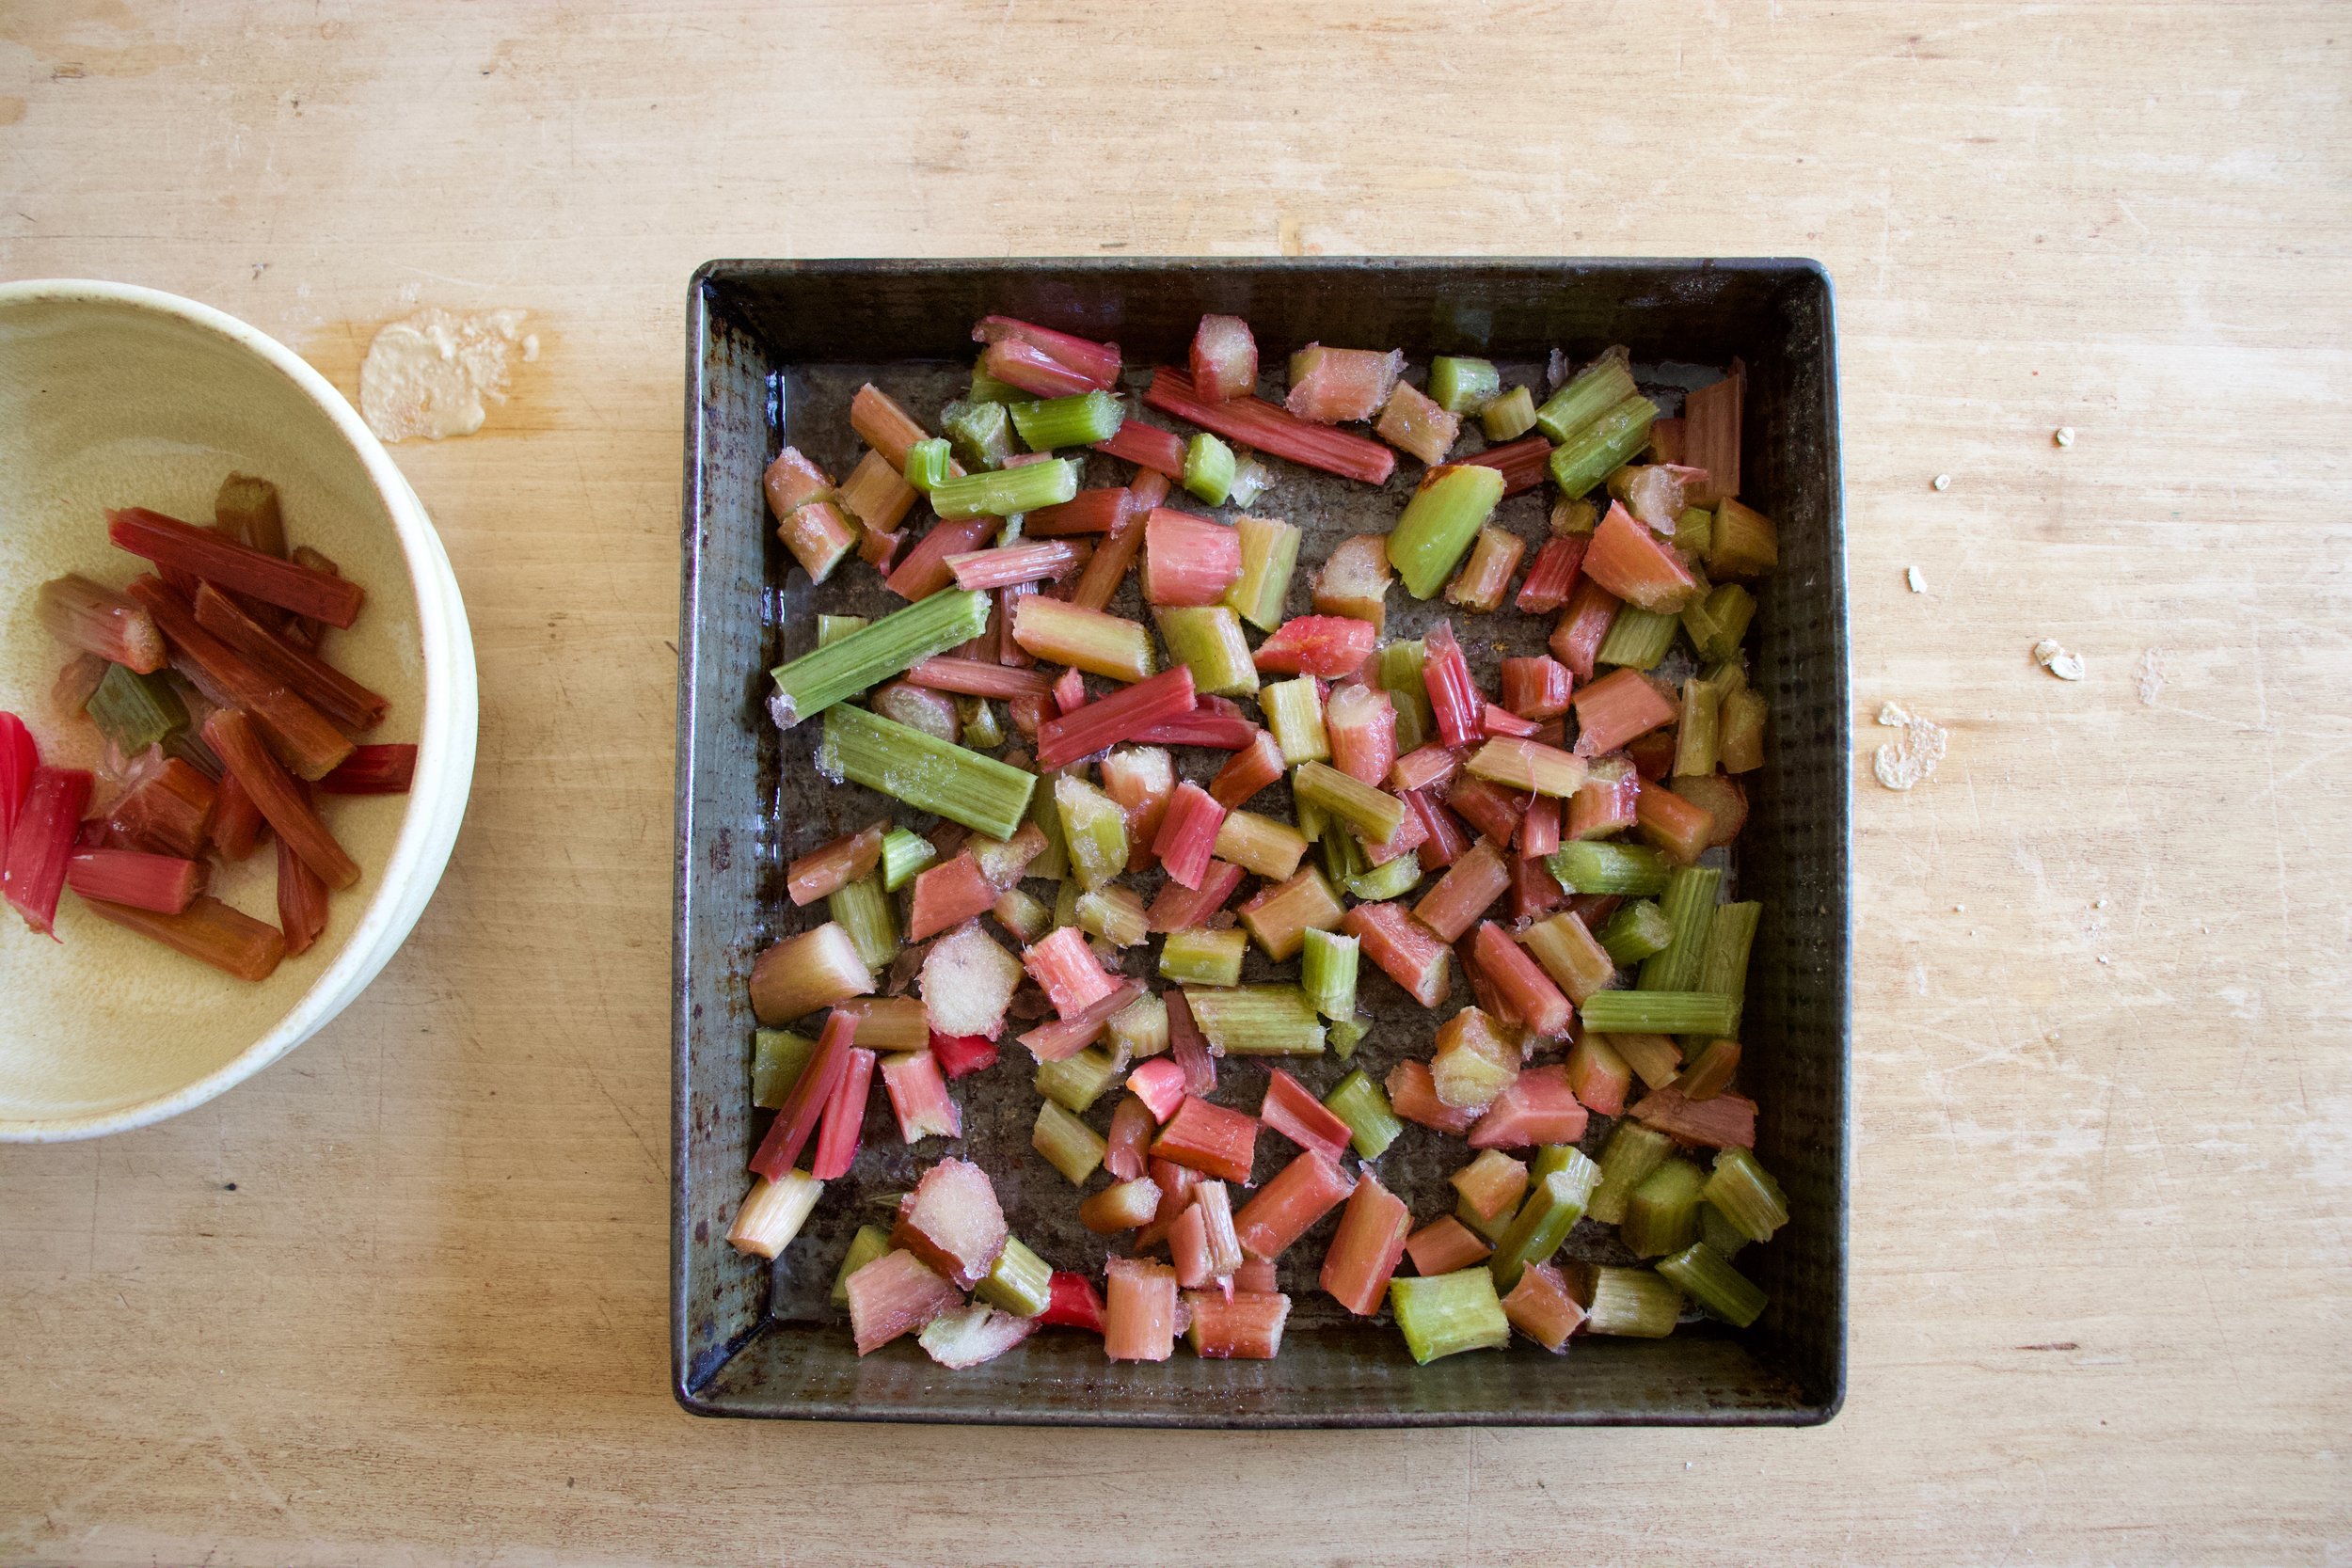
If you rhubarb is not already chopped up into inch long pieces, do that. I already did before freezing it so yea me. Once its chopped, layer almost all of it (reserve a few small needful to toss on top) into a lightly greased 9x9 inch baking dish then cover evenly with the oat mixture.

In now empty bowl mix together the milk, the flax eggs, the tahini, and the maple until evenly incorporated.

Pour the wet mixture all over the oats and let it absorb.

Once the liquid is all absorbed , top with any left over almonds and the left over rhubarb. For good looks.

Pop into a hot oven to bake.

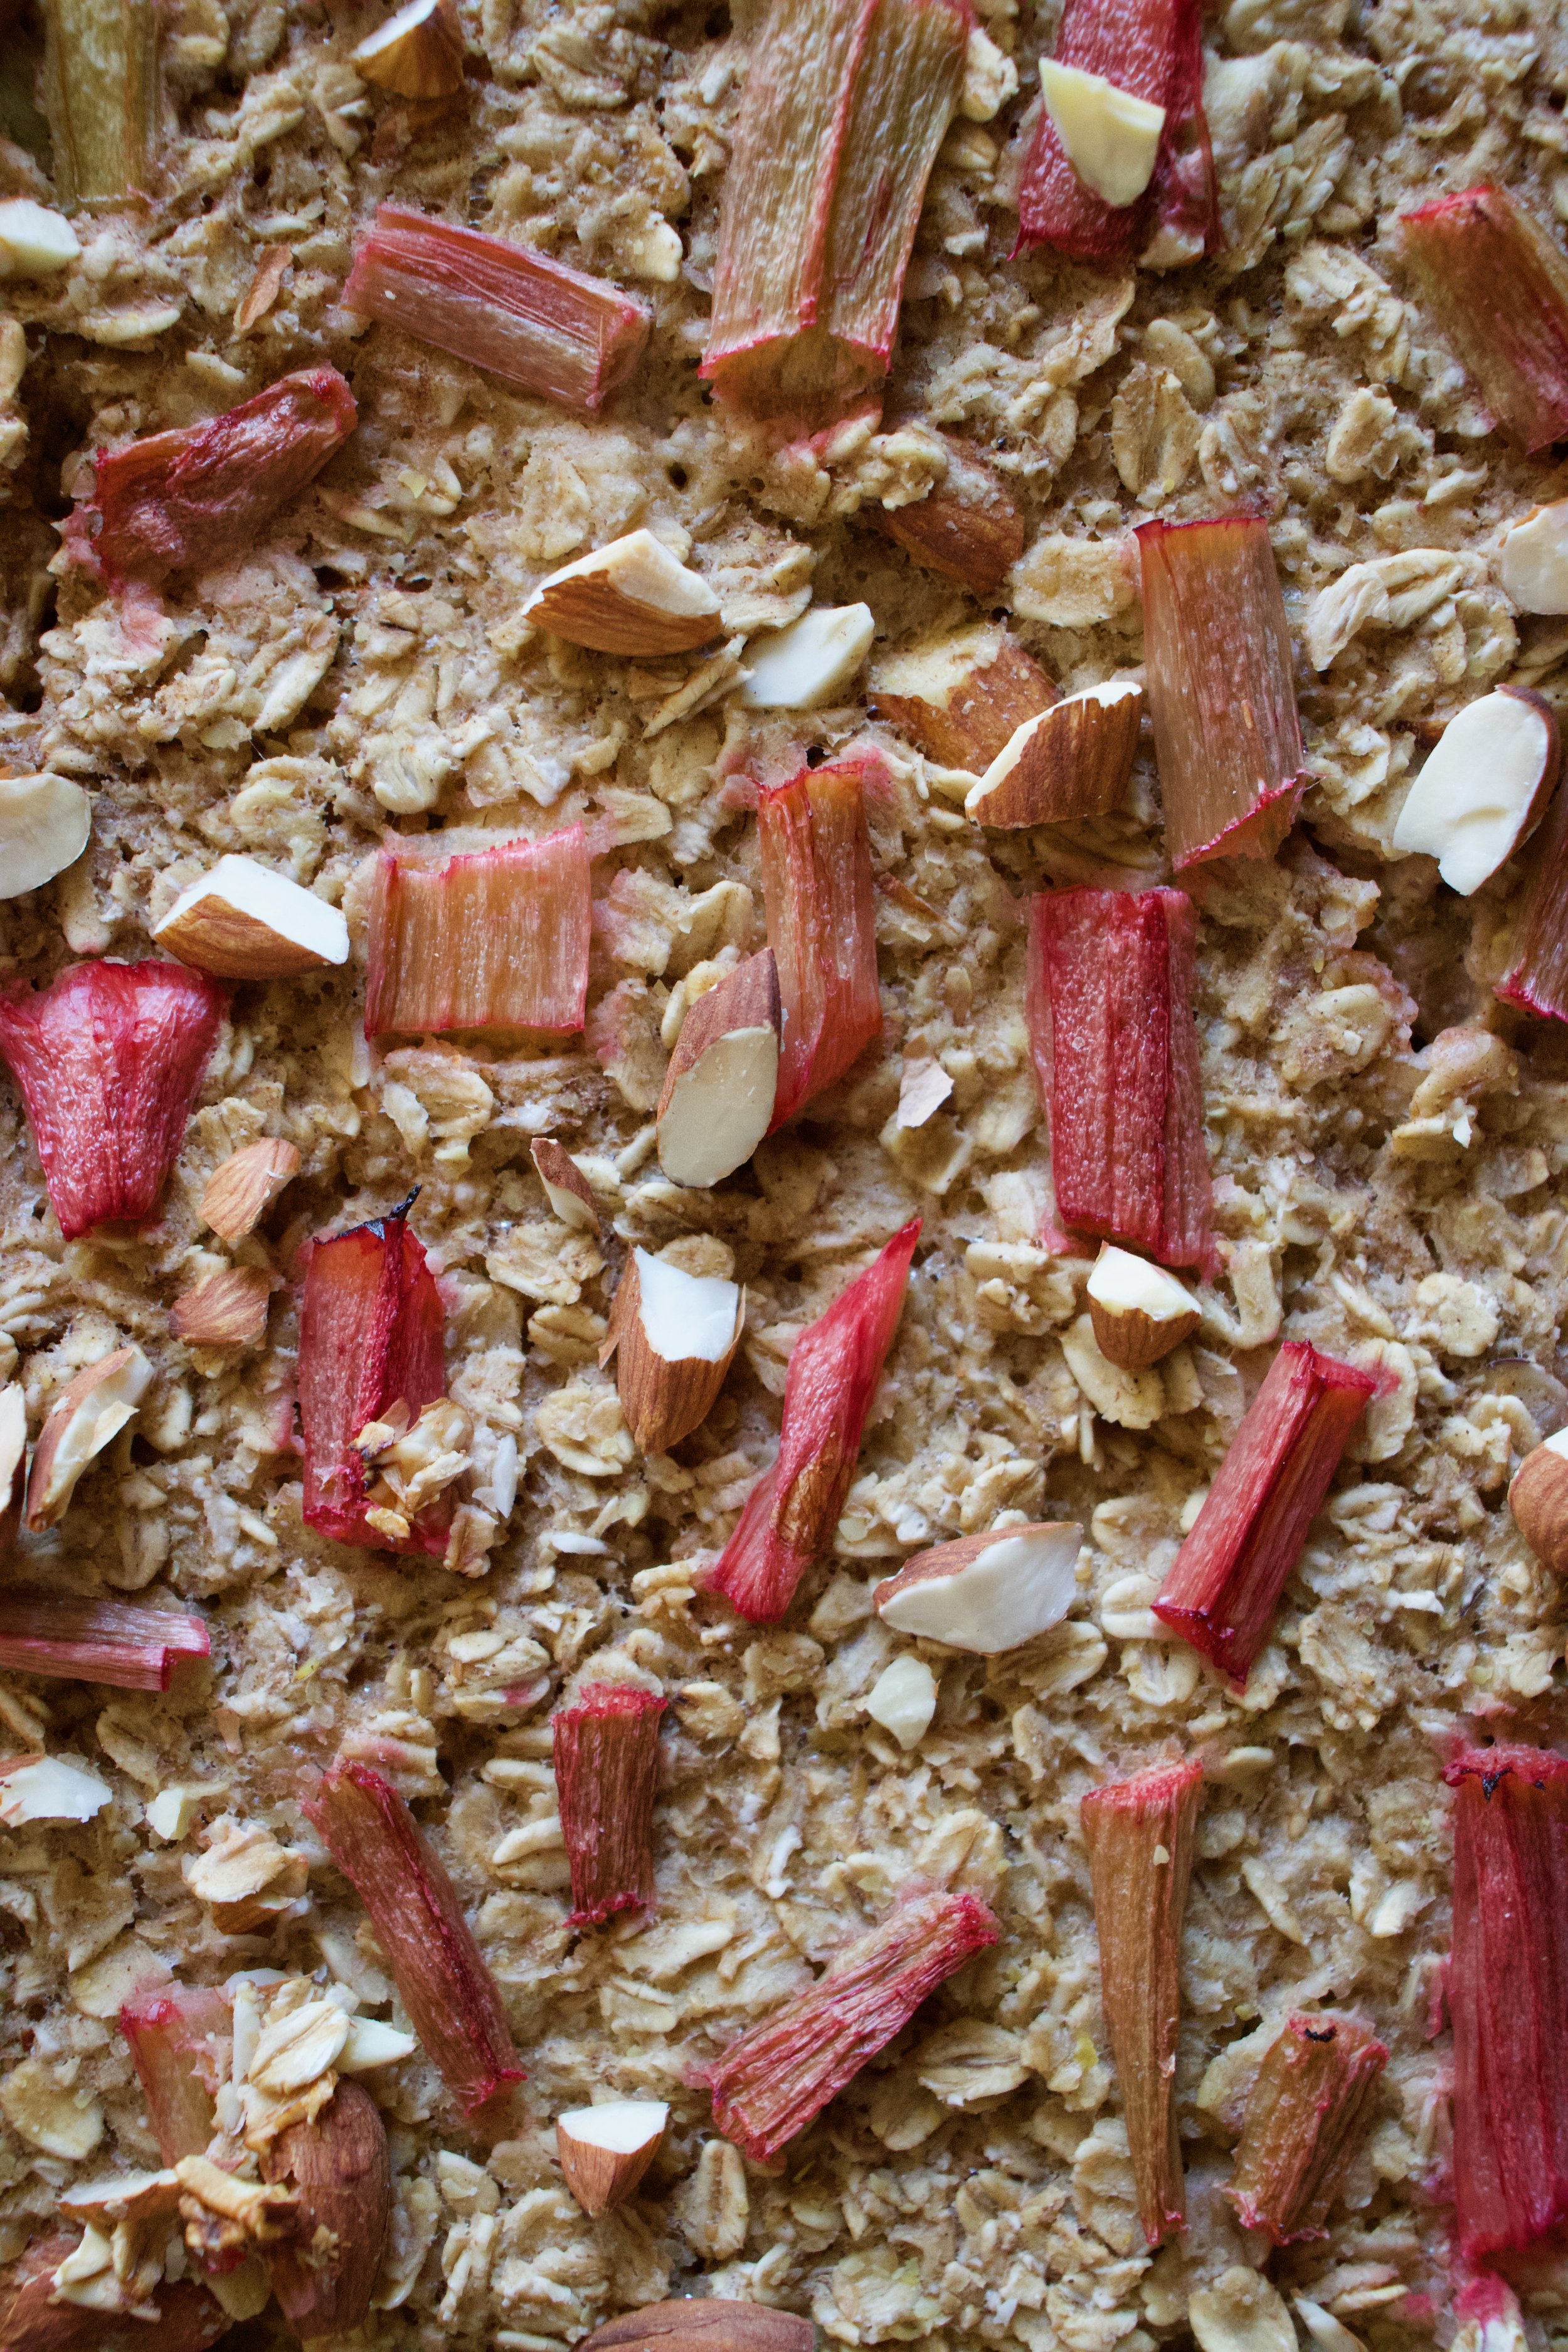
Golden brown with crispy edges. Rhubarb and maple baked oatmeal for all your maple, oaty and rhubarbie needs.

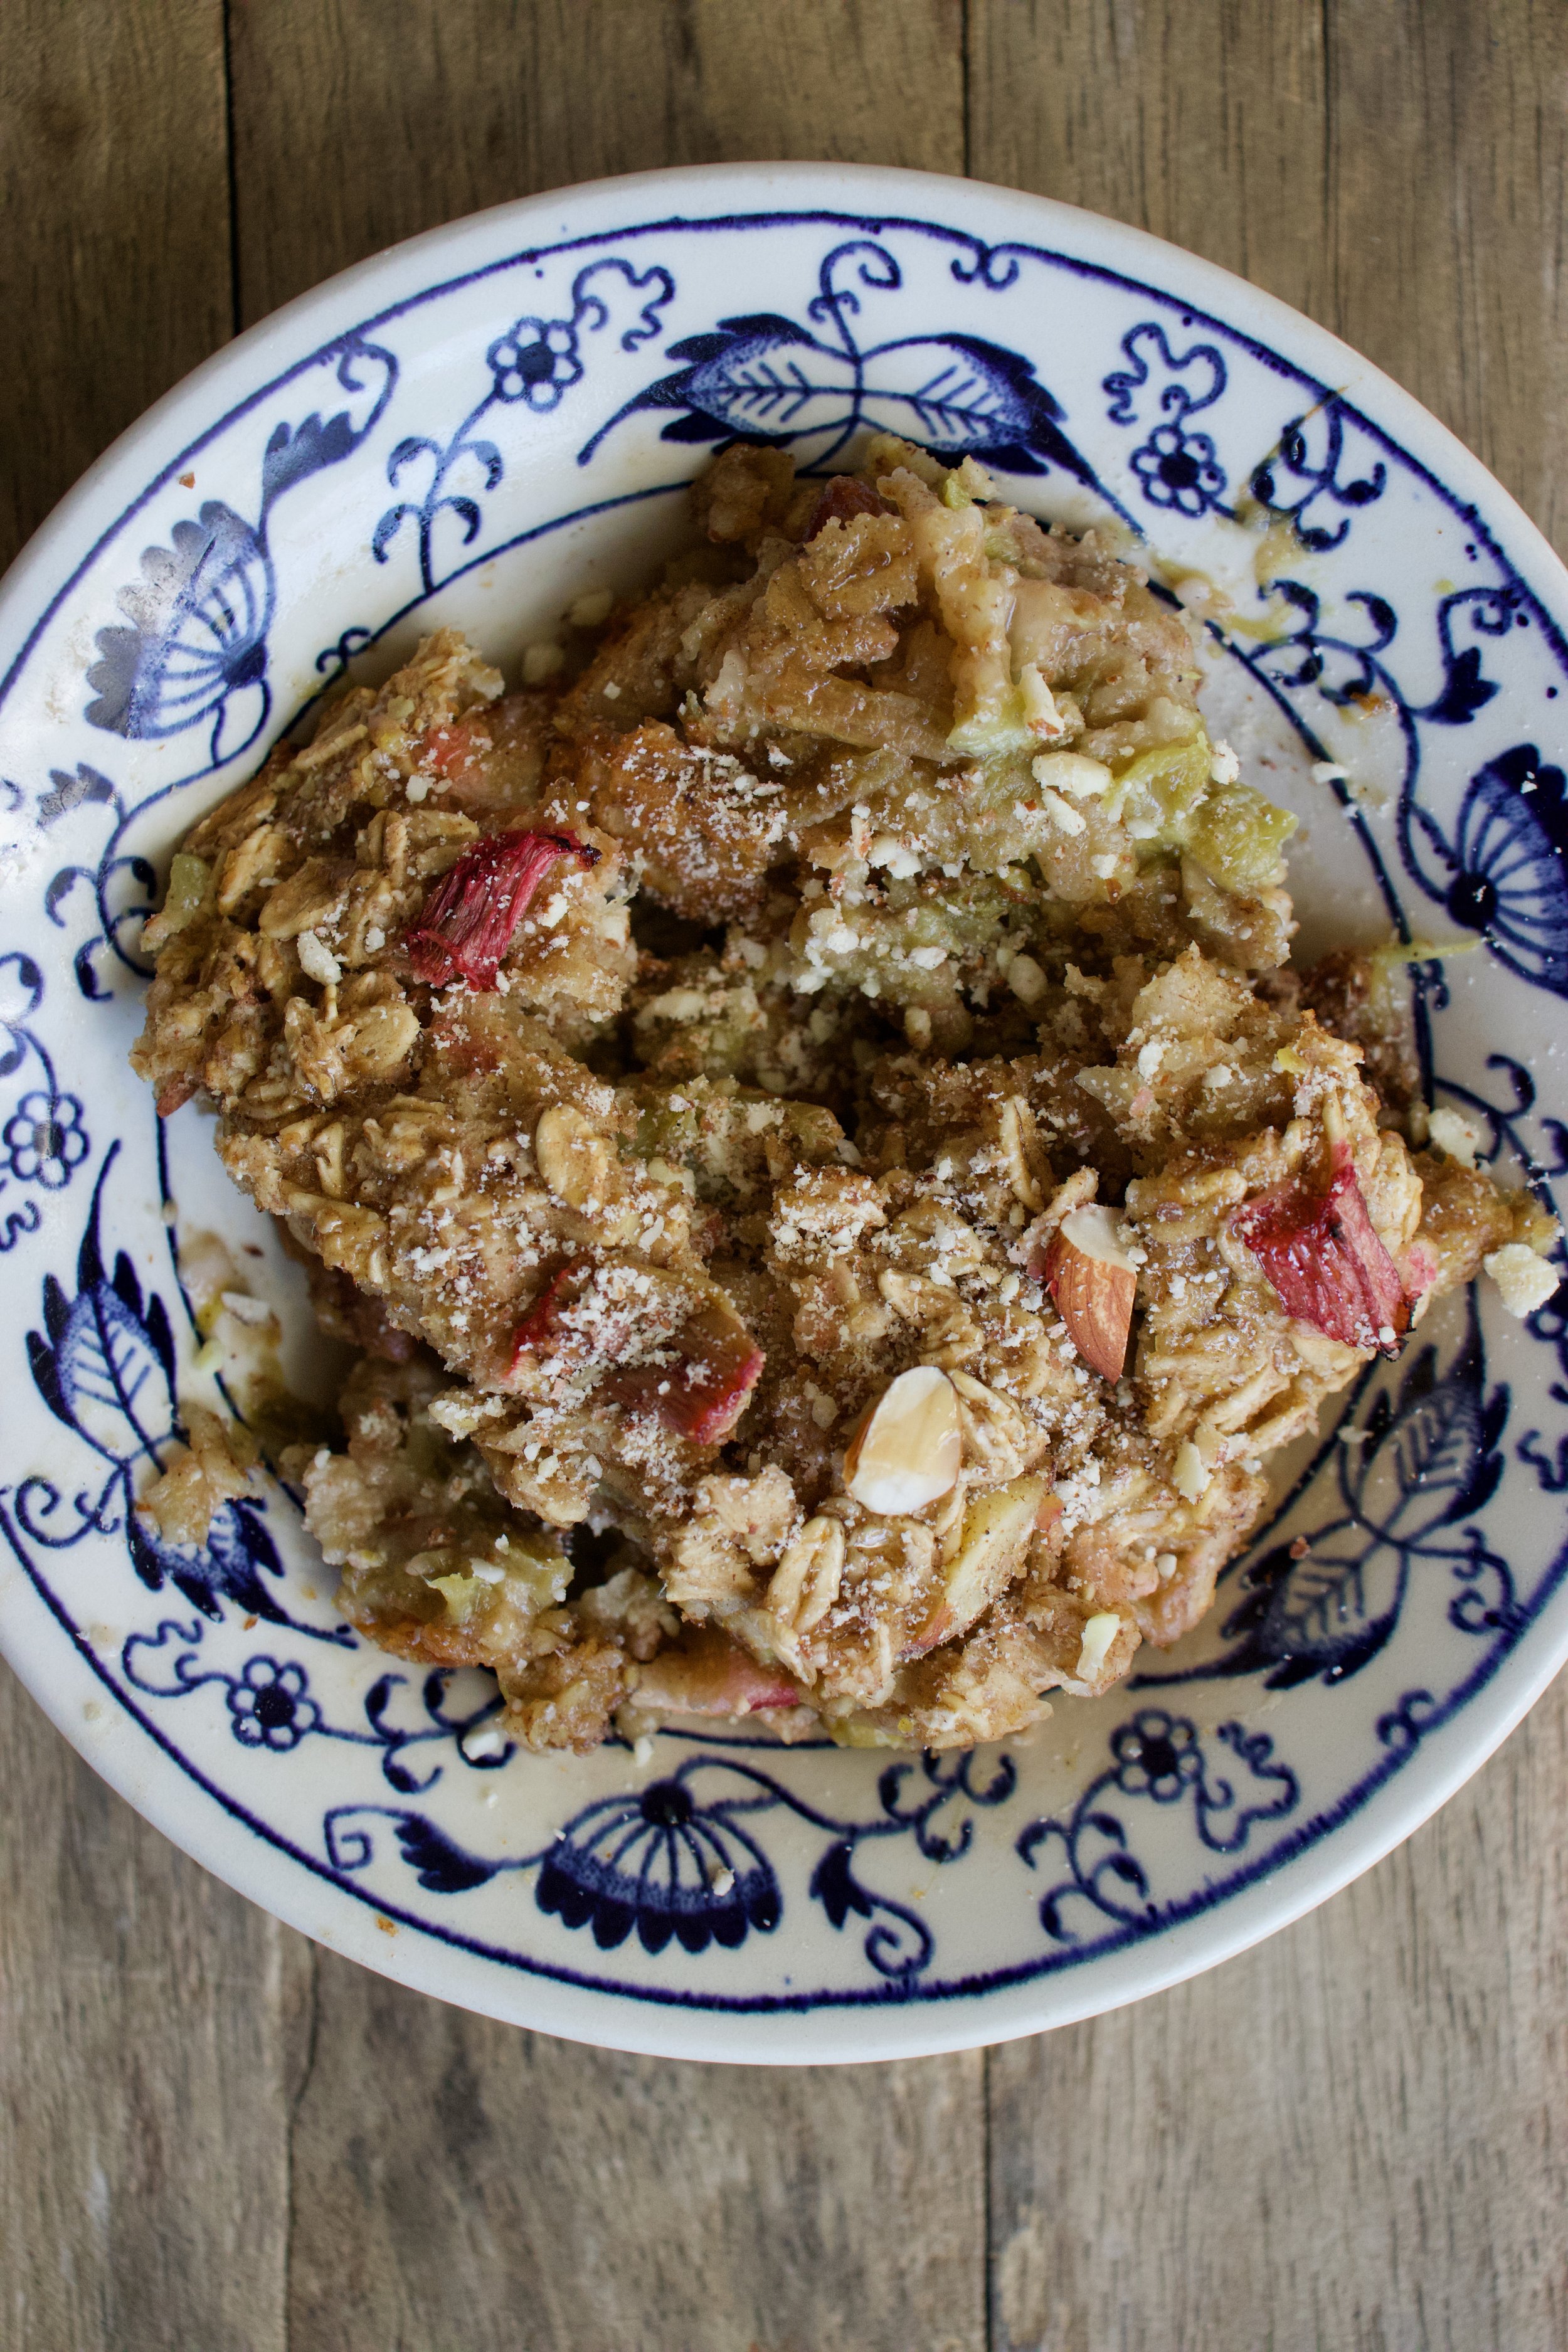
Fresh from the oven scooped warm into bowls. Top with extra maple if thats what you should want do.

Enjoy and happy maple season!

-C


Maple Rhubarb Baked Oatmeal

Make a 9x9 pan of oatmeal

  • 2 1/2 cups old fashion oats (make sure gluten free if need be)

  • 1 teaspoon baking powder

  • 1/2 teaspoon salt

  • 2 teaspoon cinnamon

  • 1/3 cup maple syrup plus more for serving

  • 1 tablespoon tahini or any other nut butter

  • 2 flax eggs (2 tablespoons ground flax seed with 6 tablespoons warm water)

  • 2 1/2 cups fresh or frozen rhubarb chopped into inch long pieces

  • 1 1/2 cup plant milk (water works but it won’t be as creamy)

  • 1/2 cup chopped almonds (optional)

Preheat oven to 375

Lightly grease a 9x9 inch baking pan (I used metal because it makes for crisper edges but glass works too) and dump 2 cups of the rhubarb in and evenly distribute on the bottom. In a large bowl mis the oats, the baking powder, salt, and cinnamon together. Mix in chopped nuts if you are using. Evenly cover rhubarb with oat mixture. In now empty bowl mix together the milk, flax eggs, maple syrup, and tahini until evenly incorporated. Pour mixture over oats. Let the mixture sit for a few minutes until the oats have abosbed all the liquid. Toss the rest of the diced rhubarb and a few more chop nuts to the top and pop into the oven to bake.

Bake for 30-40 minutes (shorter time for a wetter oatmeal, longer for a denser crispier oatmeal)

Once baked to your likeness, remove from oven and let cool for a few minutes just so it is not super hot. Scoop into bowls and serve warm with extra maple and milk or whatever you might want to serve with it.

Left overs last great in fridge for 3-4 days or individual portions can be frozen for a month or two. Just pop into microwave for a couple minutes to warm up.

In Vegetables, Vegan, Spring, Nuts, Gluten Free, fruit, grains, desserts, Dairy Free, brunch, breakfast Tags Maple, Real Maple syrup, vegan, baked oatmeal, gluten free, plant based, oats, almonds, rhubarb, eating in season, breakfast, dessert, healthy, energy
Comment

Almond Cupcakes with Blackberry Clementine Frosting

February 9, 2019 Colleen Stem
IMG_5243.jpg
IMG_5203.jpg
IMG_5319.jpg
IMG_5330.jpg

I have very strong feelings for heart shaped baked goods. I think that everything, all year round, should be heart shaped. How lovely would that be? It would be ever so lovely, or I would think so anyway. And yes, ok, I was thinking about Valentines Day when I made these cupcakes but don’t let that be the only reason you make a cupcake, cake, or any other baked good into the shape of a heart or pink for that matter.. Hearts are just so sweet and cute and dare I say cuddly? (Can you cuddle baked goods? Let me know if you have and do. We should talk about that). And pink is just a fantastic color, especially when it is the color of the flavor. Purple-y pink equals a taste like berry so all just makes sense.

Anyways. Cupcakes. Made with nutty almond meal to taste all nutty, frosted with blackberry and clementine frosting which is a pairing that all party and non party people will love. A down right deeelightful combination that will, no matter your circumstance in life, make you smile. Because lets get this clear, these cupcakes might look all lovey dovey and Valentines Day-e and are very much a perfect Valentines Day treat, but also can be an everyday, run of the milll, straight up any day, all day cupcakes. Valentines Day does not own the heart or pink.

These cupcakes are for you to love and you don’t need to worry if they love you back. That would be weird.

Slightly off topic thought. How awesome would it be if someone made a cute little teddy bear that when you squeezed it it would scream “WHAT THE HELL! GET OFF ME!” Hahahaha. That would be amazing.

To the cupcakes!

The stuff. Flour, almond meal, baking soda, baking powder, salt, sugar, soy milk, oil, vanilla extract, and apple cider vinegar. Also some blackberry jam, powdered sugar, some vegan butter, and a clementine.

In a big bowl, whisk together the granulated sugar, flour, almond meal, salt, baking powder, and baking soda.

Add in the oil, vanilla, milk, and apple cider vinegar. Mix until fully incorporated.

IMG_5102.jpg

And that is some mixed batter.

IMG_5131.jpg

Scoop the batter into well greased muffin tins. I used to different shapes and sizes because I wanted too. You can do the same, just be aware different sizes will cook at different times.

And into the hot oven they go.

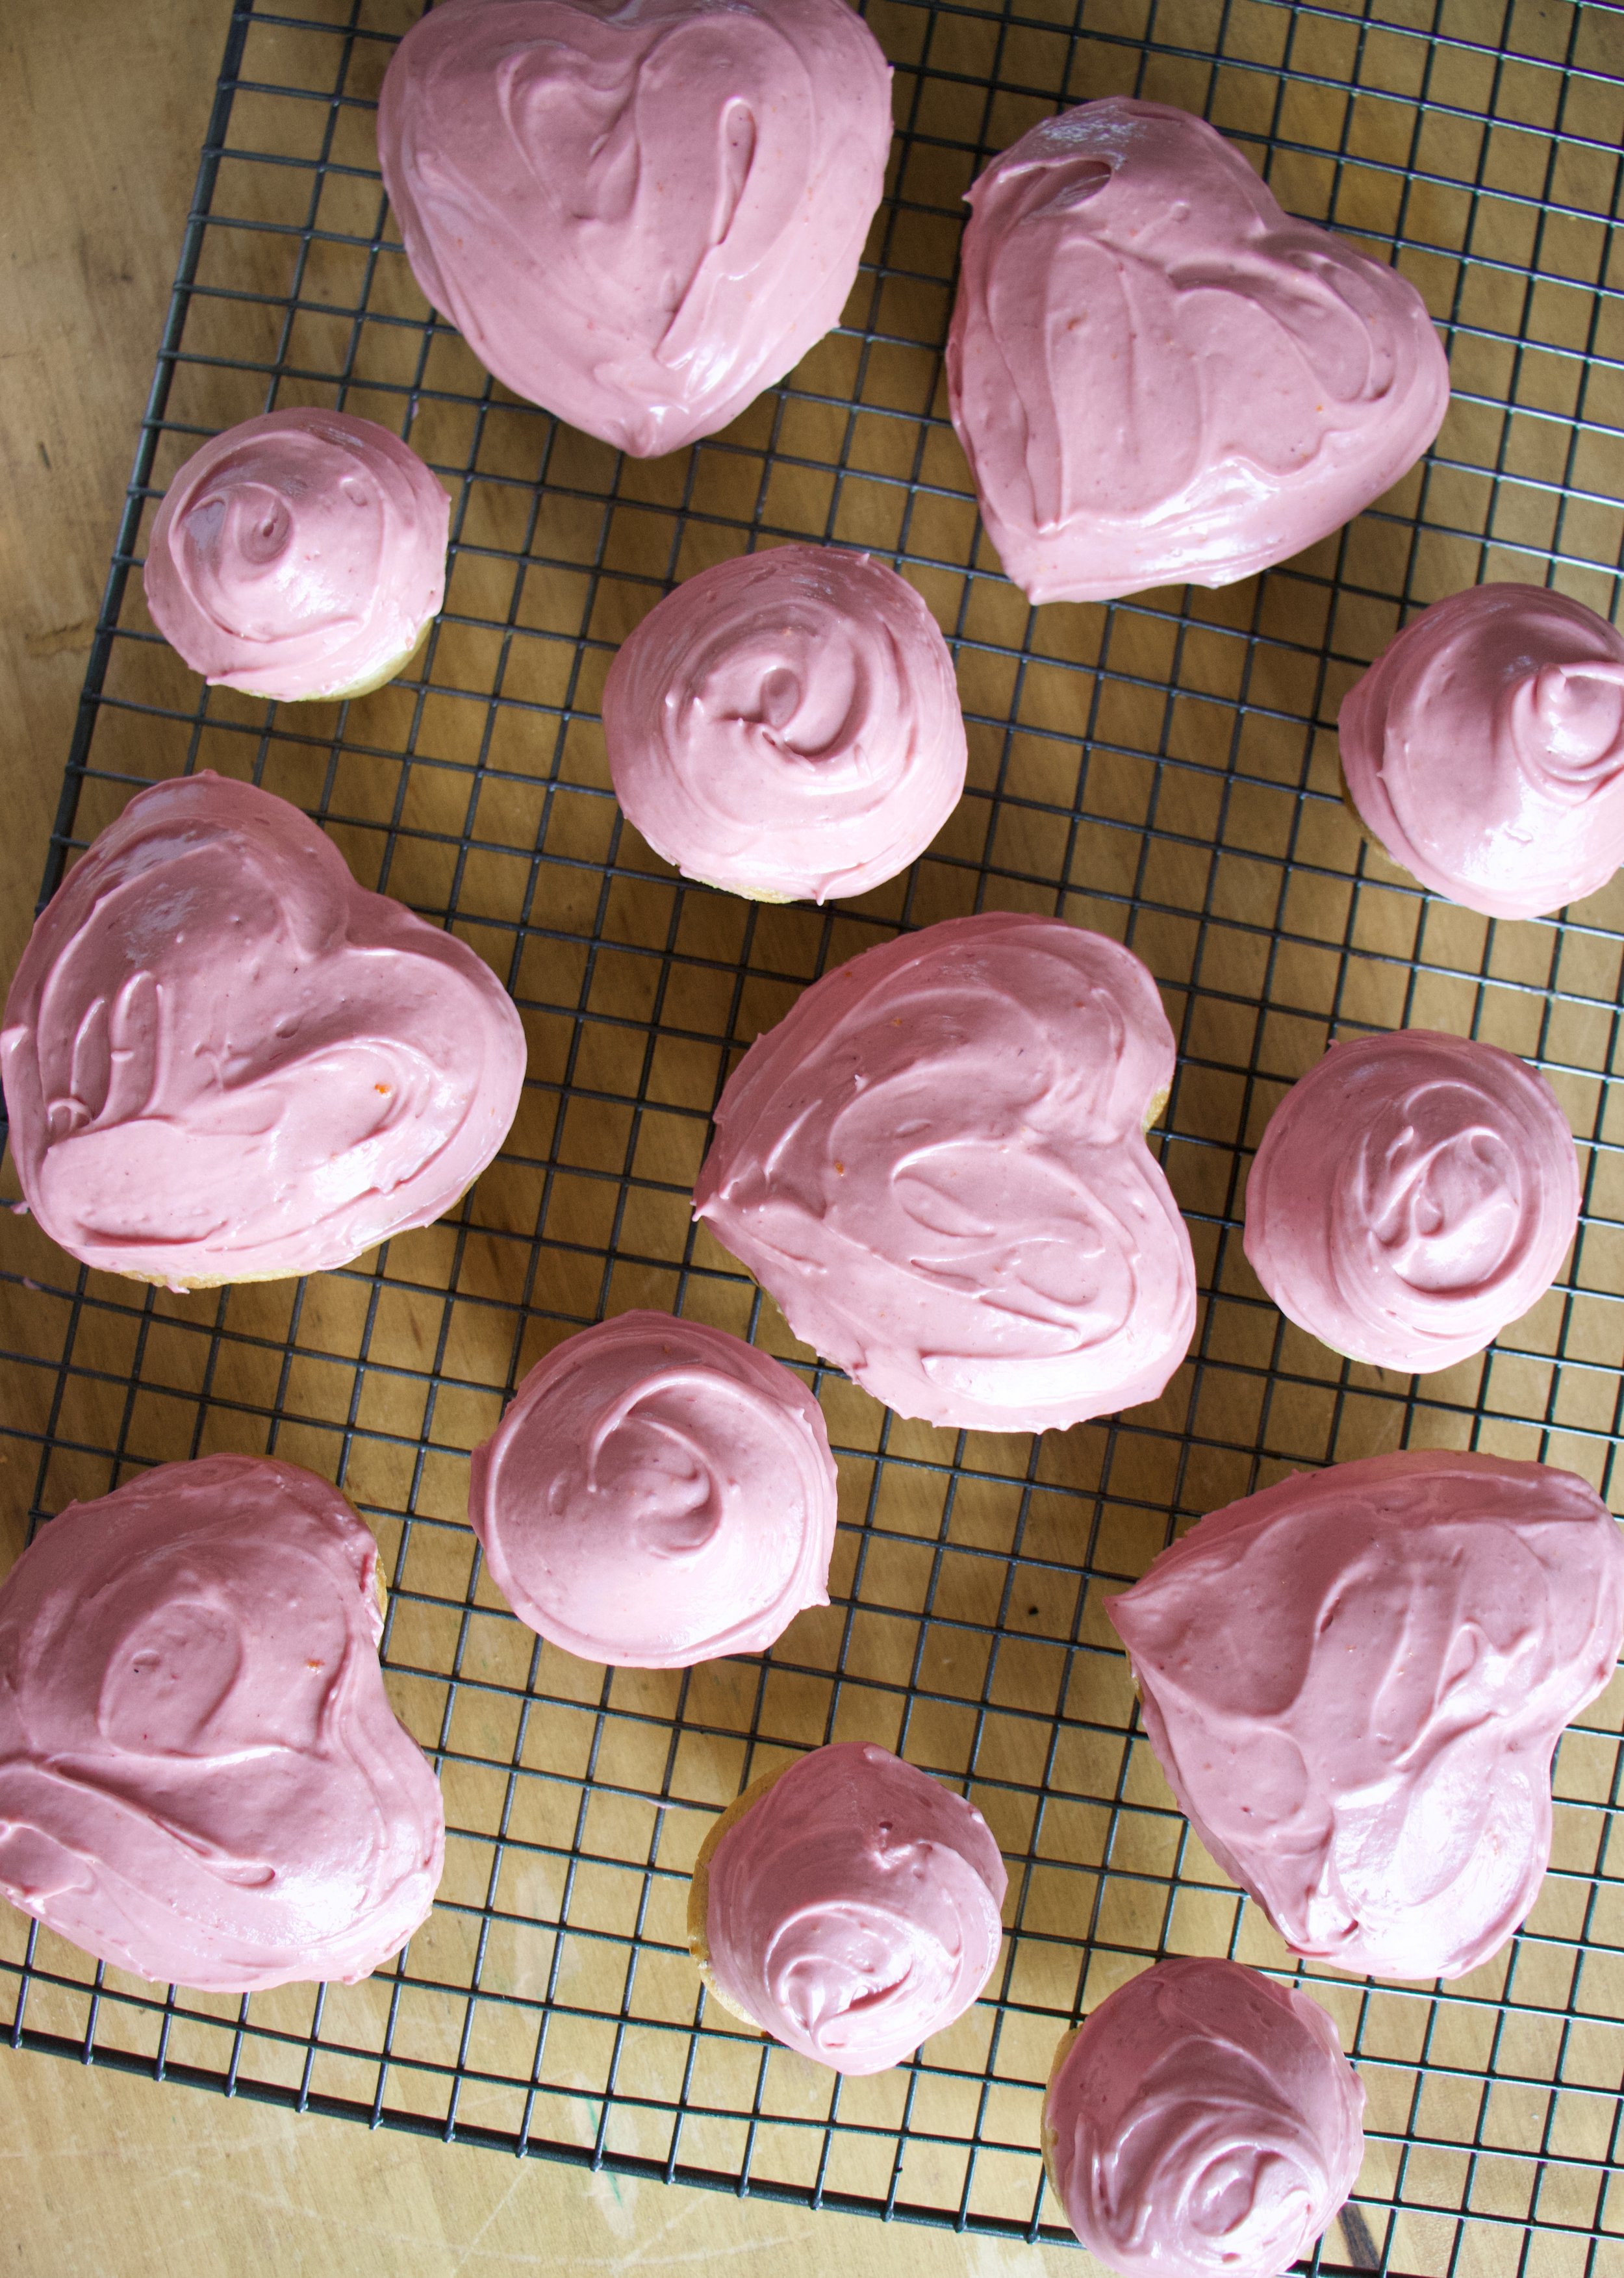
Baked, popped out of the tins, and cooling to cool.

IMG_5164.jpg
IMG_5174.jpg

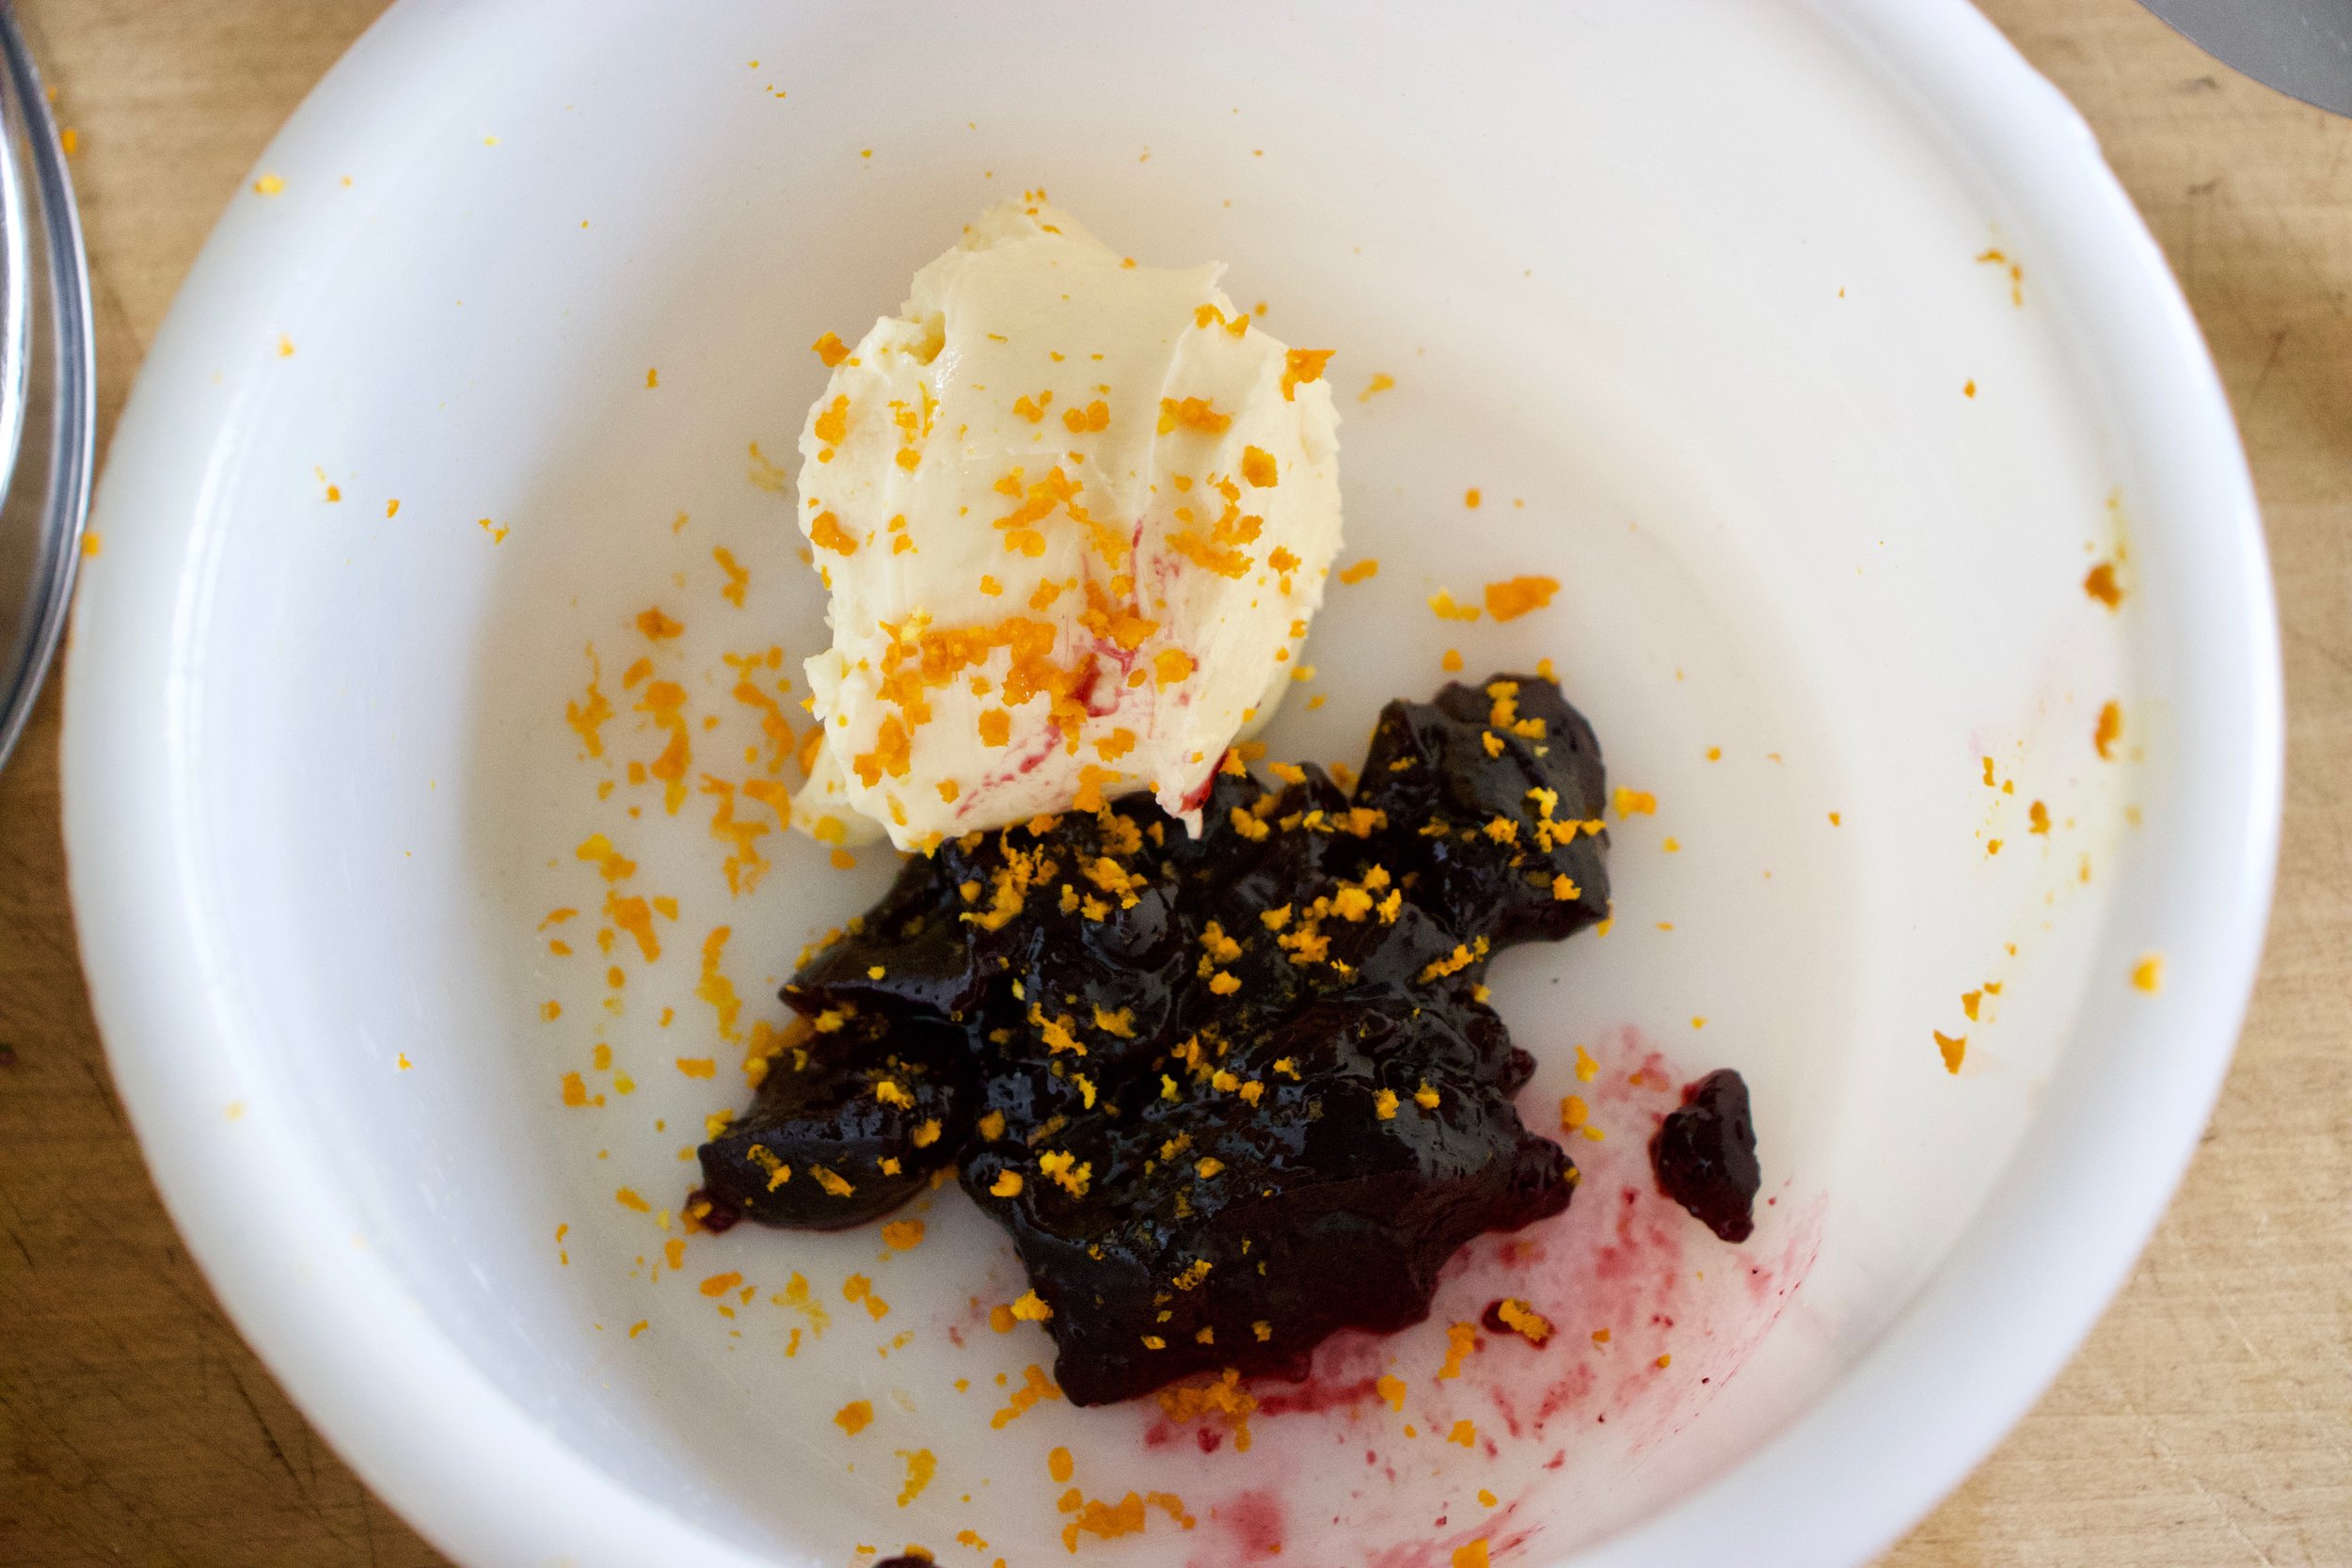
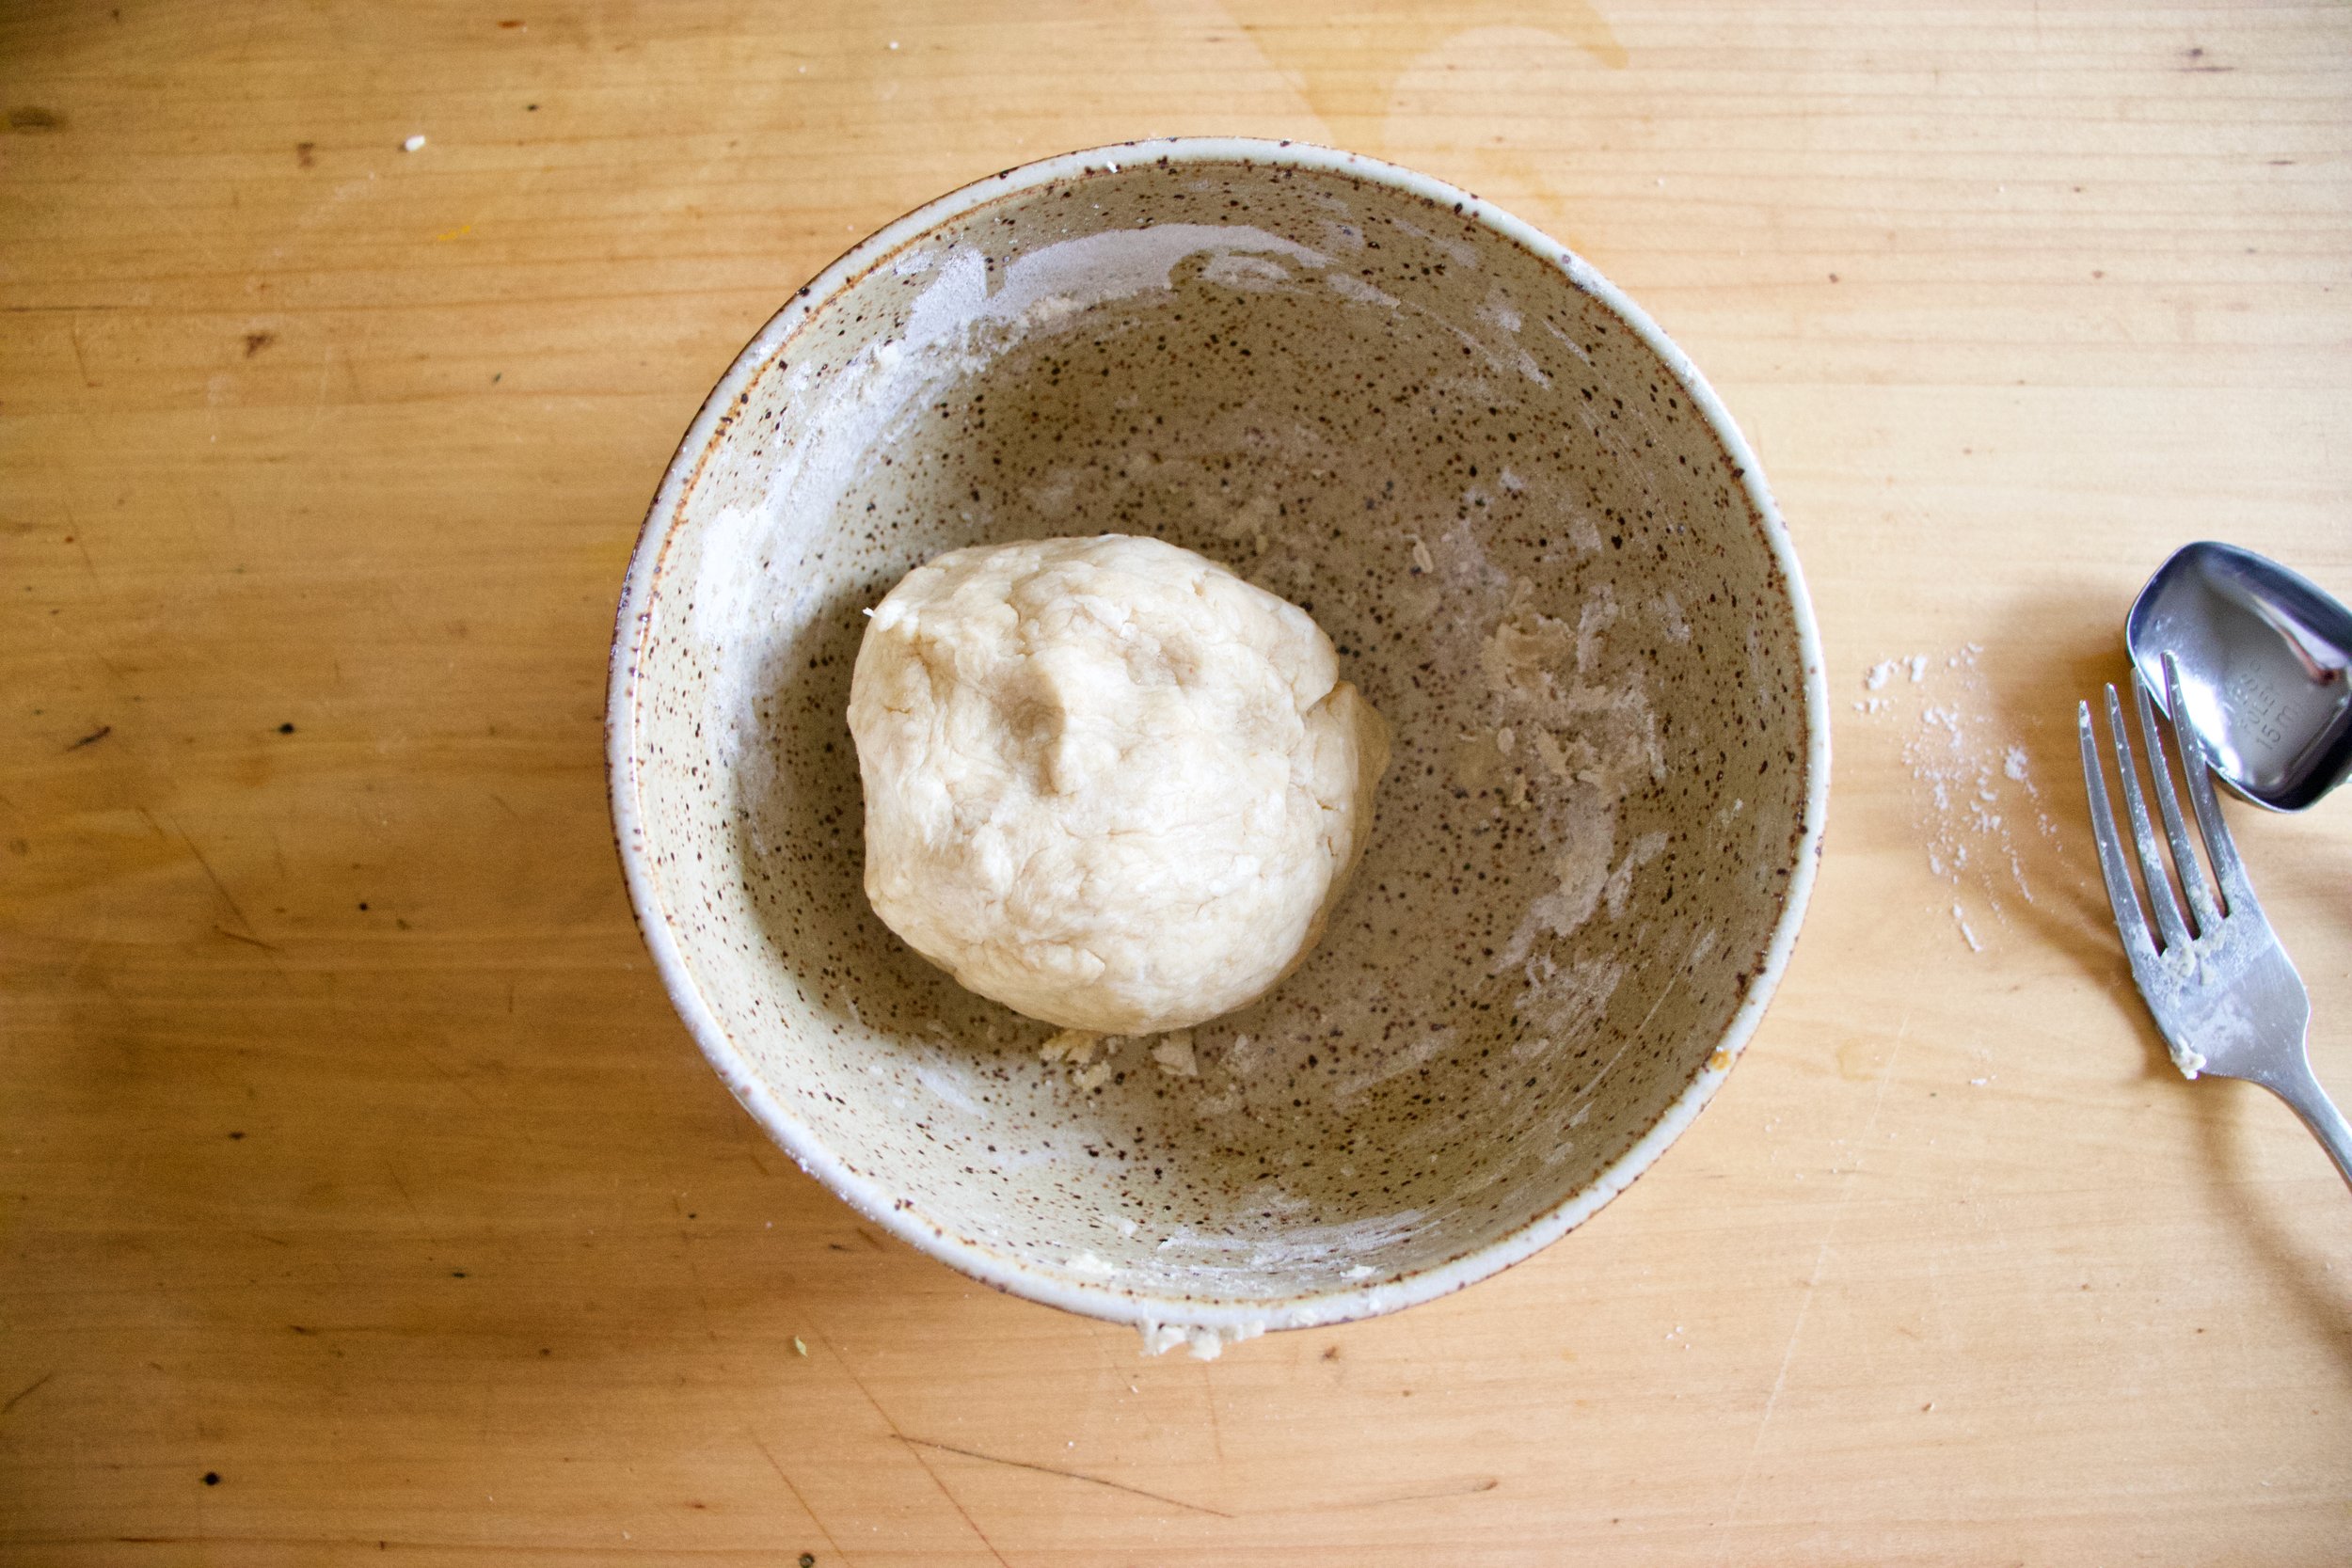
Frosting time. Butter, clementine zest, and jam mixed together makes for the prettiest color.
Add in the powdered sugar and juice of the clementine and beat with a beater.

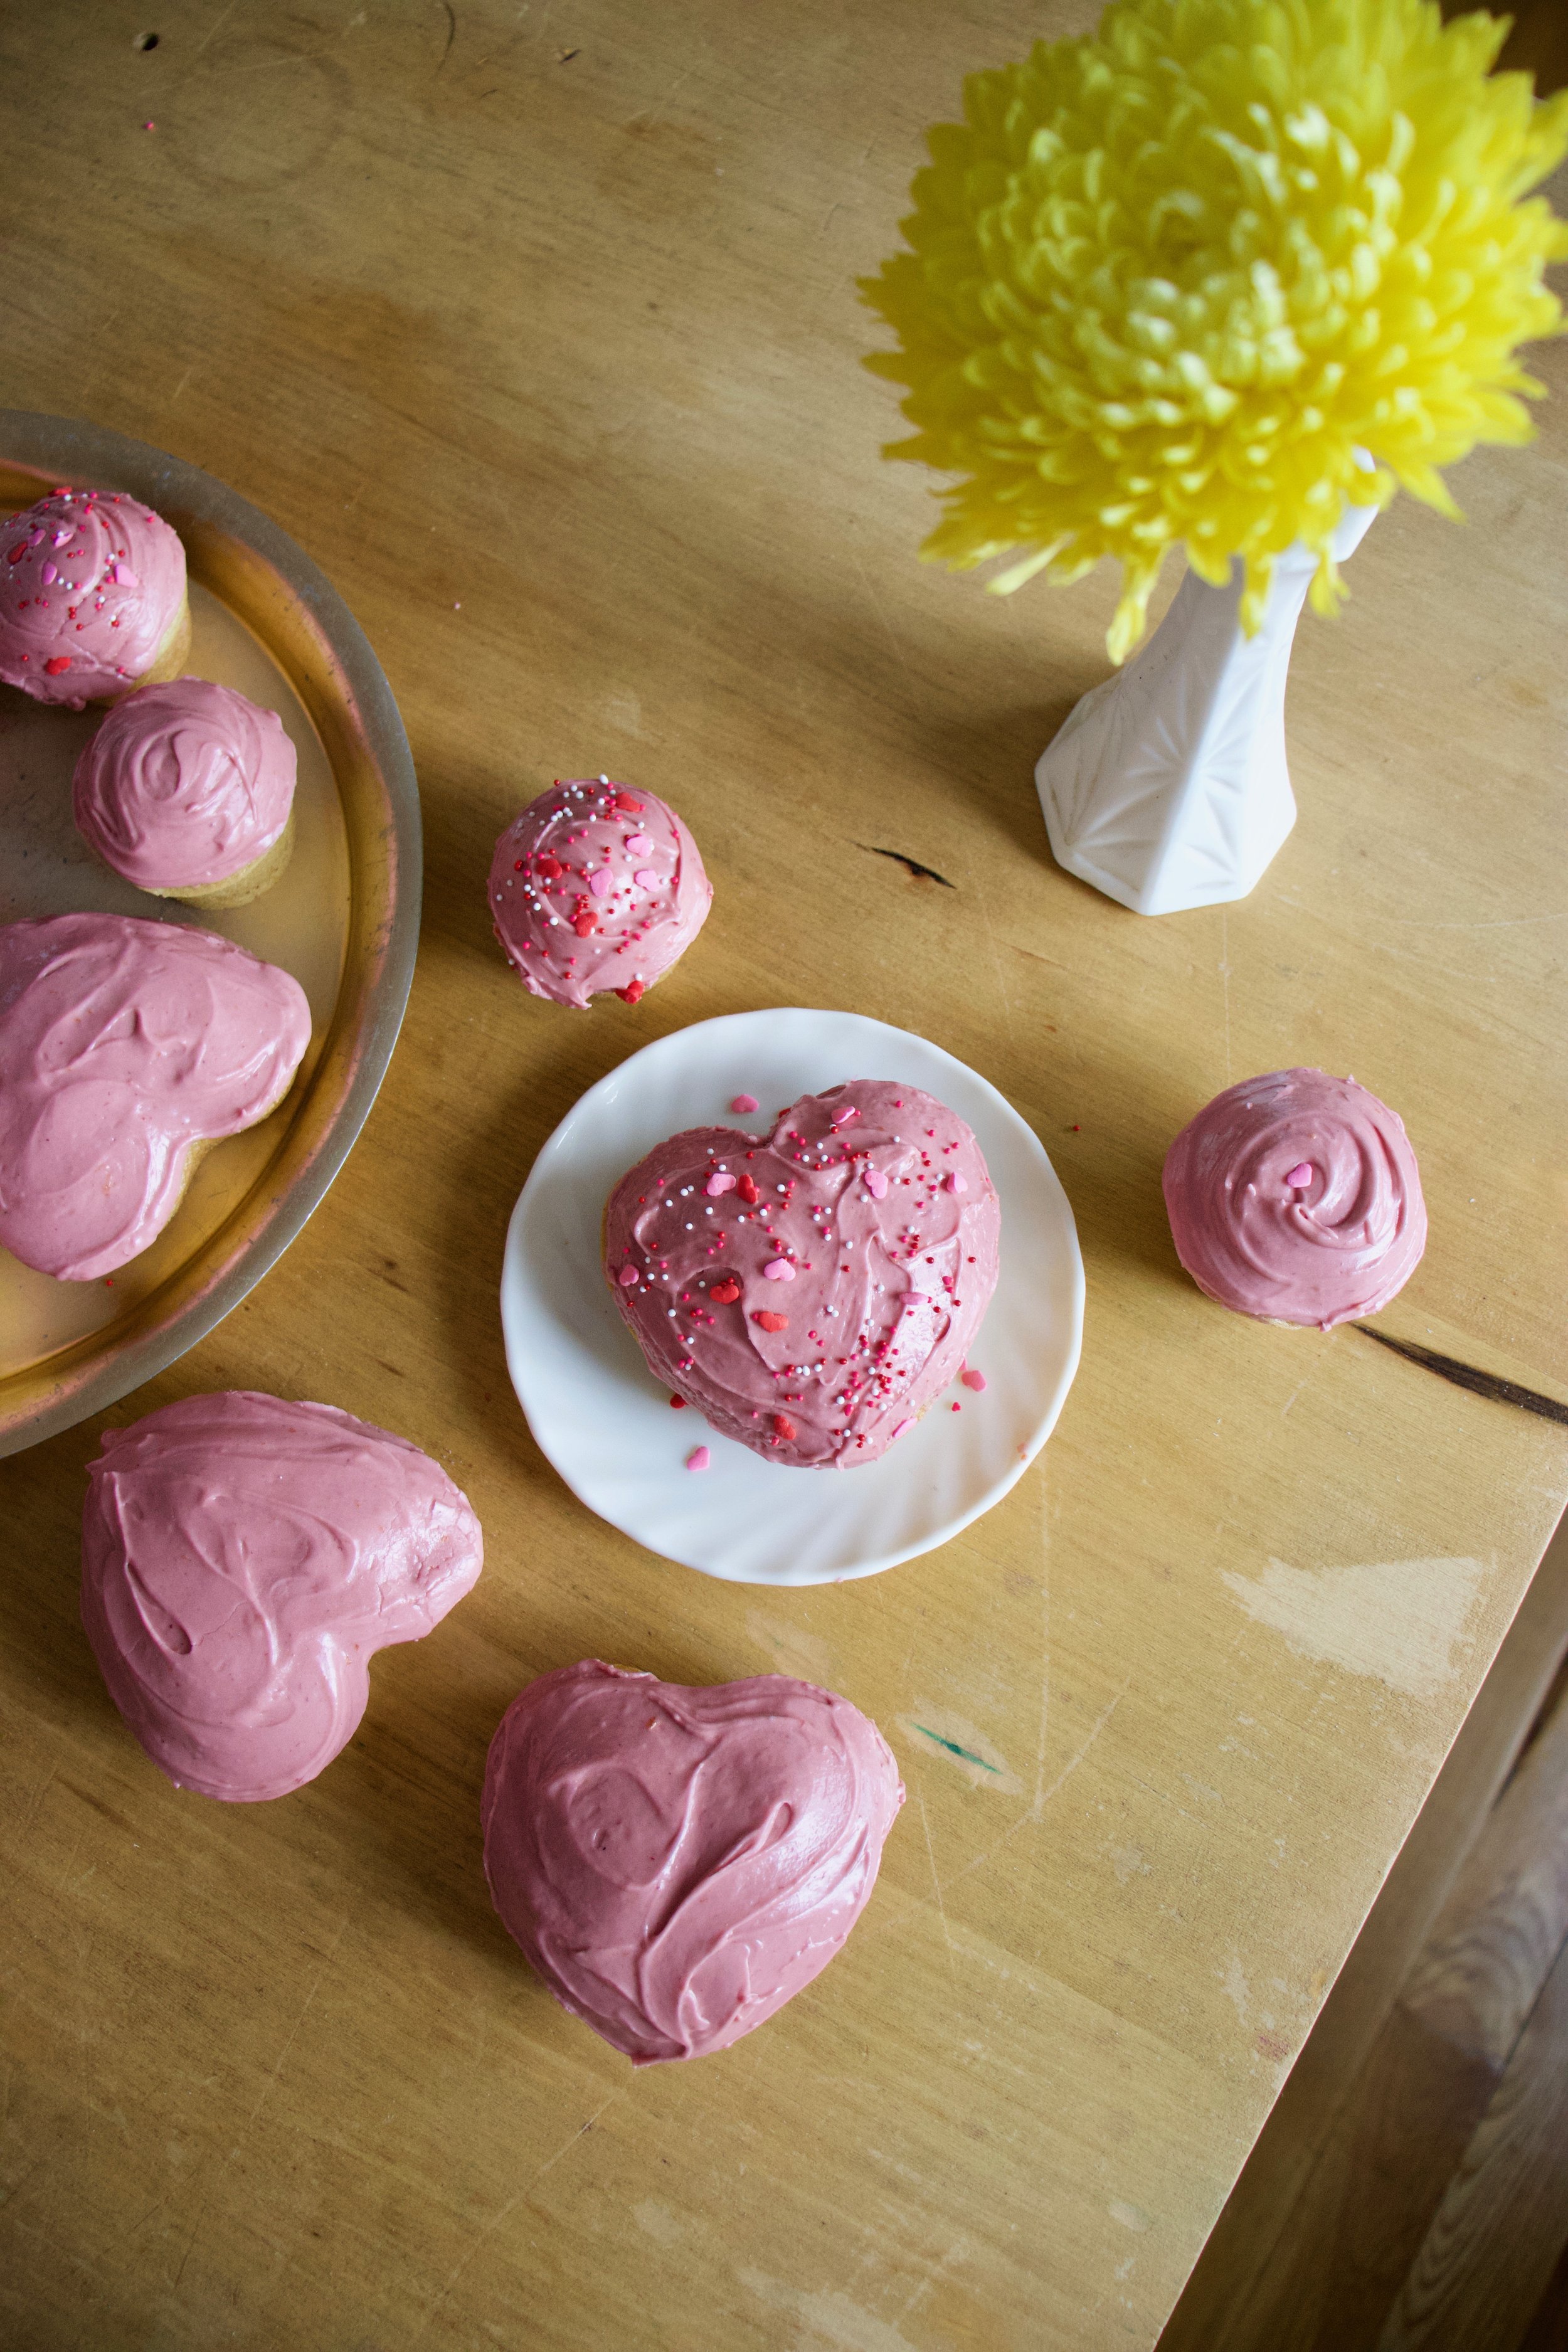
Pretty pink frosting. All natural.

And now that the cupcakes are cooled (you must wait until they are completely cooled) get them frosted.

And of course, adding sprinkles will only make them that much better.

And now you got the cupcakes which makes it cupcake time.

Look at that smile. Thats a smile just for cupcakes, not at all because I told him too.

Happy happy.

-C


Almond CupCakes with Blackberry Clementine Frosting

Makes 12-16 cupcakes (depending on size)

  • 1 1/2 cups all purpose flour

  • 1/2 cup almond meal

  • 1/3 cup neutral oil

  • 1 1/4 cup almond milk

  • 3/4 cup white sugar

  • 1 teaspoon baking soda

  • 1 teaspoon baking powder

  • 1 tablespoon apple cider vinegar

  • 1/2 teaspoon salt

  • 1 teaspoon vanilla or almond extract

  • For the frosting

  • 3 tablespoons blackberry jam or preserves with or without seeds

  • 2- 2 1/2 cups powdered sugar

  • 4 tablespoon vegan butter

  • 1 clementine (zest and some juice)

Preheat oven to 350.

In a large bowl whisk together the flours, salt, baking soda and powder and sugar until fully combines. In a separate bowl mix together the oil, milk, vinegar, and vanilla. Pour into the dry and mix, by hand, until full incorporated. Scoop batter into well greased muffin tins (heart or other shape up to you) and place into oven for 13-18 minutes (shorter time for smaller cupcakes, longer for larger sized) or until lightly browned and a tester stuck into a cake comes out clean. Pull from oven when done and pop from tin. Place on a wire rack to cool.

While cakes are cooling, make frosting. Beat together the butter, zest of the clementine, and jam. Add in the sugar and the juice and beat until fully incorporated. If the consistency is to thin, add a little more sugar, to thick, more clementine juice or if out of juice, a splash of milk.

Once cupcakes are full cooled, frost, add sprinkle if you would like, and then the only thing left to do is eat them.

Eat cupcakes, store left overs in an air tight container in the fridge for up to a week.

In Vegan, Nuts, holiday, desserts, Dairy Free, cake Tags Almond Cupcakes with Blackberry Clementine Frosting, Almond flour, nut flour, almond meal, almond cake, cupcakes, Valentines Day, Vegan, dessert, love, pink frosting, all natural, plant based, sweets, love heart shaped, King Arthur flour
Comment
← Newer Posts Older Posts →
 

https://thelovelycrazy.squarespace.com/config#/|/about/

Me. Food Maker.Food eater. Woo HOO!

STEM+NODE  SMALL BATCH AND ONE OF A KIND POTTERY

stem+node ceramics


____________________

Subscribe

GET NEW POSTS IN YO EMAIL

You are AWESOME!!!


@thelovelycrazy 2014-2021