
I have been making at least one cake, if not 3, a week for the past month. Last week I did not have a cake that I needed.to make, so what did I do? I made a cake.
I might have an alternative motive here, I have started my winter squash stash, and already it is looking pretty impressive. I have delicata, acorn, kombucha, and sugar pumpkins littered all over the house. As of now I think I have a count of about 27. Some came fro the garden, some from (and still coming, all winter long) from farm share, and some came from when they went on sale at the grocery store and I filled the shopping cart up. The cashier checking me out thought I was crazy, but I get that a lot. (Like when I buy 20 heard os cabbage.. it’s like I scare them) The alternative motive is that some of the squashes don’t have the shelf life of some of the others so I need to get on to eating the ones that don’t last as long, like the delicata and pumpkins, which I am doing, gladly might I add. So while I am eating those, I figured I would use up an acorn squash for cake because well, I don’t want to have a million acorn squash laying around and I am just too busy eating the pumpkins to get the acorn. And this is why I made an acorn squash cake.
What does acorn squash cake tase like? Basically like pumpkin cake. Every time I make any sweet thing with any squash other then pumpkin, no one really seems to notice the difference, but that is not to say there isn't one. I would say that acorn has a slightly sweeter and nutter flavor then pumpkin so you might get a more flavorful flavor out of an acorn squash. And really, if you like pumpkin, your gonna like the acorn. And people love them some maple frosting so smothering that along with walnuts on this cake, well I know made some people really really happy.
That’s the real reason why I made this cake. To make some people happy. Jeeze, I am just so nice. Ha HA!

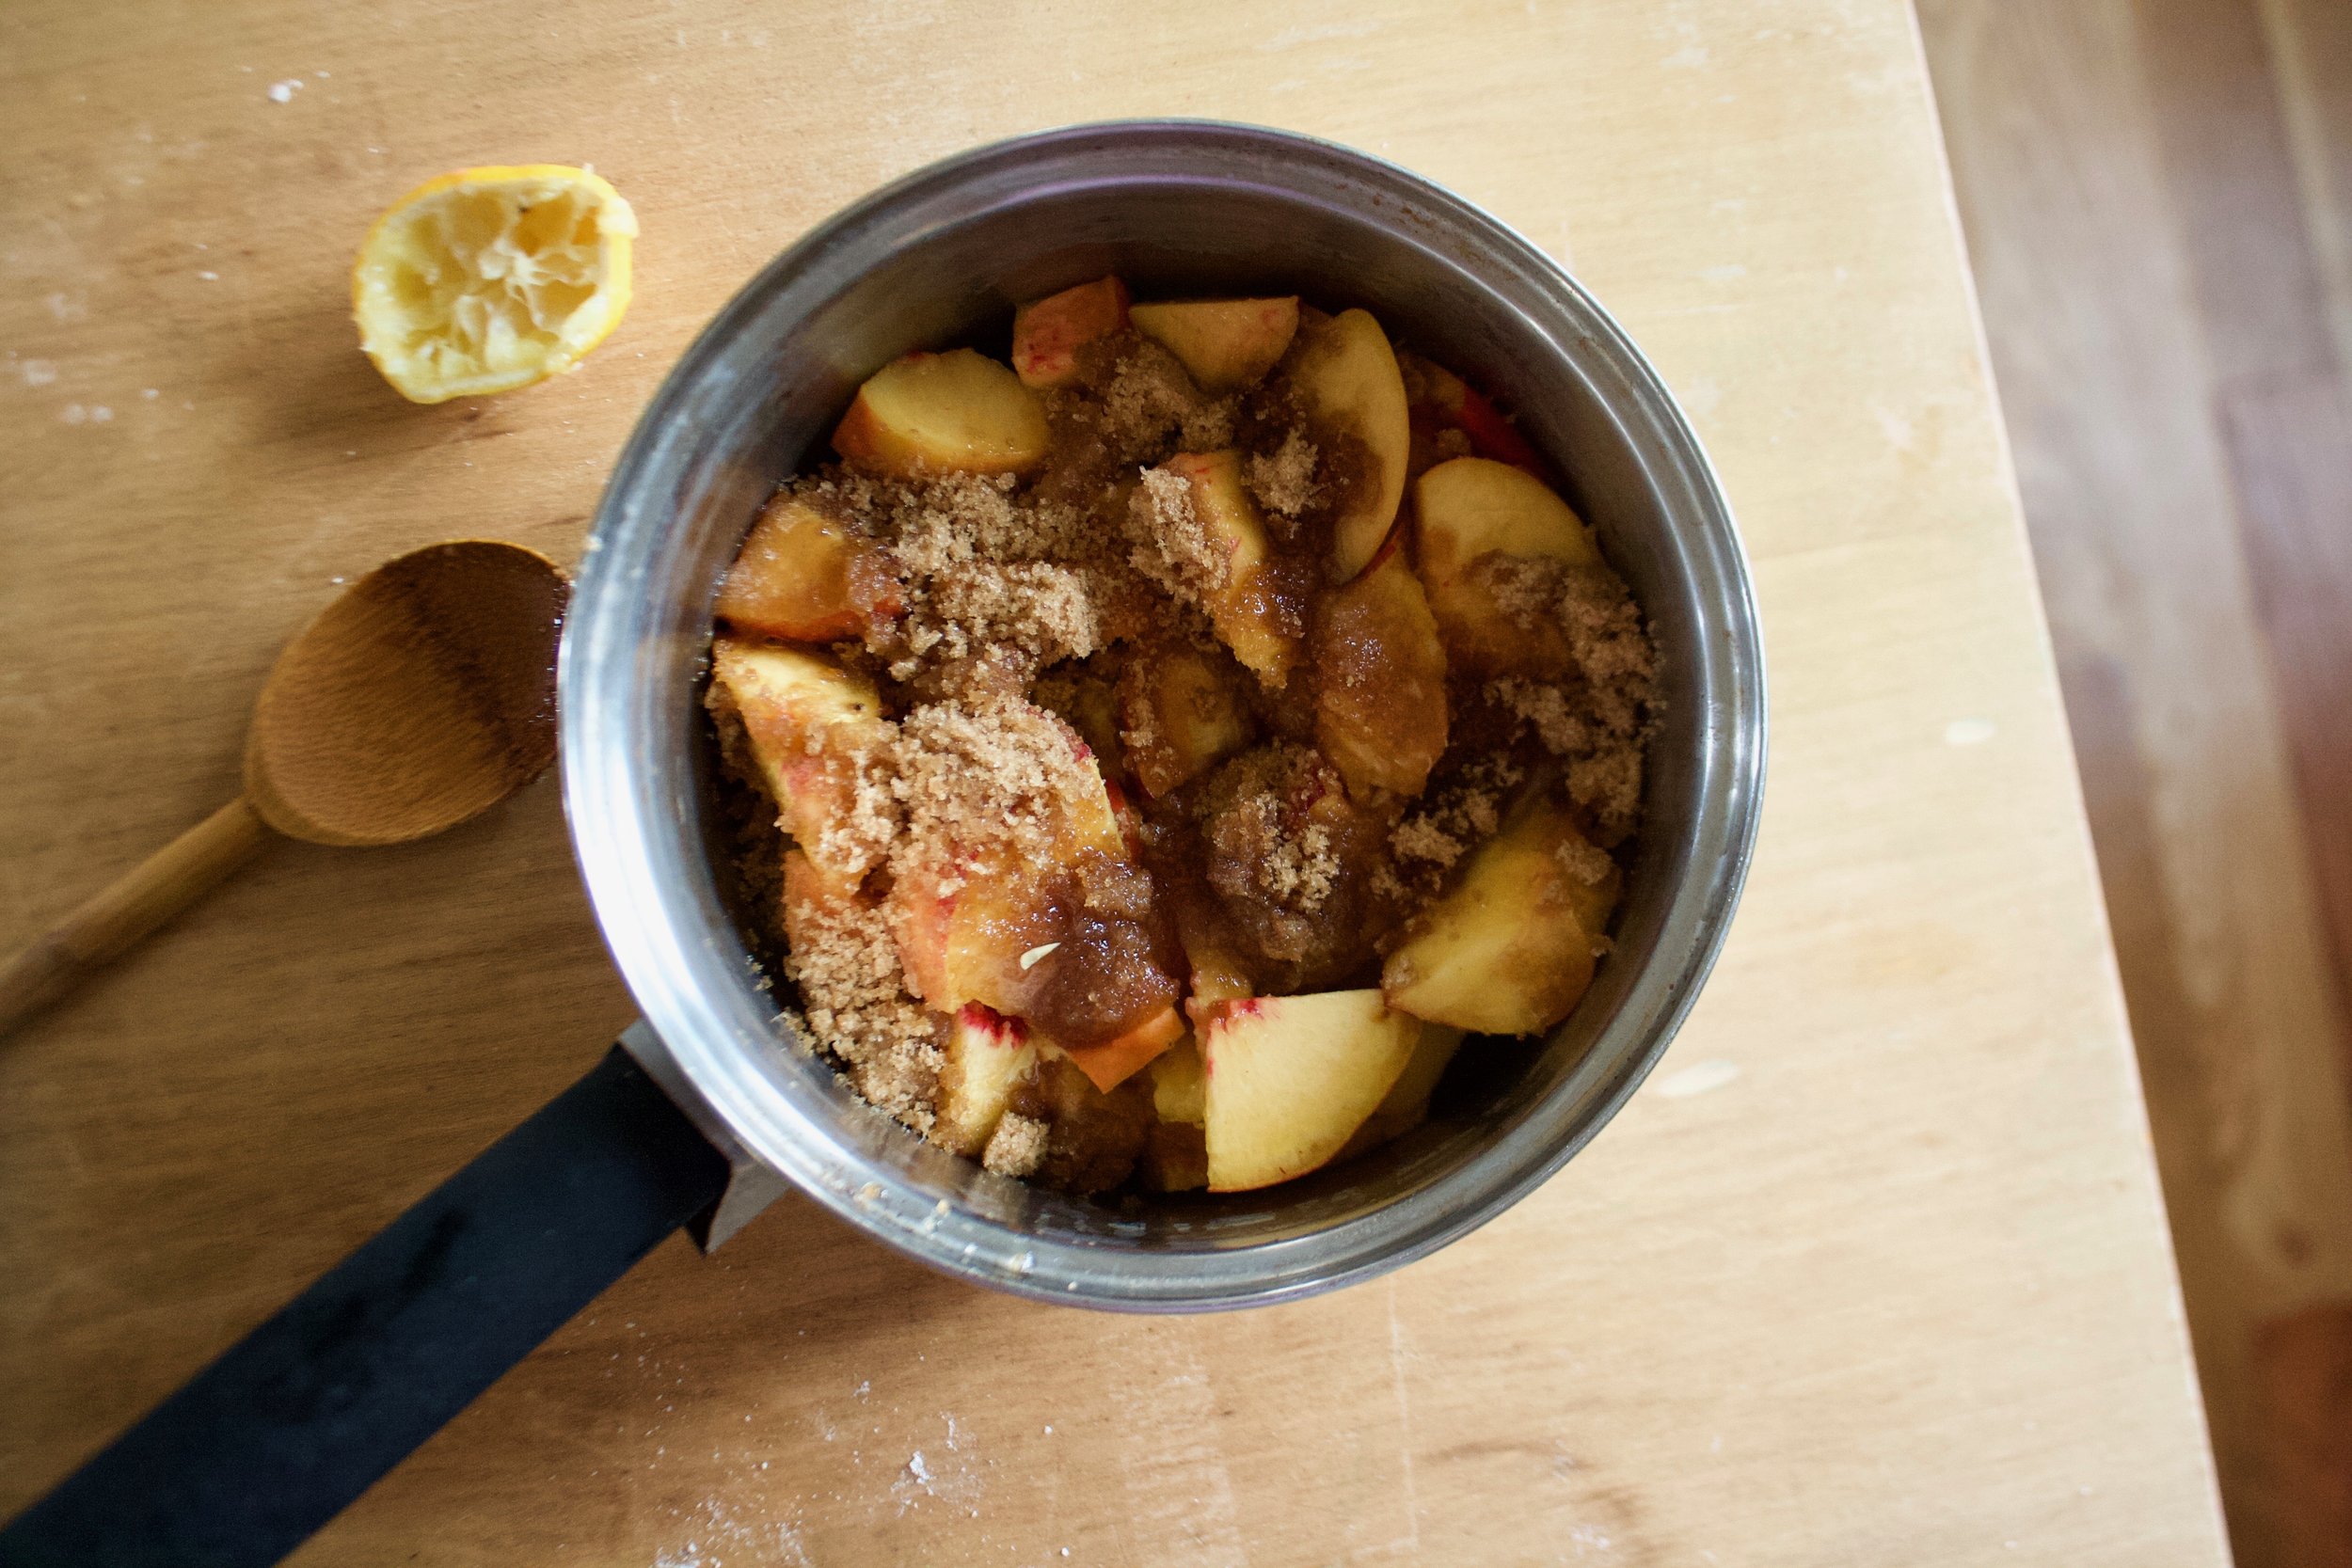
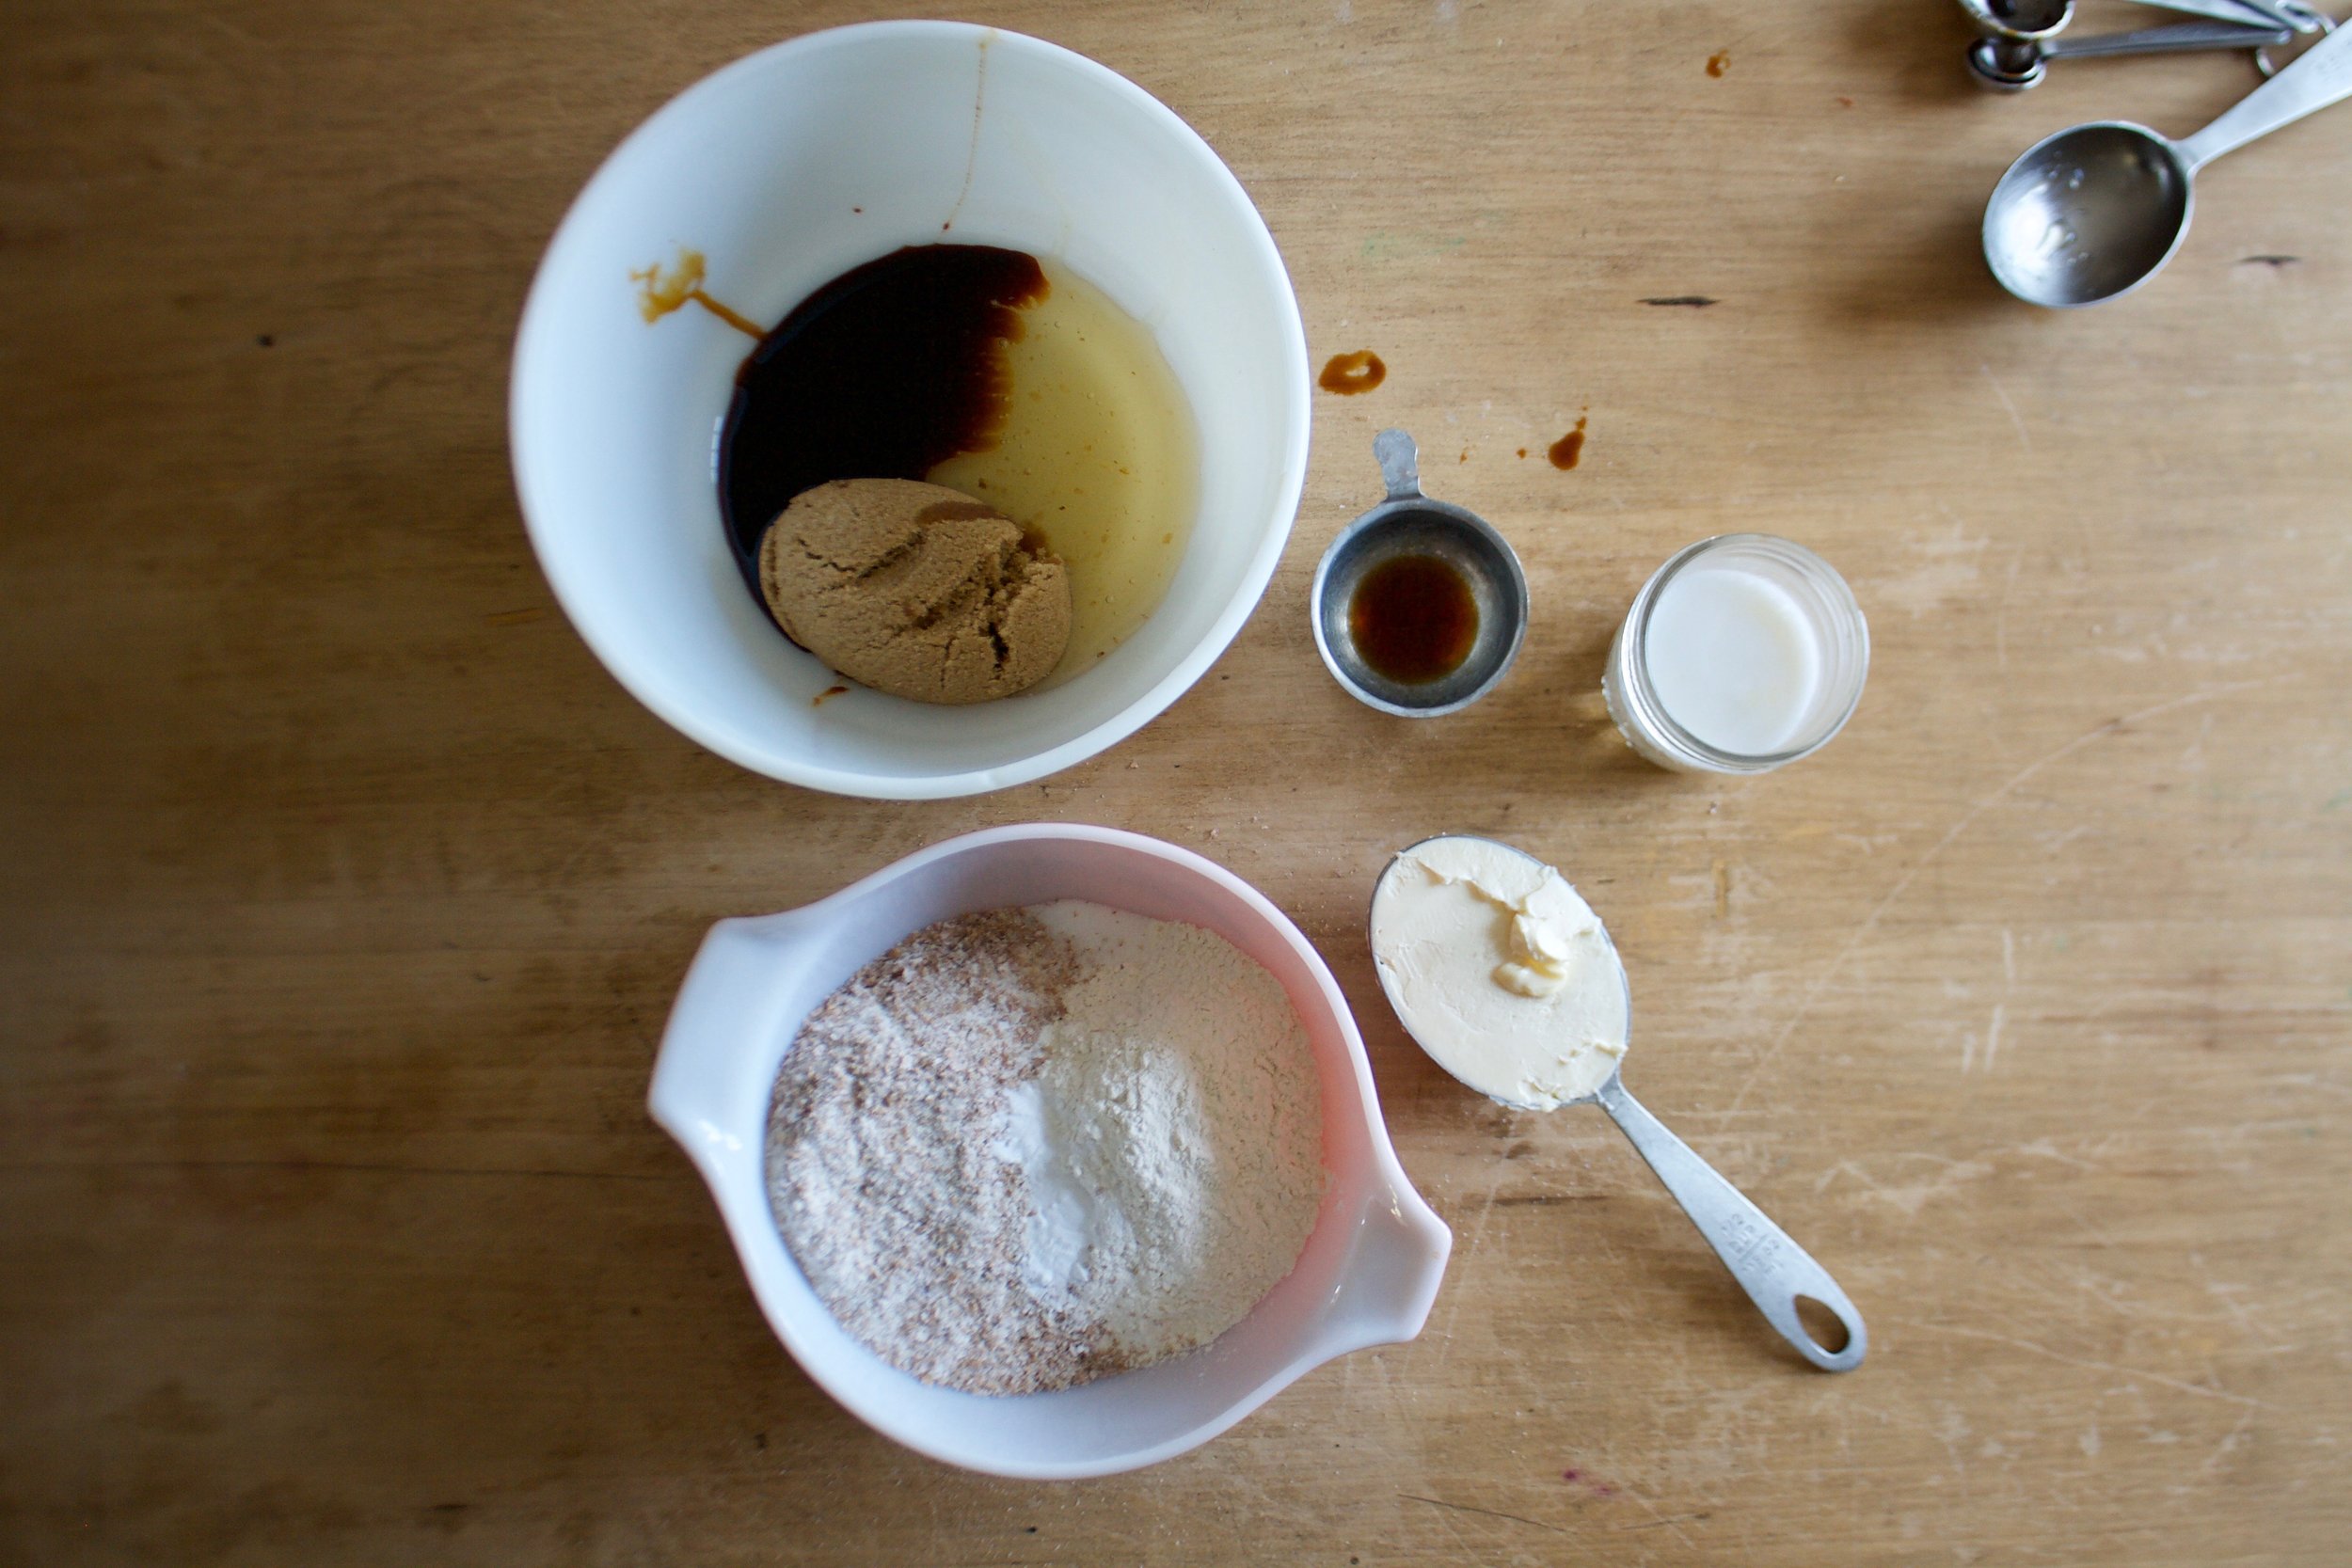
The stuff. A roasted acorn squash. flour, baking soda and baking powder, spices of cinnamon, ginger and a pinch of nutmeg, salt, oil, soy milk, brown sugar, white sugar, and a little apple cider vinegar.

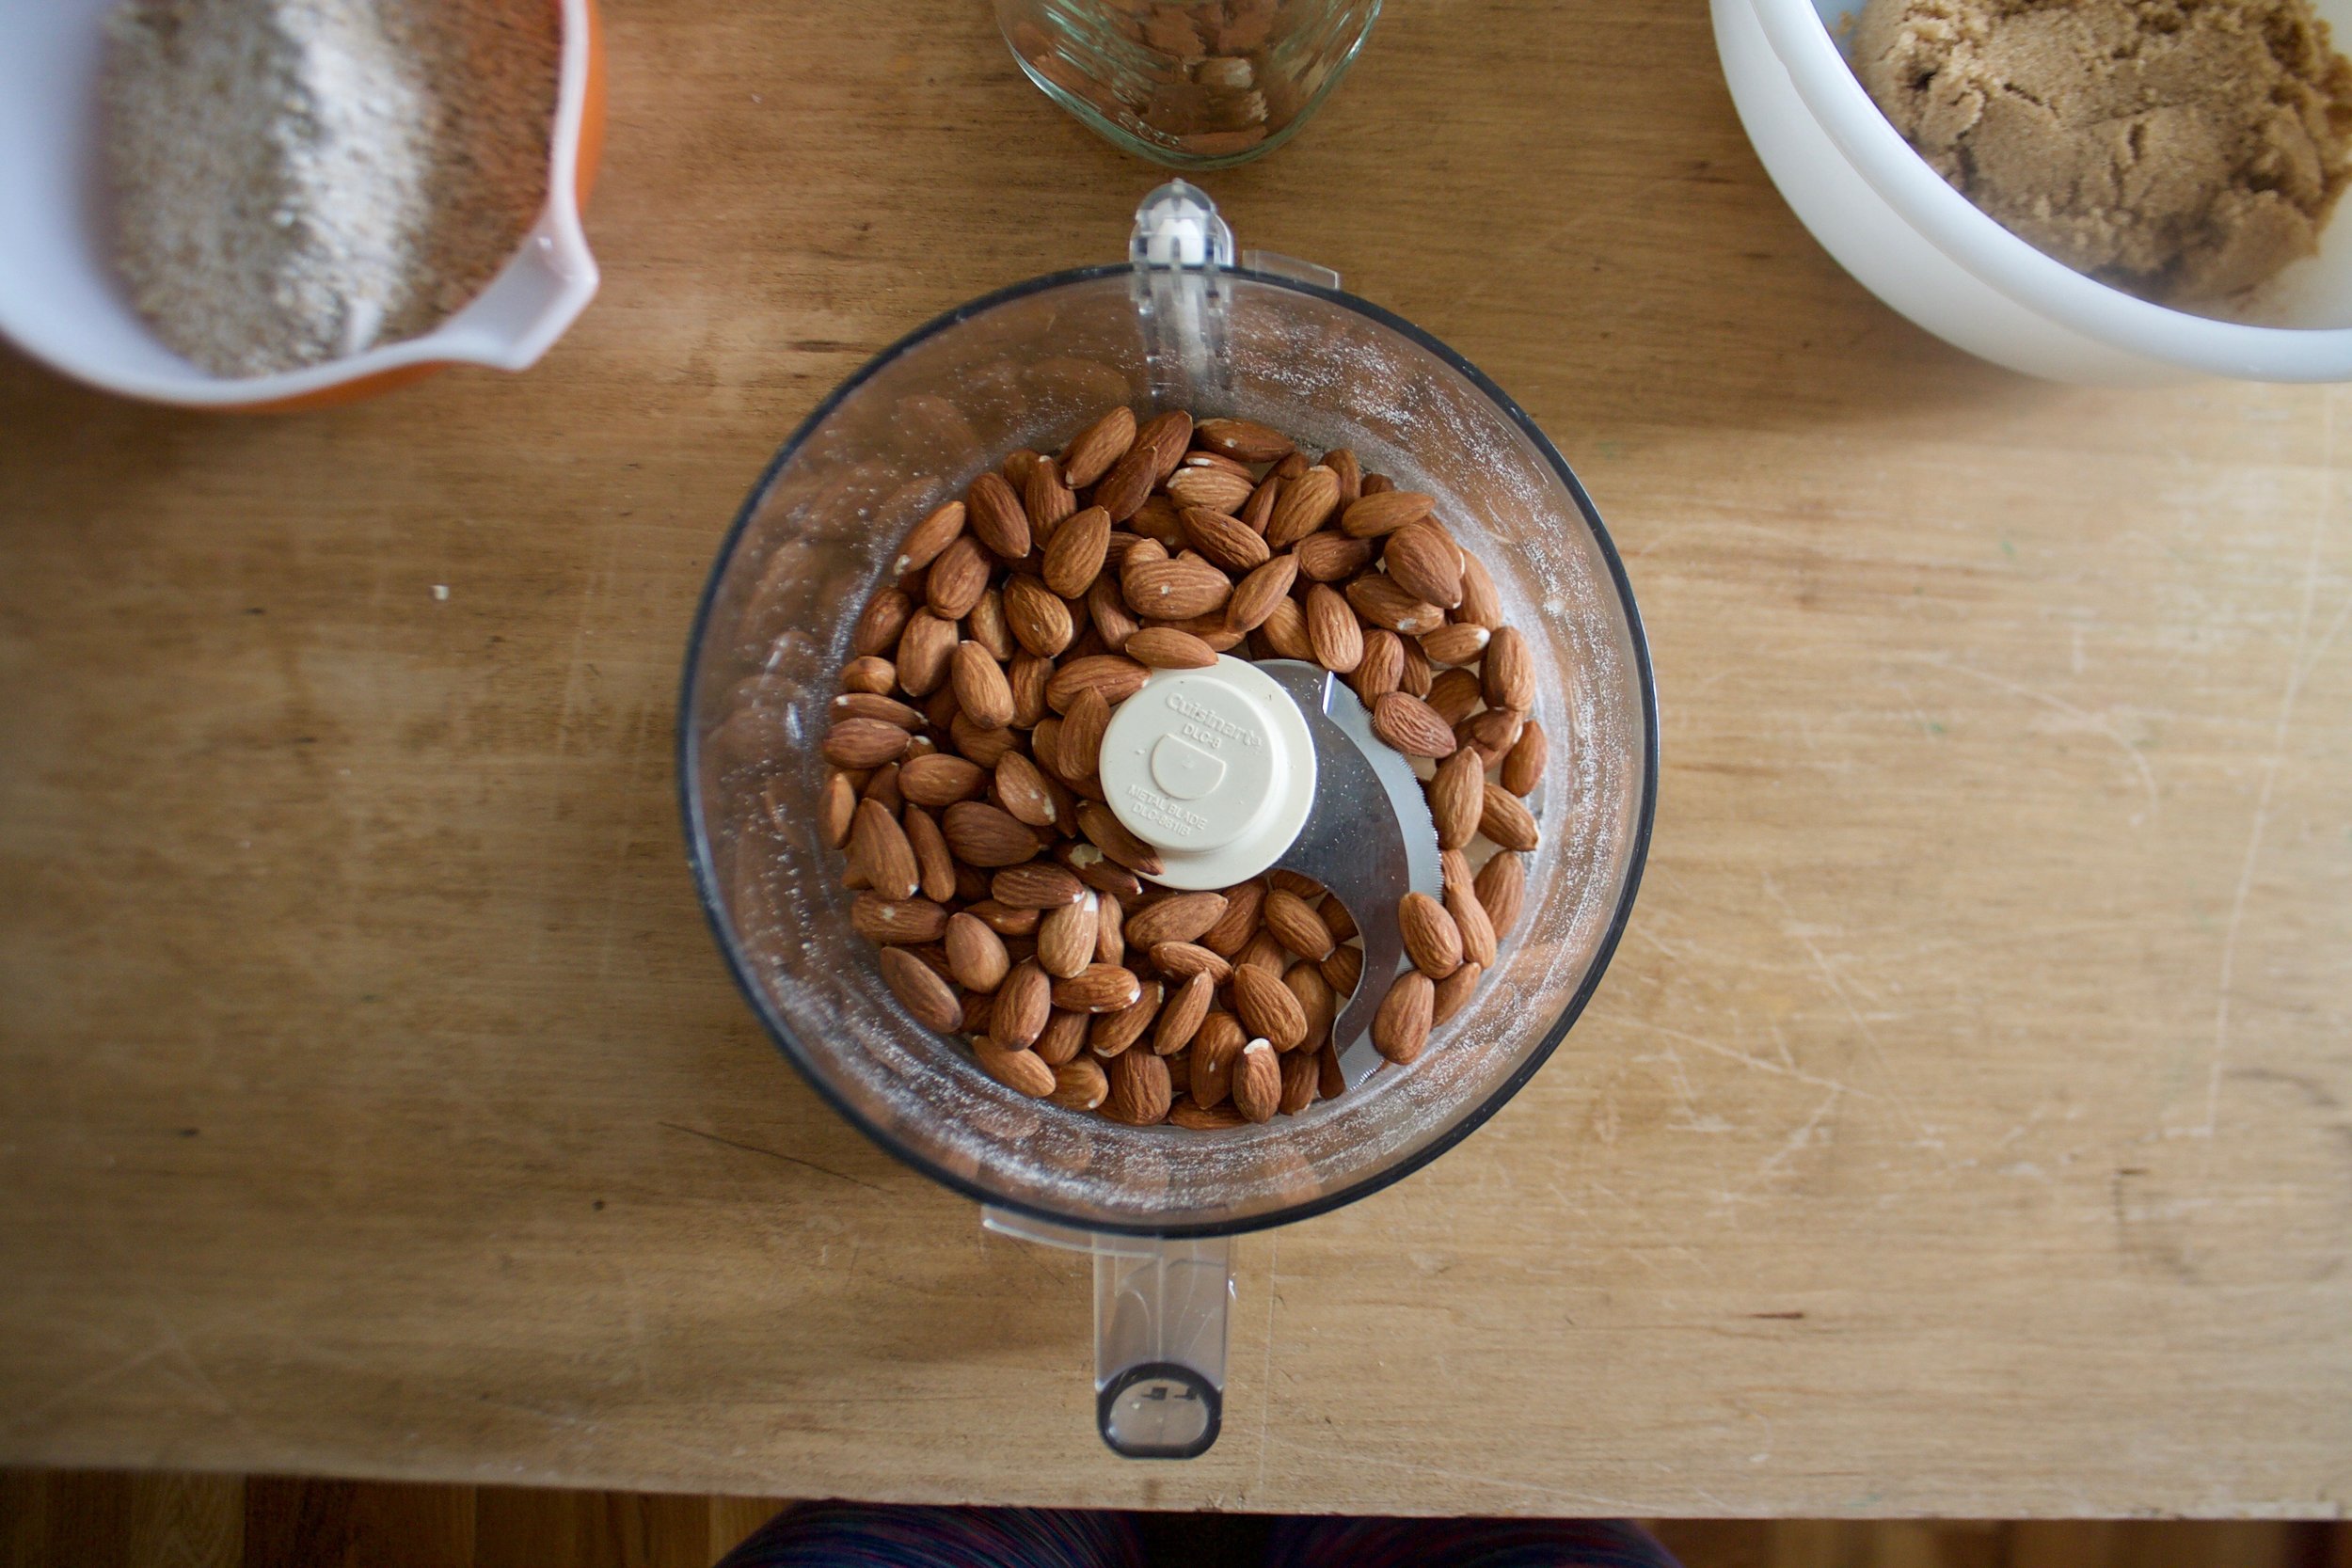
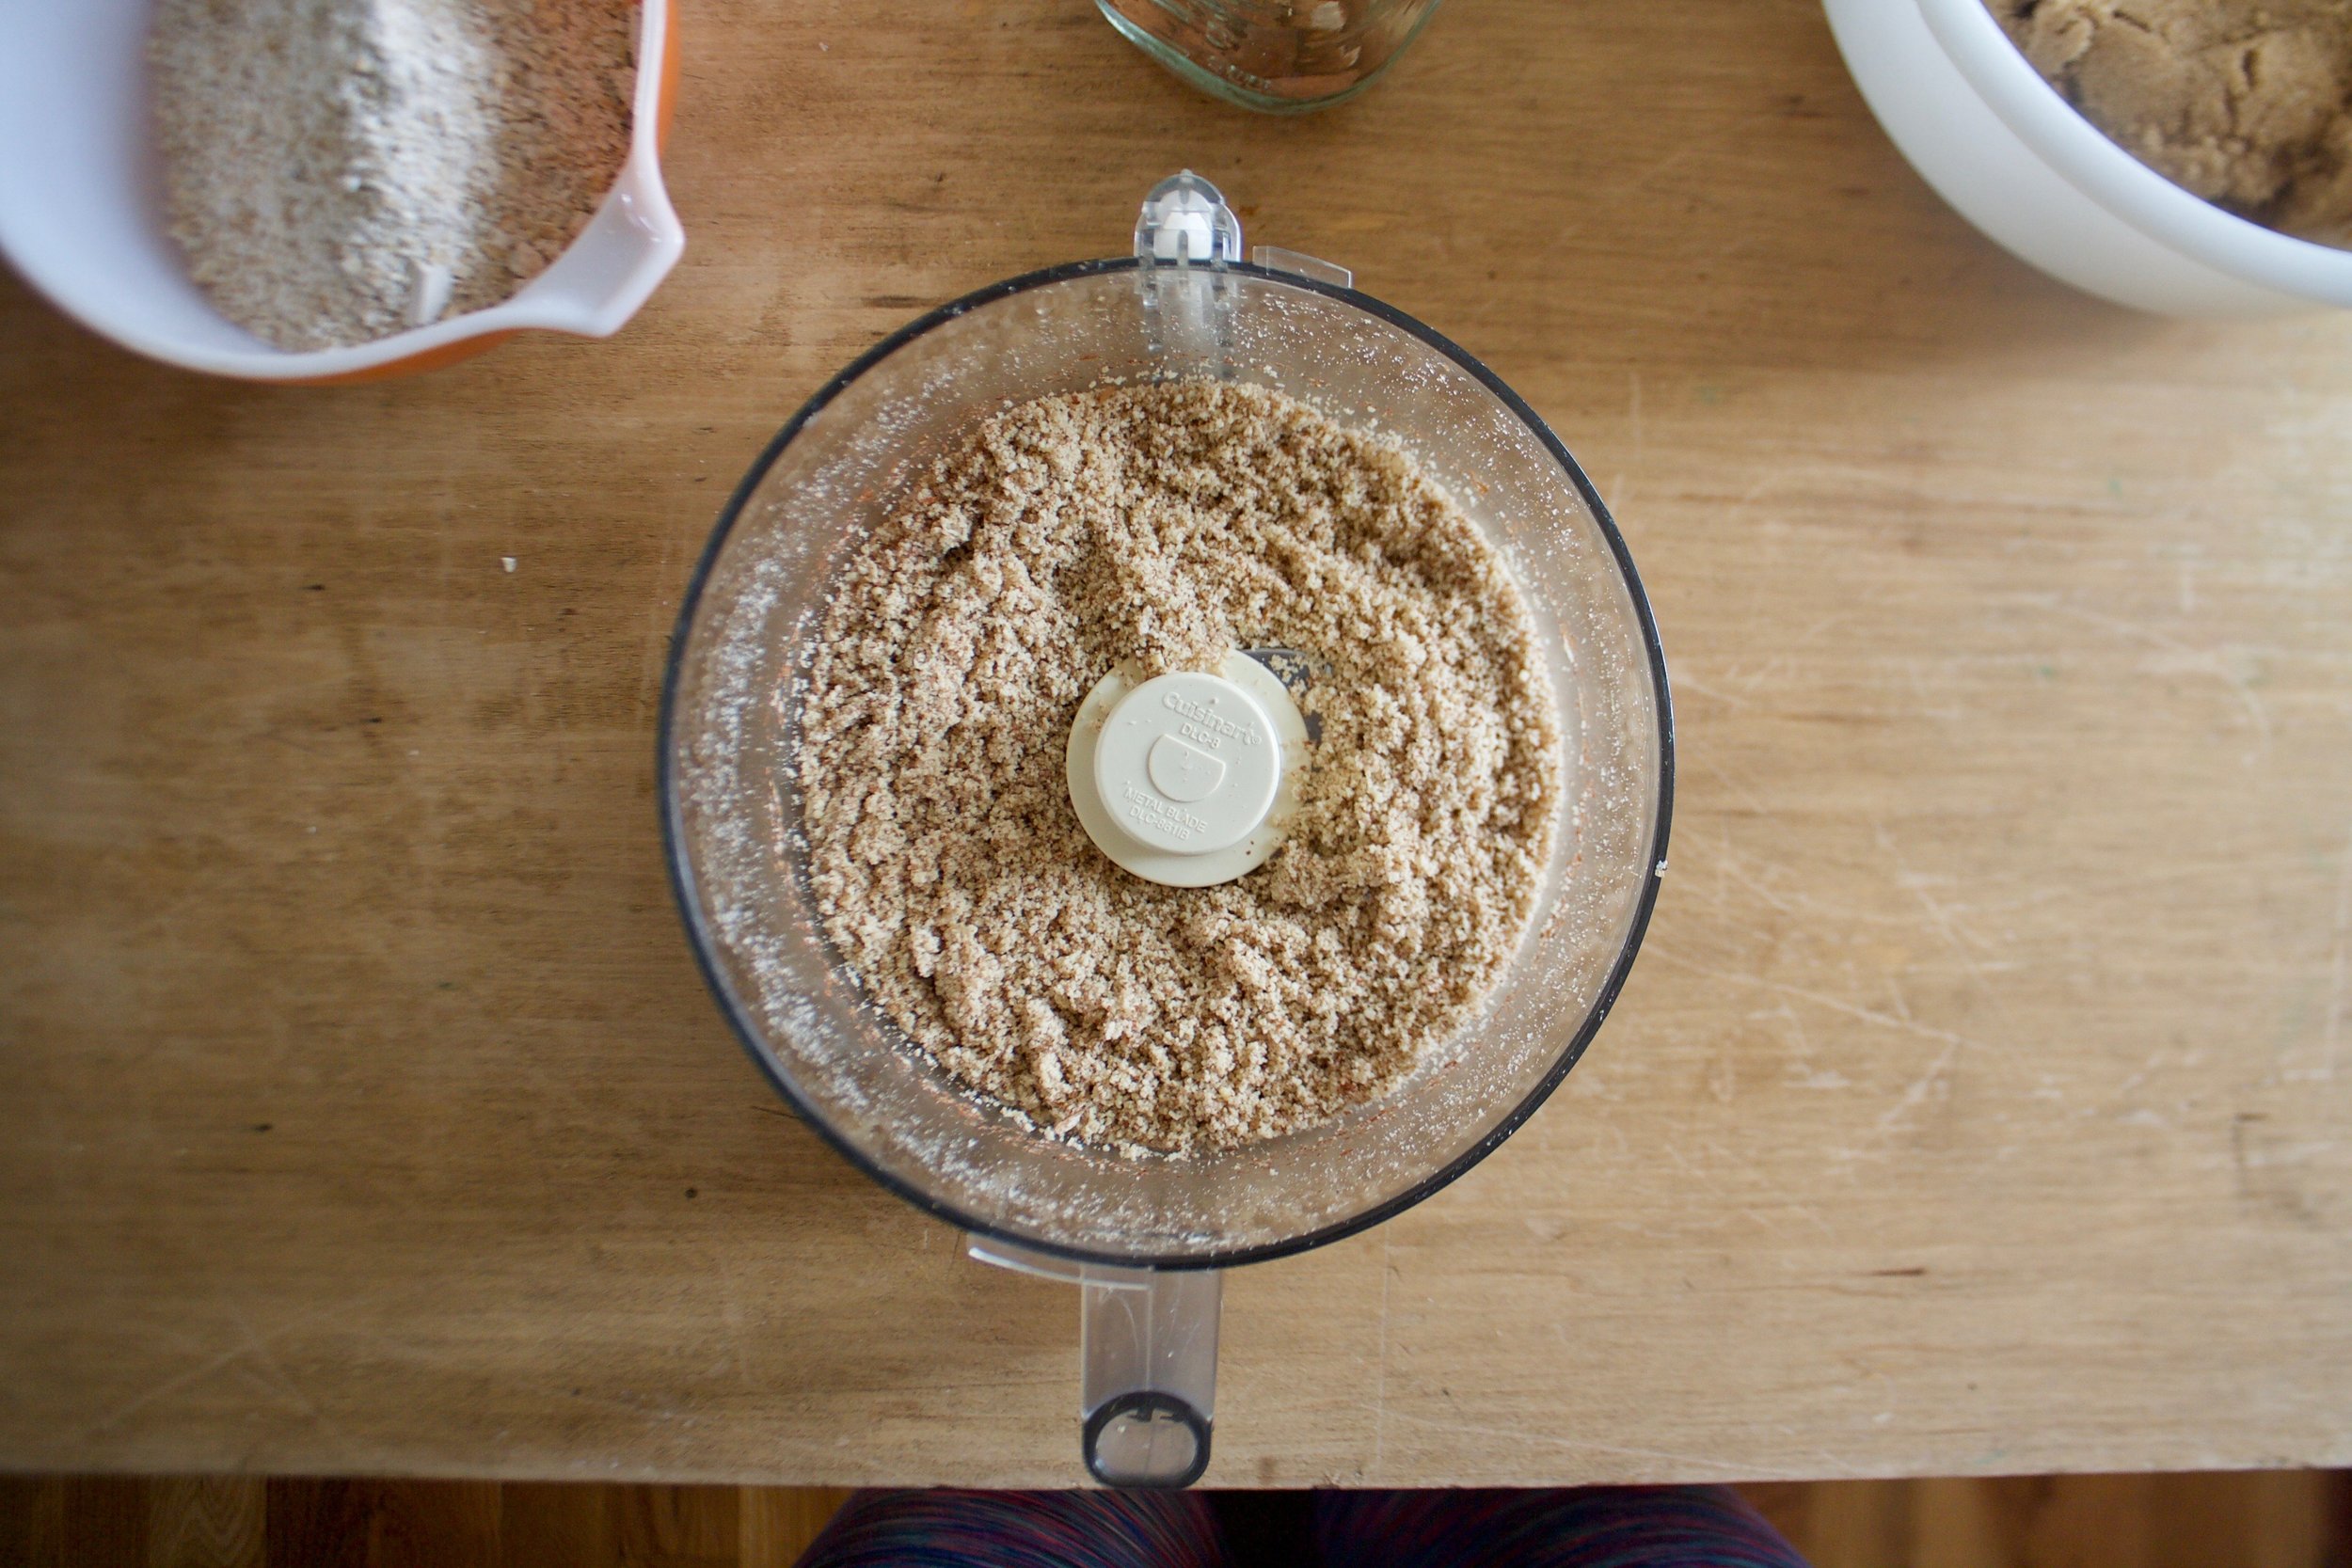
Start by pureeing your squash If you haven’t already which basically involved removing seeds and skin (save seeds to rest, eat skin, it delicious) and blending the squash until smooth.
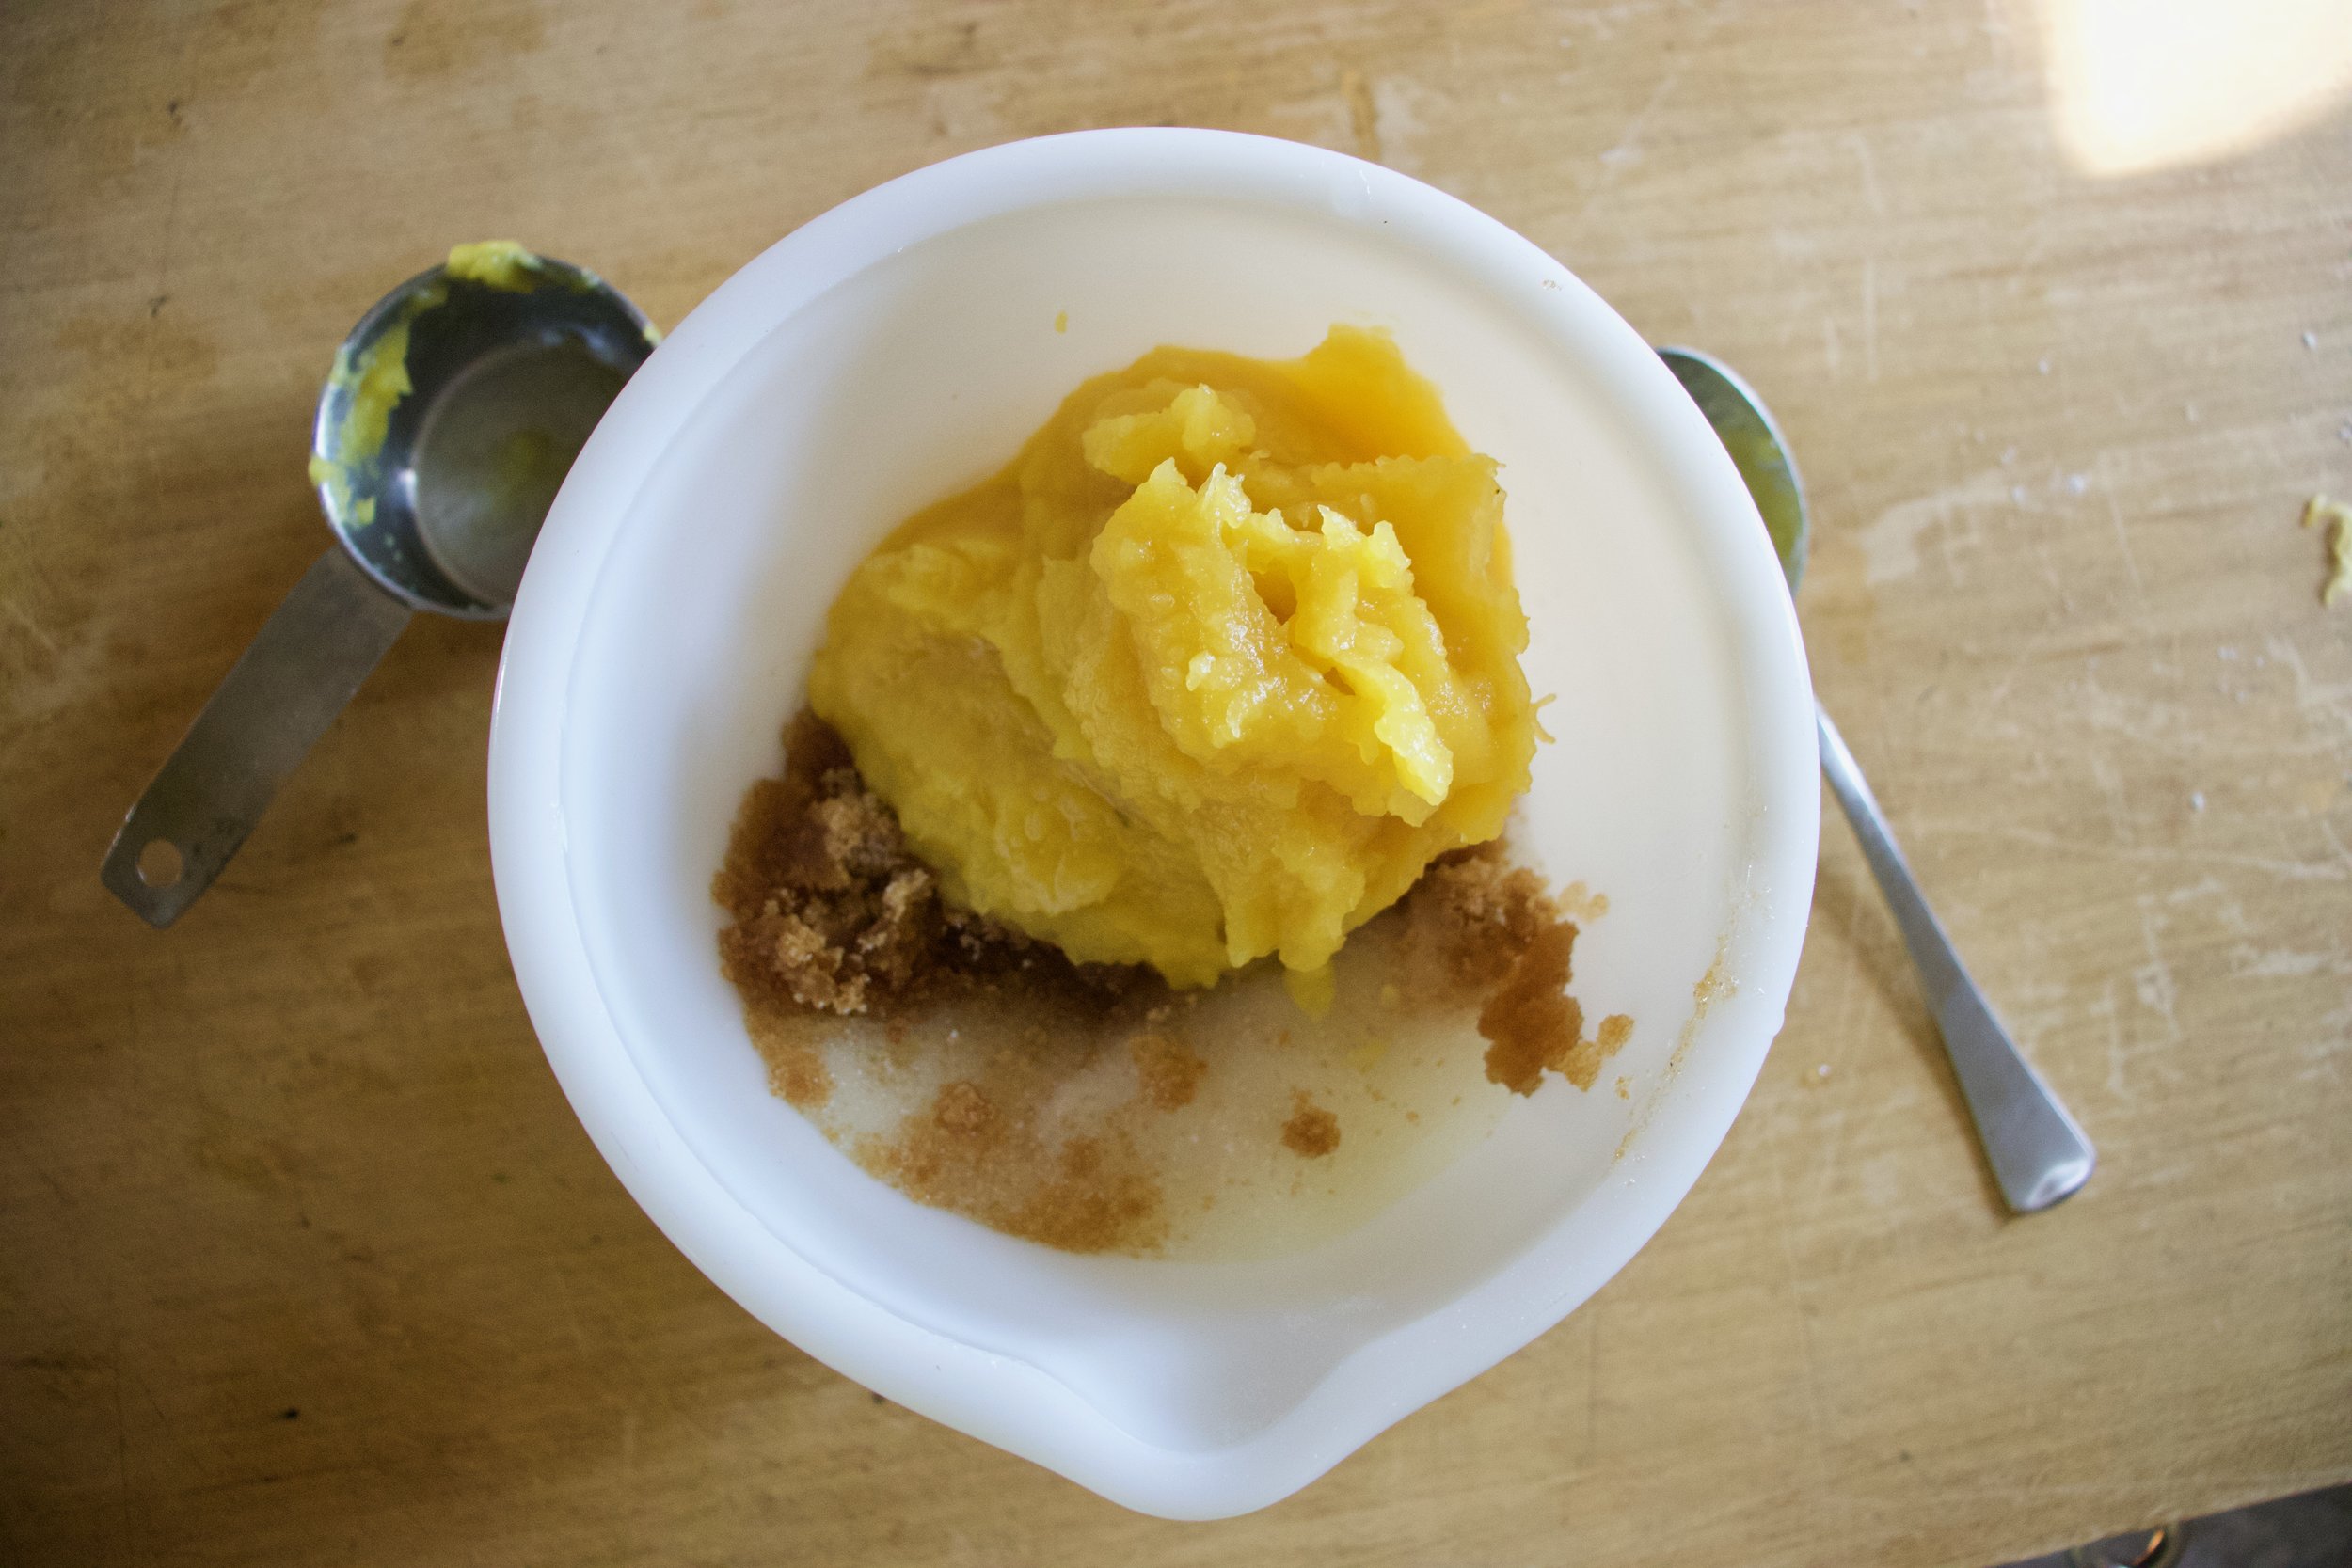
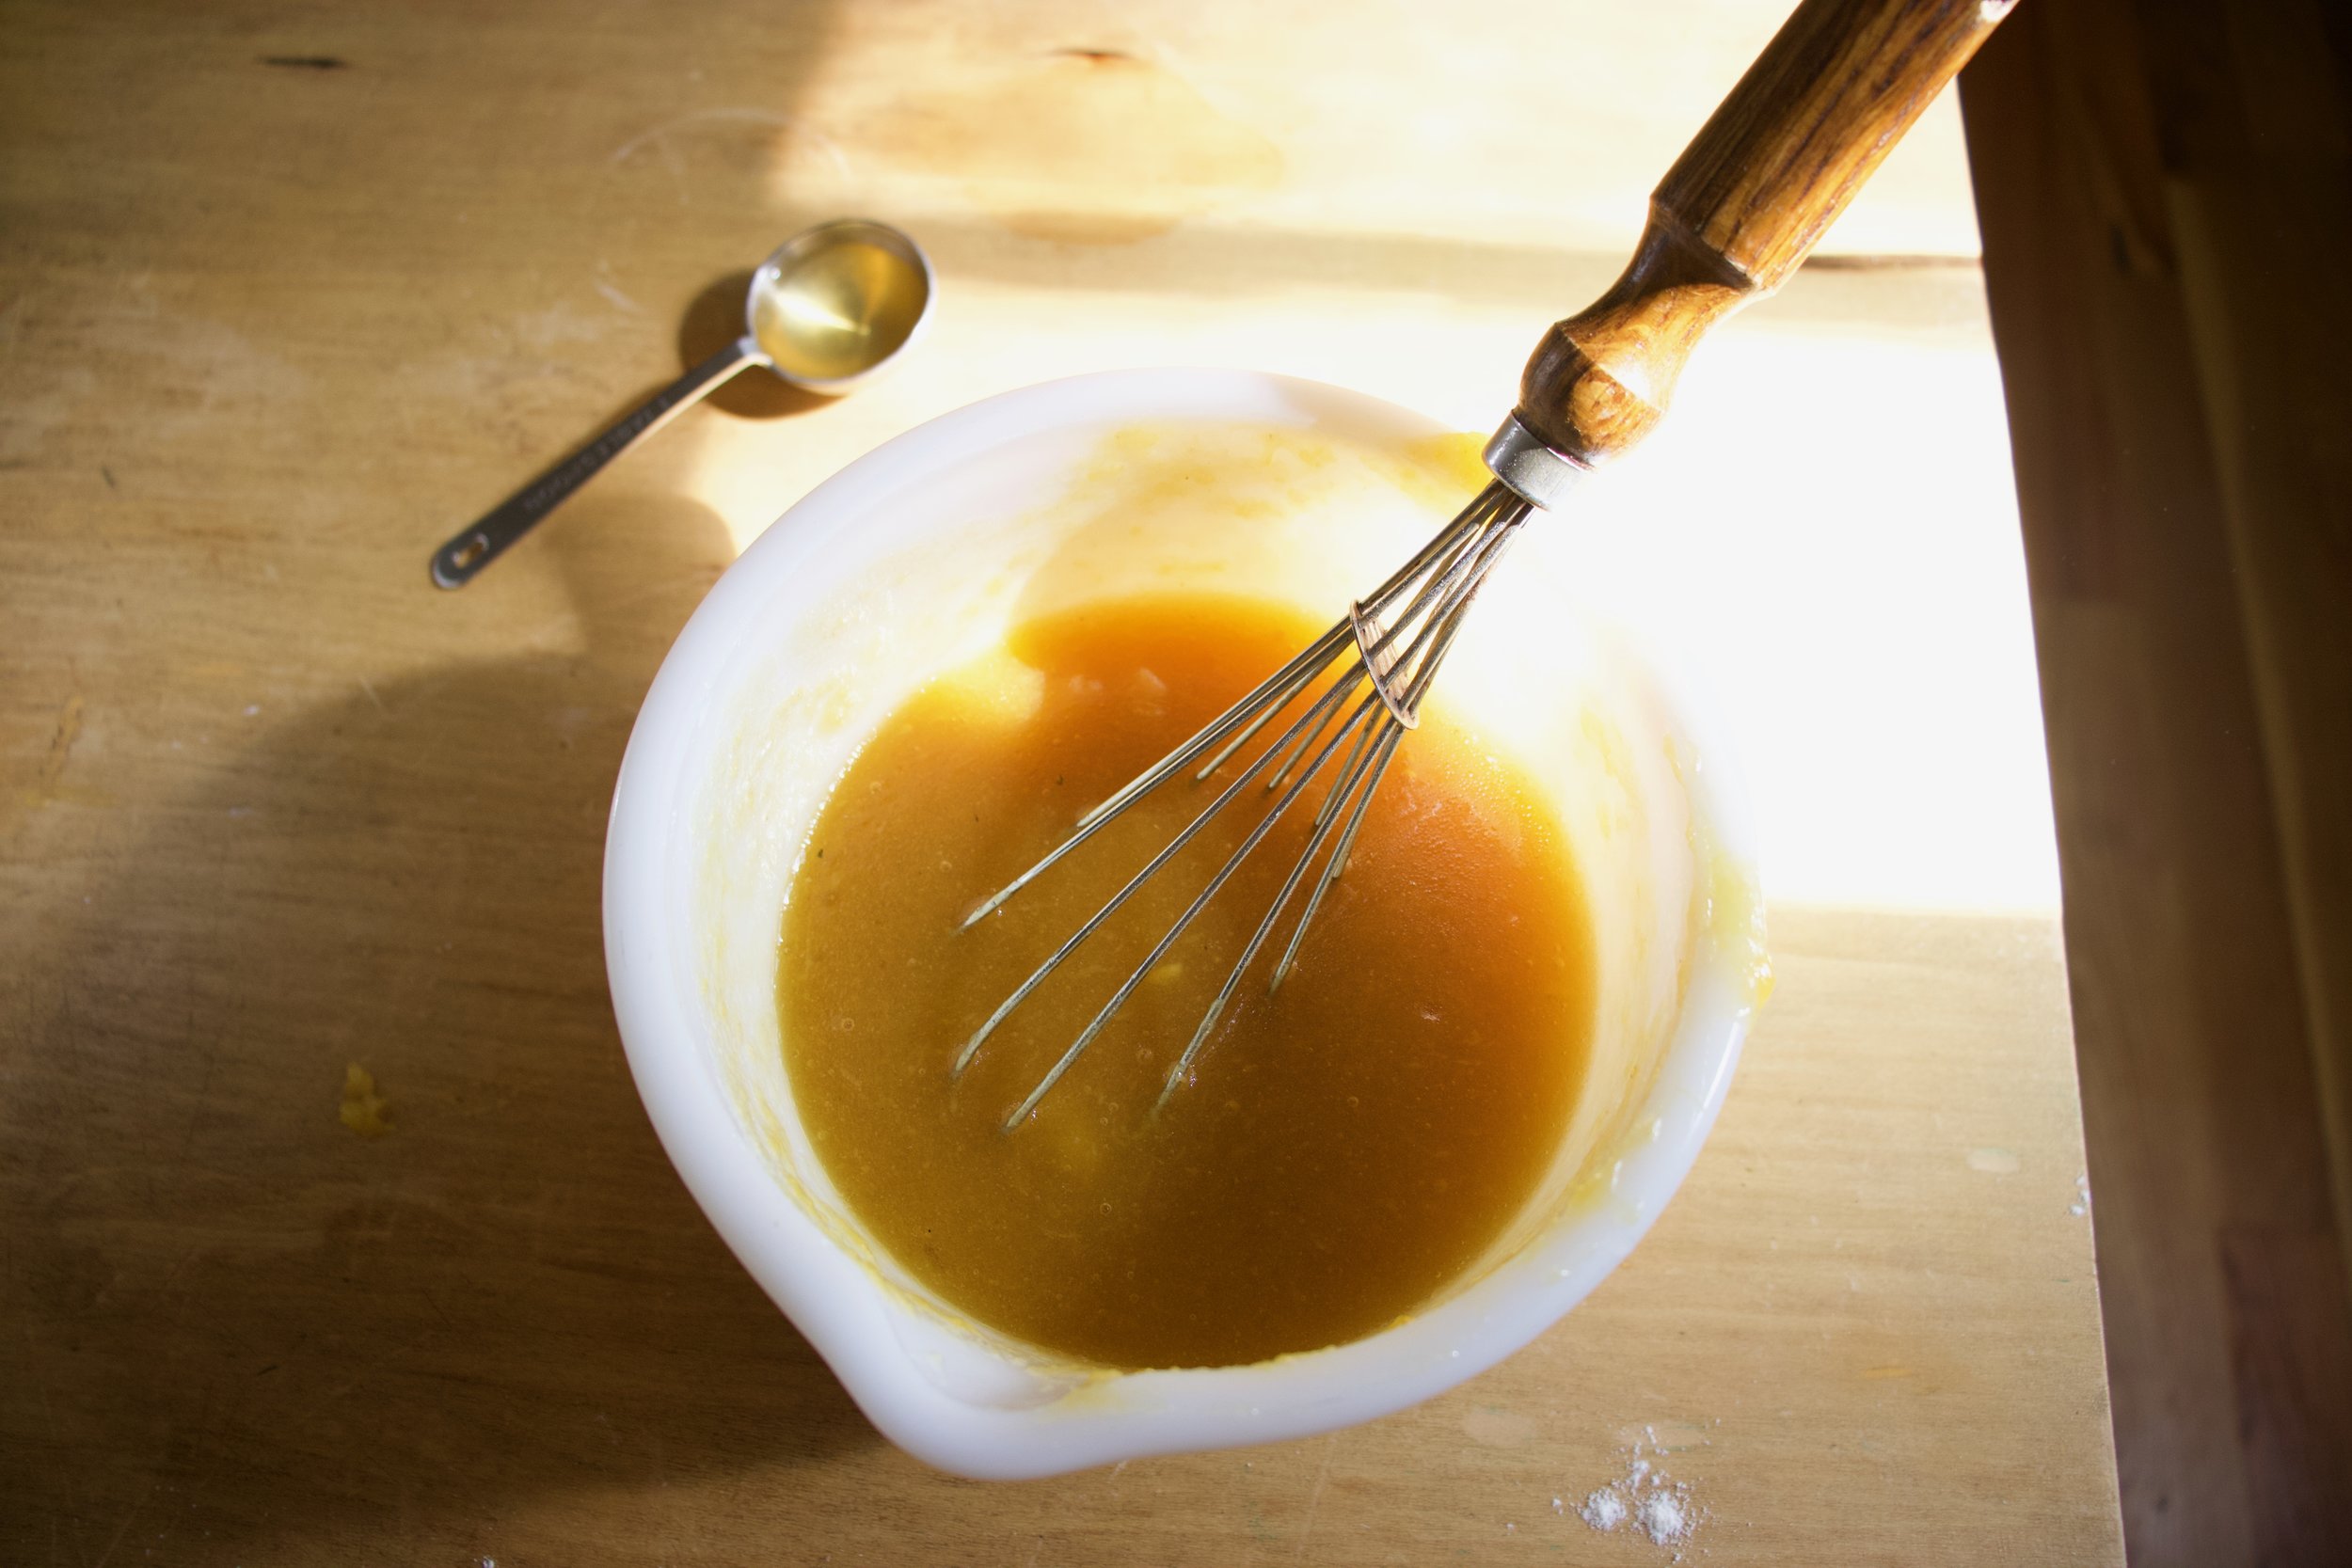
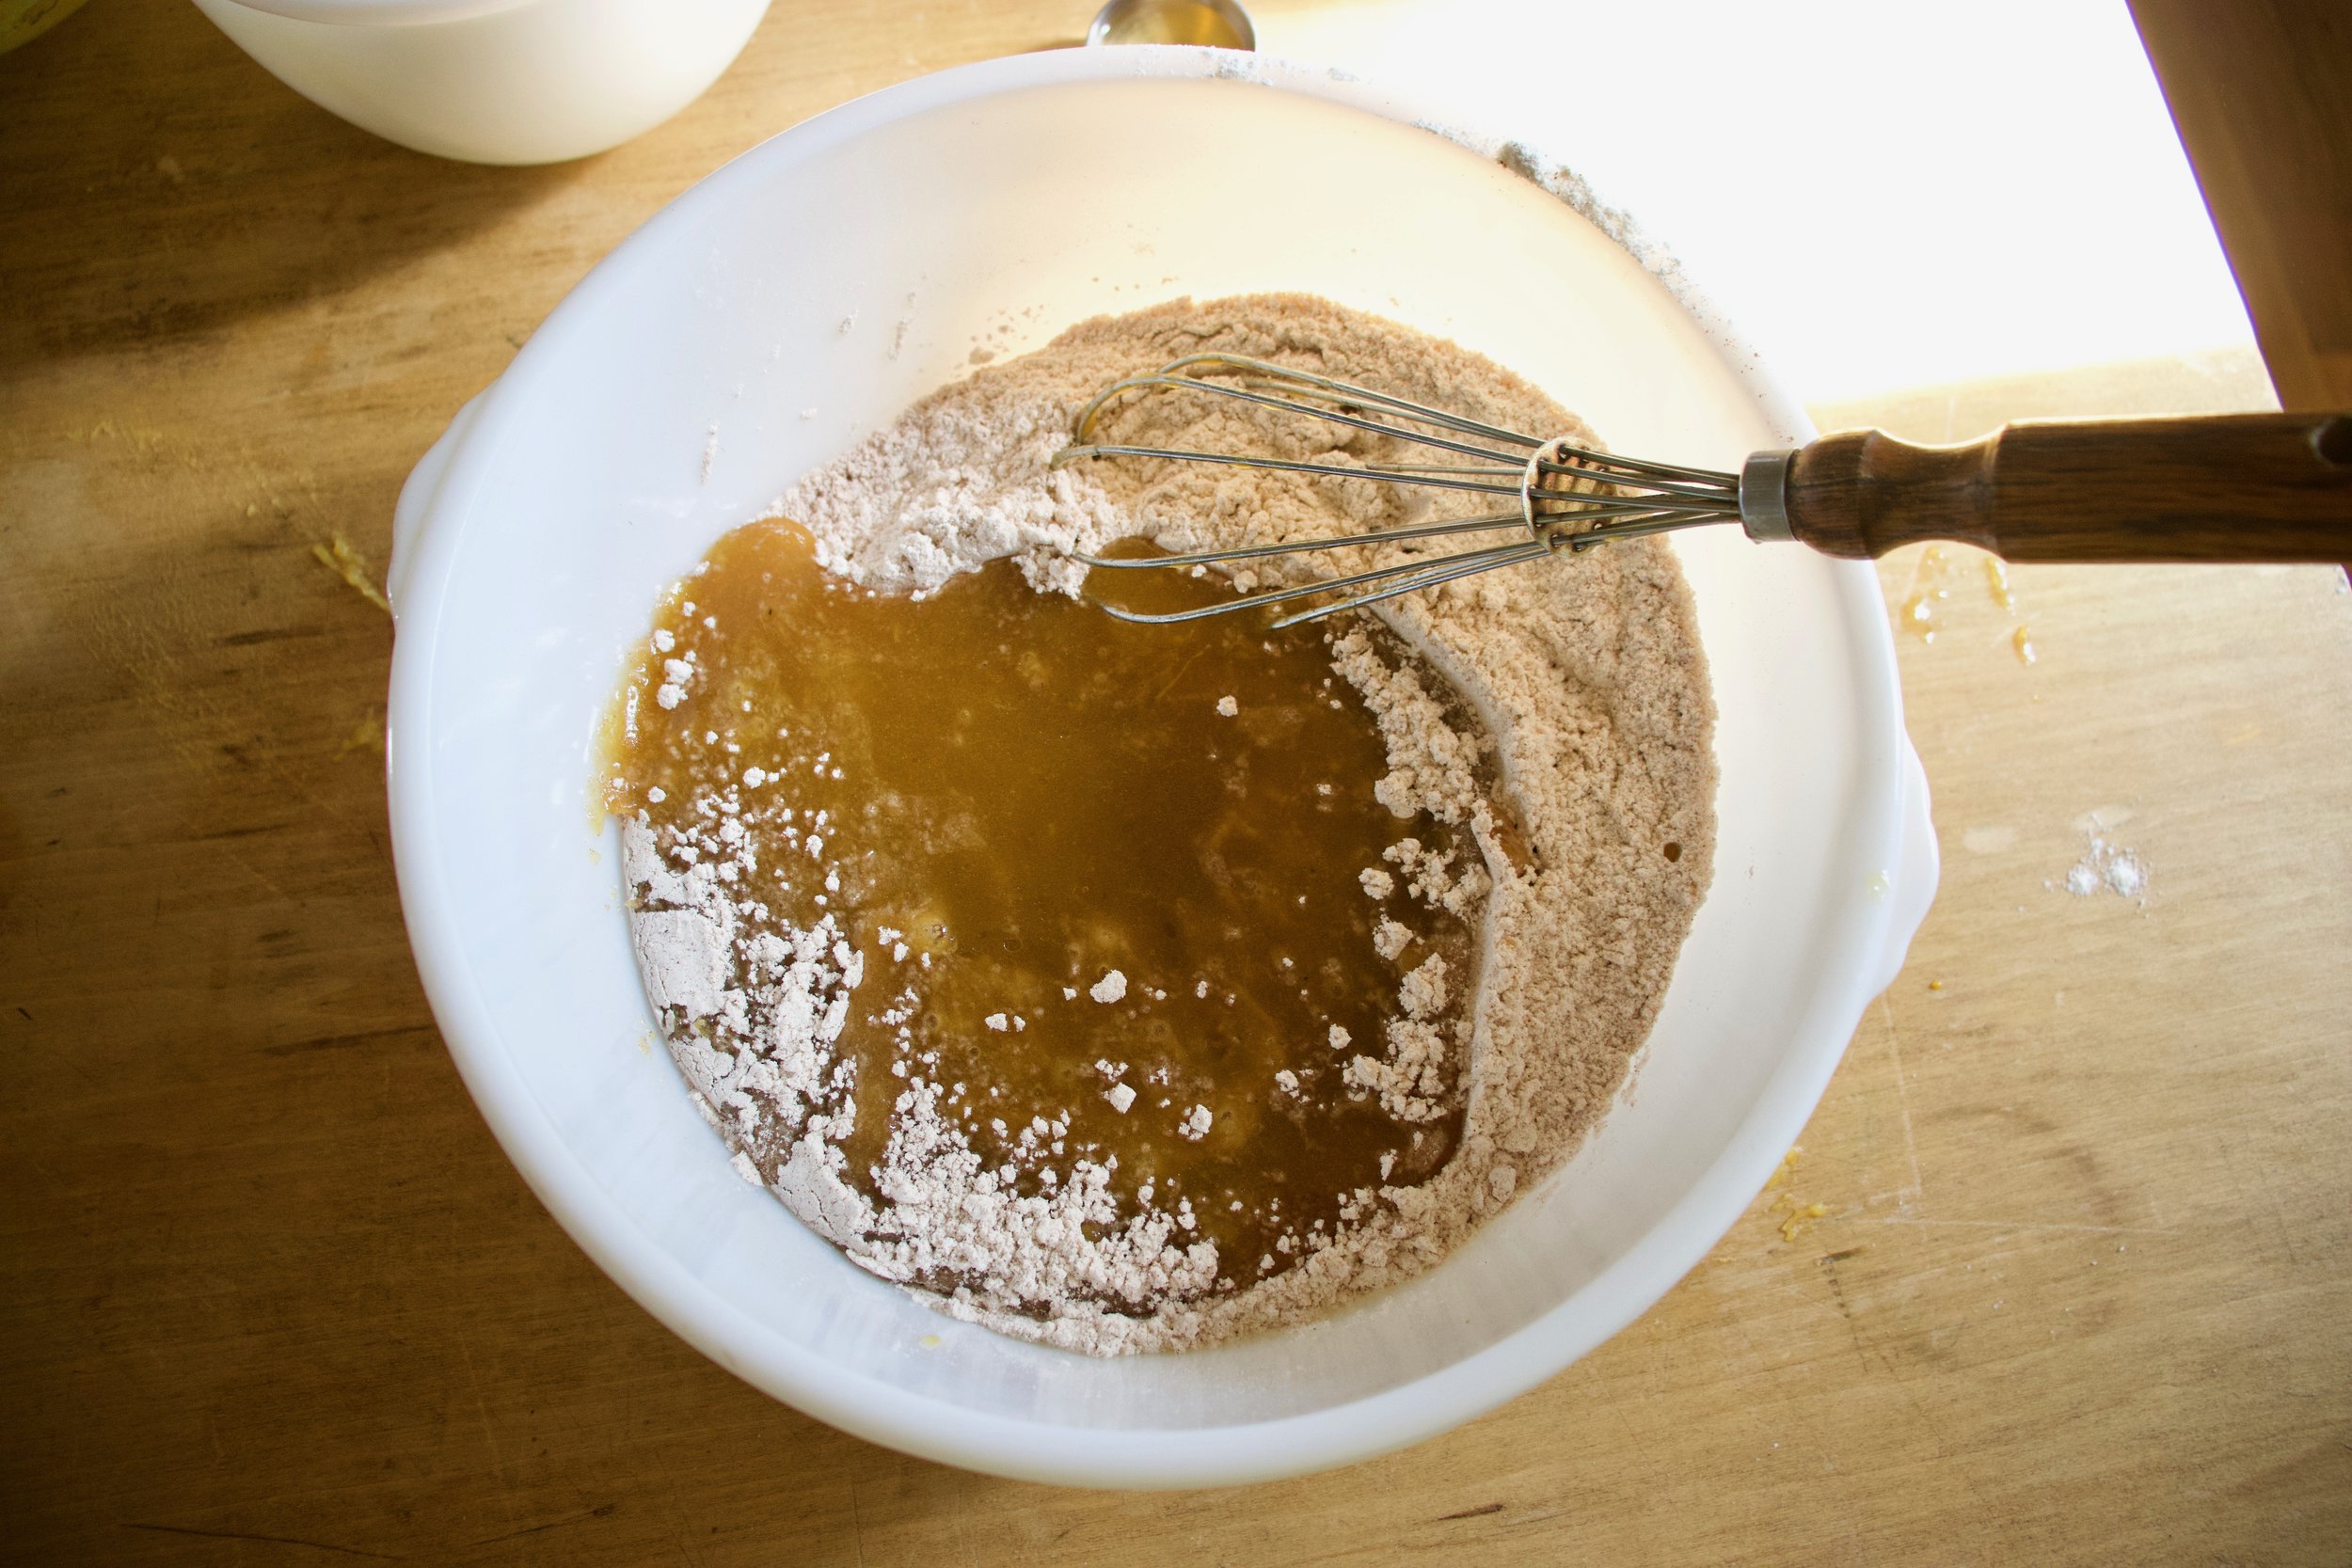

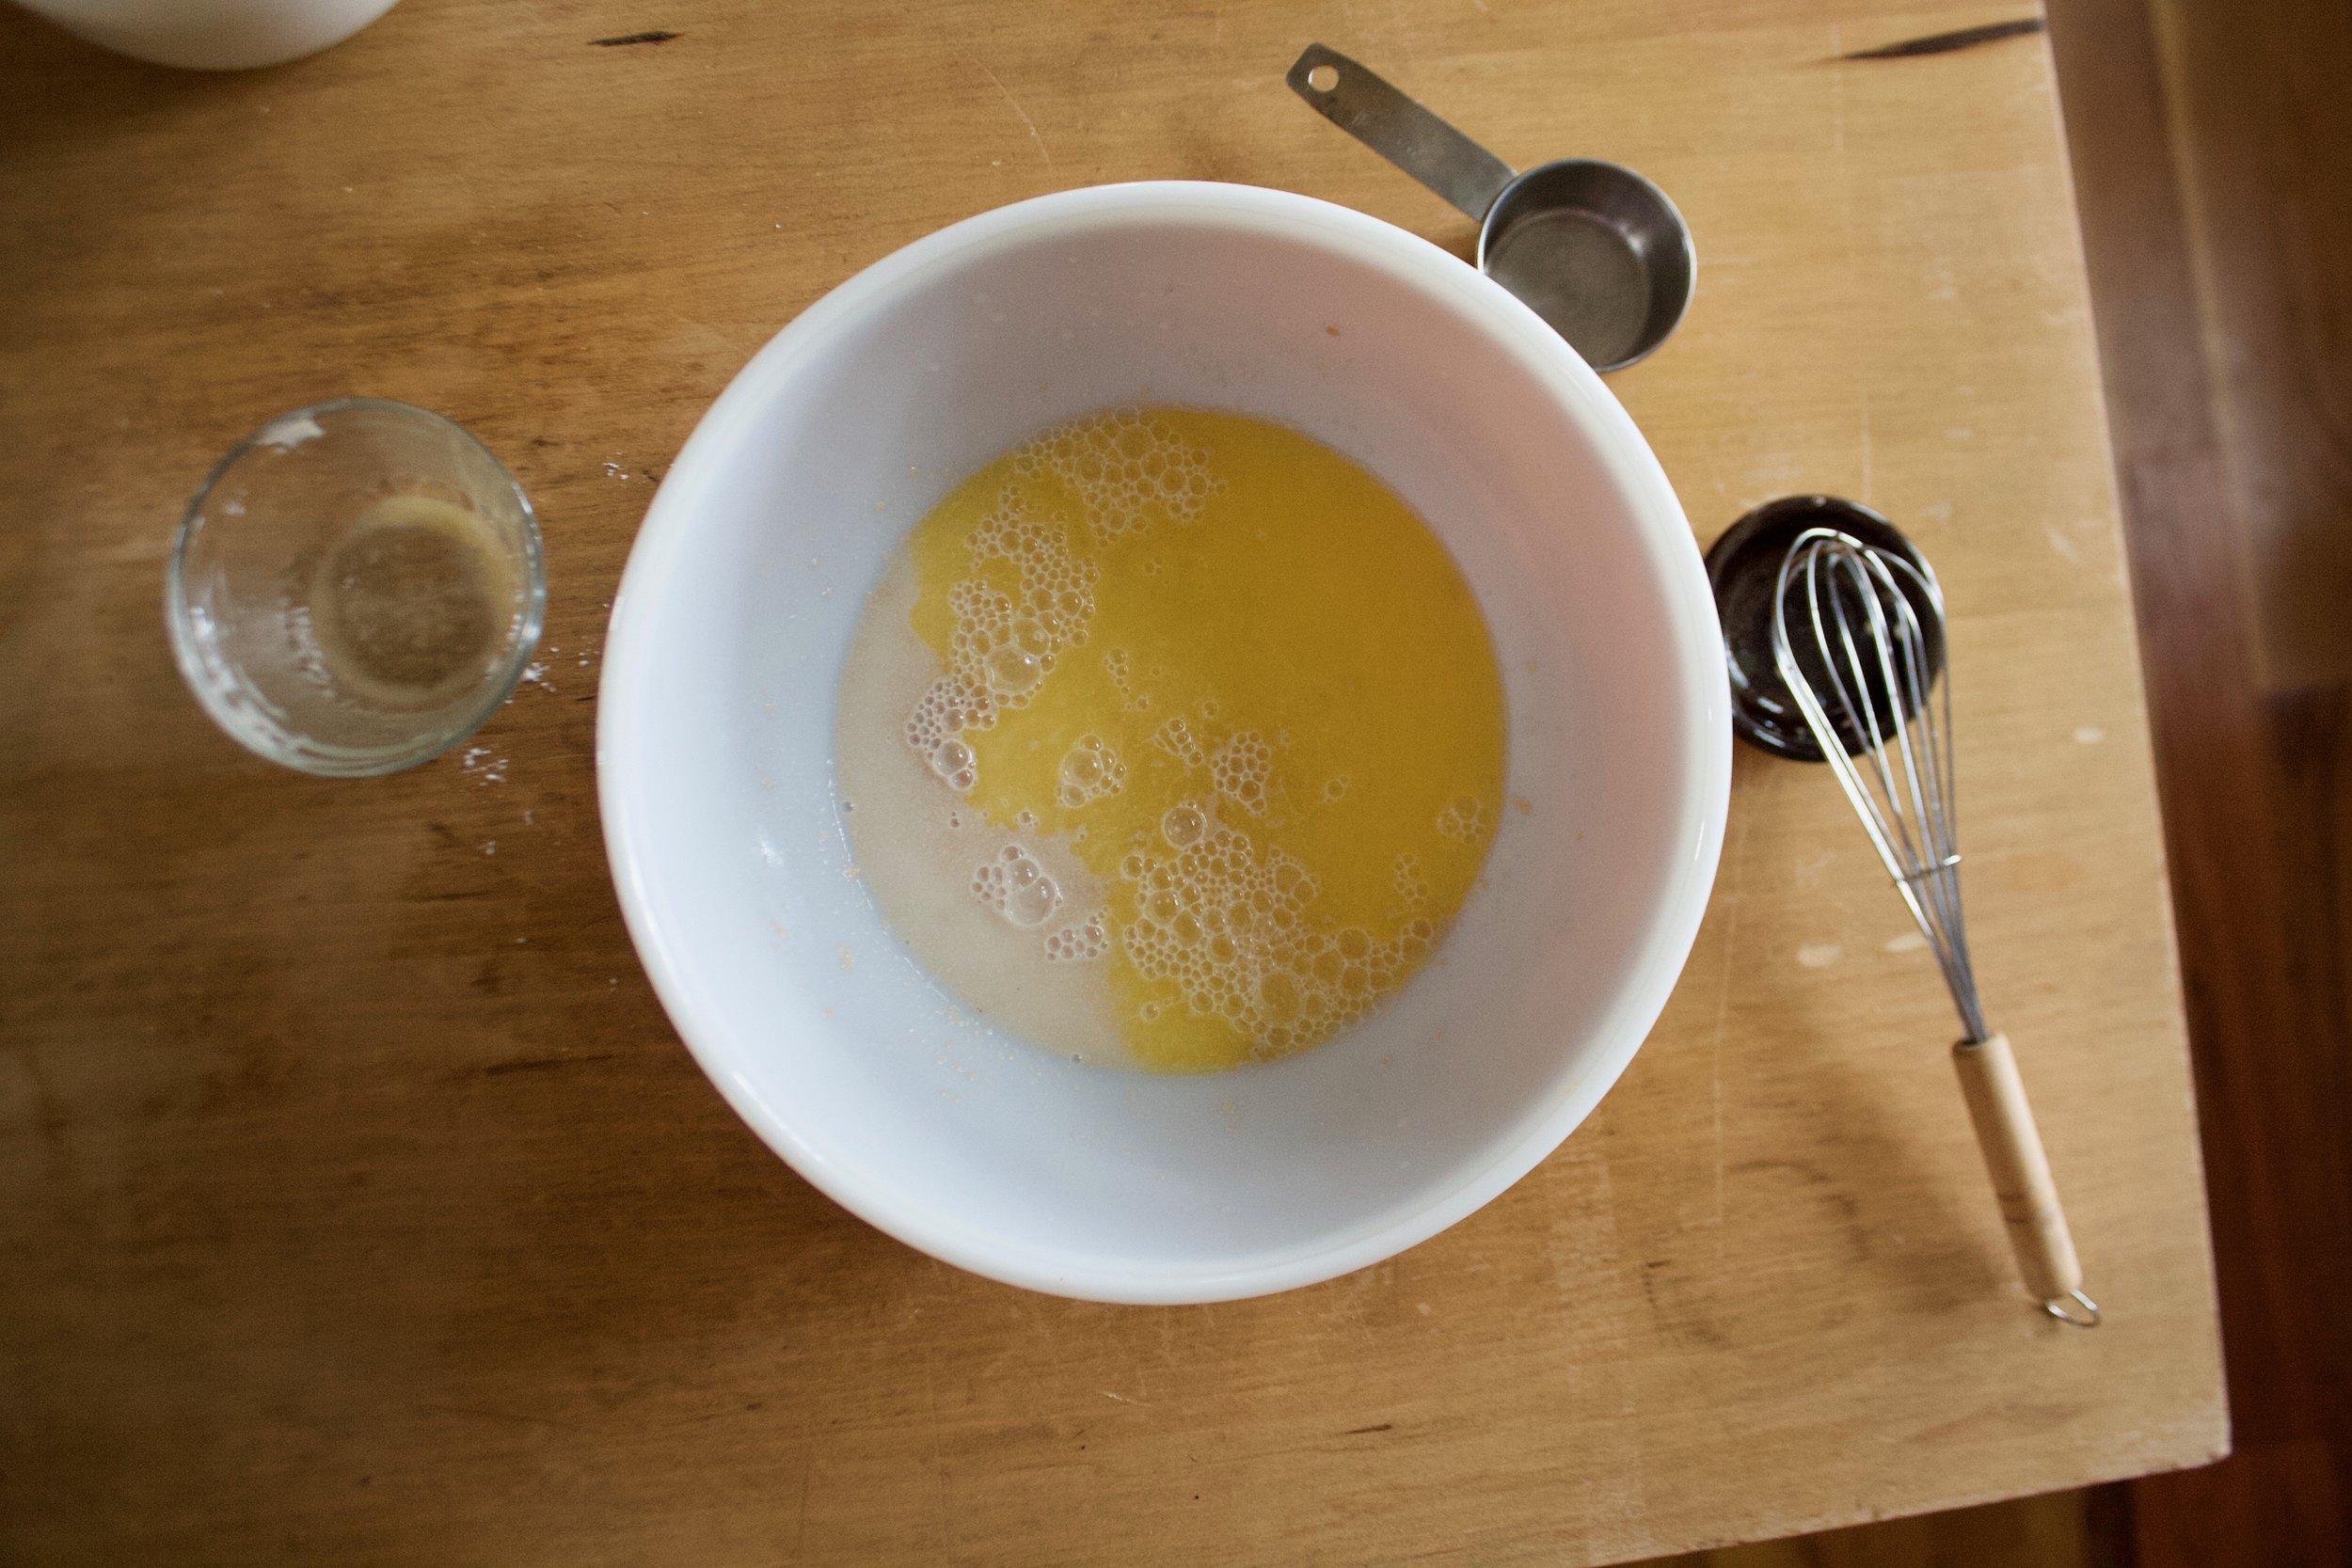
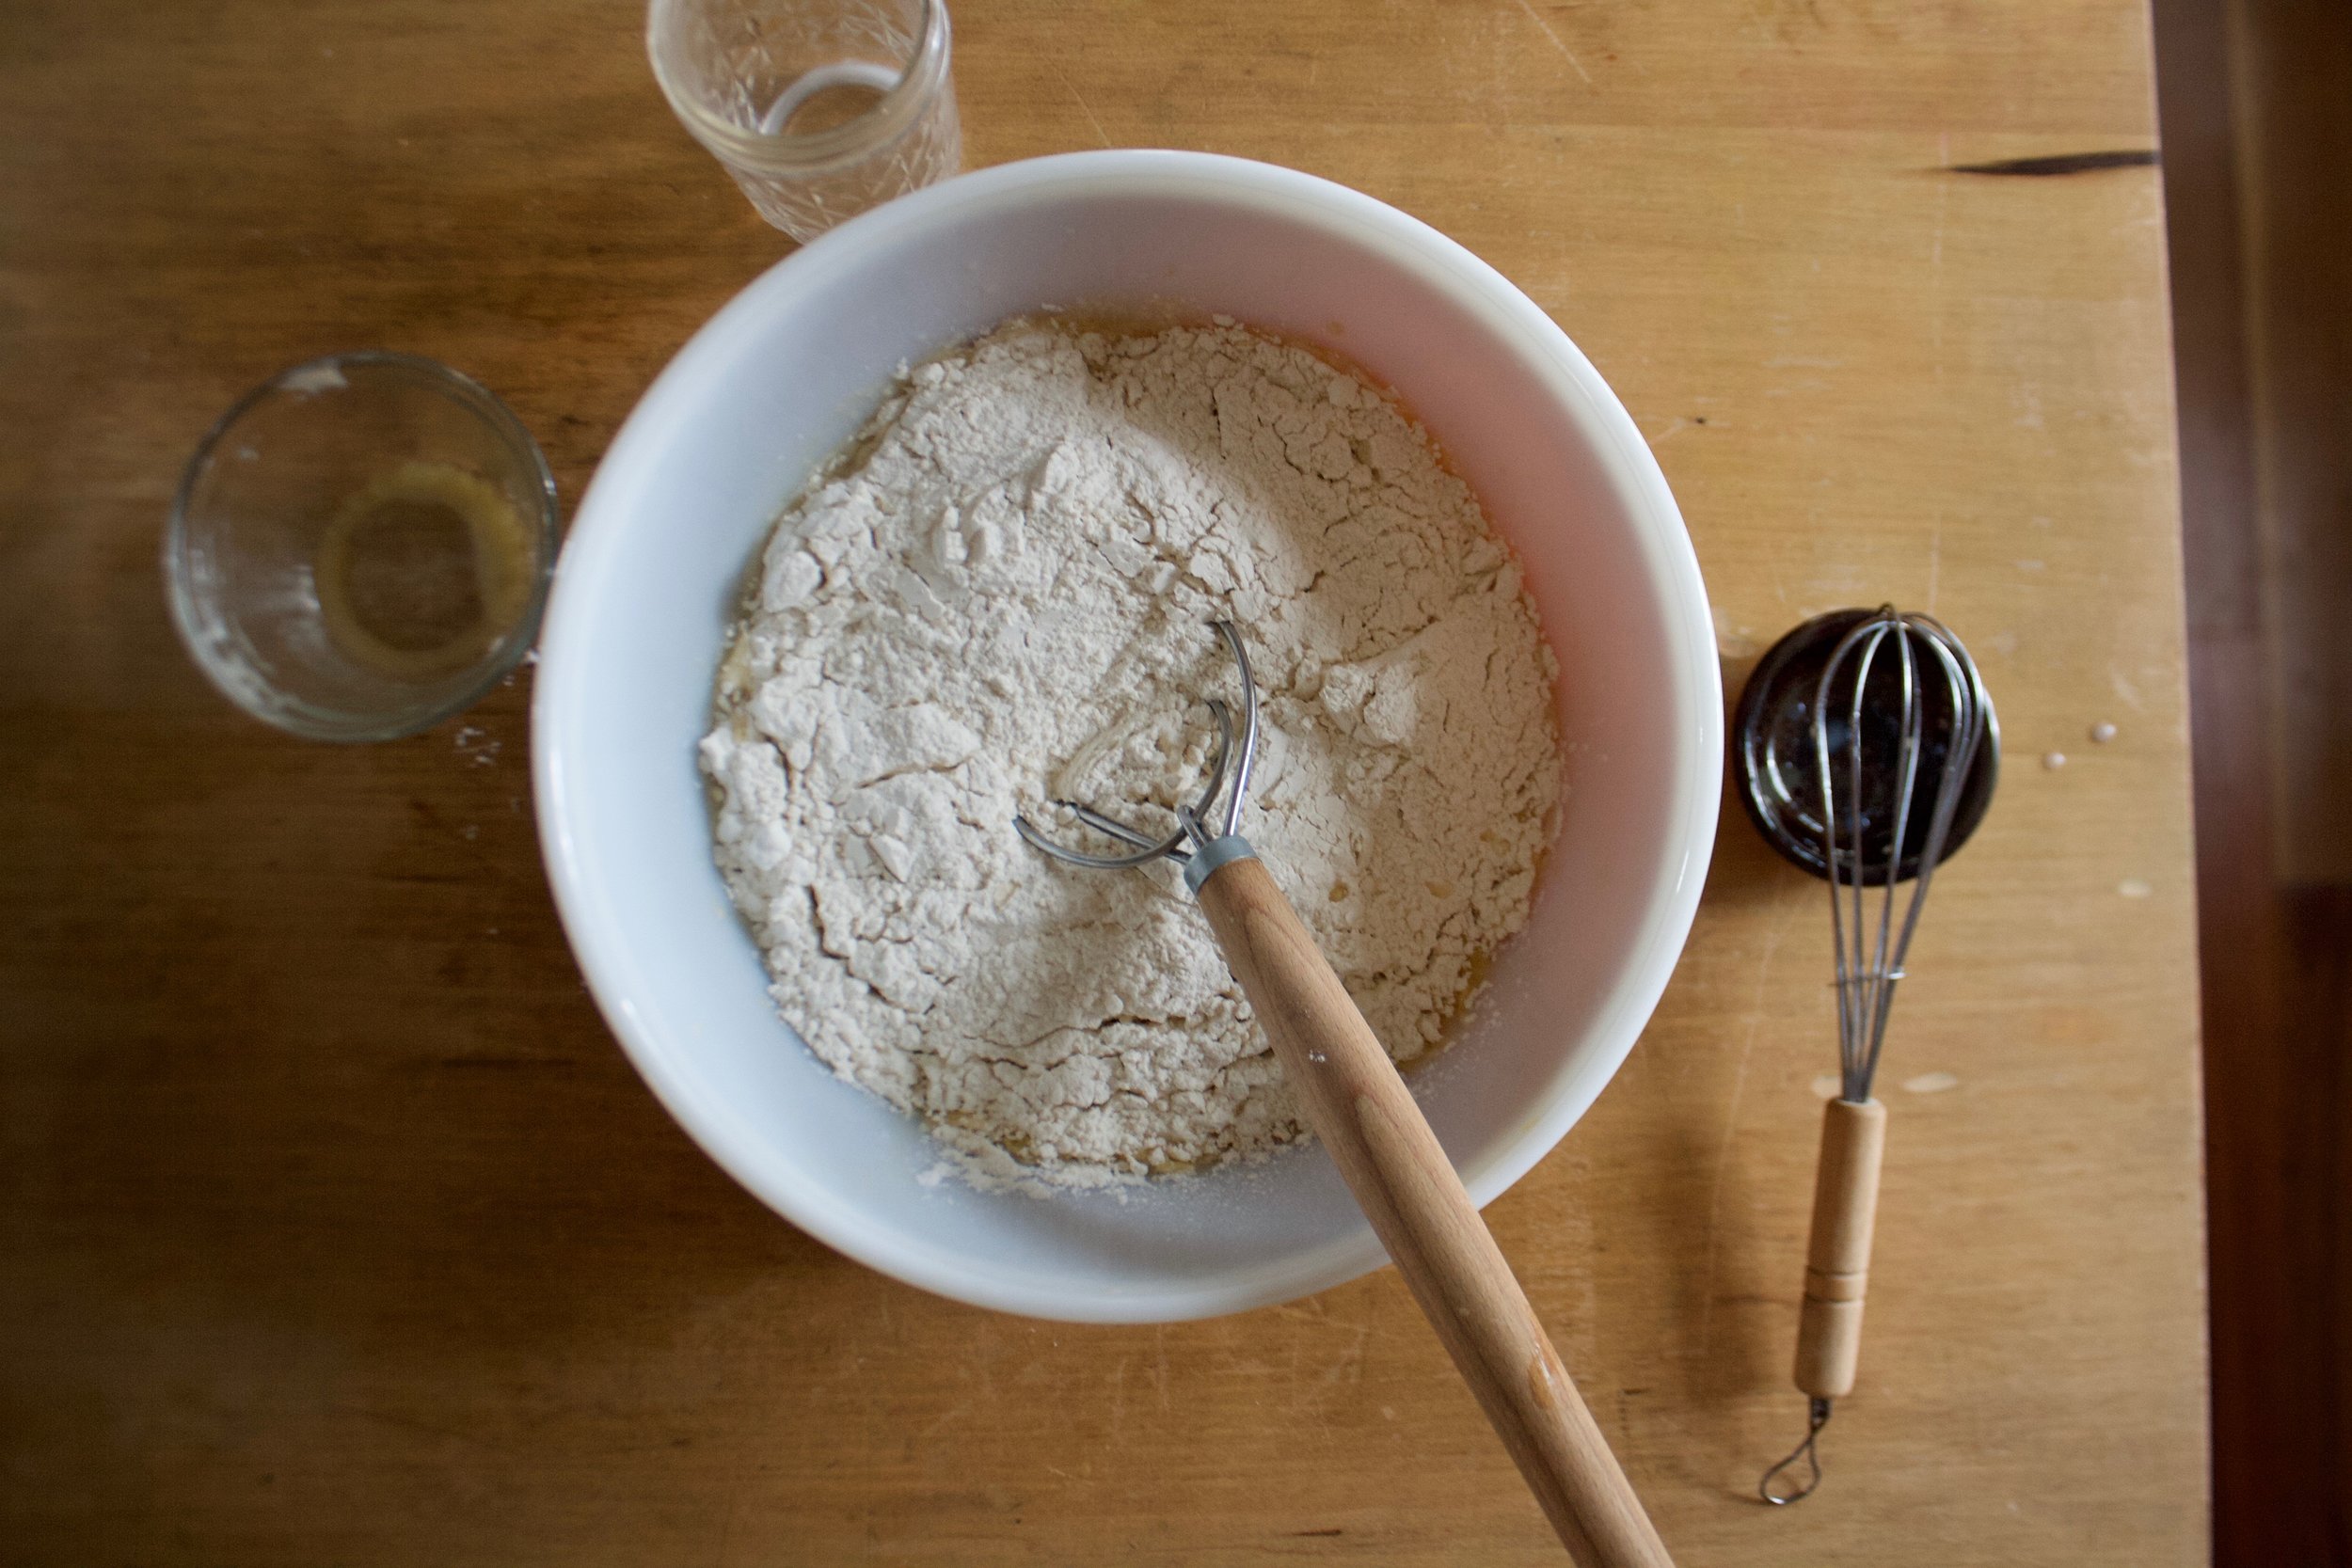
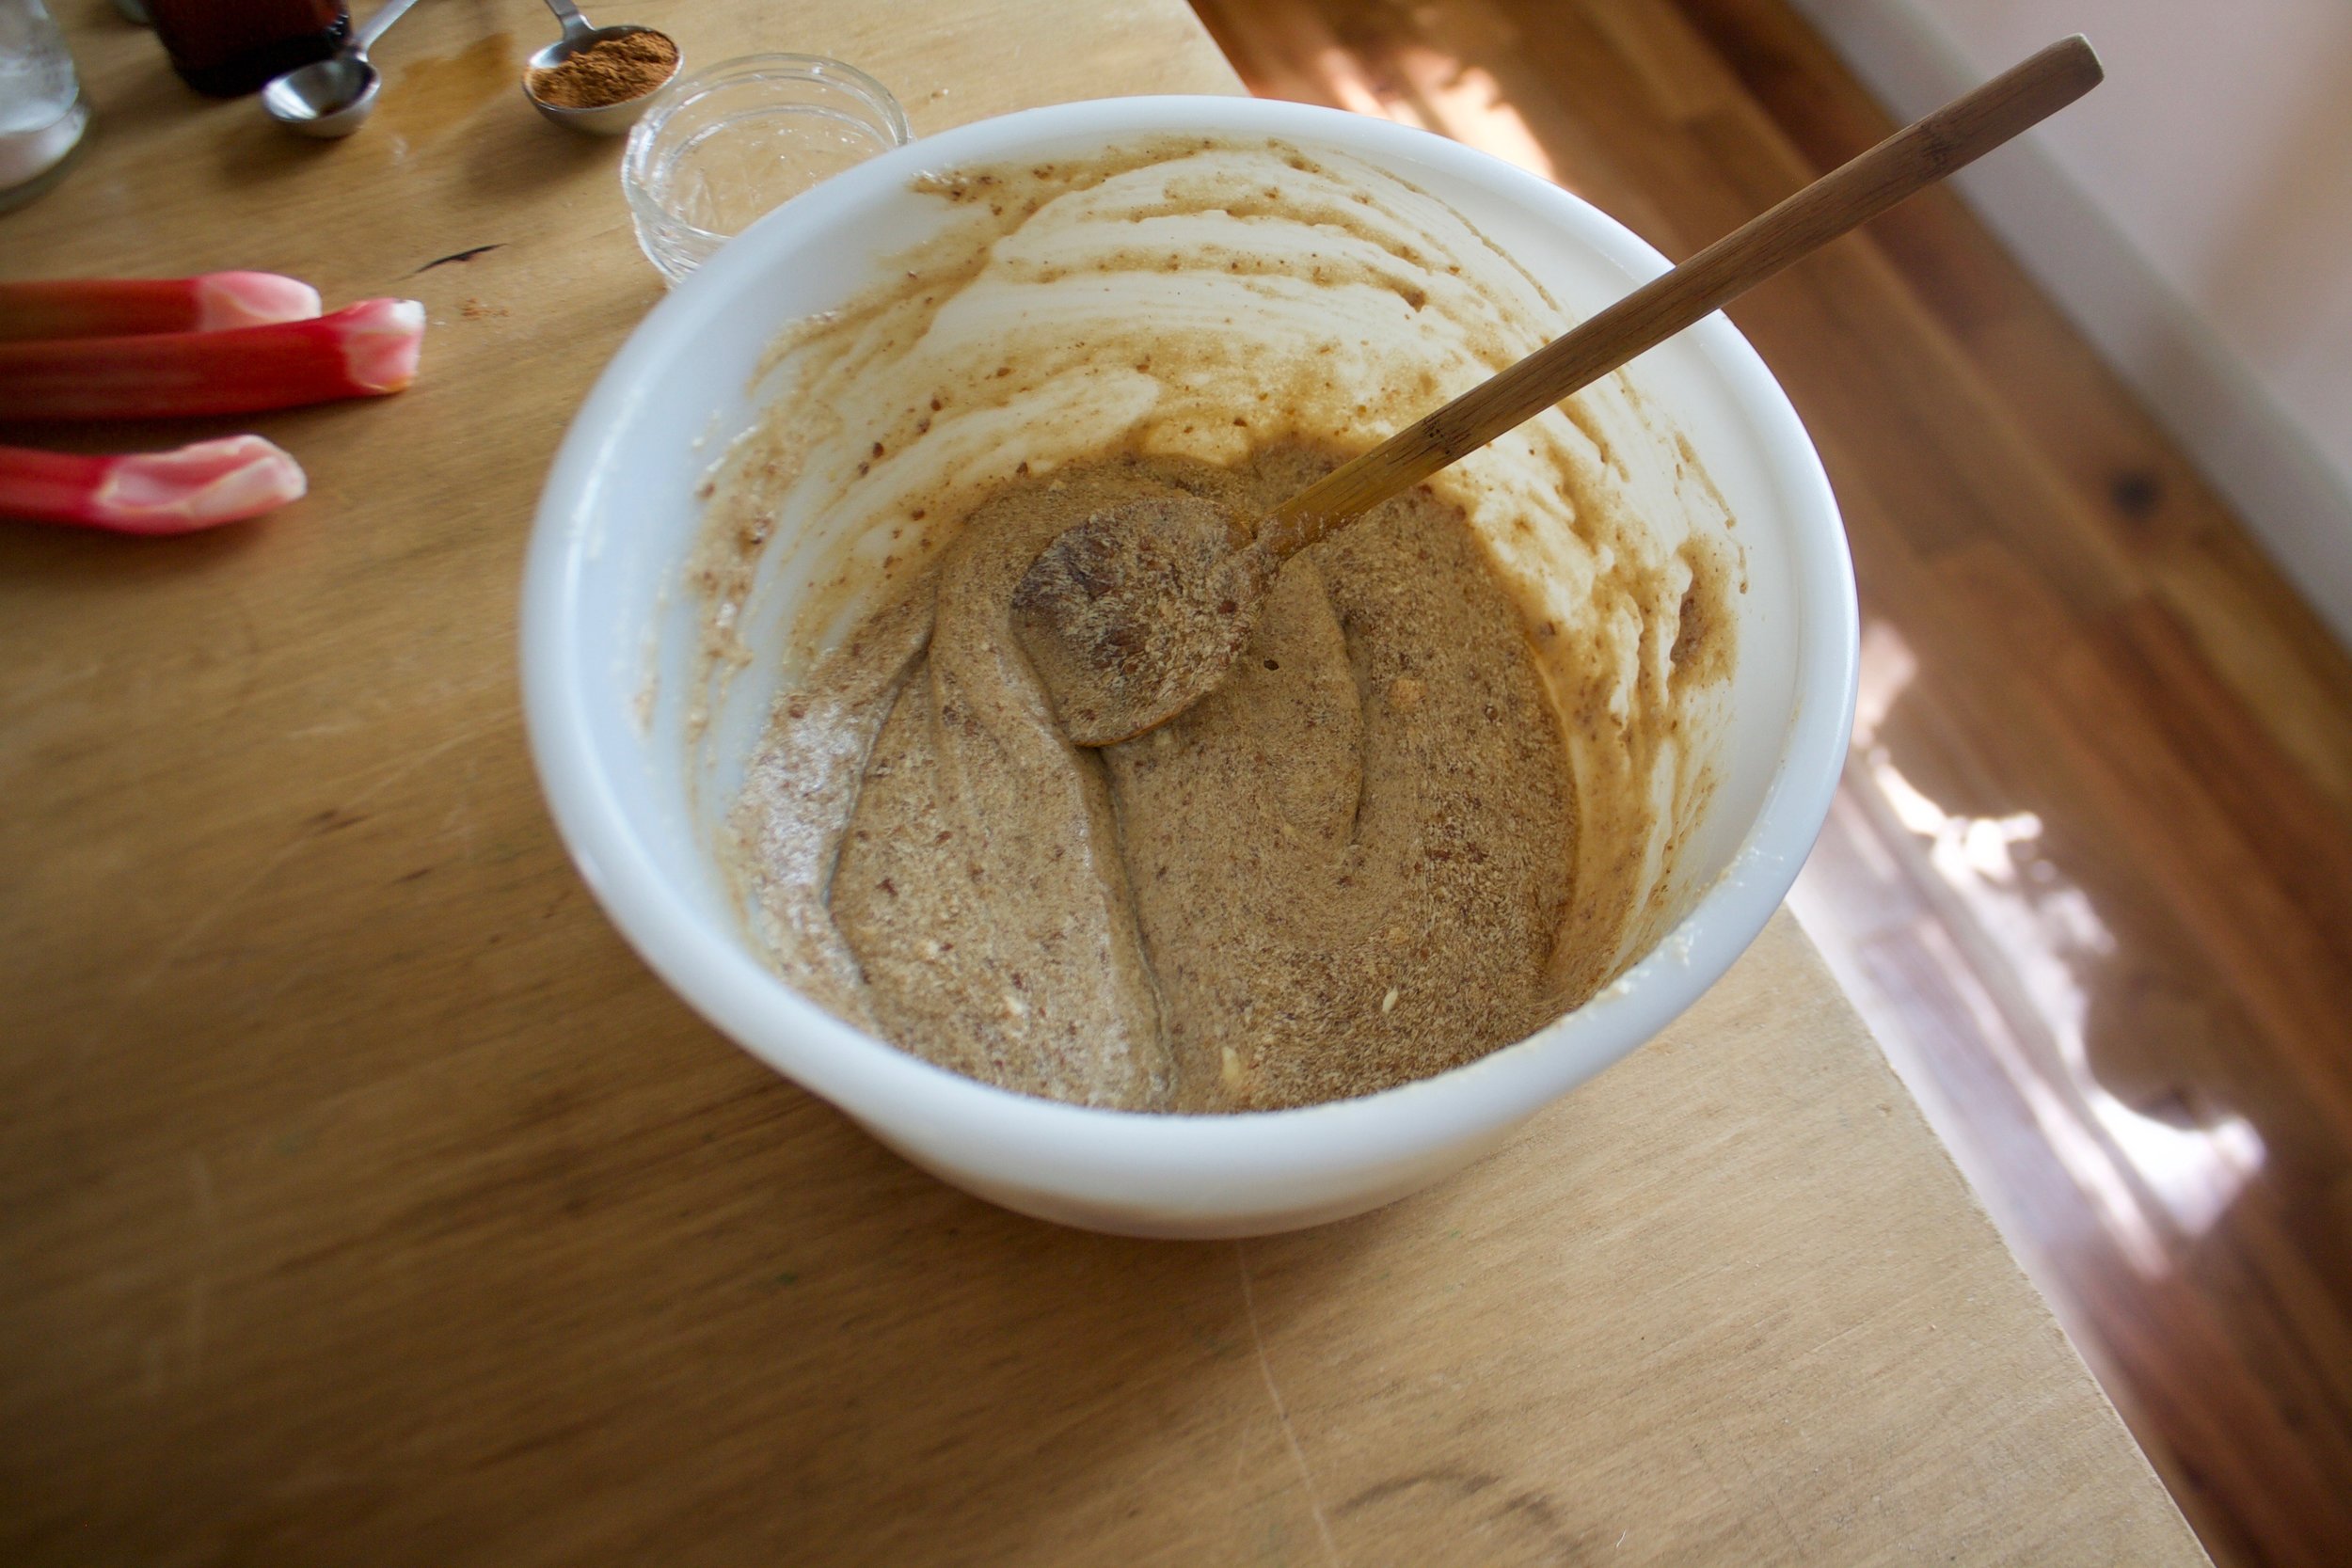
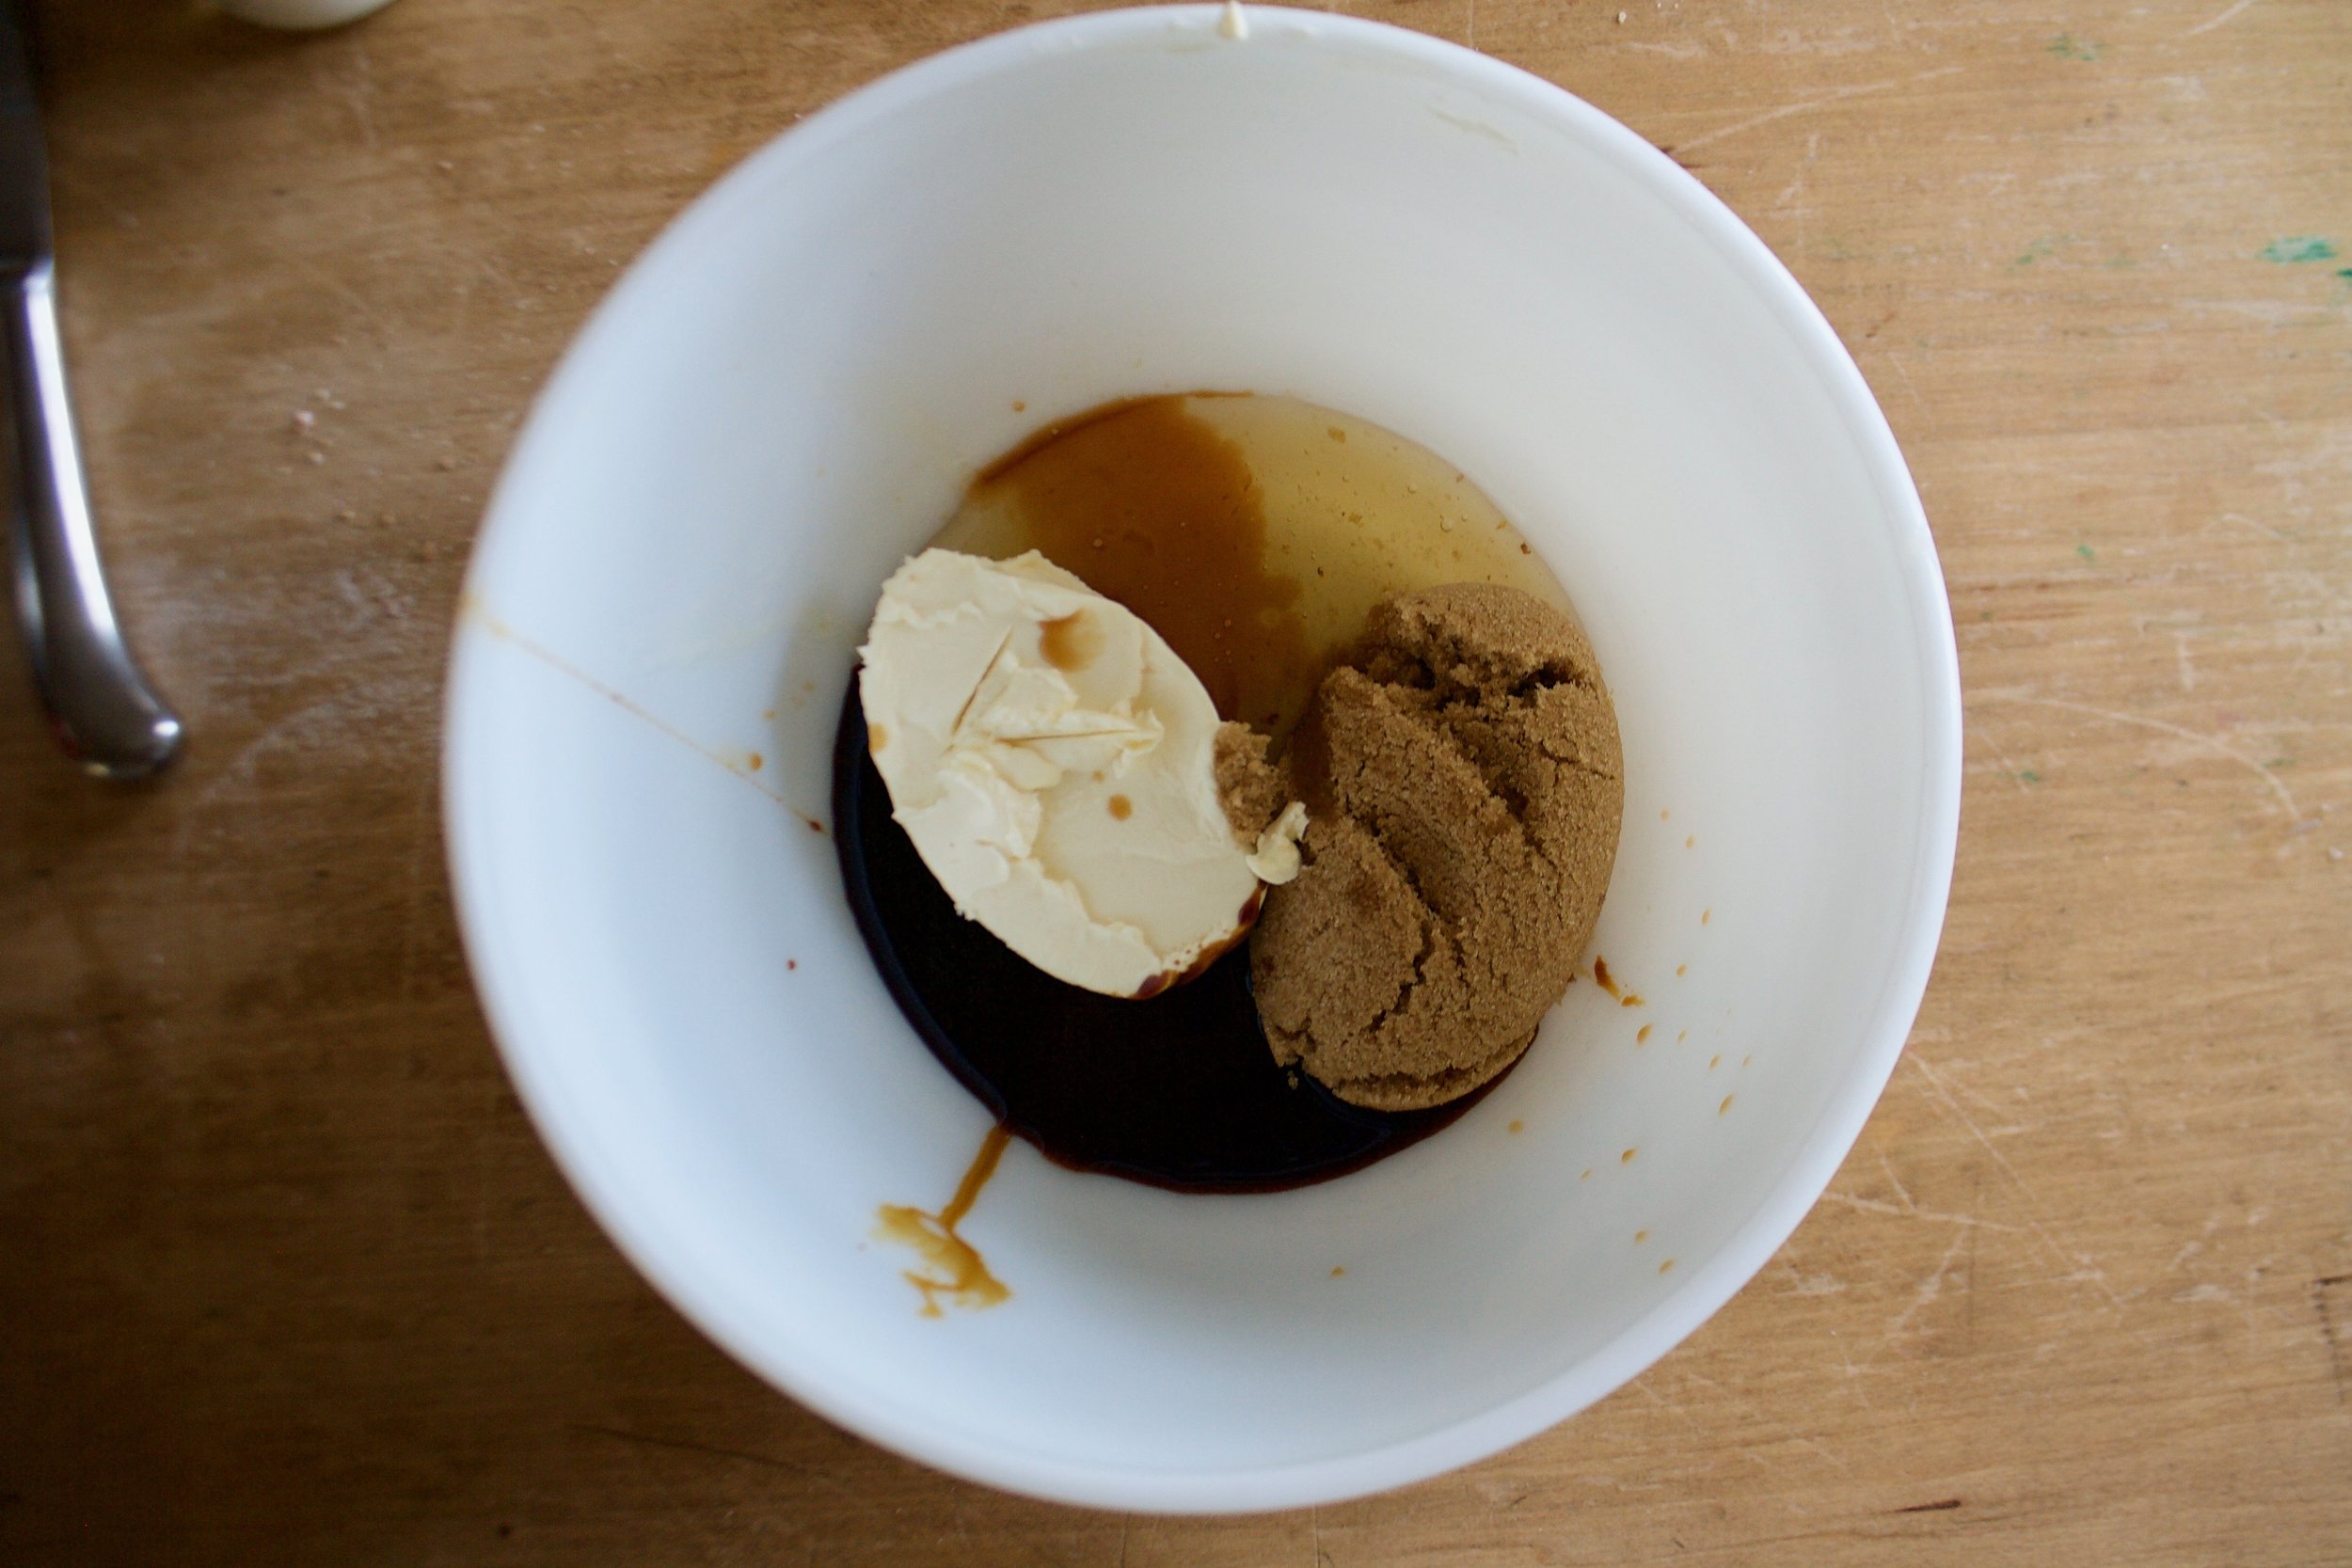
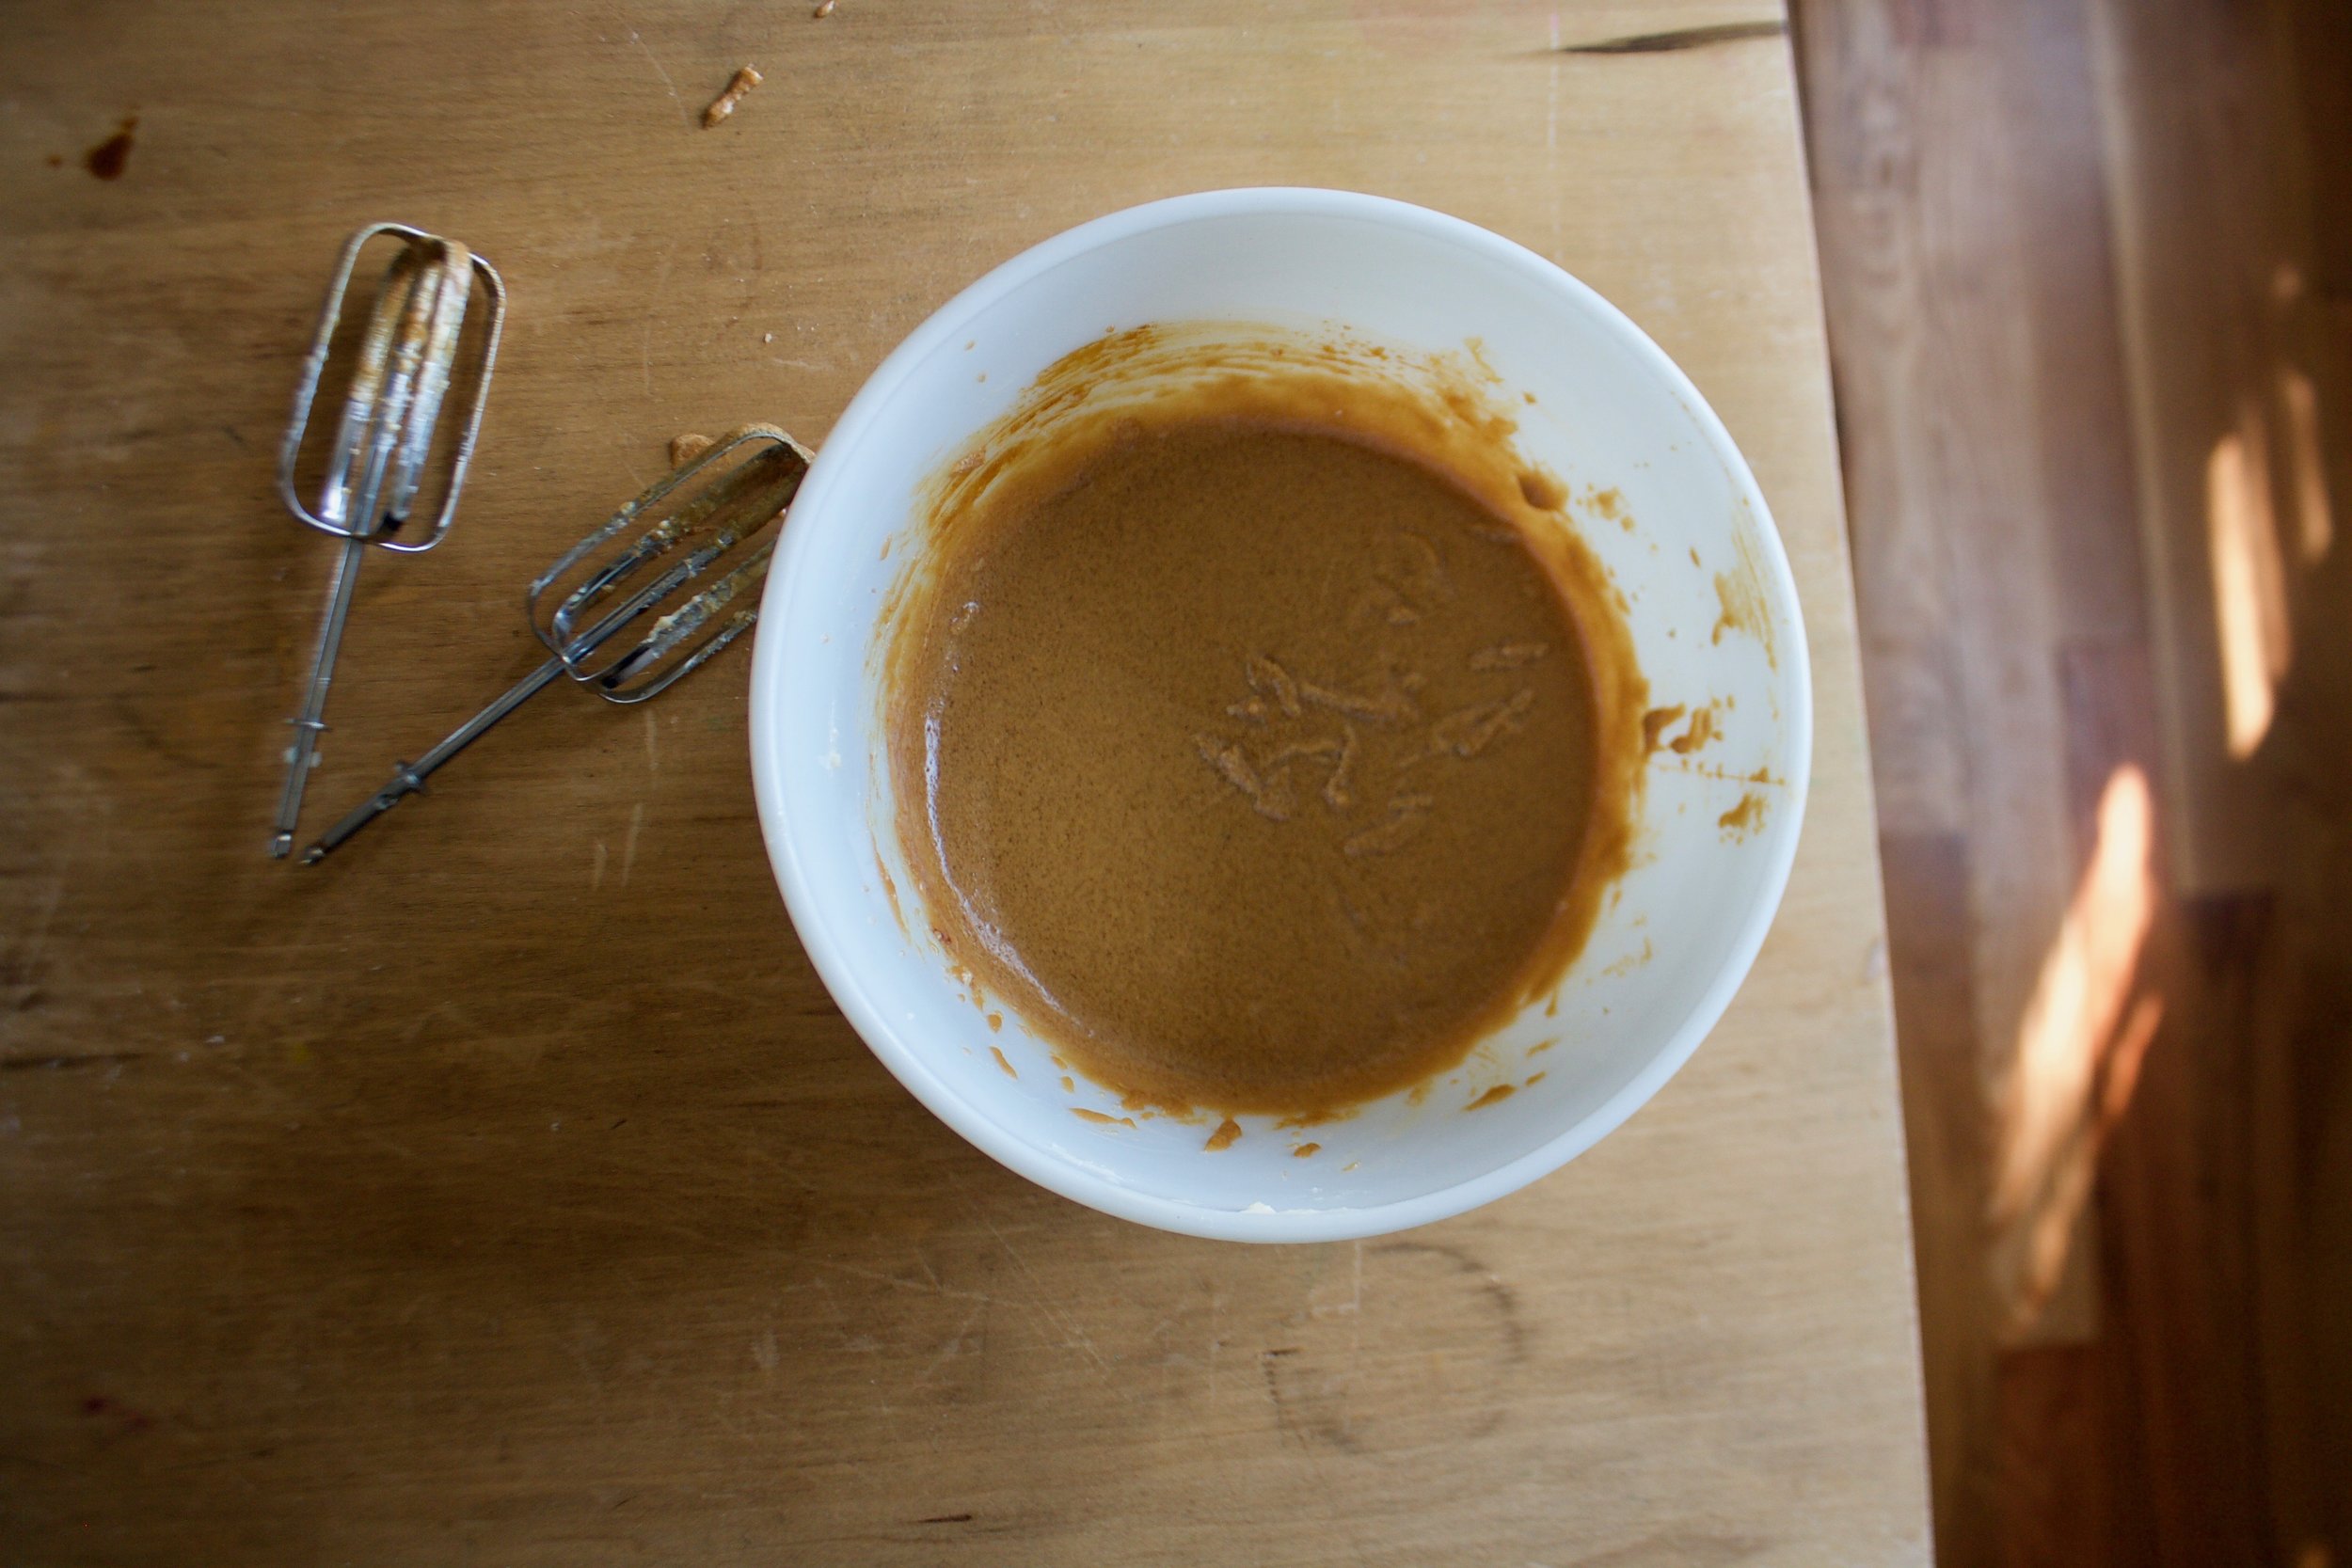
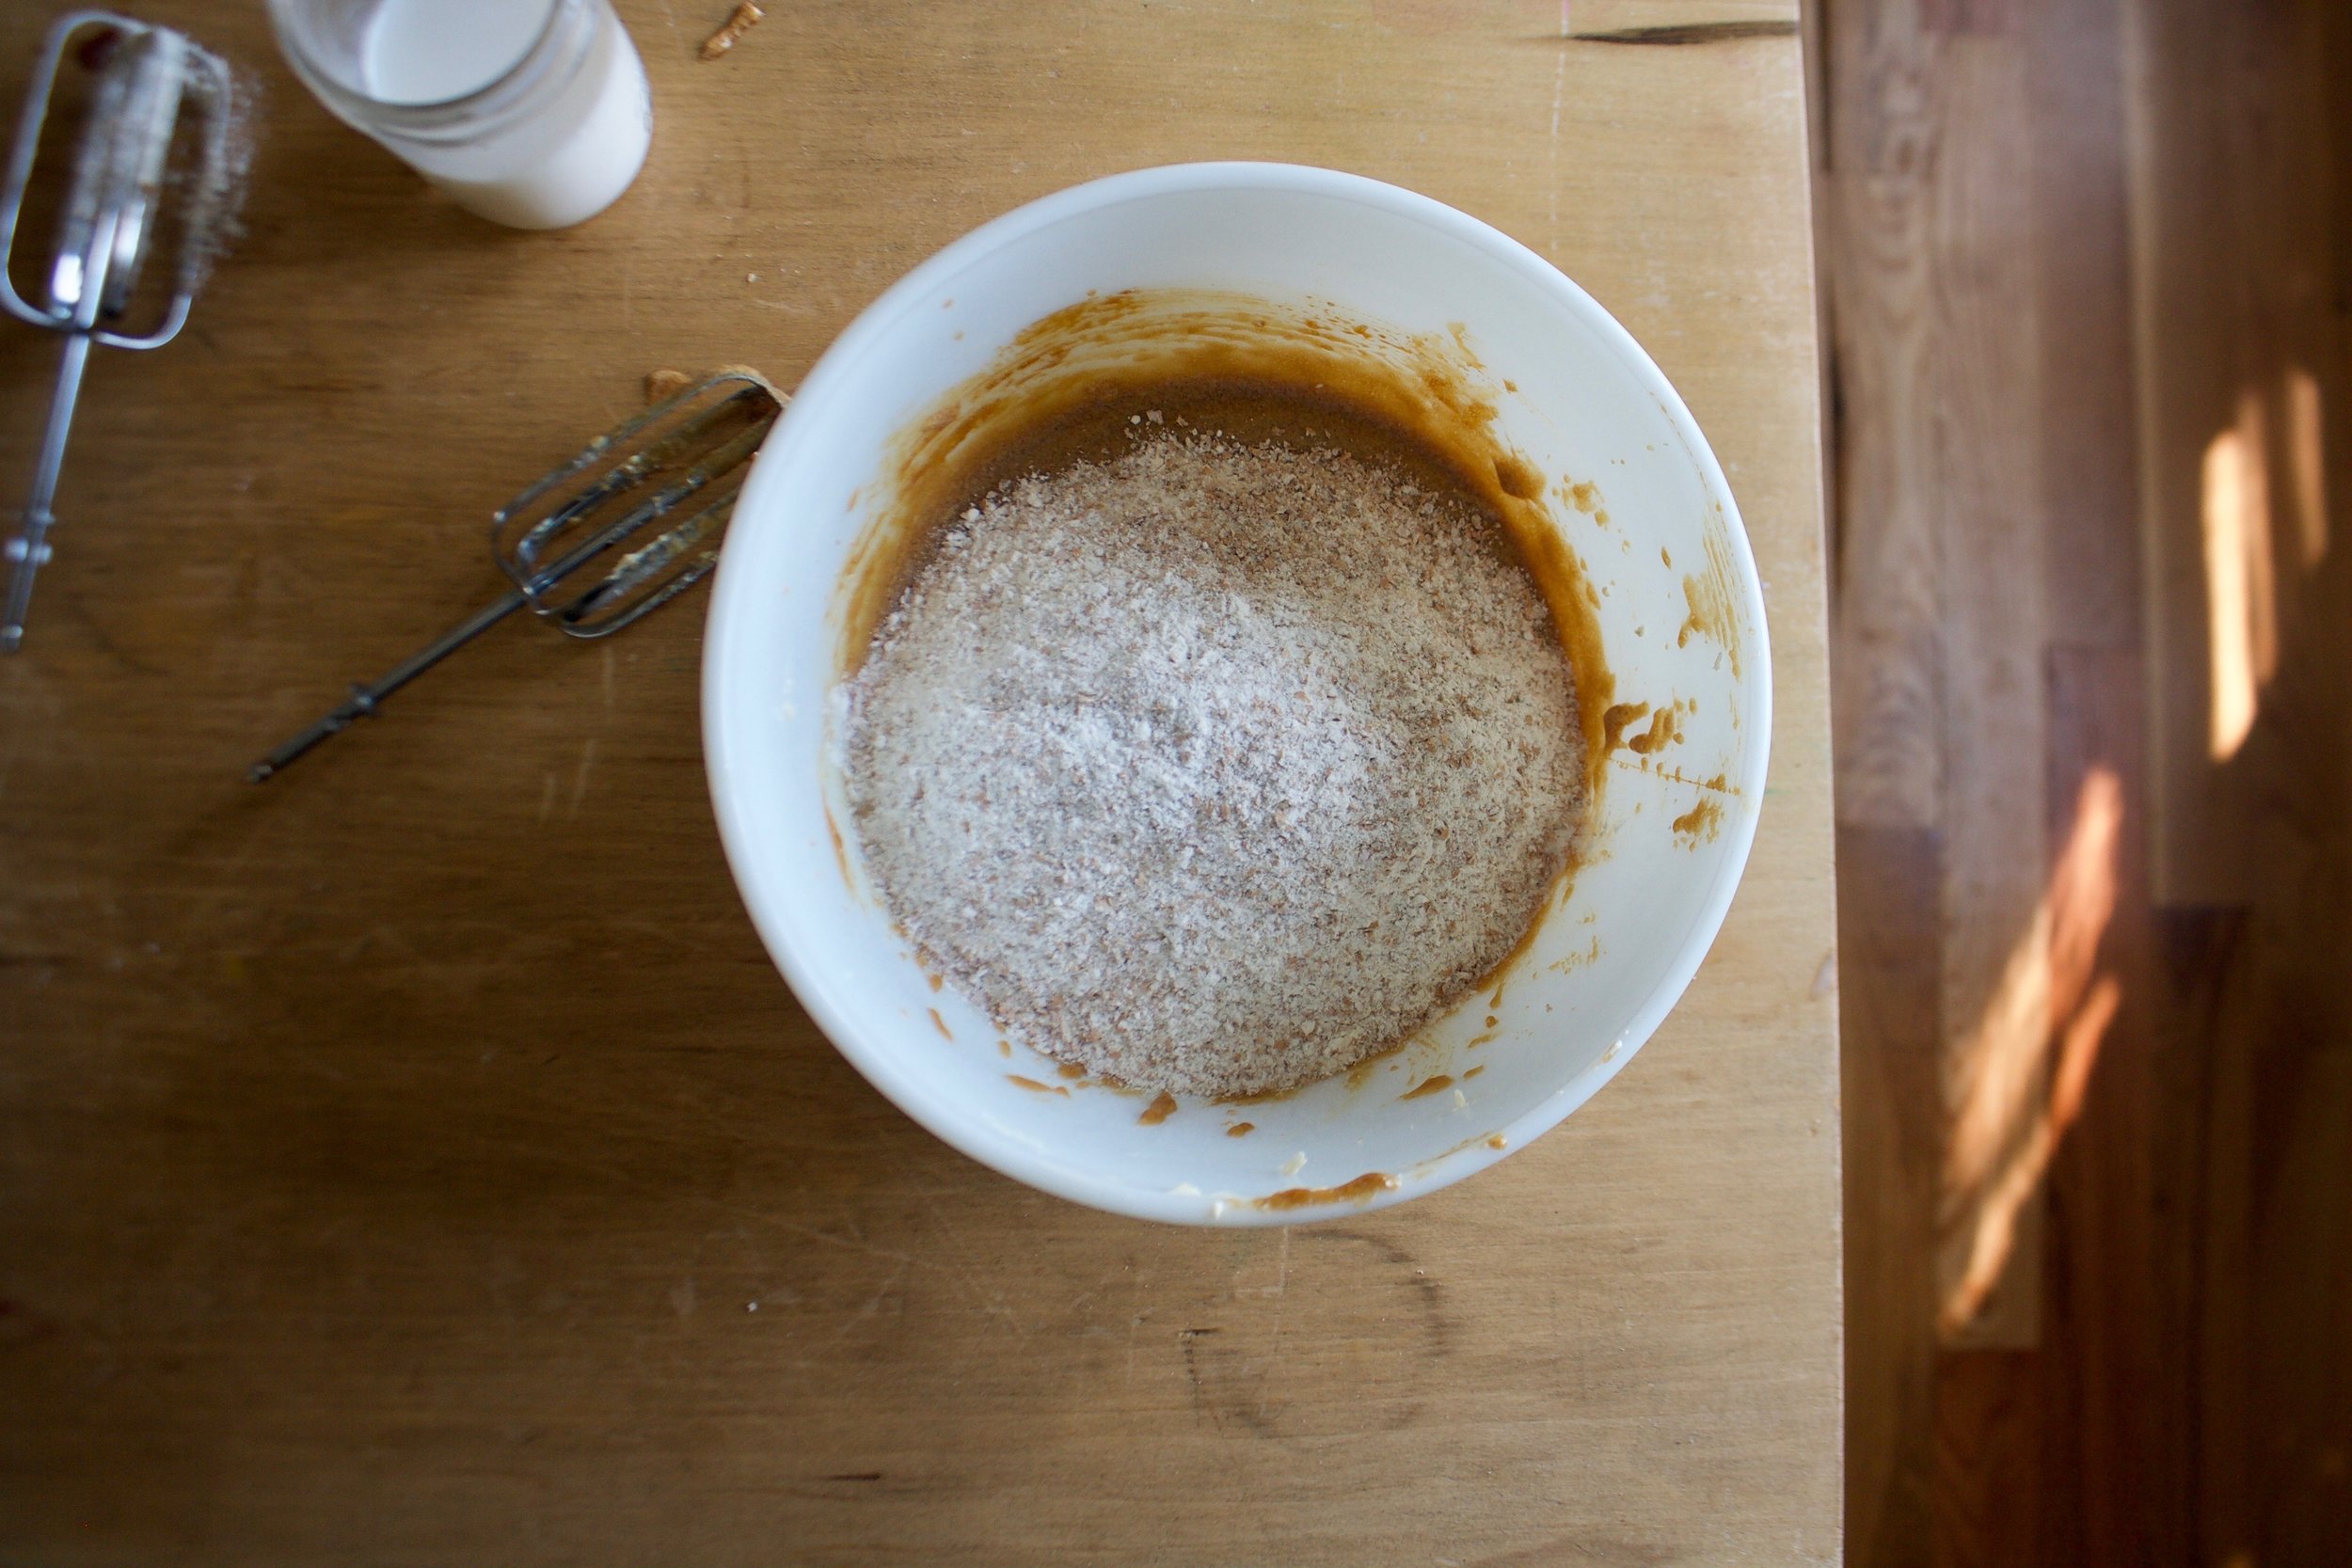
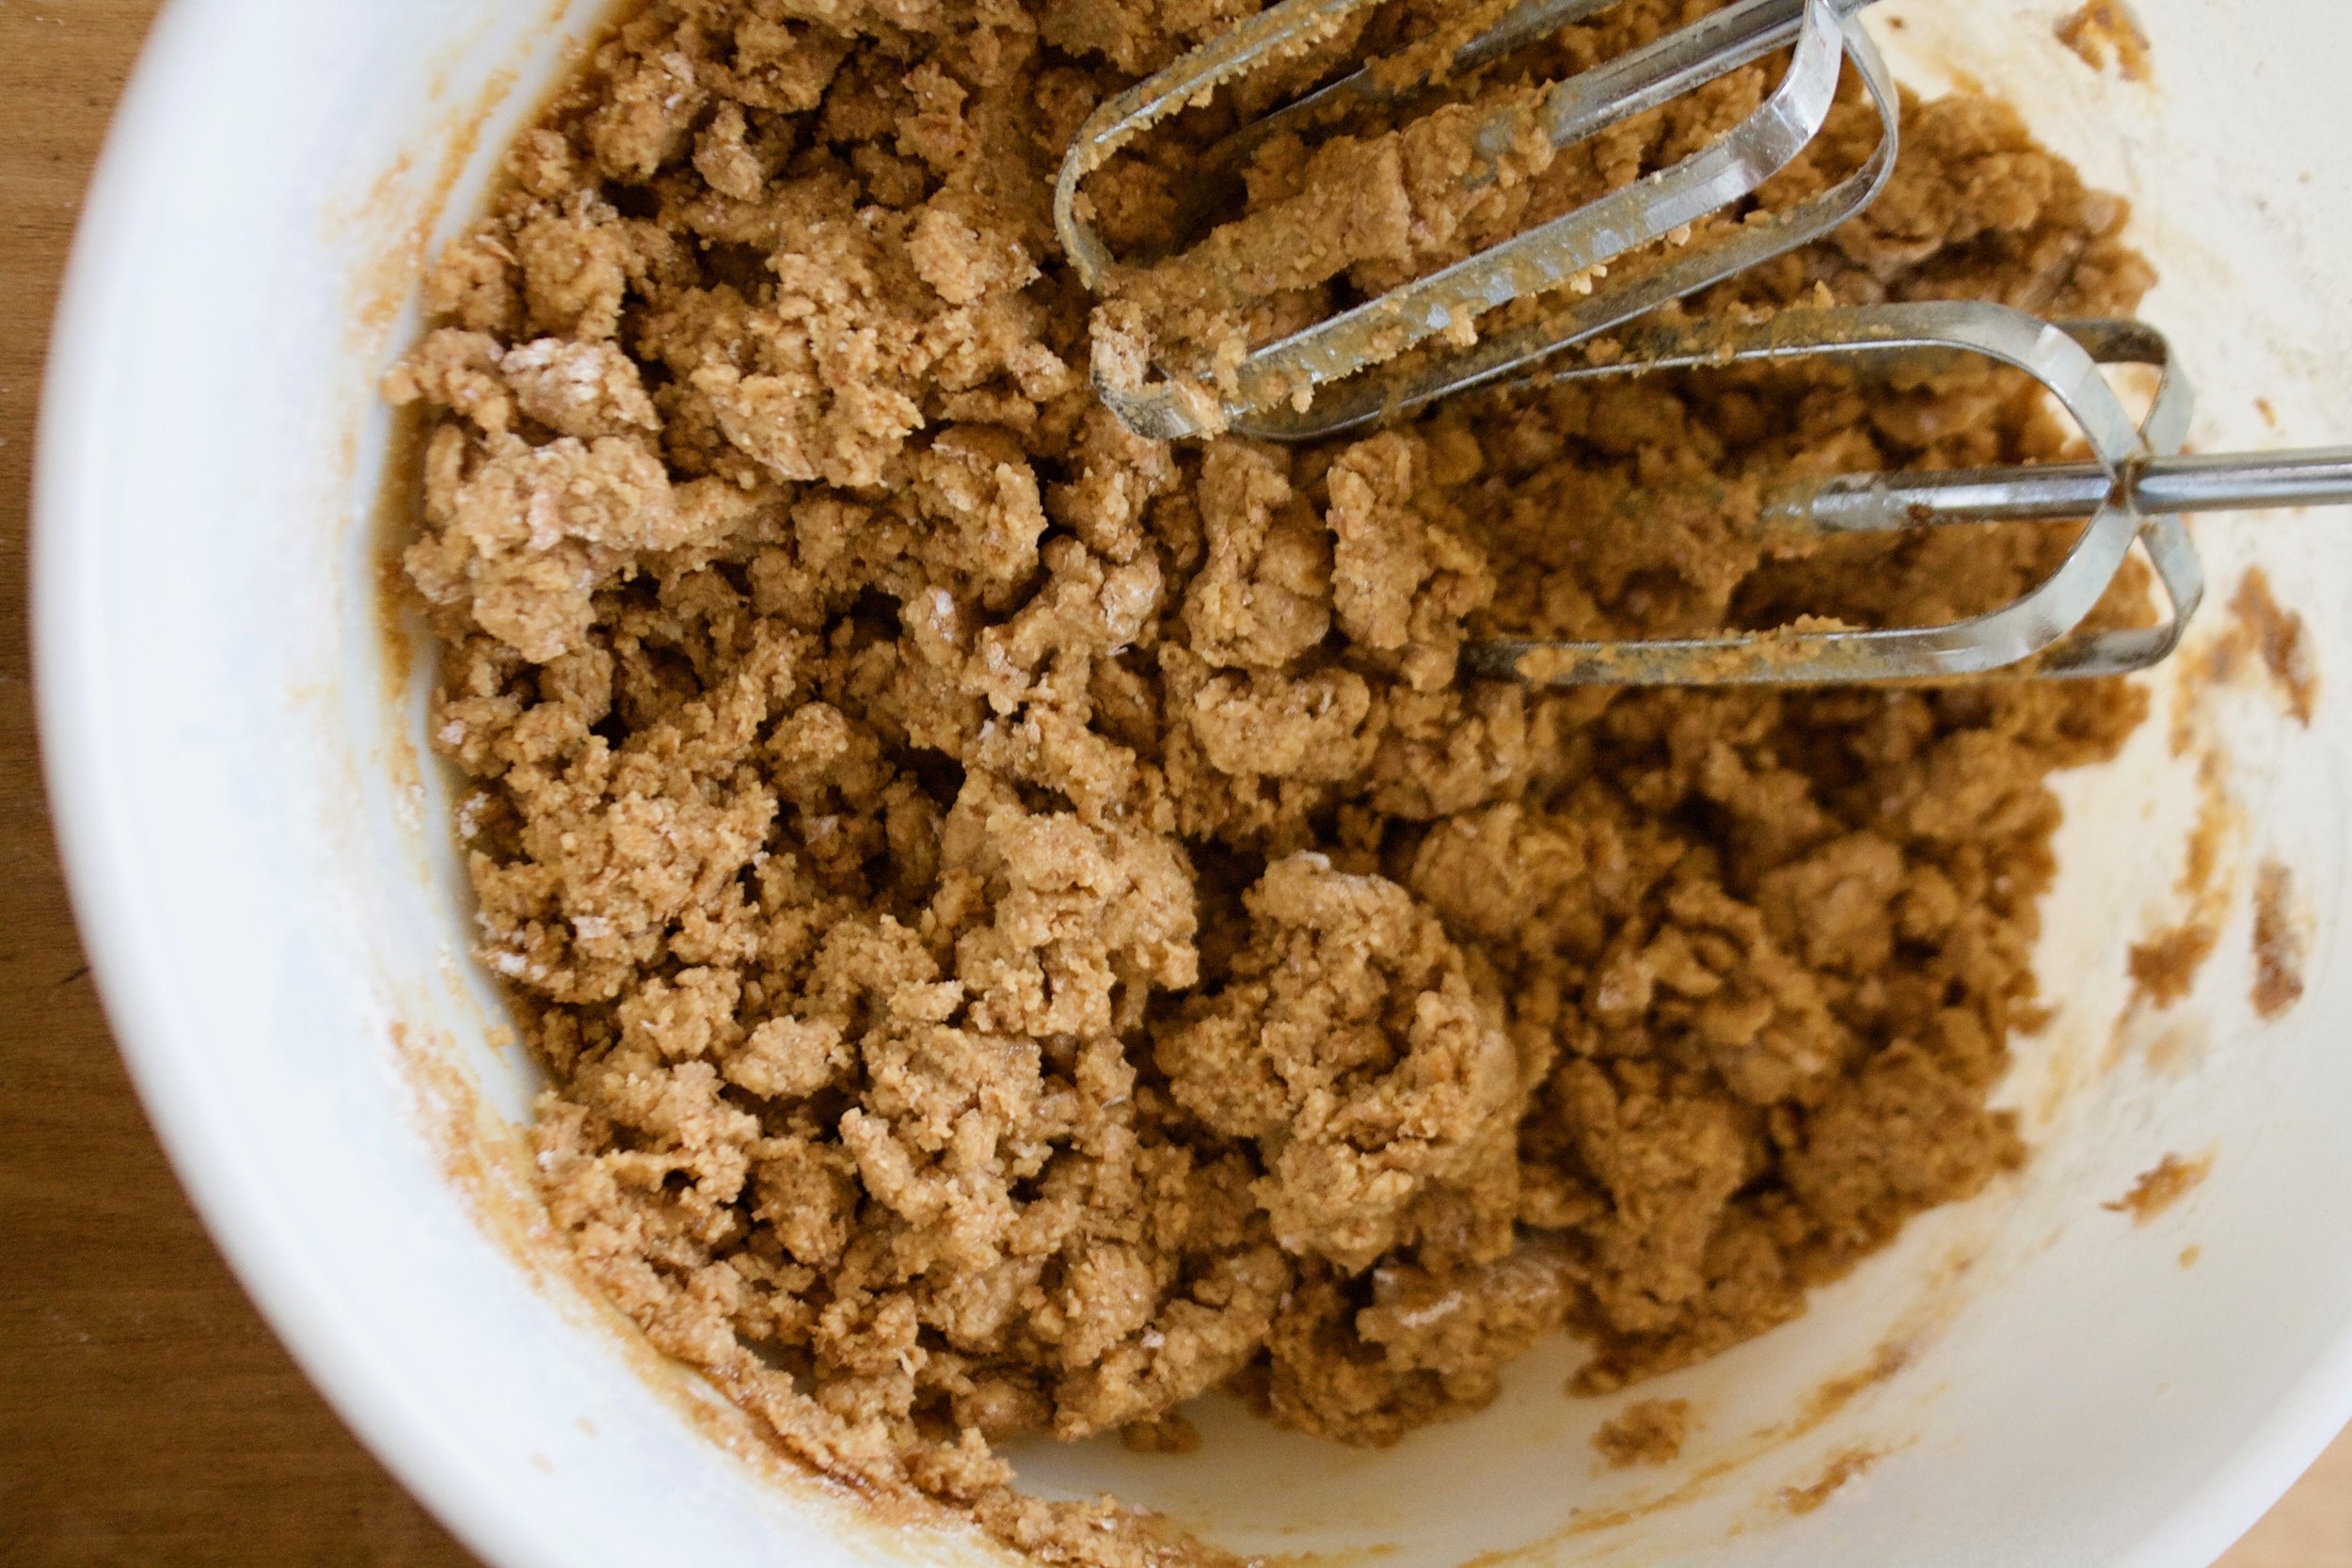
You are now ready to cake. Add squash puree and oil into bowl with the sugars and mix until completely combined. Whisk together all the dry ingredients then add in the sugar, squash, oil mixture to the wet along with the milk and apple cider vinegar. Mix until just combined then stop mixing so you don’t over mix.

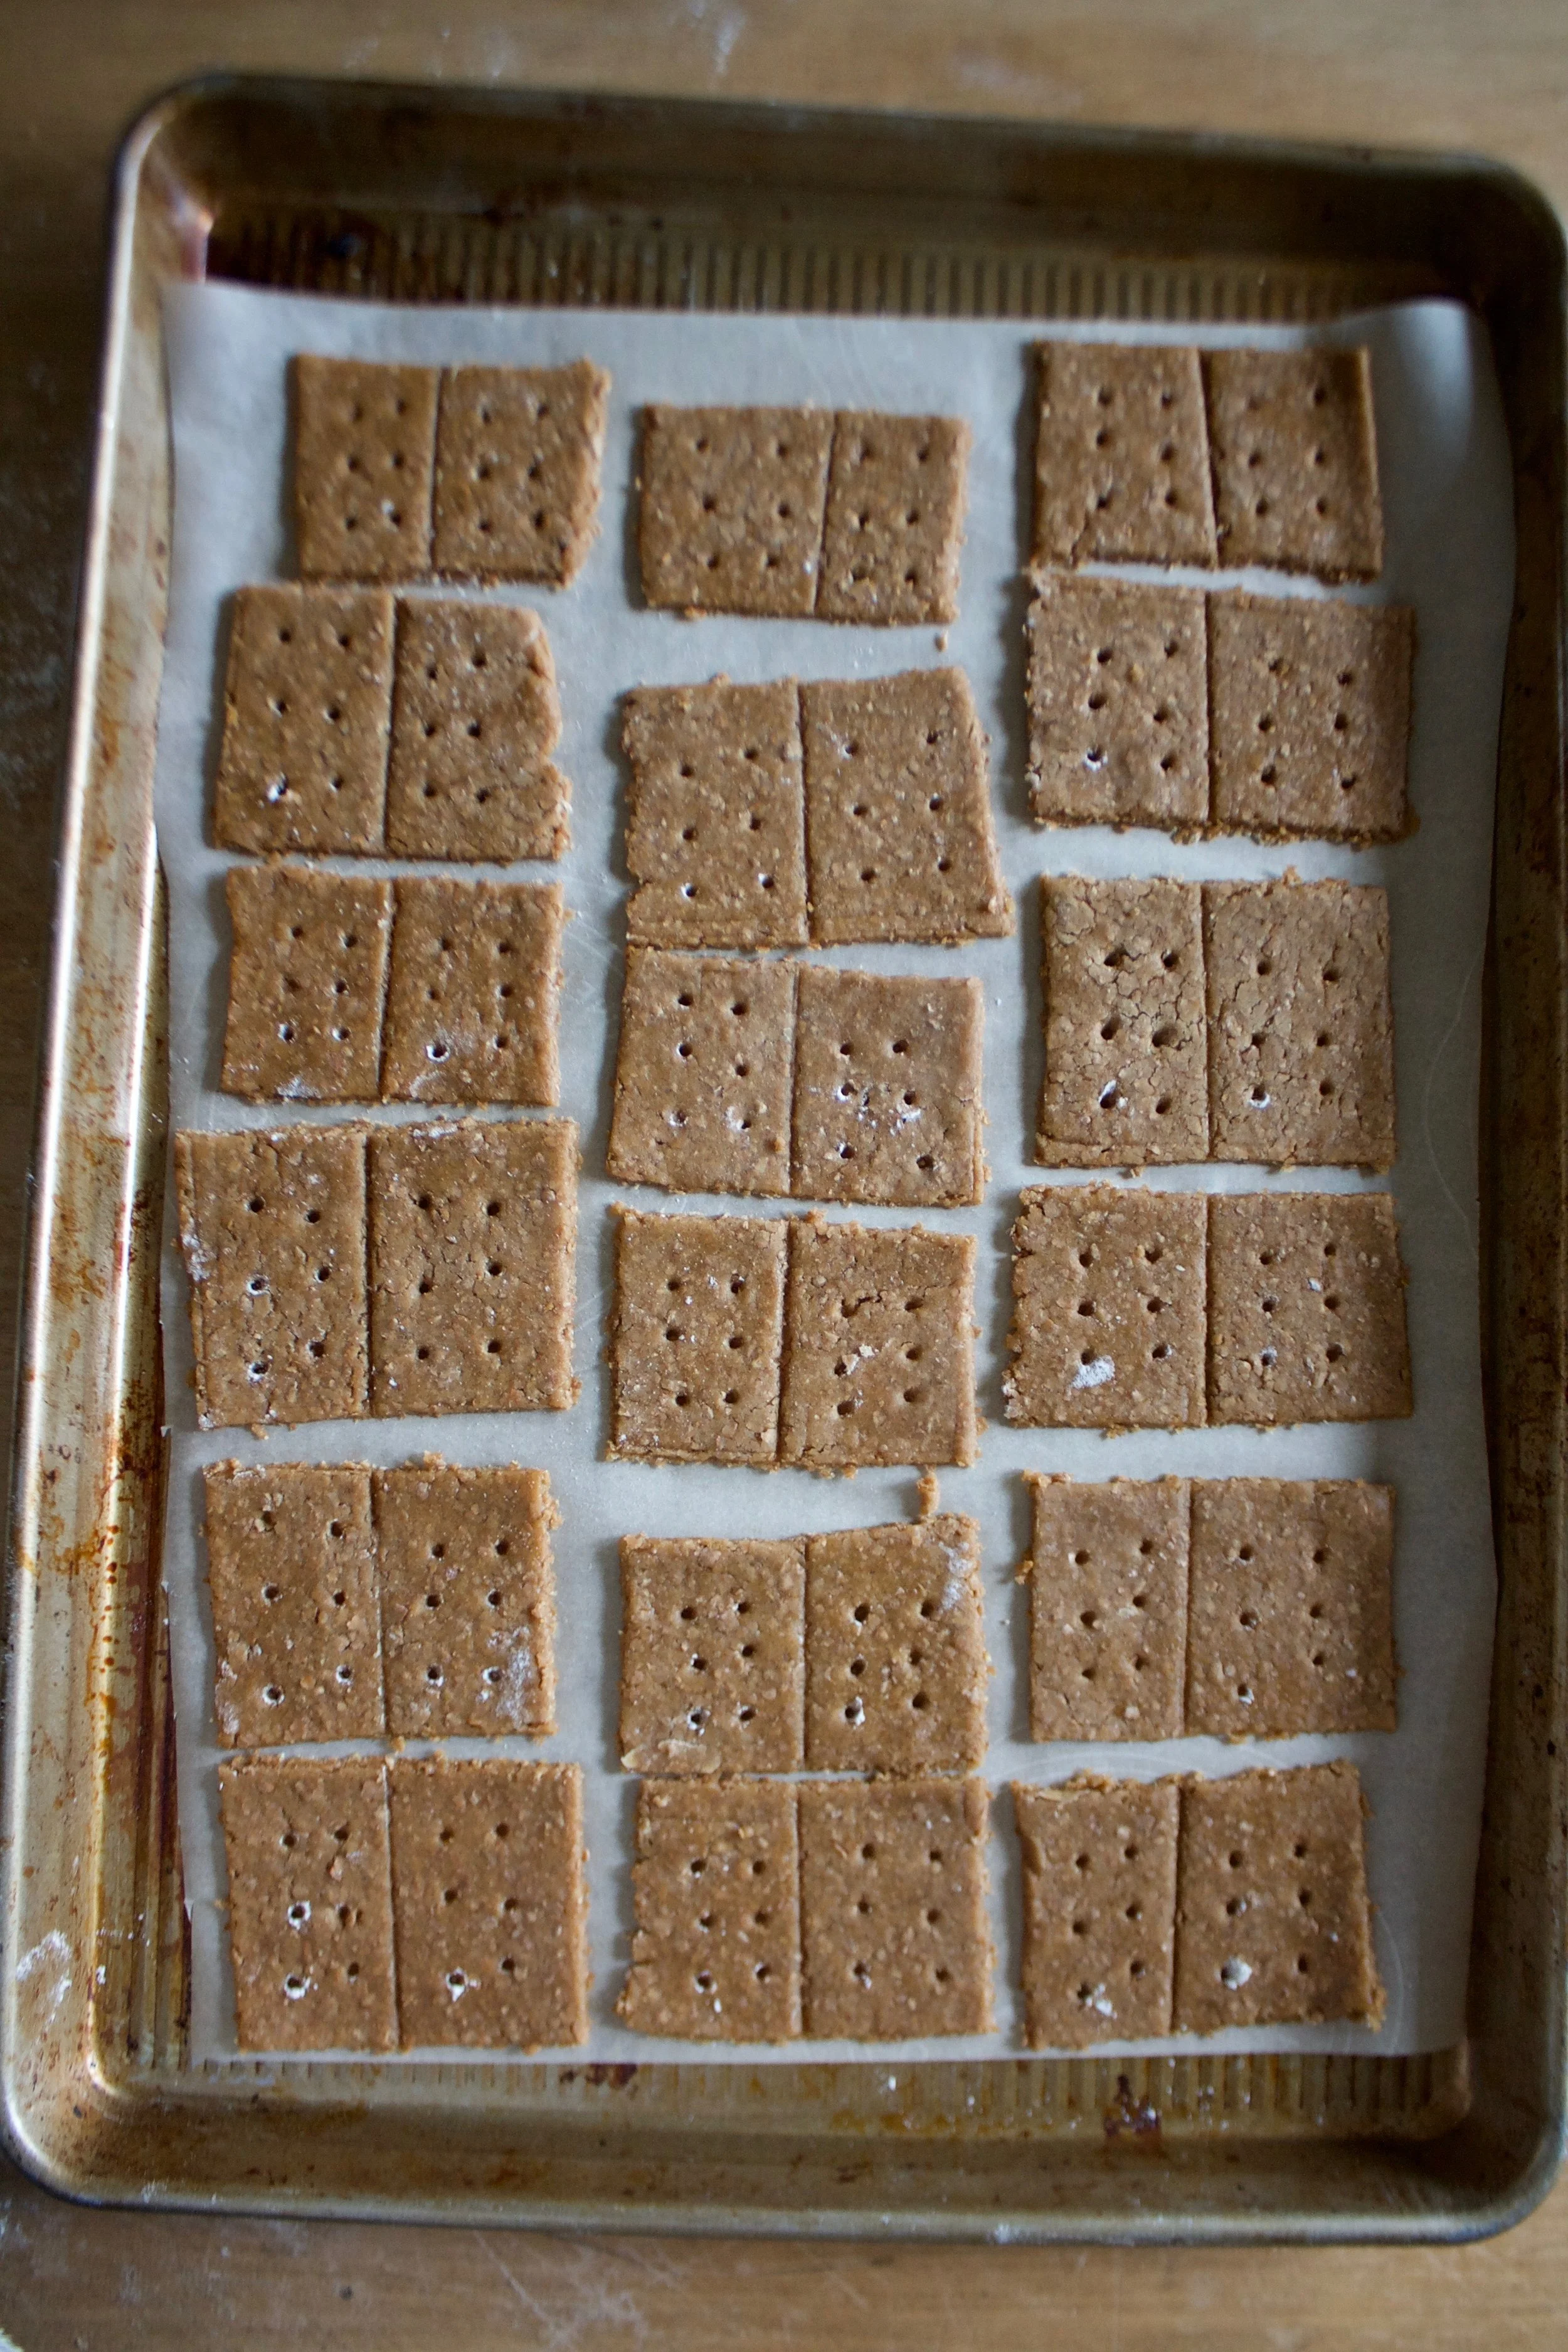
Batter then gets poured evenly into two greased and lined cake pans.
And into the oven they go.

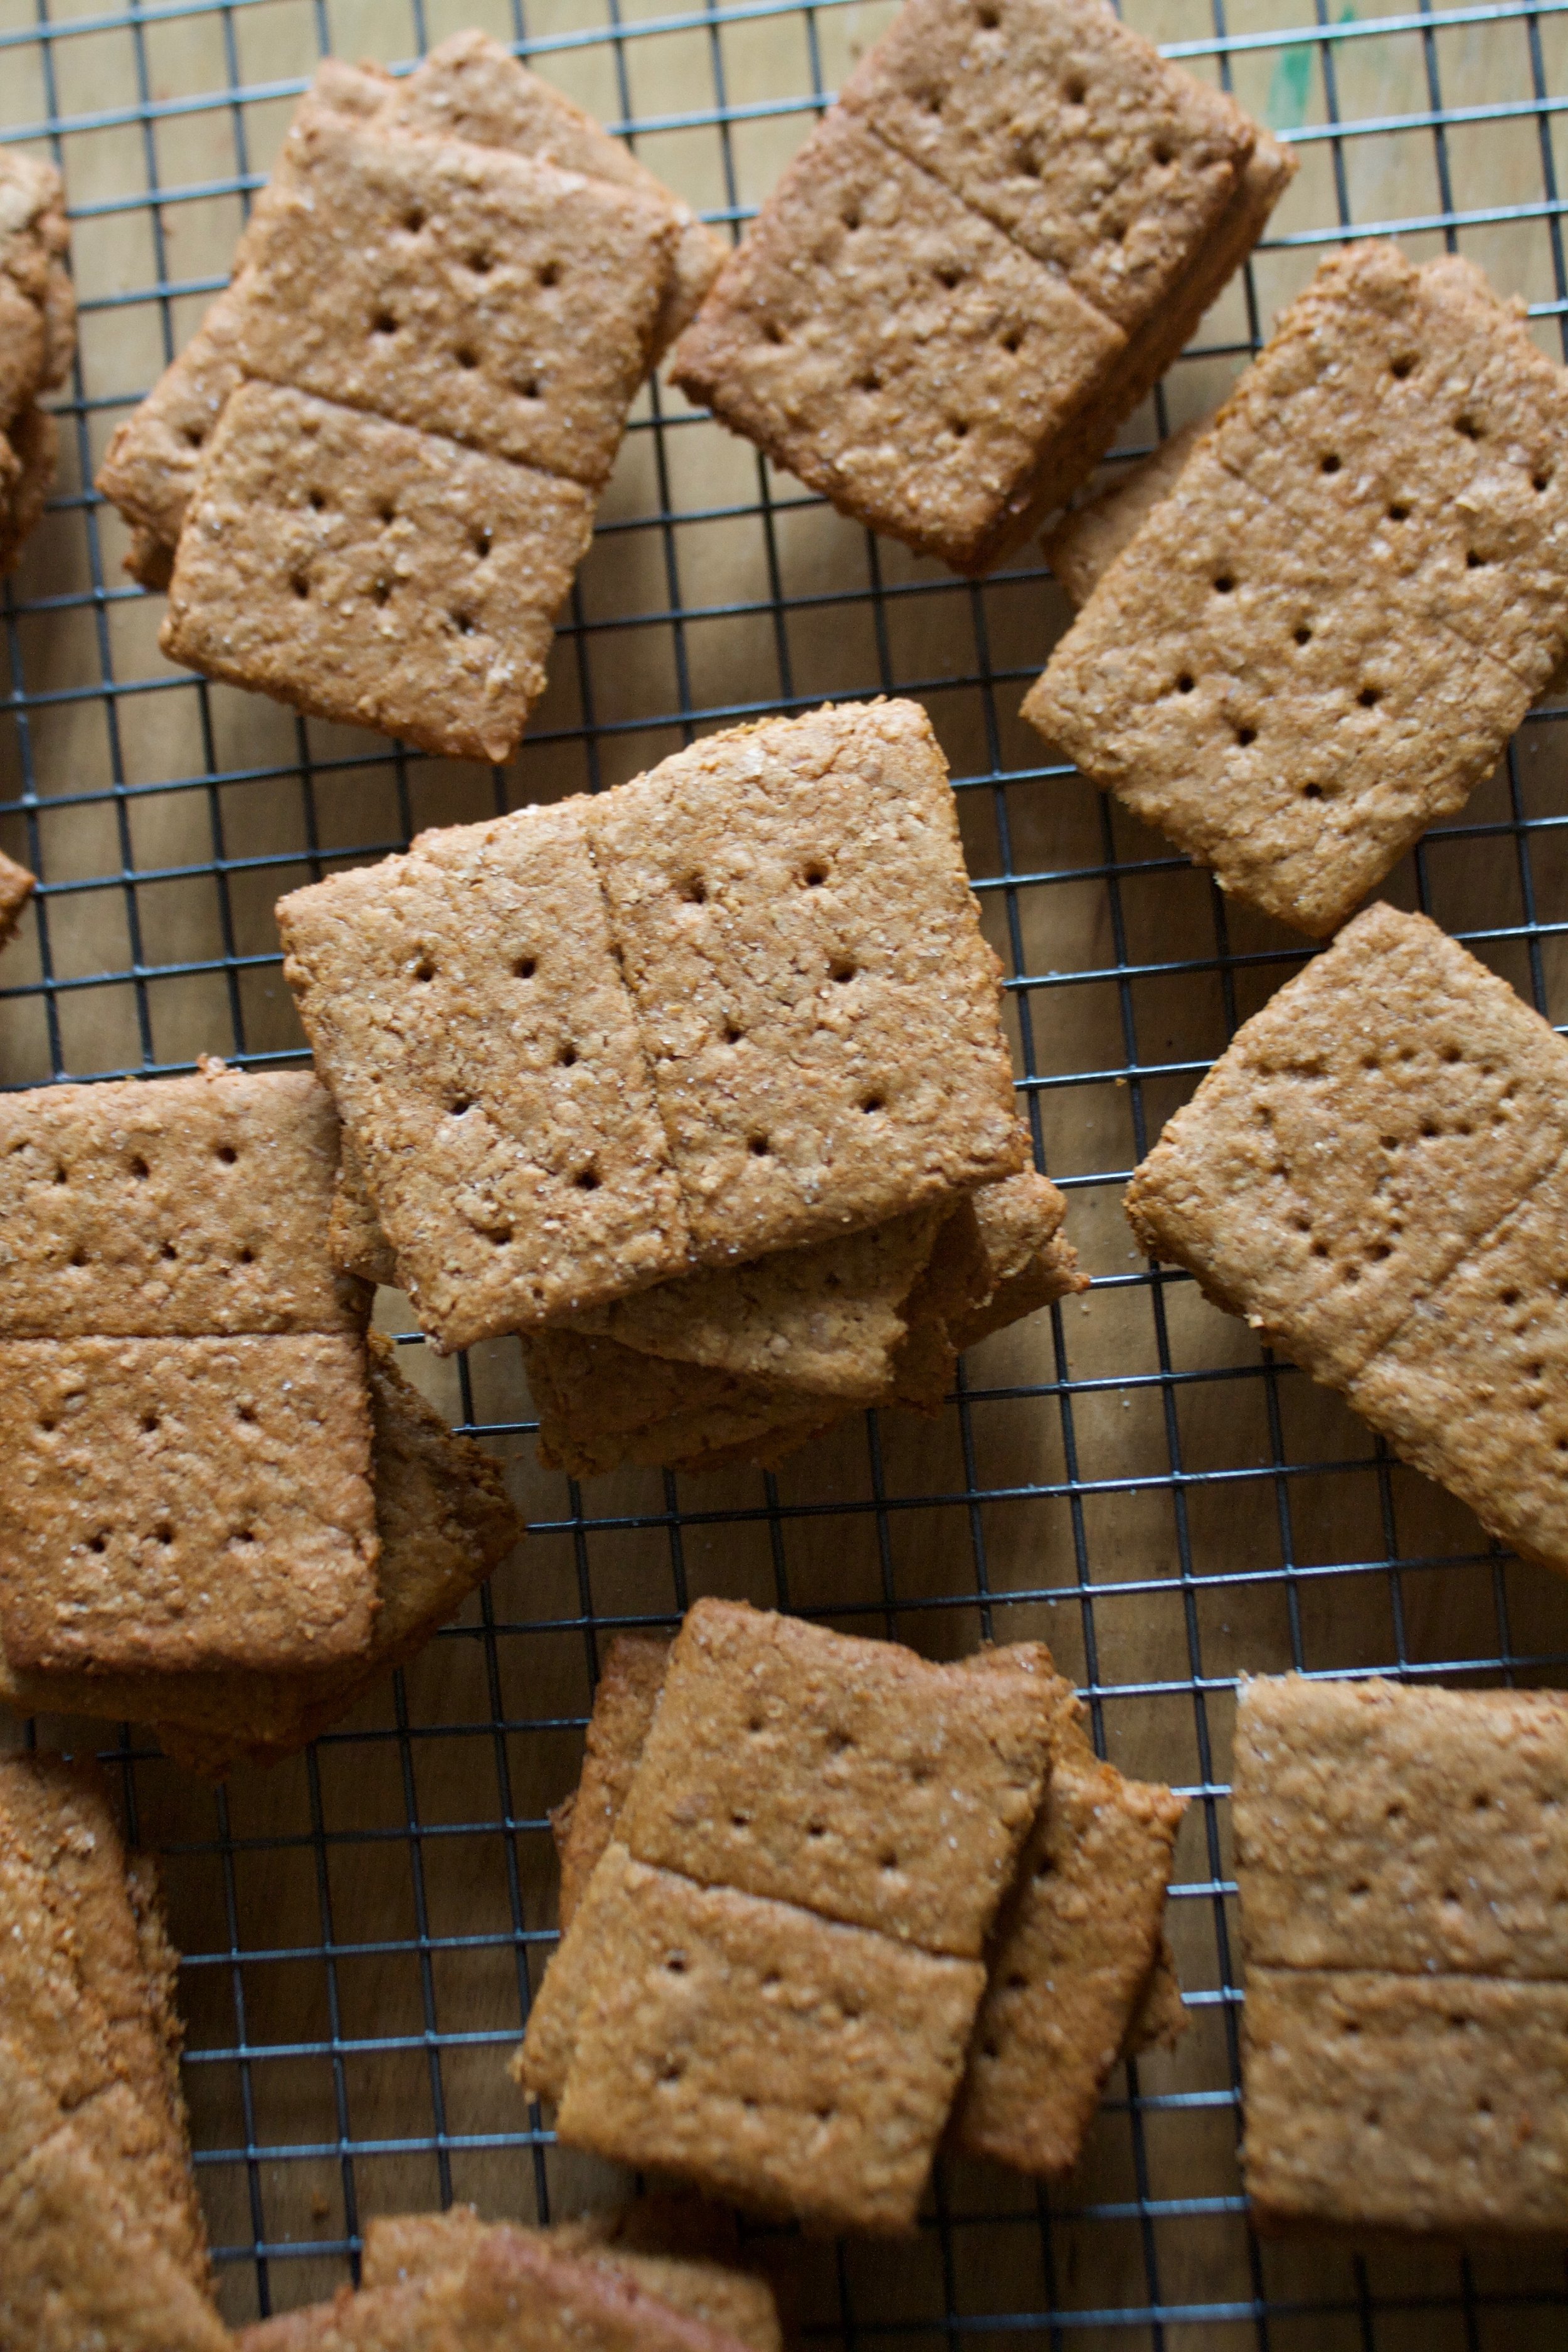
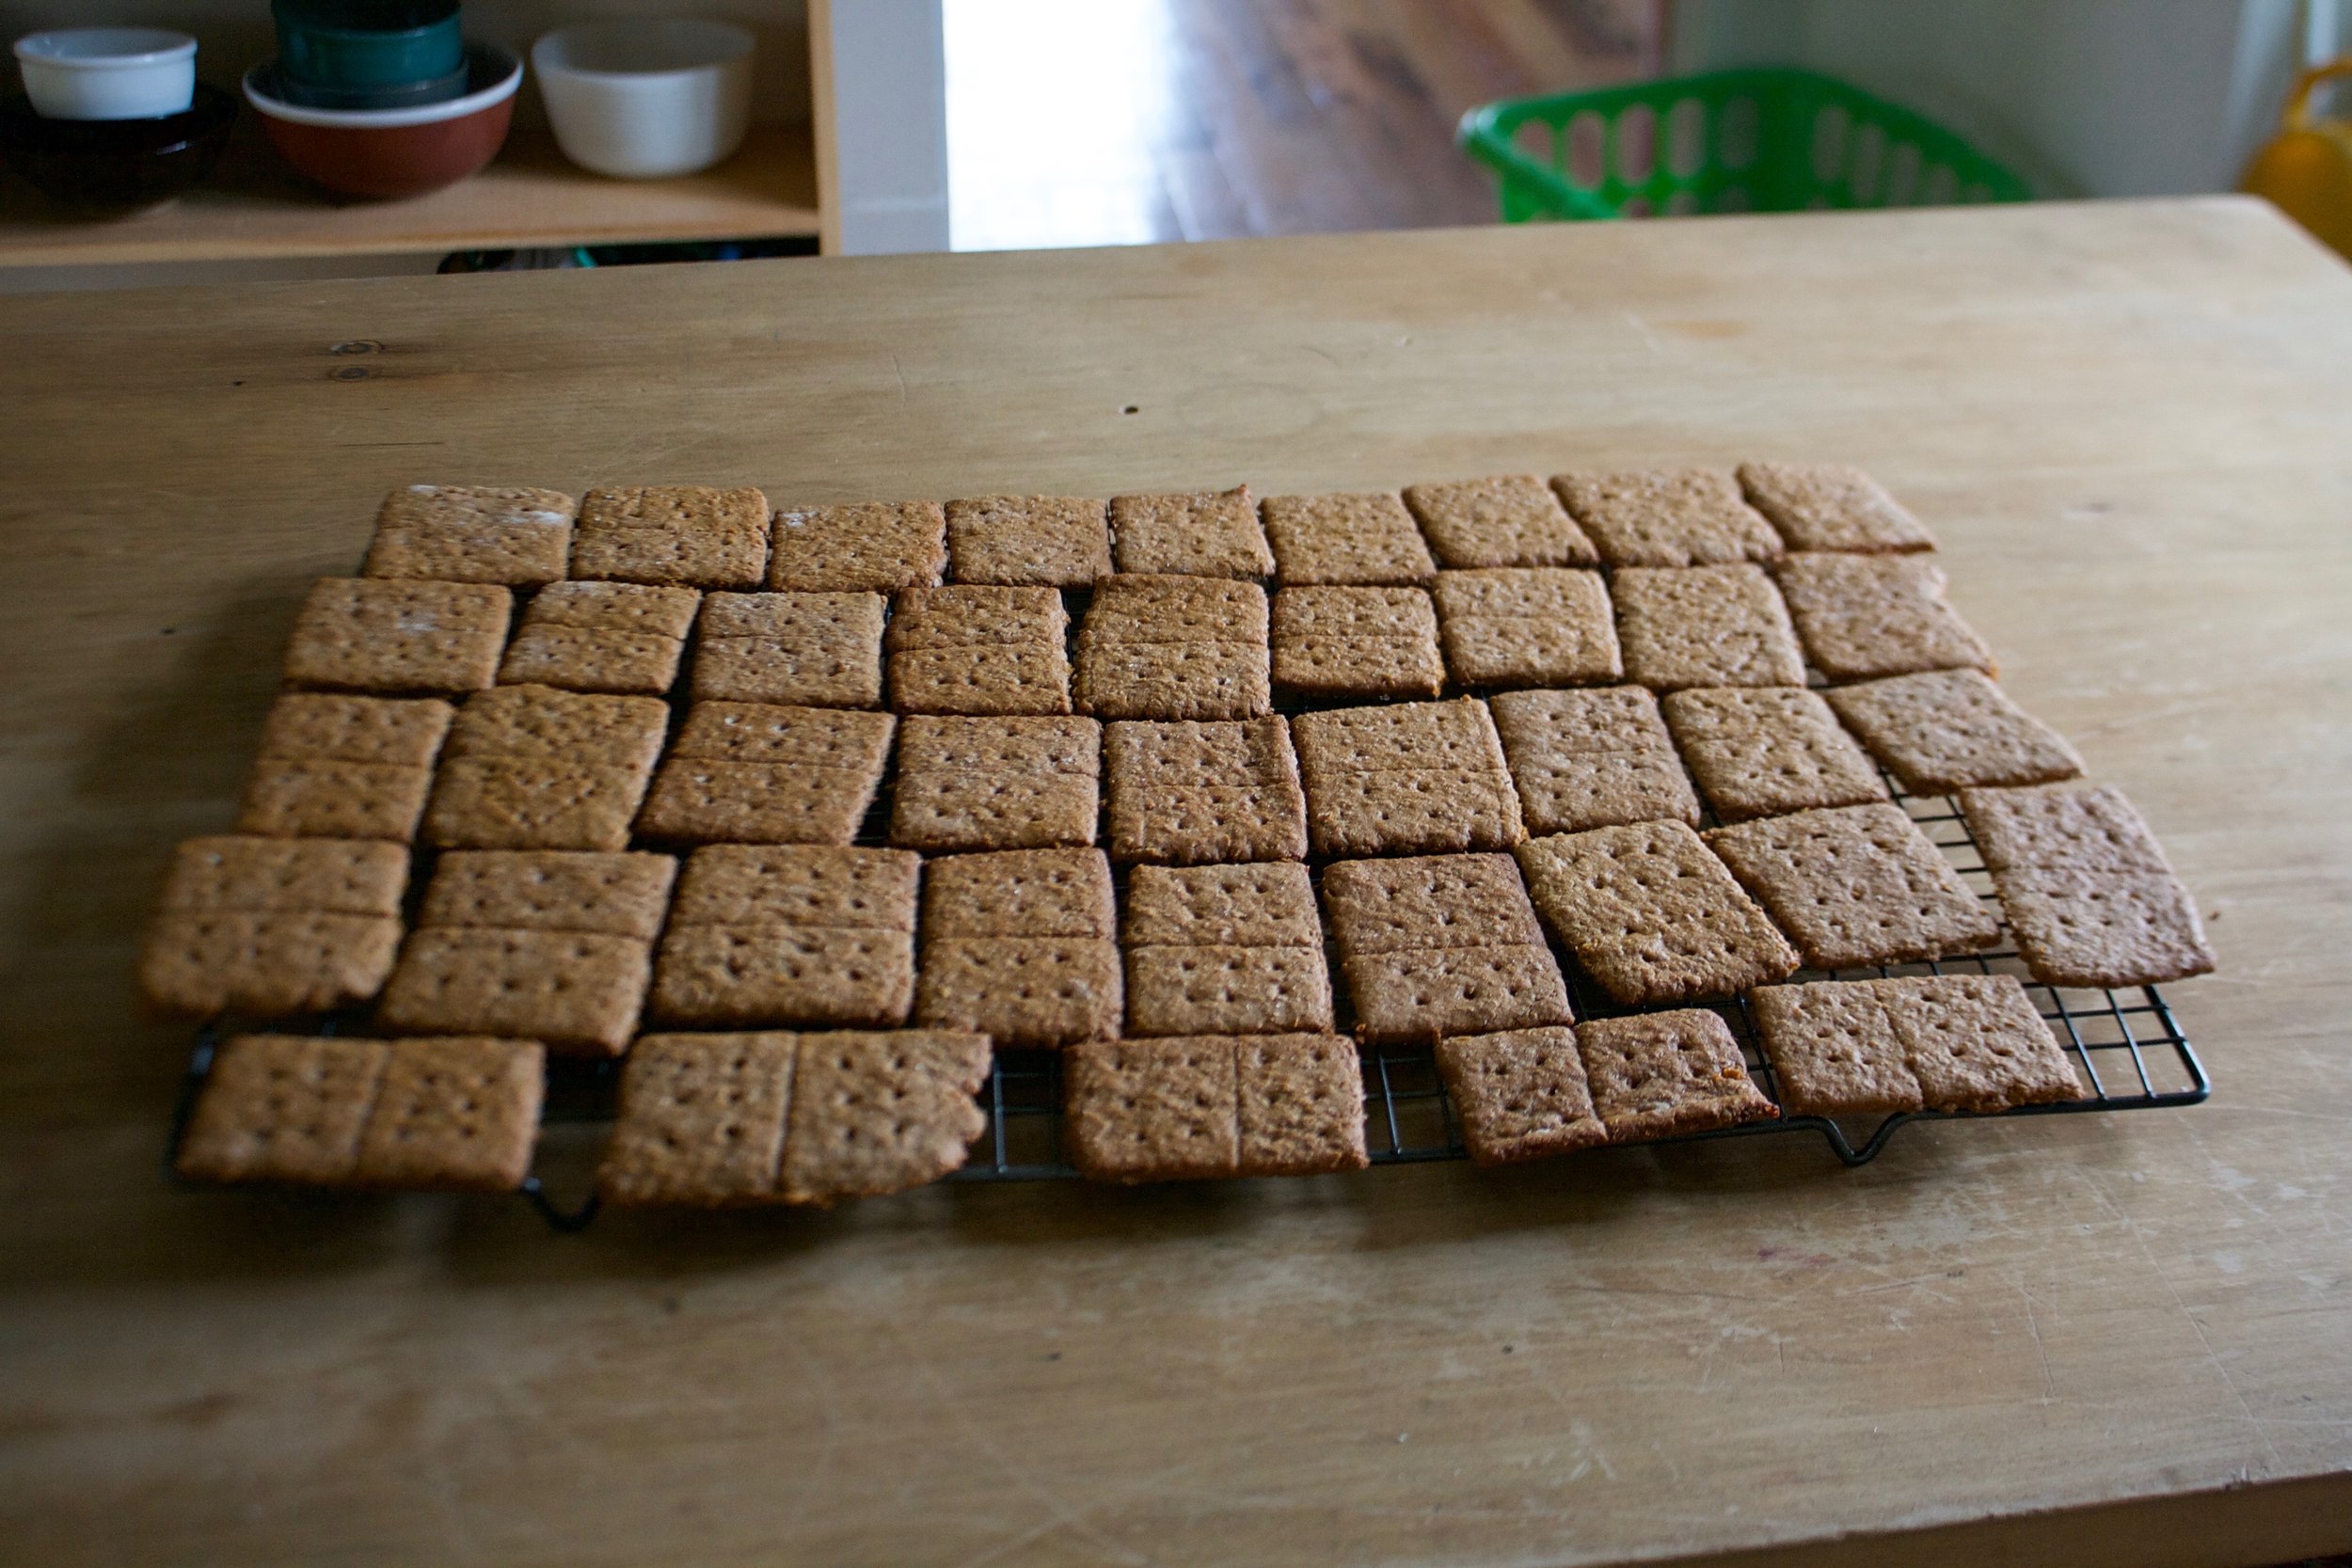
Golden brown and smelling all nice and cozy. A tester in the middle making sure that they are cooked completely.

Cakes get popped out of pans and and placed on a rack to cool completely. In the mean time, make the frosting. Powdered sugar, salt, vegan butter, maple syrup, and maybe a splash of soy milk (you might or might not need it). And don’t forget the walnuts.

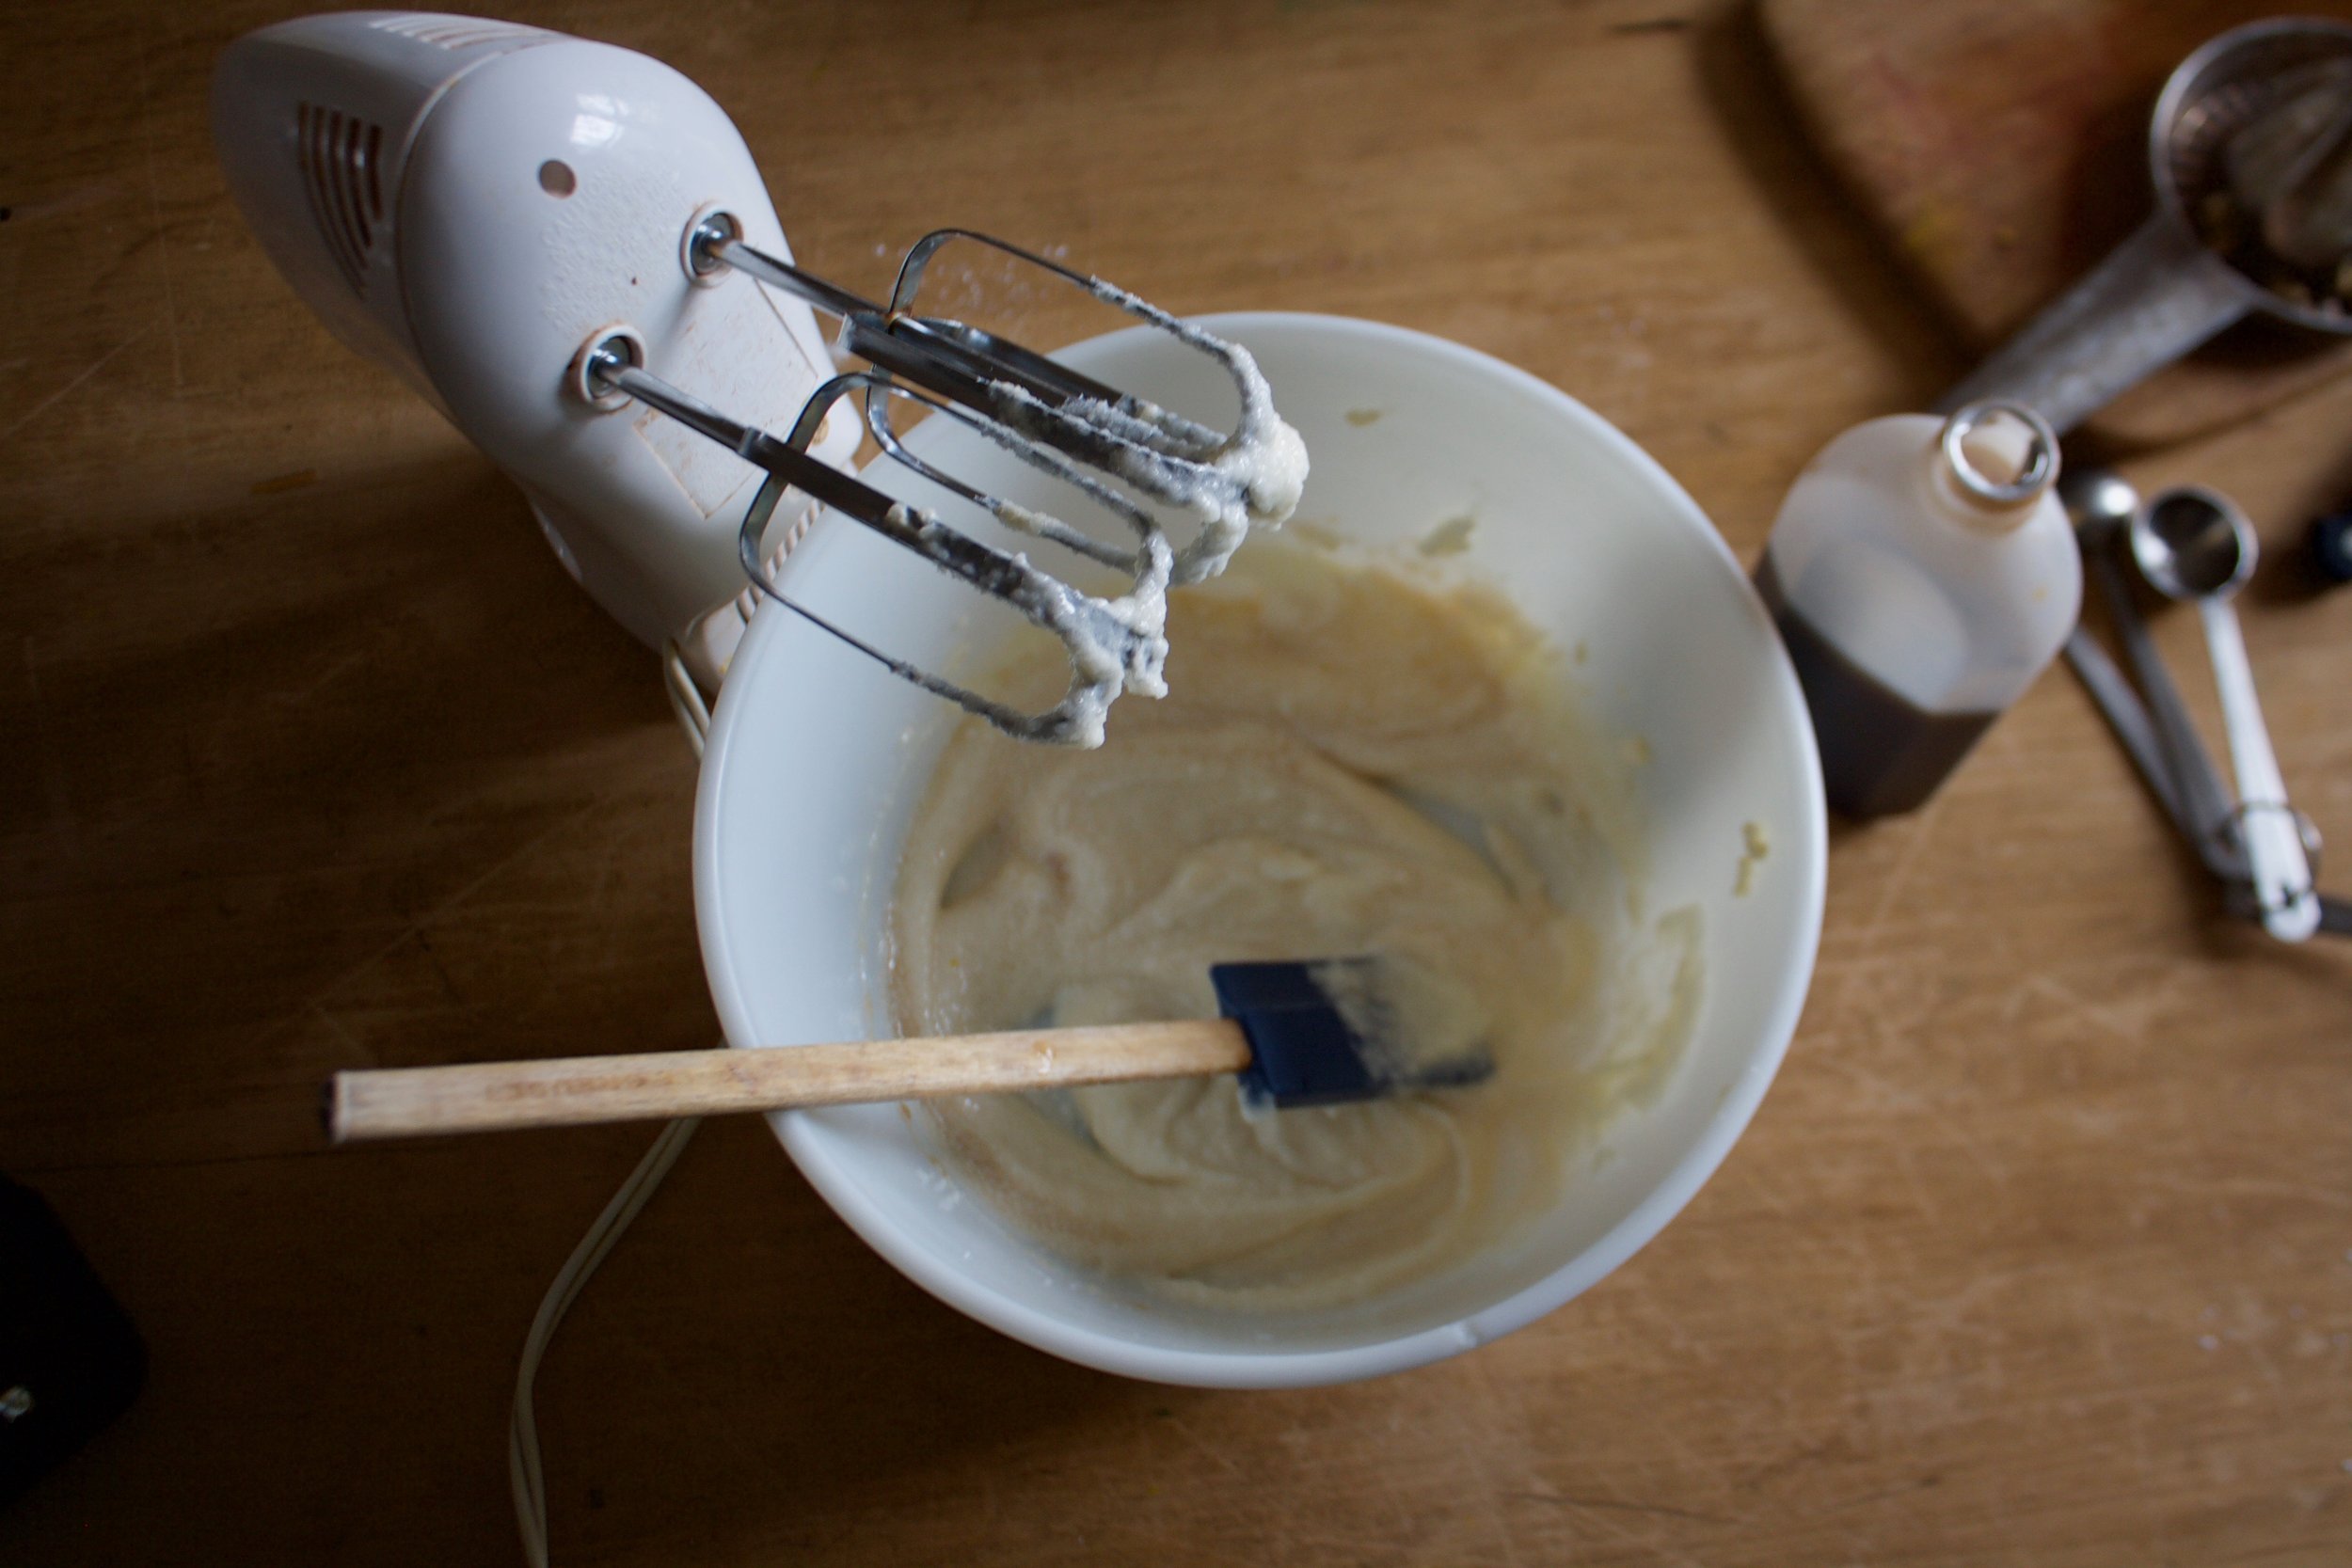
Sugar, salt, butter, and maple get beaten together until creamy and smooth.

Toasted walnuts get chopped into bits.
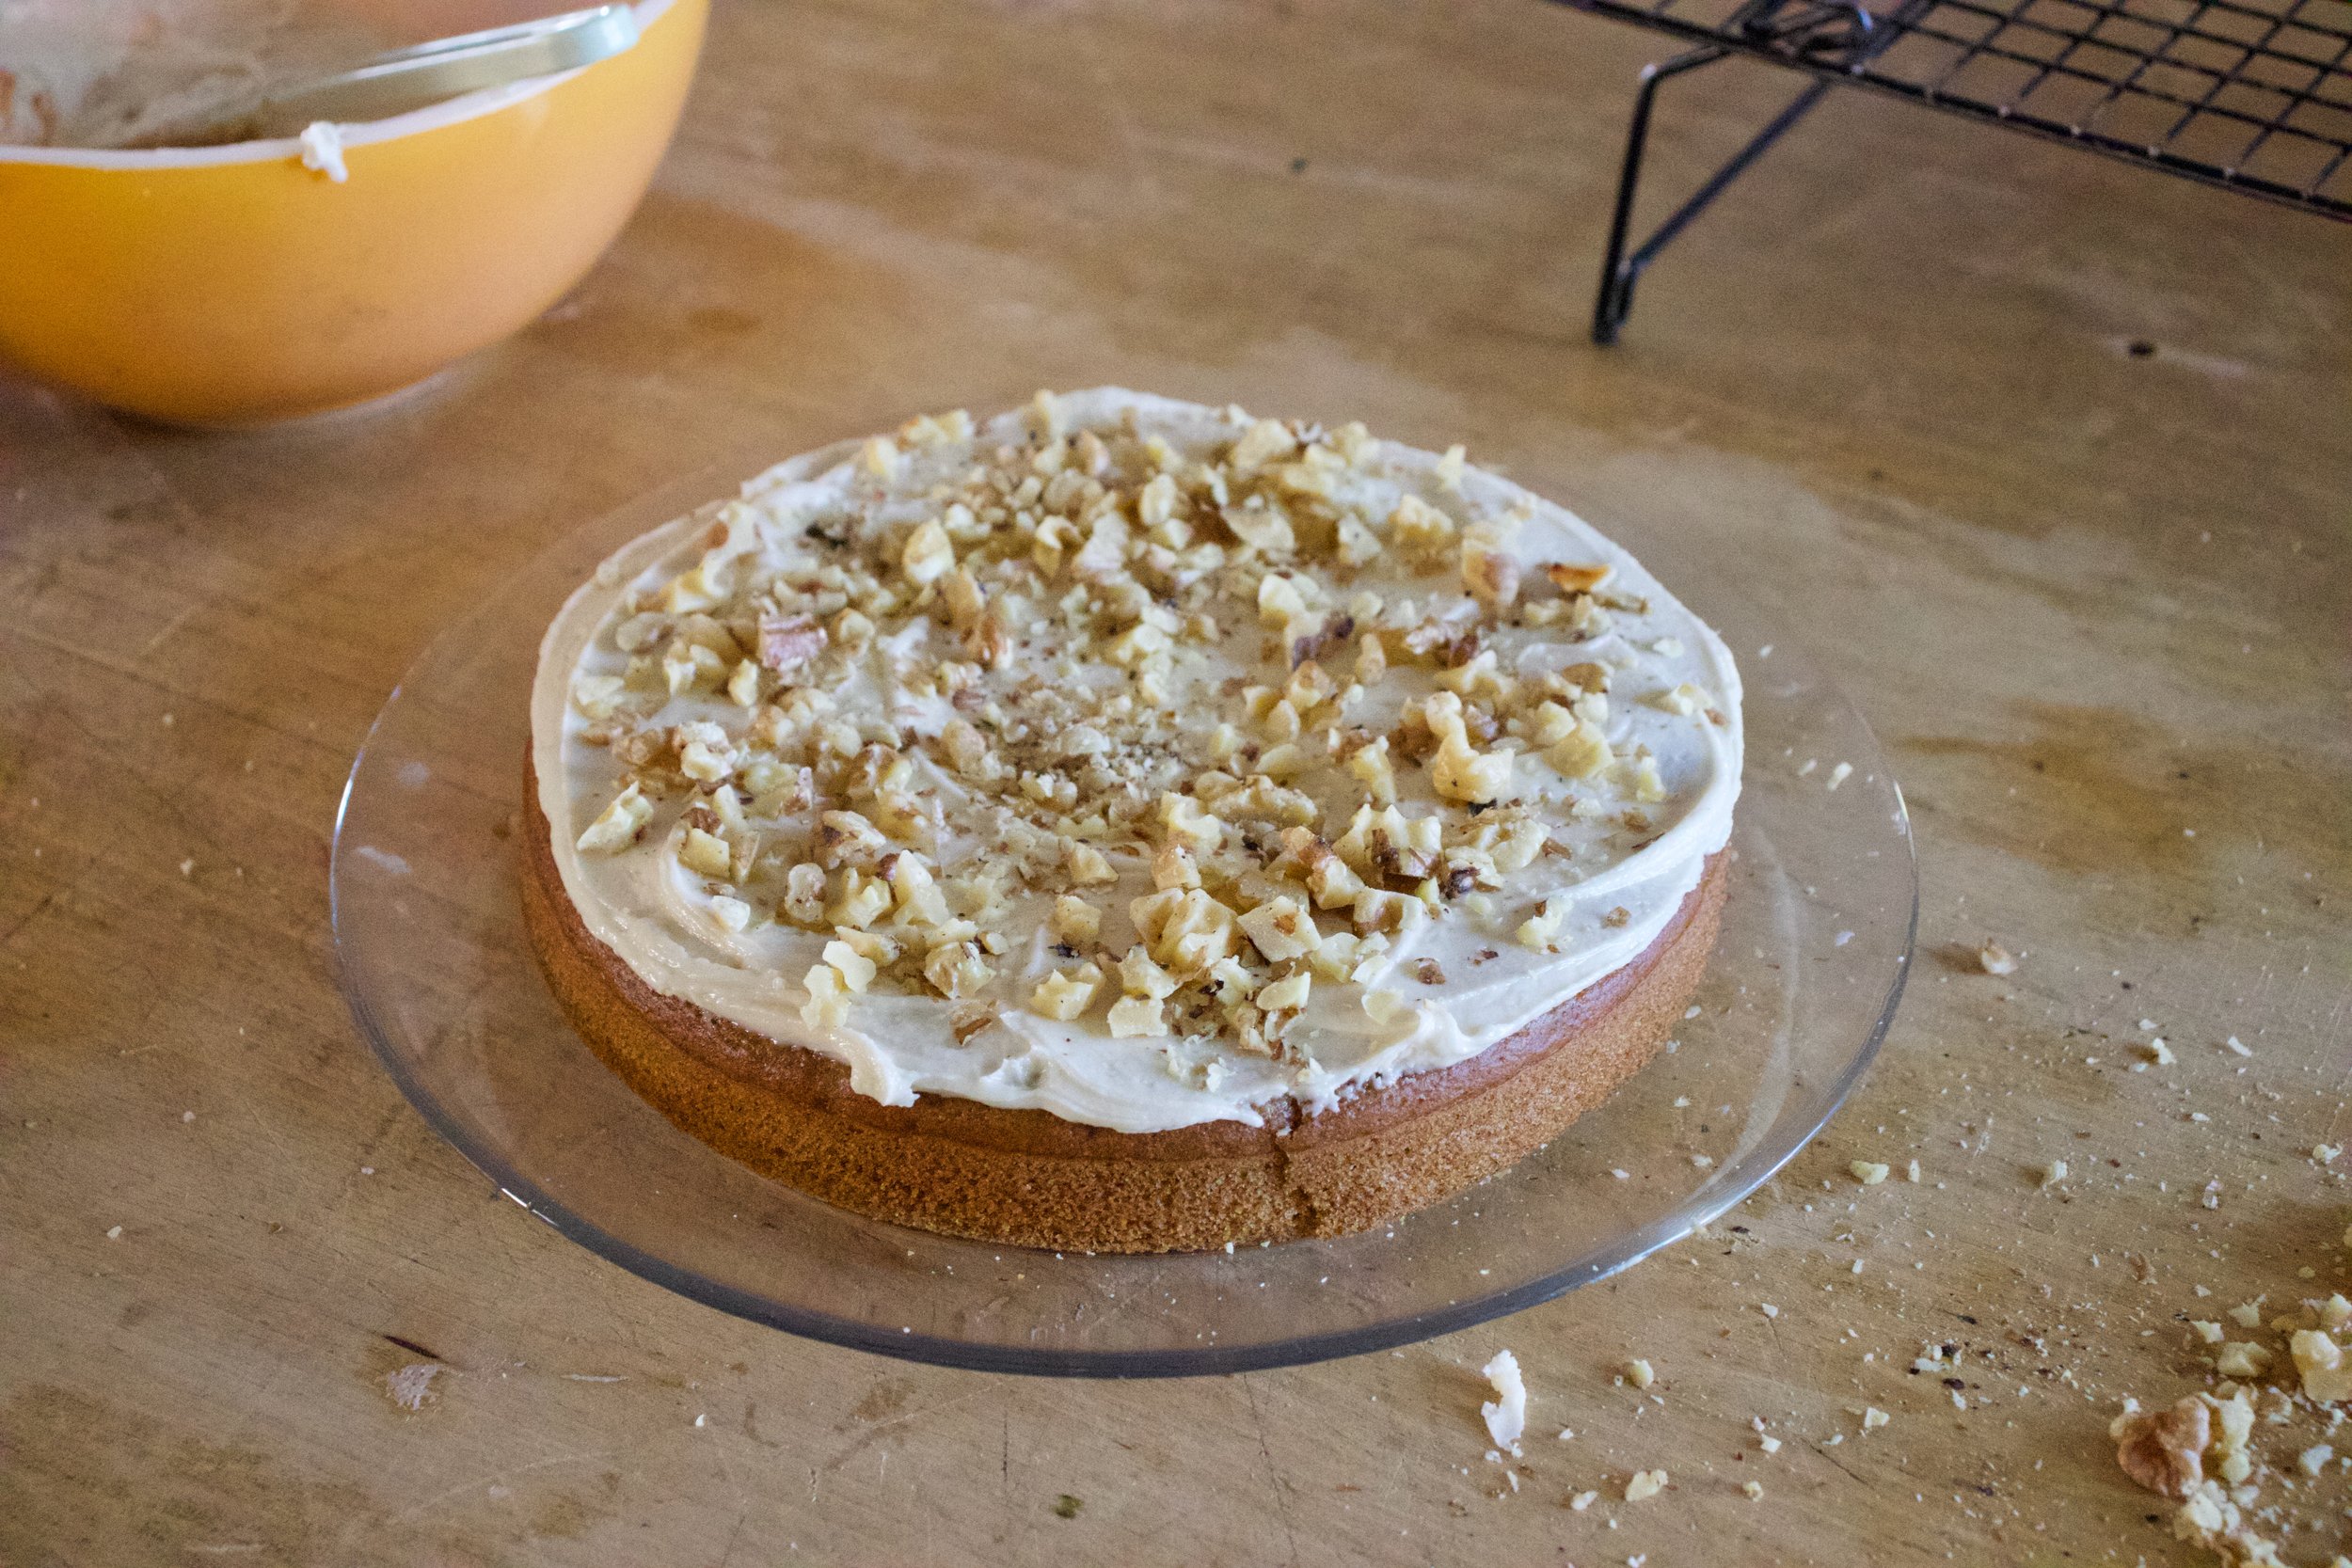

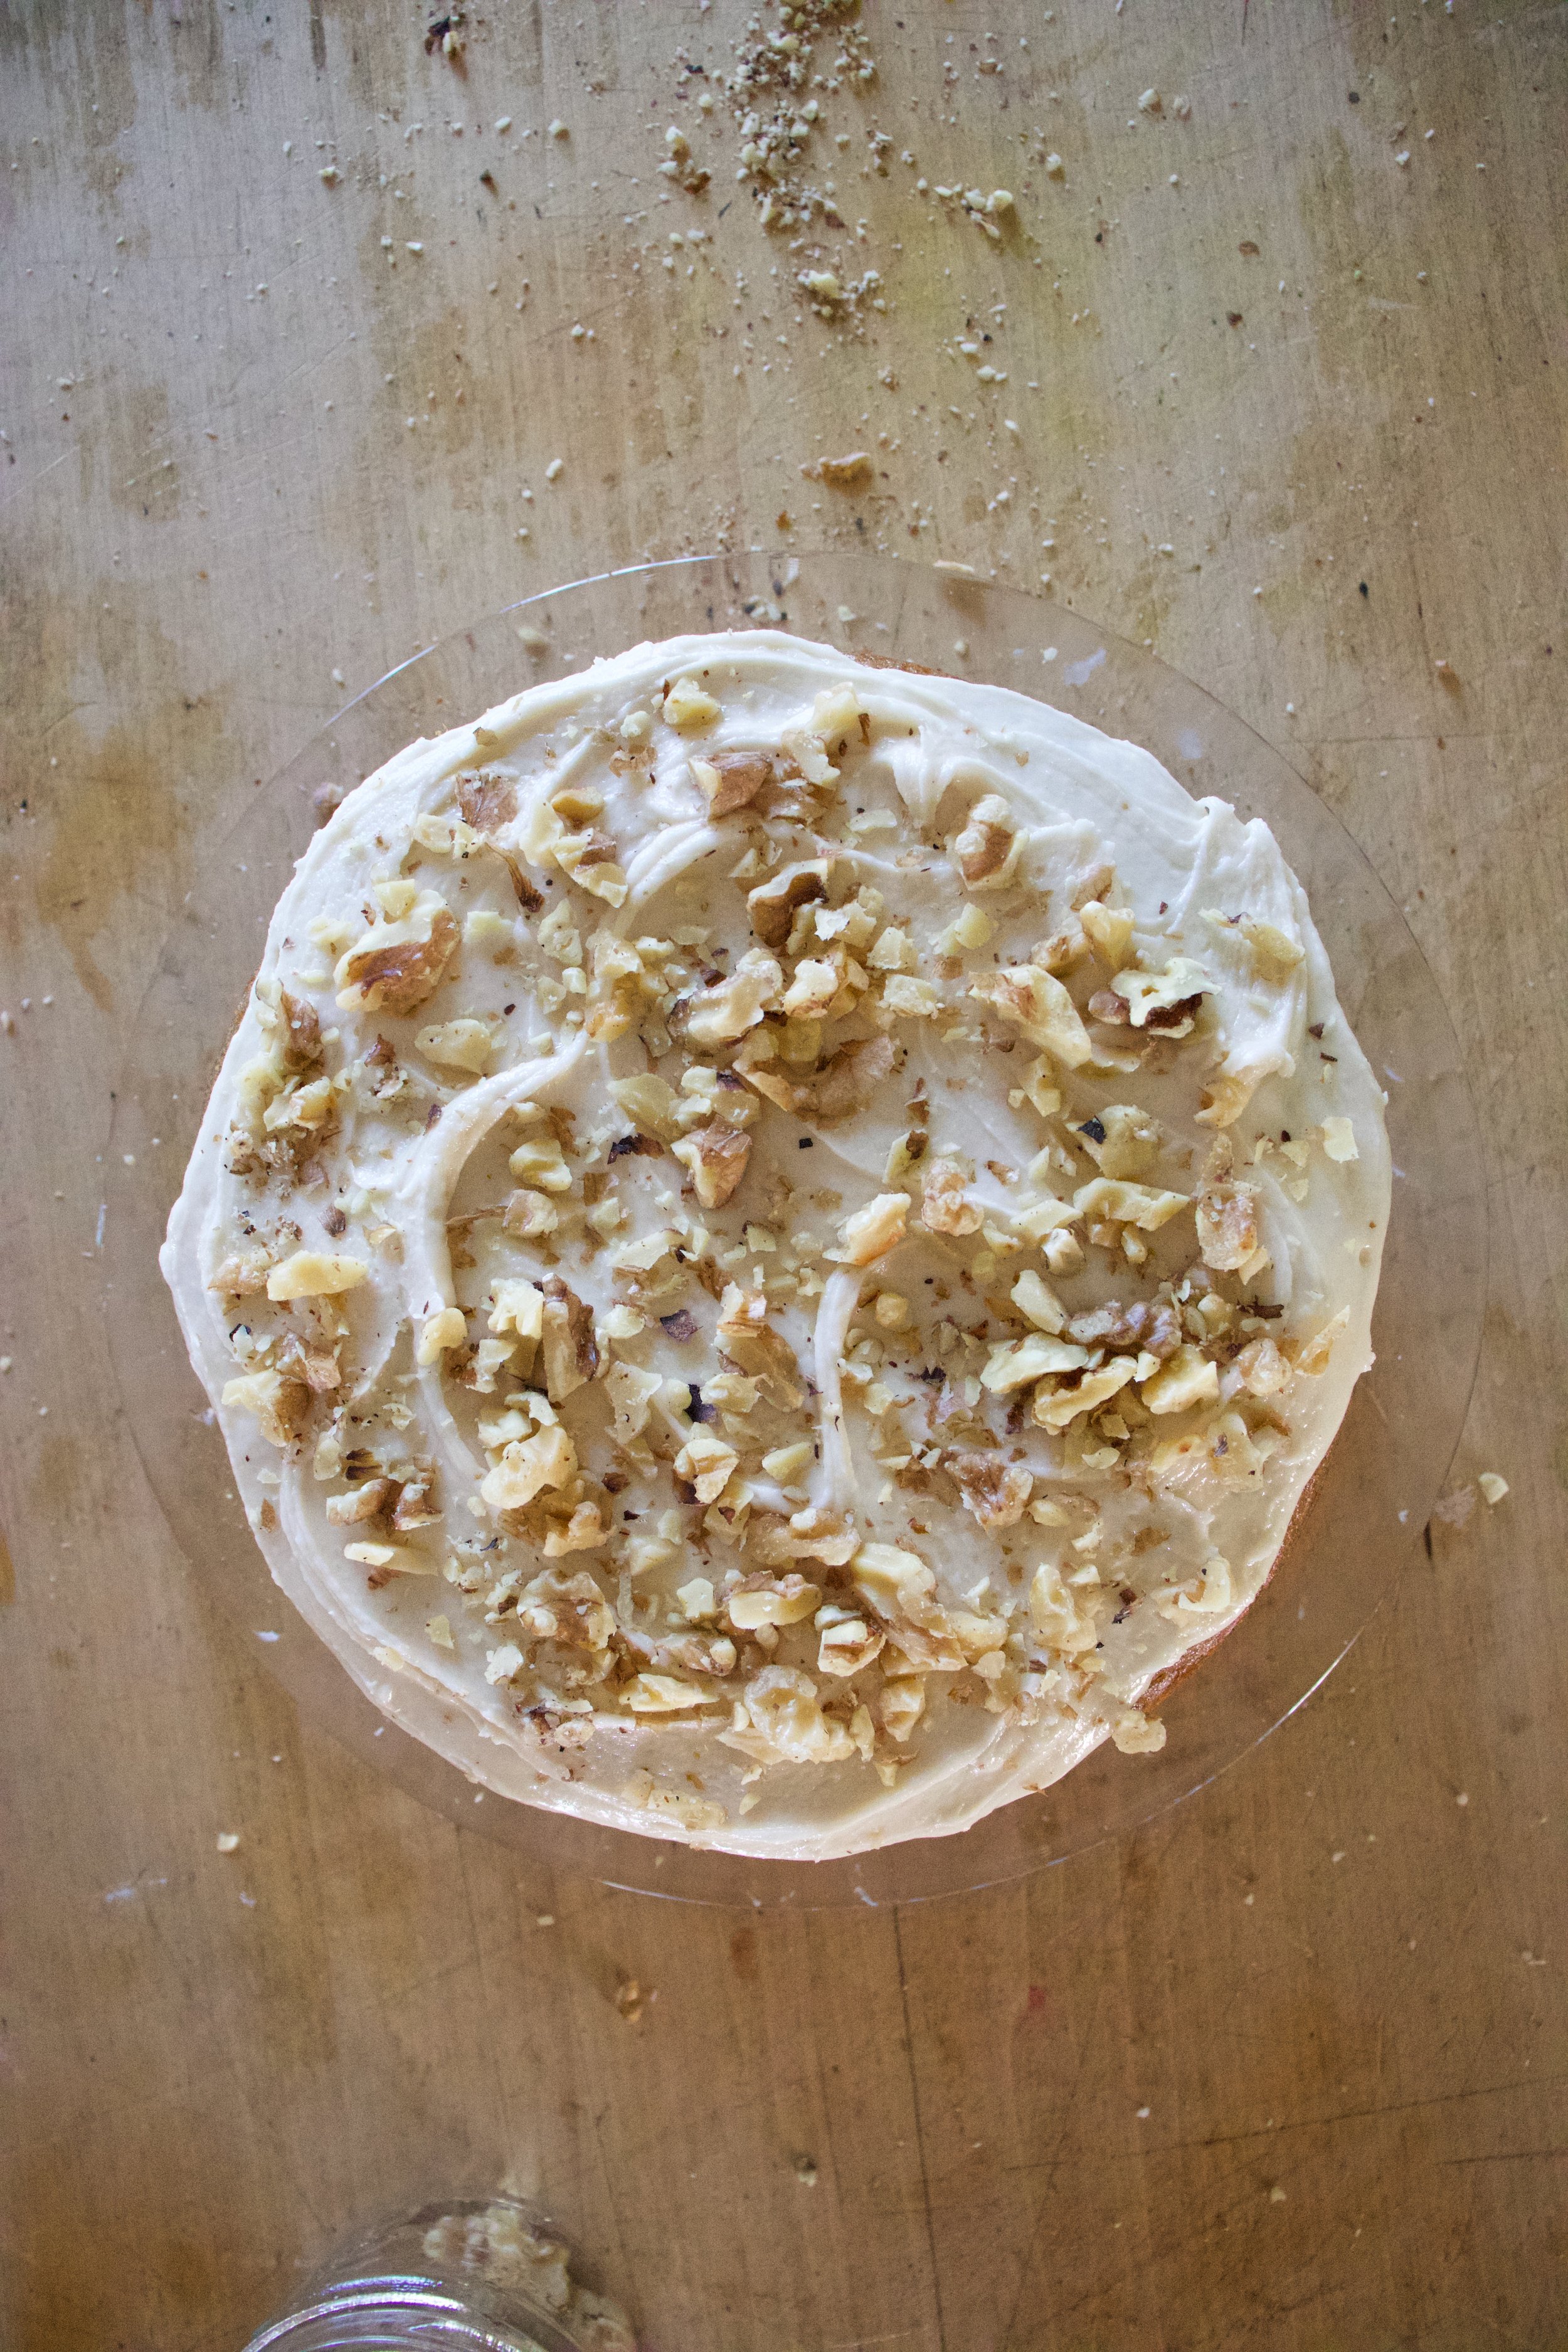
And now it’s cake assembly time. Place one completely cooled layer on a cake plate and spread half the frosting on top. Sprinkle with half the chopped nuts. Place second layer on, spread rest of frosting on top, and sprinkle with the rest of the nut.

And done.
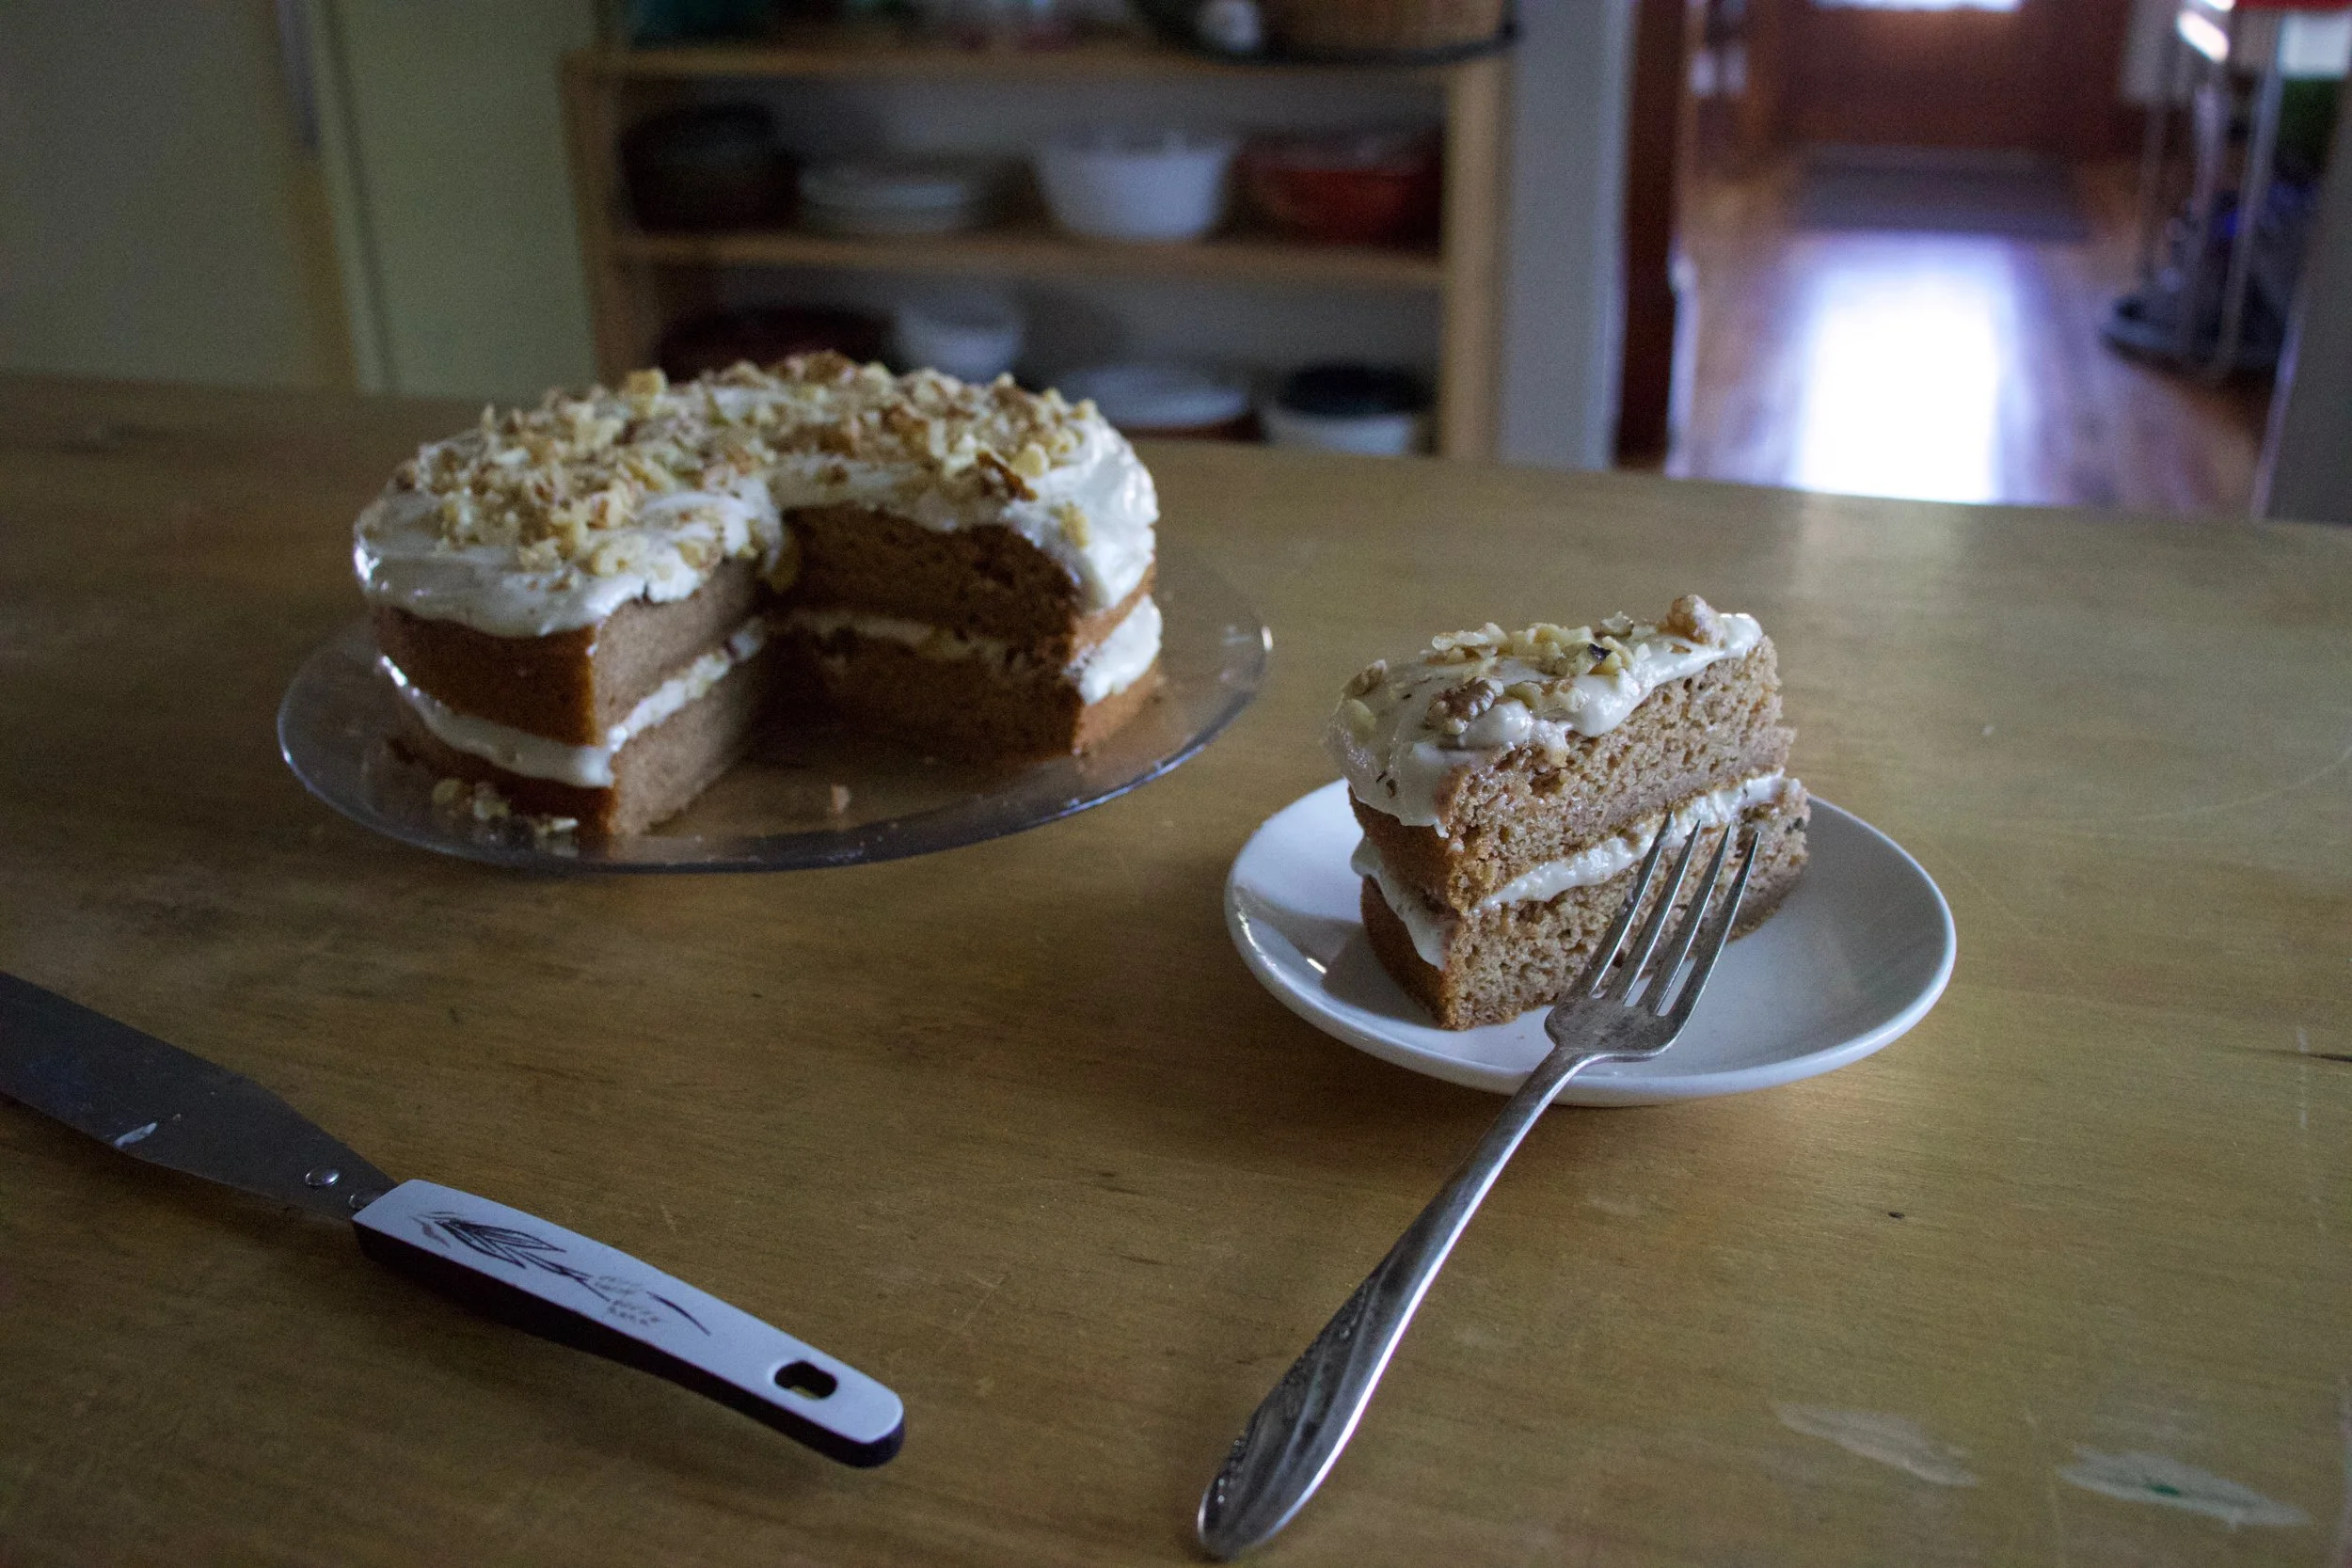
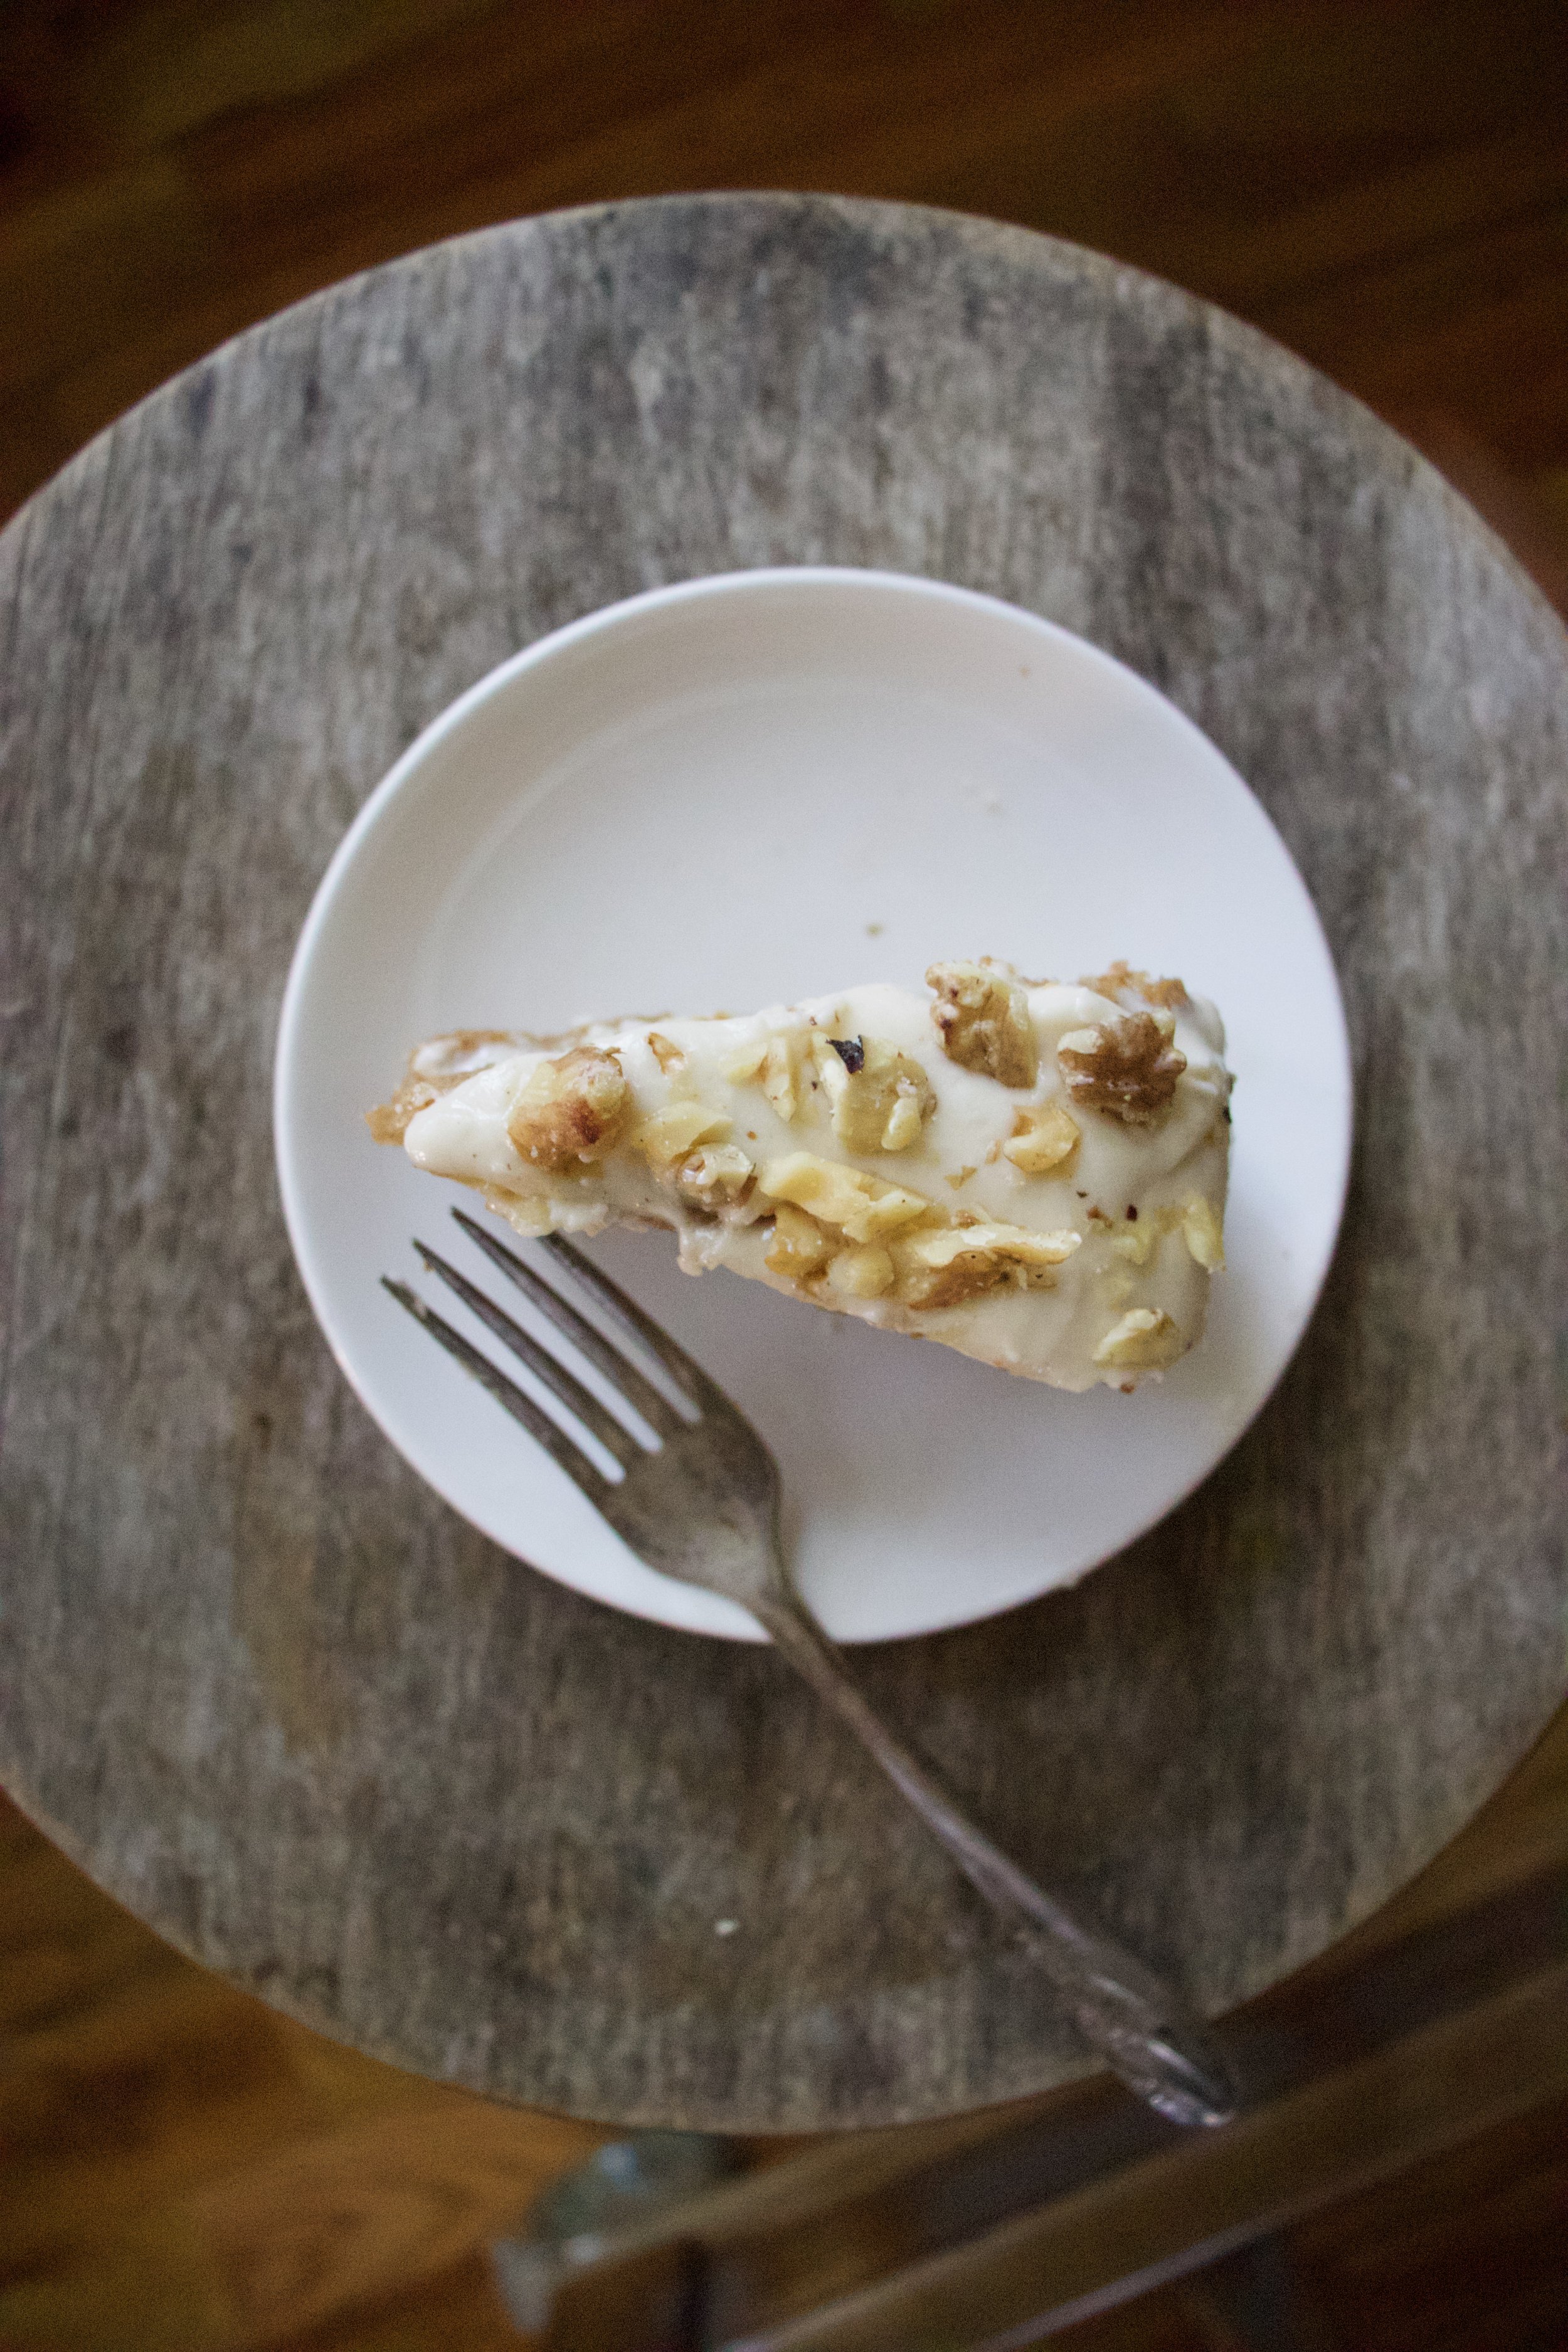
Now eat.
Enjoy the fall weekend and all the squash.
-C
Acorn Squash Spice Cake With Maple Frosting and Walnuts
makes and 8 inch 2 layer cake
For the Cake
2 1/4 cups all purpose flour
1/2 cup white sugar
1/2 cup brown sugar
1/3 cup neutral oil
2 cups acorn squash puree*
1 1/2 teaspoons baking powder
1 teaspoon baking soda
1 teaspoon salt
1 tablespoon cinnamon
1 teaspoon ginger
pinch of nutmeg
1 1/2 cups plant milk (I used soy)
1 tablespoon apple cider vinegar
For the frosting
3 cups powdered sugar
1/2 cup earth balance or any vegan butter
1/2 cup real maple syrup
1/4 teaspoon salt
1-2 teaspoons plant milk (if needed)
1 cup toasted walnuts
Note. For acorn squash puree. roast an acorn squash by place entire squash into oven at 425 degree for about 1/2 hour or until fork tender. Once cooked, cut in half, let cool a few minutes, then scoop out all the seeds. Remove skin and blend the squash until smooth.
Preheat oven to 350
Place brown and white sugar into bowl along with the oil and squash puree. Mix until completely incorporated. In a larger bowl, mix together the flour, baking soda and powder, salt, and spices. Pour wet mixture into dry almond with the soy milk and apple cider vinegar. Mix until just completely incorporated then stop to prevent over mixing.
Grease and parchment line two 8 inch cake pans. Pour batter evenly between pans then place into oven for 30-35 minutes or until Depp golden brown and a tester stuck into middle of cakes comes out clean. When it’s done, remove from oven, let cook a few minutes, then remove from cake pans. Place on a wire rack o cool completely.
While cake is cooling, make the frosting. Beat together the powdered sugar, salt, maple, and earth balance until nice and creamy. If the frosting seems to thick, add a splash of milk, to thin, add a 1/4 cup more of powdered sugar.
Chop walnuts into small bits if they are not already.
Once cakes are completely cooled, assemble. Place first layer on cake plate and spread 1/2 the frosting onto first layer and sprinkle on half of the chopped walnuts. Place on second layer, spread the rest of the frosting on top, and sprinkle on the rest of the nut. And that is it. Now you just need to eat it.
Store any left overs in for a day on the counter, but any longer place in an airtight container in the fridge. I even froze a few pieces and the mr loved them frozen to if you like frozen cake…..