• stem+node ceramics
  • HOME
  • Food Recipes
  • About
  • Contact
Menu

The Lovely Crazy

Street Address
City, State, Zip
Phone Number

Your Custom Text Here

The Lovely Crazy

  • stem+node ceramics
  • HOME
  • Food Recipes
  • About
  • Contact

Chocolate filled Vanilla Sugar Sandwich Cookies

October 19, 2019 Colleen Stem
IMG_3080.jpg
IMG_3060.jpg

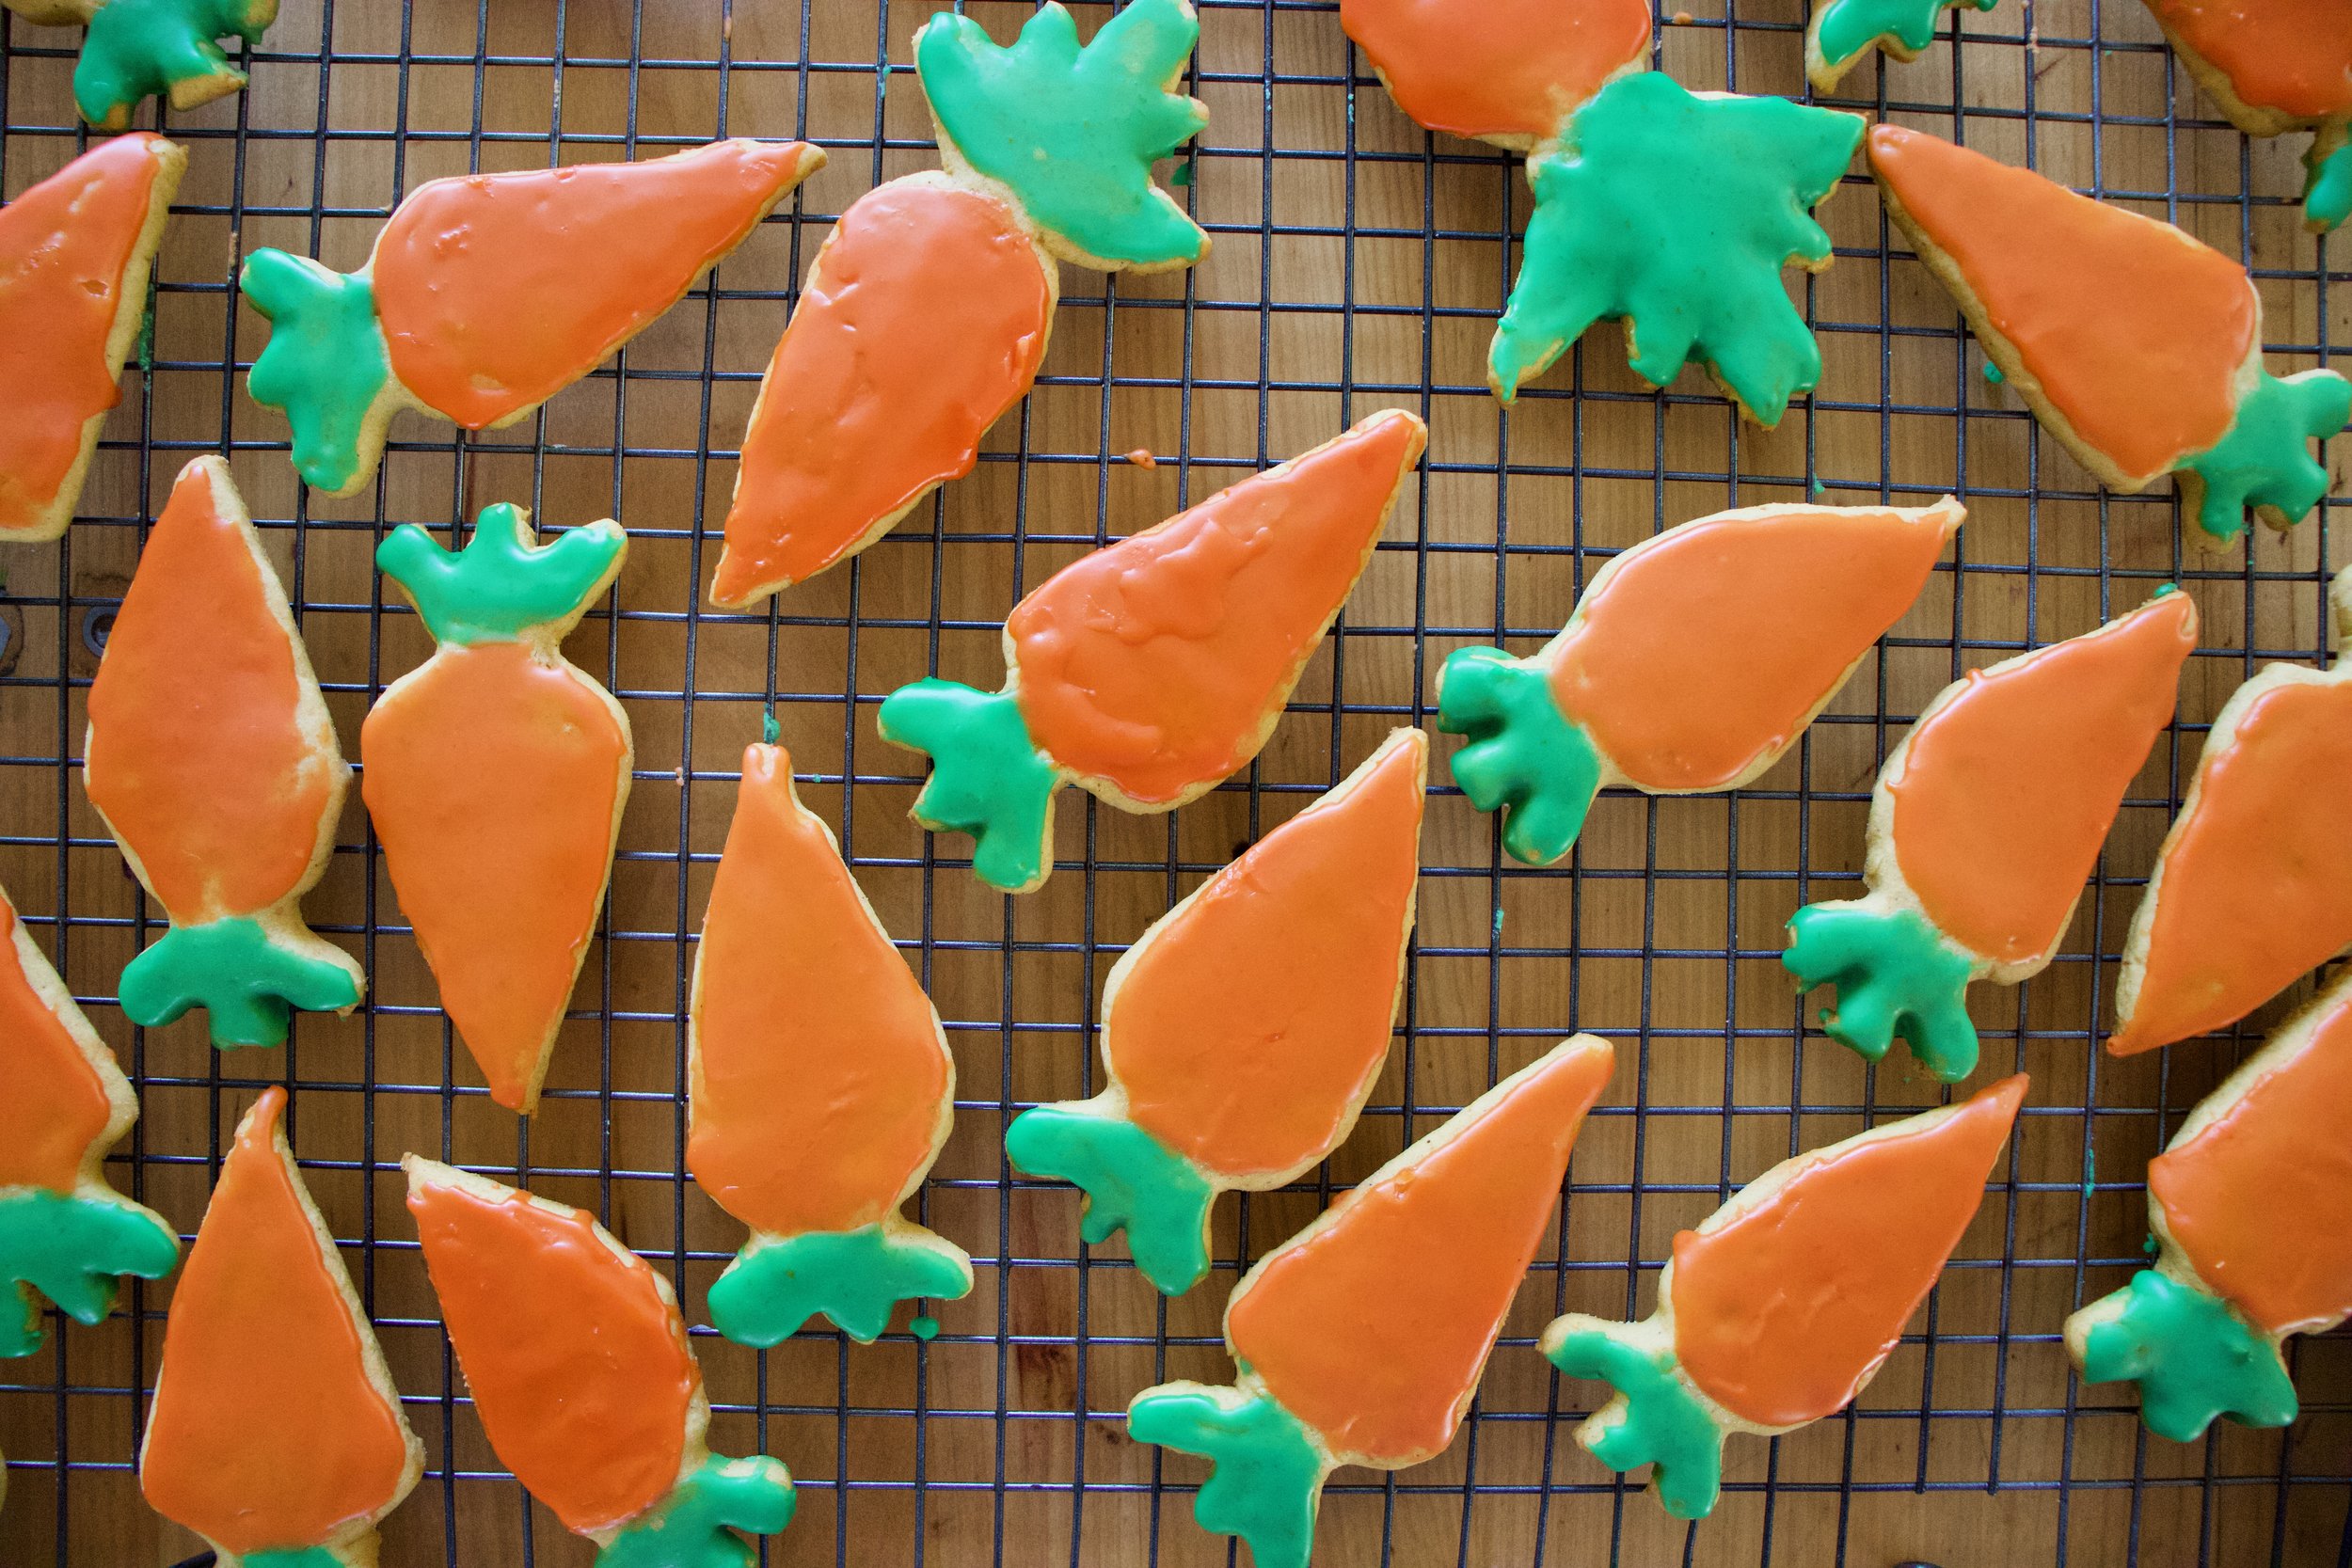
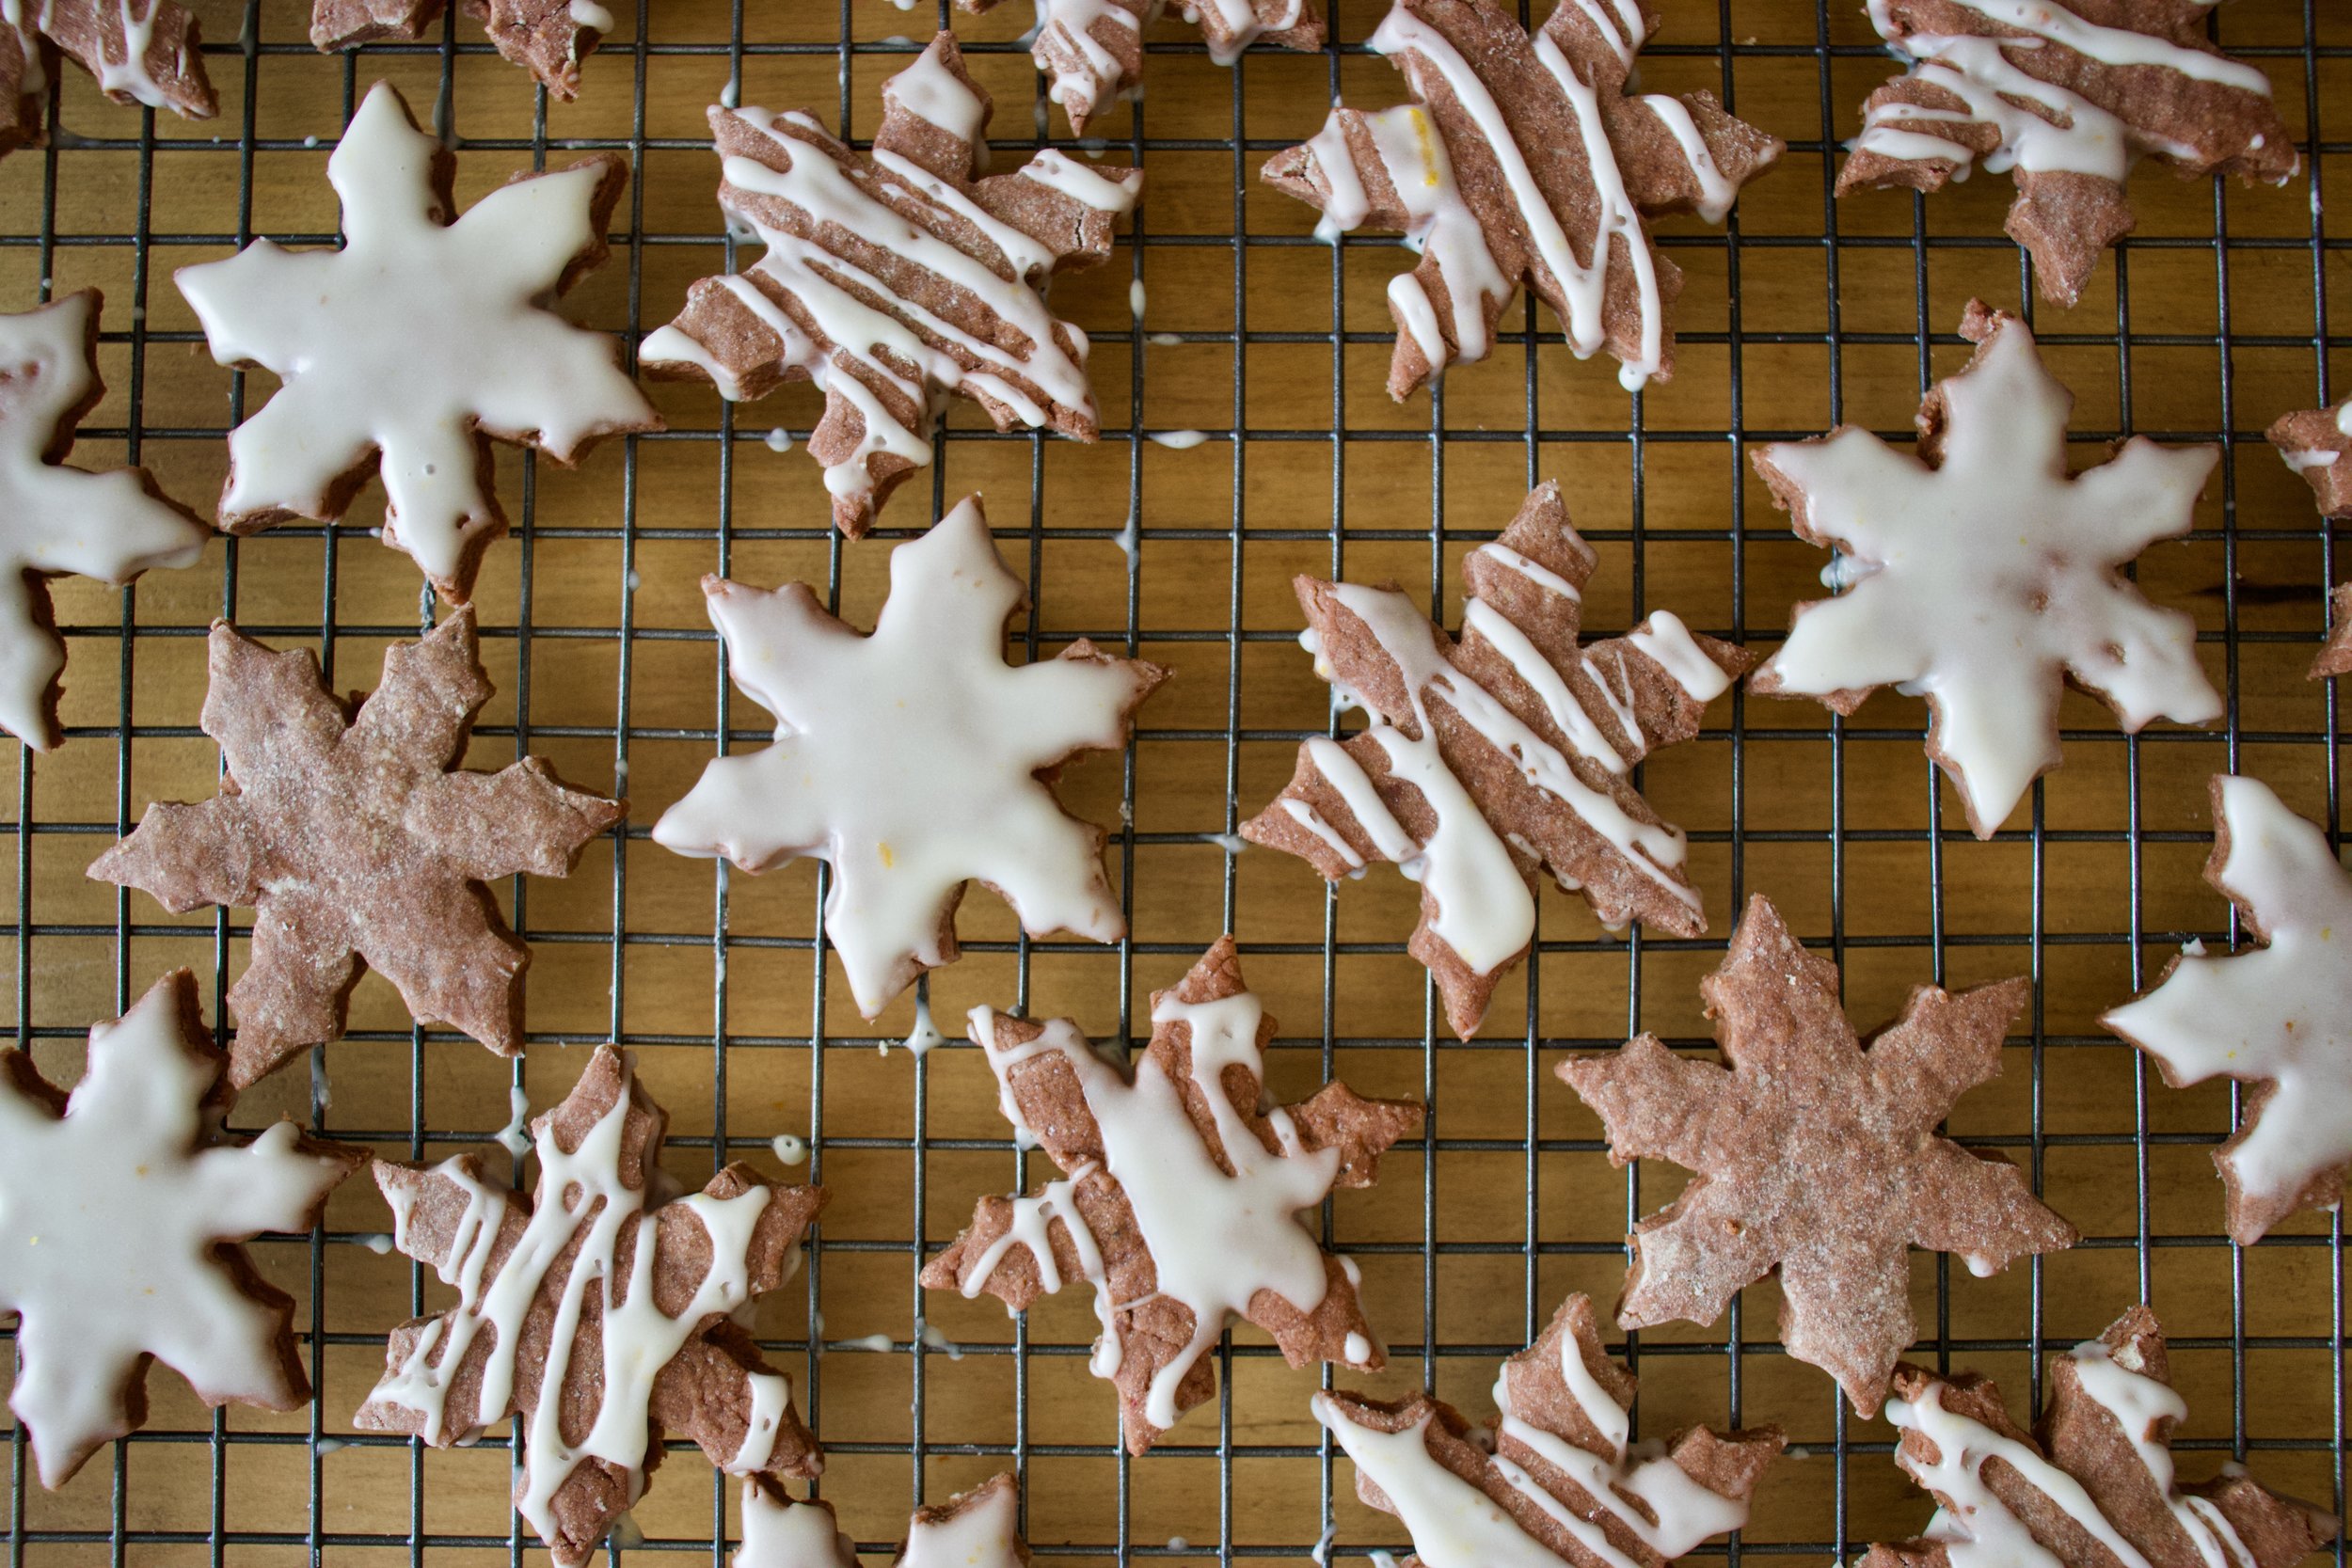
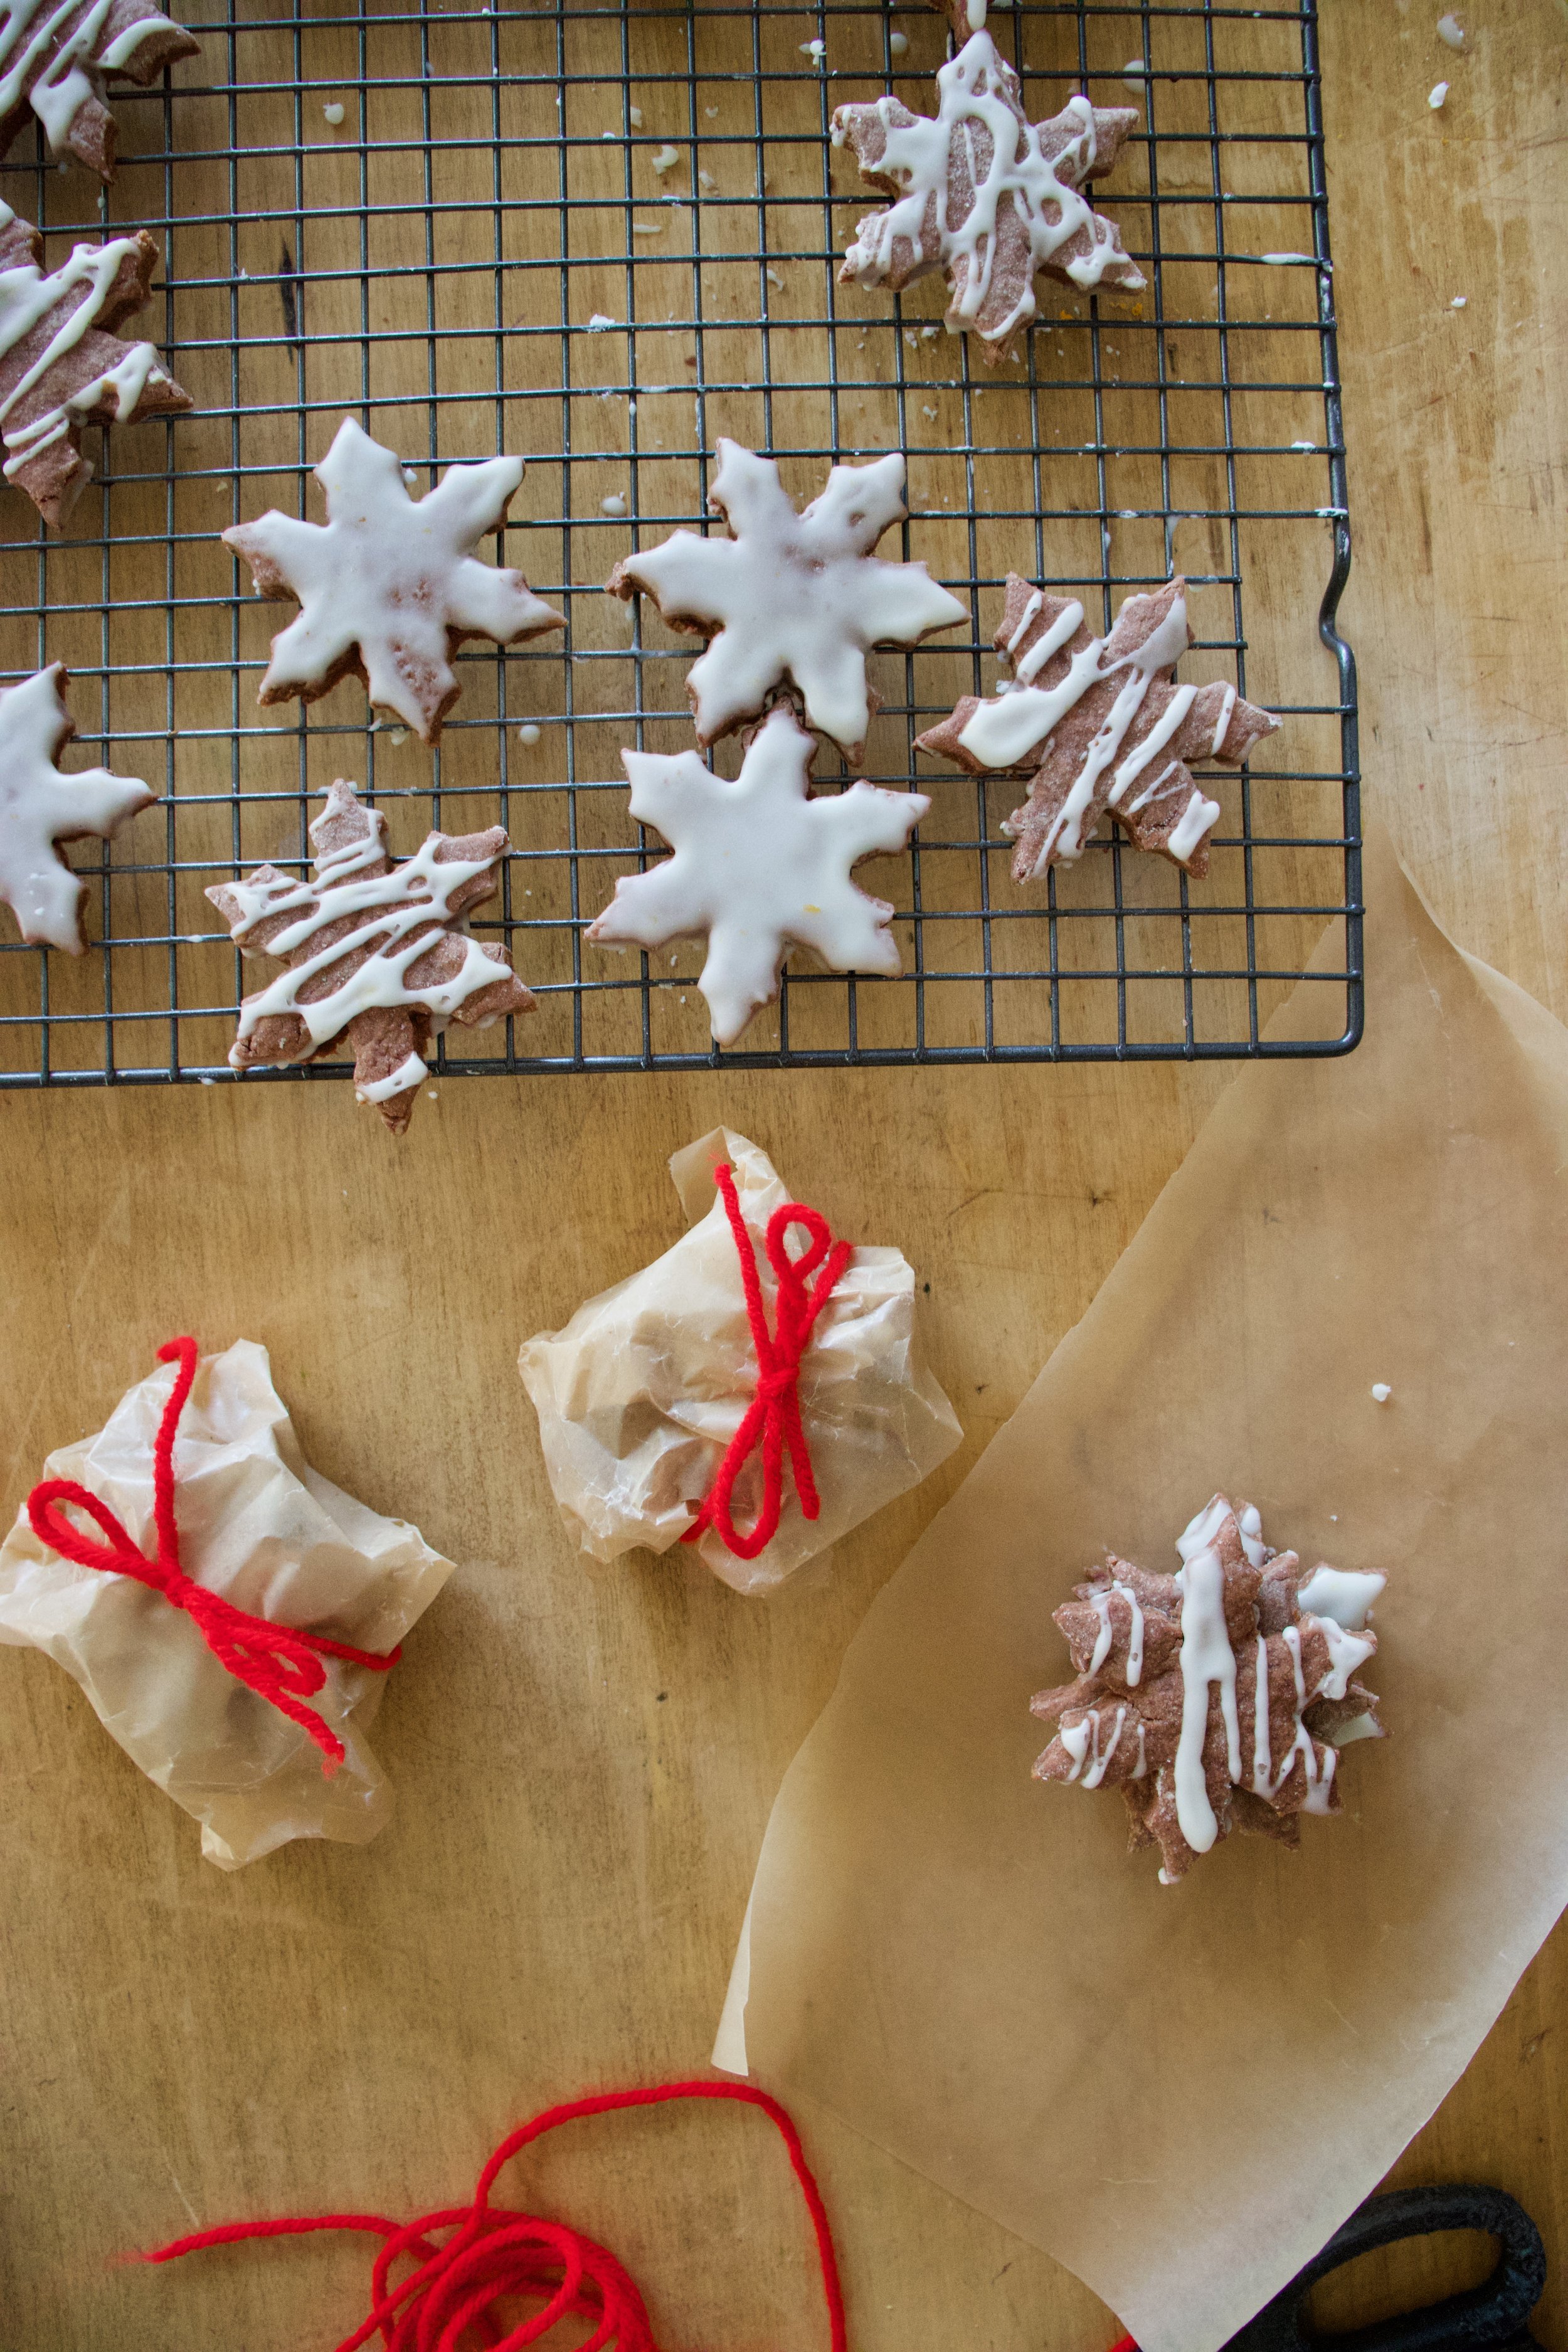
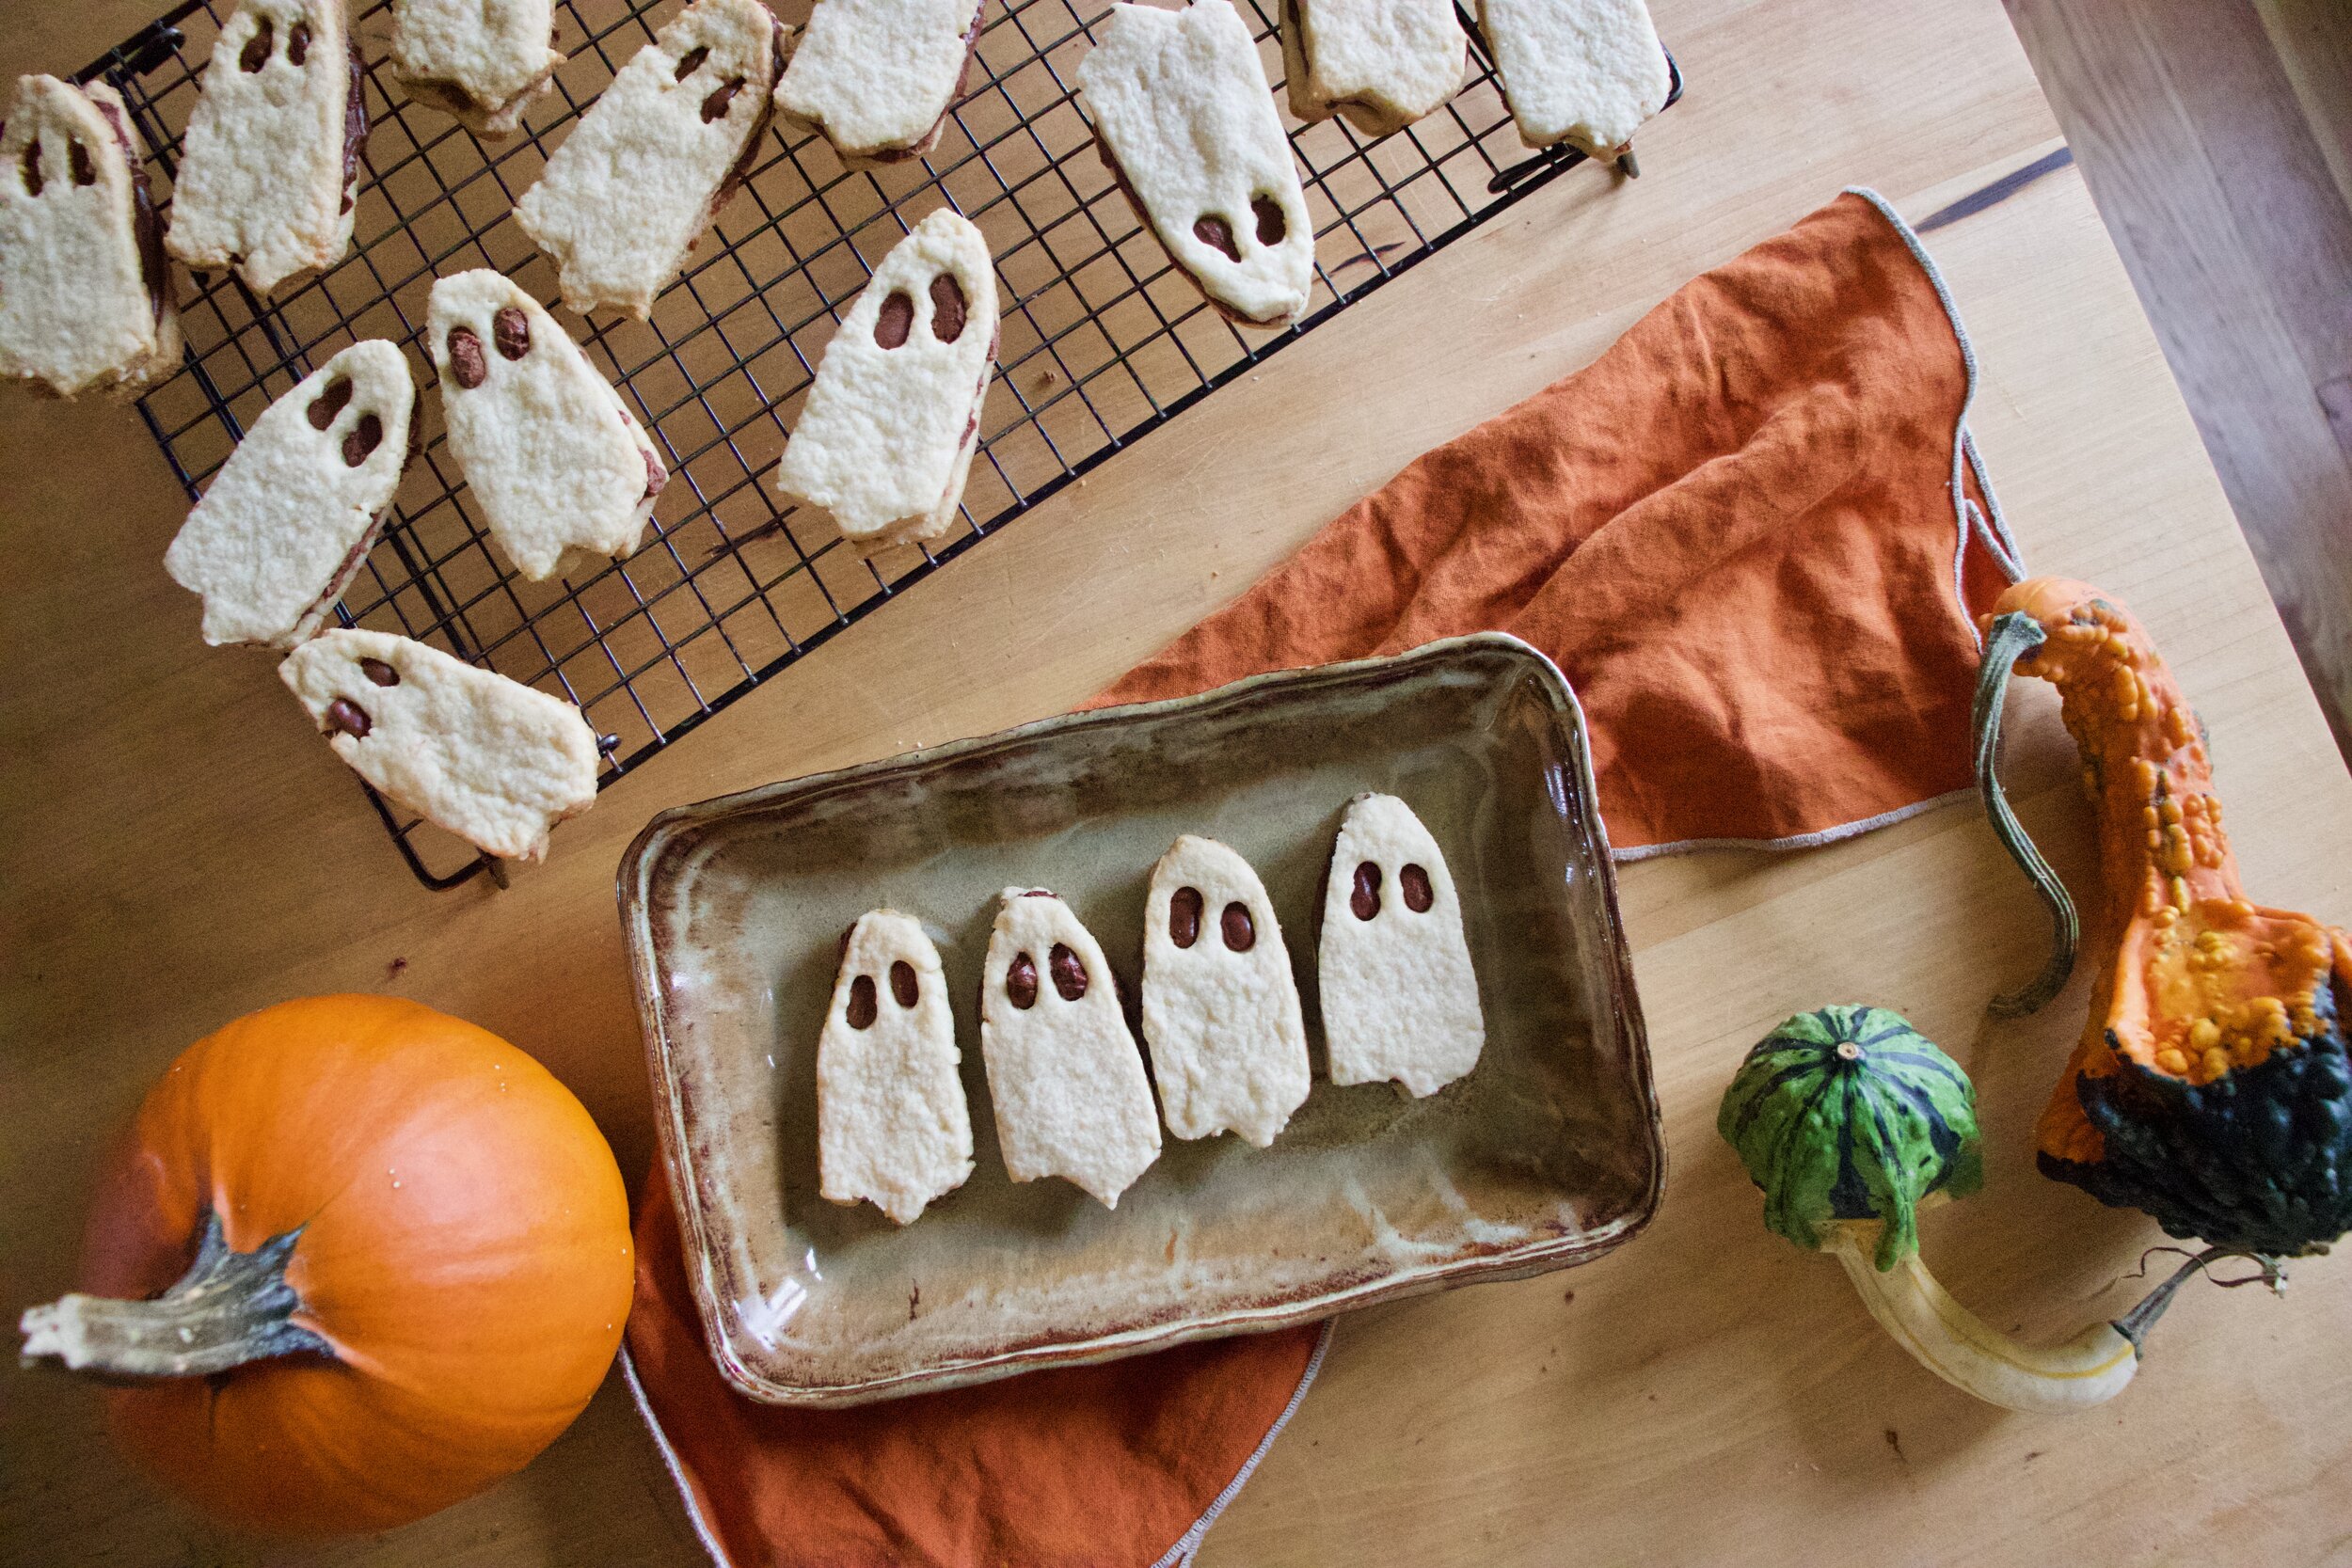
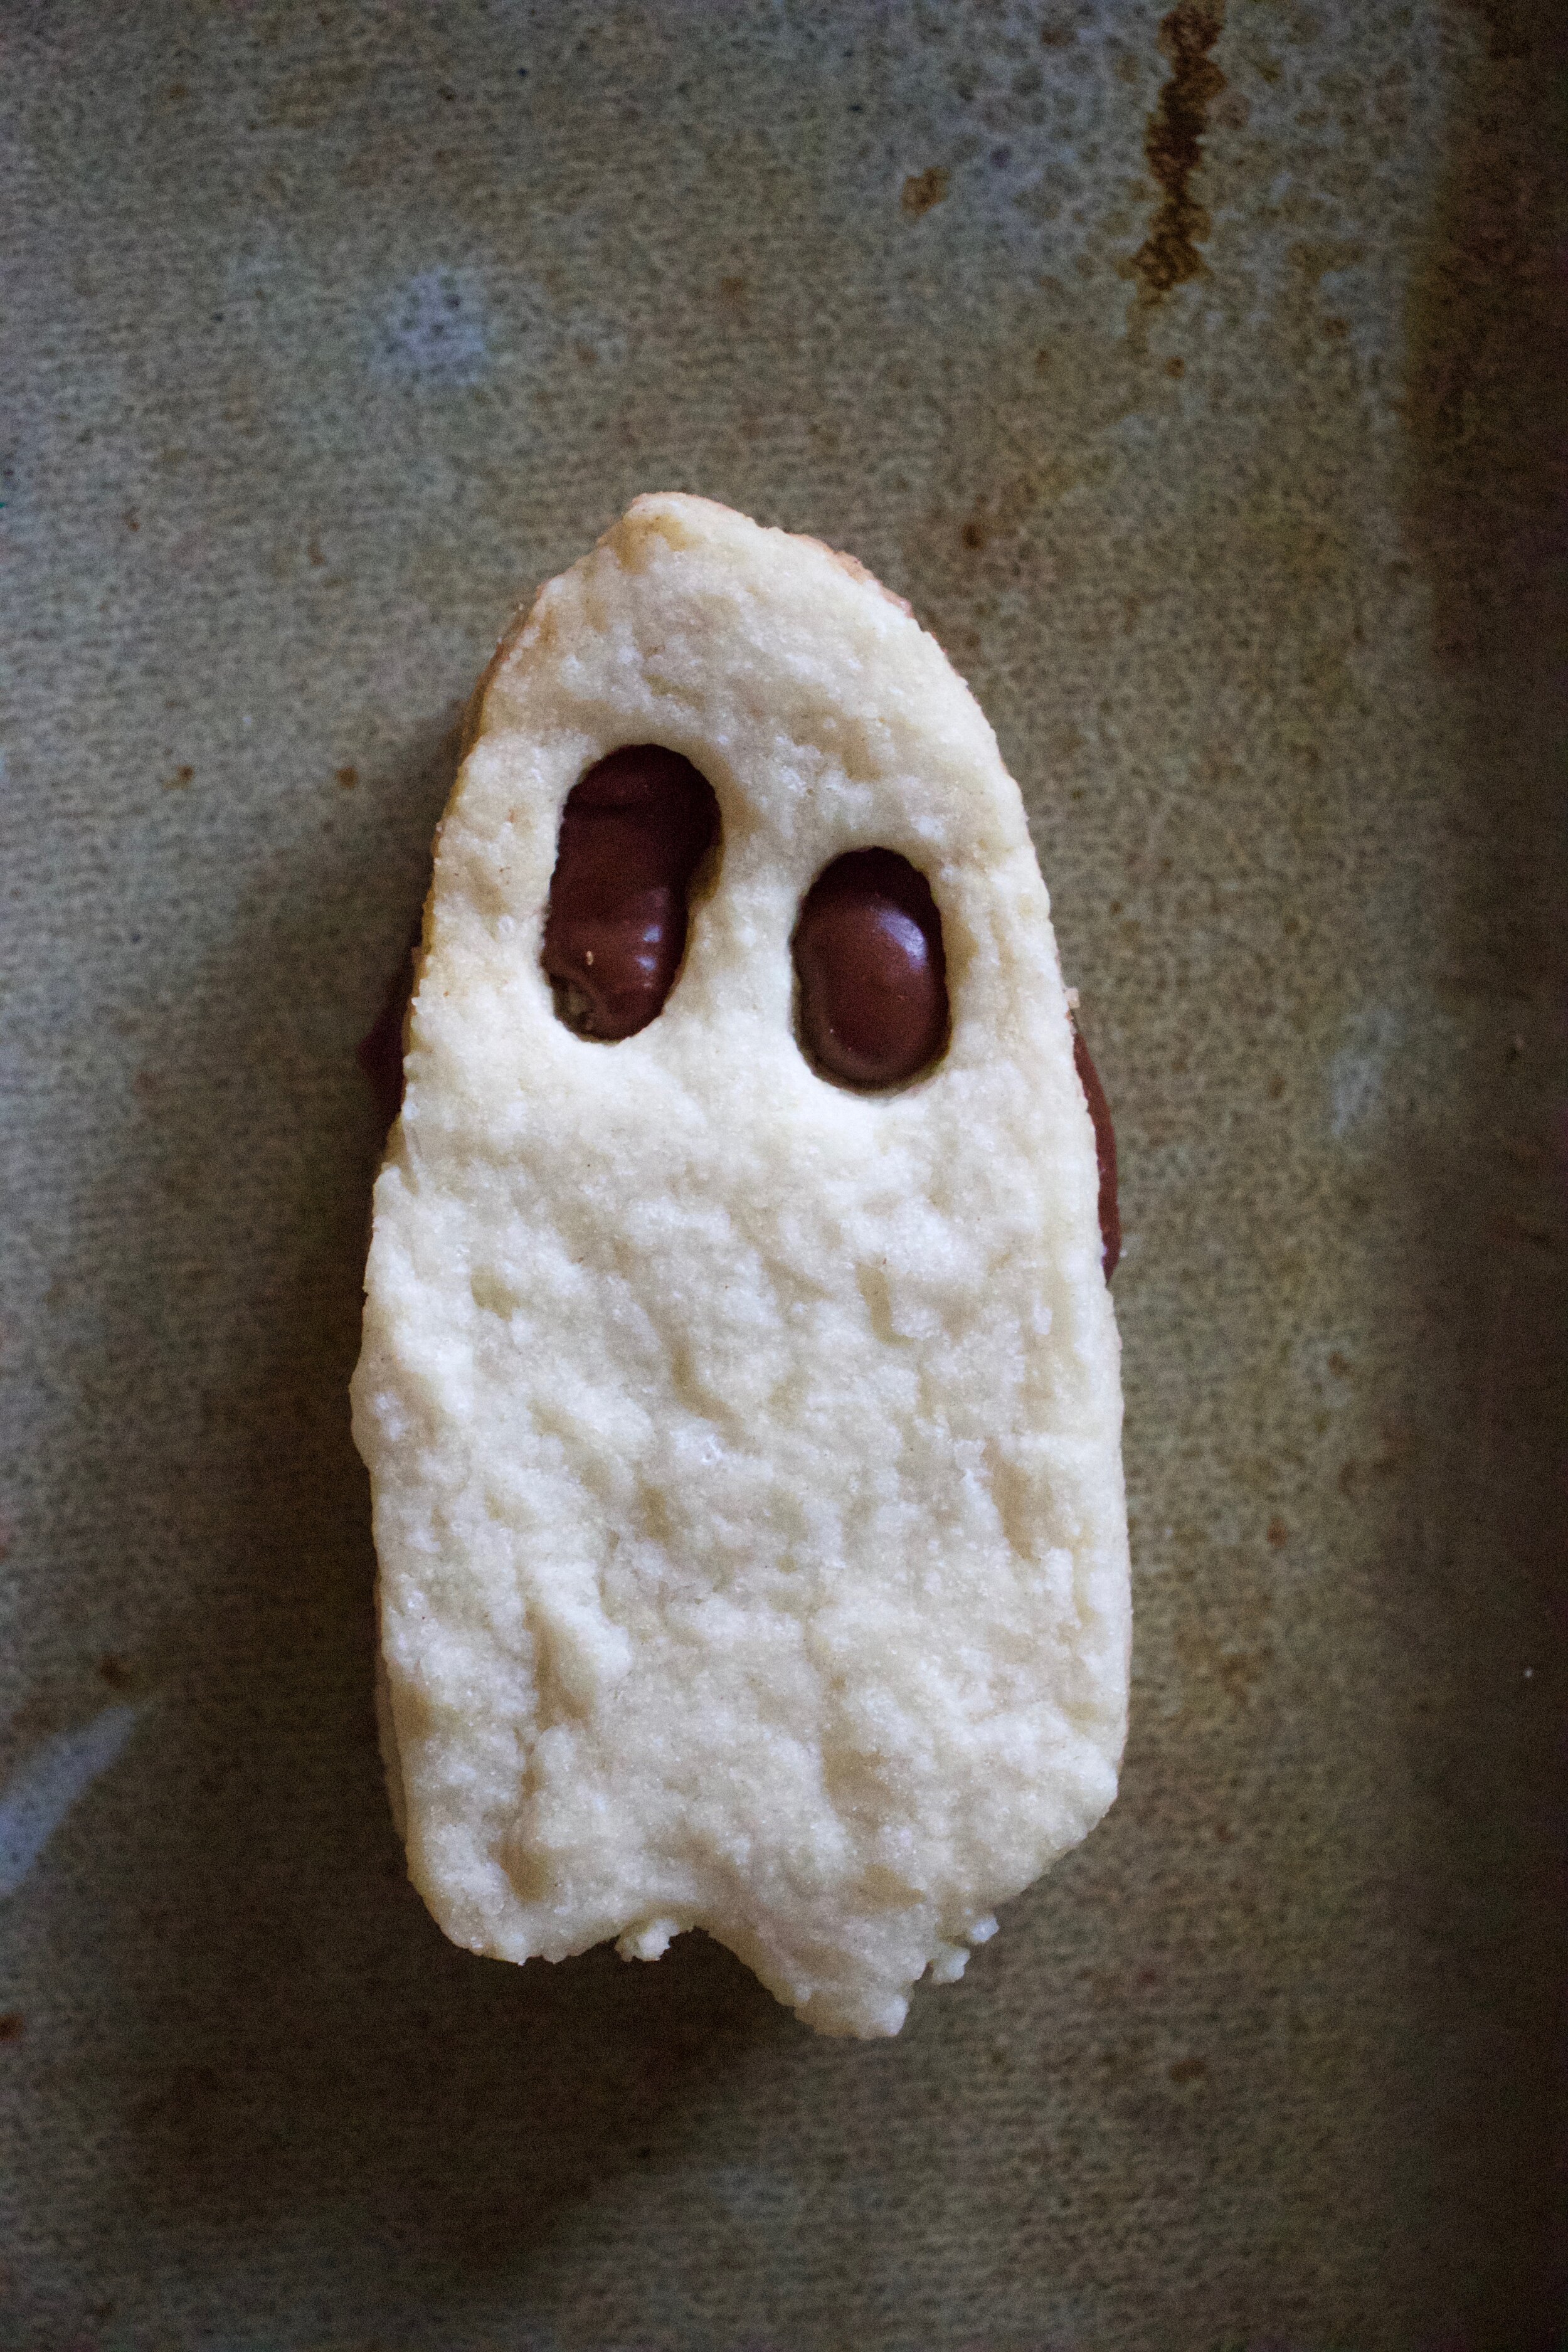
As of right now, these are by far the best cookies I have ever made. Look at them. They are SO CUTE!. Worth all the effort, seeing that I do not own a ghost cookie cutter (although I think my version of ghosts are pretty fantastic) and had to hand cut out each cookie with a knife and a ghost cutout I made a few weeks back. They make me happy just looking at them. That right there is saying something. And I don’t know about you and where you are, but it is getting pretty freaking cold out and I refuse to turn the heat on for a few more weeks so I do what I need to do to stay warm. If that means turning on the oven to bake cookies, then so be it. I have a feeling I am going to be making a few more batches of cookies before the months over. HA! (For reals though.)

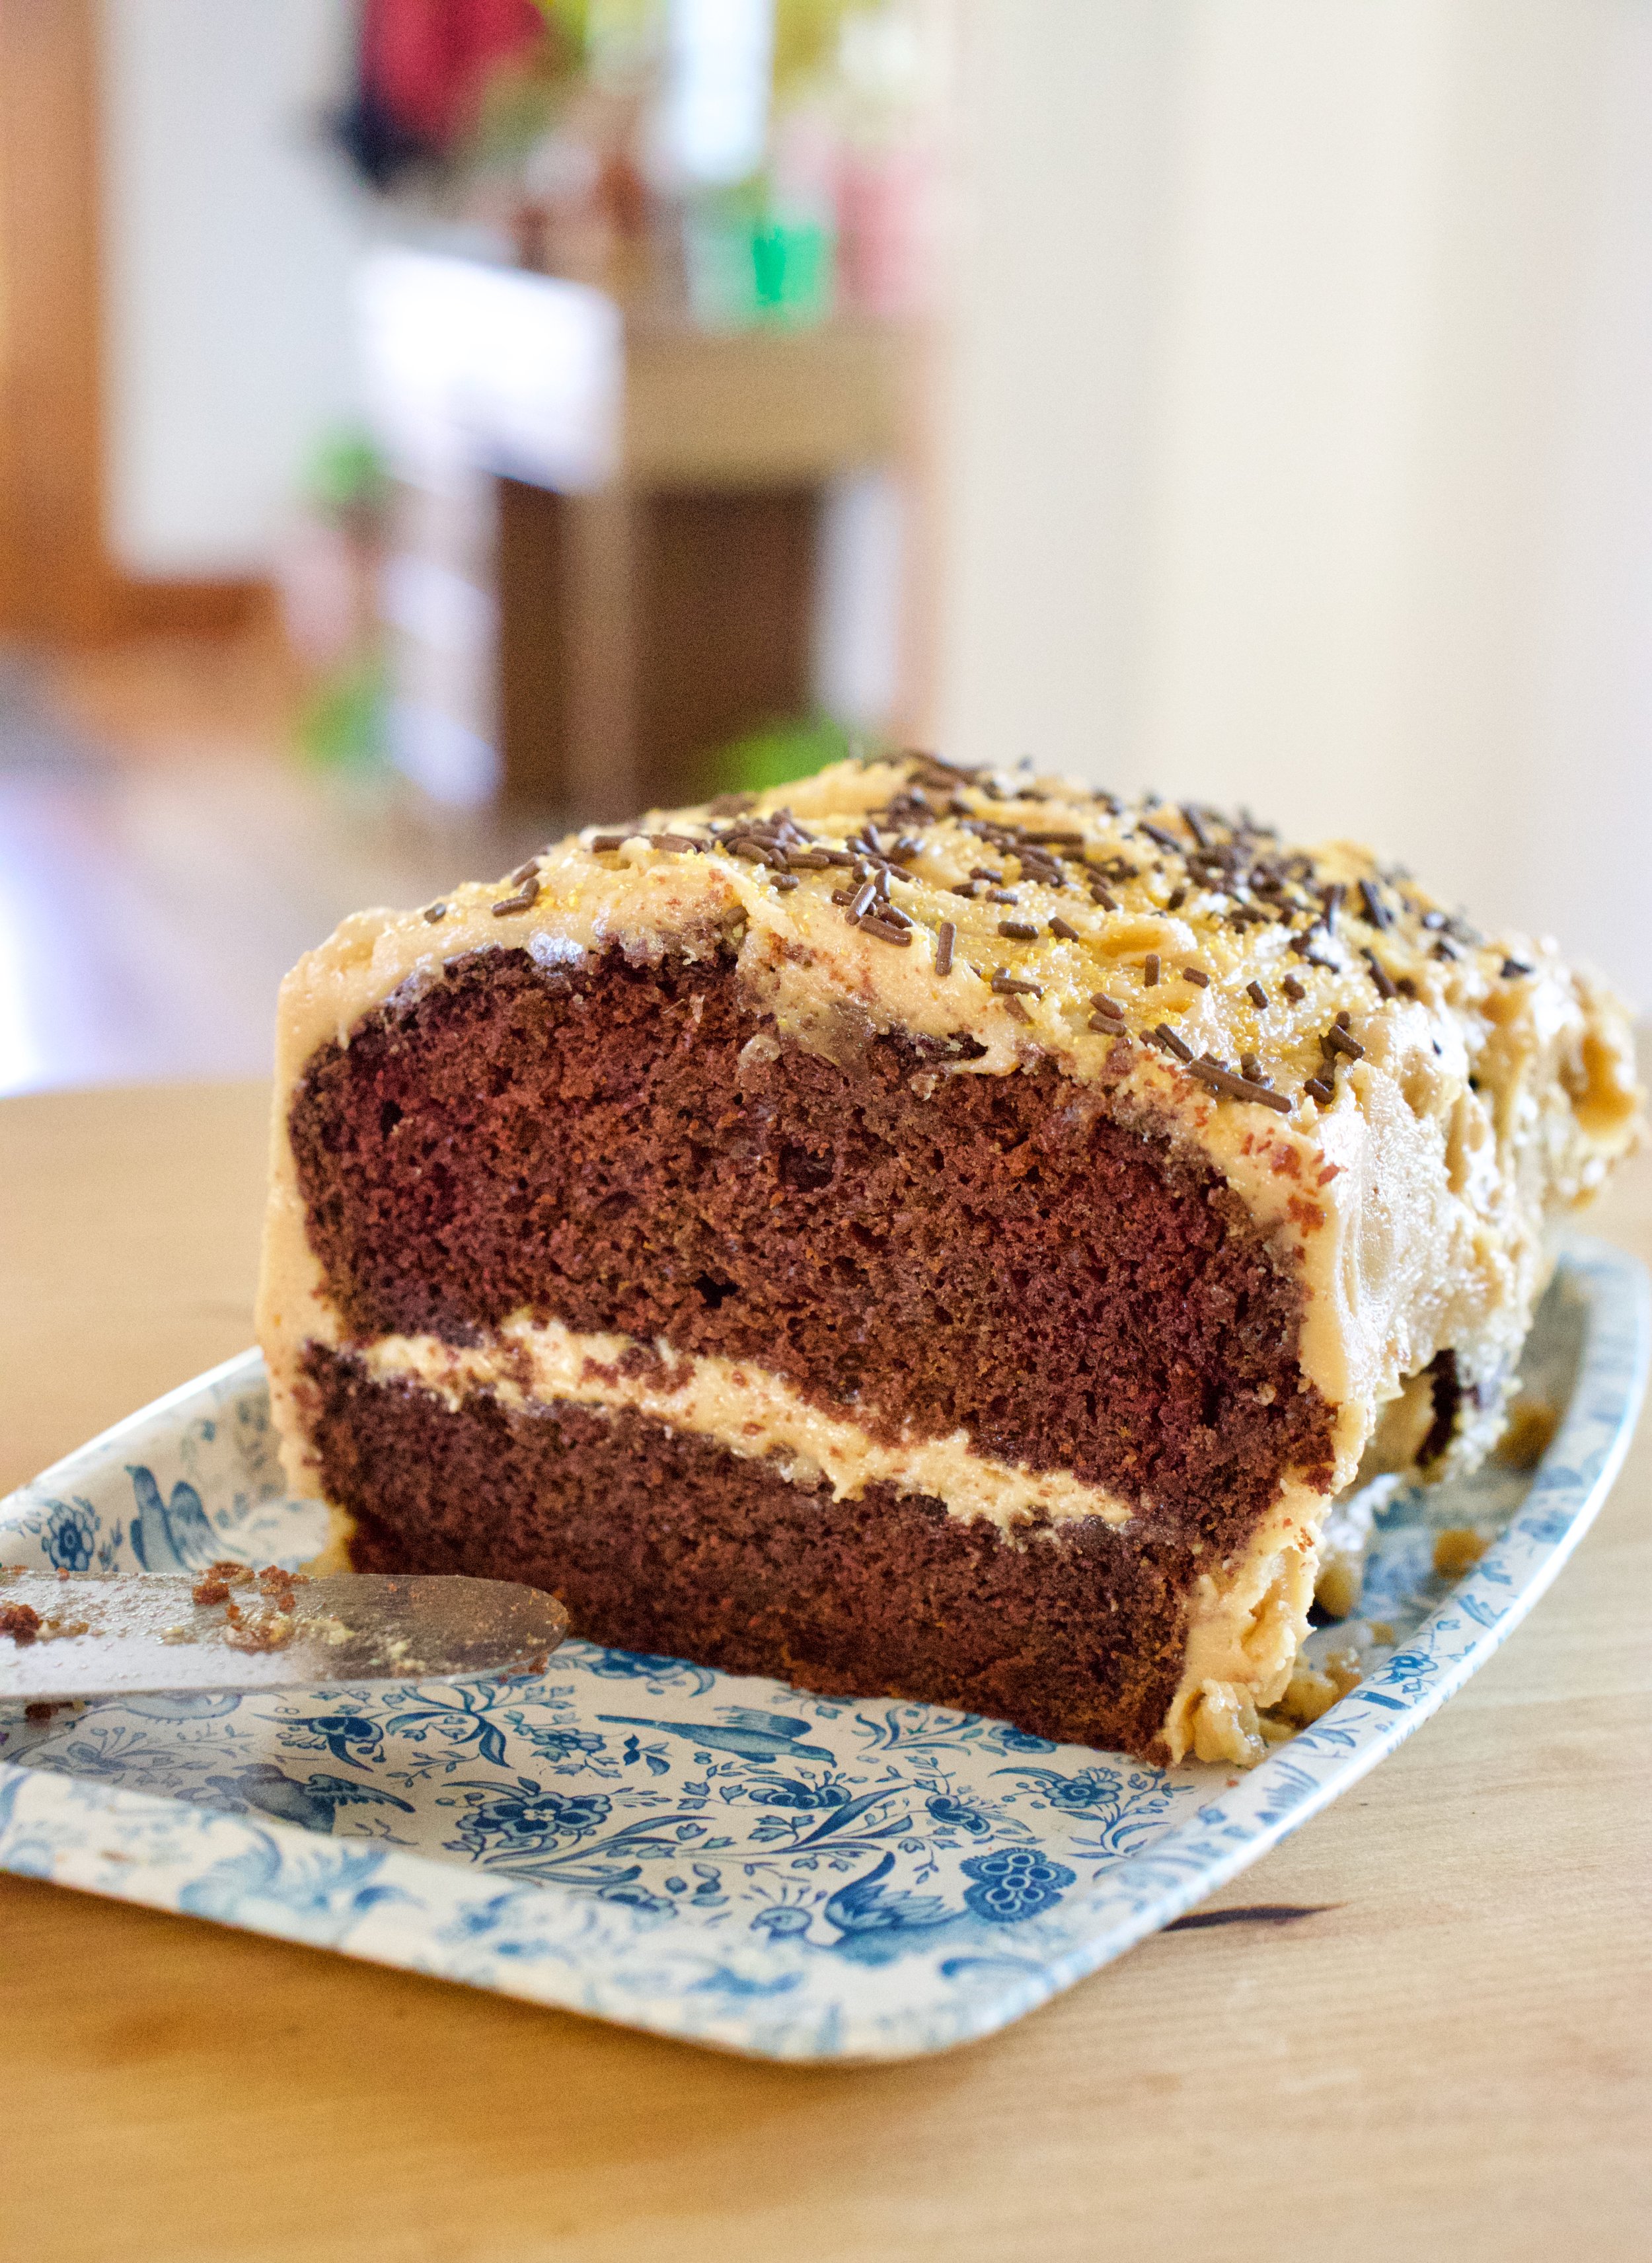
These cookies are more or less a traditional sugar cookie with a chocolate ganache type filling, both with a hint of coconut flavor from the use of coconut oil. Something about the whole combination; the cookie, the coconutieness, and the chocolate that really had everyone (I gave them out a Barbs birthday party) praise my amazingness. I guess they are pretty freaking delicious.

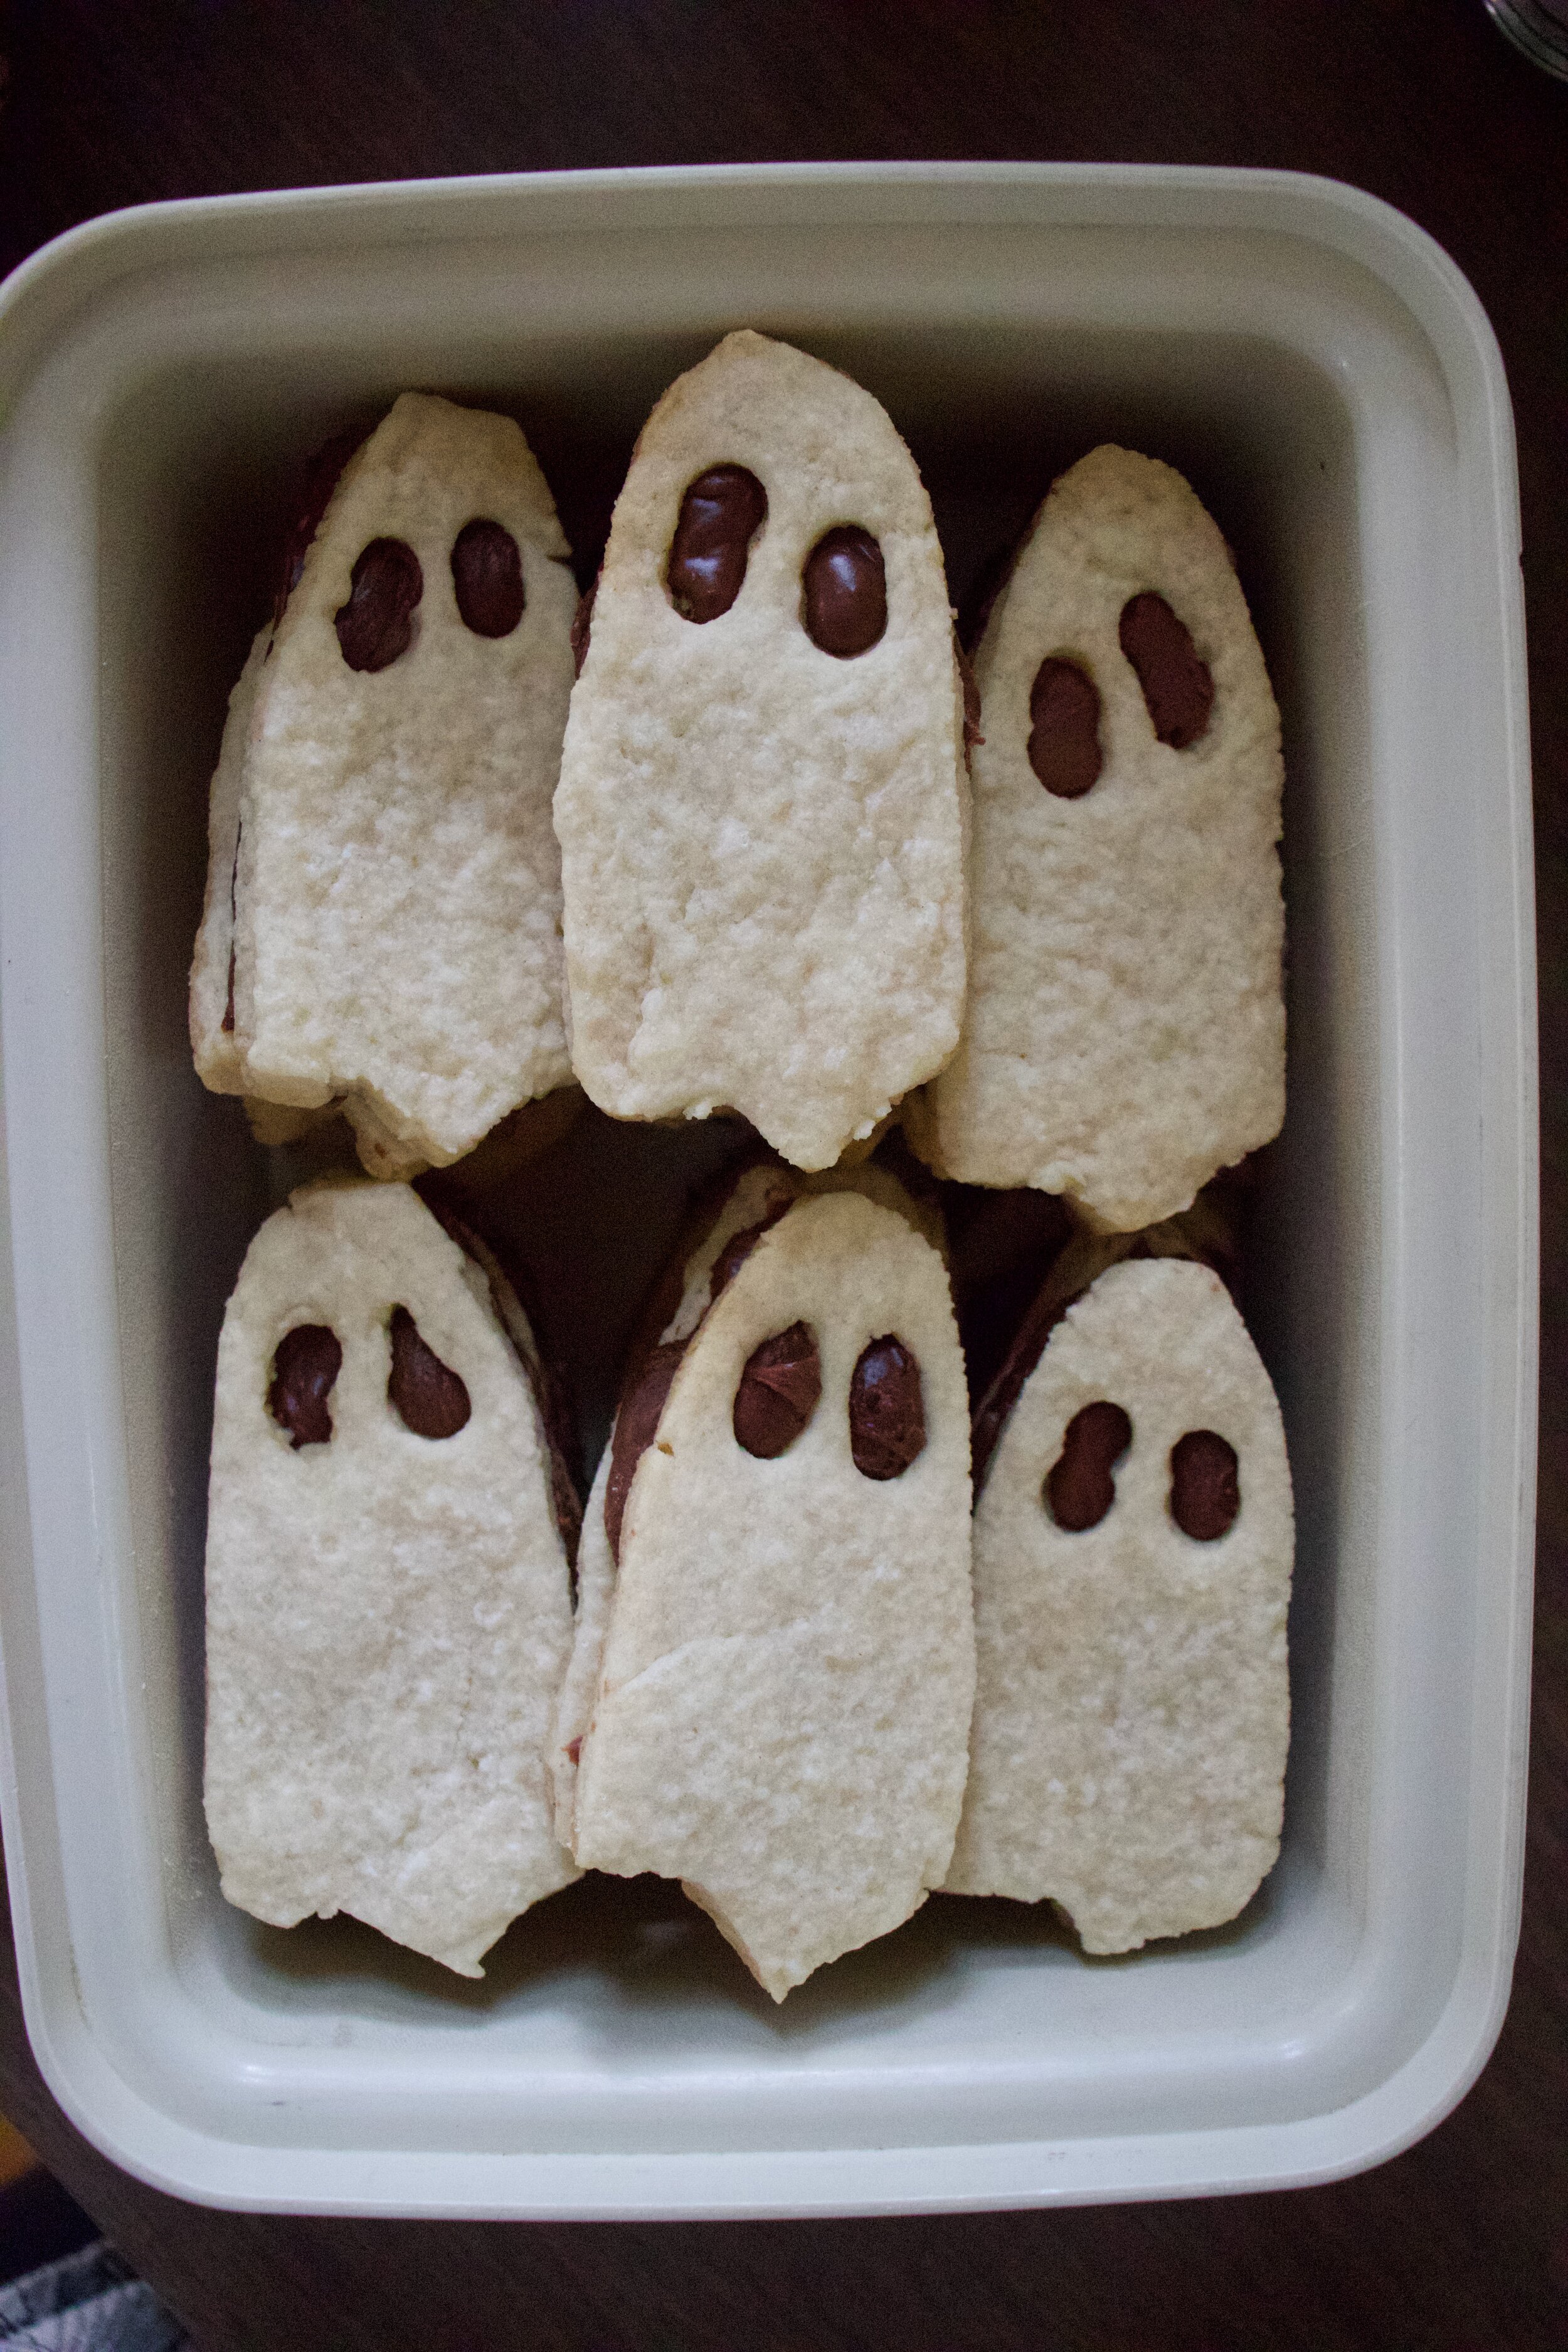
Cute and delicious. Best kind of cookie!

And quick note. Yes these are ghosts but think of all the fun shaped sandwich cookies you could make. I am thinking moose shaped cookies next or maybe Christmas trees… Oh the possibilities!

Now, to the cookies!

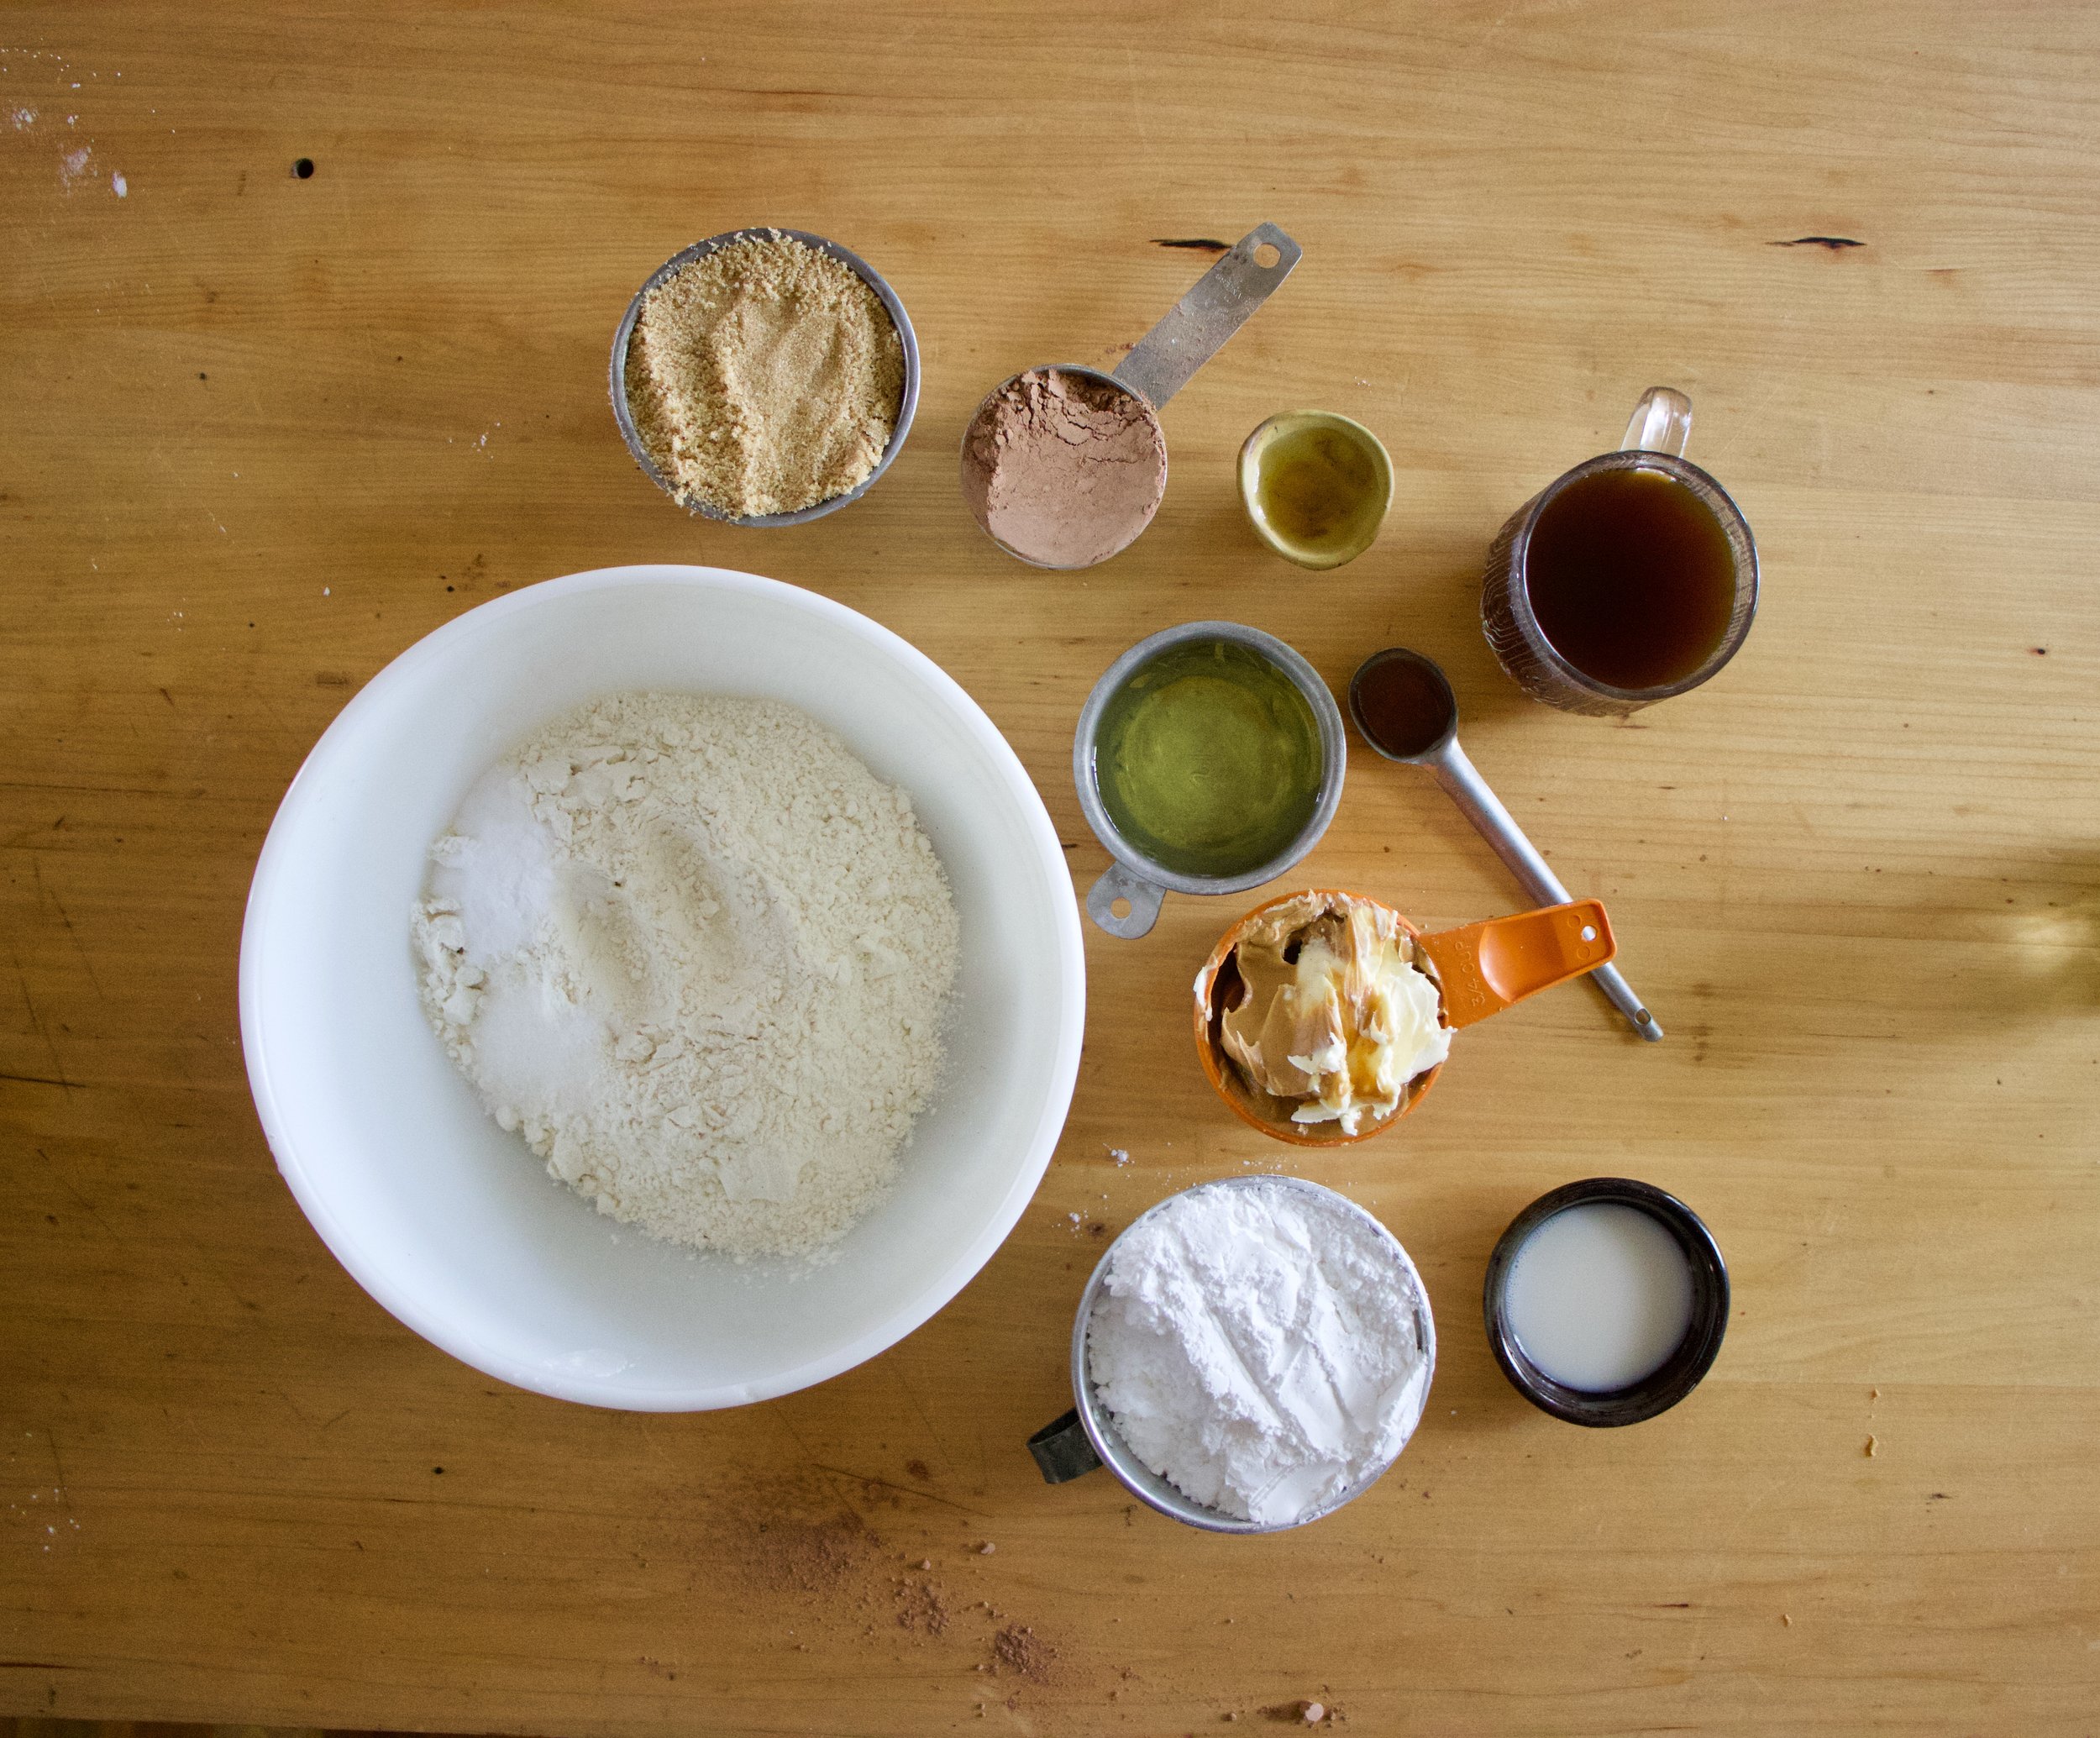
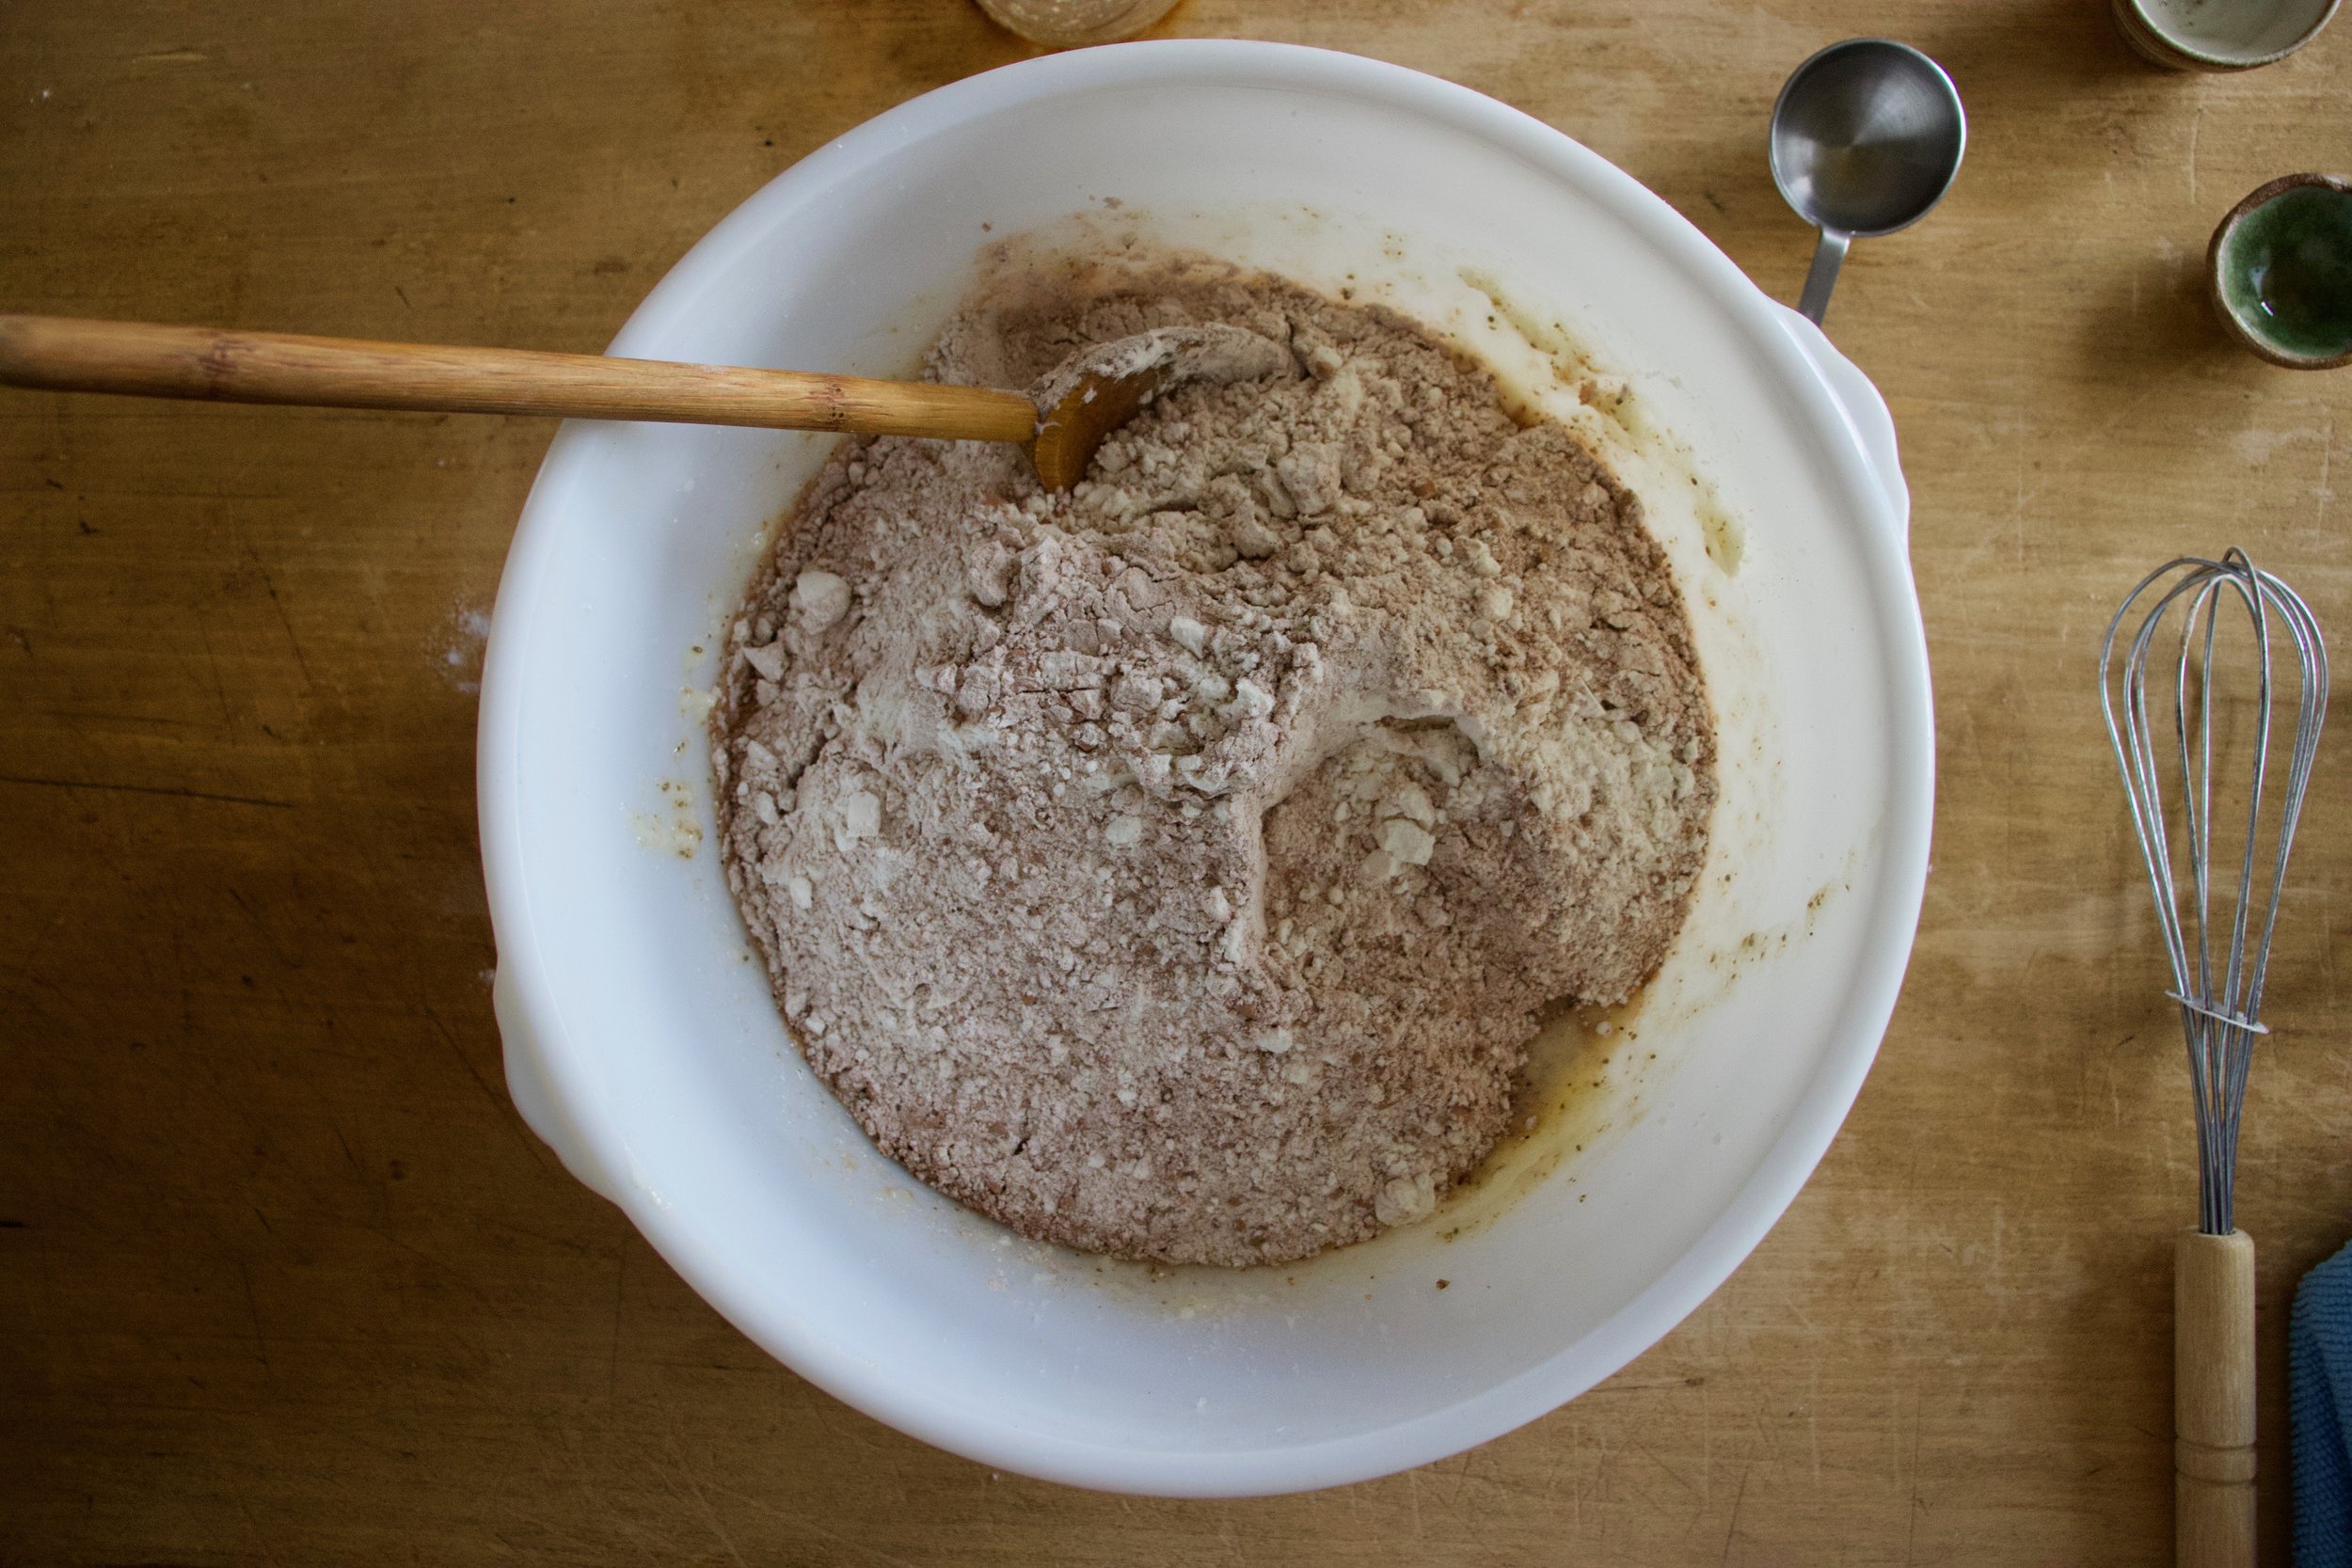
The stuff. White sugar, coconut oil, flour, baking powder, salt, vanilla, almond milk, cocoa powder, and powdered sugar. For cookies and filling.

IMG_2941.jpg
IMG_2944.jpg
IMG_2951.jpg
IMG_2955.jpg

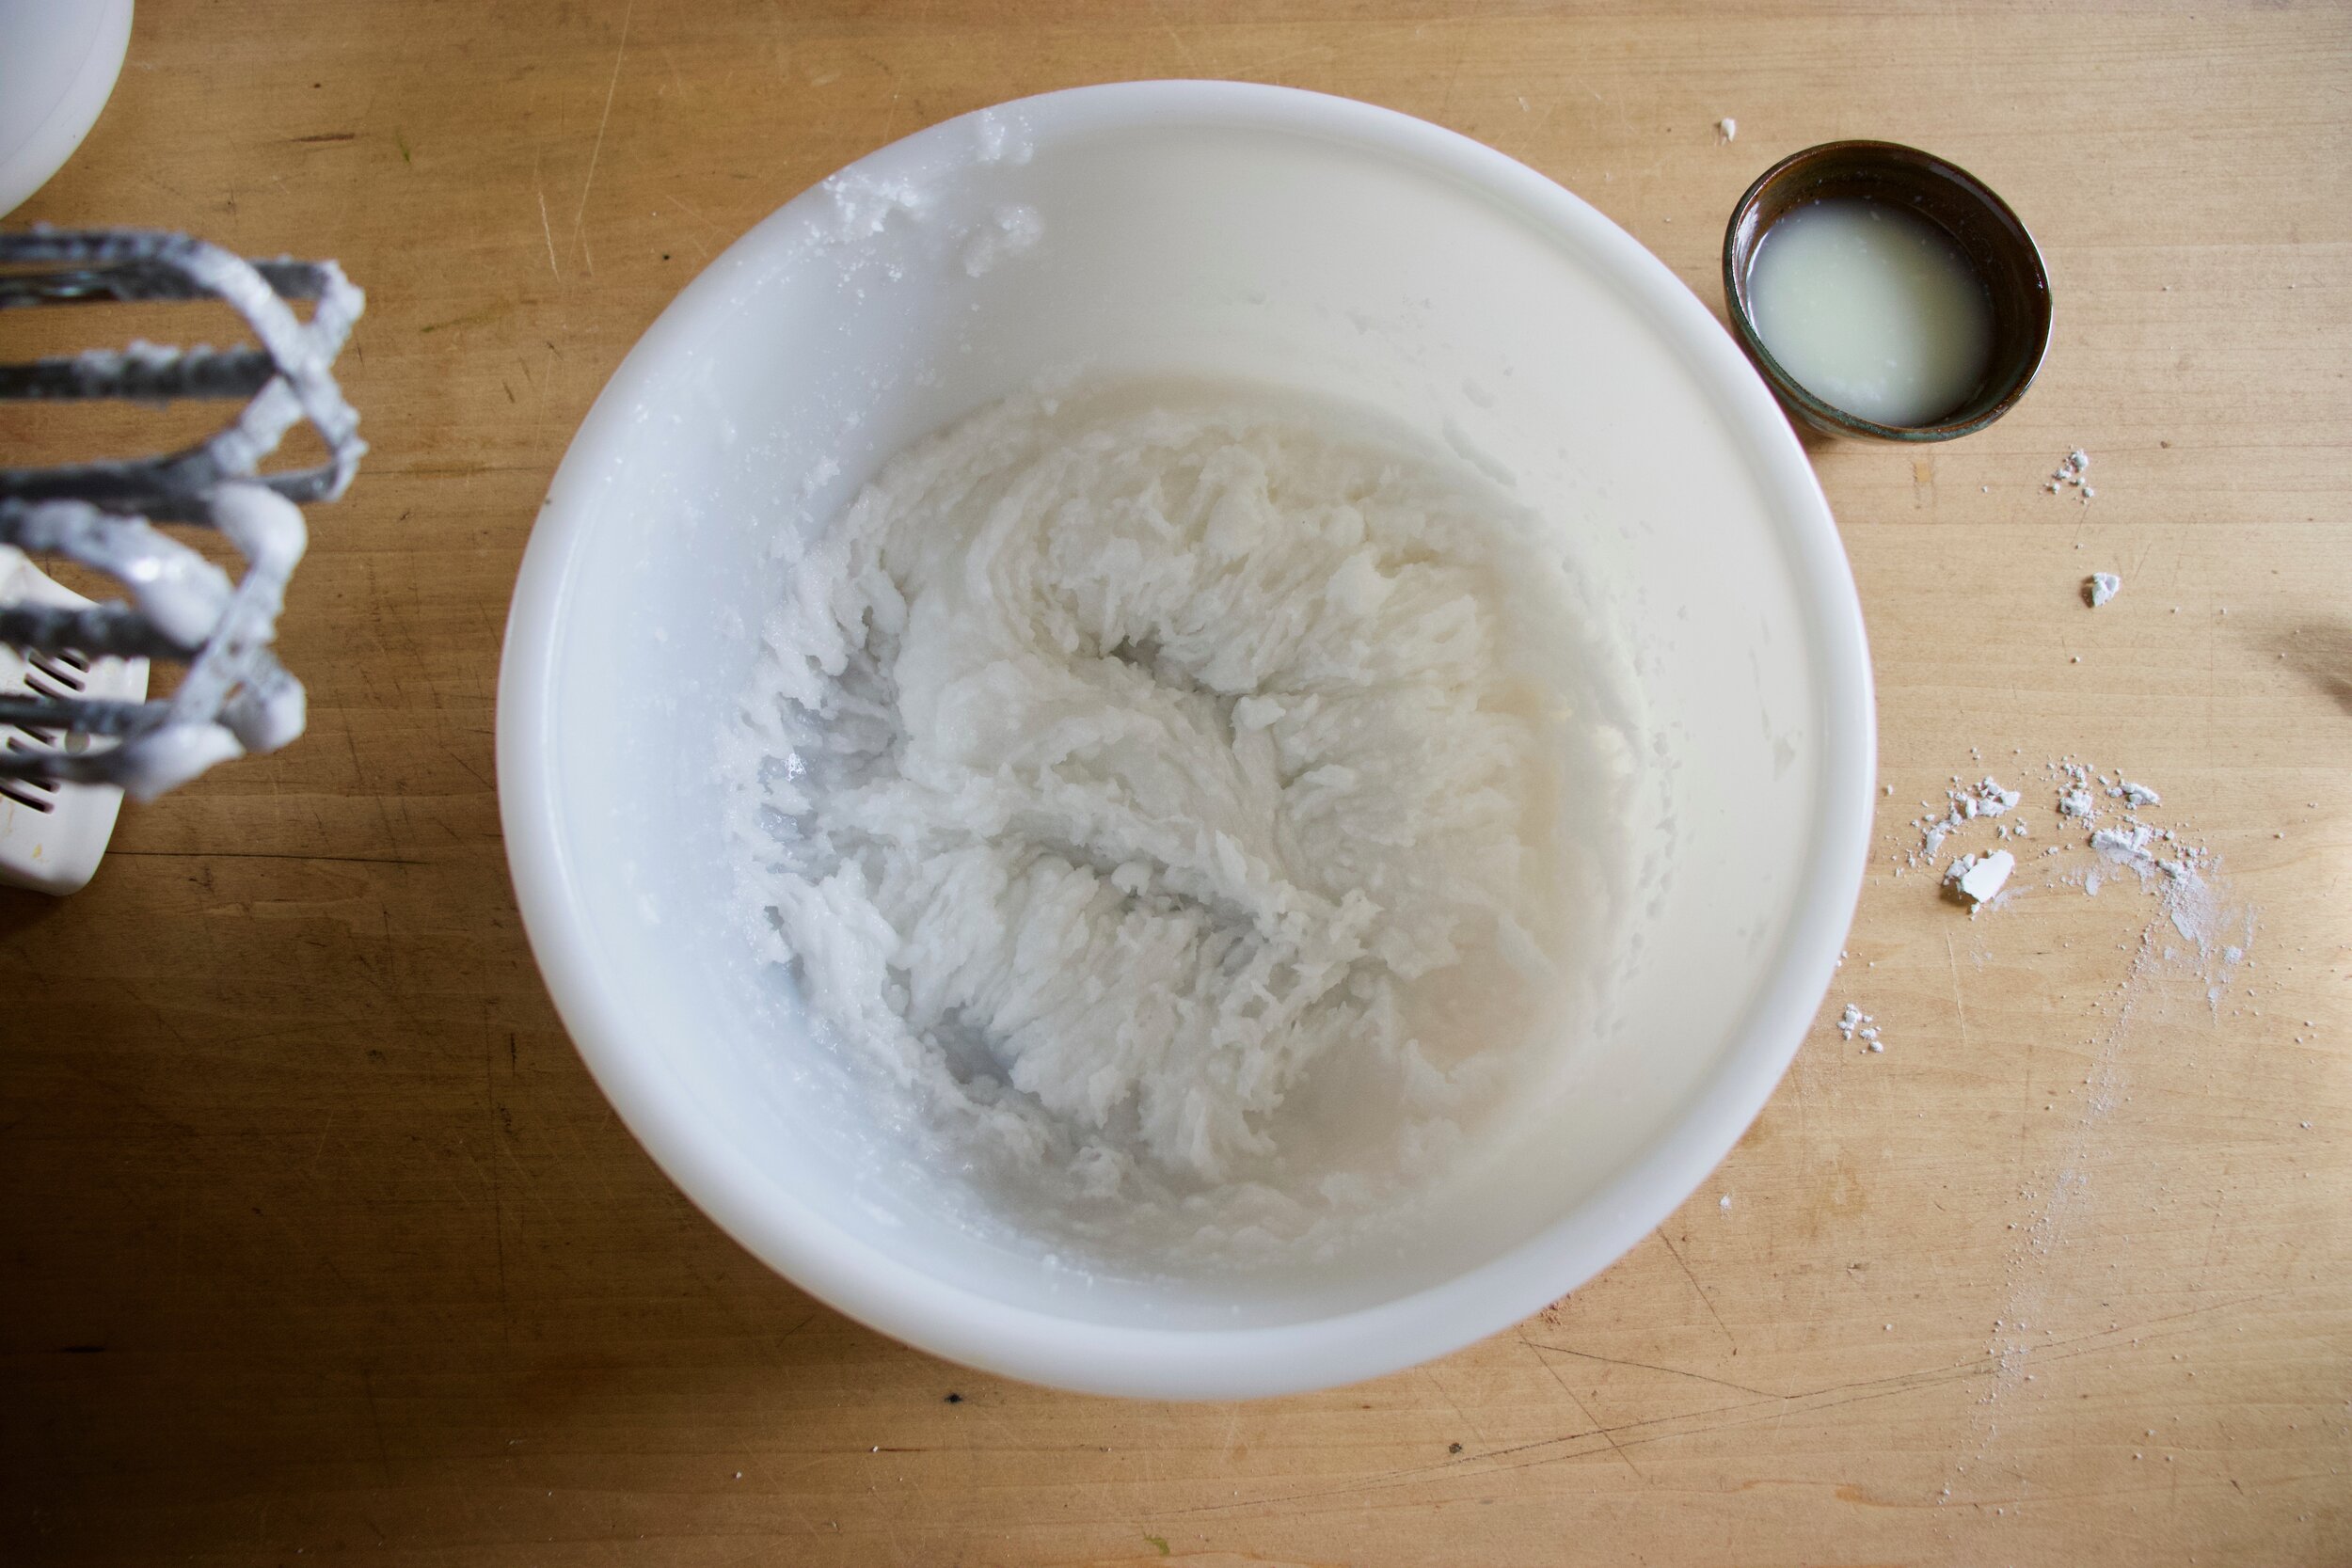
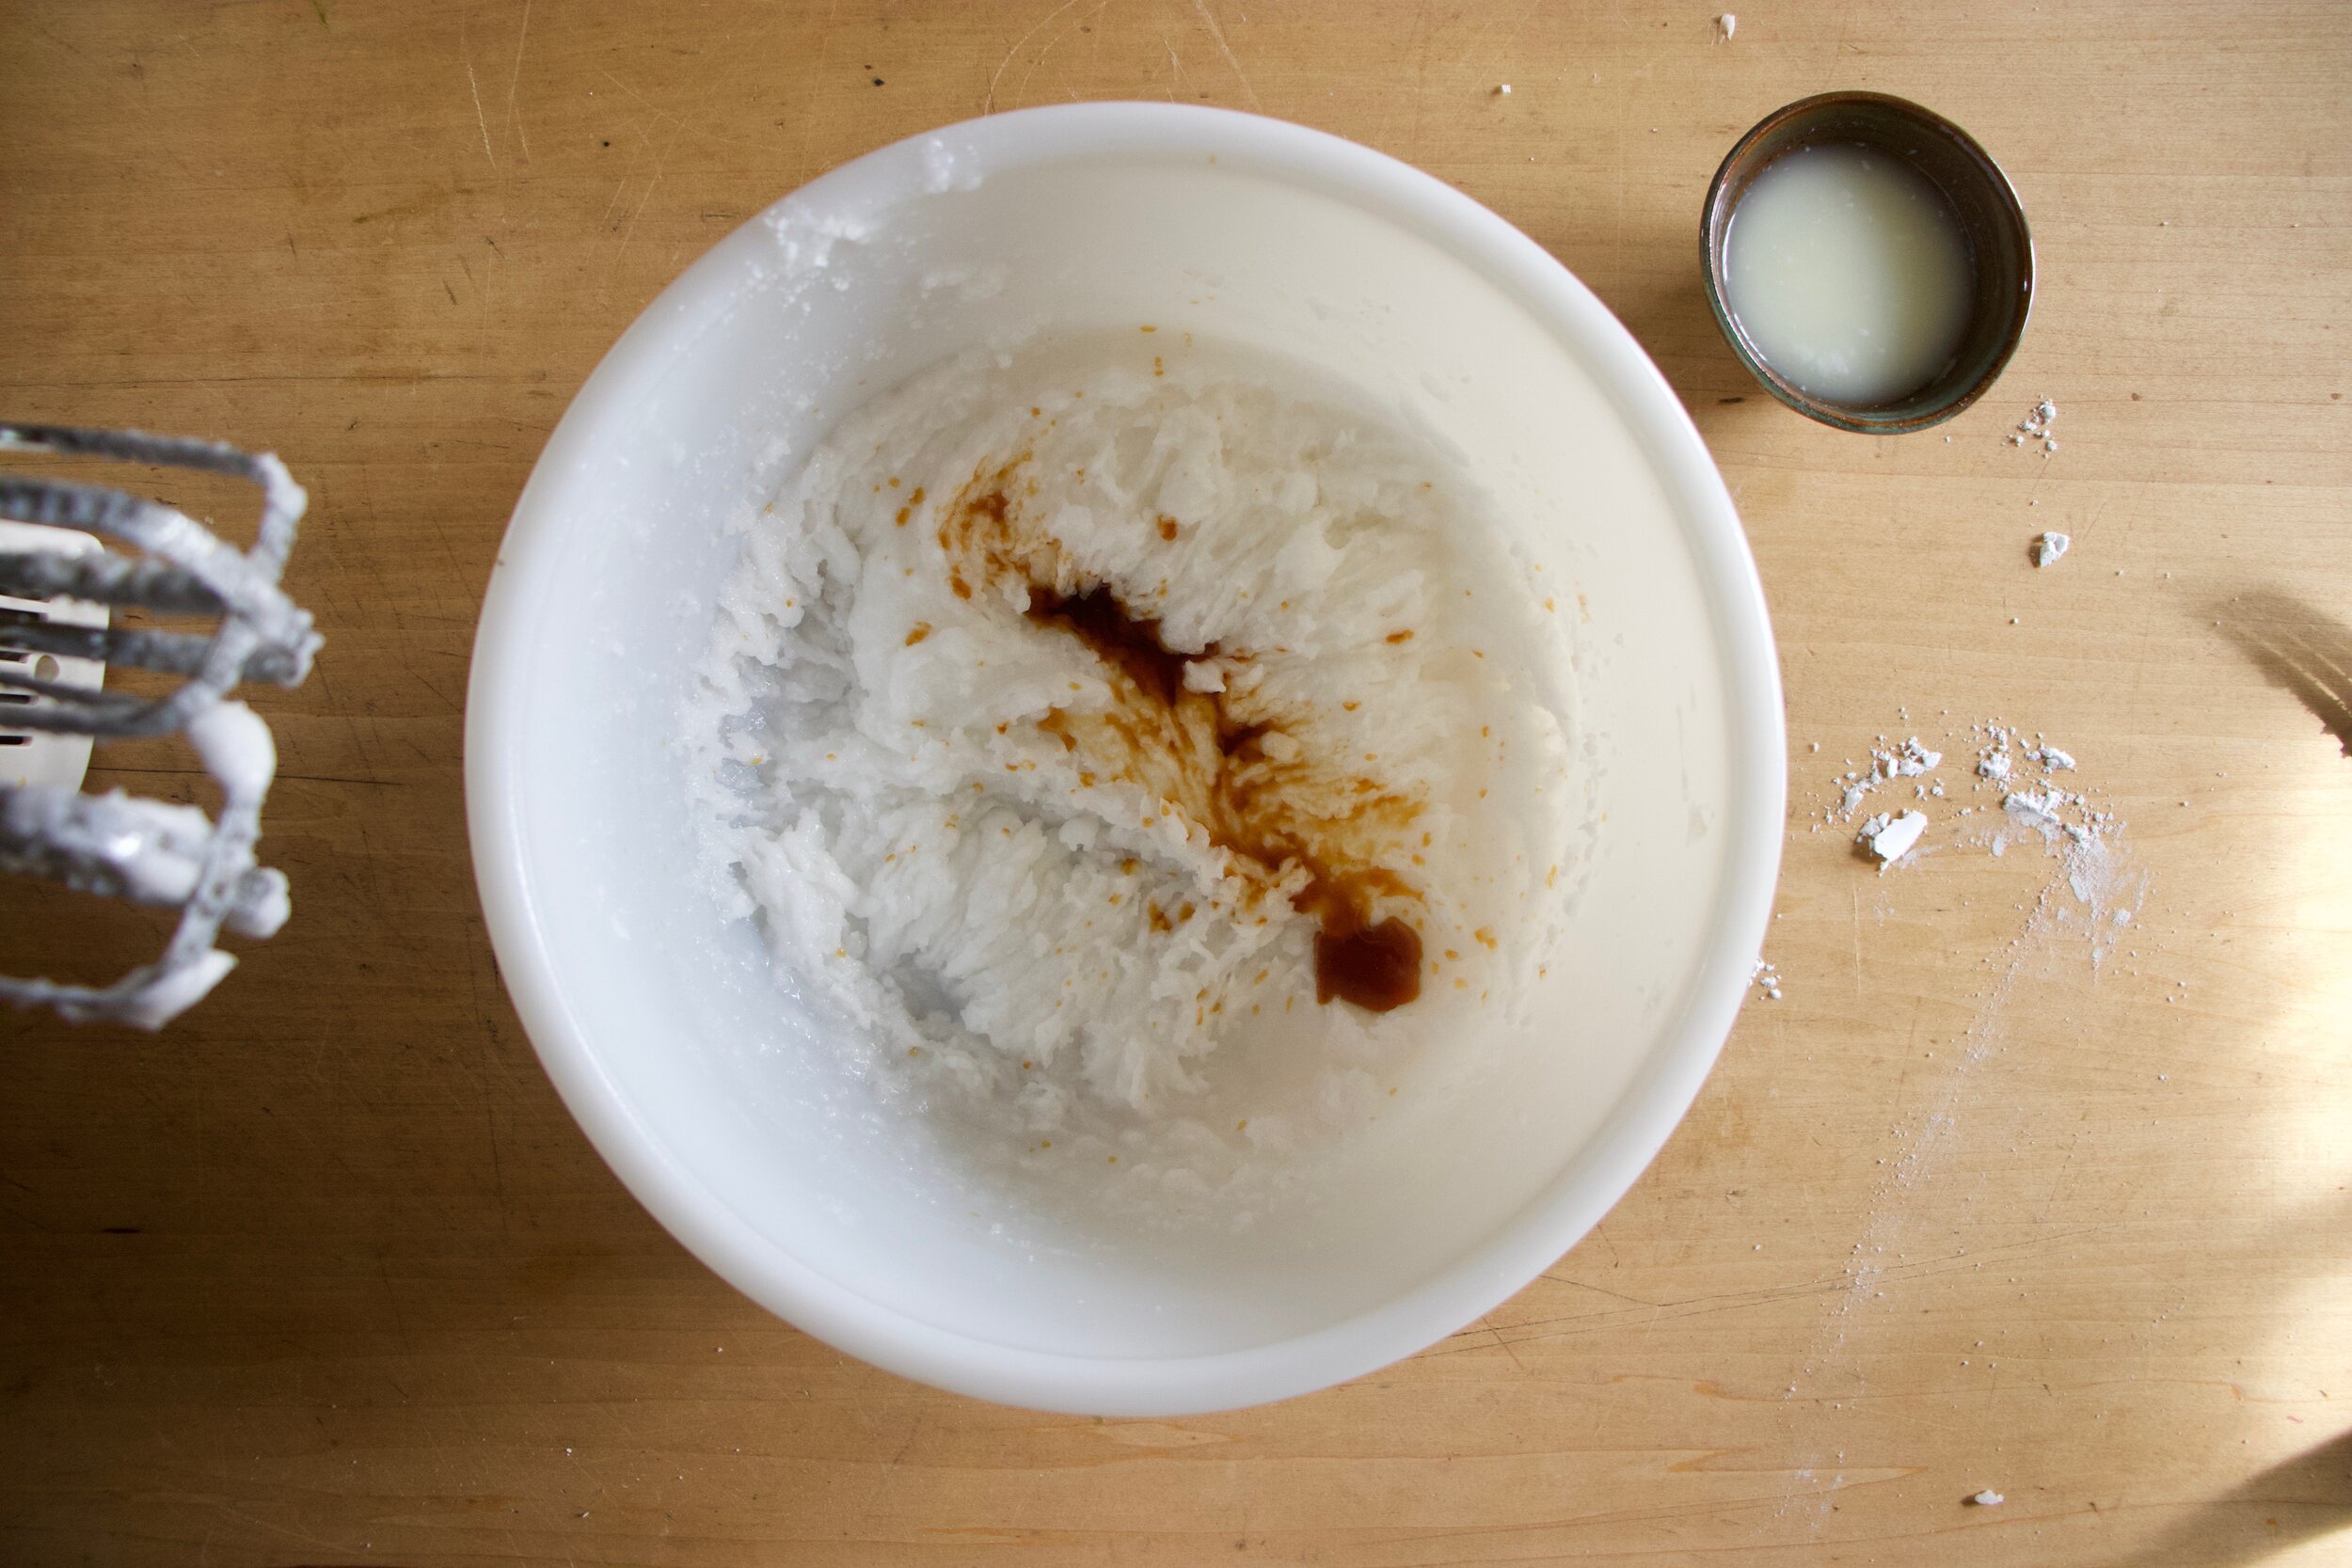
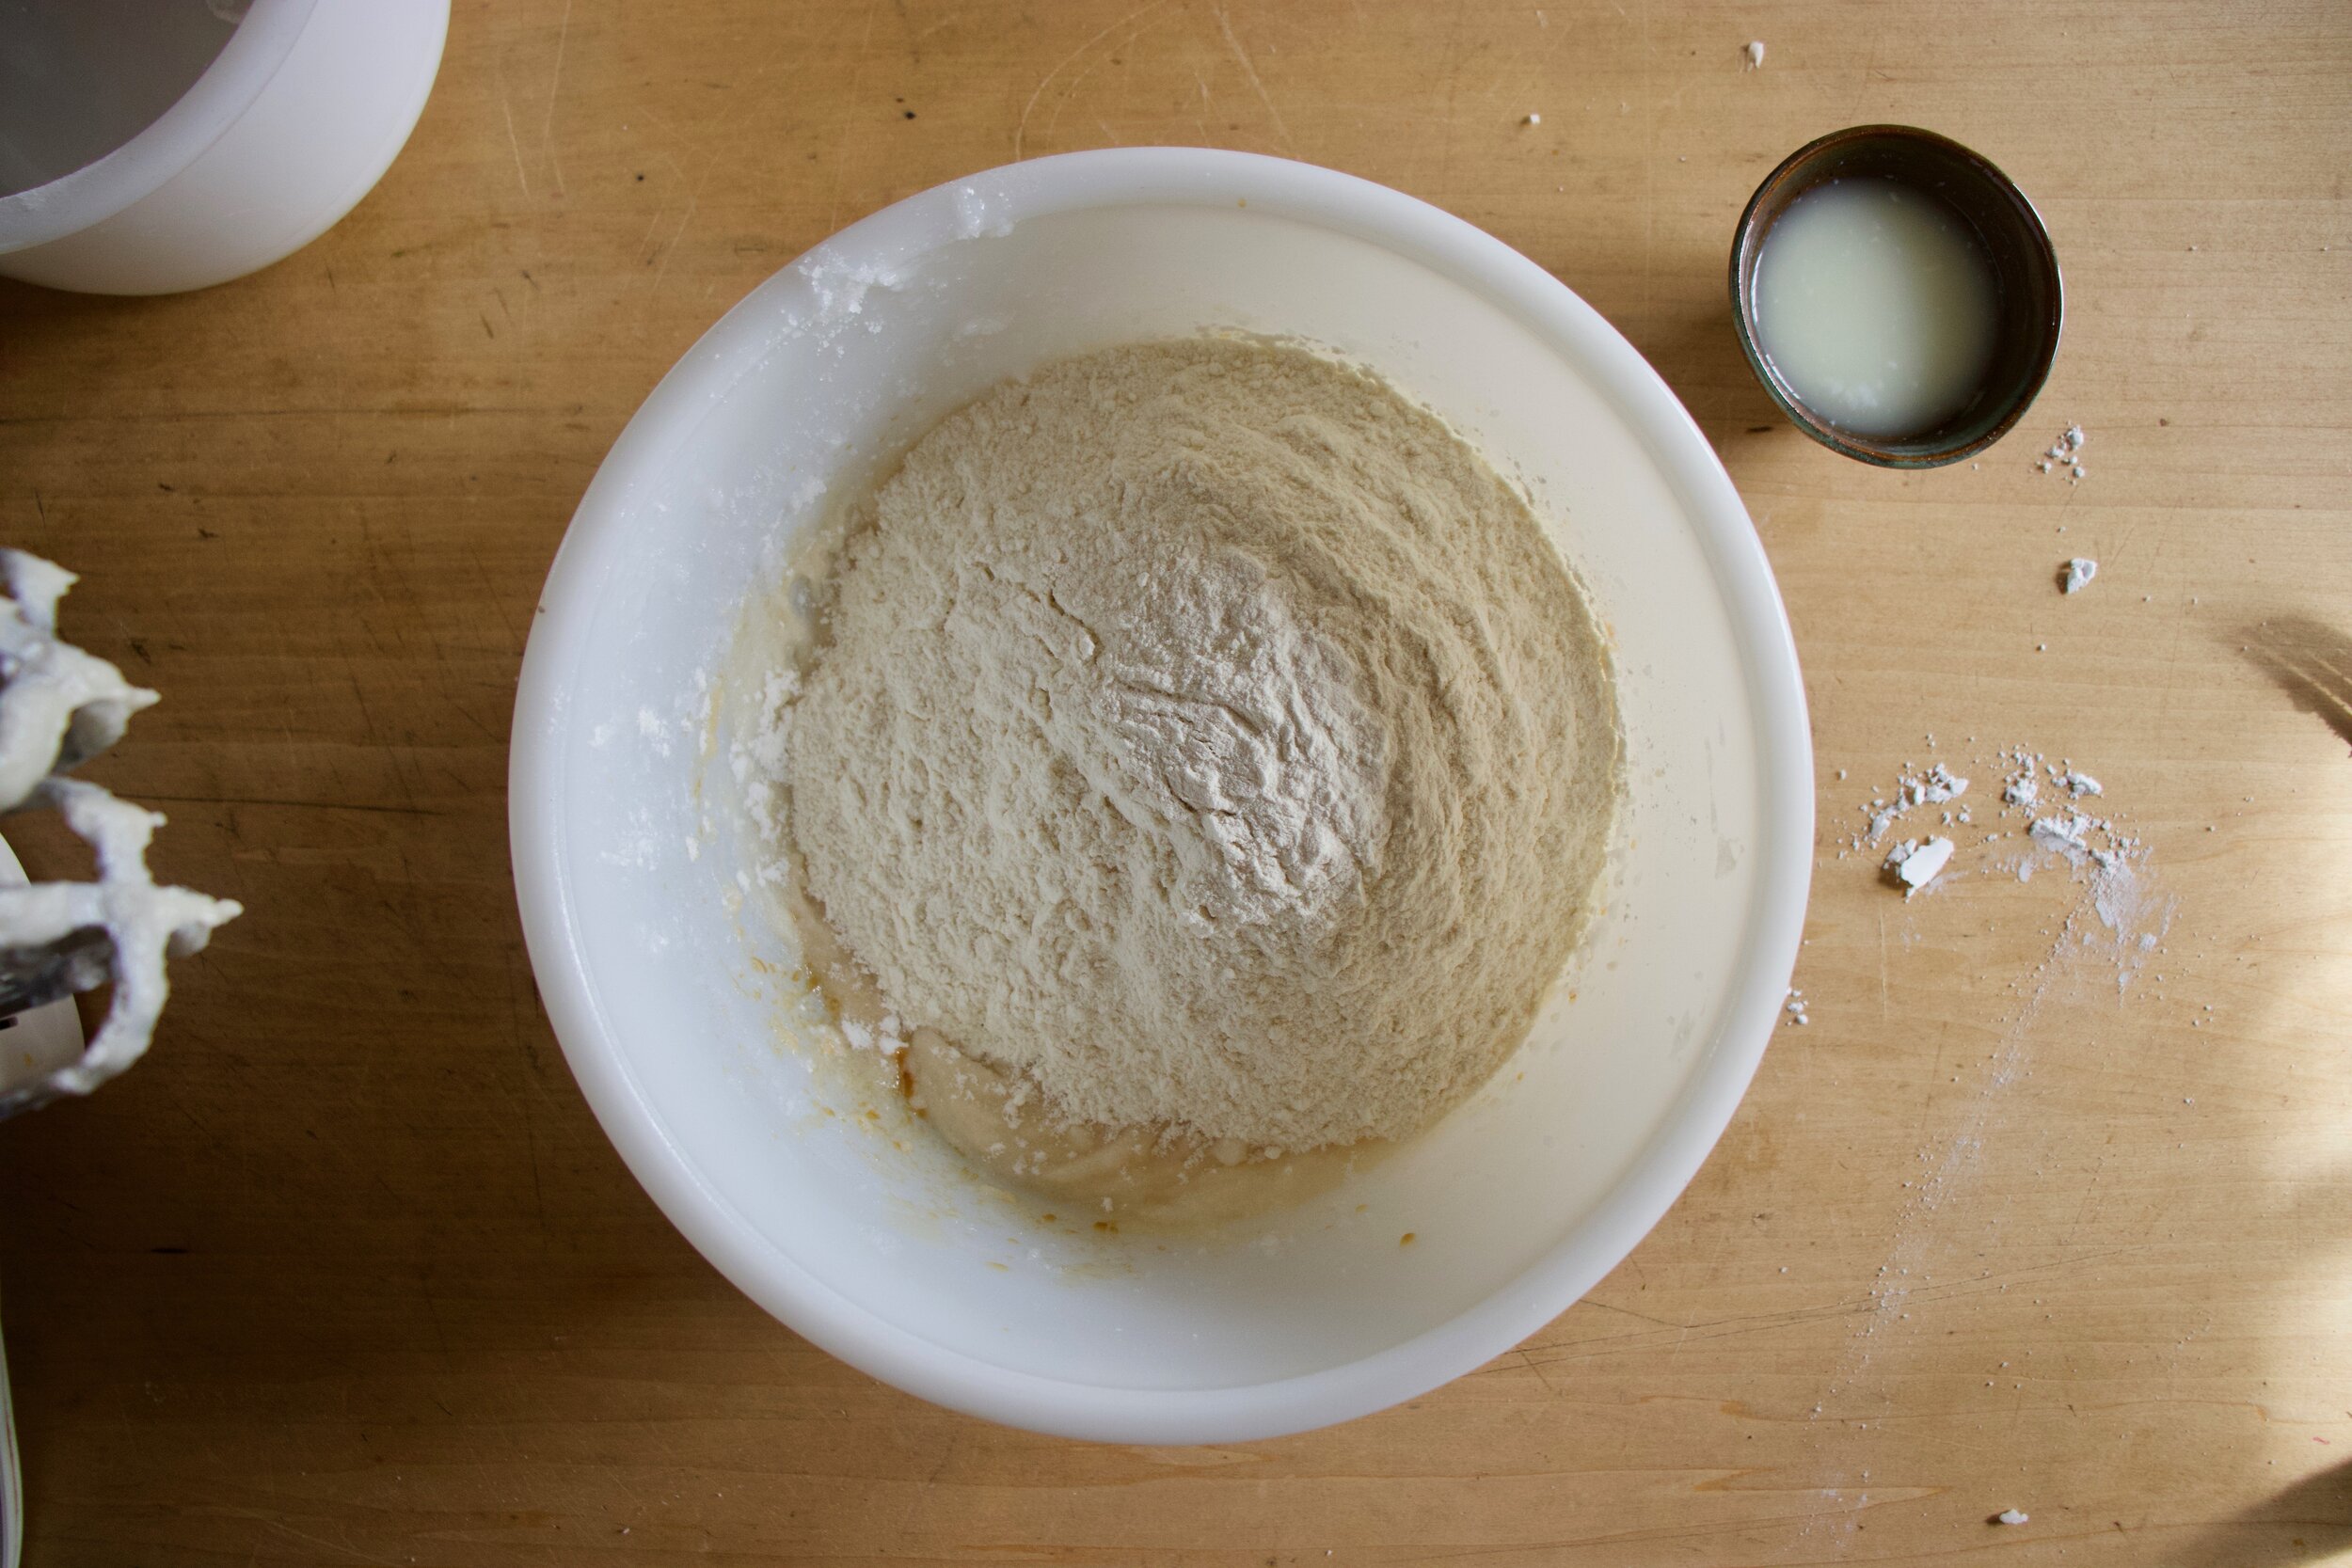
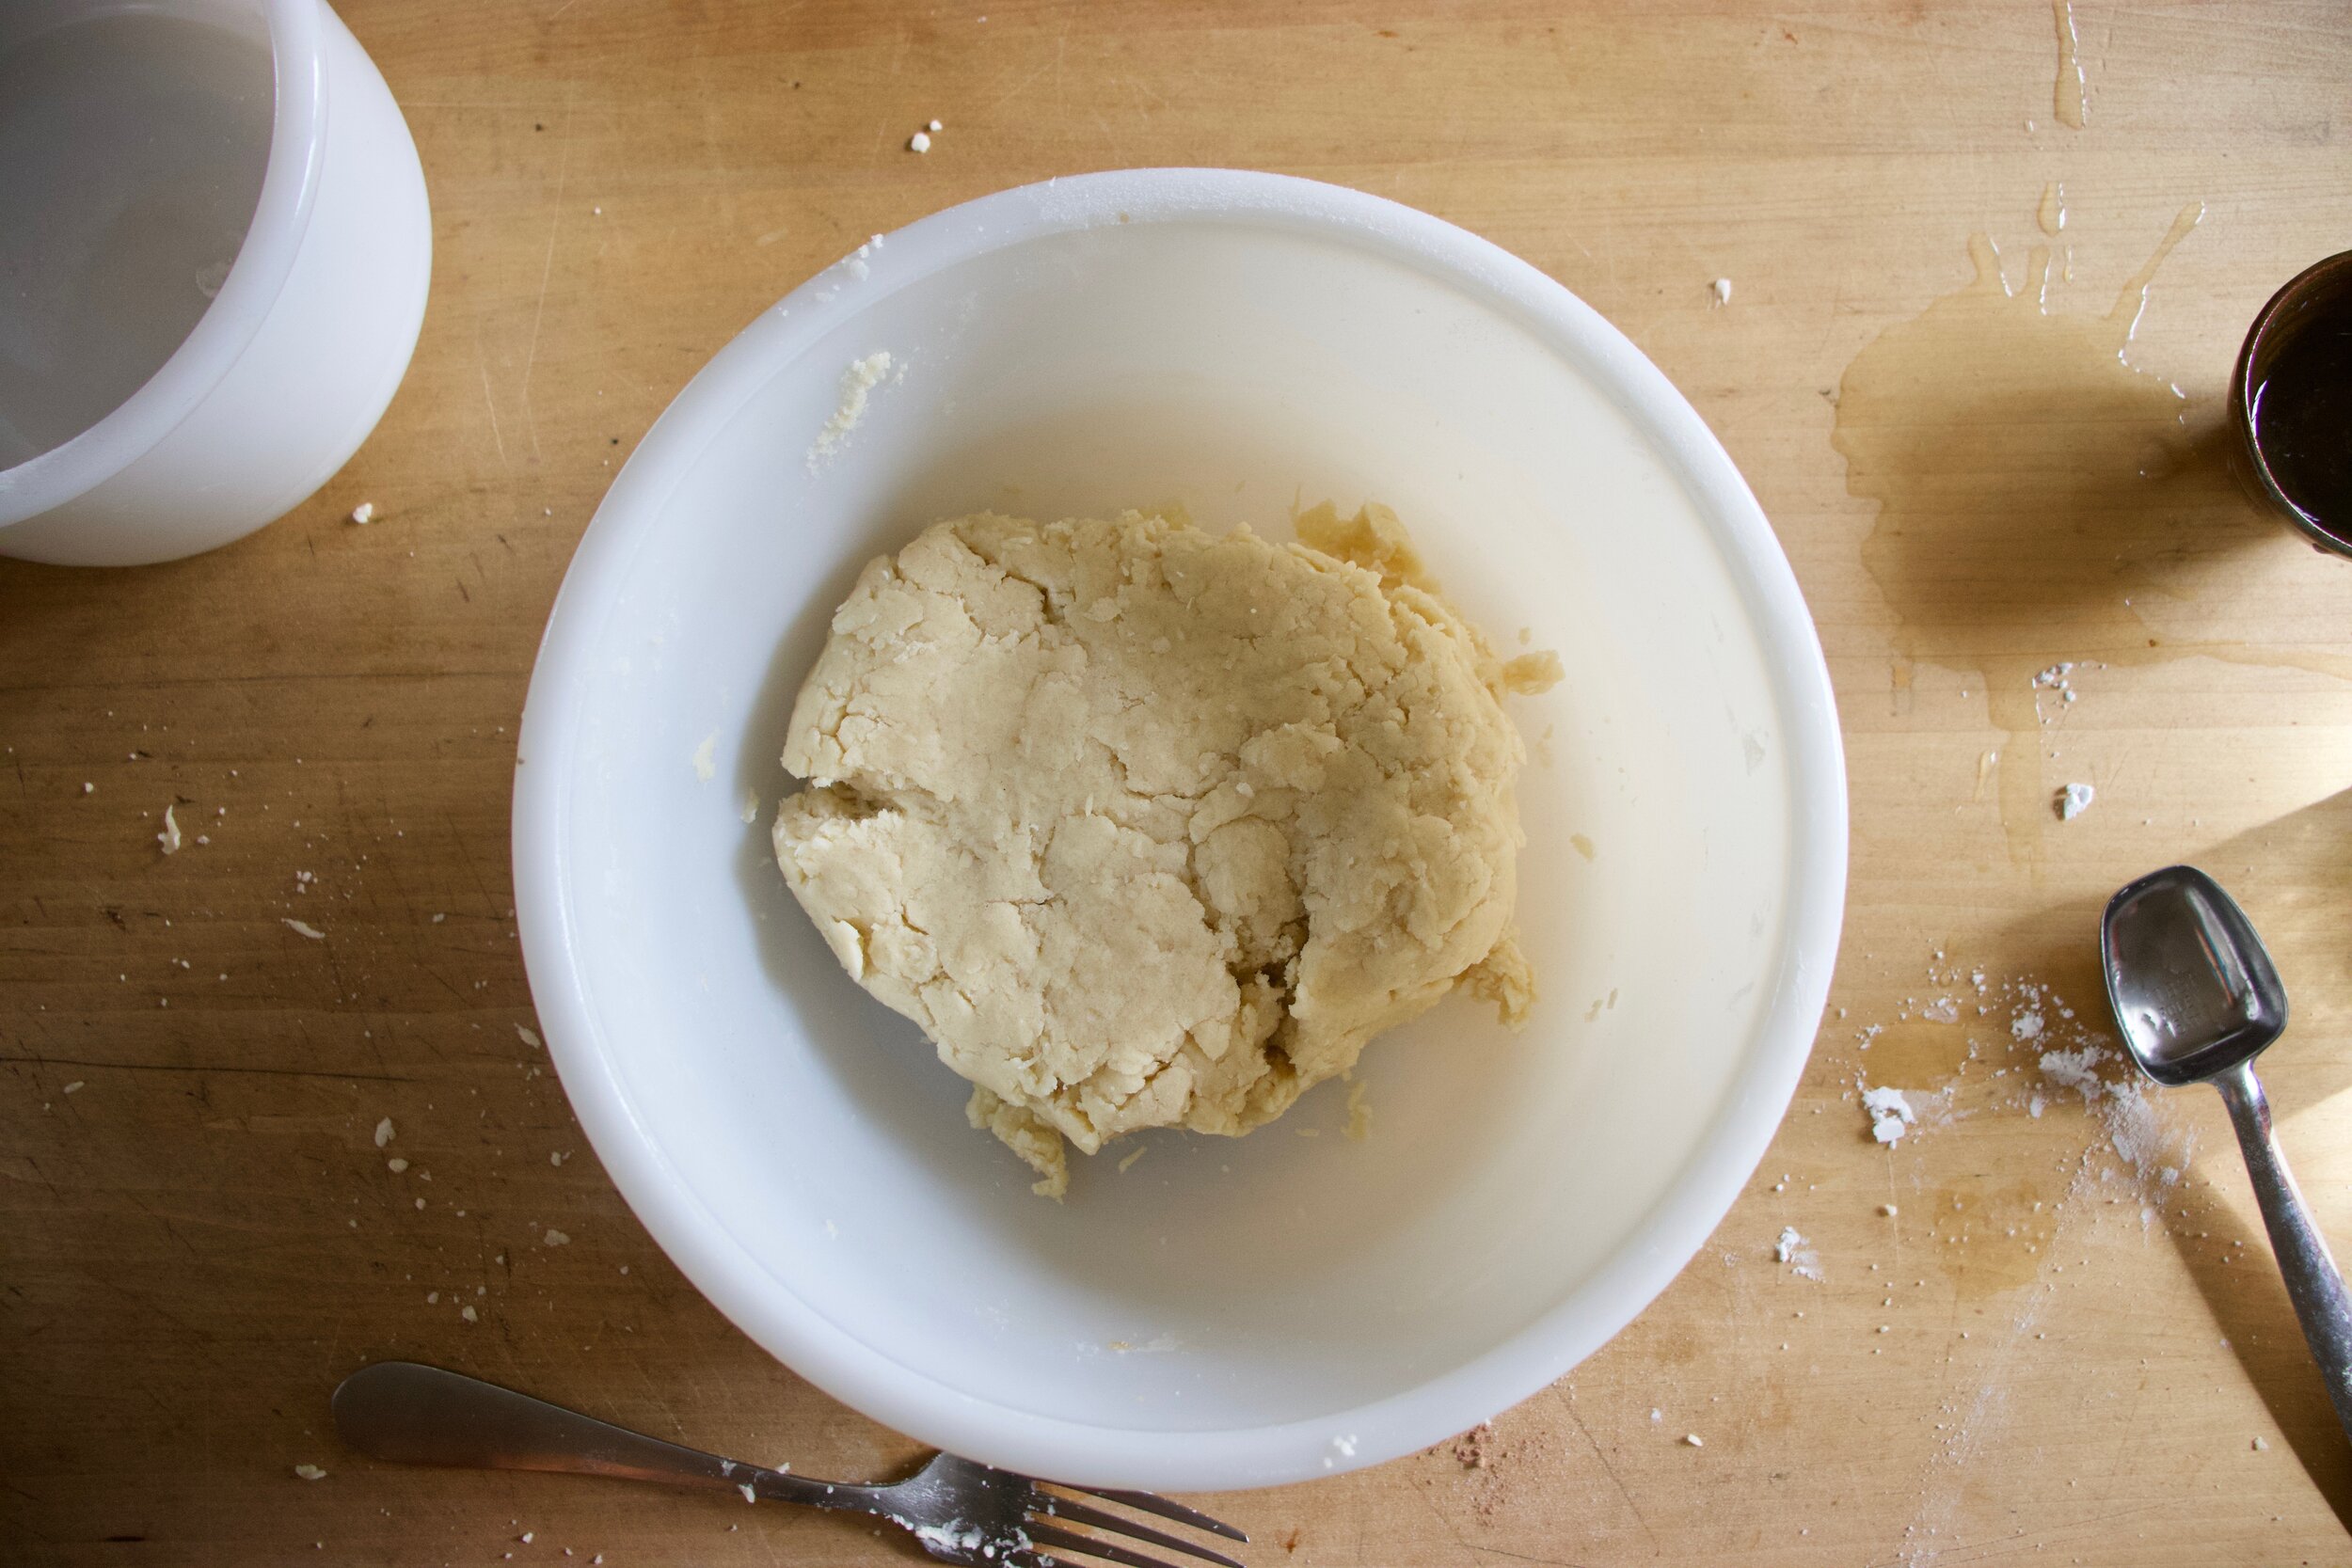
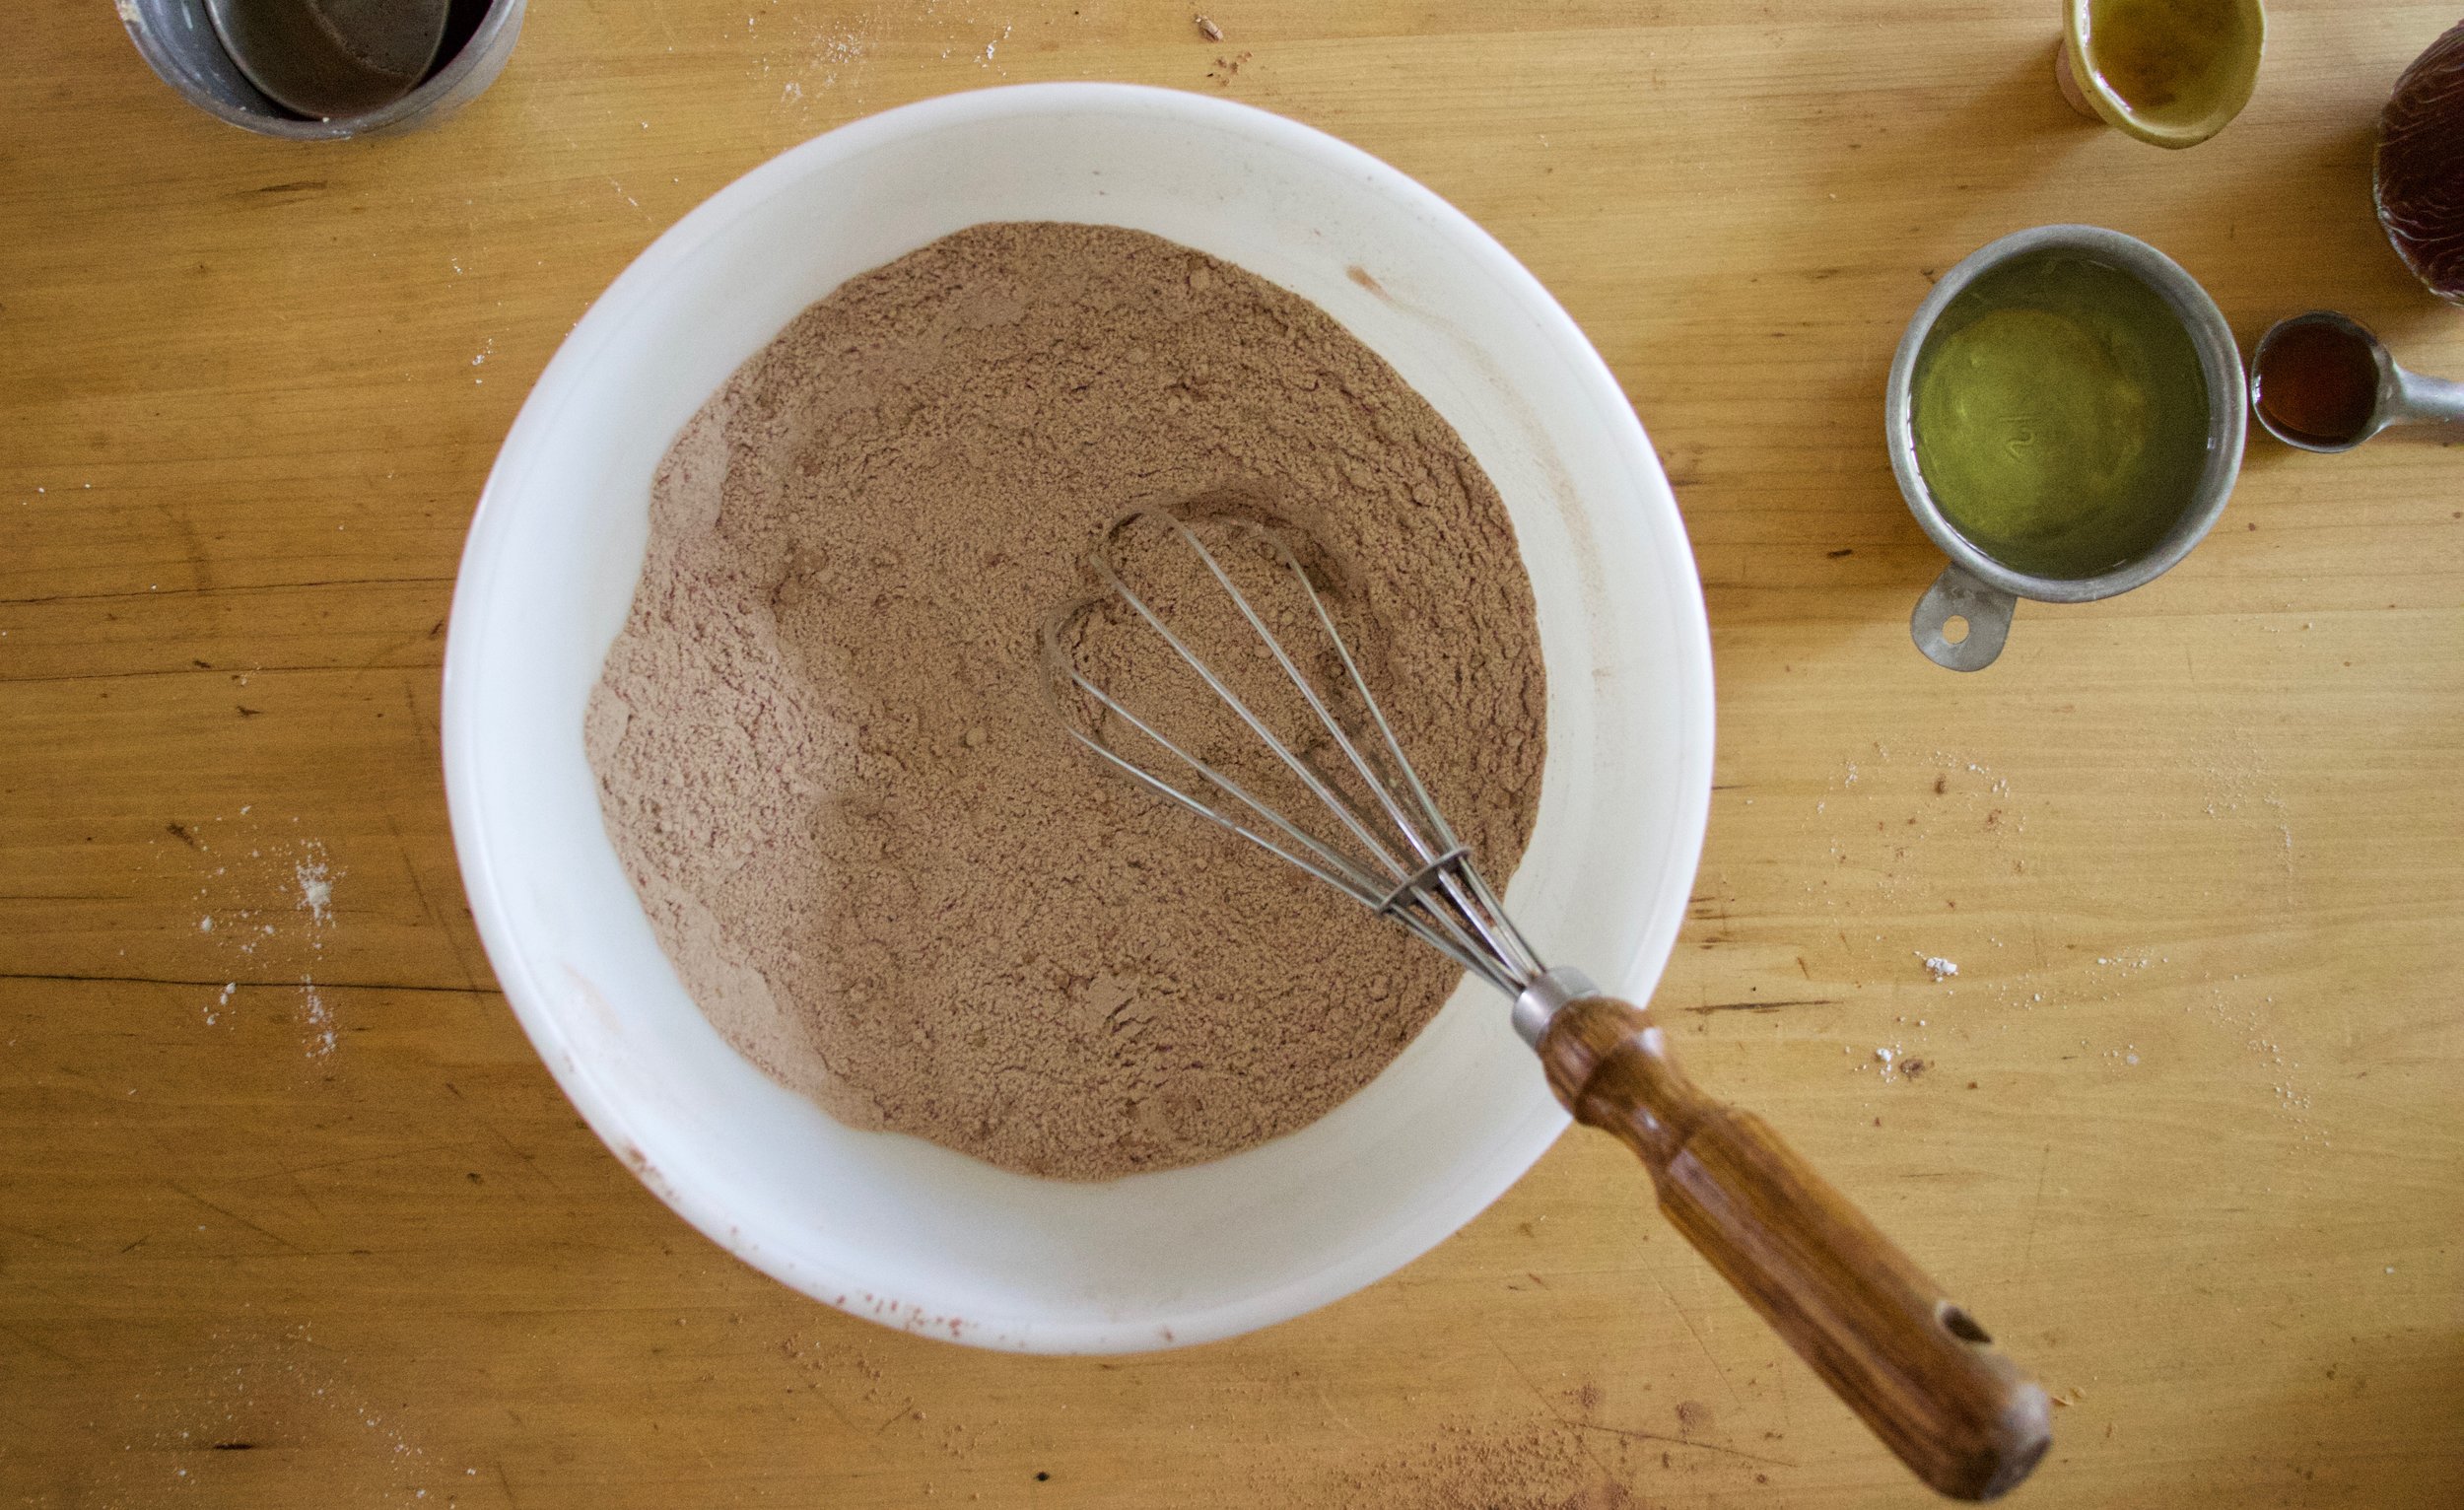
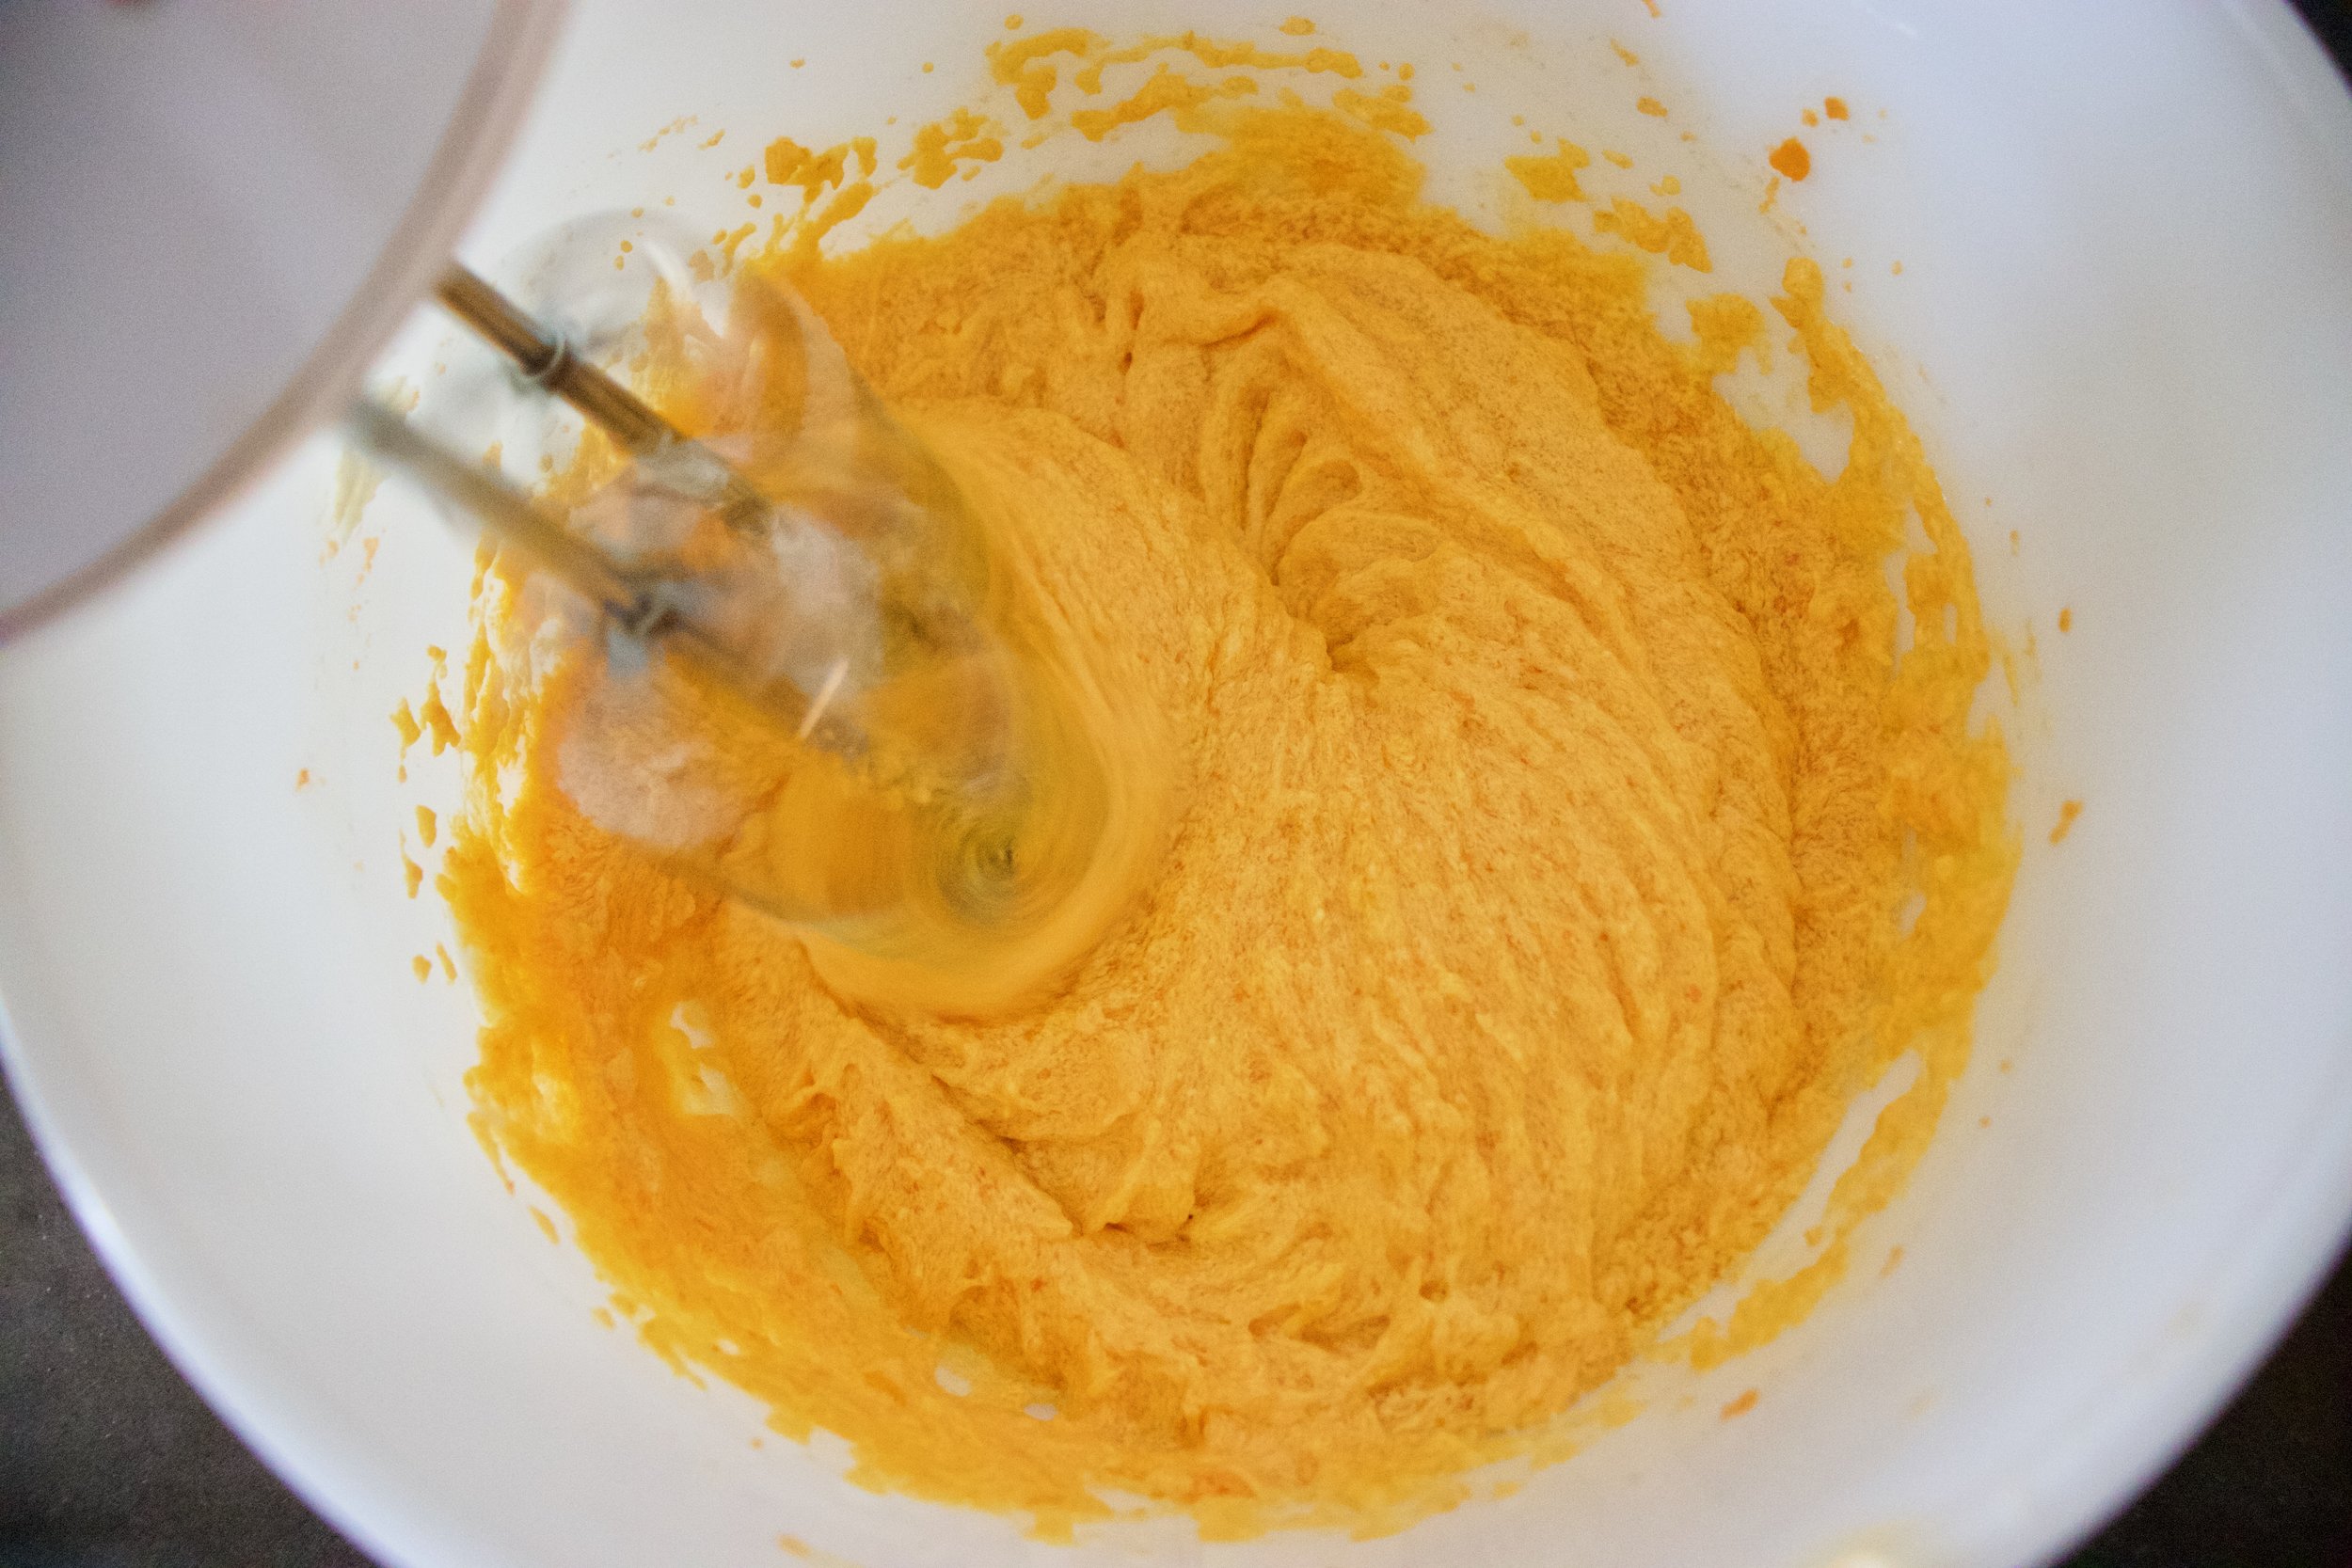
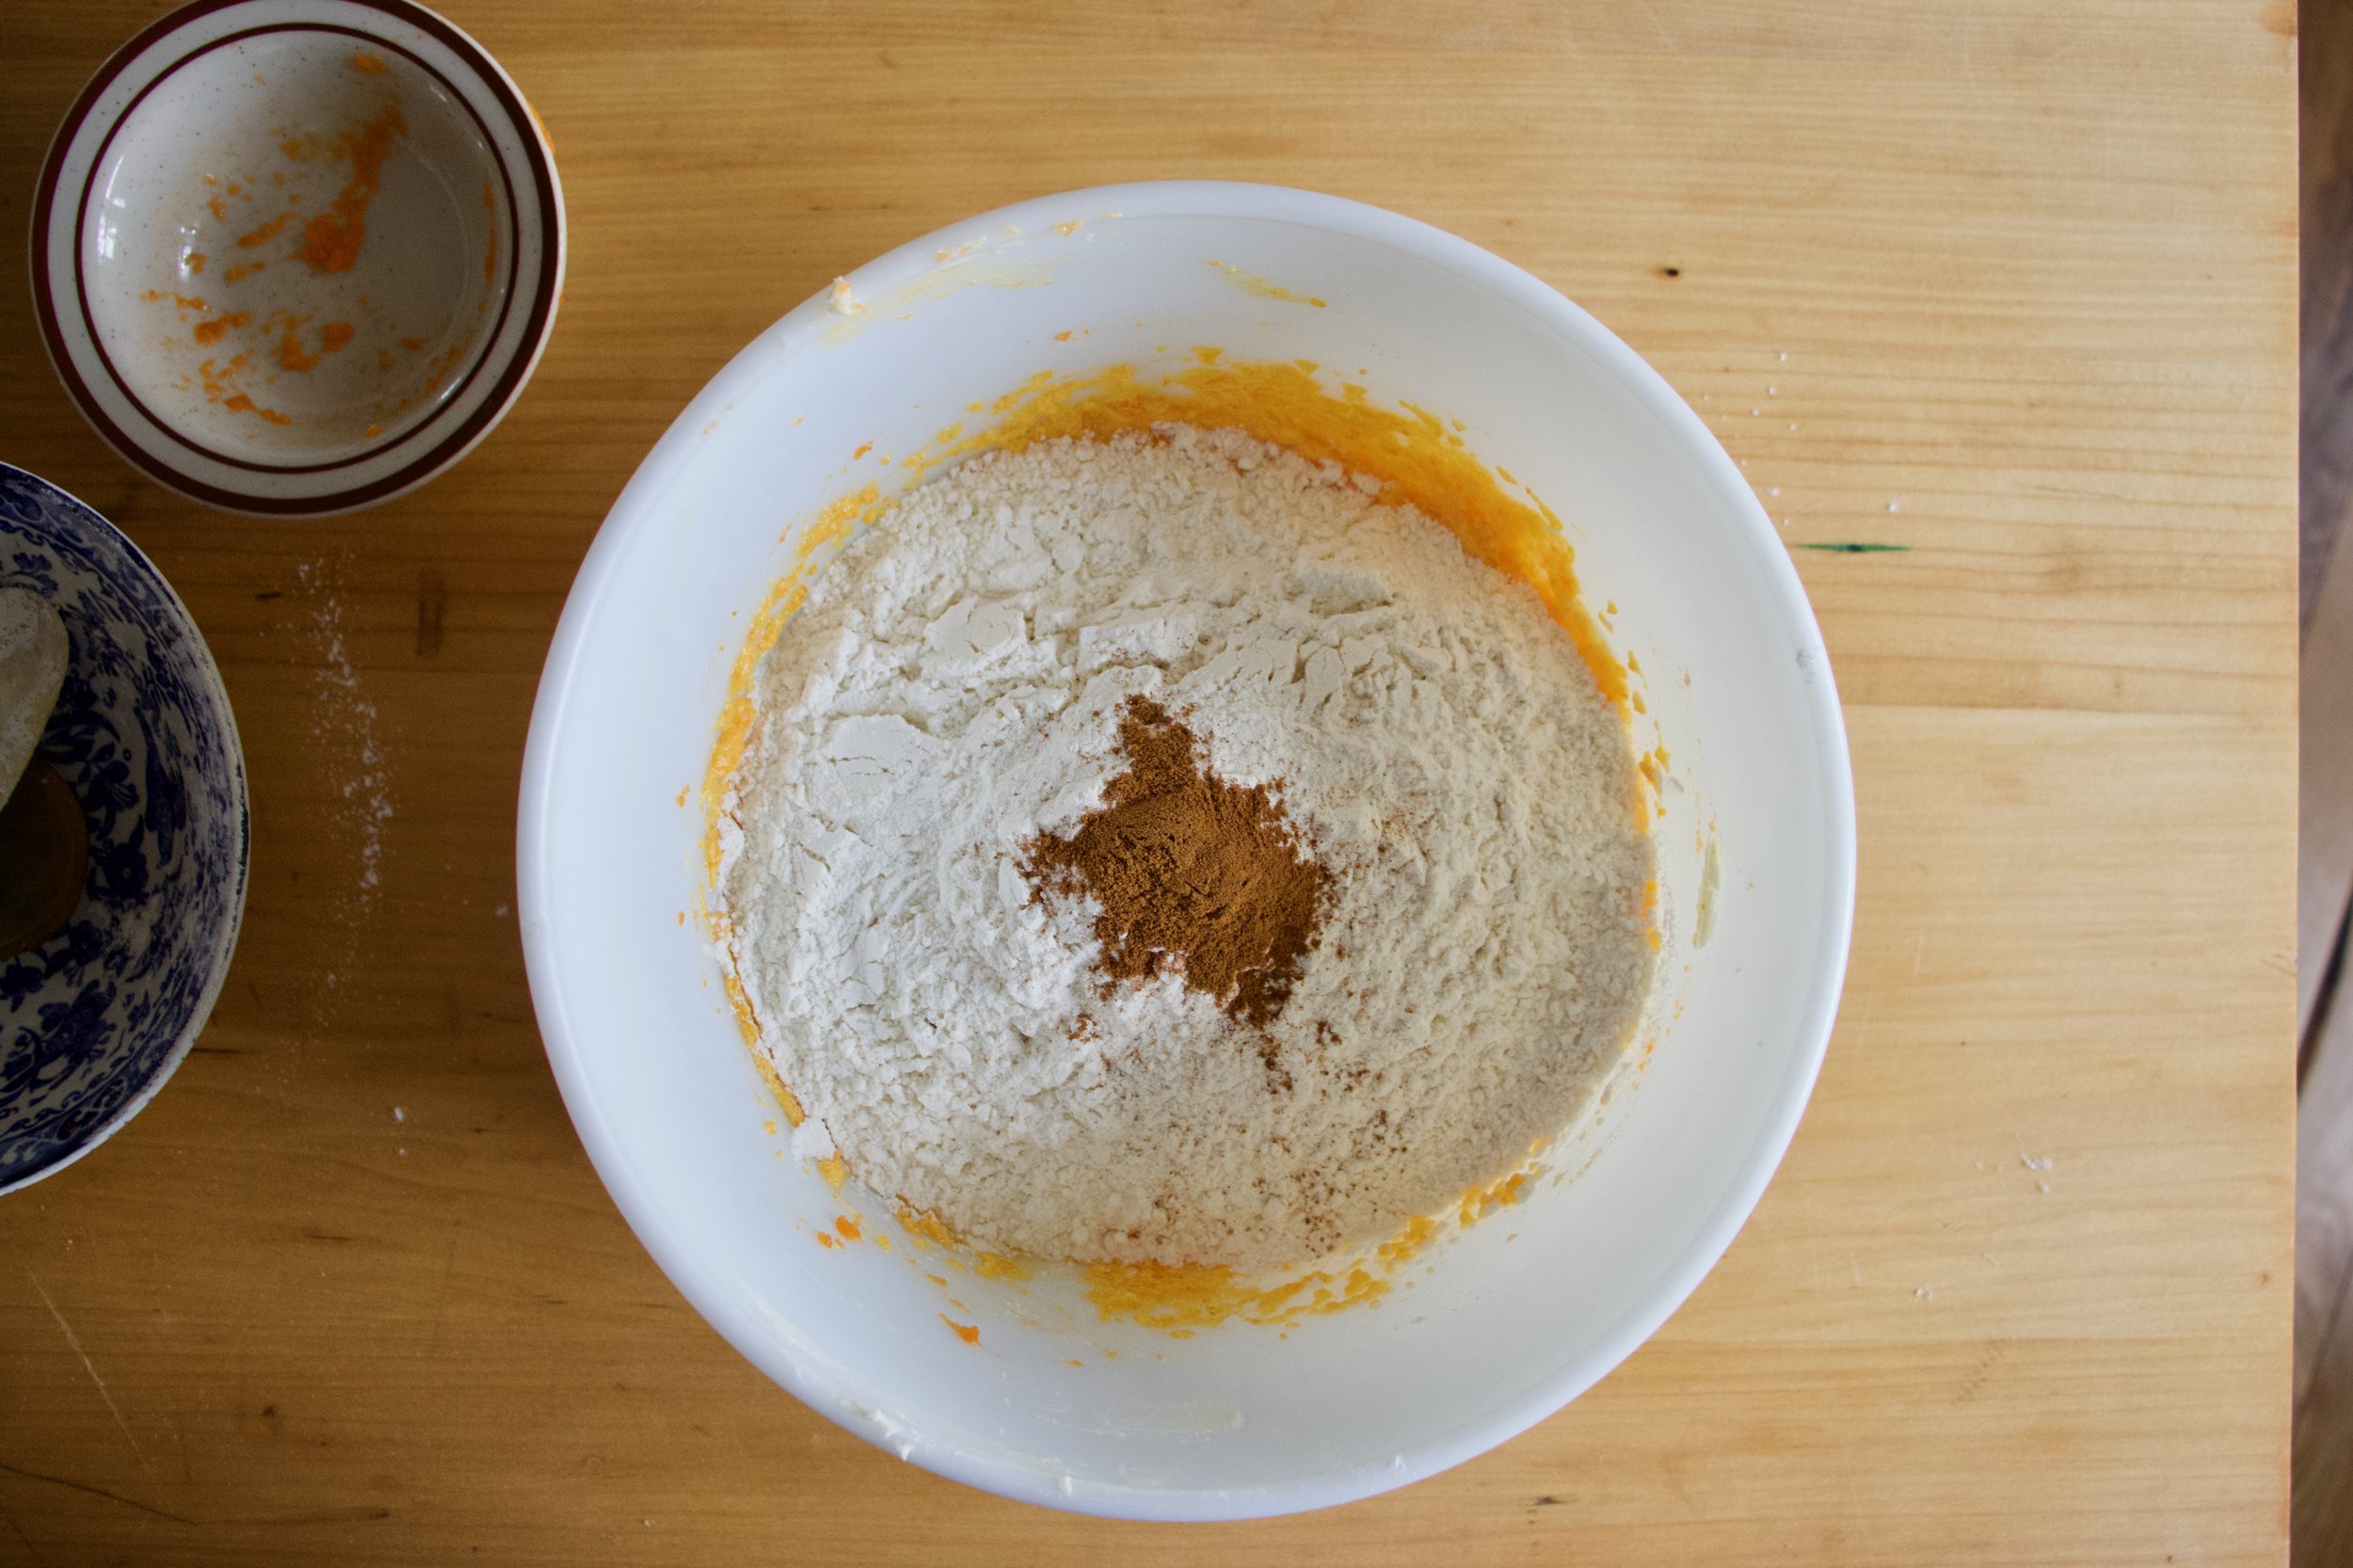
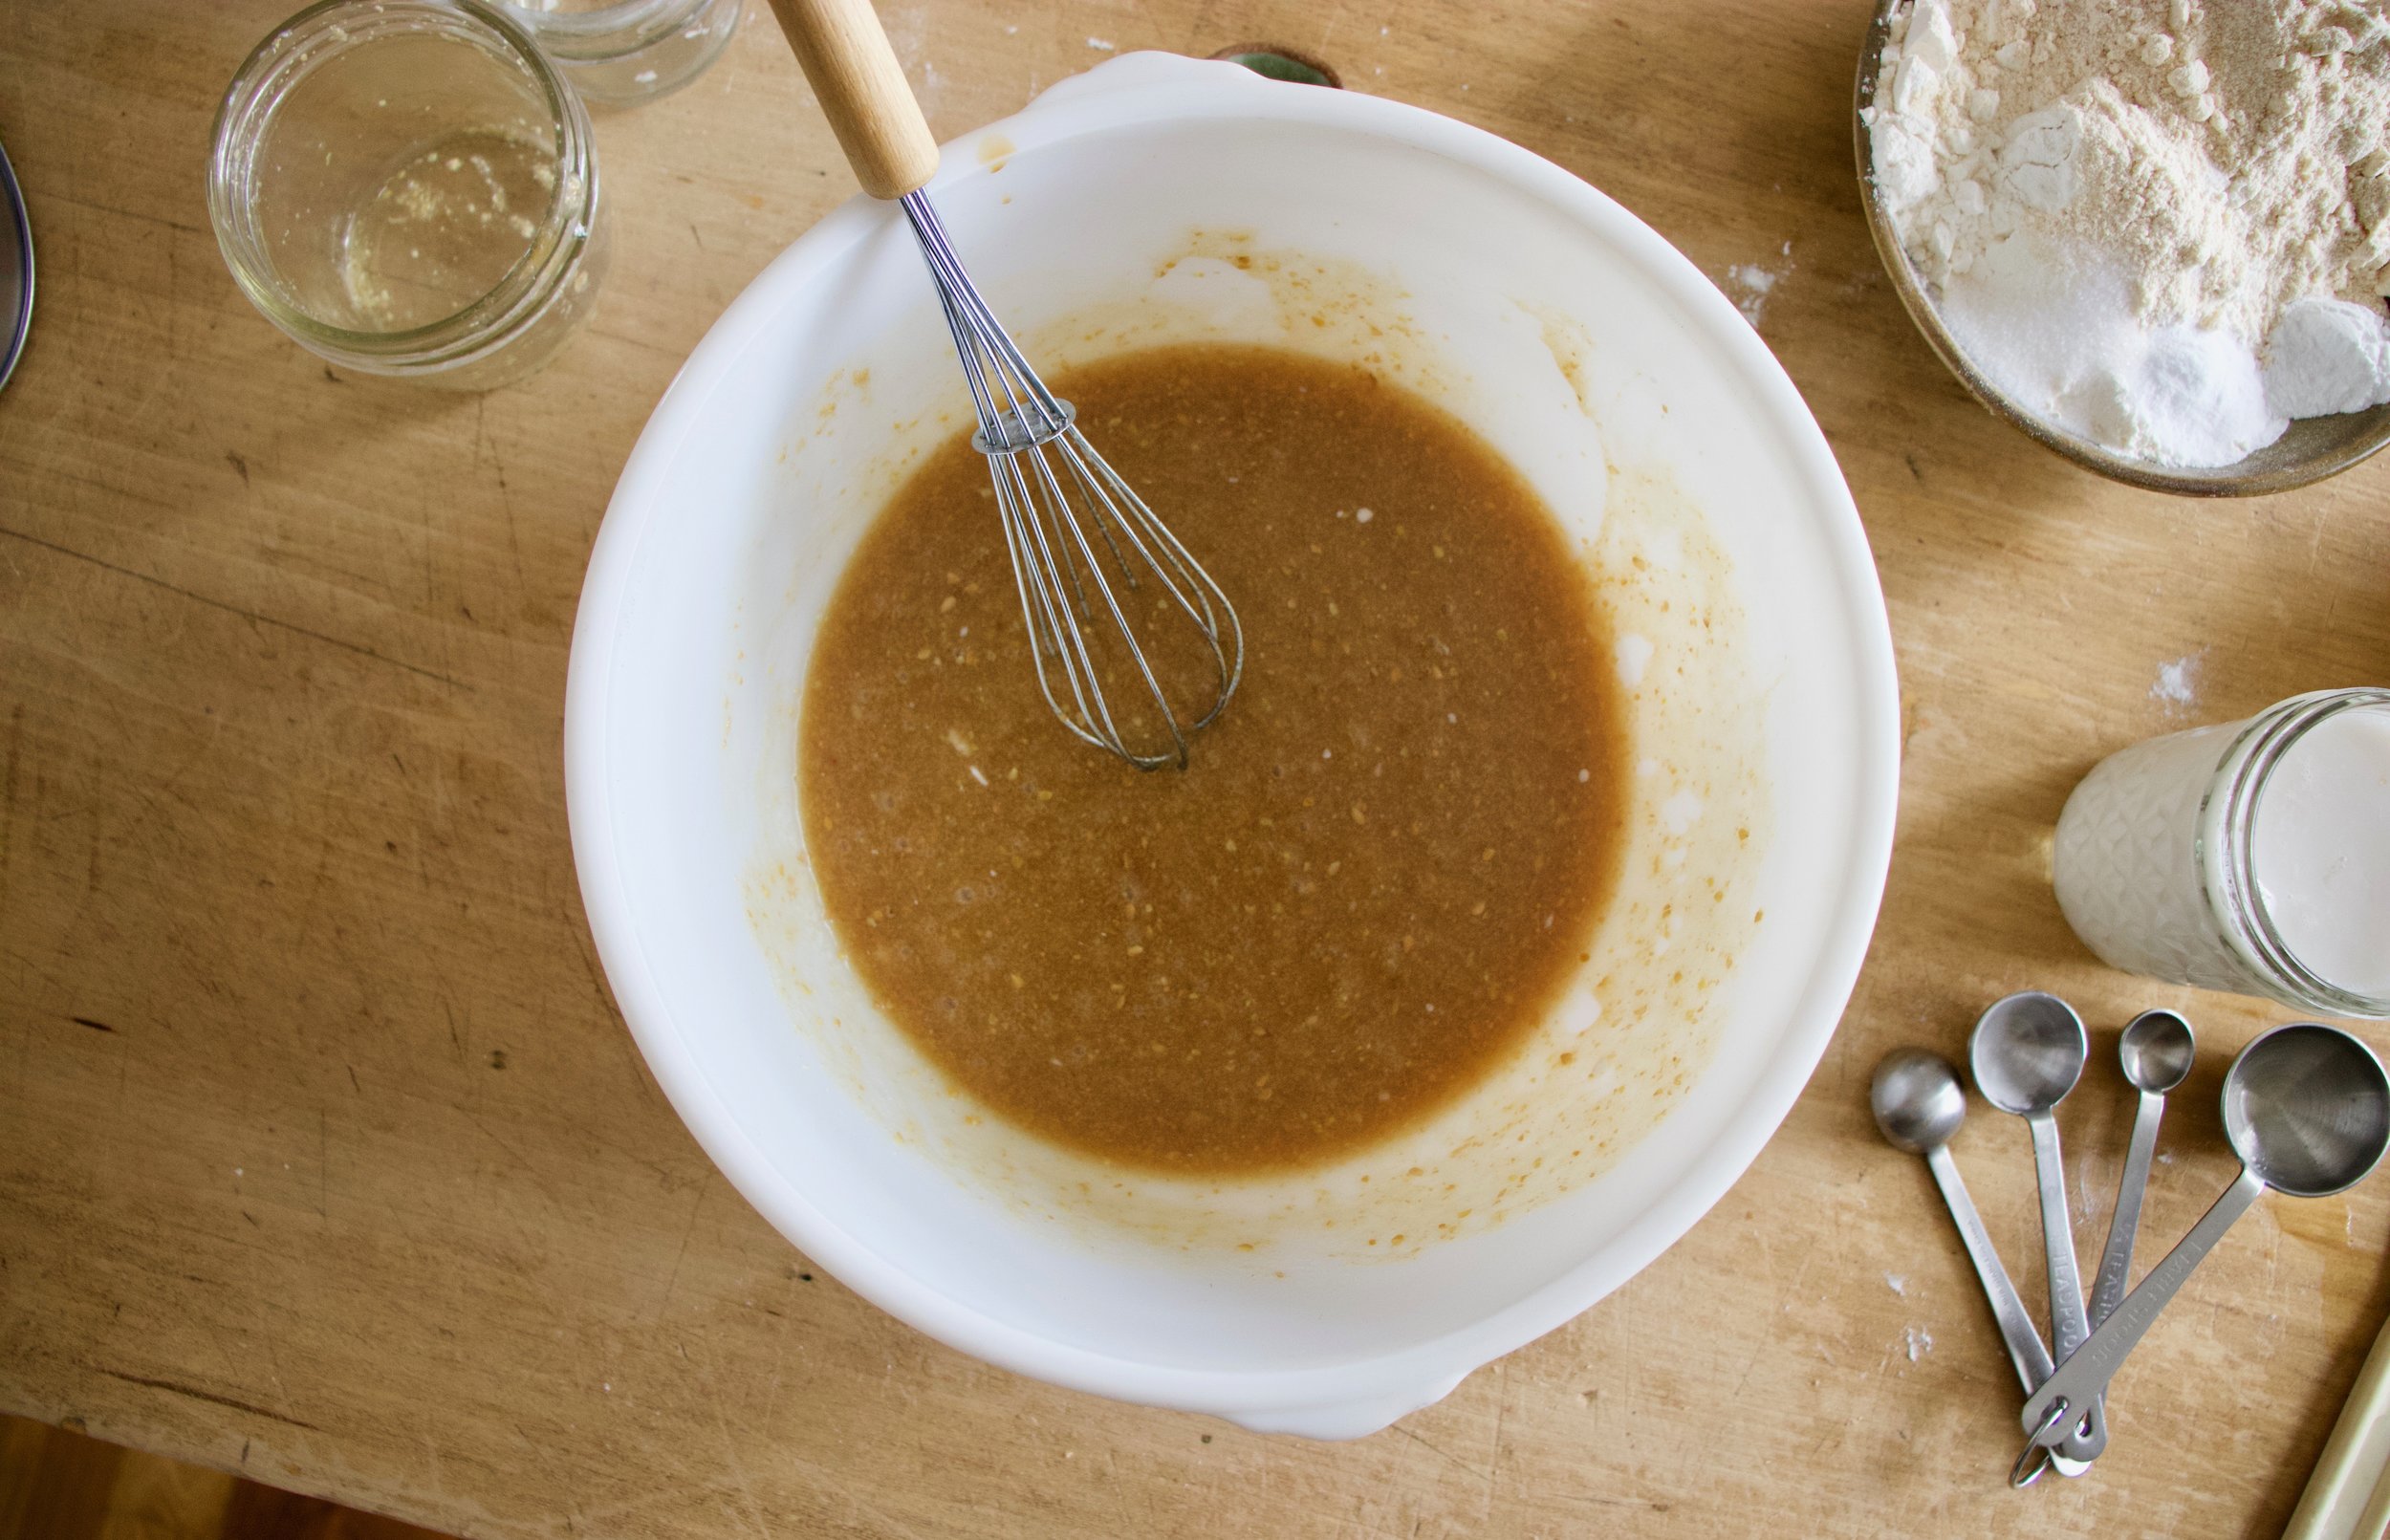
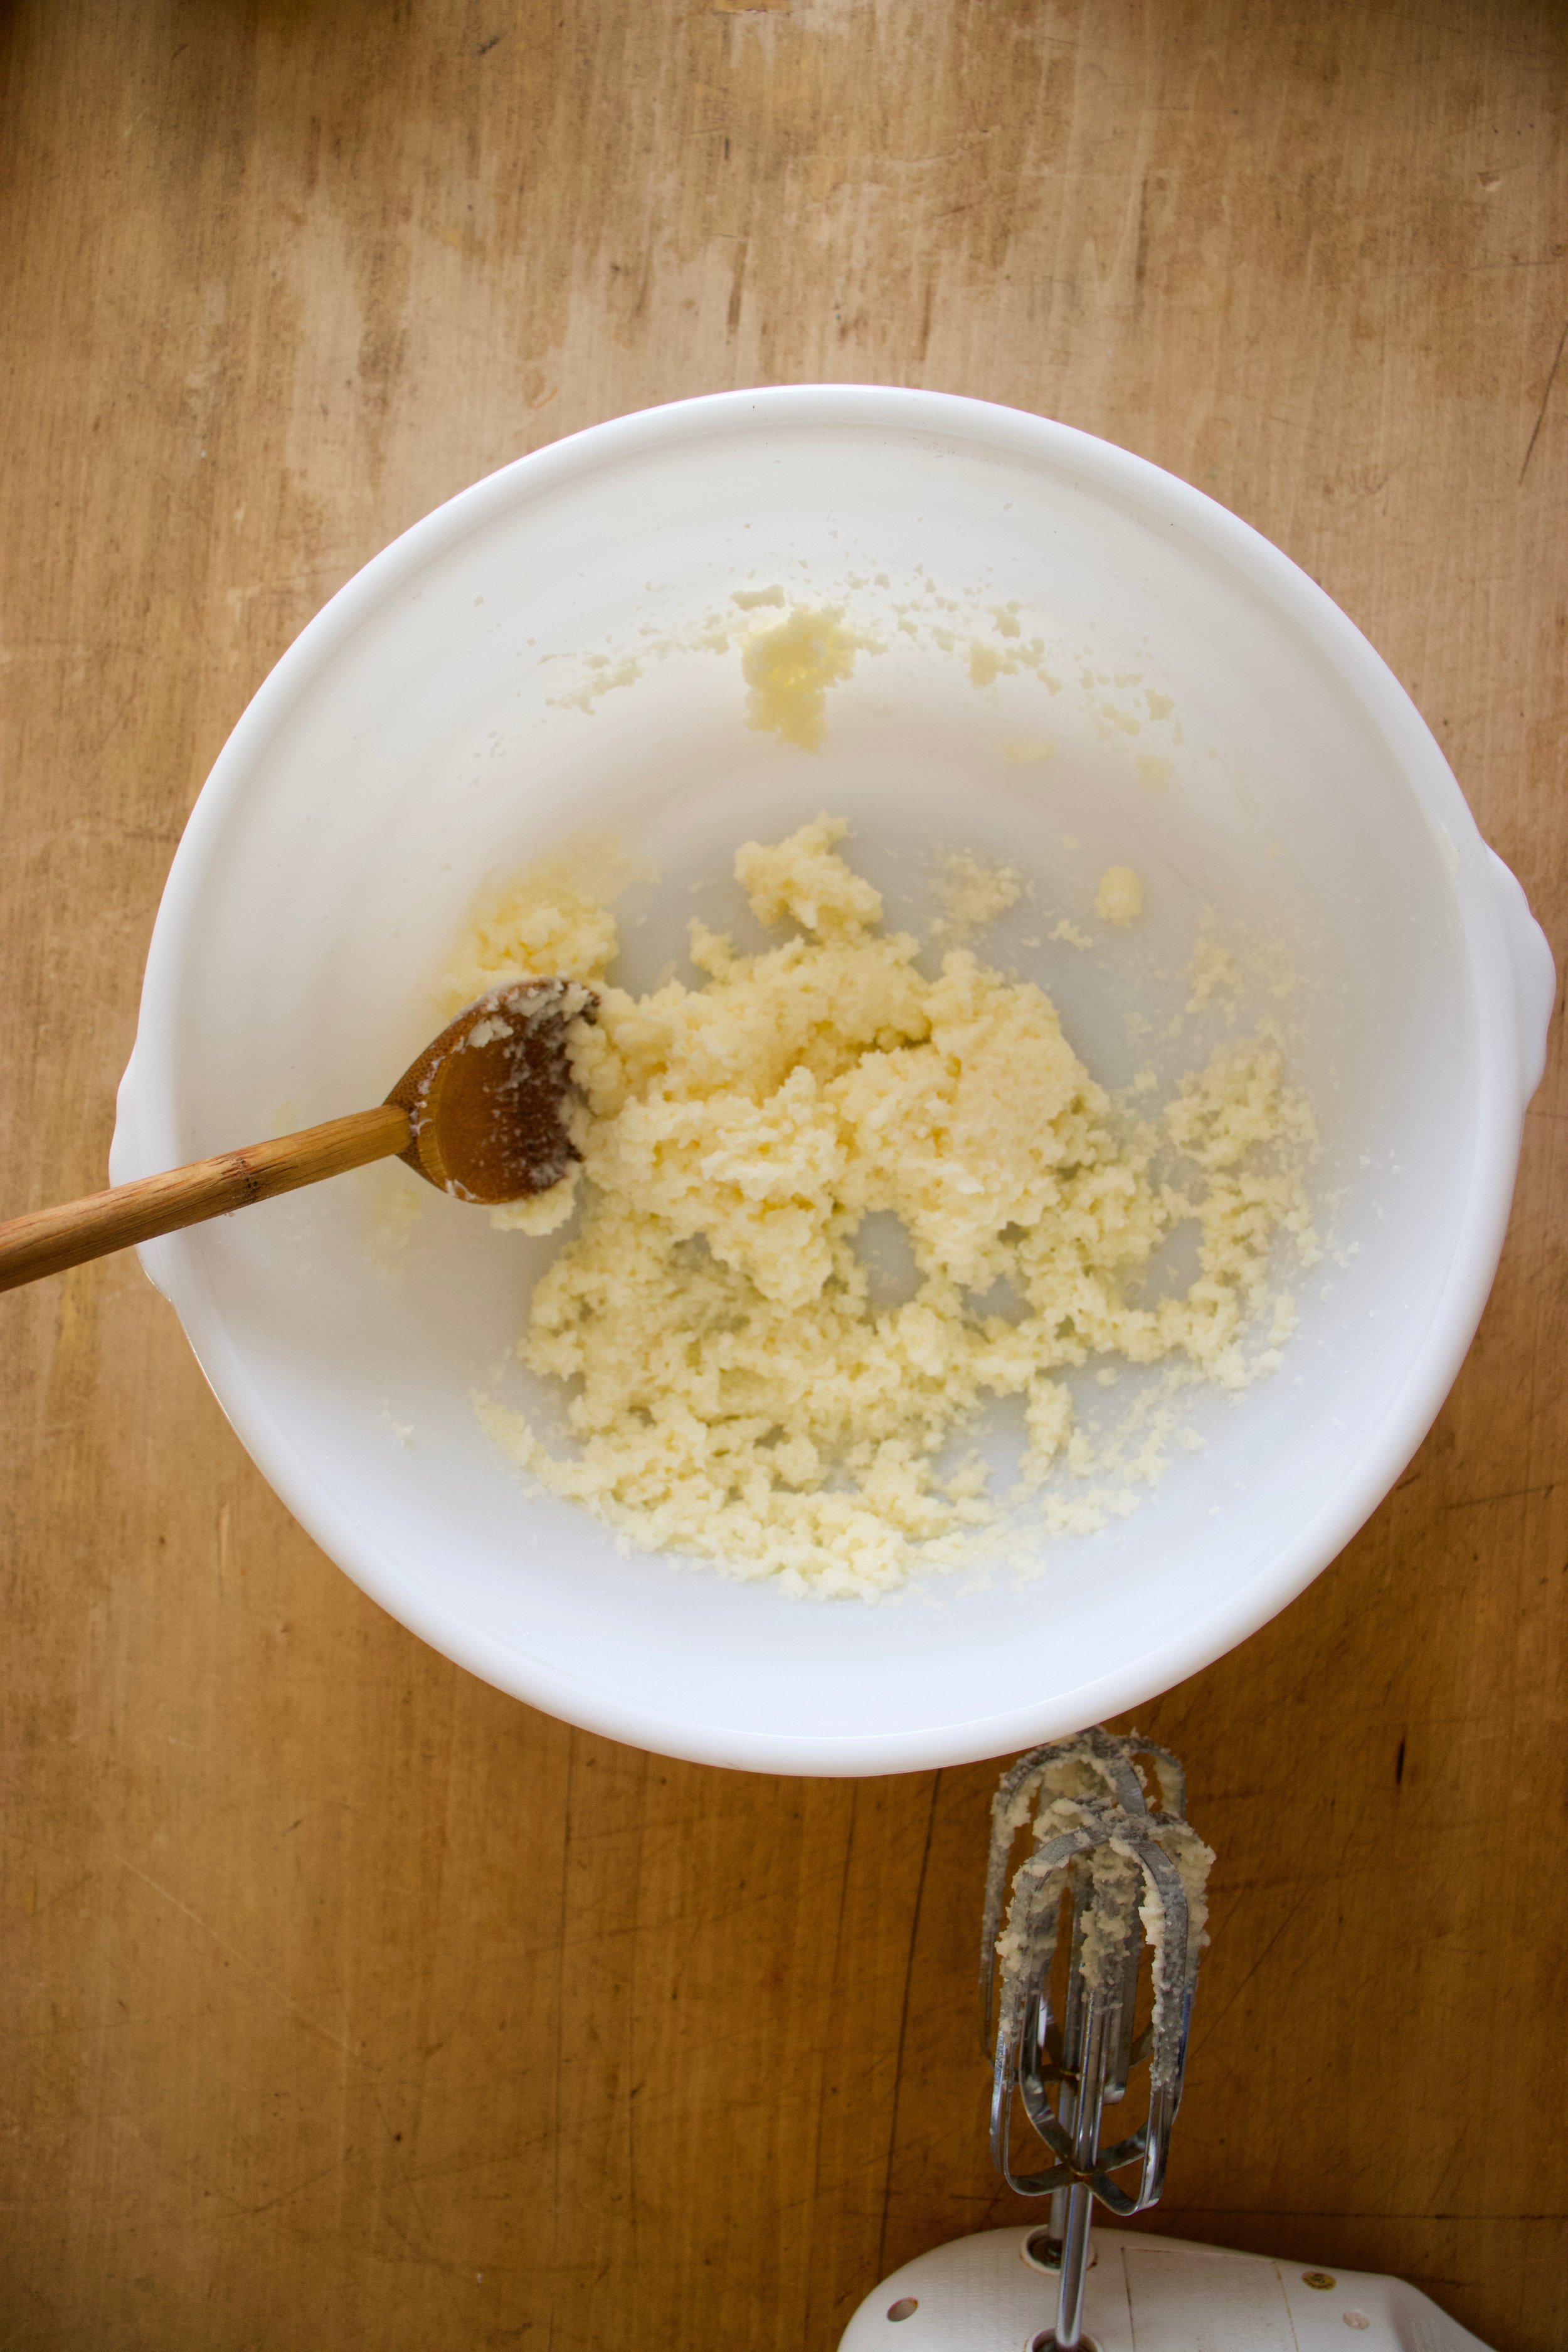
To make cookie dough. Beat toghetet the coconut oil with sugar and vanilla until smooth and fluffy. Add in all the dry ingredients and the almond milk and mix until a dough forms.

IMG_2960.jpg

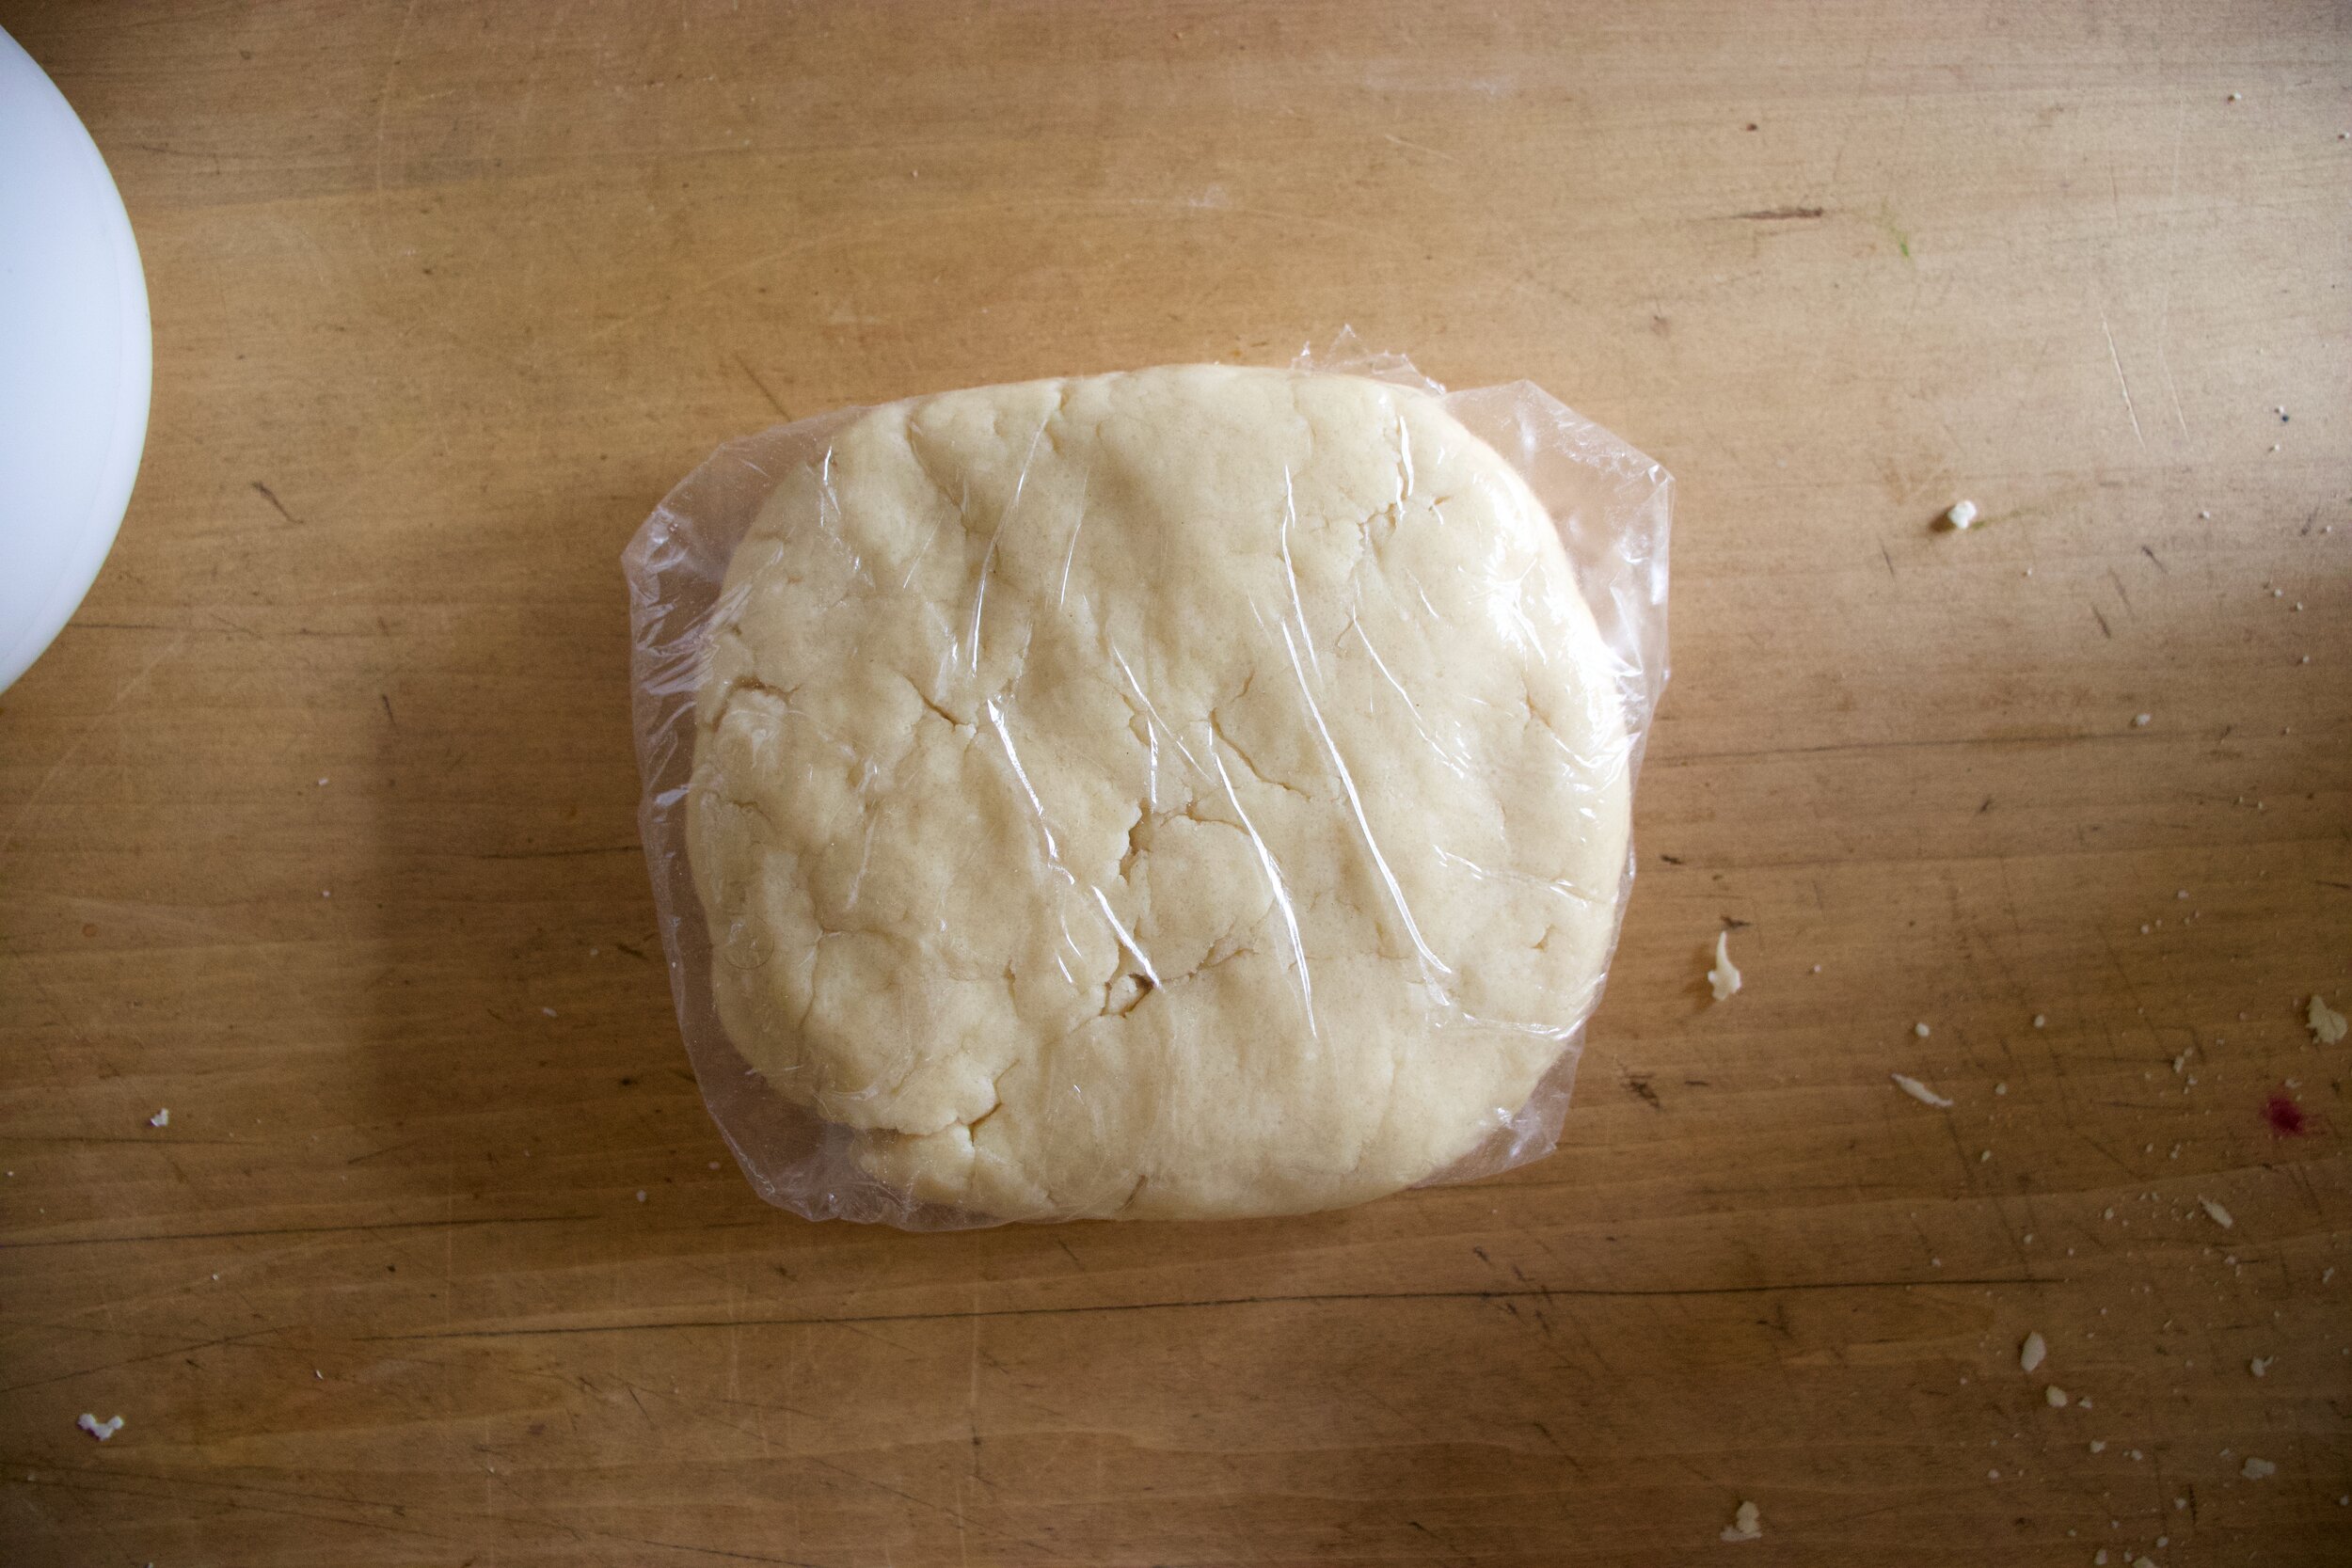
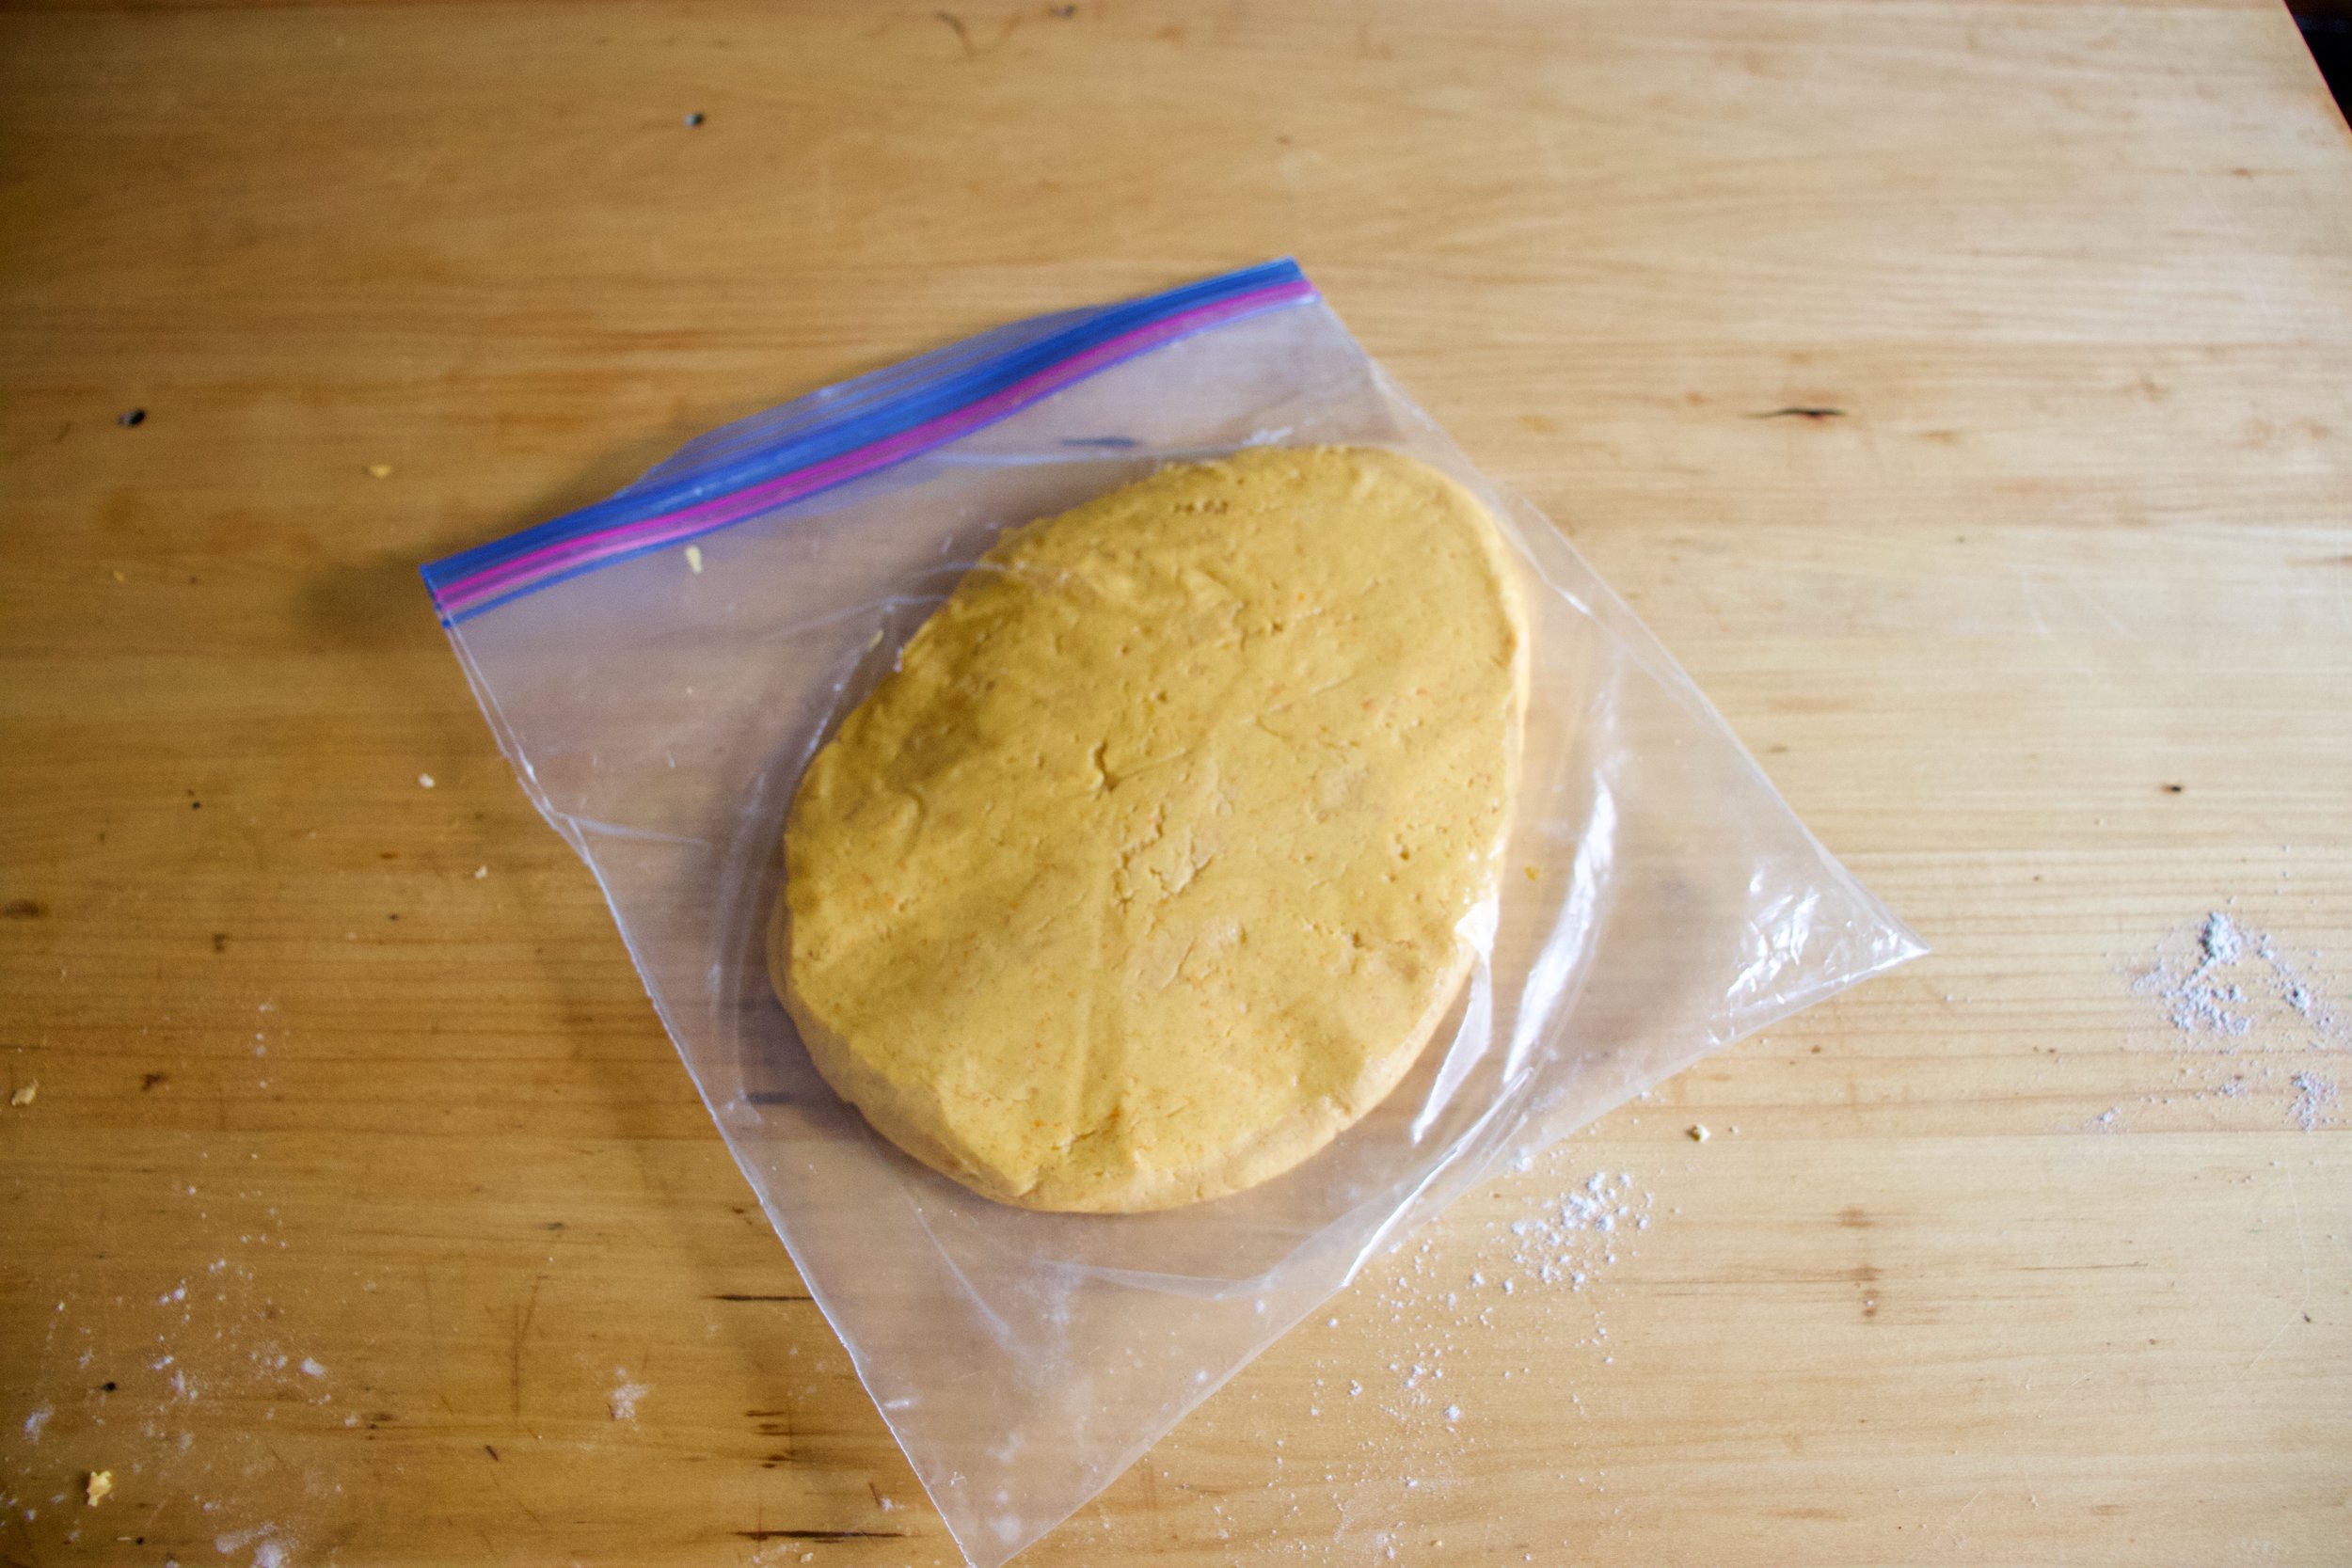
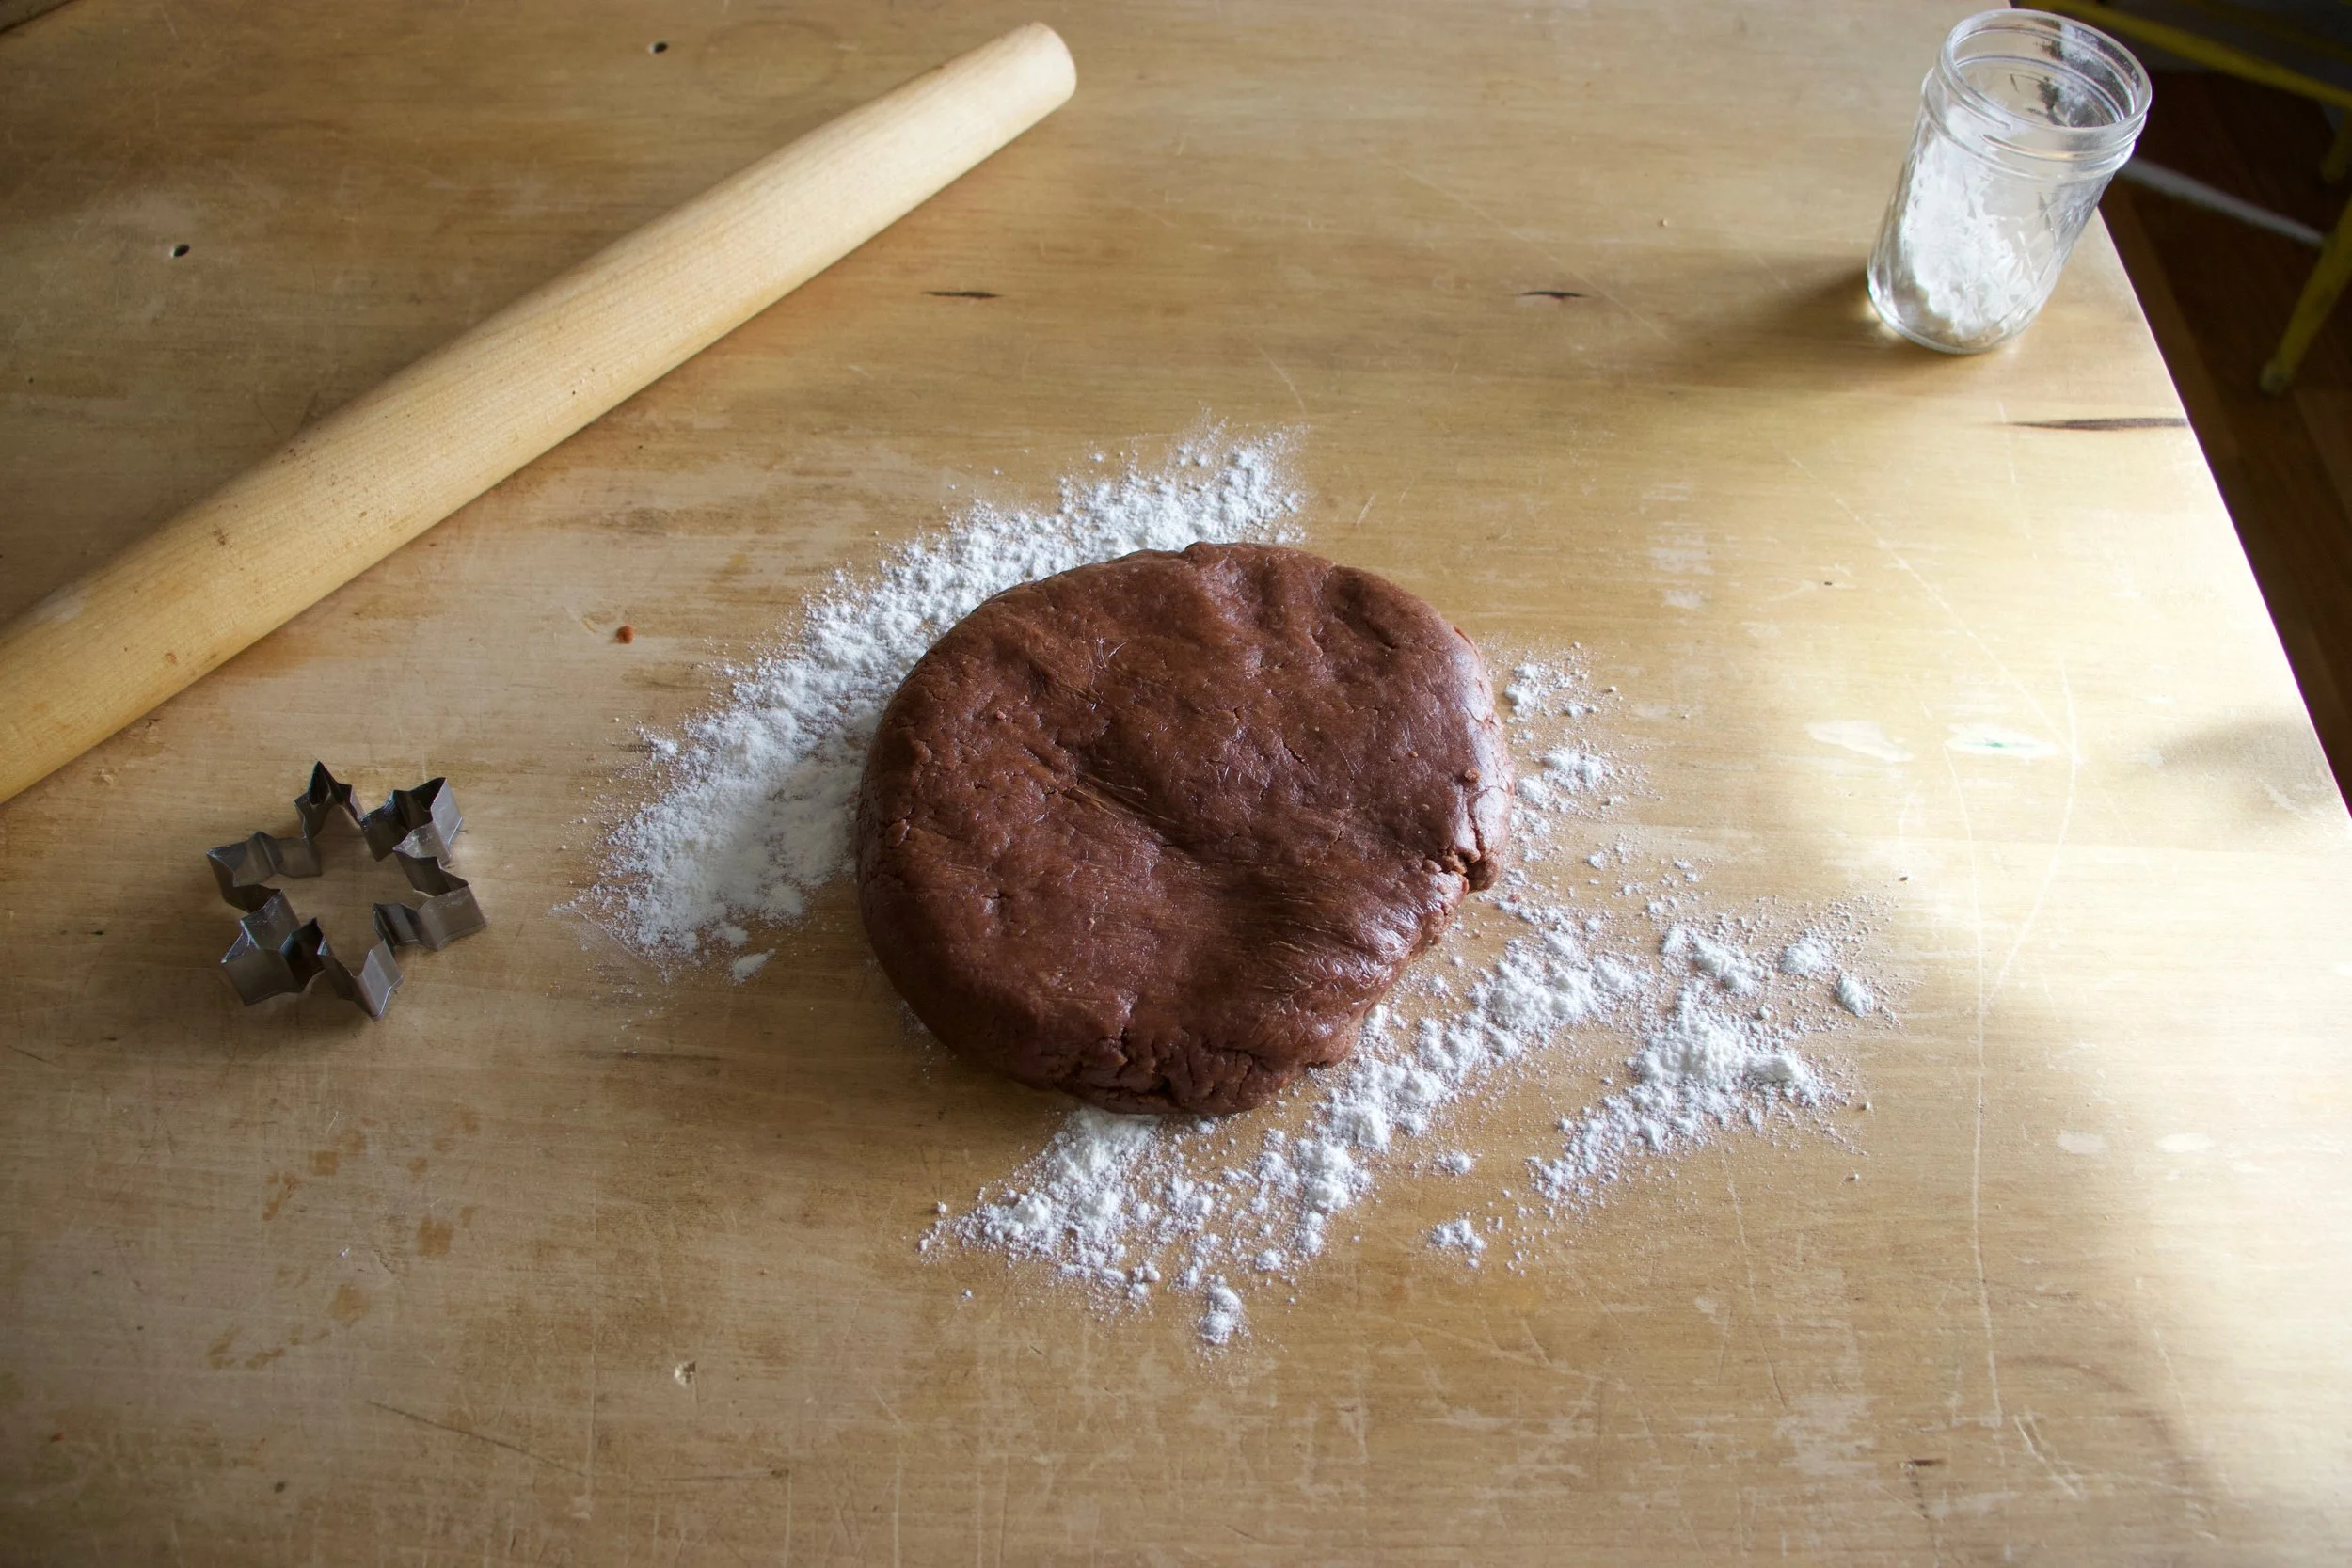
Wrap dough in plastic and squish tight. Place in fridge for an hour or up to a day.

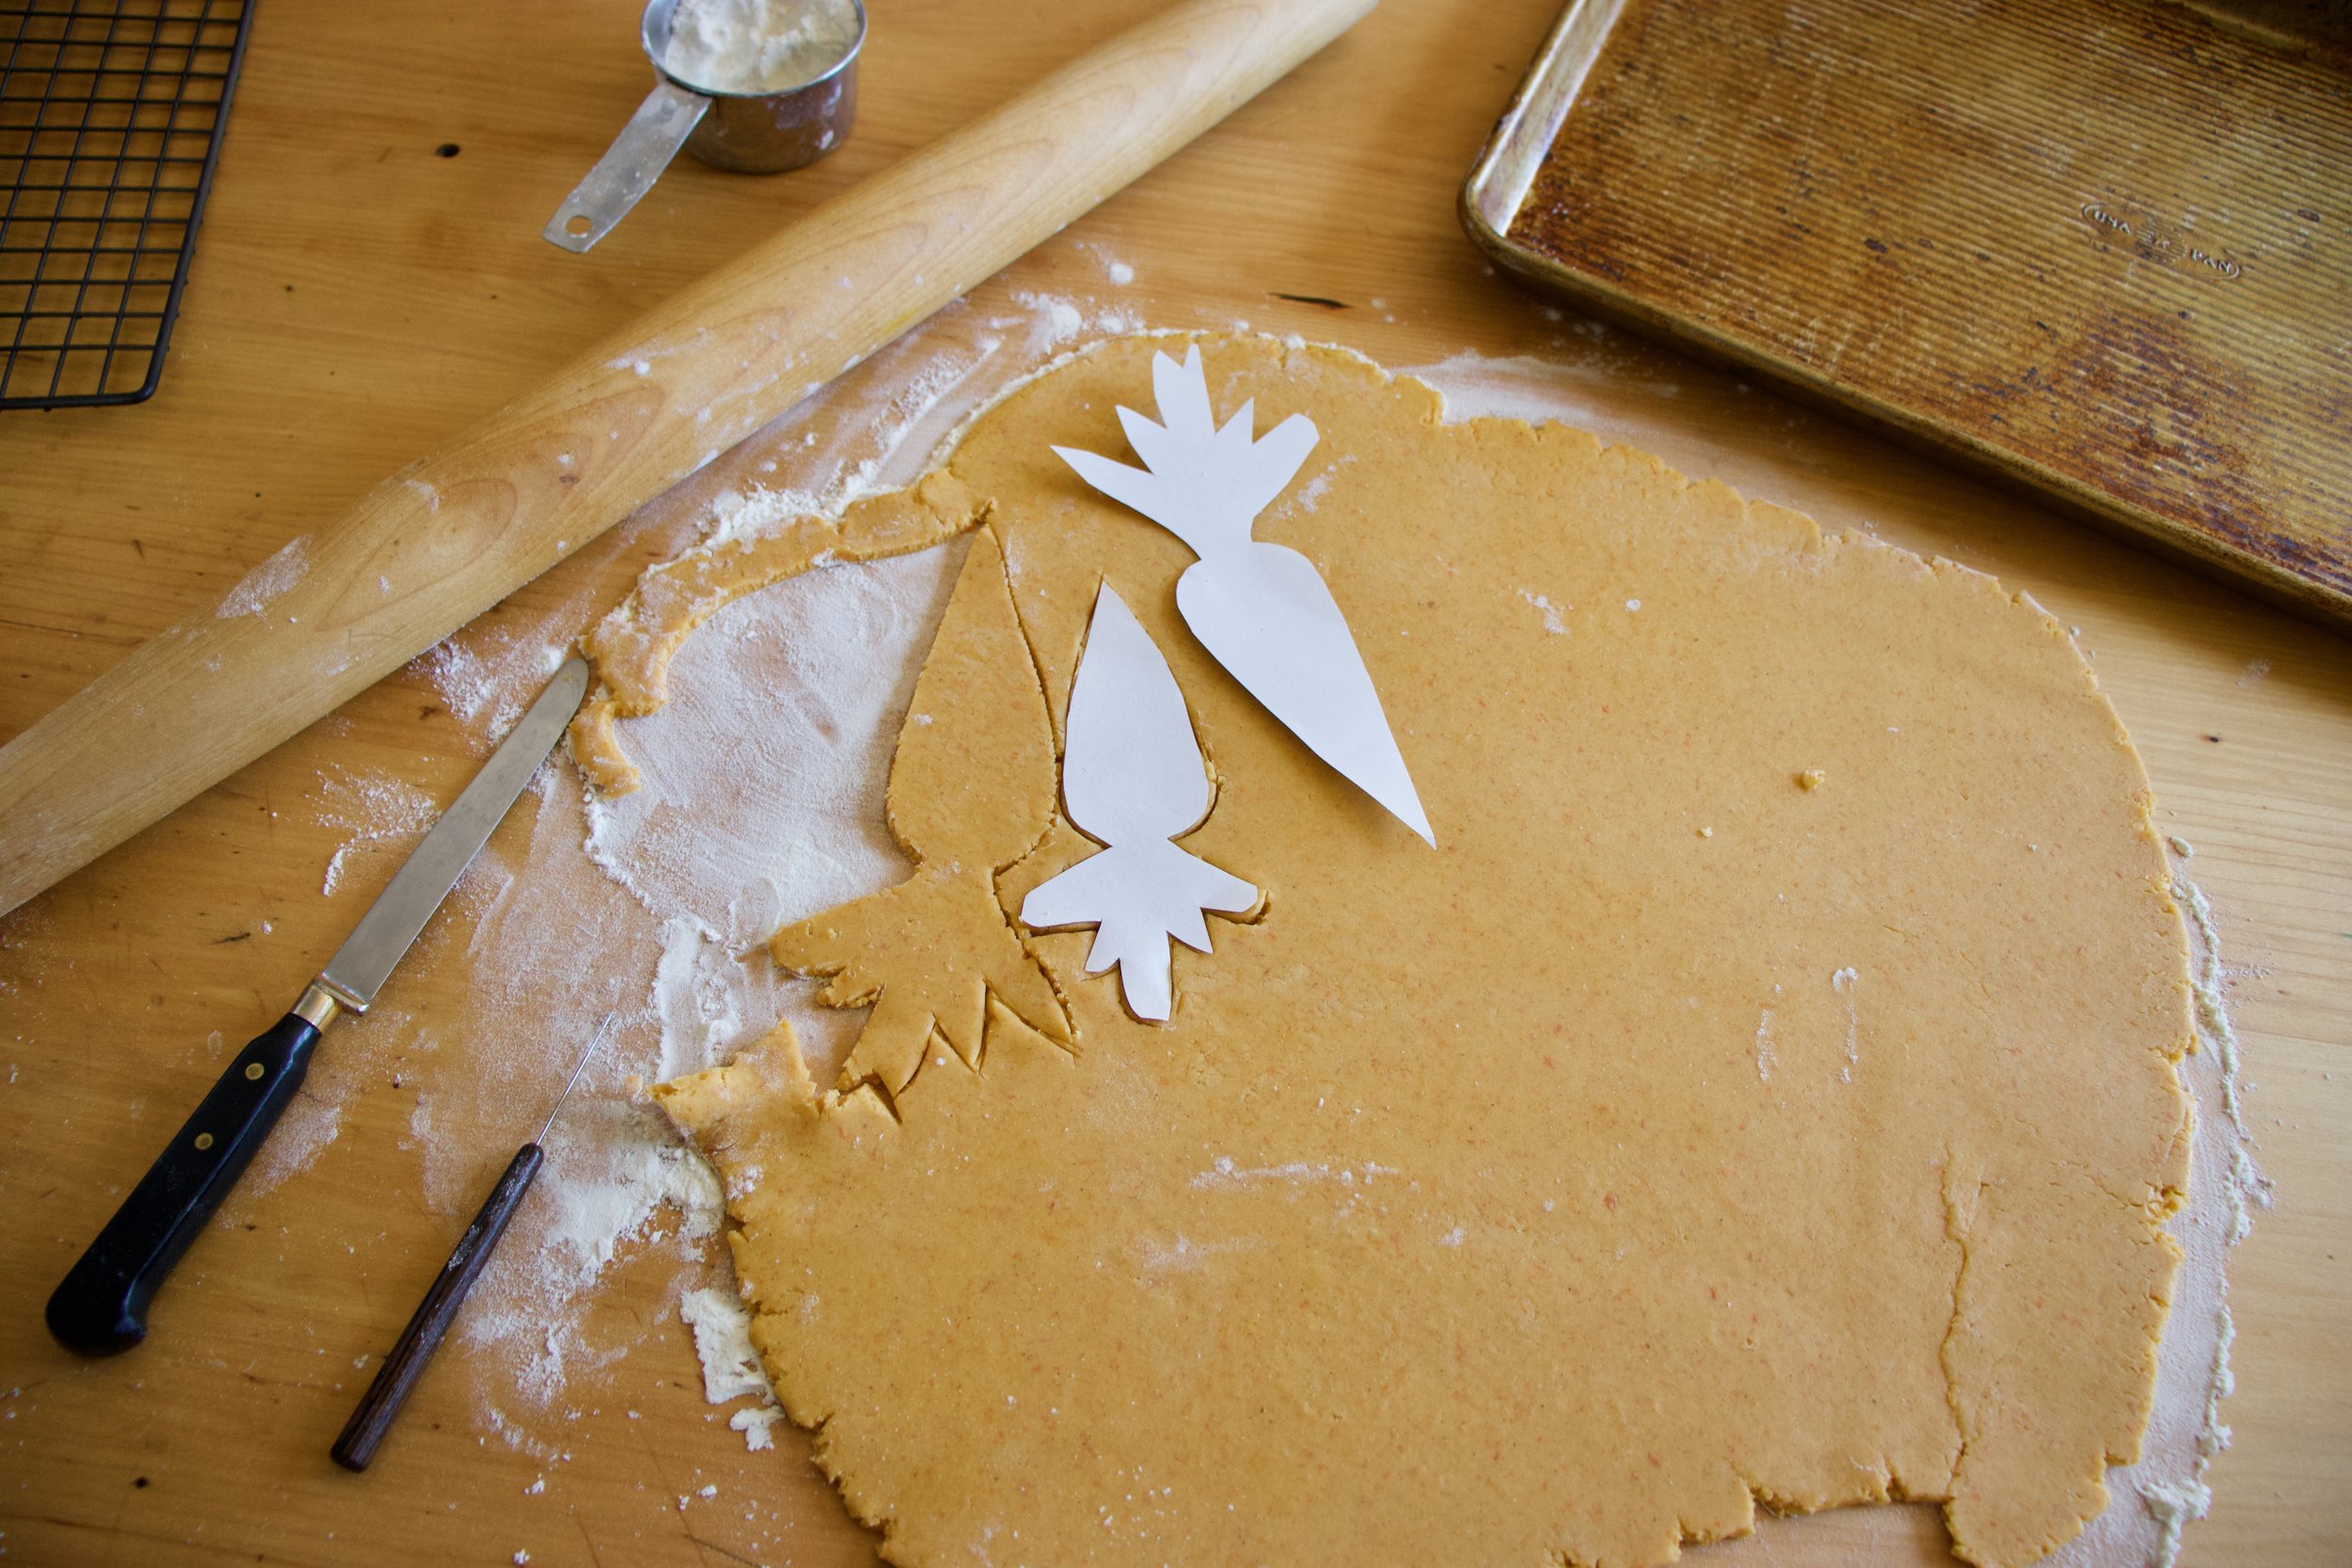
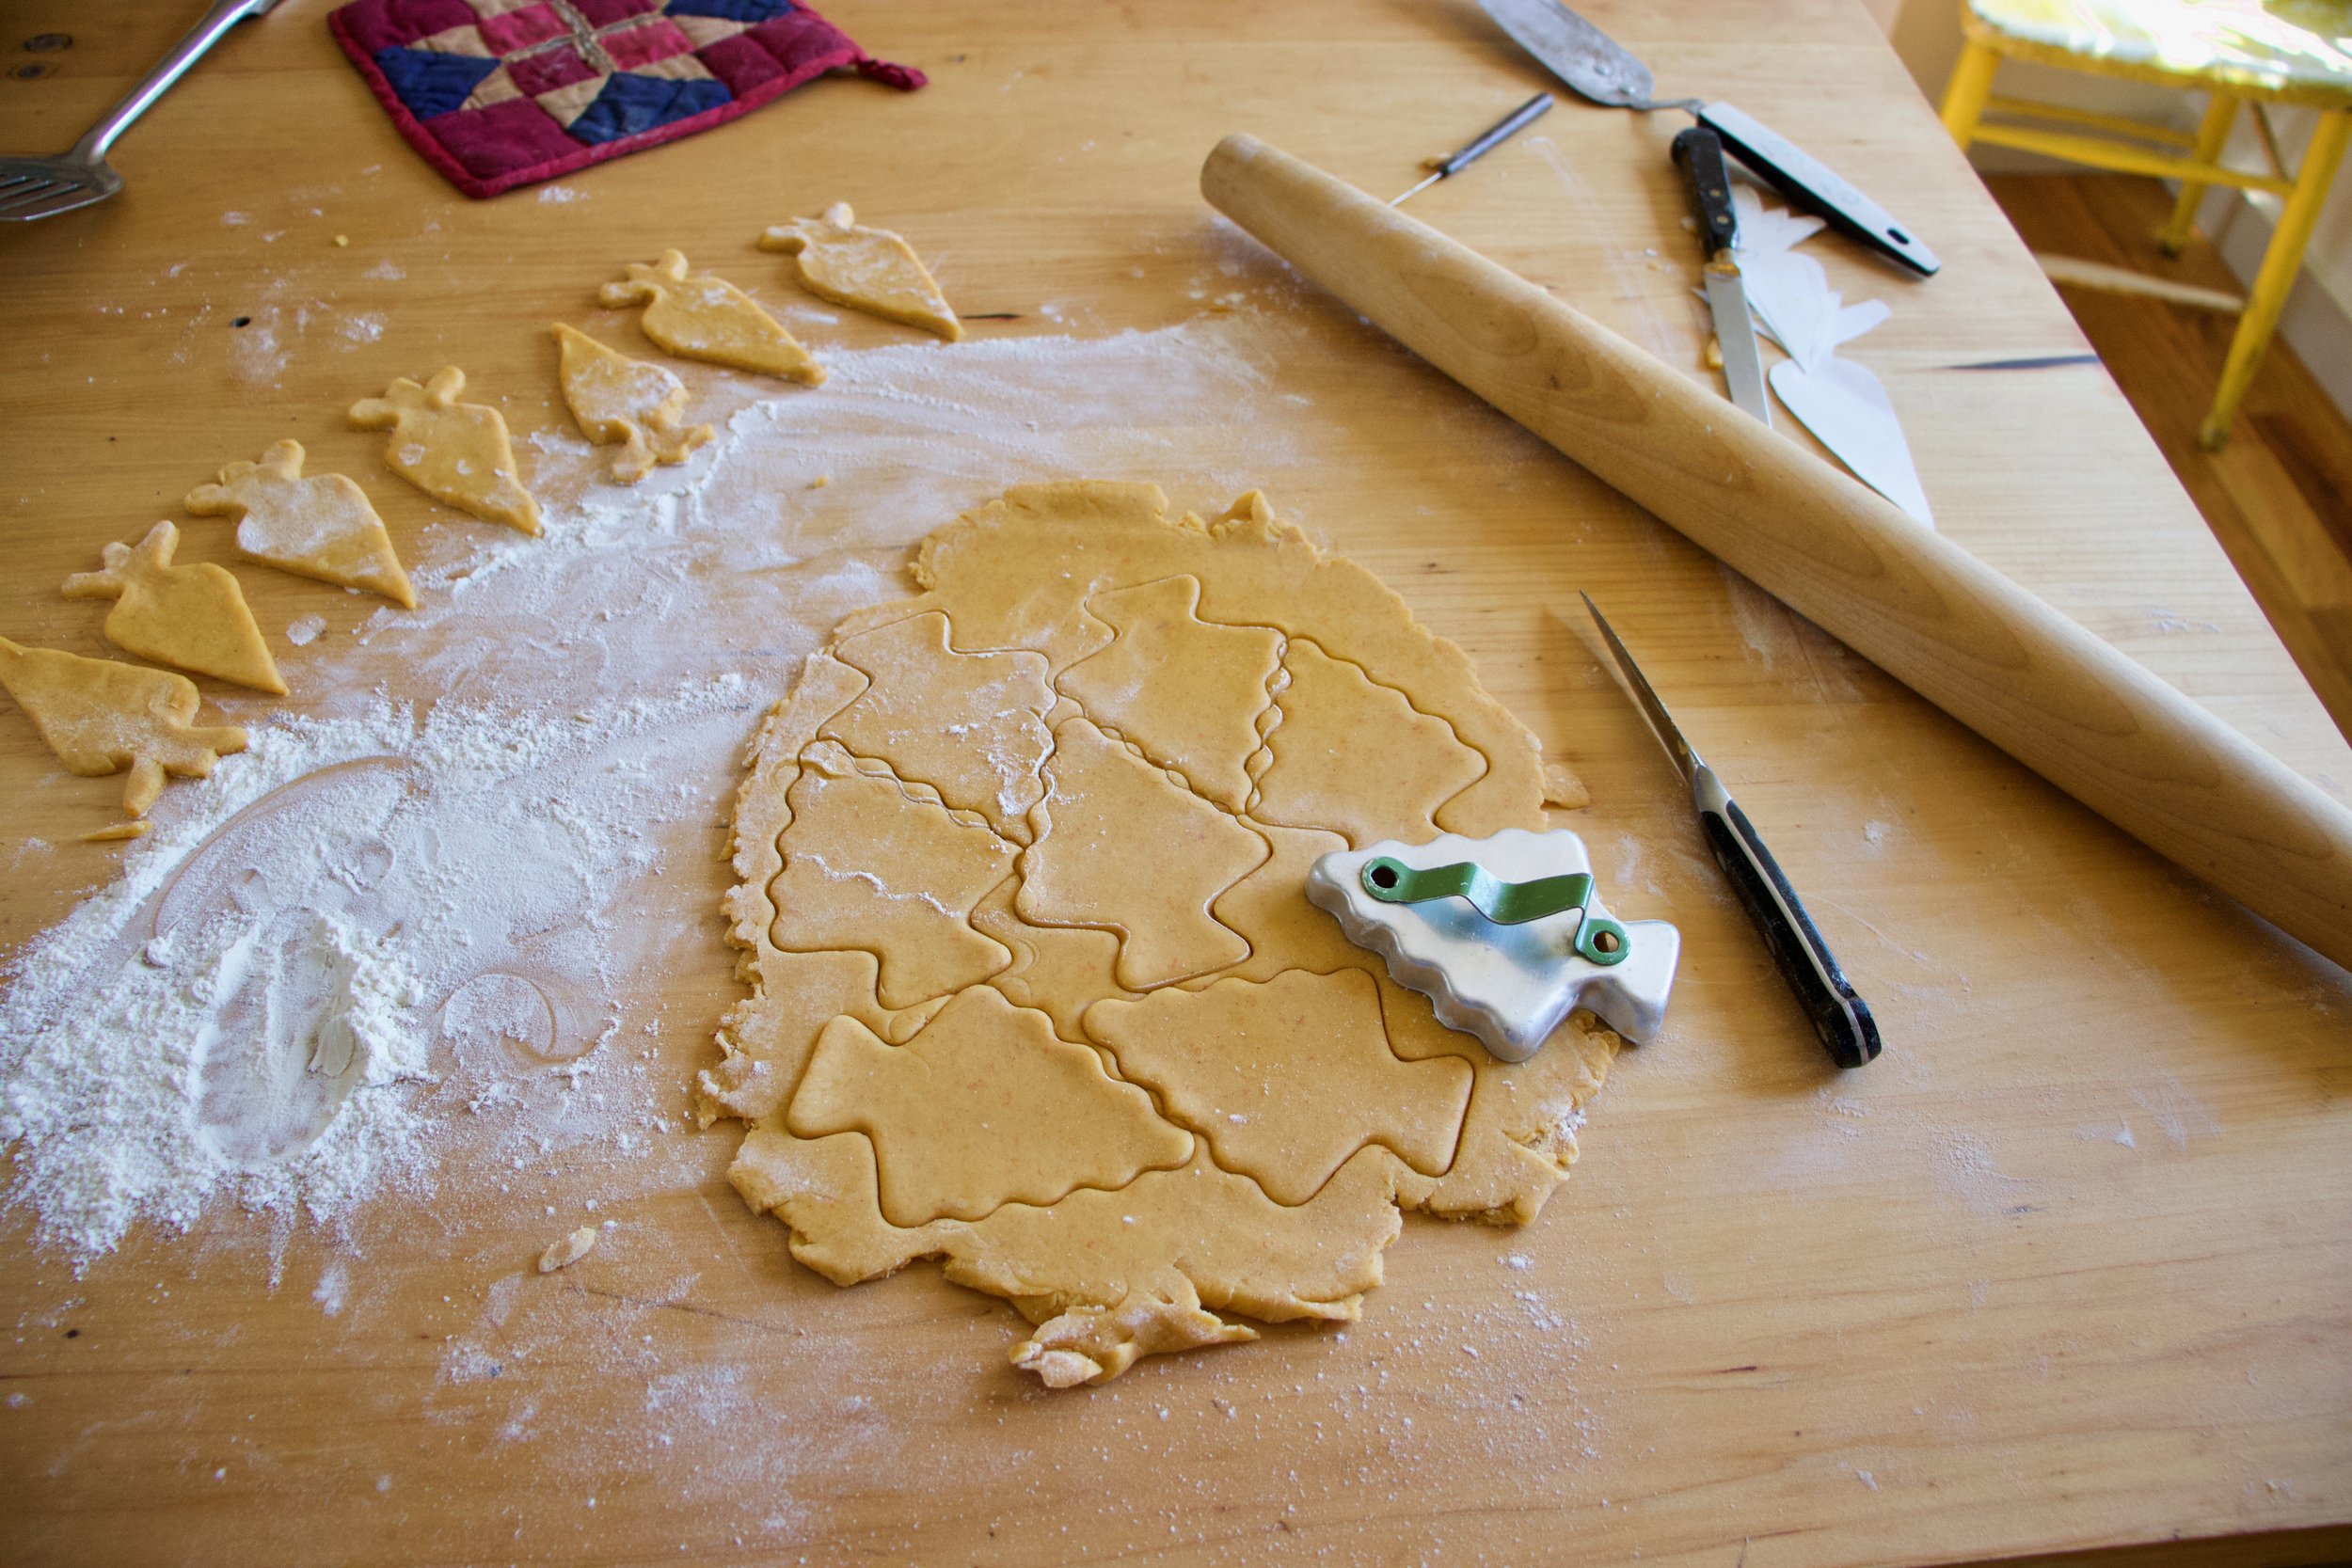
After dough has had time in the fridge, grab it and roll it out on a lightly floured surface to about 1/4 inch thick.

IMG_2986 2.jpg

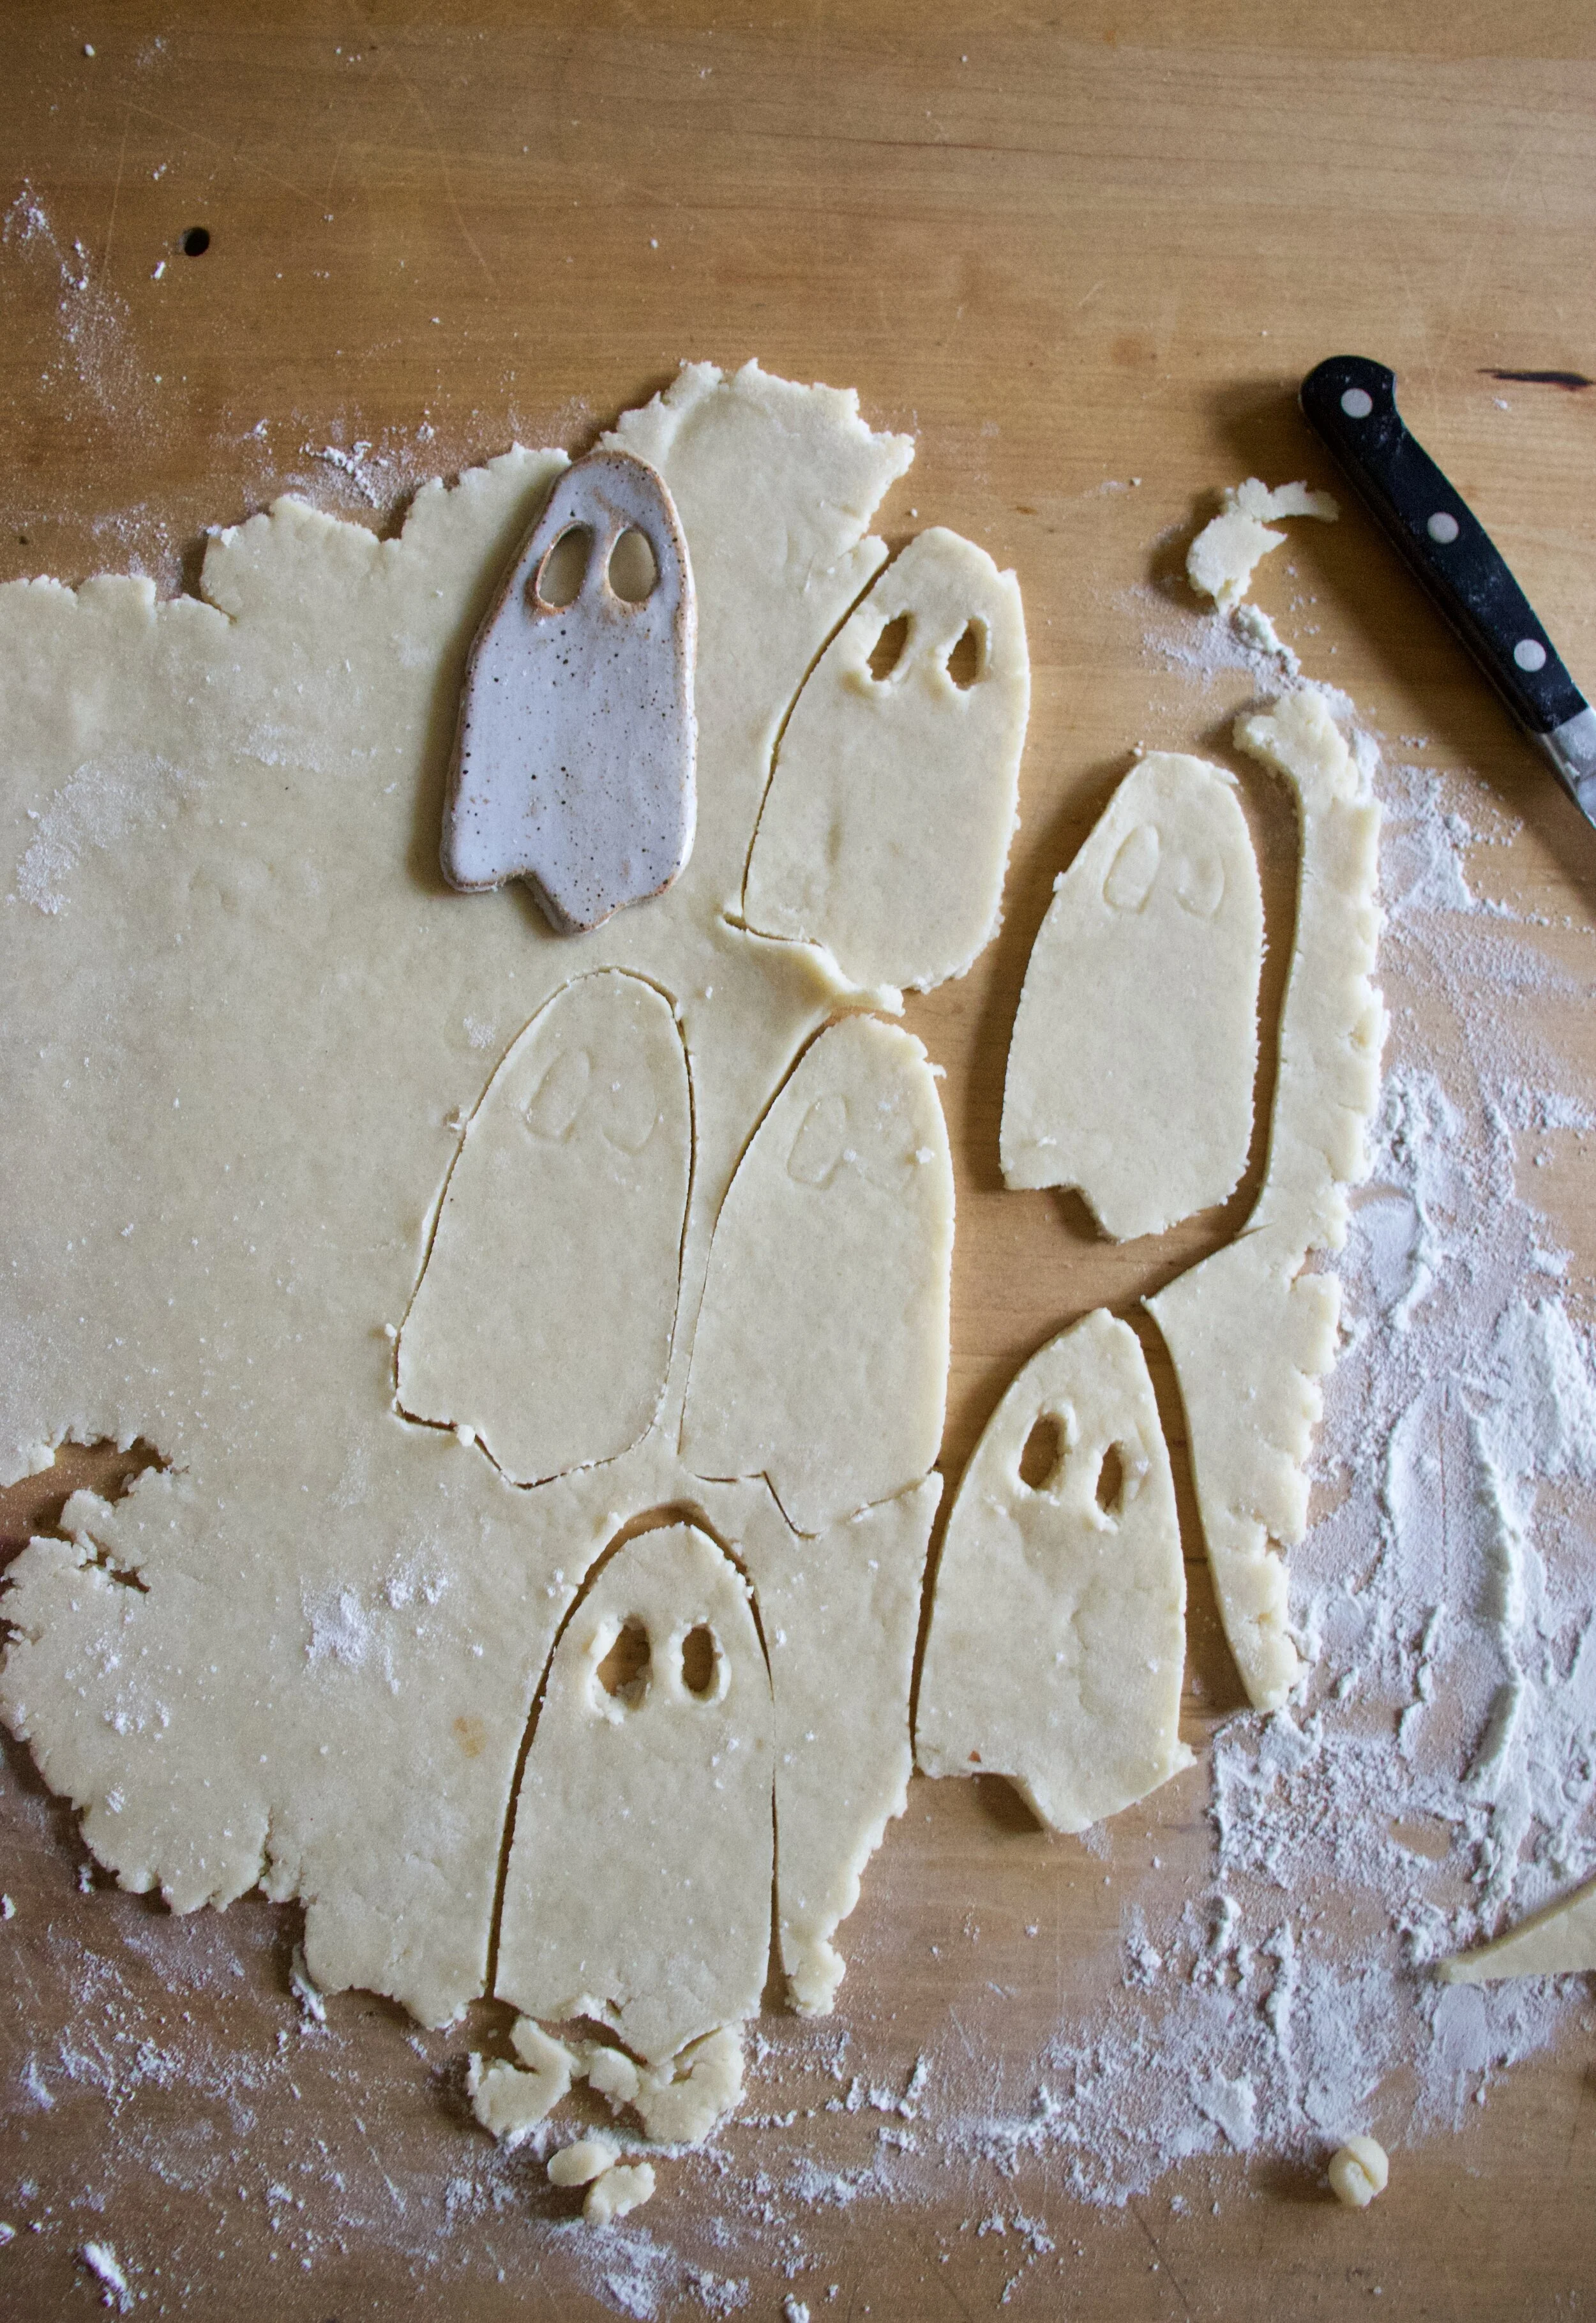
Cut out cookie shapes. If you want to cut out eyes or a few different shapes, remember each cookie needs a top and bottom so even numbers folks.

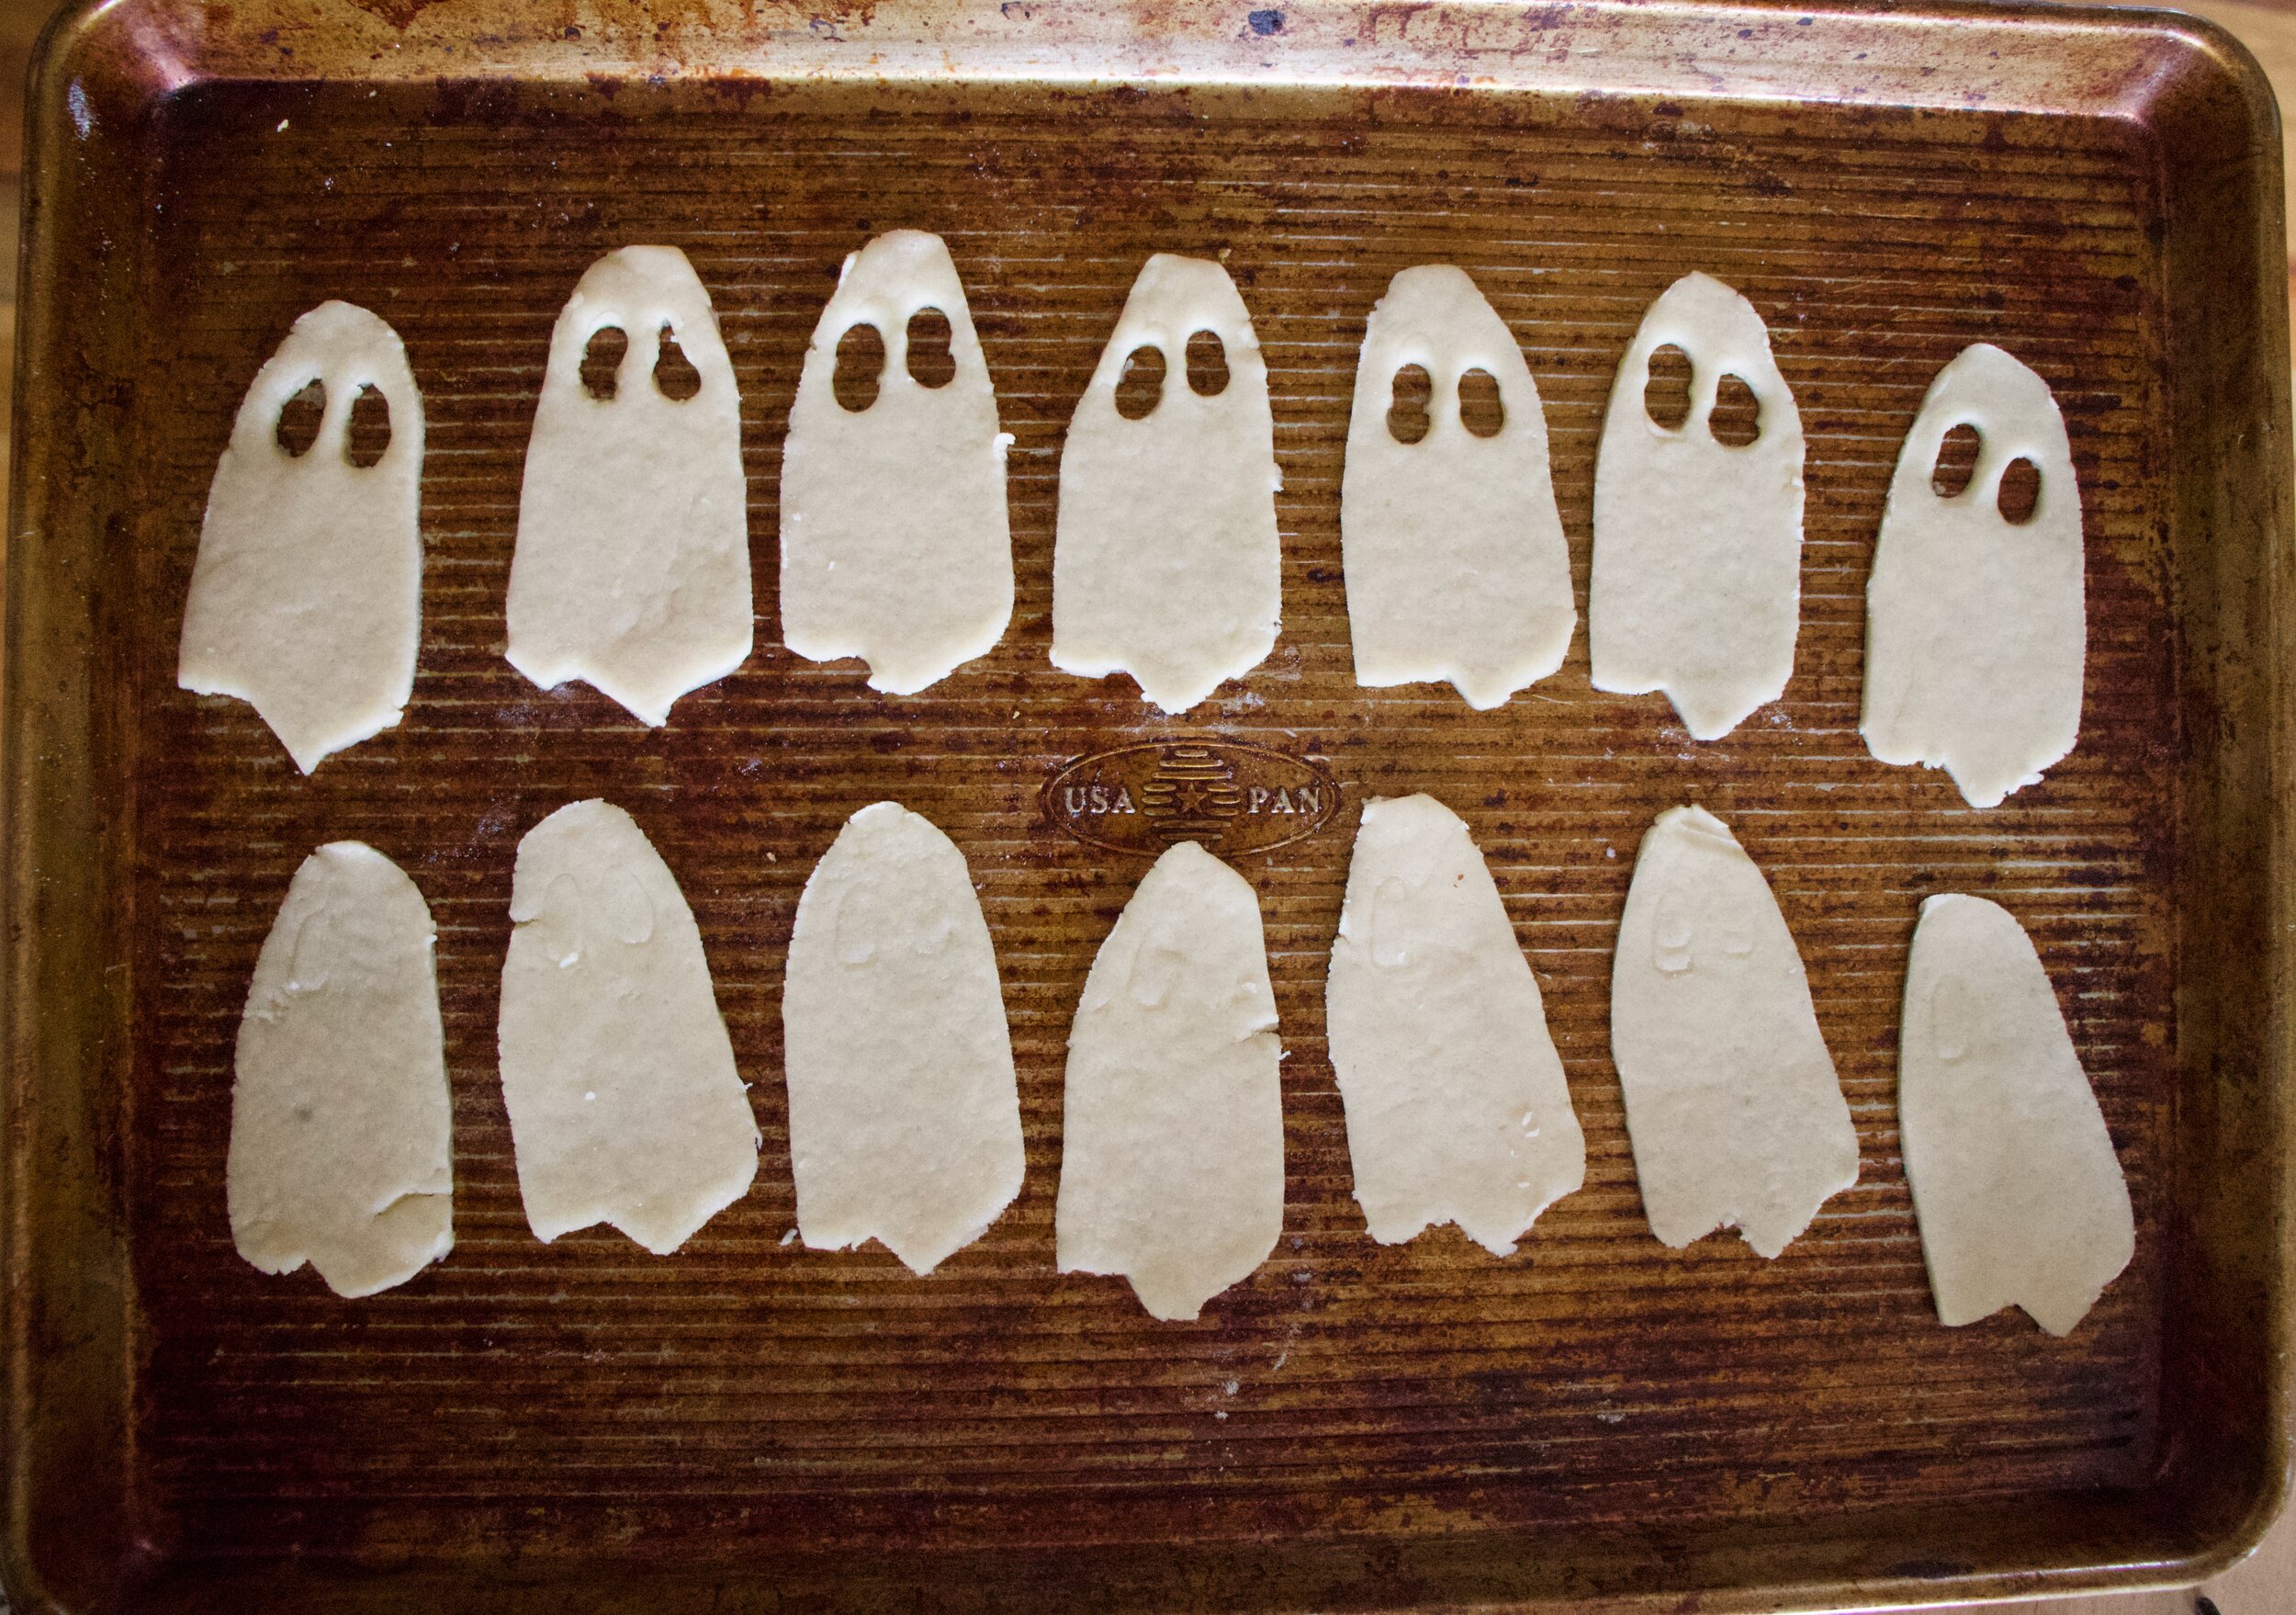
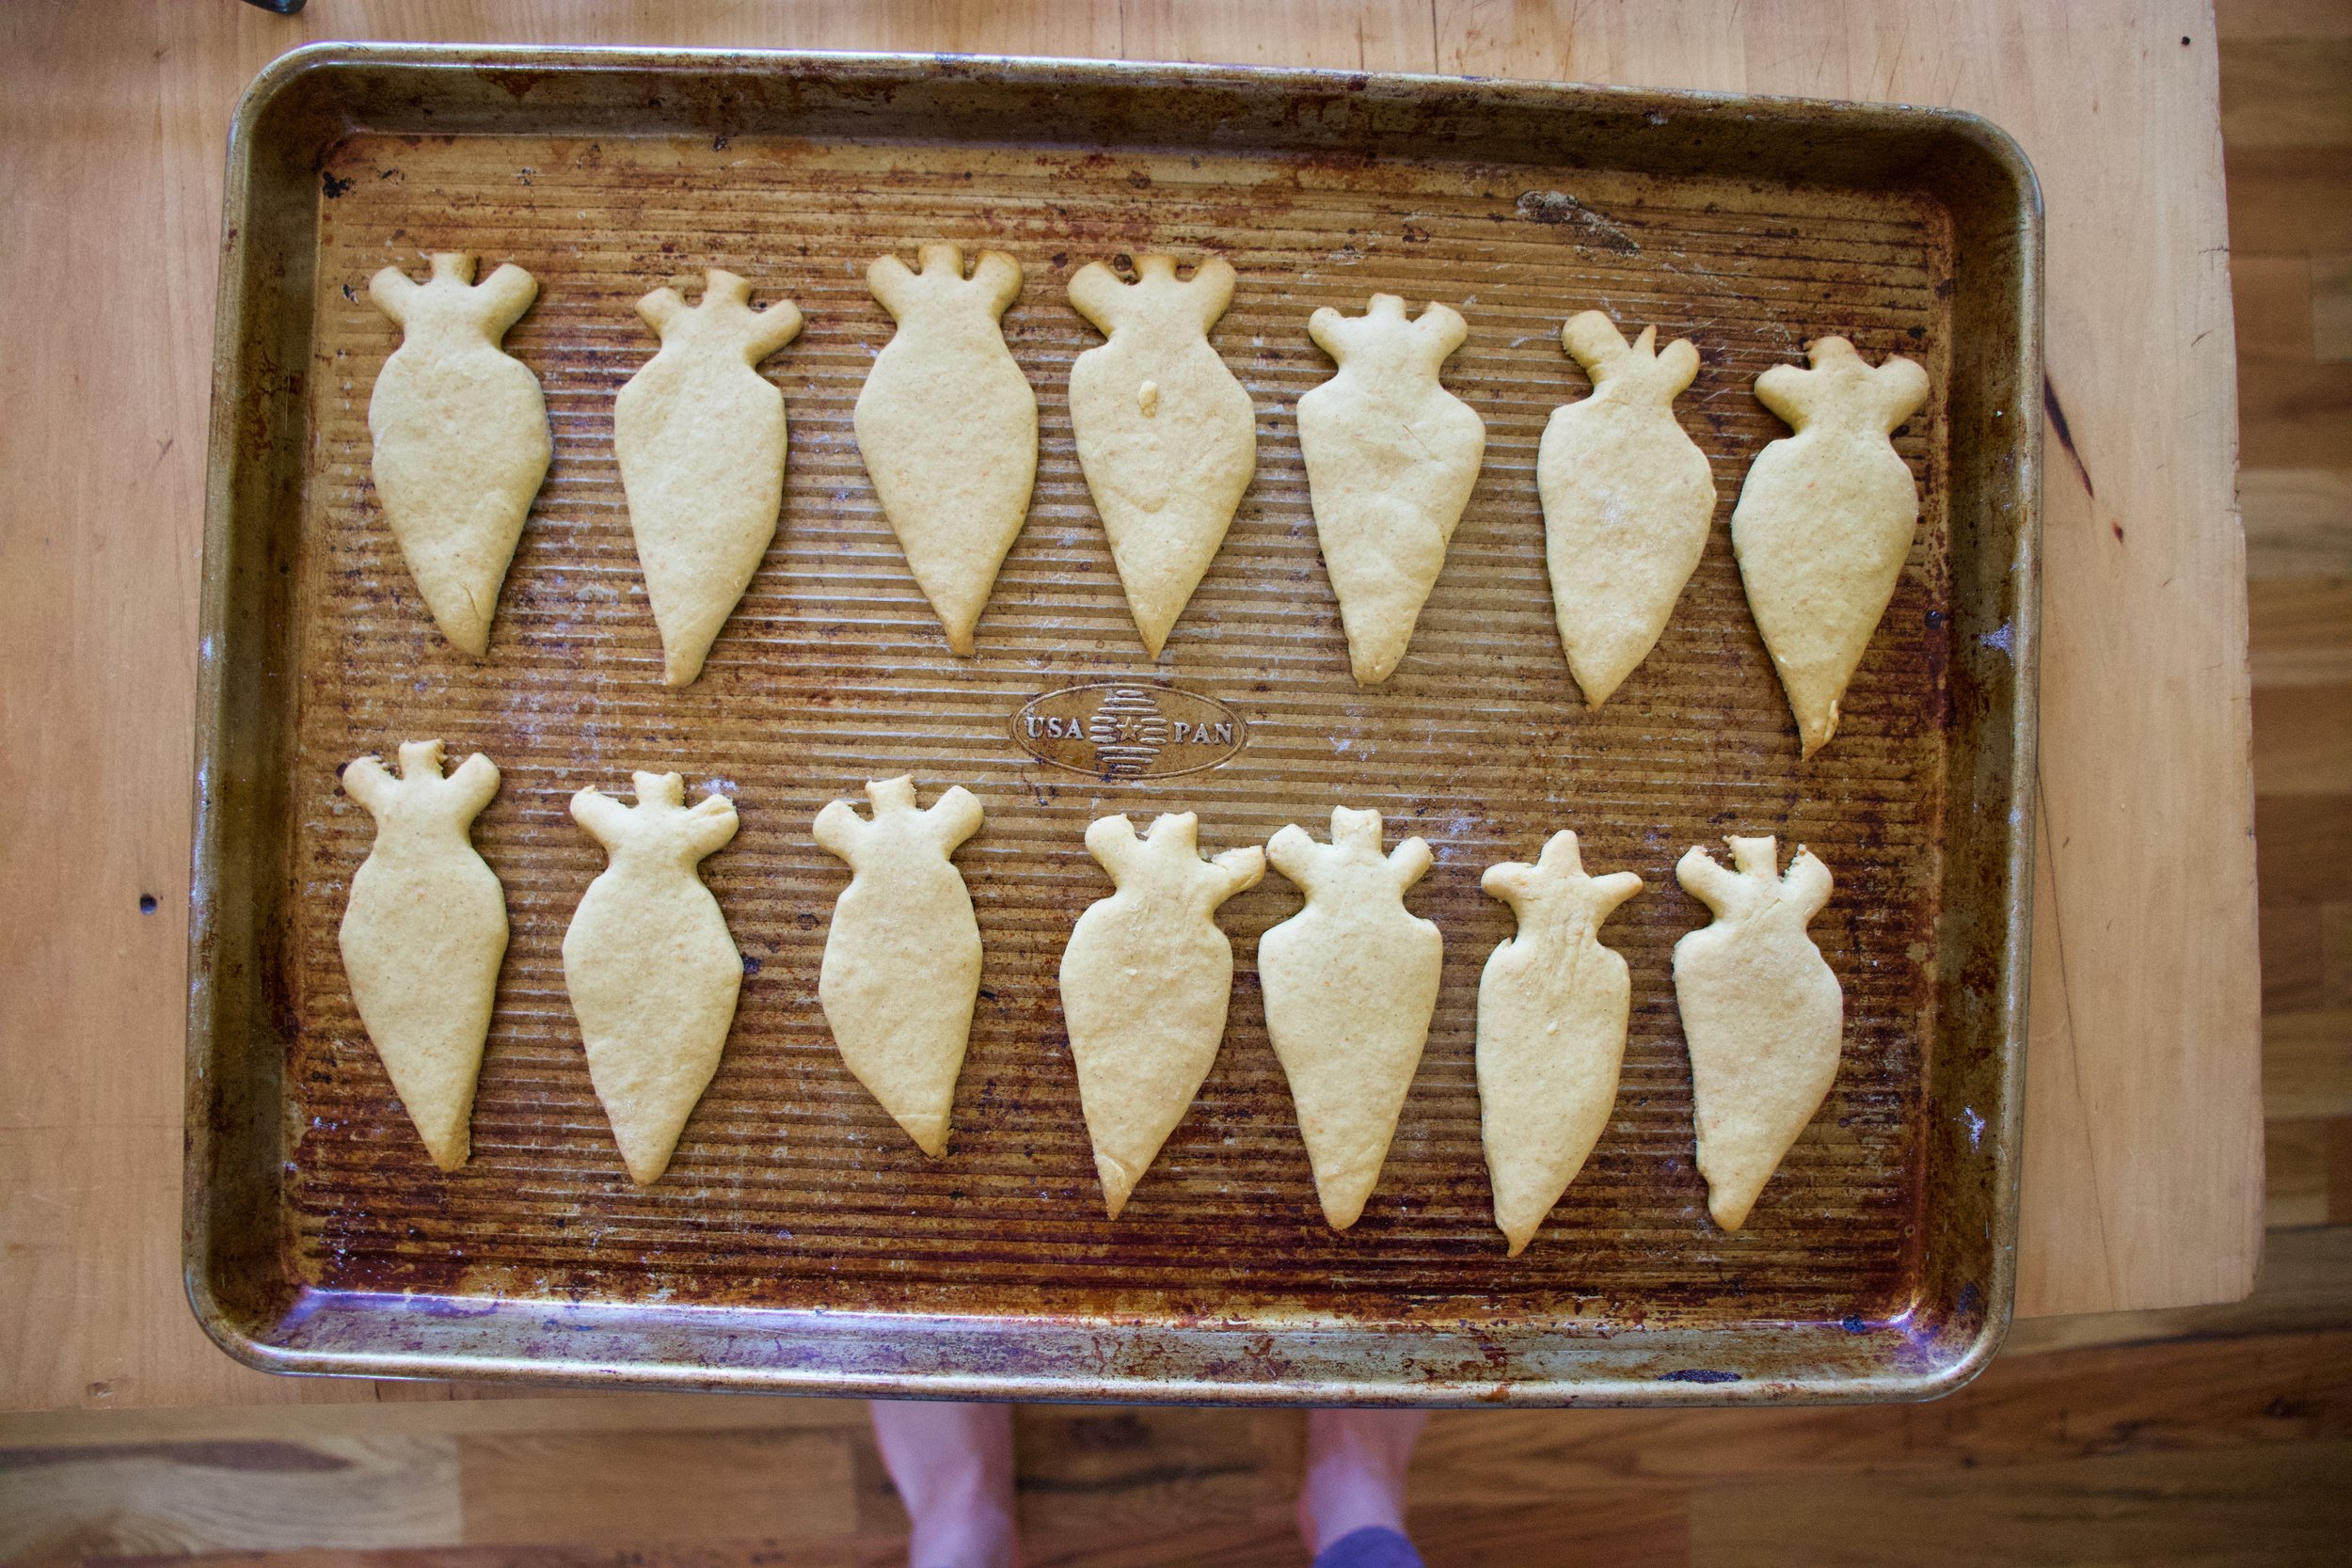
Place cut out cookies on a baking sheet then into the oven they go.

IMG_2999.jpg

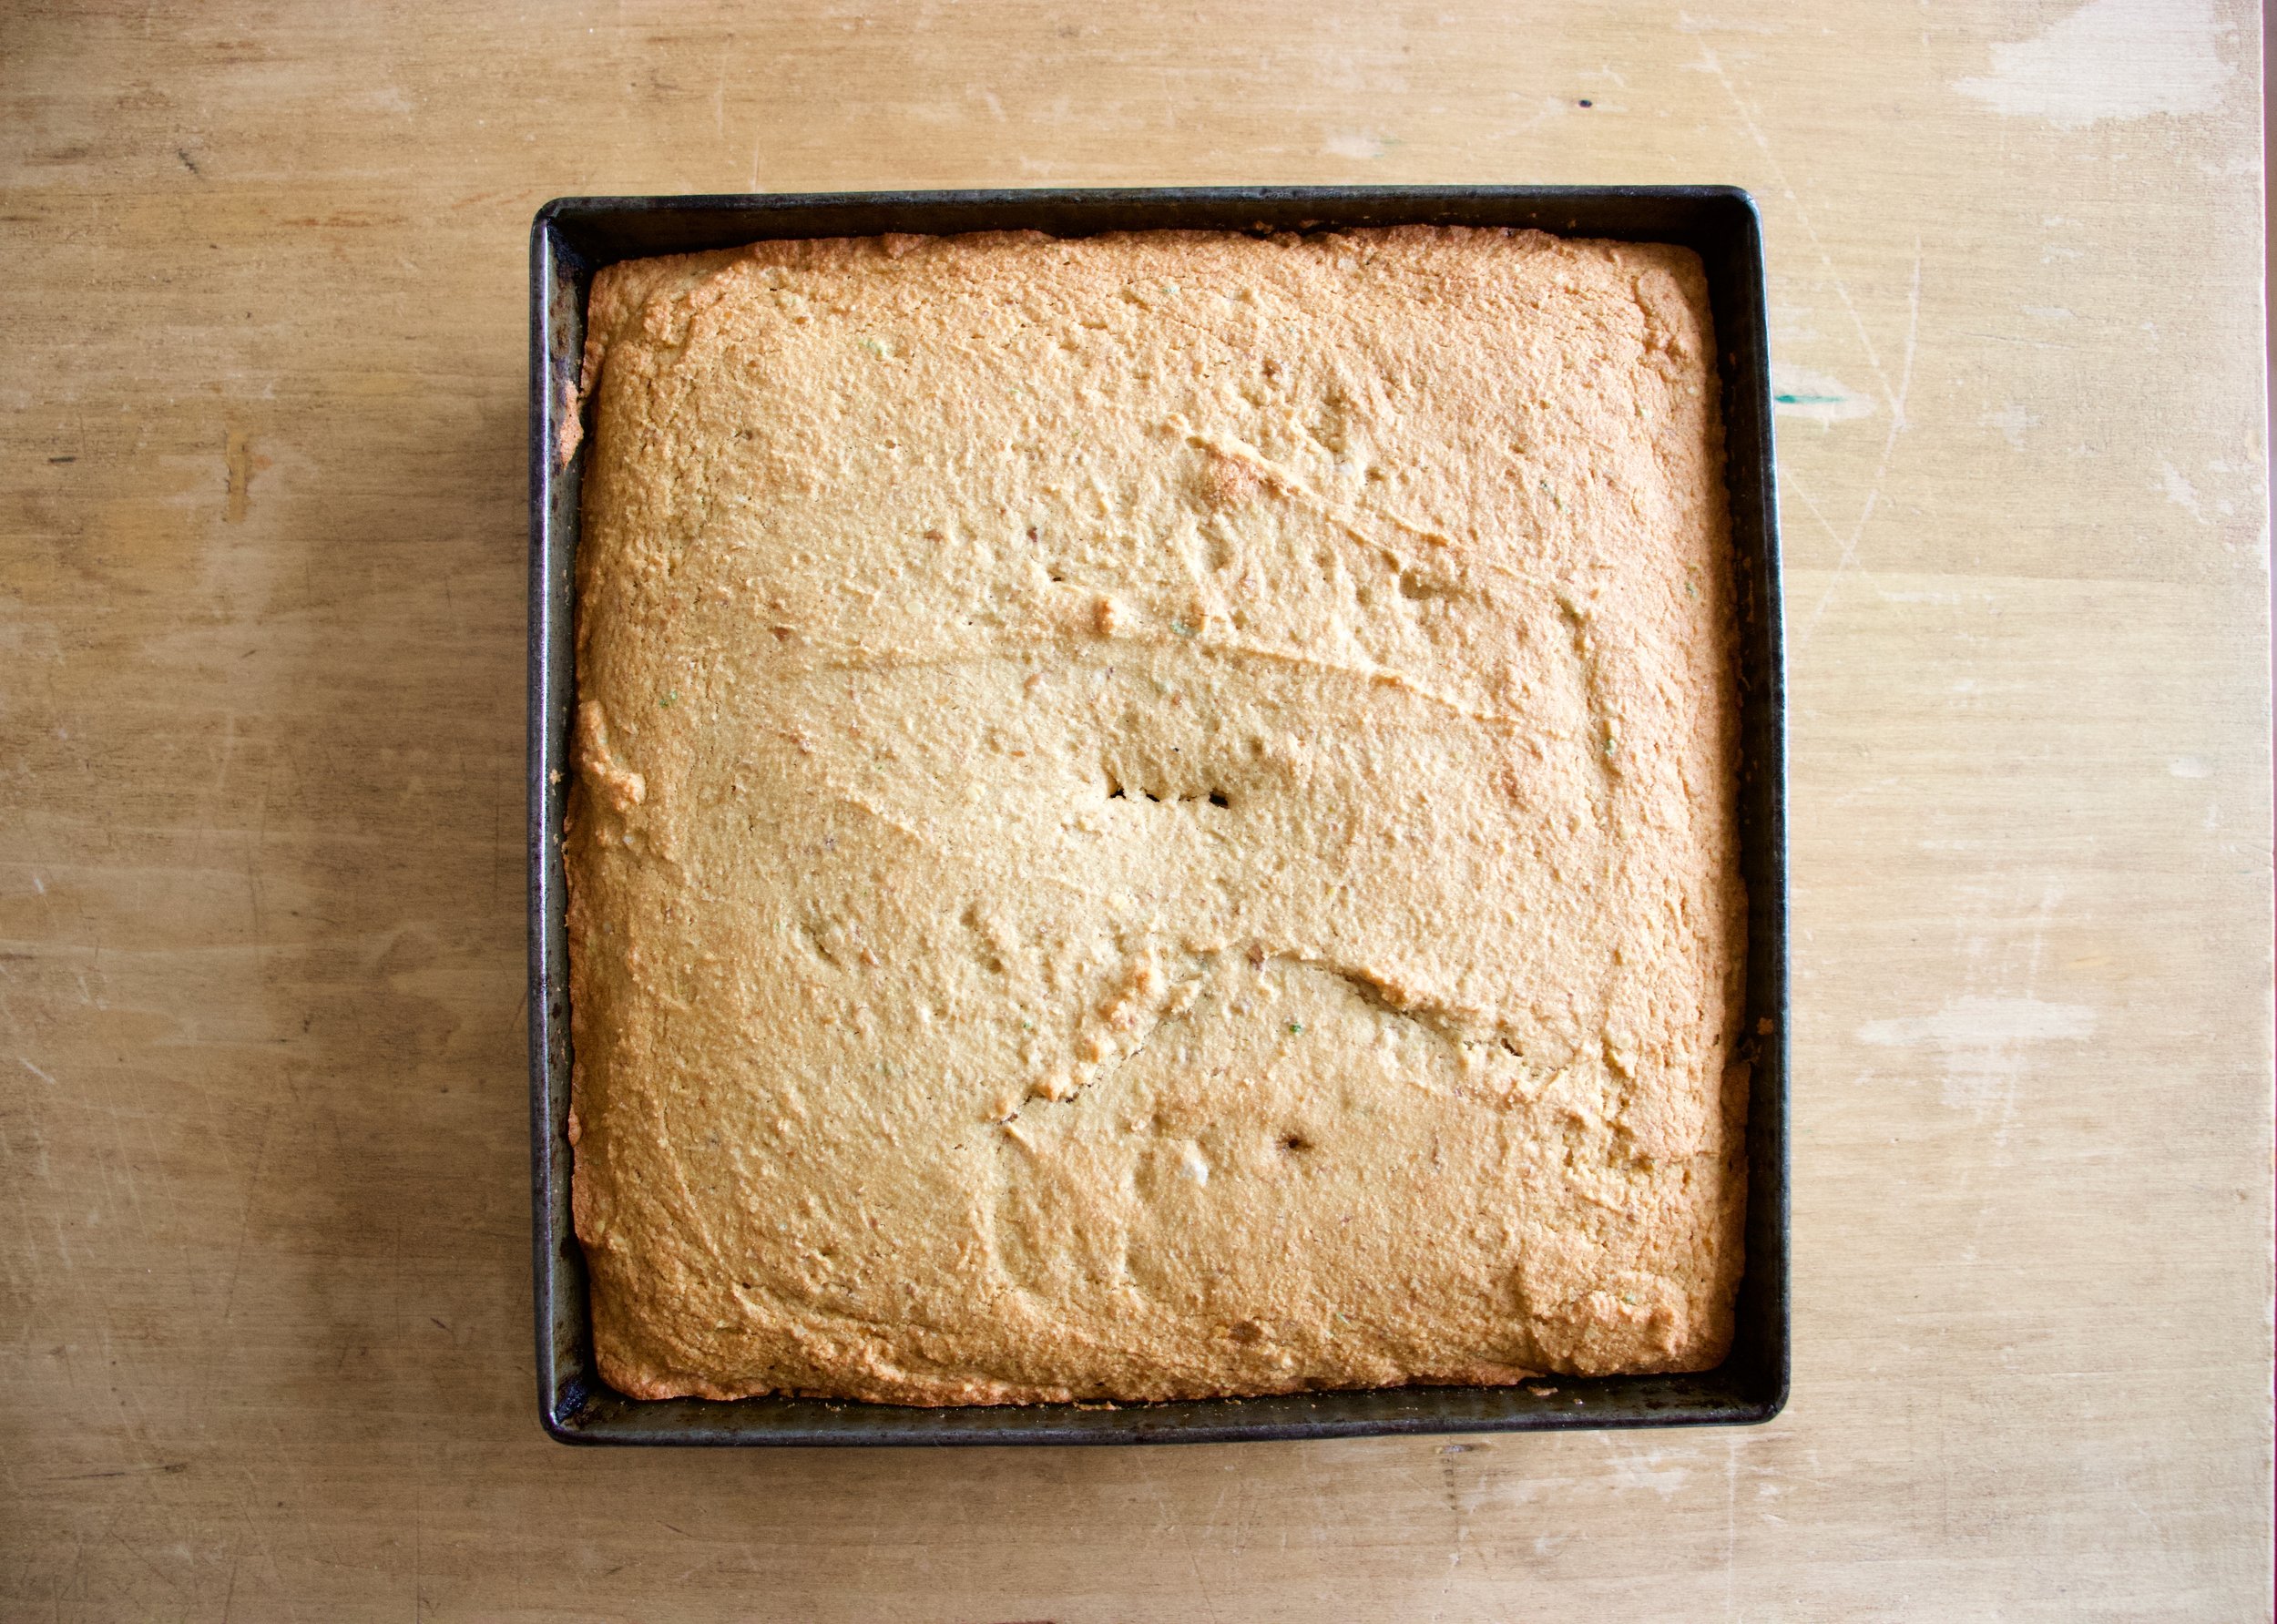
Bakes and ghostly! Place them on a wire rack to cool and keep baking the rest of the cookies.

IMG_2961 2.jpg
IMG_2964.jpg

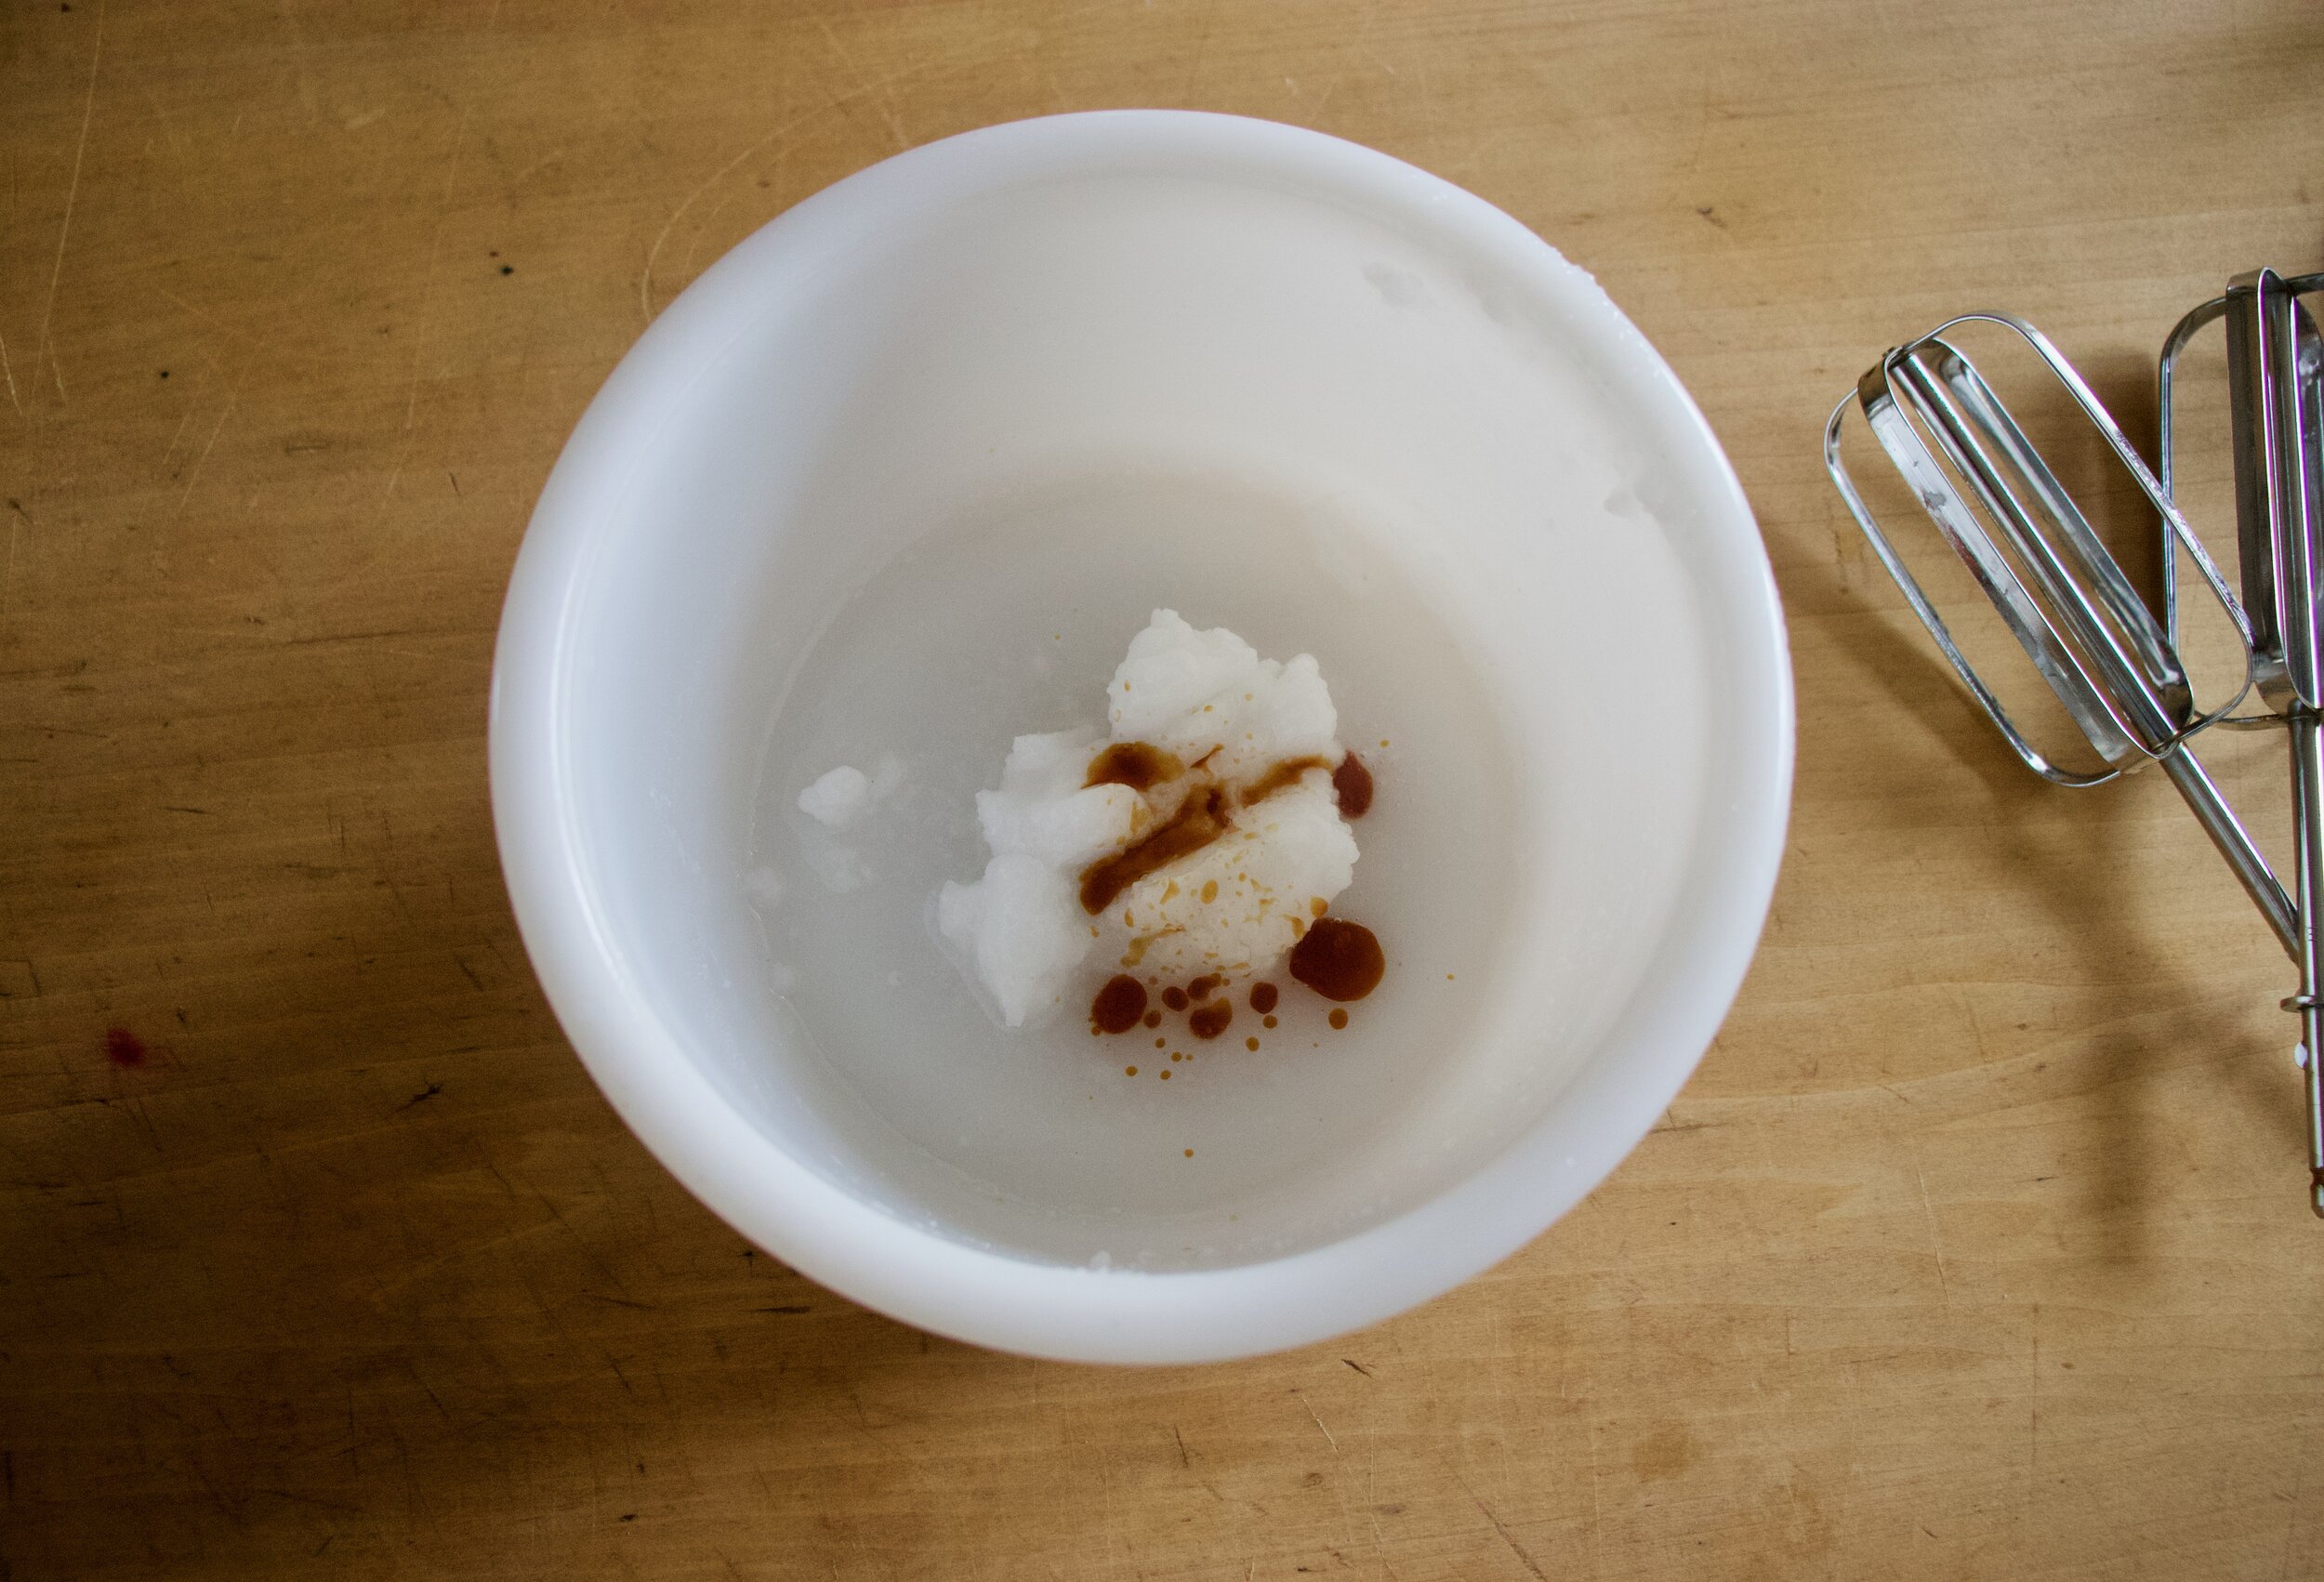
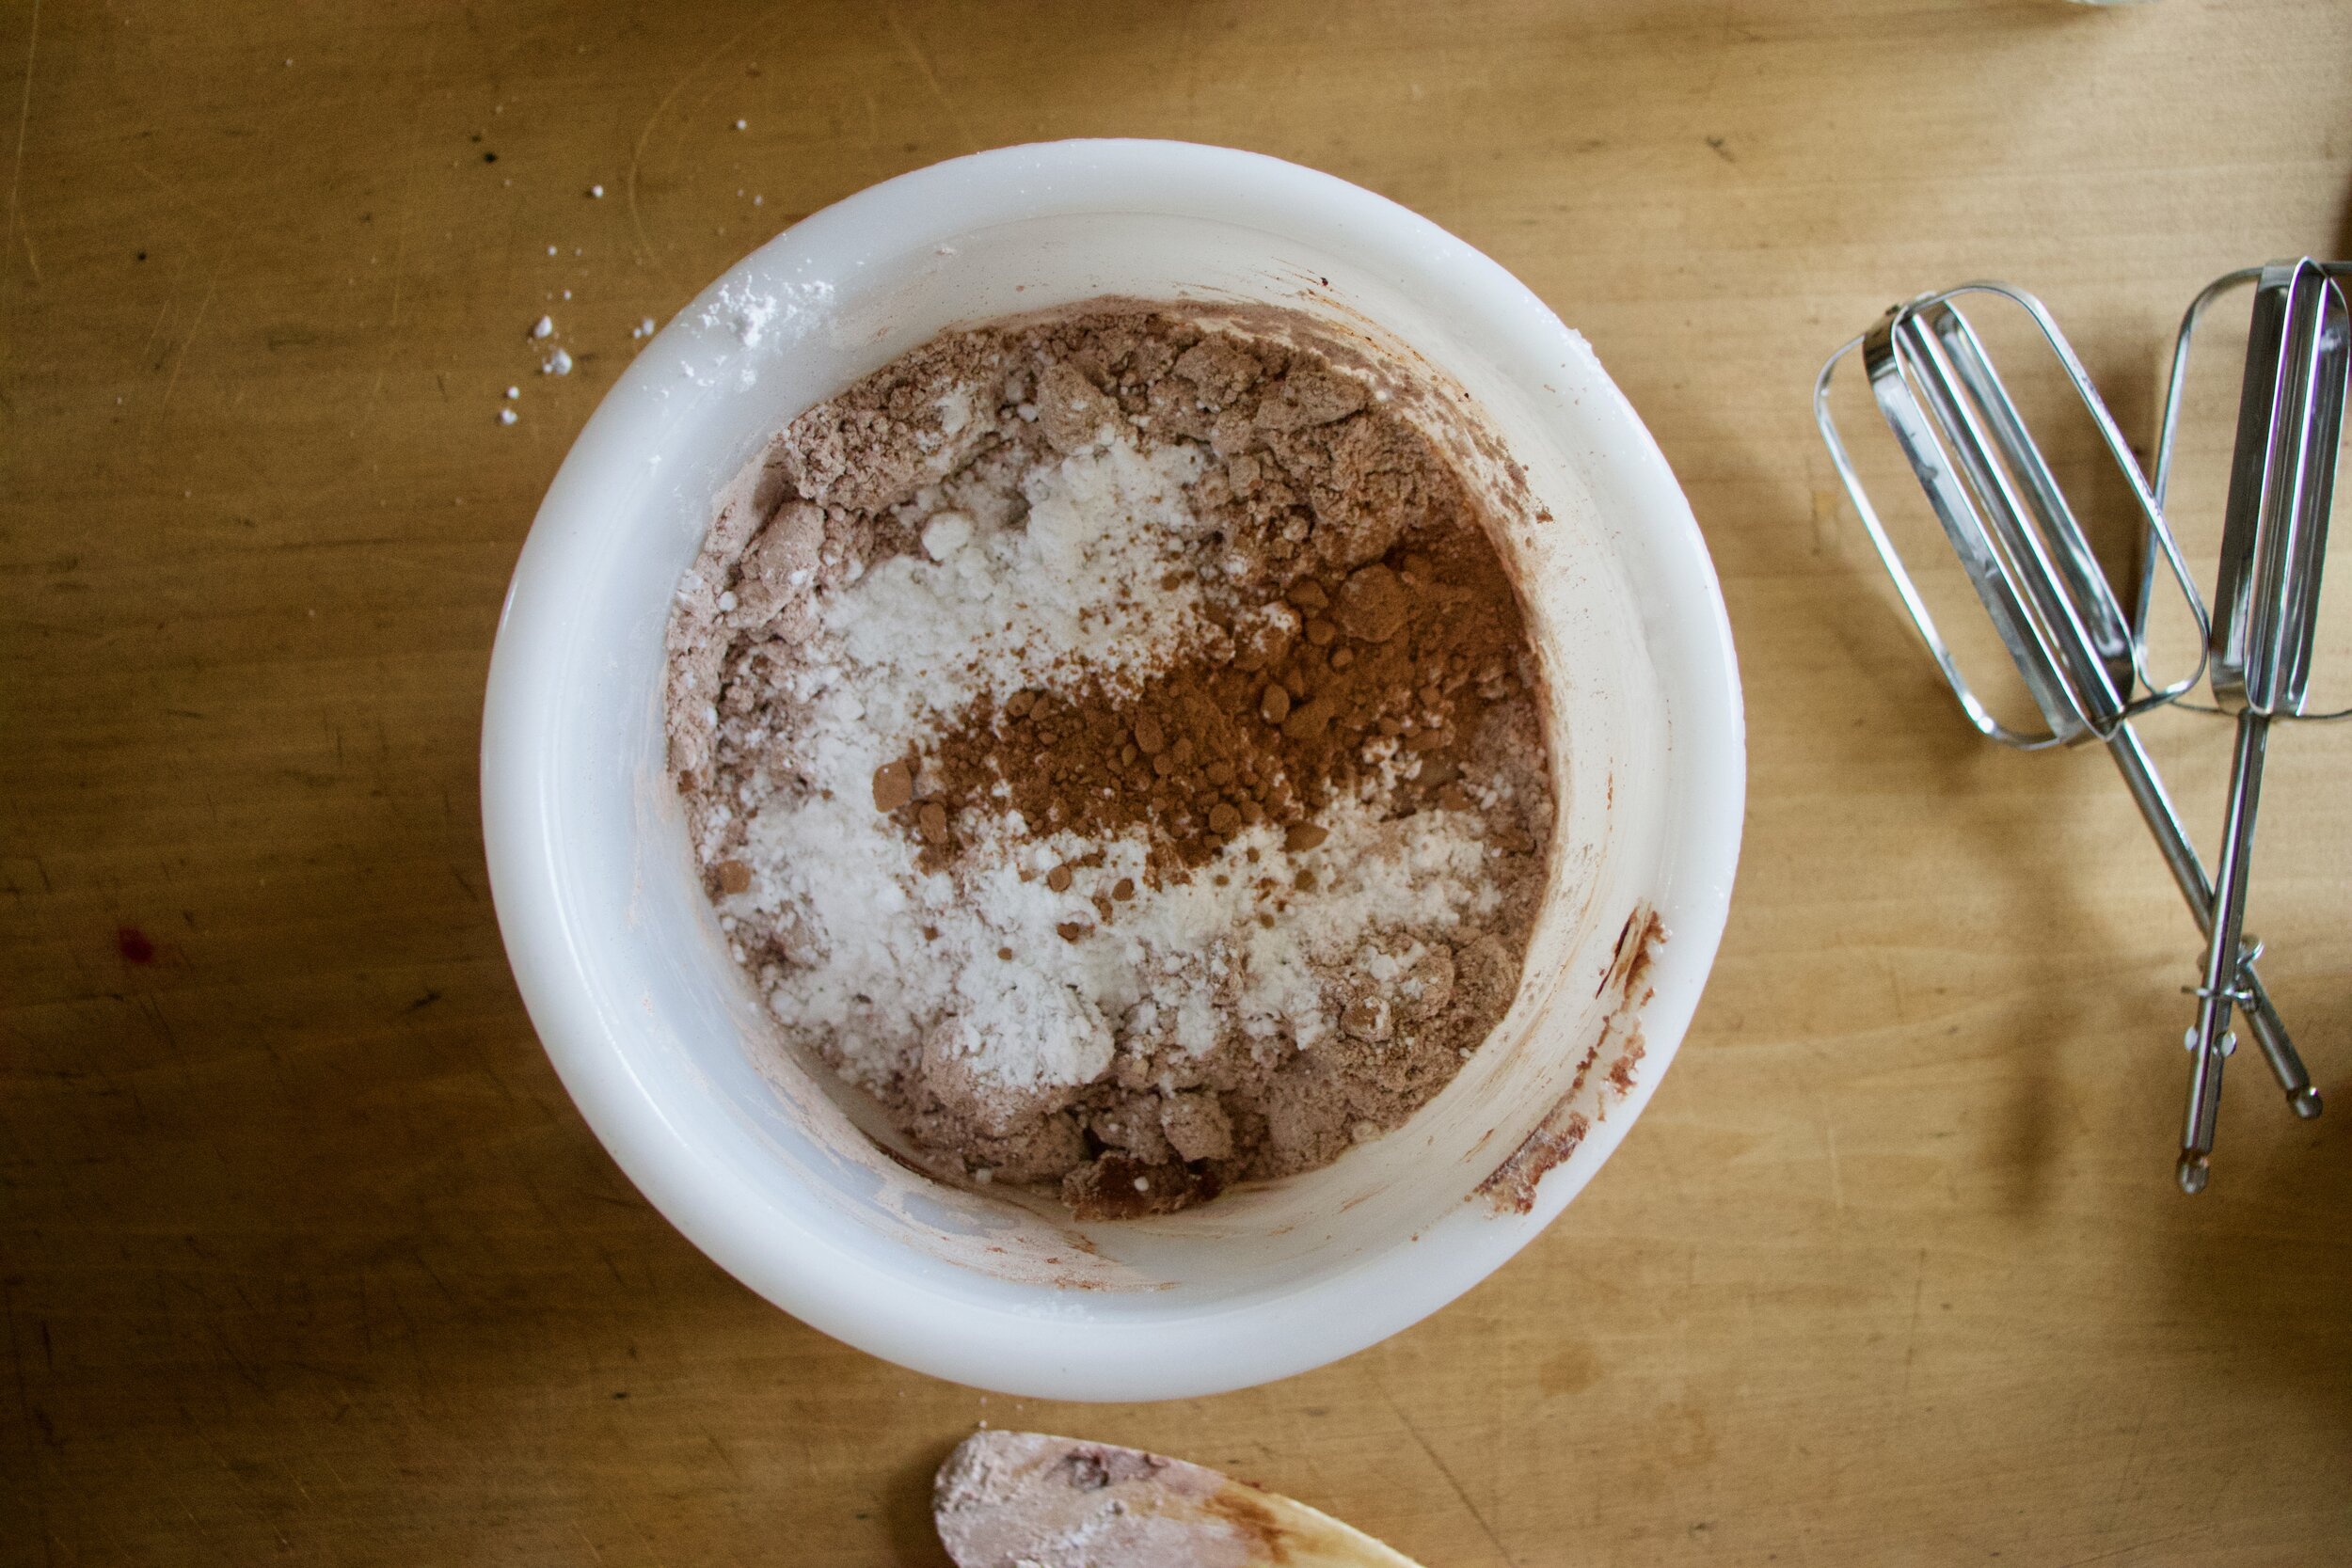
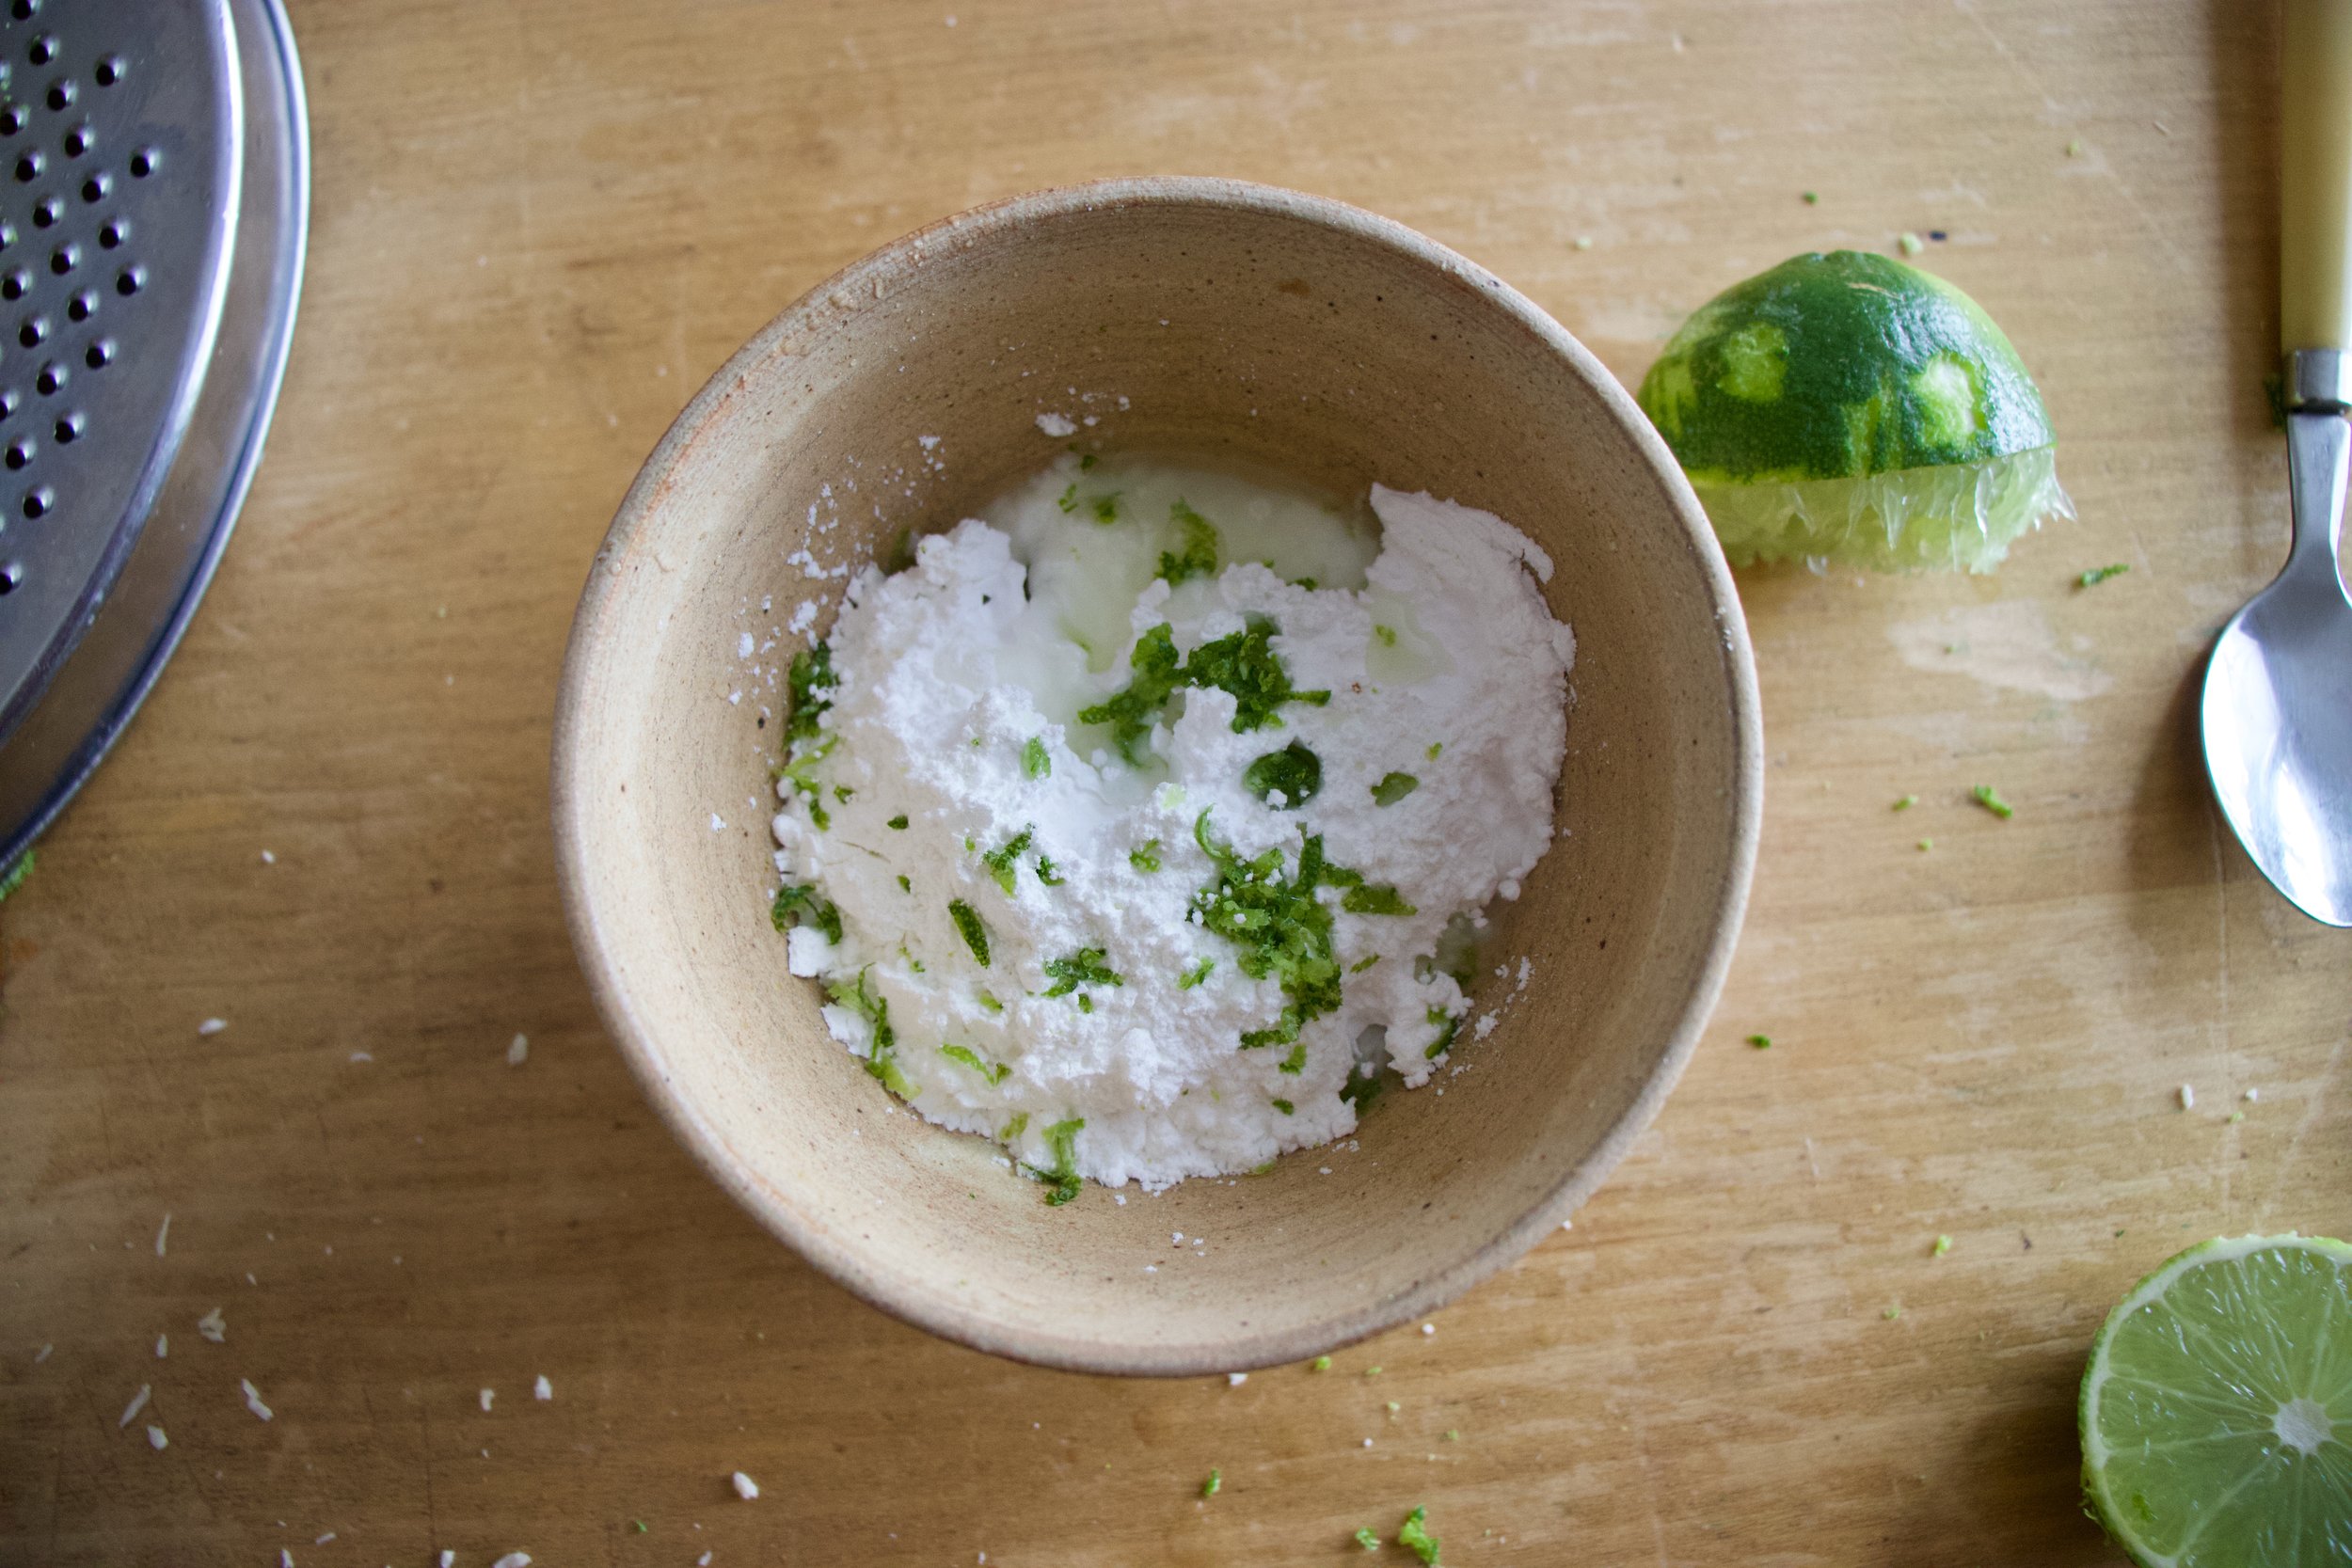
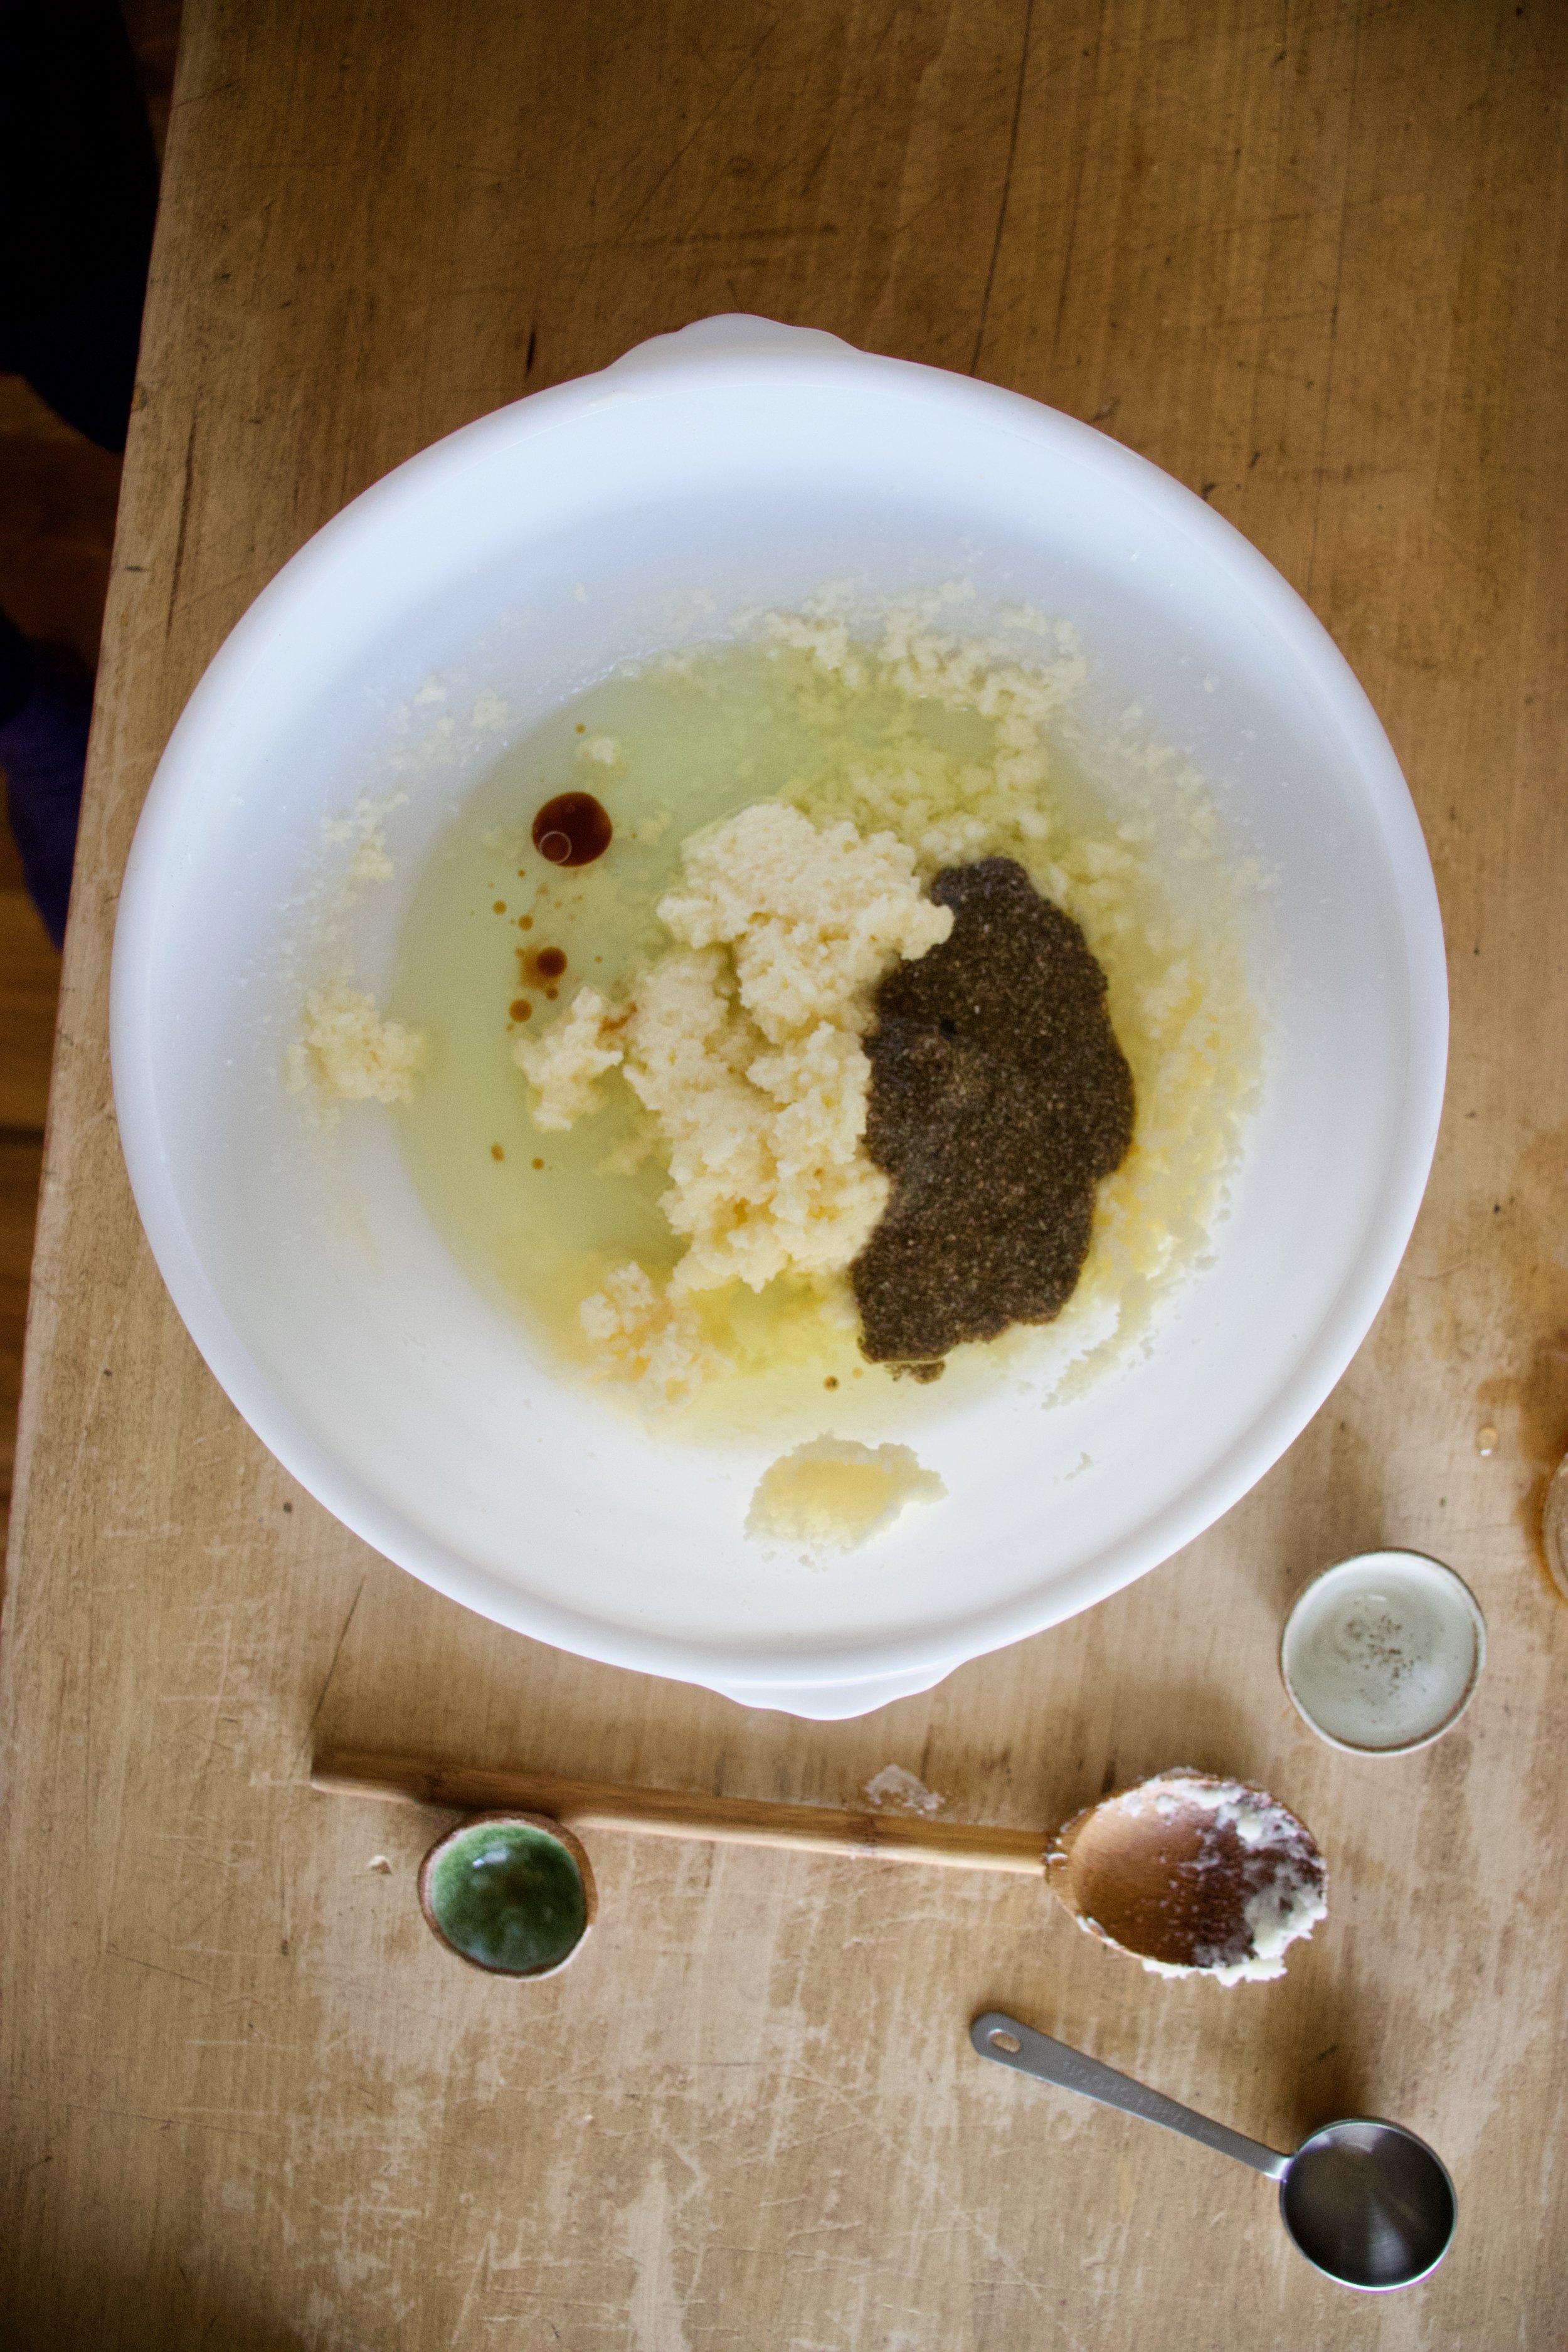
While cookies are cooling, make chocolate filling. Super soft, almost melted coconut oil goes in a bowl with vanilla and gets beaten together. Add in the cocoa powder, powdered sugar and pinch of salt and kept beating slowly anding in a bit of milk until the whole shebang comes together into chocolate filling awesomeness.

IMG_2969.jpg

Ghost filling!

IMG_3034.jpg

Once the cookies are completely cooled, fill them. The filling might have tightened up a bit so if it is not spreadable, pop into microwave for like 8 seconds to get it to move. Scoop or smear equal amounts of filling onto the bottoms of the cookies and top them off with their tops.

IMG_3055.jpg

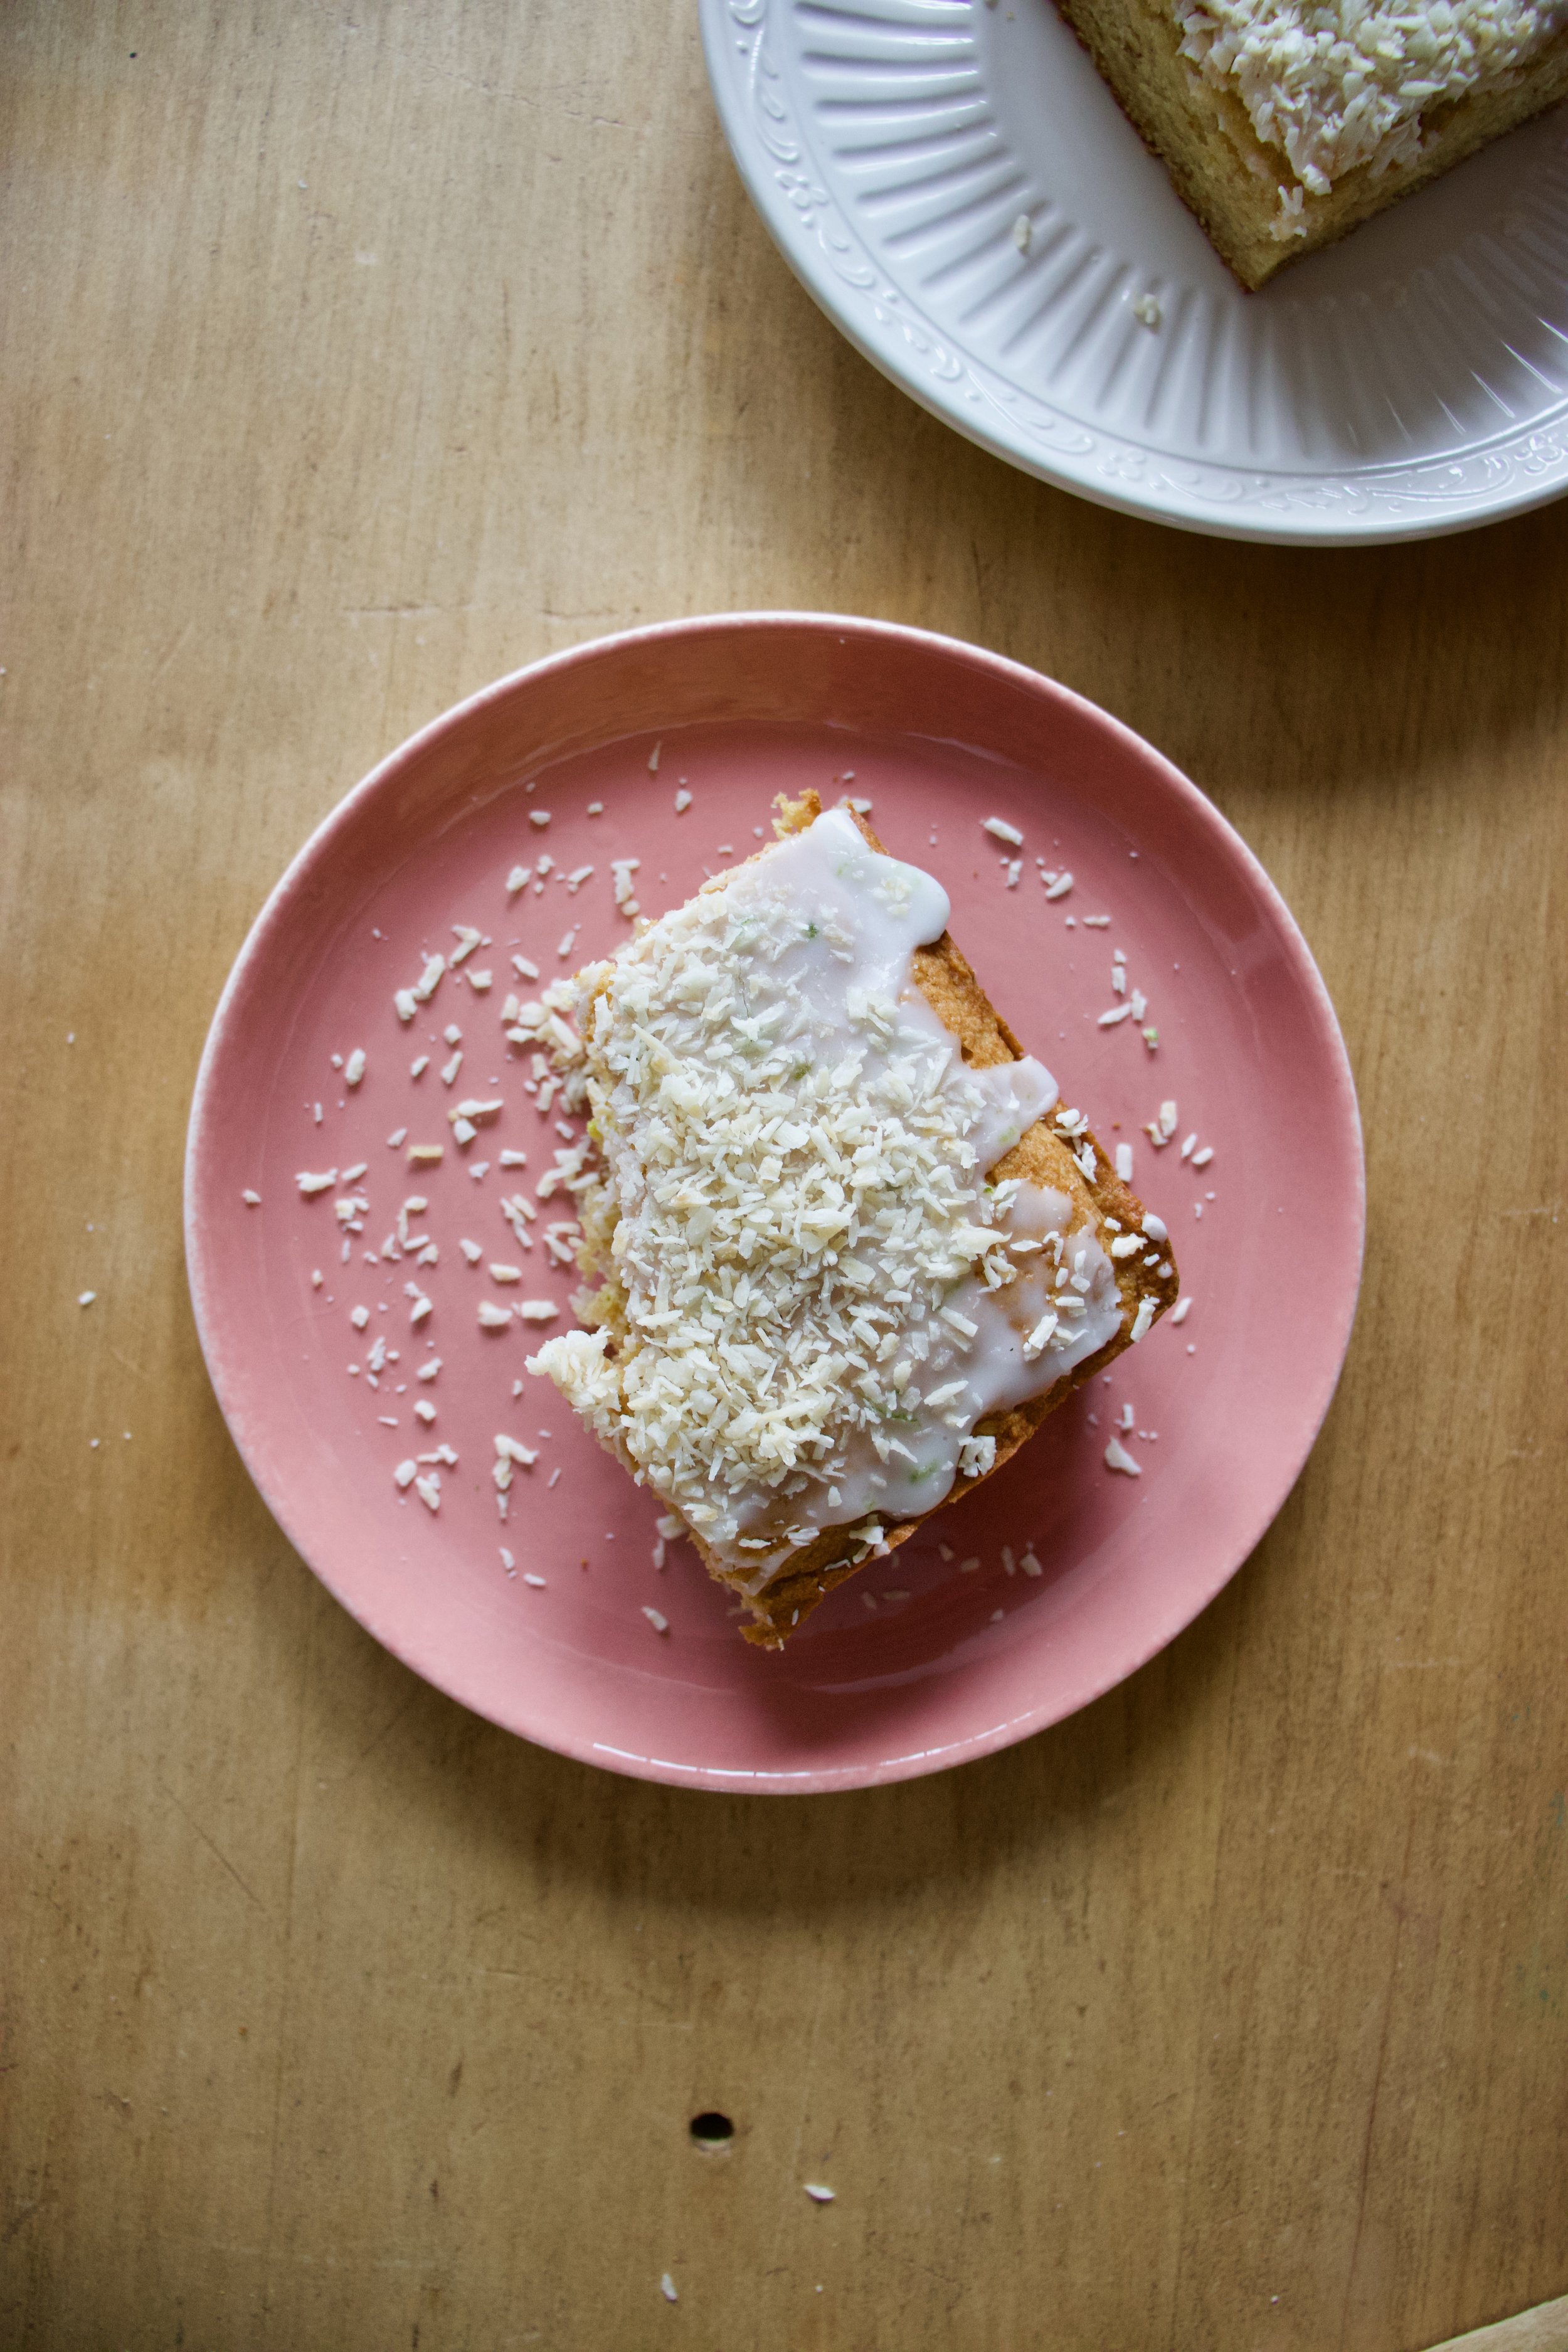
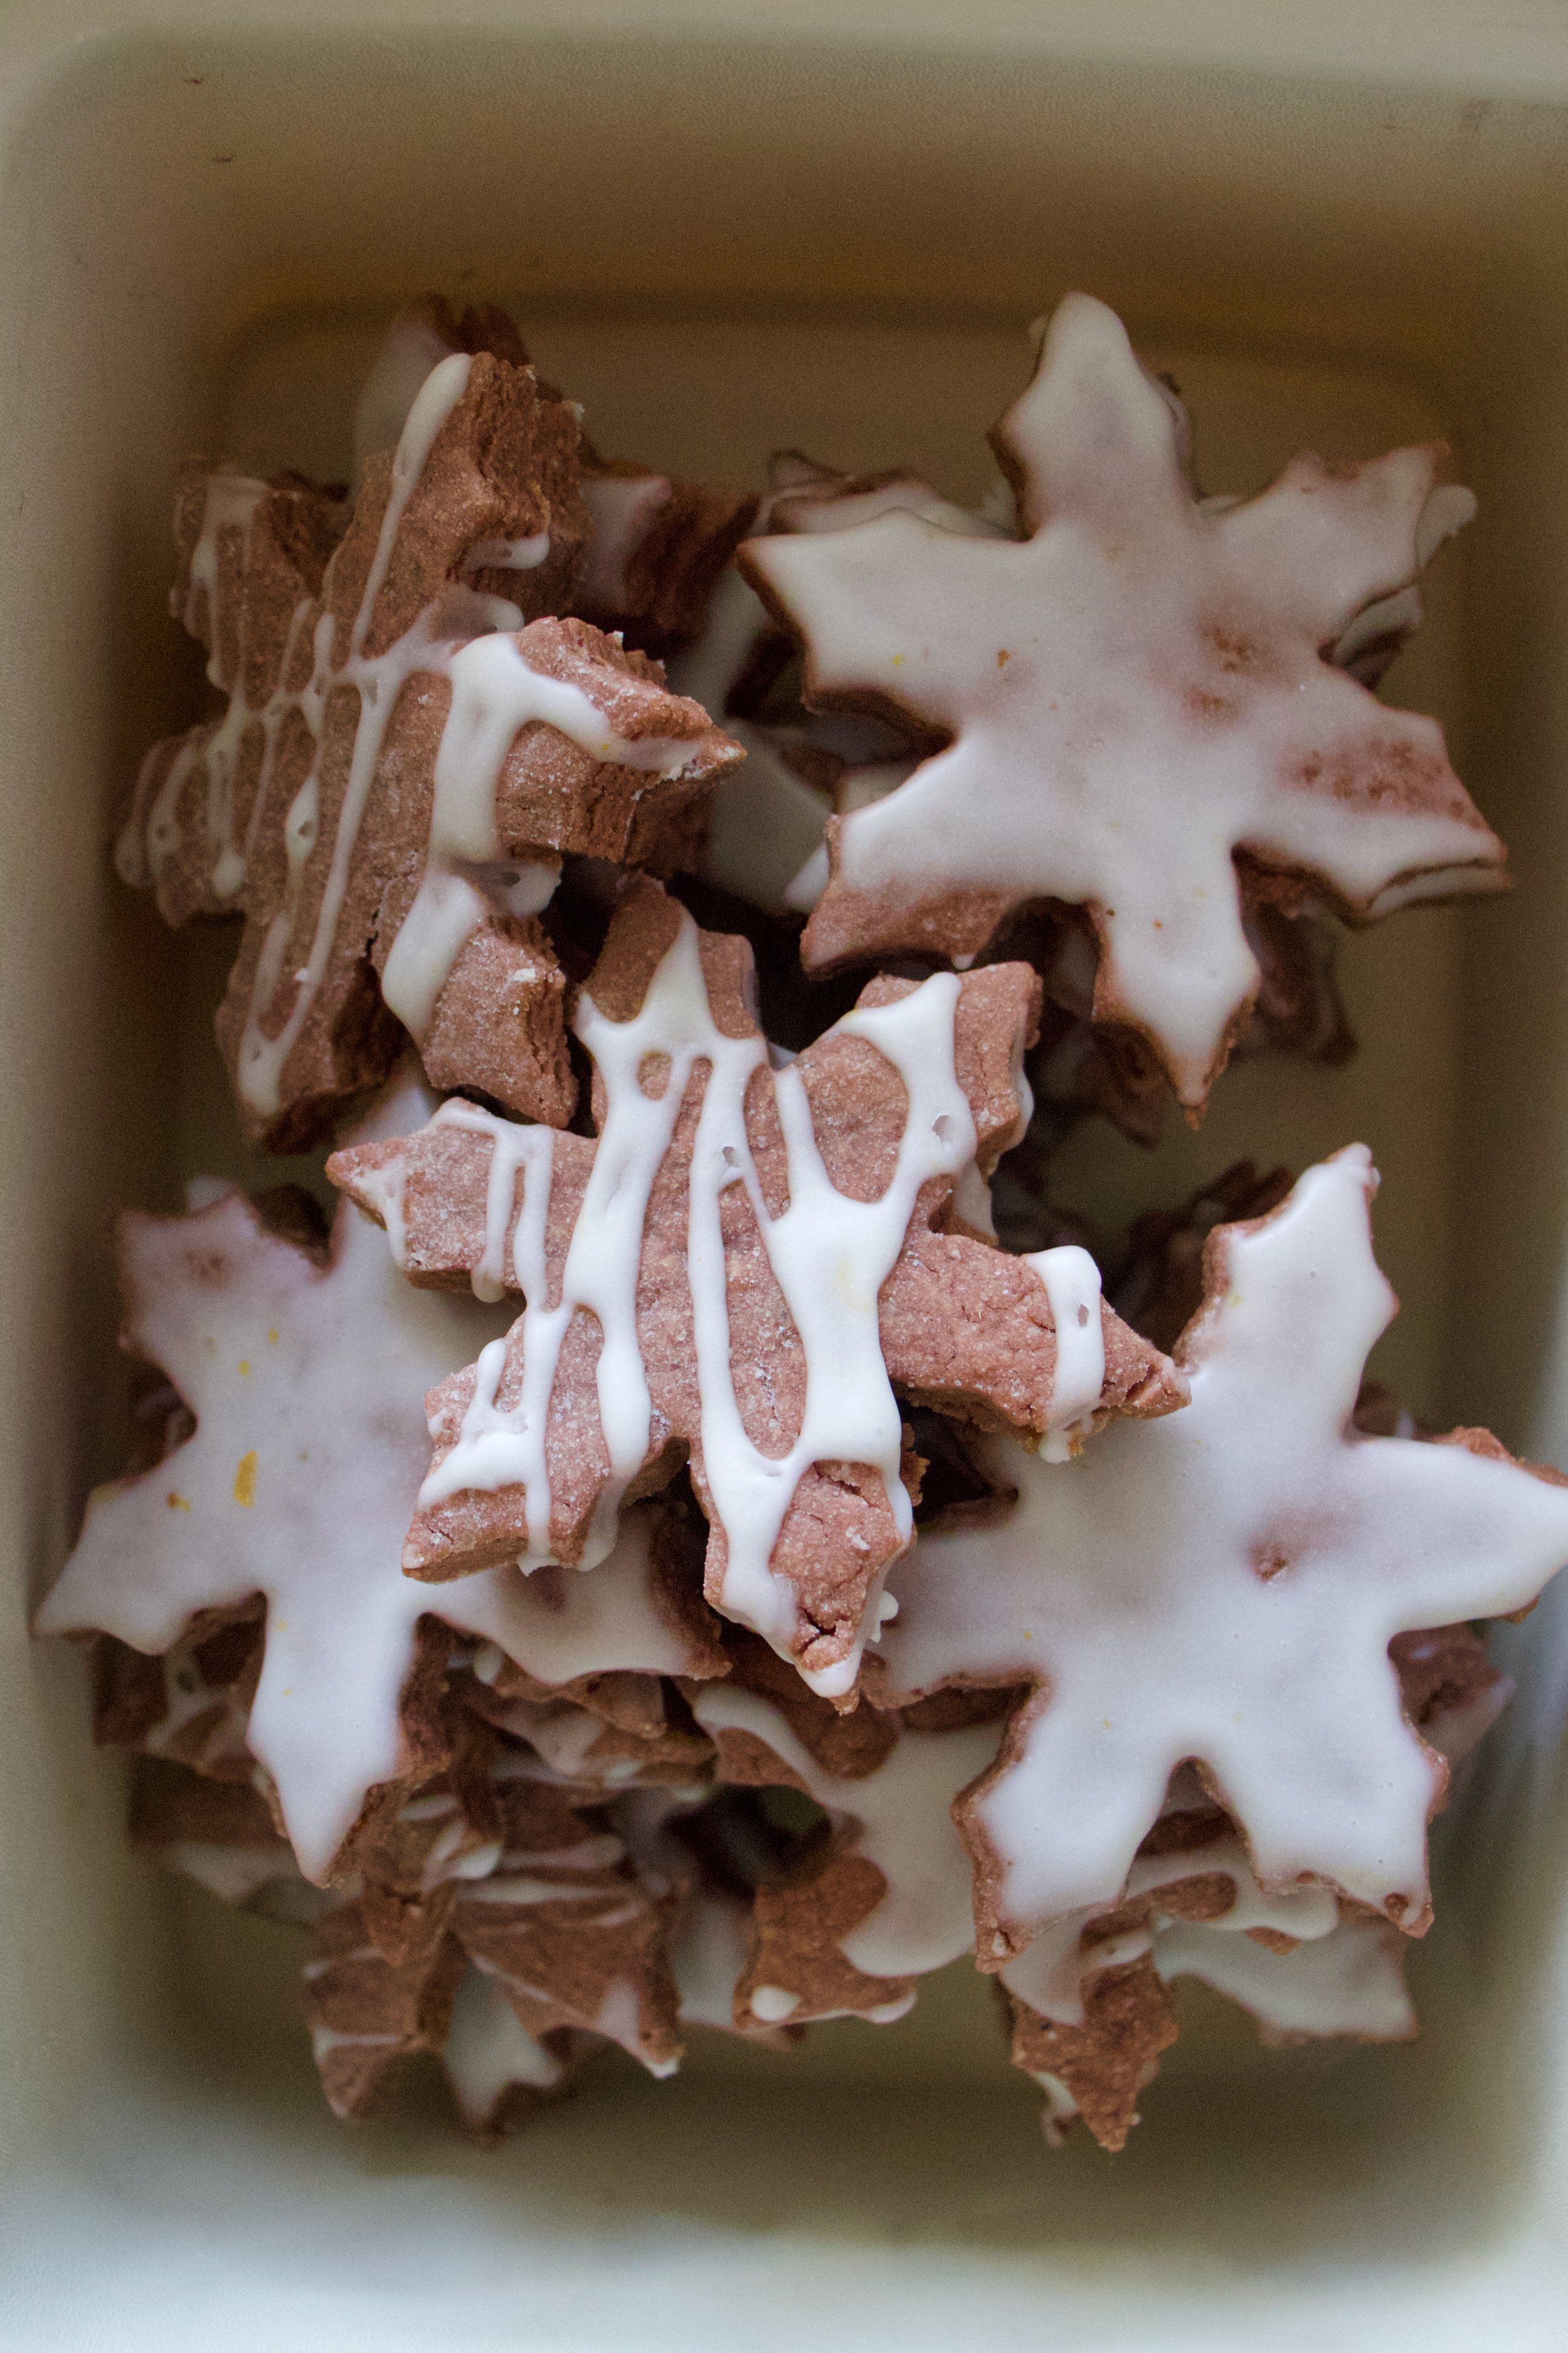
Done, and ready to eat.

Ghosts cookies for all your ghost fueled festivities.

-C


Chocolate filled Vanilla Sugar Sandwich Cookies

makes at least 16 sandwich cookies

For the cookies

  • 2 1/4 cups all purpose flour

  • 3/4 cup white sugar

  • 1 teaspoon baking powder

  • 1/2 teaspoon salt

  • 1 teaspoon vanilla extact

  • 2/3 cup soft coconut oil

  • 5 tablespoons plant milk (I used almond)

For the filling

  • 1 1/2- 2 cups powdered sugar

  • 1/3 cup cocoa powder

  • 4 tablespoons melted coconut oil

  • 1/2 teaspoon vanilla extract

  • 2-3 tablespoons plant milk

  • 1/8 teaspoon salt

Preheat oven to 350

In a bowl beat together the white sugar with the coconut oil and vanilla extract. Add in the flour, baking powder, and salt and start to mix with a spoon or fork, adding in the milk as you go. Keep mixing until completely incorporated and turns to a ball of dough. Gather together into a ball and wrap in plastic. Pat flat and place into fridge for an hour or up to a day.

To cut out cookies. Roll fridgerated dough out on a floured surface to about 1/2 inch thick. Cut out shapes, making sure to have a top and bottom for each cookie. Gather left over dough into a ball and repeat until all the dough is used.

Place cookies on a baking sheet and bake for 13-15 minutes or until they are just starting to lightly brown around the edges. Remove from oven and place on a wire rack to cook.

For chocolate filling. Beat together the melted coconut oil with vanilla. Add in the lesser amount of powdered sugar, salt, and cocoa powder. Beat on low, adding in 2 tablespoons plant milk. Beat until mixture comes together into a thick but spreadable consistency. If it seems too thick, add more milk, too thin, a little more powdered sugar.

Cookie assembly. 2 cookies at a time. A top and bottom. Spread about a tablespoon of chocolate filling to bottom cookies and pop the top on.

Eat cookies. Store what is not eaten in a airtight container for up to a week, but these ghosts will definitely not last that long.


In cookies, Dairy Free, desserts, sandwiches, Sweets, Vegan, holiday Tags Chocolate Filled Vanilla Sugar Sandwich Cookies, sugar cookies, cut out cookies, vegan cookies, vegan sugar cookies, vegan, plant based, sandwich cookies, chocolate, king Arthur flour, food 52, vegan dessert, halloween, holiday cookies, cookie swap, fall, ghost, dairy free
Comment

Peanut Butter Frosted Chocolate Cake

May 25, 2019 Colleen Stem
IMG_8817.jpg
IMG_8719.jpg

Kind of a spur of the moment cake situation. I was in the middle of doing some paper work and remembered that I had made plans with the littles to go bike shopping and do dinner. Usually when they come over for dinner I don’t make a point to have a dessert (they are happy with a handful of chocolate chips if I have nothing) but I felt the need to have something special. I mean, bike shopping, that’s a big deal and they were so excited so I wanted to have a little celebration cake thing. A, YIPPIE YOU GOT BIKES! cake. It just seemed like the right thing to do.

So I made cake. I running a little short on time (yet I still had time to take pictures….) so I went with my trusty one bowl, super easy chocolate cake. (This is everyone in my families favorite cake). Peanut butter frosting because it was right in from of me and really, it was for Coco the fat baby. He basically eats nothing but peanut butter these days. And of course because peanut butter and chocolate together are never going out of style. I cooked the cake in a loaf pan because I was just feeling loafy I guess. But This cake could totally be cooked into a cake round or square if you wanted to.

And that was that. I made that cake, they got the bikes (YEA!!!!, although I told them both that they sucked because they walked into a store and picked out bikes in less then an hour. I on the other hand have been bike shopping for more then a month and still haven’t made a decision.) We then came back here to my house, biked around for a while, then ate cake (after dinner of course.)

Anyways. This cake. Rich, dense, chocolatey peanut butter goodness. Has been described as the best cake ever and like a Reese peanut butter cup. If you are into any of that, well this is the cake for you.

To the cake.

The stuff for the cake.. Flour, baking soda, salt, cocoa powder, oil, coffee, vanilla. brown sugar, and apple cider vinegar. And the stuff for the frosting. Peanut butter, butter, powdered sugar, and almond milk.

IMG_8594.jpg
IMG_8600.jpg

In a big bowl, whisk together the dry stuff, pinching and breaking apart any big clumps of cocoa or sugar. Then just dump in the wet.

Whisked until glossy and smooth. A perfectly perfect chocolate cake batter.

IMG_8626.jpg
IMG_8661.jpg

Pour batter into a greased and lined loaf pan and into the oven it goes. 50-60 minutes or so or until a tester poked in the middle comes out clean. Then pop the cake right on out. Remove cake from tin and let cool on a wire rack.

IMG_8636.jpg

While cake is cooling, make frosting. Beat together powdered sugar, peanut butter, butter, and milk.

IMG_8647.jpg

Fully beaten. Ready to frost a cake.

Once cake is cooled, cut in half down the middle, length wise. Then frosting the middle. (Make sure it is cooled in the middle before frosting. If it is still warm, let it cool)

IMG_8694.jpg

Pop the top back on and frost the rest.

And don’t forget the sprinkles. Went with chocolate and gold because. But you do you and use whatever sprinkles you want.

IMG_8803.jpg

And then you eat the cake.

I ended up stick it in the freezer to hide for a while… I guess this cake cold or slightly frozen is just about the best thing ever. The littles damn near ripped my arm off trying to get seconds.

-C


Peanut Butter Frosted Chocolate Cake

makes 1 loaf cake

  • For the Cake

  • 1 3/4 cup all purpose flour

  • 1 cup packed light brown sugar

  • 1/3 cup cocoa powder

  • 1 teaspoon baking soda

  • 1/2 teaspoon salt

  • 1/2 cup neutral oil

  • 1 1/2 cups warm coffee

  • 1 teaspoon vanilla

  • 1 tablespoon apple cider vinegar

  • For frosting

  • 3/4 cup minus 2 tablespoons peanut butter

  • 2 tablespoons vegan butter

  • 1/4 cup plant based milk

  • 1 1/2 cups powdered sugar

Preheat oven to 350 and grease and line a loaf pan.

In a large bowl mix together the flour, baking soda, salt, cocoa powder, and brown sugar. Break apart any big clumps of sugar or cocoa with your fingers. When that’s mixed, dump in the wet and whisk together until just fully incorporated. Pour batter into the greased pan and stick into oven.

Bake for 55- 60 minutes or until a tester poked into the middle comes out clean.

Once cooked, remove from oven and carefully remove from pan. Place on a wire rack to cool.

While cake is cooling, make the frosting. Just beat together the butter, peanut butter, and milk until nice and creamy. If you find your frosting be too thin, add in more powdered sugar, too thick, a splash more milk.

When it is cooled, cut the loaf in half length wise. Make sure the inside is complete cooled as well. I totally stuck my cake in the freezer for little bit to speed up the cooling process…..

When the cake is cut and completely cooled, frost it. Spread a little less then half the frosting on the bottom layer, stick top back on, and finish the frosting. Cover with sprinkles (if you want) and then that is it.

Serve room temperature or what my people really like is served slightly frozen, which is great because I just cut the cake up and froze individual pieces making for a perfect quick dessert.

In Vegan, Sweets, cake Tags Peanut Butter Frosted Chocolate Cake, Vegan Cake, Chocolate, peanut butter, plant based, vegan, dessert, vegan desert, easy, one bowl, King Arthur flour, dairy free, egg free
Comment

Carrot Sugar Cookies with Orange glaze

April 20, 2019 Colleen Stem
IMG_7690.jpg
IMG_7717.jpg
IMG_7740.jpg

These are definitely my favorite shaped cutout cookies I have ever made. I mean seriously, carrot shaped carrot cookies, what could possibly ever be better? Nothing, and that’s truth for you.

Not only are they carrot shaped, they are also carrot flavored. Yup, Carrot shaped, carrot flavored, awesomeness. A little cinnamon added to the cookie for little extra boost of flavor and an orange glaze because it works and orange is good and fresh and springing. All good stuff.

You might be thinking, huh, carrot puree in a cookie, well that doesn’t sound right. But it is, it is right. And you know how I know that these cookies are awesome? Well I packed them up, (2 dozen of them) and took them over to the littles house for an after school treat. When I got there, the two older ones had friends over. I asked them if they wanted a carrot which earned me that look that said “are you serious” but them showed them the cookies. Of course the wanted a carrot so I gave them each one. They ate their cookies then proceeded to beat the shit out of the mr. Then they asked for another cookies and beat the shit out of the mr some more. This when on and on for about a 1/2 hour until all the cookies were gone and the mr was crouched in the corner with a broom trying to defend himself against 4 rulely kids who where slashing at him with light sabers and spraying him in he face with kitchen cleaner. It’s because they wanted more cookies. (and yes, the littles are getting crazy). So yeah, the cookies are good. Ass kicking good.

Anyway, a cookie with some goodness mix into it, shaped into a great shape, that will make everyone smile and happy. You could make them by yourself, make them with your friends, make them with some kids, with some old people. They are the perfect cookie to leave out for the easter bunny(do you leave carrots out for the easter bunny?) or to serve up at any easter party, spring party, or any garden party you might be attending. This cookie is pretty much perfect for any and every occasion that required a cookie. Or a carrot because carrots are always welcome.

To the carrots! I mean, the cookies!

The stuff. Flour, baking soda, salt, sugar, vegan butter, carrot puree, cinnamon, an orange, some powdered sugar, and food coloring.

IMG_7554.jpg

Into a big bowl the sugar, vegan butter, and carrot puree go.

Beat for a minute or two until completely incorporated.

IMG_7574.jpg

Add in all the rest of the dry stuff and mix by hand until it turns to dough.

IMG_7590.jpg

This is the dough it turned into.

Gather the dough and wrap it or place in a plastic bag and stick it Into the fridge for a few hours or overnight. The dough NEEDS to chill.

IMG_7607.jpg

After you let the dough be, remove from fridge, liberally dust counter, and roll out dough about 1/4 inch thick.

IMG_7610.jpg
IMG_7621.jpg

And then it’s time to cut the cookies out. I unfortunately do not have a cookie cutter so I improvised and make 2 carrot cutouts from paper and hand cut each cookie. That worked but took forever so I got crafty and used a fat Christmas tree cookie cutter then just did a little trim and pinch to make it into a cookie. (I am a genius for that). Any way works, and you can also do other shapes too, the cookies don’t change taste in different shapes. (but that would be so cool if they did)

Carefully place cut out cookies onto a baking sheet, giving them a little space because they do spread a tiny bit.

And into the oven to bake they go.

Out in 10 minutes looking all carrot like.

IMG_7653.jpg

Carrots waiting to cool so they can be glazed.

The glaze. Pretty straight forward. Just zest orange into powdered sugar and juice the orange into the sugar and mix.

Divide glaze and dye one orange and one green

IMG_7678.jpg

And glaze away. I recommend doing it over a rack and baking sheet to minimize mess because they do drip a bit.

Now just you look at that, carrot shaped carrot sugar cookies .What a sight!

IMG_7754 2.jpg

And of course, carrots come in bunches. HA

Enjoy some carrots!

-C


Carrot Sugar Cookies with Orange glaze

makes about 2 and a half dozen (depending on size)

  • 2 1/4 cups all purpose flour plus more for dusting

  • 1 teaspoon baking soda

  • 1/2 teaspoon salt

  • 1 teaspoon cinnamon

  • 1/2 cup vegan butter

  • 3/4 cup granulated sugar

  • 1/2 cup carrot puree ( see note about how to make puree)

    For the glaze

  • 2 to 3 cups powdered sugar

  • on orange

  • orange and green food coloring

Note. To make carrot puree, steam a couple carrots until completely soft them blend until smooth.

Place sugar, vegan butter, and carrot puree into a big bowl. Beat with a beater until light and fluffy. Add in the flour, baking soda, salt, and cinnamon and mix by hand until completely incorporated and mixture tunes into dough. Gather dough into a disk and wrap in plastic or place in a plastic bag and refrigerate for at least 2 hours or up to overnight.

Once dough has chilled enough and you are ready to go, preheat the oven to 350.

Place dough on a flour dusted counter and roll out about 1/4 inch thick. Cut out the cookies with a cutter or by hand and place on a baking sheet. Bake cookies for 10-11 minutes or until just starting to turn slightly brown around the edges. Remove from oven and place on a wire rack to cool.

Once cookies are all baked and cooling, make the glaze. Place powered sugar into a big bowl, zest in the orange then add in the juice od half the orange. Mix completely and check consistency. You want it to be slightly running but not liquid, but also not to stiff. Add more juice or more sugar to get it right. Once it is the right consistency, separate into 2 bowls. Dye one green and one orange. Now glaze you cookies. A knife or small spatula works best and yes, the glaze drips a little so do it over a baking sheet, but after about 10 minutes the glaze hardens.

And then you have carrot cookies and all is good. Now go eat a carrot cookie!

Store uneaten cookies in an airtight container for up to 5 days. They can be frozen too.

In Vegetables, Vegan, Sweets, Spring, desserts, cookies Tags Carrot Sugar Cookies with Orange glaze, Carrot cookies, vegan, vegan sugar cookies, sugar cookies, carrot cookies, carrots, plant based, desserts, cookies, easter, spring, holiday, garden party, vegetable, roots, orange, citrus, glaze, fun, food, egg free, dairy free
Comment

Coconut Lime Snack Cake

March 2, 2019 Colleen Stem
IMG_6053.jpg
IMG_6134.jpg
IMG_5896.jpg

I have a bag of coconut flour that I need to use up so I have made coconut snack cake a few times the past couple weeks. Once with orange instead of lime. Once I added chocolate chips. This time I stepped it up made a little glaze action, toasted a little coconut for some extra coconutiness and took these here pictures and wrote down the recipe. Just. For. You.

Not that I don’t know already that my snack cake creation is good, but I guess it was just super A+++. I threw this one together right before the mr and I headed down to PA to hang with my dad. As soon as he (and sister and nephews) started in on it, well the responses were more then average. My dad even snuck a piece off and hid it for later. They really, really, really were into it. Wanted me to make another right then and there. Normally I would but my dad doesn’t keep coconut flour on hand and I don’t make it a habit to travel with any myself. (I might have to change that.) Next time he will know to stock the coconut flour.

I didn’t realize my people were such coconut people. Good thing for them that I like coconut people. As a matter of fact, I consider myself a coconut person. And coconut is not code for awesome, but I am that too. HA

Anyway enough about me. Coconut snack cake is what you want to know about. It is soft and dense. Moist, not overly sweet. Lots of lime and coconut flavor and is just perfect for snack time. Eat it with a fork on a plate with coffee or tea or grab an piece and eat it walking down the street while thinking about green leaves and warmer weather. Or wherever and whenever. If you make it then it’s up to you when and where you eat it. That only seems fair.

Now to the snack cake of your coconut lime dreams.

IMG_5787.jpg

The stuff. Gonna need all purpose flour, coconut flour, salt, baking soda, baking powder, a couple flax eggs, some warmed coconut oil, plant milk, brown sugar, vanilla extra, apple sider vinegar, a couple lime, some powdered sugar, and some lightly toasted shredded coconut.

IMG_5800.jpg
IMG_5819.jpg

Grab a big bowl. Add in the brown sugar, flax eggs, warmed coconut oil, apple cider vinegar, and vanilla. Mix it all up until evenly incorporated.

IMG_5832.jpg

Dump in the flours, baking soda and powder, and salt. Zest in lime, squeeze in lime juice and start to mix. Add in the milk as you are mixing.

Cake batter mixed and done. Now to bake it.

Dump the cake batter into a well greased baking pan and level it off with a spoon or spatula.

Now it’s oven time to bake into a great and well cake.

A cake out of the oven, great and well. Golden brown and smells of all the goodness that a coconut cake could possible smell.

IMG_5858.jpg
IMG_5864.jpg

While cake is cooling, which it should be now, make the glaze. Powdered sugar, lime zest, and lime juice. Mix until it’s glazy.

IMG_5847.jpg

Pour the glaze all over cooled cake.

IMG_5907 2.jpg

Don’t forget the shredded coconut. Get it on before the glaze starts to set.

And then it’s just the matter of cutting cake…….

IMG_5945.jpg

You know once you cut it, that means snack time right? Coconut lime snack cake for all of your coconut time, lime time, hungry snack time needs.

Keep it good.

-C


Coconut Lime Snack Cake

Makes a 9x9 cake

  • 1 1/2 cups all purpose flour

  • 1/2 cup coconut flour

  • 3/4 packed cup brown sugar

  • 1 teaspoon salt

  • 1 teaspoon baking soda

  • 1 teaspoon baking powder

  • 1/2 cup coconut oil (warmed to liquid)

  • 1 1/4 cup plant milk (I used almond)

  • 2 flax eggs (2 tablespoons ground flax seeds with 1/2 cup warm water)

  • 1 teaspoon vanilla

  • 1 tablespoon apple cider vinegar

  • A lime

  • For the glaze

  • 3/4 cup powdered sugar

  • a lime

  • 1/4 cup or so toasted shredded coconut to sprinkle on top (optional)

Preheat oven to 350

In a large bowl, mix together the bbrown sugar, flax eggs, warmed coconut oil, vanilla, and apple cider vinegar until completely incorporated. Next dump in the flour, coconut flour, salt, baking soda and baking powder. Zest the lime into bowl. Start mixing, adding in the juice of the lime and the plant milk. Mix it all together until completely incorporated.

Dump mixture into a well greases 9x9 baking pan and level off with a spoon or spatula. Place into oven and bake for 30-35 minutes or until golden brown and a tester stuck into the middle of cake comes out clean.

Once baked, remove from oven, let cool in pan for a few minutes then carefully remove cake from pan and let cool on a wire rack.

While cake is cooling, make the glaze. Just zest other lime into powered sugar then add the juice (or as much juice as you needed) of the lime until a pourable glaze forms. If your lime is not particularly juicy enough and the glaze is still really thin, just add a splash of water to thin out as needed.

And when cake is completely cooled, pour glaze all over cake and cover with toasted coconut flakes.

Now cut. And eat.

Store left over cake in a air tight container for 3-4 days. Individual pieces freeze well for all your future snacking needs.

In cake, Dairy Free, desserts, snack, Sweets, Vegan Tags Coconut Lime Snack Cake, coconut, coconut flour, vegan, snack cake, dairy free, flax eggs, lime, snack, cake, easy, sweets, vegan cake
Comment

Chocolate Cutout Cookies With Orange Glaze

December 22, 2018 Colleen Stem
IMG_3609.jpg
IMG_3630.jpg

Currently it is like 50 degrees outside and raining buckets of cats and frogs and what not. I live in Vt for a few reasons, and one of them is winter, so the warm rain is just not nice. Apparently these cookies are the closest thing to snowflakes I will be seeing for a little while…(sad face inserted here) But I am hoping that juuuust maybe it will turn, and all of a sudden it will be snow coming down and not rain. And that it snows and snows and snows, like a foot or 2 of it. I want so much snow that I am stuck in my house for a least a solid 24 hours (of course with the power still on and all the necessities I would need) and the only way out being by foot or sled. And you know what I would do if I was snowed in? Lounge around in my pj’s all day (or at least until like 10 am), have a never emptying cup of hot coffee in hand, play around outside and make a snow fort, and definitely make cookies. Doesn't that just sound so nice?

But I am not snowed in, and wasn’t snowed in and probably will not be snowed in for the foreseeable future. But I can still, and did make cookies so there is that. Chocolate cut out snowflakes with orange glaze to be exact. A good all around chocolate cookie jazzed up with a citrus kick. Simple, elegant and perfect for all of your holiday cookie needs. Plus it is just a really pretty cookie. I just might make a few more batches and liter the front yard with them. I’ll make my own freaking snow, even if it is out of cookies. Then I really wouldn’t be able to leave my house due to the crazy fat squirrels attacking the lawn. That would be something. HA.

To the snowflake cookies! (They can be any shape really, but snowflakes are so nice)

IMG_3386 2.jpg

The stuff. Sugar, vegan butter, flour, cocoa powder, baking powder, salt, canola oil, brewed coffee, grind chia seeds, vanilla extract, an orange, and some powdered sugar.

First, mix the ground chia seeds with the coffee for caffeinated chia eggs.

IMG_3394.jpg
IMG_3425.jpg

Beat the butter with the sugar to give it a good fluff, then add in the oil, vanilla, and chia eggs to the mix.

Beat until combined.

Place all the dry into a bowl and whisk together until fully incorporated.

IMG_3463.jpg

Dump the mixed dry into the were and grab a wooden spoon. Start mixing.

IMG_3472.jpg

Cookie dough is a-formin.

IMG_3474.jpg

Collect the dough in some plastic and smash into a disk. Place in fridge to rest for at least a few hours, but a day is good too.

IMG_3481.jpg

Chilled dough, flour, a cookie cutter, and a rolling pin. I think you know what to do. Just really make sure to keep the counter and rolling pin floured or else the dough will stick and that is just so annoying.

Yes this dough is a little delicate, but not in a bad way. It might tear or slightly crumble but you just smoosh it back in there and you are all set. Anyway, after rolling dough out to about 1/2 inch thick, cut cookies out with a well floured cutter.

Cookies on the baking sheet ready for the oven.

Cookies on a baking sheet right out of the oven.

IMG_3516.jpg

Now those cookies got to cool so get them on a rack.

IMG_3525.jpg

While cookies are cooling, fix yourself some glaze. The powdered sugar, zest of orange and juice of orange will do the trick.

A good looking glaze. Thick put drizzable consistency.

IMG_3579.jpg

And to finish. Drizzle the cookies with glaze, dunk the tops in the glaze, or do a little of both (I say both). The glaze does harden after a few minutes so these are very much stackable cookies.

IMG_3623.jpg

And then what you do with the finished cookies is up to you. I let the mr eat a good few, saved a few for Christmas and dropped some off to some peps. They were well received for sure.

Hope you are enjoying the weekend and are able to get in on some cookie making.

-C


Chocolate Cutout Cookies With Orange Glaze

makes about 3 dozen cookies

  • 2 1/2 cups flour

  • 1/2 cup cocoa powder

  • 1 teaspoon baking powder

  • 1/2 teaspoon salt

  • 1/3 cup vegan butter

  • 1/2 cup oil

  • 1 cup white sugar

  • 1 teaspoon vanilla

  • 2 tablespoons ground chia seeds

  • 6 tablespoon coffee or water (coffee brings out the chocolate flavor more)

  • 1 orange

  • 1 cup powdered sugar

In a large bowl, cream together the white sugar and butter until light and fluffy. Add in the oil, vanilla, and coffee chia eggs. Mix until incorporated. In a separate bowl mix together the flour, cocoa. salt. and baking powder. Dump dry into wet and mix until a dough forms. Gather dough into a ball and place in plastic and flatten into a disk. Place in fridge for at least an hour or overnight.

When you are ready to bake, preheat oven to 350

Take dough from fridge and unwrap. Place on a well floured surface and roll until it is about 1/4 inch thick. The dough is delicate and a little crumbly, but don’t worry to much, just squish it back together and keep rolling it out. With a floured cookie cutter, cut your shapes and gently place them on a cookie sheet. Gather remnants of dough back into a ball and re-roll out and cut more cookies until you have used up all the dough. Place cookies into oven and bake for 11-12 minutes or until the cookies have puffed up a bit and the bottoms are slightly browned. Once cookies are cooked, let cool on a wire rack.

While cookies are cooling make the glaze. Mix about a tablespoon of the zest of the orange with the powdered sugar and add in a few tablespoons of the juice of the orange until the glaze is slightly runny. Once cookies are cooled either dip the tops in the glaze or drizzle the glaze on top of cookies (or do some of both). Then eat. If you wait a little while, the glaze will harden and then you can stack them and then if you want, maybe wrap on a few in little packages to give to someone you like. Either way, place uneaten cookies in a airtight container. Should last about a week, but can you not eat them for that long?

In winter, Vegan, Sweets, holiday, desserts, Dairy Free, cookies Tags Chocolate Cutout Cookies With Orange Glaze, Vegan cookies, chocolate, chocolate sugar cookies, orange glaze, vegan desserts, holiday, Christmas cookies, plant based, dairy free, King Arthur flour, snowflakes
Comment
← Newer Posts Older Posts →
 

https://thelovelycrazy.squarespace.com/config#/|/about/

Me. Food Maker.Food eater. Woo HOO!

STEM+NODE  SMALL BATCH AND ONE OF A KIND POTTERY

stem+node ceramics


____________________

Subscribe

GET NEW POSTS IN YO EMAIL

You are AWESOME!!!


@thelovelycrazy 2014-2021