• stem+node ceramics
  • HOME
  • Food Recipes
  • About
  • Contact
Menu

The Lovely Crazy

Street Address
City, State, Zip
Phone Number

Your Custom Text Here

The Lovely Crazy

  • stem+node ceramics
  • HOME
  • Food Recipes
  • About
  • Contact

Baked Caramelized Onions

May 1, 2021 Colleen Stem
IMG_5004.jpg

Two basis reasonable reasons I made oven baked caramelized onions. First, winter farm share has whittled down to just a hug basket of onions and greens (end of season) so I have a shit ton of onions. And second is I turned the heat off a few weeks ago but on these cool damp spring days, which I love, I get a little cold. I am not one to turn the heat back on, I just turn to the oven and bake stuff instead.

I was cold, have a basket of onions, and was hungry. So I caramelized onions. And I will probably do it again today because holy crap, I forgot how delicious these things are! I mean seriously, when was the last time you ate yourself some caramelized onions? They are like candy, but like a savory sweet candy that lights up your mouth hole and keeps you wanting to shovel more and more into your face. I made a skillet of 4 giant onions. I think I ate 3 of them (I gave the mr a scoop on his lentils for dinner, but then ate the rest). And I am not sorry about it.

So If you are hungry (but can wait for a little while), cold but don’t want to turn the heat back on, and/or have a shit ton of onions, well friend, this one is for you.

To the oven baked caramelized onions!

IMG_4899.jpg

The stuff. Onions, vinegar, salt, water, pepper, and a little oil/

IMG_4905.jpg

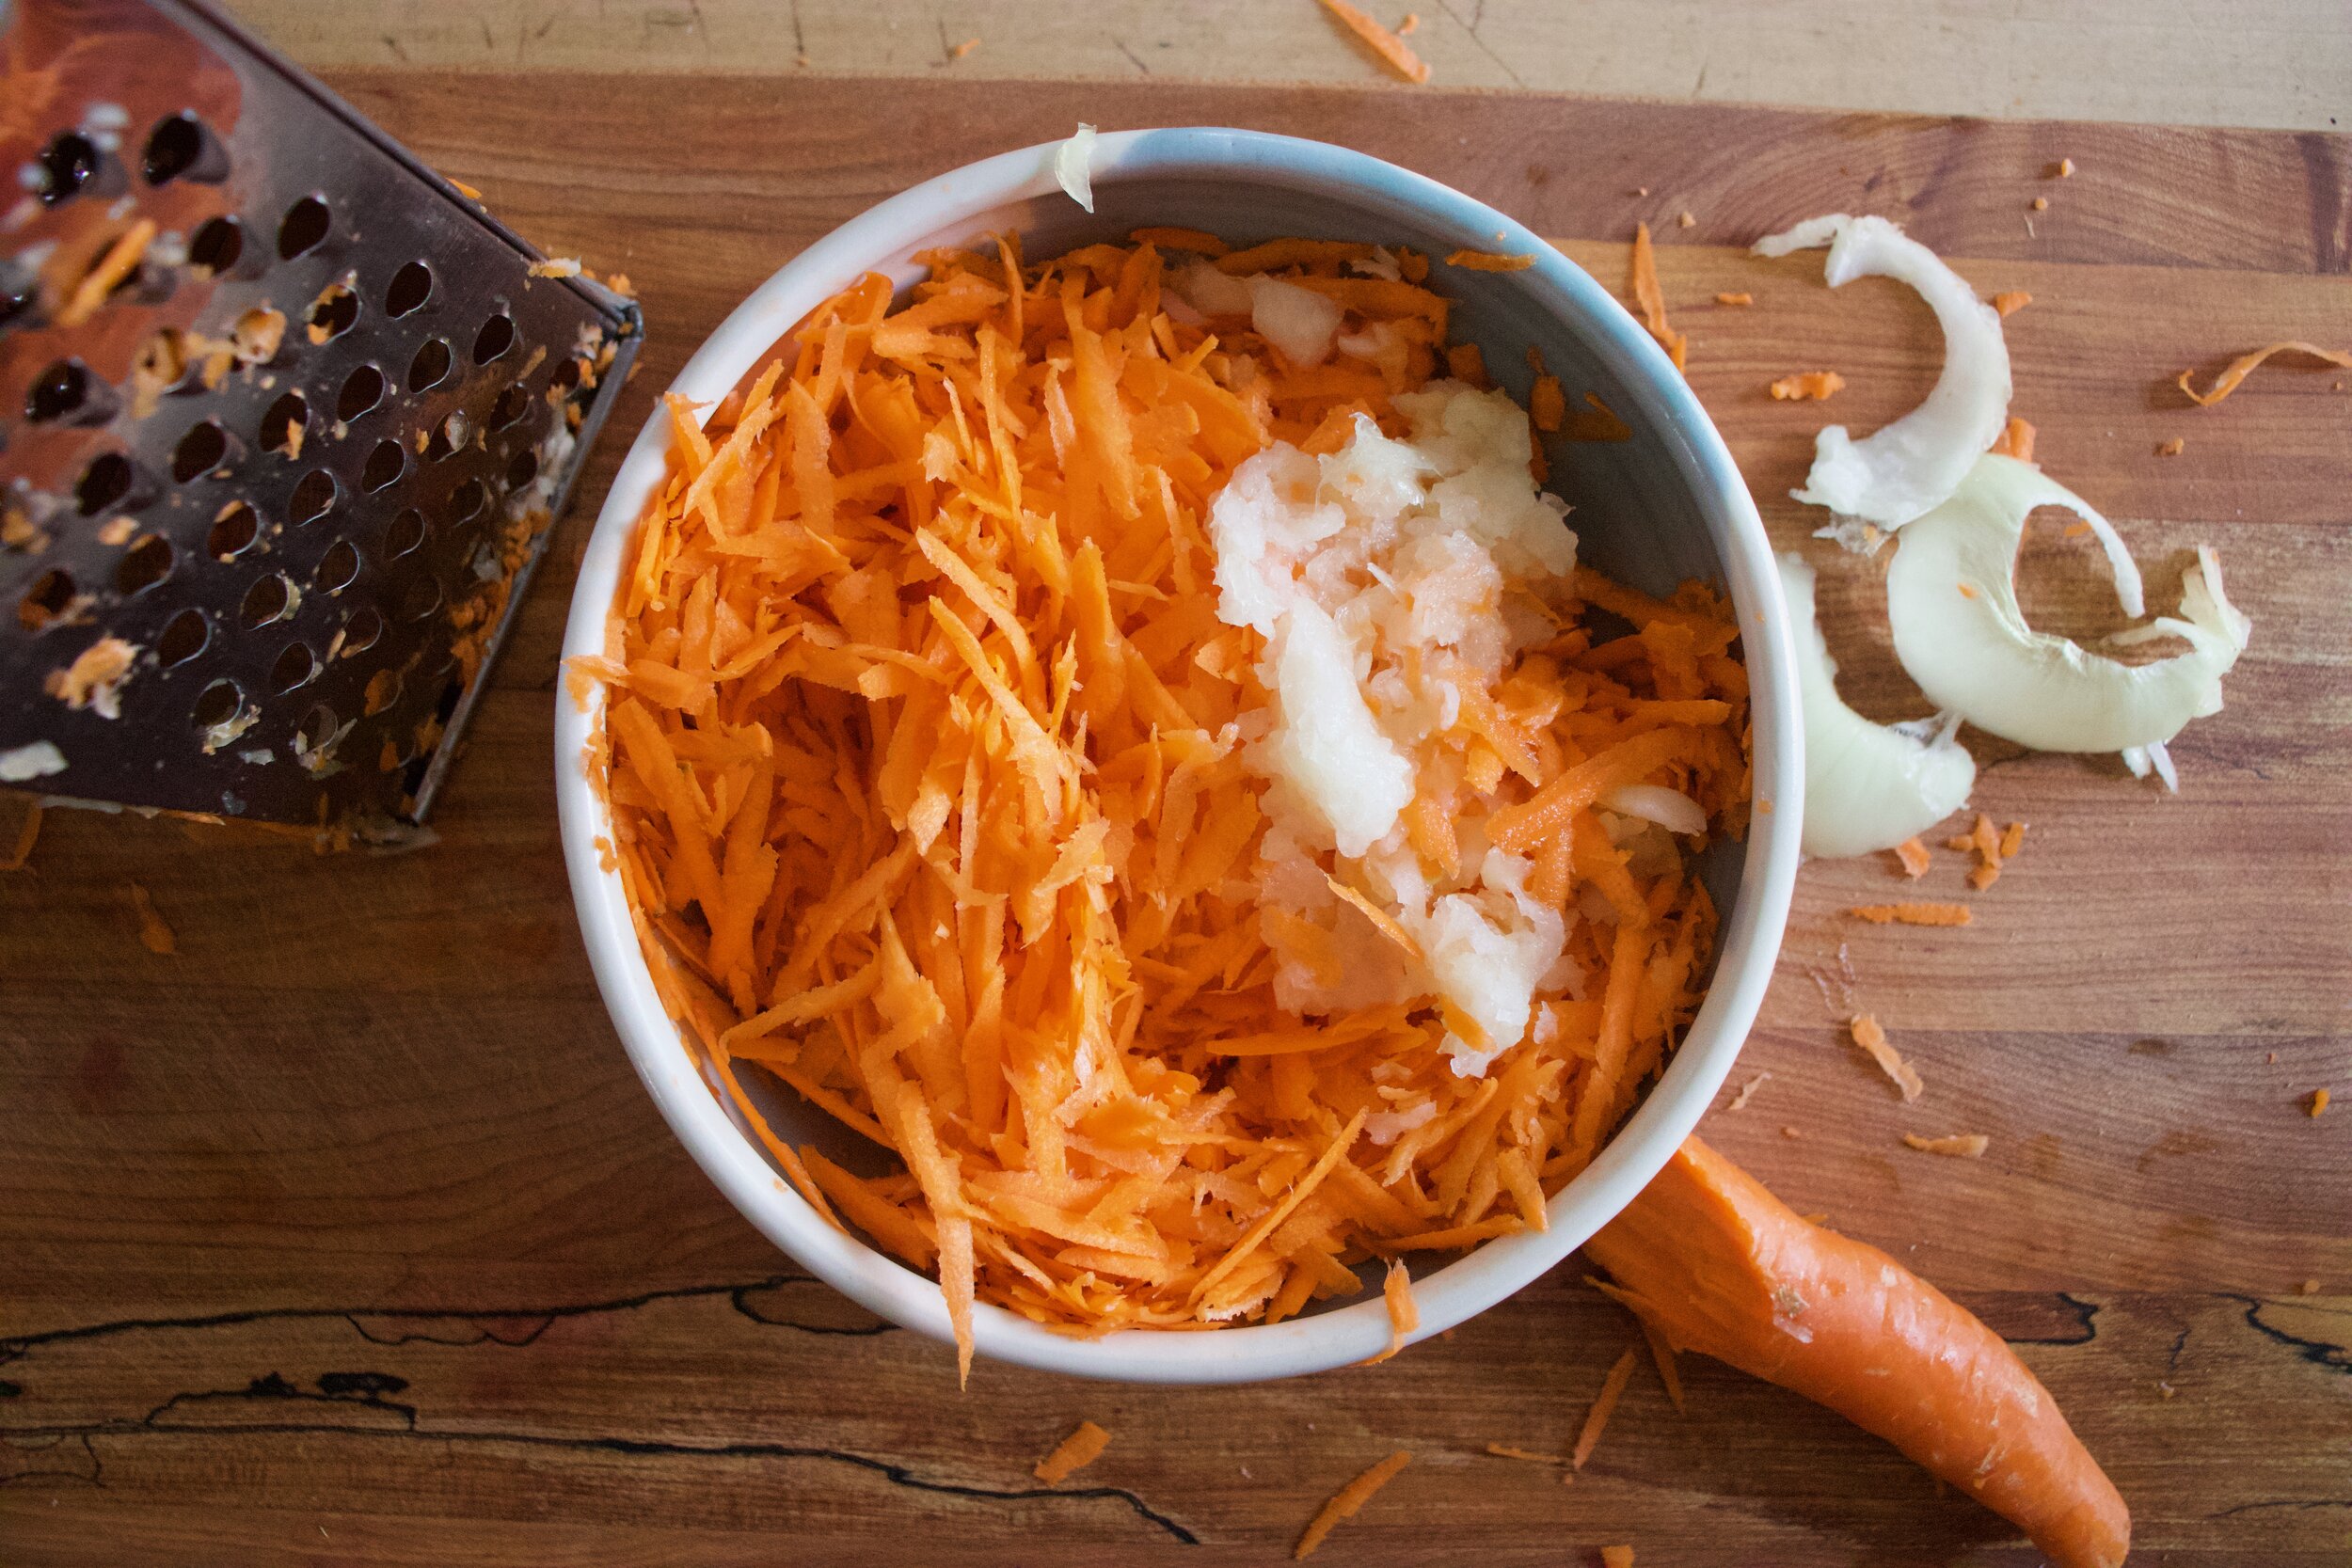
The hard part. Cut up onions pretty thinly. I used a mandolin but if you don’t have one, a knife will do. Just cut as evenly as you can.

IMG_4917.jpg

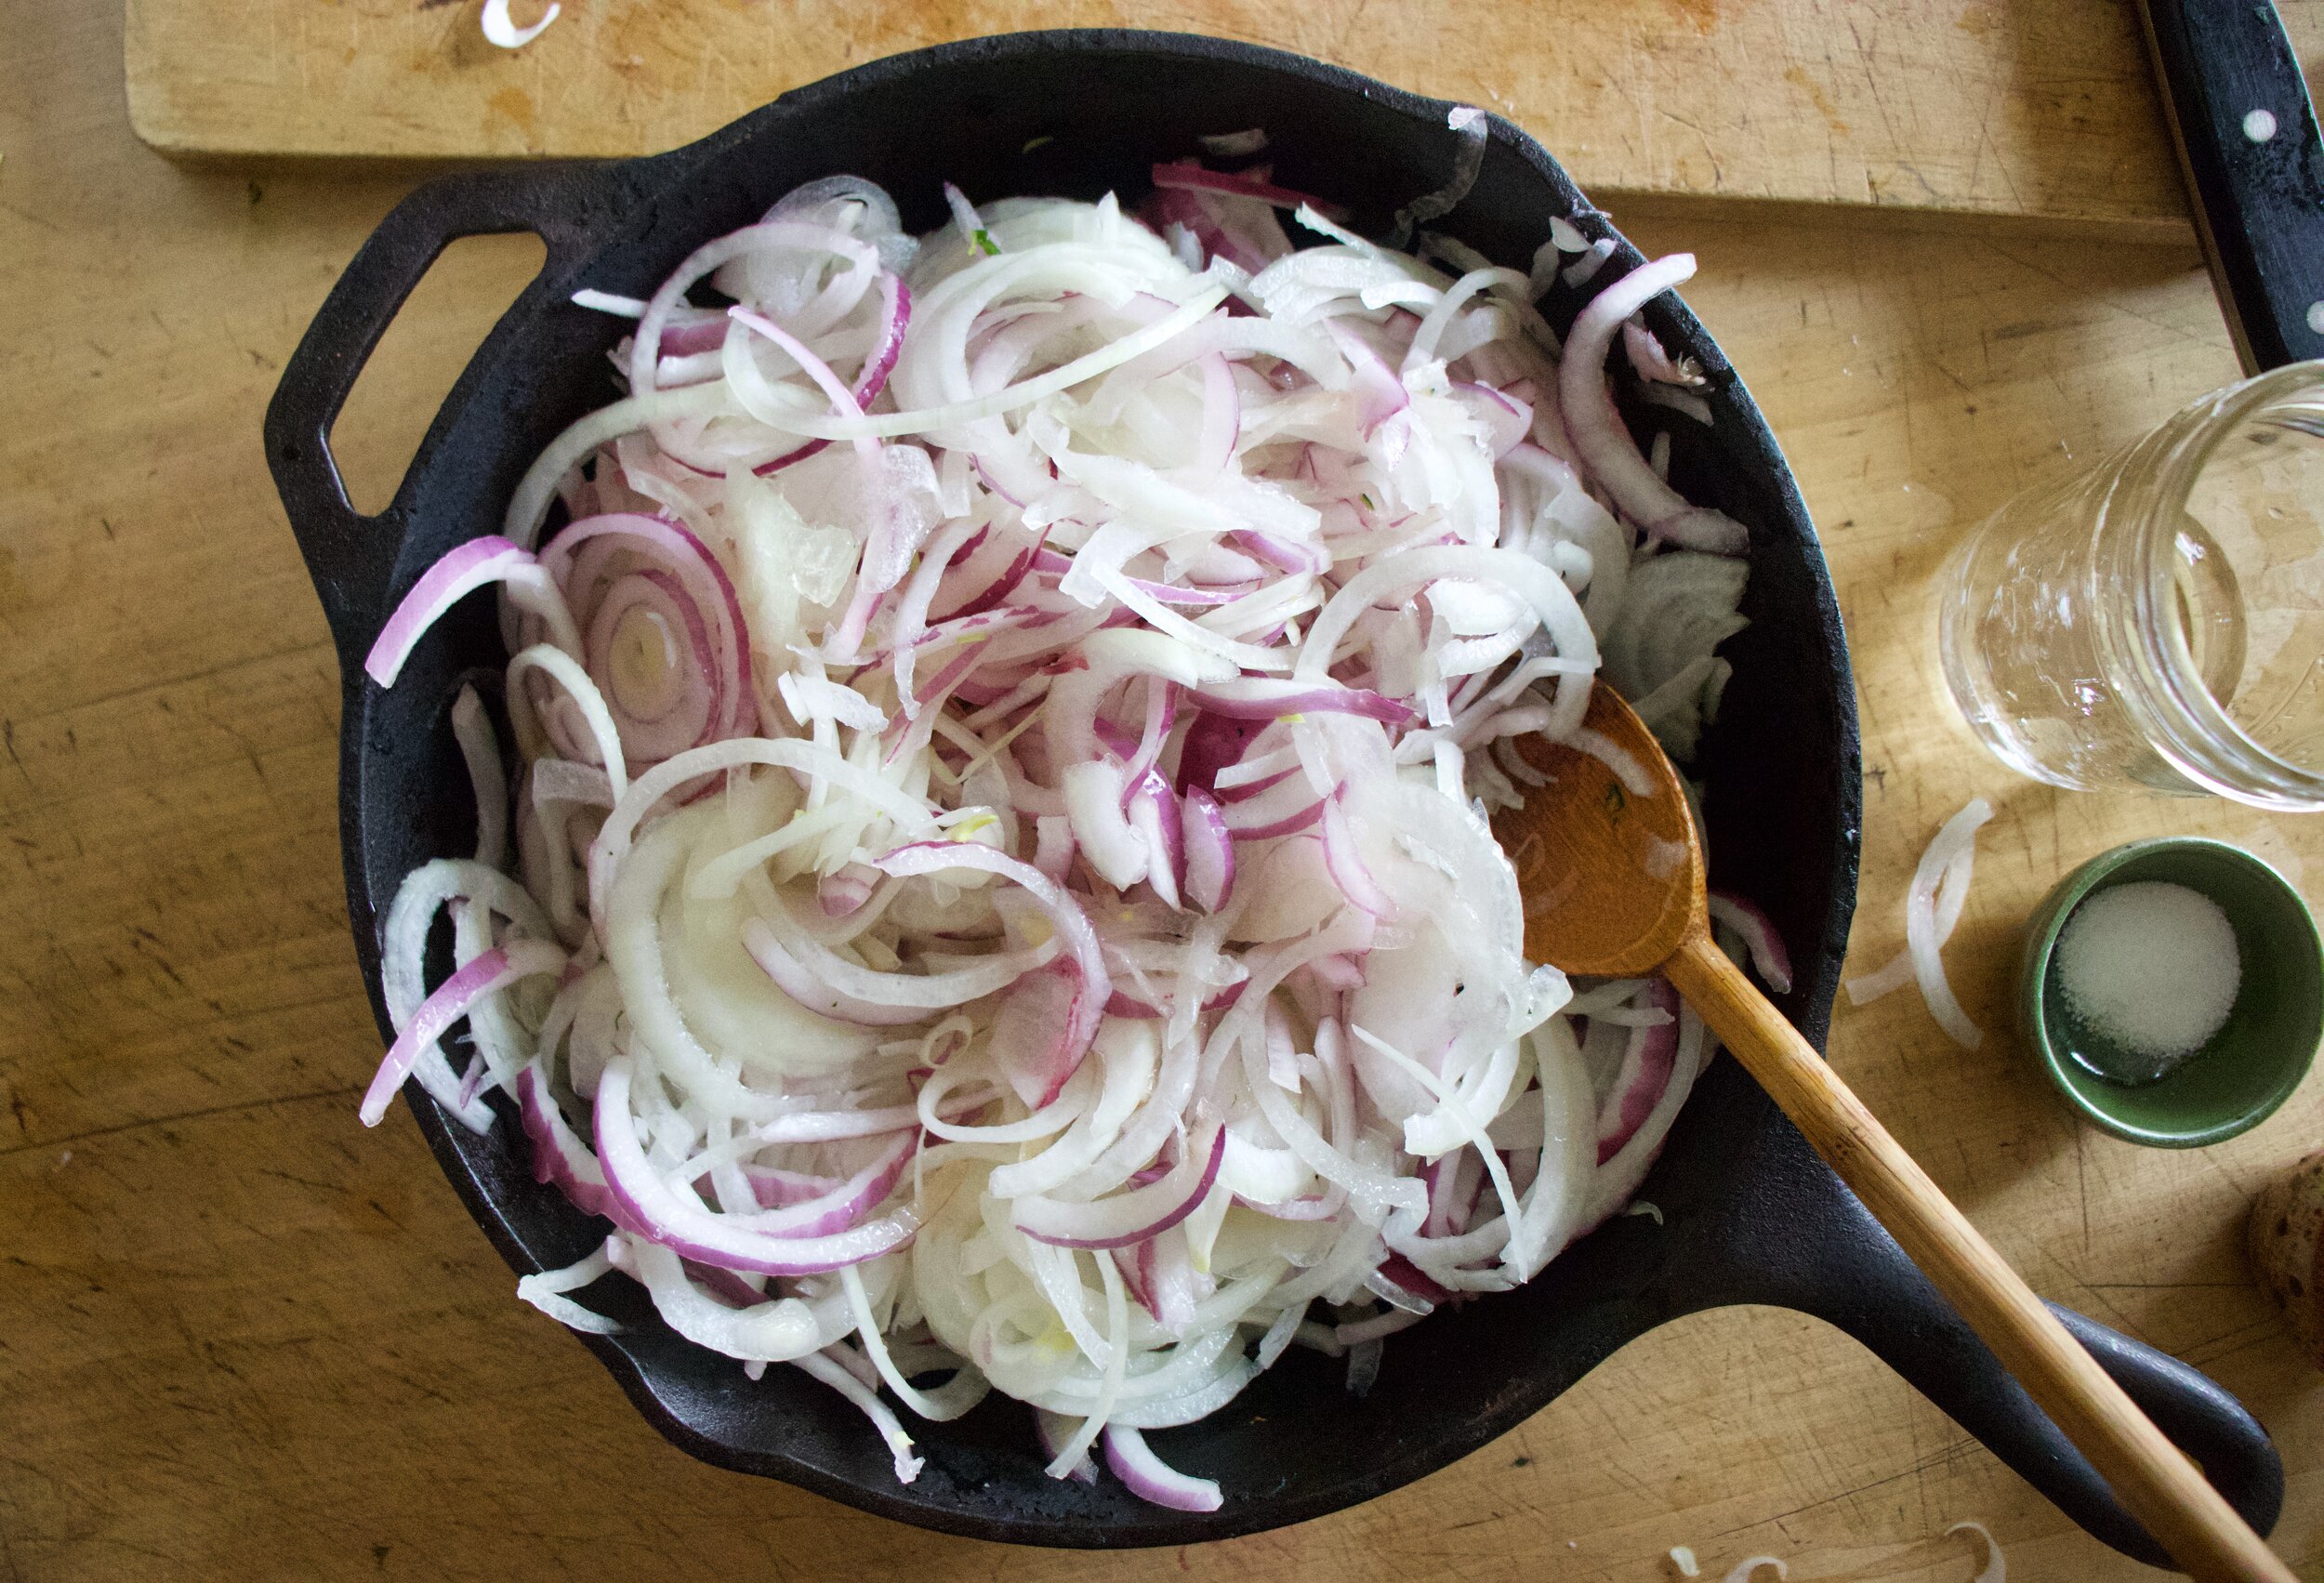
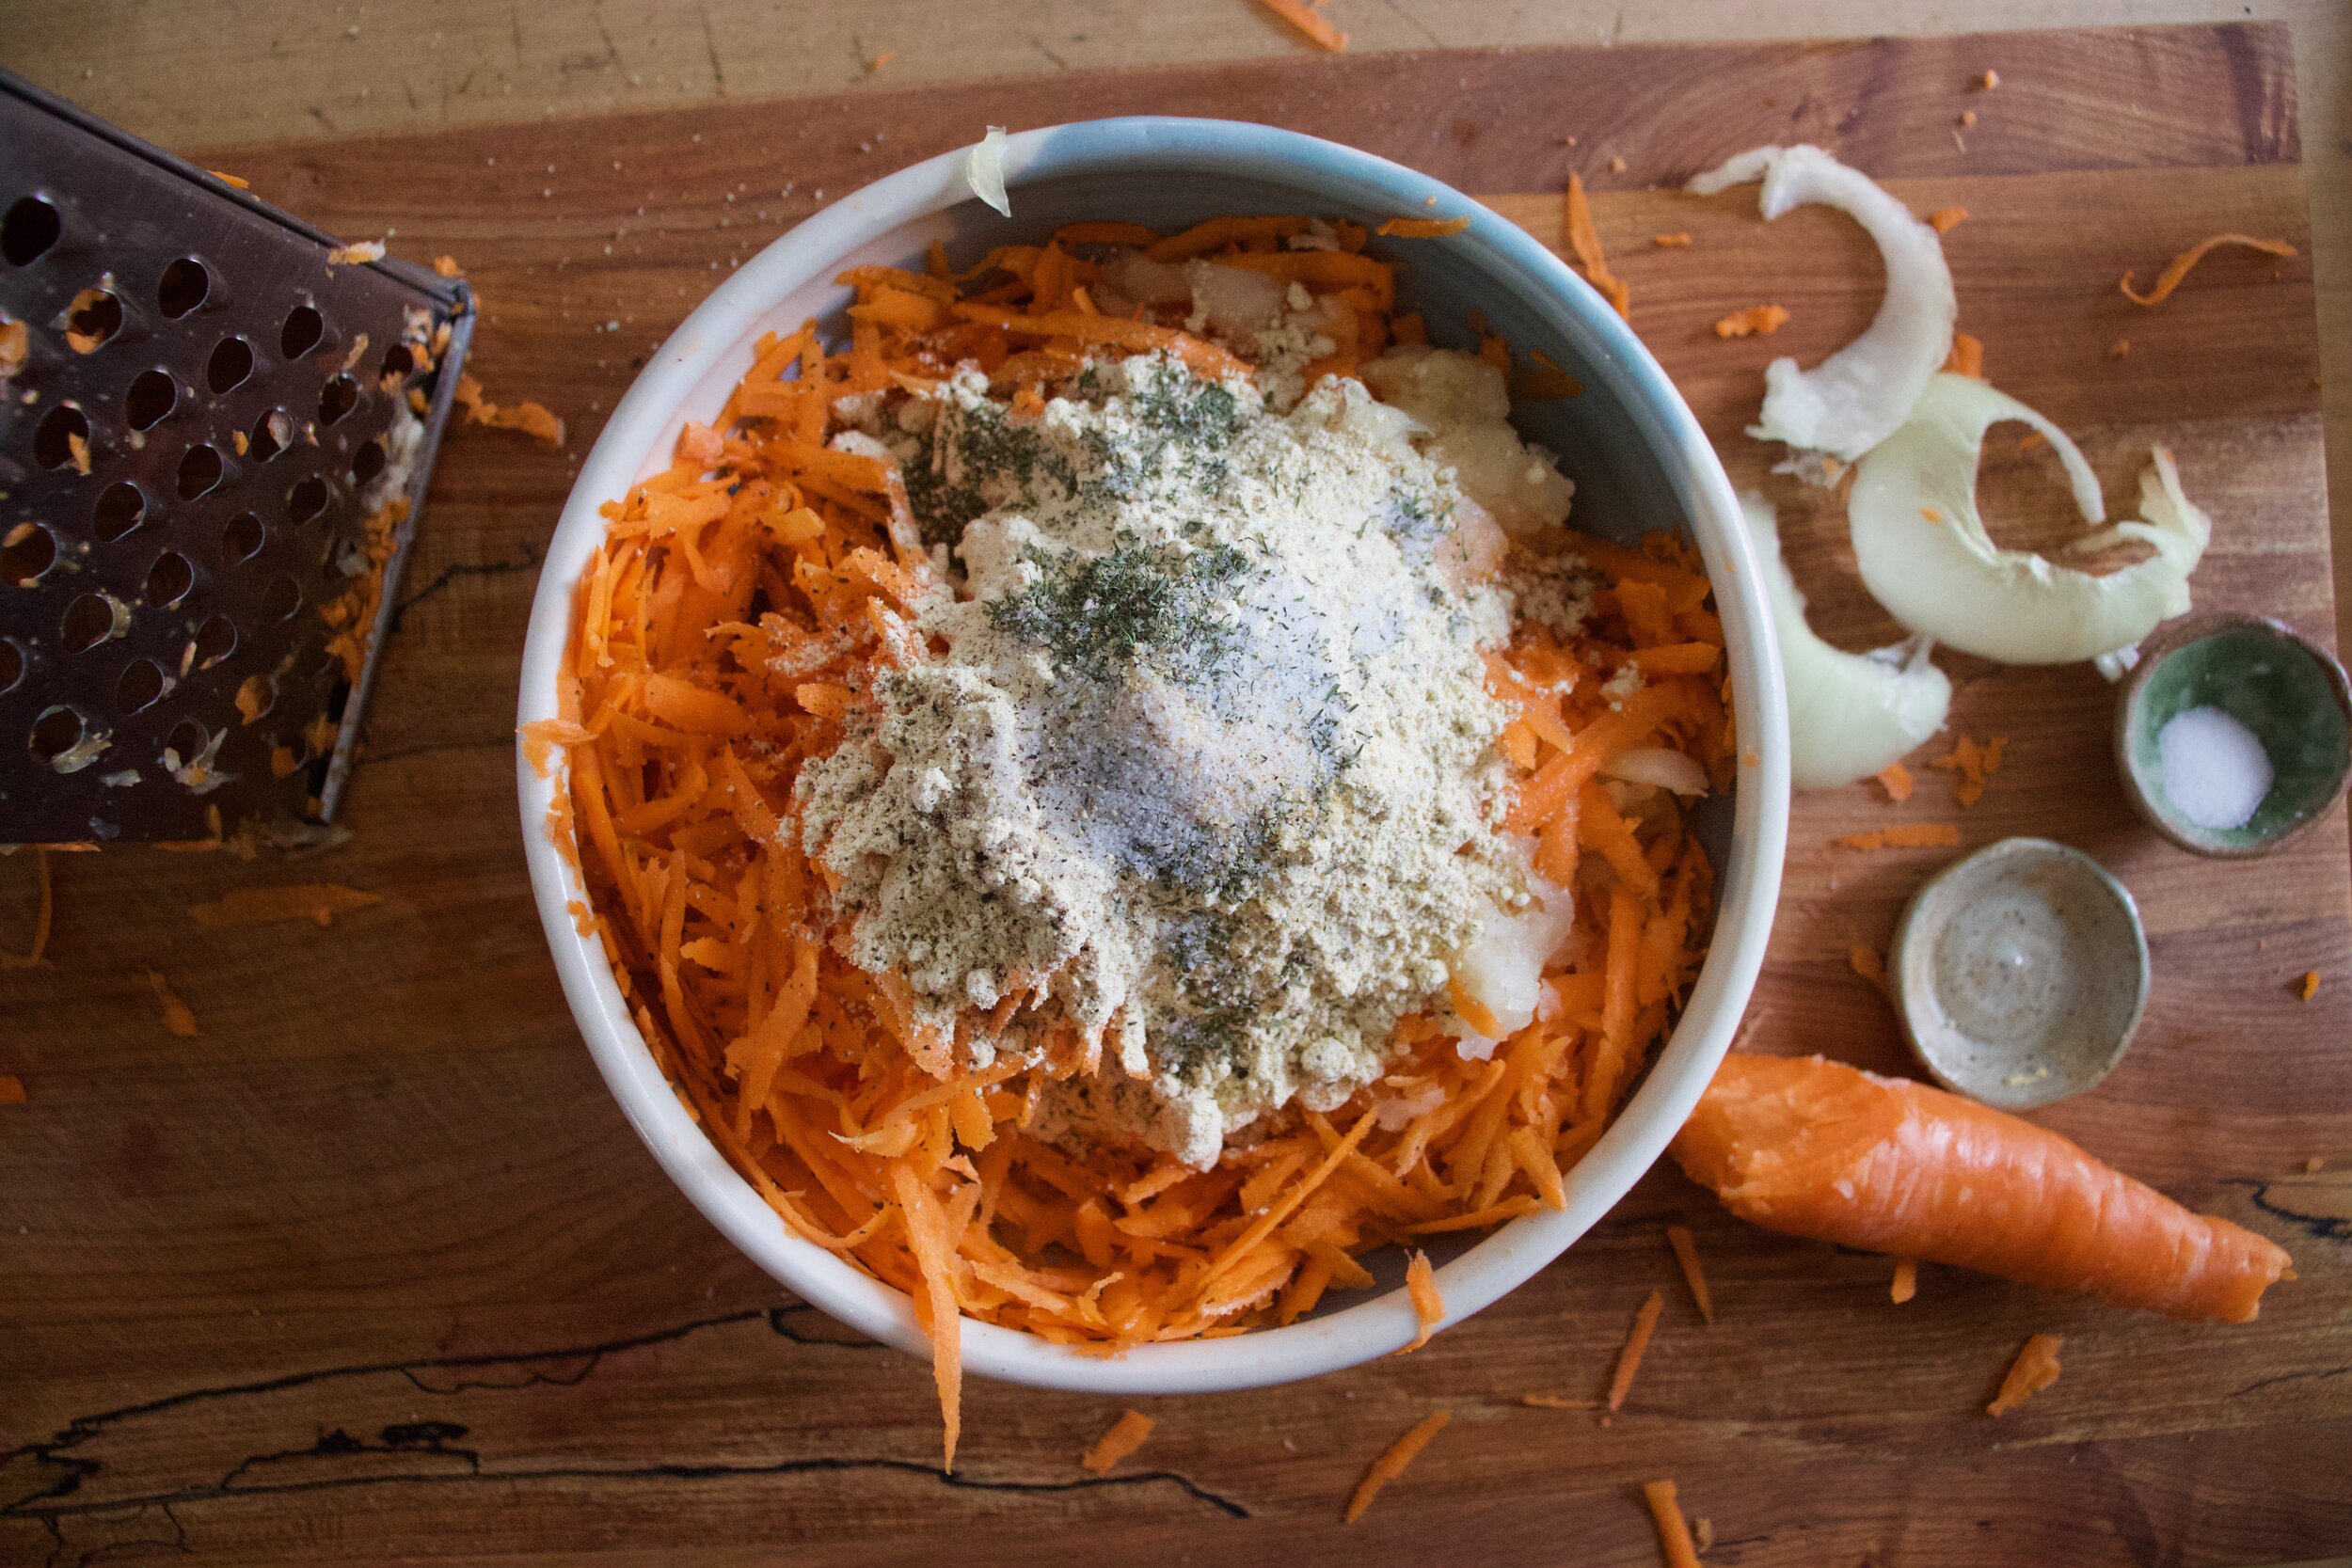
Toss all the onions into a oven safe skillet, add in a pinch of salt, some vinegar an water and that is that. Pop into the oven and bake. It will take close to 2 hours so just even 1/2 hour or so give the onions a little stir.

IMG_5005.jpg

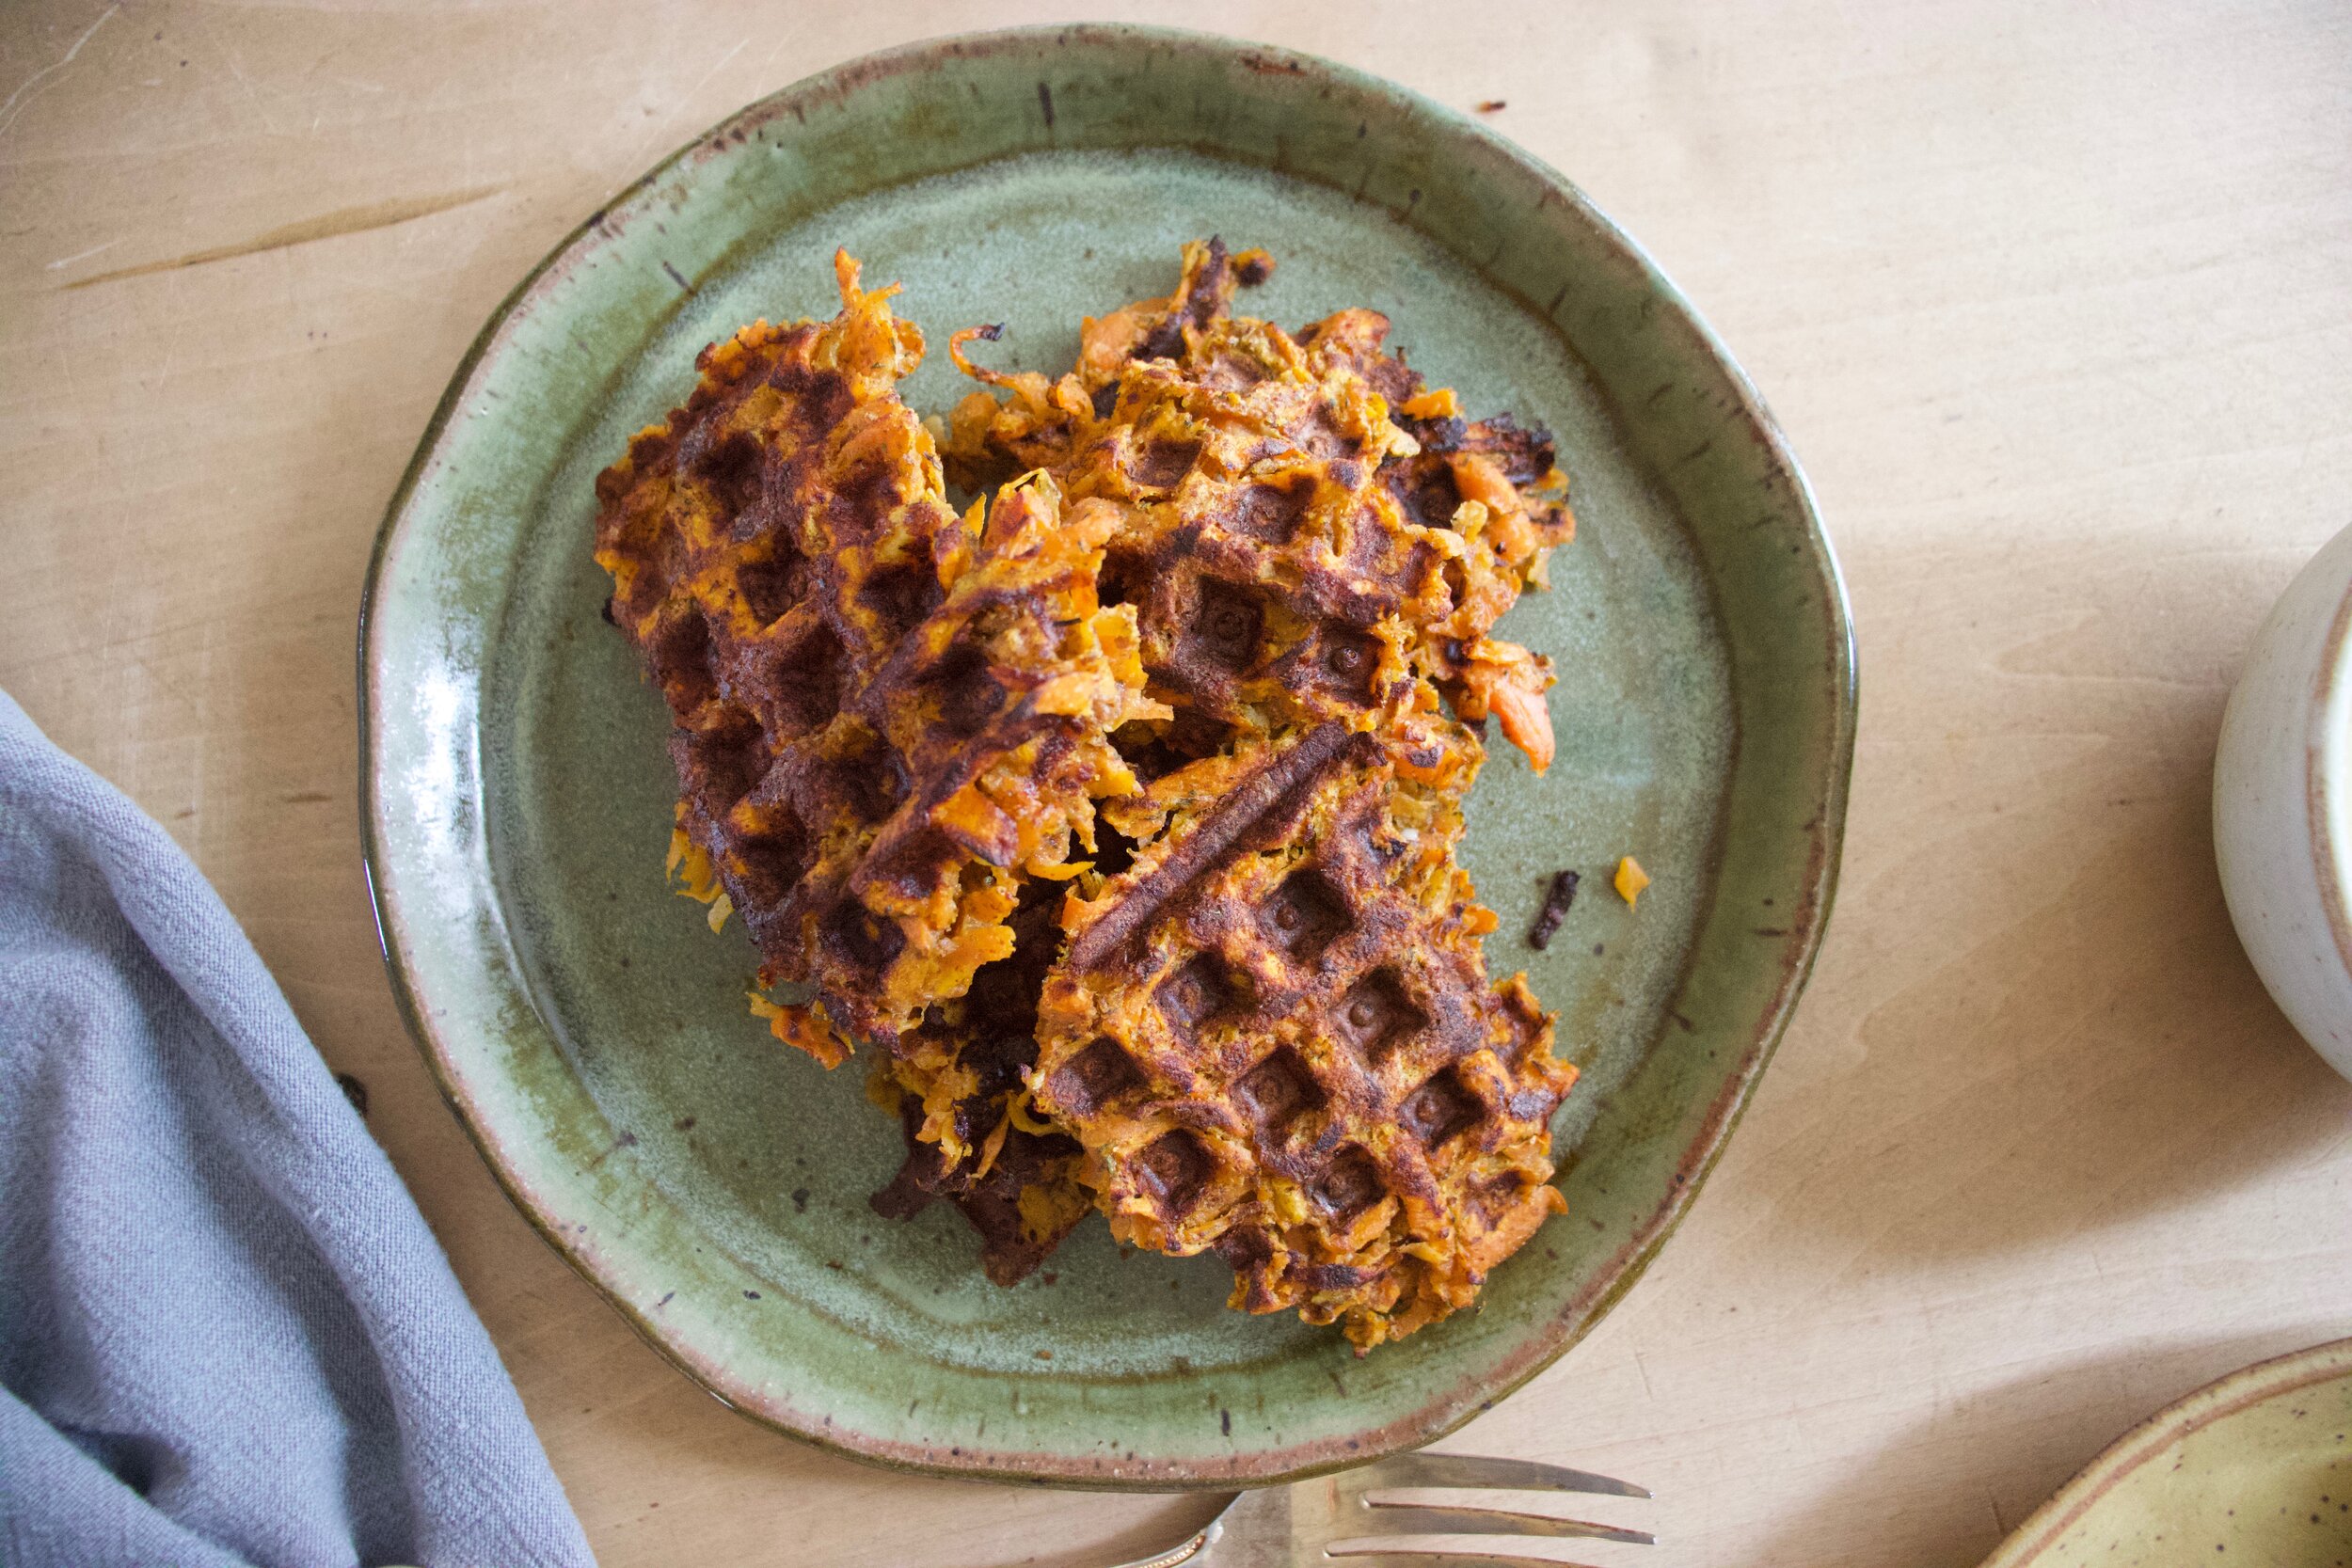
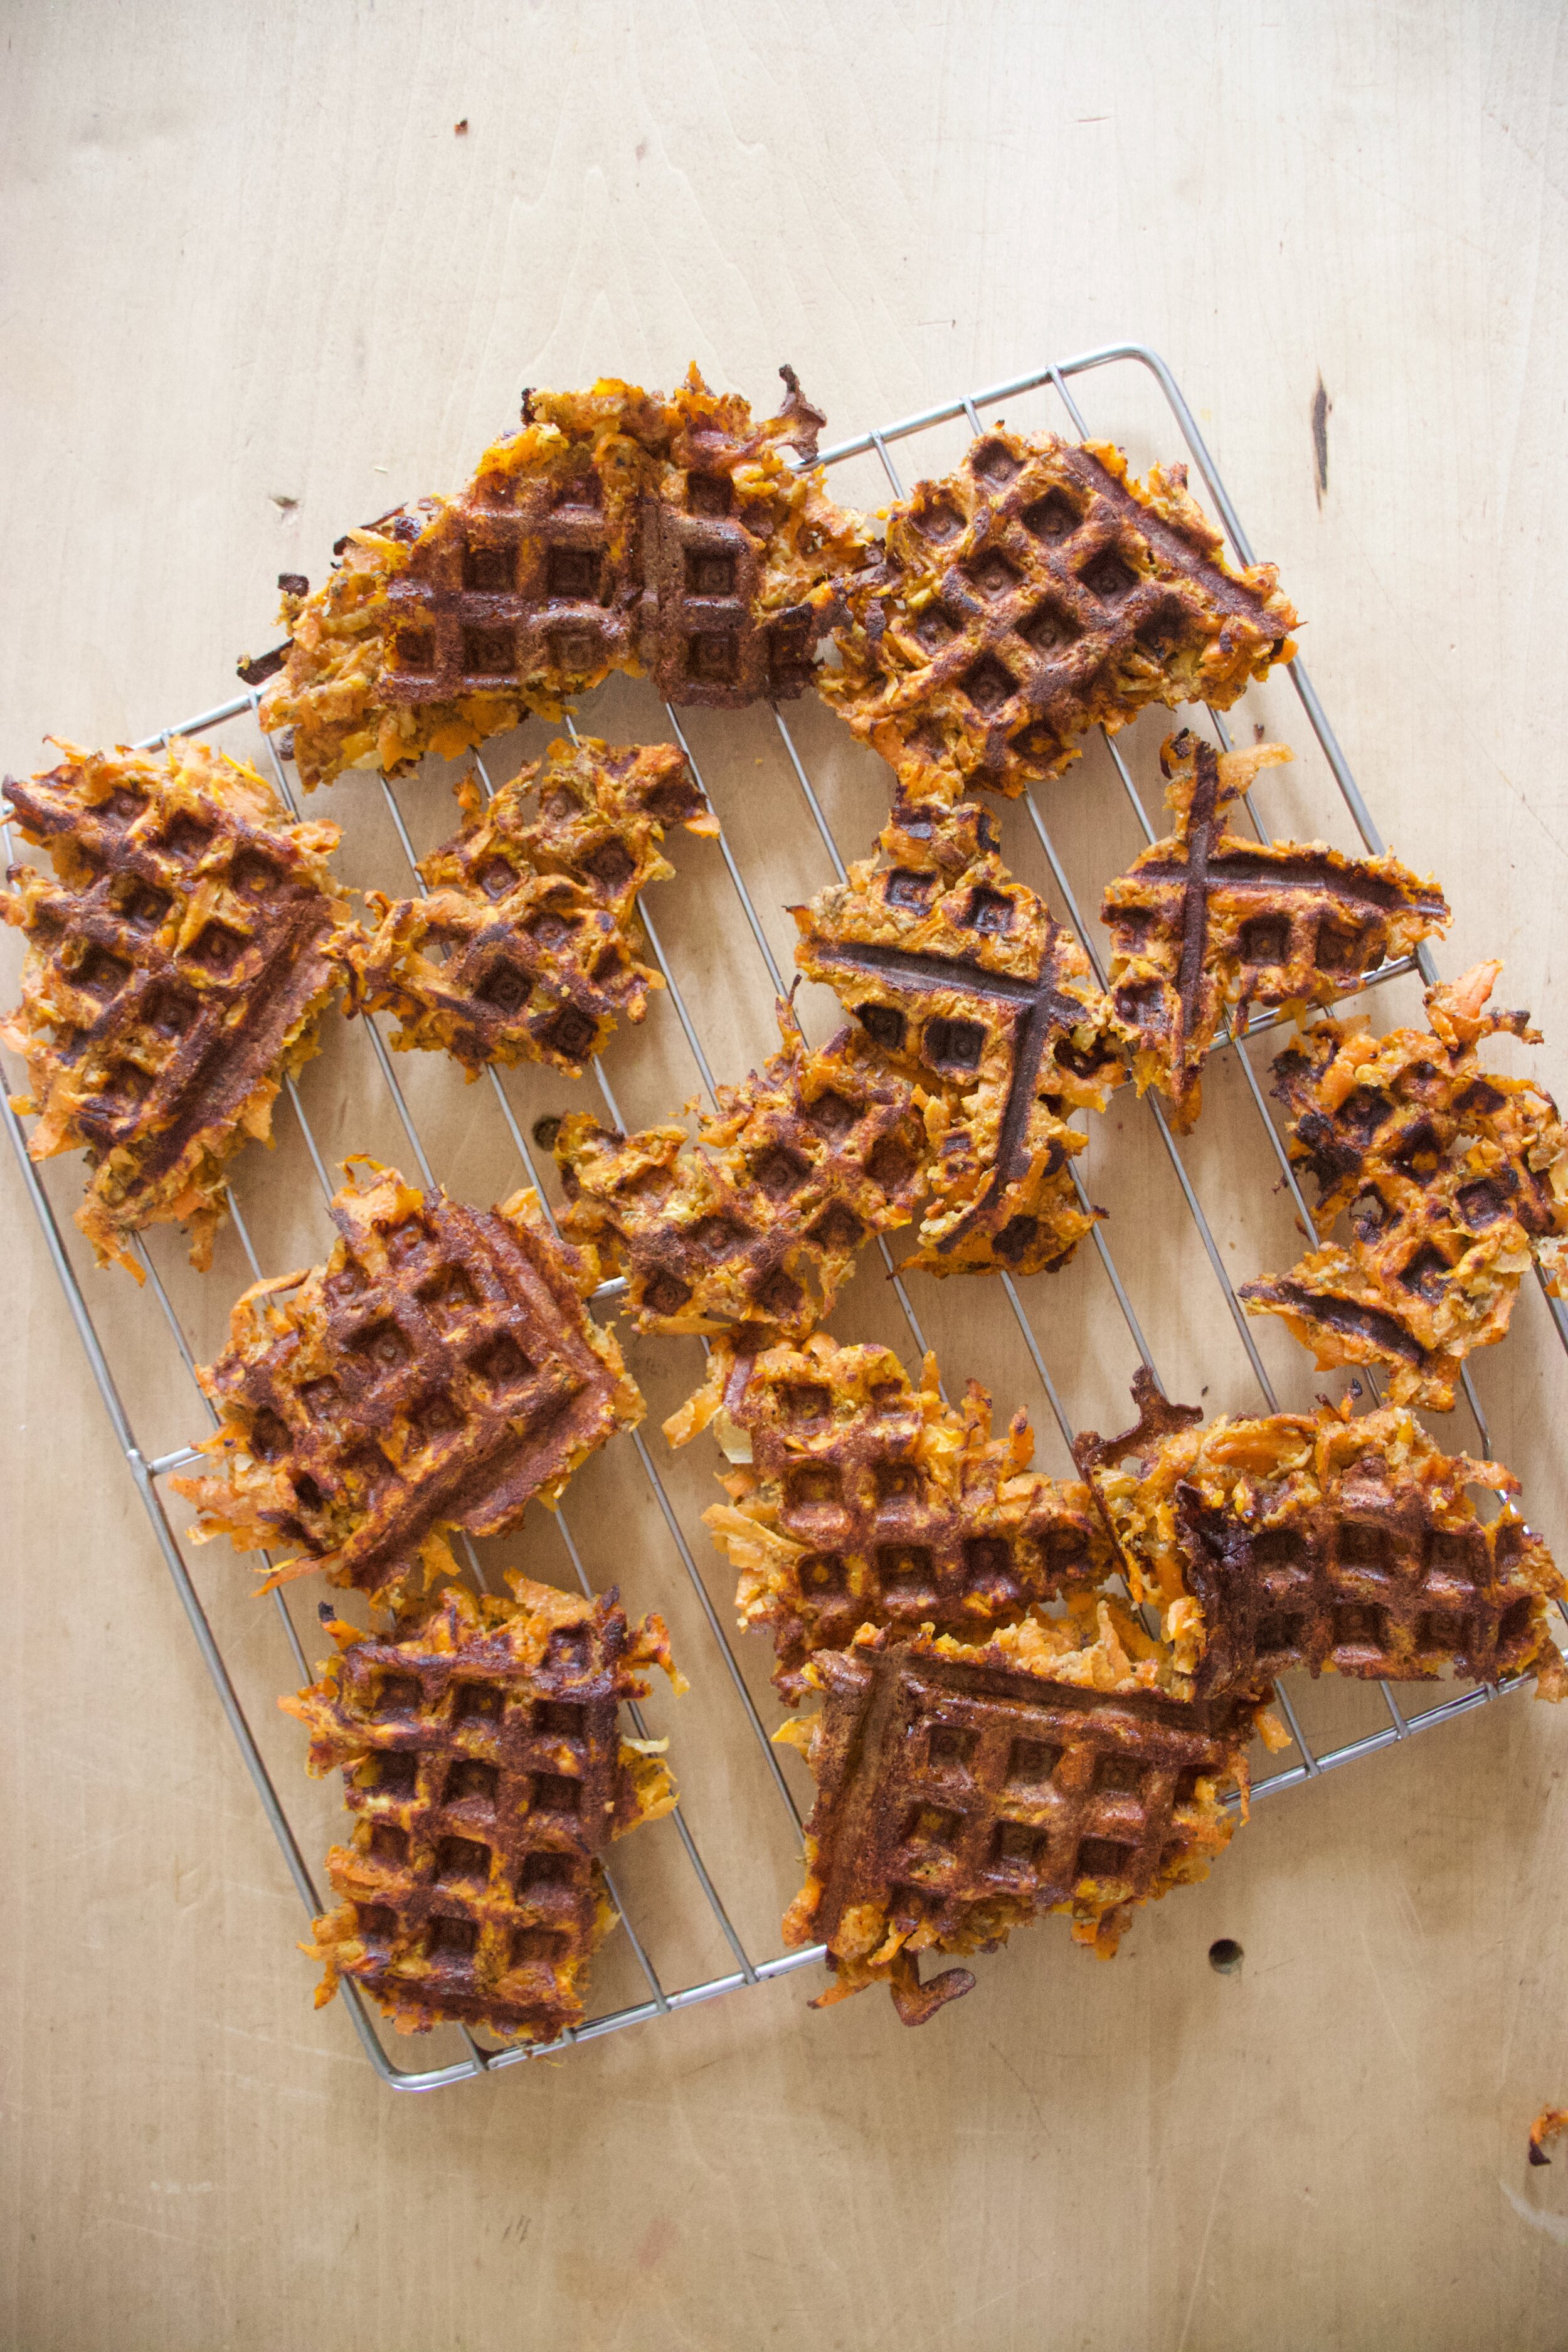
And there you have them. A pile of the most delicious onion situation. Now how you eat them is up to you. I love them on just about anything but I also pretty much at all of these with a fork straight from the pan.

You do you.

-C


Baked Caramelized Onions

  • 4 large onions (any variety)

  • 1/4 -`/2 cup wine or apple cider vinegar

  • 1 cup water

  • 1 teaspoon oil

  • 1 hefty teaspoon salt

  • pepper

Preheat oven to 350

Remove skins from onions and either with at knife or a mandolin, thinly slice all the onions evenly.

Grab a oven safe skillet or baking dish and light coat with the oil. Place all the onions into skillet.. Add in water and vinegar (use the greater amount for a little more tang) and sprinkle with about a teaspoon of salt.

Place skillet in oven and baked for 1 1/2- 2 hour, mixing every 1/2 hour until onions have reduced to about 1/4 of the volume and are golden brown and caramelized.

Remove form oven. Season with pepper to taste.

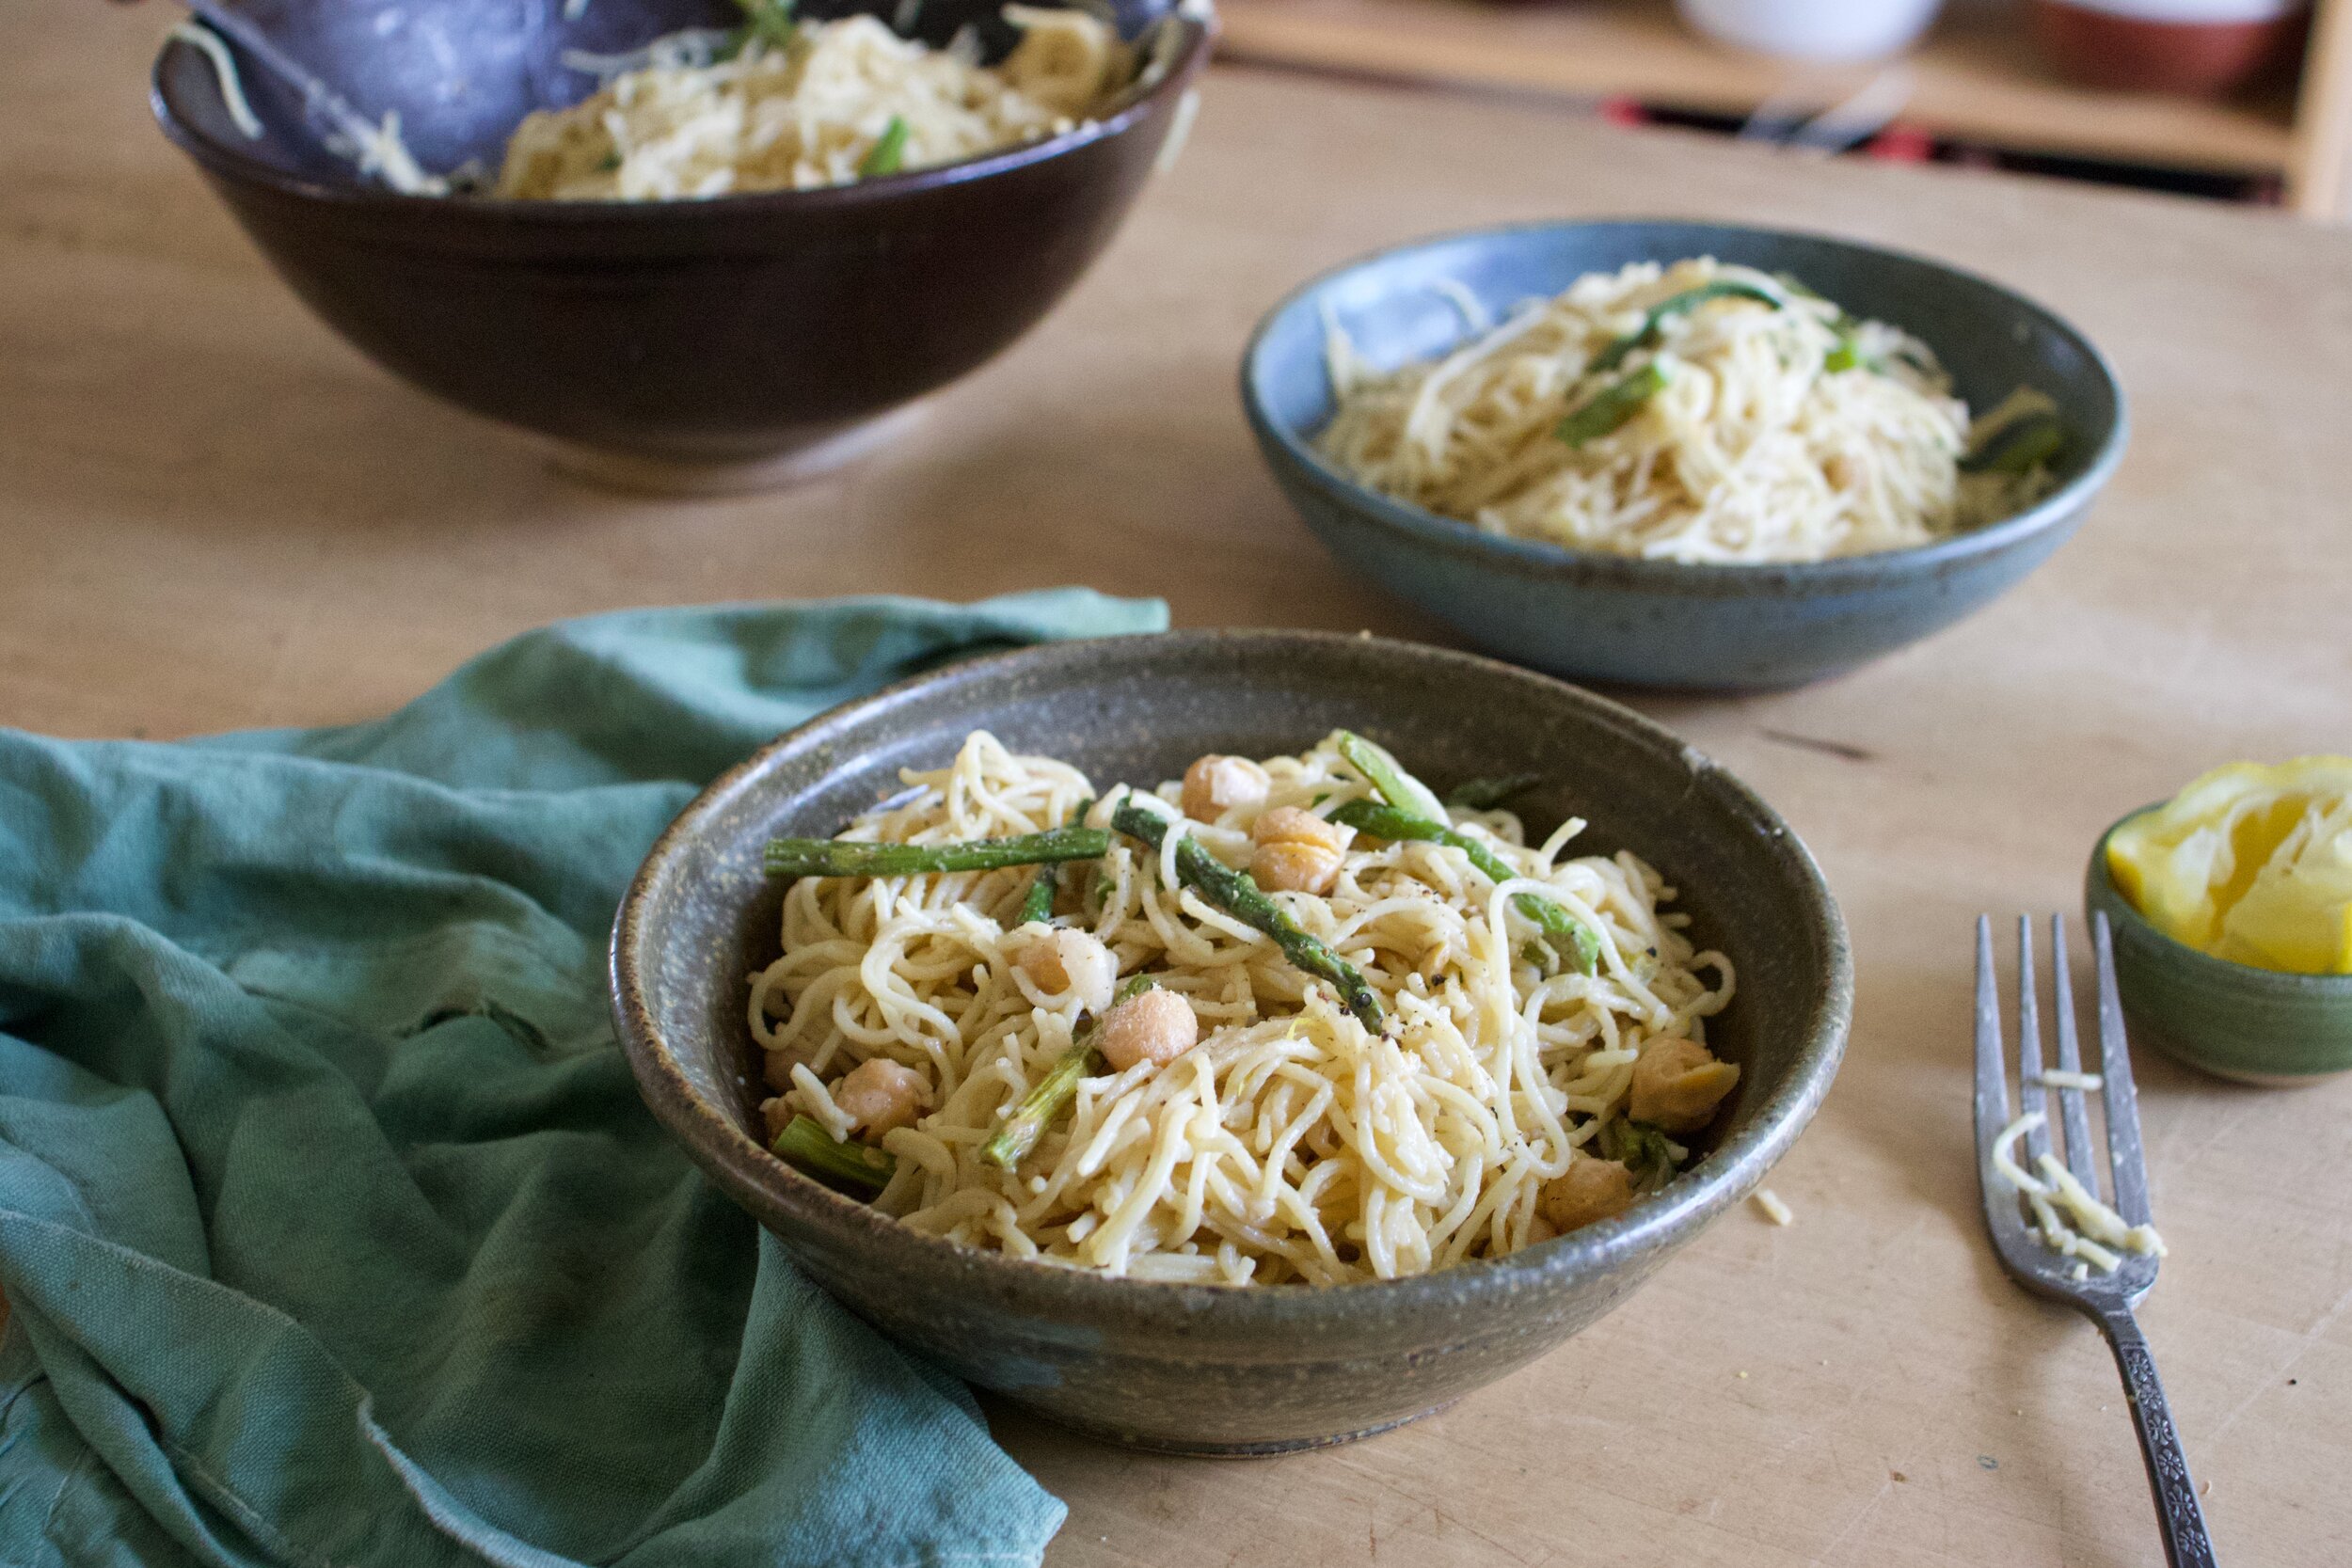
Eat anyway you want like on a salad, on a veggie burger, mixed into a lentil bowl or straight up just eat them with a fork.

Left overs (what left overs?) are good in fridge for about 4-5 days.

In Vegetables, Vegan, side dish Tags Baked Caramelized Onions, onions, allium, easy, slow baked, vegan, gluten free, dairy free
Comment

Chili Lime Jicama Slaw

April 24, 2021 Colleen Stem
IMG_4889.jpg

I don’t know about you but springtime has got me wanting to eat all the things that are fresh and bright and not super heavy. Things like big salads are on the top of my list. Or slaws like this jicama slaw. It is A+ and perfect for springtime munching.

Jicama. Maybe you have heard of it, maybe not. It is a vegetable, a tuber to be precise. And it tastes like a crunchy, juicy, not sweet apple, but also kind of reminds me of kohlrabi. And it slightly nutty, with a hint of potato? Just know it is delicious. You might have even had it and not even been aware of it, in say a salad or maybe spring rolls. Anyway, if you haven’t had it, it is definitely worth trying like in this slaw which is basically just jicama with cabbage, carrot and onion tossed in a cumin chili lime situation. It is fresh and crunchy and spicy and filling and all the things that I want be eating right now.

What we have it a really dang tasty and a quick toss together situation. What more can we ask for?

To the jicama slaw!

IMG_4860.jpg

The stuff. A small jicama, a carrot, a hunk of red cabbage, chili powder, cumin, a lime, red wine vinegar,a little maple syrup, and salt and pepper.

IMG_4865.jpg

Cumin, chili, maple, and vinegar go into a big bowl and get mixed around. Pop the bowl into the microwave if you can and heat it up for like 30 seconds, just o take a bit of the rawness of of the spices.

IMG_4872.jpg

Now peel the jicama. Use a sharp knife and carefully peel away the brown skin from the white flesh. Do not leave any of the skin on cause it is not good to eat!

IMG_4877.jpg

Once the jicama is peeled, grab a mandolin and julienne it (or cut into thin matchsticks with a knife). Then julienne the carrot and shredded the cabbage and onion.

IMG_4879.jpg

Dump all the veggies into the bowl with the spices then add in the juice of the lime and a pinch of salt and pepper.Toss around until evenly combined and coated.

IMG_4897.jpg

There you have it. Chili lime jicama slaw. Now you eat it. As a side to any dish you wish or just as it is, a big bowl of goodness.

-C


Chili Lime Jicama Slaw

Serves 3-4 (as a side)

  • 1 medium Jicama (around 3 cups julienned)

  • 1 small carrot

  • 1 small onion

  • a small hunk of red cabbage

  • a lime

  • 3/4 teaspoon cumin

  • 3/4 teaspoon chili powder

  • 1 teaspoon maple syrup

  • 1 tablespoon red wine vinegar

  • salt and pepper

Place cumin, chili, maple, and vinegar into a large bowl. Mix around and pop into the microwave for 20-30 seconds just to heat it up a bit and remove some of the rawness of the spices.

Peel the jicama. Do it with a knife (so carefully) and remove all of the tough brown skin away from the white flesh. (Do not eat skin..It can make you sick). Now either with a mandolin of a knife, julienne the jicama along with the carrot. Use a thicker setting for the jicama and a thinner one for the carrot. Shred or thinly slice up the cabbage and onion as well. Toss all the veggies into the bowl with the spices. Squeeze in the juice of the lime, add a pinch or two of salt and some black pepper and toss around until everything is evenly combined and coated.

You can eat it right away but It taste better when it has had a chance to sit for a little while.

Serve cold along with anything. Or eat on it’s own. Store left overs in fridge for up to a week.

In quick and easy, Raw, salad, Vegan, Vegetables Tags Chili Lime Jicama Slaw, jicama, slaw, raw, salad, plant based, grain free, gluten free, dairy free, vegetable, fresh, spring, easy, chili lime
Comment

Sweet Potato Steaks on Arugula and Kale with Pea Avocado Cream

April 10, 2021 Colleen Stem
IMG_4654.jpg

All I want to do is eat fists fulls of arugula. Ok, maybe that is not all I want to do, but it is something that I have been doing a lot. I have always really like arugula but as of right now, it is my top choice green!

Anyway, big green salads are all I want to eat because it is spring and all and greens are the best in the spring. But I still am eating a lot of roots and will be eating them for a few more weeks unit winter farm share dies down. And because it is the end of the season, the choice of roots is dwindling and we basically get a bucket of carrots, beets, and sweet potatoes. Lots of sweet potatoes, which by the way, I am not made about. And greens, We get lots of greens!

So my new favorite salad comes to fruition. Thick cut sweet potato steaks on a bed of fresh spring arugula and kale toped with a thick creamy avocado pea situation and some toasted walnuts for flair and crunch. I mean, is your mouth watering and your tummy grumbling yet?

Mine is but that is just how it always is.

Now to the steaks and salad!

IMG_4603.jpg

The stuff. A sweet potato, some arugula and tender kale, peas (frozen and thawed) half an avocado, some toasted walnuts, a lemon, and salt and pepper.

IMG_4609.jpg

Start by cutting the sweet potato into thick steaks. 4-5 same thickness slices if you may.

IMG_4612.jpg
IMG_4617.jpg

And no roast up the sweet potato steaks. Just place hem onto a baking sheet and pop them into a hot oven. Bake for 2-30 minutes, flipping over after 15-20 minutes. Once tender, remove from oven and set aside.

IMG_4629 2.jpg
IMG_4632.jpg

While sweet potatoes are baking, make pea avocado cream. Place peas and avocado into a blender or cup if using a hand blender along with the juice of the lemon and about a tablespoon of water. And a small pinch of salt. Blend until smooth. Add more water a tablespoon at a time until you get a thick but pourable constancy.

IMG_4644 2.jpg

Now rough chop the kale and toss together with the arugula and place in a large salad bowl

IMG_4650.jpg

Place the sweet potato steaks on top of the greens. Note here that the sweet potato steaks can be hot, warm, or cold. The are good all the ways.

IMG_4653 2.jpg

Then top it all with the pea avocado cream. Toss on the toasted walnuts and add some more black pepper and that be that. Grab a fork and a knife if you wish and get to it.

So much goodness in the mouth!

-C


Sweet Potato Steaks on Arugula and Kale with Pea Avocado Cream

serves 1-2

  • 1 medium sweet potato

  • 1/2 cup frozen (and thawed) green peas

  • 1/2 of an avocado

  • a small lemon

  • 2 large handfuls of fresh arugula

  • 4-5 leaves of tender kale

  • 1/4 cup toasted walnuts

  • around 1/4 cup cold water

  • salt and pepper

Preheat oven to 450. Wash sweet potato and cut into 4-5 equal thickness slices. Place cut pieces on a baking sheet and sprinkle with salt and pepper and pop into oven. Bake for 25-30 minutes, flipping after 15 or until the sweet potato is tender. Remove from oven and let cool a bit.

While sweet potato is baking off, make pea avocado cream. Place the peas and avocado into a blender or cup if using a hand blender, add in the juice of the lemon and a pinch of salt. Blend until smooth. Add in a tablespoon or two (or more) to thin out until it is still thick but pourable. Also rough chop the kale and mix together with the arugula in a big salad bowl.

Once sweet potato steaks have baked and cooled off a little bit (you can eat them hot or cold so whatever temperature you want), place them on top of the greens then top with the pea avocado cream, sprinkle on toasted walnuts, more black pepper, and maybe a squeeze of more lemon if you have it.

Then grab a fork and knife and start eating.

In Vegan, Vegetables, winter, Spring, salad Tags Sweet Potato Steaks on Arugula and Kale with Pea Avocado Cream, Arugula, kale, sweet potato steaks, vegan, grain free, dairy free, gluten free, plant based, dinner, salad, roots, winter, spring, avocado, peas, walnuts, easy, heathy, quick, delicious, yummy
Comment

Savory Carrot Dill Waffle Iron Fritters with Creamy Maple Mustard

April 3, 2021 Colleen Stem
IMG_4573.jpg
IMG_4551.jpg
IMG_4523.jpg

The other day I went to grab the cookie cutters out of the pantry and had to move the waffle iron out of the way. That is basically the only reason I used the waffle iron. And just like every single time I grab it out to use, I wonder to my self why the hell I don’t use it more. Maybe it’s time to move the waffle iron to a bette spot in the pantry.

So anyway these carrot waffled fritters. Theyare so so so freaking good! I could barely stop eating them before I got a chance to take a couple pictures. So simple, yet so satisfying. Carrot and dill are such a great combo and when made into a crispy fritter situation with chickpea flour and dipped into with the maple mustard. WOW! I was going to make most of this batch for the mr for dinner but I ended up eating more then half (so I ended up making him a waffled sandwich too).

I think these carrot dill waffle fritters might just be the reason the waffle iron gets a new spot in the pantry. Heck I might even leave it out for while because I am definitely making another batch (or 3 of these before I put it away)

Now to the carrots waffle fritters!

IMG_4467.jpg

The stuff. Carrots, a small onion, dried dill and garlic powder, chickpea flour, water, salt and pepper, maple syrup, brown mustard, vegan yogurt, and a little oil.

IMG_4476.jpg

Maple, mustard, and vegan yogurt get mixed together and that is that. Set aside.

IMG_4490.jpg
IMG_4492.jpg

Shred carrots and onion into a bowl. Add in the chickpea flower, spices, a pinch of salt and pepper, and a bit of water and mix until evenly incorporated.

IMG_4496.jpg

Ready to go

IMG_4510.jpg

Lighy oil hot waffle iron and scoop a portion of the batter in. CLose iron and cook until the top and bottom are browned and crispy. (Use your iron settings but also check to see how the iron is cooking)

IMG_4514.jpg

Crispy and brown and smelling so good. Remove form iron.

IMG_4528.jpg

Fritters can go straight to plates or on a rack… Whatever you want.

IMG_4545.jpg

But eat them. Dip or cover them in the maple mustard sauce (it is so good!) and be happy.


Savory Carrot Dill Waffle Iron Fritters with Creamy Maple Mustard

serves 1-3

  • 3-4 carrots ( 2 1/2 to 3 cups shredded)

  • 1 small onion

  • 3/4 cup chickpea flour

  • 1 1/2 easpoon dried dill

  • 1/2 teaspoon garlic powder

  • salt and pepper

  • 1/3 to 1/2 cup warm water

  • 1 tablespoon REAL maple syrup

  • 1 1/2 tablespoons brown mustard

  • 1/3 cup plant based plain yogurt

  • tablespoon or so of high heat oil

Preheat waffle iron.

Mix maple, mustard, and vegan yogurt together in a small bowl and set aside.

Shred carrots into a large bowl until you have 2 1/2 to 3 cups of shedded carrot. Then shred the onion into bowl as well. Mix around then add in a pinch of salt and pepper, the dill, garlic powder, and chickpea flour.Mix tighter with lesser amount of water until everything is completely incorporated. Add a bit more water if the mixture is still dry.

To make the waffle fritters , lightly oil the iron and add a large scoop of the batter to the iron while it is hot then close and cook until the fritters are browned and crispy. Once cooked to you liking, remove the waffled fritters and place on a plate or rack and continue with the rest of the batter until it is gone.

Serve right away or warm and serve with the creamy maple mustard. Dip it in or scoop it on… It’s all good!

In brunch, dinner, Gluten Free, grain free, quick and easy, Vegan, Vegetables Tags savory Carrot Dill Waffle Iron Fritters With Creamy Maple Mustard, vegan, gluten free, dairy free, vegetable, plant based, waffle, fritter, dinner, breakfast, brunch, maple, food, easy, healthy, Brunch, easter
Comment

Creamy Lemon Chickpea Asparagus Pasta

March 27, 2021 Colleen Stem
IMG_4414.jpg
IMG_4445.jpg
IMG_4399.jpg

When asparagus is in season, do you also find yourself buying pounds and pounds of it and eating it with everything? Well that is me and I think I do it because one, I only eat asparagus when it is in season which is now and only for a little while so I eat it when I can. And two, there is not a whole heck of a lot in season right now so asparagus it is until other stuff starts growing. Oh and three. I really freaking love it so you know, theres that.

This is just a quick pasta dinner situation that involves the fine spring time asparagus. Nothing fussy, takes all of 15 minutes to make and fills you up all happy like. Its creamy from sunflower butter, lemony from lemon, and full of protein from the chickpeas because we all love chickpeas. All of it is tossed together and tastes fantastic in your mouth like all food going Ito your mouth should.

Now to the pasta.

IMG_4358.jpg

The stuff. Asparagus, chickpeas, angle hair pasta, sunflower butter, a couple cloves garlic, a lemon, soy sauce, and black pepper.

IMG_4359.jpg

Grab asparagus and cut of the woody ends then cut the stalks into smaller pieces.

IMG_4362.jpg

Place the cut ap asparagus onto a sheet pan along with the chickpeas. You can toss with a little oil if you want.. I didn’t.

IMG_4366.jpg

Cook up pasta. You know what to do.

IMG_4363.jpg
IMG_4388.jpg

Then mince up the garlic and zest the lemon .

IMG_4375.jpg

Once pasta is cooked (air on the side of al dente) strain the pasta but reserve about 1 1/2 cups of the starchy liquid.

IMG_4380.jpg

Once asparagus ans chickpeas are cooked, remove from oven.

IMG_4386.jpg
IMG_4391.jpg
IMG_4396.jpg

Once the pasta is out of pot, make the sauce. Add garlic and a teaspoon of oil to pot along with a splash or water. Cook for a few minutes until it get fragrant then add in the sunflower seed butter, soy and about a 1/4 cup pasta water. Mix around until it forms a paste then add in another 1/2 cup of pasta water to thin it out.

IMG_4398.jpg

Add in the cooked pastas and toss until evenly coasted with the sauce.

IMG_4399.jpg

Then dump pasta into a big bowl. Dump the cooked asparagus and chickpeas into the pasta and toss around.

IMG_4438.jpg

And all is left is for you to grab a couple bowls and pile it in and eat.

Simple.

-C


creamy Lemon Chickpea asparagus Pasta

serves 2-3 people

  • 1/2 pound long noodle pasta (I used angle hair)

  • 1/4 cup sunflower butter or tahini

  • 1 1/2 cups cooked chickpeas (drained from liquid)

  • 3/4 pound of asparagus

  • 1 lemon

  • 2 gloves garlic

  • 1- 1 1/2 cups water (use water from pasta)

  • 1 tablespoon soy sauce

  • 1 tablespoon olive oil

  • black pepper

Preheat oven to 425

Grab asparagus and remove any woody ends of the stalks. Cut the stalks into smaller pieces anut 1- 1 1/2 inches long. Place on a baking sheet along with the drained chick peas. If you want, toss around in a teaspoon or so of olive oil. I did not and did not miss it. Place baking sheet into hot oven. Bake for about 15-20 minutes or until the asparagus is cooked to your liking. The chick peas are done when the asparagus is done.

While the asparagus and chickpeas are roasting, make pasta. Boil water and cook the pasta for the amount of time the it takes (check package). Once cooked, stain pasta from pot but reserve about 1 1/2 cups of the starchy water.

And mince up the garlic and zest the lemon.

In the now empty pot add in a teaspoon of oil, a splash of water, and the mince garlic. Cook on medium heat for a couple minutes just to soften the garlic up. Turn the heat off then add in the sunflower butter or tahini, the soy, the juice of the lemon and about 1/2 cup of the starchy pasta water. Mix until completely incorporated and pasty. Add in another 1/2 cup of the pasta water to thin it out.

Add pasta to the sauce and toss until completely coated then dump it all into a big bowl. IF the sauce if to thick to toss with pasta, add in a little bit more starchy water to lose it up. Grab the roasted asparagus and chickpeas and toss them into pasta along with a teaspoon or so of the lemon zest. Top with freshly ground black pepper.

Now Eat.

Can be serves hot, room temperature, or cold.

In Pasta, Vegan, Vegetables, beans Tags Creamy Lemon Chickpea Asparagus Pasta, pasta, chick peas, asparagus, dinner, vegan, protein, lemon, spring, food
Comment
← Newer Posts Older Posts →
 

https://thelovelycrazy.squarespace.com/config#/|/about/

Me. Food Maker.Food eater. Woo HOO!

STEM+NODE  SMALL BATCH AND ONE OF A KIND POTTERY

stem+node ceramics


____________________

Subscribe

GET NEW POSTS IN YO EMAIL

You are AWESOME!!!


@thelovelycrazy 2014-2021