• stem+node ceramics
  • HOME
  • Food Recipes
  • About
  • Contact
Menu

The Lovely Crazy

Street Address
City, State, Zip
Phone Number

Your Custom Text Here

The Lovely Crazy

  • stem+node ceramics
  • HOME
  • Food Recipes
  • About
  • Contact

Baked Beans

November 17, 2018 Colleen Stem
IMG_2379.jpg
IMG_2436.jpg
IMG_2427.jpg

I made baked beans last week for a side to dinner with the mr and Barb. They ate them all. I didn’t get more then a spoonful. I was sad for me, but also was like “Shit, if I had known you guys were bean fiends, I would be making baked beans like all the time.”

And maybe not all the time, but I made them again this week. And again, they ate a lot, but I got me some this time, and I will probably make them again next week too because they will be perfect for Thanksgiving. See, homemade baked beans are a thing of beauty. Sure you can buy them in a can and be just fine, but these baked beans, well these are waaaayyyy way better. These baked beans are soft (not canned bean soft) and tomatoey and a little spicy with a tang. Not sickly sweet, (not sugar added) and not too salty.. They are just about perfect. You can eat them on their own, toss them into salads or wraps, stick on some toast, serve as as side, or just eat them cold straight from a jar from the fridge right before bed. (your loved one will thank you for that). Plus they are baked in the oven and I love me a good warm oven on a cold day. And the obvious, but all the protein and all around goodness. A great dish to serve if ever you need to feed people like me who don’t eat meat. It’s a win win win win.

Baked beans in all their glory. No cans in sight.

IMG_2322.jpg

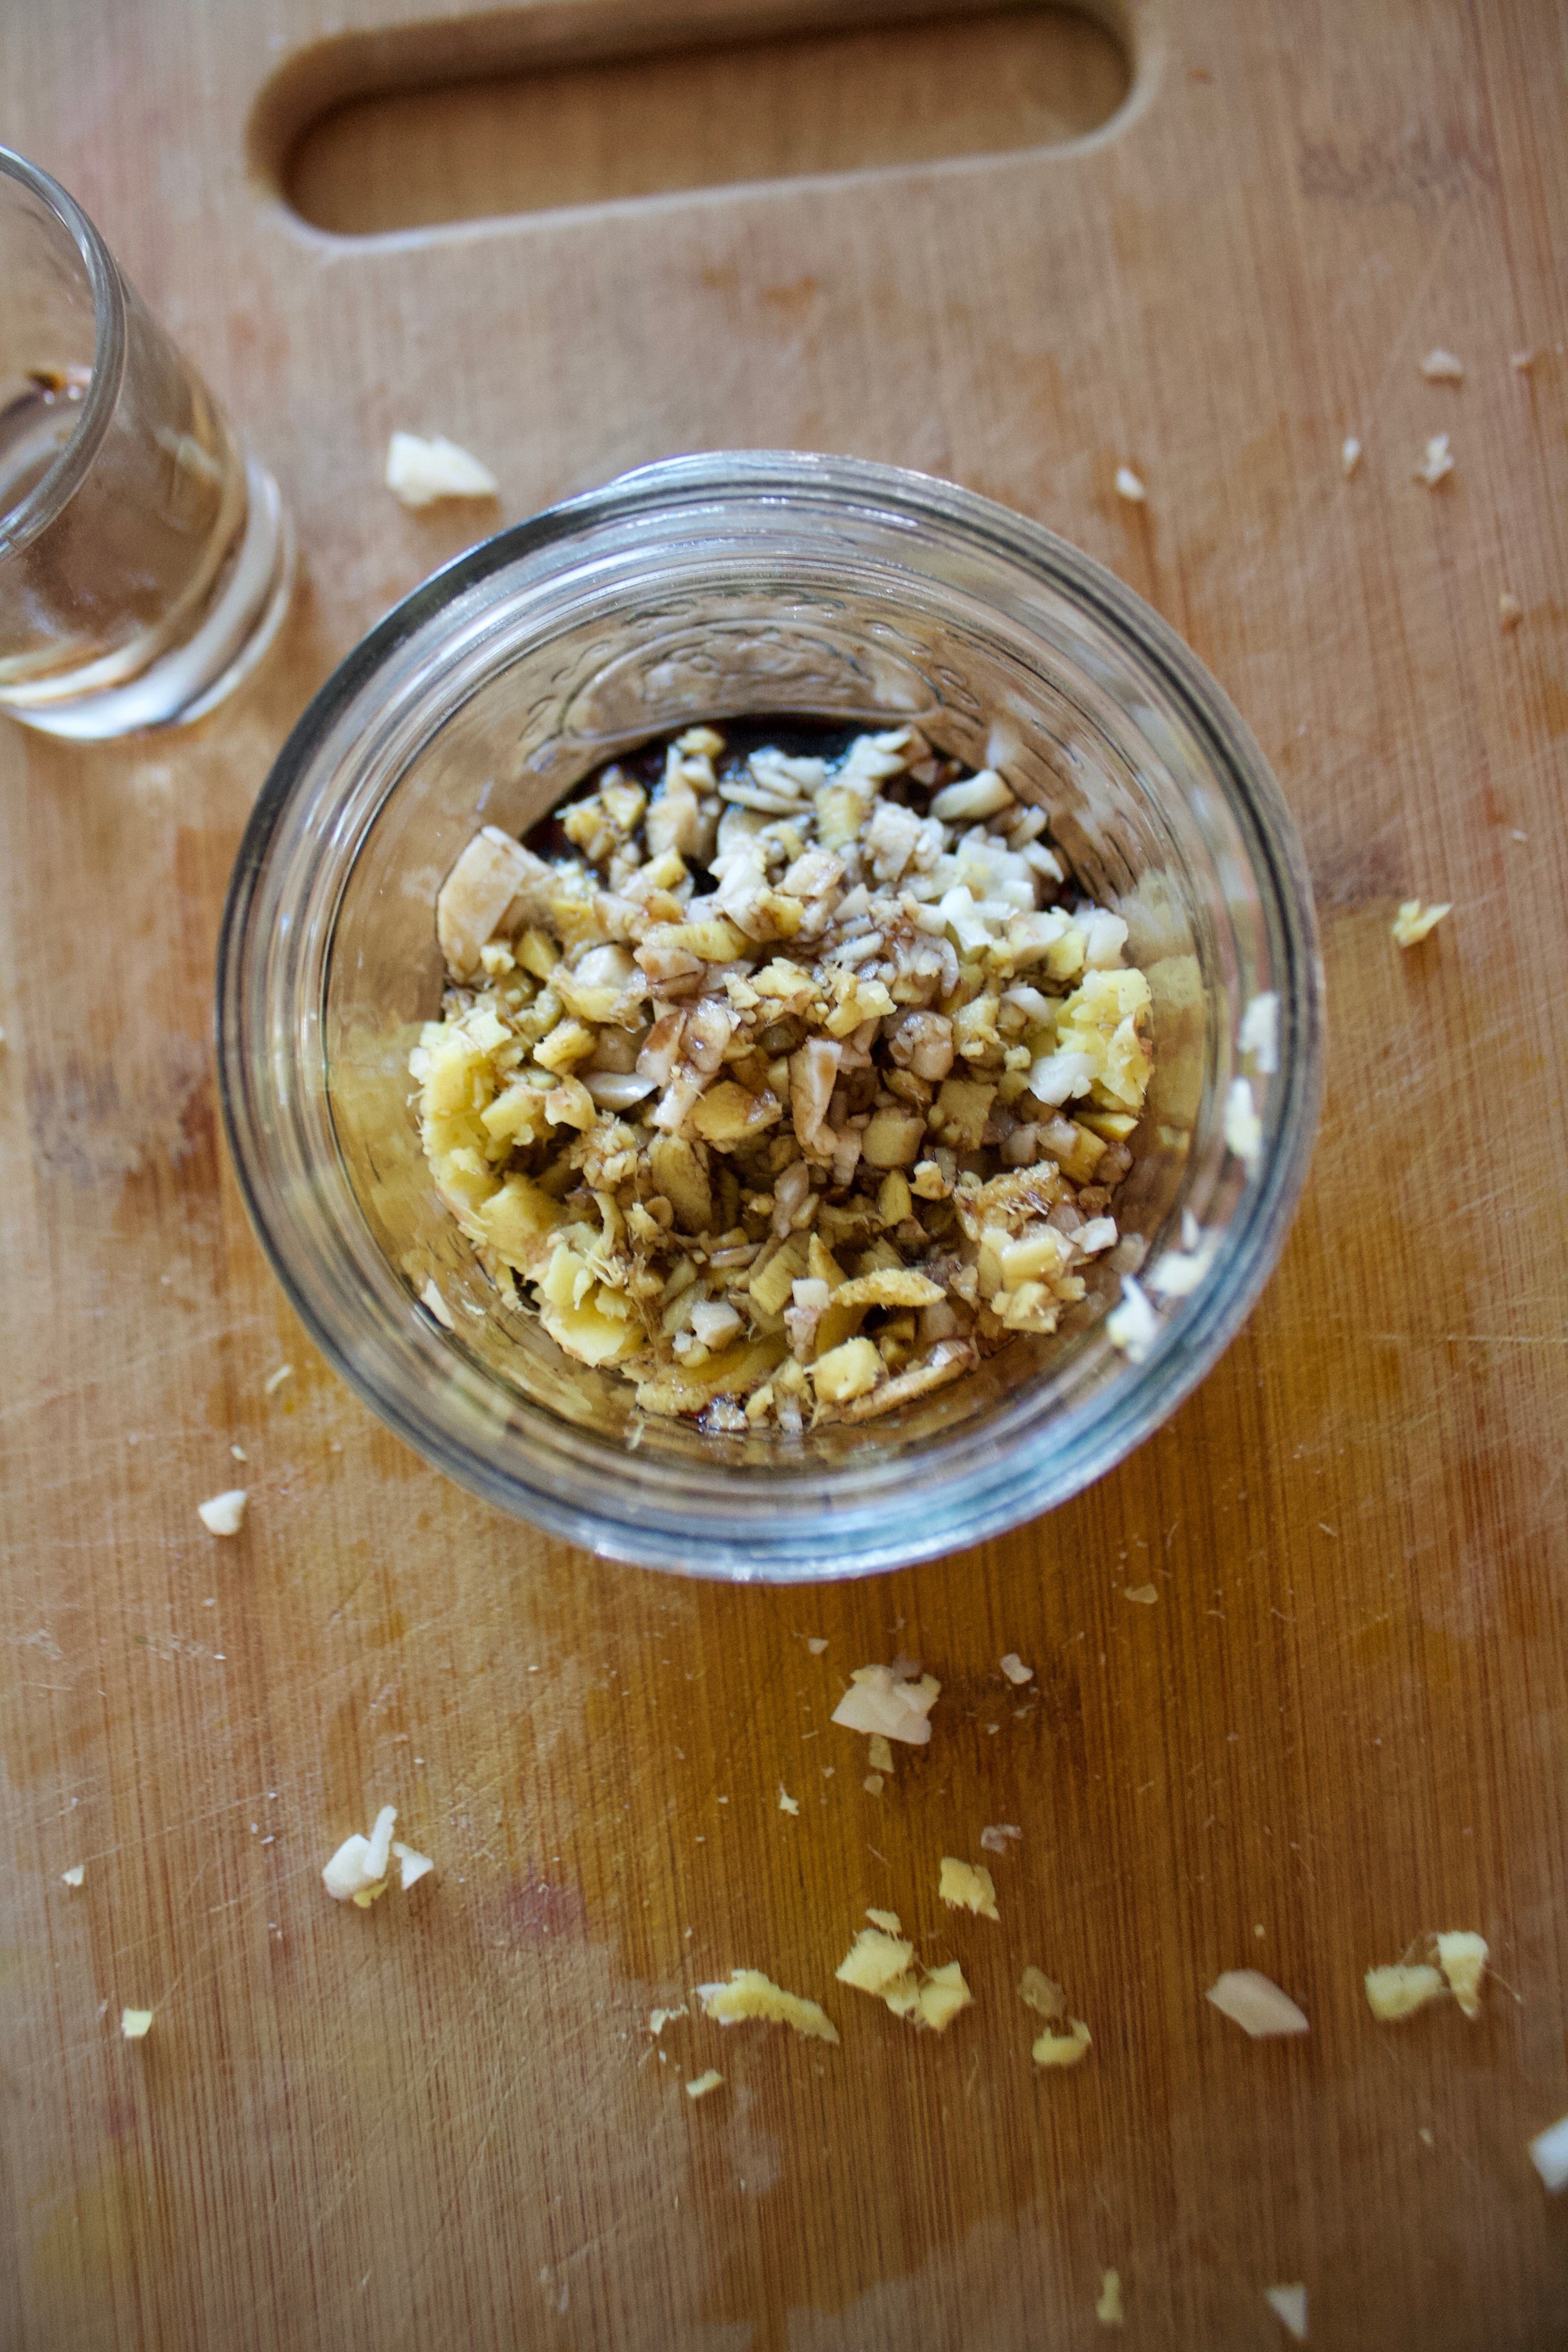
The stuff. White beans that were soaked overnight, strained then added back to a pot with 6 cups of water. Also have crushed tomatoes. an onion, a few cloves of garlic, chili powder, mustard powder, apple cider vinegar, and some salt and pepper.

IMG_2337.jpg

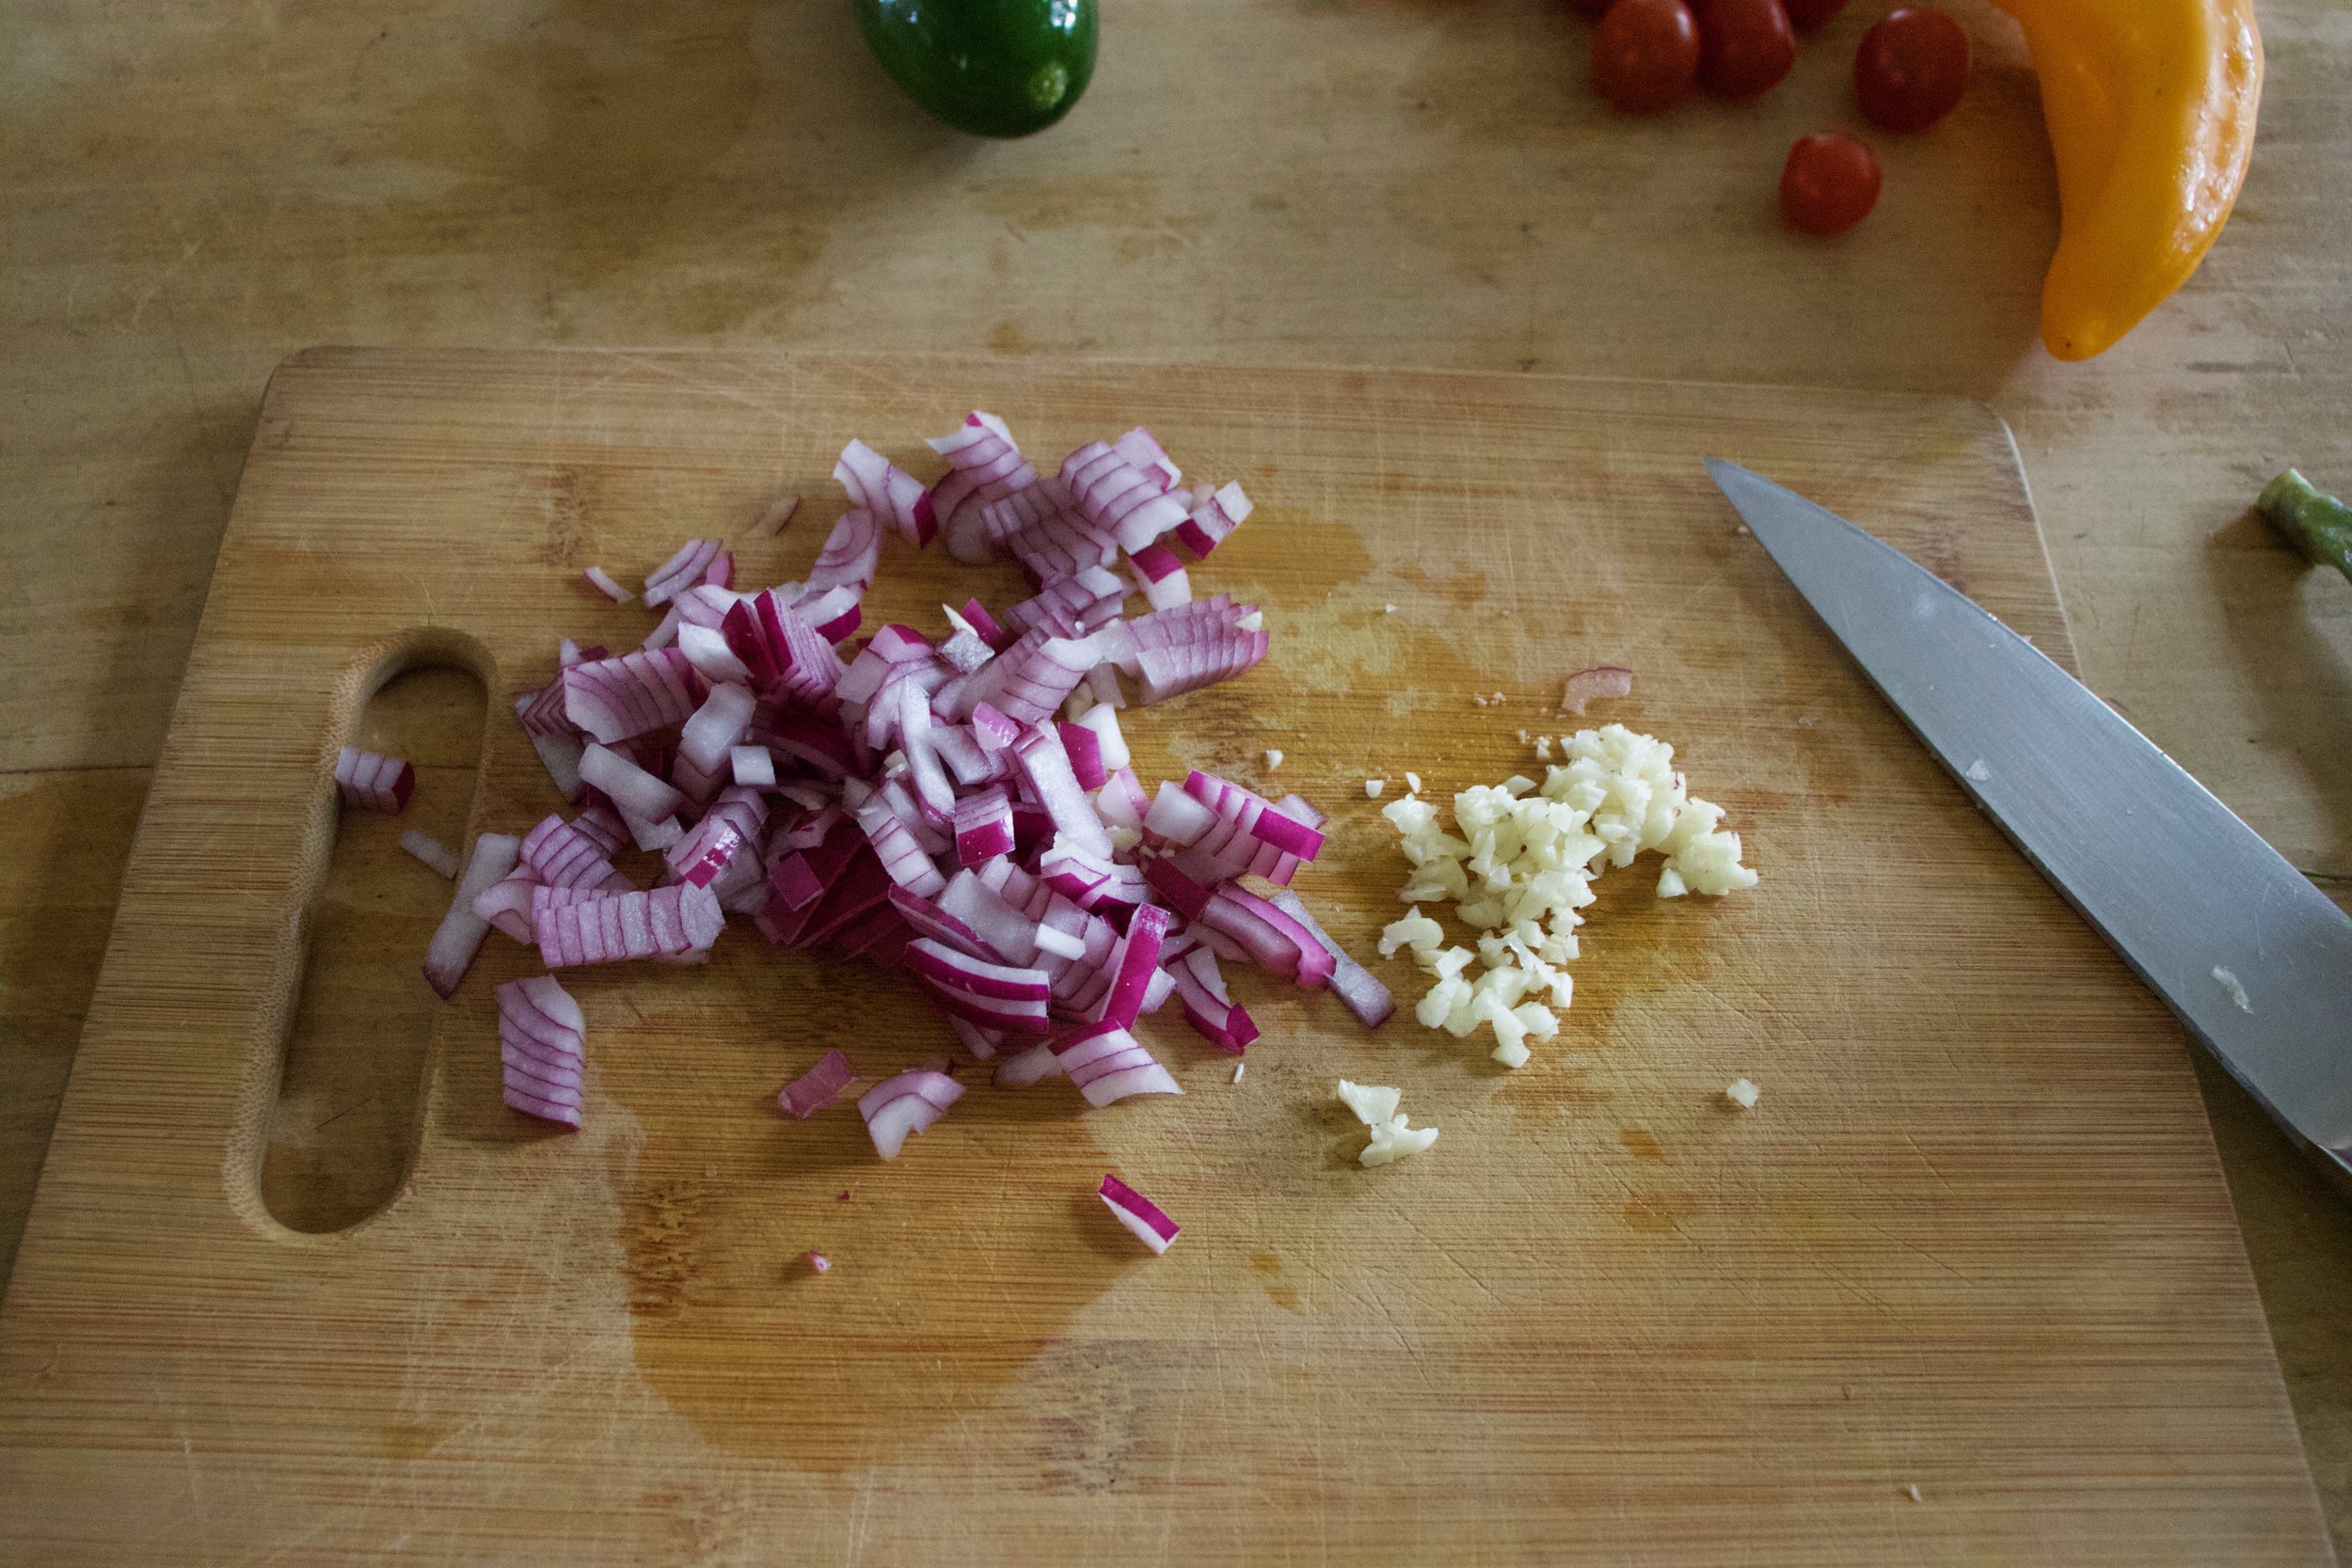
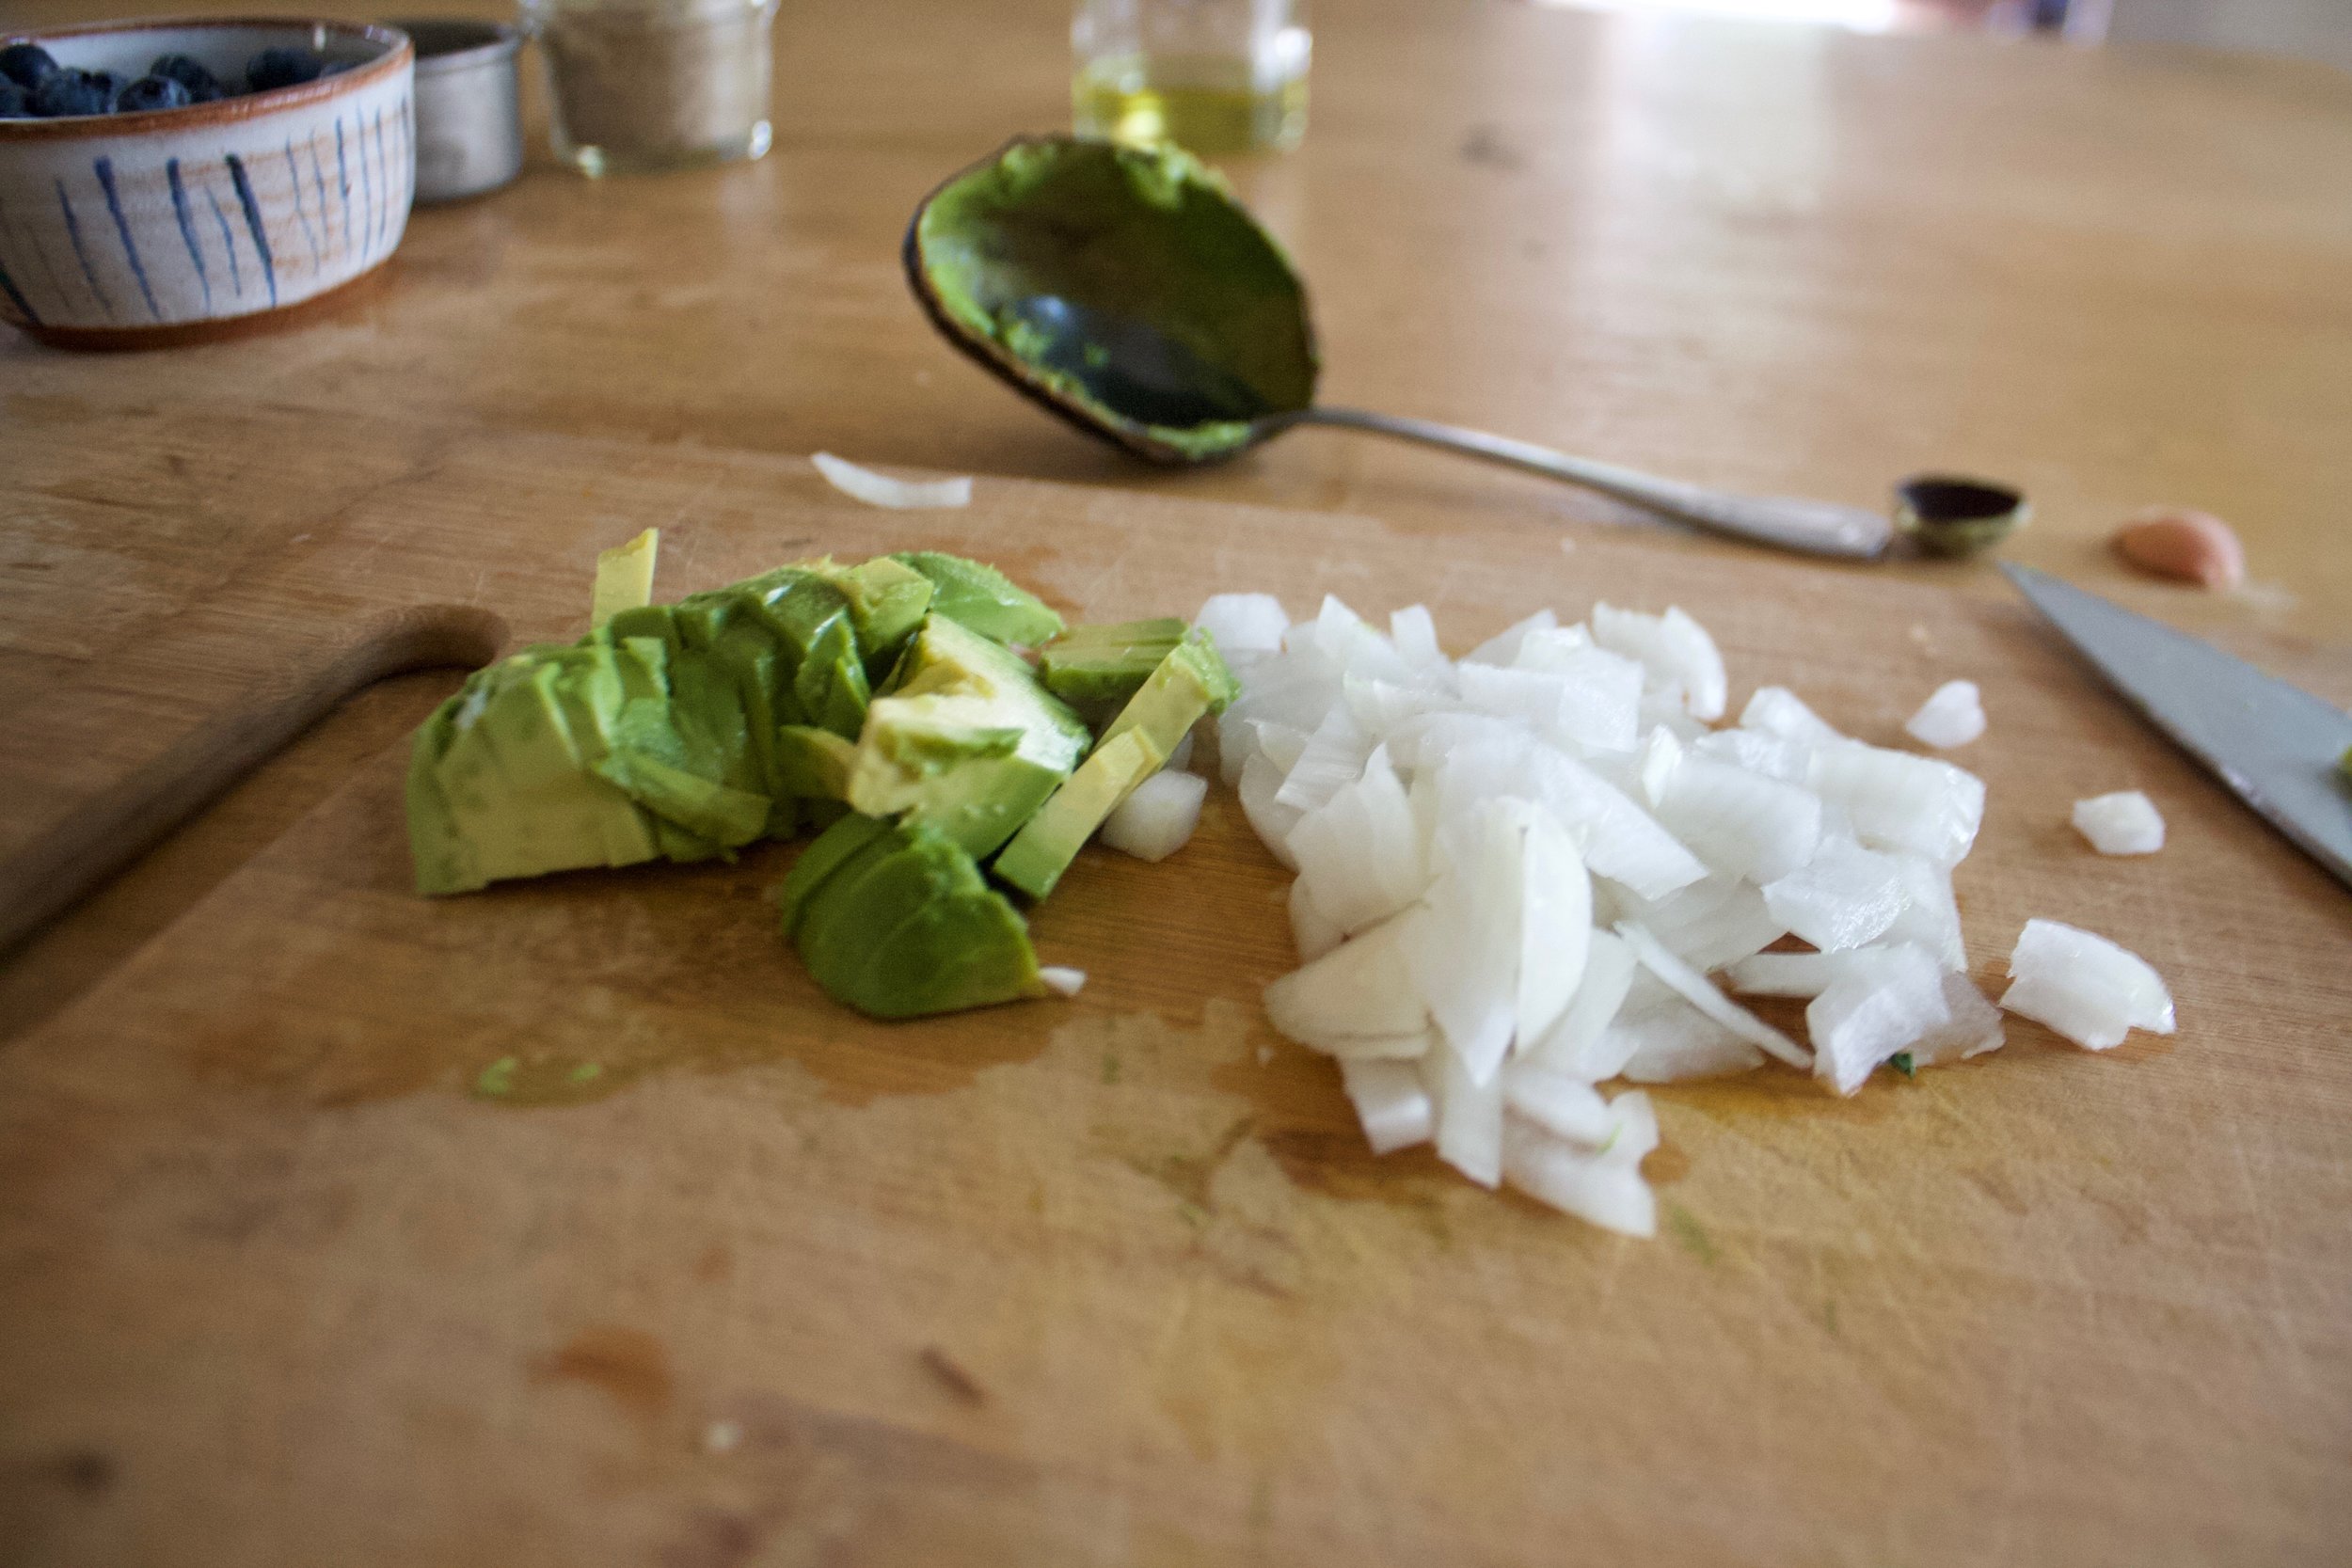
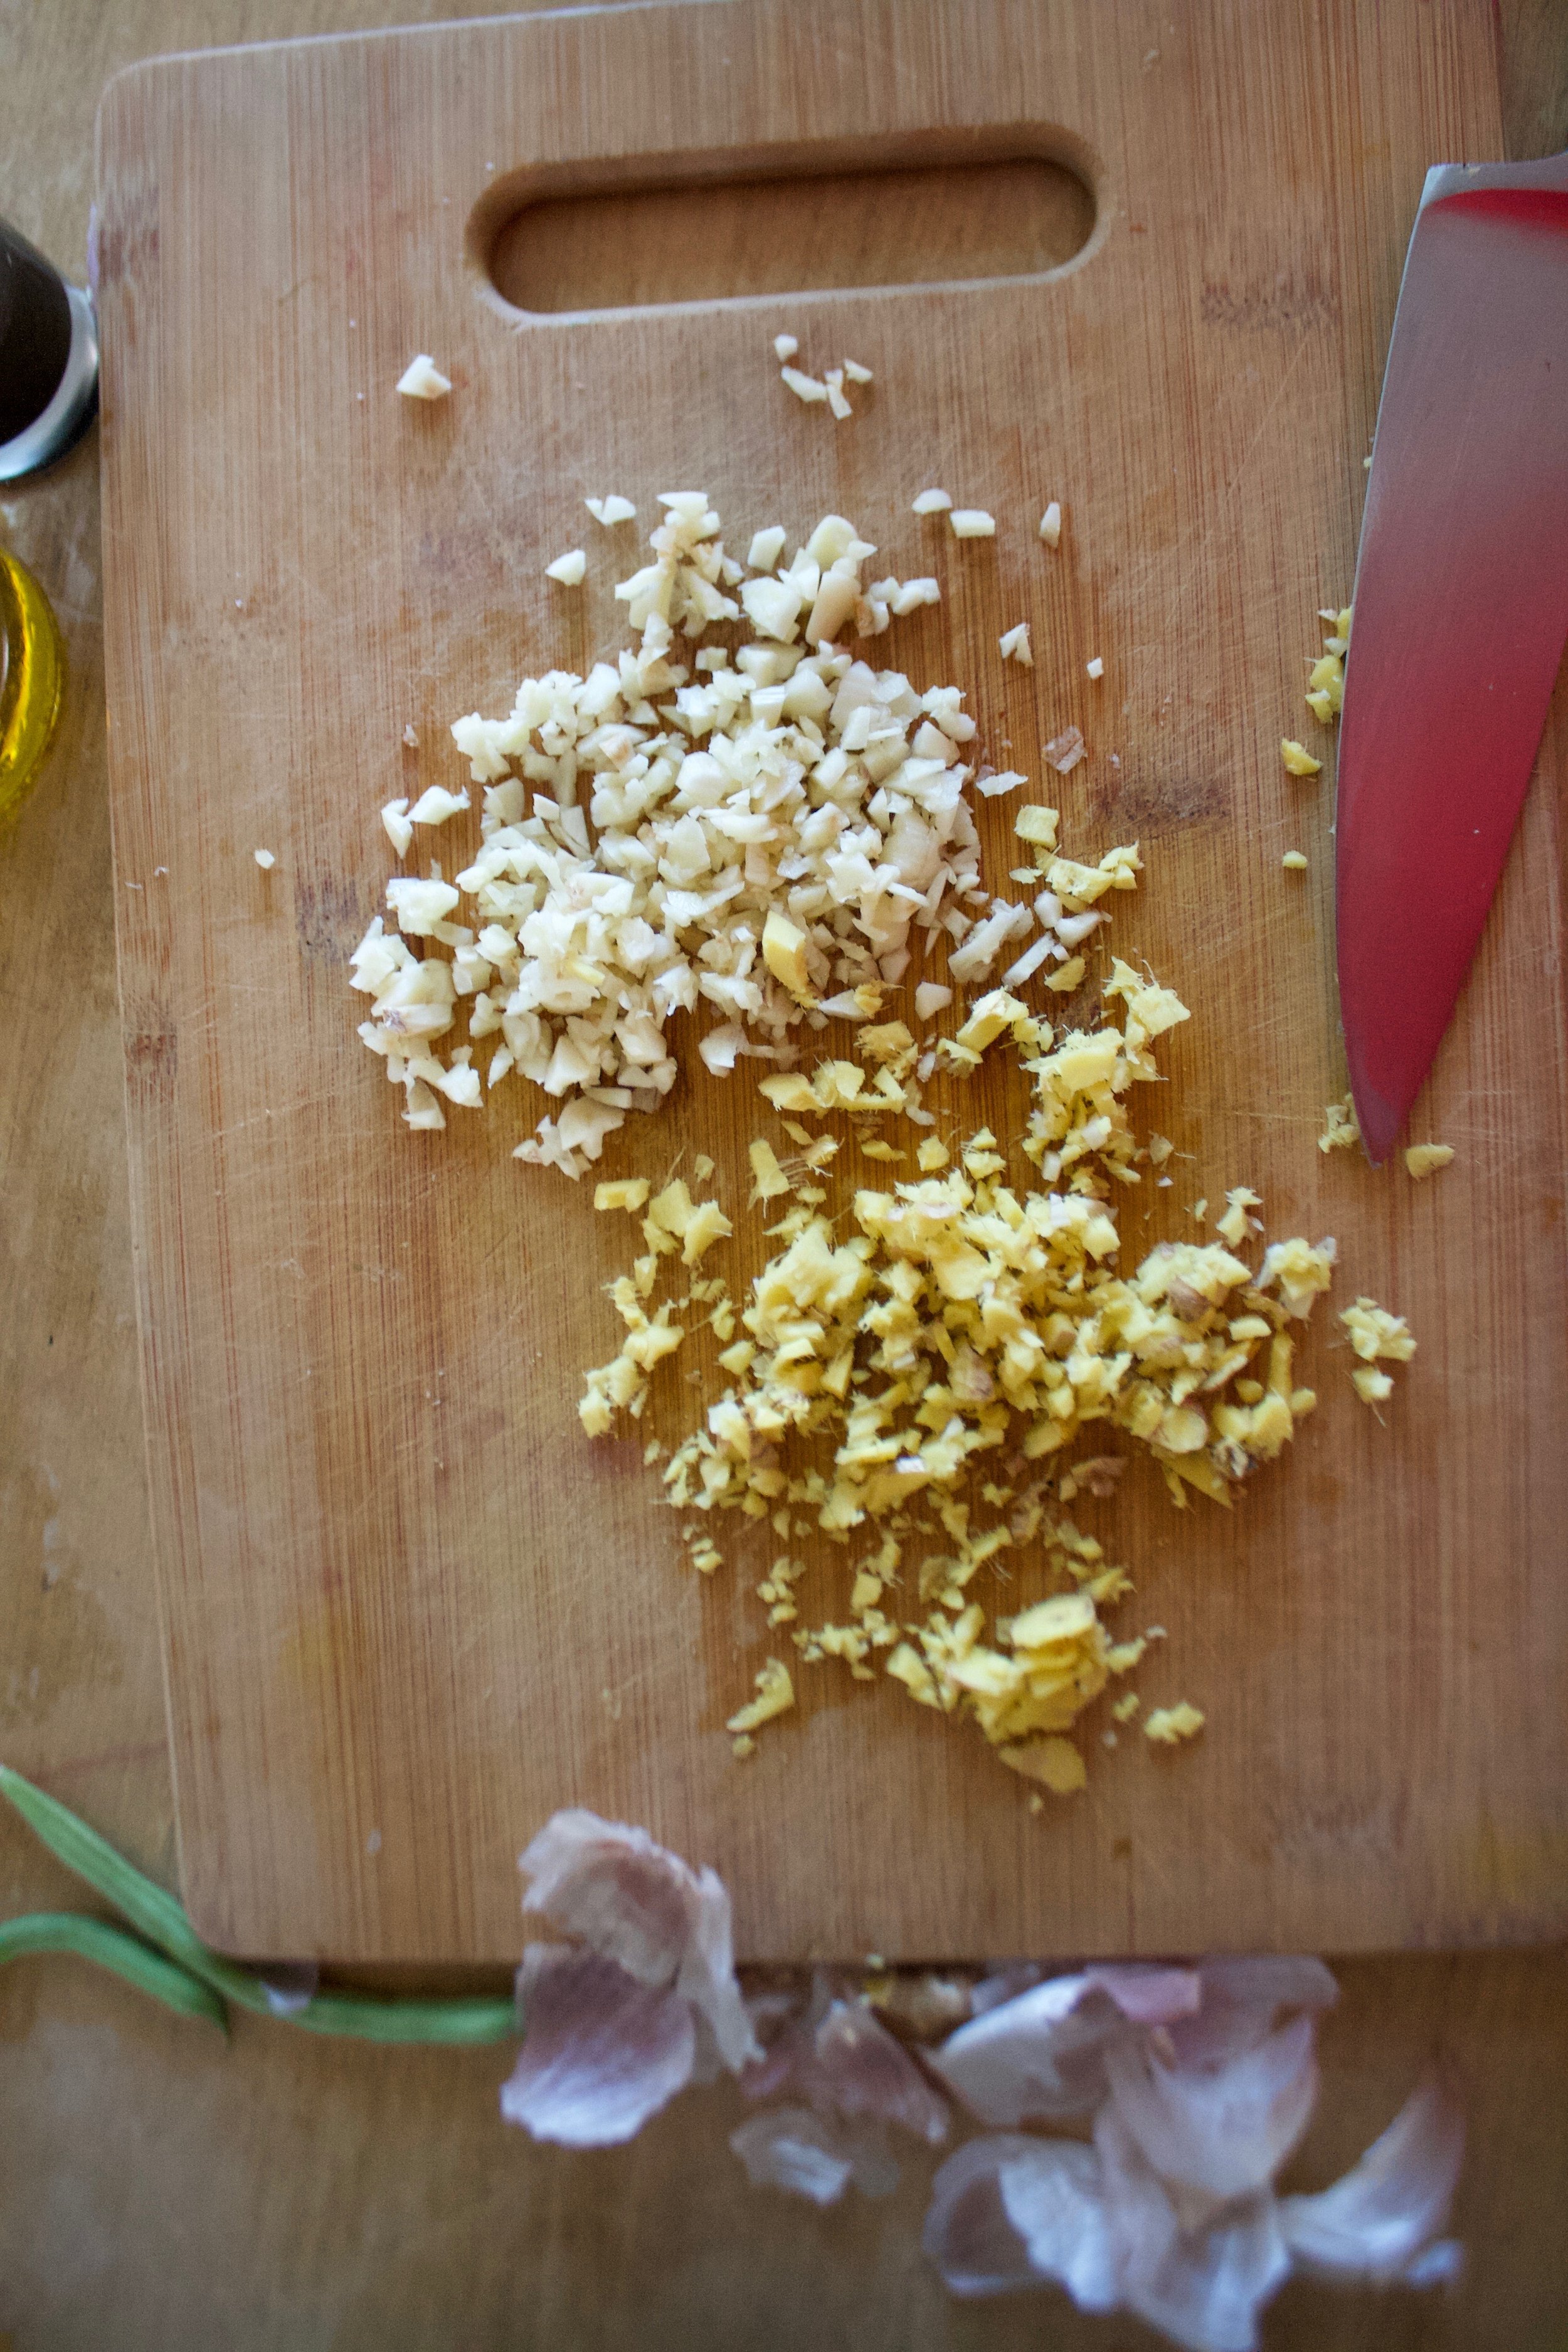
First step is to start boiling you beans. But while that is happening, mince garlic and chop the onion into really small pieces.

IMG_2340.jpg
IMG_2350.jpg

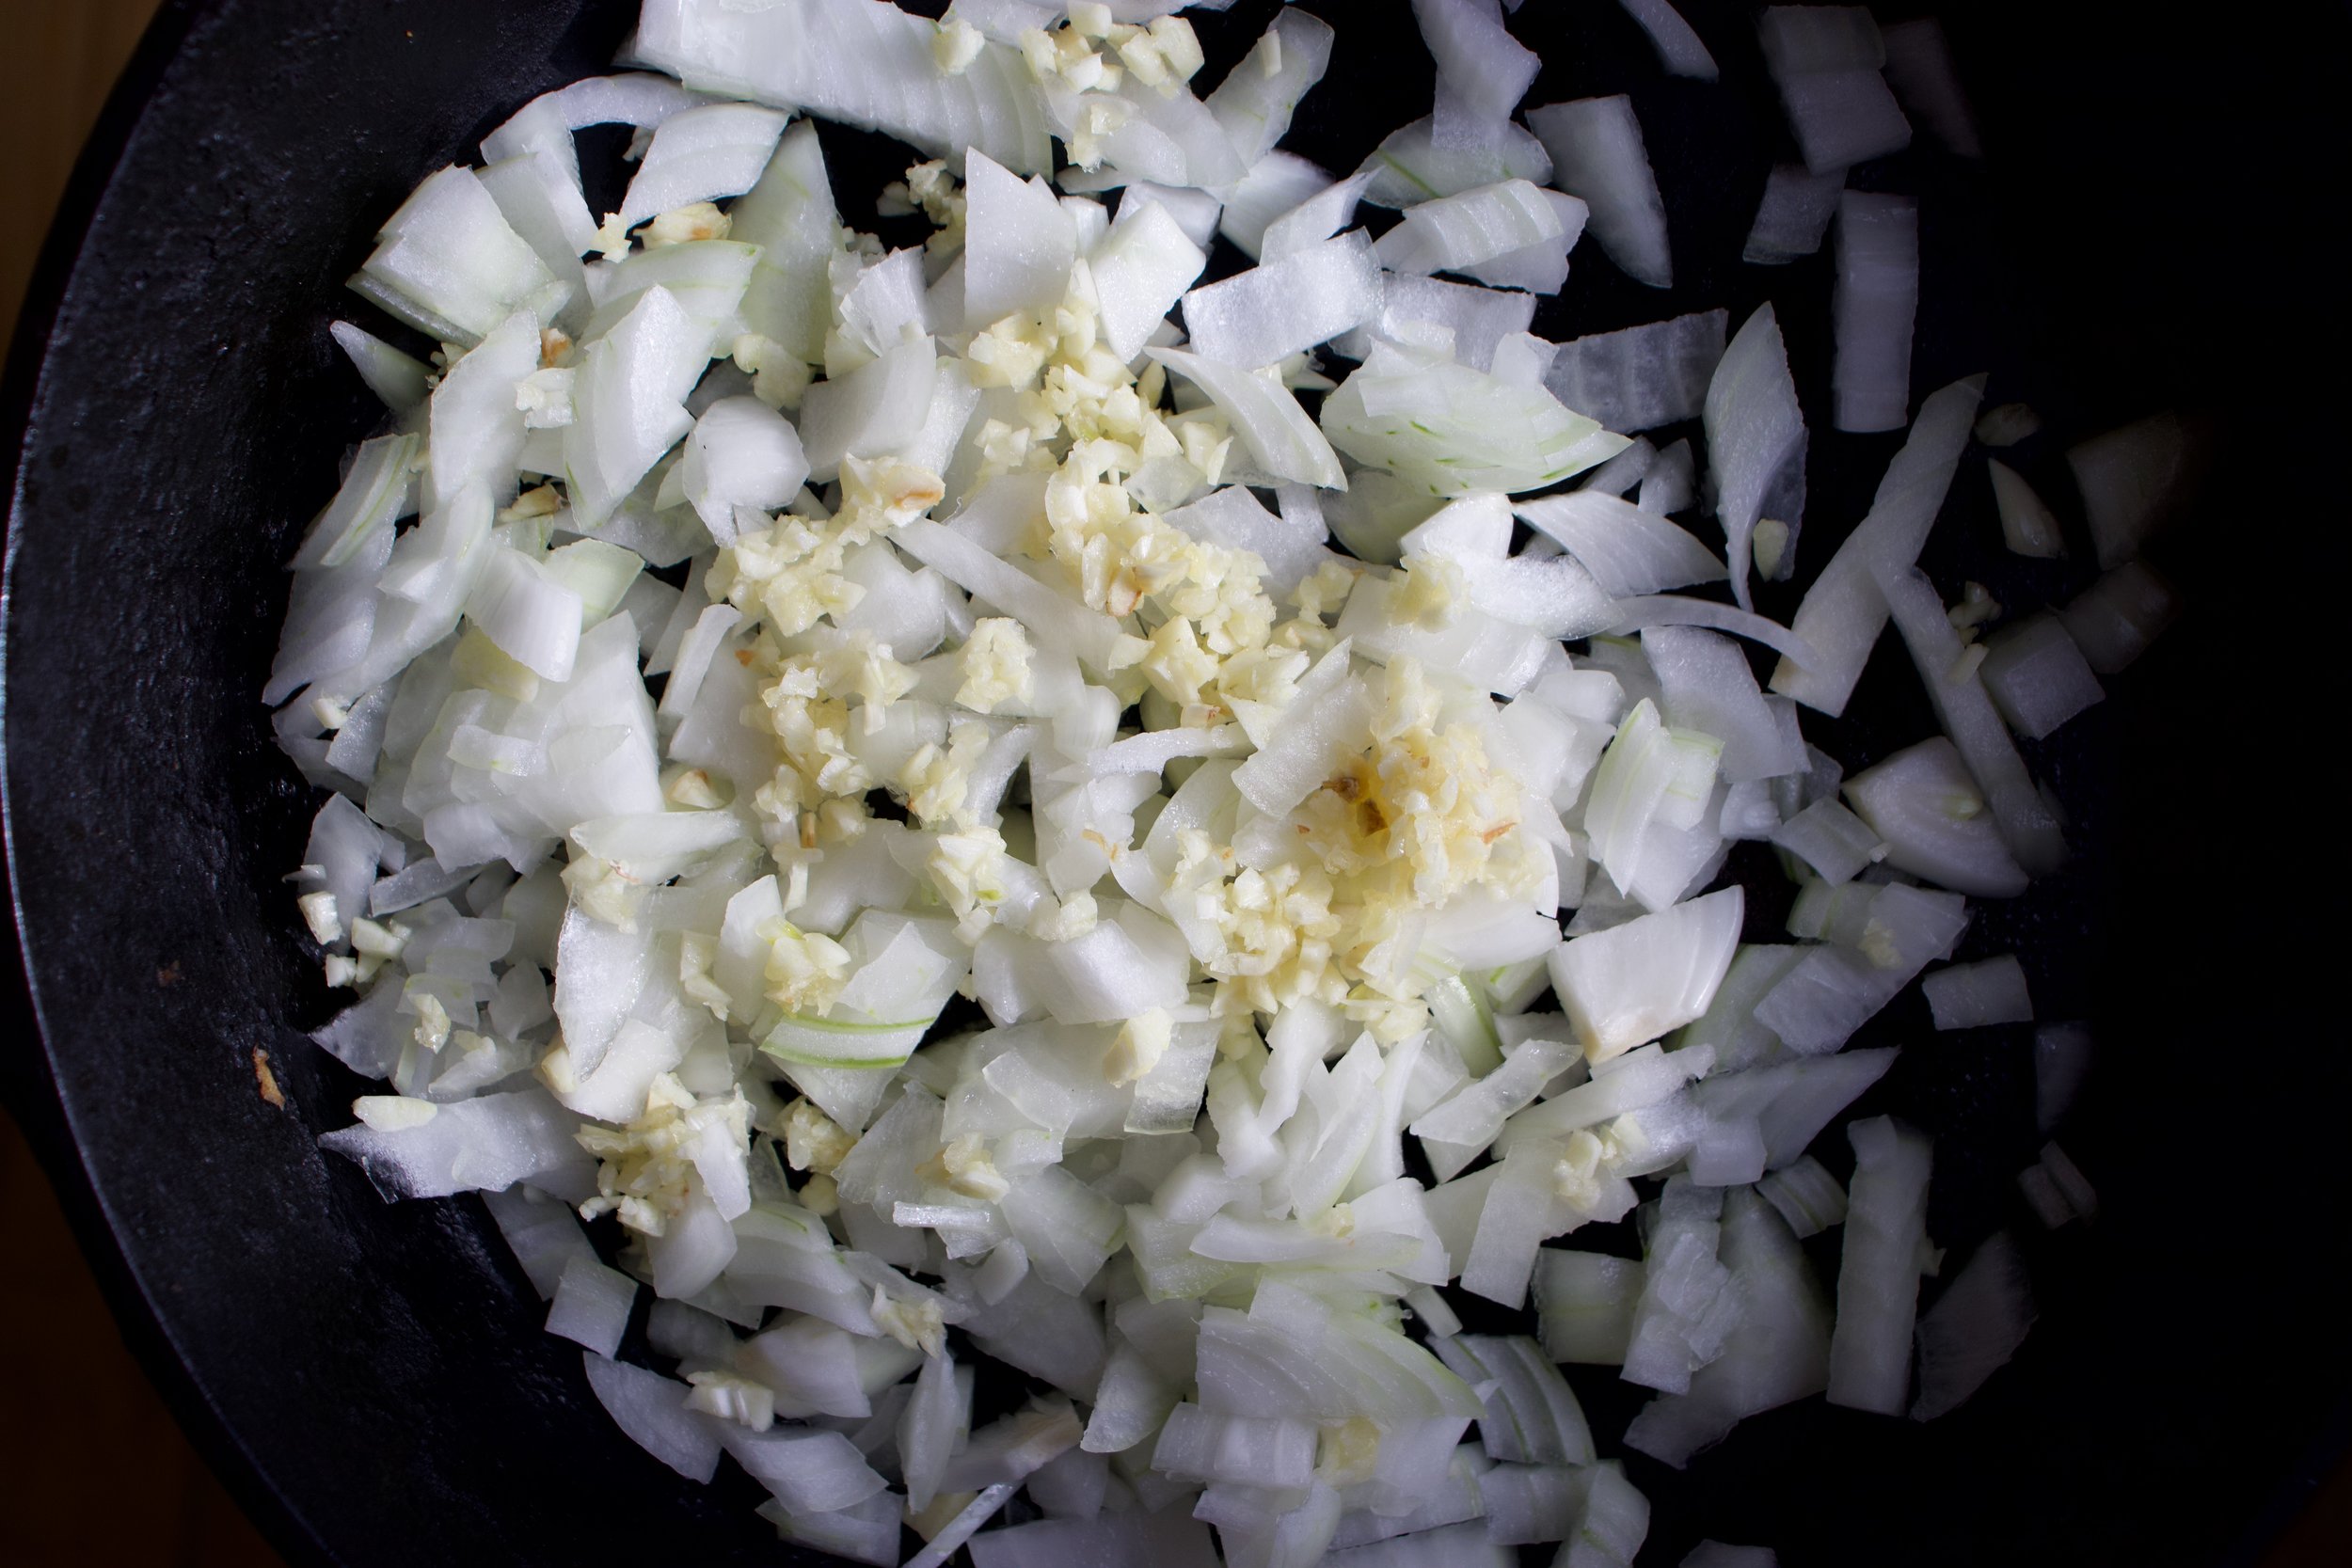
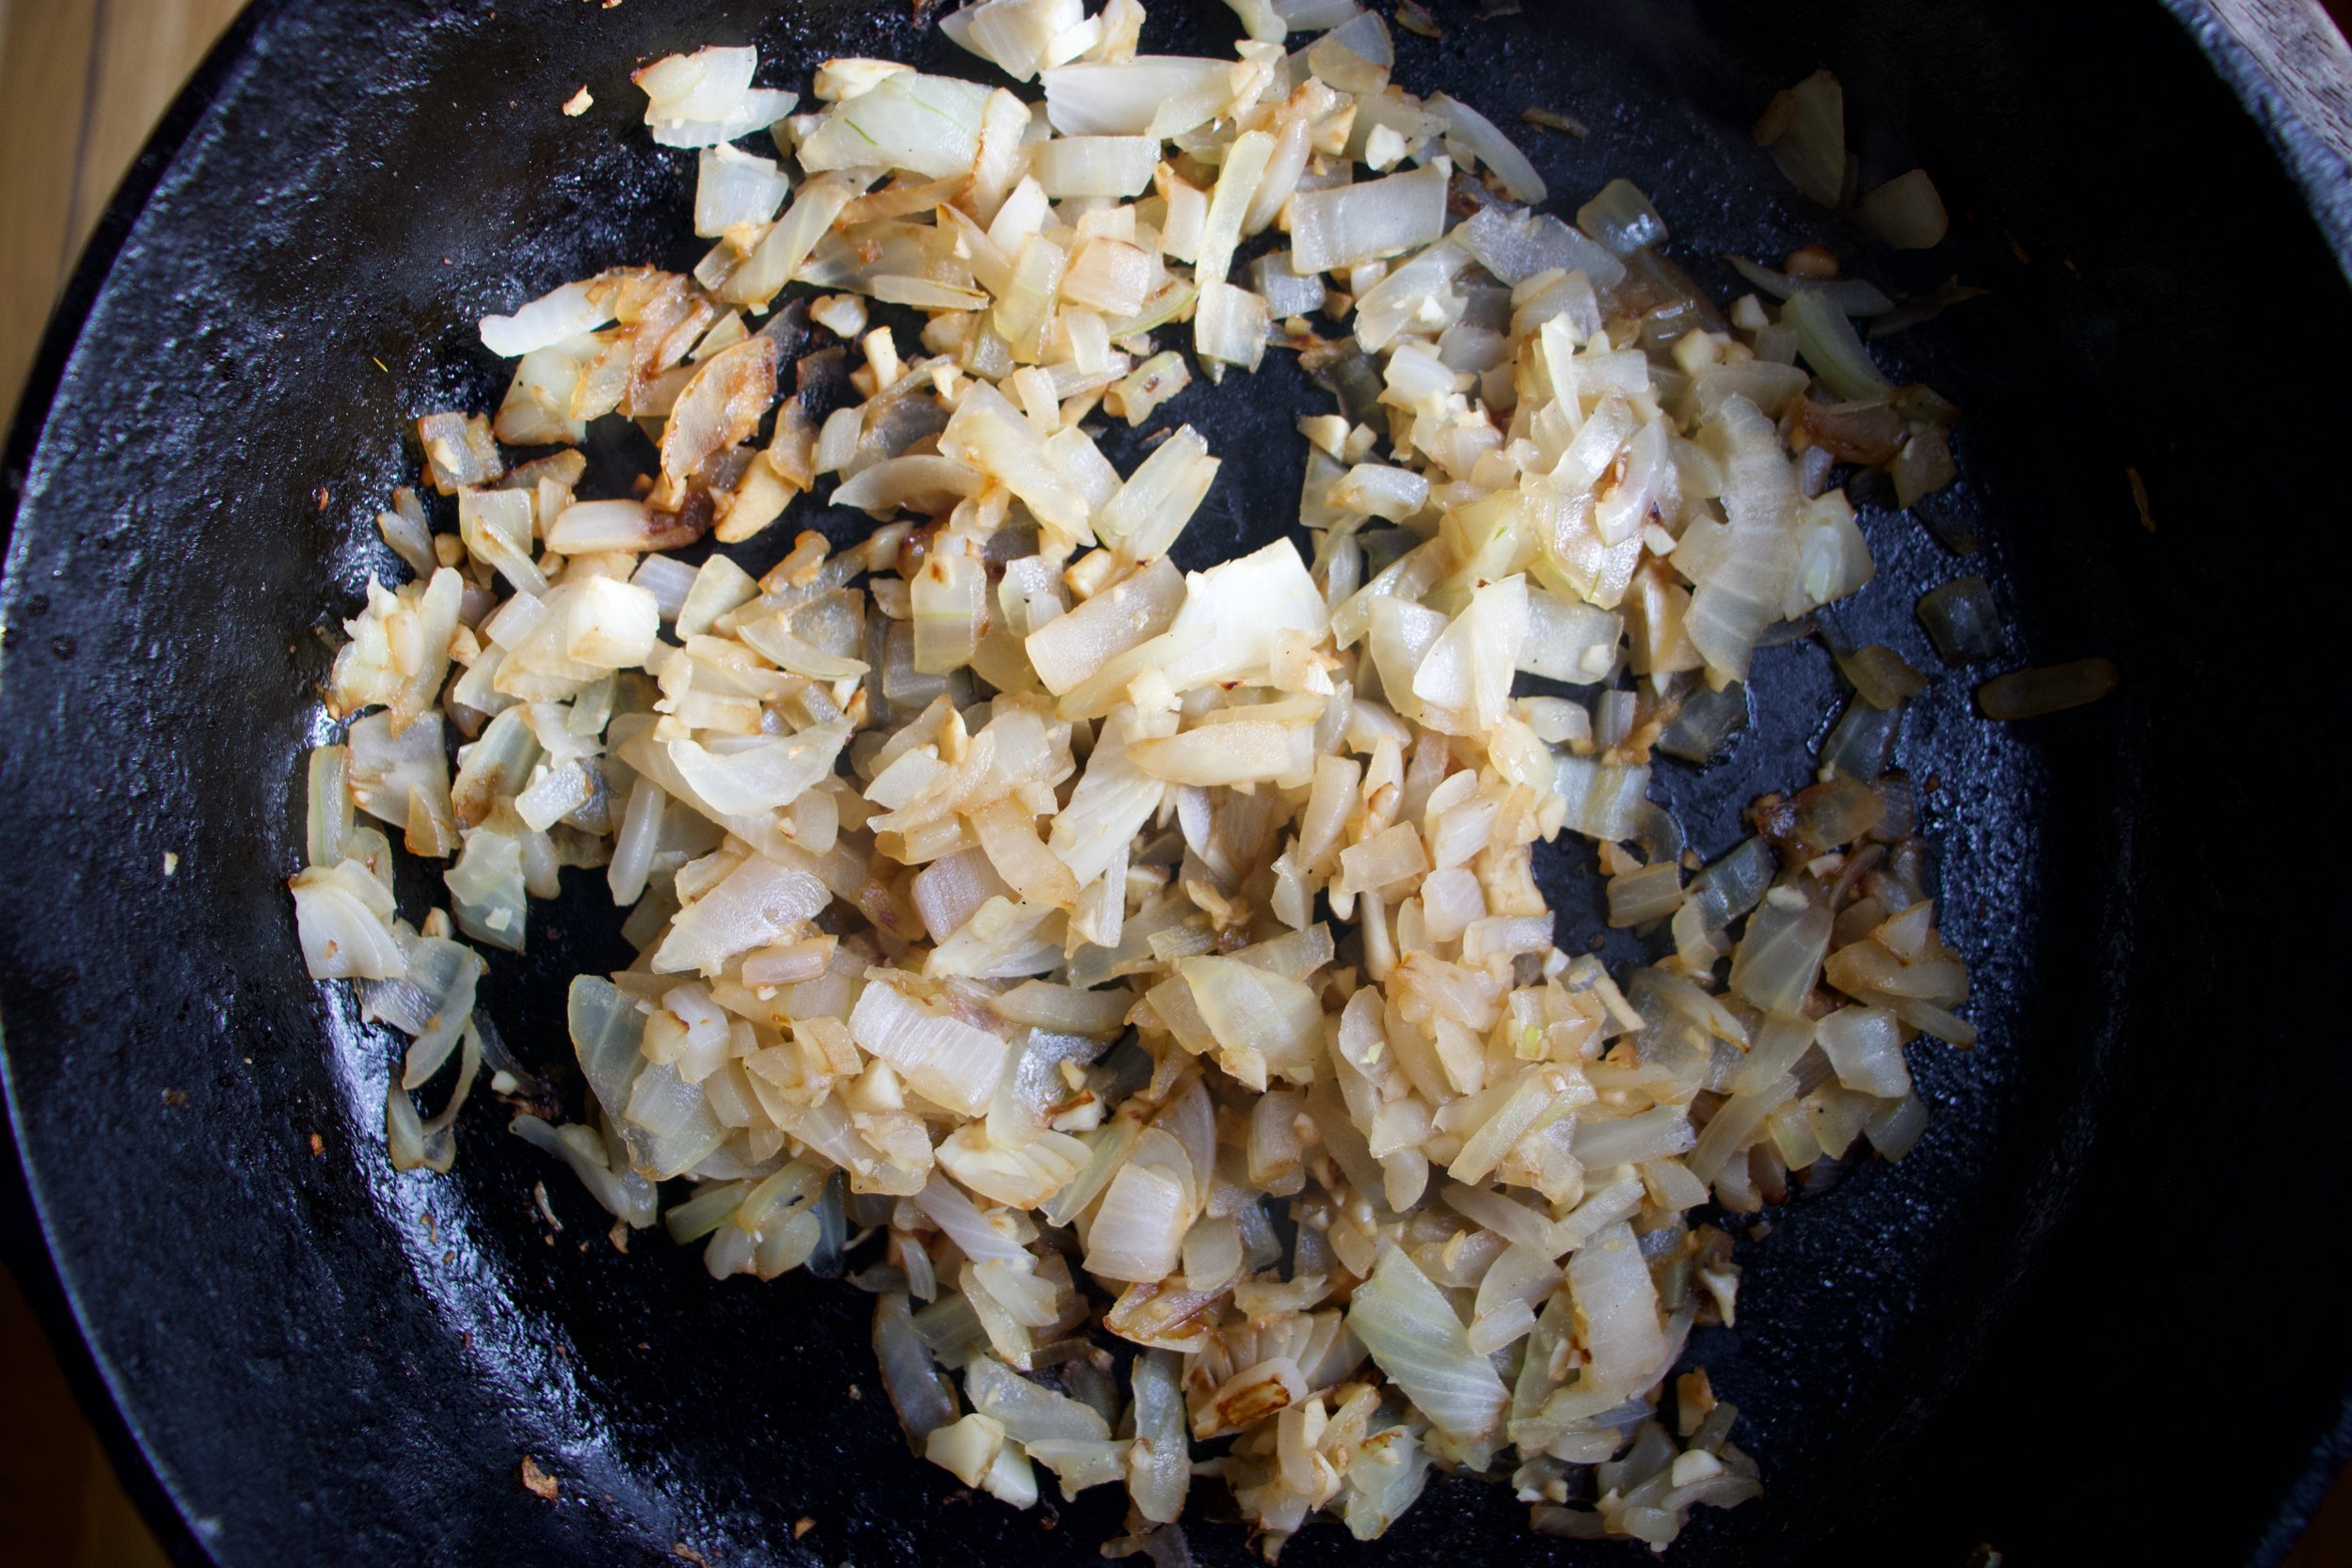
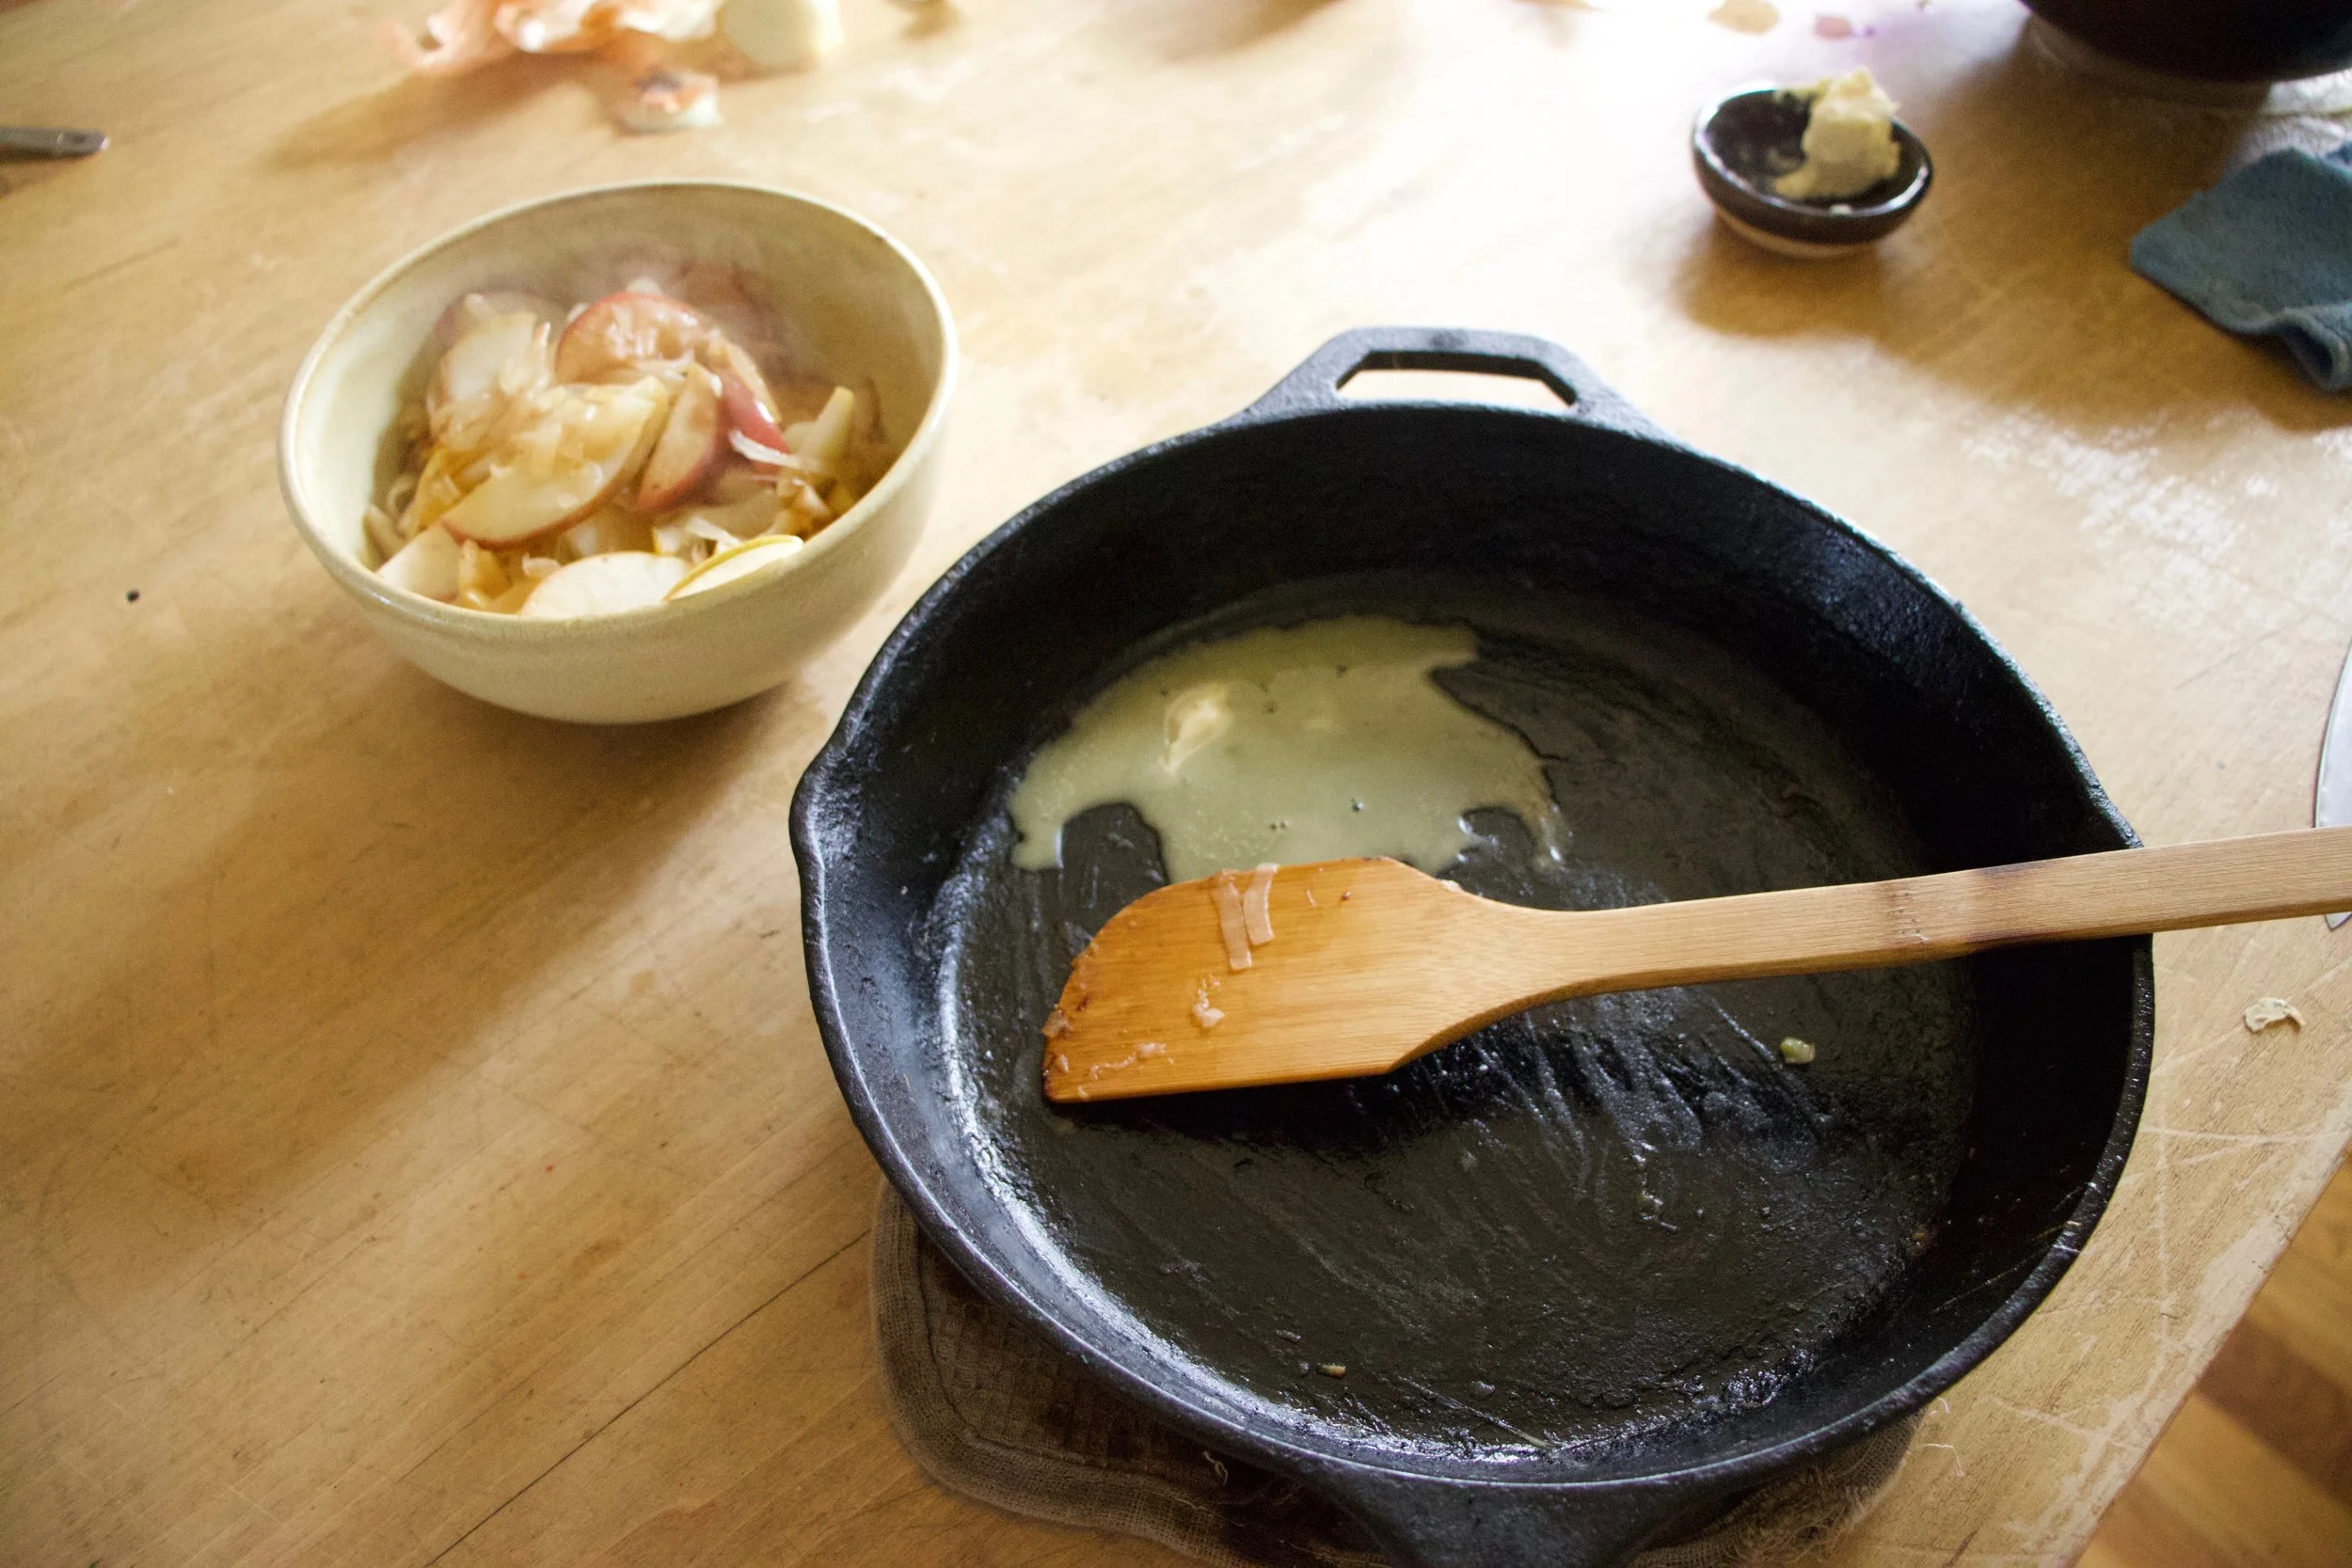
Toss the onion and garlic in a pan and cook on medium low until soften and fragrant.

Cooked beans. All you need to do to cook them is place the pot with soaked beans and water on high, bring to a boil, then turn heat to a medium. Let beans cook until tender. It should take about an hour and a half.

IMG_2365.jpg

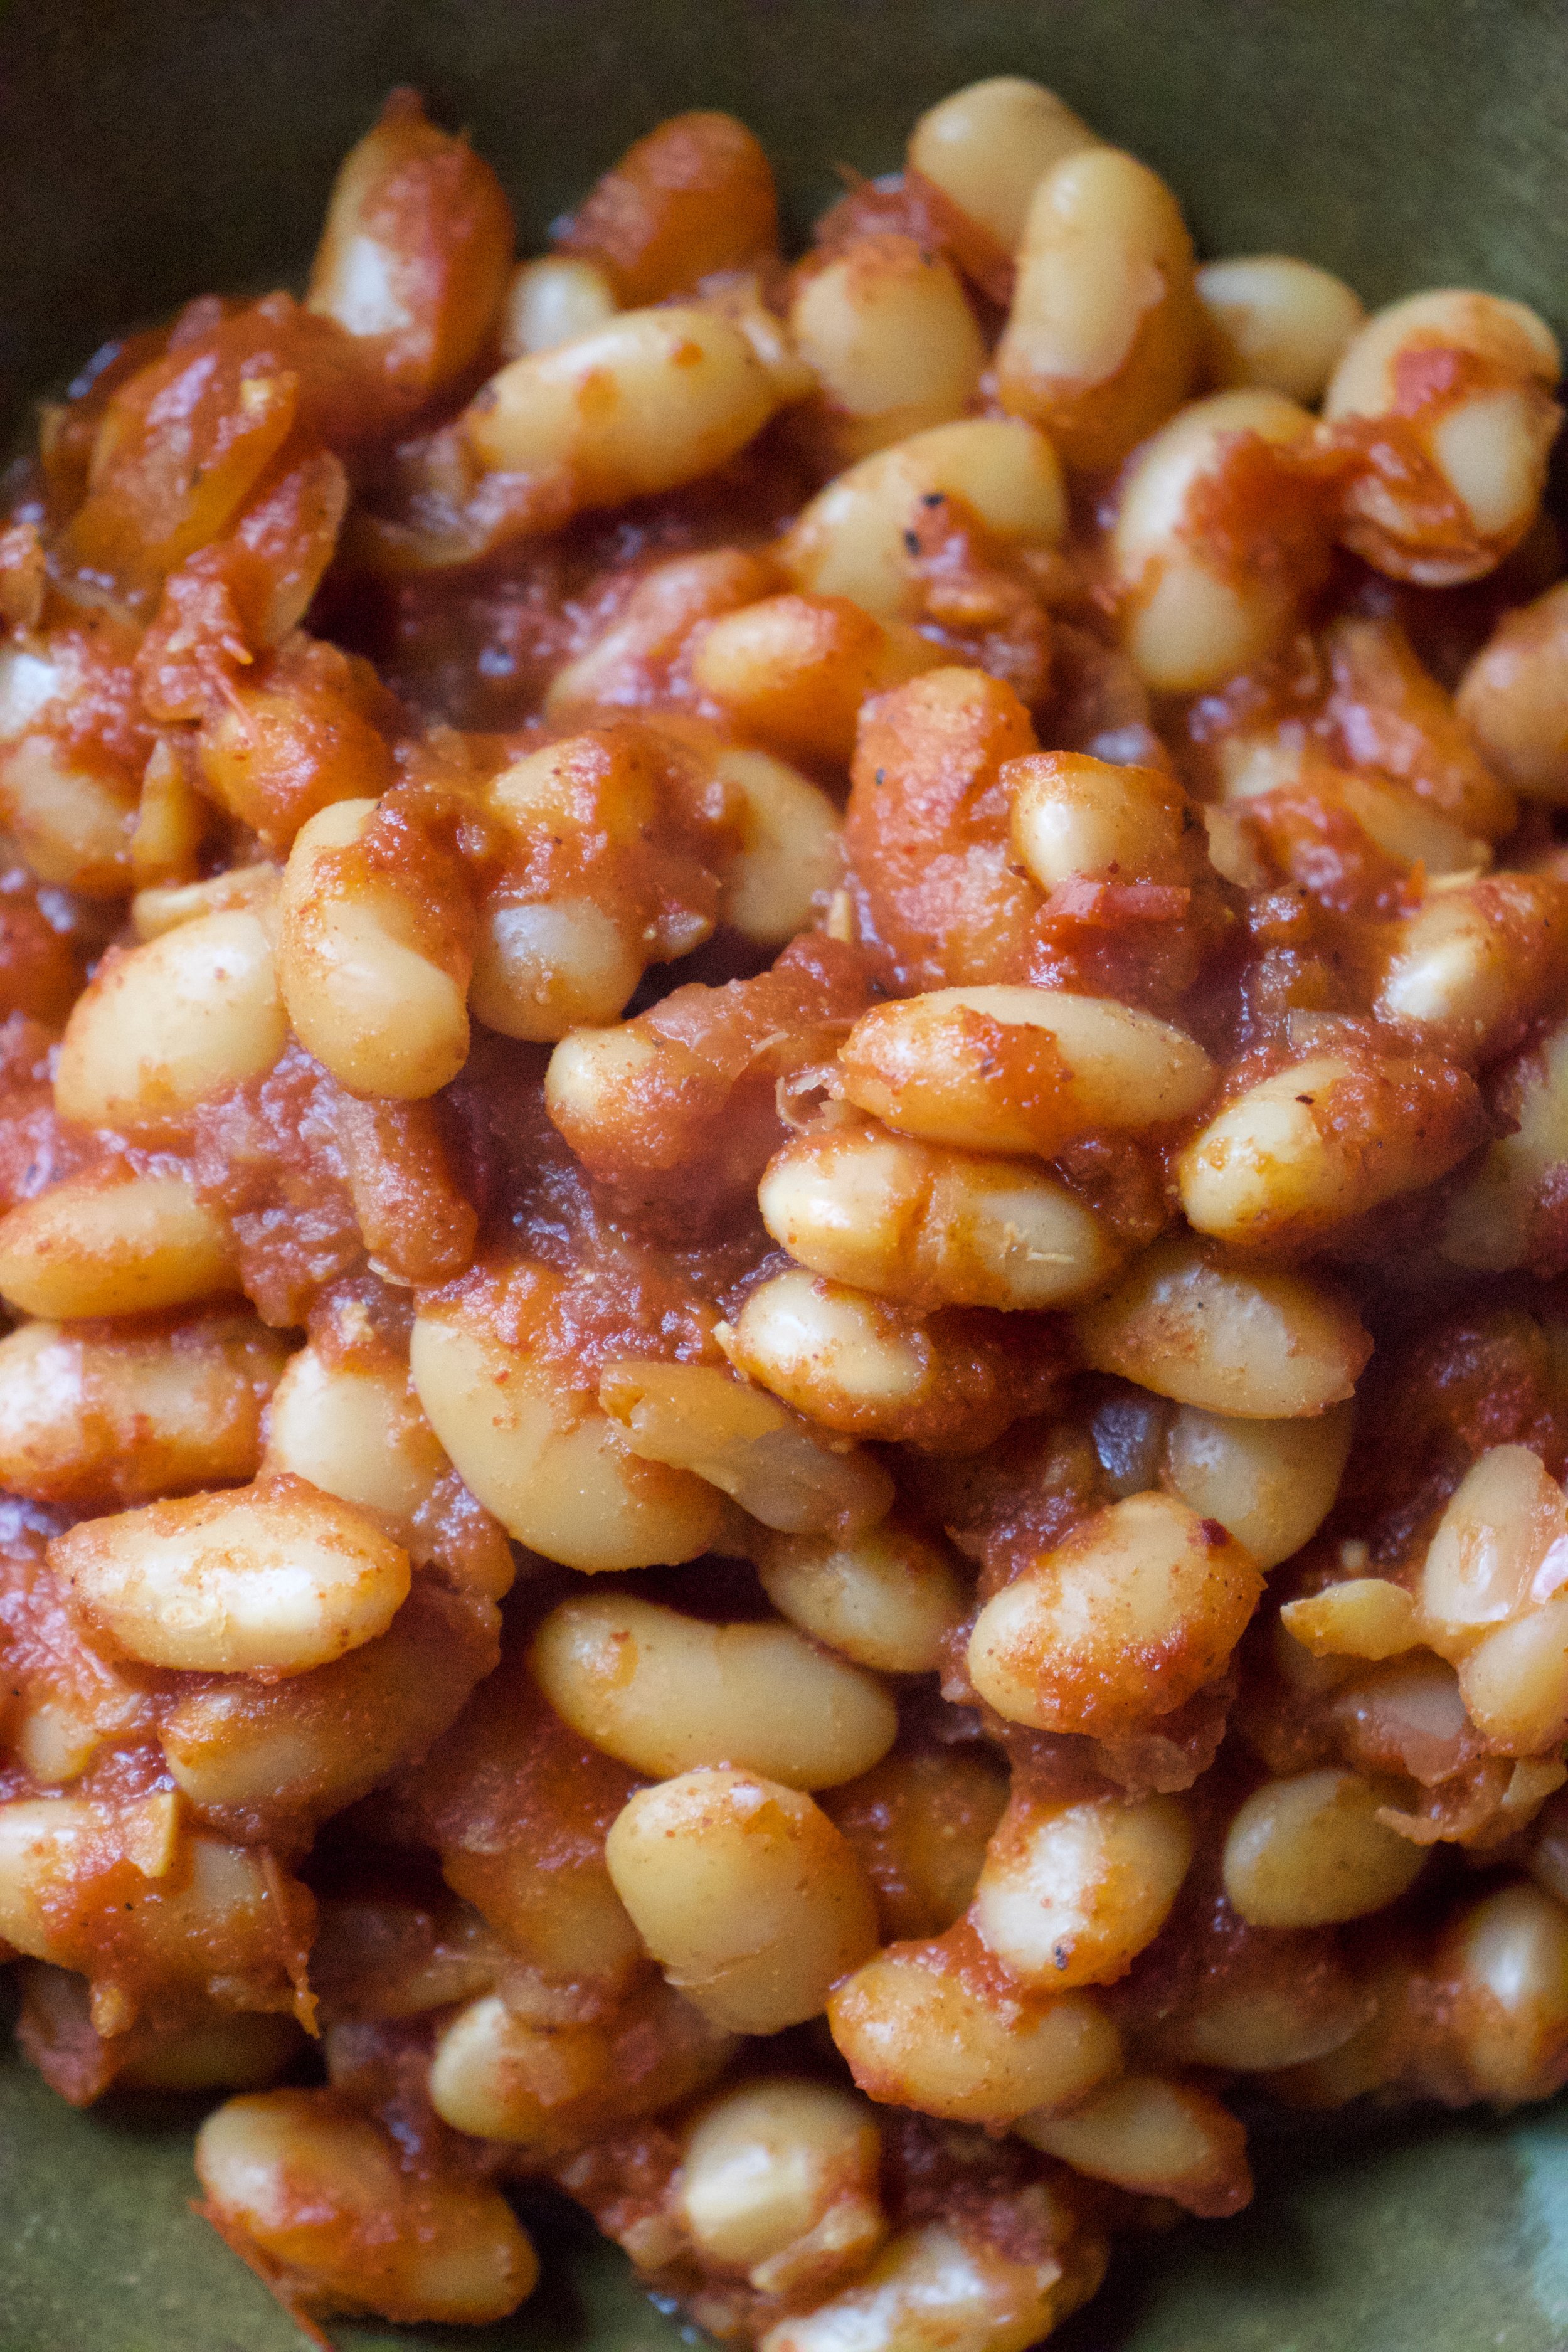
Beans are cooked and the garlic and onion are soften so now all you do is combine everything together. Don’t drain the beans, just toss in the tomatoes, the vinegar, the spices, and a few pinches of pepper and a pinch of salt. Stir in all together,

Looks like soup right? This is right before you stick it into the oven.

IMG_2387.jpg

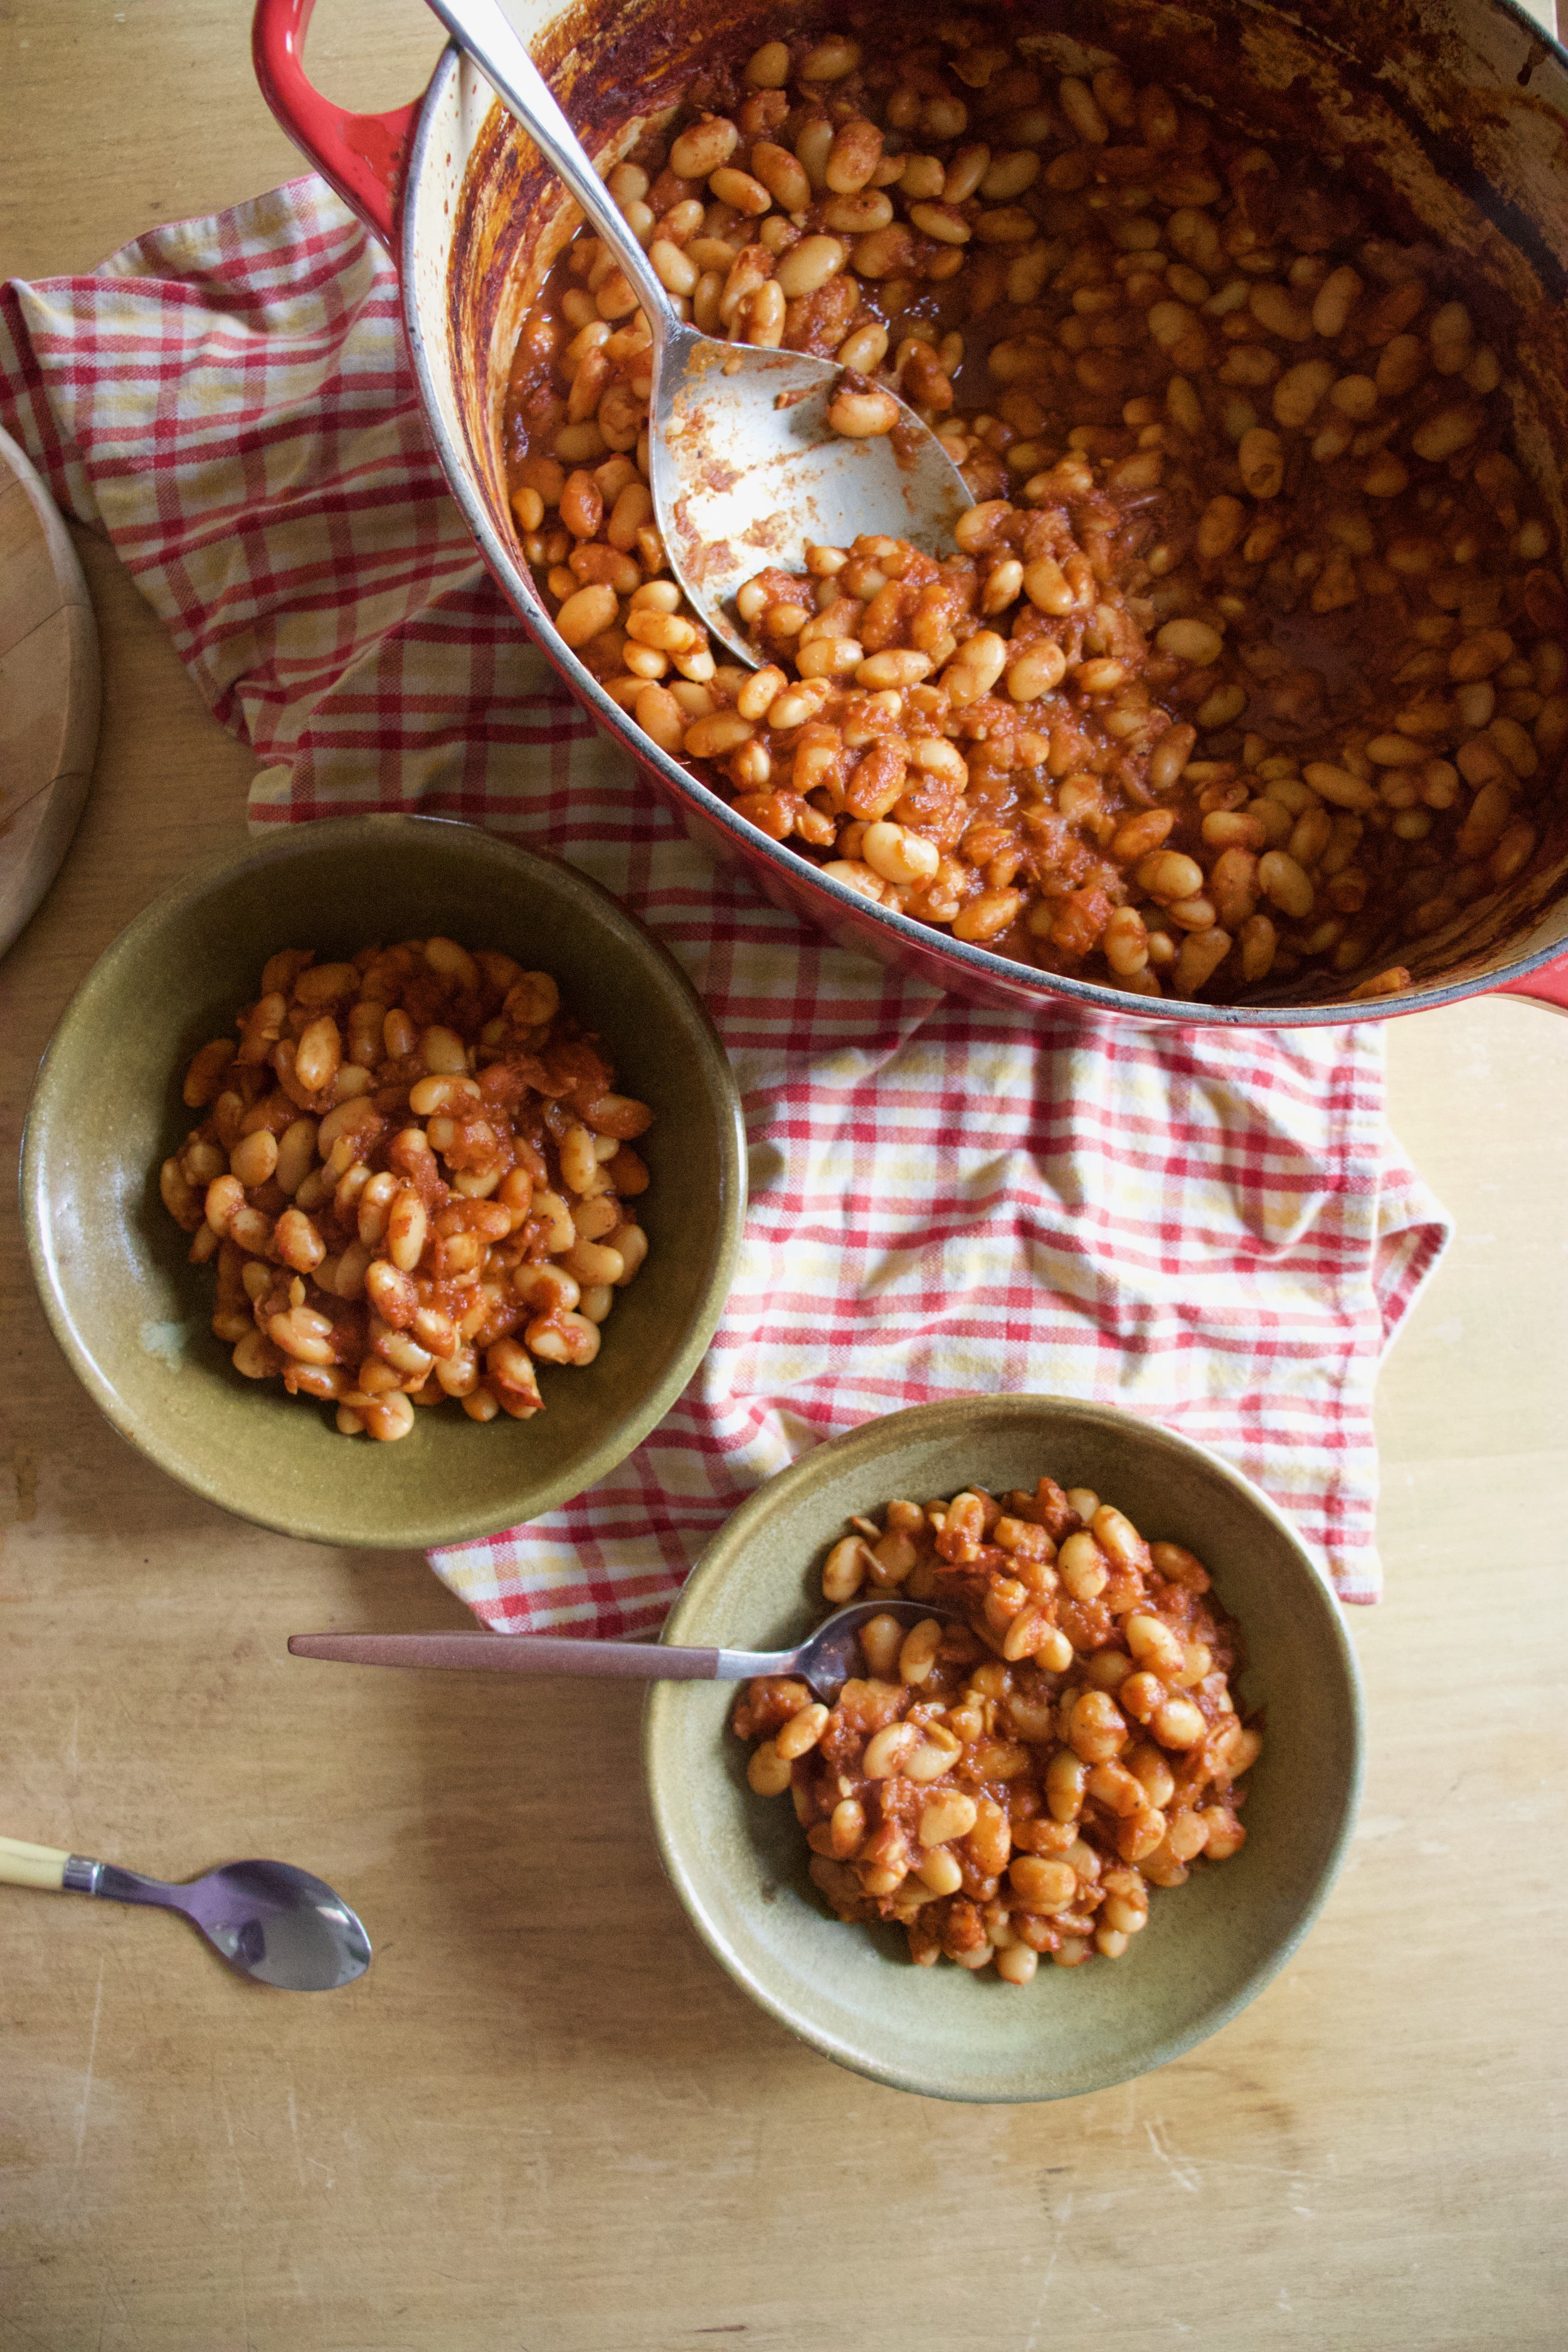
Now look at that, oven baked beans. The best part… The crispy sides. ALL MINE!

Not much left to do but eat them. Straight up with a hunk of bread. That is a good way to start anyway.

Enjoy your beans!

-C


Baked Beans

Makes a big pot of beans

  • 1 pound (2 cups) white beans soaked in water for at least 8 hours (I used great northern but navy would be good too)

  • 6 cups water or veggie stock

  • 3 cups (or a 28 oz can) crushed tomatoes

  • 1 onion

  • 3 cloves garlic

  • 1 1/2 tablespoons chili pepper

  • 1 tablespoon mustard powder

  • 1/3 cup apple cider vinegar

  • salt and pepper

Strain soaked beans and place them into large oven safe dutch oven almond with the water and stick on the stove. Bring the beans to a boil then reduce heat to medium and cook util the beans are tender. Should take about 1 1/2 hours.

Sometime while the beans are cooking, mince garlic and chop the onion into very small pieces. Place in a skillet and cook on medium until the onion and garlic are soften and fragrant. Remove from heat and set aside until beans are cooked

Preheat oven to 425

One beans are tender, dump in the cooked garlic and onion, the tomatoes, the spices, the vinegar, and a good pinch of salt and pepper. Stir it all together and place into the oven. Bake for about 2 hours, staring about ever 30 minutes, until the bean sauce is nice and thick. If at any point you think they have gotten to dry, just add more water. Pull the beans out of oven once you are happy with the sauce consistency. Taste and season with more salt and pepper if needed.

And then eat them. As a meal, as a side, or as a snack. Beans are good anytime.

Any leftovers should be stored in the fridge. Beans can be reheated very easily on the stove top. Just place the pot back on stove, stir in a little water and cook til hot.

Beans are also fantastic eaten cold from the fridge.

In Vegan, side dish, pulses, one pot meal, grain free, Gluten Free, entree, dinner, Dairy Free, beans Tags Baked Beans, Vegan Baked beans, simple baked beans, sugar free baked beans, pulses, vegan, protein, plant based, gluten free, dairy free, thanksgiving, Dinner, side dish, one pot meal
Comment

Caramelized Onion and Apple Cornbread

November 10, 2018 Colleen Stem
IMG_2269.jpg
IMG_2279.jpg

You know when you eat something that you haven’t had or haven’t had in a long time and it’s all you want to eat?

I am having a moment with apples and onions. Roasted and raw, it’s on my mind every time I am making food. Weird? I don’t know, but it’s sweet and savory and all fall like and comforting. It’s a good moment.

So now I am passing on my moment in the form of cornbread. Why cornbread? Well I think cornbread is a fine fine vessel for things that could be perceived sweet of savory. This cornbread is in fact not sweet, but not not sweet. It is a little both and suits the the apple and onion moment quite well.

People ate it, at first somewhat suspect that it was not going to be good, but after a bite or two they too appreciated the apple onion combination. And the cornbread. Even got a lady that doesn't even like cornbread to like this so that is something right?

Embrace the moments.. To the cornbread!

The stuff. A couple apples, an onion, cornmeal, flour, salt, and baking soda. Also soy milk, oil, apple cider vinegar, maple syrup, pepper, Sansa little earth balance.

IMG_2181.jpg
IMG_2187.jpg

Start by thinly slicing the onions. Toss them into a oven safe skillet with about a tablespoon of earth balance and place on a medium heat.

IMG_2190.jpg

Once the onions are cooking, thinly slice the apples too.

IMG_2197.jpg

Toss the apples in with the onions and stir around wait a few minutes and stir around some more until the stuff all looks like…

IMG_2218.jpg

This. The apples ans onions are super tender sans soft and amazing and do not eat them all, but maybe have bite or two.

Scoop the mixture out of the skillet ans melt another tablespoon of earth balance into the skillet, trying to evenly coat the bottom.

Now to the cornbread. Mix together all of the dry ingredients.

Then add in all the wet and gently mix until completely incorporated.

Pour the batter into the greased skillet

IMG_2234.jpg

Top with the apple union mixture then pop into the oven for about 40-45 minutes to bake.

IMG_2243 2.jpg

Golden crisp and amazing smelling. Check for donees with a tester stuck in the middle and when its done, its done.

Now the hard part. Let it cool. You can go right at it, but it will crumble and fall apart. This bread really needs a little time to chill.

Then it’s time. Eat what you need. Careful, it might be all of it.

-C


Caramelized Onion and Apple Cornbread

makes a 10 inch round skillet of bread

  • 1 1/2 cups cornmeal

  • 1 cup all purpose flour

  • 1 1/2 teaspoon baking soda

  • 1 teaspoon salt

  • 1 2/3 cups soy or other plant based milk

  • 2 tablespoon apple cider vinegar

  • 1/3 cup maple syrup

  • 1/3 cup neutral oil like canola

  • 1 large onion

  • 2 apples (macon or mac)

  • 2 tablespoon earth balance or vegan butter

  • Pepper

Note. This bread is baked in a cast iron skillet. If you don’t have one, you can use a 10 inch cake pan or a 9x9 square pan.

Preheat oven to 400

Start by cutting the onion in half length wise then slice the halves into very thing pieces. Grab a 8-10 inch oven safe skillet and place on medium heat with about a tablespoon of butter. Add in the onions, stir around, and let cook. Grab the apples, remove the cores and slice into thin pieces. Add the apples to the onions and stir. Keep cooking and stirring until the apples and onions are very tender and starting to brown. Place the mixture into a bowl then coat the bottom and sides of the skillet again with another tablespoon of butter. Set skillet aside for a minute.

For the cornbread, mix together the flour, cornmeal, salt, and baking soda in large bowl. Add in the soy milk, maple, oil, and vinegar and gently mix until completely incorporated and there are no big lumps. Pour batter into the greased skillet. Evenly top with the apple onion mixture, sprinkle with a little pepper, then pop the skillet into the preheated oven. Bake for about 40-45 minutes or until it’s a nice dark golden brown and a taster stuck in the middle comes out clean. Once cooked, remove from oven and let cool for at least a half hour. The cornbread needs the time to cool or else it will cut really crumbly.

Once cooled, eat. Left overs can be stored in airtight box at room temperature for a day, but any longer it should go into the fridge.


In bread, Dairy Free, side dish, Vegan, Vegetables Tags Caramelized Onion and Apple Cornbread, cornbread, vegan, plant based, thanksgiving, bread, apples and onions, sweet and savory, quick and easy, dairy free, king Arthur flour, cornmeal
Comment

Fresh Dill and Veggie Quinoa Salad

September 15, 2018 Colleen Stem
IMG_0363.jpg
IMG_0399.jpg
IMG_0392 2.jpg

I feel like this salad is kind of a summery salad, or better yet, a salad that highlights all the best of what summer has to bring. All the fresh tender dill that is still growing (but not for long) , all the brightly colored and amazing veggies that are being harvested and are nearing the end (bye fresh cucumbers.) This salad might just be my little last hurrah of summer cooking before it is all root veggies and dried herbs and hot and hearty food. And not going to lie and say that I am sad to see summer go because I am so so ready for it to be over, but I will miss all the fresh fresh produce. And I will especially miss all the fresh dill because fresh dill is seriously the best.

Eat up what is left of summer now before it’s too late!

The stuff. Quinoa, a bunch of dill, a cucumber, a pepper, an onion, and some cherry tomatoes. Also a clove of garlic, some salt and pepper, and red wine vinegar.

IMG_0305.jpg
IMG_0308.jpg
IMG_0320.jpg

Mince the garlic, chop the onion, mince the pepper and the cucumber, half the tomatoes, and last but noblest, rough chop the dill.

All that goodness goes into. big bow, along with a sprinkle of salt and pepper, and the vinegar Tossed around and left to meld.

IMG_0299.jpg
IMG_0348.jpg

Uncooked quinoa with water turns to cooked quinoa

Quinoa meets the bowl of veggies

And after a good mix, viola!

You got yourself a yummers fresh dill and veggie quinoa salad.

-C


Fresh Dill and Veggie Quinoa Salad

serves 3-5 as a side or 2 as a meal

  • 1 cup uncooked quinoa

  • 2 cups water

  • I bunch fresh dill (like a 1/3 cup chopped… But use as much as you want)

  • 1/2 a small red onion

  • 1 clove garlic

  • 1 small Persian cucumer

  • 1/2 of a sweet red or yellow pepper

  • handful or two of cherry tomatoes

  • 4 tablespoons red wine vinegar

  • salt and pepper to taste

Start by cooking the quinoa. Place the water and the uncooked quinoa into a medium sized pot. Place on high heat until sorts to boil, then reduce heat to a simmer and place lid on the pot. Let cook for about 15 minutes, checking at 10 minutes, to see if all the water has absorbed. When it has, remove from heat and let sit for a few more minutes then fluff with a fork.

While the quinoa id cooking, mince the garlic and chop all the veggies into small little pieces. Place into a big bowl. Chop up the fresh dill and toss into bowl too, along with the vinegar and a good sprinkle of salt and pepper. Mix it all around and let sit on the counter for a little so the veggies get nice and vinegary. Once quinoa is cooked and fluffed, dump into the bowl and mix around. Season with more salt and pepper if needed. Eat warm or refrigerate and eat cold. It’s defiantly one of those salads that taste great right away but tastes even better the next day.

In Vegetables, Vegan, side dish, salad, grains, Gluten Free, dinner, Dairy Free Tags Fresh Dill and Veggie Quinoa Salad, fresh dill, veggies, vegan, vegetarian, quinoa, grain bowl, grain salad, plant based, gluten free, protein, fresh, fast, side dish
Comment

Crispy Kale and Corn with Blueberries and Avocado Salad

August 18, 2018 Colleen Stem
IMG_1479.jpg
IMG_1448.jpg
IMG_1500.jpg

I think that my favorite thing abut summer is probably the food. Yeah, no, definitely all the food. If it weren't for all the delicious amazing things that grow during these summer months, I would probably hate summer.  Well, I mean, not hate it because summer is nice when it it nice, but lately it has not been so nice and so I am trying to make myself feel better by finding all the good things that I like about summer. Summer trees, summer flowers, the smell of fresh cut grass, river rocks, summer sandals, summer... well that's what I got right now. But summer produce, that is the best and what keeps me happy when I am extremely over heated and over sunned and just want a blast of cold air accompanied by some dark clouds, a sweater and the smell of decomposing leaves. Obviously I am being a little crank butt, and I actually do usually like me some summertime, I am just over this summer. To hot, to humid, to dry. I am ready to move on. 

But back to the good parts of summer that I am not over. The food. The corn is flowing steadily (I am getting on average 10 pieces of corn a week from the farm. That is a lot of corn for 2 people, one of which says he doesn't like corn), the kale is growing in super abundance in the garden, and it's is for sure blueberry season. When we  have those three things and we toss in a avocado, as little onion, and lots of lime juice , BAM, another super fantastic summertime eating time, reason that summer can be a ok. Makes  all the heat a little worth it. 

I am telling you, this is my new favorite food combination. Blueberries are magical (I think so anyway) and really add the perfect little sweetness, tartness, and texture to this salad. Crisping up the kale and corn elevates the deliciousness, and avocado always is welcome is any salad situation. This is one of those salads that you will make for yourself and then immediately want to make for someone you like because it is so good you want to share. OR you just want to make it for yourself again because you could share or you could just eat more of it yourself. It's ok either way, you do you. 

IMG_1375.jpg

The stuff. A cob of fresh corn. some fresh blueberries, a bunch of dinosaur kale, a lime, an avocado, a piece of a sweet onion, sea salt, pepper, and a little oil. 

First off preheat the oven then cut the corn off the cob.

Then deal with the kale. Each leaf needs just the slightest bit of oil. The easiest way to do this is to dump a little oil into your hands and grab each piece of kale and rub your oily hands all over the kale.

IMG_1414.jpg
IMG_1436.jpg

After the kale is oiled, chop it into chunks. First place the corn on a baking sheet then add the kale on top. Placet it into the oven to get all crispy... The kale will might get crispy before the corn, which is fine because you can remove the kale then pop the corn back into the oven for a few more minutes to keep cooking if you want. Or you might just want to call it cooked, it's your call. 

IMG_1454.jpg

I popped the corn back into the oven to get a little more color. I like a real crispy corn. 

Cut up some onion and avocado into chunks. 

And time to compile. Kale, onions, corn, avocado, blueberries, and lime juice. And don't or get a sprinkle of sea salt and pepper. 

Toss it all around and be delighted. 

Just look at that salad. Who wouldn't want to eat that? 

Heres to summer salads....The reason I can barely stand the heat!

-C


Crispy Kale And Corn With Blueberries And Avocado Salad 

makes one salad

  • 10 or so large Lacinato (Dinosaur) Kale leaves
  • 1 fresh cob of corn
  •  1/2 of an avocado
  • 1/2 cup fresh blueberries
  • 1/4 of a sweet onion (about 1/4 cup diced)
  • 1 lime
  • teaspoon olive oil
  • sea salt and pepper  

Preheat oven to 350

Cut the corn off the con and place on a lightly oiled baking sheet. Take a little oil and rub into hands then grab the kale leaves ans rub oil all over them. Once oiled, rough chop into medium sized pieces (don't chop small, it will shrink a lot in the oven). Place chopped kale on top of corn and stick into hot oven. Bake until the kale is crispy, about 12-15 minutes.. What closely after 10 minutes to prevent burning.

Remove the kale from the baking sheet and place in a large bowl. The corn will be cooked, but if you want to make it a little crispier , just toss it back into the oven for a few minutes.  Once corn is to your liking, remove from pan and toss into two with the kale.

Small dice up some onion and dice up half of the avocado. Toss into the bowl with the kale and corn. And the blueberries, add those in. Sprinkle the whole shebang with a little sea salt and pepper and squeeze the juice of at least half of a lime all over (use the whole lie if you want) Give it all one last toss and that is it. 

Eat your new favorite salad. Think about making it for all your favorite friends and family and how impressed they will be because this is one of those impressive salads. T

In Vegetables, Vegan, summer, side dish, salad, fruit, grain free Tags Crispy Kale And Corn With Blueberries And Avocado Salad, Blueberries, corn, kale, dinosaur kale, lacinato kale, vegan, gluten free, plant based, healthy, heathy fats, summer, salad, fresh, farm food, crispy corn, crispy kale
Comment

Ginger Garlic Blistered Green Beans with Almonds

July 21, 2018 Colleen Stem
IMG_0257 2.jpg
IMG_0242 2.jpg

I sometime struggle with certain veggies, not like in a eating way (I have no snuggle eating any veggie) but in a making something with that certain veggie kind of way, like I don't make anything out of them, I just eat them raw as they are. (That was terribly long winded and does it even make sense?) I don't find this to be a problem most of the time, but sometime I think I need to be less lazy about eating and maybe prepare a dish for a meal rather then just eating raw beans out of the garden for lunch.....I mean, I am not going to stop doing that but I am going to start being a little more creative and planning meals with a little more substance. Adding nuts is more substance right?

These beans were freaking fantastic.  Blistered and charred, and not soggy and soft. They were perfect. (I like my veggies either raw or burnt) I made them late morning and was going to save them for dinner but the mr, Barb, and I ate them all just on snacking on them.  Just a really good, A+ veggies situation here. Highly recommended, hot or cold. Almost beats a bean lunch in the garden. Almost. 

IMG_0122.jpg

The stuff. Green beans, almonds, garlic, ginger, soy, and a little oil. 

IMG_0142.jpg
IMG_0147 2.jpg

Quick fast, rough chop the almonds and give them a toast in a dry skillet (you can skip this part if you have already toasted almonds) 

IMG_0171.jpg

And here would be the time to trim the beans if you are a person that does that. I am however, not a bean trimmer. But you must wash them, so give them a good rinse , and keep them a little wet. The moisture will help them cook. 

Just washed beans go into a medium high hot skillet (add in a tablespoon of oil) and get a nice little cover to start the cooking process.  Leave them alone for a few minutes, then remove lid and toss them around. Do that ever few minutes. 

IMG_0151.jpg
IMG_0156.jpg

While the beans start cooking, mince the garlic and the ginger and add to the soy sauce.

Smells so good!

IMG_0195.jpg

Beans have cooked for about 10 minutes here and are all nice and blistered and just about done so now add in the ginger garlic soy mixture and toss around. Keep cooking for a minute or two.

IMG_0211.jpg

And now don't forget those almonds, mix those in too. Then it's into a bowl they go. 

IMG_0217.jpg

Green beans so good. Can't go wrong with these.

Have a marvelous weekend, maybe go pick some green beans!

-C


Ginger Garlic Blistered Green Beans With Almonds

  • About a pound of green beans (trimmed if you want to trim them)
  • 2-3 cloves garlic
  • 2 tablespoons freshly grated ginger 
  • 1/4 cup almonds
  • 3 teaspoons soy sauce
  • tablespoon oil

Rough chop almonds into small pieces and place in a dry skillet (meaning no oil). Turn heat on to medium high heat to toast for about 5 minutes or until you can start to smell the almonds and they are slightly browning. (you can skip the tasting  part if your almonds are already toasted, jus chop them into small pieces)

Dump the almonds into bowl and set aside. Keep skillet on heat and add in the oil. Rinse beans off, keeping them damp, and very carefully, dump the damp beans into the hot skillet. Place a lid on beans and let cook about 4-5 minutes. In the meantime, mince garlic and ginger and combine with the soy sauce. After a few minutes, remove the lid from beans and toss the bean around. Keep doing this for another 8-10 minutes or until the beans are cooked though and blistered in places. Once the beans are cooked,  dump the garlic ginger soy mixture into pan. Toss around and leave in pan for another minutes then stir the toasted almonds in. Transfer the whole bit of it into a big bowl or plate. 

Eat right away or.. They taste freaking fanatic cold too. 

In beans, Vegetables, Vegan, summer, side dish, snack, Nuts Tags Ginger Garlic Blistered Green Beans With Almonds, Green beans, Blistered Green Beans, vegan, side dish, plant based, almonds, quick and easy, garden fresh, vegetables, green beans, fresh, simple
Comment
← Newer Posts Older Posts →
 

https://thelovelycrazy.squarespace.com/config#/|/about/

Me. Food Maker.Food eater. Woo HOO!

STEM+NODE  SMALL BATCH AND ONE OF A KIND POTTERY

stem+node ceramics


____________________

Subscribe

GET NEW POSTS IN YO EMAIL

You are AWESOME!!!


@thelovelycrazy 2014-2021