• stem+node ceramics
  • HOME
  • Food Recipes
  • About
  • Contact
Menu

The Lovely Crazy

Street Address
City, State, Zip
Phone Number

Your Custom Text Here

The Lovely Crazy

  • stem+node ceramics
  • HOME
  • Food Recipes
  • About
  • Contact

Tomato Basil Crackers

August 4, 2018 Colleen Stem
IMG_1027.jpg
IMG_1060.jpg

It happens every year. SO MANY TOMATOES! This is not a complaint, just a fun fact. And so for the forseeable future, besides canning and freezing tomatoes at a rapid pace, I will also be sticking them into everything. Enter here a tomato cracker. But who wants just a tomato cracker? I( bet some would love just a tomato cracker) But a tomato basil cracker, well that is something people will want. And yes, I have a buttload of basil at he moment too.. I cook with what I got!

Tomato basil crackers. First off, I needed to make a road snack for the mr and cut up chunks of raw tomatoes would not have gone down well with him, so I figured what better way to use up some tomatoes then a cracker situation because why the hell not.  I was a little hesitant to use fresh tomatoes and not cook them or roast the in anyway before using them in the crackers, but I glad I didn't. The tomato flavor really shines through, pairs beautifully with the basil, and you get to skip having to deal with cooking down the tomatoes, which makes them all the more easy to make.

So I made the crackers and gave a baggie to the mr to eat, which he did right then and there (with some sweet ass baba ganoush because yes) then packed a big bag for the road trip. Not only was the mr chowing down, but my sisters were gobbling them up too, even the one who is gluten free.  That is good cracker validation. 

If you have never made your own crackers and you are a cracker person, now is the time to start doing it. I don't eat crackers personally, but the mr and every one around me really seem to be cracker people so a while back I started to make them at home, and once you make a homemade cracker, the store bought ones will just not be acceptable anymore. But they really are super easy so you really should be making them at home anyway.. No pressure though.

IMG_0844 2.jpg

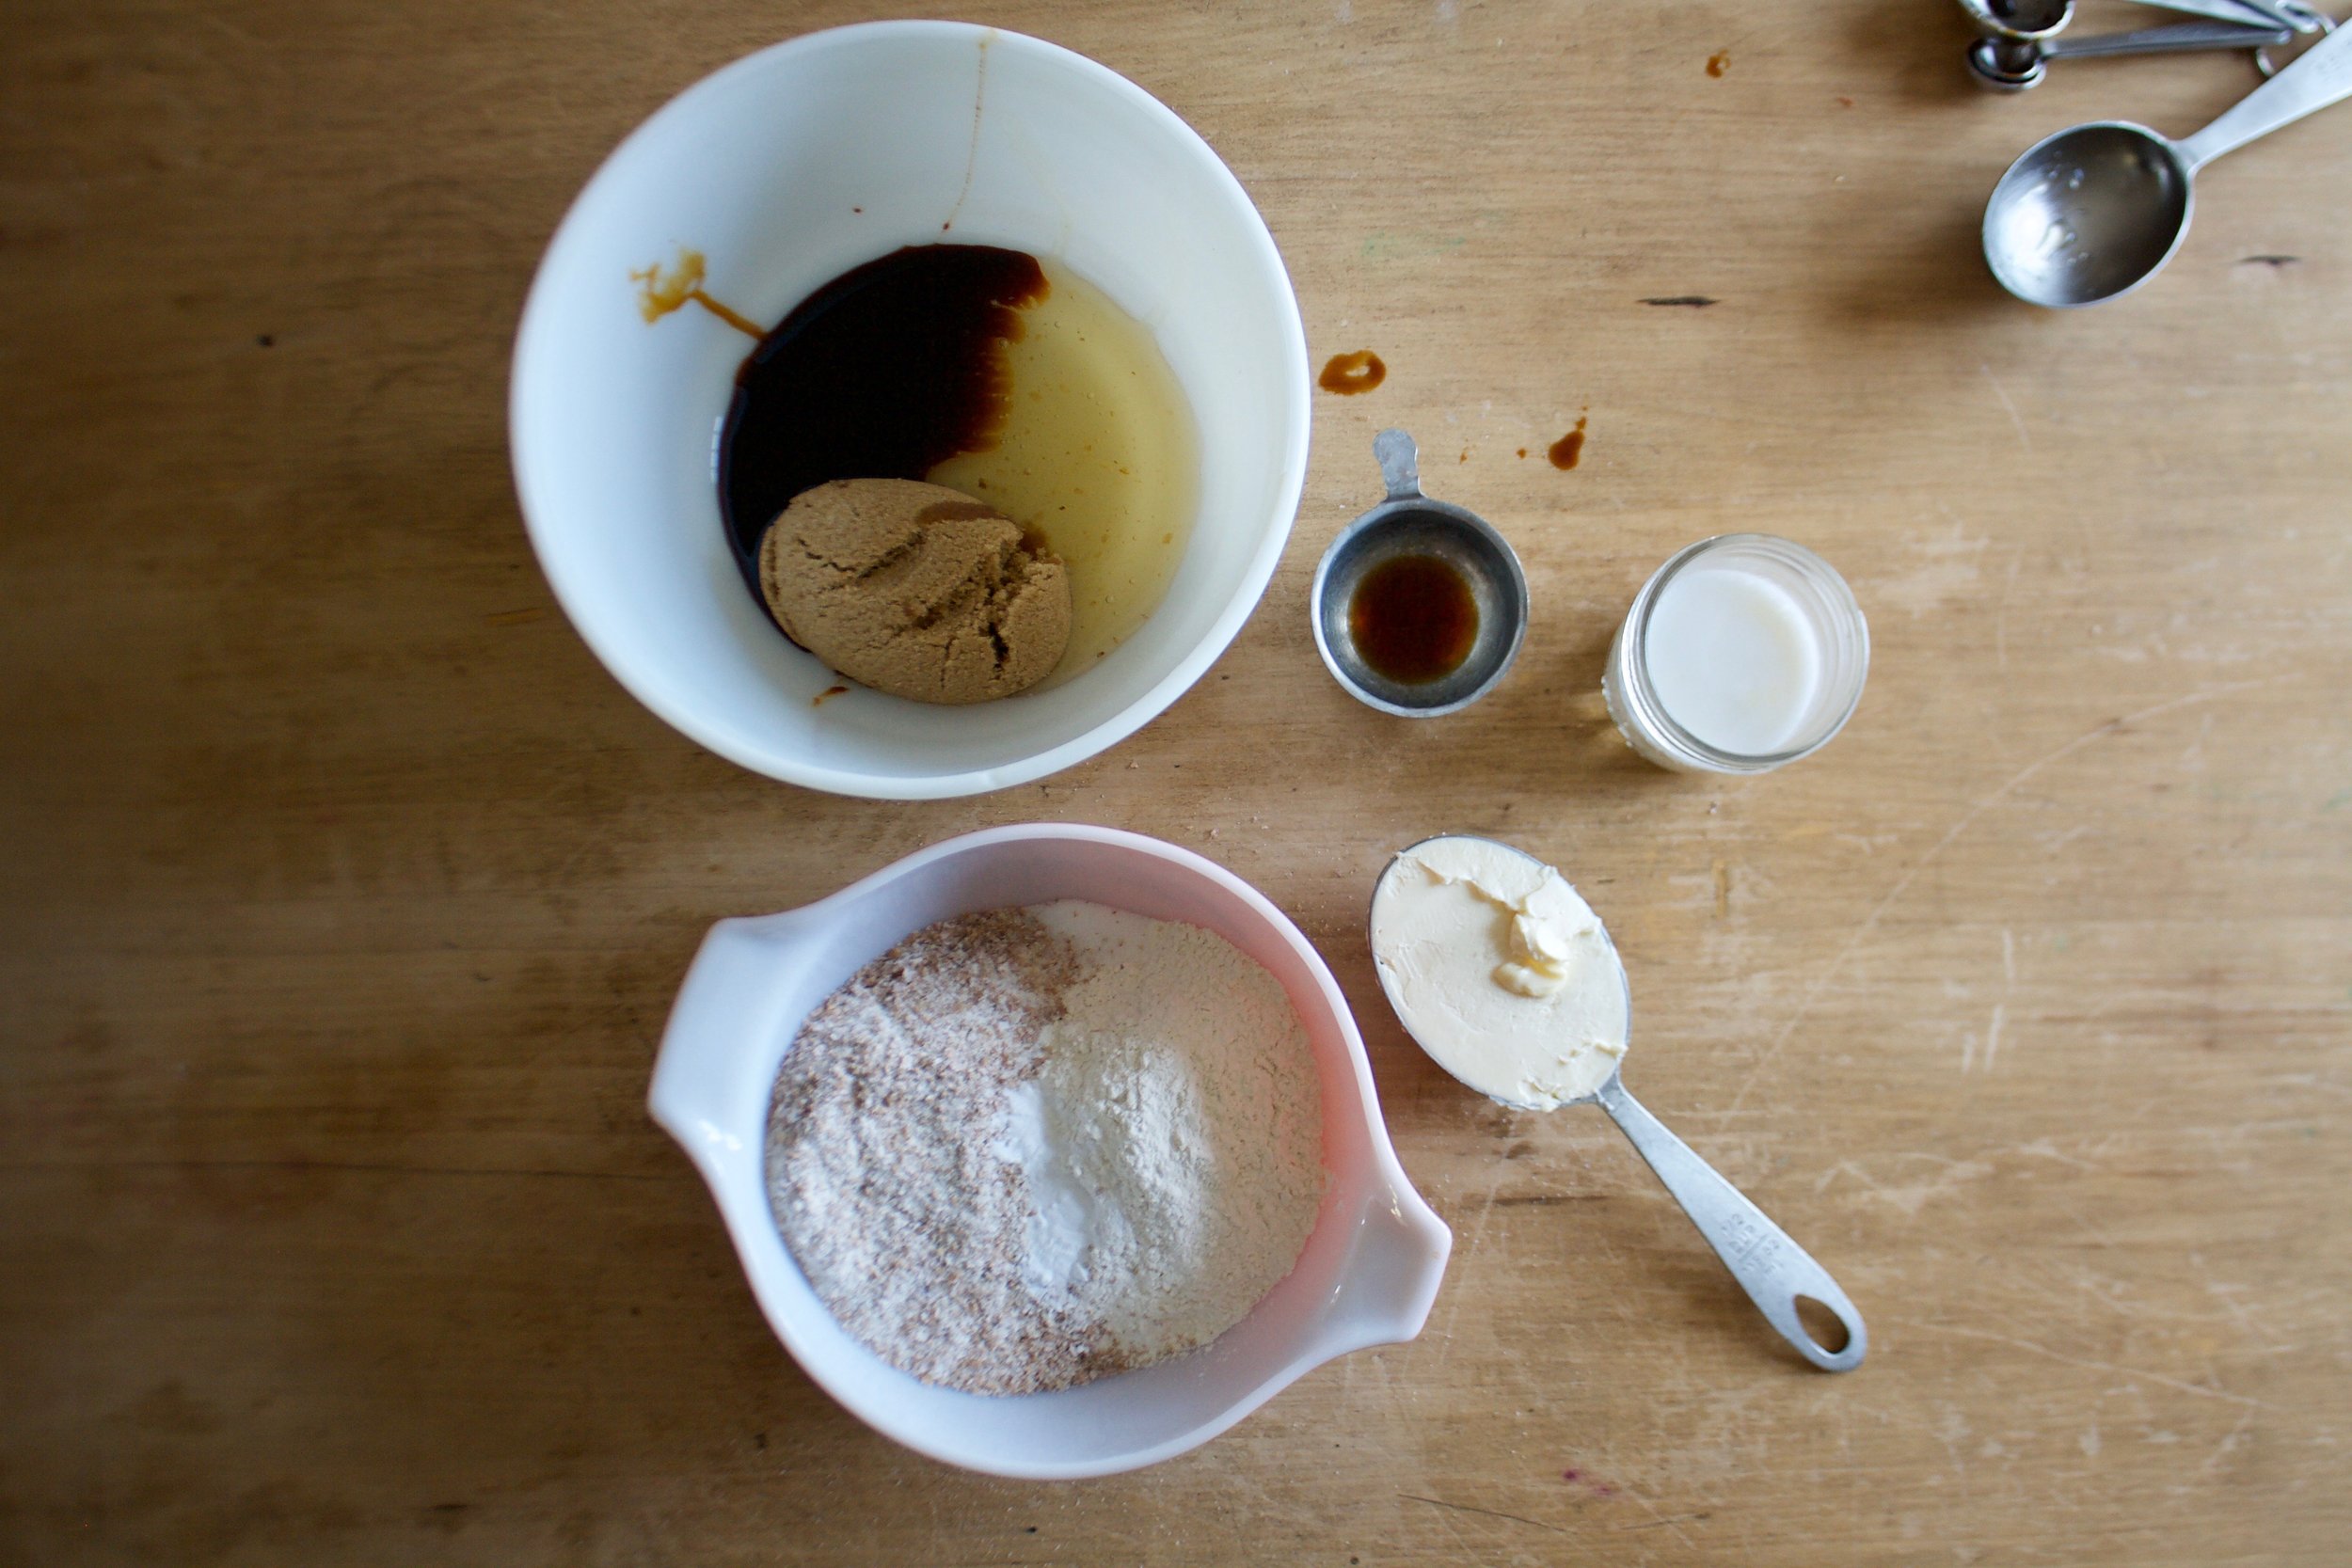
The stuff. Flour, olive oil, tomatoes, fresh basil, and sea salt. 

IMG_0867.jpg
IMG_0870 2.jpg
IMG_0897 3.jpg

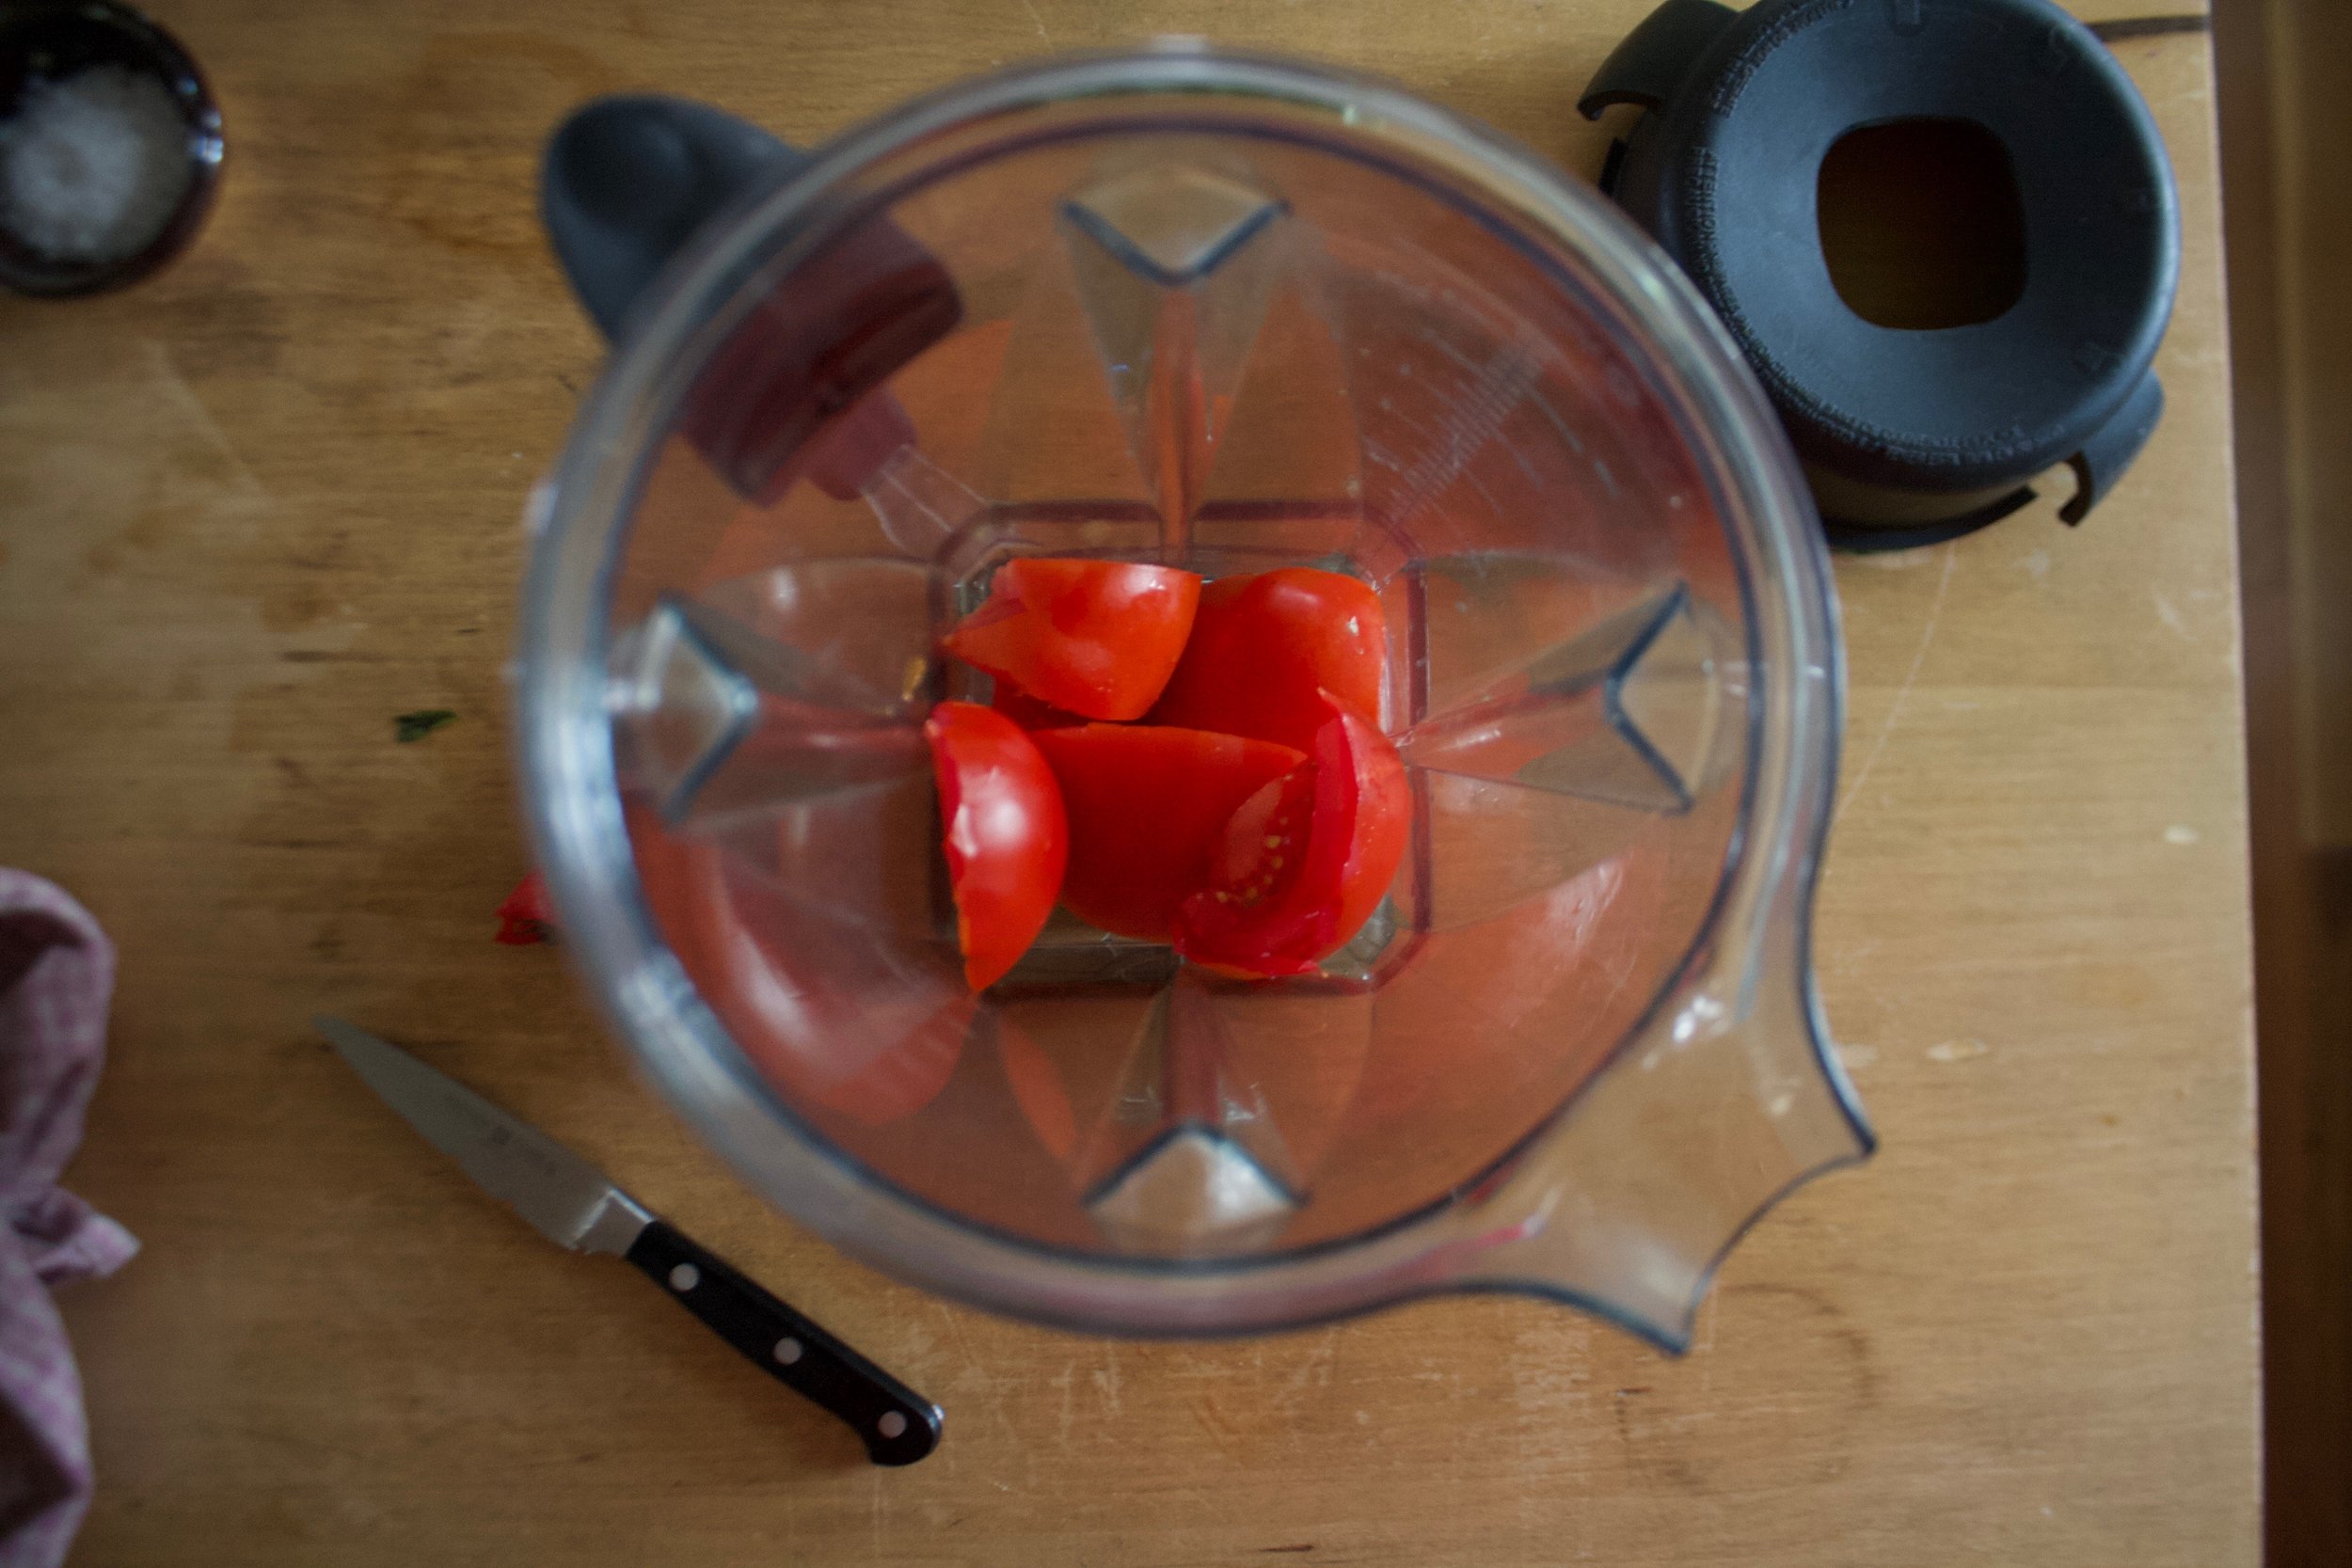
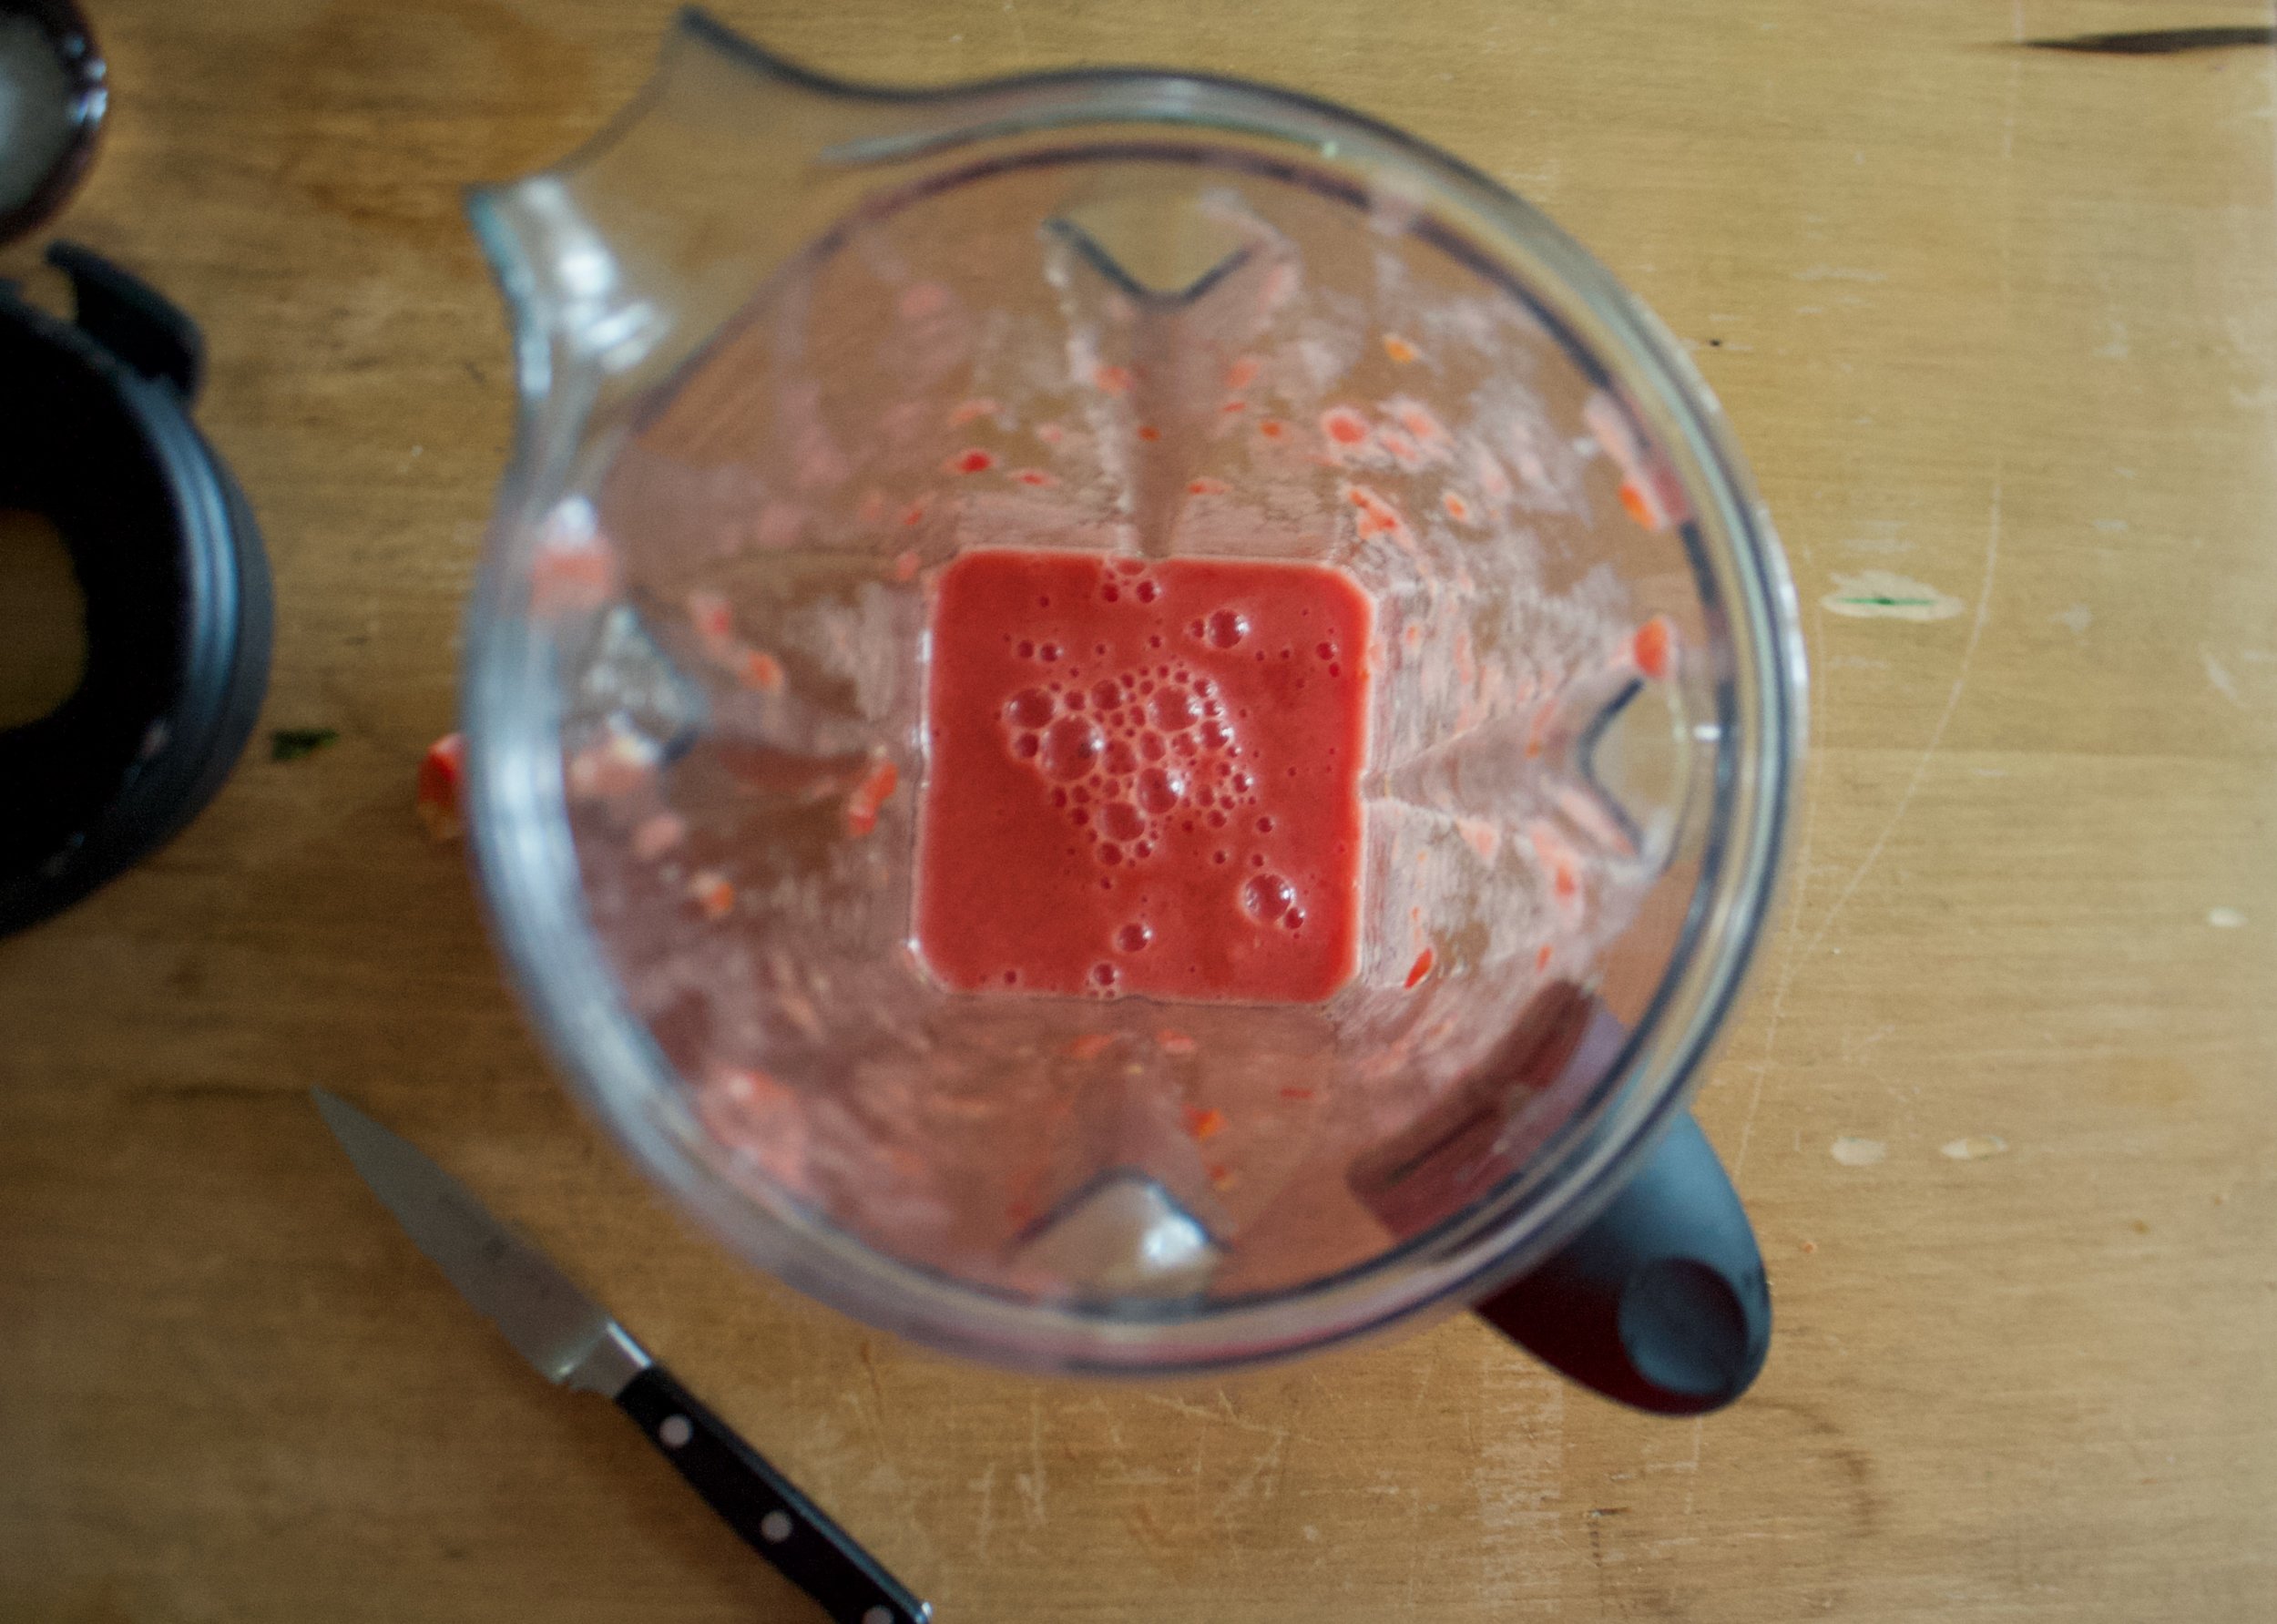
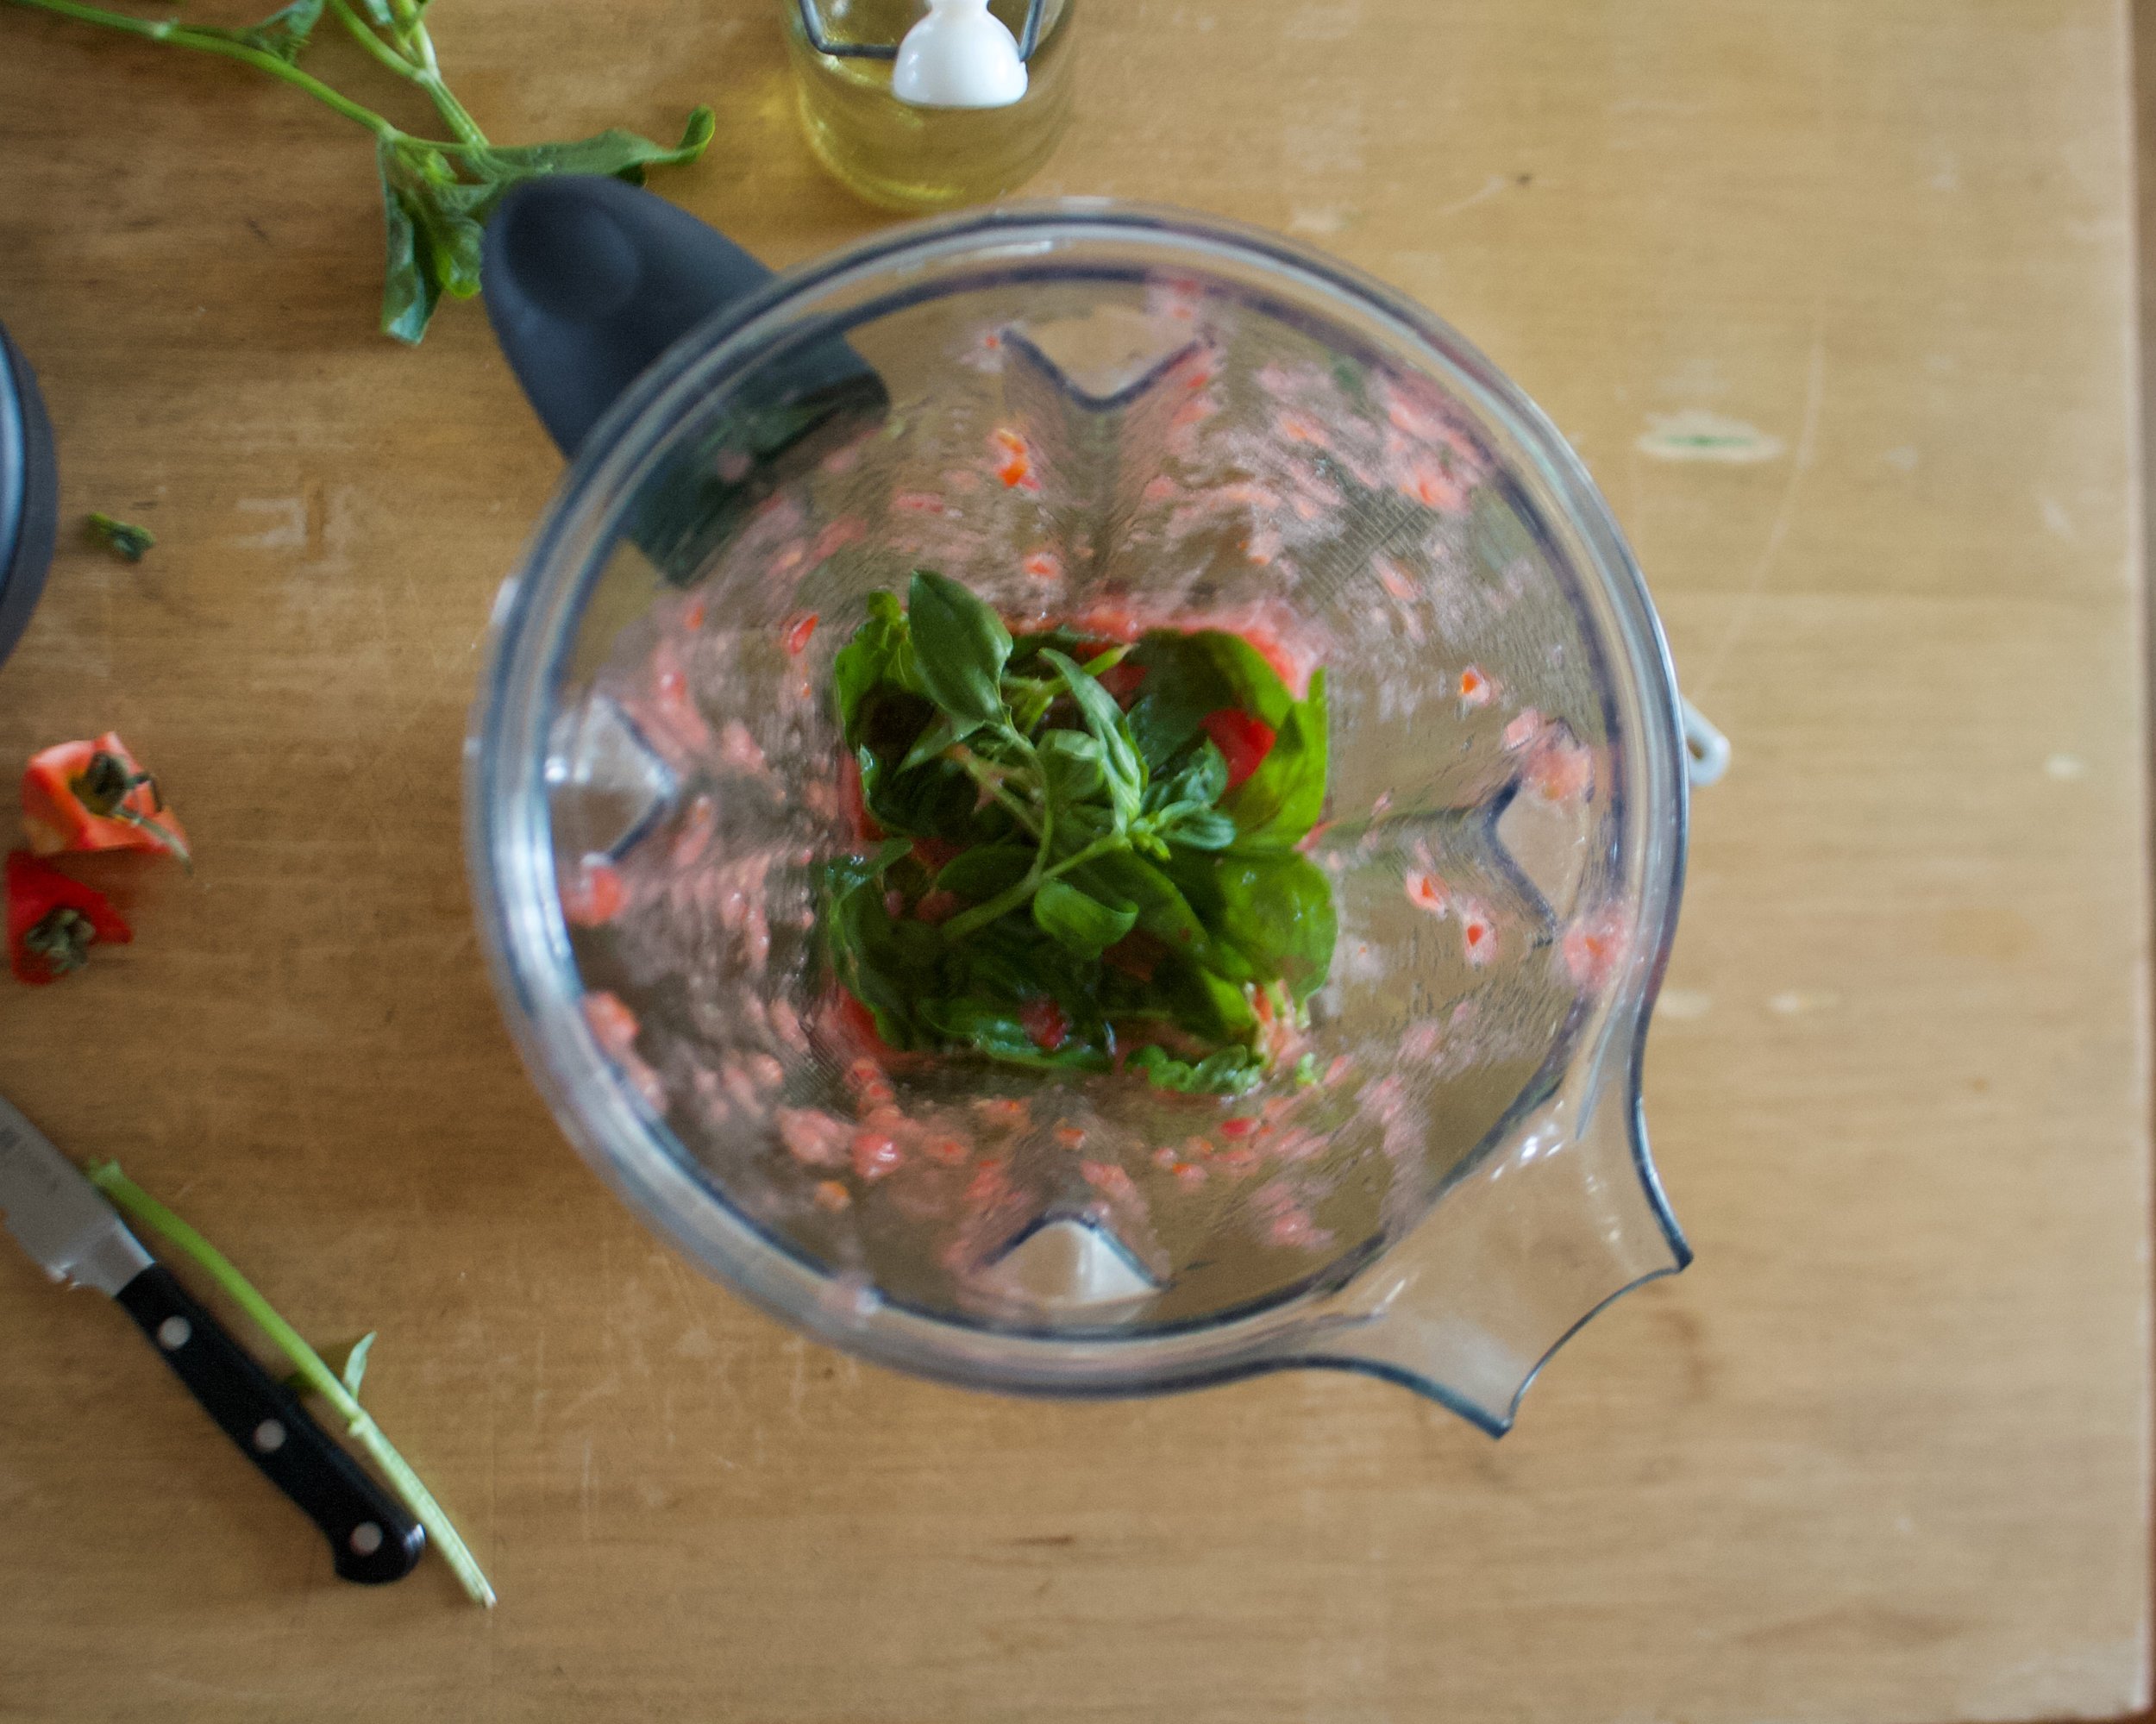
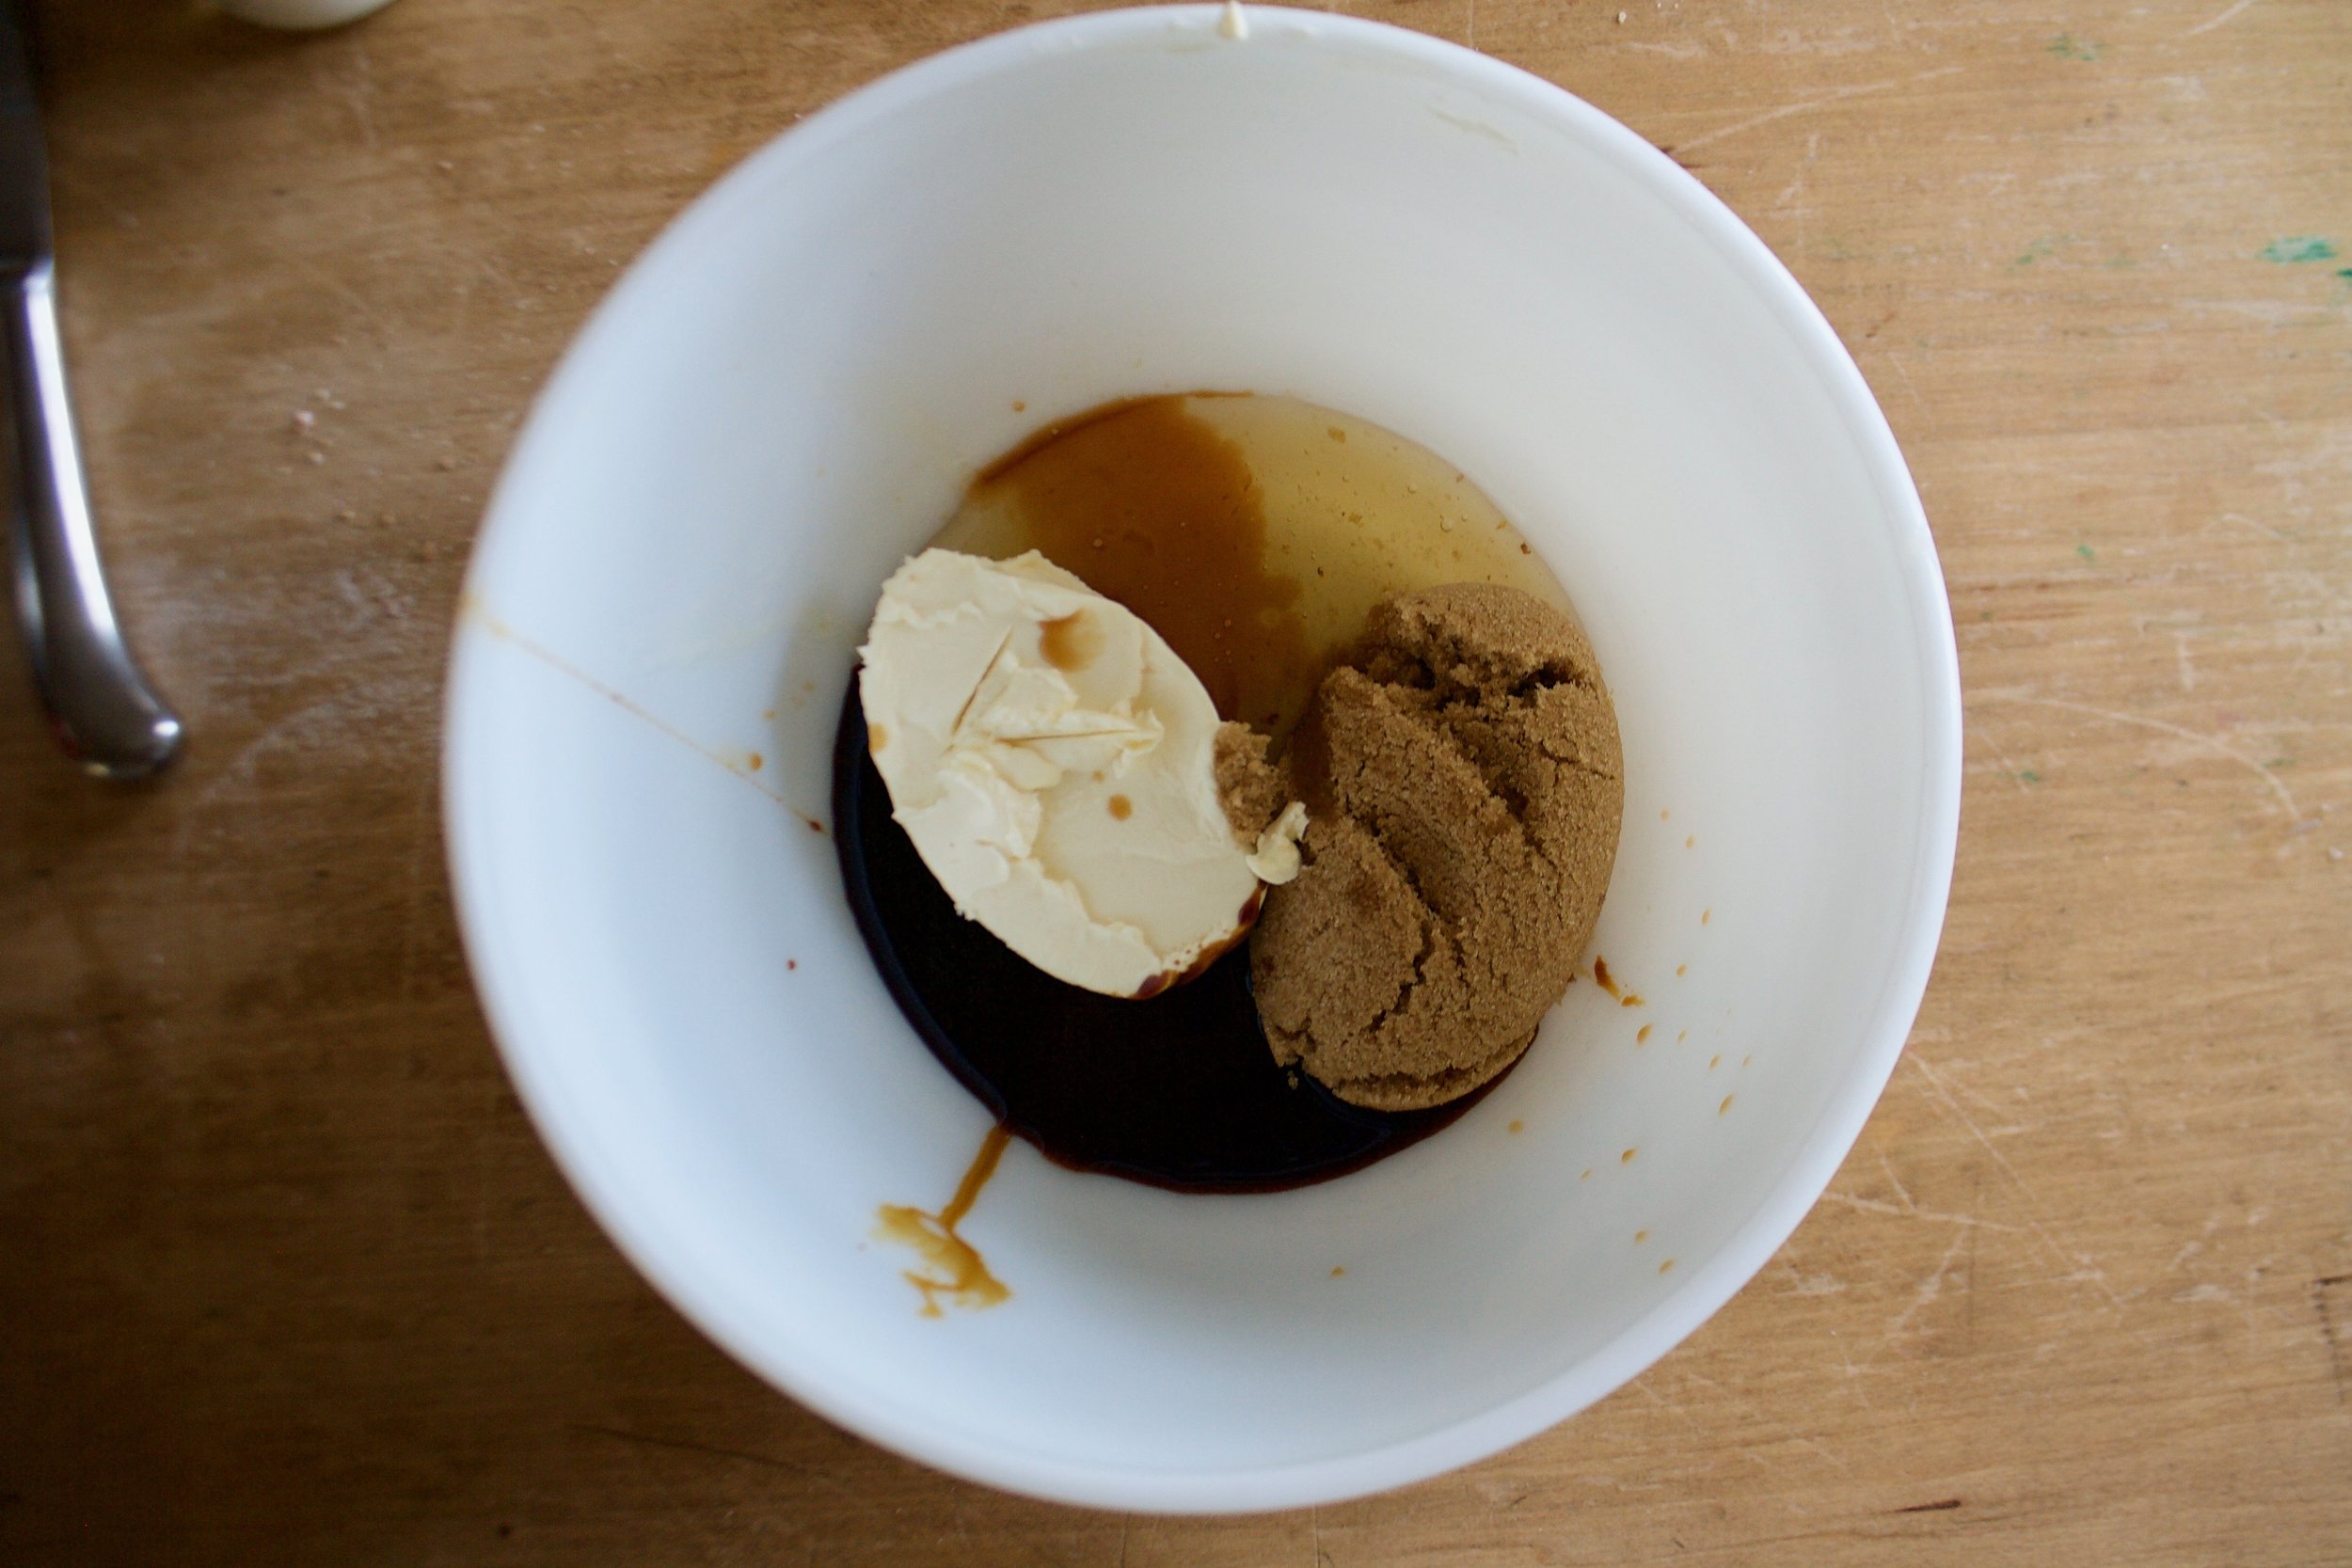
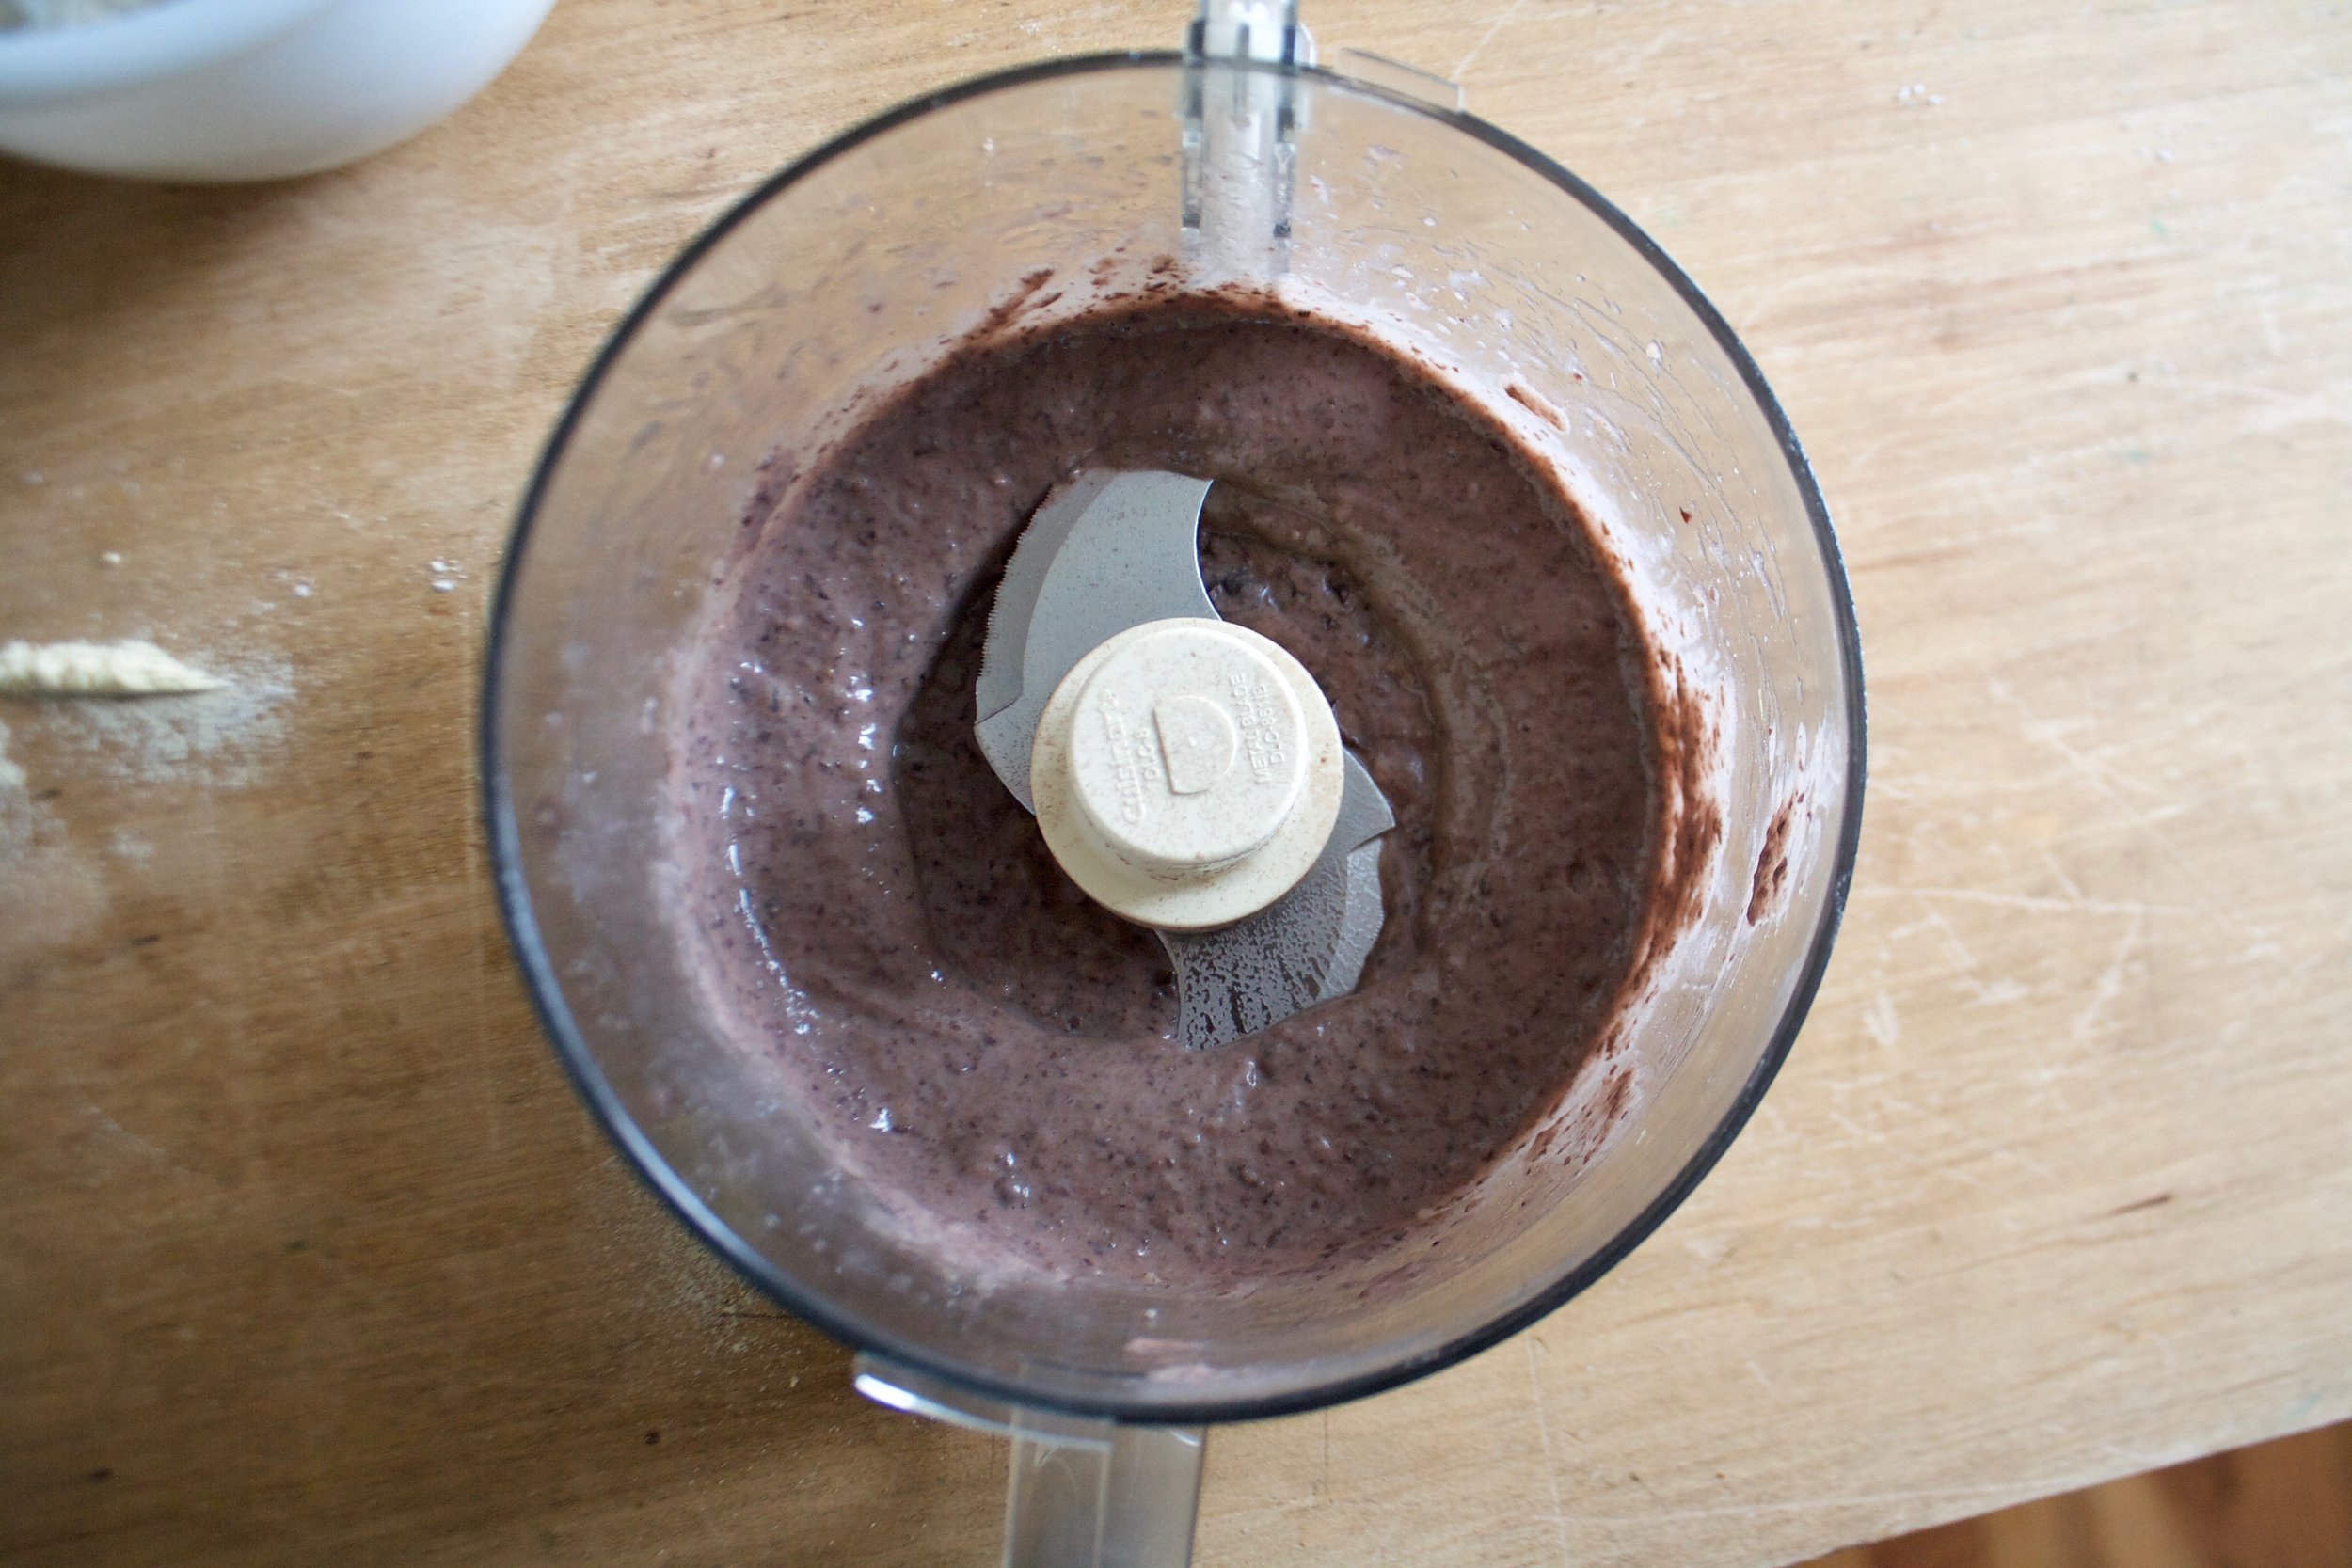
Chunks of fresh tomato go into blender and get blended up all nice and smooth. Add in basil and oil and pulse until basil turns to little specks.

IMG_0913.jpg

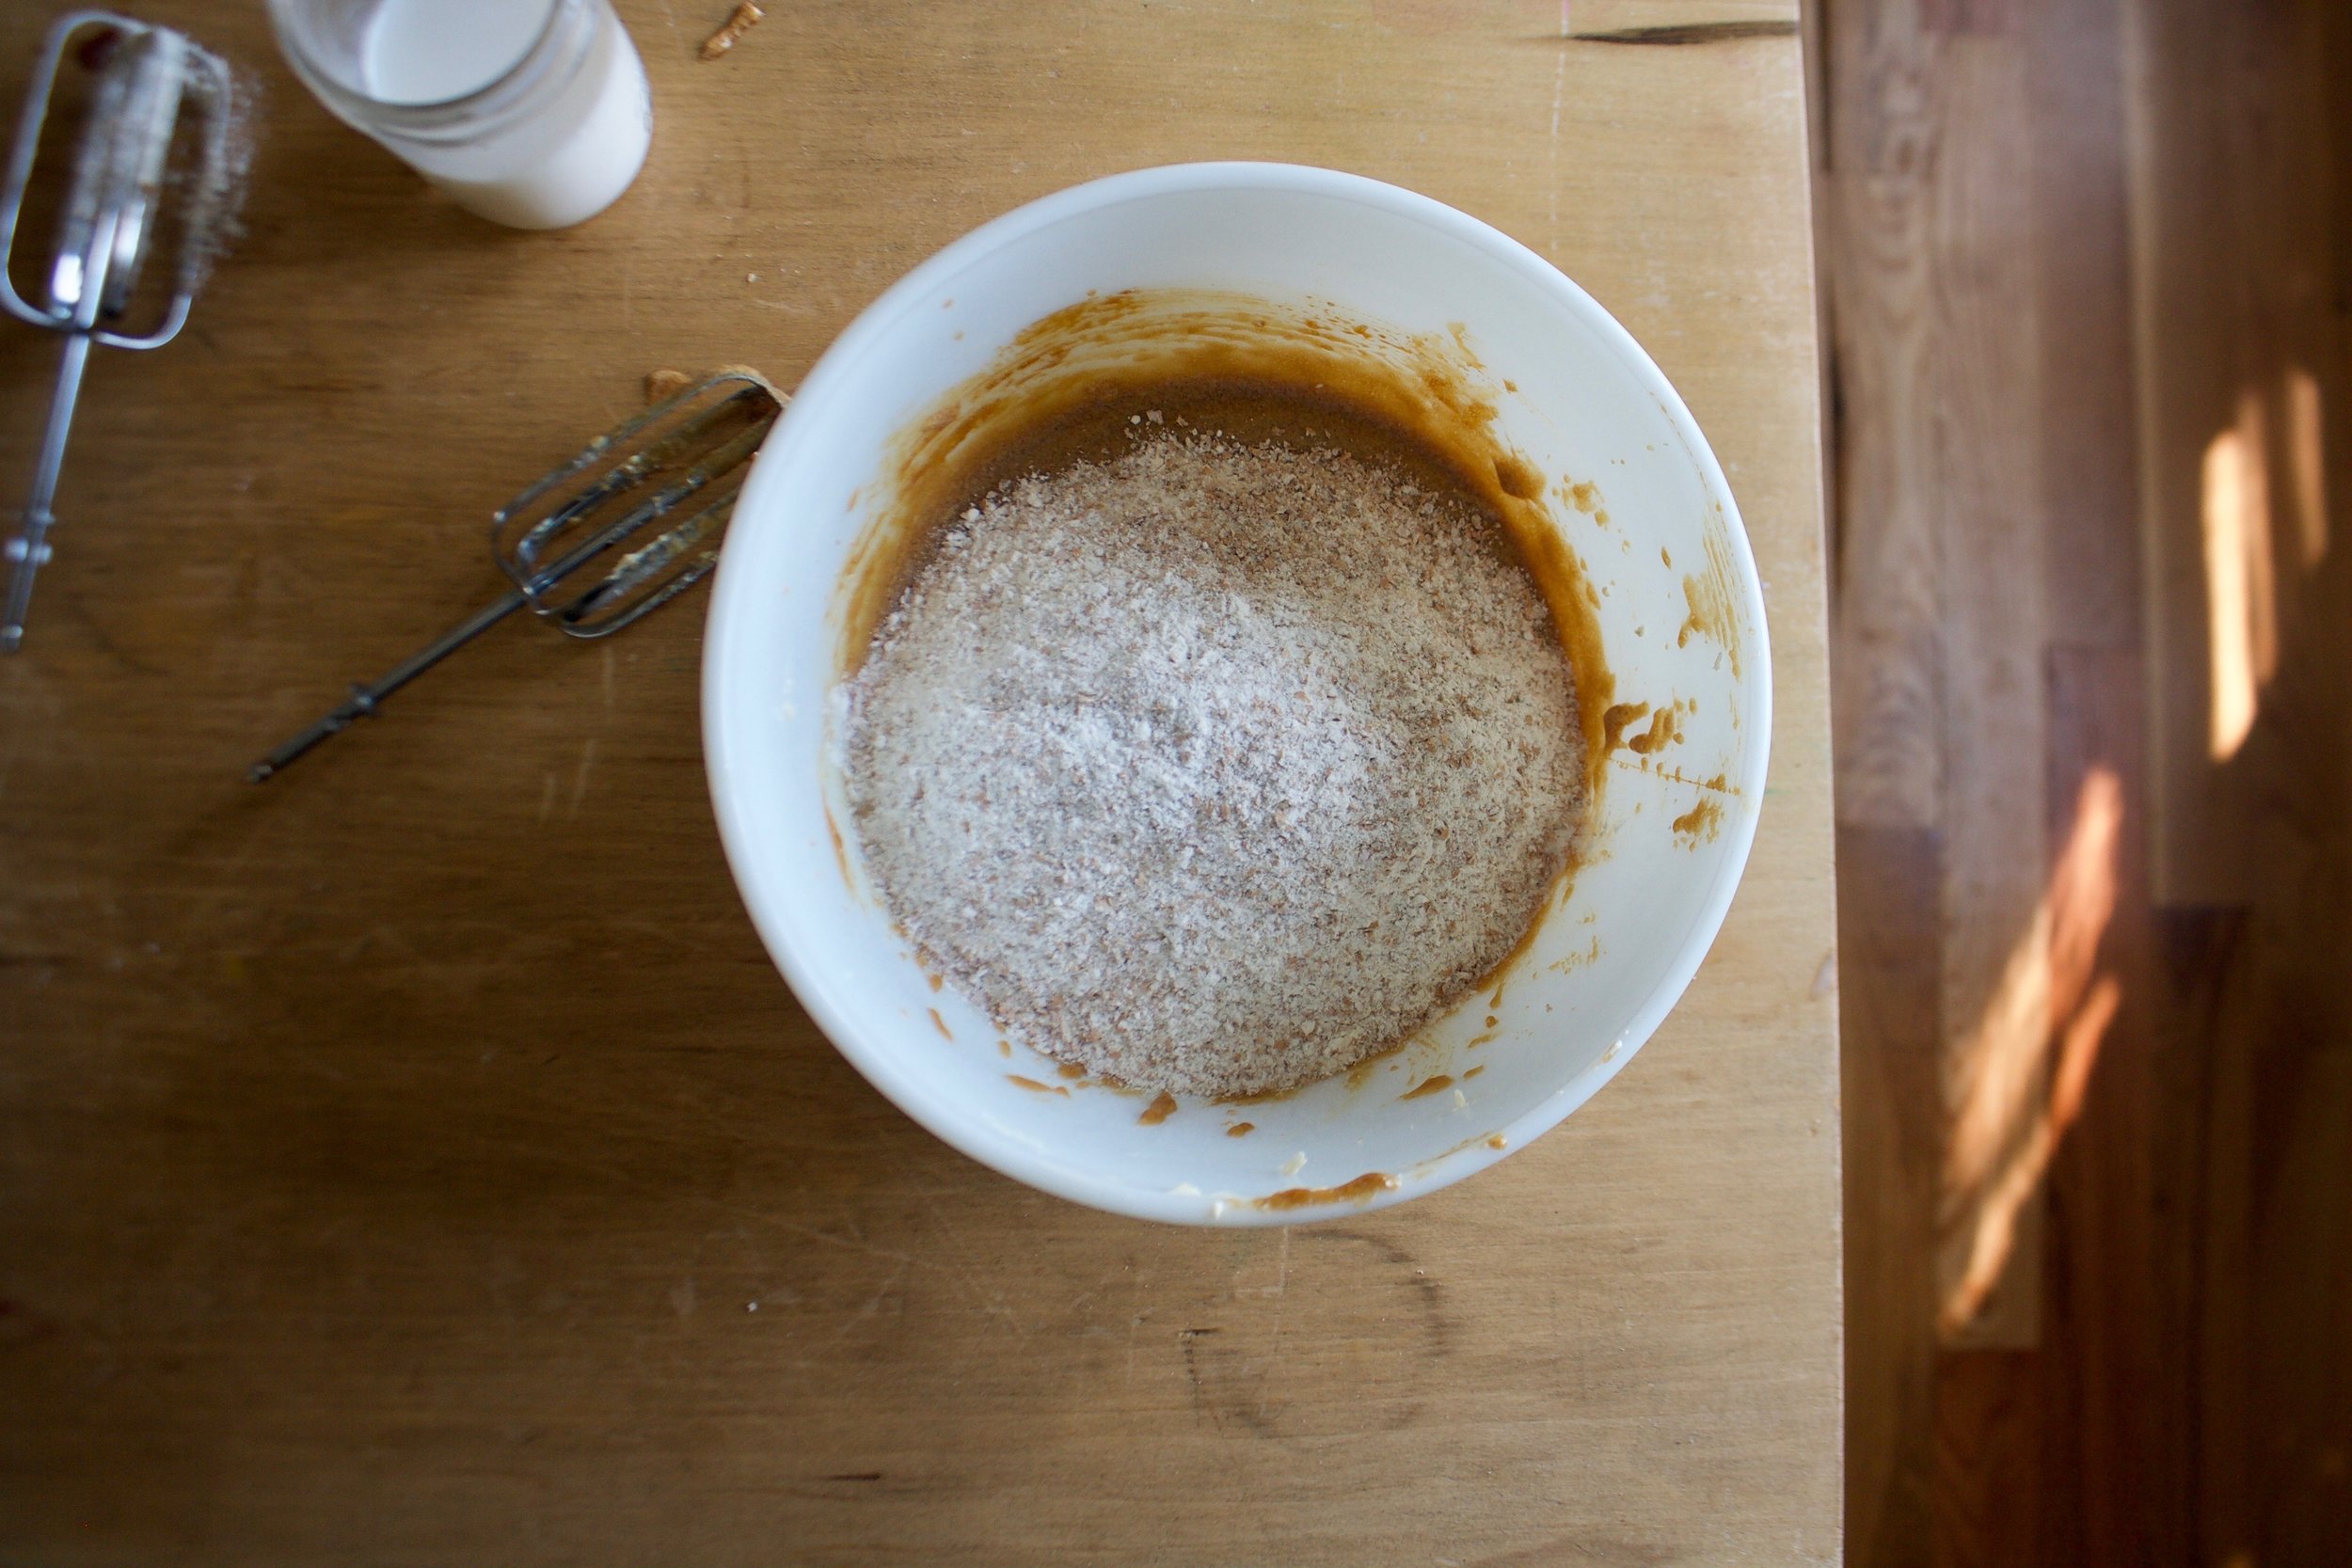
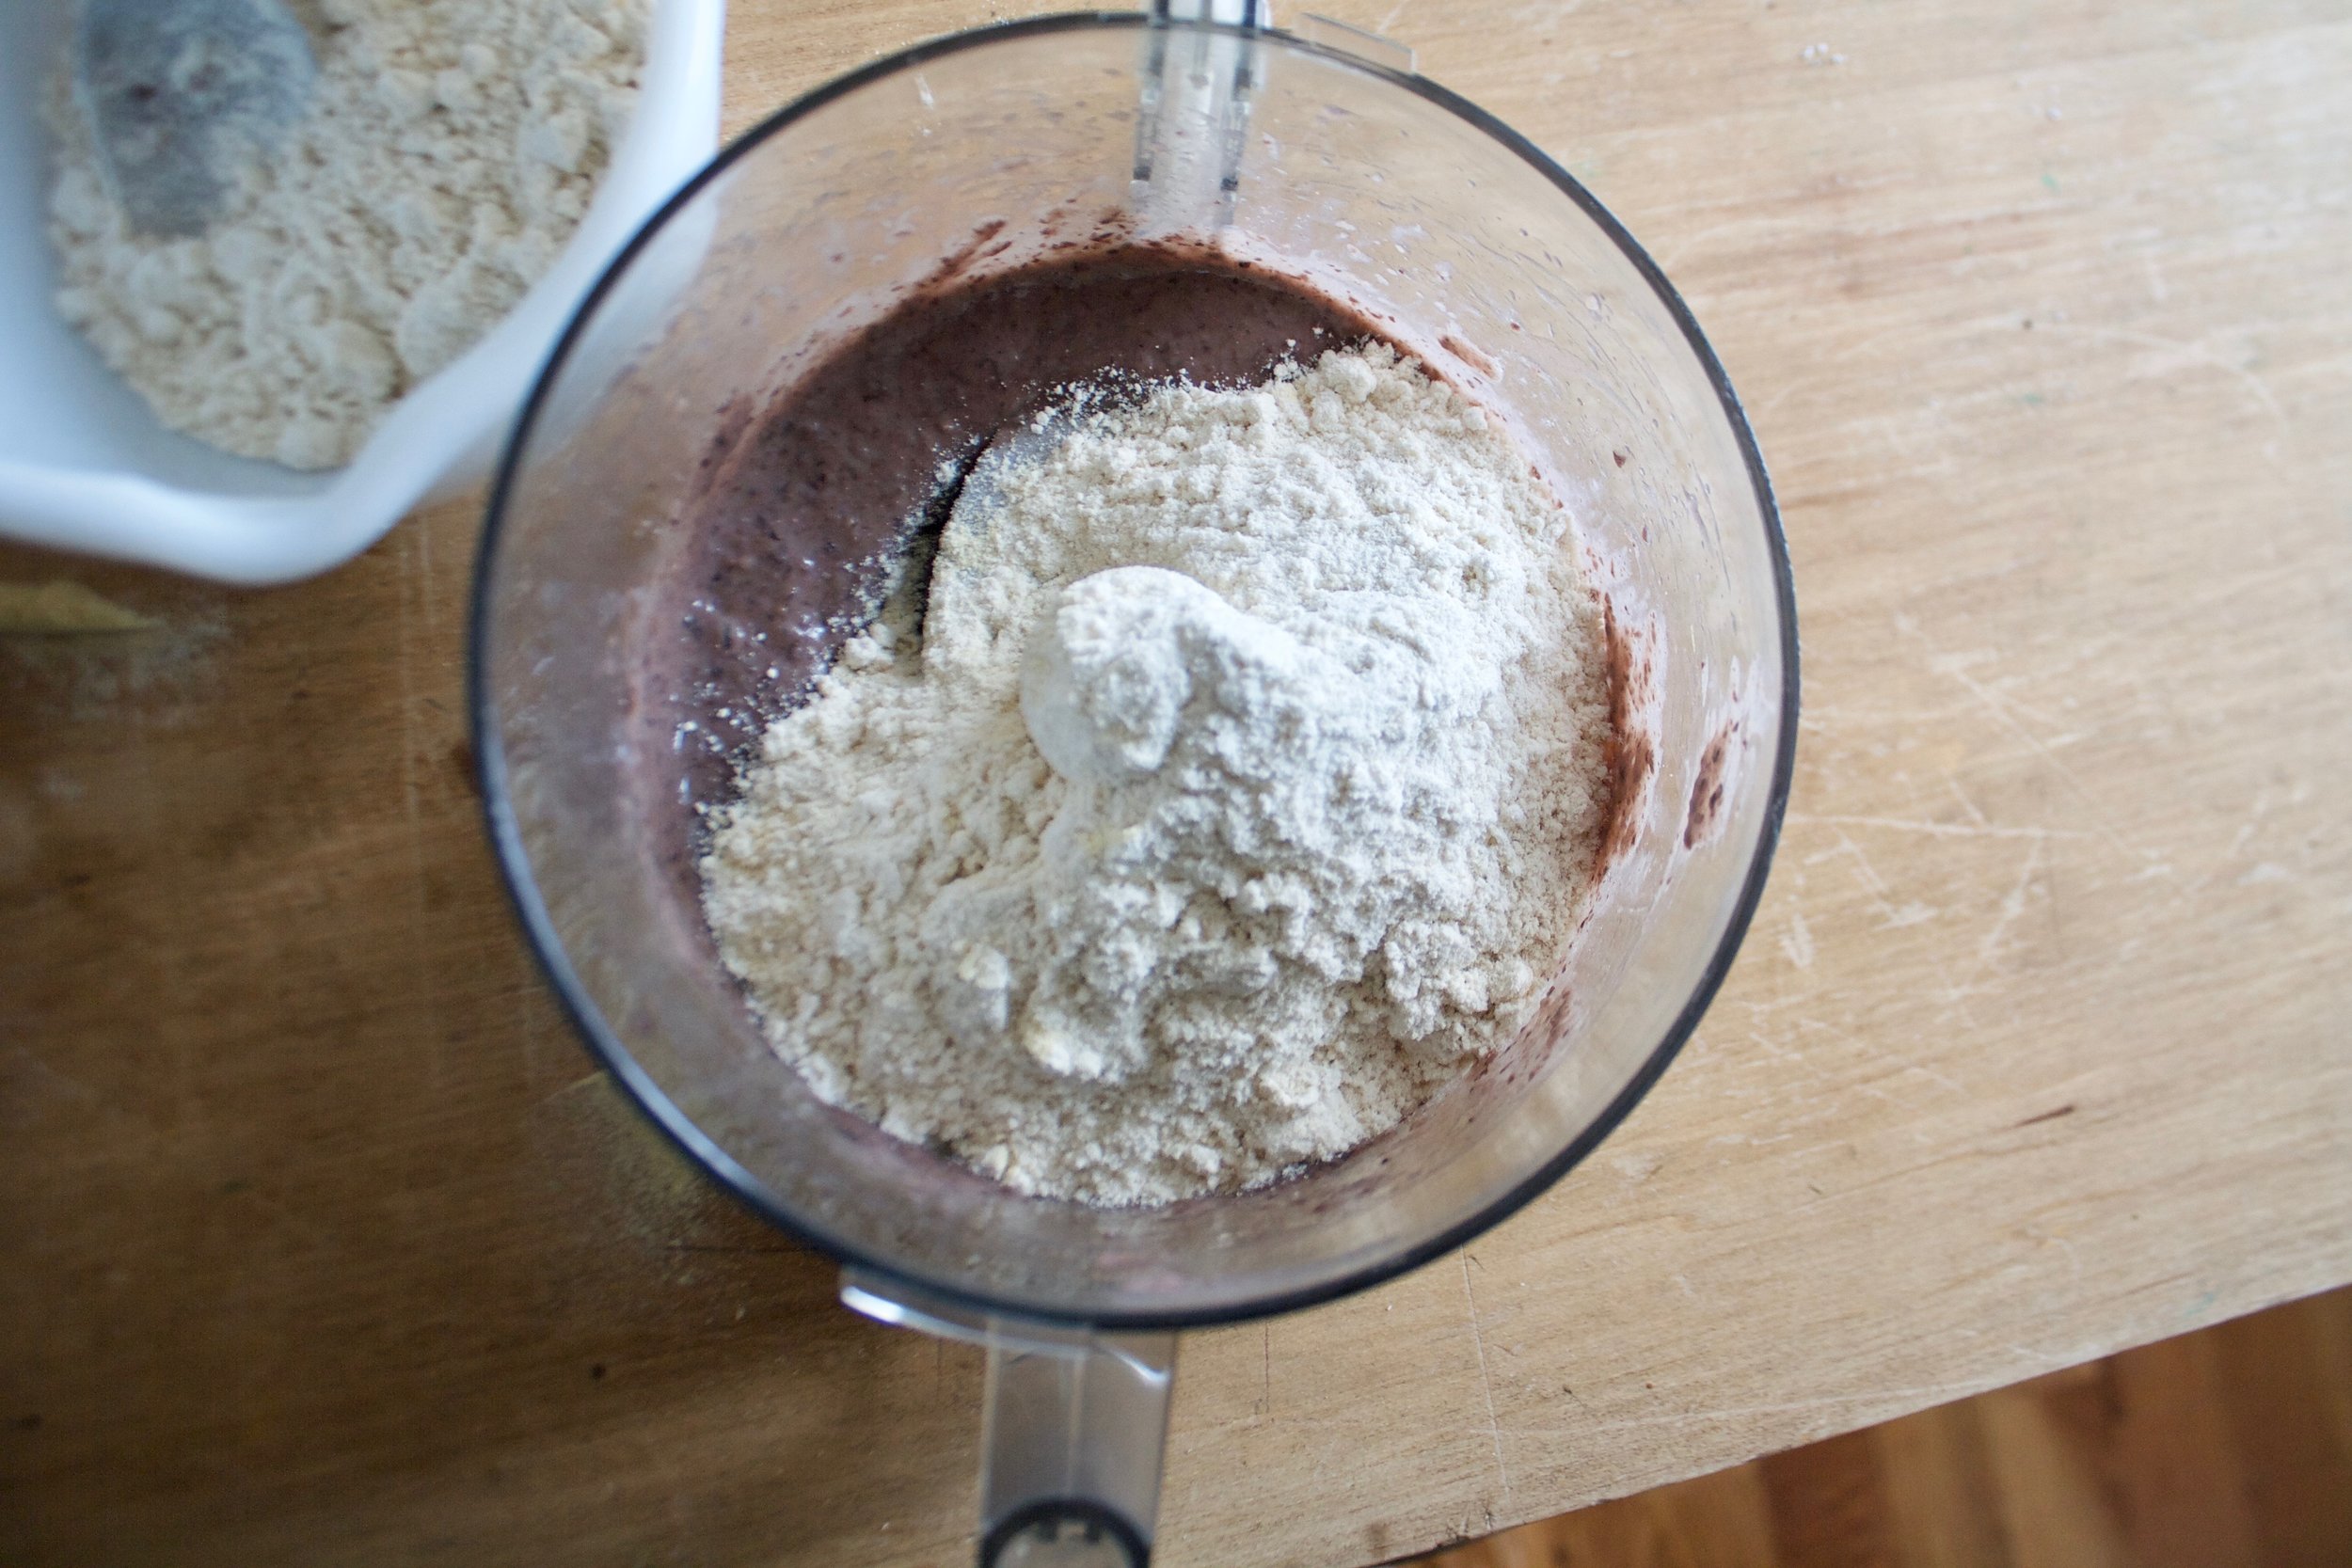
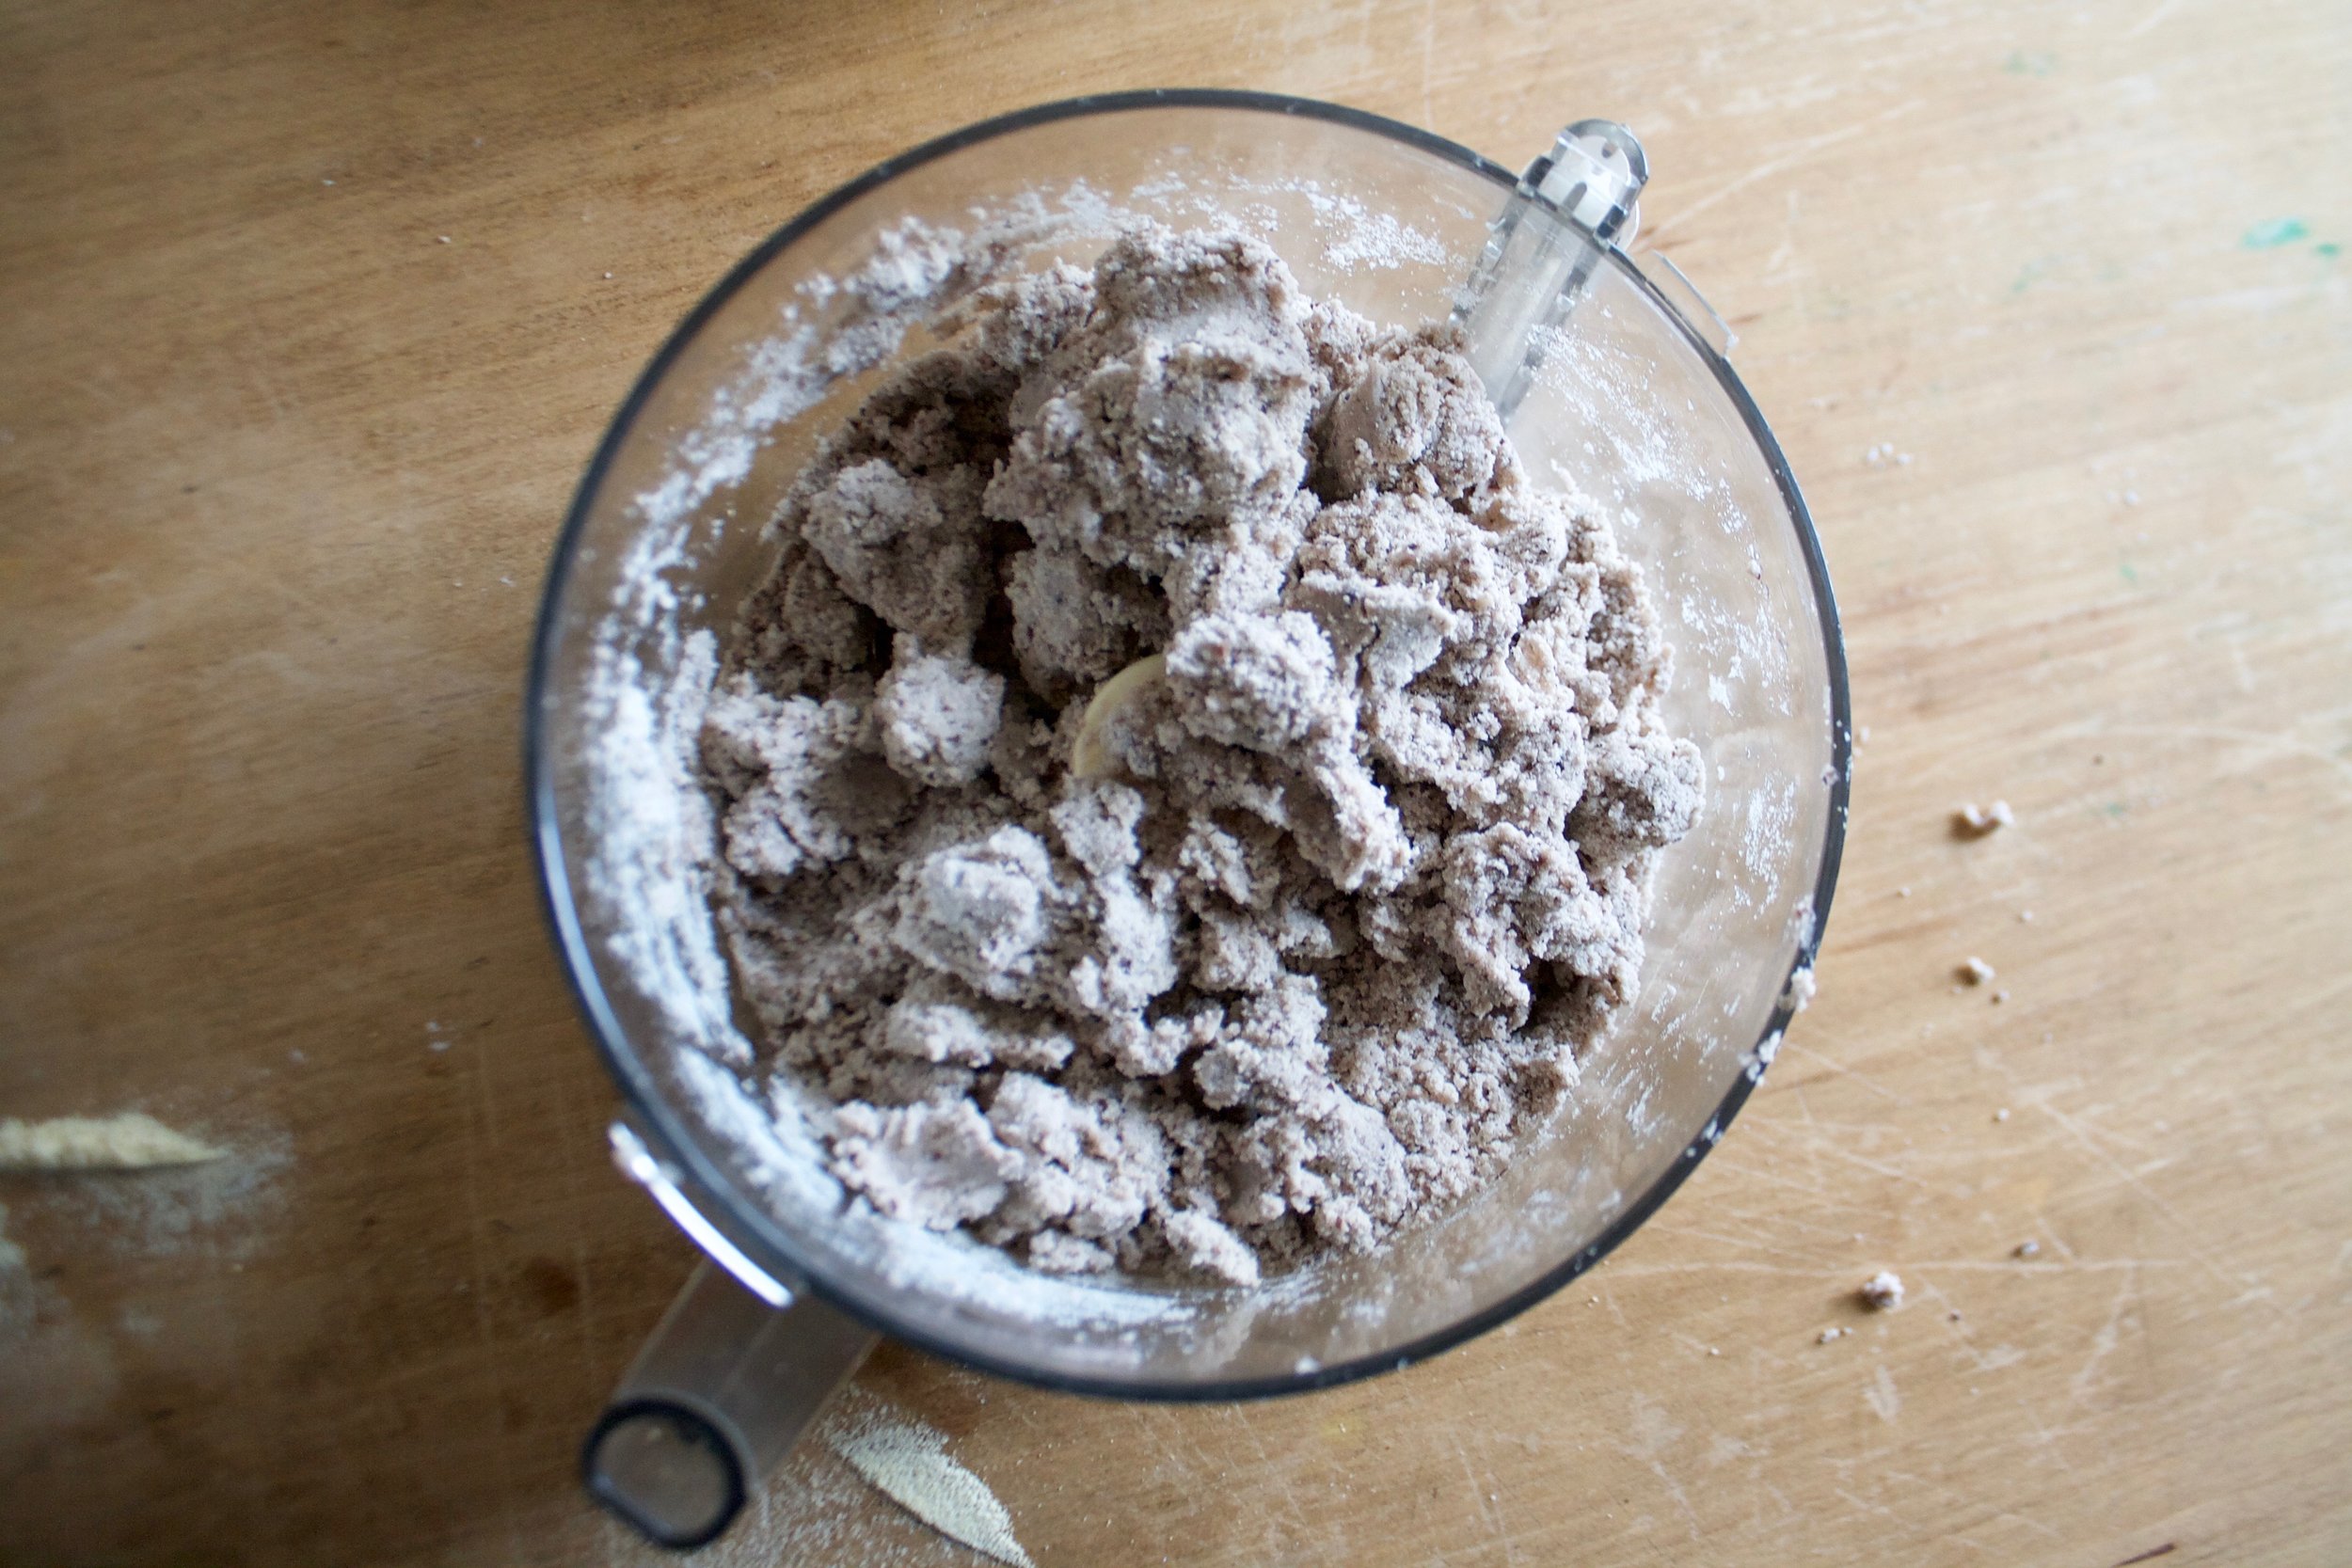
Pour the blended mixture into the flour.

IMG_0917.jpg

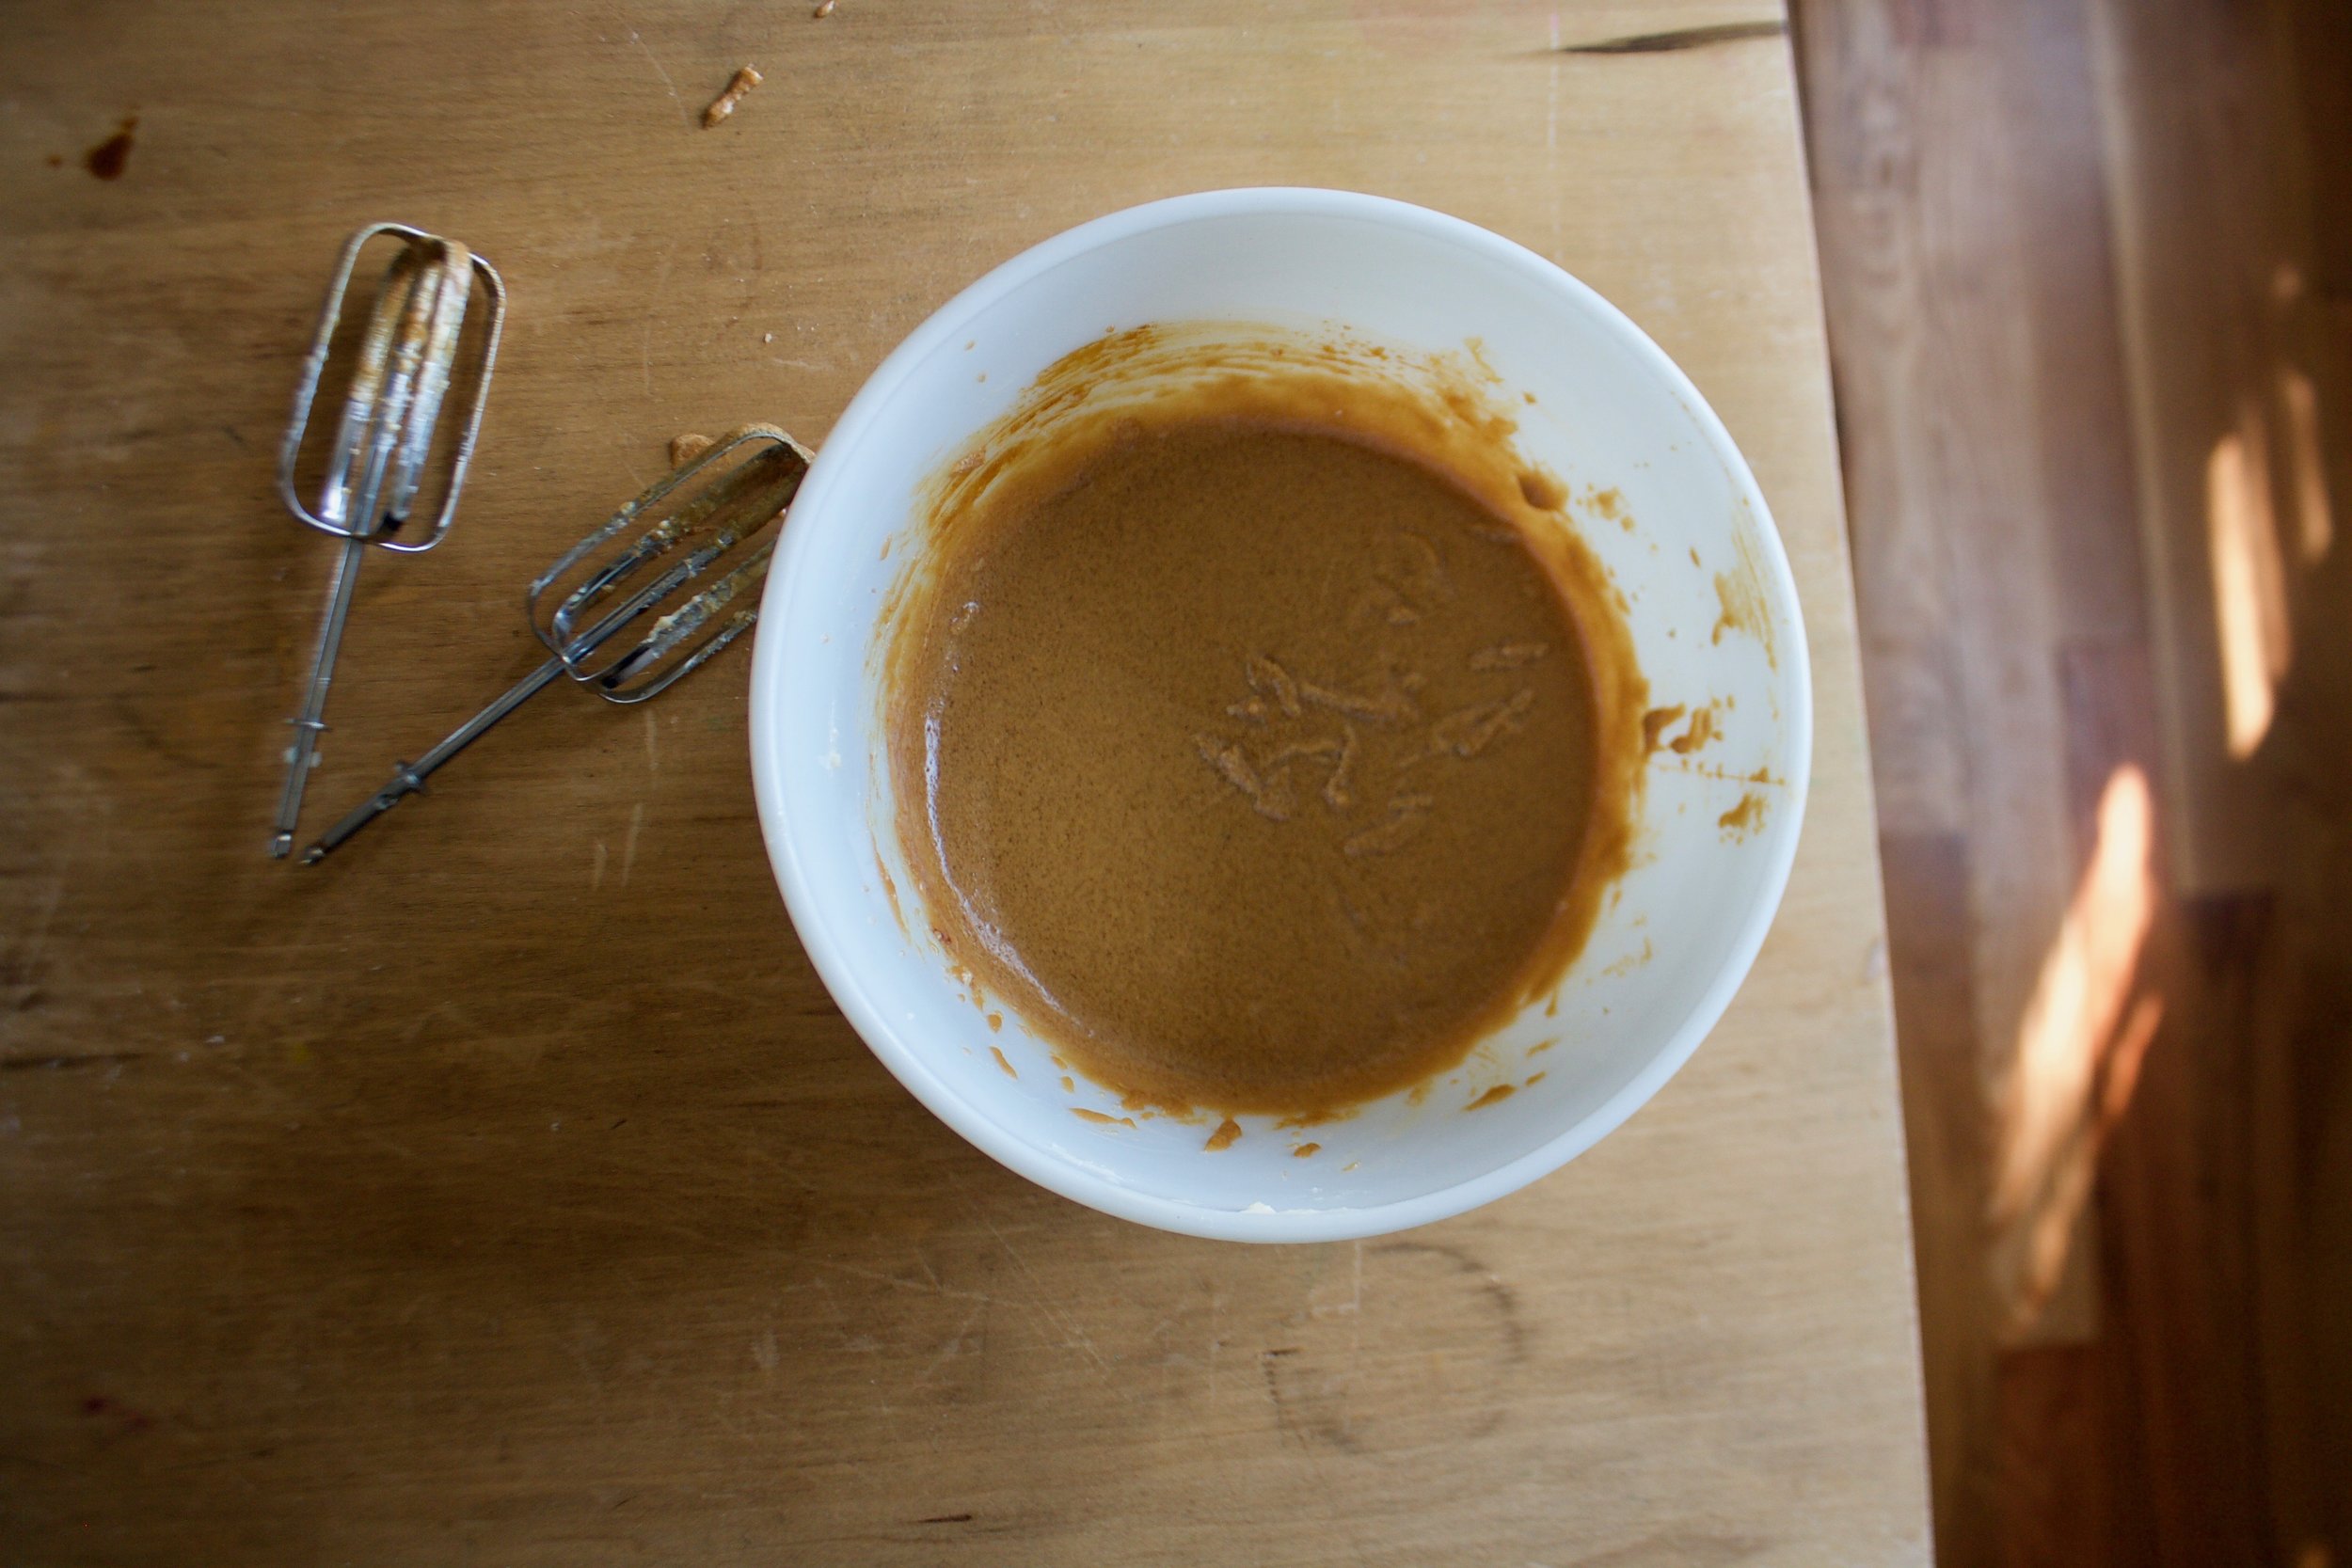
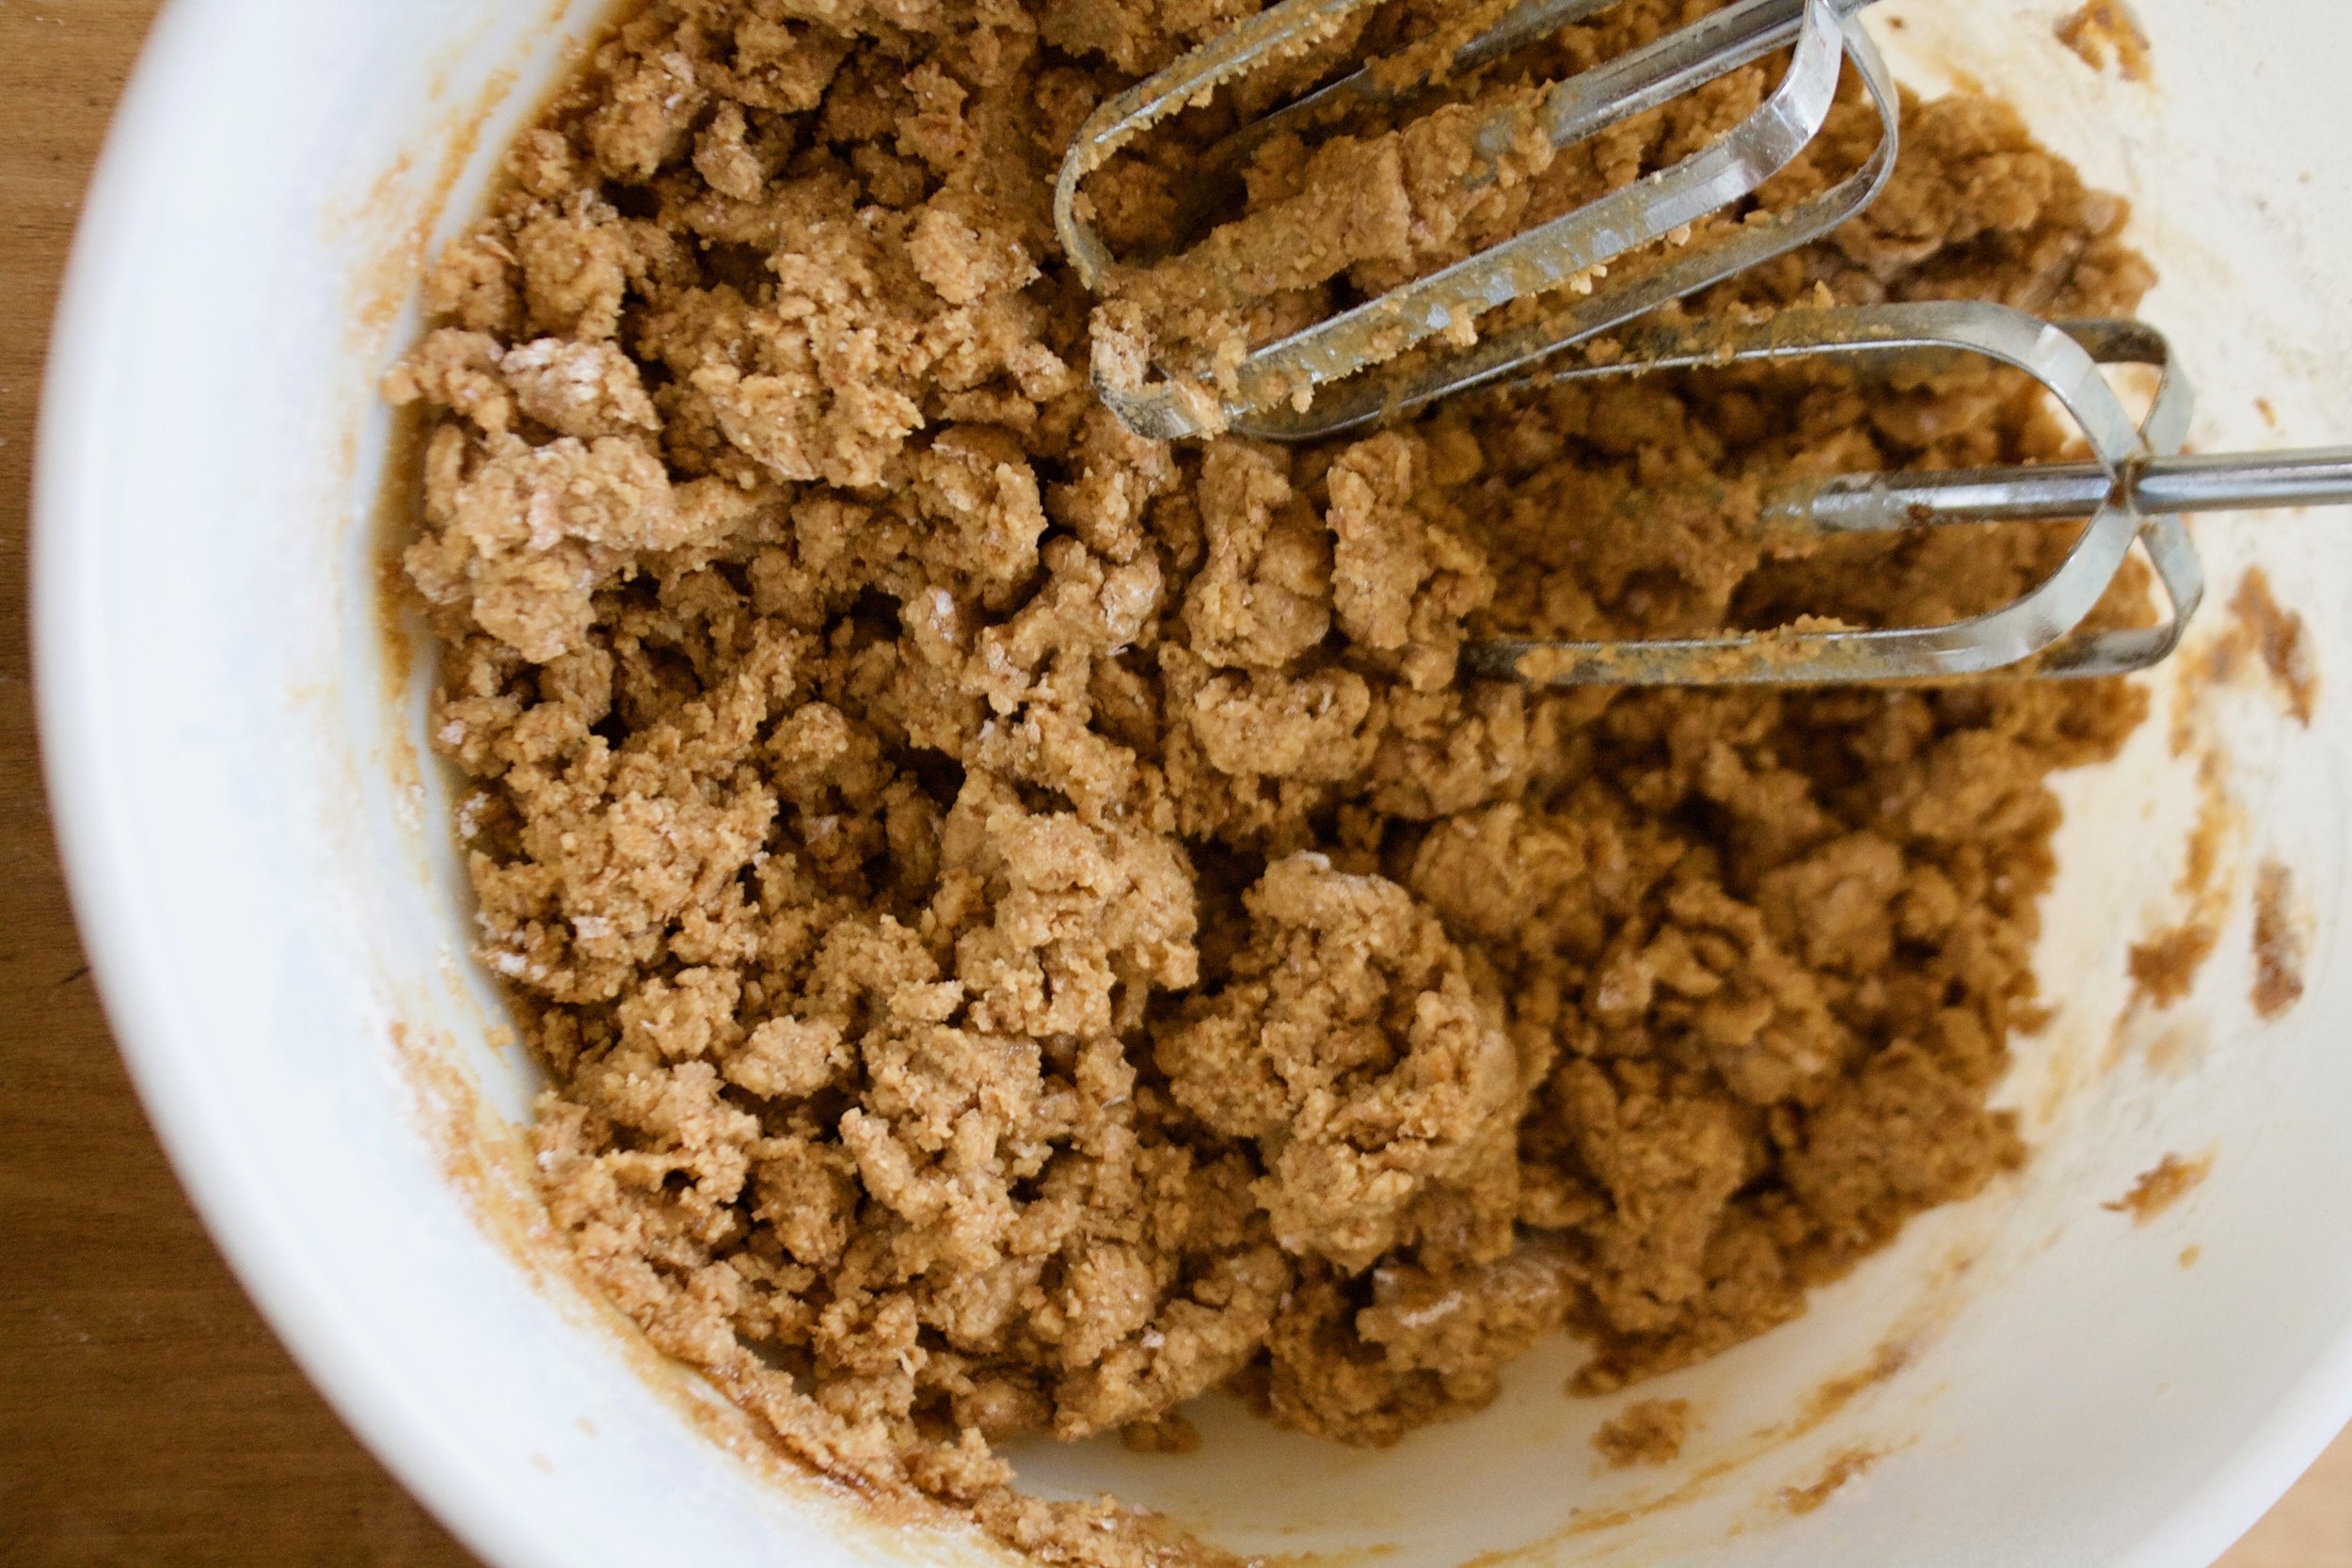
Mix with a spoon until you can't mix anymore then dump onto the counter.

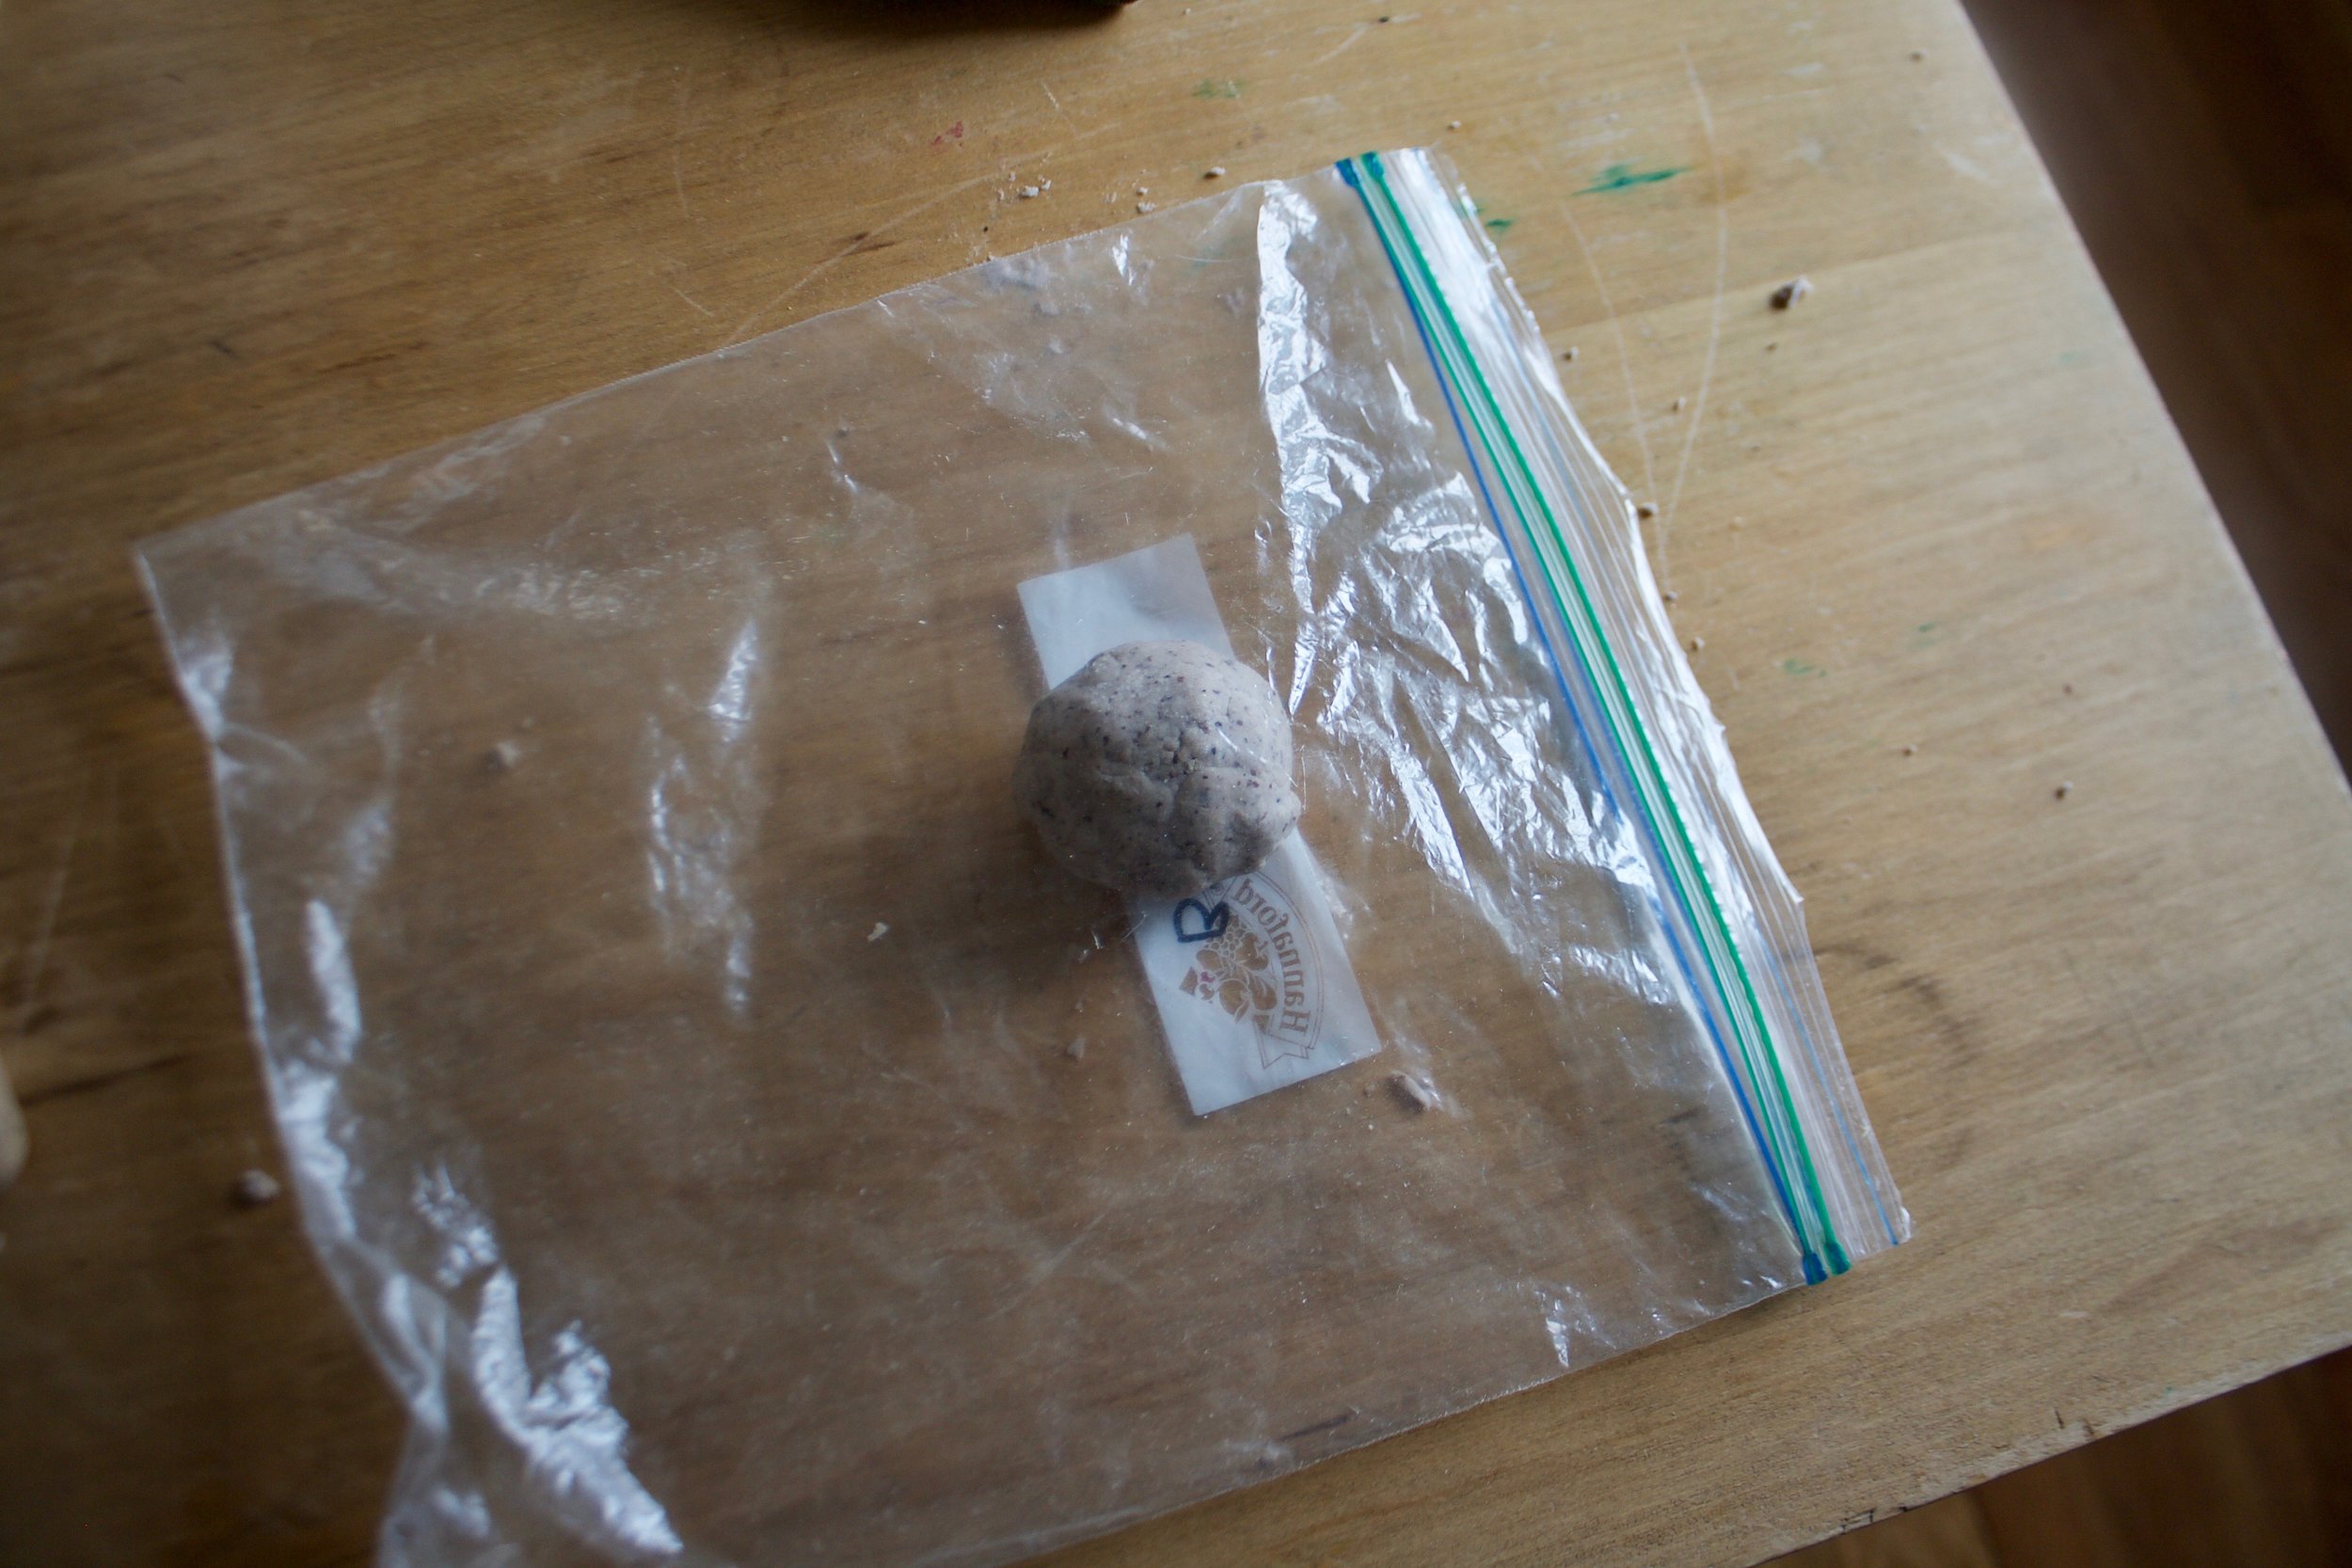
Keeping the counter nice and floured, knead dough for a minute until it all comes together into nice ball.

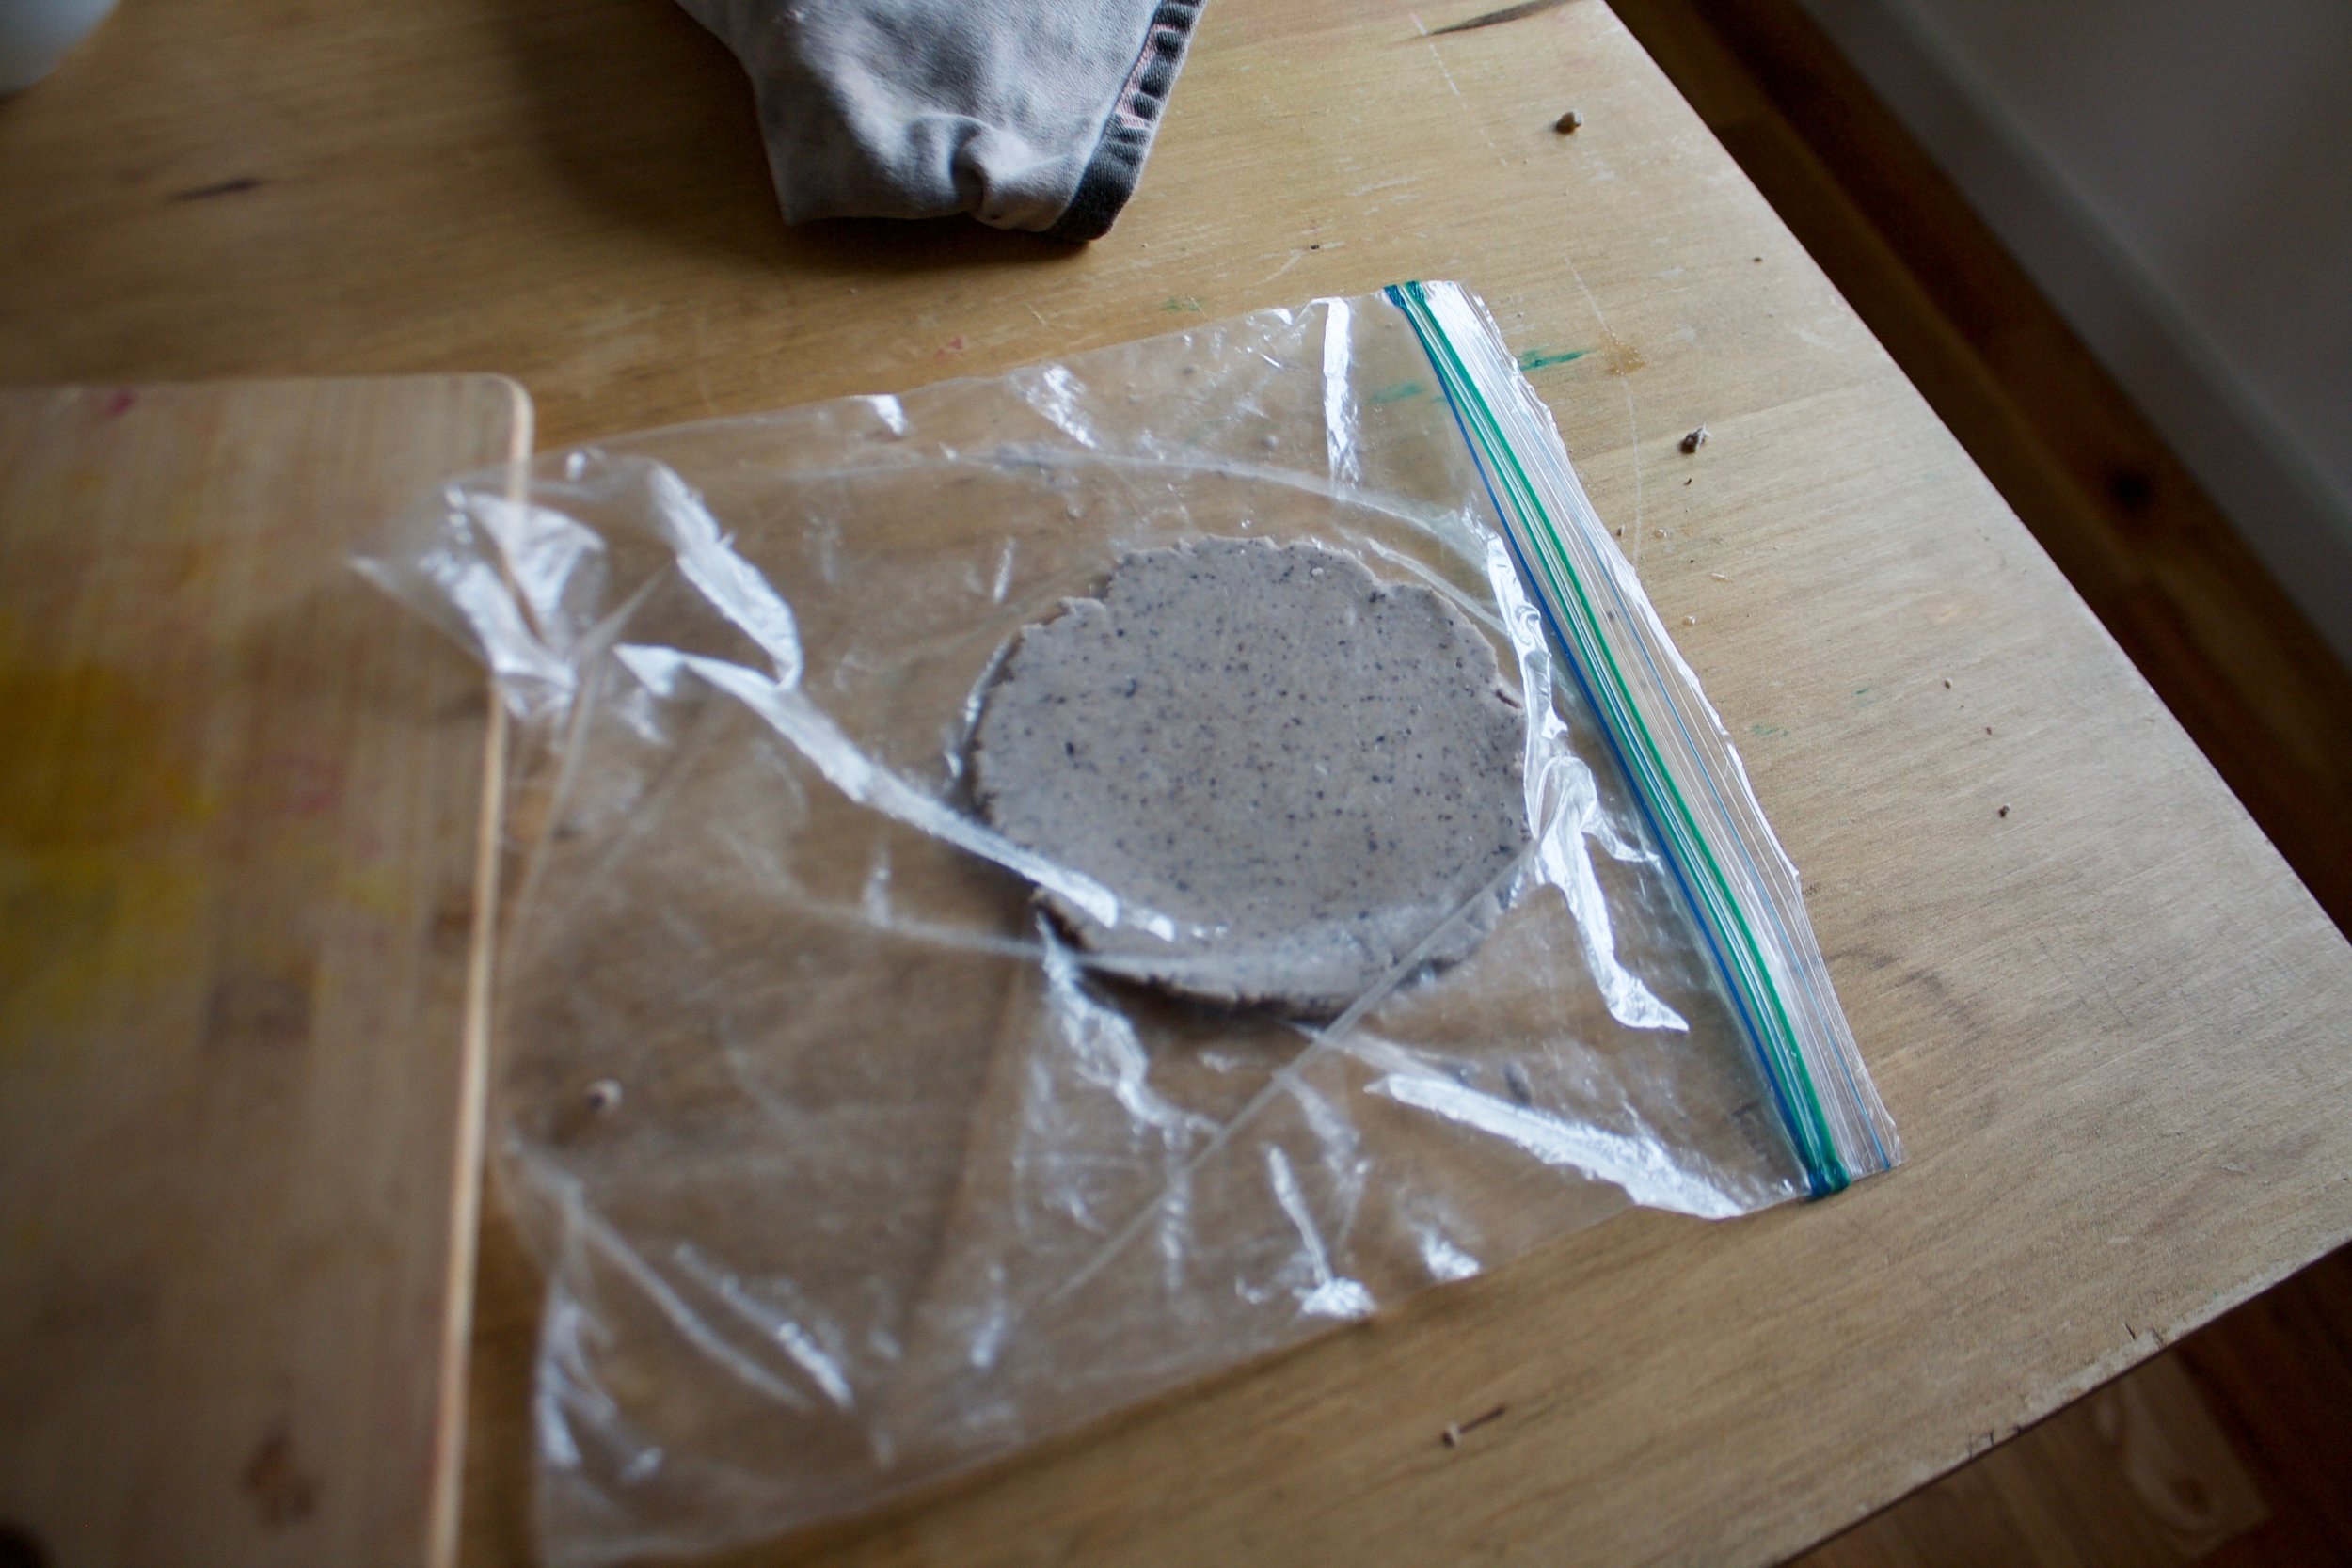
Working with half of the dough at a time, roll out one of the pieces  about 1/4-1/8 inch thick.  (really flour counter and rolling pin) 

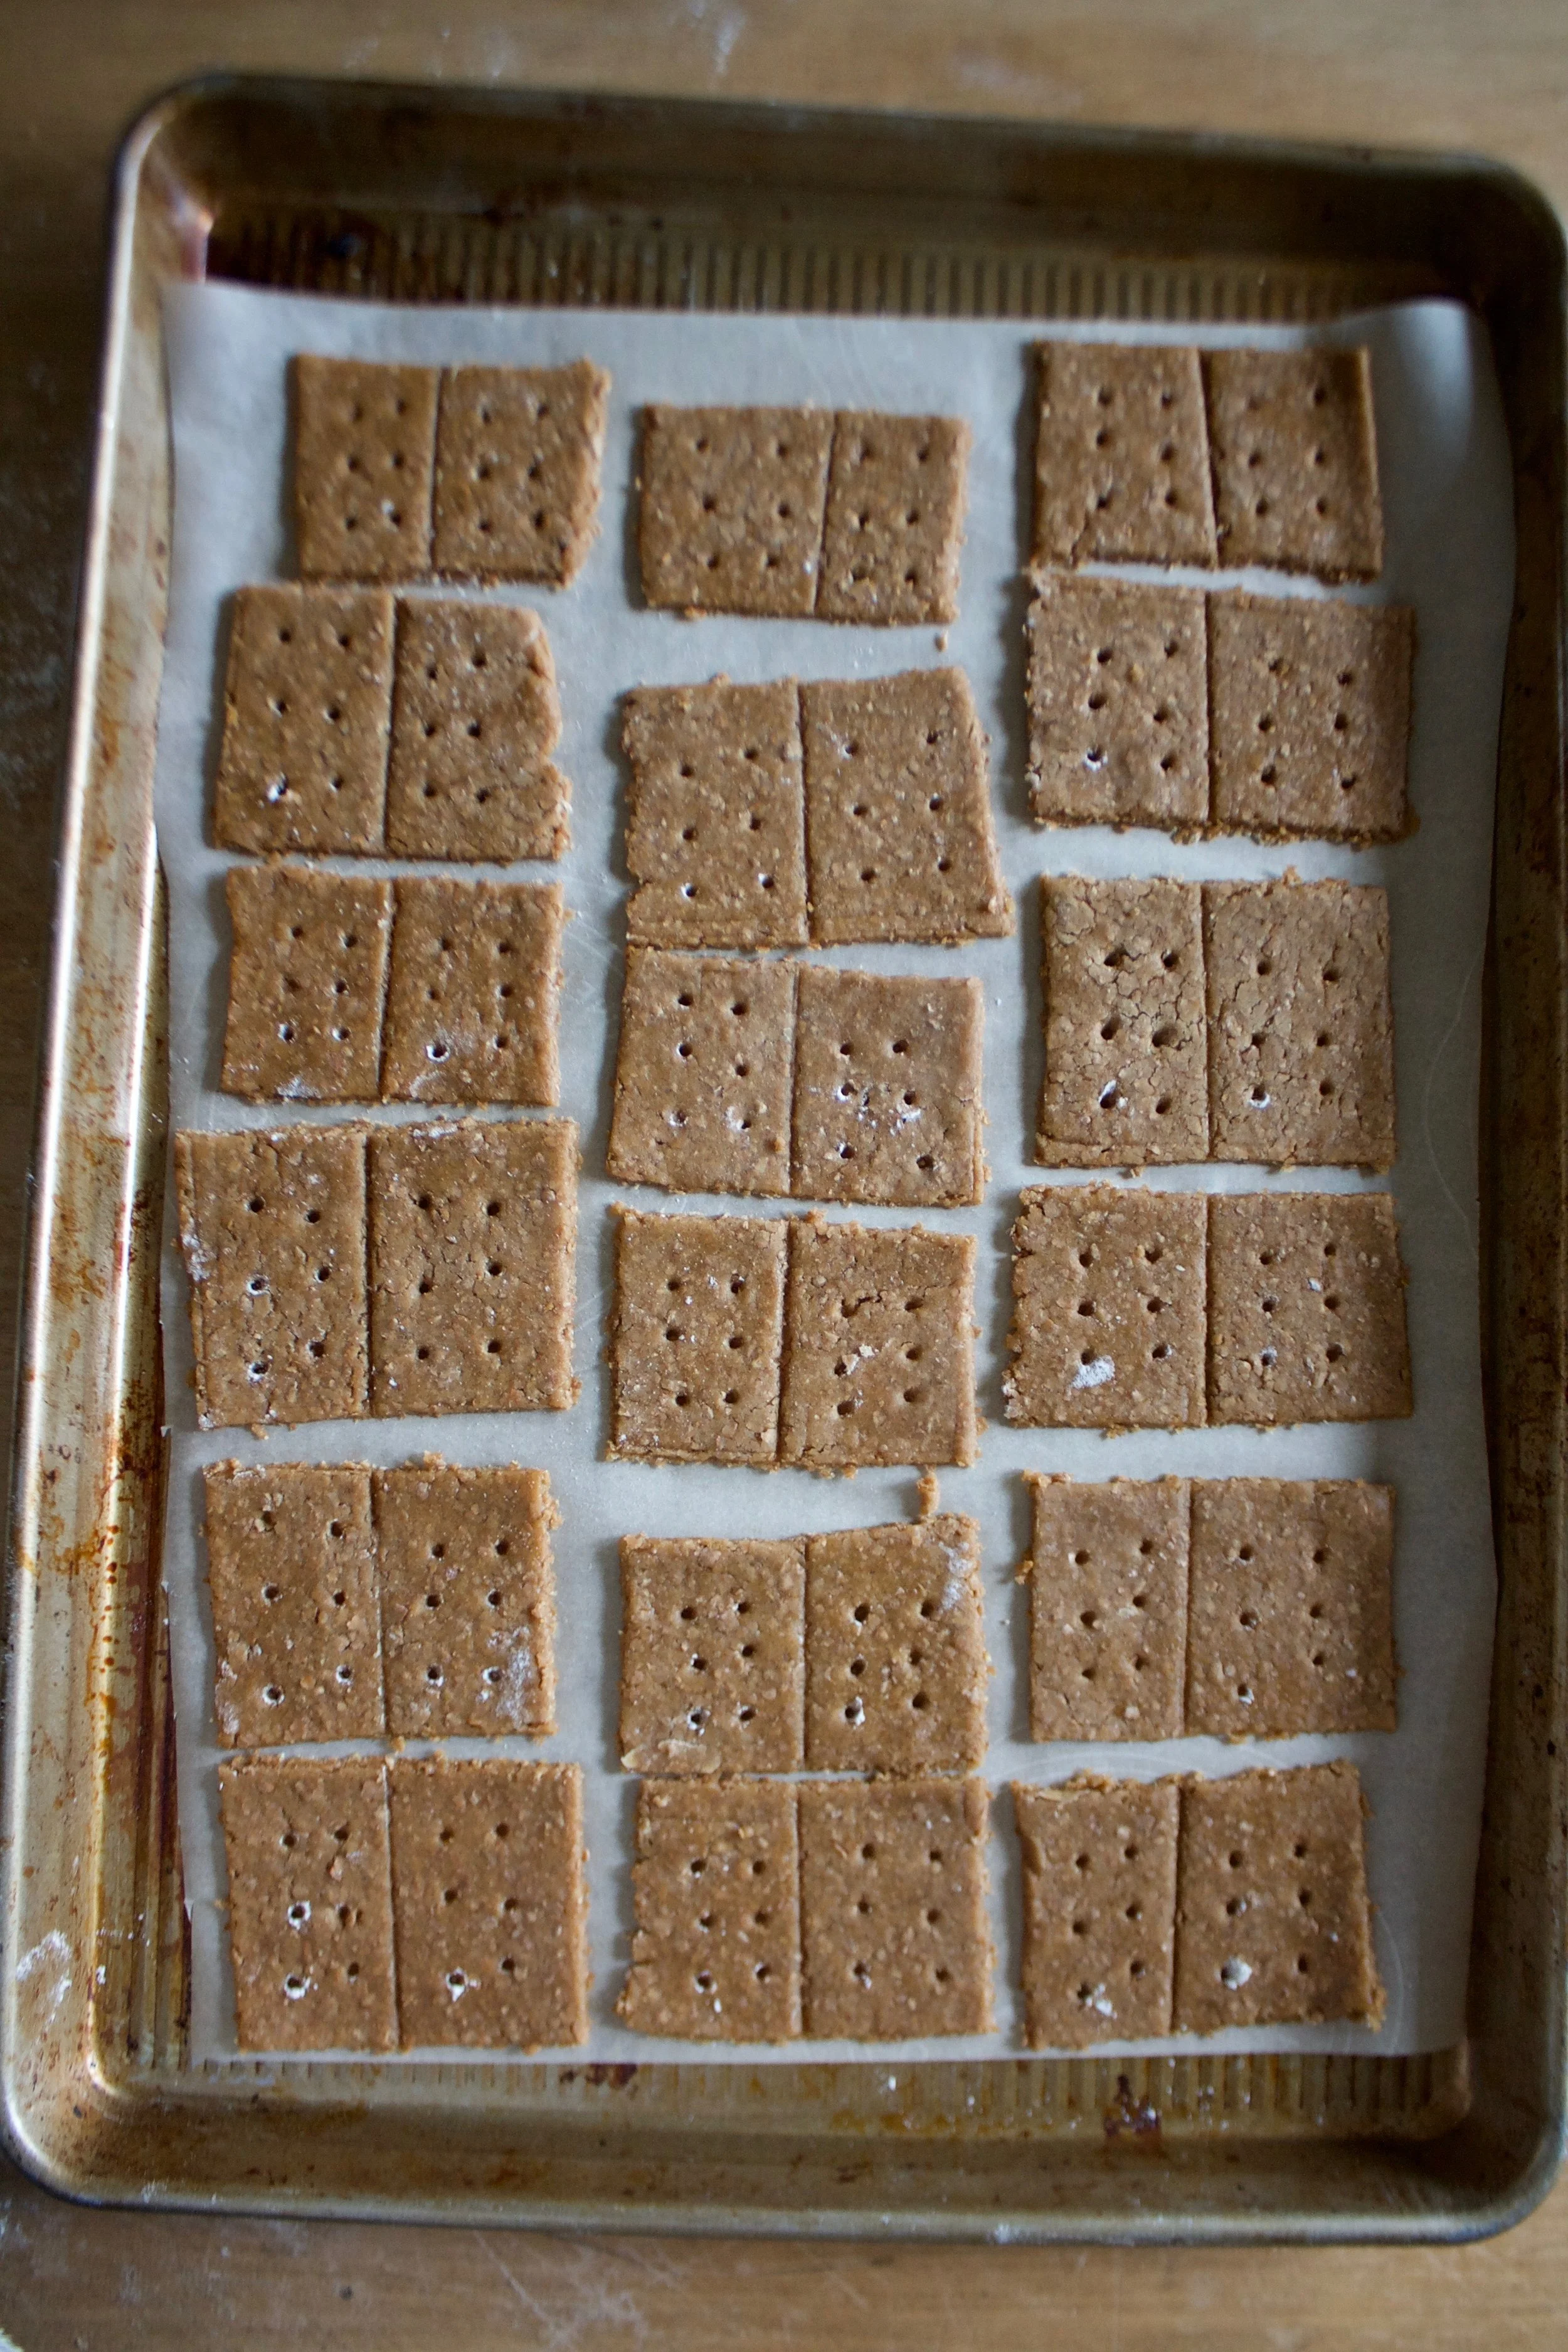
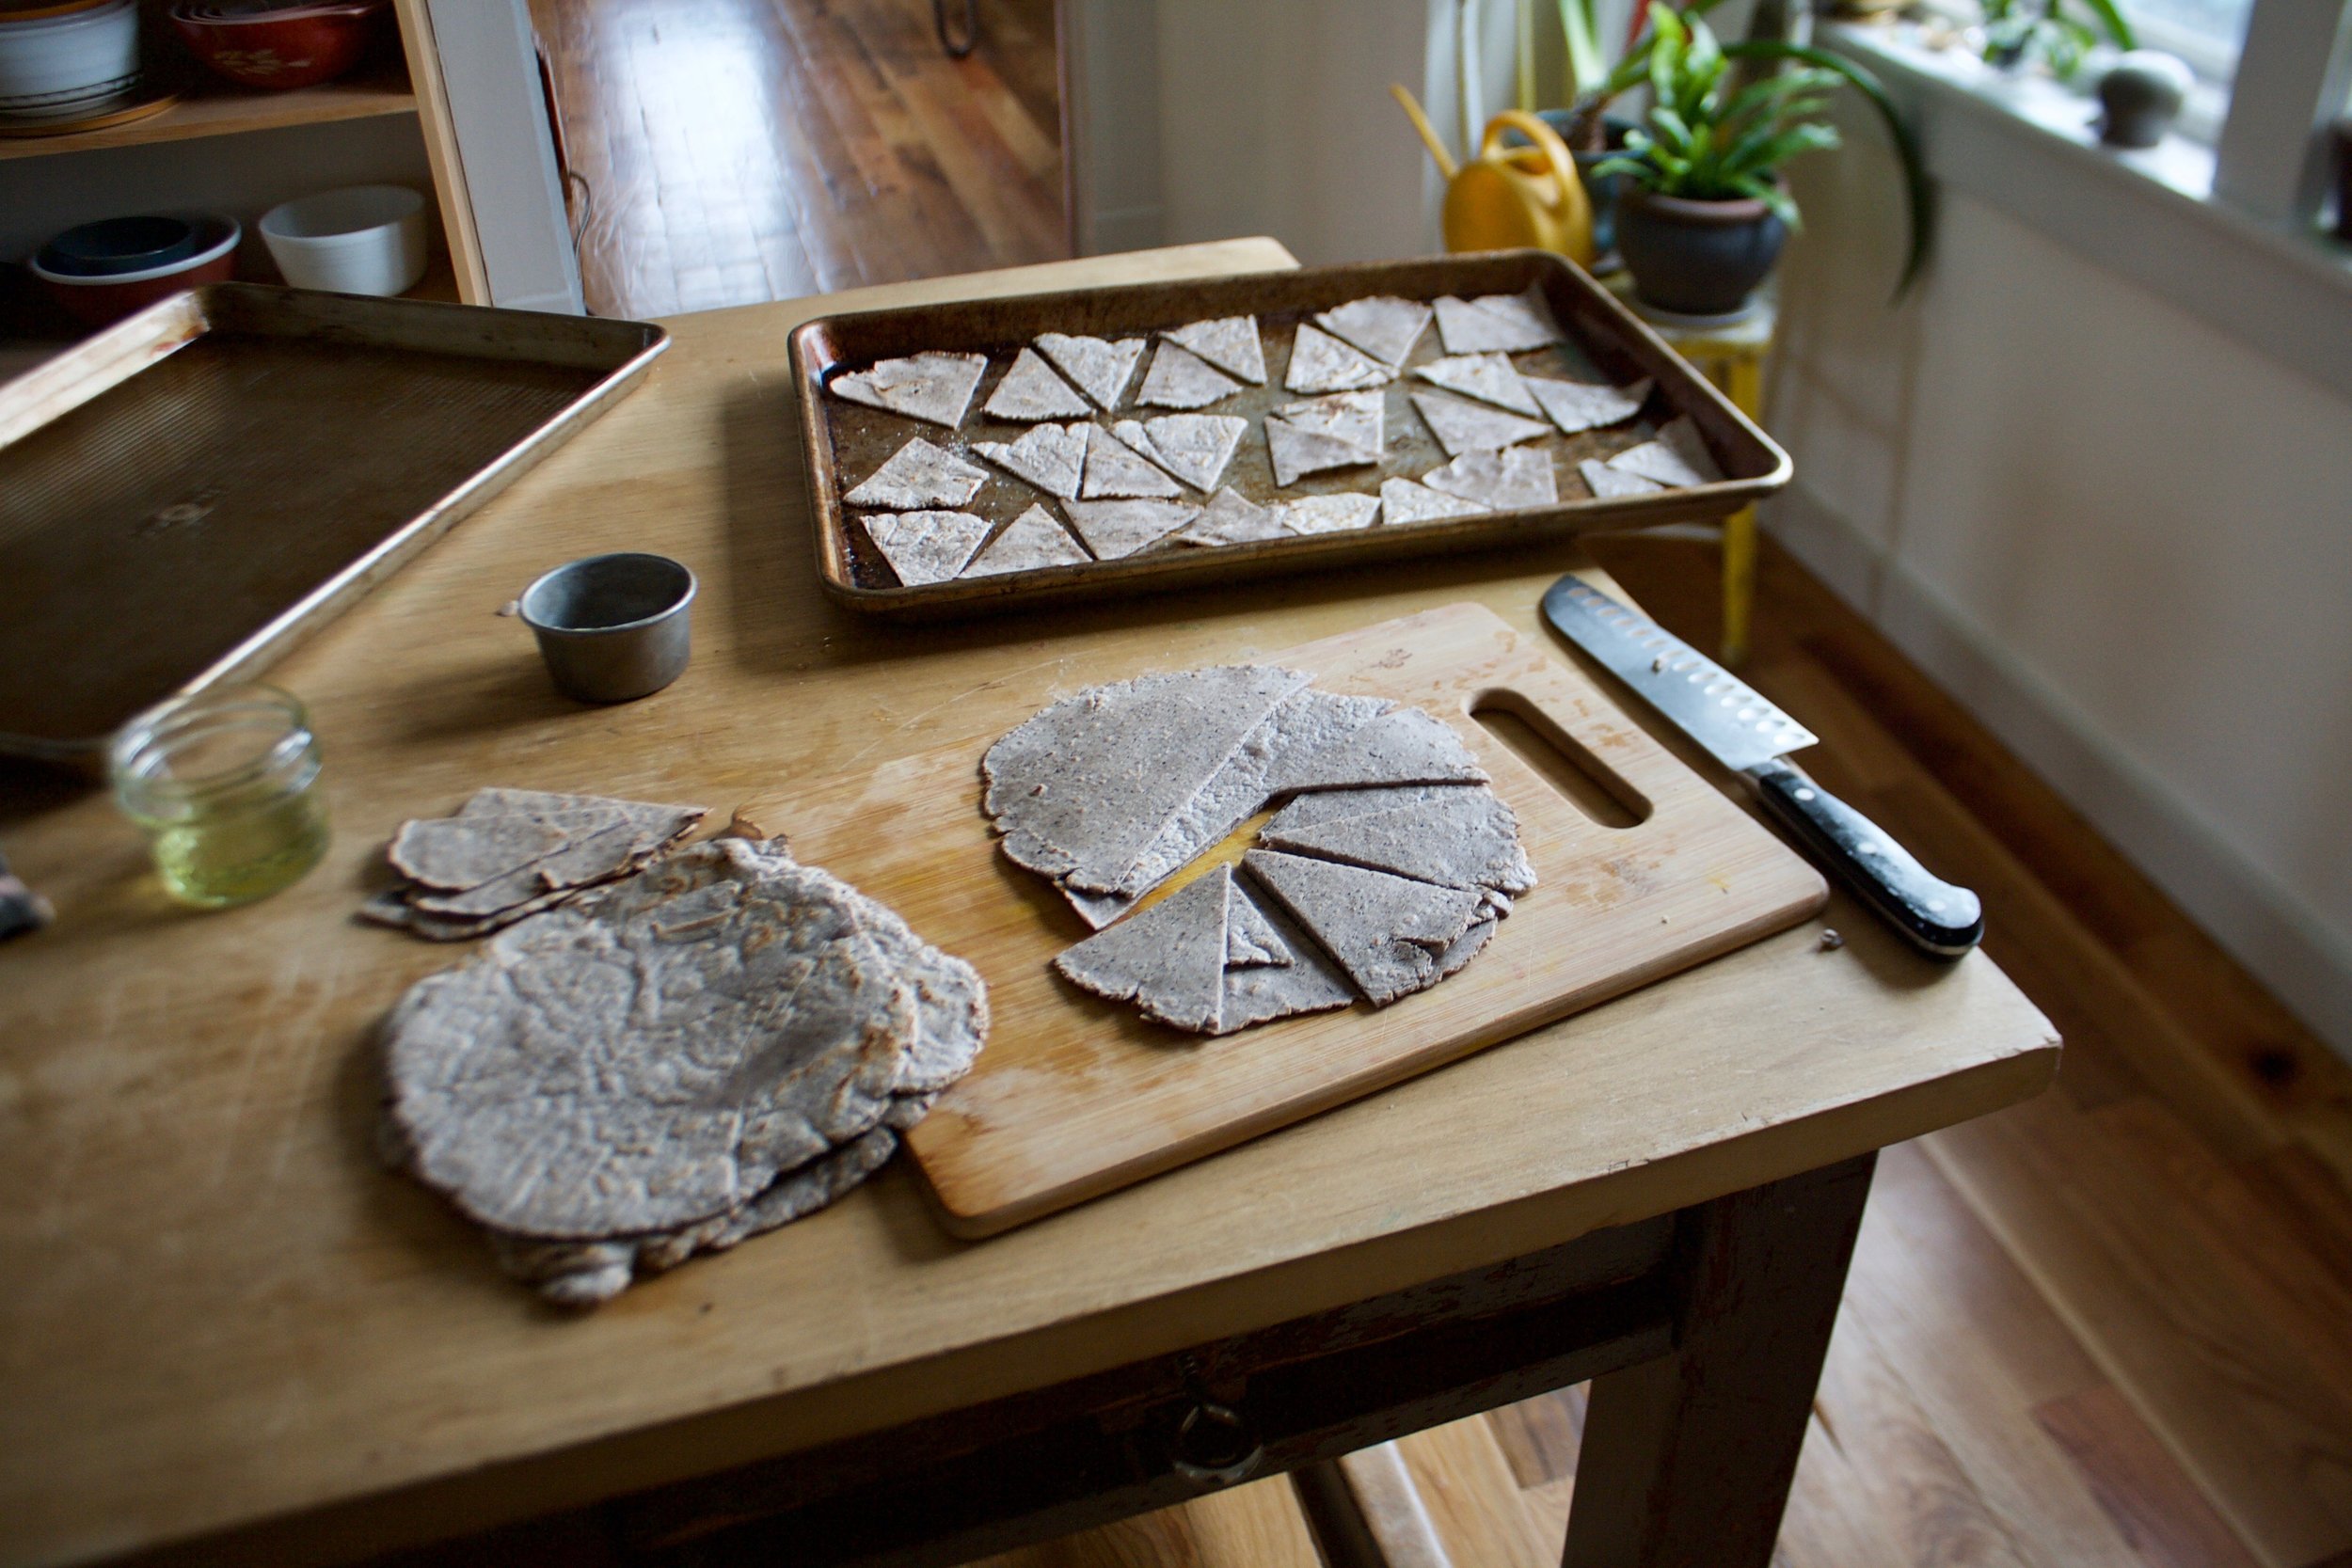
And cut into crackers.. Shapes are up to you, but inch to 2 inch squares are easies to cut. 

IMG_0947.jpg
IMG_0958.jpg

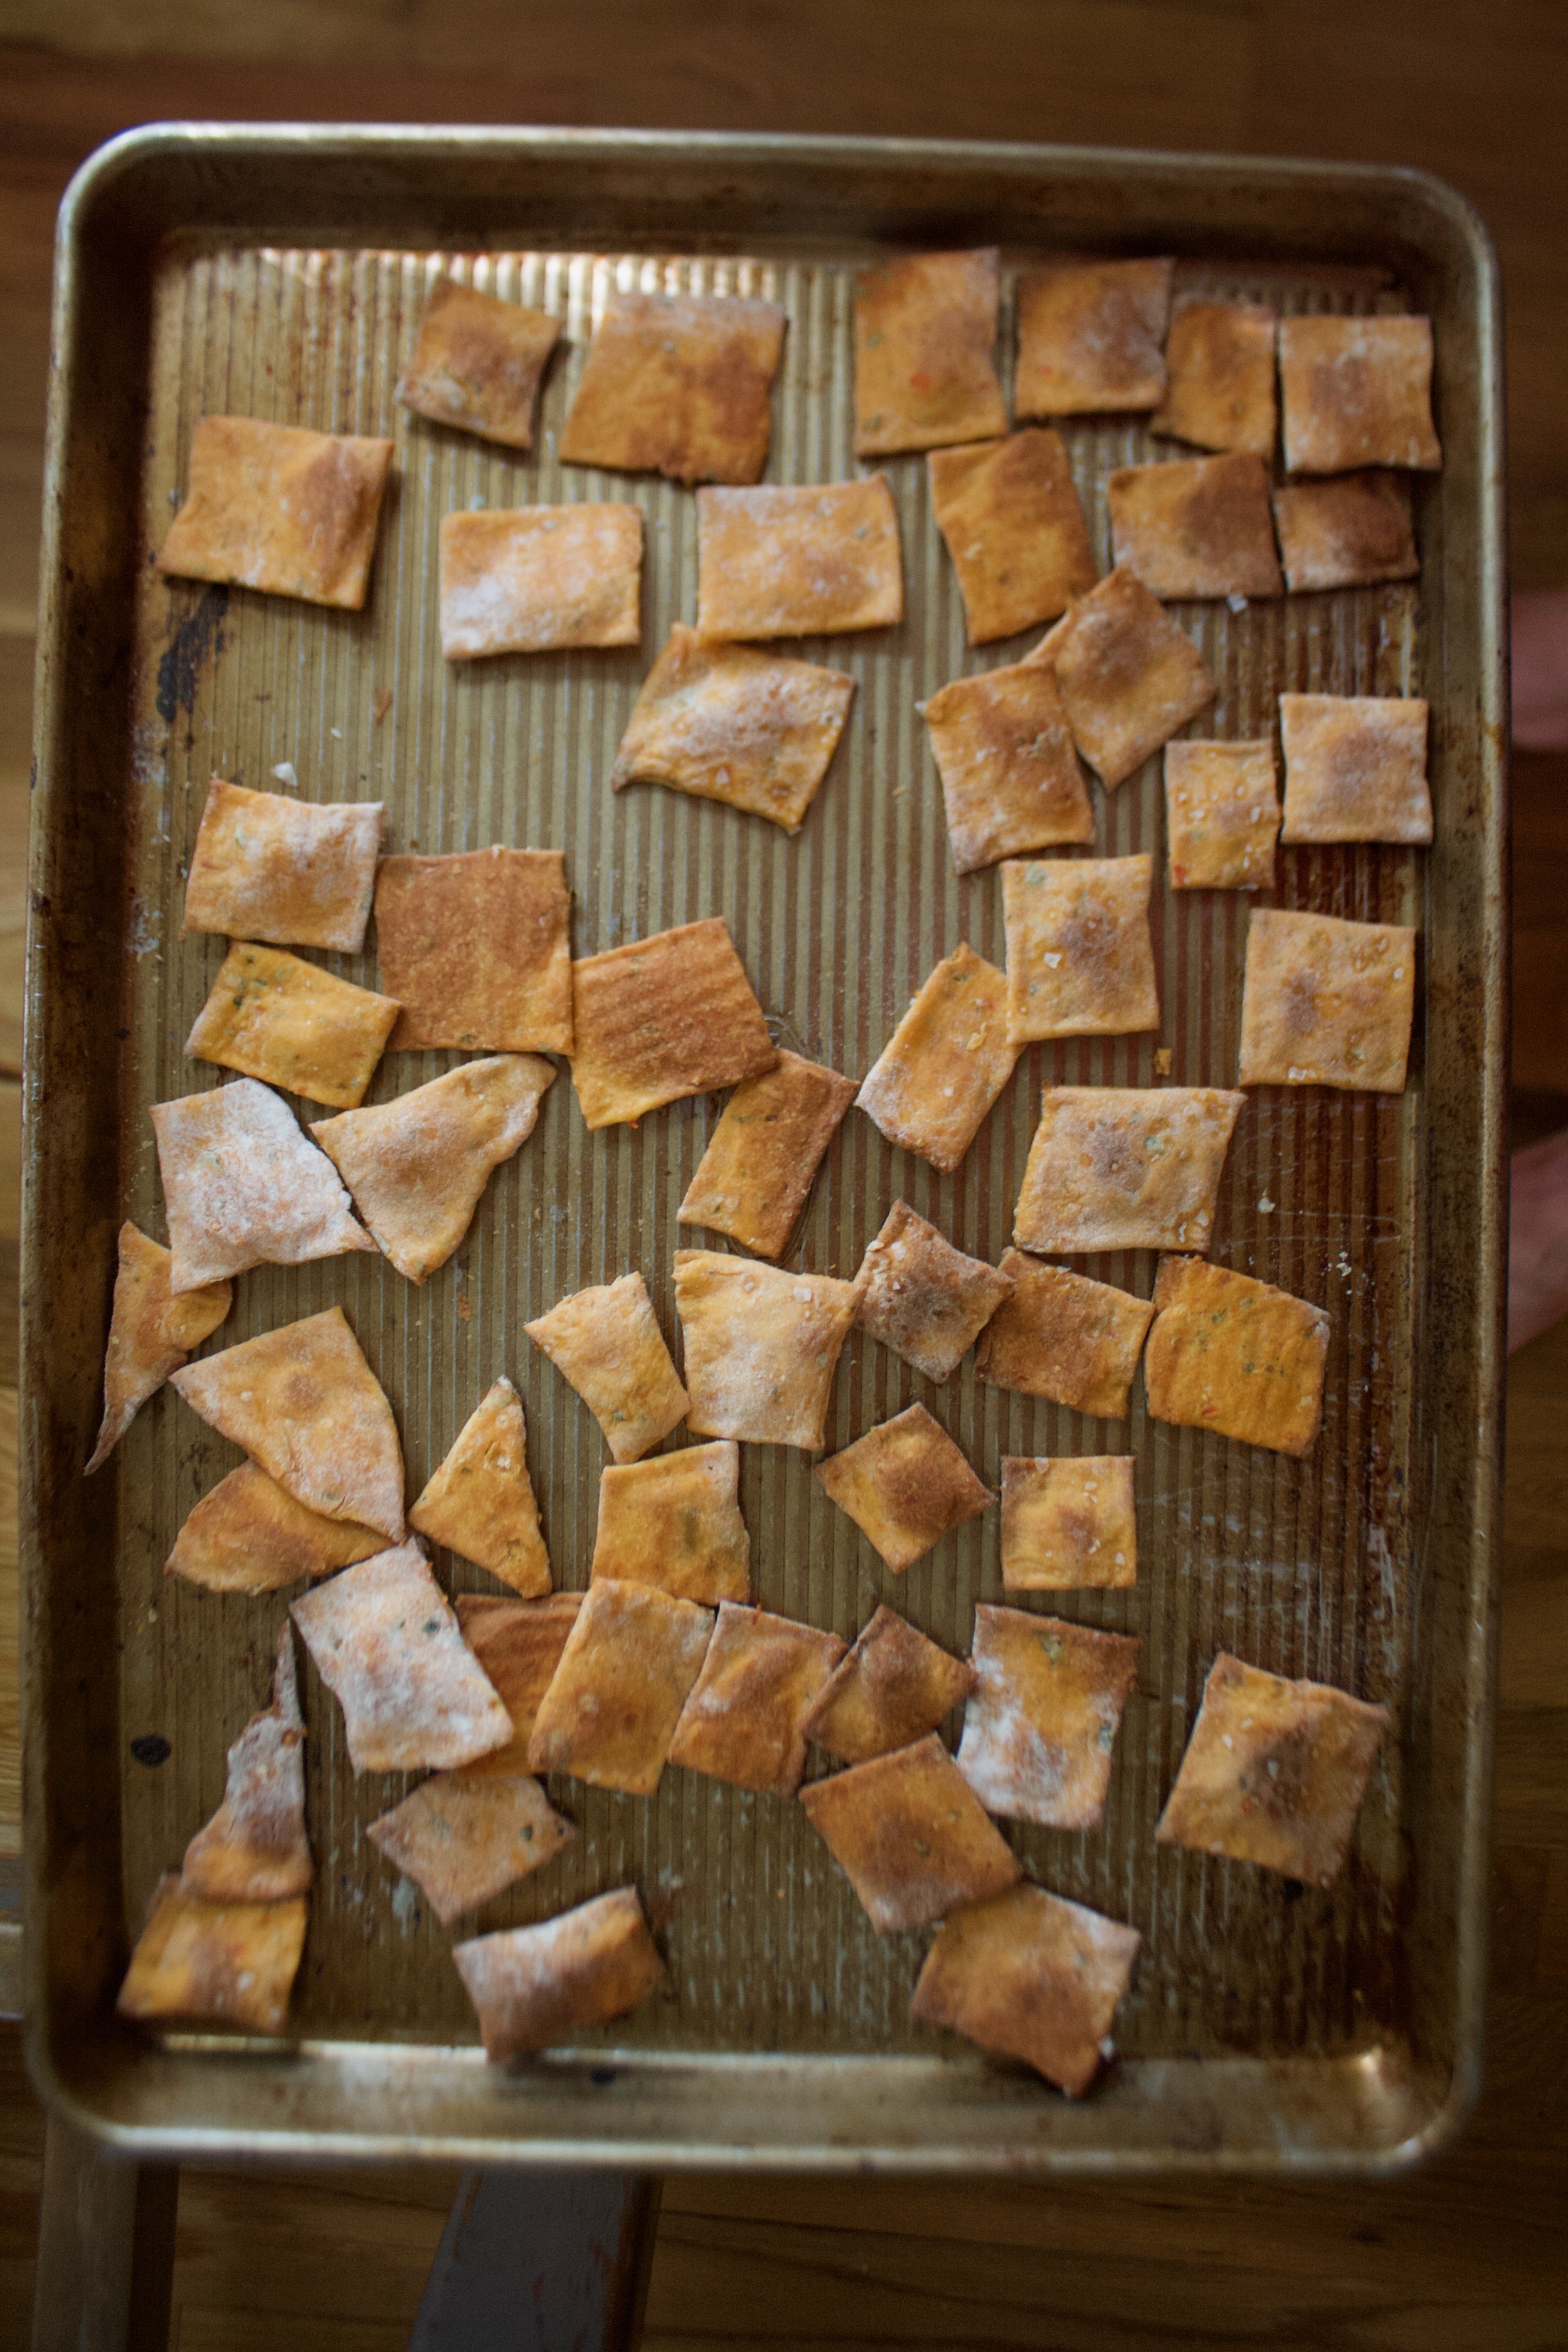
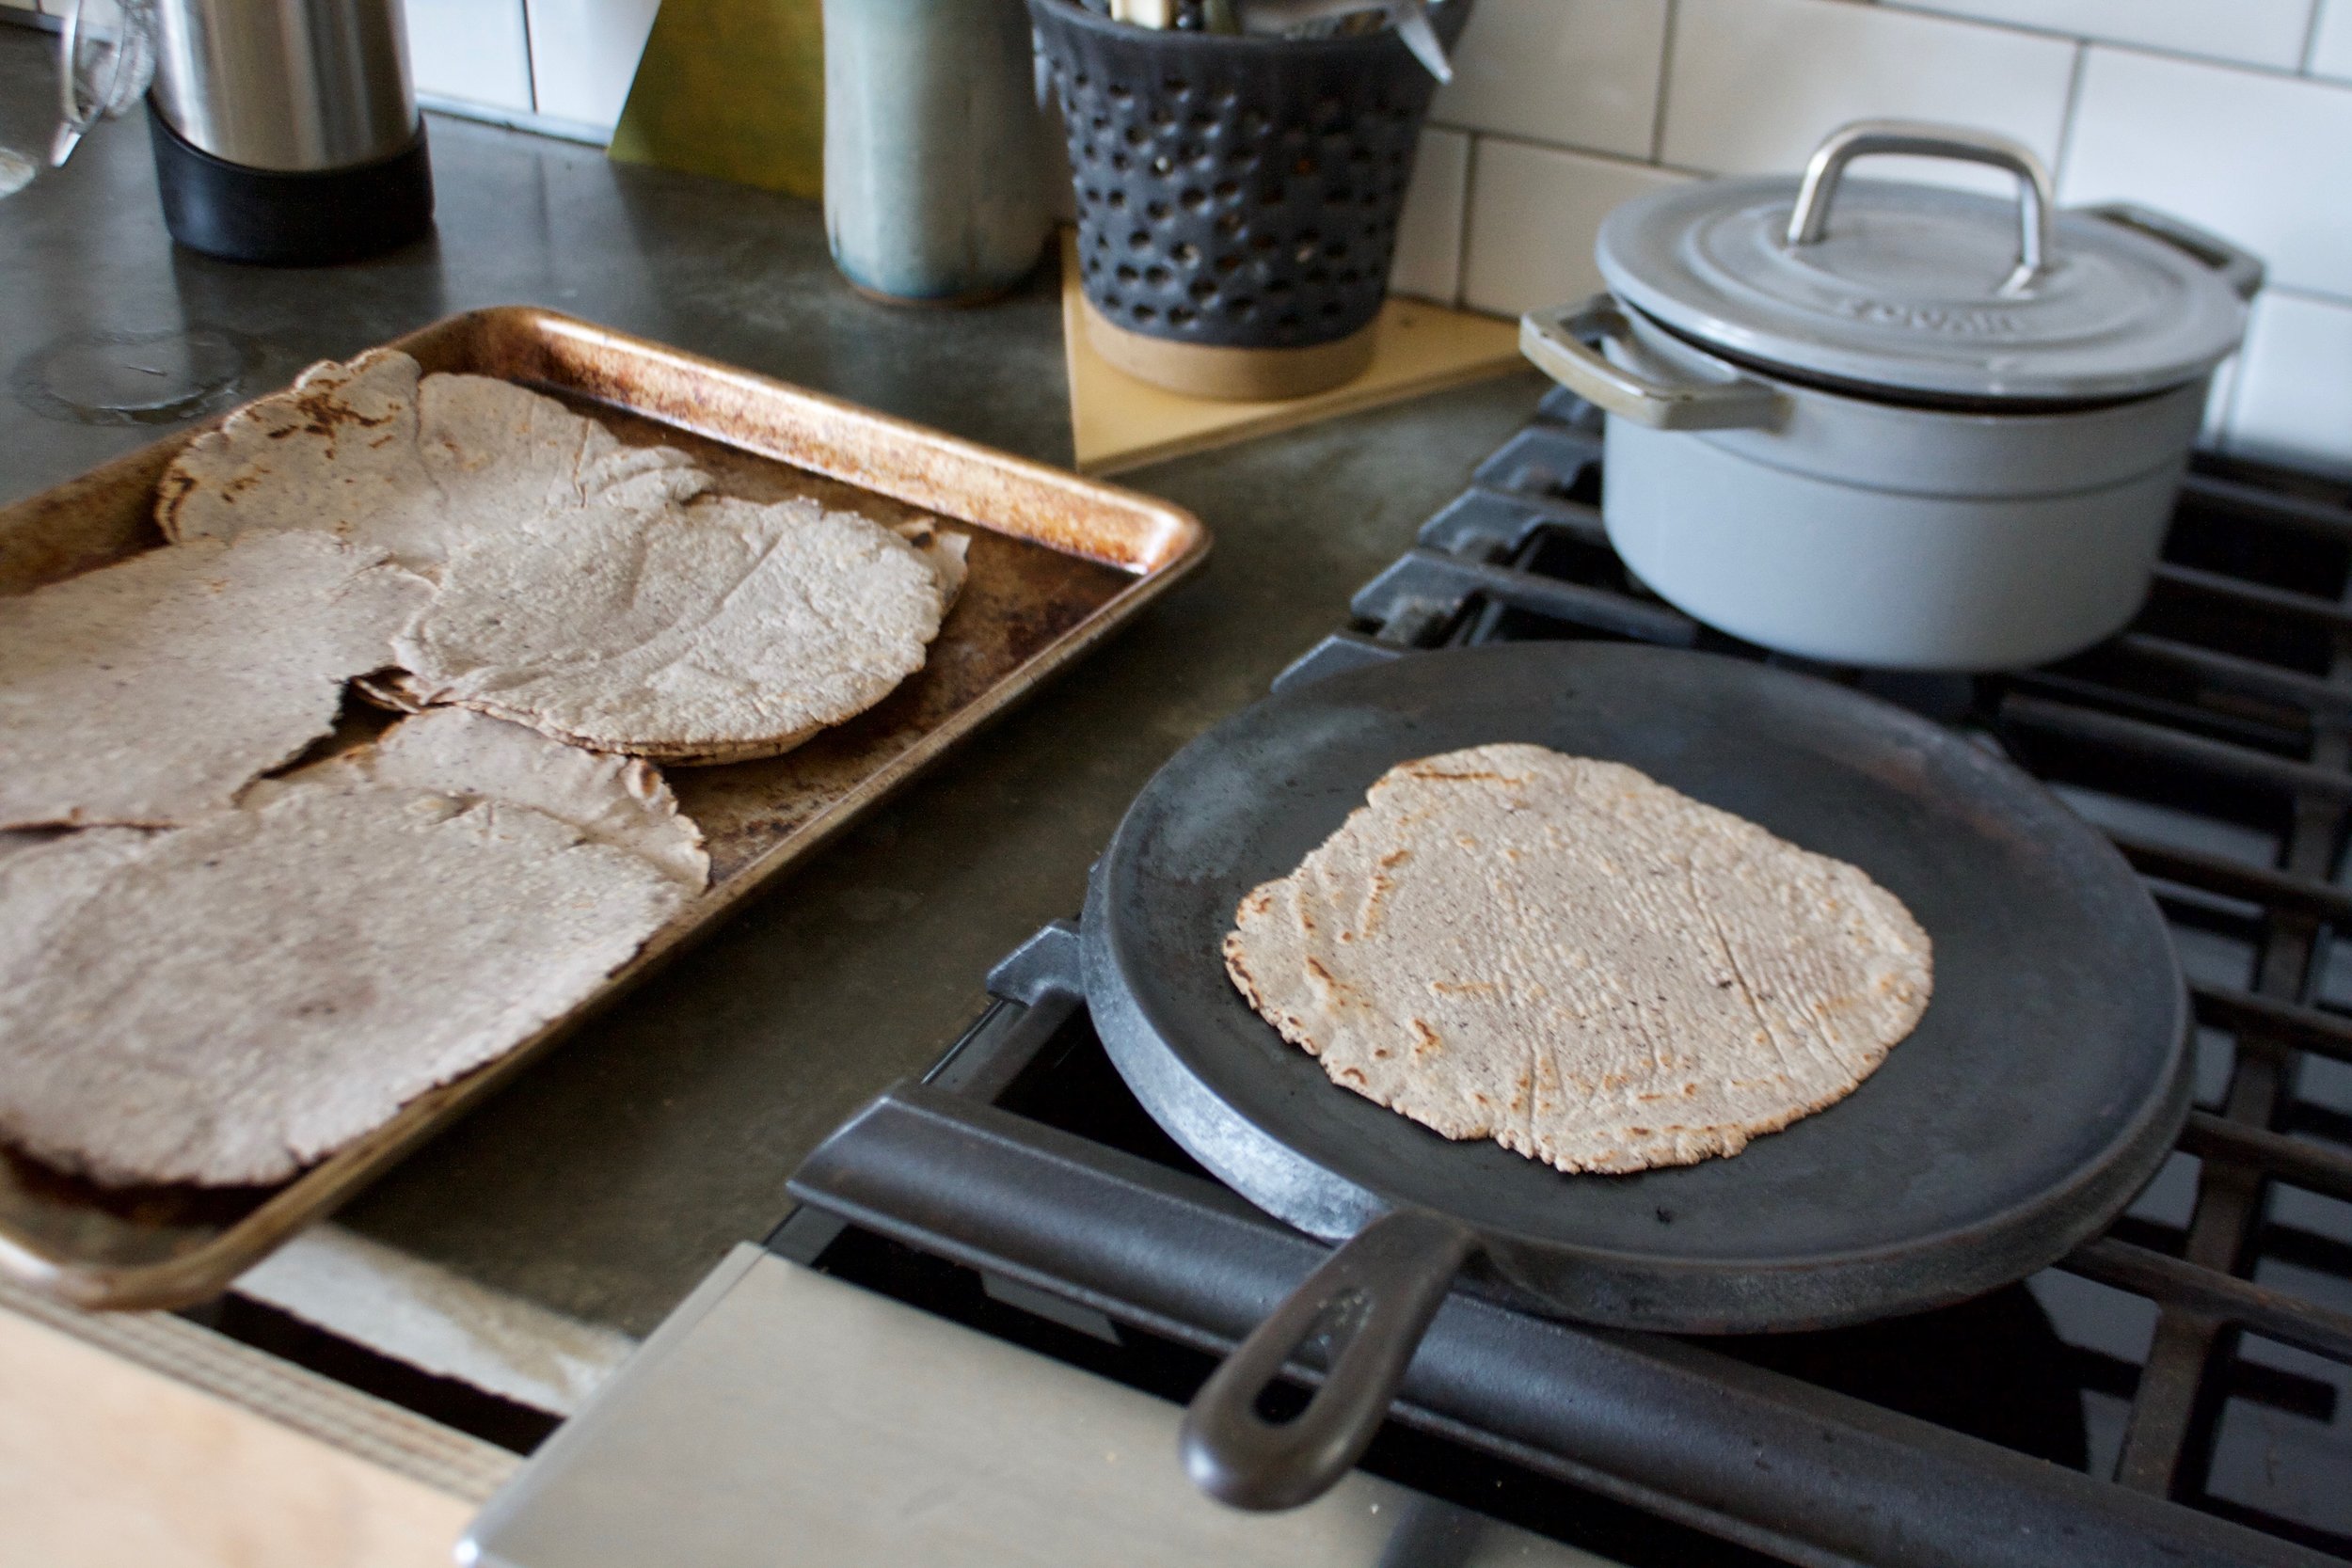
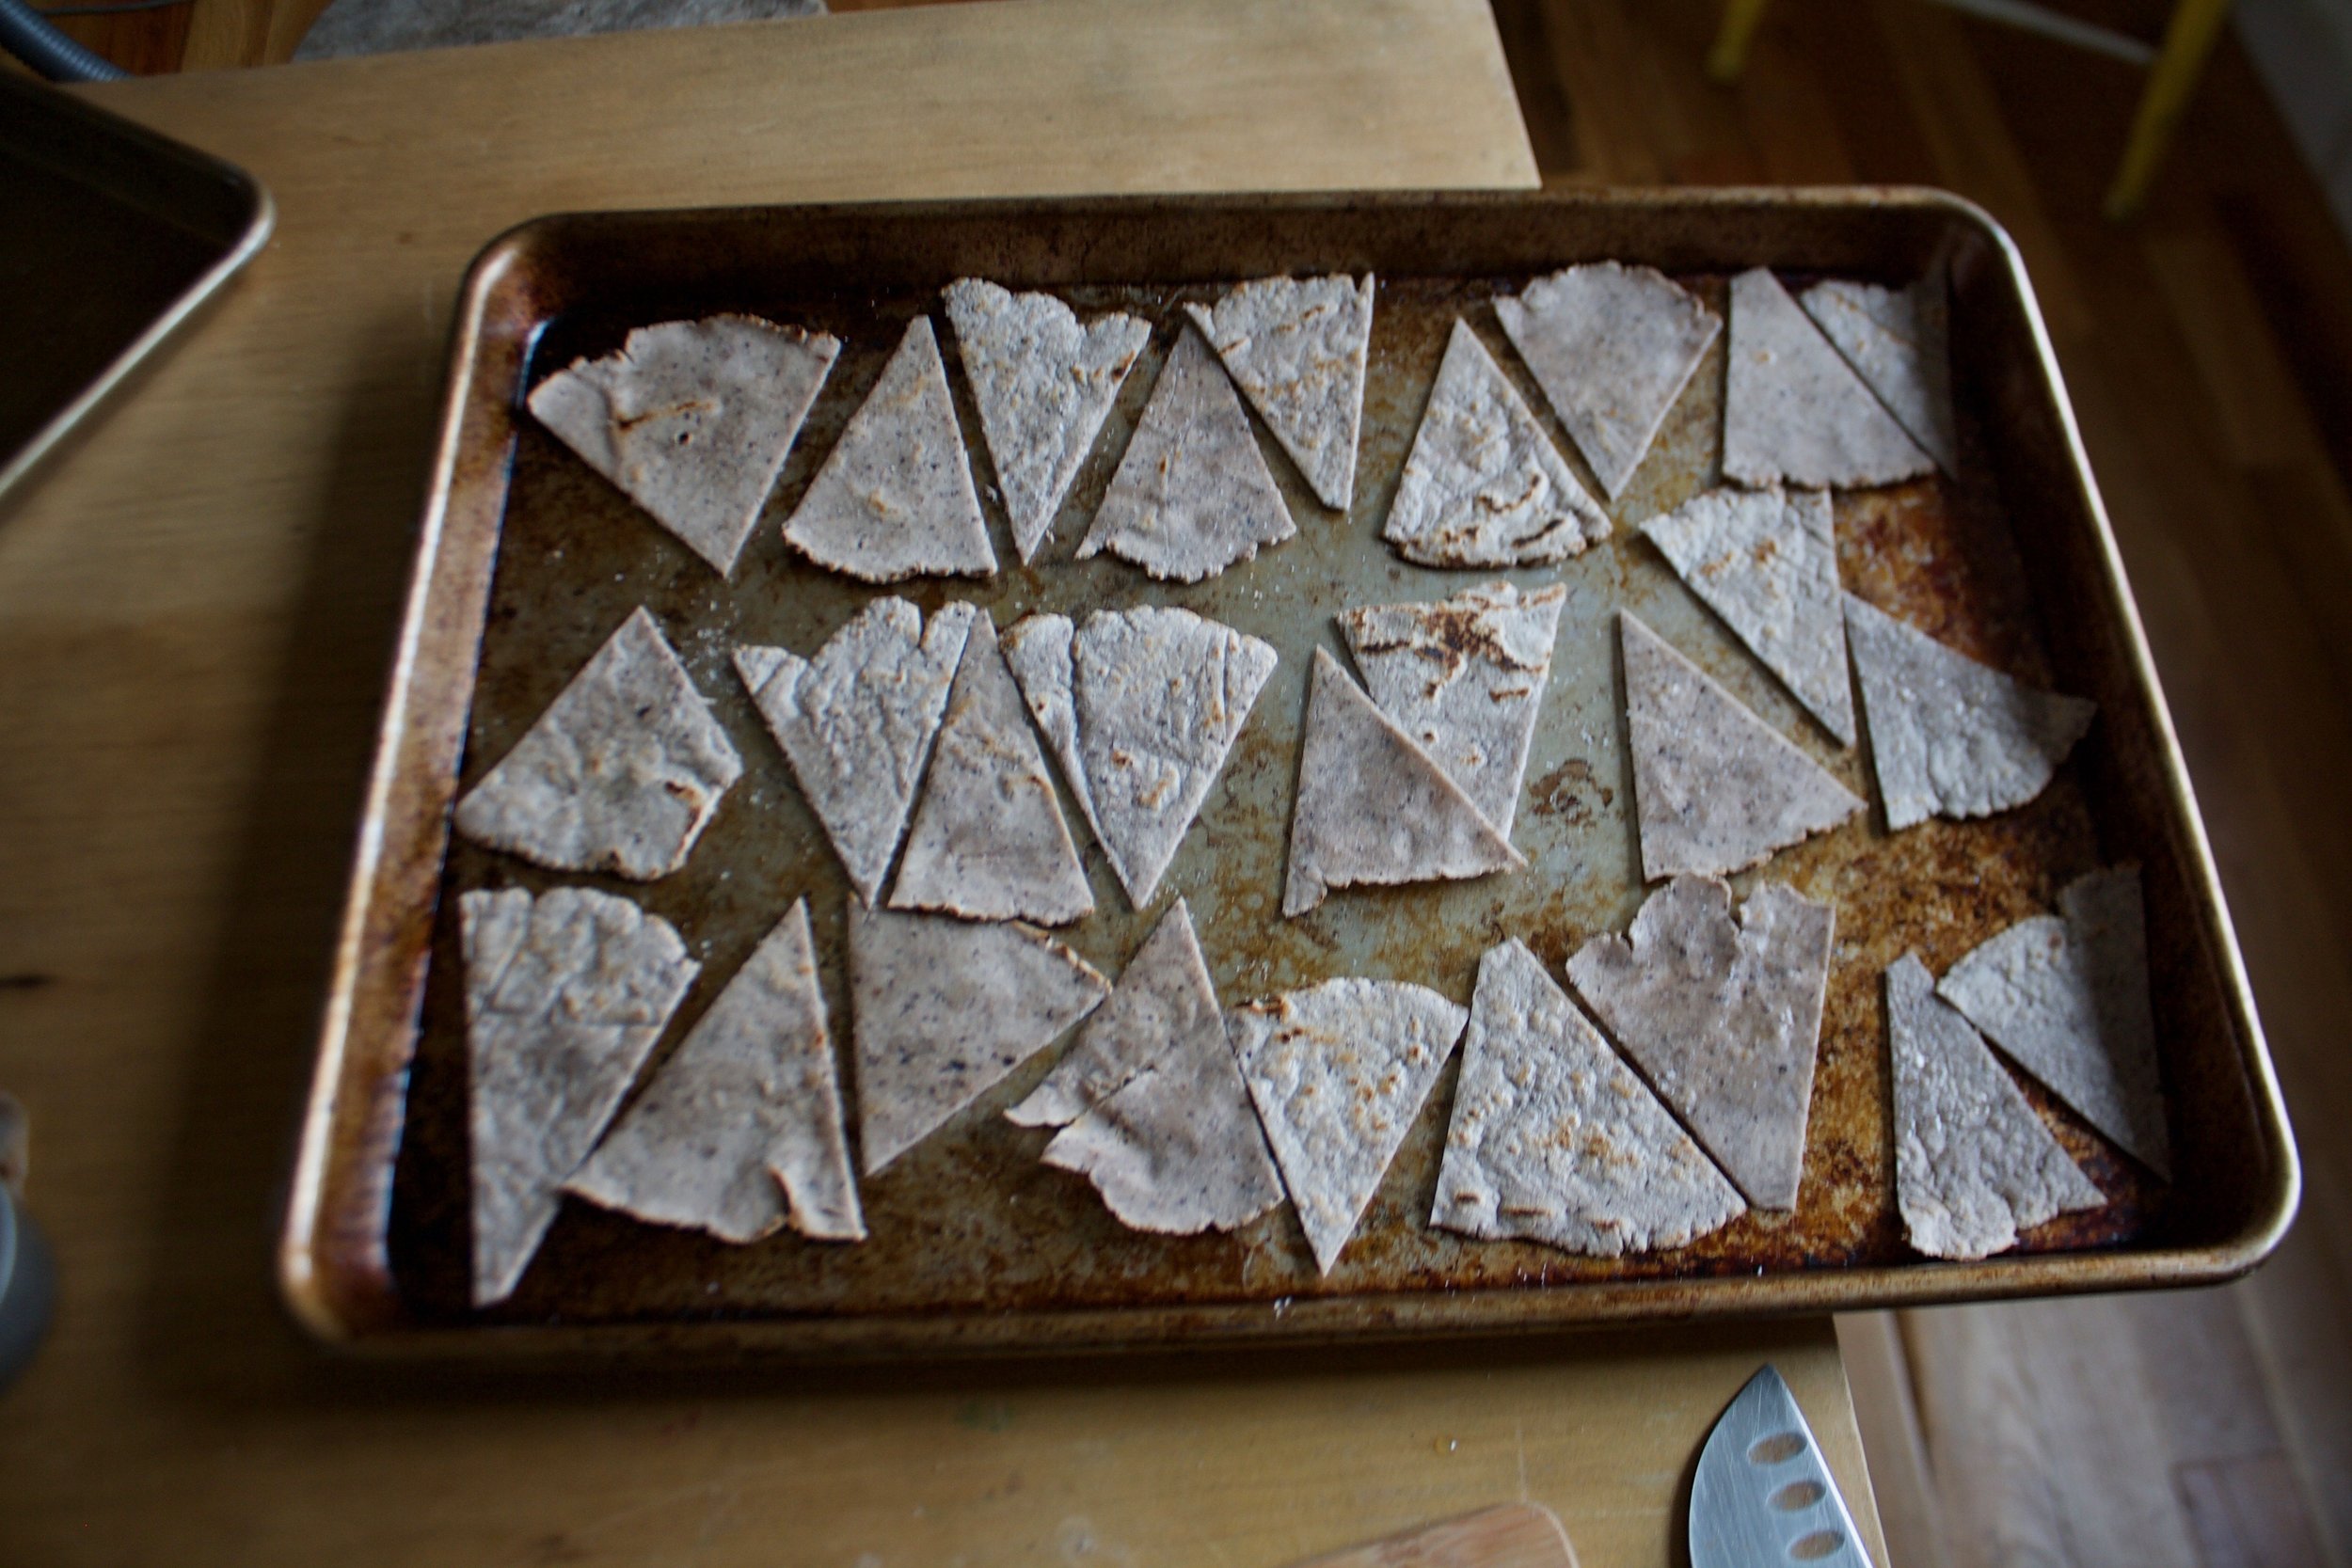
Place crackers onto backing sheet. Before oven time and after oven time.  They shrink and puff up a little bit in the oven. That is what a cracker is suppose to do. (but if you don't like that you can prevent it by piercing the crackers with a fork before they go into the oven) 

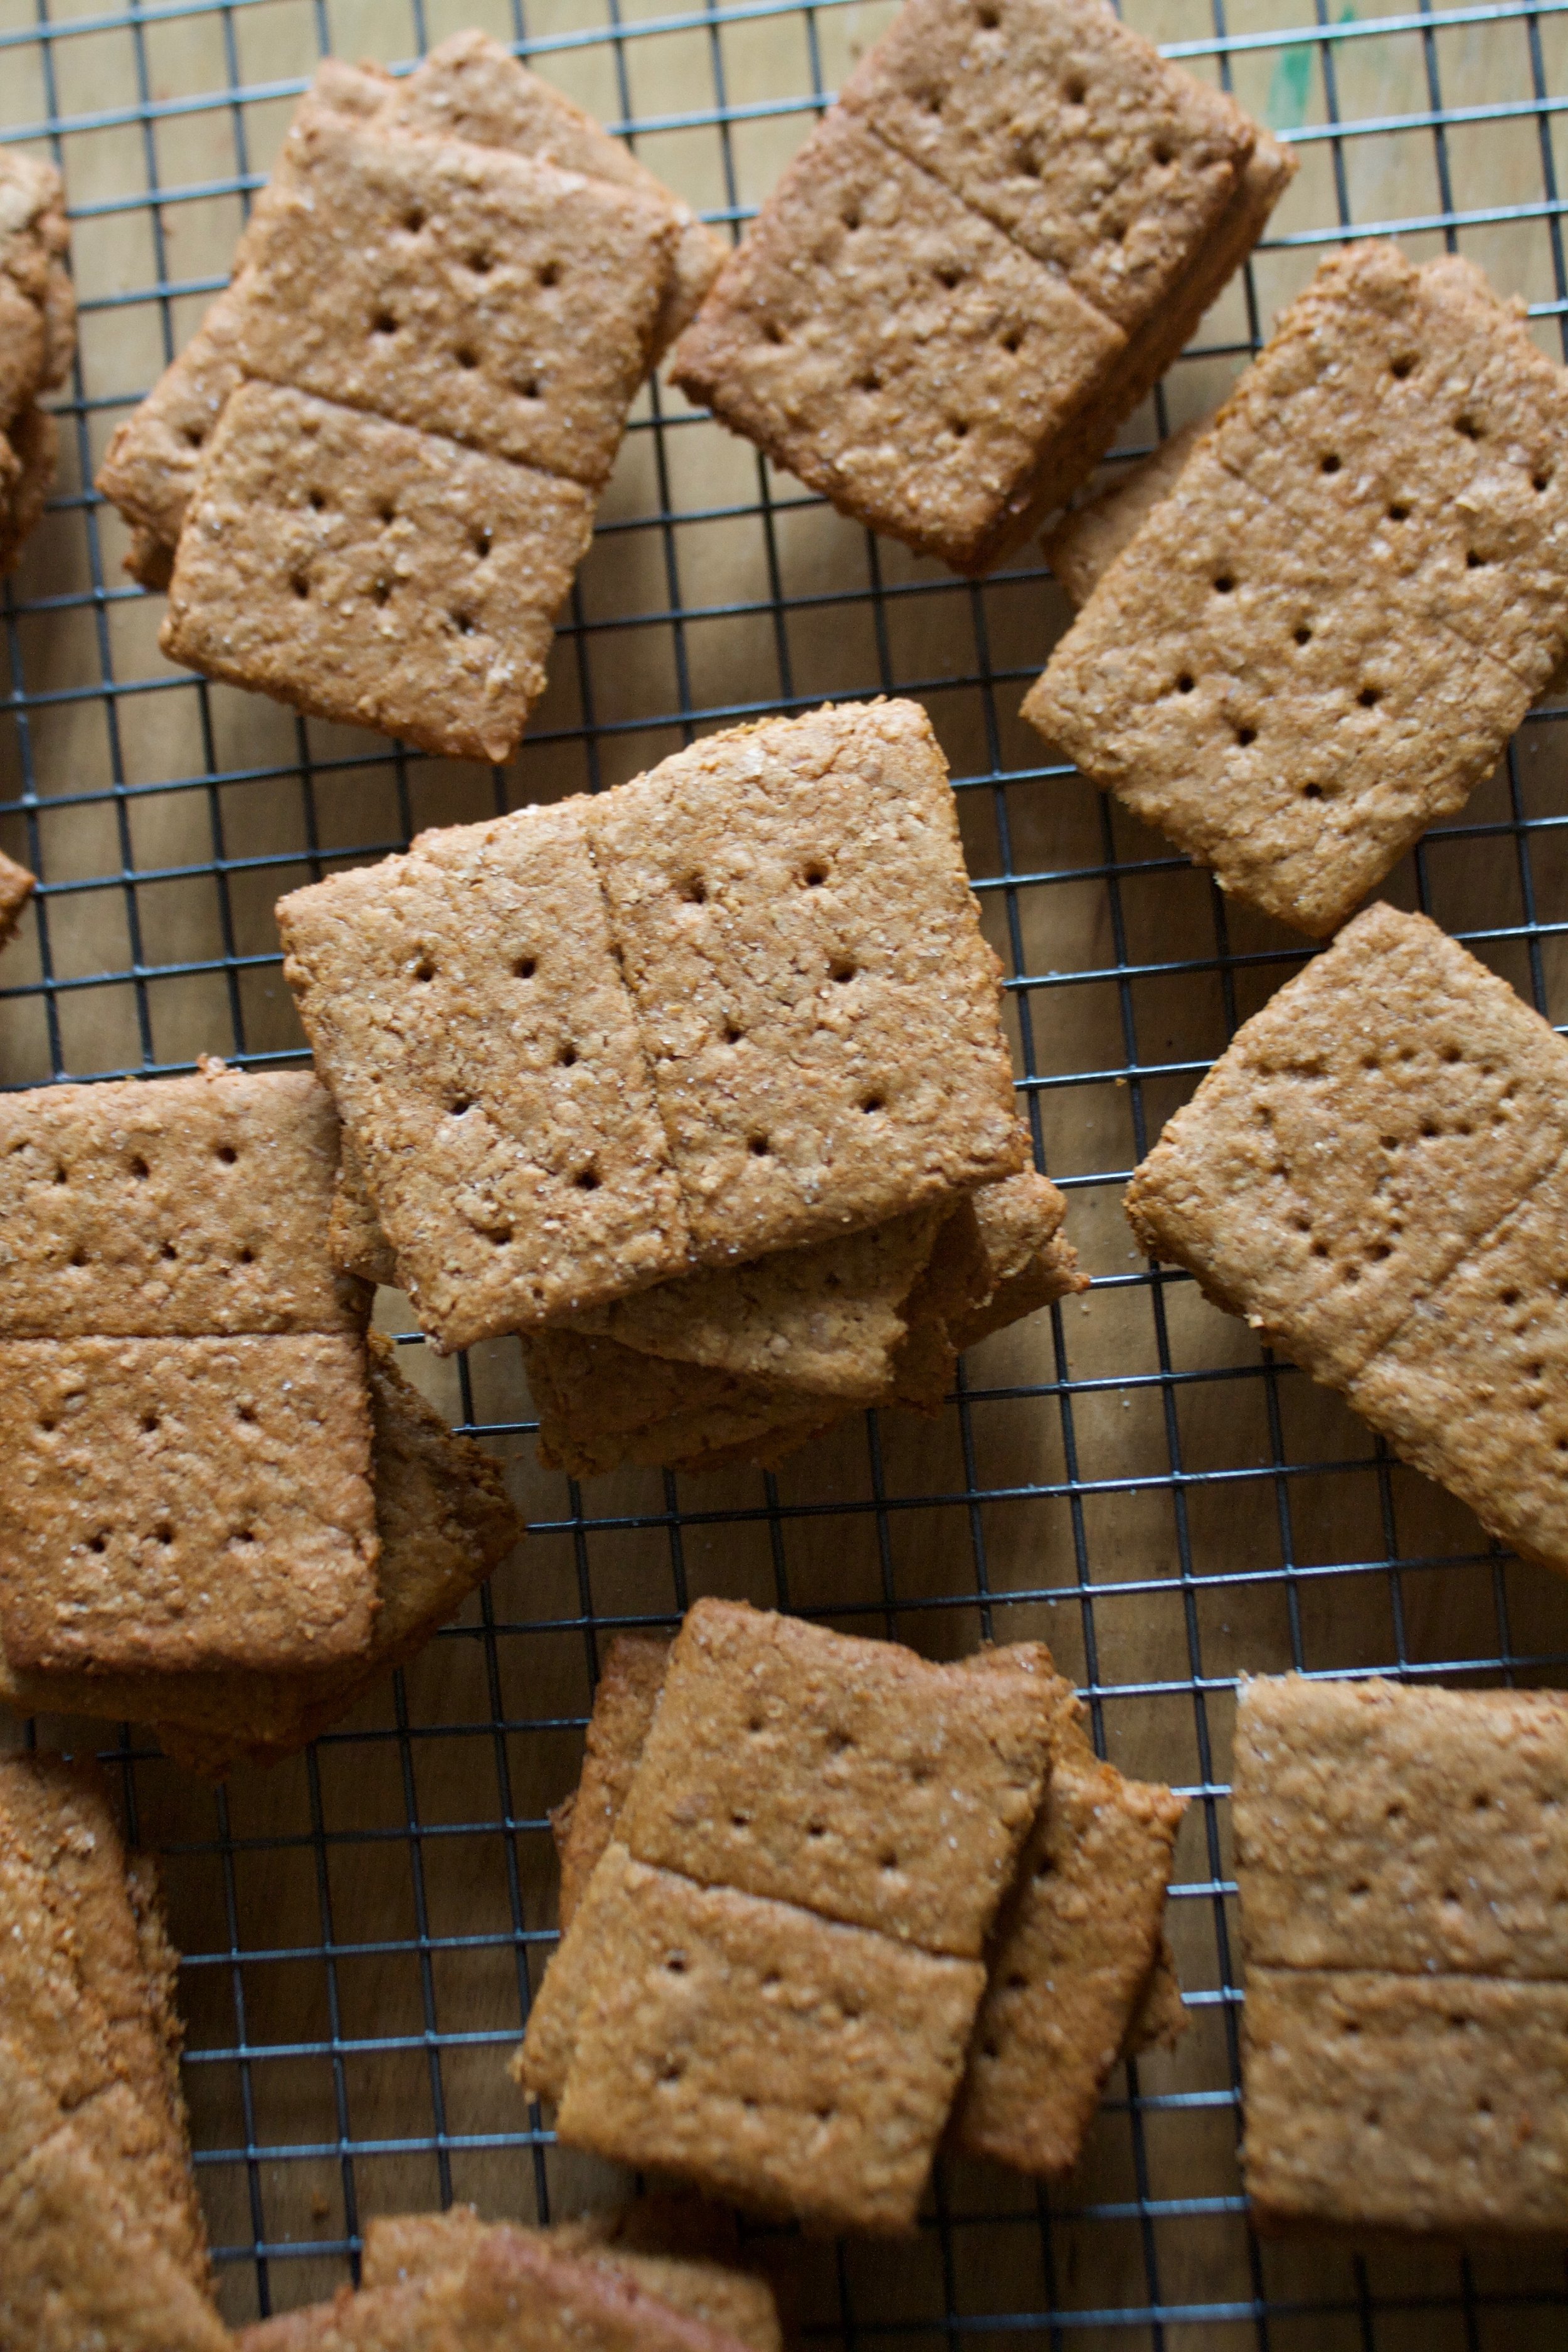
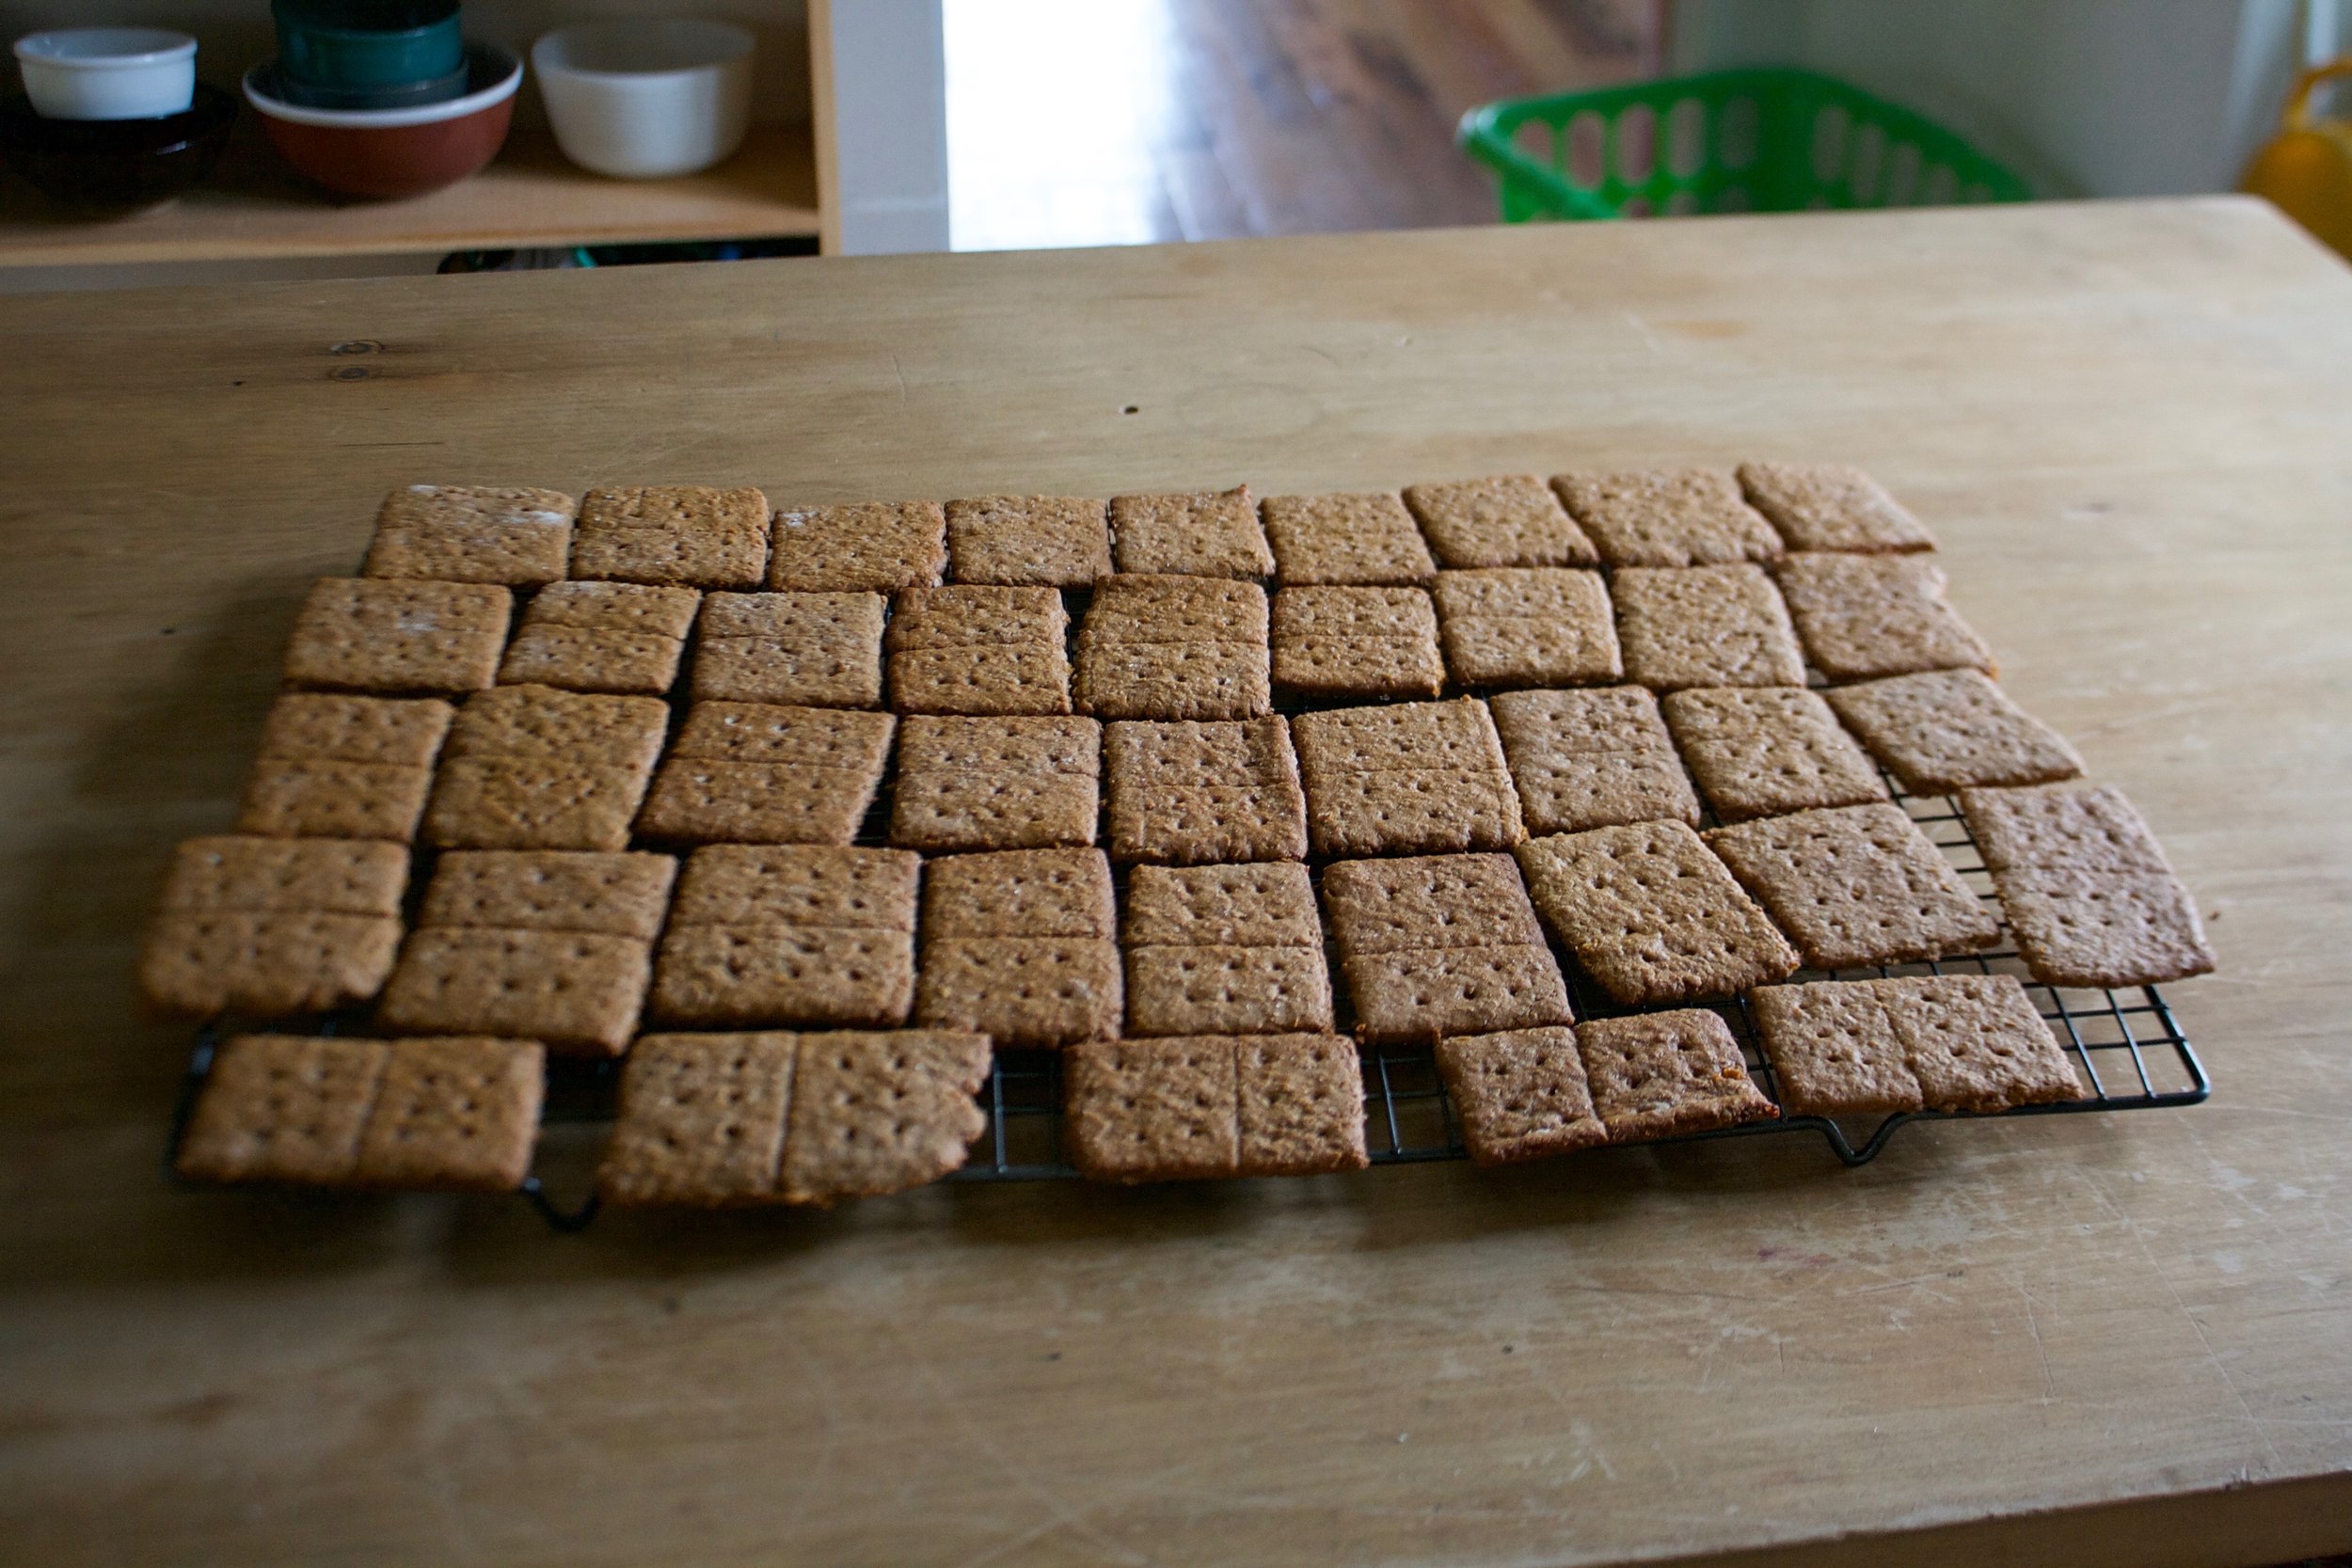
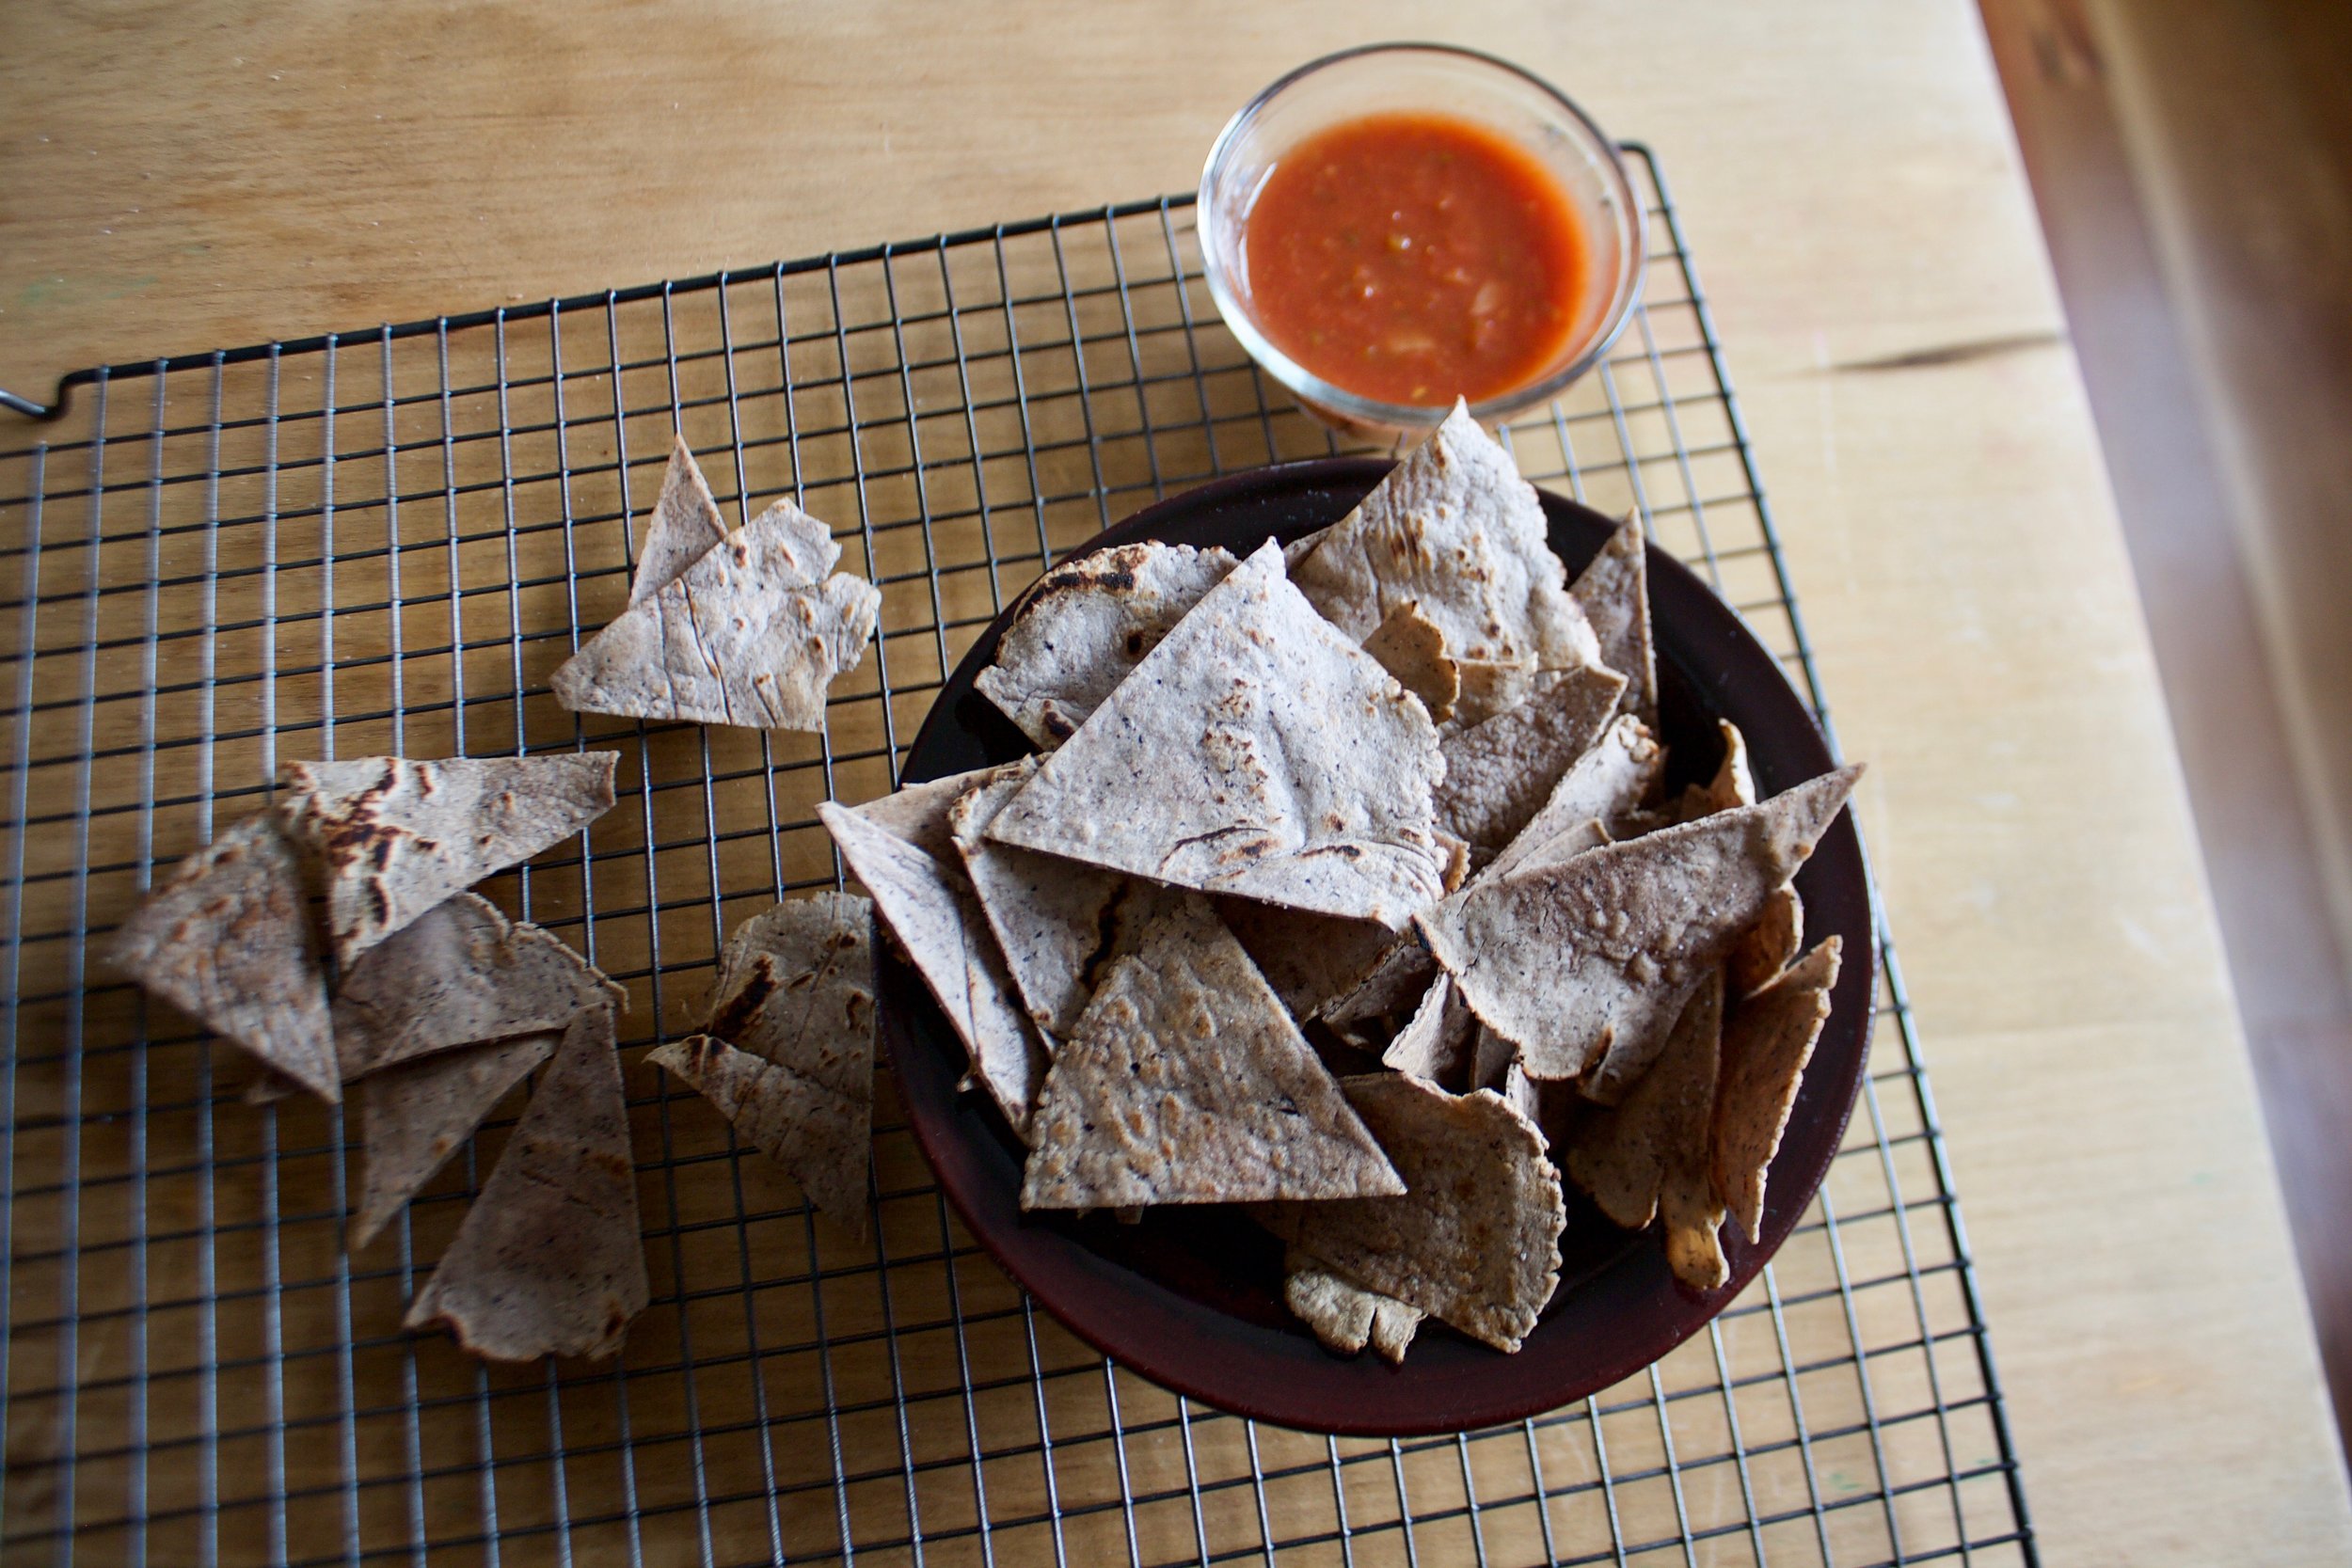
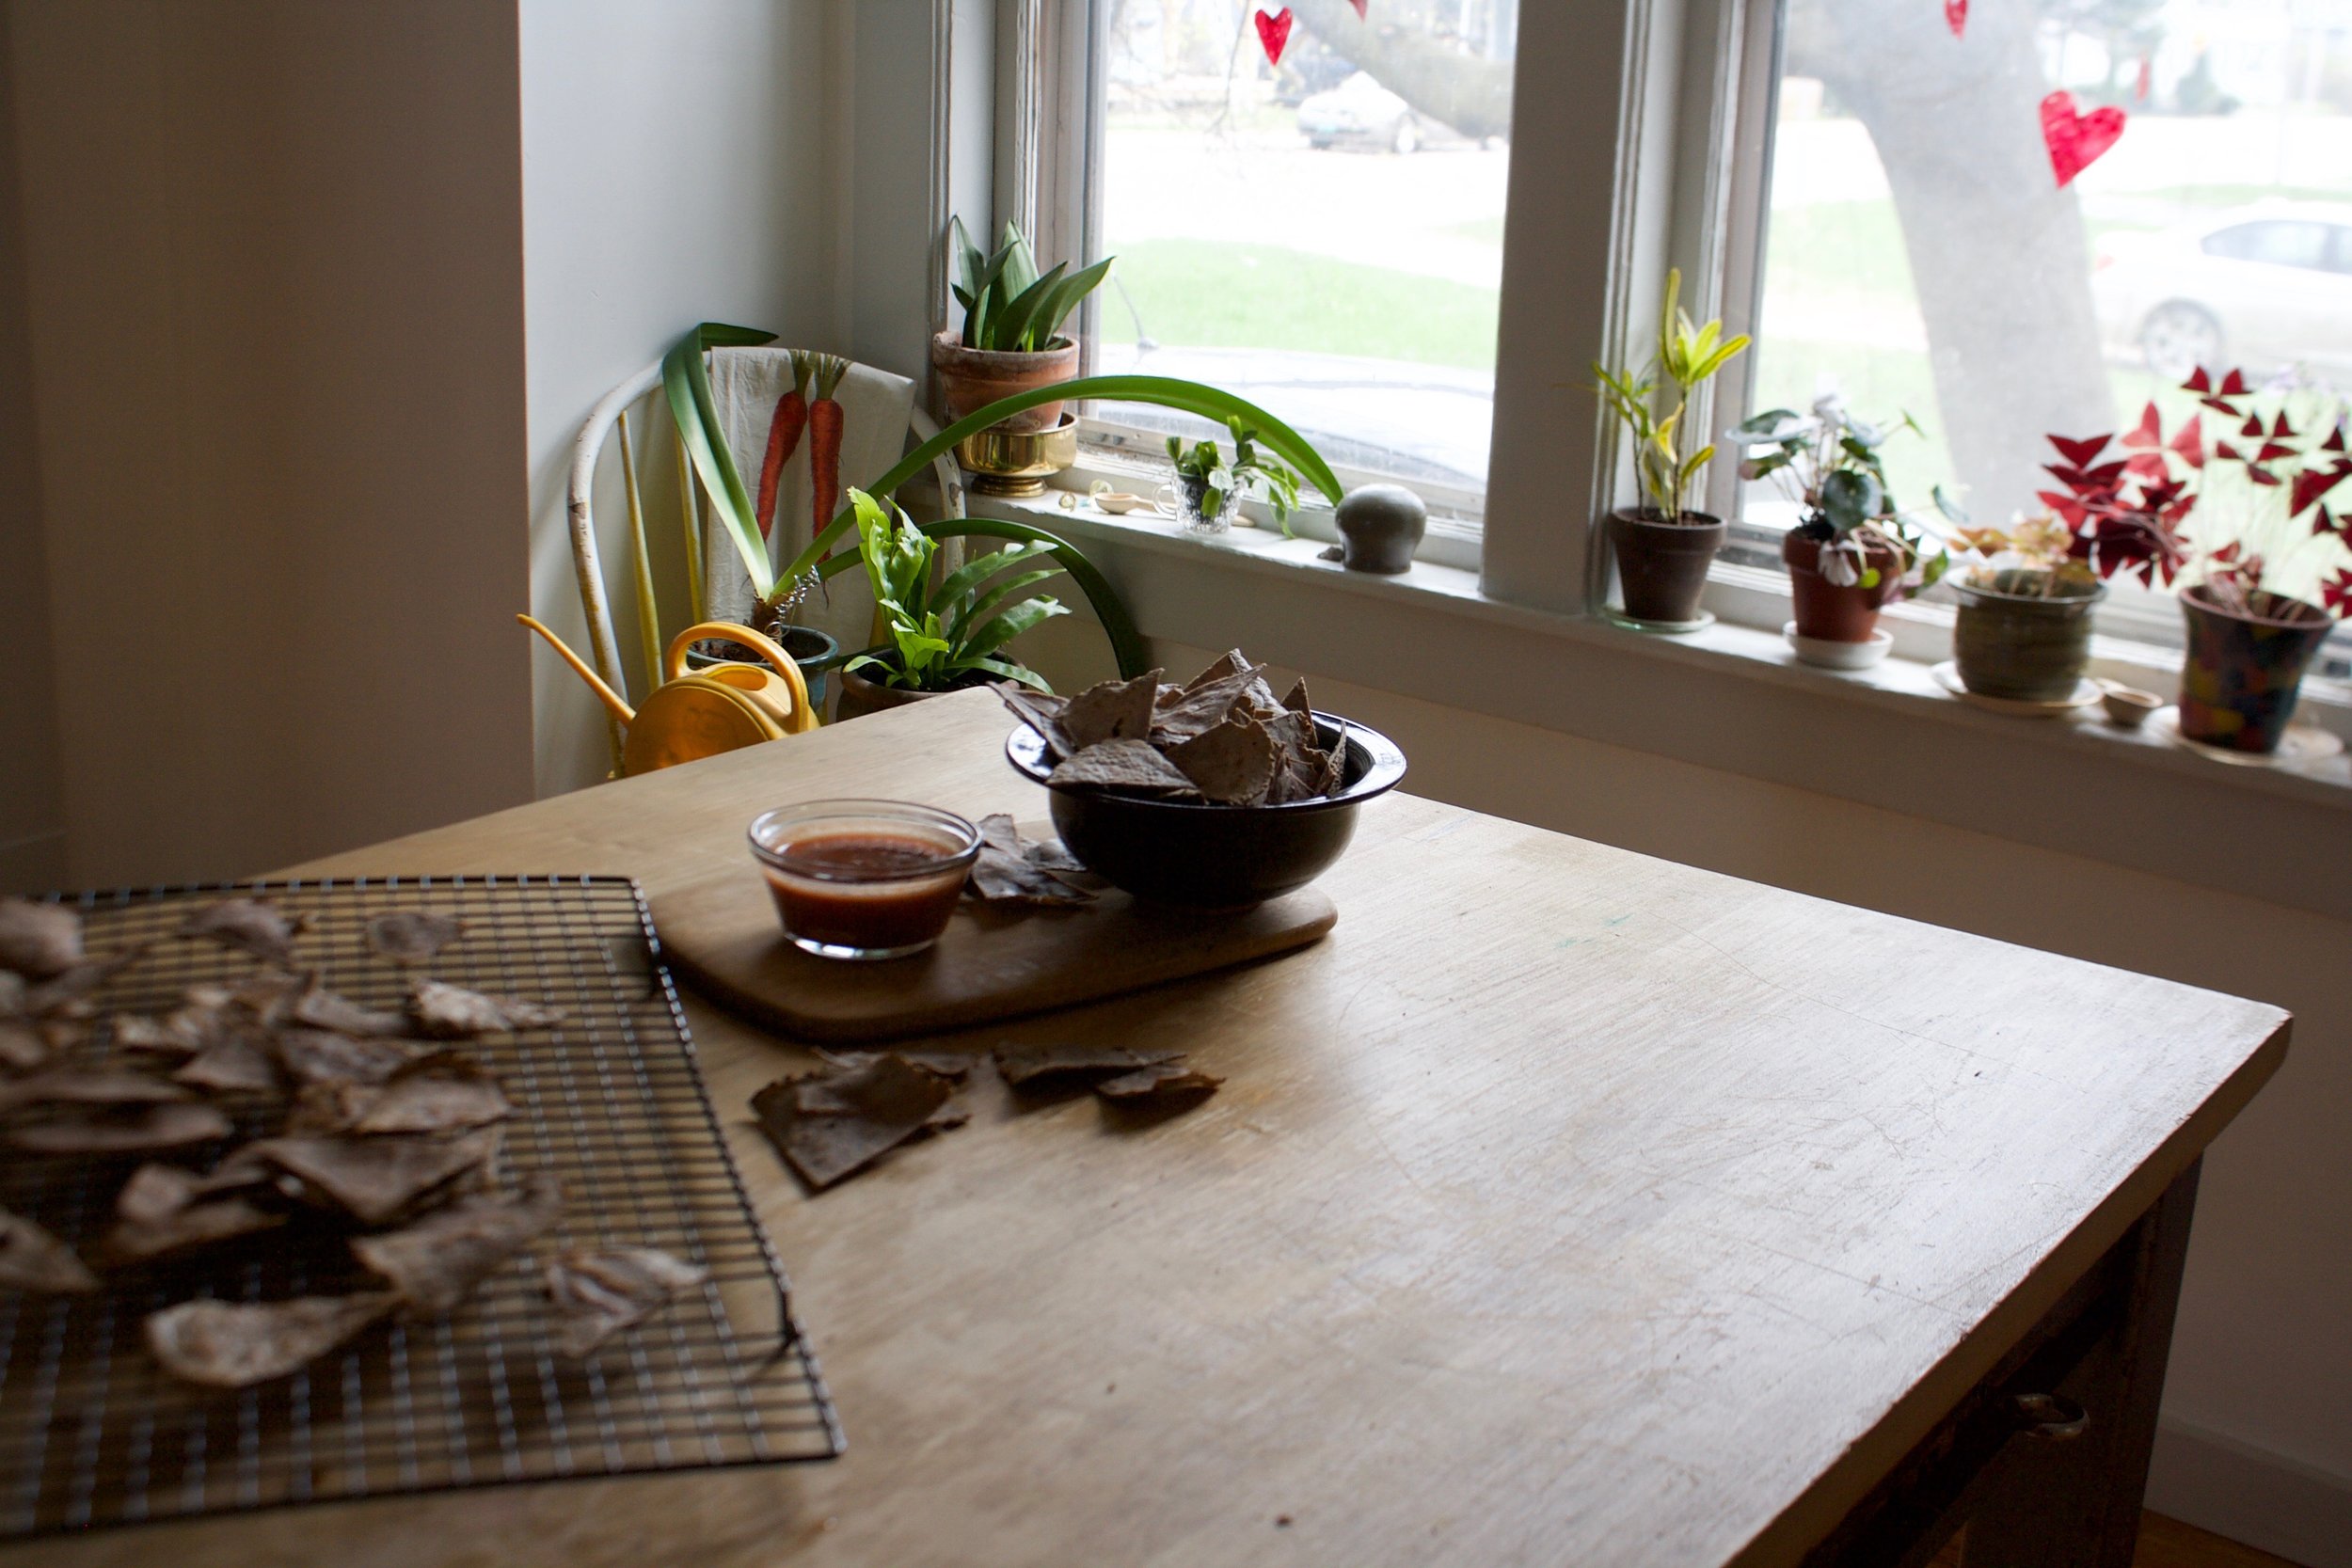
Crackers be cooling. 

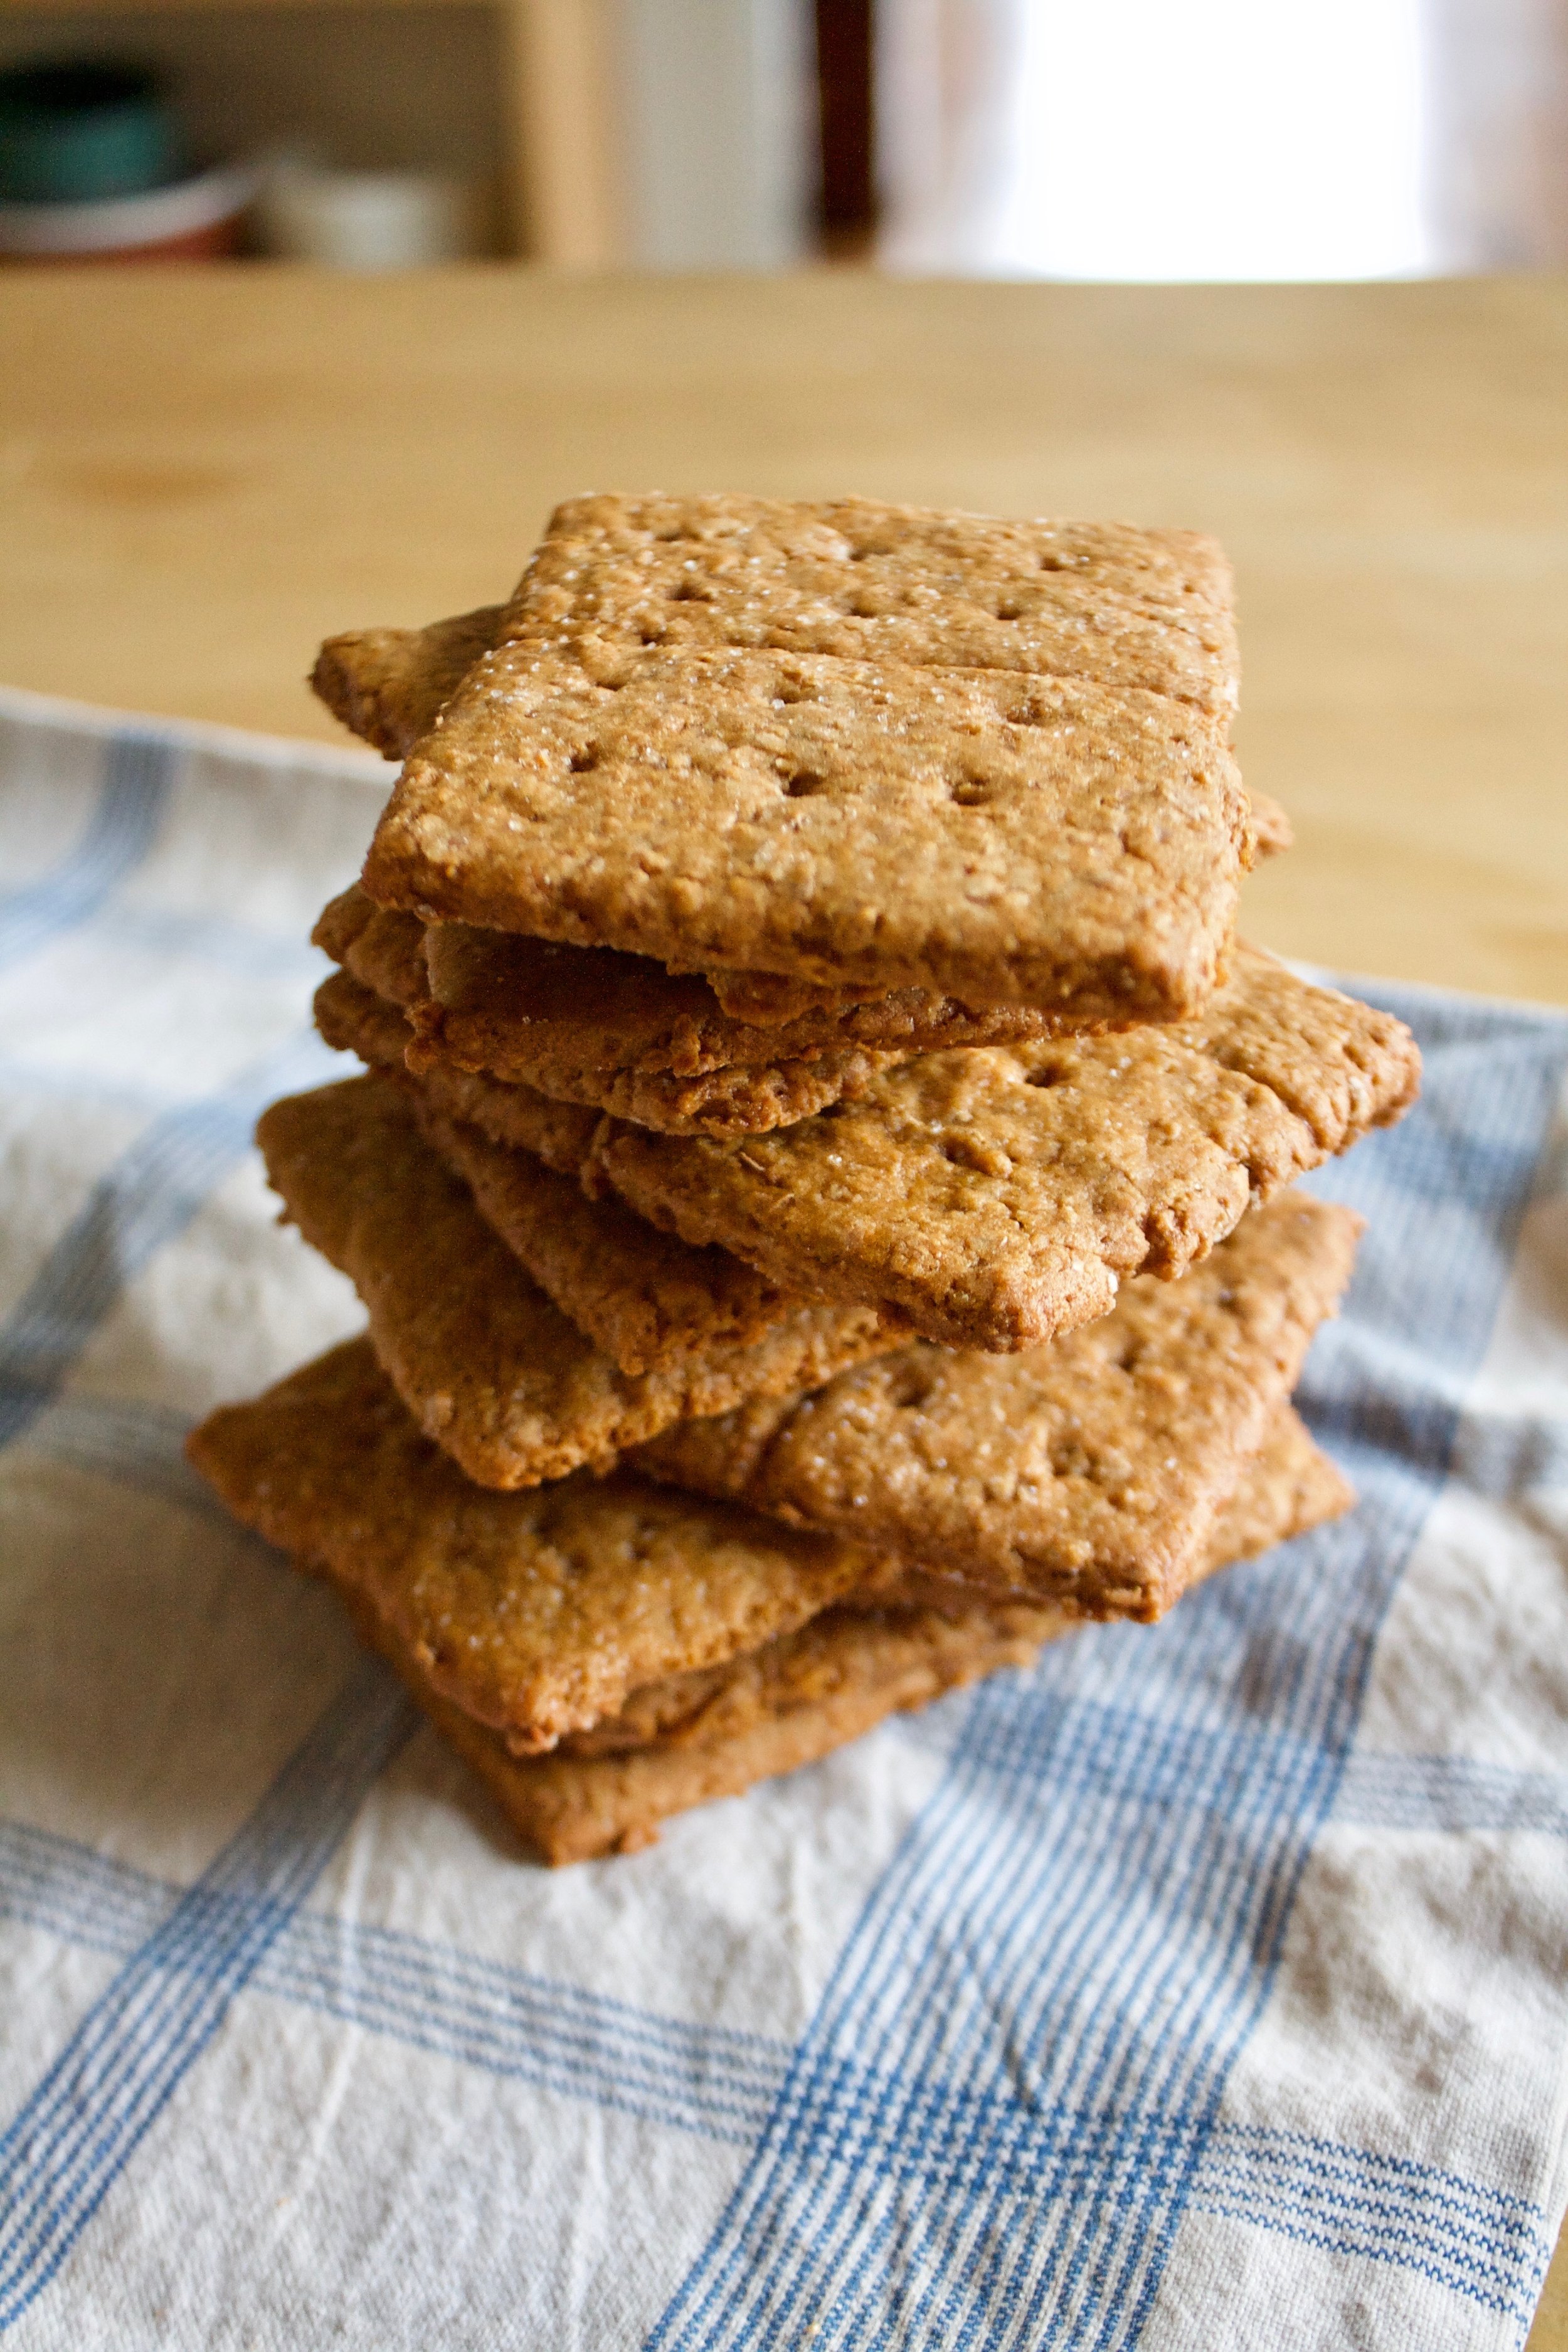
And that's it. Simple, and delicious. 

Crackers are looking all pretty like I am about to have party or something. I even made baba ganoush to serve with them. Lucky mr, he got to have this cracker party all to himself. Ha (He did not eat all of these crackers at once, that would be crazy) 

-C


Tomato Basil Crackers

makes between 100 -125 crackers 

  • 3 cups flour
  • 2 large tomatoes  ( equal to 1 1/4 cup of tomato puree )
  • 1/3 cup fresh basil leaves 
  • 4 tablespoons olive oil 
  • About 2 tablespoons sea salt 

Remove core from tomatoes and place into food processor or blender. Blend until smooth and measure out 1 1/4 cups of the puree. Any left overs rs can be used as food later on. Dump measured puree back into blender and add in the basil and oil and pulse until the basil is in little pieces but not completely blended in.  Add flour to a big bowl then pour in tomato mixture and mix until a dough forms. Dump out onto counter and knead for a minute or two until dough is uniform in texture. 

Preheat oven to 400 degrees

On a floured surface, divide dough in half as to make rolling it easier, and roll dough into a rectangle that is 1/4- 1/8 inch thick. It is important to make sure the rolling pin and counter are well floured to avoid the dough from sticking. Once rolled out, sprinkle with sea salt and lightly roll the dough once more to kind of press the salt in then cut with either pizza cutter or a cracker cutter, or a knife, into 1 1/2 inch squares. The edges are going to be wonky shaped and you can either except them as they are or re roll and recut. (Note. IF you want your crackers to late flat and not puff up while baking, stab the crackers with a fork before they go into oven to create air vents. But honestly, most people really like the puffed up cracker)  Place cut crackers onto a baking sheet and stick into oven. Bake for 15 minutes, checking after 10, until the crackers are golden brown.  Don't forget to roll and bake off the other half of the dough!

Once crackers look good, remove from oven and place onto cooling rack. They will get crisper as they cool. 

Eat as many as you want. Store extra crackers in a airtight container or bag. 


In appetizers, crackers and chips, quick and easy, snack, Vegan Tags tomato basil crackers, crackers, tomato basil, vegan crackers, homemade crackers, plant based, simple, easy, snacks, fresh
Comment

Ginger Garlic Blistered Green Beans with Almonds

July 21, 2018 Colleen Stem
IMG_0257 2.jpg
IMG_0242 2.jpg

I sometime struggle with certain veggies, not like in a eating way (I have no snuggle eating any veggie) but in a making something with that certain veggie kind of way, like I don't make anything out of them, I just eat them raw as they are. (That was terribly long winded and does it even make sense?) I don't find this to be a problem most of the time, but sometime I think I need to be less lazy about eating and maybe prepare a dish for a meal rather then just eating raw beans out of the garden for lunch.....I mean, I am not going to stop doing that but I am going to start being a little more creative and planning meals with a little more substance. Adding nuts is more substance right?

These beans were freaking fantastic.  Blistered and charred, and not soggy and soft. They were perfect. (I like my veggies either raw or burnt) I made them late morning and was going to save them for dinner but the mr, Barb, and I ate them all just on snacking on them.  Just a really good, A+ veggies situation here. Highly recommended, hot or cold. Almost beats a bean lunch in the garden. Almost. 

IMG_0122.jpg

The stuff. Green beans, almonds, garlic, ginger, soy, and a little oil. 

IMG_0142.jpg
IMG_0147 2.jpg

Quick fast, rough chop the almonds and give them a toast in a dry skillet (you can skip this part if you have already toasted almonds) 

IMG_0171.jpg

And here would be the time to trim the beans if you are a person that does that. I am however, not a bean trimmer. But you must wash them, so give them a good rinse , and keep them a little wet. The moisture will help them cook. 

Just washed beans go into a medium high hot skillet (add in a tablespoon of oil) and get a nice little cover to start the cooking process.  Leave them alone for a few minutes, then remove lid and toss them around. Do that ever few minutes. 

IMG_0151.jpg
IMG_0156.jpg

While the beans start cooking, mince the garlic and the ginger and add to the soy sauce.

Smells so good!

IMG_0195.jpg

Beans have cooked for about 10 minutes here and are all nice and blistered and just about done so now add in the ginger garlic soy mixture and toss around. Keep cooking for a minute or two.

IMG_0211.jpg

And now don't forget those almonds, mix those in too. Then it's into a bowl they go. 

IMG_0217.jpg

Green beans so good. Can't go wrong with these.

Have a marvelous weekend, maybe go pick some green beans!

-C


Ginger Garlic Blistered Green Beans With Almonds

  • About a pound of green beans (trimmed if you want to trim them)
  • 2-3 cloves garlic
  • 2 tablespoons freshly grated ginger 
  • 1/4 cup almonds
  • 3 teaspoons soy sauce
  • tablespoon oil

Rough chop almonds into small pieces and place in a dry skillet (meaning no oil). Turn heat on to medium high heat to toast for about 5 minutes or until you can start to smell the almonds and they are slightly browning. (you can skip the tasting  part if your almonds are already toasted, jus chop them into small pieces)

Dump the almonds into bowl and set aside. Keep skillet on heat and add in the oil. Rinse beans off, keeping them damp, and very carefully, dump the damp beans into the hot skillet. Place a lid on beans and let cook about 4-5 minutes. In the meantime, mince garlic and ginger and combine with the soy sauce. After a few minutes, remove the lid from beans and toss the bean around. Keep doing this for another 8-10 minutes or until the beans are cooked though and blistered in places. Once the beans are cooked,  dump the garlic ginger soy mixture into pan. Toss around and leave in pan for another minutes then stir the toasted almonds in. Transfer the whole bit of it into a big bowl or plate. 

Eat right away or.. They taste freaking fanatic cold too. 

In beans, Vegetables, Vegan, summer, side dish, snack, Nuts Tags Ginger Garlic Blistered Green Beans With Almonds, Green beans, Blistered Green Beans, vegan, side dish, plant based, almonds, quick and easy, garden fresh, vegetables, green beans, fresh, simple
Comment

Graham Crackers

May 12, 2018 Colleen Stem
IMG_1939.jpg
IMG_1990.jpg

I have fond memories of young me skipping school and sitting in front of the tv with peanut butter, a package of graham crackers, and a glass of milk to dunk the peanut butter cover crackers in, watching myself some Martha Stewart. I also have some fond memories of the days in college I would skip class (obviously to finish a paper or something), and sit around eating graham crackers covered in peanut butter and nutella, dipped in beer? Wait no, it was coffee. (although....beer? Could be something there.)  Apparently I liked to skip class and eat peanut butter graham crackers. But don't blame the cracker for the bad behavior, blame the eater. And I didn't do it all the time, only once in a while. (A girl needed to watch her some Martha or write a 20 page paper.) 

We had a BBQ this week and for some reason I though people want to eat s'mores at a BBQ. (I guess I got that confused with camping.)  I figured even though the days of skipping life and eating graham crackers has passed me by, that I needed to make the graham crackers for others to enjoy. And then I wondered why the heck no one ever makes graham crackers. They are by far the underrated crispy cookie (lets just call it what it is ) of the snack world.  I think I might make it my new thing. I'll make graham crackers for ever cookie swap situation, every event that requires a dessert, every time a snack is need, until people realize what they are missing. I'll bring the graham cracker into all it's glory. 

These graham crackers were raved over by people who like graham crackers and were absolutely perfect for s'mores.  A few of the littles that don't like graham crackers did not care for them, but I guess you can't make everyone happy. Tthey just wanted to eat the marshmallows.) They are crispy and crackery, tiny bit smokey and sweet but not to sweet, and perfect for all your graham cracker needs.

The stuff. In one bowl there is graham flour, all purpose flour, baking soda and salt. The other bowl has brown sugar, honey and molasses. Also going to need vegan butter, vanilla, and a little bit of plant milk. 

IMG_1860.jpg
IMG_1867.jpg
IMG_1871.jpg

The big bowl of sweet stuff get beaten together with the butter and vanilla until smooth, then the dry mixture and milk go in an beaten until just combined. 

. This is what graham cracker dough looks like. Course  and chunky, but done. Don't beat it anymore, just use your hands to gather it tighter. 

IMG_1883.jpg

Gather the dough into a ball then wrap  in plastic (or stick in a plastic bag)and smoosh flat and rectangular. Place in the fridge for at least 2 hours, if not overnight. IT needs the time firm up. 

After the dough has firmed up, its time to roll it out. Cut the dough in half (place the other half back in fridge until you are ready for it) and roll out on a very floured surface. The dough is sticky and  not super strong so go slow and make sure to keep the surface and the rolling pin floured so it doesn't stick .

When it's all rolled out, trim the sides even the cut  into into squares or rectangular (or any shape you want). I was going to measure and make them all the same size and then I was like, yeah, no. I just eyed it and made them kind of the same size. I don't live in a world where I need perfect graham crackers. 

IMG_1905.jpg

Gently transfer the crackers ( I used the bench scrapper to list them, but a spatula would be good too) on a parchment lined baking sheet. Run a  line the doesn't cut all the way through in the middle of each cracker and then poke 6 (or how many you want) hole on each side. You can use a toothpick or a wooden skewer. I used a size 8 kitting needle.

IMG_1915.jpg

Get all your crackers made and sprinkle the tops with a little graduated sugar. Pop into the preheated oven to bake for 15-20 minutes, rotated around 10 to keep an even bake. 

Done. Golden brown graham cracker success. 

Cool the crackers on a wire rack.

And now you have yourself graham crackers for all your graham cracker needs. 

May I suggest a smear of peanut butter, maybe a glass of milk or coffee and some Martha Stewart on the tv? 

-C


Graham Crackers 

Makes between 20-30 crackers depending on size

  • 1 1/2 cups graham flour (unbolted whole wheat flour with the germ and bran)
  • 1 1/4 cup all purpose flour 
  • 1 teaspoon salt 
  • 1 teaspoon baking soda
  • 1/2 cup light brown sugar
  • 1/4 cup honey (can sub  in golden syrup or brown rice syrup)
  • 2 tablespoons molasses (not black strap)
  • 1/2 cup vegan butter 
  • 1 teaspoon vanilla 
  • 1 tablespoon plant milk 
  • 1 tablespoon white sugar

Stick the butter, brown sugar, honey, molasses , and vanilla  into a large bowl and beat with an electric beater until smooth, In a smaller bowl, whisk together the flours, salt, and baking soda. Dump the dry into the wet, add in the milk and beat on low until mixture just starts to come together,then use your hand and smoosh and knead the dough into a ball. Either wrap or place dough ball  in a plastic airtight bag, smoosh into a flat rectangular shape, and refrigerate for at least 2 hours, if not over night.

When you are ready to bake the crackers, preheat oven to 325 and line 2 large baking sheets with parchment paper. 

Cut dough in half and place one half back in fridge while working with the other half. Flour a surface and the rolling pin and roll dough our into a retangle about 1/8 inch thick. Trim sides ( a pizza cutter or dough scraper works really well here) to make a sides straight (straight enough) and then cut into equal sizes pieces that are the size of your liking. (What it did was cut in half, then each half into thirds  vertically  then the whole thing in thirds hortiztally. I ended up with 18 pieces)  

Place the crackers on prepared baking sheet and take you cutting instruments and run a line along the middle of each cracker without cutting all the way through (if you cut all the way through, it should fuse back together in baking) Take a wooden skewer  and poke 6 holes into each side. Sprinkle with white sugar. Now grab the second half of the dough and do the same thing. And don't forget to gather all the trimming and either roll into more crackers or just make one weird shaped blob cracker for taste testing.

Once all the crackers are prepared, stick into the oven to bake for 15- 20 minutes (15 for a softer cracker, 20 for a more crispy cracker) , rotating after 10 minutes to insure even baking. Once the crackers are a nice  golden brown, remove and place on a wire rack to cool.

Eat the way you do. 

Store uneaten crackers in a airtight container for a up to a week. Crackers can be frozen for later use. 


In cookies, crackers and chips, Dairy Free, snack, Sweets, Vegan Tags Graham Crackers, Graham flour, vegan graham crackers, graham cookies, vegan, Homemade graham crackers, plant based, unbolted flour, S'mores, snacks, biscuits, crackers, dairy free, egg free
Comment

Black Bean Tortilla Chips

May 5, 2018 Colleen Stem
IMG_1812 2.jpg
IMG_1840.jpg

The mr has a soft spot for tortilla chips. He doesn't get chips often, but when he does it is usually the super fried, super salty, in a plastic bag, tortilla chips. And I am ok with that because it is not often and the dude deserves chips when he wants them. But I hate how crappy they are for him, especially all the salt. So much salt that I can smell it in my mouth (yes, I said that right). So, as with everything else we eat in the house, I now make chips from scratch. (Slowly I have eliminated just about everything that is pre packaged and started making it myself. I think it's pretty much just the dried pasta and the mr's yogurt and cheese that I haven't gotten to.Yet.) This way he can eat his chips and I don't have to sit there tasting the smell and thinking about the crap that he is eating.  I know I say this a lot, but lets just take a minute here and acknowledge how I really am the best girlfriend ever. 

Ok, now about these chips. I have made plan tortilla chips a few times before and figured it was time for a twist.  In come black beans. Why, because I was pretty sure beans were going to be awesome, and lo and behold, I was completely right. Adding the beans take little to no more effort then making the chips without, and bonus here, more fiber and protein and good stuff going into a chip. Then they are lightly oil, lightly salted, and eaten without any guilt because I made them and they are the best. Seriously, the mr thinks they are amazing and doesn't miss those pre package ones a bit.  And sure, they might take a little time and minimal effort, but really they are super easy and the time and effort to make them is probably no more then going into a store, waiting in line to pay, and driving home to eat your chips. You can have these chip made in that amount of time. So you might as well just make them.

To the chips. 

The stuff. Masa harnia, black beans, water, salt, and a little oil. There should be a lemon or lime here too, but I forgot to stick it into the picture. Oops. 

IMG_1707.jpg
IMG_1710.jpg
IMG_1713.jpg
IMG_1716.jpg

Pretty easy.  Add the beans to a food processor and blend untill completely smooth. Add in the masa and pulse then gradually add in water until a dough forms. Stop and feel the dough. If it feels like play dough and comes together into ball easily, then you are good. If it is to wet, add a little more masa, to dry, more water.

IMG_1719.jpg

Dump the dough onto the counter and form into a ball. Place the doguh into a bowl and cover with a damp closer for 15-30 minutes to let the dough rest.

After the rest, divide the dough into 12 pieces and roll into balls. Place the balls onto a damp cloth and cover while you are making the tortillas so they don't dry out. 

IMG_1735.jpg
IMG_1741.jpg
IMG_1739.jpg

To flatten those balls into tortillas.  After doing this a bunch of times, I have a system that works the best for me.  I use a large ziplock bag (the plastic is a little thicker and easier to deal with, plus I don't use plastic wrap), a cutting board, and a rolling pin. Place a dough ball into the center of the bag then take the cutting board and press directly on top, placing all your weight onto it. It gets flat, but not flat enough so take the rolling pin and flatten some more. Then press the rolled out dough with the cutting board one last time. Carefuly remove from bag and place direrely onto a hot dry skillet. 

Cook each side 3-4 minutes or until it starts to get a few light brown spots. Once cooked, place on a plate or baking sheet. If I were just making tortillas, I would place then in between a kitchen towel to keep them warm, but because they are destined for chips and don't care. 

IMG_1758.jpg

Black bean corn tortillas. Hey, you could stop here and make a taco or something if you need to. Feel free to use a tortilla or two before using the rest to make the into chips. 

IMG_1769.jpg

So chips. Grab baking sheets, oil, salt, a knife, and the tortillas. Take a few of the tortillas and oil them. (The easiest way I found to do this is to rub oil on with my hands then rub the oil onto the tortillas. ) Oil 3 at a time, stacked them on top of each other and cut into 8 triangles, 

Get as many of the triangles onto a baking sheet as you can, without overlapping.  Once all nice and tight, sprinkle the tops with salt and pop them into preheated oven. 

Pull the chips out of the oven when they are crispy and done (about 10 minutes) then squeeze a little lemon juice all over the chips. Toss around and pop the pan back into the oven for another minute or two just so the juice doesn't  leave the chips soggy.

Dump cooked chips  onto a wire rack to cool. Eat as you work, you deserve it.

IMG_1837.jpg

Pile chips into a bowl, and serve with some salsa or guacamole or whatever you eat you chips with.  They are your chips. 

-C


Black Bean Tortilla Chips 

Makes 98 chips, or like a good sized bag worth

  • 2 cups masa harina 
  • 1 cup cooked black beans in bean juice
  • 1- 1 1/4  cups warm water
  • couple teaspoons neutral oil (I used grape seed oil)
  • 2-3 teaspoons salt
  • A lemon or lime

Beans go into a food processor and blended until completely smooth. Add in the masa and blend, slowly adding 3/4 cups water until a dough starts to forms.  Stop and check dough. It should feel like play dough and come together easilty onto a ball. If it feel wet, add in a couple of tablespoons more of the masa. If it is still too dry and crumbly, add in more water until it's to the right consistnacey. Dump dough onto counter and form in a ball. Place dough in a bowl and cover with a damp towel and let sit for abut 15-30 minutes.

Preheat a skillet on medium high heat on stove.

Once dough has rested, divide into 12 pieces and roll into balls. Place balls onto a damp towel and cover when not working with them. Grab a large ziplock bag, a cutting board, and a rolling pin. Take a dough ball and place in the center of the bag. Press down with the cutting board, placing all your weight on top. It got flat, but not flat enough. Continue to flatten out with the rolling pin until it is about  1/8 inch thick. Press again one last time with the cutting board. Gently remove from bag and place directly onto the hot skillet. Cook each side for 3-4 minutes or until it  starts to get a few light brown spot. Place cooked tortilla on a baking sheet or in between a kitchen towel. Repeat until all 12 dough balls are cooked into tortillas.

Preheat oven to 375

Working in 3's. dump a little oil onto your hand then lightly rub it all over the tortillas. Stack them on top of each other then cut into 8 wedged. Place wedges onto a baking sheet, get as many as you can onto sheet without any overlapping, then sprinkle with salt. to taste. If you have them, use multiple baking sheets.  Place in oven for about 10-12 minutes or until the chips are crispy. Remove and sprinkle lemon juice all over the chips. Toss around and place back into oven for a minute or two just until lth lemon juice evaporates. Remove and dump chips onto a wire rack to cool.

Eat chips. Any left over can be placed into a airtight container or bag and will last about 3-4 days. 

In 5 ingerdients or less, beans, Dairy Free, Vegan, snack, Savory, pulses, Gluten Free, crackers and chips Tags Black Bean Tortilla Chips, Masa harina, chips form scratch, cinco de mayo, cron chips, Vegan, Gluten free, plant based, beans, black beans, black bean chips, corn chips, snack, chips, dairy free, gluten free
1 Comment

Winter Roots Spring Rolls

March 24, 2018 Colleen Stem
IMG_1081.jpg
IMG_1021 2.jpg

Are you so excited that it is spring? I know I am.  But I am also realistic and know that even though it is "officially" spring, it is not going feel like spring here for a little while. There are still a few more weeks of potential snow storms and cold weather and then there is mud season before we really get to spring and things growing and green.  And plus there are still plenty of roots to finish up before we get into all the fresh spring veggies. You can't plant broccoli and pea into frozen snow covered soil. 

I love me some root veggies, they are some of my favorite, although like every year around this time I am starting to tire of them. But what are you going to do? Stop complaining and stuff them into a spring roll with some lighter veggies and enjoy while you can because once the roots are gone, they are gone (until the fall).  

These spring rolls are good, I mean really really good. The combination of the roasted roots with a fresh tangy mixture of crispy crunchy veggies and fresh ginger and soy and they are just really good. When I made these, it was still vey cold outside so I even went an extra step and baked the rolls to give them a little crispiness to the wrapper  because crispy warm food is kind of nice when its cold out. Because it is still cold out. 

Happy Spring!!!

The stuff. For roots we are using beet, celeriac, parsnip, and carrot. Then we need onion, kale, cabbage, garlic, fresh ginger and rice spring roll wrapper. Also some sesame seeds, soy or tamari, apple cider vinegar, and a little oil or avocado oil. 

IMG_0956.jpg
IMG_0959.jpg

First thing to do is get the roots roasting. Cut the roots into !/4 inch thick disks  and place right onto a lightly oiled baking sheet then stick into the oven to roast until browned and tender. 

As soon as the roots are in the oven, chop the kale nice and small. Thinly slice the onion and the cabbage and mince and grate the ginger and garlic. Cute the carrot into very thin matchsticks. 

IMG_0978 2.jpg

Toss it all into a bowl and mix with the soy and the vinegar... (this mixture is so very very good.. might just be a salad here soon) 

Don't be gentle, toss with your hands. You can lick then after too. 

IMG_0989.jpg

Roasted and cooled roots get a nice matchstick chop so they fit into the rolls. 

IMG_1017.jpg

About time for assembly time. Damp wrapper with a pile of the  cabbage, kale, carrot, onion mixture and a few pieces of each of the roots topped with a sprinkle of sesame.  Oh so pretty all waiting to be wrapped up. 

IMG_1032.jpg
IMG_1034.jpg
IMG_1035.jpg

Fold sides over, fold bottom up, and roll nice and tight. Easy peasy. 

Place the rolls on a lightly oiled baking sheet. Lightly brush each roll with a little oil as well and stick them into the oven. After 10 minutes, flip them over was bake for 8 or so minutes more until both sides are lightly crisp.

IMG_1060.jpg

And the they be done. Eat right away and serve with extra soy sauce. 

See, we are still happy to eat our roots. And spring veggies will be here before you know it. 

-C


Winter Root Spring Rolls

make 6-8 spring rolls

  • 1 beet
  • 1 parsnip
  • a small bulb of celeriac (celery root)
  • 1 carrot
  • 1/4 head of cabbage
  • 1 small red onion
  • 2-3 kale leaves
  • 1 tablespoon soy or tamari 
  • 1 tablespoon fresh grated ginger
  • 2 cloves garlic
  •  2 tablespoons apple cider vinegar
  • tablespoon oil
  • about 2tablespoons sesame seeds
  • 6-8 rice spring roll wrappers 

Preheat oven to 400.

Slice the parsnip, celery root, and beet into 1/4 inch thick  disks and place on a lightly oiled baking sheet. Bake for 15 minutes, flip, then bake for 10 or so more minutes  or until the veggies are browned and tender.

When the roots are in the oven, thinly slice the cabbage and  onion and toss into a bowl. Chop the kale into small pieces and thinly slice the carrot into matchsticks about 2-3 inches long. Place it all into the  bowl with the grated ginger, minced garlic, vinegar and soy sauce. Toss it all around and let it sit while the other veggies are roasting.

Once the roots have cooked, remove form oven and let cool. Keep oven on. When they are cool enough to handle,  slice the disks into matchsticks 2-3 inches long.

Time to assemble. Grab all the veggies

Take a shallow dish that can hold a little water and is big enough for a wrapper to fit and add warm water to it.

Keep your baking sheet from the veggies close and lightly oil it again.

Place a wrapper in warm water then place on a wet surface. (keep surface slightly wet or the wrapper will stick)  Add a good pinch or so or the cabbage/kale/carrot veggie mix into the center of the wrapper then add a few of each of the matchstick roots on top. Sprinkle with sesame seeds and then roll. Once rolled, place on baking sheet. 

When all the rolls are made, lightly brush the tops with oil and  place into the oven and bake foe 10-15 minutes, flipping half way through

Remove from oven when each slide is lightly crispy and serve right away, preferably with more soy sauce to dip in. 

In winter, Vegetables, Vegan, Spring, snack, side dish, Gluten Free, Dairy Free, appetizers Tags Winter Roots Spring Rolls, Spring rolls, baked spring rolls, roots, root vegetables, vegetables, gluten free, vegan, plant based, side dish, easy, appetizer, vegan side dish, fresh, local, Farm food, Winter root veggies
Comment
← Newer Posts Older Posts →
 

https://thelovelycrazy.squarespace.com/config#/|/about/

Me. Food Maker.Food eater. Woo HOO!

STEM+NODE  SMALL BATCH AND ONE OF A KIND POTTERY

stem+node ceramics


____________________

Subscribe

GET NEW POSTS IN YO EMAIL

You are AWESOME!!!


@thelovelycrazy 2014-2021