• stem+node ceramics
  • HOME
  • Food Recipes
  • About
  • Contact
Menu

The Lovely Crazy

Street Address
City, State, Zip
Phone Number

Your Custom Text Here

The Lovely Crazy

  • stem+node ceramics
  • HOME
  • Food Recipes
  • About
  • Contact

Almond Cupcakes with Blackberry Clementine Frosting

February 9, 2019 Colleen Stem
IMG_5243.jpg
IMG_5203.jpg
IMG_5319.jpg
IMG_5330.jpg

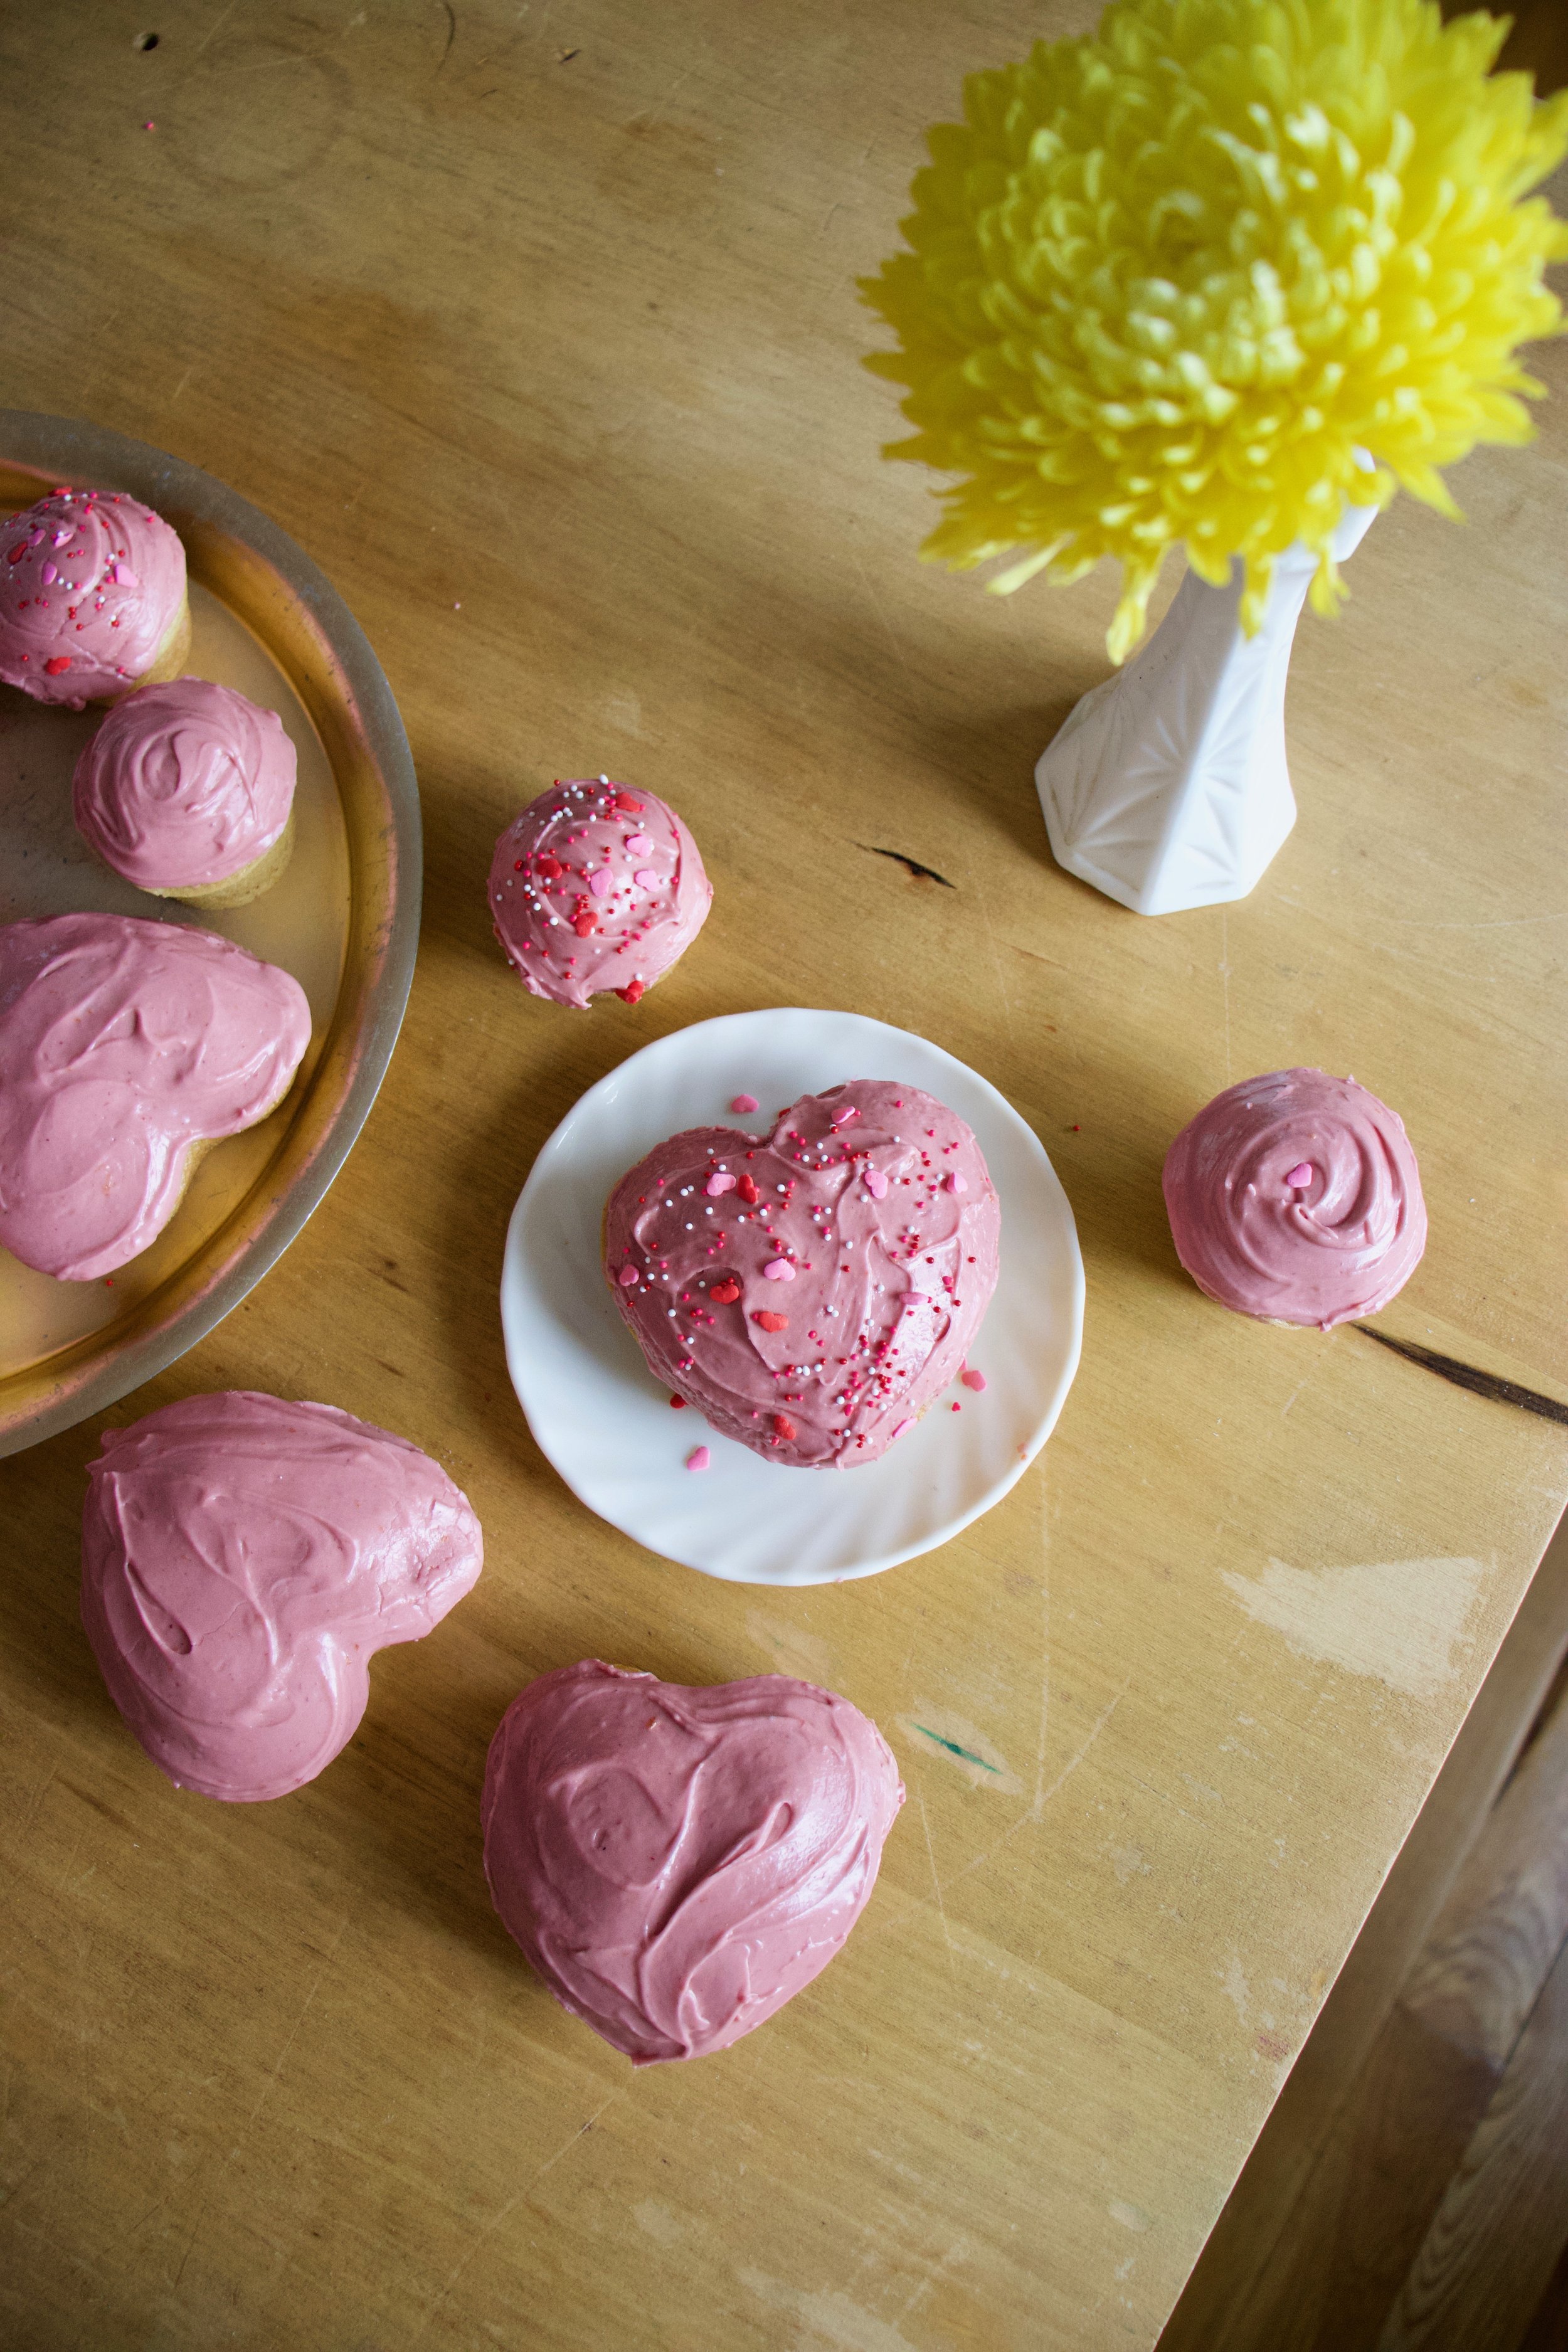
I have very strong feelings for heart shaped baked goods. I think that everything, all year round, should be heart shaped. How lovely would that be? It would be ever so lovely, or I would think so anyway. And yes, ok, I was thinking about Valentines Day when I made these cupcakes but don’t let that be the only reason you make a cupcake, cake, or any other baked good into the shape of a heart or pink for that matter.. Hearts are just so sweet and cute and dare I say cuddly? (Can you cuddle baked goods? Let me know if you have and do. We should talk about that). And pink is just a fantastic color, especially when it is the color of the flavor. Purple-y pink equals a taste like berry so all just makes sense.

Anyways. Cupcakes. Made with nutty almond meal to taste all nutty, frosted with blackberry and clementine frosting which is a pairing that all party and non party people will love. A down right deeelightful combination that will, no matter your circumstance in life, make you smile. Because lets get this clear, these cupcakes might look all lovey dovey and Valentines Day-e and are very much a perfect Valentines Day treat, but also can be an everyday, run of the milll, straight up any day, all day cupcakes. Valentines Day does not own the heart or pink.

These cupcakes are for you to love and you don’t need to worry if they love you back. That would be weird.

Slightly off topic thought. How awesome would it be if someone made a cute little teddy bear that when you squeezed it it would scream “WHAT THE HELL! GET OFF ME!” Hahahaha. That would be amazing.

To the cupcakes!

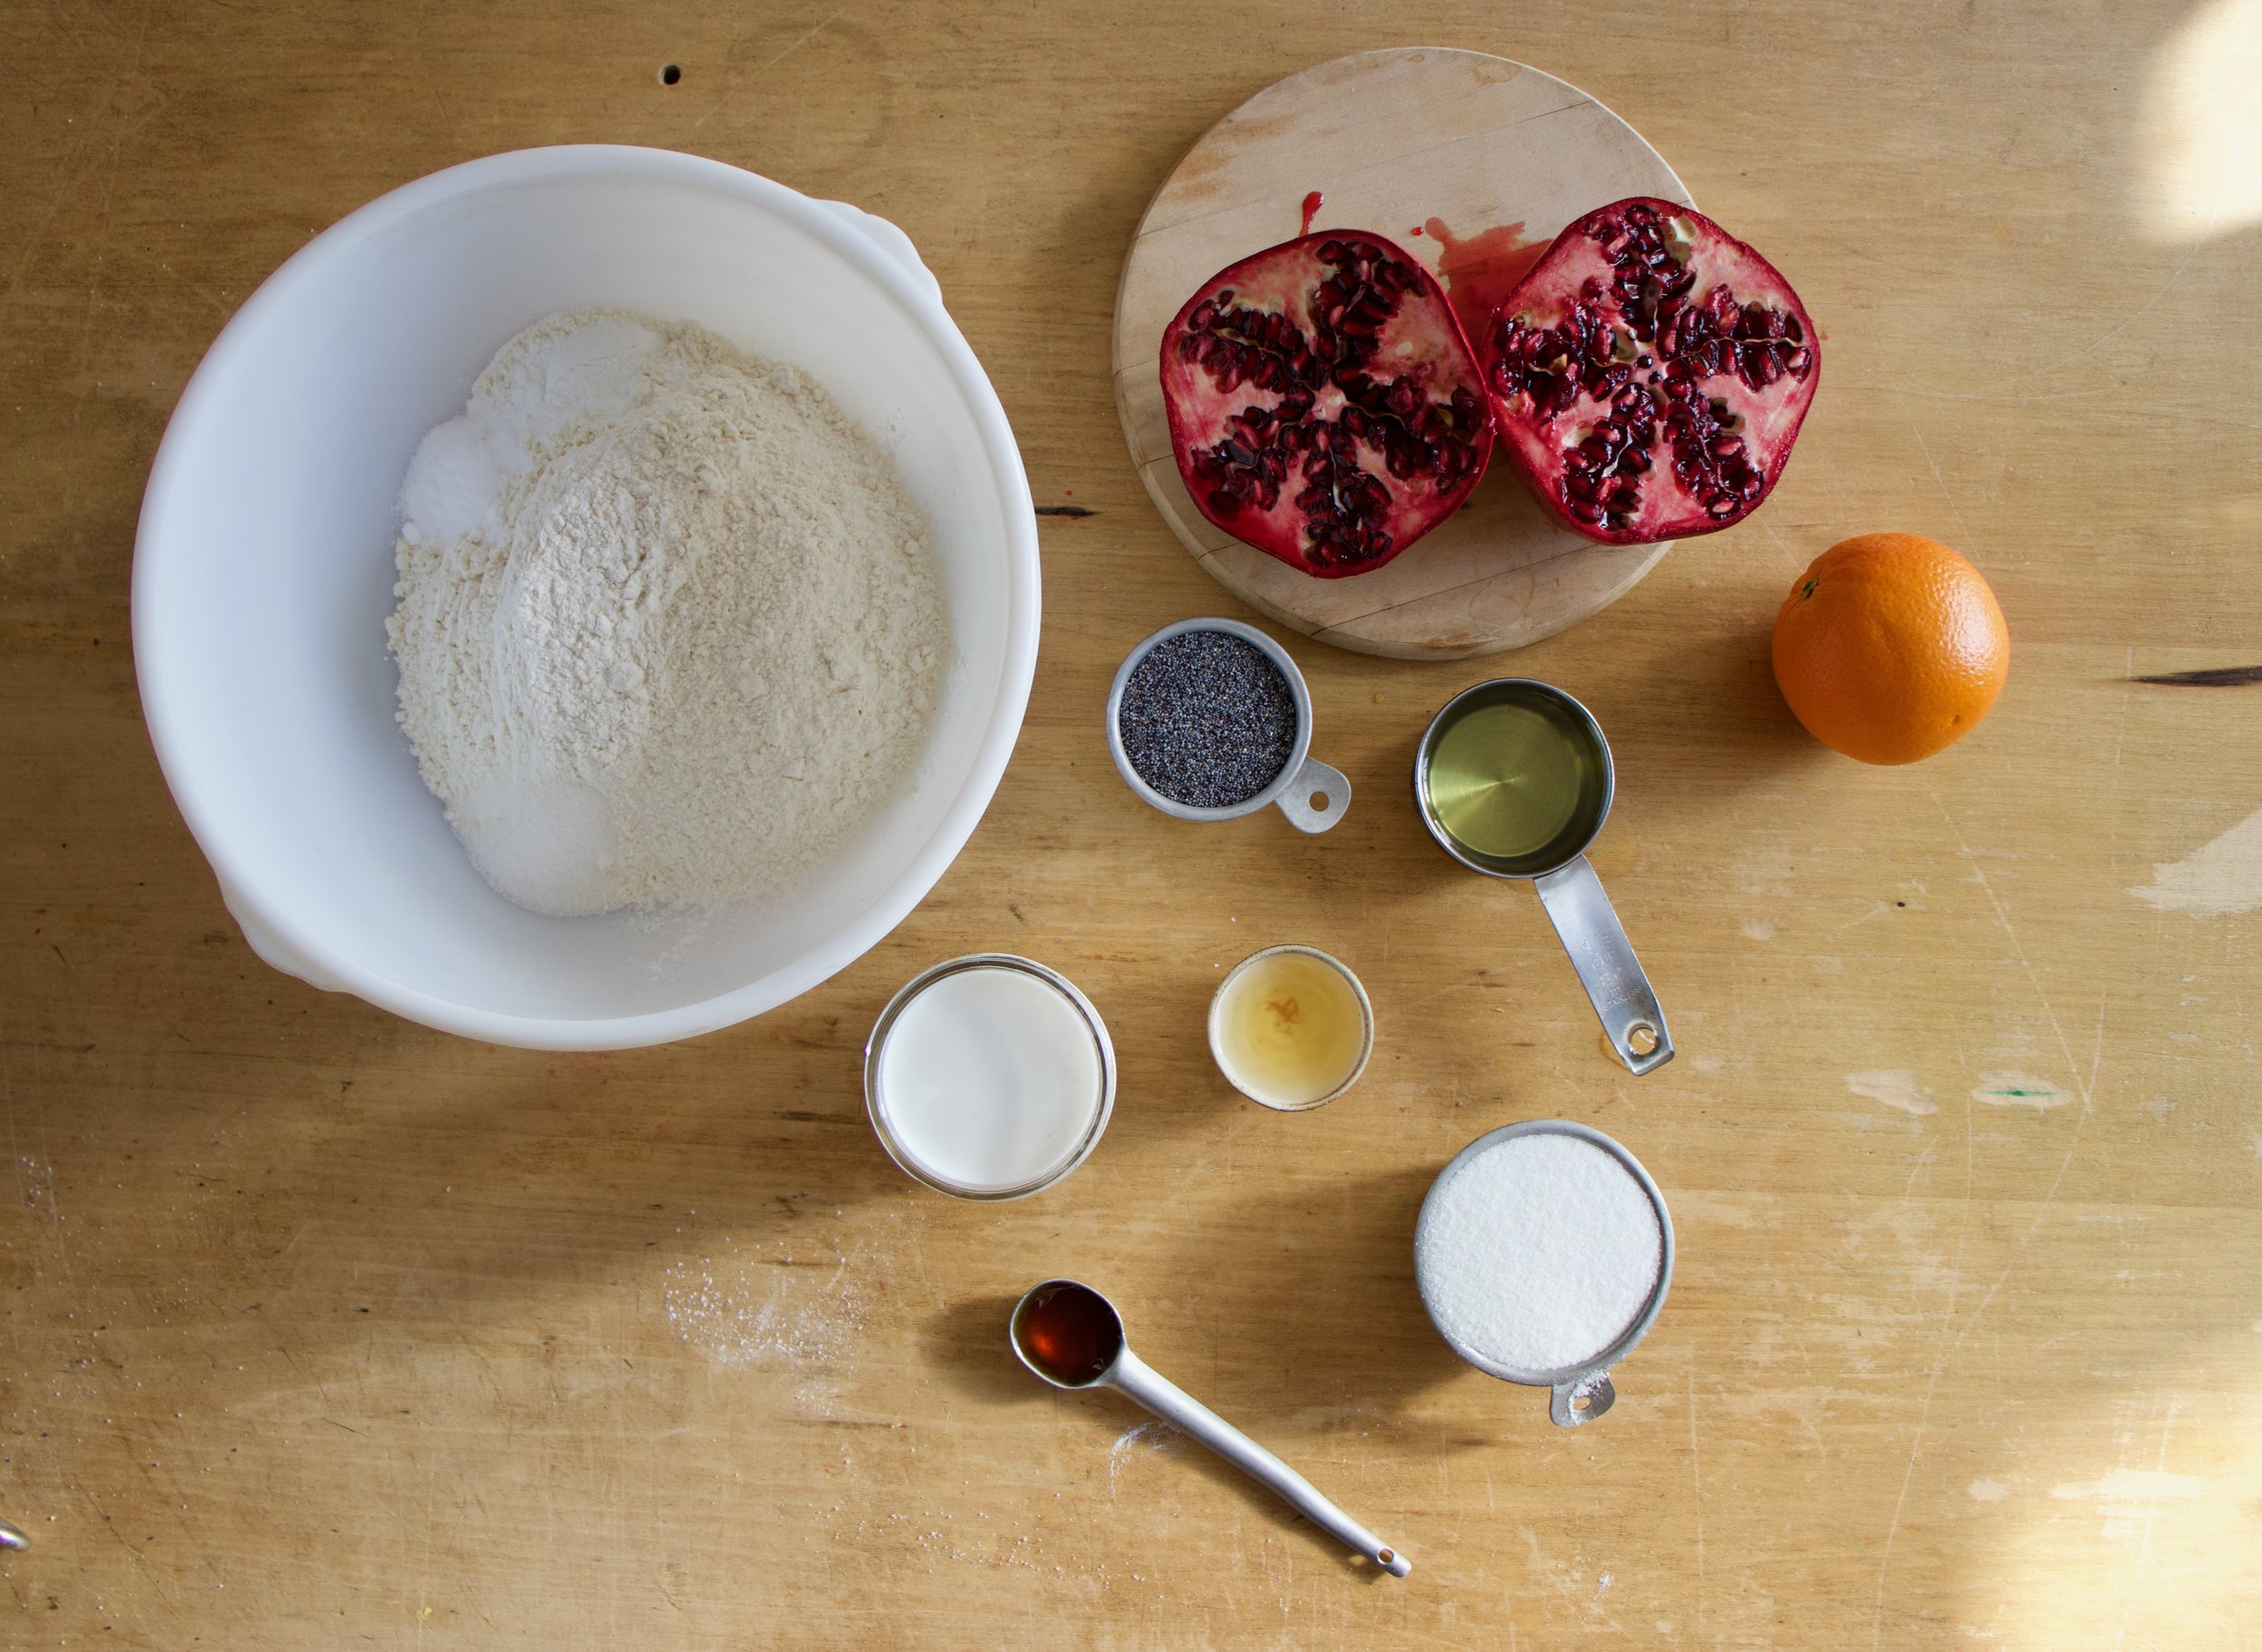
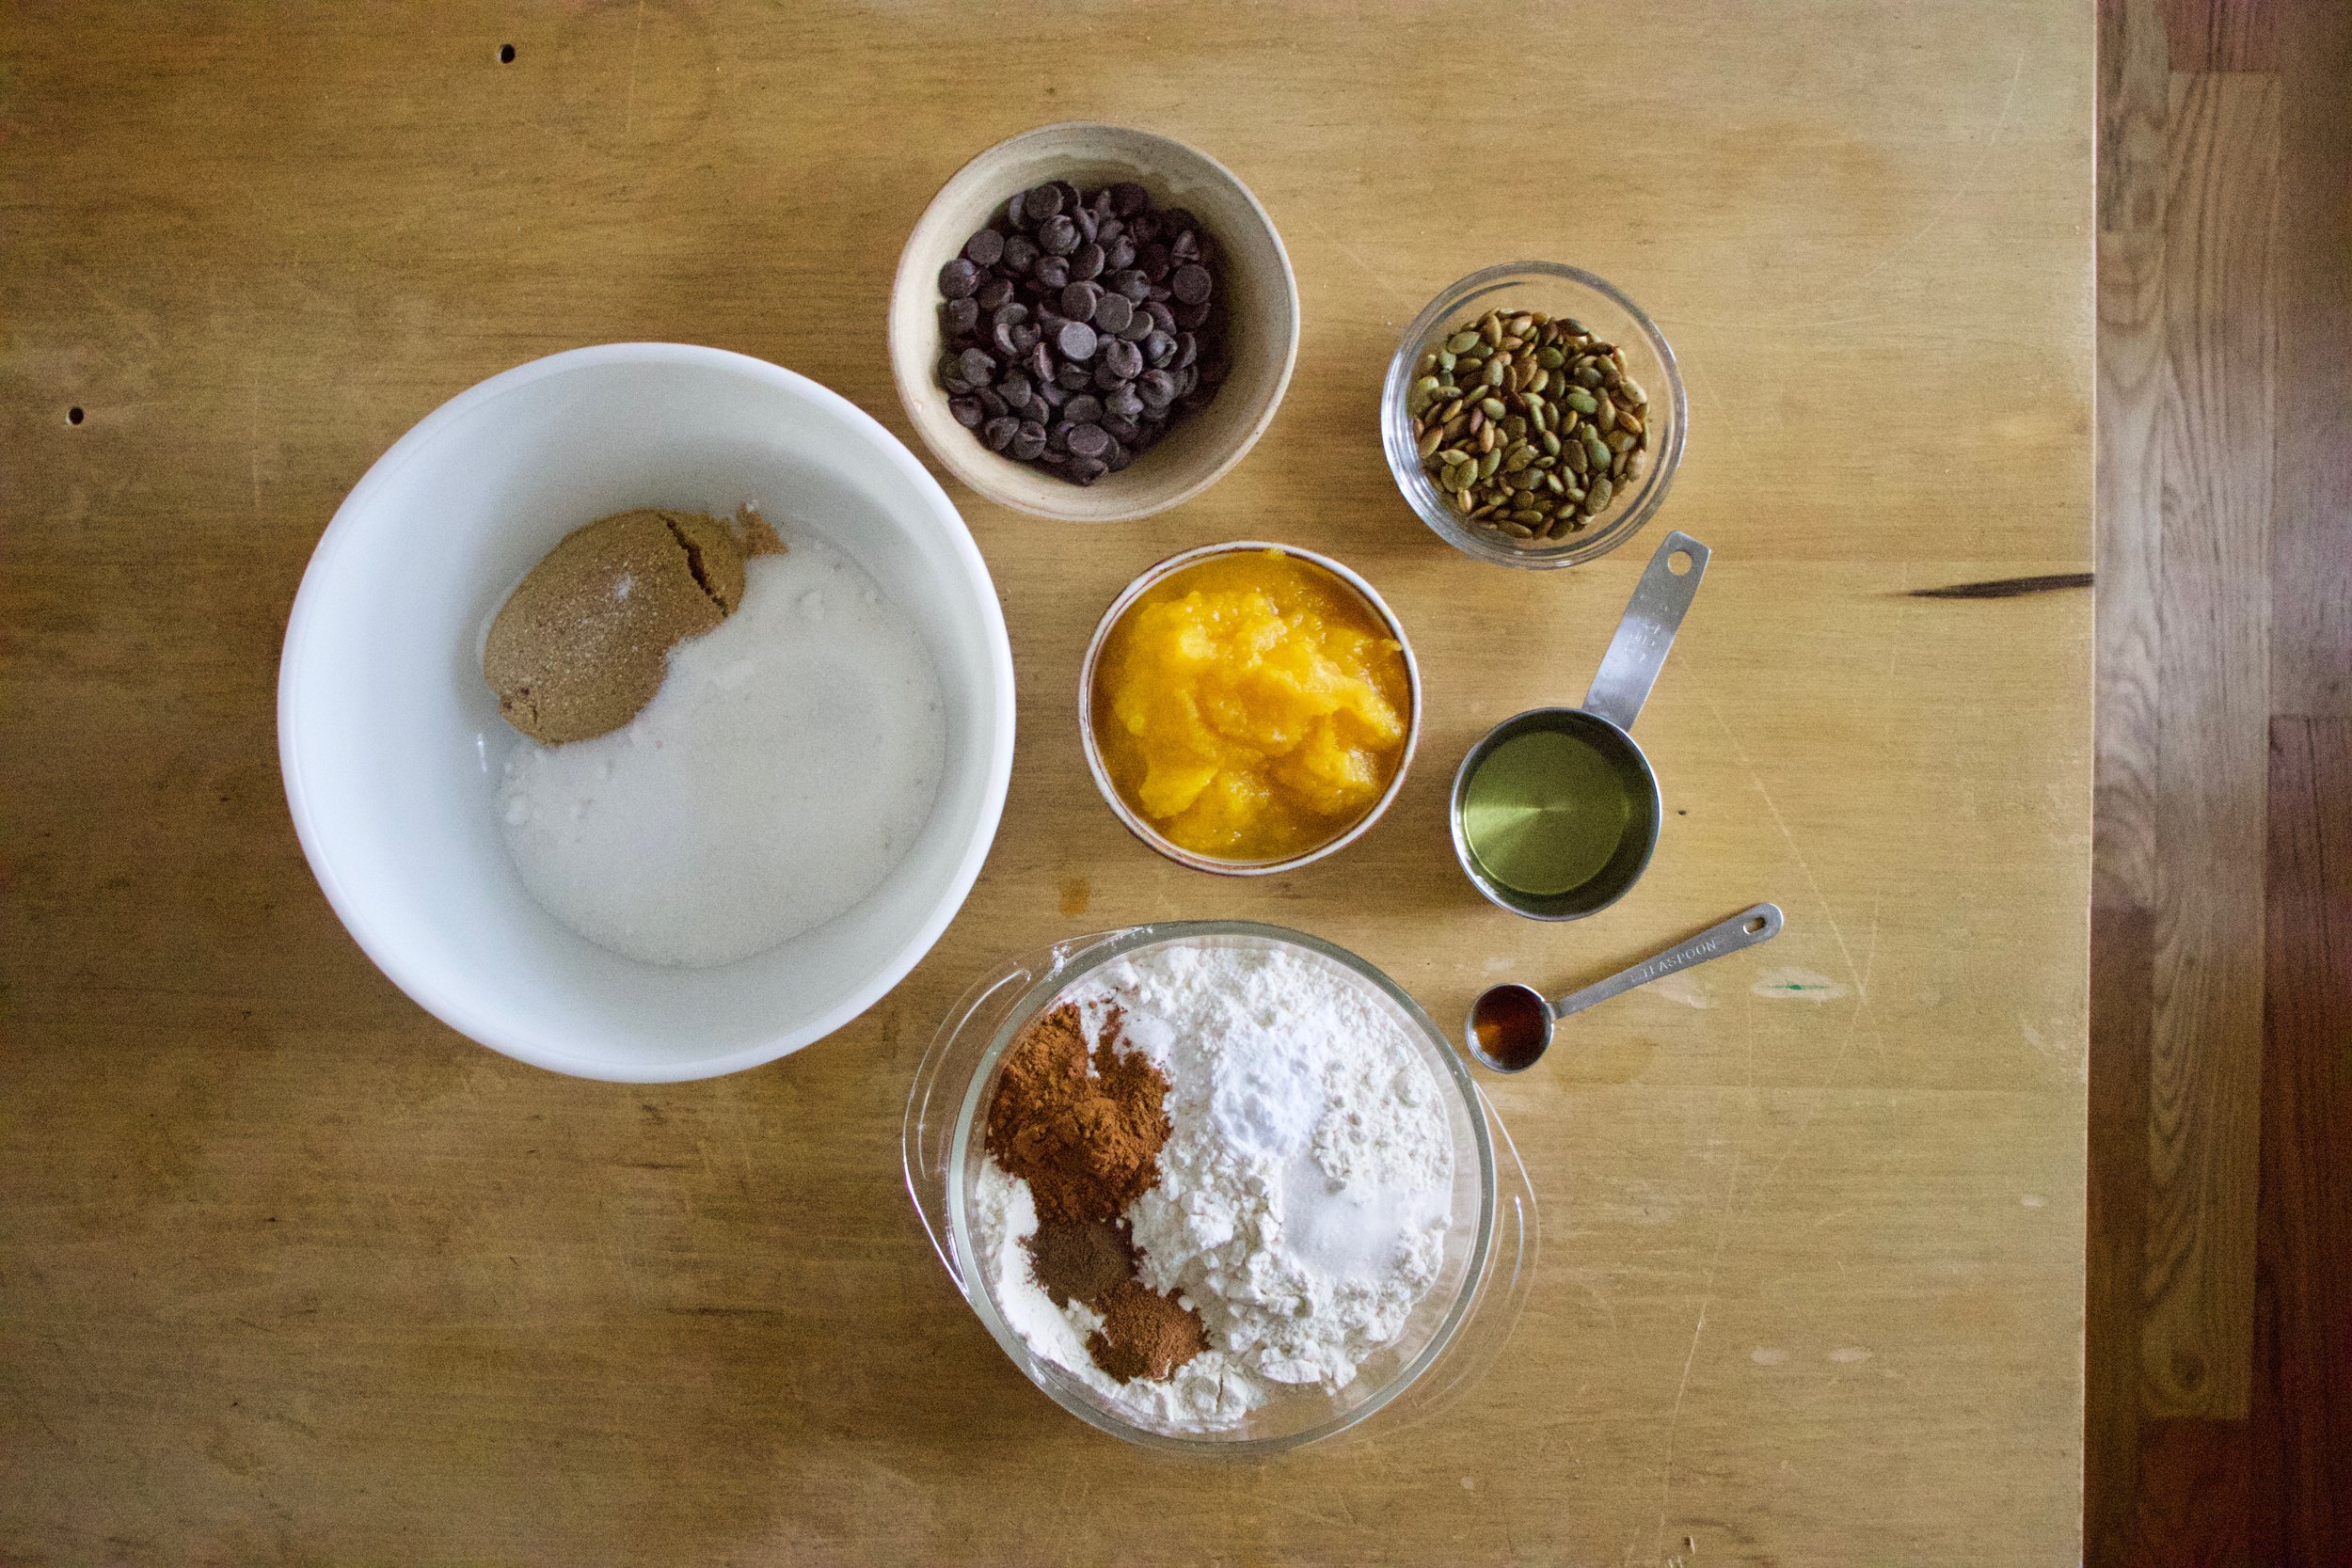
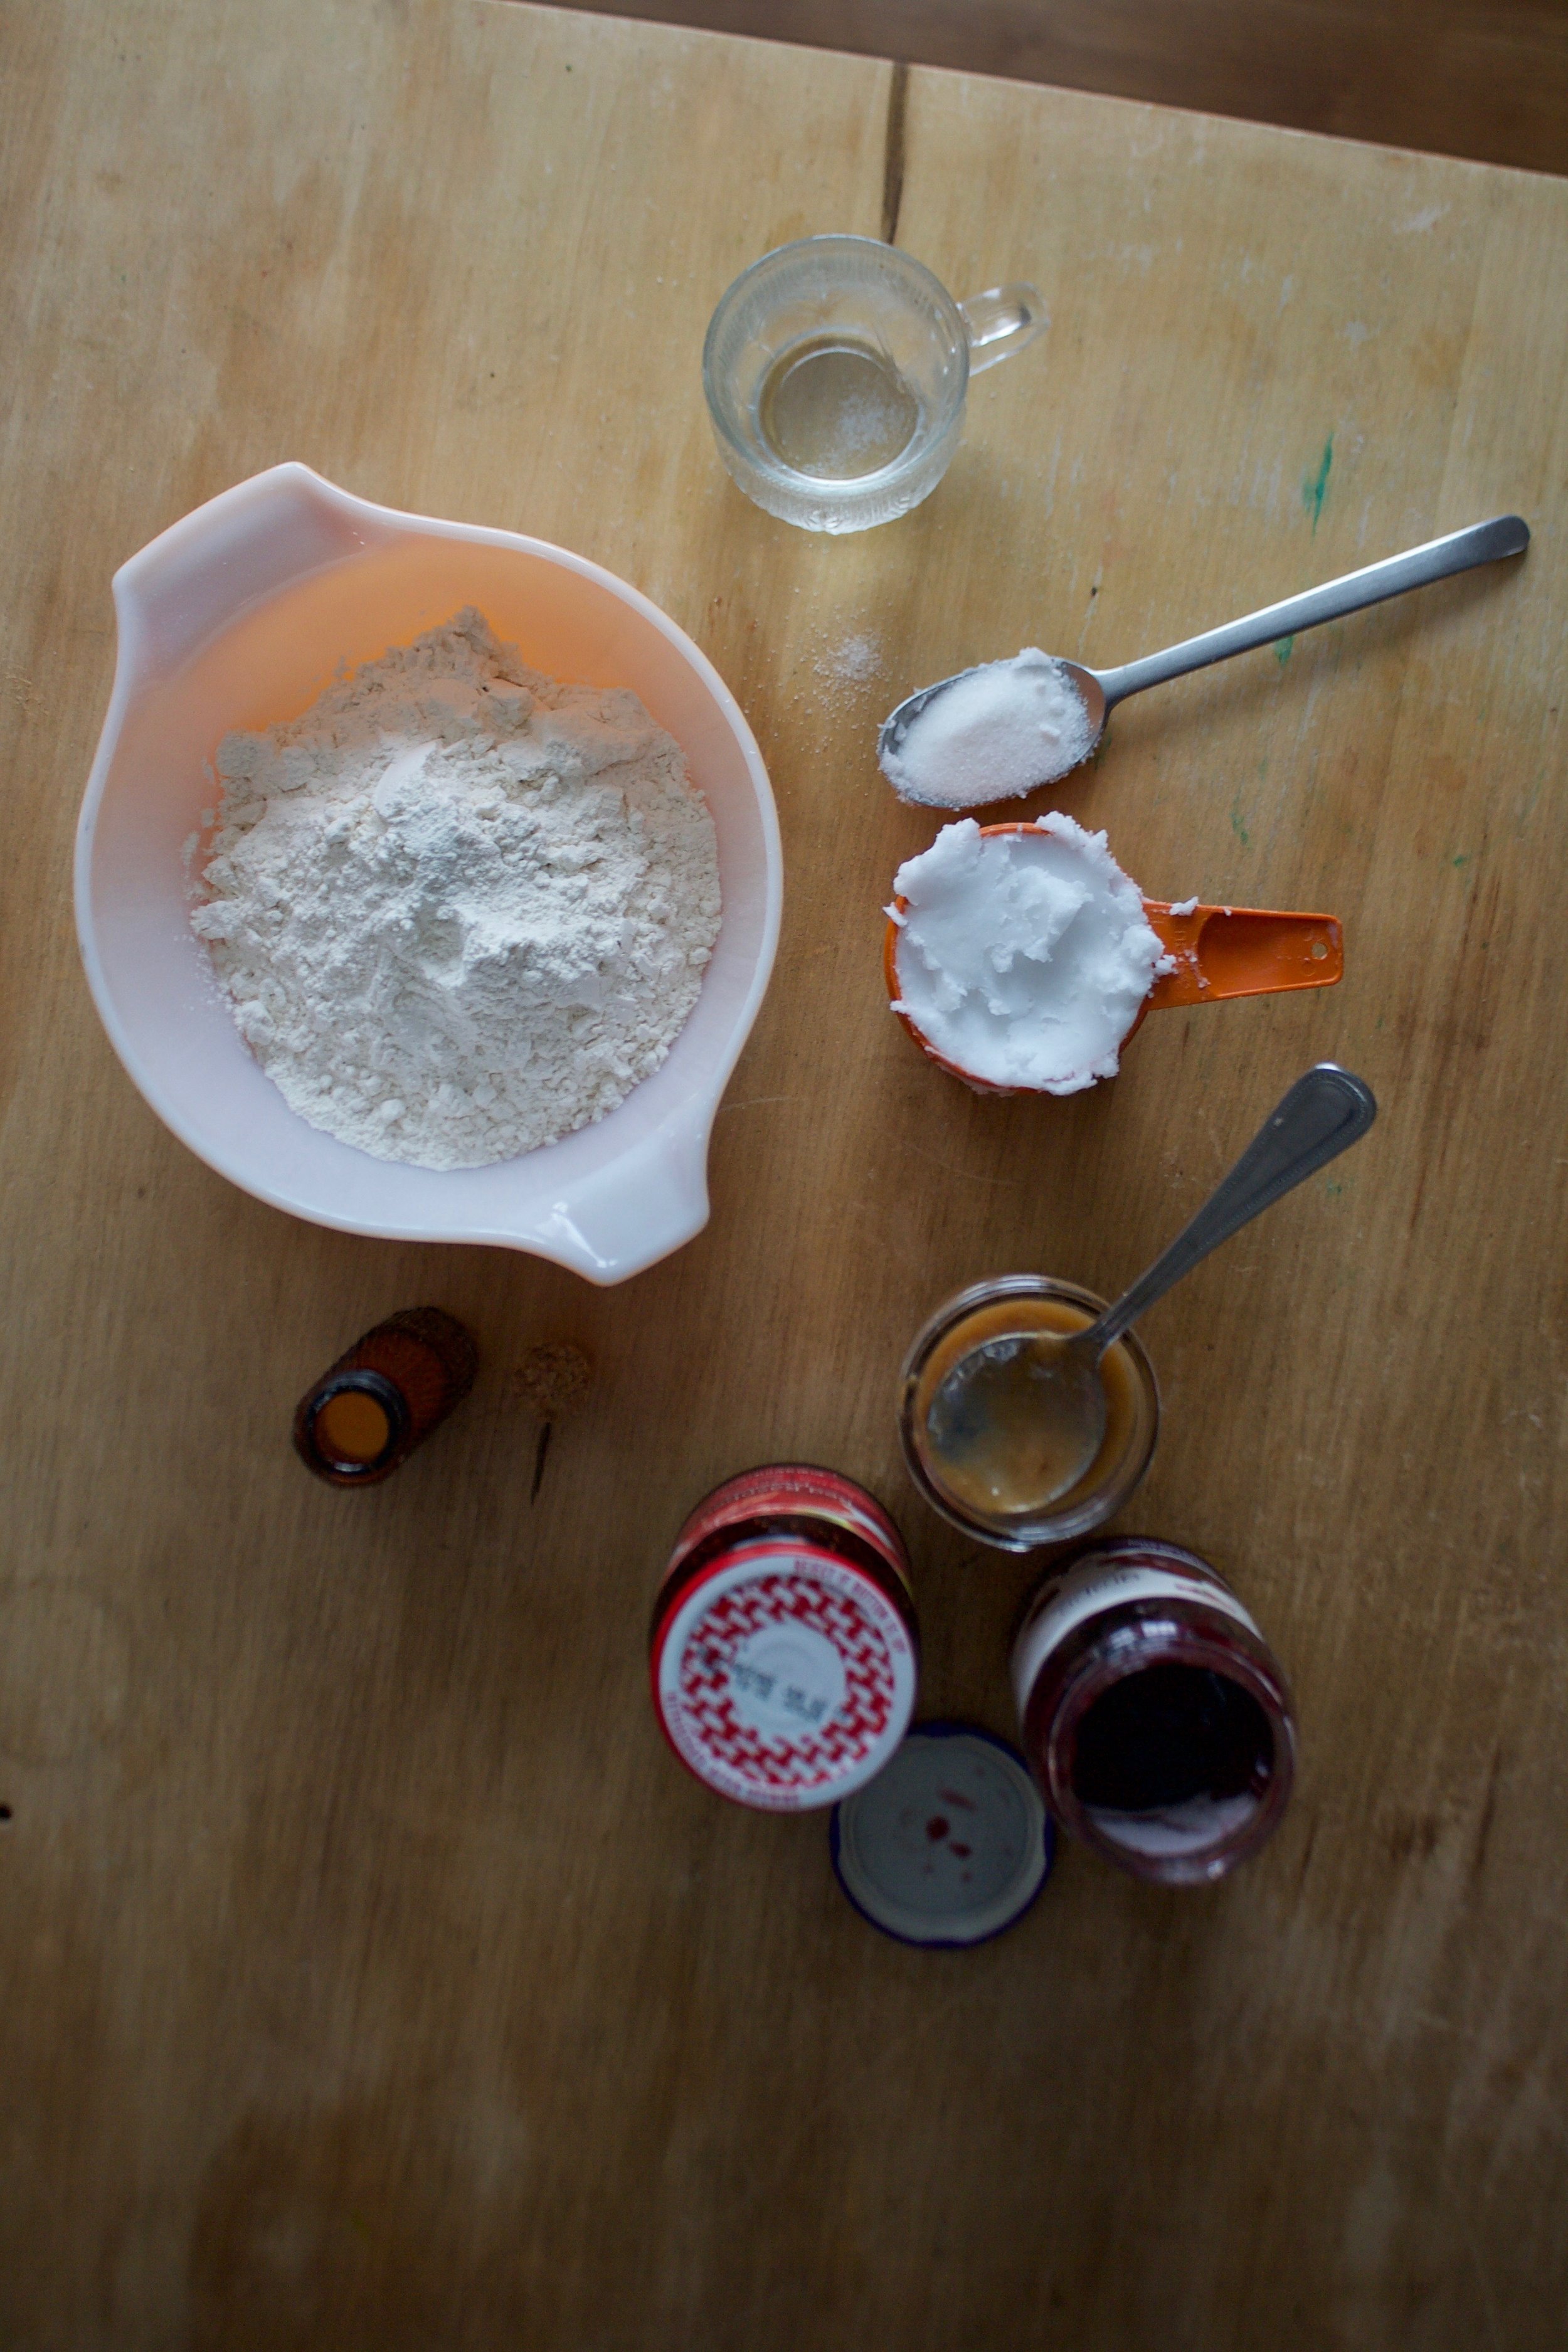
The stuff. Flour, almond meal, baking soda, baking powder, salt, sugar, soy milk, oil, vanilla extract, and apple cider vinegar. Also some blackberry jam, powdered sugar, some vegan butter, and a clementine.

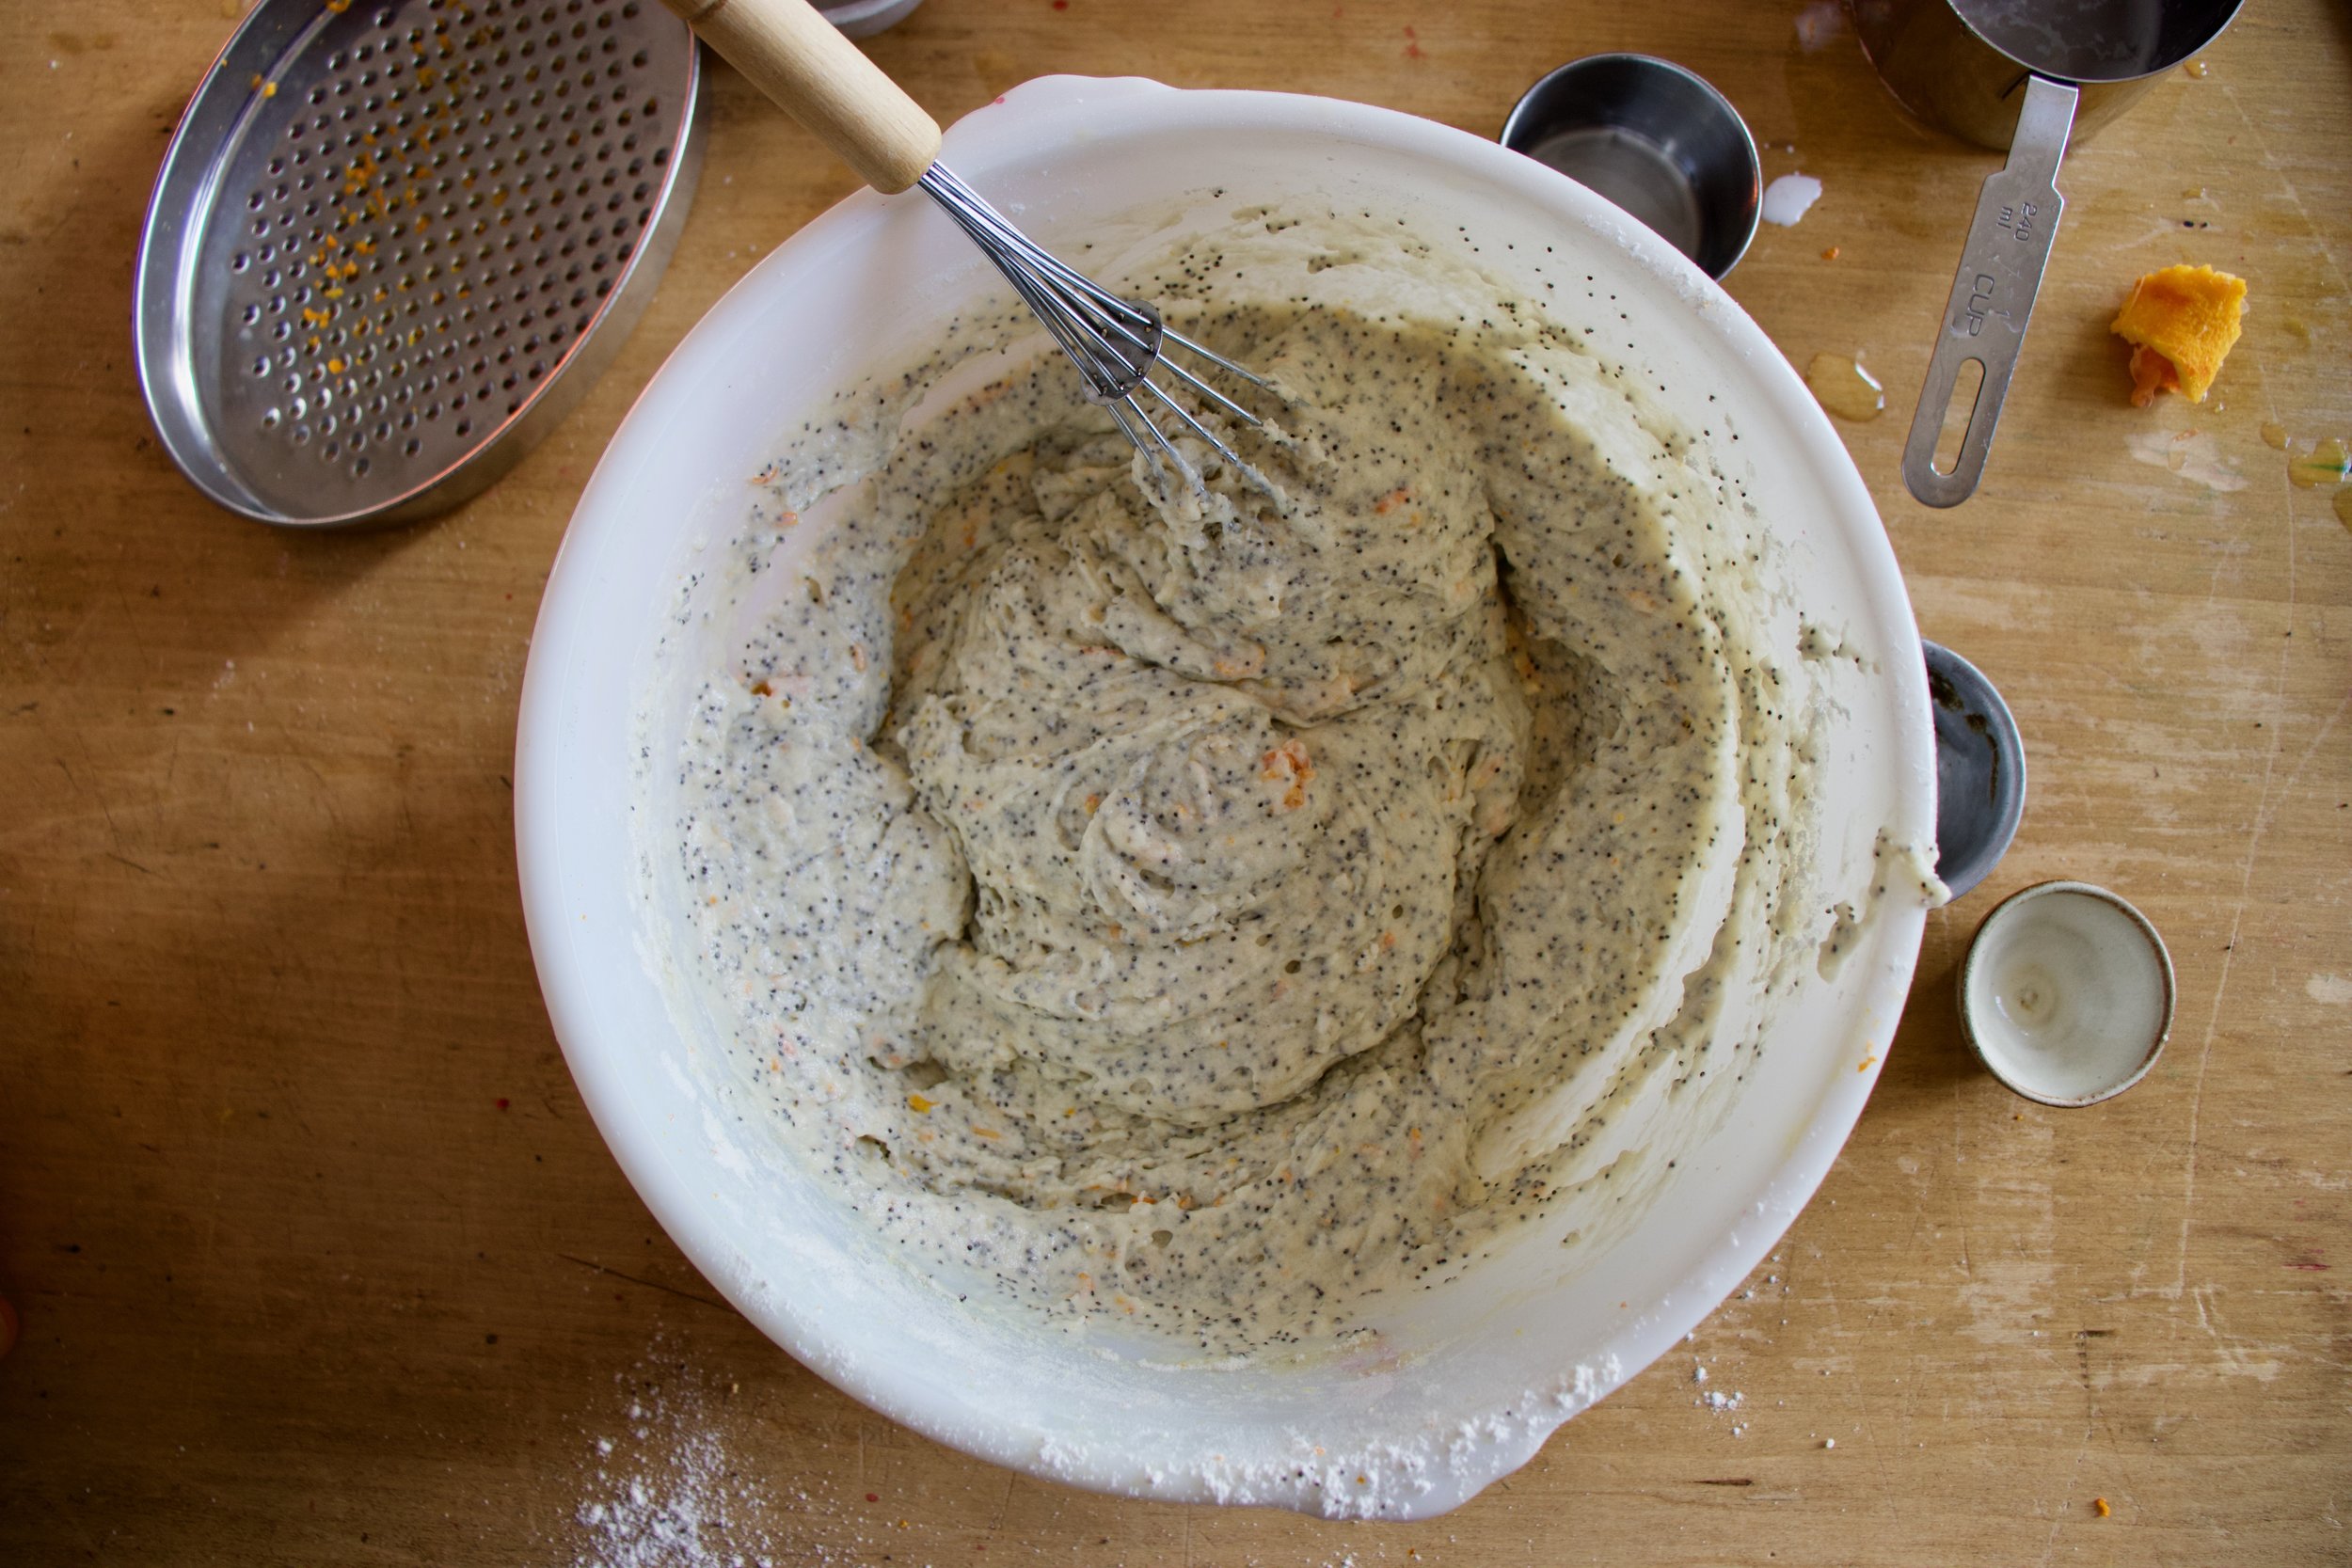
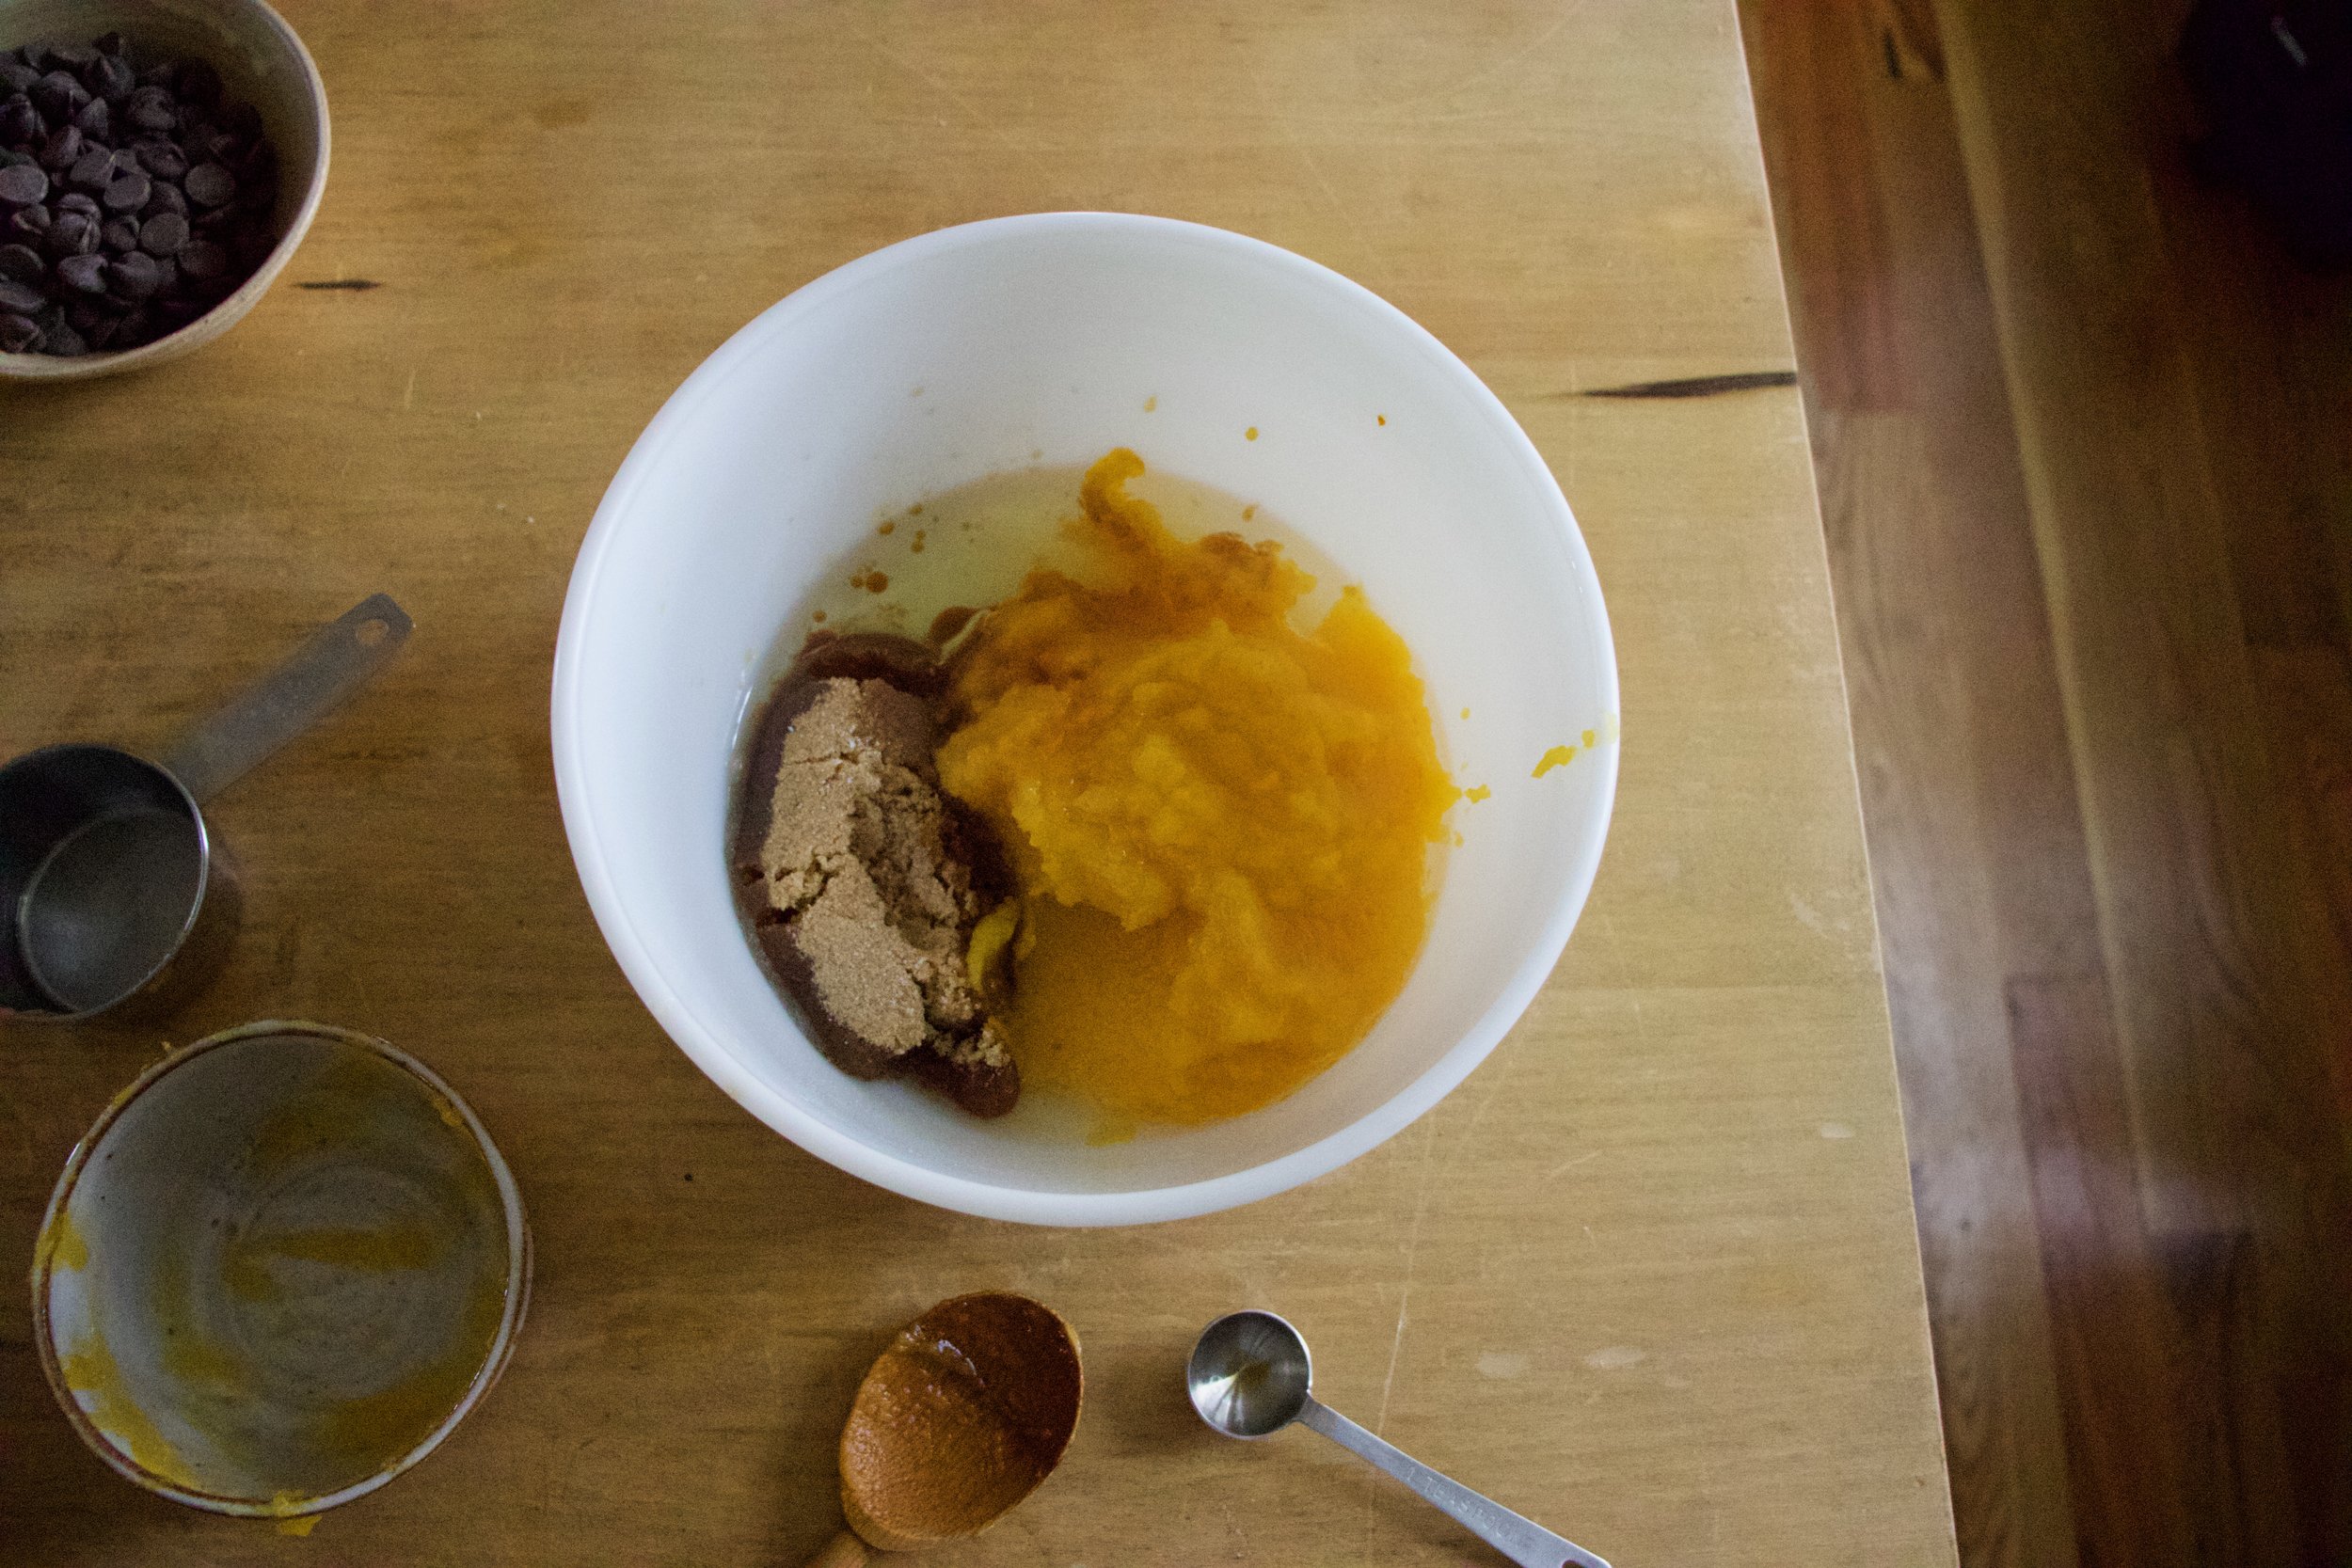
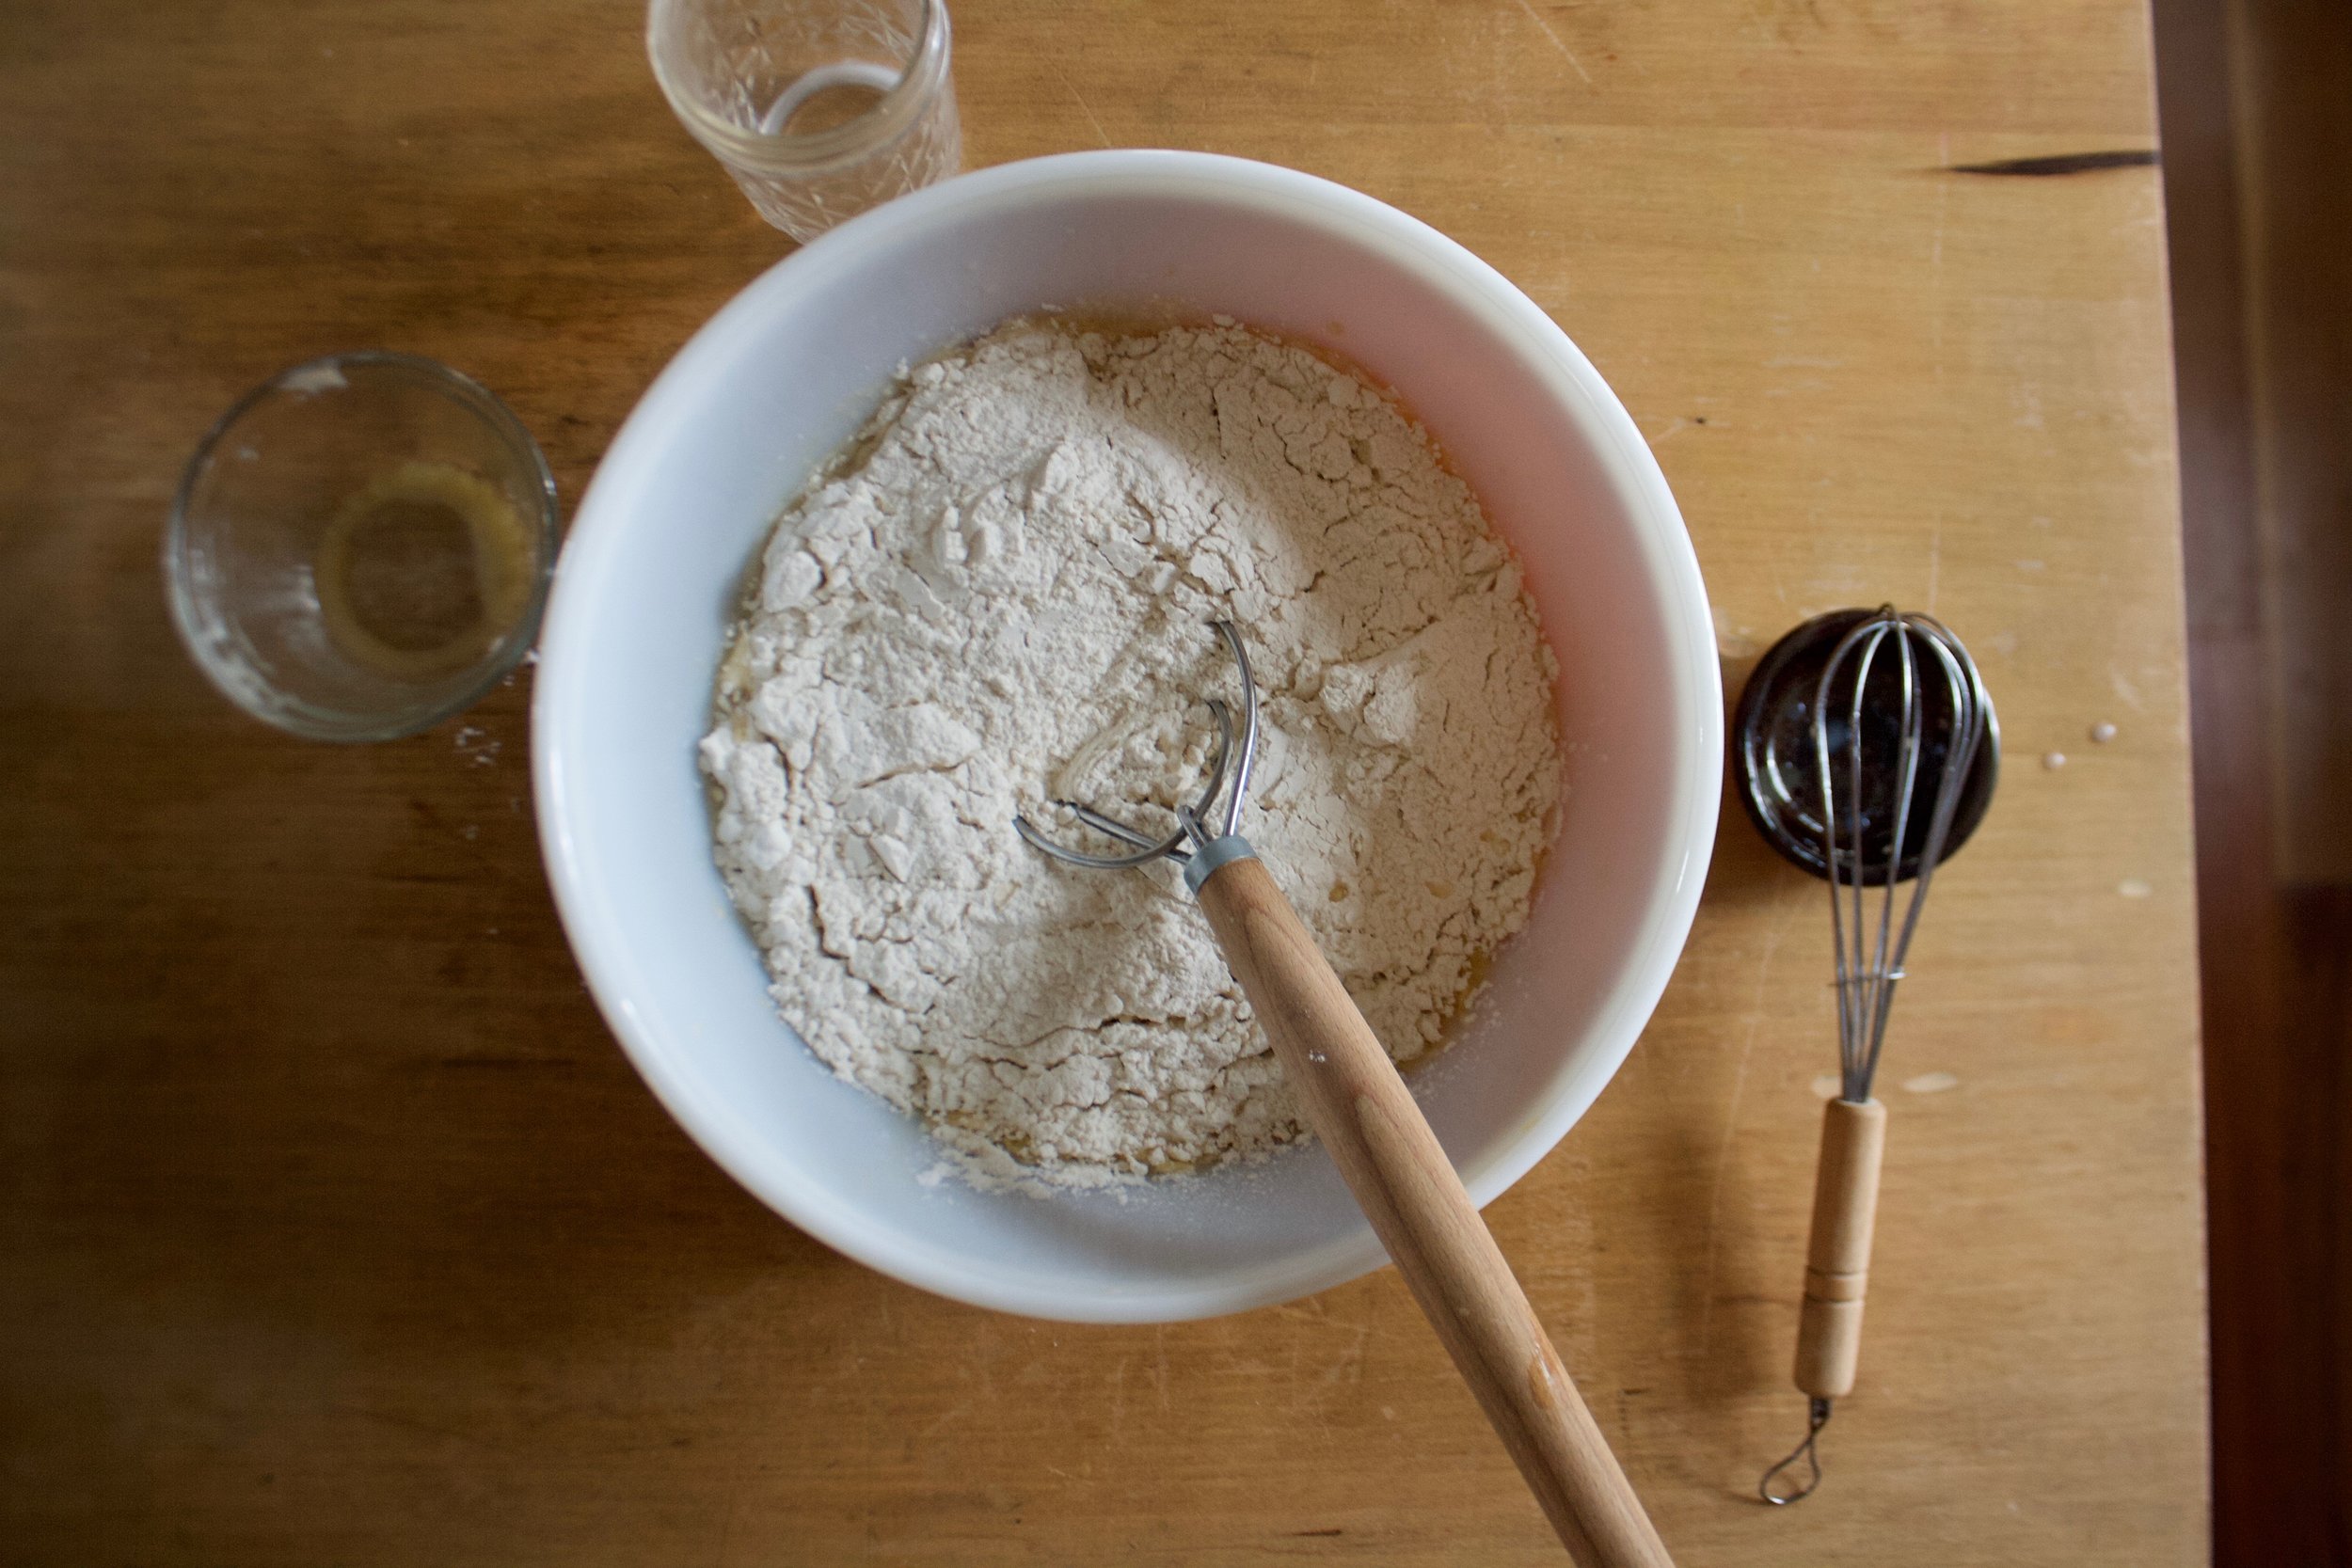
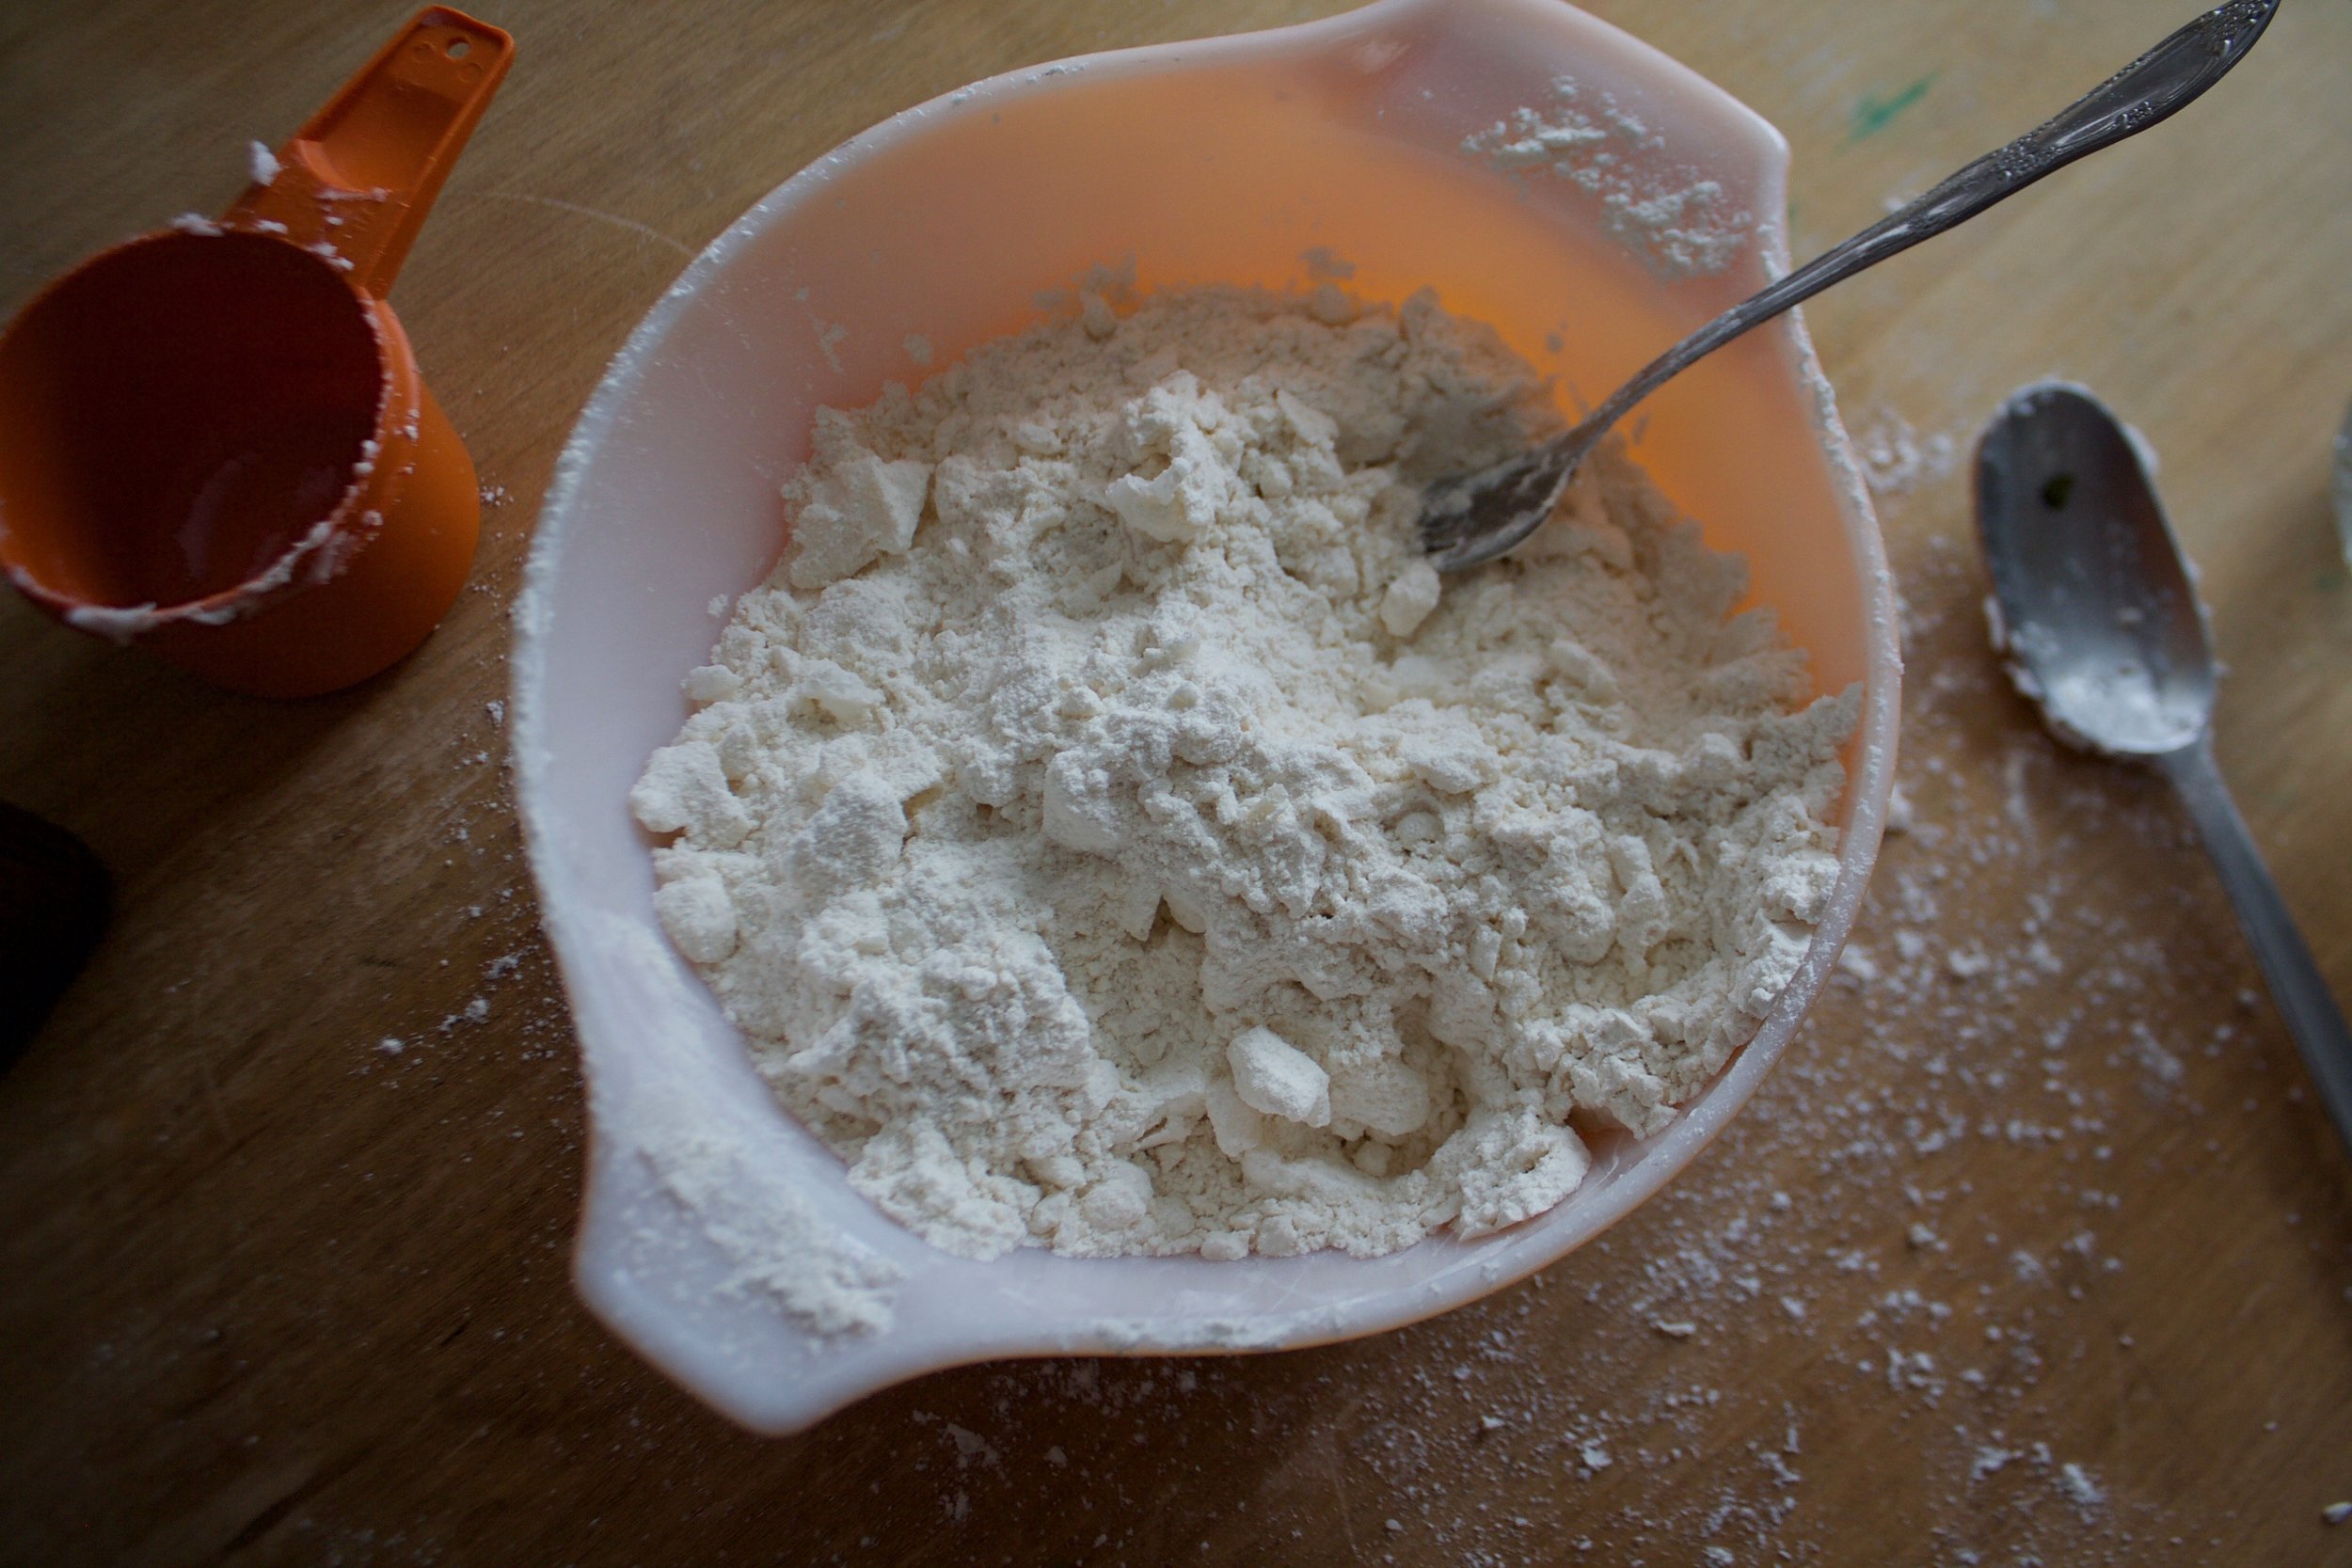
In a big bowl, whisk together the granulated sugar, flour, almond meal, salt, baking powder, and baking soda.

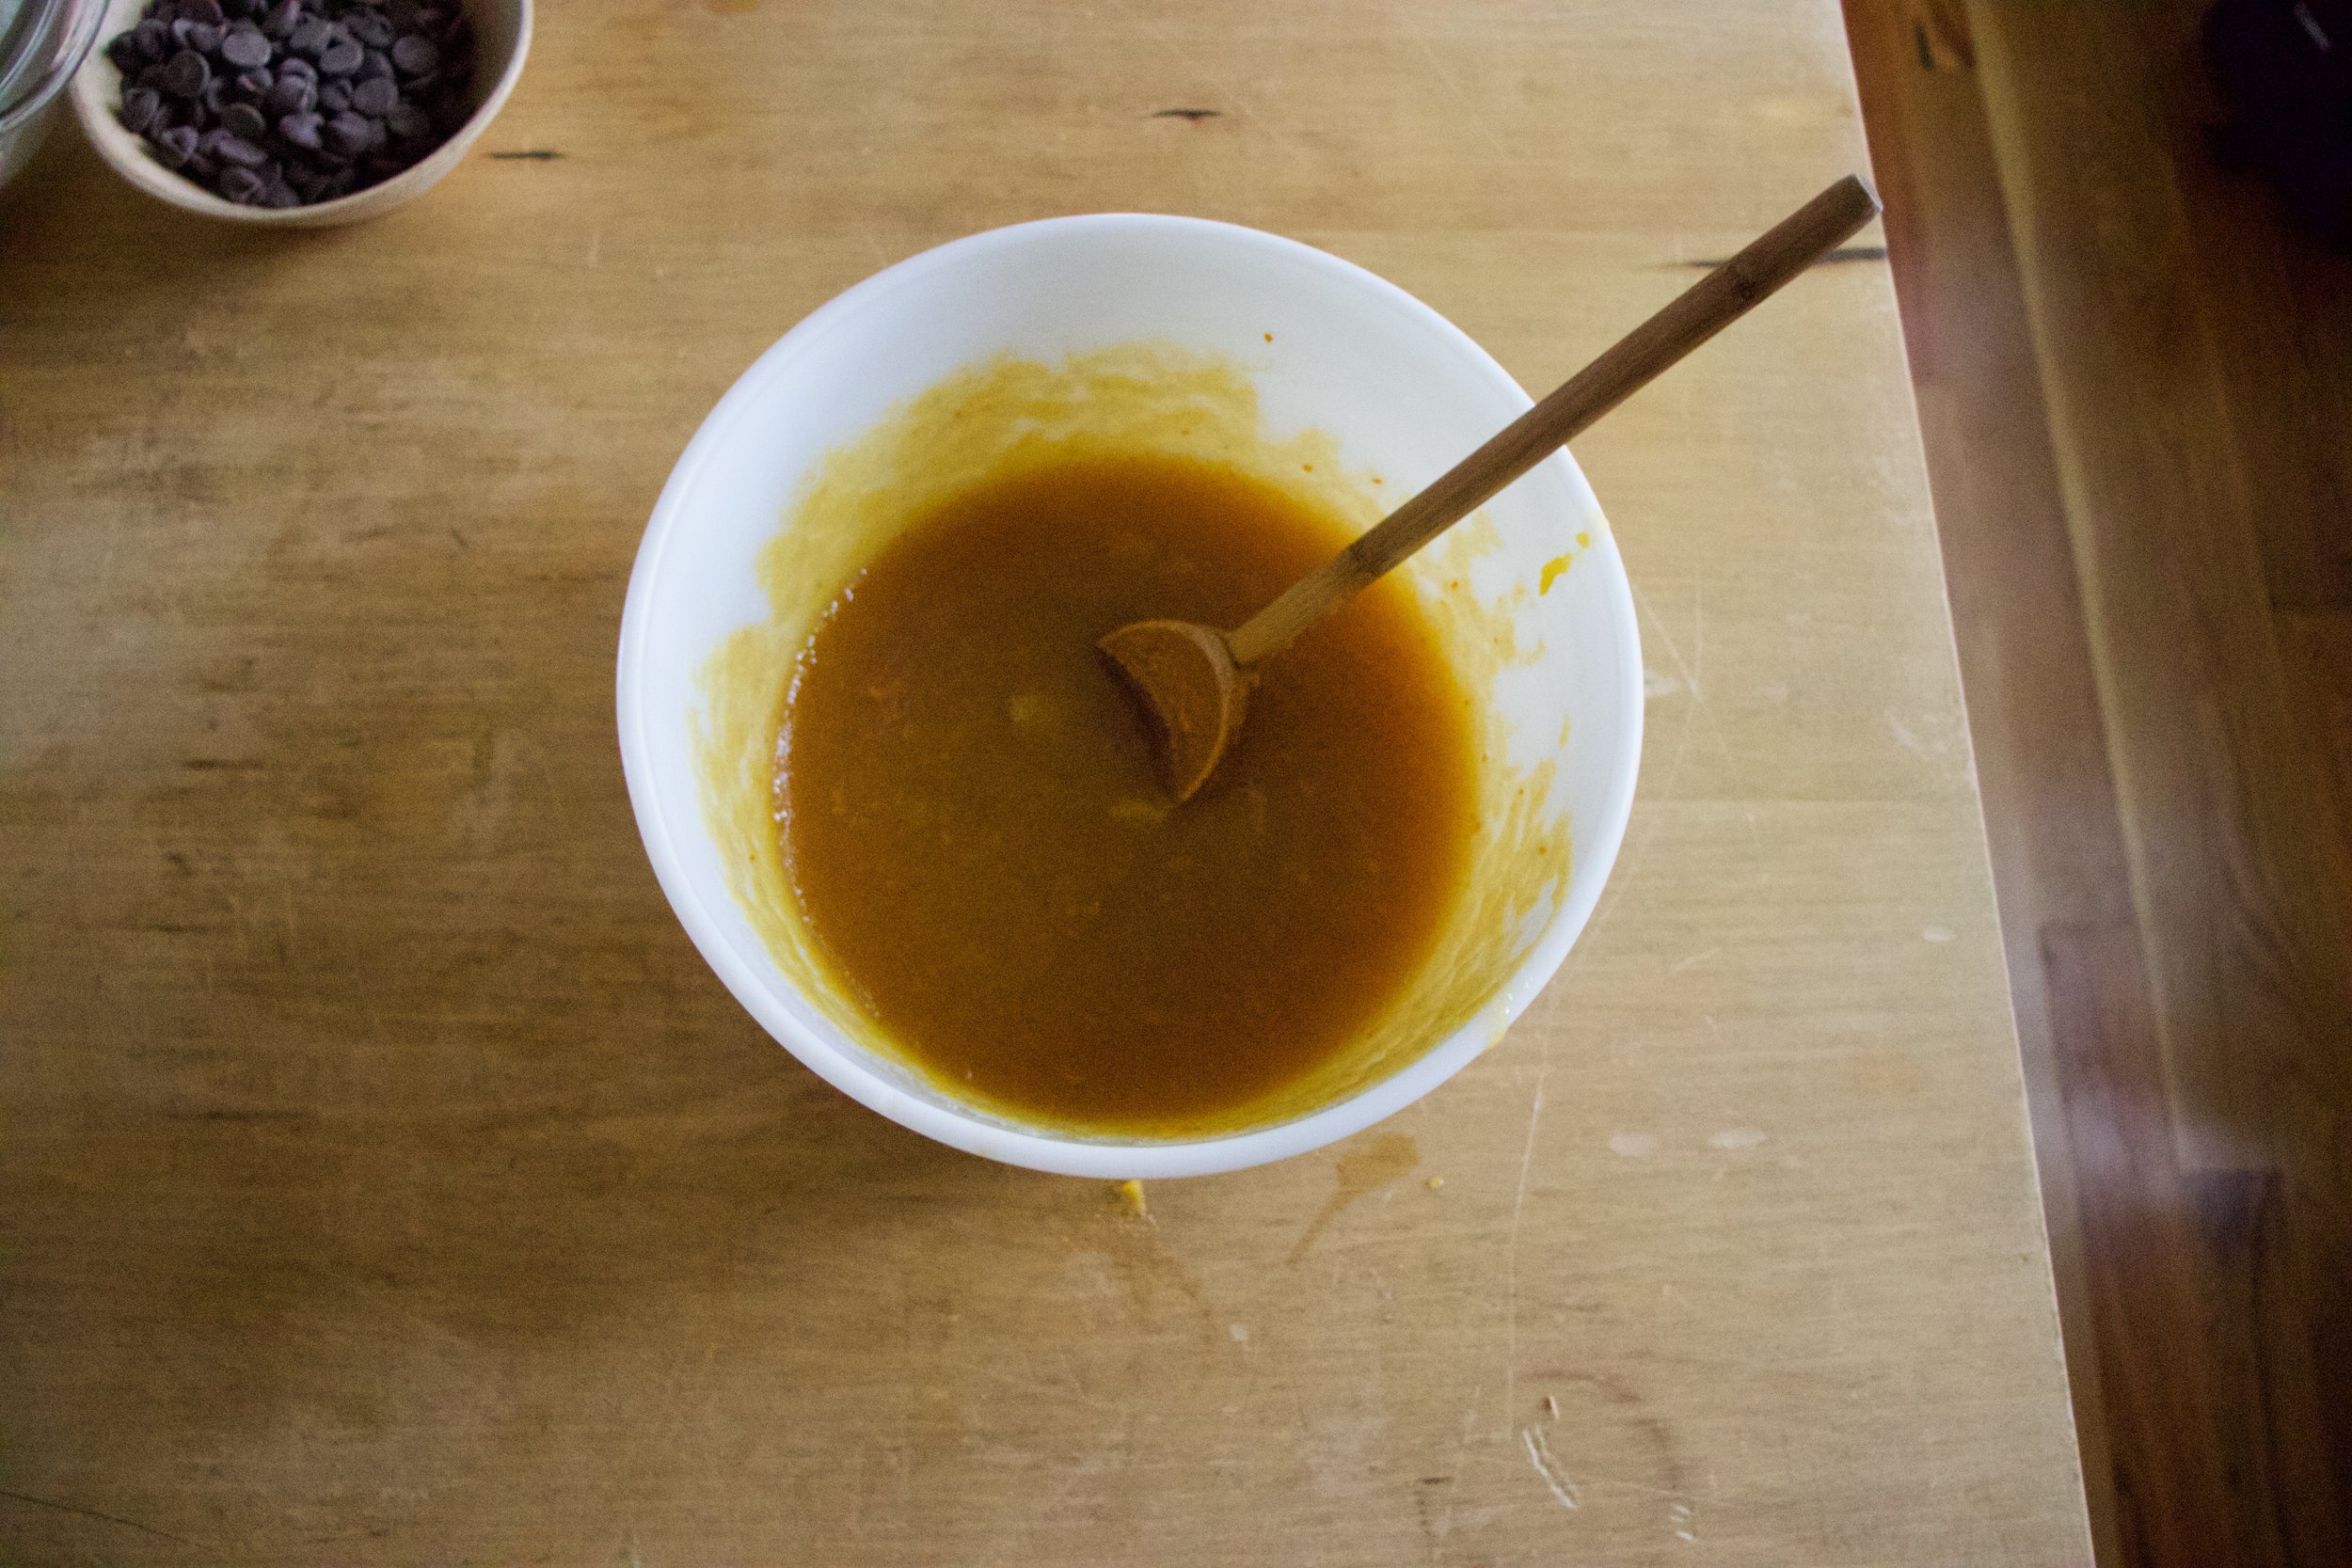
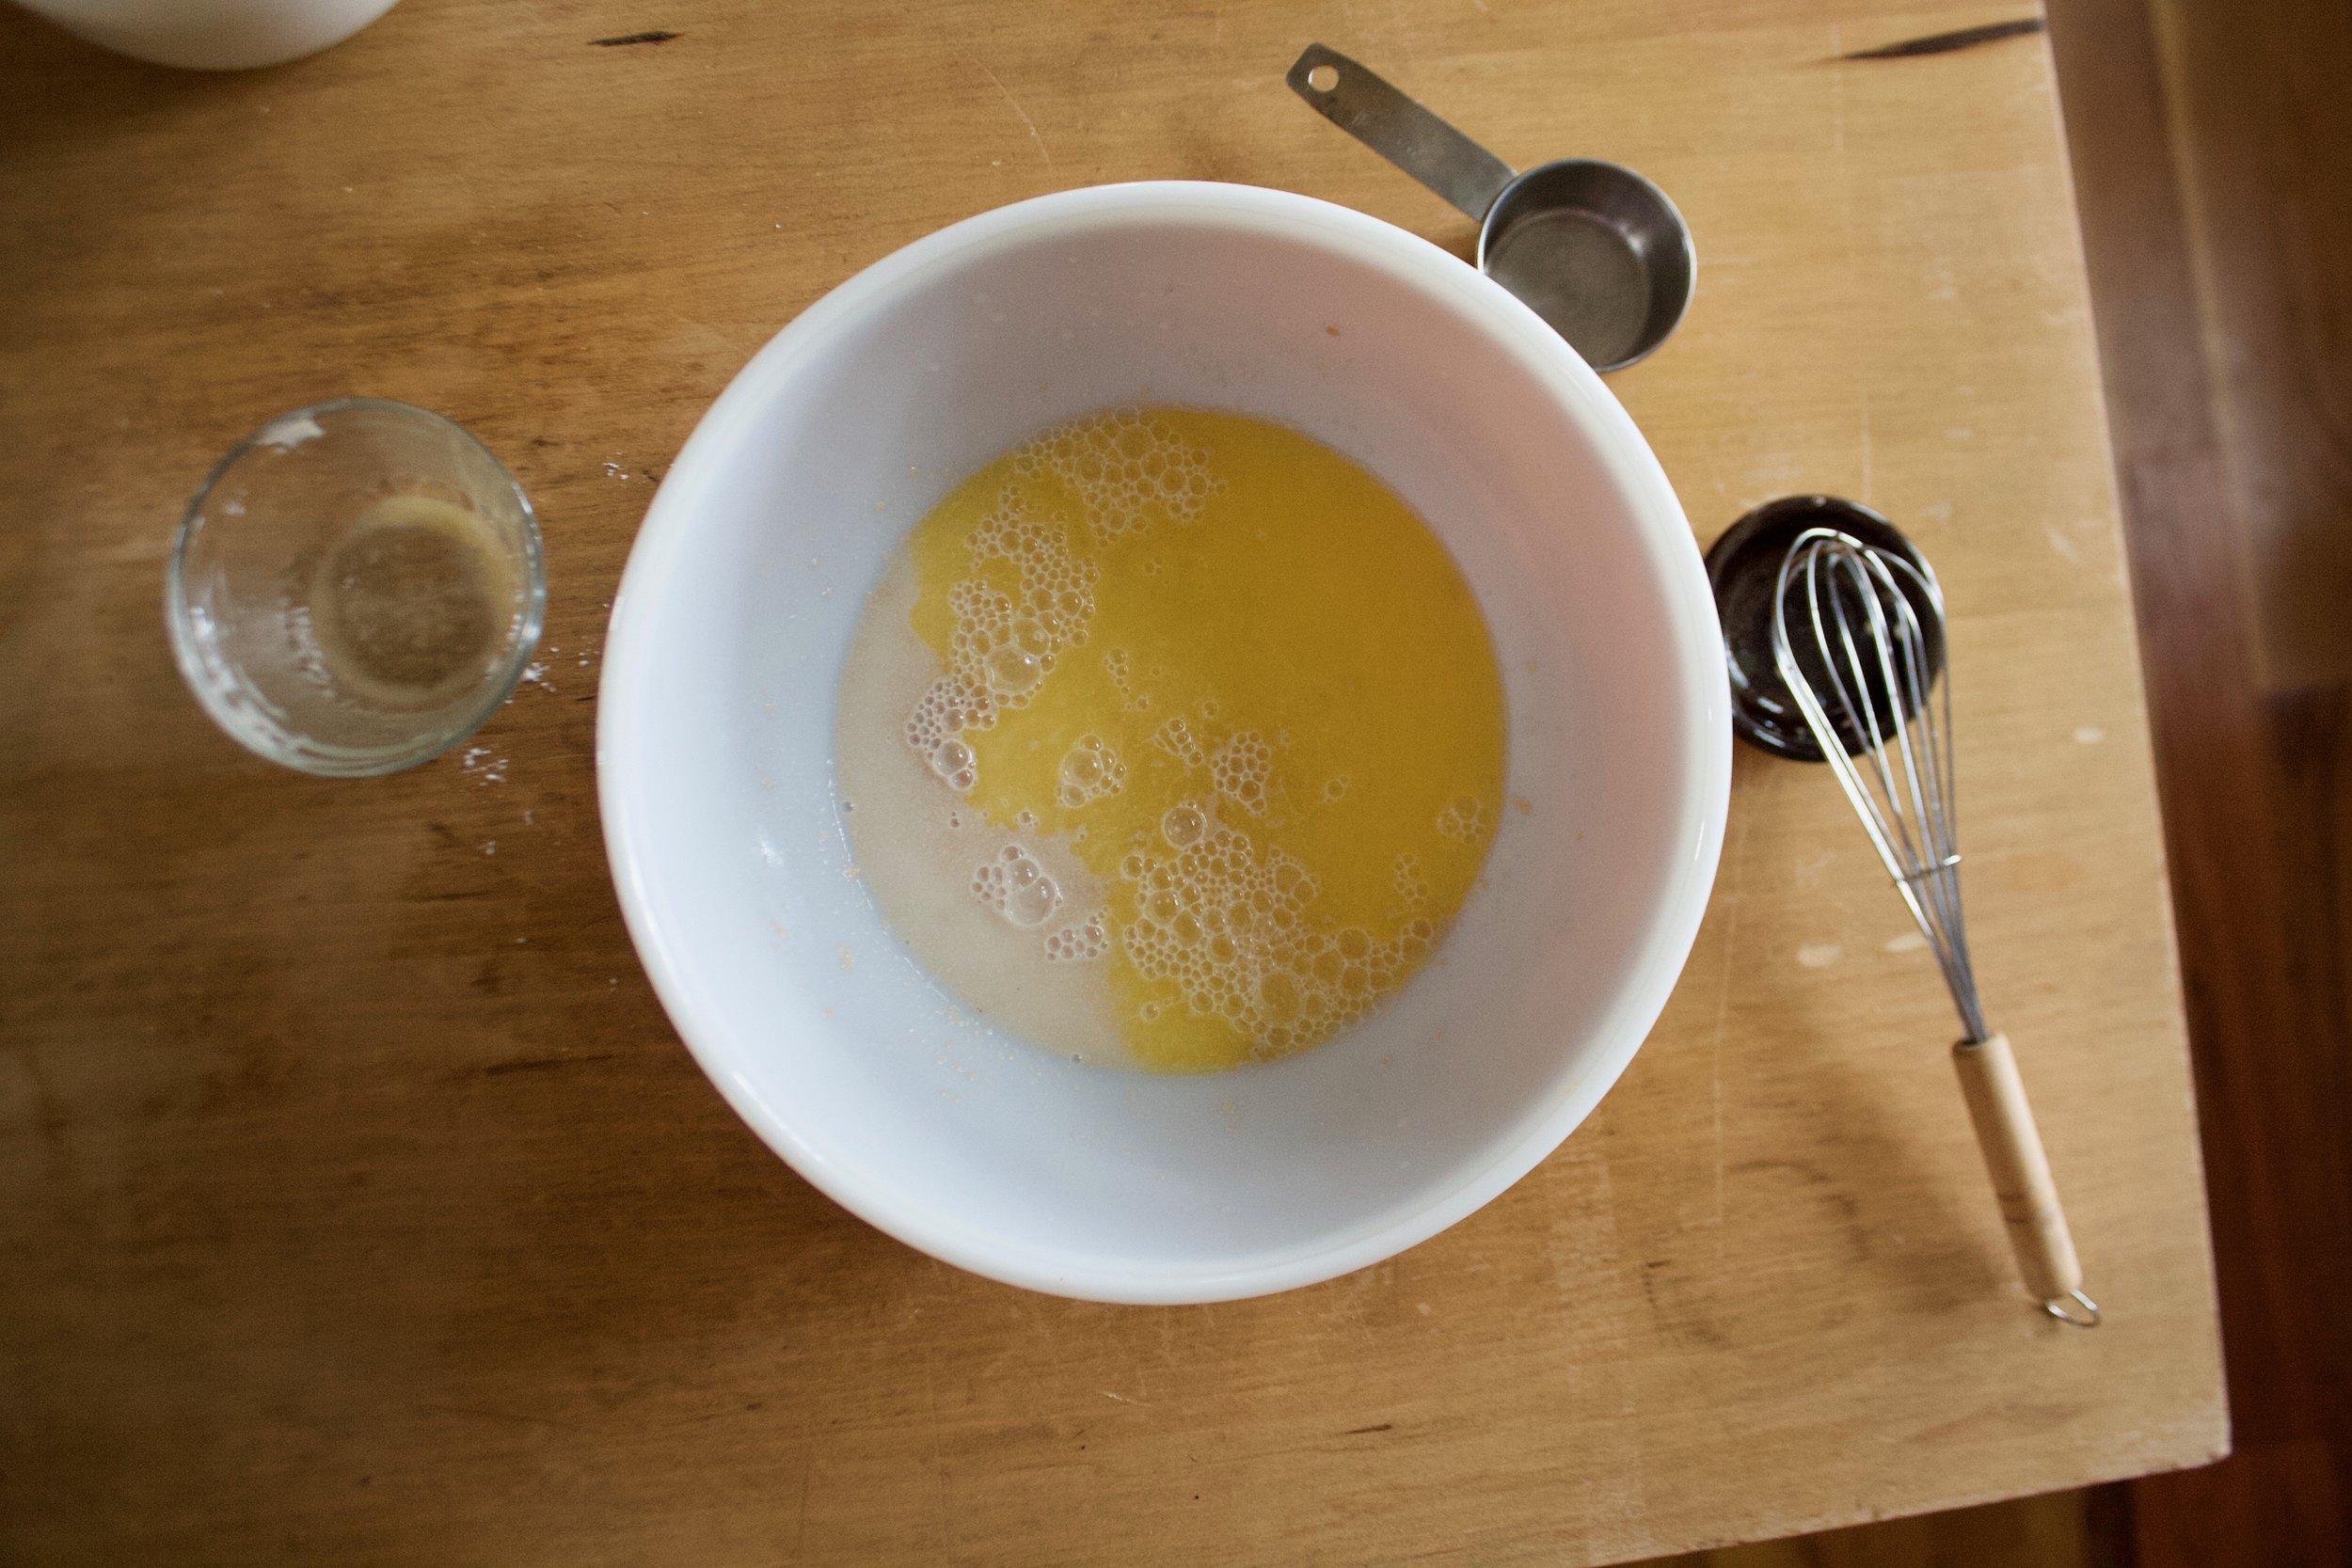
Add in the oil, vanilla, milk, and apple cider vinegar. Mix until fully incorporated.

IMG_5102.jpg

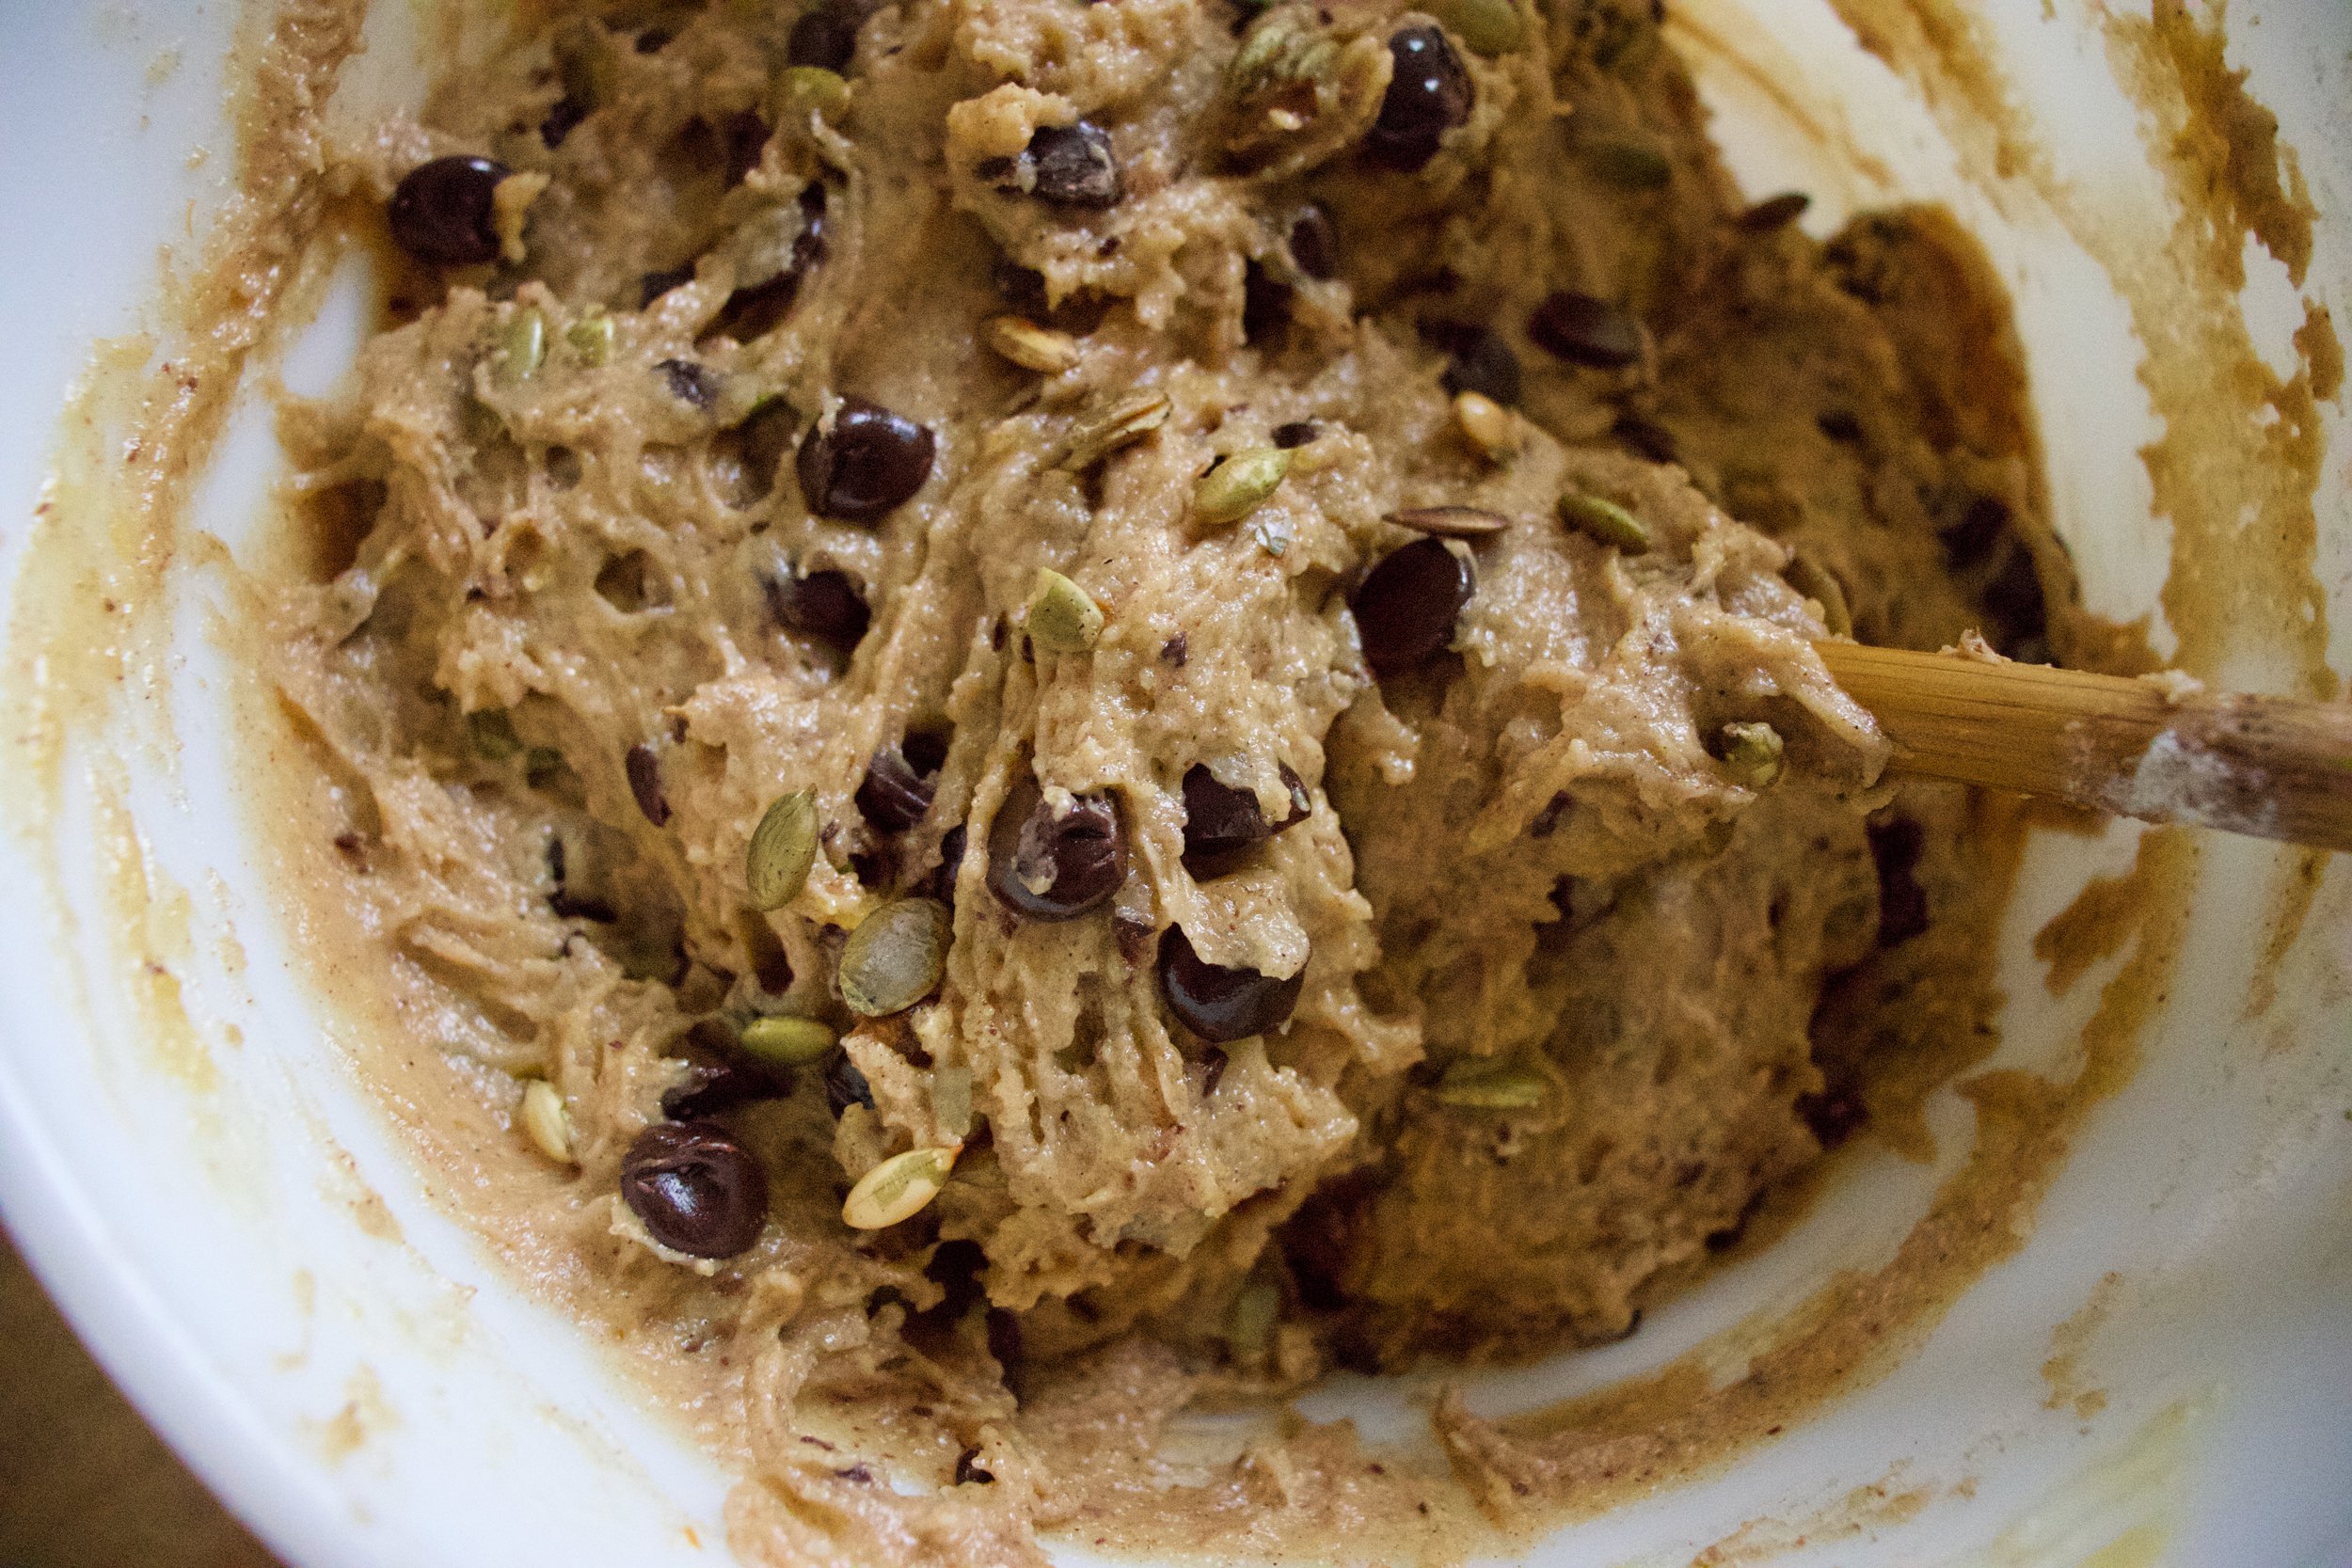
And that is some mixed batter.

IMG_5131.jpg

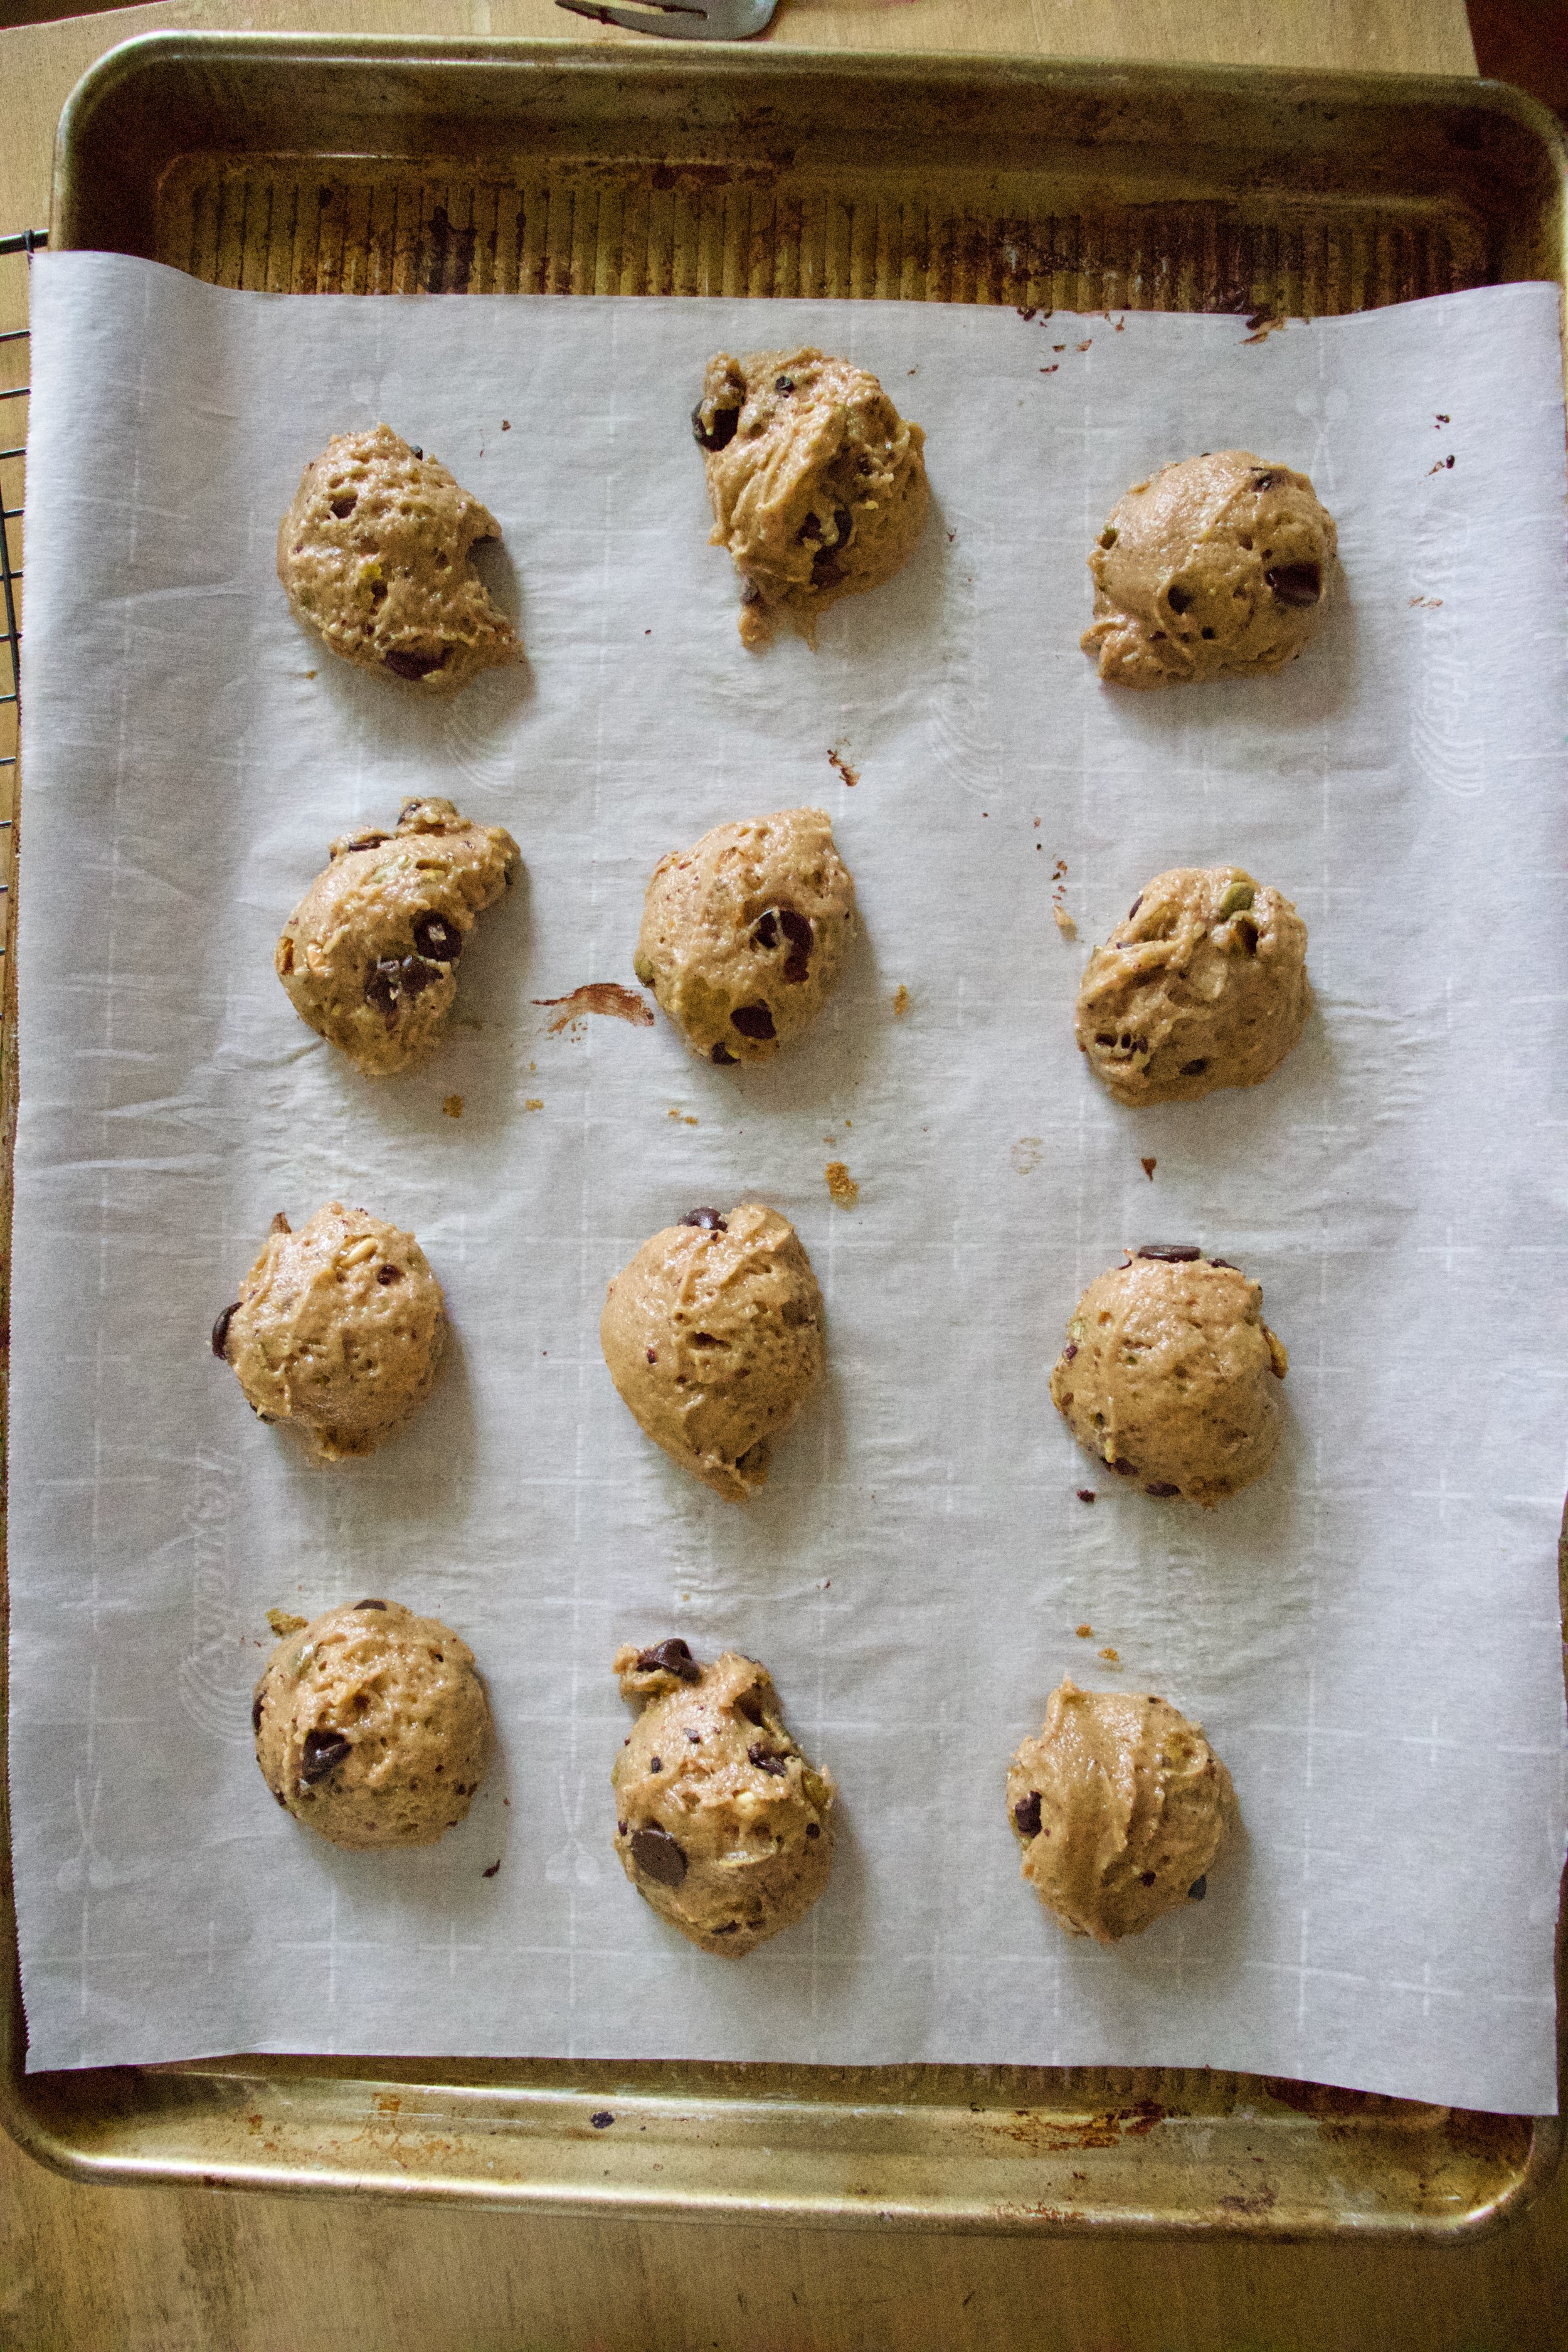
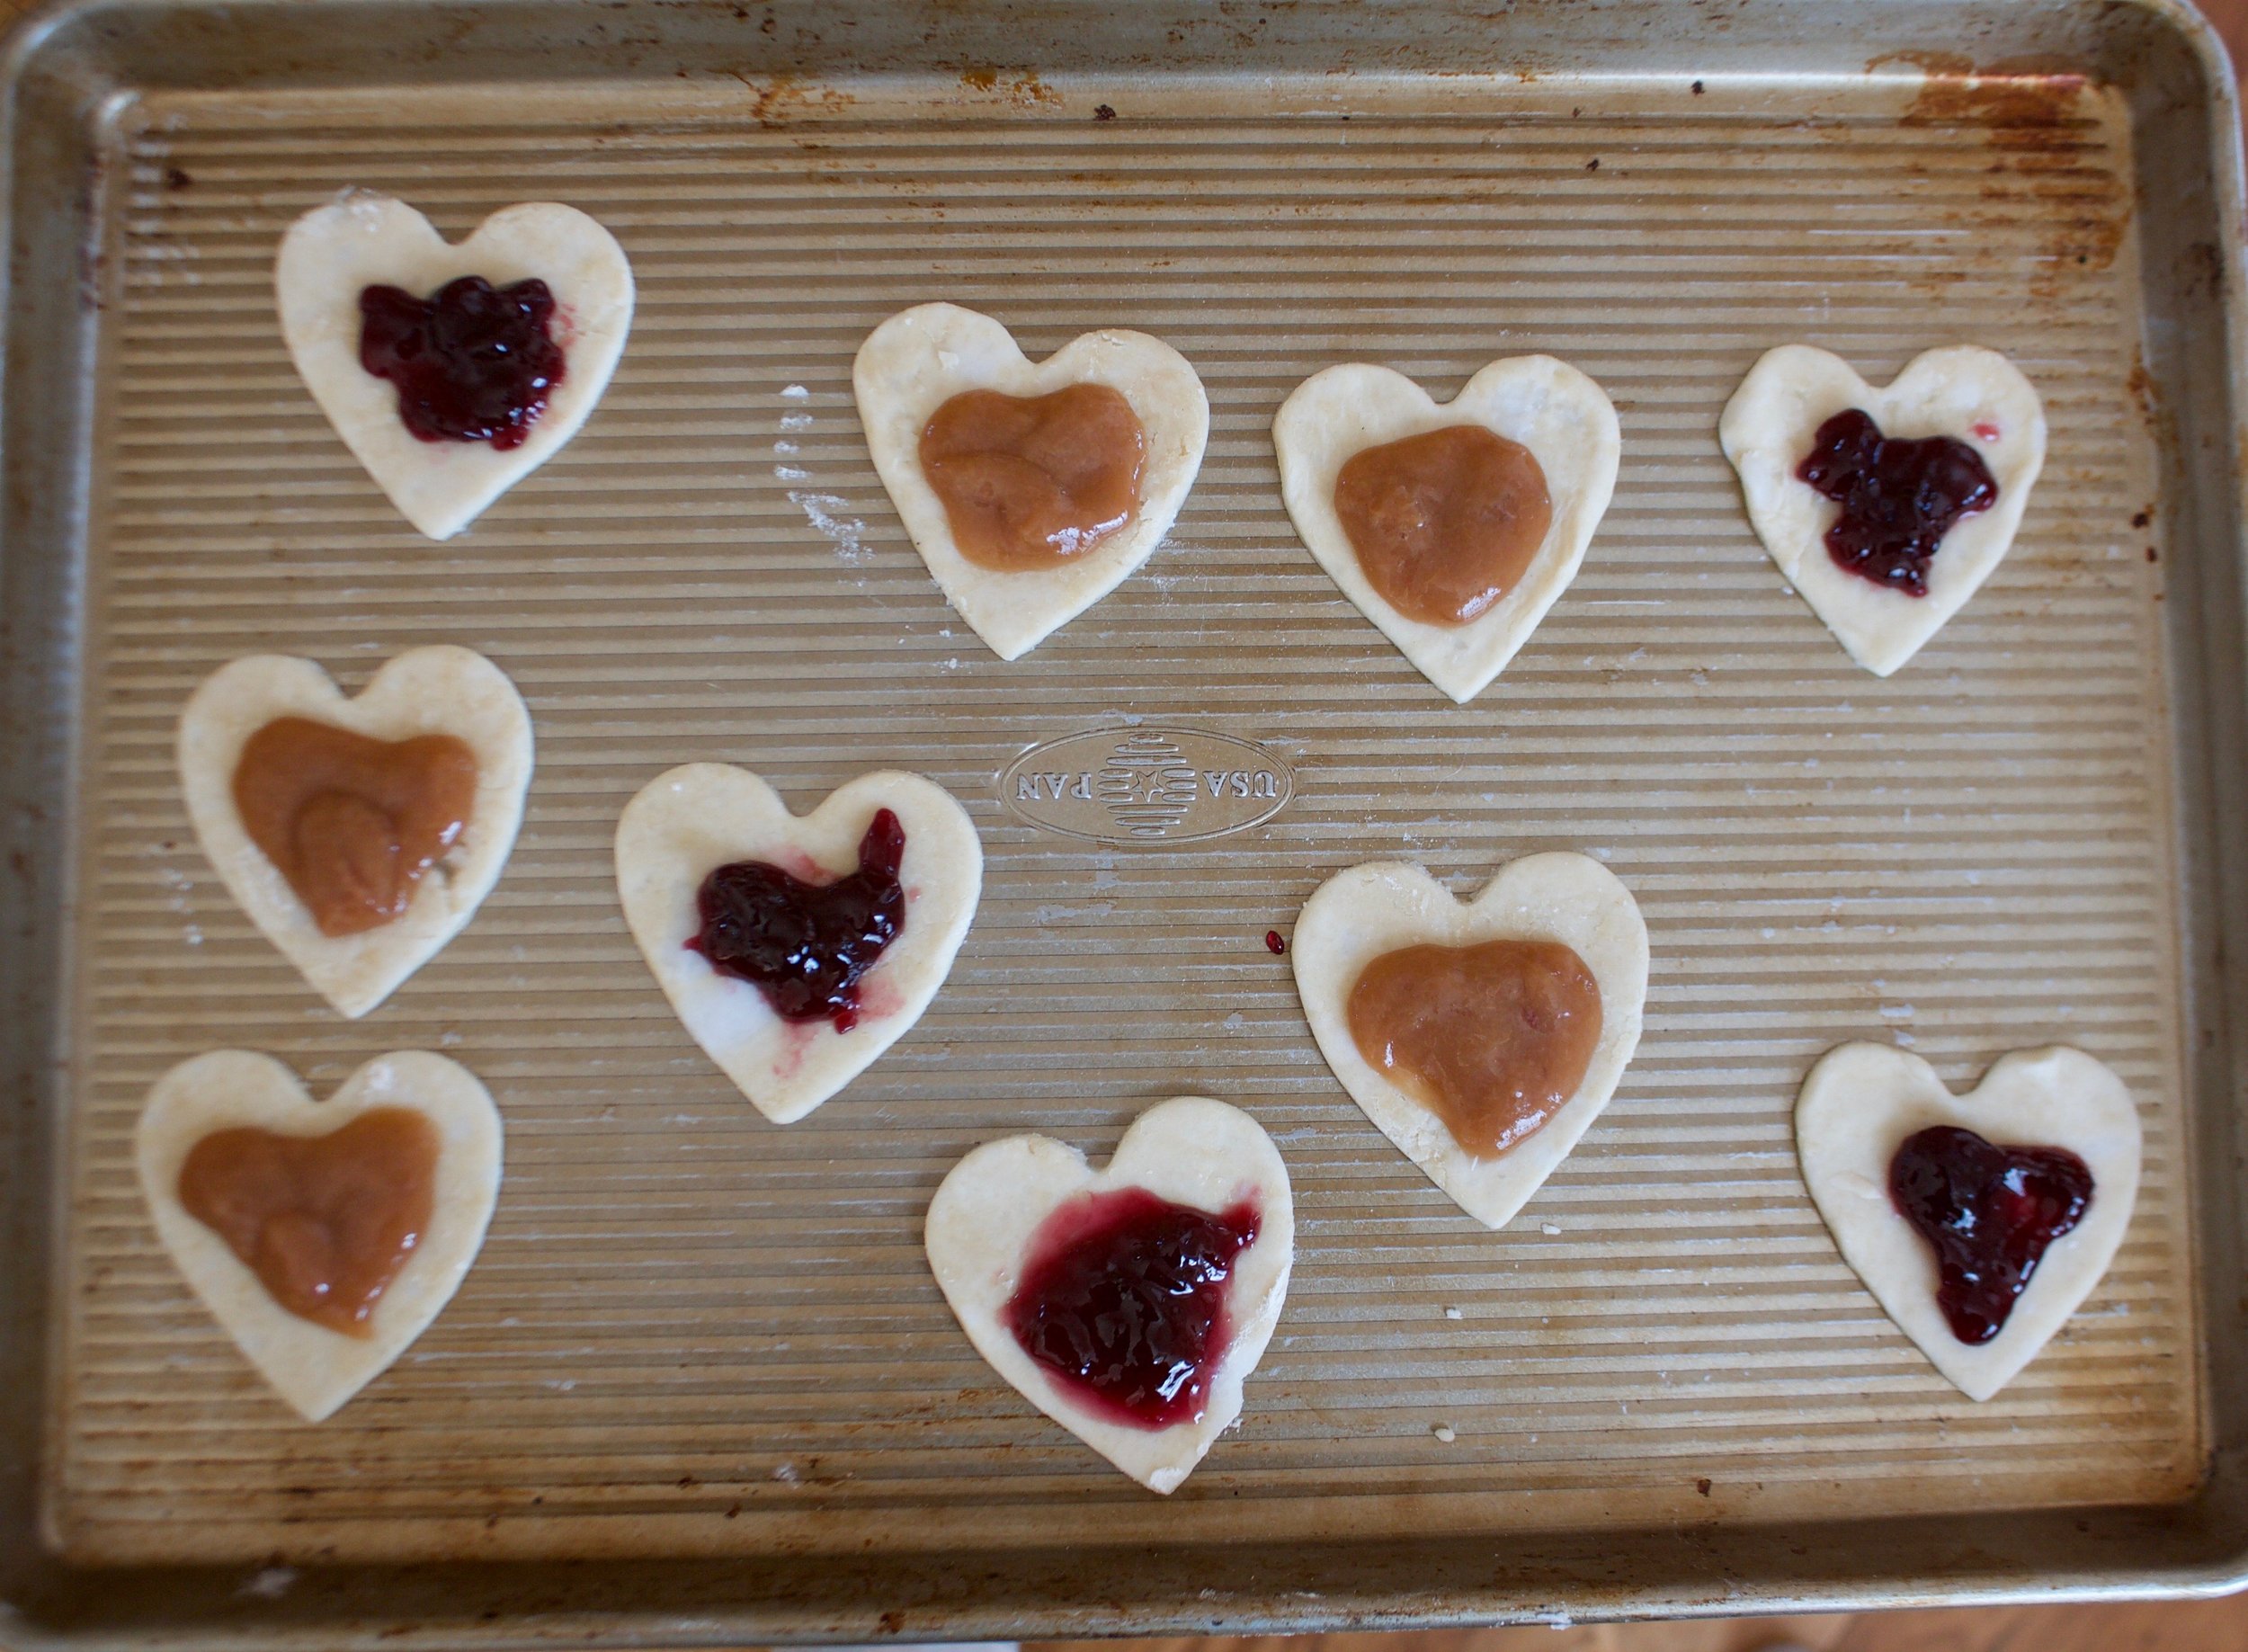
Scoop the batter into well greased muffin tins. I used to different shapes and sizes because I wanted too. You can do the same, just be aware different sizes will cook at different times.

And into the hot oven they go.

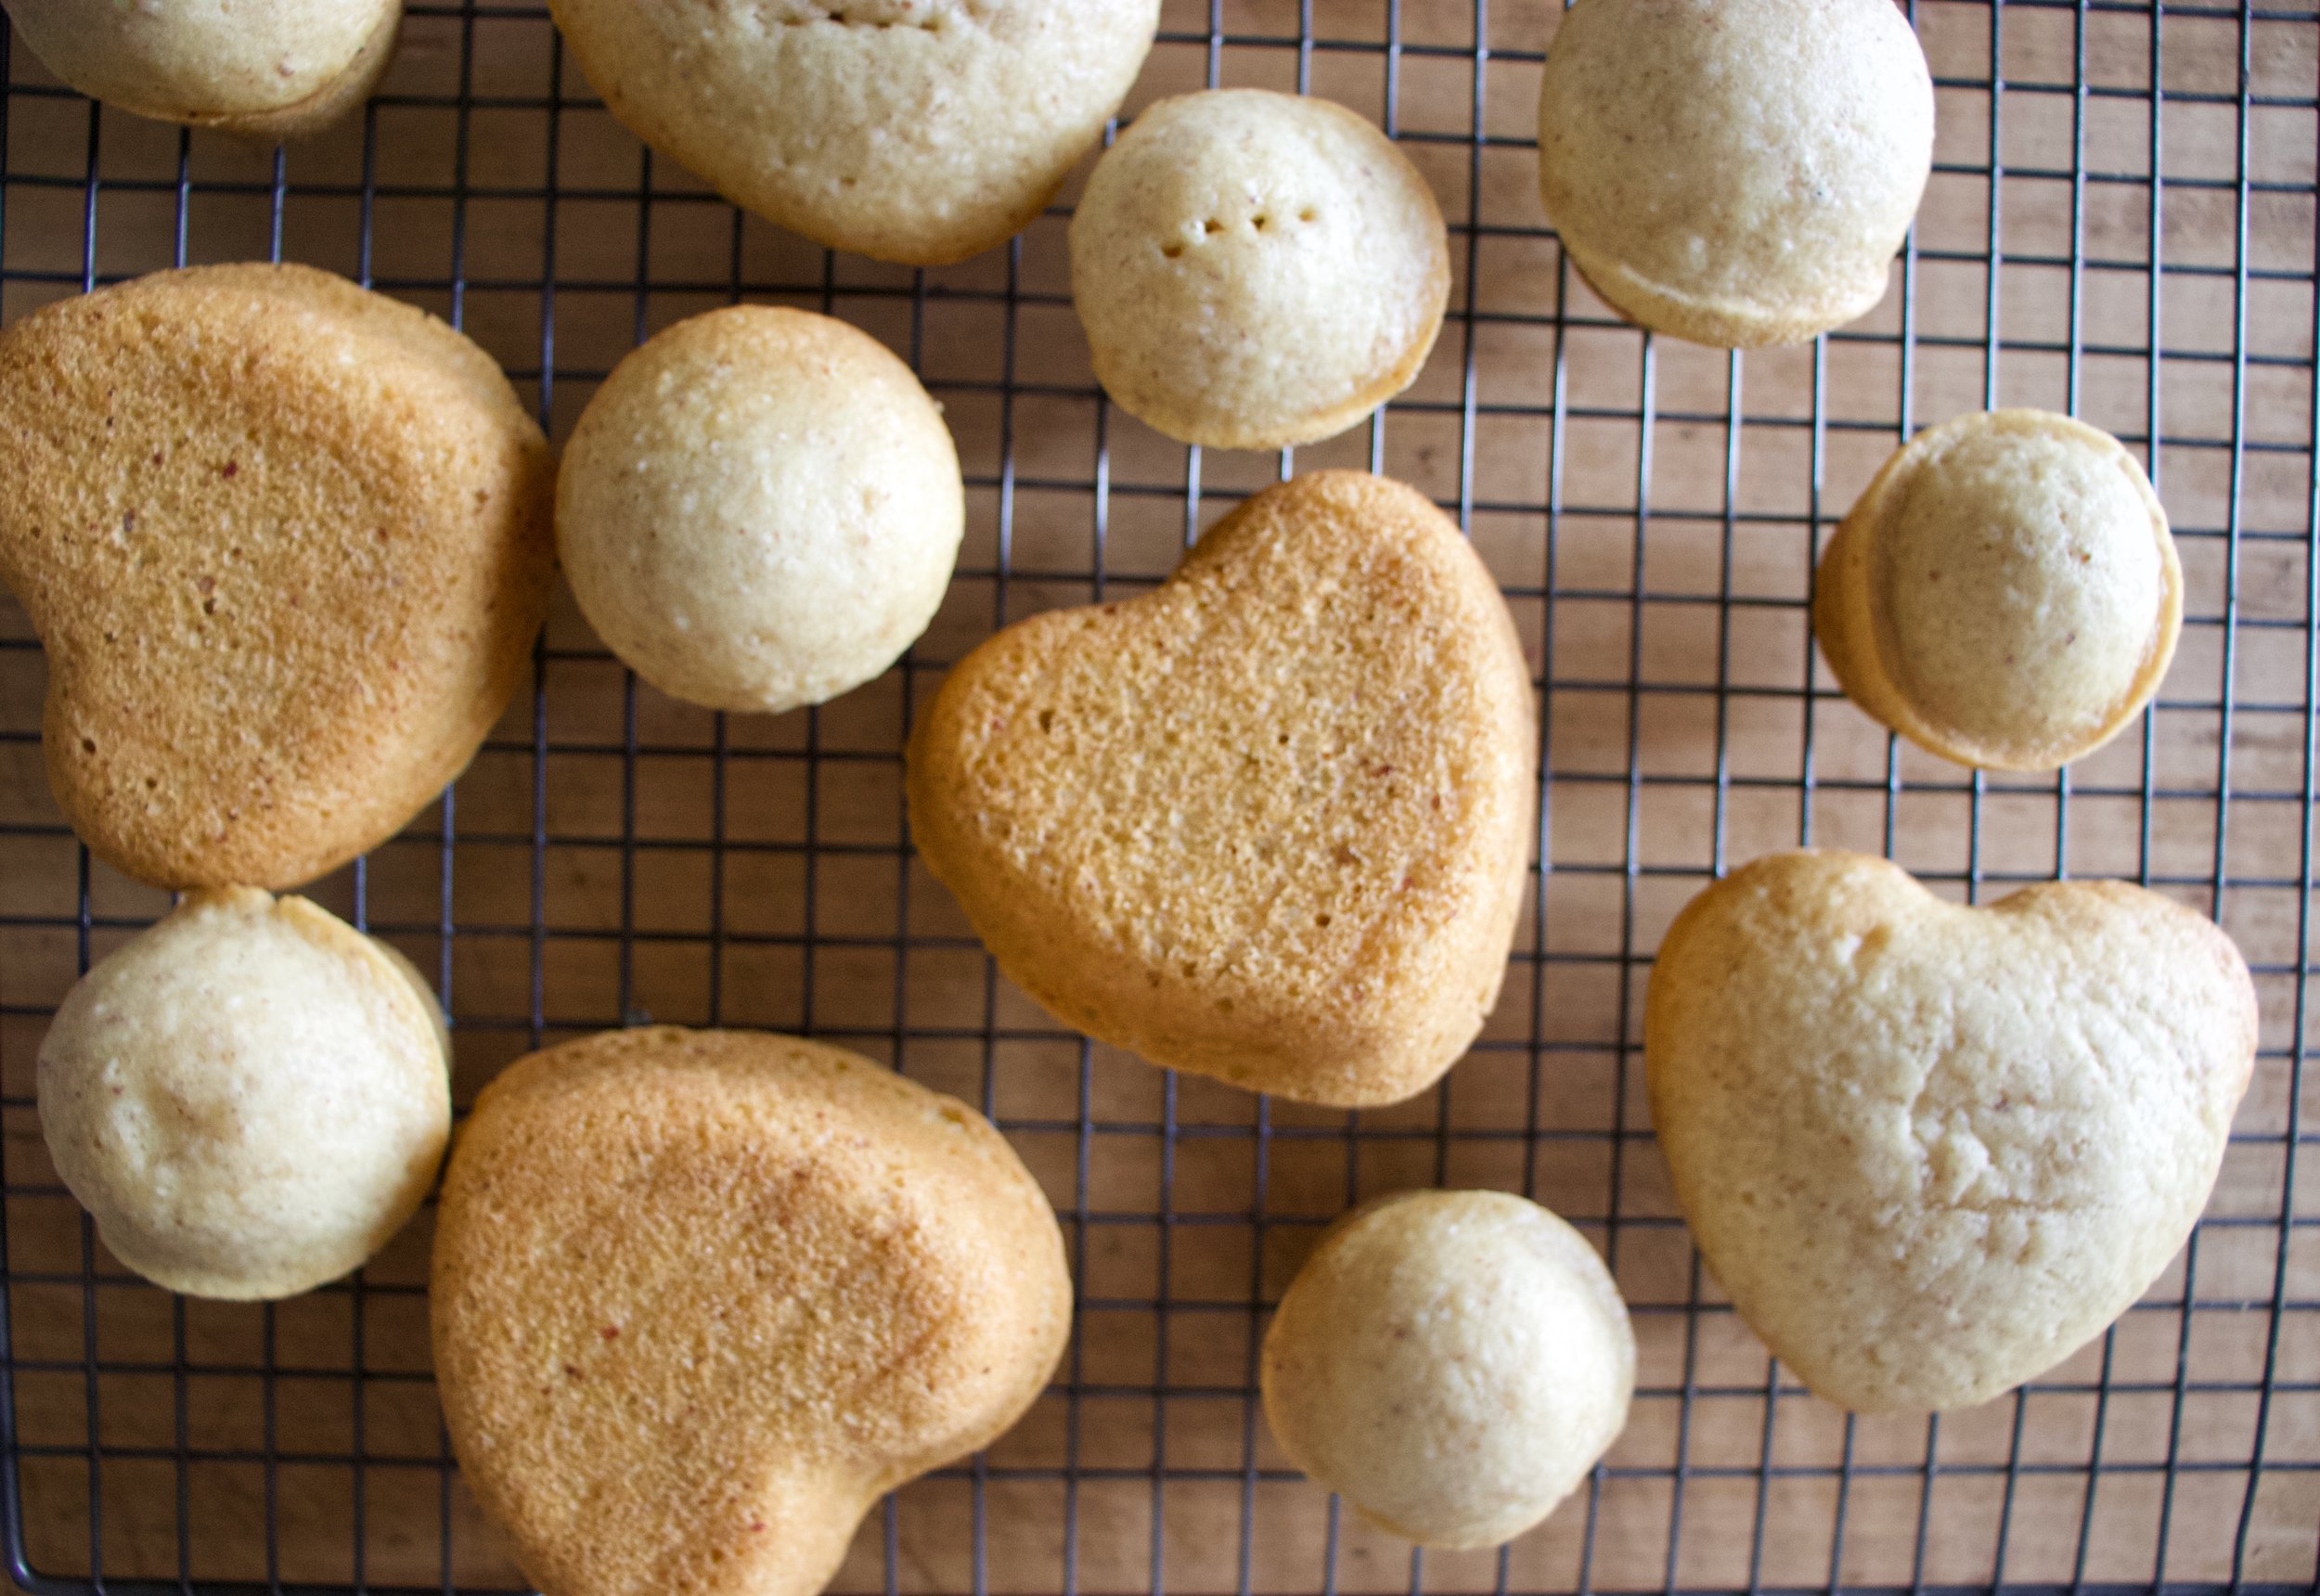
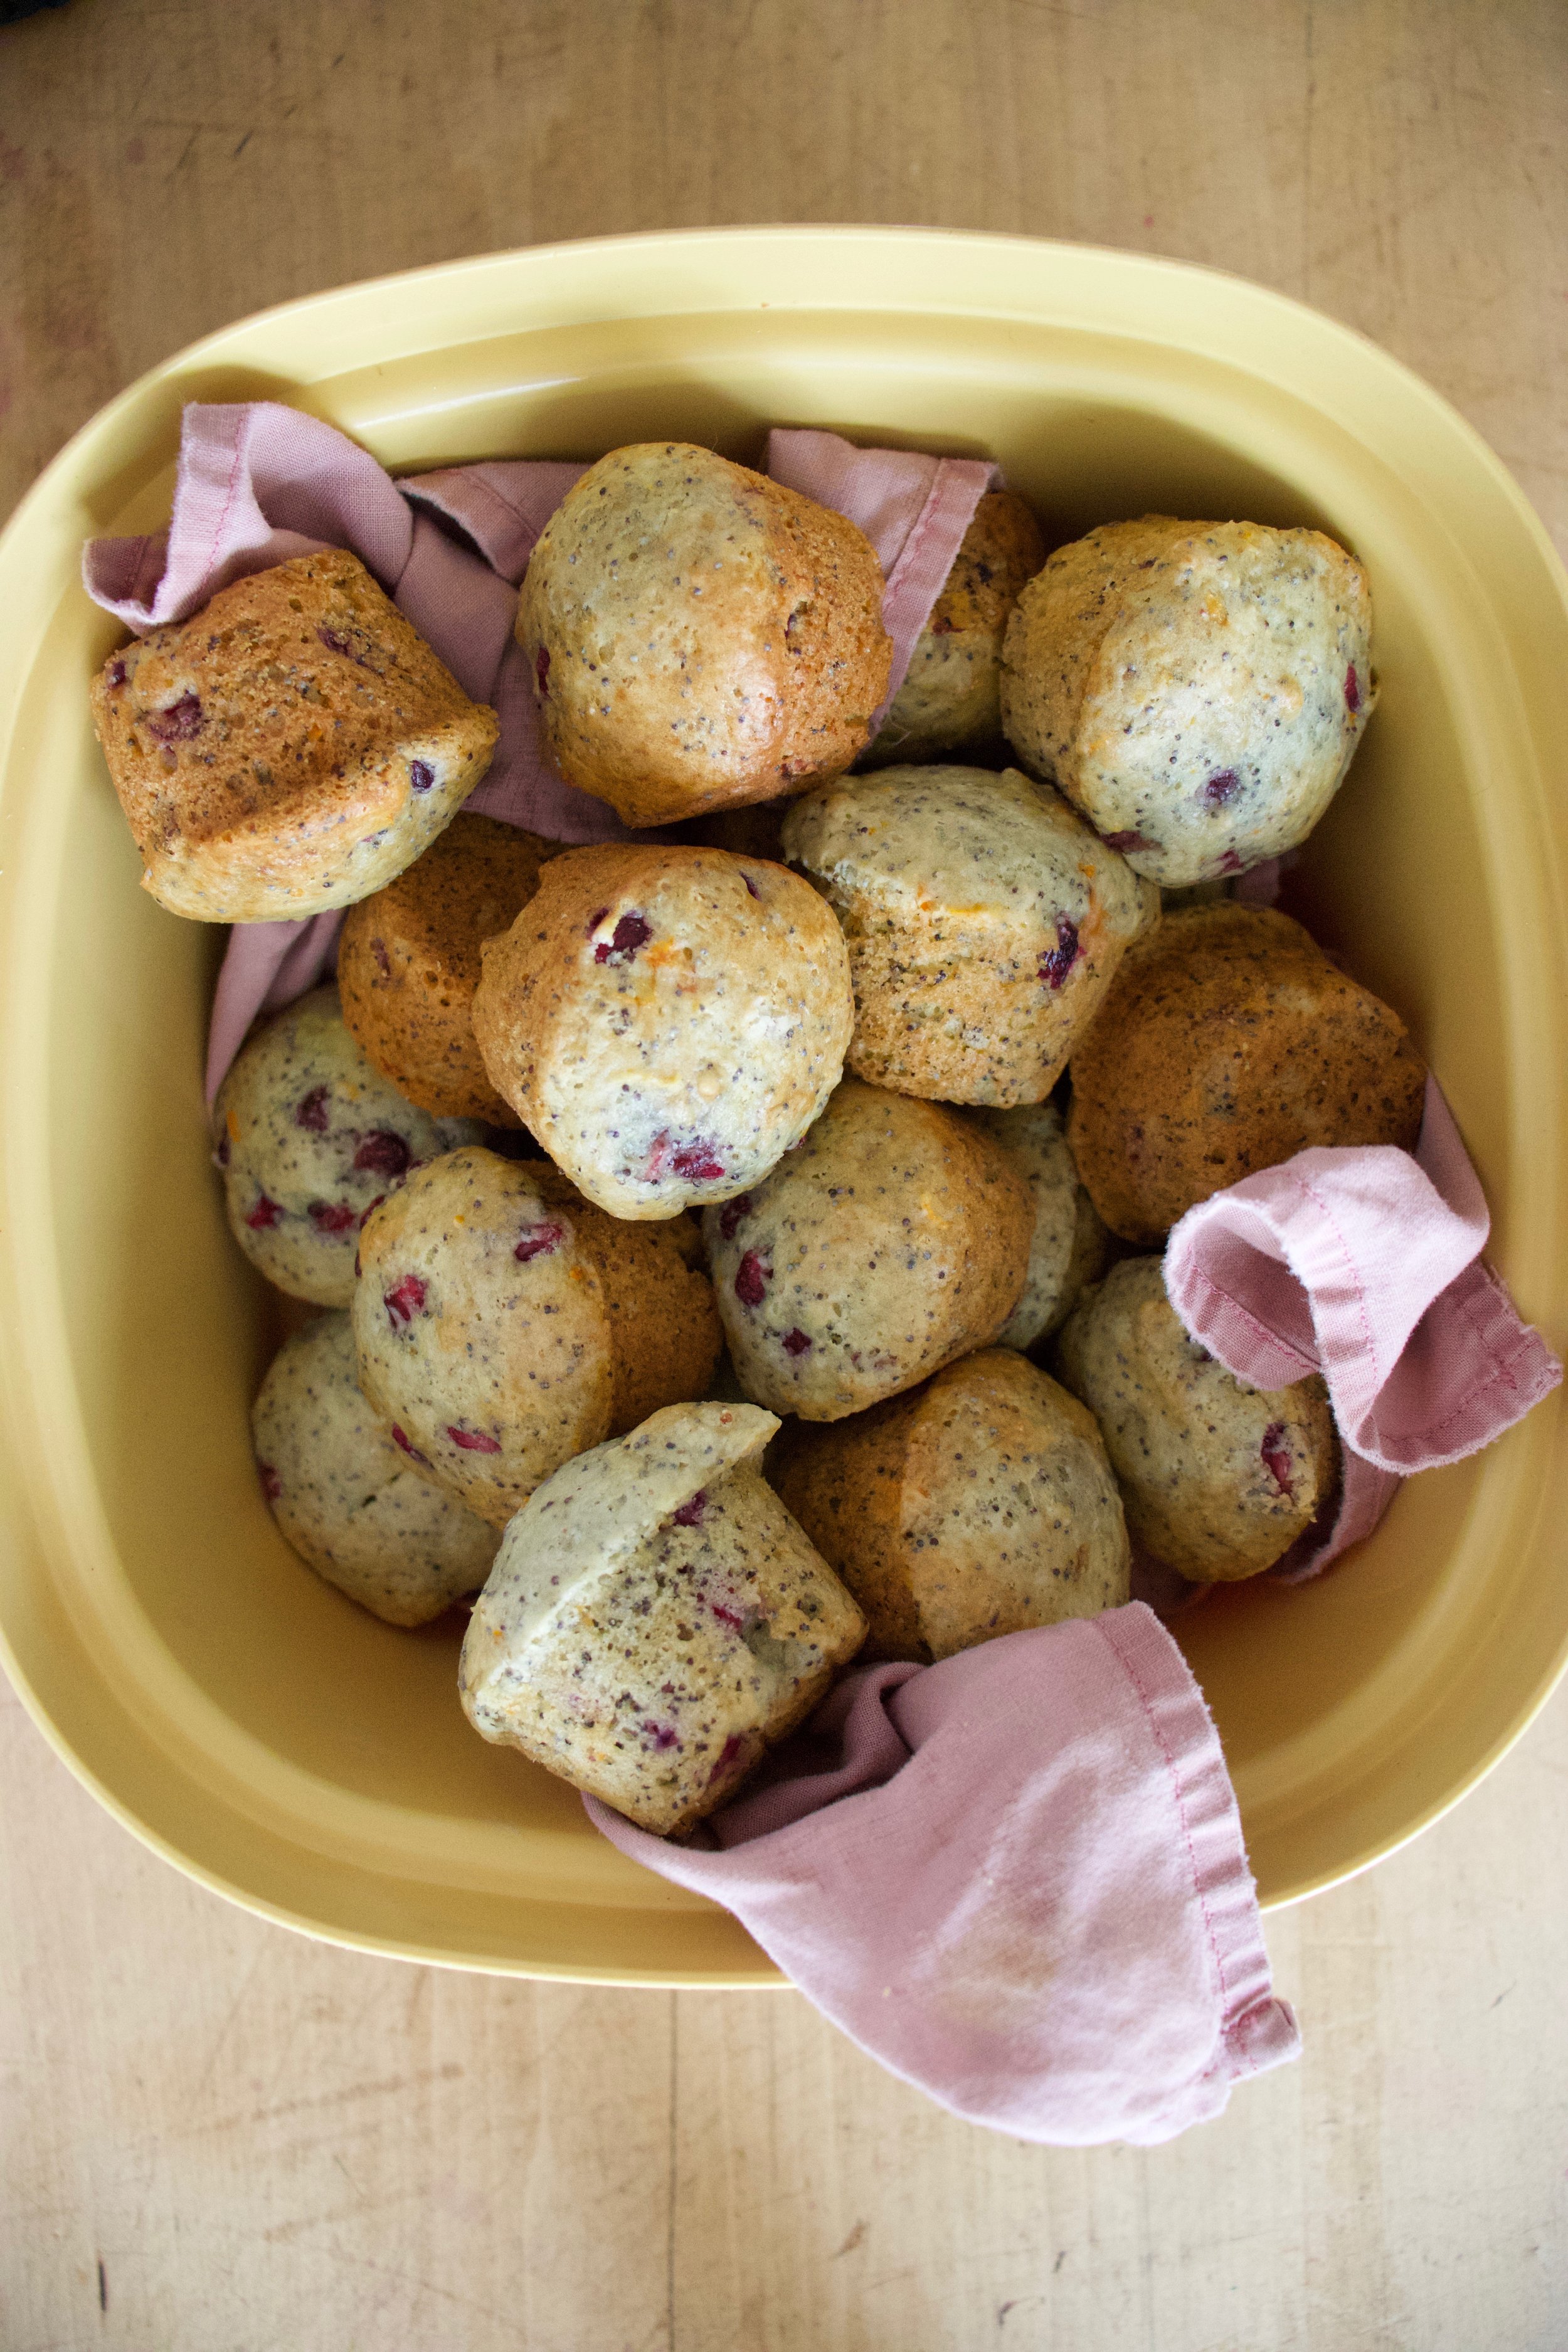
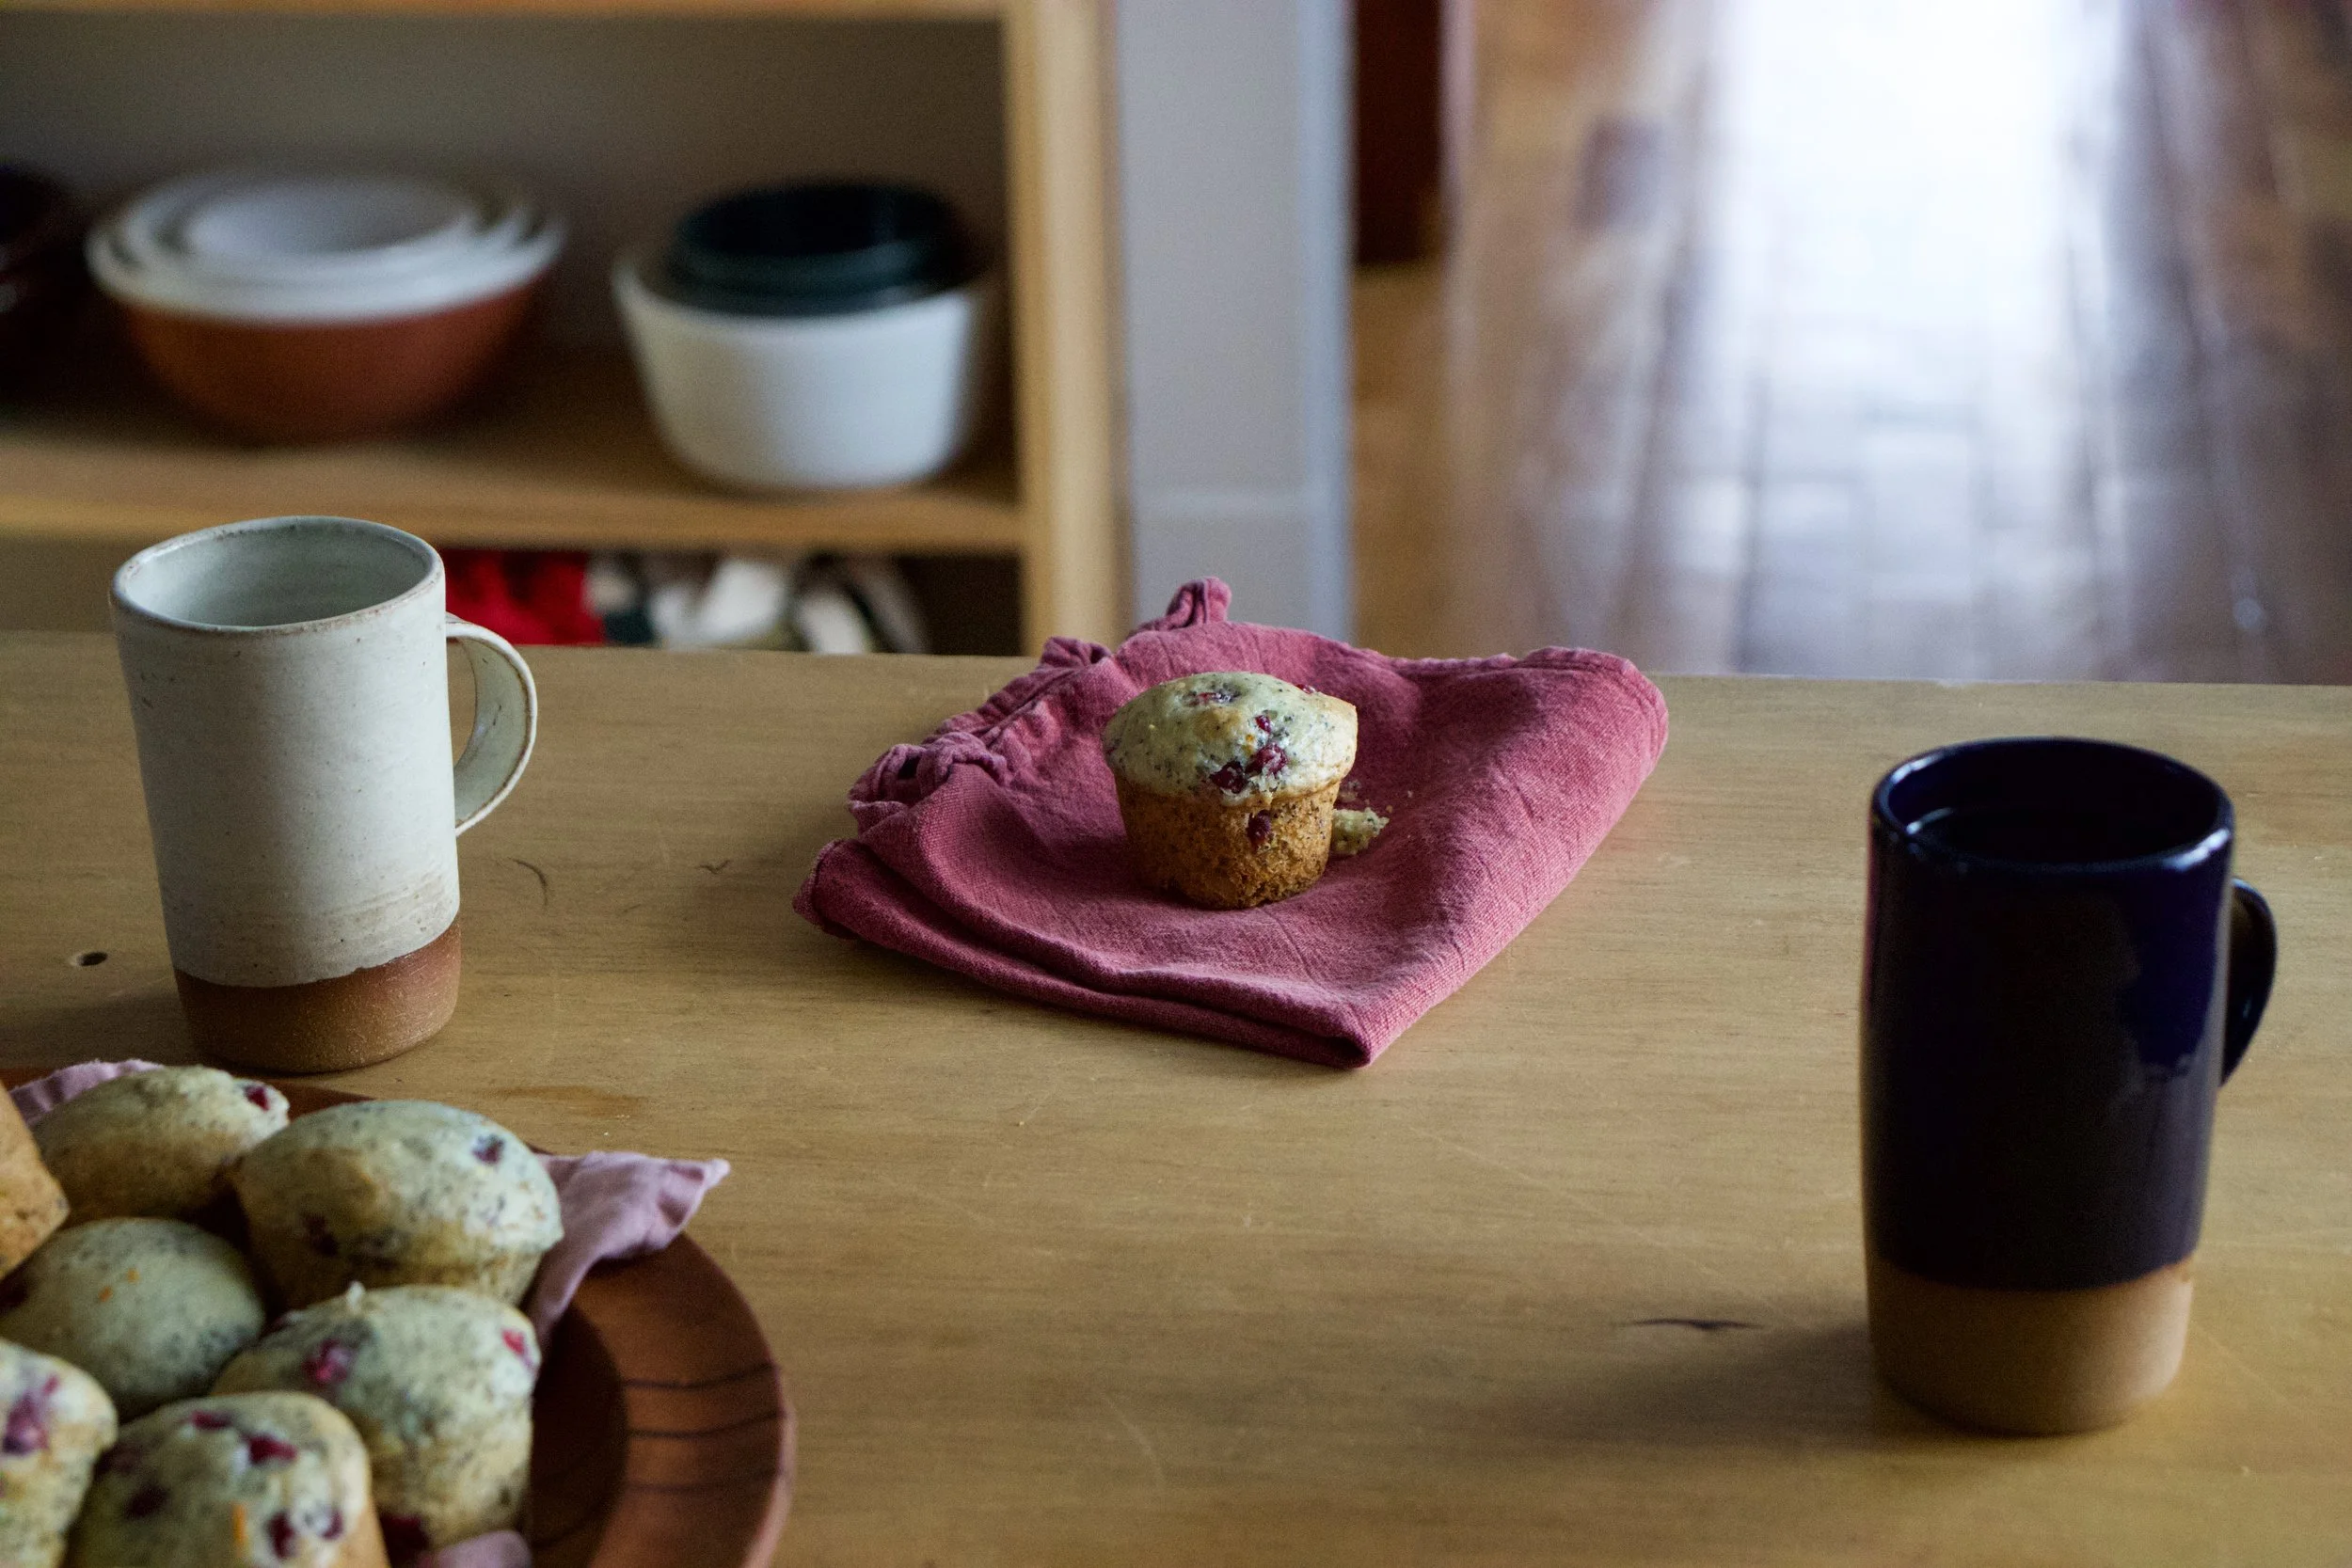
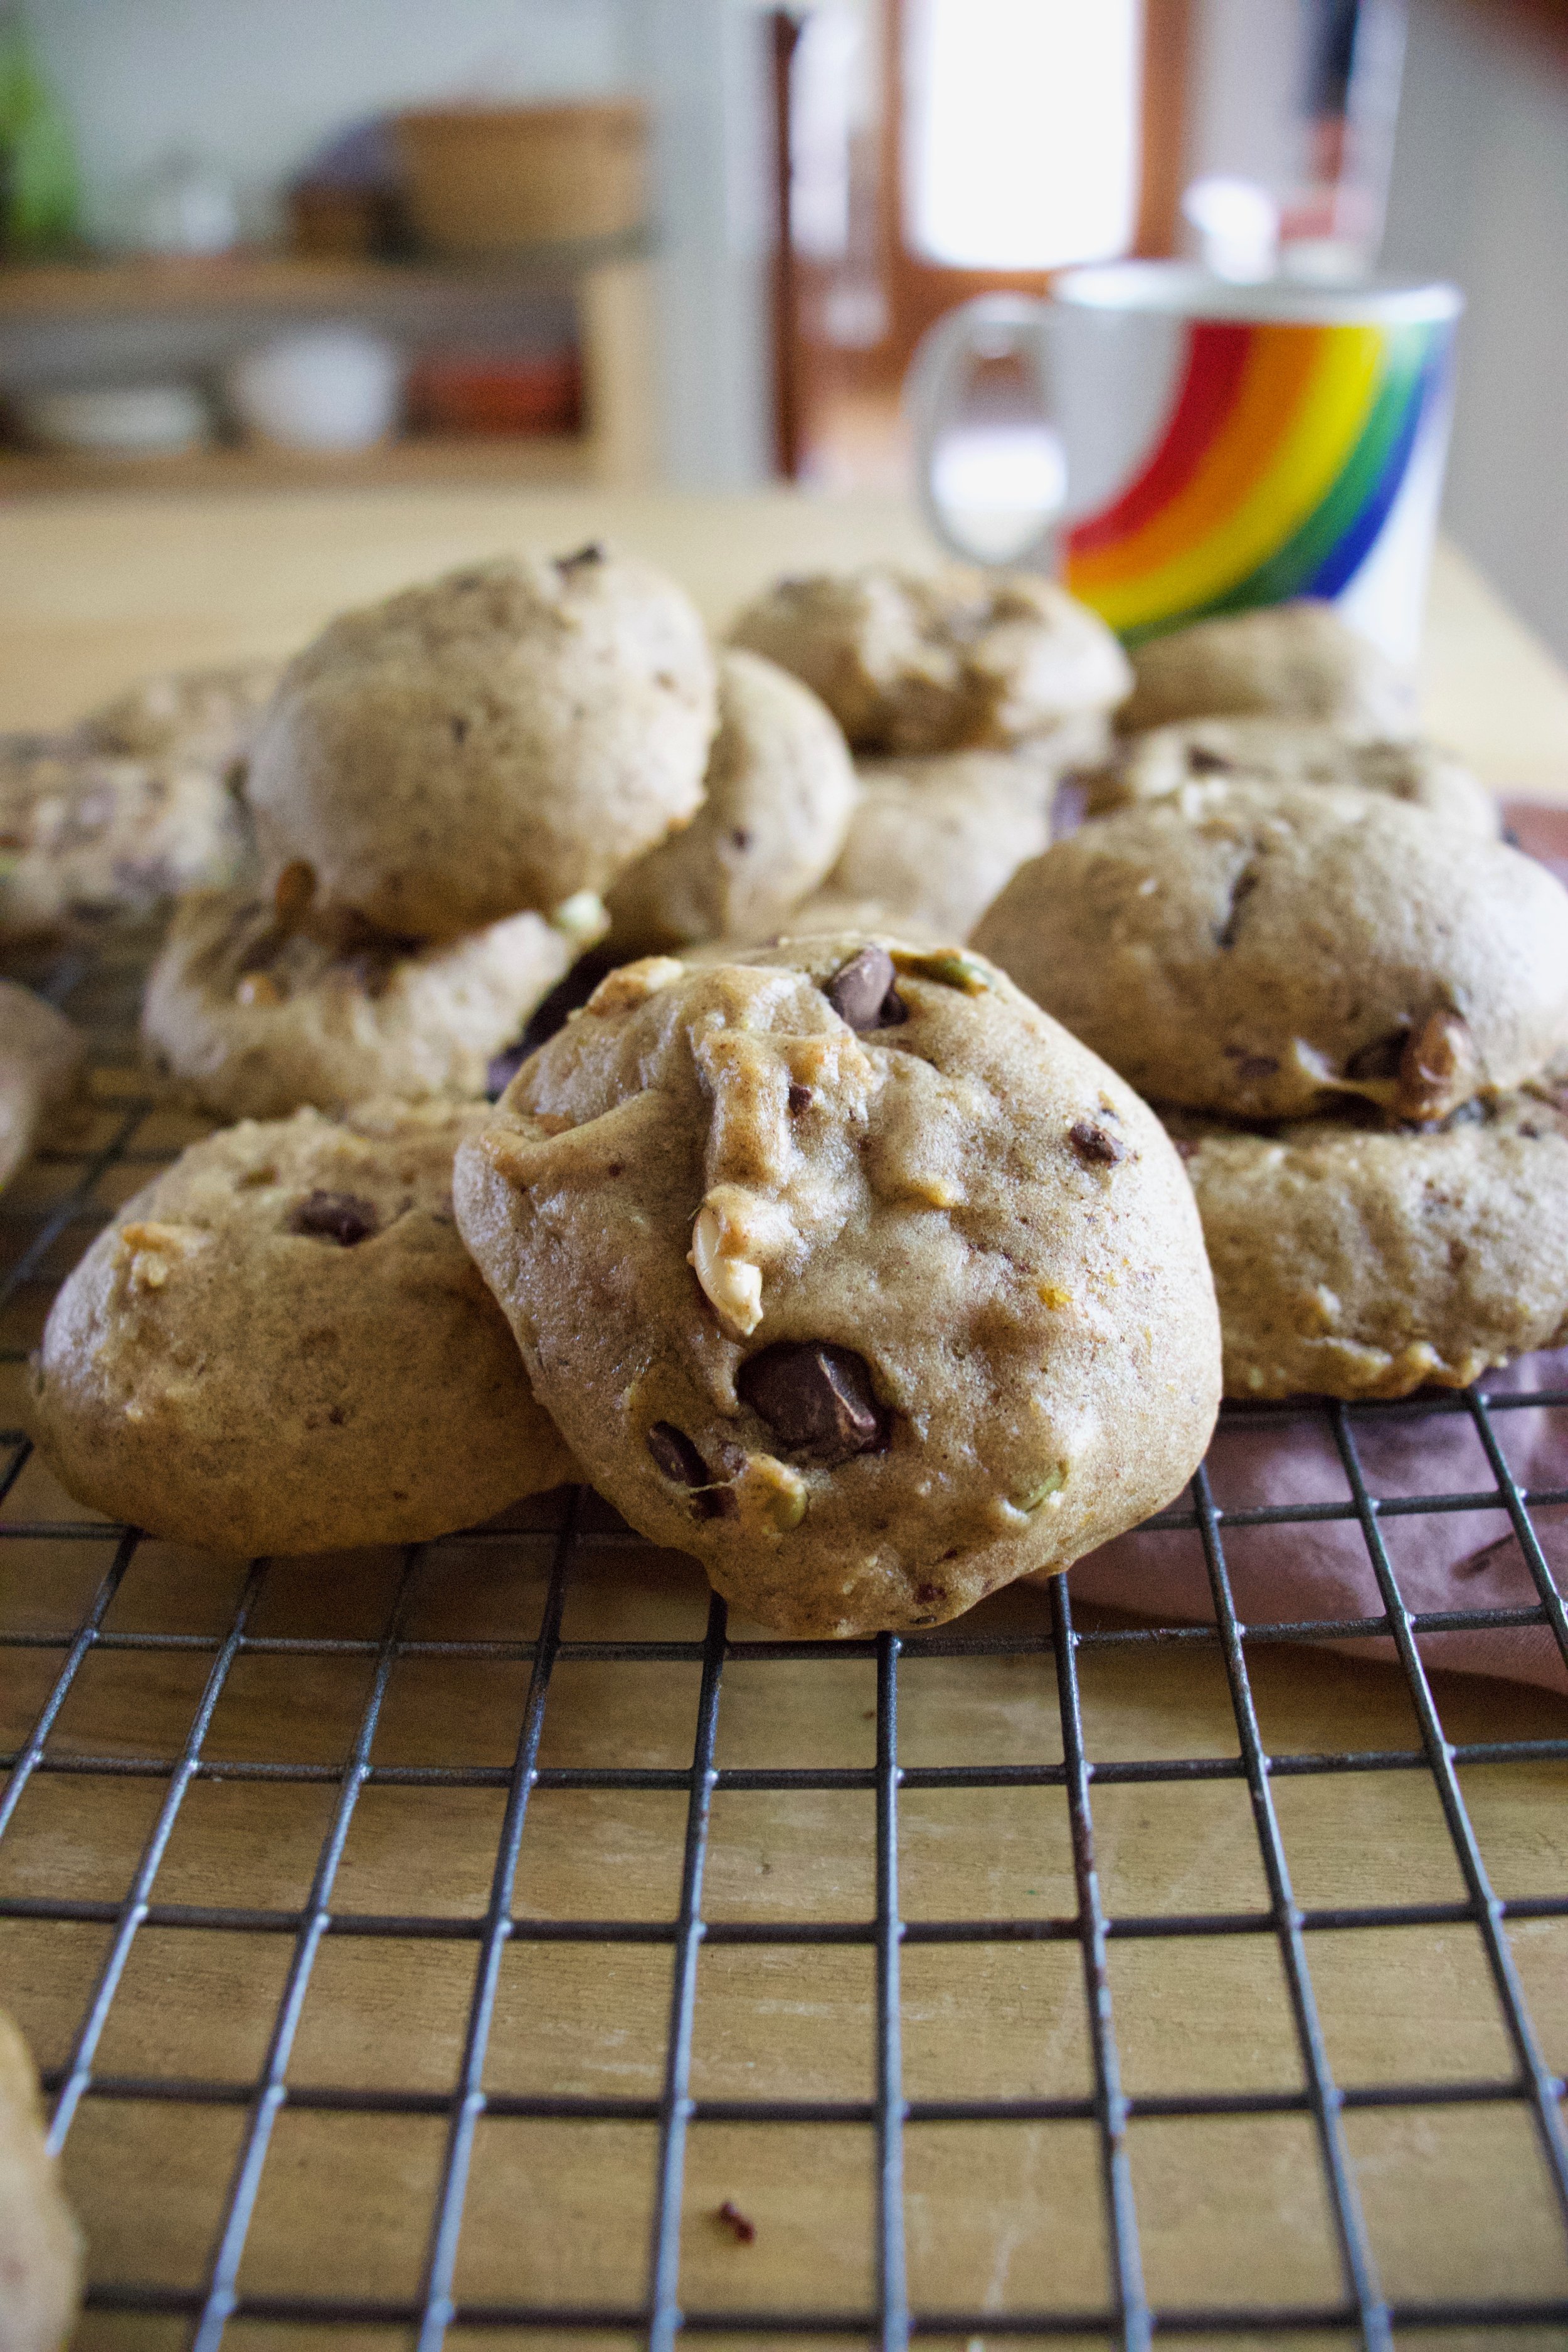
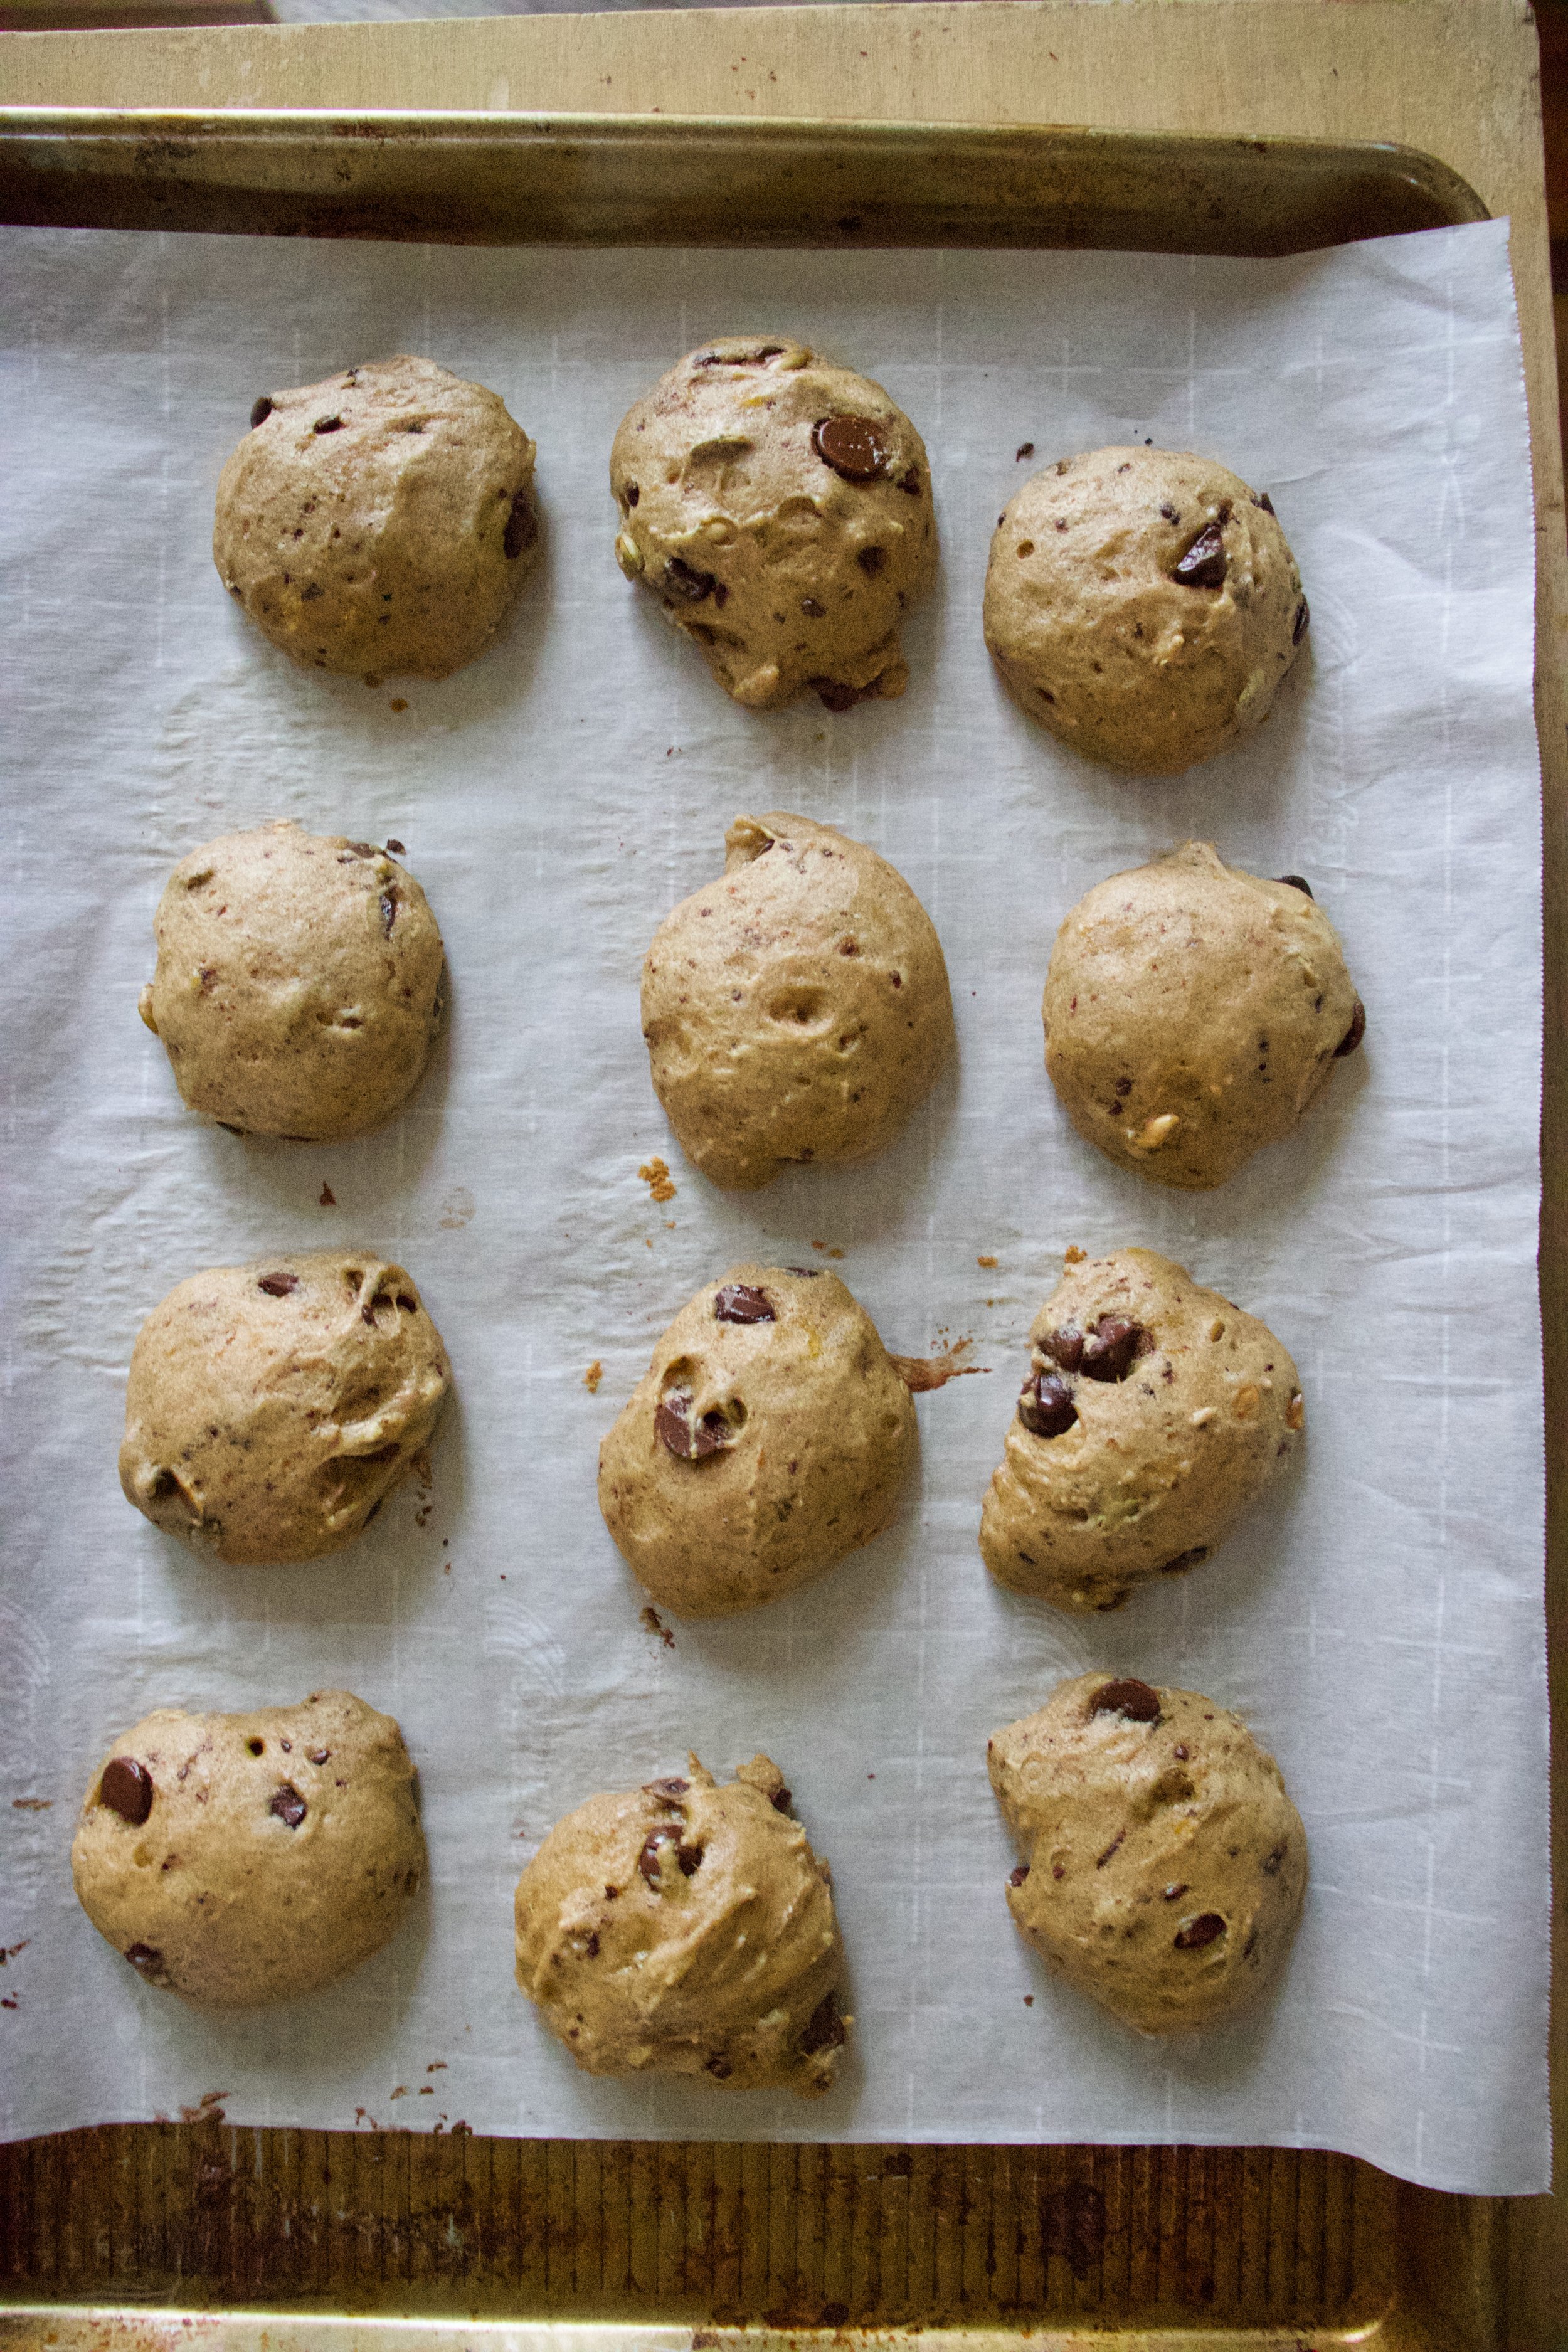
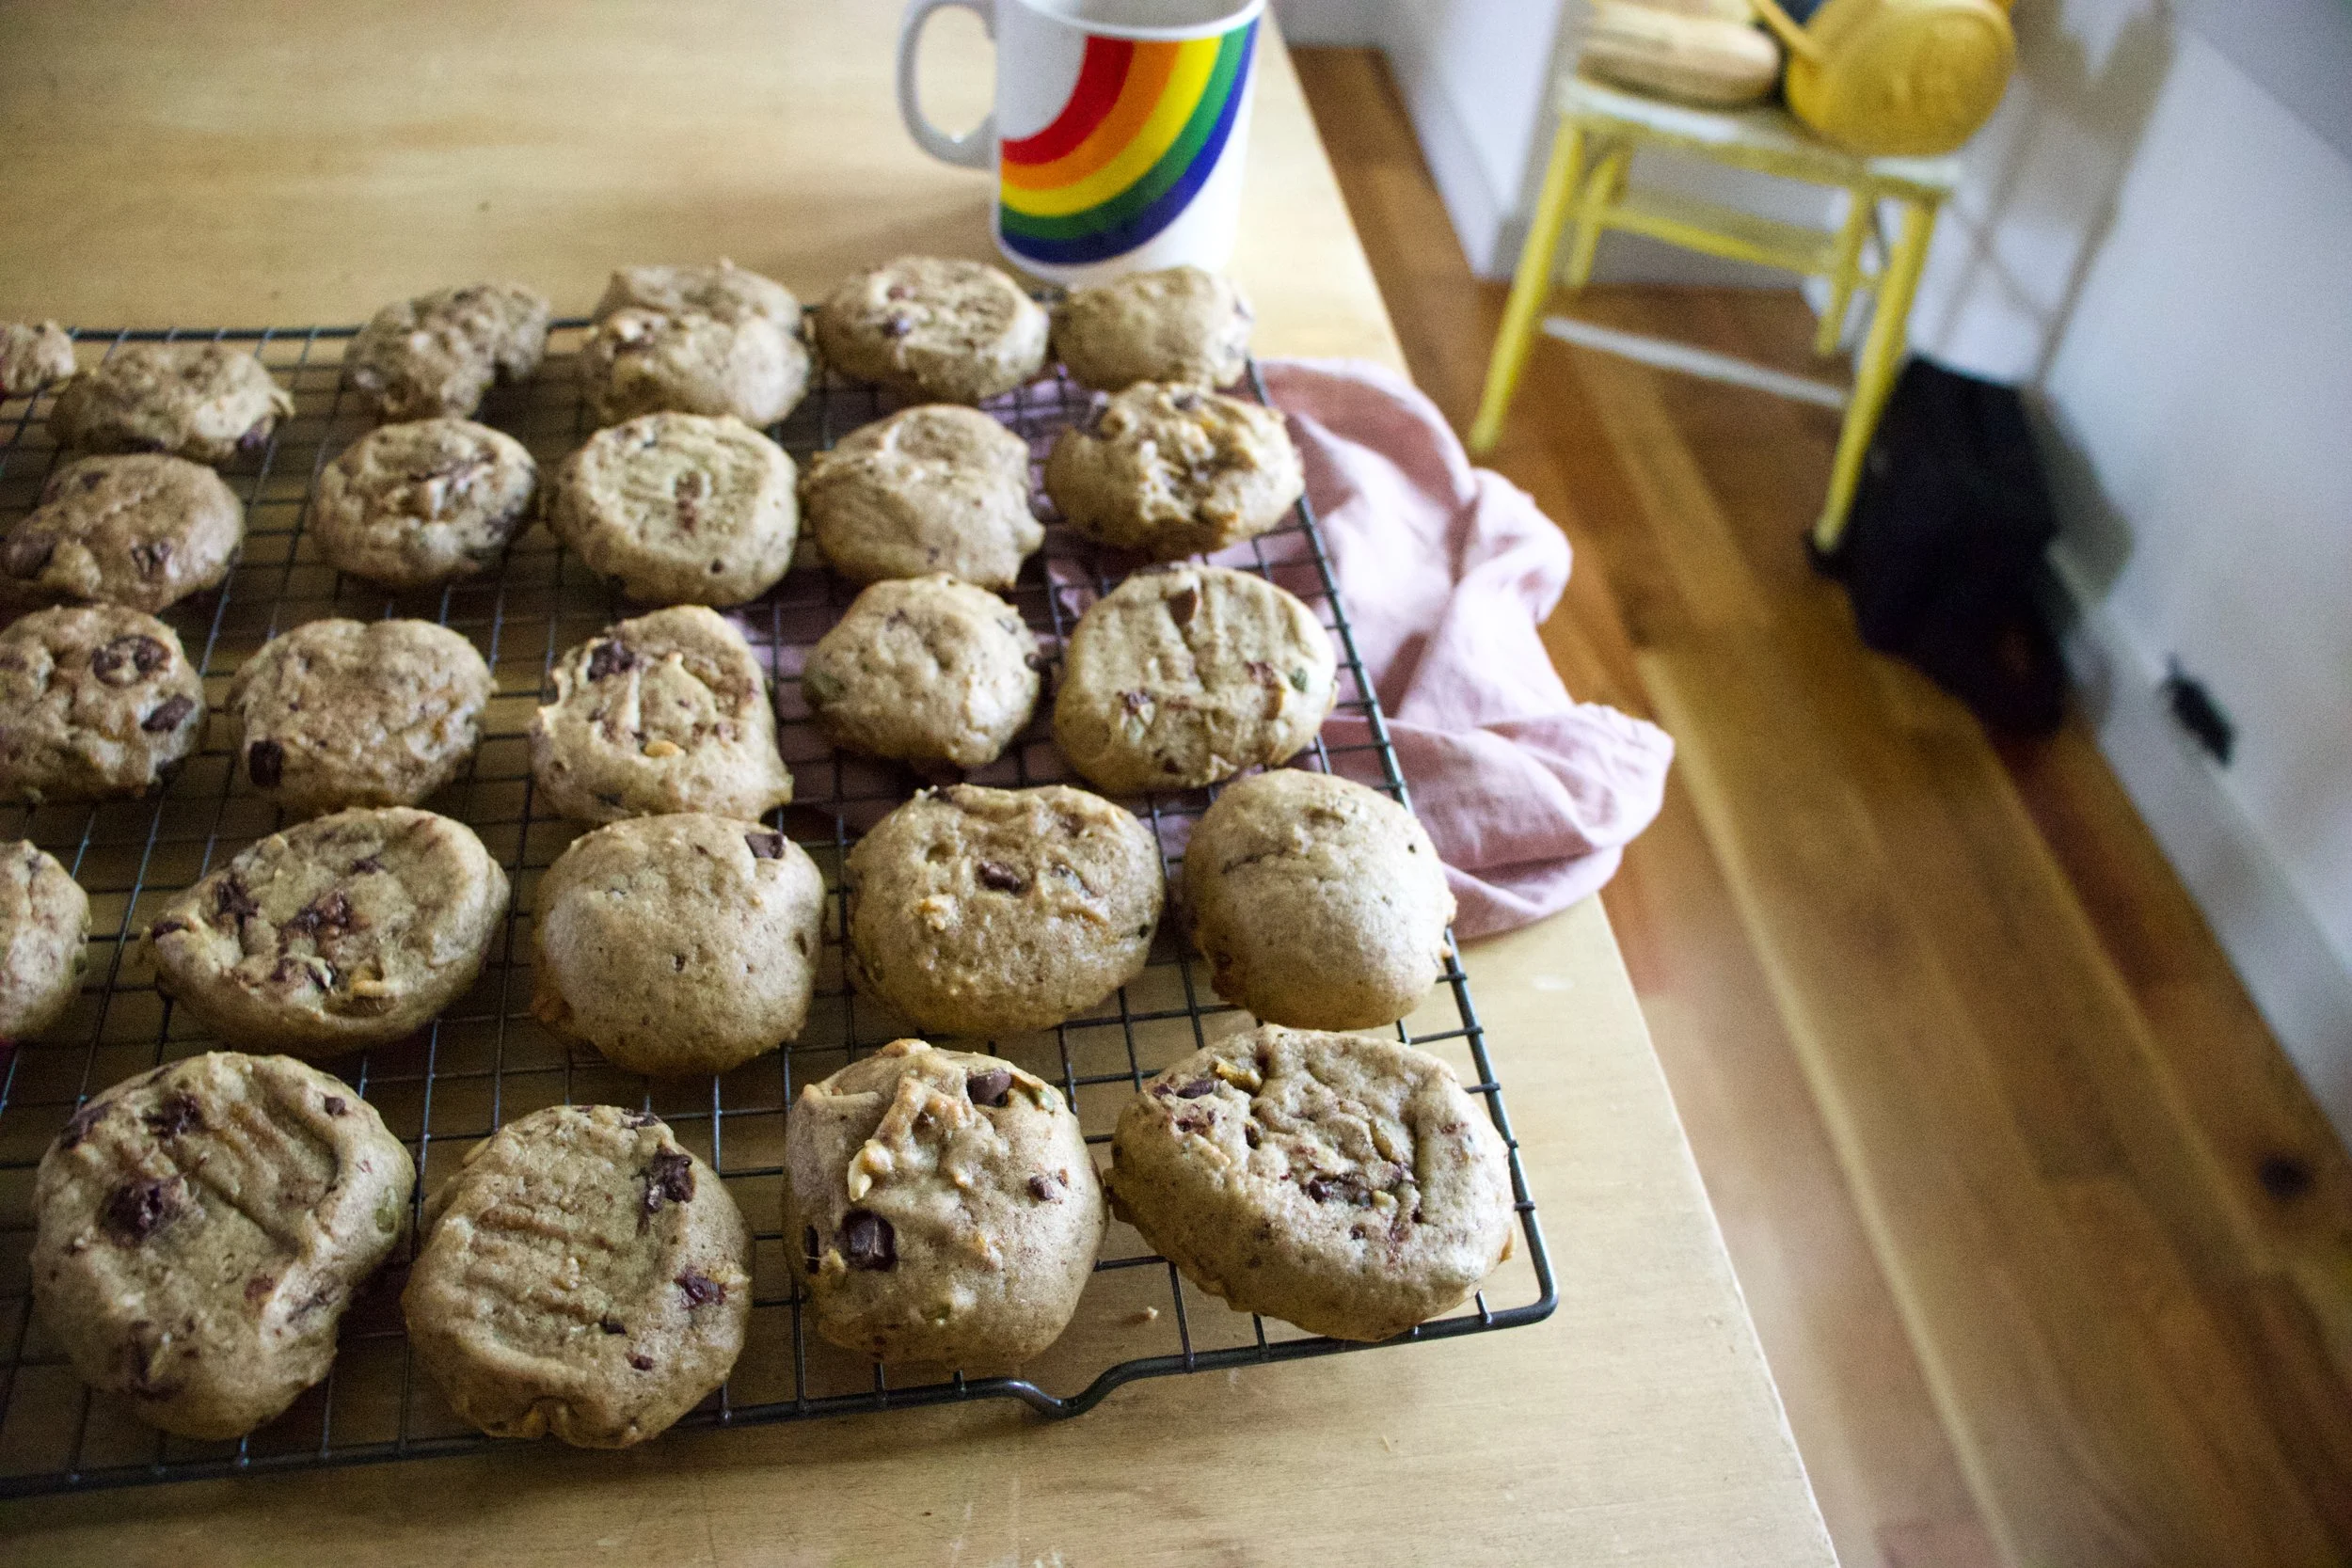
Baked, popped out of the tins, and cooling to cool.

IMG_5164.jpg
IMG_5174.jpg

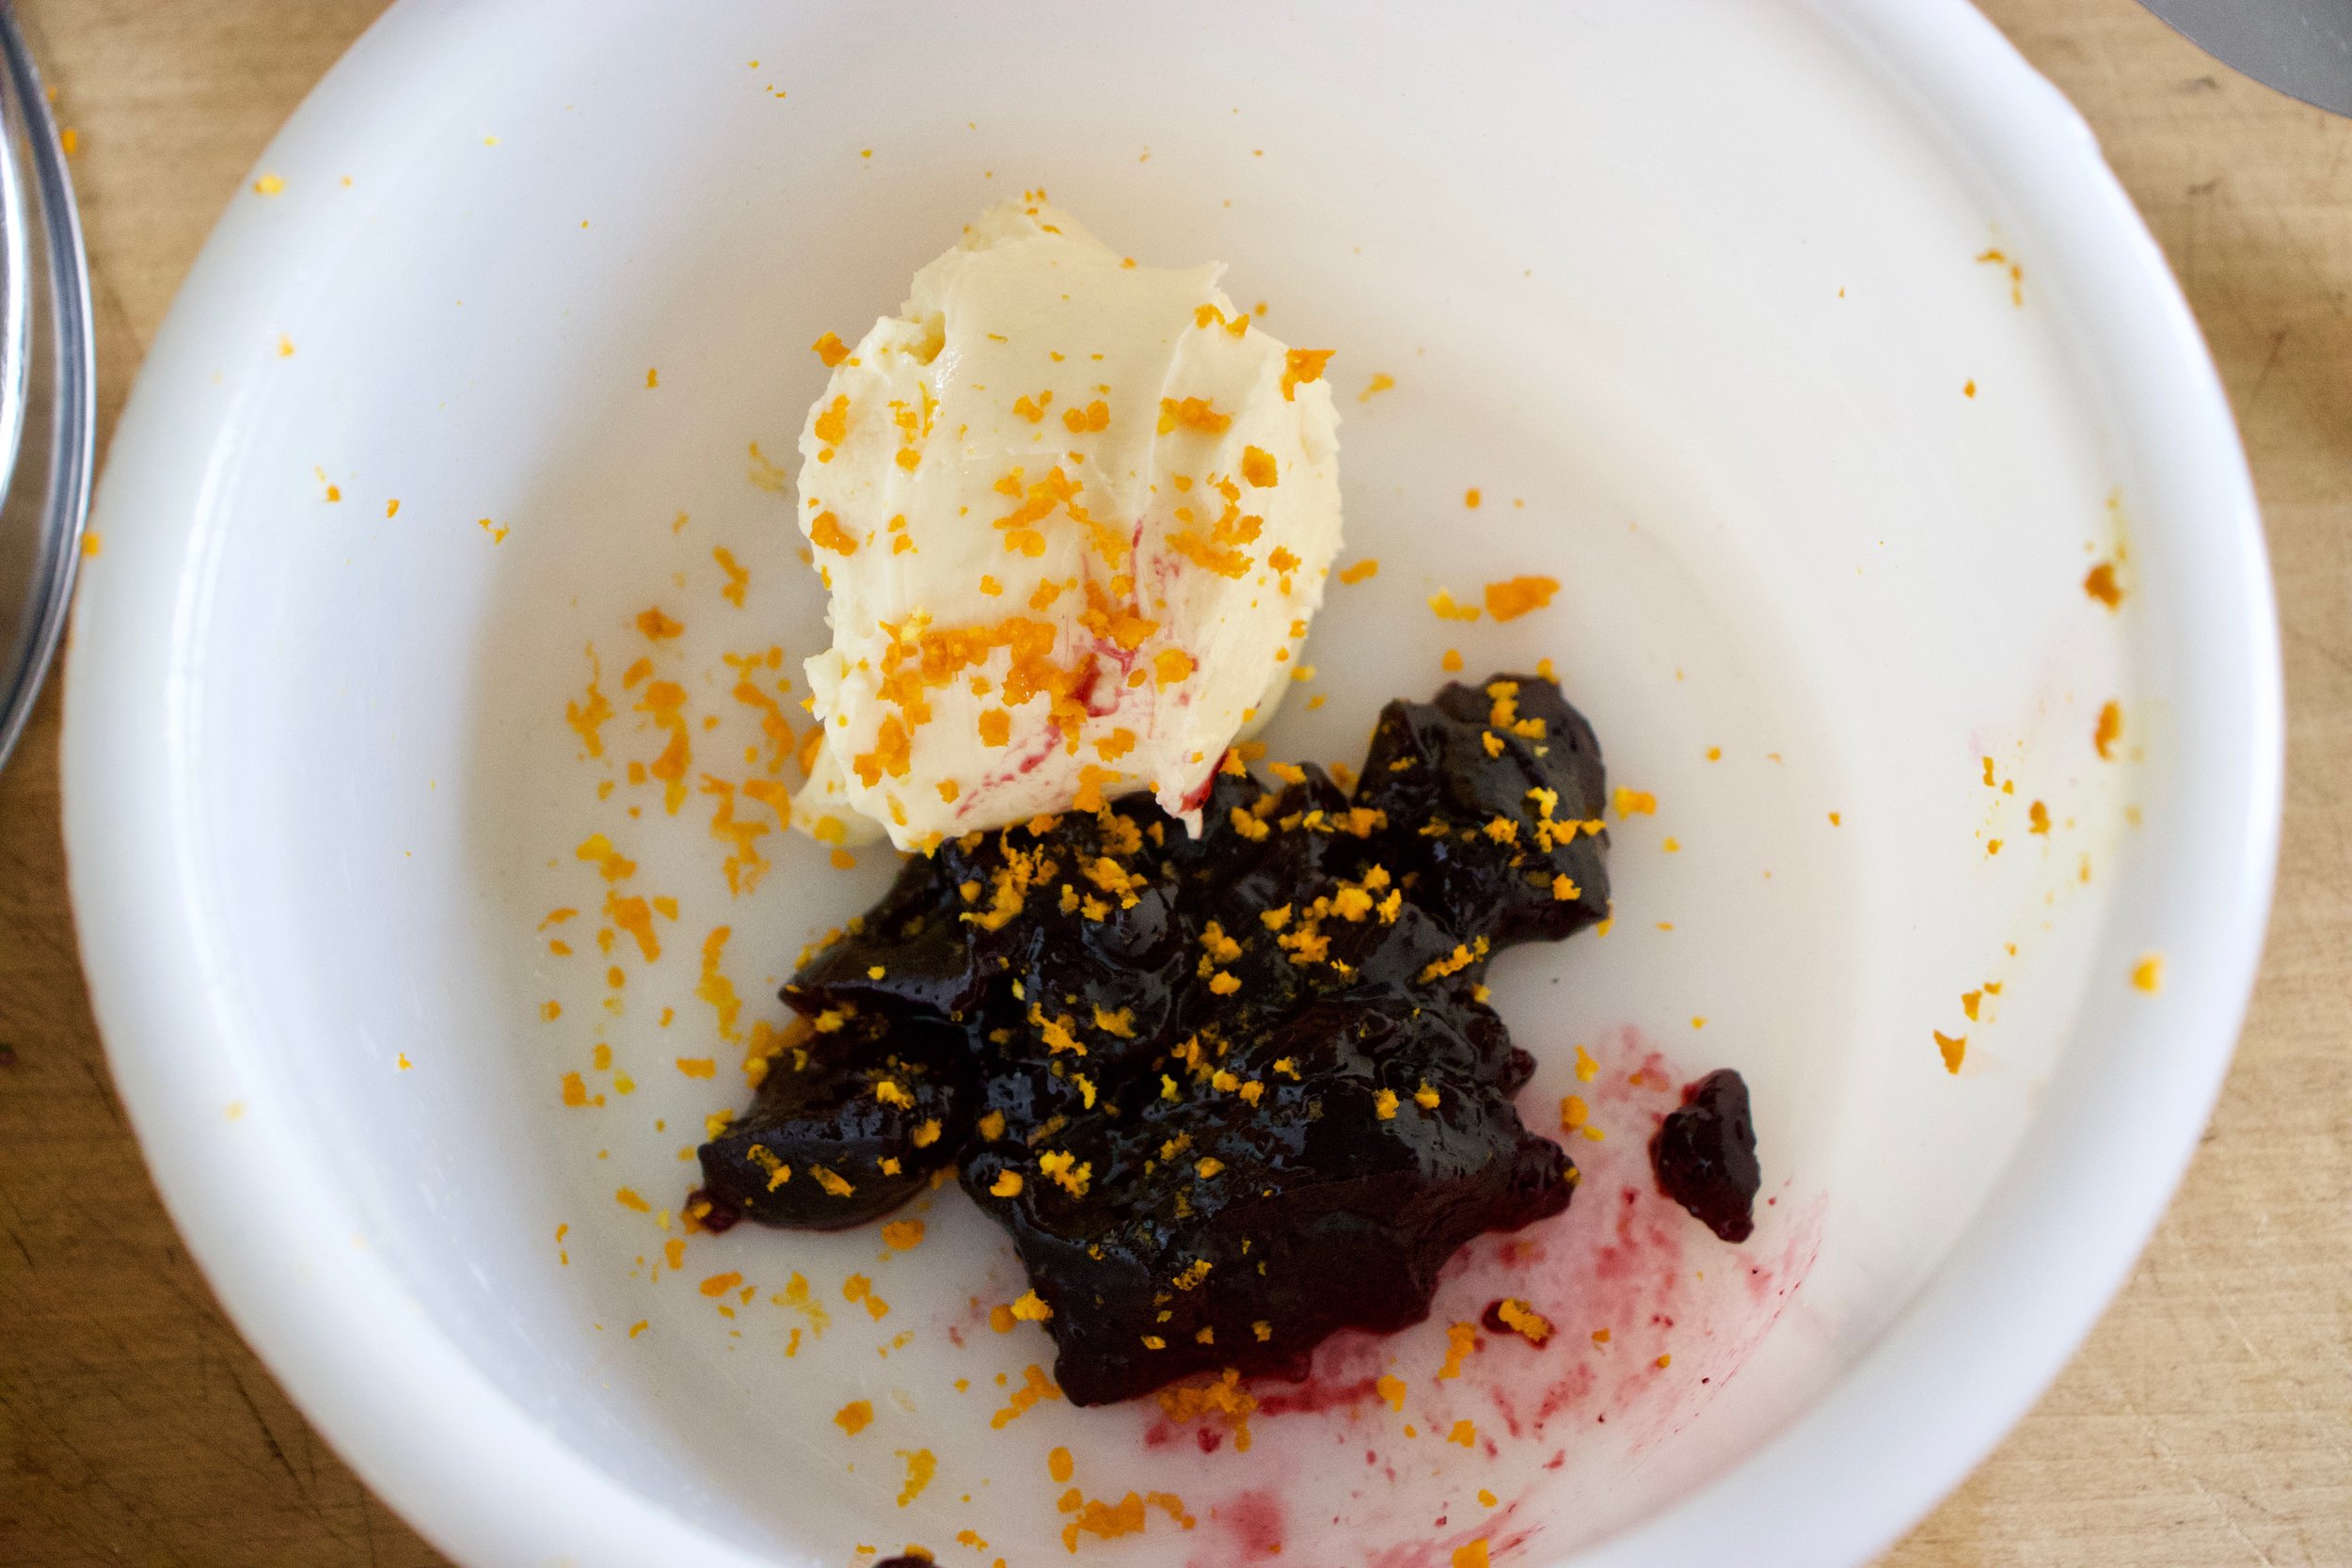
Frosting time. Butter, clementine zest, and jam mixed together makes for the prettiest color.

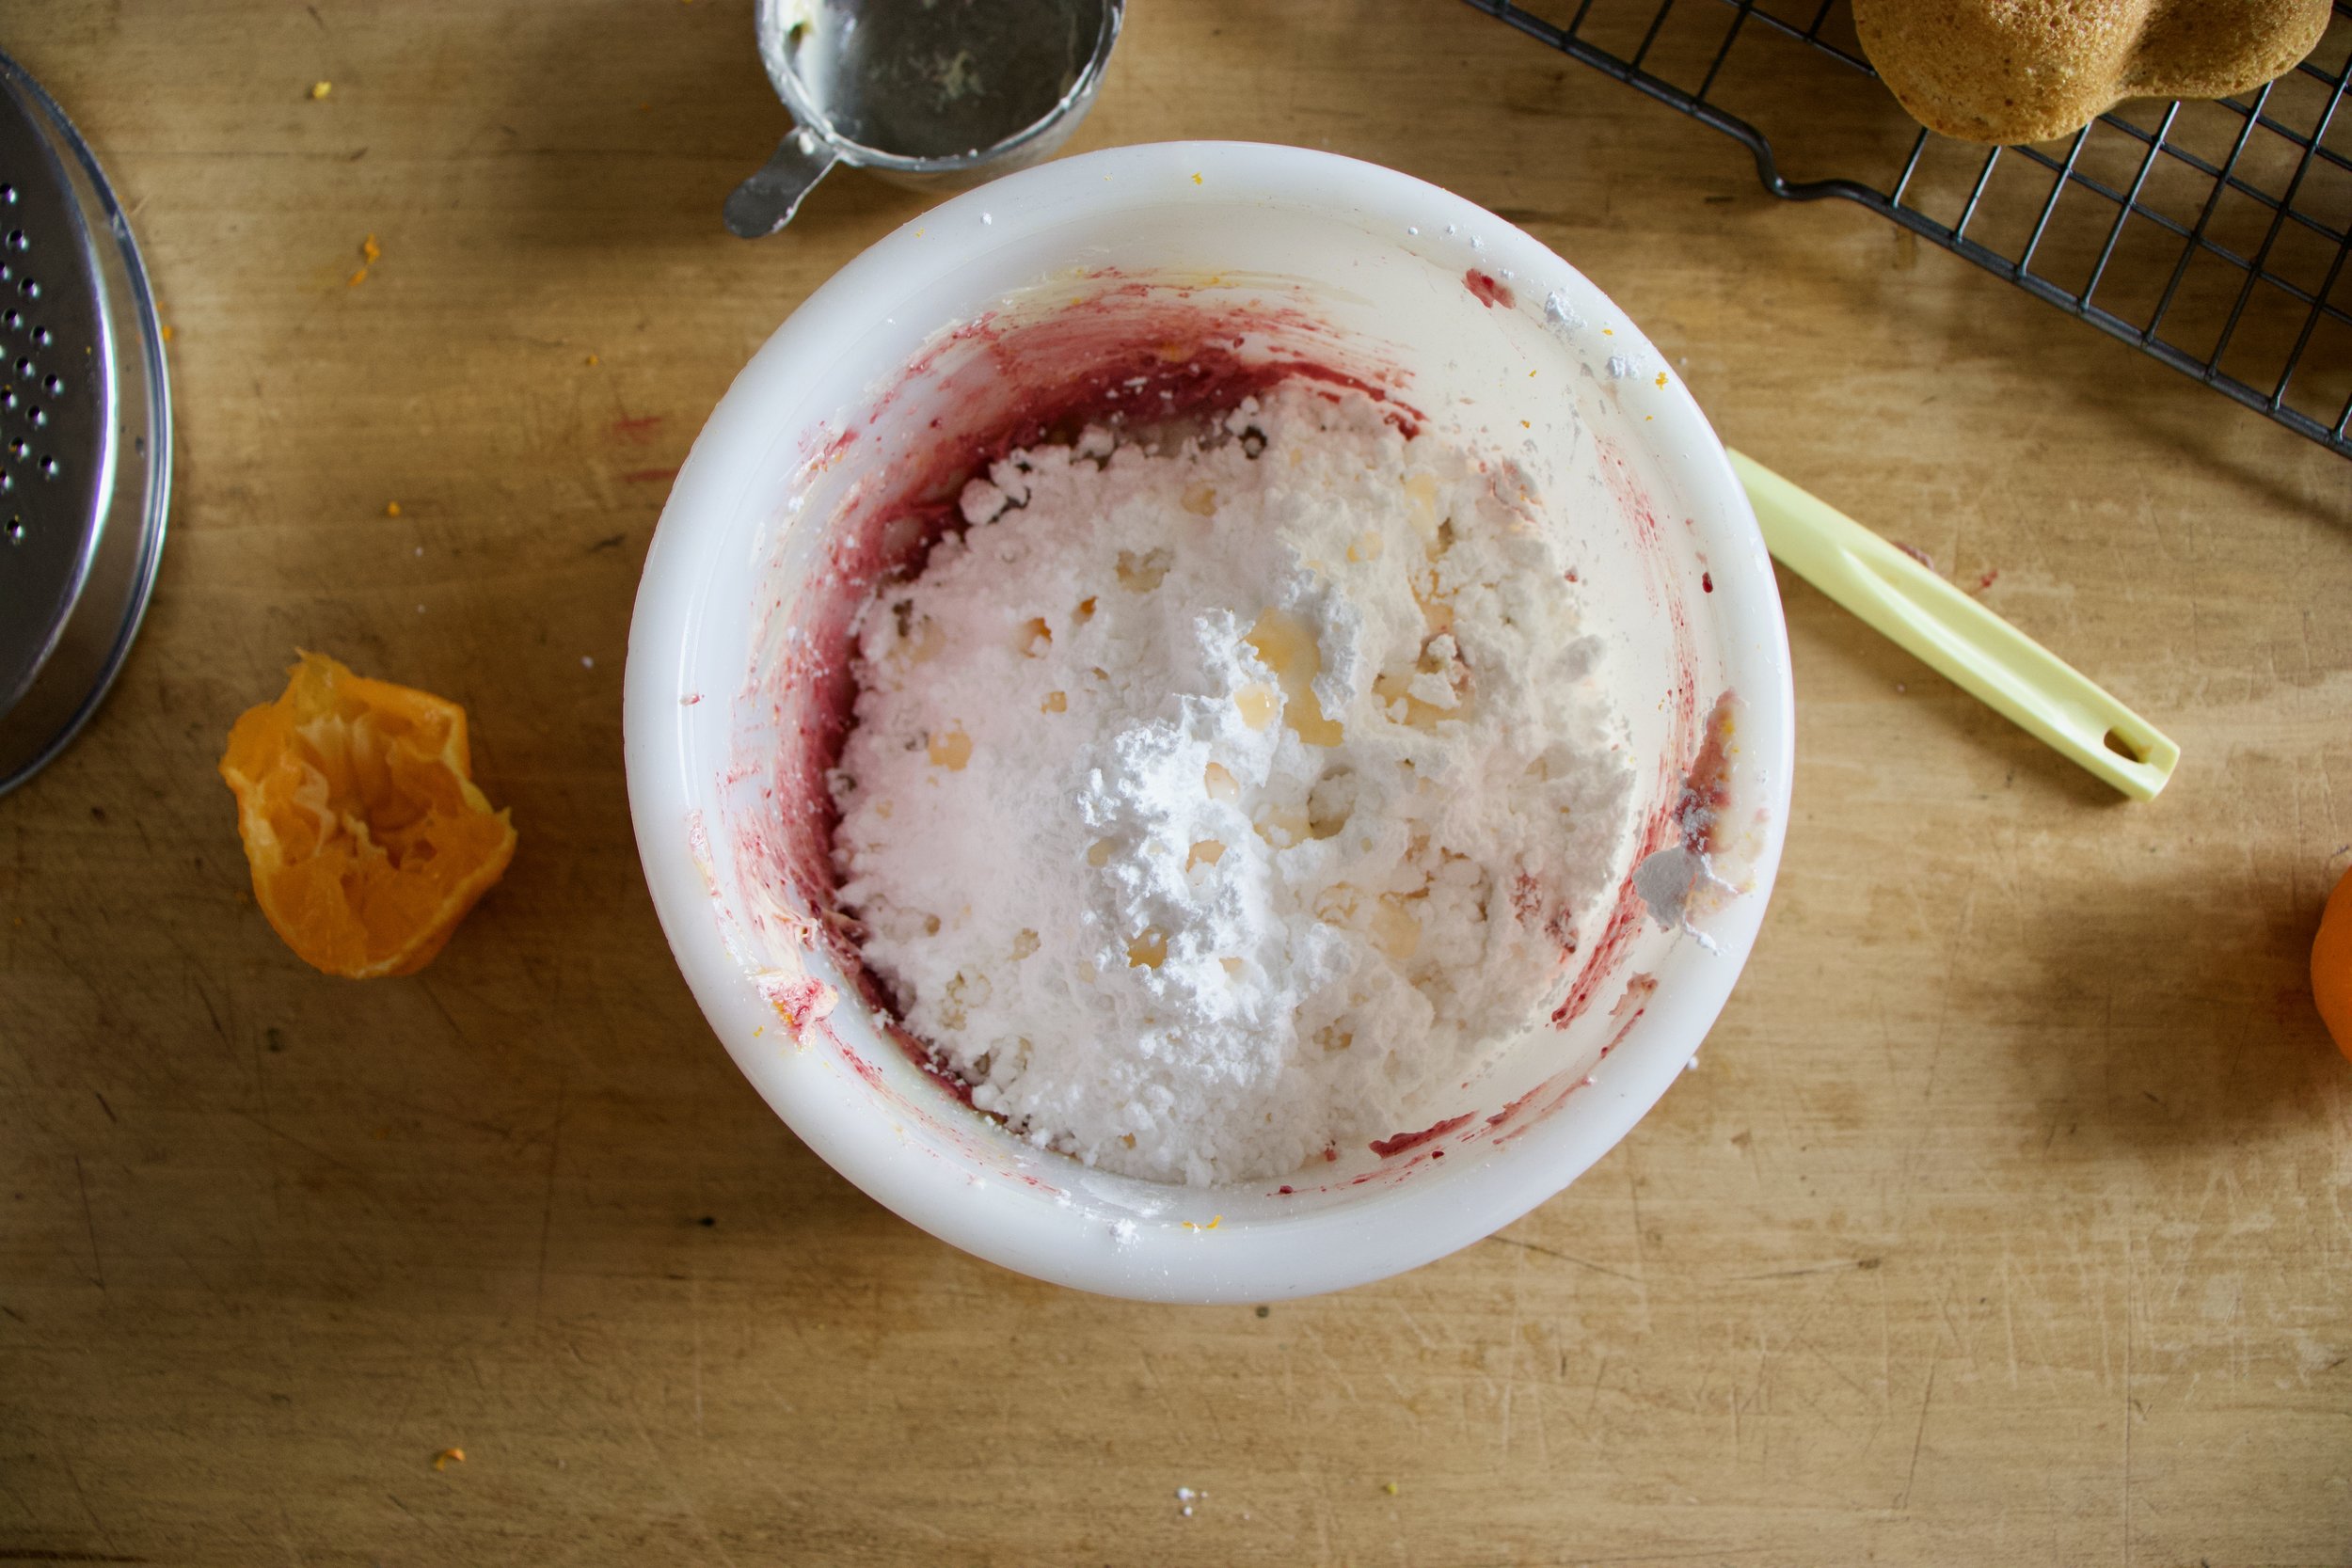
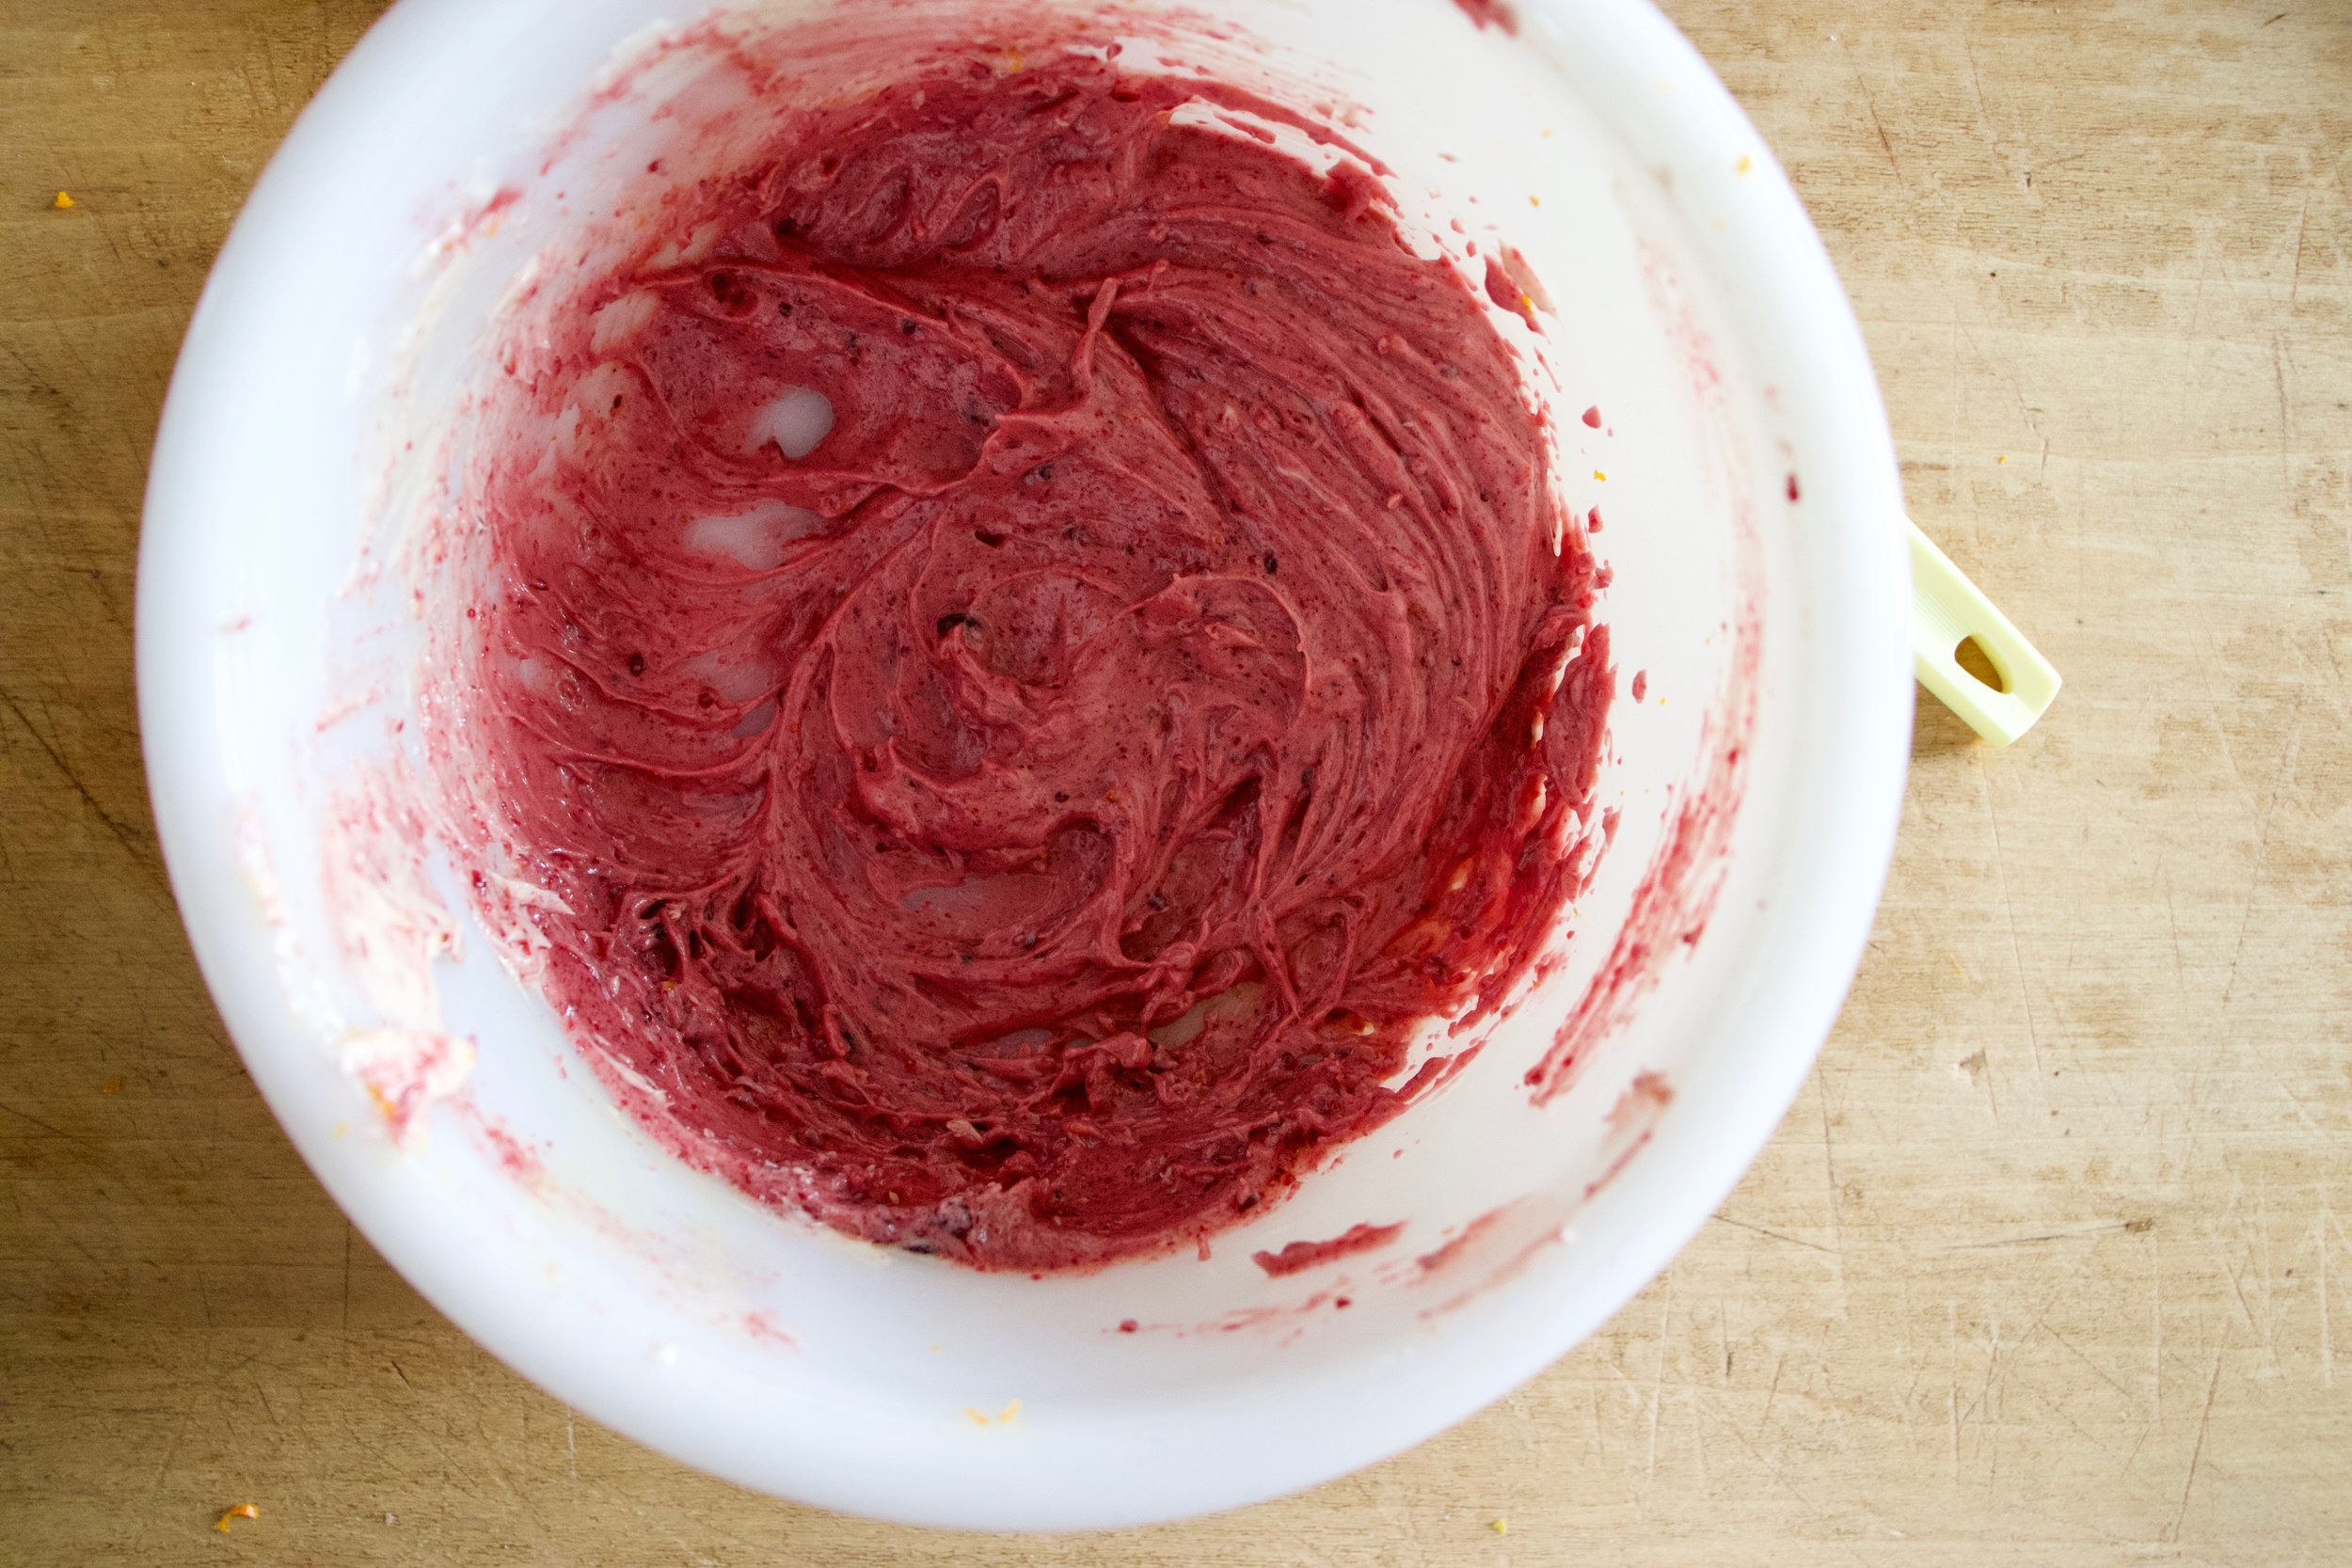
Add in the powdered sugar and juice of the clementine and beat with a beater.

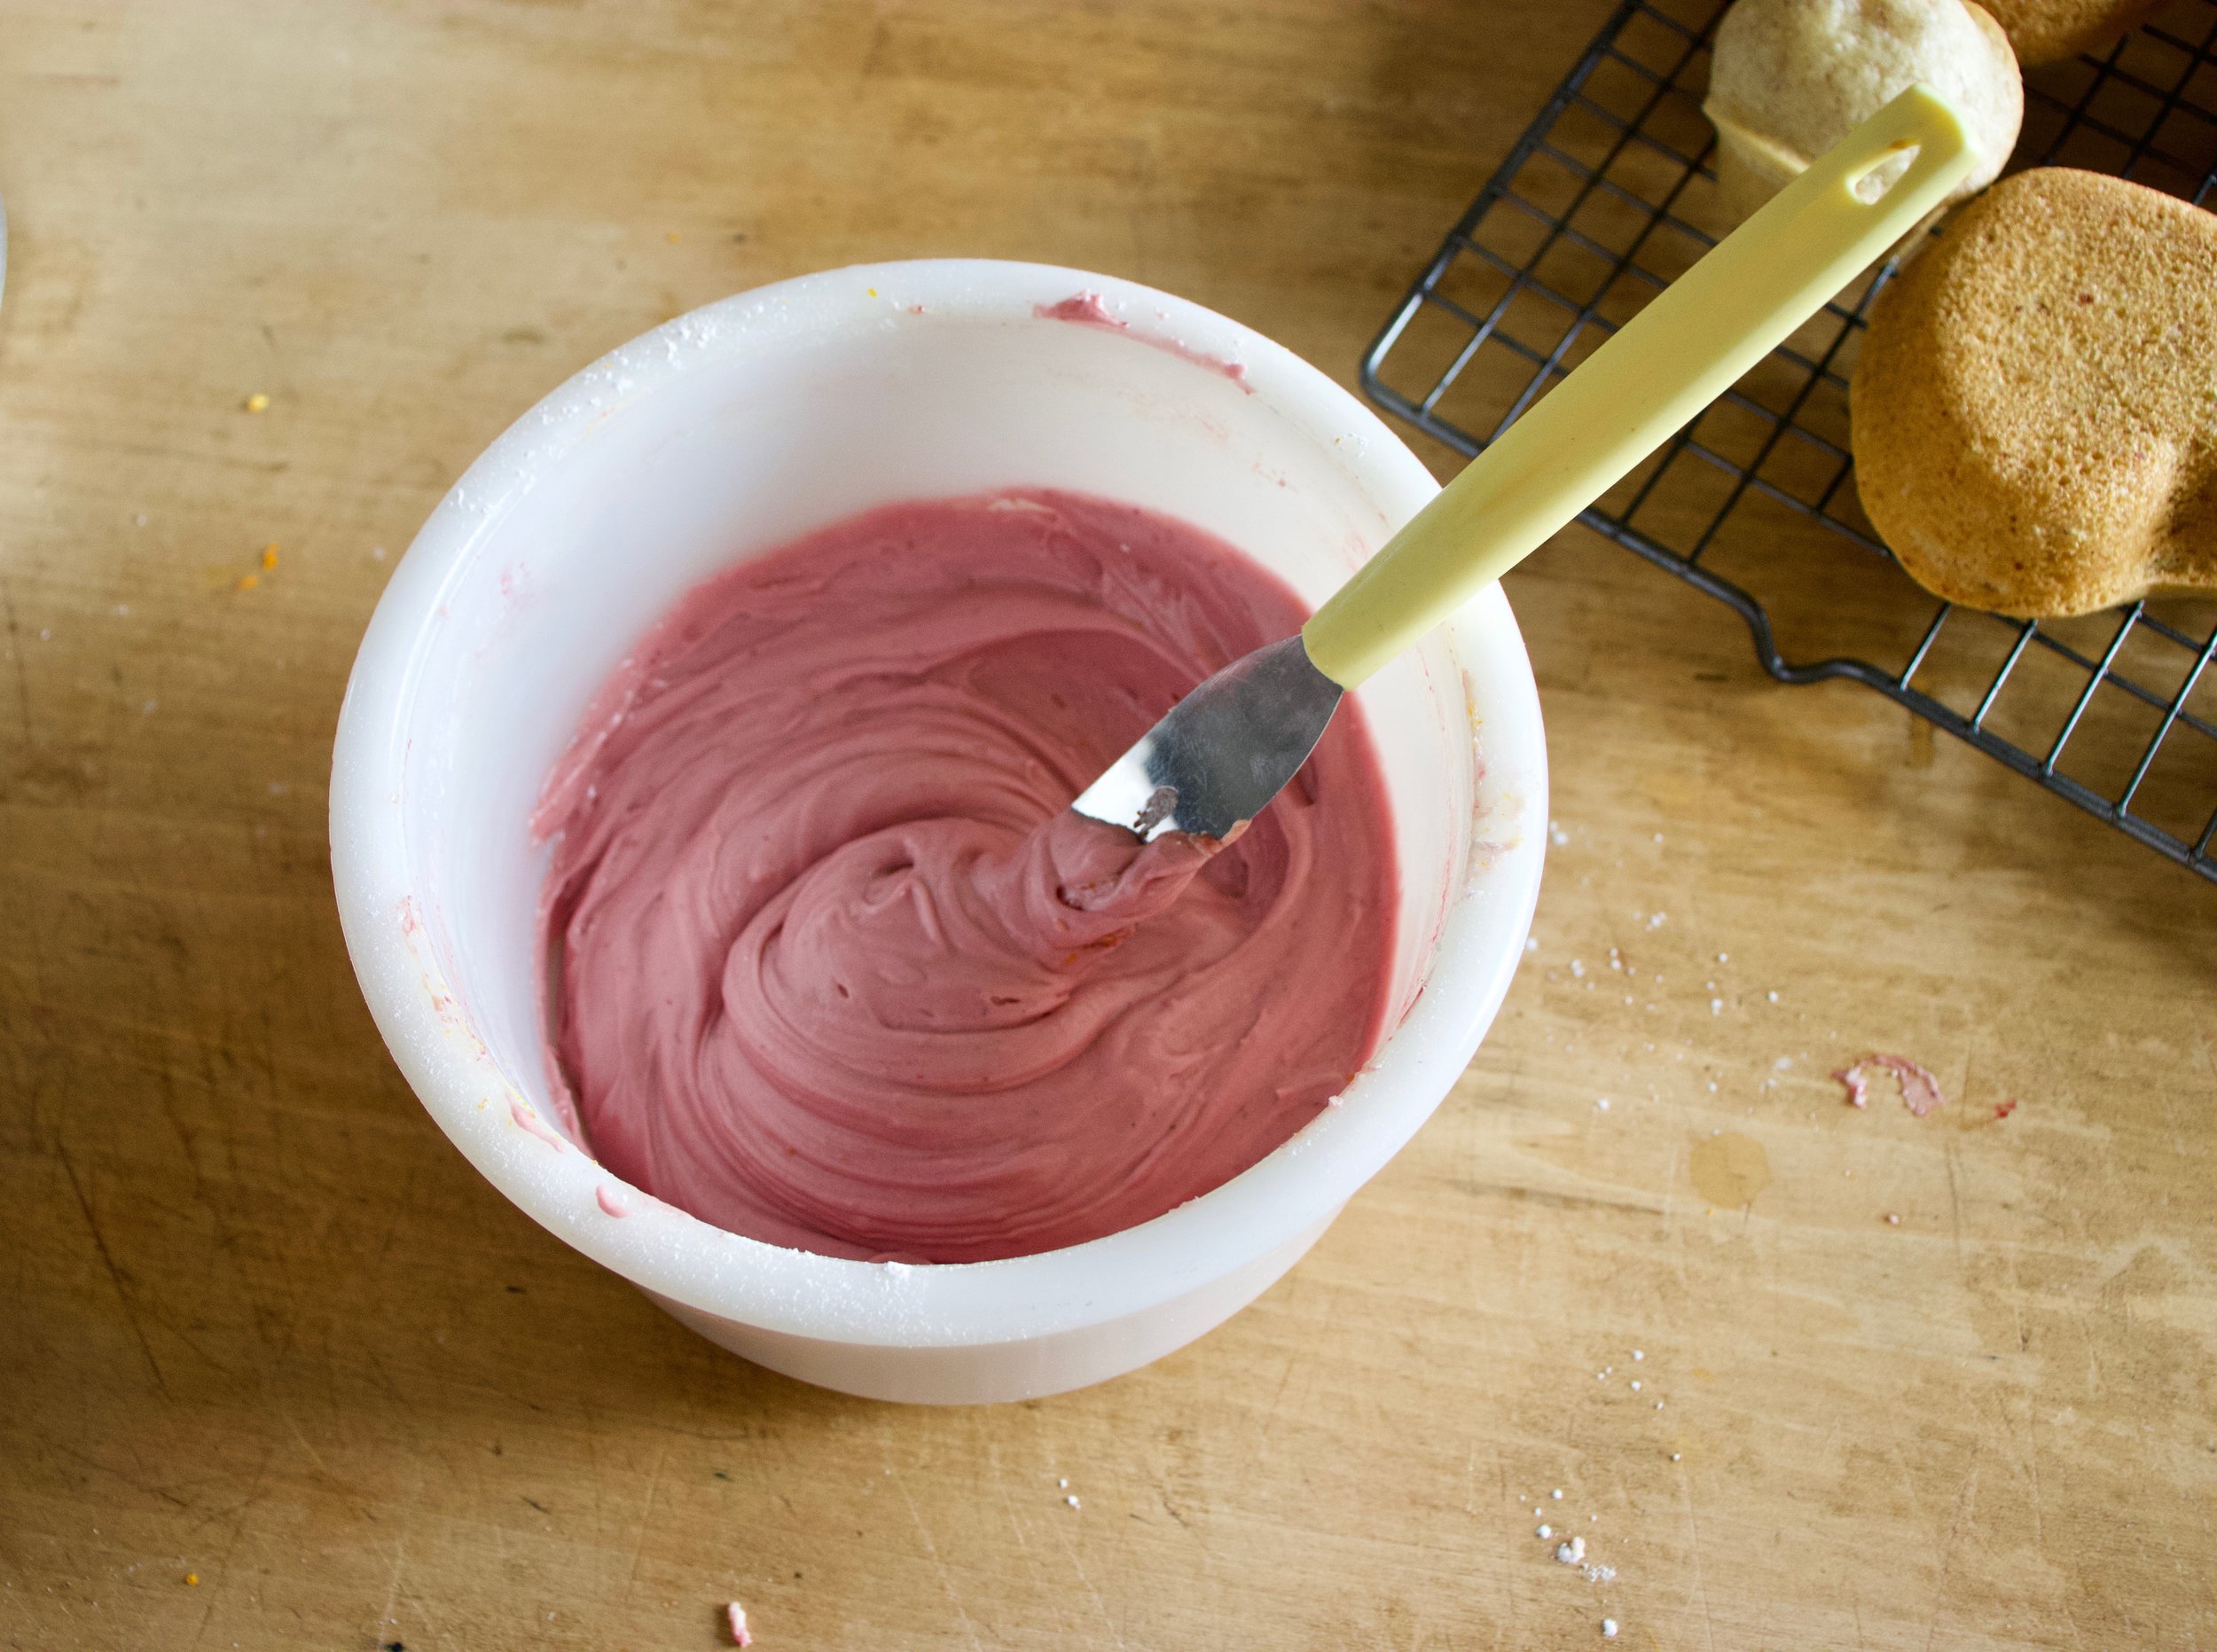
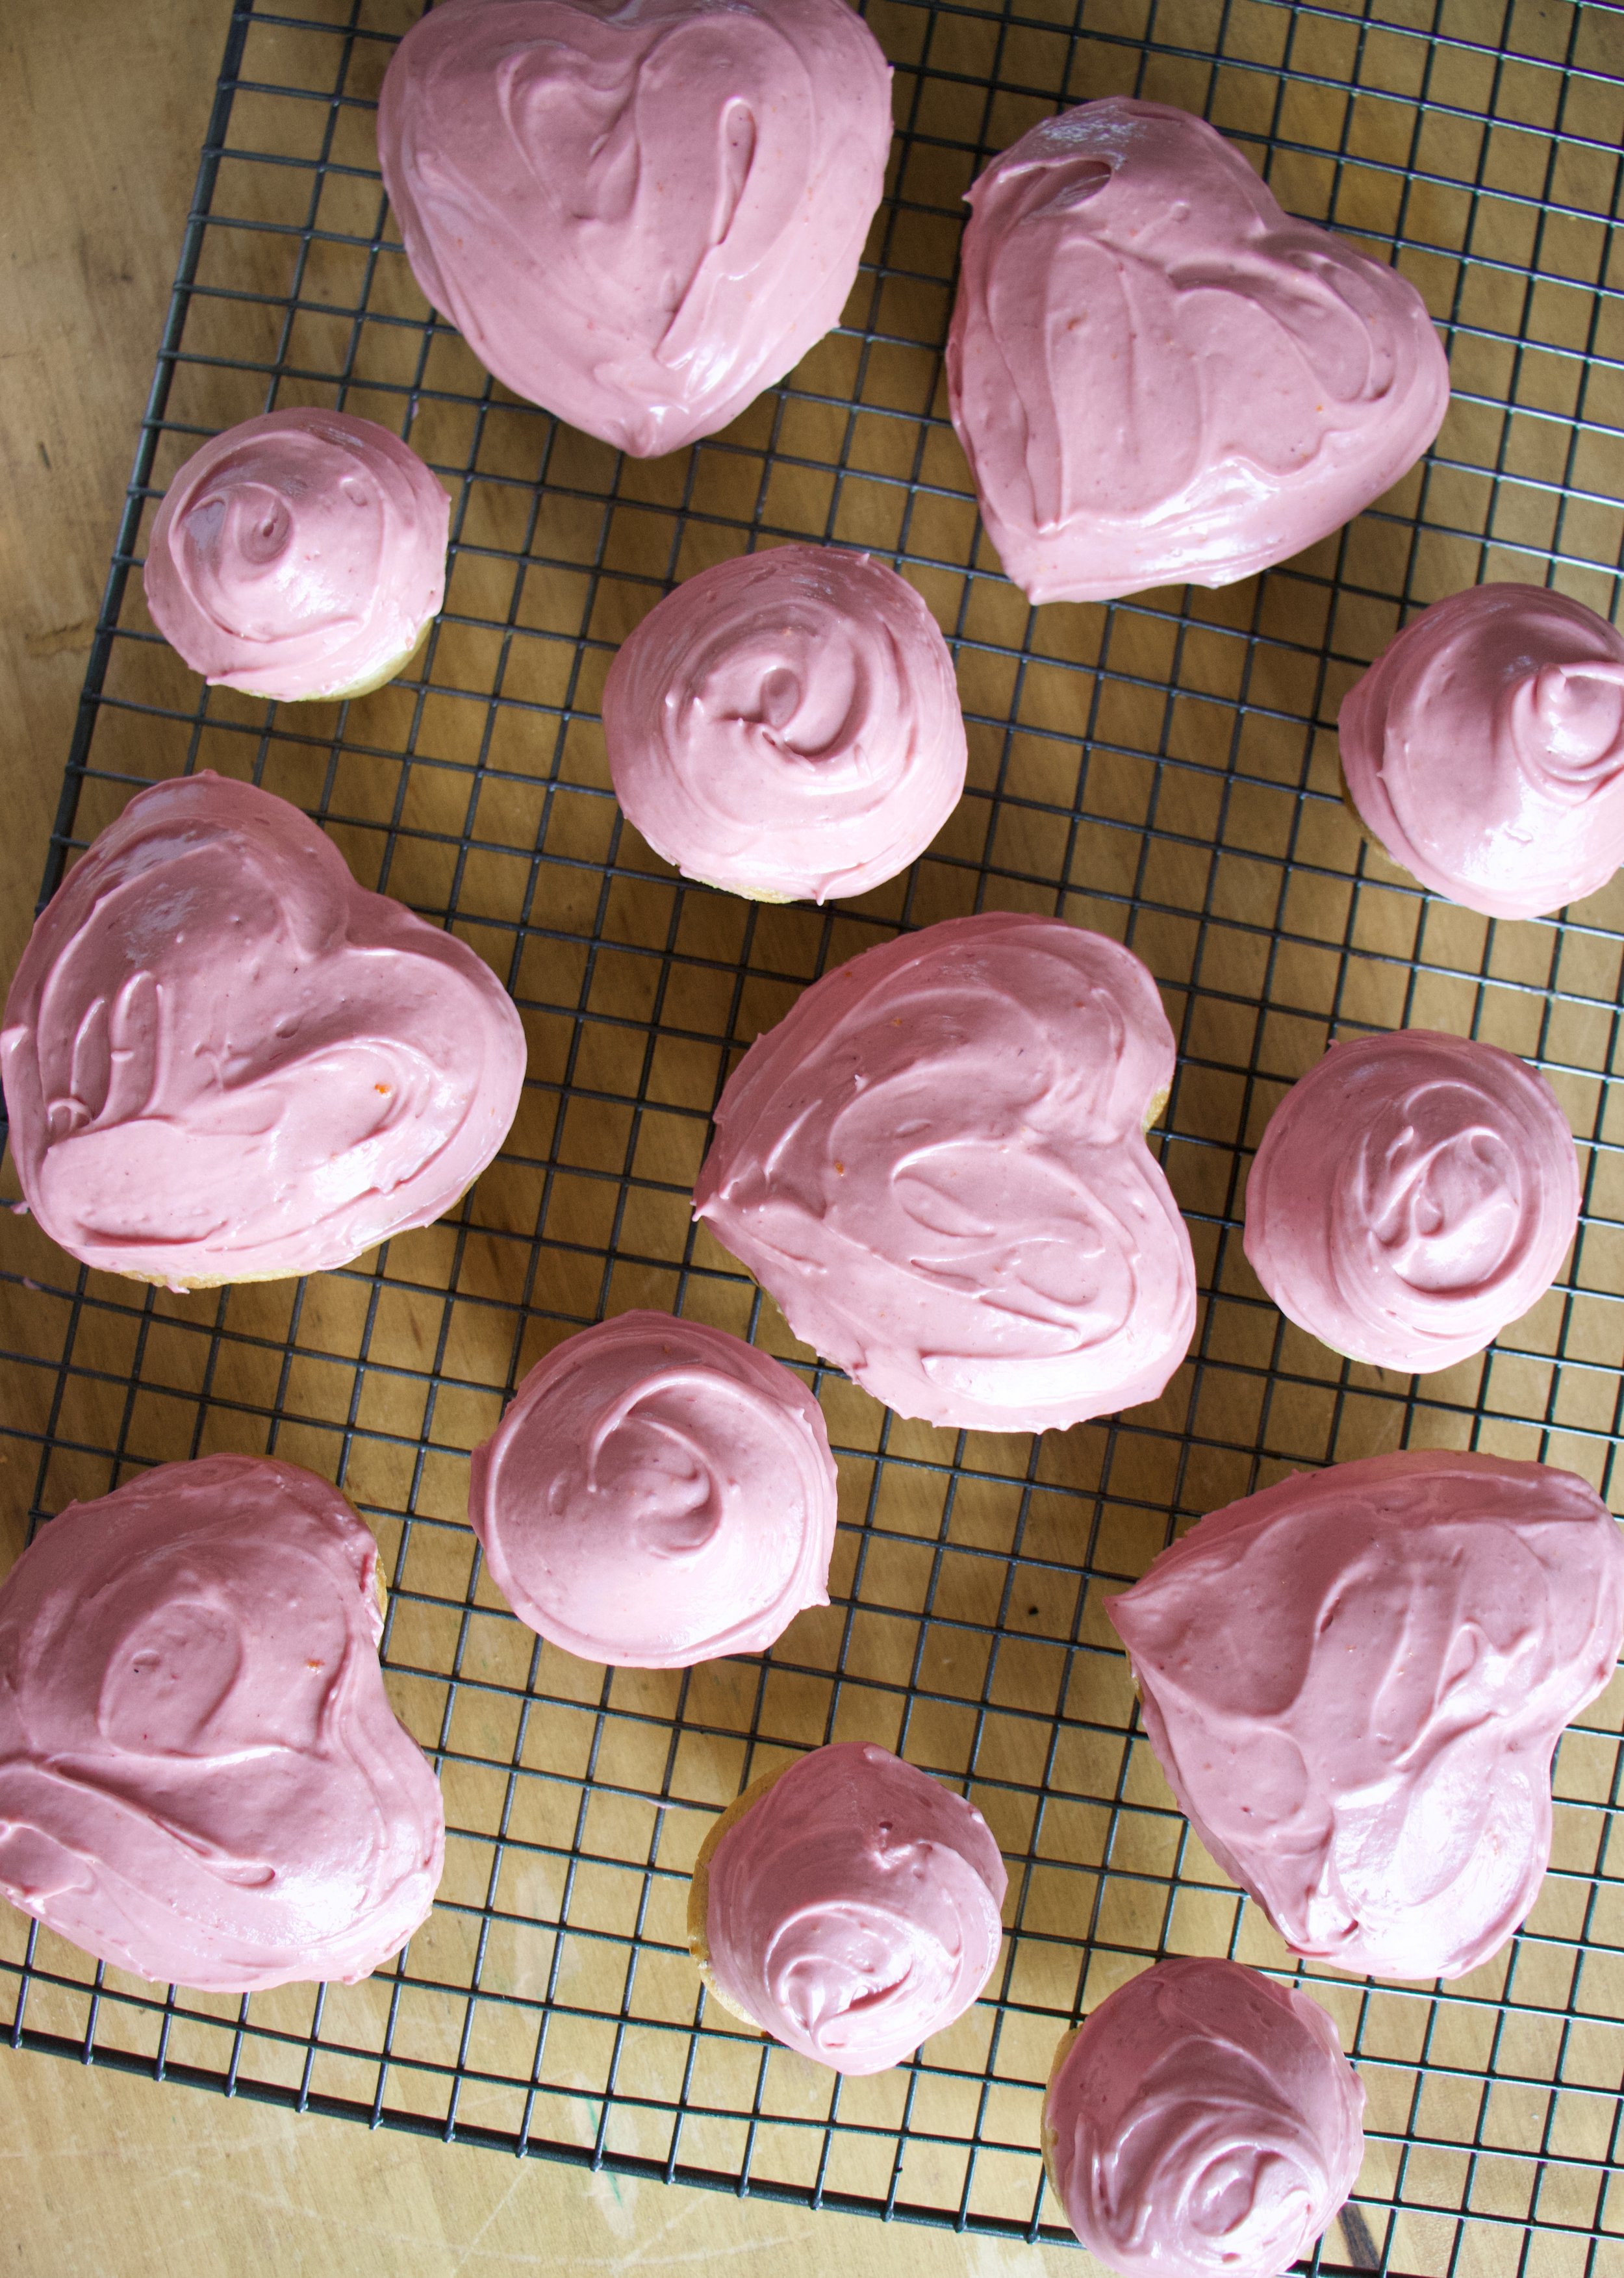
Pretty pink frosting. All natural.

And now that the cupcakes are cooled (you must wait until they are completely cooled) get them frosted.

And of course, adding sprinkles will only make them that much better.

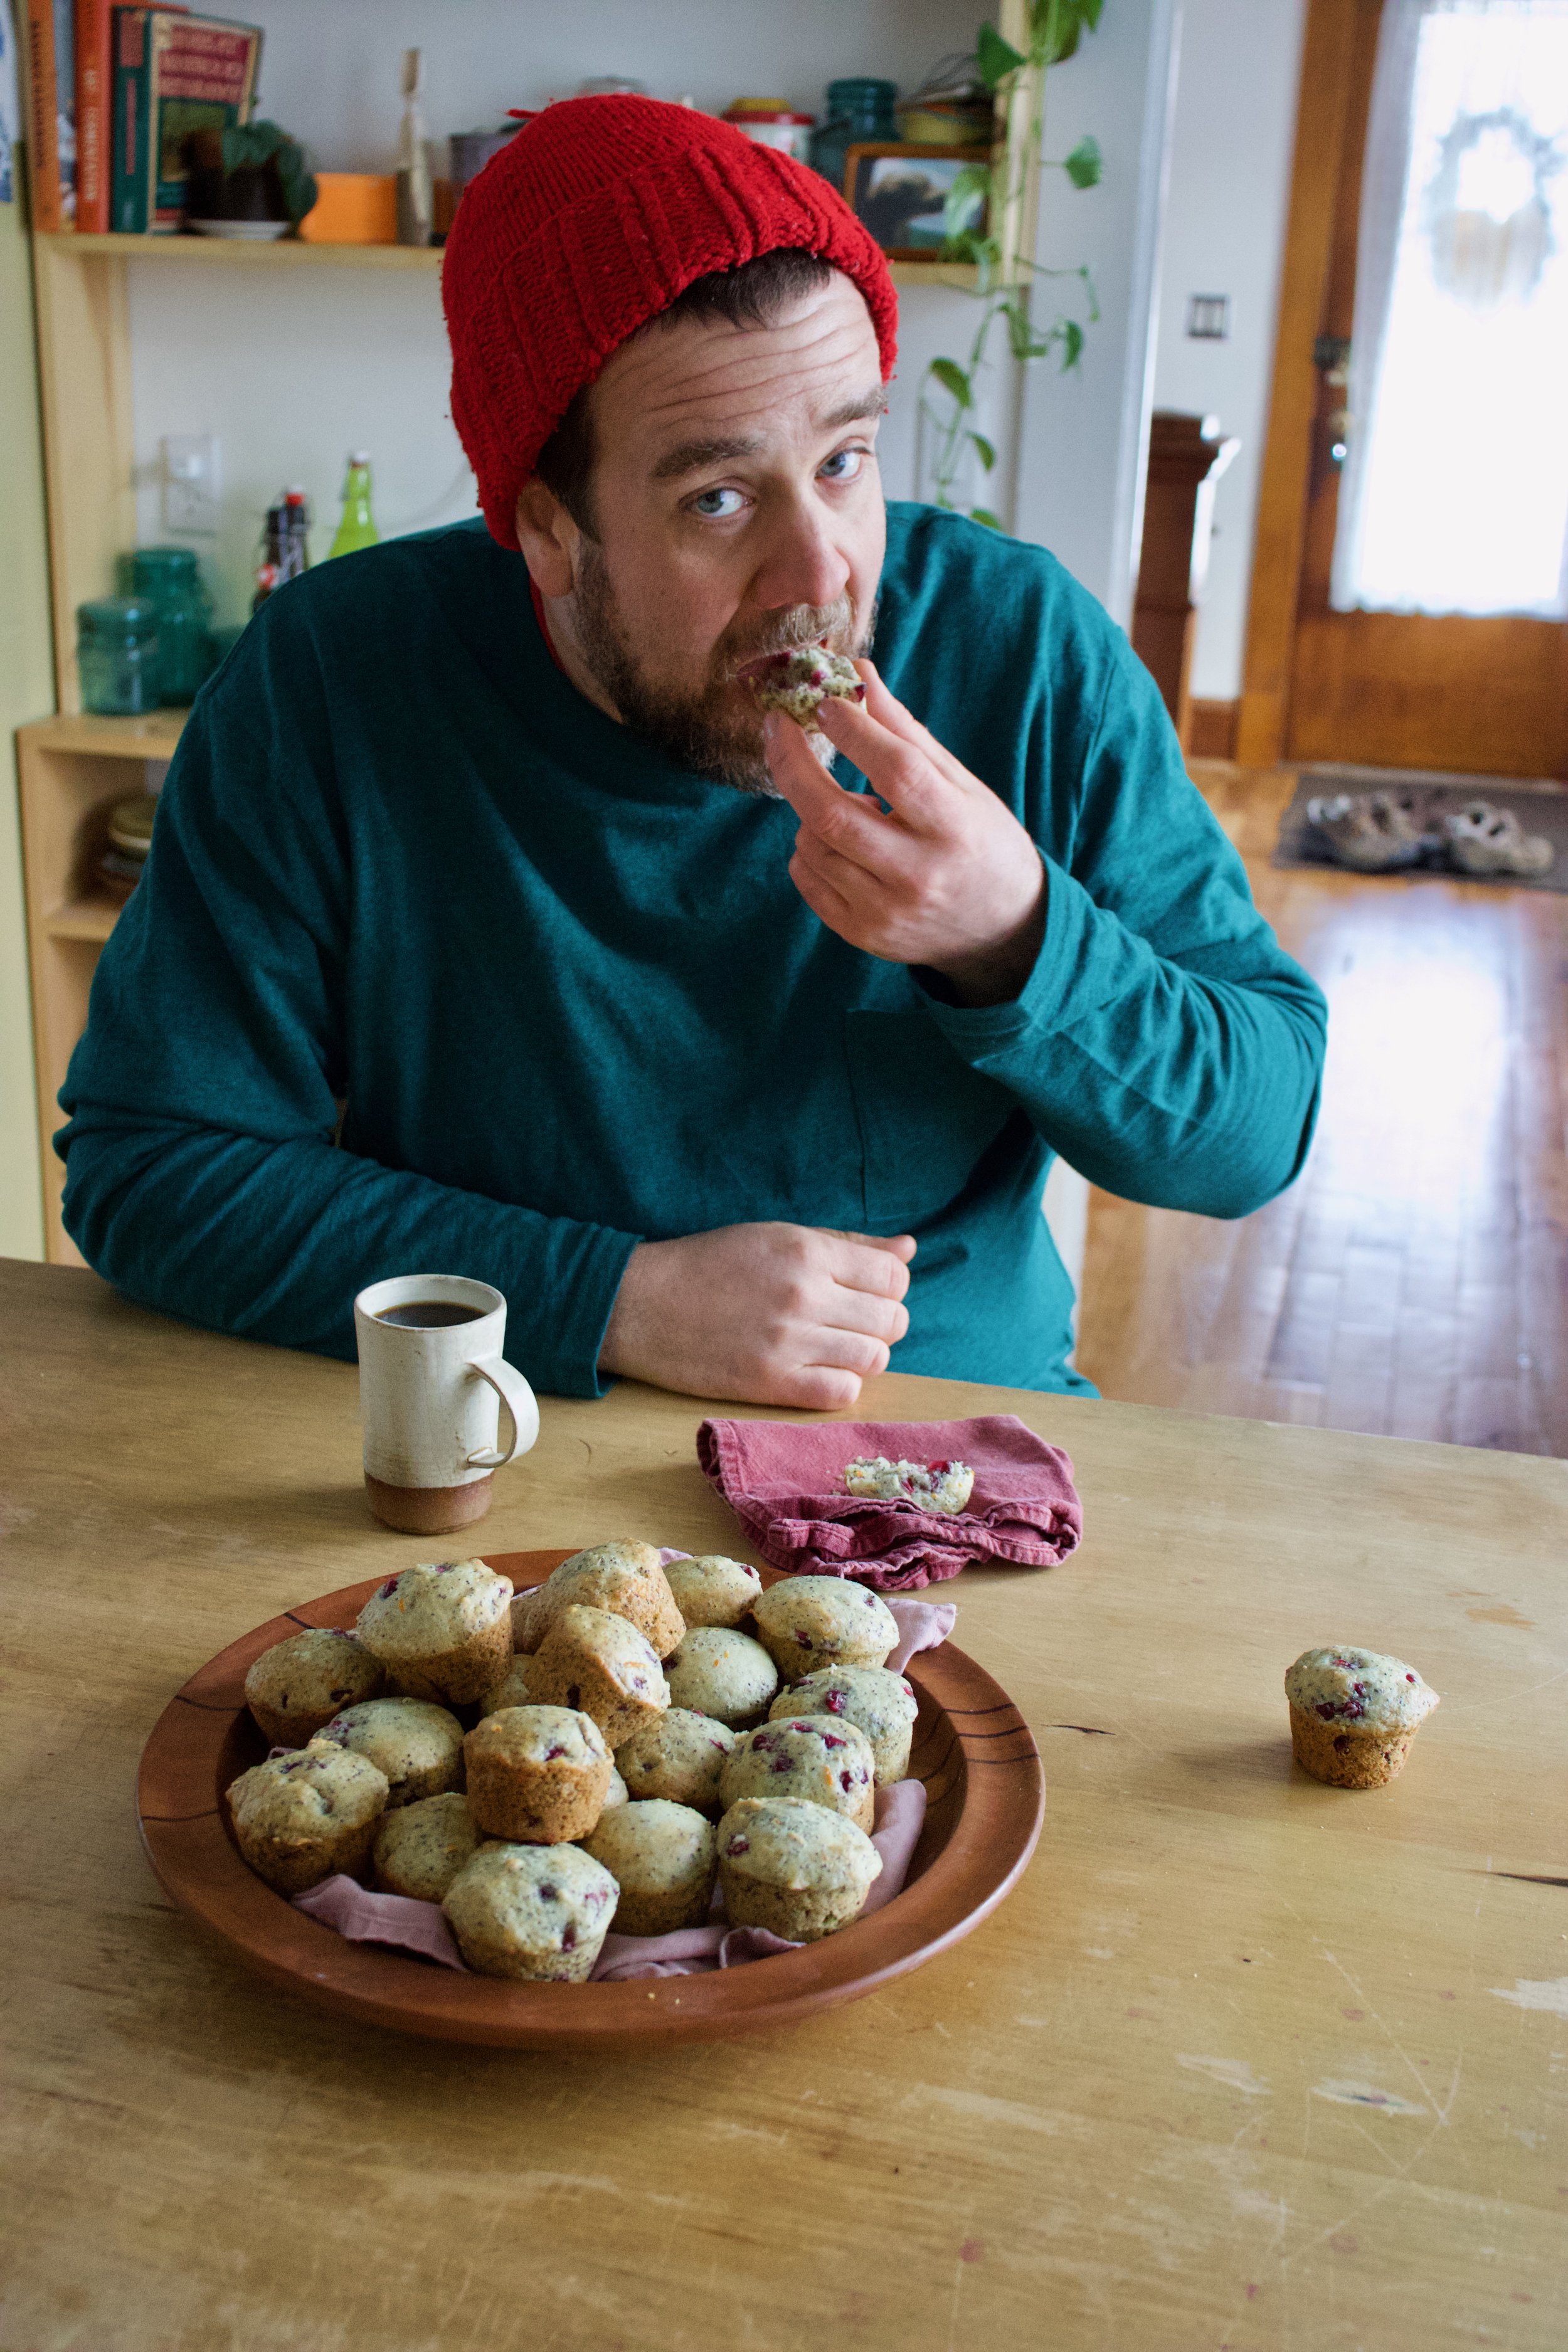
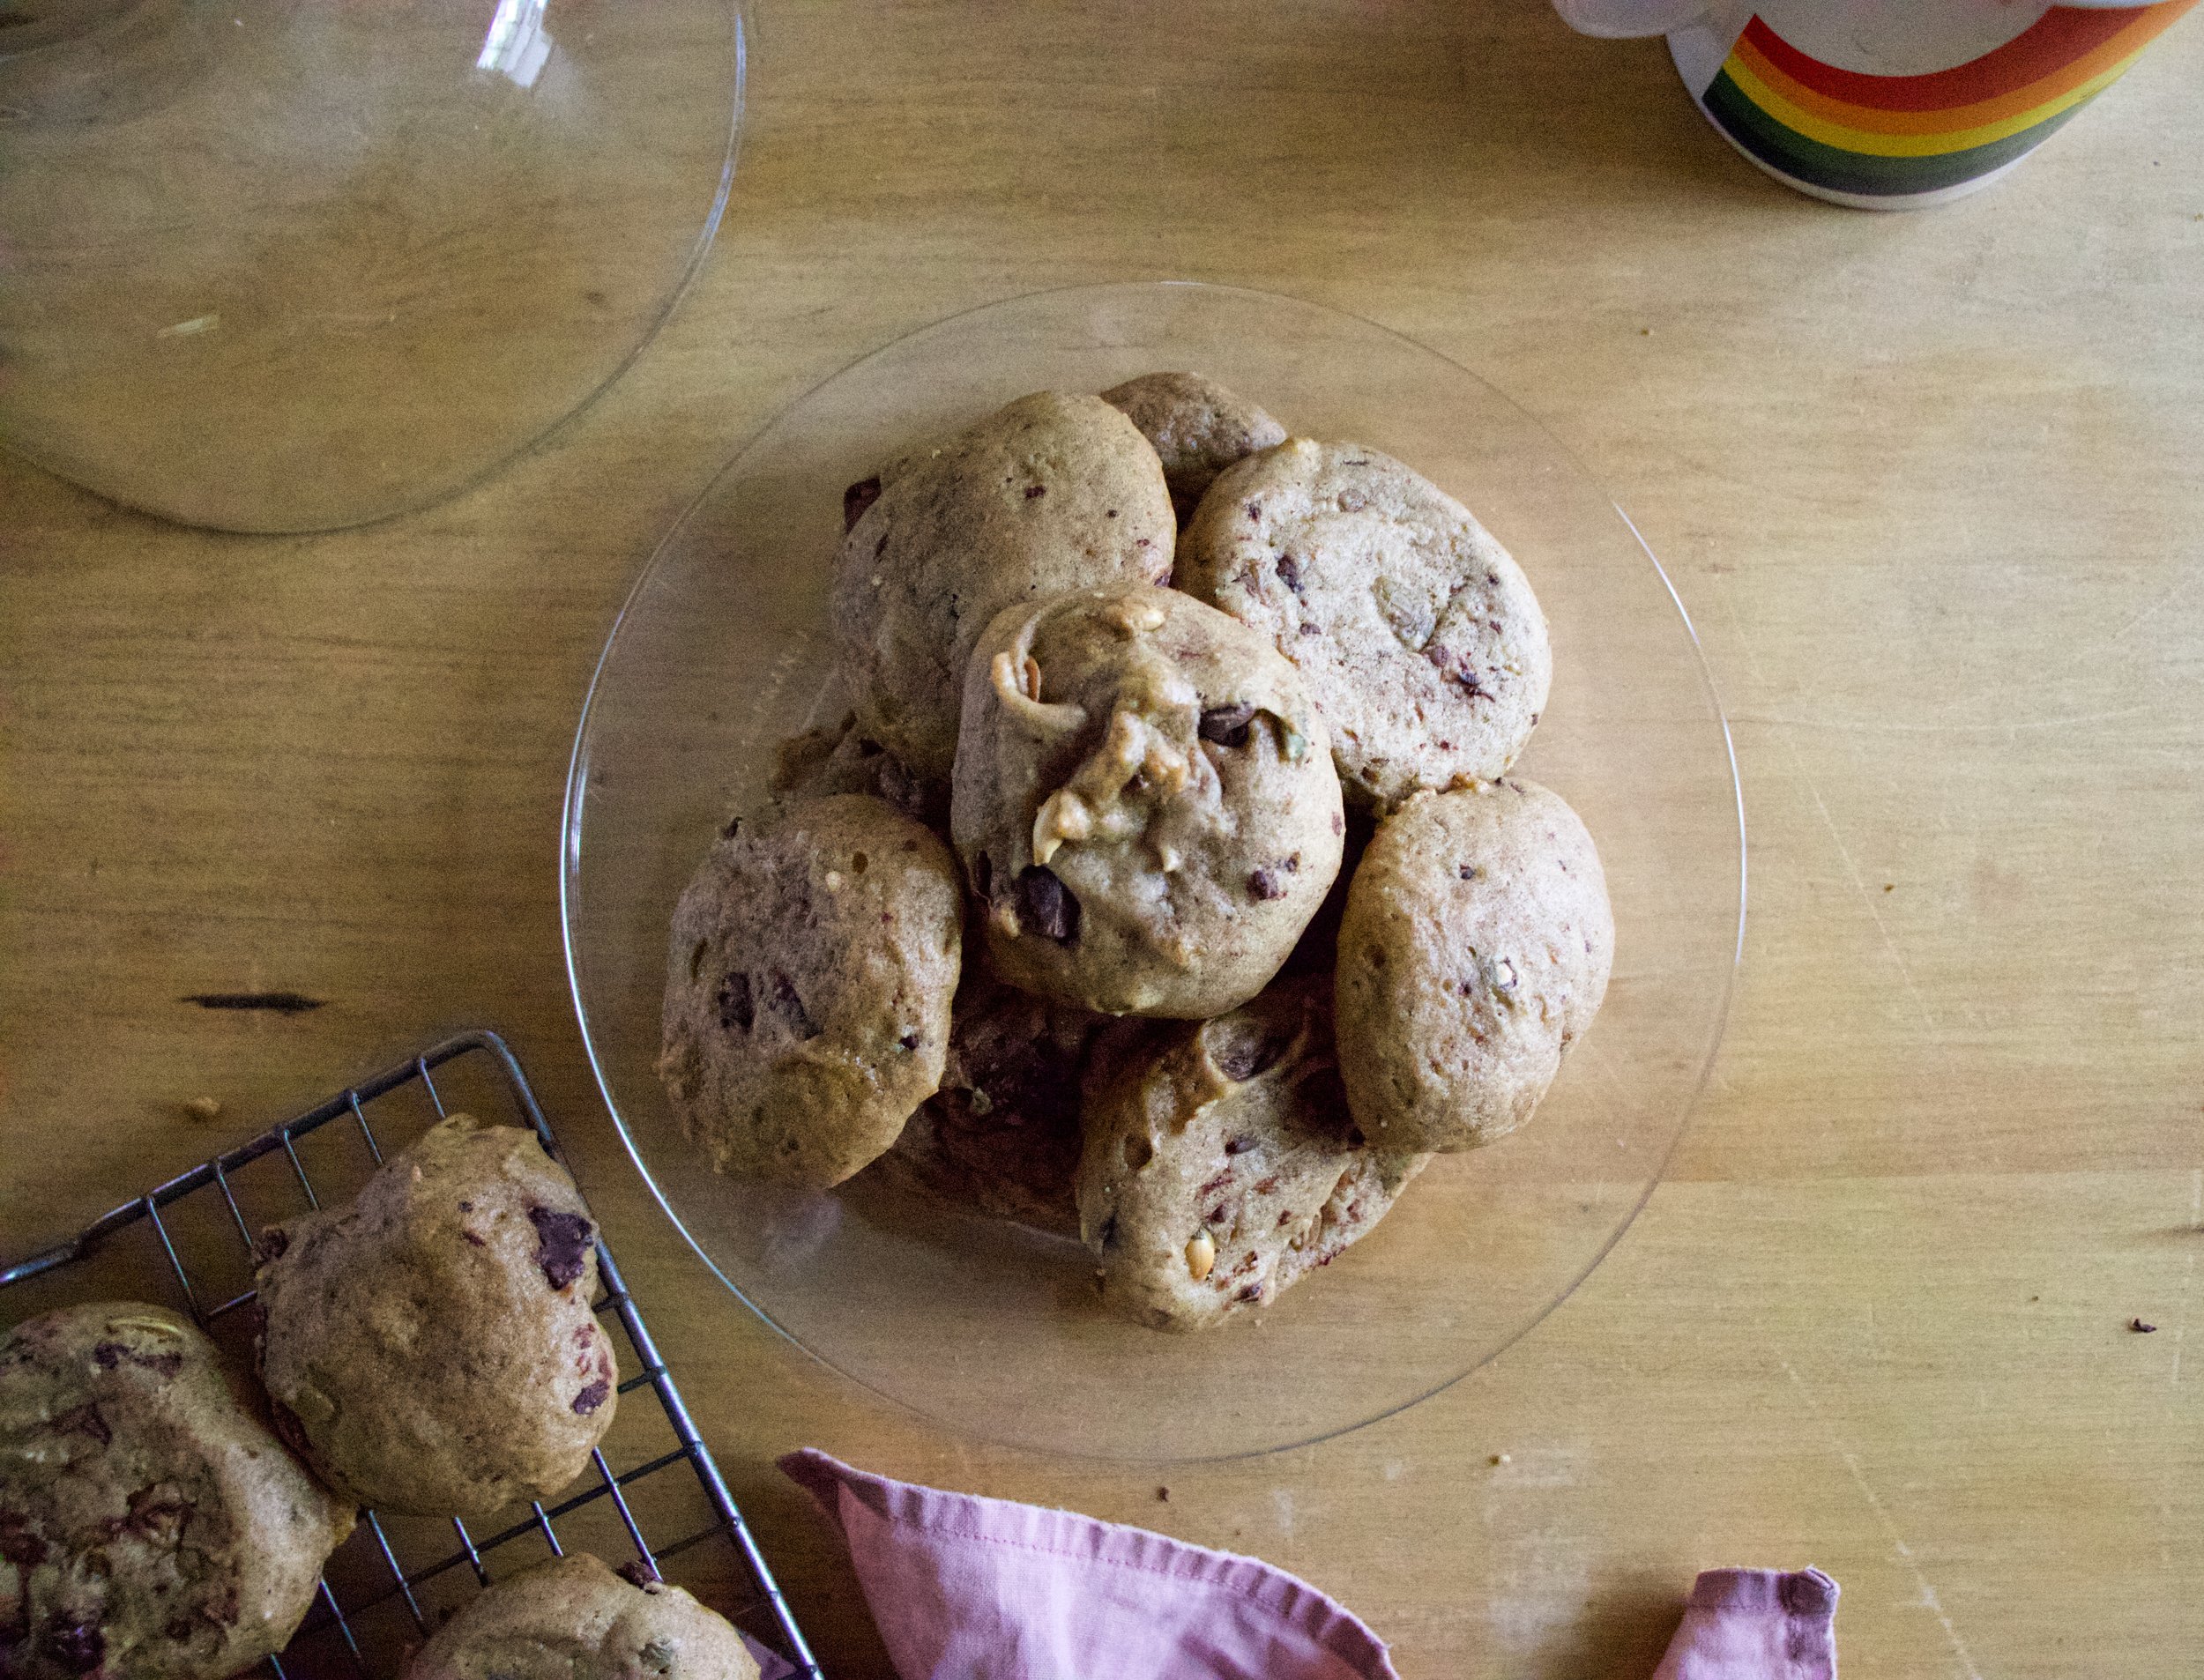
And now you got the cupcakes which makes it cupcake time.

Look at that smile. Thats a smile just for cupcakes, not at all because I told him too.

Happy happy.

-C


Almond CupCakes with Blackberry Clementine Frosting

Makes 12-16 cupcakes (depending on size)

  • 1 1/2 cups all purpose flour

  • 1/2 cup almond meal

  • 1/3 cup neutral oil

  • 1 1/4 cup almond milk

  • 3/4 cup white sugar

  • 1 teaspoon baking soda

  • 1 teaspoon baking powder

  • 1 tablespoon apple cider vinegar

  • 1/2 teaspoon salt

  • 1 teaspoon vanilla or almond extract

  • For the frosting

  • 3 tablespoons blackberry jam or preserves with or without seeds

  • 2- 2 1/2 cups powdered sugar

  • 4 tablespoon vegan butter

  • 1 clementine (zest and some juice)

Preheat oven to 350.

In a large bowl whisk together the flours, salt, baking soda and powder and sugar until fully combines. In a separate bowl mix together the oil, milk, vinegar, and vanilla. Pour into the dry and mix, by hand, until full incorporated. Scoop batter into well greased muffin tins (heart or other shape up to you) and place into oven for 13-18 minutes (shorter time for smaller cupcakes, longer for larger sized) or until lightly browned and a tester stuck into a cake comes out clean. Pull from oven when done and pop from tin. Place on a wire rack to cool.

While cakes are cooling, make frosting. Beat together the butter, zest of the clementine, and jam. Add in the sugar and the juice and beat until fully incorporated. If the consistency is to thin, add a little more sugar, to thick, more clementine juice or if out of juice, a splash of milk.

Once cupcakes are full cooled, frost, add sprinkle if you would like, and then the only thing left to do is eat them.

Eat cupcakes, store left overs in an air tight container in the fridge for up to a week.

In Vegan, Nuts, holiday, desserts, Dairy Free, cake Tags Almond Cupcakes with Blackberry Clementine Frosting, Almond flour, nut flour, almond meal, almond cake, cupcakes, Valentines Day, Vegan, dessert, love, pink frosting, all natural, plant based, sweets, love heart shaped, King Arthur flour
Comment

Pomegranate Orange Poppyseed Muffins

January 12, 2019 Colleen Stem
IMG_4341.jpg
IMG_4319.jpg

I love pomegranates but barely ever buy them because they are usually really expensive. A few weeks ago I was pleasantly surprised to find that that the grocery store was selling them at a reasonable price so I bought one. Duh. Anyway, that was a few weeks ago and I have had the pomegranate chillin in the fridge, just waiting for the perfect time to bust open and retrieve all the bright pink jewel like seeds. But I also kind of forgot about it. It was hiding behind a giant rutabaga. When I finally grabbed the rutabaga for some soup, the pomegranate reviled itself again. It was time, it needed to be eaten. And me being me, I can’t not share right? So I asked the mr what he wanted me to bake. He said muffins, and that is how I came to pomegranate orange and poppyseed muffins. Look at me, poster child for sharing good things. I should get a gold star!.

Anyway, these muffins came out awesome. First, they smell so good because anything baked smells good but the orange really shines and the smell is still lingering in my hair. Secondly, people really were into them. The mr said they were amazing when I finally let him eat one (two actually because I made them mini) and when I brought them over to Megans house for dinner, my Dad at one, then two, then three.. ..He stopped at 5, and this was after dinner. When a guy eats 5 muffins and is not a muffin man, you take it as a good sign.

Do yourself a solid this cold ass weekend and bake something. These muffins are a good place to start.

To the muffins!

The stuff. Flour, baking soda and powder, and salt in a bowl. Poppy seeds, an orange, a pomegranate, sugar, oil, vanilla extract, and a little apple cider vinegar.

First, remove arils from the pomegranate. Cut the fruit in half, hold the cut side face down in your hand and place over a large bowl. Take a wooden spoon and wack the outside of the fruit and the seeds will just fall out. And yes , the juice stains so watch out.

Next, whisk together all the dry ingredients and add in the sugar, poppyseeds and the zest of the orange. Whisk again to combine.

IMG_4101.jpg

And then add in the oil, milk, vanilla, and the juice of the orange.

IMG_4118.jpg

Mix until just combined. Don’t over mix or the muffins will get gummy.

IMG_4120.jpg

Last but not least, fold in the pomegranate arils.

Such a pretty muffin batter.

Scoop batter into well greased muffin tins and pop into a preheated oven.

IMG_4216.jpg

Orange and crimson and golden brown goodness.

Out of tins and onto a rack to cool

IMG_4224.jpg

Pretty muffins

IMG_4273.jpg

And now you eat.

Stay warm this weekend and bake some muffins.

-C


Pomegranate Orange Poppyseed Muffins

makes 24 mini muffins or 12 regular muffins

  • 2 cups all purpose flour

  • 2 teaspoon baking powder

  • 1 teaspoon baking soda

  • 1 teaspoon salt

  • 1/2 cup white sugar

  • 1/3 cup canola oil

  • 1 teaspoon vanilla

  • 1 tablespoon apple cider vinegar

  • 1 cup soy or plant based milk

  • 1 orange

  • 1/4 cup poppyseeds

  • 1 cup pomegranate arils

Note. To easily remove arils (the seeds) from a pomegranate, cut it in half, hold the cut side down in the palm of your hand over a large bowl and wack the outside of the fruit with a wooden spoon. The arils will fall right out into the bowl.

Preheat oven to 350

In a large bowl, whisk together the flour, baking soda, baking powder, salt, and sugar. Zest the orange into the bowl and add in the poppyseed and whisk. Next add in the oil, juice of the orange (about 1/4 cup) the milk, and the vanilla. Mix until just combined. Fold in pomegranate seeds.

Scoop batter into well greased muffin pans and place in oven to bake until golden brown and a tester stuck into the muffins comes out clean, which should take about 15 minutes (22 fish if normal sized)

Once baked, pull form oven and pop from pans. Place on a wire rack to cool.

Eat at your leisure.

In Vegan, sweet breads and muffins, seeds, fruit Tags Pomegranate Orange Poppyseed Muffins, pomegranate, Seeds, Vegan, muffin, breakfast, dessert, plant based, King Arthur flour
1 Comment

Chocolate Chip and Pumpkin Seed Soft Pumpkin Cookies

October 27, 2018 Colleen Stem
IMG_1898.jpg
IMG_1910 2.jpg
IMG_1907.jpg

I love making cookies. There something about having to keep a close eye on the oven, the anticipation of the perfect time to pull them from the oven. Not too early, but never to late. You have to pay close attention. A cookie is not very forgiving if left in for a minutes or two too long. Those minutes can make or break a great cookie. OS baking them is , to me anyway, like a form of meditation. You can’t be distracted, thinking about things like “who came up with the name Banana Republic and then used it for a clothing store?”, or looking up “ large metal rolling balls”. No, you need to pay attention to cookies, or else your cookies might burn. But don’t let that scare you, and really, you can totally think of all the random, but important, things you want while baking, just use a timer or think those thoughts while watching the oven.

These cookies are the cookies that you want to make. A cookie yes, but almost like little soft cakes, full of chocolate chips and pumpkin seeds and warm spices to elevate the pumpkiness of the pumpkin. A perfect cookie to bake when you are freezing and want nothing else then to sit in front of a warm oven, spacing out, and revealing in the smell of a fall kitchen.

Fall pro tip. Place outwear in the kitchen while baking. I had my jacket on a stool close by while the cookies were baking and even now, a few days later, it still smell like cookies.

To the cookies!

IMG_1723.jpg

The stuff. Brown and granulated sugar, flour with salt, cinnamon, allspice ,nutmeg, and baking soda and baking powder. Pumpkin puree vanilla extract, canola oil, chocolate chips, and toasted pumpkin seeds.

IMG_1731.jpg
IMG_1735.jpg

Mix the sugars, oil, vanilla, and pumpkin puree together until completely incorporated.

IMG_1746.jpg

Whisk together all the dry

IMG_1750 2.jpg

Add dry to wet. Mix gently, until just incorporated.

IMG_1762 2.jpg

A now you have cookie batter. But wait, can’t forget the chocolate and seeds.

IMG_1765.jpg

I like to give the chocolate chips a rough chop to make the chips a bit smaller. You can skip this step or just use small chips if you want.

IMG_1778.jpg

Chocolate chips and toasted pumpkin seeds go into batter.

IMG_1785.jpg

After a gentle mix, it’s time bake.

Scoop the dough onto a parchment lined baking sheet (important to line or use a splat mat, or else they will stick)

IMG_1821.jpg
IMG_1827.jpg

Into the oven and out of the oven. Bakes to a plump golden brown perfection.

All the cookies cooling on a wire rack like all cookies should.

IMG_1908.jpg

And then thats it.

Cookies for you and cookie to share, if you are nice like that.

Happy weekend!

-C


Chocolate Chip and Pumpkin Seed Soft Pumpkin Cookies

make 2 dozen or so cookies

  • 2 1/2 cups all-purpose flour

  • 1/2 teaspoon salt

  • 1 teaspoons baking powder

  • 1 teaspoon baking soda

  • 2 teaspoon cinnamon

  • 1/2 allspice

  • 1/2 teaspoon nutmeg

  • 3/4 cup cane sugar

  • 1/2 cup packed brown sugar

  • 1 1/2 cups pumpkin puree

  • 1/2 cup vegetable oil

  • 1 teaspoon vanilla extract

  • 1/2 cup toasted pumpkin seeds

  • 2/3 cup chocolate chunks or chips

Preheat oven to 350

In a large bowl, mix together the sugars, purlin puree, oil, and vanilla until completely incorporated. In a smaller bowl, whisk together the flour, baking soda and baking powder, salt, all spice, cinnamon, and nutmeg. Once whisk, dump into the bowl with the wet gas gently mix together until just incorporated. Do not over mix.

Dump your chocolate ships onto cutting board and give them a rough chop just to break some of the chips apart. (or use small chips) Add the chop chocolate and the toasted pumpkin seeds to the batter and gently fold them, just to even distribute them.

Line being sheets with either parchment or use a splat mat and scoop equal size ball of dough onto the baking sheets. Leave enough room for the cookie to rise and spread. Place baking sheets into oven and bake fir 12-14 minutes or until the cookies have risen, are golden brown, and a tester stuck into the middle of a cookie comes out clean. Remove from oven and place the cookies on a wire rack to cool.

Then you eat them.

Any not eaten cookies should be store in an air tight container and can be left out at room temperature for a day or two but should be refrigerated or frozen for longer storage. The mr likes to eat them straight out of the freezer.


In Vegan, seeds, desserts, cookies Tags Chocolate Chip And Pumpkin Seed Soft Pumpkin Cookies, Vegan cookies, plant based, pumpkin, pumpkin cookies, cookies, vegan cookies, pumpkin seeds, dessert, vegan dessert, dairy free, egg free
Comment

Peachy Sweet Buns

July 28, 2018 Colleen Stem
IMG_0581 3.jpg
IMG_0718.jpg
IMG_0652.jpg

Who doesn't like a good bun, right?  And just because this is where my mind wonders, peachy sweet buns. Doesn't that sound like a pick up line or something you say to your significant other. Like, "Oh hey peachy sweet buns, you are looking good. Woo hoo"........ Anyway, this is not about anyones peachy sweet buns, it it about actually sweet buns so u-hum, yeah. 

I am not trying to float my own boat here, but I am really really good at making buns, and you know what, I bet that you are too. They may seem a little intimidating, but really, it's quite easy. I think what throws some people off is the yeasted dough and having to knead and waiting for the dough to rise, but don't let that stop you from sweet sweet buns. They are no harder to make then a boxed cake (maybe a little harder) and the results are by far more amazing and delightful (we don't use the word delightful enough around here) then any old box or pre-made thing will ever be. Ever. Freshly made buns are what is right in this world.

If you are awesome and decide to make buns like any good person with a baking itch or a need for some sweet bun goodness does, make them peachy because its peach season and how can a peach bun not be that much more amazing?  Just think. Soft sweet dough, jammy cinnamon peaches, covered in a sweet lemony glaze......

Go on now, go and get yourself some peachy sweet buns.

IMG_0369.jpg

The stuff. Flour and salt in the bowl, melted earth balance, brown sugar, yeast, warm soy milk, cane sugar, cinnamon, powdered sugar, a couple of lemons, and af course, peaches.

IMG_0374.jpg
IMG_0396.jpg

Warm (not hot) soy milk, yeast, cane sugar, an melted (but again, not hot) earth balance go into a big bowl and get whisked around. Then add in the flour and salt ans mix around until you just can't.

IMG_0402.jpg

Time to knead. Dump the dough ad all the little bits onto a flour surface. Gather it all together and knead away, for about 5-8 minutes, or until the dough looks like....

This. Nice and soft and glossy.  Lightly grease the bowl ans stick the dough back into it, covered with a towel, and set for about 1 hour to rise and double in size. 

IMG_0415.jpg

As soon as the dough is set ti rise, start on your peach filling. Chop up enough peaches that you have about 2 1/2 cups of chunks.

IMG_0435.jpg
IMG_0459.jpg

Brown sugar and peach chunks go into a pot and stuck on a medium heat until they start to bubble then set to a low simmer for about 20 minutes or until the peaches all break apart and reduce by half.

IMG_0490.jpg

Add in the cinnamon and stir.. Peachy goodness. Now quick and stick that shit in the fridge or freezer to cool down.

BOOM. Dough did what it's job and doubled. Time o make the buns. 

IMG_0504.jpg
IMG_0509.jpg

Place the dough on a lightly floured surface and roll our into a rectangle of sorts that is about 1/2 an inch thick 

IMG_0513.jpg

Cover the surface with all the peachy jammy goodness, and sprinkle on the remaining finely chopped peaches.

IMG_0519 2.jpg
IMG_0522 3.jpg

And roll, as tightly as you can, without squeezing all the filling out. I roll towards me, but roll away from you if it is easier.  It might get a little sloppy... it's ok, just lick your fingers and keep going. 

Rolled and cut into 12 pieces.

Place the rolls carefully onto a grease and parchment lined baking 9x13 baking dish. In my picture I used a baking pan, which was not what I wanted to do, but I wasn't thinking properly and so that's what I did. Something with sides is preferable, but the baking pan did the job so really, your call. 

When you place the buns in the dish, place them toughen a bit, it helps then bake up high instead of out.  And any remaining go on jam that spilled out can get scraped right on top of the buns, if you didn't already eat it.

Now into the preheated oven these  babies go.

Look at those beauts. And they smell. A-MAZ-ING!! 

IMG_0566.jpg

Right away get that glaze made. Powdered sugar, lemon zest, ans lemon juice. Super easy, just add the zest and juice to sugar and mix until smooth and glaze. 

Pour glaze over warm buns. Make sure to hit them all or someone is going to be pissed they didn't get enough glaze..... 

Then it's really just up to you whether you wait for coffee or tea or not, but really, just eat right away. There should be very little time between newly glazed buns and a bun in your face.

Enjoy the peaches!

-C


Peachy Sweet Buns

Makes 12 Buns

  • For the Dough 
    • 3 1/2 cups all purposes flour
    • 1/4  cup cane sugar
    • 1 cup warm soy milk
    • 2 teaspoon or 1 packet yeast
    • 4 tablespoons melted vegan butter 
    • 1 teaspoon salt
  • For the Filling 
    • 3-4 good sized ripe peaches (about 3 cups chopped peaches)
    • 3/4 cup brown sugar
    • 1 tablespoon cinnamon
    • Juice of half a lemon
  • For the Glaze
    • 1 lemons
    • 1 1/2 cup powered sugar

In a large bowl mix together the yeast, warm (not hot) soy milk, sugar, and melted but cooled butter. Now add in  the salt and the flour. Mix until it's too hard to mix then dump it all onto a lightly floured surface and knead for 7-10 minutes until the dough is  soft, elastic-y, and smooth. Place dough back into a clean lightly greased bowl and drape with a damp towel. Let dough rise for about 1 to 1.5 hours or until it has doubled in size.

While the dough is rising, chop the peaches up until you have about 3 cups. Place 2 1/2 cups of the  peaches into a medium sized pot with the brown sugar and lemon juice and stick on medium heat. Set the rest aside. Cook for about 20 minutes, stirring and mashing with a wooden spoon every few minutes, until mixture has become thick and reduced by about 1/2. Remove from heat, stir in cinnamon,  and place in fridge to cool. 

Once thee dough has doubled, dump onto a flour surface and roll our into a retacnge that is about 1/2 inch thick  Grab your peach mixture and spread the mixture evenly over the dough. Evenly distribute  the remaining chopped peaches over jam.  And then it's the to roll.

Start from the long side and start to roll toward the other end, keeping it as tight as possible without squeezing out all the filling.  Once rolled, slice into 12 even sized buns.

Place on a lightly greased and parchment lined 9x13 inch baking sheet or pan and let rest and rest for another20 minutes or so. OR if you want to wait to bake them off, cover them with plastic and set into the fridge for up to 24 hours. When you are ready to bake, remove from fridge and let the buns set on counter to come to room temperature before baking. 

Preheat oven to 350.

Place rolls into oven. Bake for 30-35 minutes or until all the buns have gotten a nice golden brown on top, and if you want to take the internal temp, that the temp has reached 190. 

Once the buns are done  baking, mix together the zest and juice of the lemon and powdered sugar. If the glaze seems to thick, add more juice or water, to think, add more sugar. Pour glaze all over warm (but not hot) buns.

And now all you need to do is serve up those buns right away, nice and warned.

Any left overs should be stored in the fridge for 3-4 days but should definitely be warmed up in the microwave for a minute or two before serving. They also freeze well too. 

In Vegan, Sweets, sweet breads and muffins, fruit, desserts, Dairy Free, brunch, breakfast, bread Tags Sweet buns, Sweet rolls, peachy sweet buns, peach cinnamon rolls, vegan, vegan sweet rolls, plant based, breakfast, brunch, dessert, dairy free, egg free
Comment

Jam Heart Hand Pies

February 10, 2018 Colleen Stem
IMG_0193.jpg
IMG_0143.jpg
IMG_0100.jpg

I have had a shit ton of rhubarb in the freezer all winter and the other day I just needed it gone so I made a big old batch of rhubarb jam. I was actually saving the rhubarb to make the mr a pie for his birthday, but that was like 2 months ago and he ended up with ice cream sandwiches and that is why the rhubarb was still there. Oops. But now we have rhubarb jam. And I think I was feeling a little guilty about not making the pie so I, like the nicest girlfriend in the entire universe (self proclaimed yes, but so so true), used that jam to make little hand pies. And in the shape of hearts no less because hearts are amazing and it doesn't hurt that it is Valentine Day next week.  

 Valentines Day. What does that even mean? I think the primary meaning of Valentines Day is that all things should be in the shape of hearts. The rest is to be determined by however you may feel about the day. Whether you hate it or love it, (we love it, It's an excuse to take the day off and cover the house in hearts) you get to make the day yours. Just make sure that whatever you do, you make it with hearts. And with pie. 

These heart pies make for great little additions to hand made Valentines day cards ( I see maybe for a kids class), are great for breakfast because they are basically just like heart shaped pop tarts, or even for an evening of bindge watching Netflix with a loved one or by yourself. It's pie my friends. Eat it whenever, and with whomever you want.

Also, hearts are not just for Valentines Day. And pie sure the hell isn't either. They both just happen to work for the occasion. 

IMG_9991.jpg

The stuff. Basically just pie crust things. Flour, a little sugar, salt, coconut oil, and ice water. Then you need jam. Jam or perseveres of any flavor(s)  you like. I used grape and rhubarb and  had raspberry here, but I didn't use it because I didn't want to open it. 

IMG_9992.jpg
IMG_9995.jpg

Make the crust. Flour gets mixed with the salt and sugar  and the the coconut oil gets cut in until it  looks all crumbly.

IMG_0005.jpg

The water is added  in tablespoons until a shaggy from forms.

IMG_0010.jpg

Dump the dough onto the counter to gather all together and rest for a bit. Or if you like, wrap in plastic and refrigerate  for up to a day or two.

IMG_0026.jpg

After the dough got a good rest, roll it out and cut your hearts out. (Not your actual heart. Please and thank you)

IMG_0034.jpg

Half of the hearts get a dollop of jam

IMG_0075.jpg

Then each heart gets a top and crimped together with a fork. Poke a little hole into the tops to allow for steam to escape then all of the hearts get stuck into the fridge (or place on the back porch) to get nice and cold for a bit.

 After the chill, off they go into the hot oven to bake and be.

IMG_0086.jpg

Look at these cuties. A little jam overflow, but all is good. 

IMG_0084.jpg

I decided last minute that they needed a little something. Powdered sugar, lime zest, and lime juice. The easiest of glazes. You could do lemon, or vanilla, or almond, or even melt a little chocolate and drizzle that on. Next time I will do chocolate because because. 

Drizzle that glaze all over. 

There you have it. The cutest little hand pies ever .

Share if you like, or just eat them all. They are your hearts so do what you will. 

-C


Jam Heart Hand Pies

makes 18  three inch pies

  • 2 1/4 cup flour
  • 1 teaspoon salr
  • 1 tablespoon sugar
  • 8 tablespoons ice water
  • 3/4 cup solid coconut oil
  • about 1 1/4 cups of some sweet ass jam (any kind you have)
  • 1 cup powdered sugar
  • 1 lemon or lime 

Combine the flour, salt and sugar in a large bowl. add coconut oil in large chunks then with a pastry cutter or a fork (I used a fork) cut the oil into the flour until the flour looks crumbly and there are lots of tiny little chunks of coconut oil throughout the mixture. Add in 5 of the tablespoons ice water, toss around, then add in another 3. Mix around until the dough starts to come together when squished. If it still seems too dry, add in a tablespoon or 2 more water. (I always end up using a little more in the winter months) You want the dough to just be able to come together. Dump dough onto counter and press and smoosh dough into a ball. Let dough sit for 1/2 hour or wrap in plastic and place in fridge and using within the next day or two. 

After the dough has had some time to sit, flour the counter and roll it out to about 1/2 inch thick. Take a cookie cutter ( I used a 3 inch at the widest part heart cookie cutter) and cut out the hearts (or whatever shape you want) Make sure you have 2 cutouts for each hand pie. After you have cut out as many as you can, gather dough into a ball and roll out again. Repeat until dough it gone. 

To assemble.

Place a tablespoon of jam into the middle of half of the cut out hearts . Gently place the remaining heart cut outs on top of those. . Take a fork and press the edges together and then with the fork or a knife, pierce of cut a small slit into the tops to allow the steam to escape while baking. I did this directly on the baking sheet but found out after it was easier to do on the counter and then move it to the baking sheet. Do what ever it easier for you. Once they are all assembled and on the baking sheet, refrigerate for 15 minutes. 

Preheat oven to 350

After the time in the fridge, remove and place directly into the hot oven. Bake for 20-25 minutes or until the bottoms are a nice   golden brown. The tops will be slightly pale so check the bottoms. 

Remove and let cool on the baking sheet. 

While they are cooing, make the glaze. Zest the lime and juice the lime and combine with the sugar. If it is too runny, add a little more sugar, too dry, add in a splash of water. Once the pies are cooled, drizzle each one with icing.

Now you have a bunch of cute little heart shaped hand pies and you should probably eat one (or a few)


In 5 ingerdients or less, breakfast, cookies, Dairy Free, desserts, fruit, pie, Sweets, Vegan Tags Jam Heart Hand Pies, vegan, vegan pie, jam pies, hand pies, Valentines Day, hearts, heart shaped dessert, dessert, love, plant based, coconut oil pie crust, pie crust
Comment
← Newer Posts Older Posts →
 

https://thelovelycrazy.squarespace.com/config#/|/about/

Me. Food Maker.Food eater. Woo HOO!

STEM+NODE  SMALL BATCH AND ONE OF A KIND POTTERY

stem+node ceramics


____________________

Subscribe

GET NEW POSTS IN YO EMAIL

You are AWESOME!!!


@thelovelycrazy 2014-2021