• stem+node ceramics
  • HOME
  • Food Recipes
  • About
  • Contact
Menu

The Lovely Crazy

Street Address
City, State, Zip
Phone Number

Your Custom Text Here

The Lovely Crazy

  • stem+node ceramics
  • HOME
  • Food Recipes
  • About
  • Contact

Yeasted Appley Applesauce Bread

September 28, 2019 Colleen Stem
IMG_2584.jpg
IMG_2535.jpg

It is exactly that time of year. Apples galore, cool days in need of a little extra warm, meaning a warm oven is welcome, if not needed. It’s the best time of year, or at least one of them.

And so I bake bread. Sometimes just a roll, and sometime a loaf, almost everyday. I love bread baking because, well just because. Plus it’s what people want to eat and will always eat because I guess bread=love. Makes sense to me.

This bread was made from a small dip in the 2 gallons of applesauce I made the night before. (We had sooooo many apples). The mr isn’t the biggest fan of applesauce, says he would rather eat a fresh apple. I kind of get it, but dude, warm, chunky, slightly cinnamon-y applesauce… I mean, that is happiness right there. Right? Anyway, I am trying not to eat all the applesauce to my face by myself at once (it has been a challenge) and plus I needed to make the mr some bread, so I figured what the hell. I’ll just use applesauce as my liquid in the bread. And so I did and that is that and now that mr really like applesacue (when it is baked into bread)

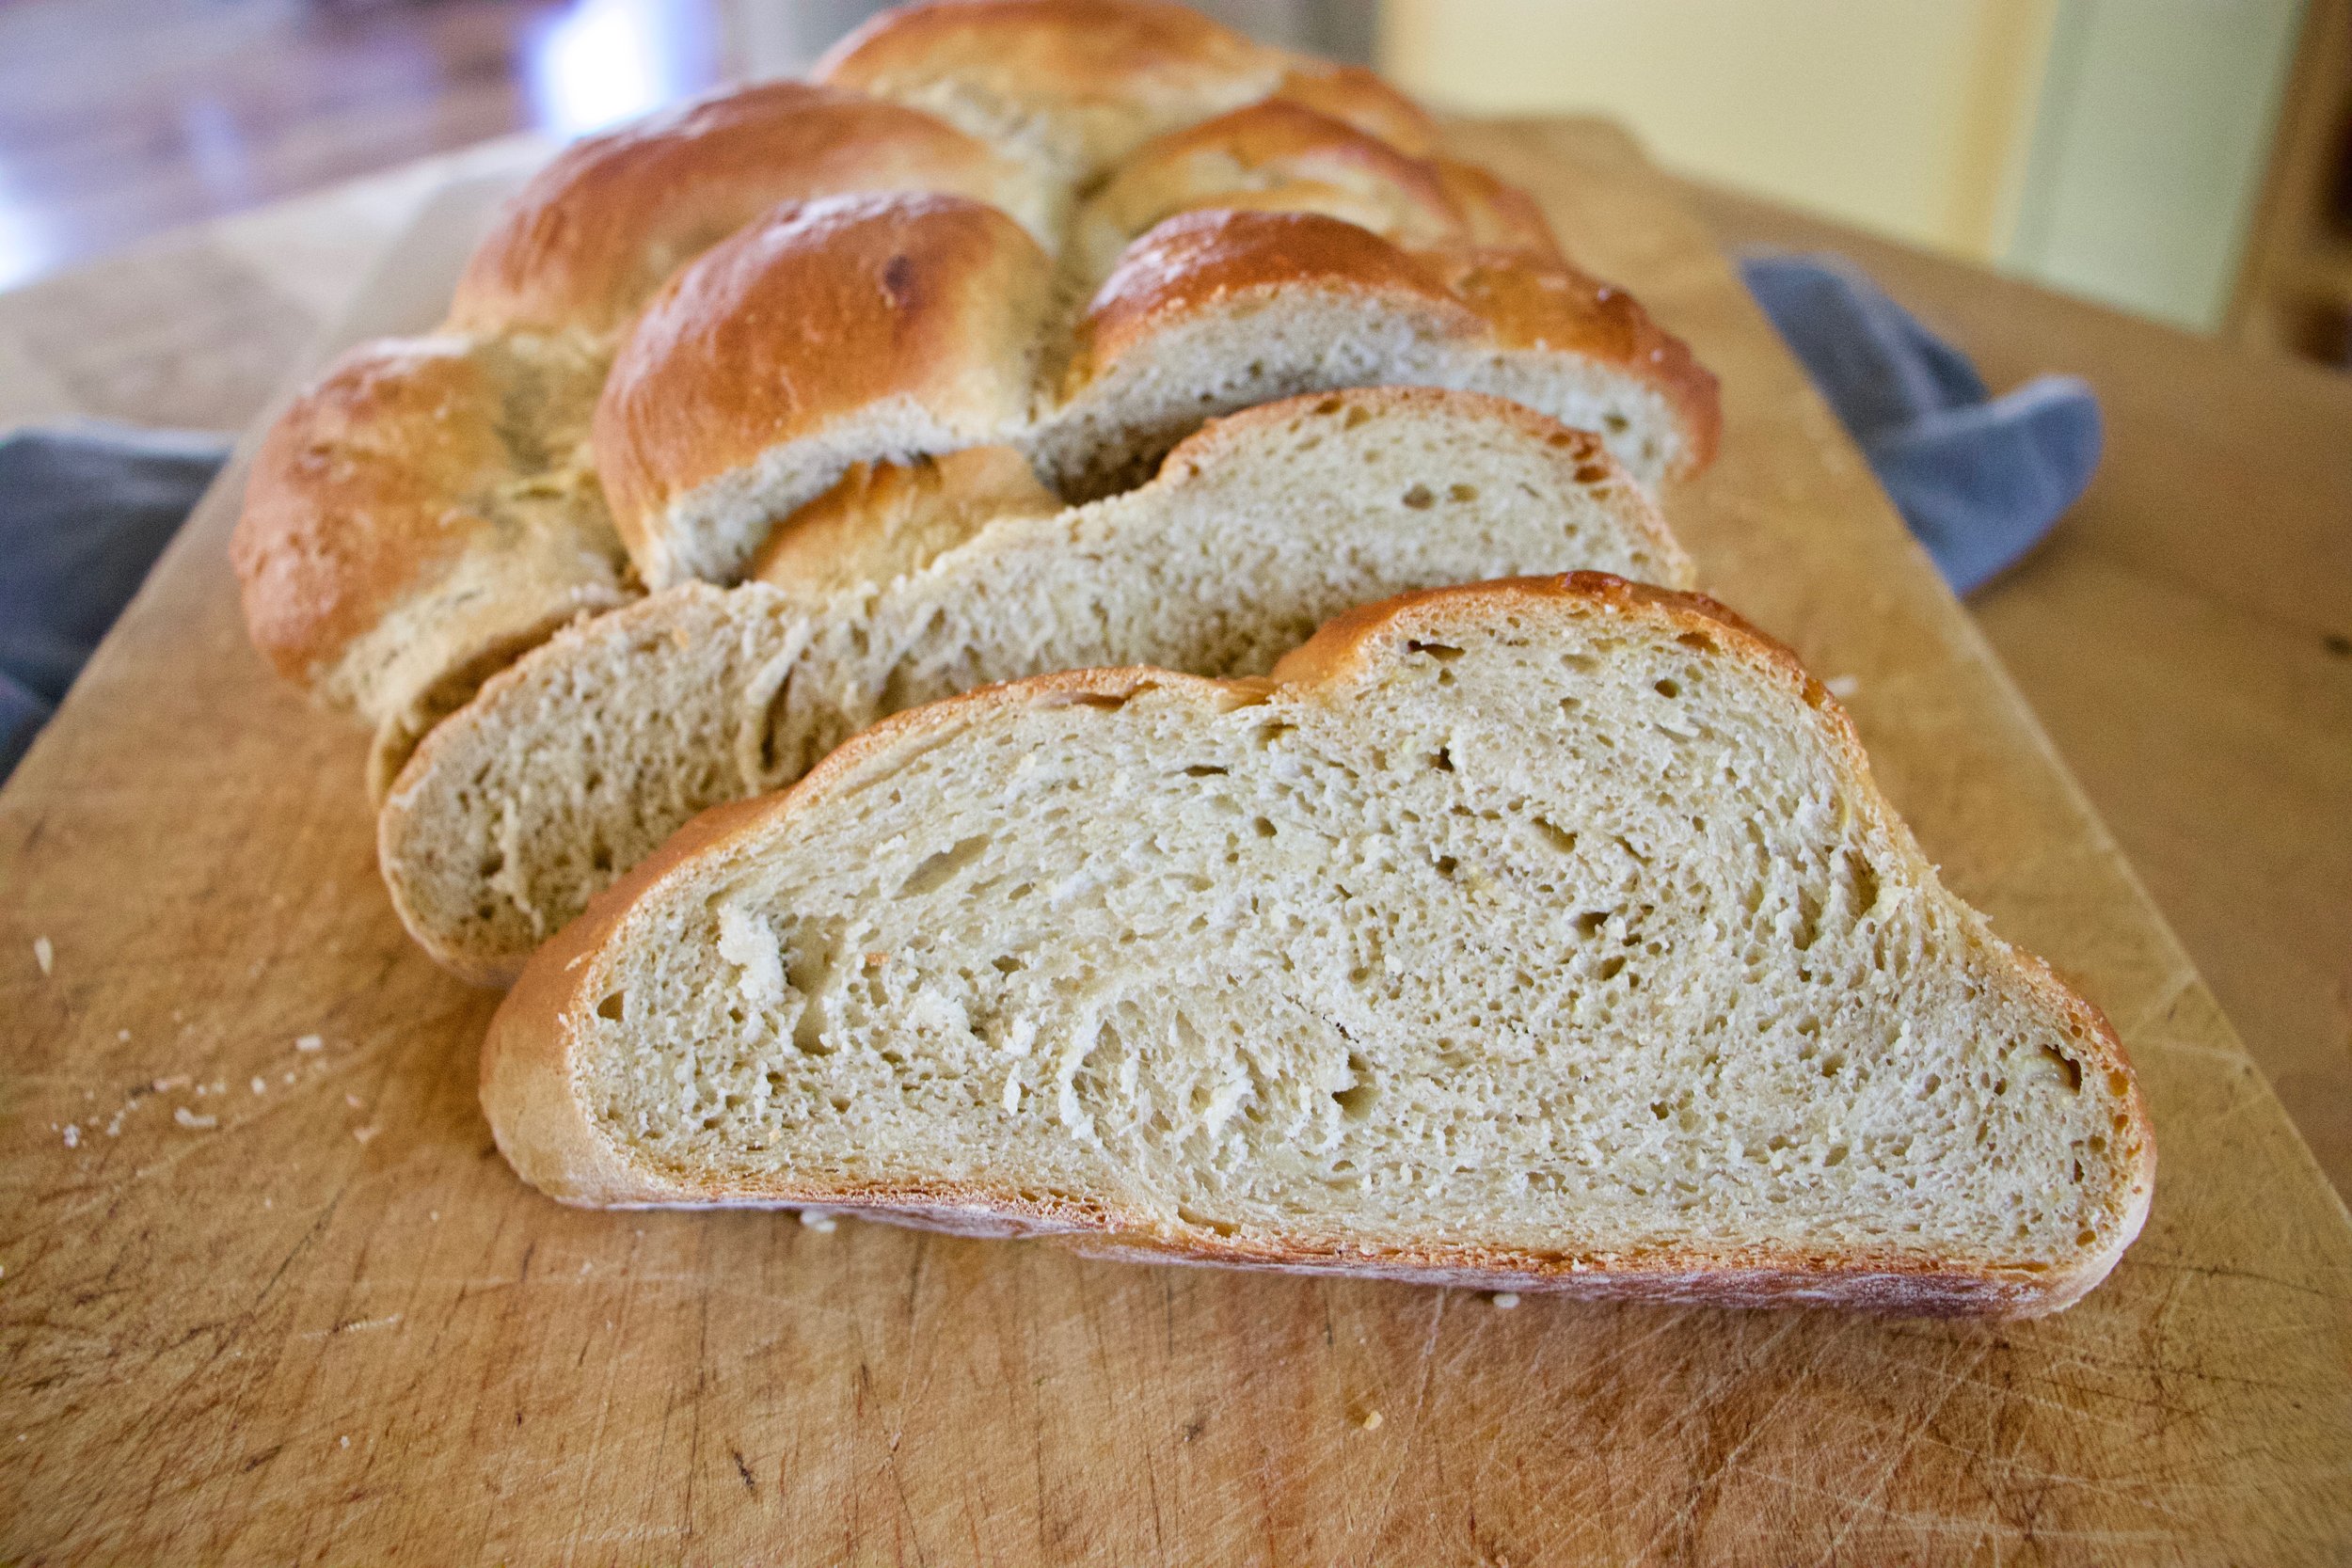
This bread is a basic sandwich type bread. The apple taste is there but not overwhelming so it can be used for sandwiches of all kinds, toast, just eating with a smear od something, or not. Just a overall good loaf of bread with a little extra from the apple. And braided because I was feeling classy. It’s amazing what at little braiding of bread dough can do for your self esteem. Made me feel like I was the coolest person in the world. Haha!

Now to the bread.

IMG_2420.jpg

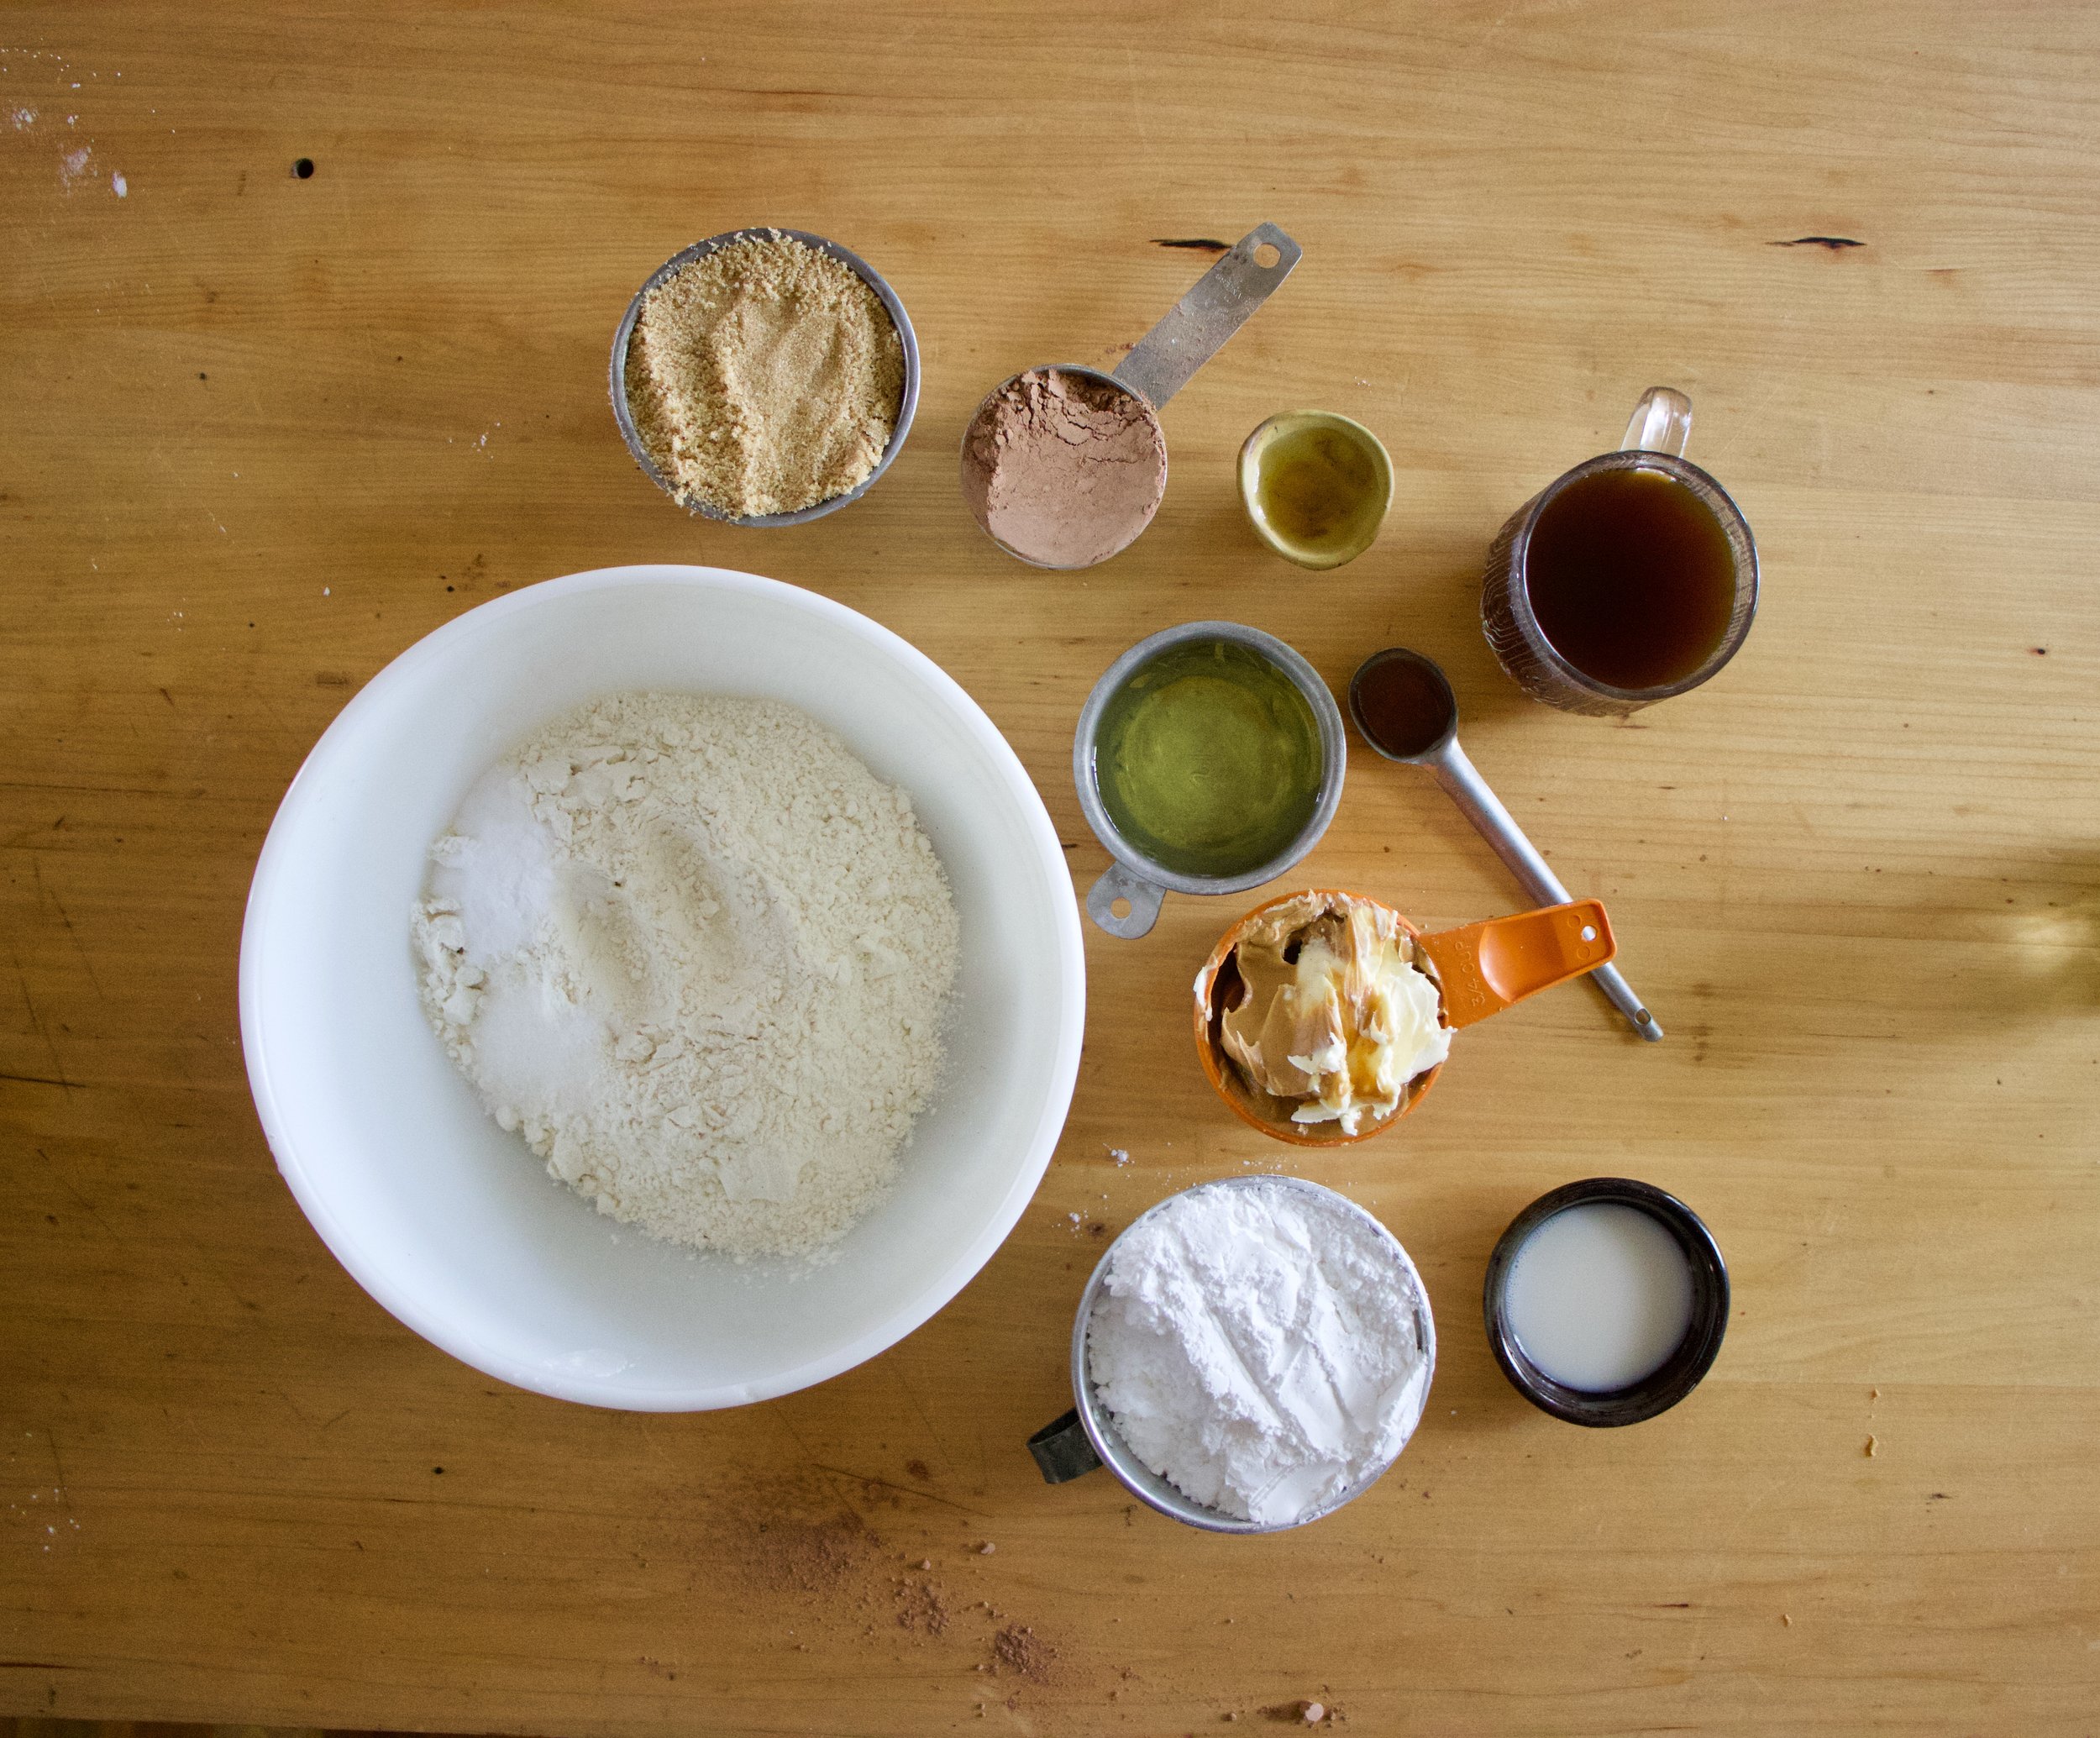
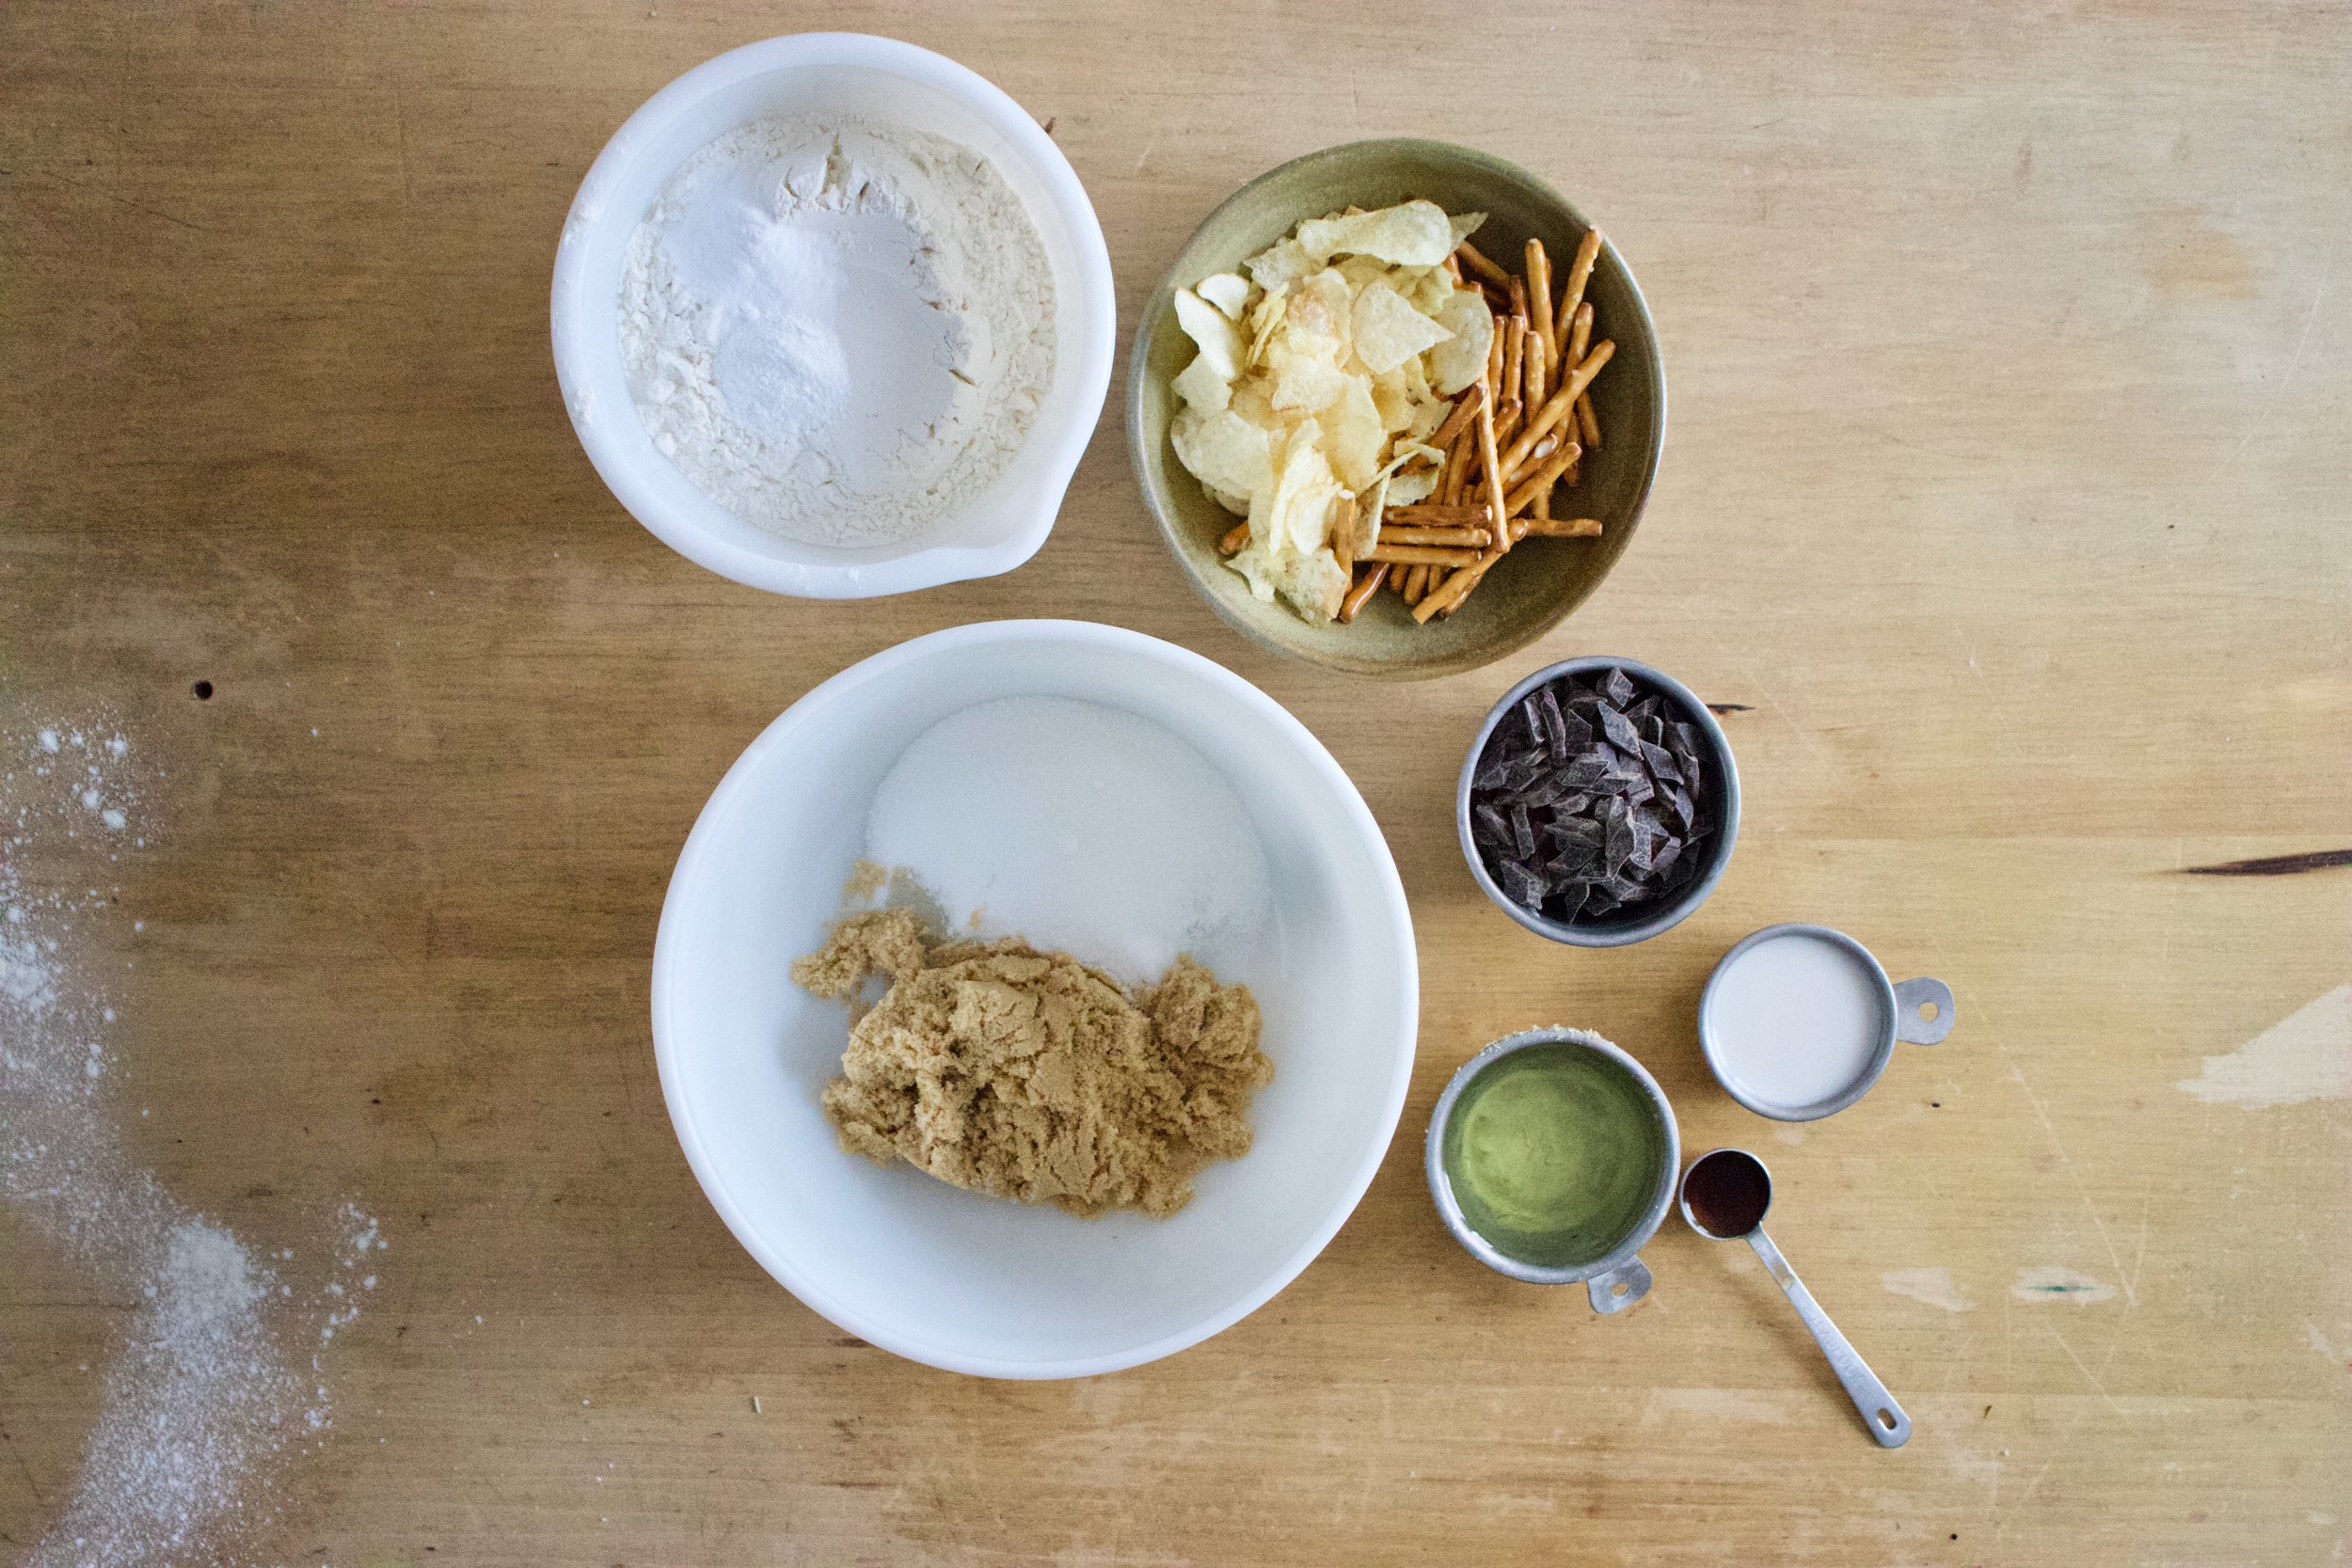
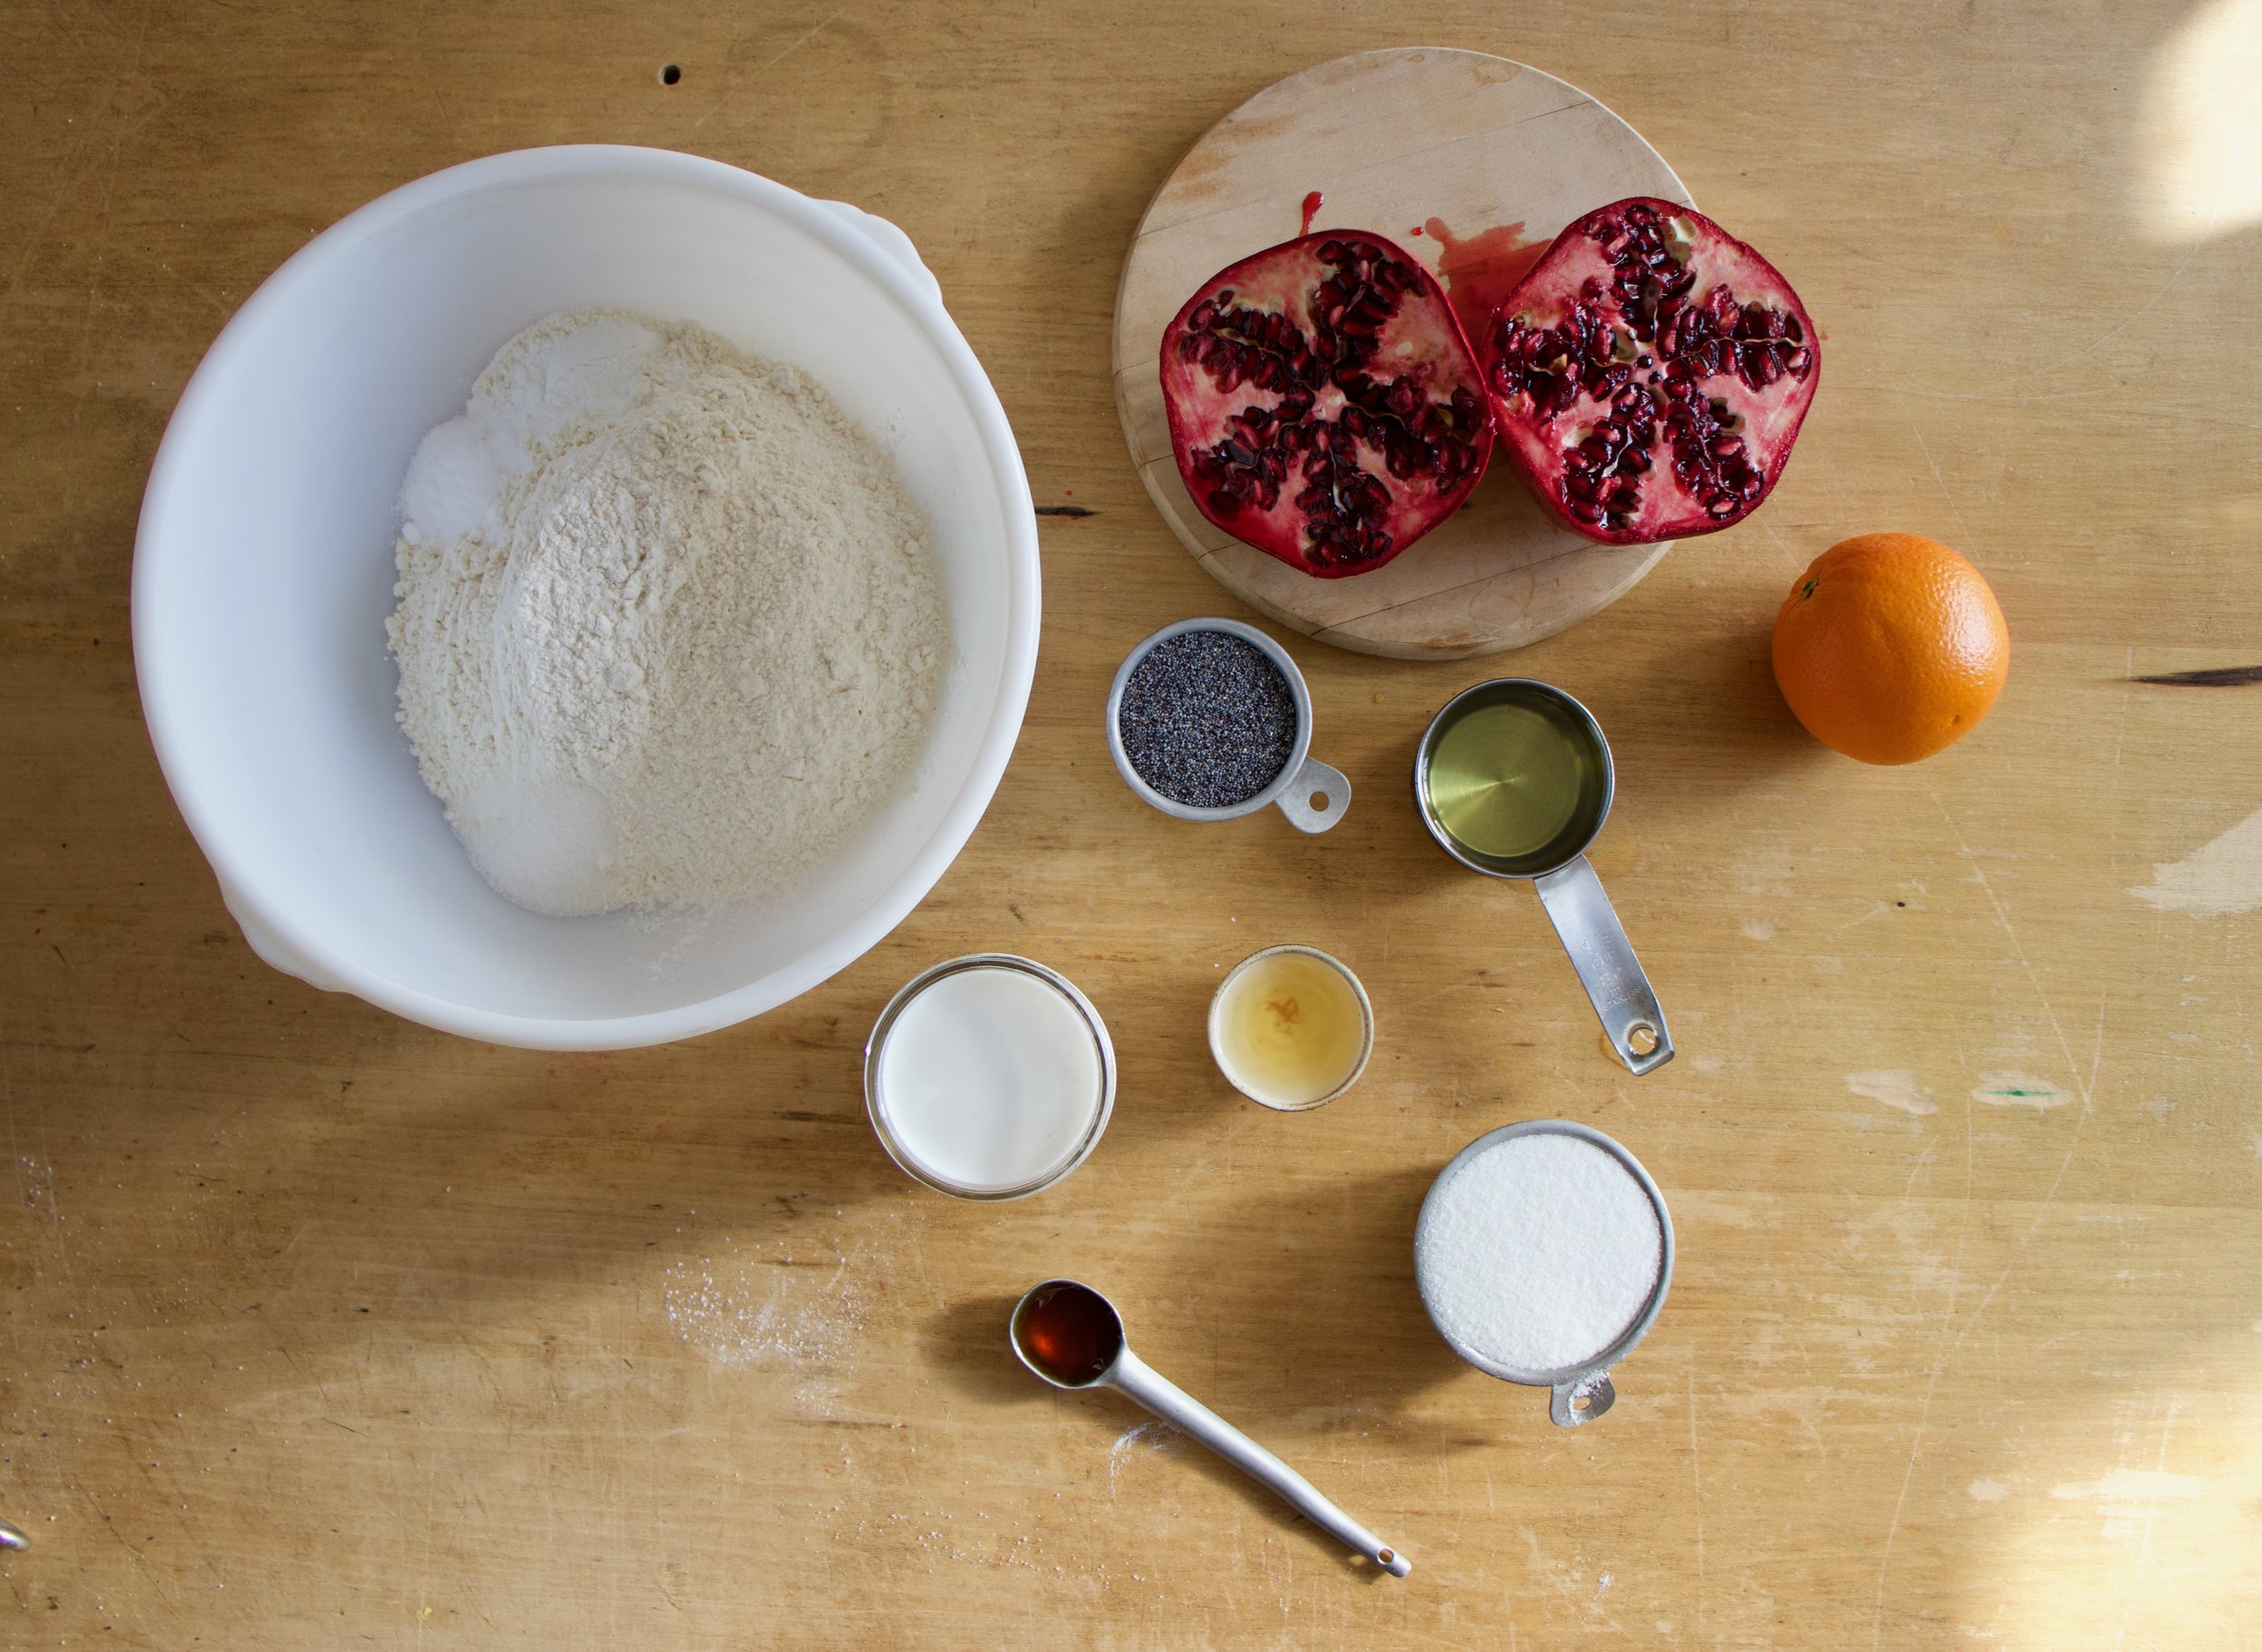
The stuff. A few apples, regular all purpose and white whole wheat flour, salt, applesauce, maple syrup, yeast, and warm water.

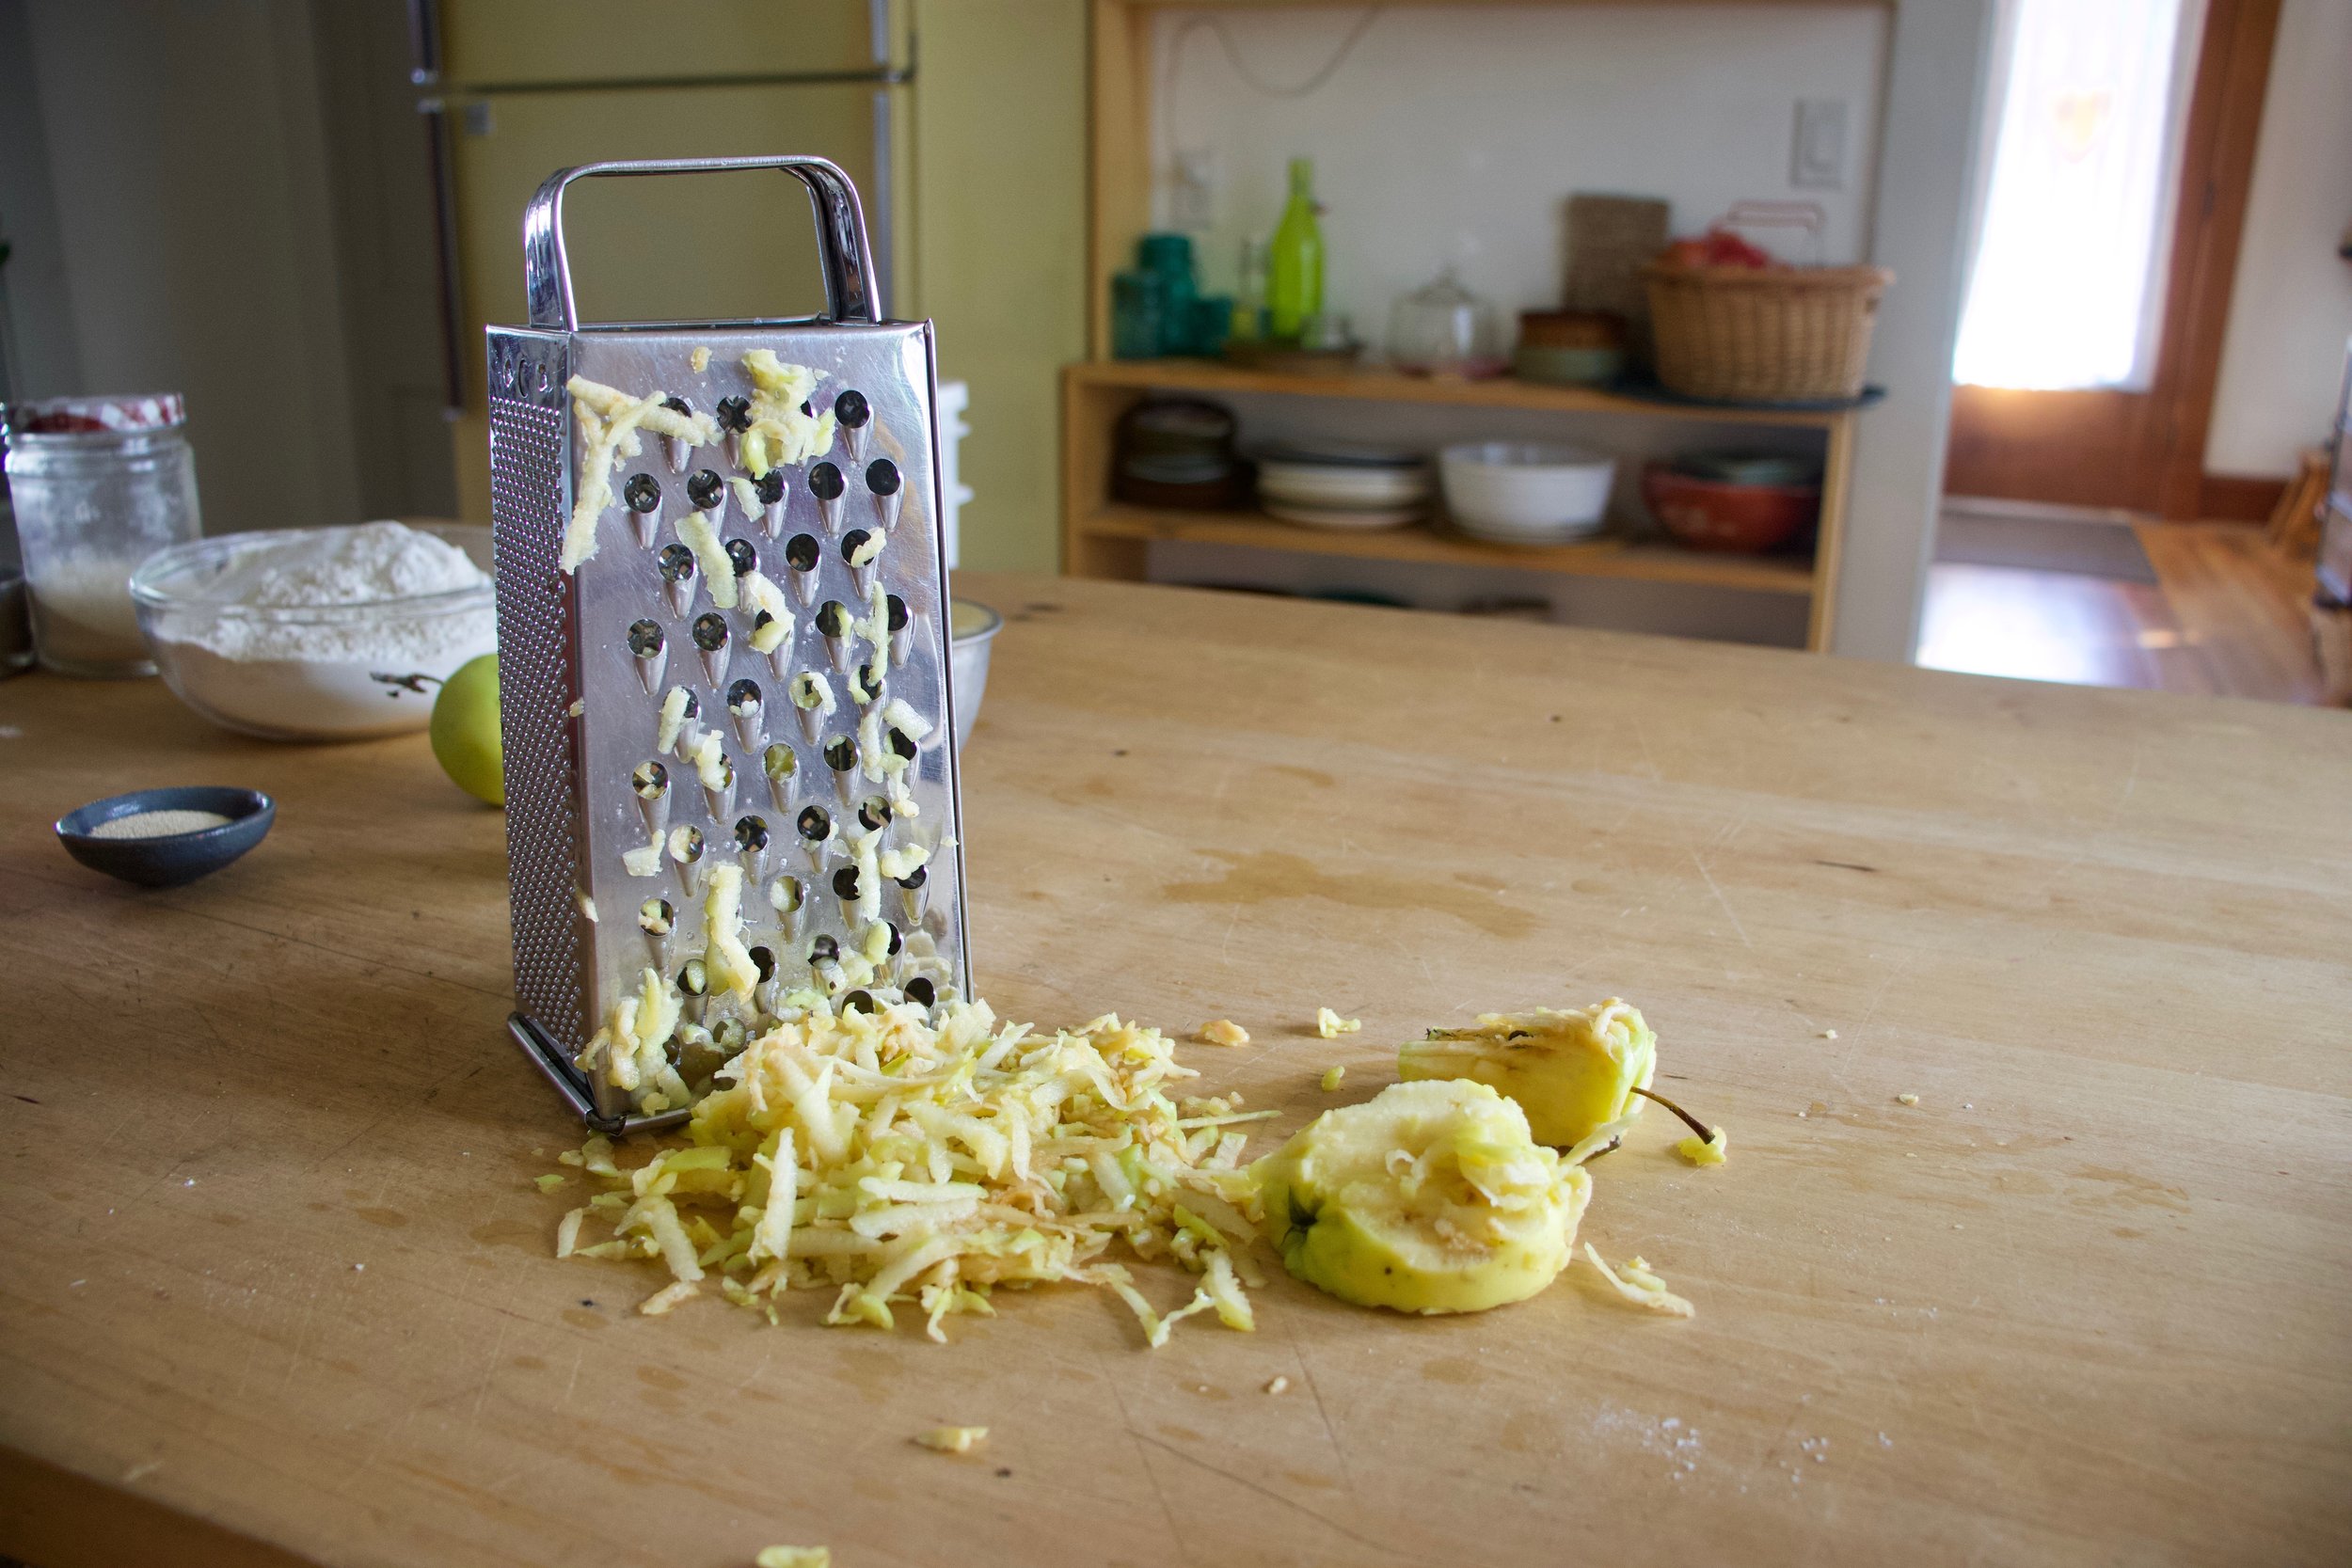
First, shred some apple.

IMG_2437.jpg
IMG_2444.jpg
IMG_2448.jpg
IMG_2449.jpg

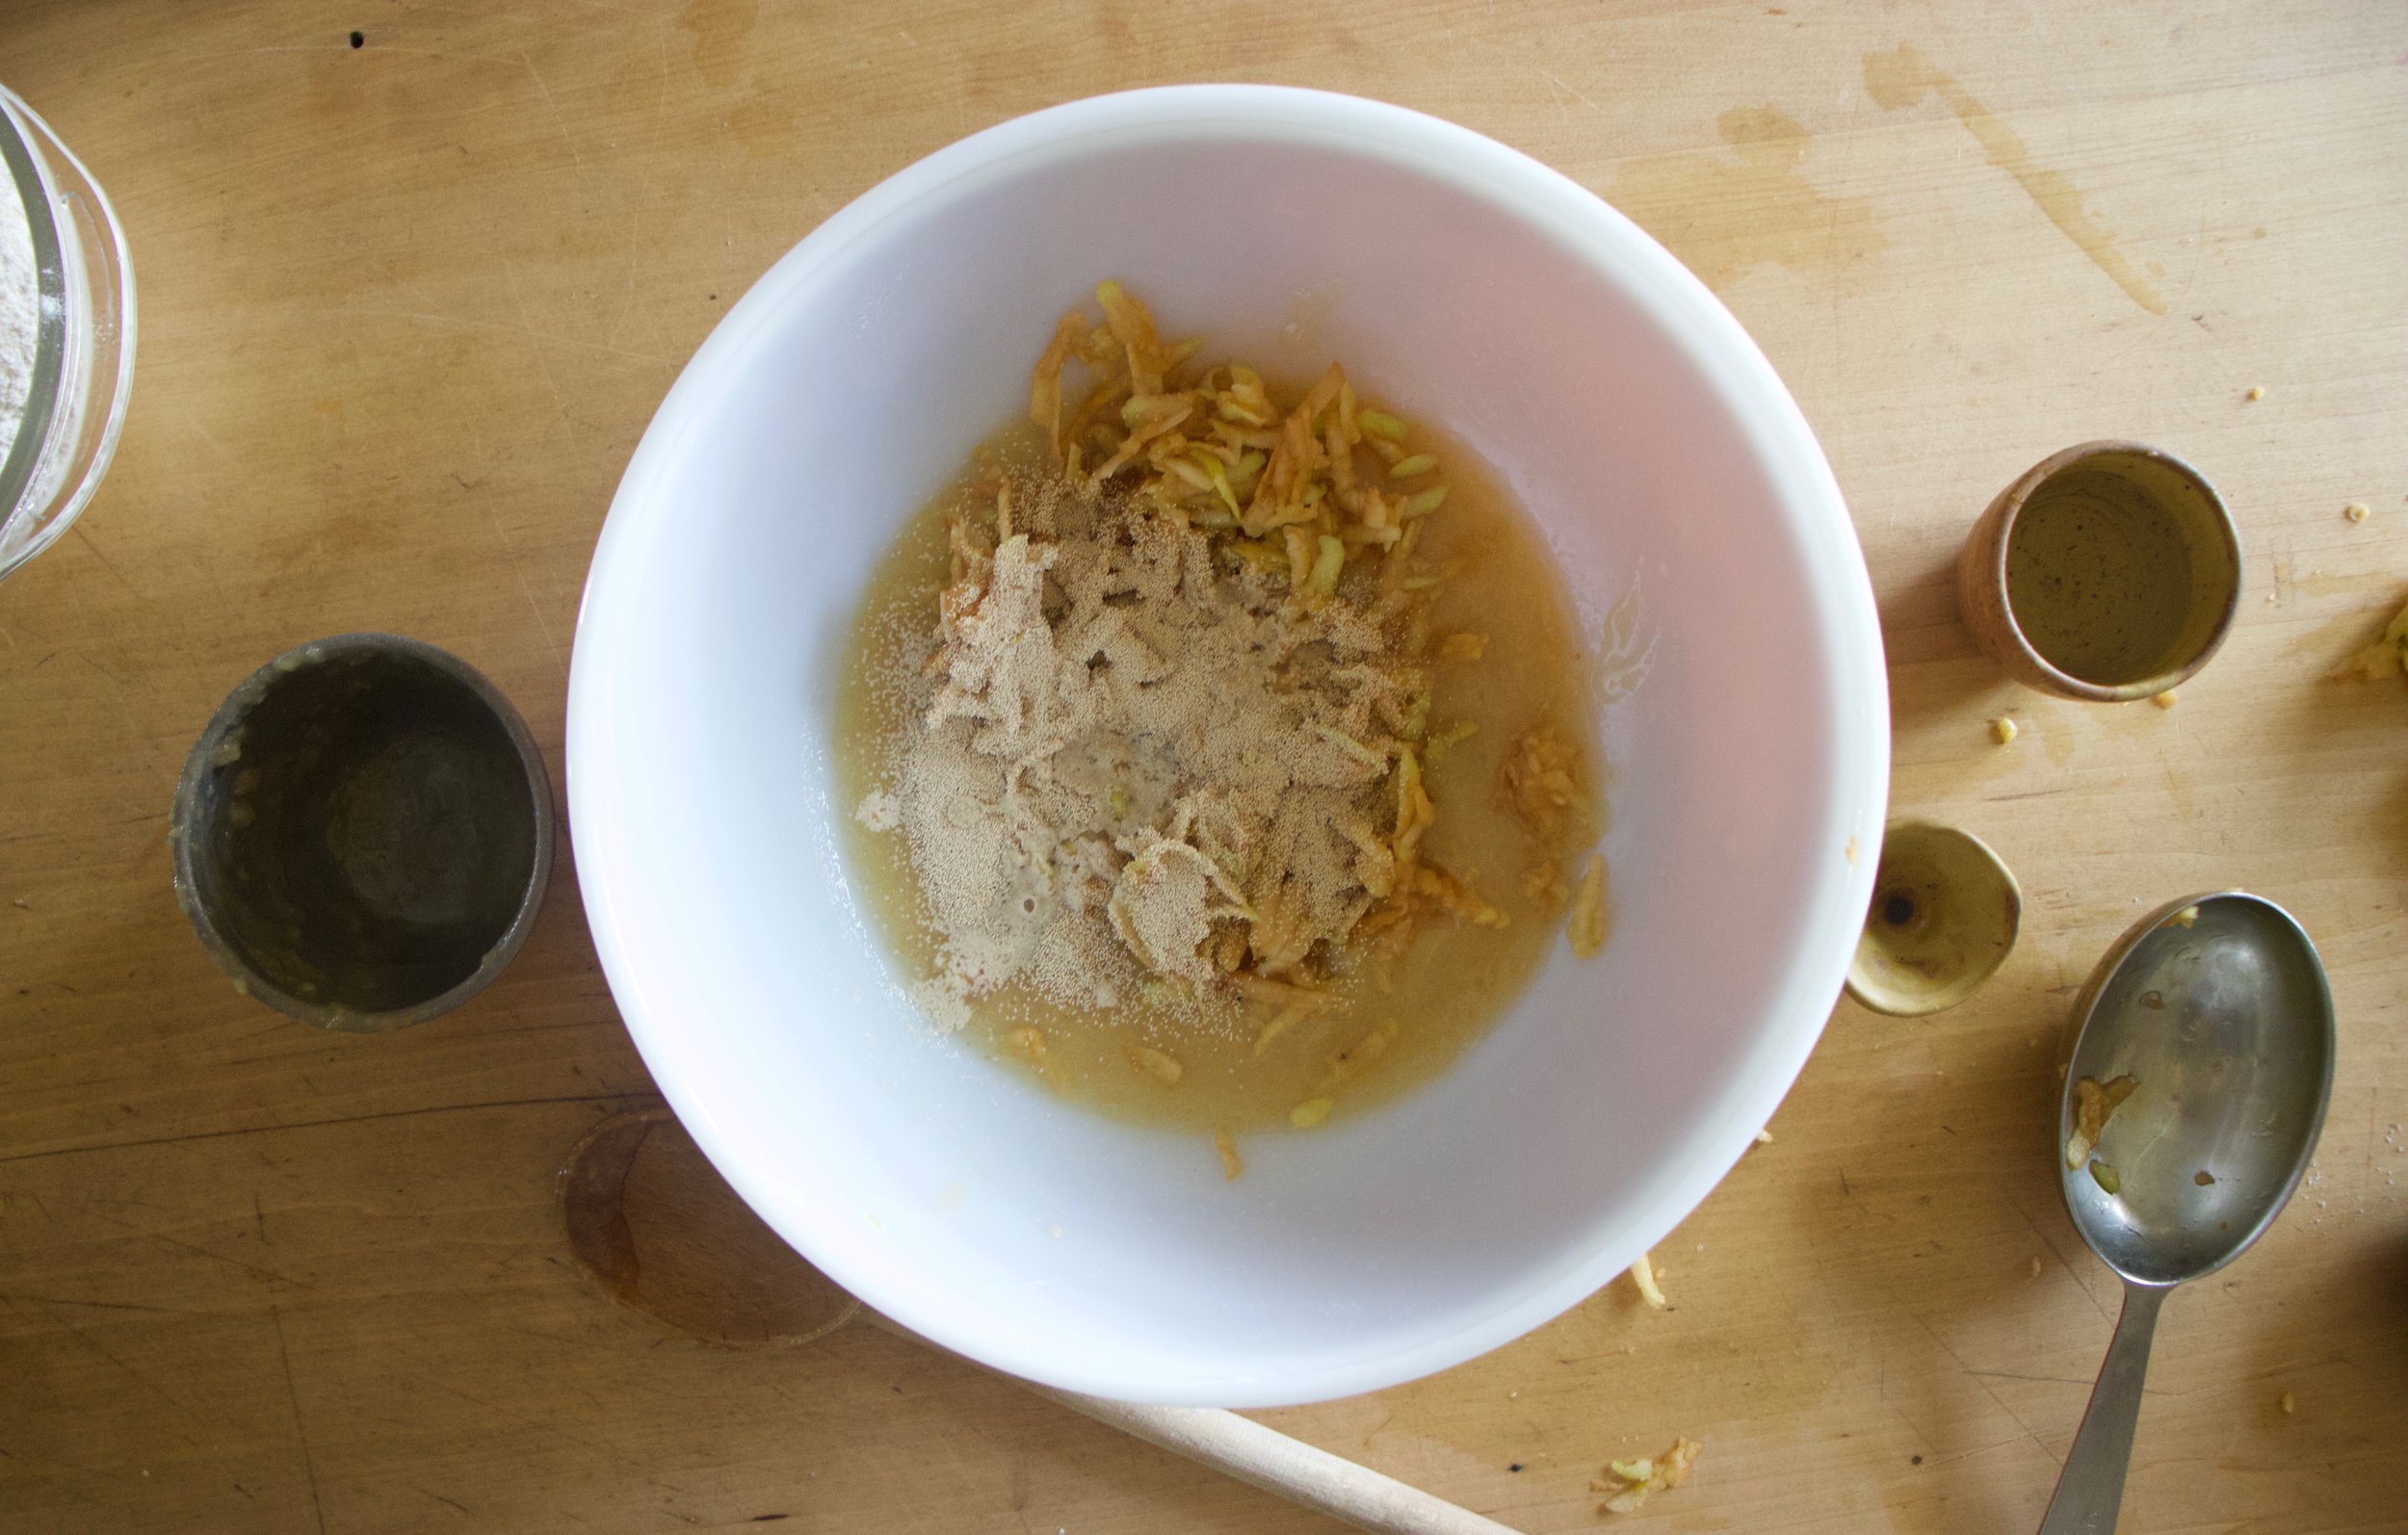
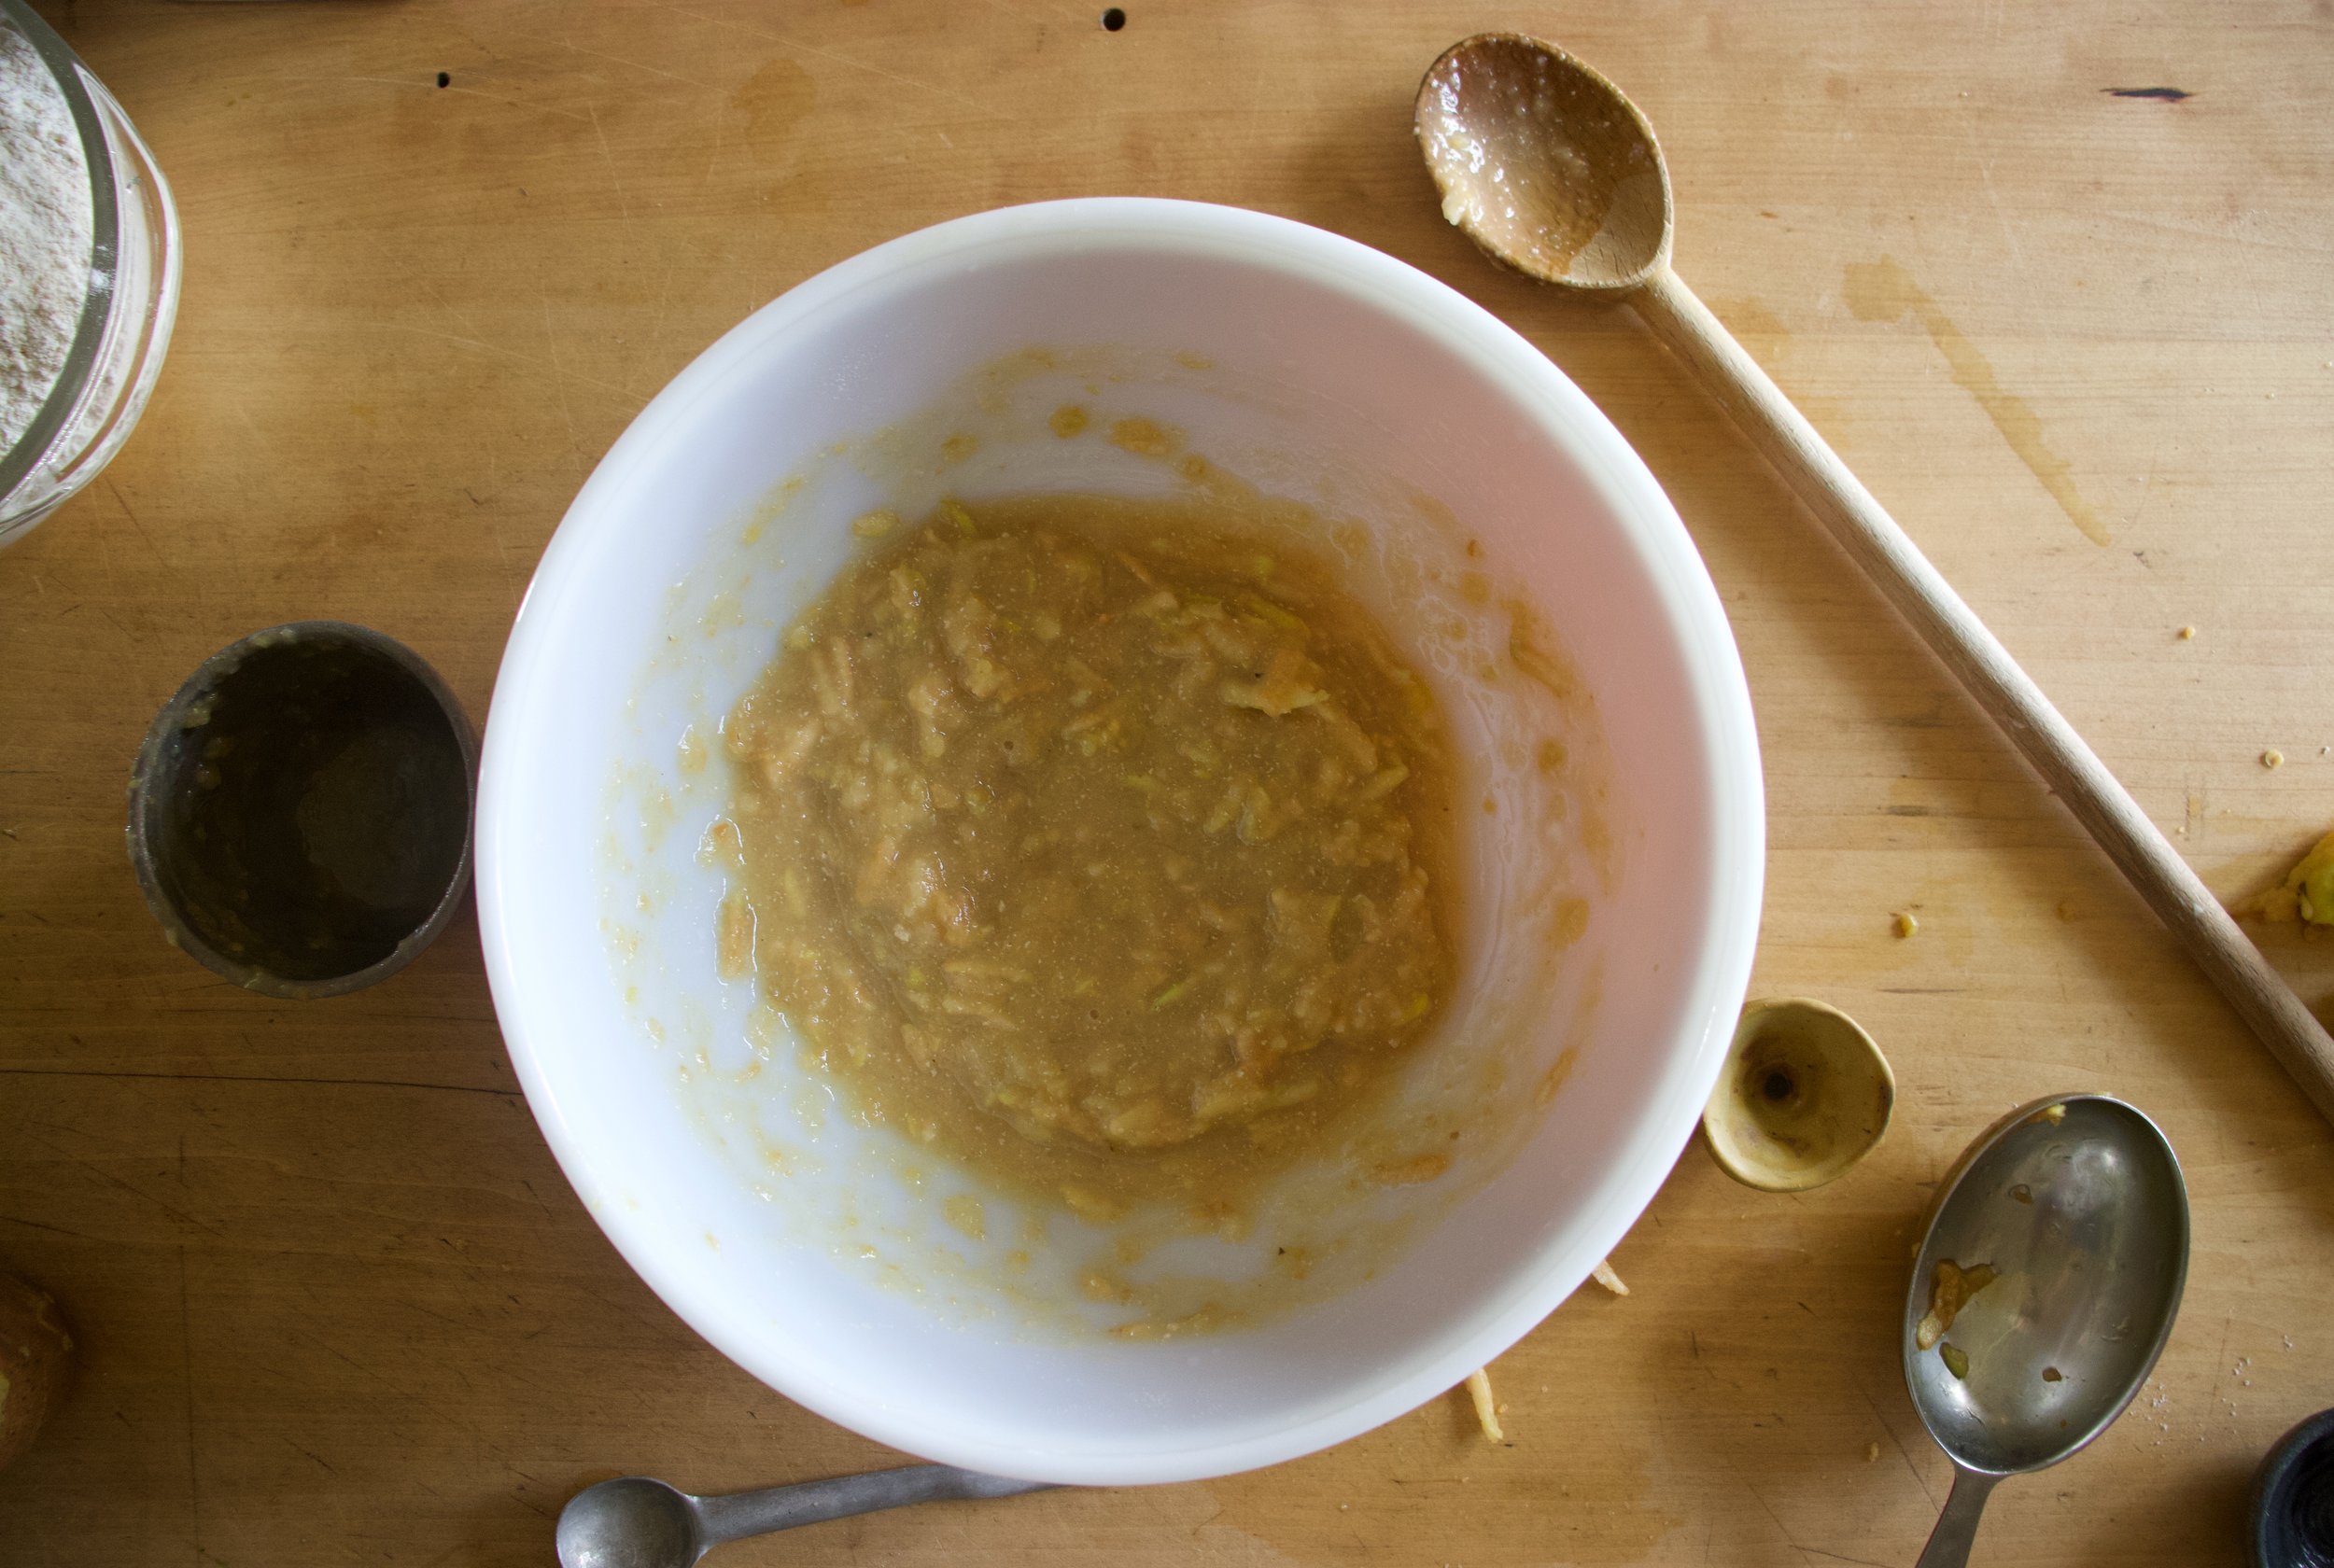
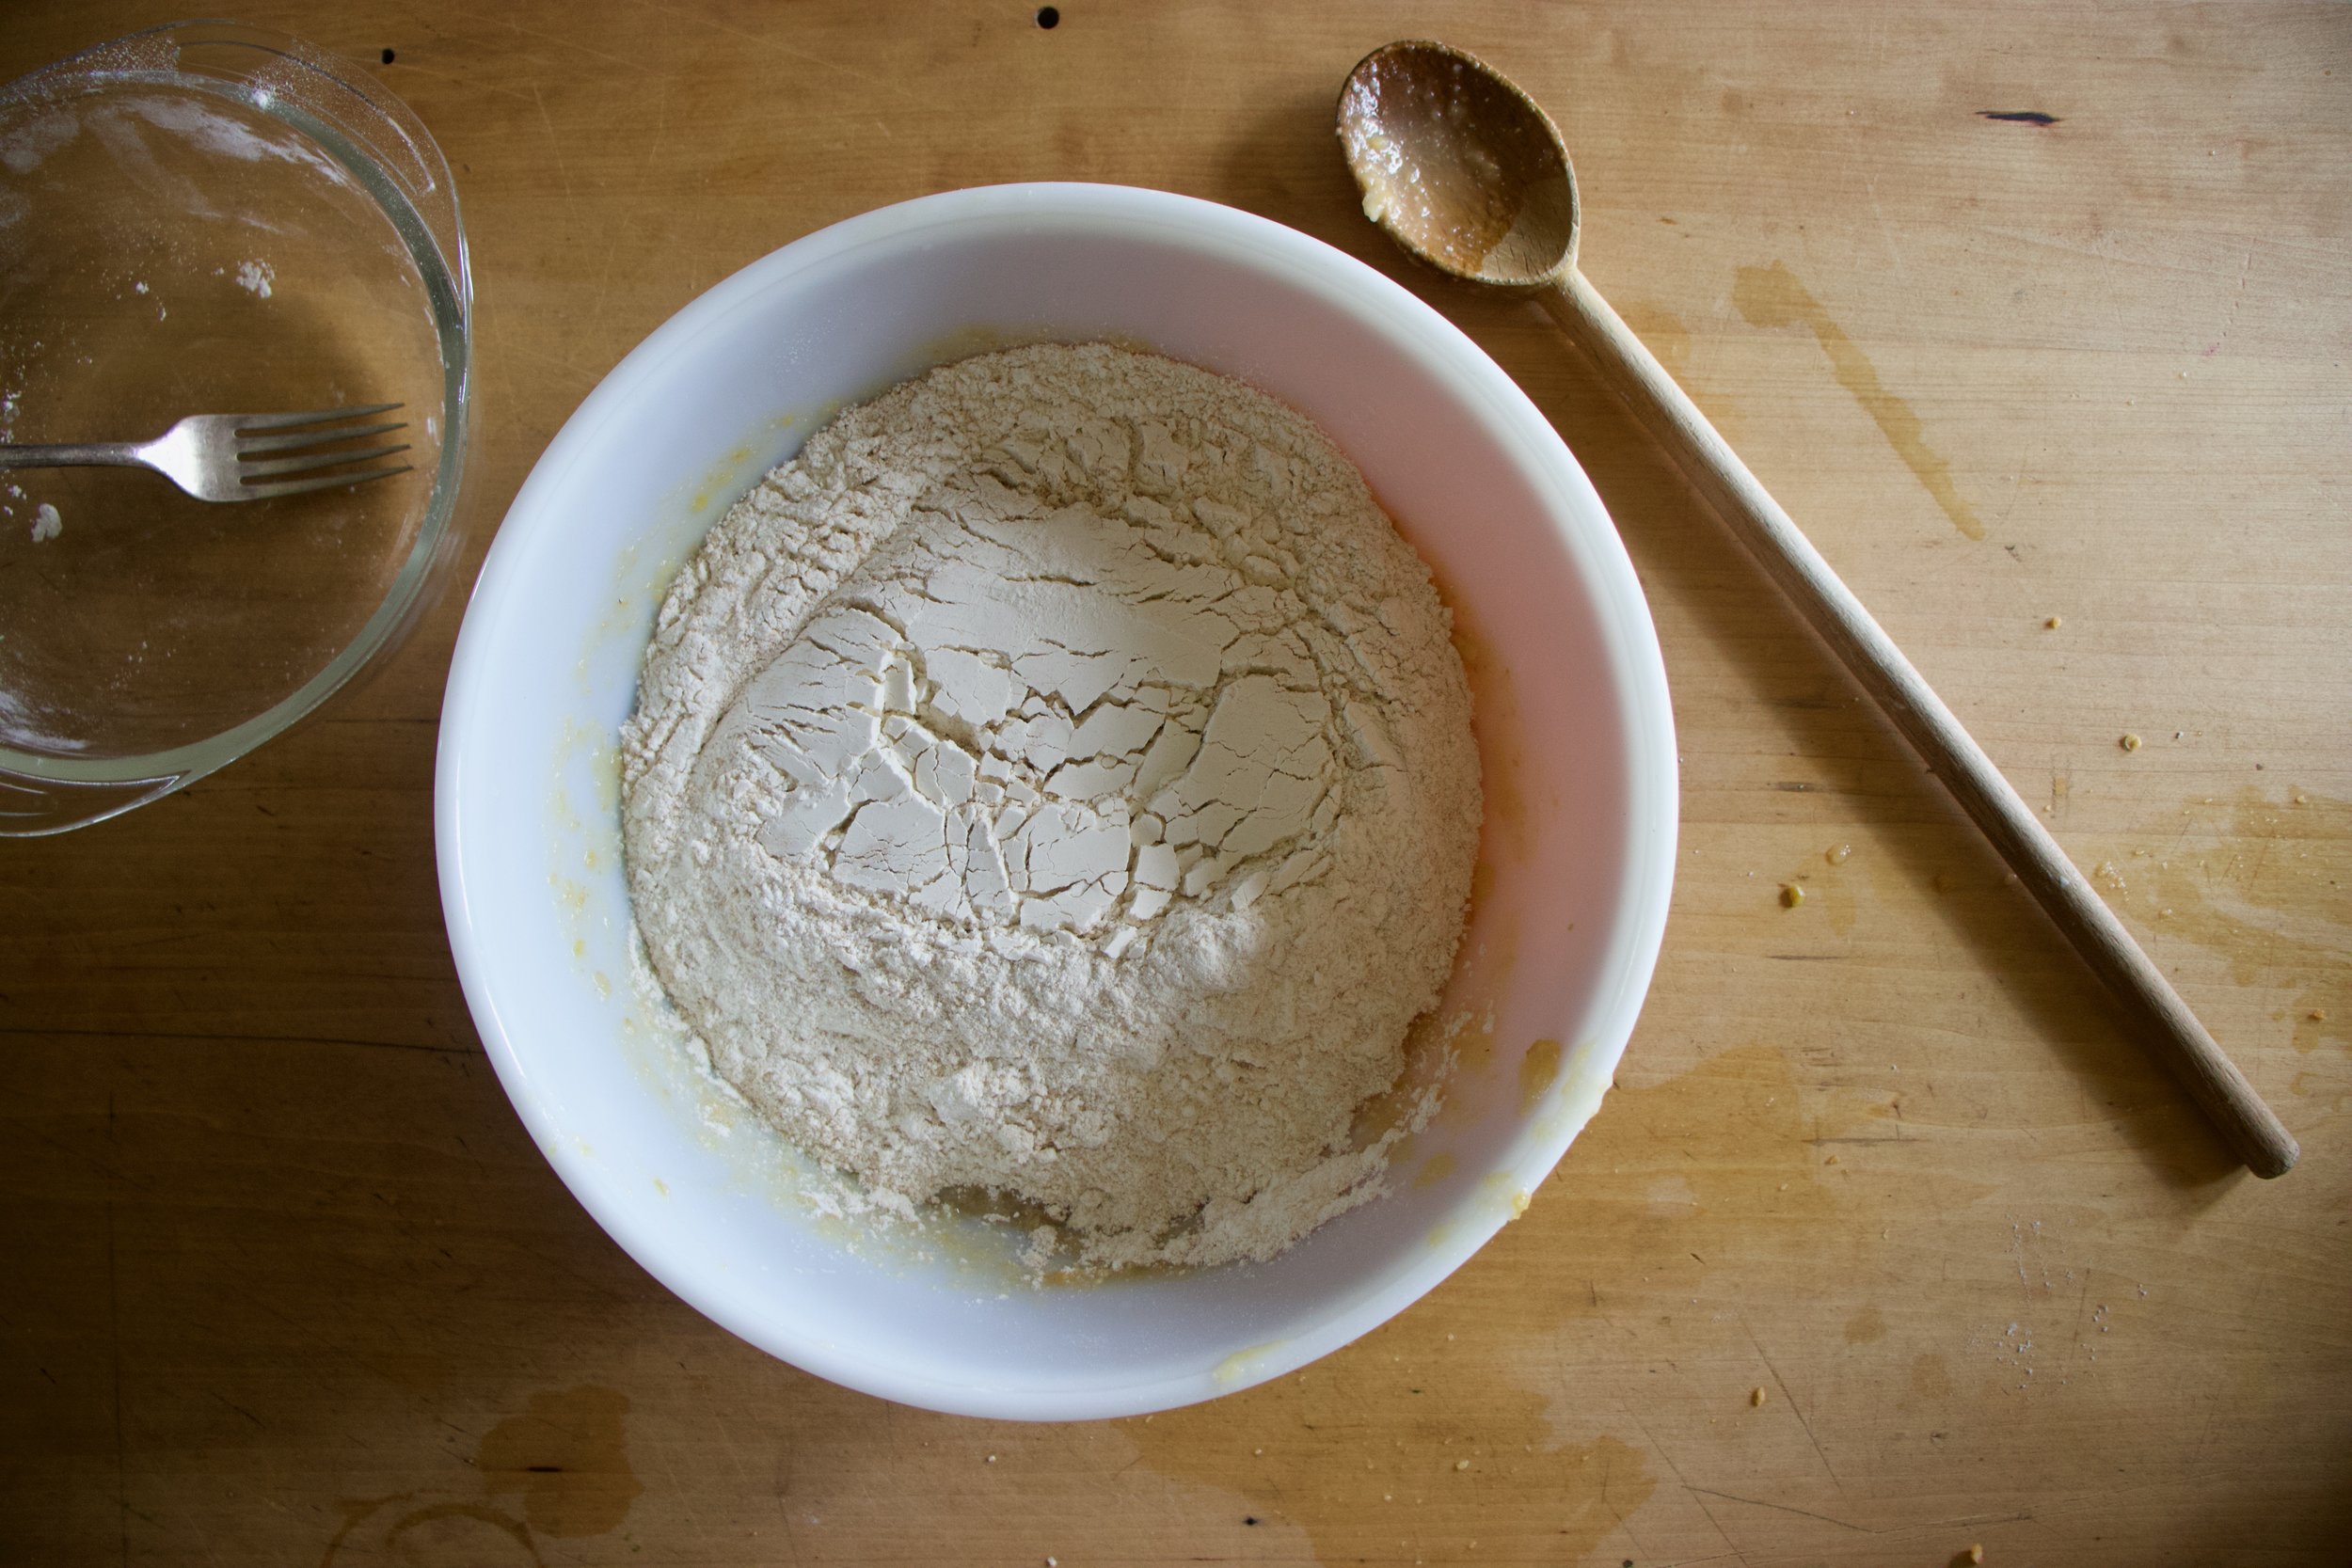
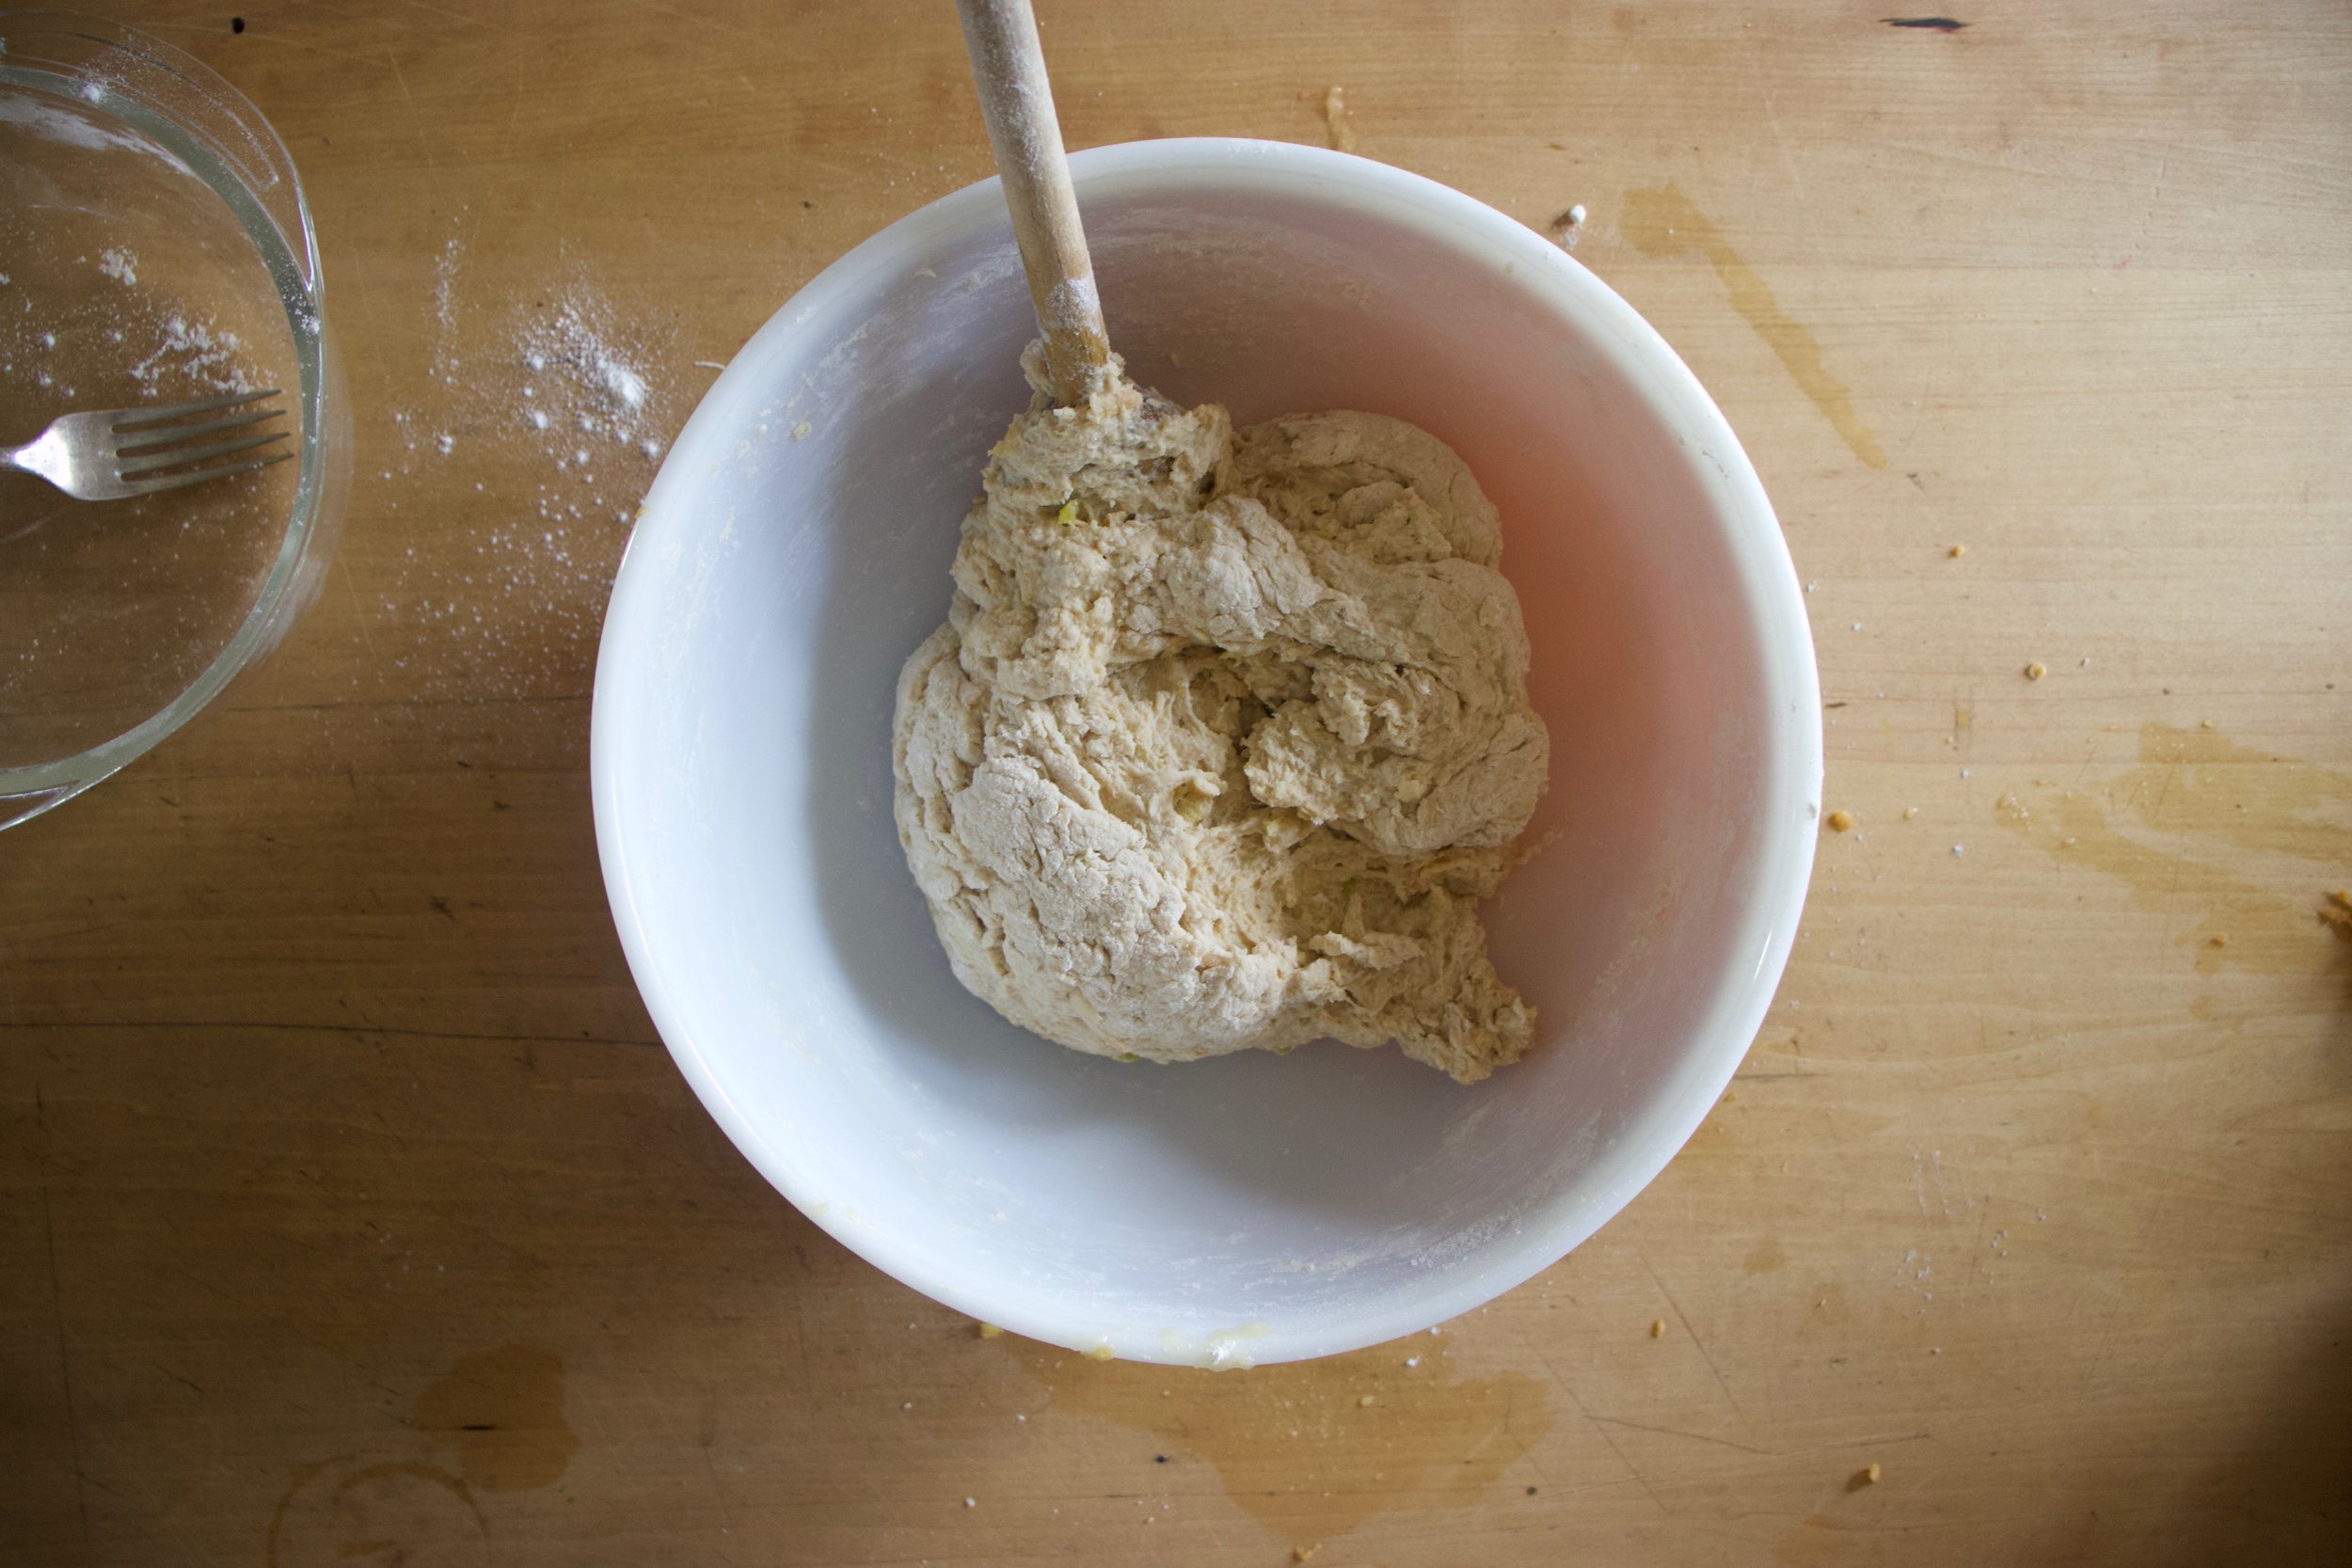
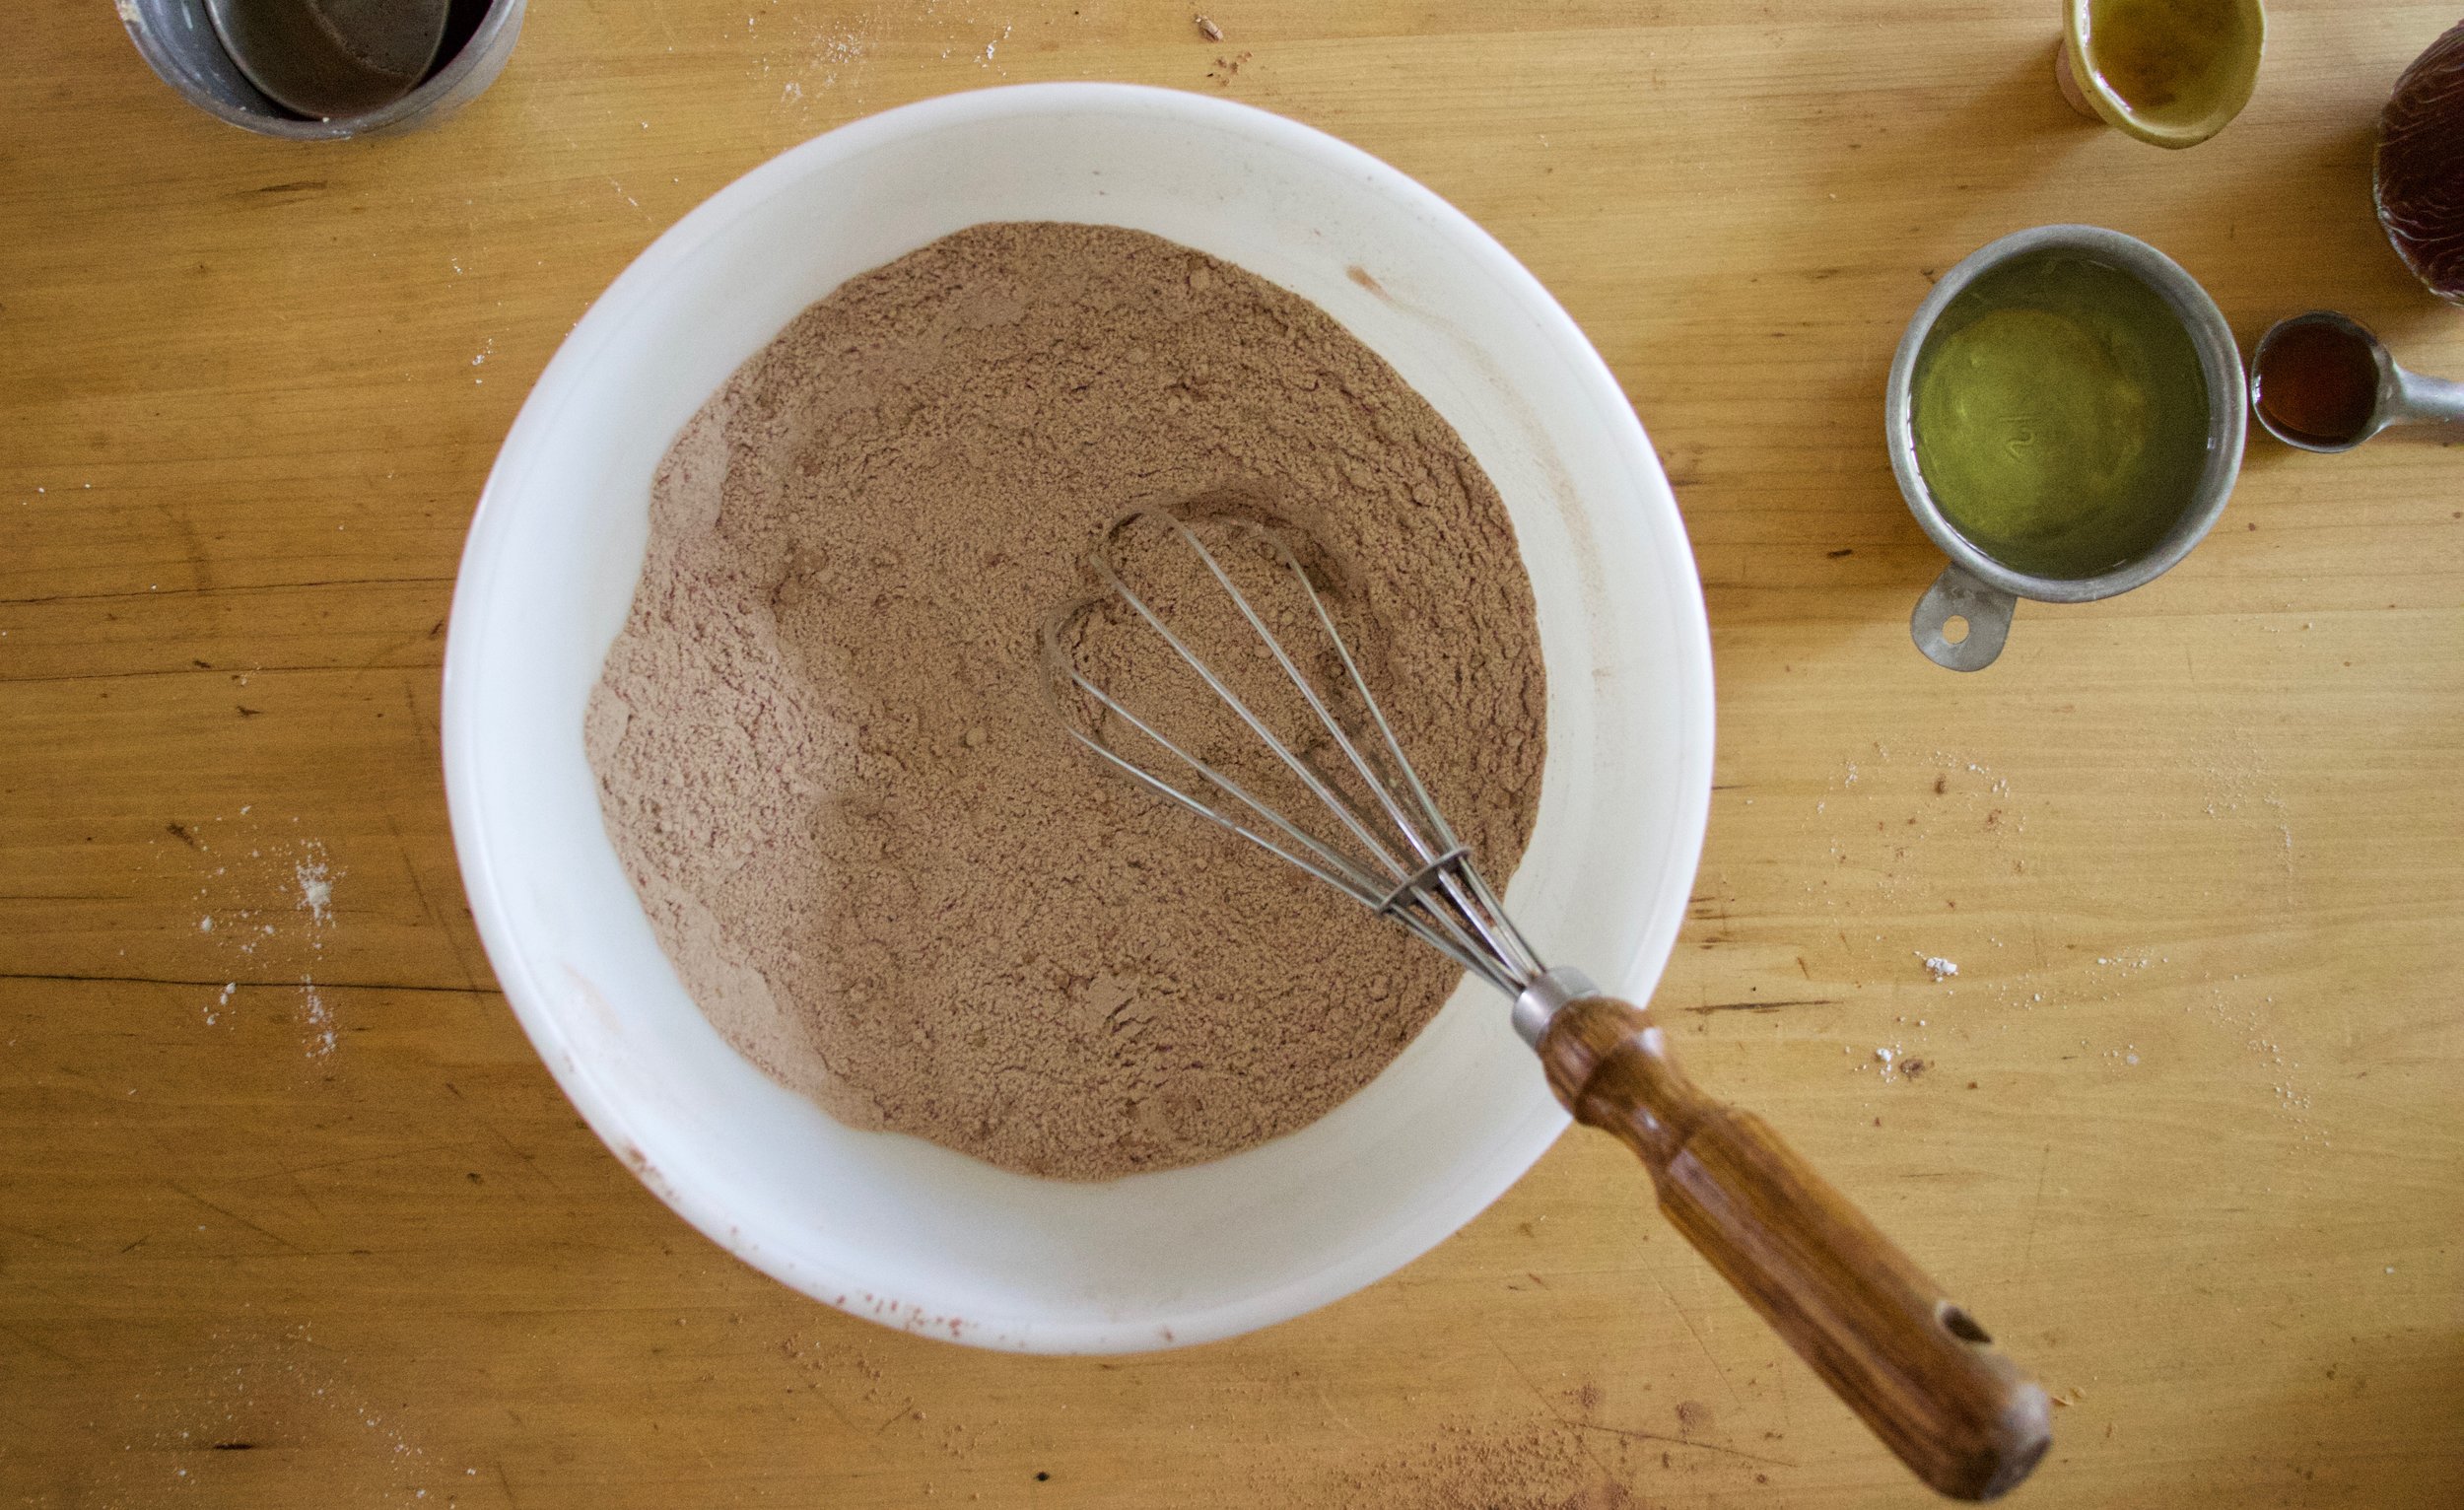
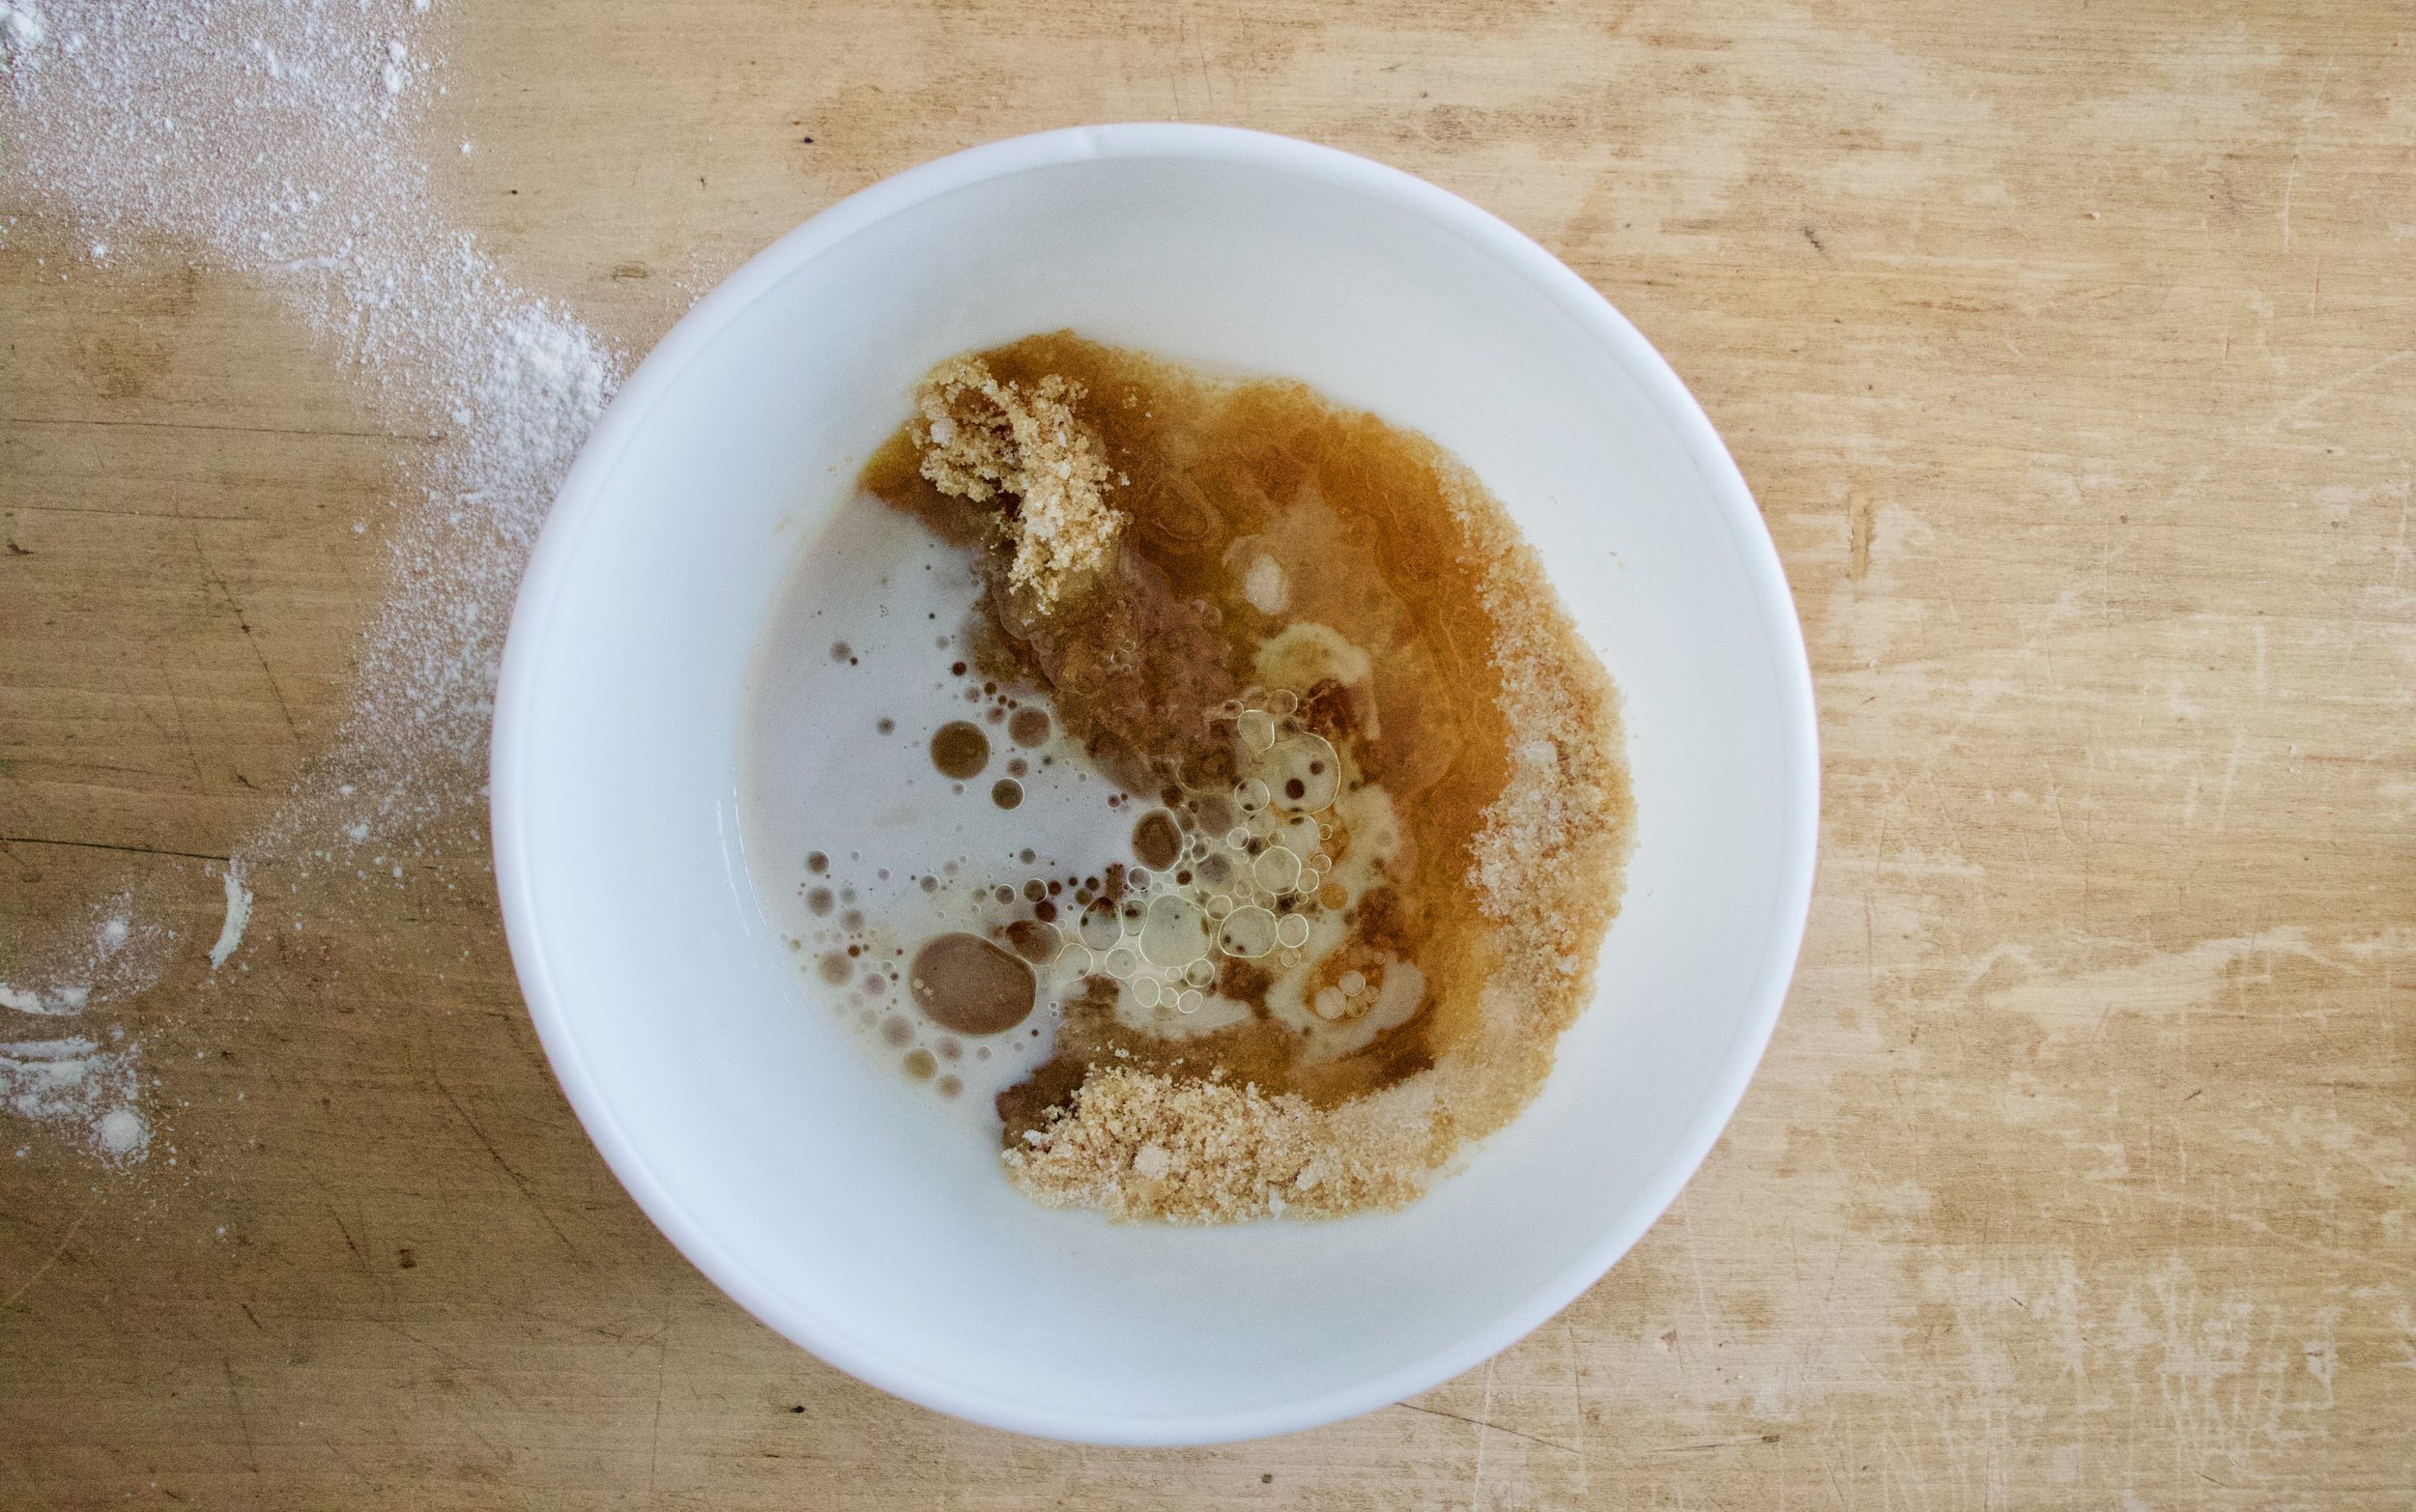
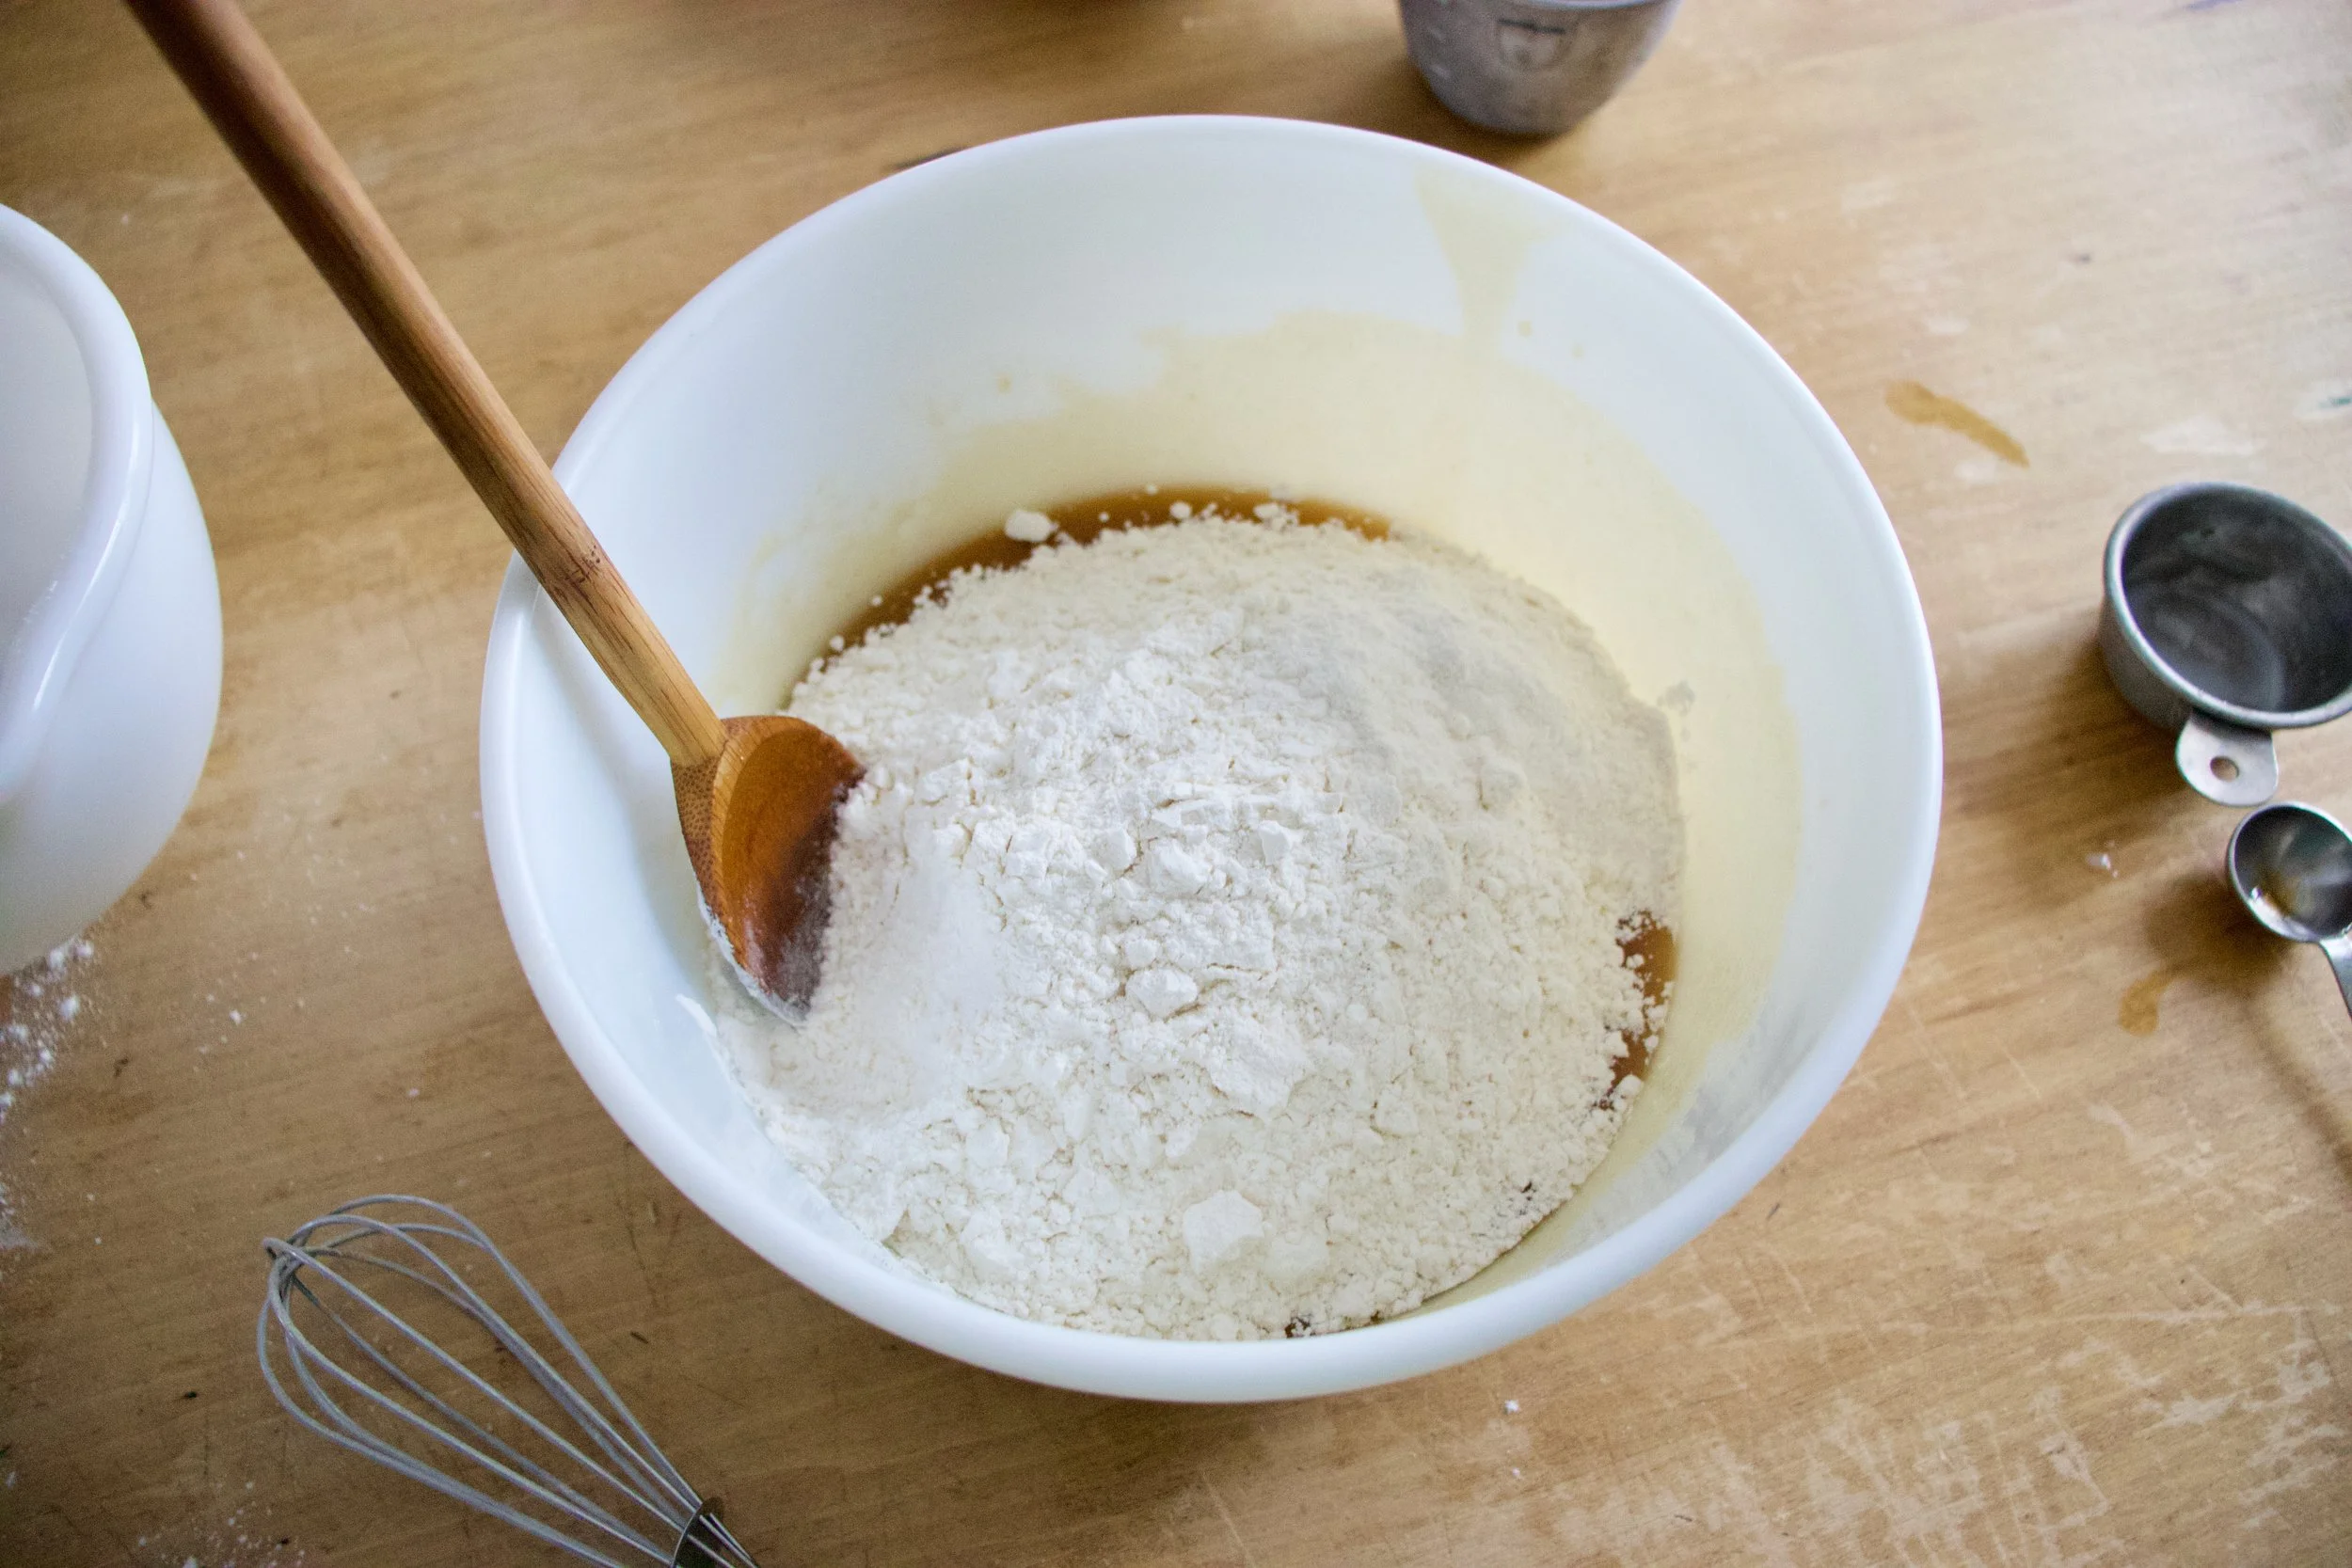
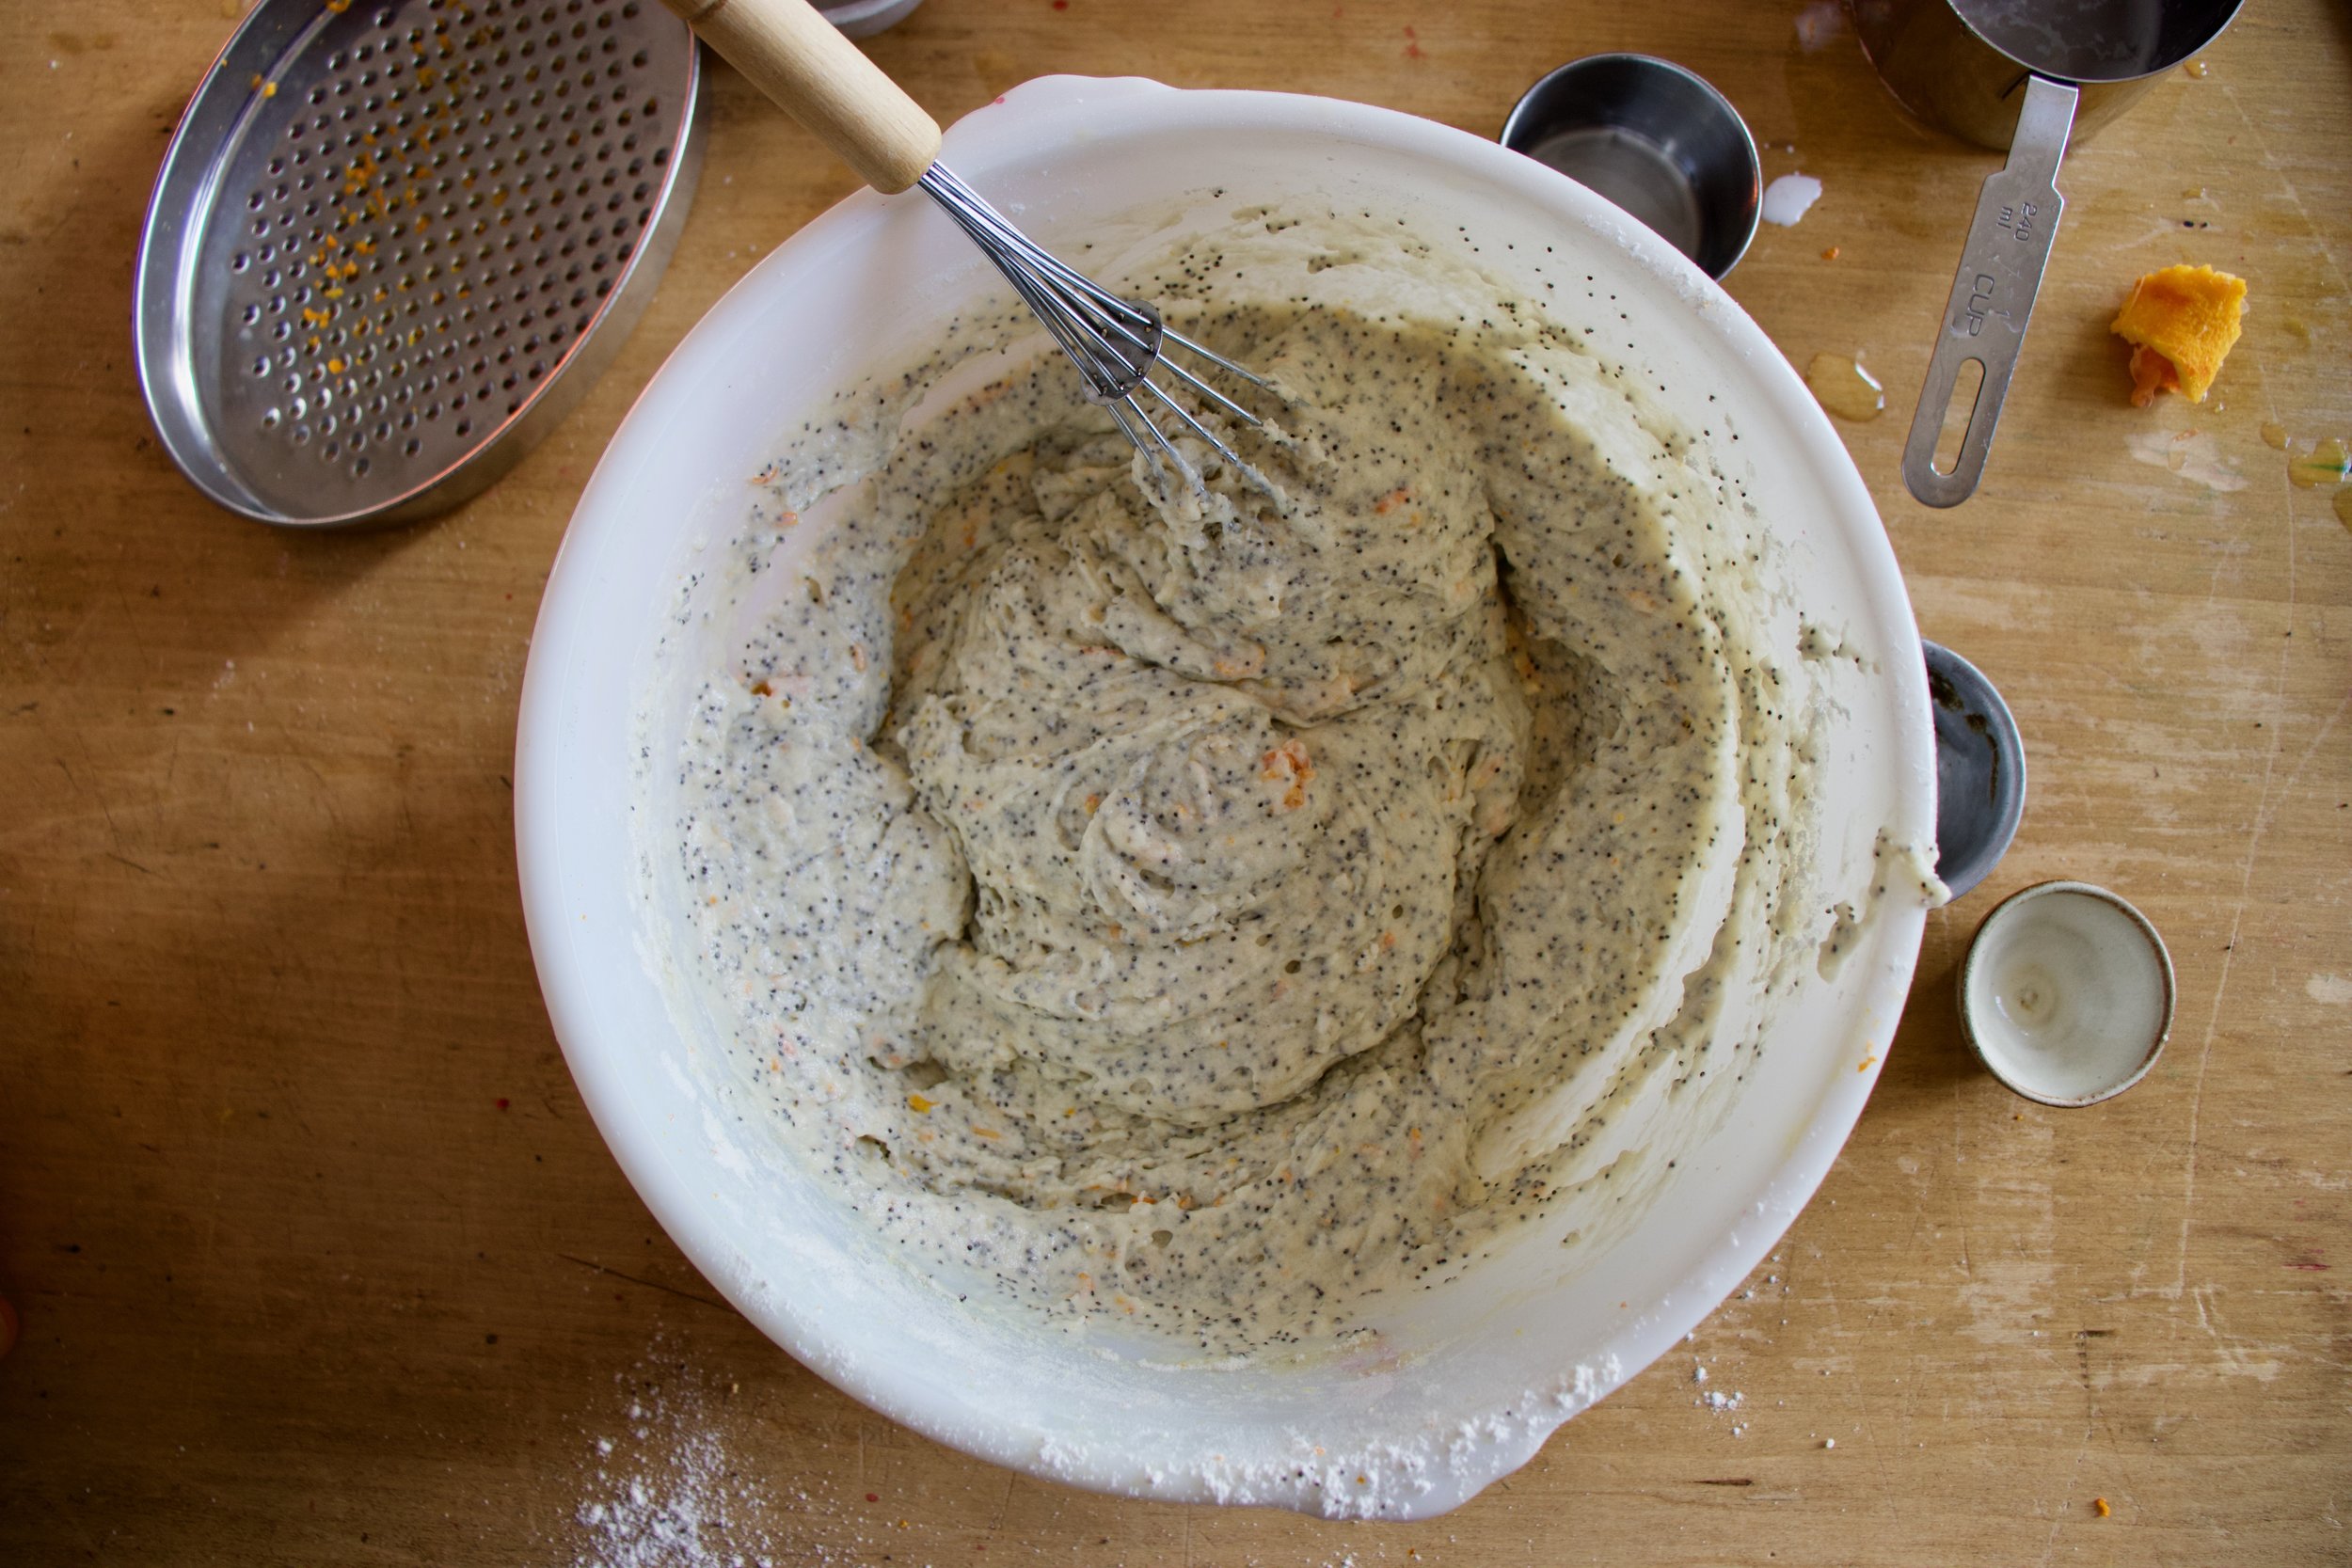
Applesauce, shredded apple, maple, yeast, and a little water get mix up and let to sit for a few minutes to activate yeast. Then the salt gets mixed in, along with all the flour. Stir until dough forms. Dough should be slightly sticky, ut not wet. IF wet, add a handful more flour. To dry, add more water.

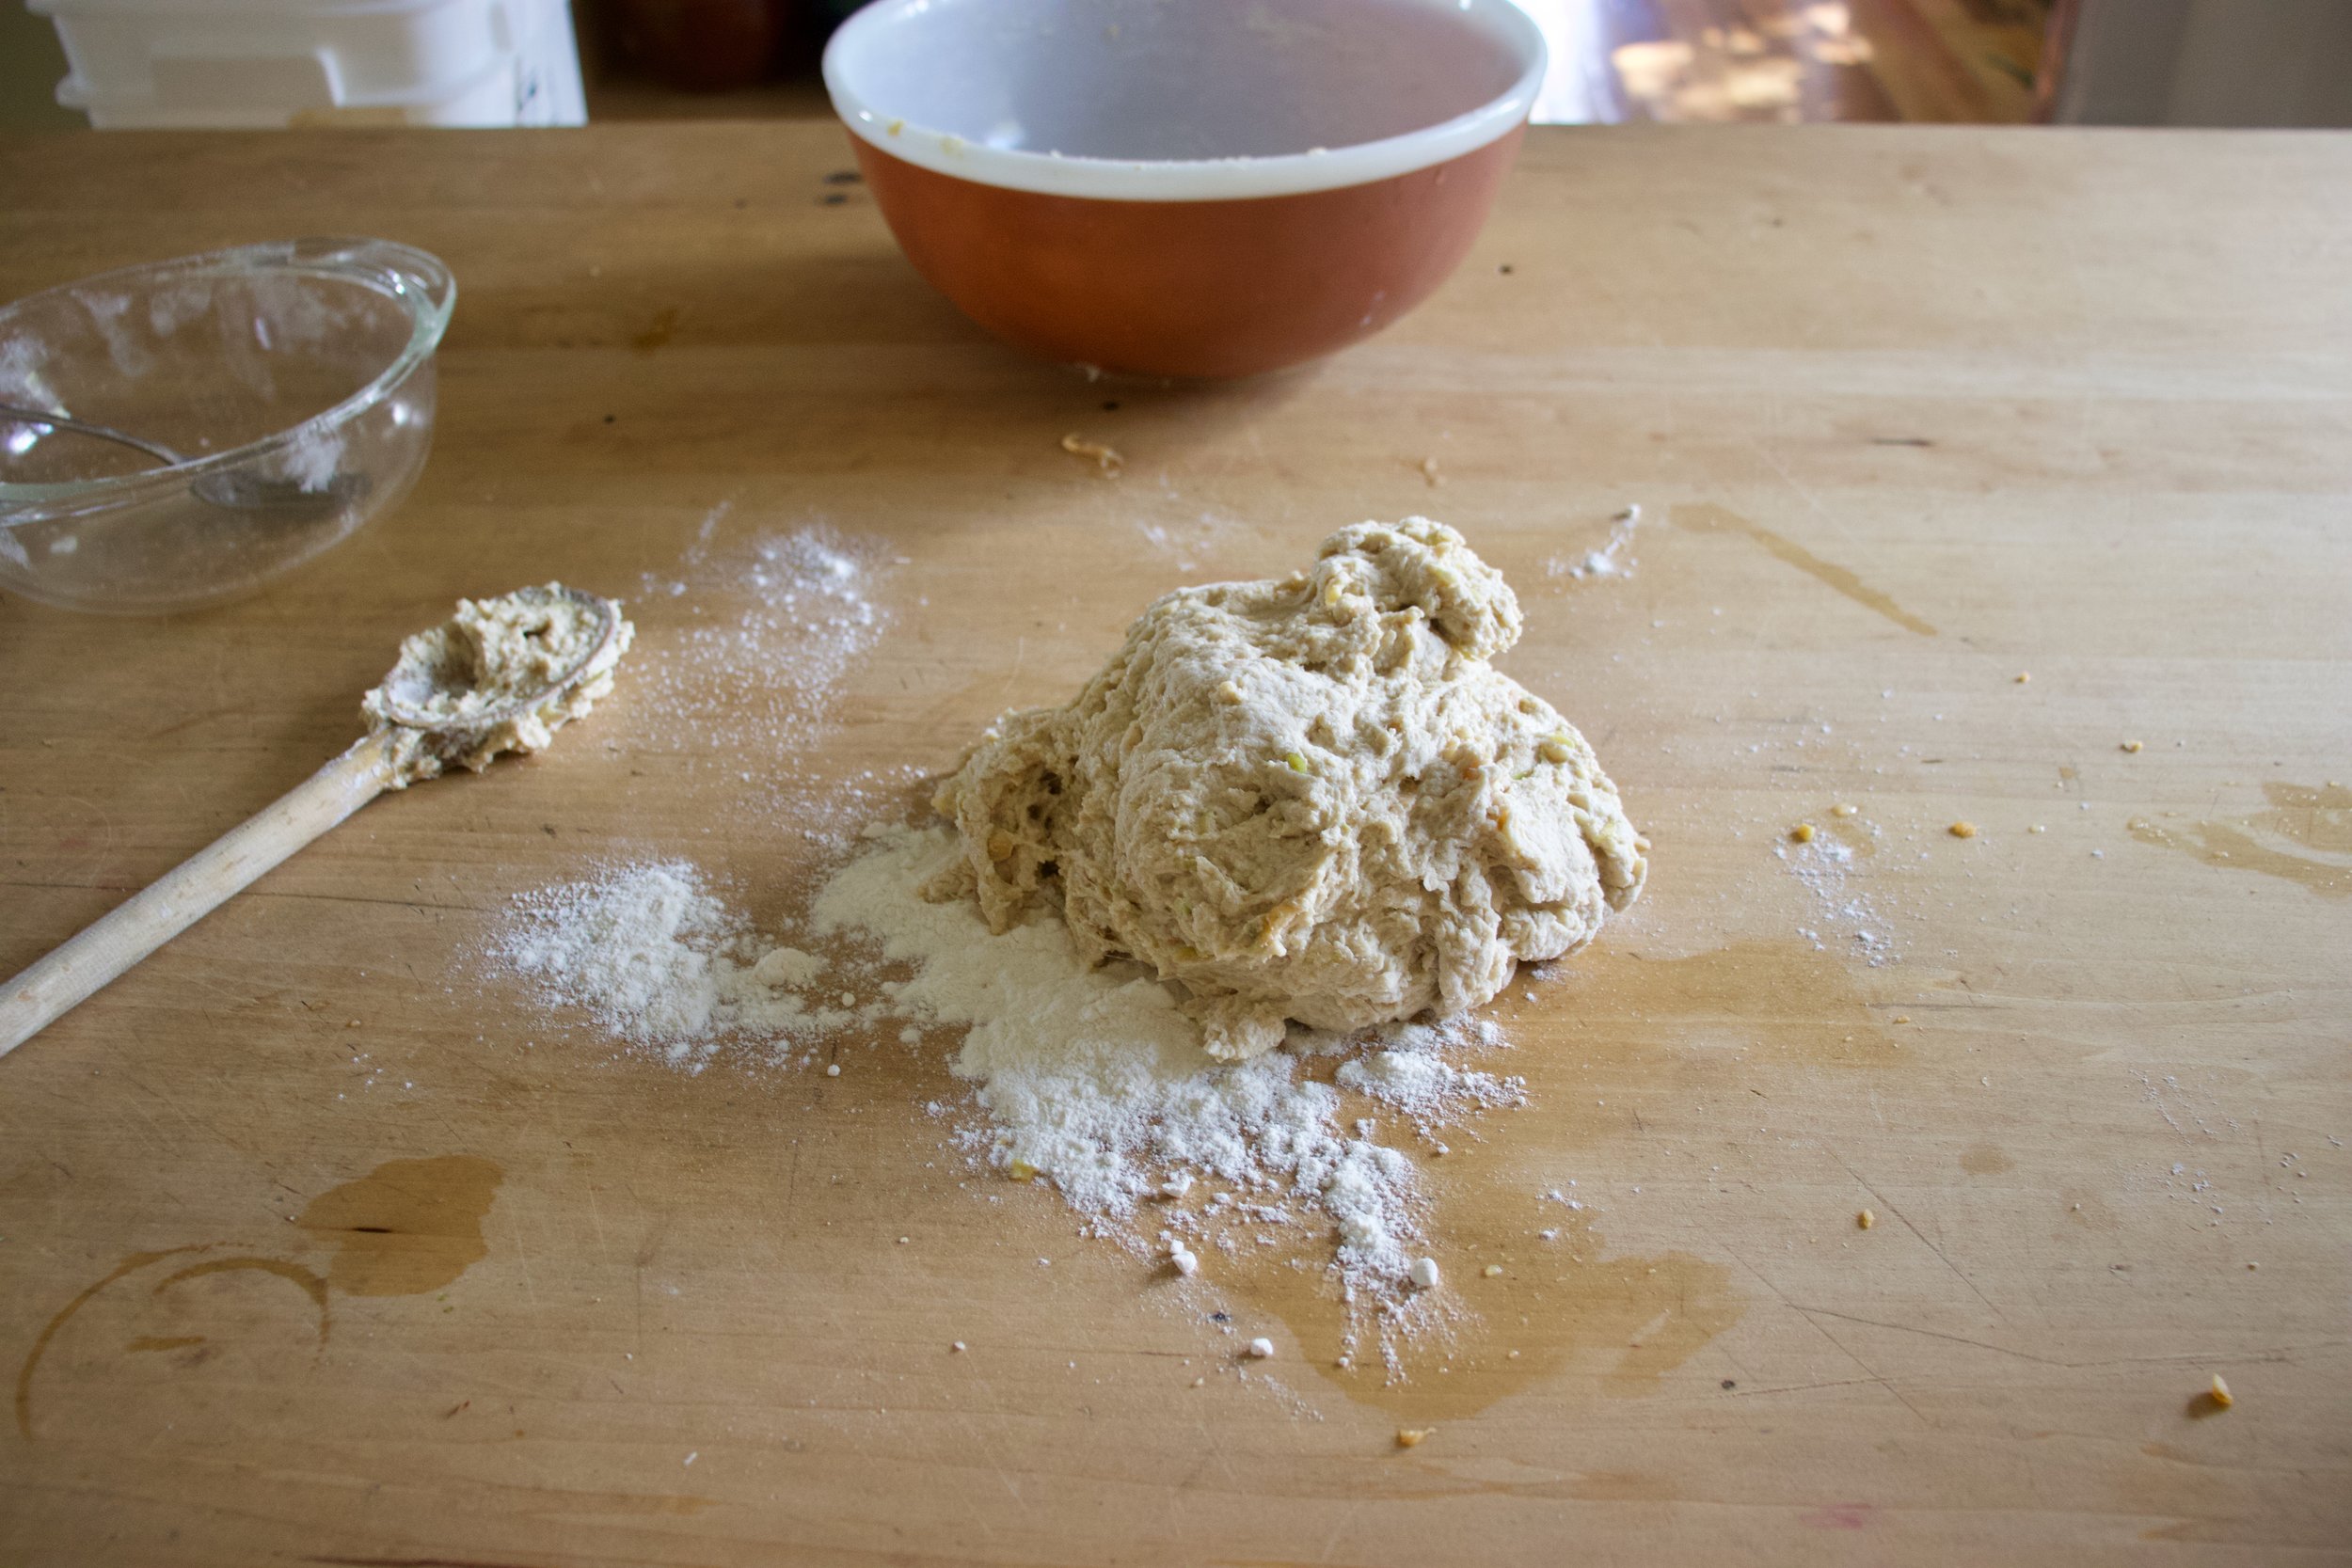
Dump the dough onto a floured surface, cover your hands in flour, and knead dough for about 5 or so minutes, adding more flour as needed to keep dough from sticking, until the dough is a nice and cohesive texture.

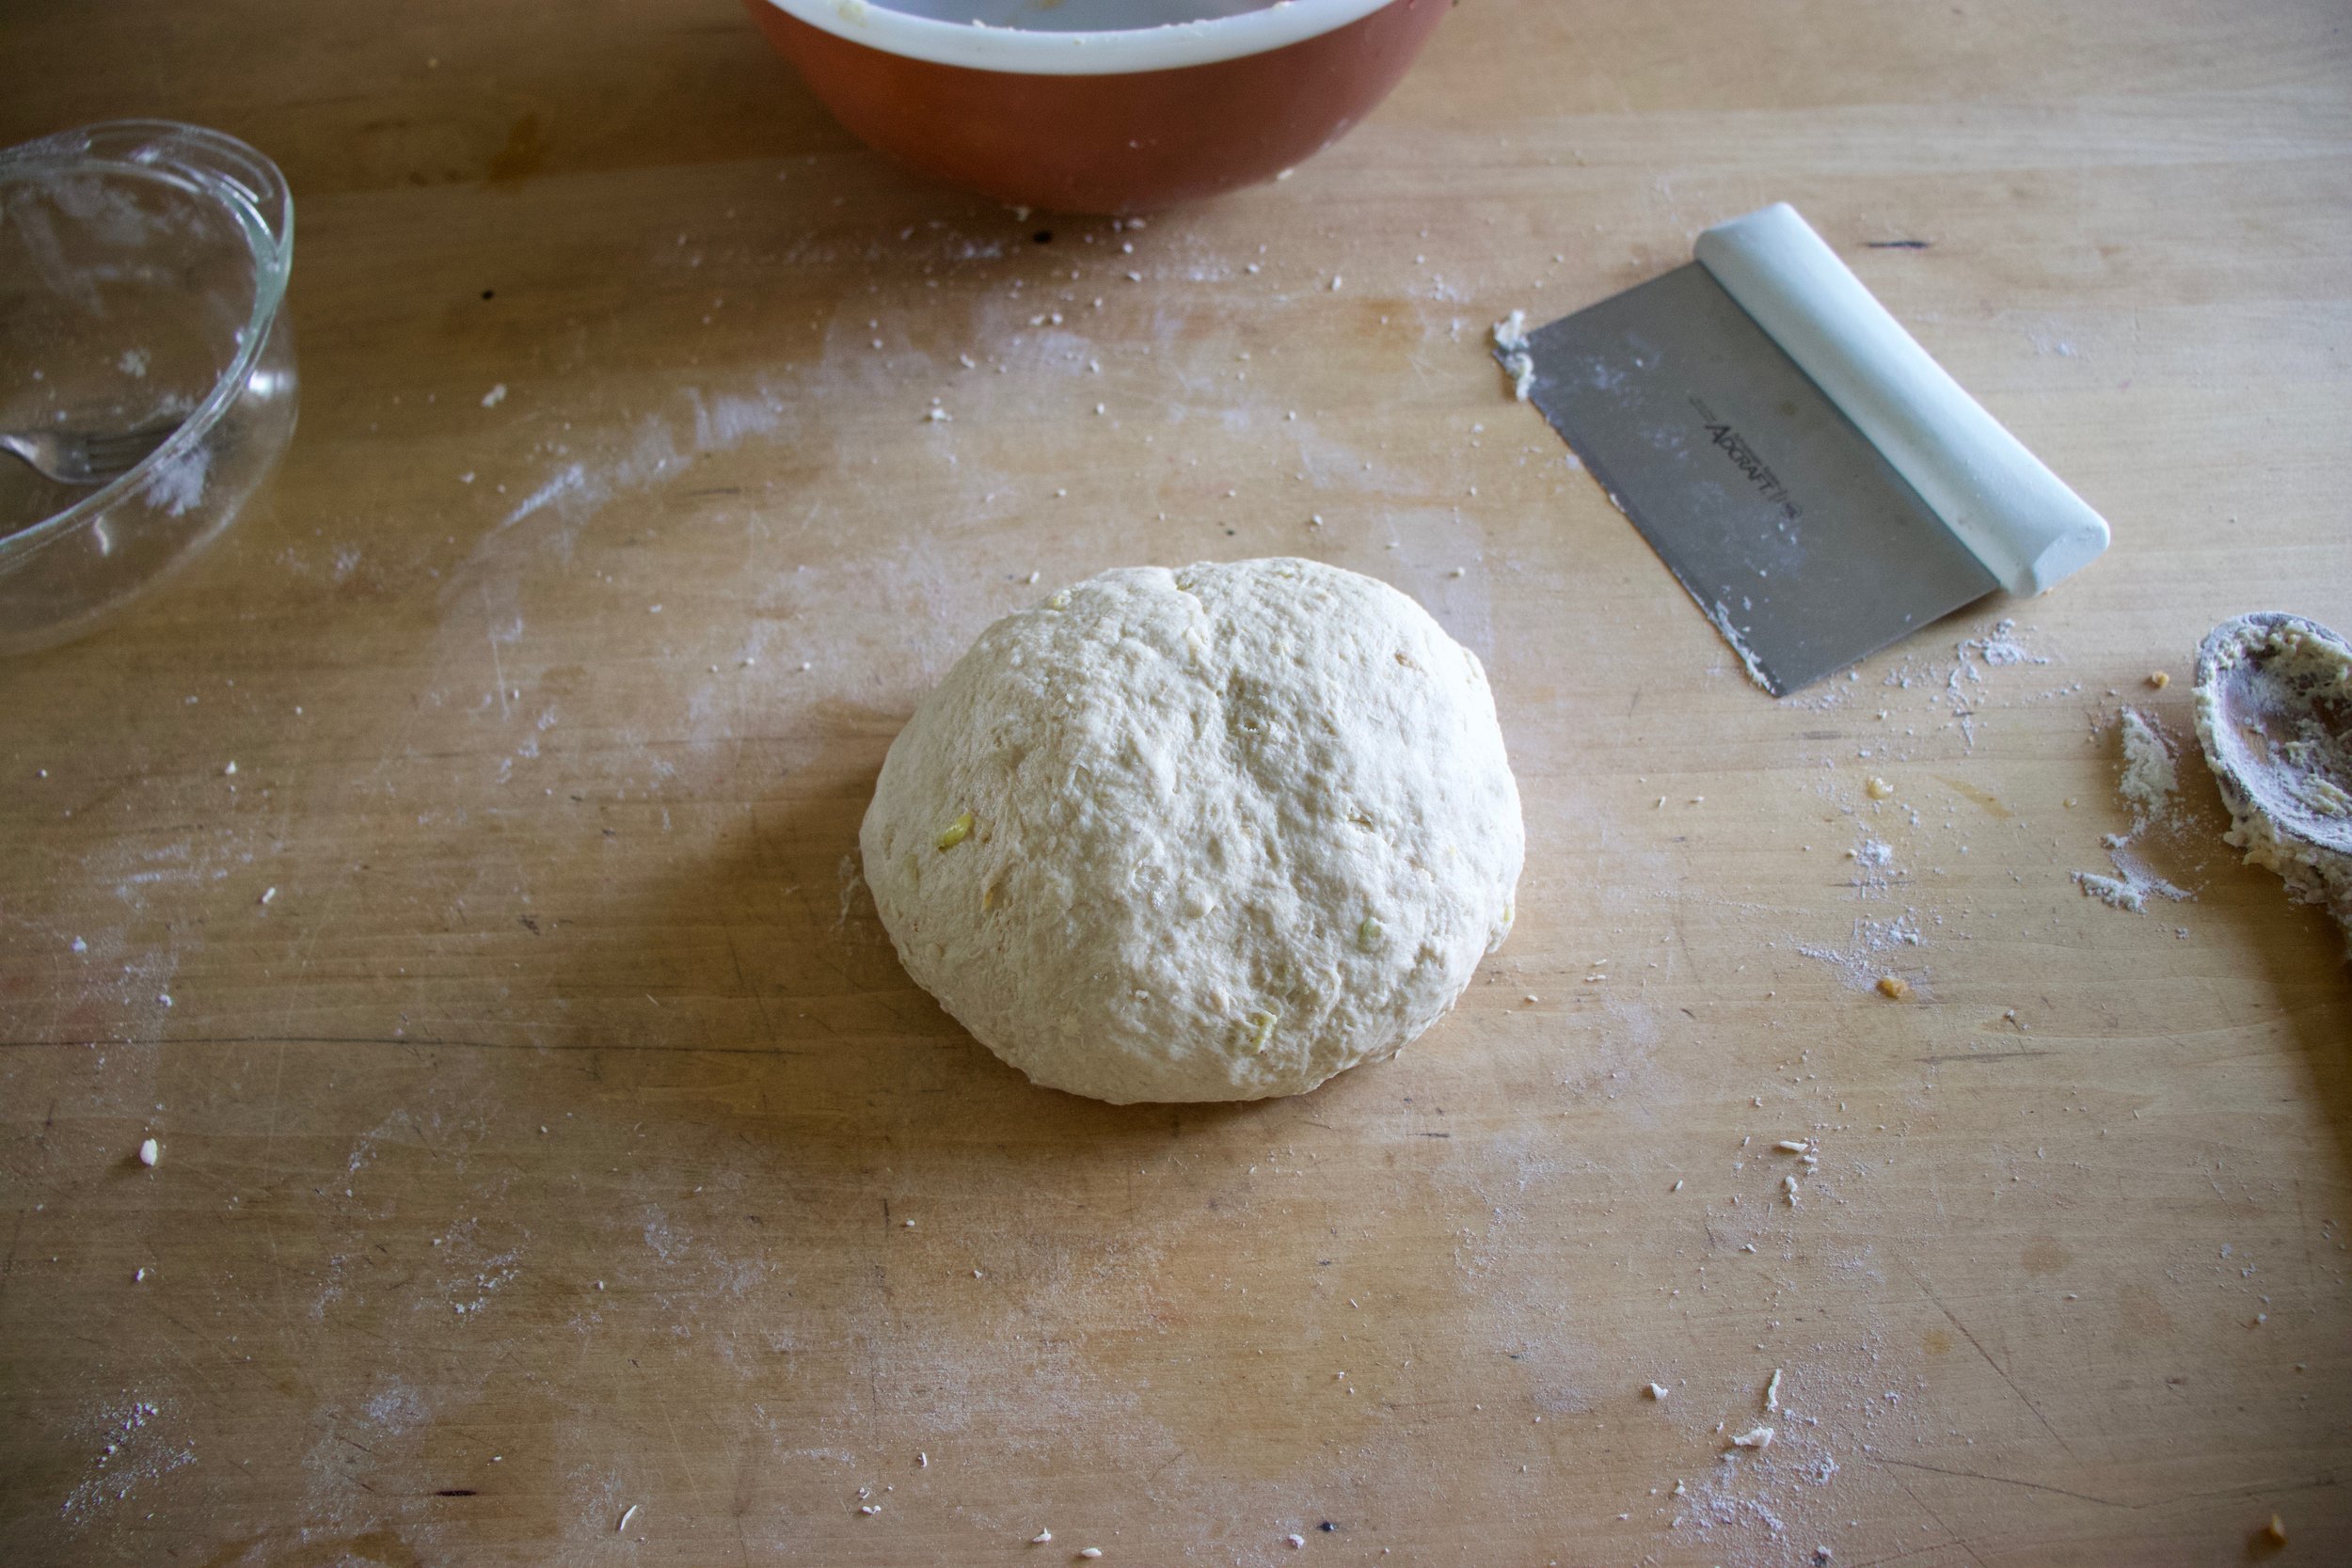
Nice looking dough. Now roll dough into a ball.

IMG_2467.jpg
IMG_2470.jpg

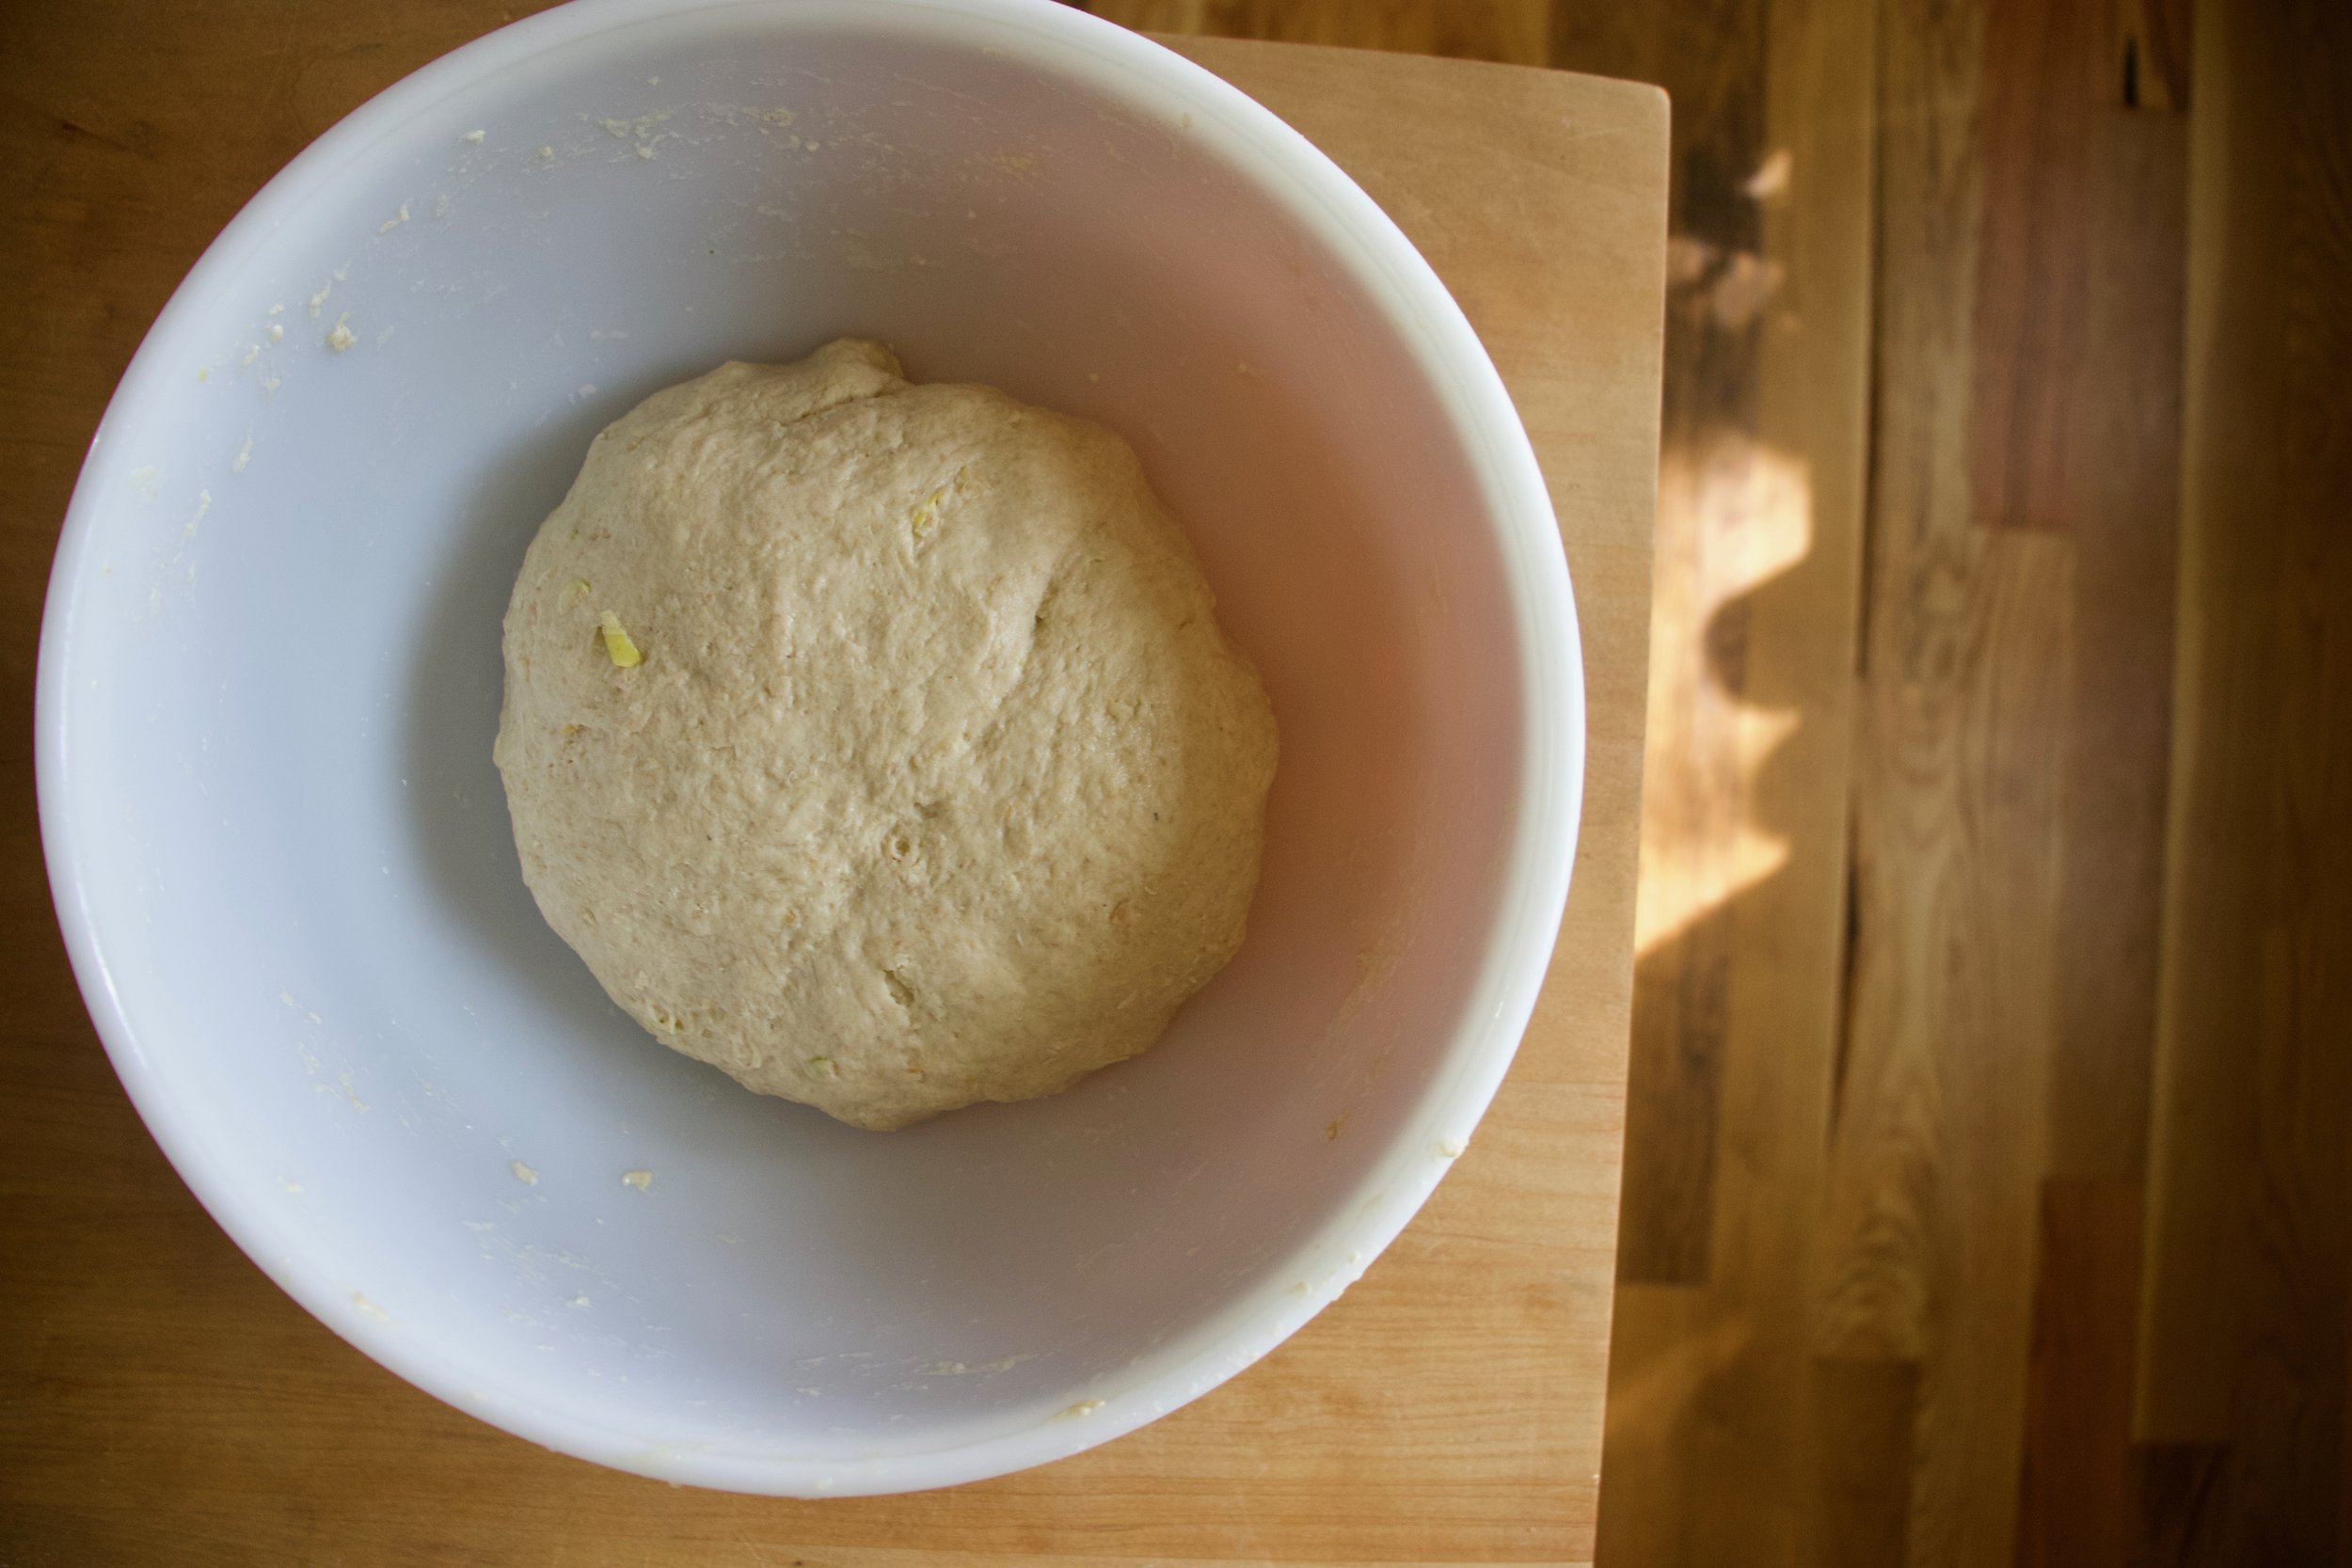
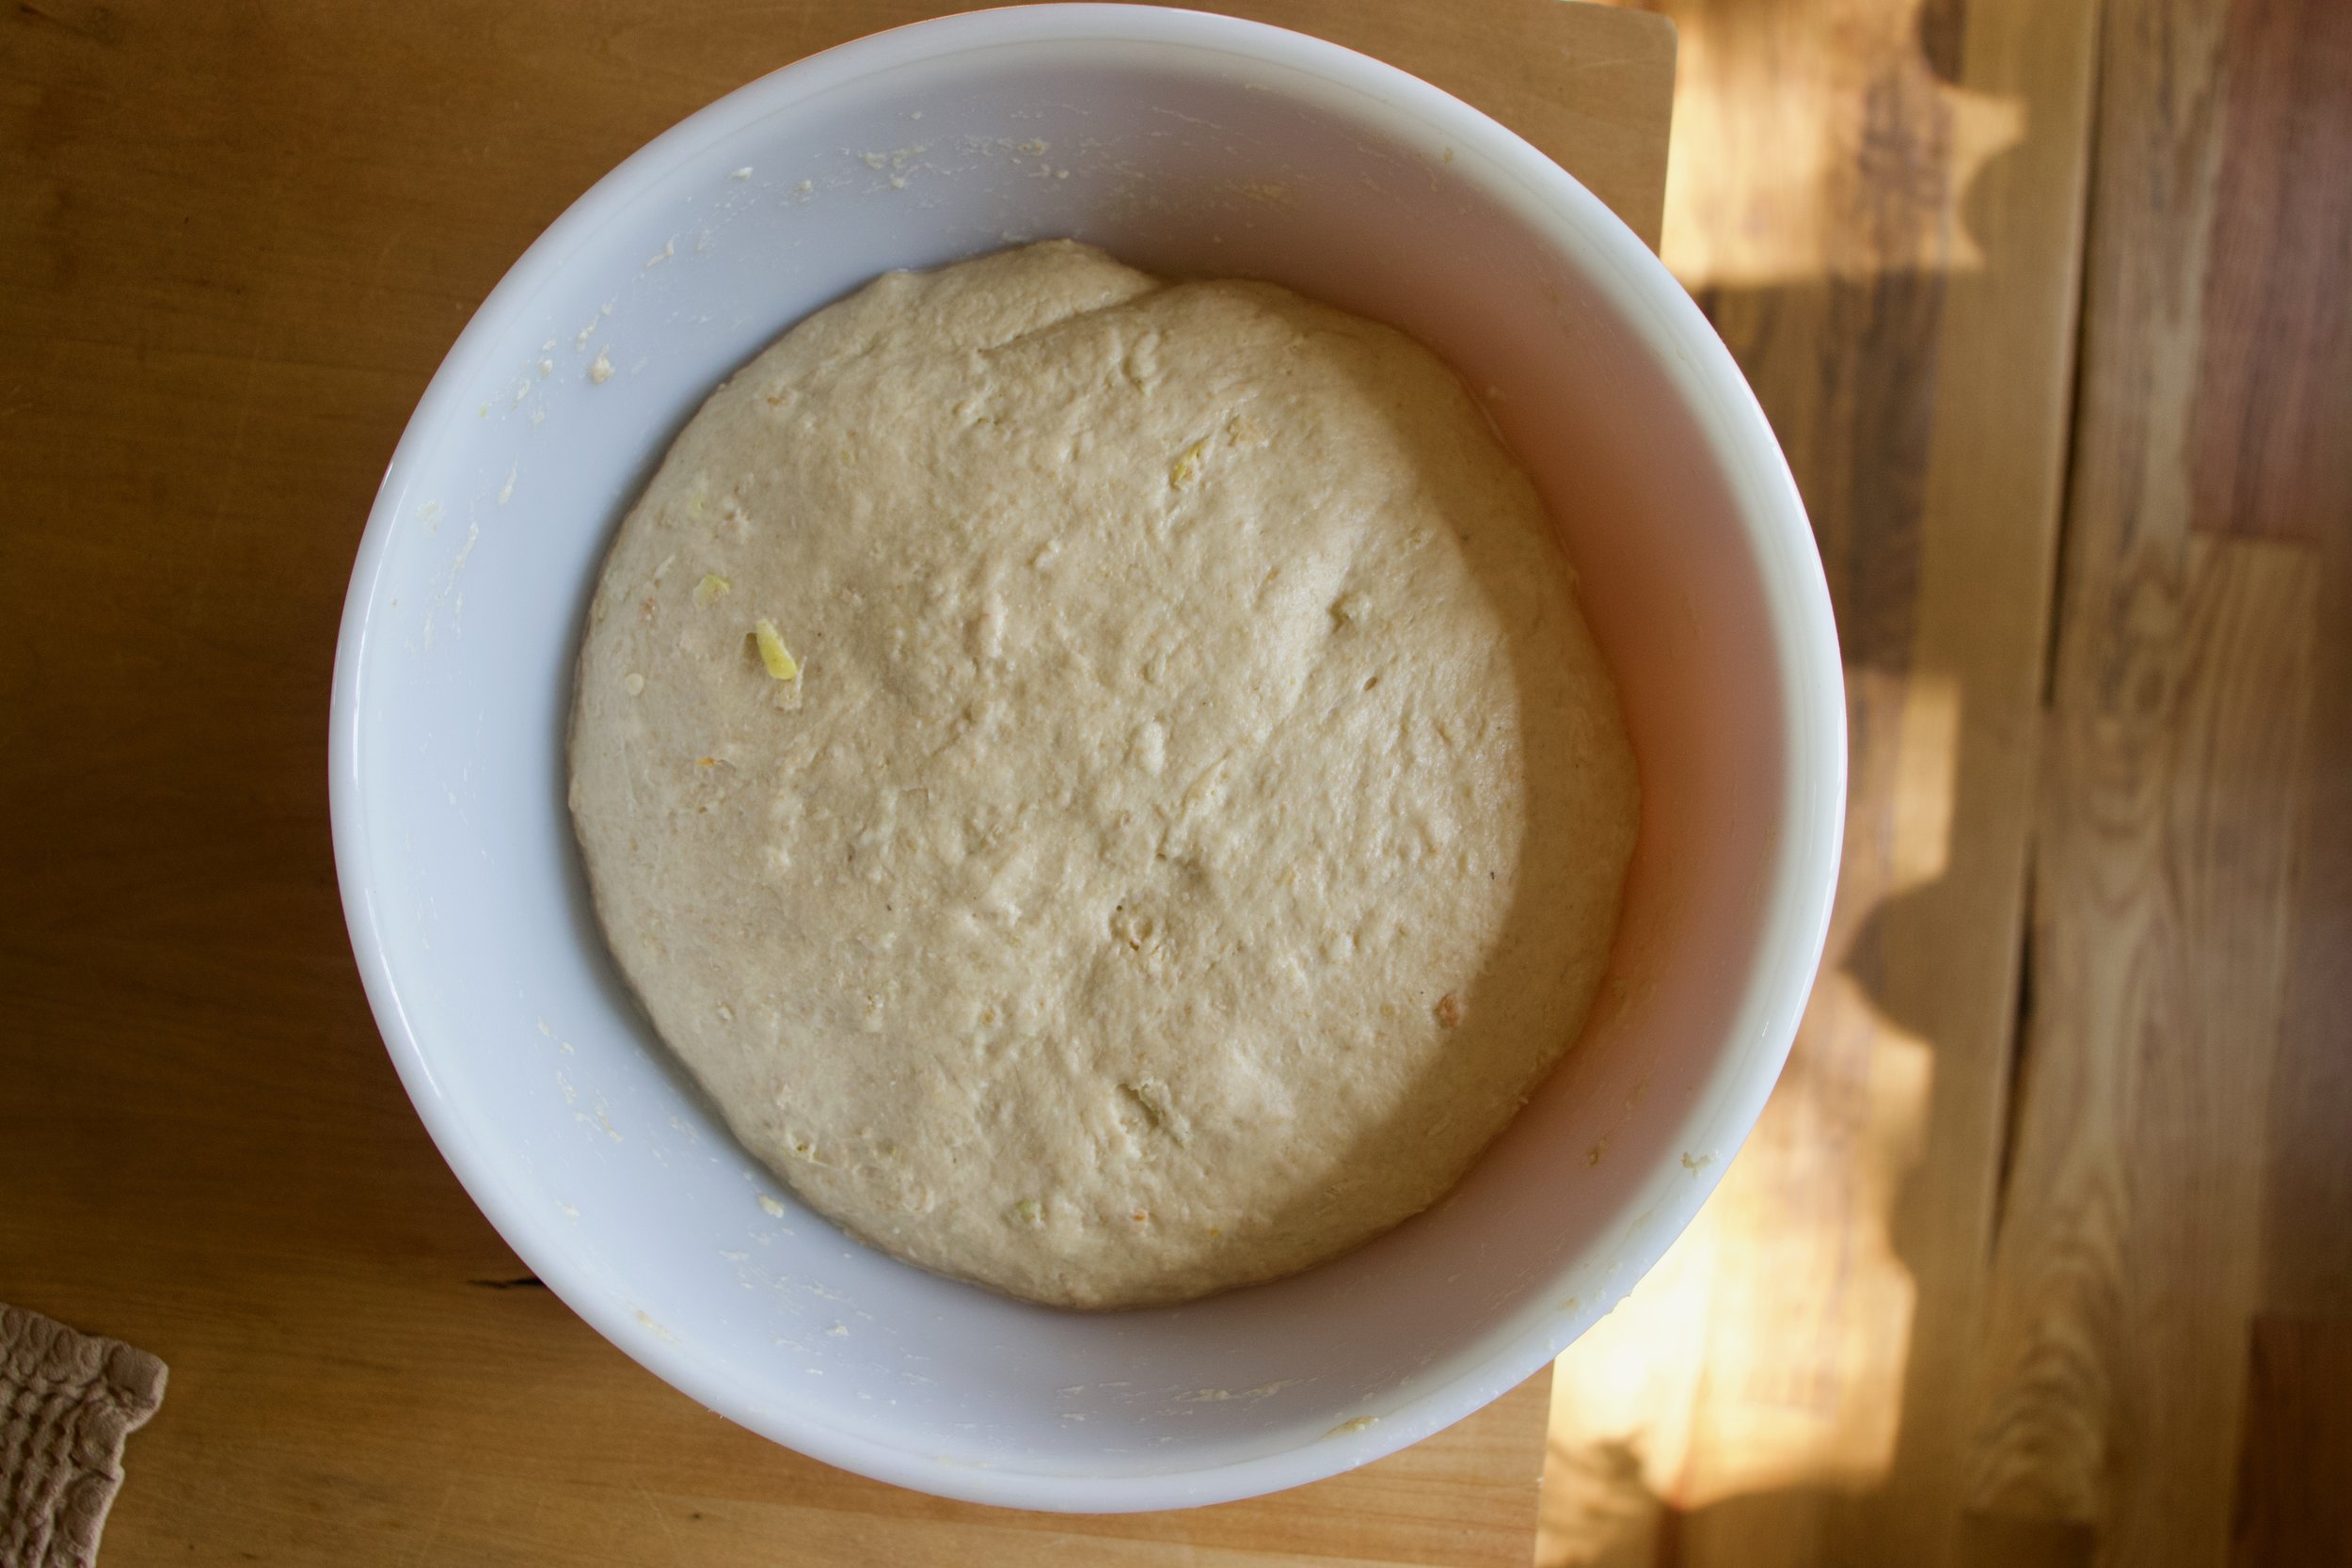
Place dough in a clean wet or oiled bowl and cover with a damp cloth for one to one and a half hours or until dough doubles in size.

Dump dough onto floured surface.

Cut dough into 3 equal pieces and roll out into long longs.

IMG_2483.jpg

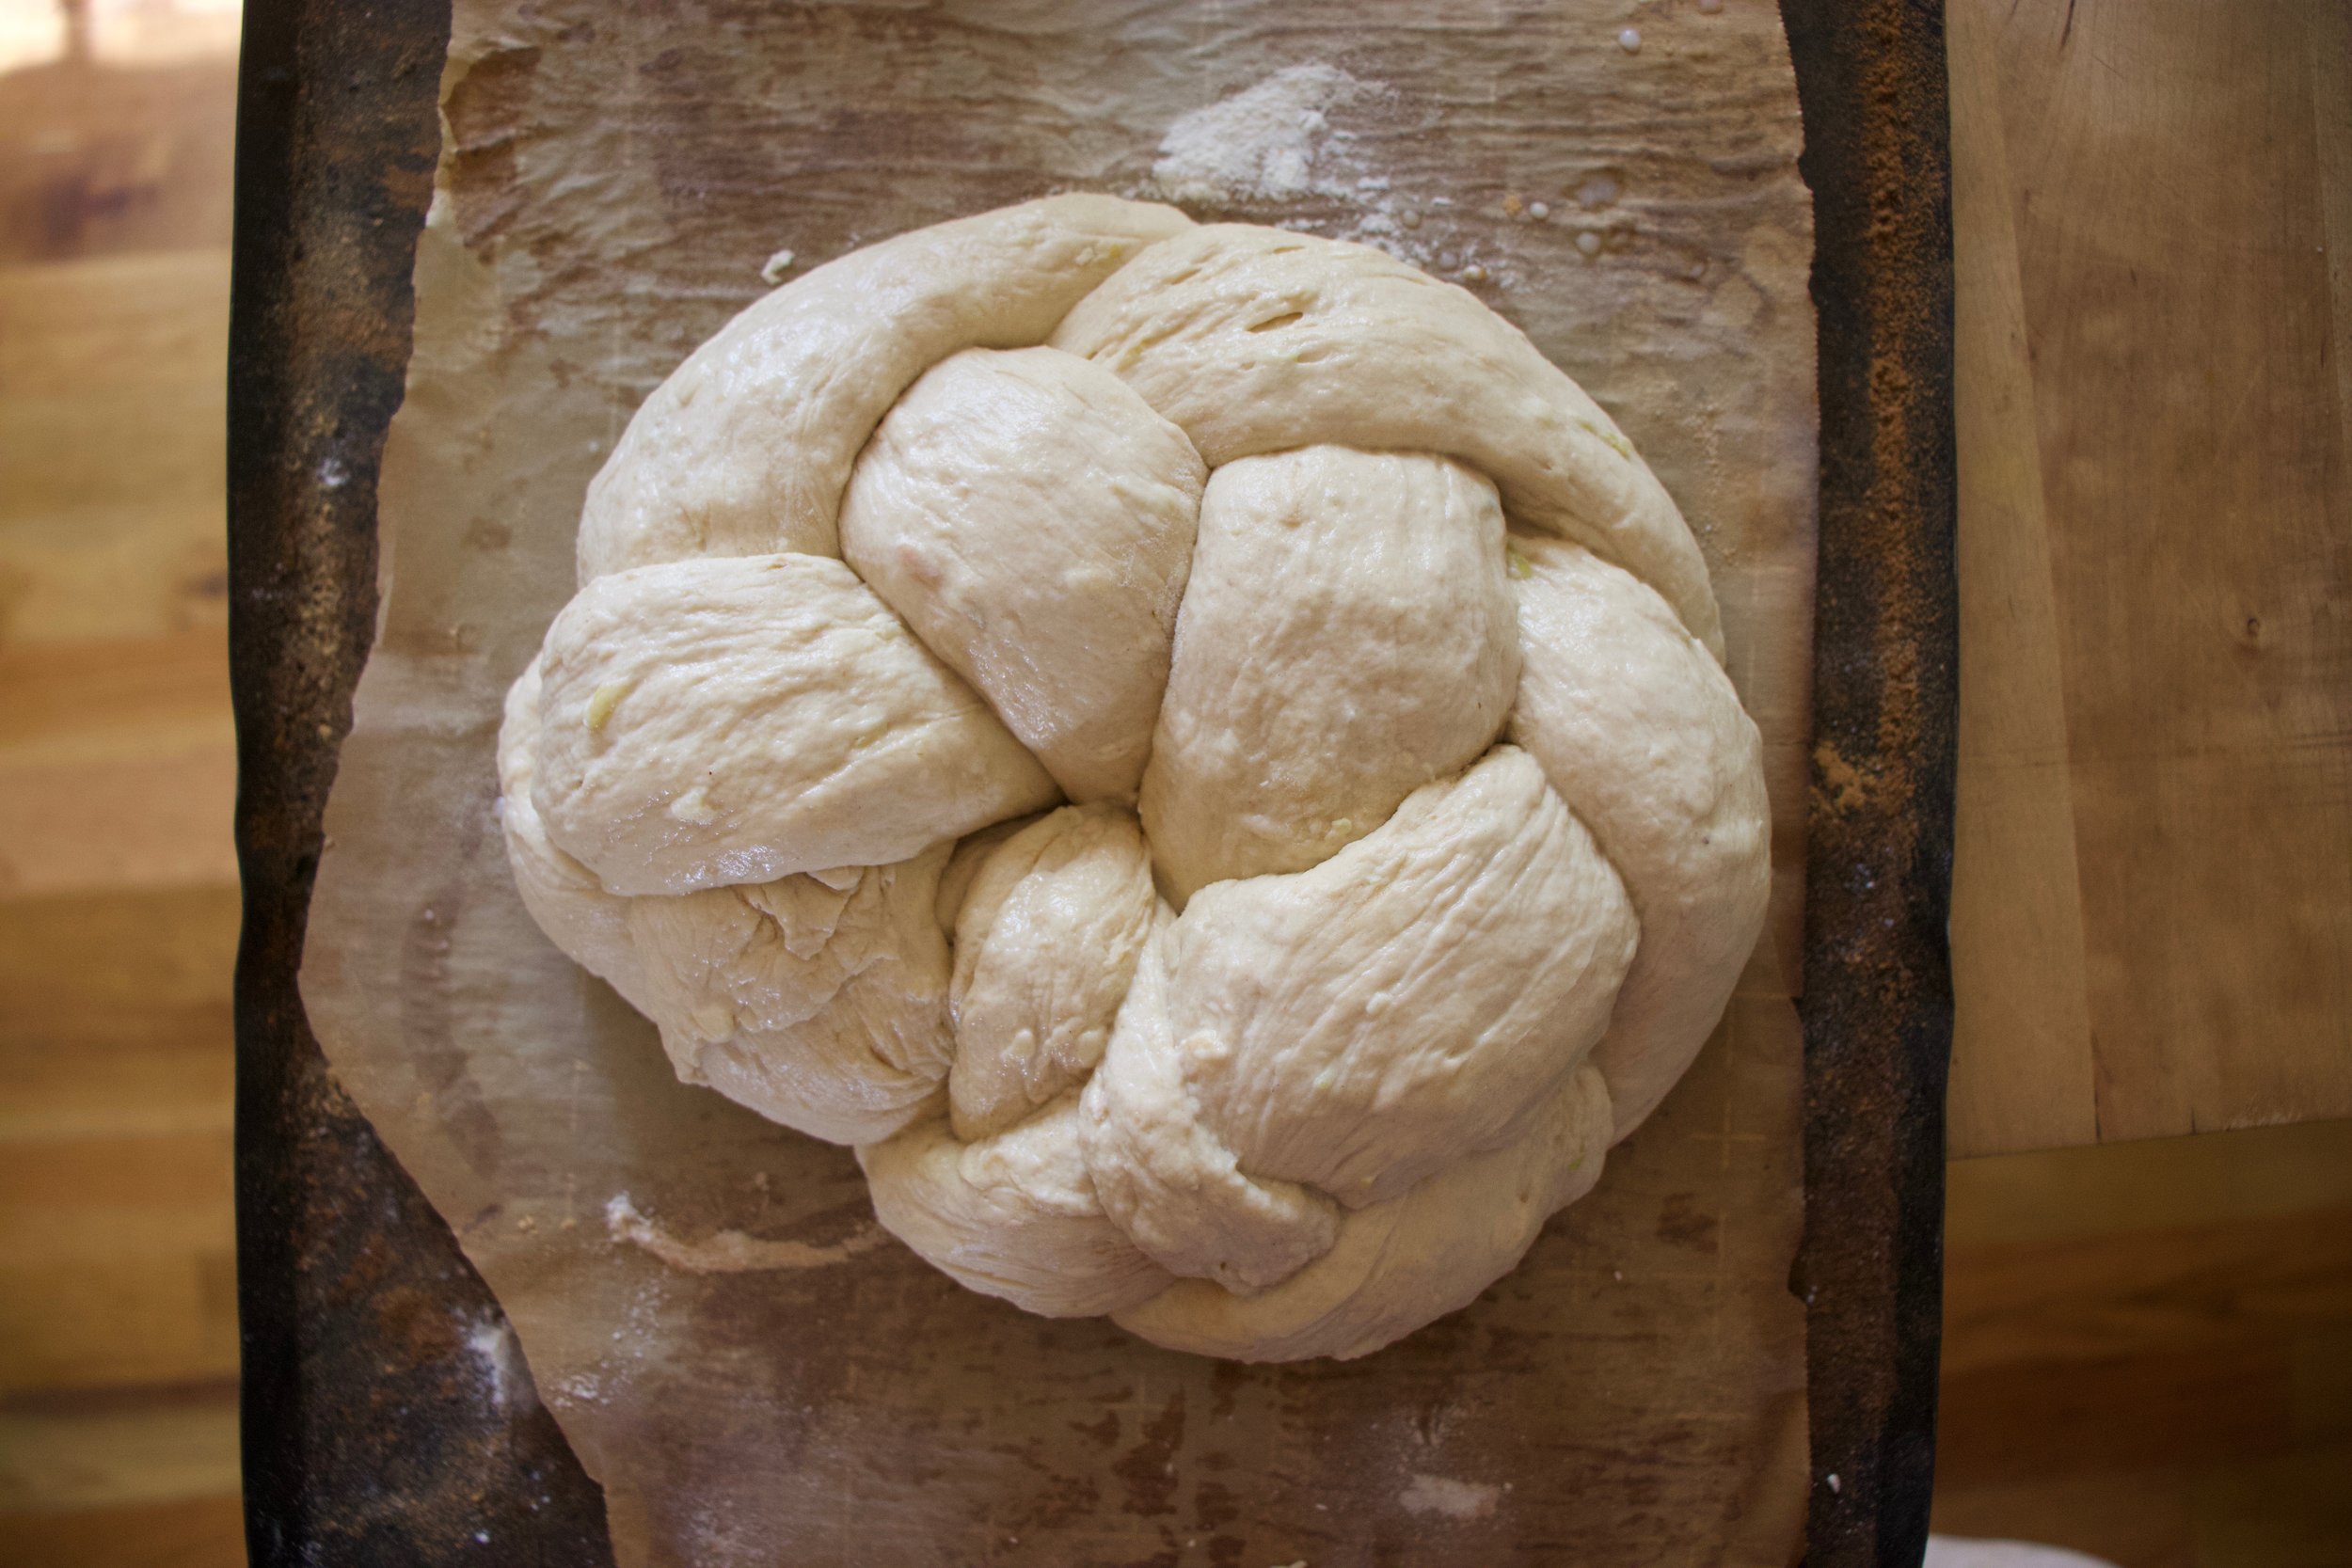
Braid logs together. You can stop here bake it this way or…

After placing it on a parchment lined baking sheet, tuck the ends of the braids underneath each other and make it like this. Either way. And once you have the dough on the baking sheet, brush a little water or plant milk on top and let dough rest for 15 minutes of so while the oven preheats.

IMG_2497.jpg
IMG_2506.jpg

Before oven and after oven. Classy, right?

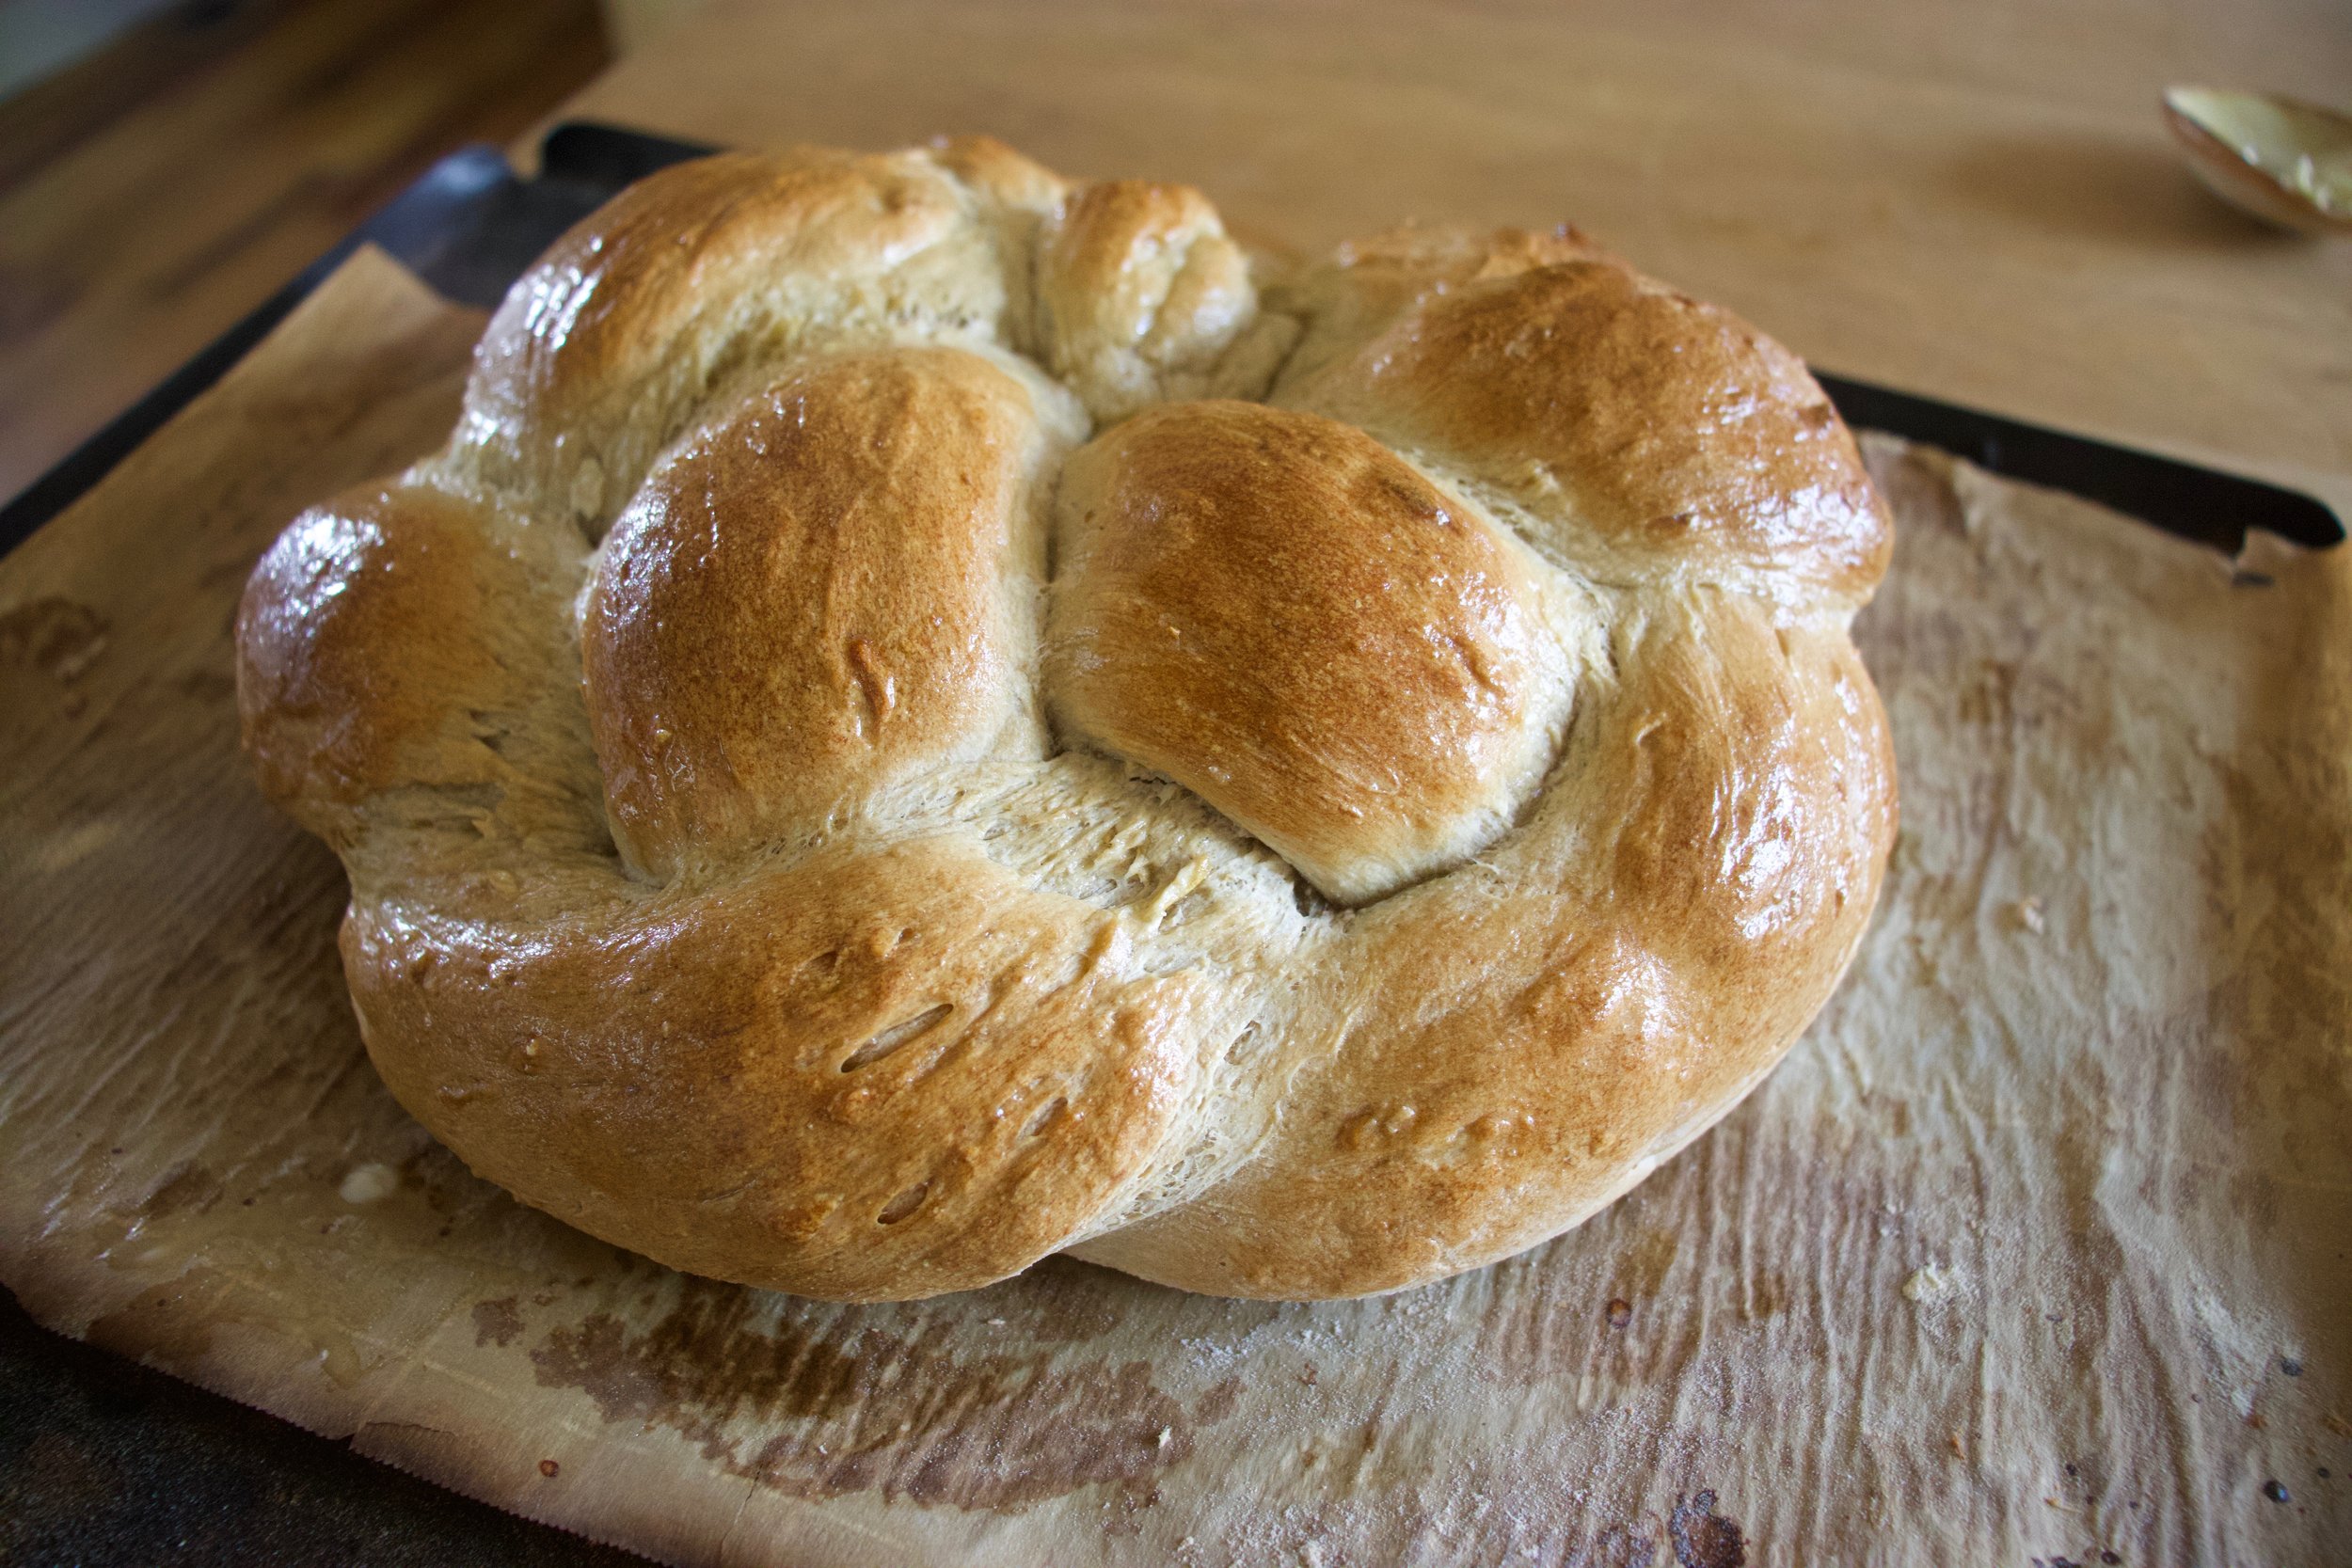
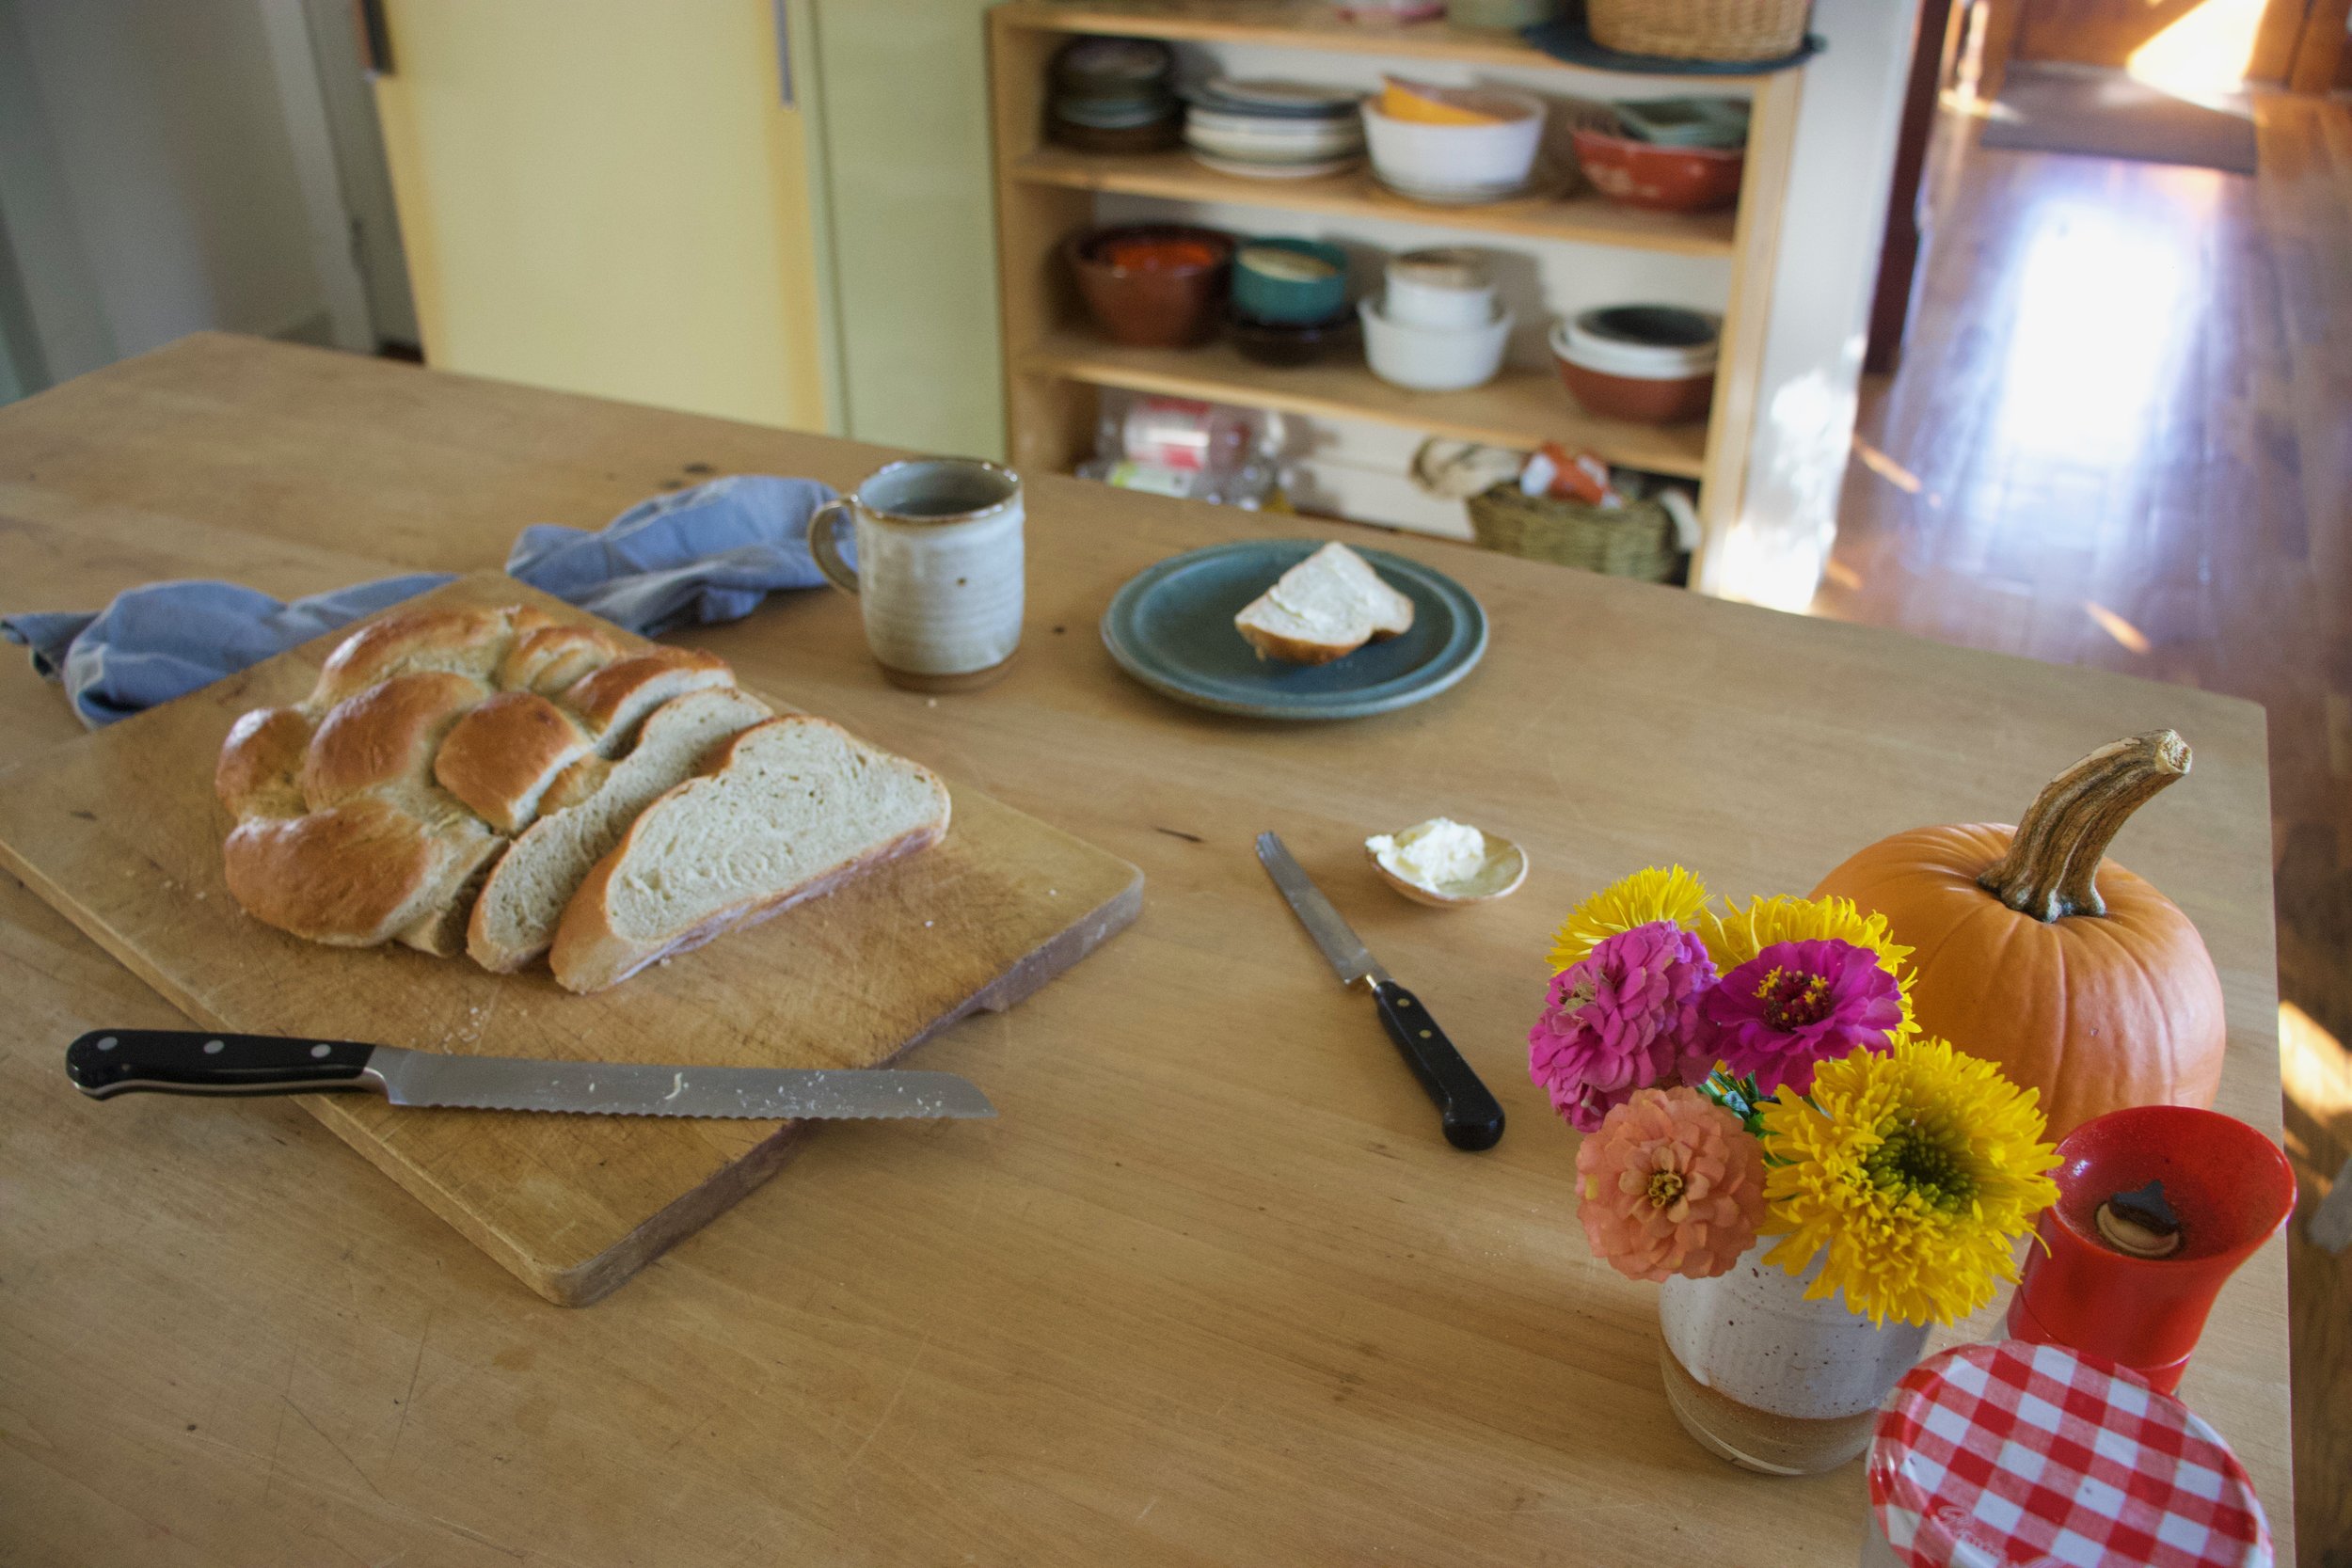
Then for shin and soft crust, rub warm loaf with some plant butter.

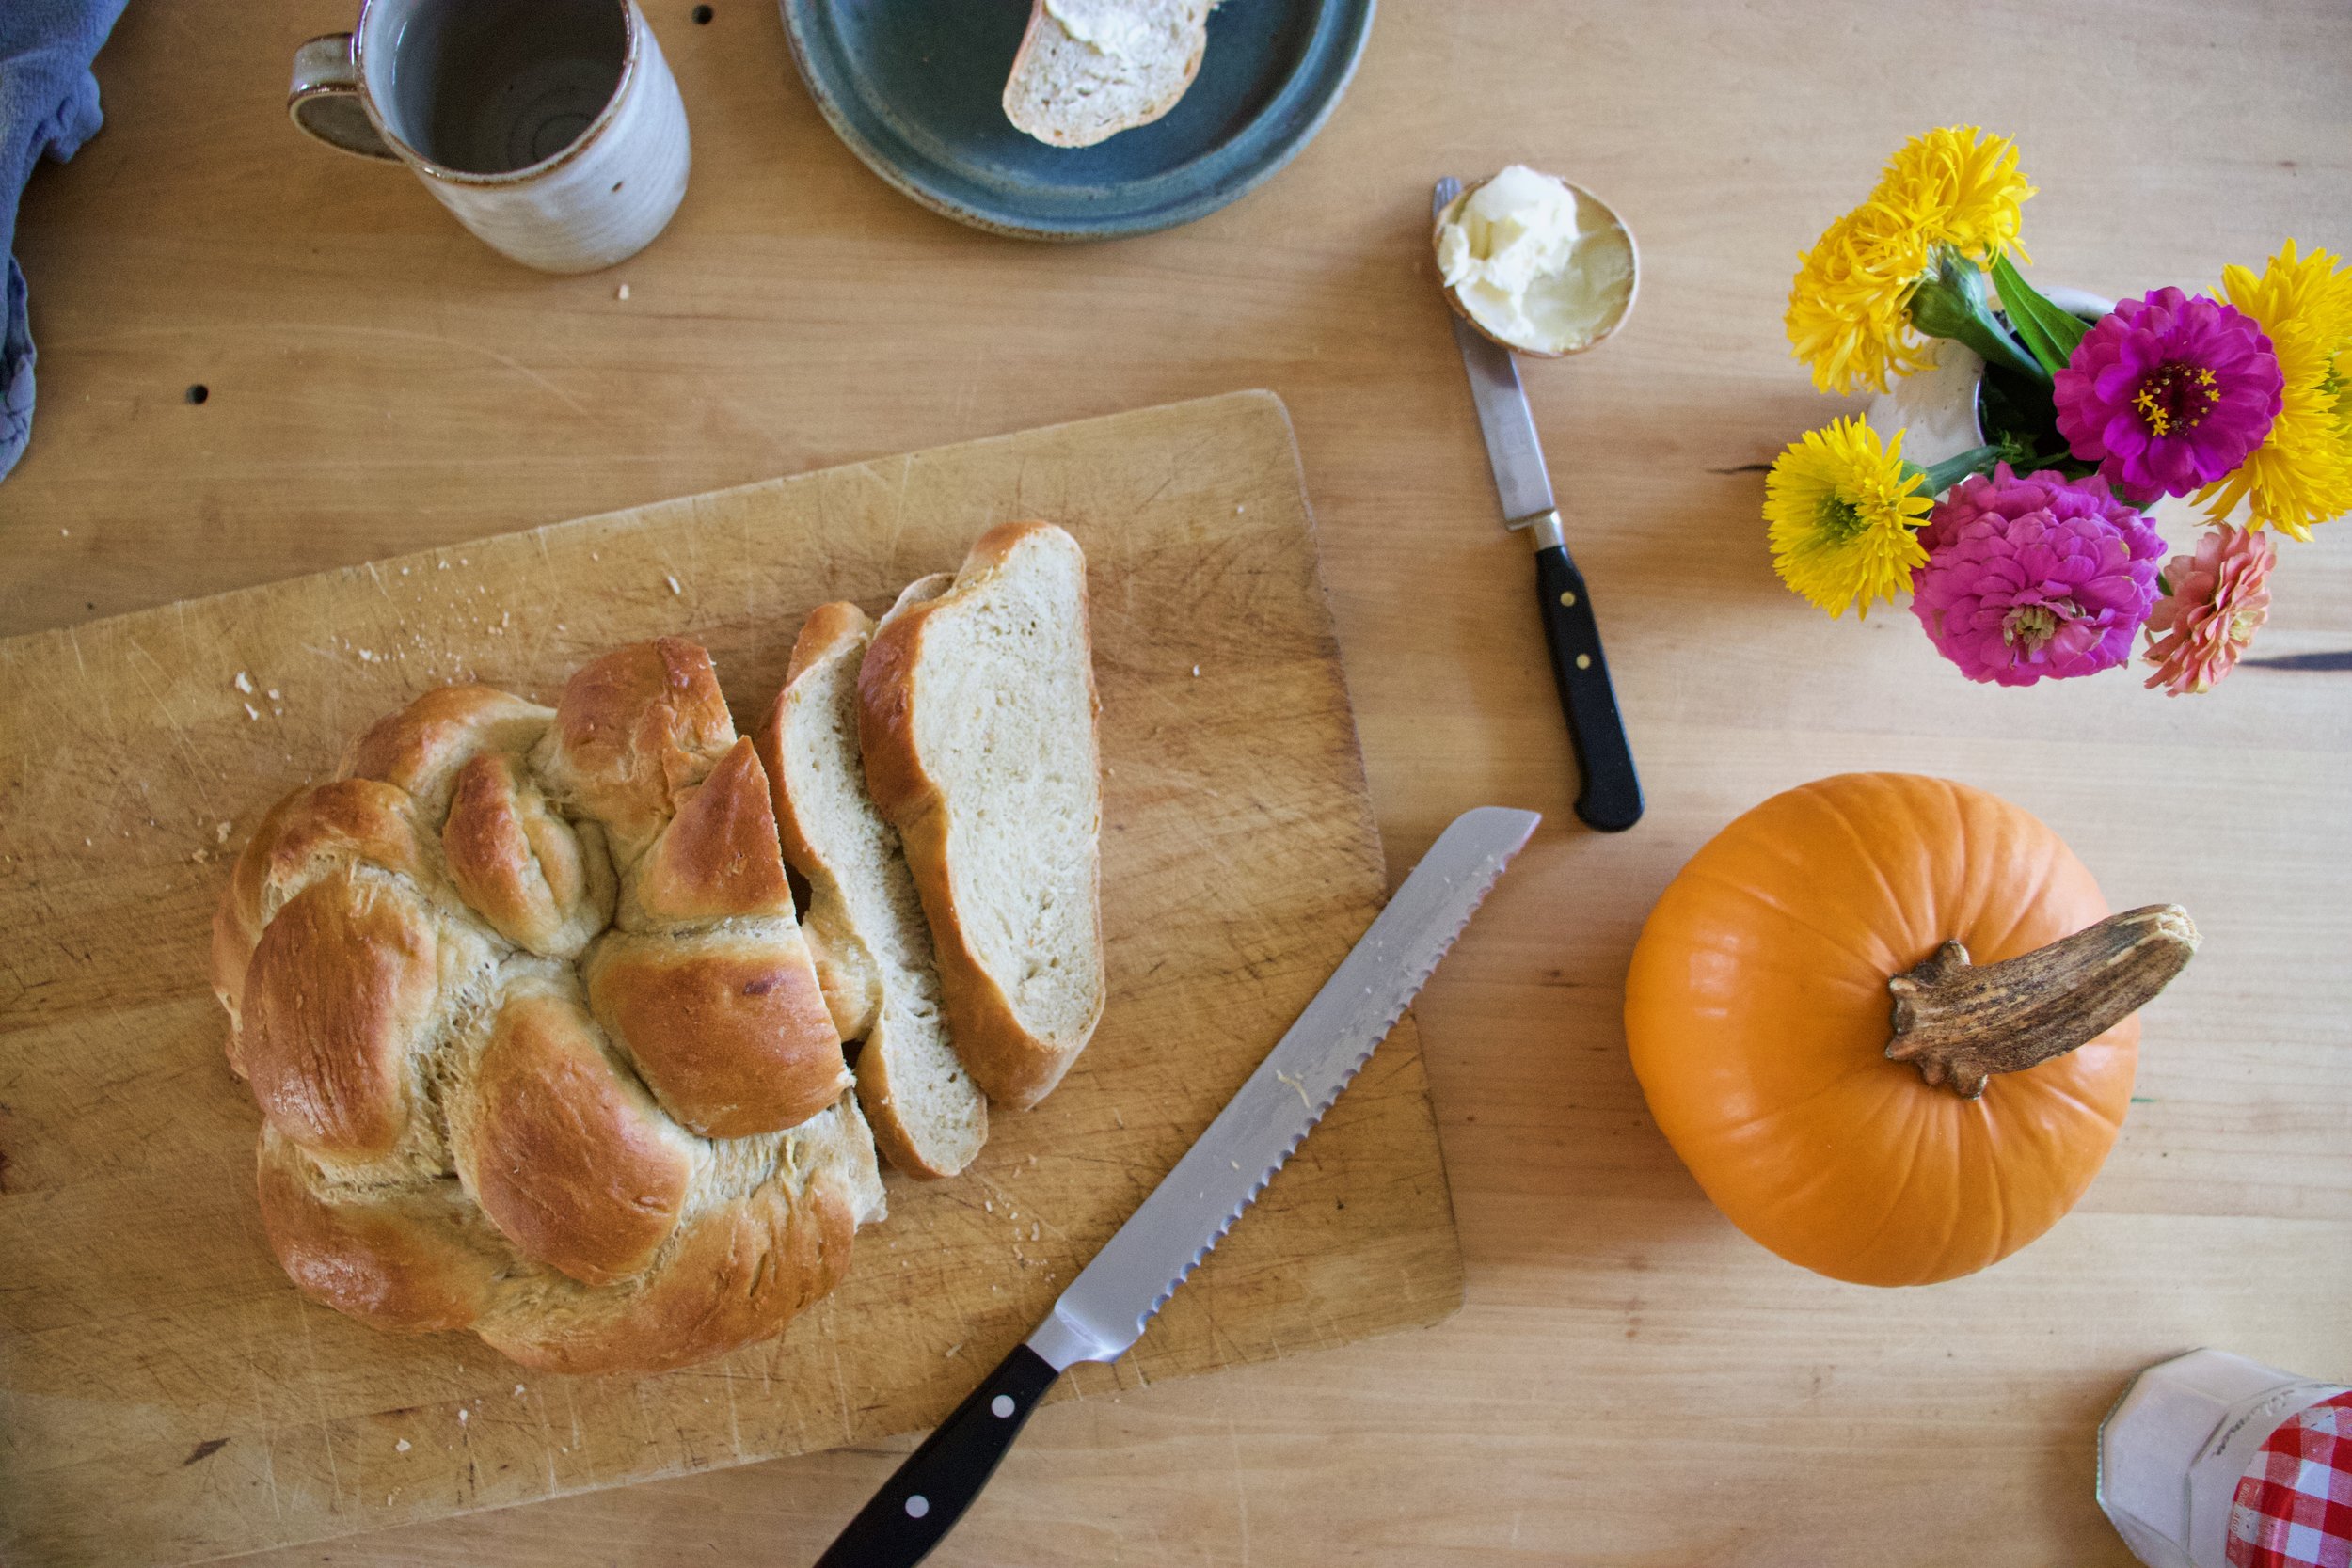
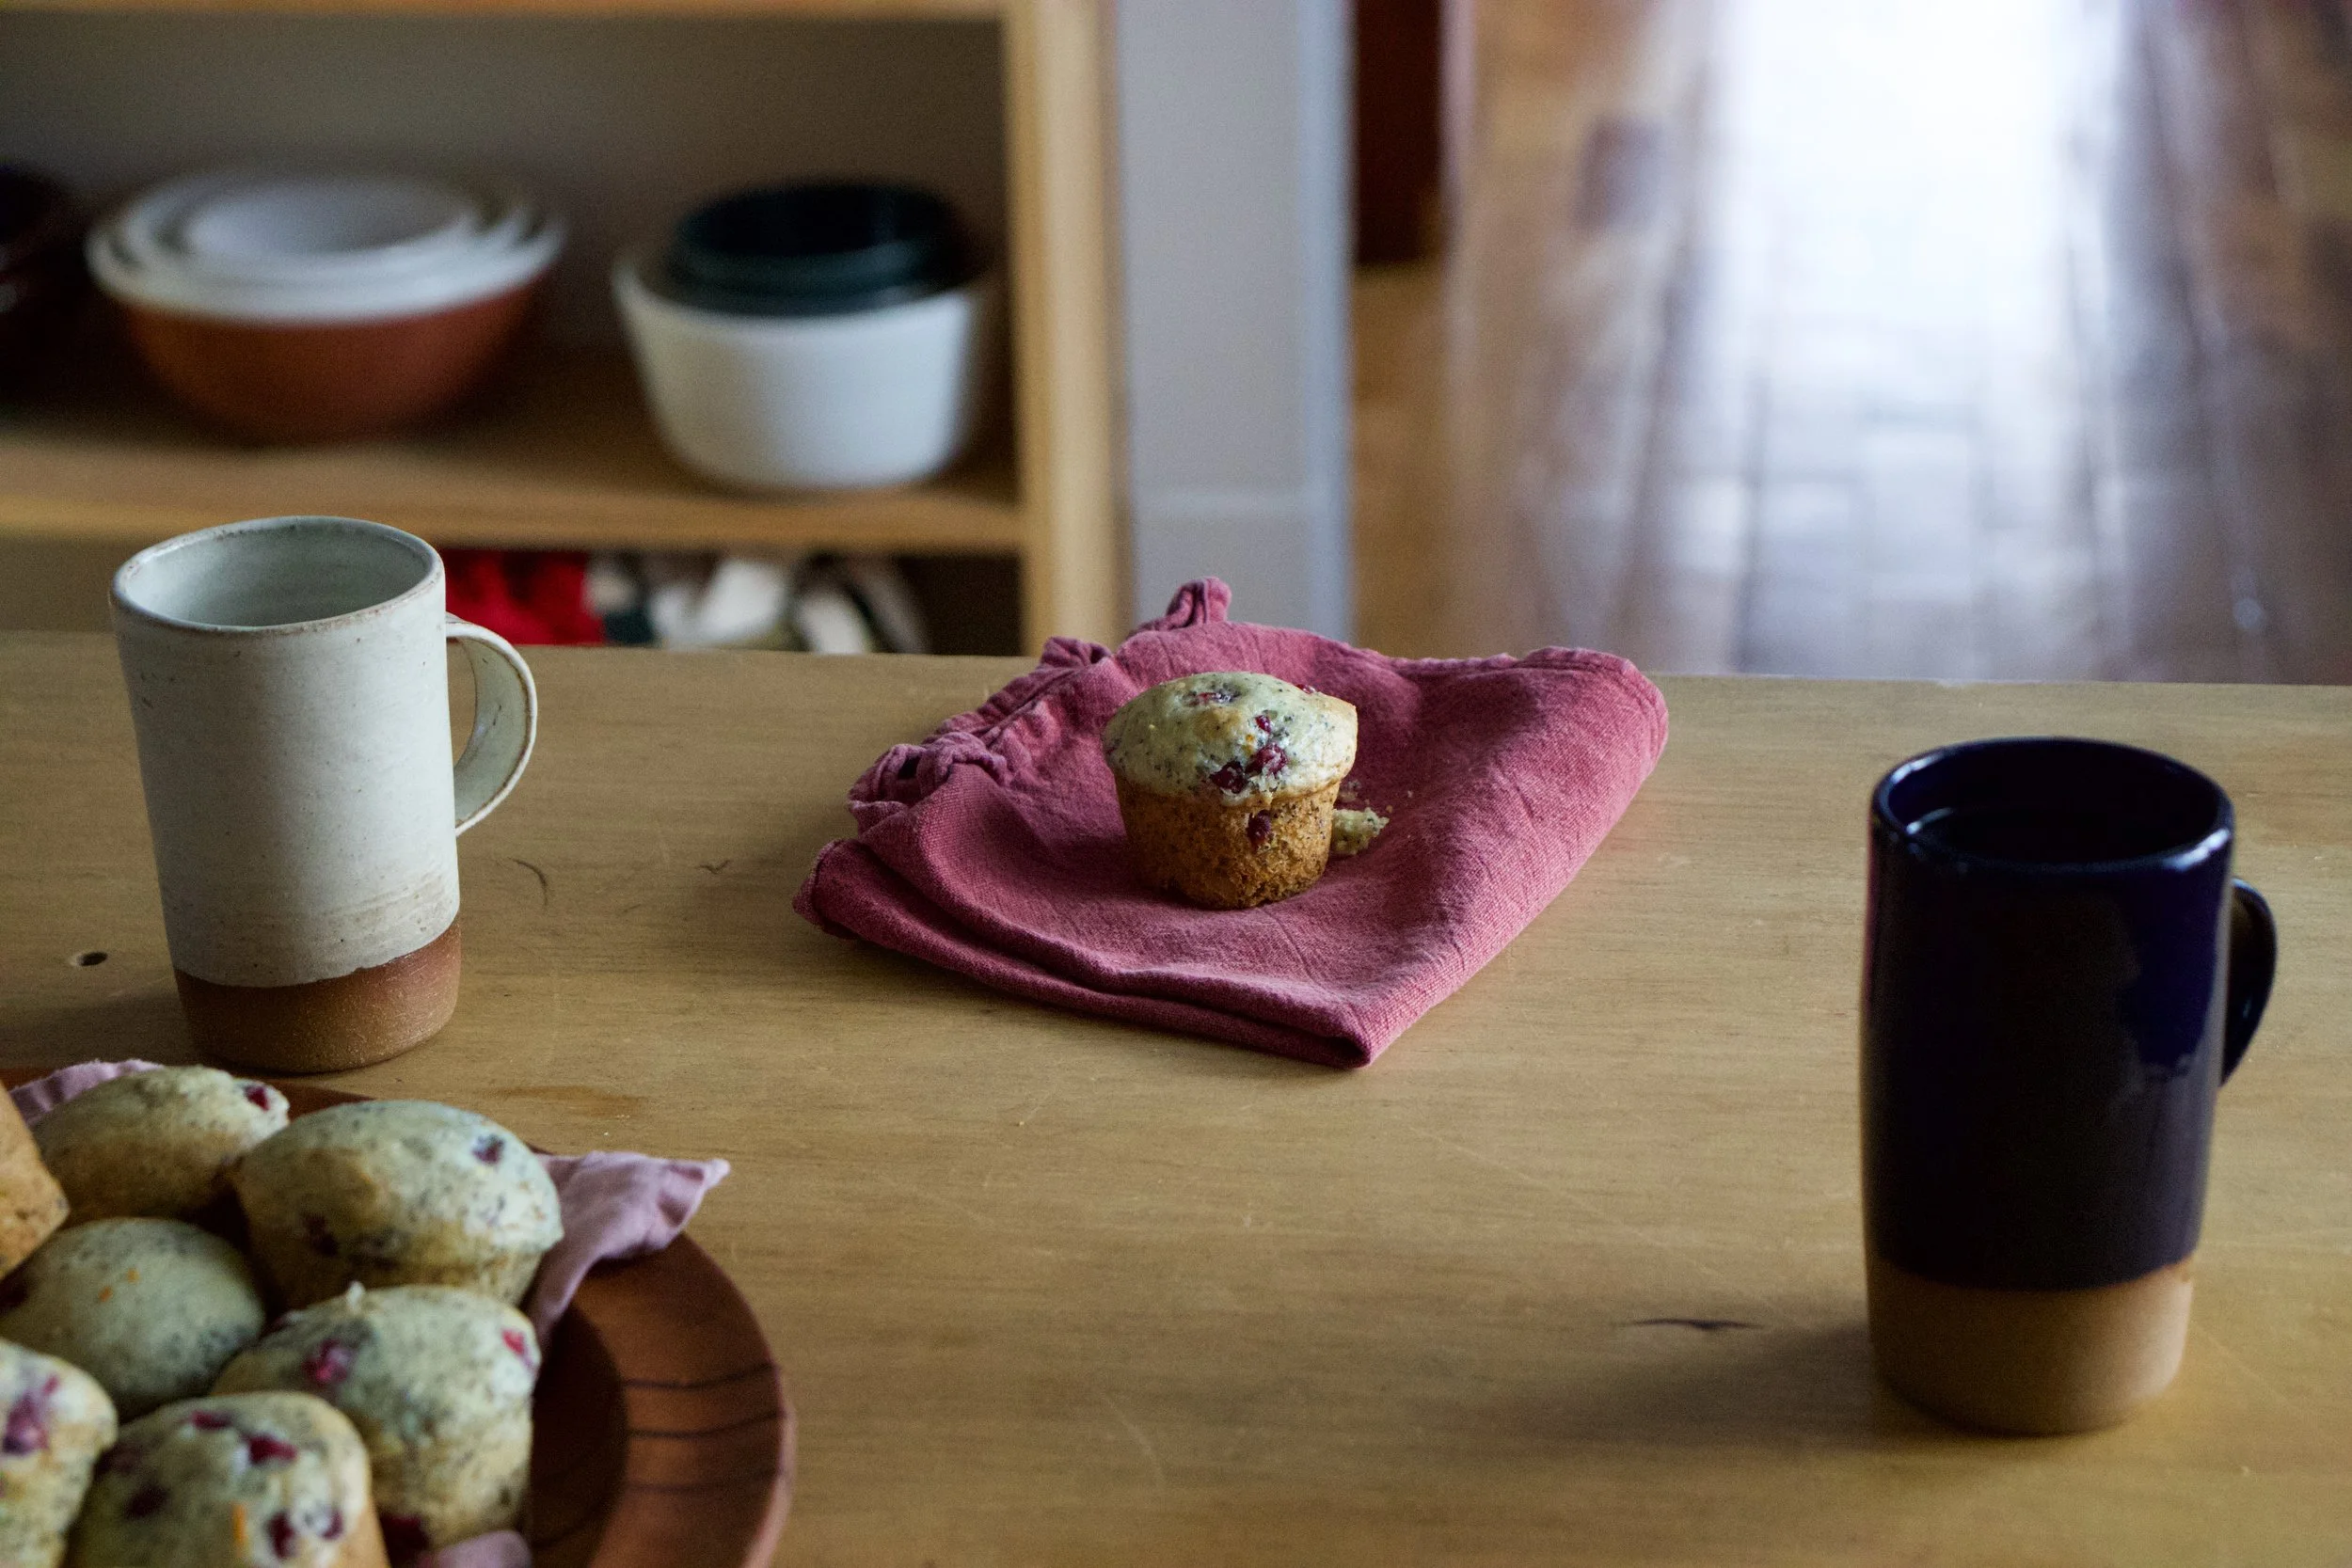
And for the hard part. Let it cool before slicing it. Ok sure, a little warm is fine, but wait at least 20 minutes (an hour would be best) and then eat you some bread.

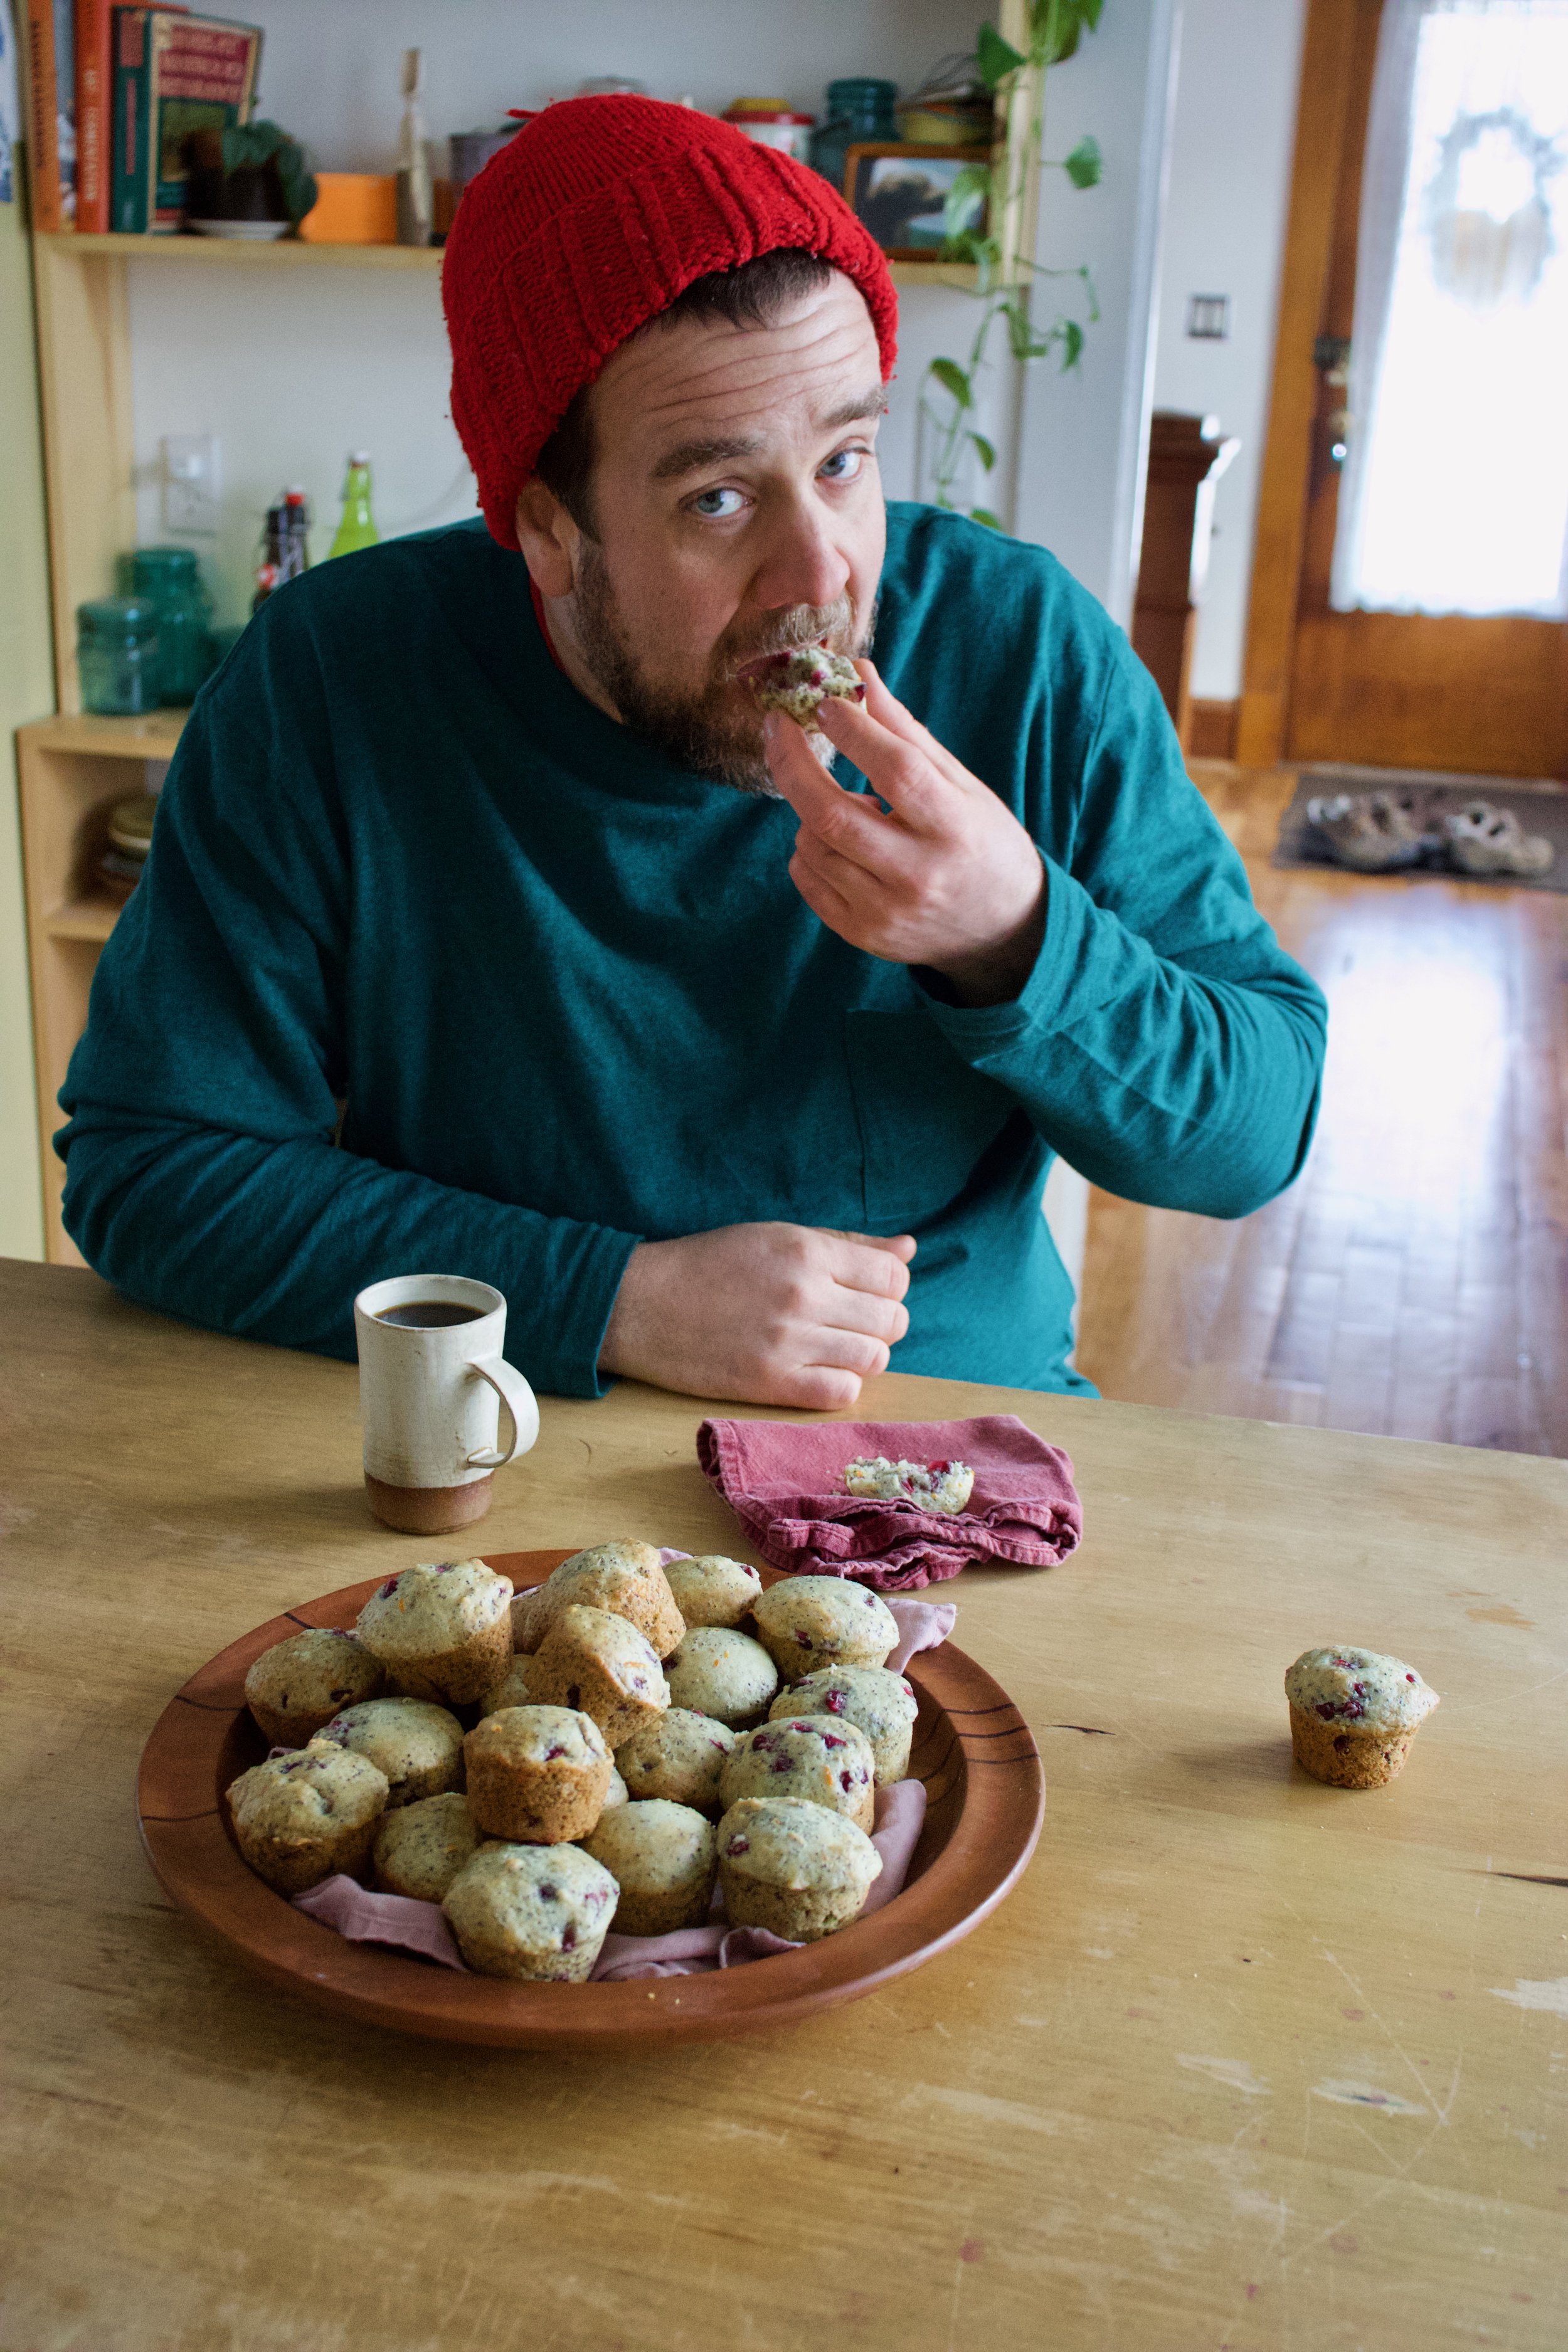
Eat you some bread. That’s a t-shirt right there.

Happy Fall friends!

-C


Yeasted Appley Applesauce Bread

makes pretty one loaf

  • 2 cups all purpose flour

  • 1 1/2 cups white whole wheat flour plus more for kneading

  • 1 cup unsweetened room temperature applesauce

  • 1 large or 2 small apples ( about 2/3 cup shredded apple)

  • 1/4- 1/2 cup warm water

  • 1 tablespoon maple syrup or honey

  • 2 teaspoons active yeast

  • 1 teaspoon salt

  • 1 tablespoon or so plant milk or water

  • 1 tablespoon plant based butter (optional for rubbing on finished bread)

Grab the apples and shred them until you have 2/3 cup shredded apple. In a large bowl, mix together the applesauce, shredded apples, yeast, 1/4 cup warm water, and sweetener.and let yeast activate for a few minutes. Add in salt, the all purpose flour and the 1 1/2 cups white wheat flour. Stir together until dough forms. The dough should be a little bit sticky so if the dough seems to dry, add in 1/4 cup more warm water. If it seems really wet, add in a handful more flour.

Dump dough out onto a well floured surface and knead for about 5 minutes adding a little bit of flour to the counter as needed to prevent it from sticking. Once dough is cohesive in texture, roll into a ball and place into a clean wet or oiled bowl. Cover with a damp towel and allow the dough to double in size. Should take between an hour and an hour and a half.

Once dough doubles in size preheat oven to 400

Dump risen dough back onto a well flour counter. Cut the dough into 3 equal sizes and roll each piece into long logs about 20 inches or so long. Place each roll next to each other and braid. Grab a baking sheet and line with a piece of parchment paper. Sprinkle with a bit of flour and place braided dough onto sheet, either as a braid or if you want, like I did, wrap the braid around itself into a rounded braid situation. Tuck ends into each other and under the loaf. Brush the top gently with a little plant milk or water and let rest for about another 15 minutes or so.

After the rest, place dough into preheated oven. Bake for 35-45 minutes (Less if left long braid, more if wrapped braid) or until the top is a deep golden brown and when tapped on the bottom, it sounds hollow. Also can use an insta read thermometer and check temperature. You want it to reach 190 degrees.

Once bread is baked, remove from oven. If you want the top to stay a little crispy, don’t do anything but let it cool. For a softer, shinny crust, rub the top while it is still warm with some plant based butter.

Let bread cool completely before cutting.

Then eat it like you would eat bread. Any and every way.

Store cooled loaf in a airtight bag on counter for 2-3 days but if not eating that fast, slice and place into freezer. That way you can pull out individual pieces and toast as you want.

In bread, Dairy Free, fall, fruit, Vegan Tags Yeasted Appley Applesauce Bread, Yeasted Bread, sandwich bread, bread, whole wheat bread, King Arthur flour, yeasted, plant based, vegan, apple, applesauce, fresh, baked, fall, simple, easy
Comment

Peanut Butter Frosted Chocolate Cake

May 25, 2019 Colleen Stem
IMG_8817.jpg
IMG_8719.jpg

Kind of a spur of the moment cake situation. I was in the middle of doing some paper work and remembered that I had made plans with the littles to go bike shopping and do dinner. Usually when they come over for dinner I don’t make a point to have a dessert (they are happy with a handful of chocolate chips if I have nothing) but I felt the need to have something special. I mean, bike shopping, that’s a big deal and they were so excited so I wanted to have a little celebration cake thing. A, YIPPIE YOU GOT BIKES! cake. It just seemed like the right thing to do.

So I made cake. I running a little short on time (yet I still had time to take pictures….) so I went with my trusty one bowl, super easy chocolate cake. (This is everyone in my families favorite cake). Peanut butter frosting because it was right in from of me and really, it was for Coco the fat baby. He basically eats nothing but peanut butter these days. And of course because peanut butter and chocolate together are never going out of style. I cooked the cake in a loaf pan because I was just feeling loafy I guess. But This cake could totally be cooked into a cake round or square if you wanted to.

And that was that. I made that cake, they got the bikes (YEA!!!!, although I told them both that they sucked because they walked into a store and picked out bikes in less then an hour. I on the other hand have been bike shopping for more then a month and still haven’t made a decision.) We then came back here to my house, biked around for a while, then ate cake (after dinner of course.)

Anyways. This cake. Rich, dense, chocolatey peanut butter goodness. Has been described as the best cake ever and like a Reese peanut butter cup. If you are into any of that, well this is the cake for you.

To the cake.

The stuff for the cake.. Flour, baking soda, salt, cocoa powder, oil, coffee, vanilla. brown sugar, and apple cider vinegar. And the stuff for the frosting. Peanut butter, butter, powdered sugar, and almond milk.

IMG_8594.jpg
IMG_8600.jpg

In a big bowl, whisk together the dry stuff, pinching and breaking apart any big clumps of cocoa or sugar. Then just dump in the wet.

Whisked until glossy and smooth. A perfectly perfect chocolate cake batter.

IMG_8626.jpg
IMG_8661.jpg

Pour batter into a greased and lined loaf pan and into the oven it goes. 50-60 minutes or so or until a tester poked in the middle comes out clean. Then pop the cake right on out. Remove cake from tin and let cool on a wire rack.

IMG_8636.jpg

While cake is cooling, make frosting. Beat together powdered sugar, peanut butter, butter, and milk.

IMG_8647.jpg

Fully beaten. Ready to frost a cake.

Once cake is cooled, cut in half down the middle, length wise. Then frosting the middle. (Make sure it is cooled in the middle before frosting. If it is still warm, let it cool)

IMG_8694.jpg

Pop the top back on and frost the rest.

And don’t forget the sprinkles. Went with chocolate and gold because. But you do you and use whatever sprinkles you want.

IMG_8803.jpg

And then you eat the cake.

I ended up stick it in the freezer to hide for a while… I guess this cake cold or slightly frozen is just about the best thing ever. The littles damn near ripped my arm off trying to get seconds.

-C


Peanut Butter Frosted Chocolate Cake

makes 1 loaf cake

  • For the Cake

  • 1 3/4 cup all purpose flour

  • 1 cup packed light brown sugar

  • 1/3 cup cocoa powder

  • 1 teaspoon baking soda

  • 1/2 teaspoon salt

  • 1/2 cup neutral oil

  • 1 1/2 cups warm coffee

  • 1 teaspoon vanilla

  • 1 tablespoon apple cider vinegar

  • For frosting

  • 3/4 cup minus 2 tablespoons peanut butter

  • 2 tablespoons vegan butter

  • 1/4 cup plant based milk

  • 1 1/2 cups powdered sugar

Preheat oven to 350 and grease and line a loaf pan.

In a large bowl mix together the flour, baking soda, salt, cocoa powder, and brown sugar. Break apart any big clumps of sugar or cocoa with your fingers. When that’s mixed, dump in the wet and whisk together until just fully incorporated. Pour batter into the greased pan and stick into oven.

Bake for 55- 60 minutes or until a tester poked into the middle comes out clean.

Once cooked, remove from oven and carefully remove from pan. Place on a wire rack to cool.

While cake is cooling, make the frosting. Just beat together the butter, peanut butter, and milk until nice and creamy. If you find your frosting be too thin, add in more powdered sugar, too thick, a splash more milk.

When it is cooled, cut the loaf in half length wise. Make sure the inside is complete cooled as well. I totally stuck my cake in the freezer for little bit to speed up the cooling process…..

When the cake is cut and completely cooled, frost it. Spread a little less then half the frosting on the bottom layer, stick top back on, and finish the frosting. Cover with sprinkles (if you want) and then that is it.

Serve room temperature or what my people really like is served slightly frozen, which is great because I just cut the cake up and froze individual pieces making for a perfect quick dessert.

In Vegan, Sweets, cake Tags Peanut Butter Frosted Chocolate Cake, Vegan Cake, Chocolate, peanut butter, plant based, vegan, dessert, vegan desert, easy, one bowl, King Arthur flour, dairy free, egg free
Comment

Almond Cupcakes with Blackberry Clementine Frosting

February 9, 2019 Colleen Stem
IMG_5243.jpg
IMG_5203.jpg
IMG_5319.jpg
IMG_5330.jpg

I have very strong feelings for heart shaped baked goods. I think that everything, all year round, should be heart shaped. How lovely would that be? It would be ever so lovely, or I would think so anyway. And yes, ok, I was thinking about Valentines Day when I made these cupcakes but don’t let that be the only reason you make a cupcake, cake, or any other baked good into the shape of a heart or pink for that matter.. Hearts are just so sweet and cute and dare I say cuddly? (Can you cuddle baked goods? Let me know if you have and do. We should talk about that). And pink is just a fantastic color, especially when it is the color of the flavor. Purple-y pink equals a taste like berry so all just makes sense.

Anyways. Cupcakes. Made with nutty almond meal to taste all nutty, frosted with blackberry and clementine frosting which is a pairing that all party and non party people will love. A down right deeelightful combination that will, no matter your circumstance in life, make you smile. Because lets get this clear, these cupcakes might look all lovey dovey and Valentines Day-e and are very much a perfect Valentines Day treat, but also can be an everyday, run of the milll, straight up any day, all day cupcakes. Valentines Day does not own the heart or pink.

These cupcakes are for you to love and you don’t need to worry if they love you back. That would be weird.

Slightly off topic thought. How awesome would it be if someone made a cute little teddy bear that when you squeezed it it would scream “WHAT THE HELL! GET OFF ME!” Hahahaha. That would be amazing.

To the cupcakes!

The stuff. Flour, almond meal, baking soda, baking powder, salt, sugar, soy milk, oil, vanilla extract, and apple cider vinegar. Also some blackberry jam, powdered sugar, some vegan butter, and a clementine.

In a big bowl, whisk together the granulated sugar, flour, almond meal, salt, baking powder, and baking soda.

Add in the oil, vanilla, milk, and apple cider vinegar. Mix until fully incorporated.

IMG_5102.jpg

And that is some mixed batter.

IMG_5131.jpg

Scoop the batter into well greased muffin tins. I used to different shapes and sizes because I wanted too. You can do the same, just be aware different sizes will cook at different times.

And into the hot oven they go.

Baked, popped out of the tins, and cooling to cool.

IMG_5164.jpg
IMG_5174.jpg

Frosting time. Butter, clementine zest, and jam mixed together makes for the prettiest color.

Add in the powdered sugar and juice of the clementine and beat with a beater.

Pretty pink frosting. All natural.

And now that the cupcakes are cooled (you must wait until they are completely cooled) get them frosted.

And of course, adding sprinkles will only make them that much better.

And now you got the cupcakes which makes it cupcake time.

Look at that smile. Thats a smile just for cupcakes, not at all because I told him too.

Happy happy.

-C


Almond CupCakes with Blackberry Clementine Frosting

Makes 12-16 cupcakes (depending on size)

  • 1 1/2 cups all purpose flour

  • 1/2 cup almond meal

  • 1/3 cup neutral oil

  • 1 1/4 cup almond milk

  • 3/4 cup white sugar

  • 1 teaspoon baking soda

  • 1 teaspoon baking powder

  • 1 tablespoon apple cider vinegar

  • 1/2 teaspoon salt

  • 1 teaspoon vanilla or almond extract

  • For the frosting

  • 3 tablespoons blackberry jam or preserves with or without seeds

  • 2- 2 1/2 cups powdered sugar

  • 4 tablespoon vegan butter

  • 1 clementine (zest and some juice)

Preheat oven to 350.

In a large bowl whisk together the flours, salt, baking soda and powder and sugar until fully combines. In a separate bowl mix together the oil, milk, vinegar, and vanilla. Pour into the dry and mix, by hand, until full incorporated. Scoop batter into well greased muffin tins (heart or other shape up to you) and place into oven for 13-18 minutes (shorter time for smaller cupcakes, longer for larger sized) or until lightly browned and a tester stuck into a cake comes out clean. Pull from oven when done and pop from tin. Place on a wire rack to cool.

While cakes are cooling, make frosting. Beat together the butter, zest of the clementine, and jam. Add in the sugar and the juice and beat until fully incorporated. If the consistency is to thin, add a little more sugar, to thick, more clementine juice or if out of juice, a splash of milk.

Once cupcakes are full cooled, frost, add sprinkle if you would like, and then the only thing left to do is eat them.

Eat cupcakes, store left overs in an air tight container in the fridge for up to a week.

In Vegan, Nuts, holiday, desserts, Dairy Free, cake Tags Almond Cupcakes with Blackberry Clementine Frosting, Almond flour, nut flour, almond meal, almond cake, cupcakes, Valentines Day, Vegan, dessert, love, pink frosting, all natural, plant based, sweets, love heart shaped, King Arthur flour
Comment

Pretzel And Potato Chip Chocolate Chunk Cookies

January 19, 2019 Colleen Stem
IMG_4677.jpg
IMG_4661.jpg
IMG_4704 2.jpg

What with all the holiday and family get togethers we have had over here at my house the past few week, we have had quite a few bags of chips and pretzels left over. Always almost empty… Always dumped into the compost because I mean, I am not so keen on seeing bags of little bits of chips and pretzels in the pantry that I know will never get eaten. Plus it is not like I am saving carrots or grapes or anything I would eat, it’s junk food. But still. I hate the food waste. That is why I made these cookies. To not waste food. And because we had people coming over to the house for dinner and I cannot not have something for dessert. That would be just wrong. And lastly because I am pretty sure that chips and pretzel pieces only make a plain chocolate chunk cookie into an amazing sweet and salty cookie that will just blow your mind.

And I was right. I made the cookies, I feed them to the mr, the sister, friends and all the littles and they just couldn’t get enough.

Current thought. I am sitting here typing and have come to the conclusion that I should start a bakery that makes cookies out of people almost empty bags of chips, like a Cheeto dust cookie, or a peanut butter Funyun cookie or chocolate chocolate chip Dorito cookie.

Yes. this is a good idea. Oh man, I am a genius.

But back to theeese cookies. Start with these. I’ll let you know when I open the storefront to Garbage Cookies (that is what I'll call the place) You can stand in line for the peanut butter Funyun cookies. I have a feeling about that flavor. Until then…

To the cookies!

IMG_4430.jpg

The stuff. The small bowl has flour, baking powder and baking soda. The big bowl has brown and white sugar. Then you need oil, almond milk, vanilla, chocolate chunks, some pretzels and some plain salted potatoes chips.

IMG_4442 2.jpg
IMG_4459 2.jpg

Start with the wet. Mix the oil, the milk, and the vanilla into the sugars until completely smooth

IMG_4465.jpg

Whisk together the dry stuff.

IMG_4467.jpg

Dump dry into wet.

IMG_4471.jpg

And mix until its a cookie dough. Now here is the thing, you need to stick the dough in the fridge for a couple hours and if you mix in the chips and pretzels now, well I think that might make them extrealemy soggy, so hold off. For now, cover dough and refrigerate for 2-4 hours.

IMG_4490.jpg
IMG_4495.jpg

When the time comes for baking, grab the mix ins and with whatever method you chose, crush the chips and pretzels into small bits. (avoid turning into a dust, you want bits)

IMG_4502.jpg

All salty and crumbly and ready to go

IMG_4519 2.jpg

Grab the dough from fridge and dump in the stuff that needs to go in (crushed chips and pretzels and chocolate chunks).

Mix until incorporated.

IMG_4544.jpg

Scoop dough into balls and place on a baking sheet.

IMG_4550.jpg
IMG_4559.jpg

Into the oven and out they come all golden brown and smelling like yes and mmmmmm.

Get those cookies on a wire rack to cool and to free up the baking sheet to keep baking.

Look at this proud cookie. Chips, pretzels, and chocolate chunks all on display.

Now is when you get yourself a plate, pile it up high, and eat.

Remember, sharing is caring so maybe share a cookie or two. (but like you don’t HAVE to)

Stay happy this weekend.

-C


Pretzel And Potato Chip Chocolate Chunk Cookies

makes about 2 dozen cookies

  • 2 cup all purpose flour

  • 1 teaspoon baking soda

  • 1/2 teaspoon baking powder

  • 1/2 cup packed brown sugar

  • 1/2 cup white sugar

  • 1/2 cup canola oil

  • 1 teaspoon vanilla

  • 6 tablespoons plant milk

  • 1/2 cup crushed potato chip

  • 1/2 cup crushed pretzels pieces

  • 3/4 cup chocolate chunks or chips

In a large bowl, mix together the sugars, oil, milk, and vanilla until completely combined. In a separate bowl, whisk together the flour, baking powder and soda. Dump the dry into the wet and mix until the dough comes together. Gather the dough together in the bowl and cover with plastic and stick in the fridge to rest for at least 2 hour and up to a day.

When ready to bake, preheat oven to 350

Right before you take the dough from fridge, get your chocolate chunks, pretzels, and chips out. If the chips and pretzels are not already in little bits, place them in a bag (just use the chip bag if you have it) and smash with a heavy object until you turn the chips and pretzels into bits. Be carful that you don’t turn it all into a dust, look for small bits. Pull dough from fridge and mix the stuff in. Scoop out balls of dough and place on baking sheets. Bake cookies in oven for 11-12 minutes or until lightly browed. Remove from oven and immediately transfer cookies to a wire rack to cool.

And now you eat.

Store uneaten cookie in a airtight container for up to a week or freeze them but I doubt you will have too. The cookies went fast.

In cookies, crackers and chips, Dairy Free, desserts, Potato, Vegan Tags Pretzel And Potato Chip Chocolate Chunk Cookies, vegan cookies, vegan desserts, cookies, oil cookies, chip cookies, chips, pretzels, pretzel cookies, King Arthur flour, chocolate, sweet and salty, snack, home made, fresh baked, food, plant based, dairy free, egg free
Comment

Pomegranate Orange Poppyseed Muffins

January 12, 2019 Colleen Stem
IMG_4341.jpg
IMG_4319.jpg

I love pomegranates but barely ever buy them because they are usually really expensive. A few weeks ago I was pleasantly surprised to find that that the grocery store was selling them at a reasonable price so I bought one. Duh. Anyway, that was a few weeks ago and I have had the pomegranate chillin in the fridge, just waiting for the perfect time to bust open and retrieve all the bright pink jewel like seeds. But I also kind of forgot about it. It was hiding behind a giant rutabaga. When I finally grabbed the rutabaga for some soup, the pomegranate reviled itself again. It was time, it needed to be eaten. And me being me, I can’t not share right? So I asked the mr what he wanted me to bake. He said muffins, and that is how I came to pomegranate orange and poppyseed muffins. Look at me, poster child for sharing good things. I should get a gold star!.

Anyway, these muffins came out awesome. First, they smell so good because anything baked smells good but the orange really shines and the smell is still lingering in my hair. Secondly, people really were into them. The mr said they were amazing when I finally let him eat one (two actually because I made them mini) and when I brought them over to Megans house for dinner, my Dad at one, then two, then three.. ..He stopped at 5, and this was after dinner. When a guy eats 5 muffins and is not a muffin man, you take it as a good sign.

Do yourself a solid this cold ass weekend and bake something. These muffins are a good place to start.

To the muffins!

The stuff. Flour, baking soda and powder, and salt in a bowl. Poppy seeds, an orange, a pomegranate, sugar, oil, vanilla extract, and a little apple cider vinegar.

First, remove arils from the pomegranate. Cut the fruit in half, hold the cut side face down in your hand and place over a large bowl. Take a wooden spoon and wack the outside of the fruit and the seeds will just fall out. And yes , the juice stains so watch out.

Next, whisk together all the dry ingredients and add in the sugar, poppyseeds and the zest of the orange. Whisk again to combine.

IMG_4101.jpg

And then add in the oil, milk, vanilla, and the juice of the orange.

IMG_4118.jpg

Mix until just combined. Don’t over mix or the muffins will get gummy.

IMG_4120.jpg

Last but not least, fold in the pomegranate arils.

Such a pretty muffin batter.

Scoop batter into well greased muffin tins and pop into a preheated oven.

IMG_4216.jpg

Orange and crimson and golden brown goodness.

Out of tins and onto a rack to cool

IMG_4224.jpg

Pretty muffins

IMG_4273.jpg

And now you eat.

Stay warm this weekend and bake some muffins.

-C


Pomegranate Orange Poppyseed Muffins

makes 24 mini muffins or 12 regular muffins

  • 2 cups all purpose flour

  • 2 teaspoon baking powder

  • 1 teaspoon baking soda

  • 1 teaspoon salt

  • 1/2 cup white sugar

  • 1/3 cup canola oil

  • 1 teaspoon vanilla

  • 1 tablespoon apple cider vinegar

  • 1 cup soy or plant based milk

  • 1 orange

  • 1/4 cup poppyseeds

  • 1 cup pomegranate arils

Note. To easily remove arils (the seeds) from a pomegranate, cut it in half, hold the cut side down in the palm of your hand over a large bowl and wack the outside of the fruit with a wooden spoon. The arils will fall right out into the bowl.

Preheat oven to 350

In a large bowl, whisk together the flour, baking soda, baking powder, salt, and sugar. Zest the orange into the bowl and add in the poppyseed and whisk. Next add in the oil, juice of the orange (about 1/4 cup) the milk, and the vanilla. Mix until just combined. Fold in pomegranate seeds.

Scoop batter into well greased muffin pans and place in oven to bake until golden brown and a tester stuck into the muffins comes out clean, which should take about 15 minutes (22 fish if normal sized)

Once baked, pull form oven and pop from pans. Place on a wire rack to cool.

Eat at your leisure.

In Vegan, sweet breads and muffins, seeds, fruit Tags Pomegranate Orange Poppyseed Muffins, pomegranate, Seeds, Vegan, muffin, breakfast, dessert, plant based, King Arthur flour
1 Comment
← Newer Posts Older Posts →
 

https://thelovelycrazy.squarespace.com/config#/|/about/

Me. Food Maker.Food eater. Woo HOO!

STEM+NODE  SMALL BATCH AND ONE OF A KIND POTTERY

stem+node ceramics


____________________

Subscribe

GET NEW POSTS IN YO EMAIL

You are AWESOME!!!


@thelovelycrazy 2014-2021