• stem+node ceramics
  • HOME
  • Food Recipes
  • About
  • Contact
Menu

The Lovely Crazy

Street Address
City, State, Zip
Phone Number

Your Custom Text Here

The Lovely Crazy

  • stem+node ceramics
  • HOME
  • Food Recipes
  • About
  • Contact

Carrot Ginger Brown Rice Pilaf

April 25, 2020 Colleen Stem
IMG_7607.jpg
IMG_7559 2.jpg

Do you have a shit ton of rice? I know of at least a few people that might have gone overboard with their rice stock so I think it might be safe to assume that many more did too. And that’s cool, just as long as you eat it. No one like a food waster.

But are you bored with plan rice? Well I got you. Rice is so easy to jazz up. Add a little this, add a little that, and you’ve got yourself a rice dish among the greats. Even better, toast the rice a little before cooking it and you end up with a even better, flavorful rice. That is fact.

Carrot ginger is a classic flavor combination and can pair with just about any other flavors so you don’t have to think too hard about what else to serve with it. And really, you could just eat a big bowl of the rice. There is no need for anything else. It has it all. Grain, veggies, and seeds or nuts… All you need is a fork (or spoon if you are like that) and an open mouth and you are golden.

Now to the rice pilaf!

IMG_7466.jpg

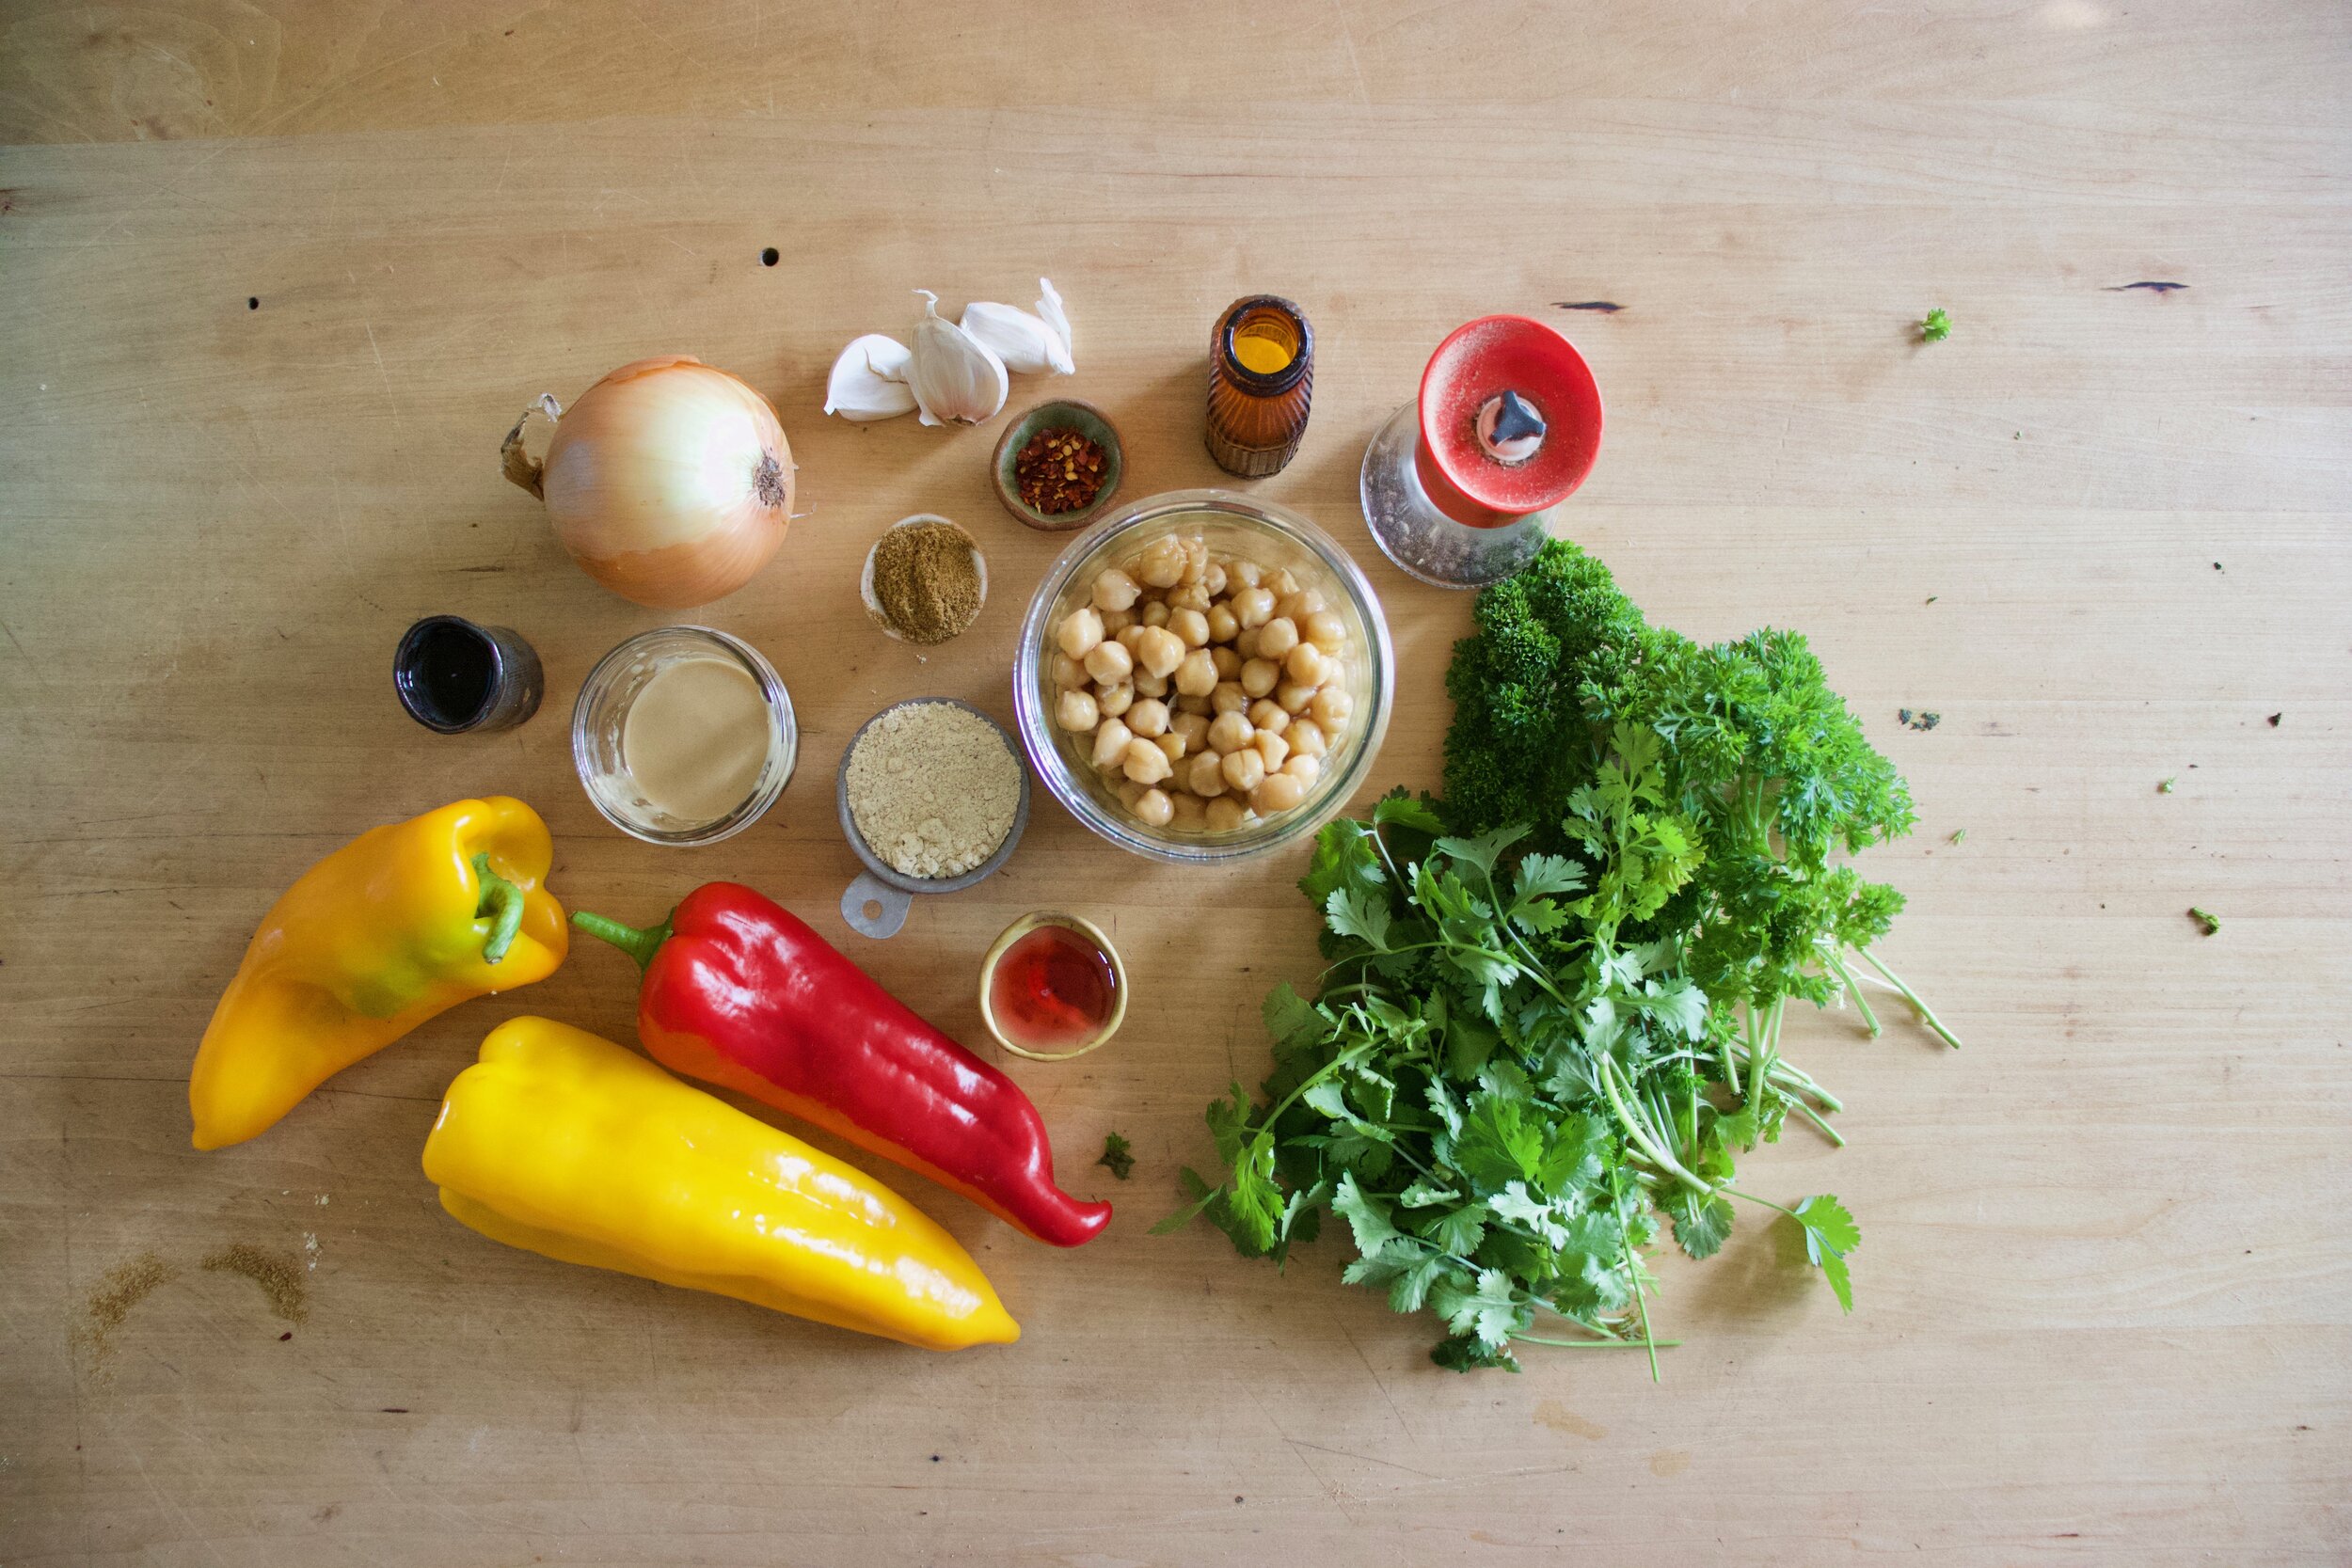
The stuff. Long grain brown rice, a couple carrots, some fresh ginger, garlic, an onion, soy sauce, olive oil, water, and pepper.

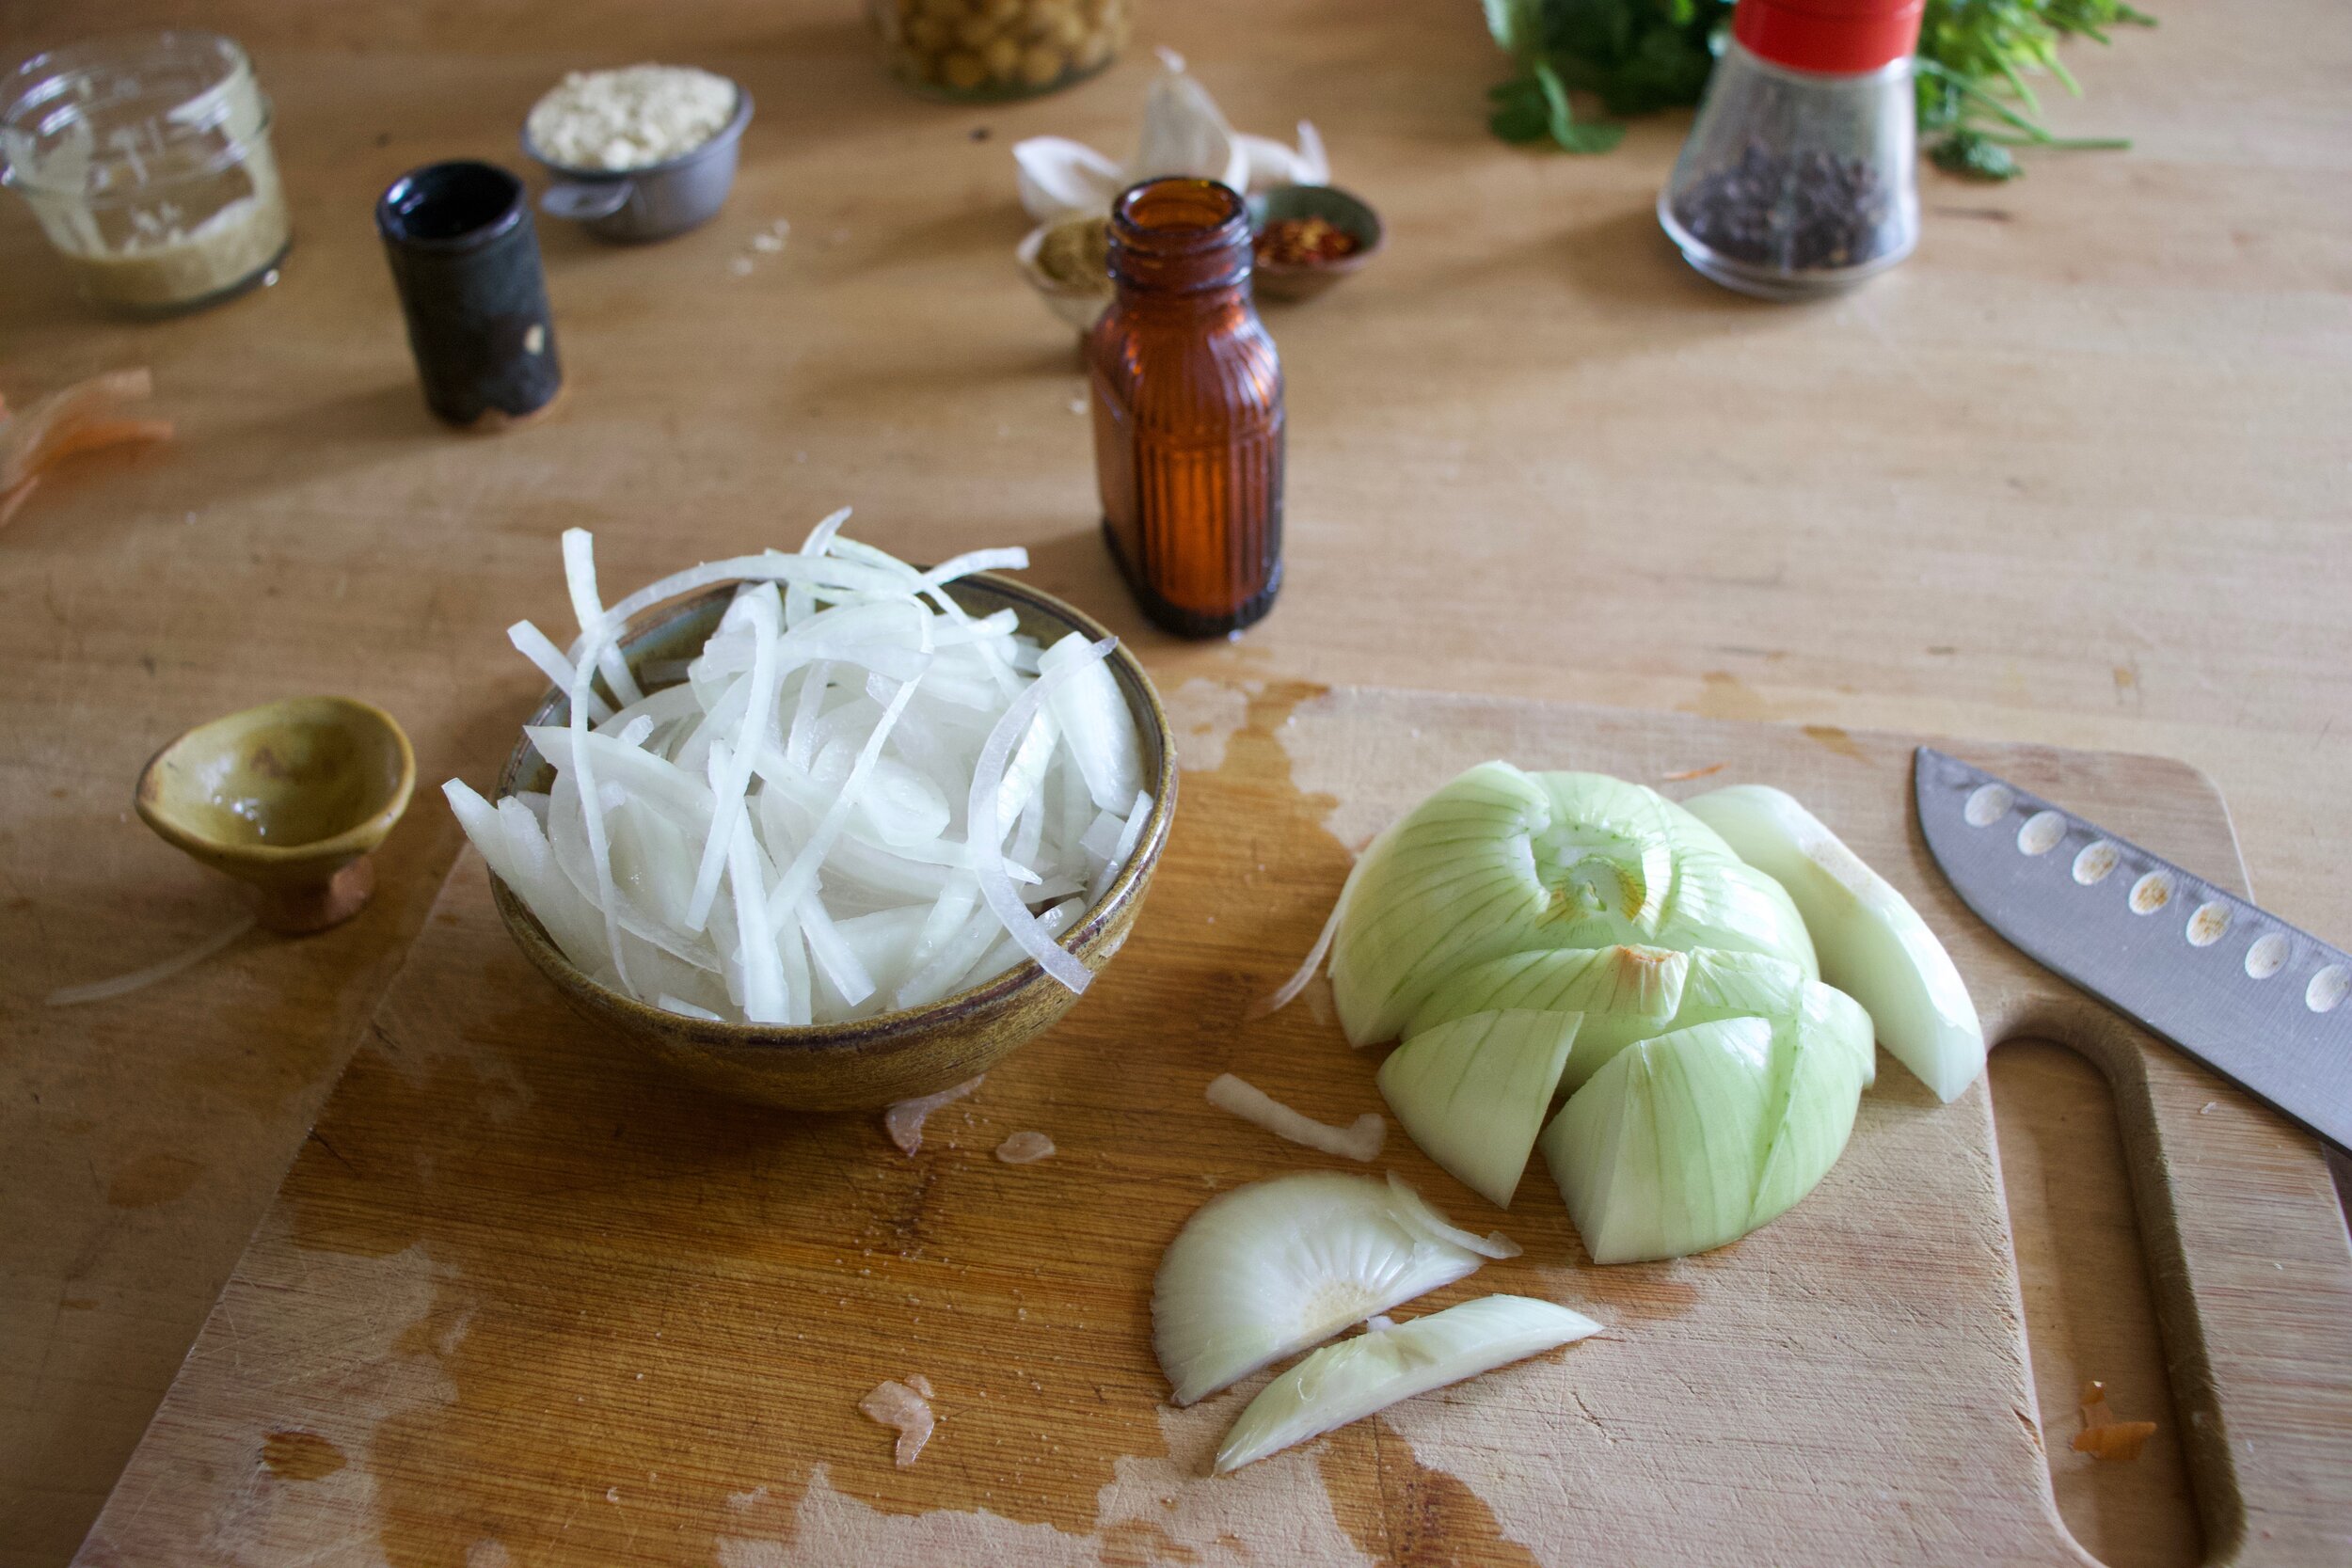
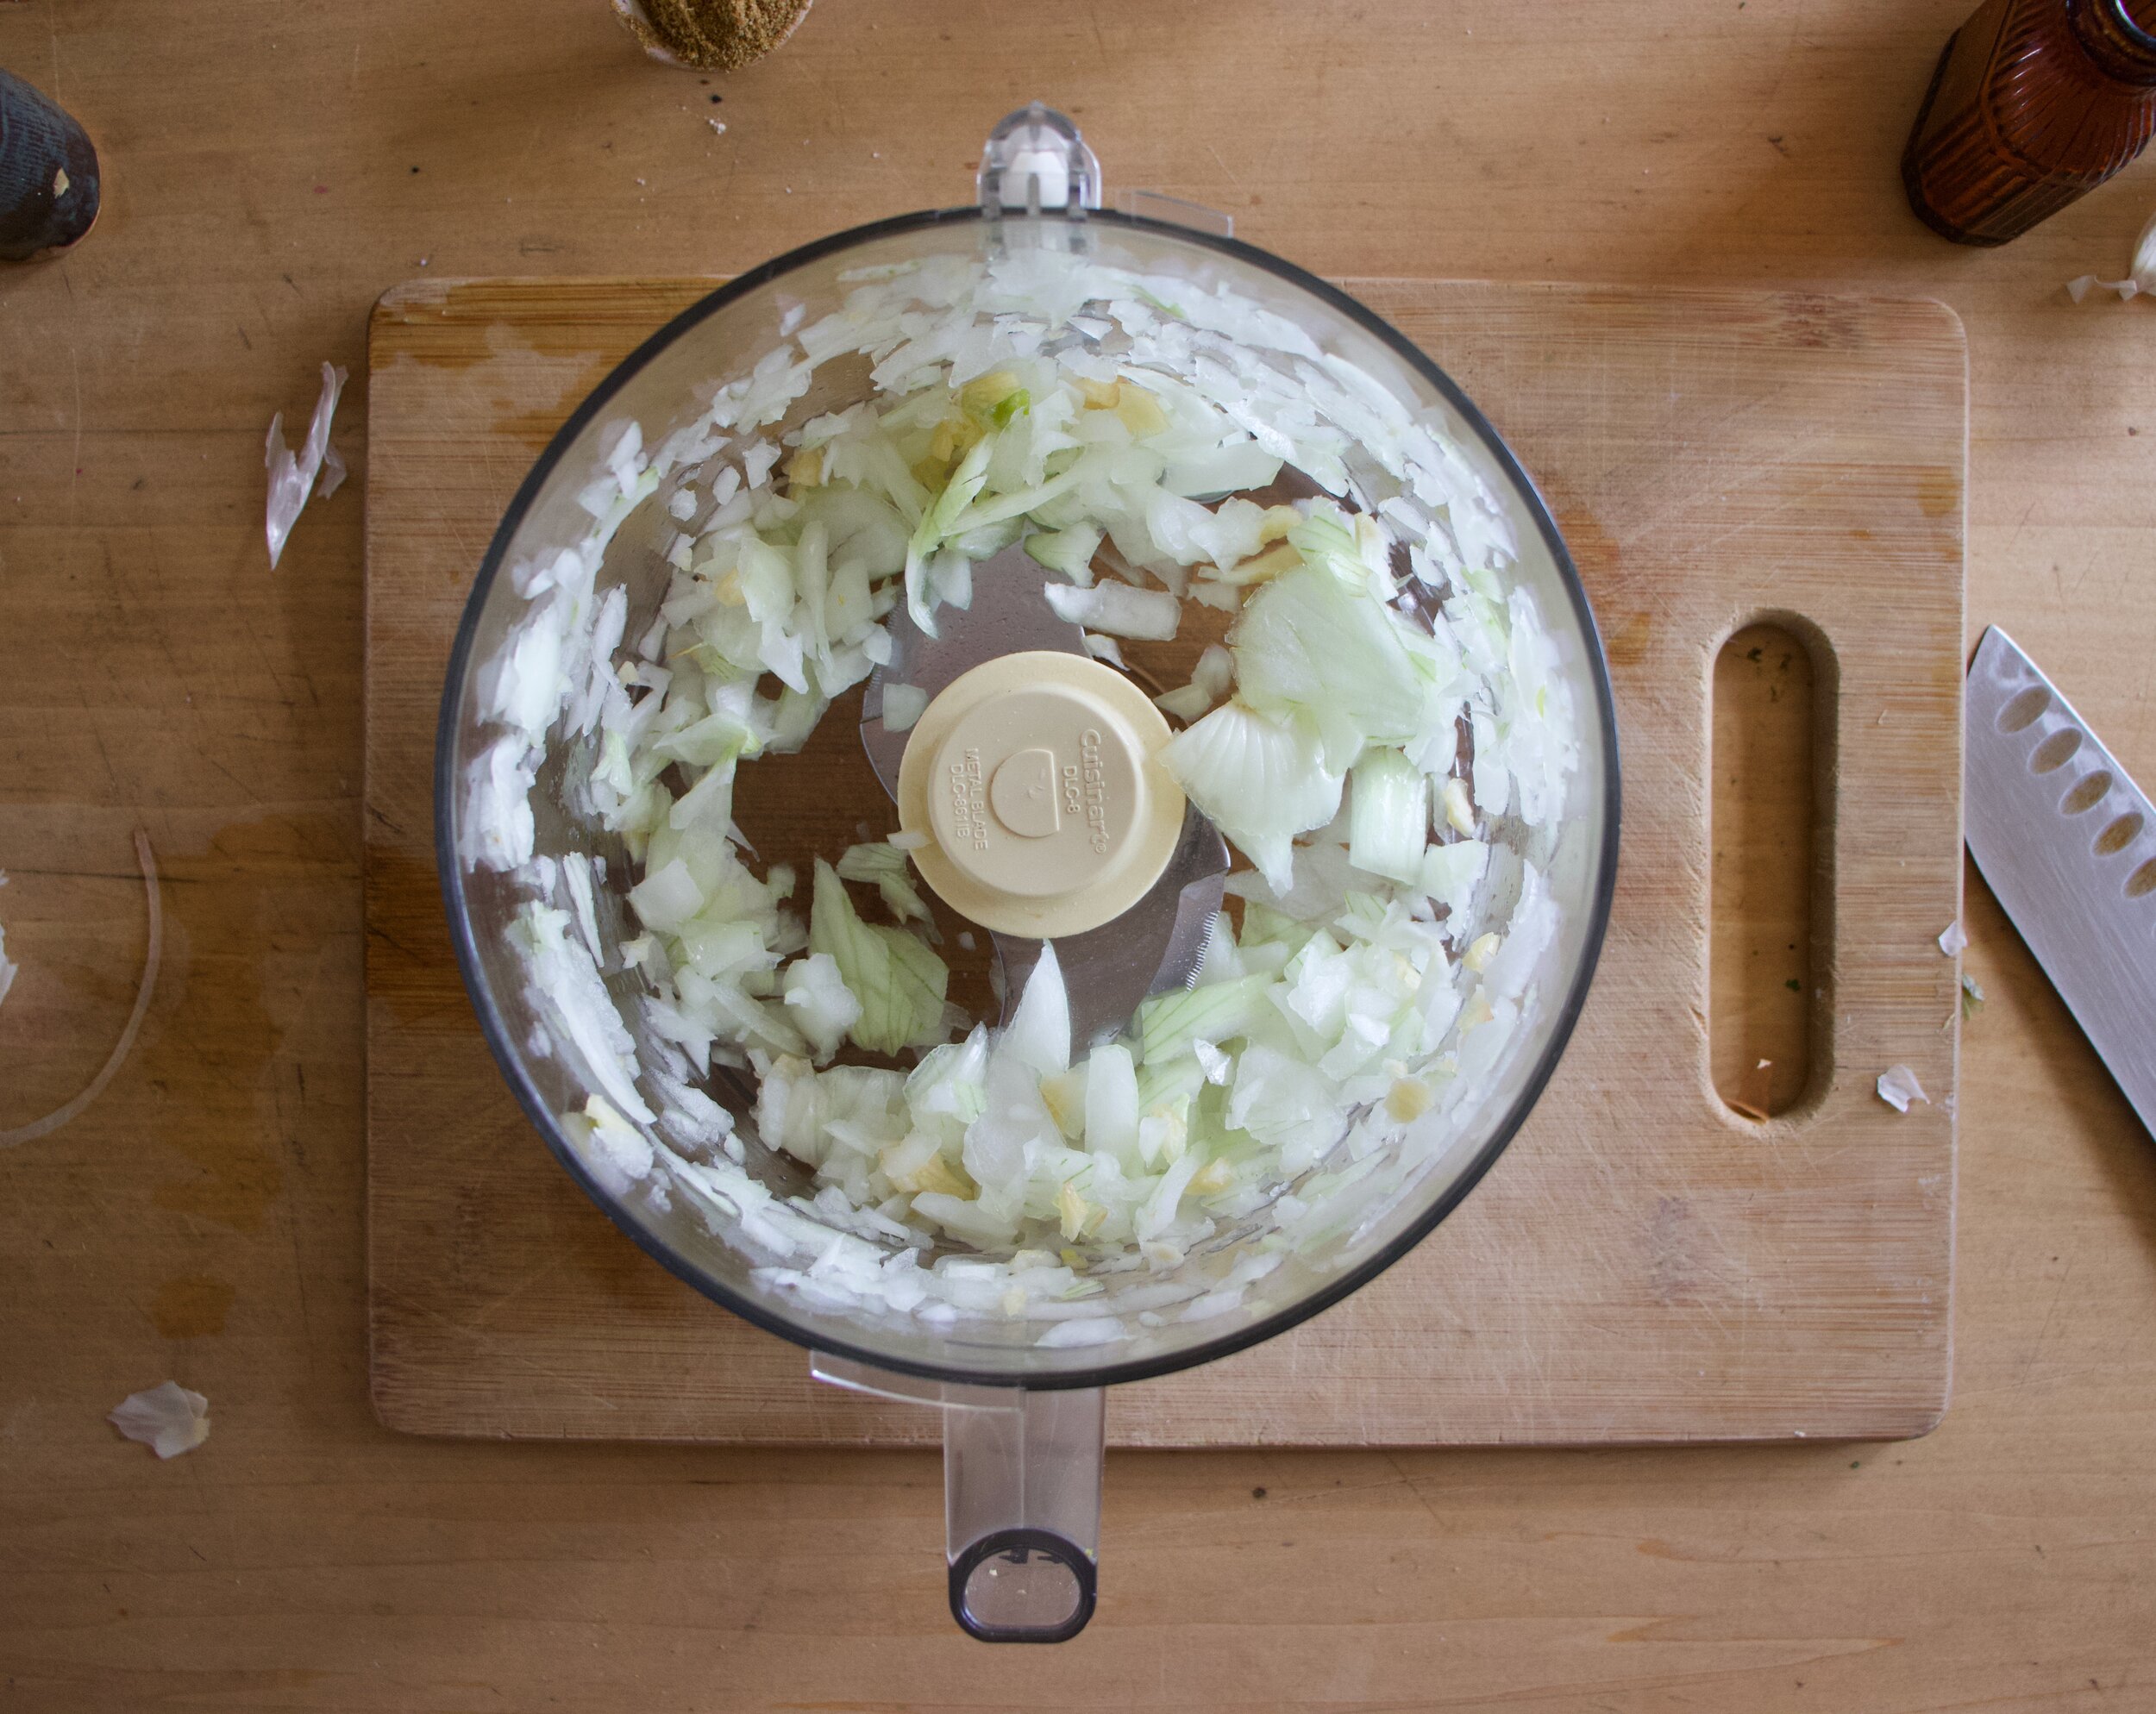
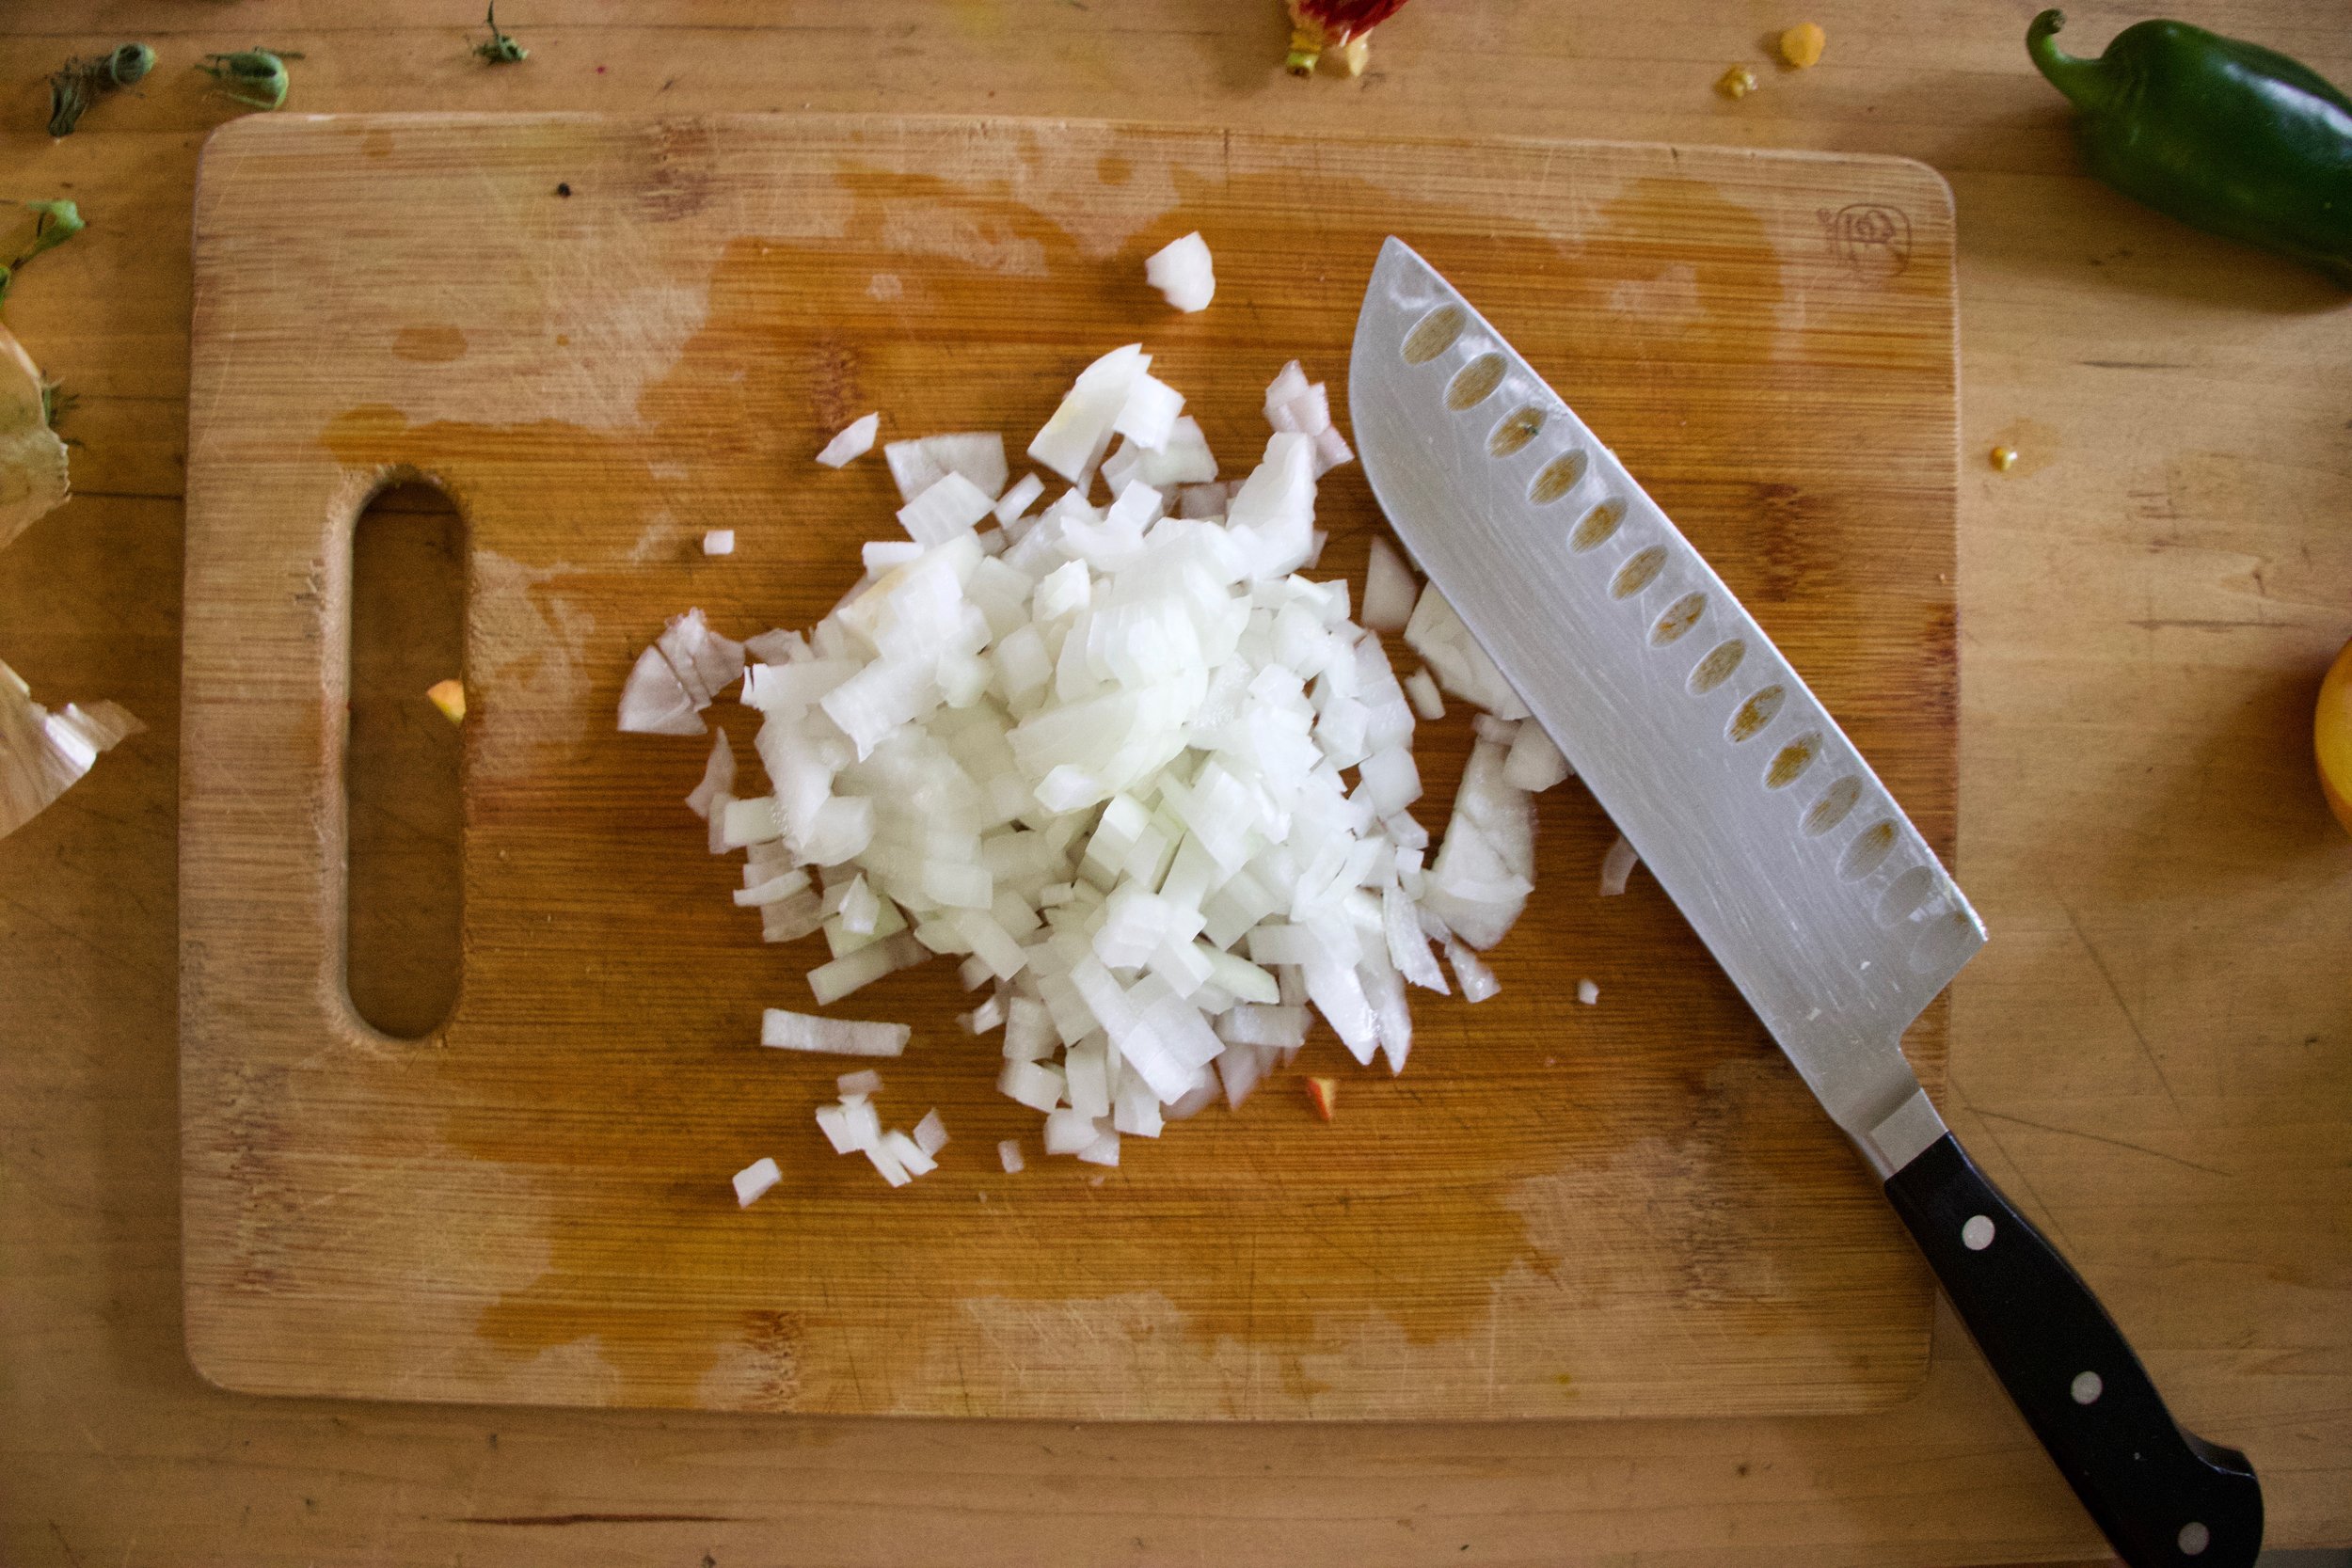
Grab onion and dice it up really small. Shredded or julienne the carrots.

IMG_7475.jpg
IMG_7476.jpg
IMG_7482.jpg

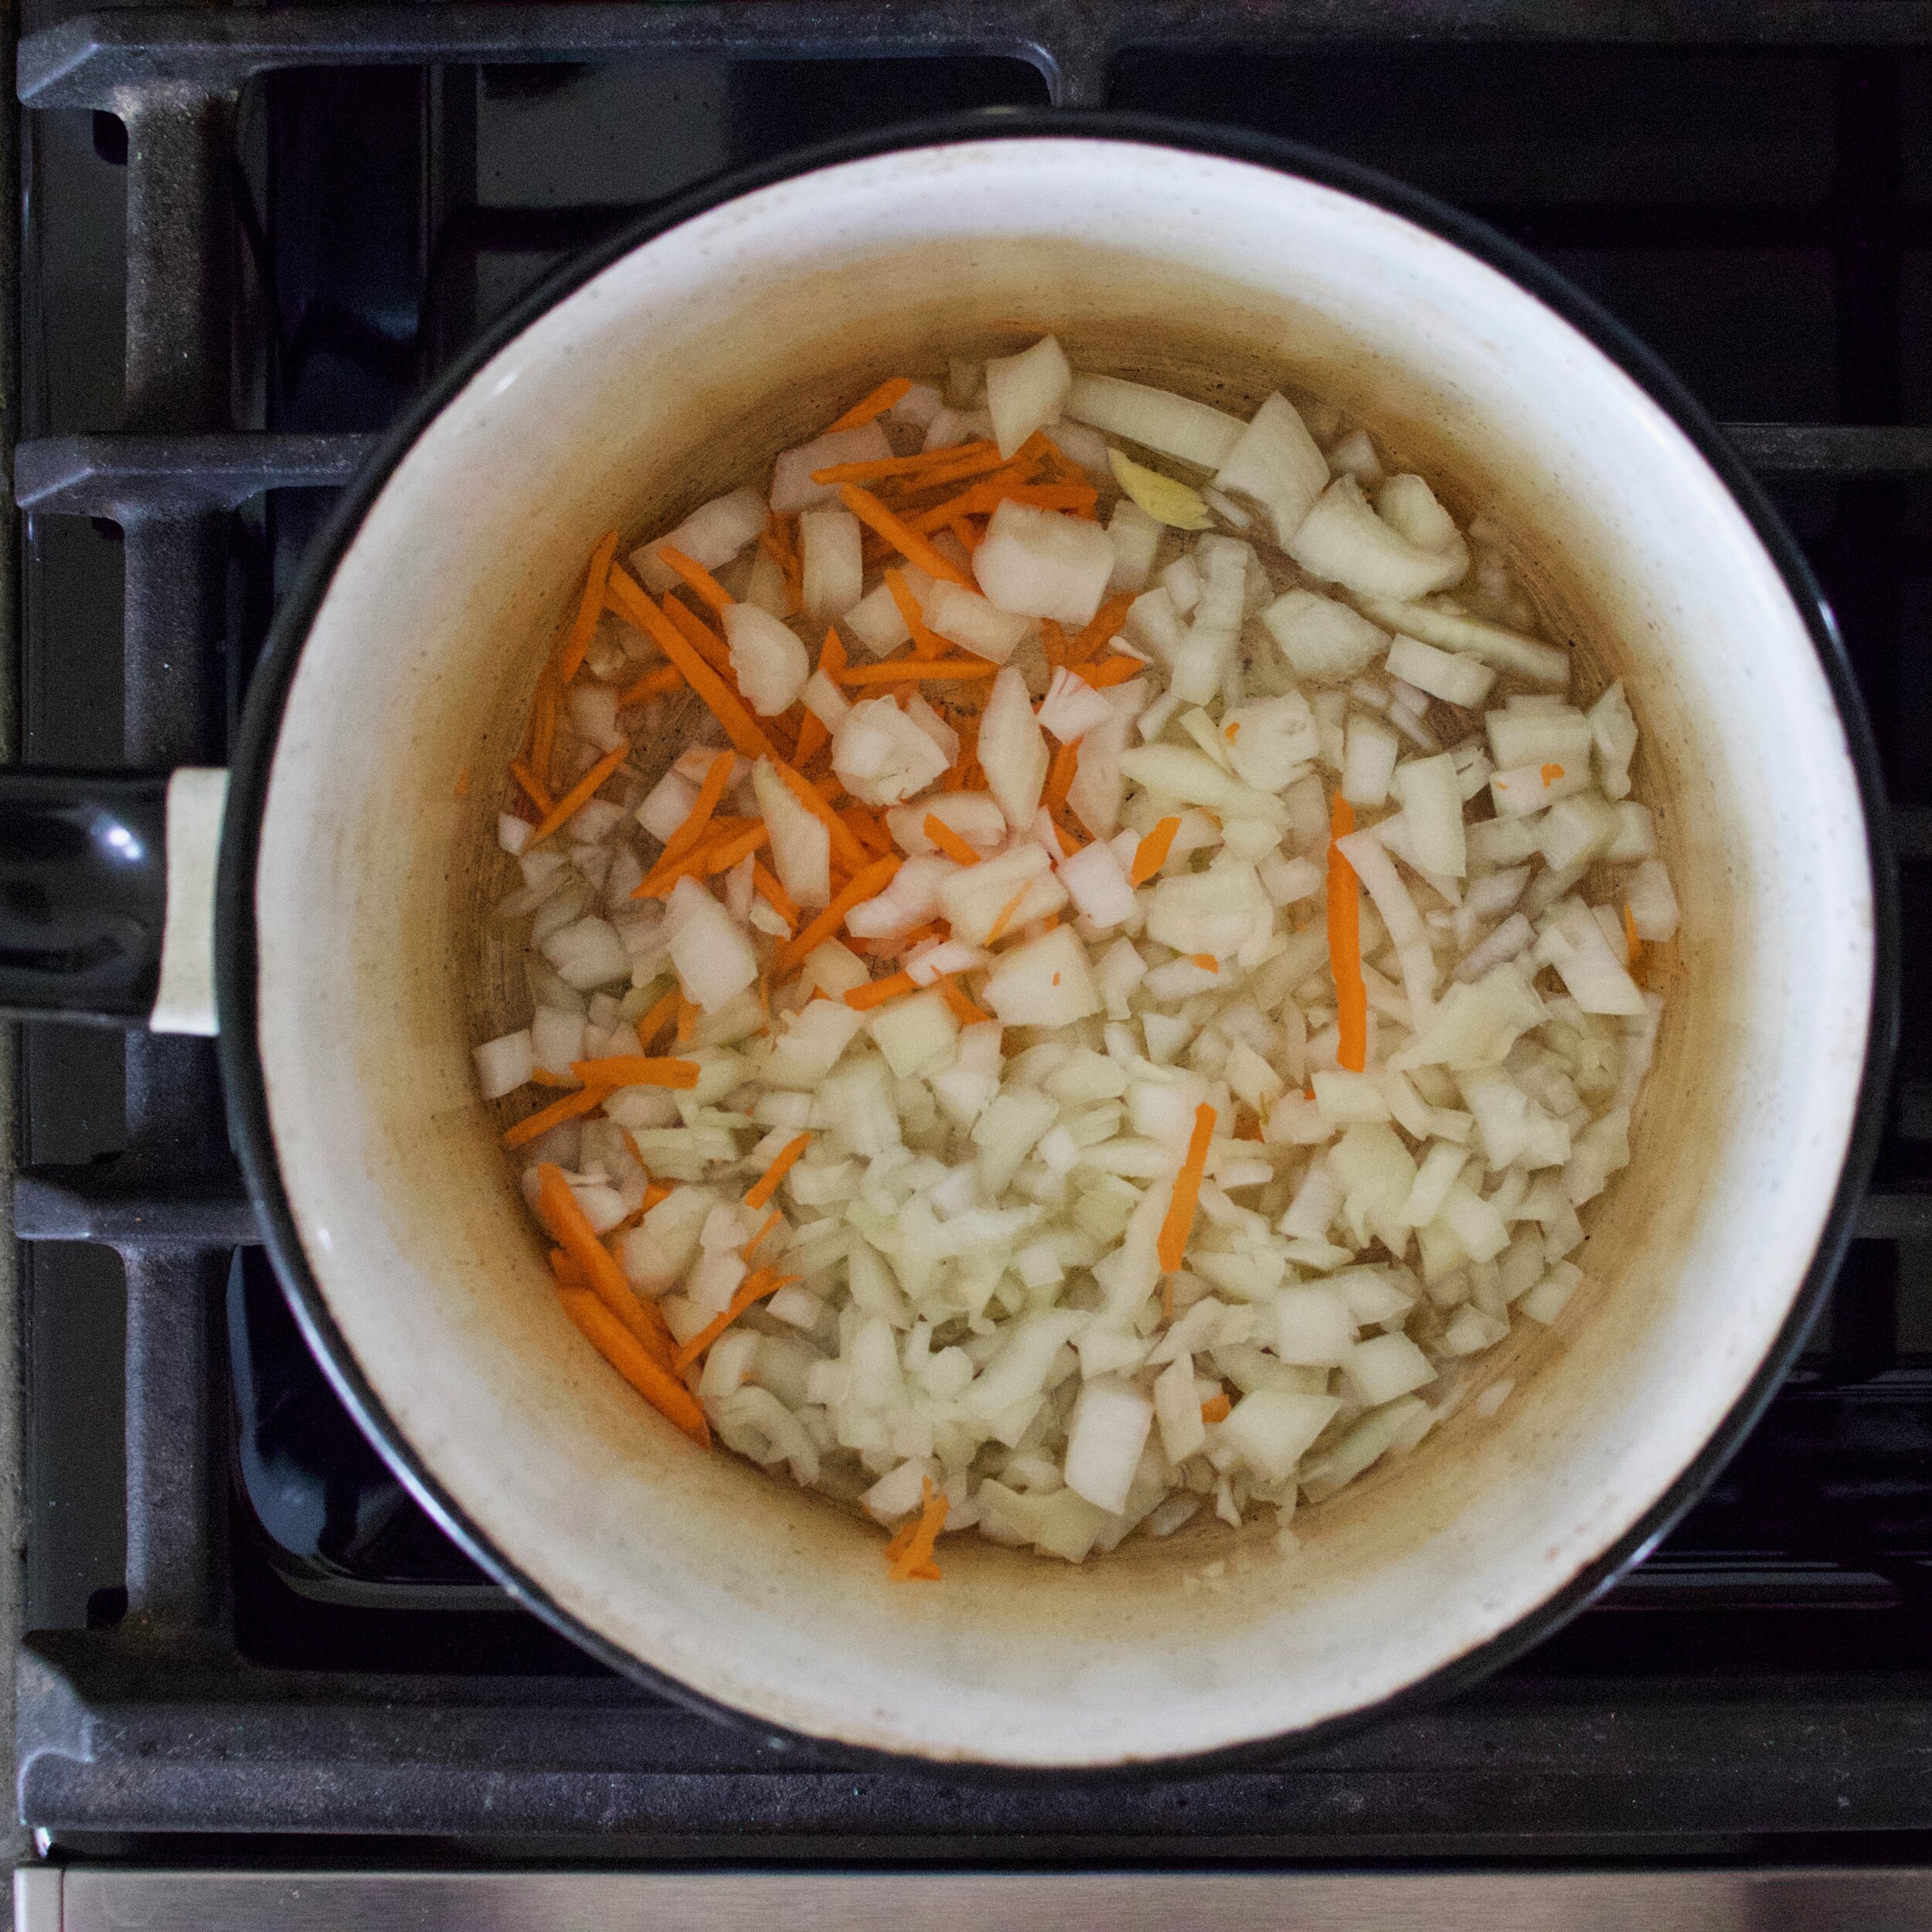
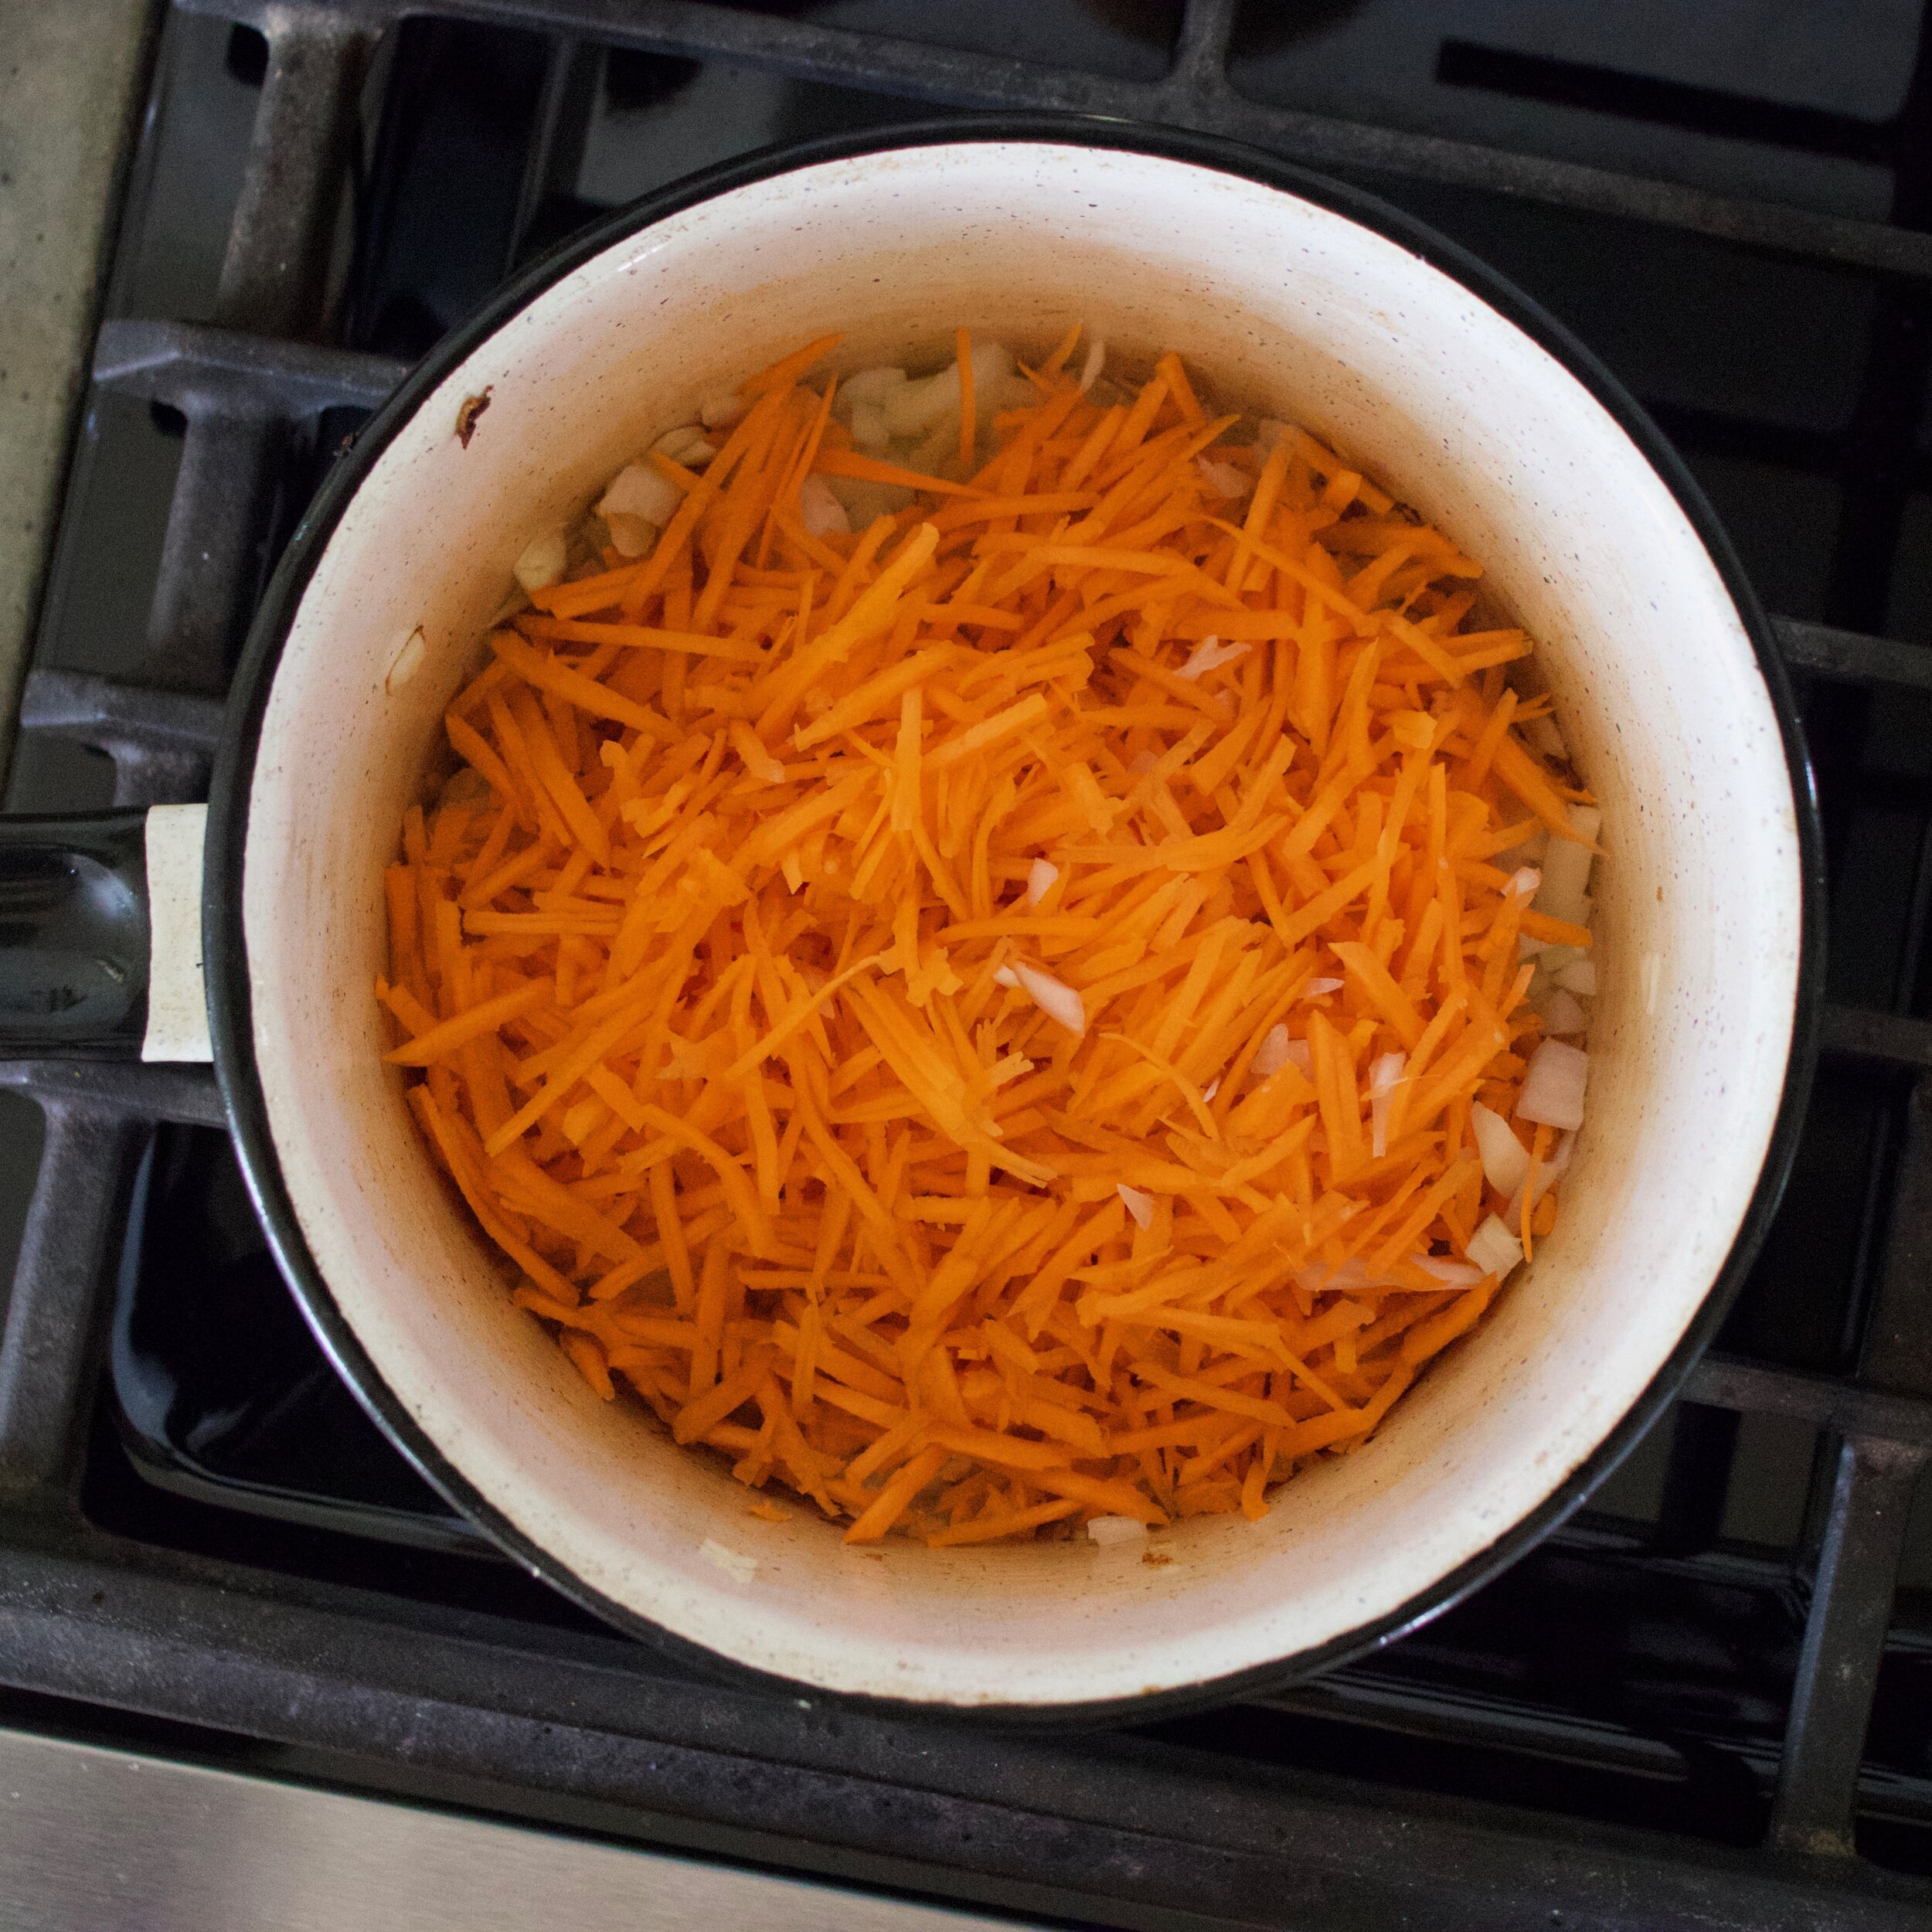
Add a couple of tablespoons of olive oil to a pot. Add in the onions and start on medium heat and let them cook for a few minutes. Then add in the carrots and keep cooking for a few more minutes until they become slightly tender.

Mince the garlic and the ginger.

IMG_7497.jpg
IMG_7499.jpg
IMG_7520.jpg

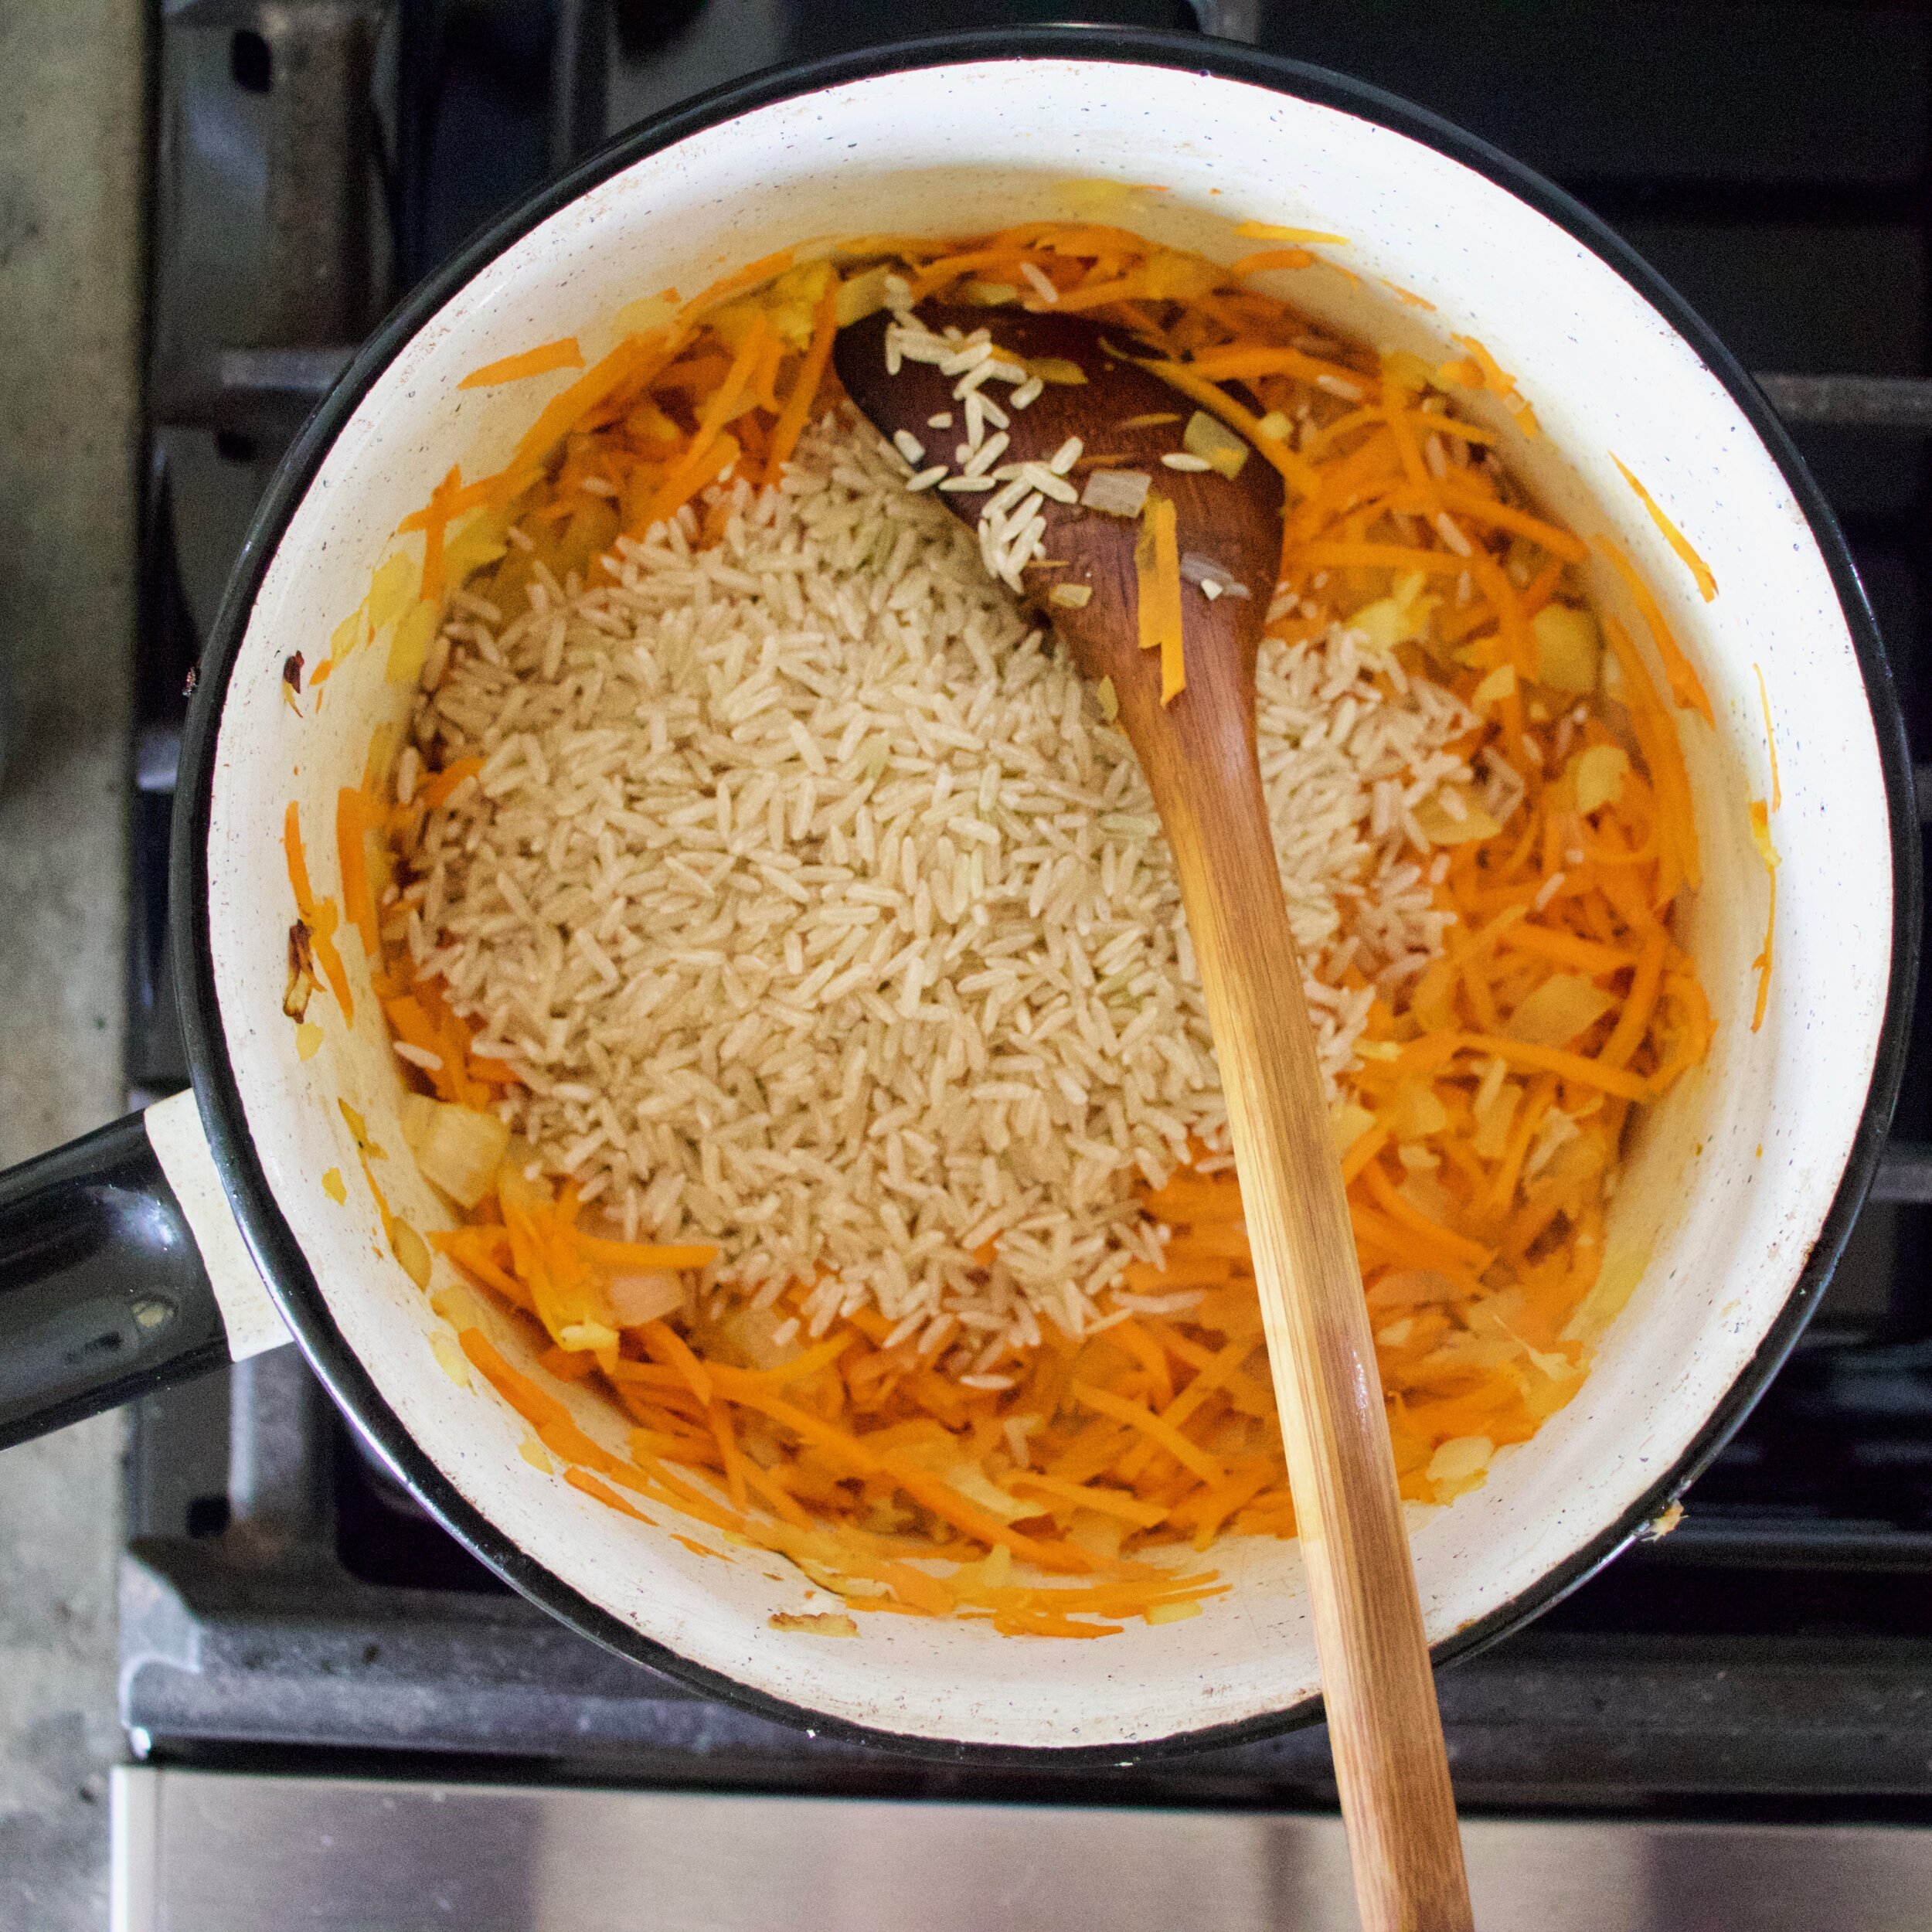
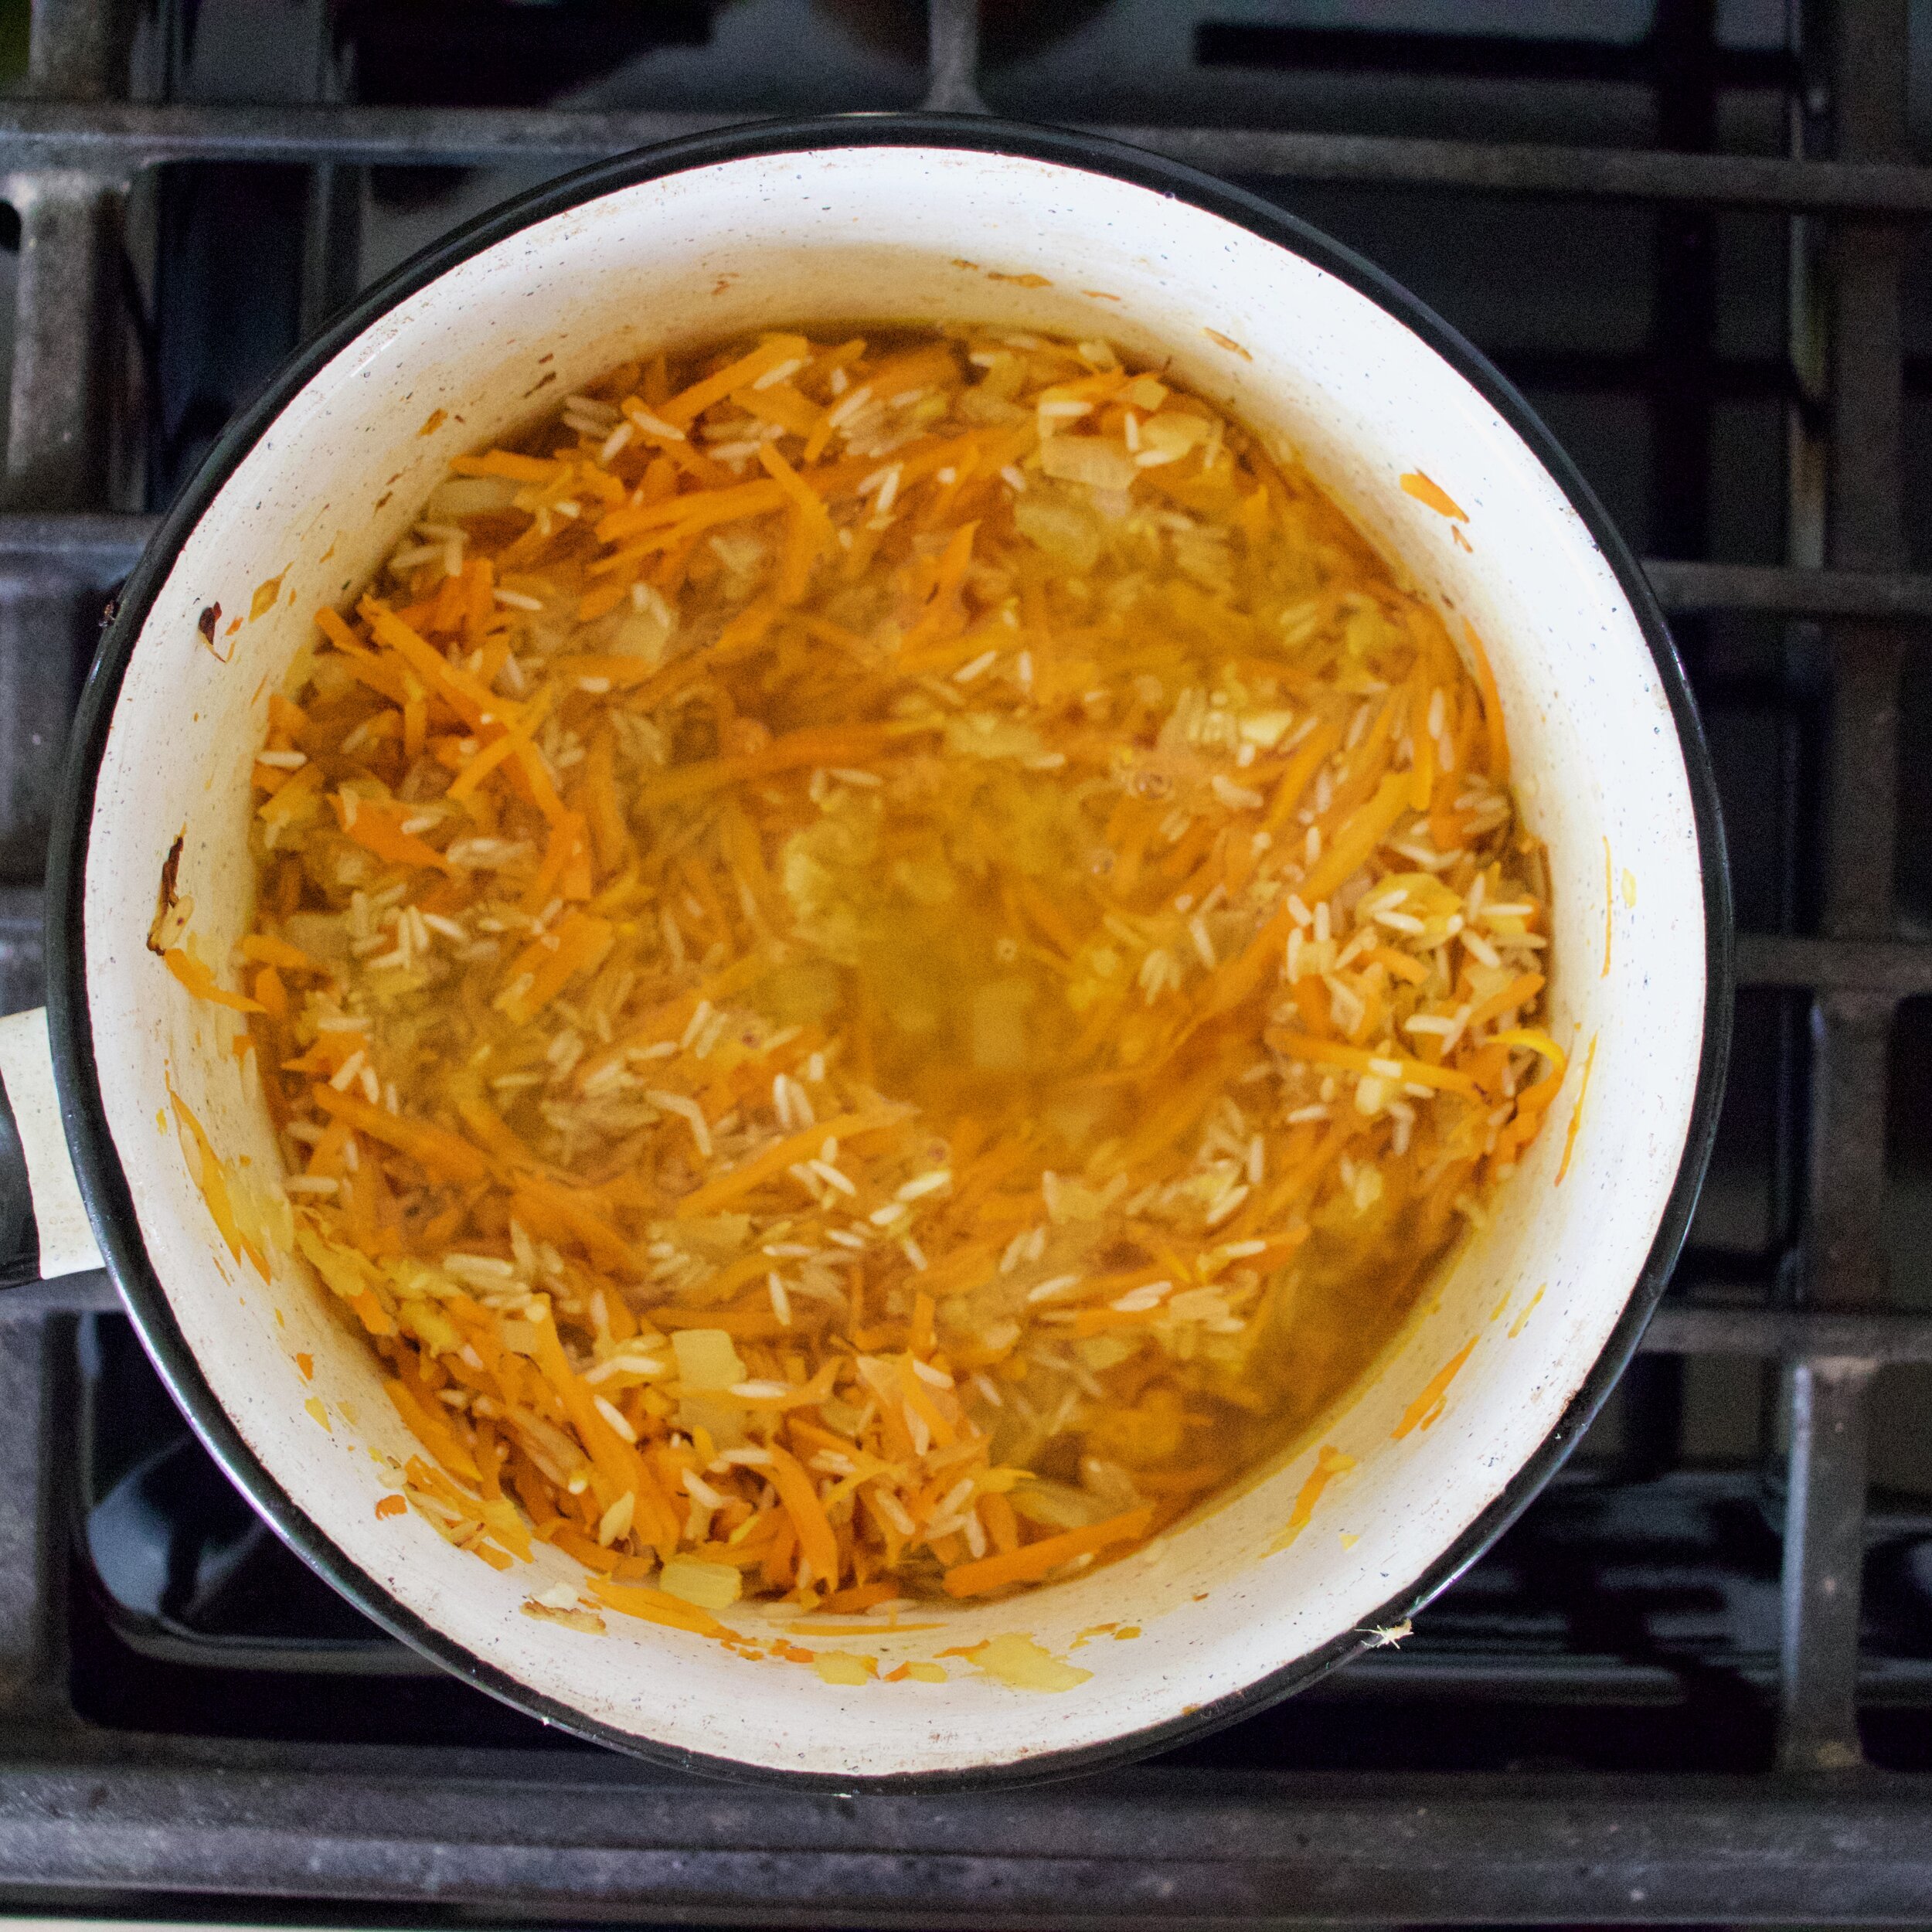
Add that freshly minced garlic and ginger to the pot and give it a good stir. Add in the rice now as well and cook for another few minutes , stirring it once or twice until you can smell the toasty-ness of the rice. Then add in the water and soy.

IMG_7532.jpg

Bring the pot to a boil then turn heat down to the lowest simmer. Pop a top on the pot and let cook, undisturbed, for about 30ish minutes, or until all the liquid has absorbed into the rice.

Once rice is cooked, grab a fork and fluff then pop the lid back on and let it rest for 5-ish minutes. Trust, this makes the rice so just do it.

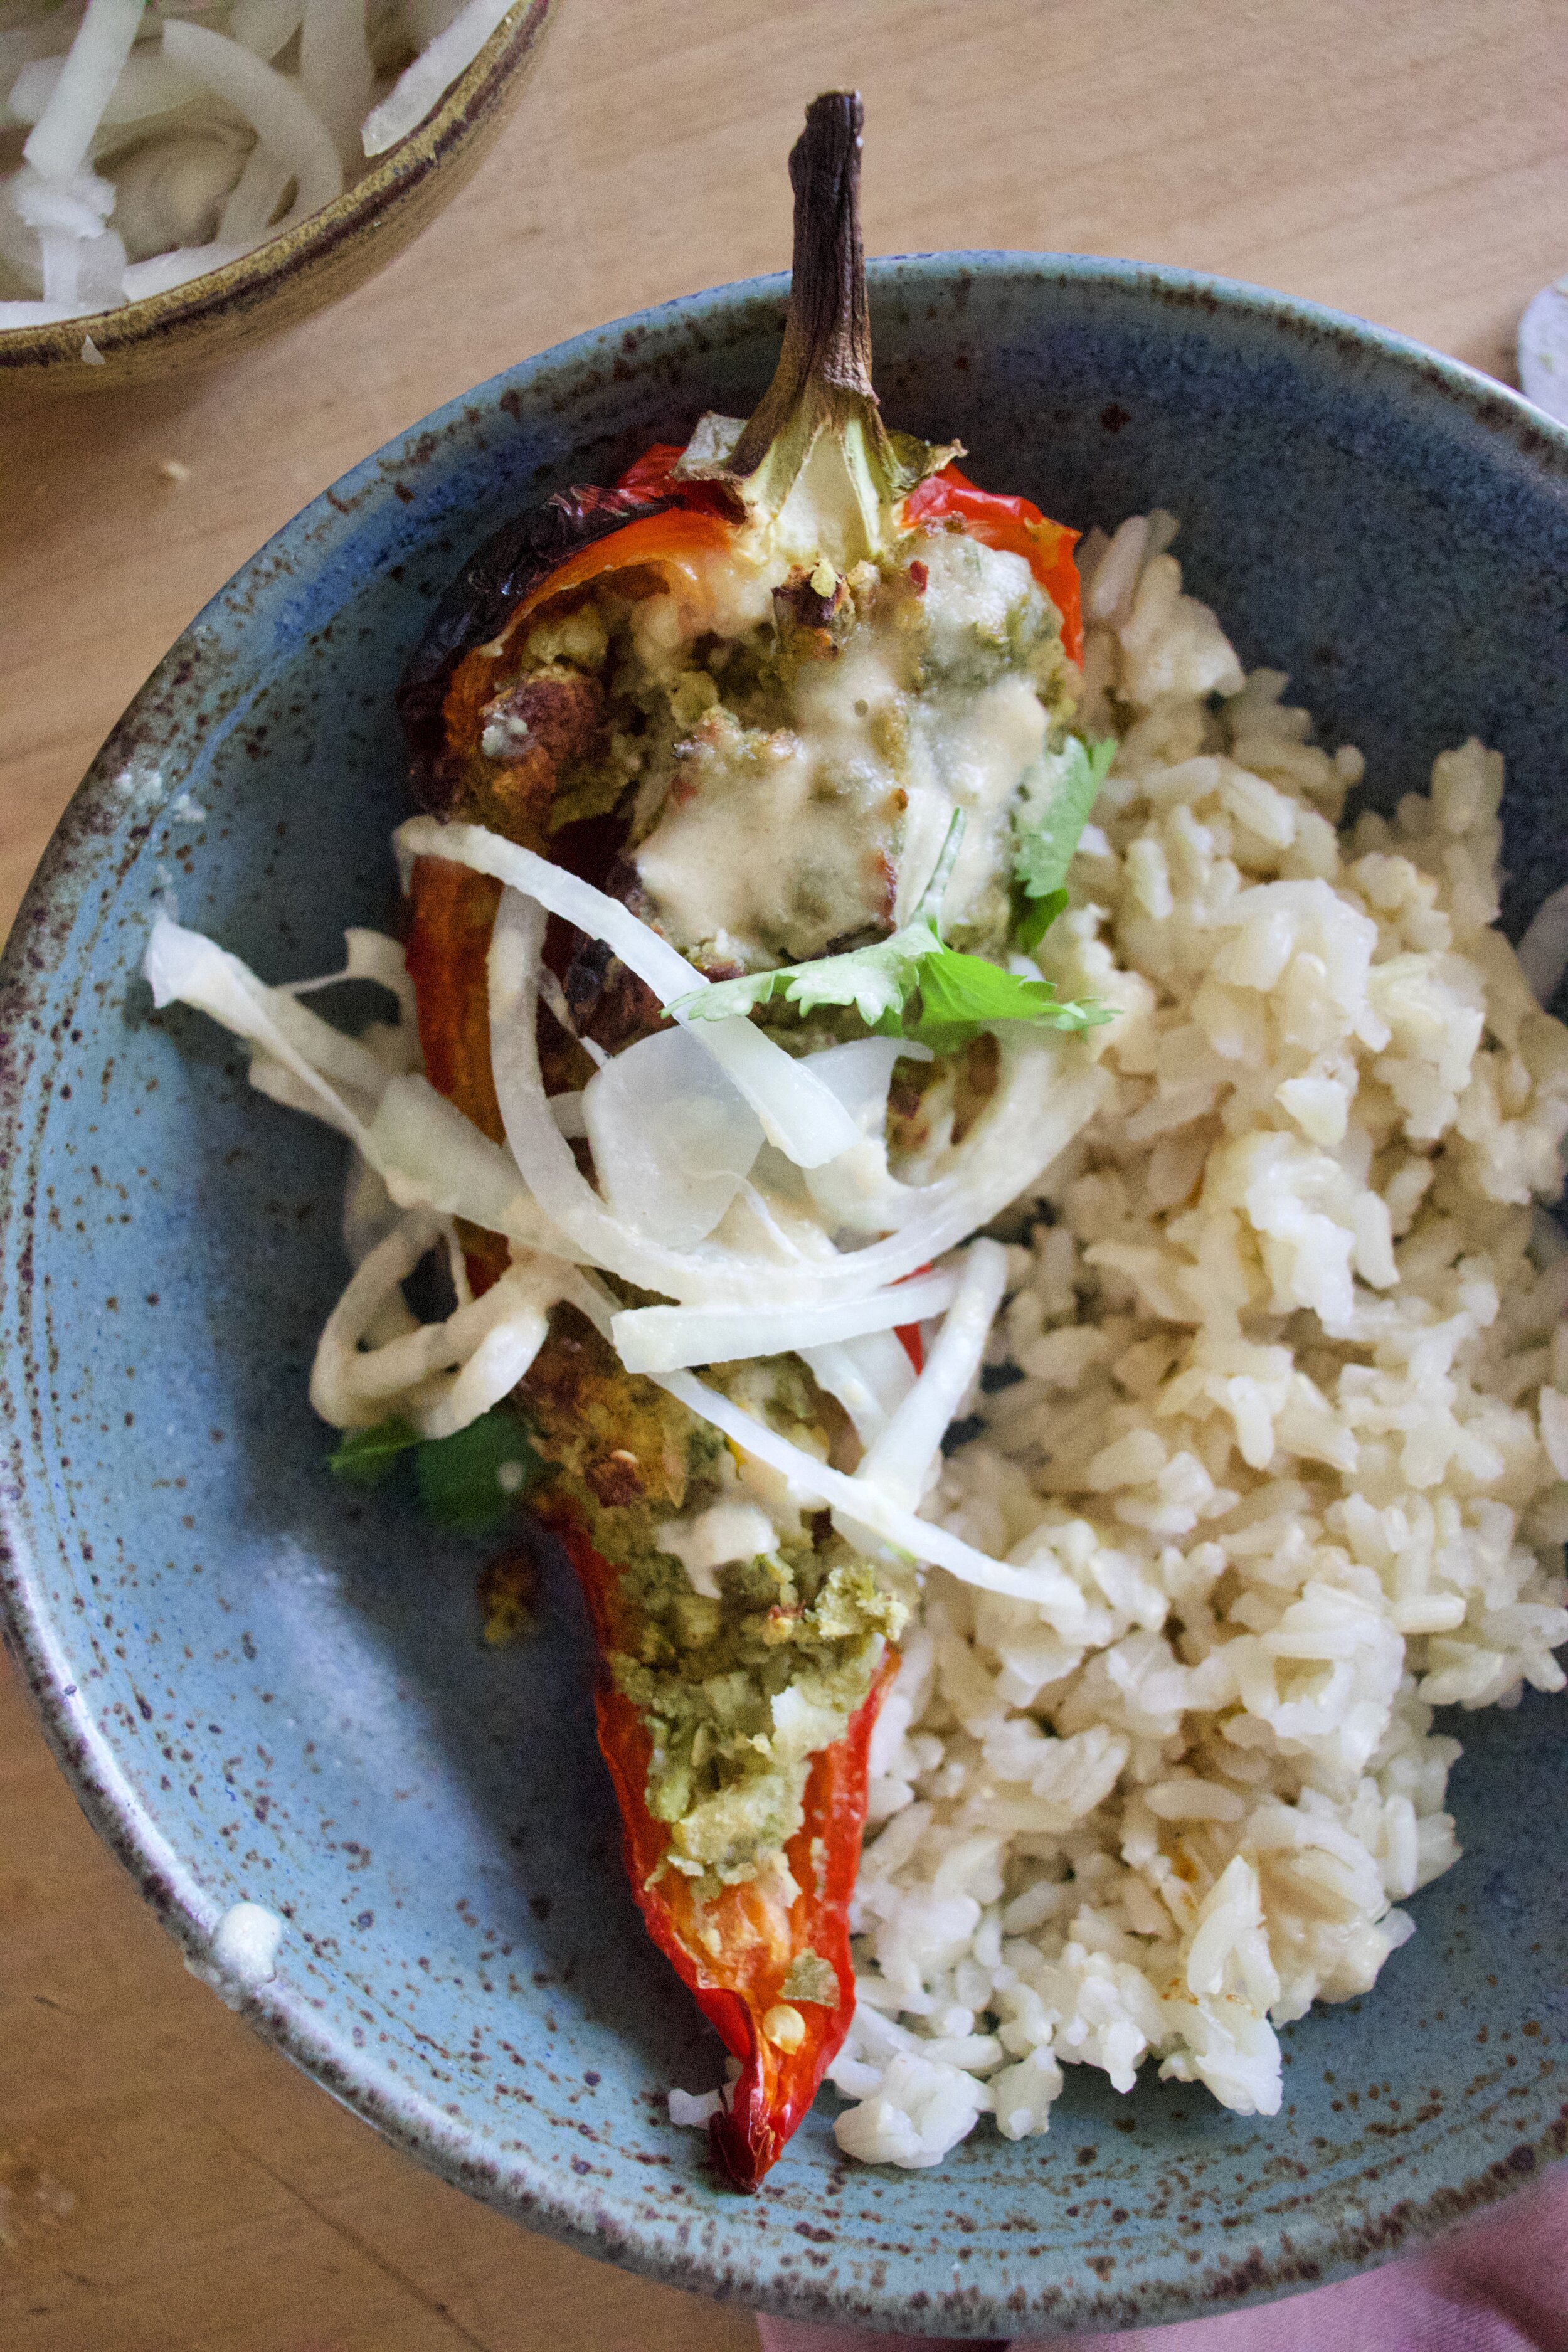
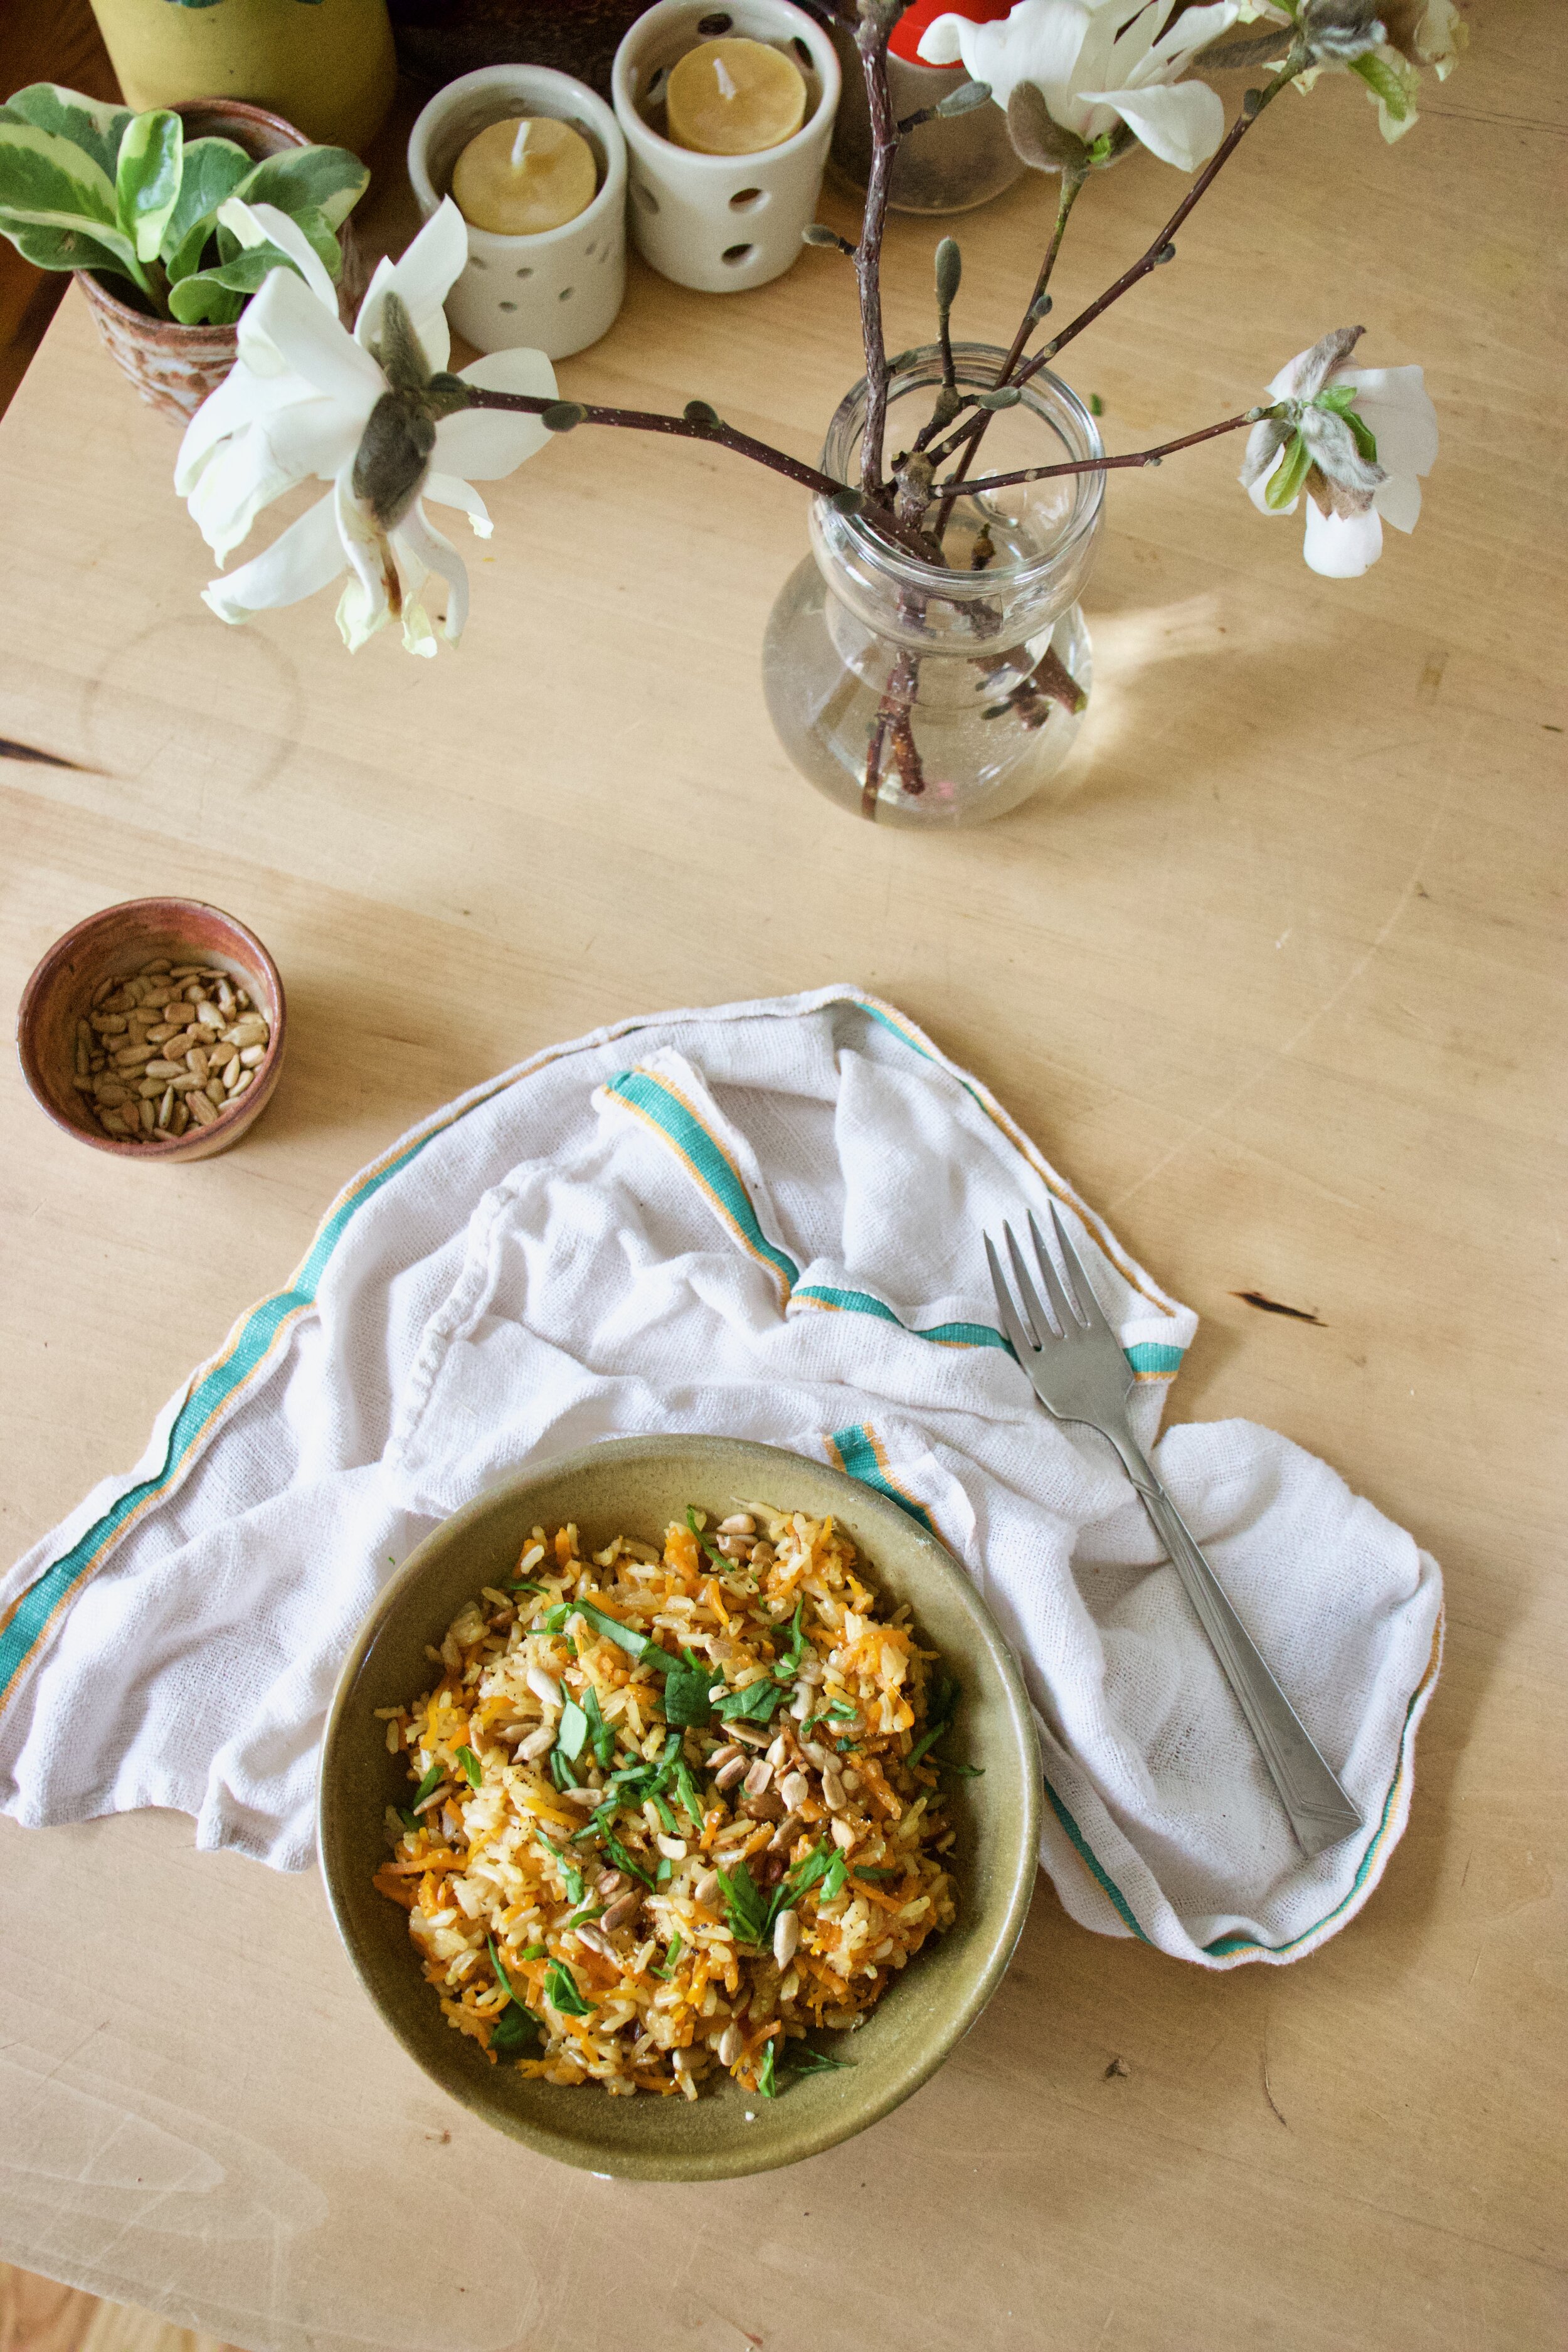
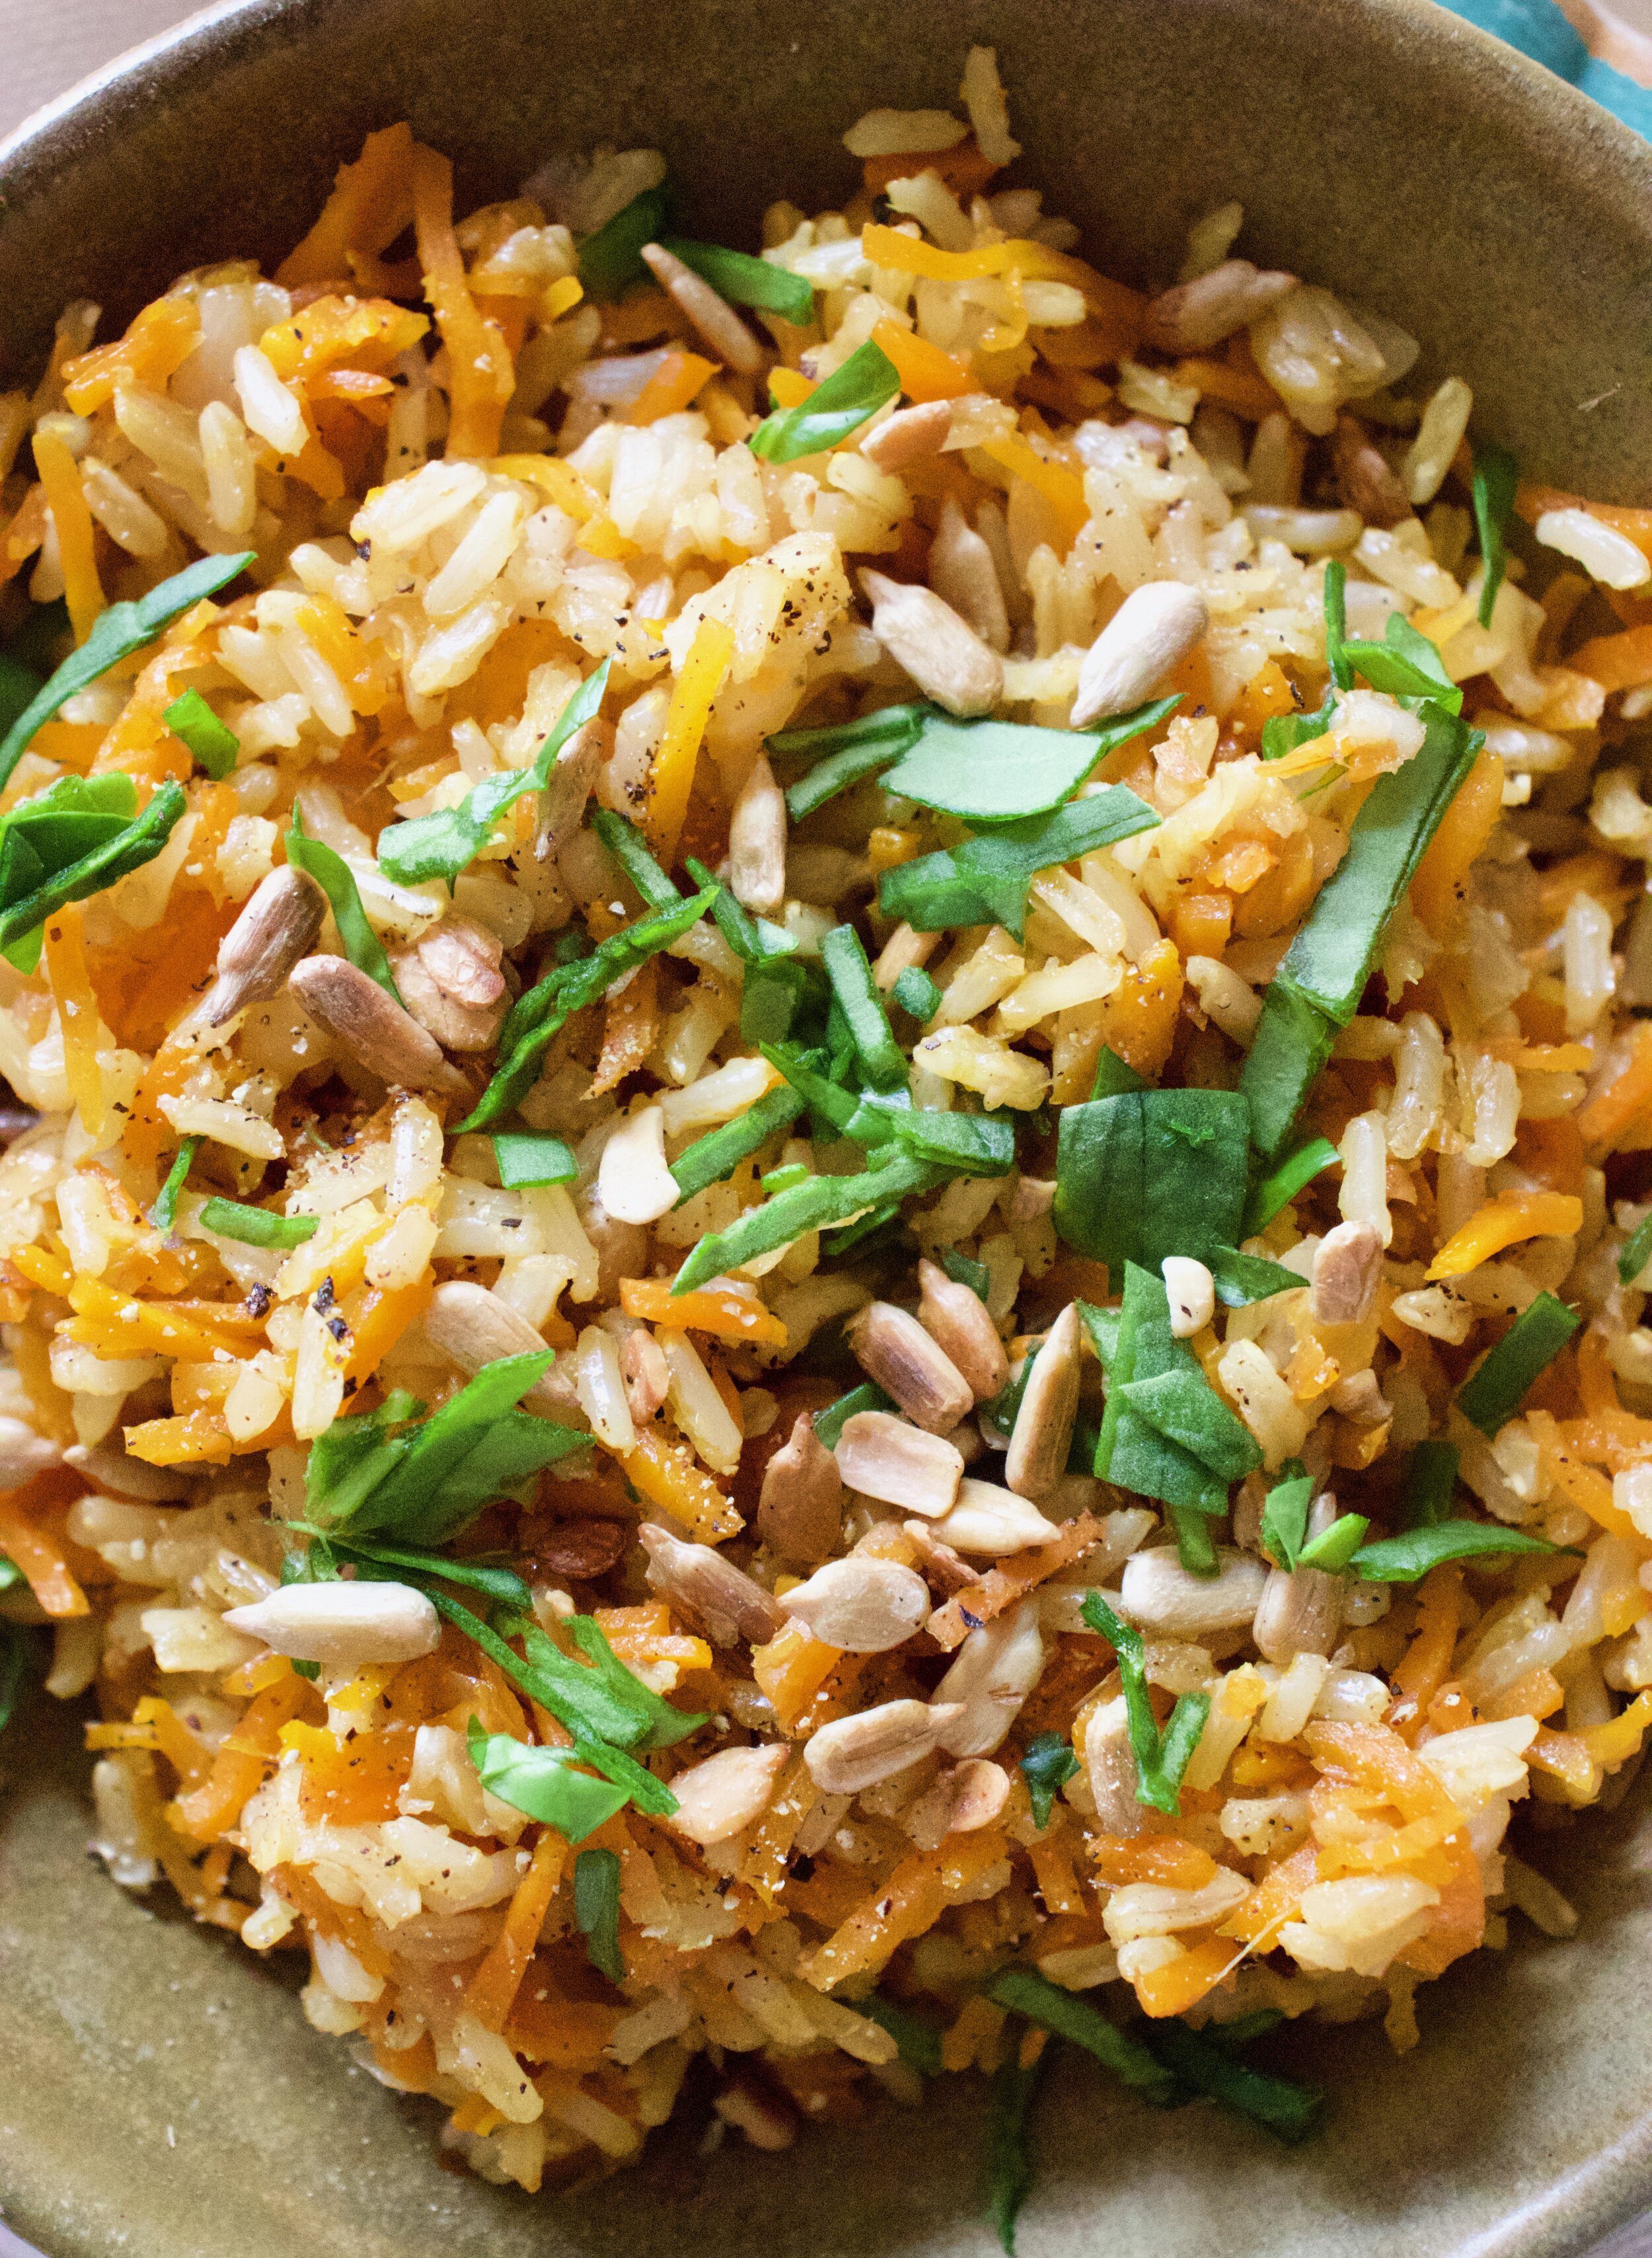
And then the rice is done, all fluffy and flavorful. Add some green something for a little pretty and yum. Also added a handful of toasted sunflower seeds because why the heck not.

-C


Carrot Ginger Brown Rice Pilaf

makes 3-4 servings

  • 3/4 cup long grain brown jasmine rice

  • 1 1/2 cups water

  • 1 small onion

  • 2 carrots (about 2 cups shredded)

  • 2 tablespoons minced fresh ginger

  • 2 tablespoons soy sauce

  • 2-3 cloves garlic

  • 2 tablespoon olive oil

  • pepper

  • 1/2 cup toasted sunflower or any other seeds or nuts you have on hand (optional)

Start by dicing up the onion and shredding or julienning the carrot into small pieces. Place into medium pot along with olive oil and set on medium heat. Cook for a few minutes until the slightly tender.

Mince garlic and fresh ginger and add it to the pot with carrots and onions. Add in dried rice too and keep cooking on medium heat until the rice smells toasty. Add in the soy and the water. Bring pot to a boil then reduce to lowest simmer you got. Place a lid on top and cook for 30ish minutes or until the rice has absorbed all the liquid.

Once the rice has the liquid, remove the pot from the heat and fluff it with a fork. Place lid back on pot and let the rice rest for 5ish more minutes.

Then eat. I think adding a handful of some crunchy seeds or nut and maybe something green only adds to the rice so go for it if you have it around.

In grains, side dish, Vegan, Vegetables, dinner Tags Carrot Ginger Brown Rice Pilaf, grains, whole grains, rice, vegan, food, pilaf, healthy, plant based, dairy free, dinner, easy, homemade, fresh, yummy, simple
Comment

Tofu Veggie Pot Pie

February 15, 2020 Colleen Stem
IMG_5683.jpg
IMG_5770.jpg

Pot pies. I grew up on them. But not real pot pies, no, it was those little frozen, single serve, terribly terrible nasty things. Yup. All you needed to do was turn on the oven or better yet, open the microwave, poke a few holes in the frozen pie, and 10 minutes later, food. The ultimate in afterschool snacks. Oh those days. What the heck was I thinking? But my best or, most vivid memory of those pies was when I was like 10 and was stabbing one of those frozen pot pies with a very sharp knife (again, the directions stated to add a vent hole) that went threw said pie and right into the palm of my hand. I remember screaming, blood everywhere, and thinking I just cut my hand off. Luckly, it was just a big gash and the knife didn’t go all the way threw my hand so that was good. And I think that was the last time I made a pot pie. Ha.

This pot pie is nothing like those pot pies. First off, it is not frozen which is good because you won’t accidentally stab a hole into your and. Secondly, it is not nasty. And third, it is freaking awesome. There are other things that make them vastly different, but you get the idea. This pot pie is full of good veggies and tofu that are nicely spiced with a creamy oat sauce that is alll wrapped up in a easy hot water pastry crust. Everything and more a real pot pie should be. Sure, it is definitely not as quick and easy as opening a cardboard box, stabbing, and tossing the contents into the microwave but screw that, we are here for the good stuff.

To the pot pie!

The stuff. Tofu, an onion, a couple carrots and a couple mushrooms, some frozen pies, garlic, oats, spicy mustard, and spices. Also salt and pepper, oil, flour, and some boiling water.

IMG_5554 2.jpg
IMG_5560.jpg

Start with the tofu. Grab a skillet, add a dash of oil and set o the stove on median heat. Cut the tofu into small cubs and pat as much of the liquid out as you can. Place tofu into skillet, sprinkle with a little salt, and let cook.

IMG_5561.jpg

Whle tofu is cooking, cut up veggies into small, not tiny, pieces. And mince the garlic too.

Browned and tasty tofu.

IMG_5584.jpg

Remove tofu from skillet and place into a bowl. Add all the veggies you just cut up into the skillet along with the spices and another pinch of slat ans lots of pepper. Keep on heat and cook.

While veggies are cooking, place water and oats into blender and blend until smooth. Making oat milk to thicken the whole shebang.

IMG_5604 2.jpg
IMG_5611.jpg

Once the veggies start to soften just a bit, add the tofu back in and add the mustard too. Then dump in the oat mixture you just blend up. Mix it al up and cook for a until it just start to thicken.

IMG_5625.jpg

Now add in frozen peas, mix, and remove from heat. Set aside. It’s now time to make the crust.

IMG_5636.jpg

FLour, hot oil, boil water and salt.

IMG_5637.jpg
IMG_5639.jpg

Add all the stuff together and mix until dough forms.

Dump hot dough onto counter and kneed for a minute of two. It shouldn’t be too hot to handle, but if it is, just wait a minute.

Once kneaded and unicorn. cut 2/3 of dough off and roll out about 1/8 inch thick either on a piece of parchment or a splat mat. IT is way, way easier to deal with then trying to roll it directly on the counter.

IMG_5654.jpg
IMG_5657.jpg

Place rolled out dough into spring form pan. It is going to rip and tear but guess what, no big deal. Just mush and patch the holes. That is the beauty of hot water crust. Once crust is all nice and uniform and all in the pan, dump in the filling.

Now roll out the top.

IMG_5670.jpg

Place top on, seal it up, add some vent hole and make a few little hearts with any scraps you have (only if you want too!) Now into the oven this baby goes, about and hour, until a nice golden brown.

IMG_5680.jpg

Done and beautiful and yeah, it sprang a little leak, but thats quite all right with me.

IMG_5688.jpg

Remove he spring form. And probably do it on a pan. Any little leaks will well, leak out a bit. But again, it’s all good.

And now all you heave to do is eat it.

A pot pie in all its glory!

-C


Tofu Veggie Pot Pie

makes one 8 inch, 2 inch deep, pie

For the filling

  • 1 medium sized yellow onion

  • a few white button mushrooms (about a 1/2 cup diced)

  • 1/2 cup frozen peas

  • 2 small carrots

  • 1/2 block (8oz) firm tofu

  • 1 teaspoon each thyme, dill, rosemary, and ground ginger

  • 2-3 cloves garlic

  • 2 heaping tablespoons spicy brown or dijon mustard

  • 1/4 cup old fashion oats

  • 1 1/2 cups water

  • salt and pepper

  • a splash of oil

For Hot Water Crust

  • 1 3/4 cups flour

  • 1/2 teaspoon salt

  • 1/3 cup coconut oil,warmed

  • 1/3 cup neutral oil,warmed

  • 1/3 cup boiling water

Before you start cooking know that you need to make the filling first and can even make it ahead of time. The crust needs to be used right away so don’t make that in advance!

Start with tofu. Cut into small 1/2 inch cubes then press as much liquid out as you can. Place a drop of oil into a large skillet and turn onto medium heat. Drop in cubed tofu and sprinkle with a pinch of salt. Cook until browned.

While tofu cooks, dice up carrots, onion, and mushrooms. Mince the garlic. Once the tofu is browned, dump it in a bowl then add the veggies and garlic to the skillet. Also add in all the spices and another good pinch of salt and lots of pepper. Stir and then cook until veggies are slightly tender.

While veggies cook, place the oats and 1 1/2 cups water into blender and blend until smooth.

And after the veggies are slightly soften, add the tofu back in, along with the mustard and the oat mixture. Stir it all around and keep on medium heat for another few minutes until the oat milk just starts to thicken. Add in the frozen peas, stir, then remove from heat. Give it a taste and season with more salt and pepper if needed.

Preheat oven to 375

Now for the crust. Place flour and salt in a big bowl and mix. Then add in warm oil (either heat on stove or in microwave) and boiling hot water. Mix unit it all comes together. Dump dough onto counter and knead for couple minutes until dough is uniform and smooth.

Cut 2/3 of the dough off and roll out in between parchment paper or on a splat mat to about 1/8 inch thick. Place into a spring form pan. It’s going to fall apart a bit but that is ok, just mush and patch up all the rips and tears so there are no holes. This dough is like play dough, very easy to manipulate. Once bottom crust is in, dump in the filling. Take the remaining dough and roll out the same way you did bottom and place on top. Seal the bottom and top crust by pinching it together. You want to try and avoid any holes so the filling doesn’t leak out. Once the crust is sealed, cut a little vent hole into the middle of the top then place pie into oven. Bake for an 60 -70 minutes or until crust is a nice golden brown.

Once baked, remove from oven and let cook for a few minutes. Then remove from pan by place pie on something like a bowl or cup that fits underneath the bottom of pan. Unlock the pan and slip ring down while the pie stays perched on cup. You can even pop the bottom of pan off if you feel like you can, but I say, why risk it. That is up to you. And sure, the pie might have sprung a little leak, but that is very much ok.

Now basically all you need to do is eat it so place pie on a big plate, grab a knife, and fork, and cut yourself a big ass piece of pot pie.

Leftovers store great in the fridge for a few days.

In dinner, entree, pie, tofu, Vegan, Vegetables Tags Tofu Veggie Pot Pie, Pot pie, vegan, tofu, plant based, hot water crust, oat milk, homemade, dairy free, veggies, healthy, crowd pleaser
Comment

Falafel Stuffed Peppers With Pickled onions and Tahini

September 21, 2019 Colleen Stem
IMG_2407.jpg
IMG_2383.jpg

I love me some falafel. I love me some peppers. So I guess it is natural that I would want to stuff falafel inside of peppers and eat them all to my face right? I think so.

As we all already know, most of what I cook is depicted by whatever I get at farm share. And the past few weeks we have been getting a lot of peppers. I have been happily eating one or two a day, just as they are, but I figured it was time that I did something else with them. Now what is the first thing that comes to mind with peppers? Stuffed peppers of course. And there you have it, falafel stuffed peppers.

So I am not going to lie and say the mr ate them and swooned. He is not the biggest fan of peppers (I am starting to realize that he doesn’t have all the right taste buds in his mouth. So sad for him.) so he dumped the falafel out of the pepper and ate it with most of the pickled onions, the tahini, and rice. That he really liked. Lucky me, I wanted his pepper anyway because roasted peppers are freaking fantastic amazing and whatever him. Me, as a pepper and falafel lover, I found these stuffed peppers to be everything that I wanted and needed and then some. Eaten pretty much right away warm, with pickled onion and covered in all the tahini, it was a very very satisfying meal. But also a left over stuffed pepper that was stuck in the fridge, eaten cold standing in front of said fridge, right before bed. That was something great as well. I might have even gone in for a second one……

Anyway, a pepper stuffed with falafel is a good idea if you want food, like peppers, like falafel, and are cool. Just saying.

To the falafel stuffed peppers!

The stuff. A few sweet peppers, some cooked chickpeas, chickpea flour, an onion, a bunch of fresh cilantro and parsley, a few cloves of garlic, red wine vinegar, a little water, tahini, cumin, chili pepper flakes, and salt and pepper.

First, take the onion and cut in half. Take one half and cut into very thin slices, place in a bowl, sprinkle with a pinch of salt and toss with the vinegar and a few tablespoons of water. Set that bowl aside. The other half of onion just cut into a few smaller chunks.

IMG_2228.jpg
IMG_2232 2.jpg
IMG_2242.jpg
IMG_2258.jpg

To make falafel. Add the chunks of onion and garlic to food processor and pules a few times to start chopping it up. Add in the cilantro and parsley, the chickpeas and chickpea flour, the cumin and chili pepper flakes, and a good few pinches of salt and lots of pepper. Pulse until completely combined but still a bit chunky. OR pulse until smooth if you would rather it like that. It’s up to you.

Grab peppers and cut each in half. Remove the ribs ad the seeds.

Take falafel mix and stuff it into peppers.

Place peppers onto a baking sheet and into the oven they go.

IMG_2311.jpg

In the meantime while the peppers are cooking, toss the onions around in the brine a few times. Then right before you take the peppers from the oven, drain the brine from the onions into a jar with the tahini and mix until smooth. Add a splash of water to the mix if you need to loosen it up a bit more to make the consistency of the tahini drizzle-able.

And out they come when all roasted and crispy and my oh my, so good!

Now you eat. Garb a bowl, maybe a grain of some sort if you like (I made the mr rice), plop a pepper down, add some pickled onions and drizzle that tahini all over.

Eat.

-C


Falafel Stuffed peppers with Pickled Onions and Tahini

Makes 6 half peppers stuffed

  • 3 medium sized sweet peppers

  • 2 cups cooked and drained chickpeas (or one can)

  • 1 large onion

  • 1 bunch (about 1/2 cup packed) cilantro

  • 1 bunch (about 1/2 cup packed parley

  • 2-3 cloves garlic

  • 2 teaspoons cumin

  • 1 teaspoon chili peper flakes

  • 1/3 cup chickpea flour or oat flour if you don’t have chickpea

  • salt and pepper

  • 1/4 cup tahini

  • a few tablespoons water

  • 3 tablespoon red wine vinegar

Preheat oven to 425

Grab the onion and cut in half. Take one half and cut into very thin slices and place in a bowl. Spinkle with a pinch of salt and dump in the vinegar along with about 2 tablespoon water. Toss around until all the onion is coated and set aside.

Take remaining half onion and cut into big chunks. Toss into a food processor along with the garlic and pulse a few times until the onion is chopped up. Add in the cilantro, parsley, chickpeas, chickpea flour, cumin, chili pepper flakes, and a good pinch of salt and lots of pepper. Pulse the hole shebang until the mixture is combined, the herbs are incropeted, but there is a little chunk left. Or you could make it smooth if you wanted too. It’s up to you.

Grab the peppers and cut them in half. Remove the ribs and seeds then take the falafel mixture and evenly distribute it between the peppers halves.

Place stuffed peppers on a baking sheet, falafel side up, and place into oven to bake for about 45 minutes. You want the falafel mix to have a chance to cook inside and out and to get nice and golden brown and crispy on top.

Right before the peppers are done, grab the onions and the tahini. Toss the onions one last time in the briny mix it’s been sitting in, then drain that brine into the tahini. Mix around until smooth. The tahini should be at the consistency to drizzle so if it is still to thick, add in a splash of hot water to loosen it up.

Once peppers are cooked, remove fro oven. Place on a plate with or without some grain, toss on some pickled onion and drizzle tahini all over.

Eat.

Store left over peppers in a the fridge. To eat, just reheat or eat cold. I really enjoyed eating one cold.

In Vegetables, Vegan, pulses, Pickled, grain free, Gluten Free, entree, Dairy Free, beans Tags Falafel Stuffed peppers with Pickled Onions and Tahini, Stuffed peppers, vegan, dinner, Vegan stuffed peppers, Gluten free, Gluten free stuffed peppers, grain free, grain free stuffed peppers, falafel, dairy free, sweet peppers, entree, protein, pulses, chickpeas, homemade, easy, healthy
Comment

Fresh And Chunky Cherry Tomato Peach Salsa

August 24, 2019 Colleen Stem
IMG_1409.jpg
IMG_1446.jpg
IMG_1420.jpg

There are a million things you can, and should, do with tomatoes. Salsa is one of those things. Especially with the super fresh and ripe summertime tomatoes that may or may not be overflowing every empty surface of your kitchen (my current predicament). And peaches. Now is the time friends to eat your peaches. In season and oh so tasty. Do it now before it’s too late and those oh so deliciously ripe and sweet peaches are gone and all that is left are mealy, gross, supermarket fakes. Only eat in season peaches. That is a life lesson everyone should know.

This salsa is perfect. Super fresh, sweet and slightly spicy, with a hint of tangy goodness and just, you, really freaking perfect. A salsa that hits all the right notes with out being overly anything and underly nothing if you know what I mean. All the tastes of summertime. A darn good salsa. Darn good.

This salsa also makes me a winner at the game I am playing with myself called “Get the mr to eat tomatoes and like it"“. The game started when he told me he was sick of tomatoes and he didn't want to eat anymore. I made the salsa (which also made me a winner in the other game I play called “Get the mr to eat fruit in his savory dishes”, because he also tells me how much he hates fruit in savory), he tried the salsa, raved about the salsa, and then went and ate the rest of the salsa with his rice and beans. .

I win again! Haha

Anyway, super fast, super fresh, super super. A great way to use up a any of your shit load of tomatoes you might have laying around and to get in a few more of those summertime peaches before they are gone again for the year.

Now to the salsa.

The stuff. Cherry tomatoes, peaches, an onion, a jalapeño, a lime, a bunch of cilantro, salt and pepper, and a little vinegar.

IMG_1359.jpg
IMG_1364.jpg

Start by cutting up the tomatoes into quarters. Do this carefully or else you will have tomatoes rolling around everywhere. Place chopped tomatoes into a bowl.

IMG_1367.jpg
IMG_1371.jpg

Then dice up those peaches into small little pieces and toss into bowl with tomatoes.

IMG_1373.jpg
IMG_1380.jpg

Onion gets diced up too and placed into bowl.

IMG_1384.jpg
IMG_1388.jpg

Jalapeno, seeds removed, diced up nice and small. Get it into the bowl.

IMG_1393.jpg
IMG_1397.jpg

And cilantro. Give it a rough chop and into the bowl it goes.

IMG_1412 2.jpg

A sprinkle of salt, lots of pepper (to taste of course), the juice of the lime, and a splash of vinegar. Mix it all up and there you have it.

Into a jar (or you can just keep it in the bowl if you want), and it’s ready for eating. Chips, tacos, to top a salad… This salsa does it all. Heck, just eat it with a spoon. There is absolutely nothing wrong with that.

-C


Fresh And Chunky Cherry Tomato Peach Salsa

Makes about 32 oz of the good stuff

  • 1 overflowing pint cherry tomatoes (red, yellow, sun gold or a mix of any)

  • 2 ripe but firm peaches

  • 1 bunch cilantro

  • 1-2 jalapeños (depending on how hot you want it)

  • 1 small red or white onion

  • a lime

  • salt and pepper

  • splash red or white wine vinegar

Grab the tomatoes and carefully, so they don’t roll away, cut each one into quarters. Place in a big bowl. Cut peaches in half, remove pit, and dice the flesh into very small little piece and toss into bowl. Now onion, dice that into small little pieces, along with the jalapeño and toss into bowl. Cilantro gets a rough chop then into the bowl it goes. Now sprinkle in a little salt and lots of black pepper. Add the juice of the lime and a splash of the vinegar and toss it all around. Let sit for a few minutes, taste, then season with more salt and pepper if needed. Can add more vinegar for more acid if needed too.

This salsa only gets better with a little age so you can definitely make it a day or two ahead of time.

Store in a bowl to serve or a jar for longer storage. Use within a 4-5 days of making it.

In Vegetables, Vegan, summer, Raw, quick and easy, fruit, condiment Tags Fresh And Chunky Cherry Tomato Peach Salsa, Peach, Salas, fresh, homemade, vegan, clean eating, plant based, summer, sweet and savory, condiment, side dish, party, bbq, cherry tomatoes
Comment

Applesauce

September 23, 2015 Colleen Stem
IMG_8979.jpg
IMG_9016.jpg

Earlier this week, the mr and I took a little Vermont drive. We grabbed some coffee, went to the country side, down some dirt roads, and struck apple gold. This road was lined with apple trees.(no, it was not an orchard) Trees all over the place, of all sorts of different variety apples, just falling from the trees. It was crazy. So We stopped, tasted, and picked picked picked. We filled up the trunk of the car.

This is after a few days earlier we picked about 2 bushels of heirloom apples that are growing all around our garden.So yeah, we might have a few apples laying around the house

But we picked with purpose. The mr is in processes of making , from scratch, his own hard apple cider. He has 2 of these humngo 5 gallon glass carboys (is that what they are called) or glass jugs  that he was attempting to fill with cider. No problem right? We have an abundance of apples. Well that's all well and good, but guess what? We don't have a press. The mr didn't seem to see this as a problem. He will just borrow a juicer…HAHAHAH. that worked, for about 2 cups of juice, then the motor blew out. So I let him use my blender. He spent 4 house deseeding and blending apples to a pulp and squeezing the juice through a piece of cotton. It was ridiculous and amazing and he actually got about 3 gallons of juice through the process, which is now fermenting in the basement, but he did not get anywhere near the ten gallons that he was looking for. So next project… build an cider press.(seriously)

But we still gots about half of the shit ton of apples that we picked. Luckily,most of them are good keepers so I can store them for a while (until I eat them all) but some of them are starting to smell so super apple-y that I can tell that they need to be used  asap. And thats fine by me cause that just mean applesauce! 

Applesauce!!! It is a must, an apple season stable. Sure you can make all sorts of pies, tarts cakes, salads, pretty much apple anything, but applesauce is apple at it's most delicious  purest state( besides fresh). Plus applesauce can be used to make all of those  apple cakes, breads, salads and such. IT's also  what you do when you have any apples that need to be eaten, might taste a little on the meh side,are too sour, might look a little to funky to eat, or just because applesauce rocks and you want some. 

So yeah, applesauce is awesome-sauce and you need to make some May you apples be store bought, orchard pick, or wild foraged. Any apples will do!

Applesauce time!

The stuff. Apples, apple and apple. 

Cut up the apples, removing the seeds and stems. (peel if you really must)

Toss all those apples into a pot and add in a few couple of water. Place lid on the pot, stick one medium heat, and let it cook.

Until it looks like this.  Applesauce.. a little on the chunk side(the way I like it) but if you want it smooth, just use a masher or a blender to smooth it as much as you like. This applesauce is all about you my friend.

Spoon into jars… and into you mouth.

Add some stuff (cinnamon, peanut butter, fresh raspberries...) add to stuff, (yogurt, muffin batter, salad dressing…) or eat straight up. The possibilities are endless!

Happy Wednseday and Happy First day of Fall!!!

-C


Applesauce 

Makes about 2 pints 

  • 5-6 pounds apples (use any variety or varieties that you like)
  • 2 1/1- 3 1/2  cups water

Note. I am not an apple peeler kind of lady. I get that some of you are, so by all means, peel your apples if you want. 

Chop apple into chunks, removing the seeds and the stem and toss into a heavy bottom pot. Pour in aout 2 cups water and stick on on a medium high heat and top the pot with  lid. After about 5 minutes, give the apple a good stir and turn heat to medium low. Let simmer for about 20-30 minutes, stirring every now and then, adding more water if needed, until the apple are completely soften and falling apart.  Turn burner of and  either with a masher of some kind, or even a wood spoon, smash apart any large chunks of apples. If you like a smooth sauce, add it to a blender and puree until you are happy with the consistency. Want it thinner, add a little more water. Thicker, cook a little longer.

Note that once it's refrigerated, it will become thicker too. Store in jars for up to a week (if it lasted that long)

Eat as is, or add  anything that you heart desires to it. Cold is great, warm is amazing. Can be used in just about any baked good or savory recipes that you can think up!


In breakfast, Dairy Free, Gluten Free, Paleo, recipes, Savory, soup, Sweets, Vegan Tags apples, applesauce, vegan, gluten free, fresh, homemade, Vermont, wild forage, heirloom apples, HOmemade applesauce
Comment
← Newer Posts Older Posts →
 

https://thelovelycrazy.squarespace.com/config#/|/about/

Me. Food Maker.Food eater. Woo HOO!

STEM+NODE  SMALL BATCH AND ONE OF A KIND POTTERY

stem+node ceramics


____________________

Subscribe

GET NEW POSTS IN YO EMAIL

You are AWESOME!!!


@thelovelycrazy 2014-2021