• stem+node ceramics
  • HOME
  • Food Recipes
  • About
  • Contact
Menu

The Lovely Crazy

Street Address
City, State, Zip
Phone Number

Your Custom Text Here

The Lovely Crazy

  • stem+node ceramics
  • HOME
  • Food Recipes
  • About
  • Contact

Raspberry Danishes

July 18, 2020 Colleen Stem
IMG_9203.jpg
IMG_9174.jpg

When your neighbor tells you to pick as many raspberries as you can, well you go pick as many raspberries as you can. Just a few houses down the street, she has a yard full of the heaviest fruited raspberry bushes that have seen. So I grabbed my biggest mixing bowl and went at it. So many raspberries, they were basically falling off into the bowl (and into my mouth). Fresh raspberries, there is not much better.

And she wants me to come back for anther round. We have good neighbors.

I had quite the raspberry loot. The mr and I ate some (maybe too many), froze some, and then I made danishes for no other reason then I wanted to. And that was a just decision because everyone loves a good danish.

And these were good, or sooo good, according to the mr. He ate half while the other half were demolished when I brought them to my moms for dessert which was the plan so it worked out. People and their danishes. It’s a thing you know.(No, not really)

Now to the danishes!

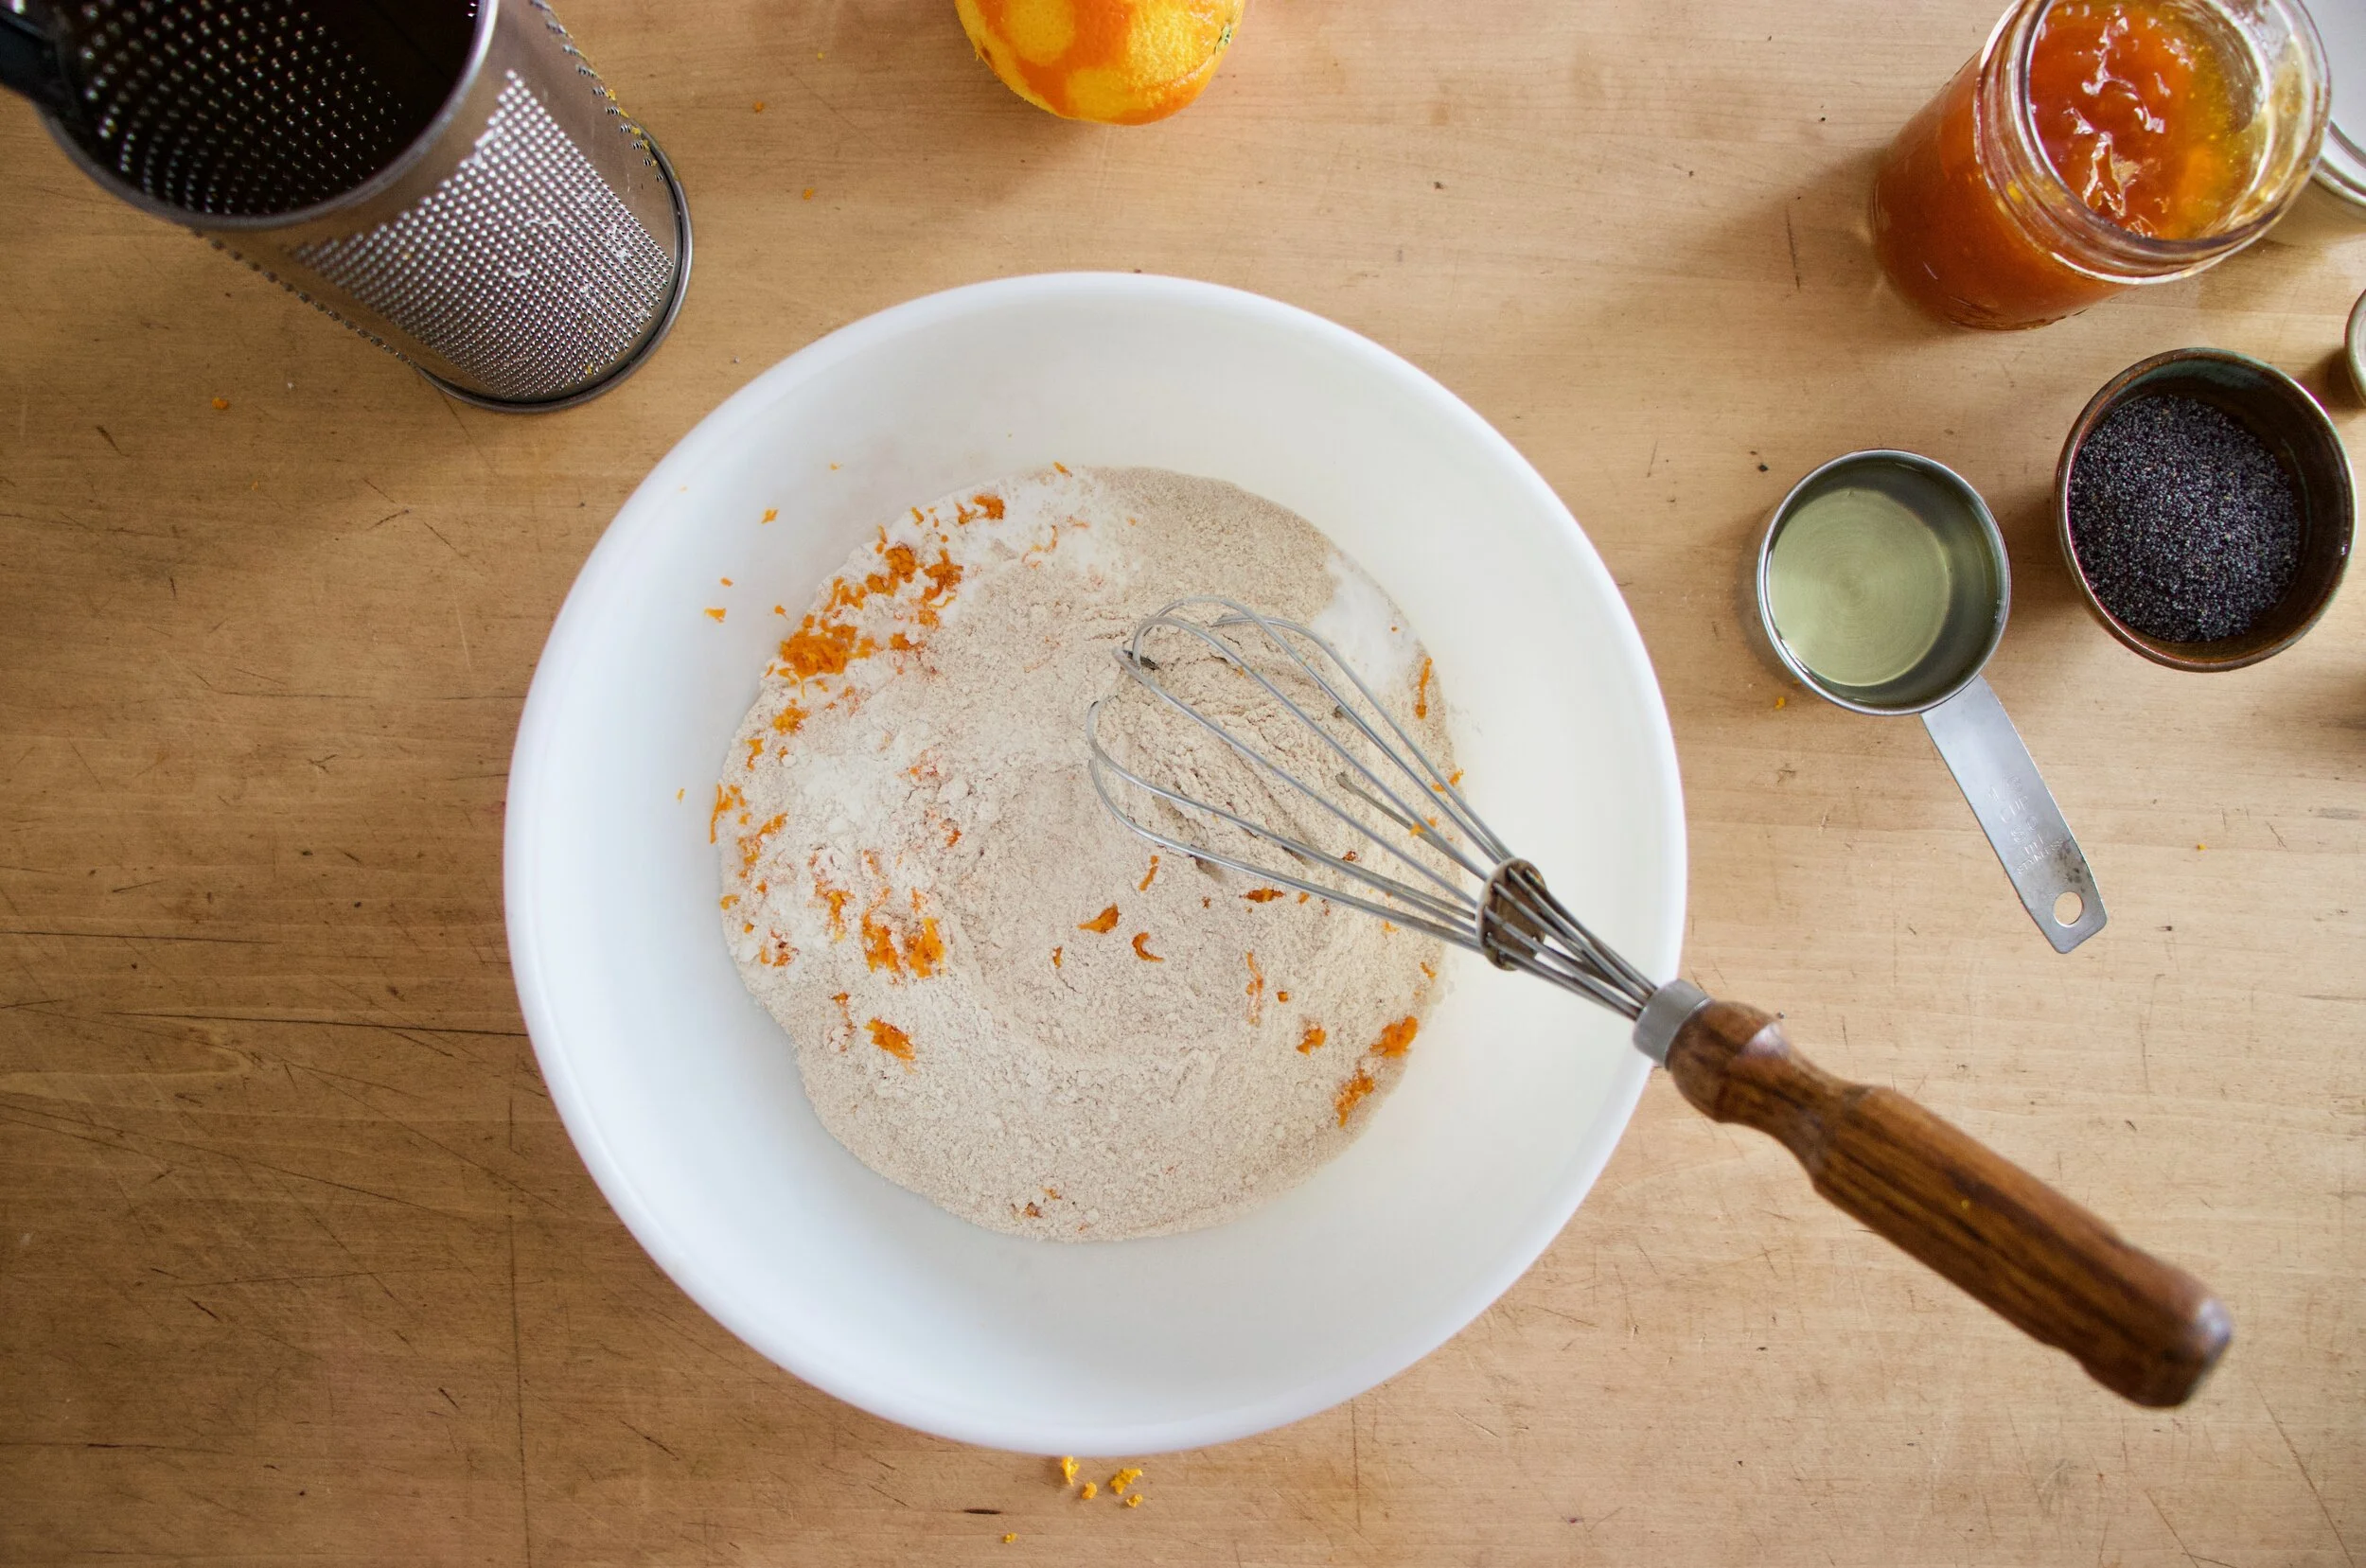
The stuff. Fresh raspberries (You can use frozen or if you really want, raspberry jam) flour, sugar, salt, plant milk, oil, yeast, a lemon, powdered sugar, vanilla. and that is it.

IMG_9048.jpg
IMG_9052.jpg

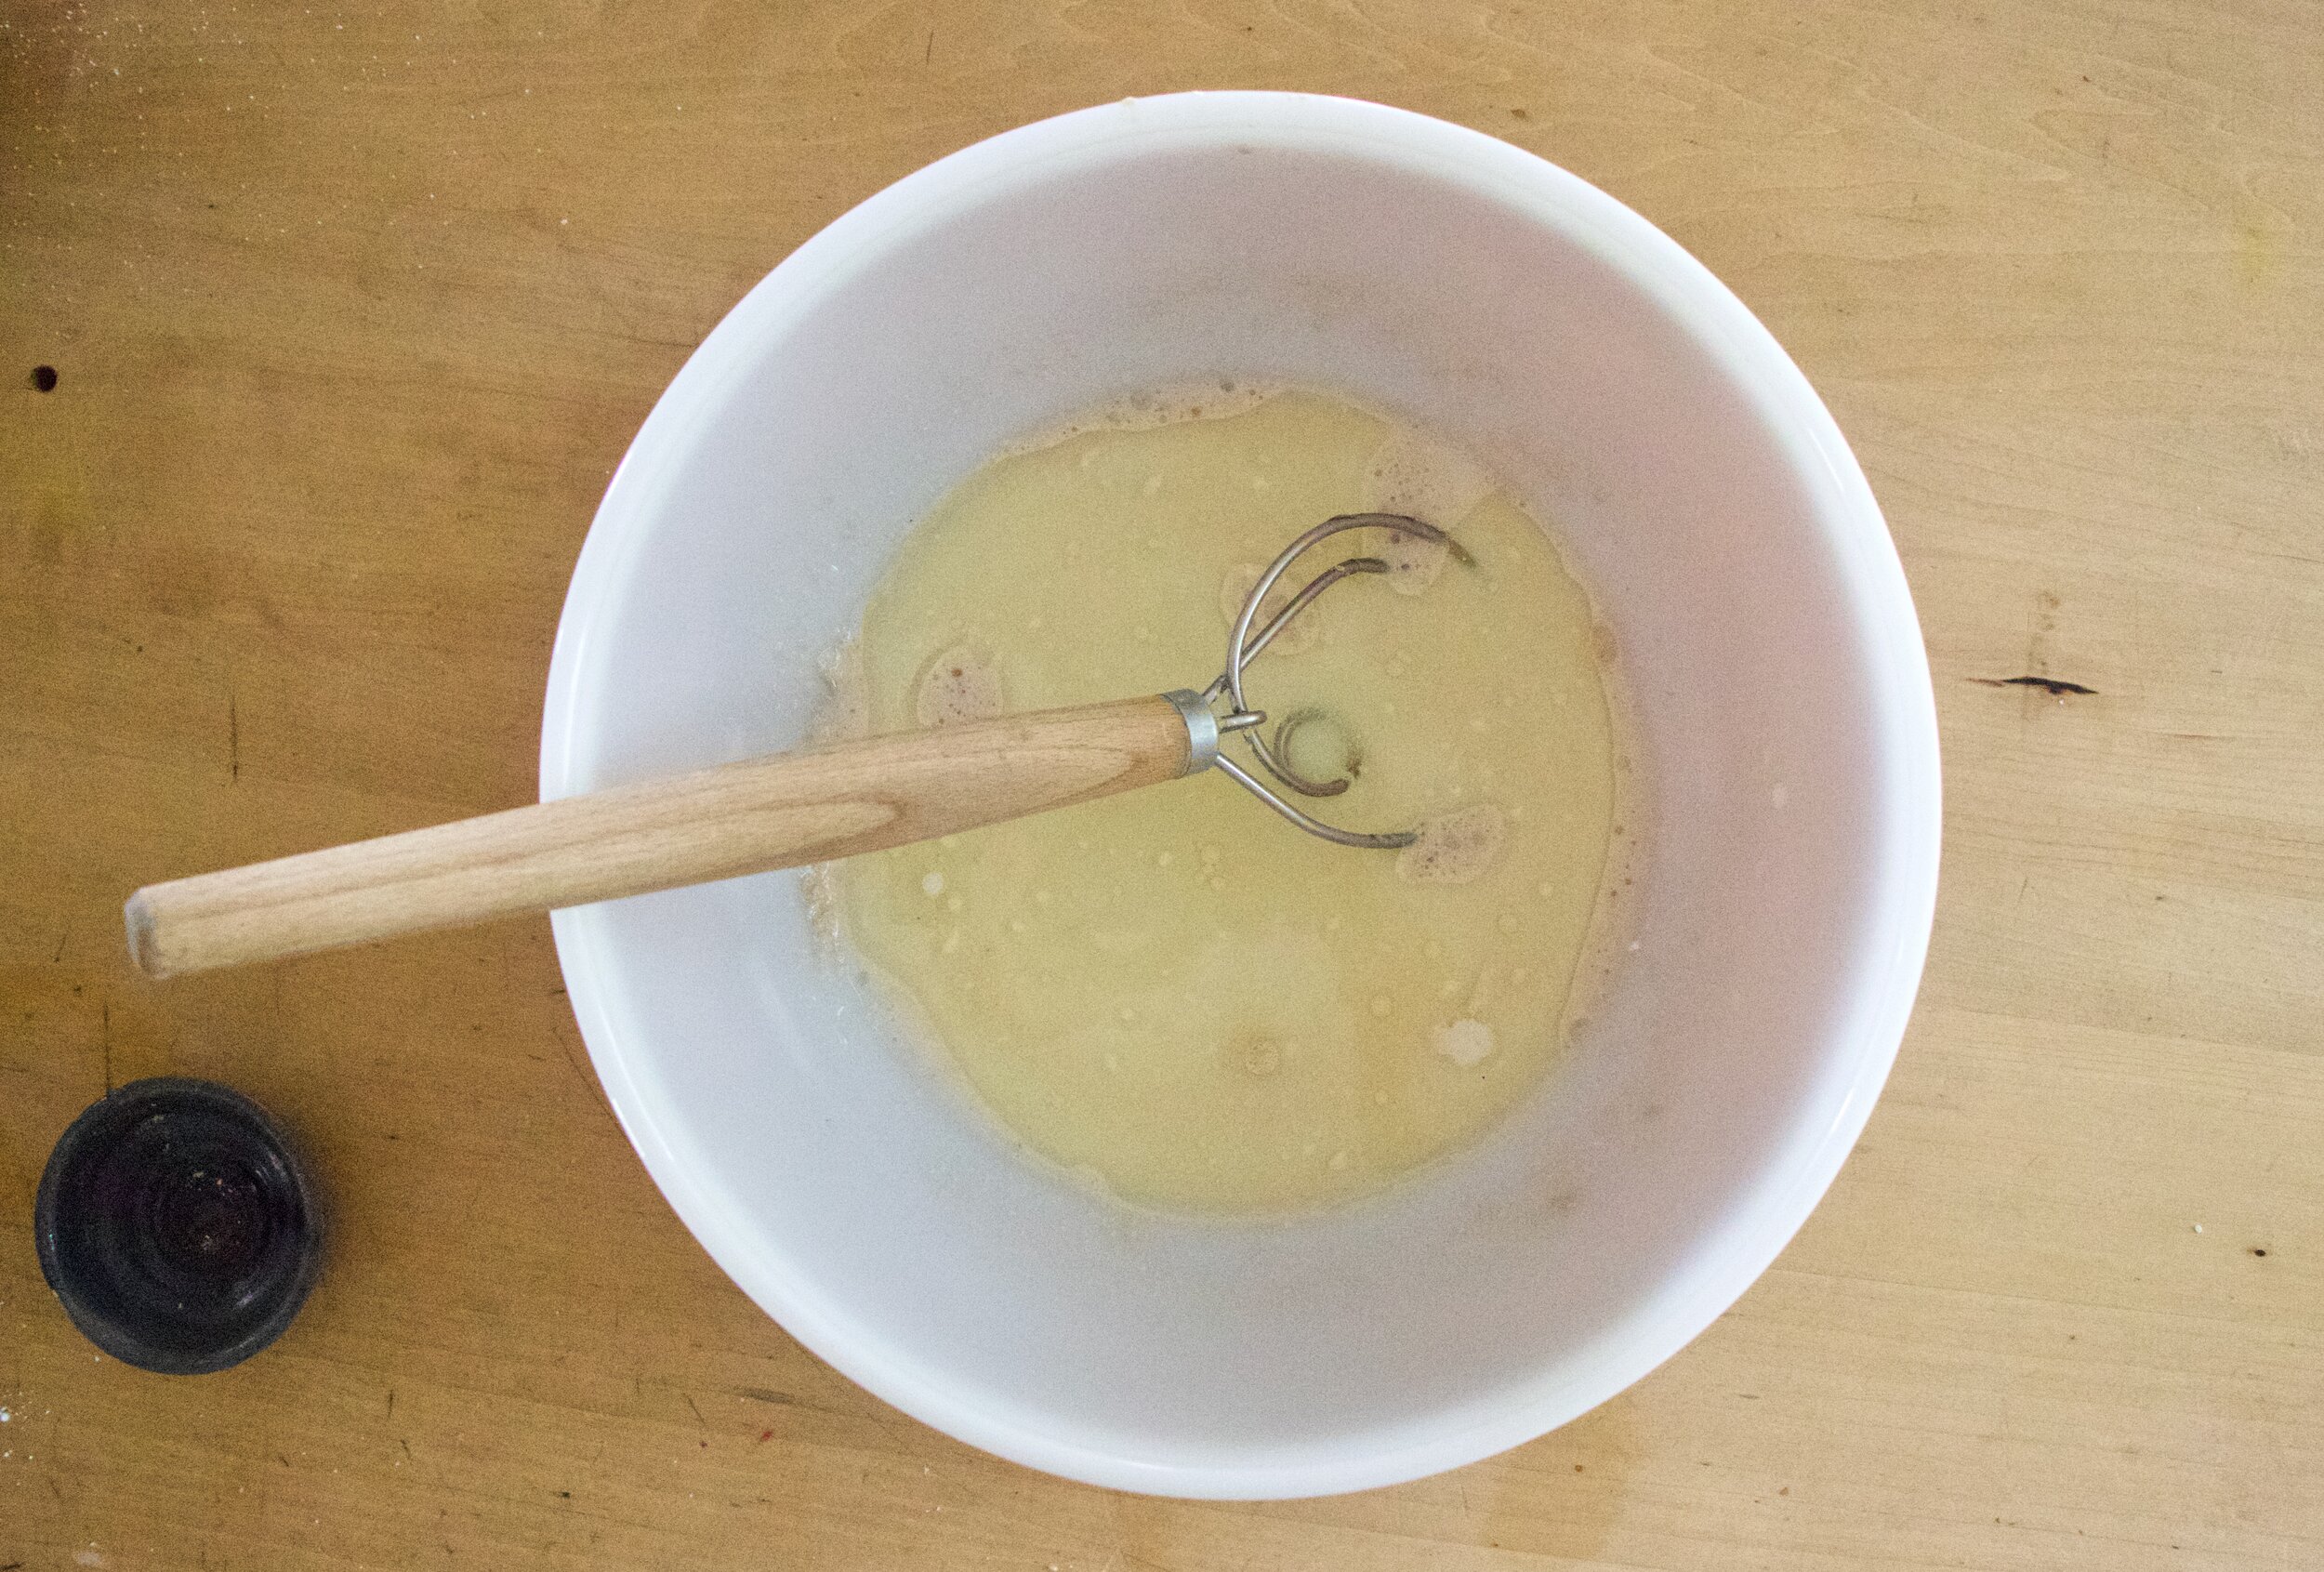
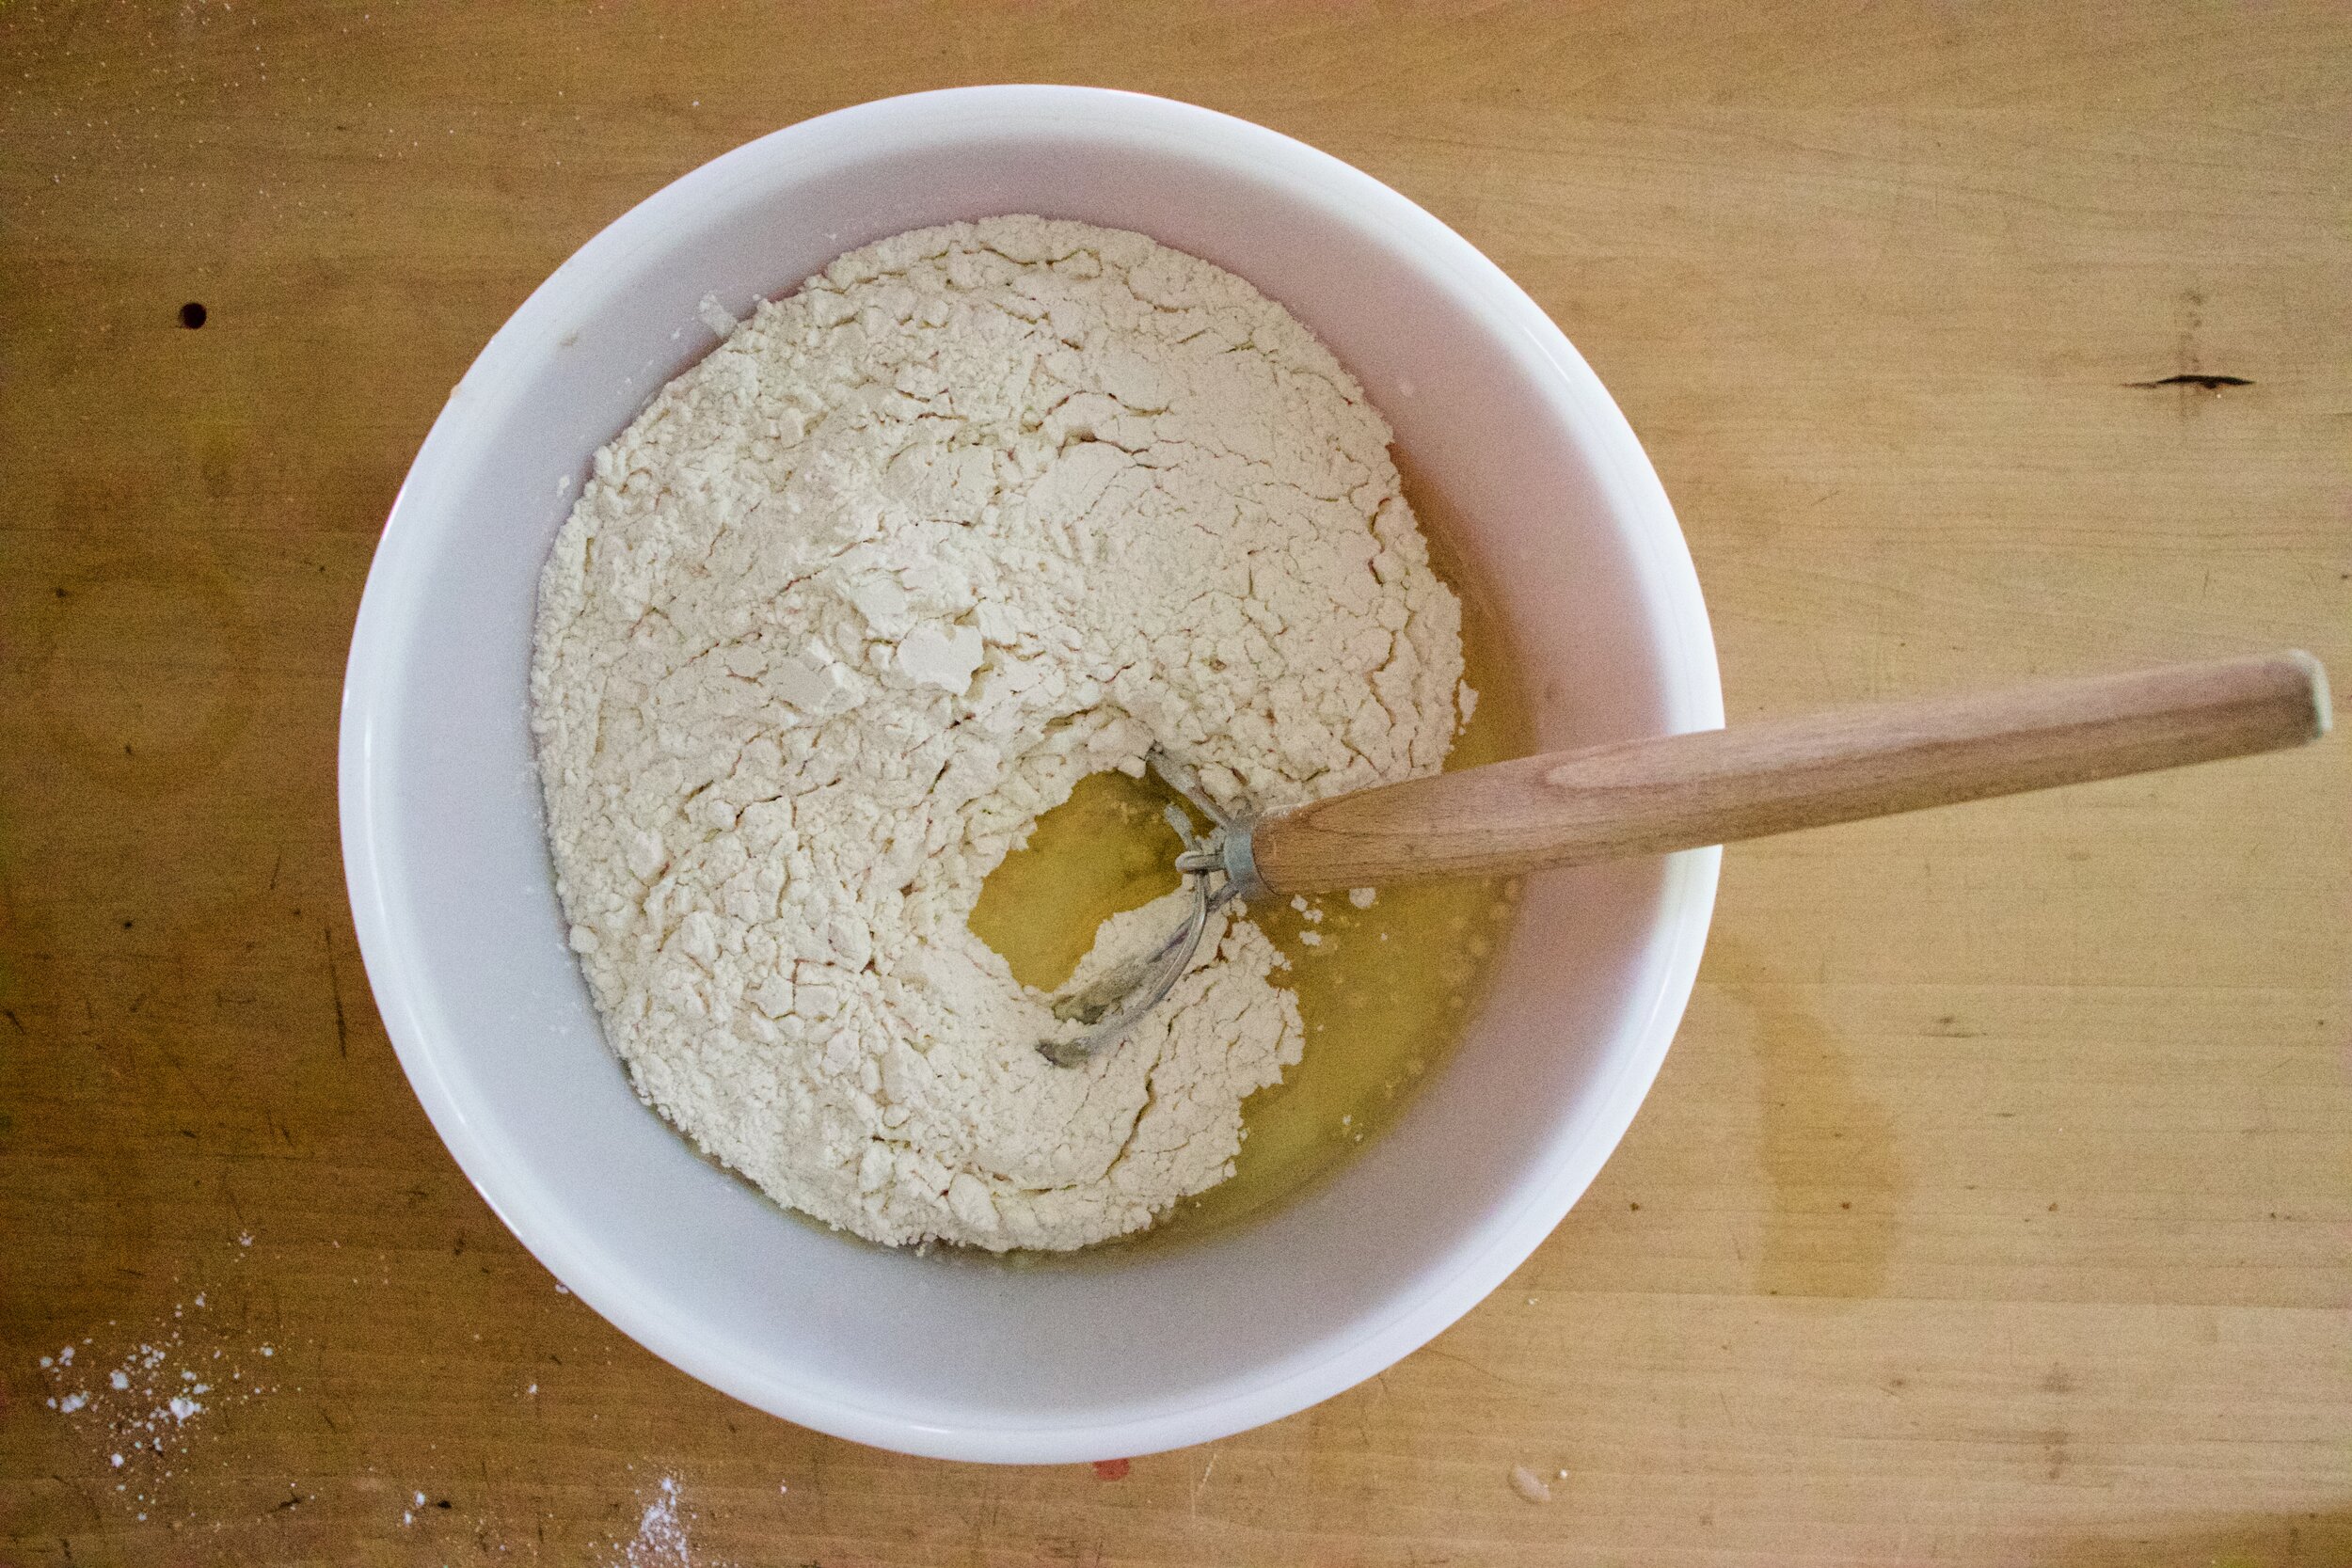
Start with mixing the yeast with the oil, milk, and sugar in a large bowl. Add in the flour and slat ads mix mix mix until you can’t mix no more.

IMG_9055.jpg

Dough.

IMG_9060.jpg
IMG_9062.jpg

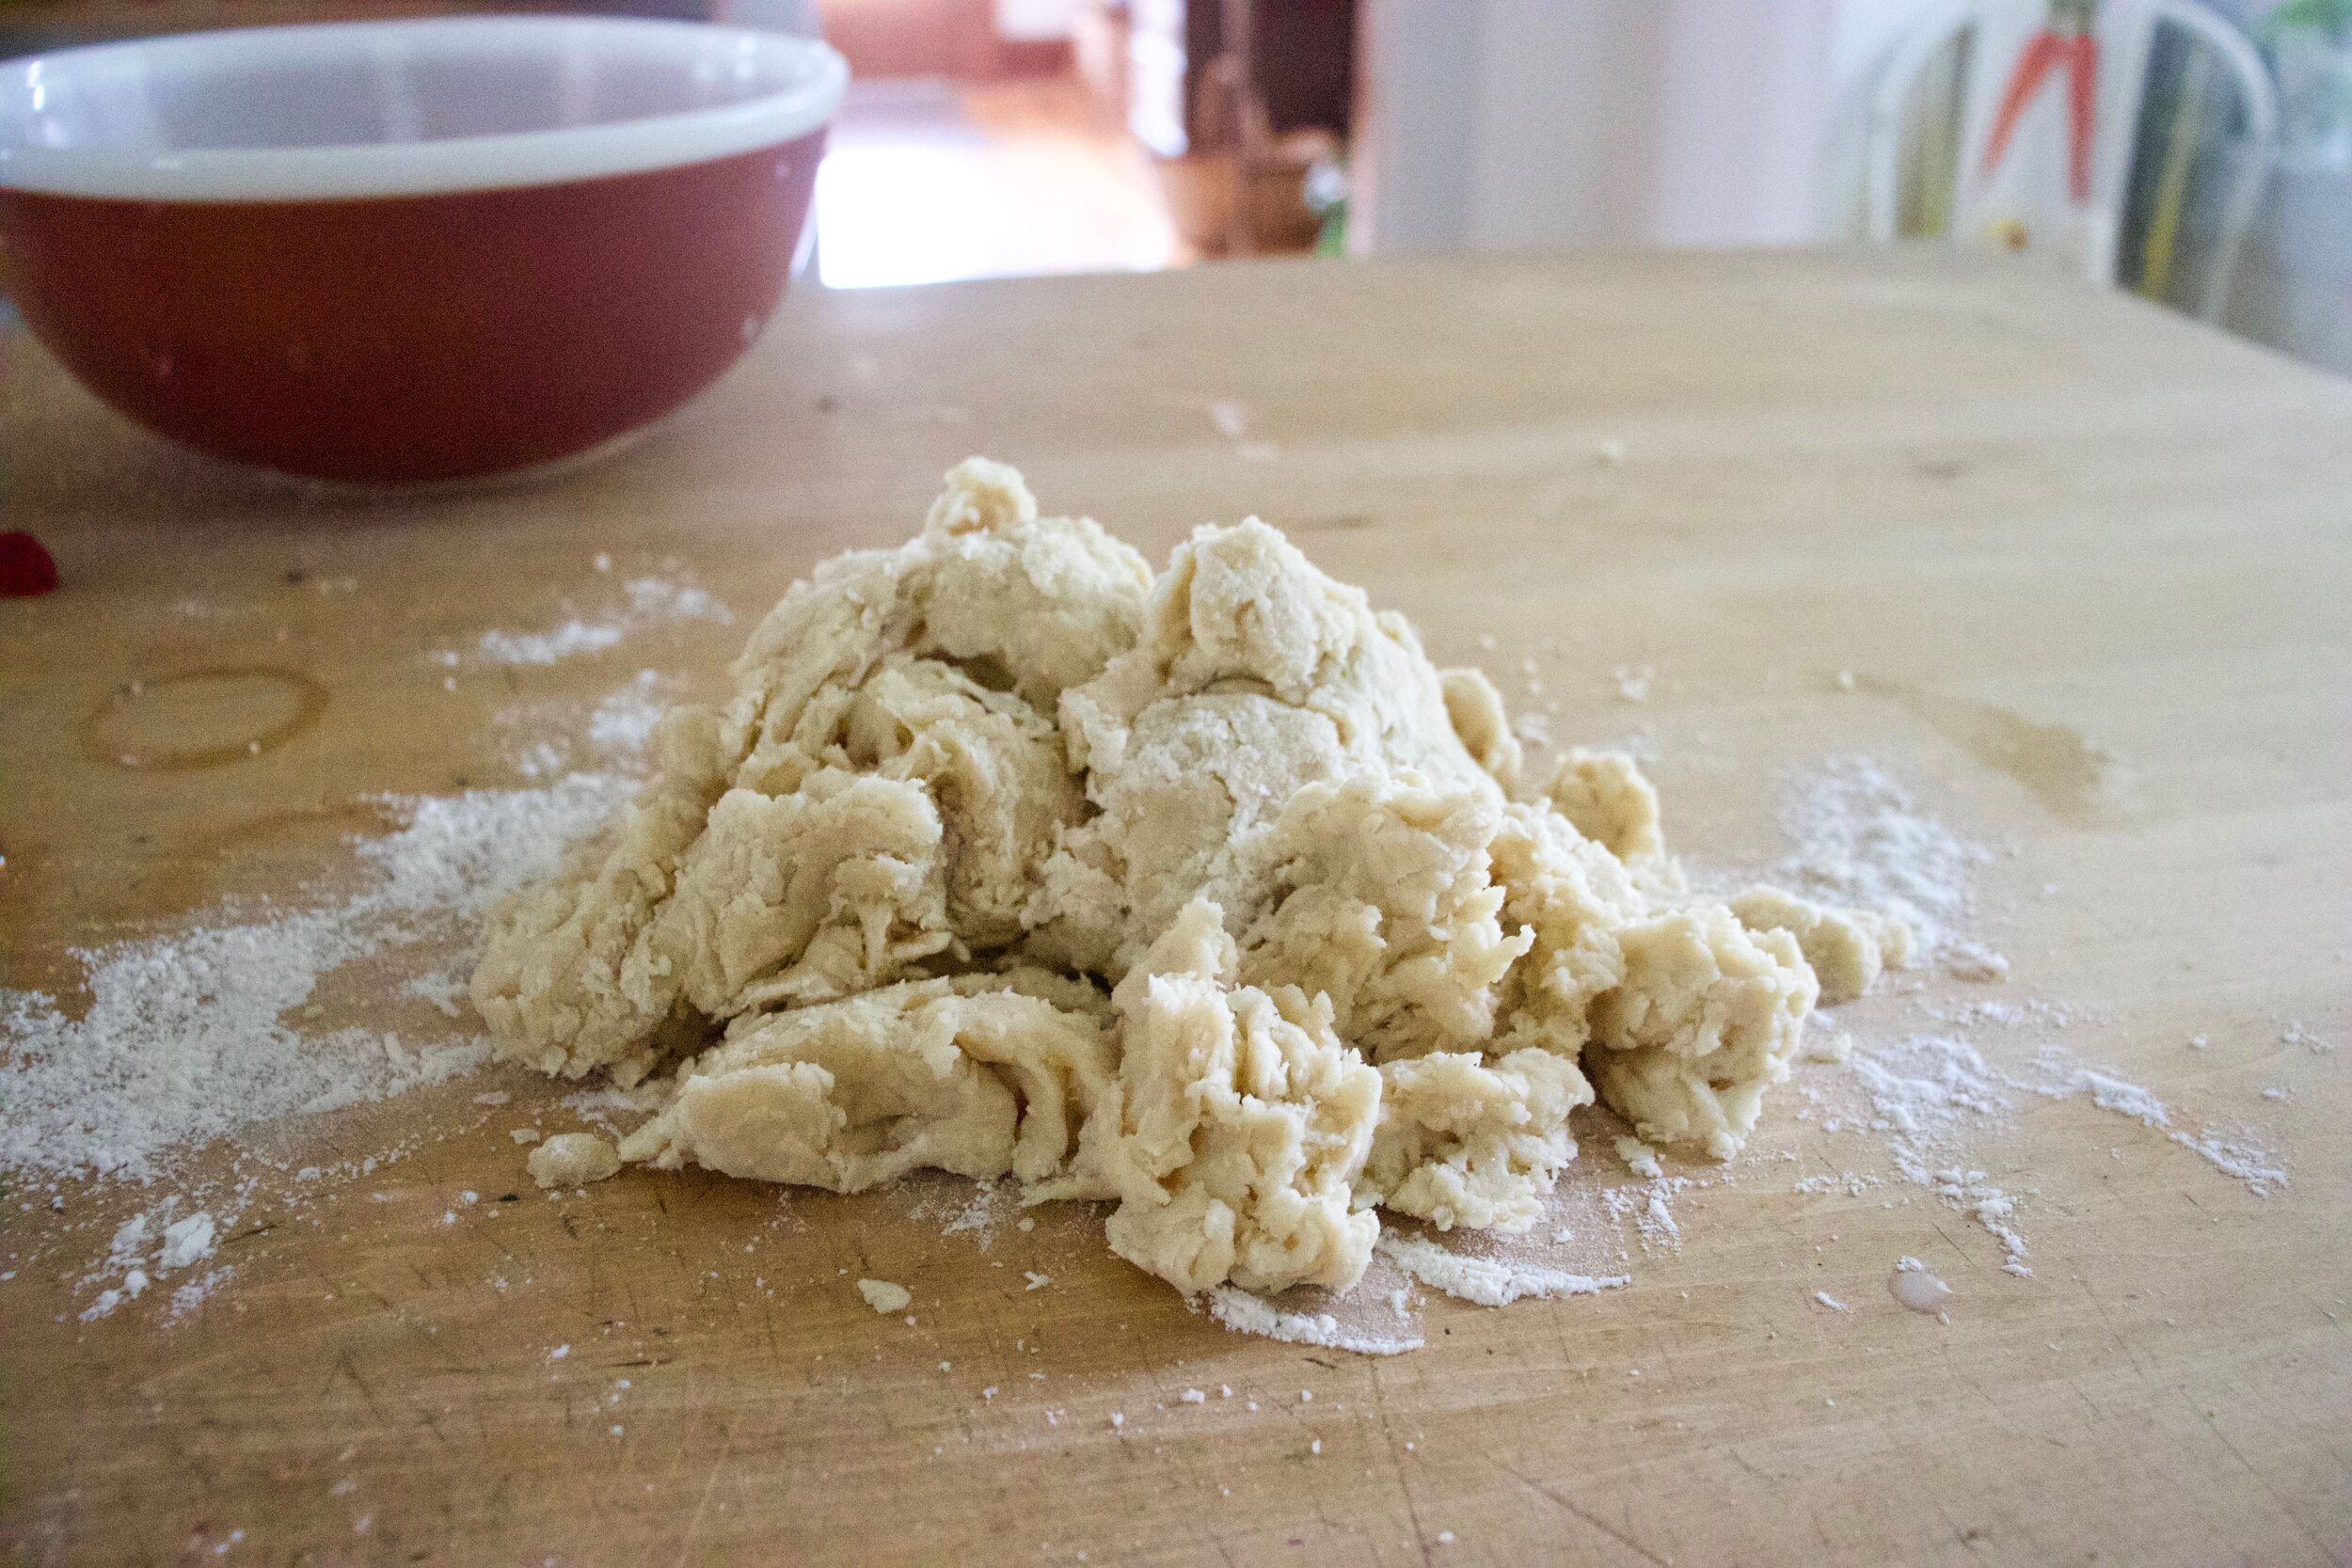
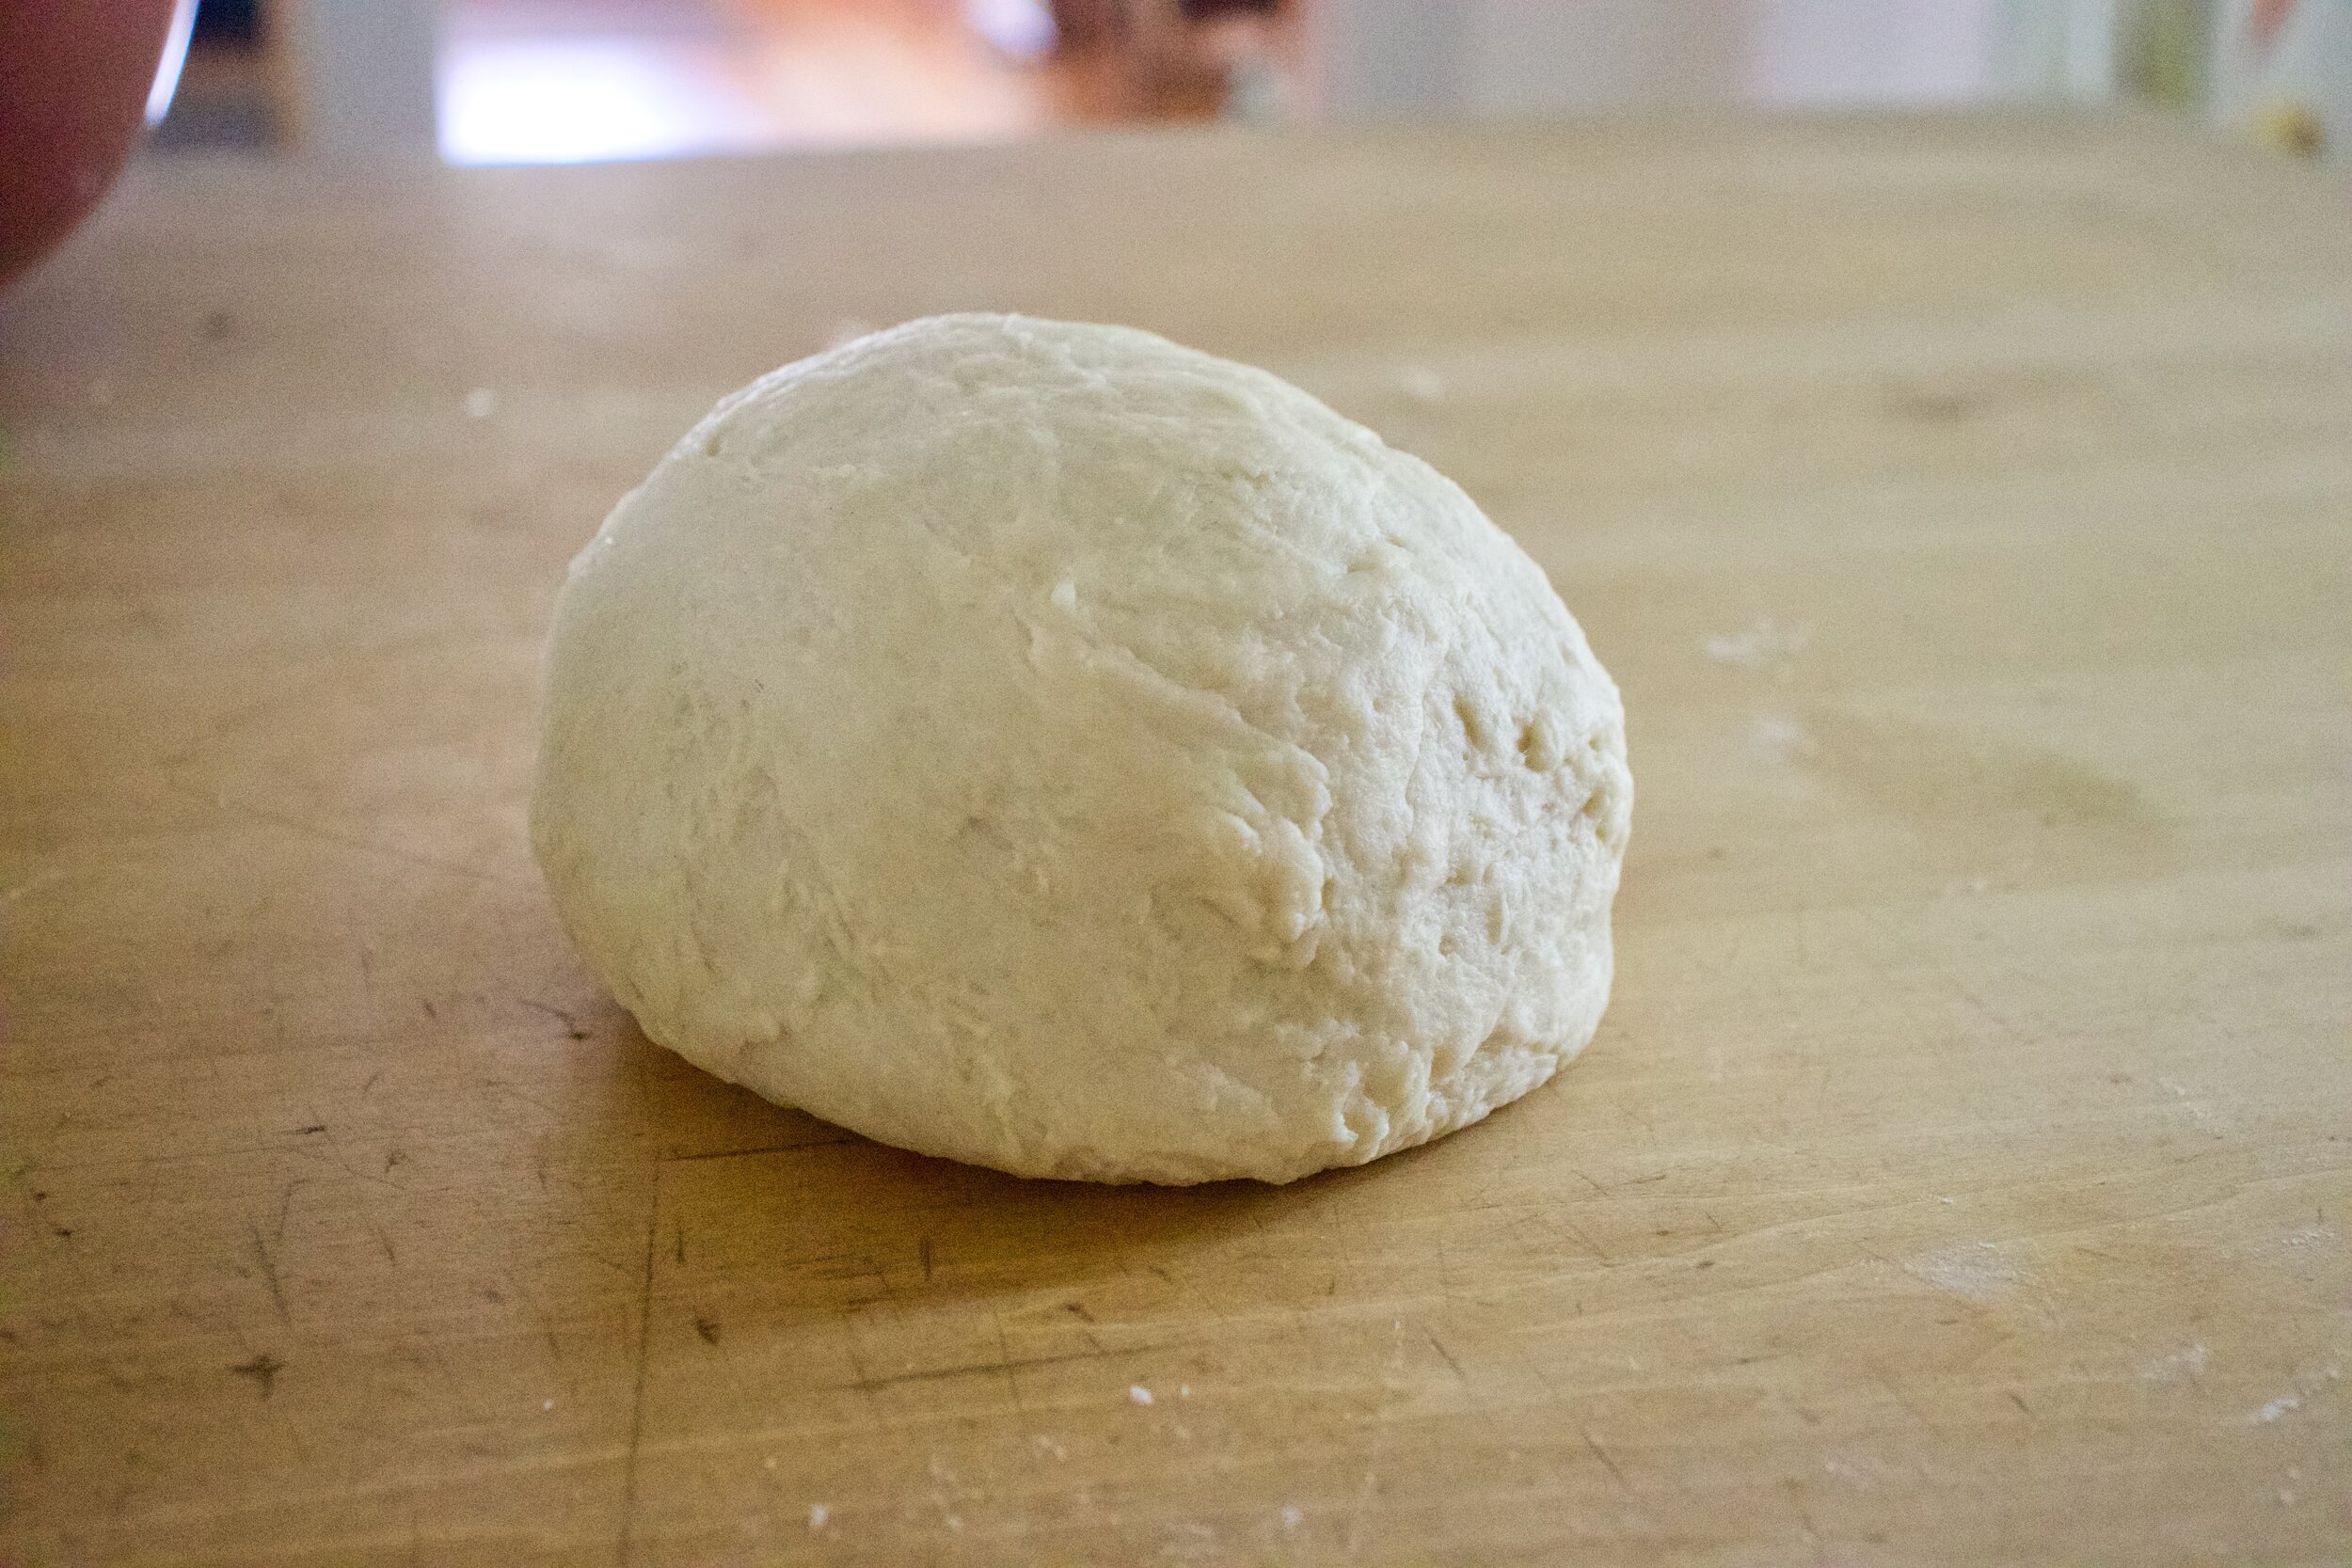
Dump onto a floured surface aaaaaanf. Knead. 5-8 minutes until the dough is all soft and smooth and uniformly dough.

Place the dough into cleaned bowl and cover. Set somewhere warm to rise.

IMG_9078.jpg
IMG_9088.jpg

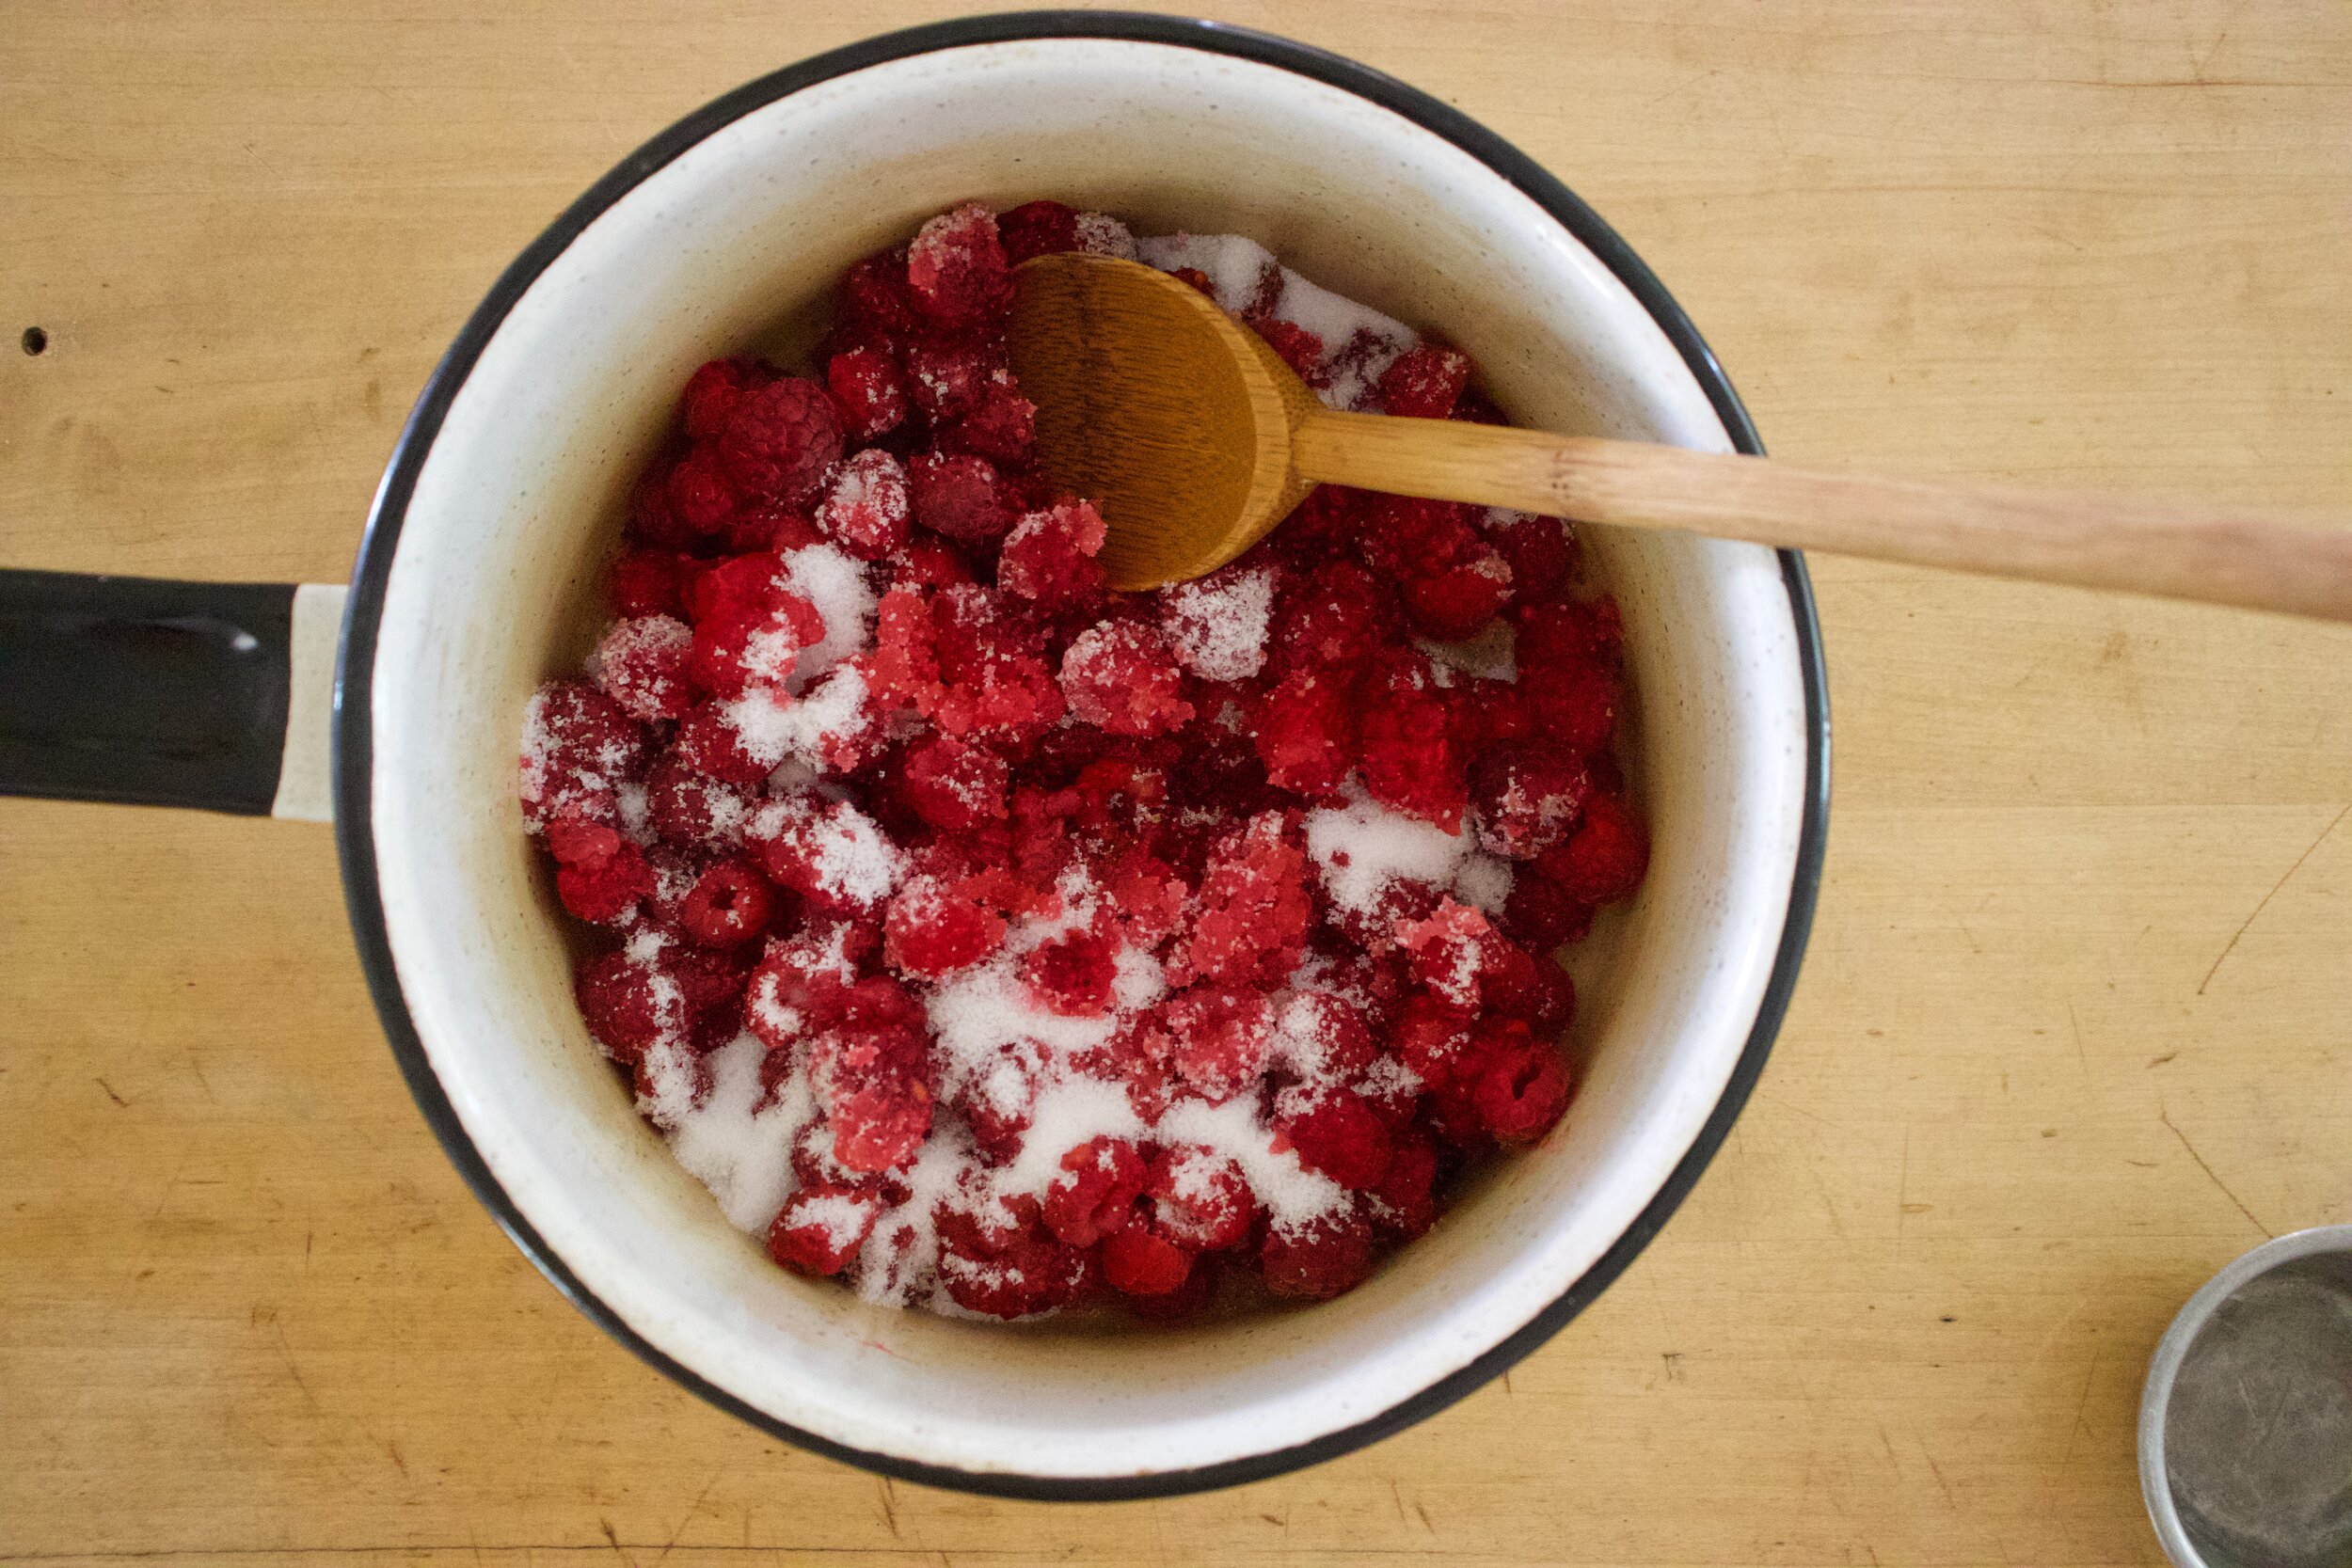
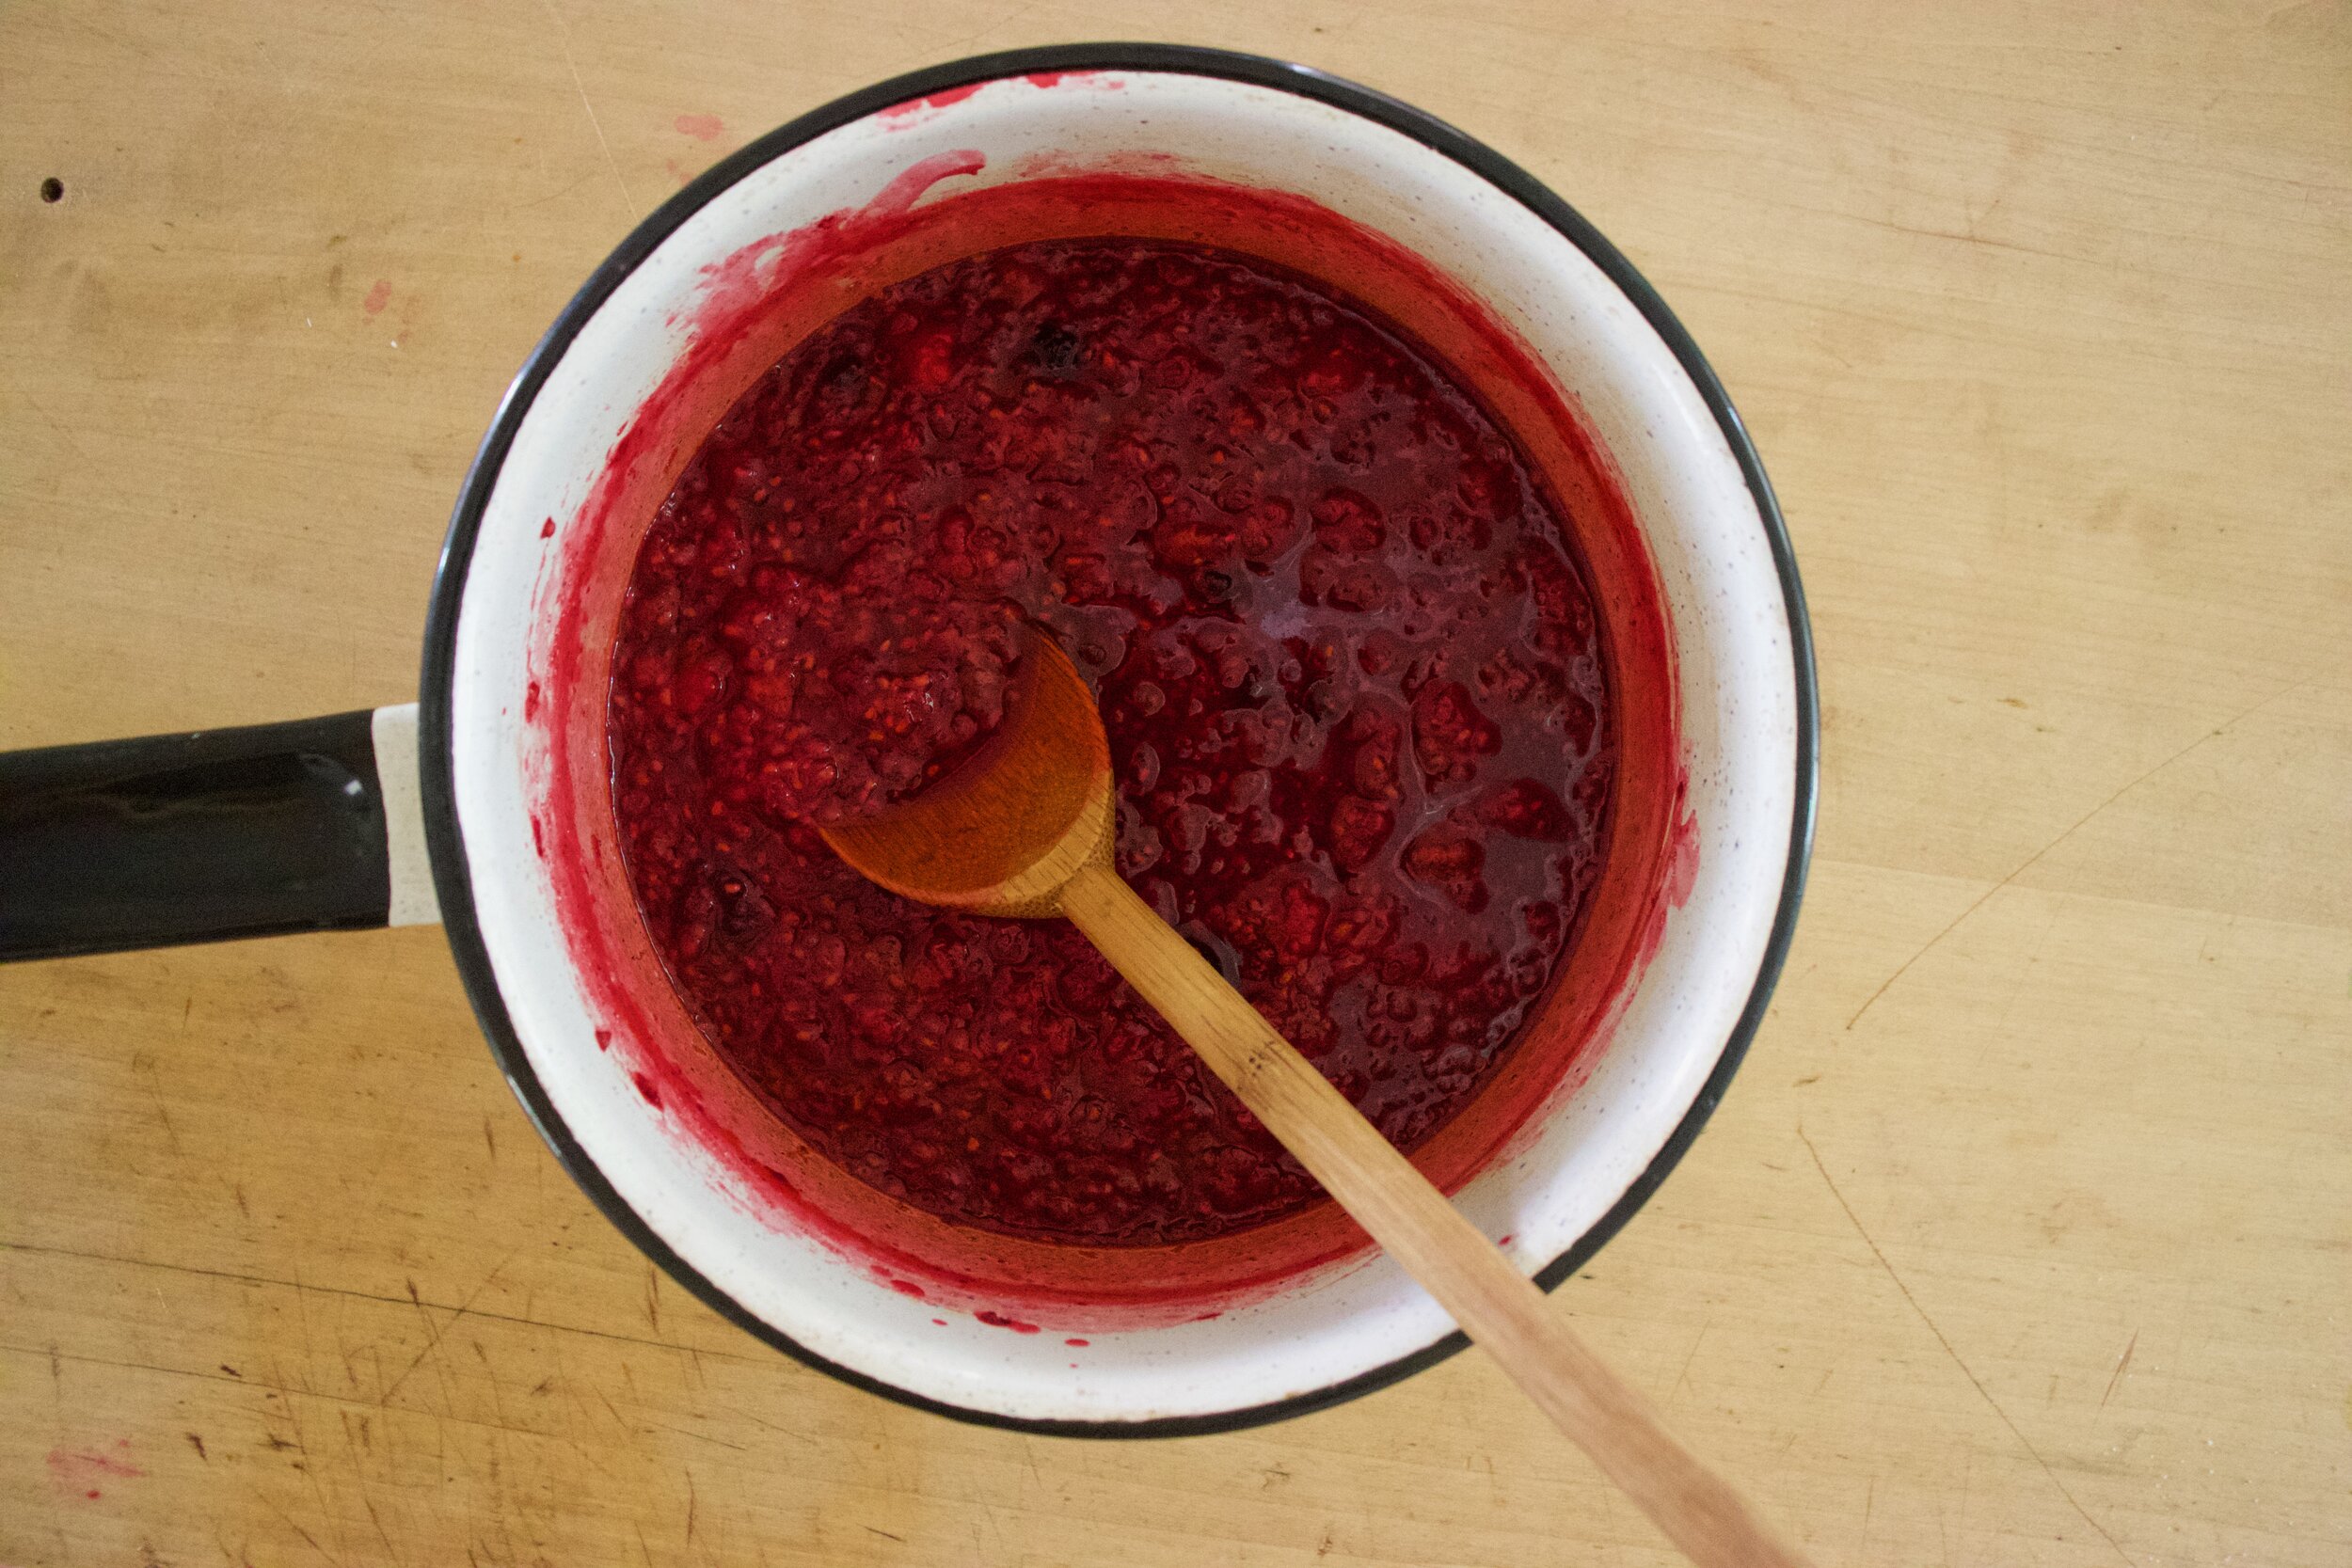
In the mean time, make raspberry jam. Place raspberries and sugar into a pot and cook down until mixture is thick and jam like. Once the mixture sticks to a spoon like warm jam, turn heat off and let cool.

IMG_9092.jpg

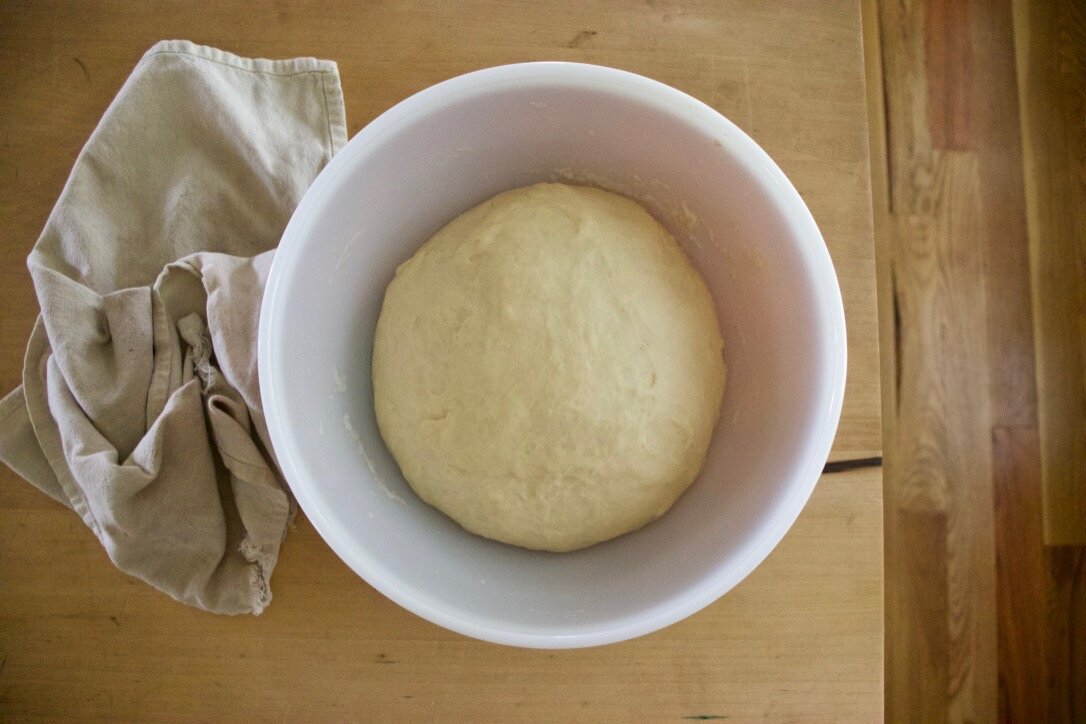
Dough doubled and ready.

Dump dough out and cut into 12 equal pieces. Roll each piece into ball then roll out into a dish about a 1/2 inch thick.

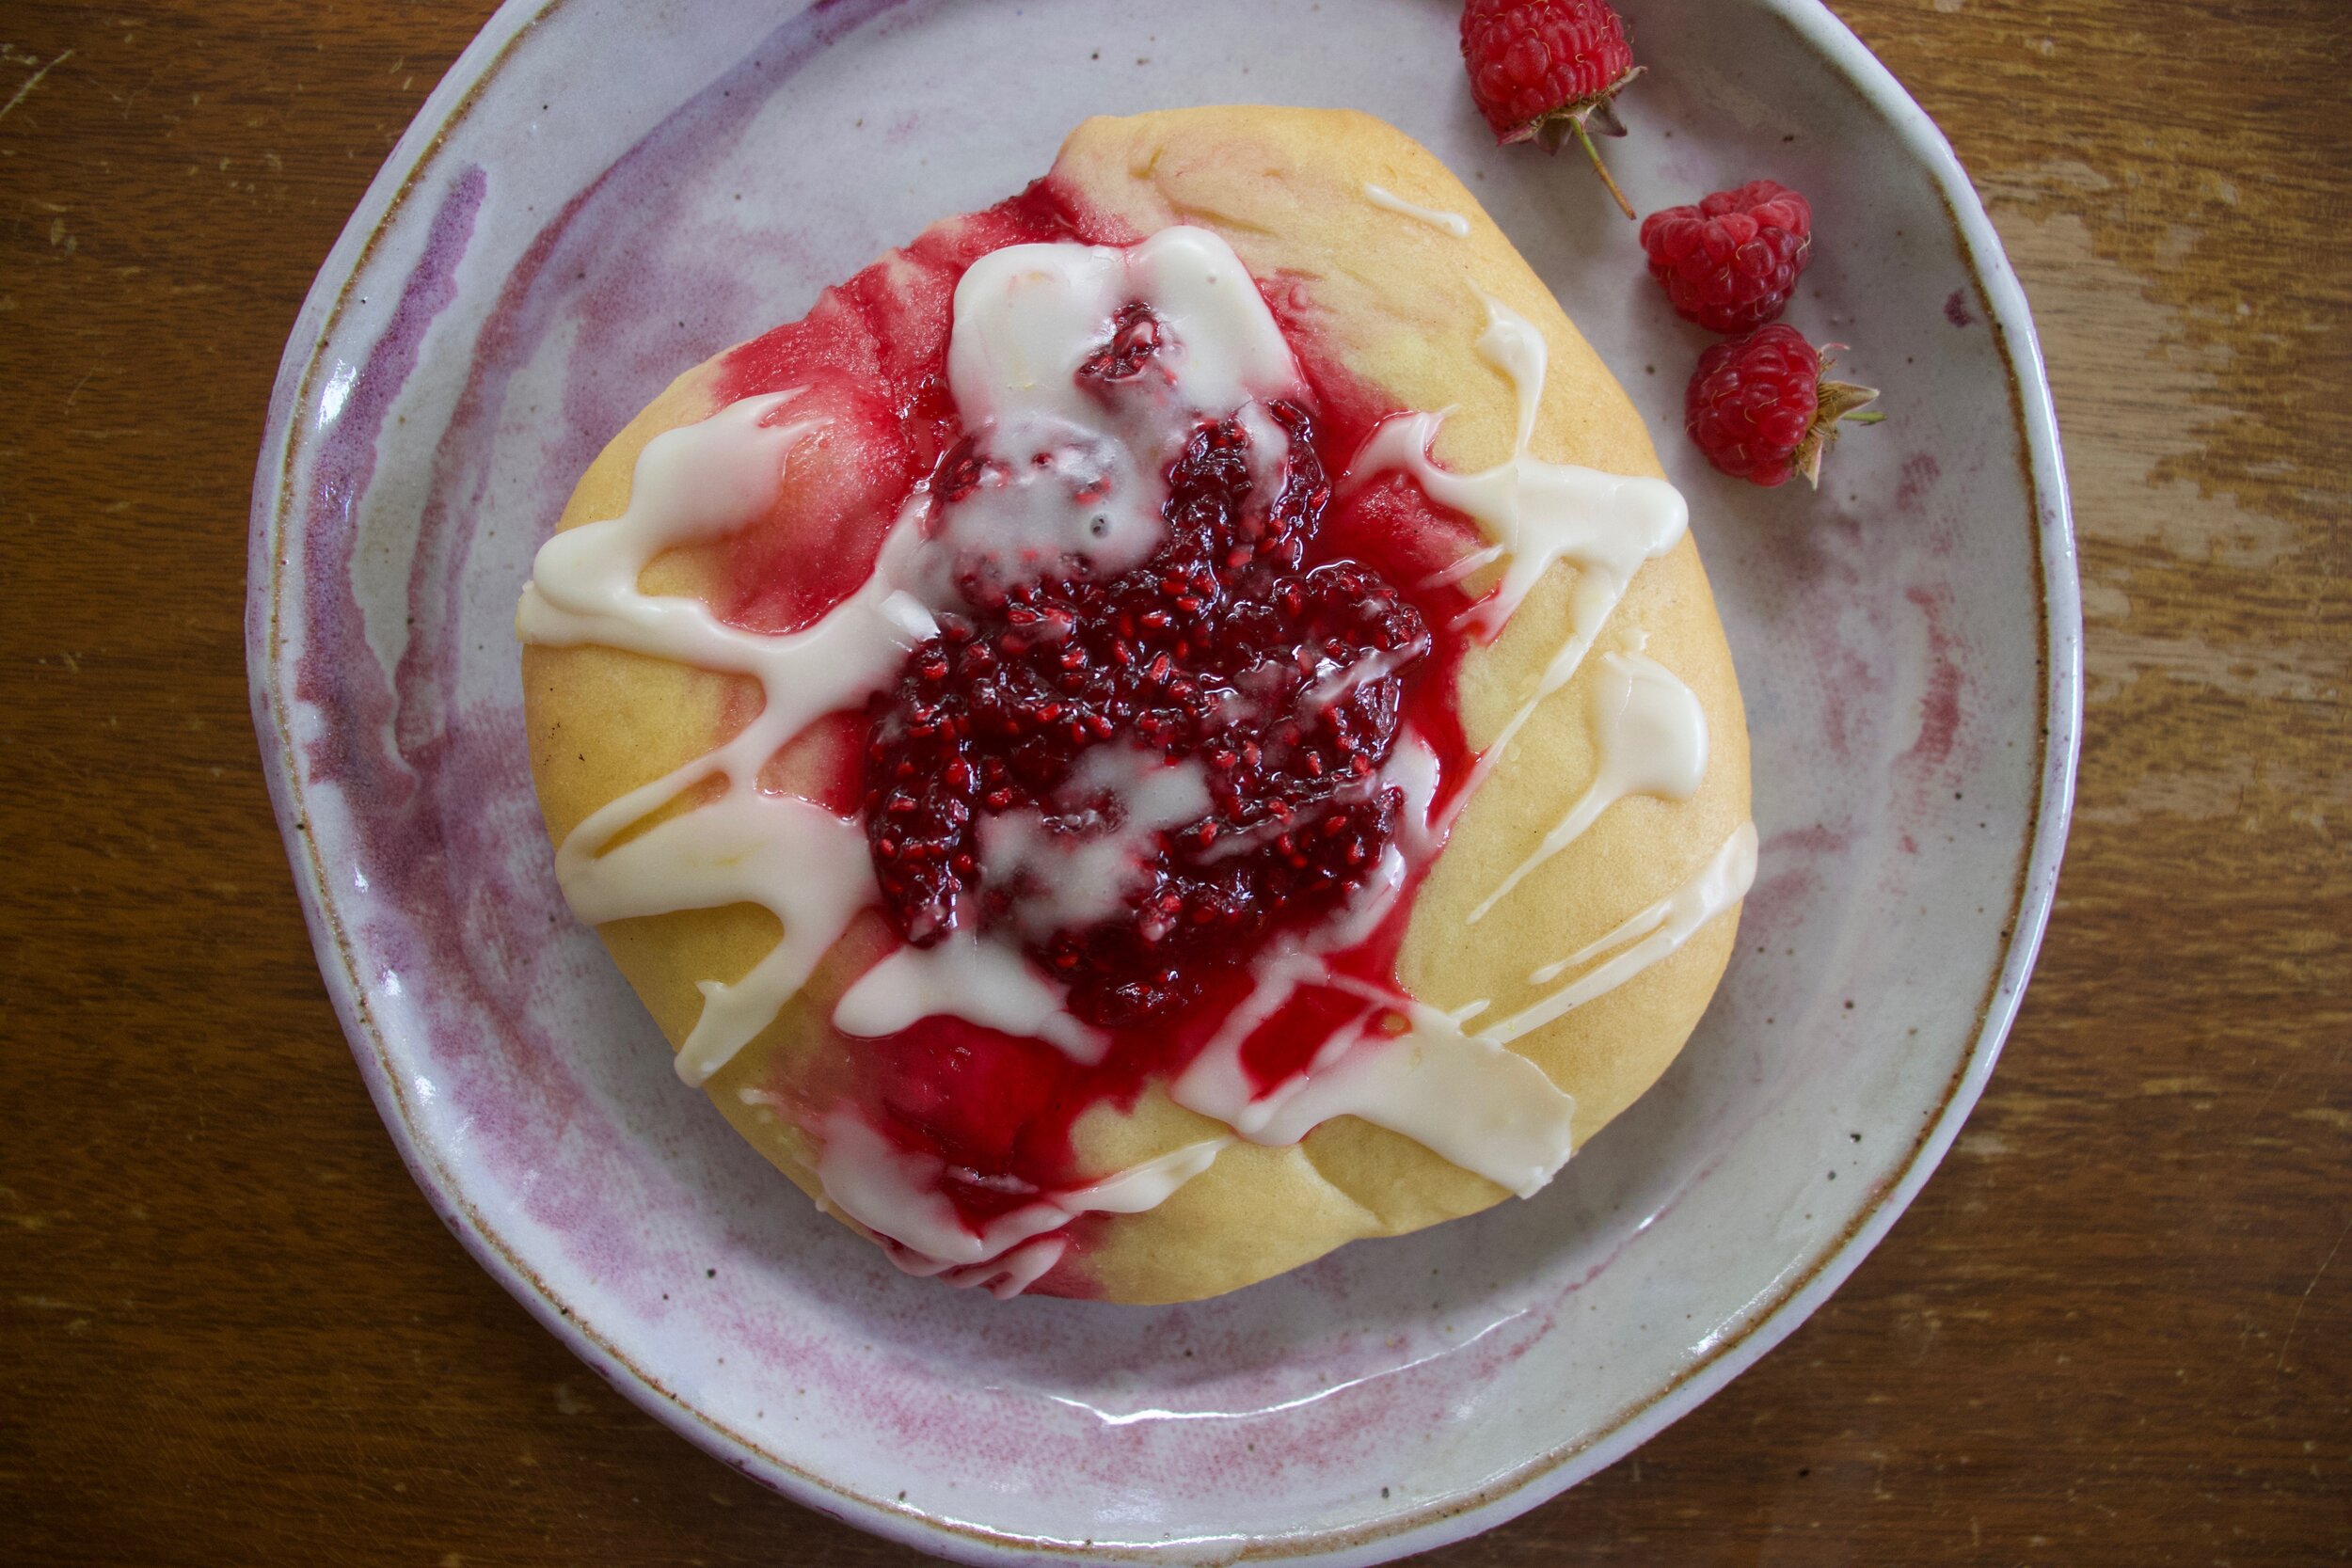
Place dough disks onto splat or parchment lined baking sheet then indent each dough disk with a spoon or your fingers. Dollop a good plop of raspberry jammy into said intents. Once they are all jammed, pop them into the oven to bake. 15-18 minute should do it.

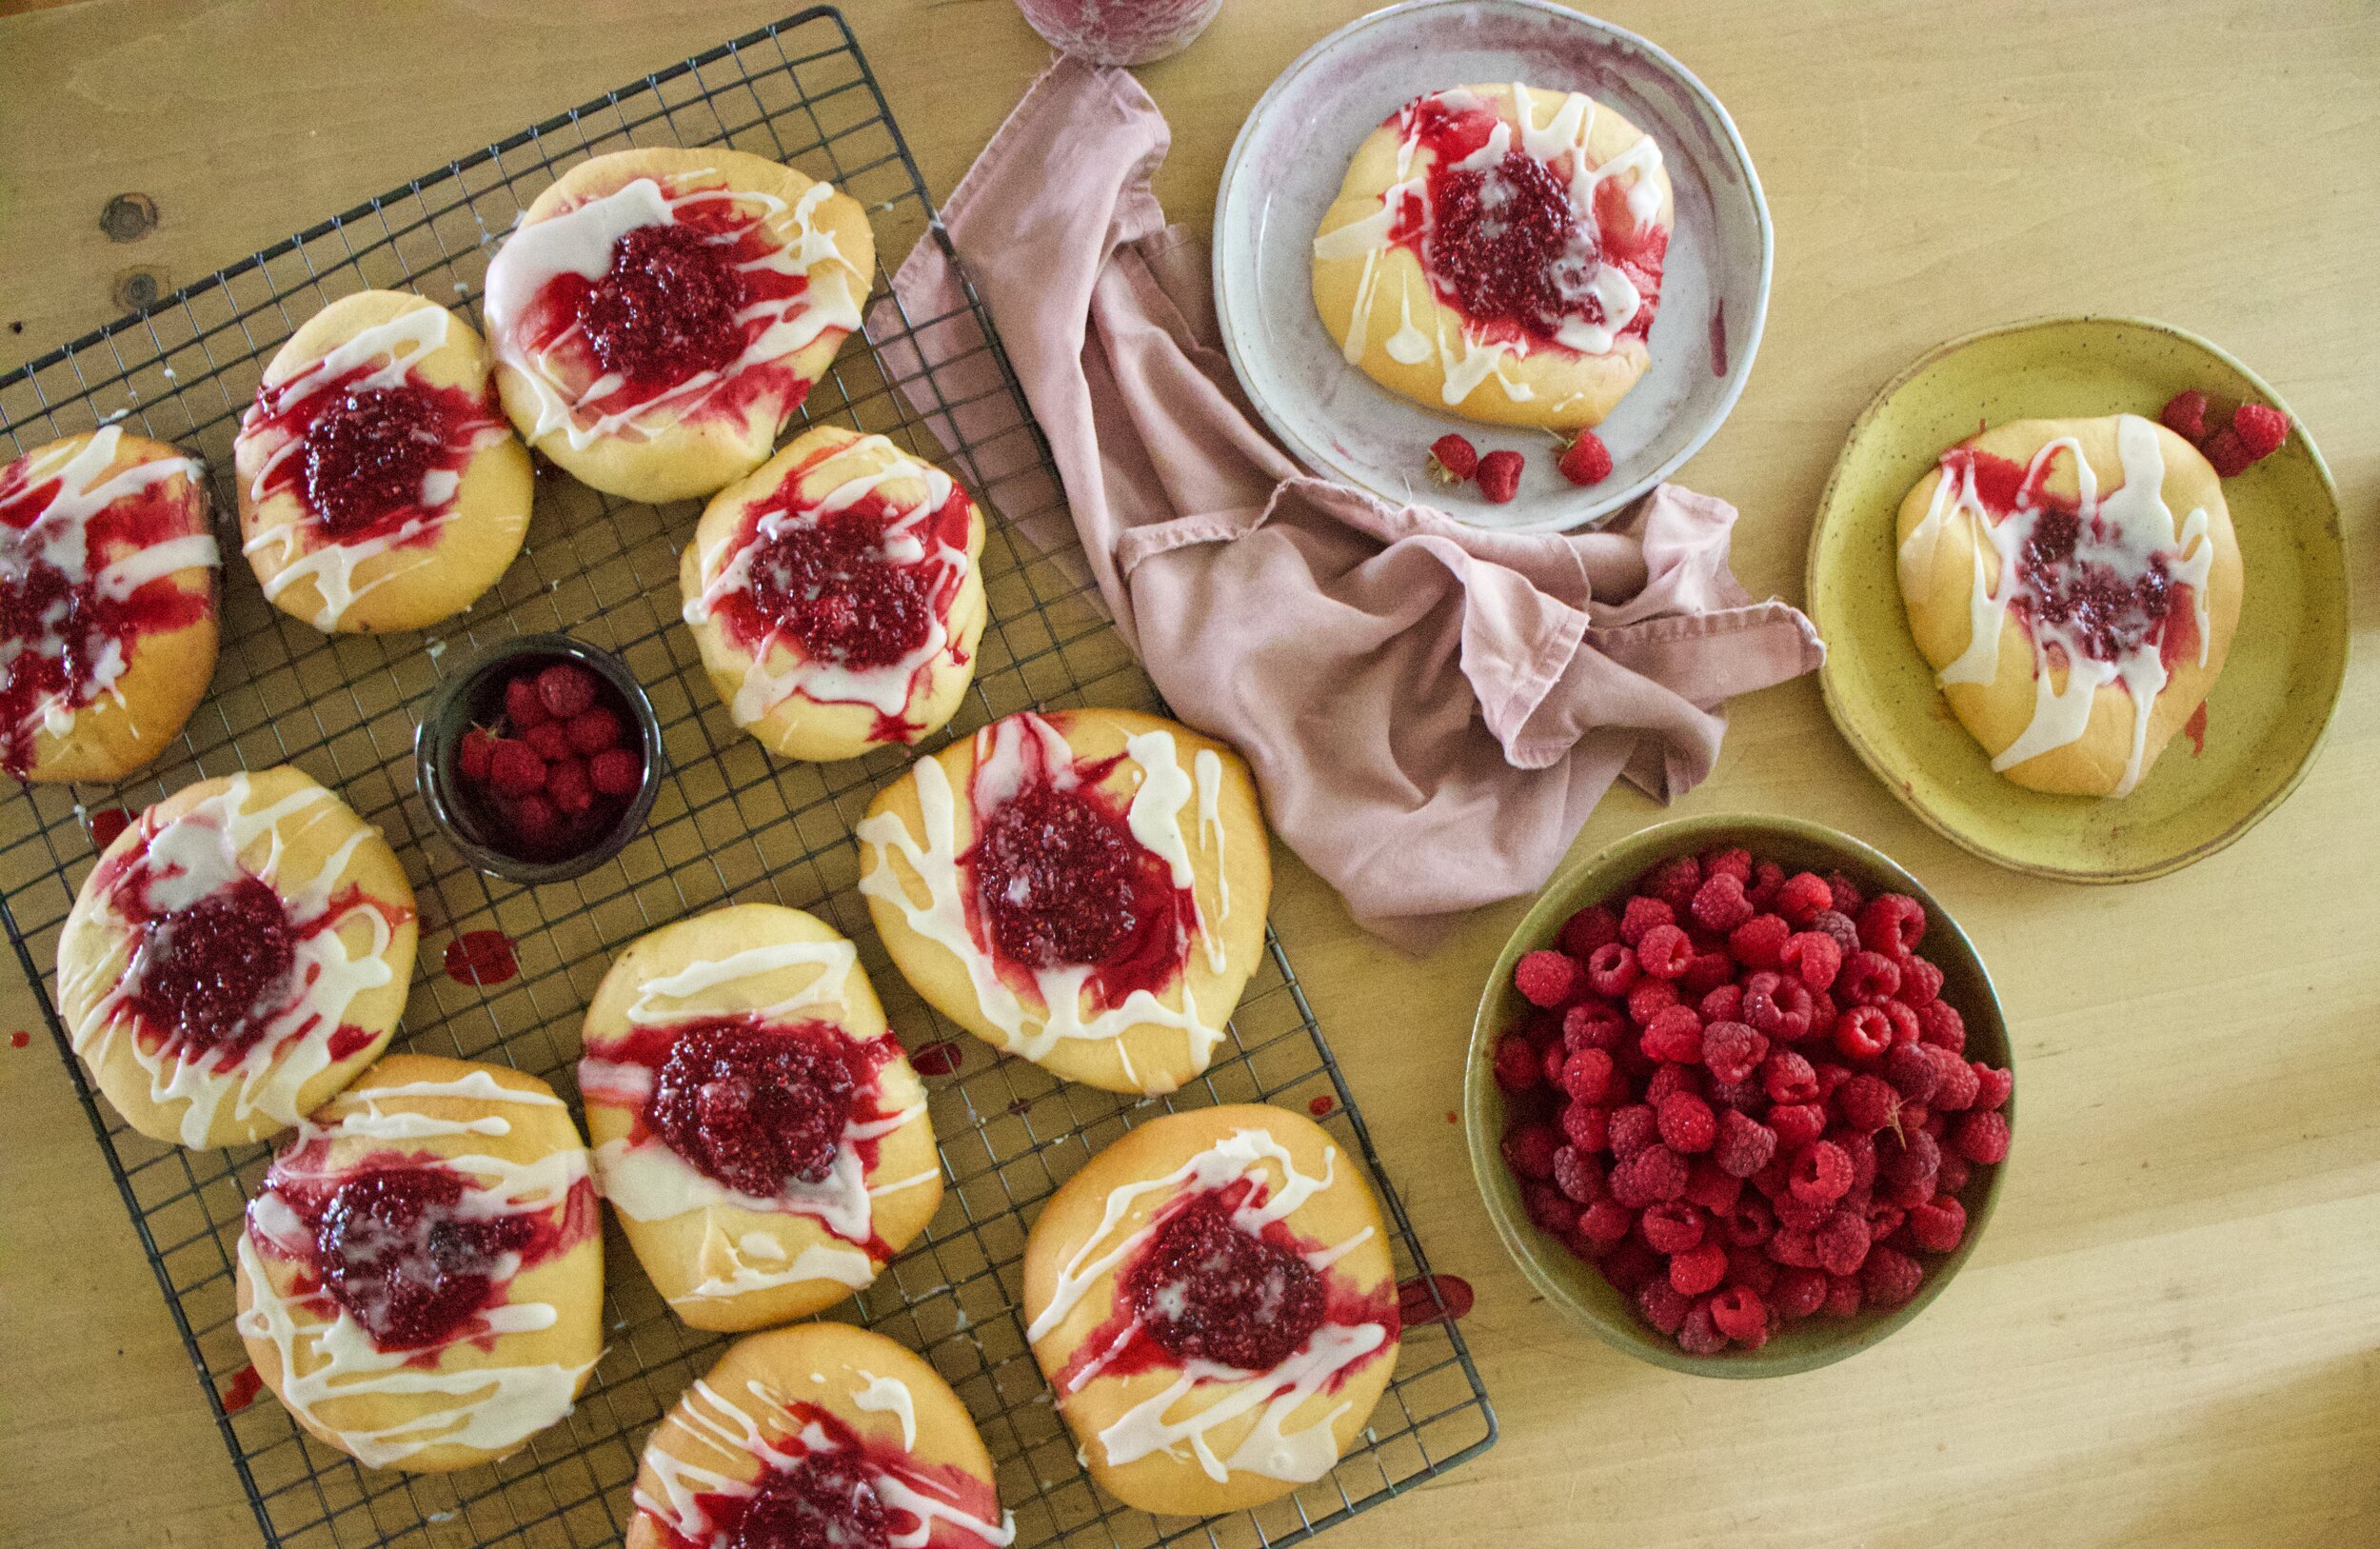
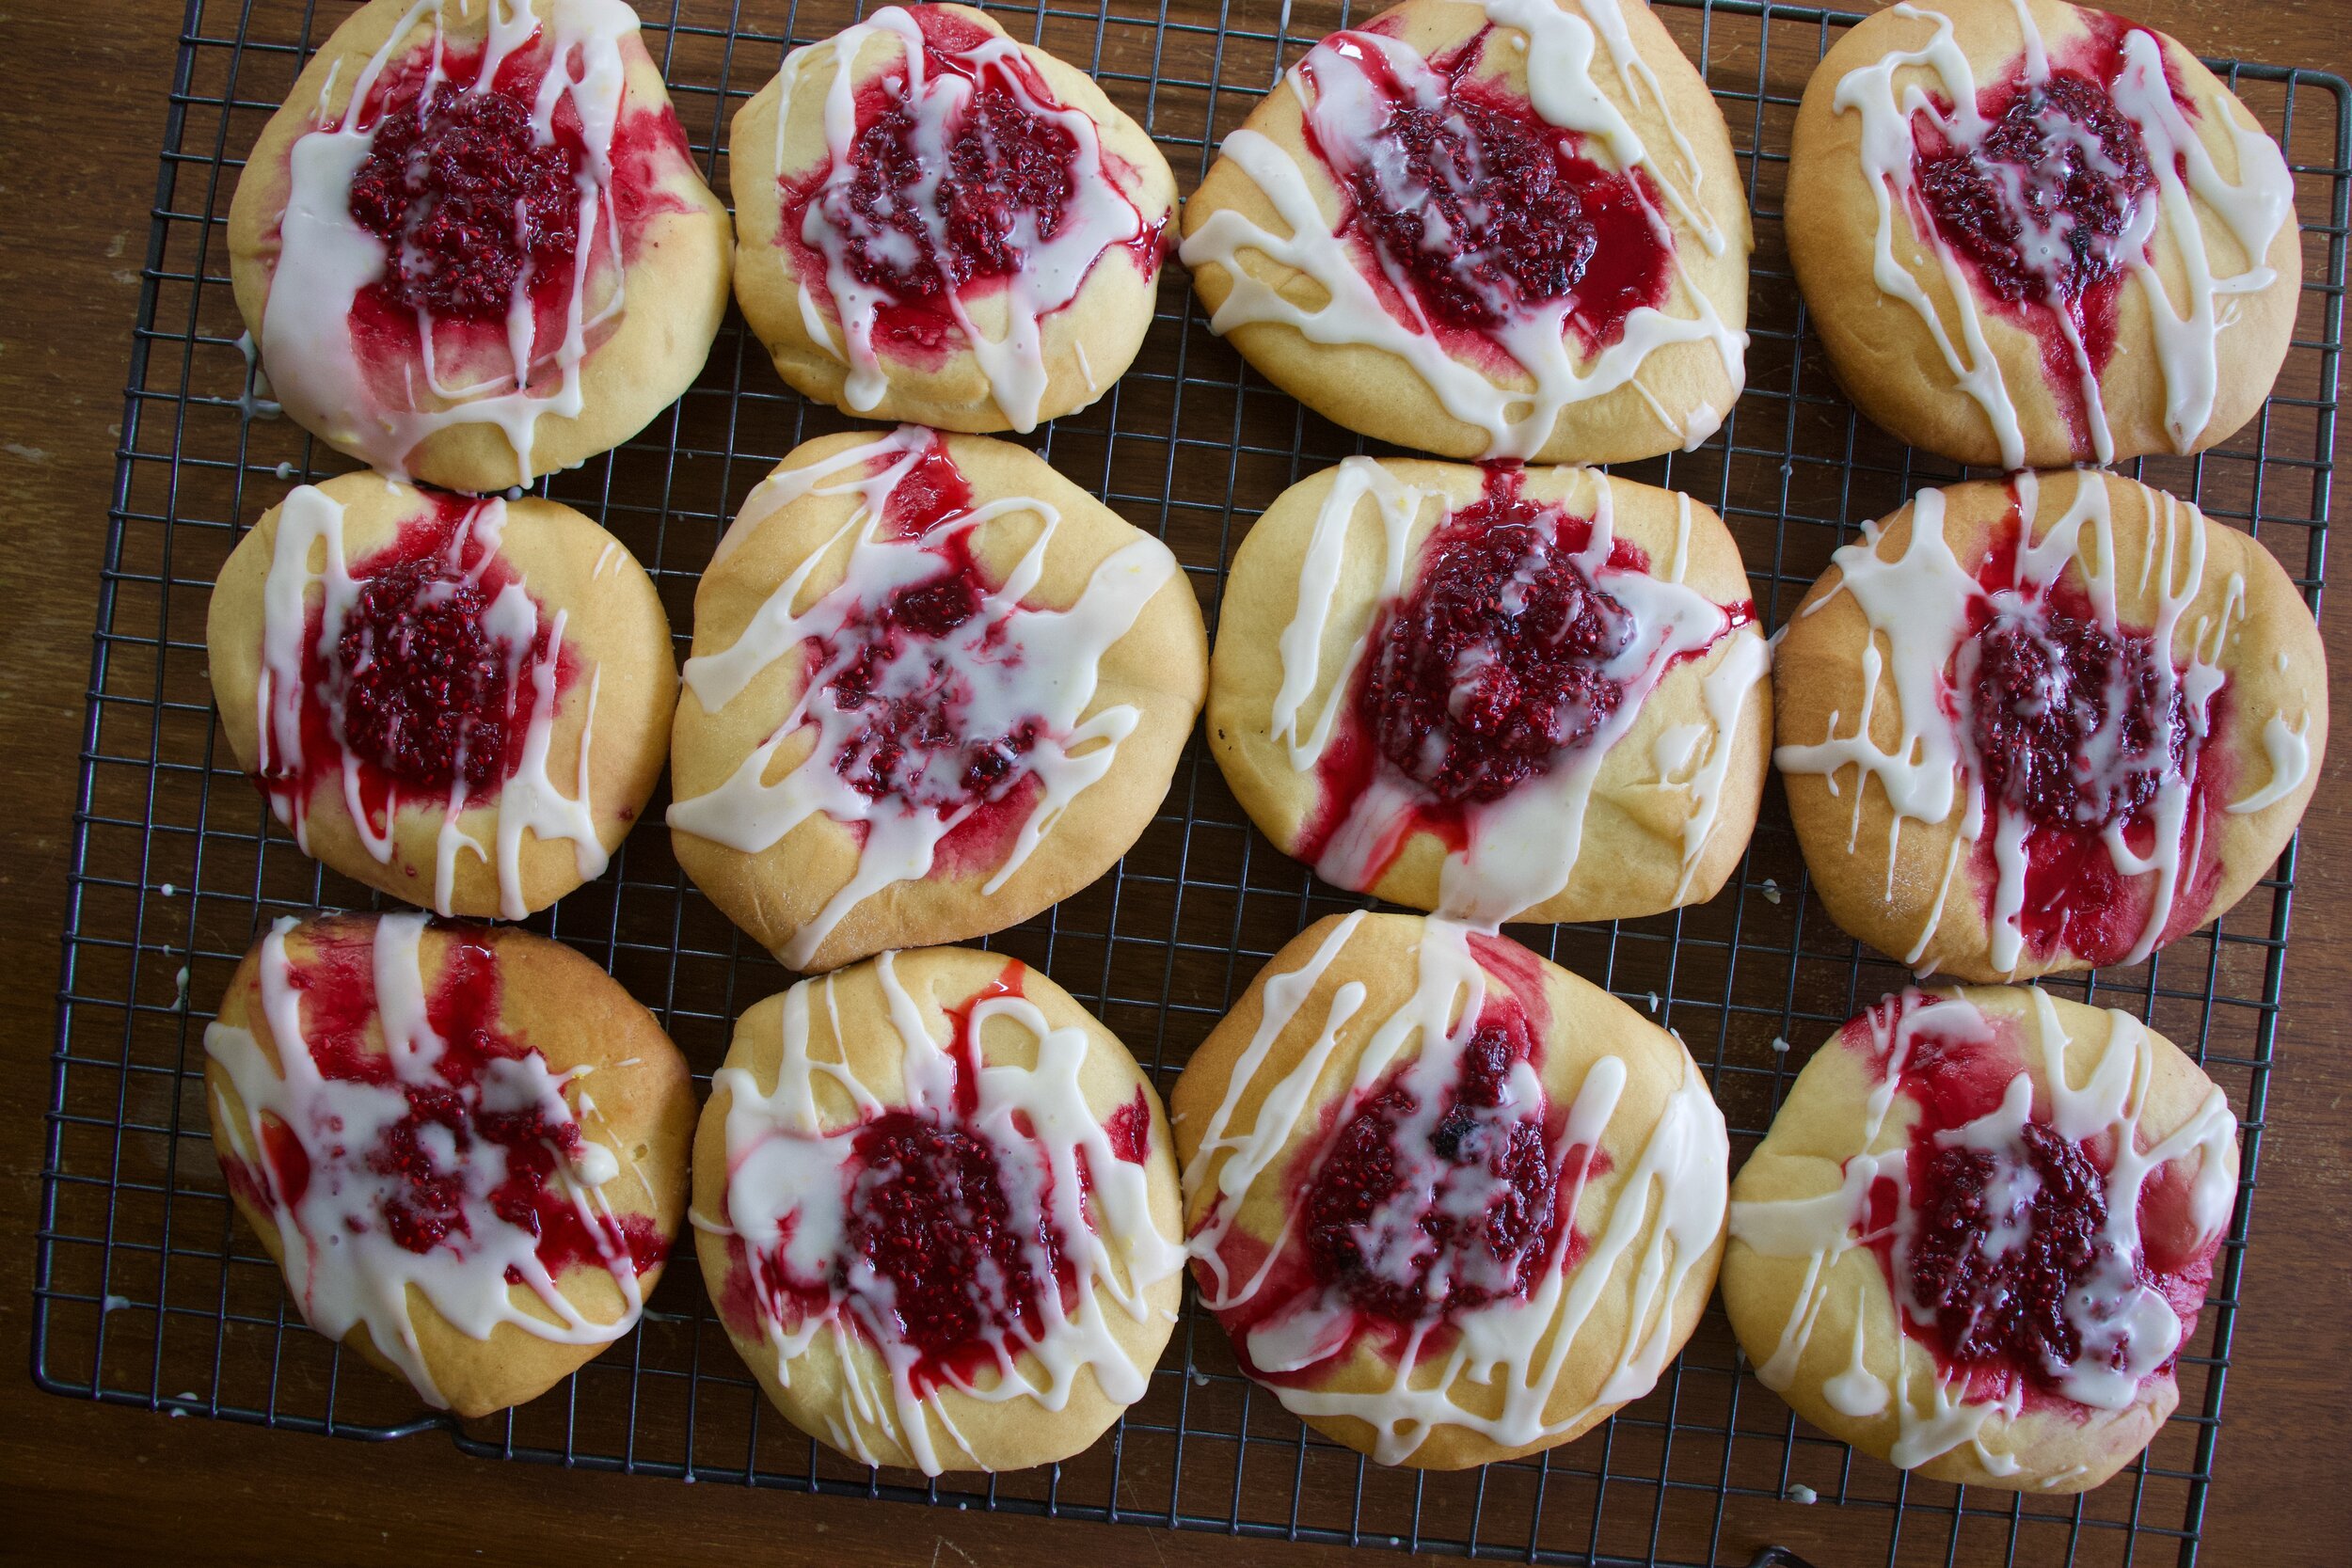
Look at those. Get them out of the oven and on to a wire rack for cooling time.

IMG_9138.jpg
IMG_9139.jpg

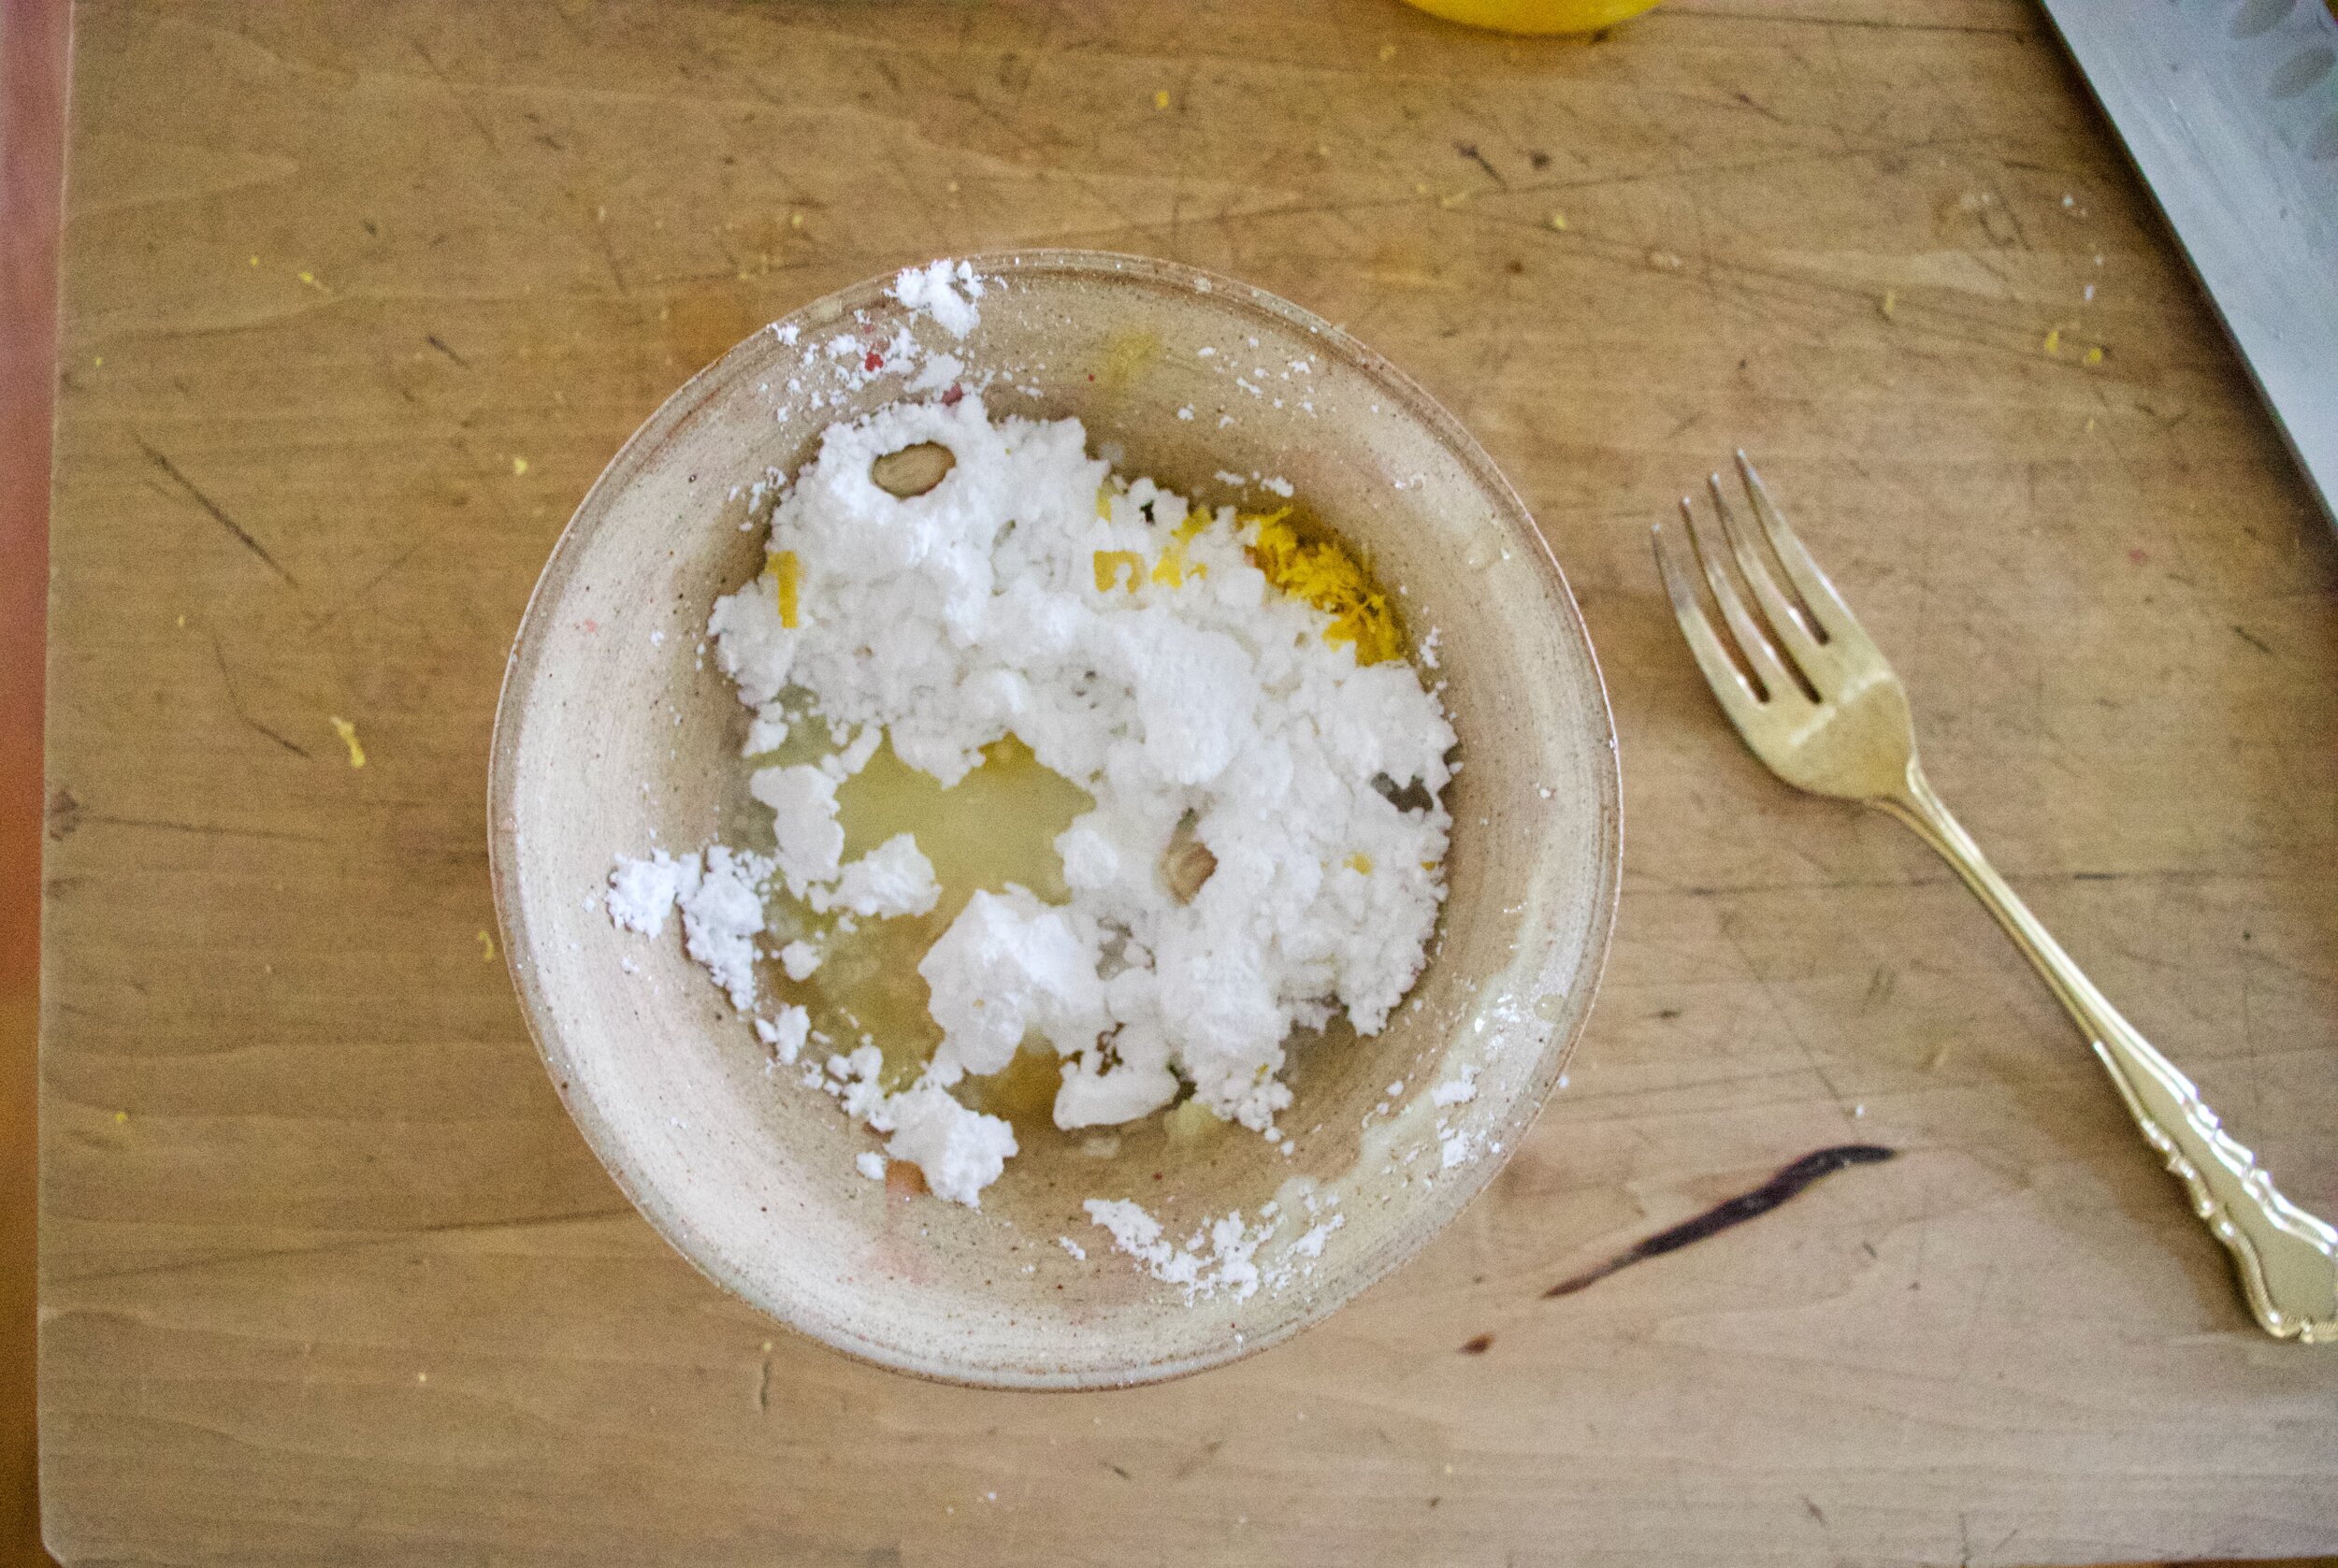
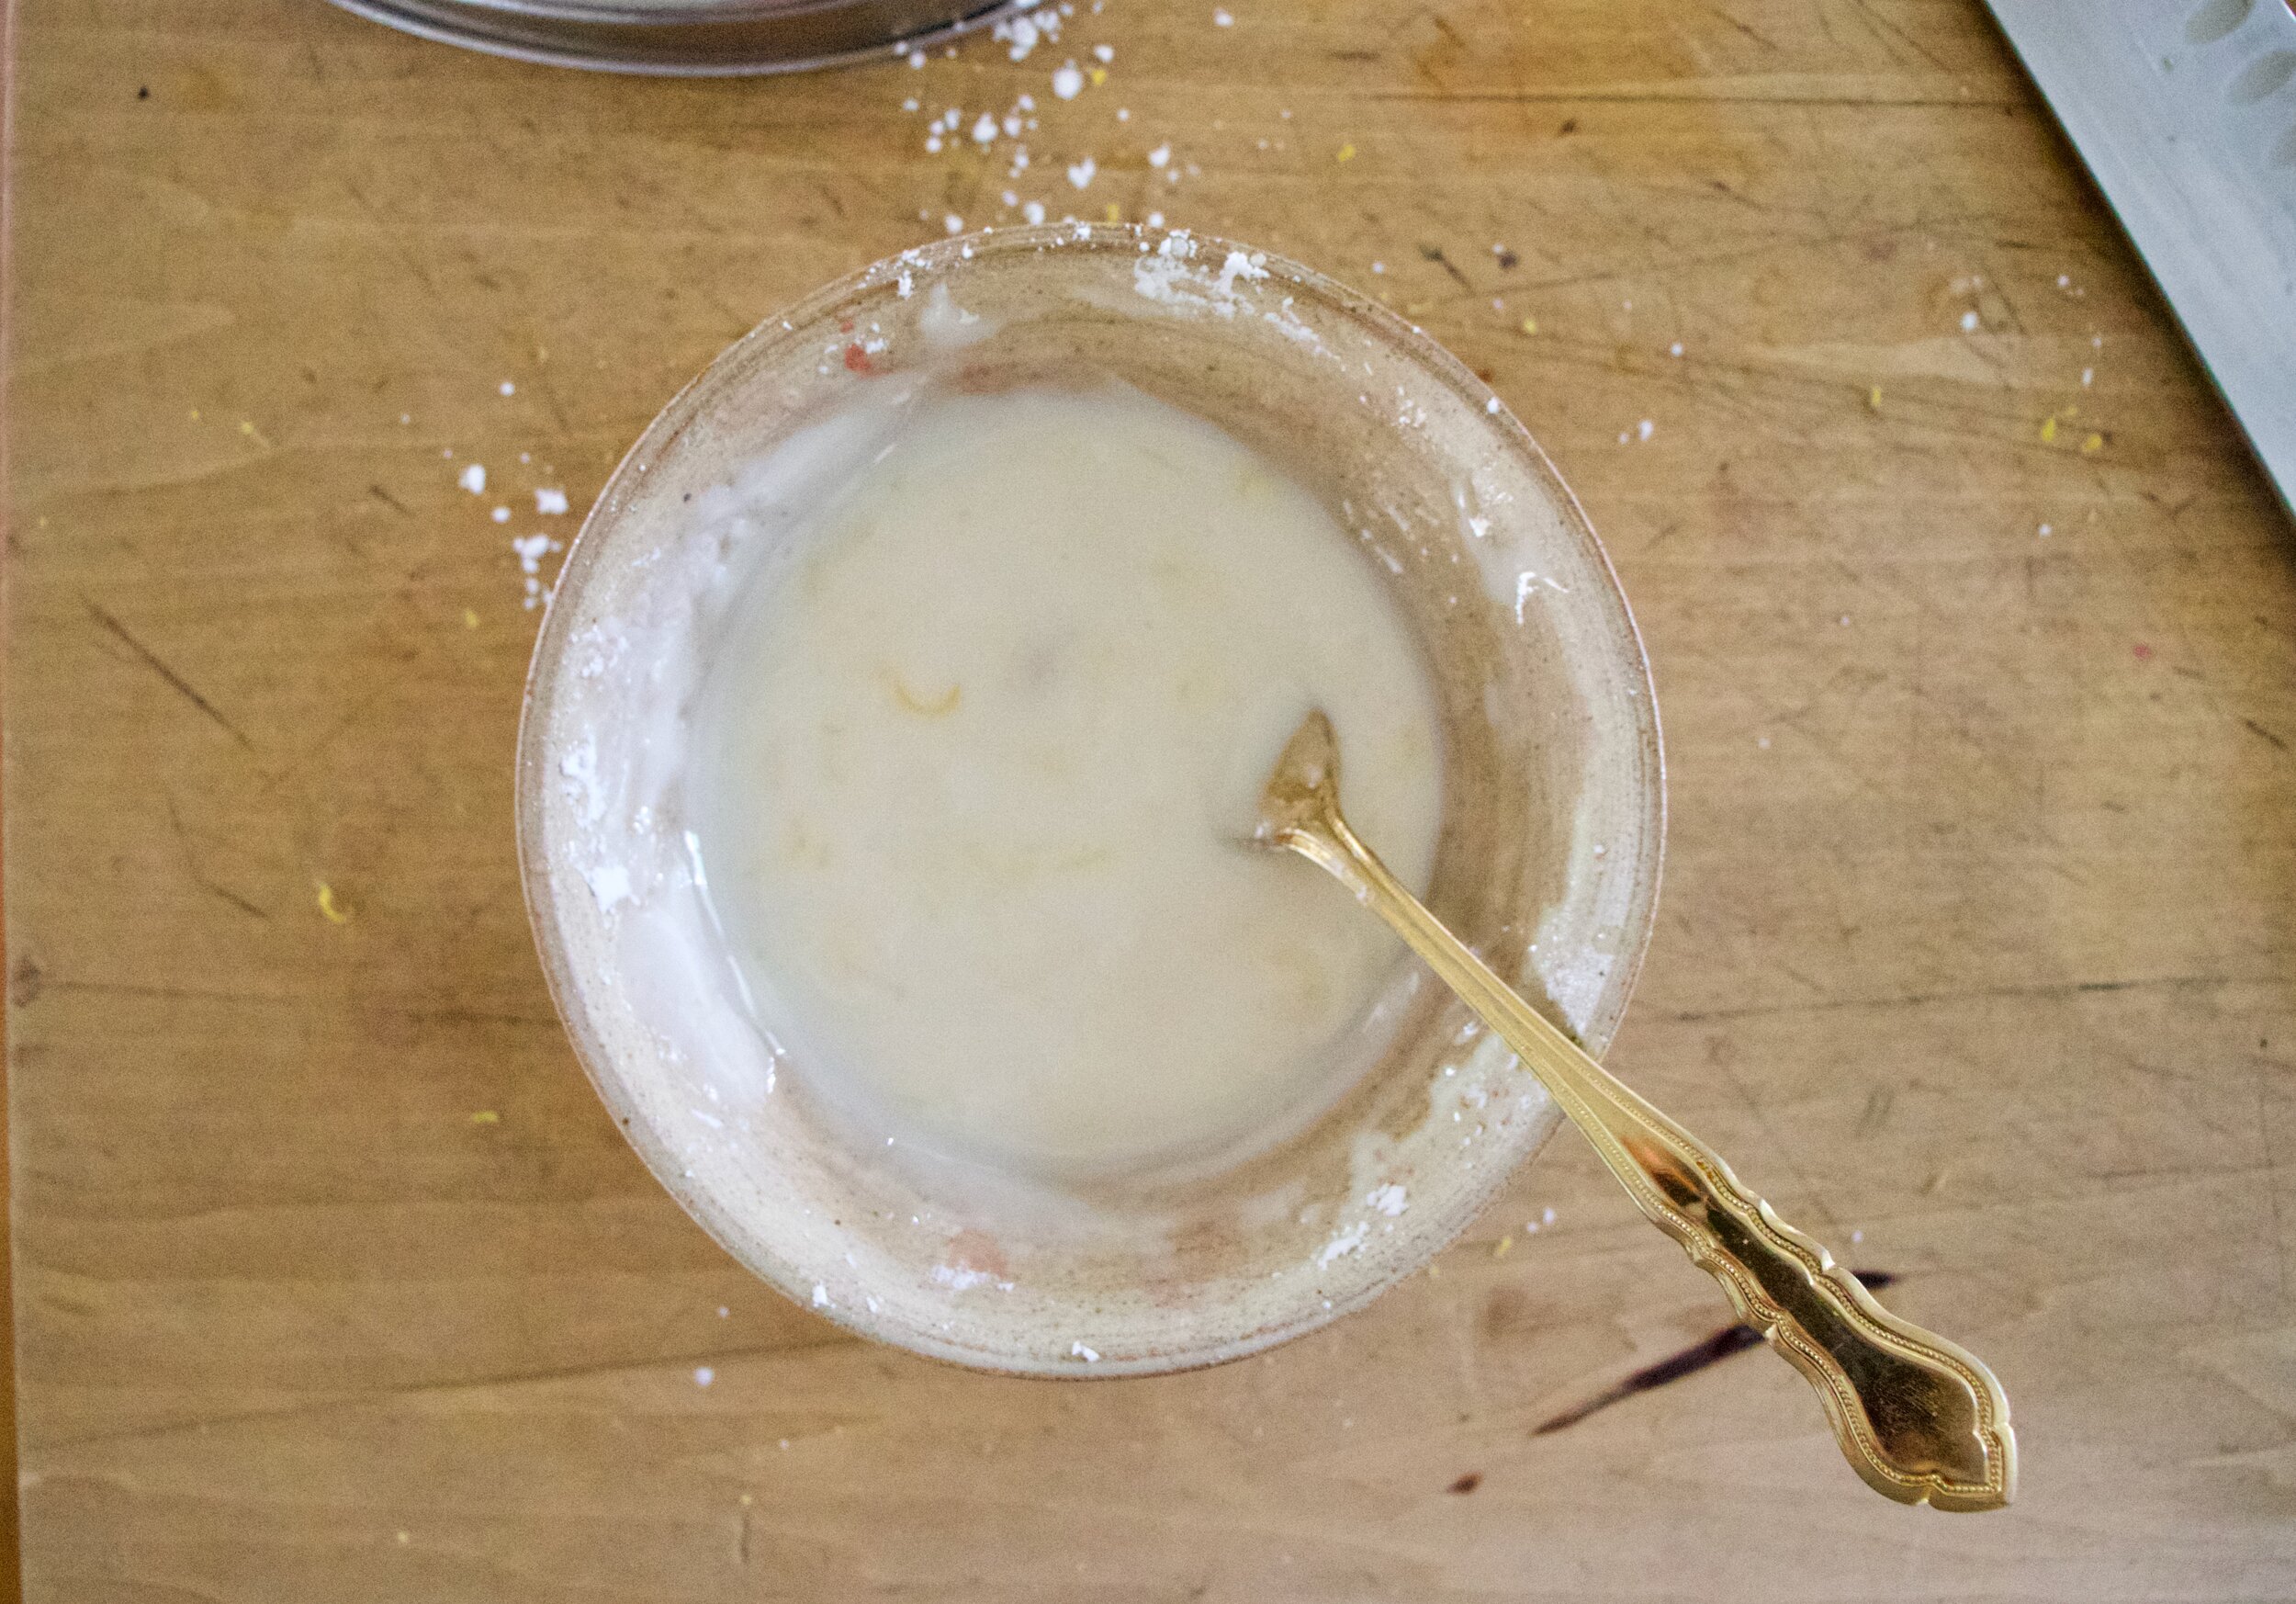
Make glaze. Sugar, lemon zest, vanilla, and lemon juice Mix until combined and yeah, that it glaze.

Drizzle the glaze all over those lovelies.

IMG_9209.jpg

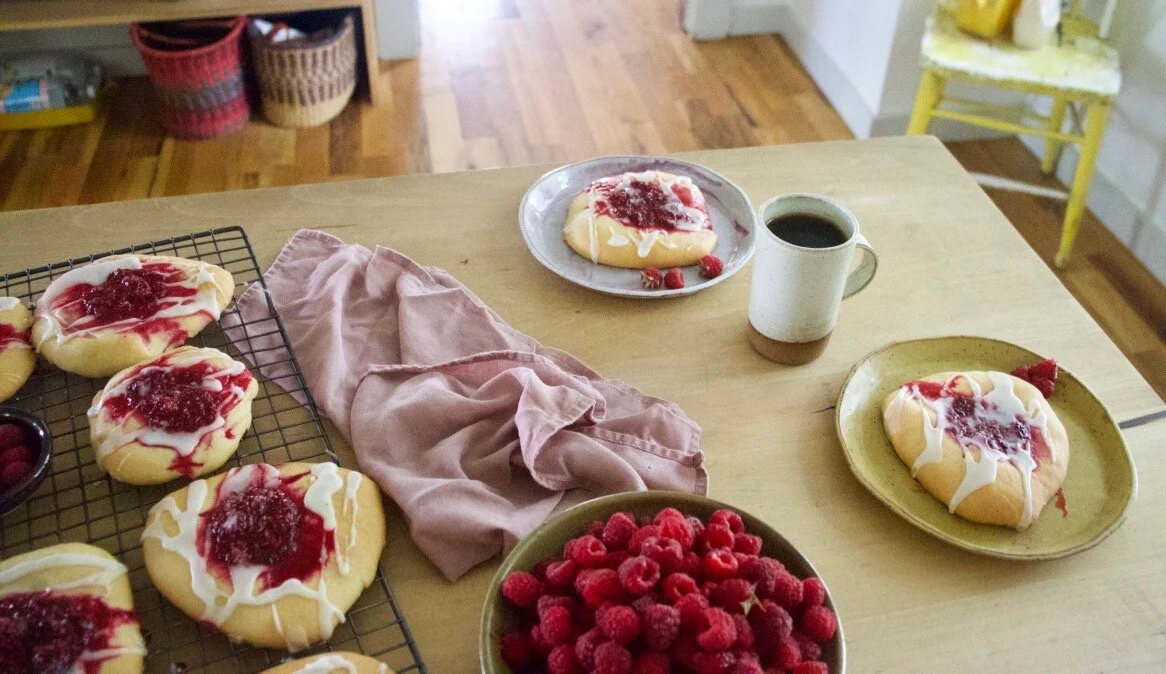
And then you eat becucae that is why you made them.

Share with your people. Or just eat them all to yourself, you made them and they are yours.

-C


Raspberry Danishes 

makes 12

  • 4 cups of all purpose flour

  • 1 teaspoon salt

  • 2 teaspoons yeast

  • 1 cup room temperature plant based milk

  • 1/2 cup neutral oil

  • 1/3 cup white sugar

    For raspberry jam

  • 1/4 cup white sugar

  • 2 cups fresh raspberry

    For glaze

  • 1 lemon

  • 1 1/2 cups powdered sugar

  • splash of vanilla

In a large bowl combine the yeast, sugar, oil and milk. Really mix well and let sit for a minute to just get yeast activated. Dump in flour and salt and mix with a wooden spoon or whisk until it becomes to hard to stir. Dump mixture onto a lightly floured surface and knead dough for about 5-8 minutes or until the dough is soft and smooth. Place dough in a clean bowl and cover and let rise for about an hour or so or until the dough doubles in size.

While dough is rising, make raspberry jam. Mix raspberries and sugar together into a pot and place on medium heat on stove. Let cook for a couple minutes and once the raspebrries start to break down, stir. Let mixture cook down for about 10 minutes, stirring often, until the mixture becomes thick and sticks to a spoon like warm jam should. Take off heat and let cool.

Preheat oven to 350

Once dough has doubled in size, dump onto it onto a floured surface and with a knife or dough scraper, cut into 12 equal sized pieces. Roll each piece into a ball then flatten out into a disk about 1/2 inch thick. Place dough disks on a parchment or splat mat lined baking sheets (you will need 2). With a spoon, lightly push a intent into the center of each disk then place a good plop or the cooled raspberry jam into the intent. Once all the dough has its berries, place the baking sheets into the oven to bake, for about 15-18 minutes, or until the danishes are a nice golden brown.

When they are done baking, remove from oven and place on wire rack to cool.

While cooling, make the glaze. Zest lemon and place in a bowl with the powdered sugar and vanilla. Add in half the juice of the lemon and stir until completely combined. If the mixture is too thick, add more juice, to thin, add a little more powdered sugar.

And once the danishes are cooled, drizzle on the glaze. And then thats it. You can eat them now.

Any left over why are there left overs?) should be stored in a airtight container for a few days at room temp or in the fridge . They also freeze well.

In Vegan, sweet breads and muffins, summer, fruit, desserts, breakfast Tags Raspberry Danishes, danish, raspberry, vegan, plant based, jam, fresh, dairy free, easy, dough, king Arthur flour, berries, summer, food, desserts, breakfast, fun
Comment

Chocolate Chip Zucchini Muffins

July 4, 2020 Colleen Stem
IMG_8865.jpg
IMG_8771.jpg

Zucchini. One of the best summertime veggies. If you have been around here (as in my blog) for long enough, you all know how I am a zucchini feen. Once they start growing, I take them all. From my garden, from your garden, even my sisters mother in laws extra, plus the million I get with my farm share. At any given time I could have upwards of fifty zucchini spilling out all over the counter and shoved into any crevice I can find in the fridge. But the excess never lasts long because I eat them all. Mostly to myself, and I feel great about it. (Ok, I do end up freezing some of it for winter, but I am still eating it all!)

And every year when the first zucchinis start to hit the ground, all the people are up in my squash asking for zucchini bread, like they can’t possibly make it themselves or anything. But I don’t mind what so ever because sharing is caring and I guess I care. Plus I like to bake so it works, you know?

When I was recently asked to bake a loaf of zucchini bread, I made the decision to go the muffin route instead because aren’t muffins just individual little breads that take half the time to cook them a loaf? Yup, and that is very nice when you want to minimize any hot oven time because summer is hot enough as it is.

And because they are muffins, they acceptable for breakfast, even with all the chocolate chips.

Win!

Now to the muffins!

The stuff. A good sized zucchini, flour, baking soda and powder, salt, brown sugar, oil, cinnamon, raw sugar, apple cider vinegar, and some chocolate chips.

IMG_8721.jpg
IMG_8722.jpg

In a large bowl, whisk together the flour, baking soda and powder, salt, cinnamon, and brown sugar until completely incorporated and there are no lumps of sugar.

Shred the zucchini. I used a smaller shredder so the pieced are very thin but a normal sized box grater shred works just as well

IMG_8732.jpg
IMG_8736.jpg

Add zucchini, oil, and vinegar to bowl and fold in until completely combined.

Then fold in chocolate chips. Duh.

Scoop batter into a greased muffin pan and sprinkle the tops with raw sugar. Pop into the hot oven to bake.

IMG_8761.jpg

Oh yeah. Perfect.

Pop out of tins to cool on a rack.

And eat. All to yourself or share, that is on you.

-C


Chocolate Chip Zucchini Muffins

makes 12 muffins

  • 2 1/2 cups all purpose flour

  • 1 1/2 teaspoon baking powder

  • 1 teaspoon baking soda

  • 1/2 teaspoon salt

  • 1 tablespoon cinnamon

  • 3/4 cup packed brown sugar

  • 1/2 cup neutral flavored oil

  • 2 tablespoons apple cider vinegar

  • 1 medium zucchini (2 cups packed shredded zucchini)

  • 2/3 cup chocolate chips

  • 1/4 cup raw sugar (to sprinkle the tops) optional

Preheat oven to 350.

Grab a large bowl and add in the flour, baking powder and soda, cinnamon, and salt. Whisk together then add in the brown sugar and whisk in, making sure there are no big clumps.

Shred zucchini uniti you have 2 hefty cups. If you have a fine shredder, use that, if not, a normal sized shred will do.

Place shredded zucchini into the bowl along with the oil and the vinegar. Start folding with a spatula until everything is incorporated. Resist the urge to aggressively mix, it takes a minute for the liquid from the zucchini to absorb into the flour. (Over mixing it will make the muffins tough) Once the batter is uniform, fold in chocolate chips.

Scoop batter into a well greased or lined muffin tin. Sprinkle the tops with raw sugar and pop the pan into the preheated oven. Bake for about 30 minutes or until fluffily and domed and a tester stuck in one comes out clean.

When baked, remove from oven and pop out if tin. Let cool on a wire rack but feel free to eat one warm.

Store uneaten muffins in airtight container at room temp for a 2-3 days but if it is really hot out, just stick them in the fridge. Also can be frozen.

In Vegetables, Vegan, sweet breads and muffins Tags Chocolate Chip Zucchini Muffins, vegan, muffins, baked goods, zucchini, summer, chocolate chip, home made, plant based, dairy free, easy, dessert, breakfast, food, feedfeed
Comment

Peanut Flour and Banana Oats

February 1, 2020 Colleen Stem
IMG_5372 2.jpg
IMG_5342.jpg
IMG_5364 2.jpg

I have been on a good long kick here with eating oats at night for my after dinner snack. Just about every night after cleaning up the dinner dishes, sweeping the floors, going for a nice after dinner walk with the mr, I come home, put the hot water on, grab my oats, my peanut flour, and sometimes a banana. As soon as the water boils I mash up some banana (if using), add in some oats, pour in some boiling water, and let them sit. I also pour a huge jar of tea then plop my butt down at the counter to do any brain tasks that need doing like checking the email, left over billing things, maybe check the old phone for the first time in hours… After about 5 minutes of that, I stop brain tasks because I just can’t, grab oats, and dump in a few big ass tablespoons of peanut flour and cinnamon and give it a good stir. Voila, snack time. A delicious, nutritious, tummy filling and easy dish that is full of all sorts of things that my body needs. I grab a spoon, my tea, and open my book. For sure one of my favorite times of day.

Now lets talk about peanut flour. I have been eating peanut flour for a few years now. Not to confuse with powered peanut butter which is basically peanut flour but usually with added sugar and salt. Peanut flour is just peanuts, with the oil pressed out and then ground up into a super fine flour. And not a flour is the typical sense. Like you can’t make bread with it, but you could add it to bread. You can also use it to thicken things like soups or sauces up. Or add it to smoothies, make a cake frosting with it , or just mix it with a little water and eat it with a spoon. It is delicious and amazing and full of protein without all the added fat and high calorie content. I started to add it to foods because of the protein but now I just eat it all the time because I freaking love the stuff. (Another favorite way to eat it is cut up carrot sticks tossed in the flour… SO GOOD!) Anyway, truth be told, it is not the most widely available stuff. I have only seen it in a few store over the years, so I have been buying it online. But recently someone told me that Trader Joes is selling it now (I haven’t checked yet) so I figured now is a good time to share the greatness of the flour and how you might want to use it.

Anyway, these oats here are my favorite way to eat oats. Warm and creamy, but not cooked and gruel like. They are like a cross between stove top oats and overnight oats except they take all of 5 minutes to make and you don’t need to dirty a pot. Then mixed with banana for extra sweetness and flavor, the peanut flour for all the peanut butter taste and protein. These oats are unstoppable.  Delicious and nutritious for breakfast, lunch, snack time, or dessert, these oats are all win win. Add another win just because. Win, Win, WIN!

Now to the oats!

IMG_5310.jpg

The stuff. Old fashion oats, a small banana, peanut flour, cinnamon, and boiling hot water.

IMG_5314 2.jpg
IMG_5316.jpg
IMG_5320.jpg

Mash up the banana until smoothish then add in half the hot water and mix. Dump in the oats and mix those too.

IMG_5326.jpg

Top with the rest of the boiling water and let sit for about 5 minutes.

IMG_5335.jpg

After the oats absorbed the hot banana water, dump on the cinnamon and the peanut butter flour and mix in.

IMG_5344.jpg

Grab yourself a spoon friend.

Eat.

-C


Peanut Flour and Banana Oats

Makes 1 serving. Can be halved for smaller portion

  • 1 small banana

  • 1/2 cup old fashion oats

  • 2 (or more if you want) tablespoons peanut flour

  • 1 teaspoon cinnamon (optional)

  • 1 cup boiling water

Place peeled banana in a bowl and mash with a fork unit smooth. Add in half the boiling water and mix.. Dump in oats and mix until incorporated then add in the rest of the hot water. Let sit for 5 minutes until oats absorb all the water. Stir in peanut flour and cinnamon. Eat.

In breakfast, desserts, Gluten Free, quick and easy, snack, Vegan Tags Peanut Butter Flour and Banana Oats, vegan, gluten free, dairy free, protein, peanut flour, healthy, breakfast, overnight oats, oatmeal, dessert, yummy, food, plant based
Comment

Poppy seed Crusted Apricot Jam Muffins

January 11, 2020 Colleen Stem
IMG_4908.jpg
IMG_4949.jpg
IMG_4917.jpg

Mid week, I was doing a little pantry cleaning/ inventorying of what I had and needed when I came upon not one, not two, or even three. No, six. SIX, jars of jam. And there are 2 that are already opened in the fridge. I don’t know why, but knowing that there was that much jam in the house made me a little uneasy. Six unopened jars is about 3 jars past my comfort zone. Sure there are so many things you can do with a jar of jam (jelly, preserves, and marmalade included) and now that I am thinking about it, is one of the reasons why I bought a few jars a while back. Then there was Christmas and I think we got at least two jars as gifts so it’s not all my fault, but still, that is just too many jars of jam. Right there I needed to get rid of at least one jar. So muffins. Jam muffins, with poppyseed crust because it’s pretty and nobody ever complains about poppy seeds, or at least they don’t until after they eat them and have poppy seeds stuck in their teeth all day. But that is just our mouths way of saving a little for later, am I right? HA

Anyway, a quick and simple muffin recipe for all of you people out there that might have a jar or two too many of jam in the fridge or pantry (I used apricot but any flavor(s) would work) and could use yourself a tasty little muffin situation. I mean who doesn’t want a tasty muffin?

To the muffins.

IMG_4798.jpg

The stuff. In the bowl is white and white whole wheat flour, baking powder and soda, and salt. Also have apricot jam, oil, almond milk, apple cider vinegar, and orange, and some poppy seeds.

Grab a zester and zest the orange into the bowl with all the dry stuff. Whisk to combine.

IMG_4805 2.jpg

Jam, oil, milk, and vinegar. All on top of dry. Whisk that up until just combined. No over mixing. You will get tough (not in a good way) muffins.

IMG_4812 2.jpg

Apricot muffin batter.

IMG_4816.jpg
IMG_4822.jpg

Scoop into well greased muffins tins then cover the tops with poppy seeds.

Ready for that hot oven.

IMG_4854.jpg

And out of the oven, looking all pretty like.

IMG_4894.jpg

Pop those muffins out of the tins and cool on a wire rack for a bit. And by all means, don’t wait until they are completely cool.

Now eat you a warm muffin and if they are mini, grab a few. You can’t just eat one mini muffin, that is just crazy.

-C


Poppy seed Crusted Apricot Jam Muffins

Make 12 normal size muffins or 24 mini muffins

  • 1 cup all purpose flour

  • 1 1/4 cups white whole wheat flour

  • 2 teaspoon baking powder

  • 1/2 teaspoon baking soda

  • 1/2 teaspoon salt

  • 1 cup plant milk

  • 1/3 cup neutral oil

  • 1 tablespoon apple cider vinegar

  • zest of an orange

  • 1 heaping cup apricot jam or preserves (can sub in any flavor you like)

  • 1/3 cup poppy seeds

Preheat oven to 350

In a large bowl whisk together the flours, salt, baking powder and soda, and the zest of the orange. Add in the oil, milk, jam, and vinegar and whisk until just incorporated. Scoop batter into well grease muffin pans (12 regular or 24 mini) then cover the tops with poppy seeds. Pop into hot oven and bake until risen and a tester comes out clean when one is poked. For mini muffins, check after 13 minutes, for normal muffins, after 16 minutes.

Once baked, remove from oven and pop out of pans when cool enough to handle. Place on a wire rack to cool completely or just start eating them warm.

Store left over muffins in an airtight container for 3-4 days at room temperature. They also freeze well.

In breakfast, Vegan, sweet breads and muffins, quick and easy, Dairy Free Tags Poppy seed Crusted Apricot Jam Muffins, Vegan, Vegan muffins, poppyseeds, jam, breakfast, fast, easy, no fuss, plant based, dairy free, home made, fresh, baker, recipe, delicious, king Arthur flour
2 Comments

Waffle Iron Hash Browns

December 7, 2019 Colleen Stem
IMG_4109.jpg
IMG_4075.jpg

I don’t think I can ever eat potatoes any other way ever again.

It started with me, doing my weekly pantry cleaning, you know, when I wipe down ever surface, count all the beans and lentils in the jars to make sure I am not running low, and inspect every squash for soft spots. I was just going about my thing when I looked over at my waffle iron. Poor, sad, underused. And it hit me. When was the last time I waffled anything? I remember how excited I was when I found it a few years back at a thrift store. Such a cutie little iron. When I brought it home, I used it a bunch of times for maybe a week or two. And then it was put away and I think I have busted it out like 3 times in the past 2 years. So not cool.

I also noticed I had a shit load of potatoes left from thanksgiving.

And there I had it, a reason to use the waffle iron and a way to use up the potatoes. And now, now I am a potato on the waffle iron addict, which is weird because I am not a overly potatoy person in general. But now with this new waffled hash brown thing, well I might just be eating potatoes all day, every day. (At least until I get sick of them or I run out of potatoes.) They come out soft and fluffy inside, super crispy in ever little nook and cranny, outside. Evenly, perfectly cooked. It’s hard to explain, but they are just, ugh, so good, especially dipped in mustard for a fantastic hash brown snack. (Yes mustard, no not ketchup. Let me do me, you do you.) Or smothered in refried black beans topped with salsa and avocado (that was the dinner version). These hash browns. Just make some and you will see.

And no matter what happens with my hash brown phase, I will be damned if I ever let the waffle iron go so long without use. It deserves better then that.

To the best hash browns EVER!

IMG_4038.jpg

The stuff. Potatoes, salt and pepper, and a little oil.

Shred potatoes. Simple, easy.

IMG_4048.jpg
IMG_4054.jpg

Place the shredded potatoes into a clean dish towel (avoid paper towels because paper towels are the devil) and squeeze as much of the liquid out as you can.

Dump the squeezed out shredded taters back into the bowl and sprinkle with salt and pepper and mix it around.

IMG_4064.jpg

Oil your hot iron and pile on the potatoes. Then close it and press it down. It’s a bit dependent on your iron how long they will need to cook fully, mine took about 9 minutes on high. But maybe just stand close by and check yours after 7ish minutes but expect maybe 10 or so.

Deep golden brown and crispy all over.

IMG_4077 2.jpg

I mean, really look. Every surface browned and crispy. It is freaking perfection!

And then like any good waffled food, you plate it, and eat it. Me, with horseradish mustard and a big stupid smile.

Thank you waffle iron. You done good.

-C


Waffle Iron Hash Browns

makes 2-3 servings

  • 2-3 small to medium sized starchy potatoes (Russet or Yukon Gold)

  • couple teaspoons olive oil

  • teaspoon each of salt and pepper

Preheat your waffle iron to high

Shred potatoes on a box grater. Once shredded, gather in a clean kitchen towel and squeeze as much of the liquid as you can from the potatoes. Place potatoes back into bowl and add in about a teaspoon of each salt and pepper and mix around.

Open iron and brush with oil. Place shredded potatoes on the iron, kind of pack together, and close. If it locks, lock it shut, if it doesn’t push it down. And let cook, for about 10 minutes, checking after 7ish (you iron might have more power the mine does). Once the potatoes are a deep golden crispy brown, remove from iron.

Then eat. Any way you want. Plain, with mustard or ketchup. Next to some scramble something or another. Piled high with some black beans and salsa. Whatever. Just eat them and be happy for the waffle iron.

In 5 ingerdients or less, breakfast, dinner, Gluten Free, Potato, quick and easy, Vegan Tags Waffle Iron Hash Browns, Waffle iron, hash browns, vegan, gluten free, grain free, plant based, food, simple, easy, fast, starch, breakfast, dinner, potatoes
4 Comments
← Newer Posts Older Posts →
 

https://thelovelycrazy.squarespace.com/config#/|/about/

Me. Food Maker.Food eater. Woo HOO!

STEM+NODE  SMALL BATCH AND ONE OF A KIND POTTERY

stem+node ceramics


____________________

Subscribe

GET NEW POSTS IN YO EMAIL

You are AWESOME!!!


@thelovelycrazy 2014-2021