• stem+node ceramics
  • HOME
  • Food Recipes
  • About
  • Contact
Menu

The Lovely Crazy

Street Address
City, State, Zip
Phone Number

Your Custom Text Here

The Lovely Crazy

  • stem+node ceramics
  • HOME
  • Food Recipes
  • About
  • Contact

Split Peas and Collard Greens with Mustardy Cabbage Slaw

August 10, 2019 Colleen Stem
IMG_0988.jpg
IMG_0944.jpg
IMG_1009.jpg

Spit peas are one of my go to’s when camping. Besides taking up no room at all to pack, they are also super easy to make. Plus they only take about an hour to cook, which is the perfect amount of time to prepare the rest of the food for a meal and sit and chill out before eating. Not to mention that they are damn freaking tasty, especially after a day frolicking through woods and paddling on water. I mean, who doesn’t like split peas? (If you say you don’t, you probably should try again because I bet you would like these)

Constnaly thinking of our next hiking, kayaking, and camping adventure has got me with split peas on the mind. Especially now that the nights are getting a little cooler. Knowing that I am gonna have a hearty, protein pack and filling meal after a day of activity is just the greatest.

And collard greens. A green that gets overlooked a lot. No super popular, well, not around these parts, which is crazy because they are SO good! They have a more pronounced flavor (in a good way) then most greens. More pungent and earthy, and slitghy salty, if that makes sense. And hold up better then any green when cooked making them perfect to toss into pots with things like spit peas . Plus they travel well. I can bring a bunch camping with me and not worry that if I leave them out for to long they will turn into slimy green mush. If it is really hot, sure they might wilt up a bit, but stick the stems in a little water, they will last all day fine. And that is all you need them to do.

So yeah, this dish is perfect for camping, but also perfect for not camping and just making at home too. Again, super easy, fast and is just a great tasting dish.

Split peas and collard greens. Topped off with mustardy cabbage slaw. Can’t wait to make this again this weekend!

To the spit pas and collard greens!

IMG_0779.jpg

The stuff. A bunch of collard greens, some split peas, an onion, a couple carrots, some cabbage, stone ground mustard, spices which include garlic, ginger, dill, thyme, and ground mustard. And salt and pepper. And you are gonna need water too.

IMG_0787.jpg
IMG_0791.jpg

Start by removing the stems from the leaves of the collards. Then small dice up the carrots, the onion and the stems. Grab the collard leaves, roll them up together, then slice then into thin ribbons.

IMG_0796.jpg

All that stuff you just cut up now gets tossed into big pot, along with all the spices.

IMG_0807.jpg

Add in the dried peas and water. Lots and lots of water. Bring pot to boil, then reduce heat to low and loosely cover pot. Cook foe 45-50 minutes or so.

IMG_0811.jpg

While the peas and greens are cooking, shred up some cabbage.

IMG_0814.jpg
IMG_0817.jpg

Add a good dollop or two of some good stone ground or Dijon mustard and mix.

Cooked until the split peas are tender and starting to fall apart. Taste and season with salt and pepper.

IMG_1006.jpg

And then you eat. A big bowl full of the slpit peas and greens, topped with some mustardy cabbage slaw.

This is good food. Really freaking good.

-C


Split Peas and Collard Greens with Mustardy Cabbage Slaw

serves 4-6 folks

  • 2 cups dried split peas

  • 8-9 cups water

  • 1 large onion

  • 2 carrots

  • 1 bunch collard greens (about 6-7large leaves)

  • 1 teaspoon garlic powder

  • 1 teaspoon ginger powder

  • 1 tablespoon dill

  • 1 tablespoon thyme

  • 1 teaspoon ground mustard

  • salt and pepper

  • 2-3 tabespppms Dijon or stone ground mustard

  • 1/2 head of cabbage (red and or green)

Start by removing the stems from the collards. Grab the carrots and onion and dice them up small, along with the stems. Then take the leaves of the greens and stack and roll them up together. Slice the roll into thin ribbons. Place all of it, carrots onions stems, and greens, into large pot, along with all the spices, (don’t add any salt until the end) and stick o the stove. Add in the split peas and 8 cups of water. Bring pot to a boil, then reduce to low and place a loose lid on pot. Let cook for 45 minutes to an hour, or until the spit peas are tender and just about to fall apart. If you think you might need to add more water to cook the peas through, then add another cup.

Once cooked, season with salt pepper to taste.

For the cabbage slaw,which you can make right after your start the peas, just shred up cabbage and mix it together with the mustard and set aside.

And once the split peas and collard greens are all cooked, scoop into bowls, top with some of the cabbage slaw, and eat to your face.

In dinner, grain free, pulses, soups/stews/chilis, Vegan, Vegetables Tags Split Peas And Collard Greens, collard greens, vegan, pulses, cabbage, plant based, healthy, clean eating, 1 pot meal, easy, protein, dinner, stew, grain free, mustard cabbage slaw, slaw
Comment

Parsley Mint Pesto Pasta Salad

August 3, 2019 Colleen Stem
IMG_0700.jpg
IMG_0756.jpg

Have I told you how amazing my farmshare is? I am sure I have, but if I haven’t lately, well let me just tell you, it is. All summer long we (the members) get to pick a bunch of fresh herbs every week. Basil, scallions, dill, parsely, and cilantro. Planted every few weeks to keep us in the herbs all summer long. And every few weeks there is a herb free for all. Pick unlimited amounts of whatever herb is plentiful. Last week it was unlimited parsley. Yeah there was unlimited basil and that was nice too, but the parsley, the underrated, overlooked herb. That was what I wanted and I picked the shit out of it.

Parsley. No I is not just a green sprig that garnishes your plate at a restaurant. It is a great spicy, fresh, clean tasting herb that plays so well with everything. I really think parsley can, and should, make it’s way into almost any dish. It adds a touch more brightness to any spice blend. And there is just something about munching on some fresh parsley, it just works for me. Parsley is good friends. No. Parsley is great.

So now we match said parsley with another bright herb, mint, and blend it up into a pesto. Magic on the tongue. And a no brainer for pesto is pasta, although this pesto would make a great spread or smothered on grilled veggies or scooped into soup.

A summery pesto pasta salad dish situation. Perfect for all the times that you are hungry and need food.

To the pesto pasta salad!

IMG_0619.jpg

The stuff. Parsley. mint, a few scallions, toasted almonds, garlic, a lemon, nutritional yeast, salt and pepper, and olive oil. Also pasta, a cucumber, and a big handful of cherry tomatoes.

IMG_0636.jpg
IMG_0641.jpg

First for pesto. Start by pulsing the almonds in a food processor until they become a nice crumb. Remove about 1/4 cup and set aside.

IMG_0633.jpg

Grab the herbs and scallions and remove any really wooden stems (keep the more tender ones) and rip the herbs into smaller pieces.

IMG_0649.jpg

All the parsley, mint, and scallions now go into food processor with almonds, along with the garlic, nutritional yeast, the juice of the lemon, and a pinch of salt and some crack pepper. Pulse the food processor and stream in the olive oil until everything comes together. You might need to stop and scrape the sides a few times.

And then you have pesto!

IMG_0673.jpg
IMG_0681.jpg

Now you need pasta. Cook it to the directions on the package you got it from. Cook it all the way through then when you strain it, rinse it with a little cool water.

IMG_0683.jpg

Chop up the cucumber into small chunks and half or quarter the cherry tomatoes.

IMG_0687.jpg

And to put it all together. Pasta goes in a bowl. Add in the pesto. If the pesto seems a little on the thick side and not easily mixes, add in a little warm water to thin it out a bit.

IMG_0694.jpg

Add the cucumber and tomatoes.

IMG_0702.jpg

Mix some more, sprinkle on lots of the crumbled almonds you set aside, maybe a few more springs of parsley and a few more leaves of mint for good measure and call it done.

Be ready to eat cause this salad is ready to be eaten.

-C


Parsley Mint Pesto Pasta Salad

Makes a pound of pasta

  • 2 cups packed parsley (Curly or flat. I used curly)

  • 1 cup packed mint

  • a few scallions if you have them

  • 3/4 cup roasted almonds

  • 3 cloves garlic

  • a lemon

  • 1/4 cup nutritional yeast

  • 1/2- 3/4 cup olive oil

  • salt and pepper

  • 1 pound bow tie pasta

  • Big handful cherry tomatoes

  • a tender skinned cucumber

Note. This recipe makes a big batch of pesto and big pasta salad. You can totally make the all the pesto and only use half and only boil half of the pasta. Just stored left over pesto in a jar in the fridge for about week or so or stick it in the freezer for a few months. And you can use it for all sorts of great things like sandwiches, salads, as a dip… whatever you want.

To make the pesto. Place almonds in food processor and pulse until crumbly then remove about a 1/4 cup and set aside. Add in the garlic and pulse a few times. Then grab the parsley, mint, and scallions. Remove any tough stems and rip the herbs into smaller pieces. Add them to food processor along with the nutritional yeast, the juice of the lemon, and a good pinch or two of salt and lots of pepper. Pulse while slowly adding in the olive oil. Stop, scrap sides, then pulse until smooth. Taste and add more salt if needed.

Half or quarter cherry tomatoes and cut cucumber into small chunks

Cook the pasta. Big pot of boil water with a pinch pf salt. Cook until fully cooked, then drain. Give it a quick rinse of cool water. Dump the pasta into a big bowl.

To make the pasta salad. Scoop pesto into bowl with the pasta and mix it until all the pasta is evenly coated. If pesto is really thick, just add a little warm water to thin it out. Add in the cut up tomatoes and cucumber, mix, then top with the reserves ground up almonds and a handful more of chopped fresh mint and parsley.

Eat.

Left overs should be stored in fridge for a a few days. Left over pesto a week or so and or in the freezer for a few months.

In dinner, Pasta, quick and easy, summer, Vegetables, Vegan Tags Parsley Mint Pesto Pasta Salad, PEsto, Vegan, pasta salad, plant based, almonds, dinner, BBQ, side dish, Picnic, bow tie, Greens, Parsley, mint, farm, Farmshare
Comment

Sautéed Cumin Ginger Chard with Pickled Onions

July 20, 2019 Colleen Stem
IMG_0386.jpg
IMG_0487.jpg

I am on a major swiss chard kick. Like I am eating it all day, every day. And I don’t know if it the heat or what, but the other night I was laying in bed, super hot mind you, and couldn't keep my mind from racing. All I could think about was swiss chard and how much I love it and all the ways I want to eat it. Yeah, I know, but that is my brain so what can I do? Anyway, I finally fell asleep, and when I did it was dreams of chard and rainbows and all sorts of colorful things that I cannot remember anymore. I do know I woke up hungry. And with a plan for lunch.

I will just tell you now, this chard situation is sooooo good! And besides me being on a major chard kick, I am also on a ginger and cumin kick and an onion kick as well so it just made sense to make something with them all together. Tender and gingery cumin-y chard with crispy pickled onions. Seriously, is your mouth watering yet? I have made it twice in the past few day and I plan on making it a whole bunch more. So freaking good!

If you like chard, or don’t know if you do (you probably do), this is a great way to enjoy it. You will not be disappointed.

Now to the chard.

The stuff. A bunch of chard in a few different colors, a medium onion, a chunk of fresh ginger, cumin seeds, white wine vinegar, and salt and pepper.

IMG_0364.jpg
IMG_0370.jpg

First and the sooner the better, cut onion up into very thin pieces and place into a bowl with vinegar, a pinch of salt, and a splash of water. Toss onions around and let sit, for at least 20 minutes, or if you think of it and can make it happen, do it a few hours in advance. . The longer the onions sit in the vinegar the better.

IMG_0380.jpg

Ginger. If you haven’t grated it yet, do that.

IMG_0383.jpg

Remove the stems from the greens of the chard then chop the stems into small pieces.

IMG_0417.jpg
IMG_0428.jpg

Now here we go. First, before anything, place the cumin seeds into the dry skillet and place on medium heat to toast for a couple minutes, Then add in the grated ginger, the chard stems, a pinch of salt, and about 1/2 a cup of water. Stir around. Keep on medium heat and let cook until the chard stems start to become tender. If all the water evaporates out before they are done cooking, add a little more.

IMG_0423.jpg

Now chop up the chard greens.

IMG_0438.jpg
IMG_0449.jpg

Greens go into the skillet with the stems and a little more water. Cook the greens down until all wilted and lovey and delicious.

IMG_0456.jpg

Dump the cooked chard into a bowl or on a place and mix in all the pickled onions. Drizzle with a little of the left over vinegar from the onions.

IMG_0490.jpg

All there is left to do now is add a lot of cracked pepper and grab a fork.

My dreams come true…..Ha.

-C


Sautéed Cumin Ginger Chard with Pickled Onions

Serves 1 as a meal or 3-4 as a side

  • I bunch (around a pound) Swiss chard Any color or a mixture of colors))

  • 1 mediam onion (red or white)

  • about an inch or so fresh ginger (1 tablespoon grated)

  • 1 tablespoon cumin seeds

  • 1/3 cup white or red wine vinegar

  • salt and pepper

  • around 1 cup water

Grab the onion and slice it very thinly into rings or half rings. Place in a bowl and add the vinegar plus a pinch of salt and about 1/4 cup of water. Toss around and set aside for at least 20 minutes. If you think of it, do this a few hours before sautéing the chard. The longer the onions sit in the vinegar, the better.

When you are ready to cook it, grab the chard and remove the stems from the greens. Cut the stems into small little pieces. Grab a big skillet and place on medium heat. Add in the cumin seeds and let toast for a few minutes and while that is happening, grate the ginger. Once cumin is toasted, add in the chard stems, the ginger, and about 1/2 cup of water. Keep on medium heat and cook until the stems are slightly tender. Should take 8 or so minutes. If the water completely evaporates before cooked, add in a little more.

And the greens. roll them up together and slice them into thin pieces. Add all the greens to the skillet with tender stems. Add in a splash more water if needed and a pinch of salt. Mix around and cook for another 4-5 minutes or until the greens are completely wilted. Remove from heat and dump the chard into a bowl or on a plate. Take the onions, remove from the liquid and mix together with the chard. Drizzle a tiny bit of the left over vinegar from he onions on top. Cover with cracked pepper.

Eat. Hot, room temperature, or cold. It fantastic any way.

In Vegetables, Vegan, summer, side dish, salad, quick and easy Tags Sautéed Cumin Ginger Chard With Pickled Onions, Swiss chard, vegan, plant based, gluten free, whole foods, healthy, no oil, salad, greens, easy, chard salad, pickled onions
Comment

White Bean Zucchini Salad Sandwich

July 6, 2019 Colleen Stem
IMG_9925.jpg
IMG_9985.jpg

Summertime is in full swing. Hot ass days, garden fresh veggies, zucchinis as big as whales, and did I mention that hot ass heat? If you have been around here before, you know how well I handle the heat. (NOT WELL AT ALL!)

I think we are all hot these days. But really, lets just focus on the good things, like fresh summa veggies!

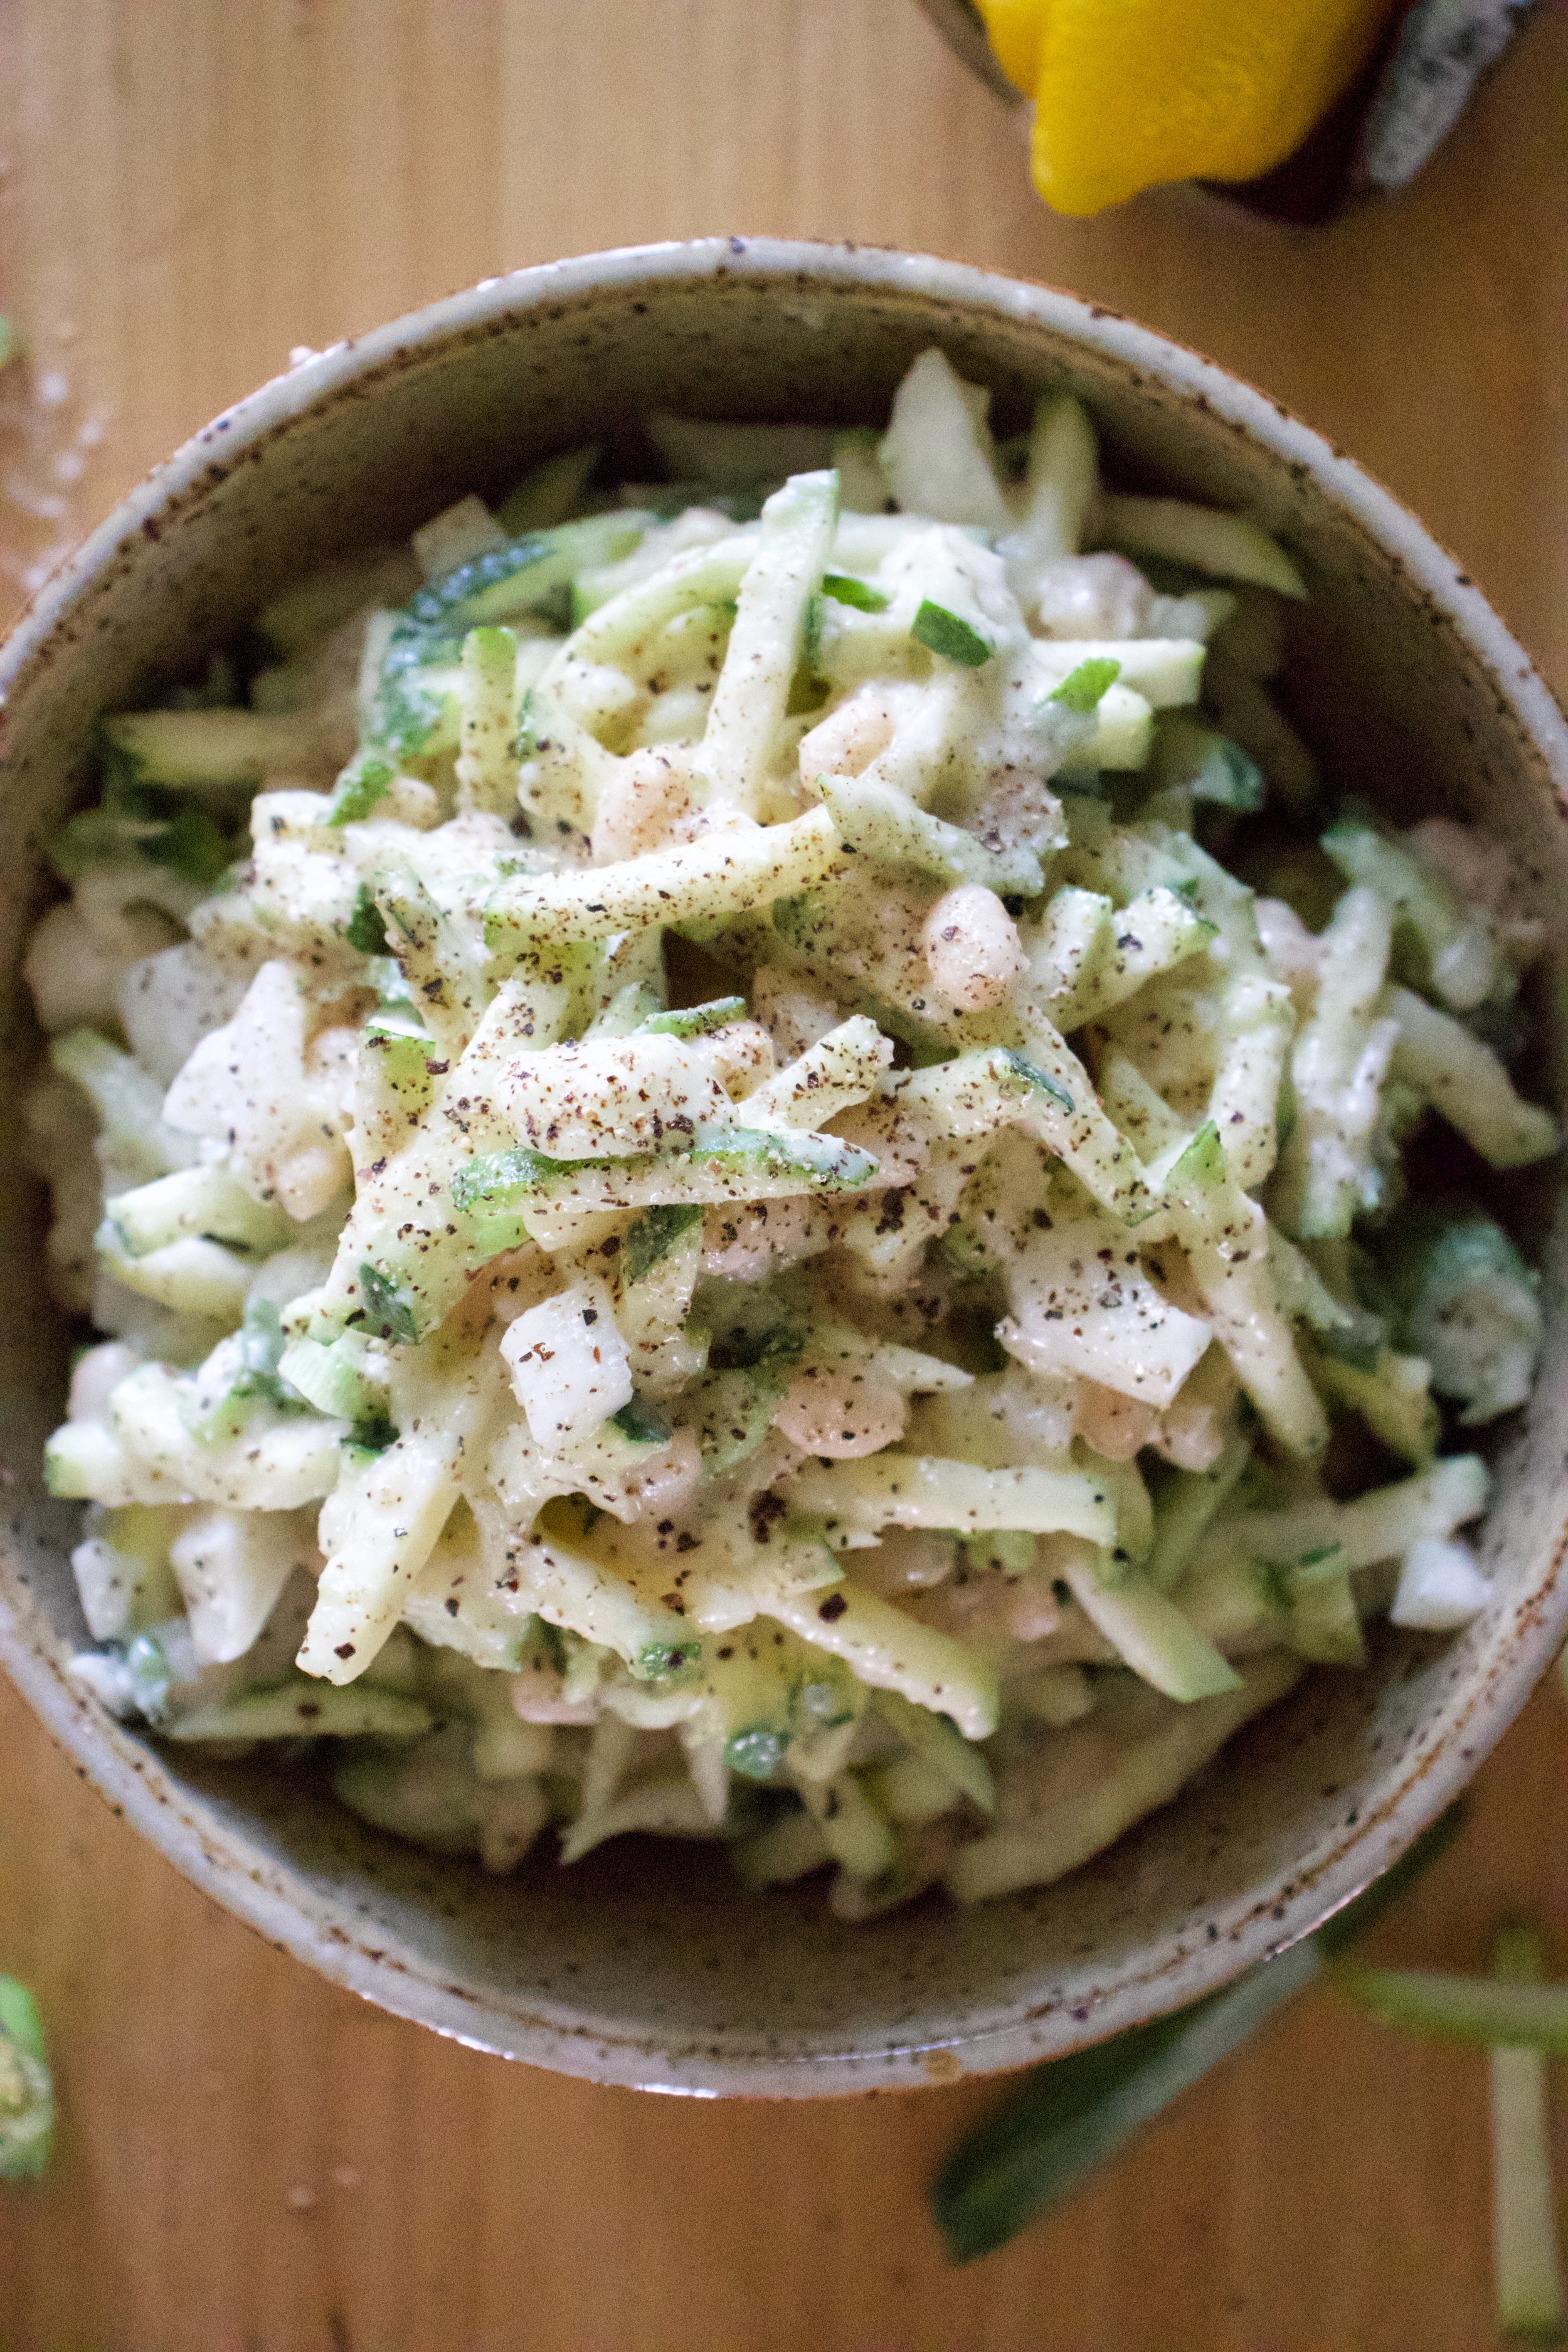
This sandwich is all about summertime and not having to turn on a single flame or heat source and takes all of 5 minutes to make. Zucchini because it is everywhere, beans for more substance and they are delicious, all mixed up in a creamy bean and tahini sauce. Super fast, fresh and oh so delicious. I made a big batch for sandwiches but also I was just eating it with a fork. It’s a tasty one that will be on the summer rotation for sure for the next few months, or until the zucchini runs out and I dare to turn the oven on again. (Ok, I am being a whine ass. It’s not THAT bad and I did turn the oven on, early morning, to bake bread. So yeah.) But for real. This is a great, super fast, throw together, fresh, light but filling, sandwich situation for any and all of your summertime eating needs. What more do we need? The mr said all he needed with the sandwich were chips. Chips and a nice cold drink.

Done sir. Done.

Now to the sandwich!

The stuff. White beans, a zucchini, and a fresh spring onion. Also some tahini, a lemon, a few cloves of garlic, a little vinegar and water, and salt and pepper. And to serve as a sandwich you need bread. lettuce, and tomato. Well you only need the bread, but you get what I am saying.

IMG_9853.jpg
IMG_9857.jpg

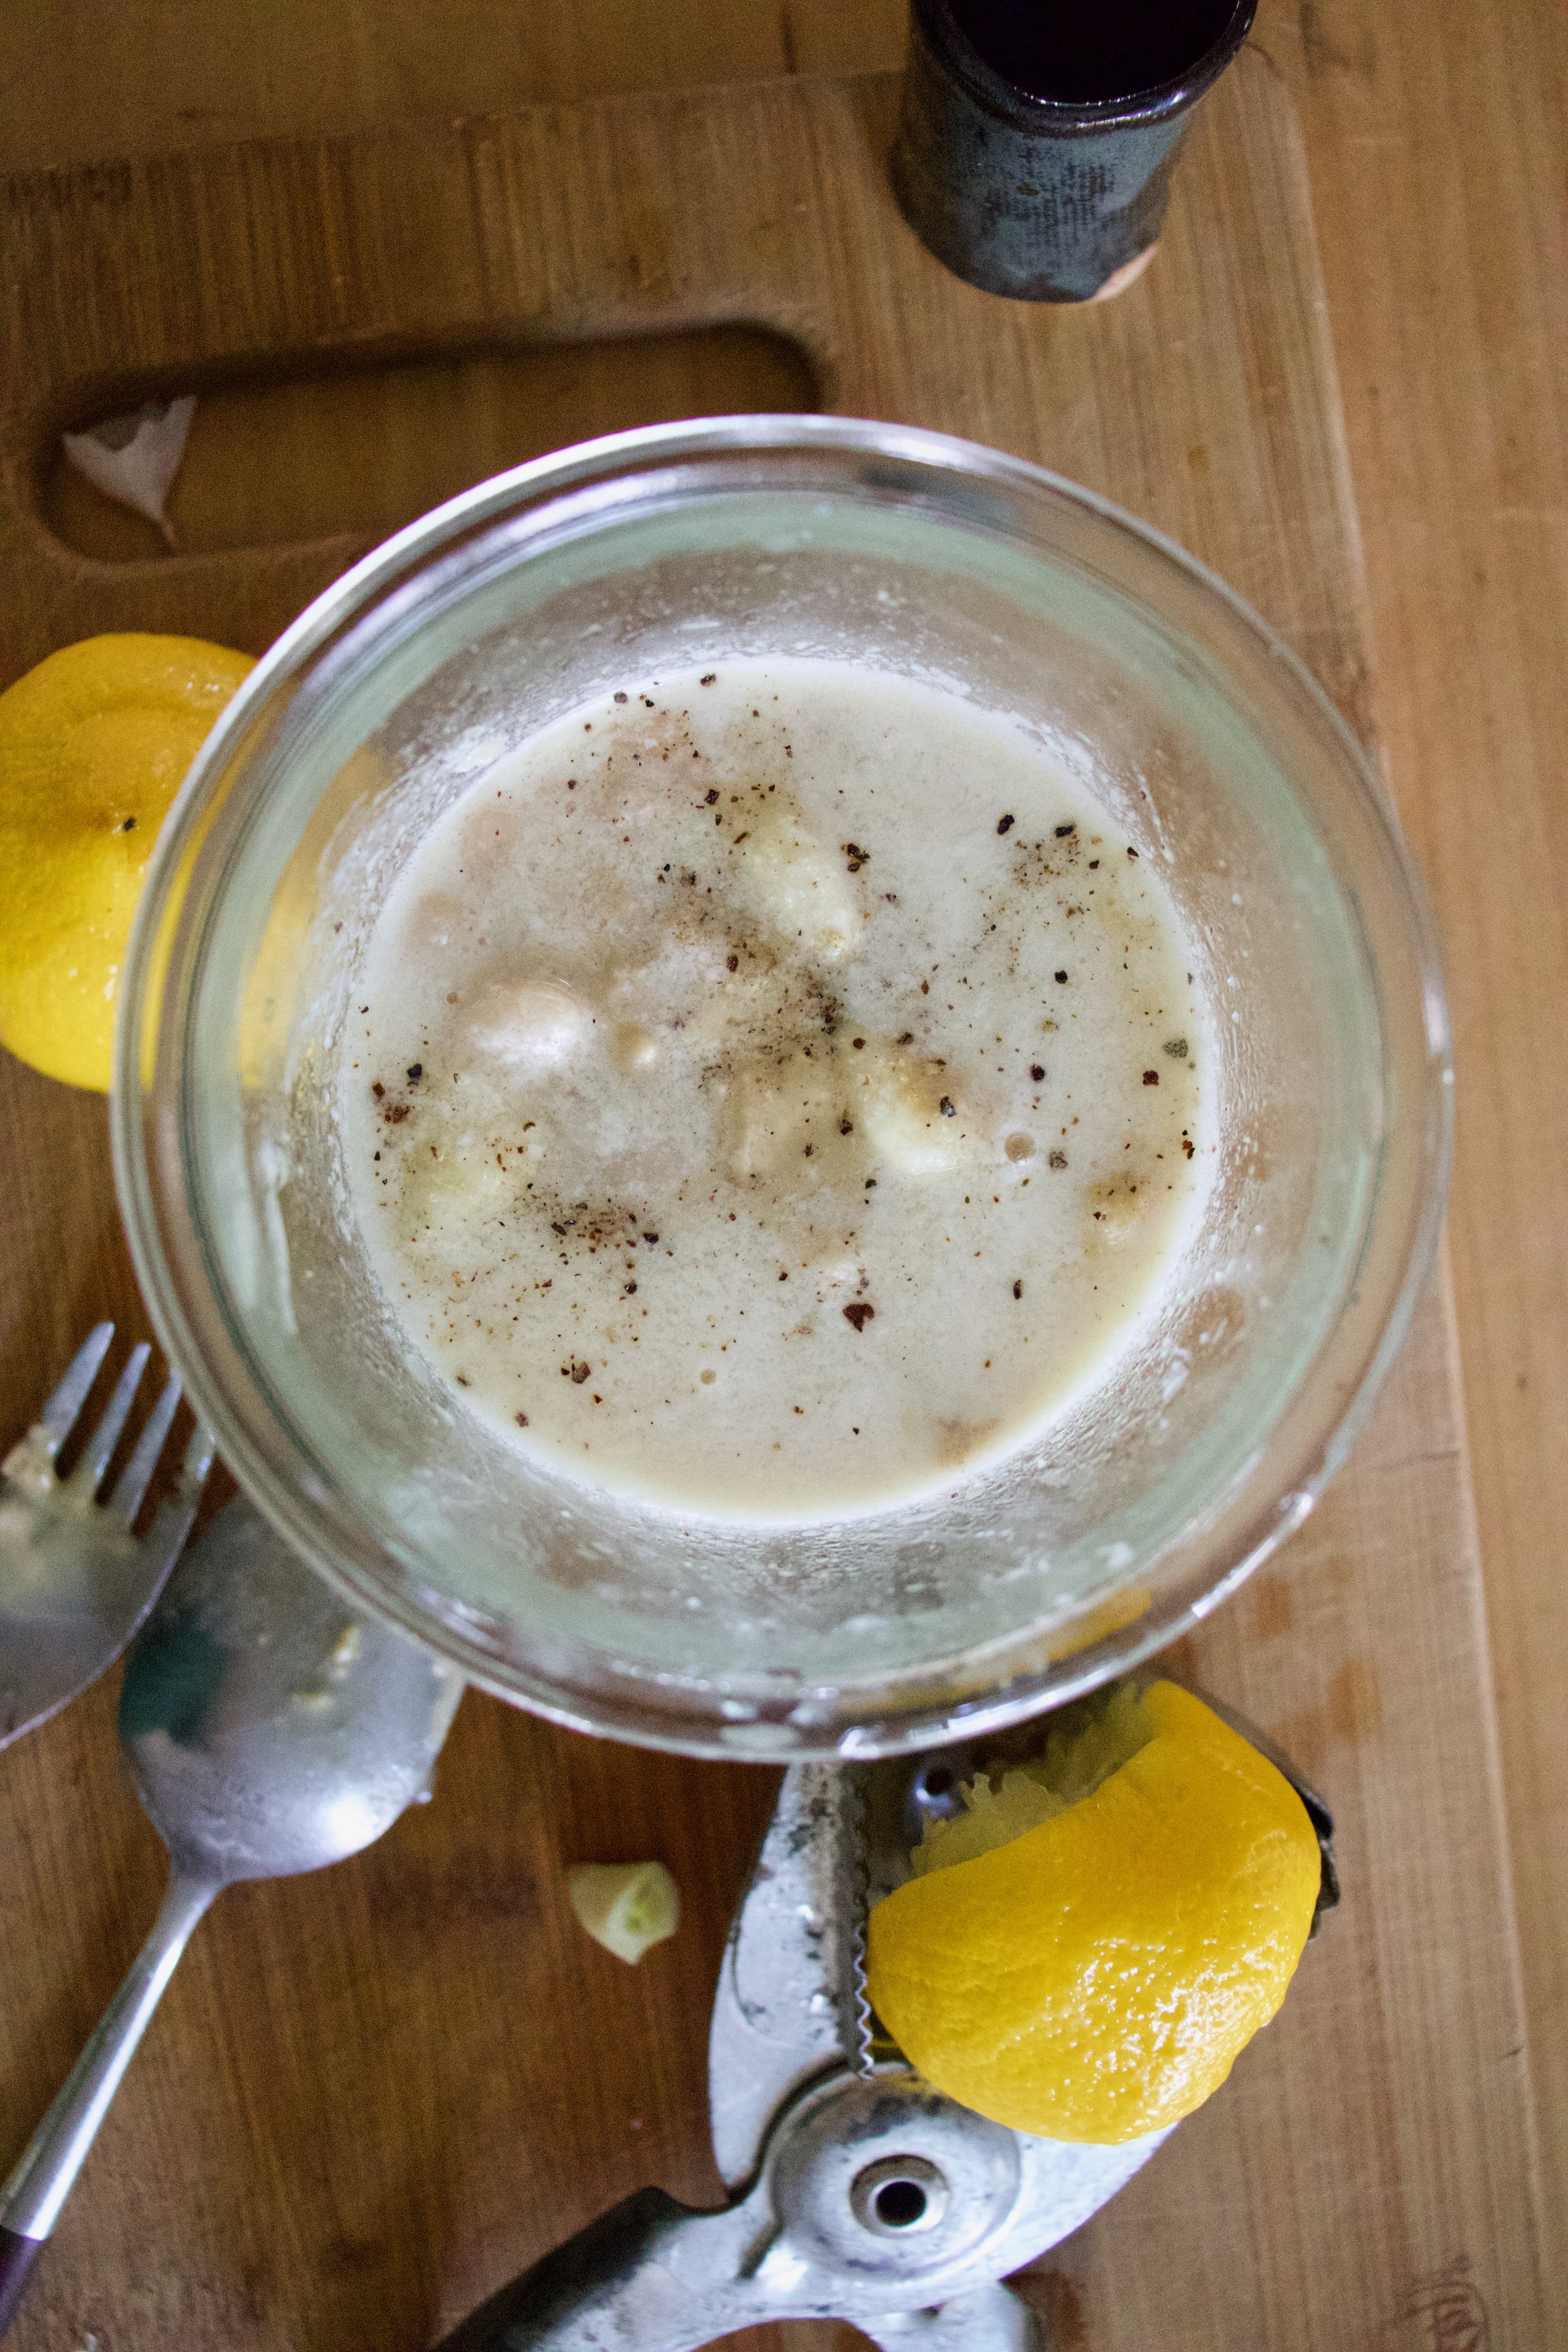
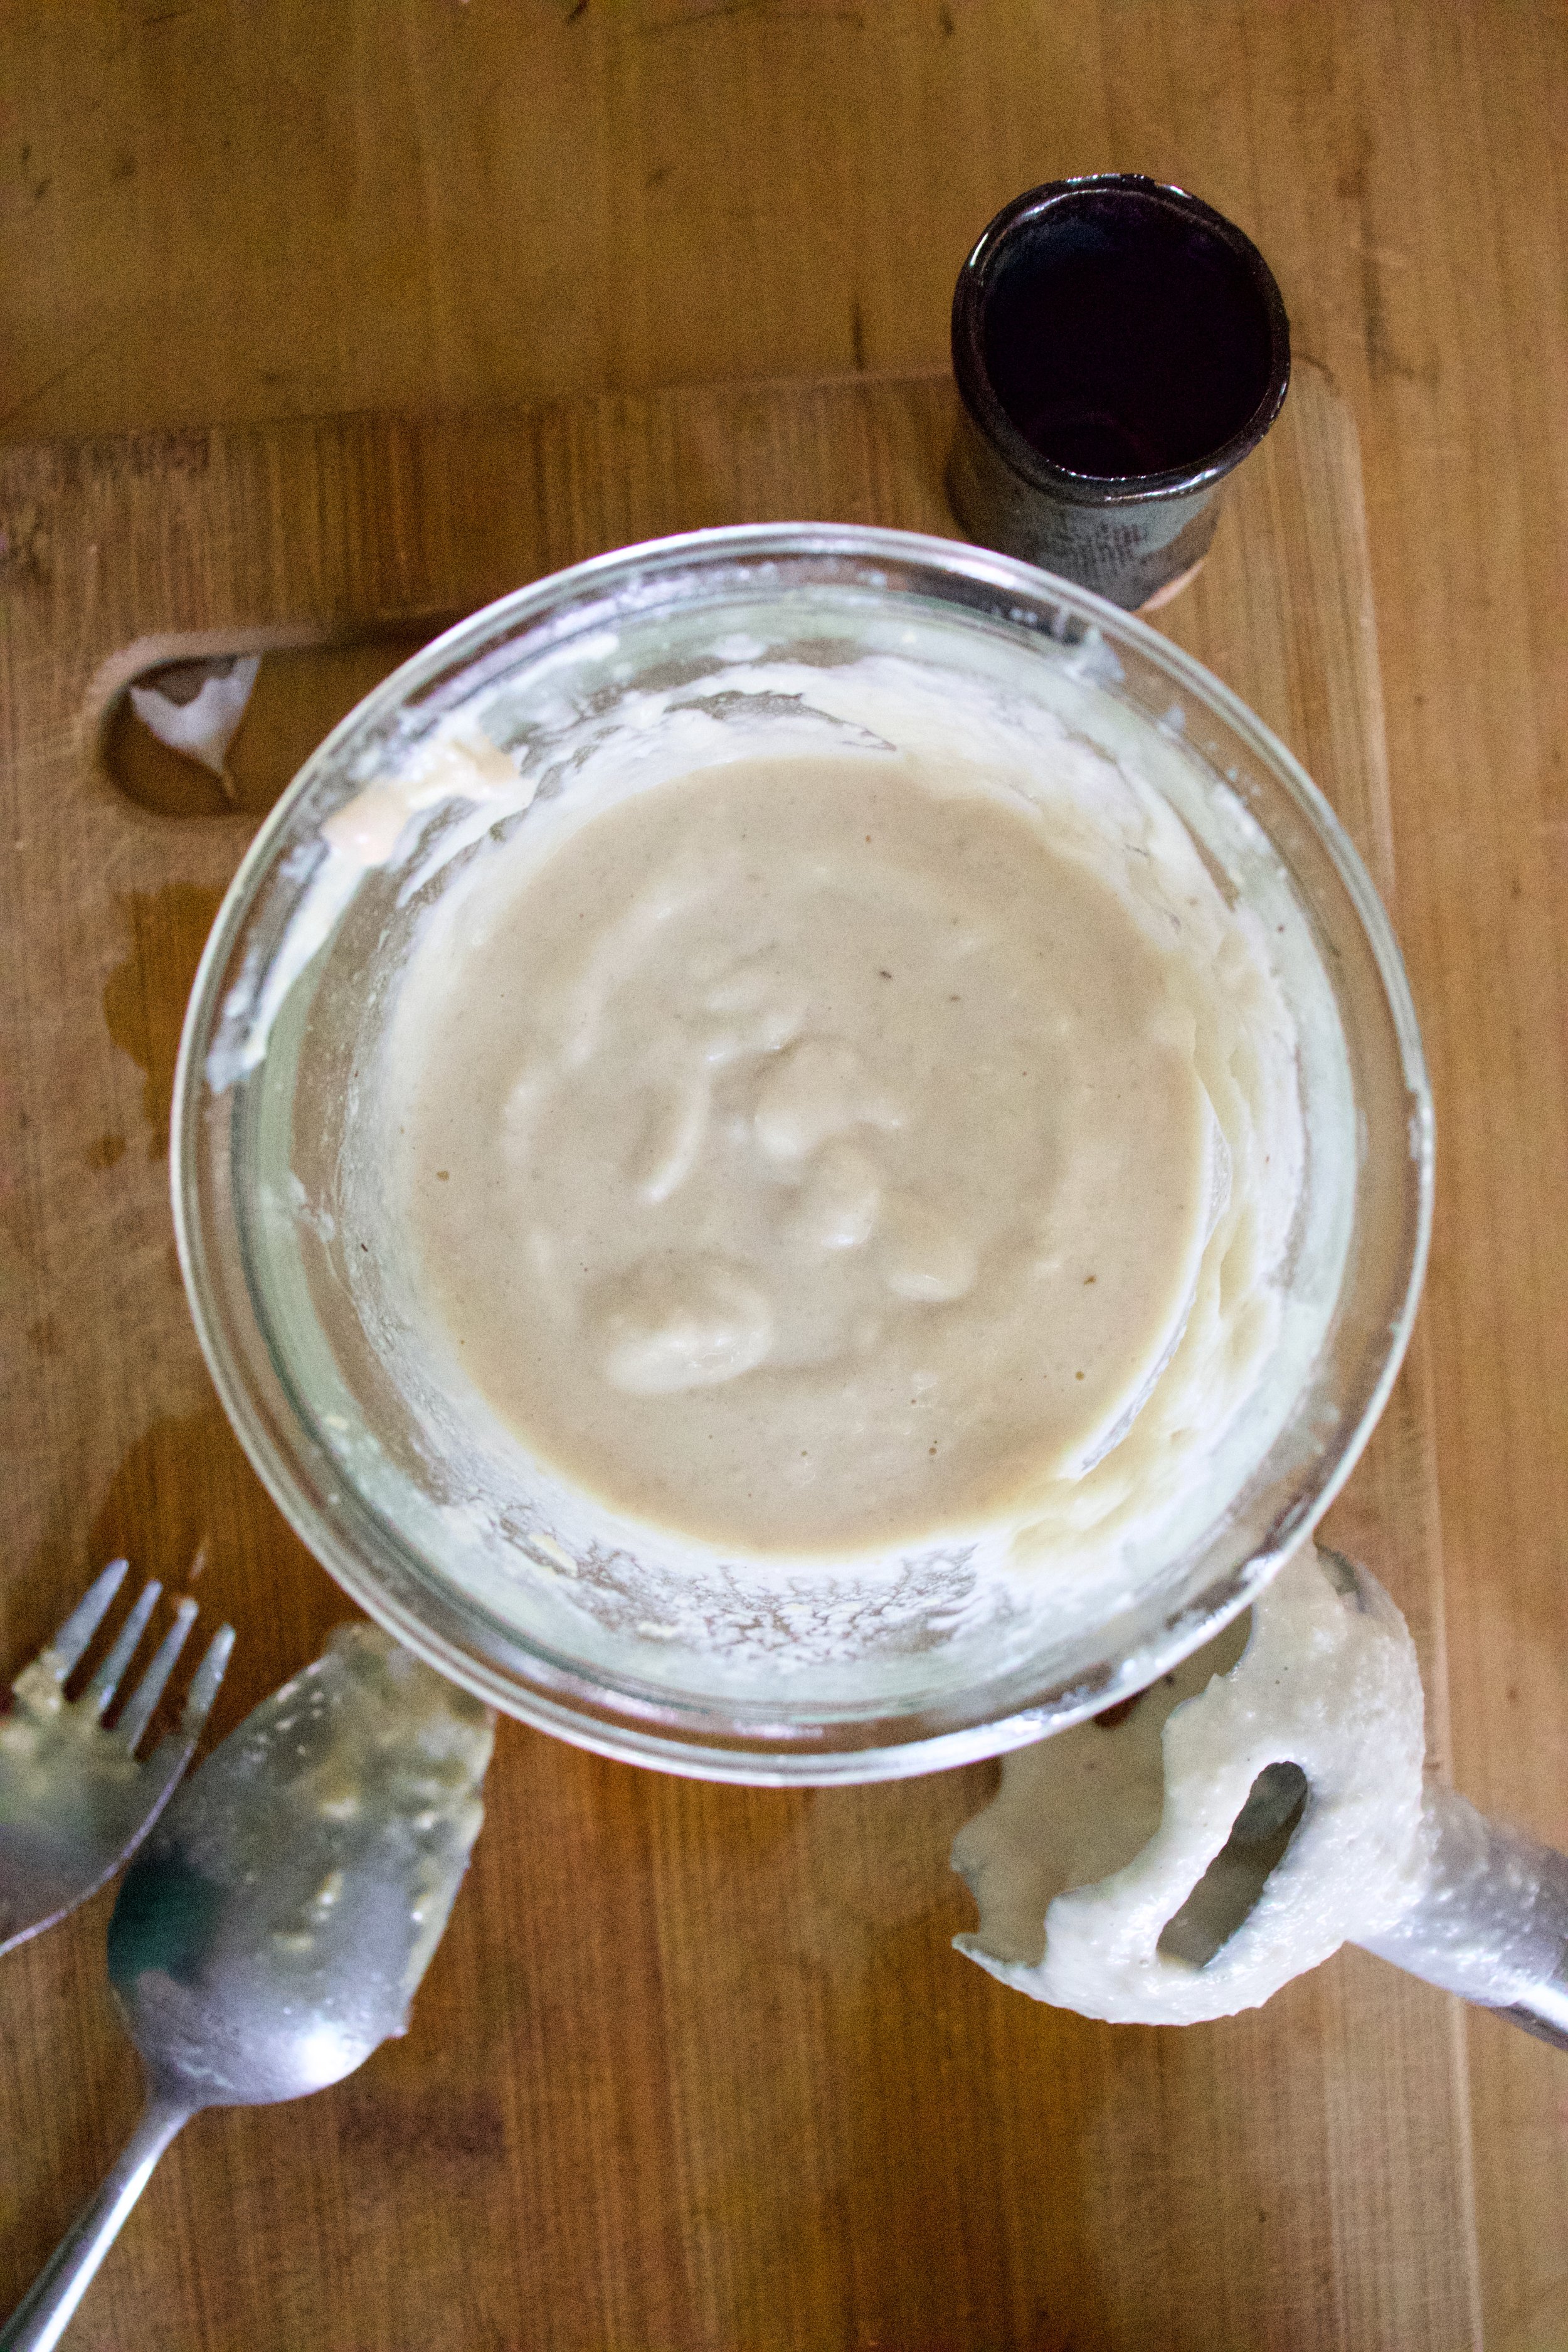
Fist off. Half the white beans go into blender or jar with the tahini, the juice of the lemon, garlic, vinegar and a splash of water. Blended unit nice and creamy smooth. And yes, it is basically hummus but whatever.

Julienne the zucchini and chop up the onion.

Note. You don’t have a mandolin or done’t want to julienne with a knife, well just chop the zucchini into small little chunks.

IMG_9894 2.jpg
IMG_9895 2.jpg
IMG_9901 3.jpg

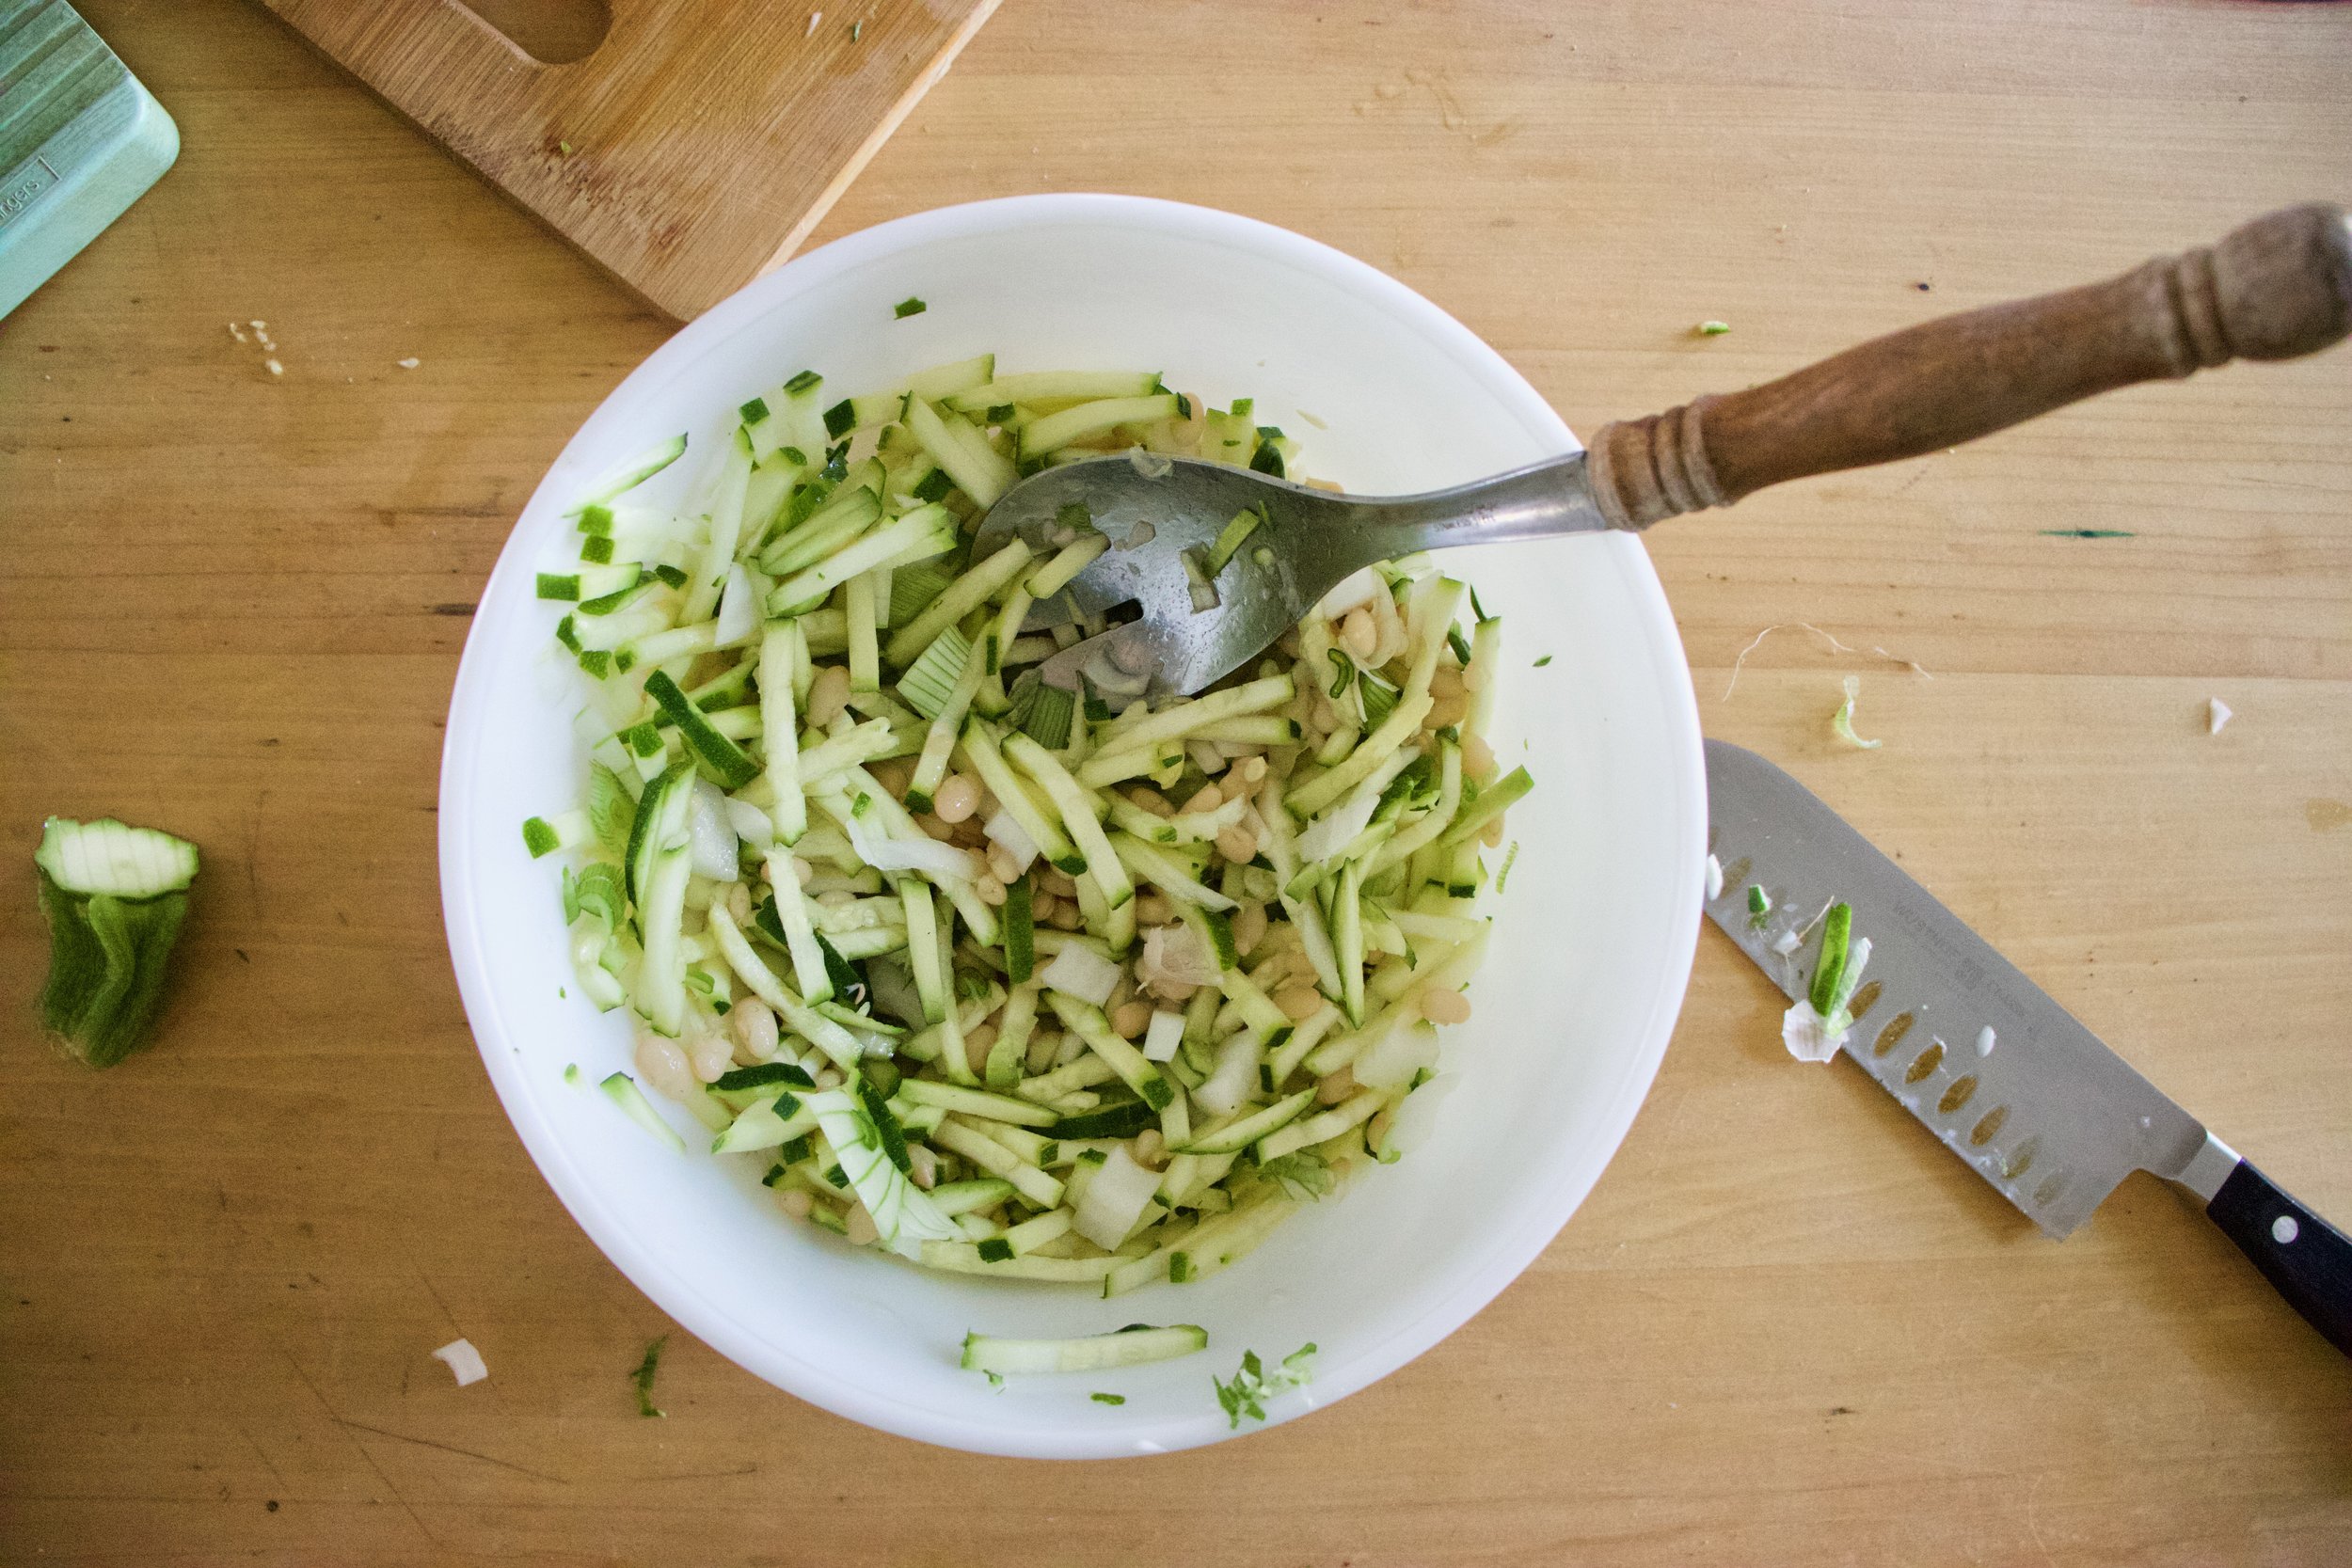
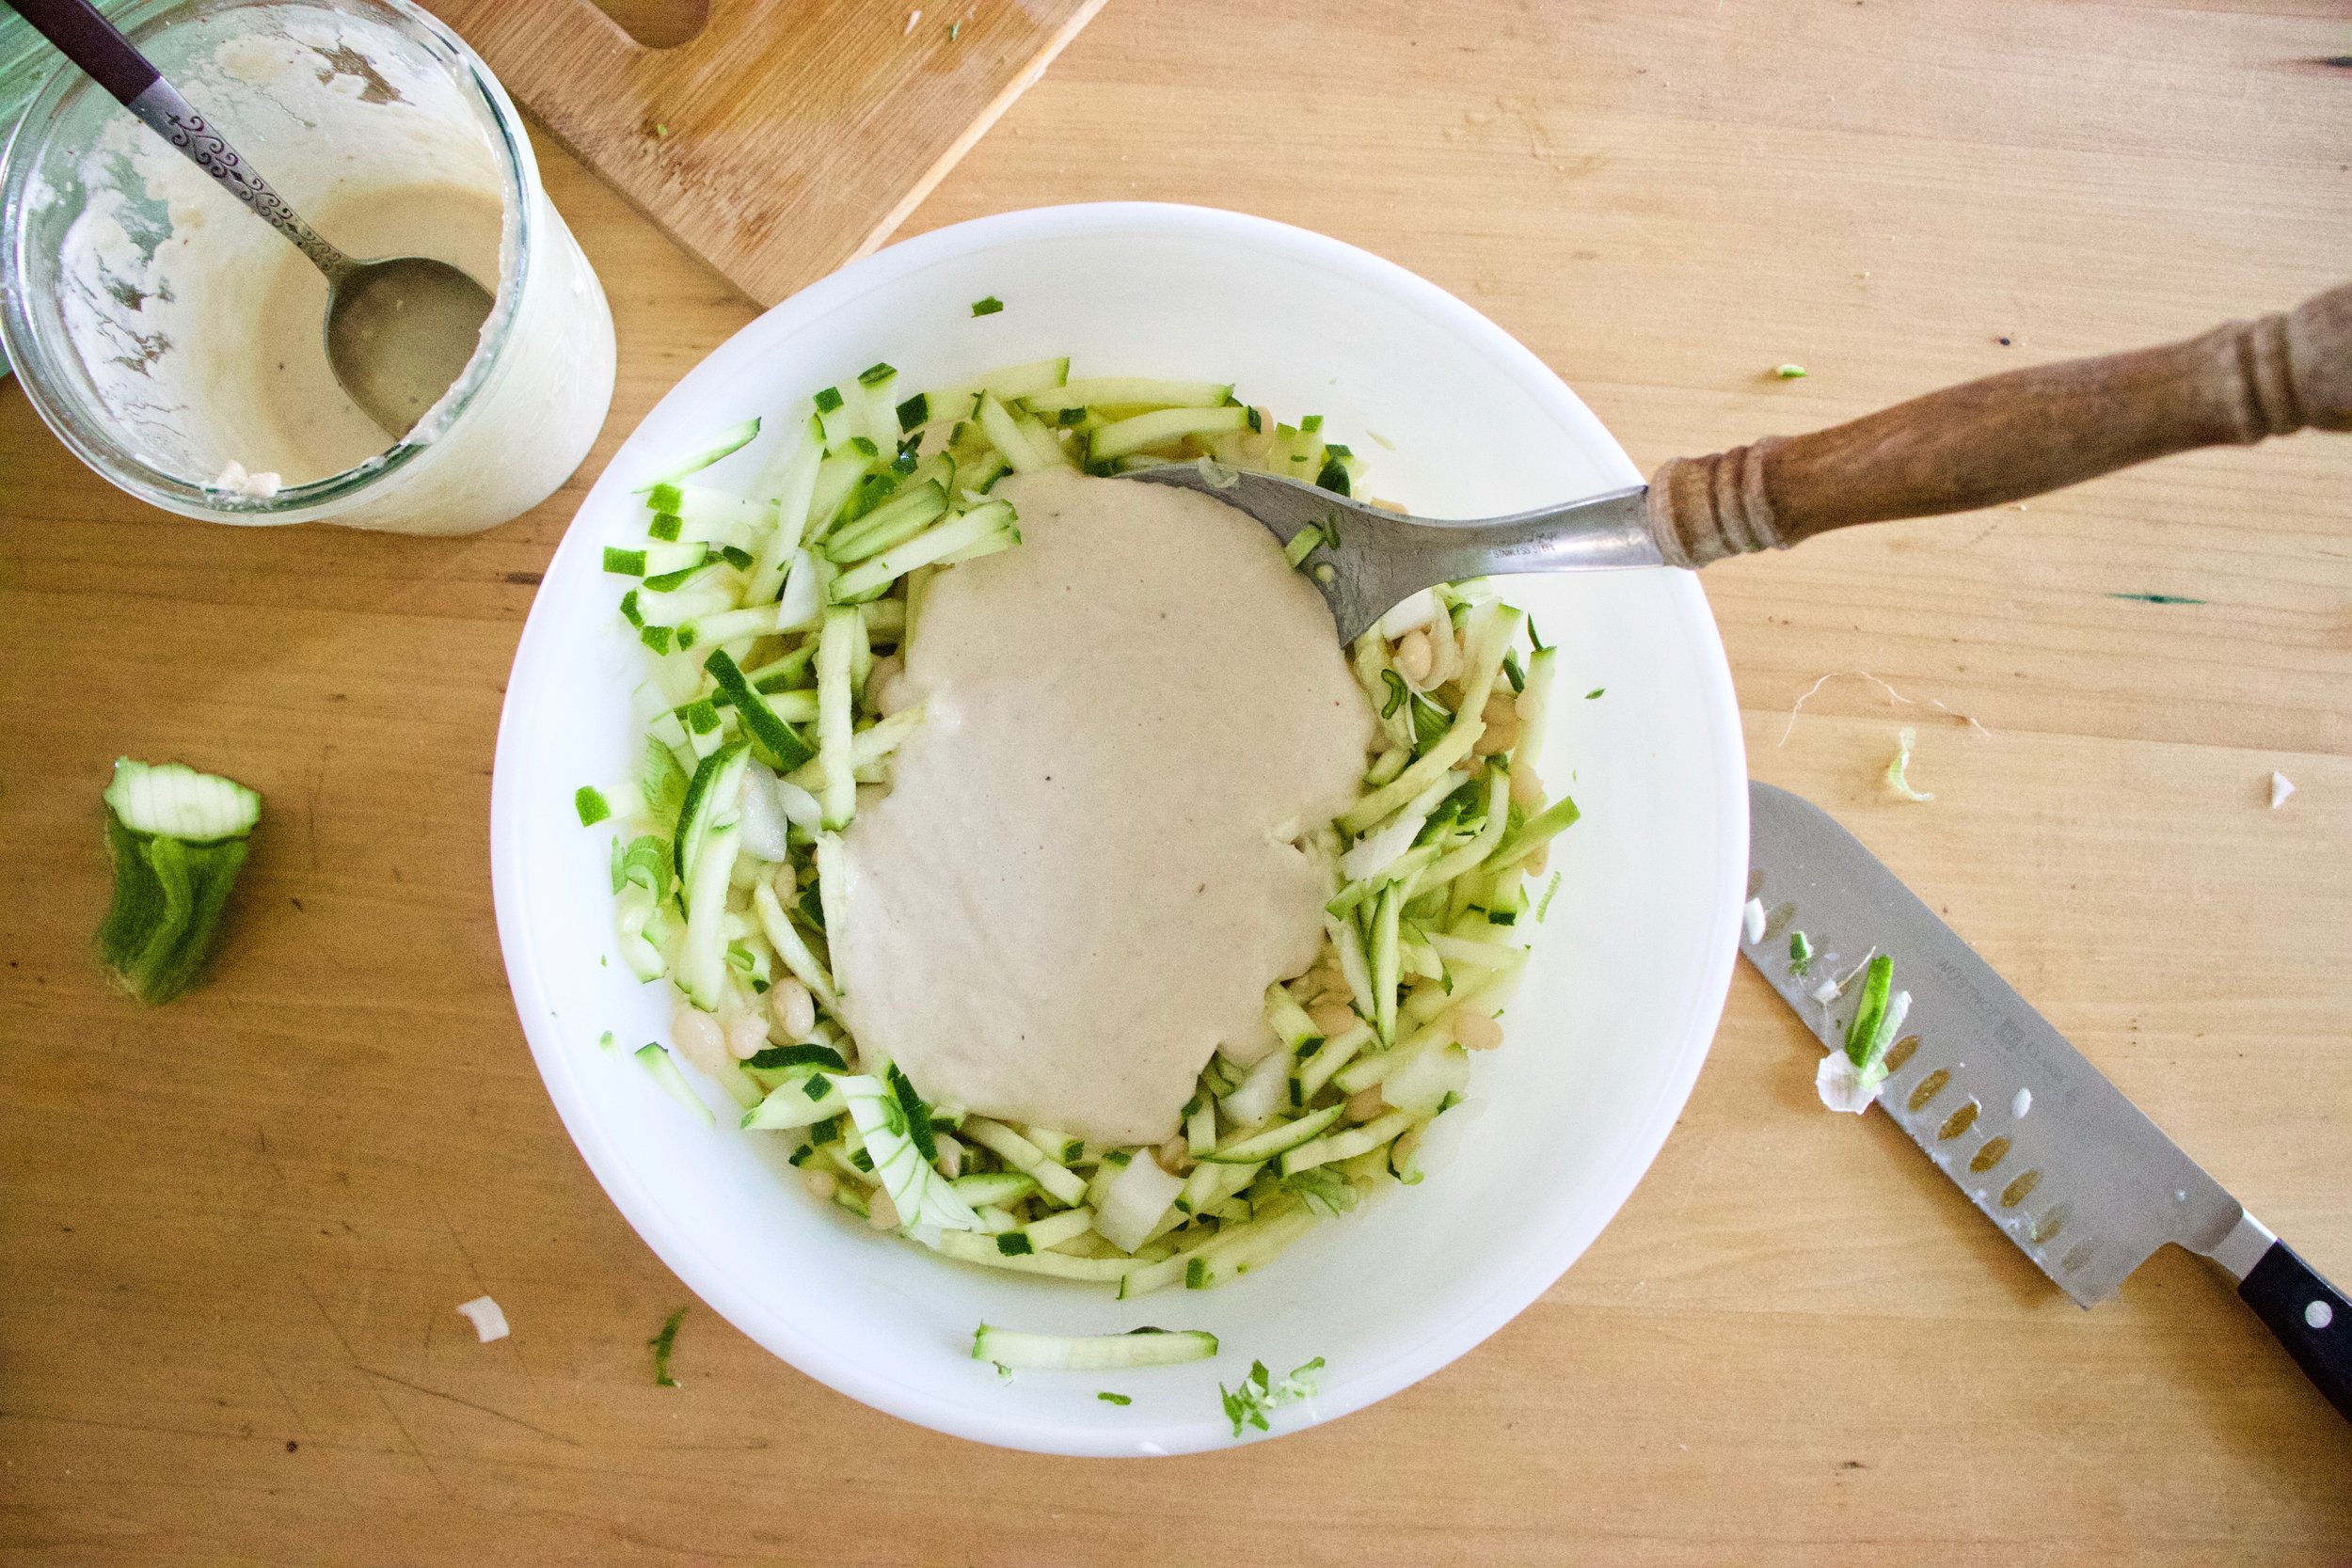
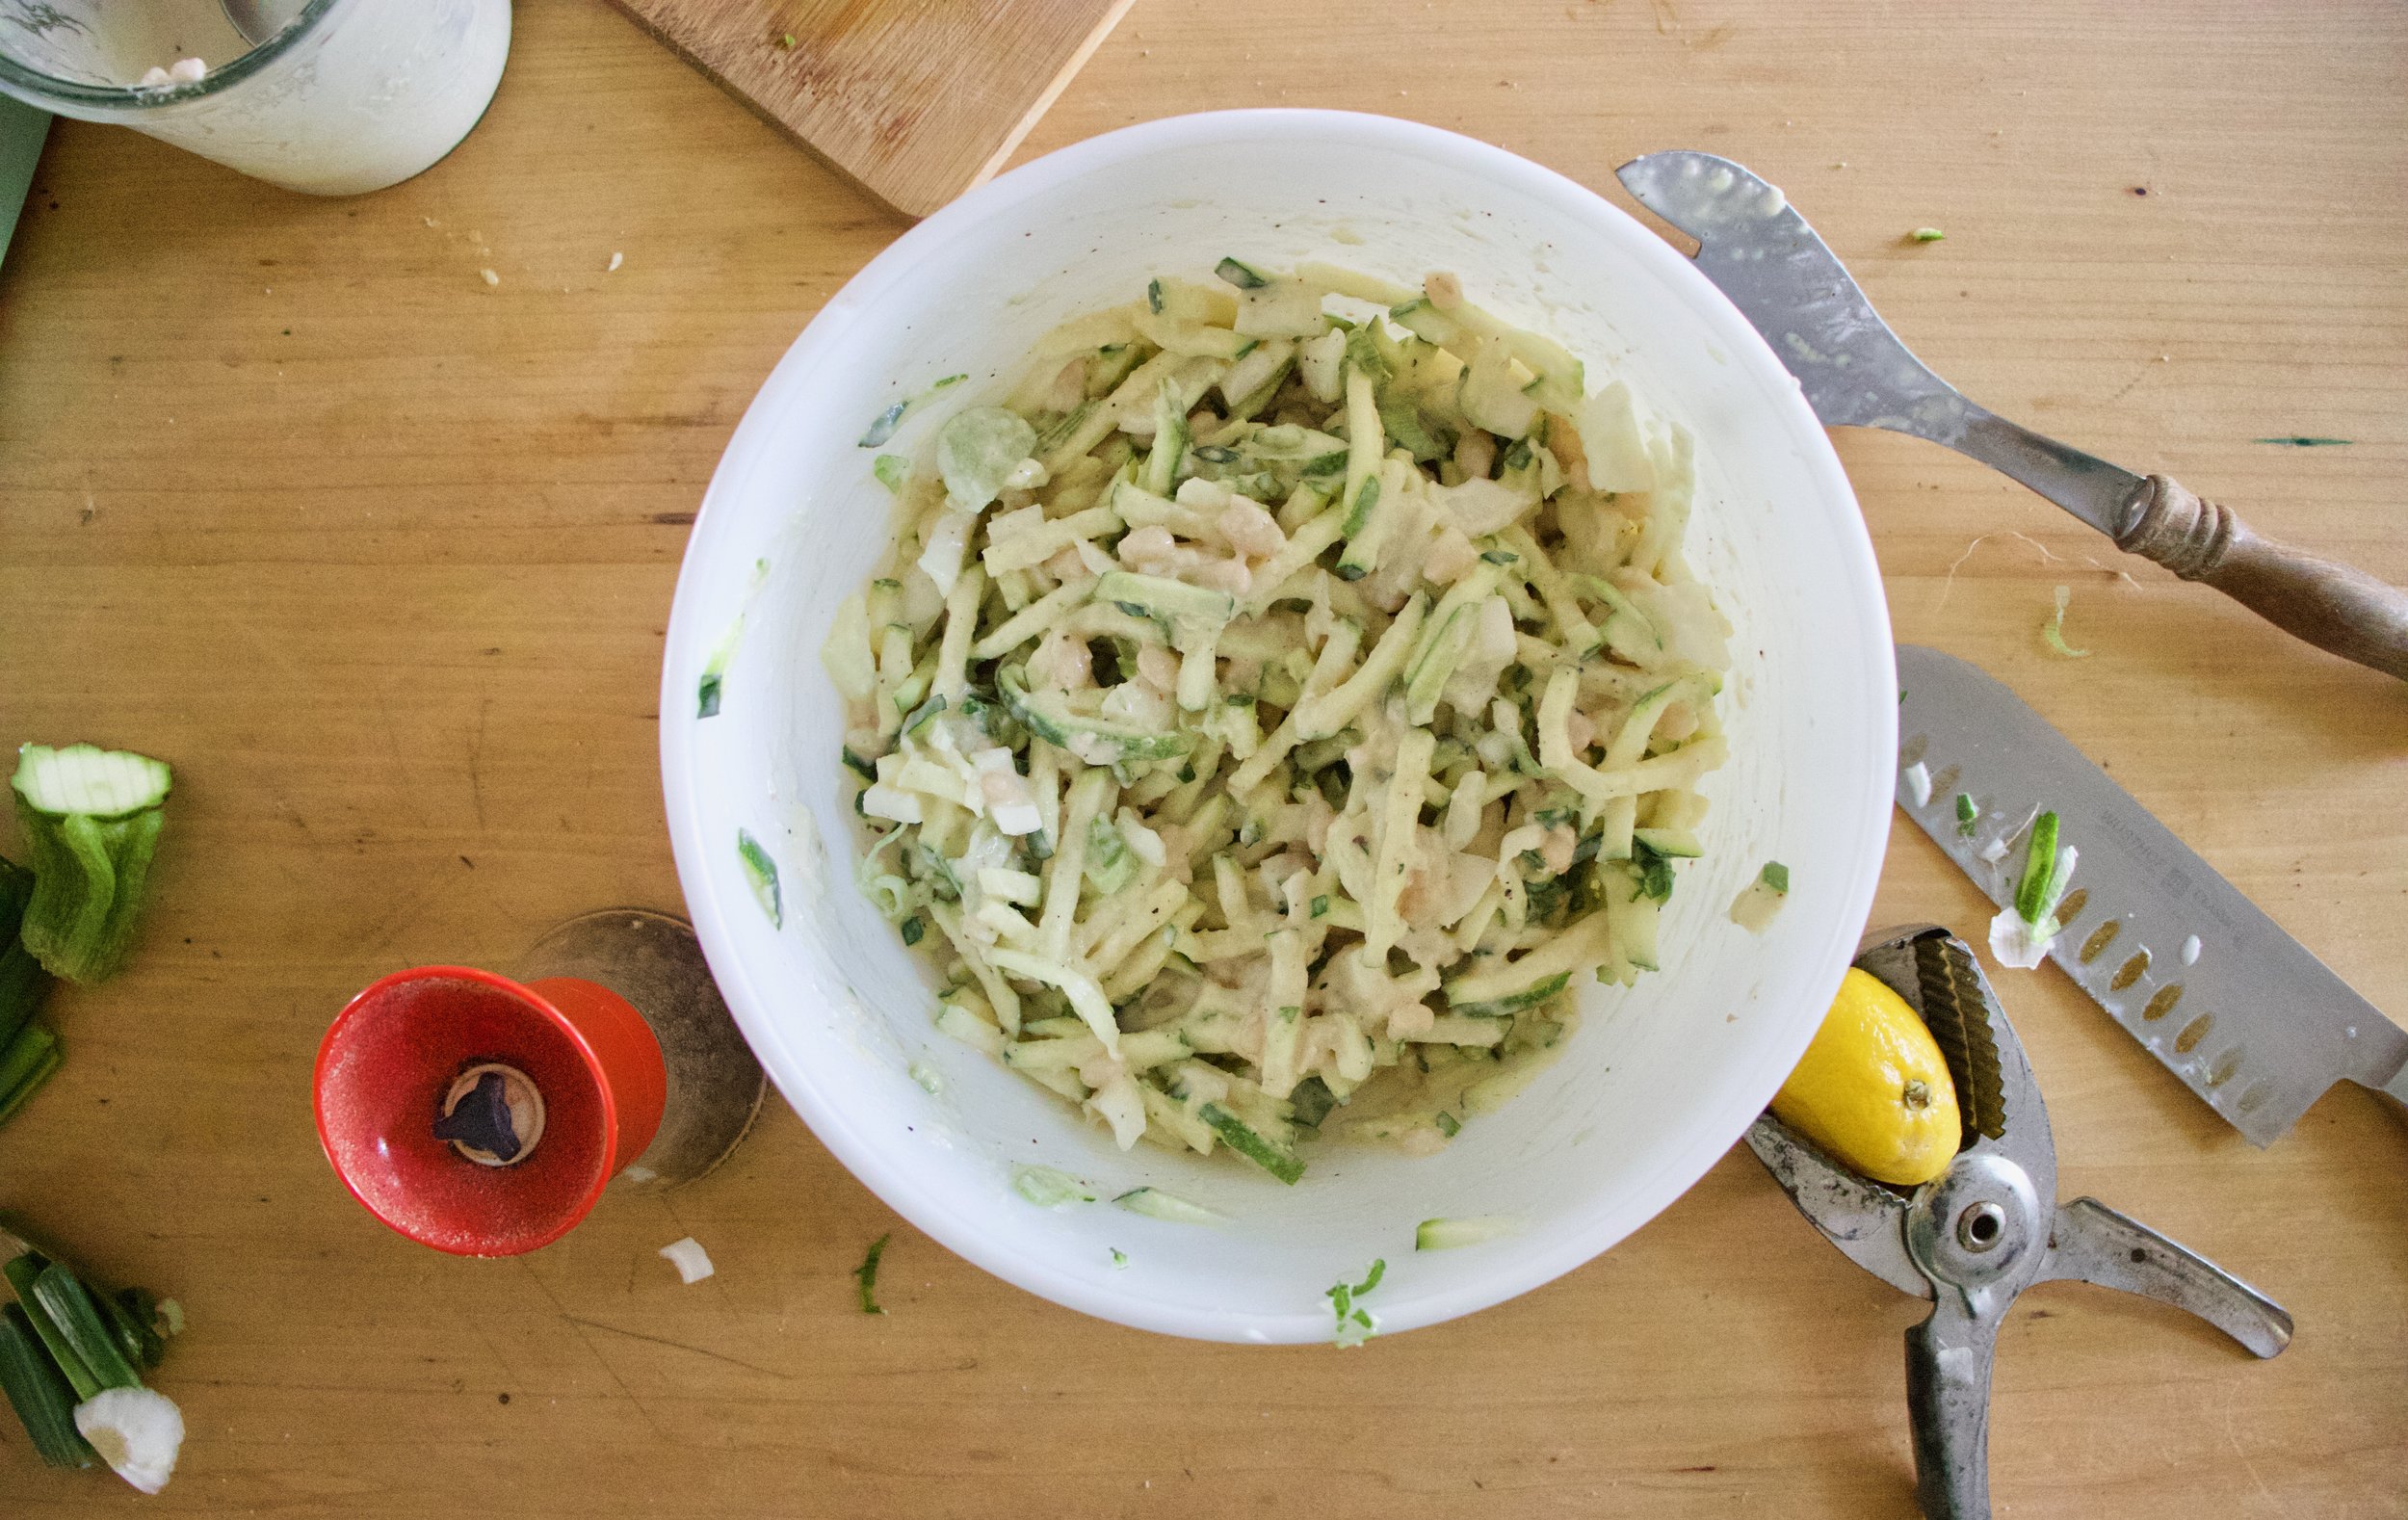
Bean, onion, and zucchini in a bowl. Add in the bean tahini mixture and mix. And ta da, all done. All of 5 minutes and no heat. Good for us.

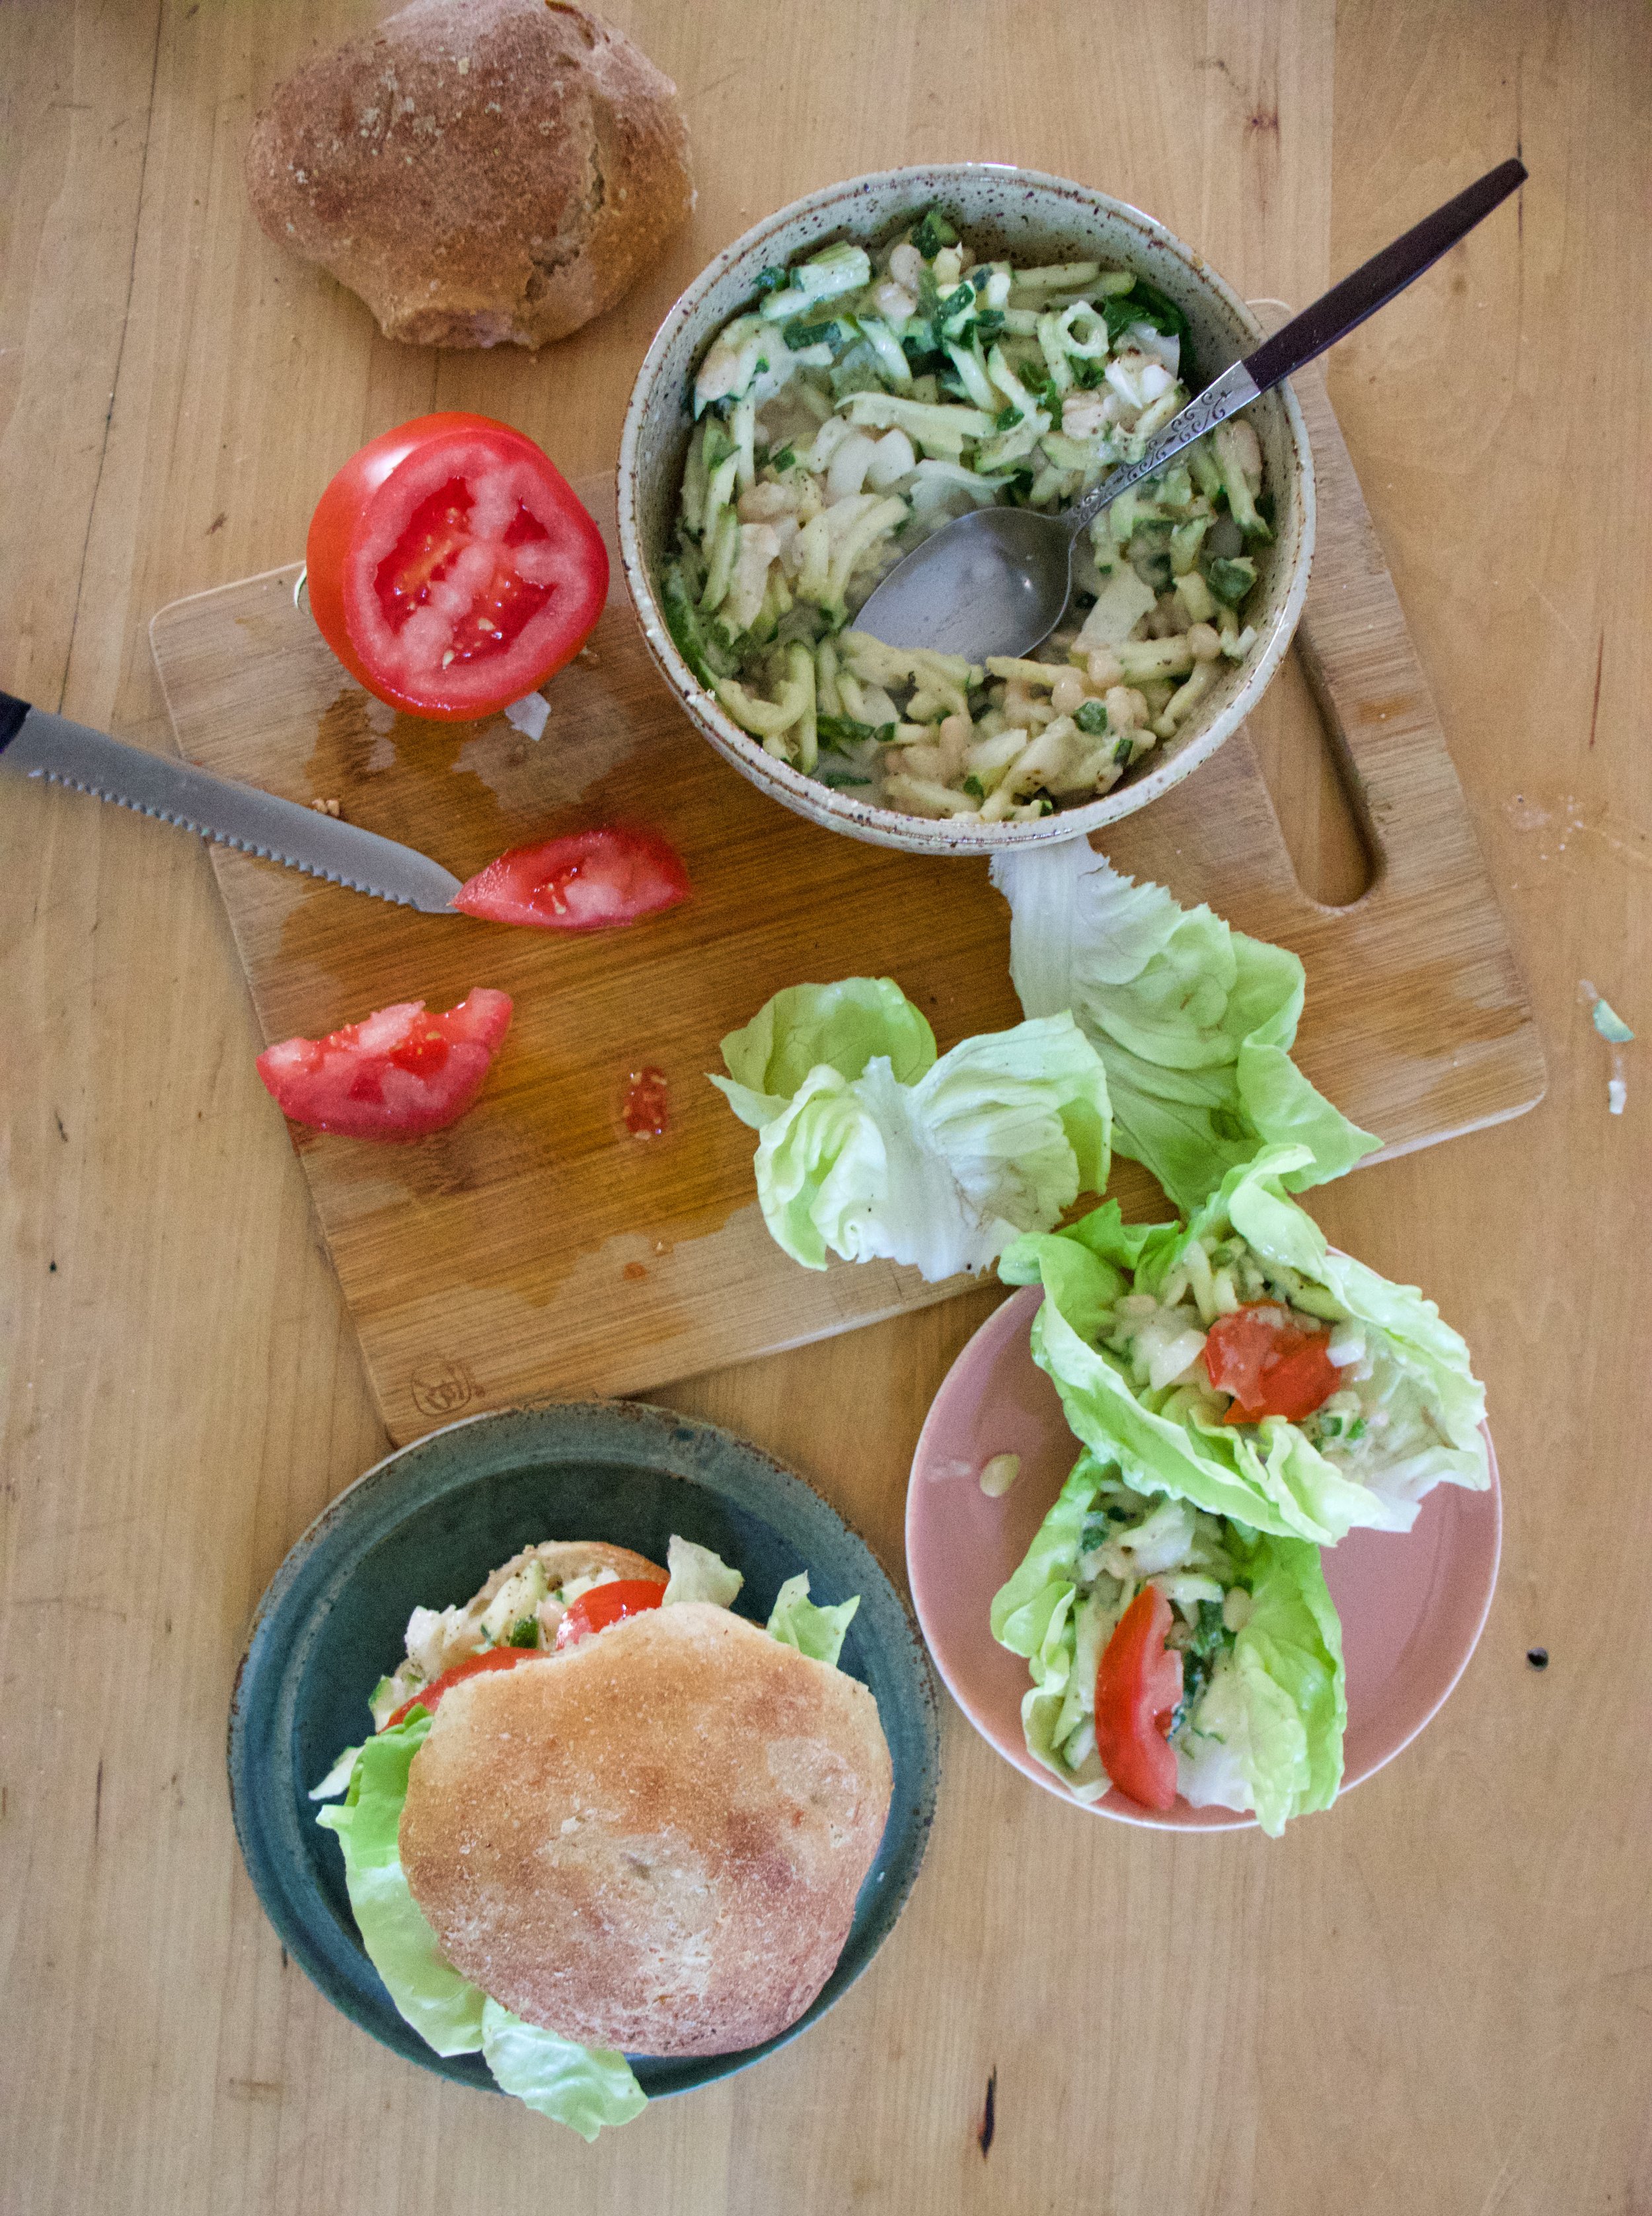
Now here is the thing. This salad is ready to eat now. You can continue onto the sandwich path or just eat it like it is with a fork. What I really liked to do is scoop spoonfuls into lettuce cups with a slice of tomato and a squirt or mustard. So yes sandwich, but also whatever else you want it to be.

IMG_9933.jpg

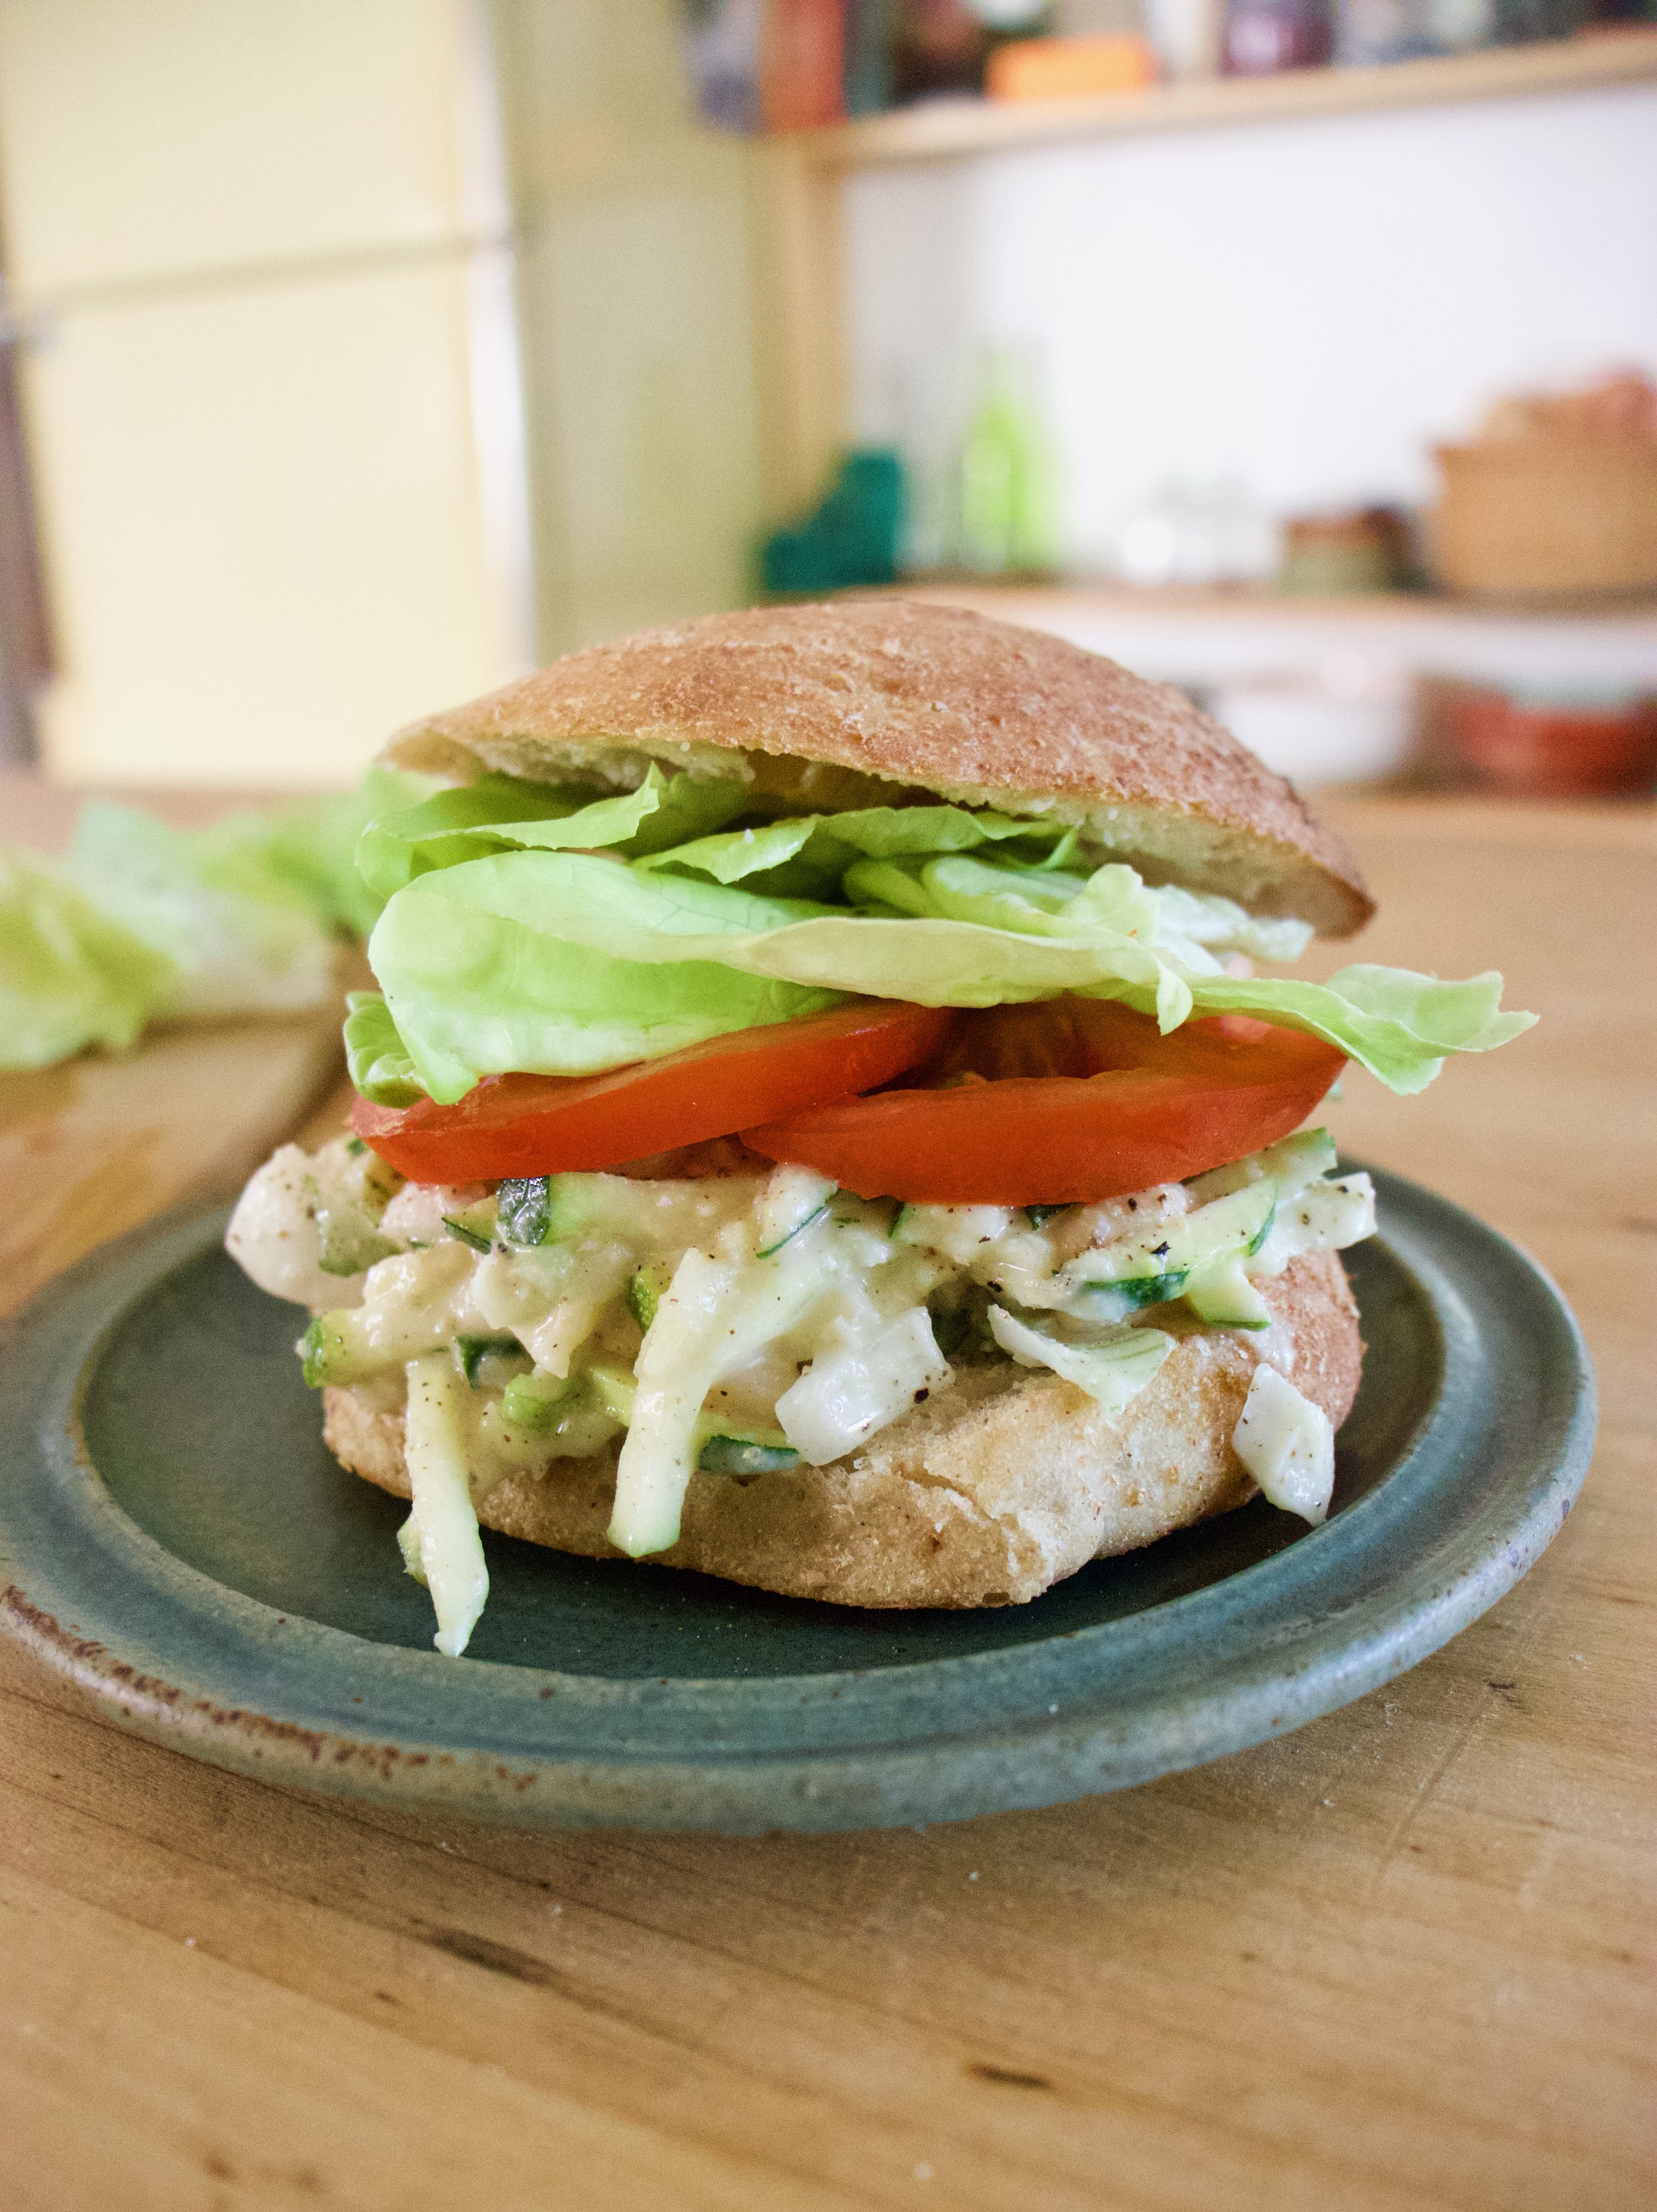
But as a sandwich…. Bread. And lettuce and tomato and heck, whatever else you want to throw on there. (Again, mustard is A+)

IMG_9994.jpg

Now stop. Sandwich time.

Stay cool!

-C


White Bean Zucchini Salad Sandwich 

makes 3-4 sandwiches

  • 1 medium sized zucchini

  • 2 1/2 cups cooked and strained white beans (a can will do)

  • 1 spring onion (or a small white or red onion)

  • 3 tablespoons tahini

  • 2-3 cloves minced garlic

  • 1 lemon

  • 1 tablespoon white or red wine vinegar

  • 2-3 tablespoons warm water

  • salt and pepper

  • And to serve as a sandwich

  • bread or wrap of your choice

  • tomato slices

  • lettuce

  • anything else you want

Place half of the beans, tahini, garlic, juice of the lemon, and the vinegar into a jar and use a immersion blender or a regular blender and blend until creamy smooth. Add in a tablespoon at a time of water until the consistency is just slightly thinner then hummus.

Grab zucchini and using a mandolin or a knife and julienne it. (You can also just cut into small little cubes.) Dice the onion up into small pieces and toss with zucchini, onion, and the other half of beans into a big bowl. Dump the bean tahini mixture all over and veggies bean mixture and toss around. Add salt and pepper to taste.

To make it a sandwich… Place a scoop onto a bread situation, add some lettuce and tomato and whatever else you want, and eat it.

In beans, dinner, pulses, quick and easy, Raw, salad, summer, Vegan, Vegetables, sandwiches Tags White Bean Zucchini Salad Sandwich, Sandwich, vegan, vegan sandwich, gluten free, vegetables, beans, pulses, plant based, easy dinner, summertime, no cook meal, cold food, salad, zucchini, easy, fast, picnic
Comment

Cucumber Mint Lime Spritzer

June 29, 2019 Colleen Stem
IMG_9781.jpg
IMG_9814.jpg
IMG_9753 2.jpg

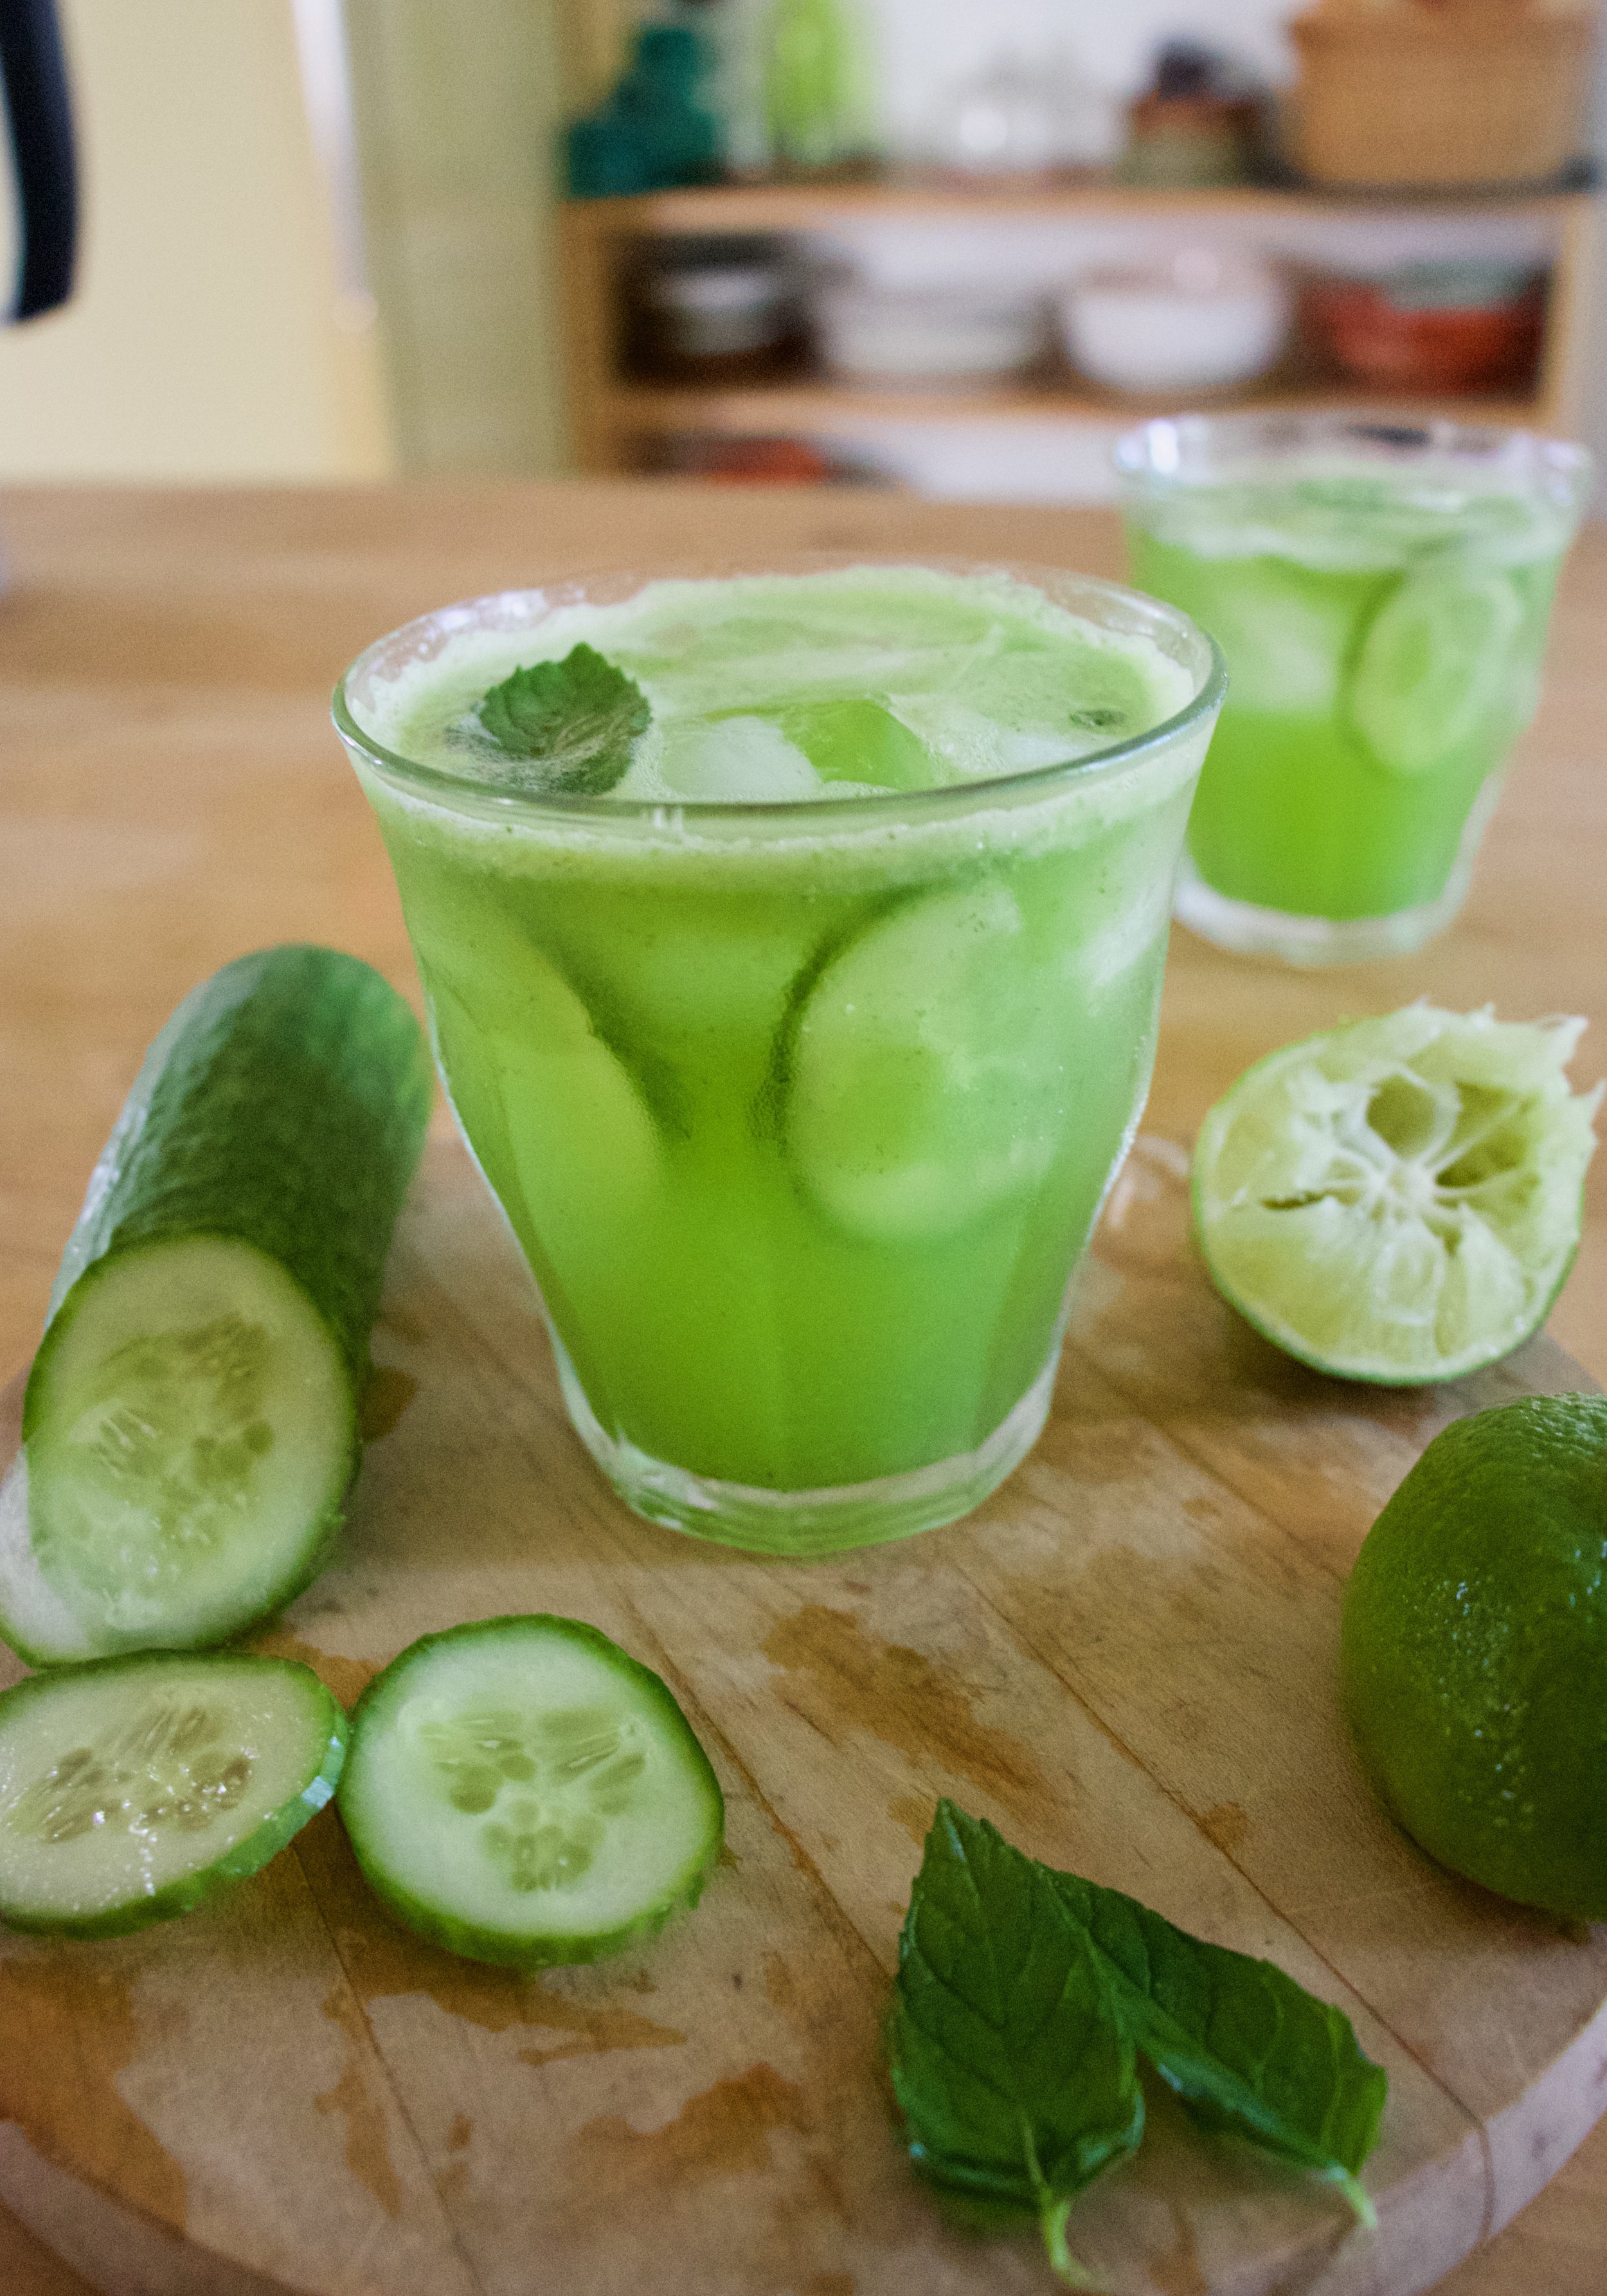
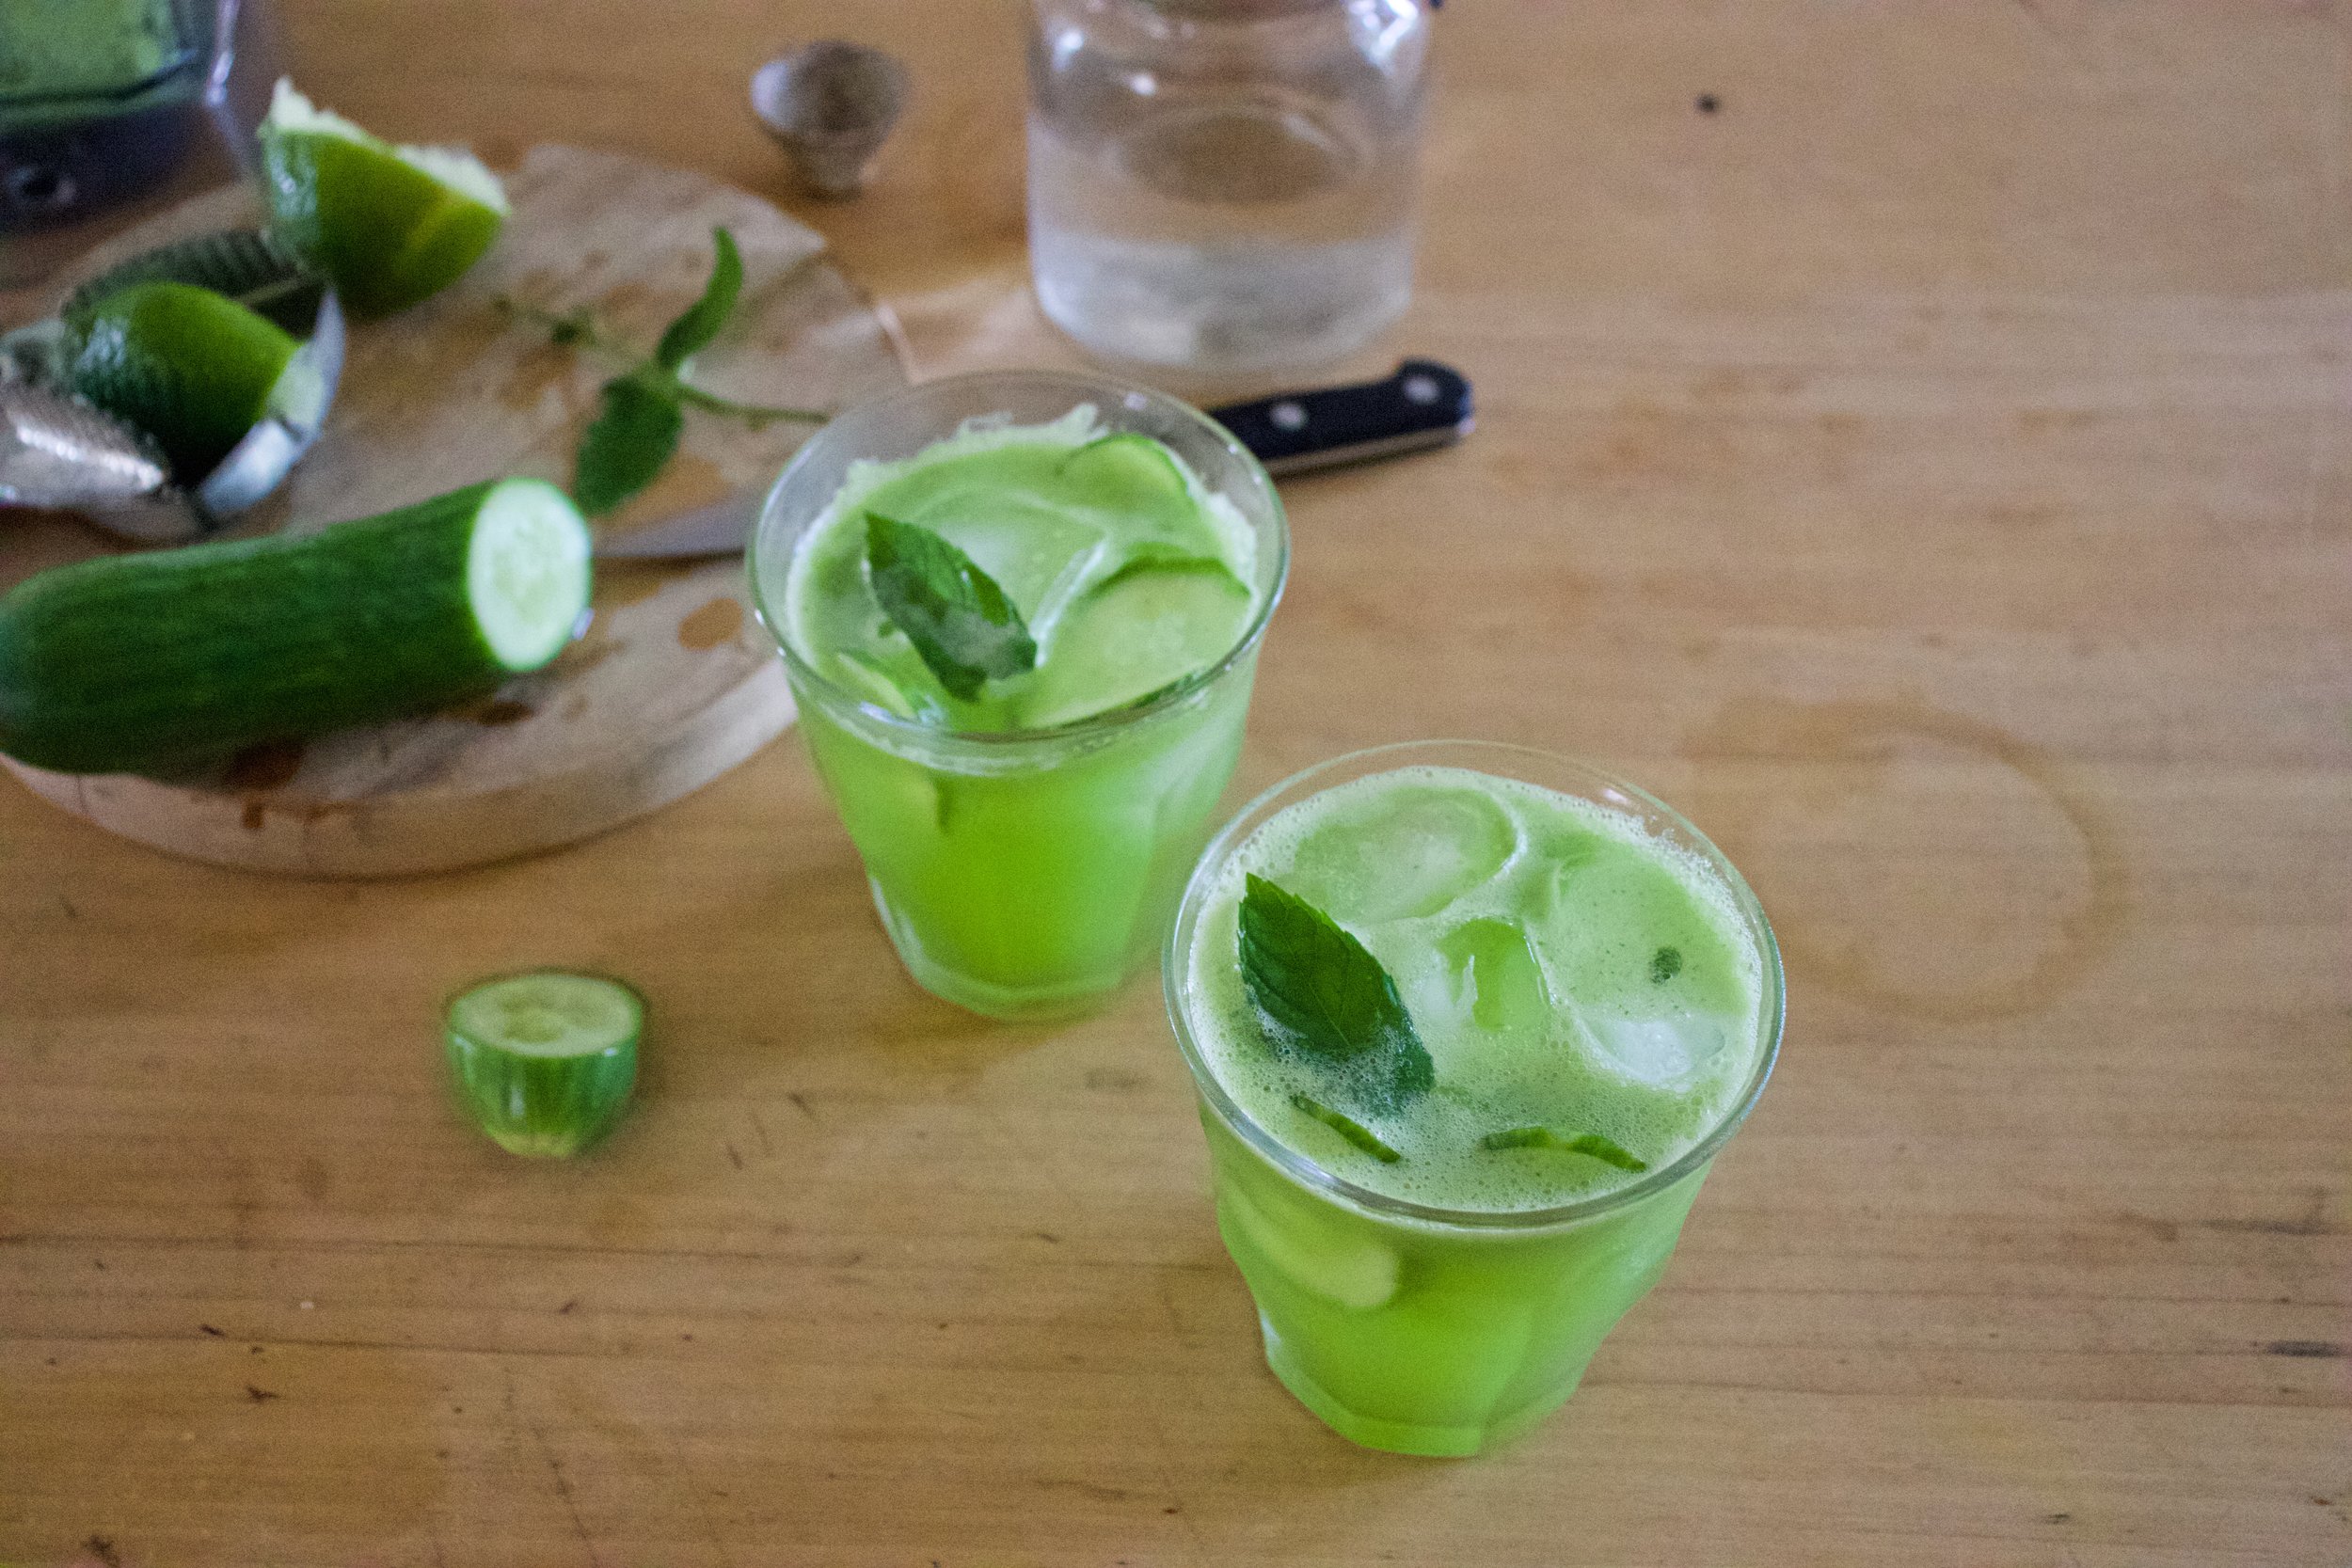
It’s hot out and we are thirsty. Water is good, water is great, but sometimes a little somethin’ somethin’ is called for, for you know, being that we need to deal with it being so freaking hot out. and sticky and gross. (BLAH. This past week we have had some temperatures it had make me crankers.)

Anyway, what is more refreshing then cucumber? Not much. And so we blend up cucumber, add some mint and lime juice and stick it into a glass with ice and bubbles. What can be more refreshing then that? Plus look at how pretty it is. Bright ass green. A true summertime drink.

To the Spritzer!

The stuff. A thin skinned cucumber, a lime, a spring of mint, club soda, and if you want, a little simple syrup.

Chunk up the cucumber and into the blender it goes with the juice of the lime and a couple mint leaves.

IMG_9736.jpg

Blend until smooth.

IMG_9745.jpg

Grab a couple glasses, add in some ice, and fill each glass half way with the cucumber juice. (mix in liquid sweetener in now if you want it.)

IMG_9797.jpg

Top off with club soda, a mint leaf and a few slices of cucumber and you are golden cool and fancy free.

Stay cool…..as a cucumber.. HAHA!


Cucumber Mint Lime Spritzer

Makes 2 or 3 drinks

  • 1 cucumber (thin skinned and 6-8 inches long)

  • a lime

  • a few mint leaves

  • club soda or plain seltzer

  • 1-2 teaspoons liquid sweetener (optional)

Take cucumber and place into blender along with the juice of the lime and a couple mint leaves. Blend until smooth. Grab a couple glass, fill each with ice, then fill each glasses half way with cucumber mixture. Add in any liquid sweetener if using and stir. (I recommend trying without sweetness, that is that way I like it, and then add sweetener if you need it.) Top glasses off with club soda. Garnish with sliced cucumber, lime wedges, and or mint leaves if you want.

Drink away.

In 5 ingerdients or less, drinks, Vegetables, Vegan, summer Tags Cucumber Mint Lime Spritzer, Mocktail, cocktail, drinks, summertime, cold drinks, cucumber, lime, mint, vegan, dairy free, alcohol free, green drink, club soda, spritzer
Comment
← Newer Posts Older Posts →
 

https://thelovelycrazy.squarespace.com/config#/|/about/

Me. Food Maker.Food eater. Woo HOO!

STEM+NODE  SMALL BATCH AND ONE OF A KIND POTTERY

stem+node ceramics


____________________

Subscribe

GET NEW POSTS IN YO EMAIL

You are AWESOME!!!


@thelovelycrazy 2014-2021