• stem+node ceramics
  • HOME
  • Food Recipes
  • About
  • Contact
Menu

The Lovely Crazy

Street Address
City, State, Zip
Phone Number

Your Custom Text Here

The Lovely Crazy

  • stem+node ceramics
  • HOME
  • Food Recipes
  • About
  • Contact

Blackberry Black Pepper Scones

August 17, 2019 Colleen Stem
IMG_1286.jpg
IMG_1272.jpg
IMG_1296.jpg

10 years ago, or maybe even longer, the mr and I planted 2 little blackberry canes in the way way back yard of our first house. Nothing big and we were not expecting much, which was good because for the years we lived there after that, nothing really happened with them beside becoming bigger and more thorny.

And then we moved and I kind of forgot about them.

But the other day while the mr was over there (we still own the building and have a barn that the mr works out of) he told me to go check out the bushes. Holy shit, those suckers are humongous, viscous as all hell, and were dripping (literally) with big, fat, juicy blackberries. So many in fact that I could barely pick them off before they all started to just fall off. I filled up two big containers, after eating like 2 pounds at least, and could have gotten more but I had no where else to stick them. Plus I was covered in gashed from the thorns. So I left the rest for another day.

I asked what the mr wanted me to make with the berries (in between eating big handfuls of the berries) and he asked for scones. So scones it was. Easy enough but I felt that I needed to add a little something something to spice it up a bit and that is why I added the black pepper. And because I like pepper and berried together and figured everyone will too. And let me tell you, so far they do, like really really do.

I mean who wouldn’t like a sweet and spicy scone made with hand picked berries from berry bushes long ago planted with love that grew into monsters with thorns the size of knives that nearly killed me?

No one wouldn’t. Everyone wants a scone.

And don’t worry if you don’t have killer blackberry bushes in which to harvest berries from. You can buy them too. Just won’t be as special is all. HA.

To the scones.

The stuff. Flour, baking powder, baking soda, and salt are in the big bowl. Then there is coconut oil, almond milk, sugar, vanilla, and apple cider vinegar. And course ground black pepper and blackberries that I froze. You need to use frozen berries or else you will have yourself a hot mess.

IMG_1069 2.jpg
IMG_1072 2.jpg
IMG_1082 2.jpg
IMG_1084 3.jpg
IMG_1092 2.jpg
IMG_1096 2.jpg

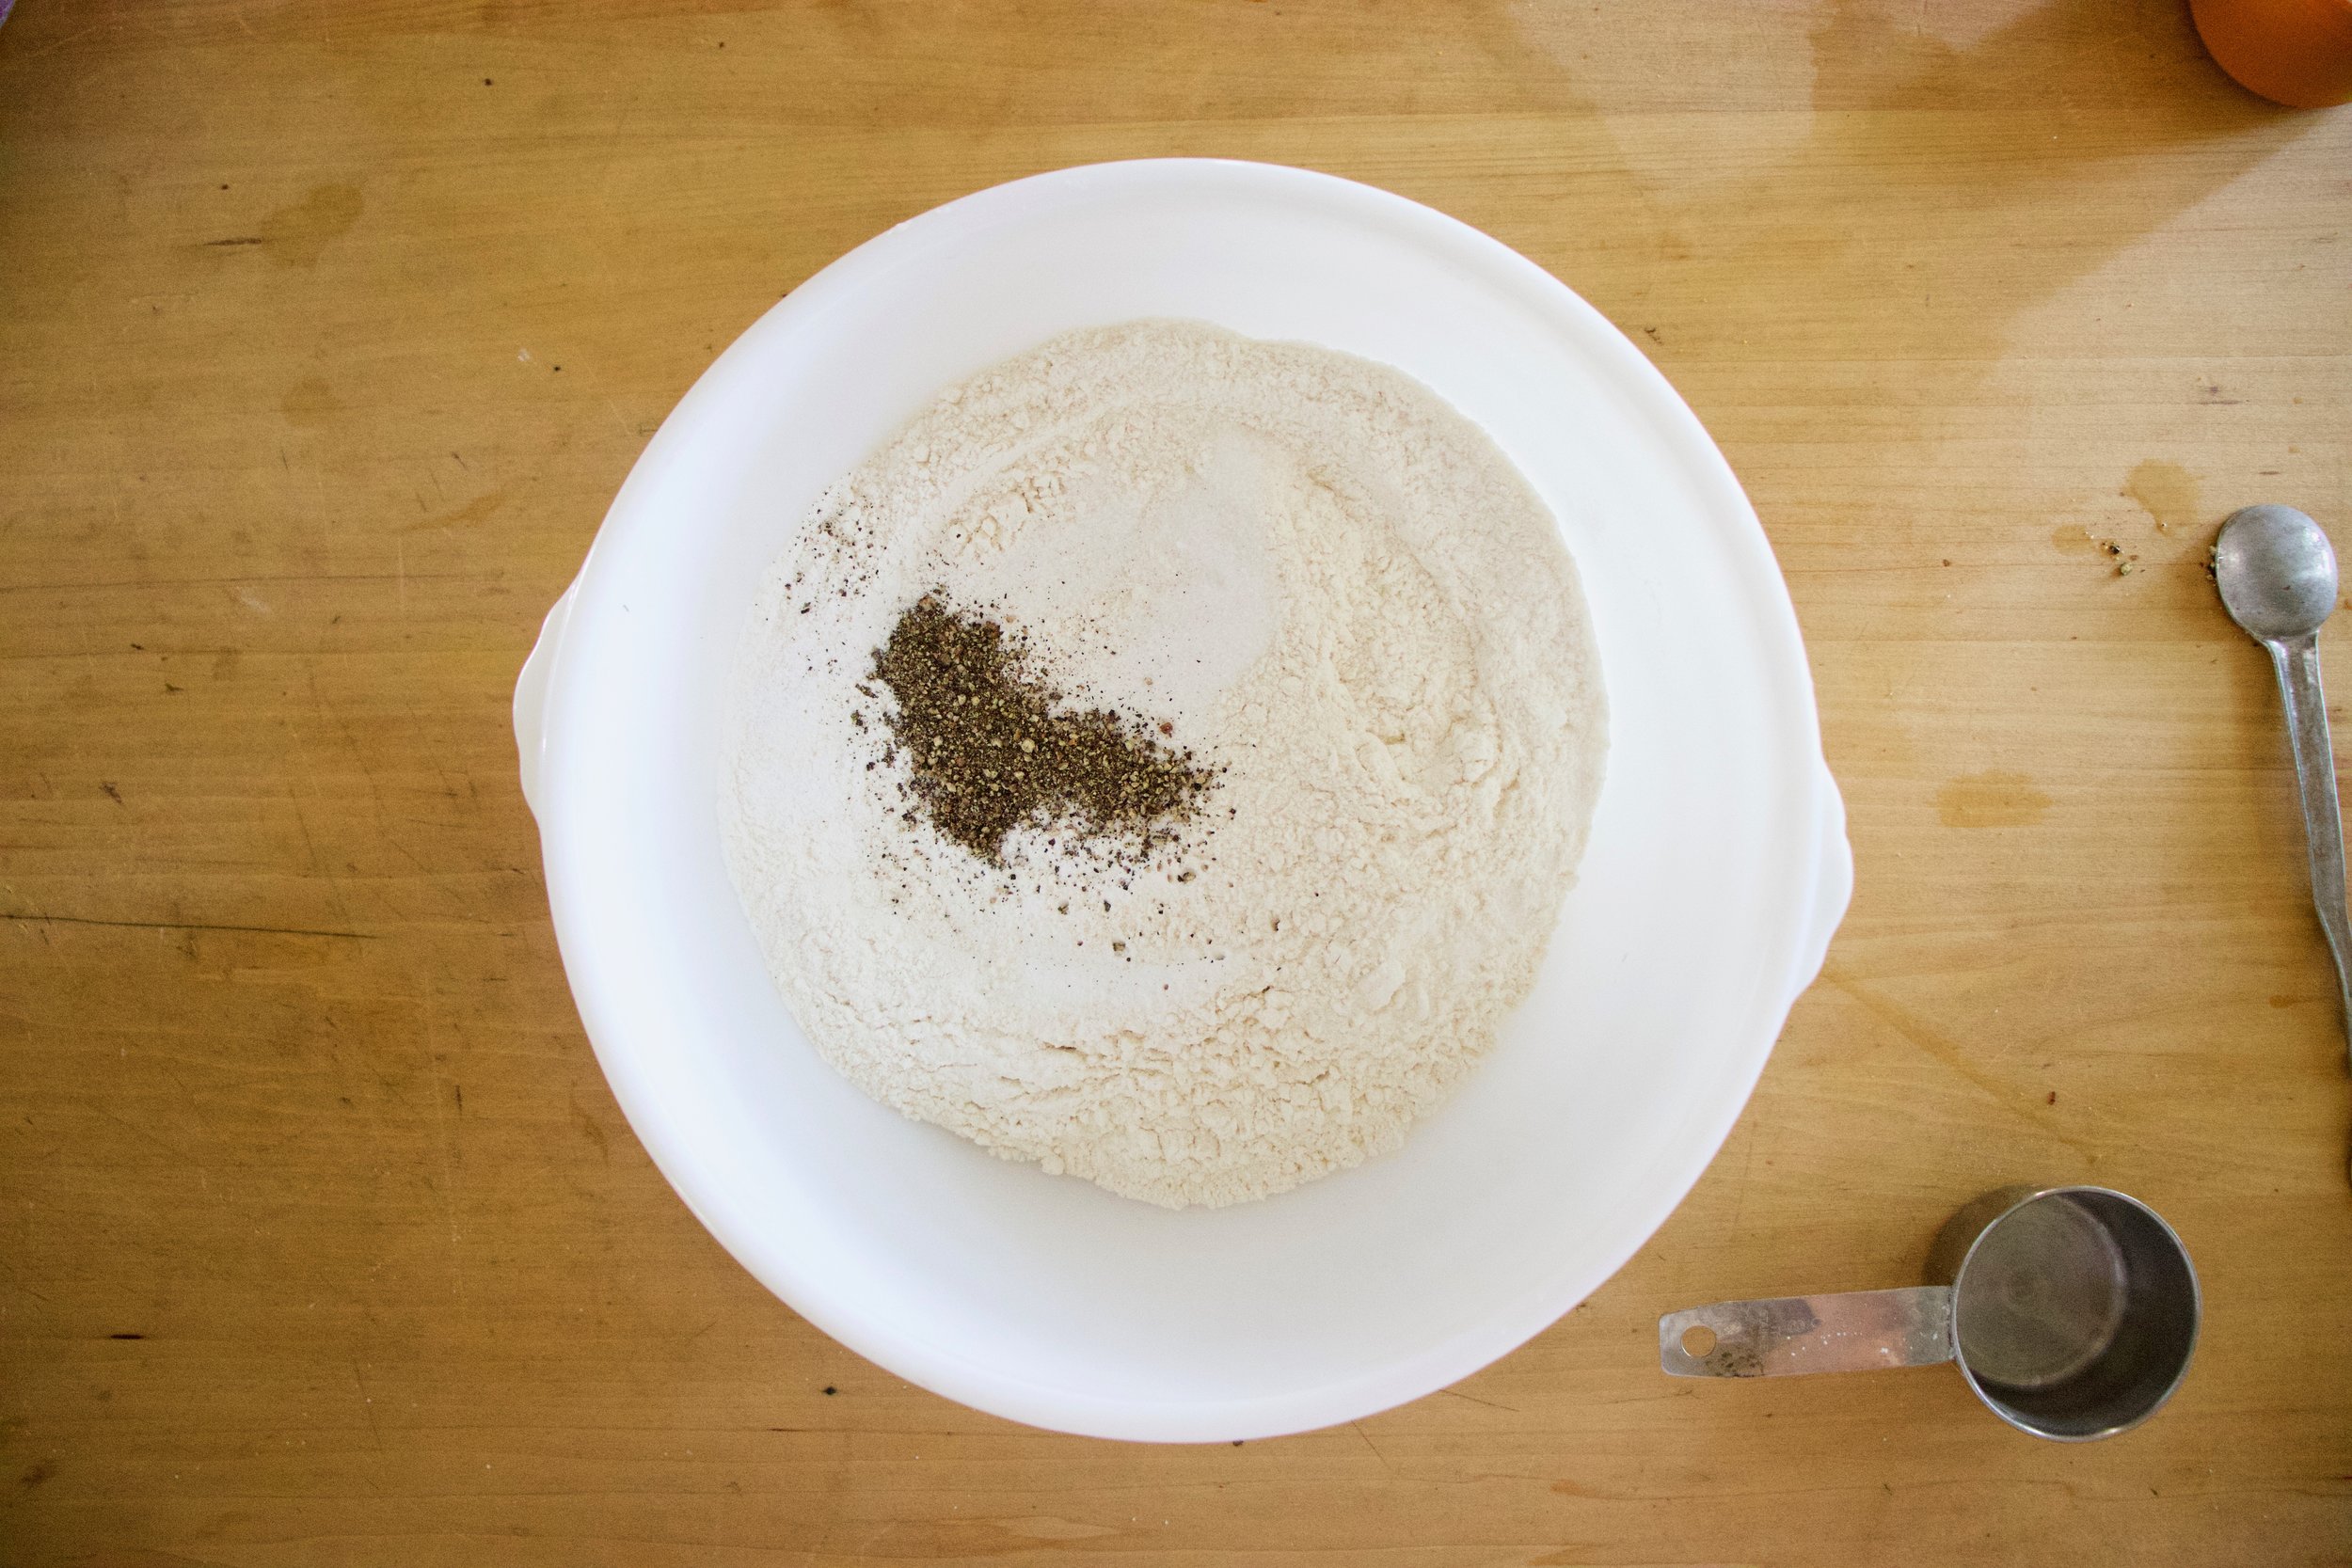
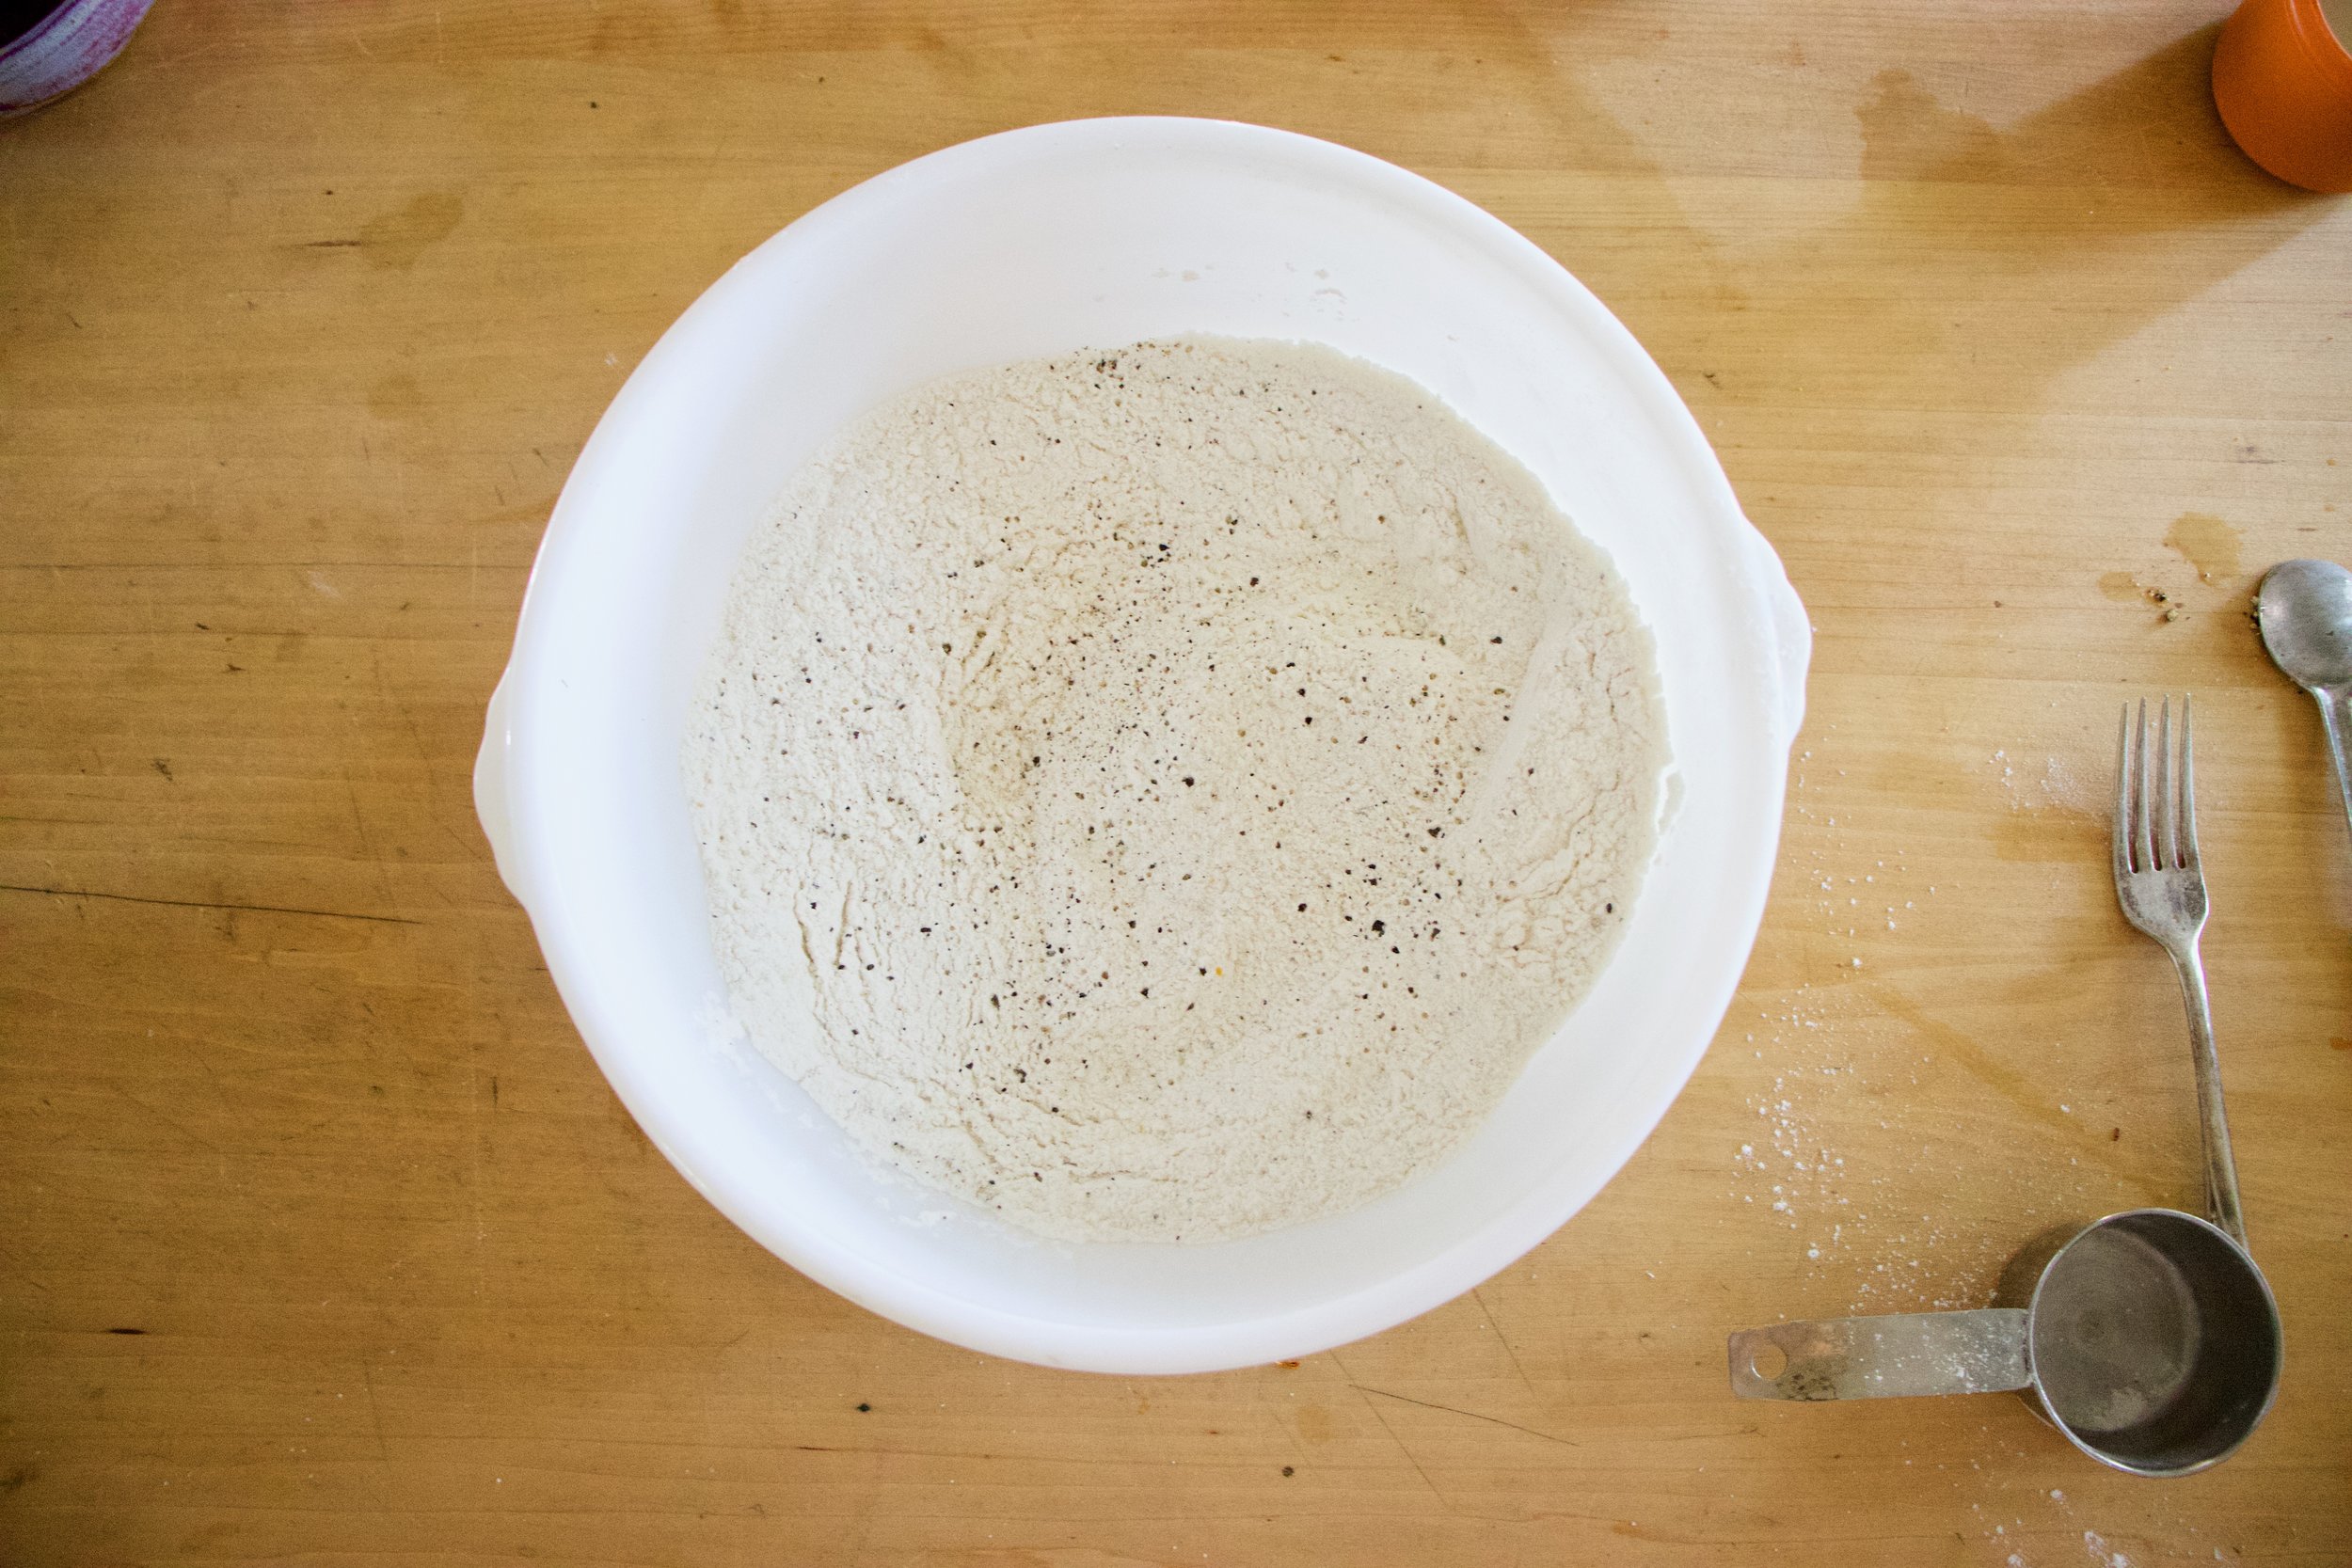
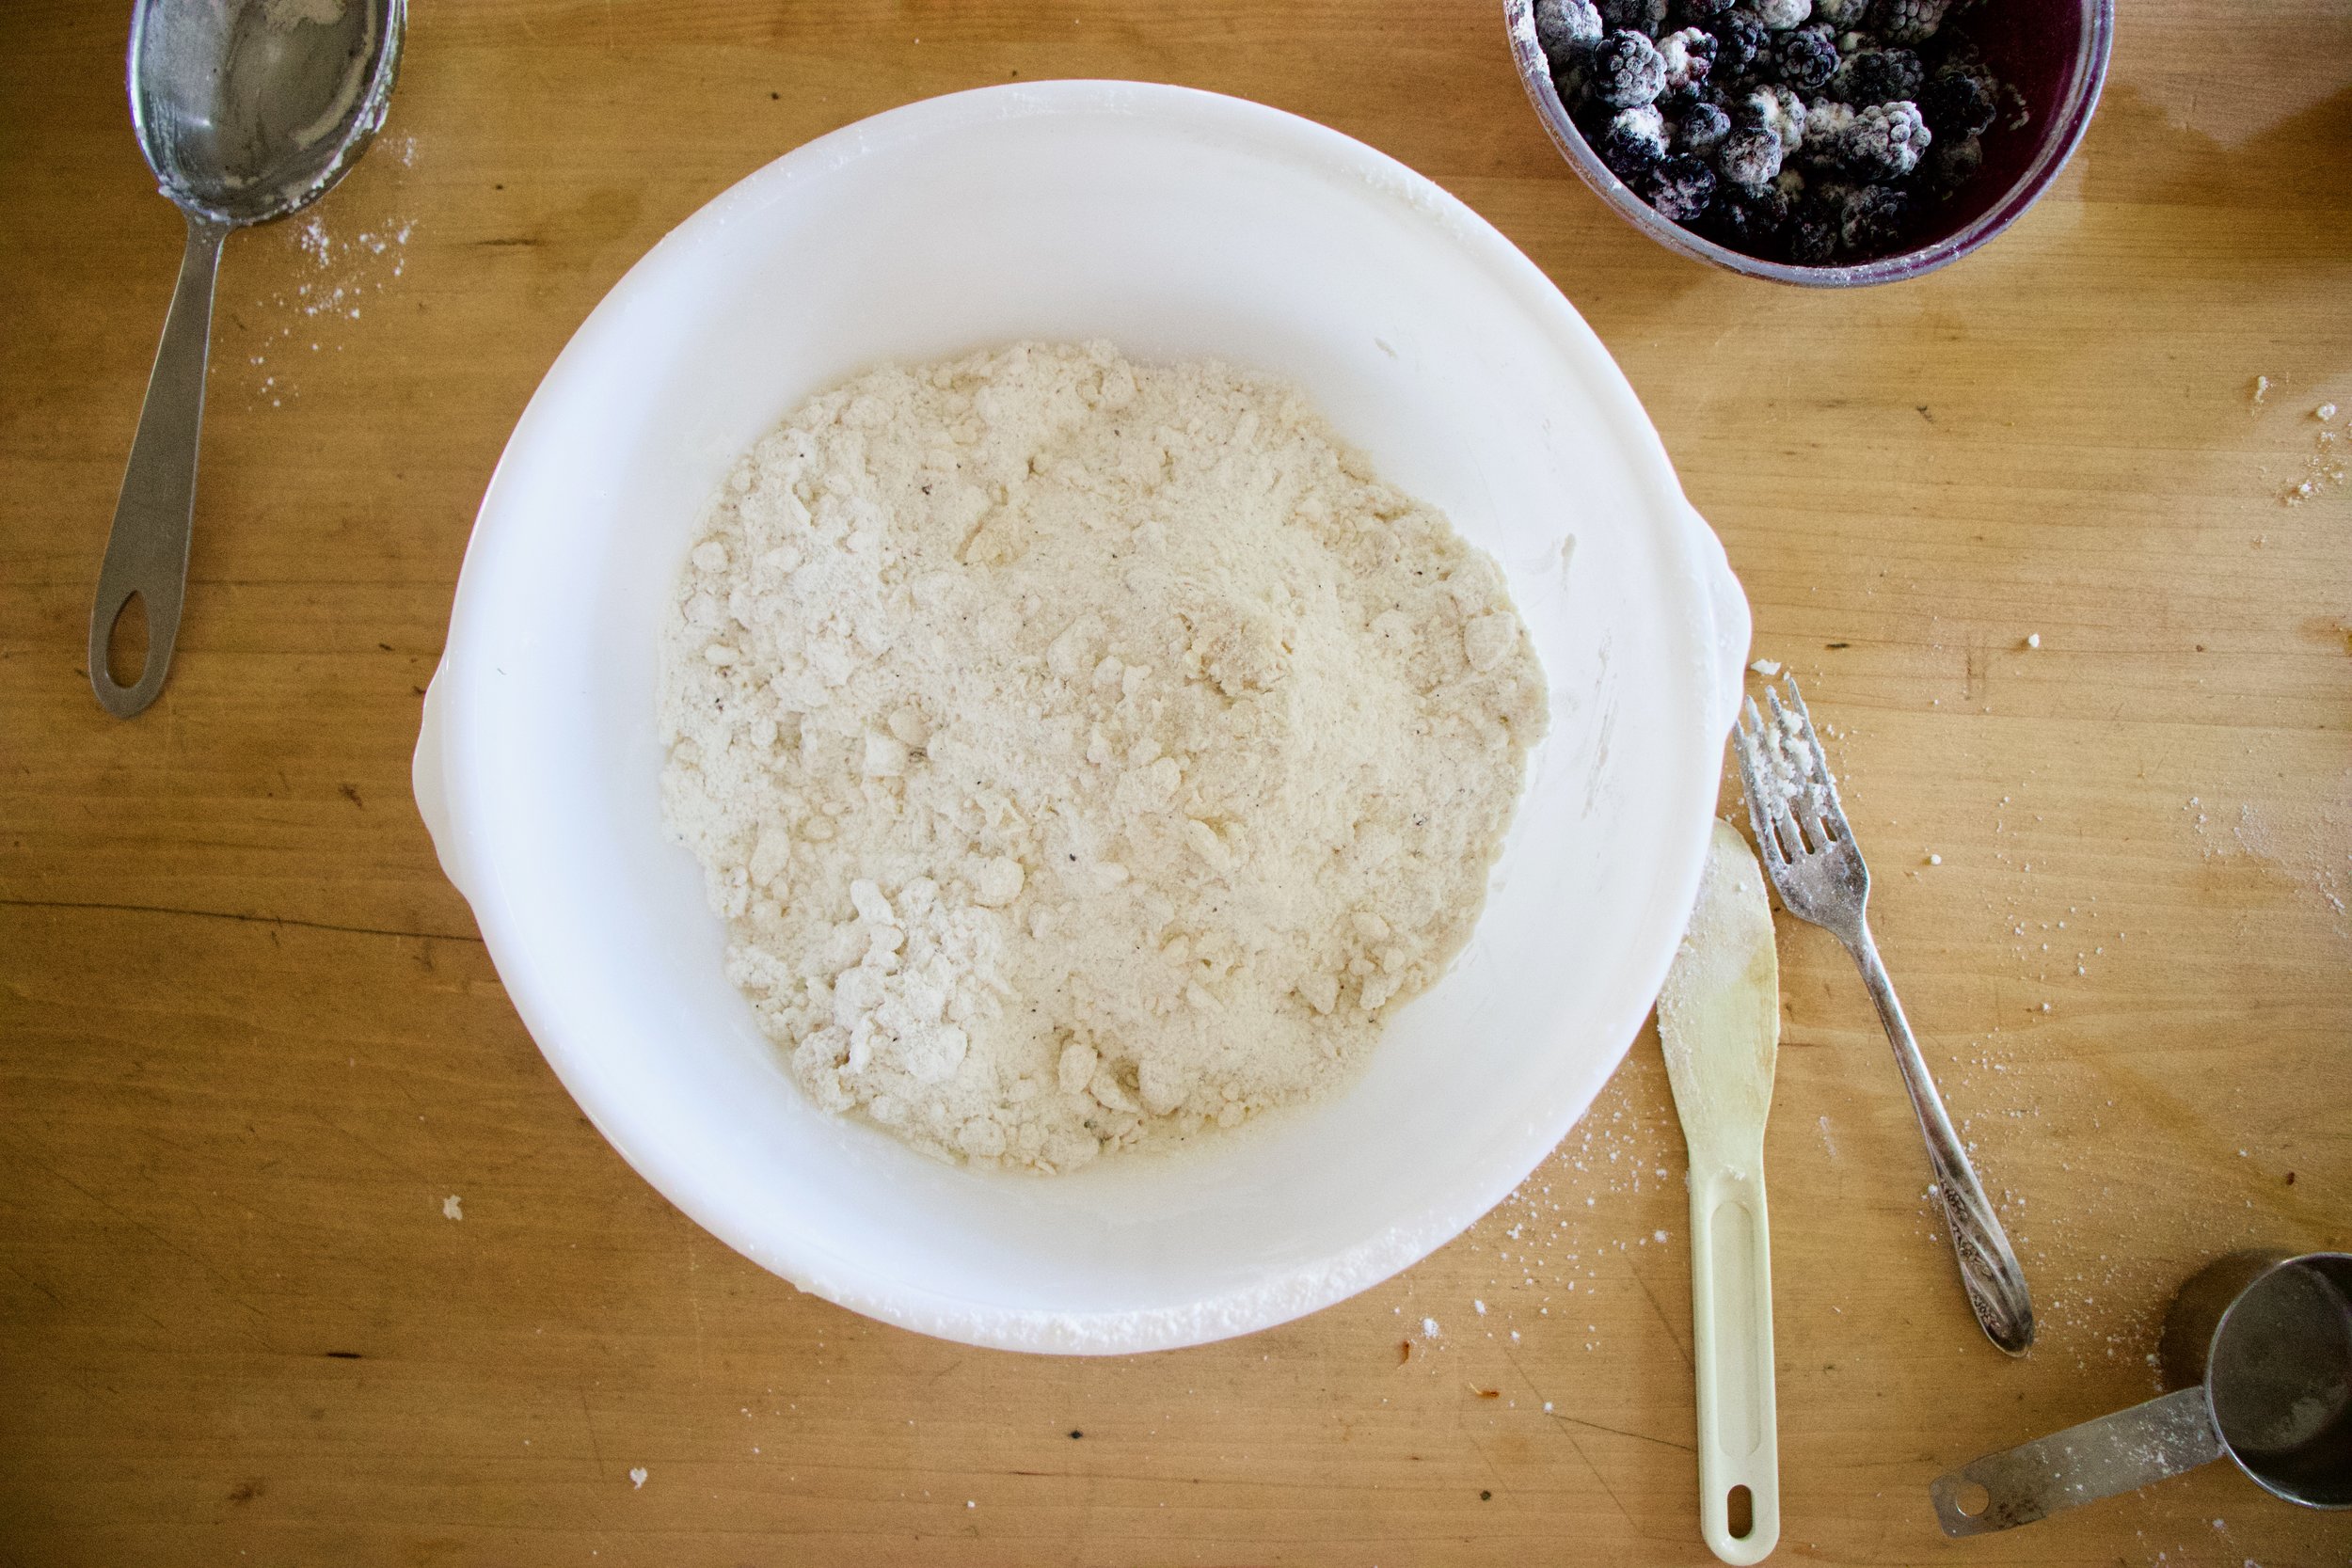
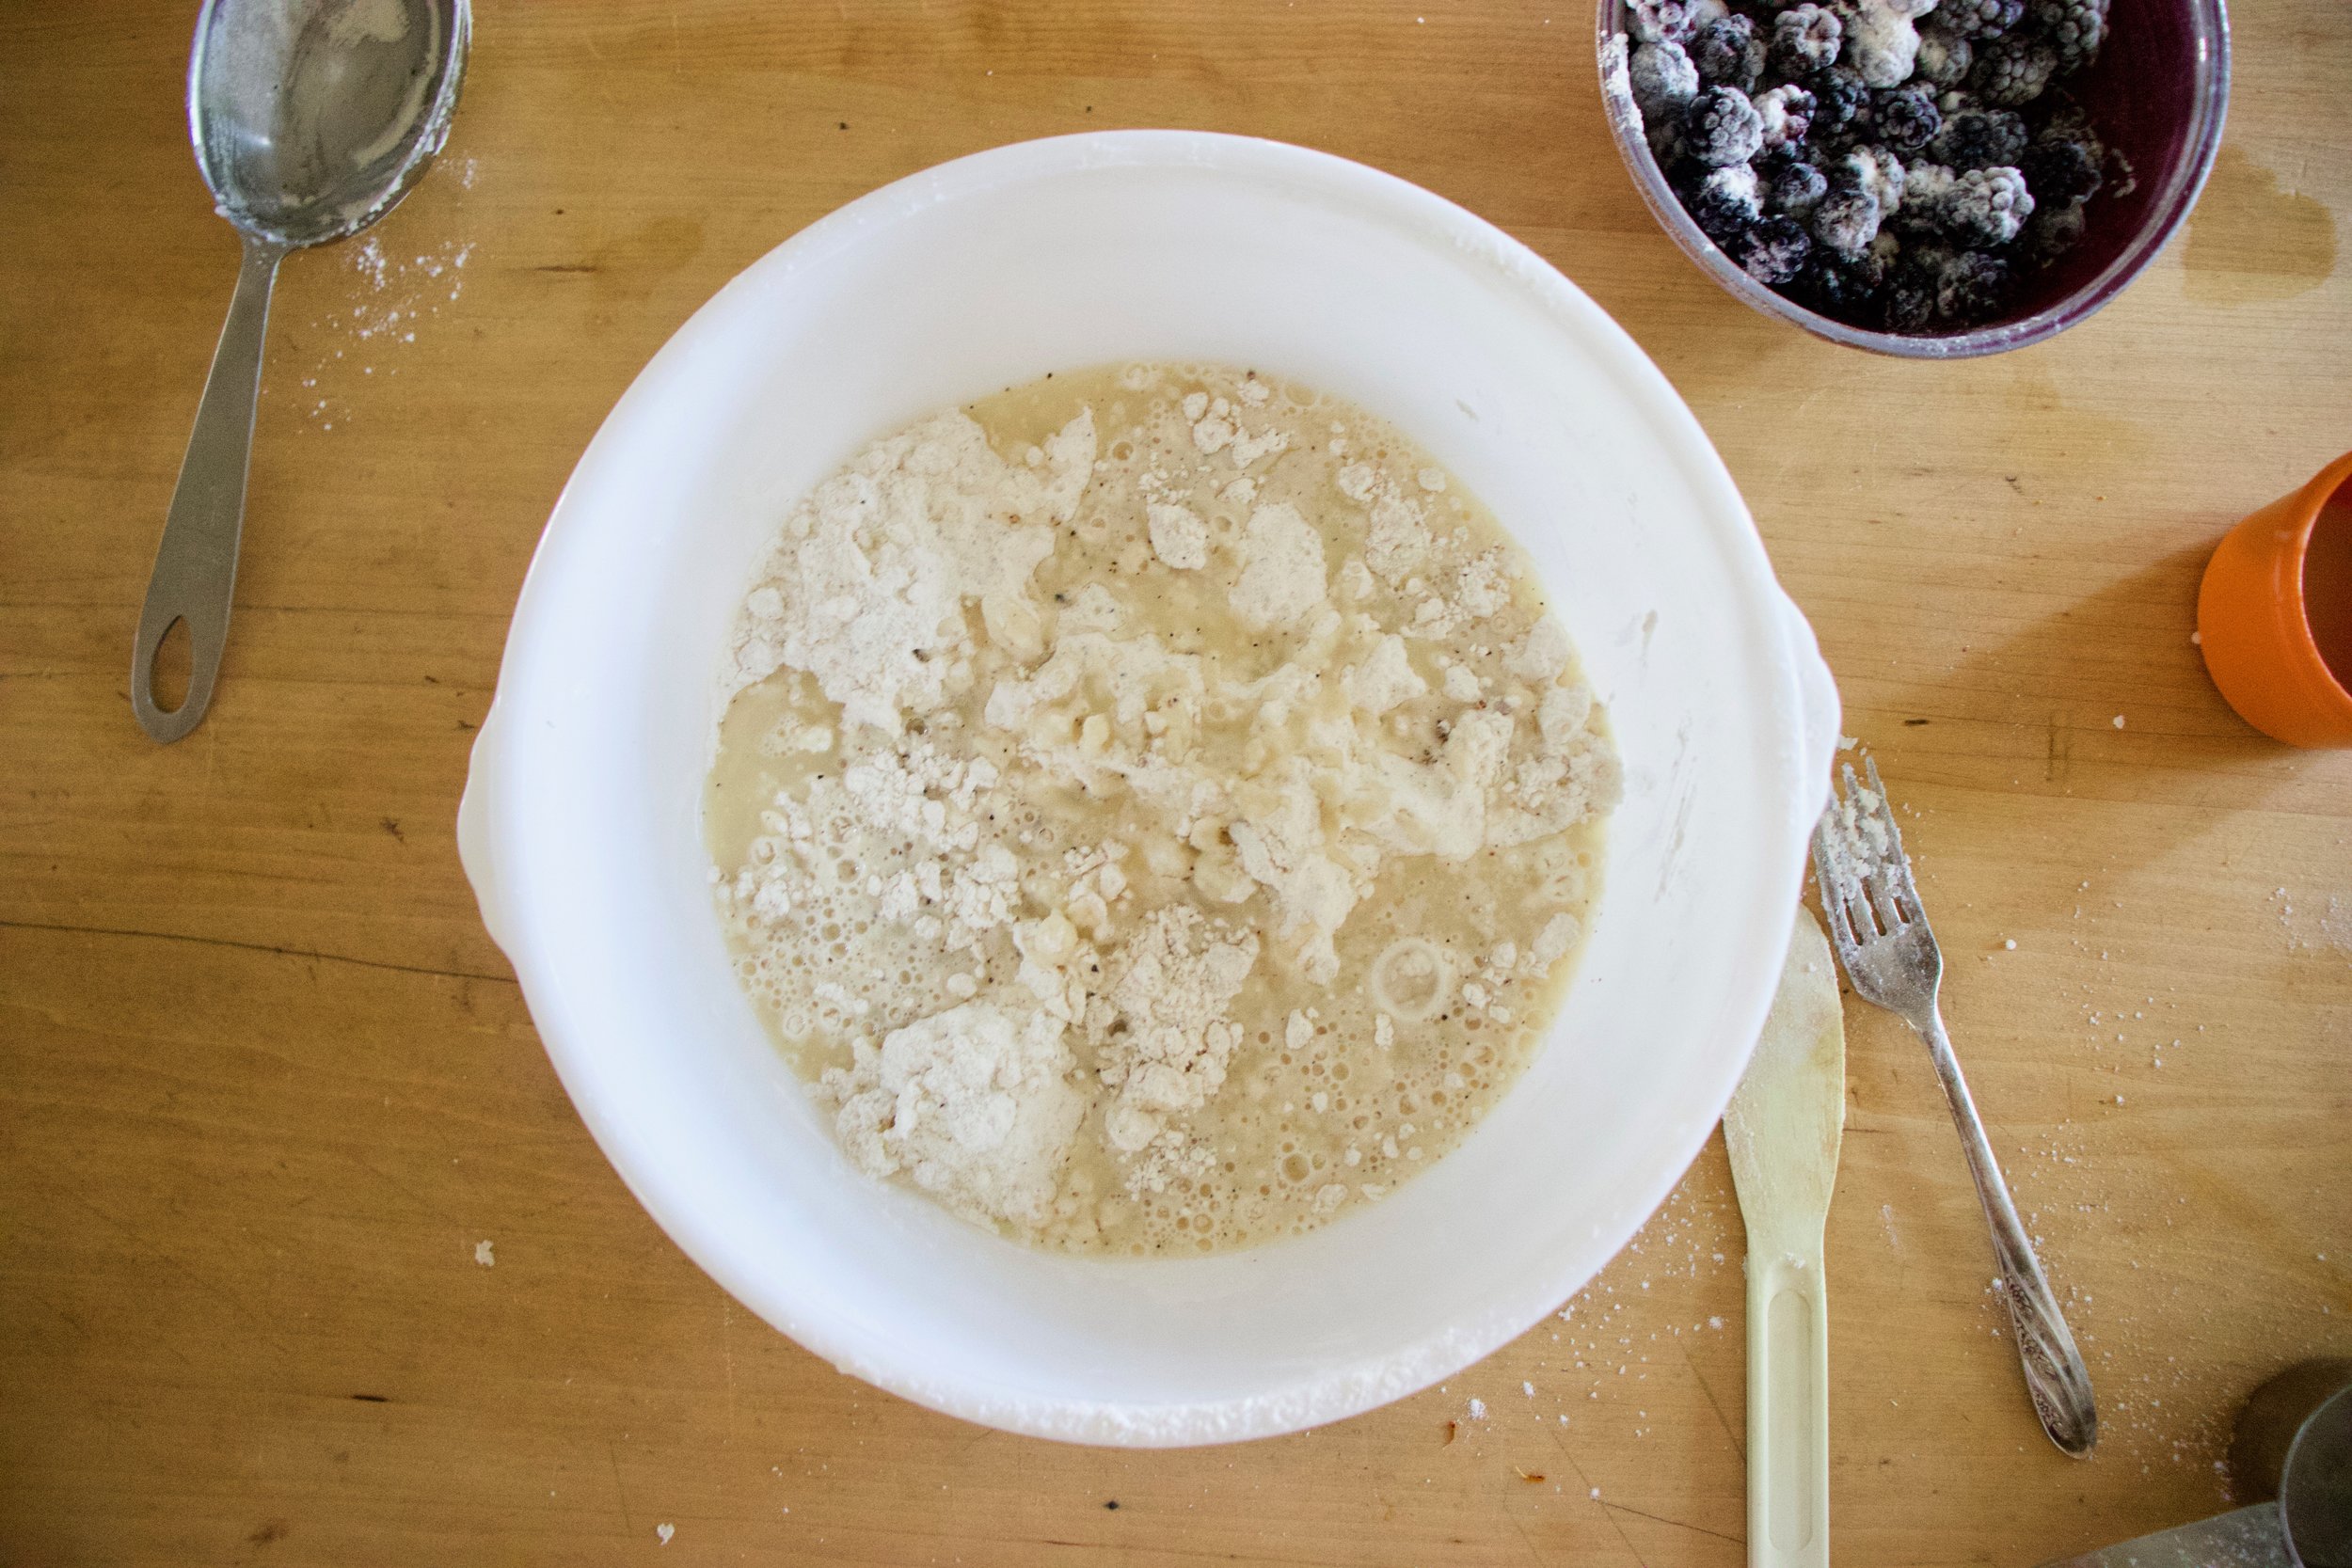
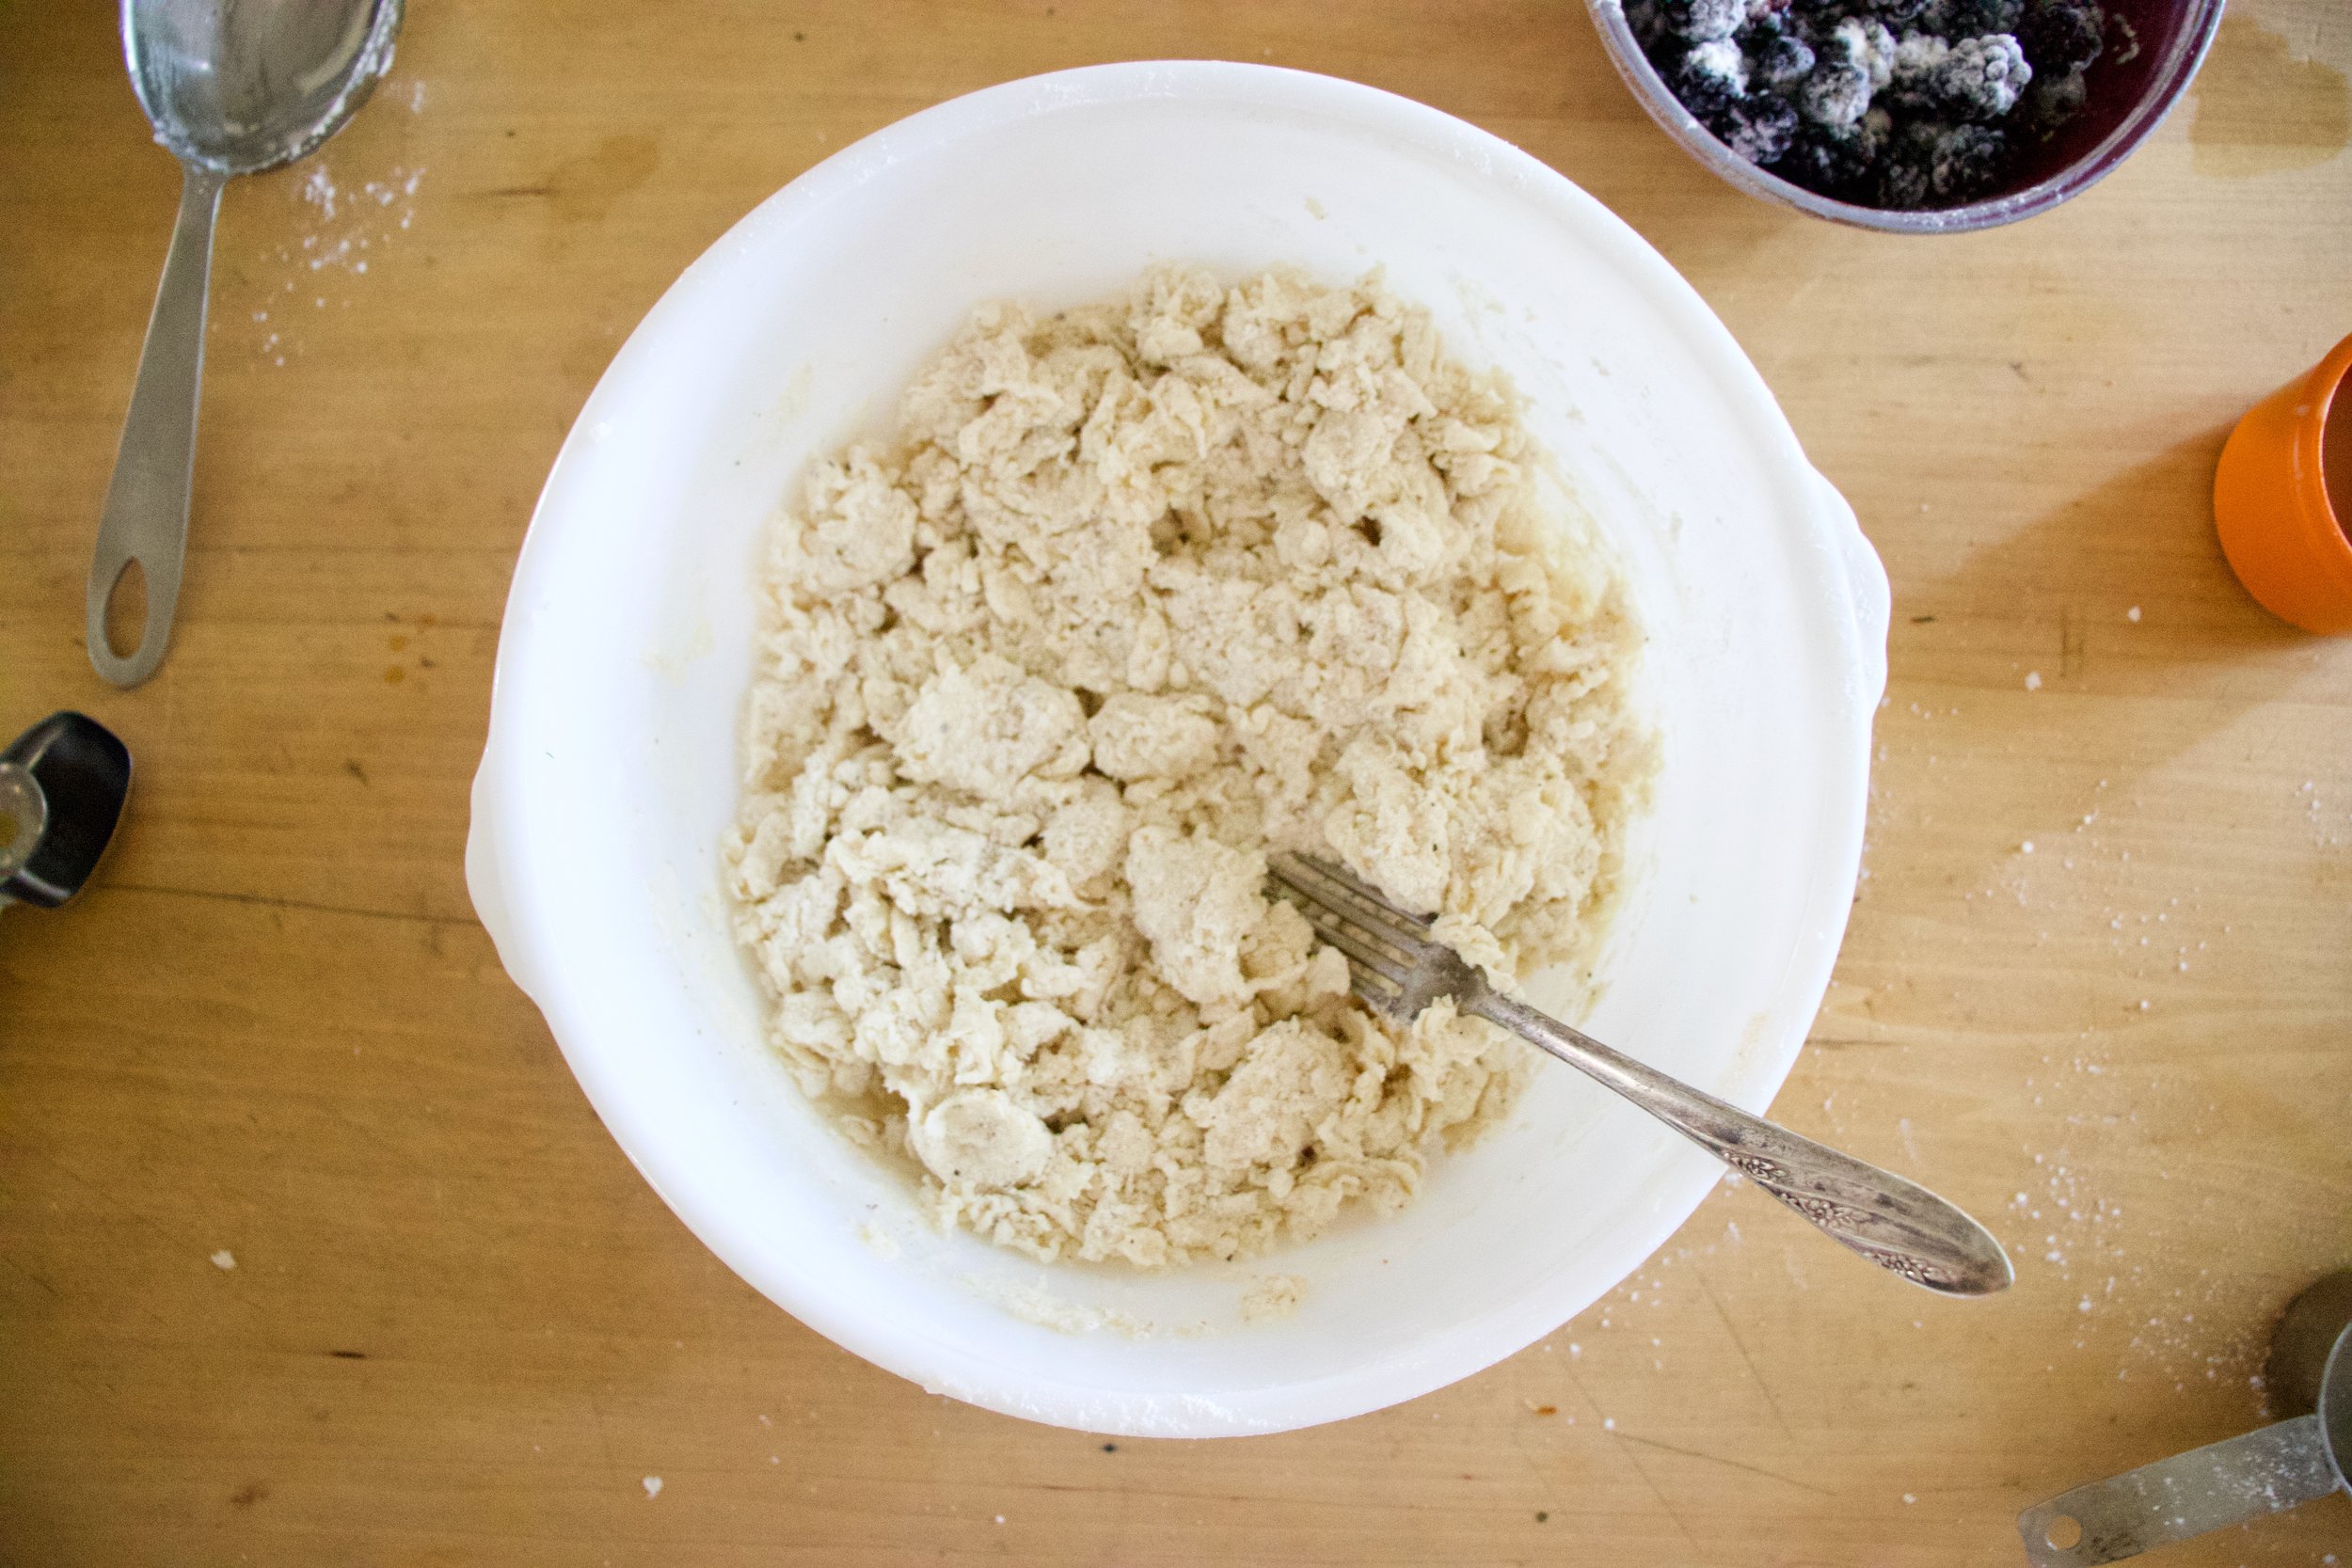
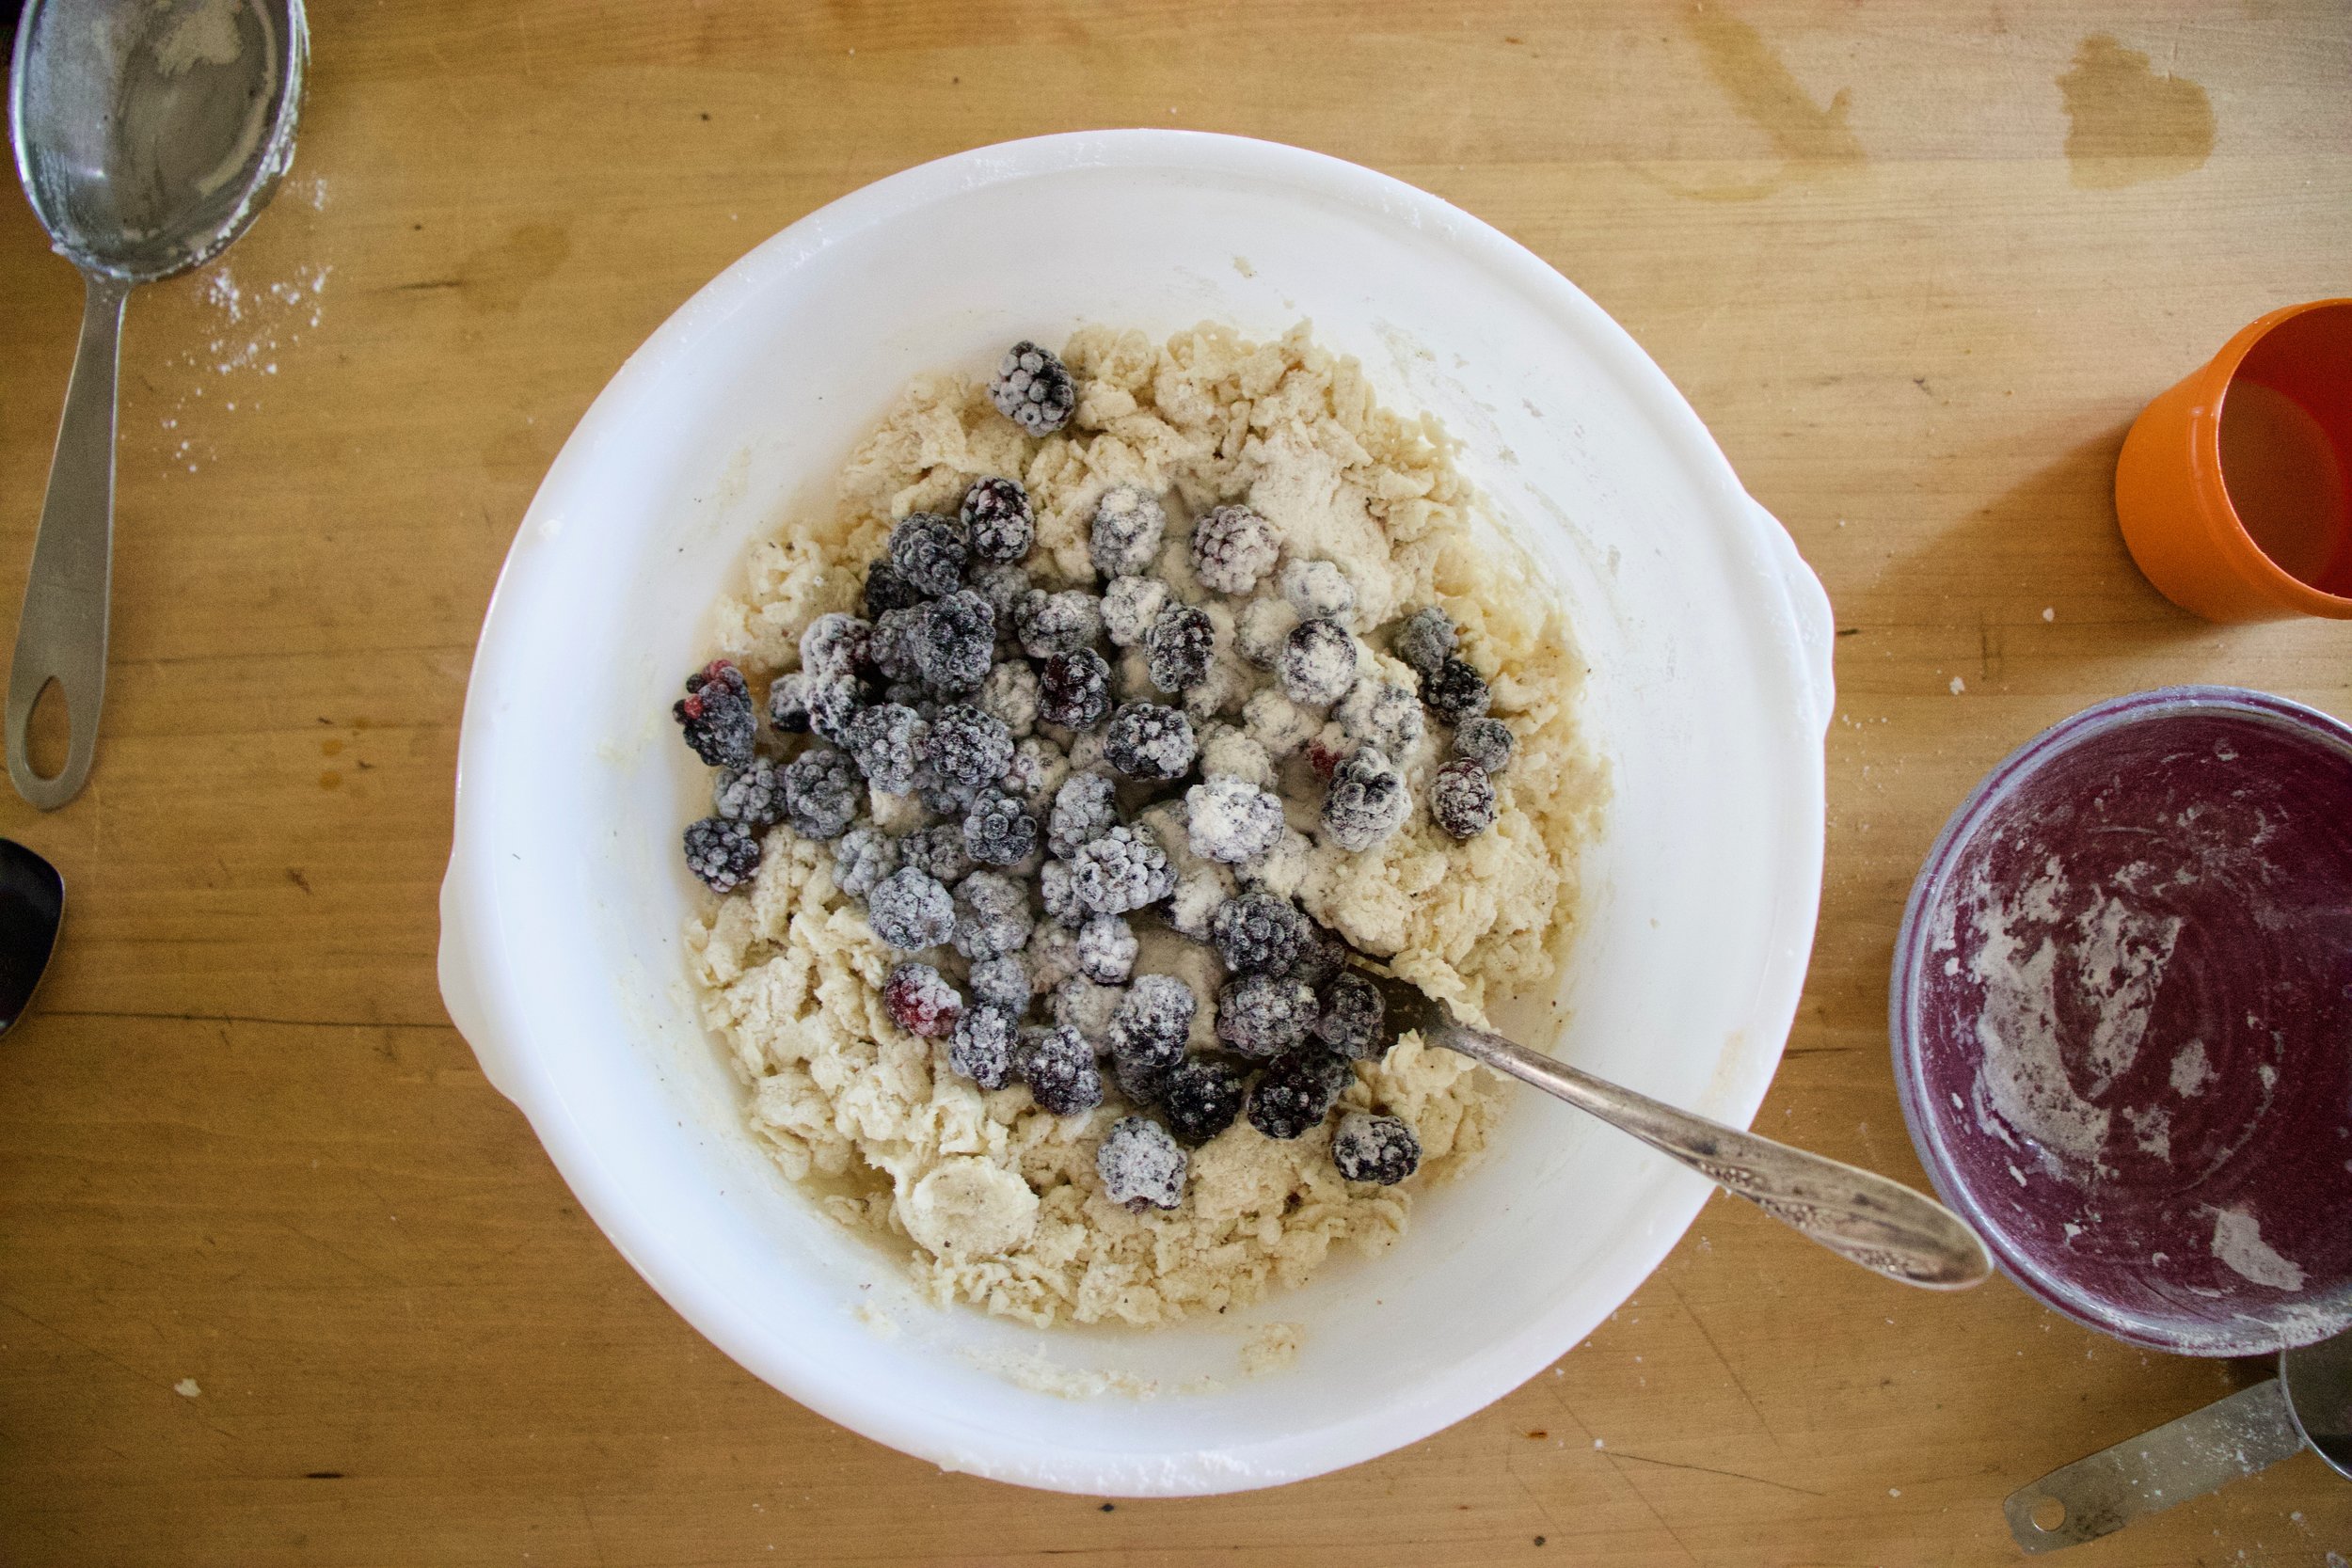
Easy peasy. Dump pepper and sugar into the bowl with the rest of the dy and mix well. Dump in the solid coconut oil and cut it in like you would butter, until it is crumbly. Add in the milk, vinegar, and vanilla and gently mix until most the dough starts to come together, then add in in frozen berries.

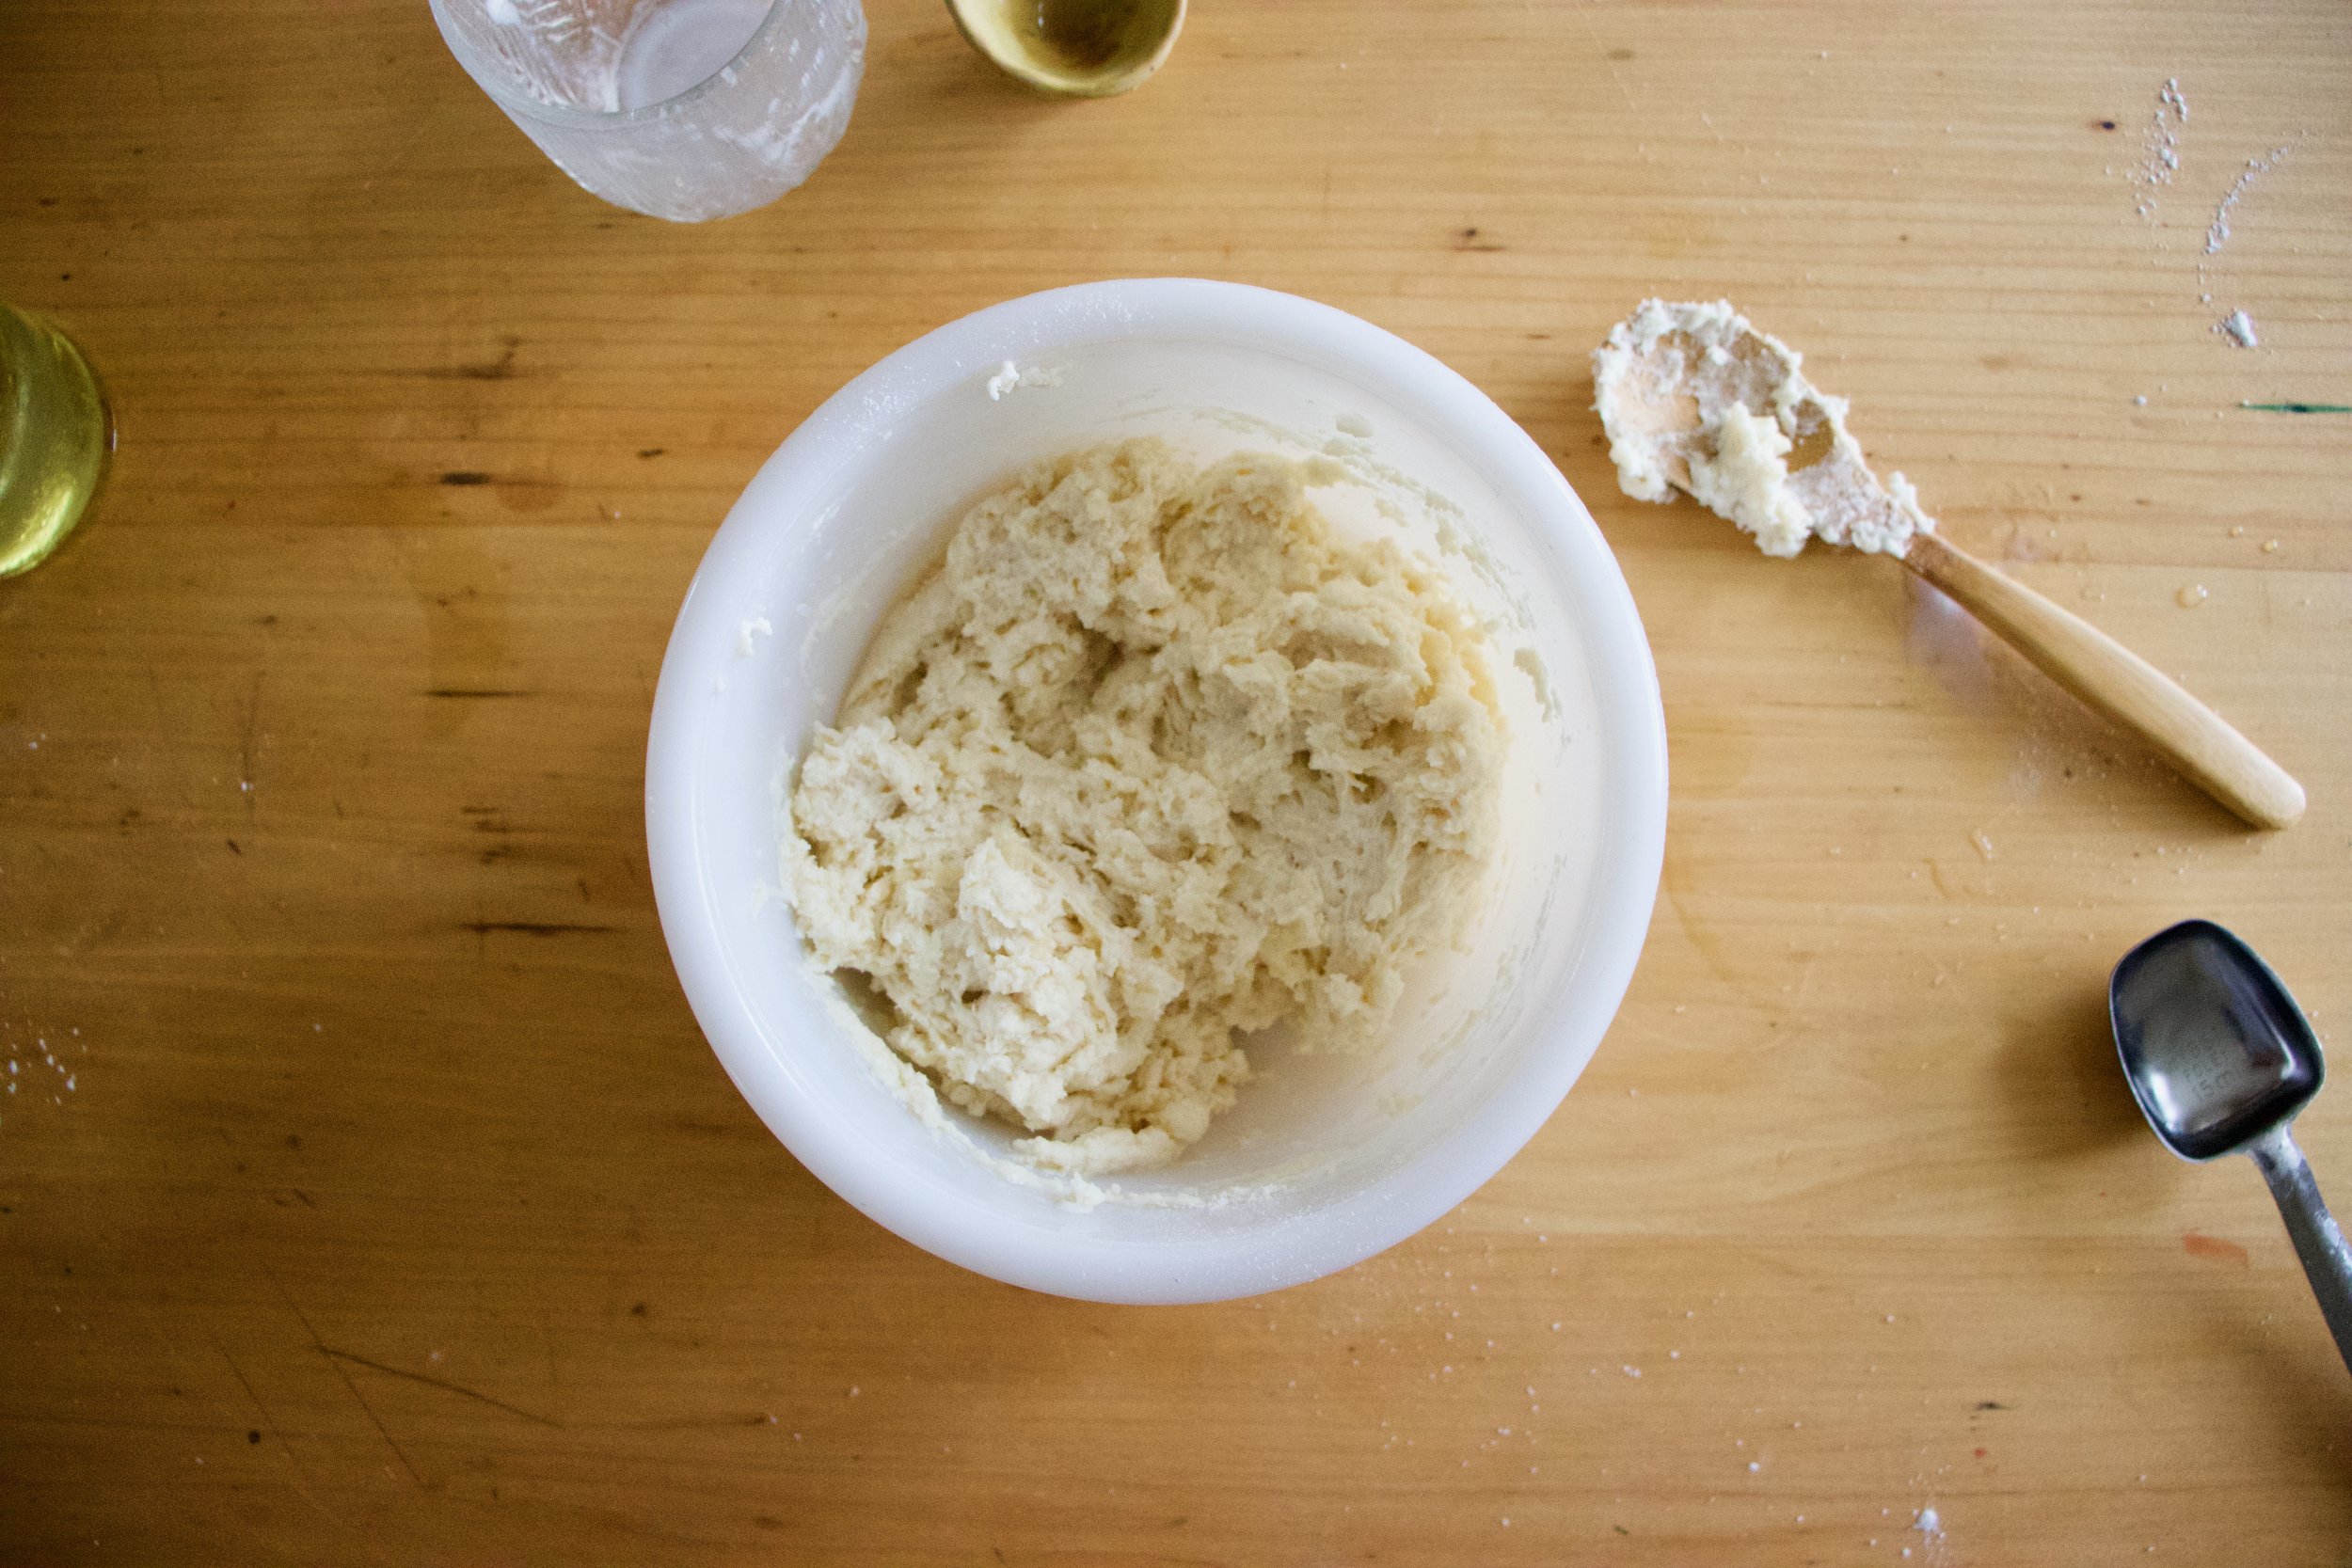
Dump the dough onto a lightly flour surface. Yes, the dough is barely sticking together but that is alright, just smash and pat it until it sticks and comes together. Once together, pat it down into a round disk about an inch thick. Just know, as you are working it, the berries are gonna start to break apart which is totally fine, but your hands will turn purple.

Flatten and cut. Just about scones now, but not quite.

Place scones on a baking sheet and brush the tops with a little milk then lighty sprinkle more sugar and black pepper on the tops and then pop them into a hot oven.

IMG_1138.jpg

Bakes and lovely and cooling ever so slightly..

Grab a plate, something hot to drink, and more berries because you can never have to many berries.

And eat. Still warm and all sorts of good.

Blackberry black pepper scone. Now you have them and everyone will want them. But know, there is no shame in hiding what you don’t not want to share.

-C


blackberry black Pepper Scones

makes 8-12 scones (depending how big you cut them)

  • 2 1/2 cups all purpose flour

  • 1/3 cup white sugar plus a tablespoon more for dusting tops

  • 2 teaspoons baking powder

  • 1/2 teaspoon baking soda

  • 1 1/2 teaspoons course ground black pepper plus a little more for dusting tops

  • 1/2 teaspoon salt

  • 1/2 cup solid coconut oil

  • 1 teaspoon vanilla

  • 1 hefty cup frozen blackberries

  • 1 tablespoon apple cider vinegar

  • 3/4 cup cold plant milk plus about a tablespoon more for brushing on top

Preheat oven to 375

In a large bowl mix together the flour, baking powder and soda, salt, sugar, and pepper until well combined. Dump in the solid coconut oil and using a fork or pastry cutter, cut it into the dry until the mixture becomes crumbly. You do not want to fully incorporate the oil. Now dump in the cold milk, the vanilla, and the vinegar and gently mix until a dough starts to form. Dump in the blackberries and continue to gently mix until the dough just start to stick together.

Dump dough onto a lightly flour surface and gently squish, mush, and part the dough until it forms a ball. The berries will start to break apart and that is ok. Then flatten the dough into a disk that is about an inch thick. Take a knife of dough cutter and cut in half, then those halves into half, and then those halves in half. (8 pieces) You can even cut a few smaller if you want.

Place cut scones on a baking sheet and brush the tops with remaining milk then sprinkle tops with sugar and a little more pepper

Bake for 30 minutes or until golden brown. Once baked, remove from oven and place on a wire rack to cool.

Eat, warm of room temperature. Just don’t wait too long.

Store left overs in airtight container at room temperature for 2 day, 3-5 in fridge, or freeze individual scones for months. Just pop them back into a hot oven for 10 or so minutes to reheat.

In Vegan, sweet breads and muffins, fruit, Dairy Free, biscuits and such Tags Blackberry Black Pepper Scones, scones, vegan, king Arthur flour, vegan scones, blackberries, berries, vegan desserts, coconut oil, breakfast, black pepper, peper and fruit, spice, dairy free
Comment

Basic Socca

May 11, 2019 Colleen Stem
IMG_8294.jpg
IMG_8315.jpg

I am obsessed. For real. That might seem like a strong statement for a feeling about a food, but right now, it is truth. I spend more time then I want to admit thinking and drooling over Socca, which is, to those who do not know, the most basic chickpea flour pancake-y bread thing. Chickpea flour, water and salt. Cooked fast under the broiler in a screaming hot skillet. That is it. And it is amazing. Depending on how you make it, it can be creamy and soft or more cracker like with some crisp crunch to it. Either way, it is just so freaking good. Of course, what I am dreaming about regarding it is not just plan basic socca (which I have made 3 times in the past 3 days) but different flavored soccas (I have experimented with lot of seasoning, and they are all A+) with all sorts of different topping and using it in all sorts of different ways. But for now, I wanted to keep basic so we all know how good simplicity is. We will go from here.

There is no stopping me. There is no stopping the socca.

Now to my new favorite food, the socca.

IMG_8234.jpg
IMG_8238 2.jpg
IMG_8240 2.jpg

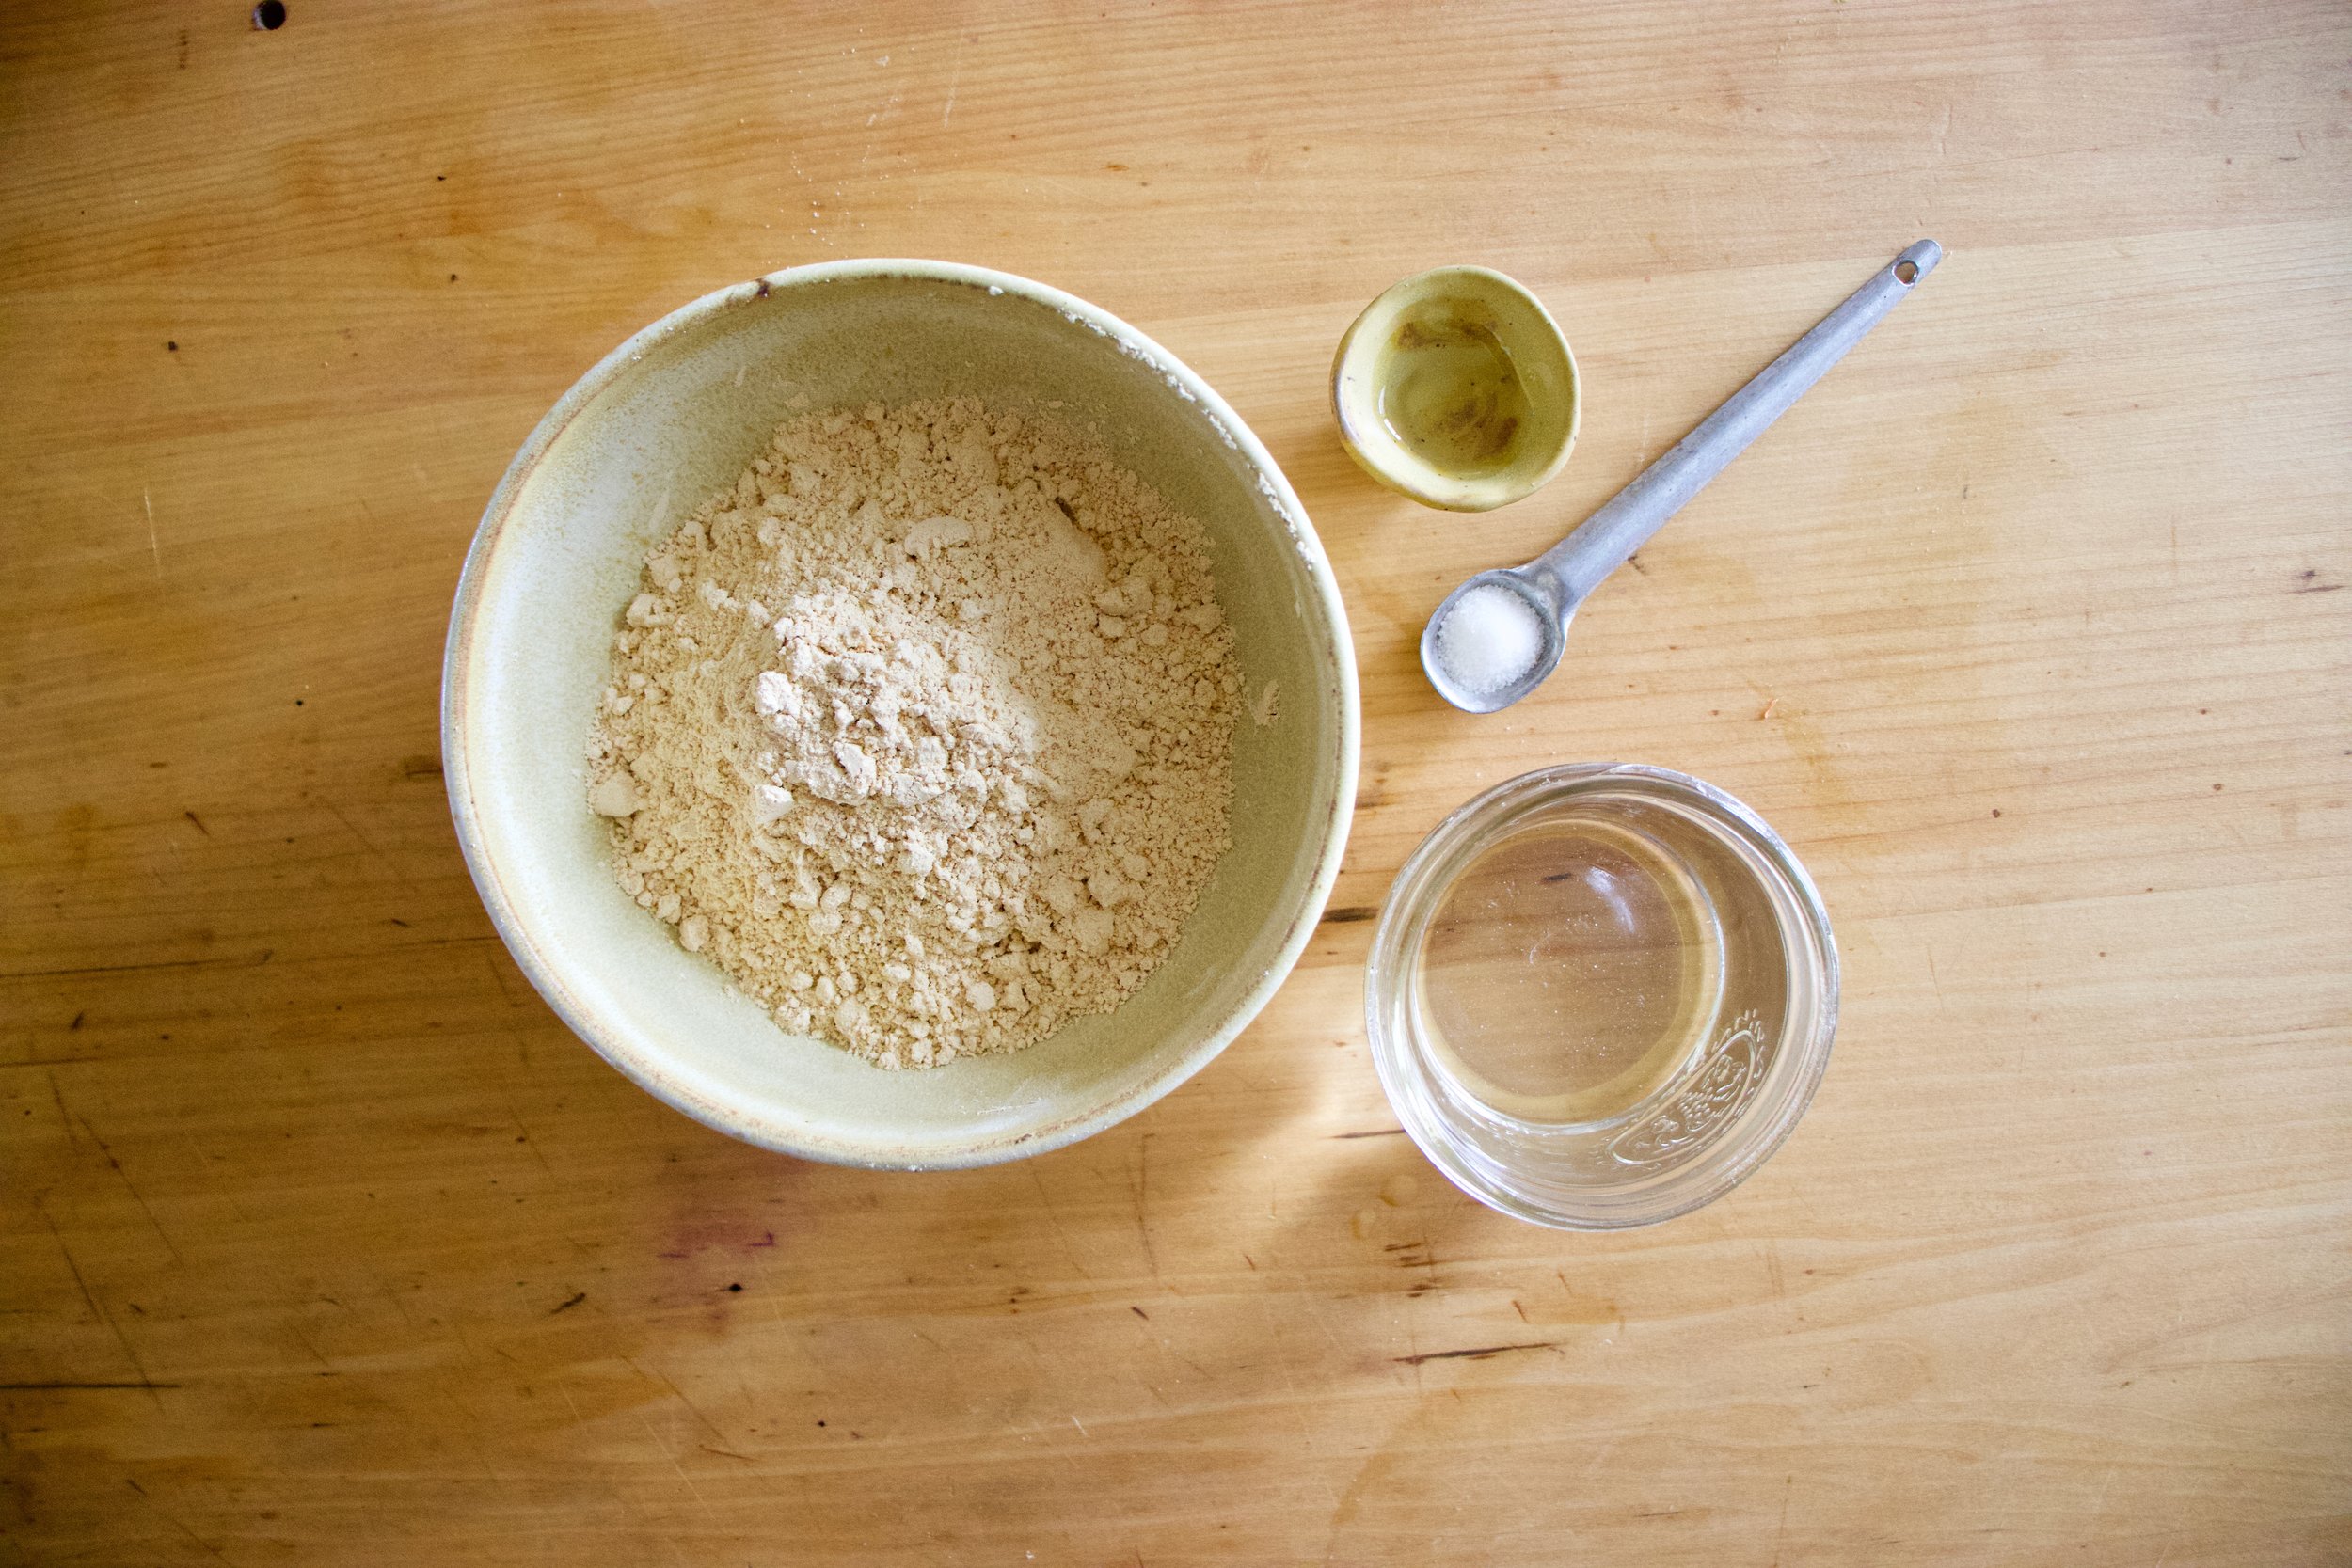
Chickpea flour, salt and water. That is it. Mix it all up.

IMG_8252.jpg

Batter all smooth and now in need of a rest. Half an hour or up to a day of rest is good.

IMG_8261.jpg

Now to cook the socca. You need to use something oven safe like cast iron. The trick here is to preheat the skillet while you are preheating the oven. Crank oven to 450 with the skillet in oven and once the oven reaches temp, turn oven over to a high broil. Let the skillet get really hot for another minute or two then remove skillet from oven (carefully!!!) and give it a splash of oil. Don’t preheat the skillet with oil in it or else it will start to smoke and get gross.

IMG_8266.jpg

Now that you got a nice hot and oiled skillet, grab the rested batter and pour half of it in. Tilt skillet around to coat bottom then stick skillet back into oven under broiler and cook for 4-8minutes. ( It depends on your broilers strength and your preference for blisters)

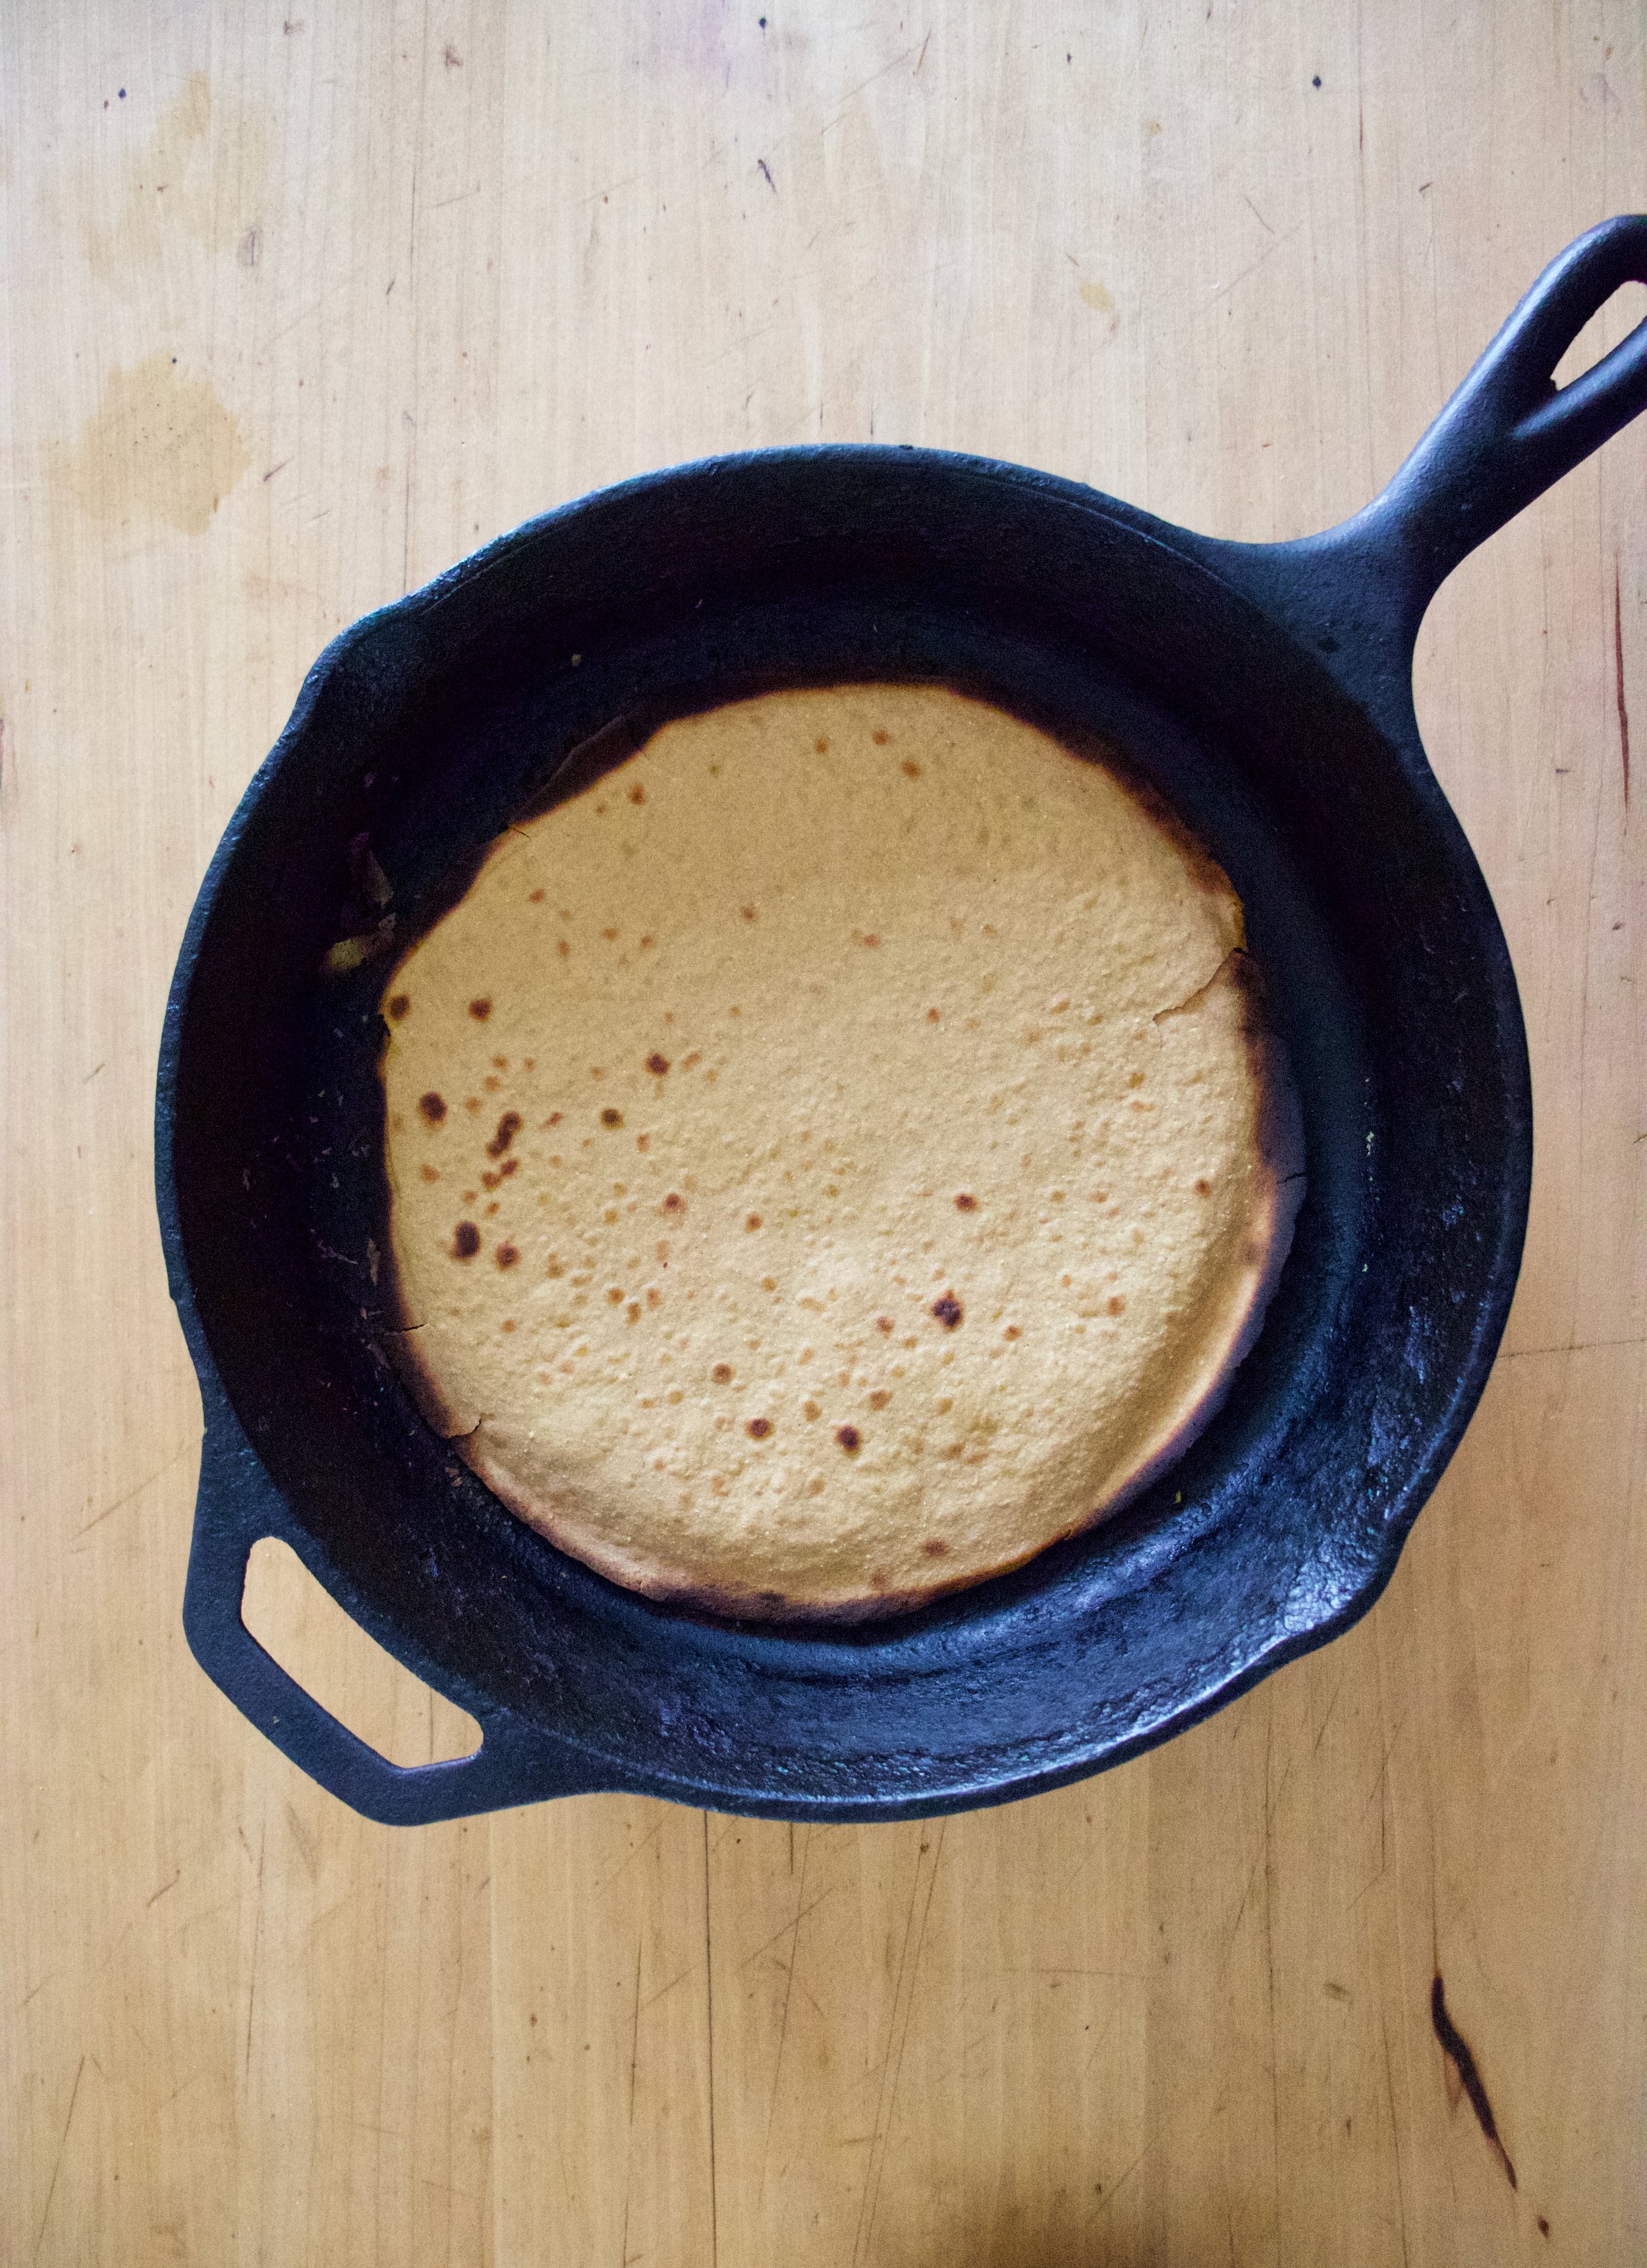
Out from the broiler. Cooked and slightly blistered. I went easy on this one. The next one got a few more blisters.

2 soccas, one a little thicker then the other. One a little more blistered then the other. Both in my belly.

So many Soccas to come.

So. many. Soccas.

-C


Basic Socca

makes two 10 inch soccas

  • 1 cup chickpea flour

  • 1 cup room temperature water

  • 1/2 teaspoon salt

  • olive oil for pan

Mix chickpea flour, salt and water together into a bowl until smooth. Let mixture rest for at least half an hour or up to a day.

When ready to make the socca, preheat oven to 450 with a 10 inch oven safe skillet (I used cast iron but any oven safe dish would work) in oven.

Once oven reaches temp, turn oven over to broil and place skillet under it for a minute to really heat the skillet. Carefully, with oven mitts, remove hot skillet from oven and brush or pour a smidge of oil into the hot skillet to coat bottom. Pour in half the batter and tilt around until bottom is coated then place skillet back into oven under broiler and cook for 4 -8 minutes or until the socca starts to blister. (it kind of depends on your broiler so keep a close eye on it) Remove from oven and slip socca onto cutting board. Sprinkle with salt and pepper. Drizzle with olive oil if you like. Then all you do is cut and eat.

Left over socca can be stored in fridge and reheated in oven or toaster.

Note. IF you want a slightly thicker socca, use a 8 inch skillet. For a thiner, more cracker like socca, pour in 1/3 of the batter at a time (you will end up with 3 instead of 2)

In 5 ingerdients or less, appetizers, biscuits and such, bread, Dairy Free, grain free, Gluten Free, pulses, beans, Vegan, snack, side dish Tags Socca, Chickpea flour, gram flour, besem flour, pulses, protein, vegan, gluten free, dairy free, crepe, wrap, bread, tortilla, crust, simple, easy, sweet or savory, beans, Italian
Comment

Raspberry Rhubarb Cobbler

April 27, 2019 Colleen Stem
IMG_7865.jpg
IMG_7904.jpg

I found another bag of frozen rhubarb in the chest freezer which is never a bad thing, but my rhubarb patch outside is growing strong and I will have all the fresh rhubarb I could possible eat within the next few weeks. So found rhubarb just means I need to eat it right fast before the fresh stuff comes in. (I haven’t had a problem with that. it’s almost gone already). Plus the other day while I was digging up and transplanting raspberry bushes to the back yard, my neighbor came over and gave me a gallon of frozen raspberries, harvested from said bushes that I was currently planting in my yard. Score for me! Free bushes and berries…I have such nice neighbors.

So the logical thing to do with my new found and giving bounty was of course to hurry up and bake something. Cobbler. Why cobbler? Well, why not? I figured the mr would really like it and eat it and I also didn’t want to make anything to fussy because I was just to dang busy spending all of my extra time outside doing outside things. And cobbler, it’s not fussy because it is basically biscuits and jam baked up all together. Not a lot to think about and comes out looking all homey and sweet and smelling all nice and cozy. Doesn’t that sound nice? And not a pain in the ass?

And best part. A made cobbler works as dessert or breakfasts or just a snack. Just asked the mr. He ate it for all the reasons. With a dollop of yogurt or cream of course because he is fancy like that.

And yeah the fruit I used was frozen, but fresh works just the same here too.

Now, lets get to that cobbler.

The stuff. Raspberries (frozen), rhubarb (frozen), sugar, flour, salt, baking power, cinnamon ,almond milk, apple cider vinegar, cornstarch, and oil.

IMG_7777.jpg

Raspberries, rhubarb, sugar, cinnamon, cornstarch. Its all there in the bowl. Just needs to be mixed. So mix it.

IMG_7781.jpg

Dump fruit mixture into well greased 8 inch pan and pop it into a hot oven to get a head start on baking.

IMG_7797 2.jpg
IMG_7802.jpg

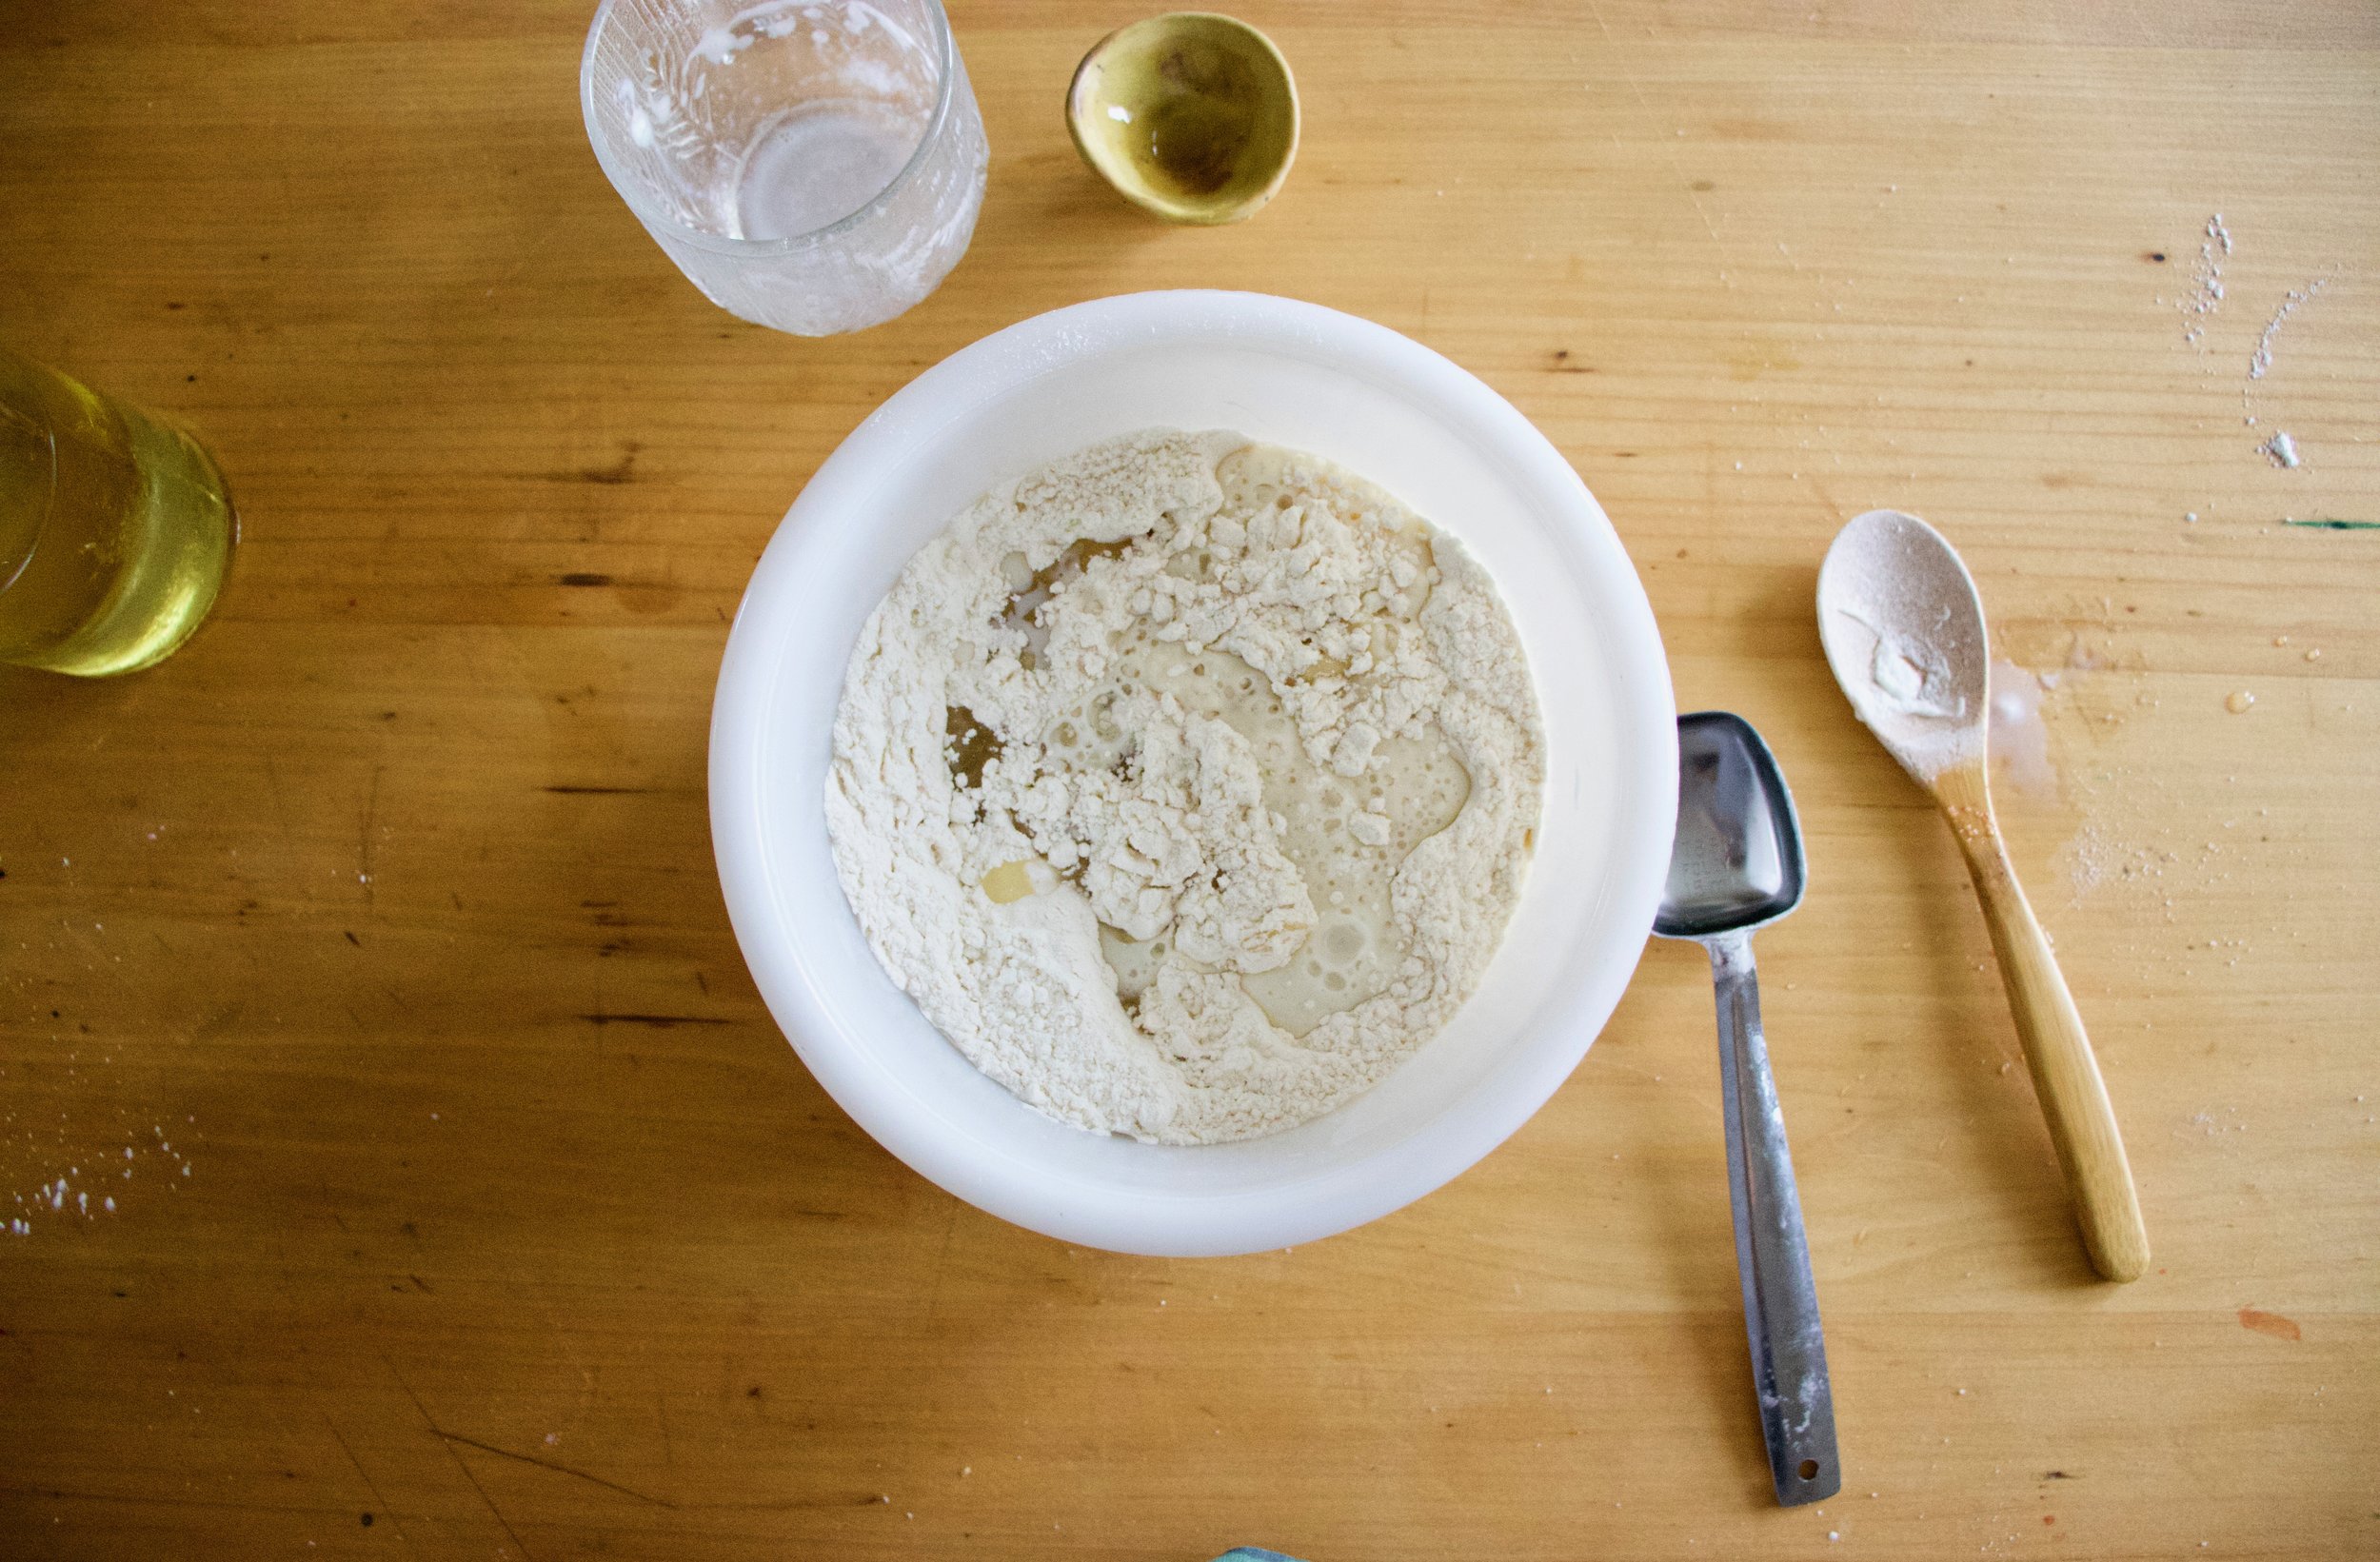
While the fruits in the oven, make the biscuit dough. Mix the dry together then mix in the wet until just incorporated and a sticky dough forms.

IMG_7805.jpg

Pulled from the oven, the fruit is starting to cook down and whoa, it just smells so good!

IMG_7816.jpg

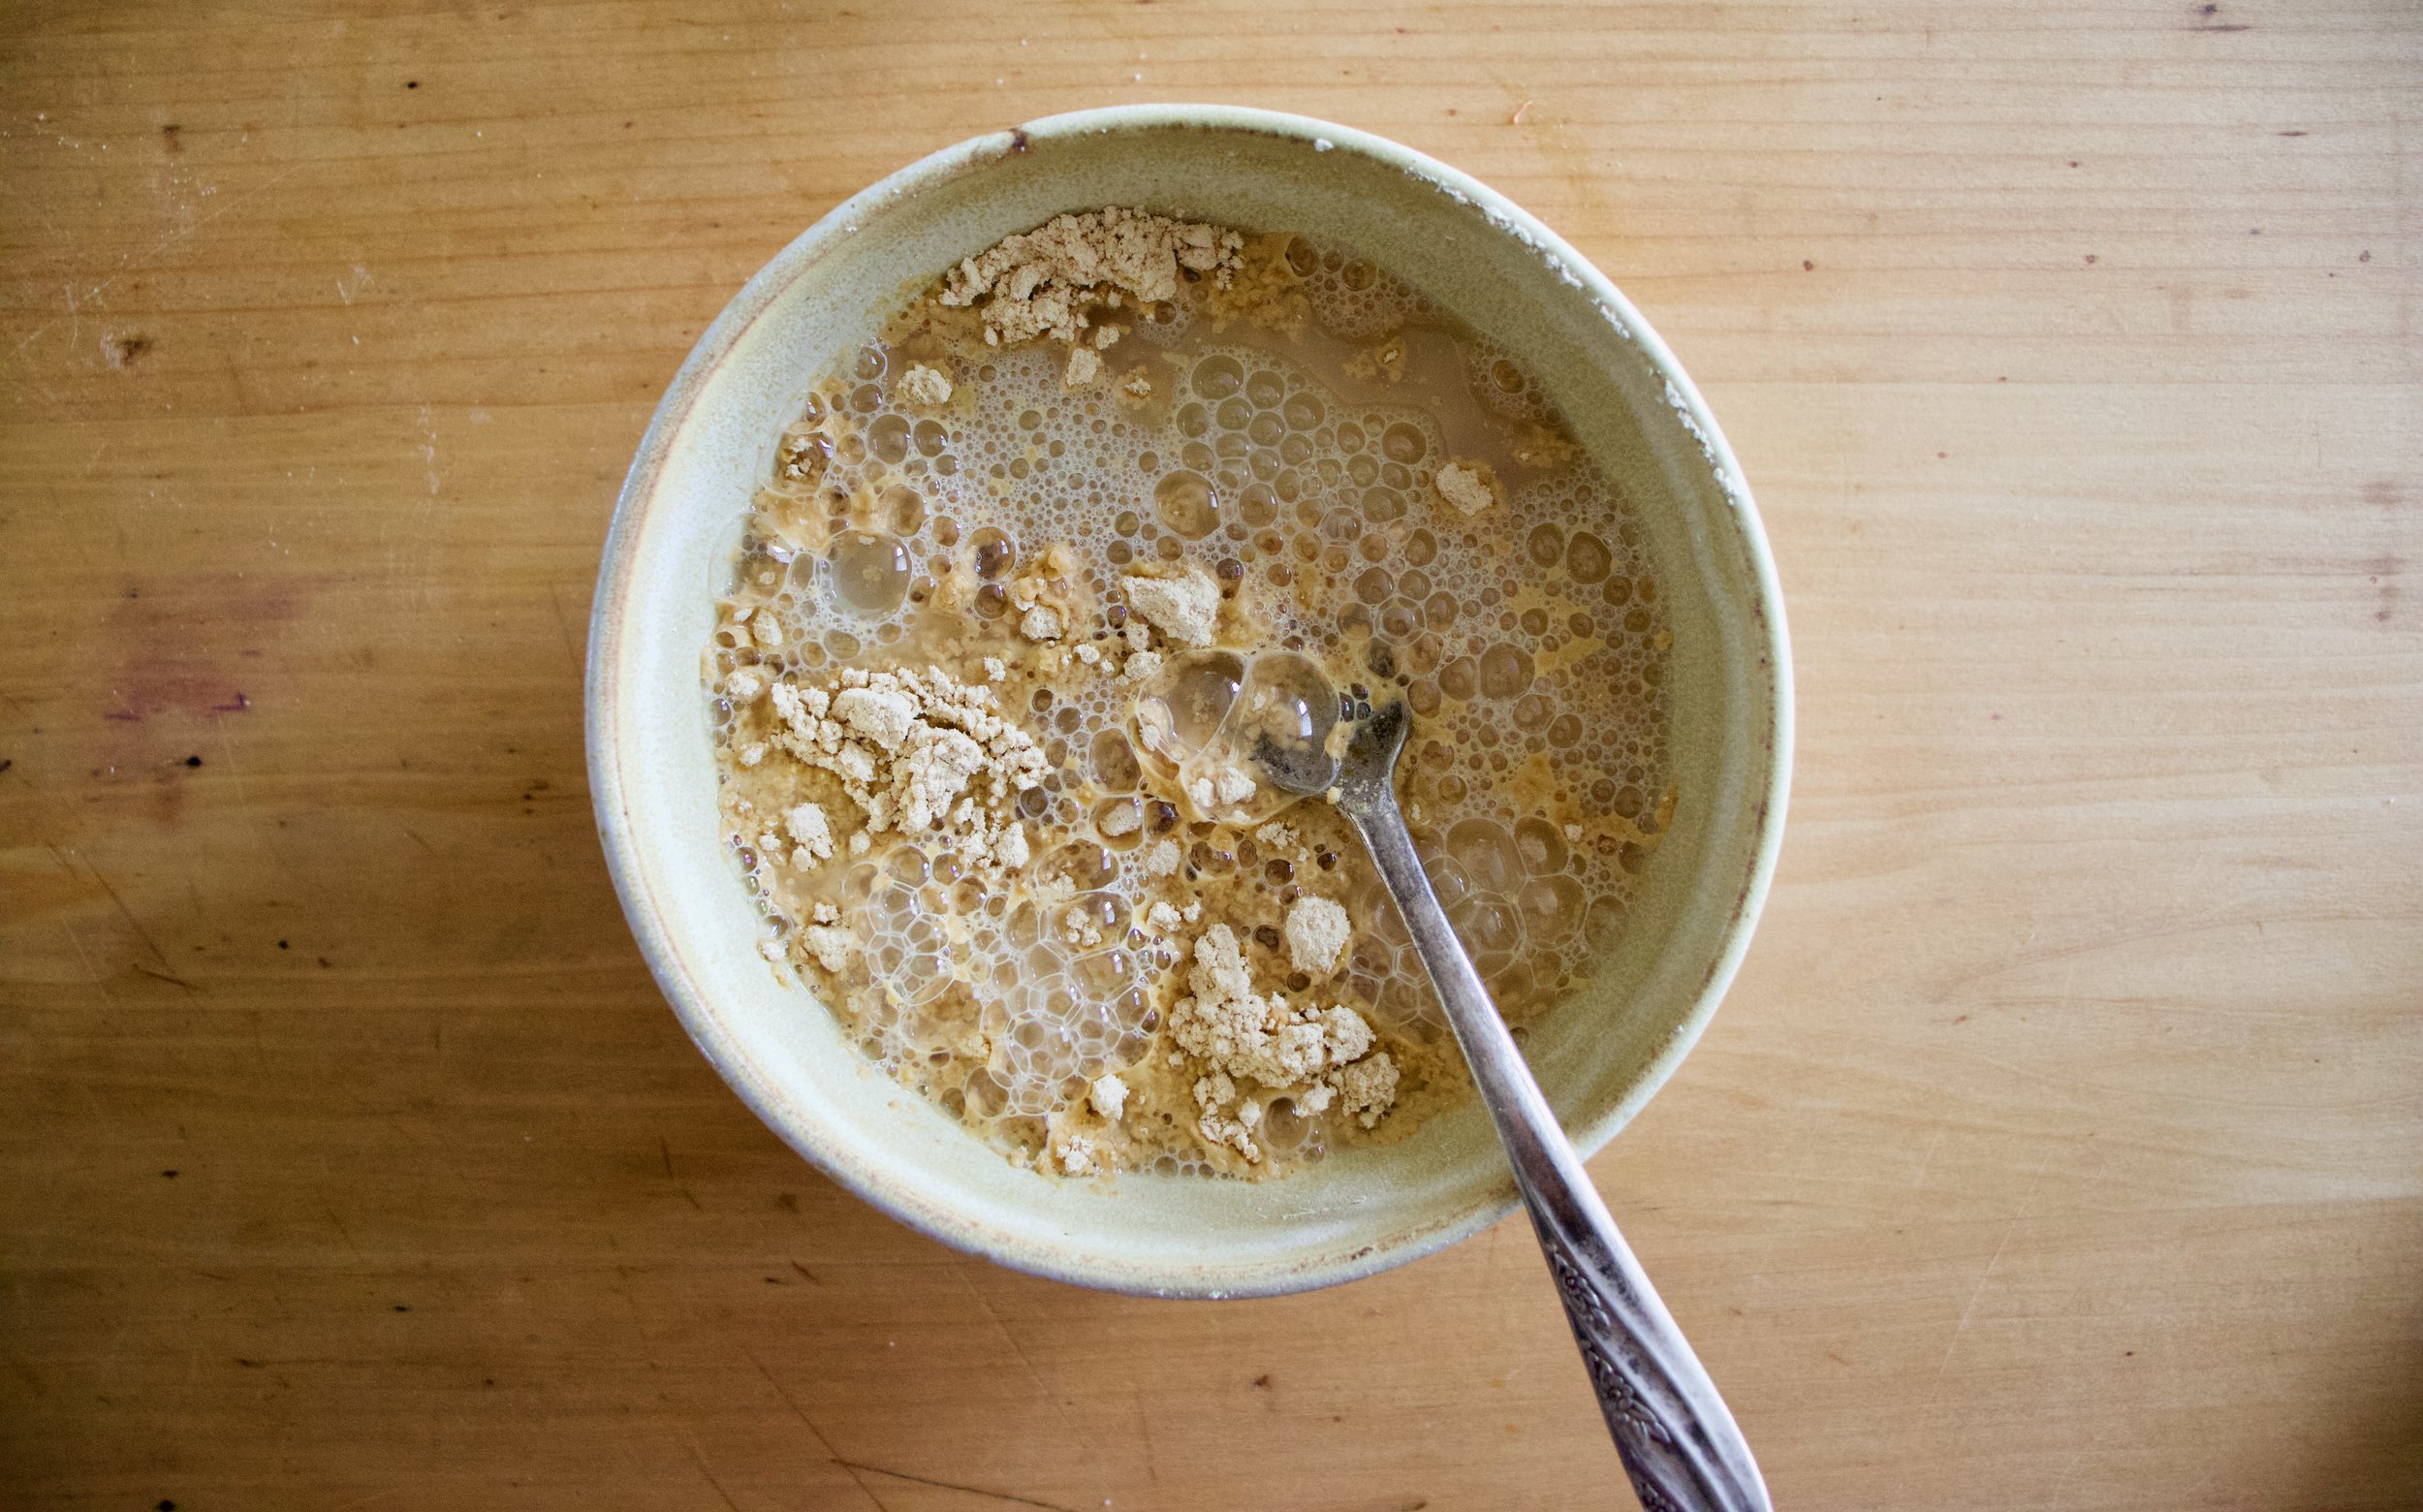
Drop on the biscuits dough on top of the fruit (careful of the hot pan). Evenly if possible, but don’t work to hard to make it look perfect. Imperfection makes it look perfect, you know?

Once biscuits are on, lightly brush the tops with a little milk and sprinkle with more sugar then pop it back into the oven for another 25-30 minutes or until the biscuits are baked.

IMG_7817 2.jpg

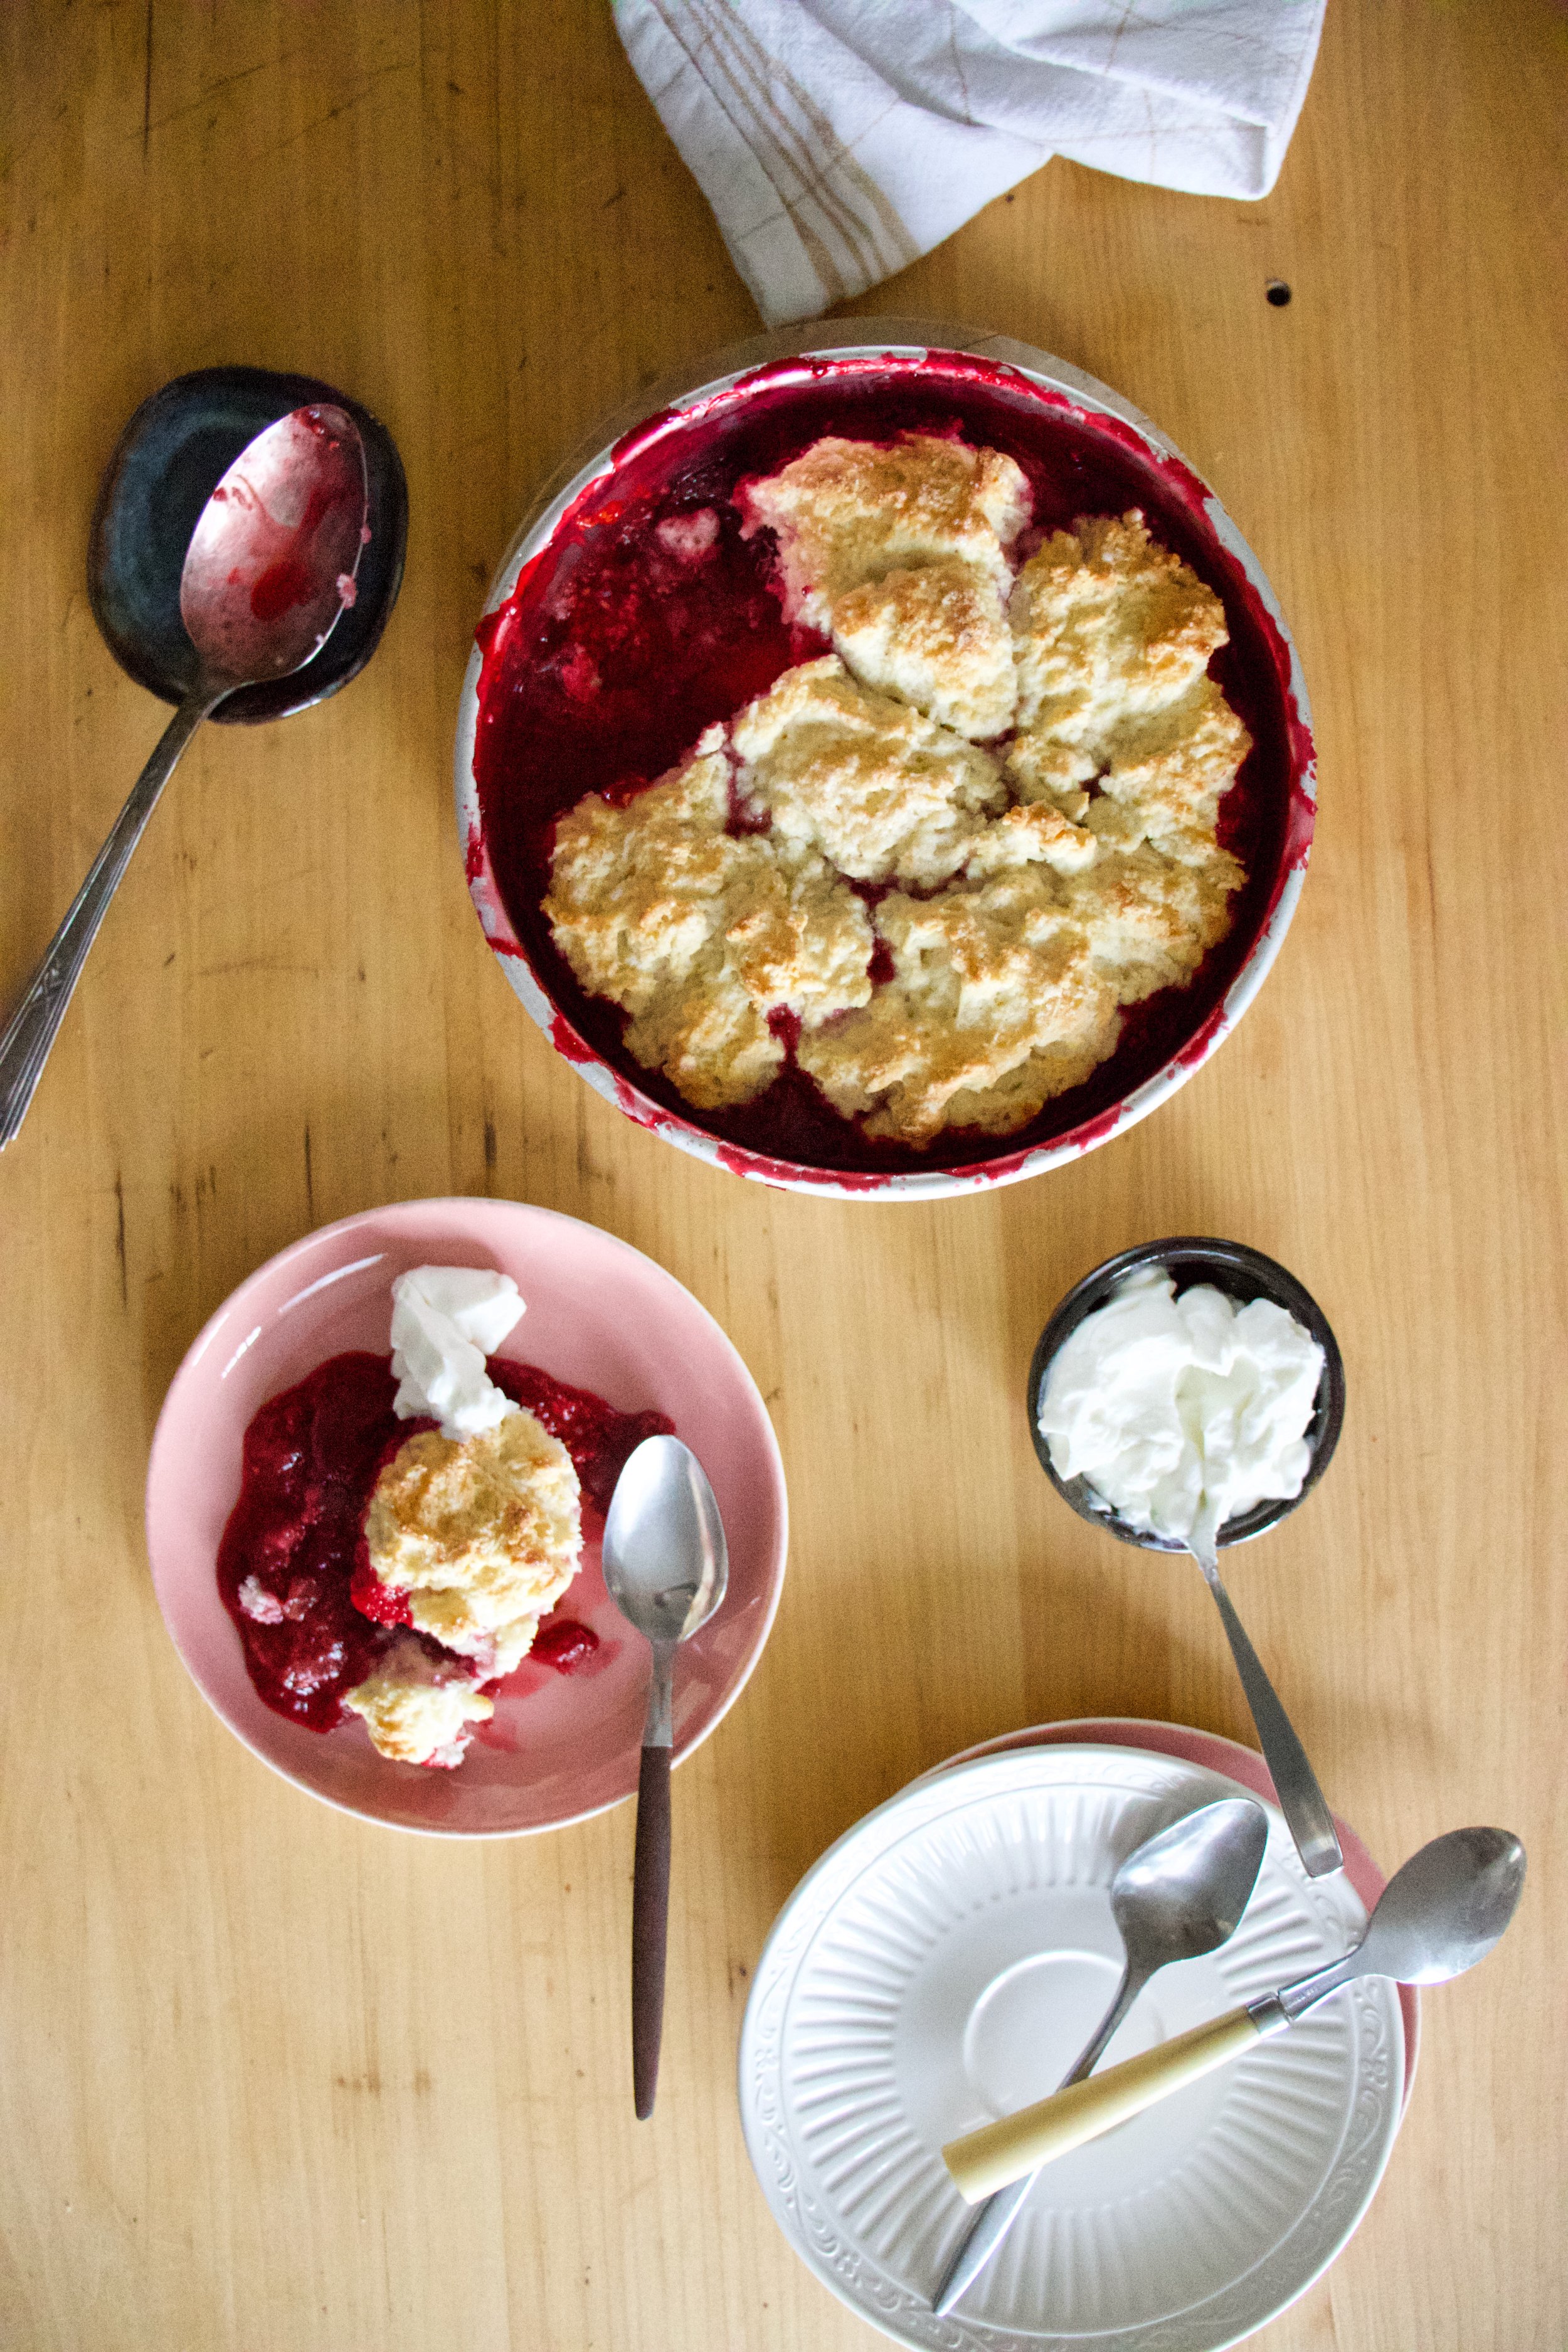
Pulled from the oven with a bubbly filling and a golden brown biscuity top. Things are looking good here.

IMG_7929.jpg

And now it’s time.

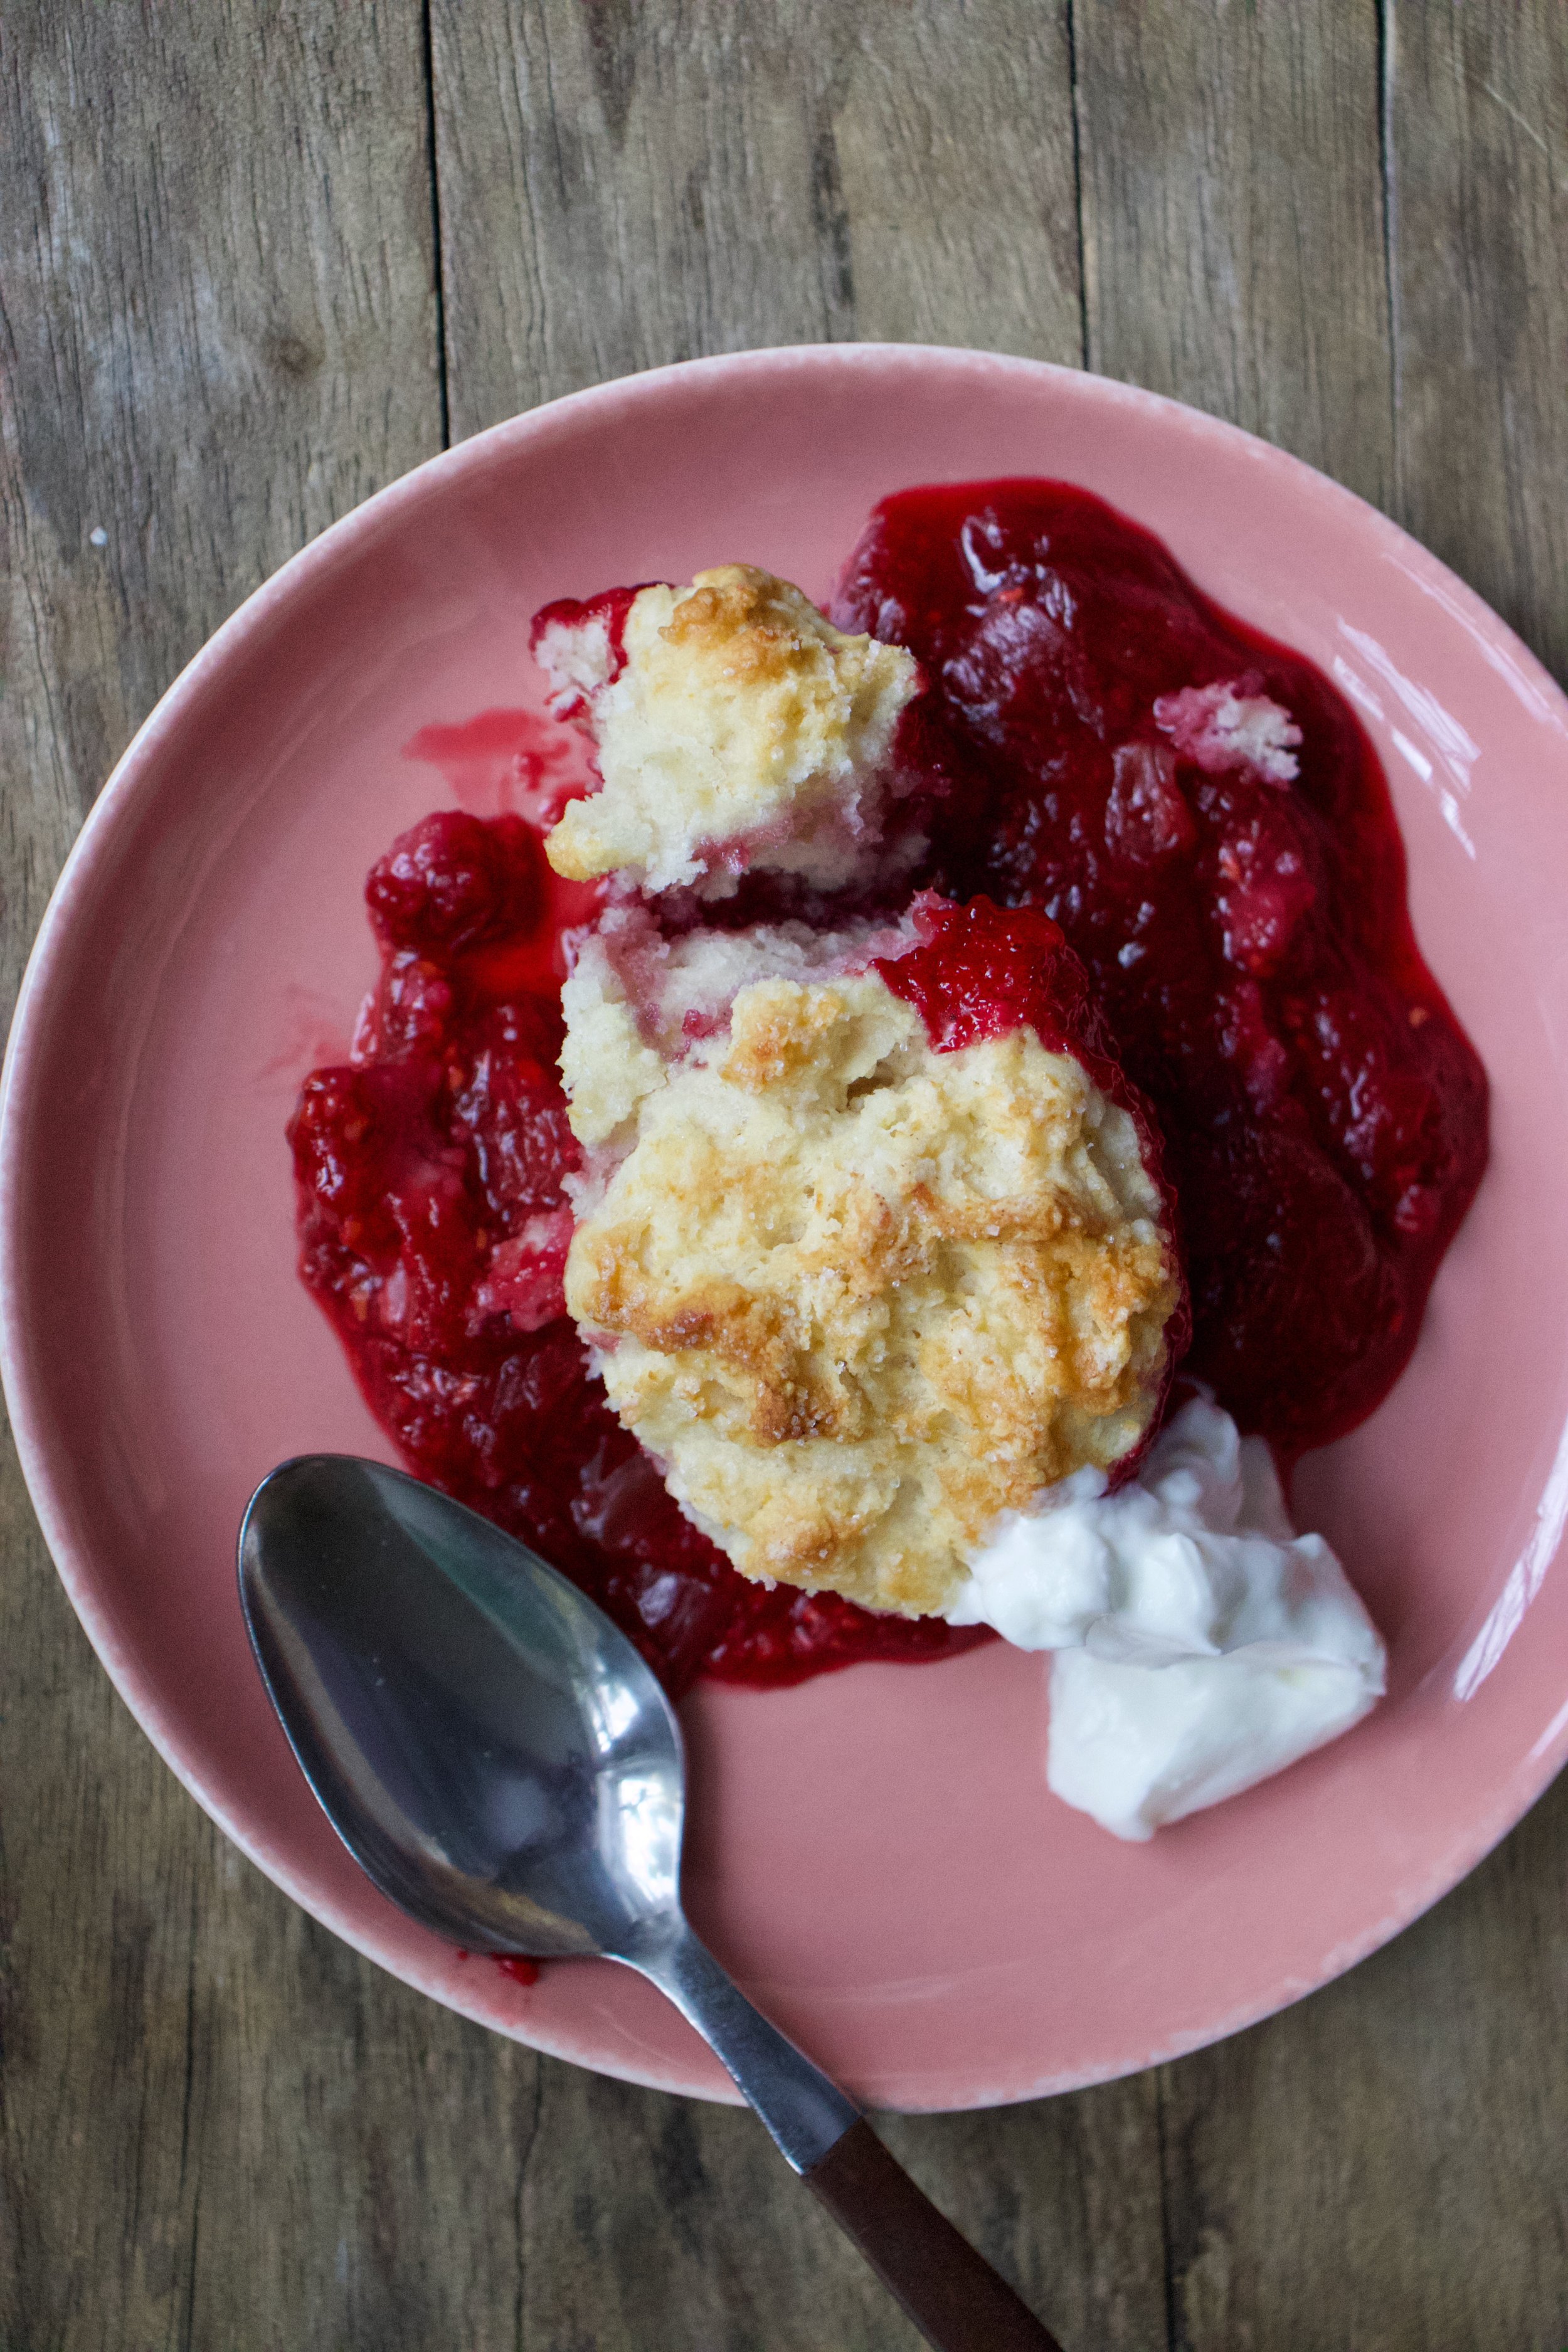
Dig on in my friend. Sever with something creamy like whipped coconut cream or some type of yogurt or ice cream situation of your choice. And again, this can be your breakfast.

Happy spring people!

-C


Raspberry Rhubarb Cobbler

make a a 8 inch round which serves 5-6

For the Filling

  • 2 cups raspberries (fresh or frozen)

  • 2 cups rhubarb chopped into 1/2 inch to inch long pieces (fresh or frozen)

  • 1 1/2 tablespoons corn starch

  • 3/4 -1 cup sugar (lesser amount if you like a little more tartness. I used lesser amount)

  • 1 teaspoon cinnamon

For the dough

  • 1 cups all purpose flour

  • 1 1/2 teaspoon baking powder

  • 1/2 teaspoon salt

  • 3 tablespoons sugar

  • 3 tablespoons neutral flavored oil

  • 1/2 cup plant based milk

  • 1 teaspoon apple cider vinegar

Preheat oven to 350.

In a large bowl mix together the rhubarb and raspberries with the corn starch, sugar, and cinnamon. Grease a 8 inch round pan the is at least 2 inches deep (can use a slightly large pan or a square) and dump in fruit mixture. Place into oven to bake for about 15 minutes or the fruit starts to break down.

While fruit is baking, mix up biscuit dough. Flour, salt, 2 tablespoons sugar, and baking powder go in a large bowl and mixed until combined. Add in the oil, the milk, and the vinegar. Mix until just incorporated and a dough has formed.

Remove the fruit cooking from the oven. Turn heat up to 375.

Carefully drop spoonfuls of biscuit batter on top of fruit. Brush the top of the biscuits with a little milk and sprinkle with remaining tablespoon sugar. Place the pan back into the oven and bake for another 25-30 minutes or until the biscuits are all nice and golden brown on top.

Remove from oven and let cool for a few minutes before serving. Serve warm with a scoop or dollop of soothing creamy (coconut cream, yogurt, ice cream…..whatever floats your boat.)

Left overs can be stored in pan, just cover it with something and place in fridge. Can be eaten cold to or reheated in microwave or oven.

In Vegan, Spring, fruit, desserts, brunch, breakfast, biscuits and such, cobblers and crumbles Tags Raspberry Rhubarb Cobbler, Cobbler, dessert, raspberries, rhubarb, spring, fruit, plant based, vegan, vegan dessert, biscuits, easy, dairy free, breakfast, brunch
1 Comment

Chocolate Chip Oatmeal Gingerbread Scones

December 8, 2018 Colleen Stem
IMG_2956 2.jpg
IMG_3021.jpg
IMG_3112.jpg

What is any good holiday season without some sort of gingerbread? Am I right, or am I right? I am right. The smell alone smacks a smile on my face. Spicy and sweet and all sorts of comforting. If smells could be objects, the smell of gingerbread would be a warm soft blanket that you can curl up next to a fire, with hot beverages and a good book. Yup, that is exactly what gingerbread smells like.

Gingerbread cookies were an option for all the gingerbread goodness but right now there is a heavy influx of people making cookies of the gingerbread variety so I figured I should do something a little different and honestly, a heck of a lot easier and faster. Plus scones are a way more expectable breakfast food then cookies (who am I kidding, cookies are a completely expectable for breakfast) and I was looking for a good breakfast treat to feed the mr this week because its his birthday week and I wanted a little something special for him for breakfast. I know, I am just so great.

Anyway, these scones fit the holiday gingerbread bill. I mixed them up, added the chocolate chips for a little extra something, then tossed them into the oven and bathed in the smell as they were baking. Pulled them from the oven, poured some coffee, and set out a delightful afternoon snack for the mr, right after he was finished laying on the freezing ground trying to fix the tire on the truck. I think he really appreciated the smell of a warm blanket. And he really enjoyed the scones too. All birthday week long.

So what are you doing this weekend? I think probably making scones. Yeah, do that.

Here we go.

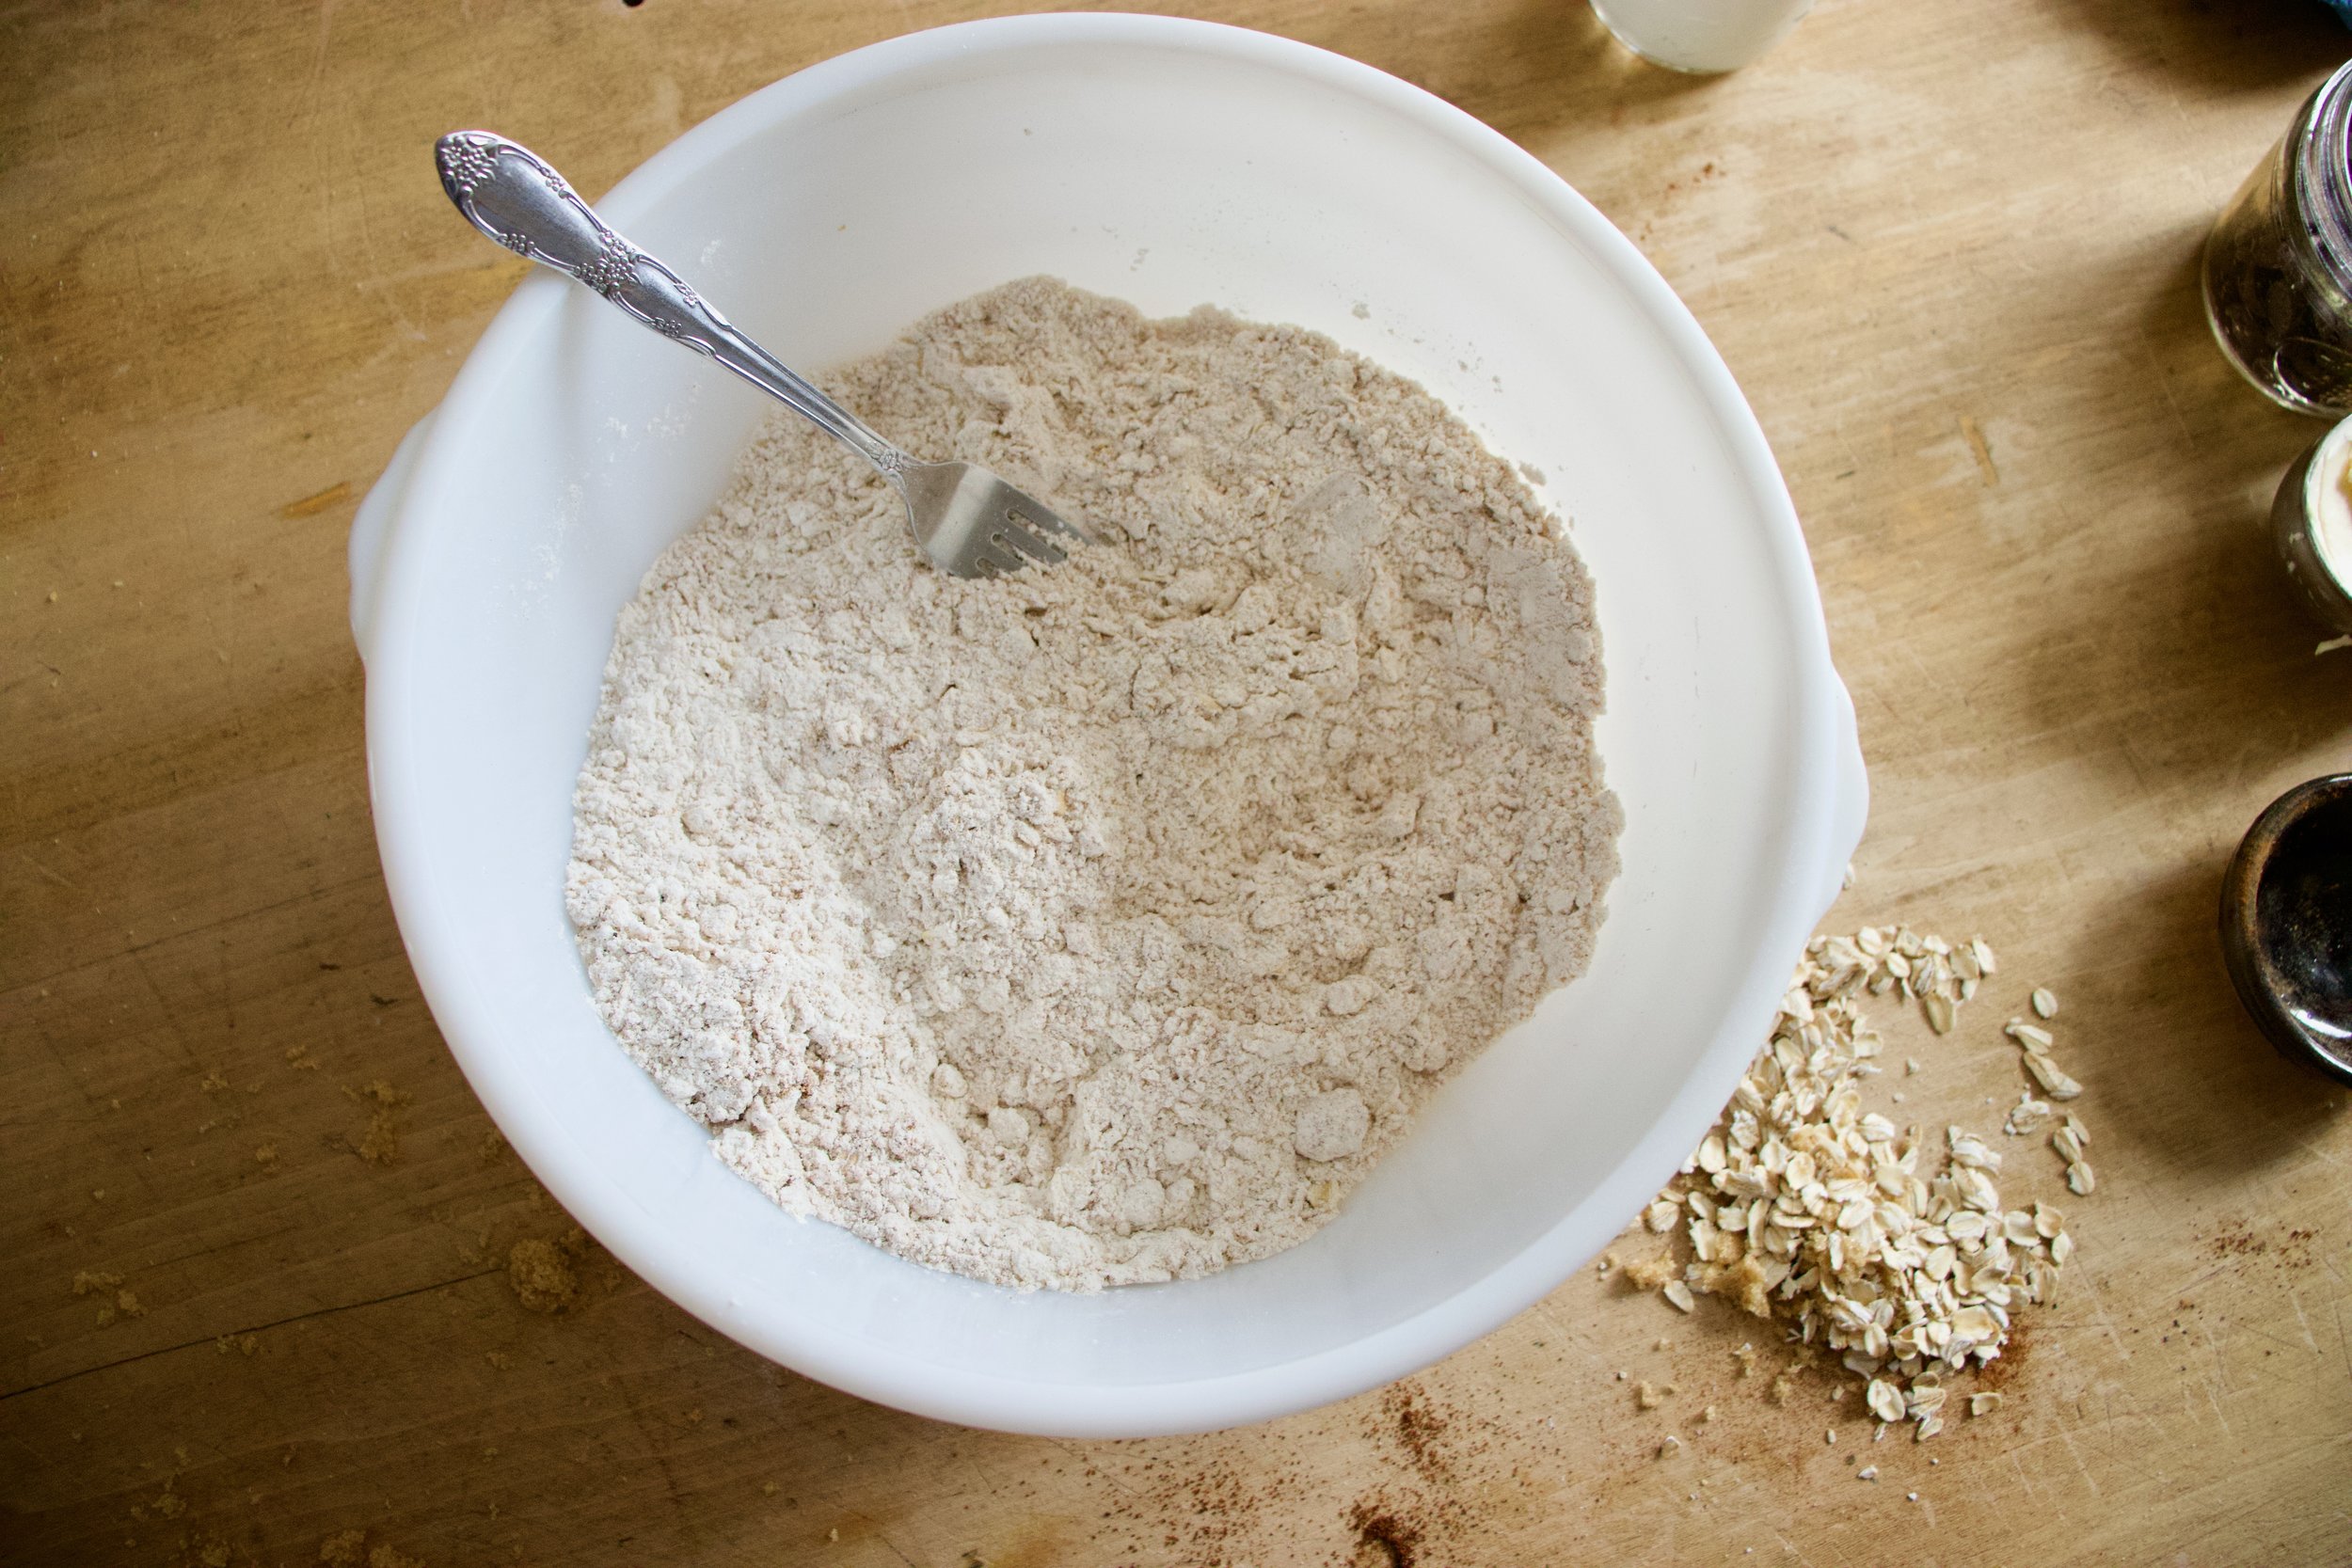
The stuff. In the bowl there is flour, old fashion oats, baking soda and baking powder, and salt. Also need the spices of ginger, cinnamon, clove, and black pepper. Molasses, brown sugar, vegan butter, soy milk, and chocolate chips finish of the list.

IMG_2840.jpg
IMG_2846.jpg
IMG_2850.jpg

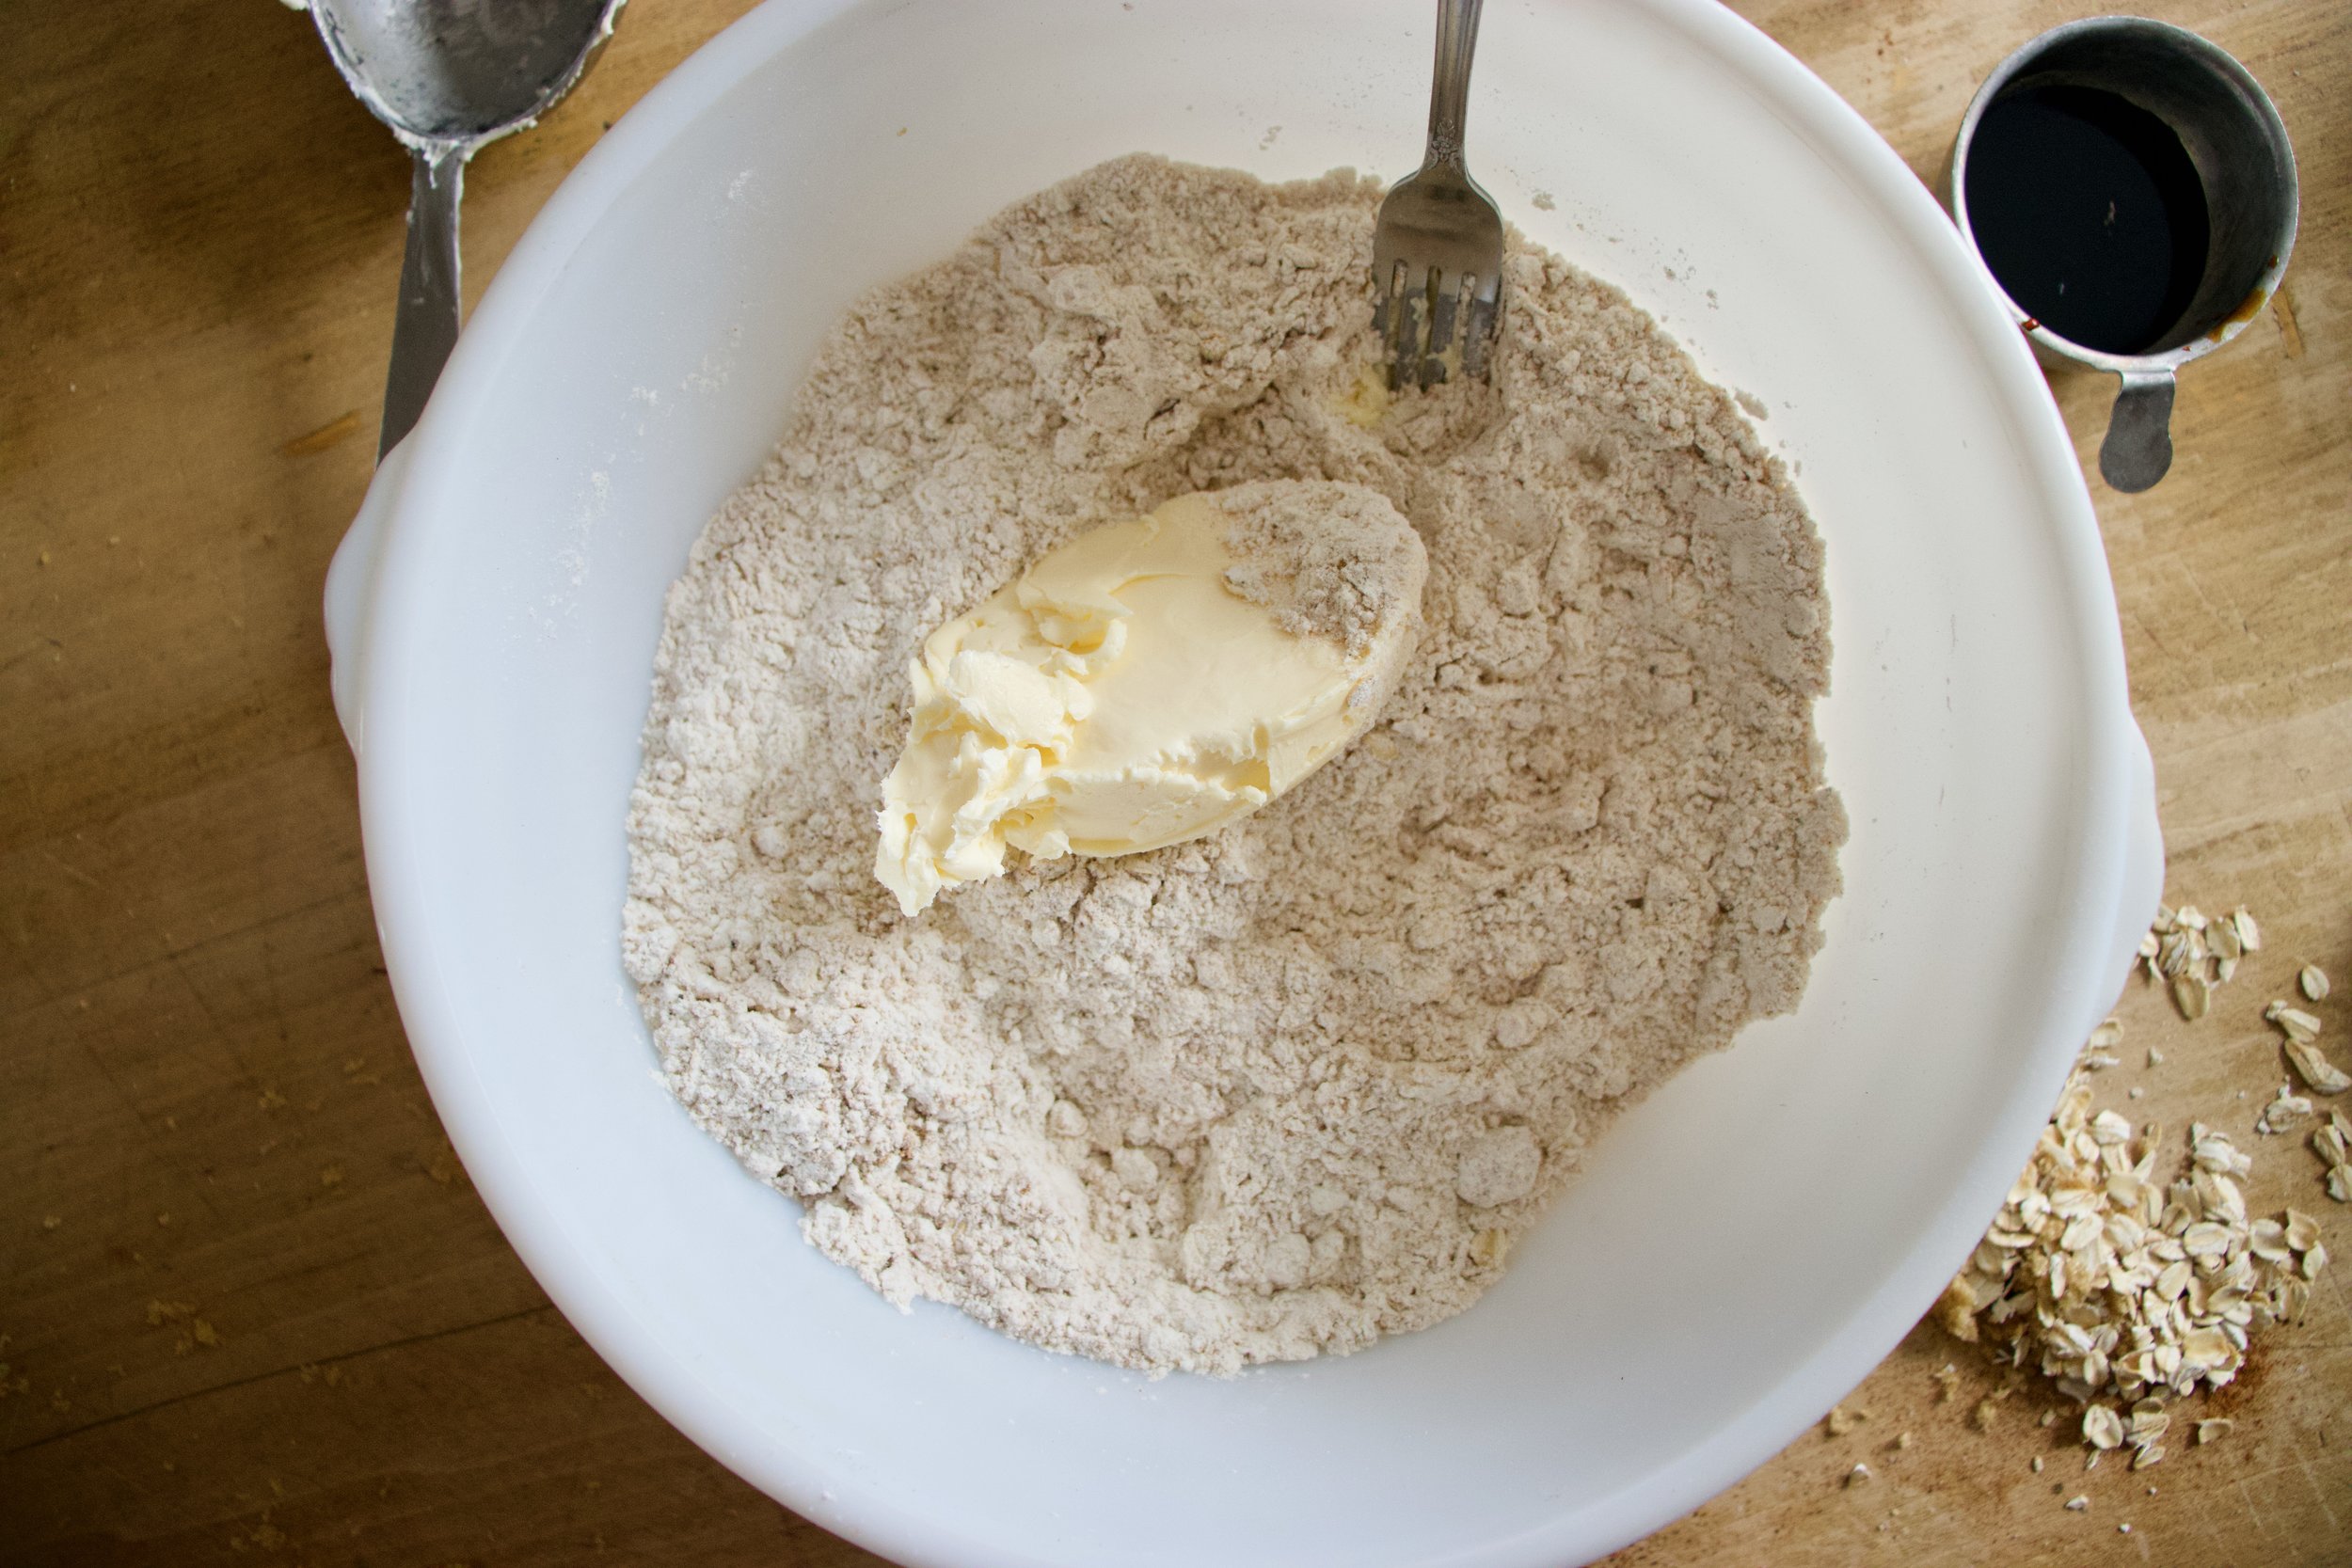
In the bowl add in all the spices and the brownl sugar. Mix until completely combined and there are no brown sugar lumps. Drop in the cold butter and cut it in with a fork. You don’t want it blended, you want the butter in little bits.

You want it to look like this. Crumbly.

IMG_2868.jpg

Toss in the chocolate chip.

IMG_2863.jpg

Dump the molasses into the milk and mix until combined. Doing this helps minimize the amount of mixing you do which will help make sure your scones are not tuff. So don’t not do this.

IMG_2875 2.jpg

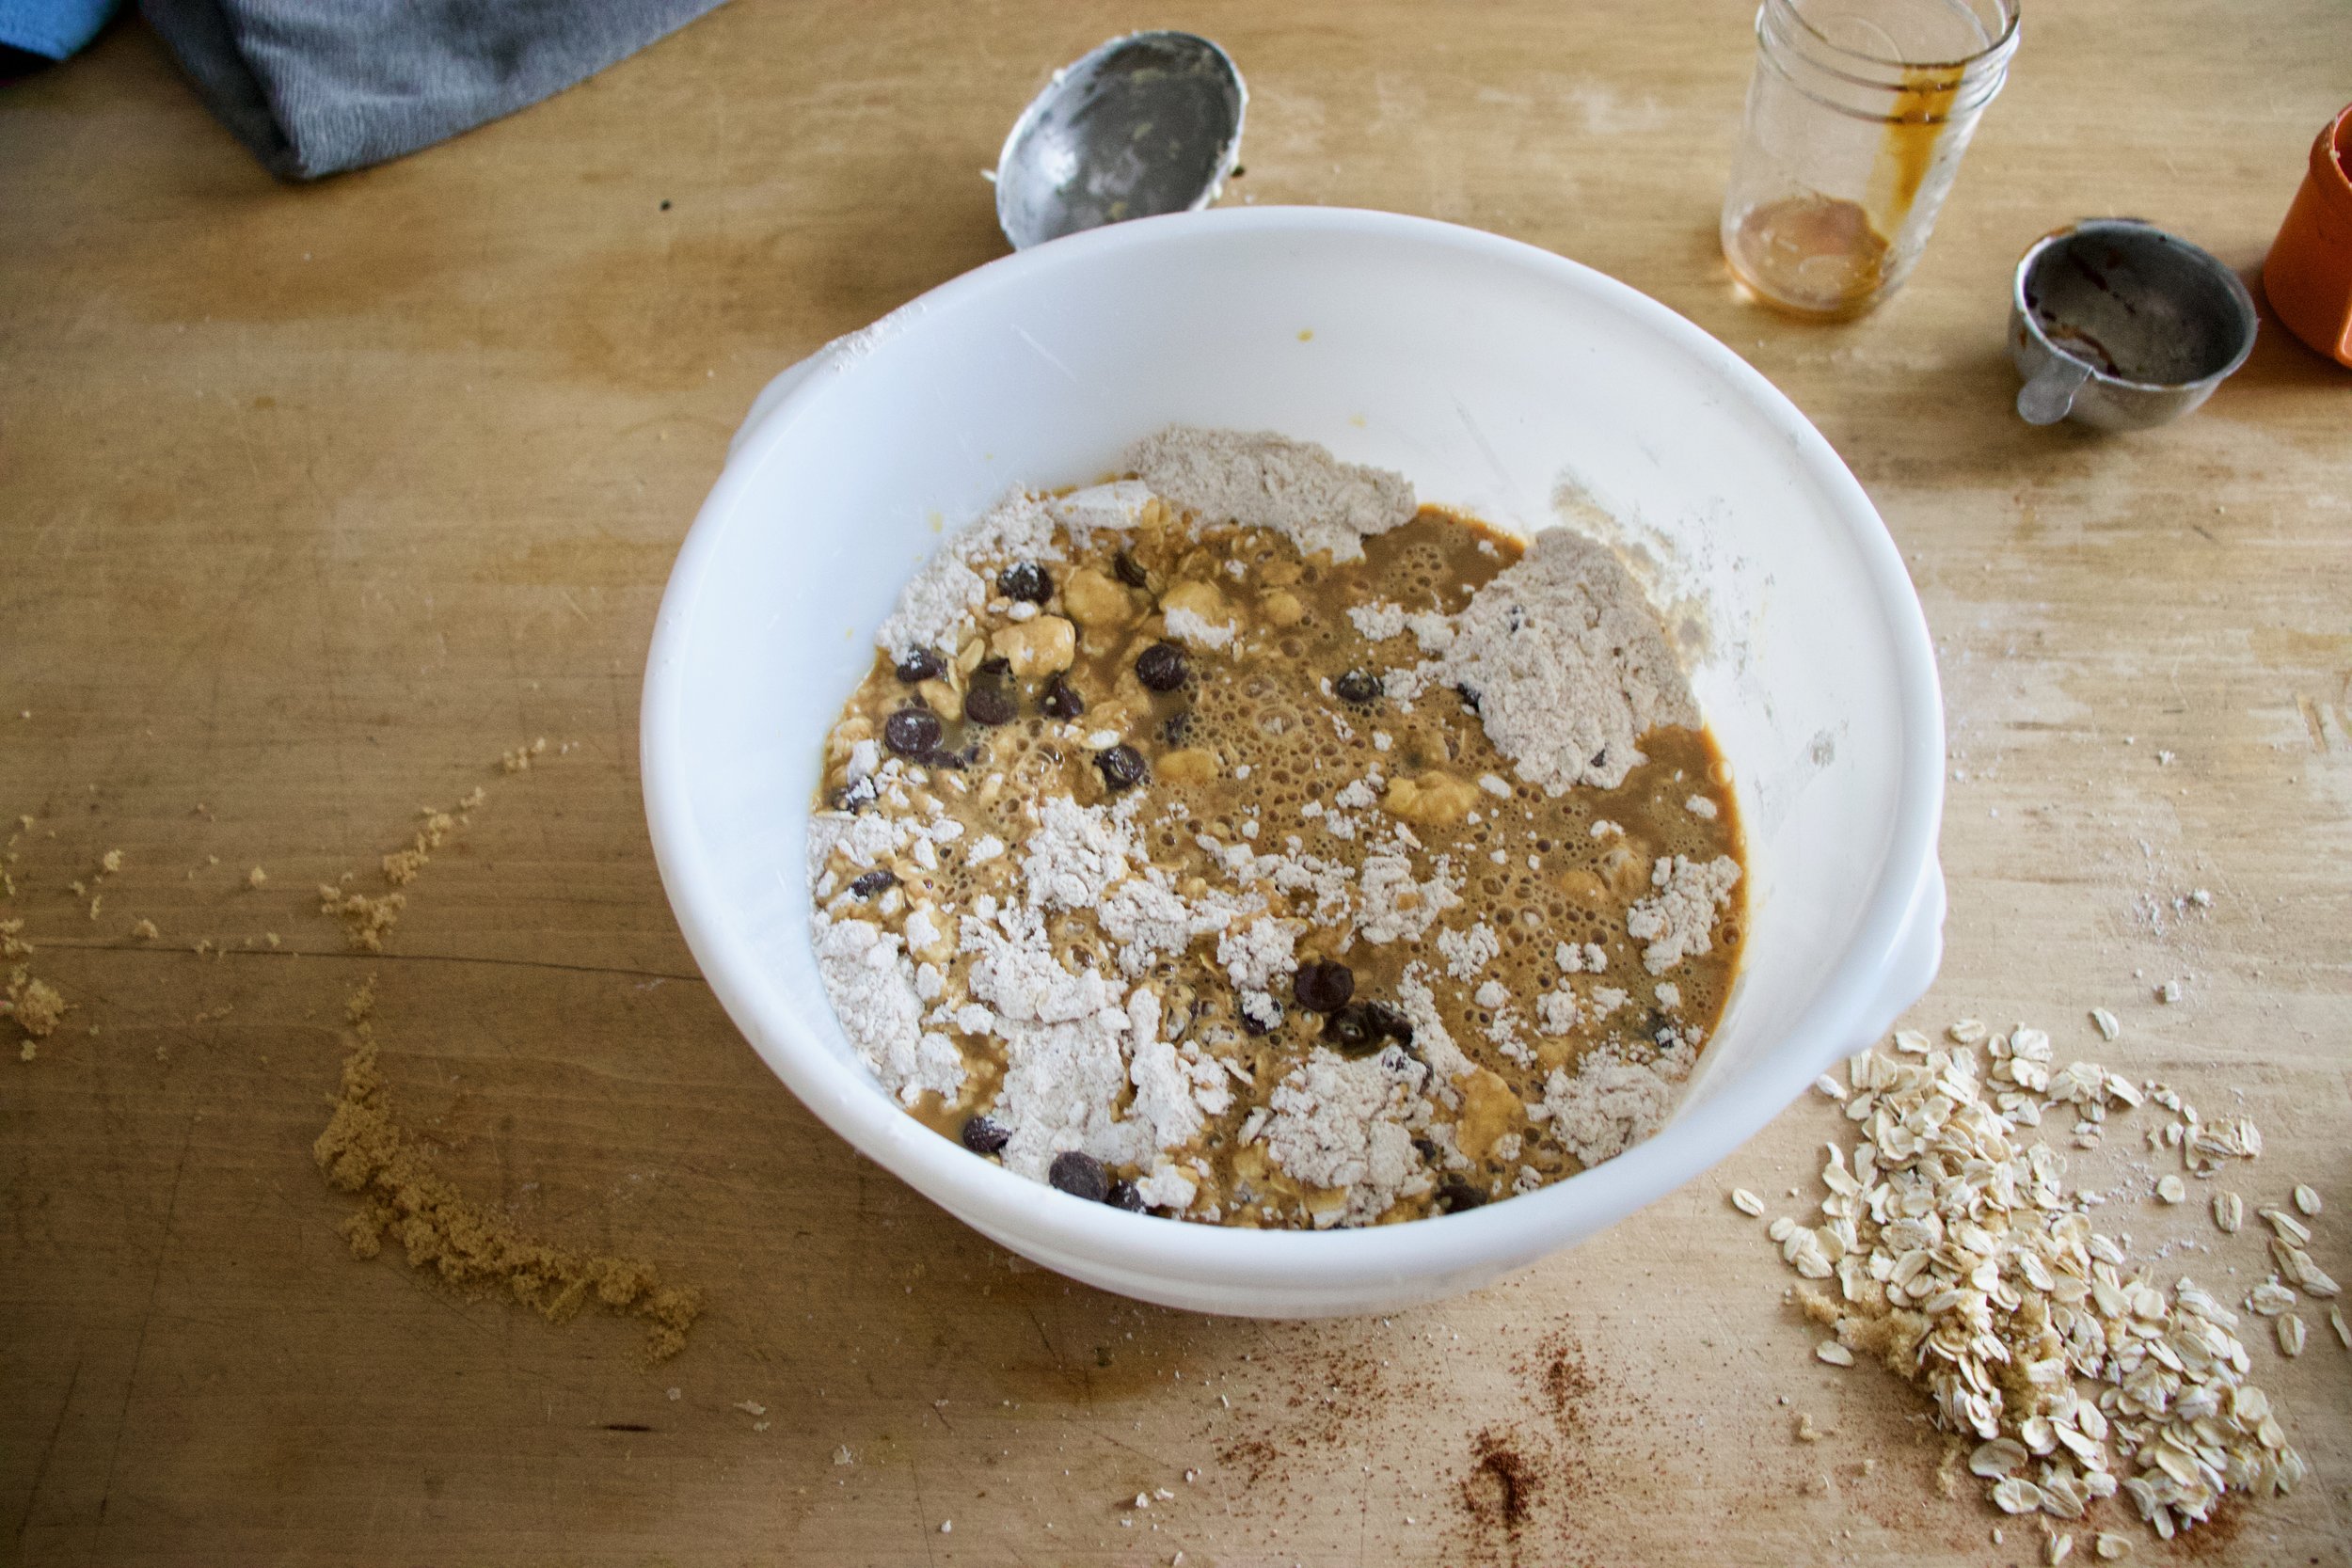
Pour the molasses milk into the mixture

With a fork, lightly fold and mix batter until it just starts to come together.

Dump dough out onto a lightly flour surface and gather together with your hands.

IMG_2917.jpg

Flatten into a big disk and cut into 8 equal wedges. Or as equal as you want to make them… you could even make a few more wedges if you want more. You do you.

IMG_2933.jpg

Place the scones onto a baking sheet. Brush a little milk on each then sprinkle the tops with a little brown sugar and some oats.

Pop them into preheated oven and let bake.

IMG_2938.jpg

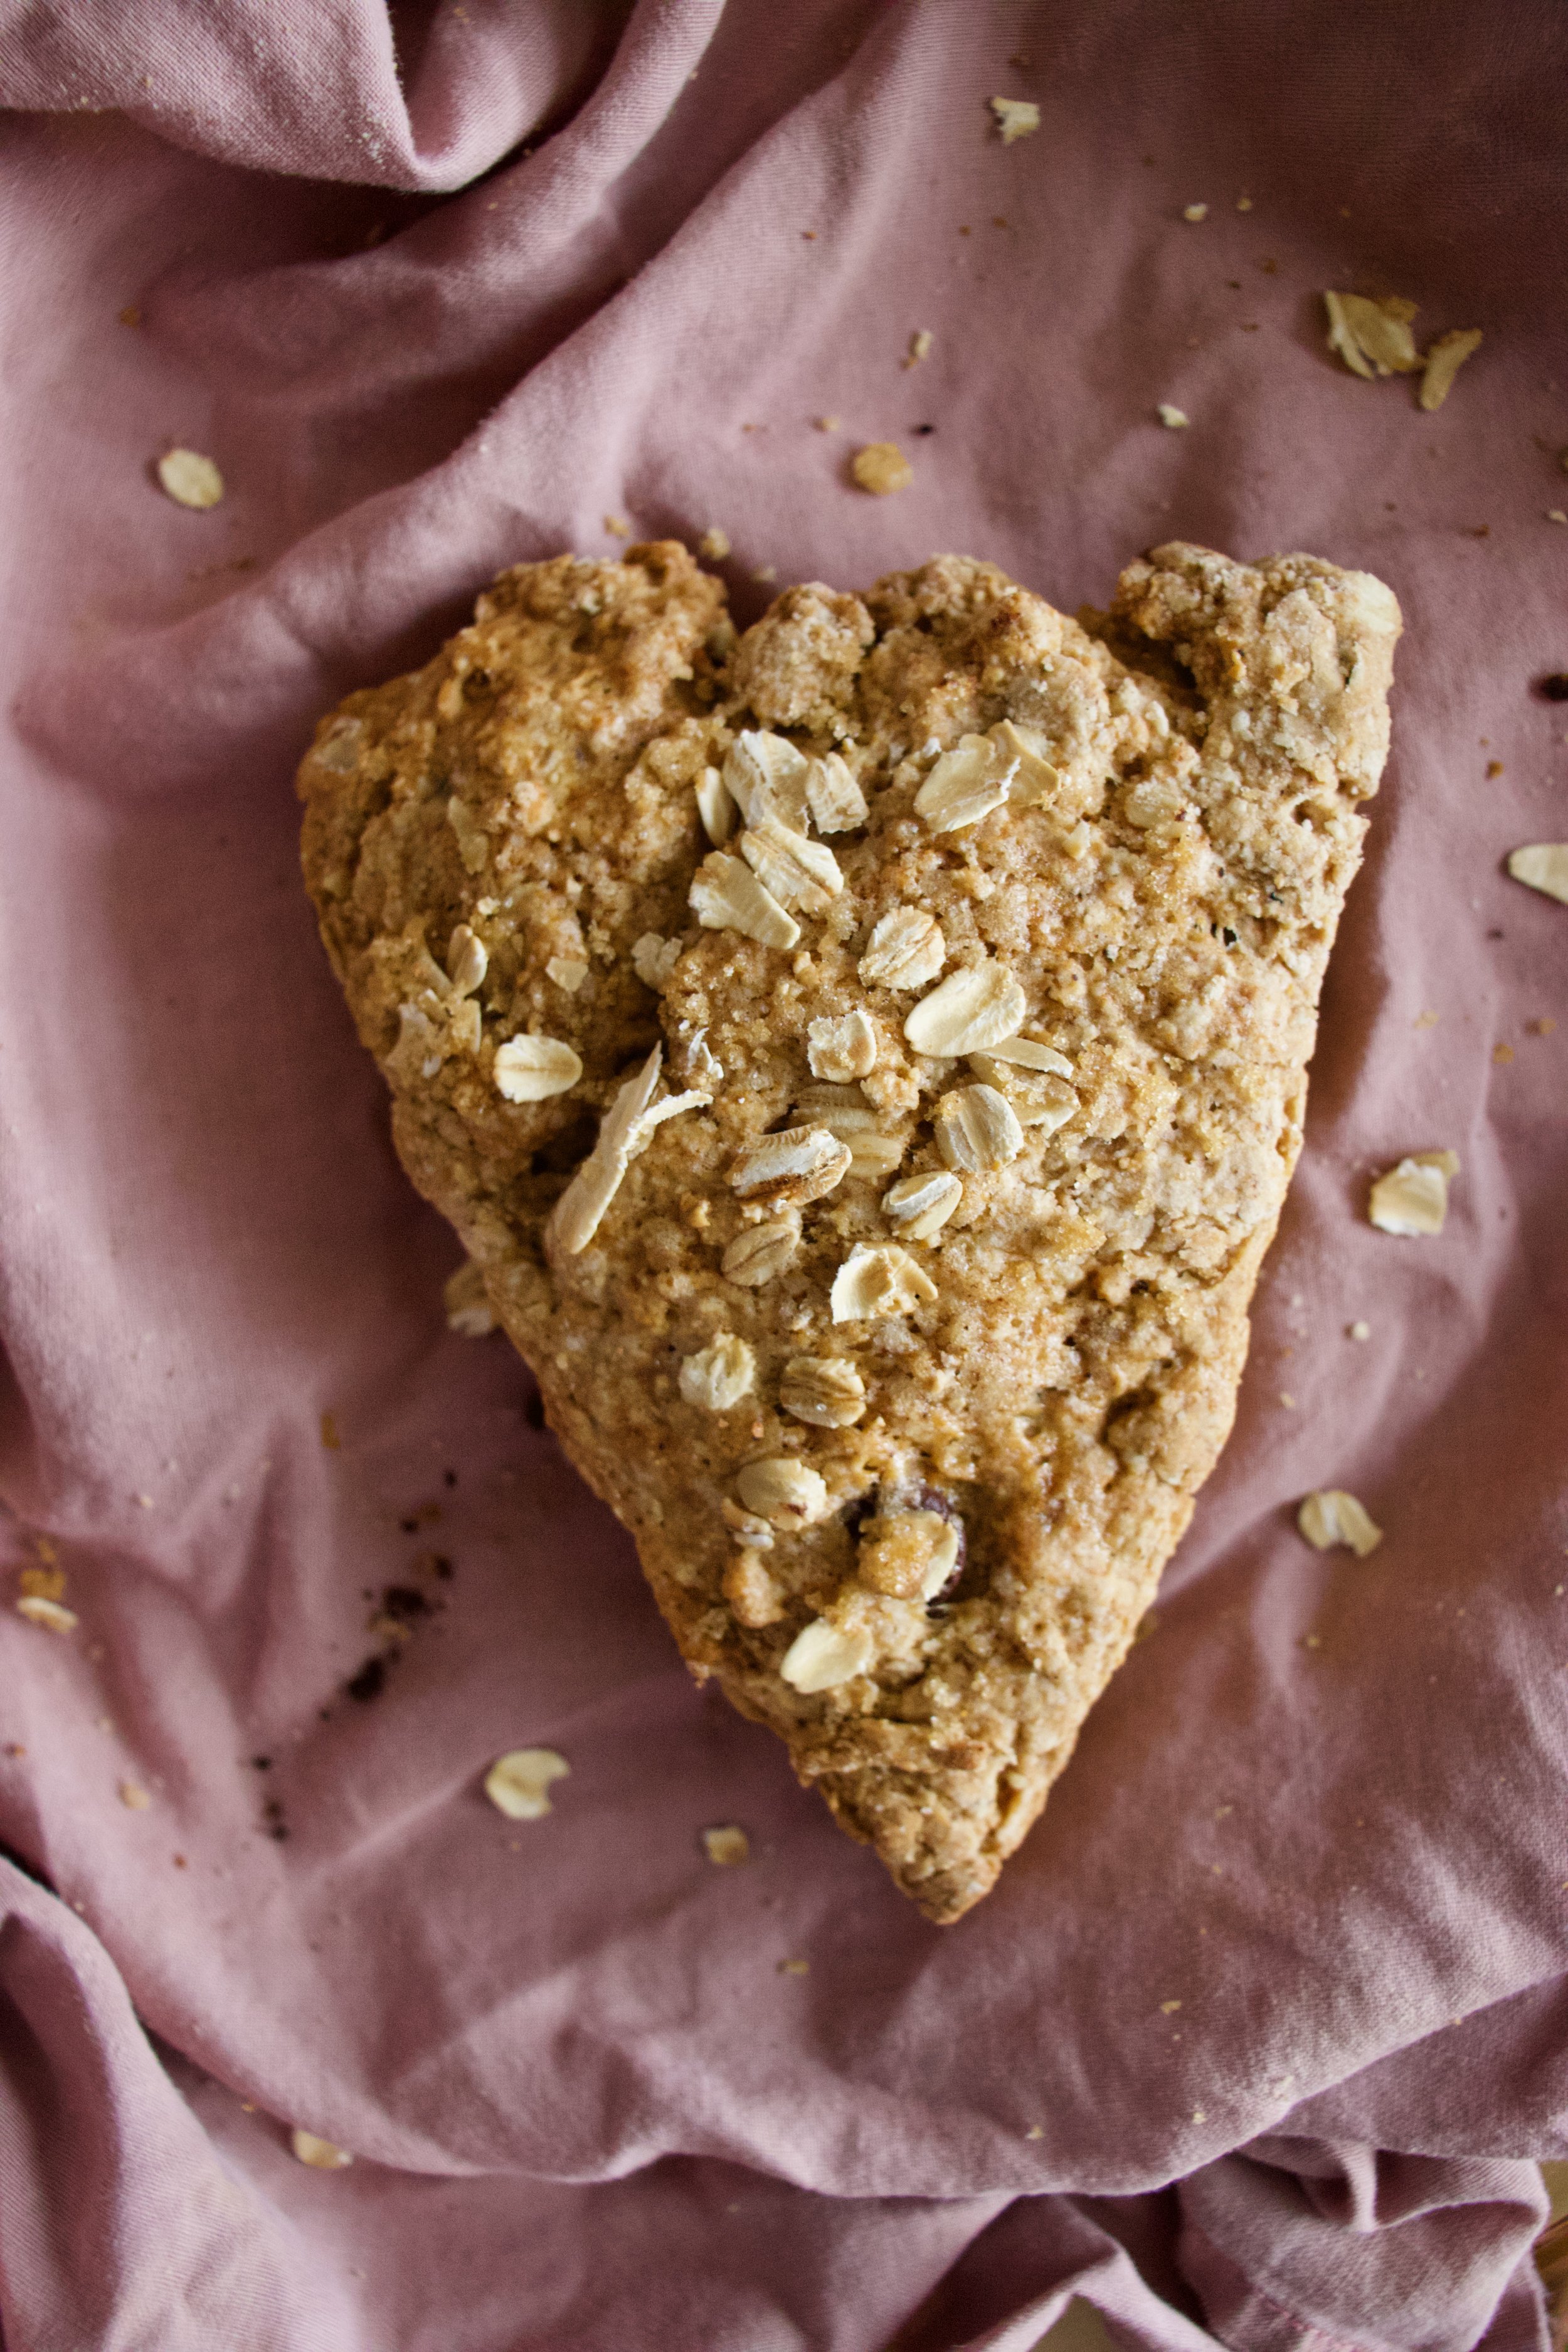
Gold brown and ready for the world.

After letting them cool for a bit on a wire rack, stack onto a plate and feed them to your people. And yourself of course.

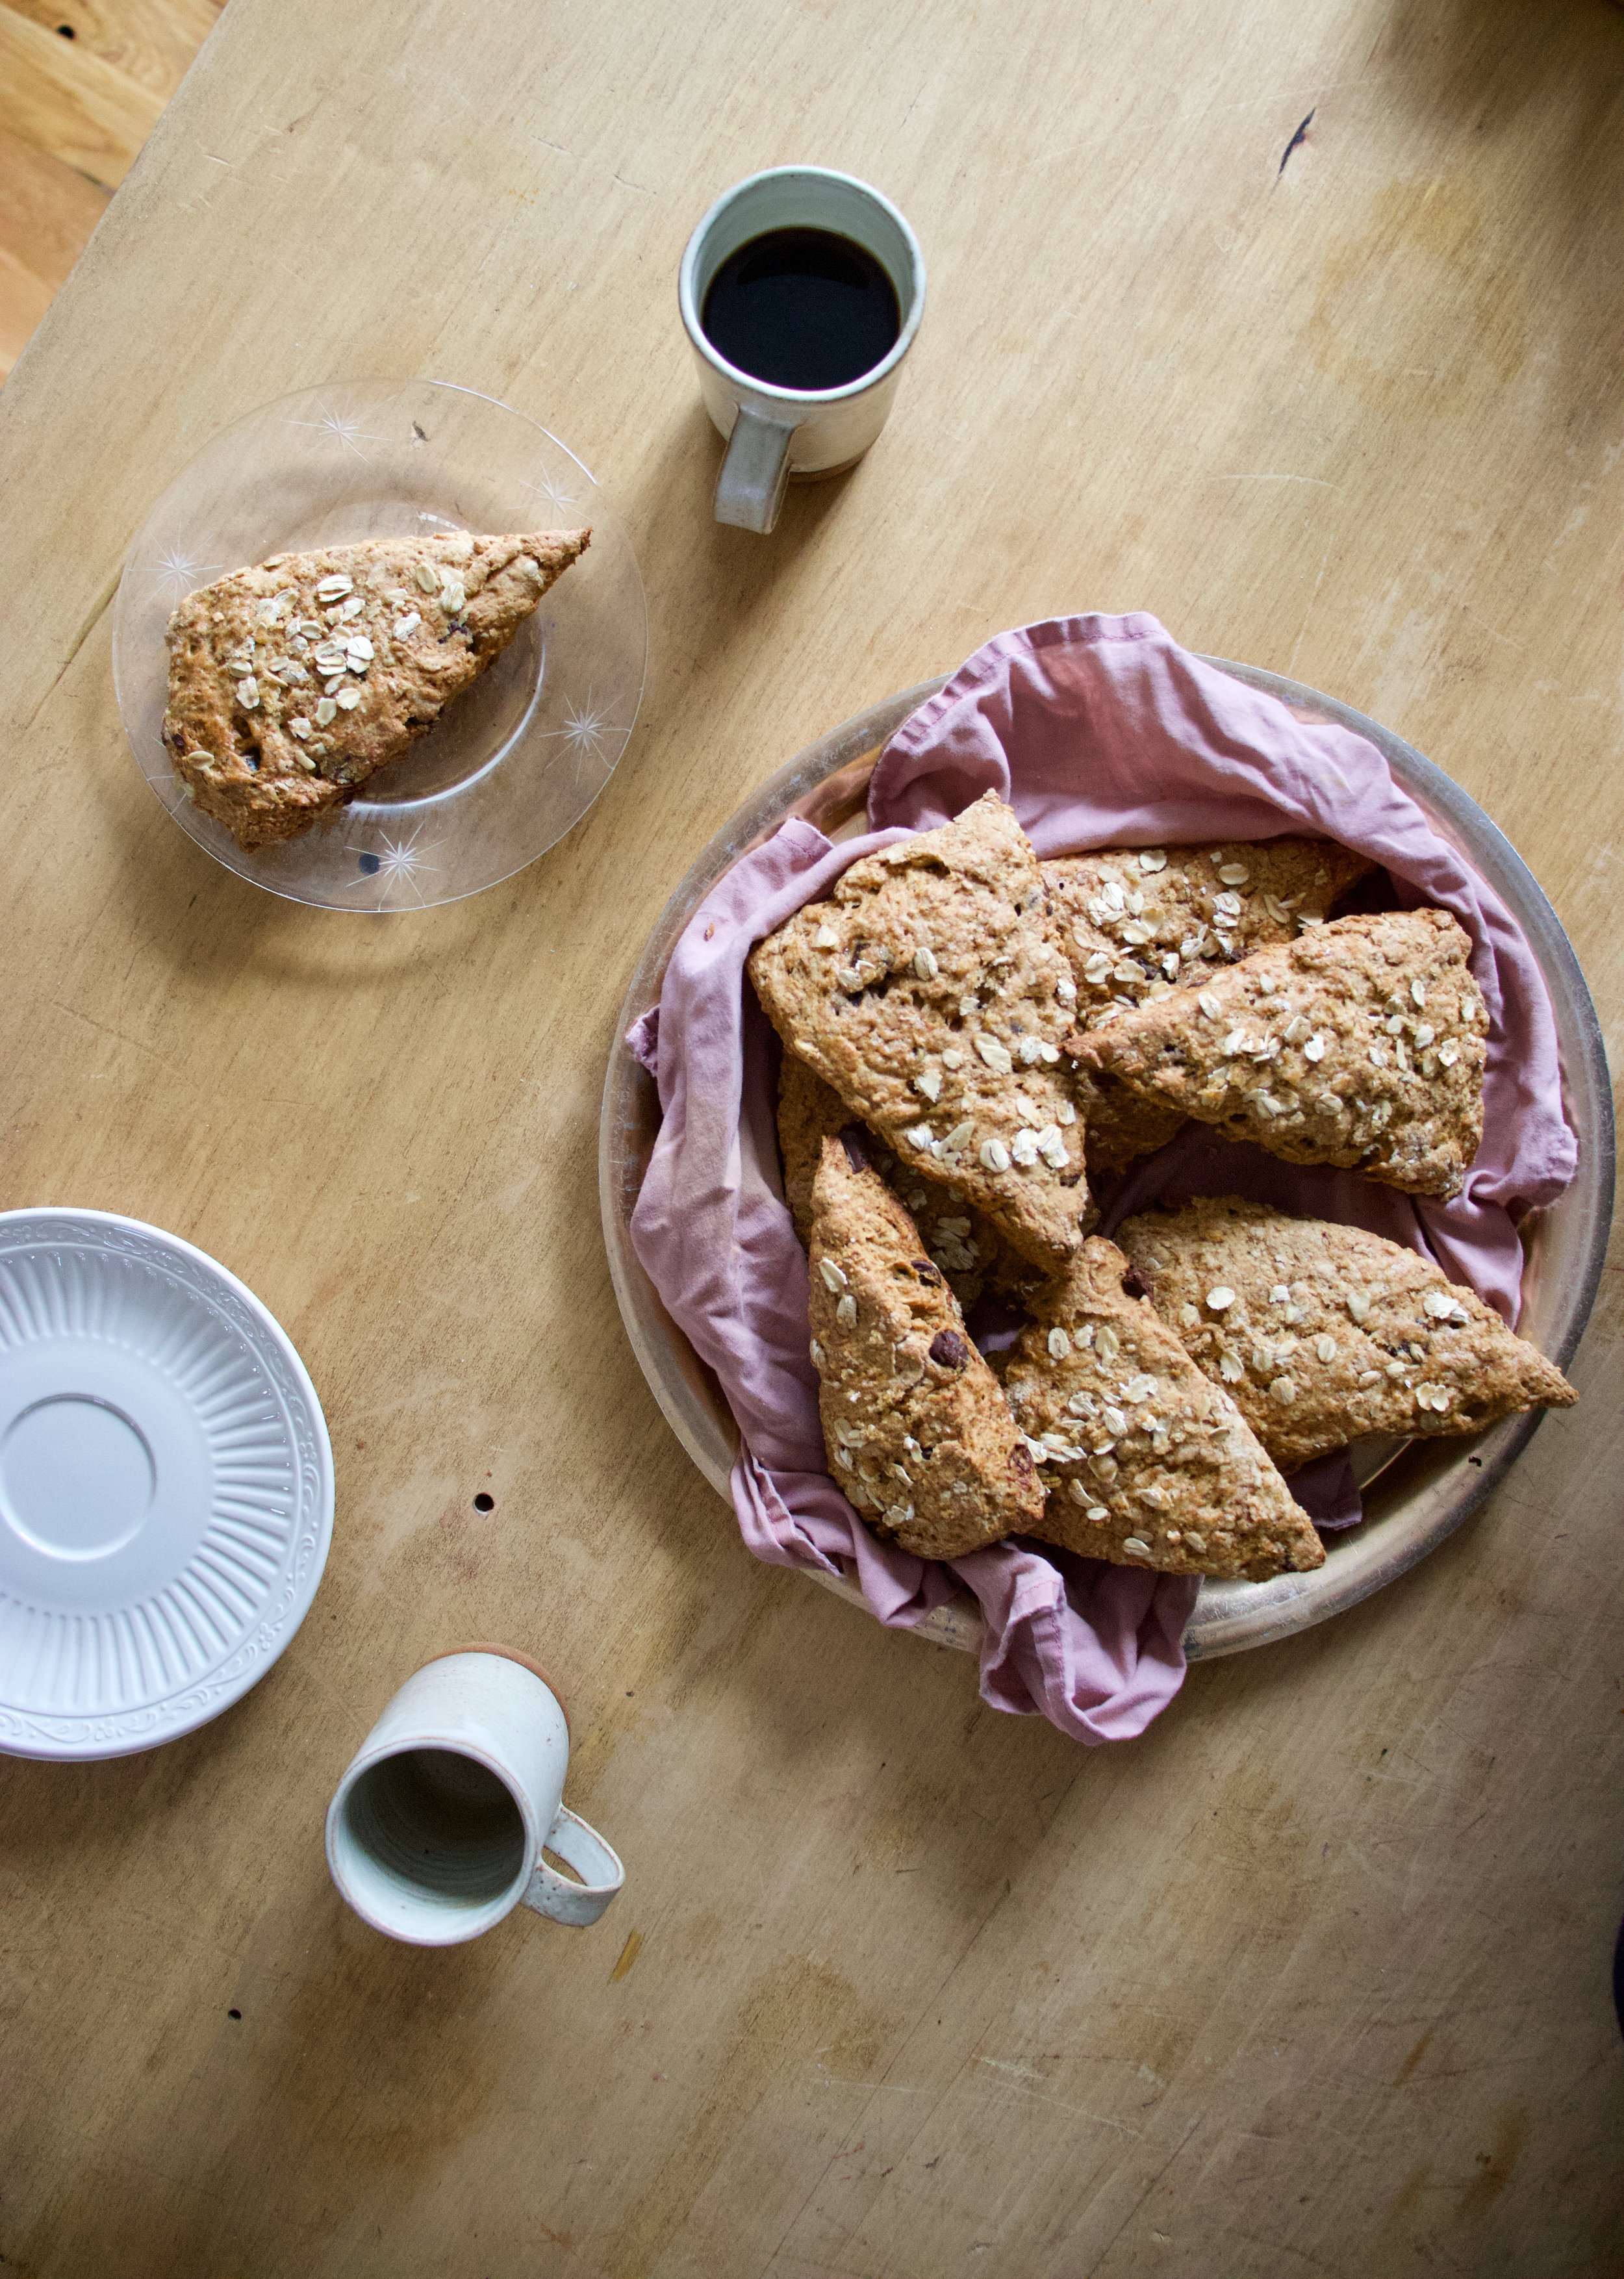
Chocolate chip oatmeal gingerbread scone and a cup of coffee. A perfection in all the ways.

Enjoy the weekend. It will be great, especially if you make some of these scones.

-C


Chocolate Chip Oatmeal Gingerbread Scones

Makes 8 scones

  • 2 cups all purpose flour

  • 1/2 cup old fashion oats plus 1/4 cup to sprinkle on top

  • 1 1/2 teaspoons baking powder

  • 1/2 teaspoon baking soda

  • 1 teaspoon salt

  • 2 teaspoons ground ginger

  • 2 teaspoon cinnamon

  • 1/2 teaspoon fresh ground pepper

  • 1/4 teaspoon cloves

  • 1/3 cup packed light brown sugar plus 2 tablespoons more to sprinkle on top

  • 2 tablespoons molasses

  • 1/2 cup cold vegan butter

  • 2/3 cup soy or your favorite plant milk

  • 2/3 cup semi sweet chocolate chips

Preheat oven to 375

In a large bowl, whisk together the flour, oats, baking powder and soda, salt, all the spices, and the brown sugar. Make sure there are no big lumps of brown sugar in the mixture. Once dry mixture is all mixed up, cut in (do not blend in) the cold vegan butter until the mixture looks crumbly. Toss in the chocolate chips.

Grab your measure out milk and mix in the molasses until completely mixed together. Dump the mixture into the bowl of dry and lightly mix with a fork until a dough forms. Dump out the dough onto a lightly floured surface and bring it all together with your hands .Flatten dough out into a circle about and inch thick them with a knife or dough scraper, cut into 8 even sized wedges. Place scones onto a baking sheet and lightly brush a little milk onto the tops.. Mix together the extra oats and brown sugar and sprinkle on the tops. Place into preheated oven and bake for 25-28 minutes, or until nice and golden brown. Once baked, remove and place on a wire rack to cool.

Eat. Store left over scones in an airtight container at room temperature for 3-4 days. Individual scones freeze well.


In Vegan, sweet breads and muffins, holiday, desserts, Dairy Free, breakfast, biscuits and such Tags Chocolate Chip Oatmeal Gingerbreads Scones, scones, plant based, vegan, vegan desserts, vegan pastries, breakfast, holiday, gingerbread, king Arthur flour, oats, food 52, Chocolate Chip Oatmeal Gingerbread Scones
Comment

Jalapeño Lime Corn Milk Biscuits

September 8, 2018 Colleen Stem
IMG_0187.jpg
IMG_0246.jpg

I really am just trying to find new ways to use up as much corn as I can. The mr won't really eat it (he says he hates it, but doesn't really, but is now really not eating it) and the littles can only eat so much. I have some in the fridge pickled, some in the freezer, and yet every time I come home from farm share I end up brining like 15 more pieces home with me. So I had to get a little crafty with this last batch. I milked it and made biscuits. And it was exactly the right thing to do. Making corn milk was genius (which makes me a genius?) and I am now going to be baking everything with it until I use up all the corn. 

These biscuits are very versatile, like all good biscuits should be. I served them to Barb and the mr with chili and of course they loved them but also I smothered raspberry jam all over a few and the mr was into that. Butter or almond butter too, or just plain. They can be eaten in all sorts of yummy ways.  And if you really are into the corn milk part but not the jalapeño or lime-ness of the biscuit, just don't add that stuff in. A simple corn milk biscuit would be just fine too.  Aaannd if you have a corn hater in the house, they still will probably like theses, or so this goes my experience, although I still don't think he hate corn. But what do I know? 

To the biscuits.

The stuff. Corn, soy milk, a lime, a few jalapeños, and earth balance. In the bowl we have some  flour, baking soda, baking powder, and salt.

IMG_0058.jpg

Cook tha corn. A quick few minutes in boil water will do the trick. 

IMG_0067 2.jpg

Get all that corn off those cobs. Sure you can nibble, it's hard not to. 

IMG_0075.jpg
IMG_0090.jpg

Fresh corn and soy milk go into the blender and blended until all smooth and creamy. Taste it.. it is pretty creamy dreamy.  

That is the corn milk. You could drink it just like this and it would not be weird. It is delicious. 

IMG_0099.jpg

Get you jalapeños, remove seeds, and give them a good small dice and toss them into the bowl with the flours and stuff. Also zest the lime into the bowl with the flour.

IMG_0113.jpg
IMG_0131.jpg
IMG_0114.jpg
IMG_0127.jpg

Cold plant butter goes in first and cut in (I used fork, but you could use a pastry blender) until the dough looks crumbly. Add in the corn milk and the juice from the lime  and gently stir to just combined.

Dump the dough onto a floured surface and gather it all together then lightly press it down until  it's about an inch thick. 

This is the best part, ( Because I love the look of the cut out dough.. It apeals to me in some great way that I don't yet understand) cut the biscuits. I went and grabbed a biscuit cutter which I barely ever use, so that was a win.

Once you cut out the first biscuits, you can gather the dough and gently press it back together and cut out  more until you use all the dough.

IMG_0149.jpg

Place the cut out biscuits on a baking sheet and brush the tops brushed with a little corn milk then into the hot oven they go.

Out they come looking all biscuity and such.. And don't mind the red reflection. That be my shirt. Note to self and to all. Don't wear red while taking pictures with reflective materials. 

Letting the biscuits be cool, just for a few minutes.

Still slightly warm all cozied together. 

Nothing like a basket of biscuits to make people happy.

-C


Jalapeño Lime Corn Milk Biscuits 

makes about 15 smaller biscuits 

  • 2 1/2 cups flour
  • 2 ears of corn
  • 1 cup soy milk
  • 1 teaspoon salt 
  • 1 teaspoon baking podwer
  • 1/2 teaspoon basking soda 
  • 1/4 cup  cold vegan butter
  • 2 jalapeños 
  • I lime 

Cook corn by removing husks and  dropping into a pot of boiling water for about 5 minutes. When corn is cooked, remove from water and allow to cool.  Once cooled enough to handle, cut all the corn off the cob and place into the blender with the soy milk. Blend until smooth. It should measure out to be a little more then 2 cups. If you have less, add in more soy milk until is measures 2 cups.  Place corn milk in fridge for at least 1/2 hour to cool. 

Preheat oven to 450.

Place flour, salt, baking soda, and baking powder into a large bowl. Zest the lime in as well and mix it all together. Grab jalapeños, cut in half, remove seeds, then dice into very small pieces. Mix those into mixture.  Now cut in the butter with either a fork or pastry blender until the mixture is crumbly. Add in juice of the lime and 2 cups of  the cooled corn milk and mix until just barley incorporated.

Dump the mixture onto a flour surface. Gather it al together and then press it flat until its about an inch thick. With a biscuit cutter, or a knife if you want square biscuits, cut out biscuits. If you use a cutter, place cut biscuits onto a baking sheet then gather the remaining dough and gently press back together and cut out more biscuits until dough is used up.  Once all the biscuits are on the baking sheet, brush the tops with corn milk  if you have a little left over or just plain soy milk then place them into the hot oven.

Bake for 17-22 minutes or until the biscuits are a nice golden brown. Once baked, remove from oven and place on a cooling rack to cool, or toss into basket with a tea towel and serve warm.

Then eat them.


In Vegan, Dairy Free, bread, biscuits and such Tags Jalapeño Lime Corn Milk Biscuits, Corn milk, biscuits, vegan, dairy free, bread, King Arthur flour, food 52, plant based, jalapeño
Comment
← Newer Posts
 

https://thelovelycrazy.squarespace.com/config#/|/about/

Me. Food Maker.Food eater. Woo HOO!

STEM+NODE  SMALL BATCH AND ONE OF A KIND POTTERY

stem+node ceramics


____________________

Subscribe

GET NEW POSTS IN YO EMAIL

You are AWESOME!!!


@thelovelycrazy 2014-2021