• stem+node ceramics
  • HOME
  • Food Recipes
  • About
  • Contact
Menu

The Lovely Crazy

Street Address
City, State, Zip
Phone Number

Your Custom Text Here

The Lovely Crazy

  • stem+node ceramics
  • HOME
  • Food Recipes
  • About
  • Contact

Caramelized Onion and Apple Cornbread

November 10, 2018 Colleen Stem
IMG_2269.jpg
IMG_2279.jpg

You know when you eat something that you haven’t had or haven’t had in a long time and it’s all you want to eat?

I am having a moment with apples and onions. Roasted and raw, it’s on my mind every time I am making food. Weird? I don’t know, but it’s sweet and savory and all fall like and comforting. It’s a good moment.

So now I am passing on my moment in the form of cornbread. Why cornbread? Well I think cornbread is a fine fine vessel for things that could be perceived sweet of savory. This cornbread is in fact not sweet, but not not sweet. It is a little both and suits the the apple and onion moment quite well.

People ate it, at first somewhat suspect that it was not going to be good, but after a bite or two they too appreciated the apple onion combination. And the cornbread. Even got a lady that doesn't even like cornbread to like this so that is something right?

Embrace the moments.. To the cornbread!

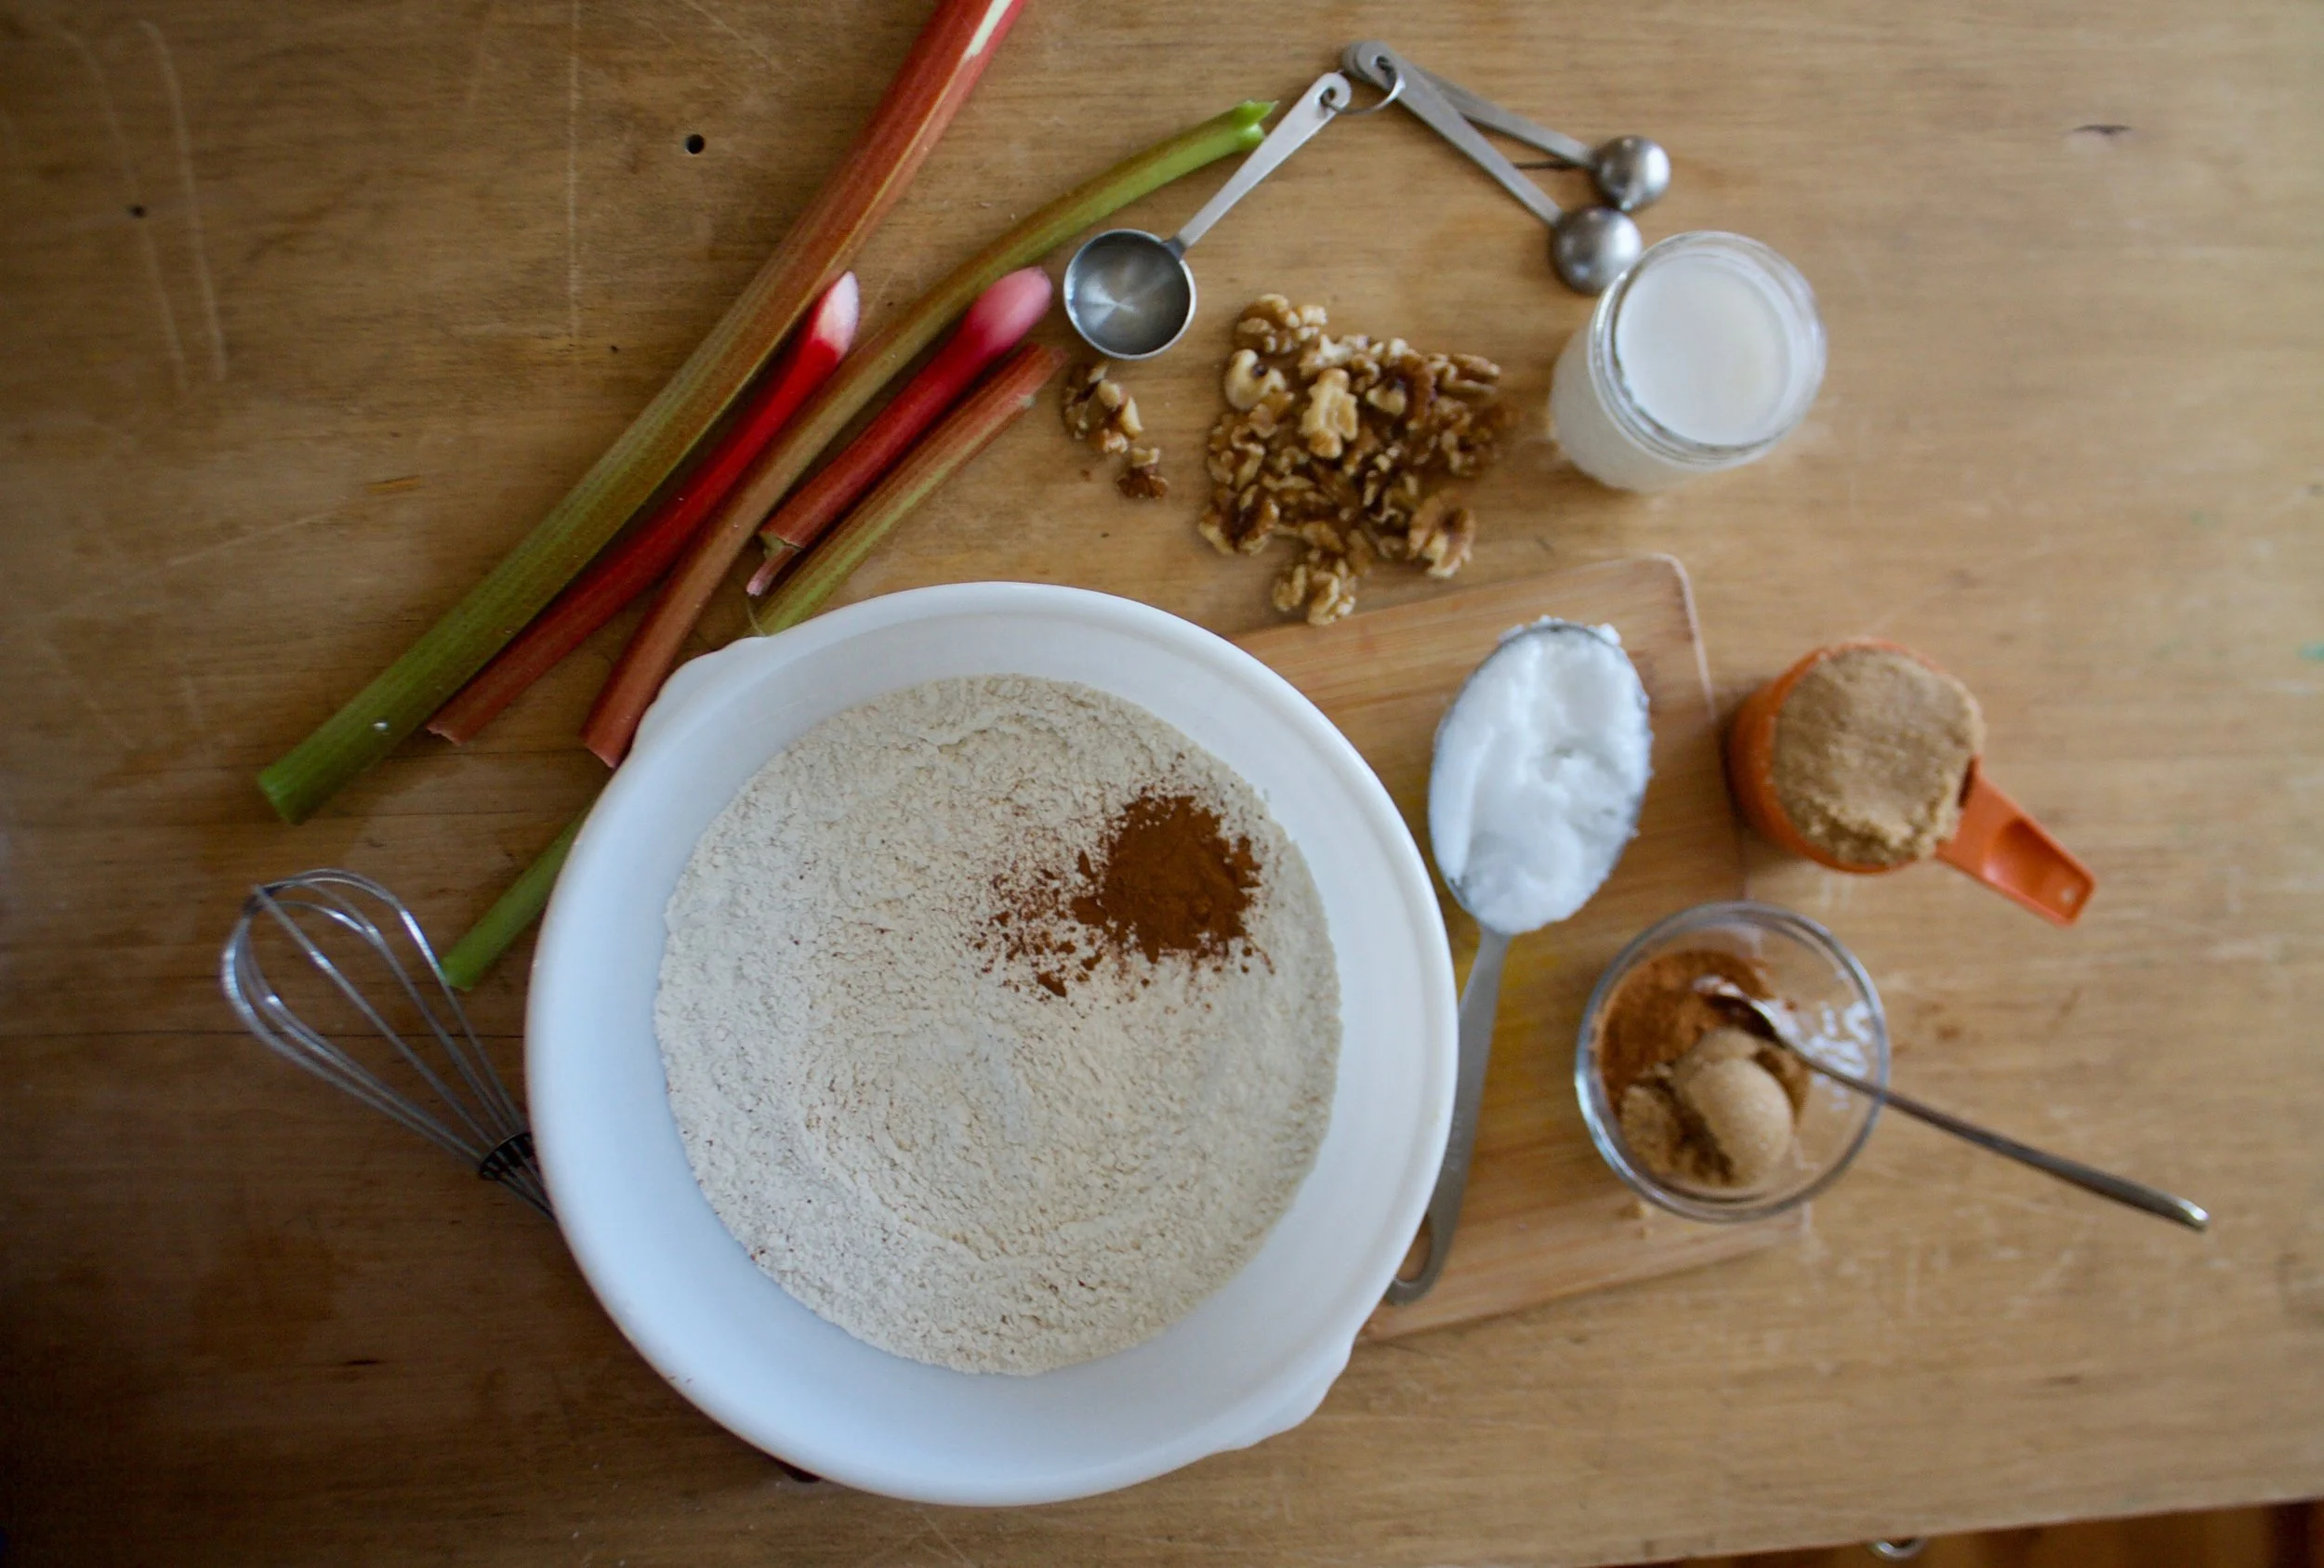
The stuff. A couple apples, an onion, cornmeal, flour, salt, and baking soda. Also soy milk, oil, apple cider vinegar, maple syrup, pepper, Sansa little earth balance.

IMG_2181.jpg
IMG_2187.jpg

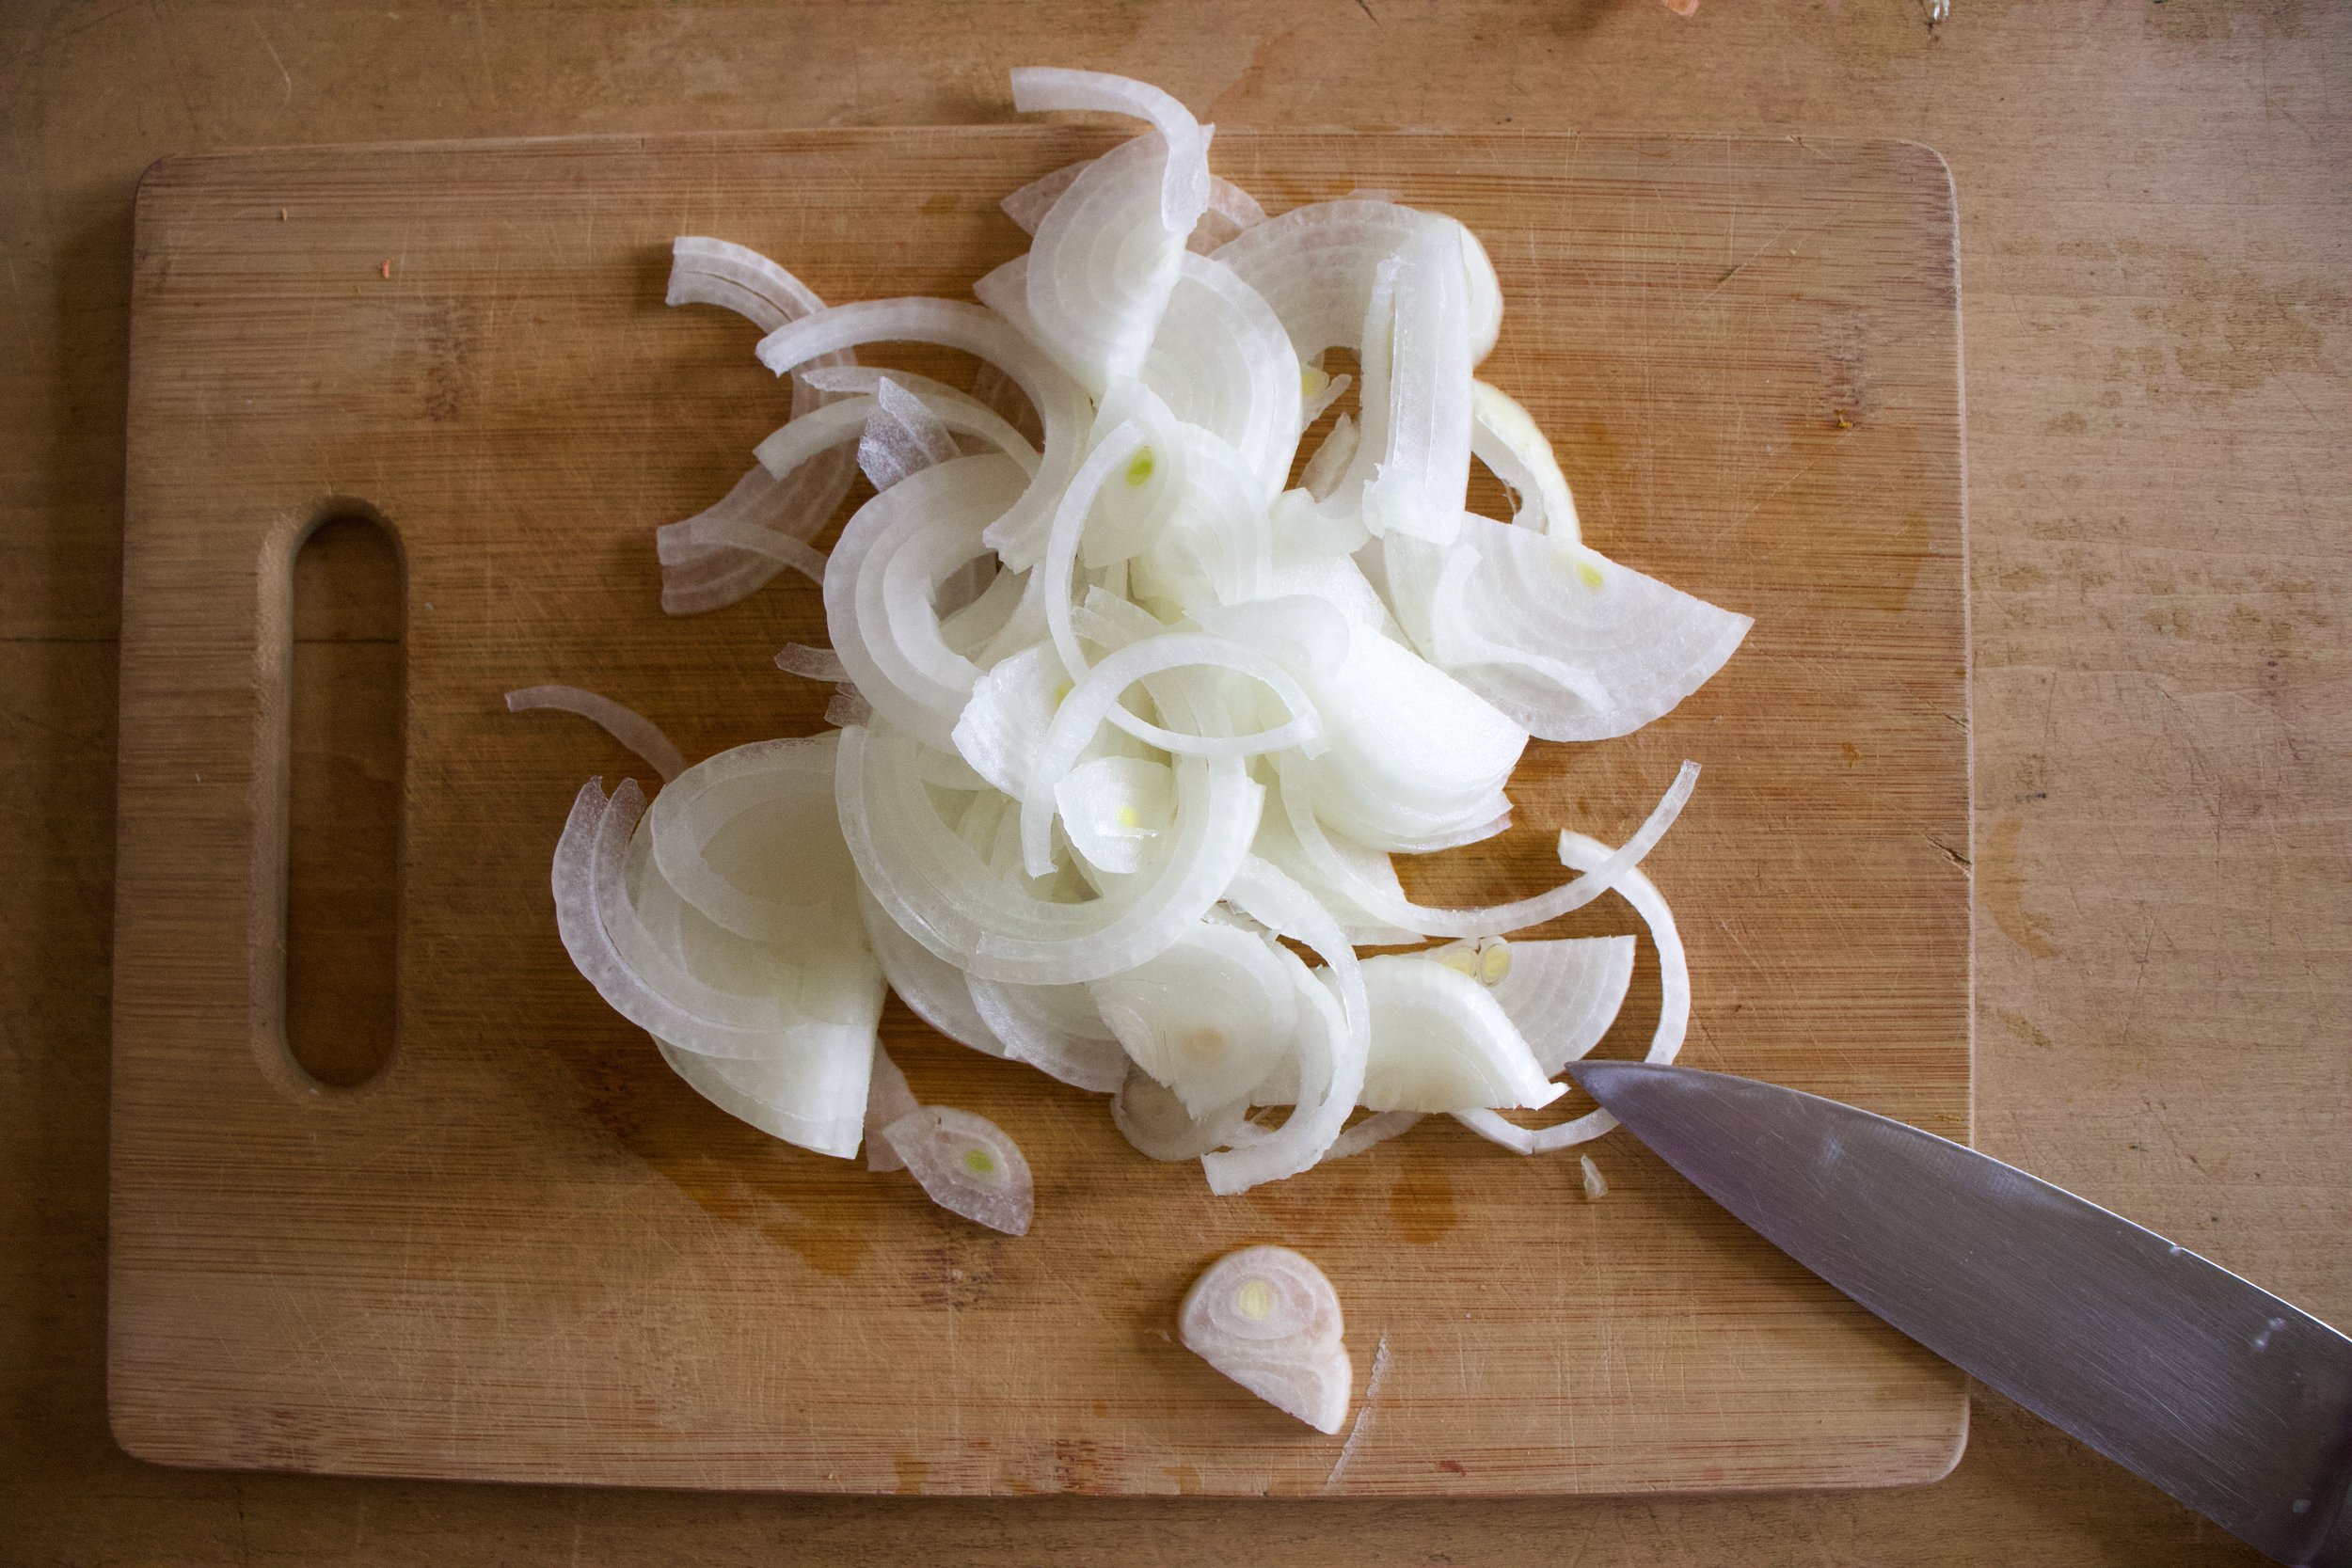
Start by thinly slicing the onions. Toss them into a oven safe skillet with about a tablespoon of earth balance and place on a medium heat.

IMG_2190.jpg

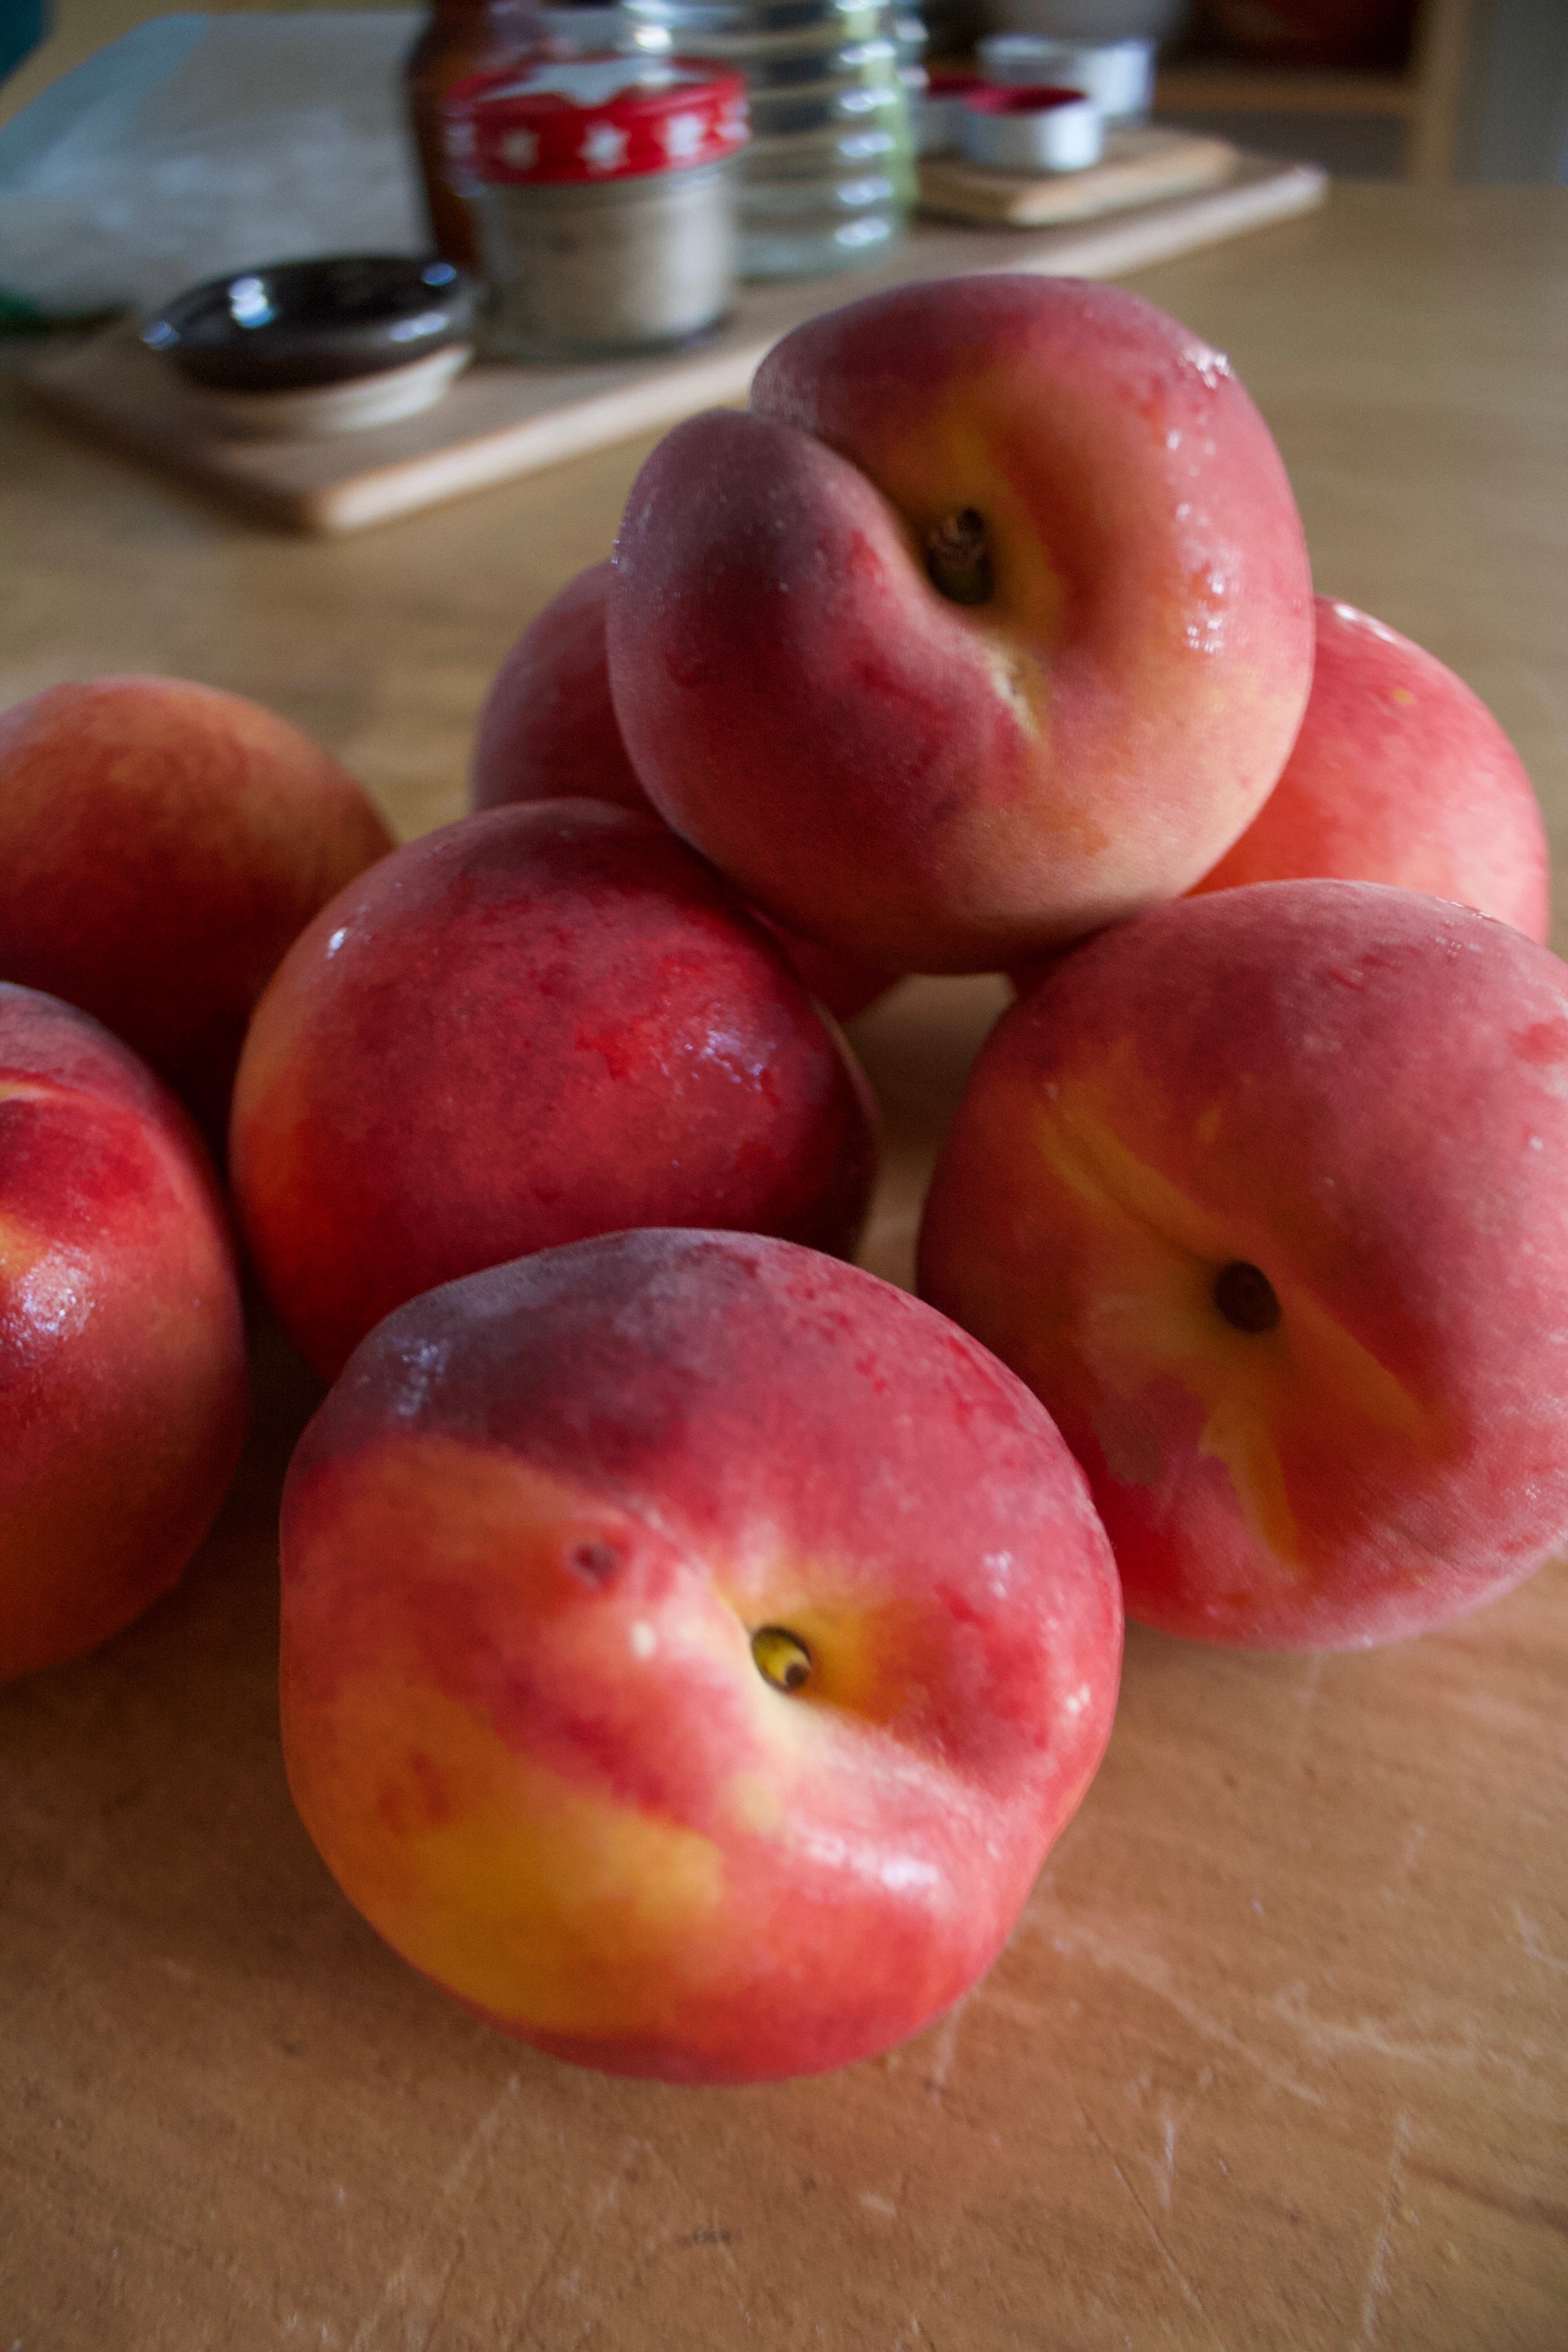
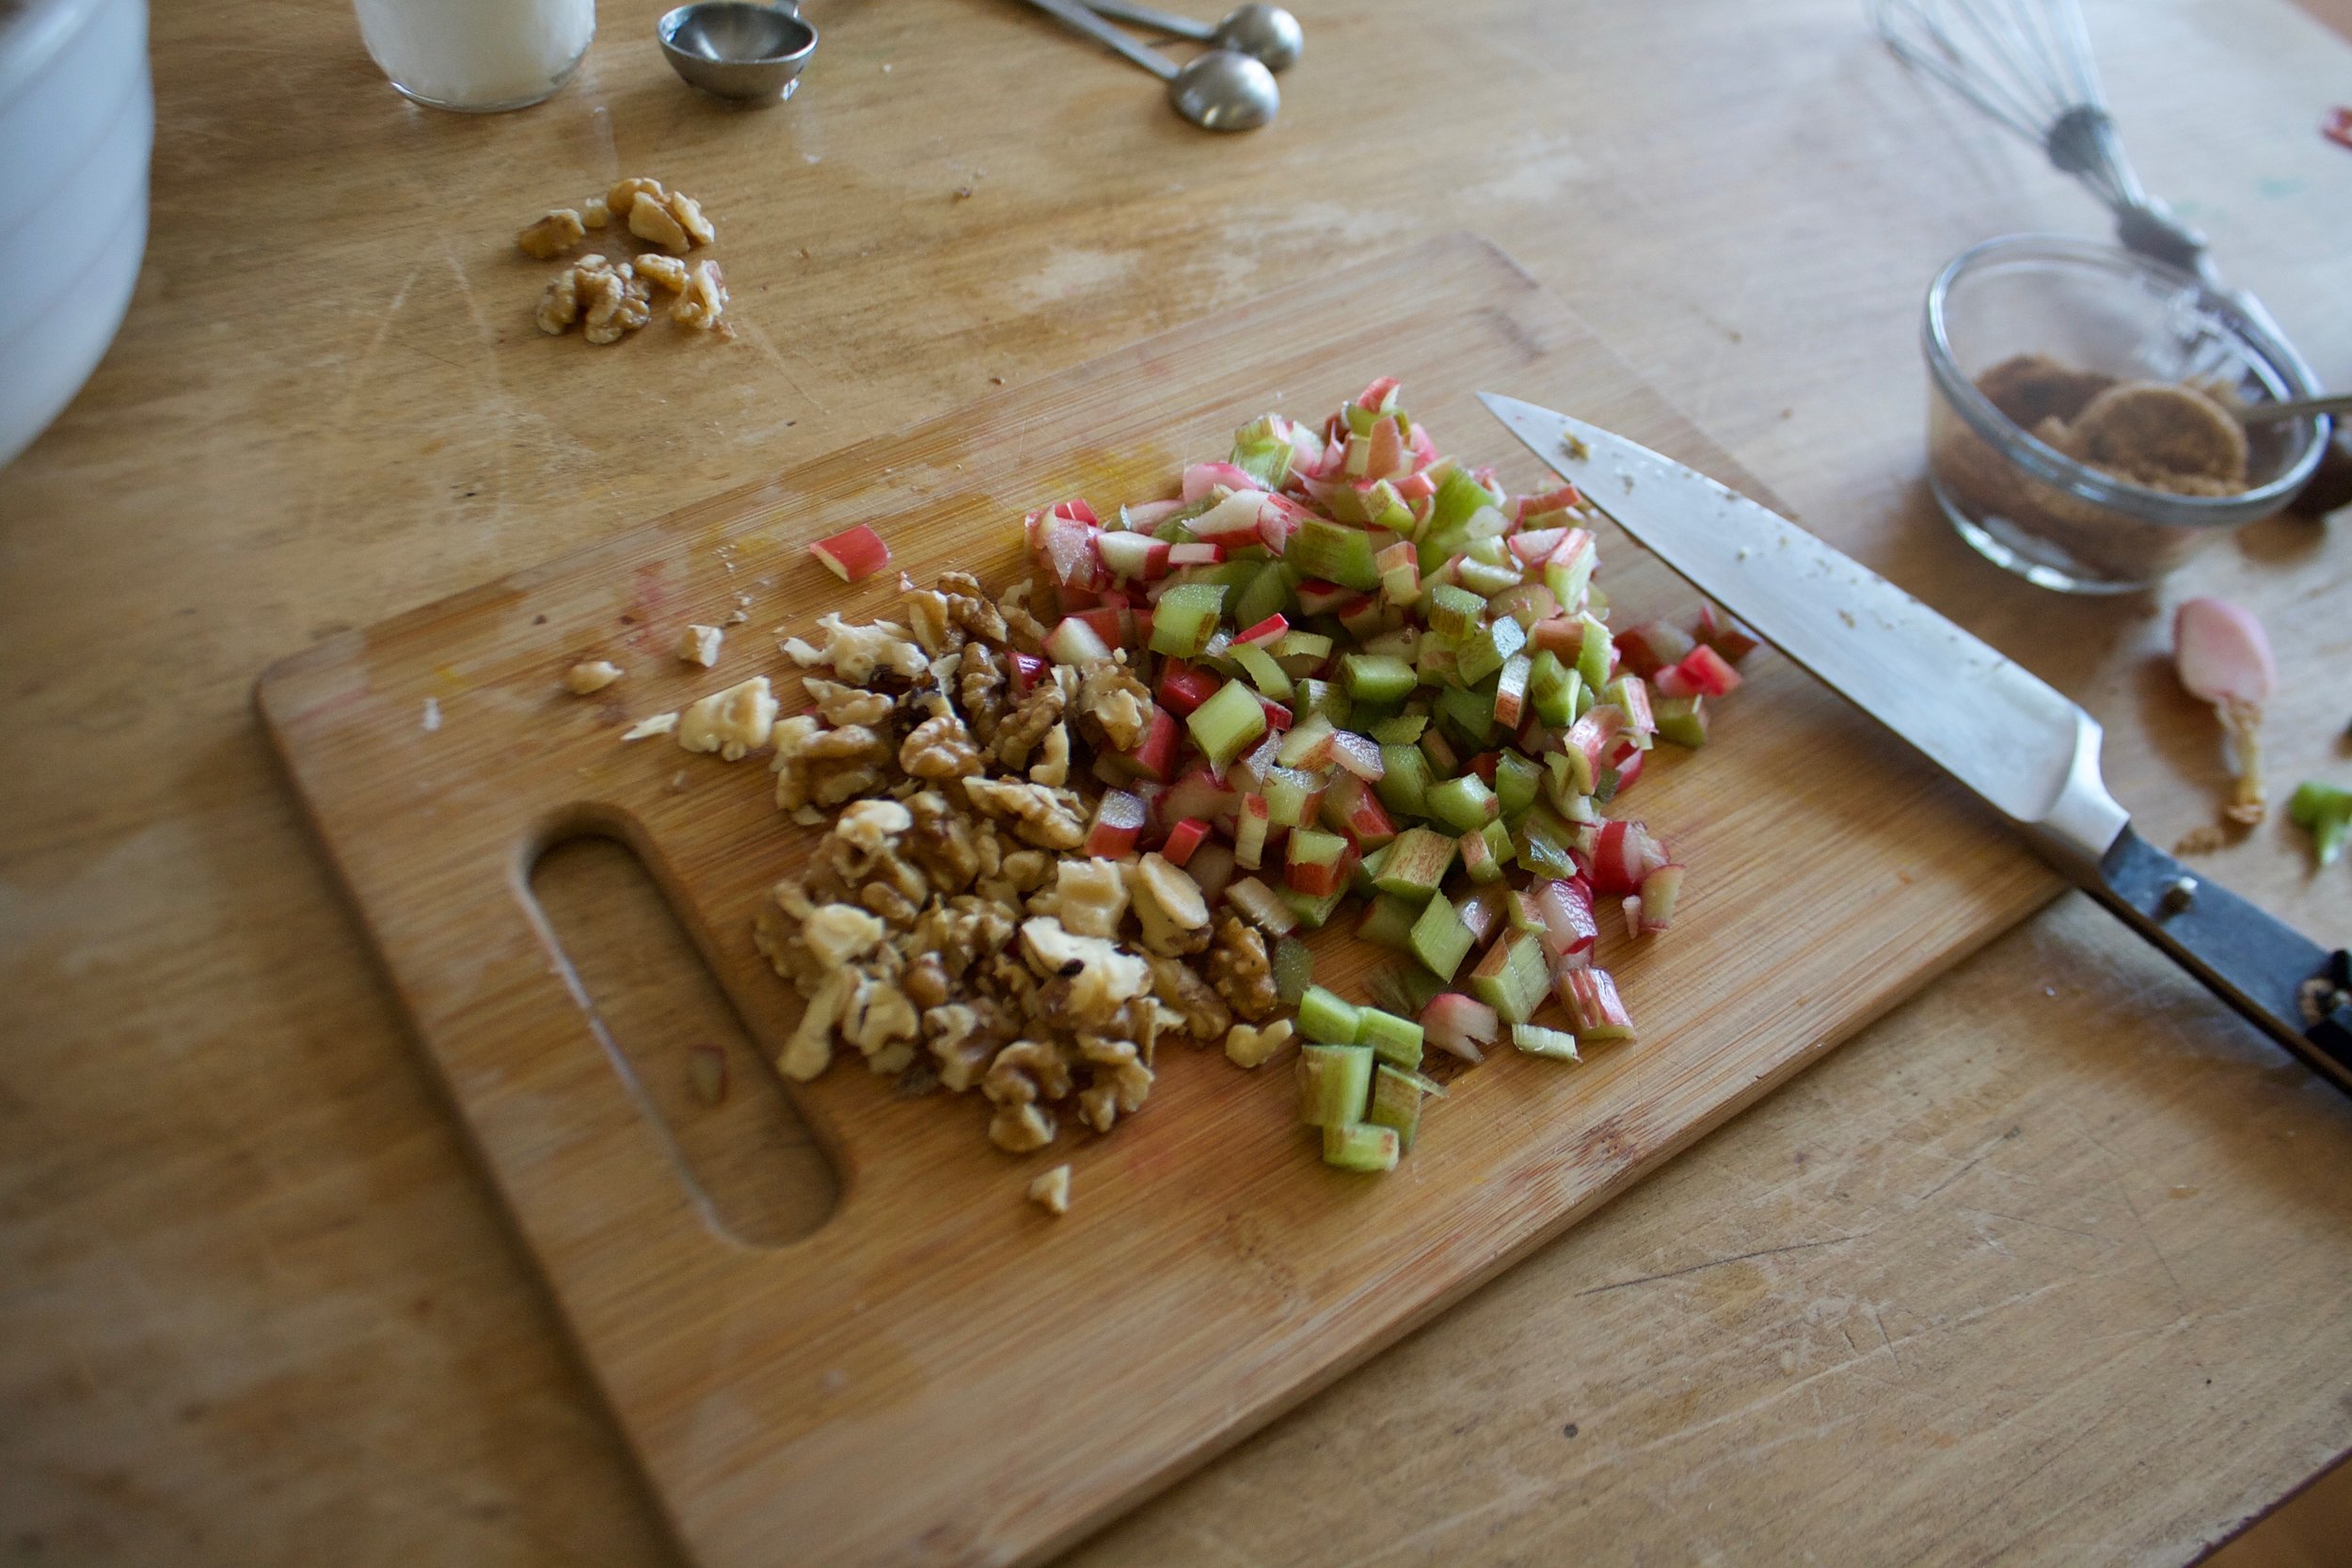
Once the onions are cooking, thinly slice the apples too.

IMG_2197.jpg

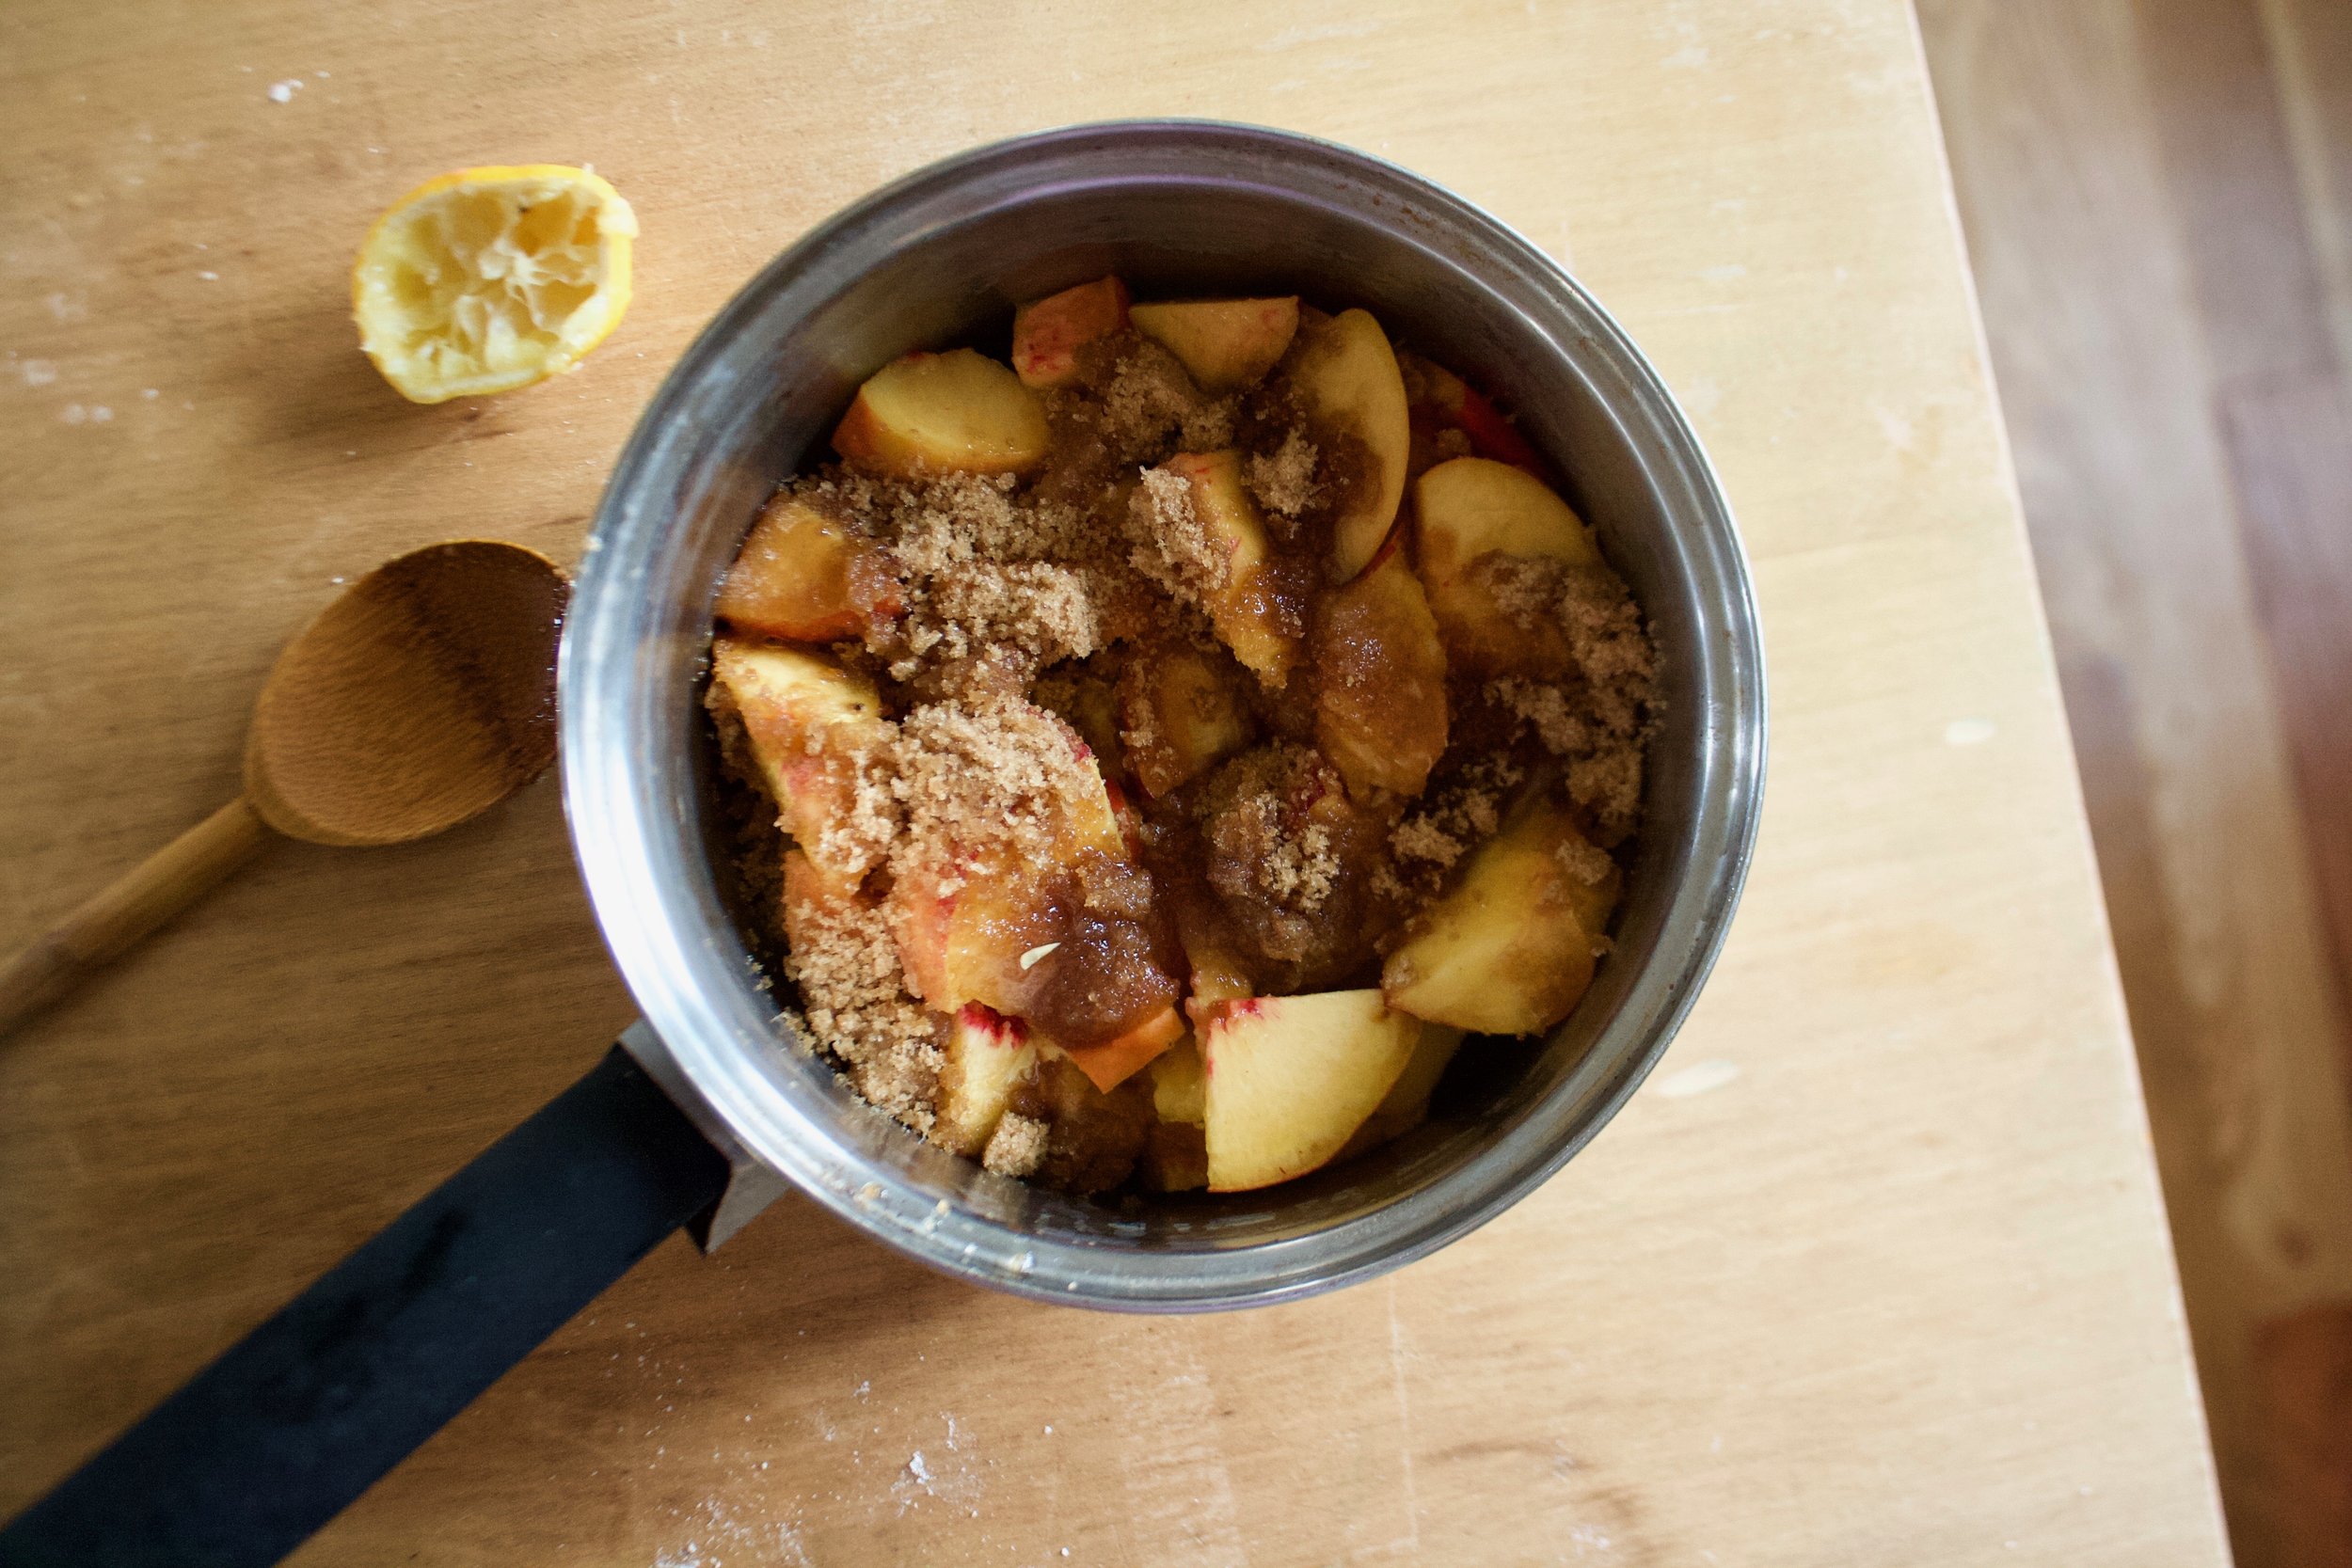
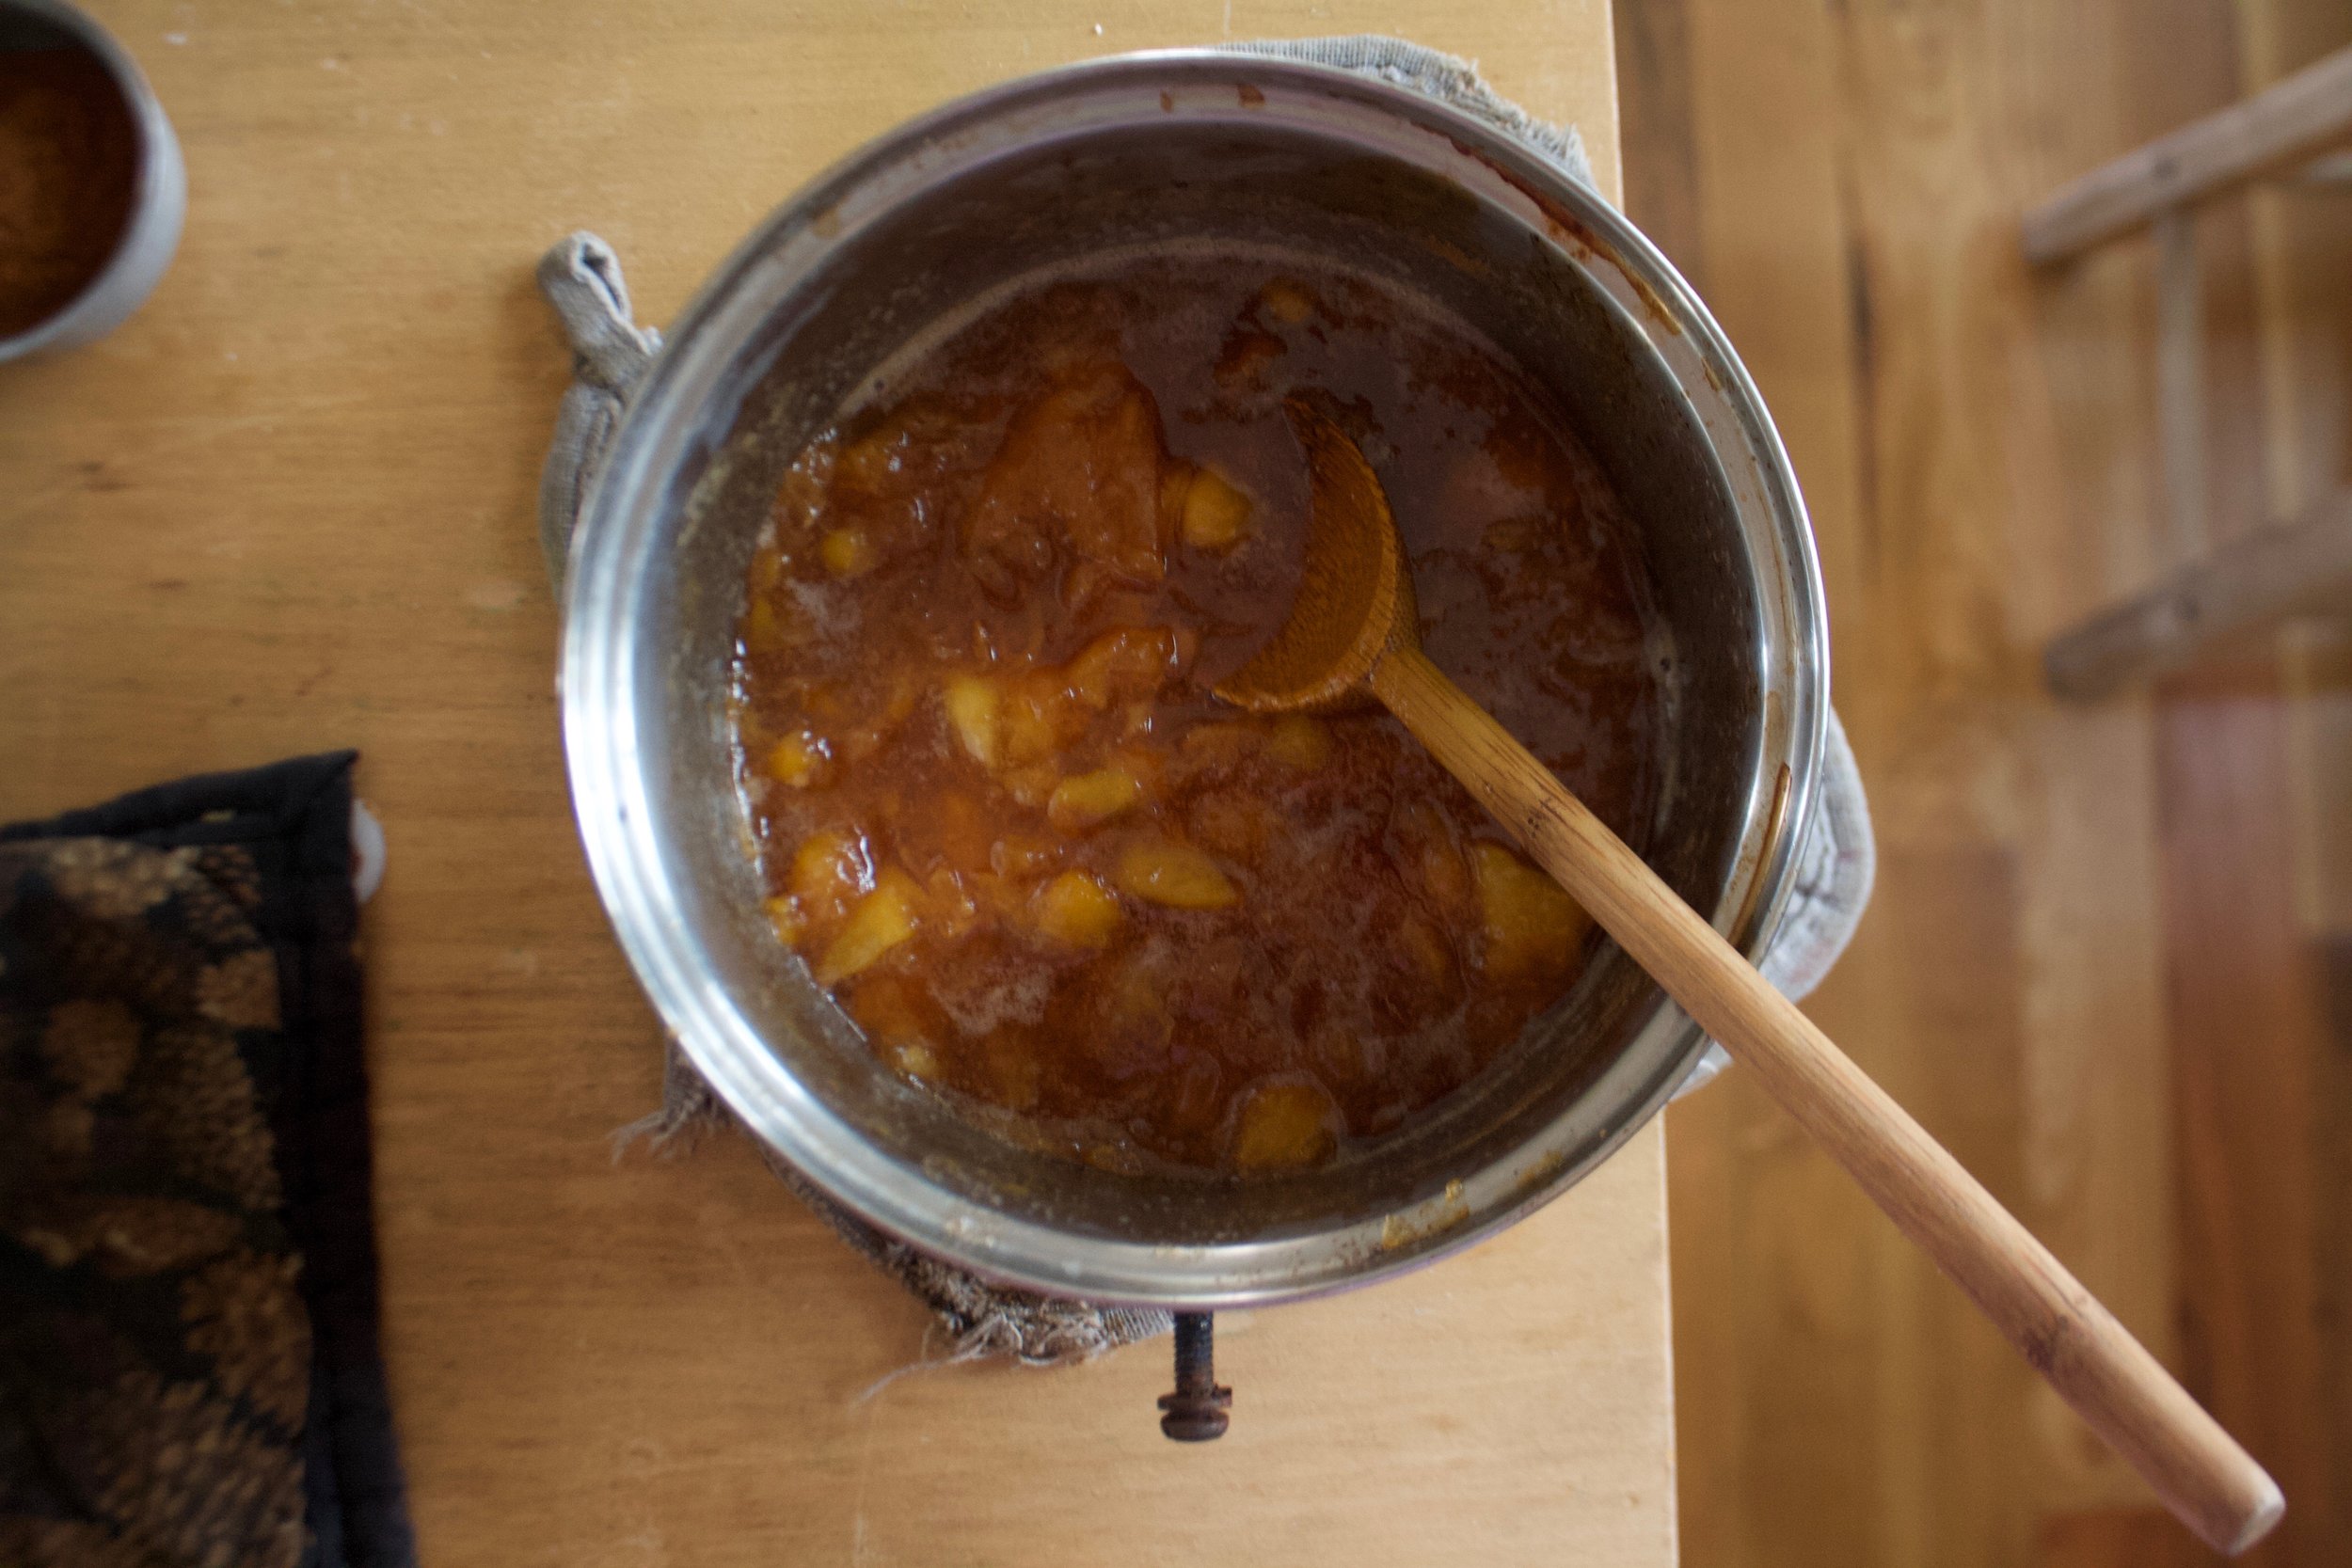
Toss the apples in with the onions and stir around wait a few minutes and stir around some more until the stuff all looks like…

IMG_2218.jpg

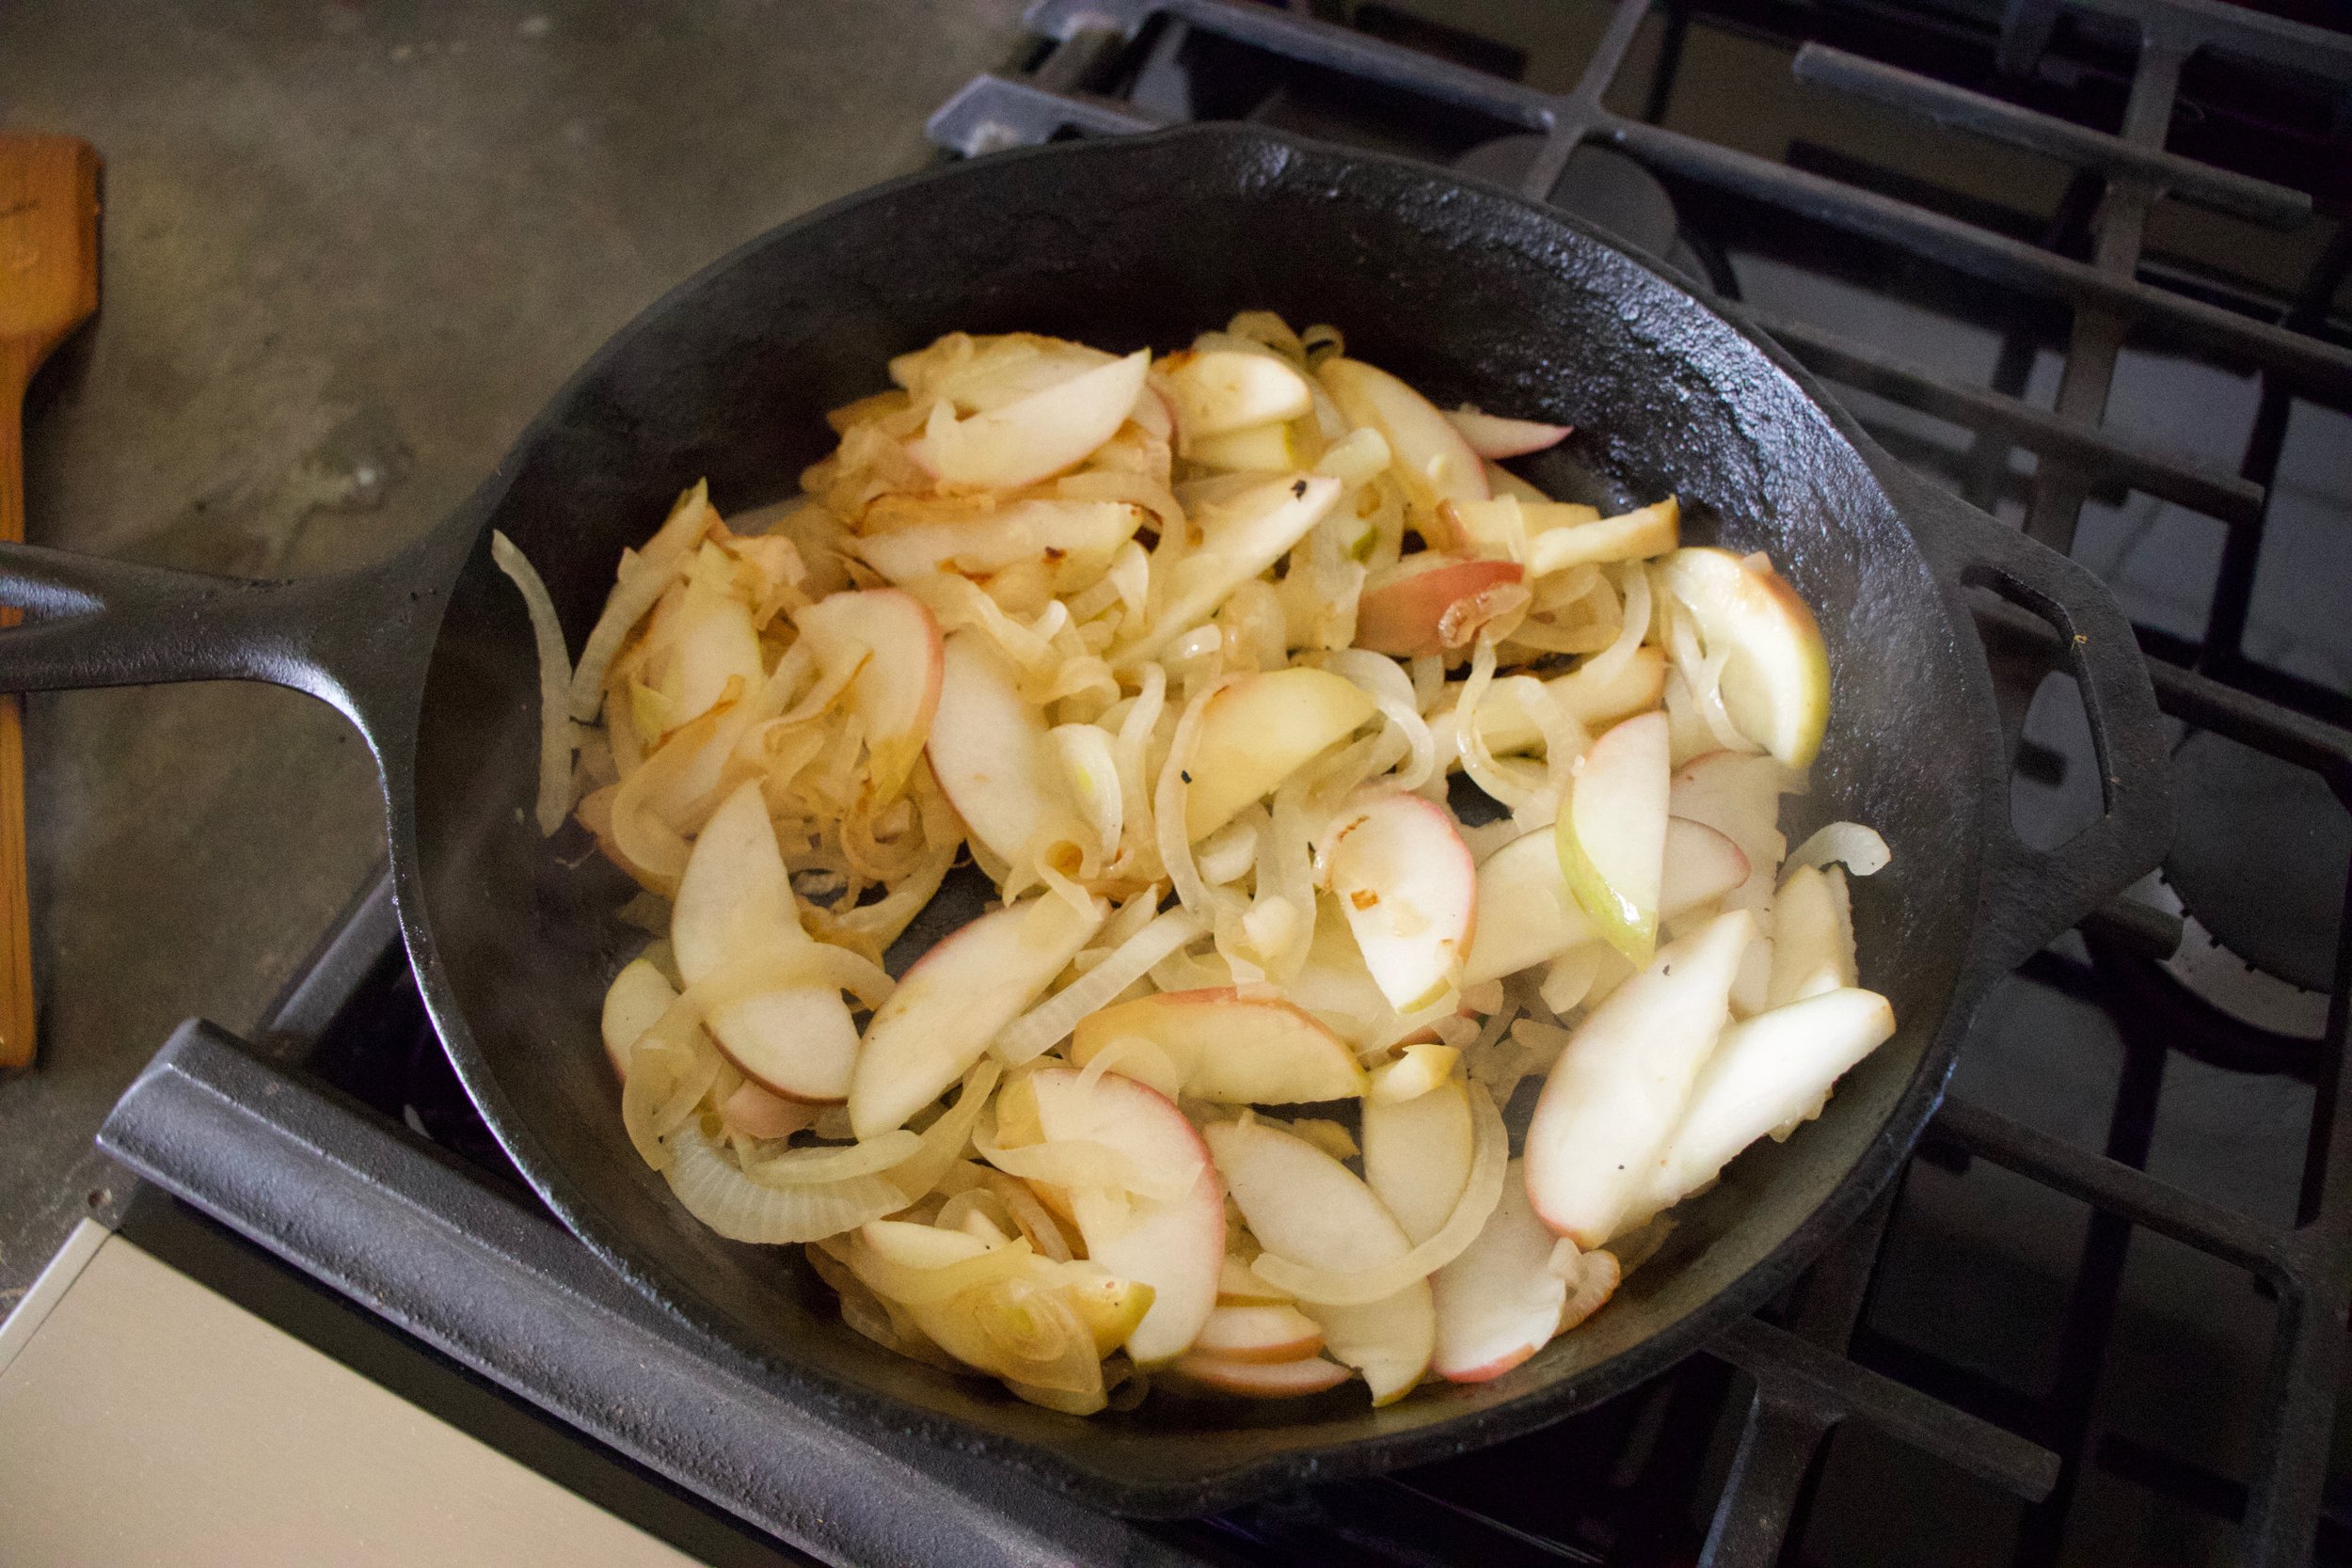
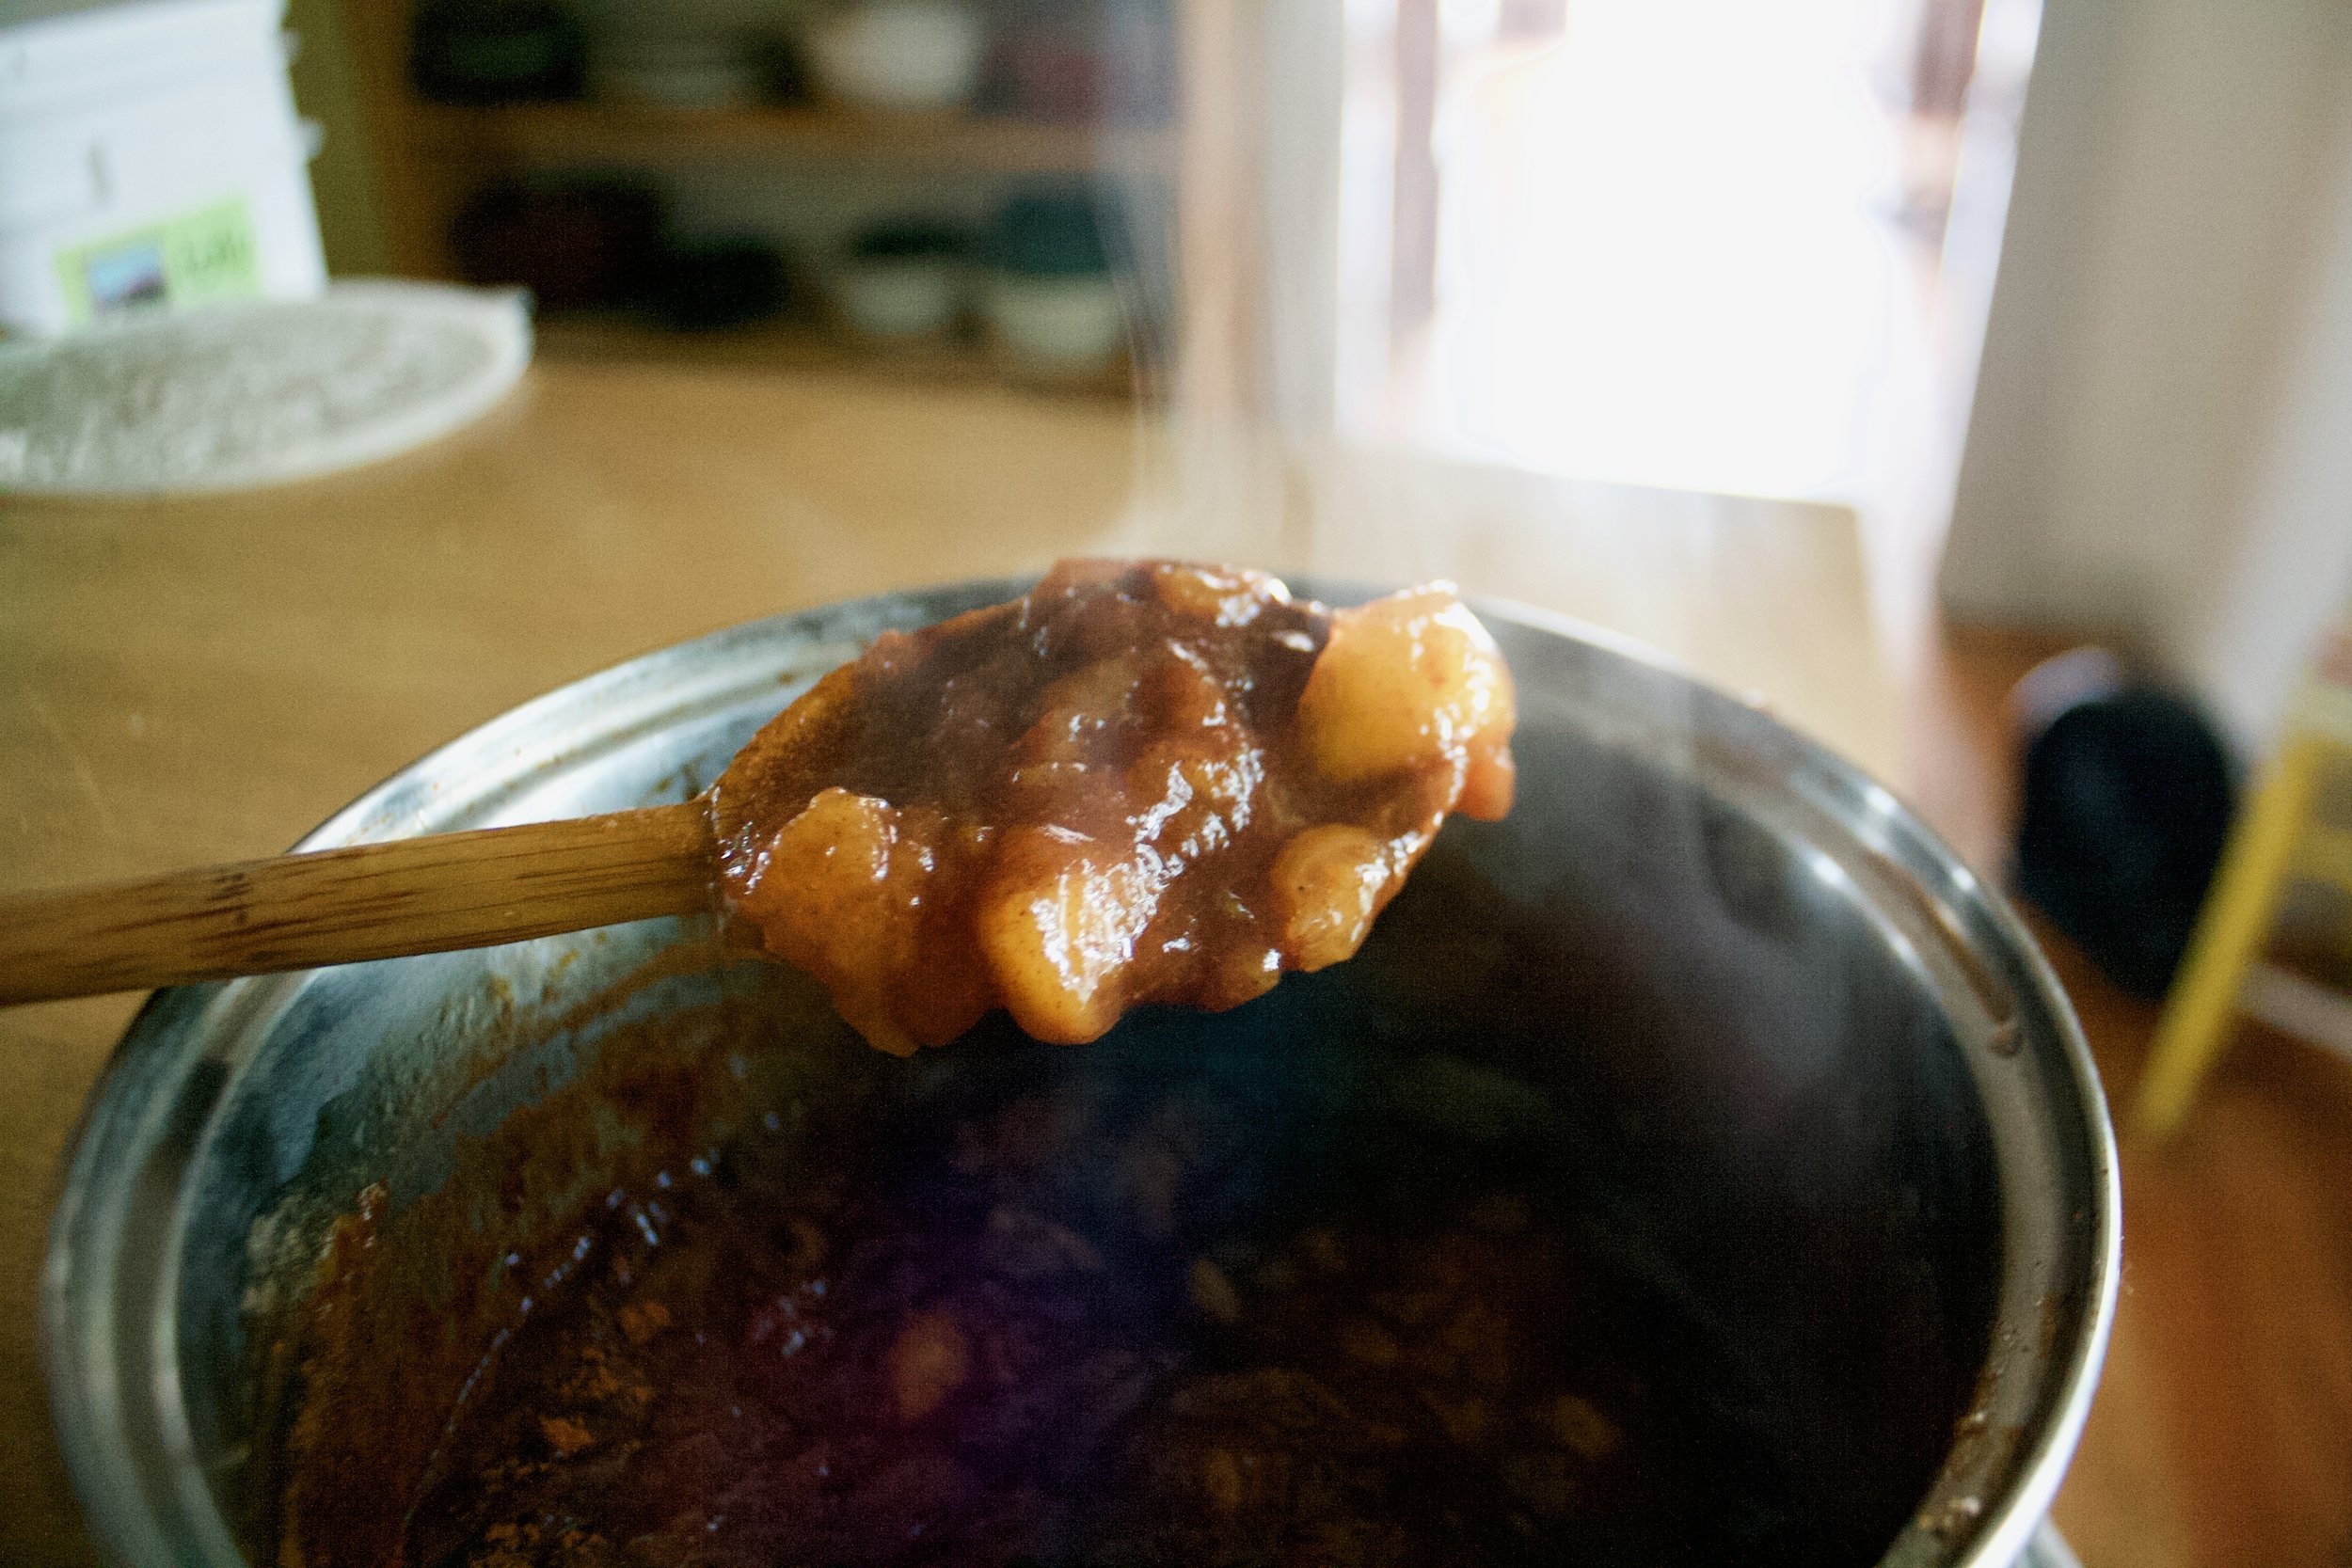
This. The apples ans onions are super tender sans soft and amazing and do not eat them all, but maybe have bite or two.

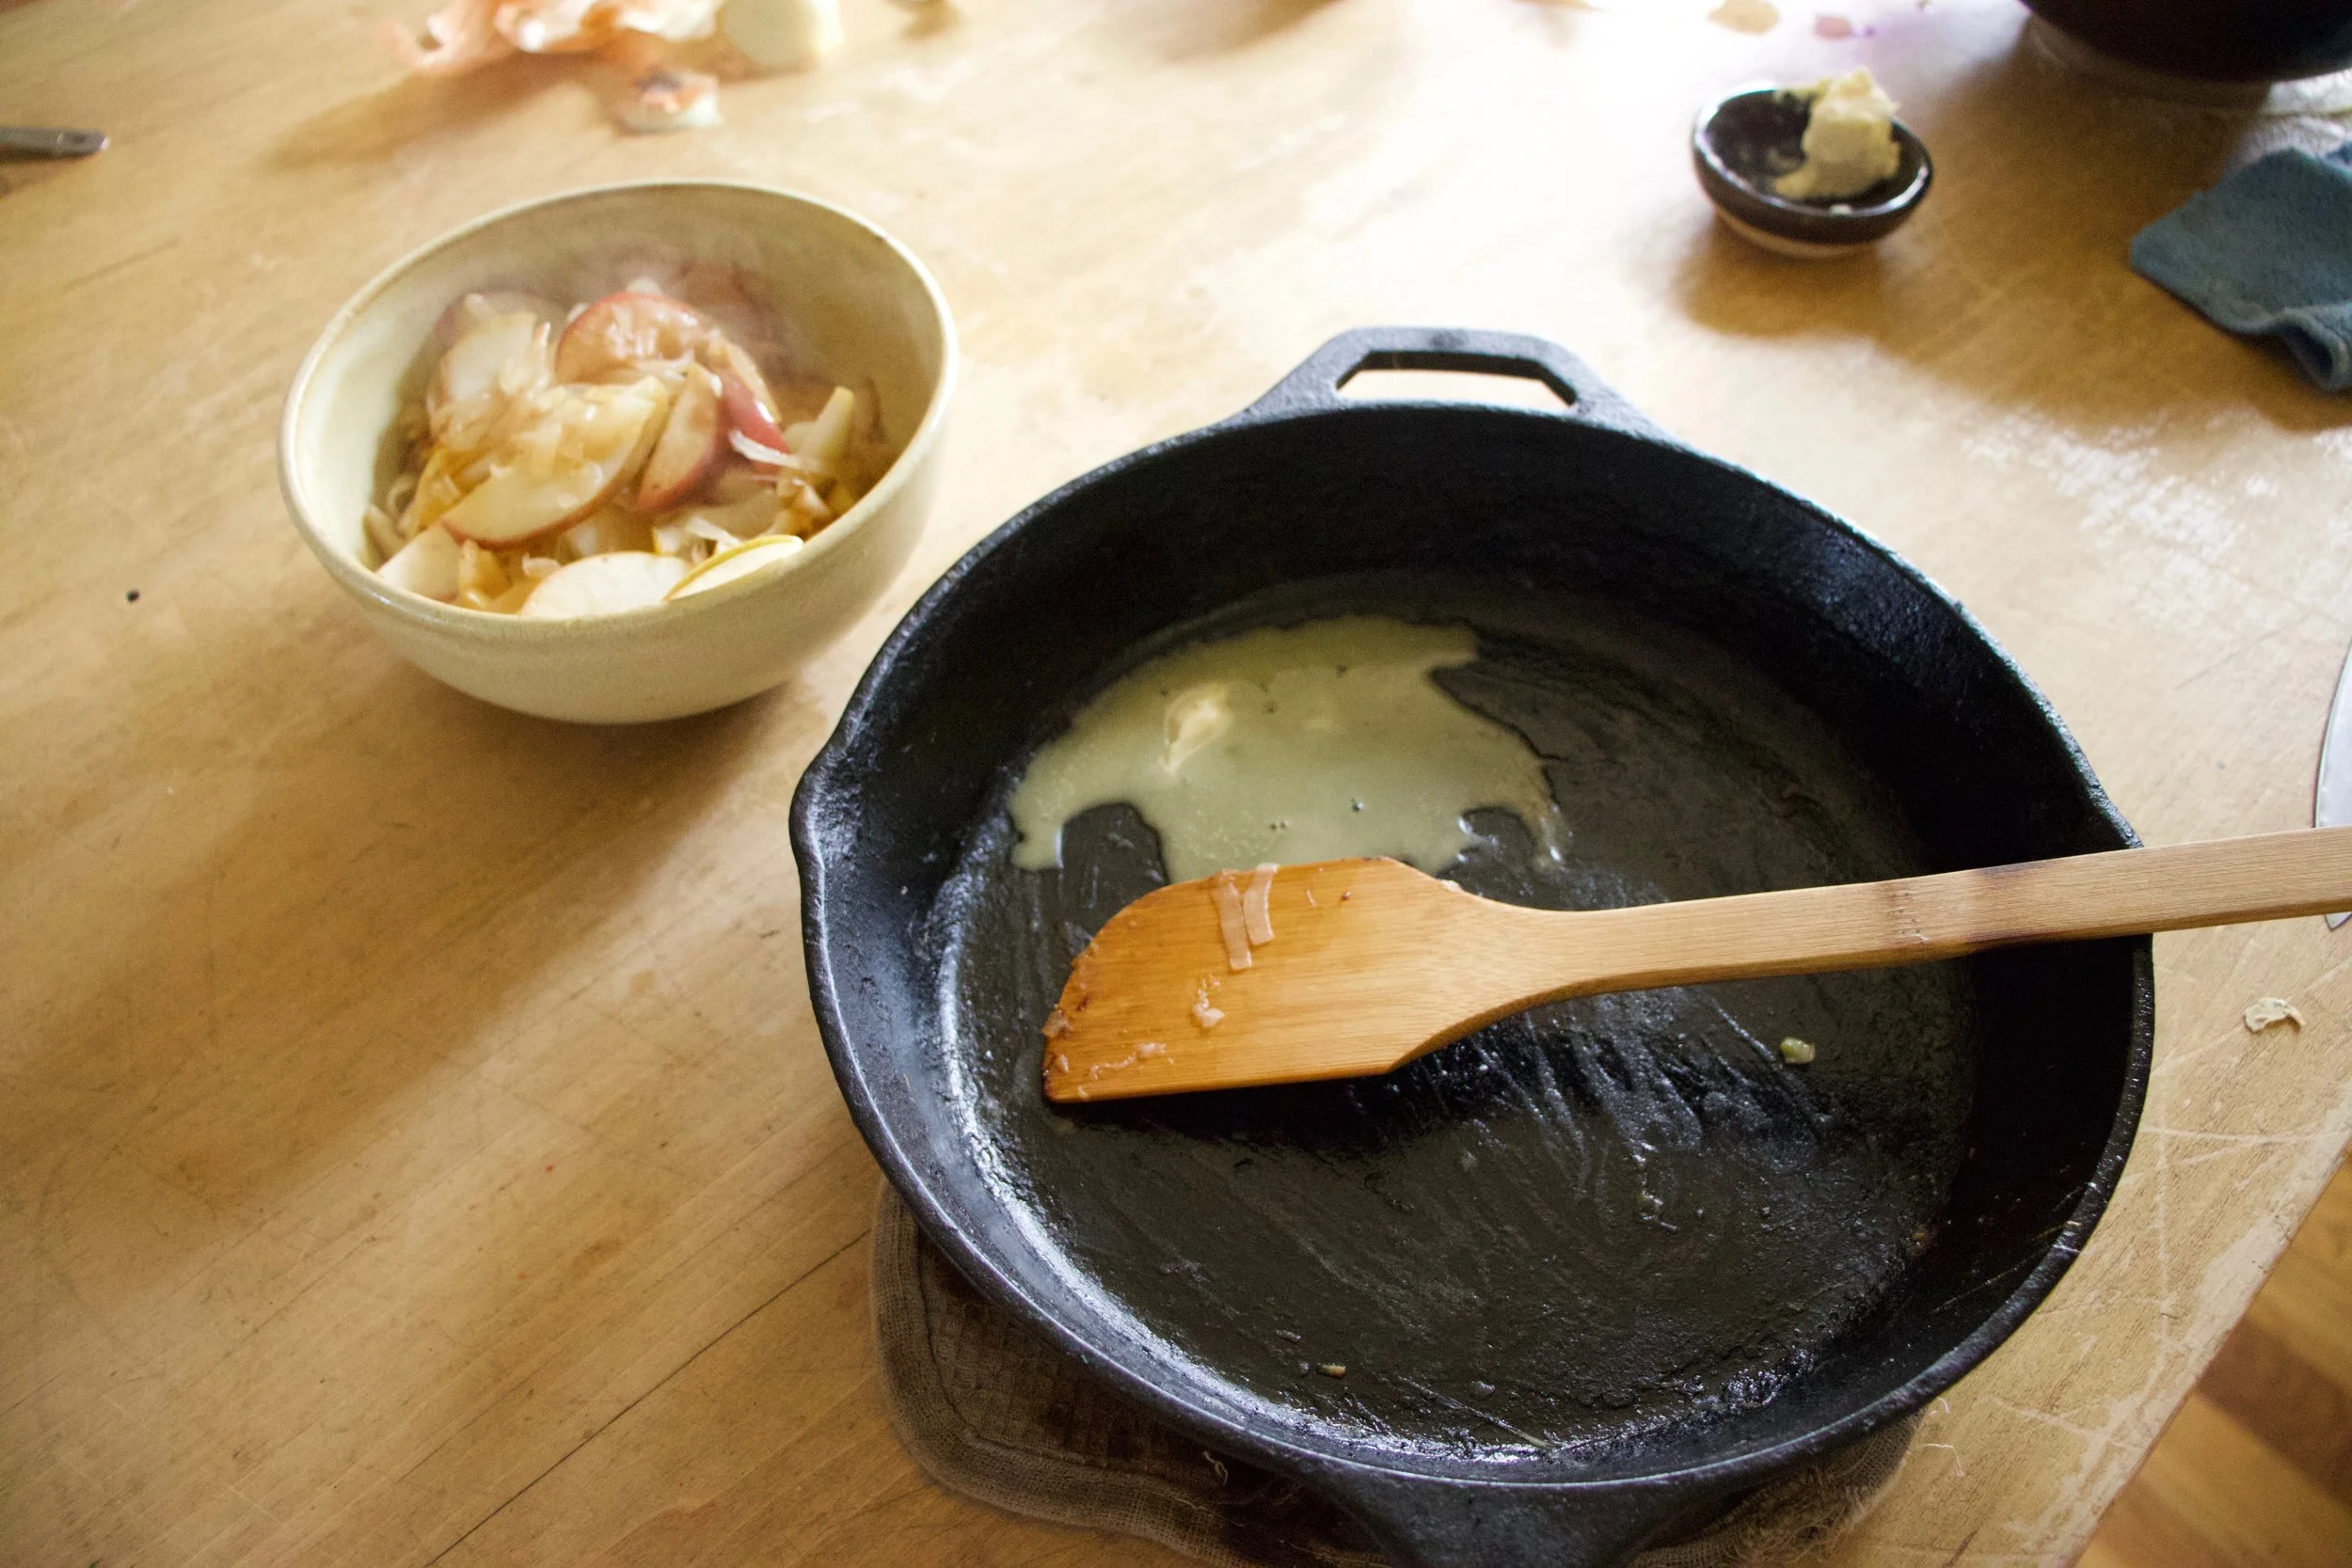
Scoop the mixture out of the skillet ans melt another tablespoon of earth balance into the skillet, trying to evenly coat the bottom.

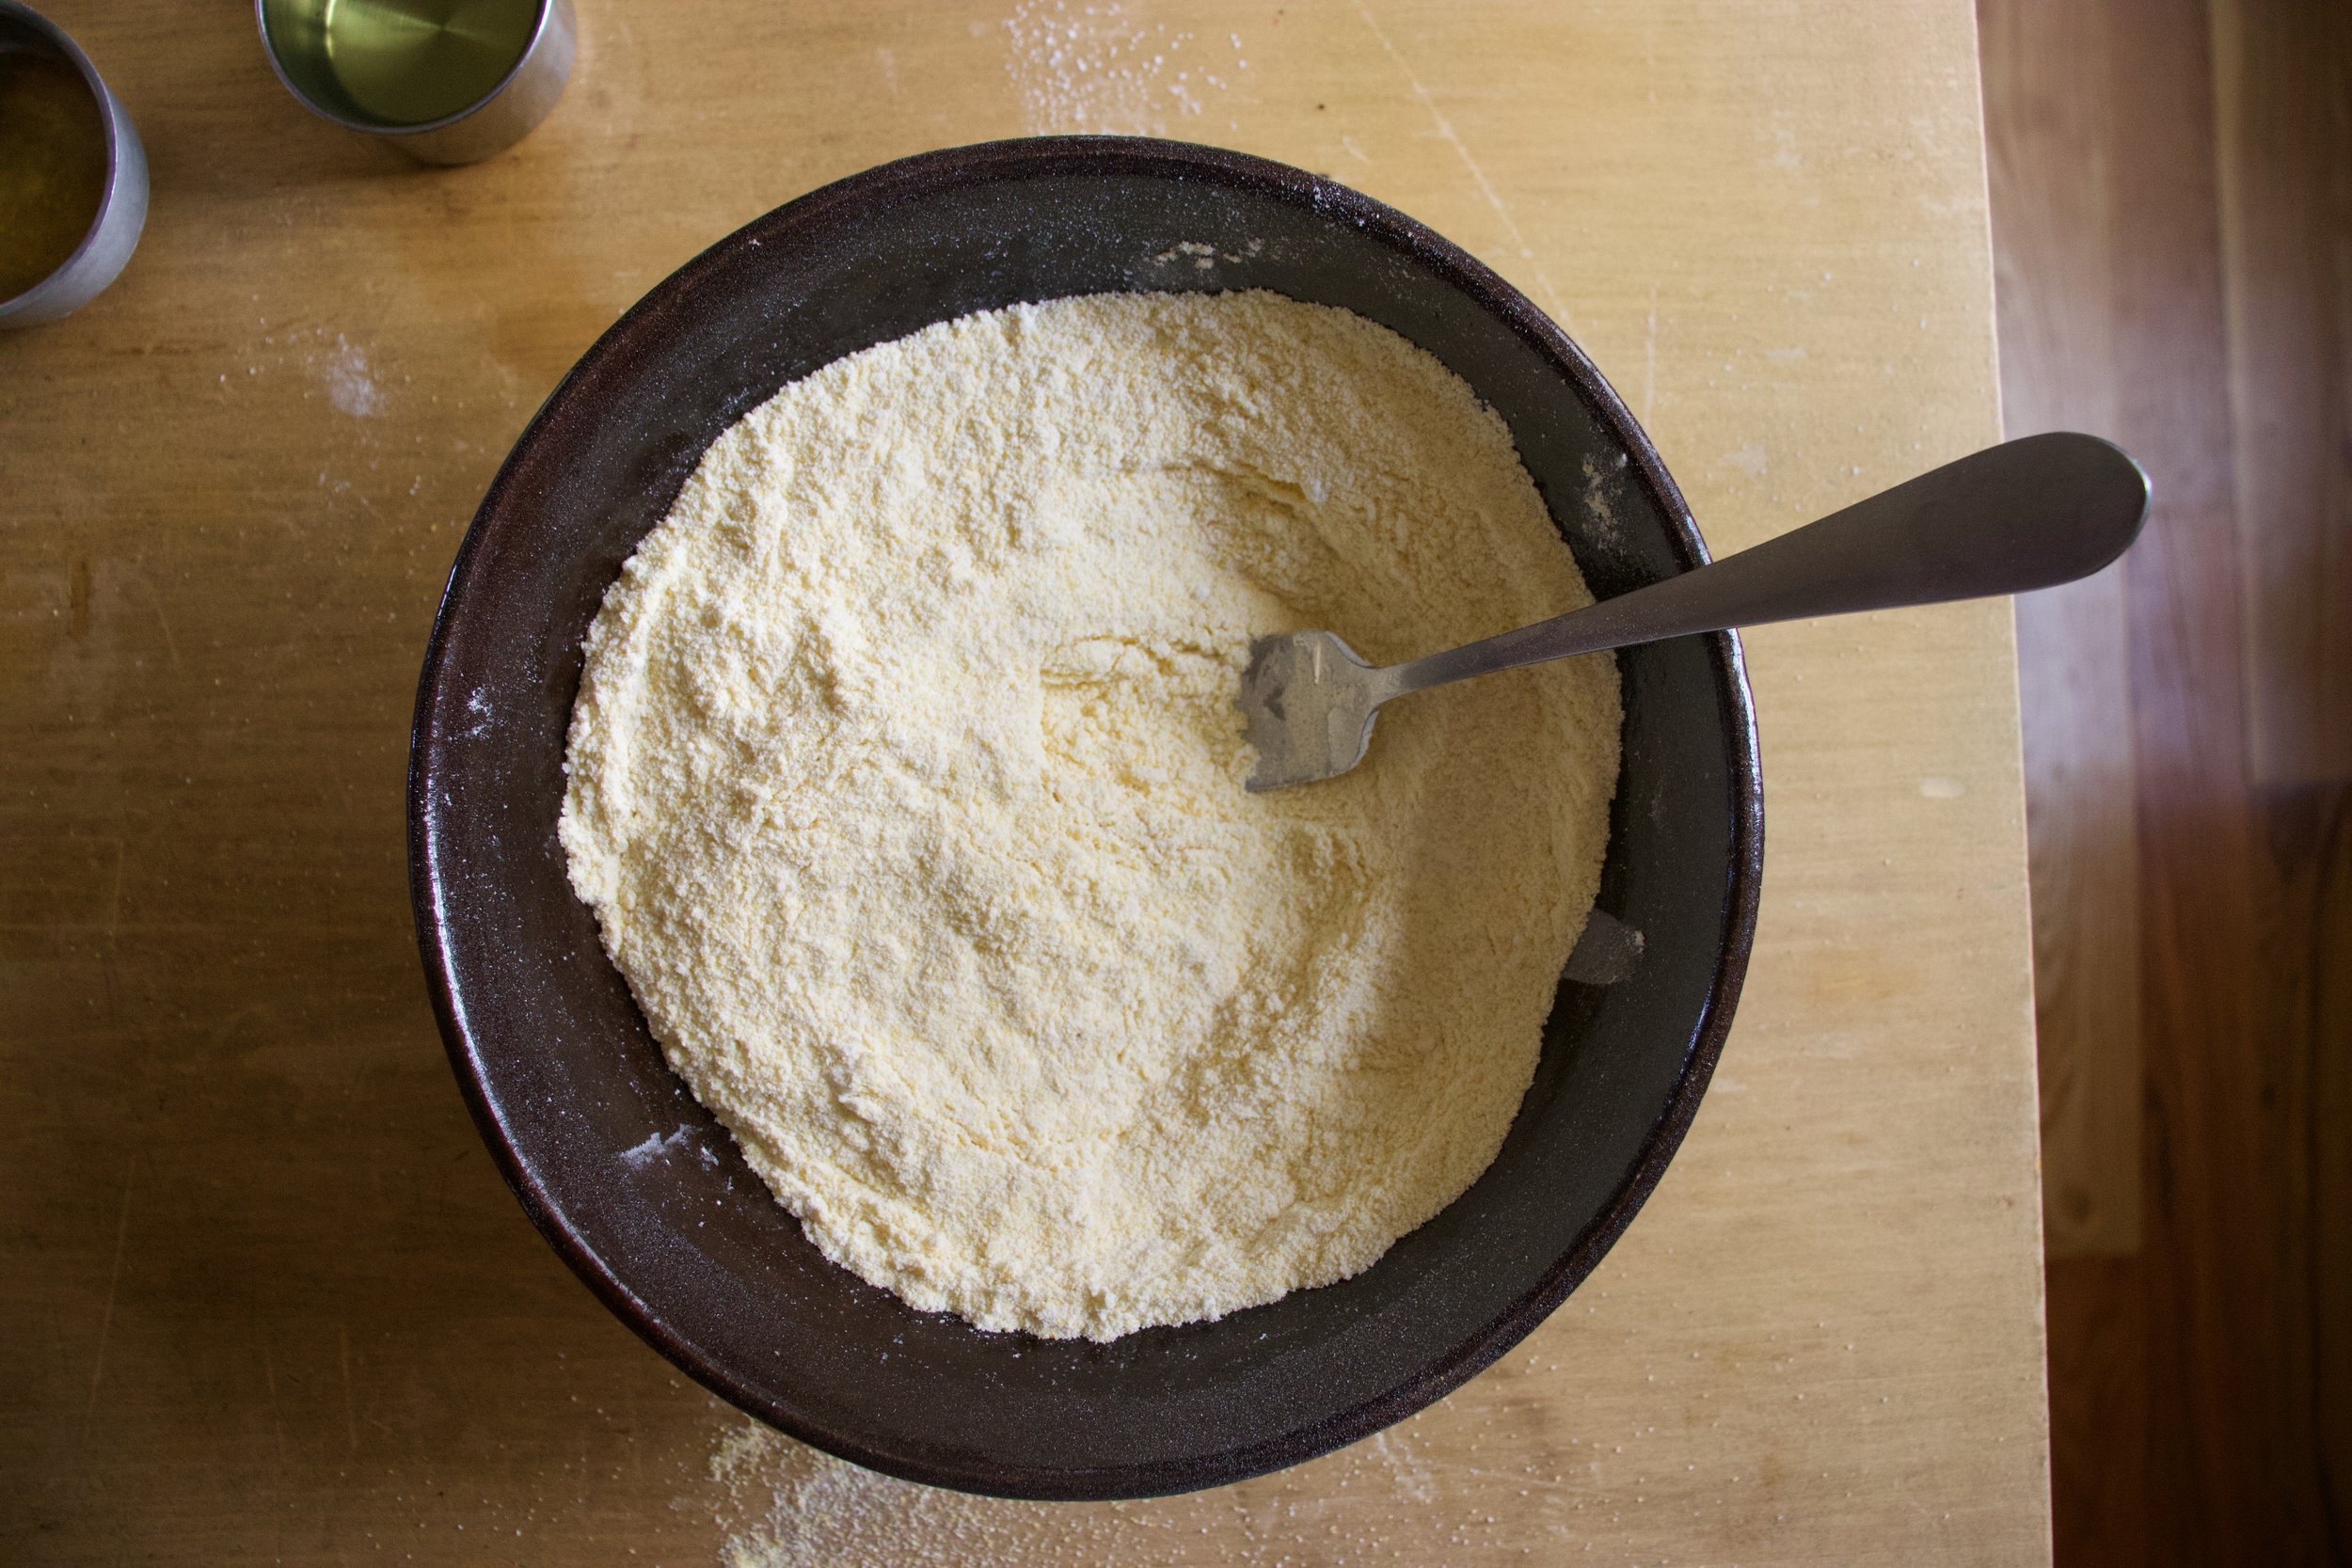
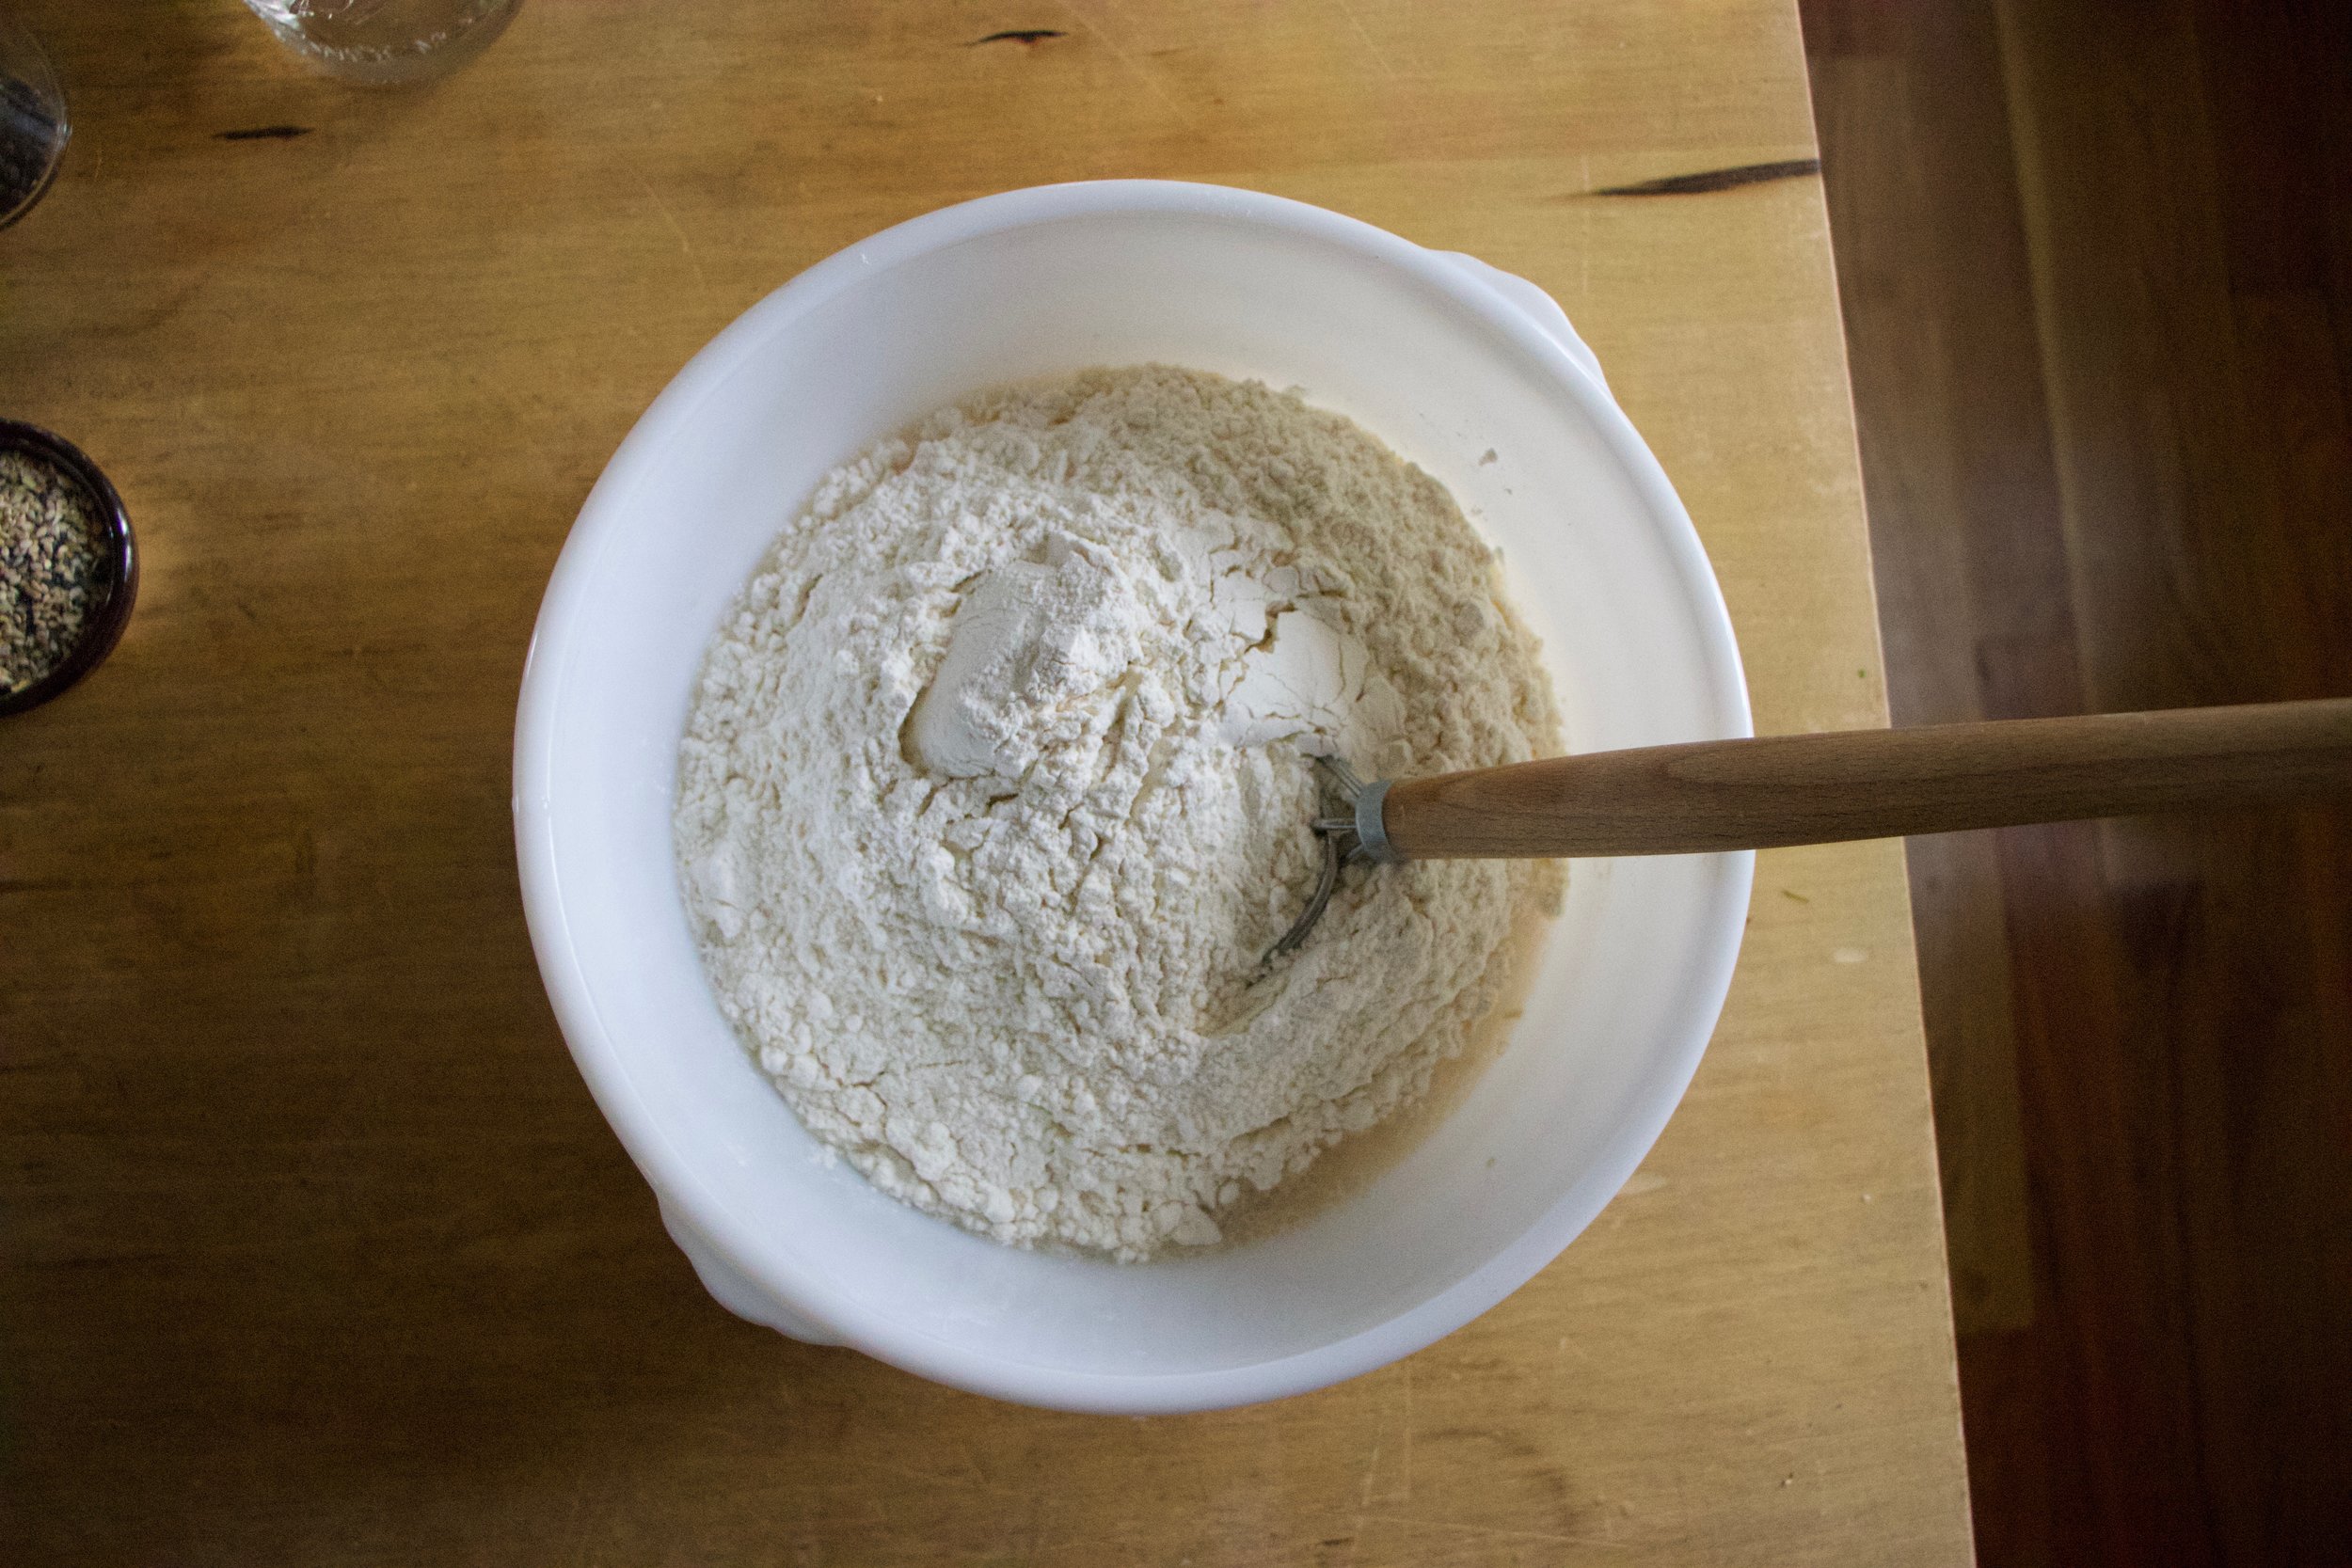
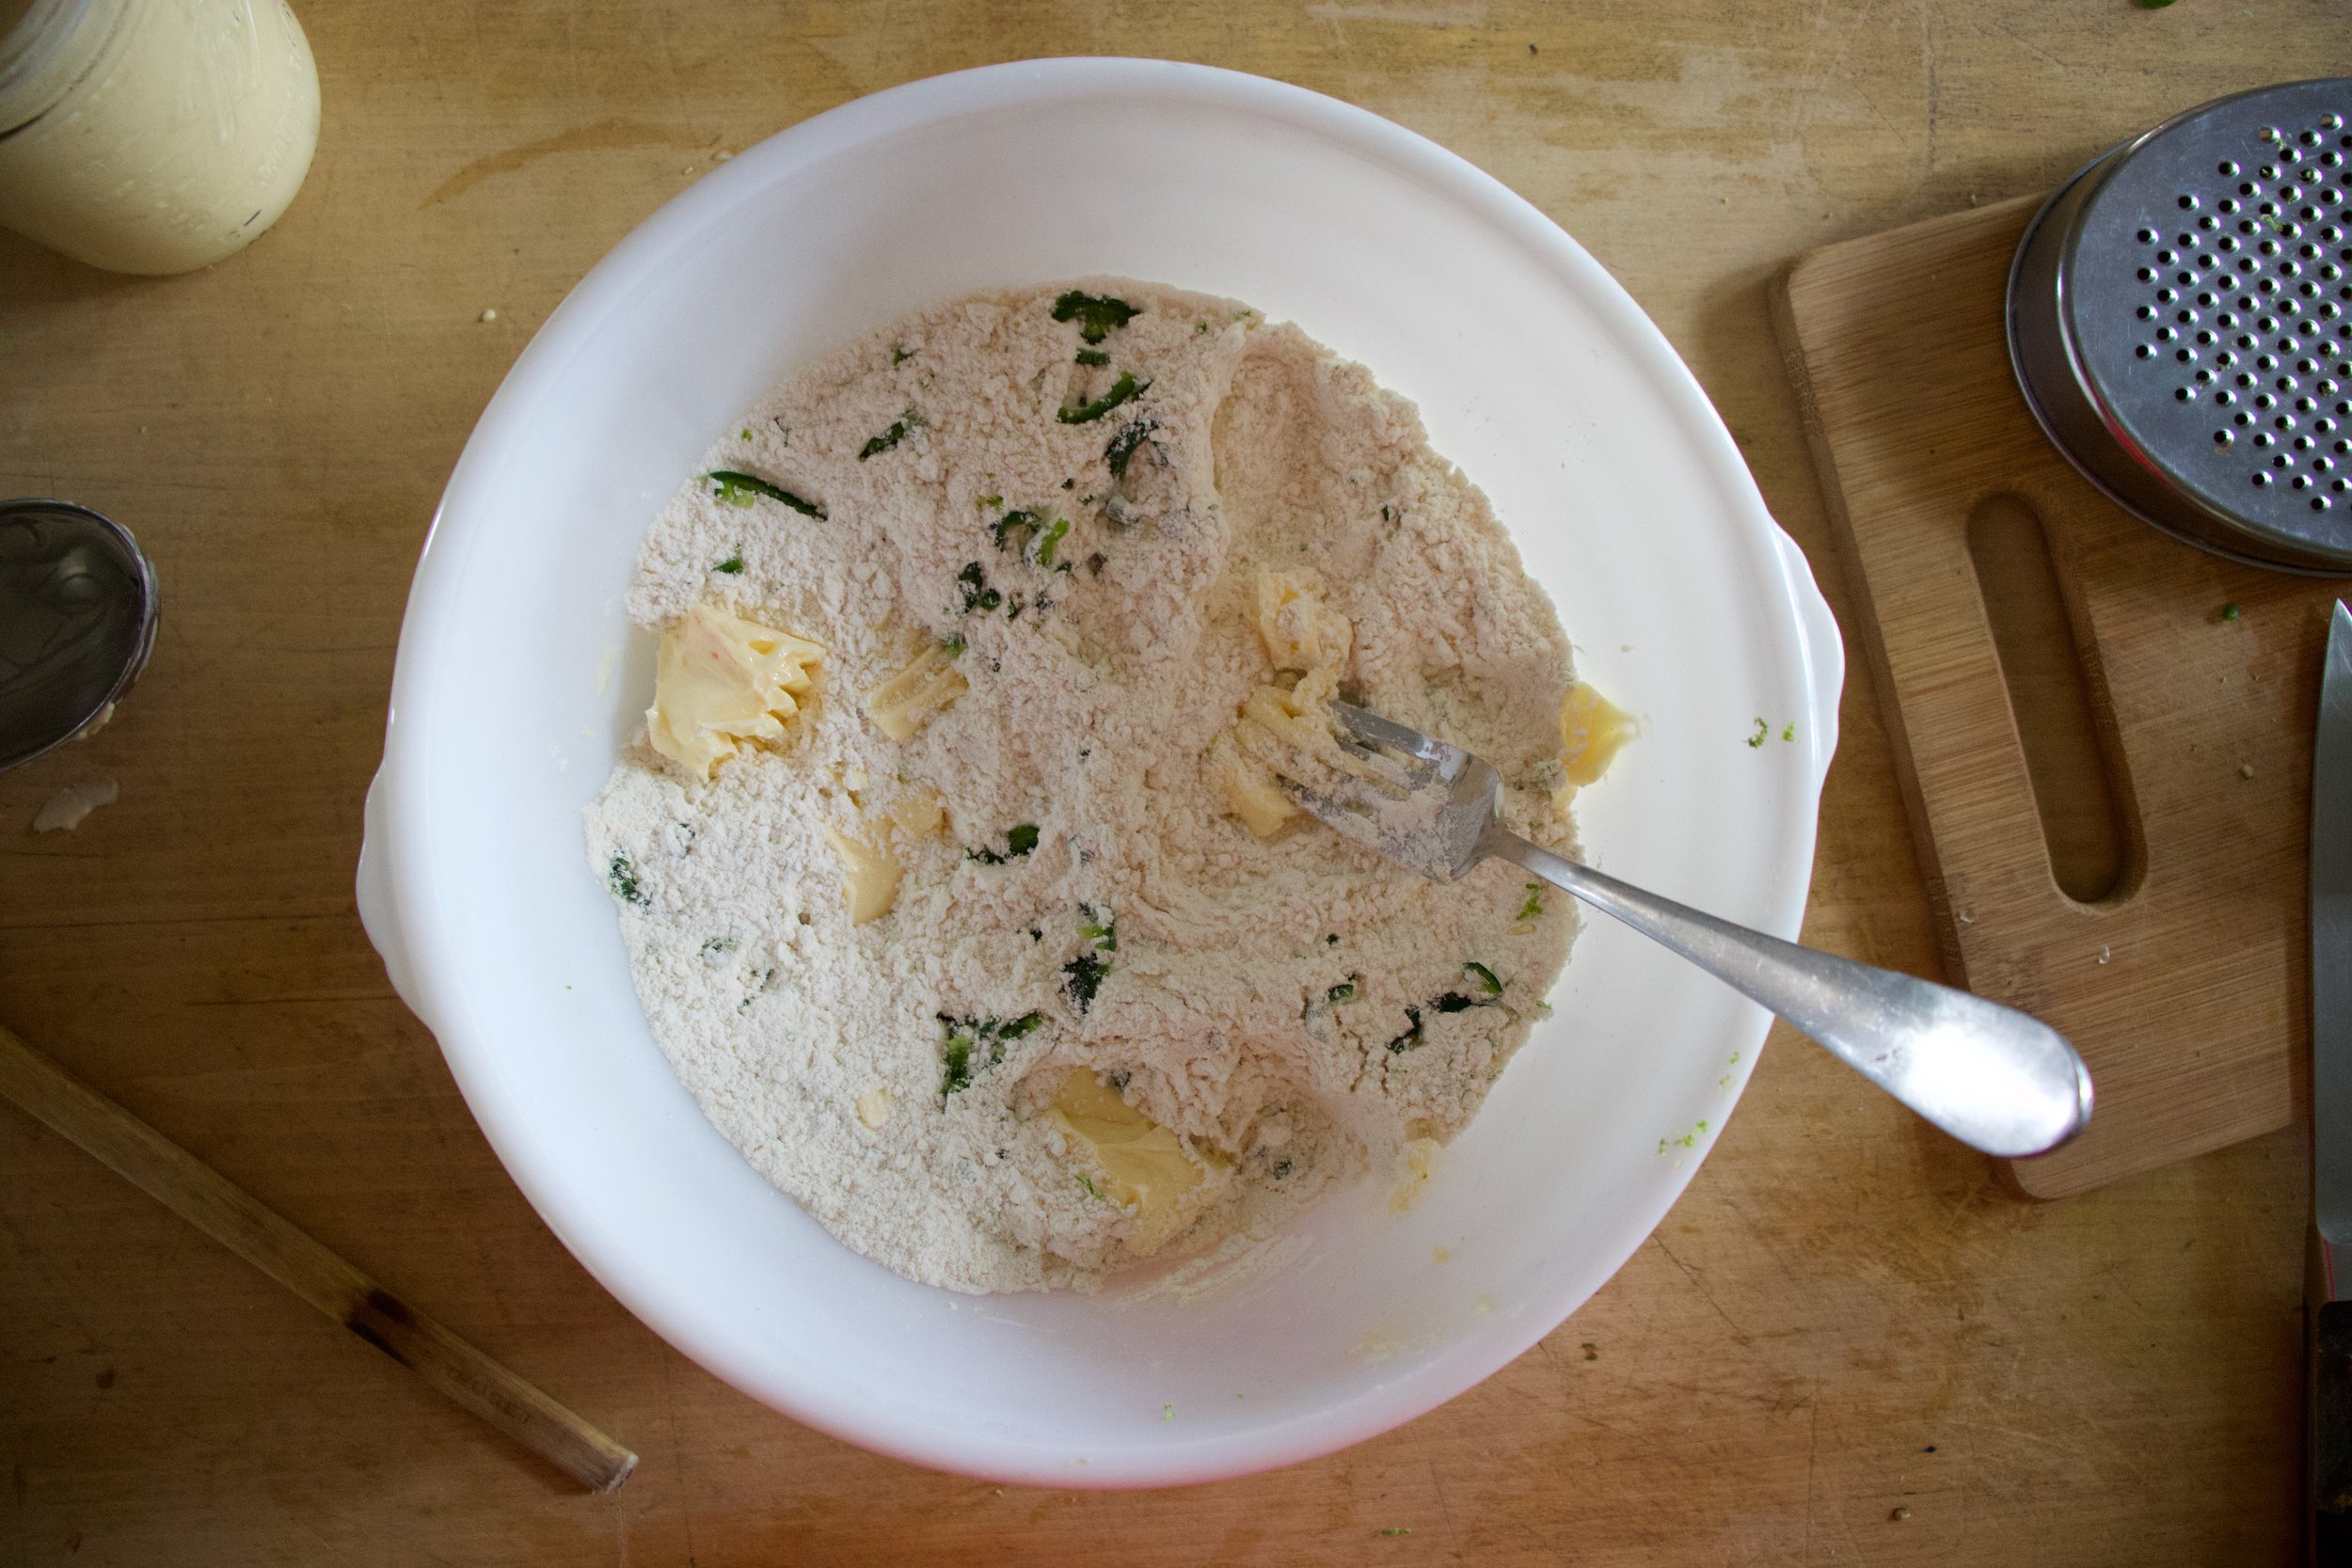
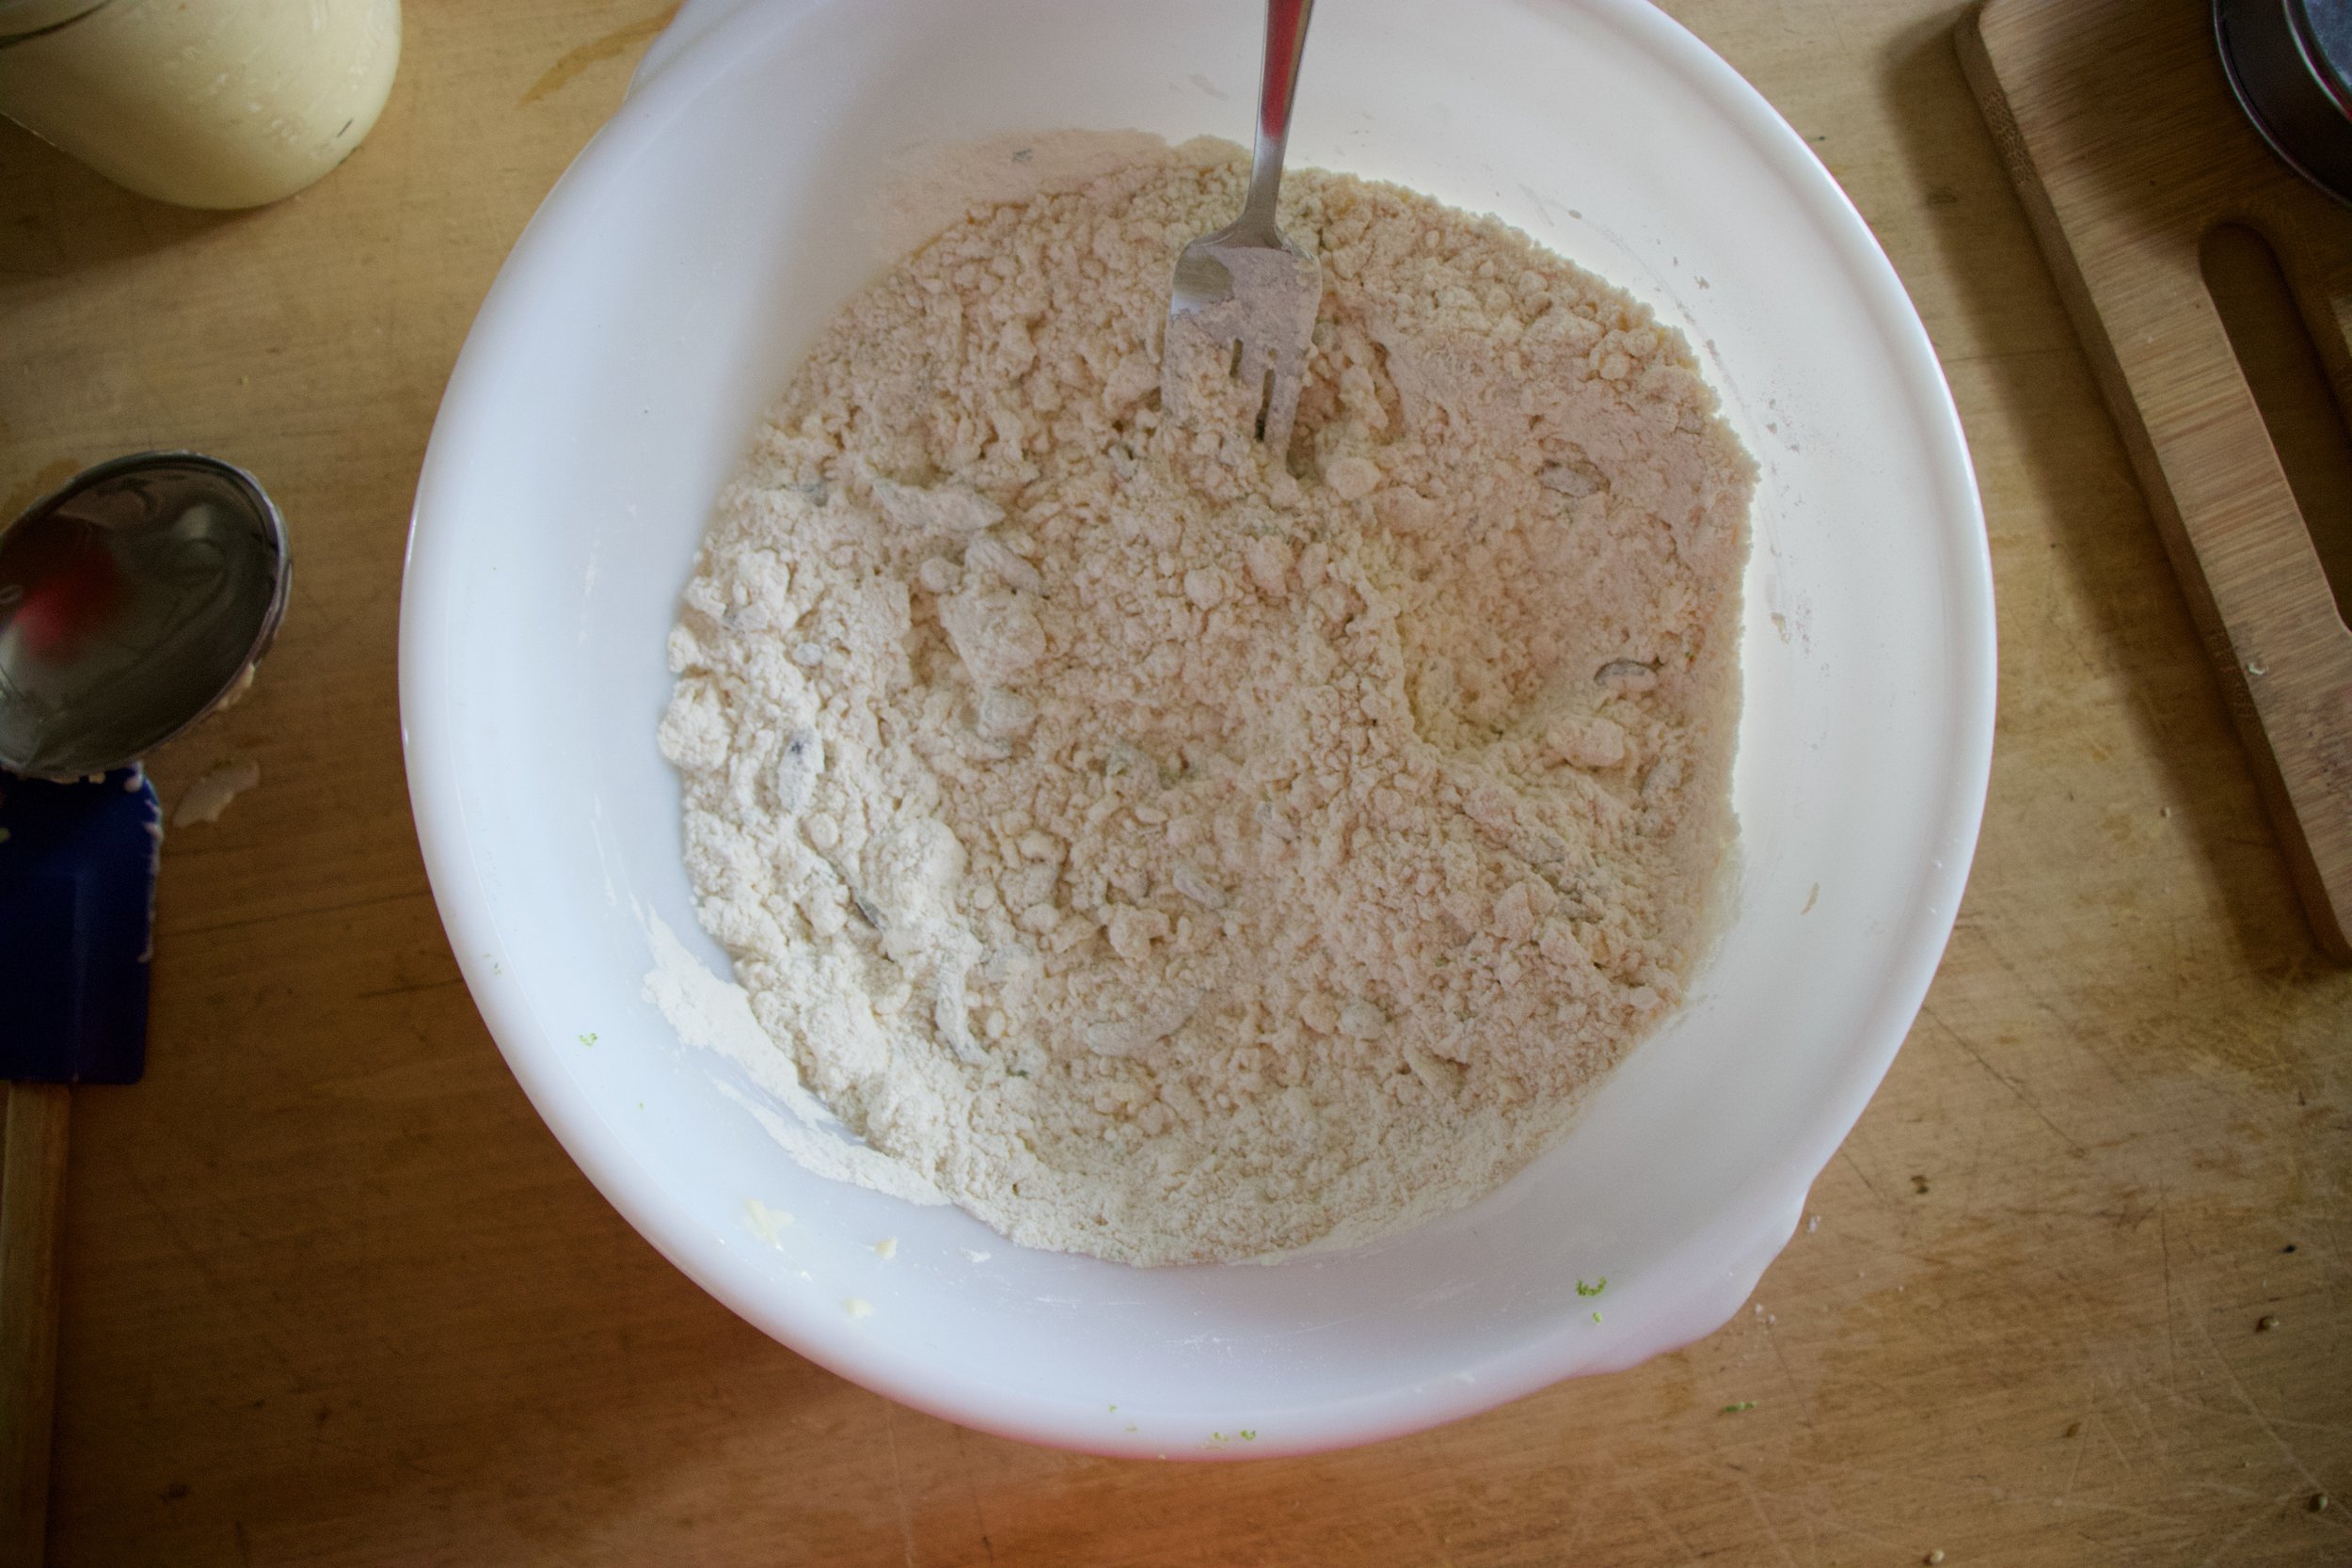
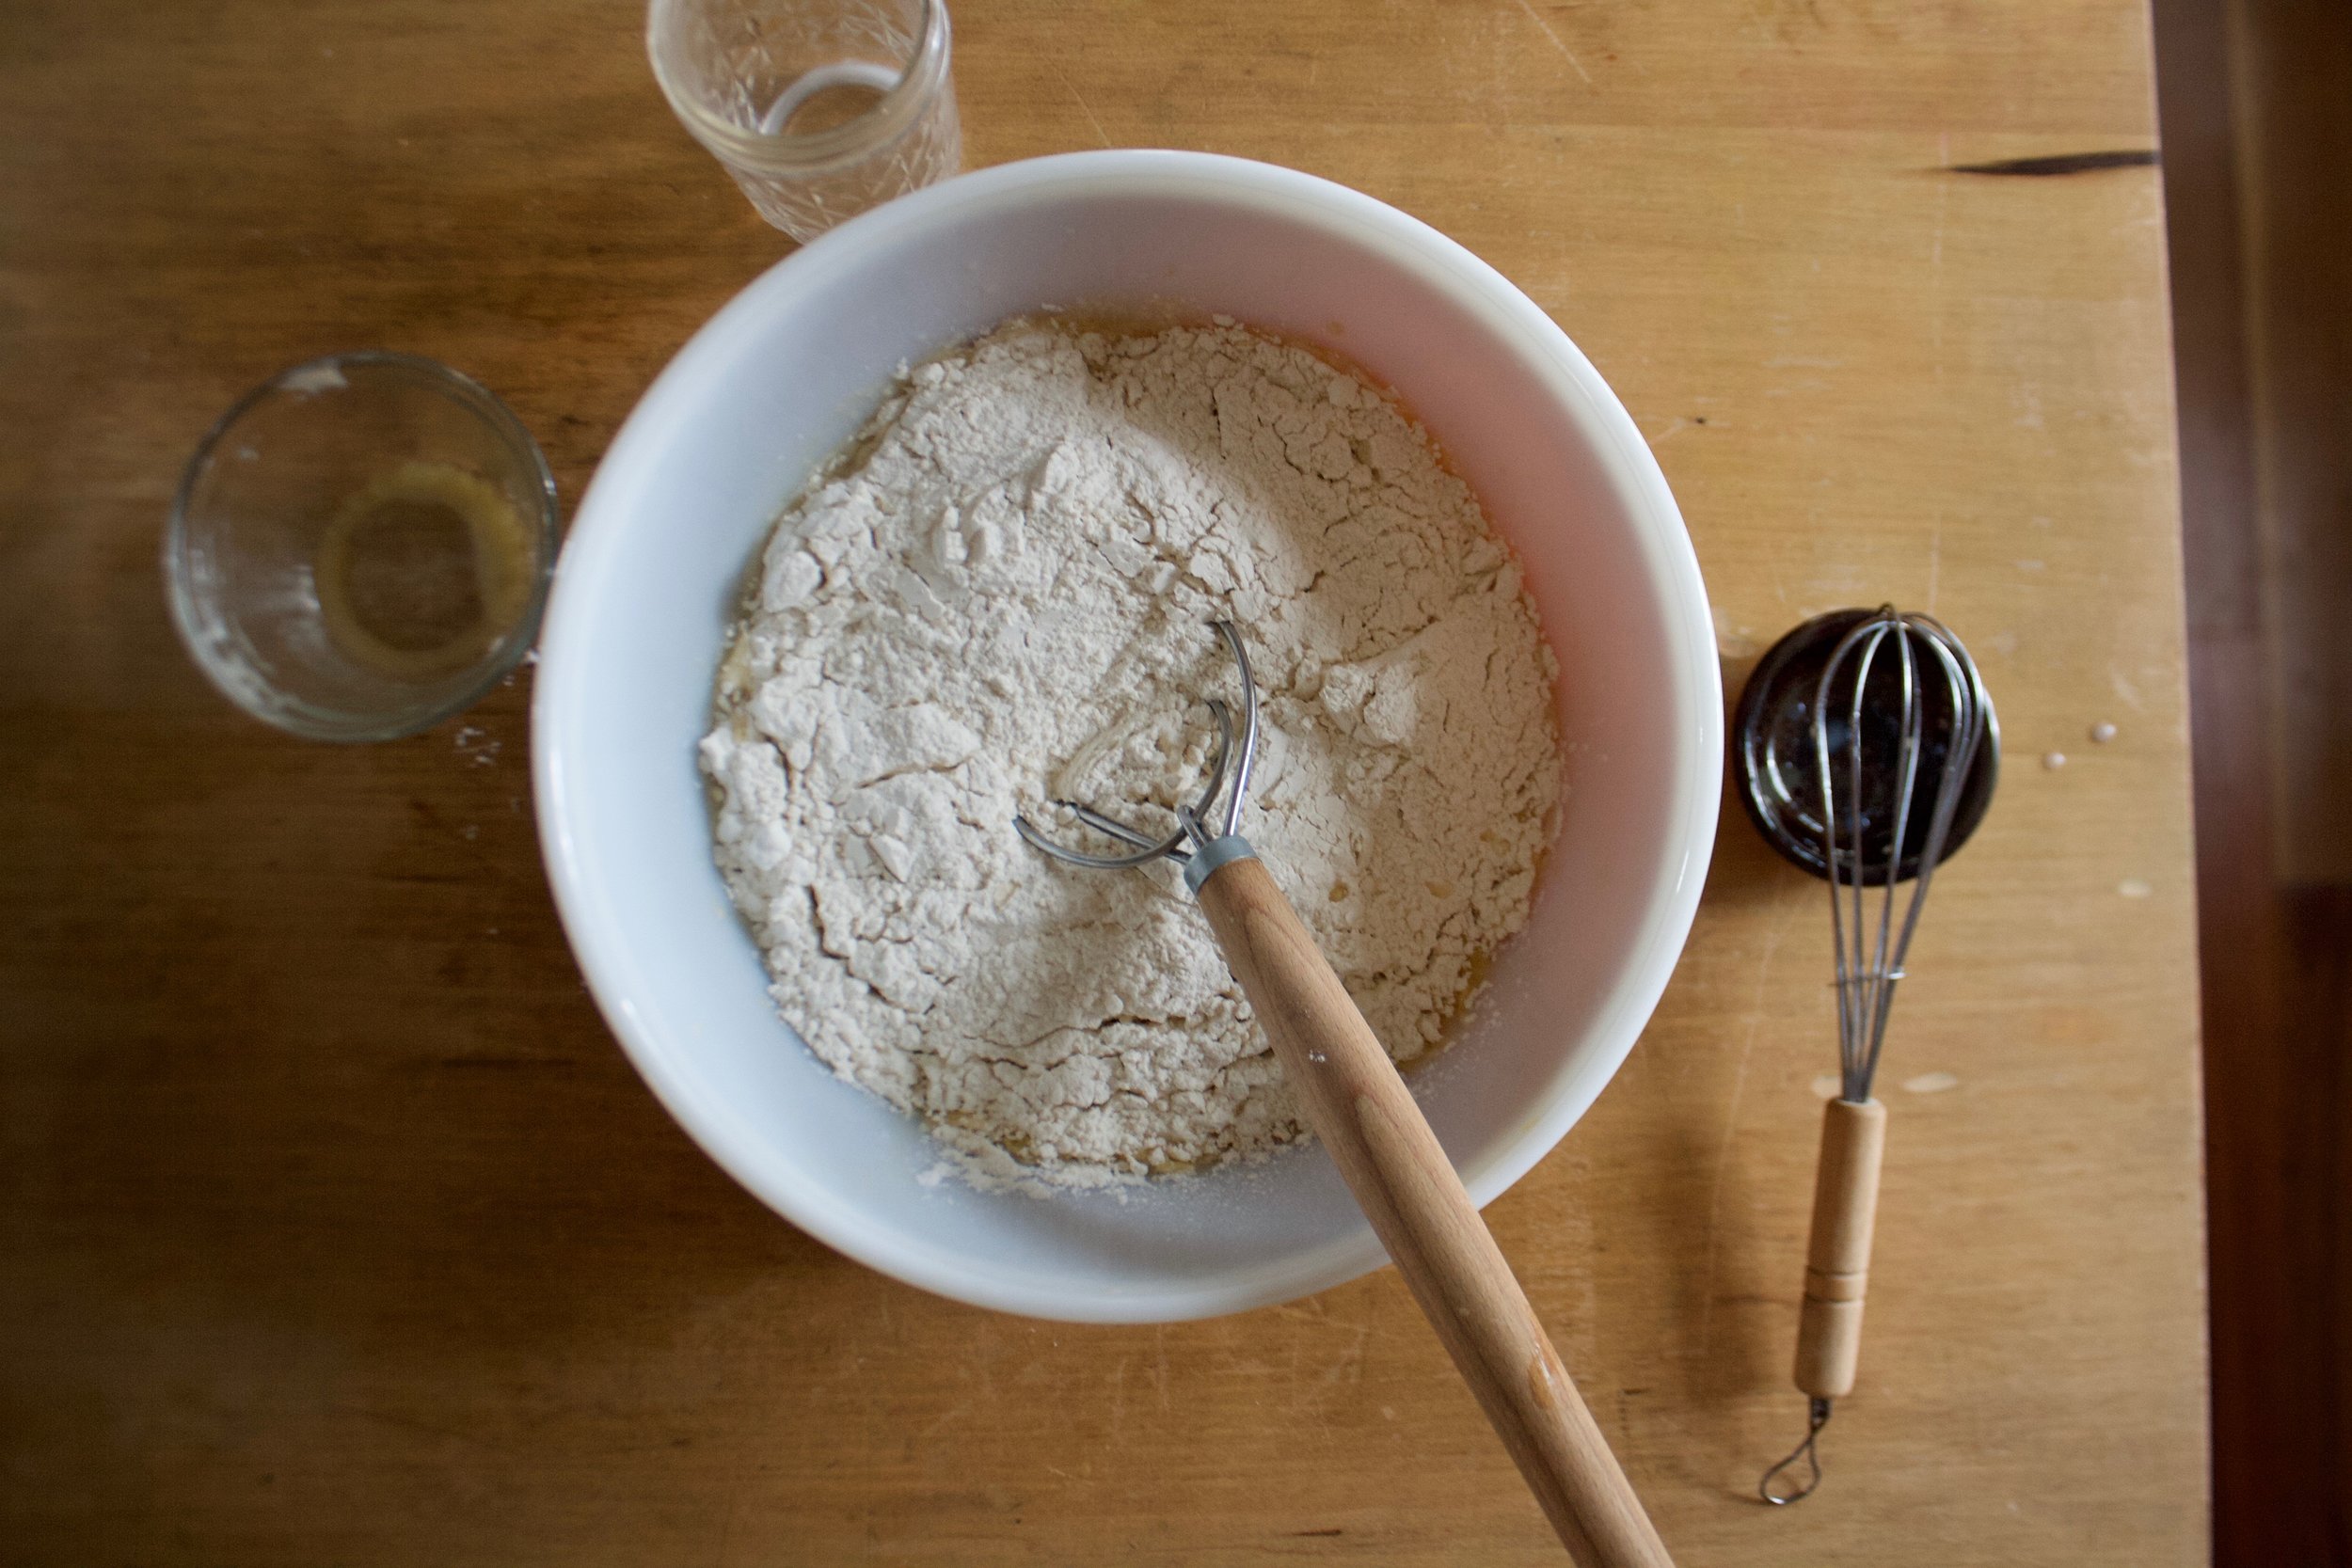
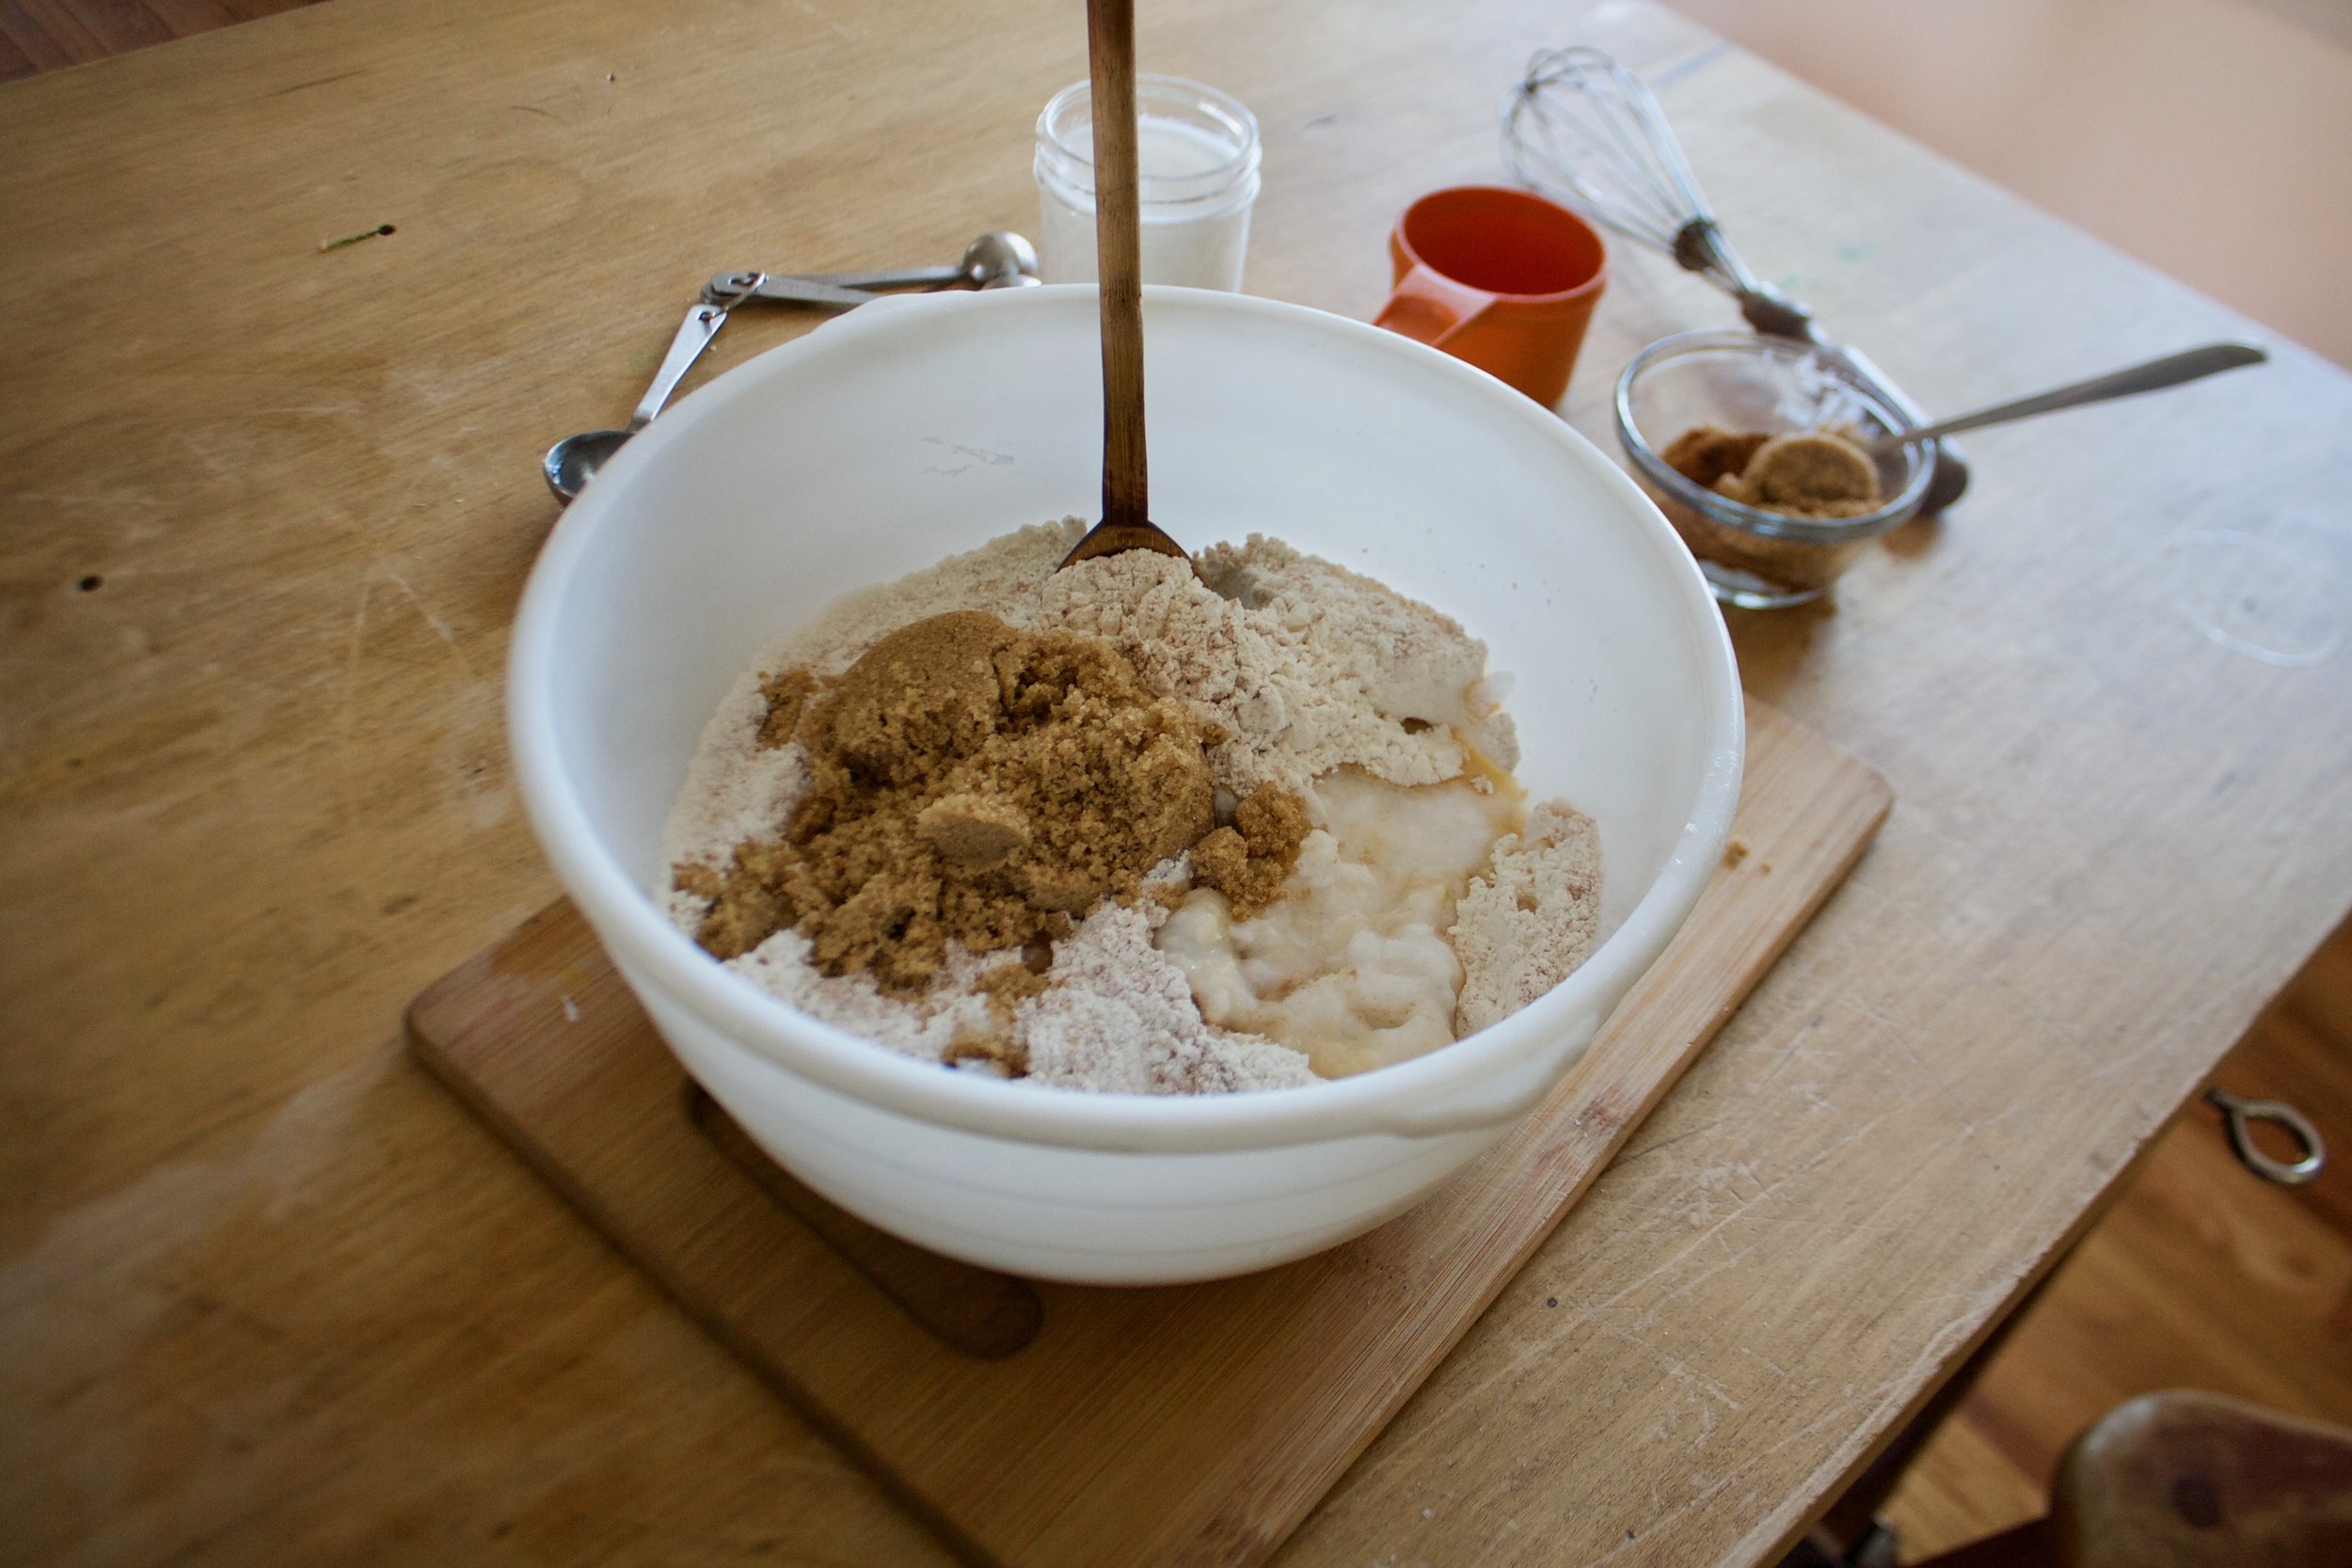
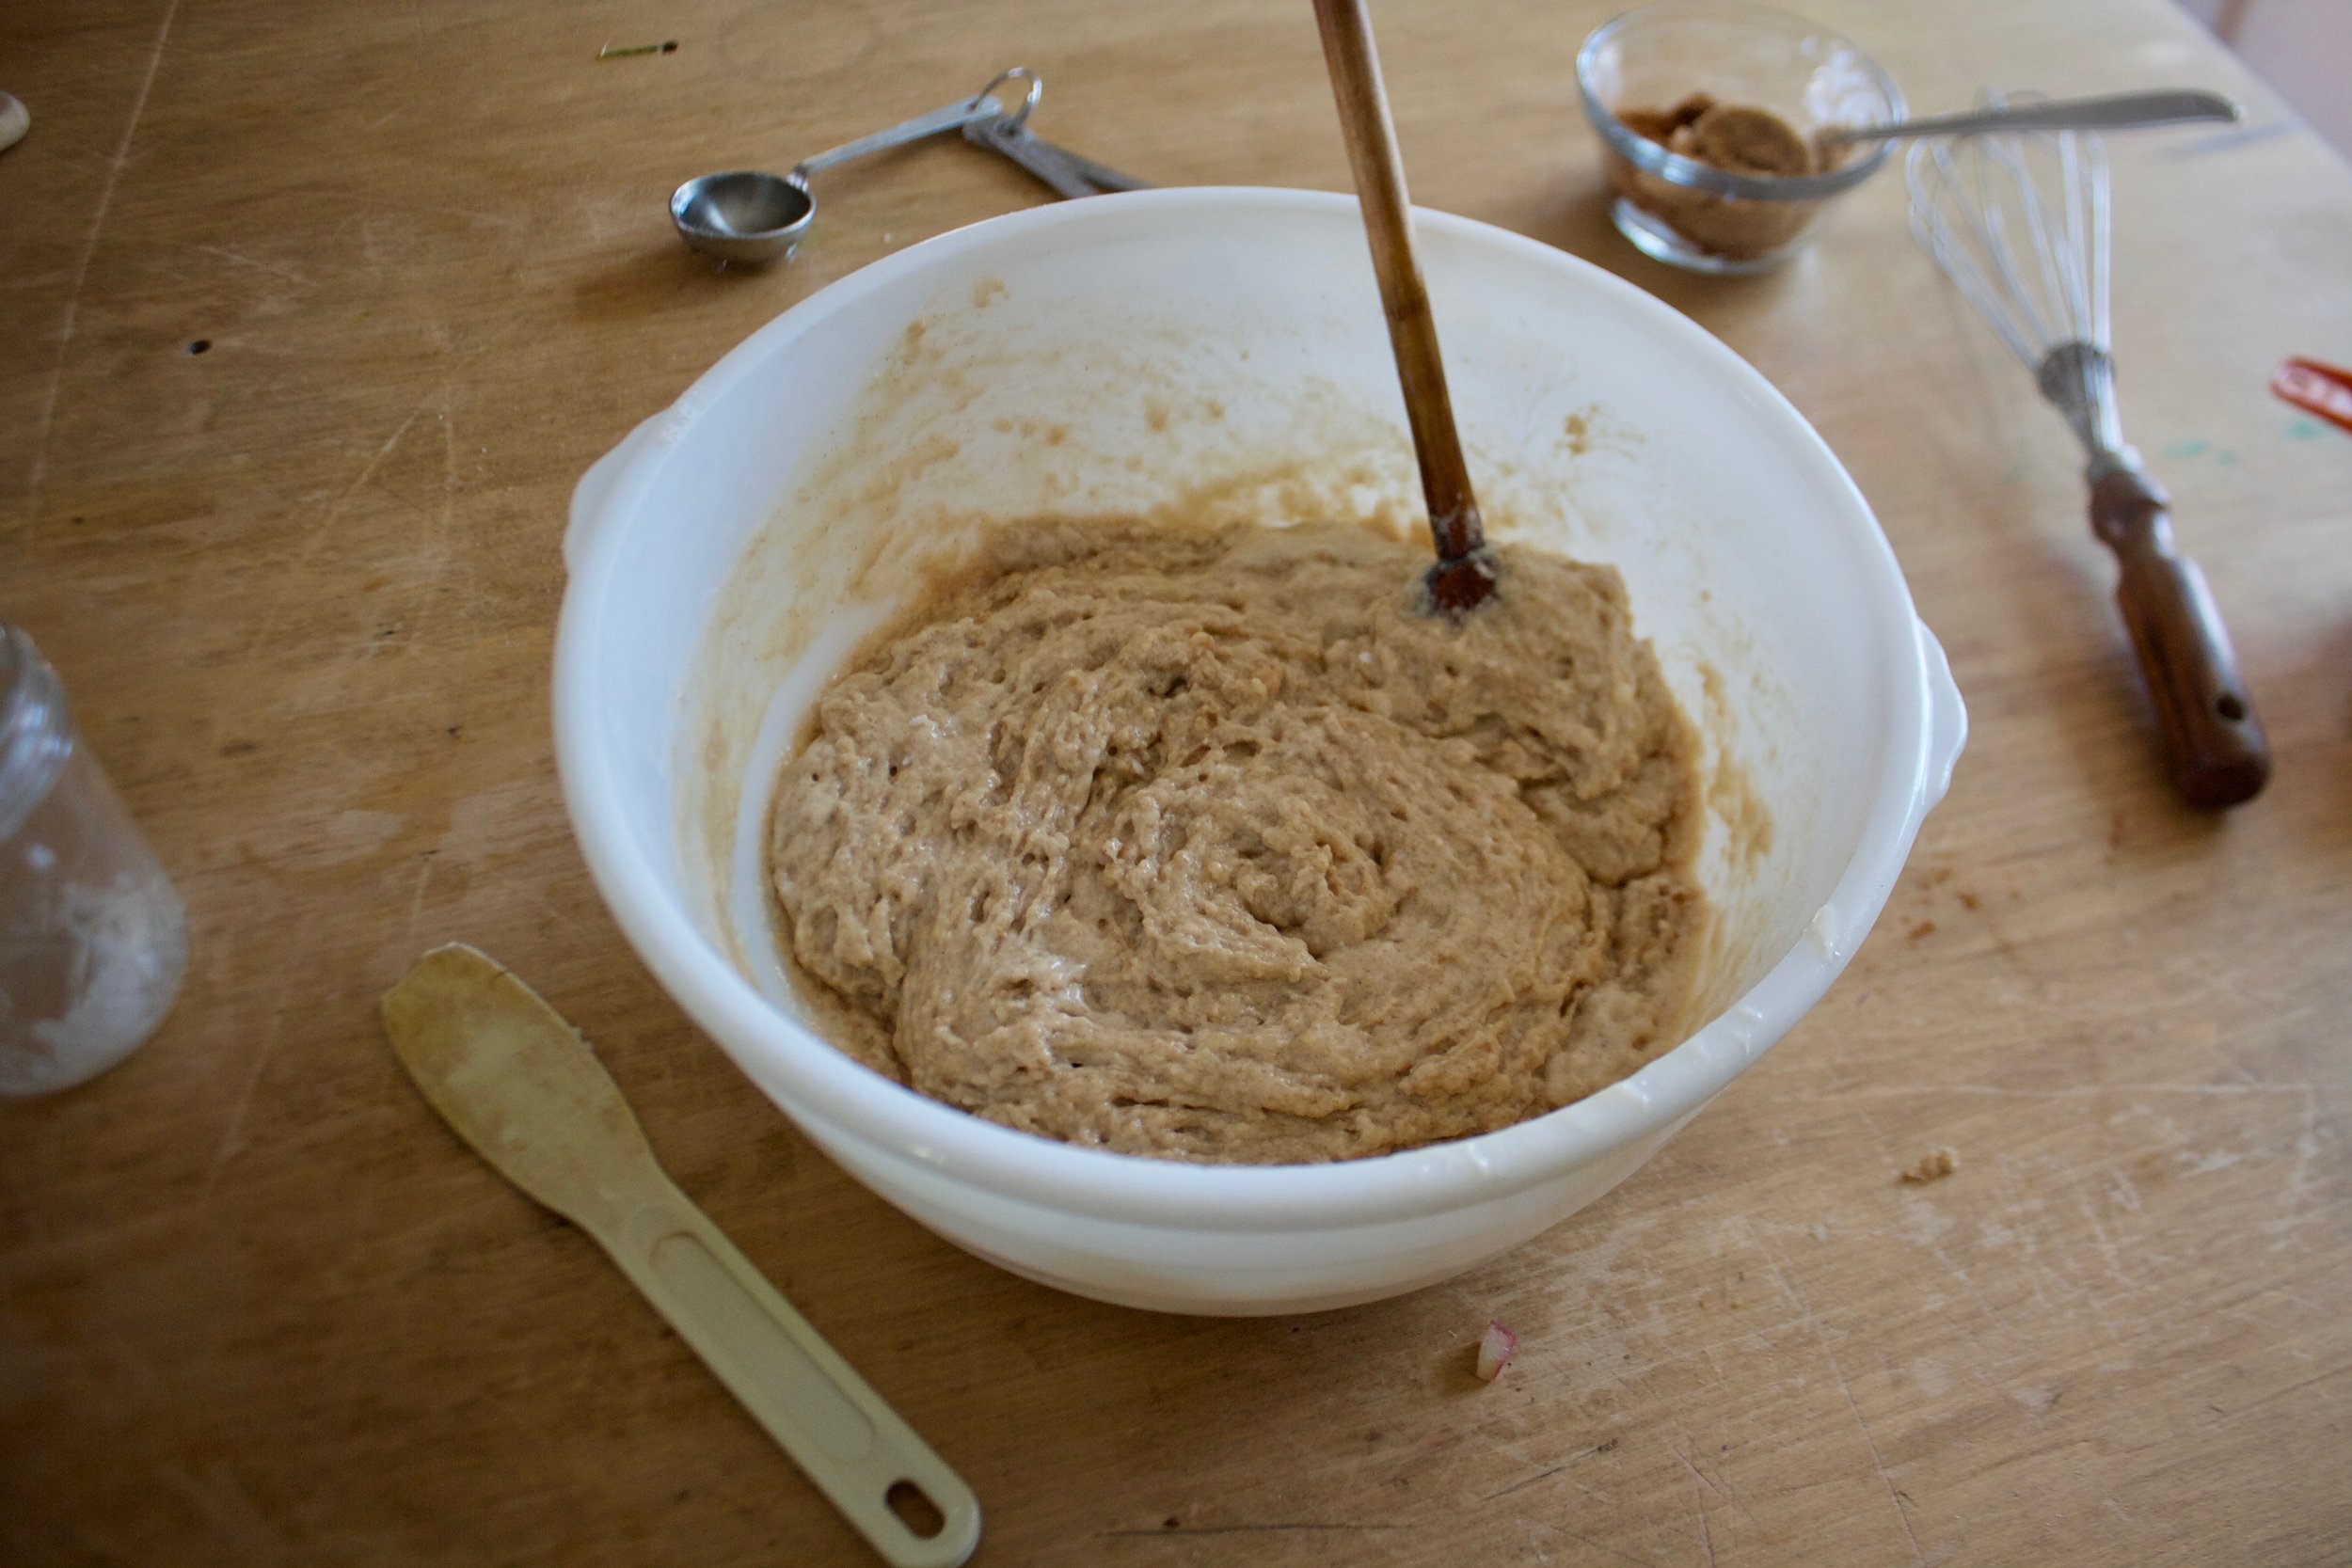
Now to the cornbread. Mix together all of the dry ingredients.

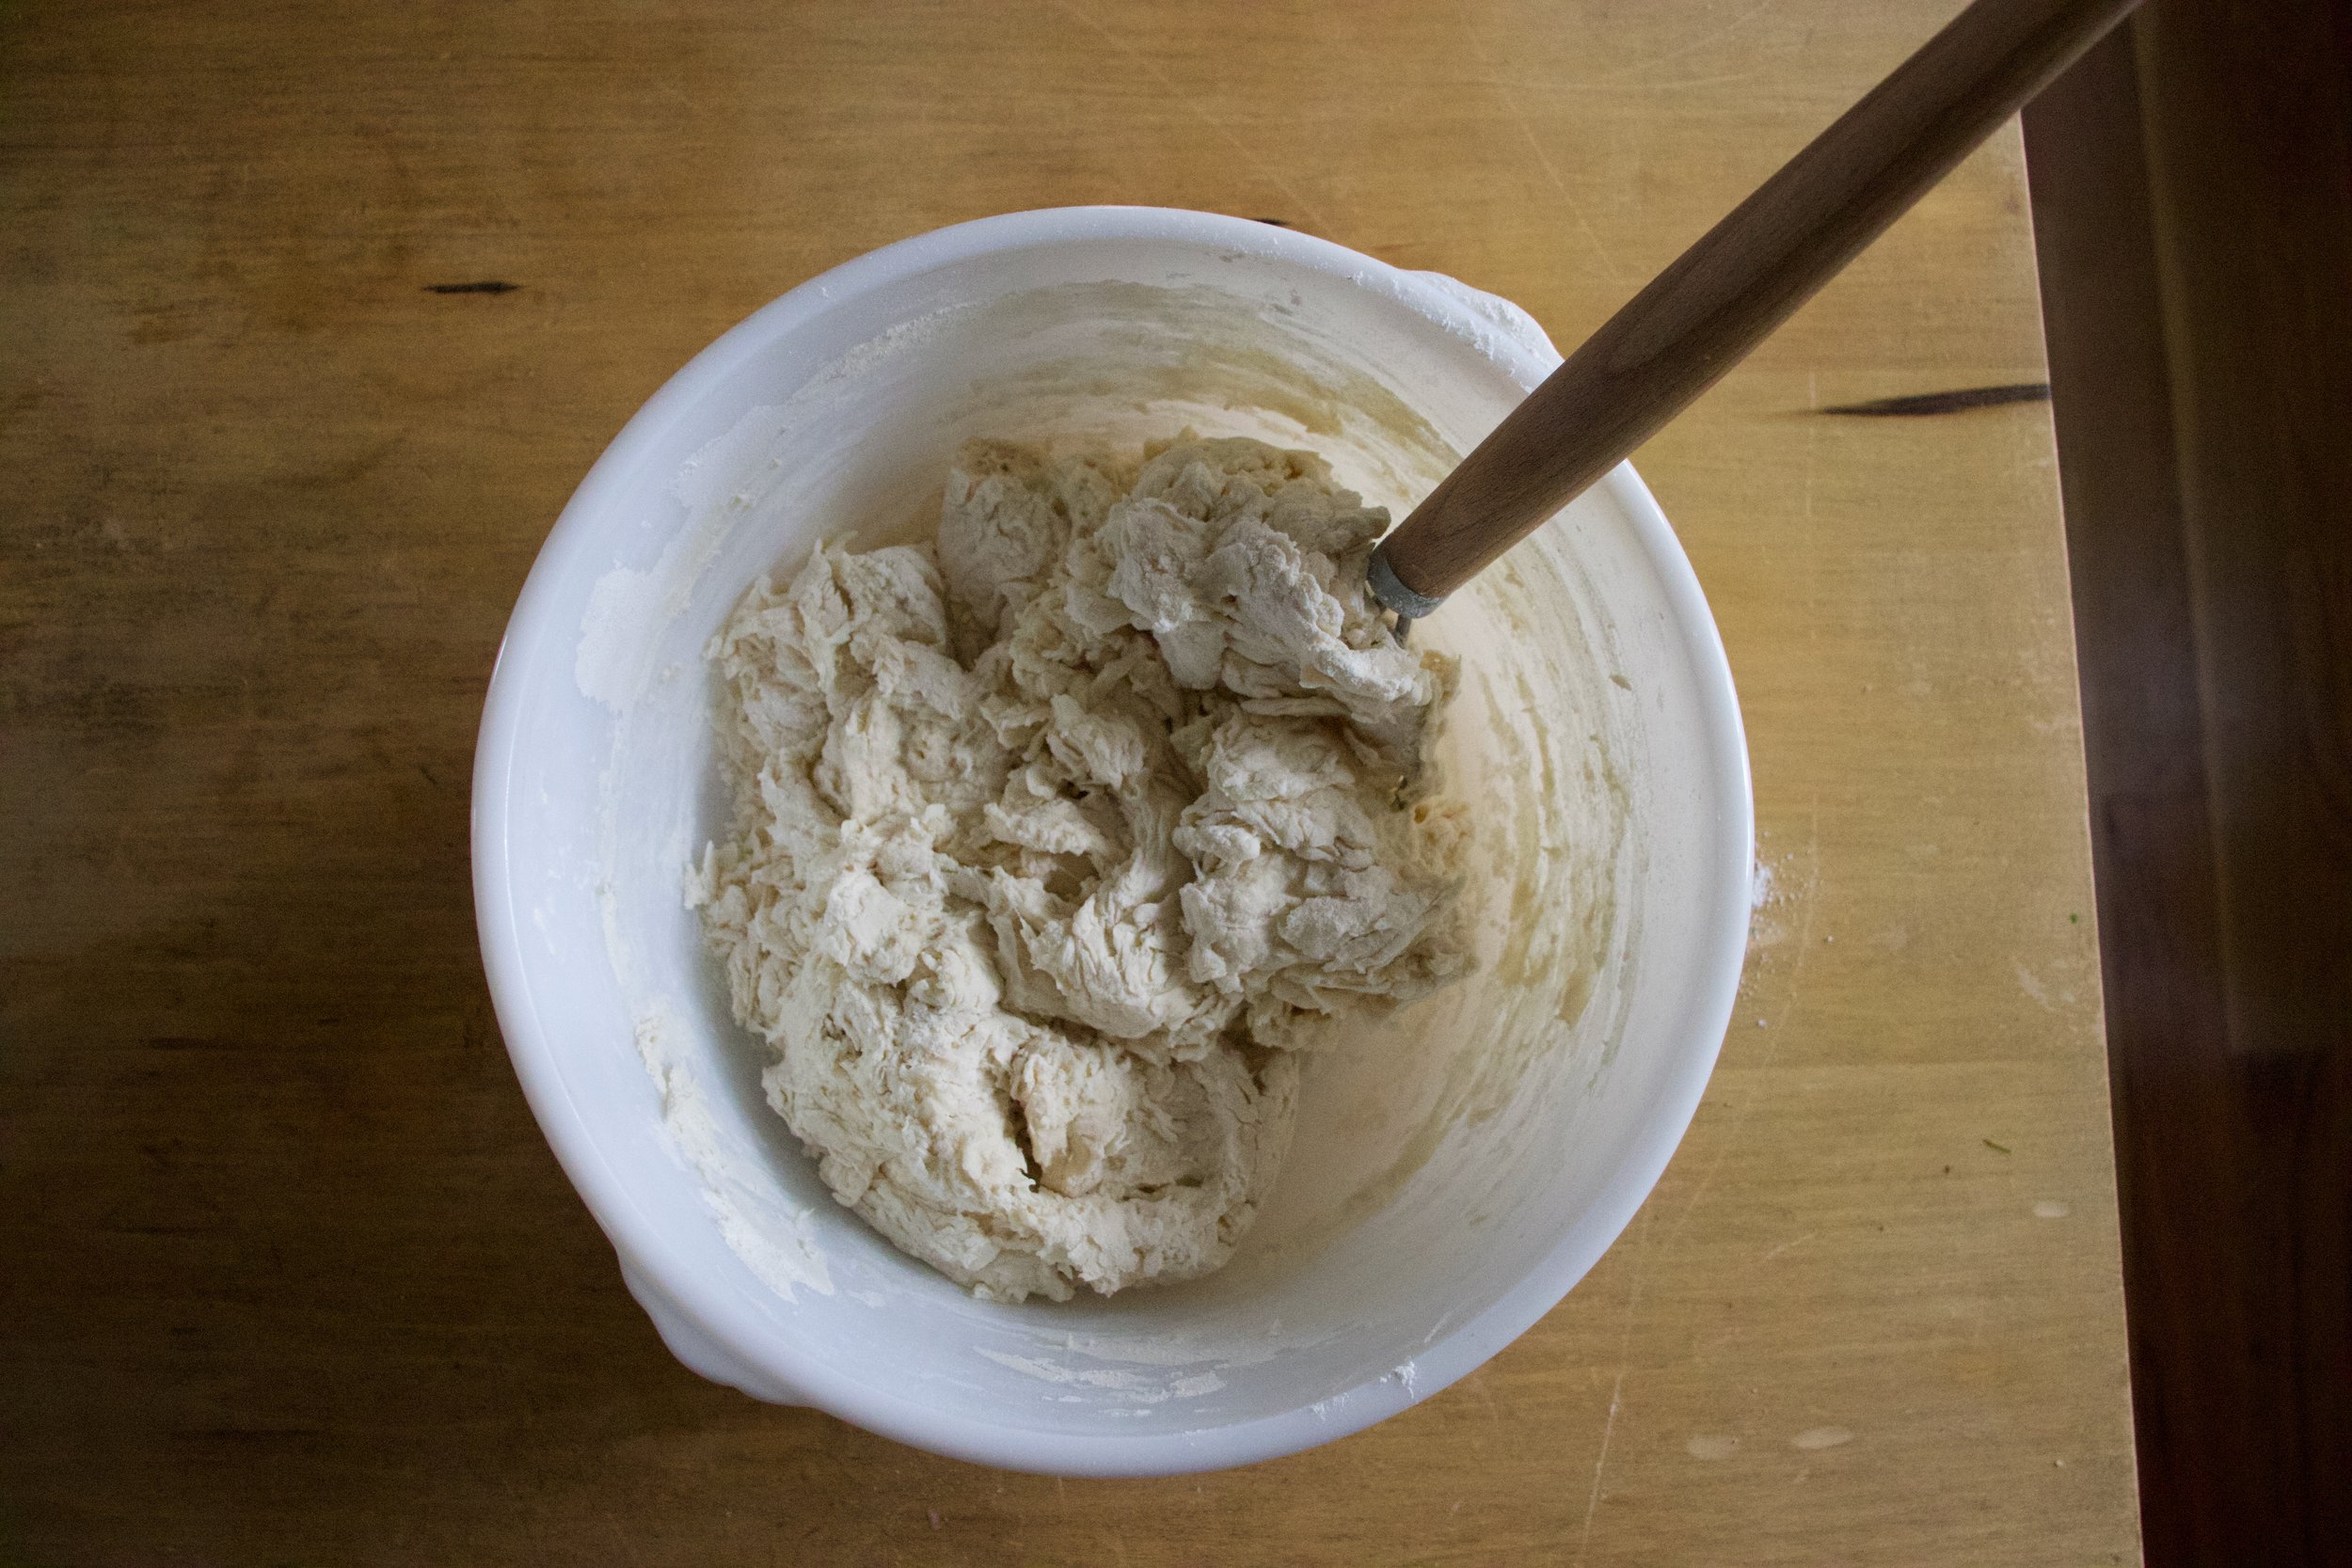
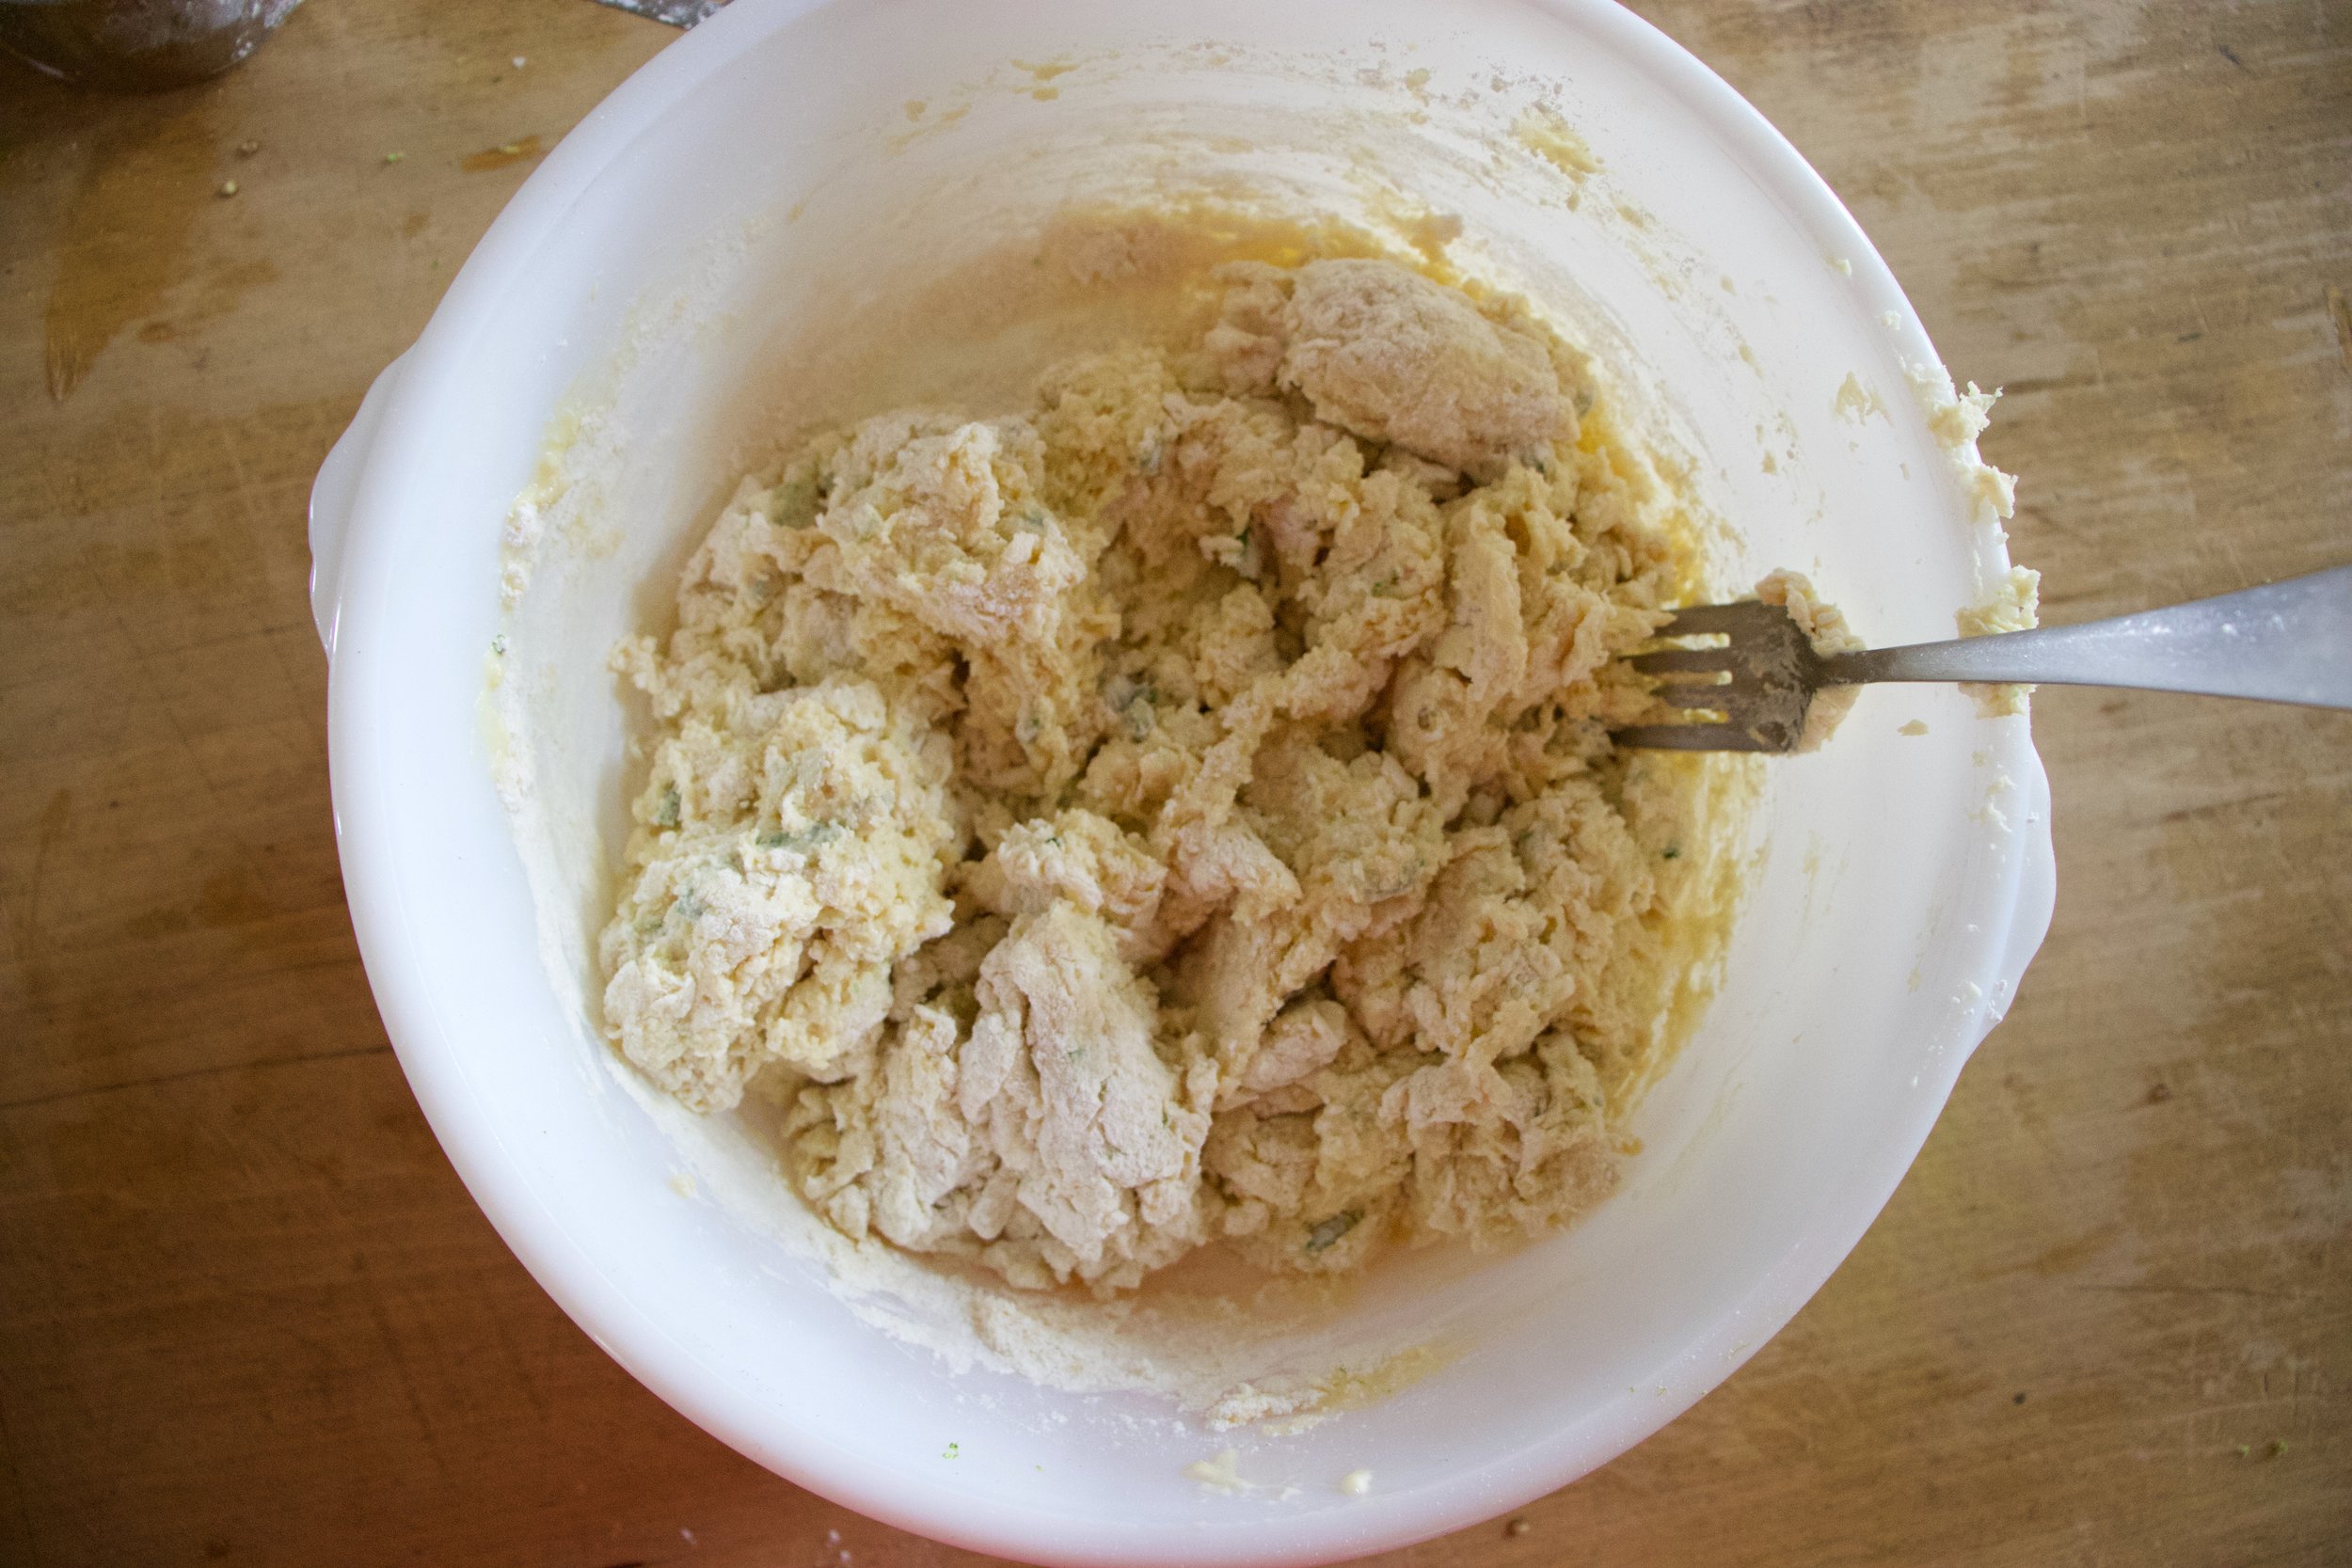
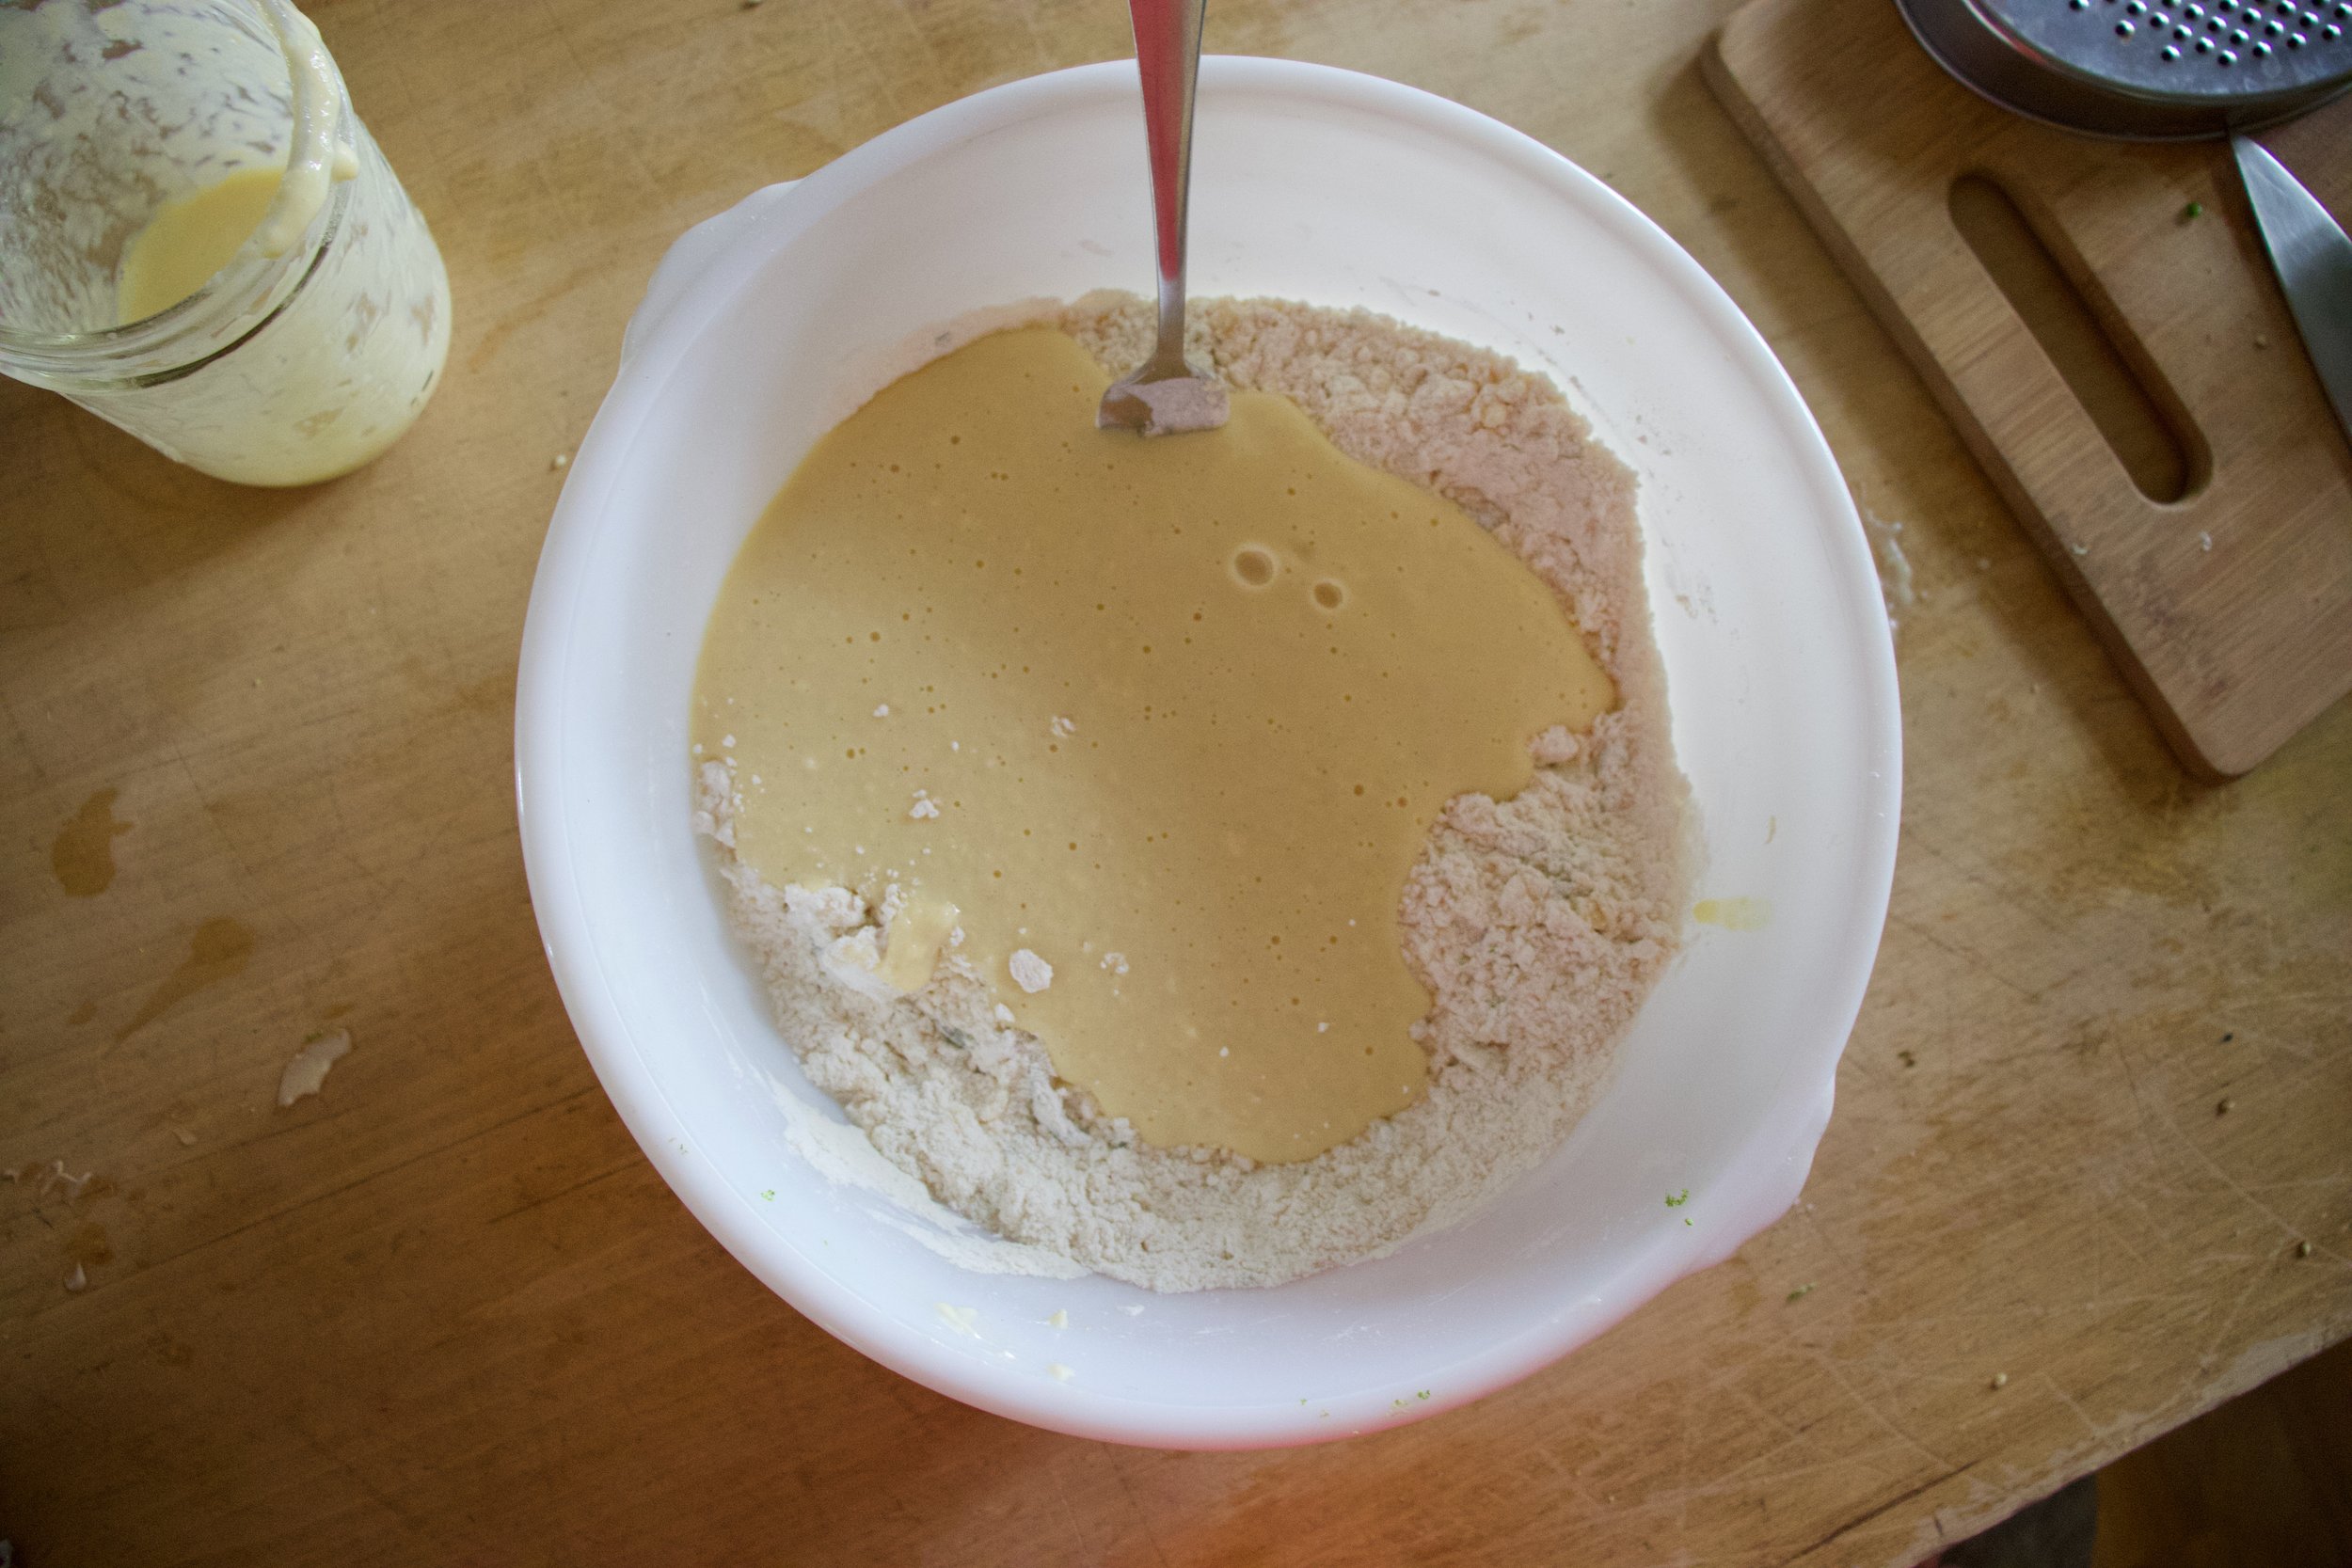
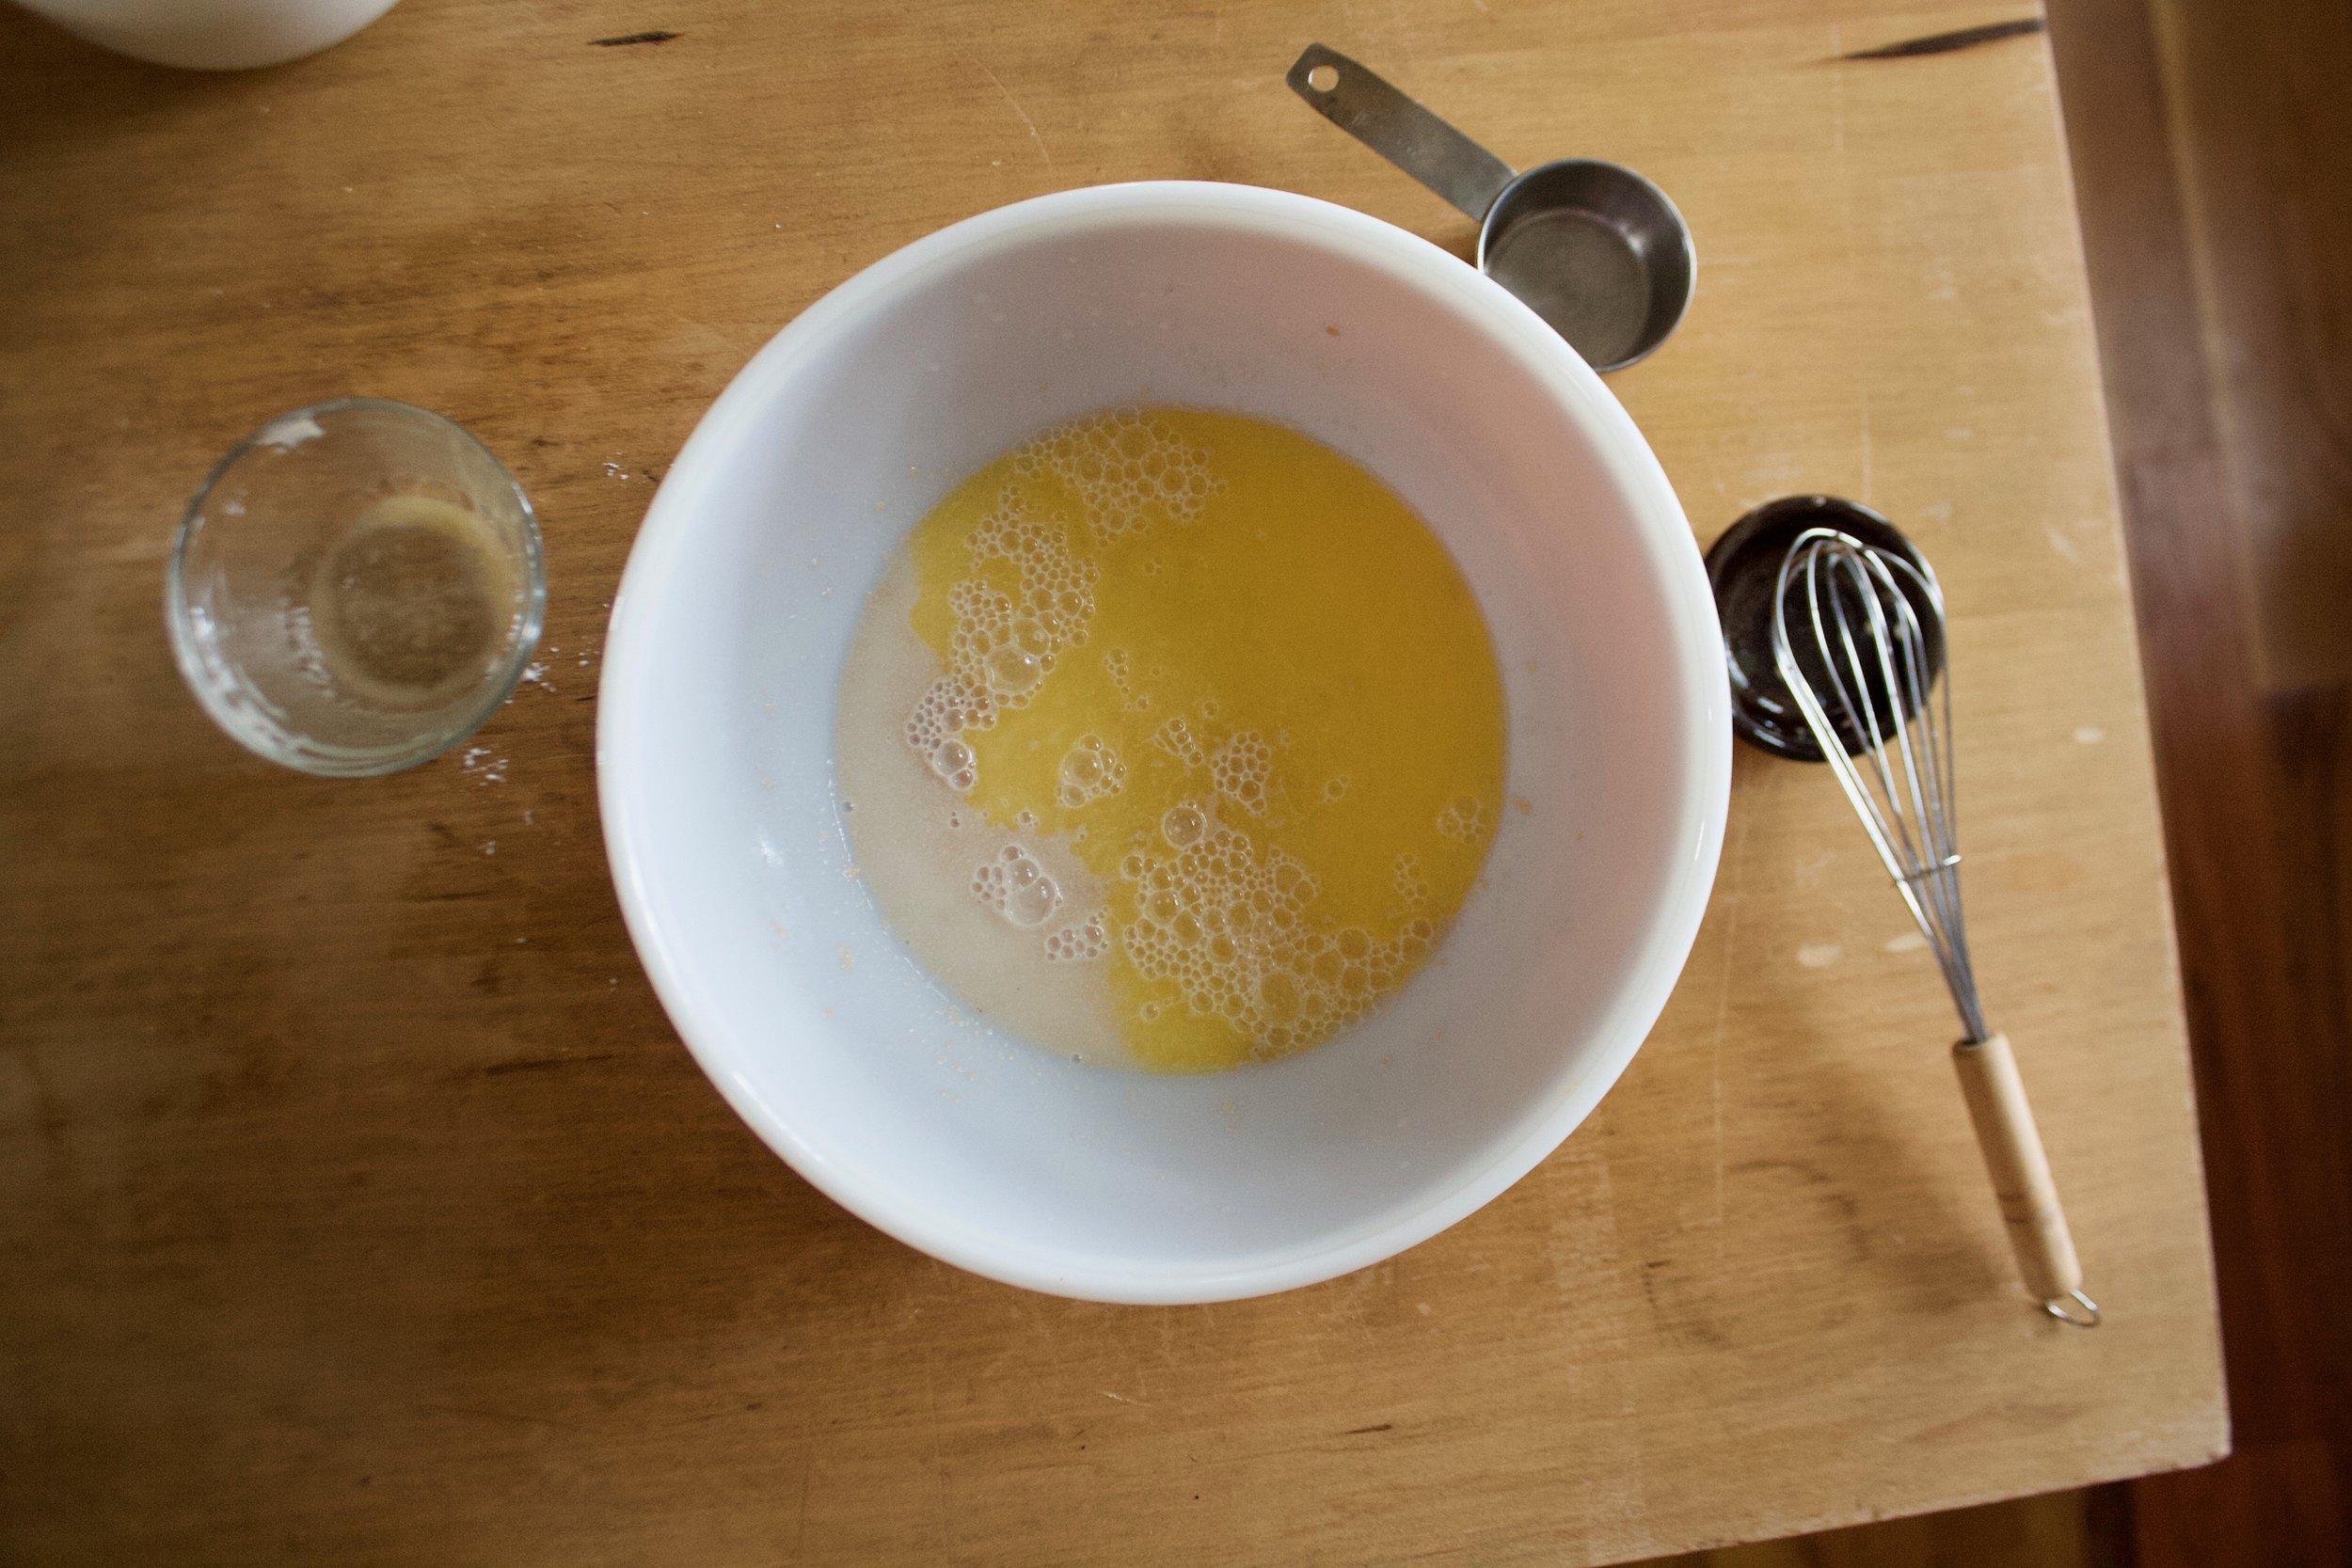
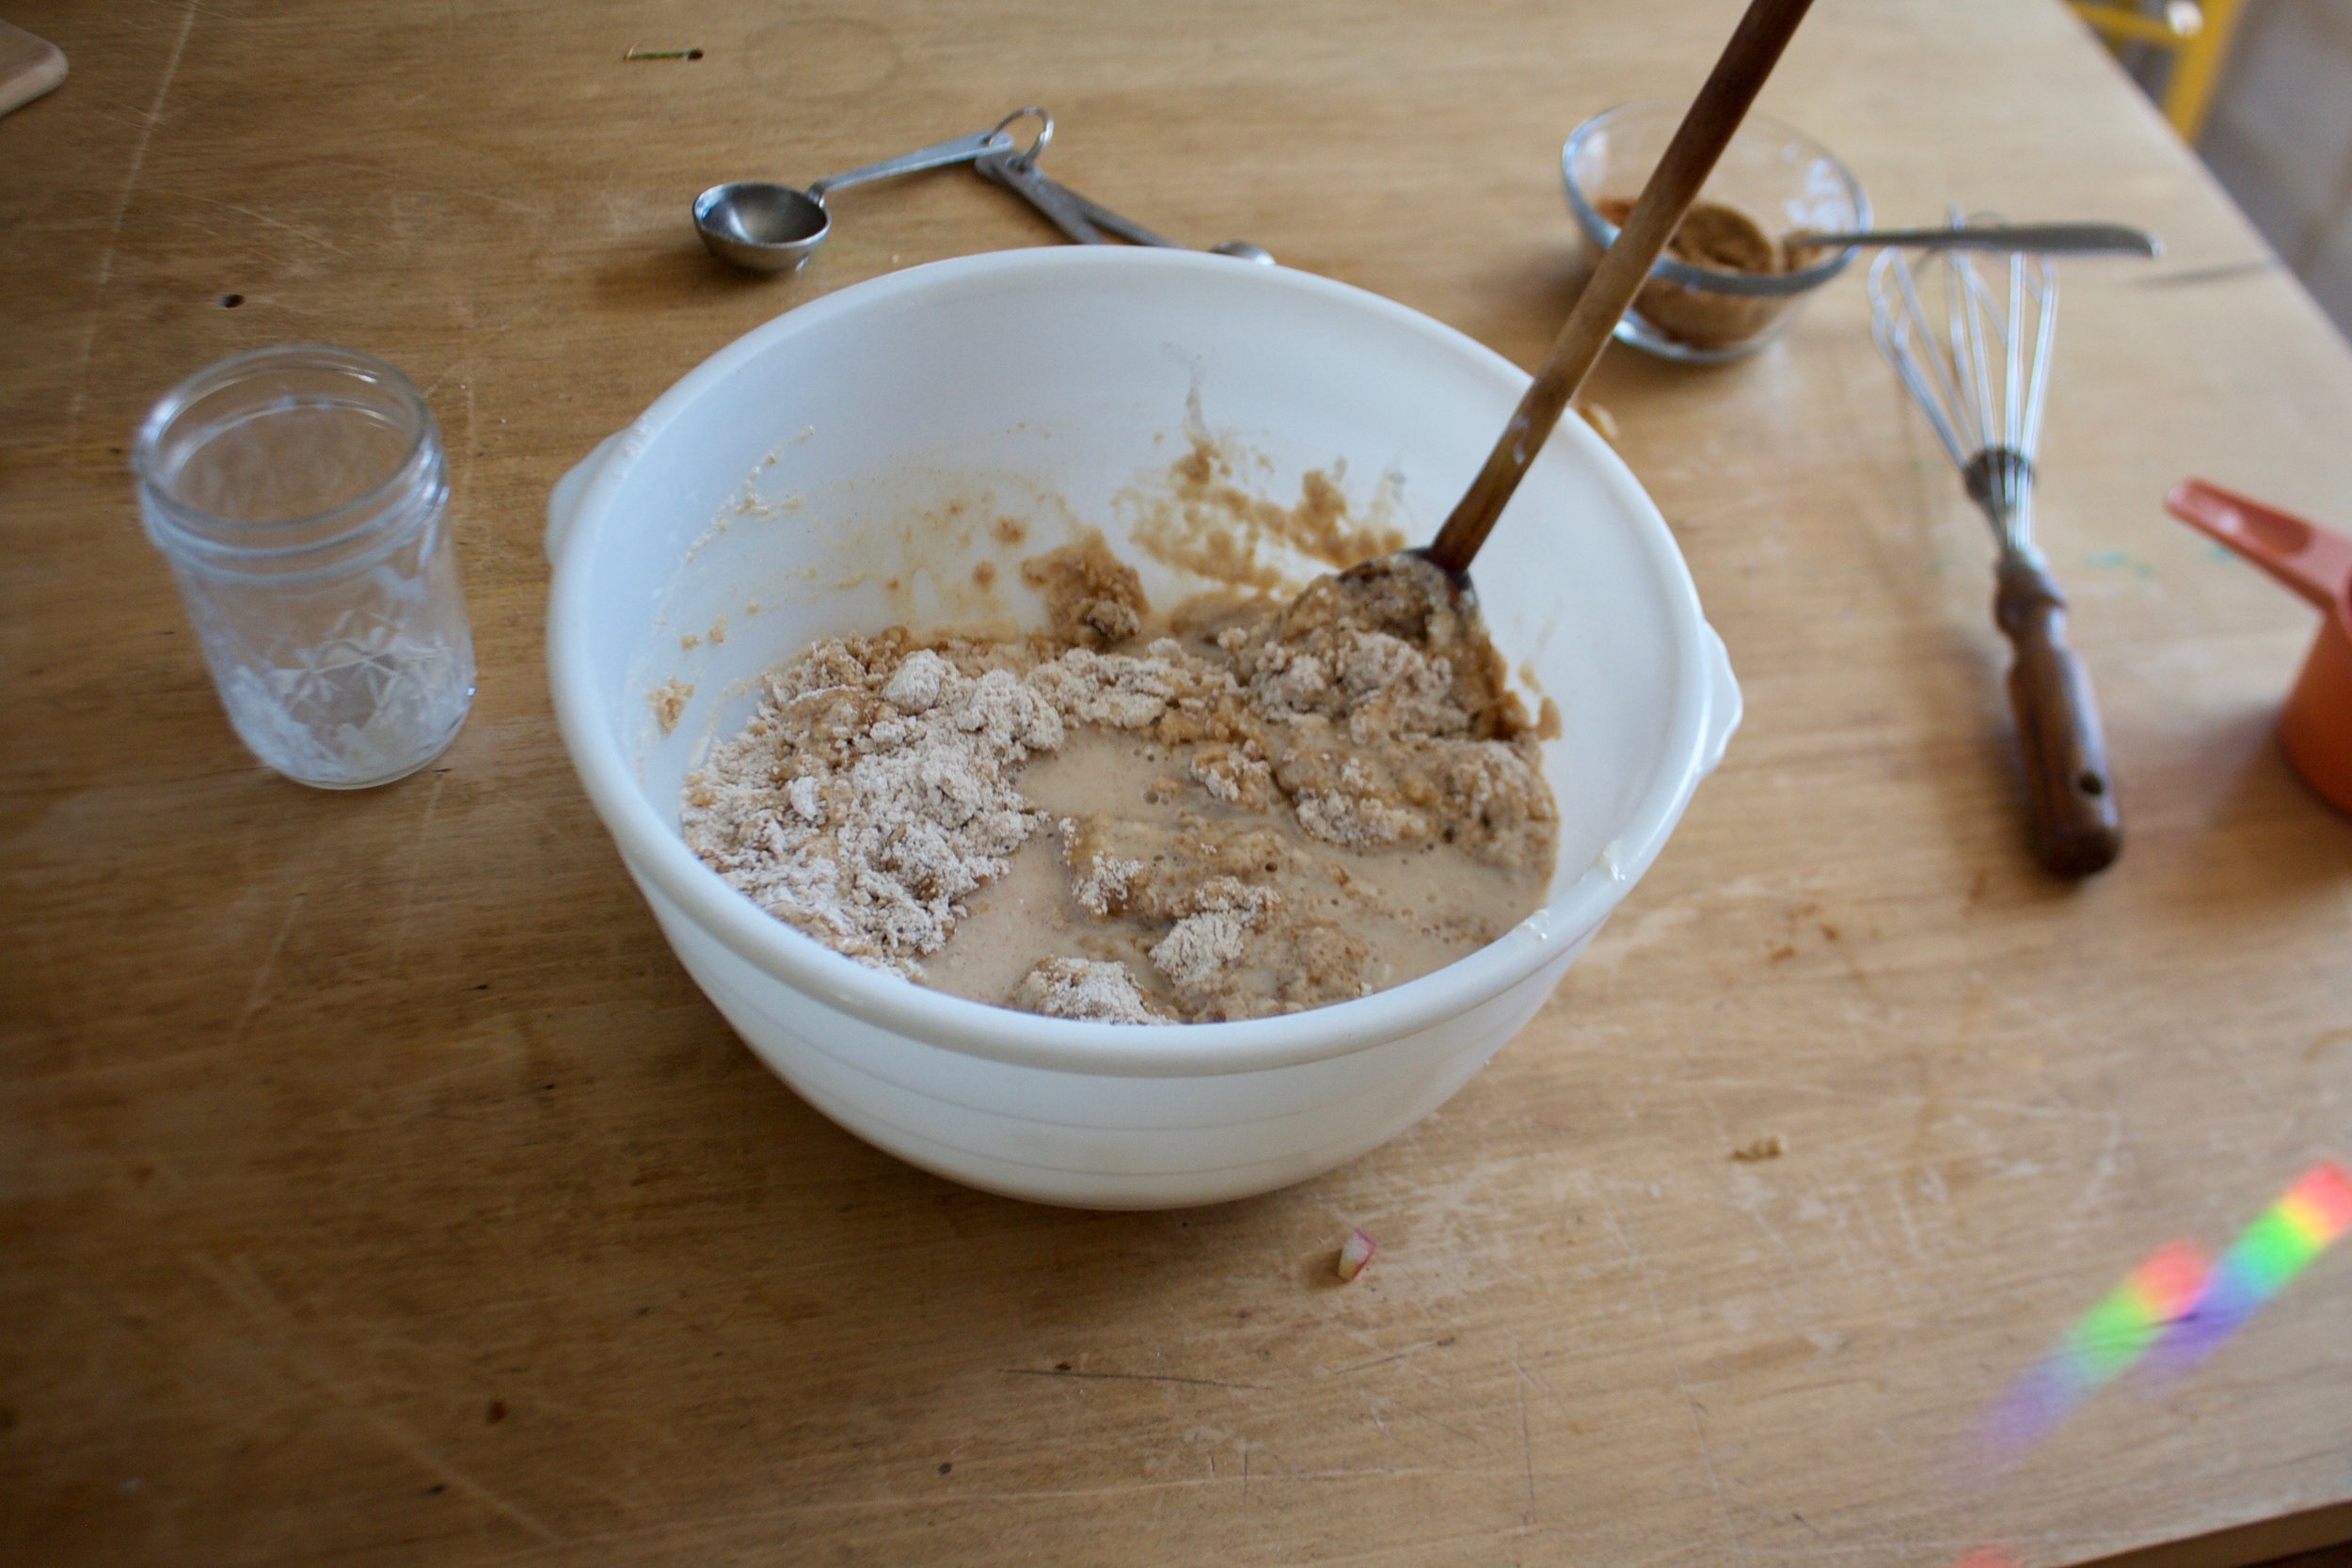
Then add in all the wet and gently mix until completely incorporated.

Pour the batter into the greased skillet

IMG_2234.jpg

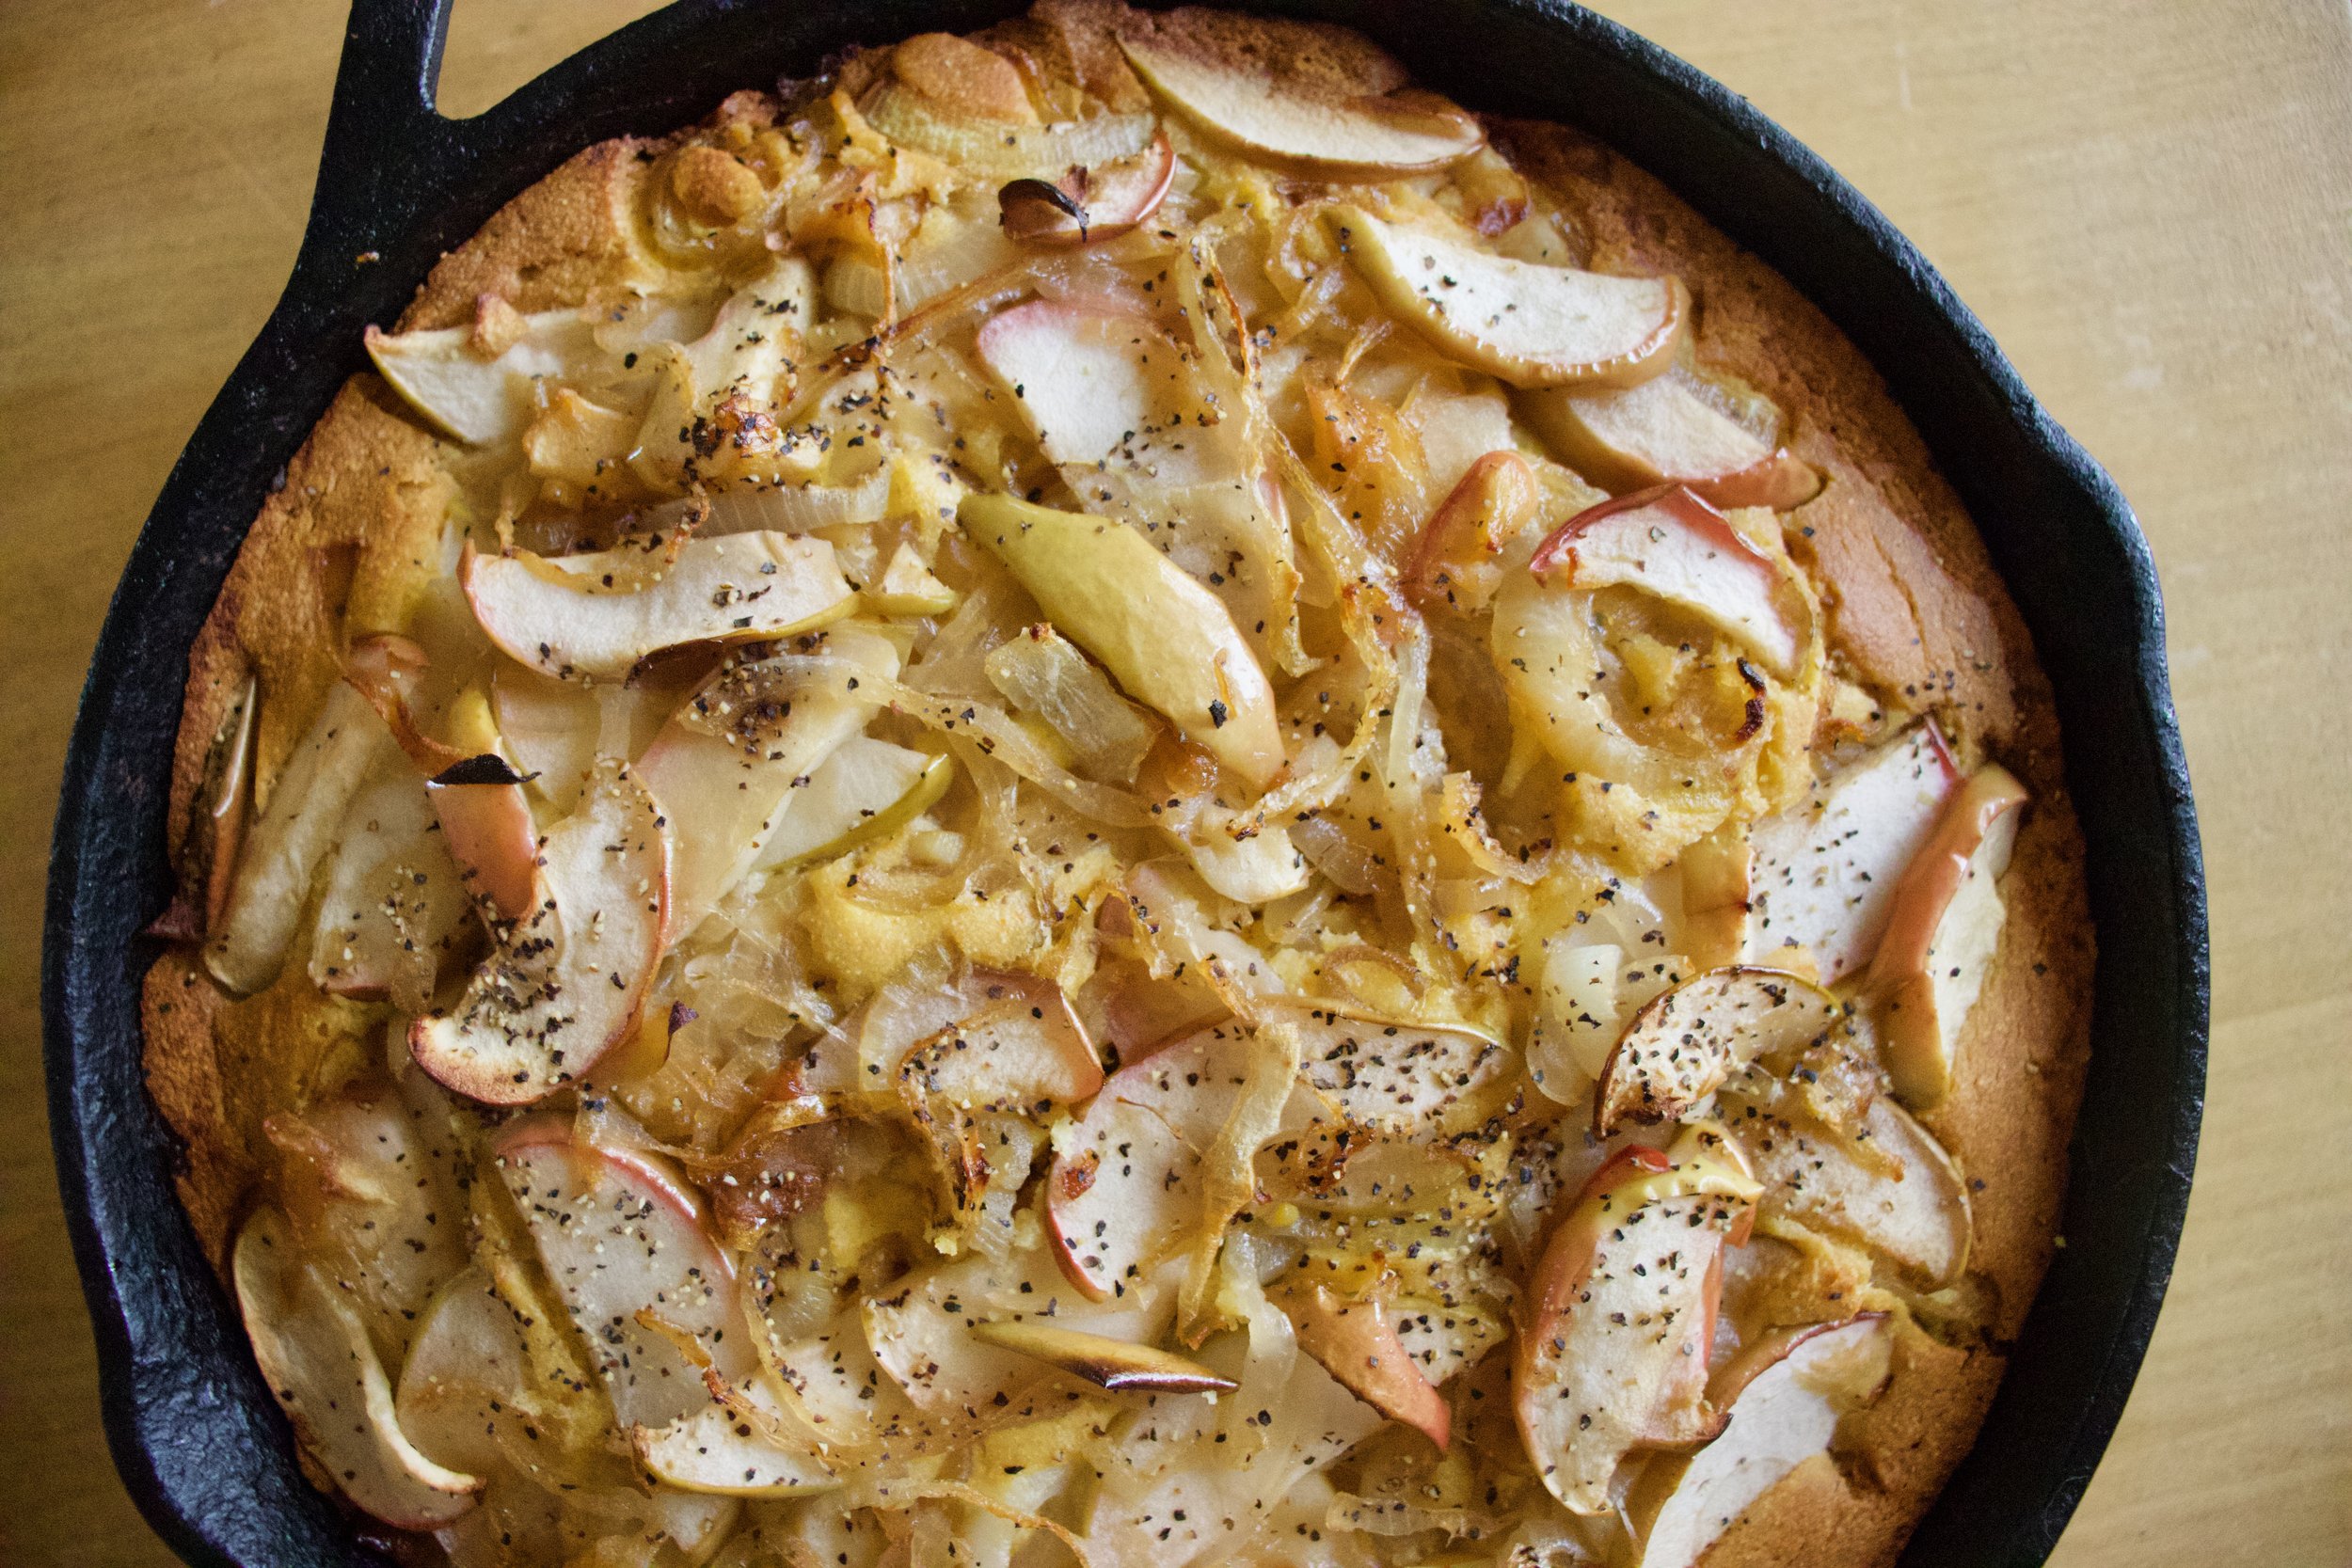
Top with the apple union mixture then pop into the oven for about 40-45 minutes to bake.

IMG_2243 2.jpg

Golden crisp and amazing smelling. Check for donees with a tester stuck in the middle and when its done, its done.

Now the hard part. Let it cool. You can go right at it, but it will crumble and fall apart. This bread really needs a little time to chill.

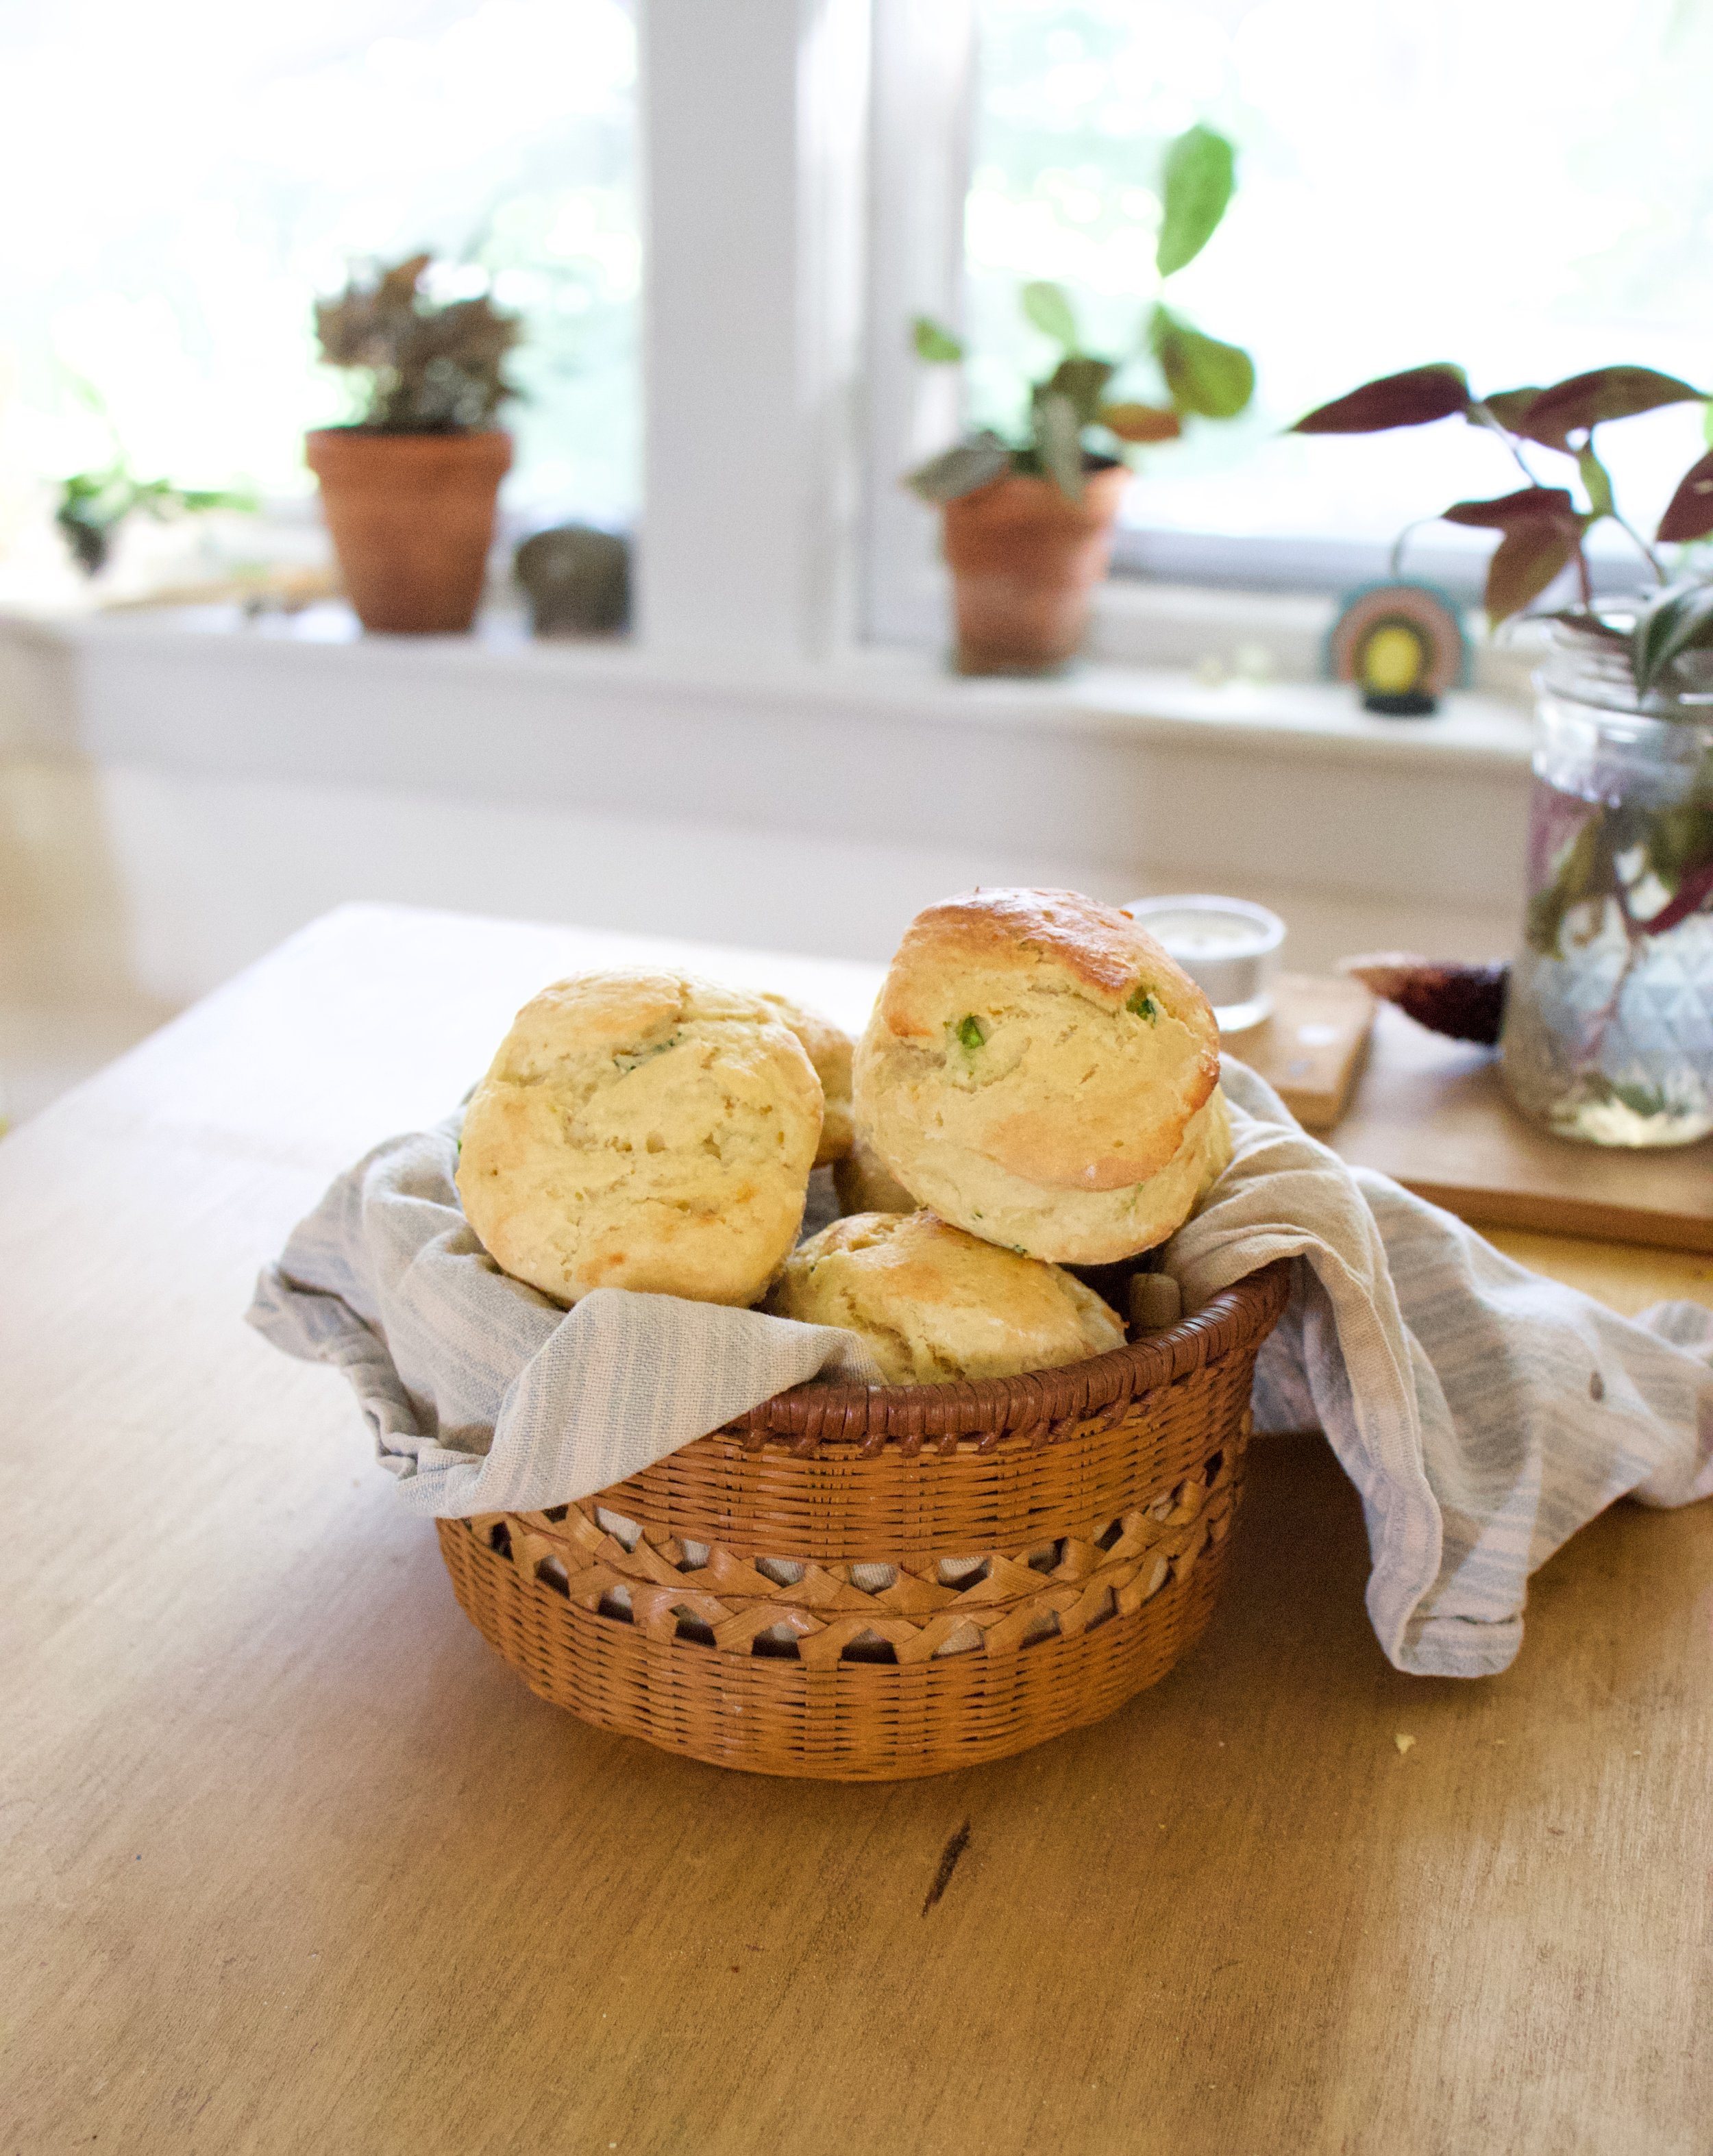
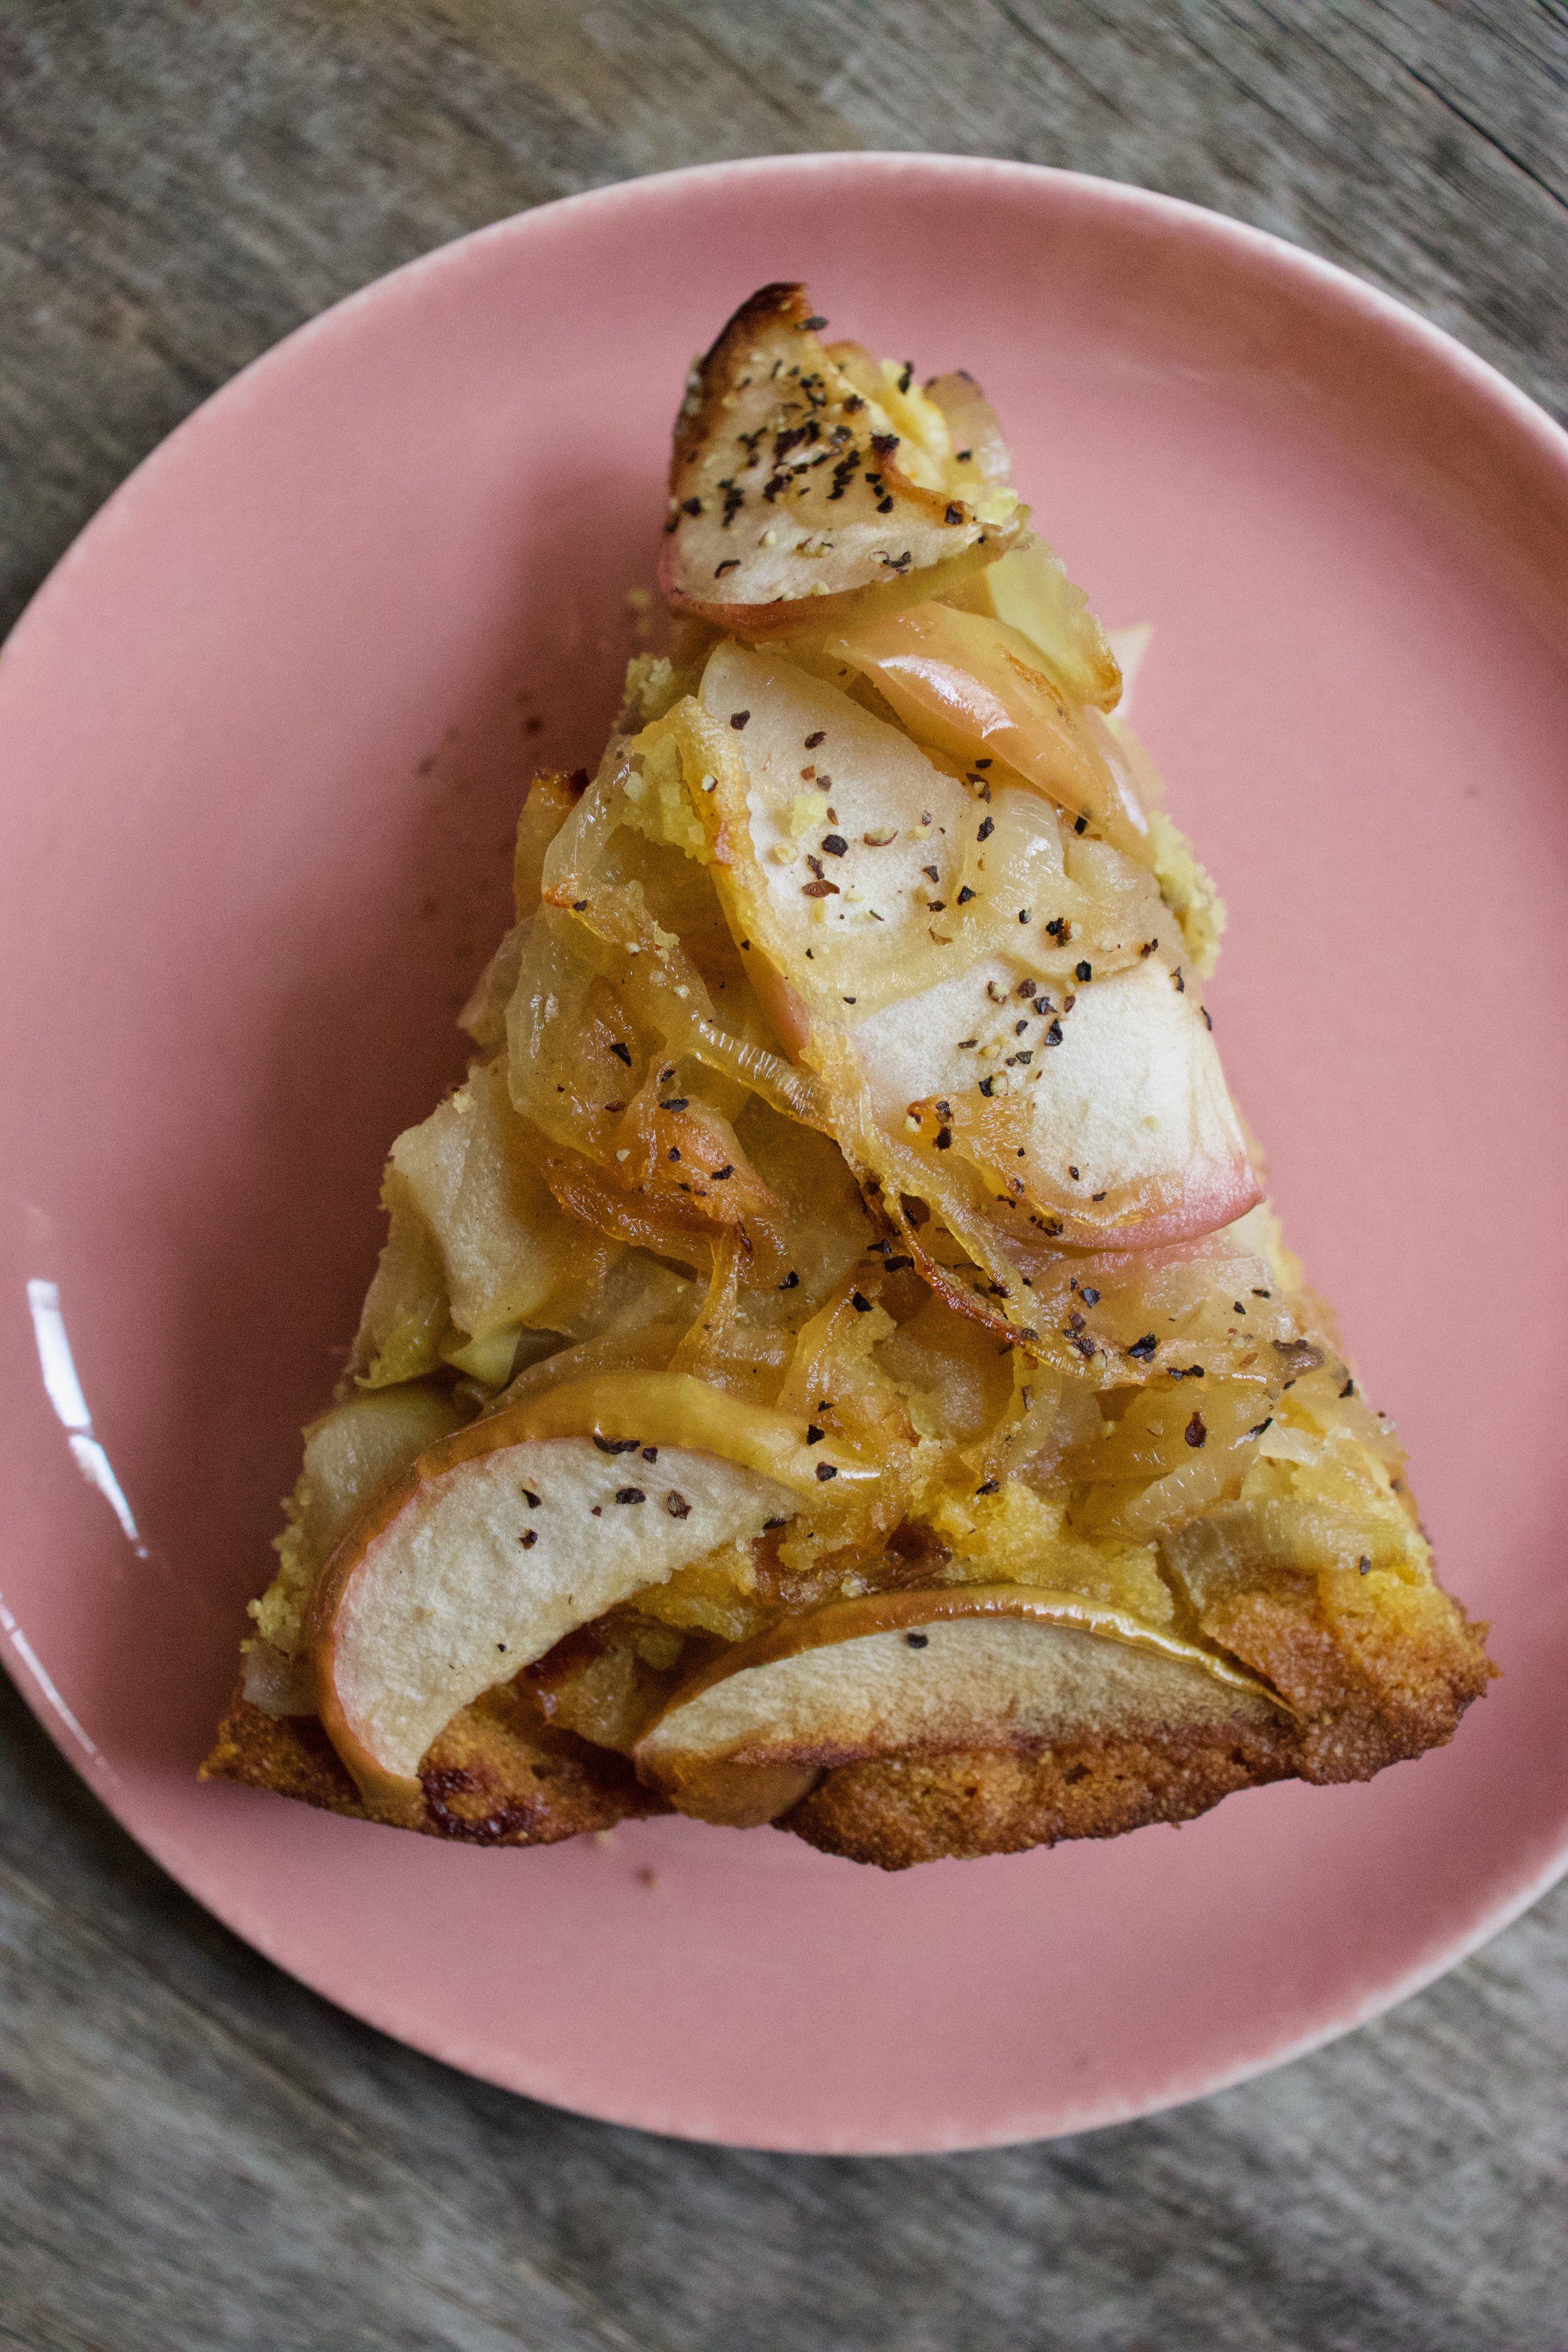
Then it’s time. Eat what you need. Careful, it might be all of it.

-C


Caramelized Onion and Apple Cornbread

makes a 10 inch round skillet of bread

  • 1 1/2 cups cornmeal

  • 1 cup all purpose flour

  • 1 1/2 teaspoon baking soda

  • 1 teaspoon salt

  • 1 2/3 cups soy or other plant based milk

  • 2 tablespoon apple cider vinegar

  • 1/3 cup maple syrup

  • 1/3 cup neutral oil like canola

  • 1 large onion

  • 2 apples (macon or mac)

  • 2 tablespoon earth balance or vegan butter

  • Pepper

Note. This bread is baked in a cast iron skillet. If you don’t have one, you can use a 10 inch cake pan or a 9x9 square pan.

Preheat oven to 400

Start by cutting the onion in half length wise then slice the halves into very thing pieces. Grab a 8-10 inch oven safe skillet and place on medium heat with about a tablespoon of butter. Add in the onions, stir around, and let cook. Grab the apples, remove the cores and slice into thin pieces. Add the apples to the onions and stir. Keep cooking and stirring until the apples and onions are very tender and starting to brown. Place the mixture into a bowl then coat the bottom and sides of the skillet again with another tablespoon of butter. Set skillet aside for a minute.

For the cornbread, mix together the flour, cornmeal, salt, and baking soda in large bowl. Add in the soy milk, maple, oil, and vinegar and gently mix until completely incorporated and there are no big lumps. Pour batter into the greased skillet. Evenly top with the apple onion mixture, sprinkle with a little pepper, then pop the skillet into the preheated oven. Bake for about 40-45 minutes or until it’s a nice dark golden brown and a taster stuck in the middle comes out clean. Once cooked, remove from oven and let cool for at least a half hour. The cornbread needs the time to cool or else it will cut really crumbly.

Once cooled, eat. Left overs can be stored in airtight box at room temperature for a day, but any longer it should go into the fridge.


In bread, Dairy Free, side dish, Vegan, Vegetables Tags Caramelized Onion and Apple Cornbread, cornbread, vegan, plant based, thanksgiving, bread, apples and onions, sweet and savory, quick and easy, dairy free, king Arthur flour, cornmeal
Comment

Everything Bagel Focaccia

October 20, 2018 Colleen Stem
IMG_1633 3.jpg
IMG_1664 2.jpg
IMG_1644.jpg

If you come around my house in the cold months, you will more times then not find yourself faced with fresh bread. Why? Well because I like to bake bread. But mostly, if I am honest, when I am cold, I bake. (We keep the house heat off until at least November 1. After that we keep the heat at a low 60 when it’s on.) I like the house to be kept on the colder side, but sometime, it’s a little brisk so if I am home and cold, I am probably just going to bake something, to stay warm of course. This focaccia was my first foray baking to stay warm of the cold season. It was 40 degrees out and the heat still wasn’t on, and I just so happen to be going through my spice drawer and found a batch of everything bagel seasoning that I had mixed up a couple months ago that needed to be used. Hence the bread.

Cold weather+found seasoning+I should make something for dinner=everything bagel focaccia. Or you can just make it because it is super easy and every time I make focaccia it gets gobbled right up. Especially this time. Barb and the mr ate half of it at dinner. And I think the other half was gone by the next day. To quote the mr. “This focaccia is professional”. He said it with a mouth full of bread. No shit dude. I am professional. Ha

IMG_1541.jpg

The stuff. Flour, yeast, warm water, everything bagel seasoning, sea salt, pepper, and olive oil.

Start with getting the yeast and warm water mixed together. Let it sit for a minute or 5, just to make sure it is active (this is more important to do if you are not using fresh yeast)

IMG_1549.jpg
IMG_1554.jpg

Once you are sure your yeast is alive, add in the flour and mix together until you are having a hard time mixing anymore.

Dump dough onto a floured surface and start to knead. Probably for 5 minutes, until you dough looks like….

This. Kneaded until smooth and beautiful .

IMG_1567.jpg
IMG_1578.jpg

Place dough into a deep bowl and drizzle with olive oil. Make sure the whole ball is coated. Then cover with a damp cloth and stick in a warm place to rise for about an hour, or until the dough has doubled in size.

Once dough has doubled, grab your baking sheet (can use a pan) and coat the pan with about 2 tablespoons olive oil.

IMG_1584.jpg

Place the dough into pan and spread it out using your fingertips. Flip the dough over if you need to and keep dimpling the dough until it hits all the sides. Drizzle on another tablespoon of oil on top.

IMG_1601.jpg

And don’t forget the seasoning. Sprinkle on all the everything seasoning along with the sea salt and some cracked pepper. Make sure to be somewhat liberal with the seasonings too because you know that’s what you want.

IMG_1599 2.jpg
IMG_1604 2.jpg

Into the oven for 30ish minutes then out of the oven

Look at all the everything.

Drizzle the top of the bread with a little more olive oil, pop it out of the pan, stick it on a cutting board, and that’s it. Now watch your slab of bread disappear.

Happy bread baking. Stay warm.

-C


Everything Bagel Focaccia

make a 9x13 slab of bread

  • 4 cups all purpose flour (plus a little more for kneading)

  • 2 cups warm water

  • 2 teaspoon yeast (or one packet)

  • 3 tablespoons everything bagel seasoning*

  • 1 tablespoon sea salt

  • cracked pepper

  • about 1/3 cup very good olive oil

*Note To make your own everything bagel seasoning mix up equal parts dried minced garlic, dried onion flakes, sesame seeds, and poppy seeds. Or I think you can buy it now at the store with all the other spices. But it’s probably cheaper to make it yourself.

To start, place yeast and warm water in a big bowl. Mix until incorporated and let sit for a minute or two or until you see little bubble form, just to make sure the yeast is active. When your sure it’s good, add in 4 cups of flour. Mix with a wooden spoon or dough mixer until it becomes hard to mix anymore. Dump the dough onto a flour surface and start to knead, adding a little bit of flour as you go if it became to sticky, until the dough is smooth and uniform. Should take about 5 minutes. Place the kneaded dough back into bowl (scrap any of the extra bits out first) and drizzle with olive oil. Make sure the whole dough is coated. Cover the bowl with a damp towel and place in a warm spot. Let dough rise for an hour, or until it has doubled in size.

Preheat oven to 375.

Once dough has doubled, grab a 9x13 baking sheet or pan and coat with 2 tablespoons of olive oil. Really make sure the pan is well greased. Place dough into pan and with the tips of your fingers, smoosh and spread dough until it has filled up the pan. Drizzle with another tablespoon of oil then take your seasoning and evenly spread it all over the top. Sprinkle with salt and add a little cracked pepper. Now pop it into the preheated oven. Bake for 30 -35 minutes or until the bread has turned a nice golden brown.

Remove from oven and right away drizzle on another tablespoon or so of olive oil. Let sit for a few minutes to absorb then pop the bread out of the pan and place on a rack or cutting board and either let cool, or not. Warm focaccia is loved by all.

In Vegan, seeds, Savory, bread Tags Everything Bagel Focaccia, Focaccia, everything bagel seasoning, bread, vegan, veagan bread, easy bread, fast yeasted bread, yeasted bread, plant based, dairy free, dinner side
Comment

Jalapeño Lime Corn Milk Biscuits

September 8, 2018 Colleen Stem
IMG_0187.jpg
IMG_0246.jpg

I really am just trying to find new ways to use up as much corn as I can. The mr won't really eat it (he says he hates it, but doesn't really, but is now really not eating it) and the littles can only eat so much. I have some in the fridge pickled, some in the freezer, and yet every time I come home from farm share I end up brining like 15 more pieces home with me. So I had to get a little crafty with this last batch. I milked it and made biscuits. And it was exactly the right thing to do. Making corn milk was genius (which makes me a genius?) and I am now going to be baking everything with it until I use up all the corn. 

These biscuits are very versatile, like all good biscuits should be. I served them to Barb and the mr with chili and of course they loved them but also I smothered raspberry jam all over a few and the mr was into that. Butter or almond butter too, or just plain. They can be eaten in all sorts of yummy ways.  And if you really are into the corn milk part but not the jalapeño or lime-ness of the biscuit, just don't add that stuff in. A simple corn milk biscuit would be just fine too.  Aaannd if you have a corn hater in the house, they still will probably like theses, or so this goes my experience, although I still don't think he hate corn. But what do I know? 

To the biscuits.

The stuff. Corn, soy milk, a lime, a few jalapeños, and earth balance. In the bowl we have some  flour, baking soda, baking powder, and salt.

IMG_0058.jpg

Cook tha corn. A quick few minutes in boil water will do the trick. 

IMG_0067 2.jpg

Get all that corn off those cobs. Sure you can nibble, it's hard not to. 

IMG_0075.jpg
IMG_0090.jpg

Fresh corn and soy milk go into the blender and blended until all smooth and creamy. Taste it.. it is pretty creamy dreamy.  

That is the corn milk. You could drink it just like this and it would not be weird. It is delicious. 

IMG_0099.jpg

Get you jalapeños, remove seeds, and give them a good small dice and toss them into the bowl with the flours and stuff. Also zest the lime into the bowl with the flour.

IMG_0113.jpg
IMG_0131.jpg
IMG_0114.jpg
IMG_0127.jpg

Cold plant butter goes in first and cut in (I used fork, but you could use a pastry blender) until the dough looks crumbly. Add in the corn milk and the juice from the lime  and gently stir to just combined.

Dump the dough onto a floured surface and gather it all together then lightly press it down until  it's about an inch thick. 

This is the best part, ( Because I love the look of the cut out dough.. It apeals to me in some great way that I don't yet understand) cut the biscuits. I went and grabbed a biscuit cutter which I barely ever use, so that was a win.

Once you cut out the first biscuits, you can gather the dough and gently press it back together and cut out  more until you use all the dough.

IMG_0149.jpg

Place the cut out biscuits on a baking sheet and brush the tops brushed with a little corn milk then into the hot oven they go.

Out they come looking all biscuity and such.. And don't mind the red reflection. That be my shirt. Note to self and to all. Don't wear red while taking pictures with reflective materials. 

Letting the biscuits be cool, just for a few minutes.

Still slightly warm all cozied together. 

Nothing like a basket of biscuits to make people happy.

-C


Jalapeño Lime Corn Milk Biscuits 

makes about 15 smaller biscuits 

  • 2 1/2 cups flour
  • 2 ears of corn
  • 1 cup soy milk
  • 1 teaspoon salt 
  • 1 teaspoon baking podwer
  • 1/2 teaspoon basking soda 
  • 1/4 cup  cold vegan butter
  • 2 jalapeños 
  • I lime 

Cook corn by removing husks and  dropping into a pot of boiling water for about 5 minutes. When corn is cooked, remove from water and allow to cool.  Once cooled enough to handle, cut all the corn off the cob and place into the blender with the soy milk. Blend until smooth. It should measure out to be a little more then 2 cups. If you have less, add in more soy milk until is measures 2 cups.  Place corn milk in fridge for at least 1/2 hour to cool. 

Preheat oven to 450.

Place flour, salt, baking soda, and baking powder into a large bowl. Zest the lime in as well and mix it all together. Grab jalapeños, cut in half, remove seeds, then dice into very small pieces. Mix those into mixture.  Now cut in the butter with either a fork or pastry blender until the mixture is crumbly. Add in juice of the lime and 2 cups of  the cooled corn milk and mix until just barley incorporated.

Dump the mixture onto a flour surface. Gather it al together and then press it flat until its about an inch thick. With a biscuit cutter, or a knife if you want square biscuits, cut out biscuits. If you use a cutter, place cut biscuits onto a baking sheet then gather the remaining dough and gently press back together and cut out more biscuits until dough is used up.  Once all the biscuits are on the baking sheet, brush the tops with corn milk  if you have a little left over or just plain soy milk then place them into the hot oven.

Bake for 17-22 minutes or until the biscuits are a nice golden brown. Once baked, remove from oven and place on a cooling rack to cool, or toss into basket with a tea towel and serve warm.

Then eat them.


In Vegan, Dairy Free, bread, biscuits and such Tags Jalapeño Lime Corn Milk Biscuits, Corn milk, biscuits, vegan, dairy free, bread, King Arthur flour, food 52, plant based, jalapeño
Comment

Peachy Sweet Buns

July 28, 2018 Colleen Stem
IMG_0581 3.jpg
IMG_0718.jpg
IMG_0652.jpg

Who doesn't like a good bun, right?  And just because this is where my mind wonders, peachy sweet buns. Doesn't that sound like a pick up line or something you say to your significant other. Like, "Oh hey peachy sweet buns, you are looking good. Woo hoo"........ Anyway, this is not about anyones peachy sweet buns, it it about actually sweet buns so u-hum, yeah. 

I am not trying to float my own boat here, but I am really really good at making buns, and you know what, I bet that you are too. They may seem a little intimidating, but really, it's quite easy. I think what throws some people off is the yeasted dough and having to knead and waiting for the dough to rise, but don't let that stop you from sweet sweet buns. They are no harder to make then a boxed cake (maybe a little harder) and the results are by far more amazing and delightful (we don't use the word delightful enough around here) then any old box or pre-made thing will ever be. Ever. Freshly made buns are what is right in this world.

If you are awesome and decide to make buns like any good person with a baking itch or a need for some sweet bun goodness does, make them peachy because its peach season and how can a peach bun not be that much more amazing?  Just think. Soft sweet dough, jammy cinnamon peaches, covered in a sweet lemony glaze......

Go on now, go and get yourself some peachy sweet buns.

IMG_0369.jpg

The stuff. Flour and salt in the bowl, melted earth balance, brown sugar, yeast, warm soy milk, cane sugar, cinnamon, powdered sugar, a couple of lemons, and af course, peaches.

IMG_0374.jpg
IMG_0396.jpg

Warm (not hot) soy milk, yeast, cane sugar, an melted (but again, not hot) earth balance go into a big bowl and get whisked around. Then add in the flour and salt ans mix around until you just can't.

IMG_0402.jpg

Time to knead. Dump the dough ad all the little bits onto a flour surface. Gather it all together and knead away, for about 5-8 minutes, or until the dough looks like....

This. Nice and soft and glossy.  Lightly grease the bowl ans stick the dough back into it, covered with a towel, and set for about 1 hour to rise and double in size. 

IMG_0415.jpg

As soon as the dough is set ti rise, start on your peach filling. Chop up enough peaches that you have about 2 1/2 cups of chunks.

IMG_0435.jpg
IMG_0459.jpg

Brown sugar and peach chunks go into a pot and stuck on a medium heat until they start to bubble then set to a low simmer for about 20 minutes or until the peaches all break apart and reduce by half.

IMG_0490.jpg

Add in the cinnamon and stir.. Peachy goodness. Now quick and stick that shit in the fridge or freezer to cool down.

BOOM. Dough did what it's job and doubled. Time o make the buns. 

IMG_0504.jpg
IMG_0509.jpg

Place the dough on a lightly floured surface and roll our into a rectangle of sorts that is about 1/2 an inch thick 

IMG_0513.jpg

Cover the surface with all the peachy jammy goodness, and sprinkle on the remaining finely chopped peaches.

IMG_0519 2.jpg
IMG_0522 3.jpg

And roll, as tightly as you can, without squeezing all the filling out. I roll towards me, but roll away from you if it is easier.  It might get a little sloppy... it's ok, just lick your fingers and keep going. 

Rolled and cut into 12 pieces.

Place the rolls carefully onto a grease and parchment lined baking 9x13 baking dish. In my picture I used a baking pan, which was not what I wanted to do, but I wasn't thinking properly and so that's what I did. Something with sides is preferable, but the baking pan did the job so really, your call. 

When you place the buns in the dish, place them toughen a bit, it helps then bake up high instead of out.  And any remaining go on jam that spilled out can get scraped right on top of the buns, if you didn't already eat it.

Now into the preheated oven these  babies go.

Look at those beauts. And they smell. A-MAZ-ING!! 

IMG_0566.jpg

Right away get that glaze made. Powdered sugar, lemon zest, ans lemon juice. Super easy, just add the zest and juice to sugar and mix until smooth and glaze. 

Pour glaze over warm buns. Make sure to hit them all or someone is going to be pissed they didn't get enough glaze..... 

Then it's really just up to you whether you wait for coffee or tea or not, but really, just eat right away. There should be very little time between newly glazed buns and a bun in your face.

Enjoy the peaches!

-C


Peachy Sweet Buns

Makes 12 Buns

  • For the Dough 
    • 3 1/2 cups all purposes flour
    • 1/4  cup cane sugar
    • 1 cup warm soy milk
    • 2 teaspoon or 1 packet yeast
    • 4 tablespoons melted vegan butter 
    • 1 teaspoon salt
  • For the Filling 
    • 3-4 good sized ripe peaches (about 3 cups chopped peaches)
    • 3/4 cup brown sugar
    • 1 tablespoon cinnamon
    • Juice of half a lemon
  • For the Glaze
    • 1 lemons
    • 1 1/2 cup powered sugar

In a large bowl mix together the yeast, warm (not hot) soy milk, sugar, and melted but cooled butter. Now add in  the salt and the flour. Mix until it's too hard to mix then dump it all onto a lightly floured surface and knead for 7-10 minutes until the dough is  soft, elastic-y, and smooth. Place dough back into a clean lightly greased bowl and drape with a damp towel. Let dough rise for about 1 to 1.5 hours or until it has doubled in size.

While the dough is rising, chop the peaches up until you have about 3 cups. Place 2 1/2 cups of the  peaches into a medium sized pot with the brown sugar and lemon juice and stick on medium heat. Set the rest aside. Cook for about 20 minutes, stirring and mashing with a wooden spoon every few minutes, until mixture has become thick and reduced by about 1/2. Remove from heat, stir in cinnamon,  and place in fridge to cool. 

Once thee dough has doubled, dump onto a flour surface and roll our into a retacnge that is about 1/2 inch thick  Grab your peach mixture and spread the mixture evenly over the dough. Evenly distribute  the remaining chopped peaches over jam.  And then it's the to roll.

Start from the long side and start to roll toward the other end, keeping it as tight as possible without squeezing out all the filling.  Once rolled, slice into 12 even sized buns.

Place on a lightly greased and parchment lined 9x13 inch baking sheet or pan and let rest and rest for another20 minutes or so. OR if you want to wait to bake them off, cover them with plastic and set into the fridge for up to 24 hours. When you are ready to bake, remove from fridge and let the buns set on counter to come to room temperature before baking. 

Preheat oven to 350.

Place rolls into oven. Bake for 30-35 minutes or until all the buns have gotten a nice golden brown on top, and if you want to take the internal temp, that the temp has reached 190. 

Once the buns are done  baking, mix together the zest and juice of the lemon and powdered sugar. If the glaze seems to thick, add more juice or water, to think, add more sugar. Pour glaze all over warm (but not hot) buns.

And now all you need to do is serve up those buns right away, nice and warned.

Any left overs should be stored in the fridge for 3-4 days but should definitely be warmed up in the microwave for a minute or two before serving. They also freeze well too. 

In Vegan, Sweets, sweet breads and muffins, fruit, desserts, Dairy Free, brunch, breakfast, bread Tags Sweet buns, Sweet rolls, peachy sweet buns, peach cinnamon rolls, vegan, vegan sweet rolls, plant based, breakfast, brunch, dessert, dairy free, egg free
Comment

Cinnamon Walnut Rhubarb Bread

June 2, 2018 Colleen Stem
IMG_2712 2.jpg
IMG_2709 2.jpg

The day started off with rhubarb soup and ended in cinnamon walnut rhubarb bread. The bread was a star, the soup, not so much, which sucked because I was so excited and so sure it was going be fantastic. Tomatoes, rhubarb, and fresh ginger. Doesn't that sound good? I still have hopes for the combination, but the batch I made was way way to acidic and thick and spicy because I added so much fresh ginger to it that it made the mr's eye water and my nose run a little. So yeah, the soup needed work, but I was not going to end my day of rhubarb cooking with a fail. Also I felt like I owed it to the mr to make him something that he found edible. He really did not like the soup.

I knew the mr wanted (or at least he hinted at) pie but I had no time for pie. I already spent the morning making not so good soup and I had shit I needed to do. Pie would just take a little to long. Quick bread was more in my time frame. A few minutes to chop and mix, toss it into the oven for a while. and done.  I had time to cleaned up, run to the post office and bank (I should probably tell you not to leave your oven on when you are not in the house, but I do, but only for short periods of time. And don't tell the mr. He will kill me) and come back to the house not on fire and fresh cinnamon walnut rhubarb bread. I felt redemption, even this it was not pie. The mr didn't complain, not one bit. 

And by the way, the soup made it's way into a different batch of soup that had other stuff in it and it WAS fantastic. 

The stuff. Rhubarb and walnuts and a bowl with flour, baking soda, baking powder, cinnamon, and salt. Also have coconut oil, brown sugar, soy milk, and a little dish or more brown sugar, cinnamon, and coconut oil for the topping. 

Chop rhubarb and walnuts into small pieces, not tiny pieces, but not big ones either. 

IMG_2639.jpg
IMG_2657.jpg
IMG_2658.jpg

Mix the brown sugar and coconut oil into dry mixture, then add in the milk and vinegar and mix until just incorporated (don't over mix).

Don't forget to mix in the rhubarb and walnut pieces. 

Pour batter into a greased pan and then its  time for the cinnamon sugar topping. (cinnamon+sugar+coconut oil=rainbows?)

Cinnamon sugar topping  gets crumbled on and I found a few stray walnuts so I tossed those on top too.  

Now it's time for the oven.

Look at that, fresh from the oven. So handsome.  Pop it out of the tin and get it onto a wire rack to cool. 

IMG_2717.jpg

And when it's cooled a little and you are ready to take a seat, you slice and eat.

-C


Cinnamon Walnut Rhubarb Bread

makes one loaf

  • 2 1/4 cup all purpose flour
  • 3/4 cups brown sugar 
  • 1 teaspoon baking soda
  • 1 teaspoon baking powder
  • 1 teaspoon salt
  • 1 tablespoon cinnamon
  • 1 cup soy or another plant milk
  • 1/2 cup coconut oil (melted and cooled)
  • 1 tablespoon apple cider vinegar
  • 3 stalks rhubarb (2 cups chopped)
  • 1/2 cup walnuts

Cinnamon Sugar Topping

  • 1 tablespoon melted coconut oil
  • 2 tablespoons brown sugar
  • 1 hefty tablespoon cinnamon 

Preheat oven to 350

Chop rhubarb into small 1/2 inch pieces. If your walnuts are whole, chop those up into small pieces as well.

In a large bowl, combine the flour, salt, baking soda, baking powder, and cinnamon. Mix together then add in the brown sugar and  the melted coconut oil and mix. Then add in the say milk  and apple cider vinegar and mix until all is incorporated.  Stir in the chopped rhubarbd and walnuts.

Pour batter into a well greases bread pan. For the cinnamon topping, just add the cinnamon and brown sugar to the melted coconut oil and mix.  Crumble the mixture on top of the bread. if you have a few more walnuts, you can toss those on top too. Pop bread into preheated oven.

Bake for 60 -70 minutes  or until a tester stuck into the middle comes out clean.

Remove from pan and let cool on wire rack. When ready, cut and eat.

Bread lasts 3 day in airtight container on counter, a few days longer in the fridge.  Freezes well. 

In bread, breakfast, cake, Dairy Free, desserts, Nuts, Spring, sweet breads and muffins, Vegan, Vegetables Tags Cinnamon Walnut Rhubarb Bread, rhubarb, vegan, plant based, vegan bread, vegan desserts, rhubarb dessert, quick bread, sweet bread, nuts, dairy free sweet bread, egg free sweet bread, rhubarb cake, cinnamon, spring
Comment
← Newer Posts Older Posts →
 

https://thelovelycrazy.squarespace.com/config#/|/about/

Me. Food Maker.Food eater. Woo HOO!

STEM+NODE  SMALL BATCH AND ONE OF A KIND POTTERY

stem+node ceramics


____________________

Subscribe

GET NEW POSTS IN YO EMAIL

You are AWESOME!!!


@thelovelycrazy 2014-2021