• stem+node ceramics
  • HOME
  • Food Recipes
  • About
  • Contact
Menu

The Lovely Crazy

Street Address
City, State, Zip
Phone Number

Your Custom Text Here

The Lovely Crazy

  • stem+node ceramics
  • HOME
  • Food Recipes
  • About
  • Contact

Raspberry Rhubarb Cobbler

April 27, 2019 Colleen Stem
IMG_7865.jpg
IMG_7904.jpg

I found another bag of frozen rhubarb in the chest freezer which is never a bad thing, but my rhubarb patch outside is growing strong and I will have all the fresh rhubarb I could possible eat within the next few weeks. So found rhubarb just means I need to eat it right fast before the fresh stuff comes in. (I haven’t had a problem with that. it’s almost gone already). Plus the other day while I was digging up and transplanting raspberry bushes to the back yard, my neighbor came over and gave me a gallon of frozen raspberries, harvested from said bushes that I was currently planting in my yard. Score for me! Free bushes and berries…I have such nice neighbors.

So the logical thing to do with my new found and giving bounty was of course to hurry up and bake something. Cobbler. Why cobbler? Well, why not? I figured the mr would really like it and eat it and I also didn’t want to make anything to fussy because I was just to dang busy spending all of my extra time outside doing outside things. And cobbler, it’s not fussy because it is basically biscuits and jam baked up all together. Not a lot to think about and comes out looking all homey and sweet and smelling all nice and cozy. Doesn’t that sound nice? And not a pain in the ass?

And best part. A made cobbler works as dessert or breakfasts or just a snack. Just asked the mr. He ate it for all the reasons. With a dollop of yogurt or cream of course because he is fancy like that.

And yeah the fruit I used was frozen, but fresh works just the same here too.

Now, lets get to that cobbler.

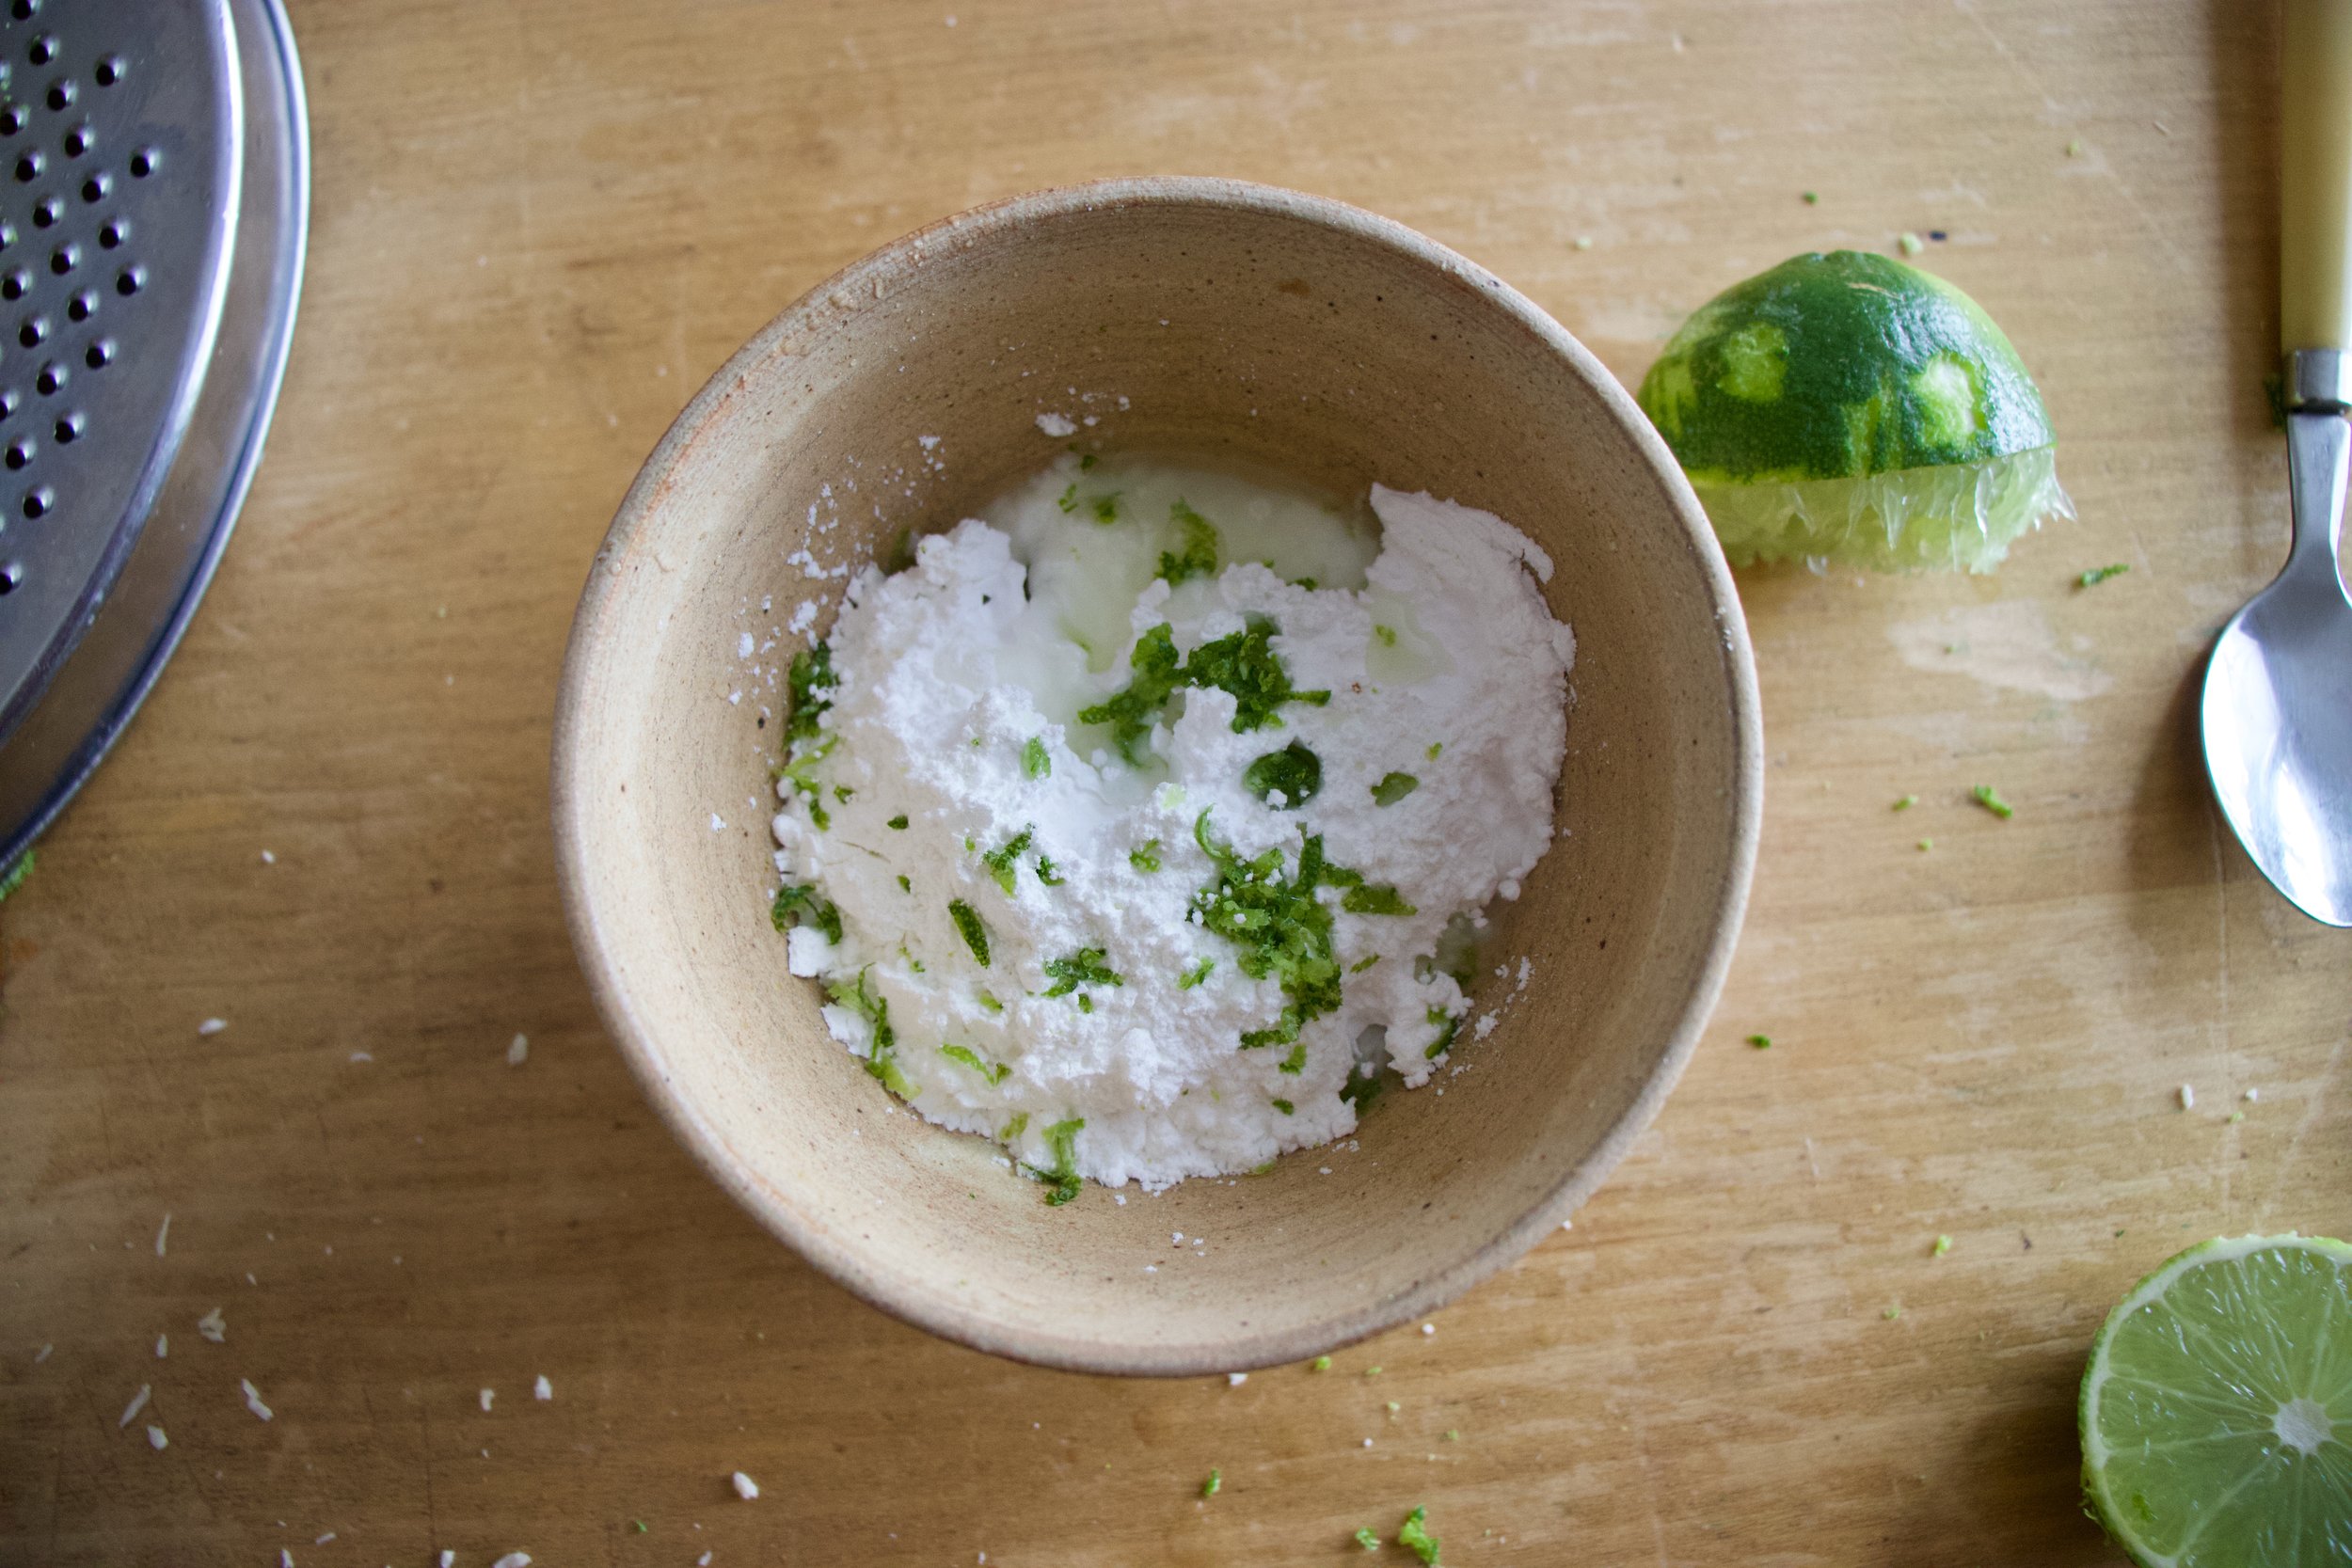
The stuff. Raspberries (frozen), rhubarb (frozen), sugar, flour, salt, baking power, cinnamon ,almond milk, apple cider vinegar, cornstarch, and oil.

IMG_7777.jpg

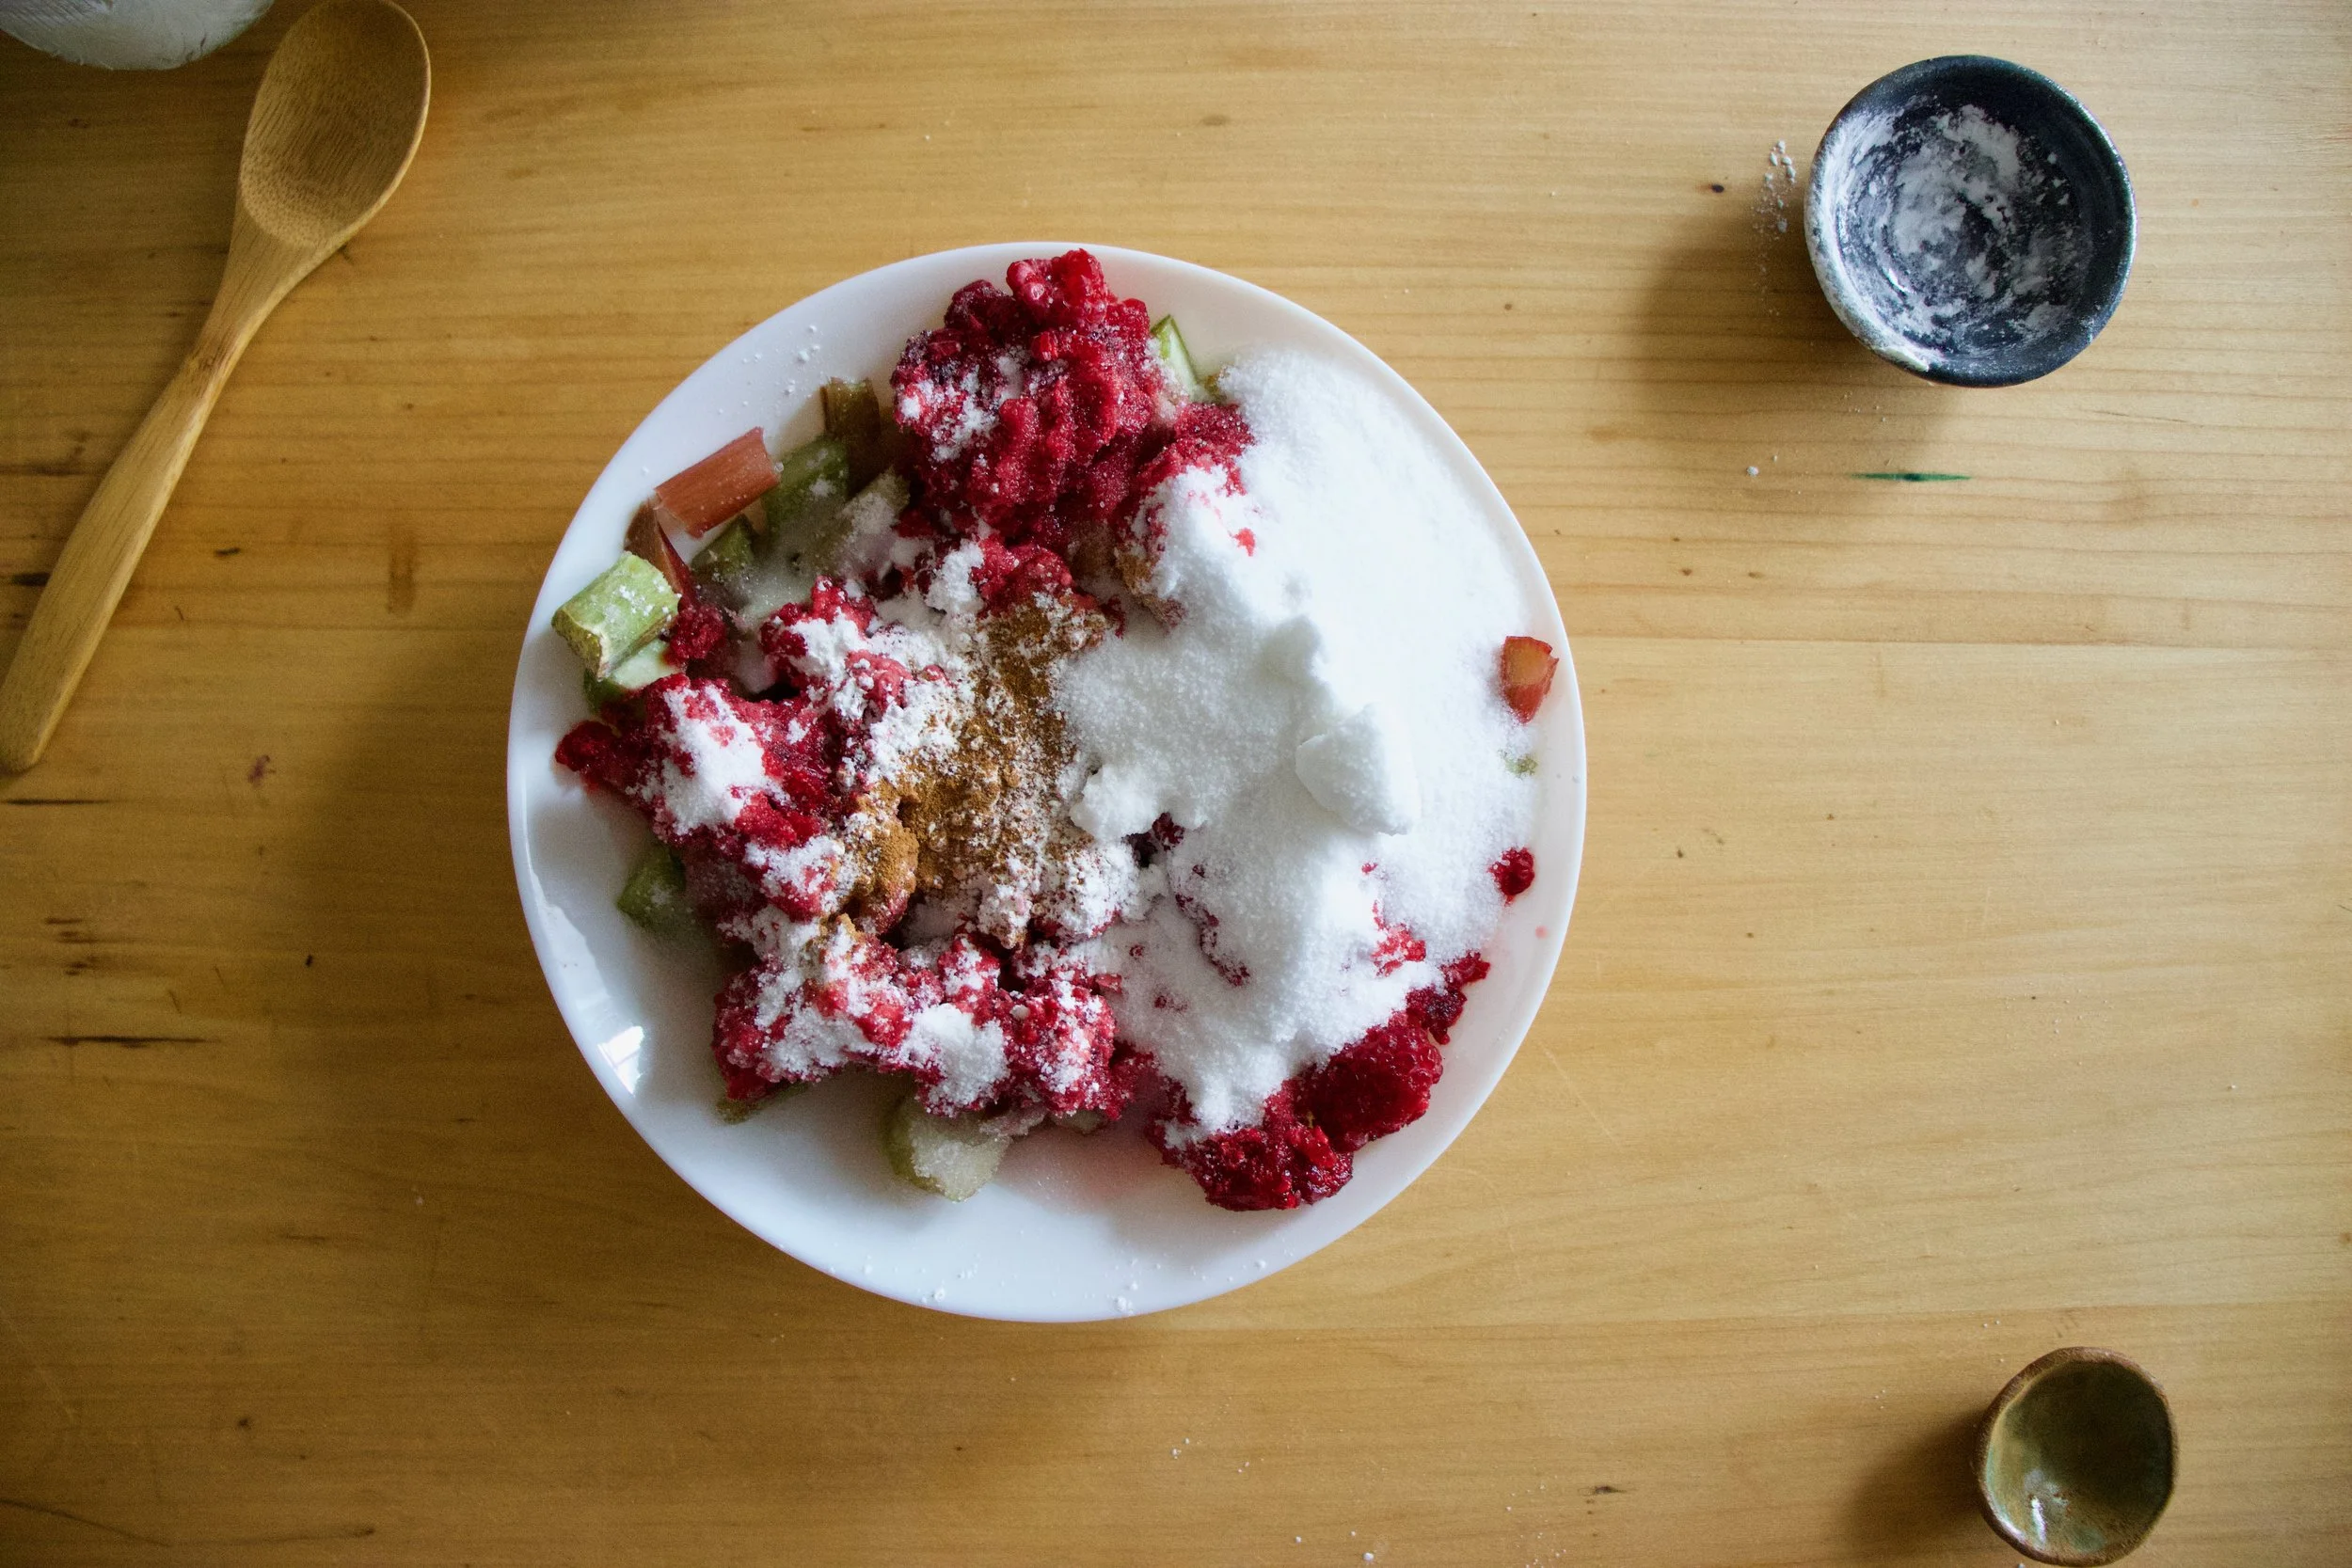
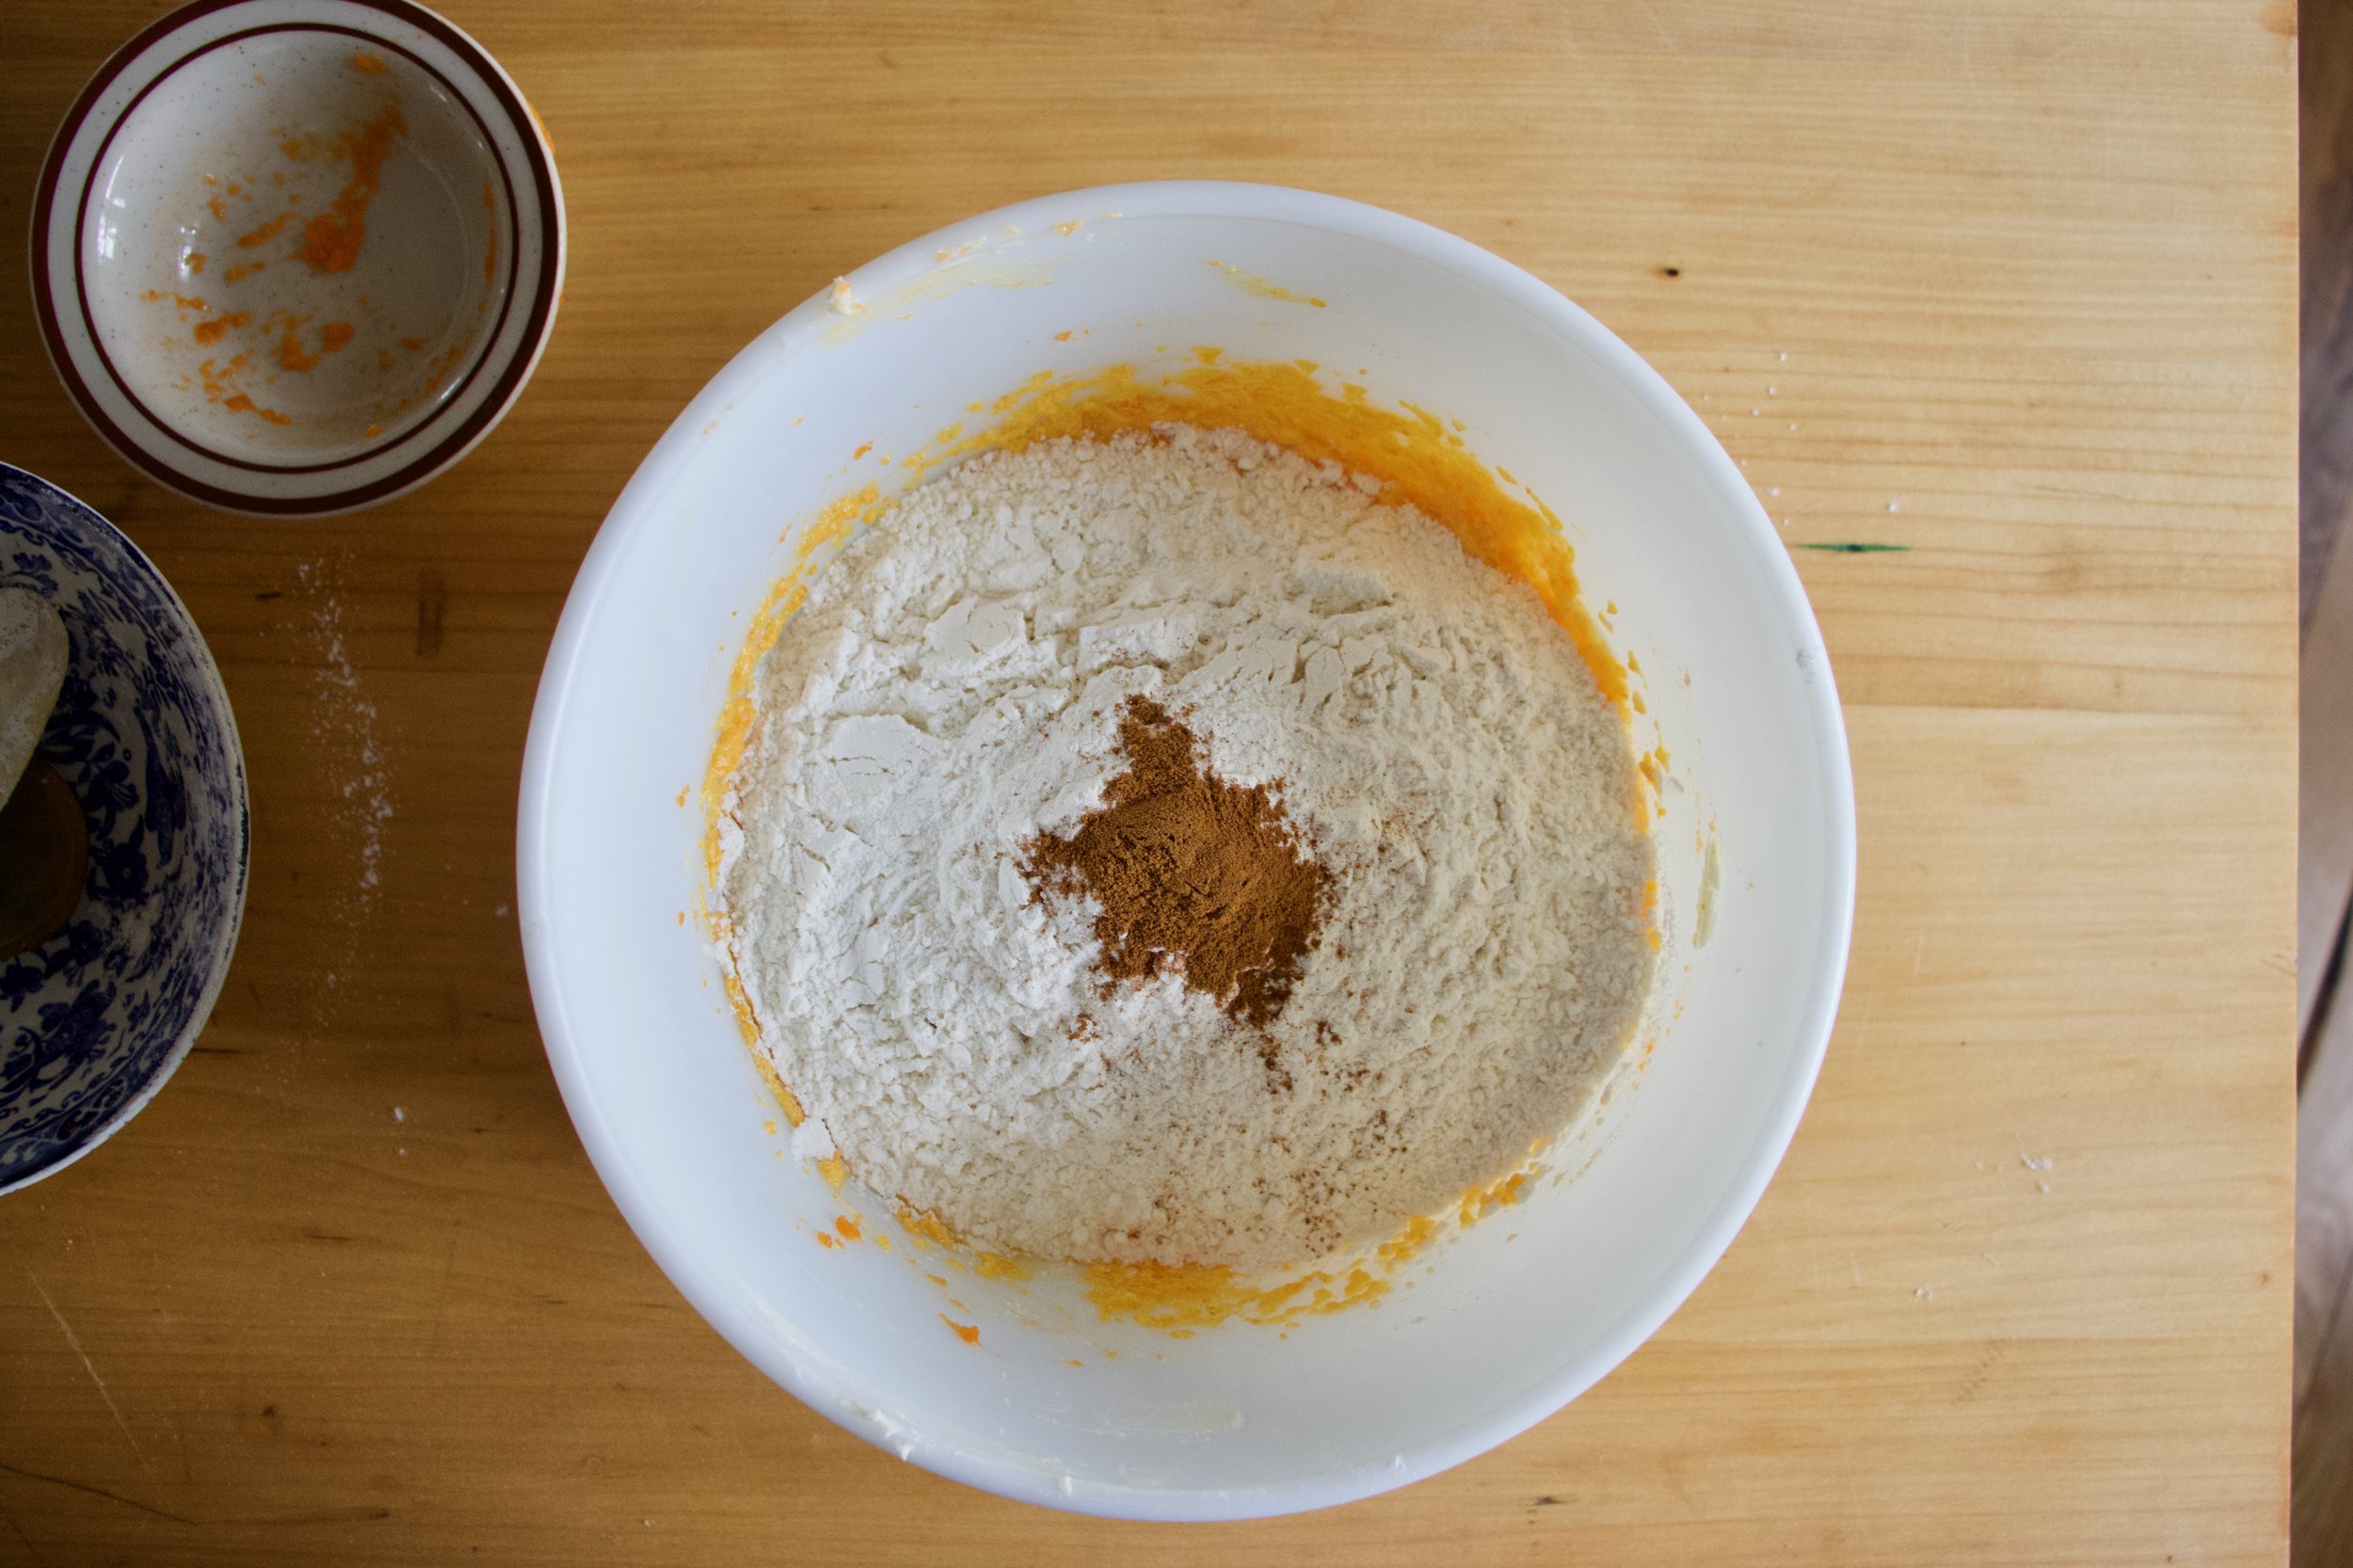
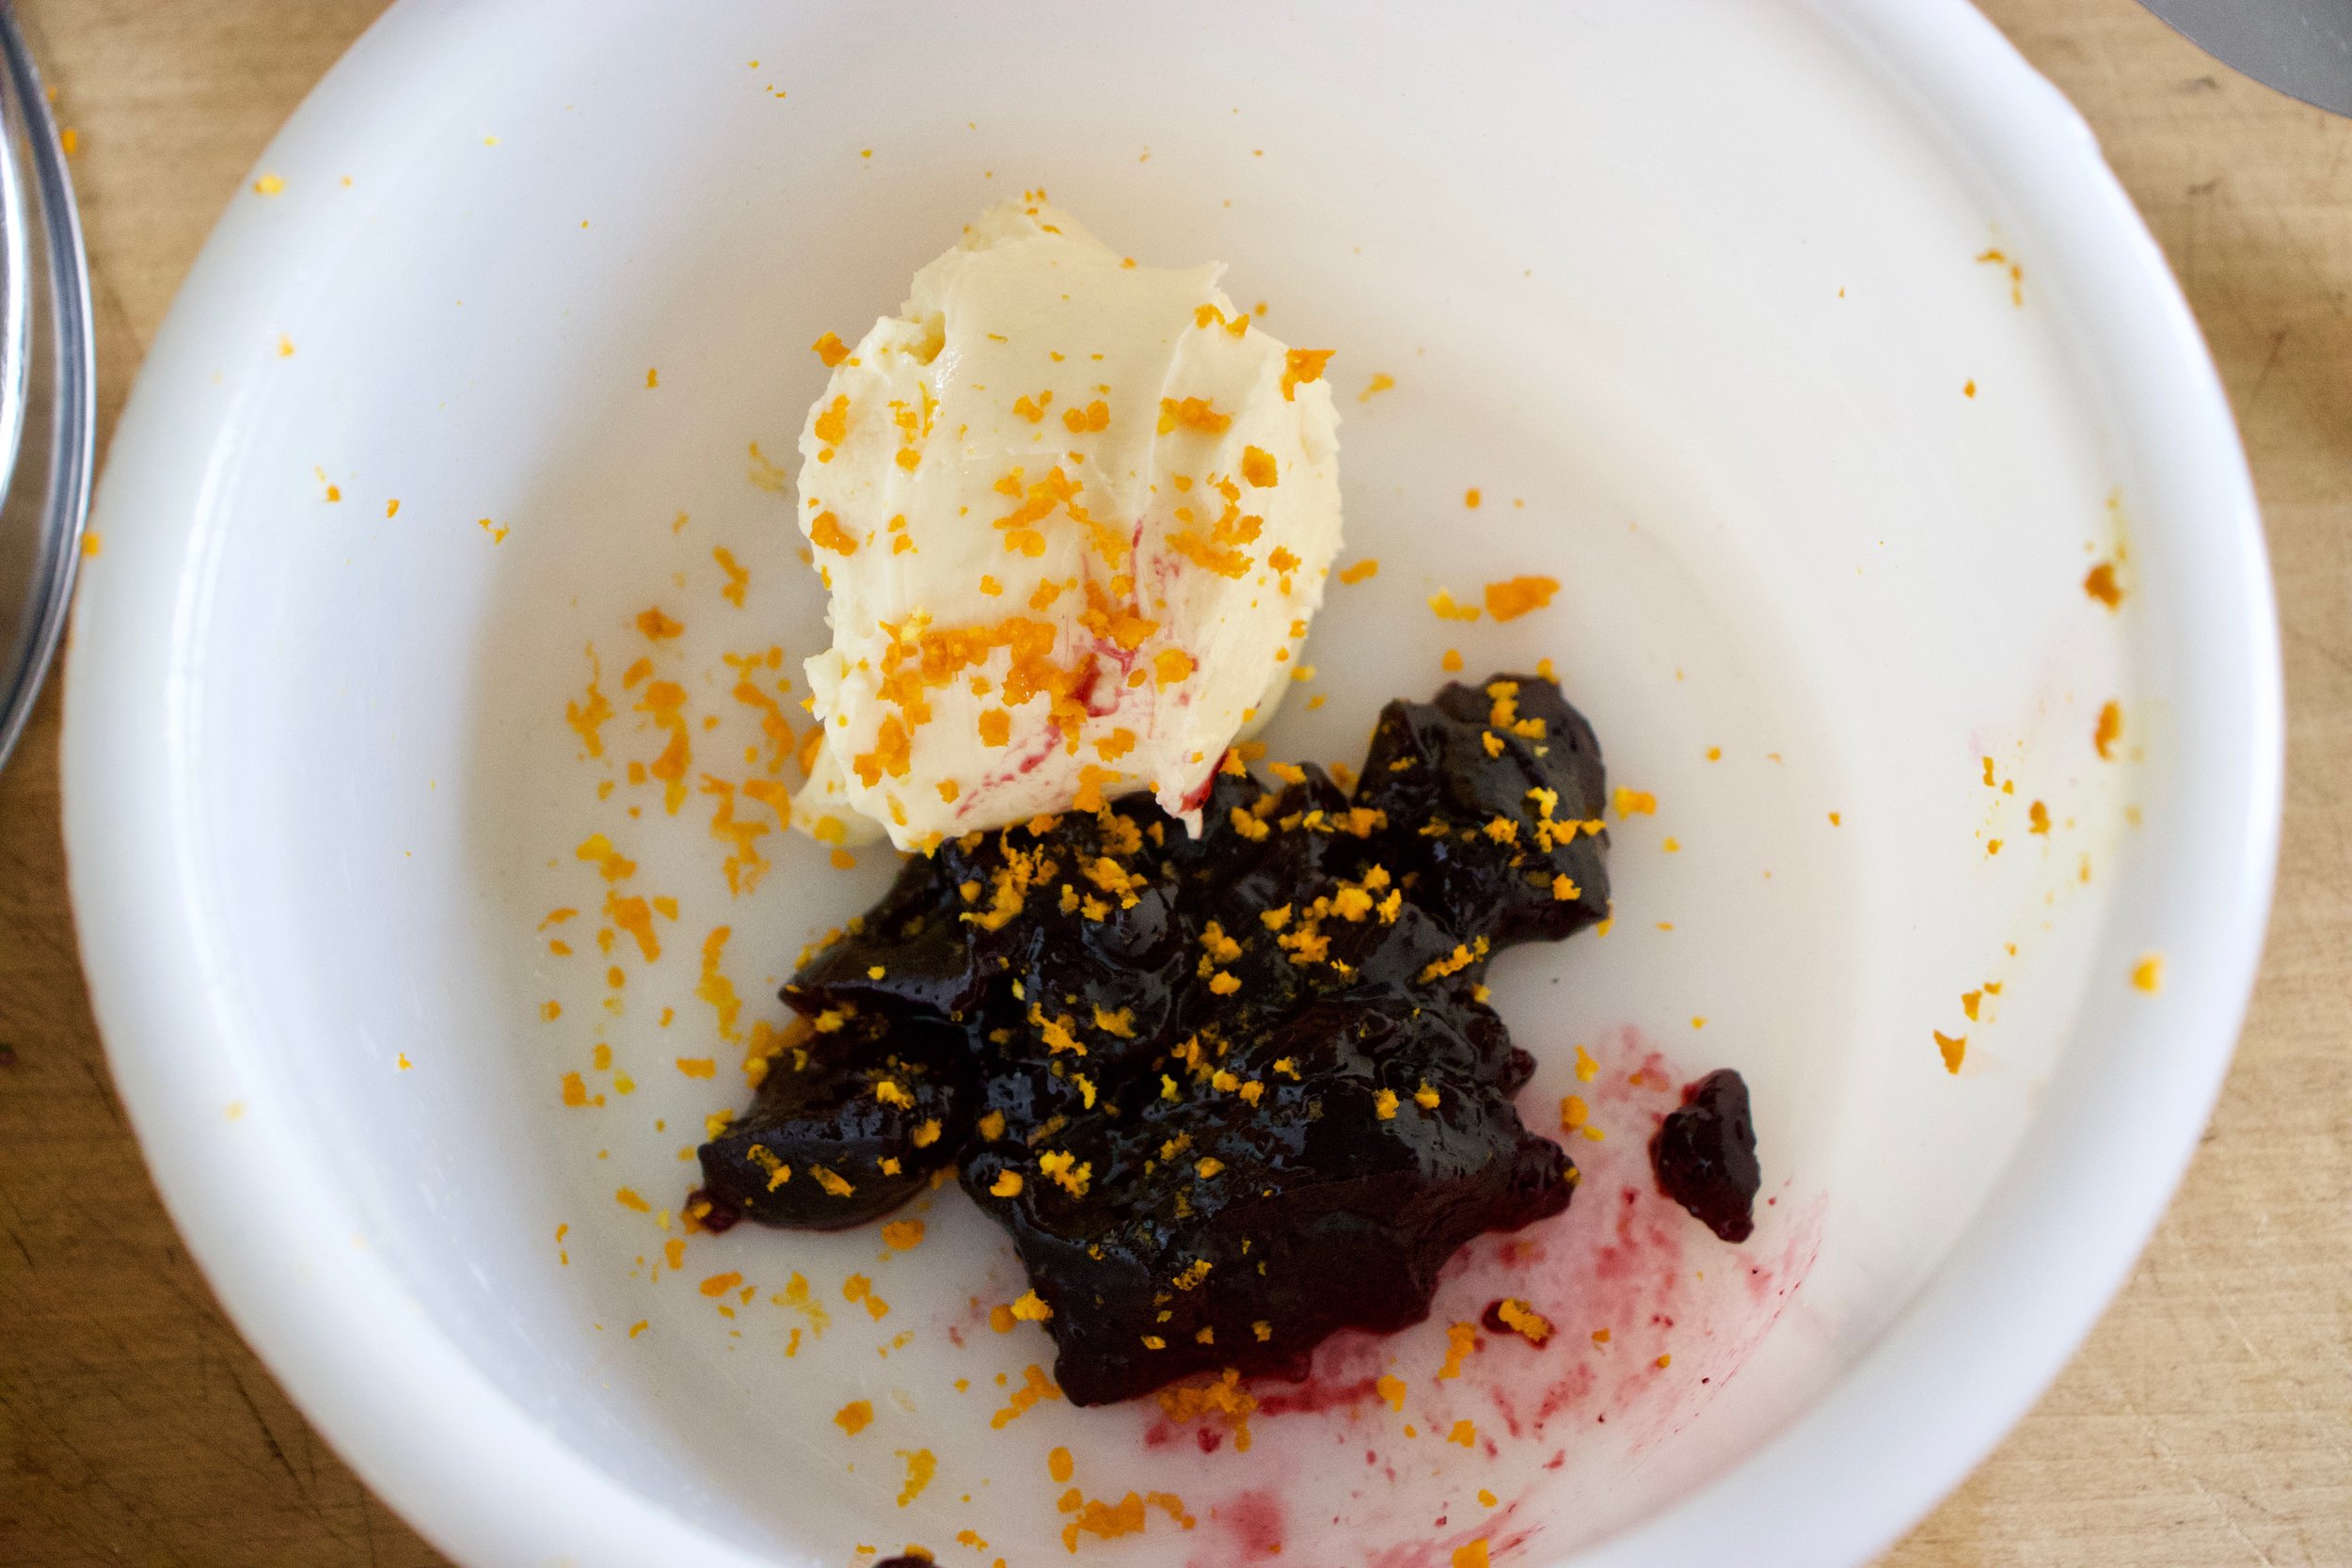
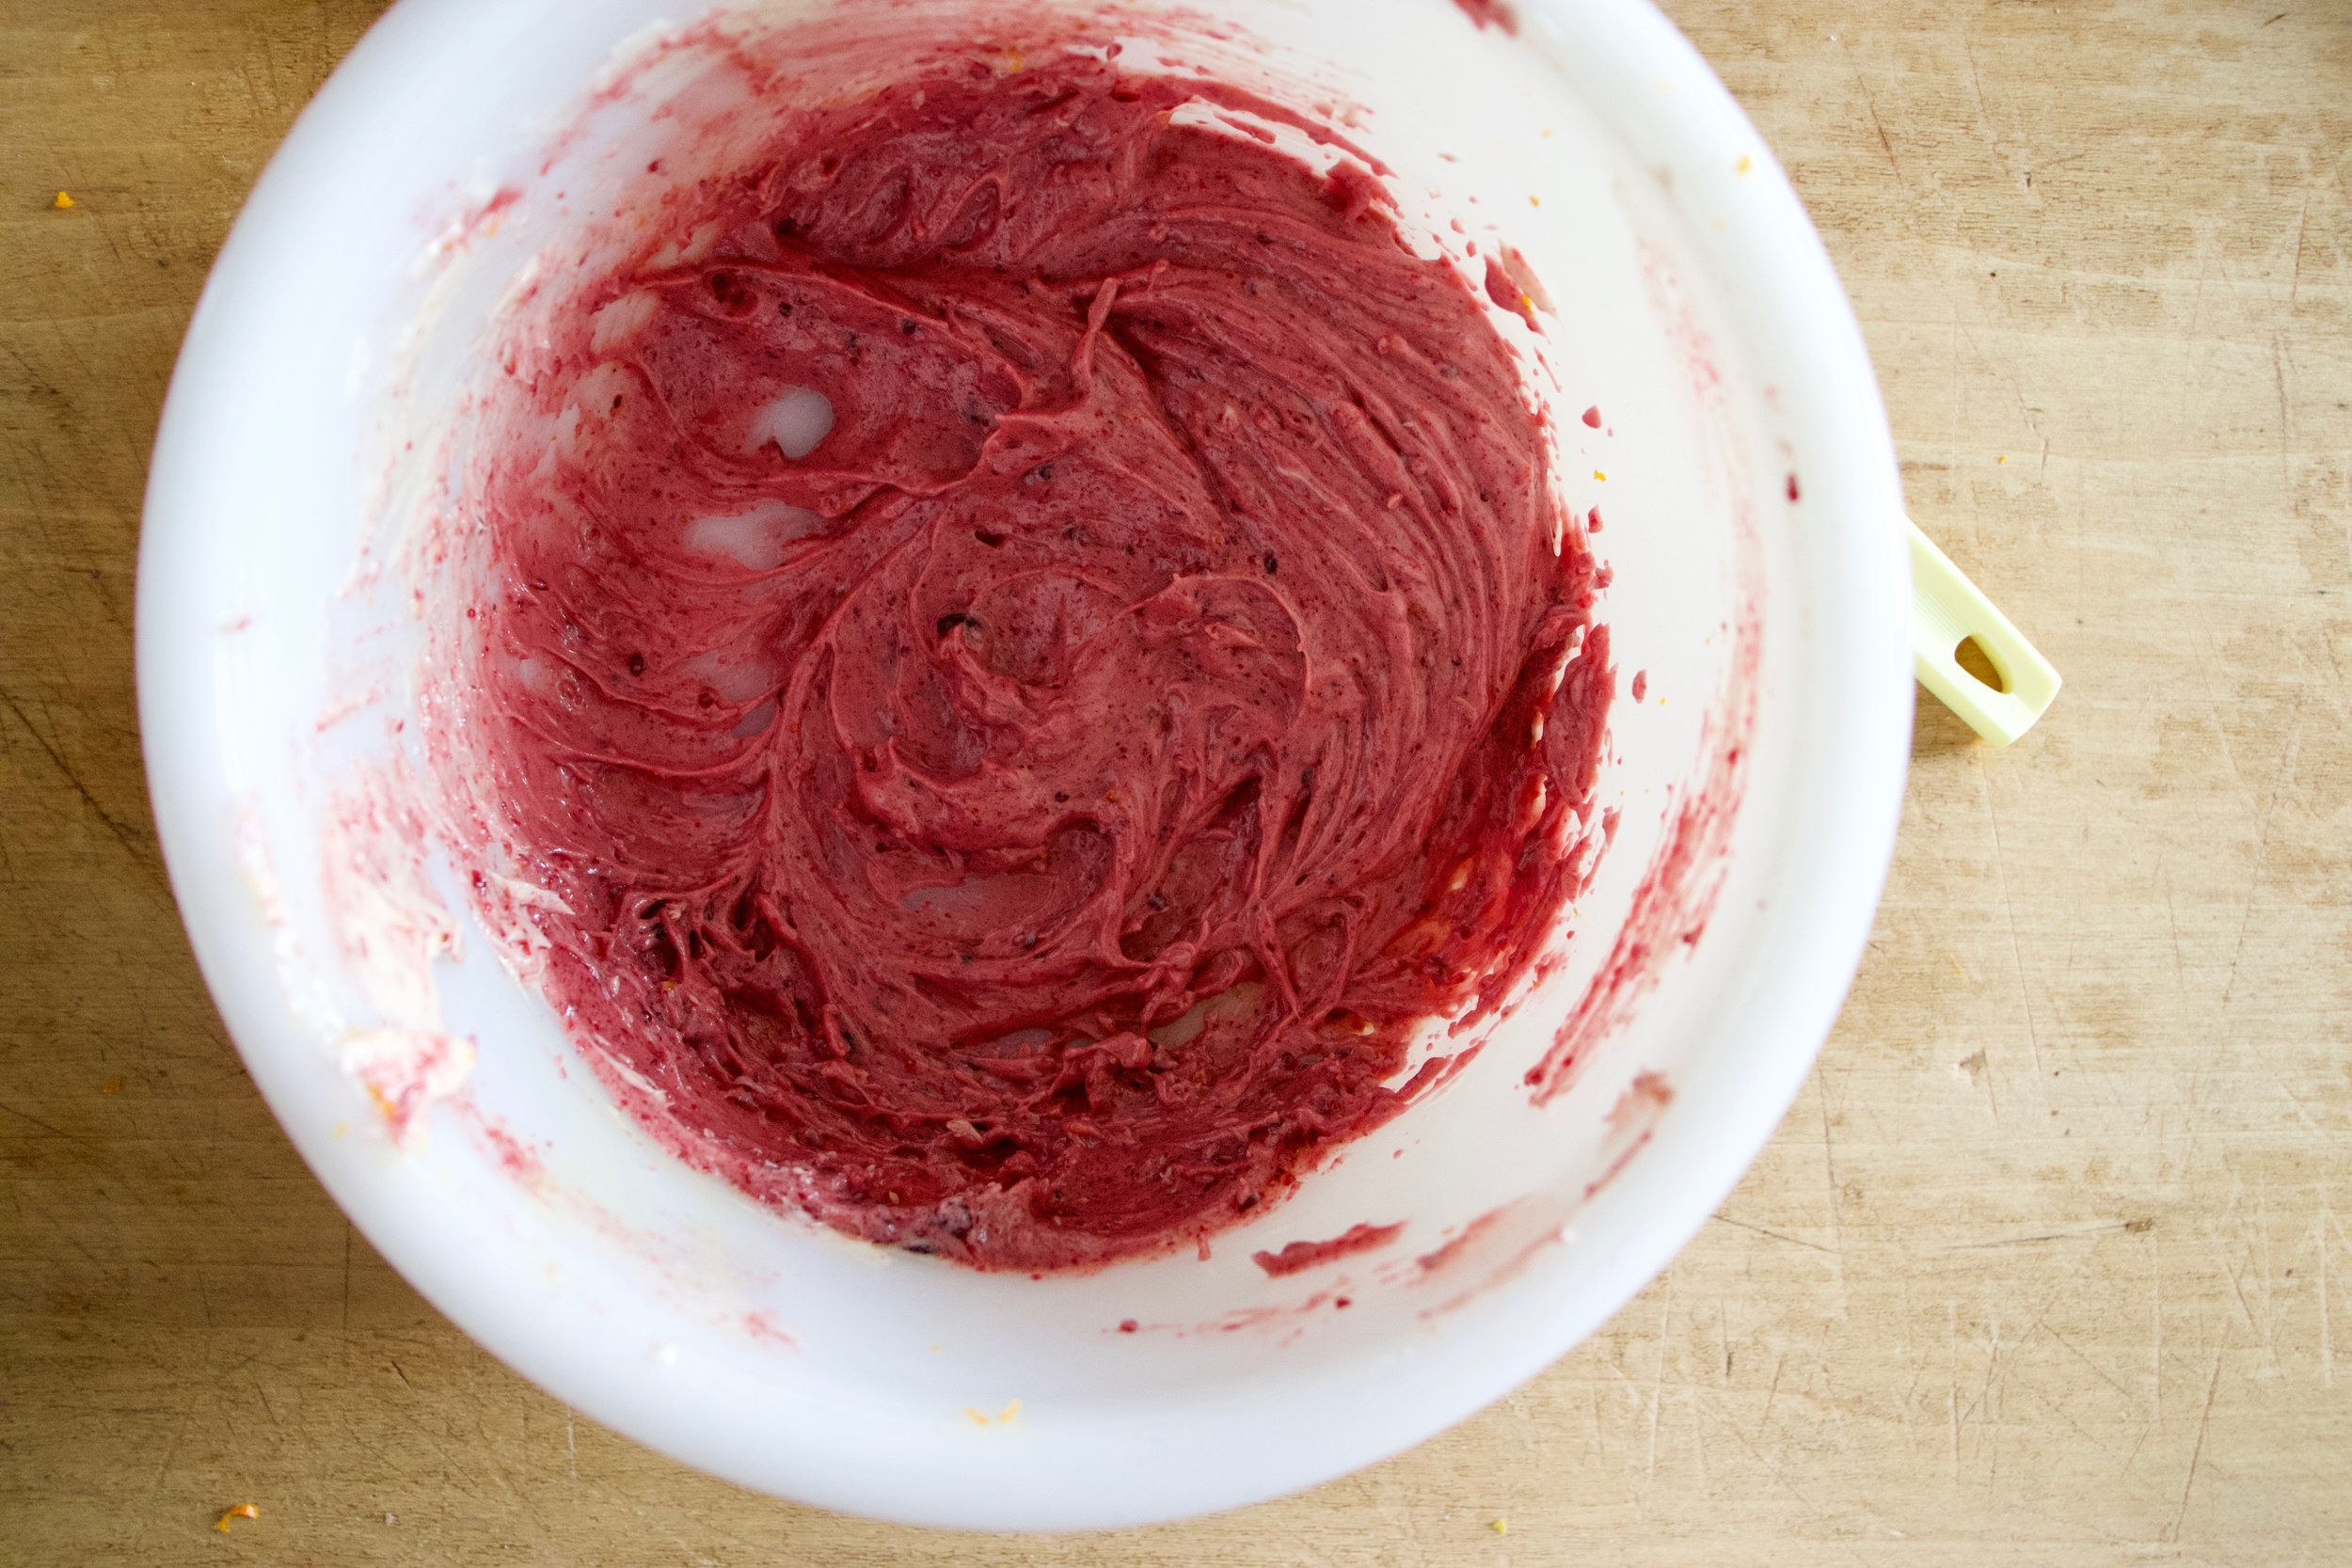
Raspberries, rhubarb, sugar, cinnamon, cornstarch. Its all there in the bowl. Just needs to be mixed. So mix it.

IMG_7781.jpg

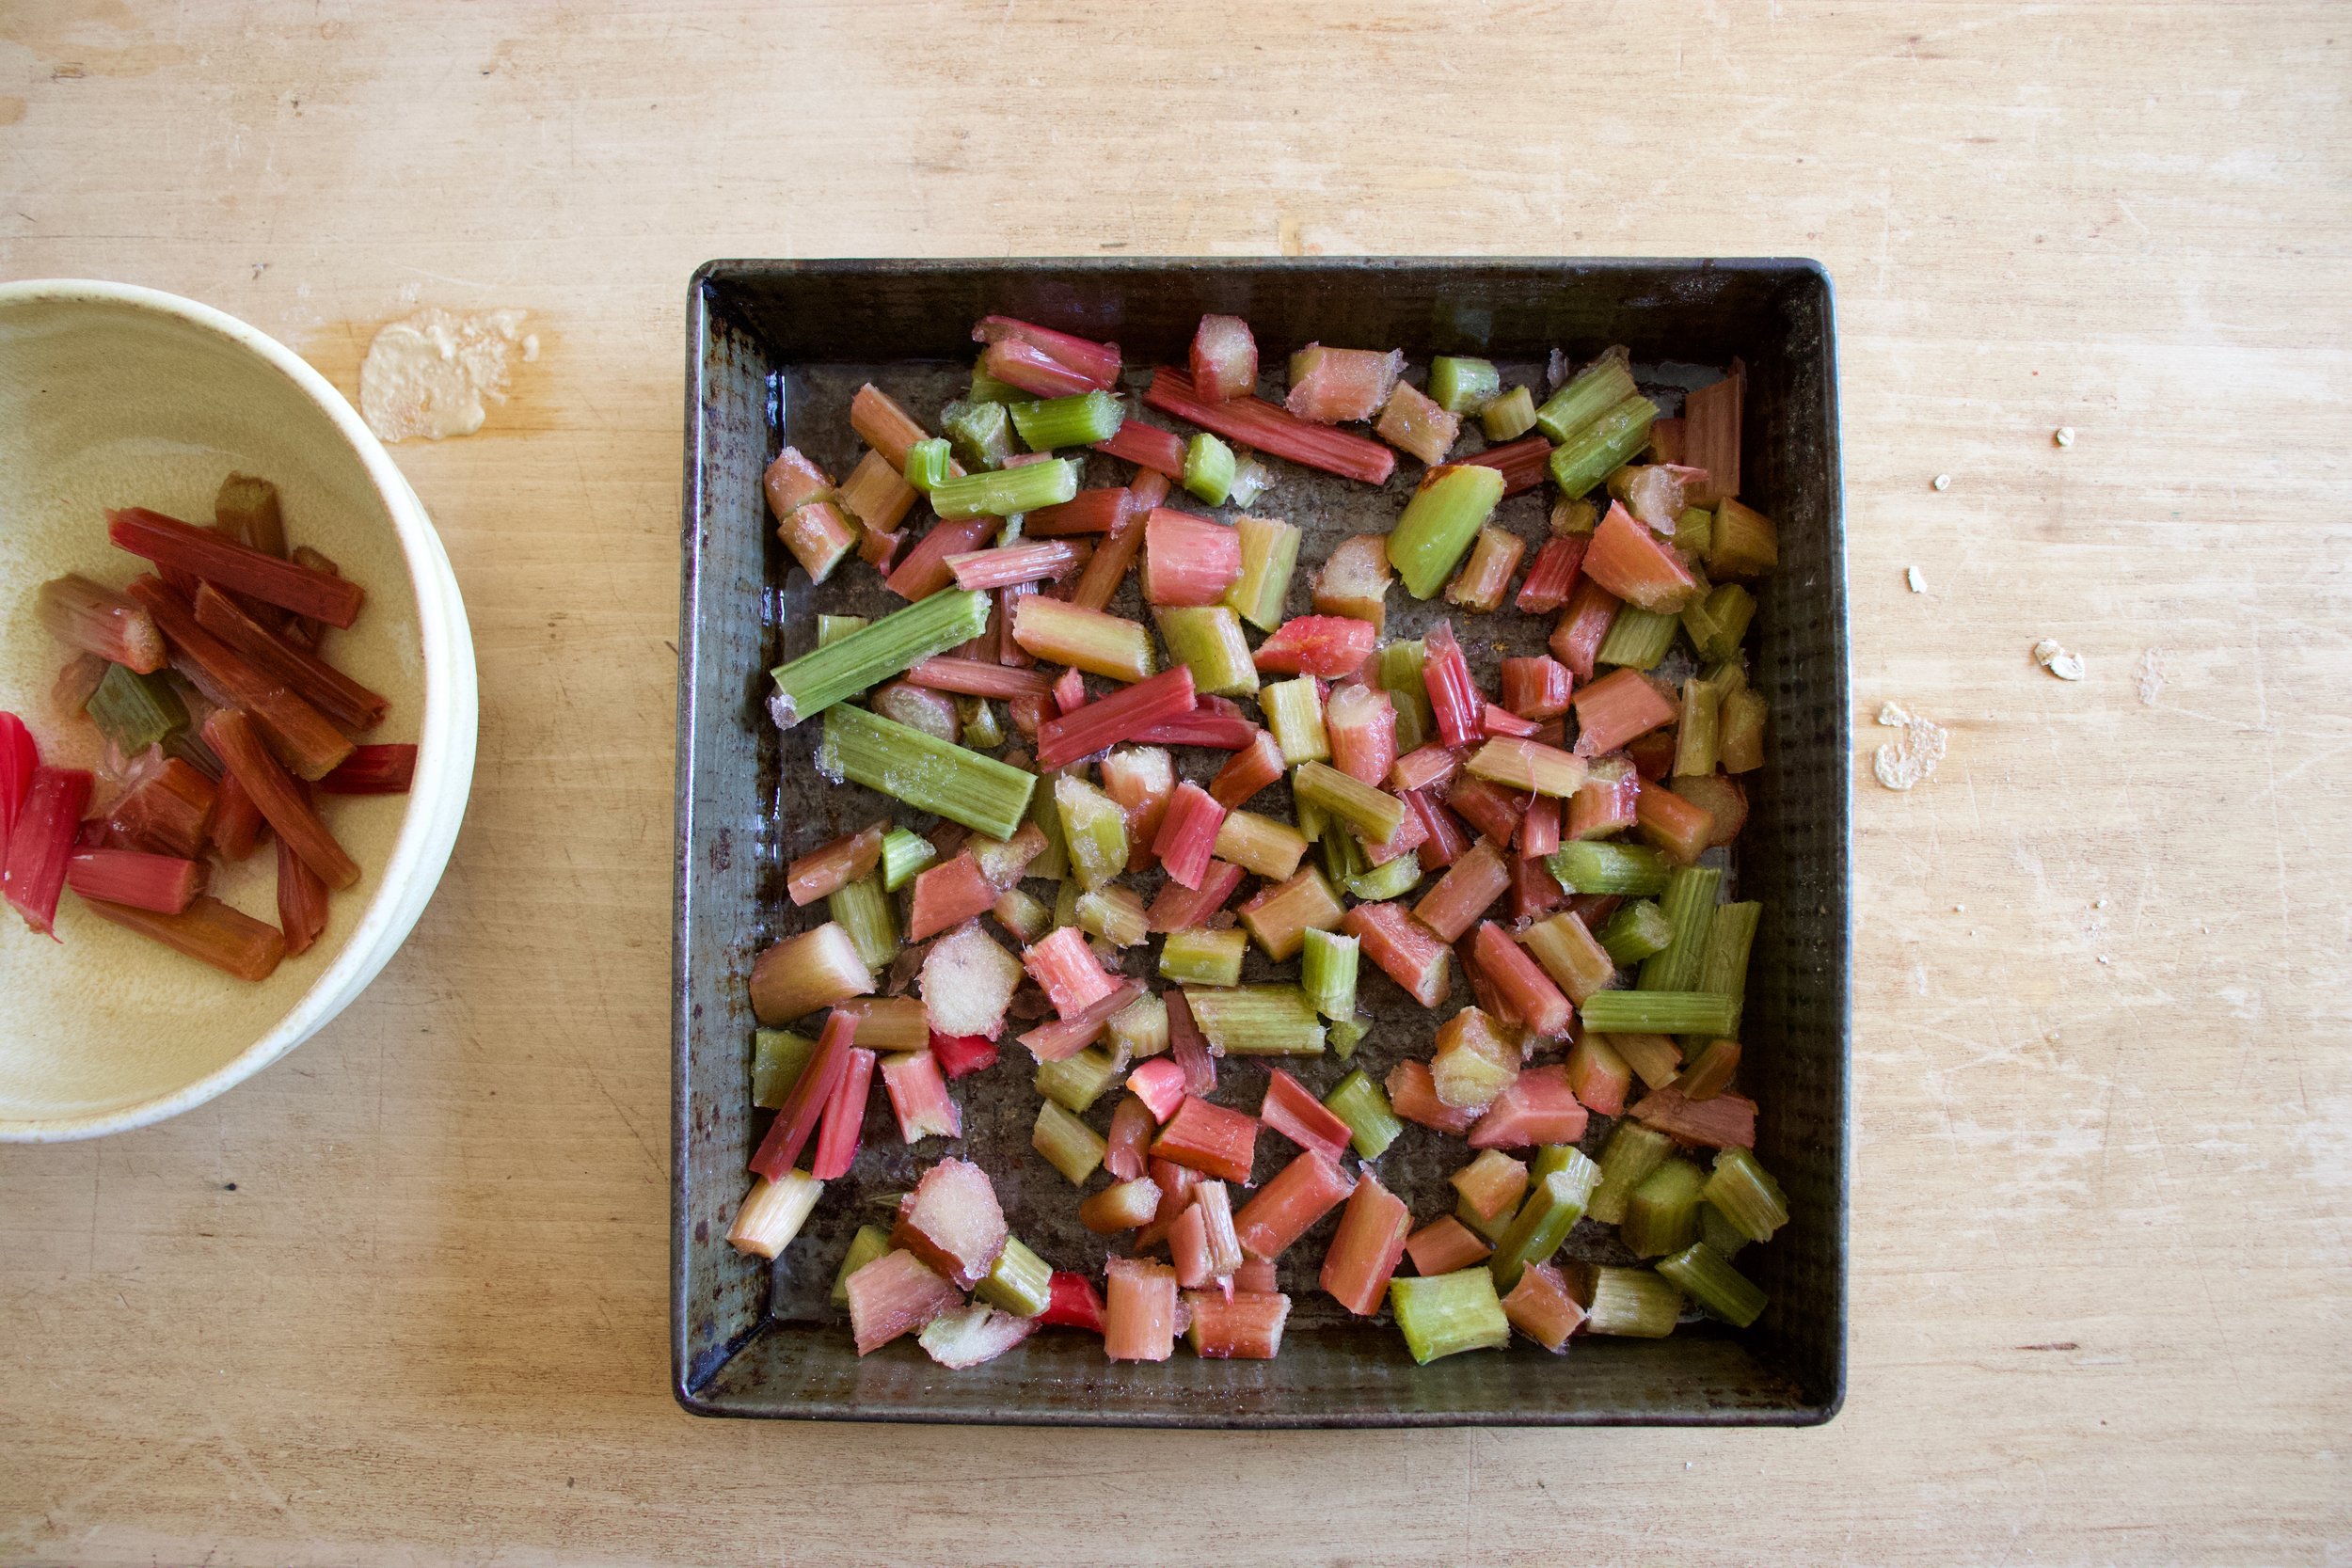
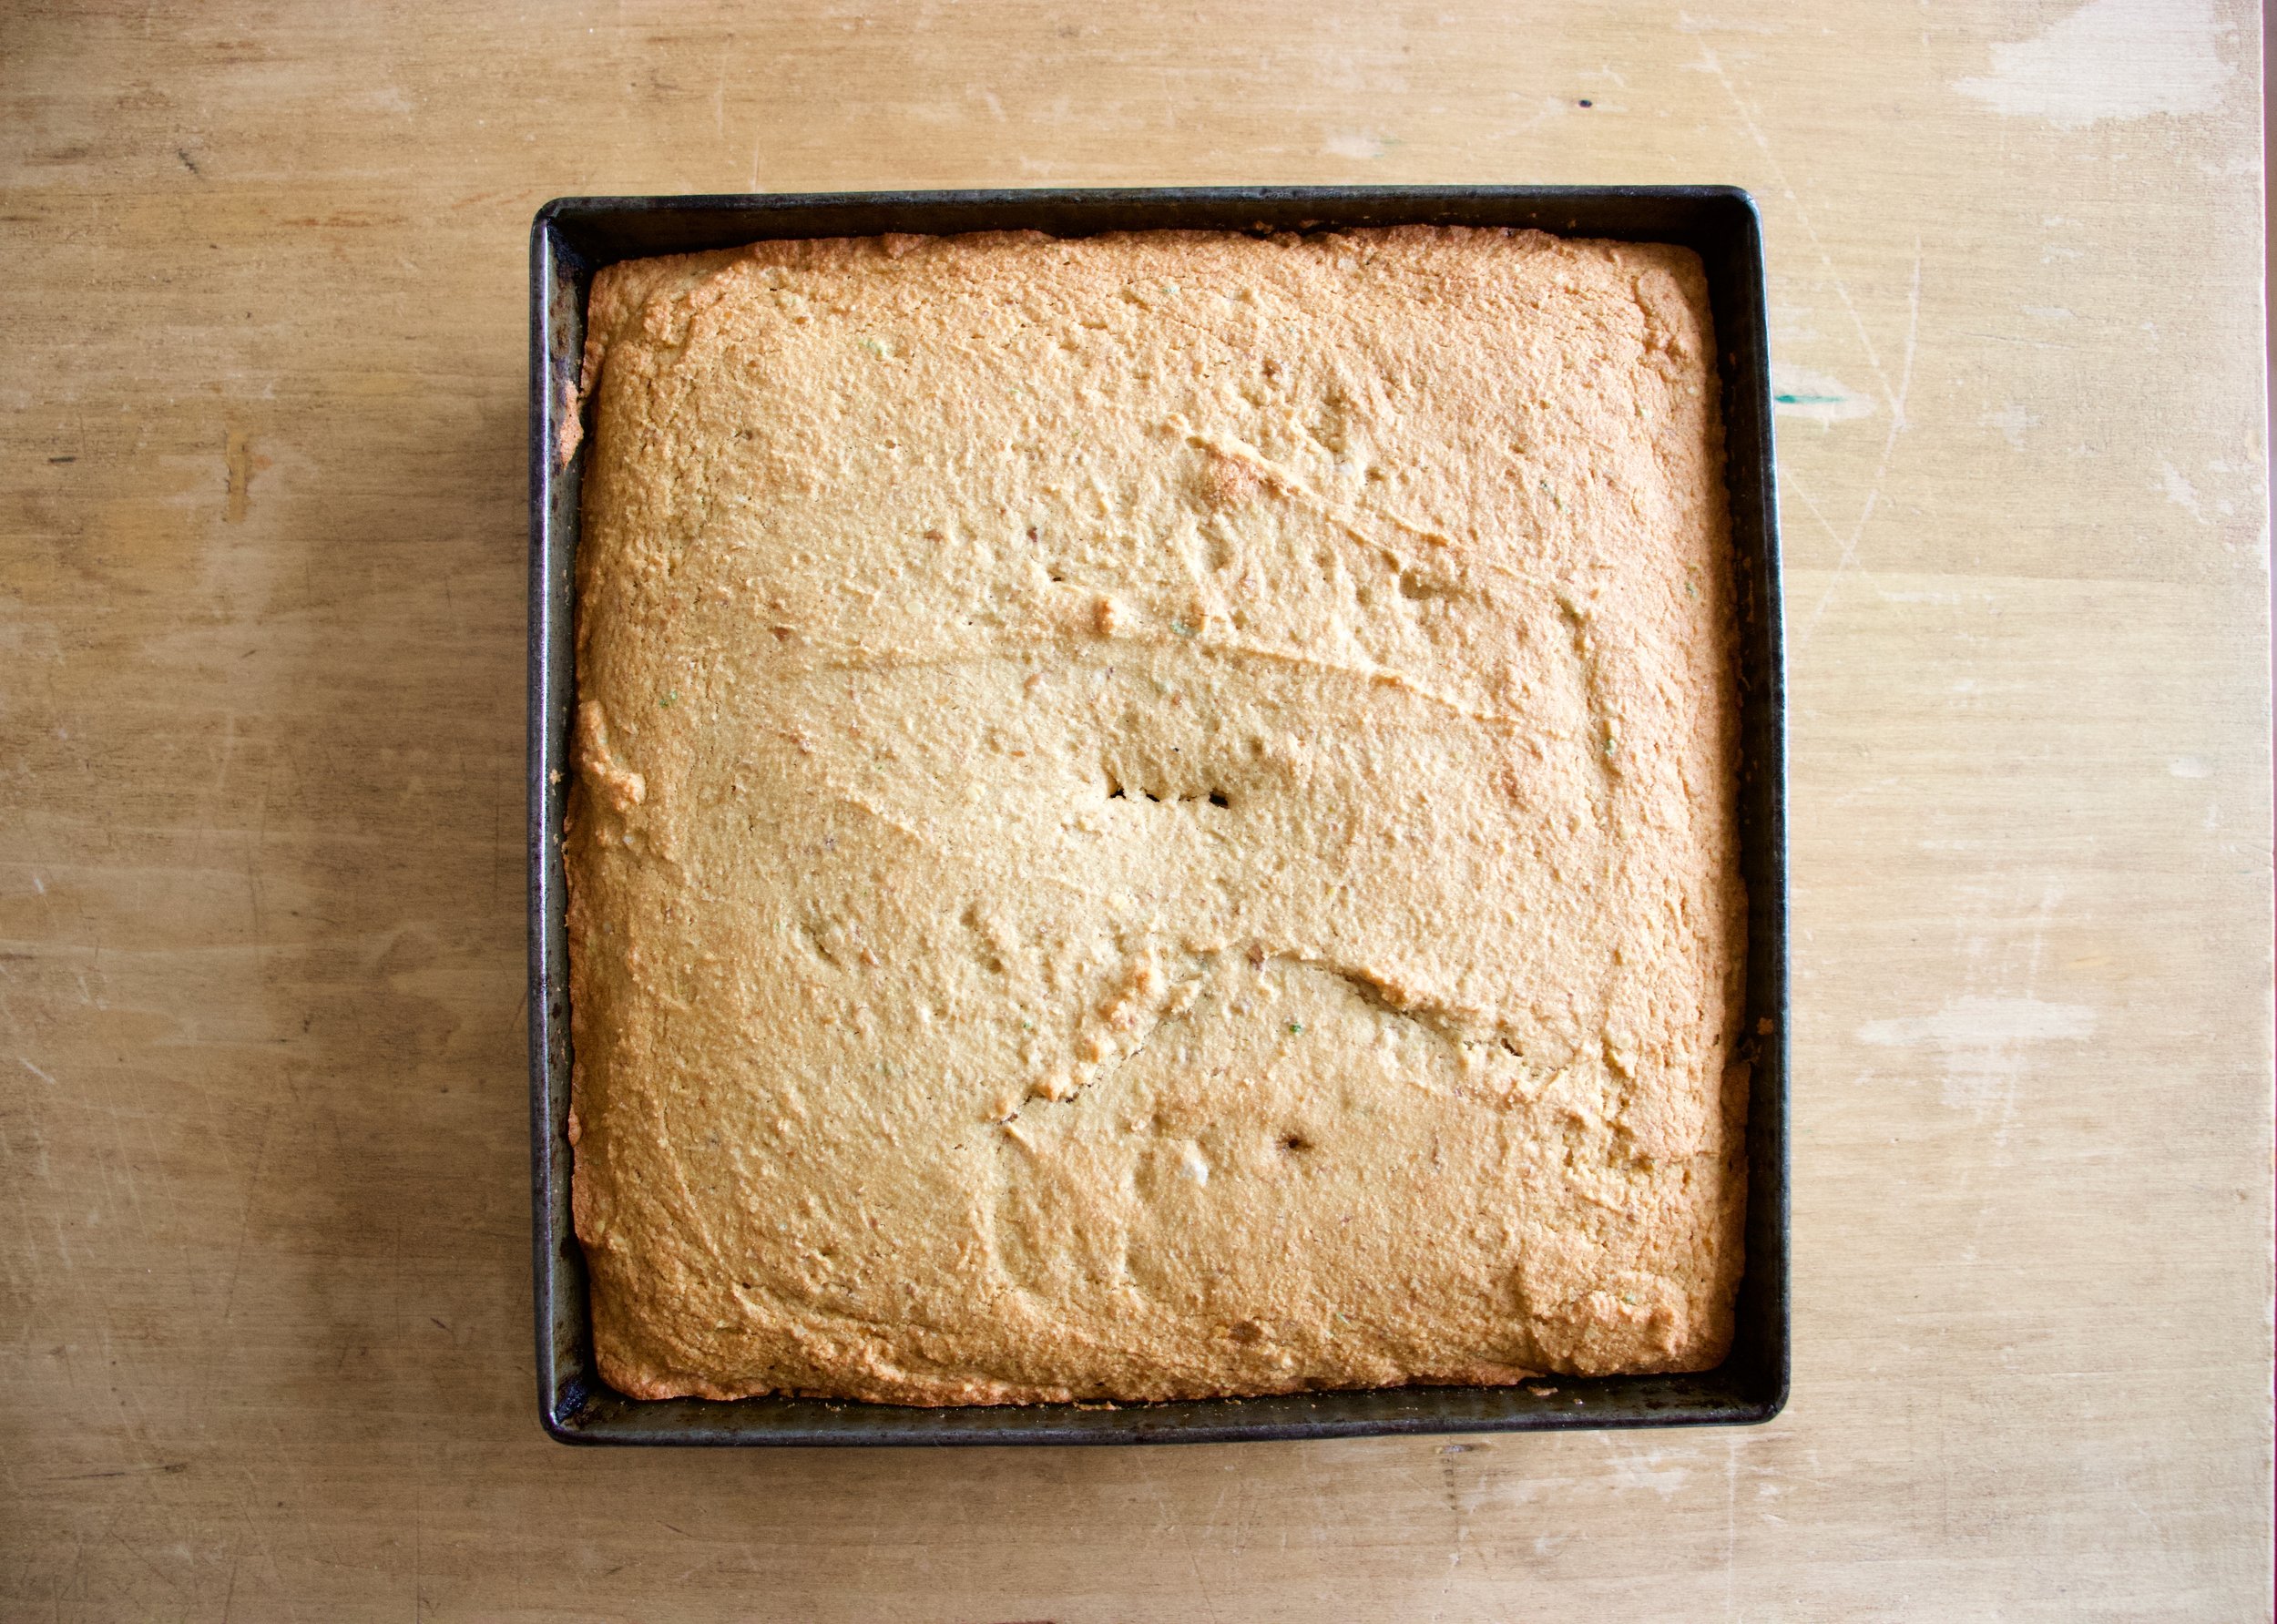
Dump fruit mixture into well greased 8 inch pan and pop it into a hot oven to get a head start on baking.

IMG_7797 2.jpg
IMG_7802.jpg

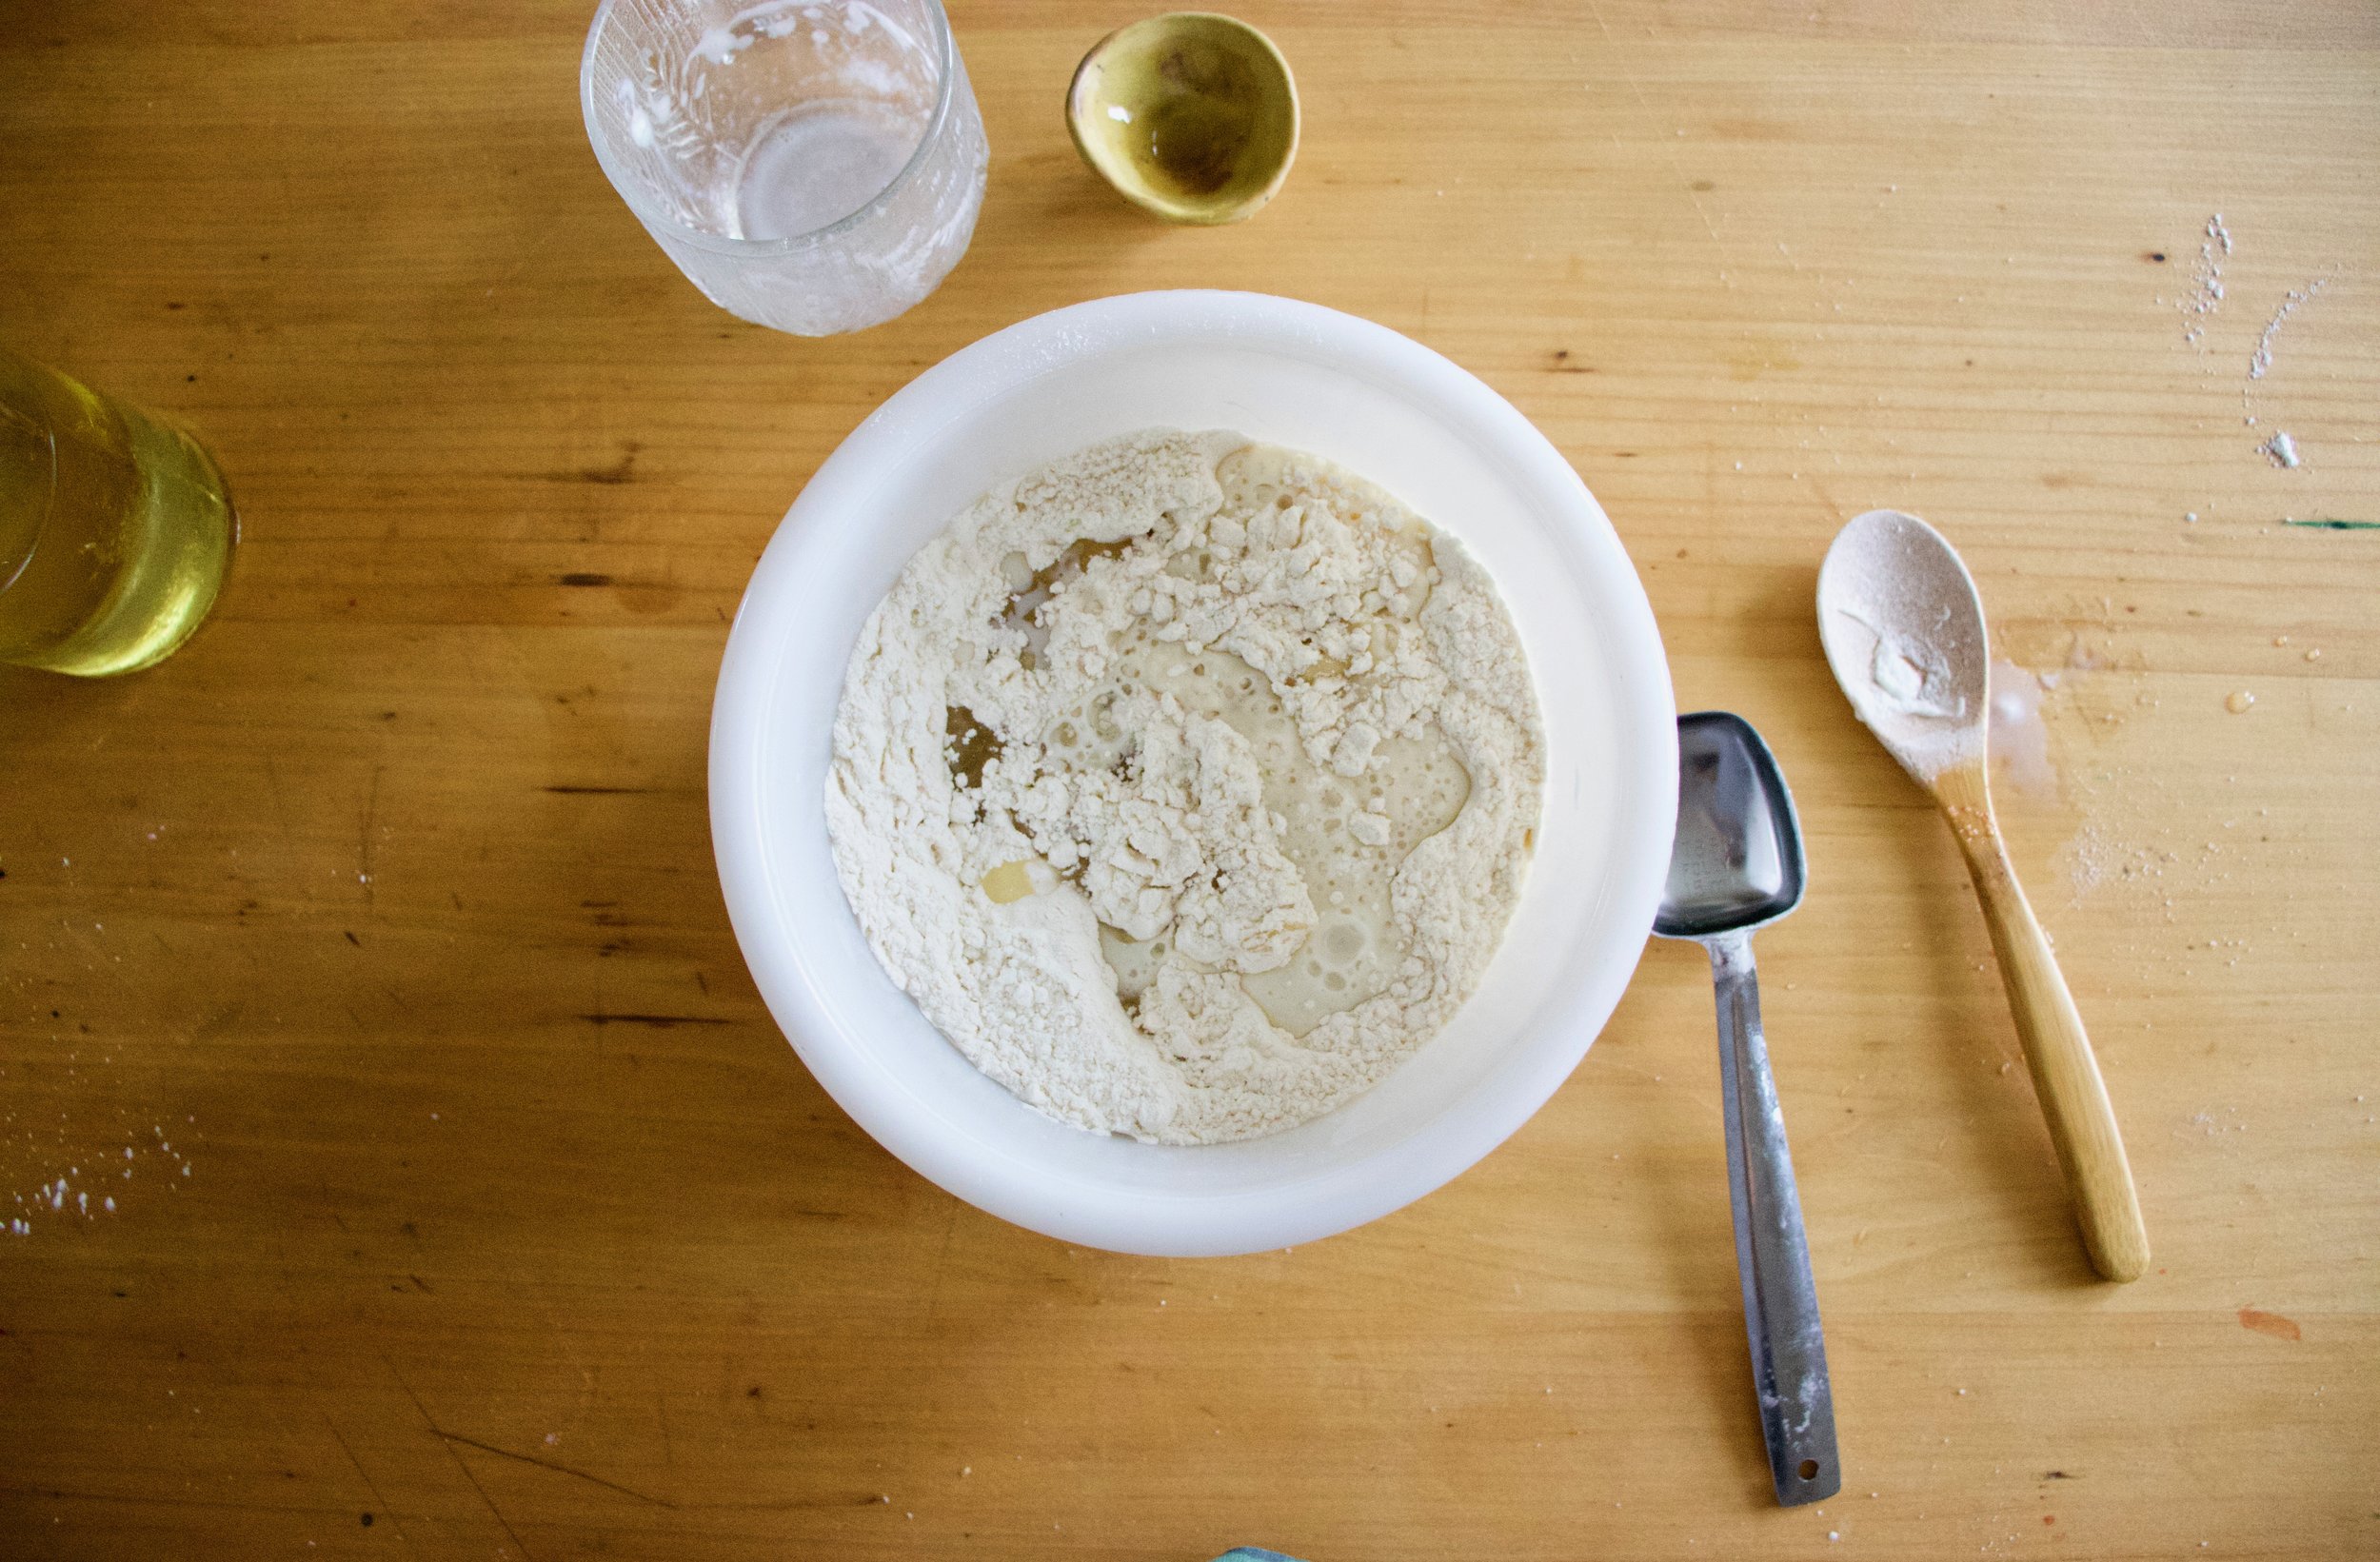
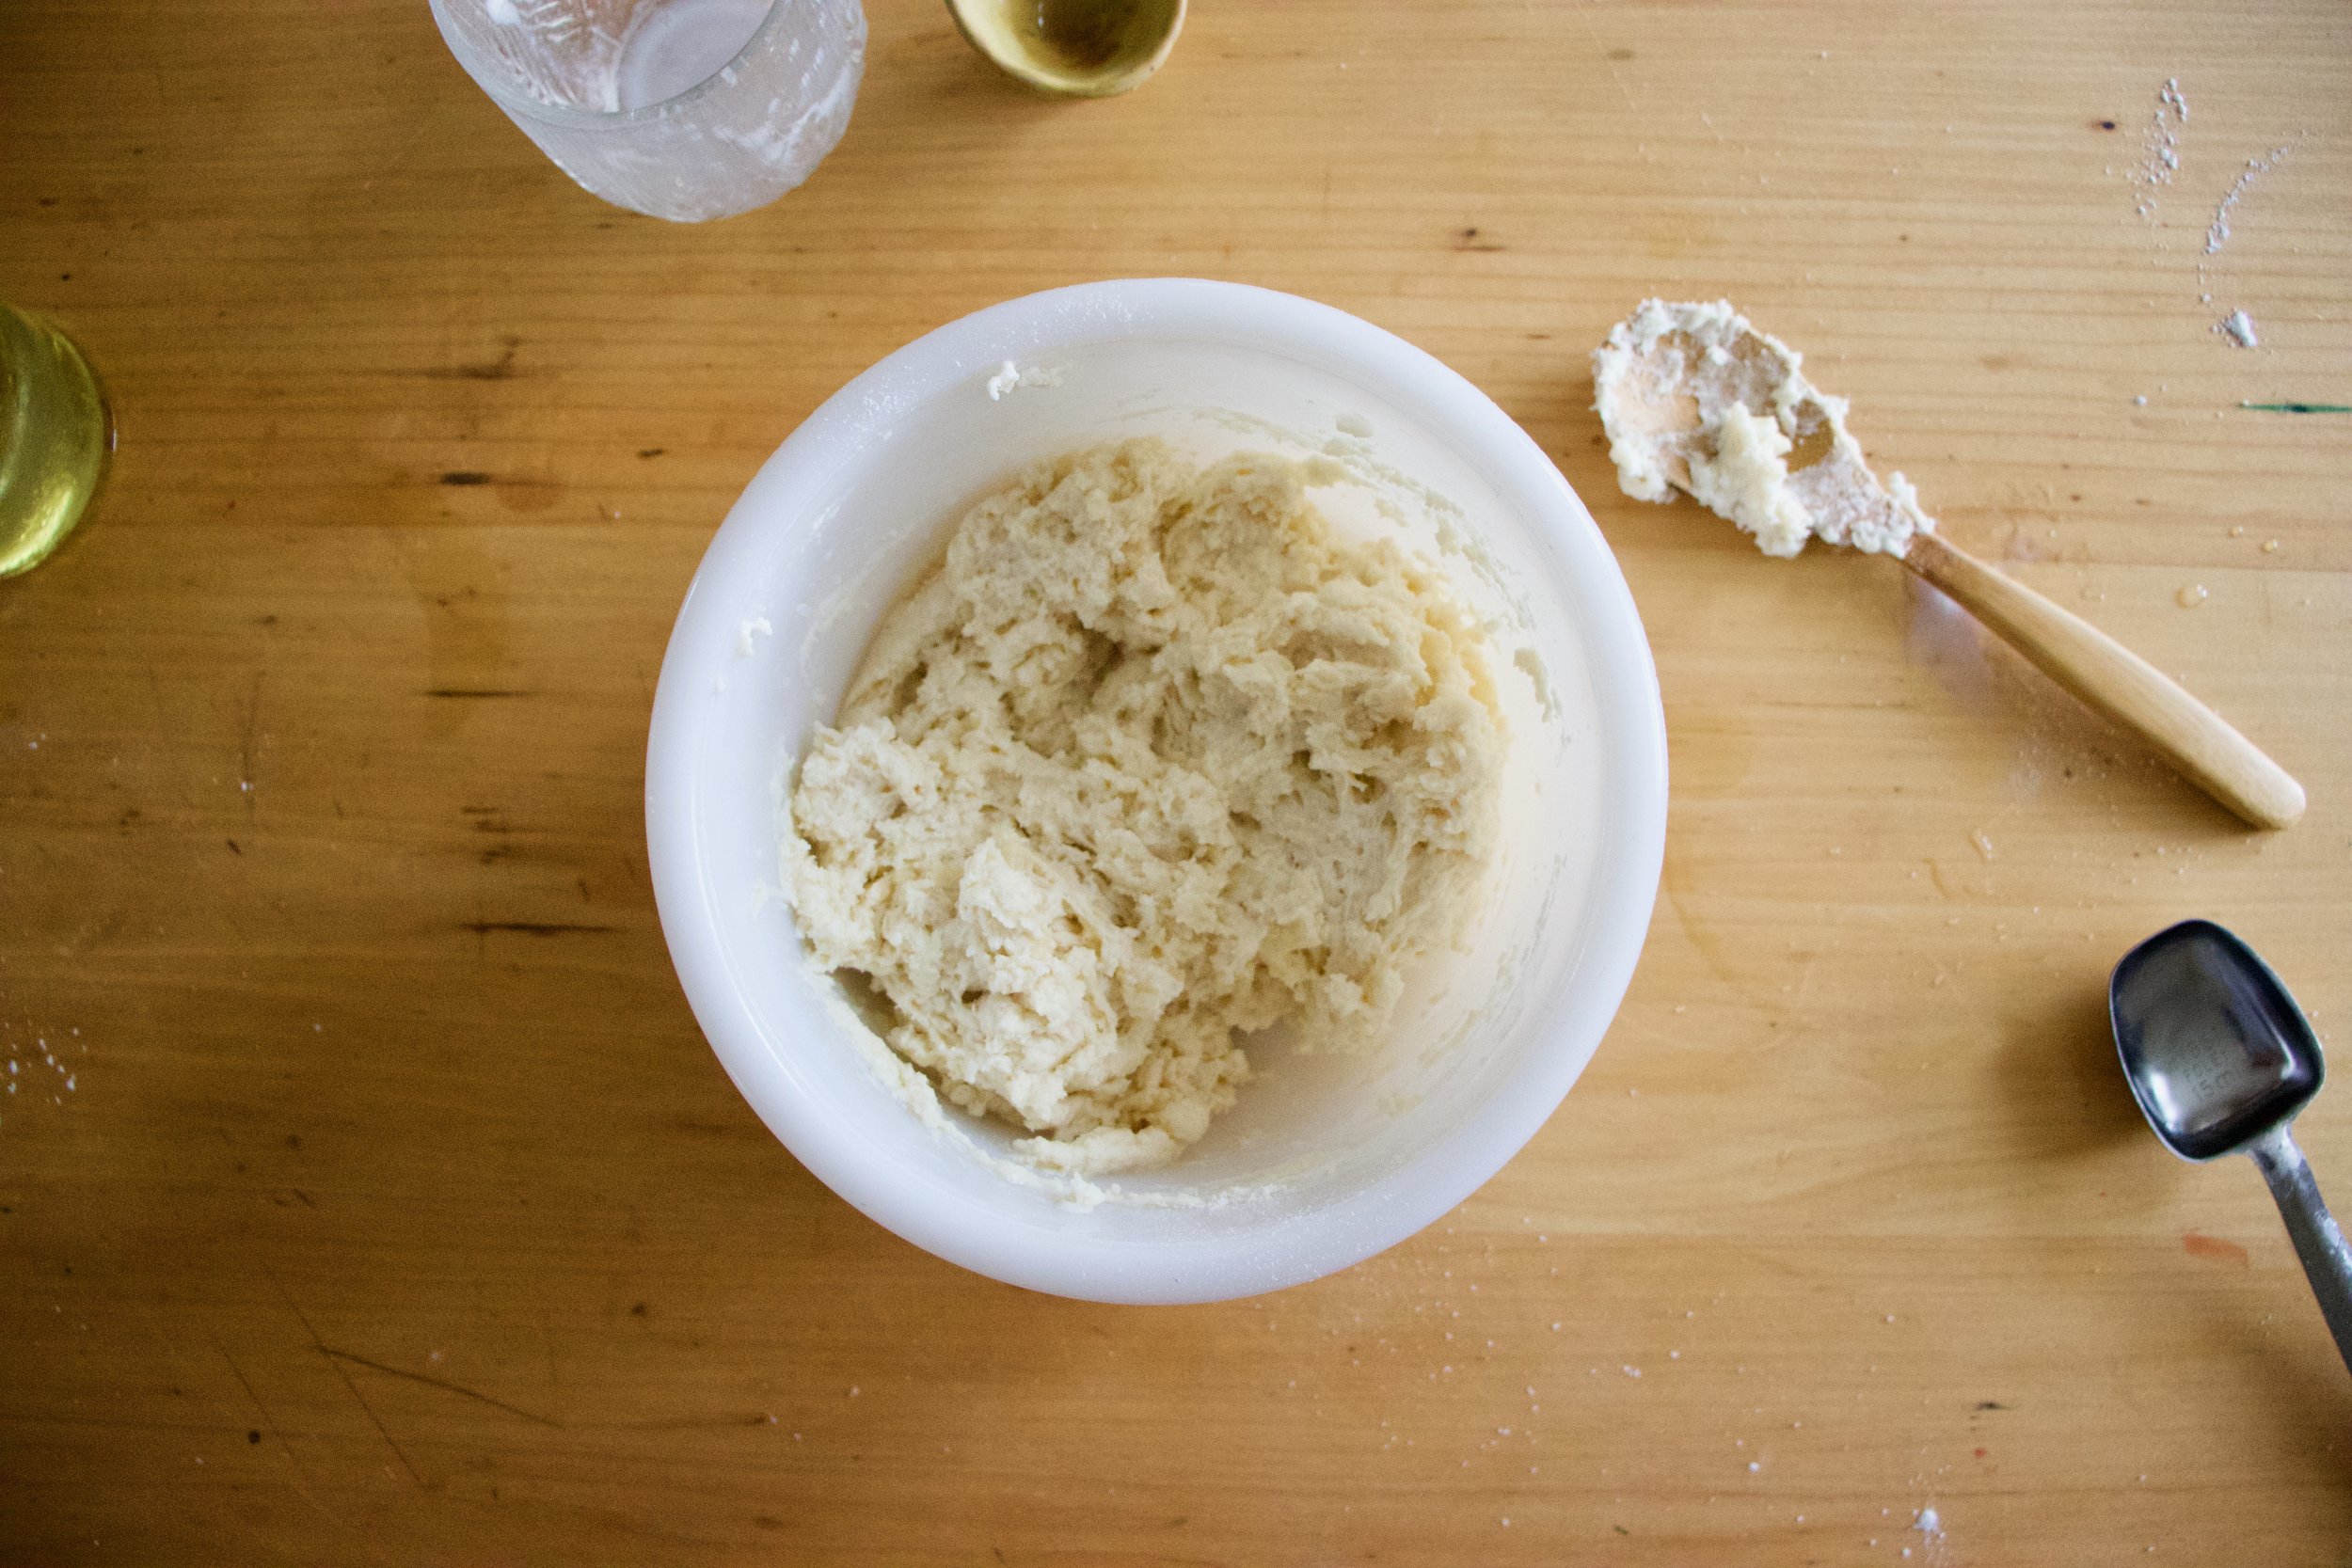
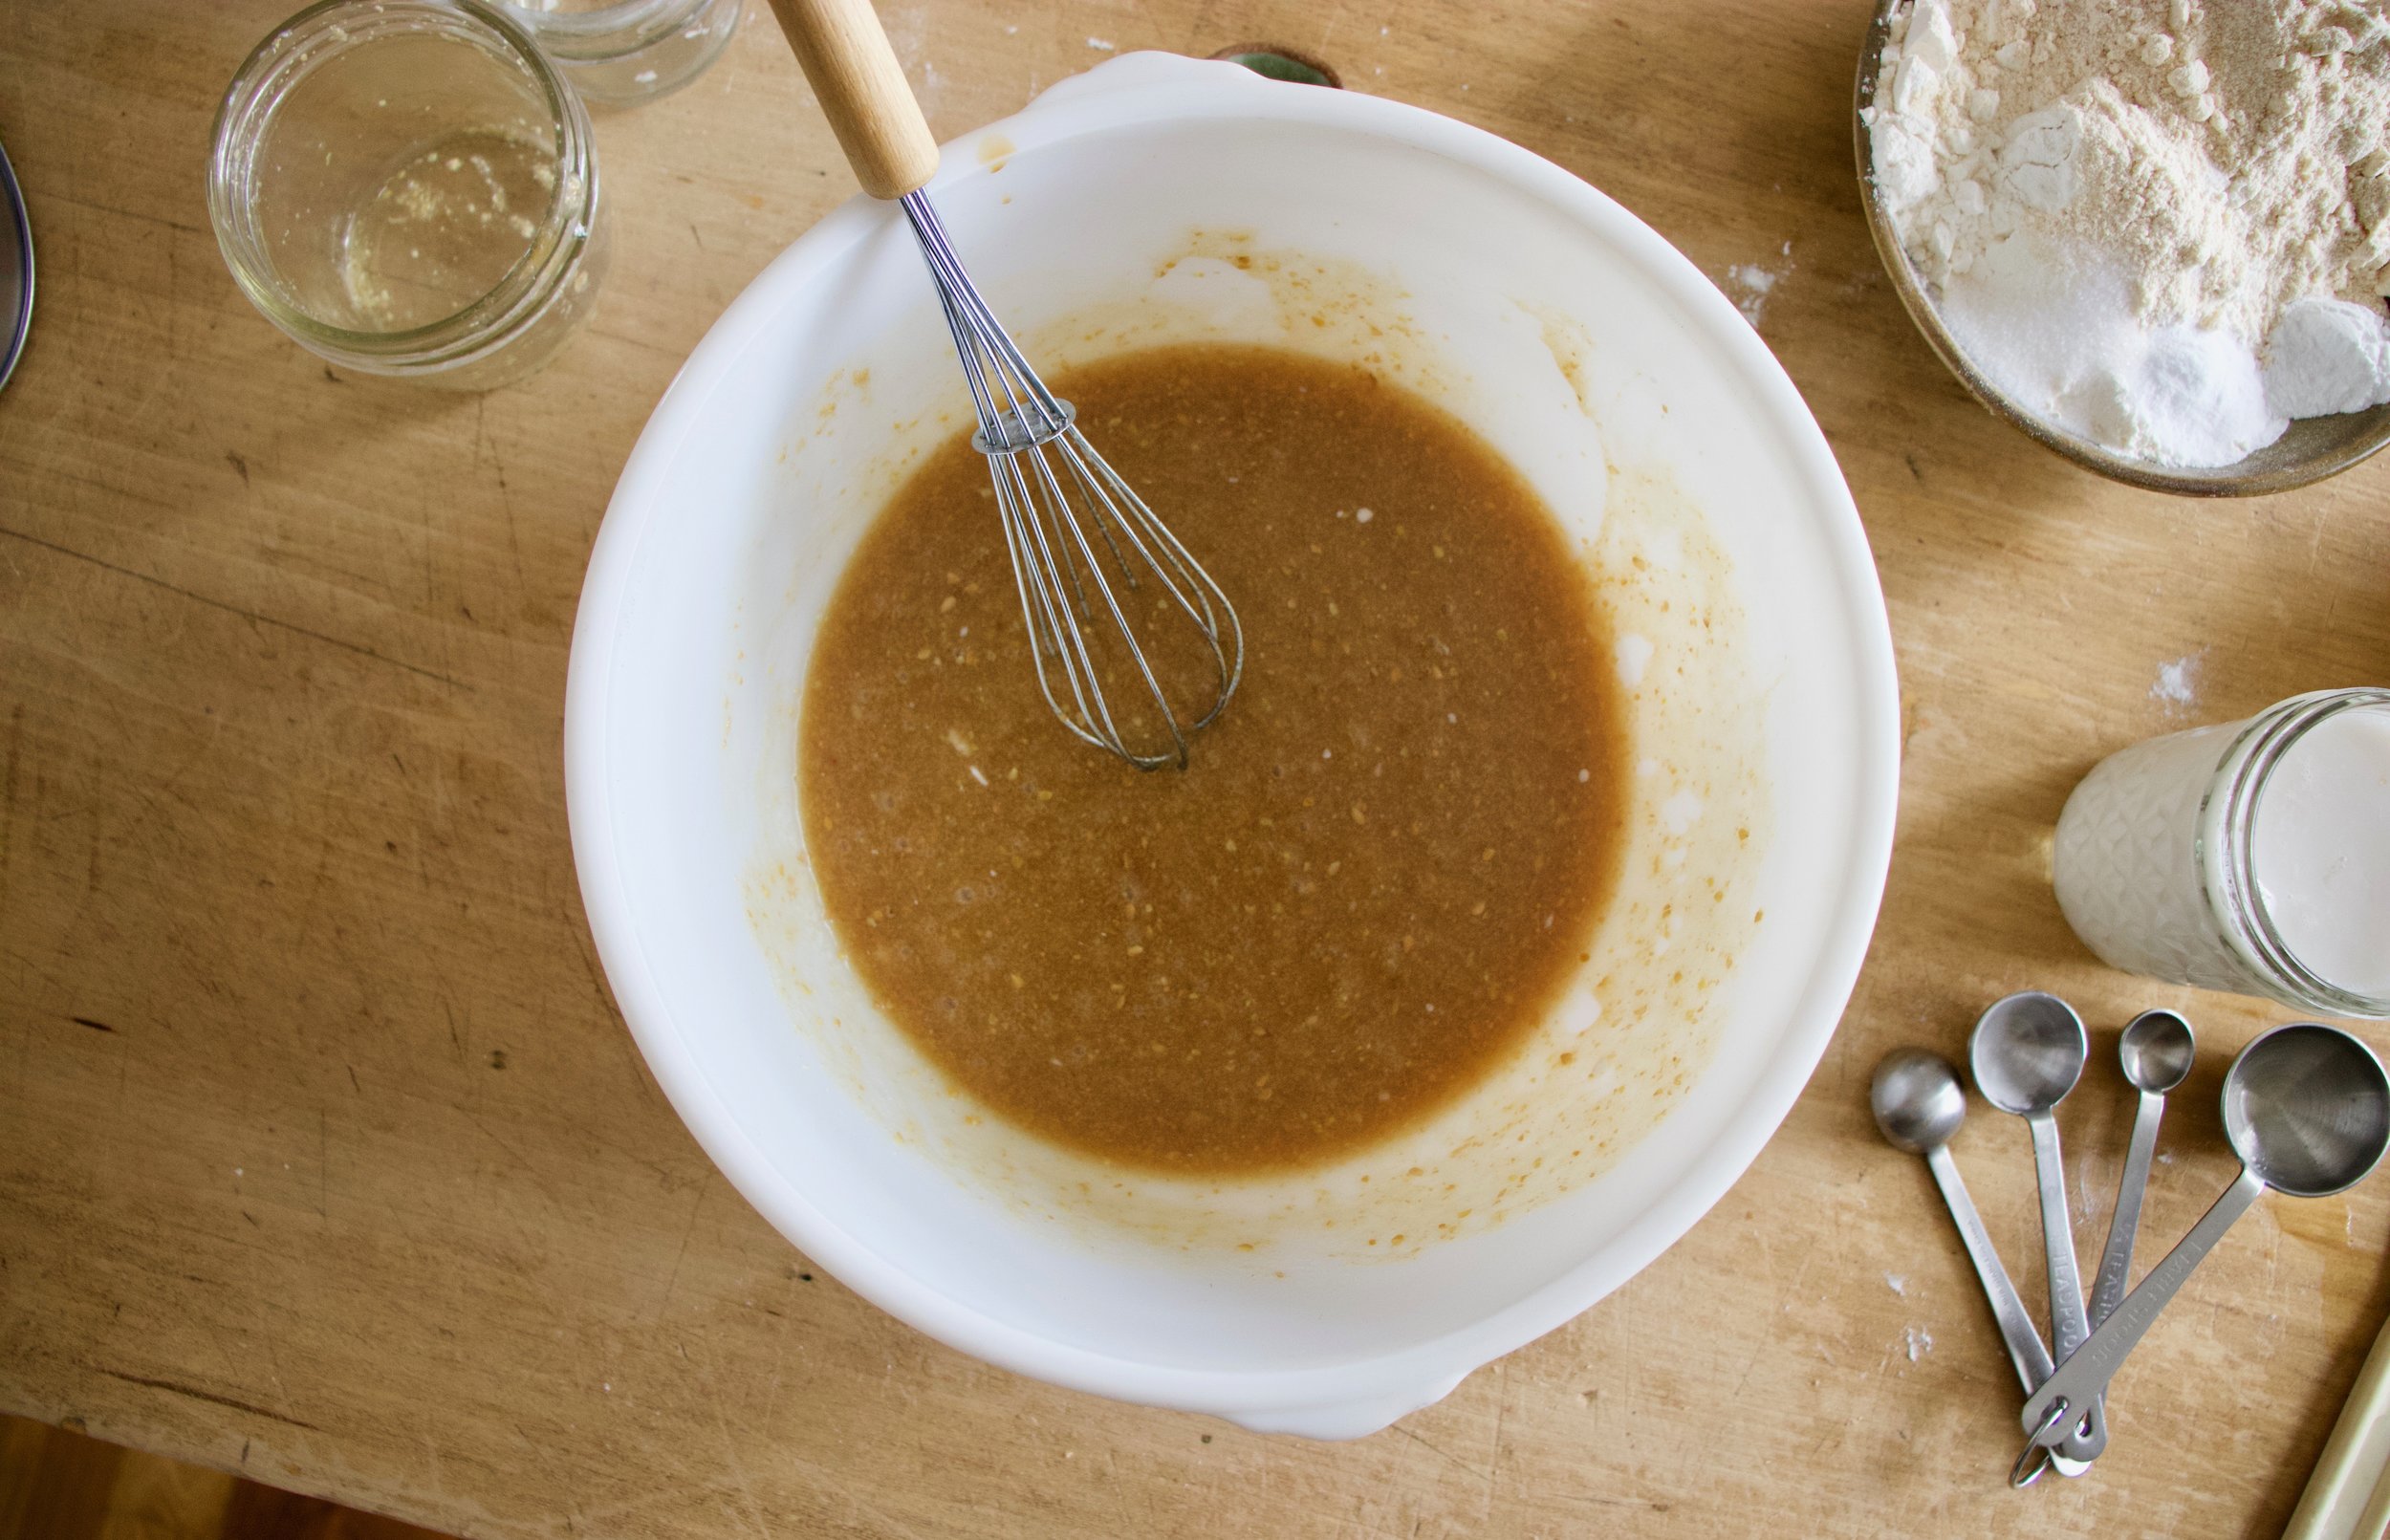
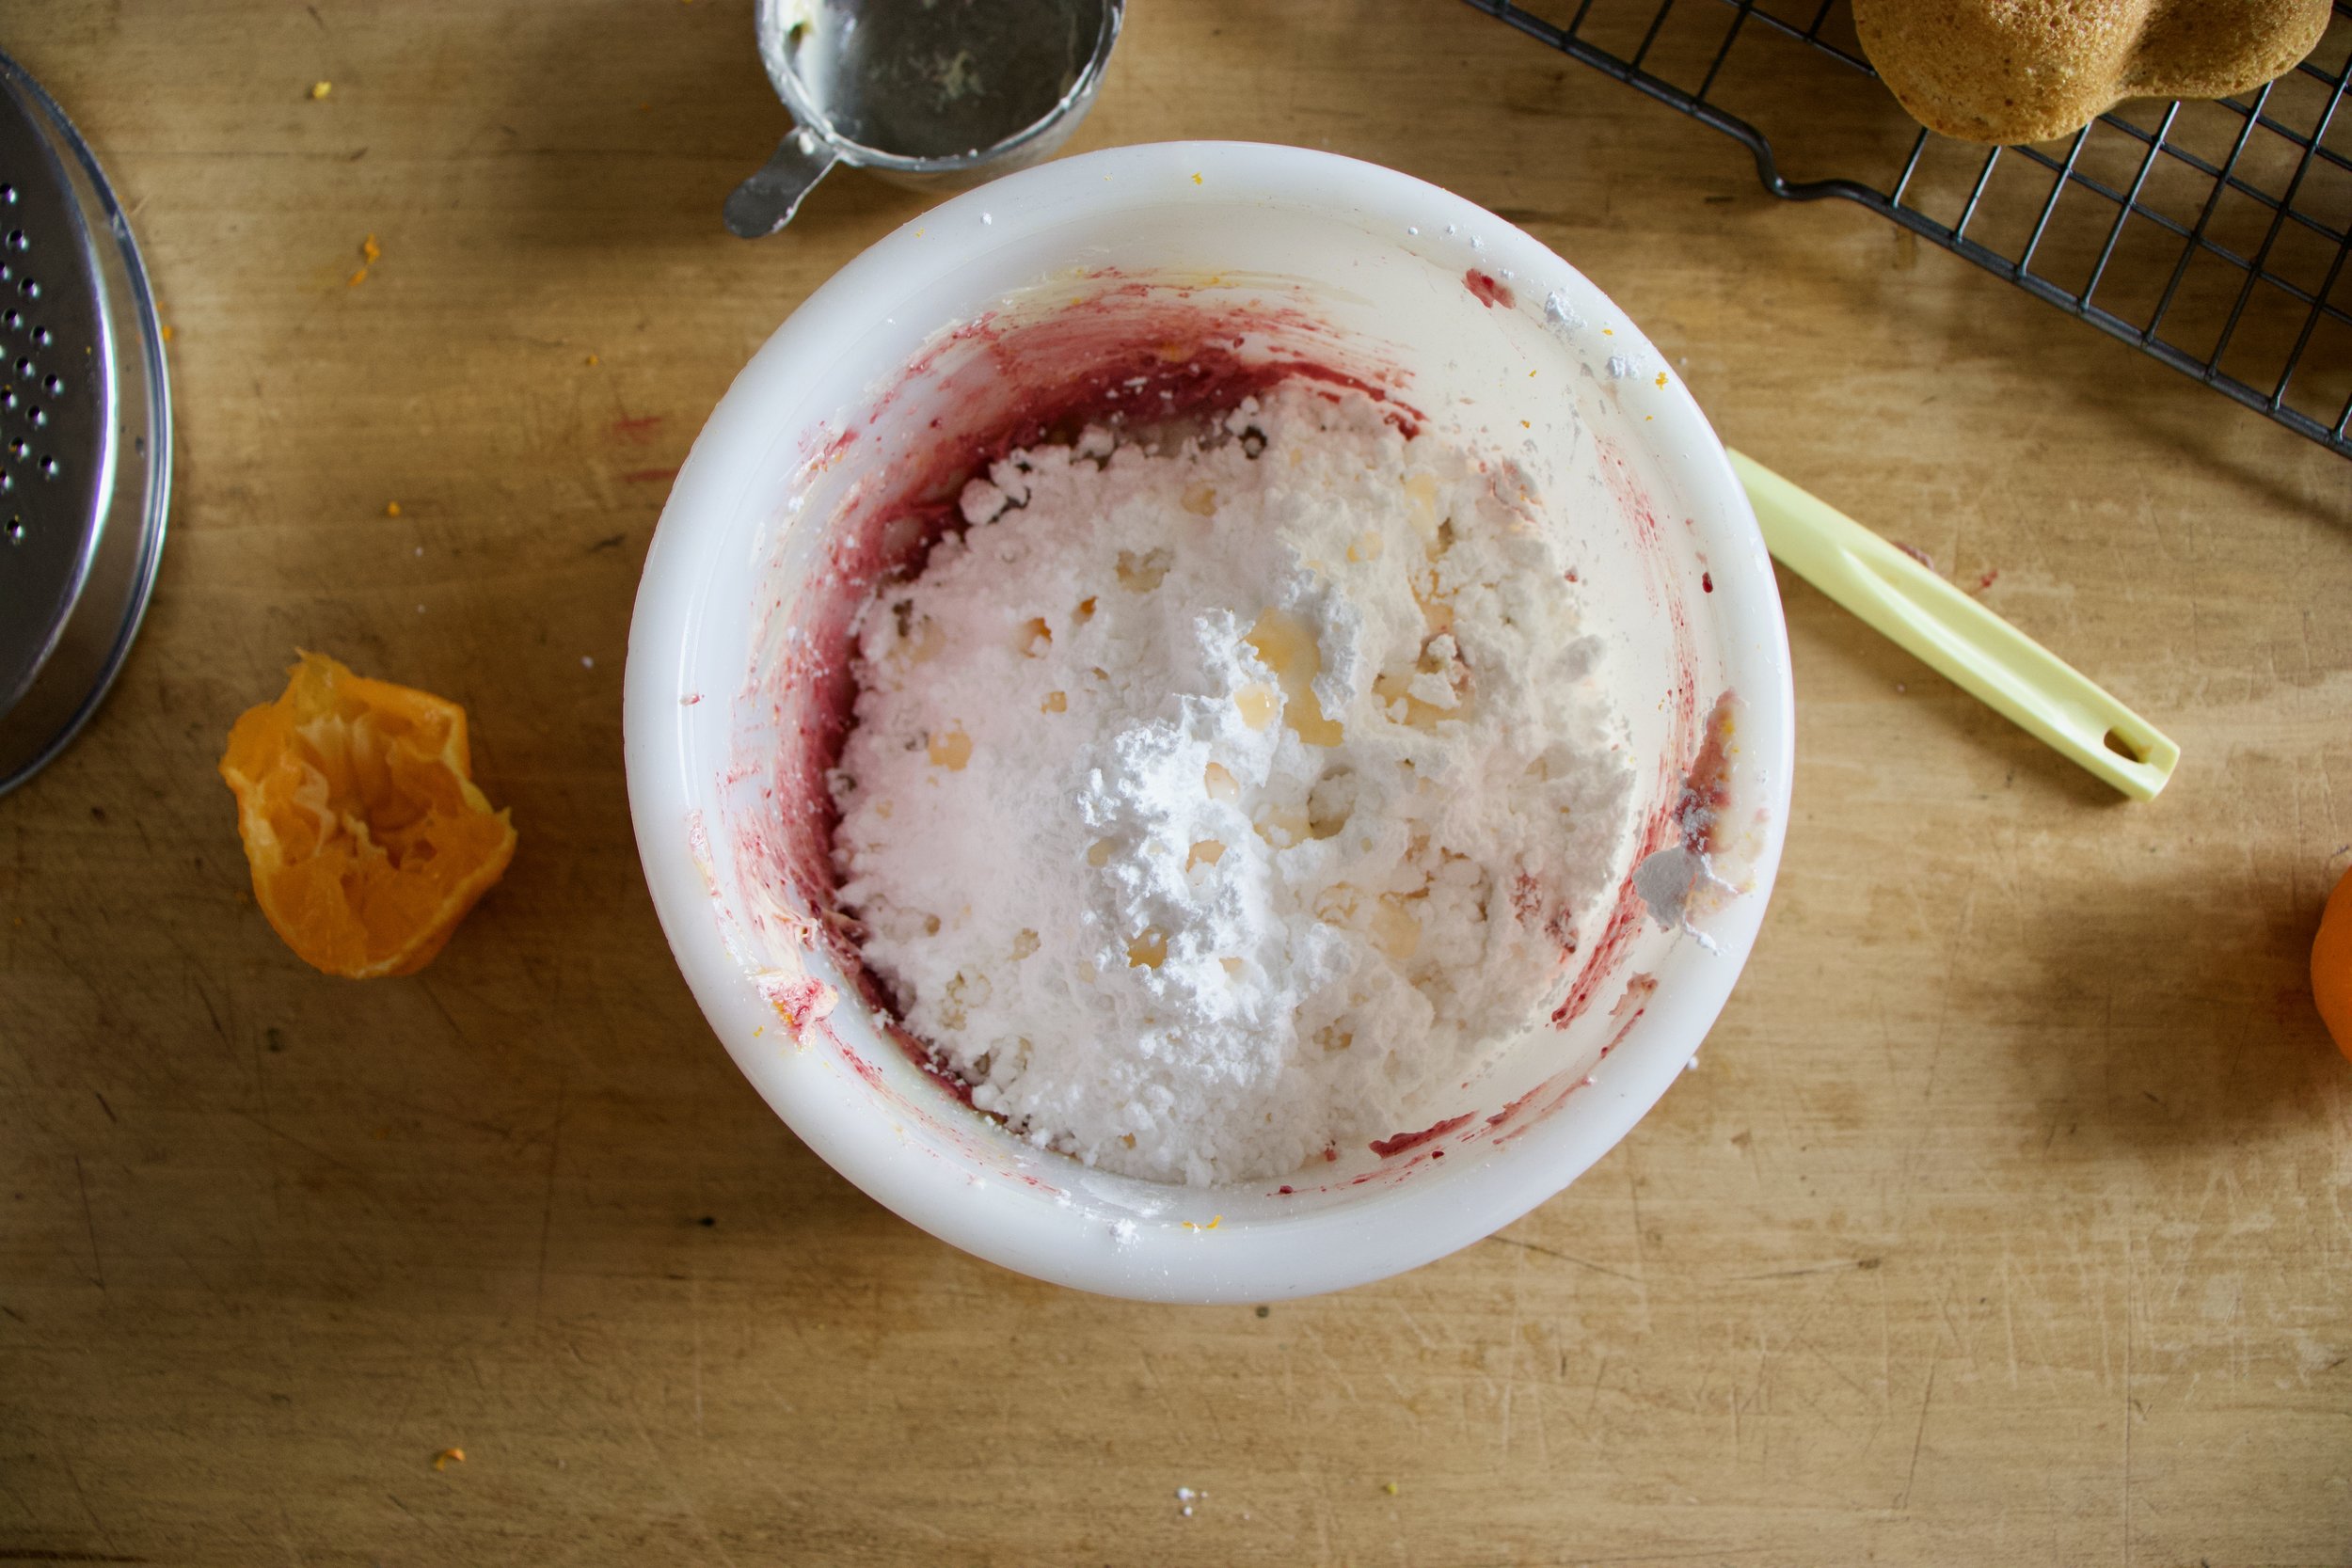
While the fruits in the oven, make the biscuit dough. Mix the dry together then mix in the wet until just incorporated and a sticky dough forms.

IMG_7805.jpg

Pulled from the oven, the fruit is starting to cook down and whoa, it just smells so good!

IMG_7816.jpg

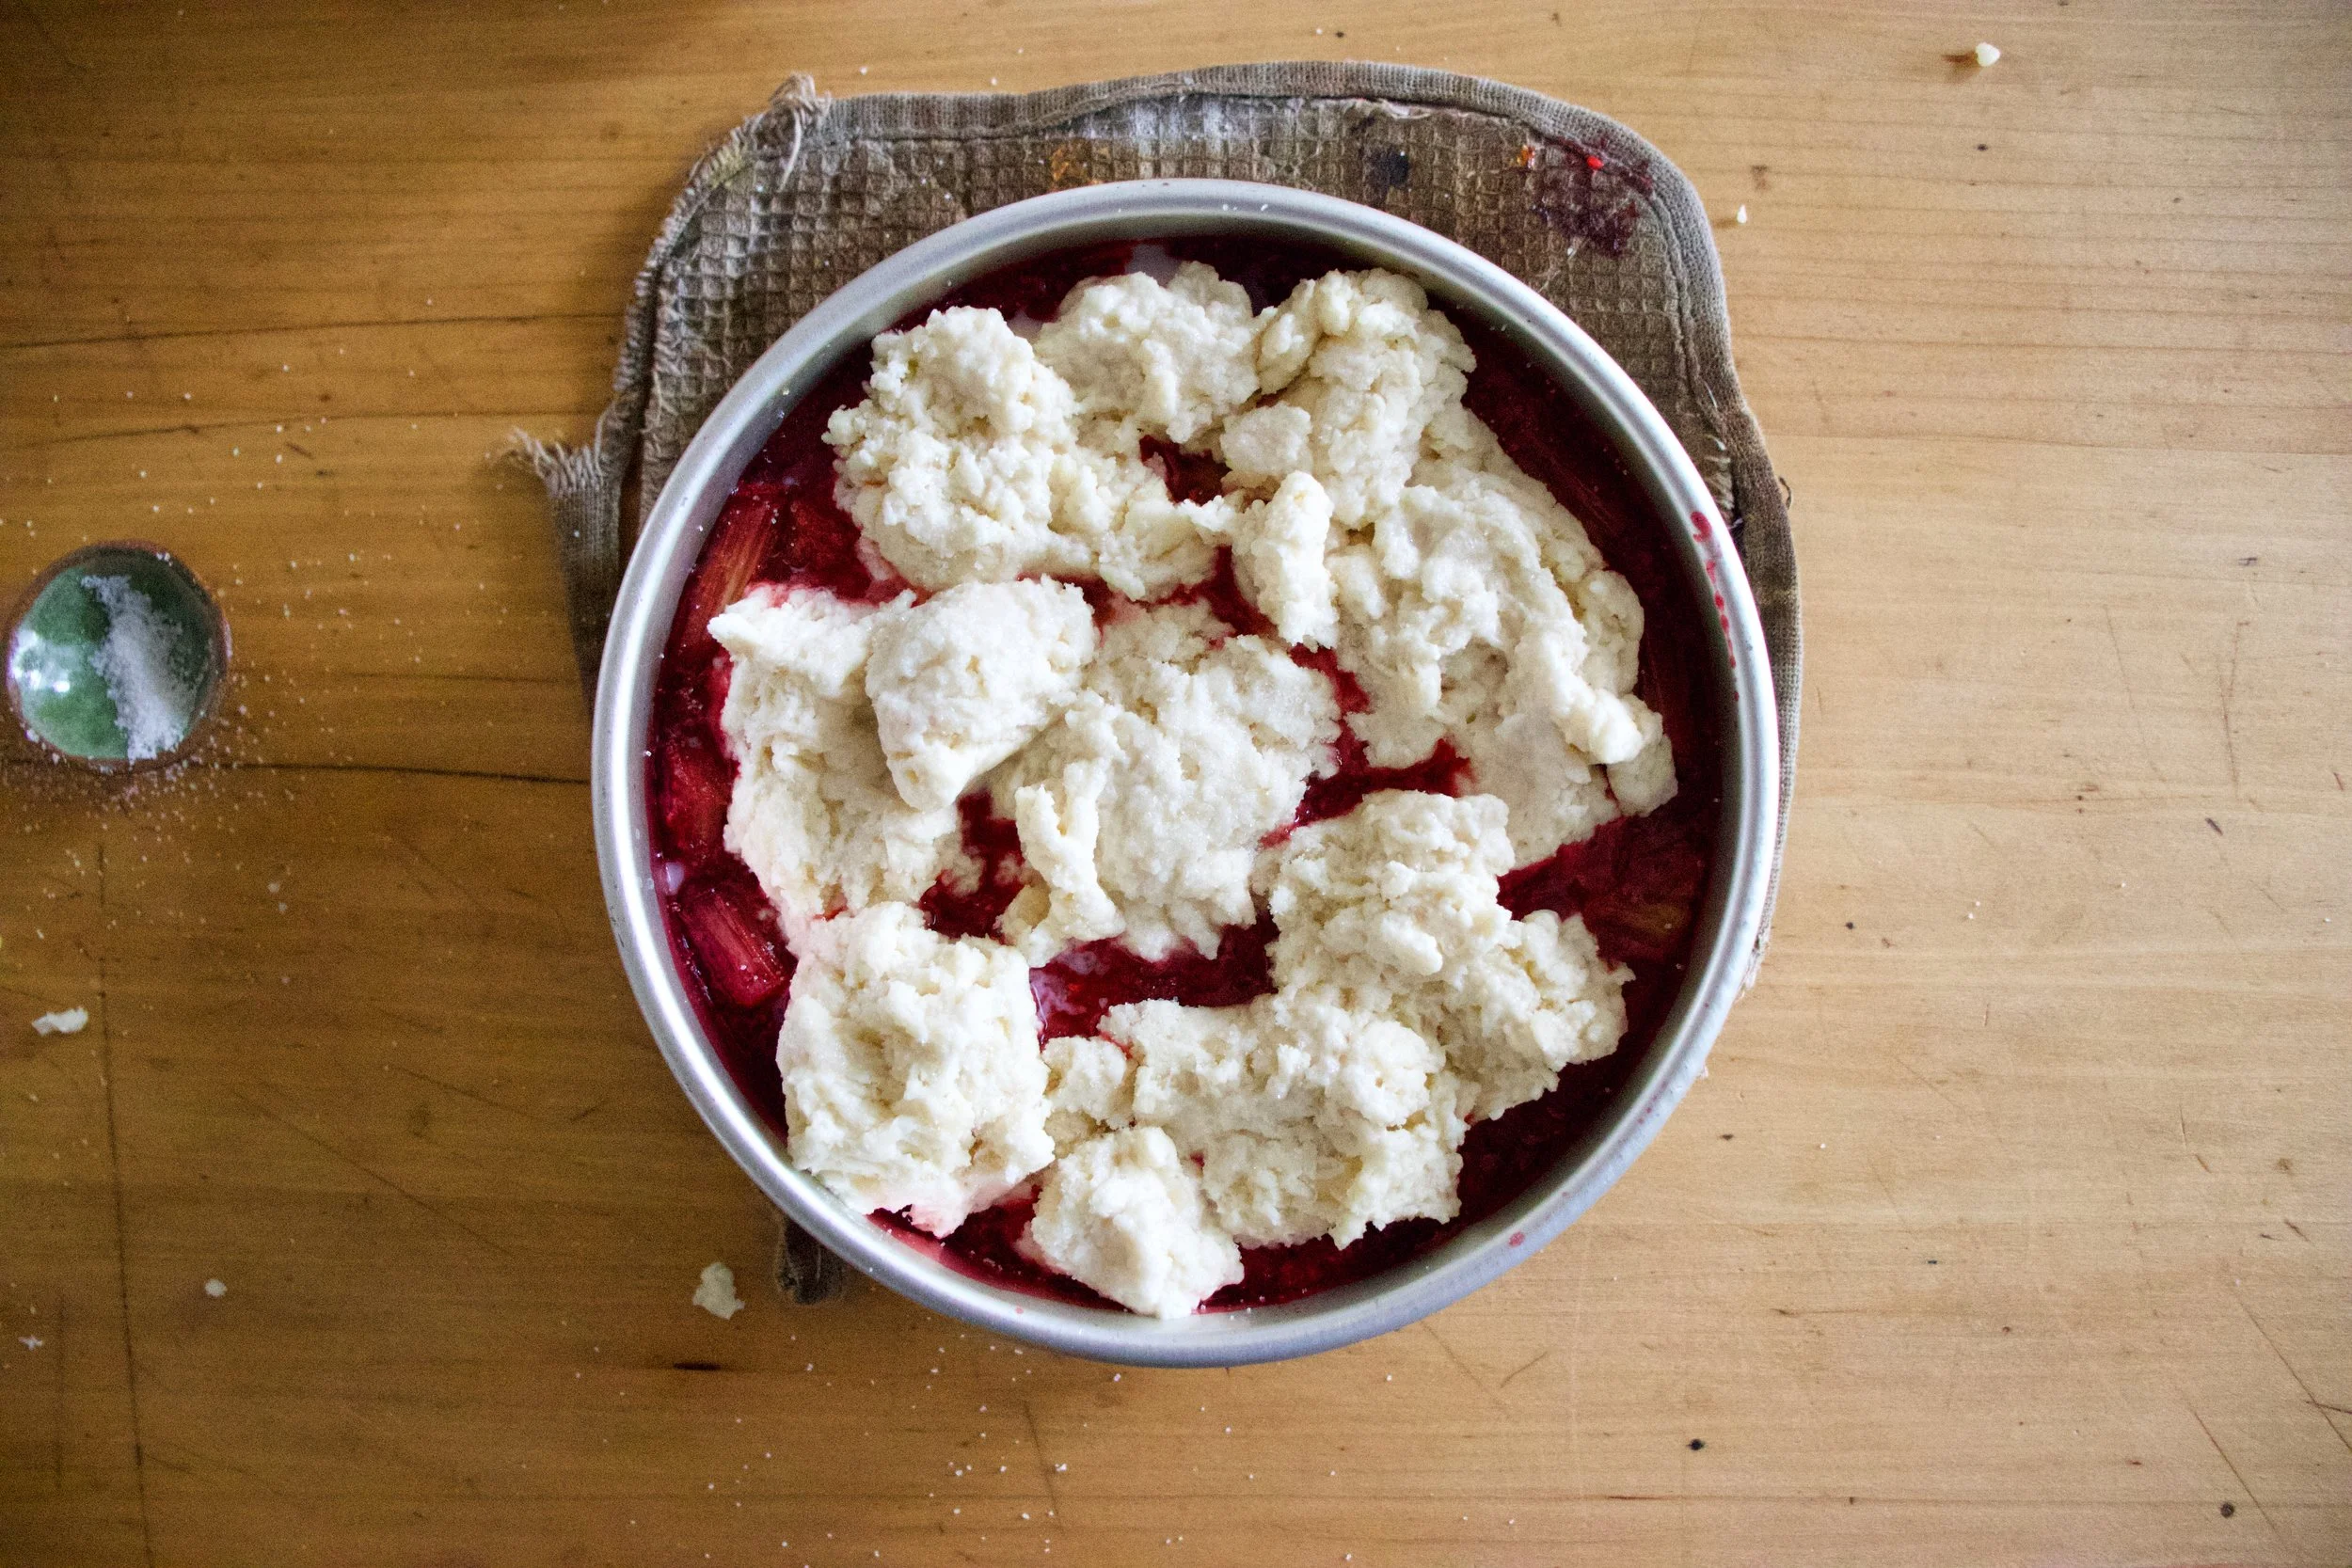
Drop on the biscuits dough on top of the fruit (careful of the hot pan). Evenly if possible, but don’t work to hard to make it look perfect. Imperfection makes it look perfect, you know?

Once biscuits are on, lightly brush the tops with a little milk and sprinkle with more sugar then pop it back into the oven for another 25-30 minutes or until the biscuits are baked.

IMG_7817 2.jpg

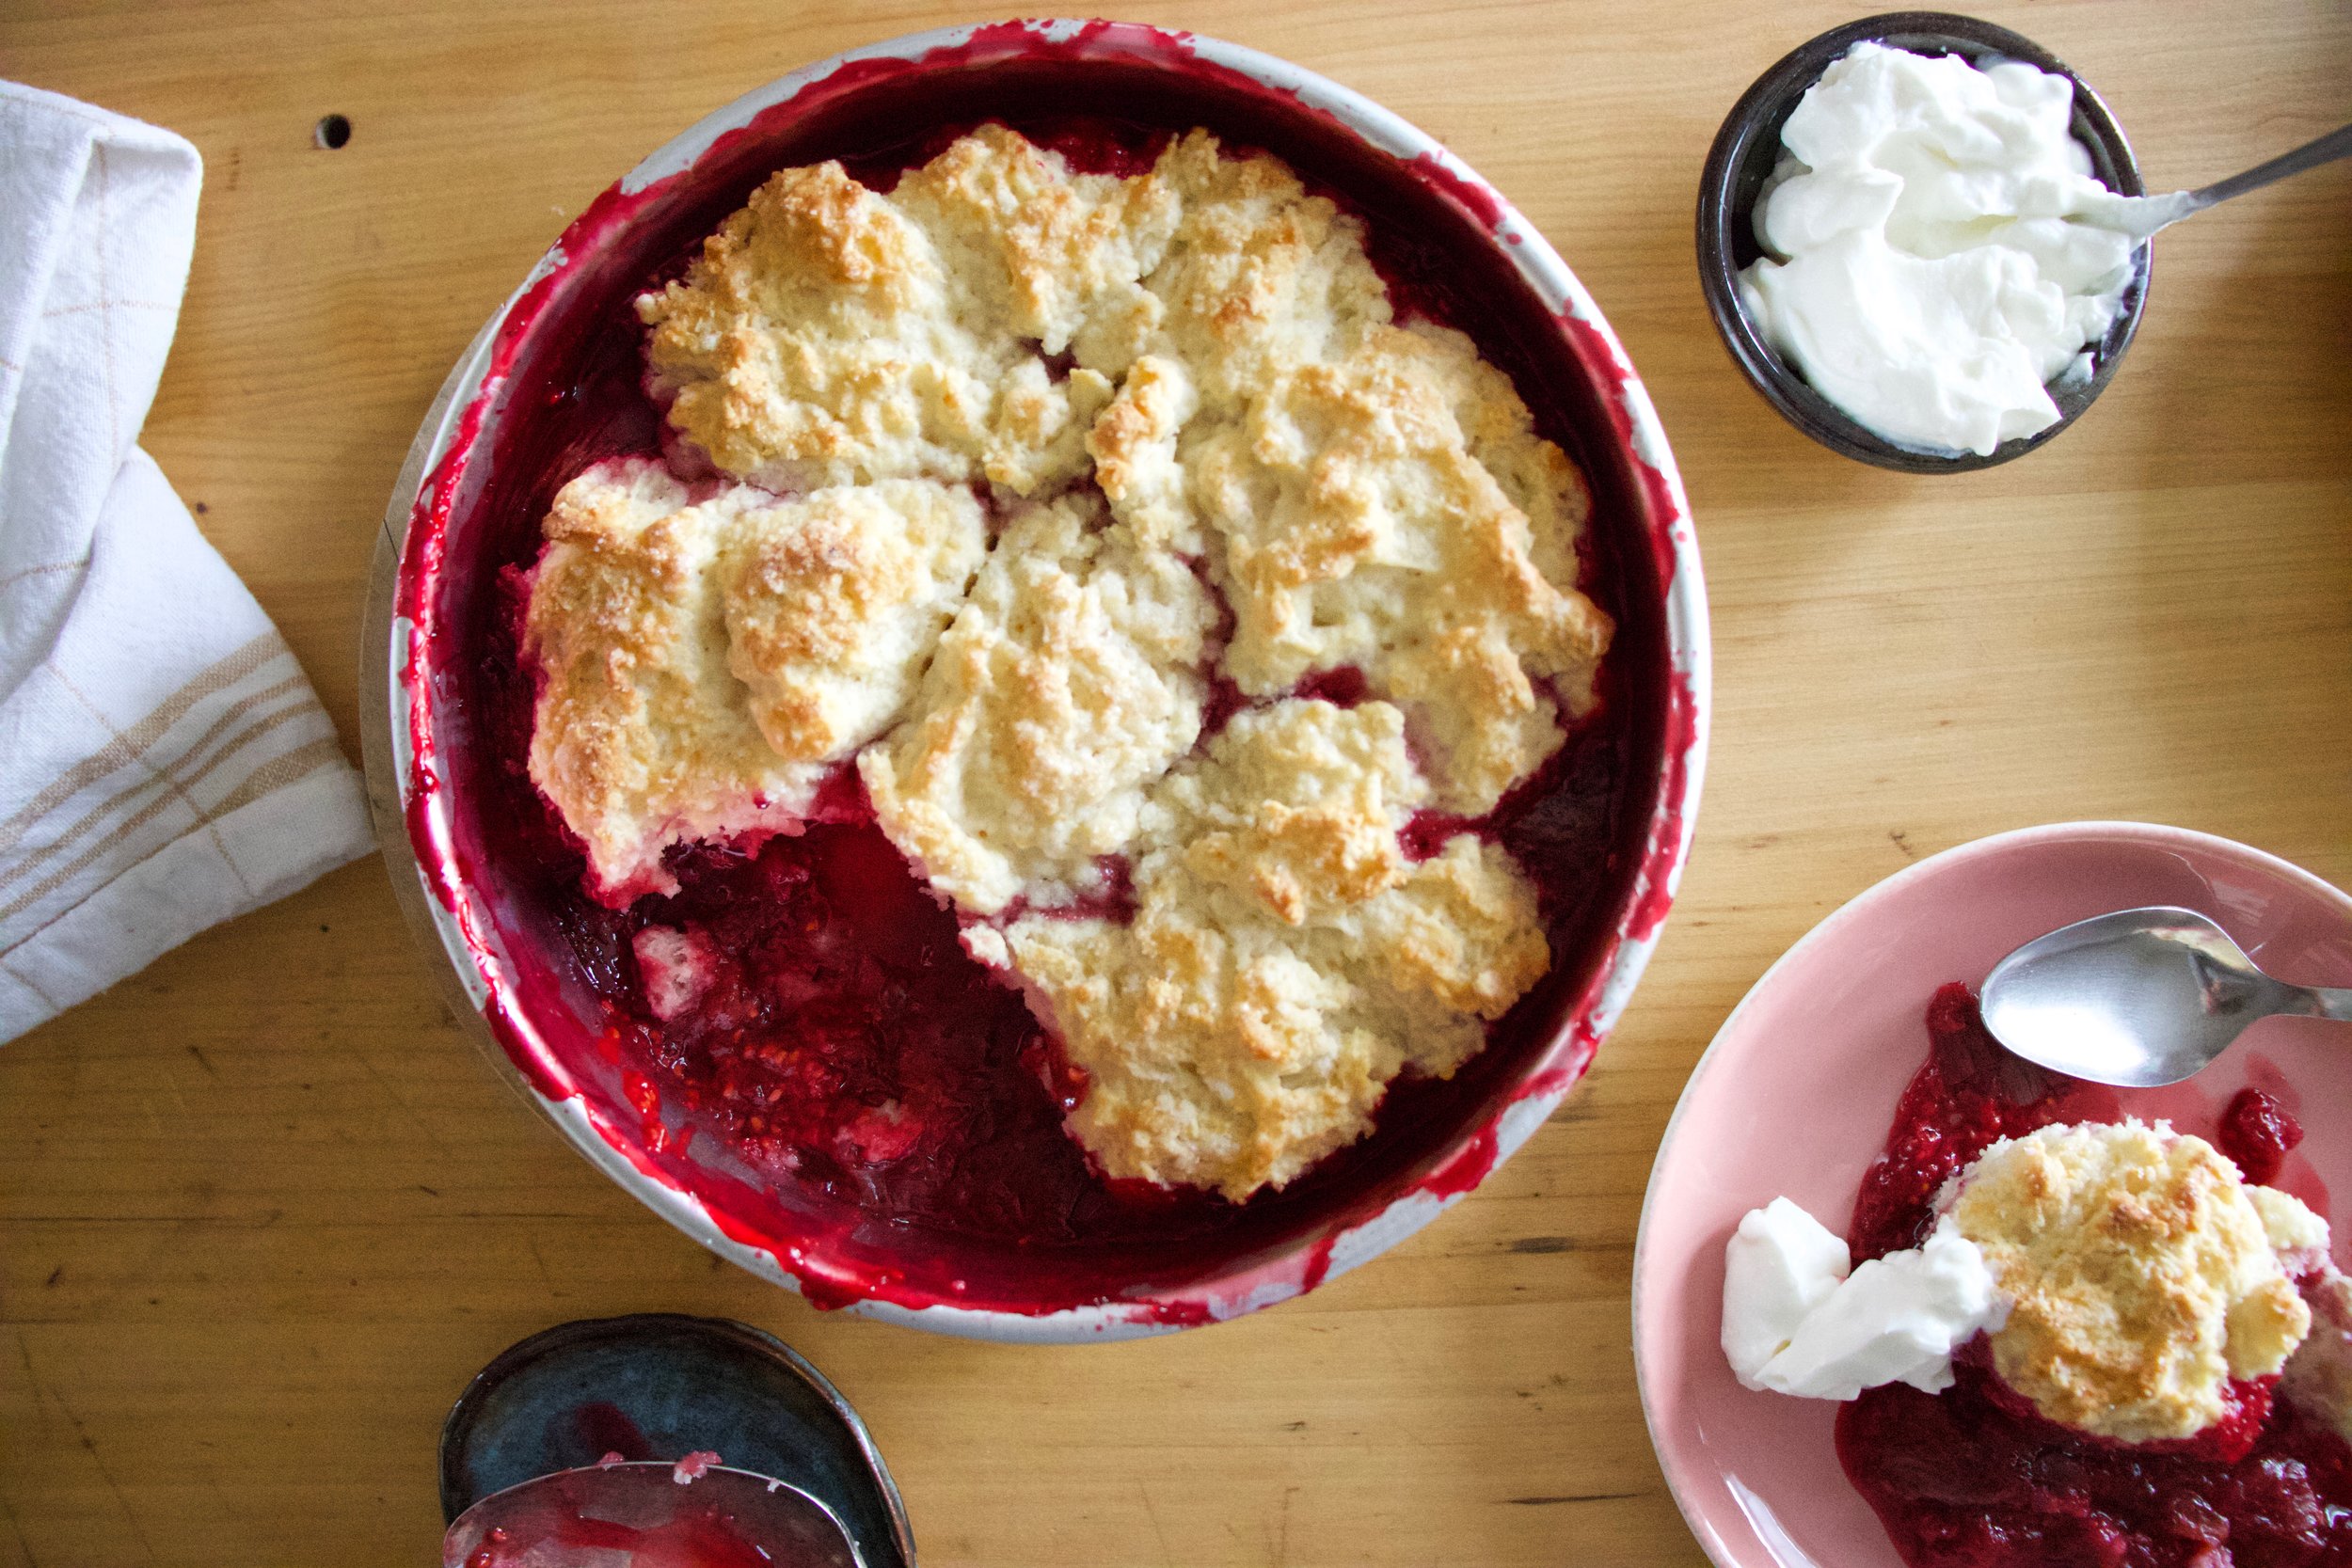
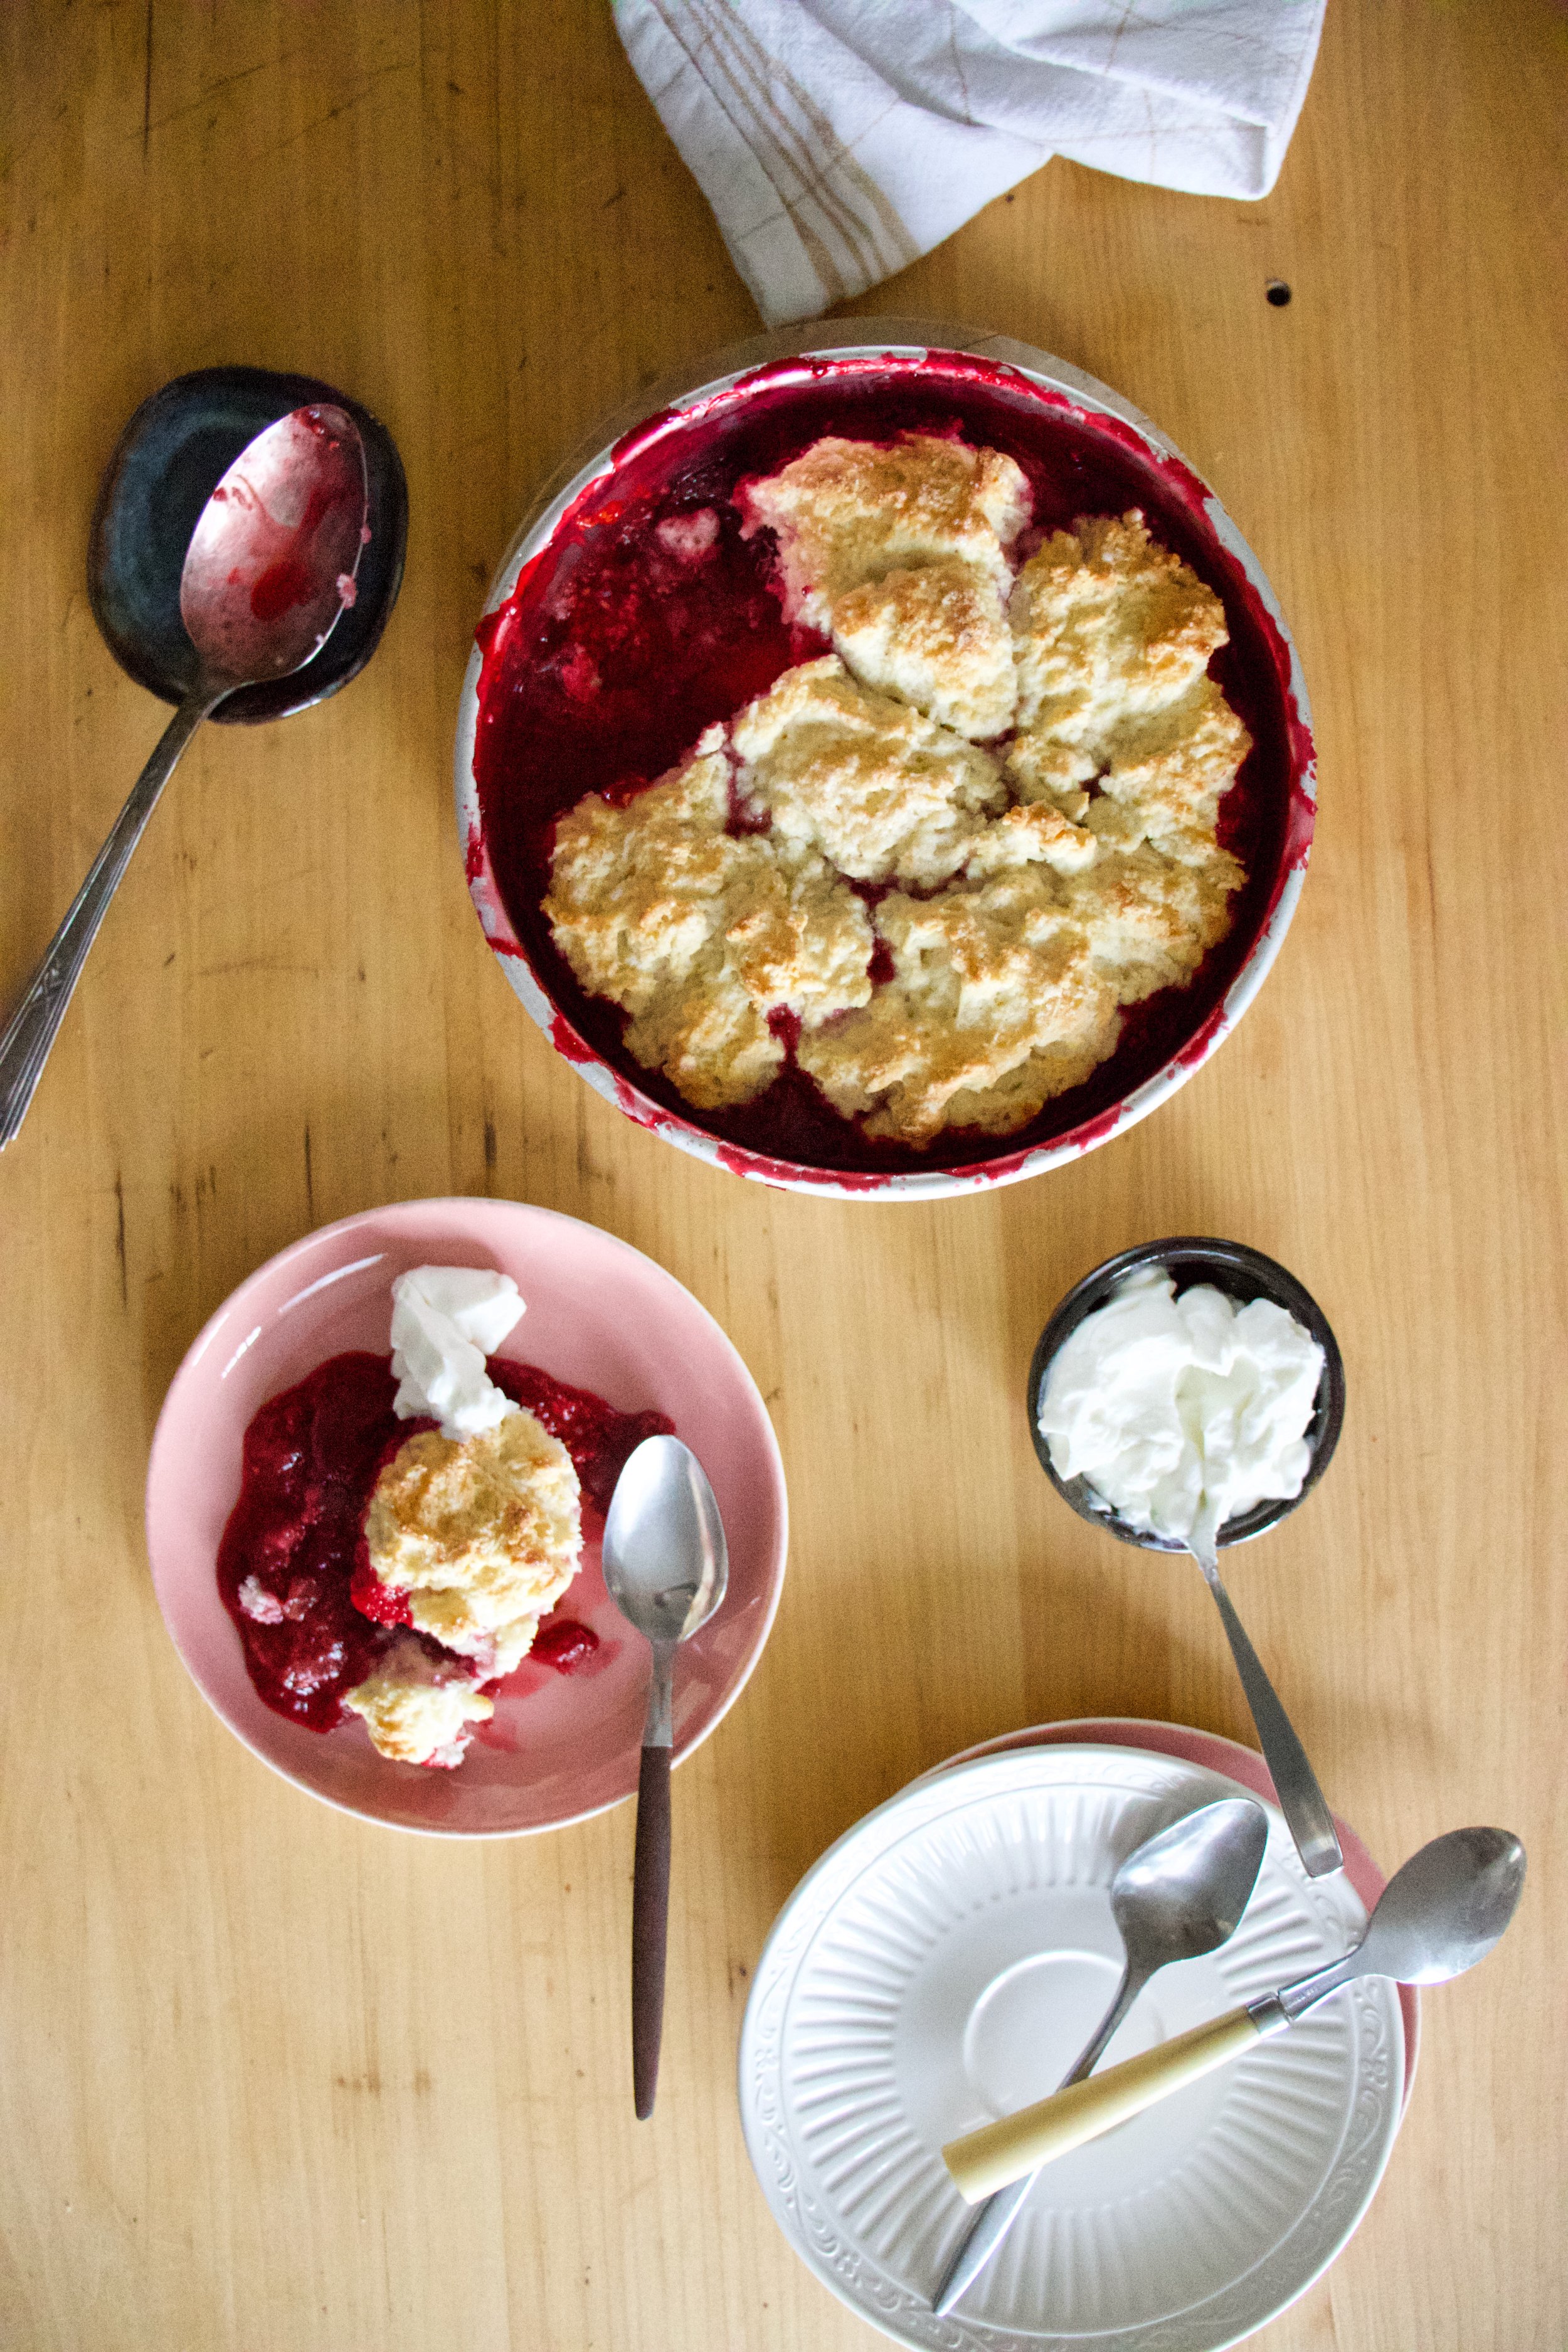
Pulled from the oven with a bubbly filling and a golden brown biscuity top. Things are looking good here.

IMG_7929.jpg

And now it’s time.

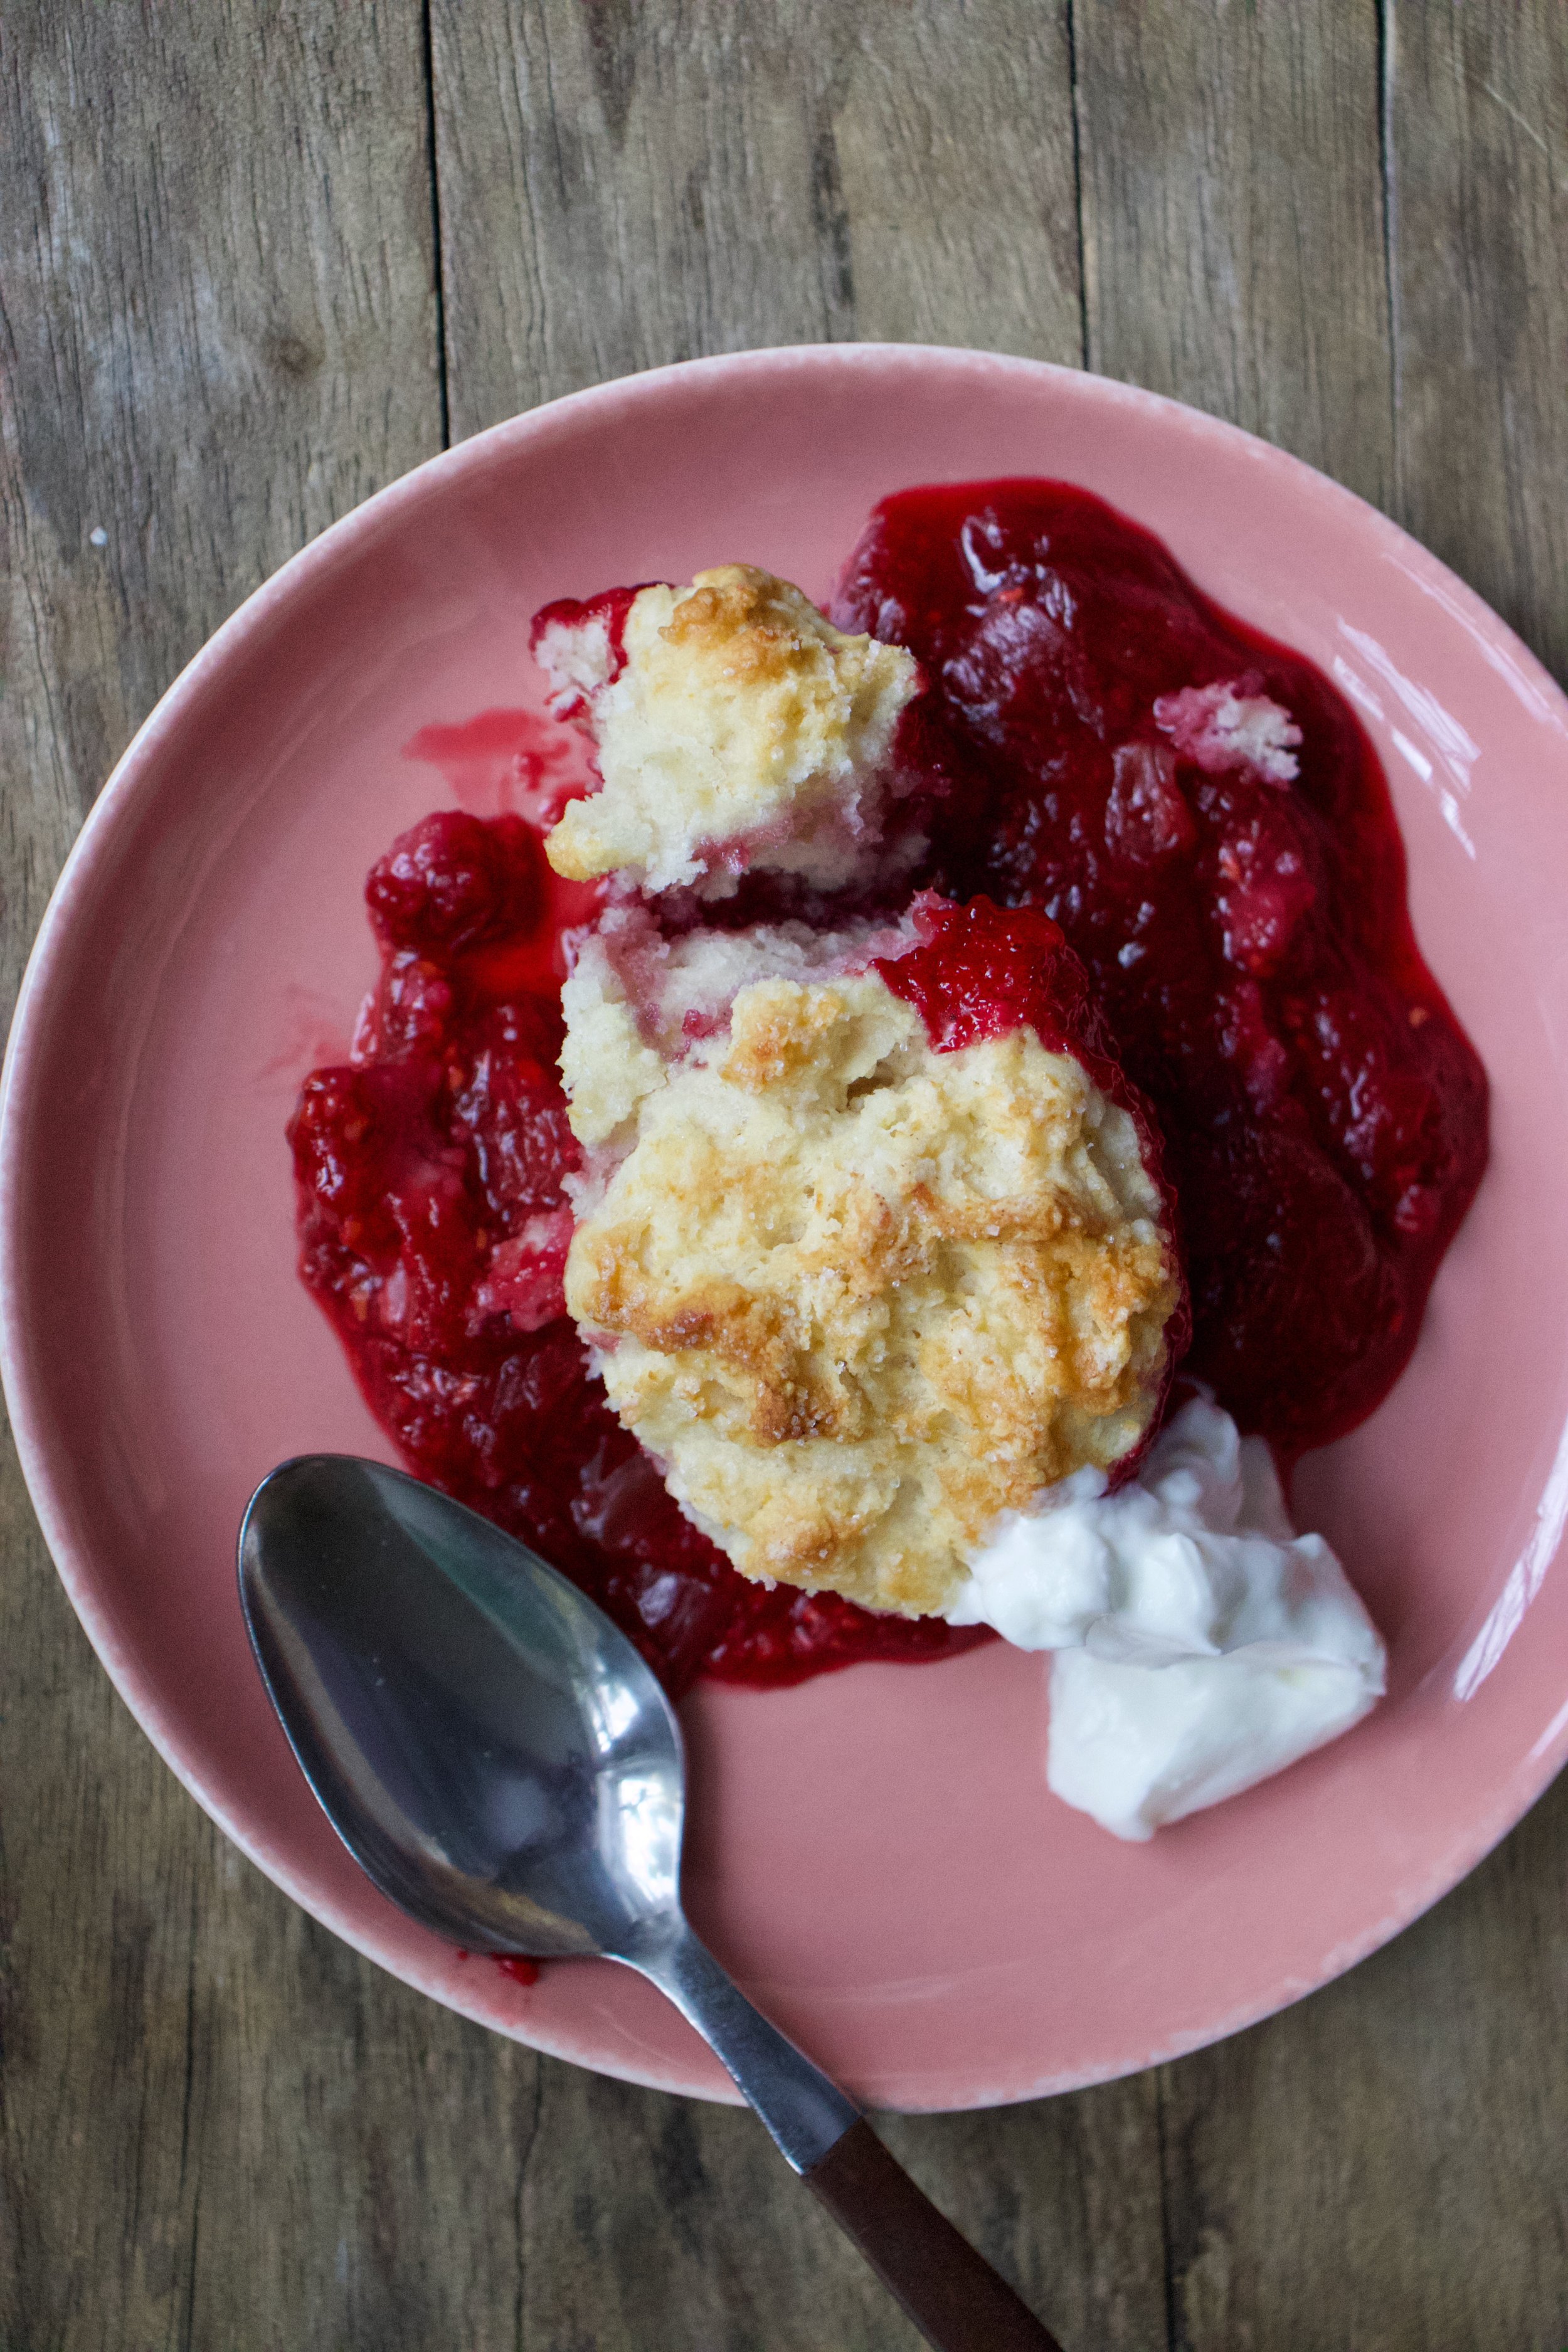
Dig on in my friend. Sever with something creamy like whipped coconut cream or some type of yogurt or ice cream situation of your choice. And again, this can be your breakfast.

Happy spring people!

-C


Raspberry Rhubarb Cobbler

make a a 8 inch round which serves 5-6

For the Filling

  • 2 cups raspberries (fresh or frozen)

  • 2 cups rhubarb chopped into 1/2 inch to inch long pieces (fresh or frozen)

  • 1 1/2 tablespoons corn starch

  • 3/4 -1 cup sugar (lesser amount if you like a little more tartness. I used lesser amount)

  • 1 teaspoon cinnamon

For the dough

  • 1 cups all purpose flour

  • 1 1/2 teaspoon baking powder

  • 1/2 teaspoon salt

  • 3 tablespoons sugar

  • 3 tablespoons neutral flavored oil

  • 1/2 cup plant based milk

  • 1 teaspoon apple cider vinegar

Preheat oven to 350.

In a large bowl mix together the rhubarb and raspberries with the corn starch, sugar, and cinnamon. Grease a 8 inch round pan the is at least 2 inches deep (can use a slightly large pan or a square) and dump in fruit mixture. Place into oven to bake for about 15 minutes or the fruit starts to break down.

While fruit is baking, mix up biscuit dough. Flour, salt, 2 tablespoons sugar, and baking powder go in a large bowl and mixed until combined. Add in the oil, the milk, and the vinegar. Mix until just incorporated and a dough has formed.

Remove the fruit cooking from the oven. Turn heat up to 375.

Carefully drop spoonfuls of biscuit batter on top of fruit. Brush the top of the biscuits with a little milk and sprinkle with remaining tablespoon sugar. Place the pan back into the oven and bake for another 25-30 minutes or until the biscuits are all nice and golden brown on top.

Remove from oven and let cool for a few minutes before serving. Serve warm with a scoop or dollop of soothing creamy (coconut cream, yogurt, ice cream…..whatever floats your boat.)

Left overs can be stored in pan, just cover it with something and place in fridge. Can be eaten cold to or reheated in microwave or oven.

In Vegan, Spring, fruit, desserts, brunch, breakfast, biscuits and such, cobblers and crumbles Tags Raspberry Rhubarb Cobbler, Cobbler, dessert, raspberries, rhubarb, spring, fruit, plant based, vegan, vegan dessert, biscuits, easy, dairy free, breakfast, brunch
1 Comment

Carrot Sugar Cookies with Orange glaze

April 20, 2019 Colleen Stem
IMG_7690.jpg
IMG_7717.jpg
IMG_7740.jpg

These are definitely my favorite shaped cutout cookies I have ever made. I mean seriously, carrot shaped carrot cookies, what could possibly ever be better? Nothing, and that’s truth for you.

Not only are they carrot shaped, they are also carrot flavored. Yup, Carrot shaped, carrot flavored, awesomeness. A little cinnamon added to the cookie for little extra boost of flavor and an orange glaze because it works and orange is good and fresh and springing. All good stuff.

You might be thinking, huh, carrot puree in a cookie, well that doesn’t sound right. But it is, it is right. And you know how I know that these cookies are awesome? Well I packed them up, (2 dozen of them) and took them over to the littles house for an after school treat. When I got there, the two older ones had friends over. I asked them if they wanted a carrot which earned me that look that said “are you serious” but them showed them the cookies. Of course the wanted a carrot so I gave them each one. They ate their cookies then proceeded to beat the shit out of the mr. Then they asked for another cookies and beat the shit out of the mr some more. This when on and on for about a 1/2 hour until all the cookies were gone and the mr was crouched in the corner with a broom trying to defend himself against 4 rulely kids who where slashing at him with light sabers and spraying him in he face with kitchen cleaner. It’s because they wanted more cookies. (and yes, the littles are getting crazy). So yeah, the cookies are good. Ass kicking good.

Anyway, a cookie with some goodness mix into it, shaped into a great shape, that will make everyone smile and happy. You could make them by yourself, make them with your friends, make them with some kids, with some old people. They are the perfect cookie to leave out for the easter bunny(do you leave carrots out for the easter bunny?) or to serve up at any easter party, spring party, or any garden party you might be attending. This cookie is pretty much perfect for any and every occasion that required a cookie. Or a carrot because carrots are always welcome.

To the carrots! I mean, the cookies!

The stuff. Flour, baking soda, salt, sugar, vegan butter, carrot puree, cinnamon, an orange, some powdered sugar, and food coloring.

IMG_7554.jpg

Into a big bowl the sugar, vegan butter, and carrot puree go.

Beat for a minute or two until completely incorporated.

IMG_7574.jpg

Add in all the rest of the dry stuff and mix by hand until it turns to dough.

IMG_7590.jpg

This is the dough it turned into.

Gather the dough and wrap it or place in a plastic bag and stick it Into the fridge for a few hours or overnight. The dough NEEDS to chill.

IMG_7607.jpg

After you let the dough be, remove from fridge, liberally dust counter, and roll out dough about 1/4 inch thick.

IMG_7610.jpg
IMG_7621.jpg

And then it’s time to cut the cookies out. I unfortunately do not have a cookie cutter so I improvised and make 2 carrot cutouts from paper and hand cut each cookie. That worked but took forever so I got crafty and used a fat Christmas tree cookie cutter then just did a little trim and pinch to make it into a cookie. (I am a genius for that). Any way works, and you can also do other shapes too, the cookies don’t change taste in different shapes. (but that would be so cool if they did)

Carefully place cut out cookies onto a baking sheet, giving them a little space because they do spread a tiny bit.

And into the oven to bake they go.

Out in 10 minutes looking all carrot like.

IMG_7653.jpg

Carrots waiting to cool so they can be glazed.

The glaze. Pretty straight forward. Just zest orange into powdered sugar and juice the orange into the sugar and mix.

Divide glaze and dye one orange and one green

IMG_7678.jpg

And glaze away. I recommend doing it over a rack and baking sheet to minimize mess because they do drip a bit.

Now just you look at that, carrot shaped carrot sugar cookies .What a sight!

IMG_7754 2.jpg

And of course, carrots come in bunches. HA

Enjoy some carrots!

-C


Carrot Sugar Cookies with Orange glaze

makes about 2 and a half dozen (depending on size)

  • 2 1/4 cups all purpose flour plus more for dusting

  • 1 teaspoon baking soda

  • 1/2 teaspoon salt

  • 1 teaspoon cinnamon

  • 1/2 cup vegan butter

  • 3/4 cup granulated sugar

  • 1/2 cup carrot puree ( see note about how to make puree)

    For the glaze

  • 2 to 3 cups powdered sugar

  • on orange

  • orange and green food coloring

Note. To make carrot puree, steam a couple carrots until completely soft them blend until smooth.

Place sugar, vegan butter, and carrot puree into a big bowl. Beat with a beater until light and fluffy. Add in the flour, baking soda, salt, and cinnamon and mix by hand until completely incorporated and mixture tunes into dough. Gather dough into a disk and wrap in plastic or place in a plastic bag and refrigerate for at least 2 hours or up to overnight.

Once dough has chilled enough and you are ready to go, preheat the oven to 350.

Place dough on a flour dusted counter and roll out about 1/4 inch thick. Cut out the cookies with a cutter or by hand and place on a baking sheet. Bake cookies for 10-11 minutes or until just starting to turn slightly brown around the edges. Remove from oven and place on a wire rack to cool.

Once cookies are all baked and cooling, make the glaze. Place powered sugar into a big bowl, zest in the orange then add in the juice od half the orange. Mix completely and check consistency. You want it to be slightly running but not liquid, but also not to stiff. Add more juice or more sugar to get it right. Once it is the right consistency, separate into 2 bowls. Dye one green and one orange. Now glaze you cookies. A knife or small spatula works best and yes, the glaze drips a little so do it over a baking sheet, but after about 10 minutes the glaze hardens.

And then you have carrot cookies and all is good. Now go eat a carrot cookie!

Store uneaten cookies in an airtight container for up to 5 days. They can be frozen too.

In Vegetables, Vegan, Sweets, Spring, desserts, cookies Tags Carrot Sugar Cookies with Orange glaze, Carrot cookies, vegan, vegan sugar cookies, sugar cookies, carrot cookies, carrots, plant based, desserts, cookies, easter, spring, holiday, garden party, vegetable, roots, orange, citrus, glaze, fun, food, egg free, dairy free
Comment

Maple Rhubarb Baked Oatmeal

March 23, 2019 Colleen Stem
IMG_6768.jpg
IMG_6708.jpg

I am sadly at my last few bags of frozen garden foods from last season. As of now I have a bag of tomatoes, a couple bags of shredded zucchini, and a bag of rhubarb. Well, had a bag of rhubarb. I think I have eaten almost all of it already. My rhubarb patch better get up and producing stalks soon. And as for the rest of the veggies that I will require. Guess I am going to be surviving mostly on roots from farm share (we are getting a lot more greens though!!!!) and probably doing a bit more grocery shopping then I care too. A few more months. I can do it.

Anyway, enough about my freezer and lack of fresh produce problems.

Here in Vermont maple season is well on it’s way making it a perfect time for anything maple. And rhubarb. Yeah I am using my frozen rhubarb from last year, but any time now (after the snow melts) there will be plenty of stalks for the taking. There will be so much maple and so much fresh rhubarb which are the perfect taste combination. Exciting times! And when added to oatmeal, things just get more gooder. (I know gooder is not a word but I think it should be) Oatmeal, especially baked, is the stuff where all gooder things start.

Have you had baked oatmeal yet? It truly is fantastic. Not at all gummy and gloopy like stove topped cooked oatmeal (but I like it like that too). It still has a good bite to it while still being soft and creamy and boy oh boy is it just the bees knees. With the addition of some crunchy almond friends, well even better. Trust me. If you are a oatmeal eater, you must try it baked. Best part is that it can be eaten as breakfast but also I have been serving it to the mr for dessert with a healthy drizzle of more maple. It’s that good friends. From breakfast to dessert. Everyone is happy.

To the baked oatmeal.

IMG_6643.jpg

The stuff. Old fashion oats, cinnamon, salt, baking powder, rhubarb (fresh or frozen), REAL maple syrup, some plant milk, a few flax eggs, a bit of tahini, and some almonds.

To start. Oats, cinnamon. salt, baking powder and almonds get a quick toss together in a big bowl.

IMG_6648.jpg
IMG_6661.jpg

If you rhubarb is not already chopped up into inch long pieces, do that. I already did before freezing it so yea me. Once its chopped, layer almost all of it (reserve a few small needful to toss on top) into a lightly greased 9x9 inch baking dish then cover evenly with the oat mixture.

In now empty bowl mix together the milk, the flax eggs, the tahini, and the maple until evenly incorporated.

Pour the wet mixture all over the oats and let it absorb.

Once the liquid is all absorbed , top with any left over almonds and the left over rhubarb. For good looks.

Pop into a hot oven to bake.

Golden brown with crispy edges. Rhubarb and maple baked oatmeal for all your maple, oaty and rhubarbie needs.

Fresh from the oven scooped warm into bowls. Top with extra maple if thats what you should want do.

Enjoy and happy maple season!

-C


Maple Rhubarb Baked Oatmeal

Make a 9x9 pan of oatmeal

  • 2 1/2 cups old fashion oats (make sure gluten free if need be)

  • 1 teaspoon baking powder

  • 1/2 teaspoon salt

  • 2 teaspoon cinnamon

  • 1/3 cup maple syrup plus more for serving

  • 1 tablespoon tahini or any other nut butter

  • 2 flax eggs (2 tablespoons ground flax seed with 6 tablespoons warm water)

  • 2 1/2 cups fresh or frozen rhubarb chopped into inch long pieces

  • 1 1/2 cup plant milk (water works but it won’t be as creamy)

  • 1/2 cup chopped almonds (optional)

Preheat oven to 375

Lightly grease a 9x9 inch baking pan (I used metal because it makes for crisper edges but glass works too) and dump 2 cups of the rhubarb in and evenly distribute on the bottom. In a large bowl mis the oats, the baking powder, salt, and cinnamon together. Mix in chopped nuts if you are using. Evenly cover rhubarb with oat mixture. In now empty bowl mix together the milk, flax eggs, maple syrup, and tahini until evenly incorporated. Pour mixture over oats. Let the mixture sit for a few minutes until the oats have abosbed all the liquid. Toss the rest of the diced rhubarb and a few more chop nuts to the top and pop into the oven to bake.

Bake for 30-40 minutes (shorter time for a wetter oatmeal, longer for a denser crispier oatmeal)

Once baked to your likeness, remove from oven and let cool for a few minutes just so it is not super hot. Scoop into bowls and serve warm with extra maple and milk or whatever you might want to serve with it.

Left overs last great in fridge for 3-4 days or individual portions can be frozen for a month or two. Just pop into microwave for a couple minutes to warm up.

In Vegetables, Vegan, Spring, Nuts, Gluten Free, fruit, grains, desserts, Dairy Free, brunch, breakfast Tags Maple, Real Maple syrup, vegan, baked oatmeal, gluten free, plant based, oats, almonds, rhubarb, eating in season, breakfast, dessert, healthy, energy
Comment

Coconut Lime Snack Cake

March 2, 2019 Colleen Stem
IMG_6053.jpg
IMG_6134.jpg
IMG_5896.jpg

I have a bag of coconut flour that I need to use up so I have made coconut snack cake a few times the past couple weeks. Once with orange instead of lime. Once I added chocolate chips. This time I stepped it up made a little glaze action, toasted a little coconut for some extra coconutiness and took these here pictures and wrote down the recipe. Just. For. You.

Not that I don’t know already that my snack cake creation is good, but I guess it was just super A+++. I threw this one together right before the mr and I headed down to PA to hang with my dad. As soon as he (and sister and nephews) started in on it, well the responses were more then average. My dad even snuck a piece off and hid it for later. They really, really, really were into it. Wanted me to make another right then and there. Normally I would but my dad doesn’t keep coconut flour on hand and I don’t make it a habit to travel with any myself. (I might have to change that.) Next time he will know to stock the coconut flour.

I didn’t realize my people were such coconut people. Good thing for them that I like coconut people. As a matter of fact, I consider myself a coconut person. And coconut is not code for awesome, but I am that too. HA

Anyway enough about me. Coconut snack cake is what you want to know about. It is soft and dense. Moist, not overly sweet. Lots of lime and coconut flavor and is just perfect for snack time. Eat it with a fork on a plate with coffee or tea or grab an piece and eat it walking down the street while thinking about green leaves and warmer weather. Or wherever and whenever. If you make it then it’s up to you when and where you eat it. That only seems fair.

Now to the snack cake of your coconut lime dreams.

IMG_5787.jpg

The stuff. Gonna need all purpose flour, coconut flour, salt, baking soda, baking powder, a couple flax eggs, some warmed coconut oil, plant milk, brown sugar, vanilla extra, apple sider vinegar, a couple lime, some powdered sugar, and some lightly toasted shredded coconut.

IMG_5800.jpg
IMG_5819.jpg

Grab a big bowl. Add in the brown sugar, flax eggs, warmed coconut oil, apple cider vinegar, and vanilla. Mix it all up until evenly incorporated.

IMG_5832.jpg

Dump in the flours, baking soda and powder, and salt. Zest in lime, squeeze in lime juice and start to mix. Add in the milk as you are mixing.

Cake batter mixed and done. Now to bake it.

Dump the cake batter into a well greased baking pan and level it off with a spoon or spatula.

Now it’s oven time to bake into a great and well cake.

A cake out of the oven, great and well. Golden brown and smells of all the goodness that a coconut cake could possible smell.

IMG_5858.jpg
IMG_5864.jpg

While cake is cooling, which it should be now, make the glaze. Powdered sugar, lime zest, and lime juice. Mix until it’s glazy.

IMG_5847.jpg

Pour the glaze all over cooled cake.

IMG_5907 2.jpg

Don’t forget the shredded coconut. Get it on before the glaze starts to set.

And then it’s just the matter of cutting cake…….

IMG_5945.jpg

You know once you cut it, that means snack time right? Coconut lime snack cake for all of your coconut time, lime time, hungry snack time needs.

Keep it good.

-C


Coconut Lime Snack Cake

Makes a 9x9 cake

  • 1 1/2 cups all purpose flour

  • 1/2 cup coconut flour

  • 3/4 packed cup brown sugar

  • 1 teaspoon salt

  • 1 teaspoon baking soda

  • 1 teaspoon baking powder

  • 1/2 cup coconut oil (warmed to liquid)

  • 1 1/4 cup plant milk (I used almond)

  • 2 flax eggs (2 tablespoons ground flax seeds with 1/2 cup warm water)

  • 1 teaspoon vanilla

  • 1 tablespoon apple cider vinegar

  • A lime

  • For the glaze

  • 3/4 cup powdered sugar

  • a lime

  • 1/4 cup or so toasted shredded coconut to sprinkle on top (optional)

Preheat oven to 350

In a large bowl, mix together the bbrown sugar, flax eggs, warmed coconut oil, vanilla, and apple cider vinegar until completely incorporated. Next dump in the flour, coconut flour, salt, baking soda and baking powder. Zest the lime into bowl. Start mixing, adding in the juice of the lime and the plant milk. Mix it all together until completely incorporated.

Dump mixture into a well greases 9x9 baking pan and level off with a spoon or spatula. Place into oven and bake for 30-35 minutes or until golden brown and a tester stuck into the middle of cake comes out clean.

Once baked, remove from oven, let cool in pan for a few minutes then carefully remove cake from pan and let cool on a wire rack.

While cake is cooling, make the glaze. Just zest other lime into powered sugar then add the juice (or as much juice as you needed) of the lime until a pourable glaze forms. If your lime is not particularly juicy enough and the glaze is still really thin, just add a splash of water to thin out as needed.

And when cake is completely cooled, pour glaze all over cake and cover with toasted coconut flakes.

Now cut. And eat.

Store left over cake in a air tight container for 3-4 days. Individual pieces freeze well for all your future snacking needs.

In cake, Dairy Free, desserts, snack, Sweets, Vegan Tags Coconut Lime Snack Cake, coconut, coconut flour, vegan, snack cake, dairy free, flax eggs, lime, snack, cake, easy, sweets, vegan cake
Comment

Almond Cupcakes with Blackberry Clementine Frosting

February 9, 2019 Colleen Stem
IMG_5243.jpg
IMG_5203.jpg
IMG_5319.jpg
IMG_5330.jpg

I have very strong feelings for heart shaped baked goods. I think that everything, all year round, should be heart shaped. How lovely would that be? It would be ever so lovely, or I would think so anyway. And yes, ok, I was thinking about Valentines Day when I made these cupcakes but don’t let that be the only reason you make a cupcake, cake, or any other baked good into the shape of a heart or pink for that matter.. Hearts are just so sweet and cute and dare I say cuddly? (Can you cuddle baked goods? Let me know if you have and do. We should talk about that). And pink is just a fantastic color, especially when it is the color of the flavor. Purple-y pink equals a taste like berry so all just makes sense.

Anyways. Cupcakes. Made with nutty almond meal to taste all nutty, frosted with blackberry and clementine frosting which is a pairing that all party and non party people will love. A down right deeelightful combination that will, no matter your circumstance in life, make you smile. Because lets get this clear, these cupcakes might look all lovey dovey and Valentines Day-e and are very much a perfect Valentines Day treat, but also can be an everyday, run of the milll, straight up any day, all day cupcakes. Valentines Day does not own the heart or pink.

These cupcakes are for you to love and you don’t need to worry if they love you back. That would be weird.

Slightly off topic thought. How awesome would it be if someone made a cute little teddy bear that when you squeezed it it would scream “WHAT THE HELL! GET OFF ME!” Hahahaha. That would be amazing.

To the cupcakes!

The stuff. Flour, almond meal, baking soda, baking powder, salt, sugar, soy milk, oil, vanilla extract, and apple cider vinegar. Also some blackberry jam, powdered sugar, some vegan butter, and a clementine.

In a big bowl, whisk together the granulated sugar, flour, almond meal, salt, baking powder, and baking soda.

Add in the oil, vanilla, milk, and apple cider vinegar. Mix until fully incorporated.

IMG_5102.jpg

And that is some mixed batter.

IMG_5131.jpg

Scoop the batter into well greased muffin tins. I used to different shapes and sizes because I wanted too. You can do the same, just be aware different sizes will cook at different times.

And into the hot oven they go.

Baked, popped out of the tins, and cooling to cool.

IMG_5164.jpg
IMG_5174.jpg

Frosting time. Butter, clementine zest, and jam mixed together makes for the prettiest color.

Add in the powdered sugar and juice of the clementine and beat with a beater.

Pretty pink frosting. All natural.

And now that the cupcakes are cooled (you must wait until they are completely cooled) get them frosted.

And of course, adding sprinkles will only make them that much better.

And now you got the cupcakes which makes it cupcake time.

Look at that smile. Thats a smile just for cupcakes, not at all because I told him too.

Happy happy.

-C


Almond CupCakes with Blackberry Clementine Frosting

Makes 12-16 cupcakes (depending on size)

  • 1 1/2 cups all purpose flour

  • 1/2 cup almond meal

  • 1/3 cup neutral oil

  • 1 1/4 cup almond milk

  • 3/4 cup white sugar

  • 1 teaspoon baking soda

  • 1 teaspoon baking powder

  • 1 tablespoon apple cider vinegar

  • 1/2 teaspoon salt

  • 1 teaspoon vanilla or almond extract

  • For the frosting

  • 3 tablespoons blackberry jam or preserves with or without seeds

  • 2- 2 1/2 cups powdered sugar

  • 4 tablespoon vegan butter

  • 1 clementine (zest and some juice)

Preheat oven to 350.

In a large bowl whisk together the flours, salt, baking soda and powder and sugar until fully combines. In a separate bowl mix together the oil, milk, vinegar, and vanilla. Pour into the dry and mix, by hand, until full incorporated. Scoop batter into well greased muffin tins (heart or other shape up to you) and place into oven for 13-18 minutes (shorter time for smaller cupcakes, longer for larger sized) or until lightly browned and a tester stuck into a cake comes out clean. Pull from oven when done and pop from tin. Place on a wire rack to cool.

While cakes are cooling, make frosting. Beat together the butter, zest of the clementine, and jam. Add in the sugar and the juice and beat until fully incorporated. If the consistency is to thin, add a little more sugar, to thick, more clementine juice or if out of juice, a splash of milk.

Once cupcakes are full cooled, frost, add sprinkle if you would like, and then the only thing left to do is eat them.

Eat cupcakes, store left overs in an air tight container in the fridge for up to a week.

In Vegan, Nuts, holiday, desserts, Dairy Free, cake Tags Almond Cupcakes with Blackberry Clementine Frosting, Almond flour, nut flour, almond meal, almond cake, cupcakes, Valentines Day, Vegan, dessert, love, pink frosting, all natural, plant based, sweets, love heart shaped, King Arthur flour
Comment
← Newer Posts Older Posts →
 

https://thelovelycrazy.squarespace.com/config#/|/about/

Me. Food Maker.Food eater. Woo HOO!

STEM+NODE  SMALL BATCH AND ONE OF A KIND POTTERY

stem+node ceramics


____________________

Subscribe

GET NEW POSTS IN YO EMAIL

You are AWESOME!!!


@thelovelycrazy 2014-2021