• stem+node ceramics
  • HOME
  • Food Recipes
  • About
  • Contact
Menu

The Lovely Crazy

Street Address
City, State, Zip
Phone Number

Your Custom Text Here

The Lovely Crazy

  • stem+node ceramics
  • HOME
  • Food Recipes
  • About
  • Contact

Chocolate Pear Cake

August 15, 2020 Colleen Stem
IMG_9833.jpg
IMG_9880.jpg

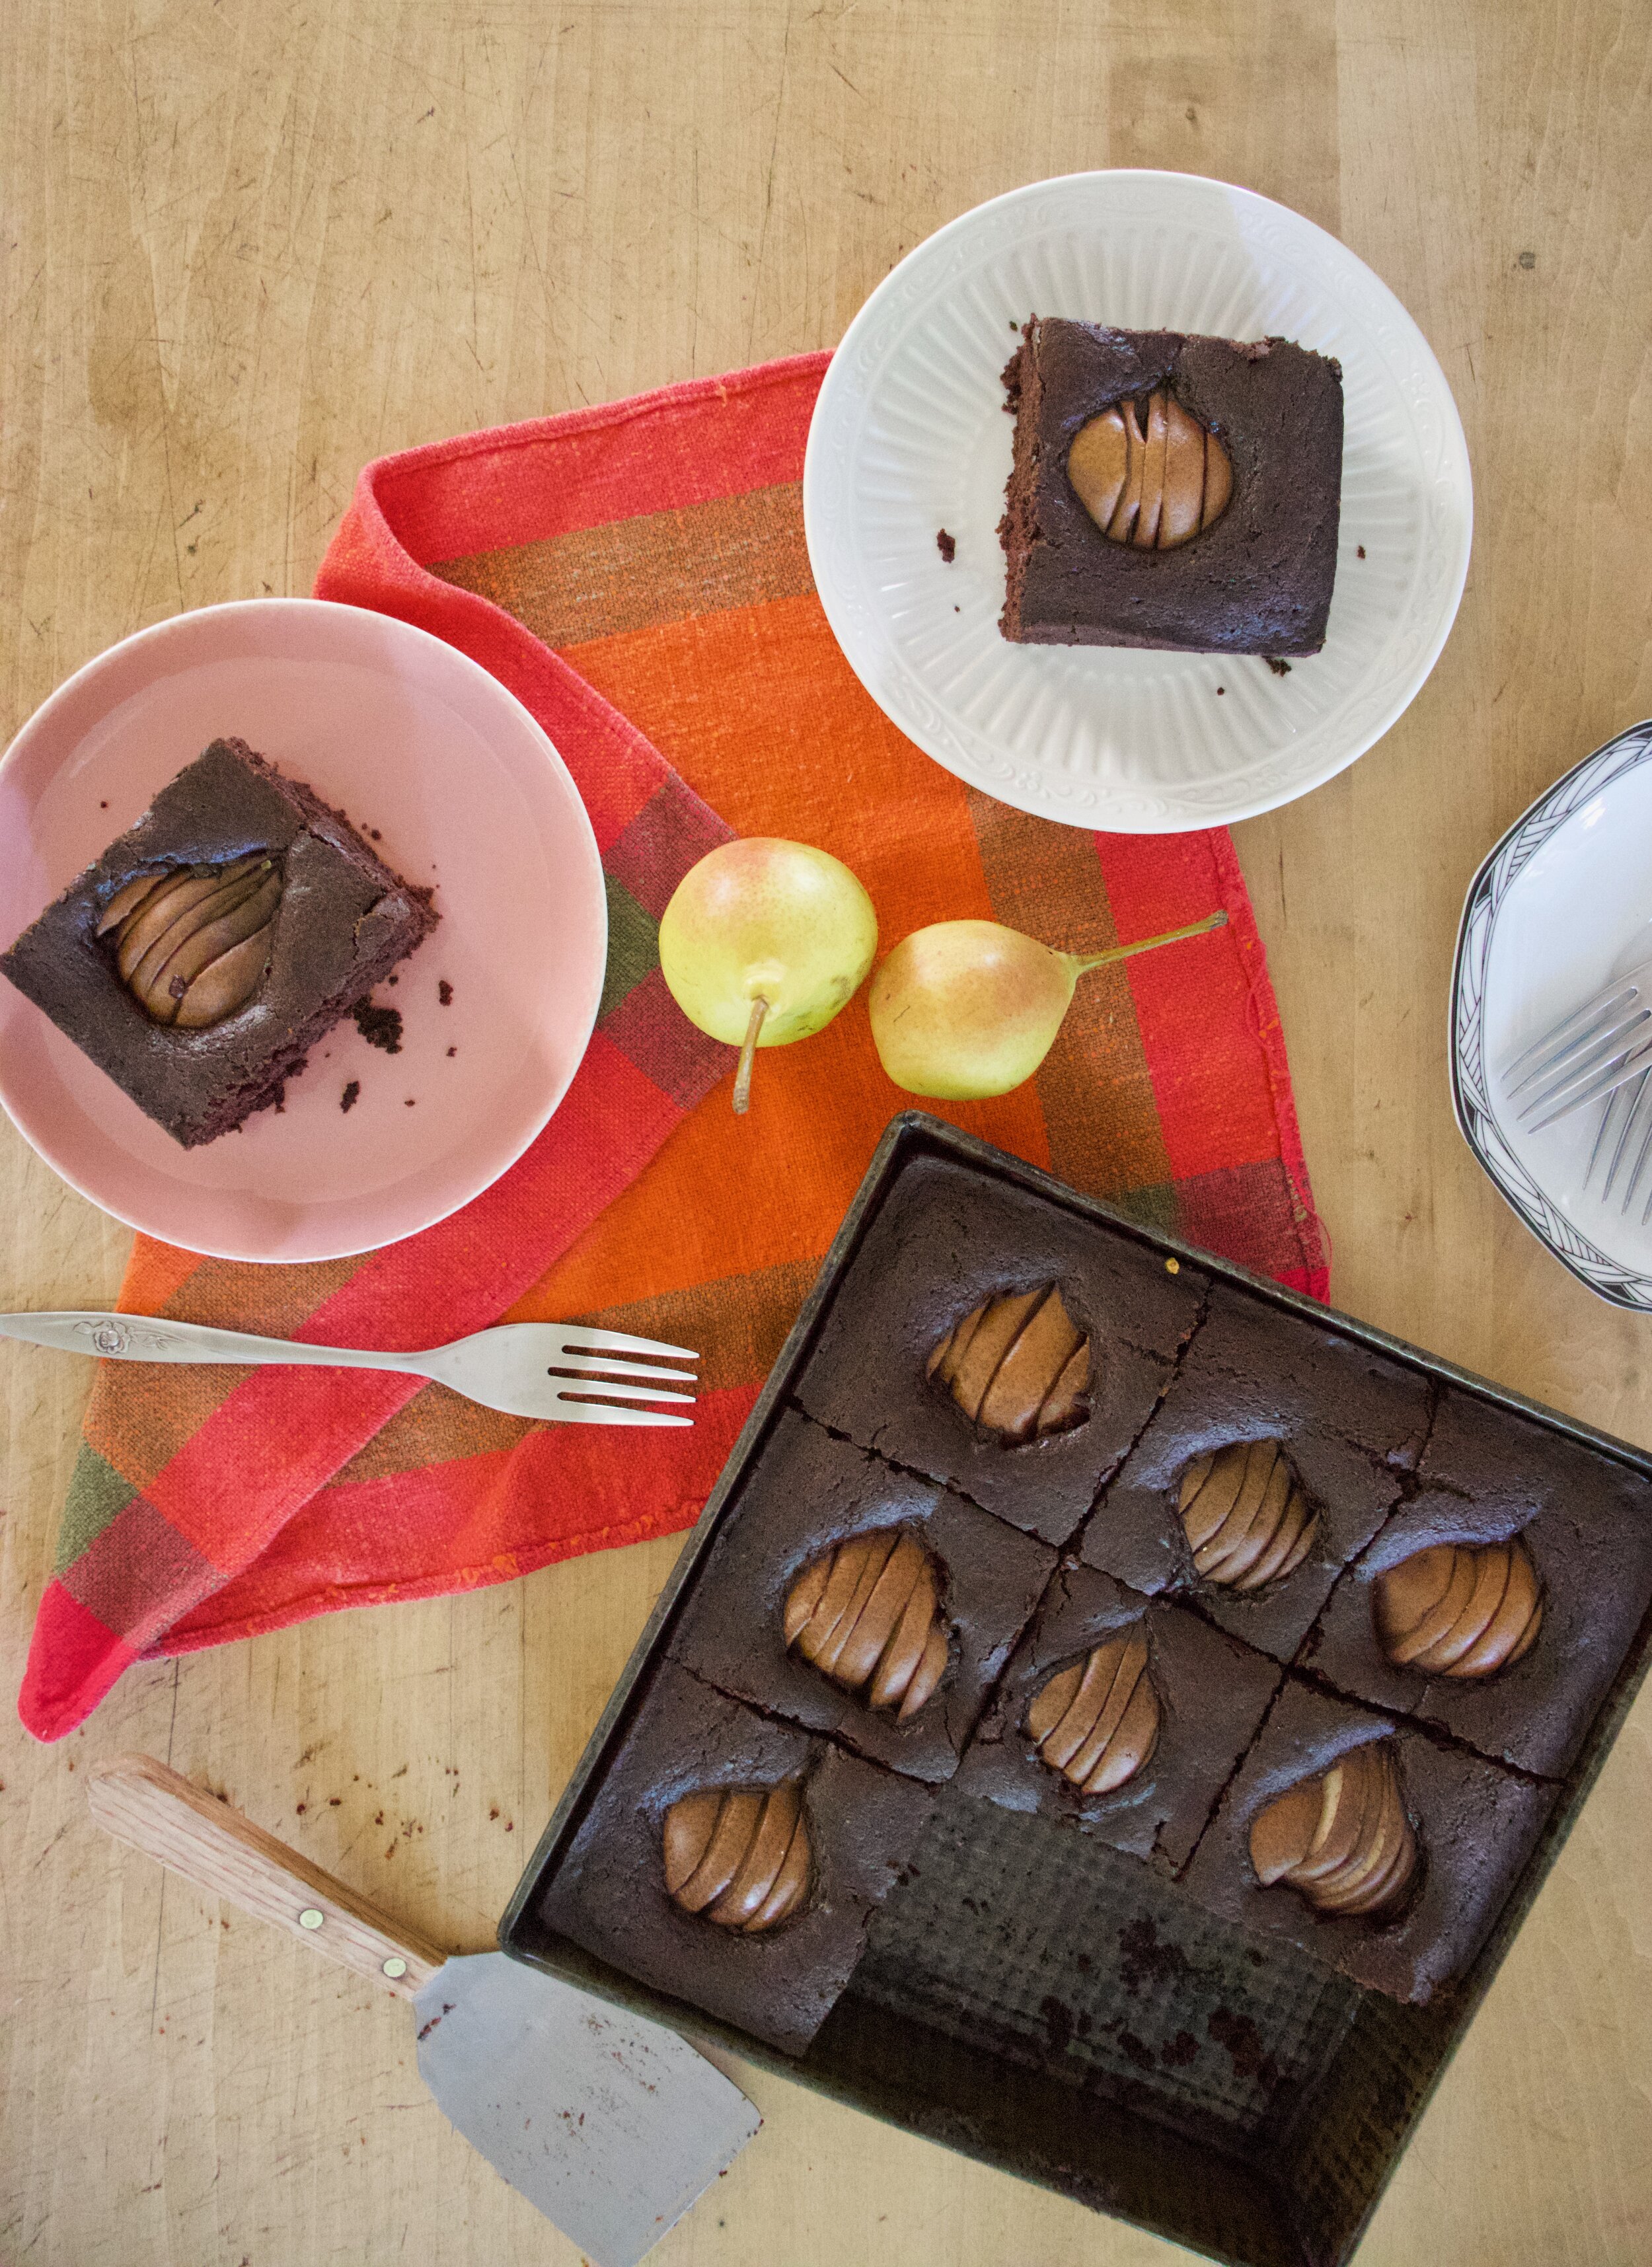
I just love a pretty cake and this cake sure is pretty.

It is a chocolate cake with pears sunken into it. A cake made of necessity because I had (and still do) a giant bowl of pears on the counter that need to be eaten. I love the pears, they are delicious, but I can’t possible eat all of them before I end up having to just sauce them all. (I think most of the rest are gonna be sauce) Plus it is finally not stupid hot out and I am getting that cool weather, hang at home with a sweater on, all the apples and pumpkins, fall time feeling that included the itch to bake things. That feeling, it’s coming on strong and I’ll be honest here, I am soooo over summer. Bring on the fall!

Also, note about cake. Because each piece has half a pear sunken into it, I would there by think that this cake might actually be considered a health food. (hehehe) Yeeeah, no, but it is good. The mr already ate half.

Now to the cake!

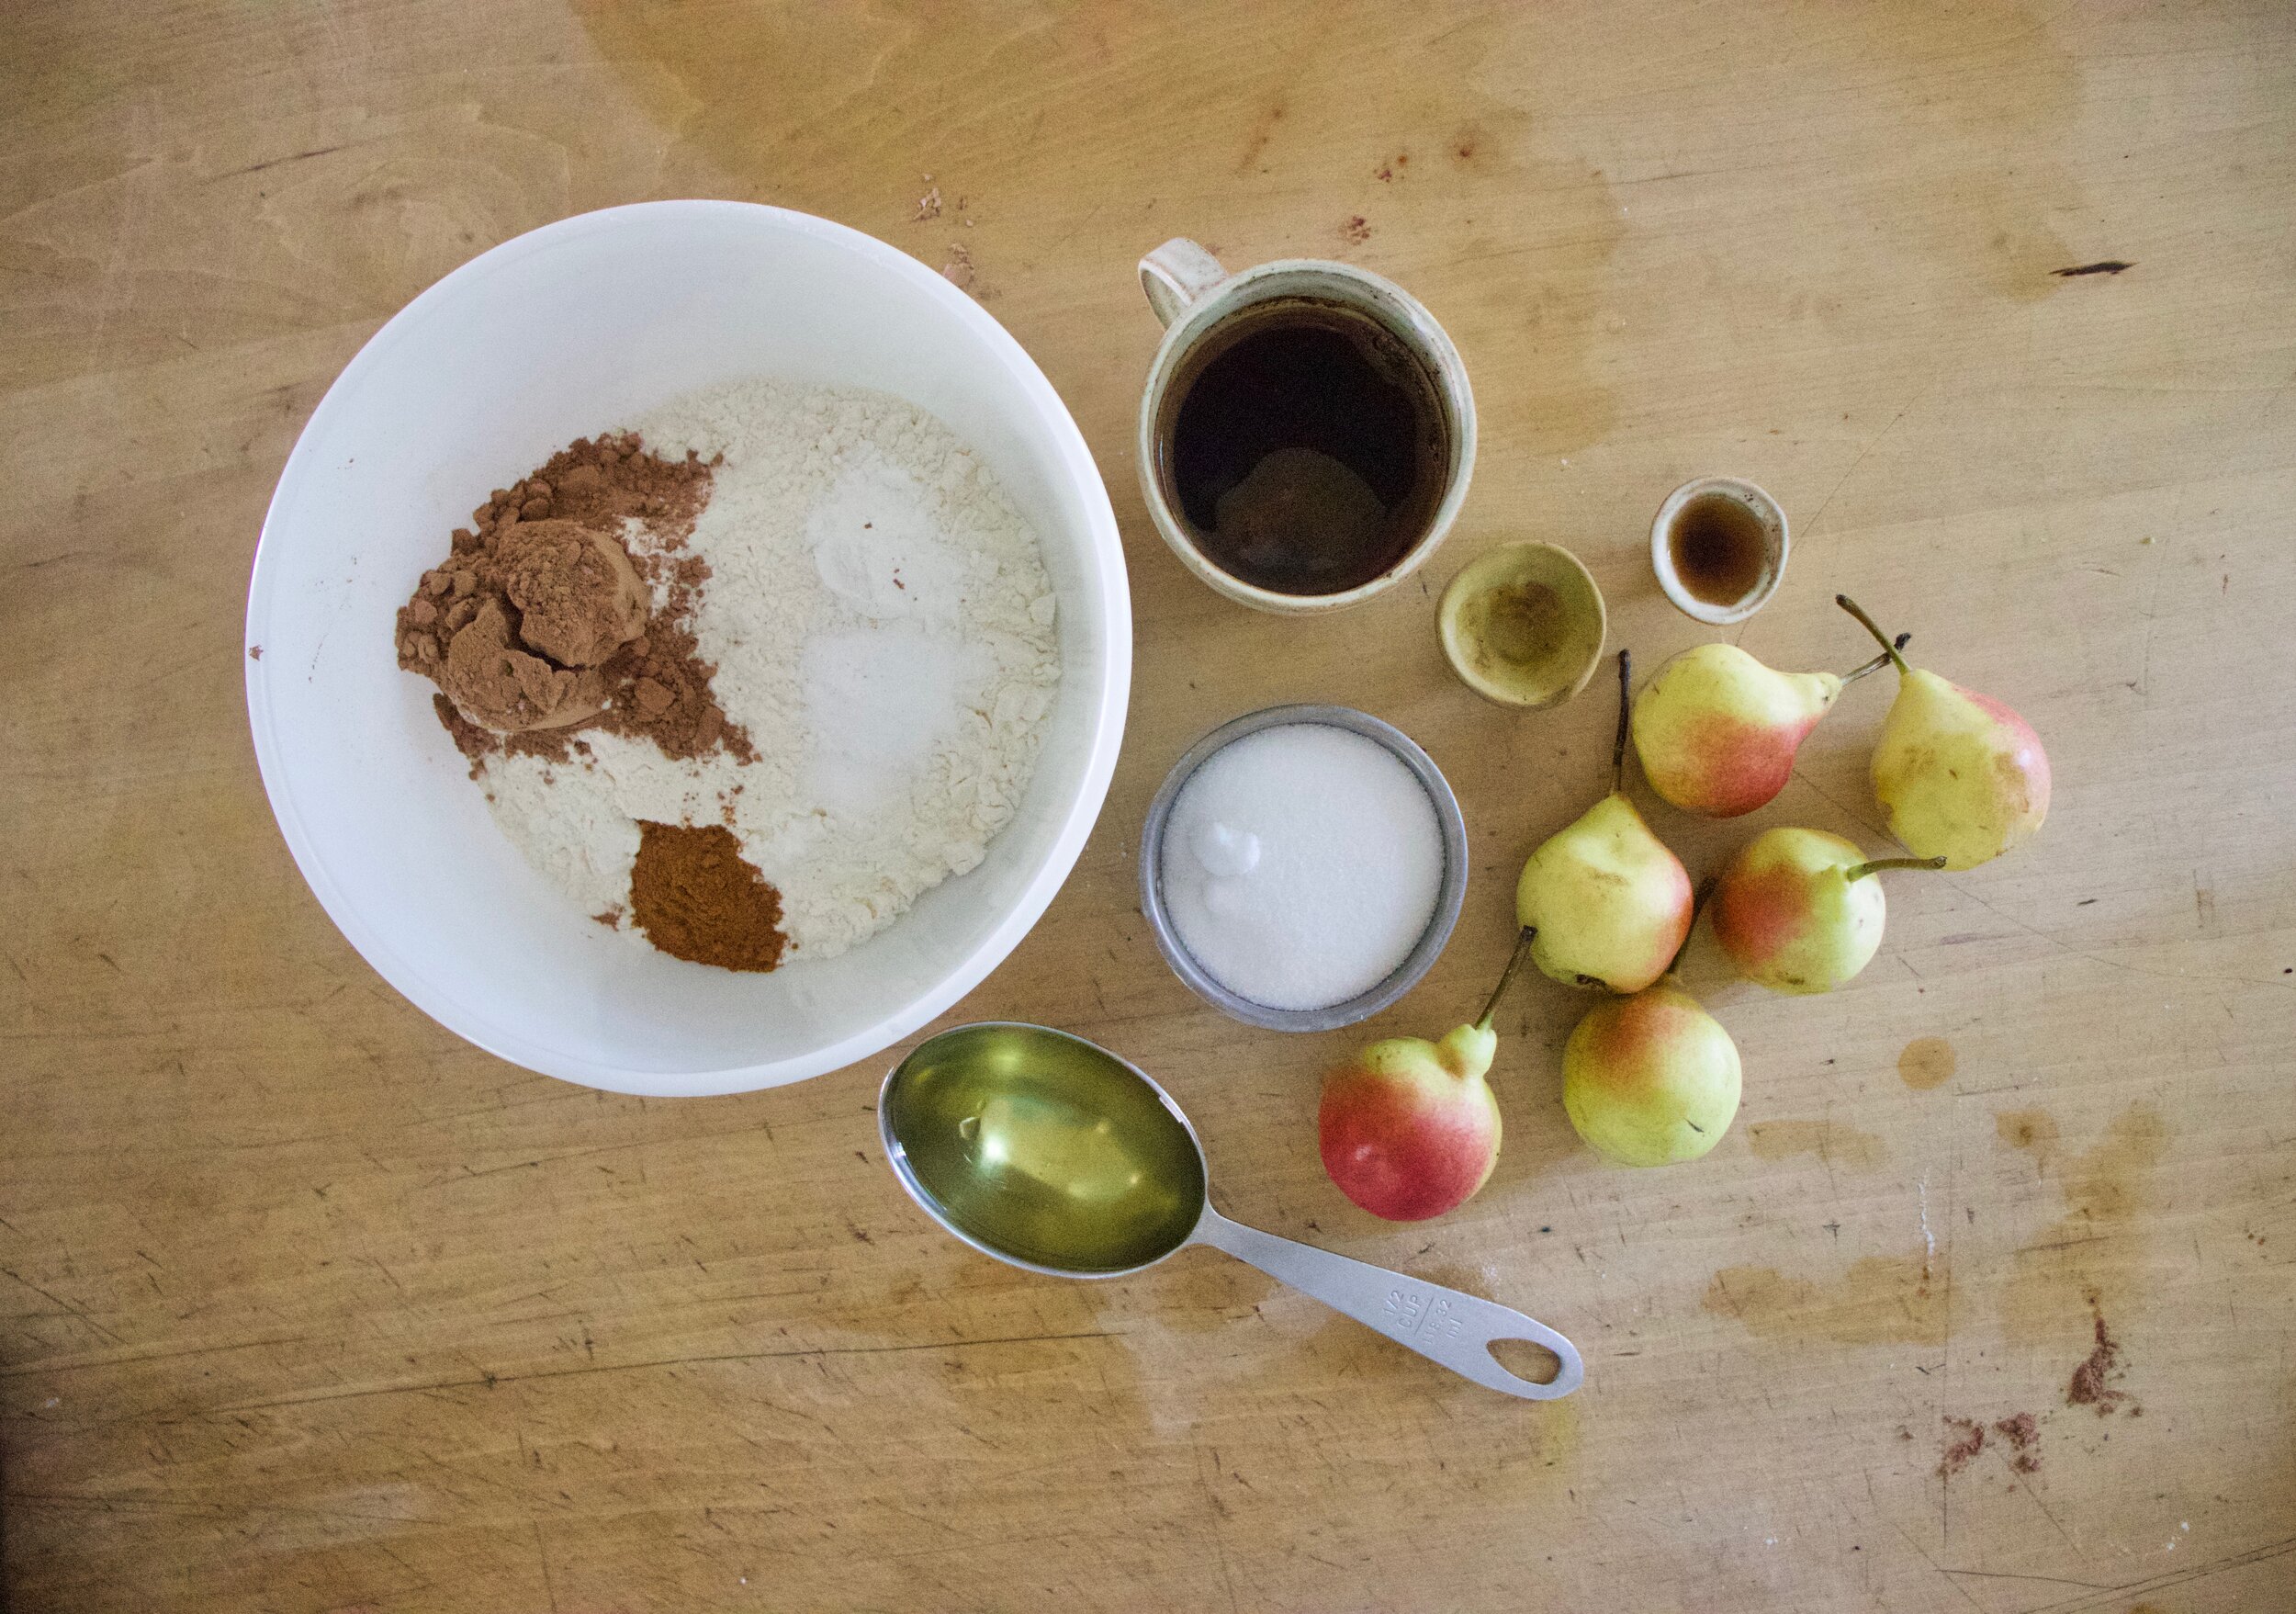
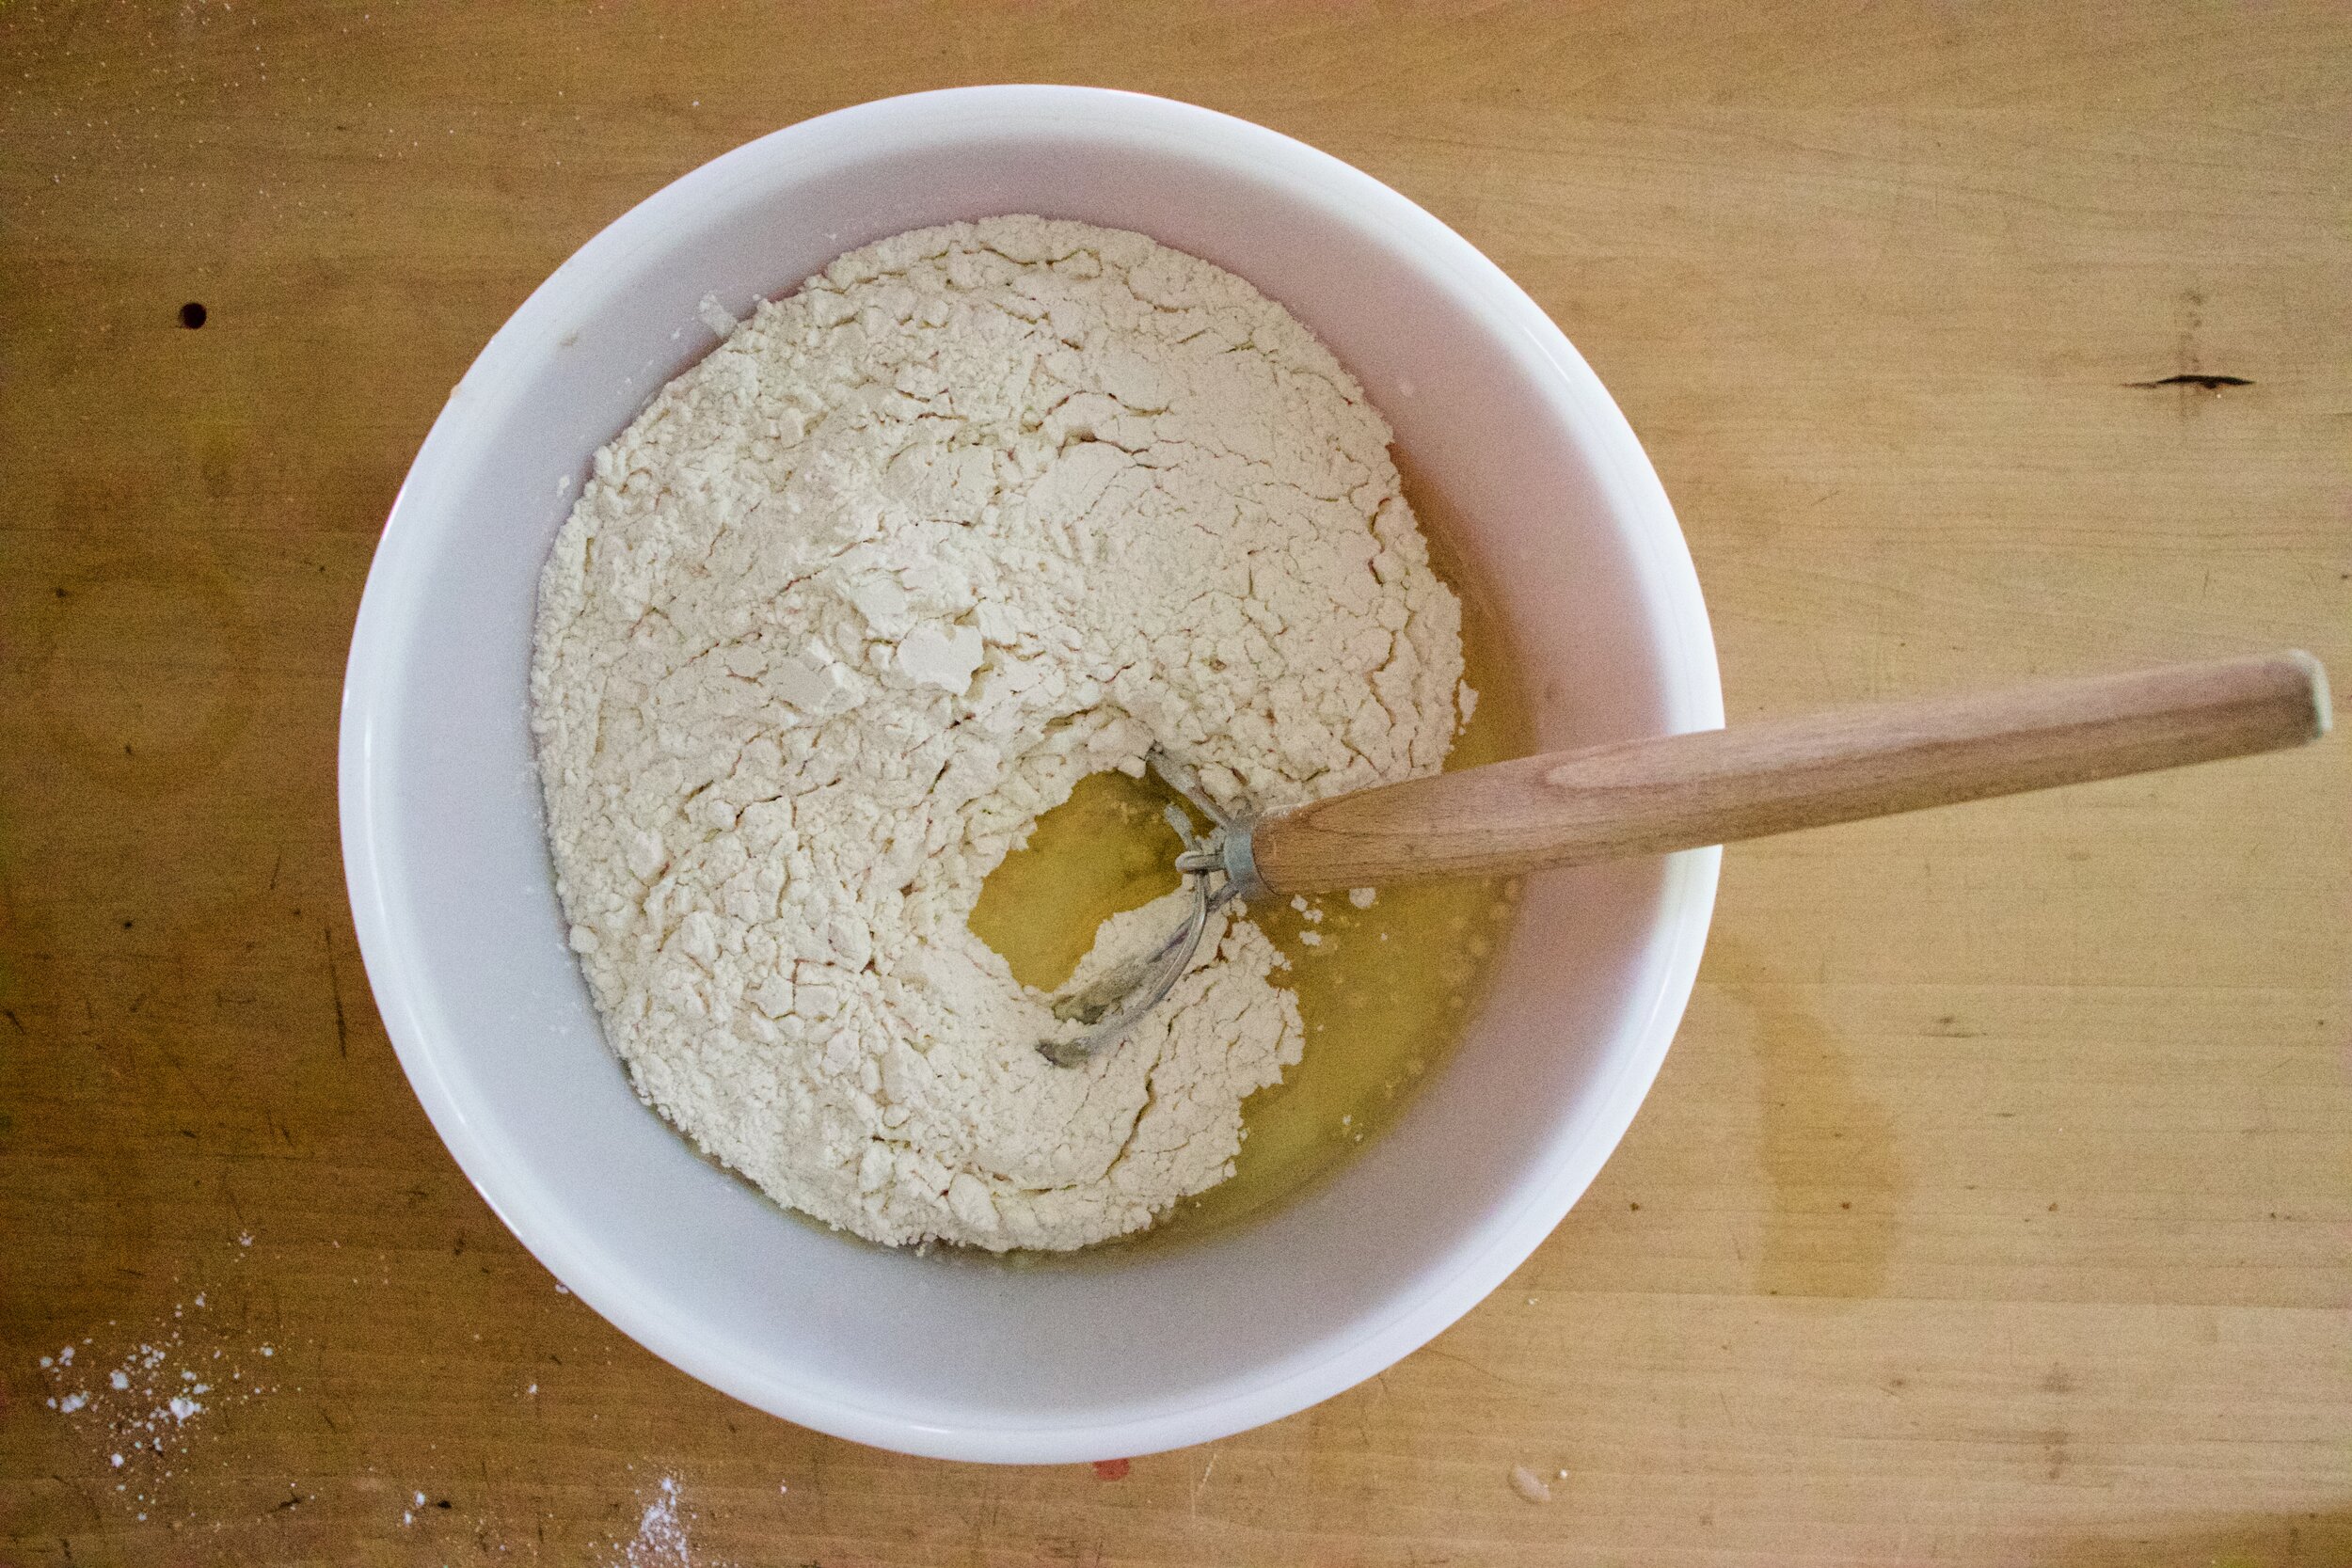
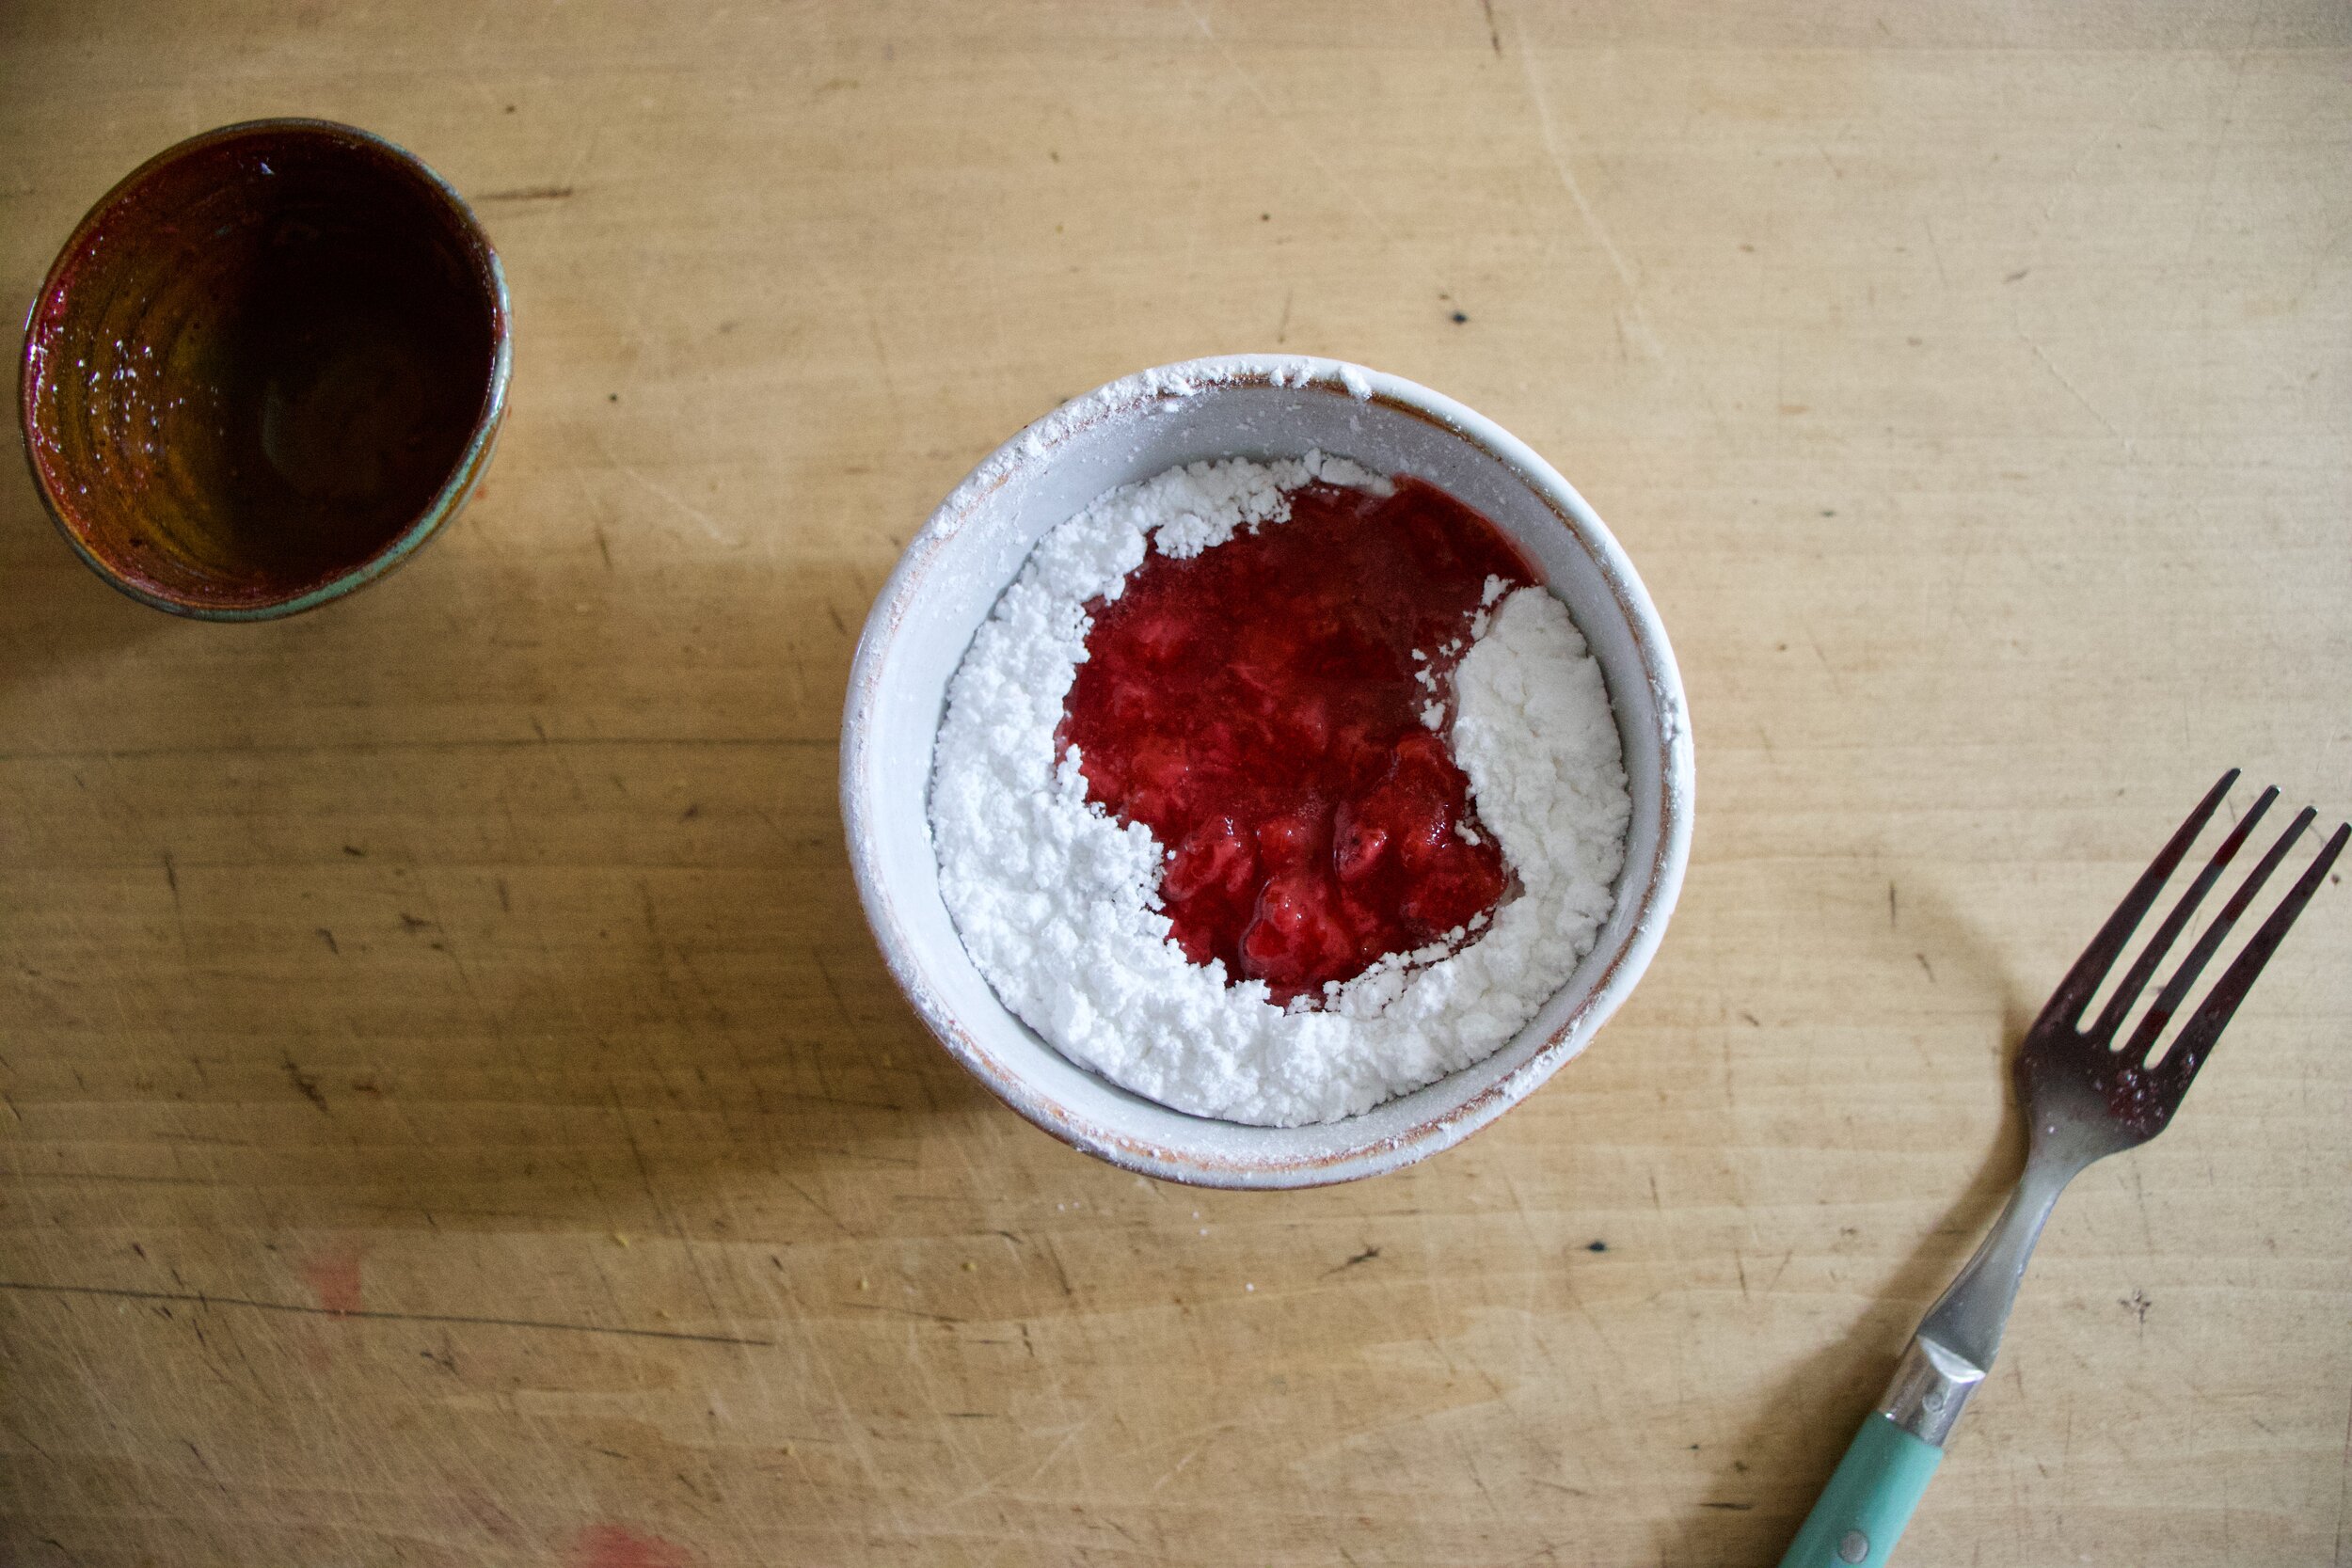
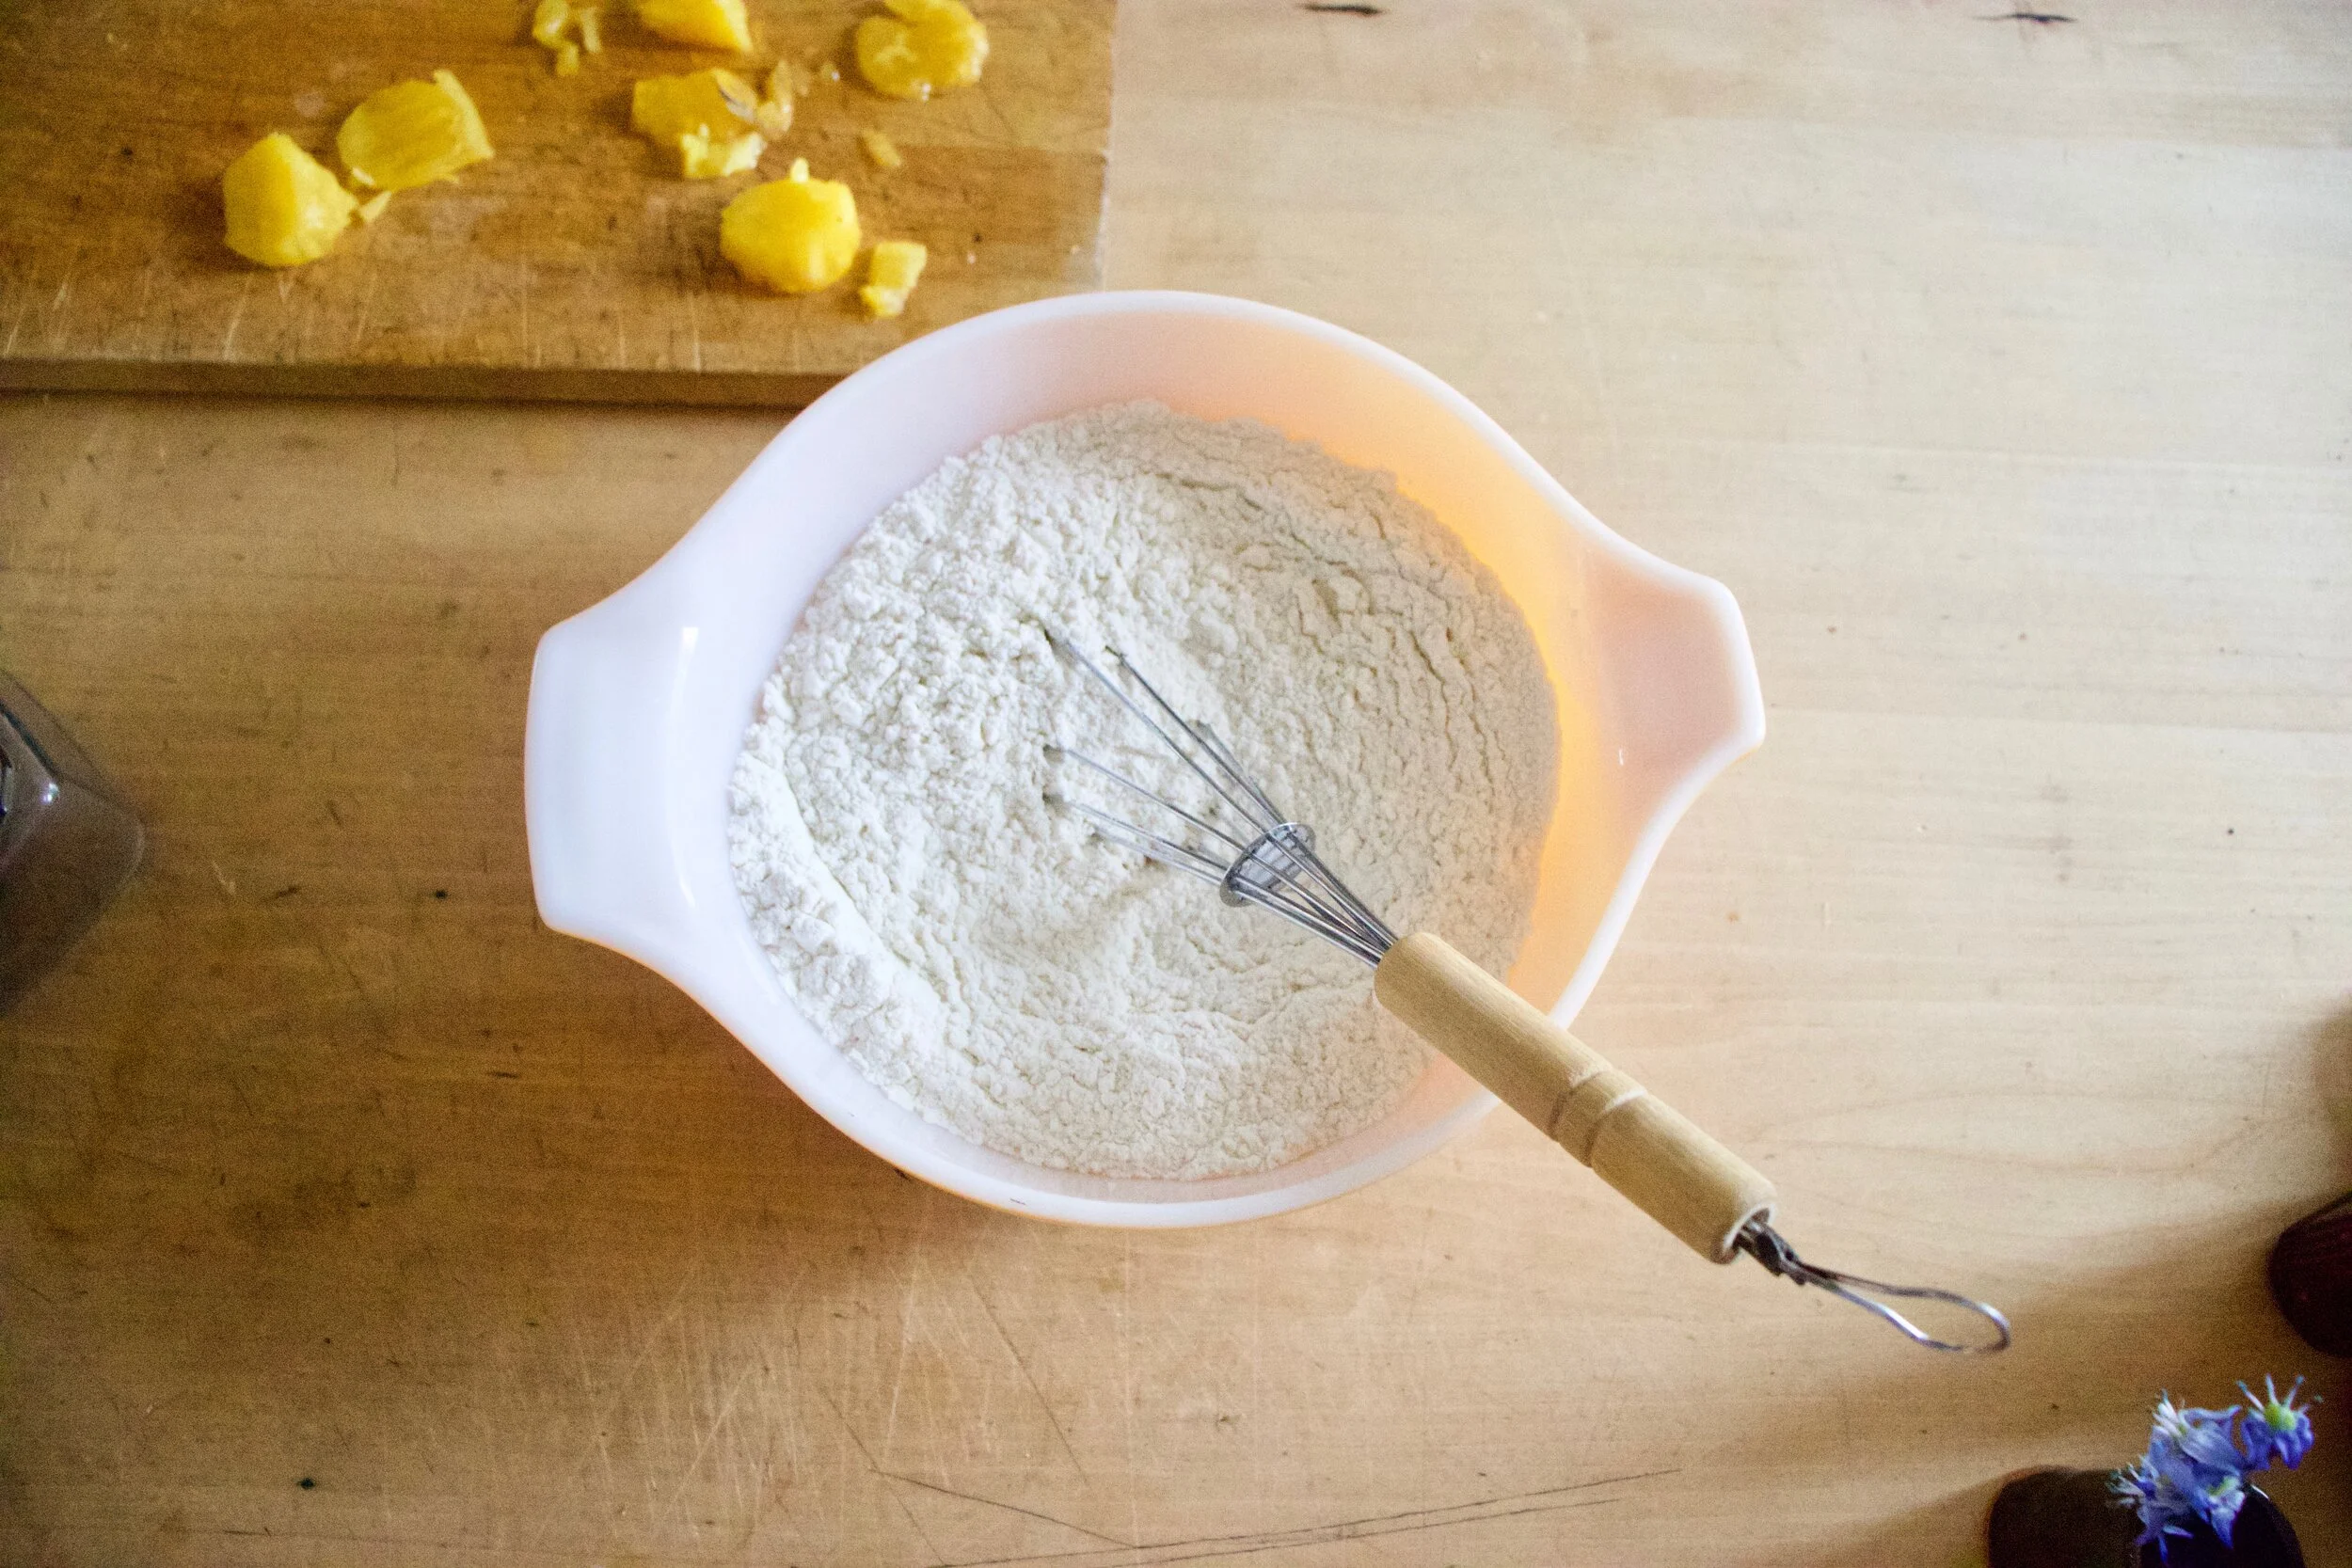
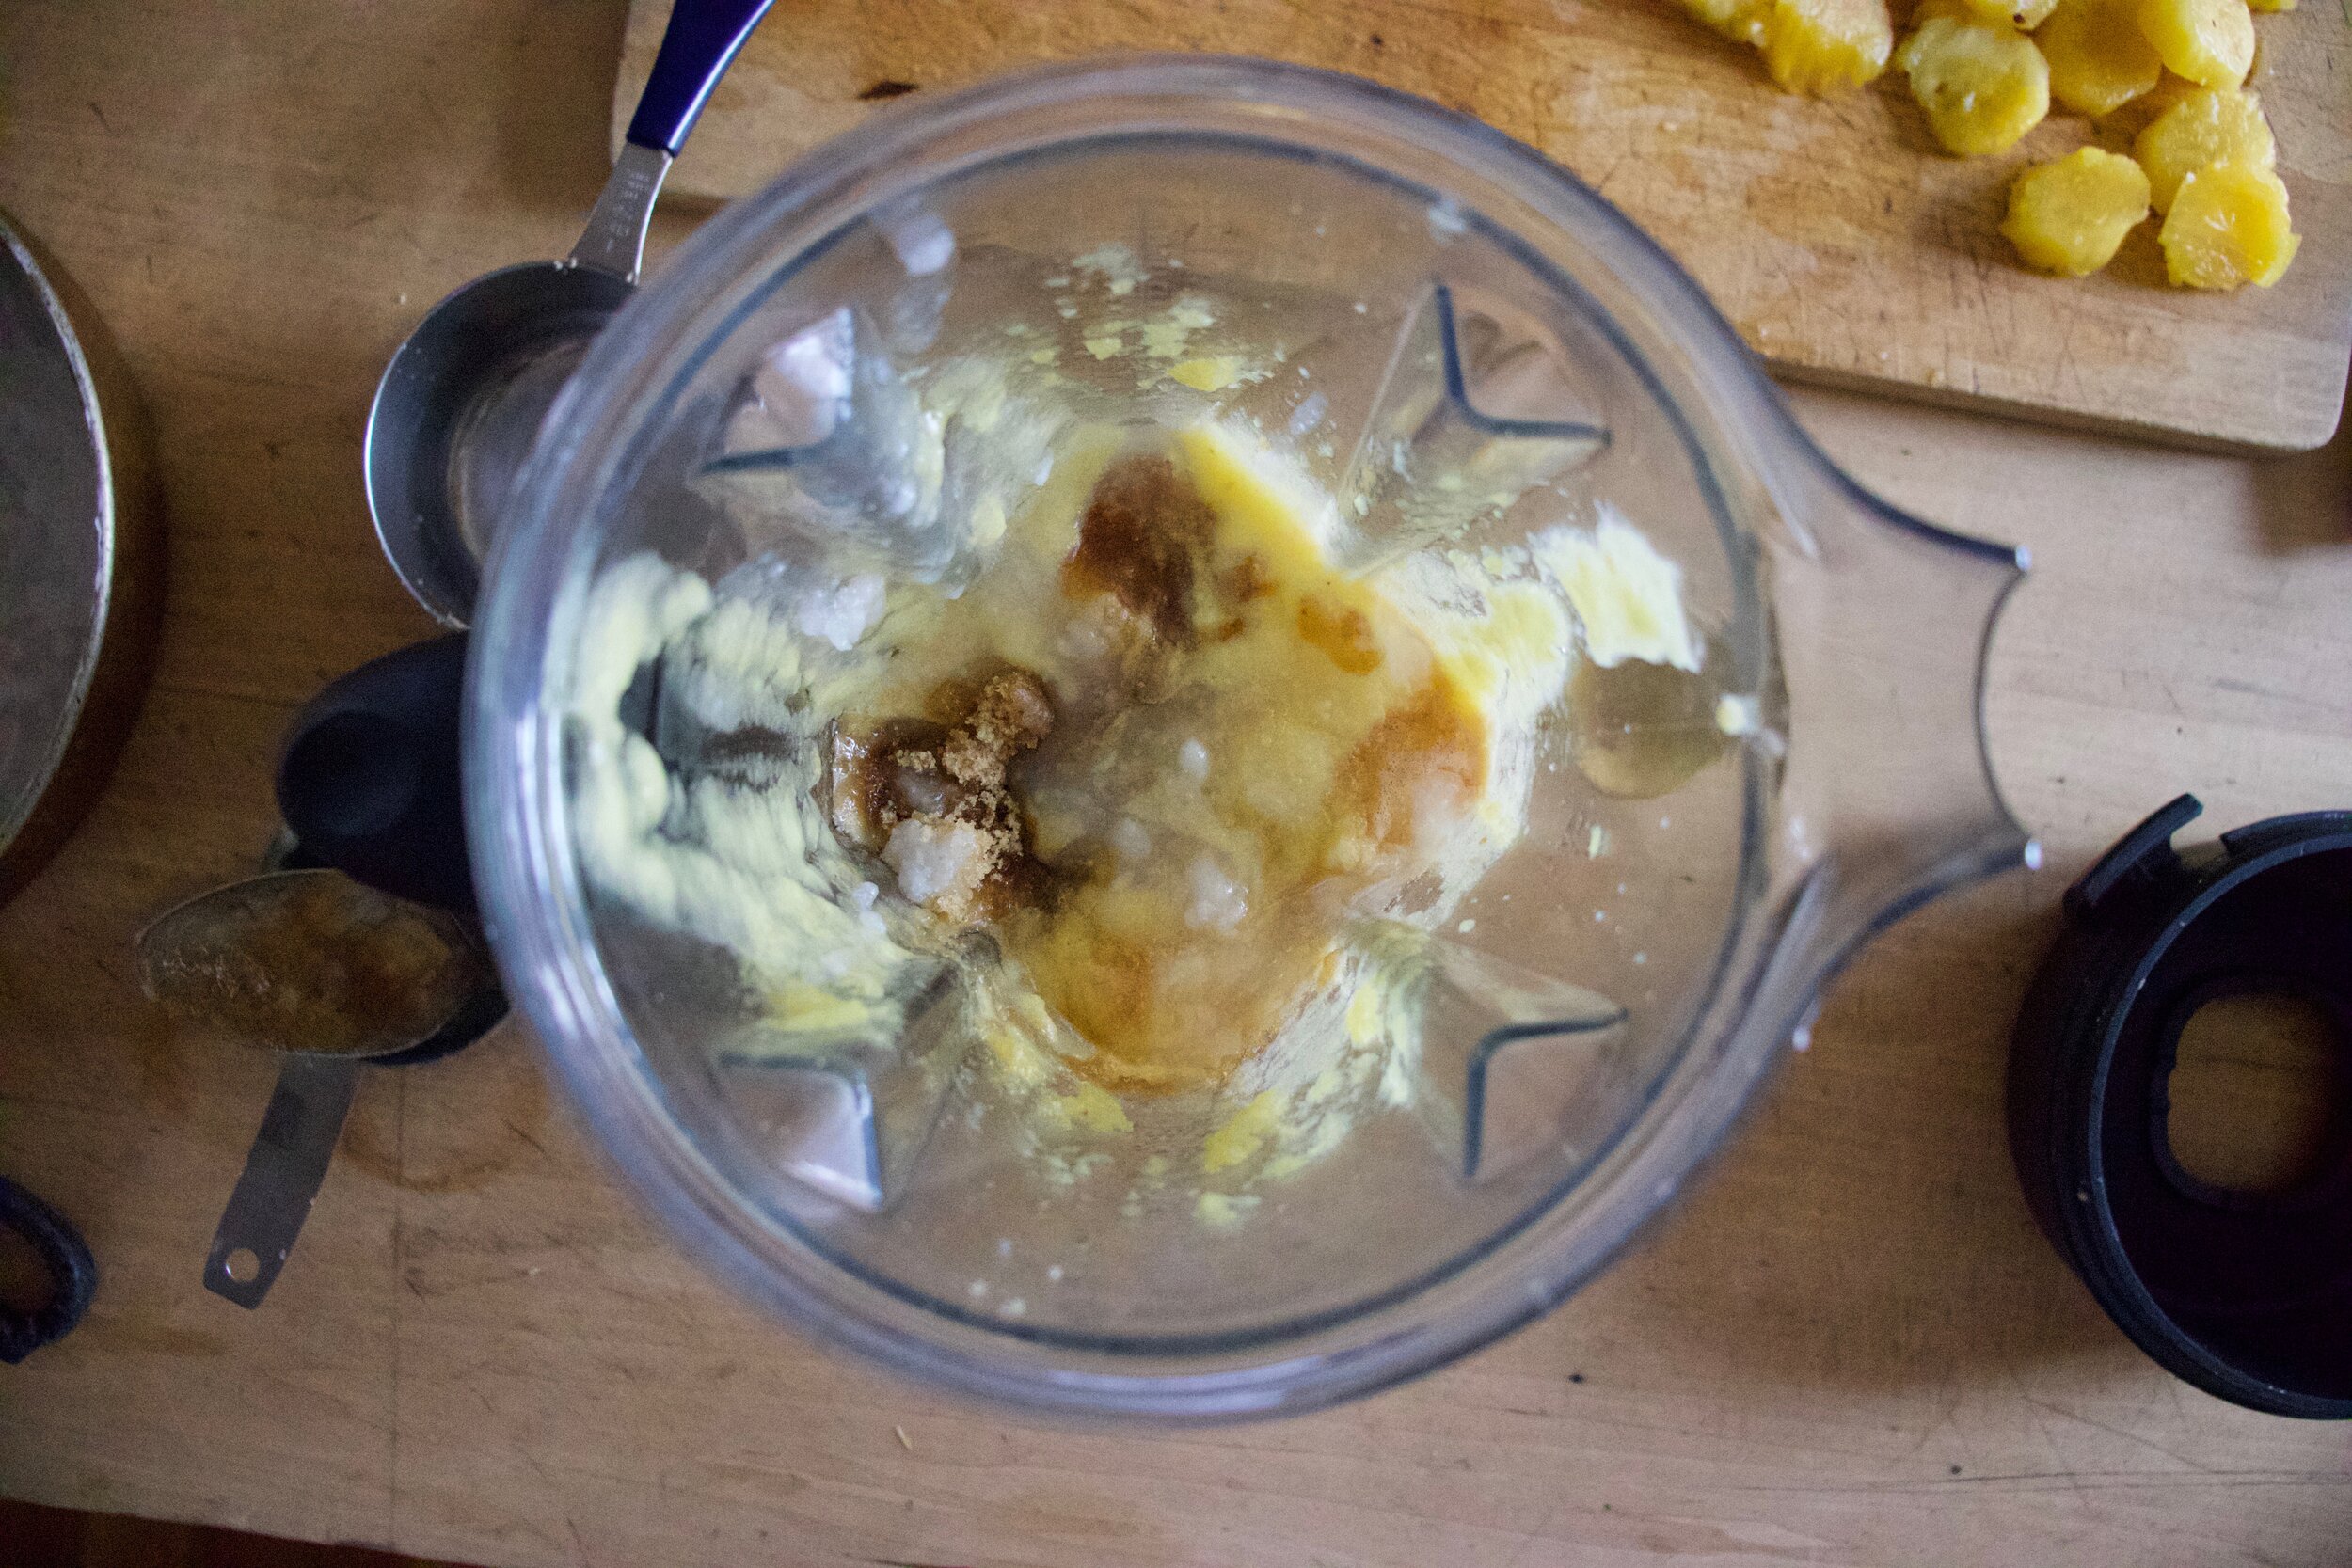
The stuff. In the bowl there is flour, cocoa powder, baking soda and powder, salt, and cinnamon. Also need brewed coffee, sugar, oil, vanilla, apple cider vinegar, and some little pears.

IMG_9751 2.jpg
IMG_9754 2.jpg
IMG_9765.jpg

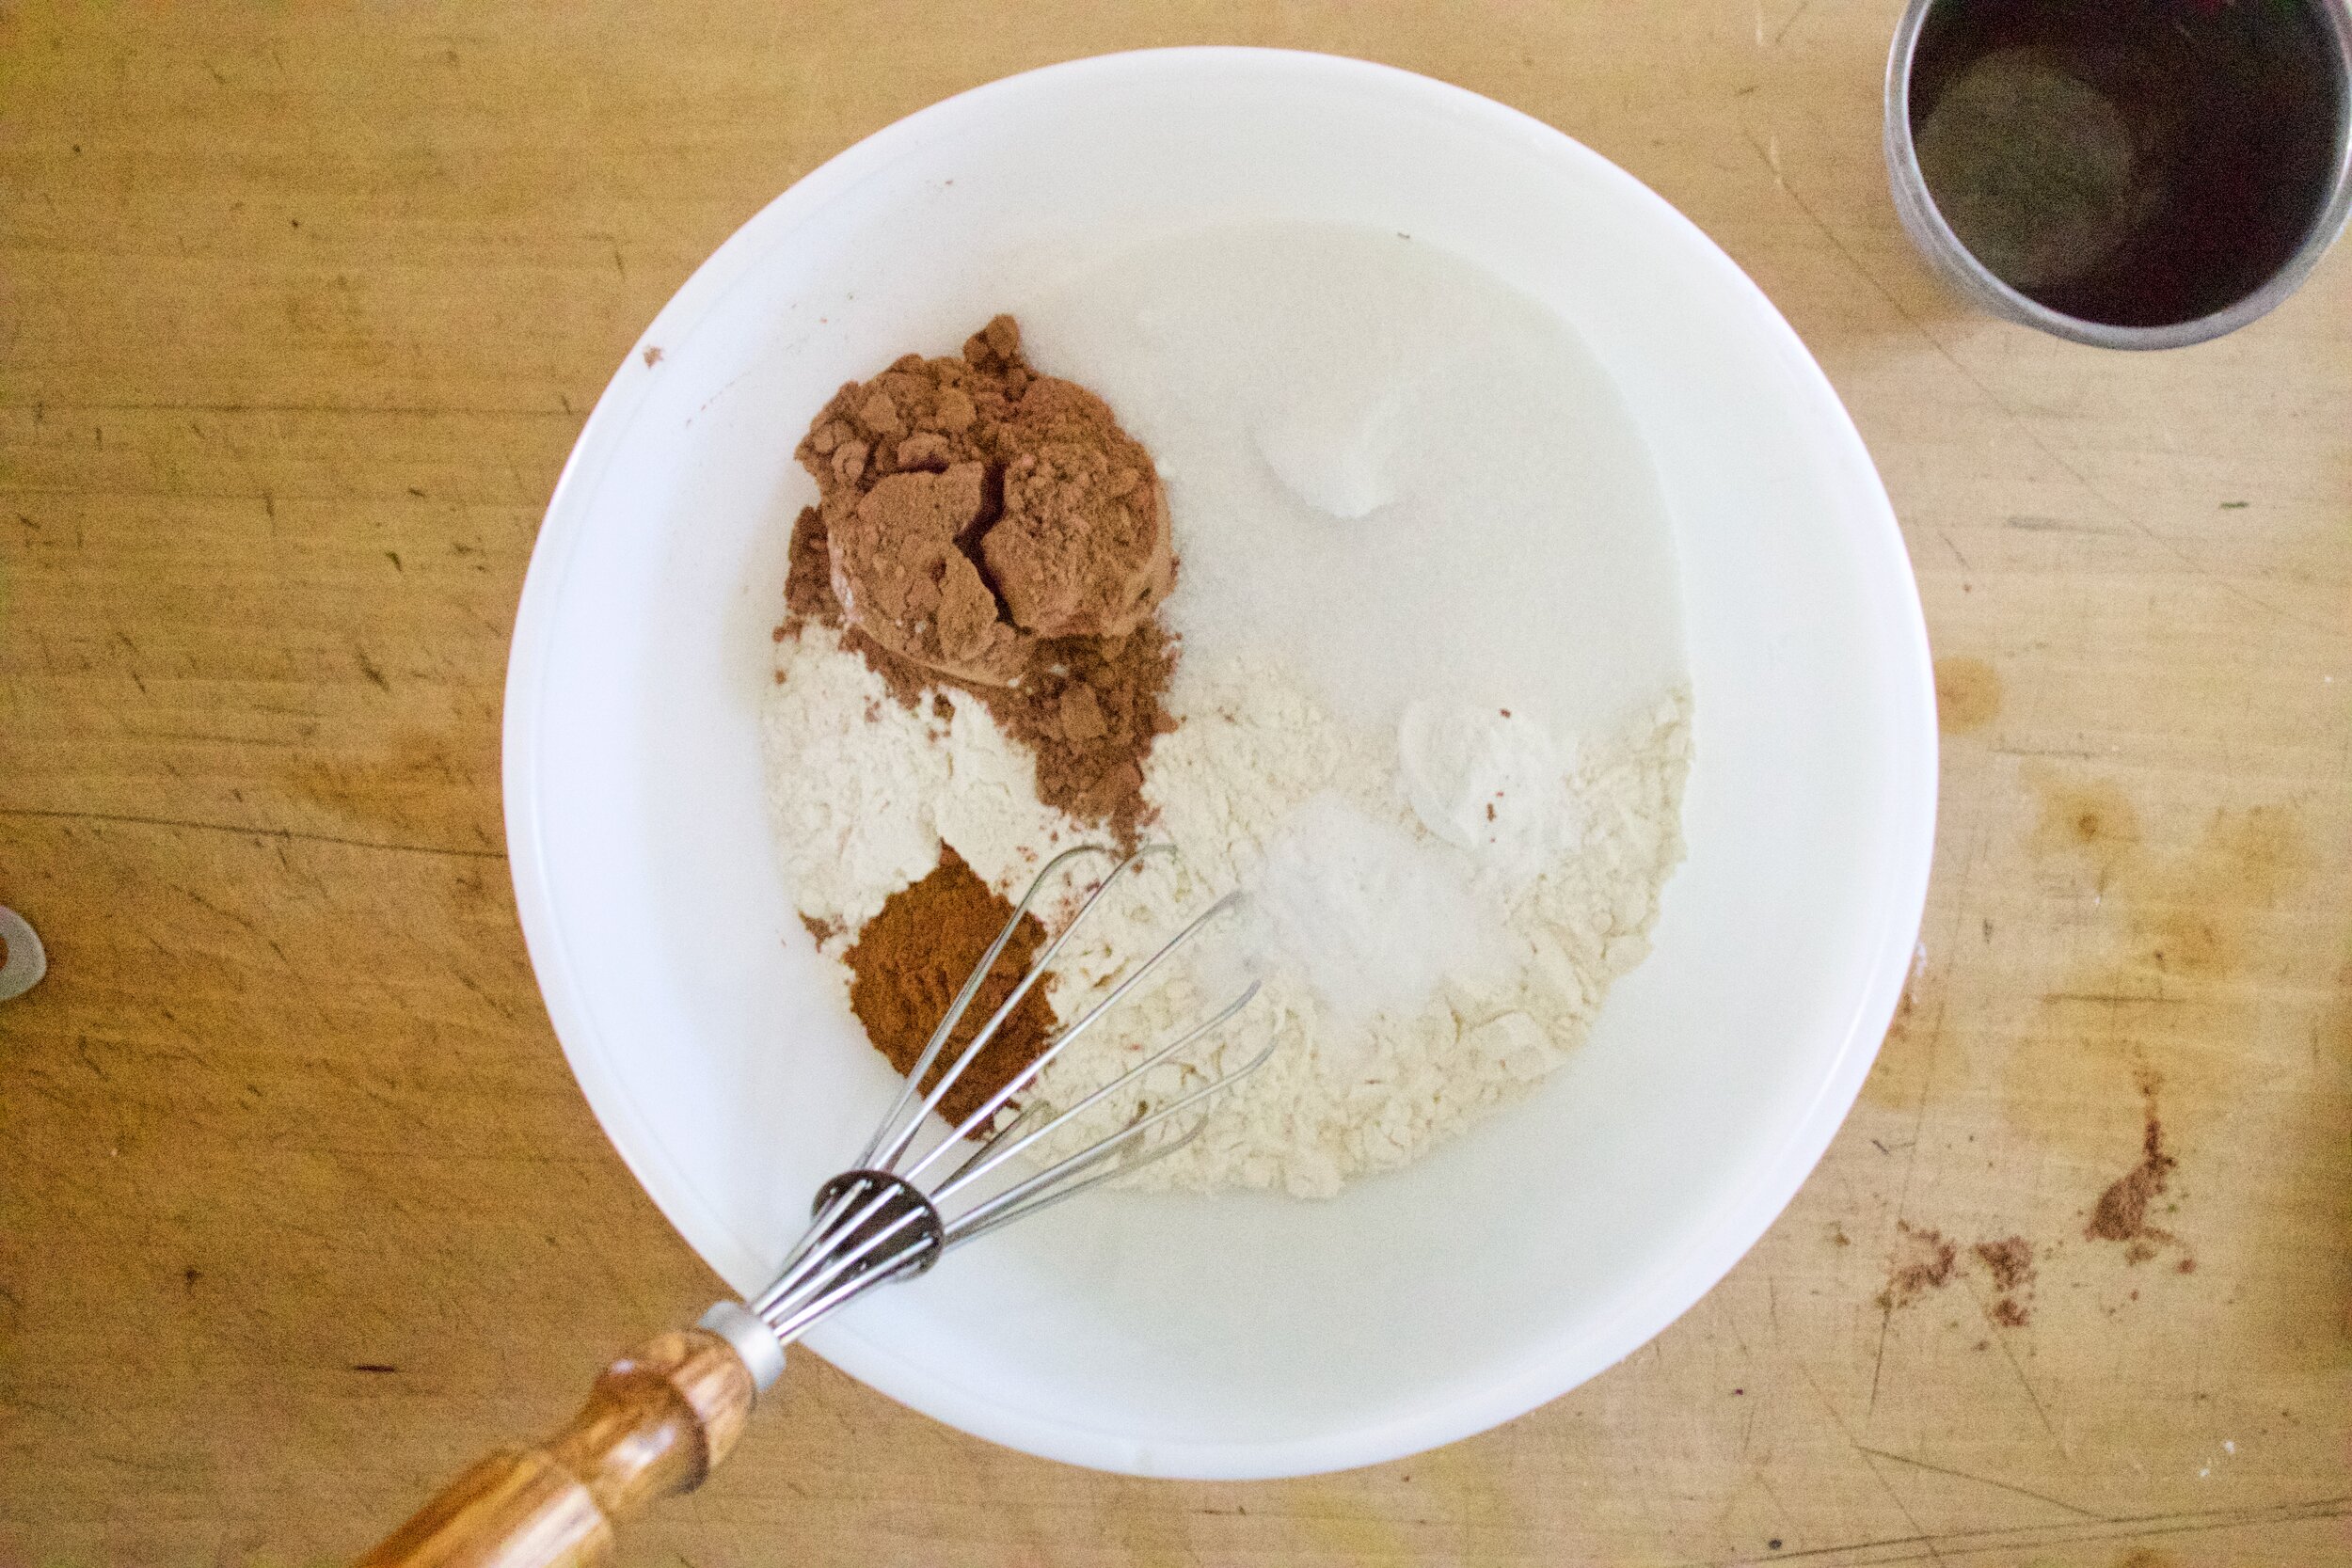
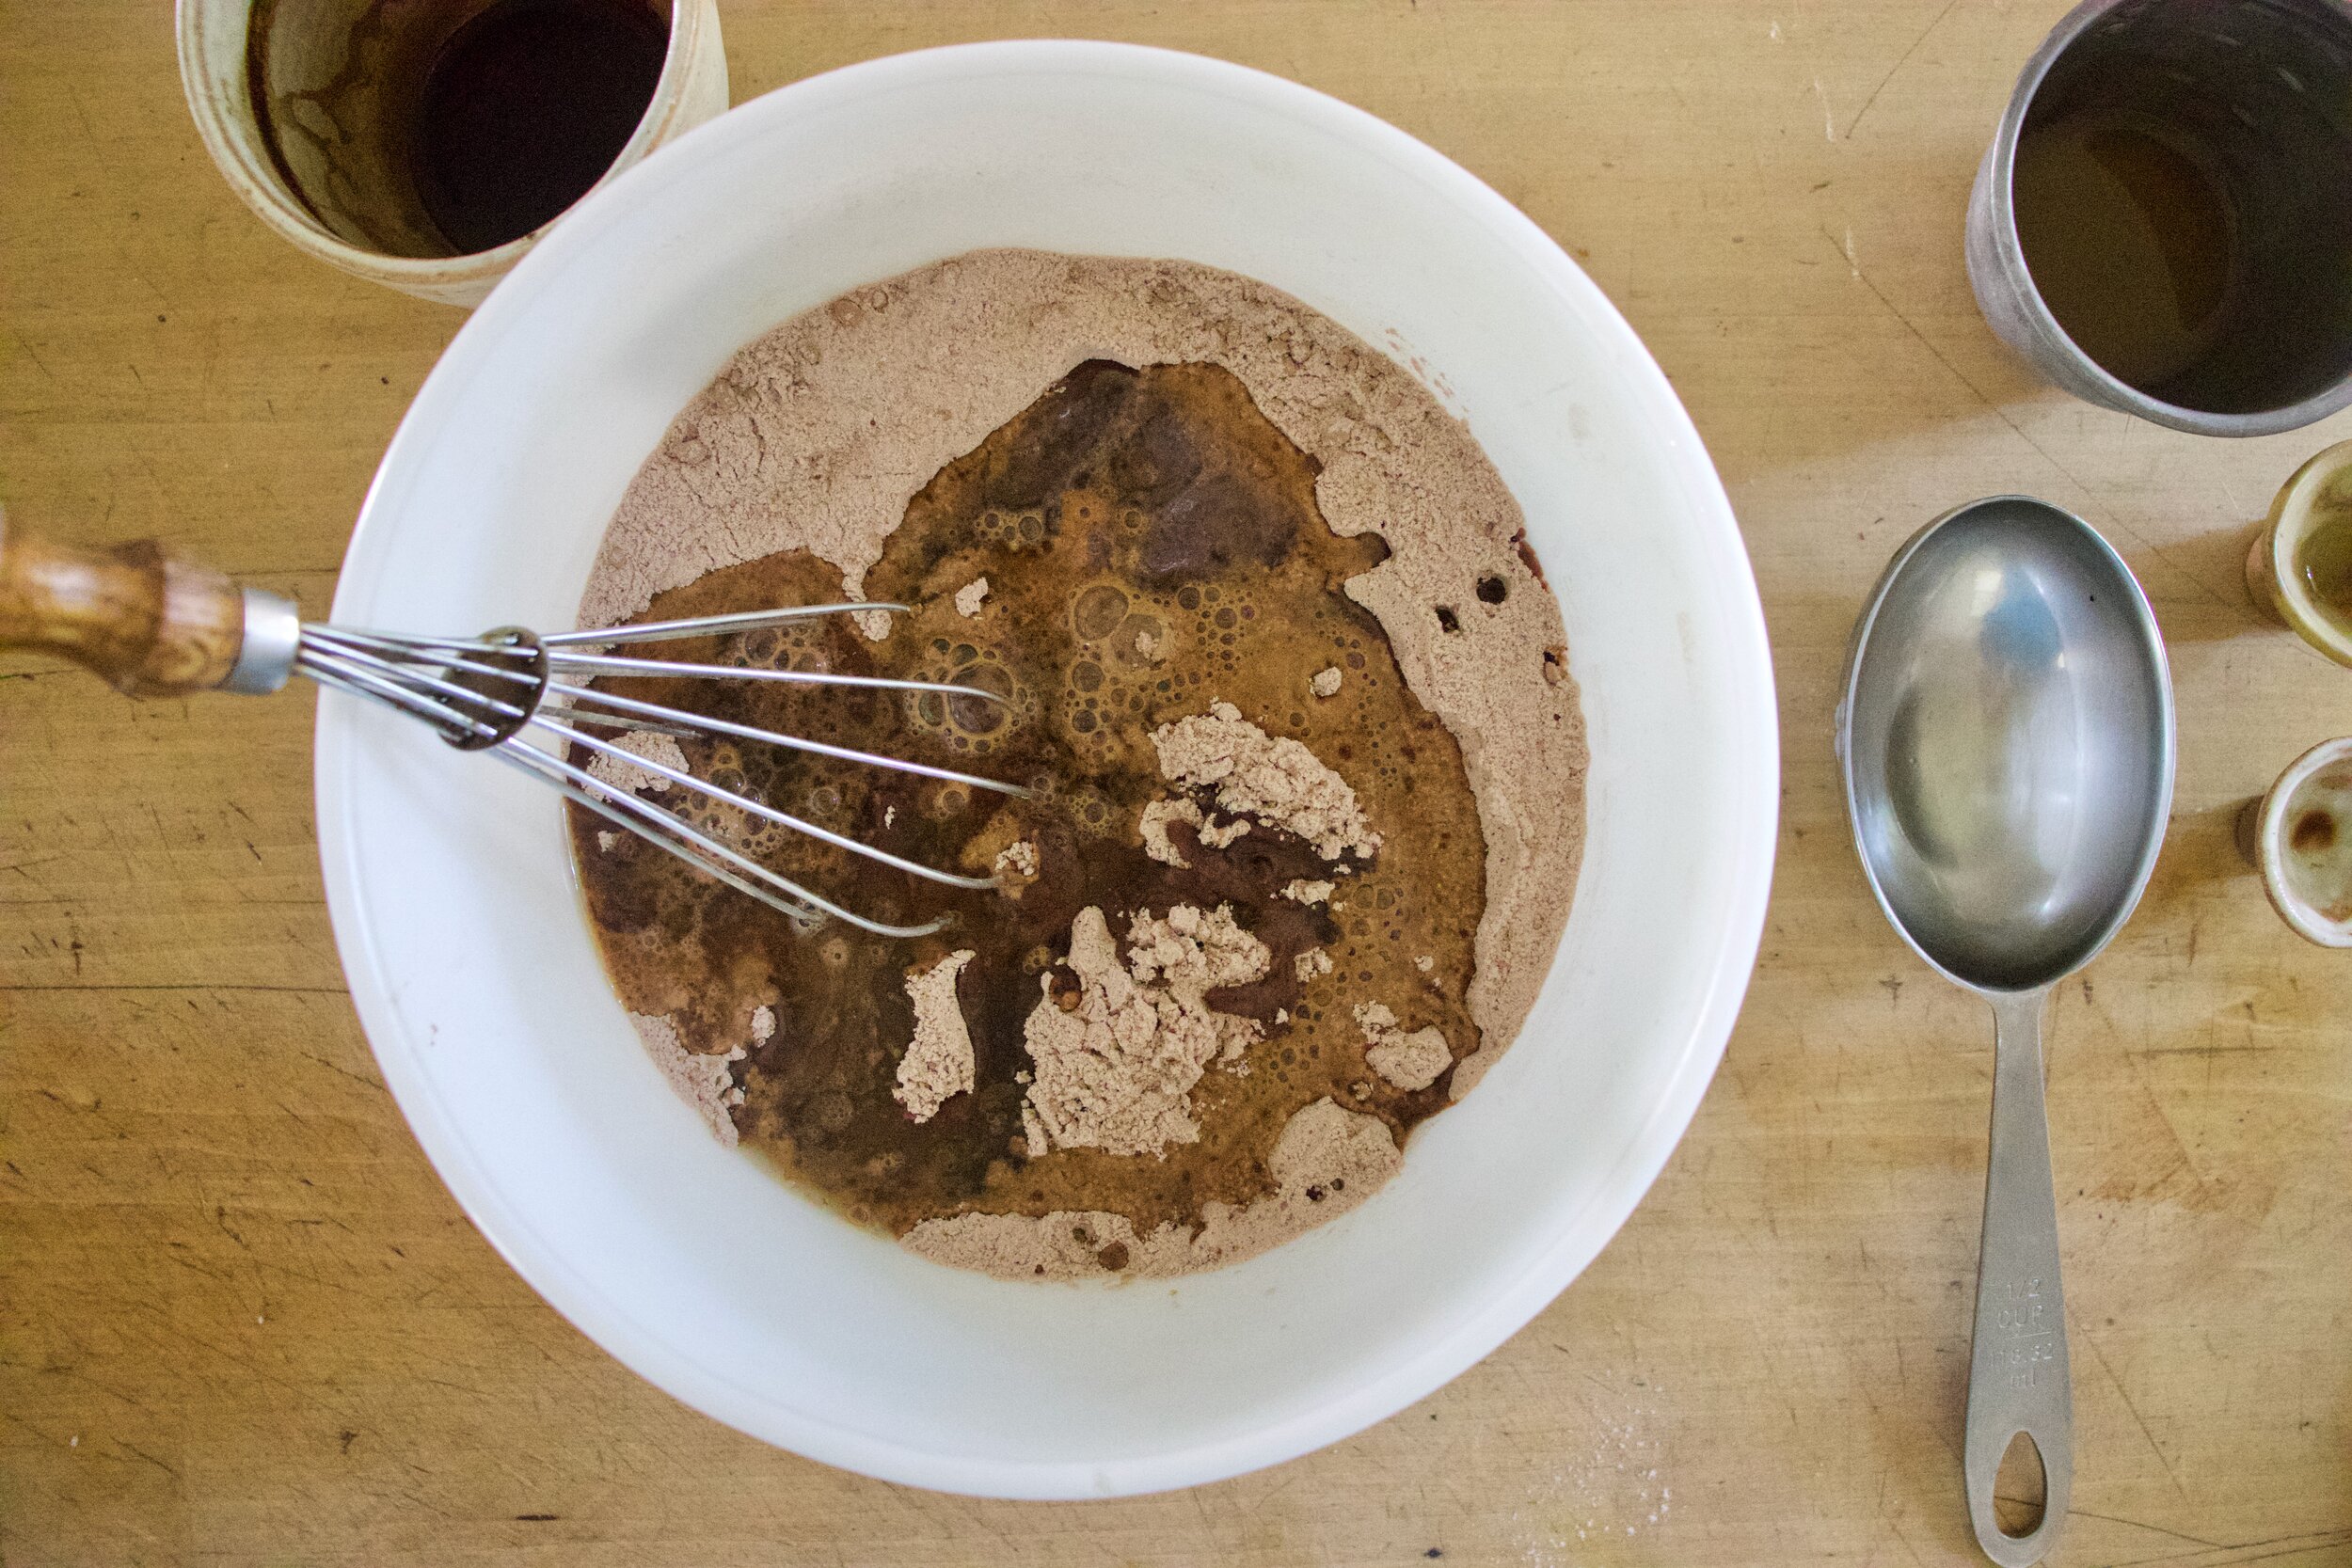
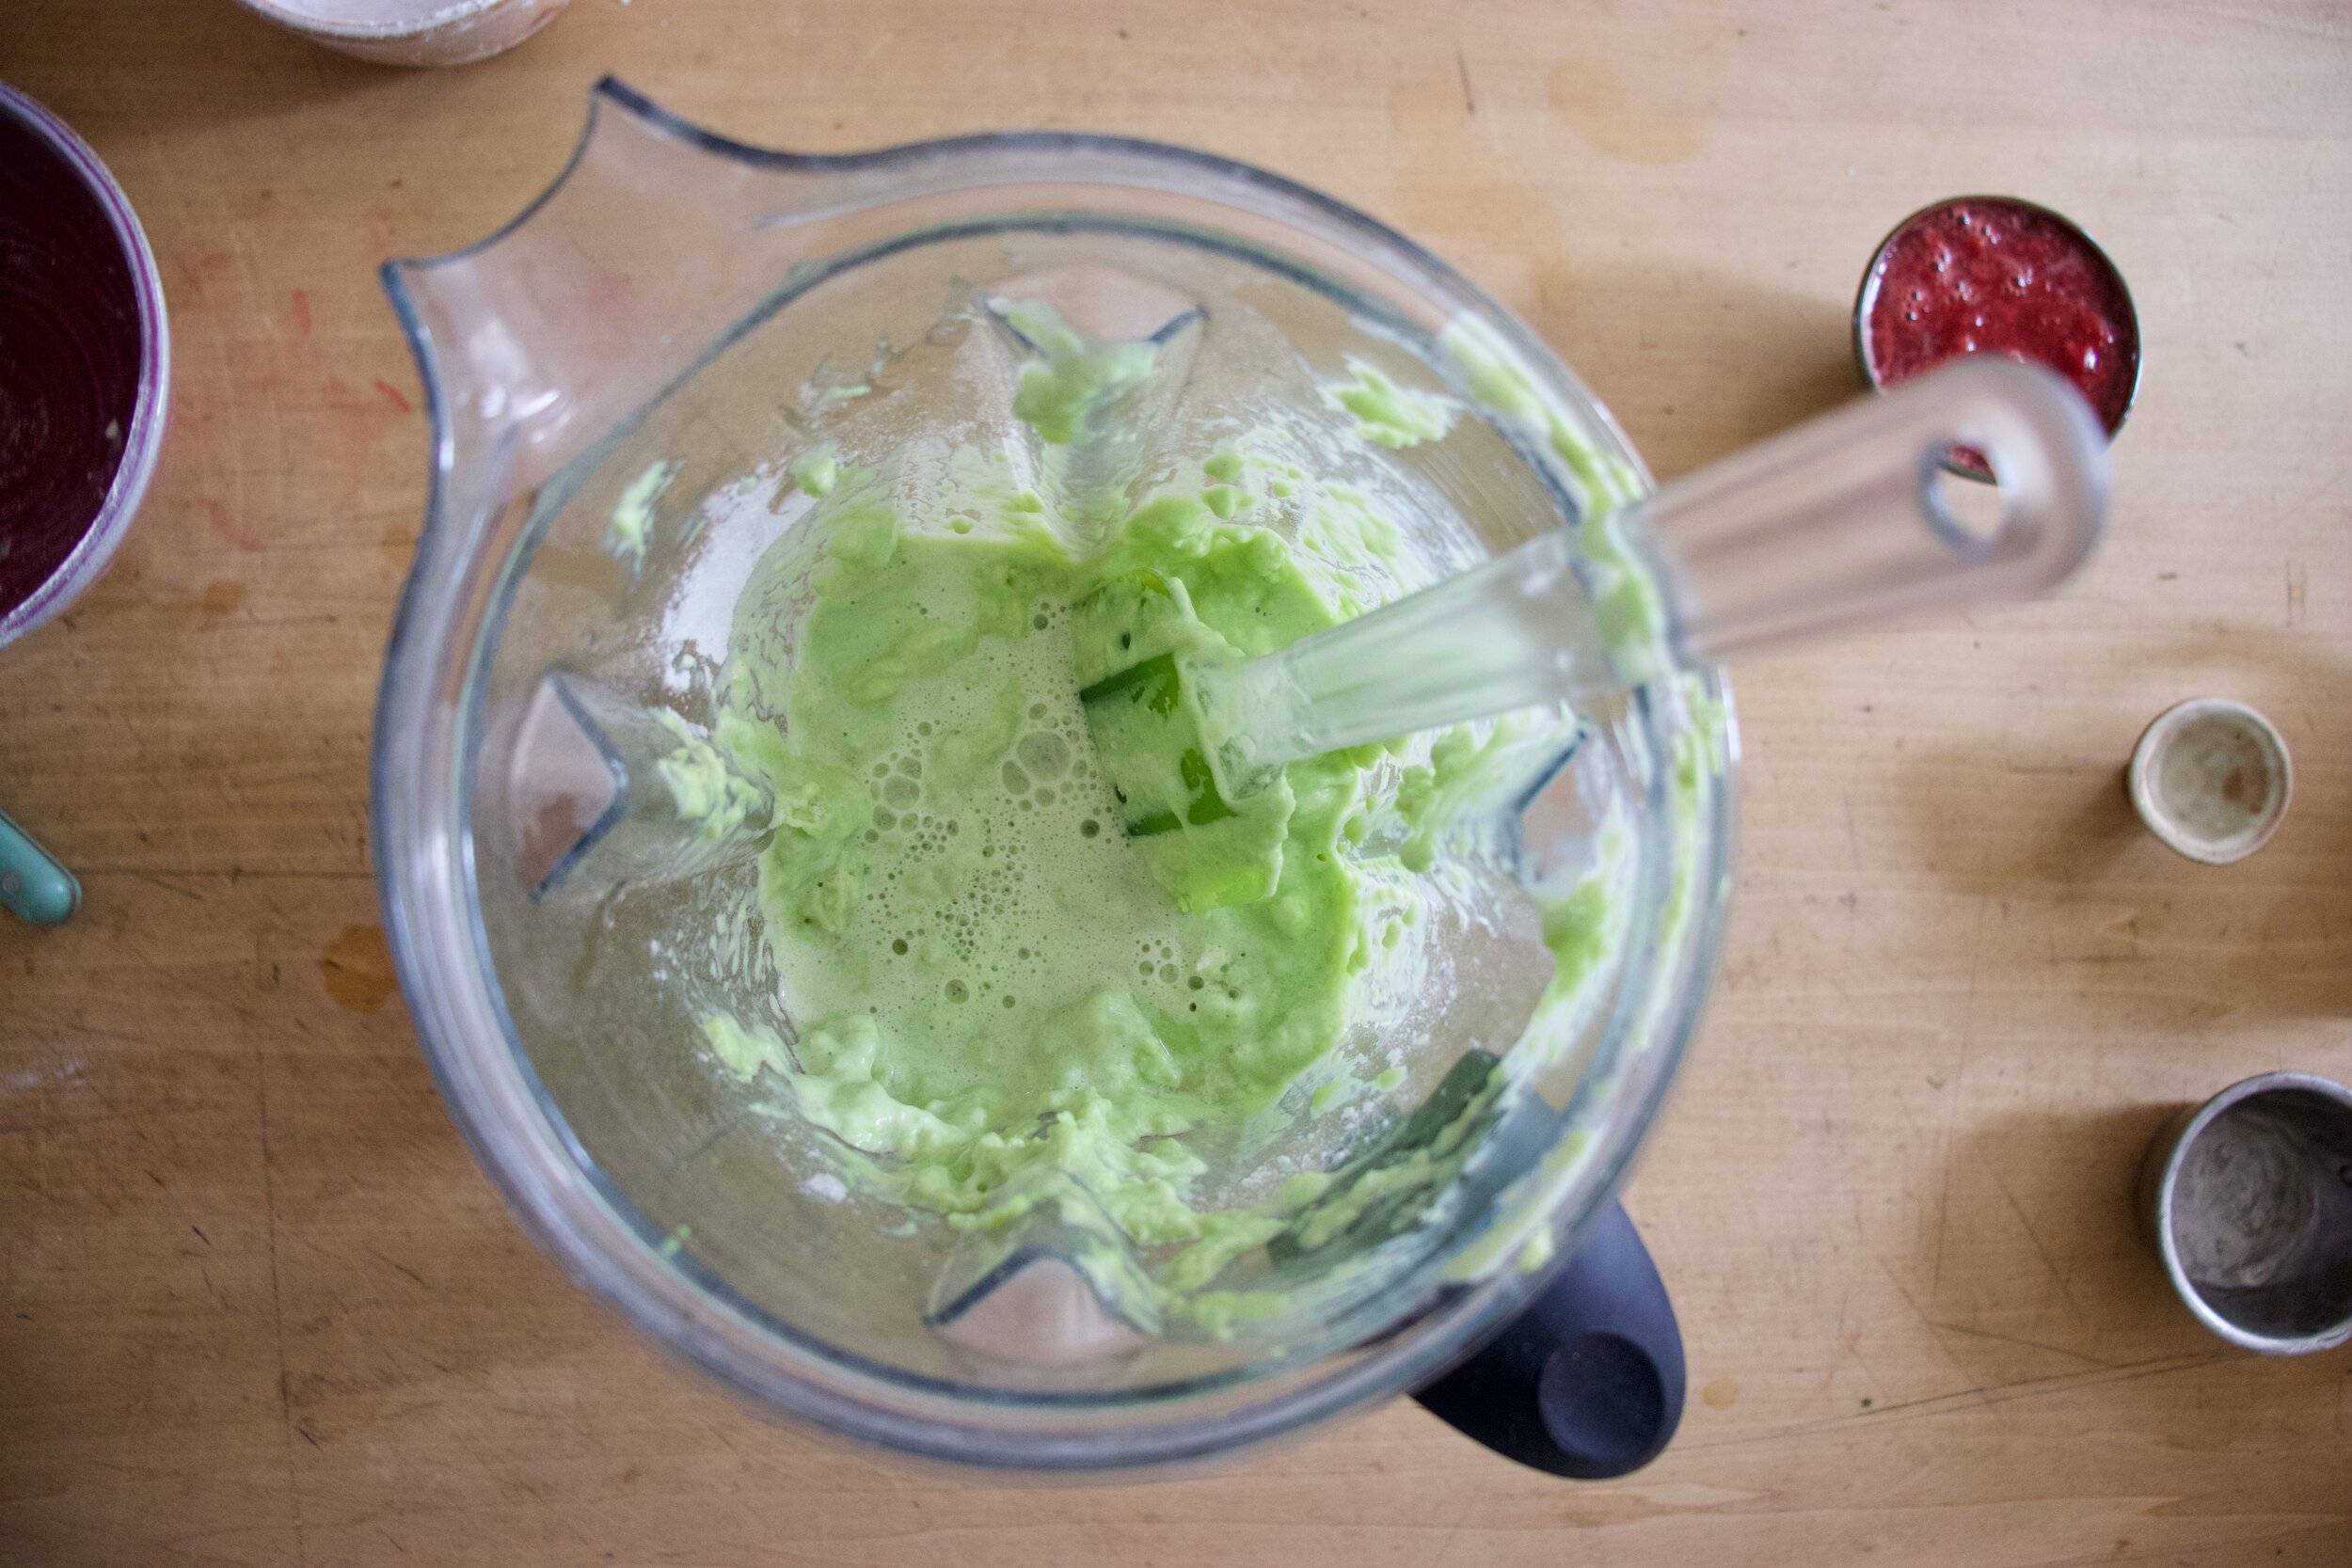
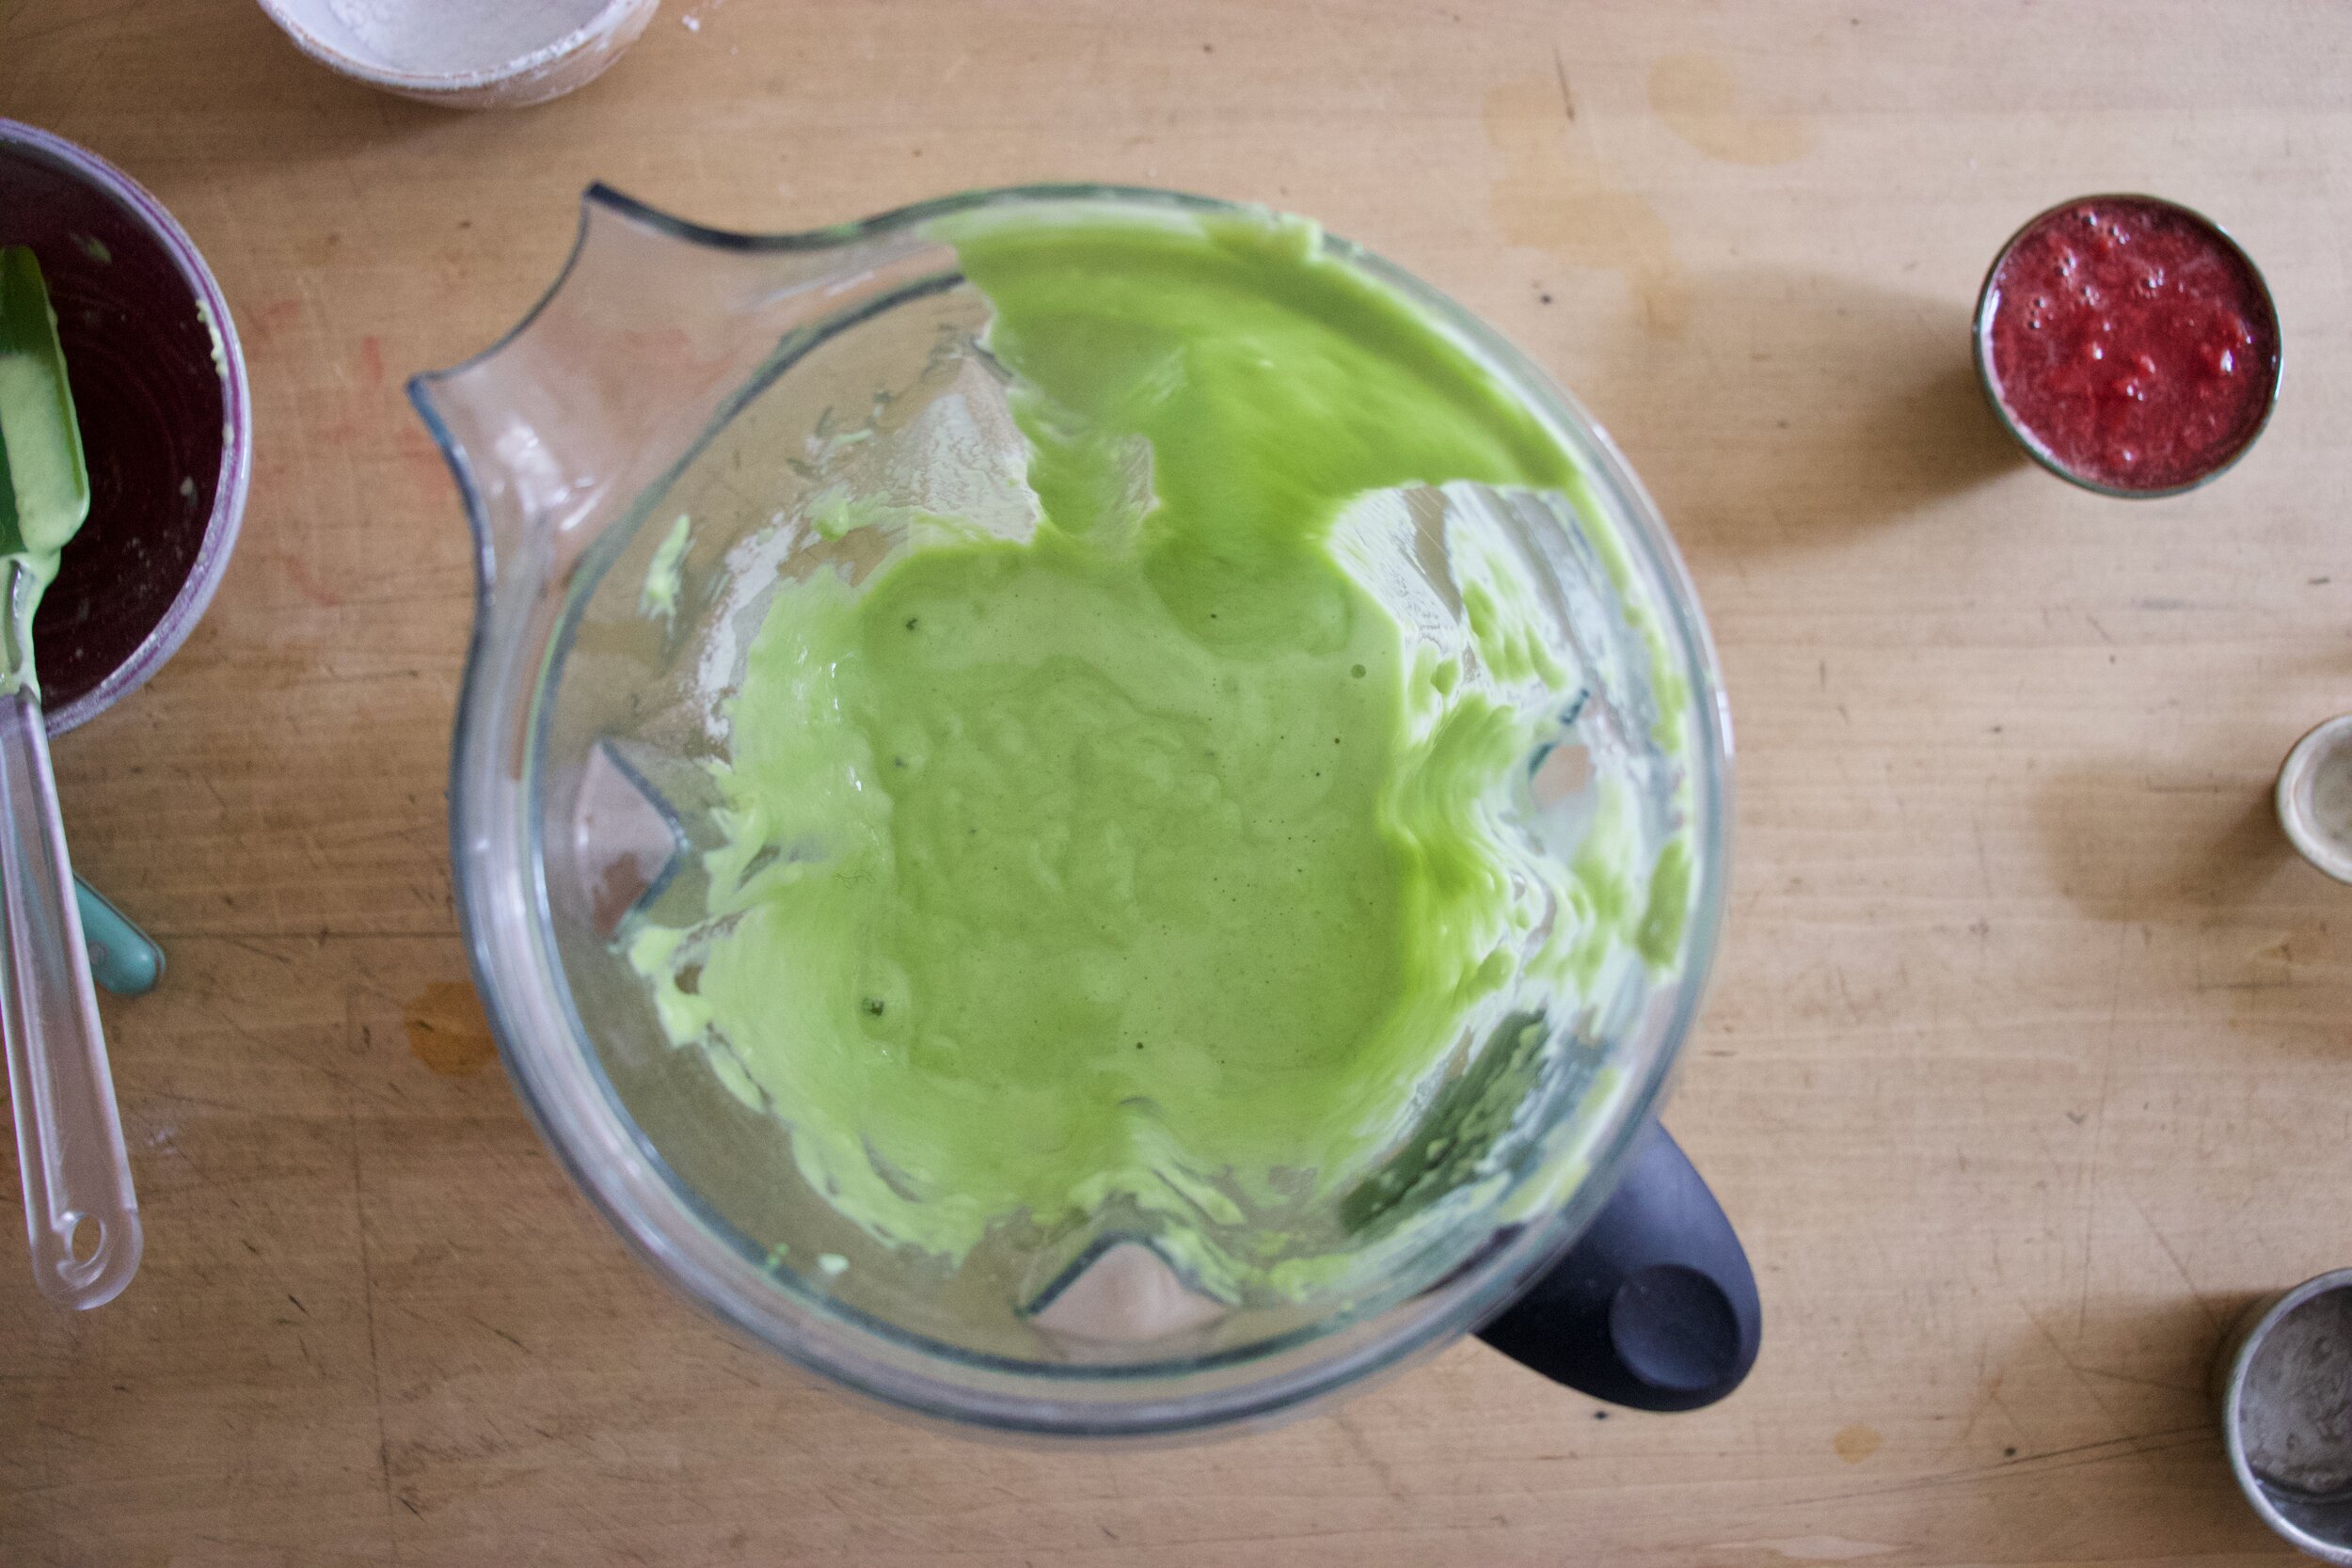
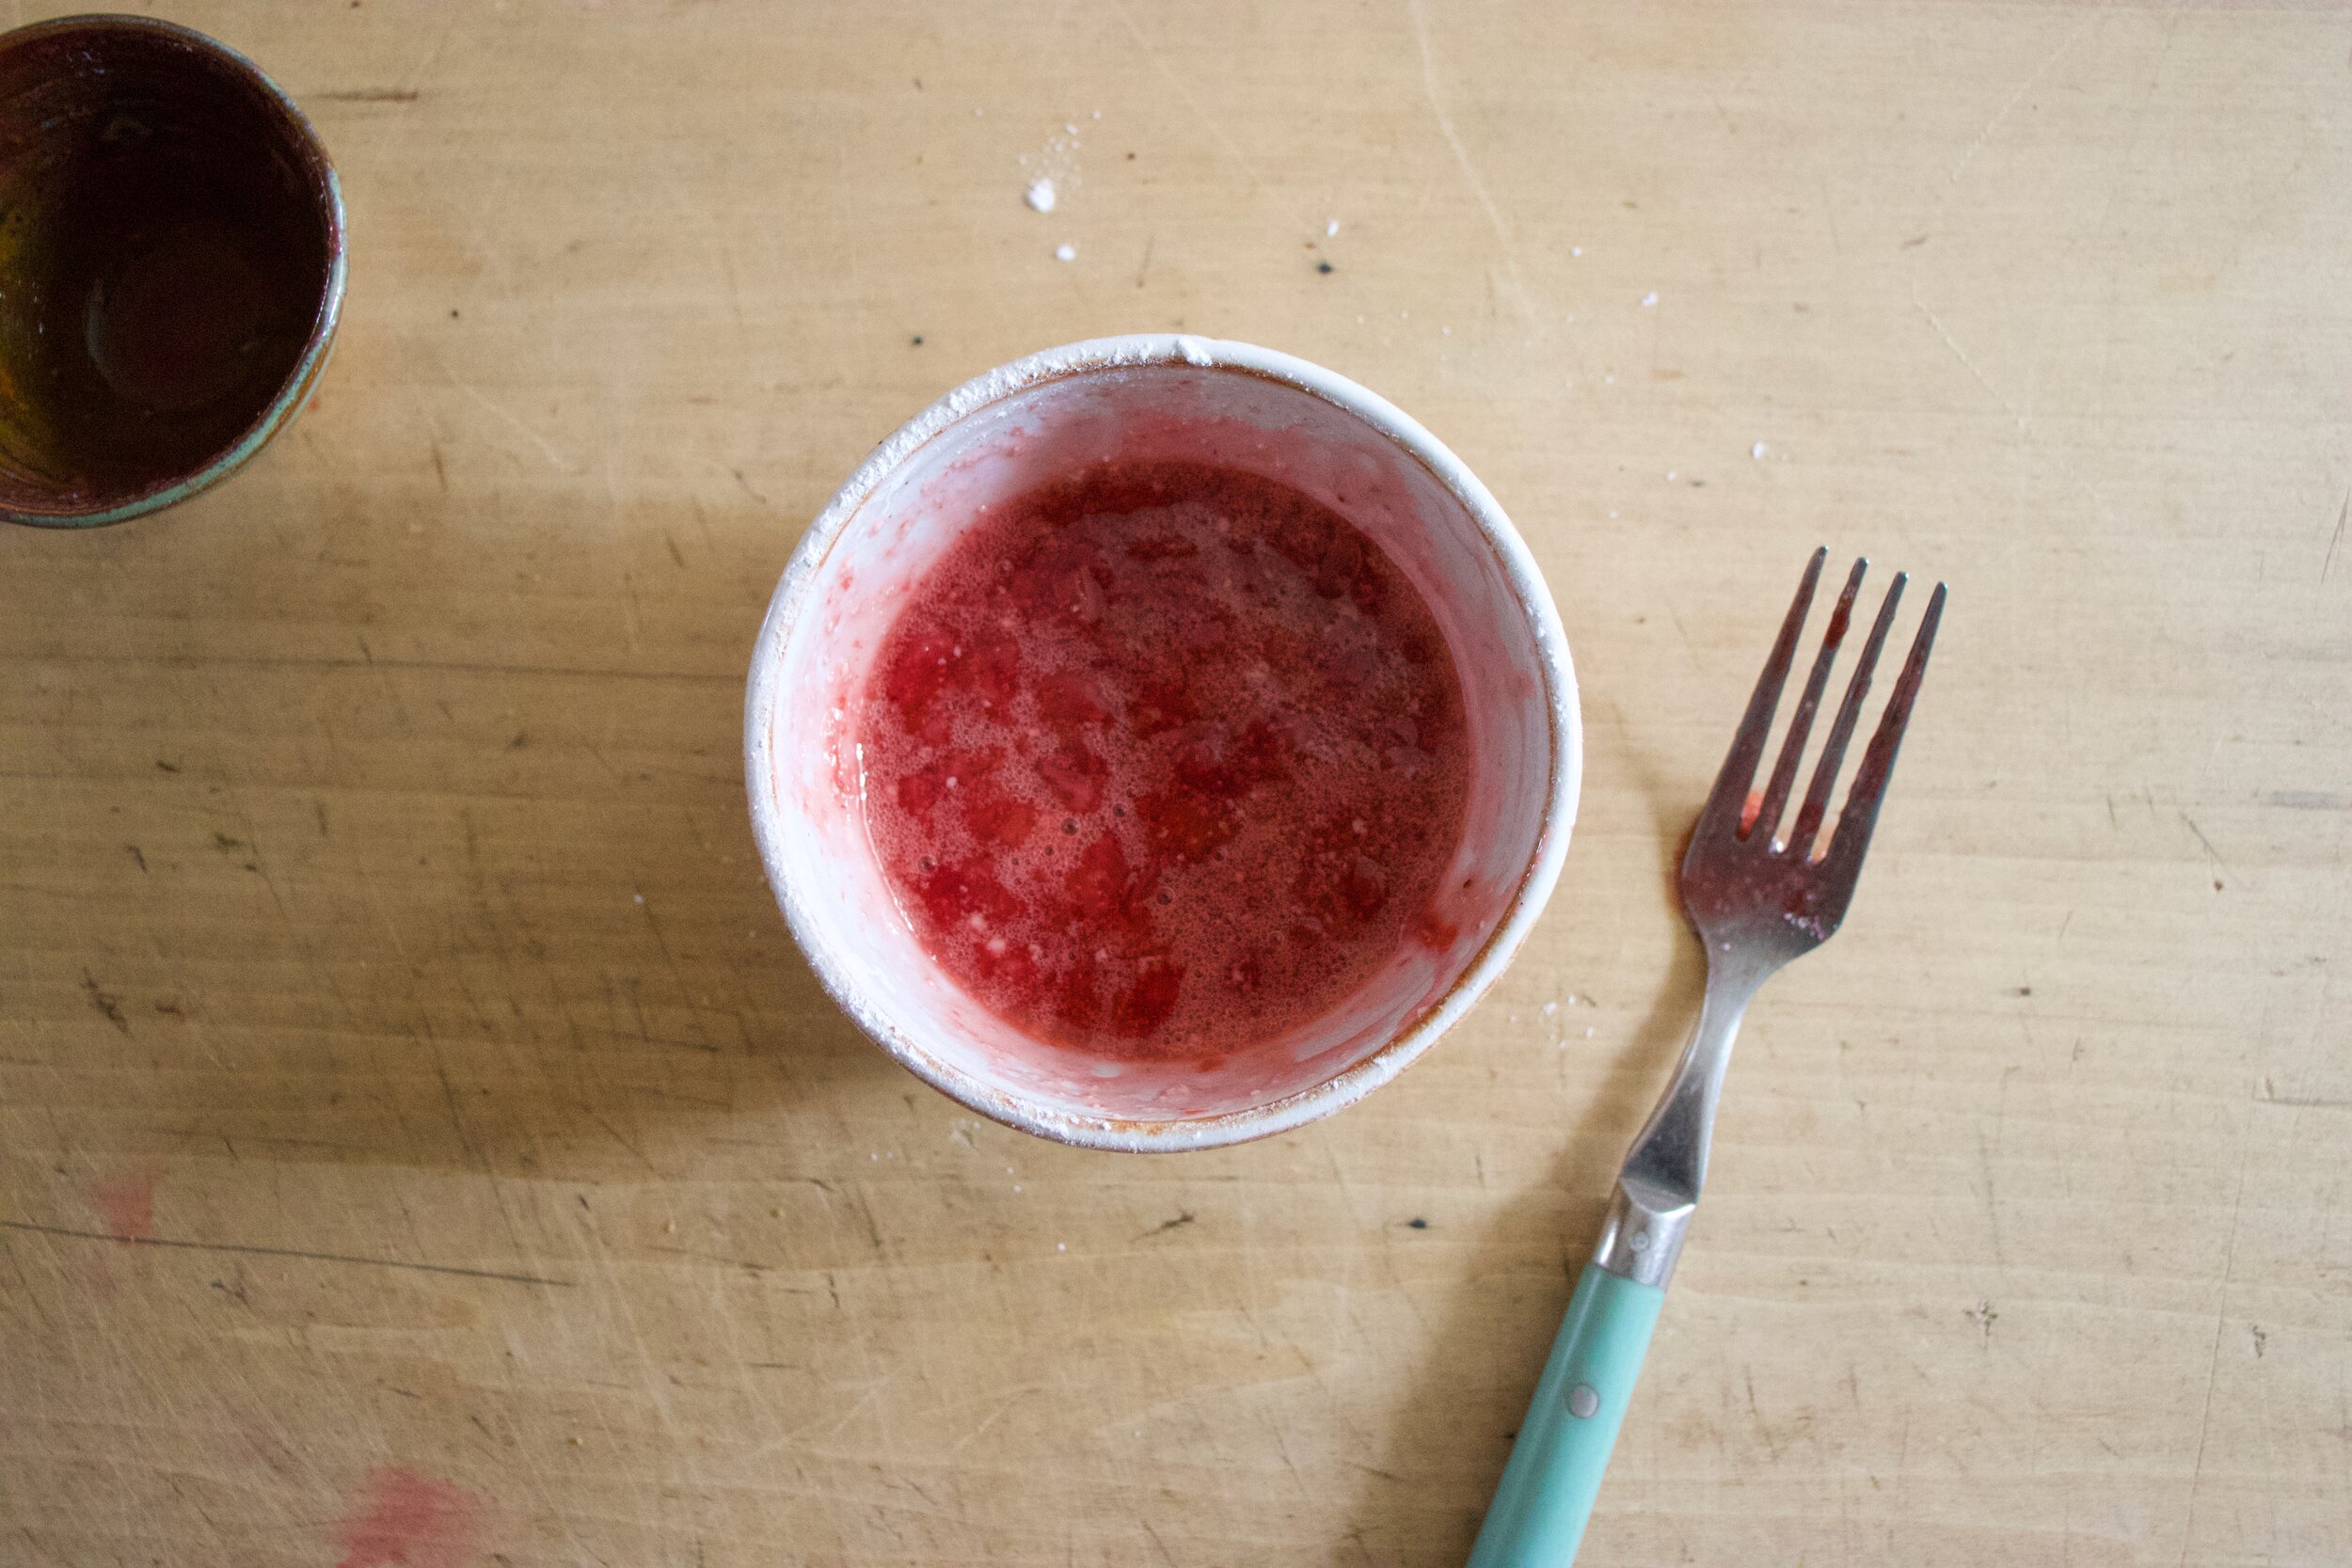
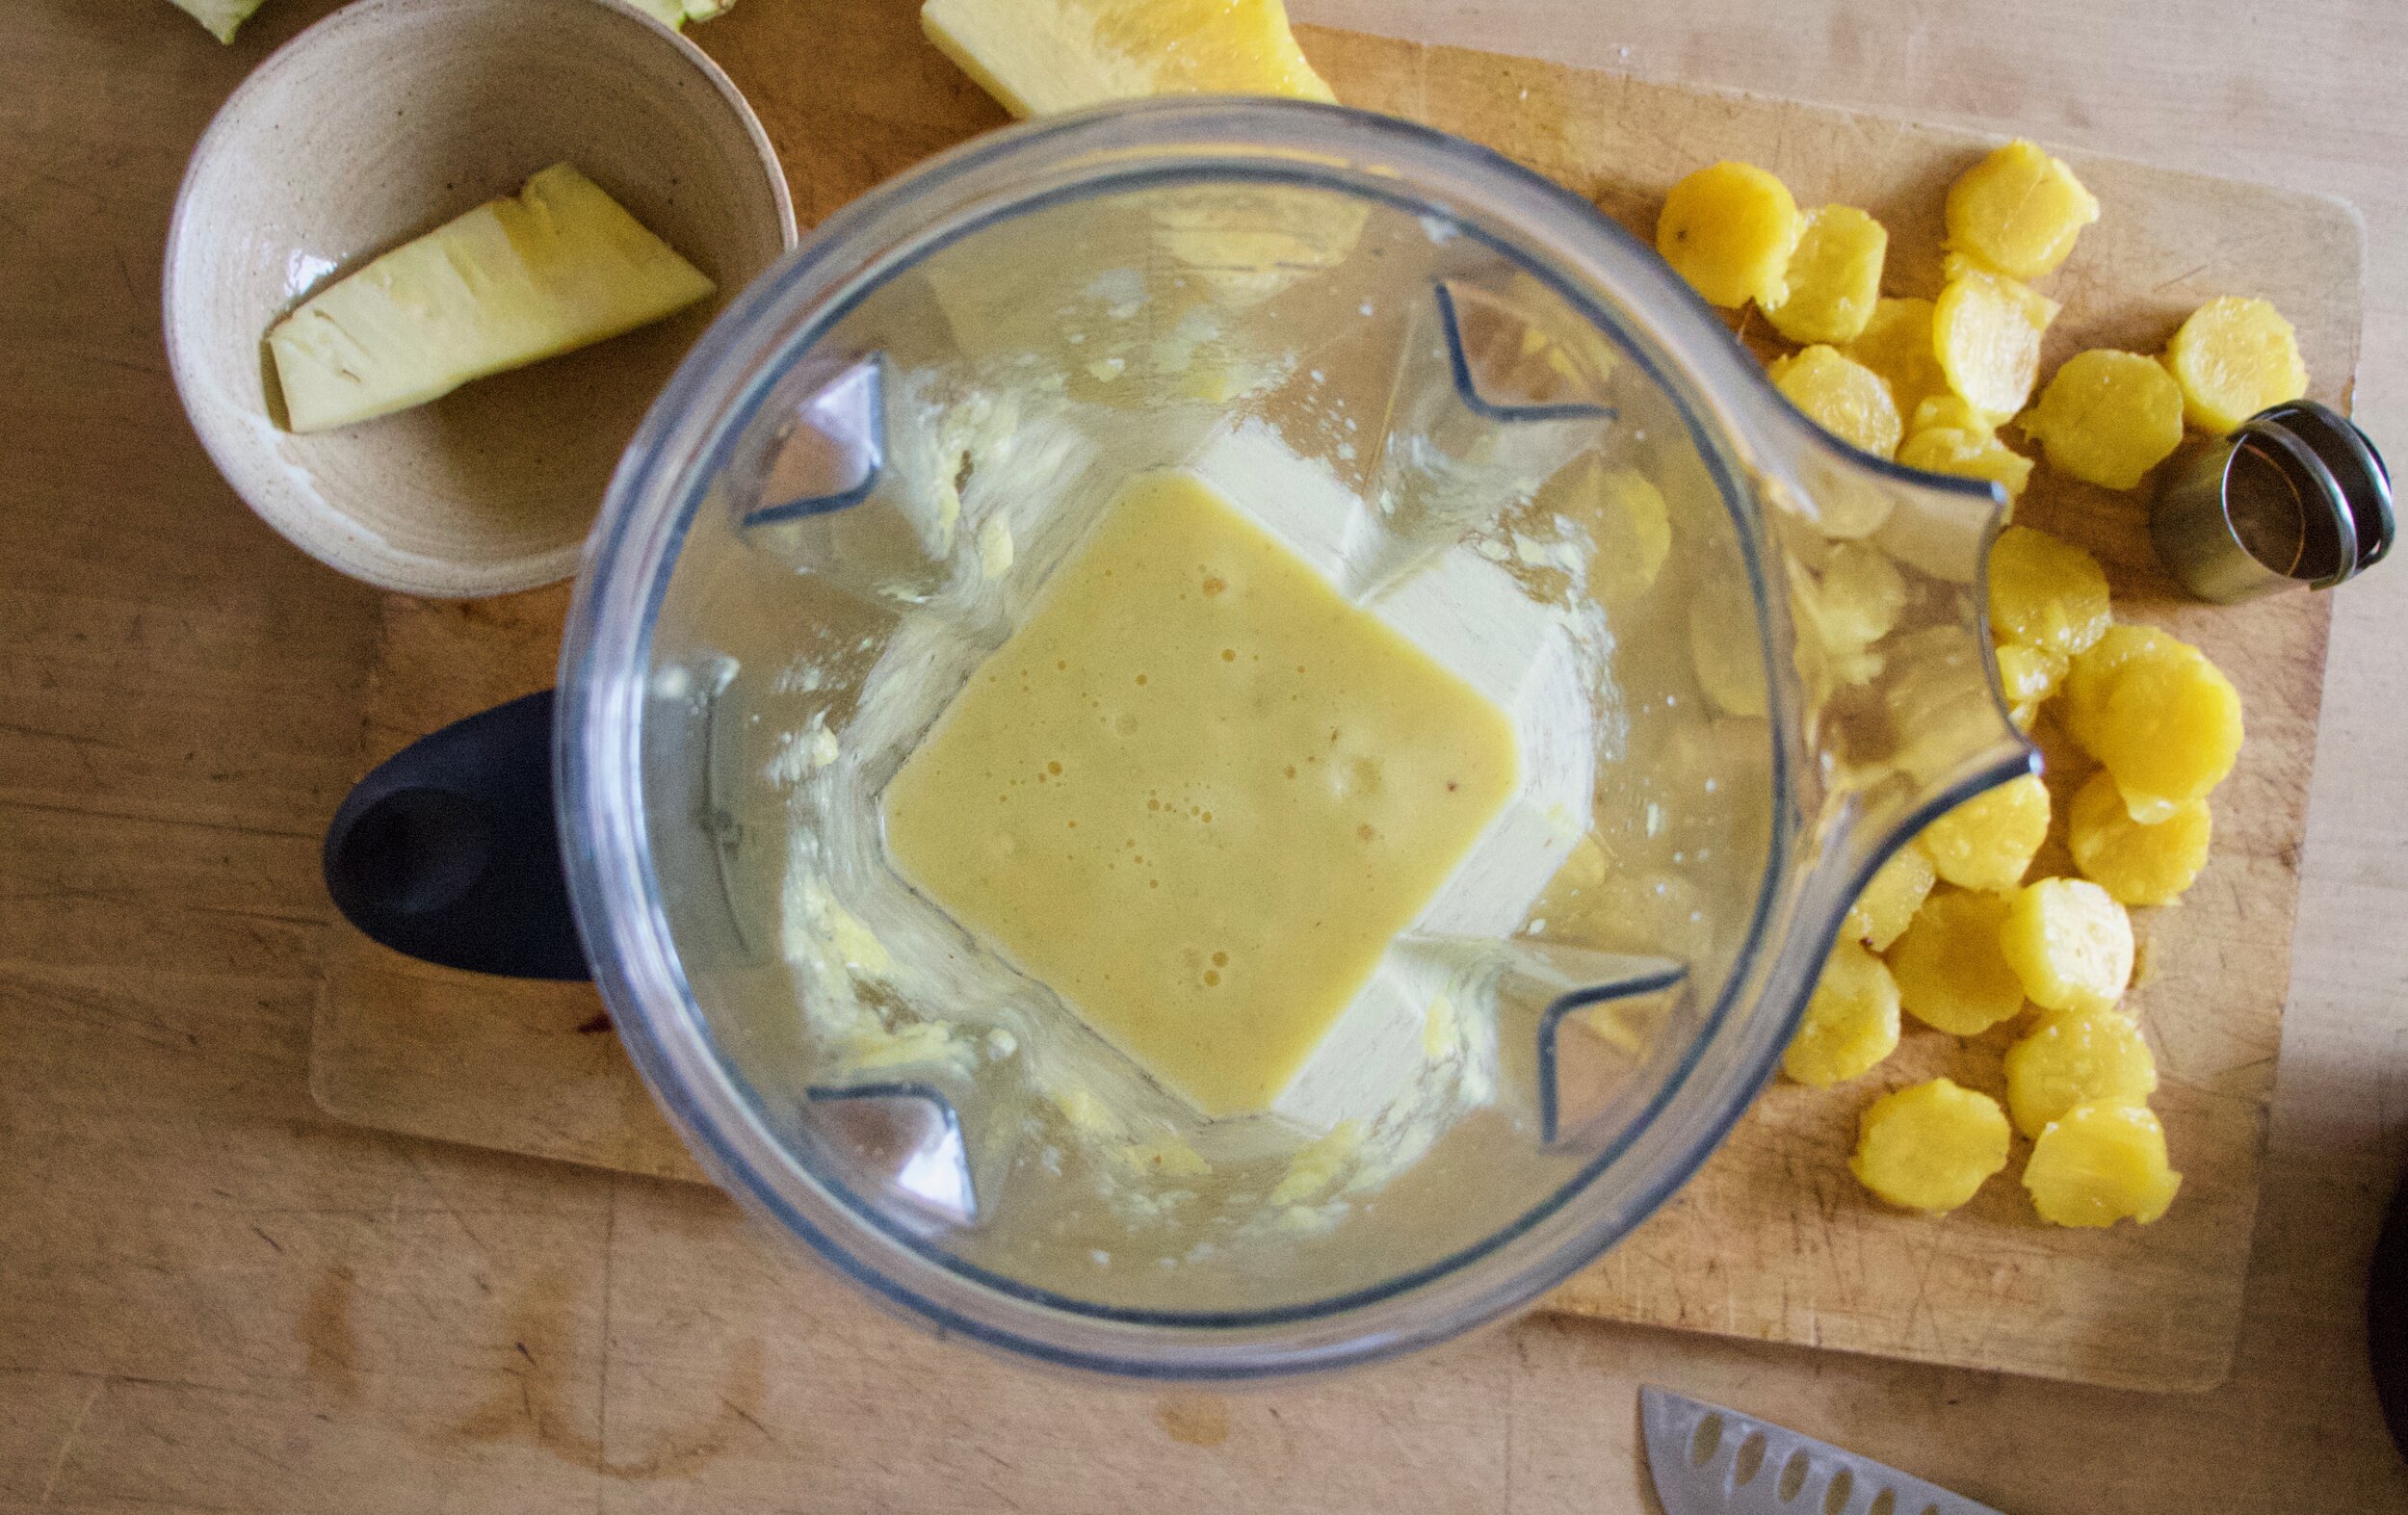
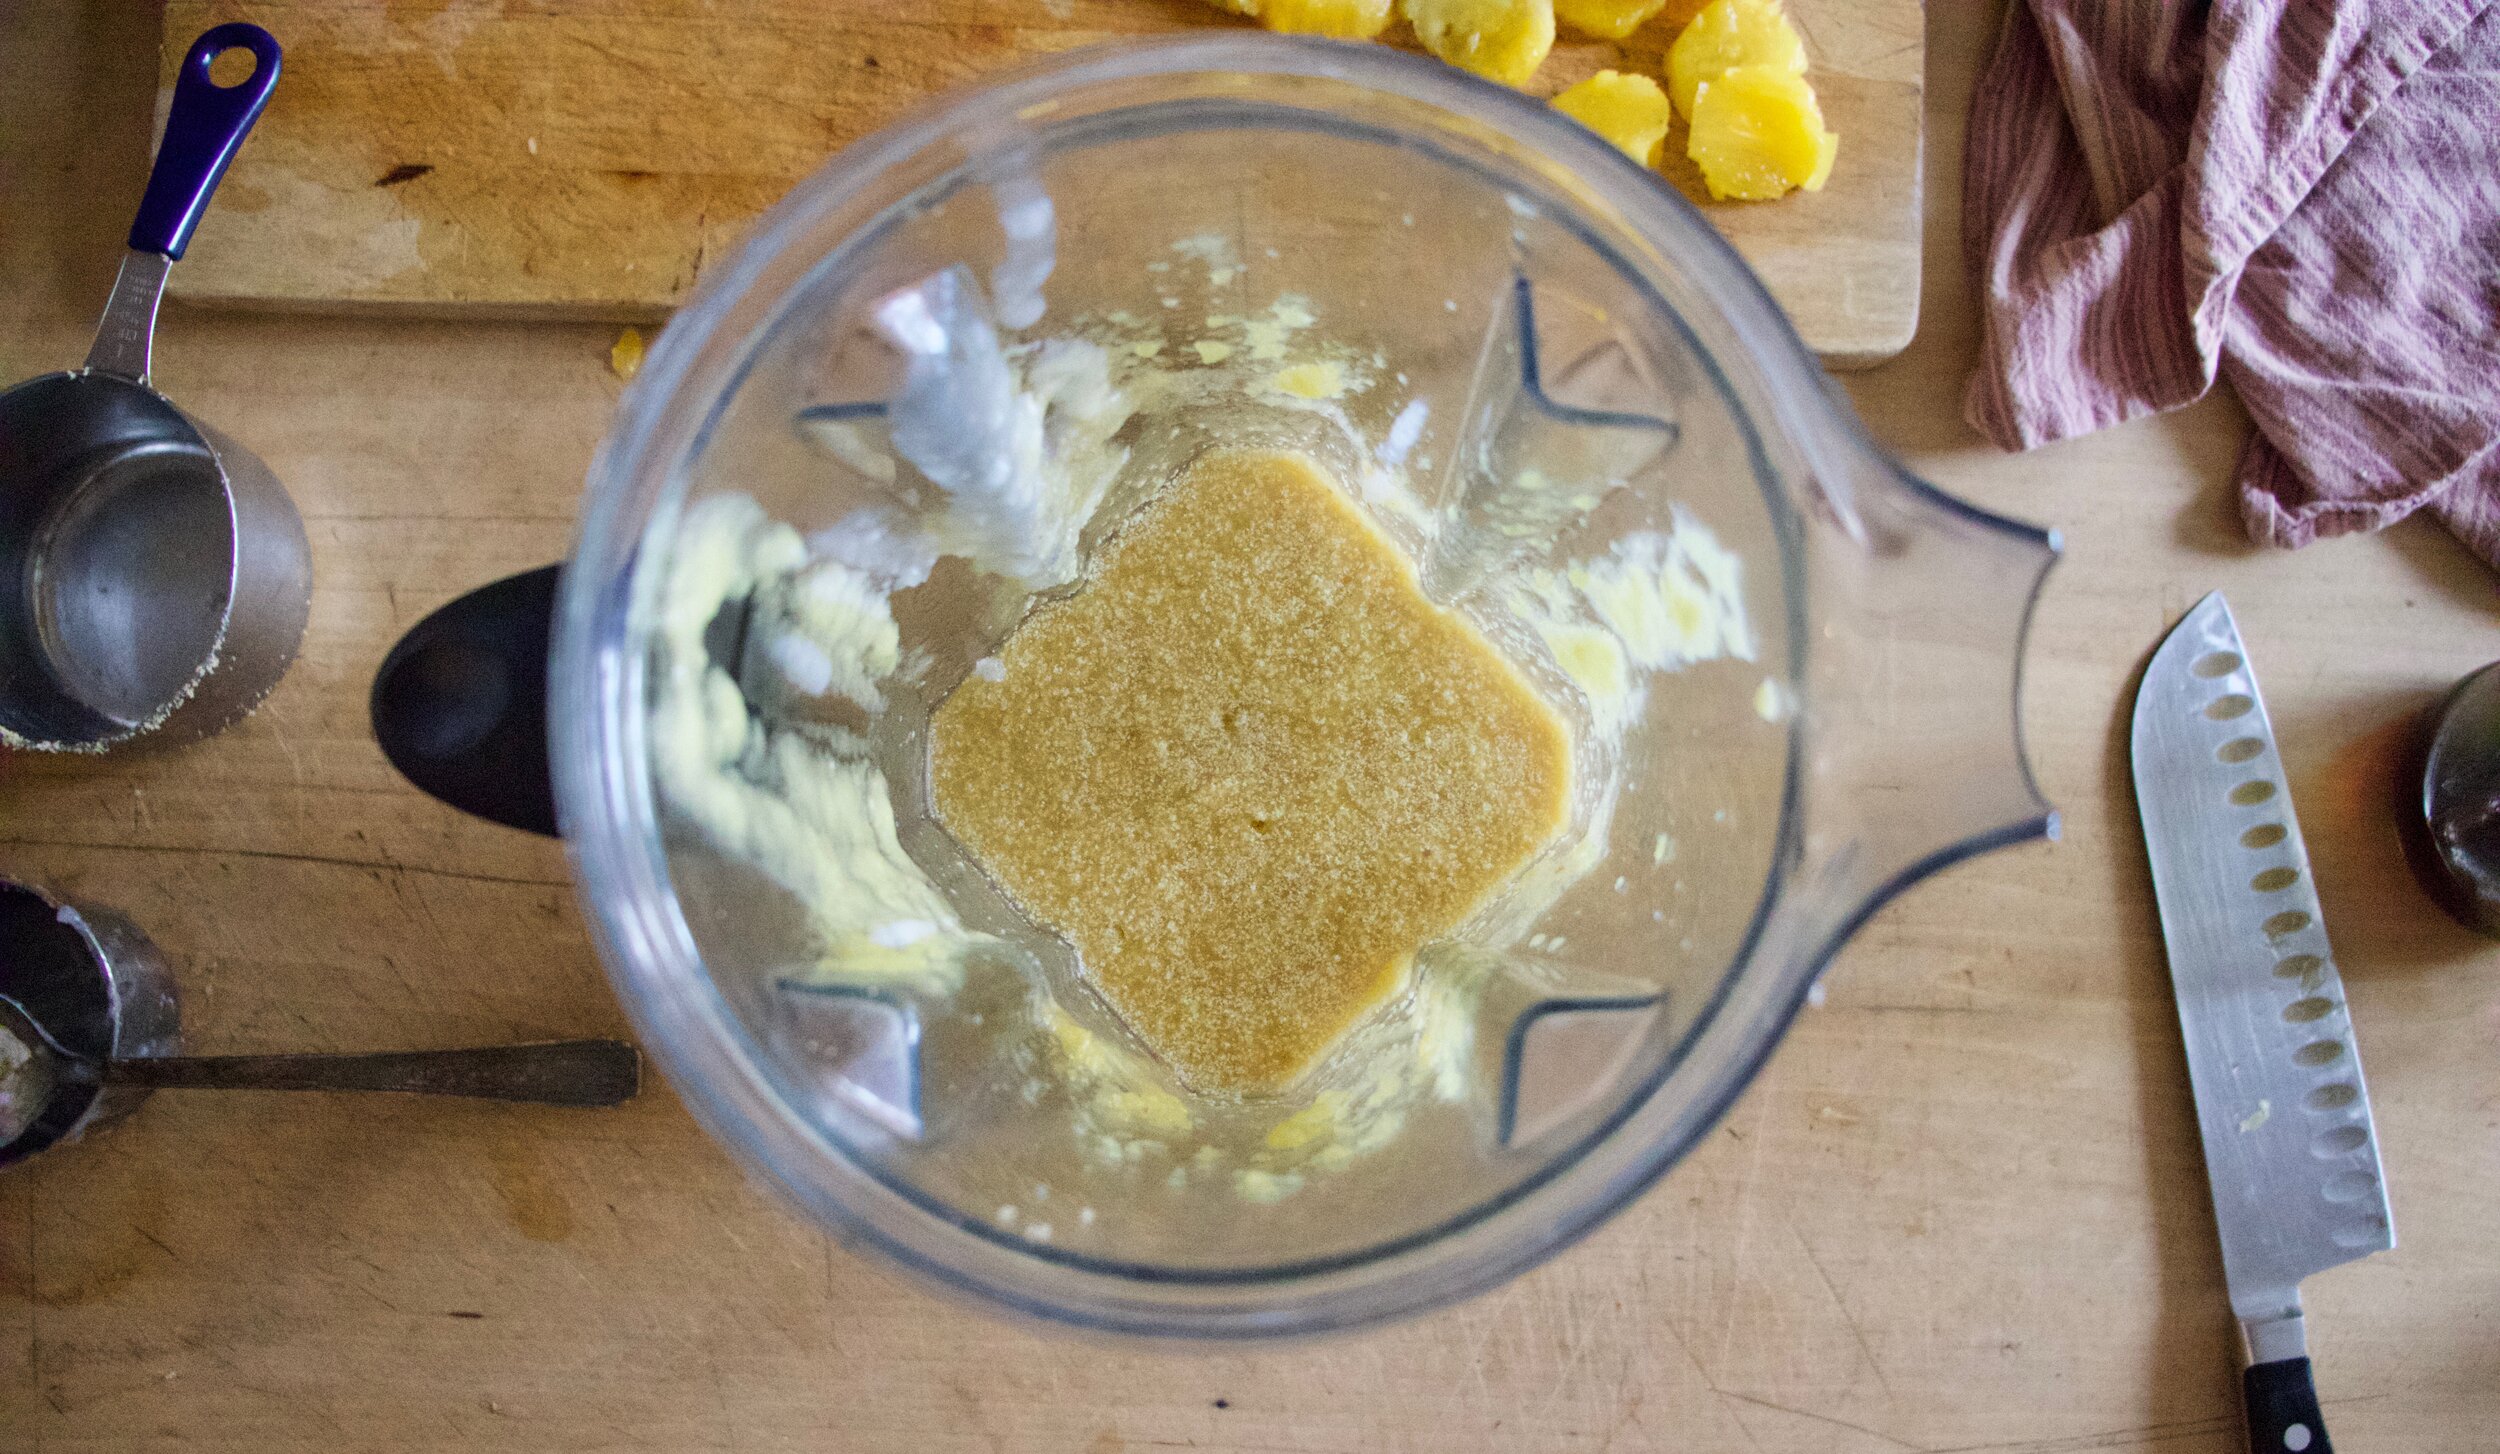
Make cake bater. Whisk together all the dry until really really mixed and there are no clumps then add in all the wet.

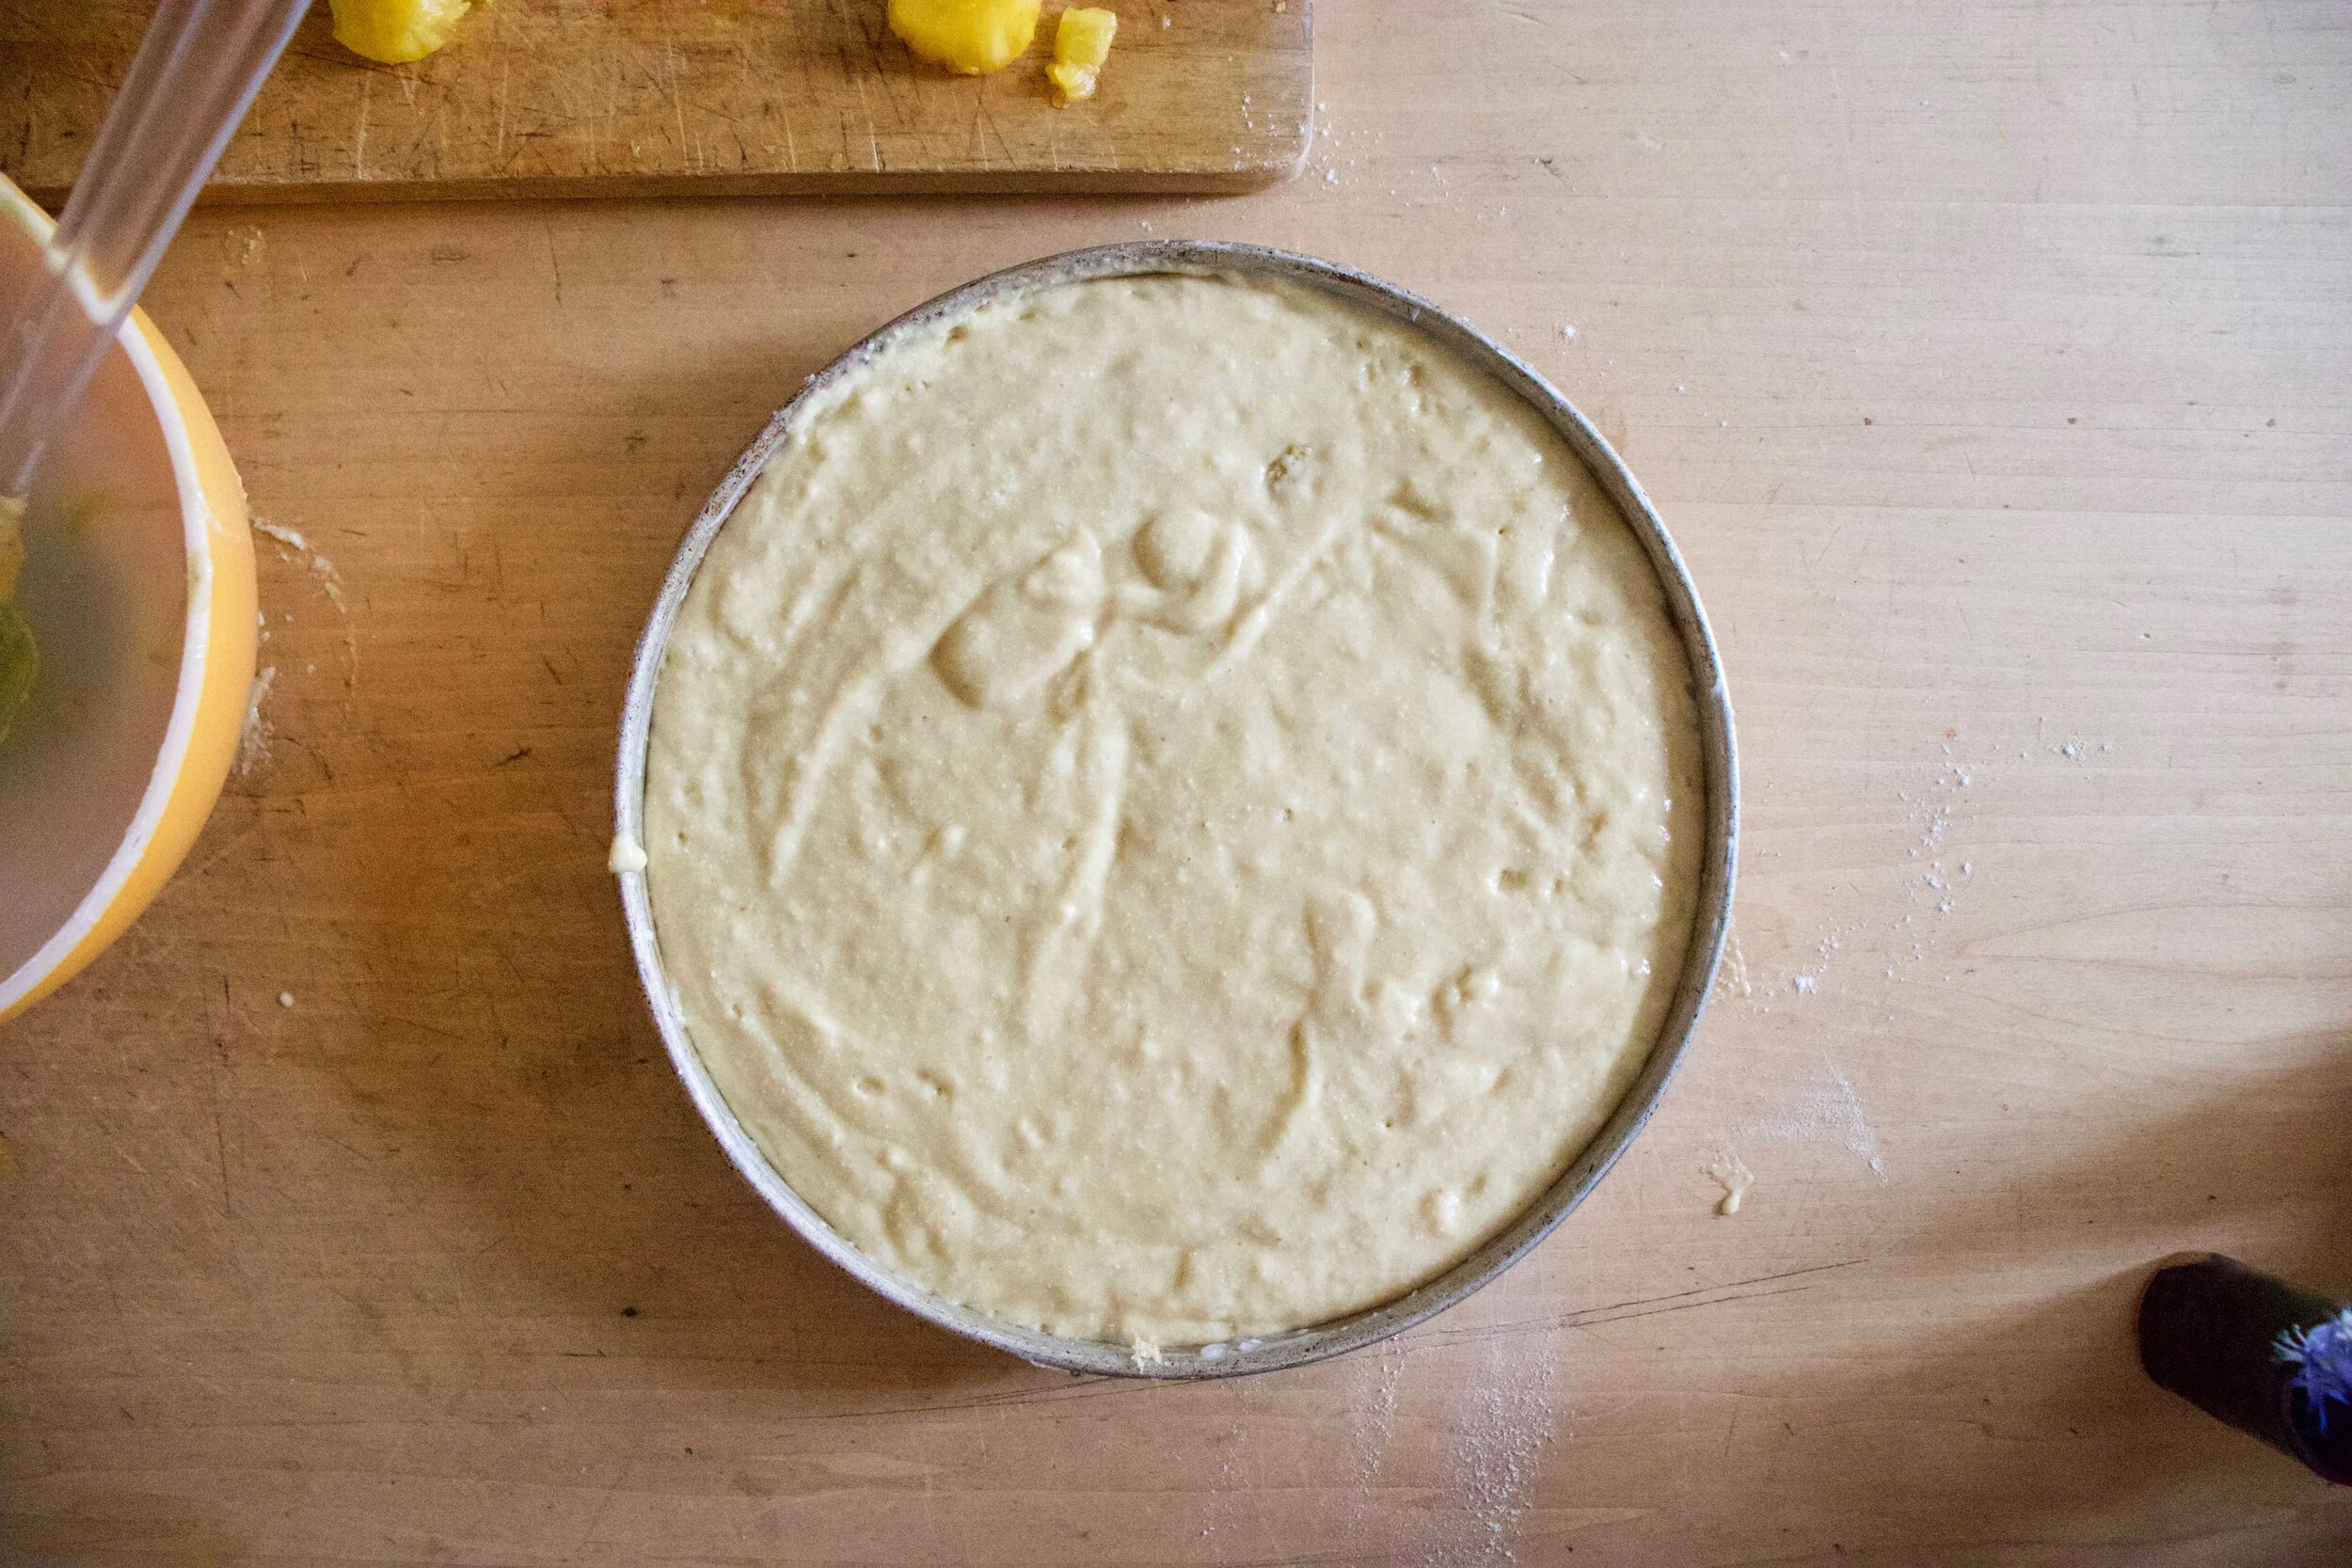
Mixed and ready batter.

IMG_9776.jpg
IMG_9780.jpg

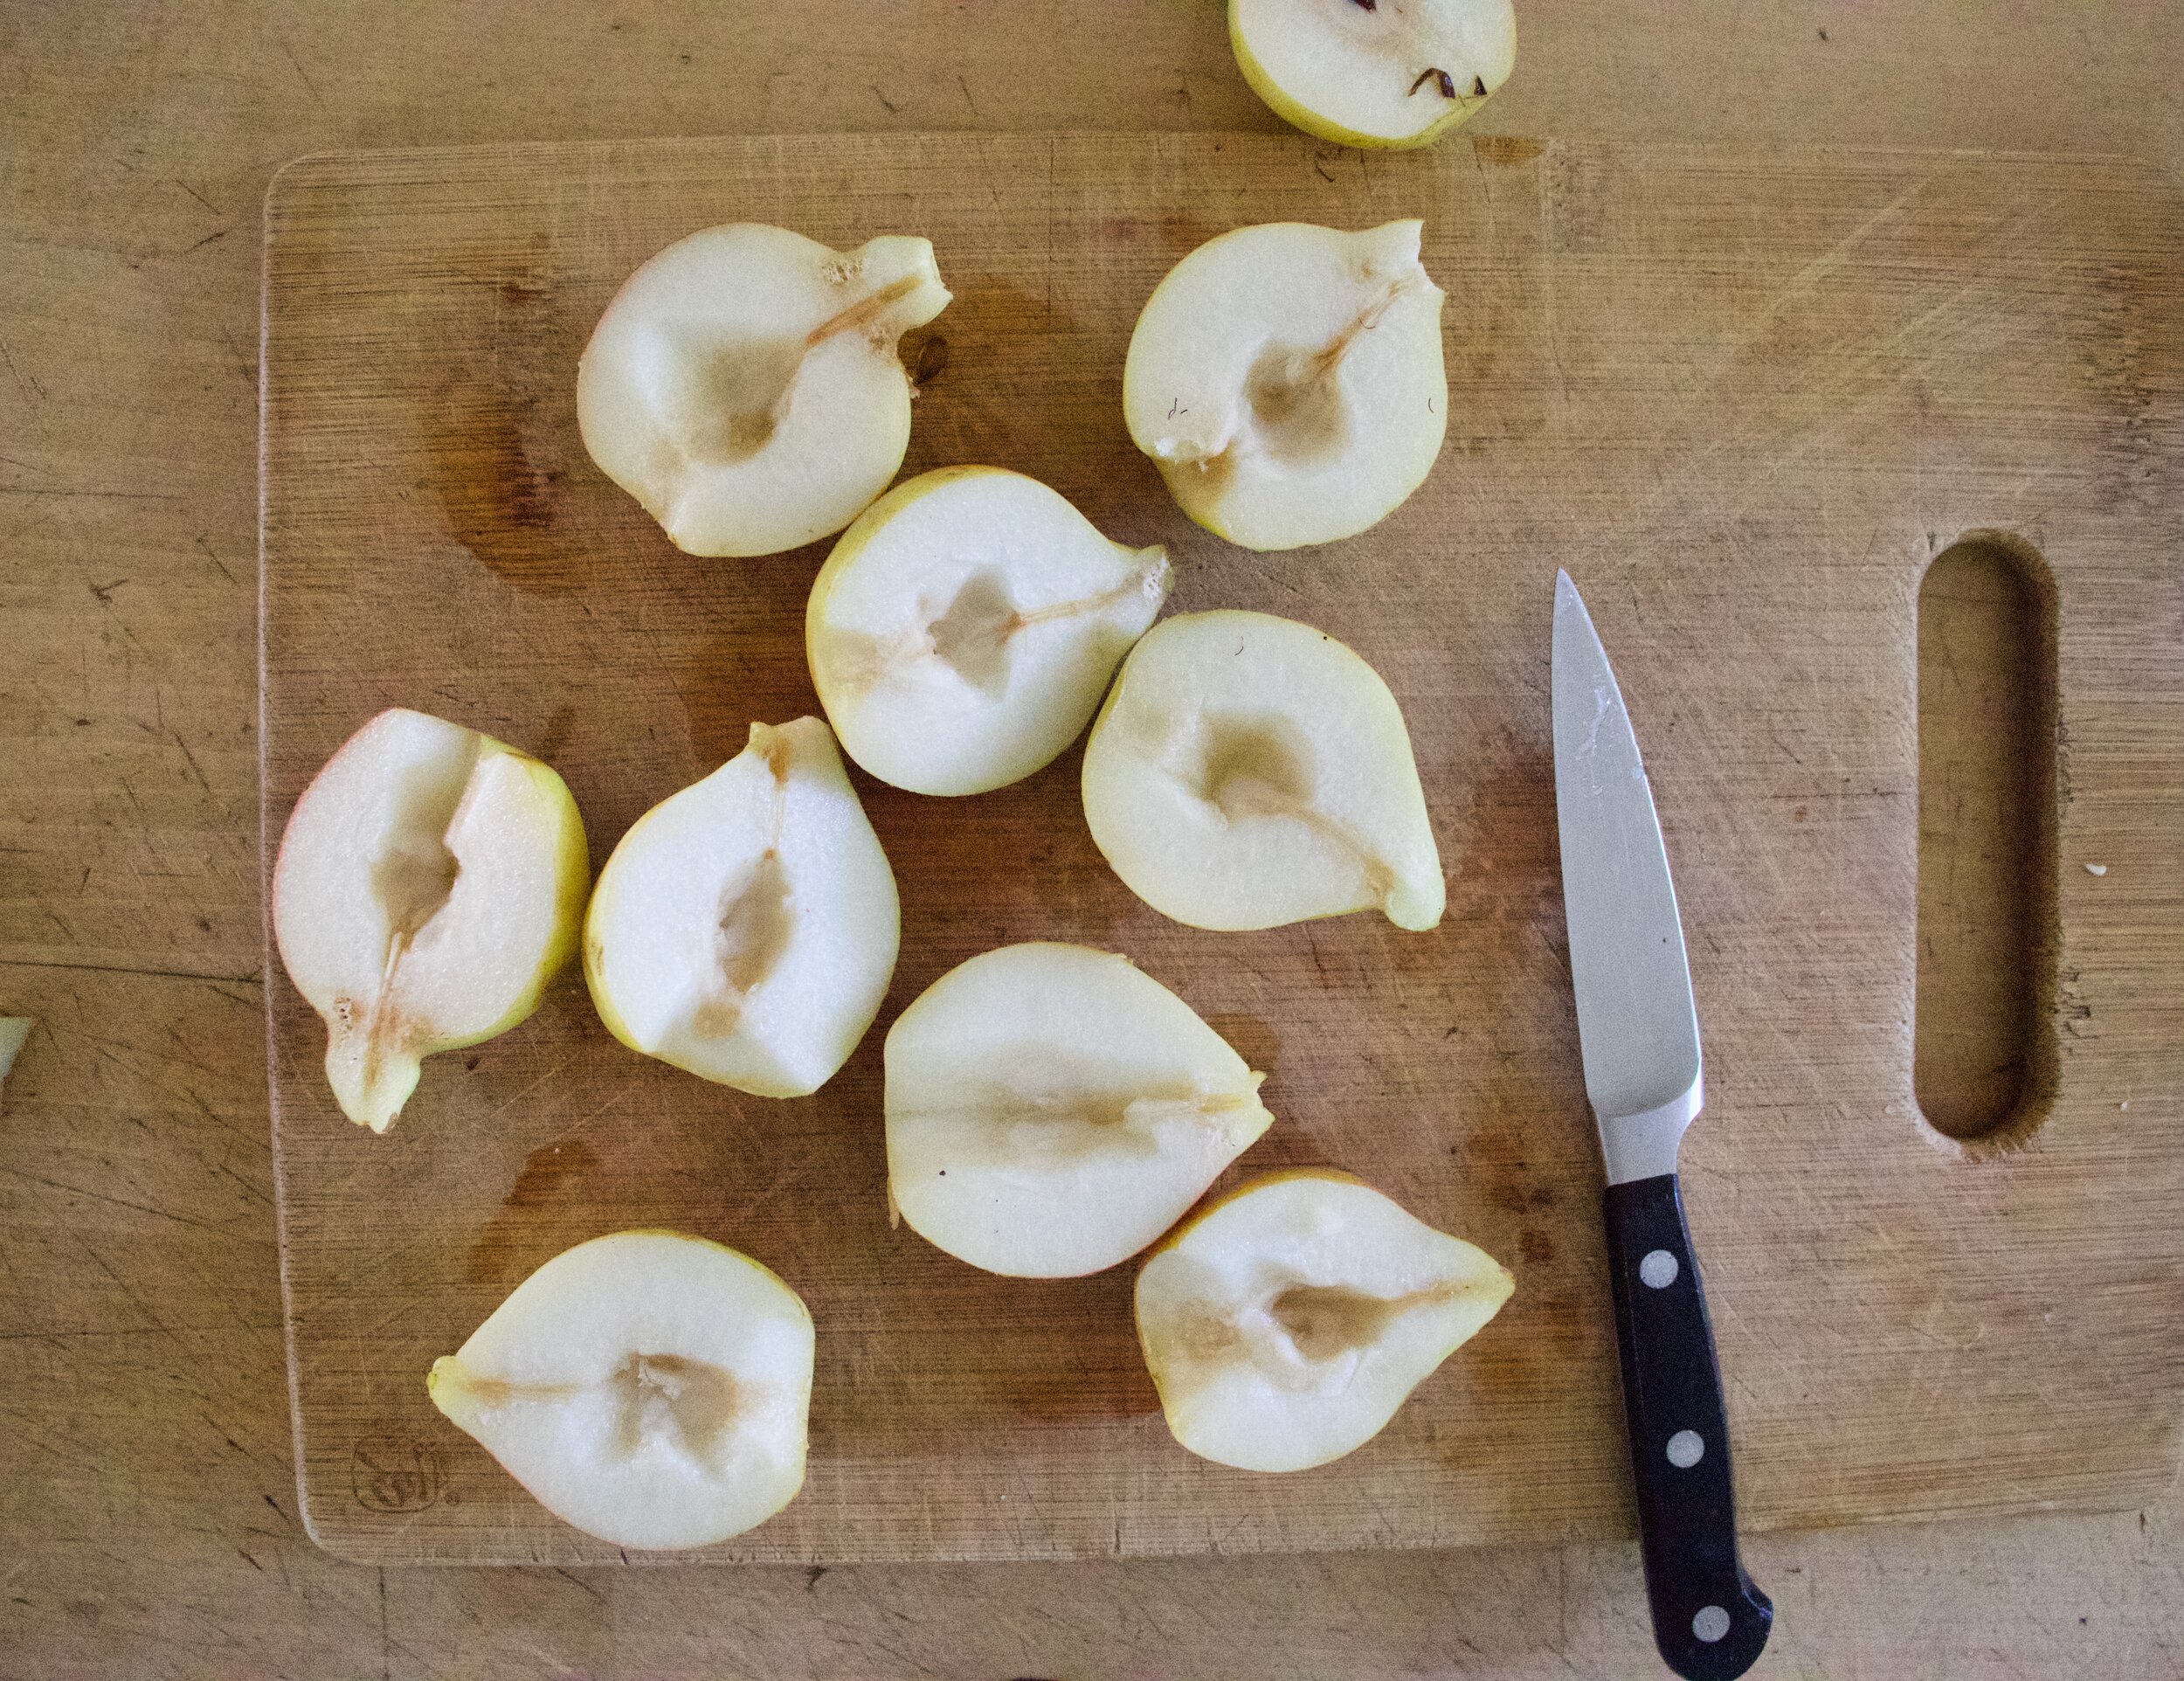
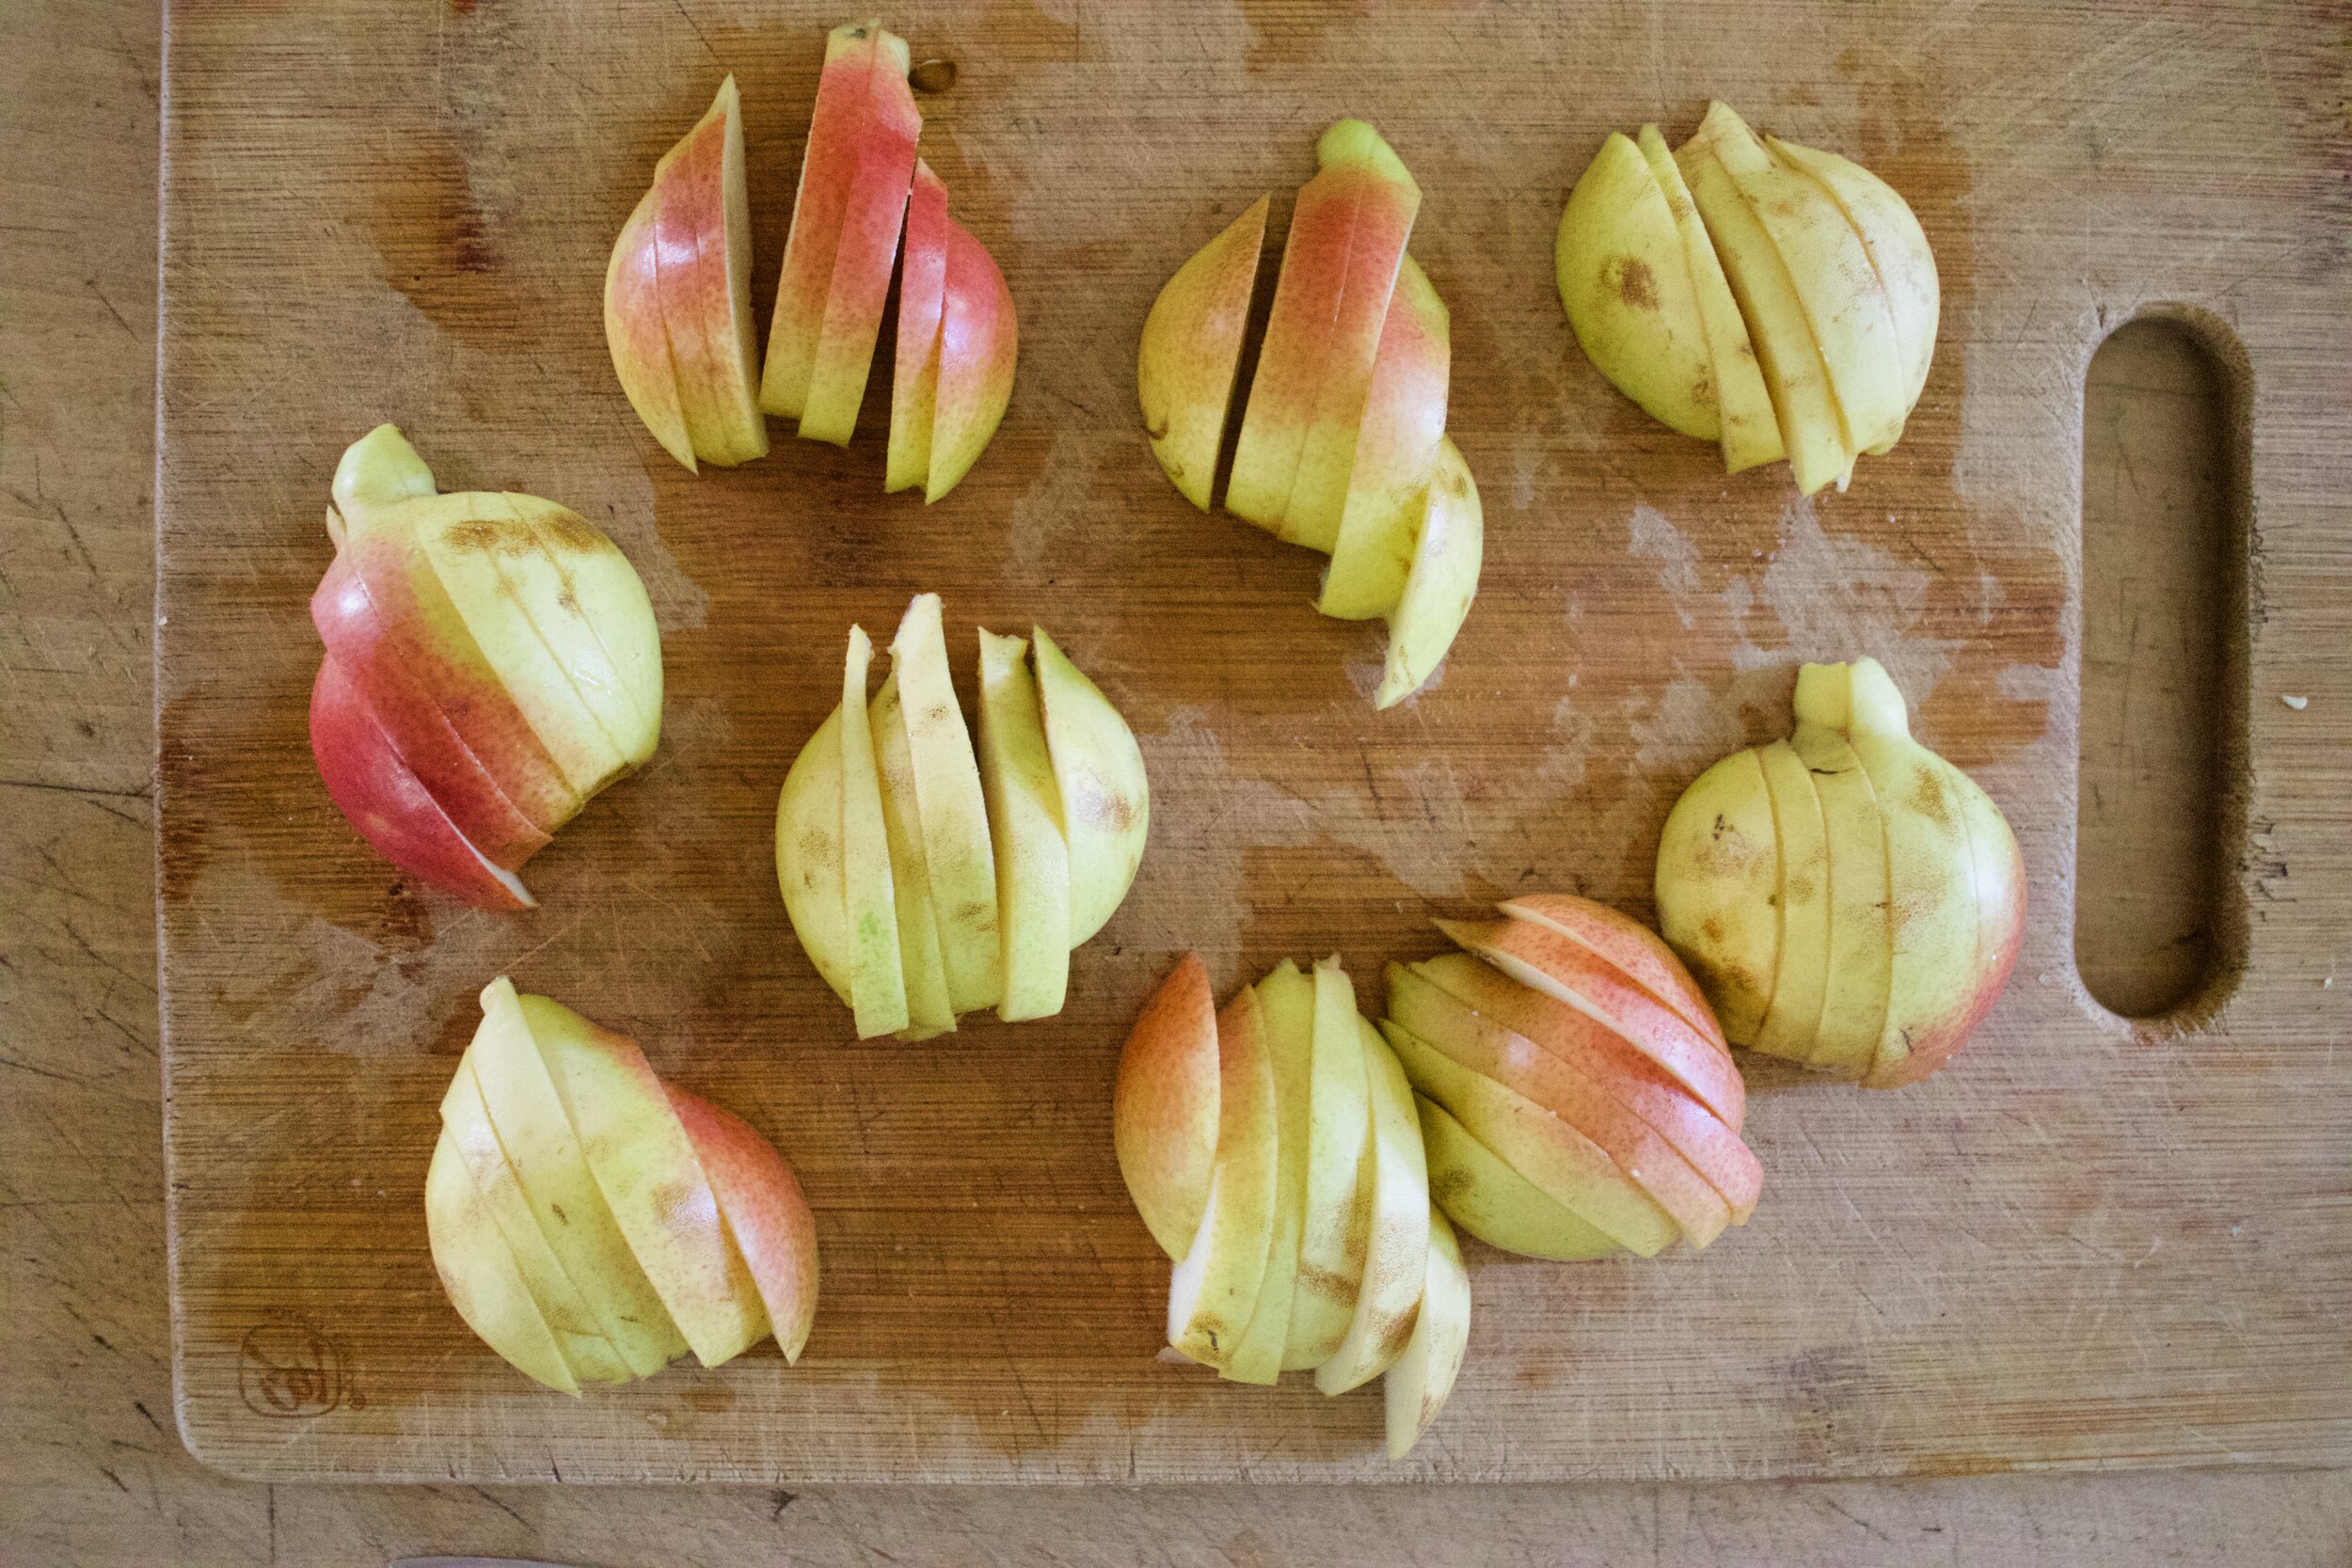
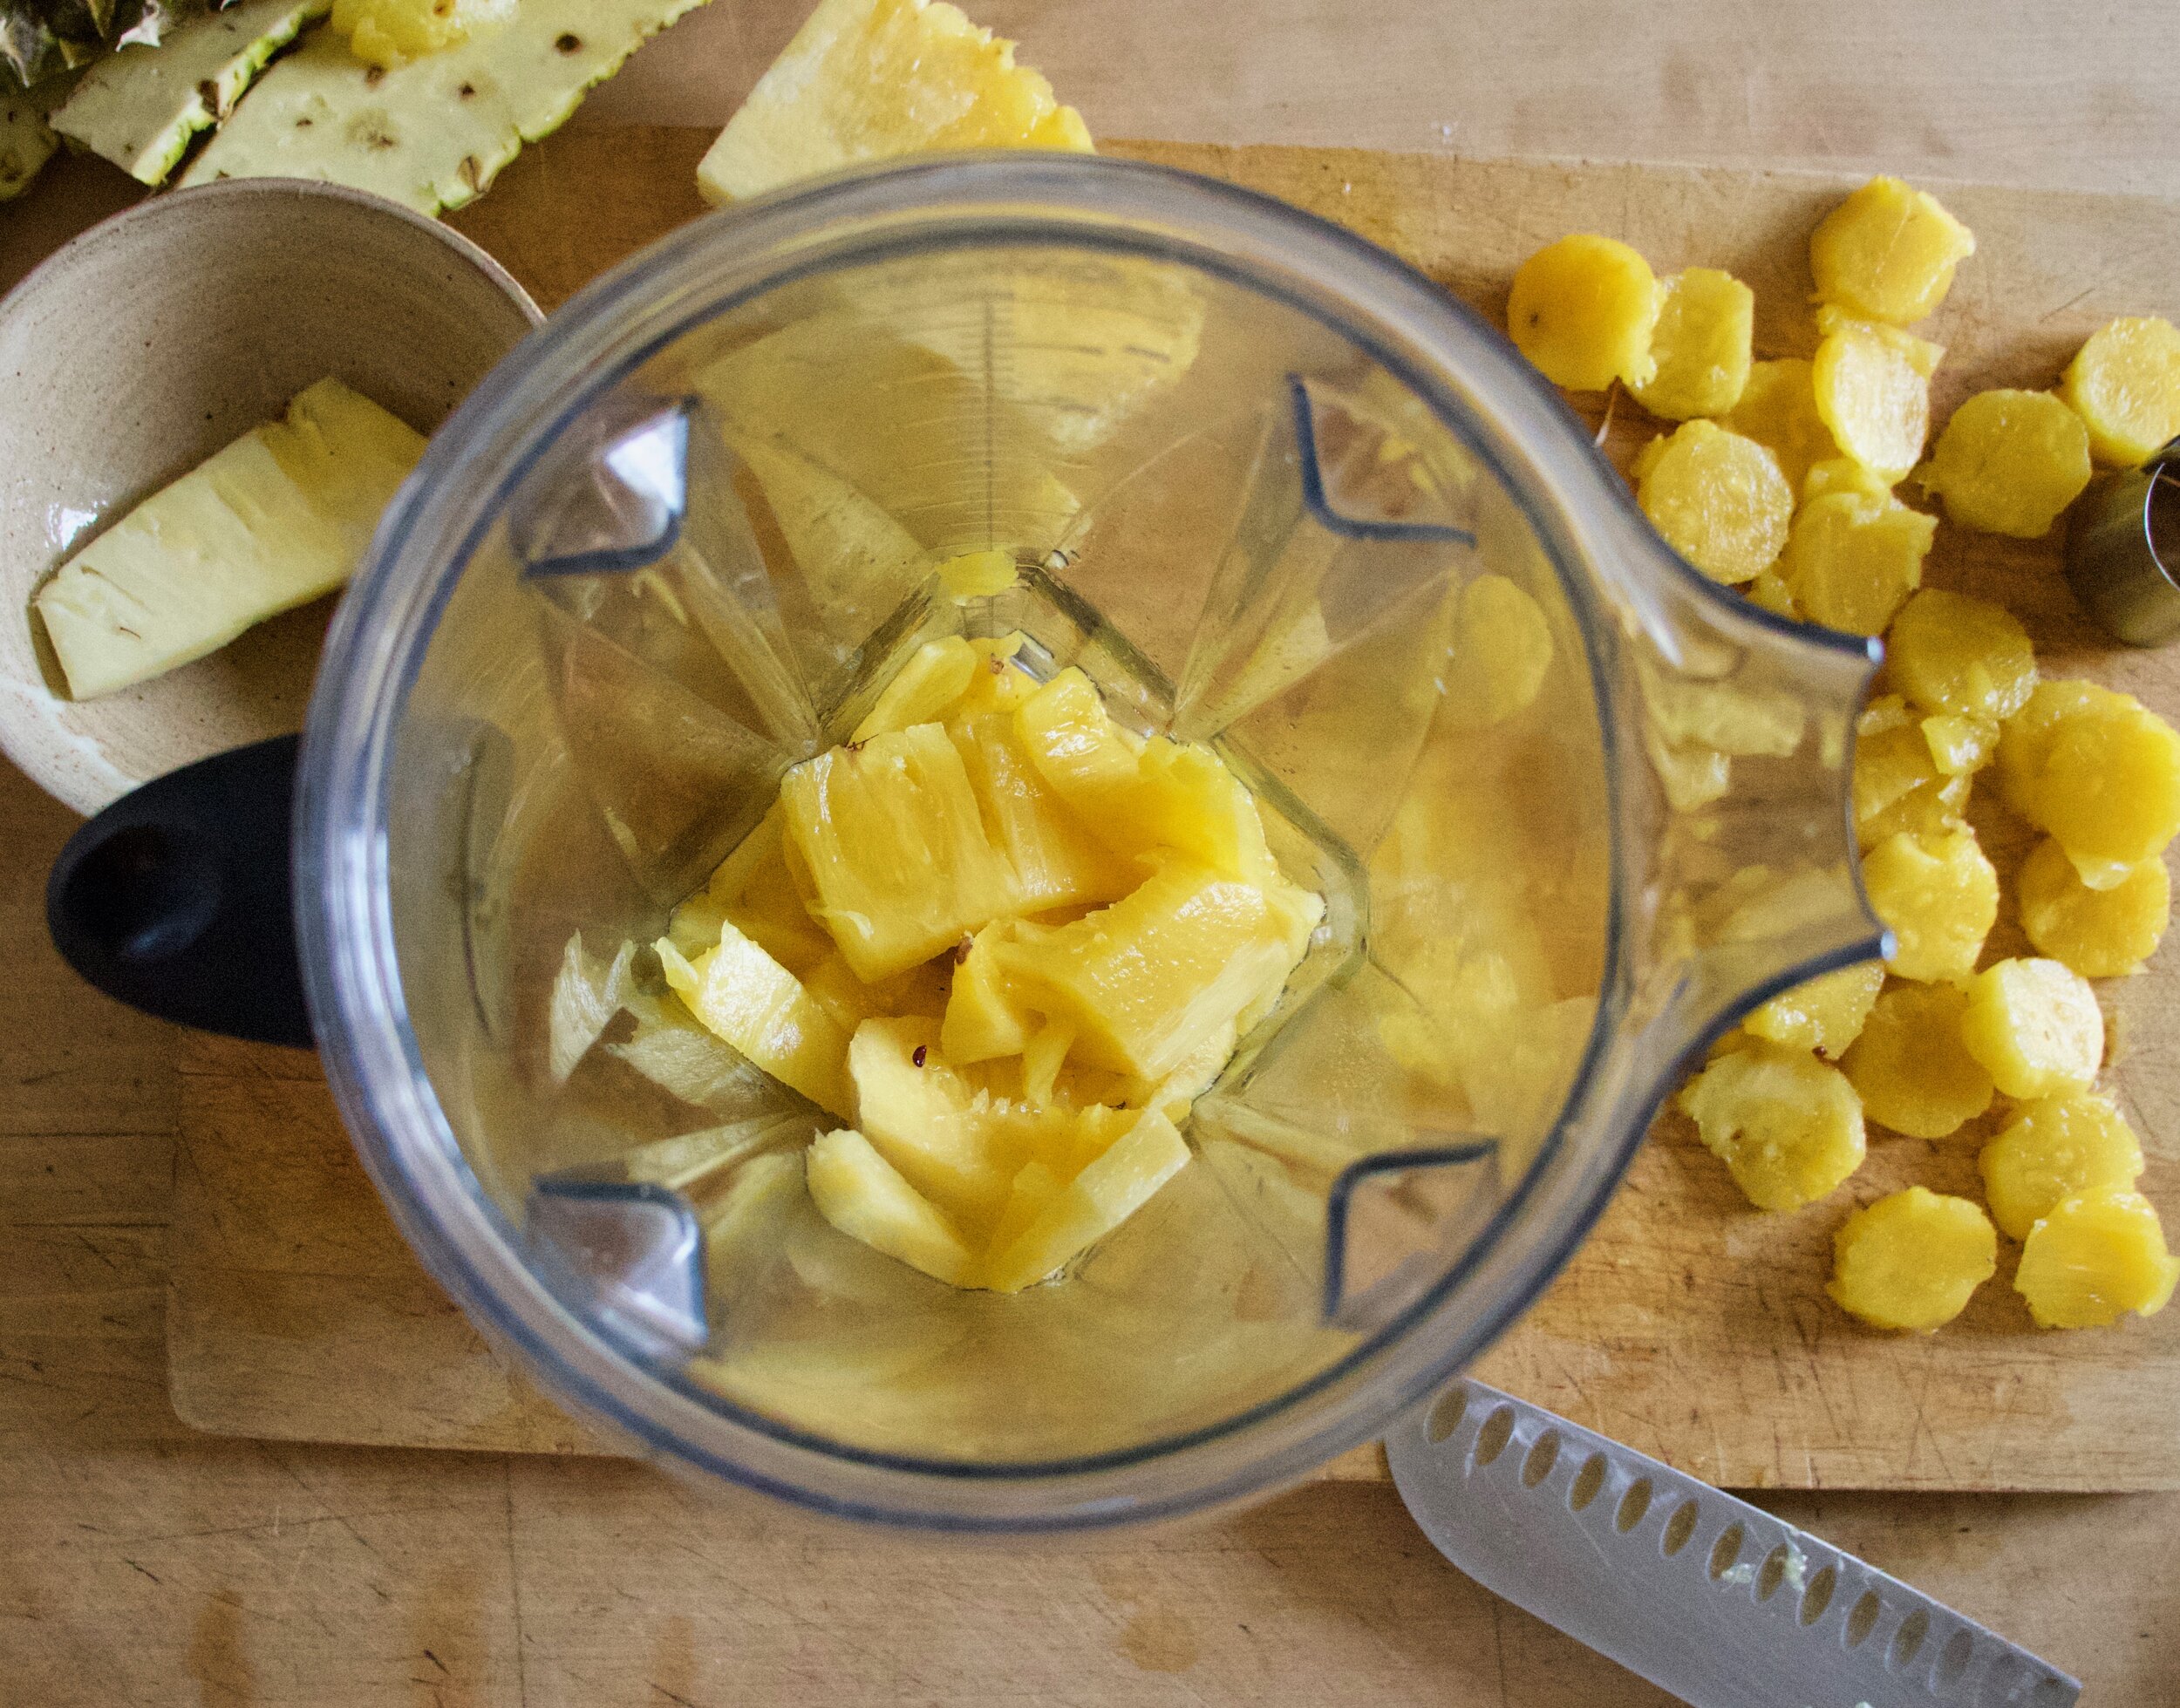
Now cut the pears in half and remove the stem and seeds. Slice each half into 1/4 inch thick pieces but keep each sliced pear together.

And sure, some people might say, should I peel the pears? And the answer is no, you should not, but you can if you want. But don’t. Unless you want to.

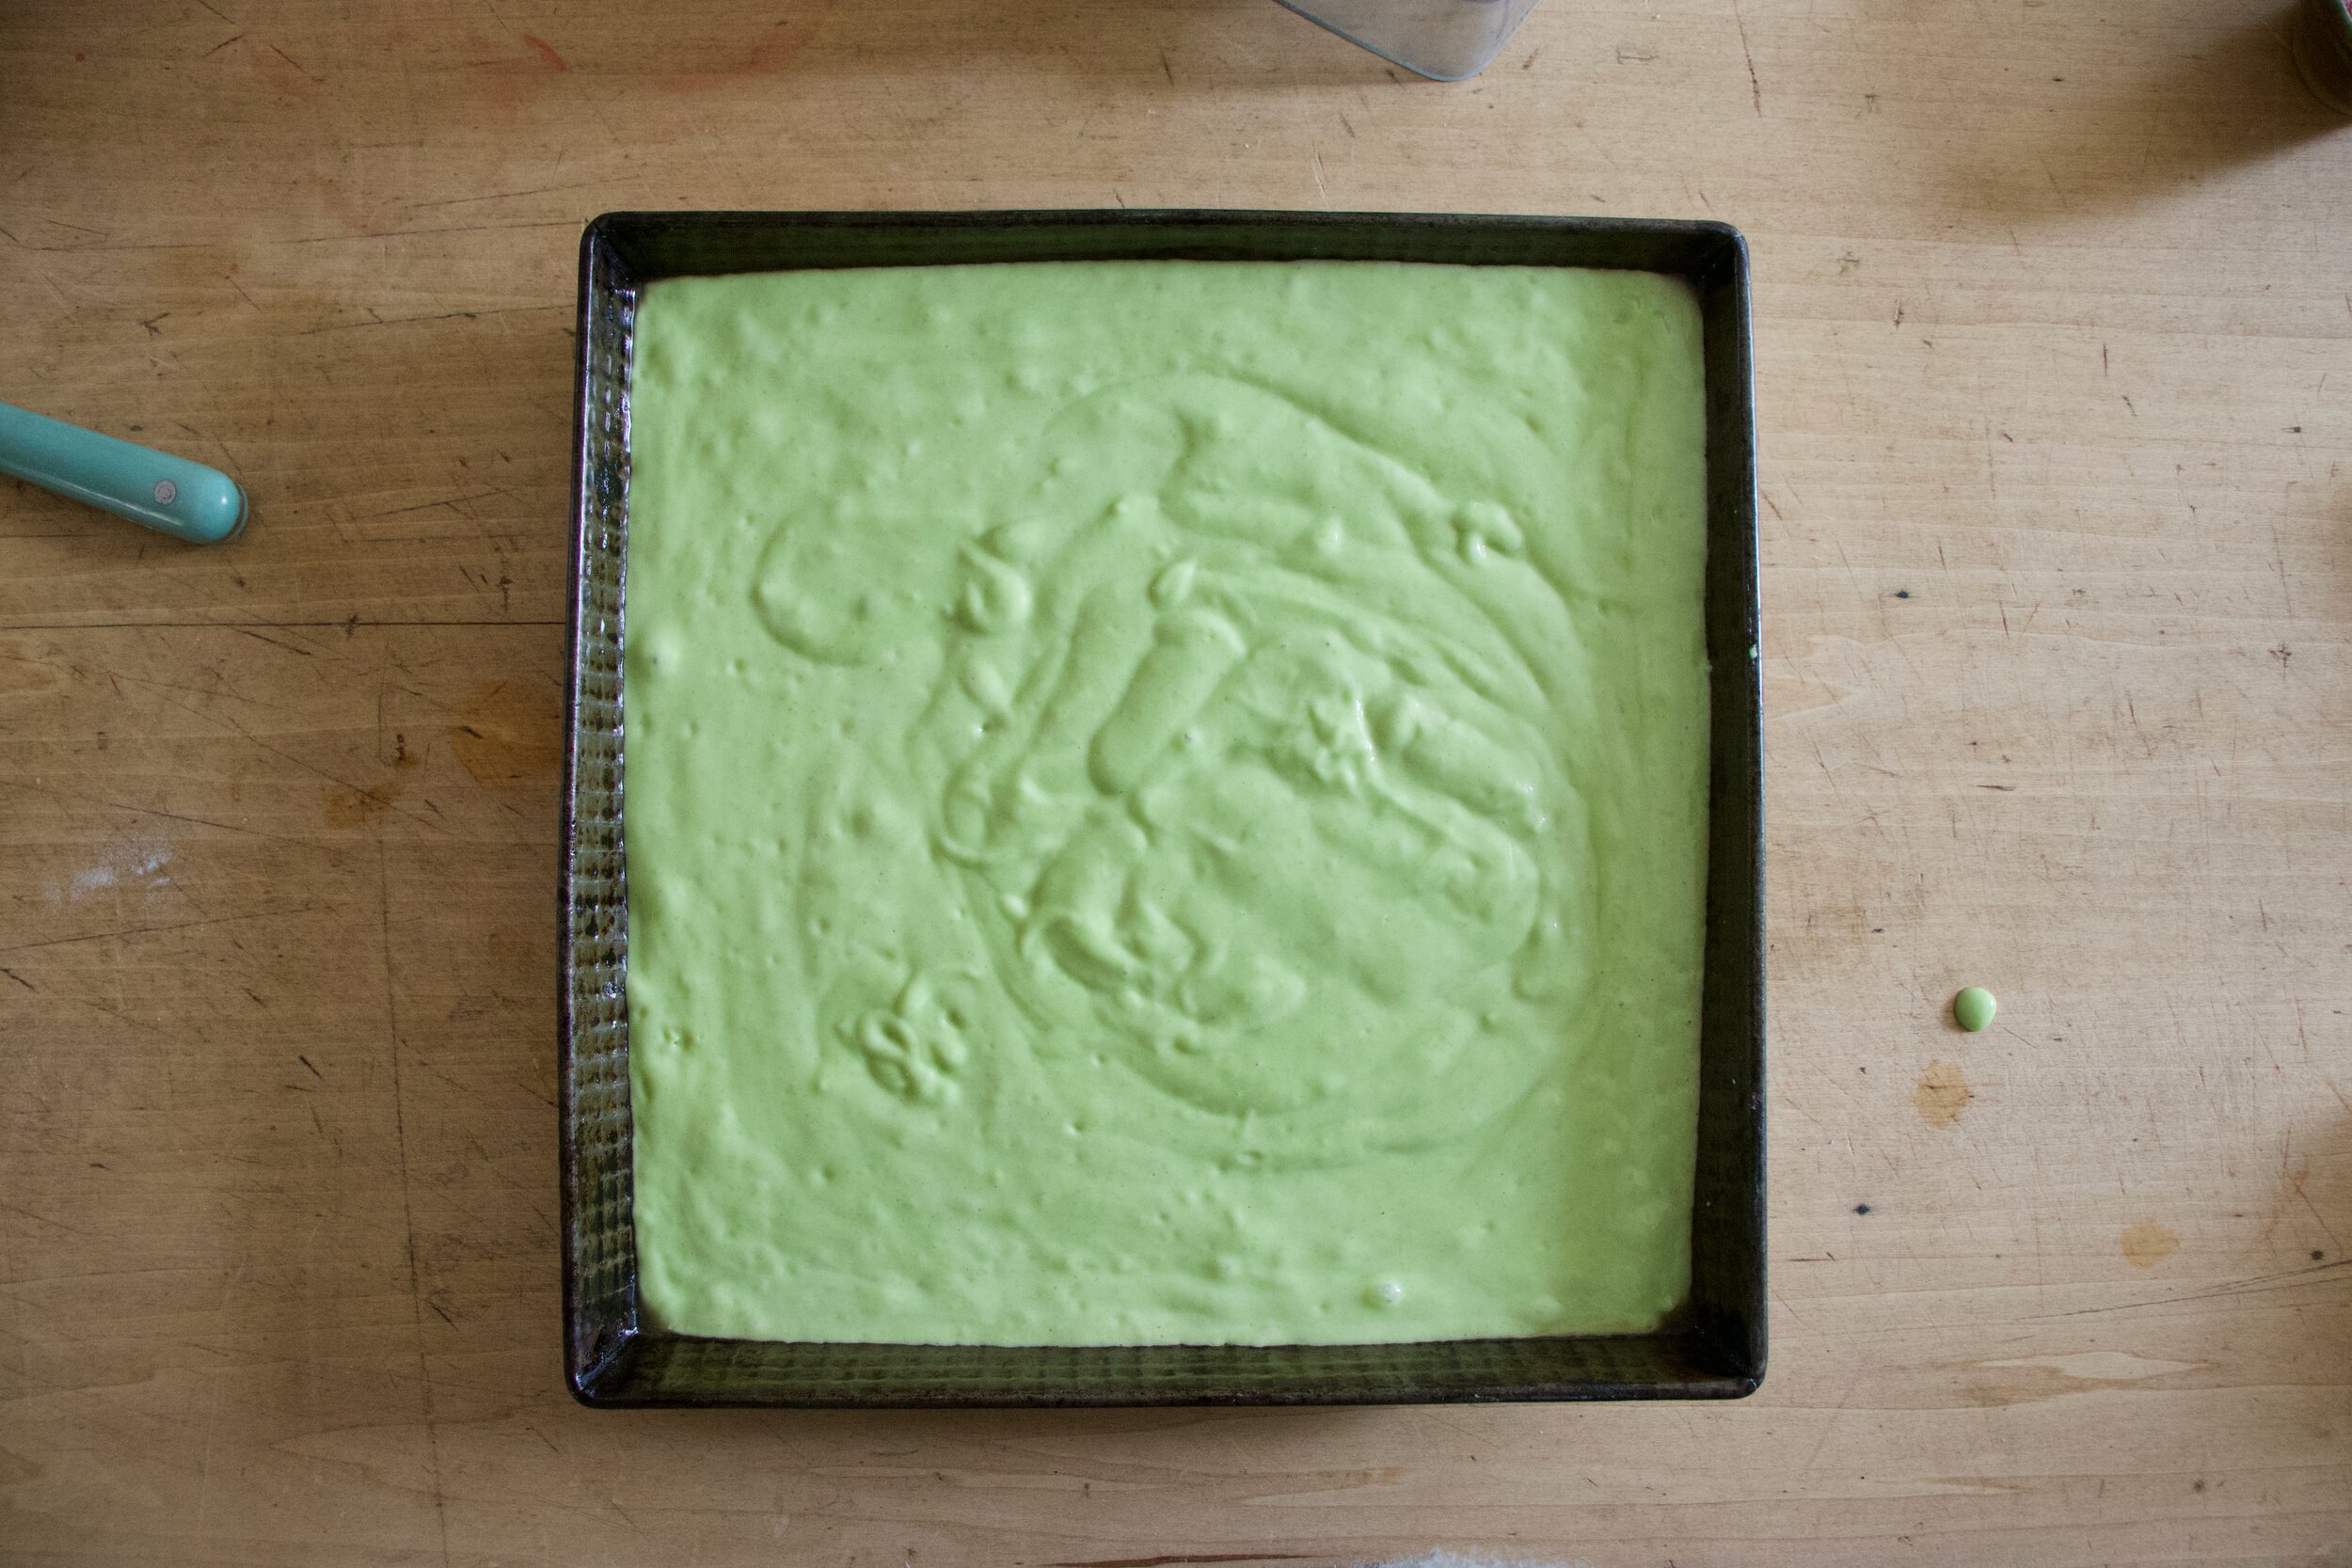
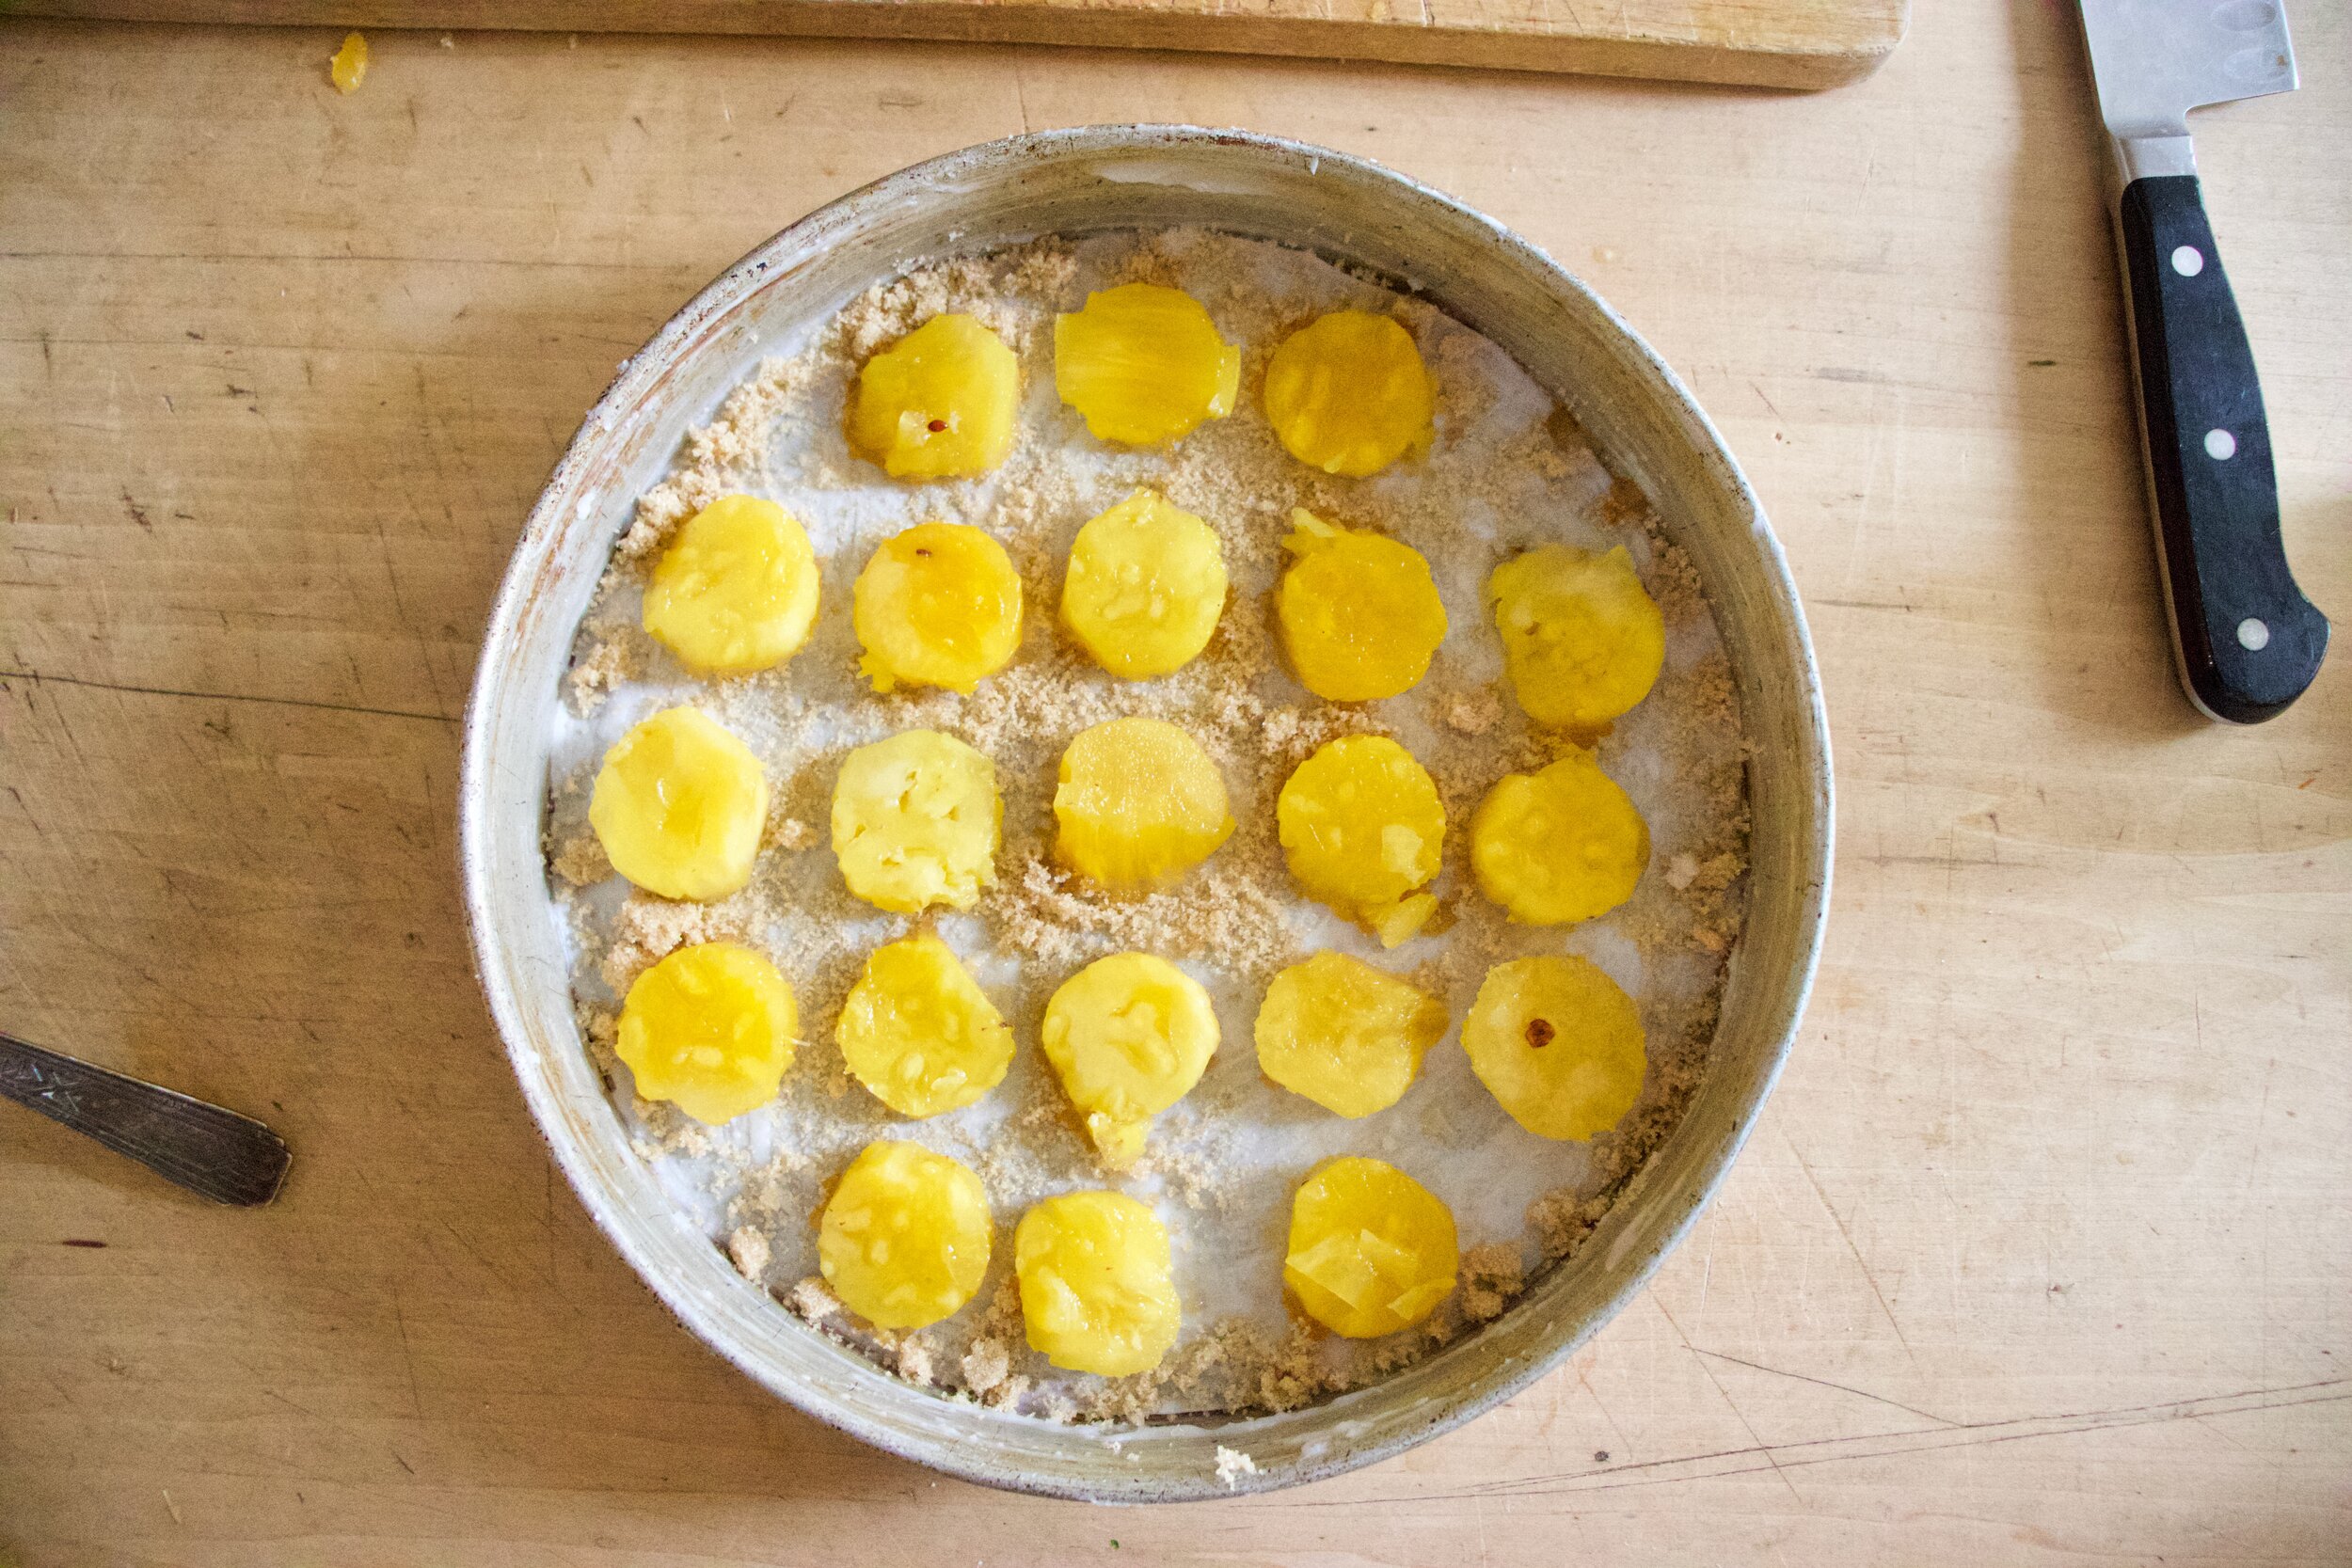
Place the sliced cut havles cake down into the batter. Make them look pretty.

Then into the hot oven it goes to bake.

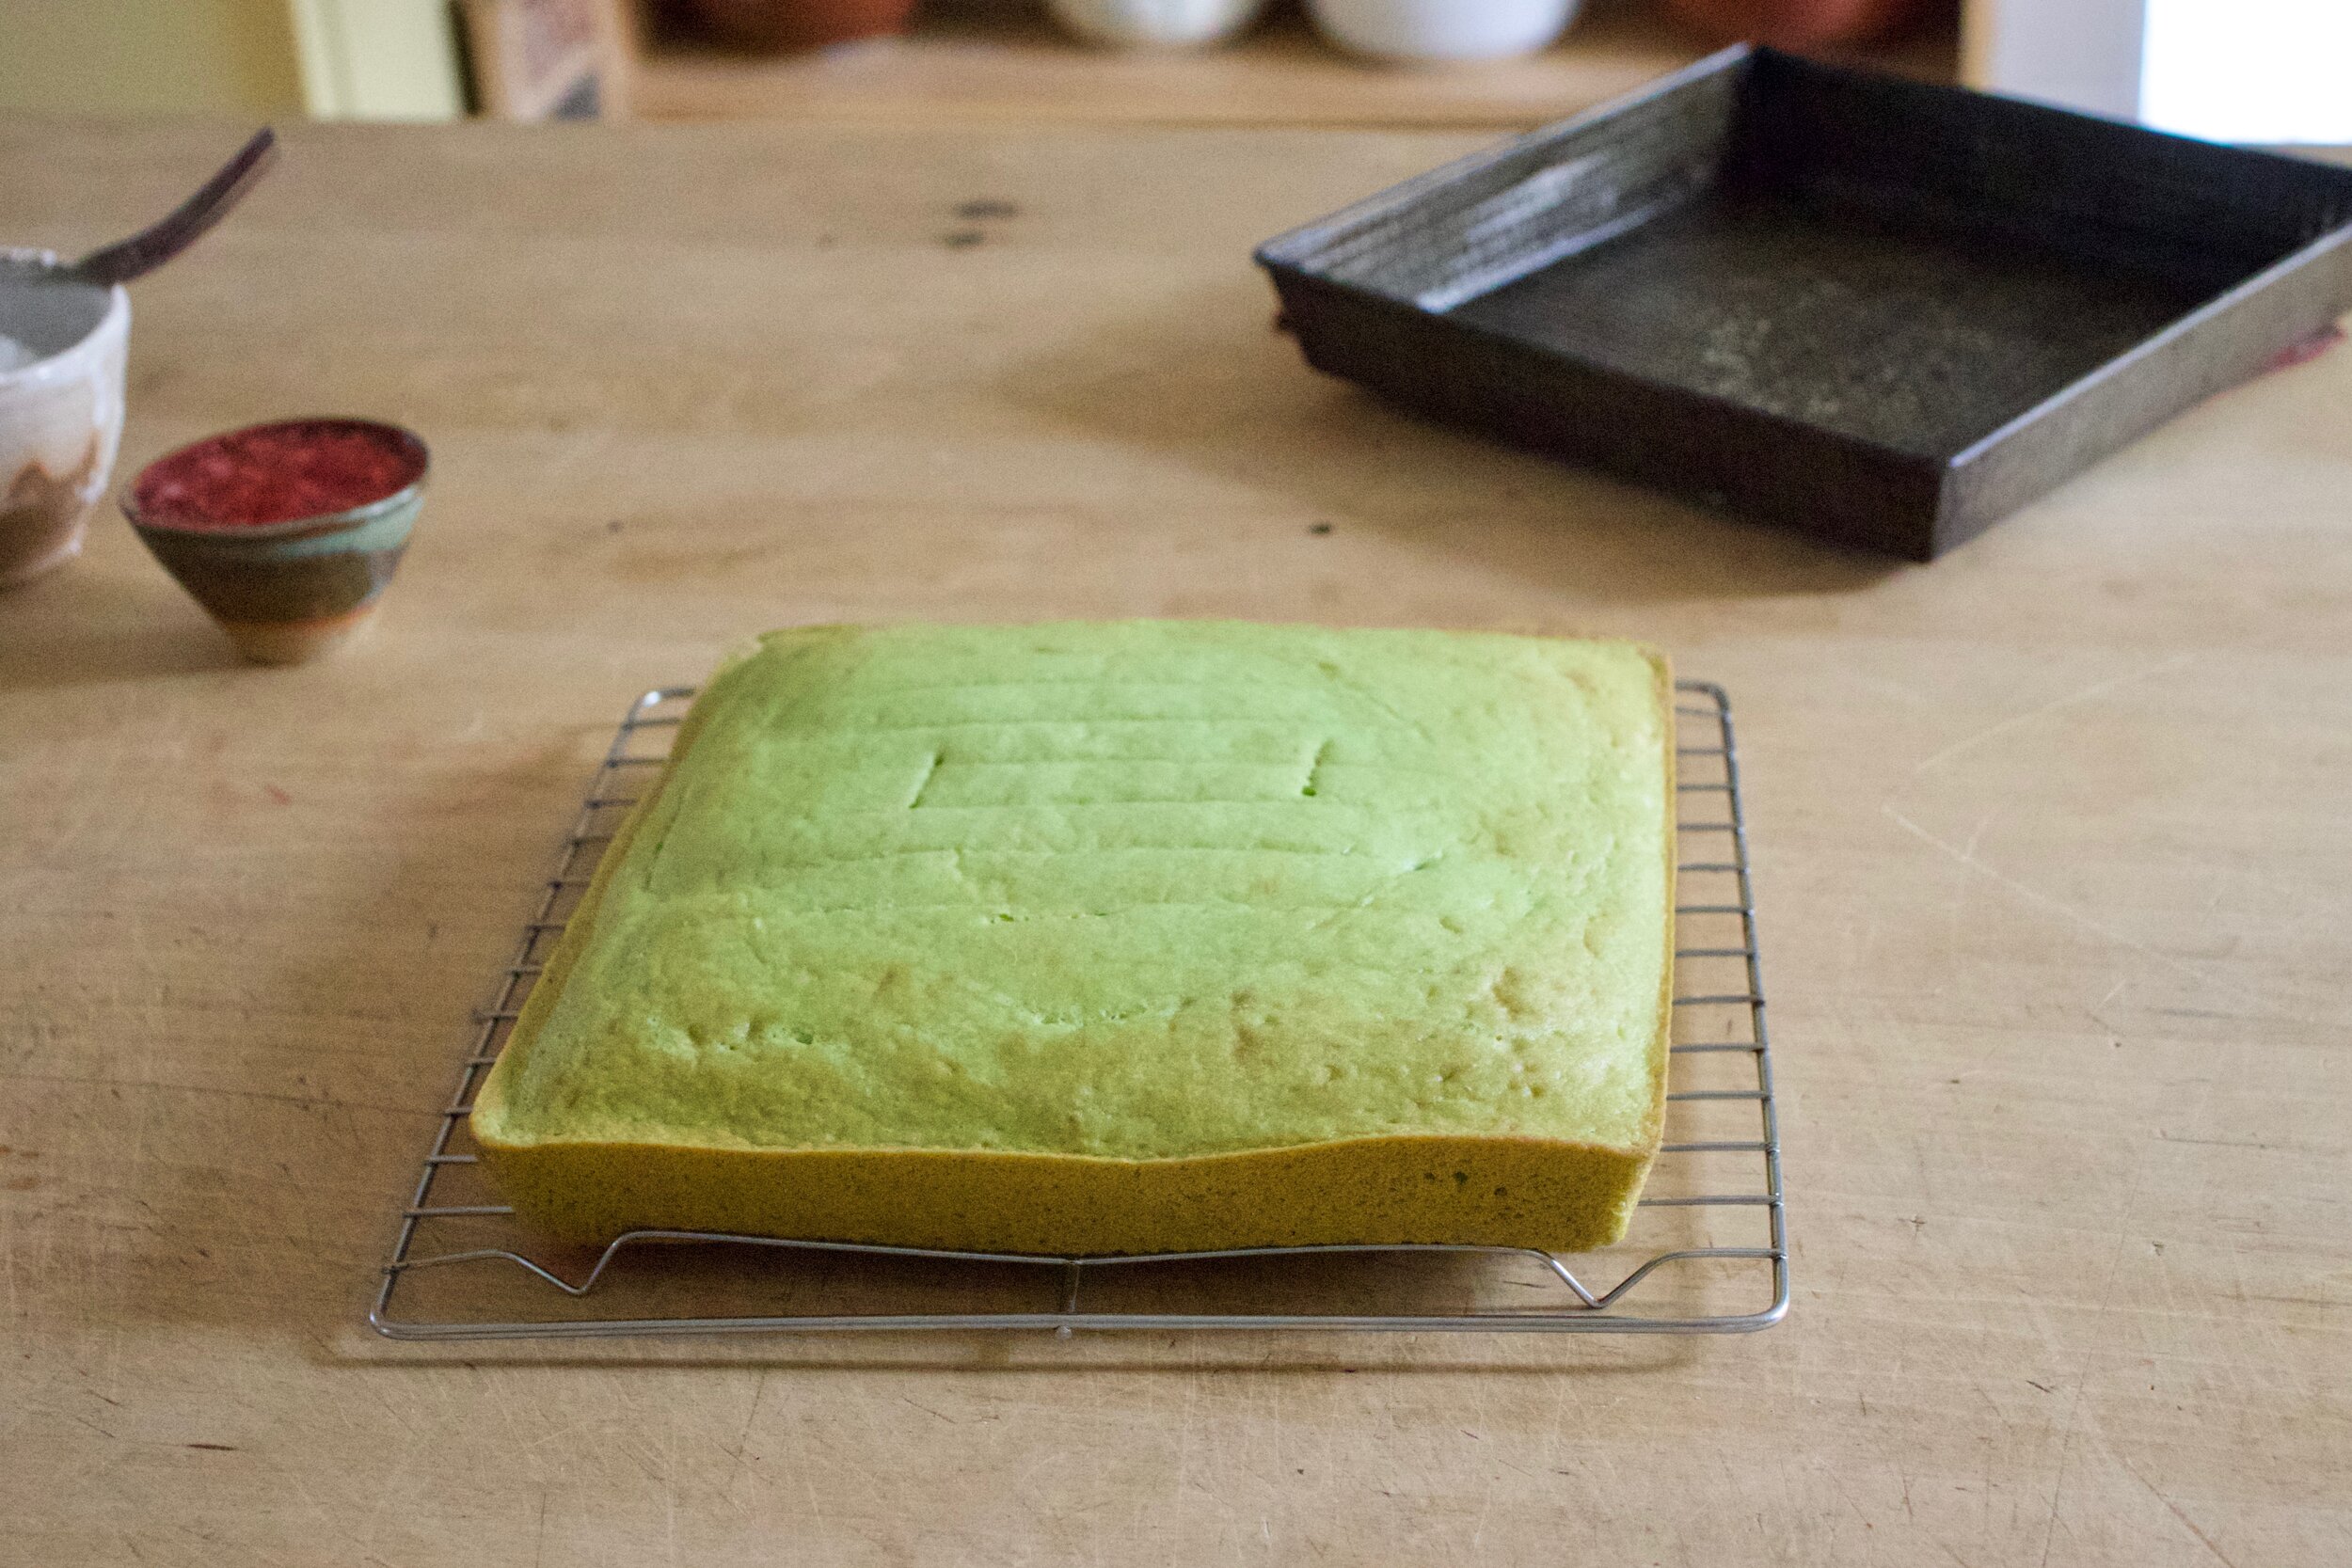
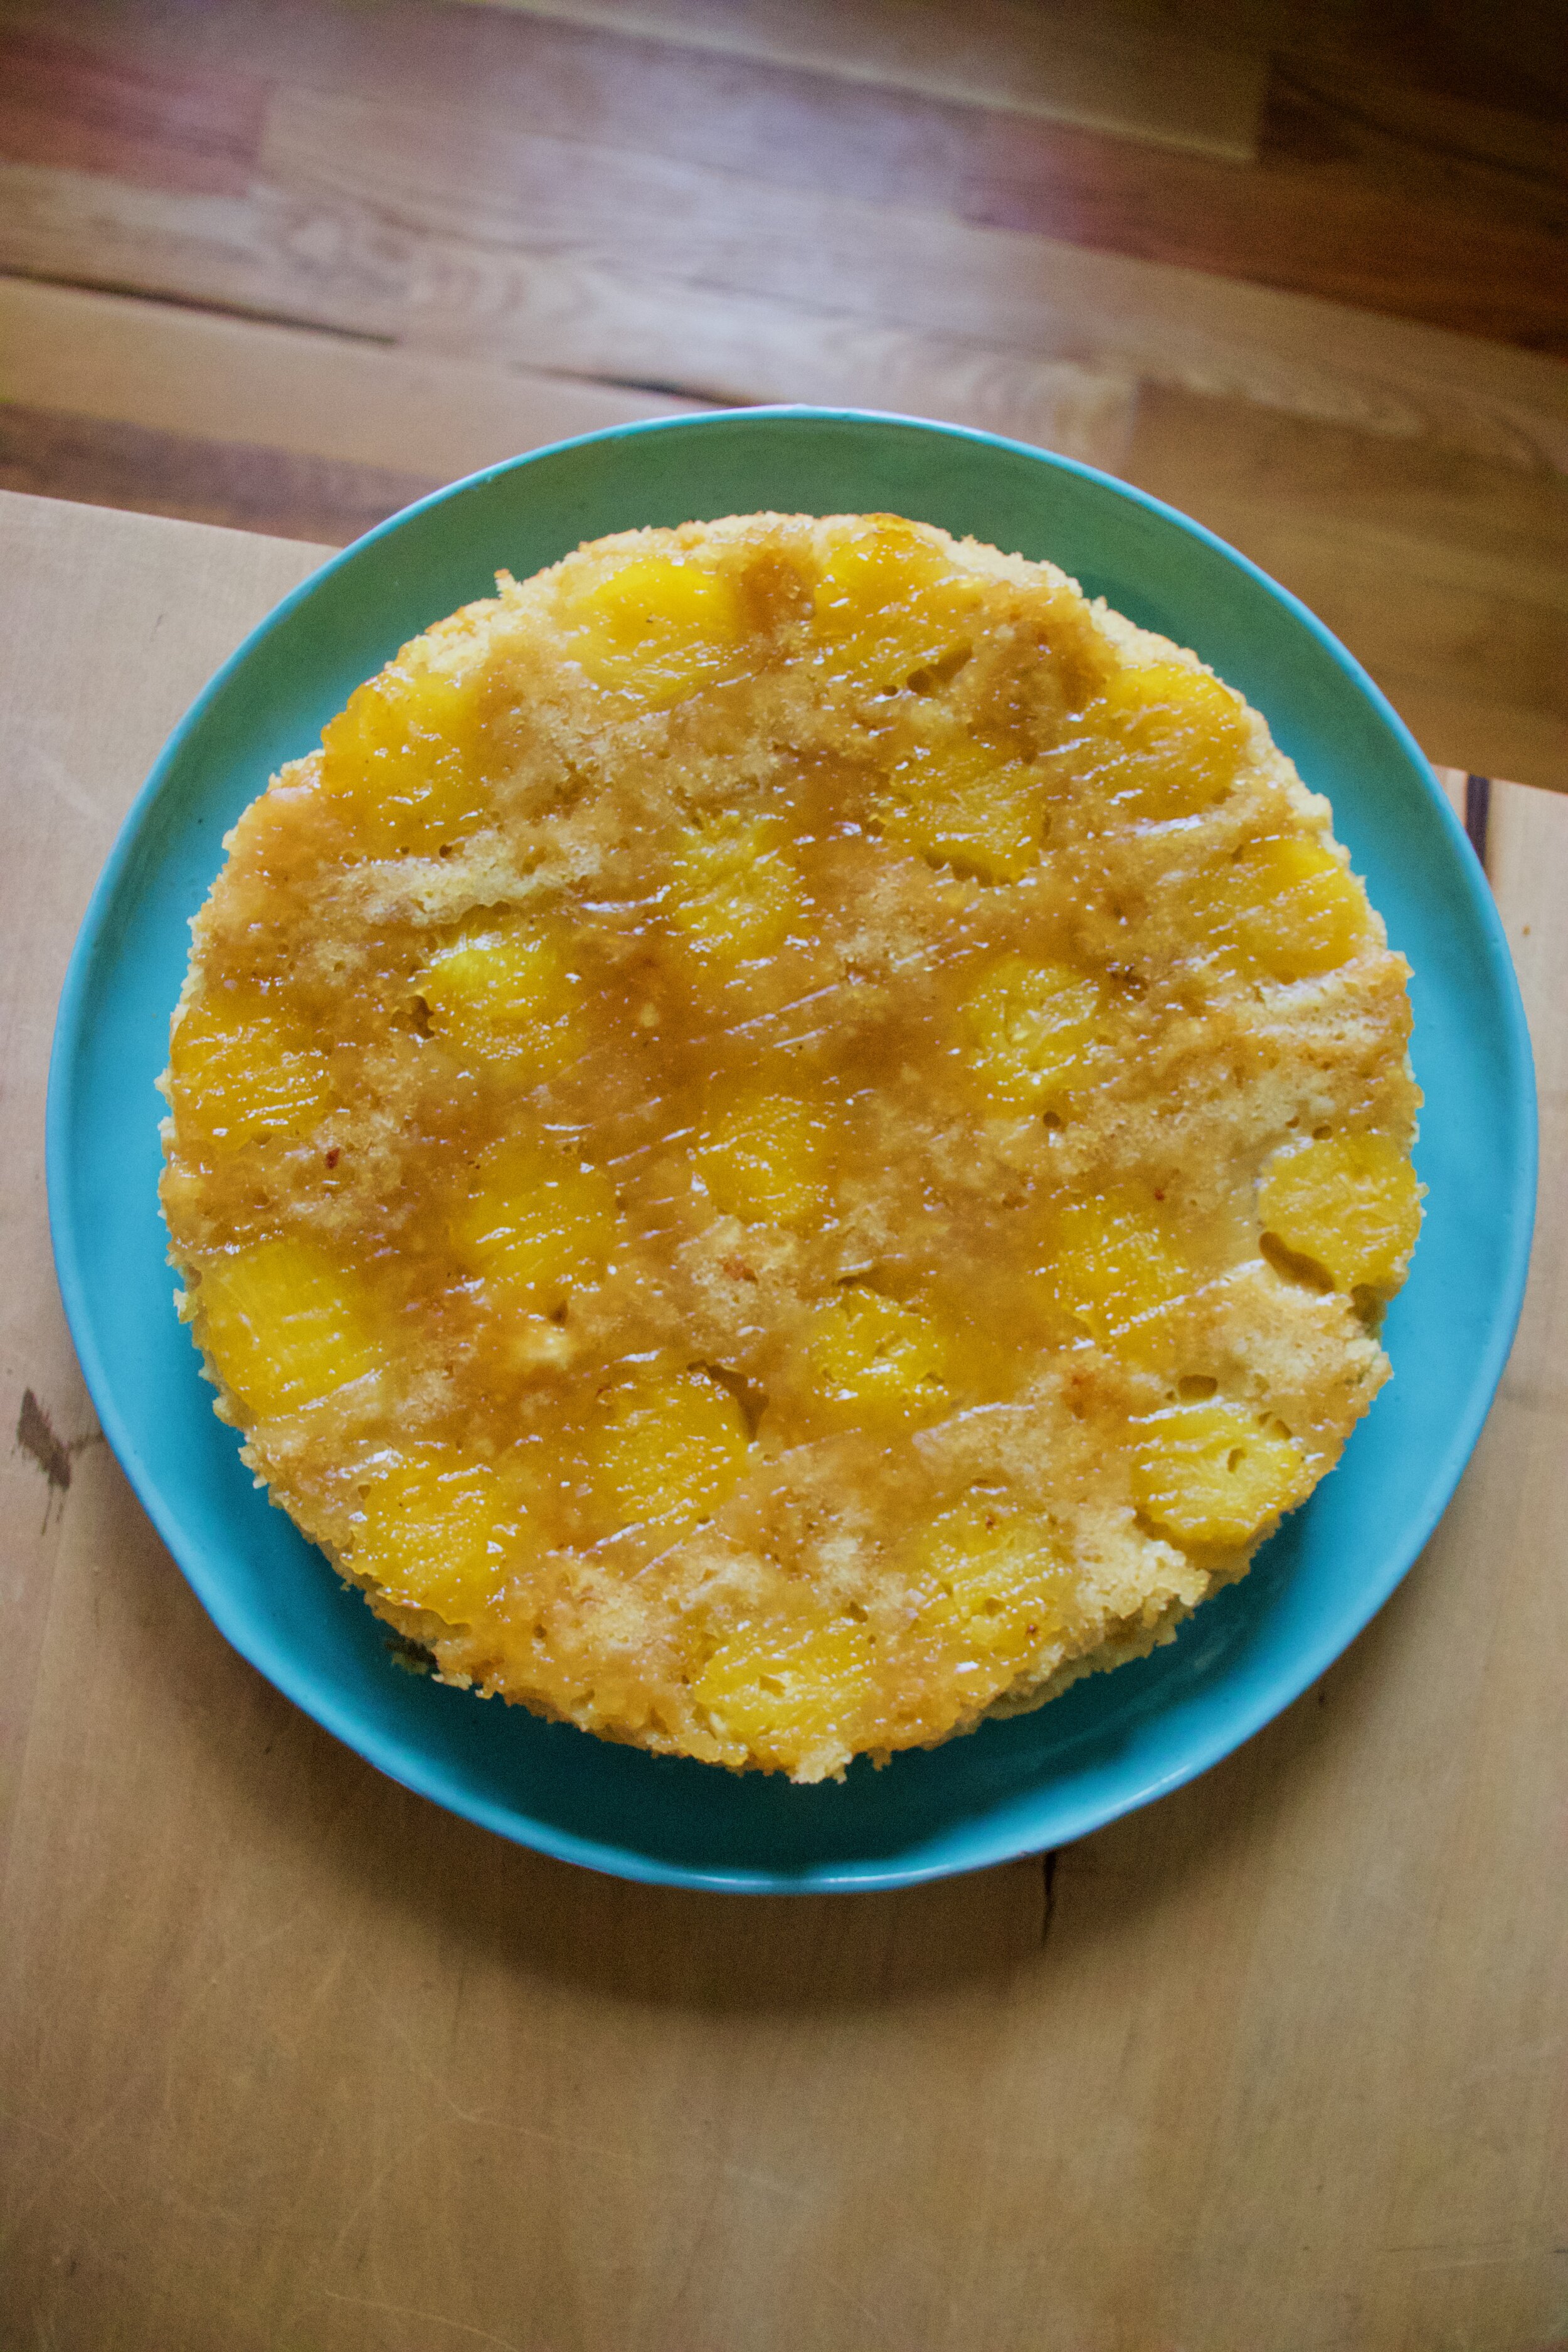
Wow wow! So pretty! Now let it cool a bit.

IMG_9816.jpg

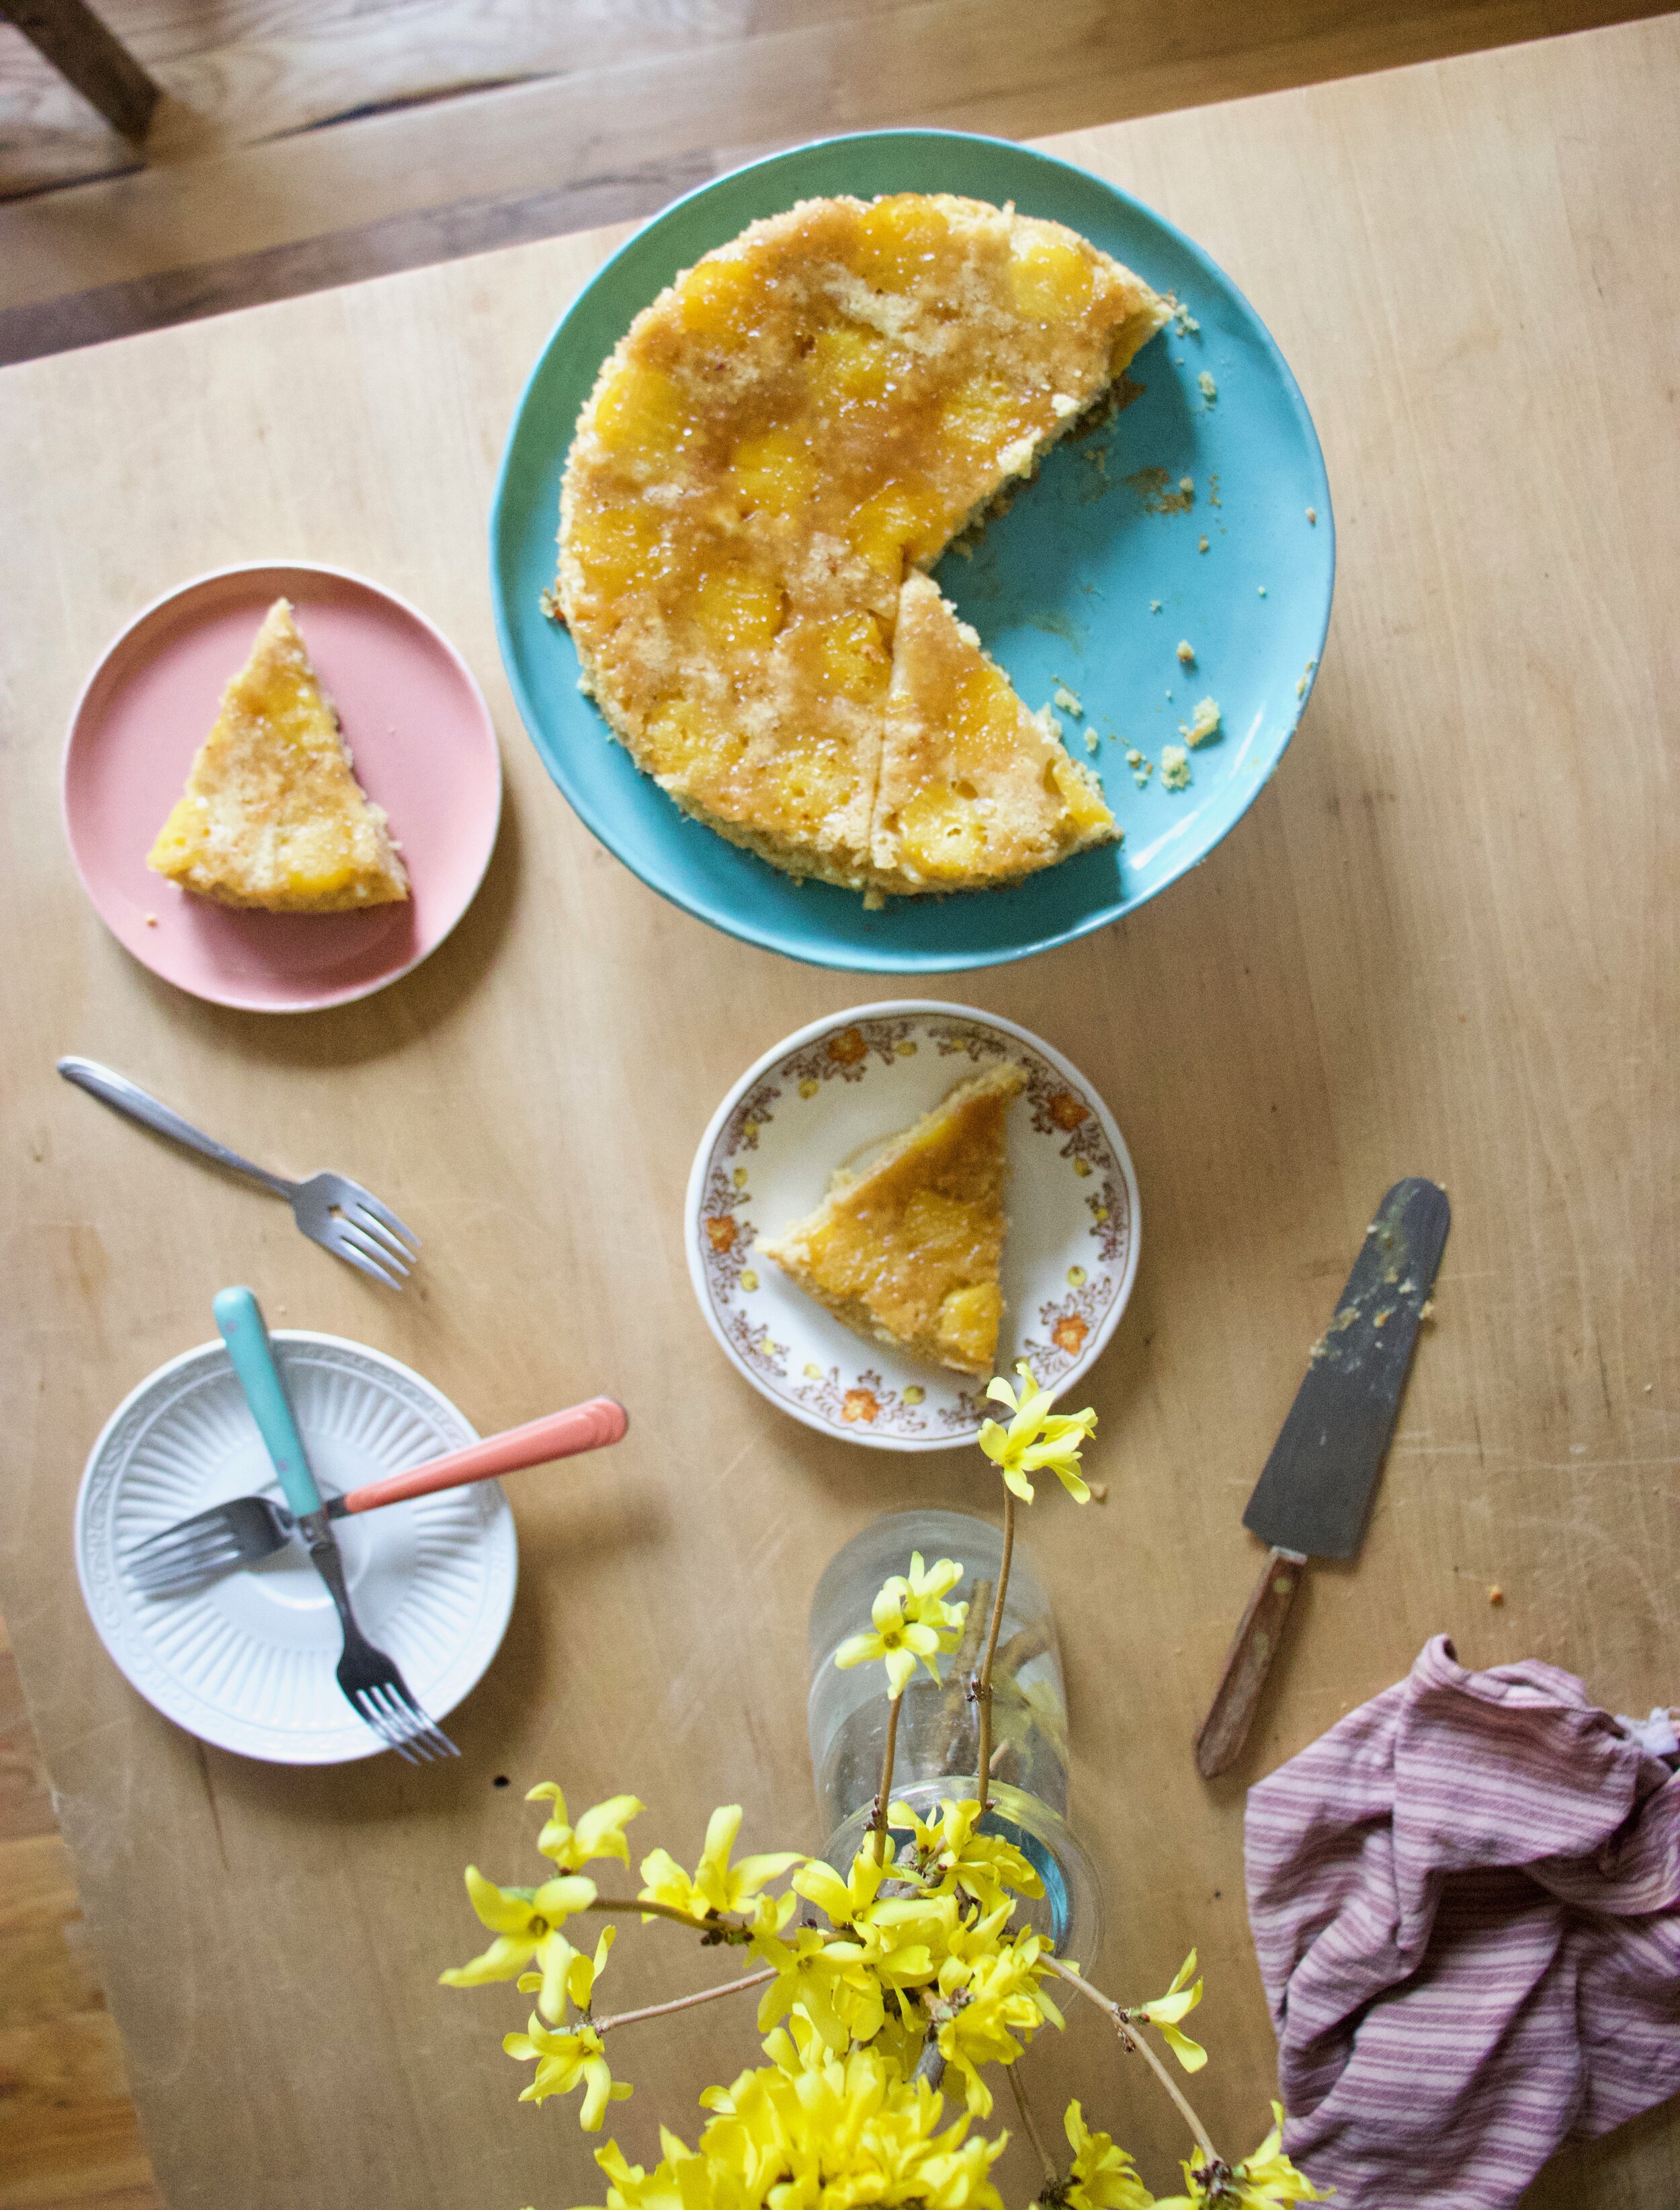
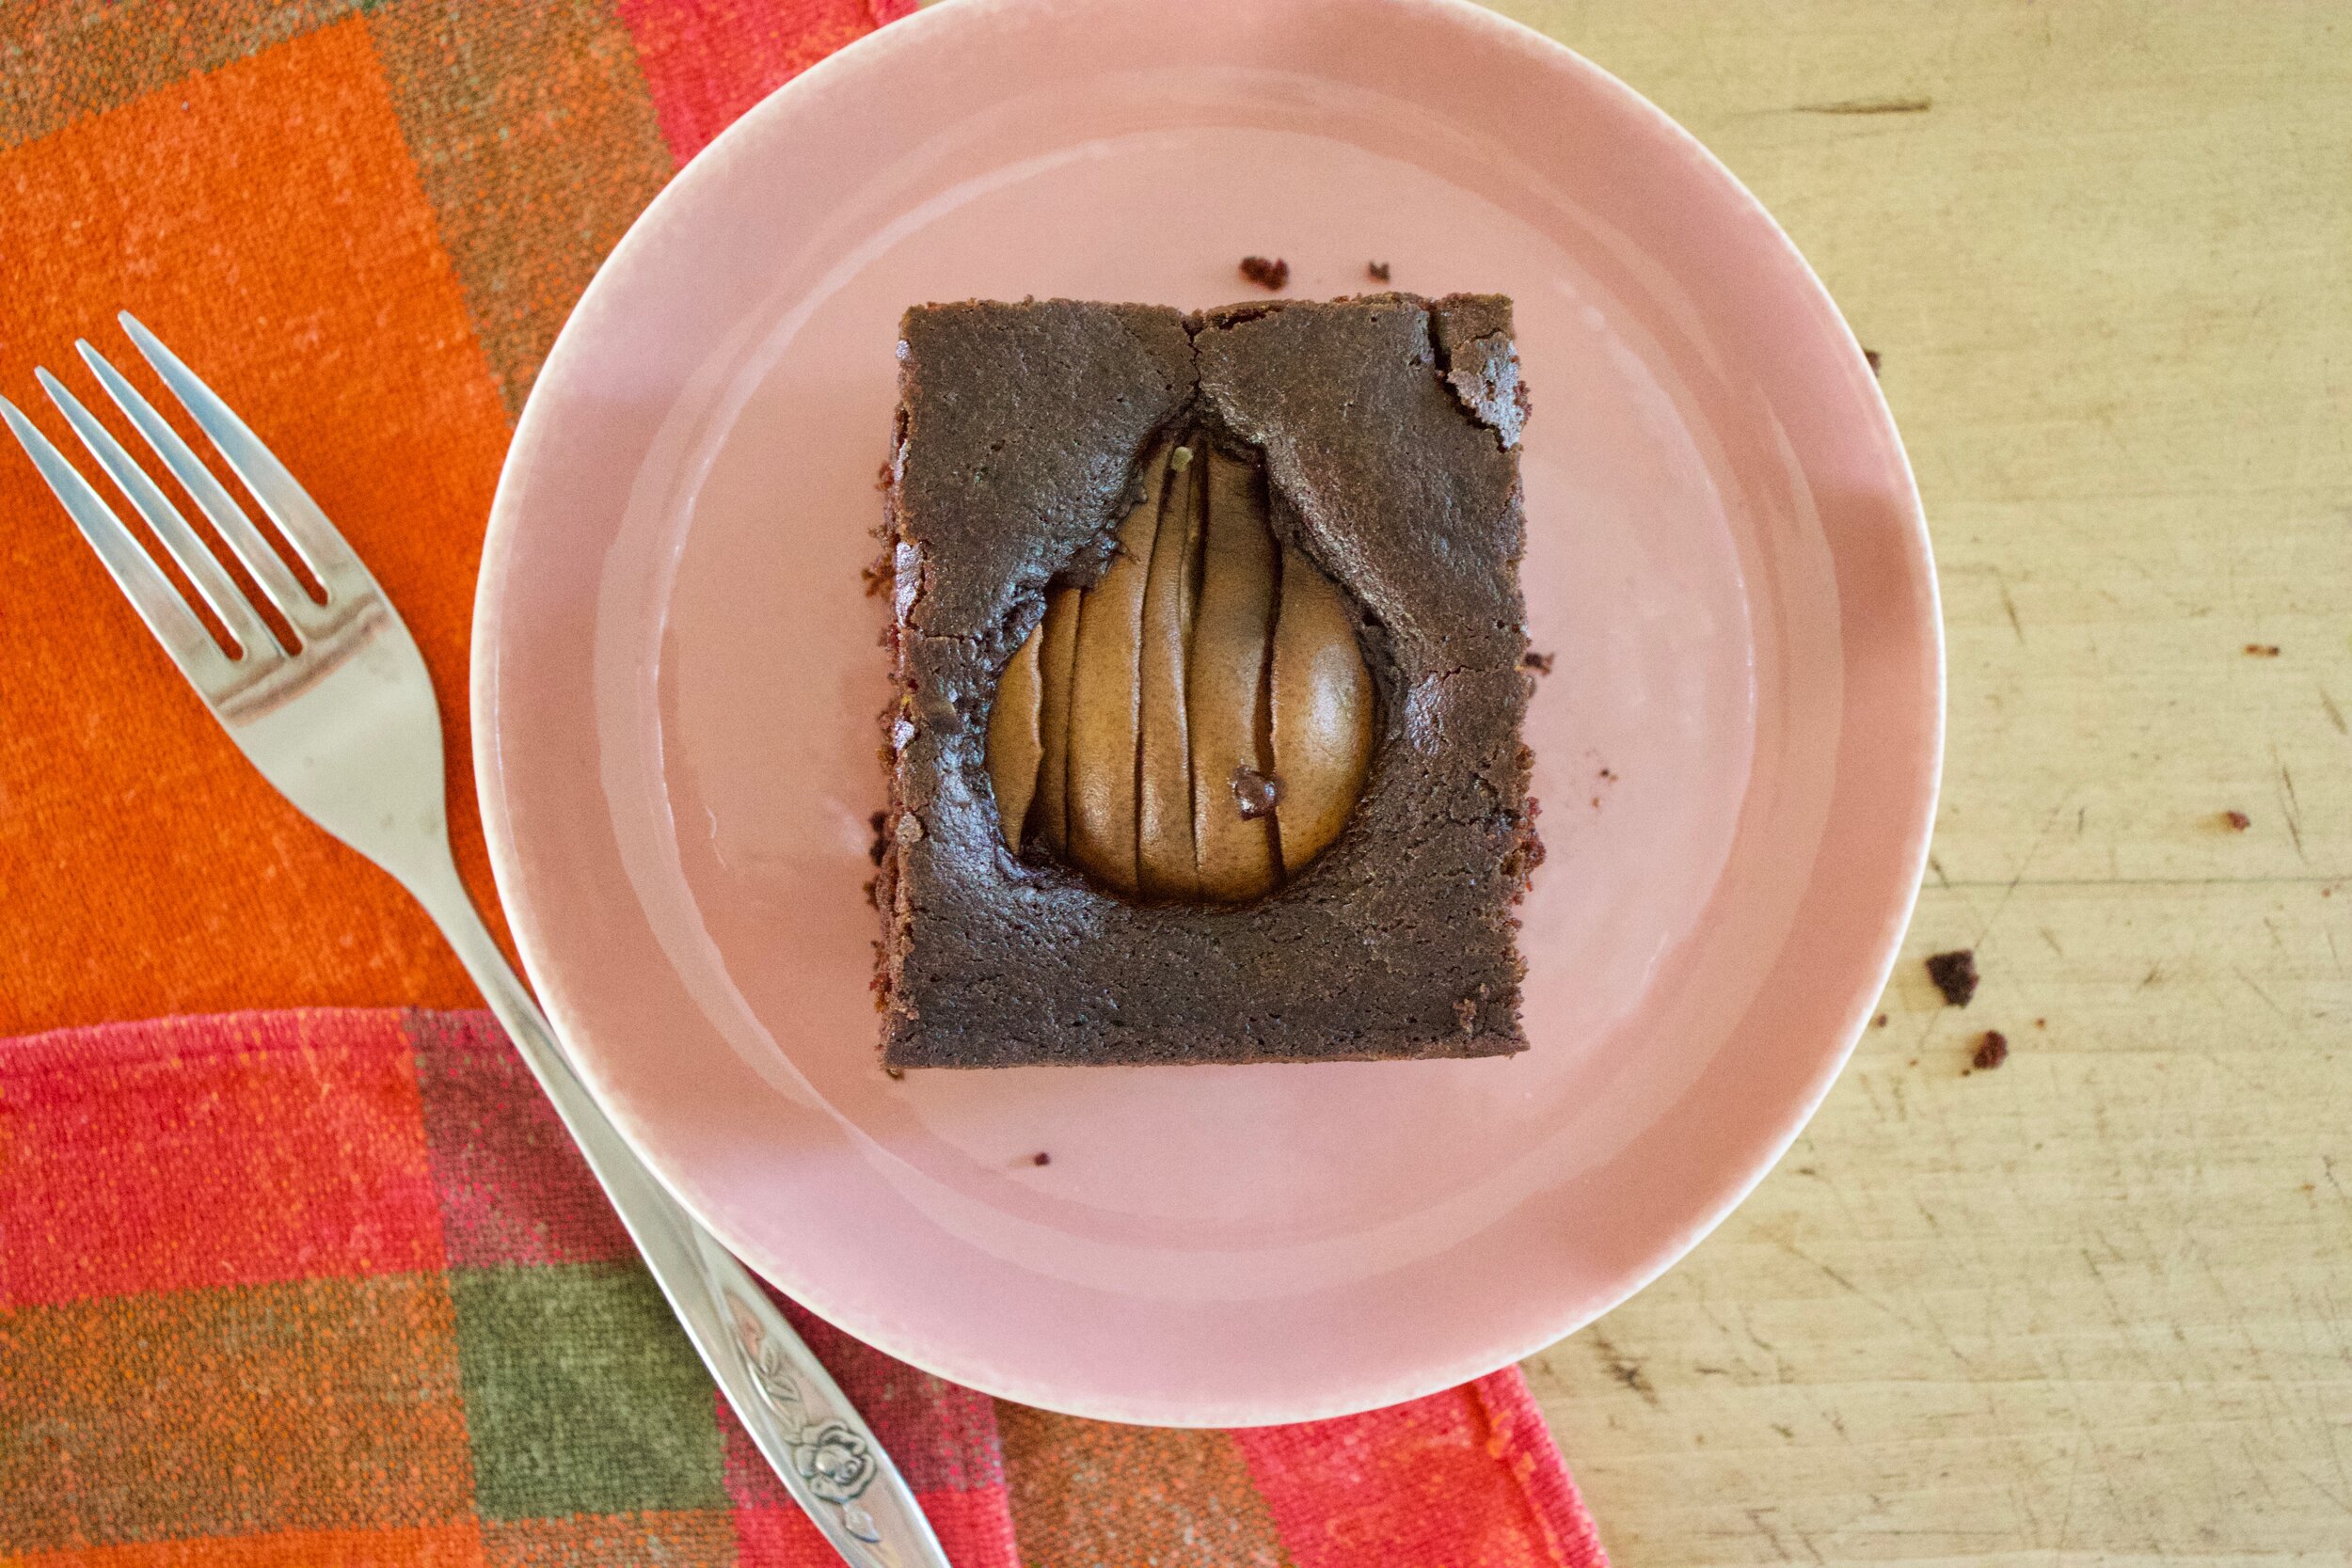
When cooled off, cut into pieces. Each piece gets a pear.

Cake on plate, grab a fork, and eat.

-C


Chocolate Pear Cake

  • 4-5 small pears (like Forelle Pear or another smaller variety)

  • 41 3/4 cups all purpose flour

  • 1/3 cup cocoa powder

  • 1 cup white sugar

  • 1 1/2 teaspoon baking powder

  • 1 teaspoon baking soda

  • 1/2 teaspoon salt

  • 2 teaspoon cinnamon

  • 1/2 cup neutral flavored oil

  • 1 1/4 cups hot coffee

  • 2 tablespoon apple cider vinegar

Preheat oven to 350

Start with cutting up the pear. Cut each pear in half, remove all seeds and the stem, then slice each half into 4-5 1/2 inch thin pieces, keeping the pieces of each half together.

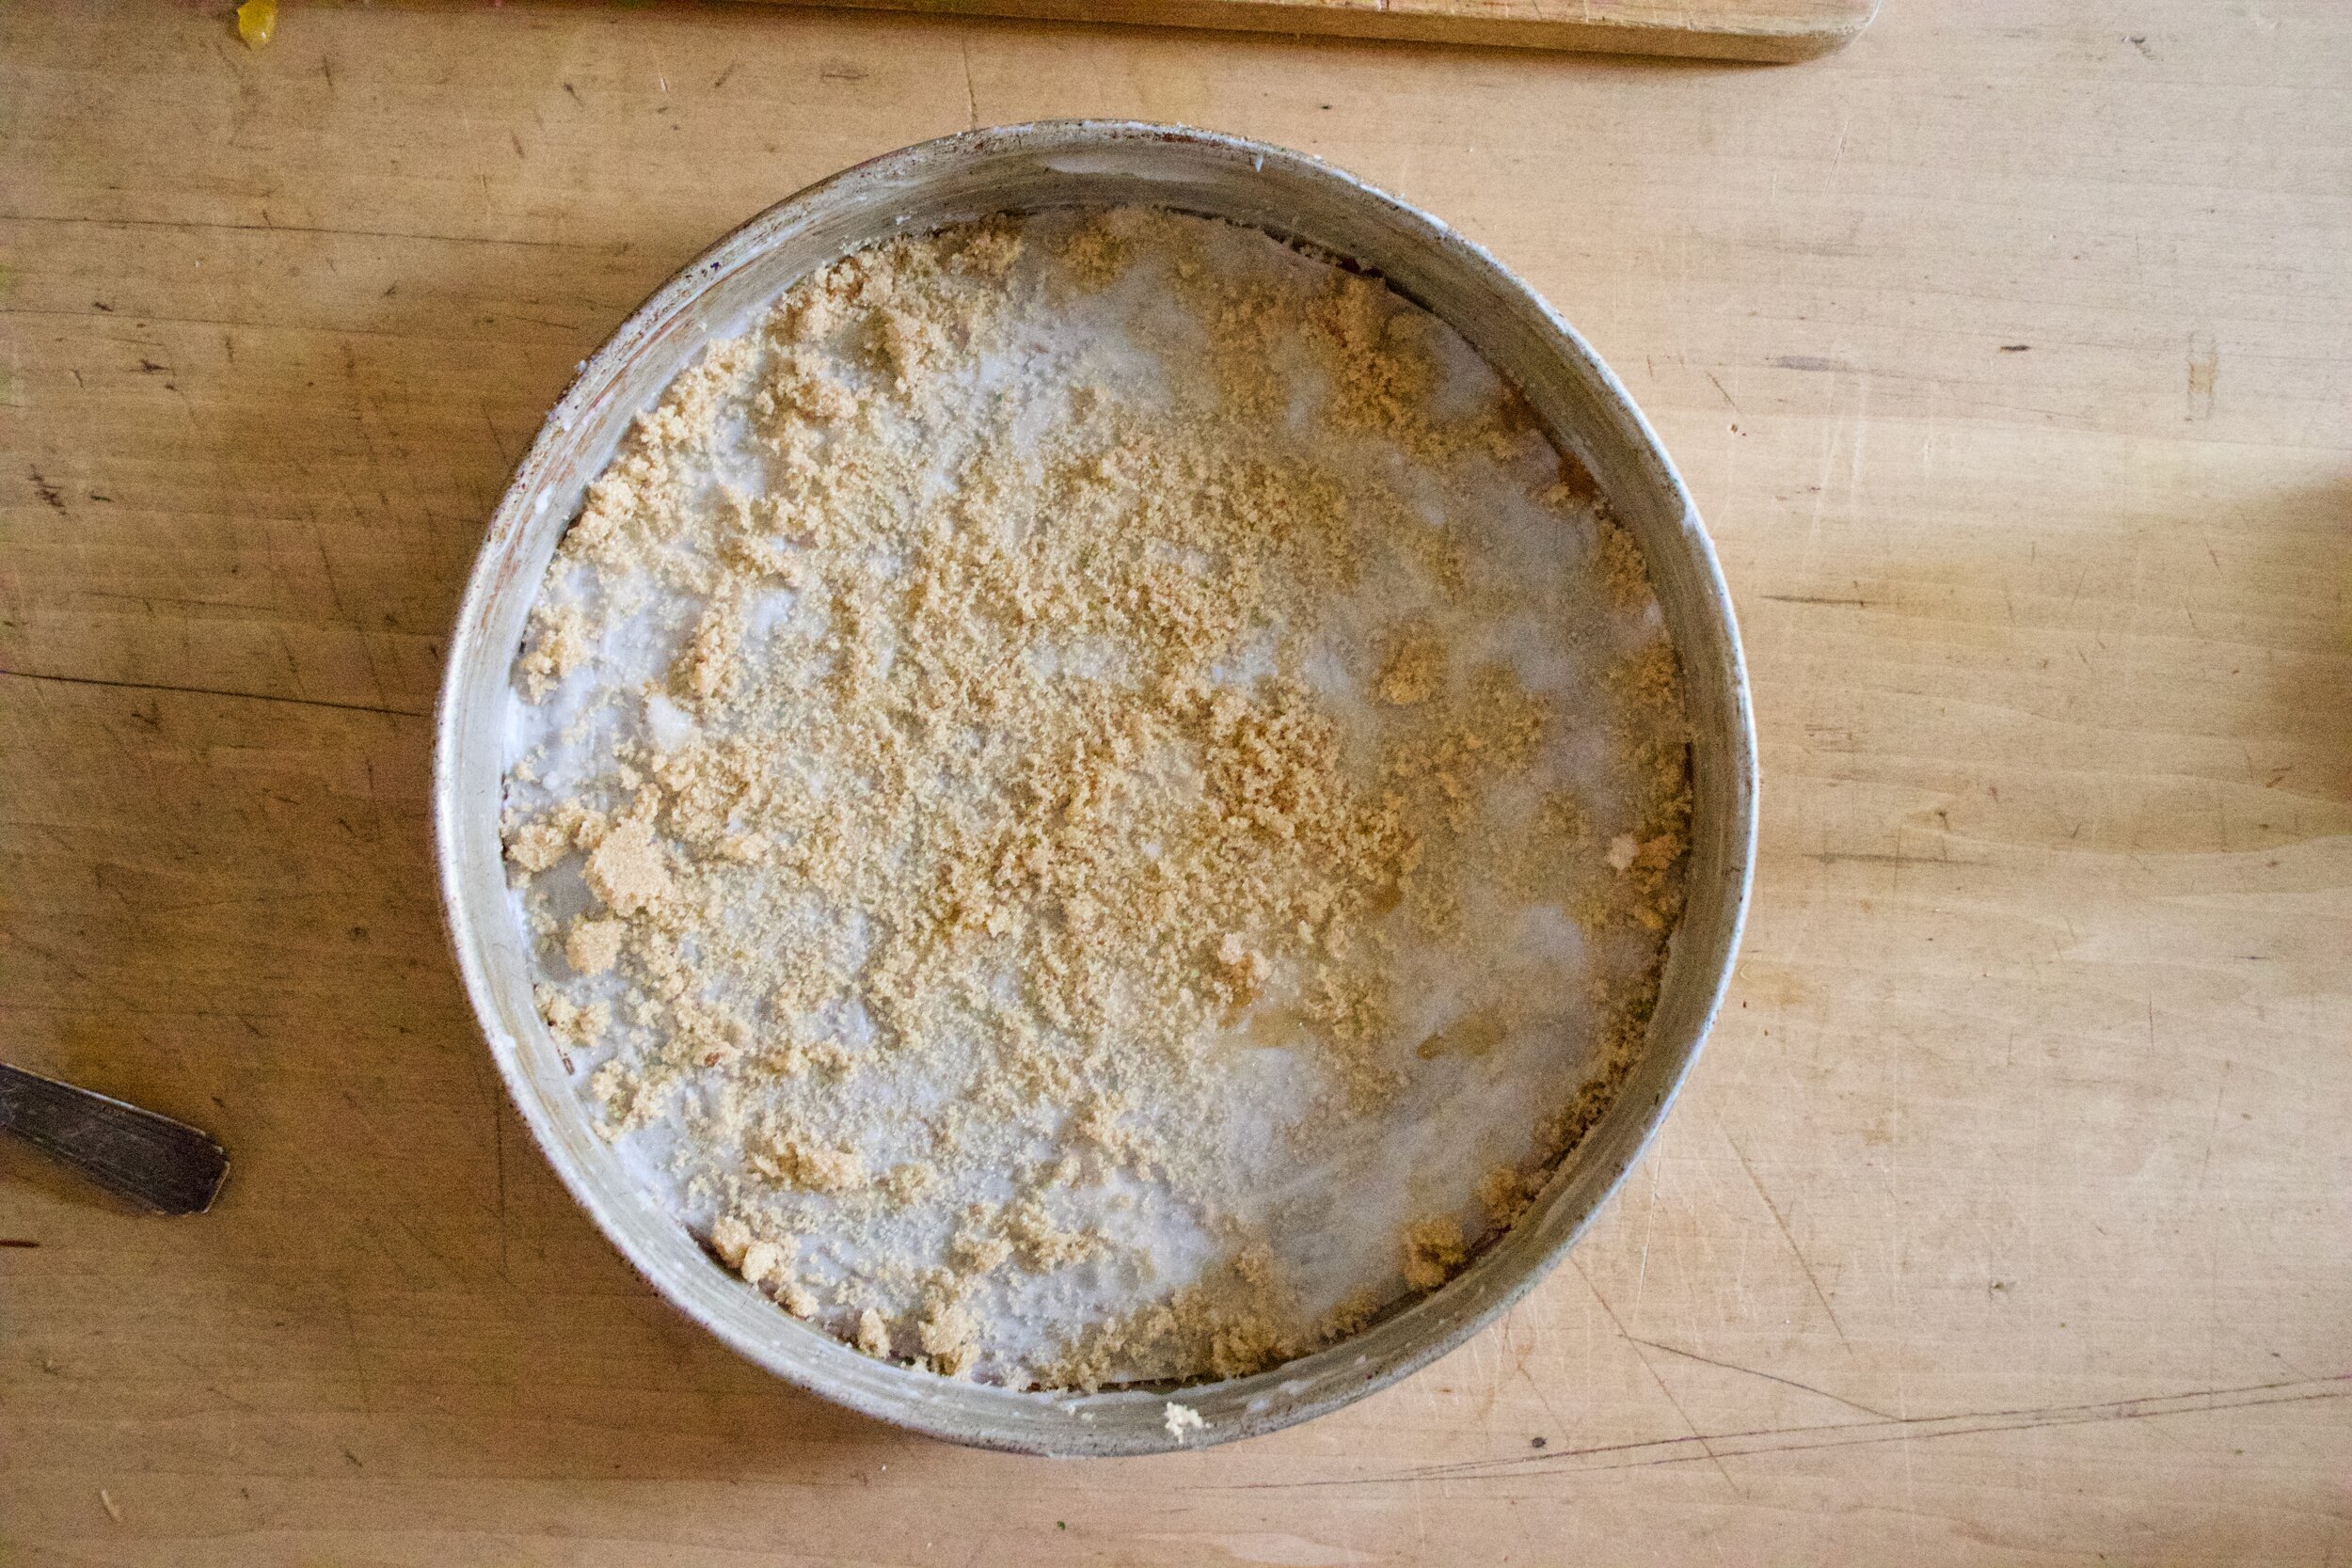
Grab a big bowl and dump in the flour, baking powder and soda, cinnamon, salt, cocoa powder, and sugar. Whisk well until completely combined and there are no clumps of cocoa of flour. Now add in the oil, vanilla, coffee, and vinegar and mix until just combined. Pour batter into a well greased pan. (use a 9x9 or 8 inch round)

Grab cut up pear halves and place halves, cut side down into the batter. 3 across and 3 down, or just any way that you think looks pretty. And once you got your pears in, place the pan into the oven. Bake for 28-32 minutes or until you get a clean fork when poked for doneness.

Remove from oven and let cool for a bit on a wire rack. Once cooled, cut it up and eat it

Left over cake is good covered at room temperature for a day or two but should be sorted in fridge, covered, for up to a week.

In Vegan, cake, Dairy Free, fruit Tags Chocolate Pear Cake, vegan, pears, cake, chocolate cake, fruit, fall, plant based, oil cake, dairy free, dessert, bake feed, homemade, recipe, easy, fast, delicious
Comment

Raspberry Danishes

July 18, 2020 Colleen Stem
IMG_9203.jpg
IMG_9174.jpg

When your neighbor tells you to pick as many raspberries as you can, well you go pick as many raspberries as you can. Just a few houses down the street, she has a yard full of the heaviest fruited raspberry bushes that have seen. So I grabbed my biggest mixing bowl and went at it. So many raspberries, they were basically falling off into the bowl (and into my mouth). Fresh raspberries, there is not much better.

And she wants me to come back for anther round. We have good neighbors.

I had quite the raspberry loot. The mr and I ate some (maybe too many), froze some, and then I made danishes for no other reason then I wanted to. And that was a just decision because everyone loves a good danish.

And these were good, or sooo good, according to the mr. He ate half while the other half were demolished when I brought them to my moms for dessert which was the plan so it worked out. People and their danishes. It’s a thing you know.(No, not really)

Now to the danishes!

The stuff. Fresh raspberries (You can use frozen or if you really want, raspberry jam) flour, sugar, salt, plant milk, oil, yeast, a lemon, powdered sugar, vanilla. and that is it.

IMG_9048.jpg
IMG_9052.jpg

Start with mixing the yeast with the oil, milk, and sugar in a large bowl. Add in the flour and slat ads mix mix mix until you can’t mix no more.

IMG_9055.jpg

Dough.

IMG_9060.jpg
IMG_9062.jpg

Dump onto a floured surface aaaaaanf. Knead. 5-8 minutes until the dough is all soft and smooth and uniformly dough.

Place the dough into cleaned bowl and cover. Set somewhere warm to rise.

IMG_9078.jpg
IMG_9088.jpg

In the mean time, make raspberry jam. Place raspberries and sugar into a pot and cook down until mixture is thick and jam like. Once the mixture sticks to a spoon like warm jam, turn heat off and let cool.

IMG_9092.jpg

Dough doubled and ready.

Dump dough out and cut into 12 equal pieces. Roll each piece into ball then roll out into a dish about a 1/2 inch thick.

Place dough disks onto splat or parchment lined baking sheet then indent each dough disk with a spoon or your fingers. Dollop a good plop of raspberry jammy into said intents. Once they are all jammed, pop them into the oven to bake. 15-18 minute should do it.

Look at those. Get them out of the oven and on to a wire rack for cooling time.

IMG_9138.jpg
IMG_9139.jpg

Make glaze. Sugar, lemon zest, vanilla, and lemon juice Mix until combined and yeah, that it glaze.

Drizzle the glaze all over those lovelies.

IMG_9209.jpg

And then you eat becucae that is why you made them.

Share with your people. Or just eat them all to yourself, you made them and they are yours.

-C


Raspberry Danishes 

makes 12

  • 4 cups of all purpose flour

  • 1 teaspoon salt

  • 2 teaspoons yeast

  • 1 cup room temperature plant based milk

  • 1/2 cup neutral oil

  • 1/3 cup white sugar

    For raspberry jam

  • 1/4 cup white sugar

  • 2 cups fresh raspberry

    For glaze

  • 1 lemon

  • 1 1/2 cups powdered sugar

  • splash of vanilla

In a large bowl combine the yeast, sugar, oil and milk. Really mix well and let sit for a minute to just get yeast activated. Dump in flour and salt and mix with a wooden spoon or whisk until it becomes to hard to stir. Dump mixture onto a lightly floured surface and knead dough for about 5-8 minutes or until the dough is soft and smooth. Place dough in a clean bowl and cover and let rise for about an hour or so or until the dough doubles in size.

While dough is rising, make raspberry jam. Mix raspberries and sugar together into a pot and place on medium heat on stove. Let cook for a couple minutes and once the raspebrries start to break down, stir. Let mixture cook down for about 10 minutes, stirring often, until the mixture becomes thick and sticks to a spoon like warm jam should. Take off heat and let cool.

Preheat oven to 350

Once dough has doubled in size, dump onto it onto a floured surface and with a knife or dough scraper, cut into 12 equal sized pieces. Roll each piece into a ball then flatten out into a disk about 1/2 inch thick. Place dough disks on a parchment or splat mat lined baking sheets (you will need 2). With a spoon, lightly push a intent into the center of each disk then place a good plop or the cooled raspberry jam into the intent. Once all the dough has its berries, place the baking sheets into the oven to bake, for about 15-18 minutes, or until the danishes are a nice golden brown.

When they are done baking, remove from oven and place on wire rack to cool.

While cooling, make the glaze. Zest lemon and place in a bowl with the powdered sugar and vanilla. Add in half the juice of the lemon and stir until completely combined. If the mixture is too thick, add more juice, to thin, add a little more powdered sugar.

And once the danishes are cooled, drizzle on the glaze. And then thats it. You can eat them now.

Any left over why are there left overs?) should be stored in a airtight container for a few days at room temp or in the fridge . They also freeze well.

In Vegan, sweet breads and muffins, summer, fruit, desserts, breakfast Tags Raspberry Danishes, danish, raspberry, vegan, plant based, jam, fresh, dairy free, easy, dough, king Arthur flour, berries, summer, food, desserts, breakfast, fun
Comment

Apple Strawberry Granitas

May 30, 2020 Colleen Stem
IMG_8297.jpg
IMG_8250.jpg

Ever since schools have been canceled and we have turned to homeschooling, the school systems around my parts have been dropping lunches off to all the littles. Both my sisters with littles have been getting food every day and it is great and amazing and makes me less worried about all the kids that really depend on school for food. Thank you school systems for being awesome!

The thing with the food is that you get what you get. Just about everyday, packed with the lunches,are either applesauce cups or strawberry puree cups.

The little shits, well none of them eat them. I don’t know if they just don’t like them or are sick of them but yeah, they are really starting to pile up. And so sisters have been sending apple and strawberry cups my way and now I have shit ton too.

I figured I would just bake with them and that is what I have been doing, but I still have so many and it is way to hot to be baking all the time. What to do with an excess of fruit puree cups? Freeze them. And make them into granitas. Whats a granita? A granita is flaked frozen fruit, kind of like a slushy you eat with a spoon. And wouldn’t you know, once the applesauce and strawberry cups were frozen and called something else, the littles were all over them. I am a genius.

It also helped that is was like a 95 degrees out and when it is that gross, no one wants to eat anything that isn’t frozen. Blah. Too hot way too early!

So if you find yourself with an excess amount of fruit cups or just want to make a healthy and delicious cold treat for your littles or yourself, do this.

Now to the apple strawberry granitias!

The stuff. Applesauce cups and strawberry puree cups. If you don’t have the actually cups, you can use applesauce from a jar or homemade and make your own strawberry puree by tossing fresh or frozen strawberries into a blender. Easy peasy.

The apple and strawberry purees into a bowl

IMG_8217.jpg

Mix together. Have a taste, it is delicious.

IMG_8223.jpg

Dump mixture into a baking sheet or pan, preferably a metal one, and place in freezer.

IMG_8236.jpg
IMG_8239.jpg

After about and hour, once it is slightly frozen, remove from freezer. Grab a fork and scrape the puree to kind of fluff it up. Place back into freezer for another hour and repeat one or two more time until the texture is nice and fluffy. Once you like texture, place in freezer for another 1/2 to really freeze up.

When you are ready to eat, scoop and serve.

Once scooped, eat. Right away because frozen things don’t stay frozen for long!

-C


Apple Strawberry Granitas

makes about 4 servings

  • 2 applesauce cups (or 2 cups applesauce)

  • 2 strawberry cups (or 2 cups strawberries pureed)

  • 1 tablespoon sugar (optional)

Dump the applesauce and strawberry puree into a bowl. Mix together and taste. If you think it could use a little sugar, mix it in. Remember, once frozen, it won’t taste quite as sweet.

Dump mixture into a baking pan or sheet, preferable a metal one, and place in freezer. After about an hour, or once it has frozen a bit, remove from freezer, grab a fork, and scrape the puree to losses it up. Place back in freezer for another hour. Repeat with the fork one or two more times until the texture is that of fluffy ice. After the last scrape, keep in freezer for another 1/2 hour or so to get it really frozen again then when you are ready, scoop out into bowl and eat.

Any that doesn’t get eaten right away, keep in freezer. You can transfer to a smaller container with a lid.

In 5 ingerdients or less, frozen, fruit Tags frozen, fruit, dairy free, food, vegan, dessert, apple strawberry granita, granita, applesauce, fresh, homemade, fruit cups, school lunches, summer
Comment

Sweet Pea Snack Cake with Strawberry Glaze

May 9, 2020 Colleen Stem
IMG_7904.jpg
IMG_7962.jpg

It started a few nights ago when I was eating my after dinner dessert snack. A big bowl of fresh strawberries. But there was something missing. I wanted a little something else to add to my dessert so I opened the freezer to see if there was any frozen bananas. What caught my eye was the bag of peas. And it just seemed right so I poured some into a bowl, dumped hot water on them to thaw, and mixed them into the bowl with the strawberries. Now I got to tell you, it was one of the most satisfying delicious desserts I have had in a long time. Think about it. Peas are sweet and creamy and strawberries are sweet and tart. The combination might seem a little strange but haven’t we learned by now that I am always right about flavors? HAHA. But really. It’s one of my new favorite snacks.

Now how to share my newfound love of peas and strawberries? Well cake of course. I figured people are less hesitant to try new flavor combinations when in cake form because everyone wants cake. And I was right. Plus it is a real looker if I do say so myself. Bright green cake with bright red strawberry glaze. A spring time snack with the spring time feels. Everything about this cake is right on point with all the things. And it is super fast and easy to make to boot because it’s all thrown together in a blender.

You really can’t go wrong here friends. And if you happened to be needing a little something something to snack on with your mama this weekend, well I think you just found the perfect snack.

Now to the cake!

The stuff. Peas,strawberrie jam of perceives (I had just made it so it is still warm) Flour, sugar and powdered sugar, baking soda and powder, salt, oil, and vinegar.

IMG_7720.jpg
IMG_7726.jpg
IMG_7734.jpg
IMG_7739 2.jpg
IMG_7756.jpg
IMG_7770.jpg

Super easy here. Place peas into blender and blend until smooth. Add oil and sugar and blend until incorporated. Then add in all the dry. Before you blend, take a spoon or spatula and hand mix it a little. Add in a cup of water and vinegar then pulse until incorporated. Don’t over blend it or else it will be tough.

Pour batter into a well greased pan and pop into a hot oven. Bake.

Afer about 25 minuts, check for doneness. When the fork or tester comes out clean, it is done!

Pop cake out and let cool on a wire rack.

IMG_7805.jpg
IMG_7813.jpg

And glaze. Warm up the jam in the microwave on on stove until loose then mix jam with powdered sugar.

When the cake has cooled, grab a fork and stab holes all over so when you pour glaze on it will kind of seep into said holes.

Pop cake back into pan (or don’t if you dont want too) and pour glaze all over top.

A dusting of powdered sugar for looks and done and done. Cut into squares, pop a piece on a plate, and snack away.

-C


Sweet Pea Snack Cake with Strawberry Glaze

makes a 9x9 cake

  • 2 cups all purpose flour

  • 3/4 cup white sugar

  • 1 1/3 cups sweet peas (fresh or frozen and thawed)

  • 1 cup water

  • 1/3 cup oil

  • 1/2 teaspoon salt

  • 1 teaspoon baking powder

  • 1 teaspoon baking soda

  • 1 tablespoon vinegar

  • 1 cup powdered sugar

  • 3 tablespoon strawberries jam or preserves

Preheat oven to 350

Place peas into blender ans blend until smooth. Add in oil and sugar and blend until incorporated. Next add in baking soda and powder and then flour on top. Grab a spoon or spatula and mix a little to give the batter a head start then add int he water and vinegar. Pulse in blender for a few seconds, scrap sides, then pulse again until it just become a cohesive batter. Don’t oven blend it or that cake will be tough.

Pour batter into a well greased 9x9 baking tin and place into hot oven. Bake for about 25 minutes or until golden brown and a tester comes out clean. When it is done, pop out of oven and pop cake out of tin to cool on a wire rack.

Once cake is cooled, place back into baking pan. Mix together the powdered sugar and jam then either microwave it or heat on stove for 30ish seconds until warmed and pourable. Grab a fork and stab holes all over top of cake then pour glaze all over.

Sprinkle some more powdered sugar on top for looks, but other then that, it’s now time to eat.

Cake that is not eaten is best keep at room temperature for 2-3 days. Can be frozen too.

In cake, Dairy Free, desserts, fruit, quick and easy, Sweets, Vegan, Vegetables Tags Sweet Pea Snack Cake With Strawberry Glaze, cake, vegan, dairy free, plant based, peas, dessert, snack cake, homemade, mothers day, spring, blender cake, easy, fast, green cake
Comment

Pineapple Upside-down Cake

April 11, 2020 Colleen Stem
IMG_7290.jpg
IMG_7214.jpg

I don’t really understand the pineapple Easter correlation. I think it might have something to do with ham, but you know what, I really don’t care that much to figure it out. (Okay, I googled it and it is ham related.)

So no ham here but I am all about the pineapple. Last week when I did my grocery shop there were a shit ton of pineapples on sale, so I grab a few figuring that me and the mr would eat them for next week or so. Up until last week, I was positive that the mr really liked pineapple. Until I cut one up. Turns out the mr , for some reason, now doesn't like pineapple that much. What. the, HELL!? This was new news to me. I swear he just says these things to piss me off, but whatever, I guess he is not a fan anymore and it just means more pineapple for me.

But I also made a cake with some of the pineapple because I had so much and also I just wanted to bake a cake. And guess what, turns out the mr does like pineapple, just as long it is in cake form. I should have known.

To the upside down cake!

IMG_7128.jpg

The stuff. A pineapple, flour, baking soda and power, salt, brown sugar, coconut oil, vanilla and apple cider vinegar.

IMG_7138.jpg

Cut up pineapple. If you want to get fancy, garb a cookie cutter and cut out pineapple shapes for the upside down part. Or just cut up 1/2 inch slices or rings. however you want.

IMG_7178.jpg
IMG_7179.jpg

Get the pan ready. Grease a pan, add a parchment bottom. place about a tablespoon coconut oil into pan and coat bottom of pan then evenly sprinkle in about 1/2 cup brown sugar. Layer in your pineapple.

IMG_7184.jpg

In a large bowl, whisk together the dry ingredients… (a bowl bigger then mine)

IMG_7151 2.jpg
IMG_7153 2.jpg
IMG_7165.jpg
IMG_7170.jpg

Place pineapple into blender (use scraps if you have them) and blend until smooth. Add in the brown sugar, coconut oil, vanilla, and vinegar and blend until combined.

Pour wet into dry and whisk until combined.

IMG_7194.jpg

Pour batter over pineapple and into the oven it goes.

Oooooh. Cake. Are you just so excited! You should be, it is an exciting time.

Give it a few minute before flipping it.

Flipped and revealed. So pretty!

Now it’s cake time so get down on it.

-C


Pineapple Upside-down Cake

makes a 12 round or 9x13 inch rectangle cake

  • 2 1/4 cups all purpose flour

  • 1 teaspoon baking soda

  • 1 teaspoon baking powder

  • 1/2 teaspoon salt

  • 3/4 cup brown sugar plus 1/4 cup

  • 1/2 cup warm coconut oil plus 1 tablespoon

  • 1 1/2 cups pineapple pureed which Is about 1/2 a small pineapple

  • About 1/4 pineapple for bottom

  • 1/4 cup water

  • I tablespoon apple cider vinegar

Preheat oven to 350 degrees.

First get the pineapple cut up any way you usually do it. If you want specific shapes for the pineapple bottom, keep that in mind and cut the pineapple accordingly. You are going to want the pieces (like the circles that I used) to be about 1/2 inch thick. And if you are using a cut out, my suggestion is to cut out all the pieces that you need to use and use the cut out scrapes to puree.

Grease and parchemnt line a 12 inch round or 9x13 inch rectangle cake pan. Evenly spread a tablespoon coconut oil on parchment then evenly coat with 1/4 cup of brown sugar. Place pineapple cut outs or pieces into pan. It is fine if pineapple pieced overlap a bit but make sure to not go much thicker then1/2 inch in places.

In a large bowl whisk together the flour, baking power and soda, and salt.

Place 1 1/2 cups of chopped pineapple into blender and blend until smooth. Make sure it equals 1 1/2 cup pureed. Add in 1/4 cup water, 3/4 cups brown sugar, 1/2 cup warm coconut oil, vanilla, and the vinegar and blend until completely smooth. Pour mixture into the bowl with the whisked dry ingredients and mix until combined. Pour cake batter gently over pineapple in pan.

Bake for 45-50 minutes or until the cake is a nice golden brown and a tester poke comes out clean.

Remove cake from oven and let cool for about 5 minutes, then invert pan onto a wire rack or plate and remove pan gently. The cake should pop out easily with the parchment attached. Peel parchment off and if any of the pineapple cokes loose, jus stick it back on.

And then cake. Eat it.

In cake, Vegan, fruit, desserts Tags Pineapple Upside-down Cake, Vegan cake, Easter, cake, food, dessert, bake feed, feed feed, the kitchn, fresh pineapple cake, upside down cake, fruit, plant based, sweets
Comment
← Newer Posts Older Posts →
 

https://thelovelycrazy.squarespace.com/config#/|/about/

Me. Food Maker.Food eater. Woo HOO!

STEM+NODE  SMALL BATCH AND ONE OF A KIND POTTERY

stem+node ceramics


____________________

Subscribe

GET NEW POSTS IN YO EMAIL

You are AWESOME!!!


@thelovelycrazy 2014-2021