• stem+node ceramics
  • HOME
  • Food Recipes
  • About
  • Contact
Menu

The Lovely Crazy

Street Address
City, State, Zip
Phone Number

Your Custom Text Here

The Lovely Crazy

  • stem+node ceramics
  • HOME
  • Food Recipes
  • About
  • Contact

Pickled Ginger Dilly Sprouts

December 5, 2020 Colleen Stem
IMG_2269.jpg
IMG_2289.jpg

What are you even doing if you are not pickling Brussel sprouts?

Ok, I get that you might have some other stuff going on in your life right now so I won’t judge you, but you all really need to get on getting some sprouts in the next few weeks while they are good and seasonal and pickle yourself some. They are truly some kind of amazing. Crisp and crunchy. Vinegary with all the flavors of dill and ginger and the slightly sweetness of the sprouts themselves . Oh jeez, they are just so good. And they are refrigerator pickled so you don’t have to do a hot water bath which means you really have to excuse to not make them.

And while you are at it you might as well just make a bunch of jars to give to people this holiday season. Think about it, wouldn’t you love a delicious jar of deliciousness instead of another stupid whatever or what not? You will be the coolest person with your jars of sprouts. Guarantied!

Now to the pickled sprouts!

The stuff. Brussel sprouts , vinegar, fresh dill, chunks of fresh ginger, mustard seeds, peppercorn, red chili flakes, and salt.

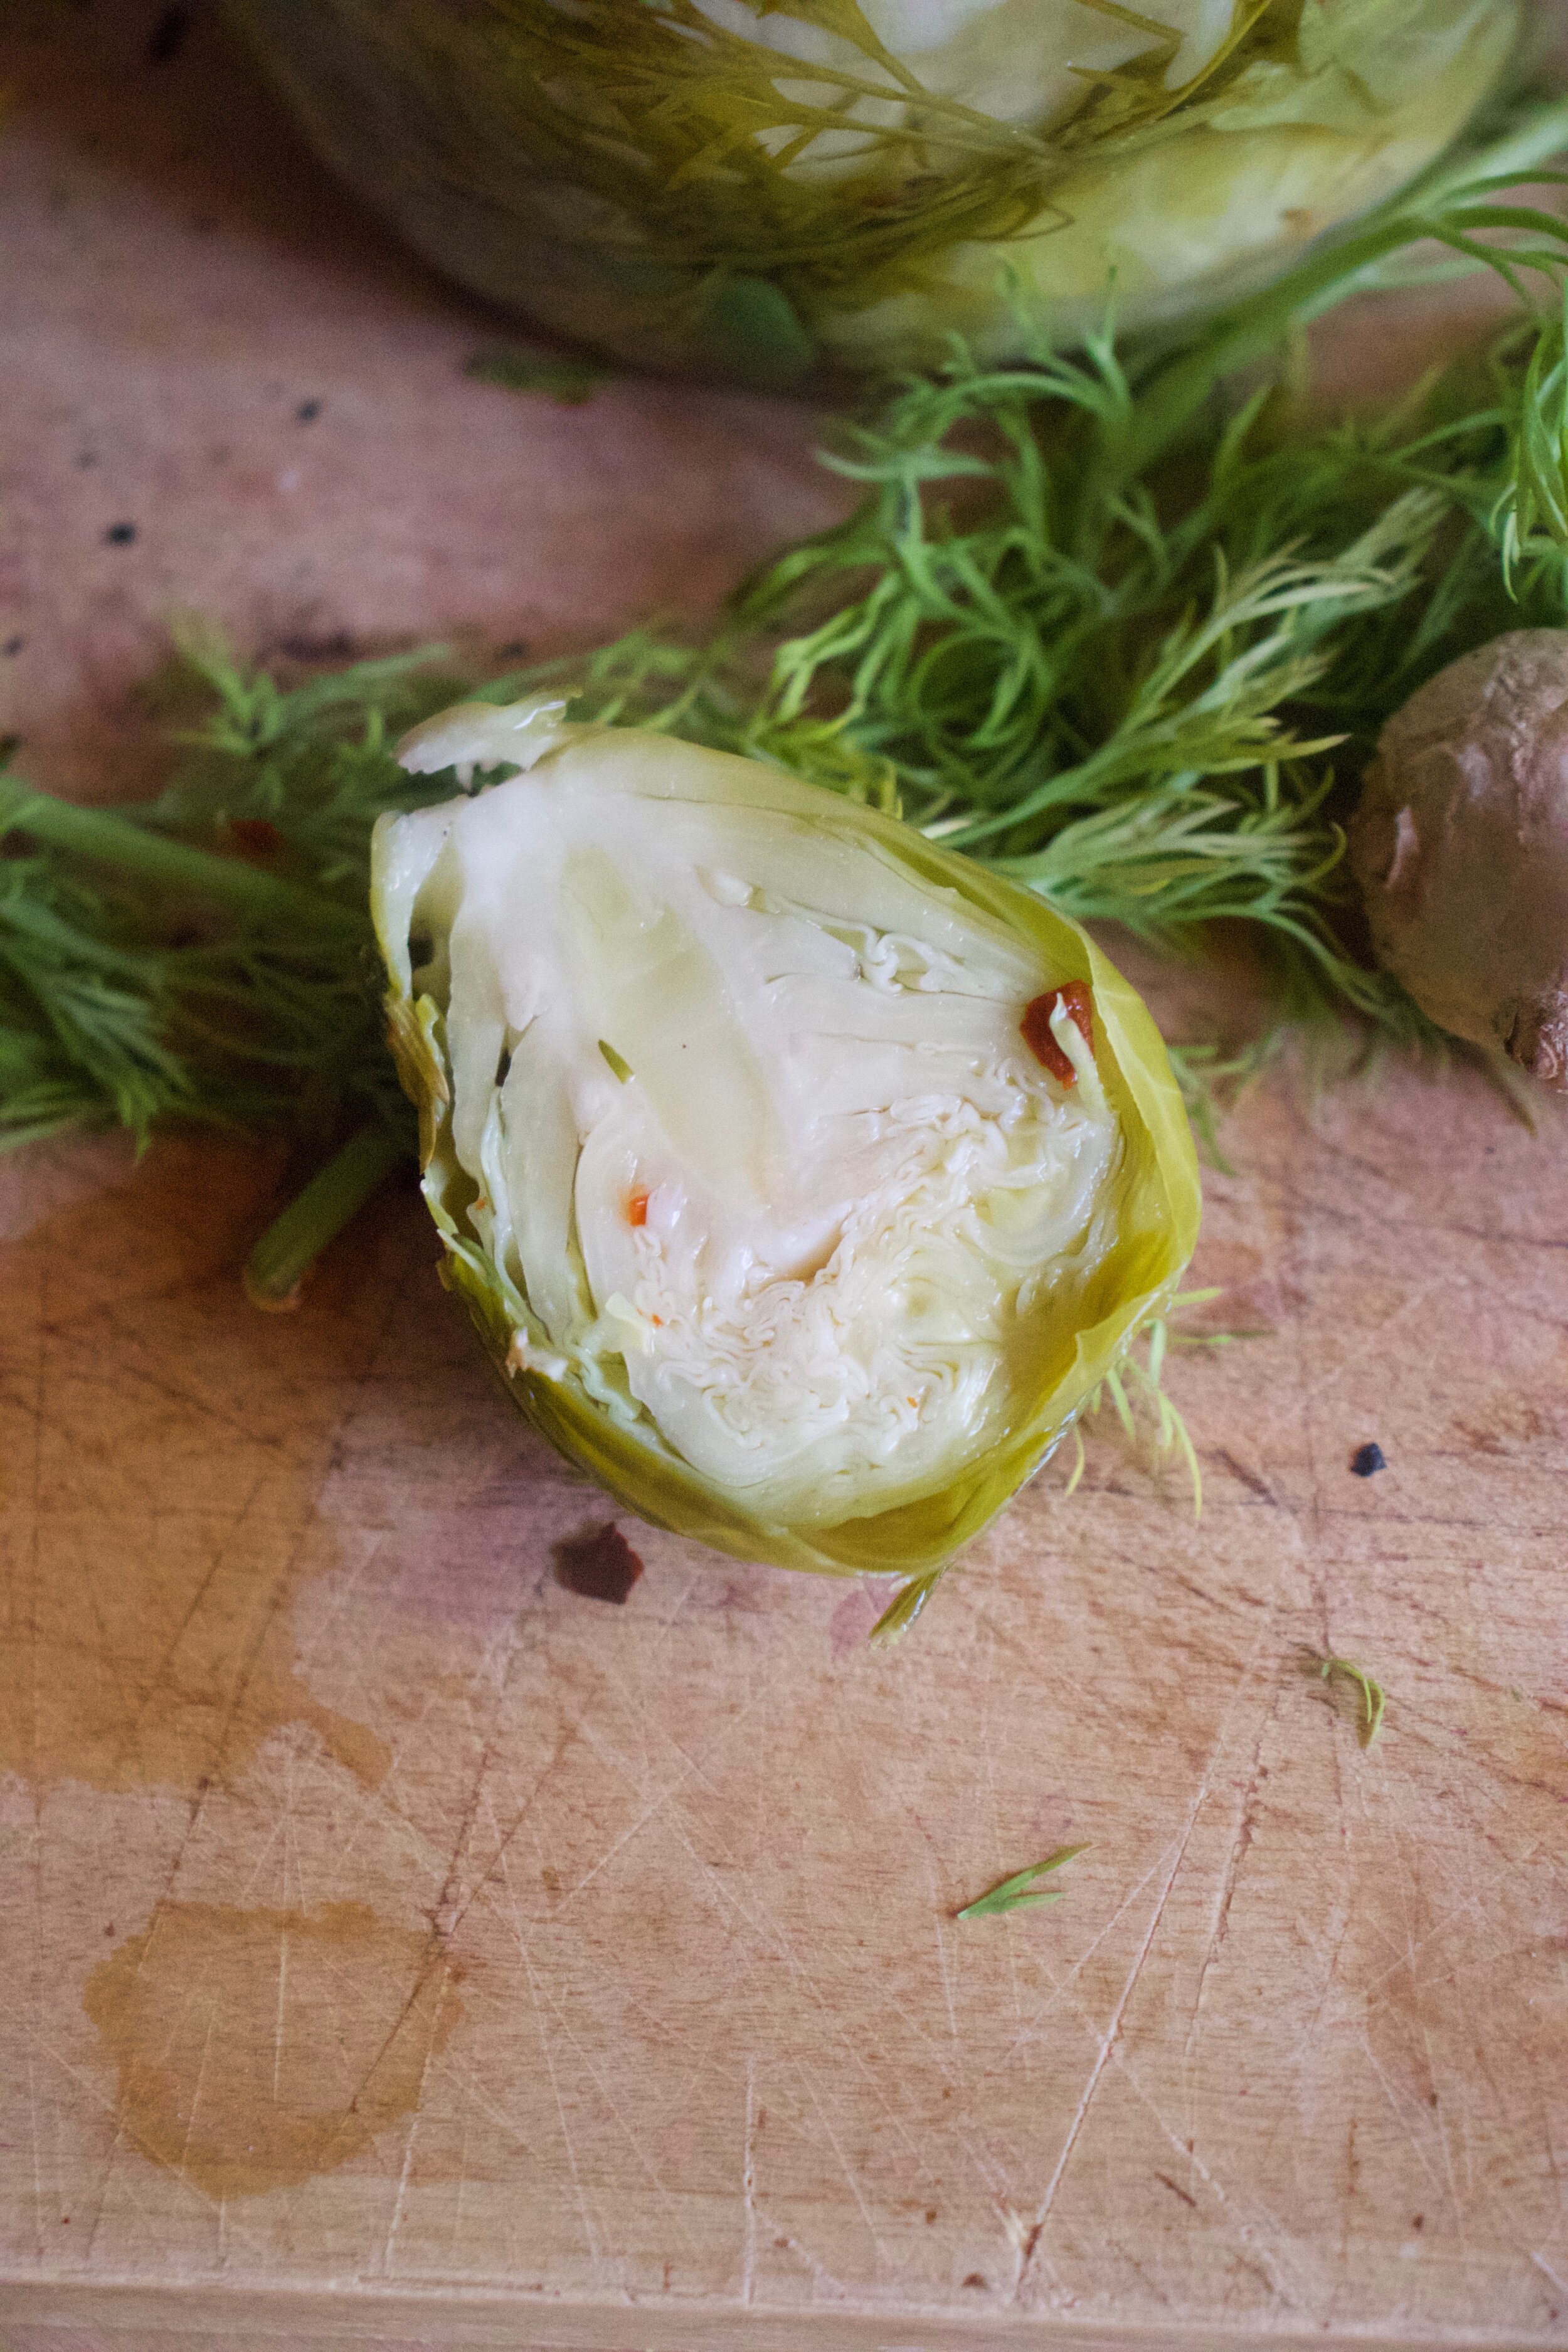
Nice and clean spouts. Cut them in half.

Cut up the dill into smaller pieces and as for ginger, I minced a little and cut some up into larger chunks.. I like to eat chunks of pickled ginger too.

Vinegar and water go into a pot with the ginger, salt, peppercorn, pepper flakes, and mustard seed and brought to a rapid boil.

Once boiling dump in sprouts and dill and keep on heat for about 3 minute so the sprouts tenderize a little.

IMG_2247.jpg

Then dump it all into a clean jar. And that is it. Yes you can eat one, but really, you should wait like a day or two. And after a week.. Perfection.

So yeah, once you got them in a jar, let them cool to room temperature, top with a lid, and place in the fridge.

If you are wise you will make multiple jars because these sprouts will not last.

-C


Pickled Ginger Dilly Sprouts

makes 1 quart sized jar

  • about 20 good sized Brussel sprouts

  • 2 cups white vinegar

  • 2 cups water

  • 3-4 sprigs fresh dill

  • inch of fresh ginger root

  • 1 teaspoon pickling or kosher salt

  • 1 teaspoon peppercorns

  • 1 teaspoon mustard seeds

  • 1/2-1 teaspoon red pepper flakes (more for spicer)

Clean and halve all the sprout. Stick them all into a clean quart sized jar to make sure they all fit then dump them out.

Grab ginger and rough chop it. Cut dil up into smaller pieces.

Dump the vinegar, water, salt, peppercorn, red pepper flakes, mustard seeds, and salt into a pot. Bring to a rapid boil. Add in the halved sprouts and ginger and toss around. Keep on heat for about 3-4 minutes just to give the sprout a little bit of time to soften just a bit. Remove pot from heat and carefully dump all the sprouts and everything in the pot into the clean jar. Pack sprouts down with a wood spoon and make sure they are completely submerged in liquid. If all the liquid doesn’t fit, just dump into a smaller jar and use for a salad or something.

Let sprouts cool to room temperature then stick a lid on jar and place in fridge. Sprouts are good eaten whenever, but are at their best after a few days in the fridge.

They will keep for a month or so but who are you kidding, there is no way they will last that long.

In Vegetables, Vegan, snack, quick and easy, Pickled, holiday Tags dilly sprouts, brussel sprouts, homemade, refrigerator pickles, ginger, dill, quick, easy, fresh, seasonaf, gift idea, vegan, vegetable, food, gluten free, healthy, plant based
Comment

Heart Shaped Soft Pretzels

February 8, 2020 Colleen Stem
IMG_5507.jpg
IMG_5464.jpg

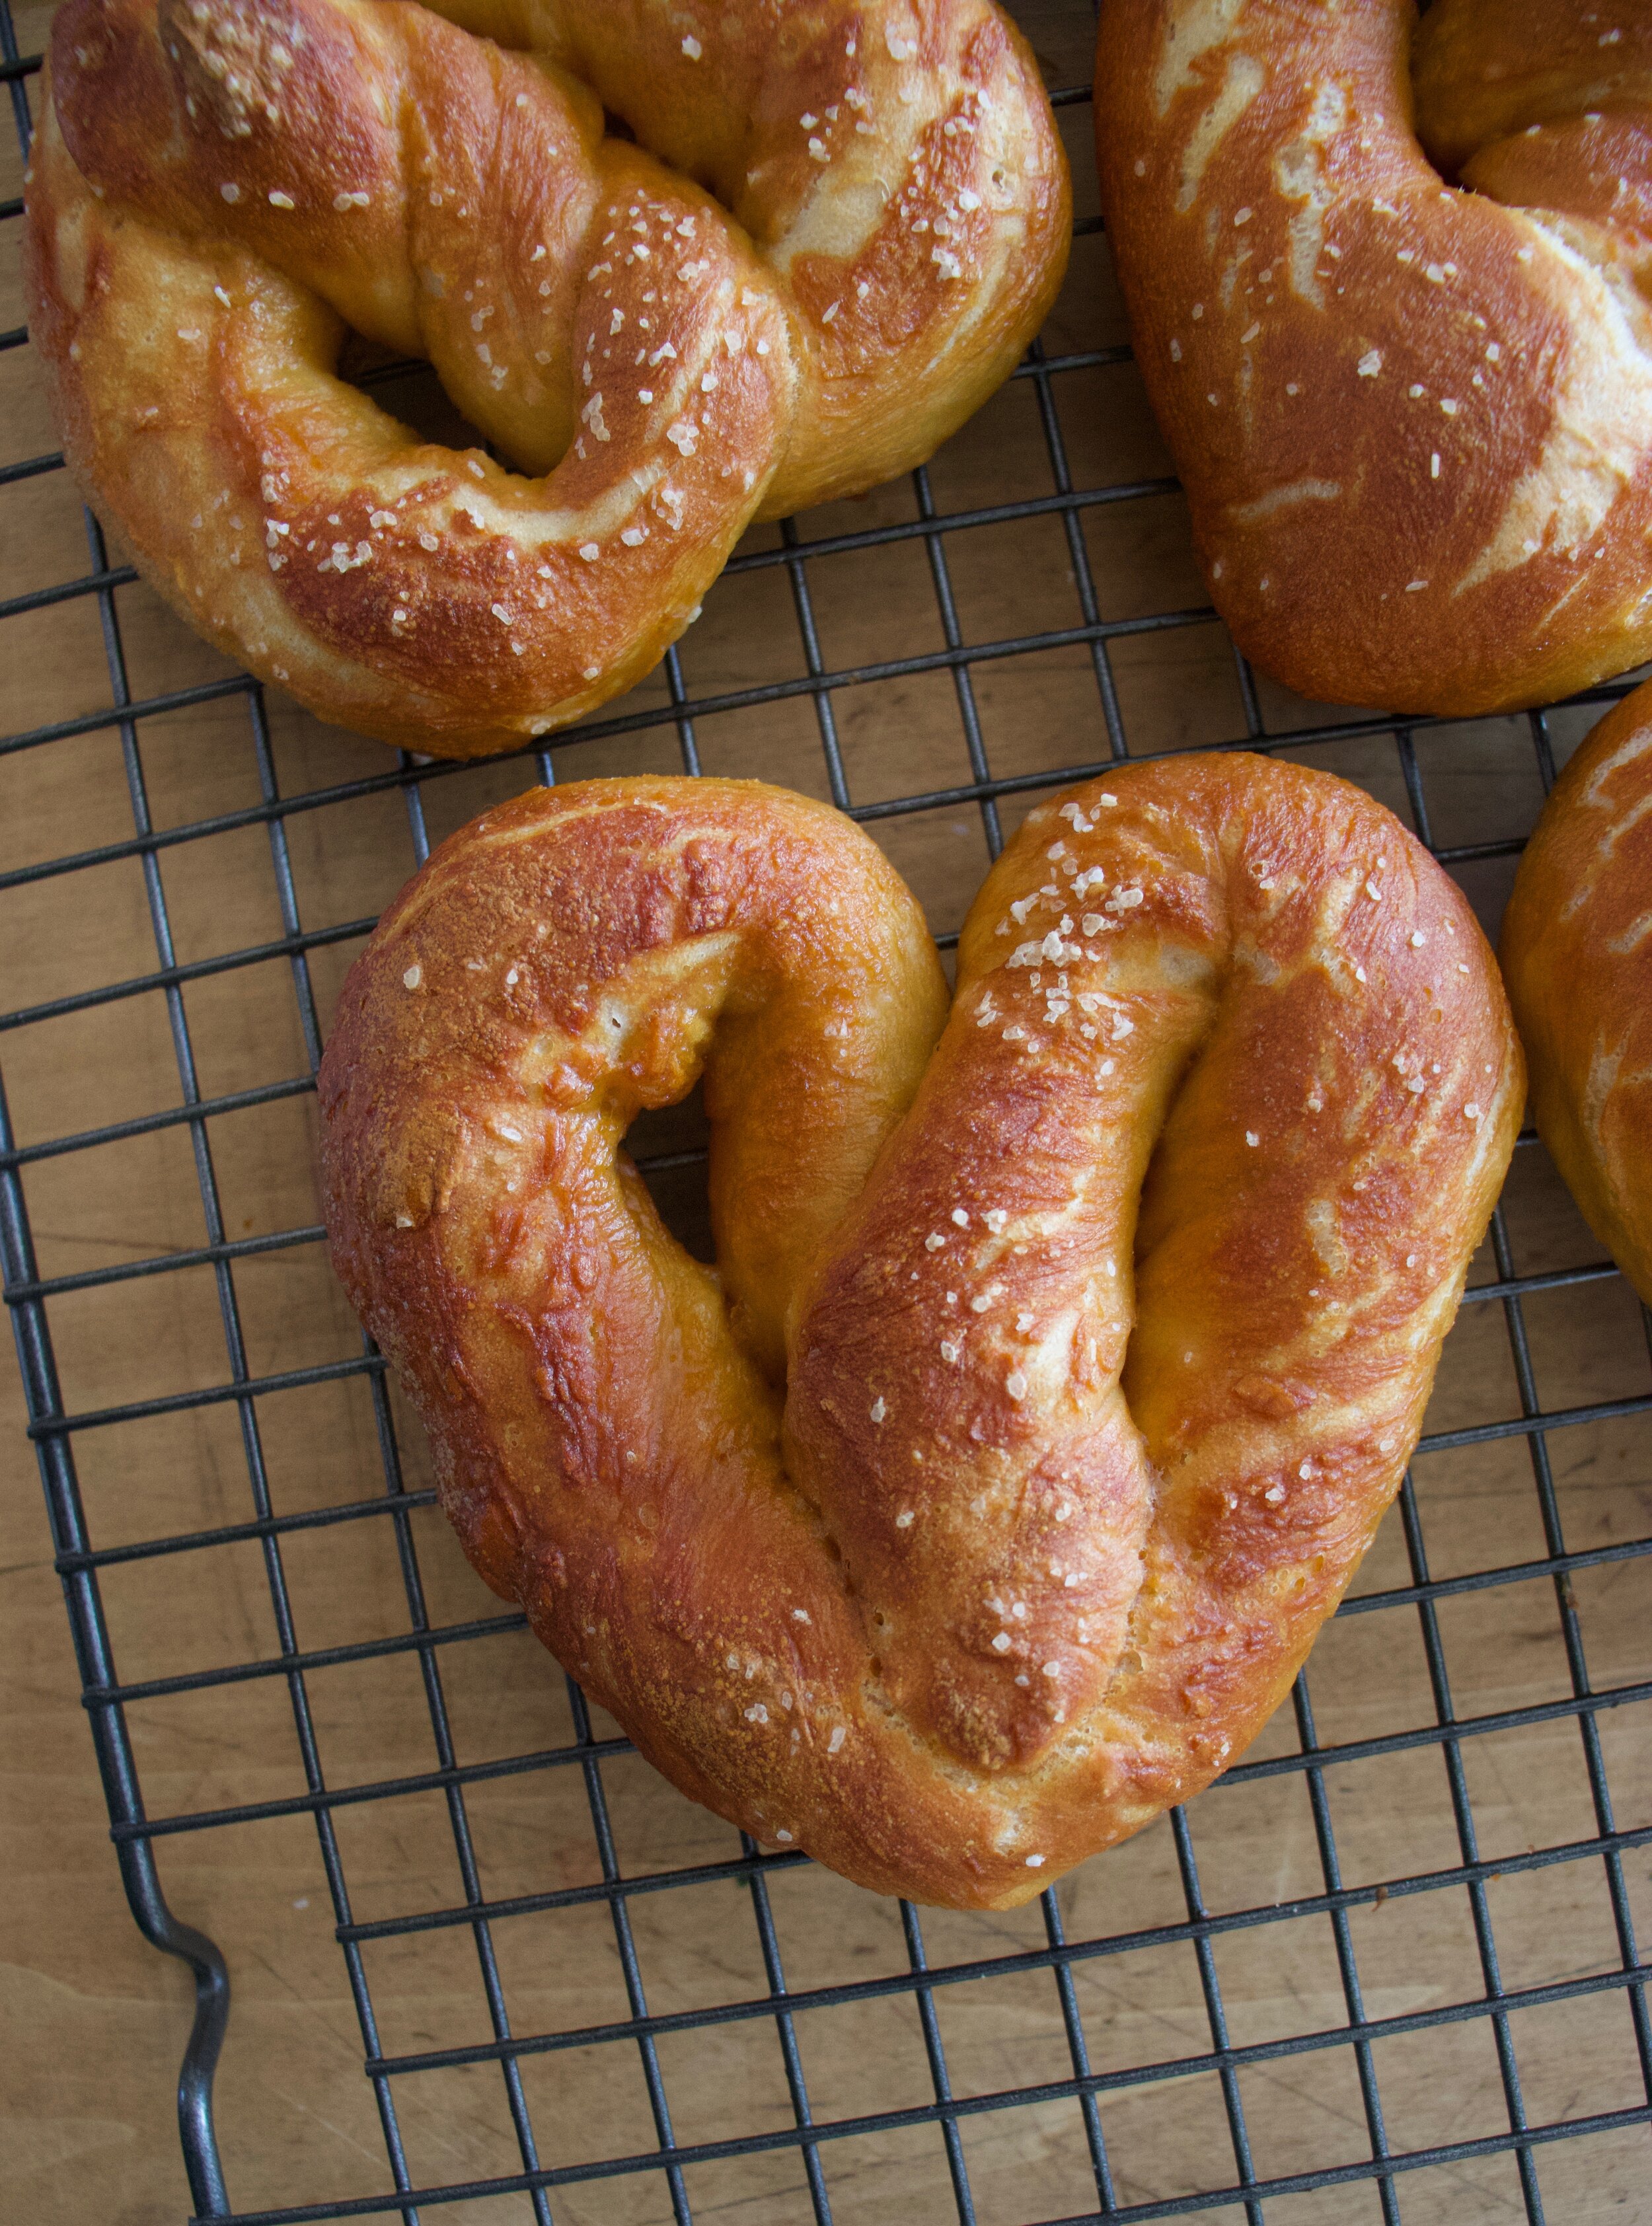
I am pretty sure making pretzels was one of the best ideas that I had all week. Making them into the shape of hearts, that WAS the best idea I had all week. Take note. Making anything into the shape of a heart is always the best idea.

So why pretzels? Well why not. I make so much bread in this house that I felt like making a little something different. I was thinking bagels, but I didn't really want to have dough in the fridge for a day and plus I wanted to do something then and there and have it be done. Like pretzels. From start to finish they takes less then 2 hours. And you get to twist the dough and boil it and it is just fun. Like I could totally see making pretzels with a few littles or maybe a friend or a “friend”. A pretzel making date. Now that is a good idea. Oh me, I am so full of all those good ideas. HAHA!

These pretzels are of the soft variety. And to make them pretzels, and not just bread, the kneaded dough gets shaped and then boiled in a baking soda bath (not lye…don’t have any lying around). Then they are sprinkled in course salt and baked til a deep golden brown. They come out soft and chewy just like a good soft pretzel should be. Then they need to be eaten right away, slightly warm, because that is how you are suppose to eat them.

And so the pretzels were made. The mr came home right after I pulled these puppies out of the oven and went for a walk to get some fresh air. When I got home I found him salivating over a plate, waiting for his cue to eat. The cue was given (once I put the camera away) and eat one he did. And then another. And another. Because really, what the hell, I made him heart shaped pretzels. He loved them so much that I just let him eat as many as he wanted. He was happy, I was happy, there where hearts. No complaints. Even when I told him he was having pretzels for all meals until they were gone. He just smiled he pretzel filled mouth at that.

To the pretzels!

The stuff. Flour, salt, course salt, brown sugar, yeast, water, and some baking soda.

IMG_5385.jpg
IMG_5388.jpg
IMG_5389.jpg

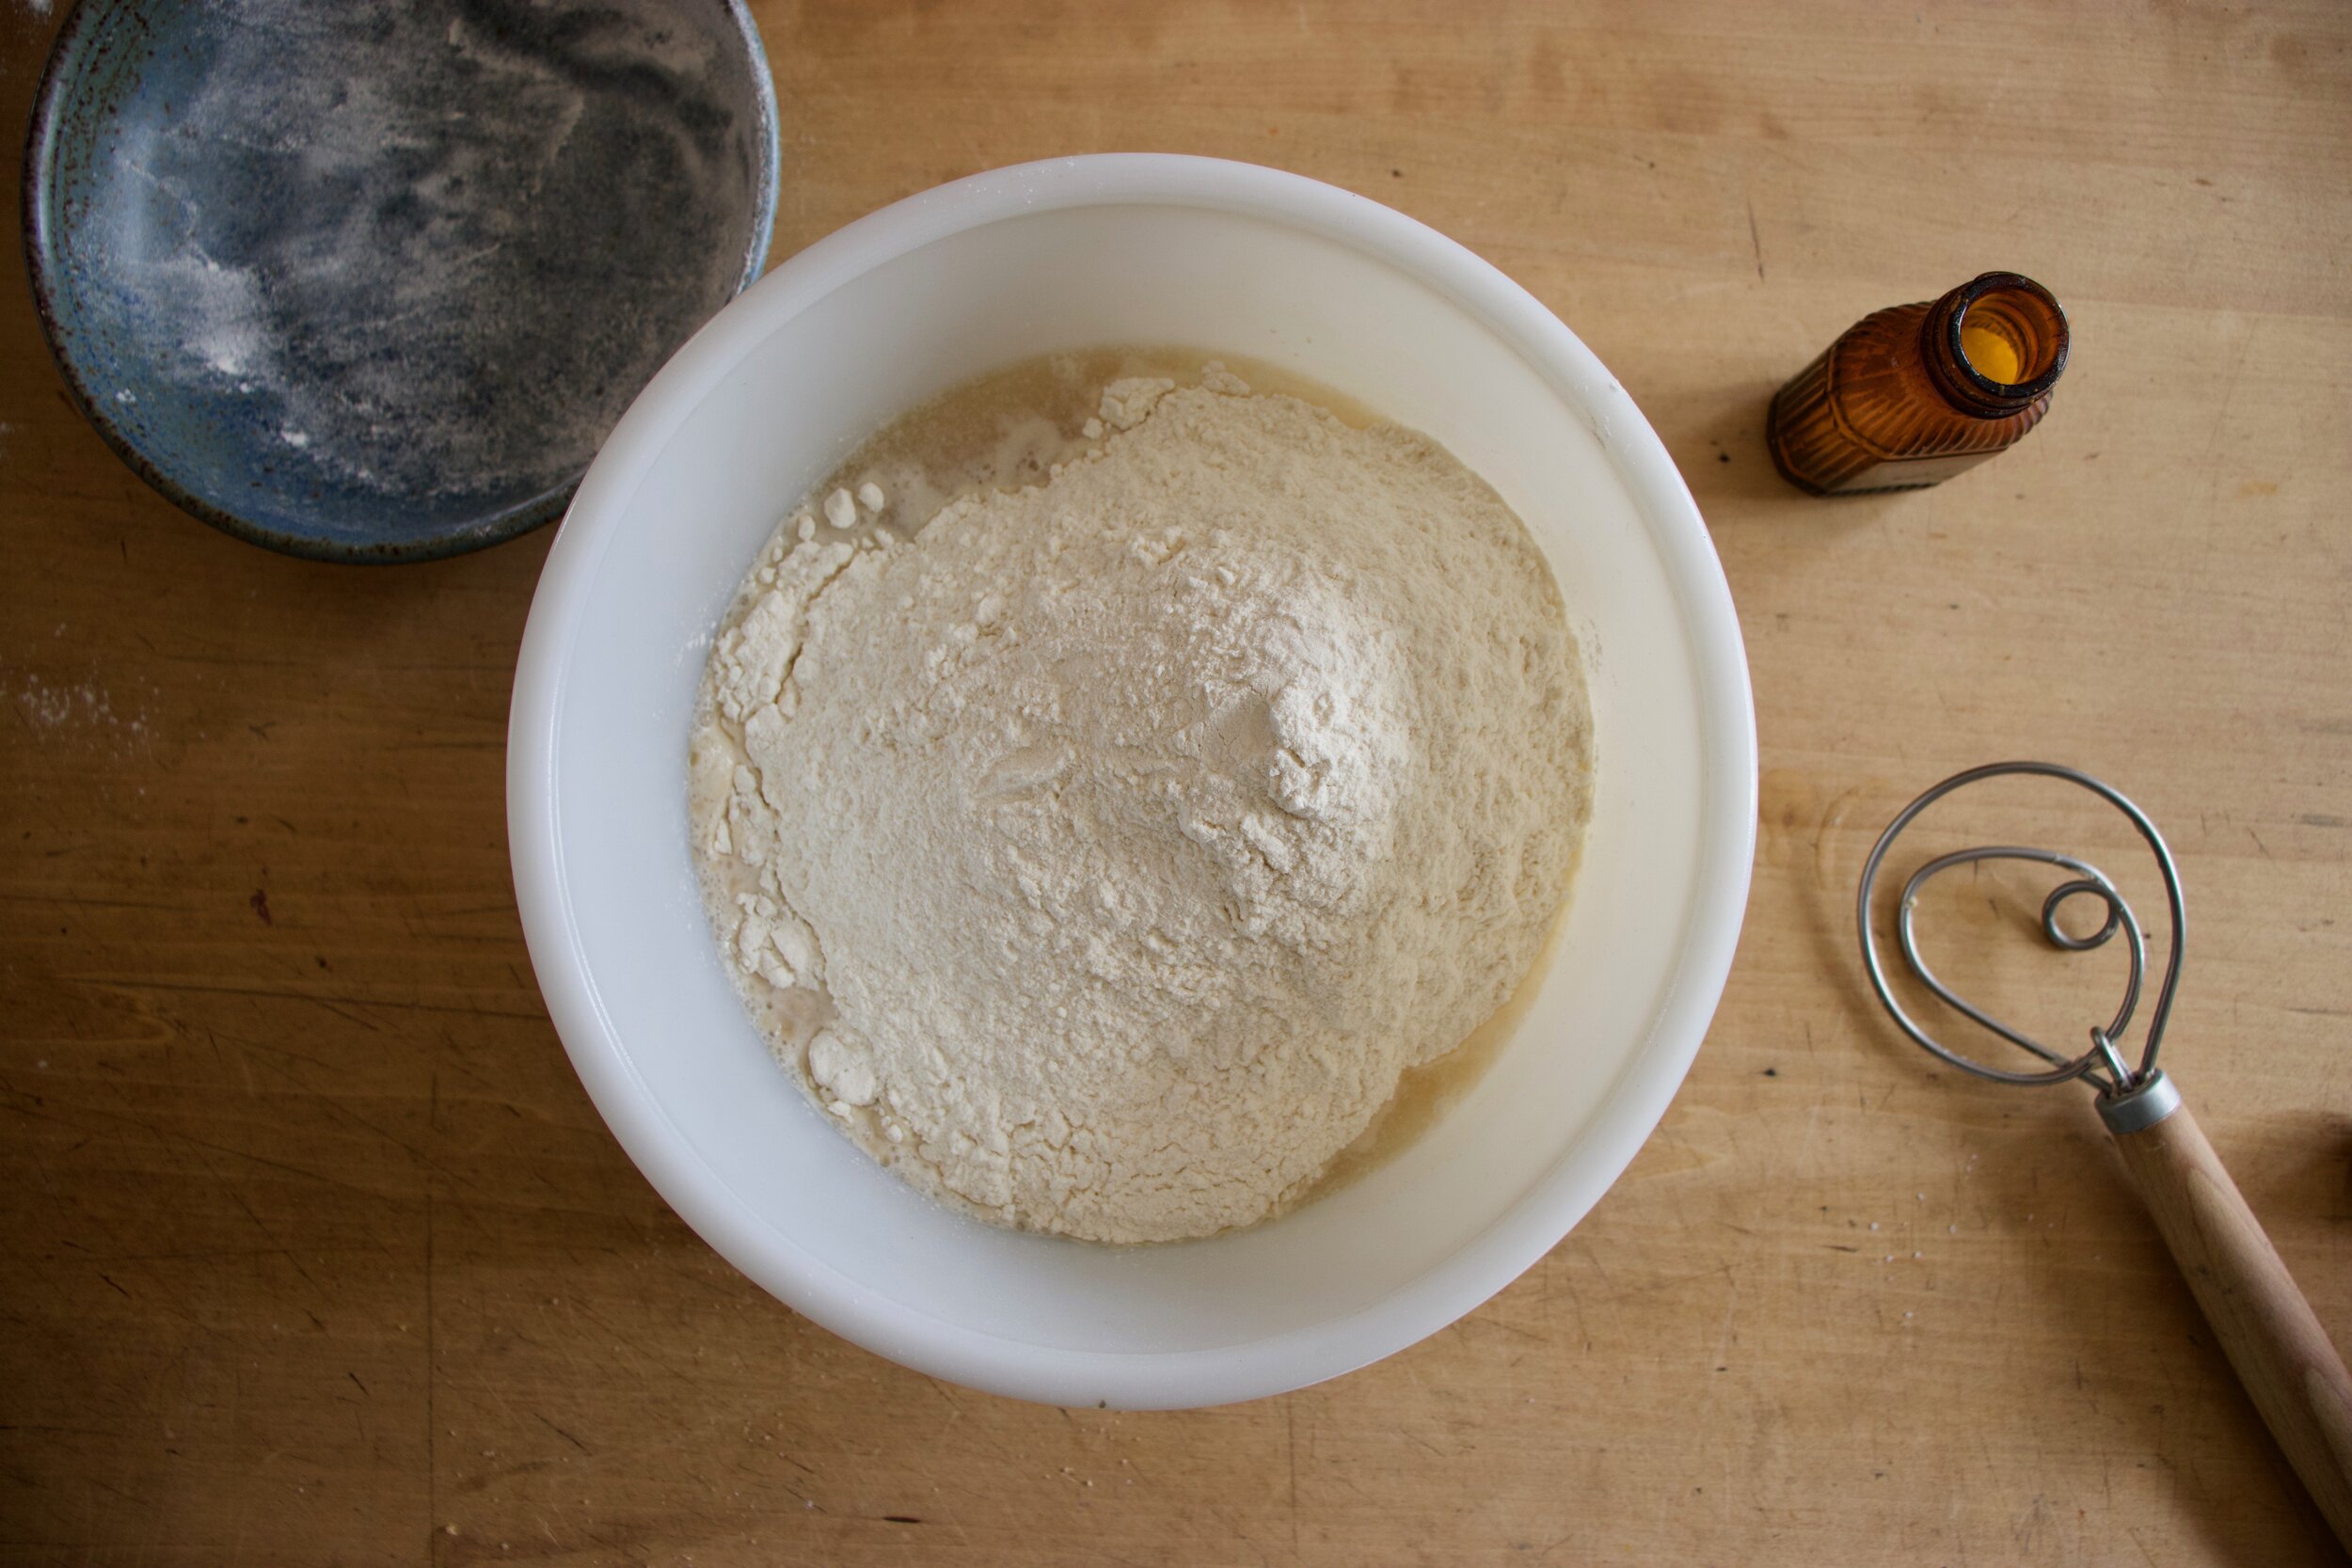
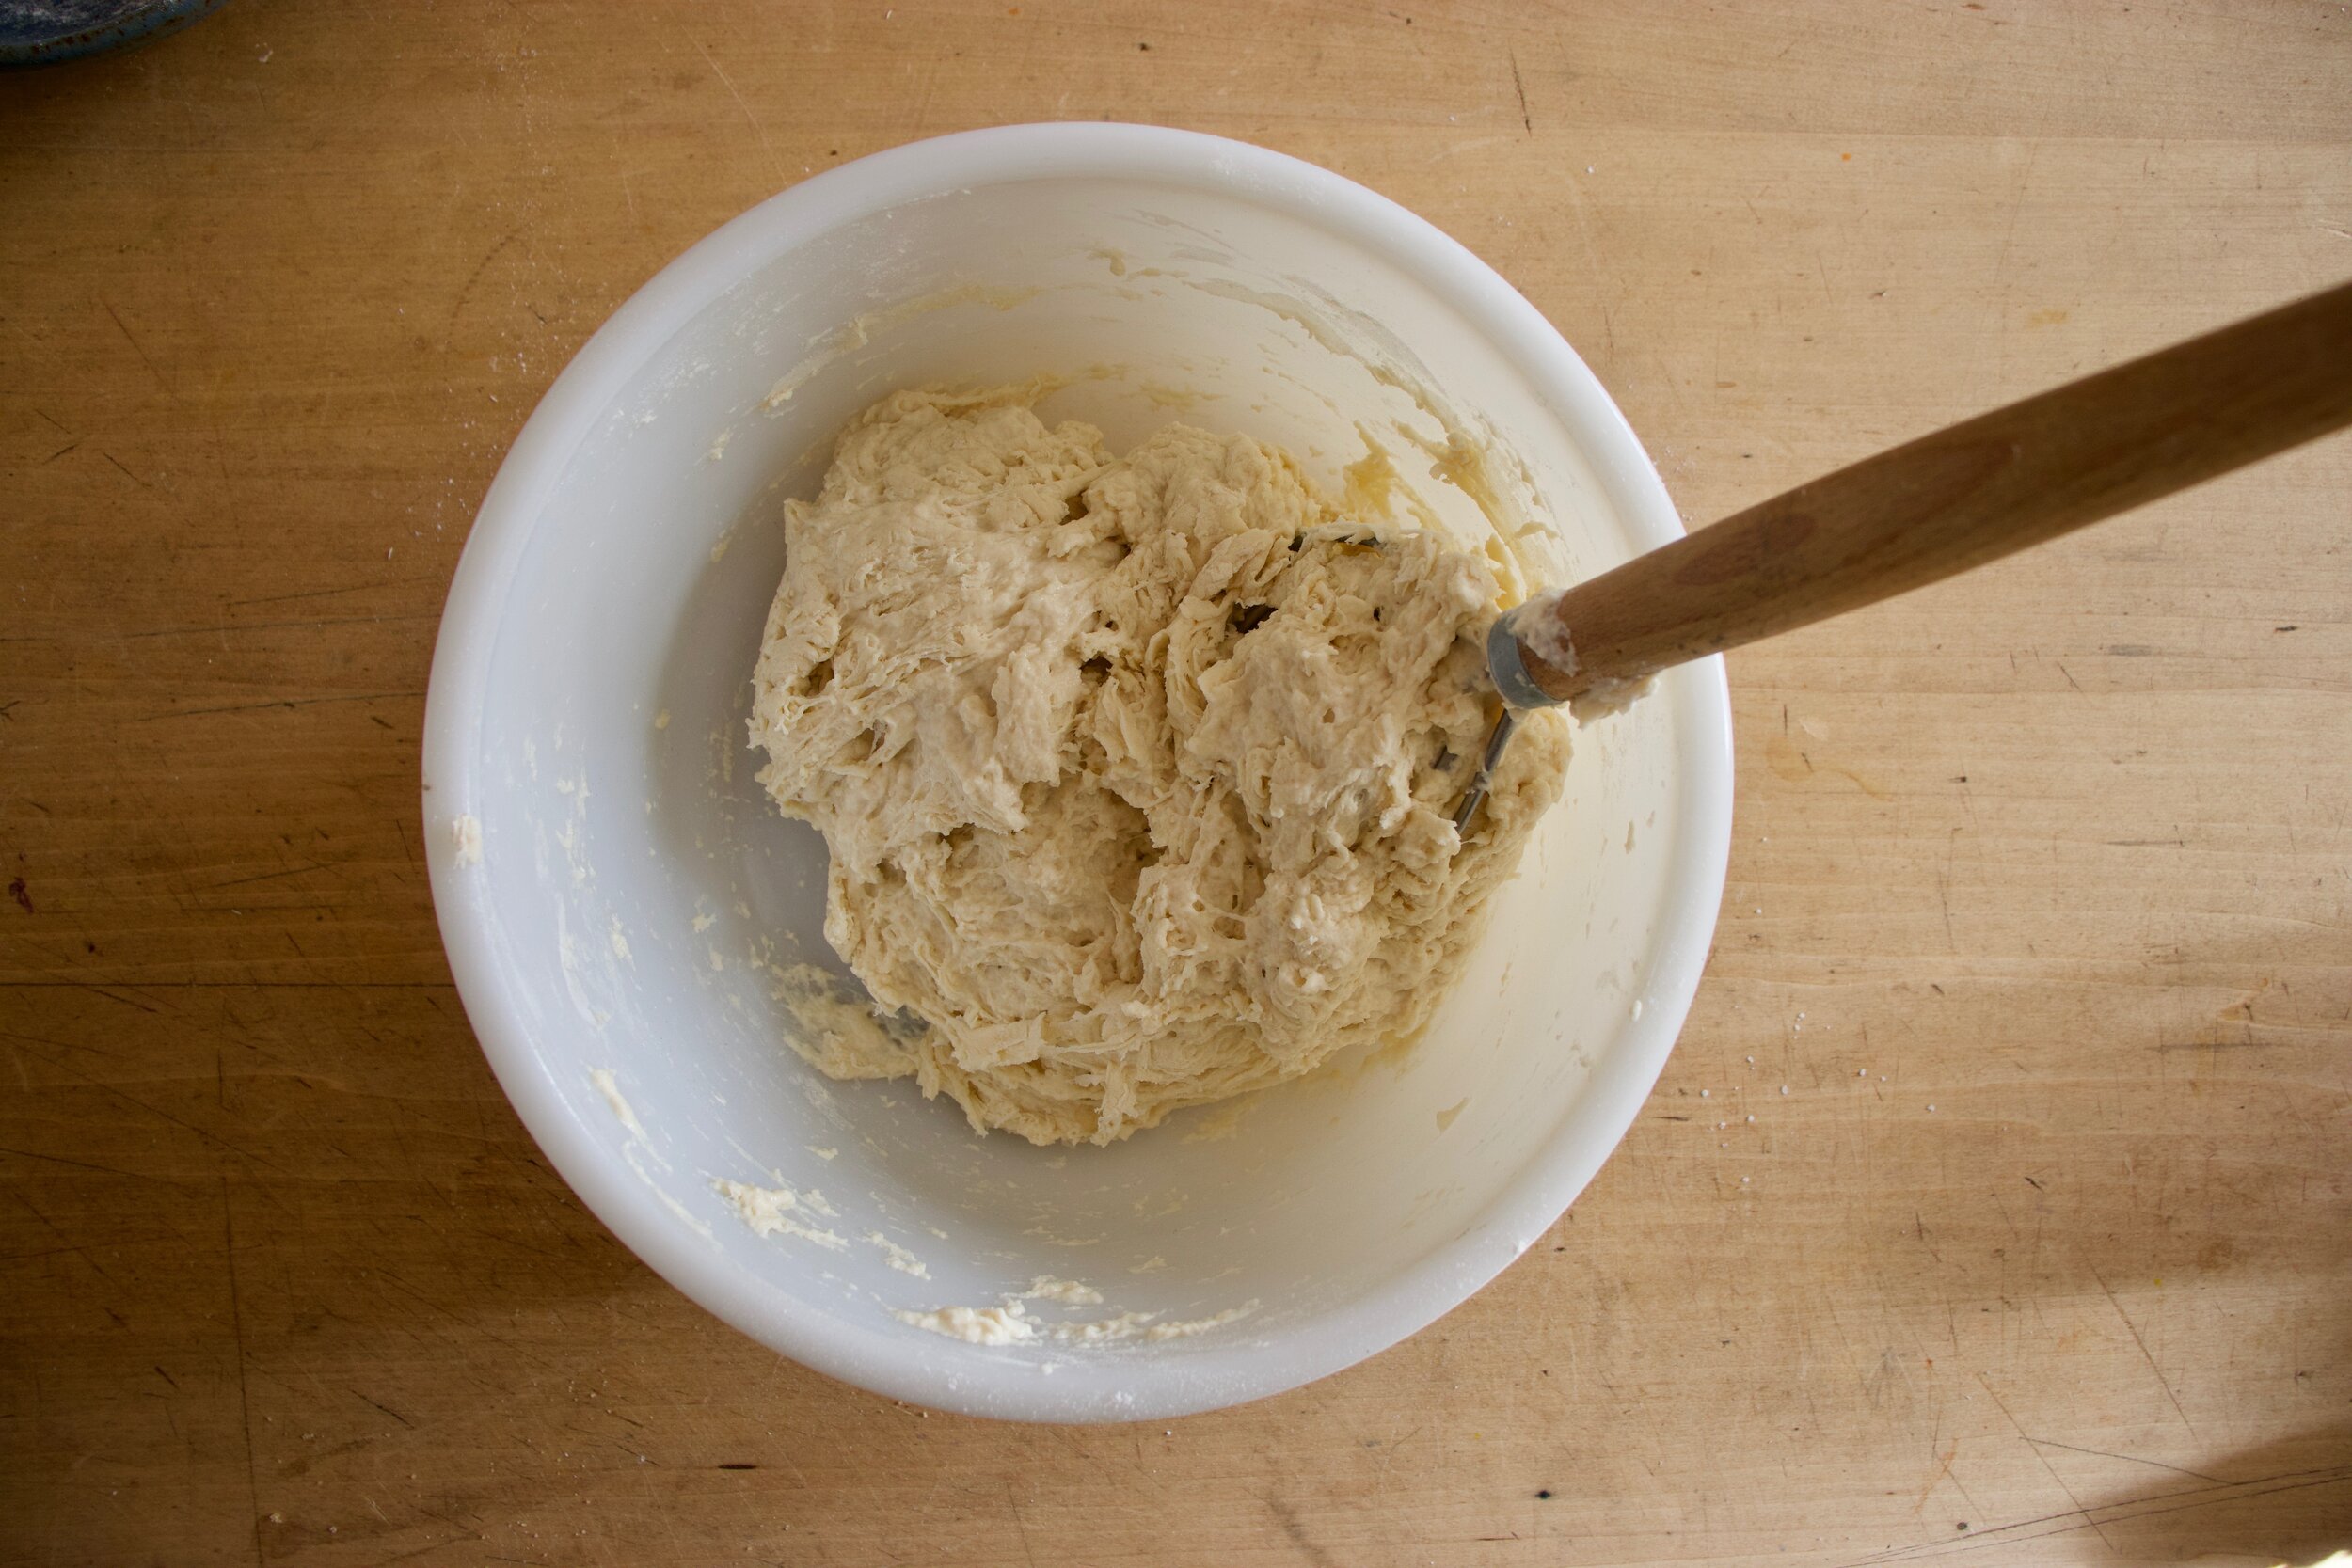
The yeast, brown sugar and warm water go into a big bowl to activate. Once it starts to bubble, dump in the flour and salt and mix until a shaggy dough forms.

IMG_5398.jpg

Dump dough onto a floured surface and knead for about 5 minutes.

IMG_5401.jpg

Kneaded all nice to soft and supple.

IMG_5409.jpg
IMG_5410.jpg

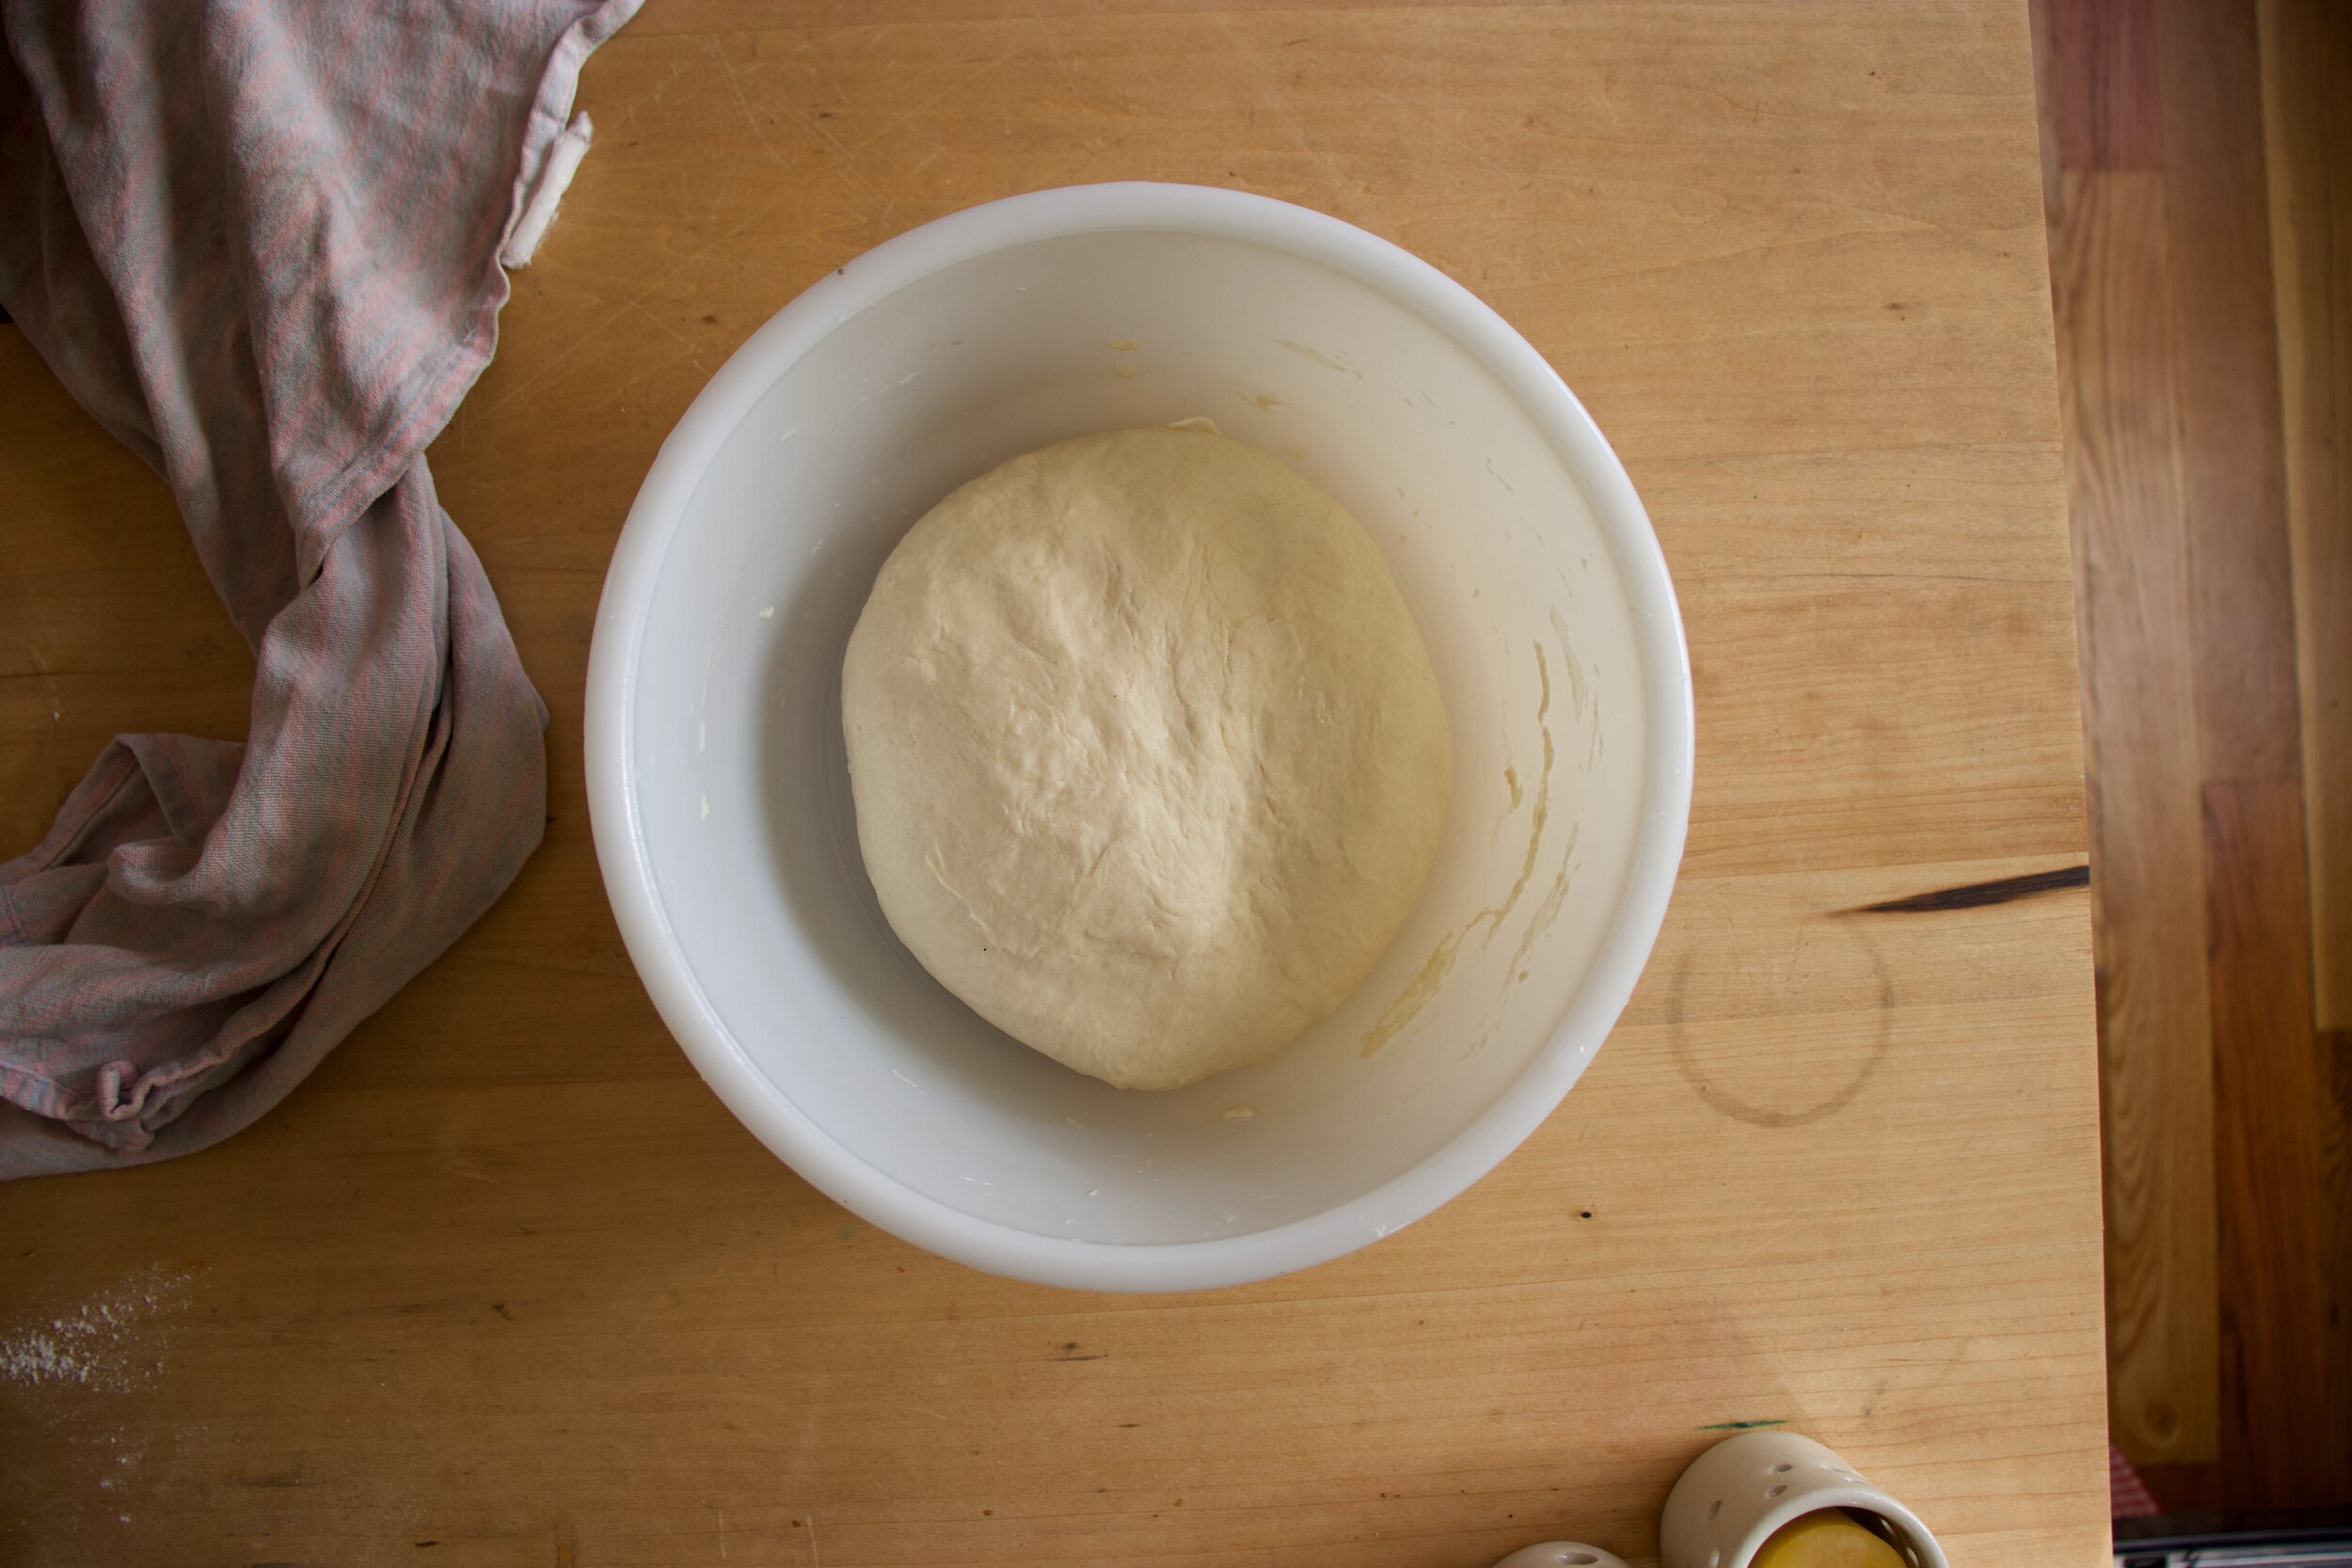
Place the kneaded dough into a clean bowl and cover. Let sit for about an hour or until it doubles in size.

IMG_5416.jpg

Once doubled, dump dough onto a lightly floured counter and cut into 12 equal pieces.

IMG_5419.jpg
IMG_5422.jpg
IMG_5423.jpg

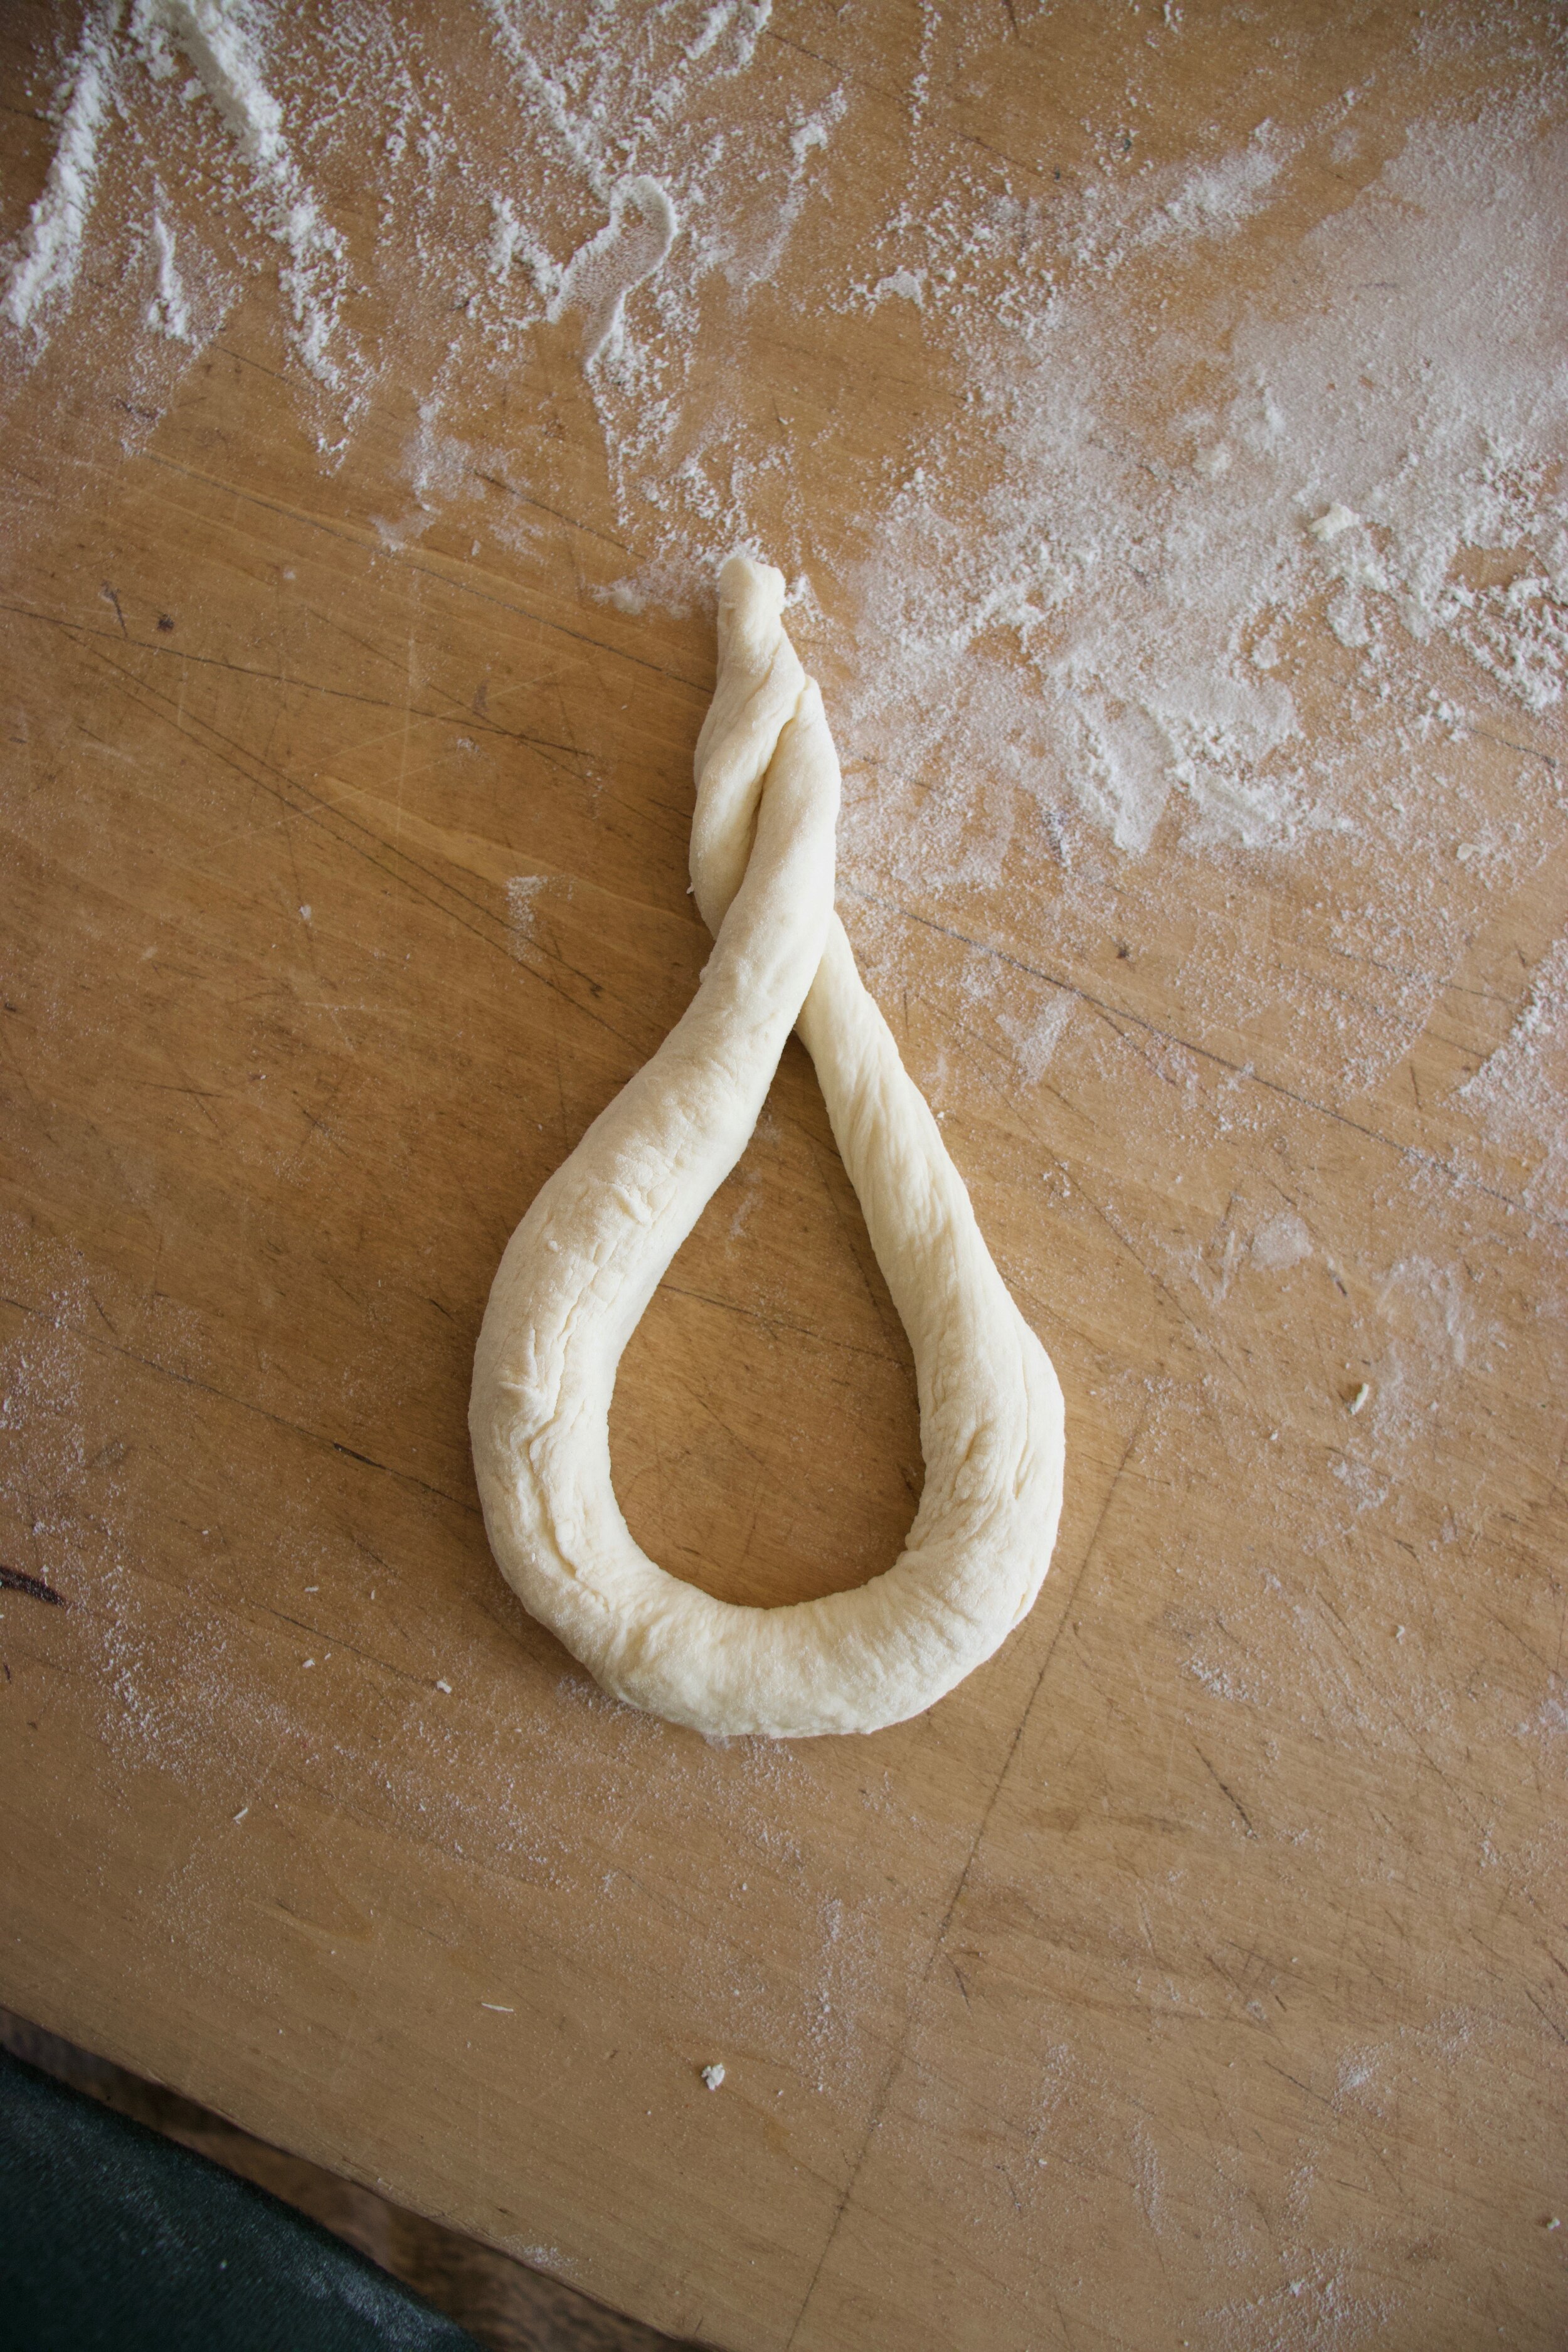
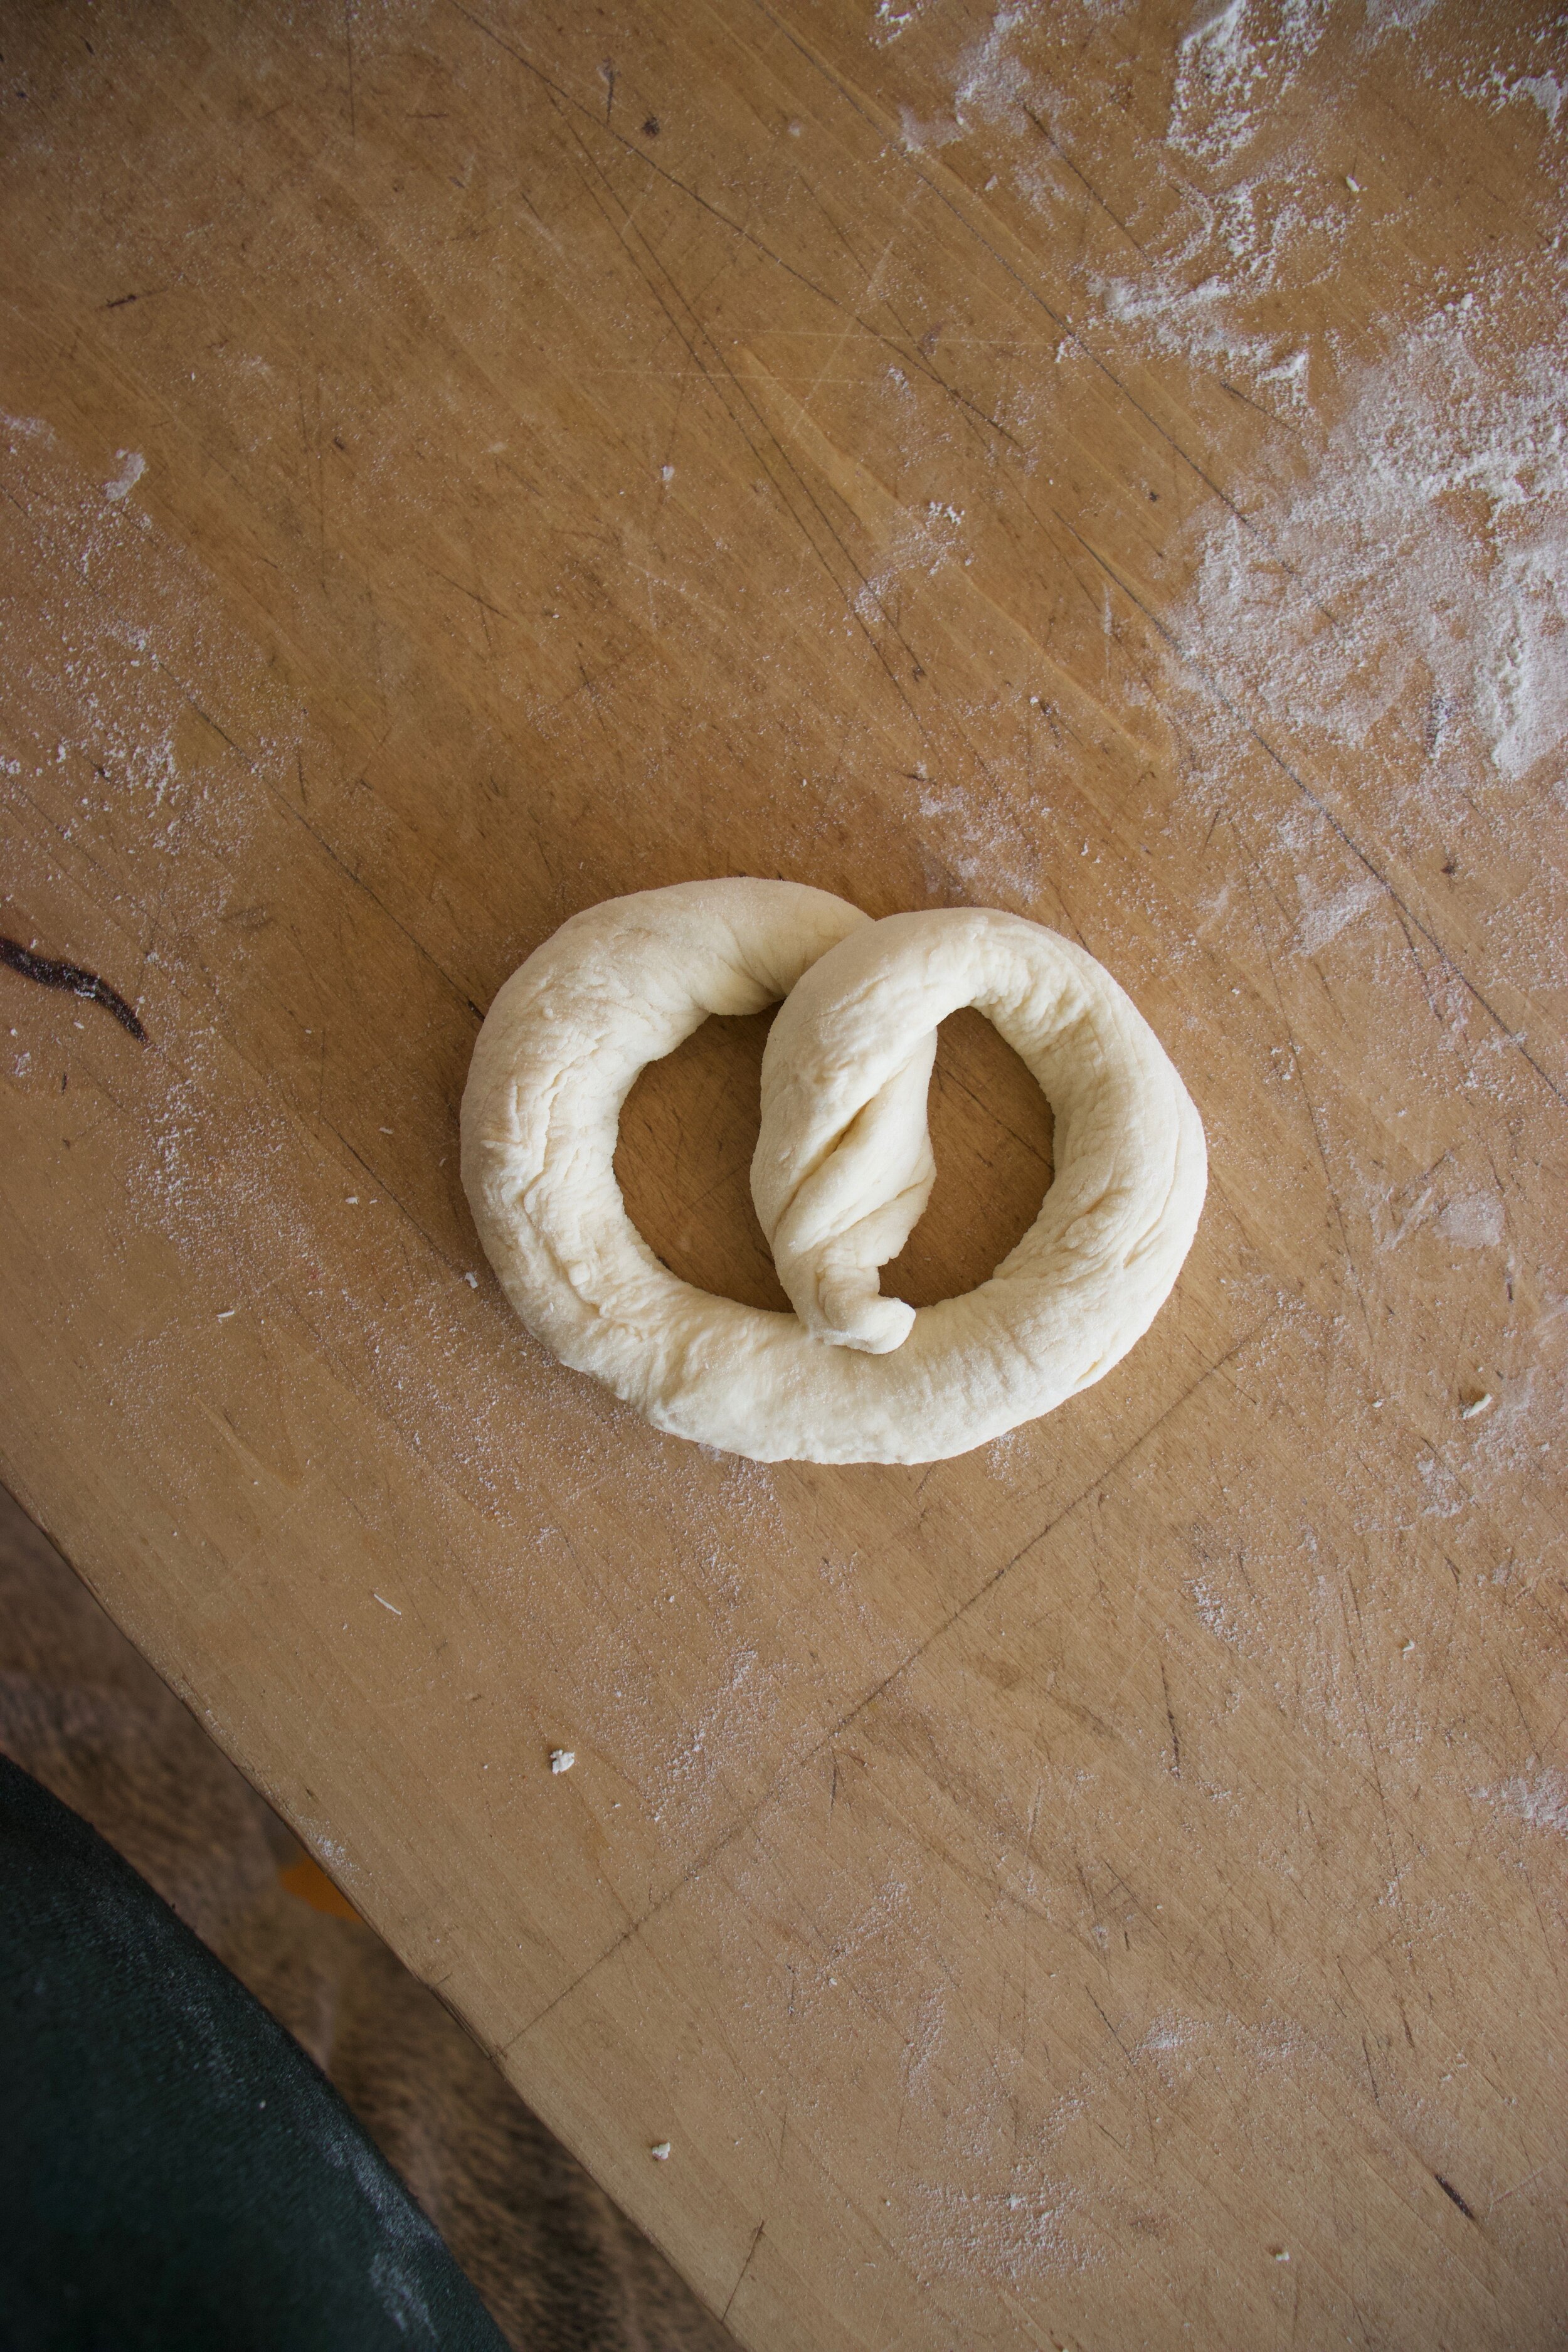
Now to shape. Roll each piece into a long rope, 16-20 inches long if you can. Fold the ends together and twist then fold twisted ends down back into itself.

IMG_5424.jpg

Pinch the end into a point and there you go. A heart! ♥️

IMG_5424.jpg

And then do it to all the dough.

IMG_5431.jpg

Water and baking soda bath boiling away.

Grab the hearts and place a few at a time, gently, into the water for about 45 seconds then pull them out with a slotted spatula.

IMG_5440.jpg

Onto a baking sheet either lined with parchment or a splat mat.

And don’t forget to sprinkle them all with course kosher salt.

Into the oven they go.

About 18-20 minutes later… PRETZELS

Get them onto a cooling rack to cool just enough.

IMG_5515.jpg

And then you just eat them because what else are you suppose to do.

And yes, grab the mustard because duh.


Heart ShapeD Soft Pretzels

makes 12 pretzels

For the dough

  • 3 1/2 - 4 cups all pupse flour

  • 2 teaspoons yeast

  • 1 heavy tablespoon brown sugar

  • 1 teaspoon salt

  • 1 1/2 cups warm water

  • 2 tablespoons course kosher salt (for topping)

For water bath

  • 7 cups water

  • 2 tablespoons baking soda

Start by placing yeast, brown sugar, and warm water into a big bowl and mix. Let sit for a few minutes to activate yeast. Once active, dump in the lesser amount of flour and salt. Mix until a shaggy dough forms. If the dough seems super wet, add in a little more flour. Dump dough onto a floured surface and knead until soft and elastic for about 5 minutes, adding in a little more flour as needed to keep it from getting too sticky. Once dough had been kneaded, place into a clean bowl, cover, and let sit in a warm place for about an hour or until the dough doubles in size.

Once dough has doubled, preheat oven to 450. Also get the water bath ready by placing the water into big pot and placing on heat.

Back to dough. Dump the dough onto a lighty floured surface and cut into 12 equal sized pieces. Then shape each piece by rolling the dough into a rope between 16 to 20 inches long then twisting the two ends together a few times. Fold the ends over to the middle of the dough and pinch the end into a heart. (check images above if that doesn’t make sense) Once all the dough has been shaped, its time to boil. When the water is at a rolling boil, dump in the baking soda and mix around. Place 2-3 pretzels gently into the water at a time and boil for about 45 seconds. Remove from water with a splatted spoon or spatula and place on a parchment or lightly oiled baking sheet. Repeat until all dough is boiled. Make sure when you place the pretzels onto the baking sheet you give them room so they are not touching. If you need to, use 2 baking sheets. And now before the placing them into the oven, sprinkle them with the course salt.

Now into the hot oven they go, for about 18-20 minutes or until they turn a deep golden brown.

Once baked, pull from oven, place on a wire rack to cool a bit, then eat them. Dipped in mustard or any other dipping situation you find appropriate.

Left overs, should there be any, should be stored individually either wrapped or in a bag at room temp for a few days. OR better yet, just freeze them. And when you want to eat one, just warm it up again in the oven.

In bread, snack, Vegan Tags Heart Shaped Soft Pretzels, pretzels, hearts, soft pretzels, vegan, valentines day, snack, king Arthur flour, love, easy, bread, yeasted bread, dairy free, plant based
Comment

Peanut Flour and Banana Oats

February 1, 2020 Colleen Stem
IMG_5372 2.jpg
IMG_5342.jpg
IMG_5364 2.jpg

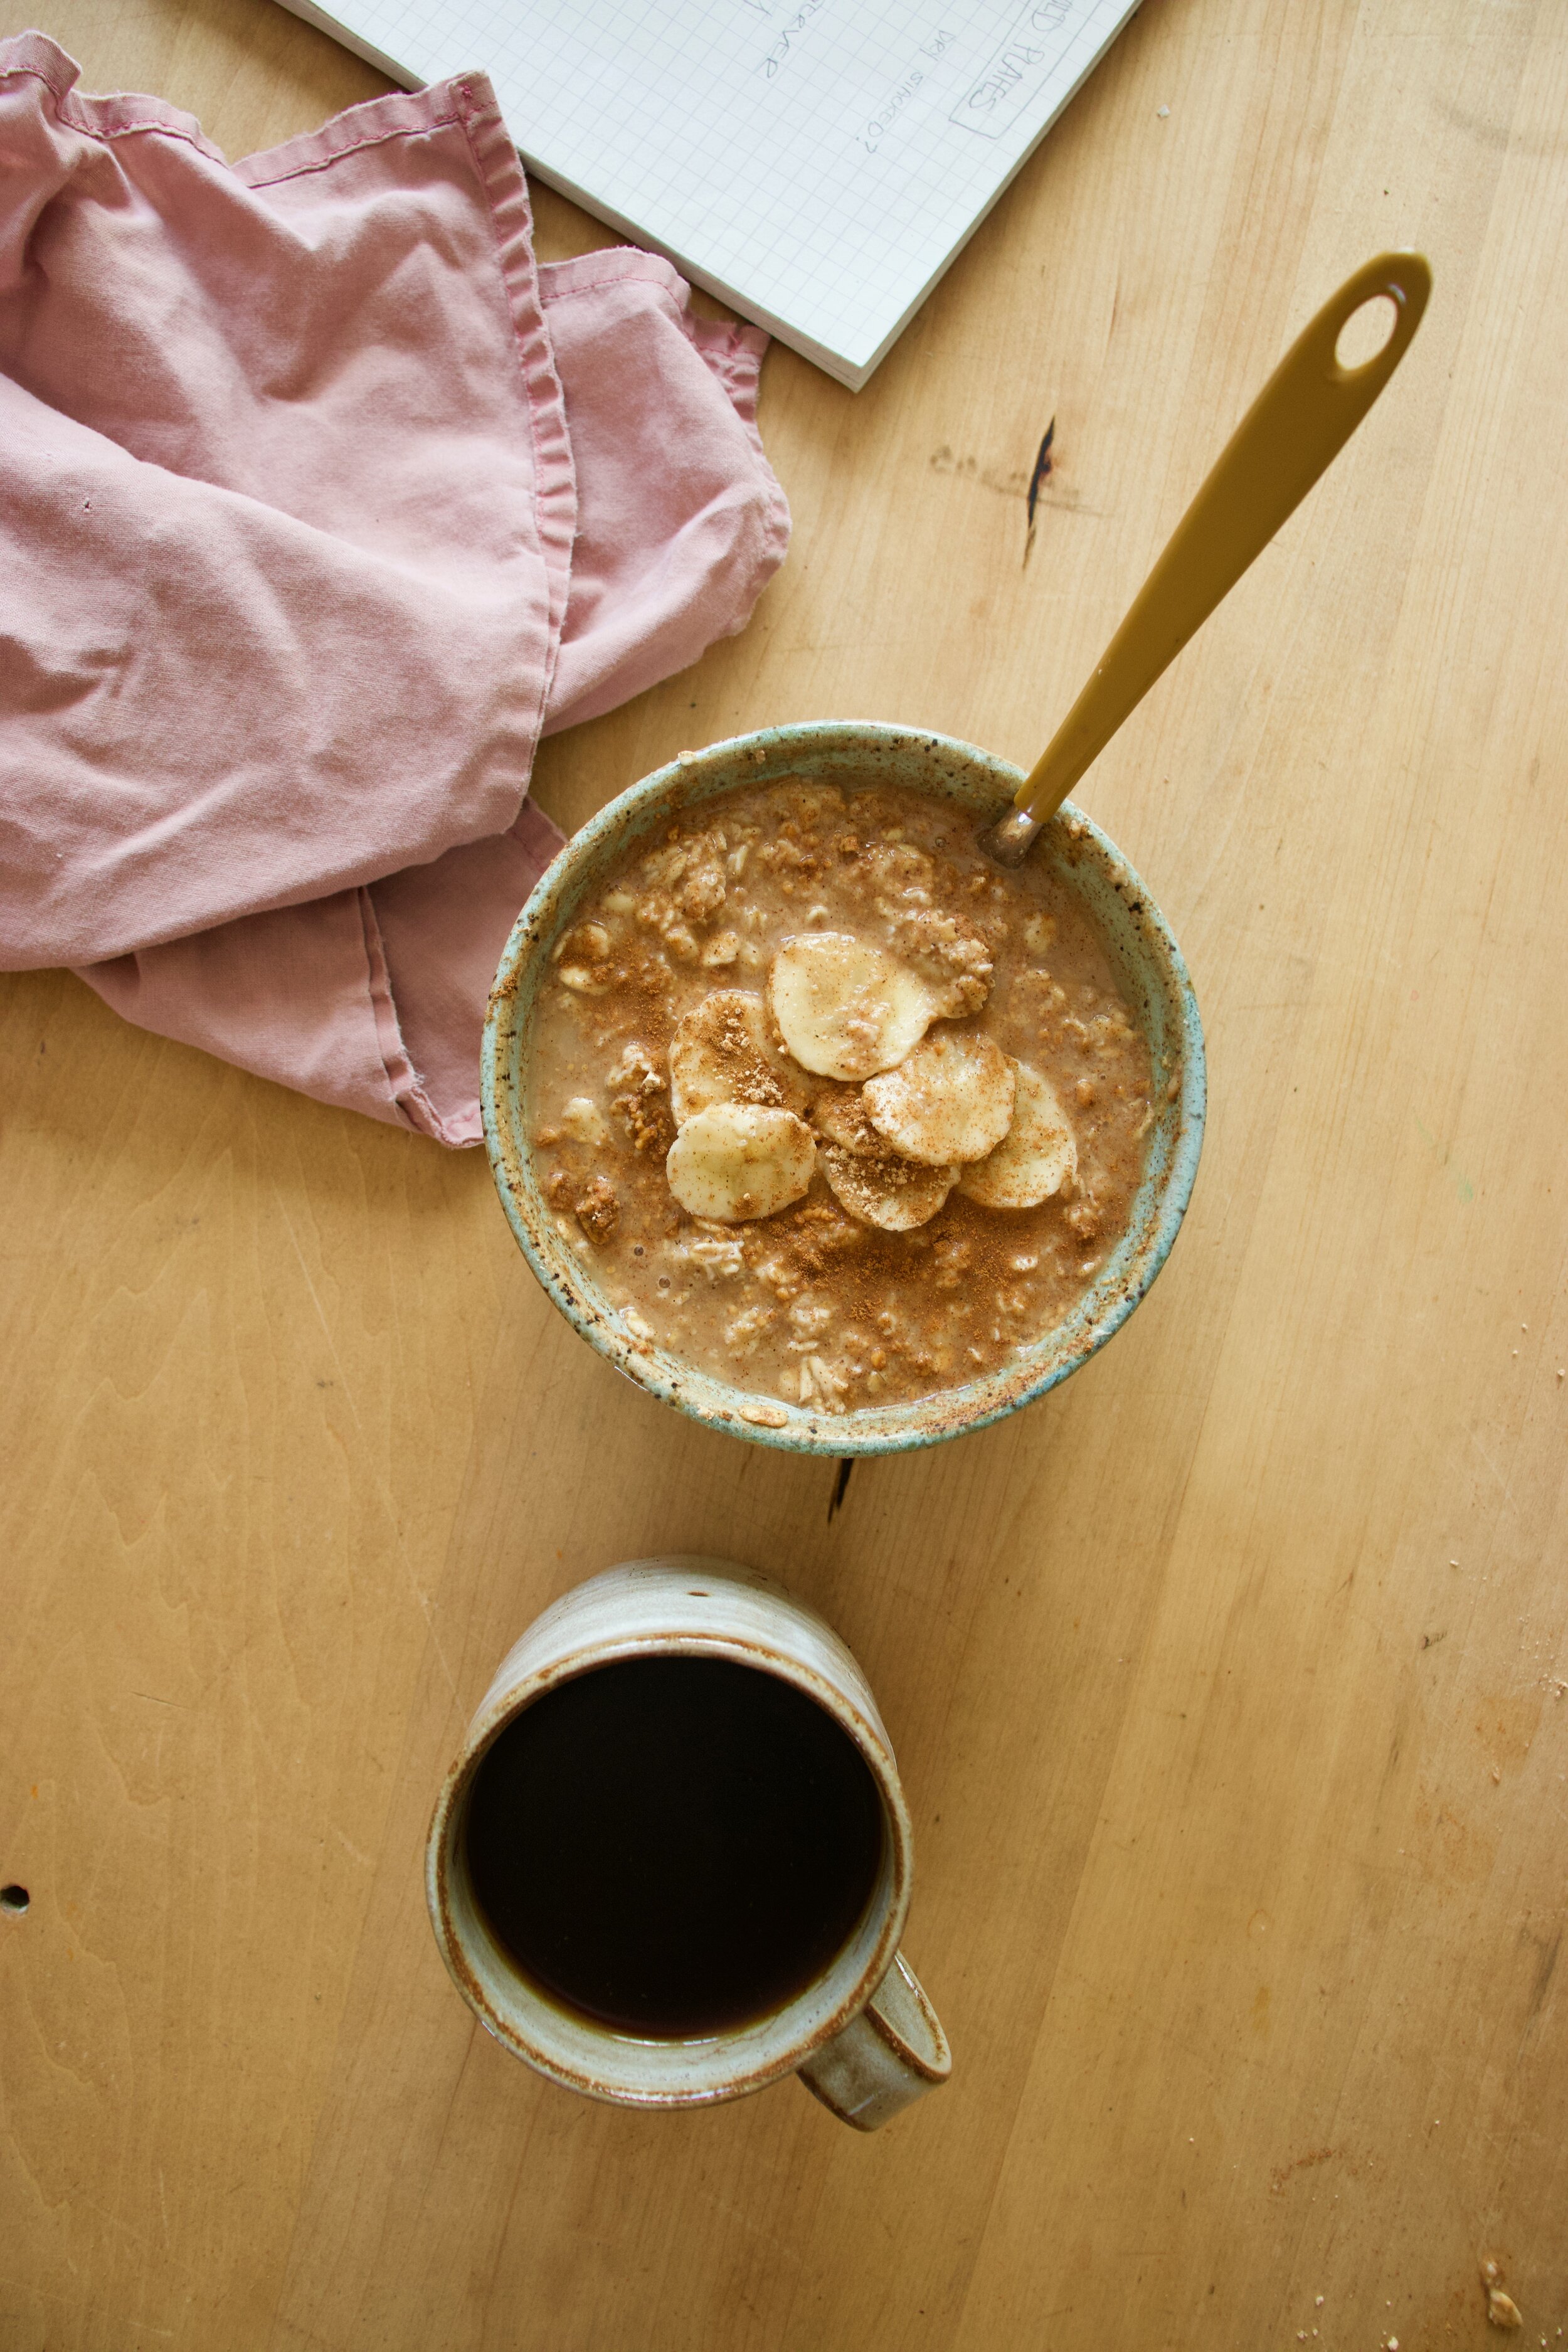
I have been on a good long kick here with eating oats at night for my after dinner snack. Just about every night after cleaning up the dinner dishes, sweeping the floors, going for a nice after dinner walk with the mr, I come home, put the hot water on, grab my oats, my peanut flour, and sometimes a banana. As soon as the water boils I mash up some banana (if using), add in some oats, pour in some boiling water, and let them sit. I also pour a huge jar of tea then plop my butt down at the counter to do any brain tasks that need doing like checking the email, left over billing things, maybe check the old phone for the first time in hours… After about 5 minutes of that, I stop brain tasks because I just can’t, grab oats, and dump in a few big ass tablespoons of peanut flour and cinnamon and give it a good stir. Voila, snack time. A delicious, nutritious, tummy filling and easy dish that is full of all sorts of things that my body needs. I grab a spoon, my tea, and open my book. For sure one of my favorite times of day.

Now lets talk about peanut flour. I have been eating peanut flour for a few years now. Not to confuse with powered peanut butter which is basically peanut flour but usually with added sugar and salt. Peanut flour is just peanuts, with the oil pressed out and then ground up into a super fine flour. And not a flour is the typical sense. Like you can’t make bread with it, but you could add it to bread. You can also use it to thicken things like soups or sauces up. Or add it to smoothies, make a cake frosting with it , or just mix it with a little water and eat it with a spoon. It is delicious and amazing and full of protein without all the added fat and high calorie content. I started to add it to foods because of the protein but now I just eat it all the time because I freaking love the stuff. (Another favorite way to eat it is cut up carrot sticks tossed in the flour… SO GOOD!) Anyway, truth be told, it is not the most widely available stuff. I have only seen it in a few store over the years, so I have been buying it online. But recently someone told me that Trader Joes is selling it now (I haven’t checked yet) so I figured now is a good time to share the greatness of the flour and how you might want to use it.

Anyway, these oats here are my favorite way to eat oats. Warm and creamy, but not cooked and gruel like. They are like a cross between stove top oats and overnight oats except they take all of 5 minutes to make and you don’t need to dirty a pot. Then mixed with banana for extra sweetness and flavor, the peanut flour for all the peanut butter taste and protein. These oats are unstoppable.  Delicious and nutritious for breakfast, lunch, snack time, or dessert, these oats are all win win. Add another win just because. Win, Win, WIN!

Now to the oats!

IMG_5310.jpg

The stuff. Old fashion oats, a small banana, peanut flour, cinnamon, and boiling hot water.

IMG_5314 2.jpg
IMG_5316.jpg
IMG_5320.jpg

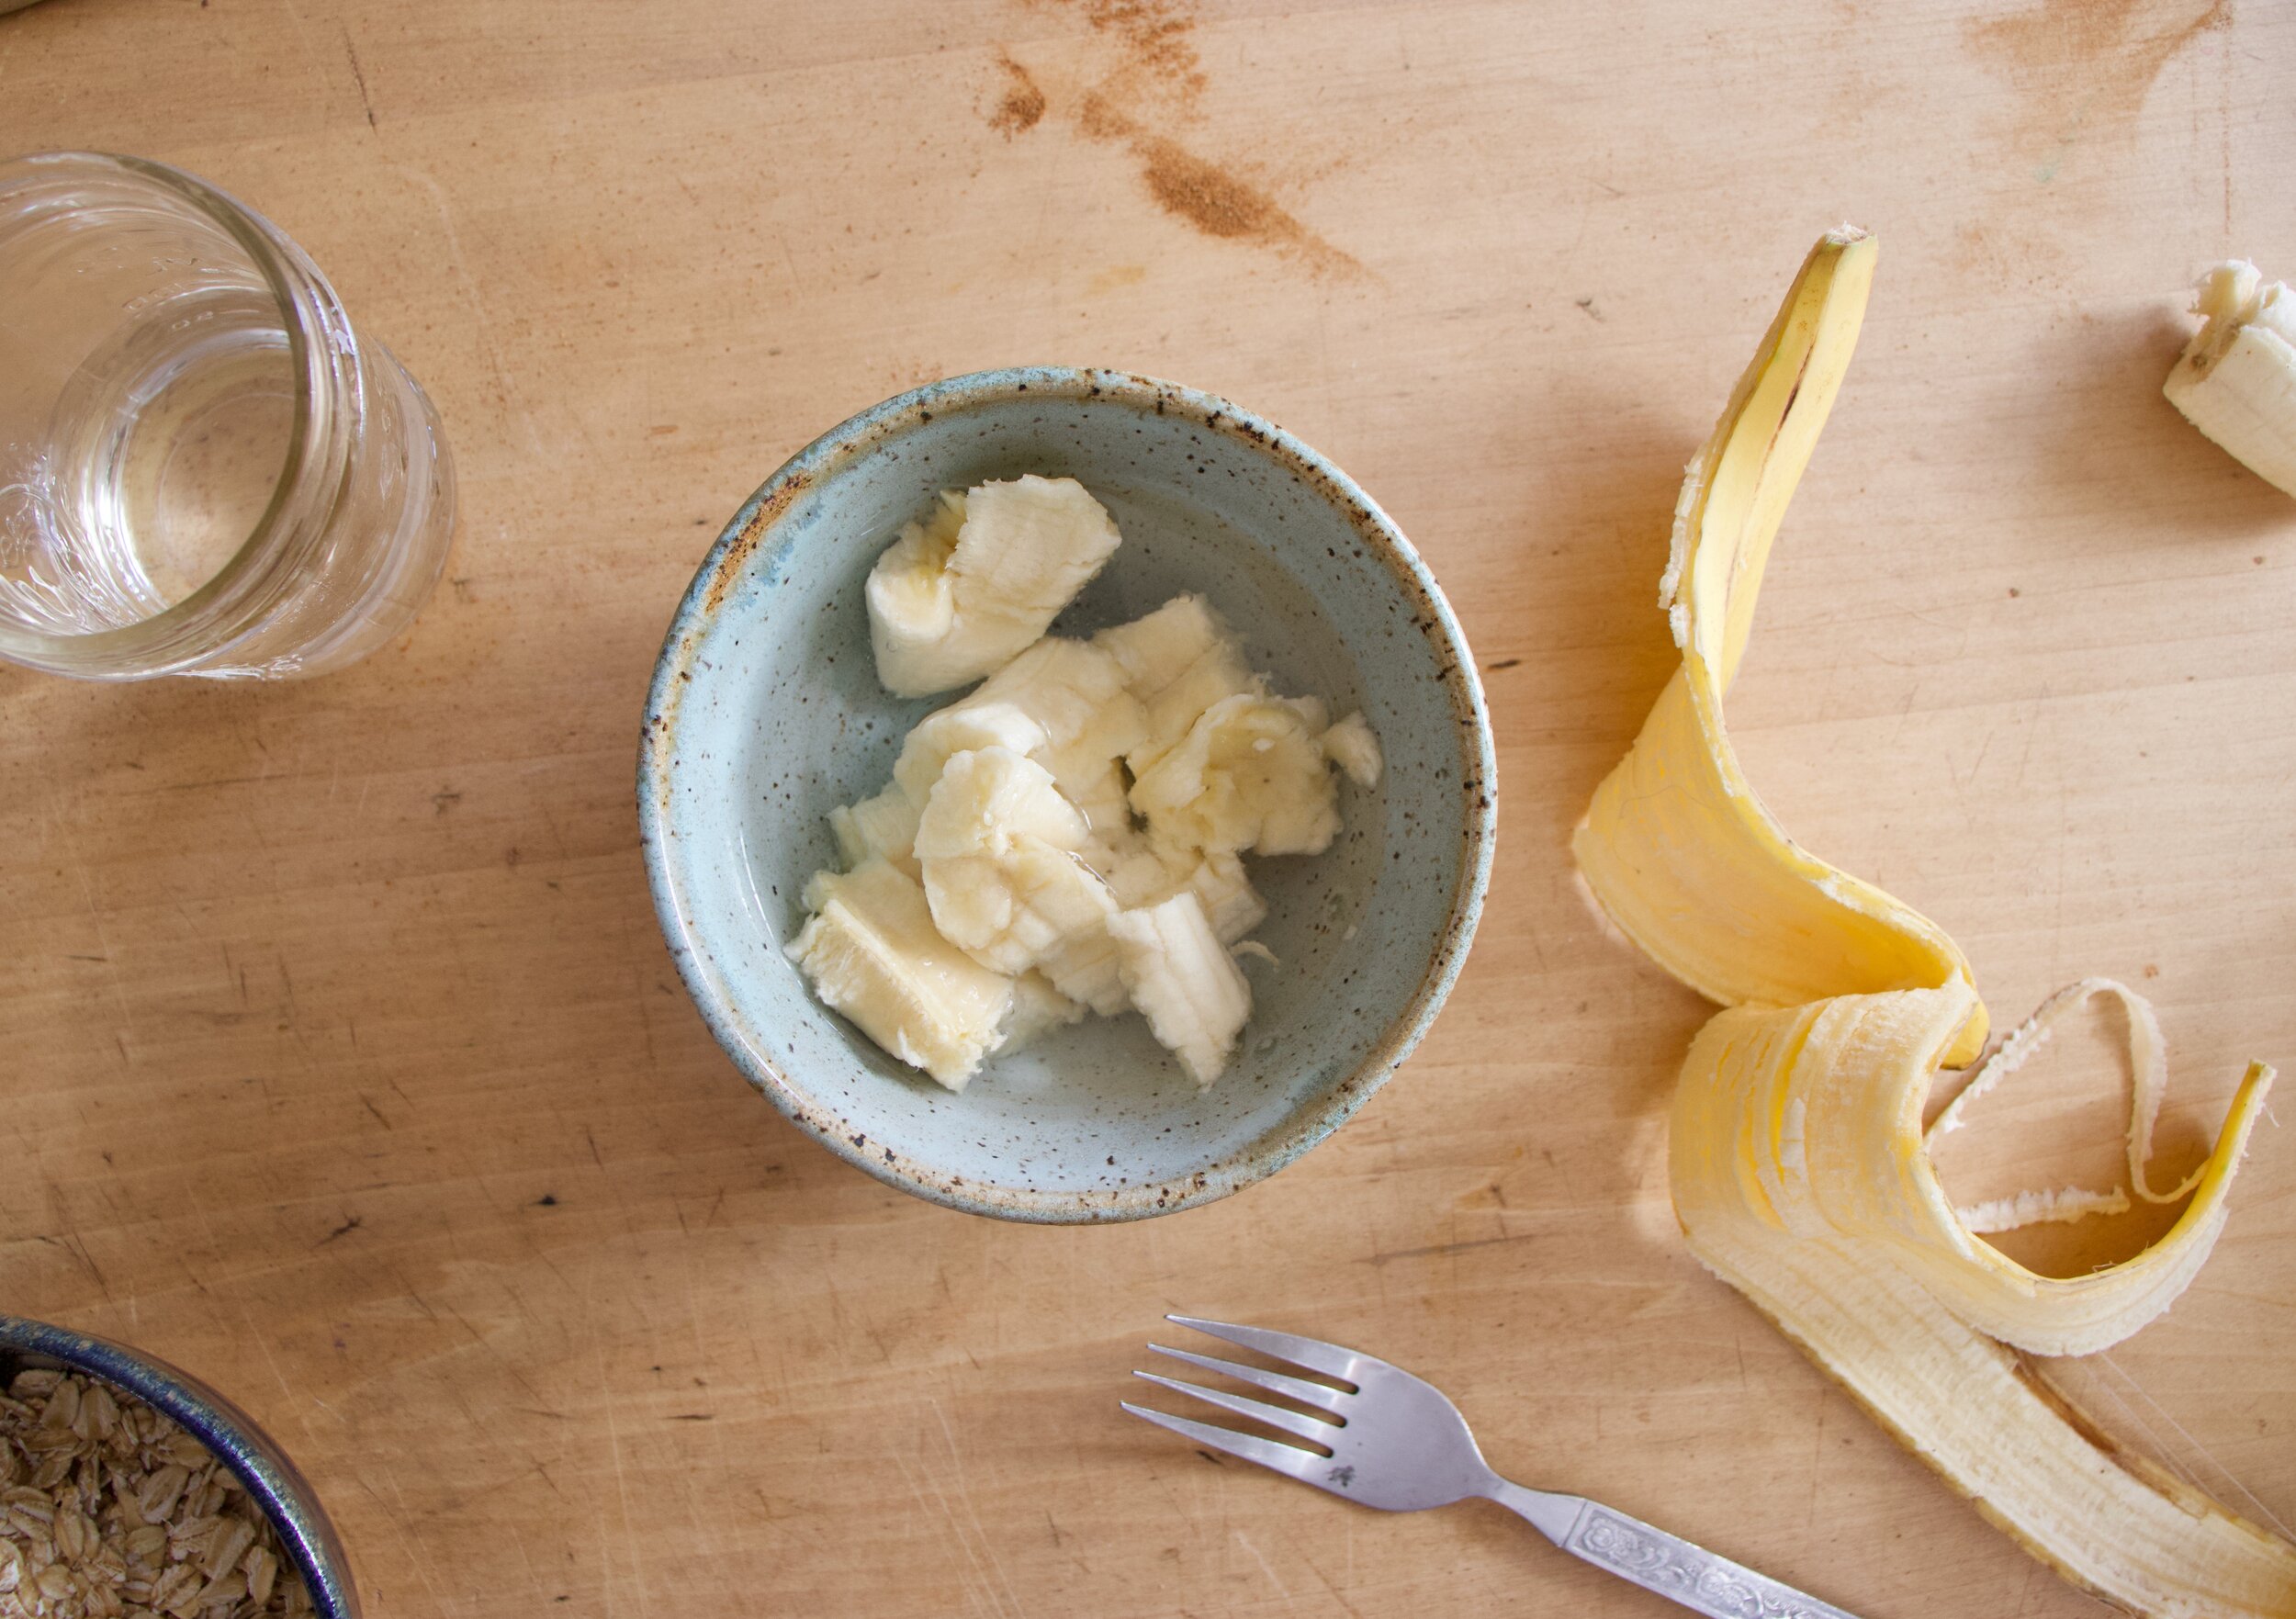
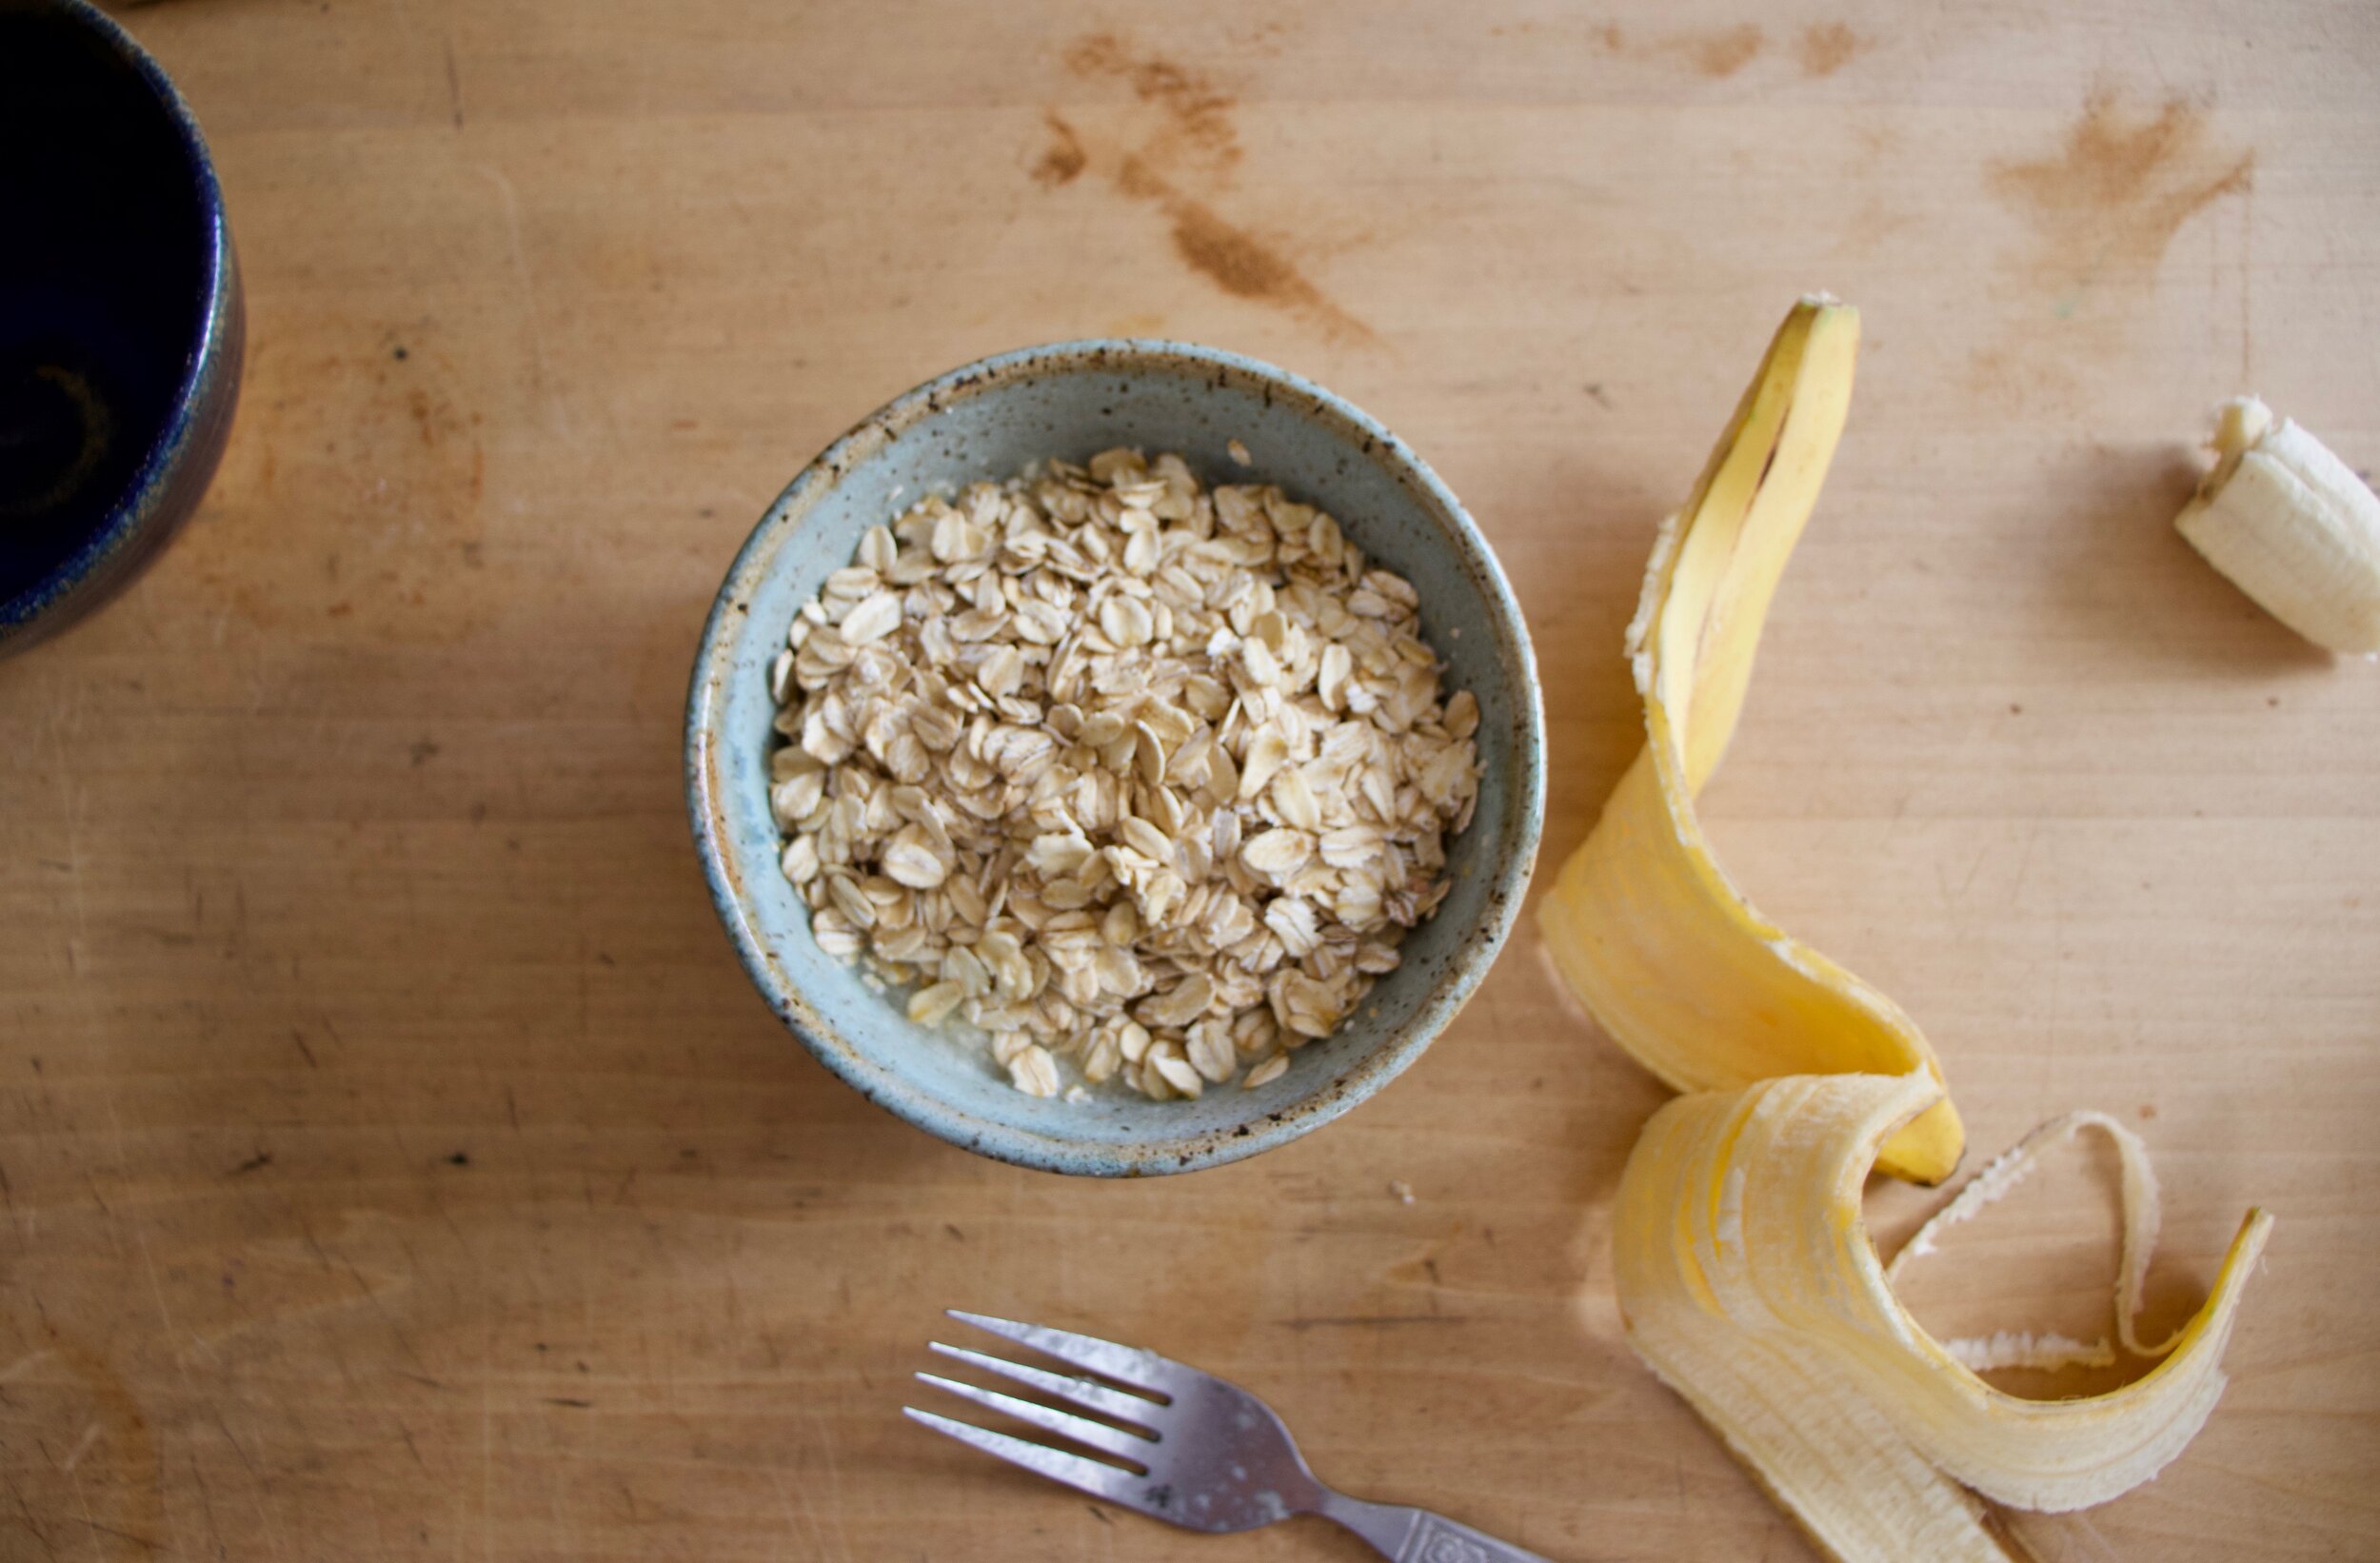
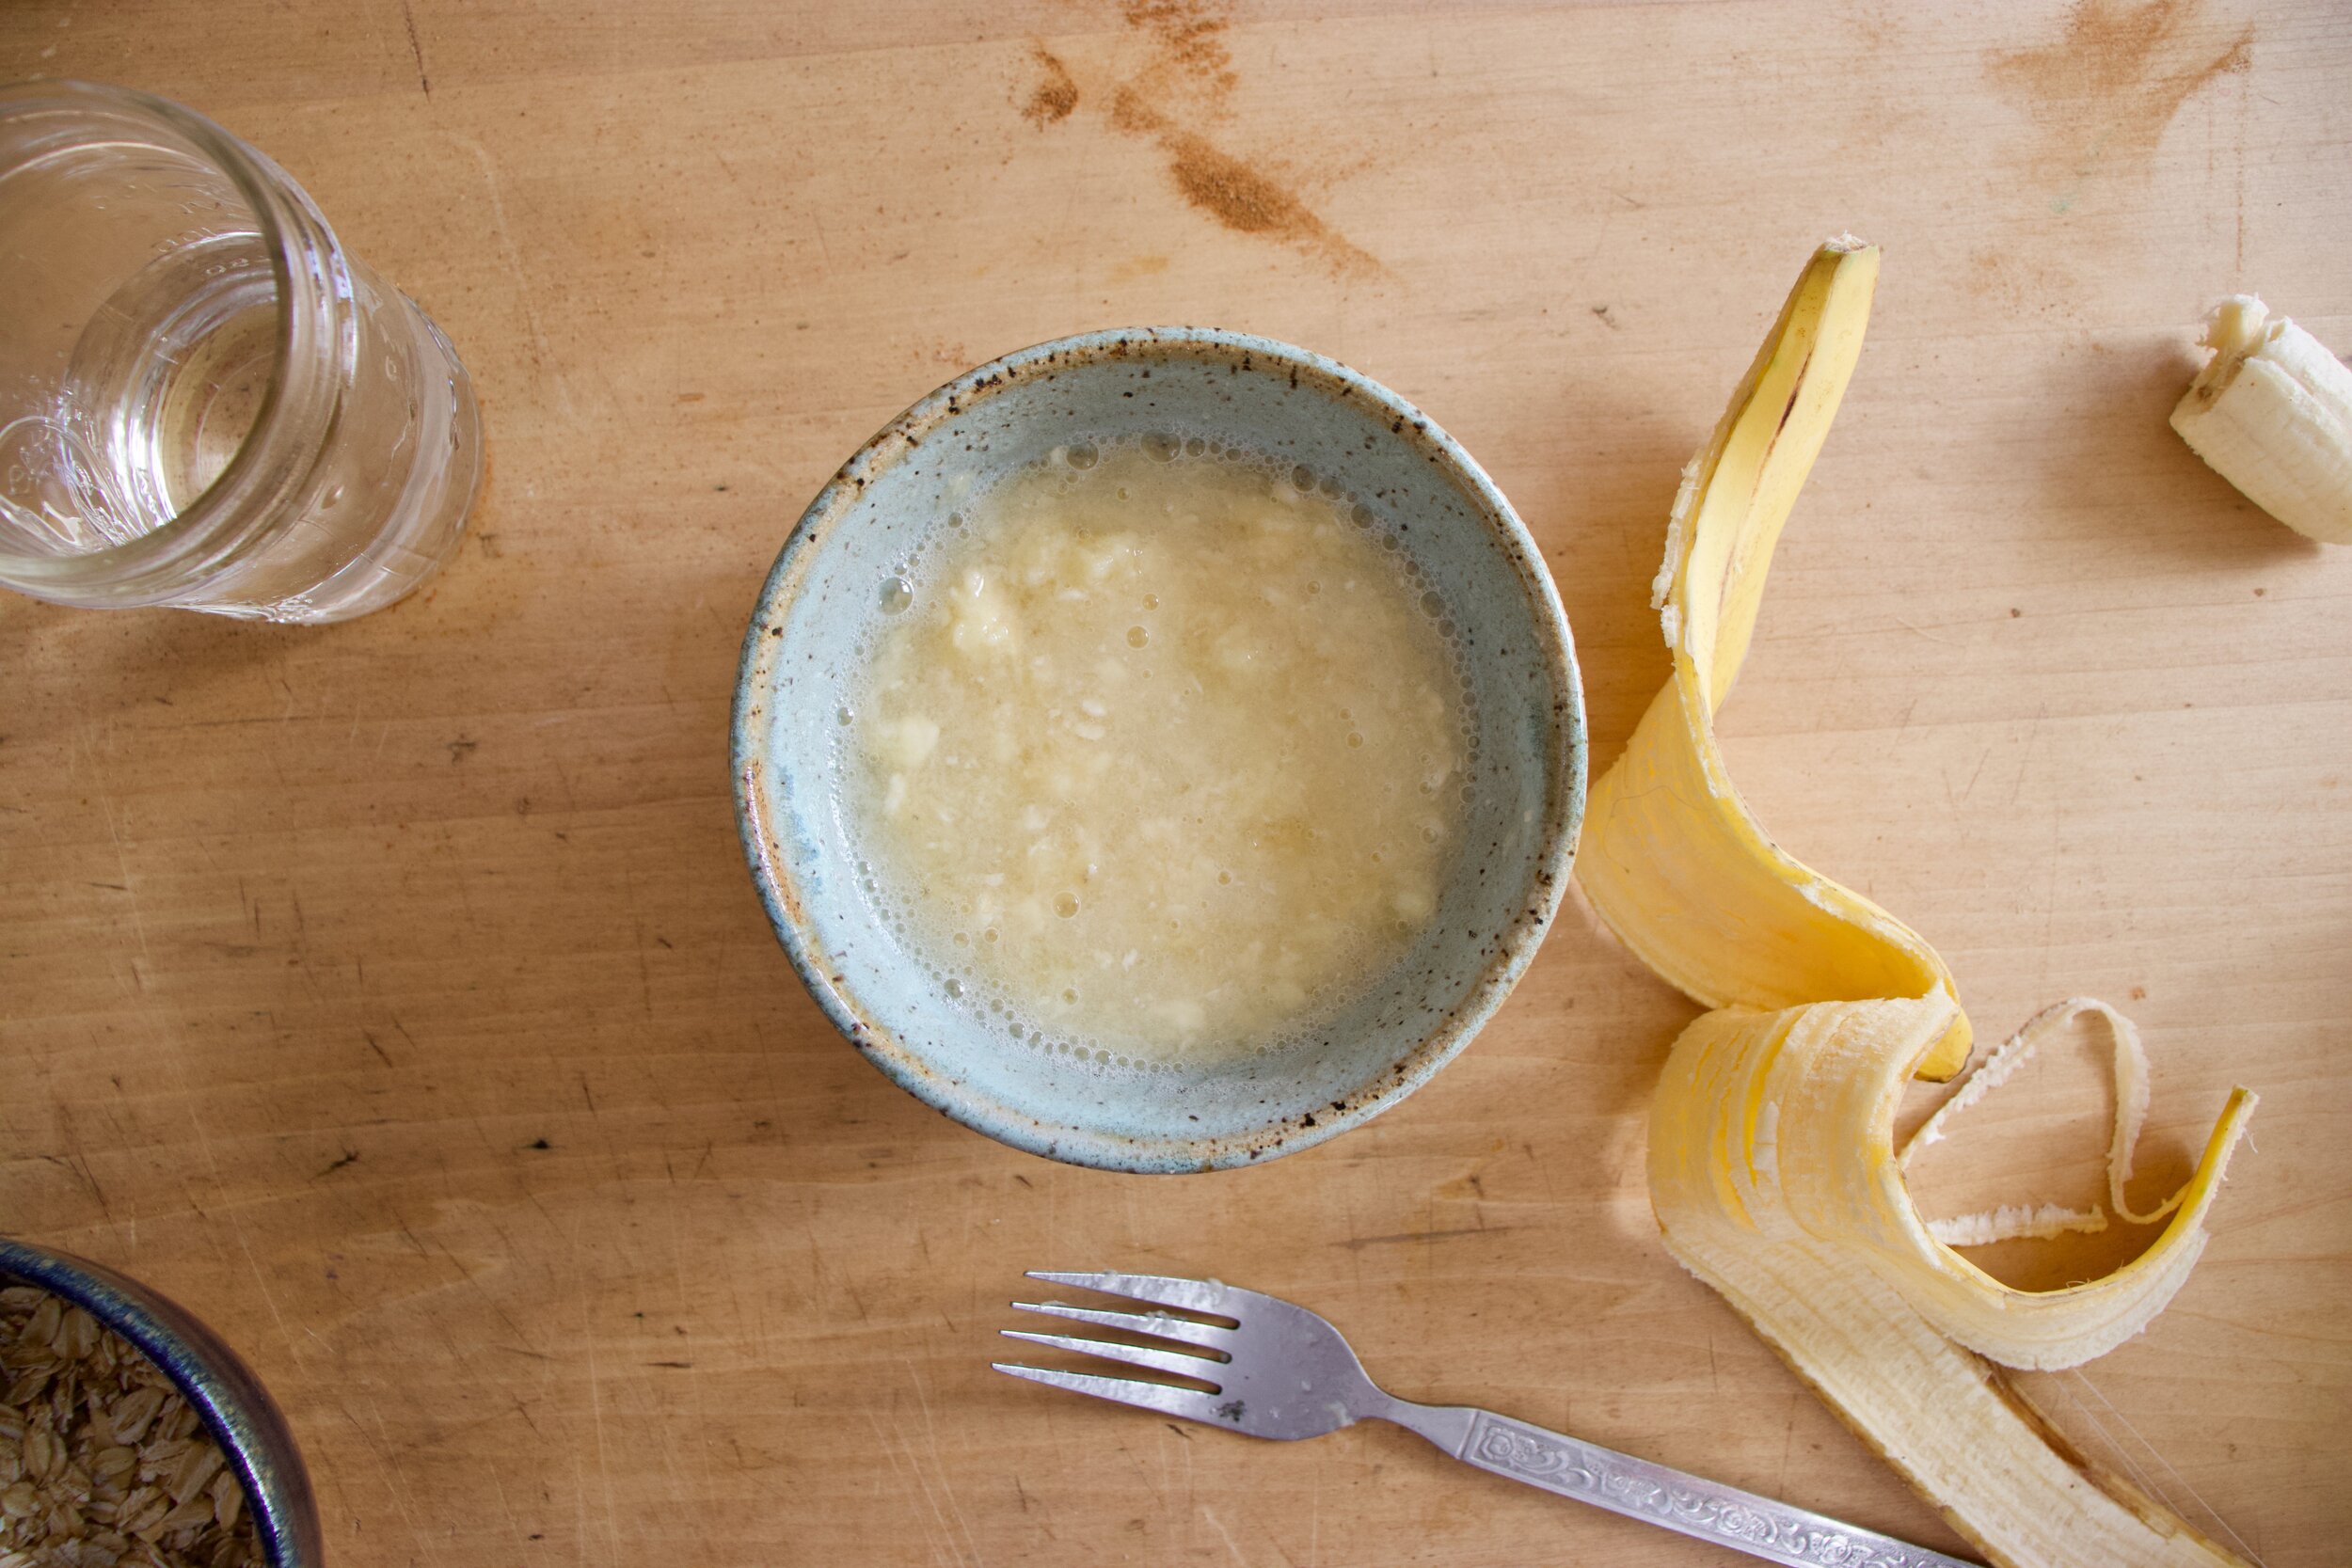
Mash up the banana until smoothish then add in half the hot water and mix. Dump in the oats and mix those too.

IMG_5326.jpg

Top with the rest of the boiling water and let sit for about 5 minutes.

IMG_5335.jpg

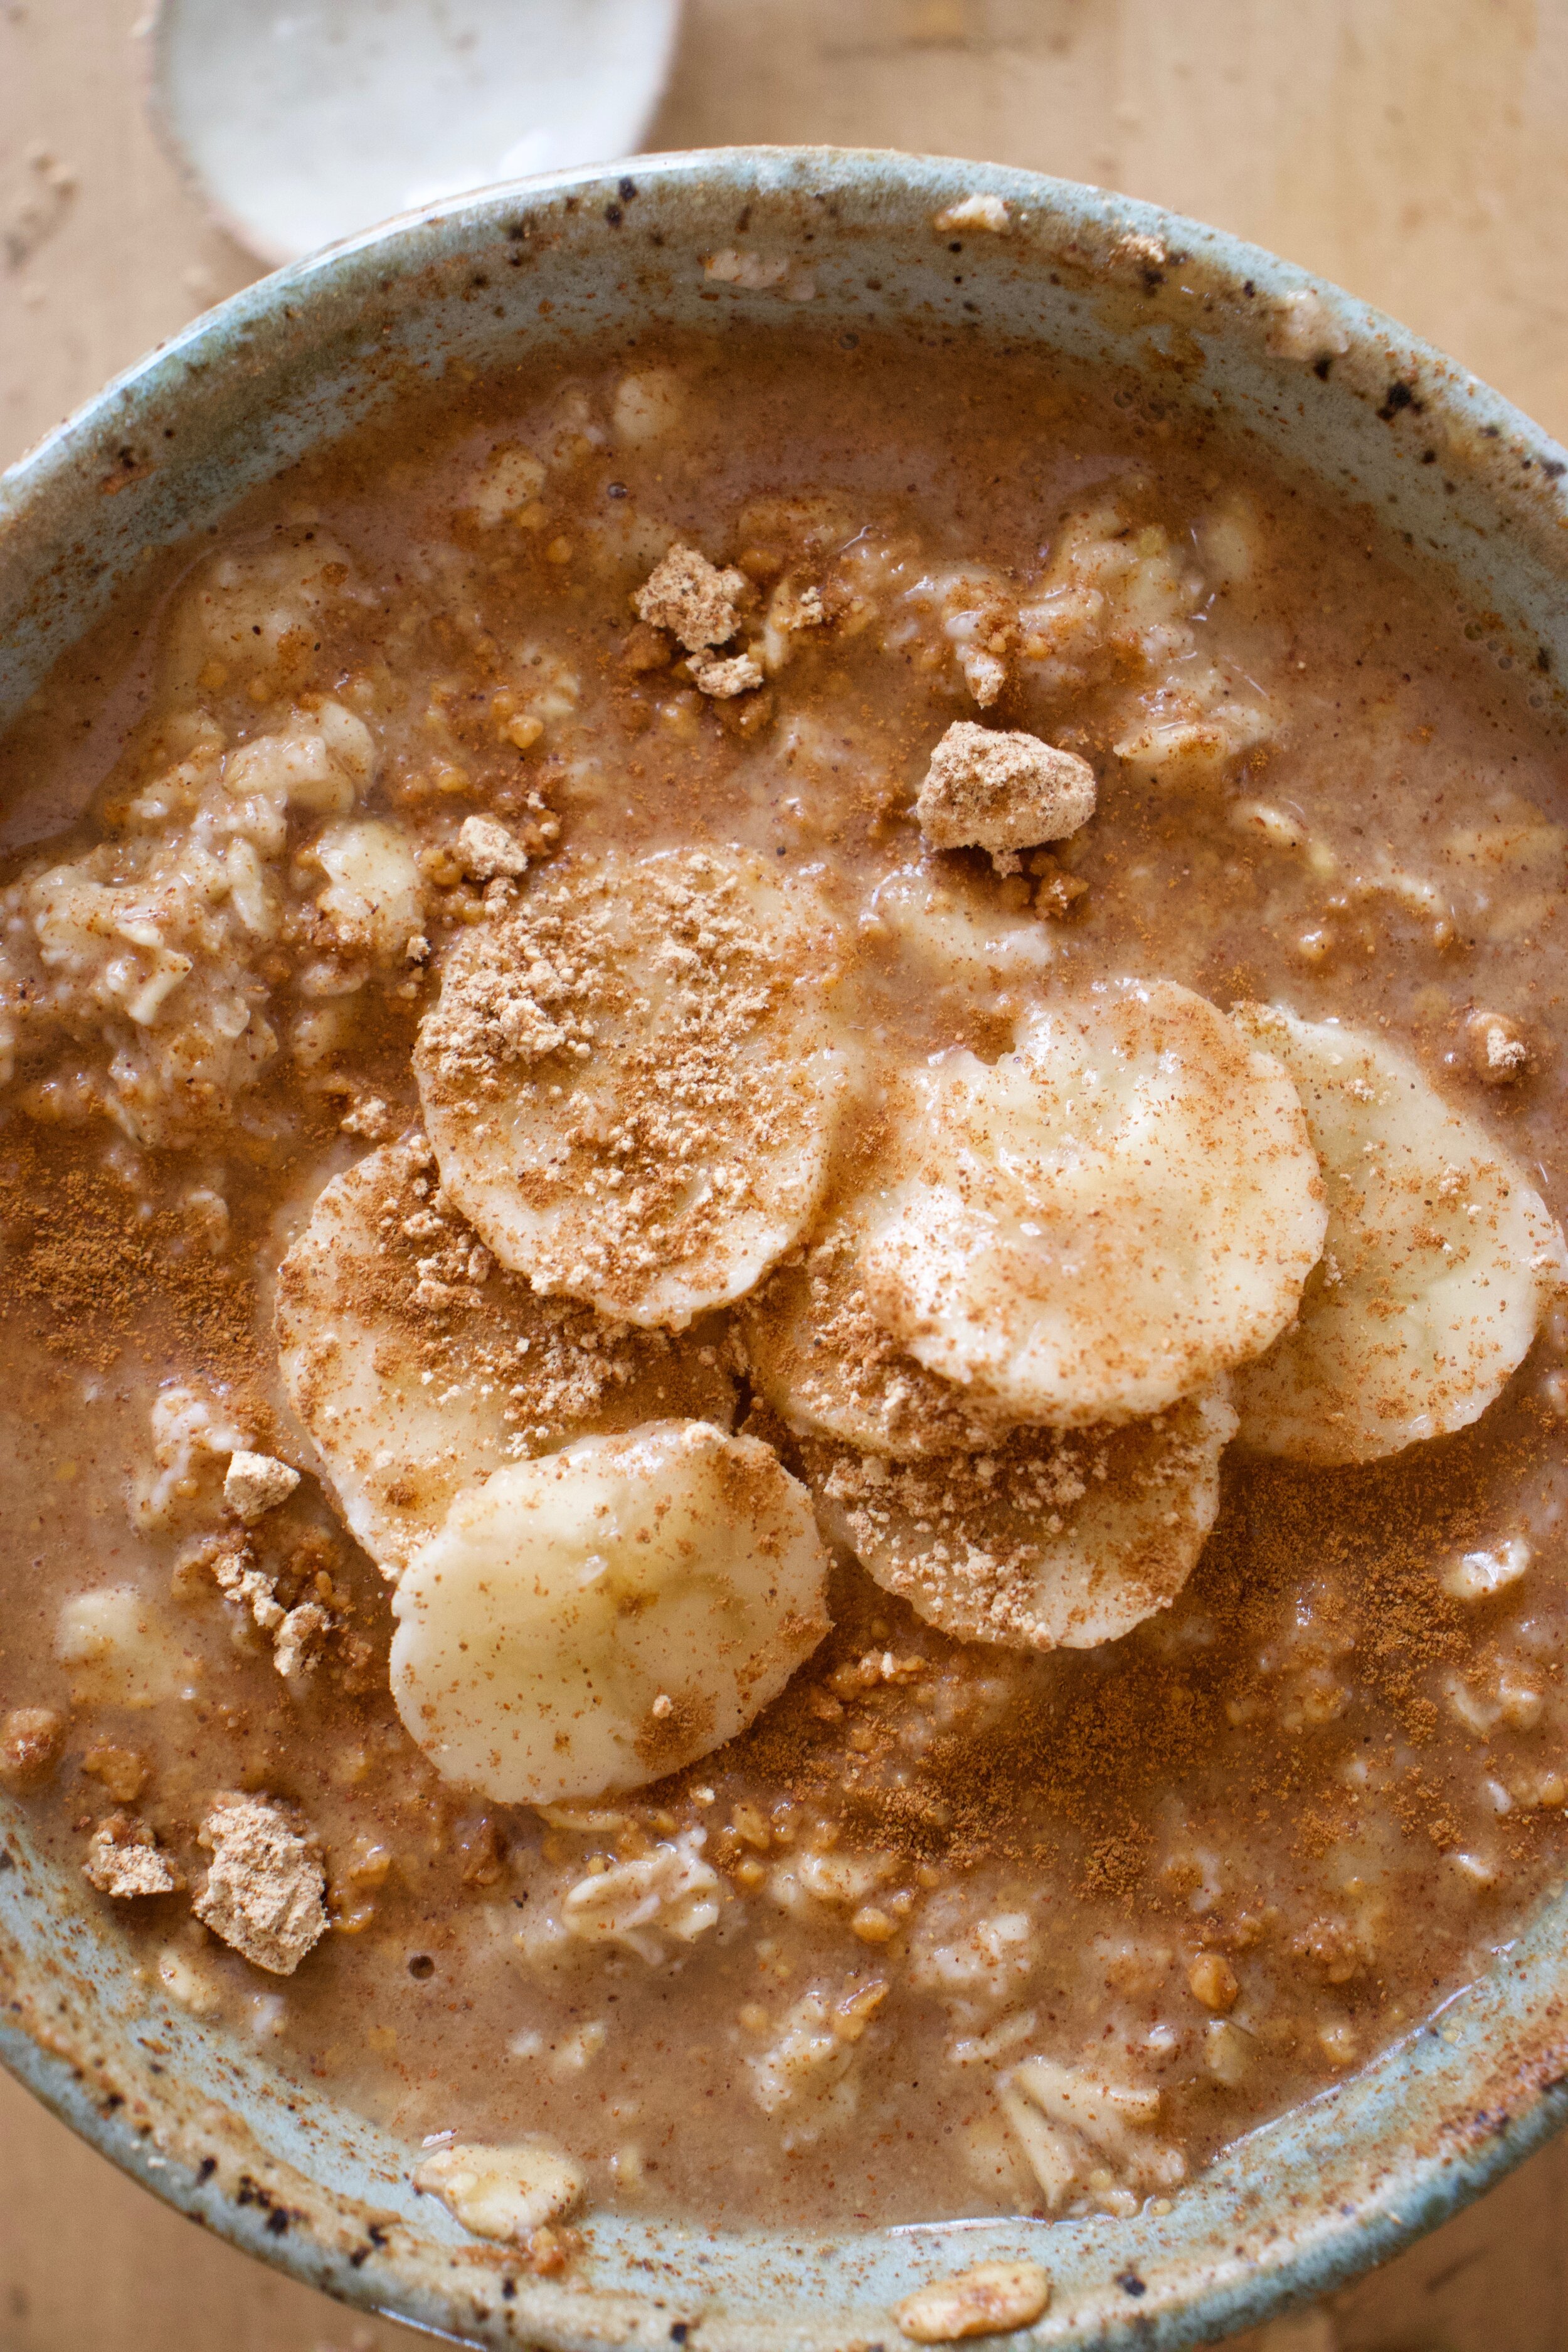
After the oats absorbed the hot banana water, dump on the cinnamon and the peanut butter flour and mix in.

IMG_5344.jpg

Grab yourself a spoon friend.

Eat.

-C


Peanut Flour and Banana Oats

Makes 1 serving. Can be halved for smaller portion

  • 1 small banana

  • 1/2 cup old fashion oats

  • 2 (or more if you want) tablespoons peanut flour

  • 1 teaspoon cinnamon (optional)

  • 1 cup boiling water

Place peeled banana in a bowl and mash with a fork unit smooth. Add in half the boiling water and mix.. Dump in oats and mix until incorporated then add in the rest of the hot water. Let sit for 5 minutes until oats absorb all the water. Stir in peanut flour and cinnamon. Eat.

In breakfast, desserts, Gluten Free, quick and easy, snack, Vegan Tags Peanut Butter Flour and Banana Oats, vegan, gluten free, dairy free, protein, peanut flour, healthy, breakfast, overnight oats, oatmeal, dessert, yummy, food, plant based
Comment

Beet Chips

August 31, 2019 Colleen Stem
IMG_1570.jpg
IMG_1518 2.jpg

When your sister drops off 50 lbs of beets, on top of the 50 lbs that you have to harvest that are growing in your garden, what do you do?

Well chips of course.

Yeah, chips. That’s right. When I got home from camping on Monday and there was a humongous pile of beets sitting next to my front door, I am not going to lie, I was a little shocked. I mean there wasn't just a few little ones. These beets were freaking huge, like the size of my arm, and so many. But pretty much right after my initial shock I knew what needed to be done. First, eat a few roasted, second, roast extra to freeze for later, and lastly, make a few bunches of chips.

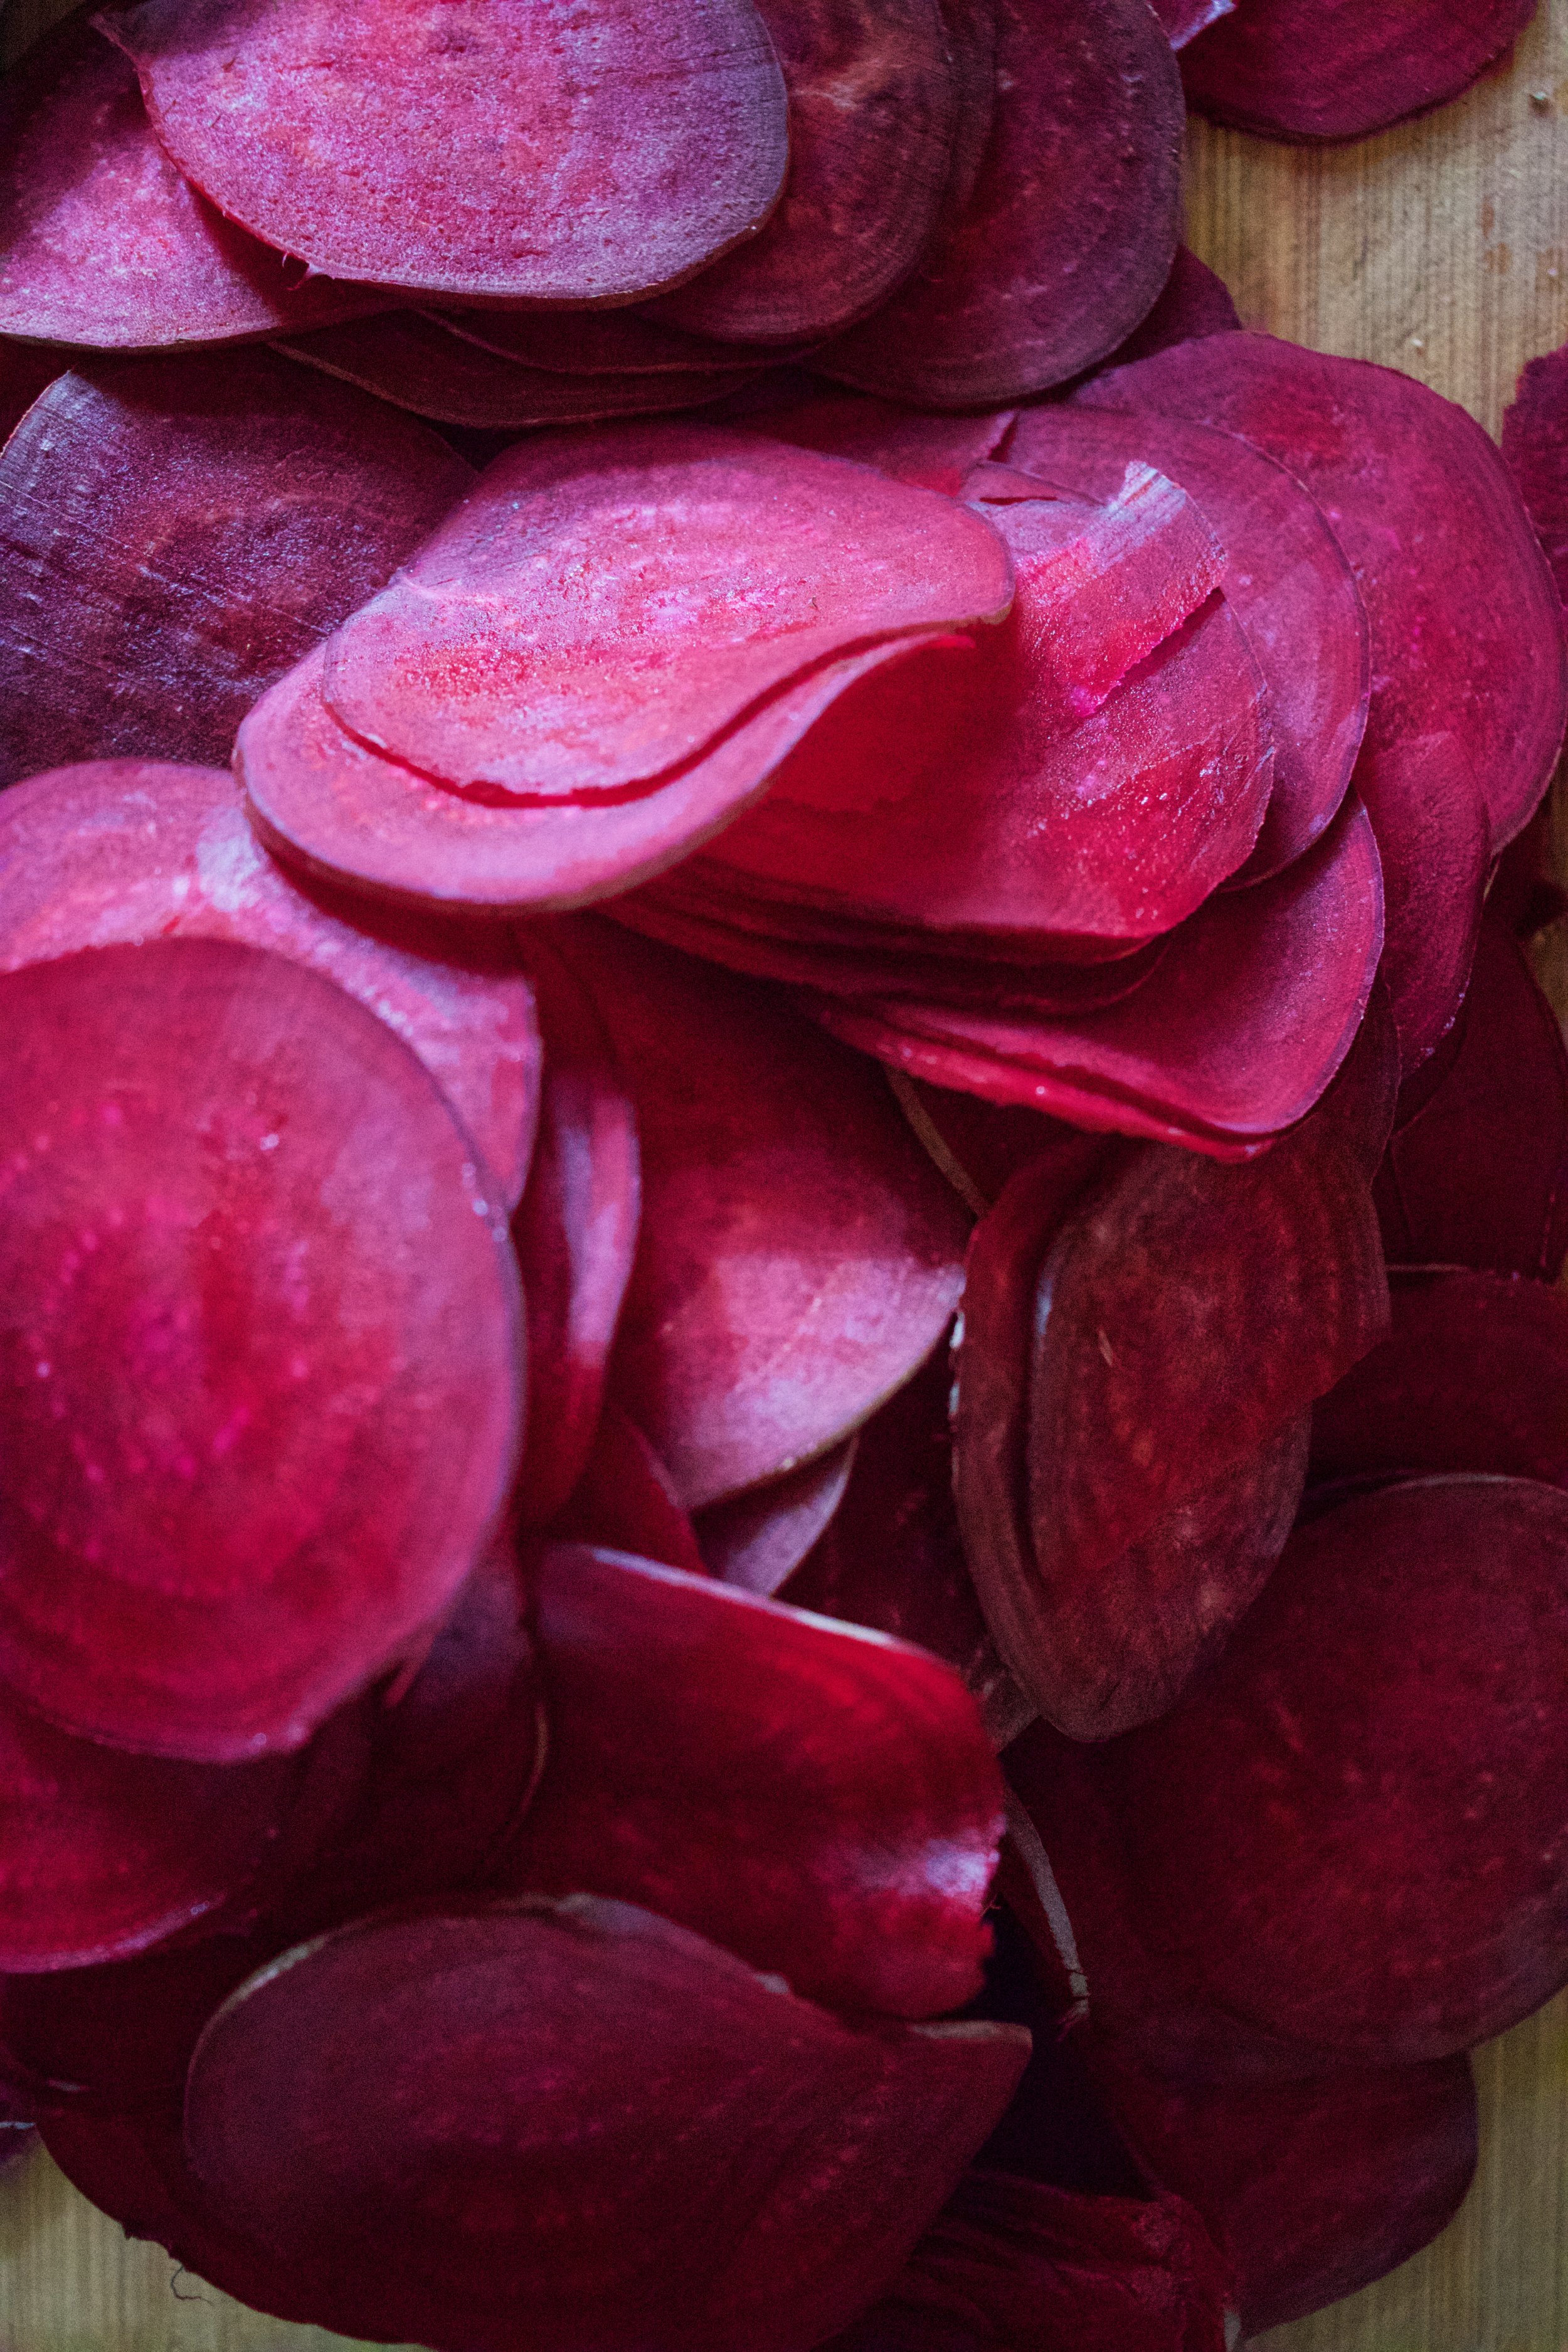
Have you ever had beet chip? They are amazing. Crispy, crunchy, tasty as all heck. If you like beets, even in the slightest, you will love these. If you hate beets, well maybe don’t? Either way, beet chips are the best chip. Wha't’s not to love? Pink, and chippy. Sweet, and salty. And then you add the fact that making beets into chips is a good way to get your veggies in and that you can eat a whole bowl full and feel zero guilt because you are just eating beets. Plus making beets into chips is a good way to use up any extra beets you might have laying around or that have been dropped off at your front door.

These chips, once they are made, will not last long. So when you do make them, know you will probably be making them again soon there after. Me, I have still have to harvest all my garden beets so beet chips are happening again soon. Real soon (like this afternoon!)
To the beets!

The stuff. Beets (these are Formanova beets but any variety works) salt and pepper ,and oil.

Ok so you need to cut these bad boys reallllllly thin. Like 1/15th a inch. So, what I am saying is, use a mandolin. If you don’t have one, a knife will do, but you are going to have a hard time getting them as thin as you need to and all of them consistent so baking is going to be a little more tricky so maybe you should just go borrow or invest in a mandolin.

Grab baking sheets, oil, and salt and pepper. You can either dump the oil directly onto the pile of sliced beets and really toss to make sure each one has been coasted or do what I did which was I drizzled oil into my hands and rubbed each sliced beet between my oiled hands before placing on the sheet.

After you get them on there, single layered with no overlapping, sprinkle tops with a pinch of salt and pepper.

On the way into the oven.

IMG_1552.jpg

After the oven. Baked for about 18 minutes. You really have to watch after the first 13 or so minutes to make sure you catch them at the perfect time. Crispy, but not burnt.

IMG_1550.jpg

A side by side shot. Crazy shrinking will happen!

IMG_1540.jpg

Oh man, so delicious. And so pretty!.

Let the chips cool before eating, you know, so you don’t burn your tongue. Plus they crisp up a wee bit more.

IMG_1600.jpg

Once cooled, pile them into bowl, and then eat them. And eat them all. They are only beets after all. And you won’t be able to stop yourself anyway. Ha

-C


Beet Chips

Makes enough for an evening of chip eating for 1-2 people

  • 2 Large beets (think softball sized)

  • a tablespoon or two of oil (I used grape seed but really any would work)

  • salt and pepper

Note. Making these without cutting with a mandolin will be a pain in the ass. It can be done, but if you have a mandolin, use it.

Preheat oven to 350

With a mandolin, slice the beets about 1/15 inch thick. (No need to peel the beets unless you want to.) Once beets are all sliced, either drizzle them all with a tablespoon or so of oil and toss until all are coated. OR what I did and found worked really well was drizzled oil into my hands and rubbed each beet between my oiled hands as I was placing them on the baking sheets. Either way.

Now place oiled beets, single layered, without overlapping, on baking sheets. Sprinkle with a pinch of salt and pepper and place into oven. Bake for about 13 minutes without worrying then start to check every minute or so until the beets are a deep golden brown and crispy ,which will be between 15-20 minutes. Also, even though you cut them all the exact same thickness, some might crisp up faster so you should remove done chips as they happen. Once they are done, place on a rack to cool. And then do another batch. And not, they do crisp up a tiny bit more as they cool.

Once chips are cool and crisp, eat.

Store uneaten (how did you not eat them all?) chips in an air tight container. If you notice that they turned a bit chew, just place them back into oven while preheating oven to 300 then turn oven off and let sit in there for a few minutes.

In 5 ingerdients or less, crackers and chips, quick and easy, snack, Vegan, Vegetables Tags Beets, Baked chips, Beet Chips, chips, veggie chips, veggies, plant based, vegan, food, recipe, gluten free, heathy, snack, baked, not fried, simple
Comment

Chili Lime Chickpea Flour Crackers

July 27, 2019 Colleen Stem
IMG_0580.jpg
IMG_0602.jpg

We have officially kicked off our summer camping adventures. And with camping comes all the greatness of all the things, including camping food.

Recently a friend asked me what it is that we do for camp food. So I told her. Camp food is basically aways the same and consists of a big pot of spiced warm lentils or split peas (both cook really fast and have lots of protein), a shredded summer squash in the summer, or pumpkin in the colder months, maybe fresh tomatoes or a bunch of kale to chop and mix in, and a side of cut up carrots, cucumbers, green beens or whatever else I have.. Then I'll bring a hunk of bread for the mr to eat and me, usually a small head of cabbage to squirt mustard on and crunch into. (Always have the mustard on hand.) And I bring apples to snack on too, but that usually it. (Sometime I’ll back a desert for the mr. If I am feeling nice.)

She was a little taken aback. Said when she (and basically everyone in the world, which I disagreed with) goes camping it is bags of chips, cookies, meat, and everything and anything that she (they) wanted. Basically that camp food was junk food and that she though we were weirdos. But cool weirdos so you know.

So our camp food… not like many others. But honestly it is everything that I want to eat and I love it so whatever whatever. As for the mr, he is happy with the food and when he is not, he brings along something else, but that rarely happens because my lentils be so good. HA!

But she got me thinking that I should have a few more snack options beside cut up carrots and apples. So that is why I made crackers. These chickpea chili lime, freaking amazing crackers. Because crackers are a very appropriate snack food, and these crackers in particular are even greater because they are made with the goodness of chickpea flour which is packed full of protein and is well received after a day of hiking or other fun outdoor camping activities. And how can you go wrong with chili lime? Well i’ll tell you, you really can’t

So the plan was to make a batch, eat a few, save the rest for this camping weekend. But guess what? I have to make another batch. They didn’t make it. We ate them all. (not sorry) At least I know we will be liking our new camping snack addition well and right.

So if you like crackers, camping or elsewhere, you should really gives these a go. They will not disappoint.

Now to the crackers!

IMG_0509.jpg

The stuff. Chickpea flour, chili powder, a lime, a little baking powder, olive oil, salt and pepper, and water.

IMG_0517.jpg
IMG_0523.jpg

Combine the flour, zest of the lime, half the chili powder and half the salt, and the baking powder and some pepper in a bowl. Mix until completely combined then add in the oil, water and the juice of the lime.

Mix until dough forms. It might feel a little sticky, if that is the case, just mix other tablespoon of chickpea flour.

Knead dough on a well chickpea floured surface for a good minute until the dough is a even consistency then let it sit for a few minutes to rest. Once rested, cut dough into 2-3 pieces because working smaller is easier.

IMG_0551.jpg
IMG_0555.jpg

Roll out your first piece of dough about 1/8 inch thick. (Again, make sure to really flour your work surface and rolling pin.) Mix salt and chili powder together and sprinkle on top. Cut out your crackers (squares are nice but triangles would be nice too) then poke each cracker with a fork.

IMG_0558.jpg

Up close and personal.

IMG_0564.jpg
IMG_0565.jpg

Crackers on a baking sheet before baking and after baking looking all crackery and delicious. And yeah, they shrink a bit.

And lastly, cool the crackers on a cooling rack. They will crisp up a even more. Then it’s all you.

Ready to eat whenever you make the move. You can pack them away for later or place these delicious crackers in a very pretty bowl and eat them away. Or both.

A cracker win!

-C


Chili Lime Chickpea Flour Crackers

make 75 crackers

  • 1 1/2 cups chick pea flour plus about 1/3 more for dusting and rolling

  • 1/2 teaspoon baking powder

  • 1 tablespoon olive oil

  • 1/3 cup room temp water

  • 1 teaspoon chili powder split in half

  • 1 lime

  • 1 teaspoon salt split in half

  • 1/2 teaspoon fresh crackers pepper

Preheat oven to 350.

In a bowl combine the chick pea flour, baking soda, pepper, 1/2 teaspoon chili powder, and half a 1/2 teaspoon salt. Mix until evenly incorporated. Add in oil, the juice of the lime, and and water and mix until a dough forms. Dump dough onto counter and knead until completely uniform in texture. Add more flour if the dough is really sticky. Set dough aside for a few minutes to rest.

To make the crackers, really dust the counter with chickpea flour. Cut the dough into 2-3 pieces and roll1 piece out at a time to about an1/8 inch thin. Again, really flour the surface and rolling pin or else the dough will stick Once rolled, combine the remaining chili powder and salt and sprinkle the top with it. And then cut the crackers. Take a knife of bench scrapper or pizza cattier and cut the dough into inch long strips vertically, then diagonally. Poke each cracker with a fork then gently place them onto a baking sheet. Repeat with remaining dough.

Bake crackers for 15-20 minutes or until a nice deep golden brown. Remove from oven and let cool on a wire rack.

And then eat.

Store uneaten crackers in an airtight container for about a week.

In Vegan, snack, pulses, grain free, Gluten Free, Dairy Free, crackers and chips, beans Tags Chili Lime Chickpea Flour Crackers, gluten free, grain free, vegan, camp, cracker, snack, chili lime, pulses, protein, beans, dairy free, quick and easy, chick pea flour, gram flour, besem flour
Comment
← Newer Posts Older Posts →
 

https://thelovelycrazy.squarespace.com/config#/|/about/

Me. Food Maker.Food eater. Woo HOO!

STEM+NODE  SMALL BATCH AND ONE OF A KIND POTTERY

stem+node ceramics


____________________

Subscribe

GET NEW POSTS IN YO EMAIL

You are AWESOME!!!


@thelovelycrazy 2014-2021