• stem+node ceramics
  • HOME
  • Food Recipes
  • About
  • Contact
Menu

The Lovely Crazy

Street Address
City, State, Zip
Phone Number

Your Custom Text Here

The Lovely Crazy

  • stem+node ceramics
  • HOME
  • Food Recipes
  • About
  • Contact

Tomato Bundt Cake

August 20, 2016 Colleen Stem
IMG_0548.jpg
IMG_0573.jpg

Do you have a gazillion tomatoes, like so many that they are practically coming out of your ears? Me too.... Me too. This year the tomatoes have been gang busters, a explosion of the sweetest and most delicious fruit and now I have tomatoes littered everywhere, tucked into all the corners and baskets all over the house. It's getting kinda tomato crazy over here.

 I can only eat so many tomatoes a day before all I have eaten are tomatoes and I start to feel slightly sick. Same with the mr, he has been a tomato eating champ as well but I think he was getting a little bored with all the tomato salads that I have been making. So I thought I would try something new and make a tomato cake. I figured why the heck not, tomatoes are technically a fruit and fruit and cake are great together and yeah. So tomato cake is going to be fantastic. I also wanted to make something that the mr would eat for breakfast. I have been doing this new thing in the mornings for the mr. I have coffee ready, some breakfast food (its been zucchini bread for a while), and a little vase of fresh flowers that I pick on my morning walk, all set out on the counter for when he wakes up. I know, I am so great right. Really I do it cause I want him to eat something before working all morning and plus if I am all sweet in the morning, he can't be an old man cranky pants (at least he tries not to be).  Now for the next few days the tomato cake is breakfast cake and all is good.

Anyway, the cake come out great. Bright reddish orange, dense but fluffy and most, and smells so good. The mr tells me it's amazingand I shared a chunk with some of my family and everyone (minus a little) where fans. I am for sure going to be making this again soon, although I have been toying with the idea of eggplant sweet bread (too far??) but I'll get to that later.

Now for the tomato cake!

The stuff. Flour, baking soda, baking powder and salt (all in the bowl). Brown sugar, oil, vanilla, apple cider vinegar and a few nice and juicy tomatoes.

First off, remove the core from tomatoes and cut into some chunks. Stick the chunks into a blender and blend.

Fresh and smooth tomato puree.

Now just dump the rest of the liquid stuff into the blender now and give it a whirl to mix it all up.

And pour the blended wet into the dry and mix until incorporated.

Pretty pink batter goes in a well greases bundt pan. I had got brown sugar everywhere while I was measuring it out and decided to just toss it on the cake as not to waste it...doesn't hurt.

And now the batter goes into a preheated oven to bake .

A bit of time later you have yourself a cake.

The scary part. Flip the pan and hope all that grease does it's job and the cake pops out. Lucky me this one popped out like a champ.

One de-panned, let the cake cool for a bit before cutting into it.

And now all you have left to do it eat it, so eat it.

Have a great weekend. Eat lots of tomatoes and make lots of cake.

-C


Tomato Bundt Cake

Makes one bundt cake

  • 2 -1/3 cup all purpose flour
  • 1 teaspoon baking soda
  • 1 -1/2 teaspoon powder
  • 1/2 teaspoon salt
  • 2-3 large tomatoes (2 -1/2 cups after blended)
  • 1/2 cup brown sugar (for a tad sweeter, add another 1/4 cup)
  • 1/2 cup of any neutral flavored oil
  • 1 teaspoon vanilla
  • 1 tablespoon apple cider vinegar

Preheat oven to 350

Start by whisking together all the dry ingredients into a big bowl. Take tomatoes, remove core, chop into chunks, and place into a blender. Blend tomatoes until a smooth and frothy puree. Now add in the sugar, oil, vanilla, and apple cider vinegar and blend until incorporated. Pour wet mixture into dry and stir until combined.

Pour the cake batter into a greased (and floured if you want. I find it helps to make sure all the nooks are greases) and stick into preheated oven. Bake for 45-50 minutes until it's a dark reddish golden brown and a tester (I use a fork) comes out clean when stabbed.

Remove from oven and let cool for a minute or two then invert cake, give the pan a few tap taps and hope that it comes out all nice and clean. (don't worry if a piece gets stuck, you can just dust the top with some powdered sugar)

Let cake cool and when ready, cut a slice and eat it up. I was told no glaze, but I was going to make a simple lemon glaze (lemon juice and powdered sugar) for the top. The mr said it was perfect, but glaze would have been pretty.  So glaze it up if you want.

In vermont, Vegetables, Vegan, Sweets, summer, snack, recipes, photography, desserts, Dairy Free, cake, brunch, breakfast, bread Tags Tomato Cake, Summertime, bundt cake, vegan, vegan cake, dessert, snack, tomato, garden, what to do with too many tomatoes, vermont, breakfast cake, brunch, fruit, veggies
Comment

Carob Covered Rice Cakes

June 1, 2016 Colleen Stem
IMG_4572.jpg
IMG_4474.jpg

 I remember long ago, when I was just a little, my mom would take me to the health food store with her to get whatever new fancy snack that she was obsessed with or to stock up on way to expensive jams and her very specific boxes of teas that she could not find anywhere else. Those were the days (when mom was buying the groceries) And I loved going to the store with here because well, bulk bins! Oh the bulk section, it had all the best stuff like sesame sticks and granola chunks.  It was a free for all,, grabbing a piece dried mango here or a handful of almonds there. (don't judge, I as just a sweet little little, I don't do that anymore...often)   This store had a pretty impressive bulk section and includedtwo bins of carob covered rice cakes. One was plain, one was mint, both freaking delicious. Up until the first time I ate one of those rice cakes I had no clue what carob was or that those rice cakes were not chocolate. I just remember that they were super tasty and that my mom always got one for me.  She wold buy a dozen and I might have gotten to eat another one of those too.  I loved those rice cakes.

I haven't seen a carob covered rice cake in years.  I think that they stopped carrying them or maybe it's because the store has changed a lot and I don't often go there anymore, but either way, it's been a while. So anyway, last week I spur of the moment bought a package of (unsalted plain) rice cakes, then realized that the mr wasn't to into rice cakes anymore (there was a long period of time where I made him peanut butter banana rice cakes for lunch everyday). But I bought them and they need to be eaten, and that's when it came to me.. Make the carob covered rice cakes from the old days. Something new and different for the mr and something super nostalgic for me.

And it helped that it has been way to freakin deakin hot and all the things that I have been wanting to bake (cherry pie, rhubarb cake, food in general) just wasn't happening. . But these sweet treats take 2 minutes to make and require no heat whatsoever (my coconut was already melted.) Can you really ask for more?

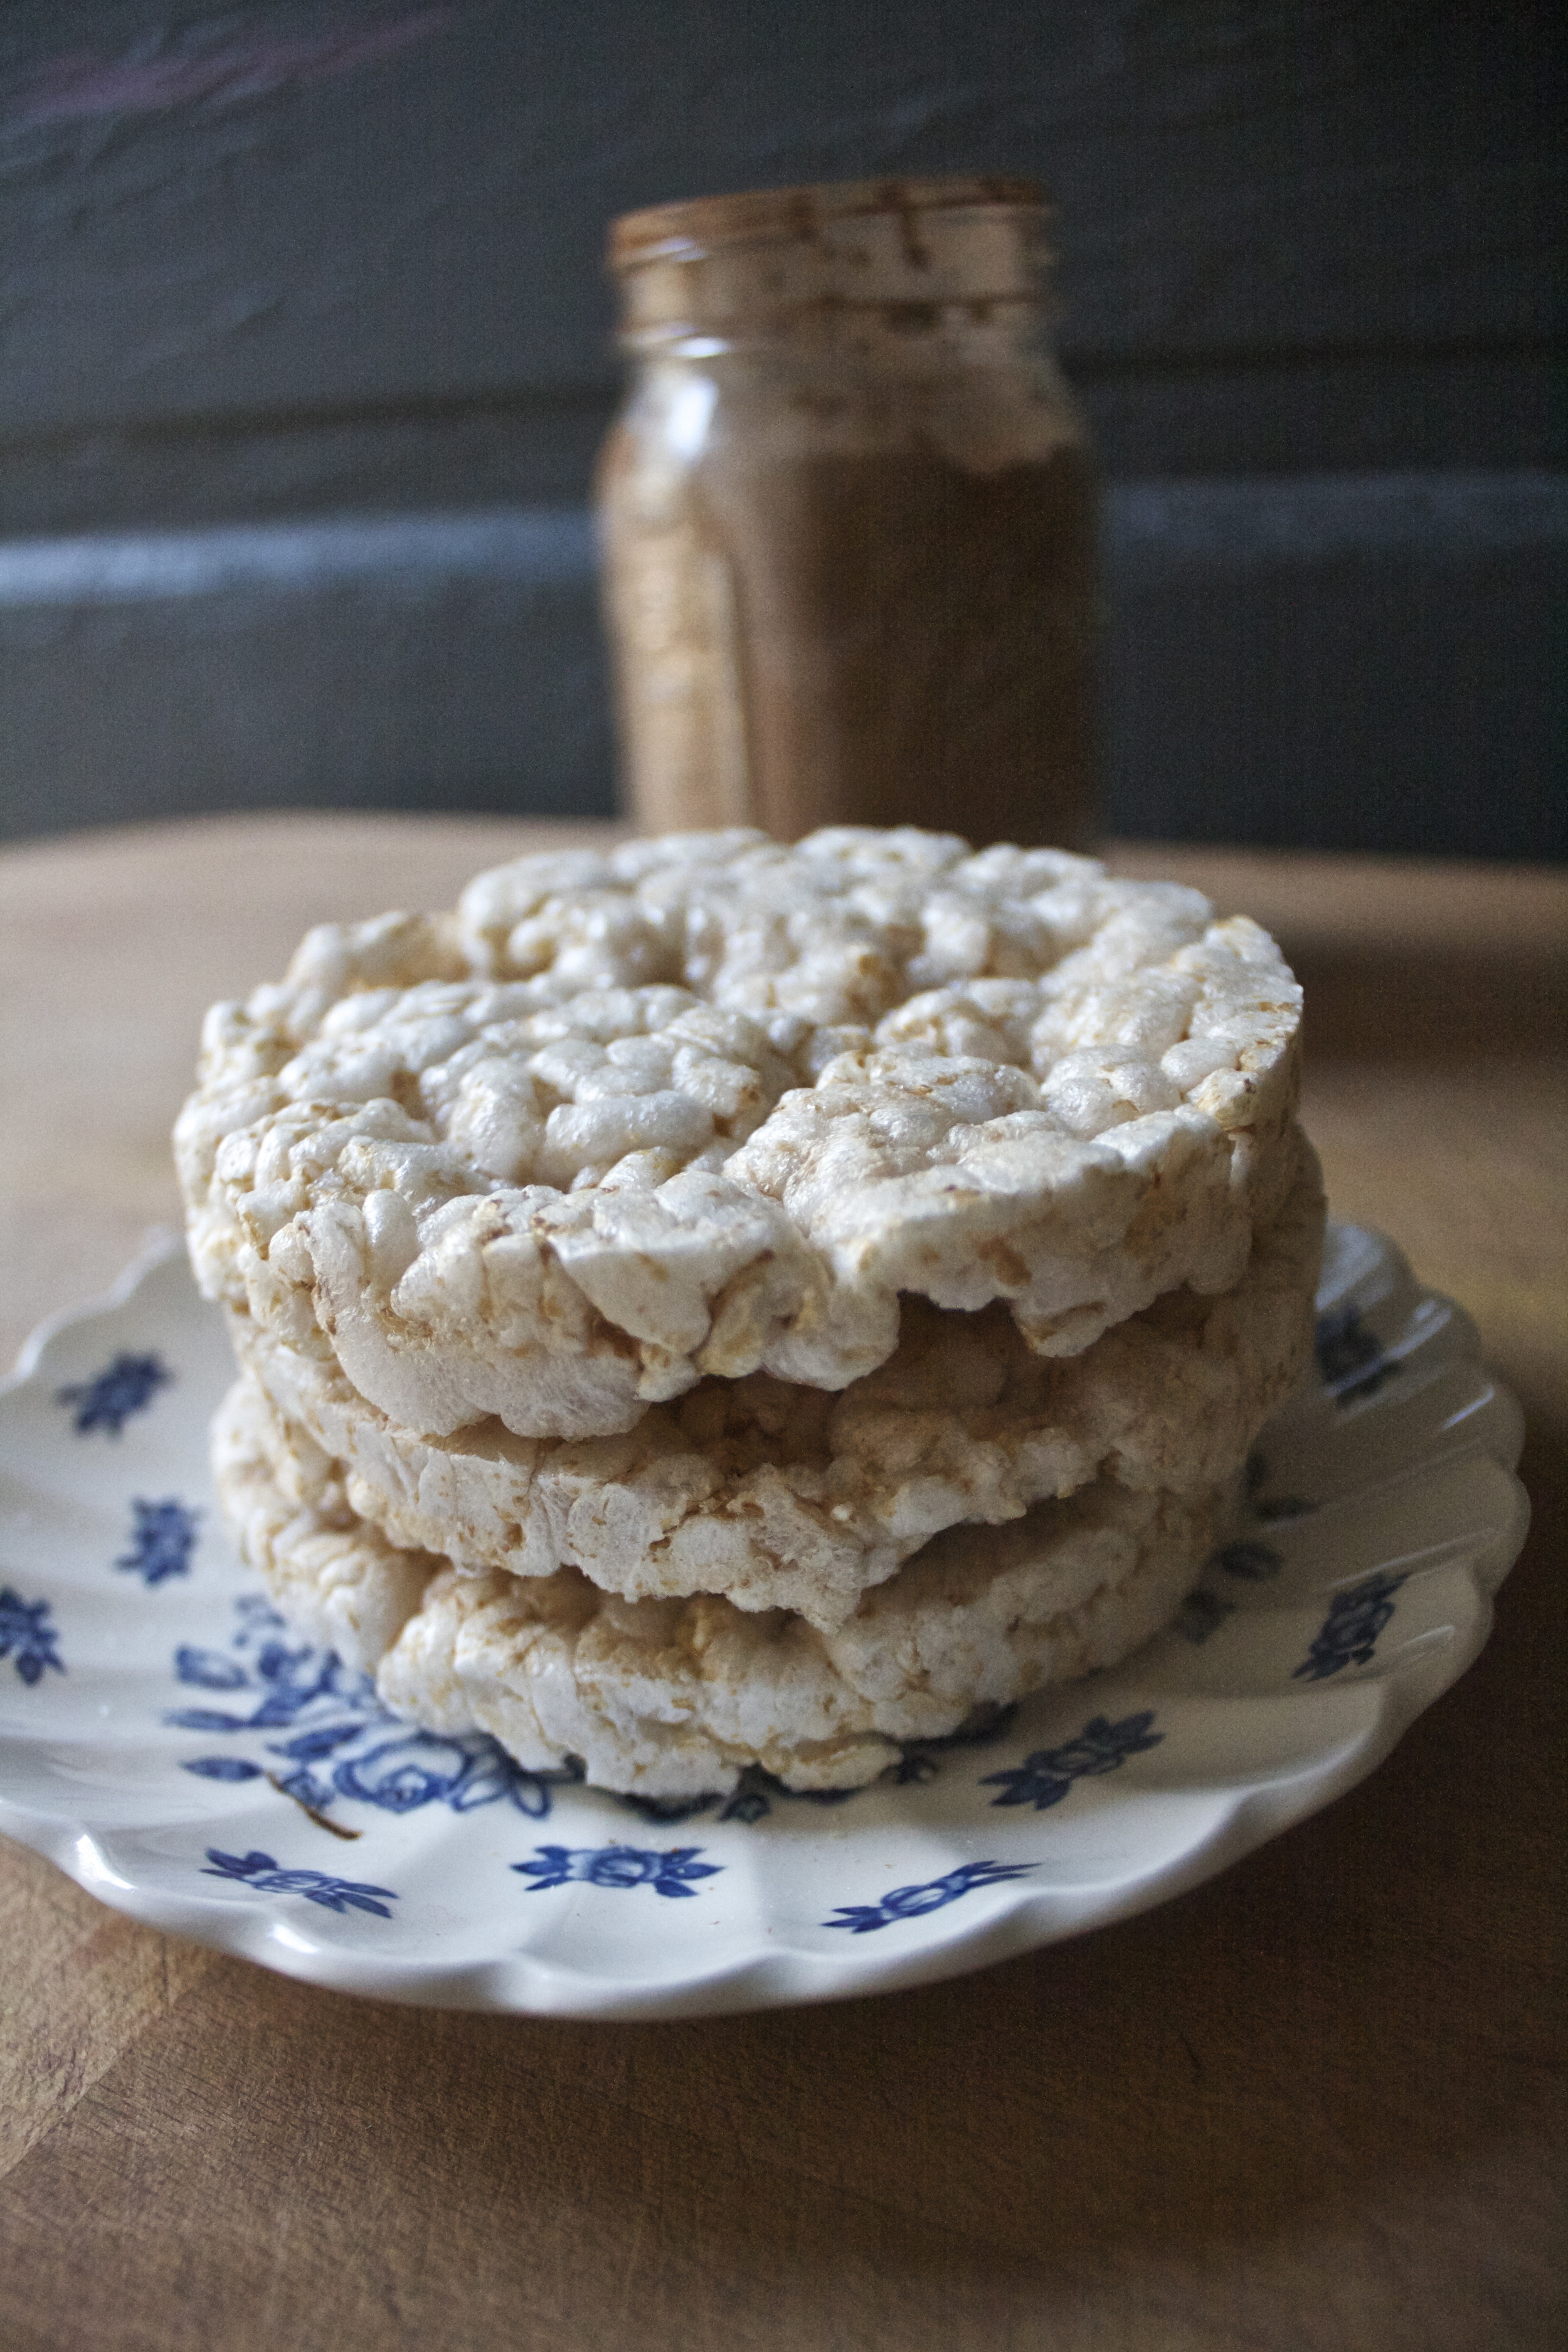
The stuff. Carob powder, coconut oil and rice cakes. I should have stuck the sea salt in the picture, but it is kind of optional..

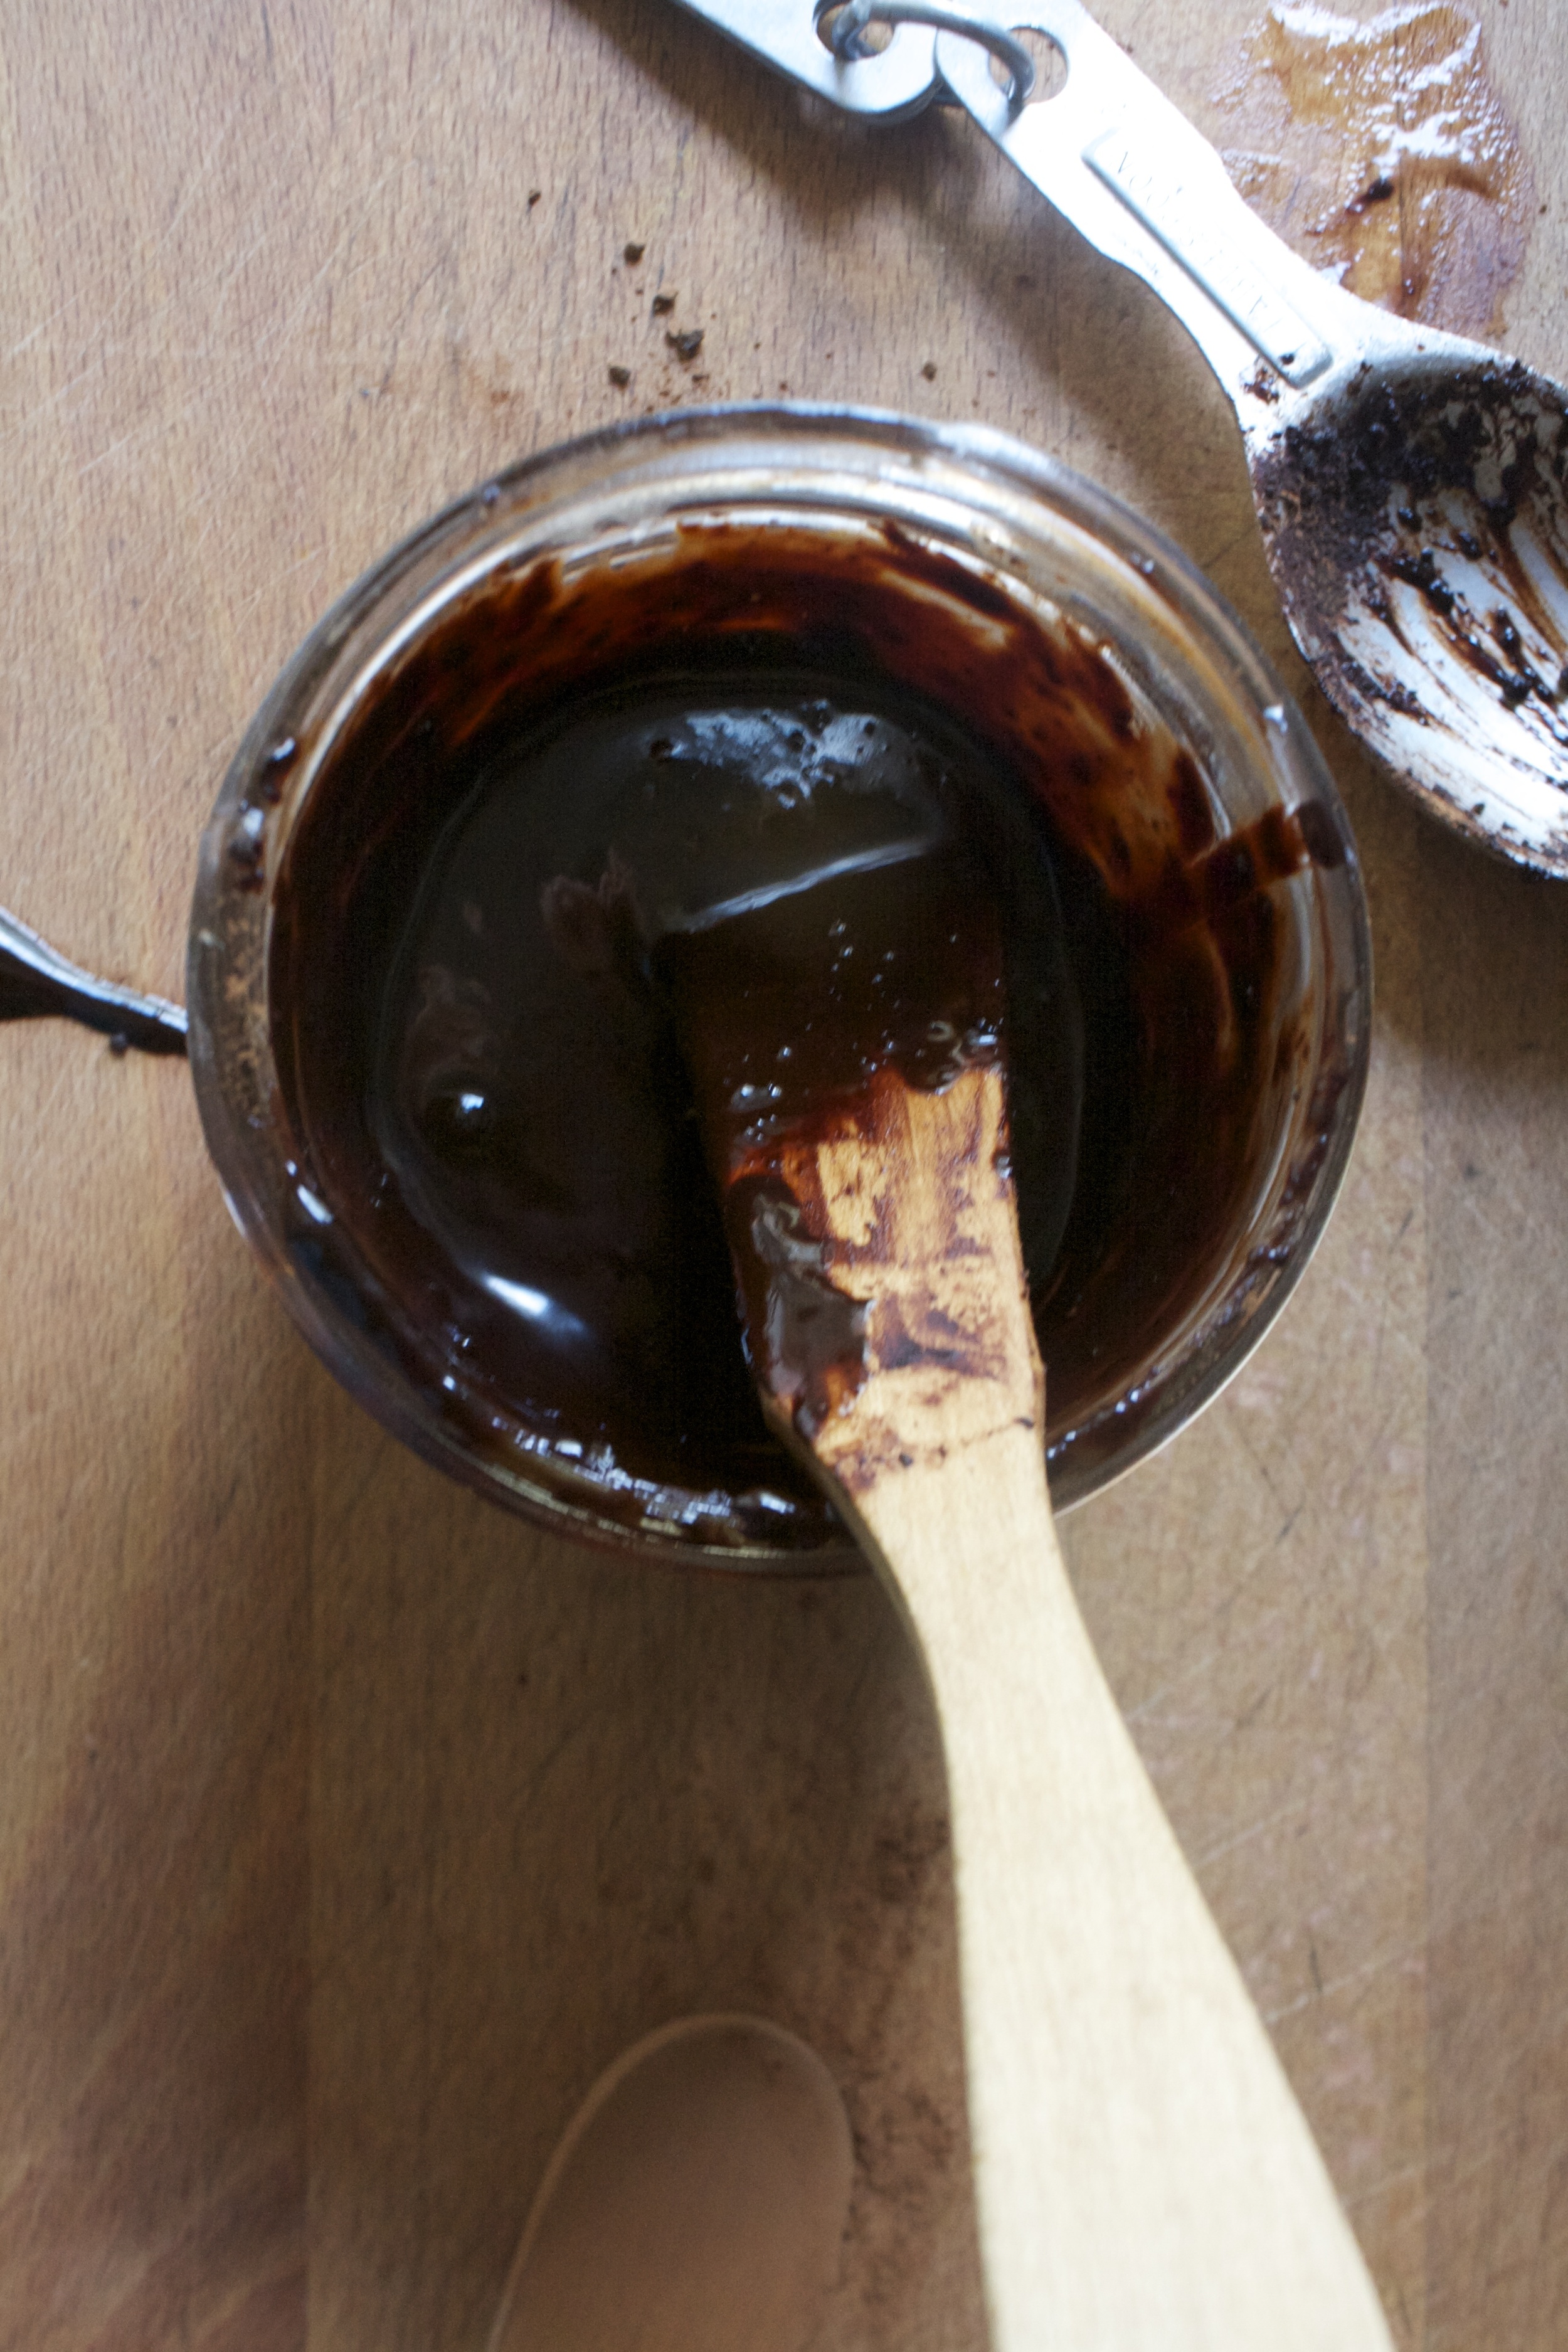
Simple as can be. Th oil and carob powder get combined in a bowl of some kind.

Mixed together until silky smooth and BLING BLING shiny.

Rice cakes all ready to get decked out ( doing this on wax paper to make life much easier)

Smothered with the carob all over. You can do one side at a time, sticking it into the freezer to set for a minute or just get a little messy and do it all at once. Up to you. But wither way, it need to go in the freezer for just a few minute to get hard.

And right before you stick them in the freezer, sprinkled with sea salt.

Uh huh.. Looking good. And taste ever better then I remembered. (it's the salt. Salt makes everything better)

-C


Carob Covered Rice cakes

Makes 2 (why make only 1)

  • 2 tablespoons coconut oil
  • 4 heaping tablespoons carob powder
  • 2 plain rice cakes
  • Sea salt

In a bowl mix together melted coconut oil with the carob powder until a smooth and shinny consistency. With a spatula, smother the top and the sides of the rice cakes with the mixture. Place on wax wax paper, un-carobed bottom down, and stick in freezer for a few minutes until carob has harden. Remove, flip, and smother remaining side. (you can do both sided at once, but it's a little messier) Sprinkle salt on now and back into freezer until hard. Remove and eat.

Note. If you make two and have one left over for late, keep it in an air tight container in the fridge or freezer. It will melt just like chocolate.

In Vegan, Sweets, snack, Gluten Free, desserts, Dairy Free, breakfast, 5 ingerdients or less Tags Salted Carob Covered Rice Cakes, rice cakes, carob, snack, healthy, plant based, clean eating, caffeine free, sugar free, coconut oil
12 Comments

Tahini Chocolate Chip Granola Bars

February 9, 2016 Colleen Stem
IMG_8923.jpg
IMG_8917.jpg
IMG_8917.jpg

I wanted to be in the kitchen so I asked the mr what he wanted me to make him. Anything he wanted, like a cake, or cookies, or donuts.

He asked for granola bars. (so cute)

I think the reason that he requested granola bars was that he knew I wanted to test out the golden syrup that I brought back from Ireland and I had mentioned that I was going to make myself some granola.  (not him, me) but I went with it. And really, I was excited to bust out the golden syrup.

Now what kind of granola bars was the question, but I didn't even ask him I just went with tahini chocolate chip. Tahini cause its amazing, chocolate chips because, just because. And the golden syrup. The bit of research that I have done on golden syrup had told me that this stuff is like glue (it really is) and that it can be used in lu of other binders that I would normally add to granola bars (like dates) It is pure can sugar that has been turned into a thick, golden syrup (hence the name) and has a more nutty, earthy flavor then just sugar, which went together quite nicely with the oats ans tahini in these bars. (next thing to try it with.. rice crispy treats!)

 So I got some kitchen time, the bars where made, the syrup was used, the mr was happy.

Win win win. WIN!

The stuff. Oats, tahini, golden syrup, cinnamon, sesame seeds, chocolate chips, and sea salt. Not a whole lot of stuff and nothing else is needed. But if you are feeling it, add some more. (cranberries, chopped dates, coconut, some nuts)

In a big bowl, combine the oats, cinnamon, sesame seed and chocolate chips.

In a separate (microwave safe) bowl or jar mix together the golden syrup and the tahini. Stick it in the microwave for 15 seconds, take it out, stir it, then another stick it in for another 15 seconds. You just want the mixture to be runny. Another way you could do this is on the stove top or, Like me, place jar in the oven and stir until loose. (I don't have a microwave and I didn't want to dirty a pot)

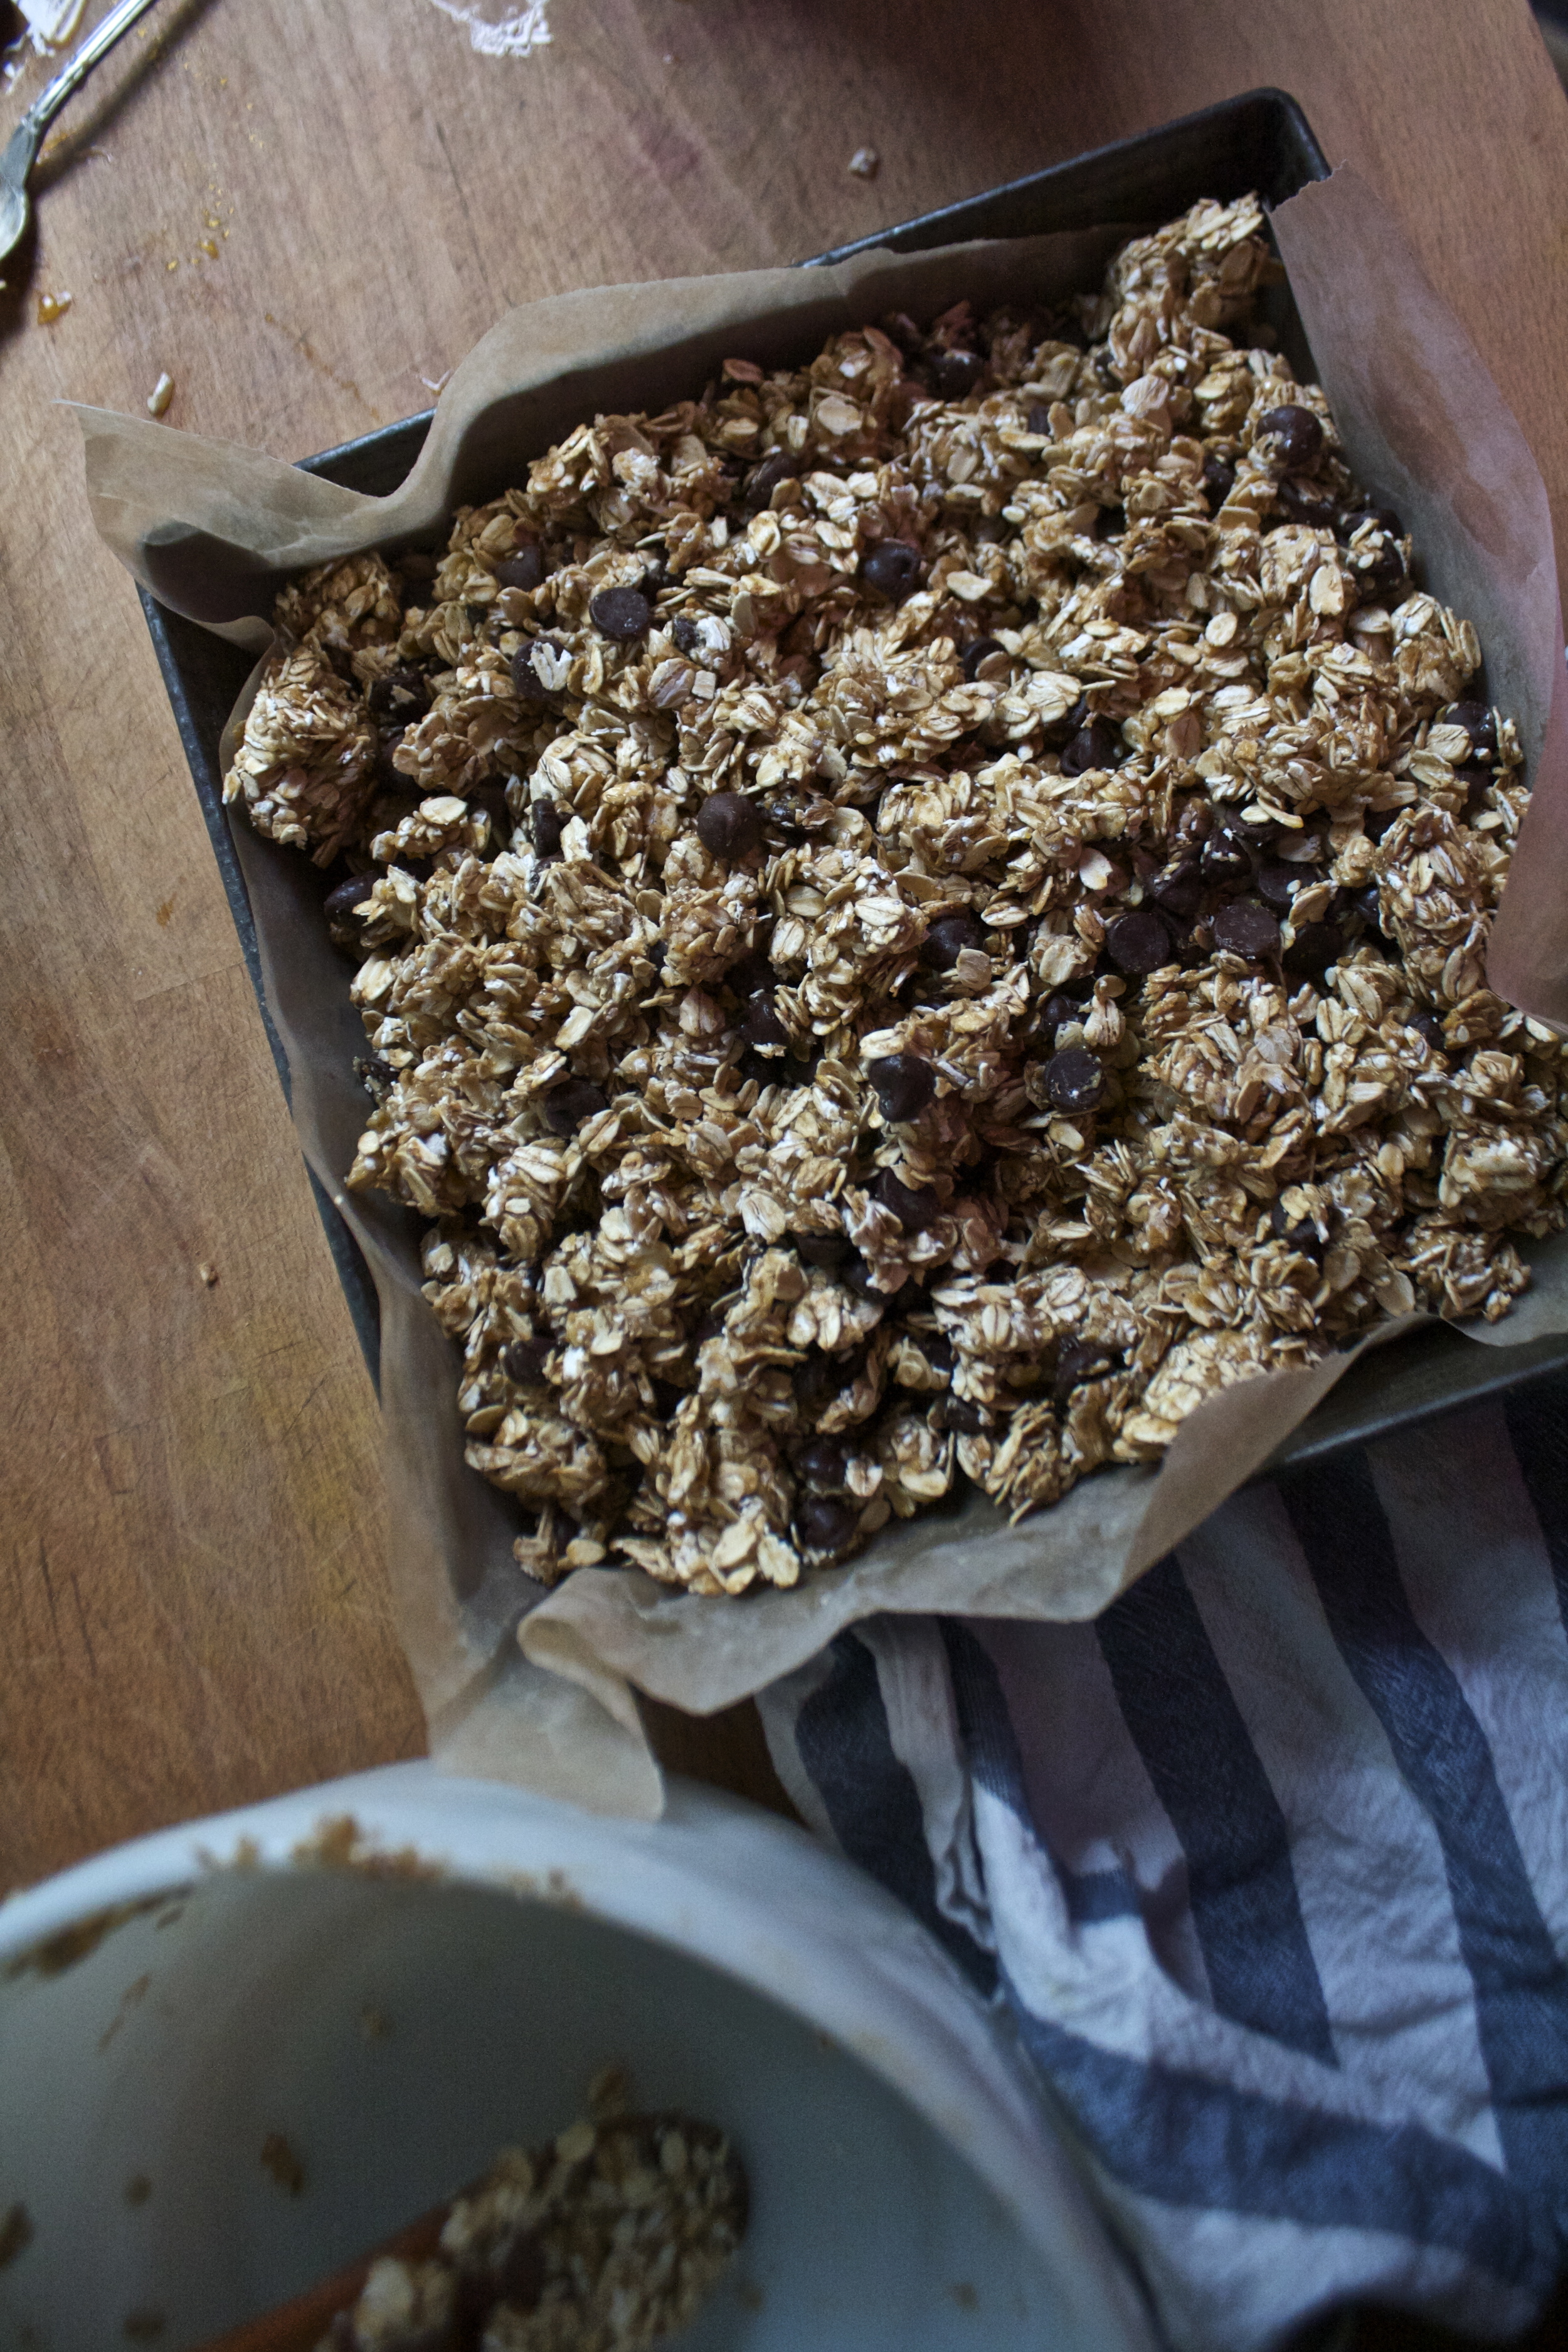
Pour the warm mixture into the oat mixture and stir until all the oats and stuff are all coated.

IMG_8874.jpg
IMG_8881.jpg

Dump the mixture into a parchment lined pan and press it down as hard as you can with your hands or a bottom of a glass

And optional, but really good, sprinkle the top with sea salt. (do not use table salt)

Now here is the deal. You can do one of two things. If you want a chewer granola bar, place these bars in the fridge for at least an hour until they set up and call them done. For a cruncher bar,  stick the granola into the oven for a little bit to give them a slightly crunchier texture

I tossed my into the oven, just for like 12 minutes, just to give them a little color and a bit of crunch. (the longer you leave them in there, the harder and crunchier they become)

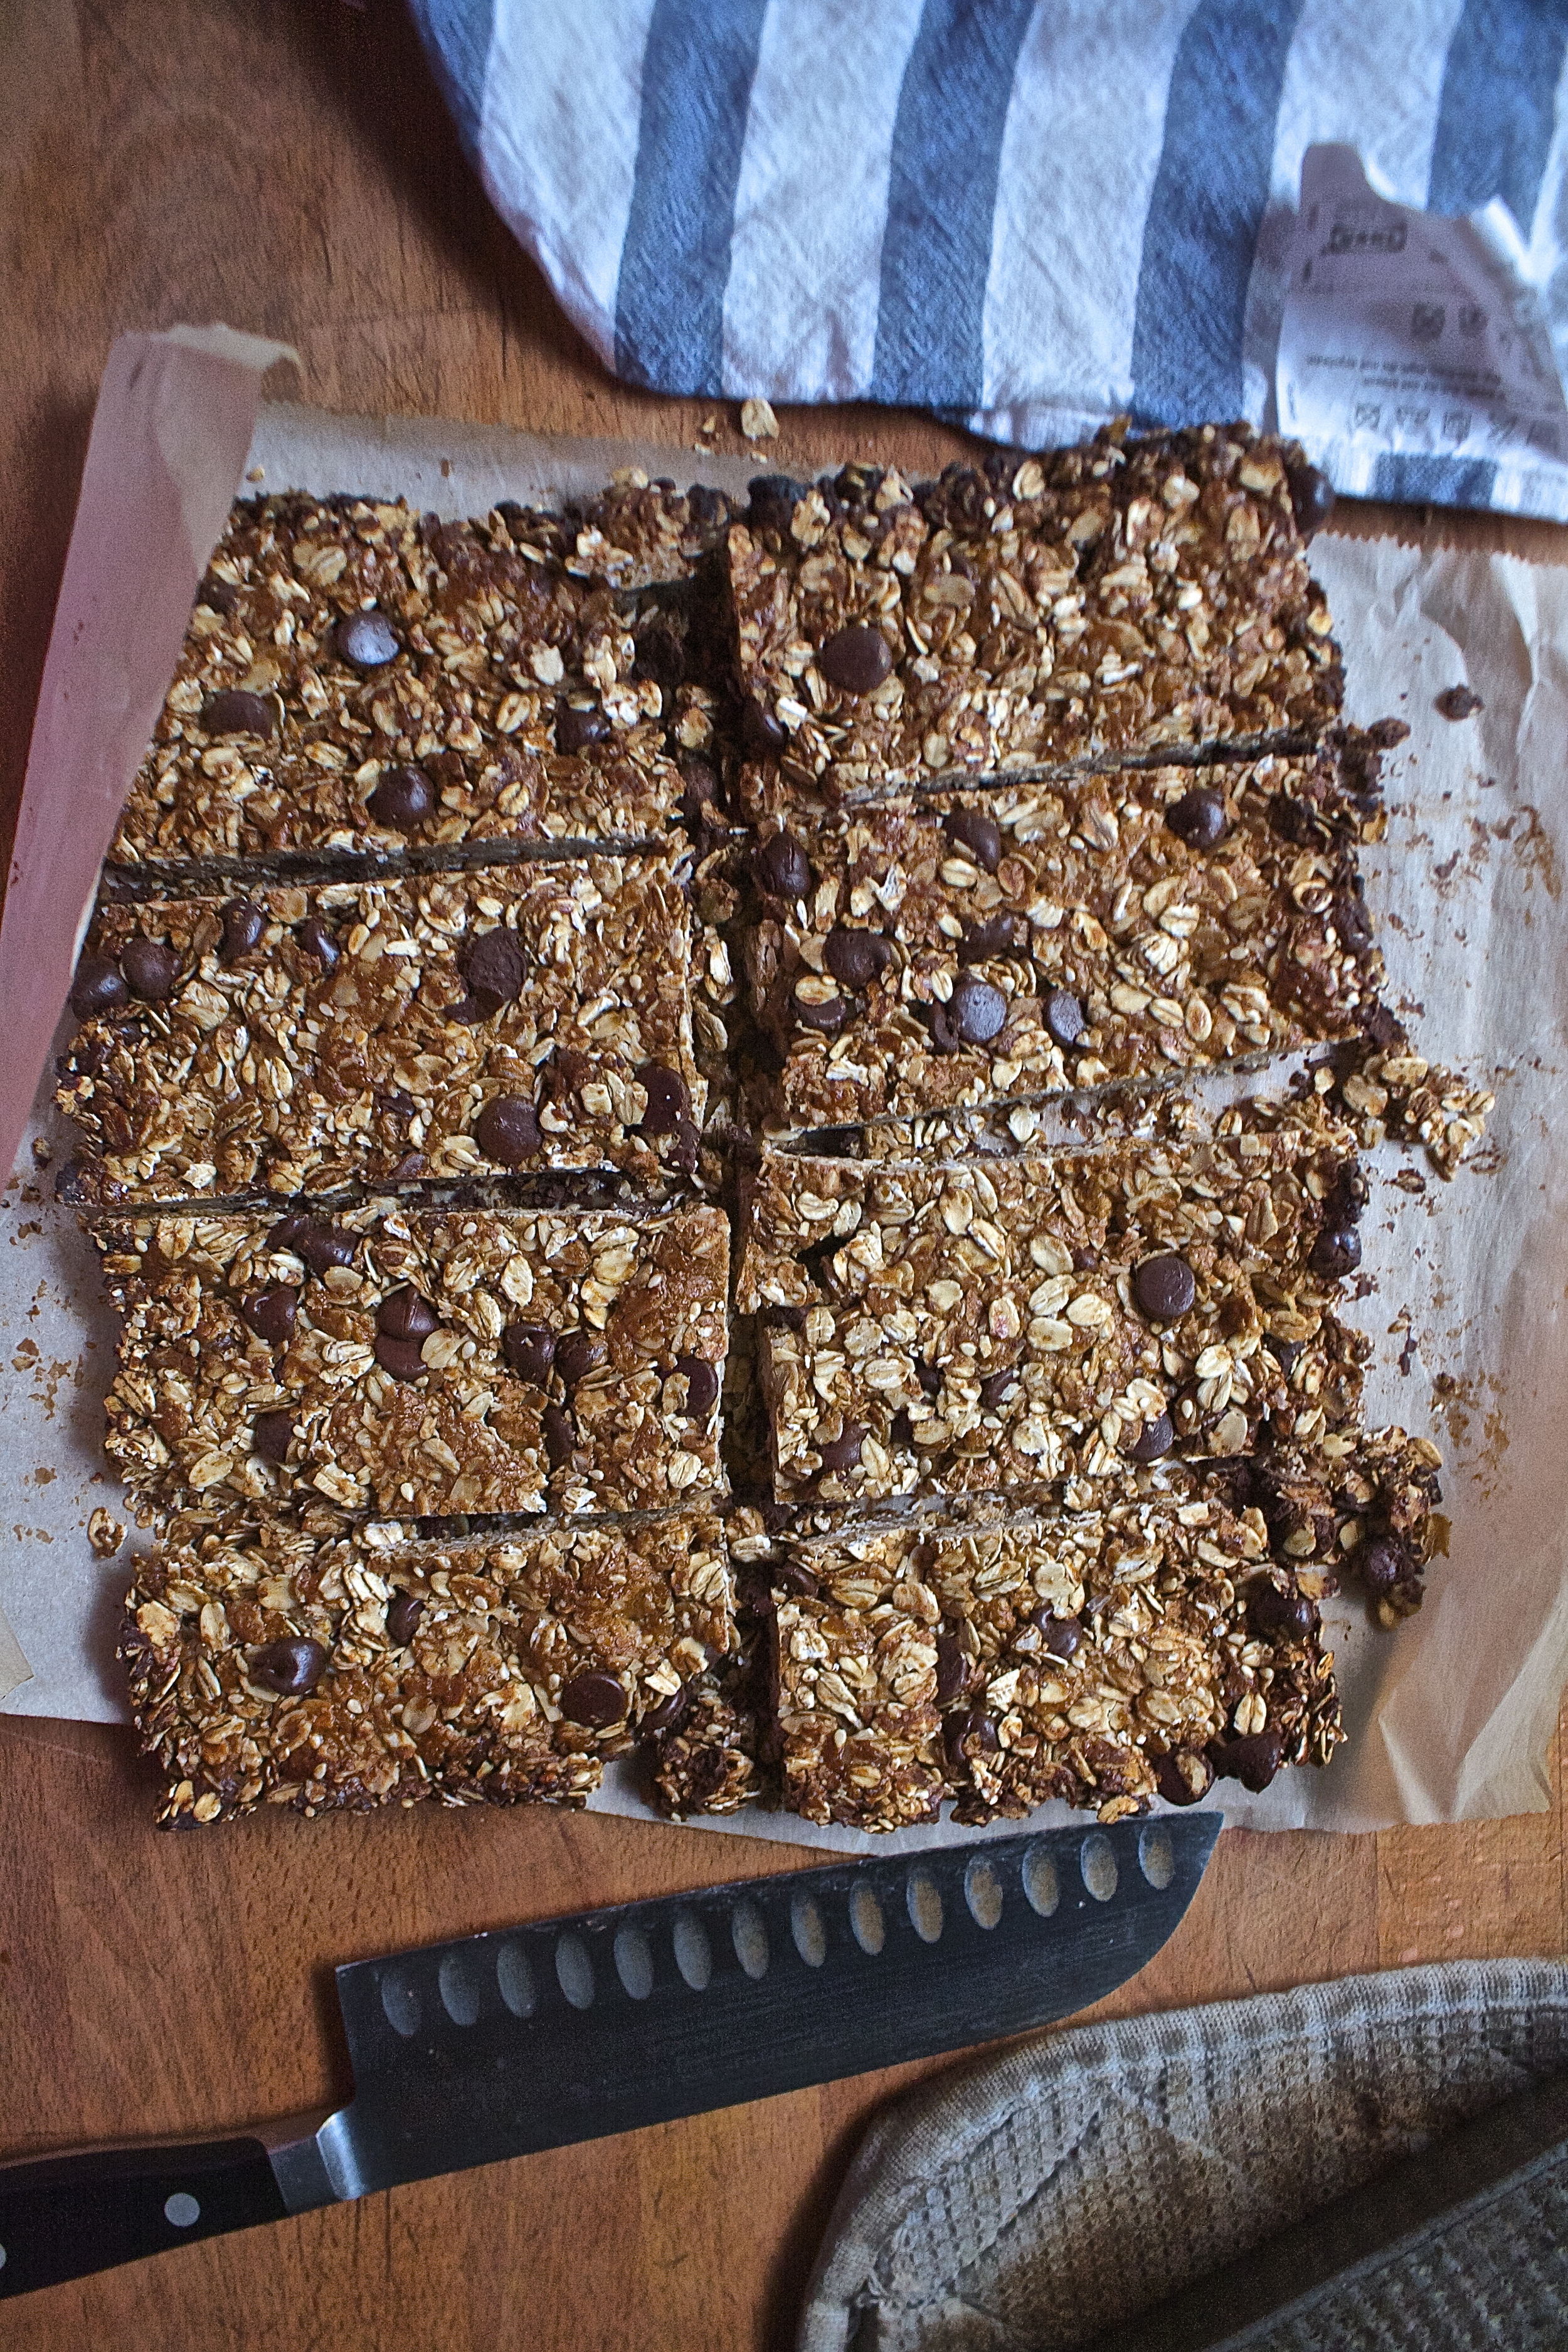
Pulled from the oven, chillin out and waiting to be cut.

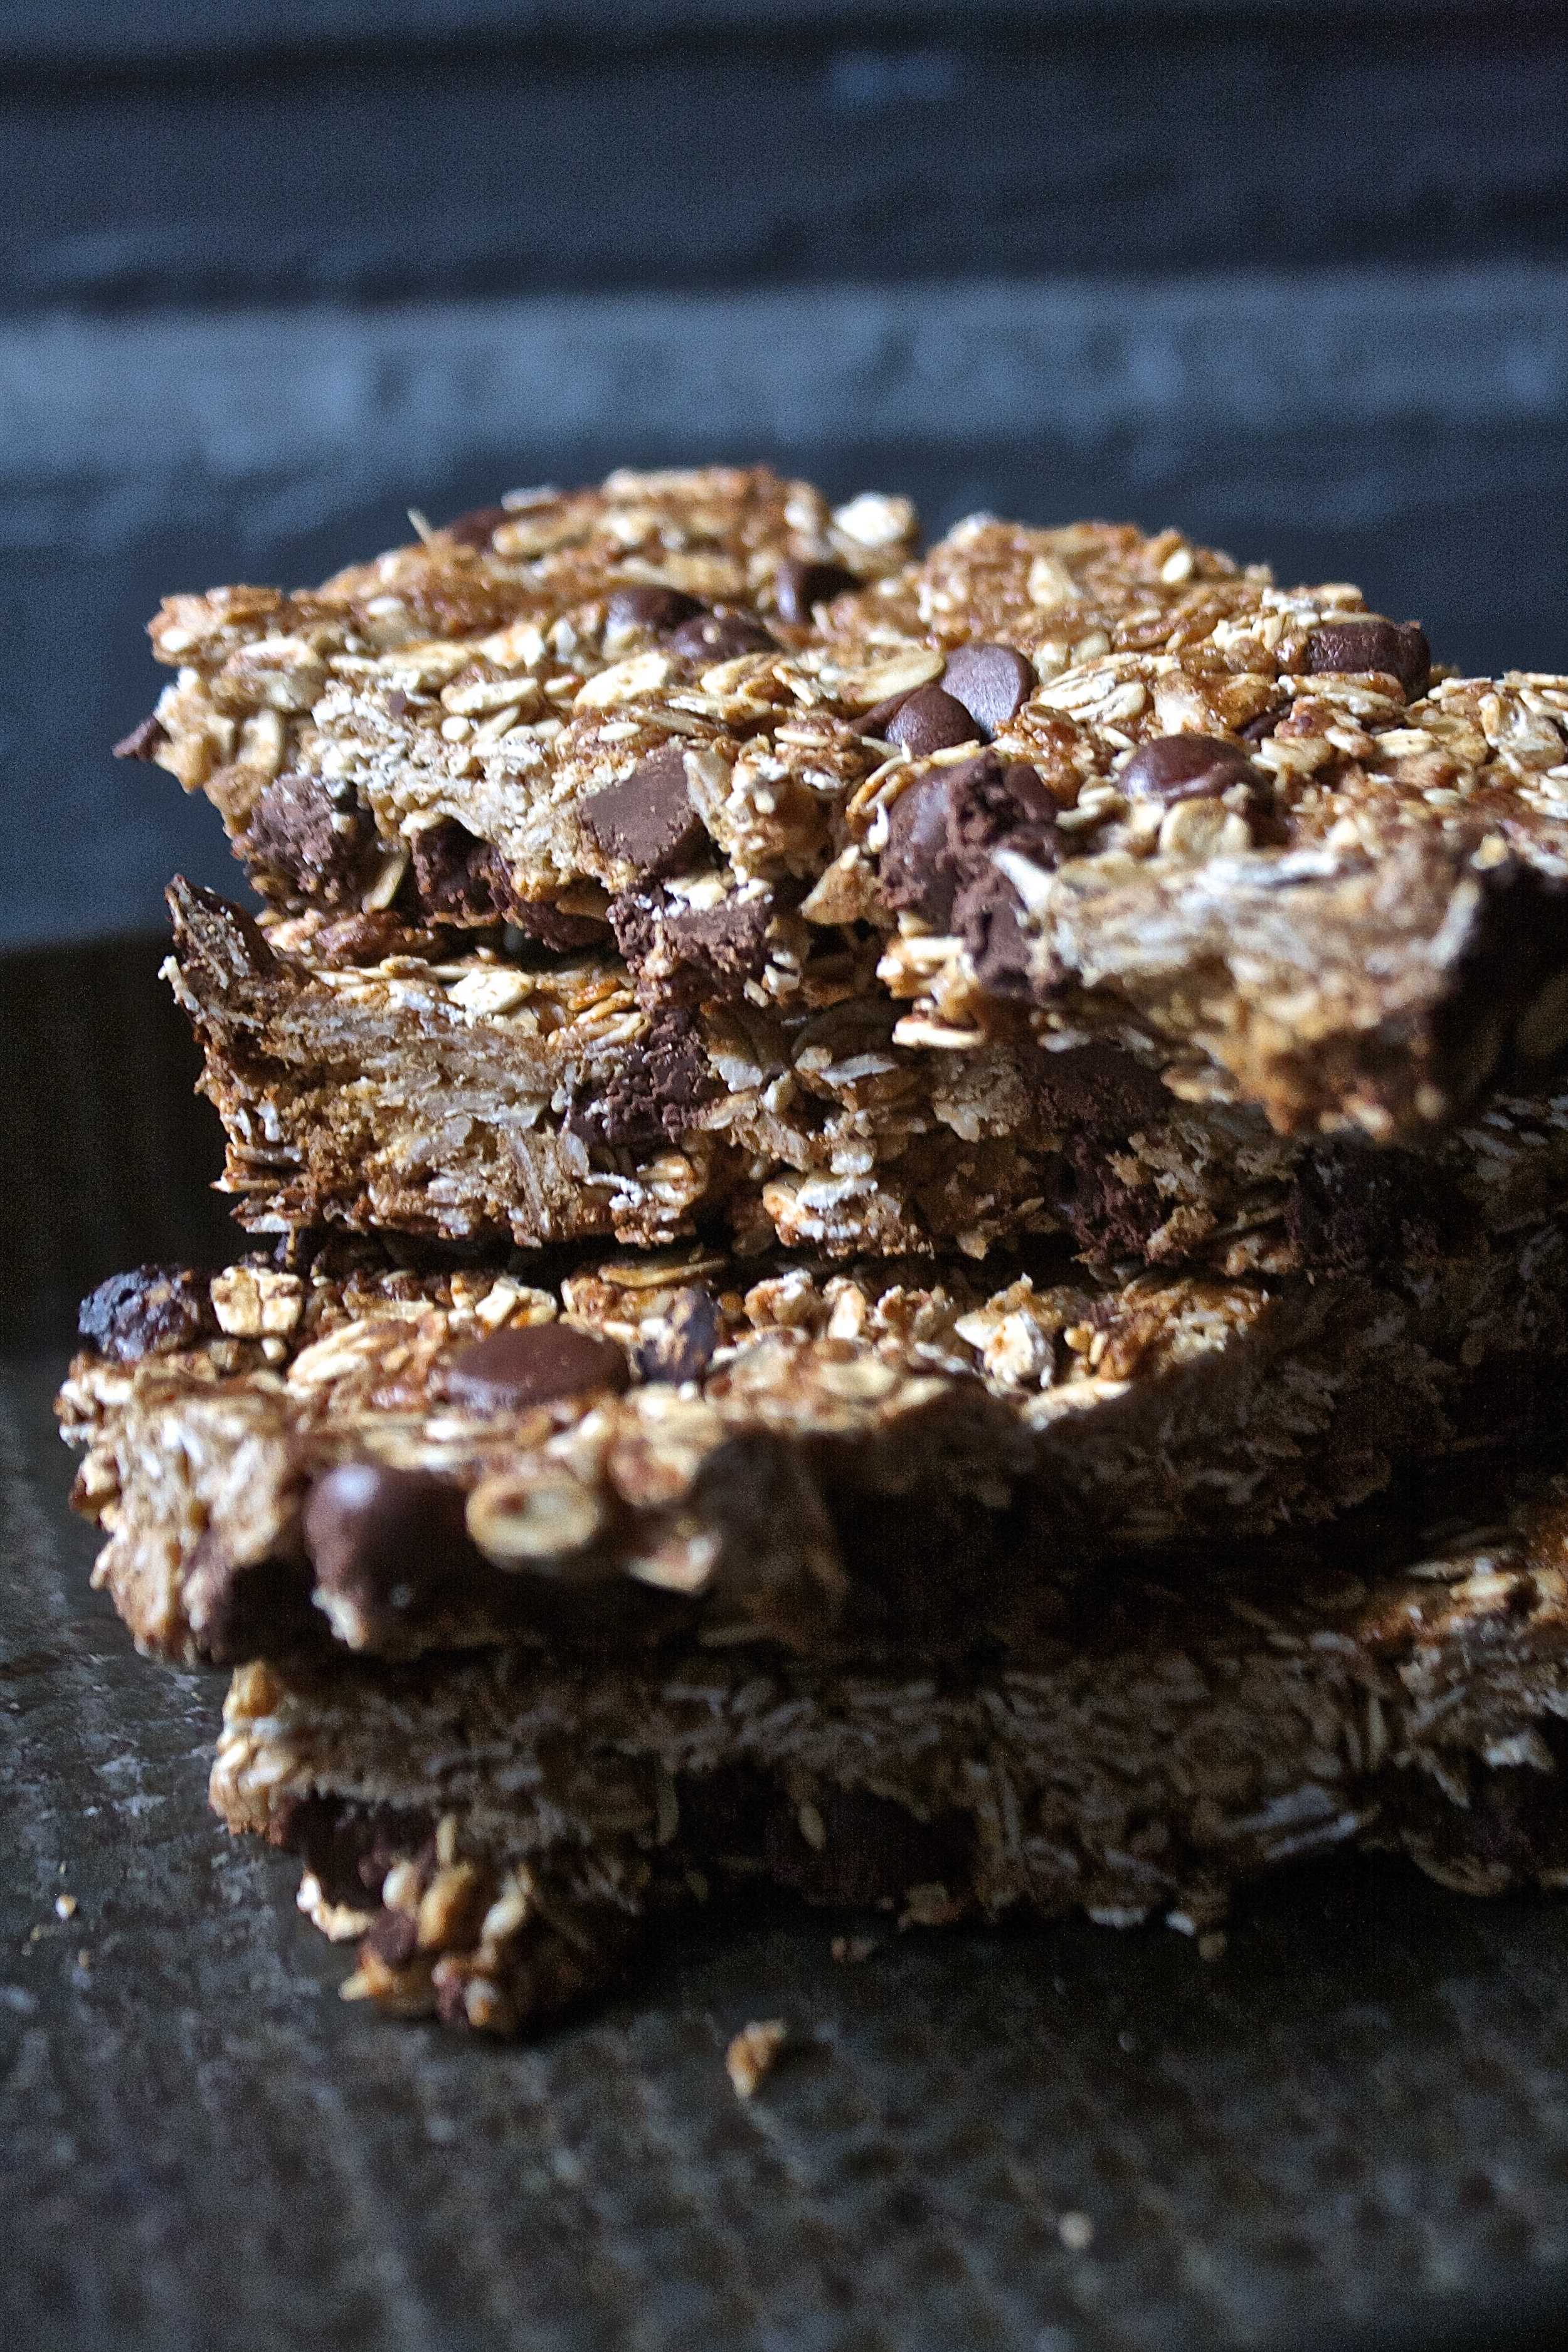
And piled high. a stack of bars, awaiting a mouth to eat them.

What a bar. The mr is a lucky guy.

Happy day to you!

-C


Tahini Chocolate Chip Granola Bars

makes 8 Bars

  • 3 cups oats (gluten free if needed)
  • 1/3 heaping cup golden syrup (can be bought at some grocery stores but can be found online as well)
  • 1/3 heaping cup tahini
  • teaspoon of cinnamon
  • 1/2-1 cup of chocolate chips
  • a few pinches of sea salt(optional)

Note. Feel free to add more mix ins if you want (nuts, coconut, dried fruit) just don't add more then another 1/2 cup of stuff.

In a large bowl toss together the oats, cinnamon, sesame seeds and chocolate chips. In a separate microwave safe bowl (or a pot), combine the golden syrup and the tahini. Place in microwave for 15 second increments,  stirring in between until the mixture is loose and pourable. (or heat on stove on low heat until pourable)

Add tahini mixture into oat mixture and mix until all the oats are evenly coated.  Dump into a parchment lined, 9x9 inch baking pan and evenly press the granola down as hard as you can with either your hands or a bottom of a glass (or whatever) Sprinkle the top with sea salt.

And now you have two decide if you want a more chewy granola bar or or a slightly crunchier bar. For a chewier one,  stick the pan into the fridge for at least an hour until they firm up. For a but more crunch,. place bars in the oven for 10-15 minutes at 350, just until they get a slight golden brown and a little bit of crunch on top.  Remove from oven and let cool.

Once bars are ready, remove from pan, grab a knife, cut into bars (or whatever shape you want) and eat them. Store extra in an airtight container (raw ones in the fridge, baked ones are ok on the counter)


In 5 ingerdients or less, breakfast, brunch, Dairy Free, desserts, Gluten Free, Raw, recipes, snack, Sweets, Vegan Tags Tahini Chocolate chip granola bars, granola bars, raw, vegan, gluten free, chocolate chips, plant based, oats, sesame, breakfast, snack, protein
Comment

Spicy Maple Candied Walnuts

October 27, 2015 Colleen Stem
IMG_2126.jpg
IMG_2099.jpg

My oven is fixed!! The part came in yesterday afternoon, right before we were about to leave for dinner at my sisters. The mr ripped the package open, popped the stove out and within 5 minutes I had a brand new, working ovens! (not really brand new, but it is much cleaner now after taking it apart and seeing how nasty it was)

But before this happened, I was working with no oven. And all I wanted to do ( all I wanted to do all weekend) was bake something.  So yesterday, instead of just waiting around moping, I decided to make something with the part of the oven that still worked. And being that it's the week before Halloween, I have got candy on my mind, plus  a hugmongo bag of walnuts. Hmm, the possibilities. 

No oven, big bag of nuts, candy thoughts = Spicy maple candied walnuts A perfectly sweet and spicy treat that packs lots of flavor, protein, and healthy stuff and not a bunch  of shit. Made on the stove top with no fancy equipment., takes about 5 minutes to make and tastes like Woo hoo! A (kinda )candy to feel good about eating.

Ask the mr. I think he ate them all last night. And I am ok with that cause it's way better then him eating that shit candy and also, he fixed my oven. Thanks love! 

Now to the nuts!

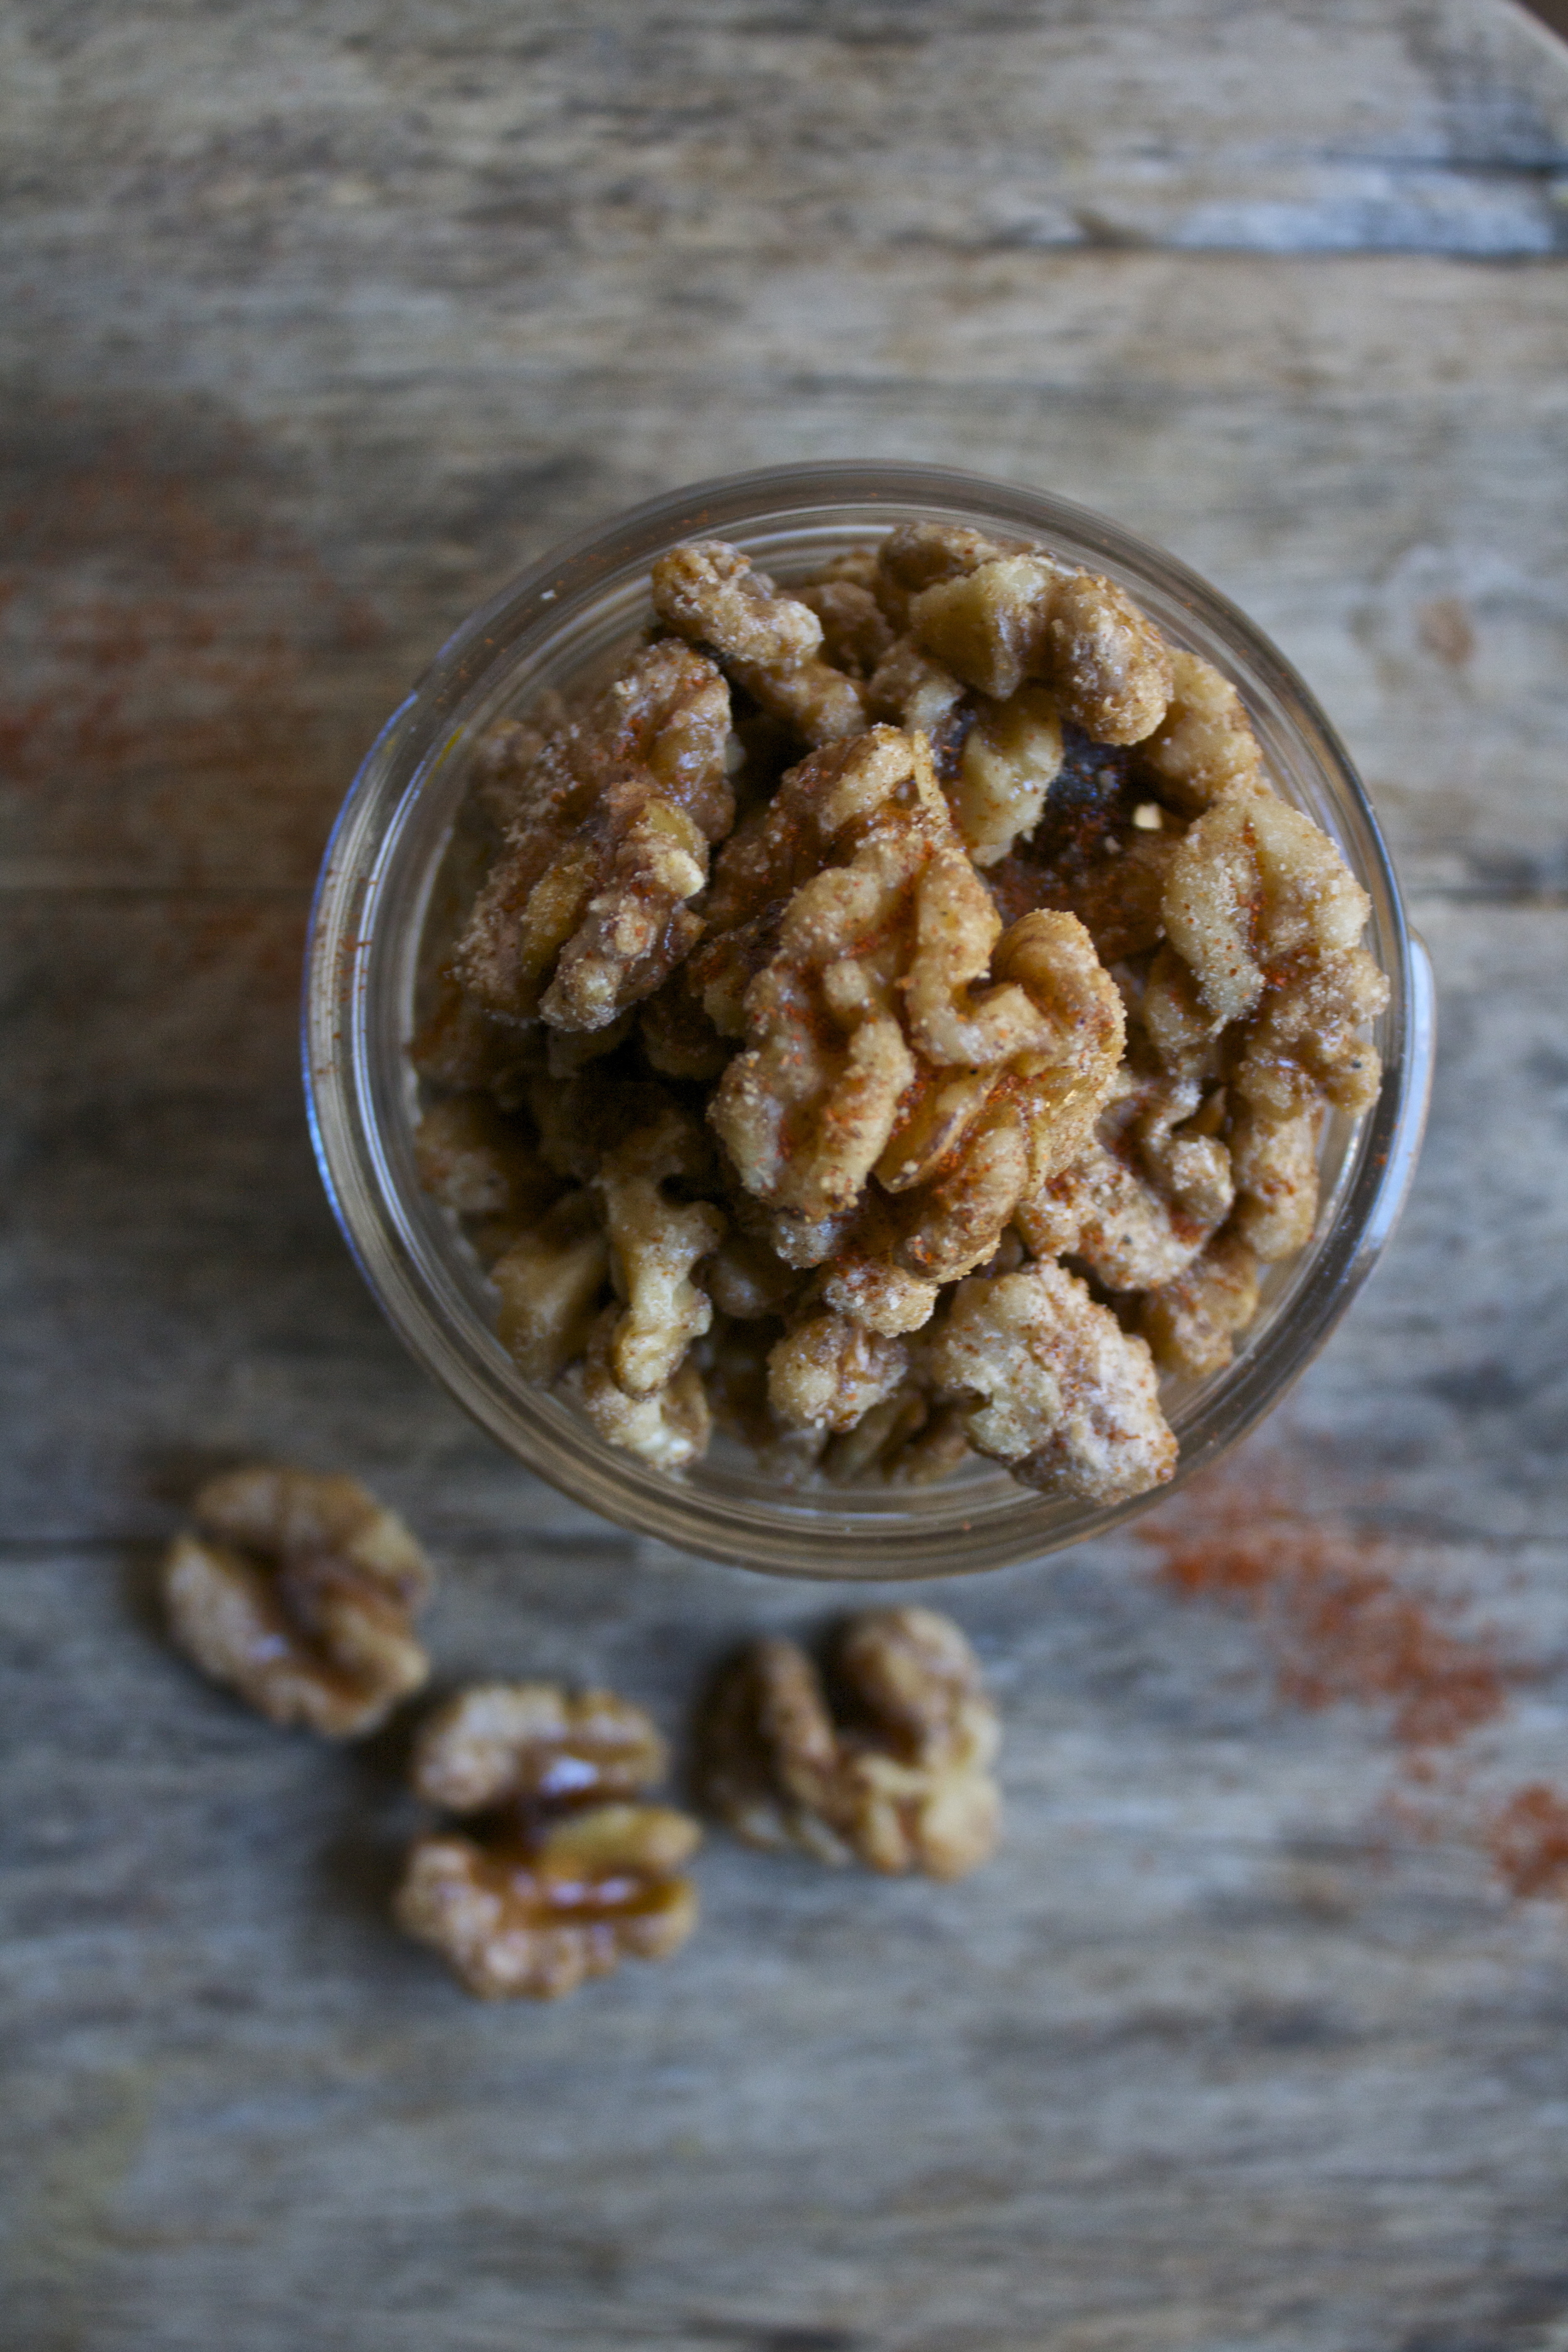
The stuff. Whole walnuts, real pure Vermont maple syrup, cayenne pepper and salt. 

Stick the walnuts into a dry skillet and place on the stove on medium high heat to give the nuts a little pre toast and to preheat the skillet.

While the walnuts are slightly toasting, dump the maple syrup in a bowl with cayenne and give it a little stir.

Once the skillet has heated and the walnuts are slightly toasted and starting to smell all nutty ,dump the syrup into the skillet while string until the nuts until all are coated.

And for the next few minutes, continue to stir the nuts until the maple syrup starts to caramelize and  there is no longer any liquid left in the pan.(like 3-5 minutes)

Now dump the nuts onto a lined baking sheet and spinkle with a pinch or two of salt, and if you like spice, a pinch more of cayenne pepper (you can make them as salty and spicy as you like!)

Note. As soon as you dump the nuts, stick your skillet in the sink and fill with water to avoid a crappy stuck on sugar mess.

Walnuts a plenty cooling off. 

Oh man.. dez nuts! (I am sorry, I couldn't resists)

Snack on these, it will make you happy.

Enjoy your Tuesday! 

-C


Spicy Maple Candied Walnuts

  • 1 1/2 cups raw, whole walnuts
  • 1/4 cup maple syrup
  • 1/2 teaspoon cayanne powder (more if you like really spicy)
  • a couple pinches of salt 

Place walnuts into a large dry skillet  and stick on stove on medium heat. In a little bowl, mix the maple and the cayenne pepper together. When the skillet has preheated and the walnuts are slightly toasted ash giving off a nutty smell, pour mixture onto walnuts, string to evenly coat each nut. COntinue to cook and stir for another 3-4 minutes or until the syrup has caramelized ash dried. Once done, dump the mixture onto a lined baking sheet  and sprinkle with salt and maybe more cayenne pepper if yu want. Let cool, then eat…

These suckers make a great snack,  tossed into salads, or added to some apple strudel. Eat them whatever way floats your boat. 

In Dairy Free, Gluten Free, holiday, Paleo, recipes, Savory, Vegan, Vegetables Tags Spicy maple candied walnuts, walnuts, candy, vegan, gluten free, paleo, healthy, clean eating, plant based, snack, protein, halloween, nuts
Comment

Caramilzed Cantaloupe and Caraway

September 15, 2015 Colleen Stem

Let's see, what did I do yesterday?

Nothing. Well, not completely nothing. I did wake up and go to the gym, but then came home and fell  asleep on the floor for more then an hour and woke up in a puddle of drool. I also continued my binge watching  of the Mindy Project so I can be up to speed when season 4 started tonight on hulu!!!!!. And I  cut up a cantaoplue. That's a good amount of stuff for one day, right?

Anyway. even when I am gone from home for just a few day, I never really quite feel right when I get back until I cook something inn my kitchen.. So after my floor nap, I got up with a hankering for some of the juicy cantaloupe that I got from last weeks farm share (and forgot to stick in the fridge before we left so I came home to very ripe cantaloupe) Cut it into chunked, tossed with slightly toasted caraway seeds and then caramelized a bit more. Super fresh and clean and a very almost fall like way to eat the melon. And even though it took me about 4 minutes to do, it's all I needed to make me feel normal again.

Ah, home and food and Mindy.. Nothing better, Now to back doing stuff all day.

The stuff. Some cantaloupe and some caraway seeds. 

Place caraway seeds into a dry skillet and place on the stove on high heat. While the seeds are toasting, remove seeds and rind of the cantaloupe and cut into mouth sized chunks and place into a bowl. 

Once you hear the fist pop from the seeds, dump them in the bowl with the cantaloupe and toss around. Then dump the seed covered chunks back into the hot skillet. 

 Sear each side until browned.

And scoop it back into the bowl. 

Eat right away. IF you want to get down with a scoop of yogurt on top or maybe a bed of some green, I think you should. 

Enjoy you Tuesday my friends. 

-C


Caramelized Cantaloupe and Caraway

  • 1/4 of a cantaploupe
  • 2-3 teaspoons caraway seeds

Toss caraway seeds into a dry skillet and turn heat onto high. Toast seeds for about a minutes or so or until you hear the first seed pop. Dump seeds onto cantaloup chunks and toss around then dump the cantaloupe into hot skillet. Let chunks sear for 2-3 minutes on each side, or until they are starting to caramelize. Remove from pan when you are happy with doneness. 

Eat right away.

In Paleo, Gluten Free, Dairy Free, recipes, Savory, Sweets, Vegan Tags cantaloupe, fruit, caraway, caramelized, fresh, organic, farm share, easy, food, vegan, gluten free, snack
Comment
← Newer Posts Older Posts →
 

https://thelovelycrazy.squarespace.com/config#/|/about/

Me. Food Maker.Food eater. Woo HOO!

STEM+NODE  SMALL BATCH AND ONE OF A KIND POTTERY

stem+node ceramics


____________________

Subscribe

GET NEW POSTS IN YO EMAIL

You are AWESOME!!!


@thelovelycrazy 2014-2021