• stem+node ceramics
  • HOME
  • Food Recipes
  • About
  • Contact
Menu

The Lovely Crazy

Street Address
City, State, Zip
Phone Number

Your Custom Text Here

The Lovely Crazy

  • stem+node ceramics
  • HOME
  • Food Recipes
  • About
  • Contact

Ginger Garlic Blistered Green Beans with Almonds

July 21, 2018 Colleen Stem
IMG_0257 2.jpg
IMG_0242 2.jpg

I sometime struggle with certain veggies, not like in a eating way (I have no snuggle eating any veggie) but in a making something with that certain veggie kind of way, like I don't make anything out of them, I just eat them raw as they are. (That was terribly long winded and does it even make sense?) I don't find this to be a problem most of the time, but sometime I think I need to be less lazy about eating and maybe prepare a dish for a meal rather then just eating raw beans out of the garden for lunch.....I mean, I am not going to stop doing that but I am going to start being a little more creative and planning meals with a little more substance. Adding nuts is more substance right?

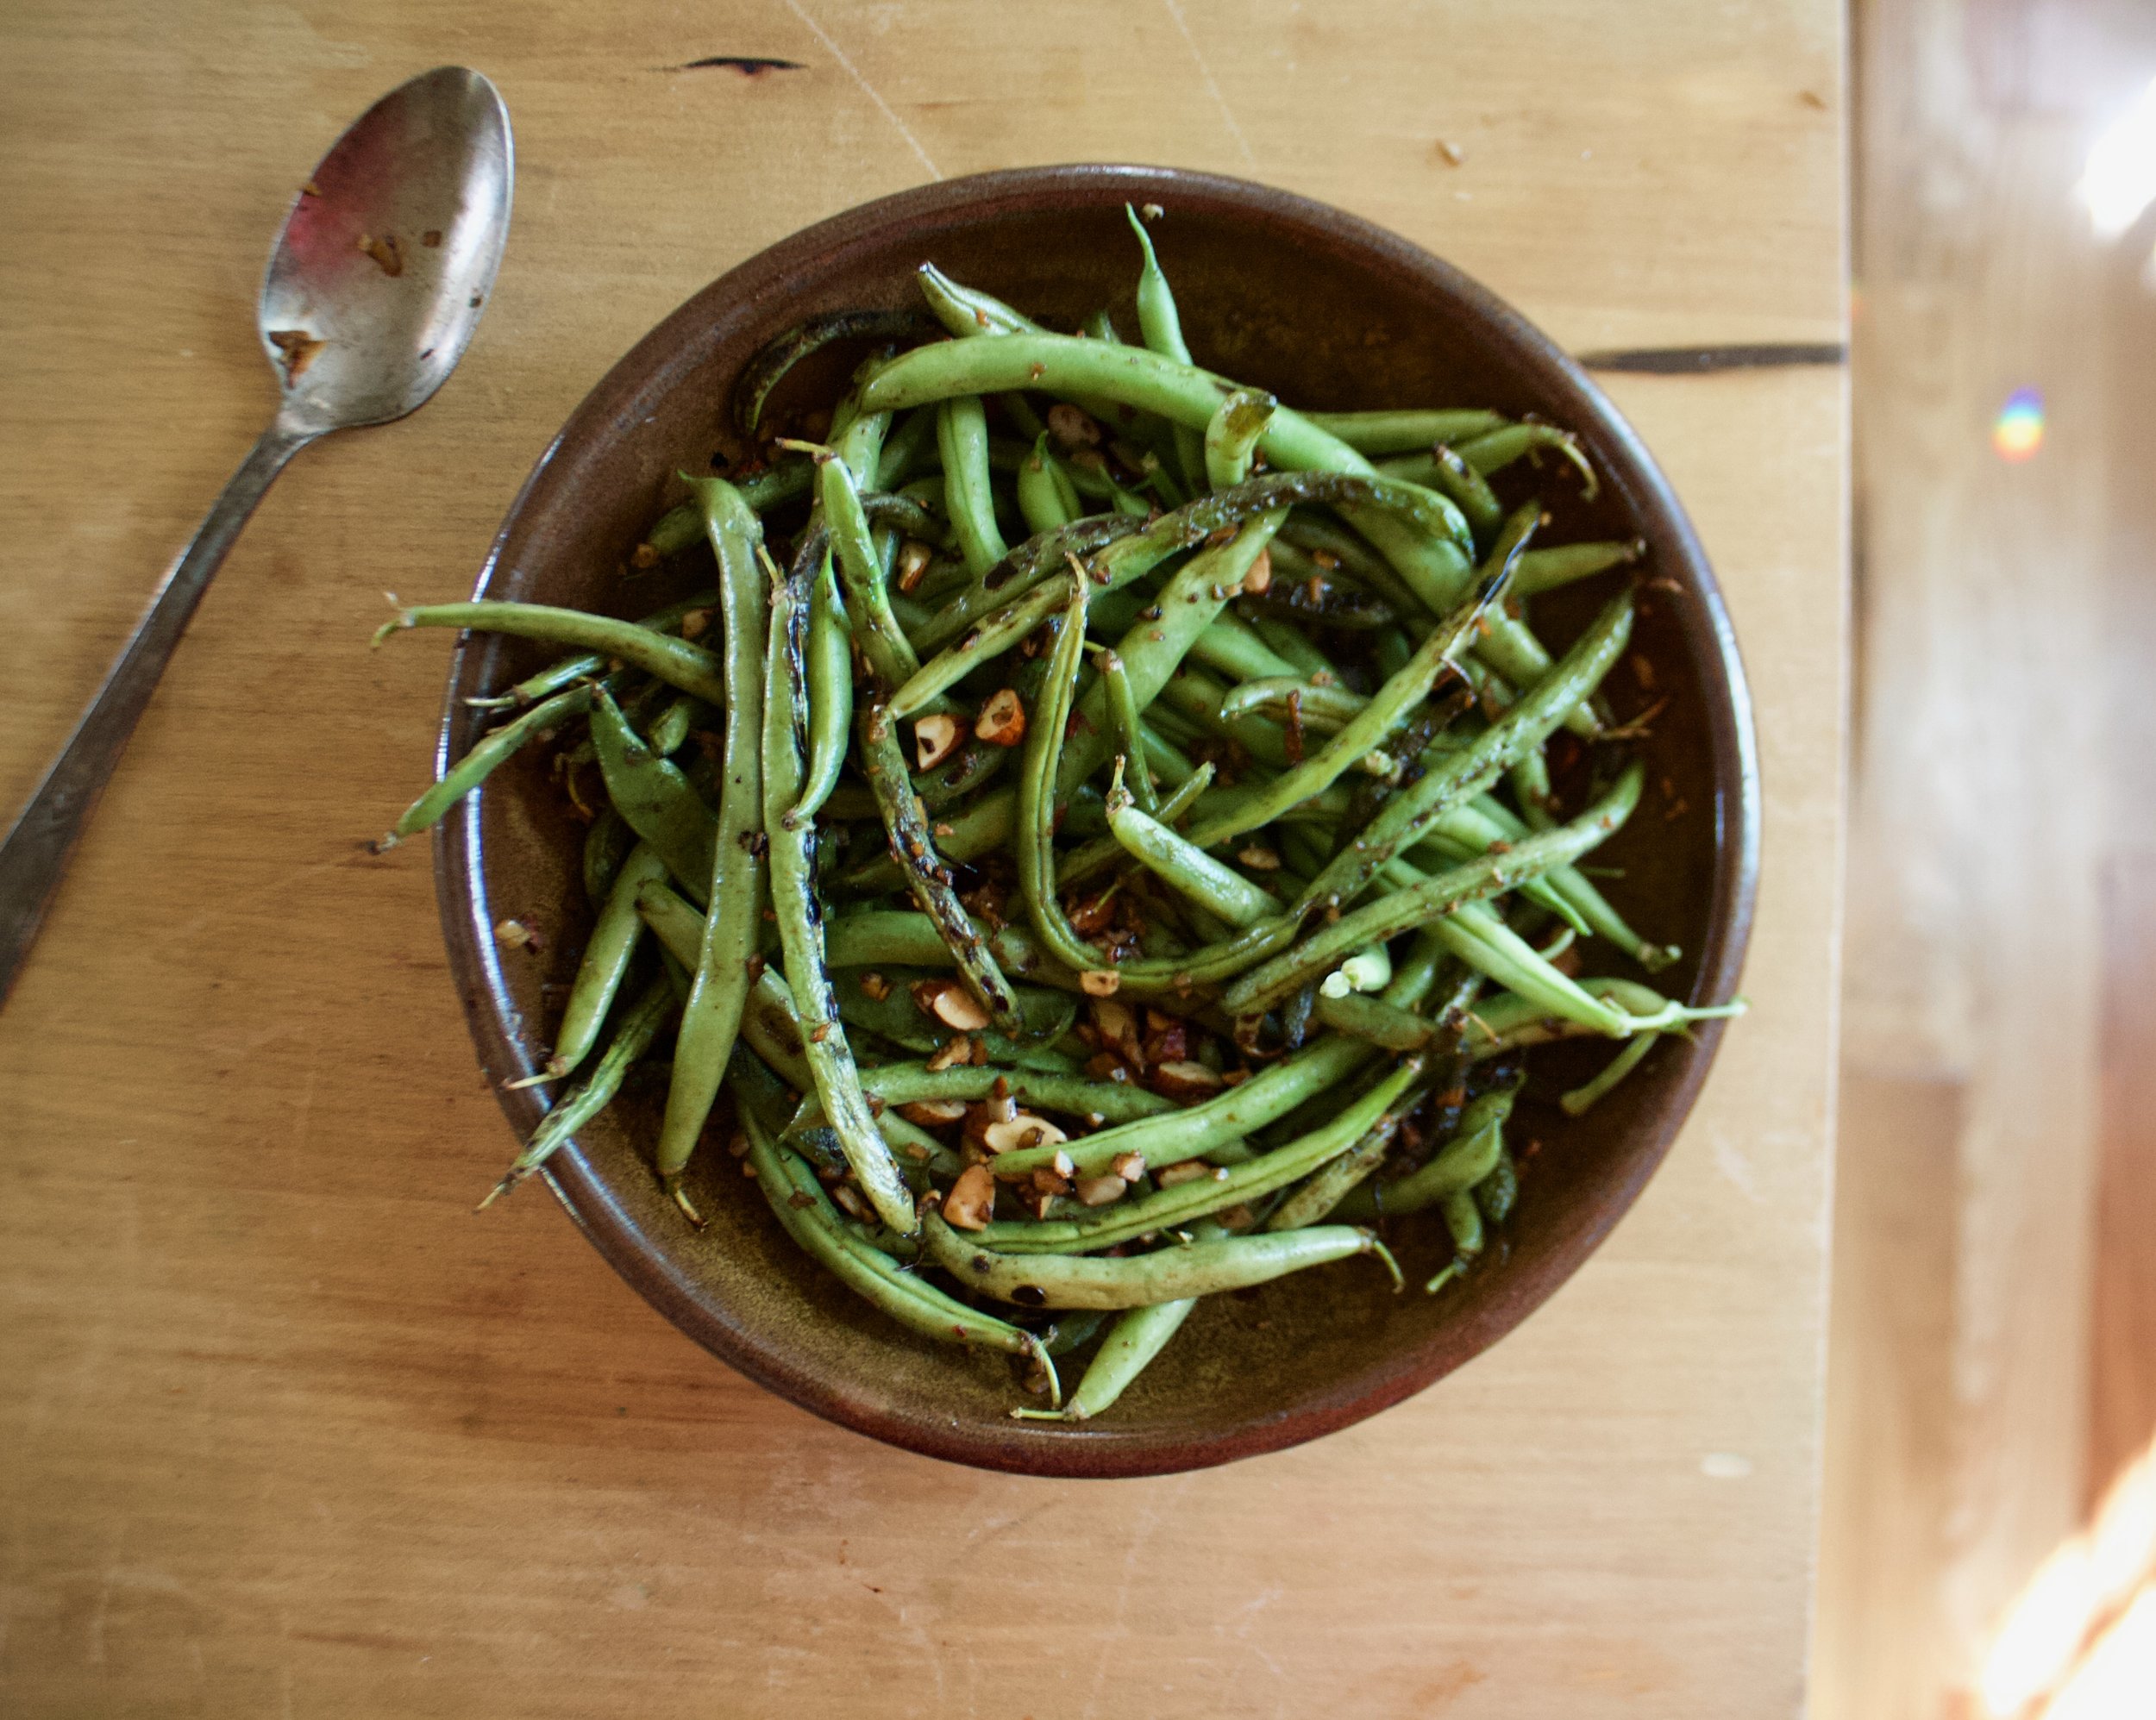
These beans were freaking fantastic.  Blistered and charred, and not soggy and soft. They were perfect. (I like my veggies either raw or burnt) I made them late morning and was going to save them for dinner but the mr, Barb, and I ate them all just on snacking on them.  Just a really good, A+ veggies situation here. Highly recommended, hot or cold. Almost beats a bean lunch in the garden. Almost. 

IMG_0122.jpg

The stuff. Green beans, almonds, garlic, ginger, soy, and a little oil. 

IMG_0142.jpg
IMG_0147 2.jpg

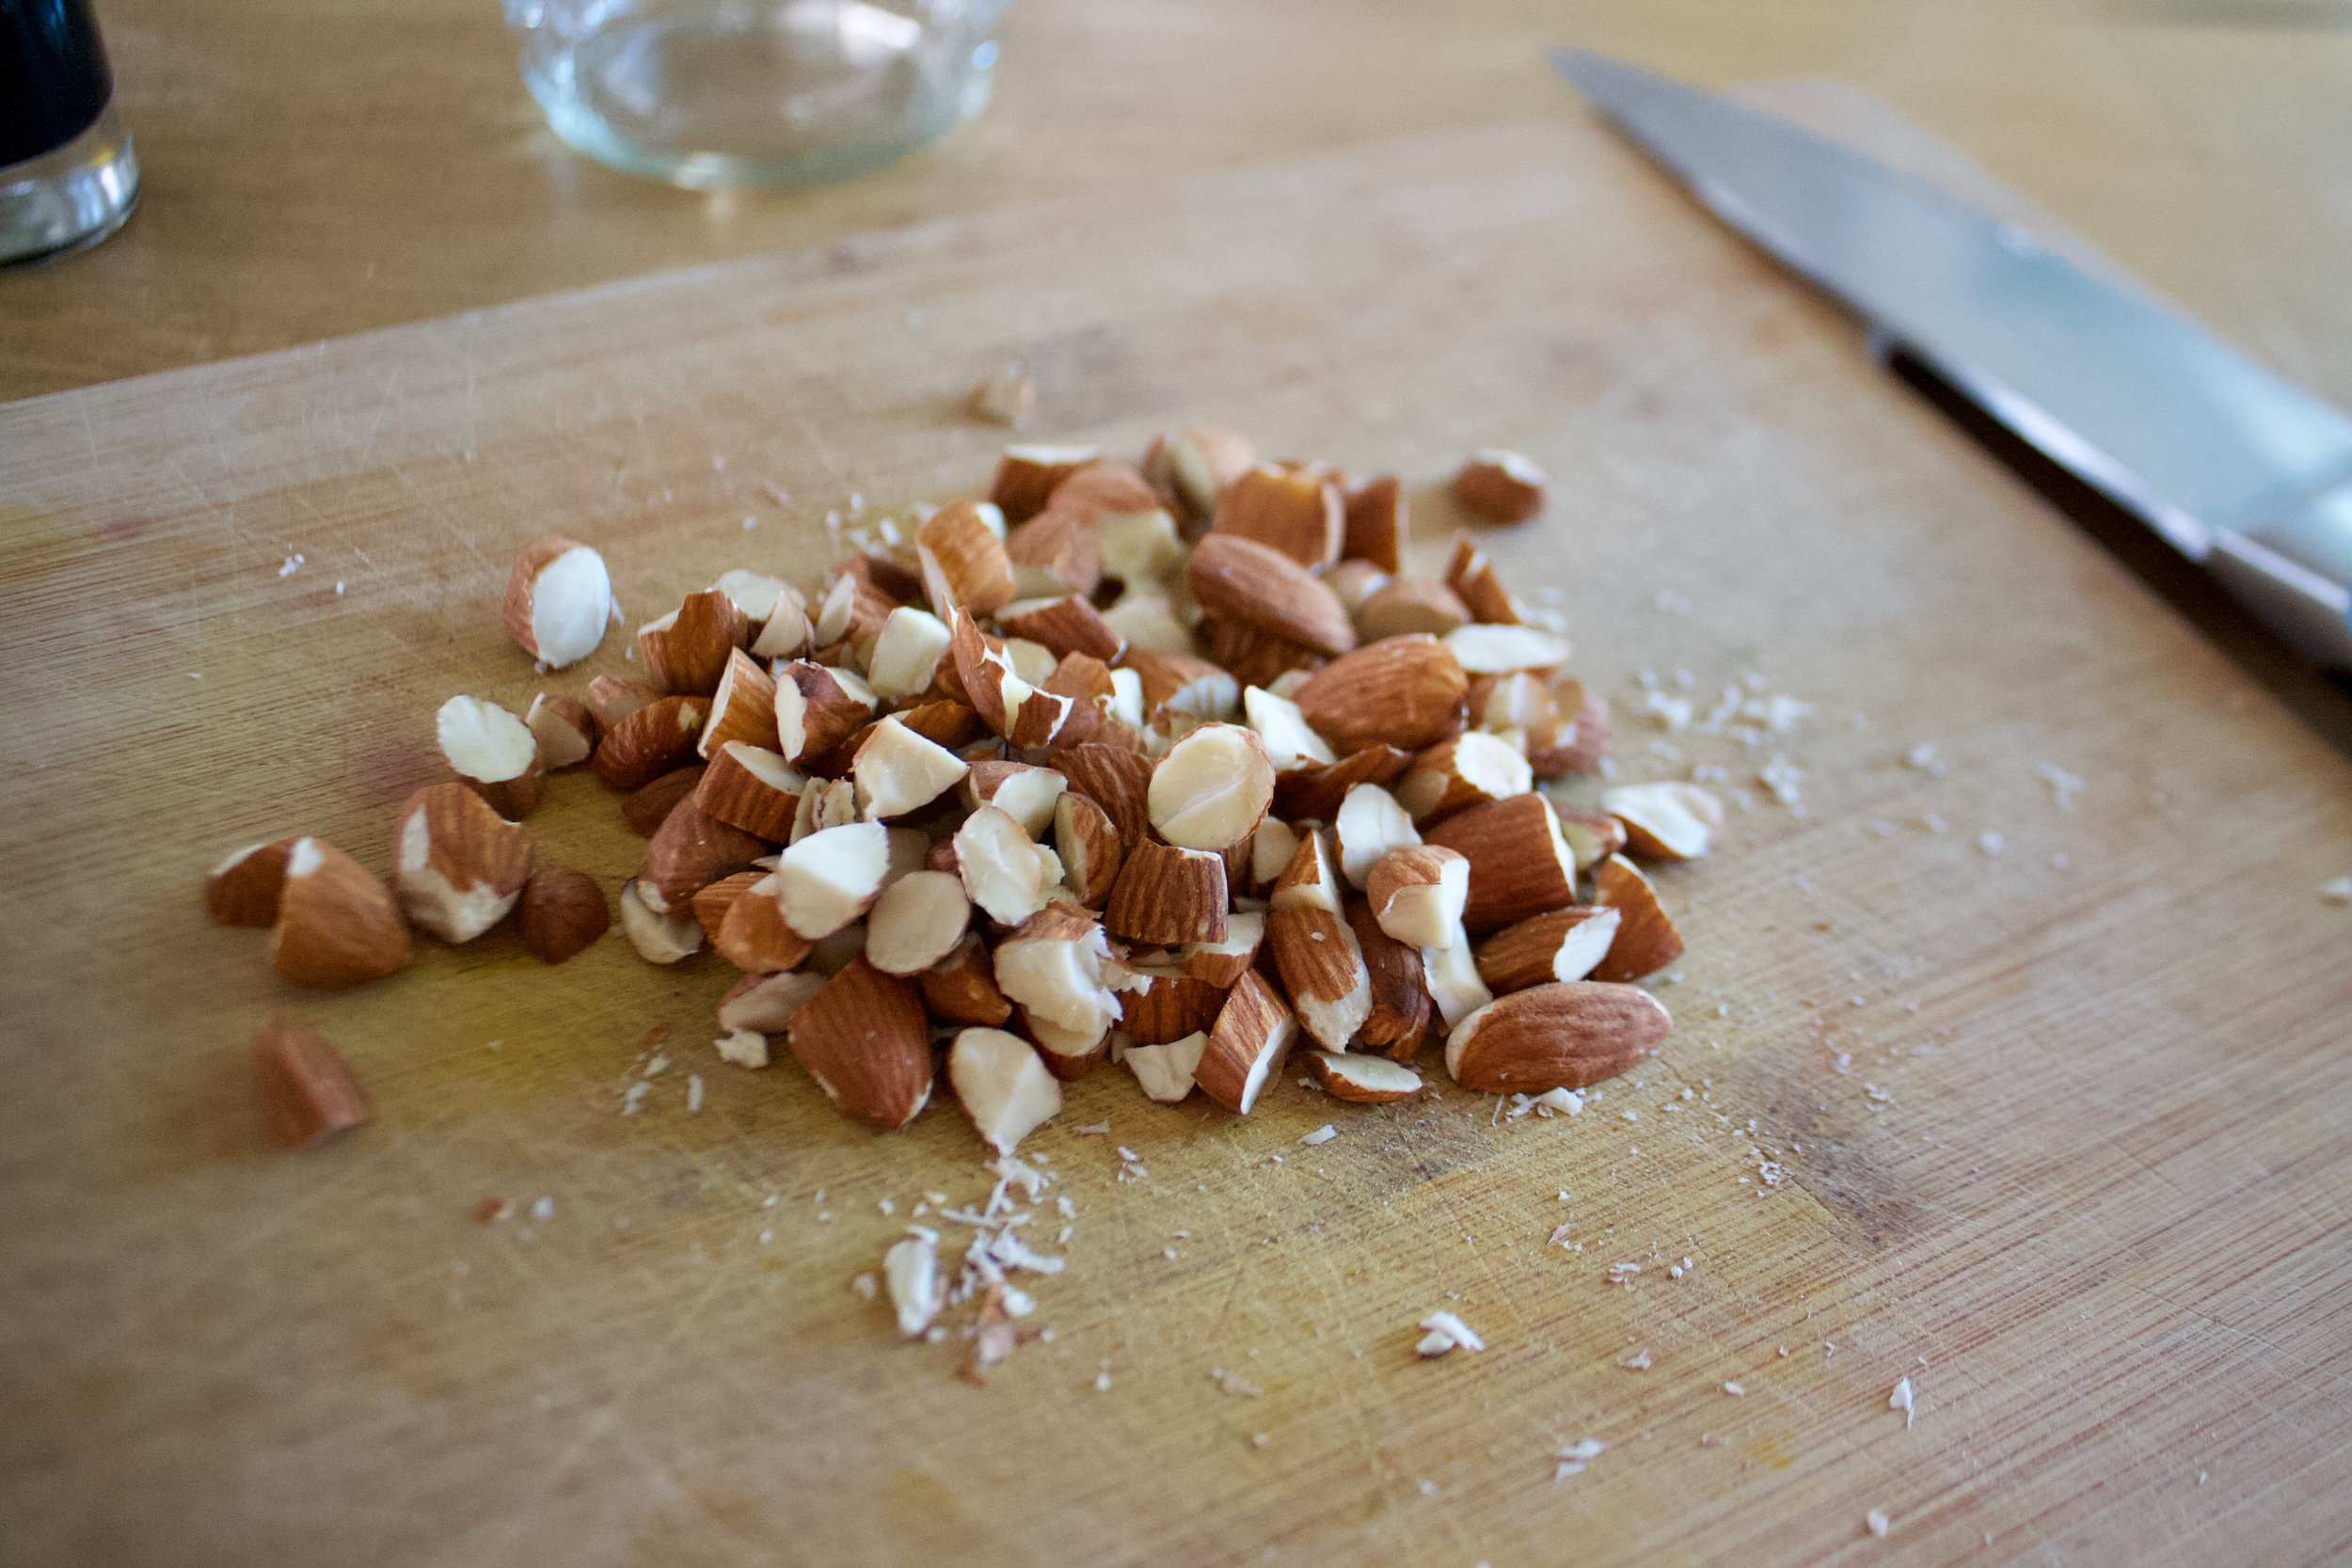
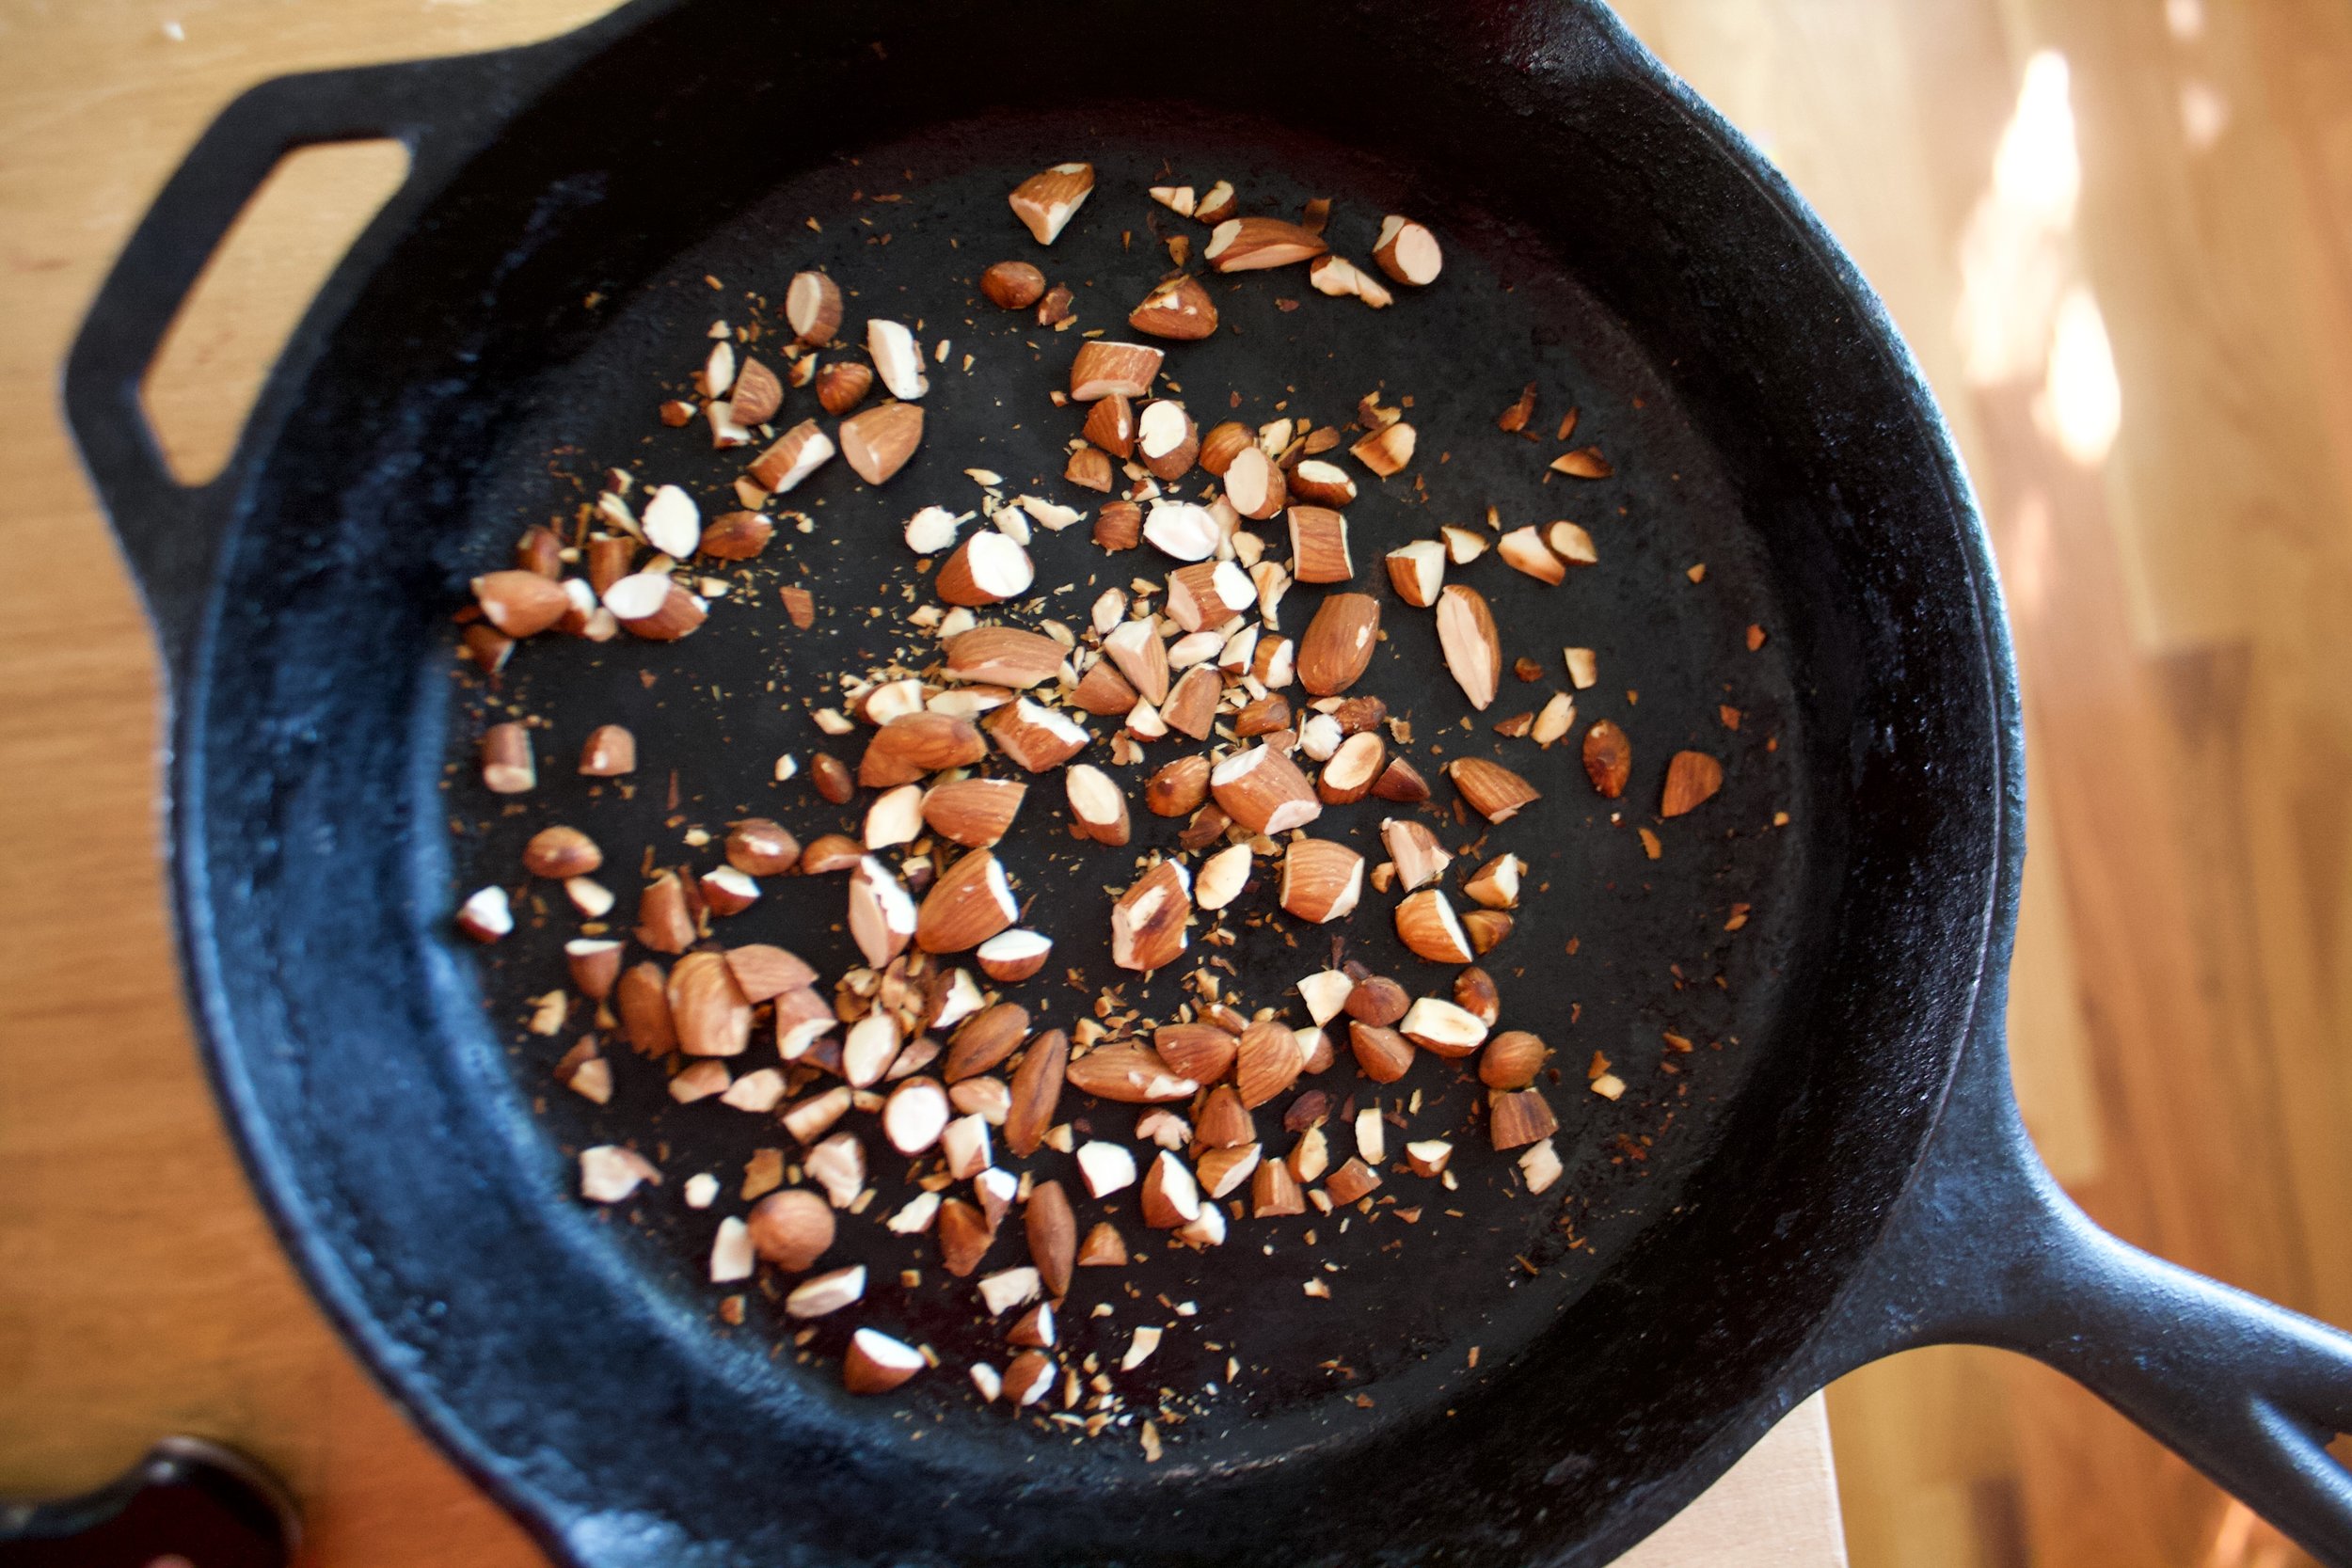
Quick fast, rough chop the almonds and give them a toast in a dry skillet (you can skip this part if you have already toasted almonds) 

IMG_0171.jpg

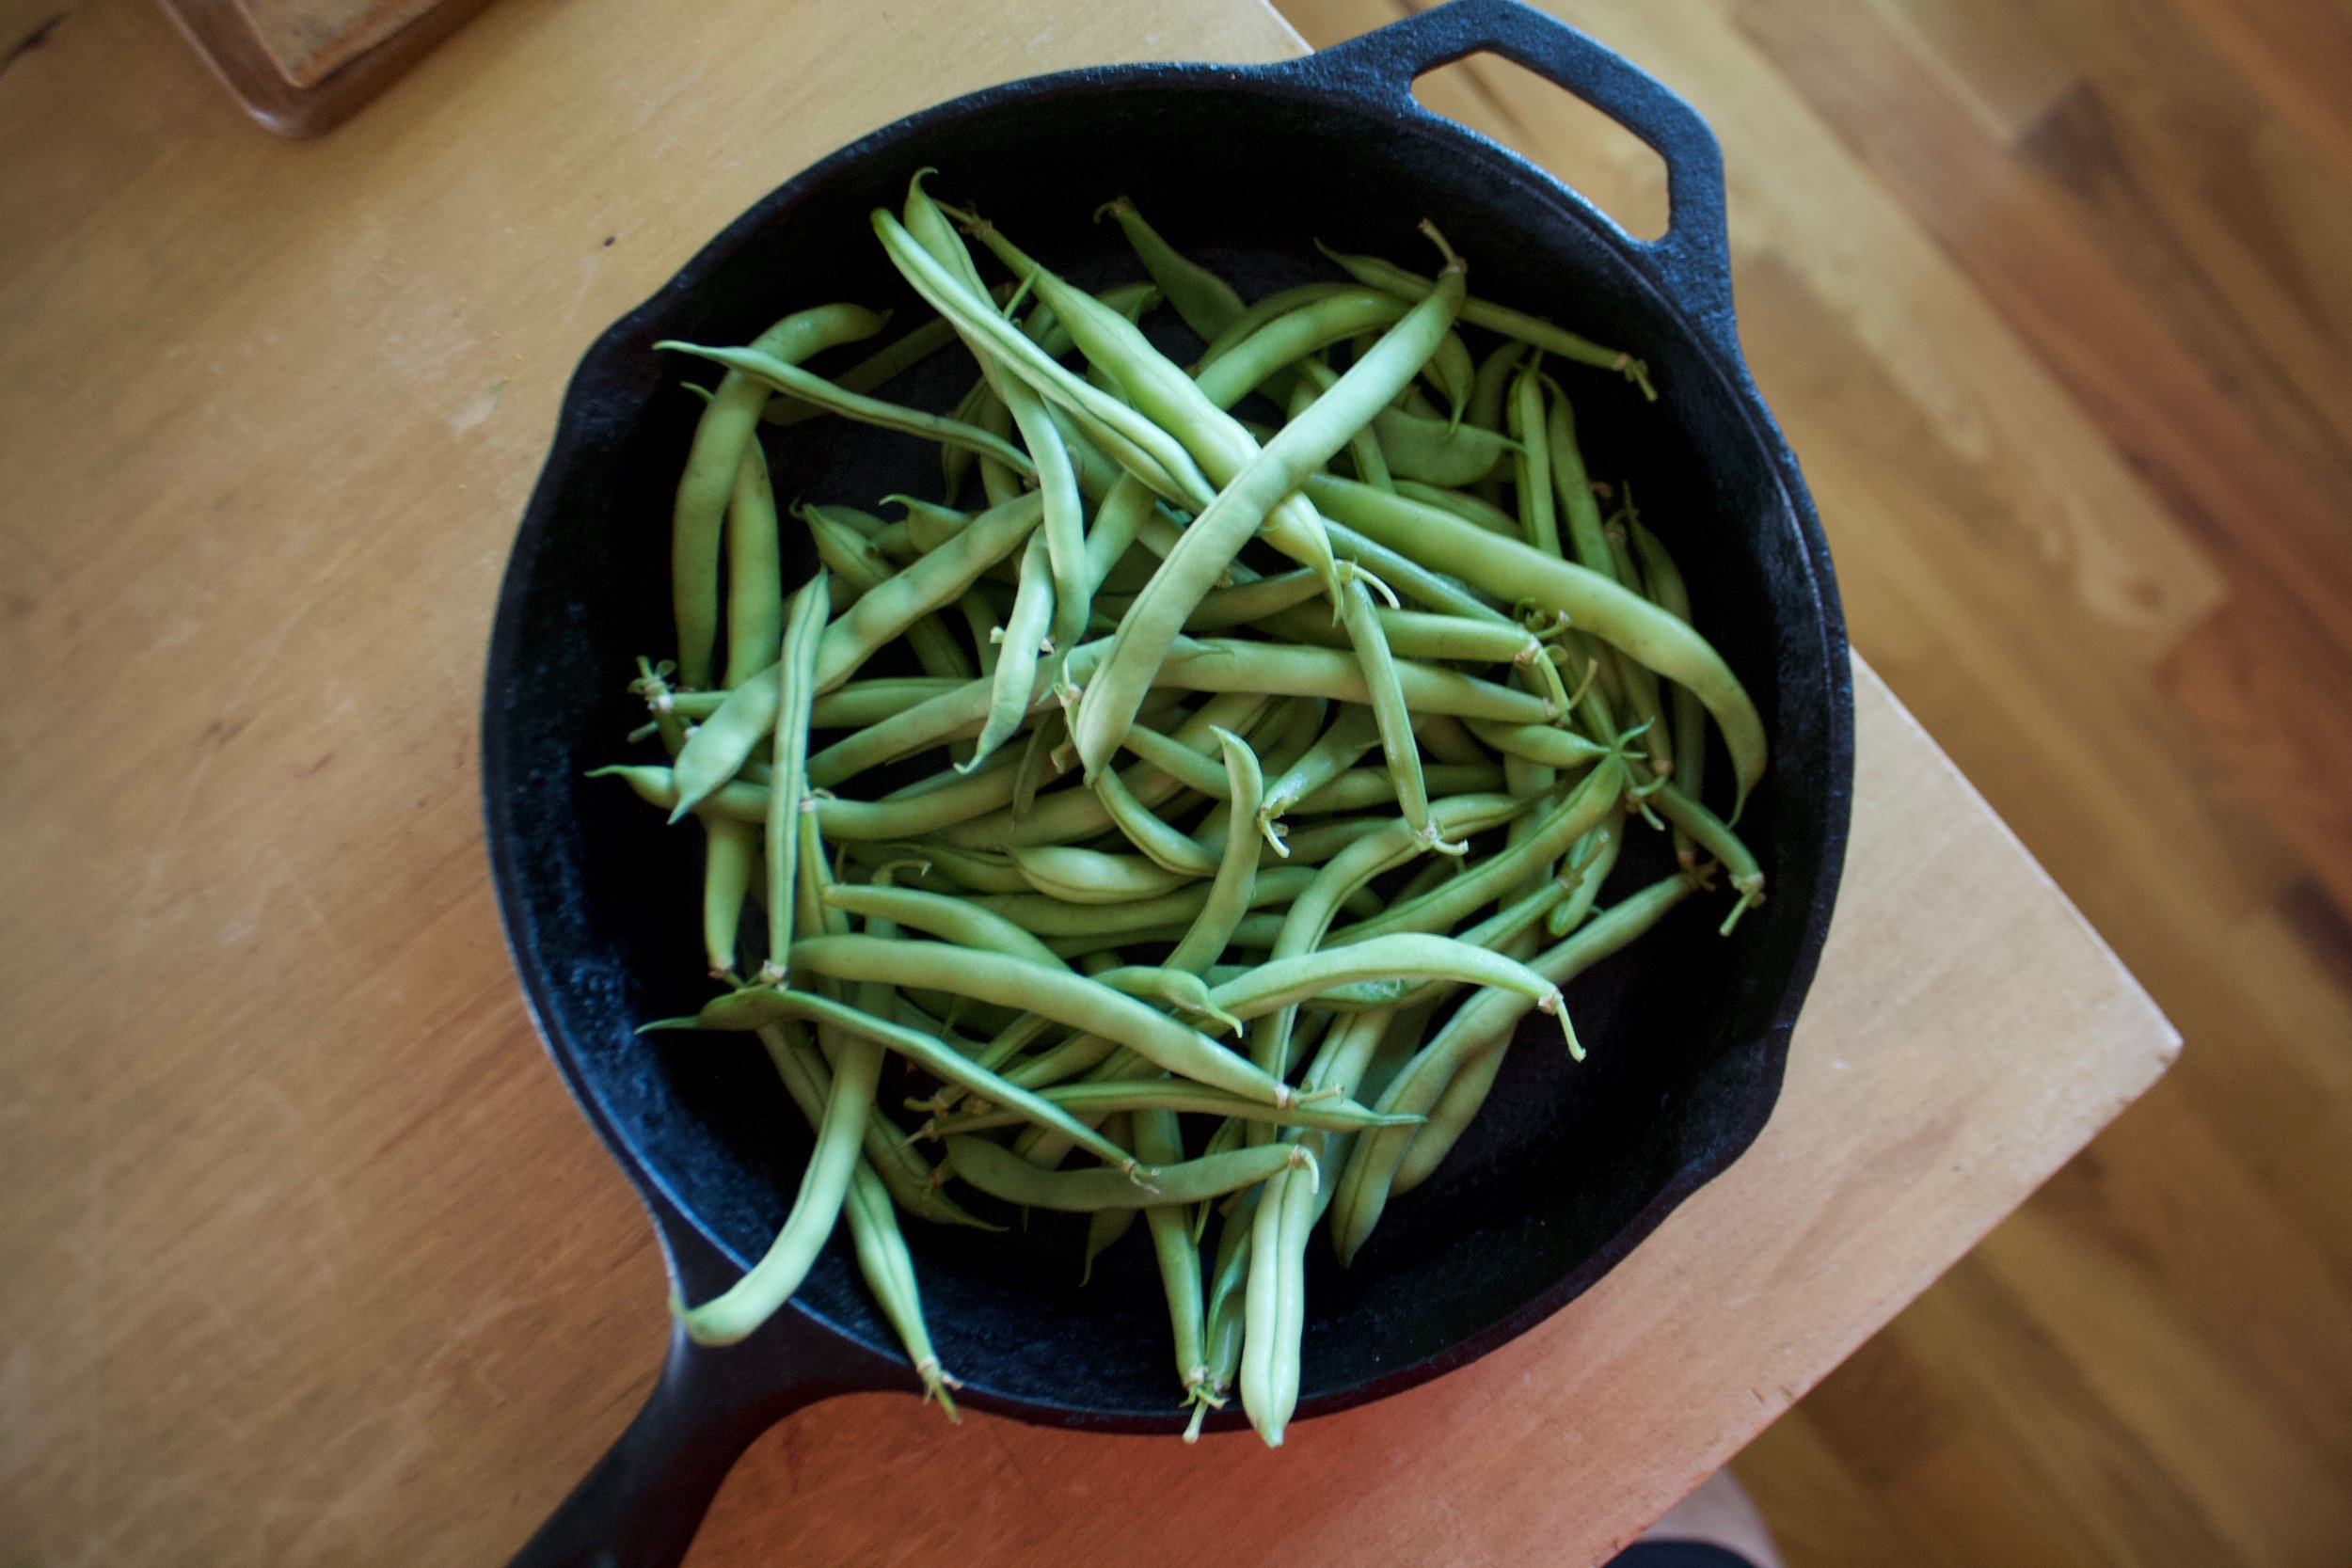
And here would be the time to trim the beans if you are a person that does that. I am however, not a bean trimmer. But you must wash them, so give them a good rinse , and keep them a little wet. The moisture will help them cook. 

Just washed beans go into a medium high hot skillet (add in a tablespoon of oil) and get a nice little cover to start the cooking process.  Leave them alone for a few minutes, then remove lid and toss them around. Do that ever few minutes. 

IMG_0151.jpg
IMG_0156.jpg

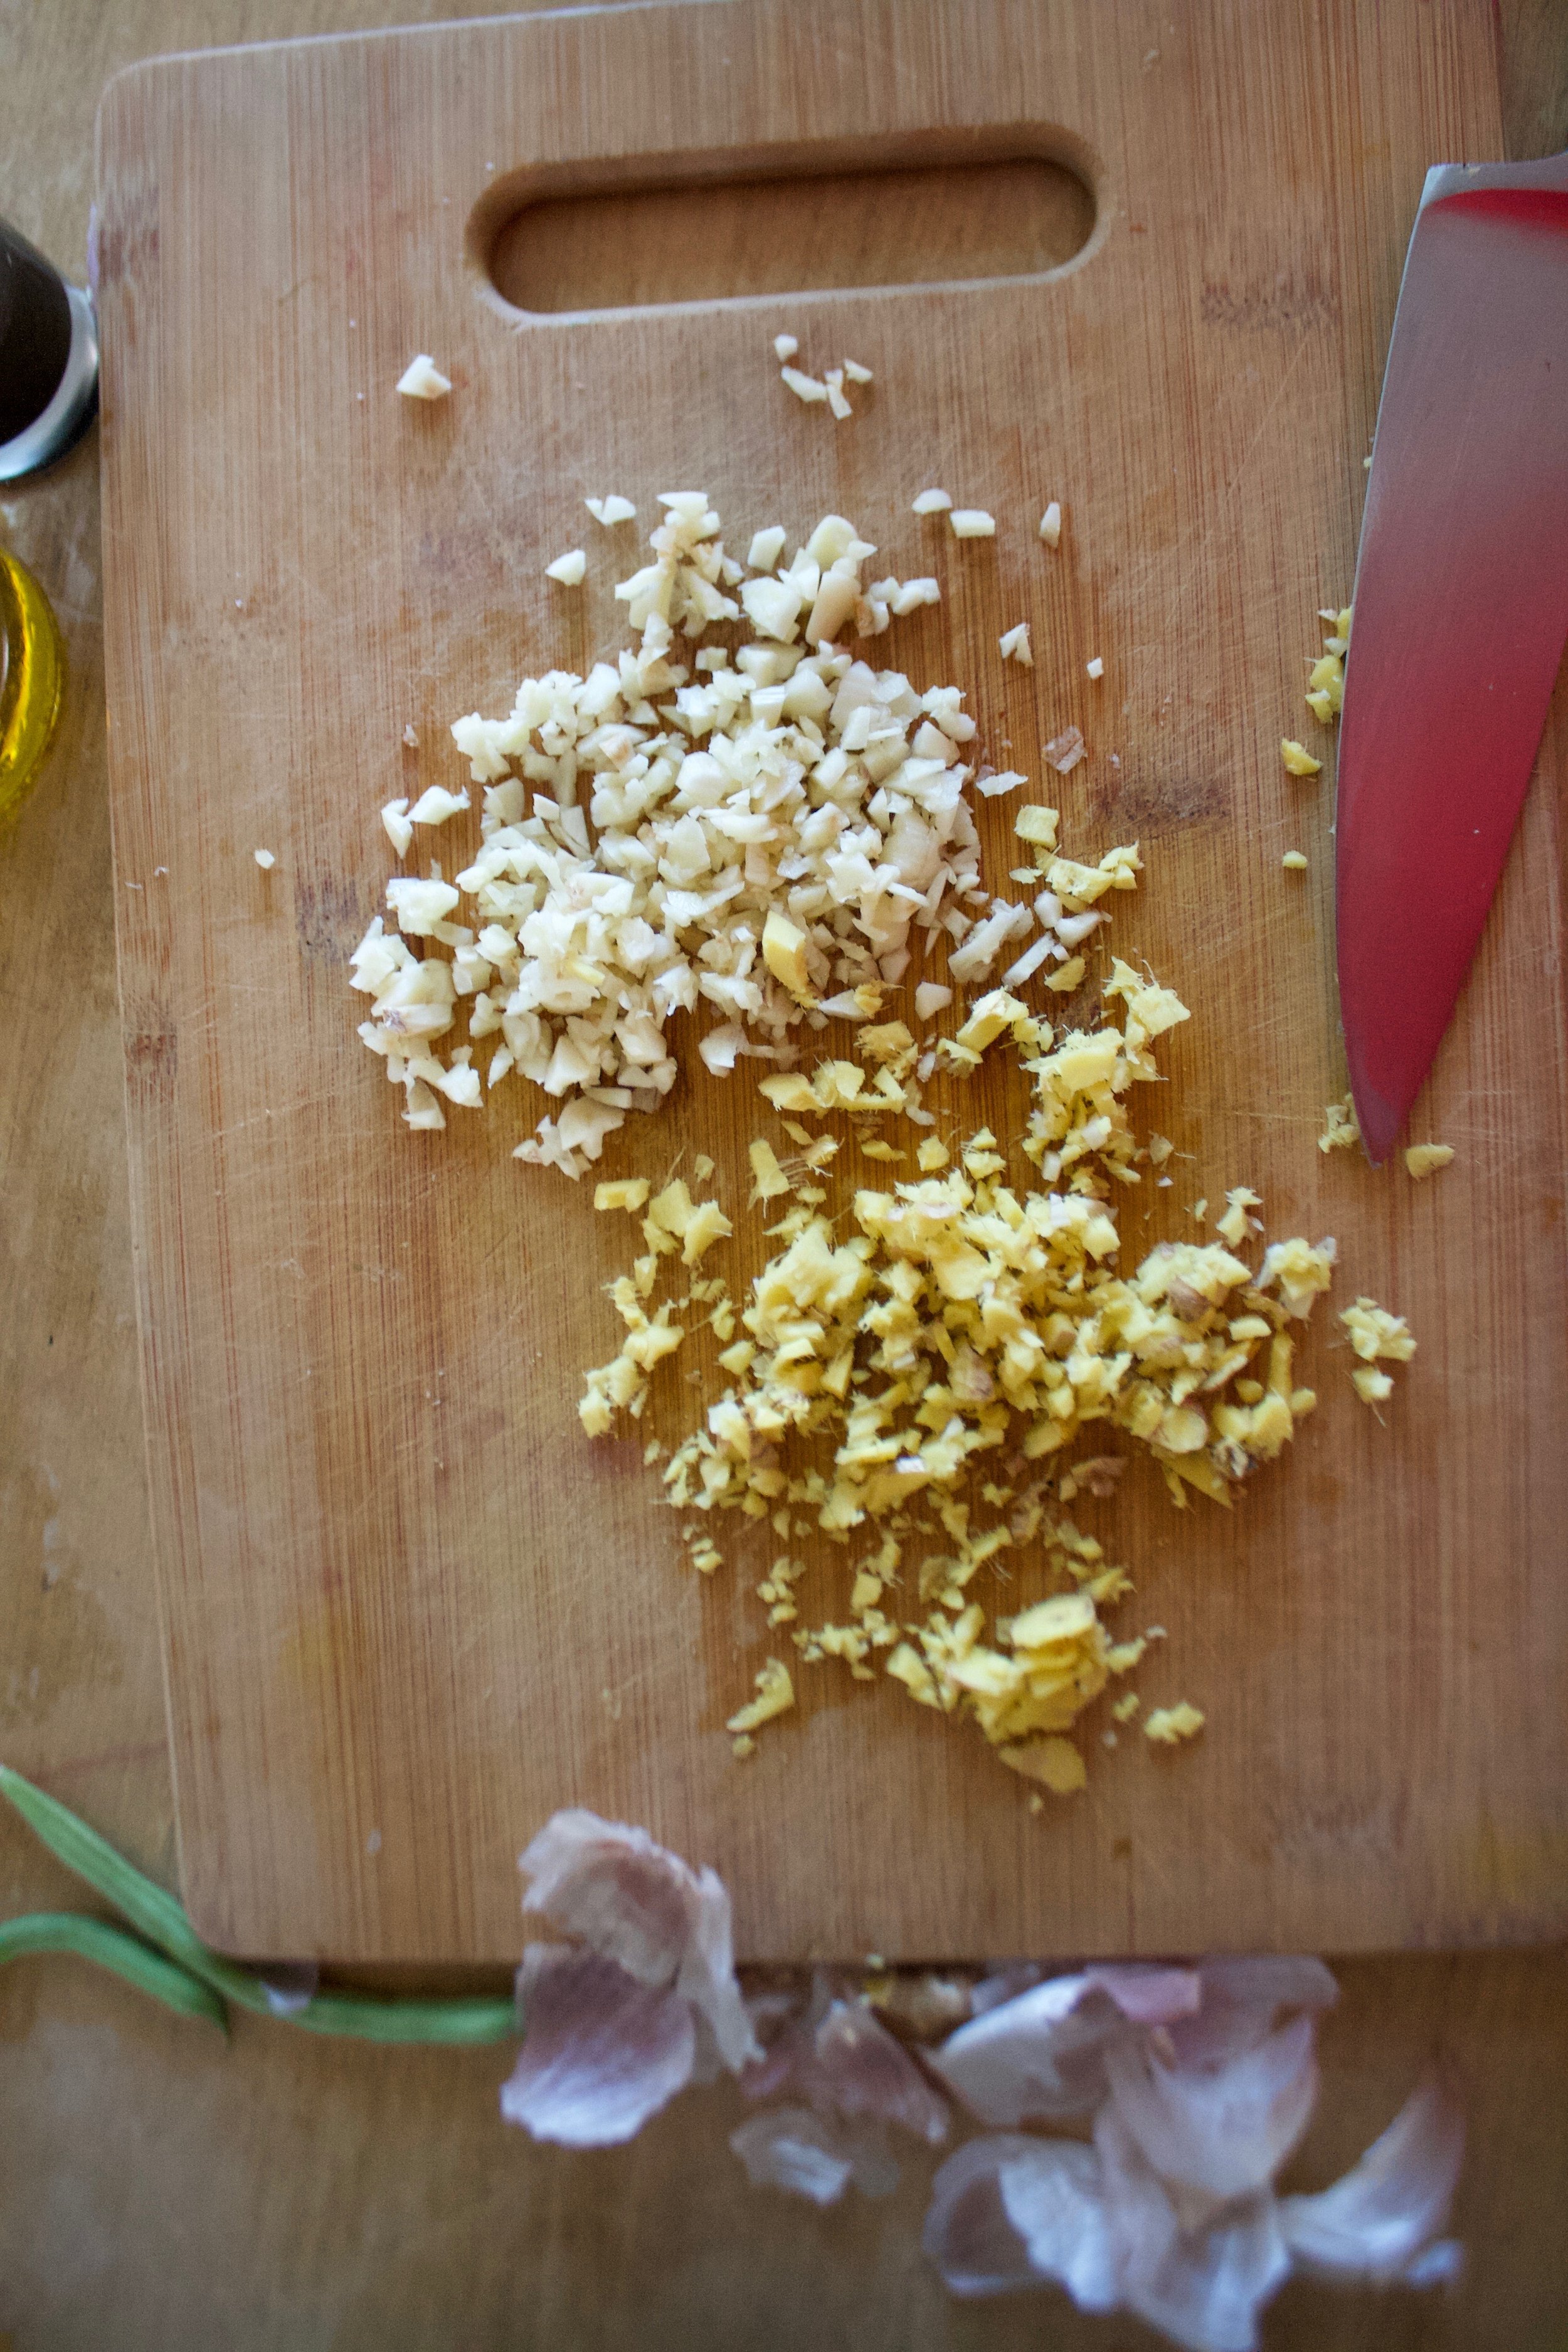
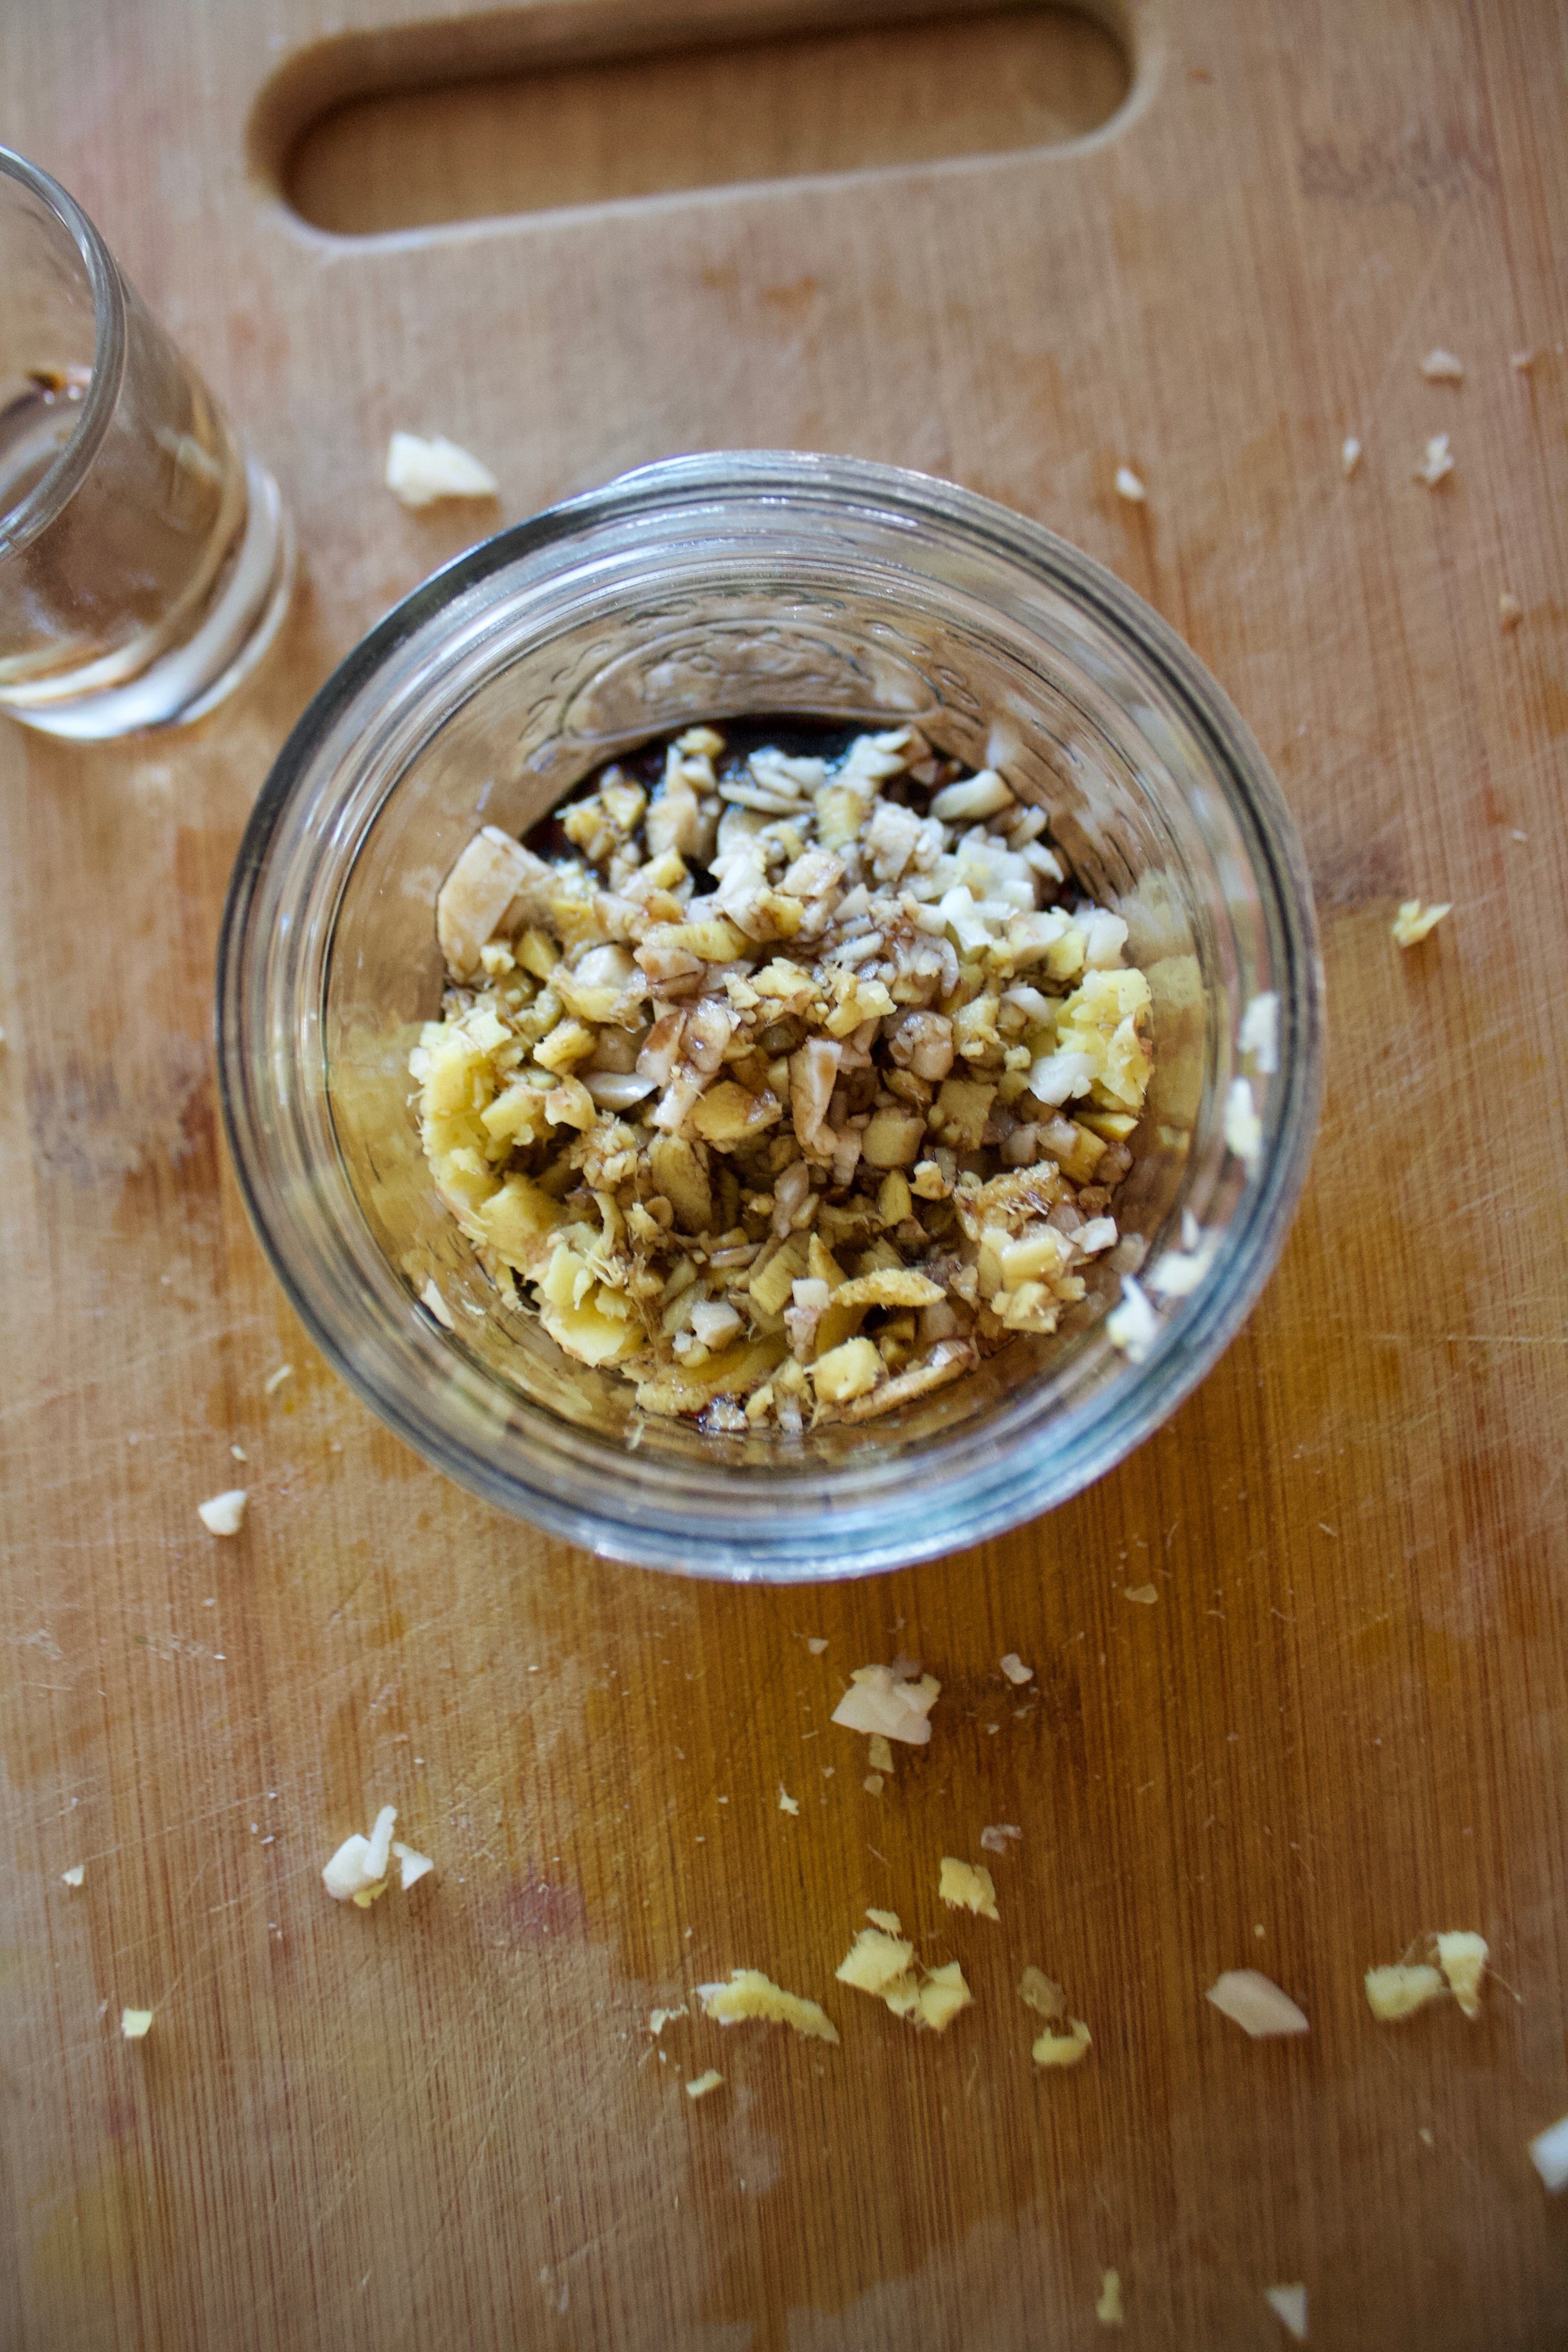
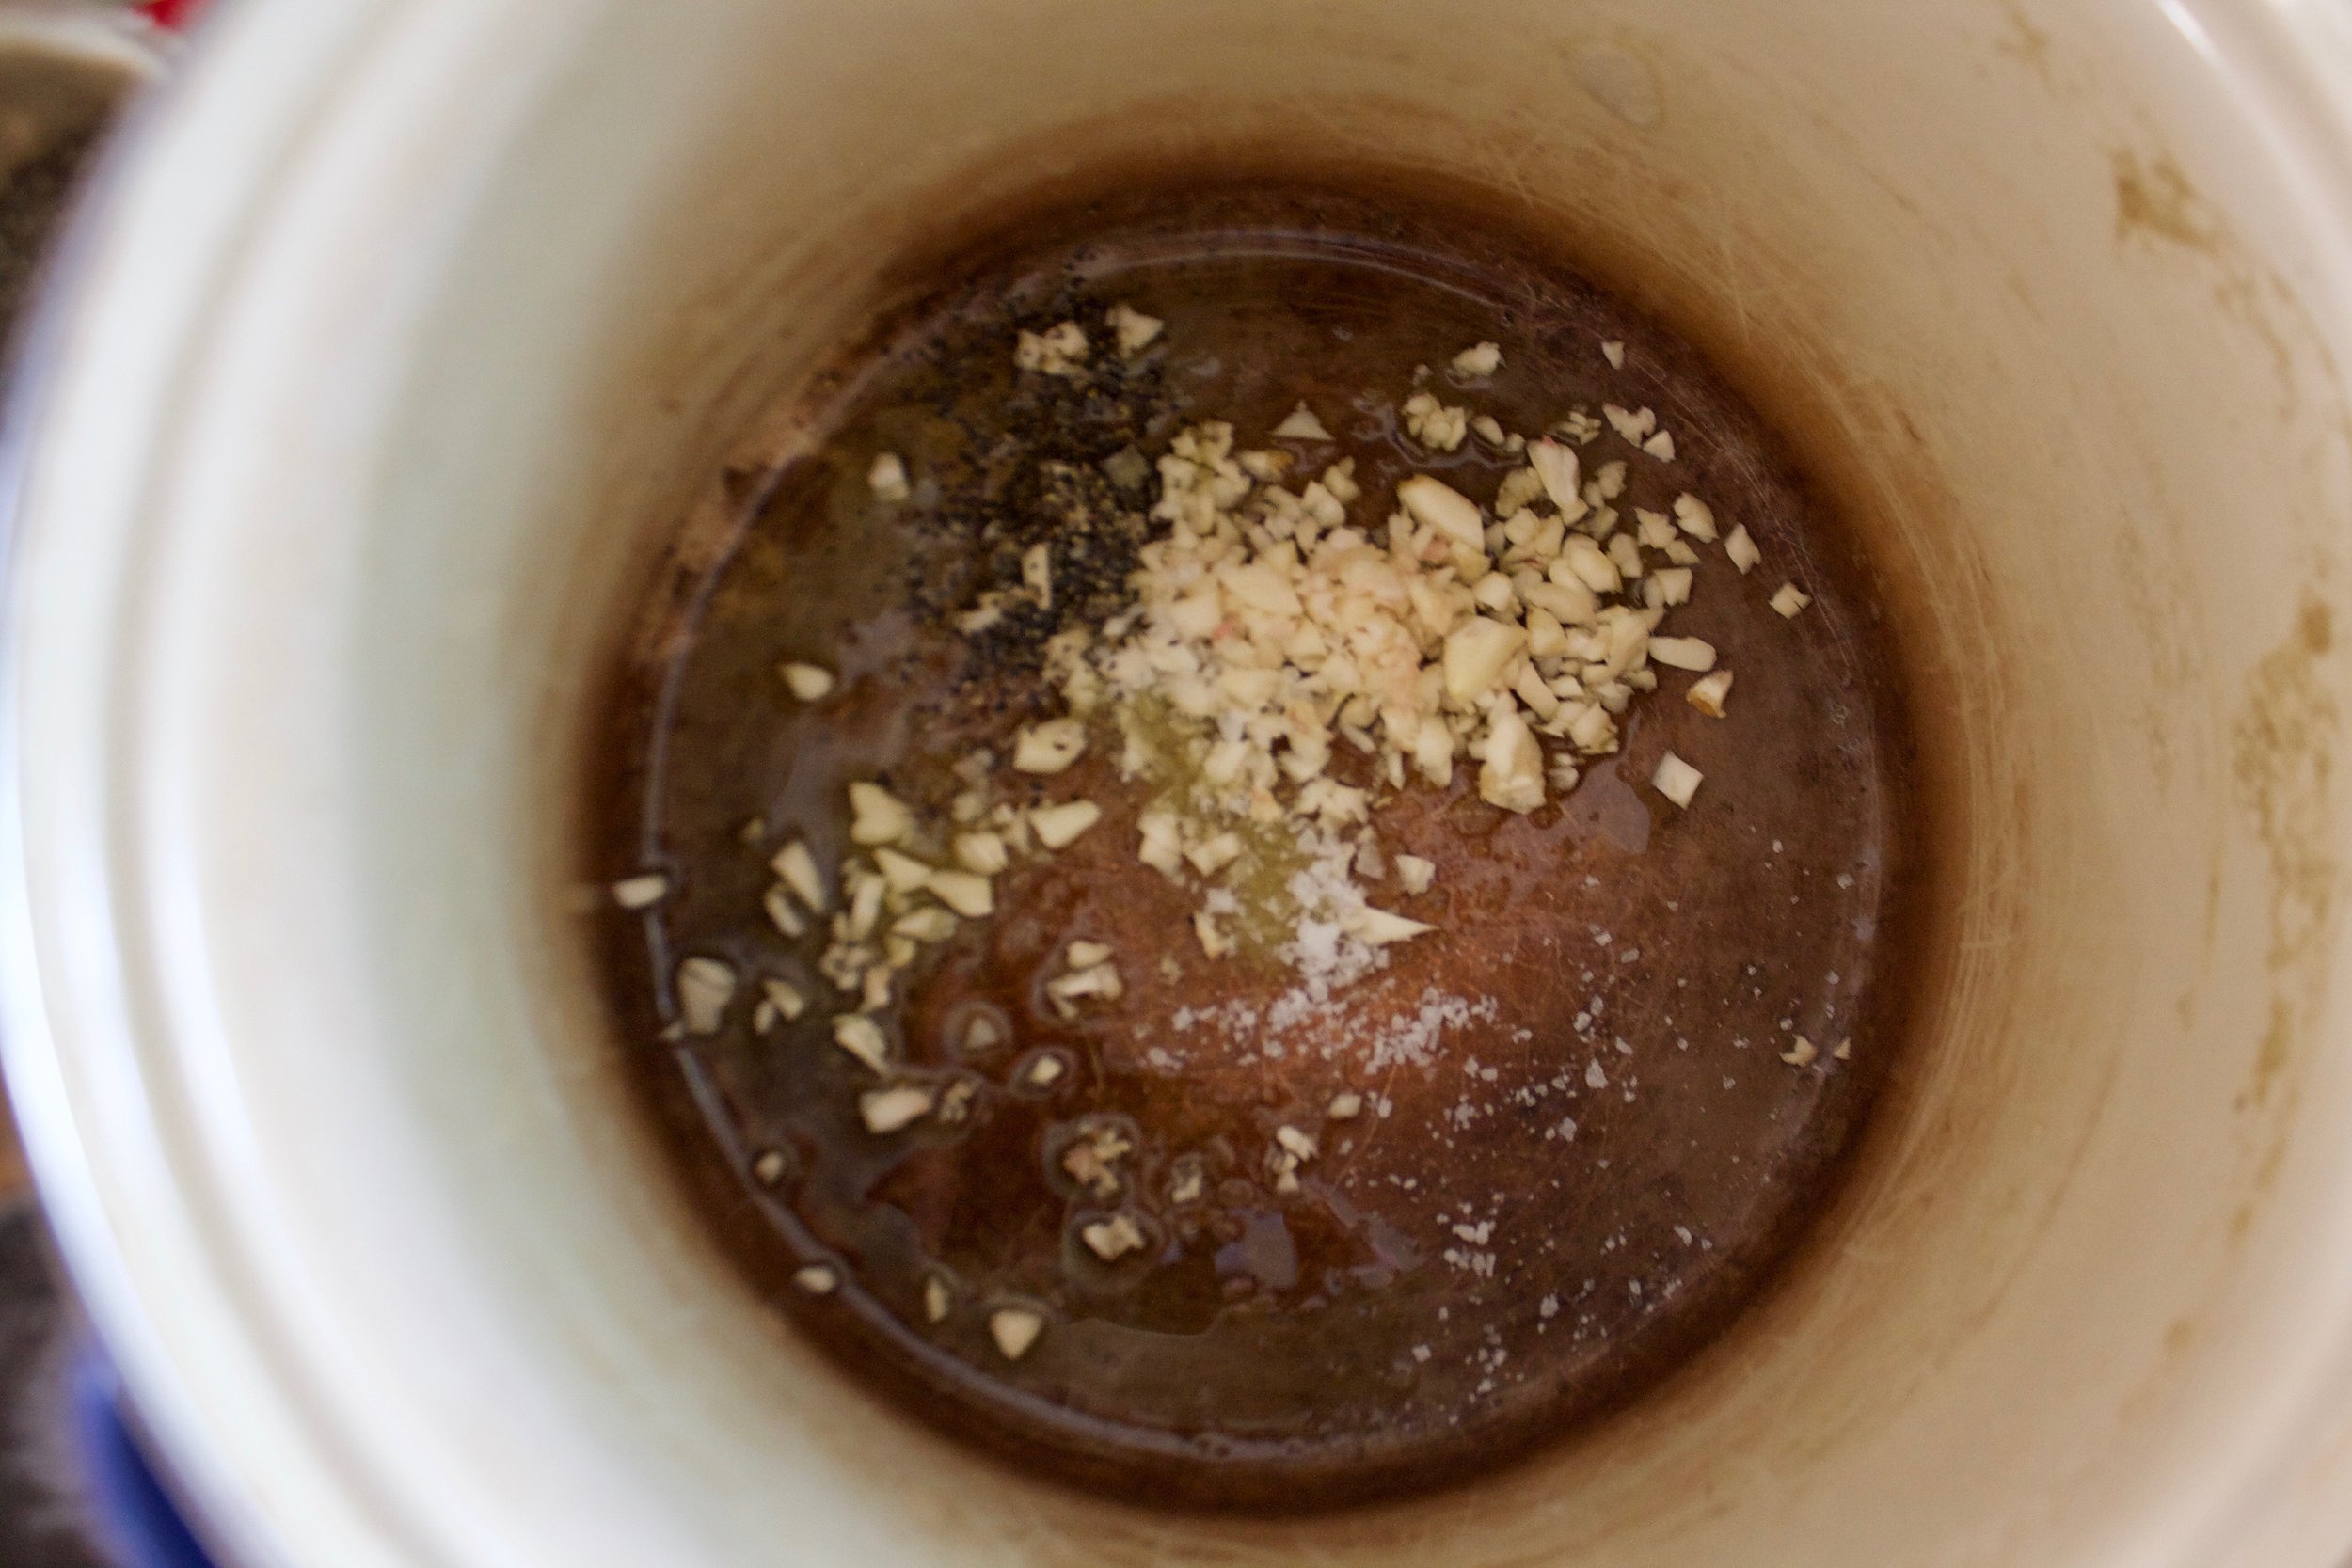
While the beans start cooking, mince the garlic and the ginger and add to the soy sauce.

Smells so good!

IMG_0195.jpg

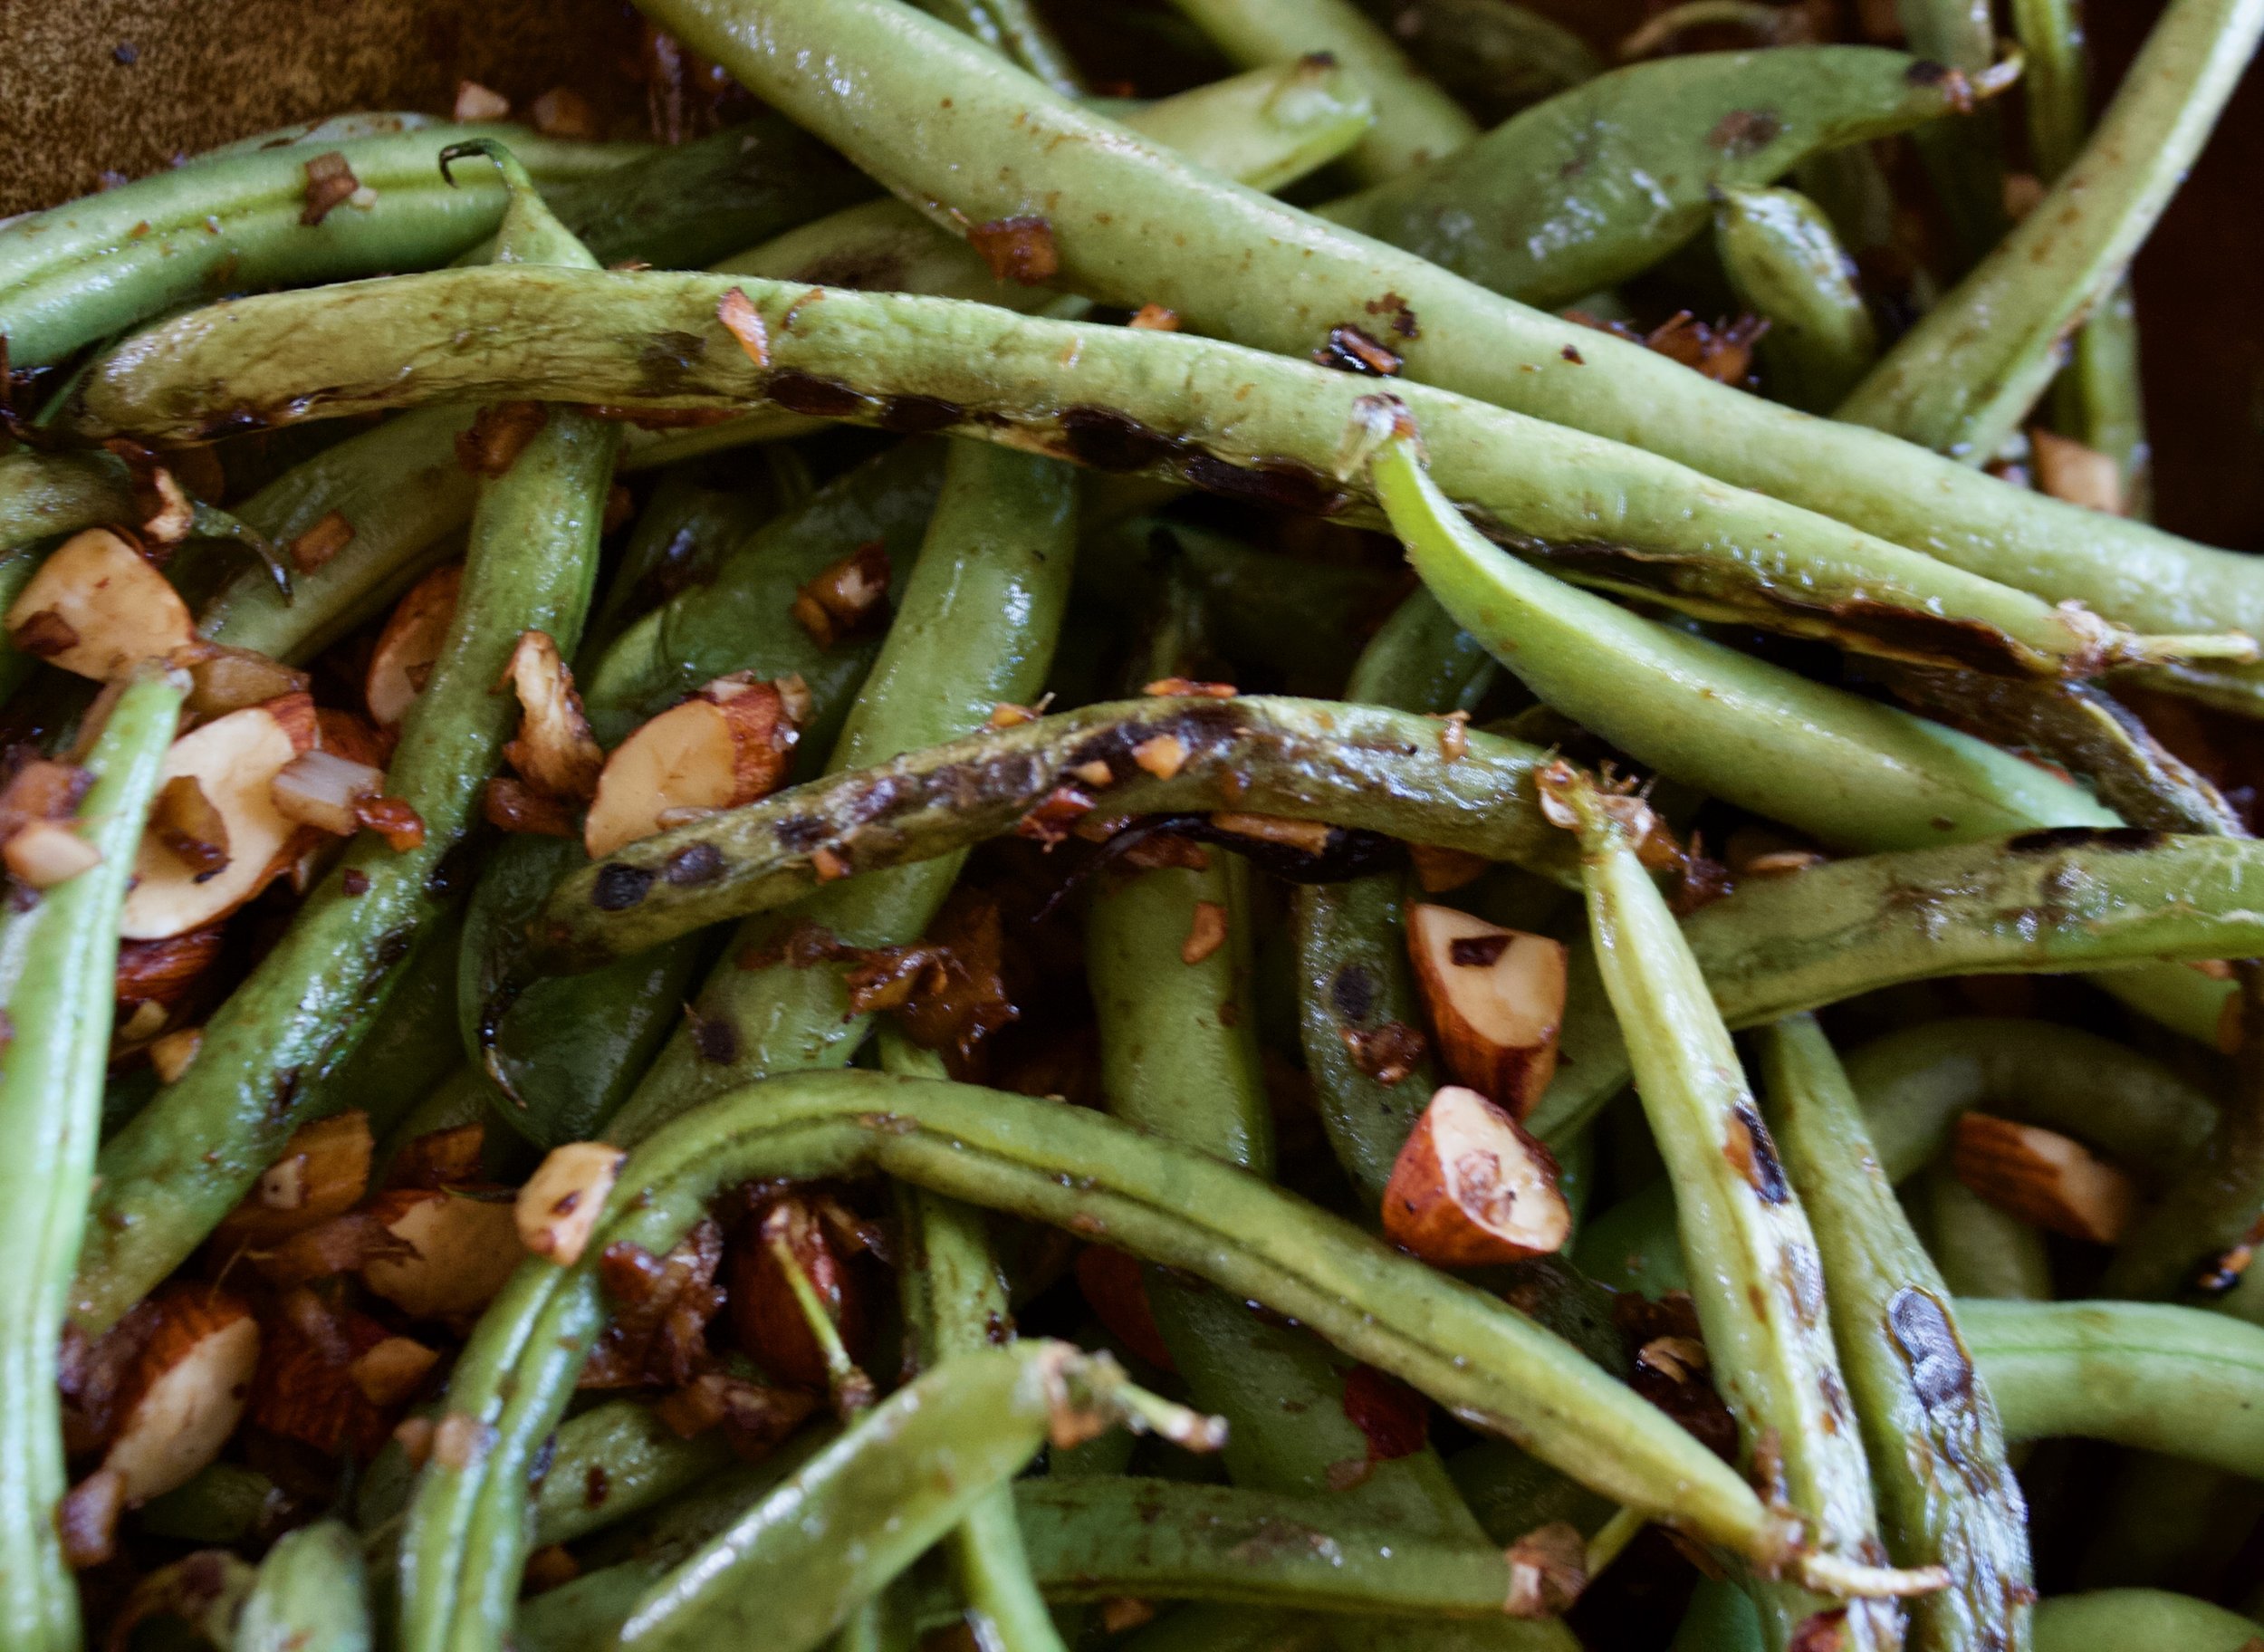
Beans have cooked for about 10 minutes here and are all nice and blistered and just about done so now add in the ginger garlic soy mixture and toss around. Keep cooking for a minute or two.

IMG_0211.jpg

And now don't forget those almonds, mix those in too. Then it's into a bowl they go. 

IMG_0217.jpg

Green beans so good. Can't go wrong with these.

Have a marvelous weekend, maybe go pick some green beans!

-C


Ginger Garlic Blistered Green Beans With Almonds

  • About a pound of green beans (trimmed if you want to trim them)
  • 2-3 cloves garlic
  • 2 tablespoons freshly grated ginger 
  • 1/4 cup almonds
  • 3 teaspoons soy sauce
  • tablespoon oil

Rough chop almonds into small pieces and place in a dry skillet (meaning no oil). Turn heat on to medium high heat to toast for about 5 minutes or until you can start to smell the almonds and they are slightly browning. (you can skip the tasting  part if your almonds are already toasted, jus chop them into small pieces)

Dump the almonds into bowl and set aside. Keep skillet on heat and add in the oil. Rinse beans off, keeping them damp, and very carefully, dump the damp beans into the hot skillet. Place a lid on beans and let cook about 4-5 minutes. In the meantime, mince garlic and ginger and combine with the soy sauce. After a few minutes, remove the lid from beans and toss the bean around. Keep doing this for another 8-10 minutes or until the beans are cooked though and blistered in places. Once the beans are cooked,  dump the garlic ginger soy mixture into pan. Toss around and leave in pan for another minutes then stir the toasted almonds in. Transfer the whole bit of it into a big bowl or plate. 

Eat right away or.. They taste freaking fanatic cold too. 

In beans, Vegetables, Vegan, summer, side dish, snack, Nuts Tags Ginger Garlic Blistered Green Beans With Almonds, Green beans, Blistered Green Beans, vegan, side dish, plant based, almonds, quick and easy, garden fresh, vegetables, green beans, fresh, simple
Comment

Cilantro Lime Roasted Potatoes

June 9, 2018 Colleen Stem
IMG_3021.jpg
IMG_3010.jpg
IMG_2812.jpg

I picked up the first summer farm share this week. (Whoo Hoo!!) In it included lettuce, spinach, kale, cilantro, and potatoes. A heavy on the greens, start to the season, but I am never going complain when it's heavy on the greens. I could eat greens, any greens, by the bucket full (and basically do). And there was pyo cilantro, which I wasn't expecting for a least a week or two so that was just fantastic because oh how I have missed fresh herbs. 

So greens went directly to my stomach without a chance, but the potatoes and cilantro I left so I could make something to share with the mr. Roasted potatoes because that's my favorite way to eat a tater and covered in lots and lots of cilantro because yes, and when you eat cilantro, you must eat a lot of it. Lime juice for good measure and you got yourself a dank little potato dish if I do say so myself. 

The stuff. Potatoes, cilantro, limes (you probably only need one), garlic, olive oil, and salt and pepper.

After washing your potatoes, dice them into mouth sized pieces and place them into a pot of cold water 

Dice potatoes go into pot and need a little boil. If you have a pinch of salt to toss into the water, well you should do that.

IMG_2853.jpg

After boiling for a few minutes, give the poe test, if you can kind of pierce a potato with a fork, they are done.  You don't want to completely cook the potatoes, you just want them juuuust barely fork tender.. Once they get there, strain them.

Let the potatoes drain for a minutes or two to make sure all the water is gone. In the mean time, mince up the garlic.

IMG_2880.jpg

Add the garlic with a big pinch of salt and pepper and a glug glug of olive oil back to the pot (you could use a new bowl, but why dirty another dish?)

Add in the drained potatoes and toss around until they are all evenly coated.

Dump potatoes onto a baking sheet (if you think of it, preheat the oven with the baking sheet in it... just make sure to be careful when handling hot pans)

Into the oven those taters go to roast and be great.

And sometime between putting the potatoes in the oven and taking them out, chop up the cilantro.

IMG_2937.jpg

Once potatoes are all nice and golden roasted, remove from oven and drizzle and toss the juice of the lime all over. Place the potatoes back into the oven for a few minutes to let them crisp up again.

IMG_2972.jpg

And then you toss all that chopped cilantro all over those potatoes.

And then eat them. Maybe serve with salsa and whipped avocado because that is what I did and I did good.

-C


Cilantro Lime Roasted Potatoes 

Serves 2-4 peoples

  • 2 1/2  pounds small yellow potatoes
  • 1 bunch cilantro
  • 4-6 cloves garlic 
  • 1 juicy  lime
  • 2-3 tablespoons olive oil
  • salt and pepper

Preheat oven to 425 with the baking sheet preheating in the oven as well.

Wash potatoes well and chop into pieces about an inch or so big and place in a big pot of cold water. Once you got all the potatoes in the pot, add a pinch of table salt and bring the potatoes to a boil. Cook for 5-8 minutes or until the potatoes are just barely fork tender.. don't over boil them. Drain potatoes.

In either the empty pot (less dishes) or a bowl, combine 2 tablespoon oil with the garlic, a good pinch or two of pepper, and same with salt. Mix around then add in the potatoes. Toss to coat and if you feel that you might need little more oil, drizzle in a bit more. 

Dump coated potatoes onto a  preheated baking sheet and place in oven for about 40-50 minutes, giving the potatoes a good stir after 30. You want the potatoes to be a nice roasted brown. Once roasted, pull potatoes from oven and squeeze the juice of the lime all over the potatoes. Toss and place the potatoes back into the oven for a few minutes just to crisp up a bit. While the potatoes are crisping up, chop the cilantro. After the few minutes, pull the potatoes back out and toss with the cilantro. Season with more salt and pepper if needed and then just eat them. I like to serve with salsa and some avocado situation, but ketchup or naked works too.


In 5 ingerdients or less, Vegetables, Vegan, side dish, Potato Tags cilantro lime roasted potatoes, potatoes, roasted, vegan, gluten free, cilantro, lime, side dish, vegan side dish, dinner, Farm share, CSA, Intervale community farm, brunch potatoes
Comment

Winter Roots Spring Rolls

March 24, 2018 Colleen Stem
IMG_1081.jpg
IMG_1021 2.jpg

Are you so excited that it is spring? I know I am.  But I am also realistic and know that even though it is "officially" spring, it is not going feel like spring here for a little while. There are still a few more weeks of potential snow storms and cold weather and then there is mud season before we really get to spring and things growing and green.  And plus there are still plenty of roots to finish up before we get into all the fresh spring veggies. You can't plant broccoli and pea into frozen snow covered soil. 

I love me some root veggies, they are some of my favorite, although like every year around this time I am starting to tire of them. But what are you going to do? Stop complaining and stuff them into a spring roll with some lighter veggies and enjoy while you can because once the roots are gone, they are gone (until the fall).  

These spring rolls are good, I mean really really good. The combination of the roasted roots with a fresh tangy mixture of crispy crunchy veggies and fresh ginger and soy and they are just really good. When I made these, it was still vey cold outside so I even went an extra step and baked the rolls to give them a little crispiness to the wrapper  because crispy warm food is kind of nice when its cold out. Because it is still cold out. 

Happy Spring!!!

The stuff. For roots we are using beet, celeriac, parsnip, and carrot. Then we need onion, kale, cabbage, garlic, fresh ginger and rice spring roll wrapper. Also some sesame seeds, soy or tamari, apple cider vinegar, and a little oil or avocado oil. 

IMG_0956.jpg
IMG_0959.jpg

First thing to do is get the roots roasting. Cut the roots into !/4 inch thick disks  and place right onto a lightly oiled baking sheet then stick into the oven to roast until browned and tender. 

As soon as the roots are in the oven, chop the kale nice and small. Thinly slice the onion and the cabbage and mince and grate the ginger and garlic. Cute the carrot into very thin matchsticks. 

IMG_0978 2.jpg

Toss it all into a bowl and mix with the soy and the vinegar... (this mixture is so very very good.. might just be a salad here soon) 

Don't be gentle, toss with your hands. You can lick then after too. 

IMG_0989.jpg

Roasted and cooled roots get a nice matchstick chop so they fit into the rolls. 

IMG_1017.jpg

About time for assembly time. Damp wrapper with a pile of the  cabbage, kale, carrot, onion mixture and a few pieces of each of the roots topped with a sprinkle of sesame.  Oh so pretty all waiting to be wrapped up. 

IMG_1032.jpg
IMG_1035.jpg
IMG_1034.jpg

Fold sides over, fold bottom up, and roll nice and tight. Easy peasy. 

Place the rolls on a lightly oiled baking sheet. Lightly brush each roll with a little oil as well and stick them into the oven. After 10 minutes, flip them over was bake for 8 or so minutes more until both sides are lightly crisp.

IMG_1060.jpg

And the they be done. Eat right away and serve with extra soy sauce. 

See, we are still happy to eat our roots. And spring veggies will be here before you know it. 

-C


Winter Root Spring Rolls

make 6-8 spring rolls

  • 1 beet
  • 1 parsnip
  • a small bulb of celeriac (celery root)
  • 1 carrot
  • 1/4 head of cabbage
  • 1 small red onion
  • 2-3 kale leaves
  • 1 tablespoon soy or tamari 
  • 1 tablespoon fresh grated ginger
  • 2 cloves garlic
  •  2 tablespoons apple cider vinegar
  • tablespoon oil
  • about 2tablespoons sesame seeds
  • 6-8 rice spring roll wrappers 

Preheat oven to 400.

Slice the parsnip, celery root, and beet into 1/4 inch thick  disks and place on a lightly oiled baking sheet. Bake for 15 minutes, flip, then bake for 10 or so more minutes  or until the veggies are browned and tender.

When the roots are in the oven, thinly slice the cabbage and  onion and toss into a bowl. Chop the kale into small pieces and thinly slice the carrot into matchsticks about 2-3 inches long. Place it all into the  bowl with the grated ginger, minced garlic, vinegar and soy sauce. Toss it all around and let it sit while the other veggies are roasting.

Once the roots have cooked, remove form oven and let cool. Keep oven on. When they are cool enough to handle,  slice the disks into matchsticks 2-3 inches long.

Time to assemble. Grab all the veggies

Take a shallow dish that can hold a little water and is big enough for a wrapper to fit and add warm water to it.

Keep your baking sheet from the veggies close and lightly oil it again.

Place a wrapper in warm water then place on a wet surface. (keep surface slightly wet or the wrapper will stick)  Add a good pinch or so or the cabbage/kale/carrot veggie mix into the center of the wrapper then add a few of each of the matchstick roots on top. Sprinkle with sesame seeds and then roll. Once rolled, place on baking sheet. 

When all the rolls are made, lightly brush the tops with oil and  place into the oven and bake foe 10-15 minutes, flipping half way through

Remove from oven when each slide is lightly crispy and serve right away, preferably with more soy sauce to dip in. 

In winter, Vegetables, Vegan, Spring, snack, side dish, Gluten Free, Dairy Free, appetizers Tags Winter Roots Spring Rolls, Spring rolls, baked spring rolls, roots, root vegetables, vegetables, gluten free, vegan, plant based, side dish, easy, appetizer, vegan side dish, fresh, local, Farm food, Winter root veggies
Comment

sesame soy cabbage

January 13, 2018 Colleen Stem

Here's one for the cabbage lovers our there, maybe even the haters as well. (I don't understand those people, cabbage is king in my stomach). I really believe that a good bit of cabbage can really change a persons perspective on the humble cruciferous vegetable, maybe even the world. To far? Maybe but what I always say is, "When in doubt try it out!" Either way, this bit of cabbage is vey very good good.  

A quick little warm up in a skillet with some sesame soy flavor and crunch and you got yourself a A plus little salad. It hits all the right notes for when a) its winter and fresh greens are more sparse (which it currently is and they currently are) b) its cold out (again currently because it's winter) and c) when you only have a head of cabbage in the fridge (was the case but I have sense remedied that). 

Chop it, toss, it, eat it. Quick and easy good food. Get on it.

The stuff. Cabbage (I used savoy but you can use any cabbage you want) soy sauce, toasted sesame oil, olive oil, and a lemon. The lemon is optional, but a little acid is alway welcome in my mouth. 

Chop the cabbage. Unless  you are making this for more then 2 people, you probably only need half a head. However much you use, chop in up into 1-2 inch peices. You could  also shreds it if you want, but I like the bigger pieces. 

IMG_9384.jpg

Toss the cabbage into a hot skillet that has been drizzled with a little olive oil and toss the soy sauce in with it too. 

Cook on medium high heat until the cabbage has slightly soften. 

IMG_9400.jpg

While the skillet is still hot, drizzle in a touch of toasted sesame oil and a good amount of sesame seeds. Give it a toss. Taste and add more toasted sesame oil if you want.

Pile it Into a bowl and that's that. Serve with a wedge of lemon or lime if you like the addition of the acid. 

-C


Sesame Soy Cabbage

serves 1-2 people

  • 1/2 of a head of cabbage (green savoy, or red work)
  • 1 tablespoon soy or tamari 
  • 1/2-1 teaspoon toasted sesame oil
  • 1 tablespoon olive oil 
  • sesame seeds
  • lemon or lime (optional)

Preheat a large skillet to medium high with the olive oil. While its getting hot, chop the cabbage into 1- 2 inch pieces. When the skillet is hot, dump the cabbage in and toss around with the soy sauce. Let cook for 4-5 minutes, giving it a toss a few times, until the cabbage starts to soften. Depending on your preference you can stop cooking it now, or keep cooking until it reaches you preferred doneness. (I like it with a little crunch so I cook it for 5-6 minutes) Once it's done but the skillet is still hot, drizzle in the toasted sesame oil and toss in the sesame seeds. Taste for flavor and add more toasted sesame oil if needed. 

Serve right away although cold left overs are also fantastic. A wedge of lemon or lime is a well received addition. 

In 5 ingerdients or less, dinner, Gluten Free, grain free, Paleo, quick and easy, salad, seeds, Vegan, Vegetables Tags Sesame Soy Cabbage, vegan, gluten free, side dish, simple, 5 ingredients or less, healthy, whole 30, cabbage, grain free, salad, warm salad, asian flavors
Comment

Roasted Cranberry Parsnips

December 23, 2017 Colleen Stem

I am spicing up my snack time these day, going an extra step and actually preparing a little something rather then just eating a pound of carrots. Yes yes, a pound of carrots is a great snack, but there are so many other fantastic veggies awaiting my belly and I can only accommodate  so much at once. So today the carrots had to wait, it's time for the parsnips. 

After I made this and was eating it with all smiles and glee, I had the mr take a taste to see what he thought. What I learned is that If you do not like parsnips then you will not like this dish. But if you are awesome and do like parsnips, well then you will like this. But I guess if you like parsnips but don't like cranberries then you might actually not like this either.

So what I guess I am saying is if you like parsnips and cranberries, you will freaking love this. And this, these cranberry roasted parsnips, are great as a snack or as  a fantastic accompaniment to any meal that you will be serving anytime soon. It's quick and easy and delivers in all sorts of good ways, if you like cranberries and parsnips. 

IMG_8969.jpg

The stuff. Parsnip. fresh (or frozen) cranberries, a little maple syrup, olive oil, and salt and pepper. 

IMG_8971 2.jpg

Keeping it simple and just chopping the parsnip up into mouth sized pieces. If you are a peeler, go ahead and peel those parsnips first. Me, never a peeler. 

A little trick I have learned when roasting veggies is to roast them in a really hot cast iron pan. What I usually do is preheat the oven and while I am doing that I preheat the pan on the stove top. It gets hot fast and the veggies roast better when tossed into a hot pan. You can also preheat whatever dish you are using in the oven while it preheating. Whatever works for you. 

So parsnips Into a cast iron pan (or any oven safe dish) tossed with just a touch of olive oil and salt and pepper. 

IMG_8983.jpg
IMG_8984.jpg

Parsnips cook pretty fast so after about 15 minutes check for doneness. Once they are for tender and browning, toss the cranberries into the pan and keeping roasting.

Once the cranberries are all roasted and bursted and nice, remove the pan from the oven and immediately drizzle with a touch of maple (just a touch or else it will be too sweet) 

IMG_9005 2.jpg

There you go. Simple, fast, and oh so delicious. 

Have an awesome weekend! πŸ₯‹πŸ€ΎπŸ»β€β™€οΈπŸŽ„β˜ƒοΈ (interrupt those any way you see fit)

-C


Roasted Cranberry Parsnips

serves about 4 as a side dish  or makes for 2 good snack bowls

  • 3-4 large  parsnips (but really as many as you want)
  • 1 cup fresh or frozen cranberries
  • 1 teaspoon to 1 tablespoon maple syrup (the more the sweeter it will be)
  • olive oil
  • salt and pepper

Preheat oven to 425

Grab whatever pan or oven safe dish you are using and  preheat either place it in the oven while its preheating of if you can place it on the stove, get it really hot on a high flame.

Grab your parsnips and chop into about an inch sized pieces (or a good size that will fit into you mouth. Feel free to peel the parsnips first if you want to. Once the oven and pan are preheated, drizzle the parsnips with a tiny bit of olive oil and toss with salt and pepper. Place onto really hot pan and stick into oven.  Roast for about 15-20 minutes or until the parsnips are golden brown and fork tender. Remove form oven and toss in the cranberries. Place back into oven for about another 10 minutes or until the cranberries start to burst and get soft. Remove again and drizzle with a teaspoon of maple syrup (or more if you like it sweeter) 

Serve right away. 

In 5 ingerdients or less, quick and easy, salad, side dish, snack, Vegan, Vegetables Tags Roasted Cranberry Parsnips, side dish, snack, vegan, gluten free, grain free, plant based, healthy, vegetables, parsnips, roasted veggies, simple, easy, 5 ingredients
Comment
← Newer Posts Older Posts β†’
 

https://thelovelycrazy.squarespace.com/config#/|/about/

Me. Food Maker.Food eater. Woo HOO!

STEM+NODE  SMALL BATCH AND ONE OF A KIND POTTERY

stem+node ceramics


____________________

Subscribe

GET NEW POSTS IN YO EMAIL

You are AWESOME!!!


@thelovelycrazy 2014-2021