• stem+node ceramics
  • HOME
  • Food Recipes
  • About
  • Contact
Menu

The Lovely Crazy

Street Address
City, State, Zip
Phone Number

Your Custom Text Here

The Lovely Crazy

  • stem+node ceramics
  • HOME
  • Food Recipes
  • About
  • Contact

Peach Granola

July 25, 2020 Colleen Stem
IMG_9312.jpg
IMG_9374.jpg

Granola is a weakness of mine, well good granola is. I don’t really call most stuff of the stuff you can buy at the store really granola, it is more like sugary candy crap that is marketed to be good for you when it really is not. That shit is gross and that’s my truth.

Real granola, or the kind I make, is the basic bitch of granola. All it is is oats, a spice or two, salt, and a pureed up fruit (or veggies). Sometimes I will add a seed or nut at the end, or maybe even a little coconut or some other dried fruit. There is no added sweetener added, no added oils, just straight up oats and fruit.. And it’s clumpy and crunchy, and all sorts of frantastic. It really is what every granola should strive to be.

The last batch I made was peach because, if you didn’t know, it is peach season. Plus peach granola is delicious. That is fact. (unless you don’t like peaches).

Now to the granola!

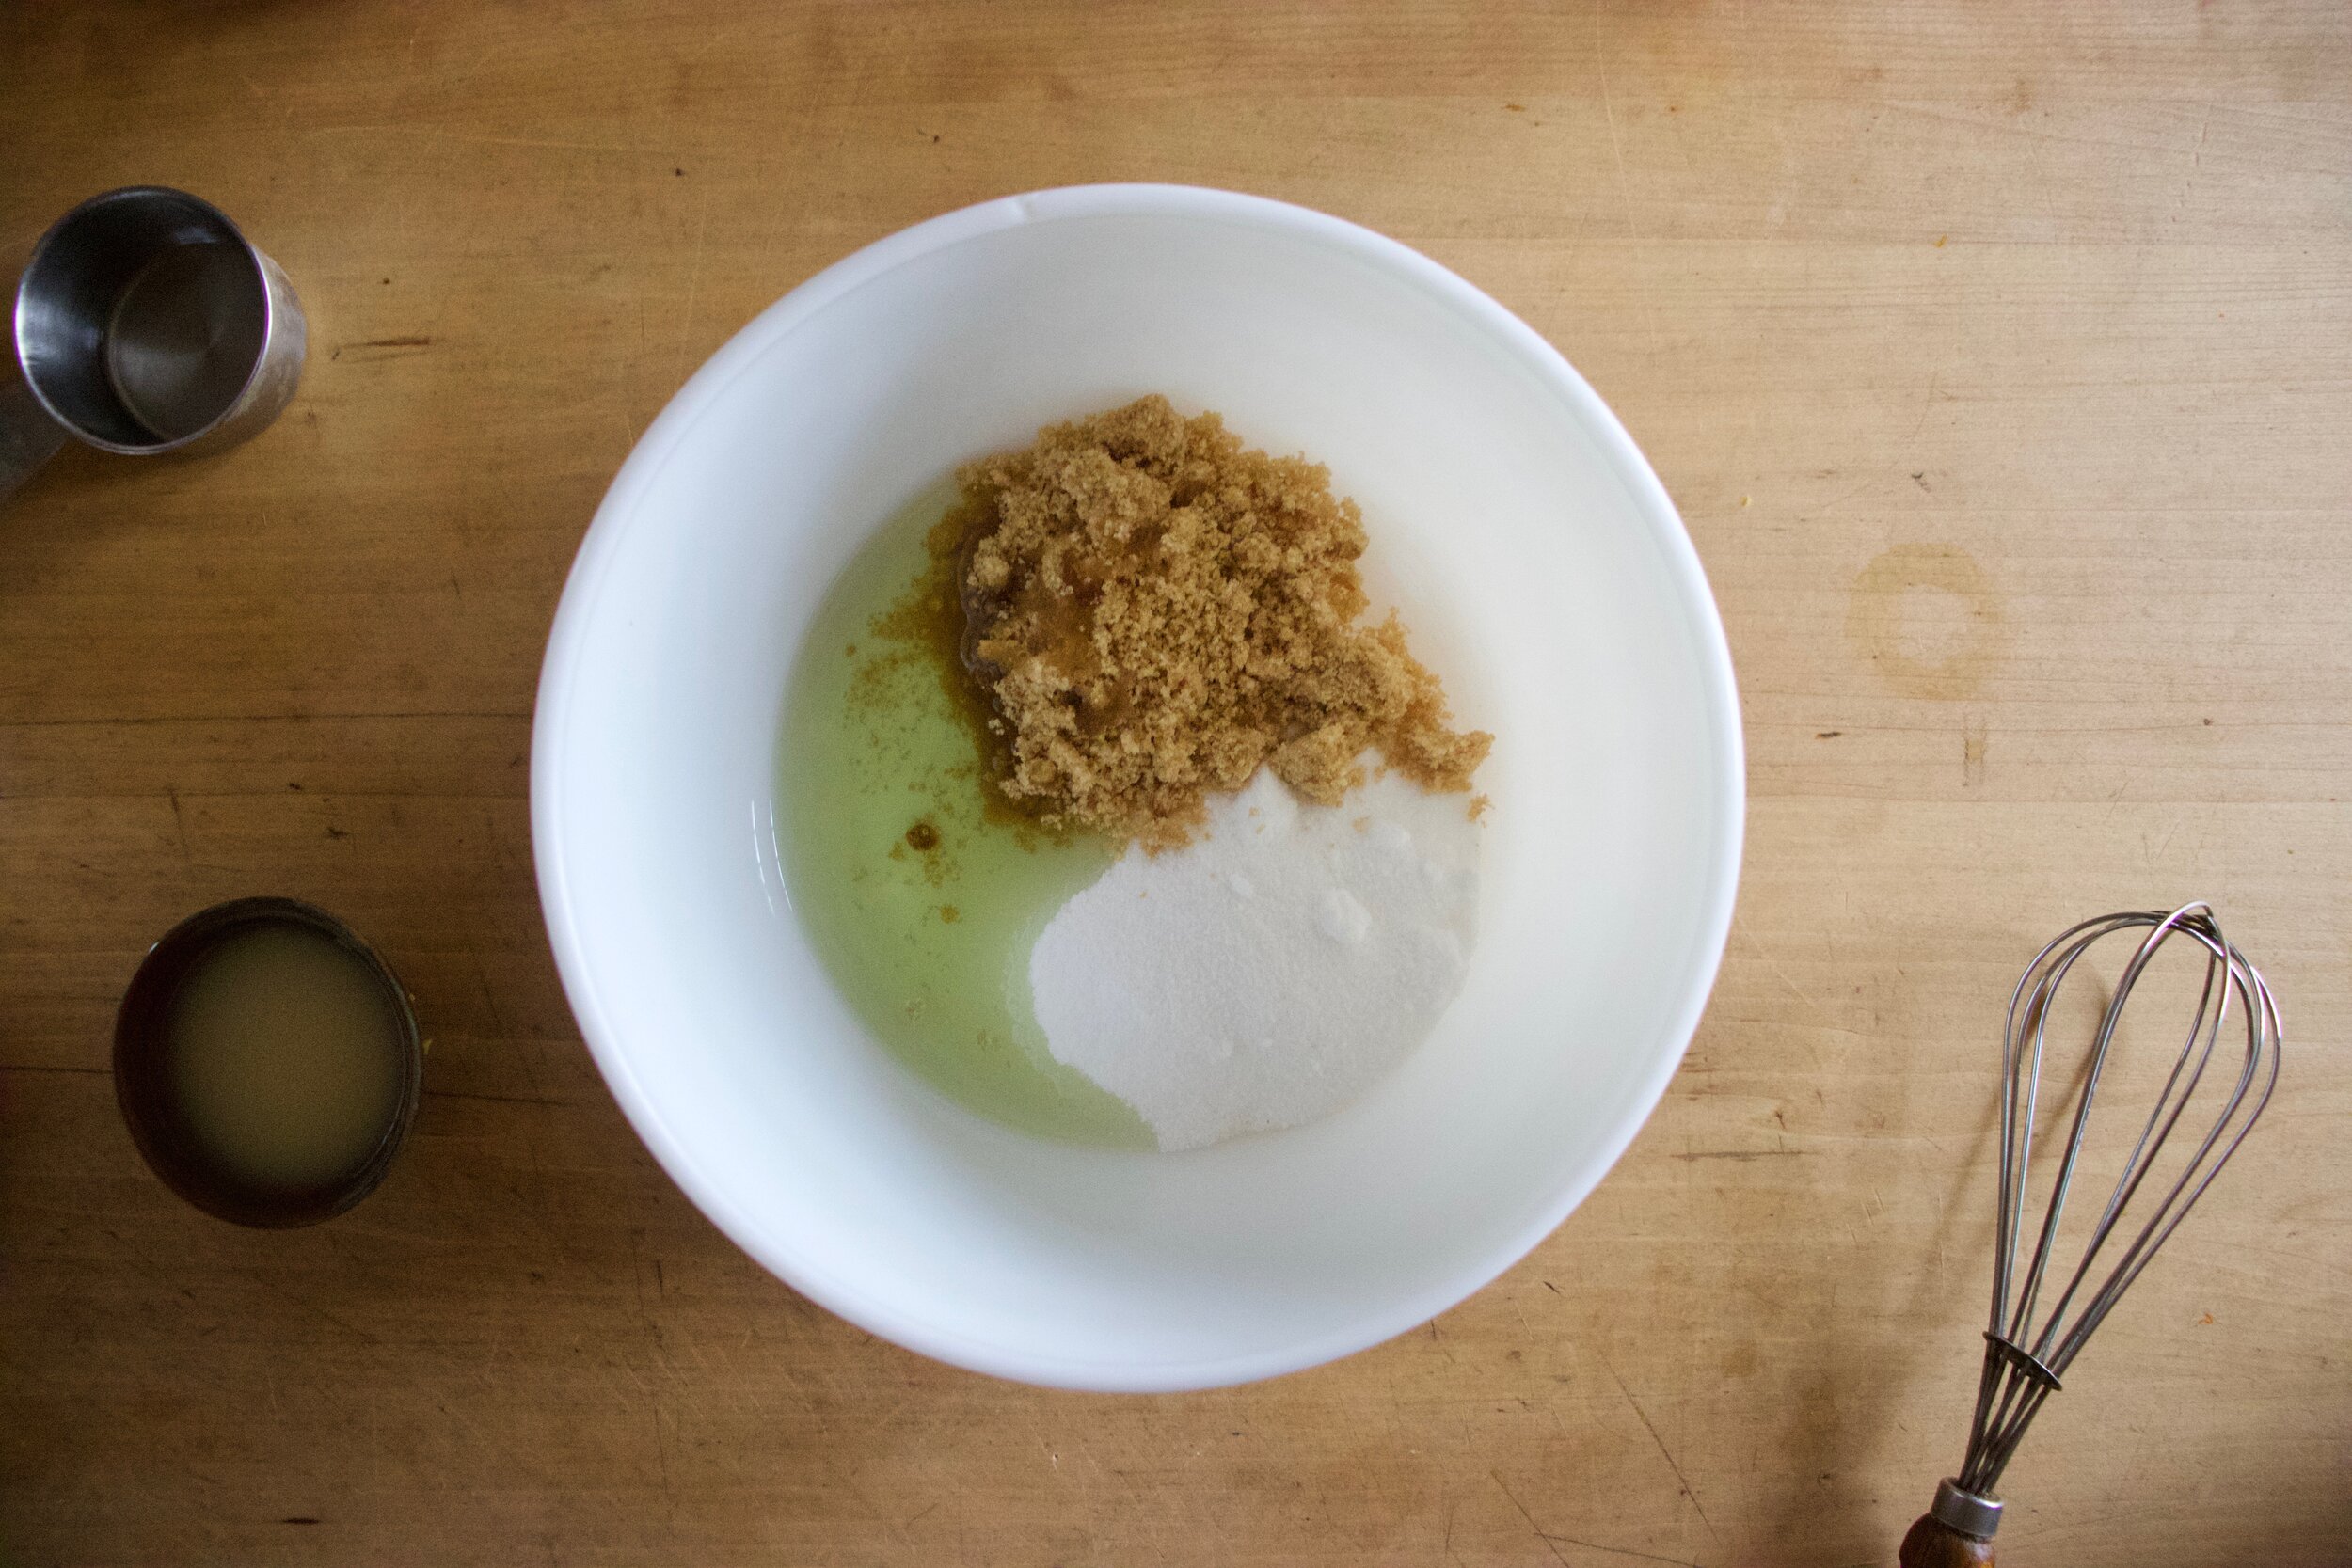
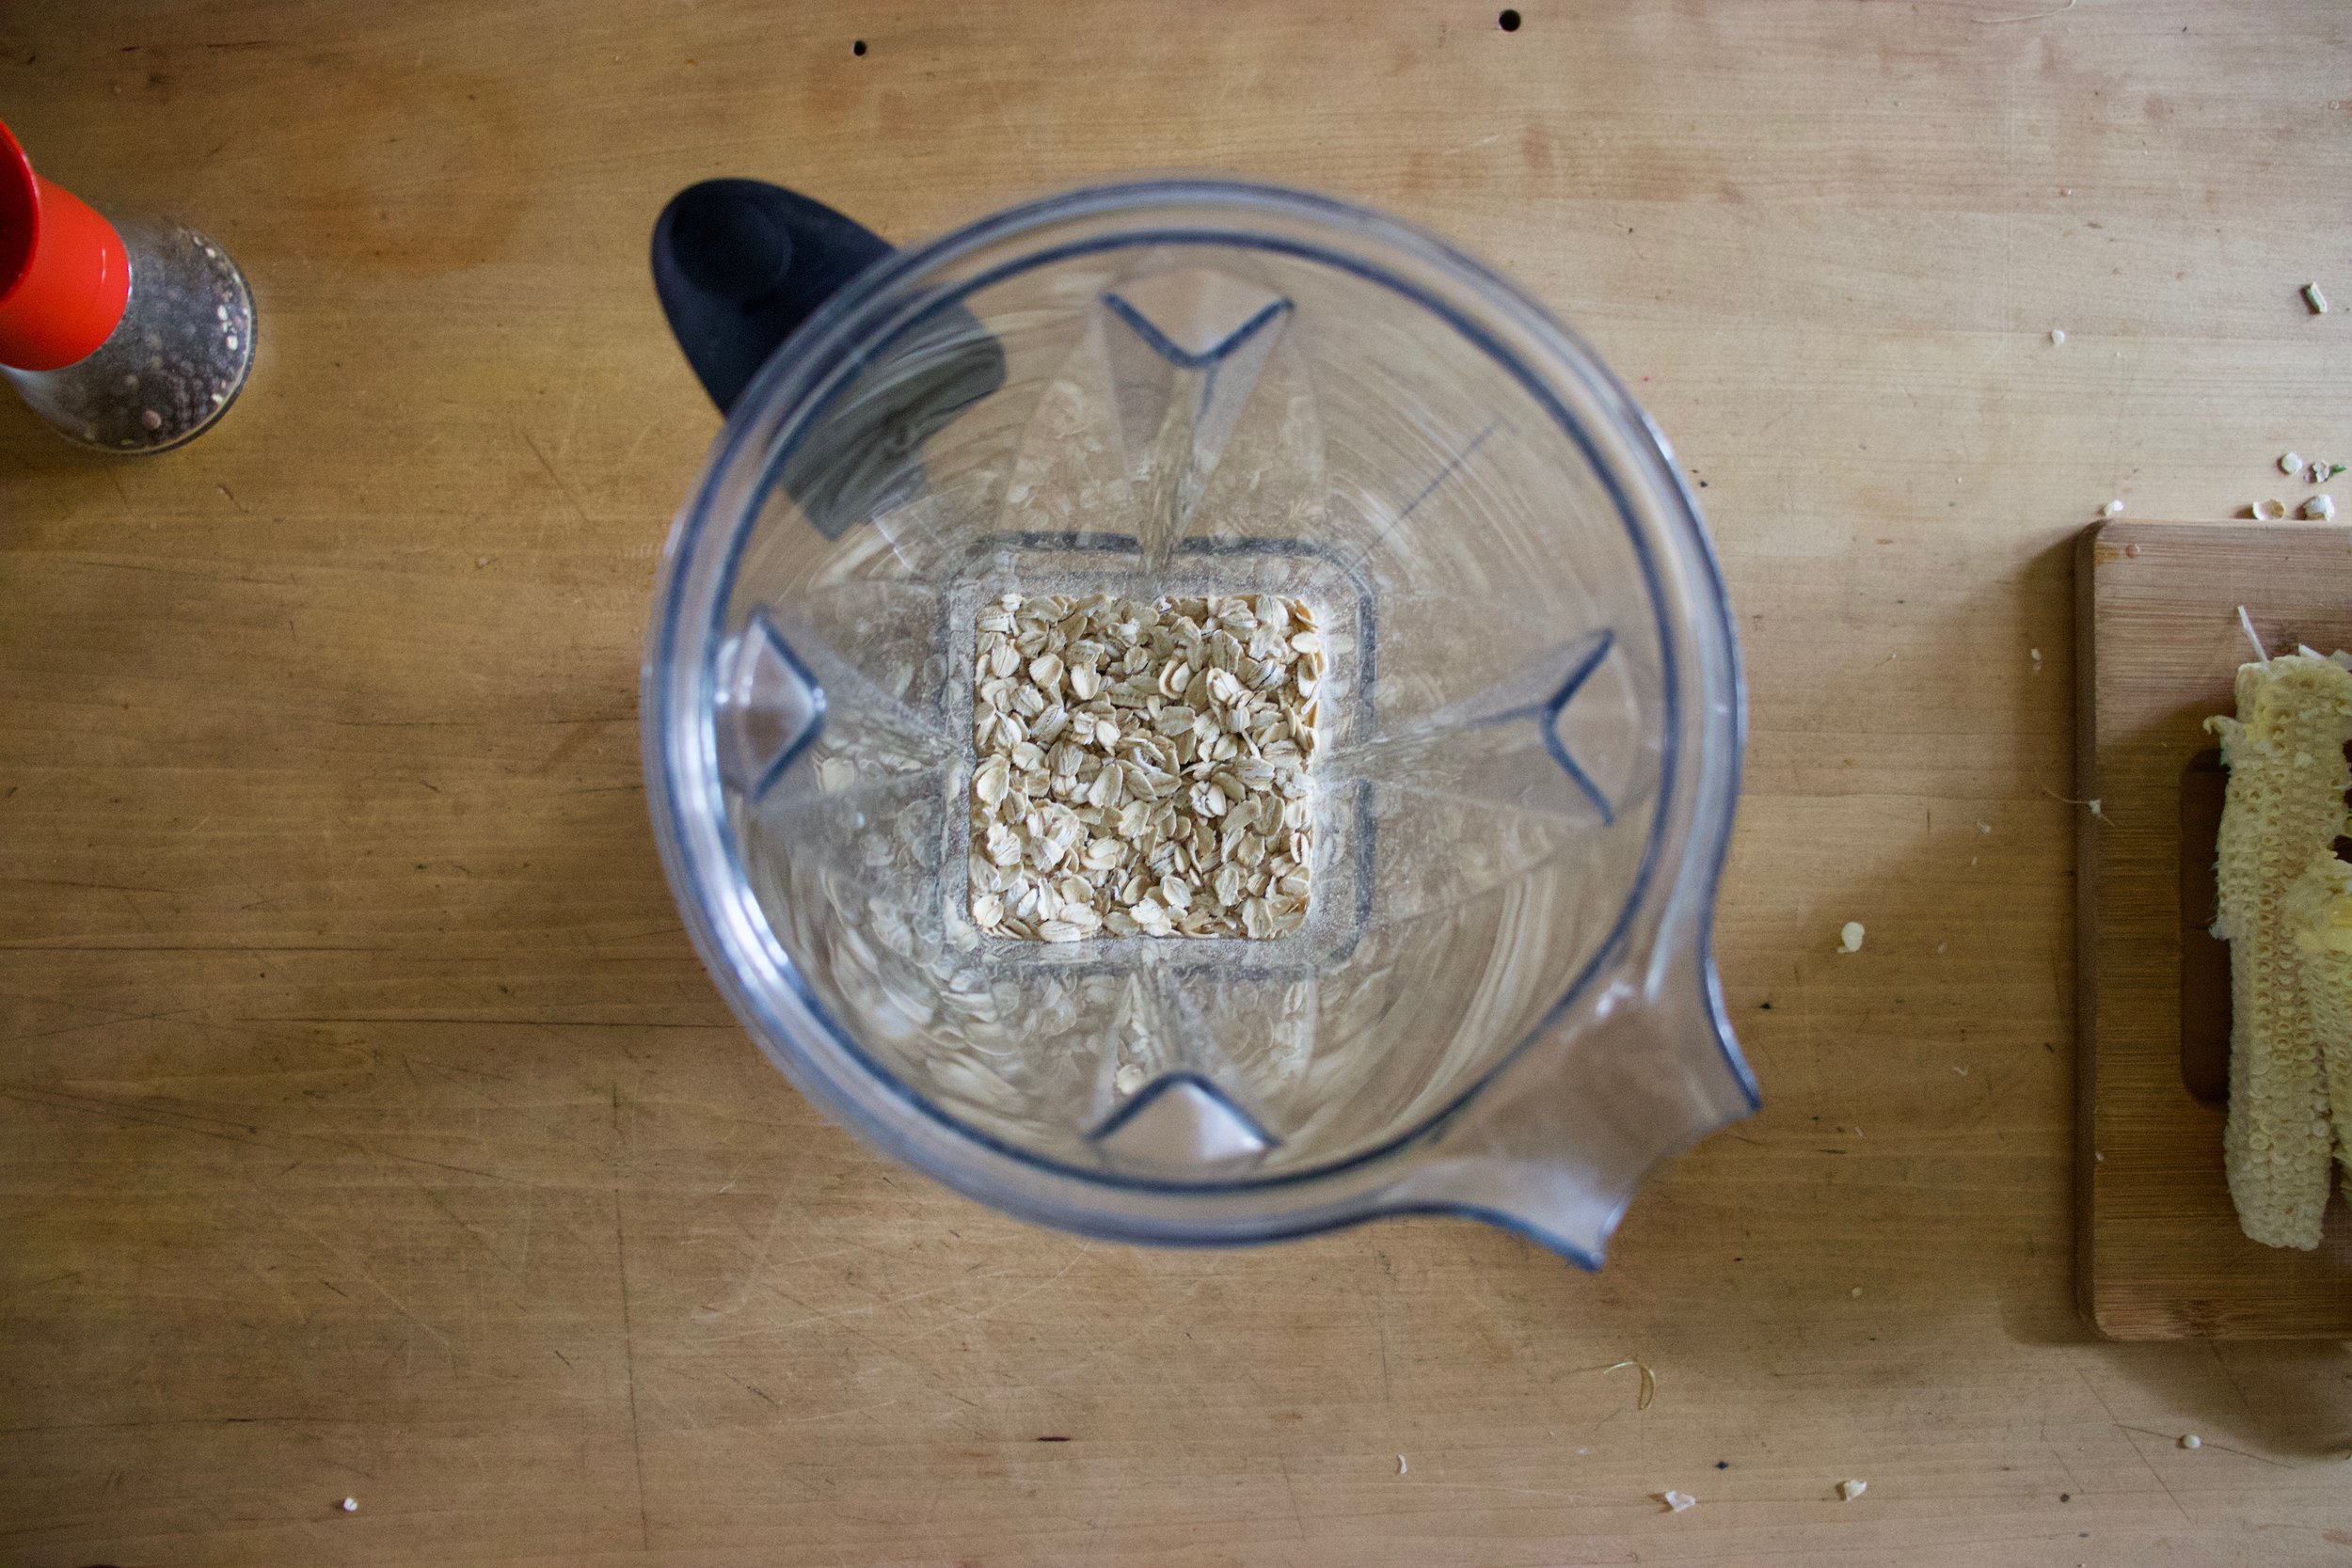
The stuff. Old fashion oats, a couple of ripe peaches, cinnamon, salt, and a little water.

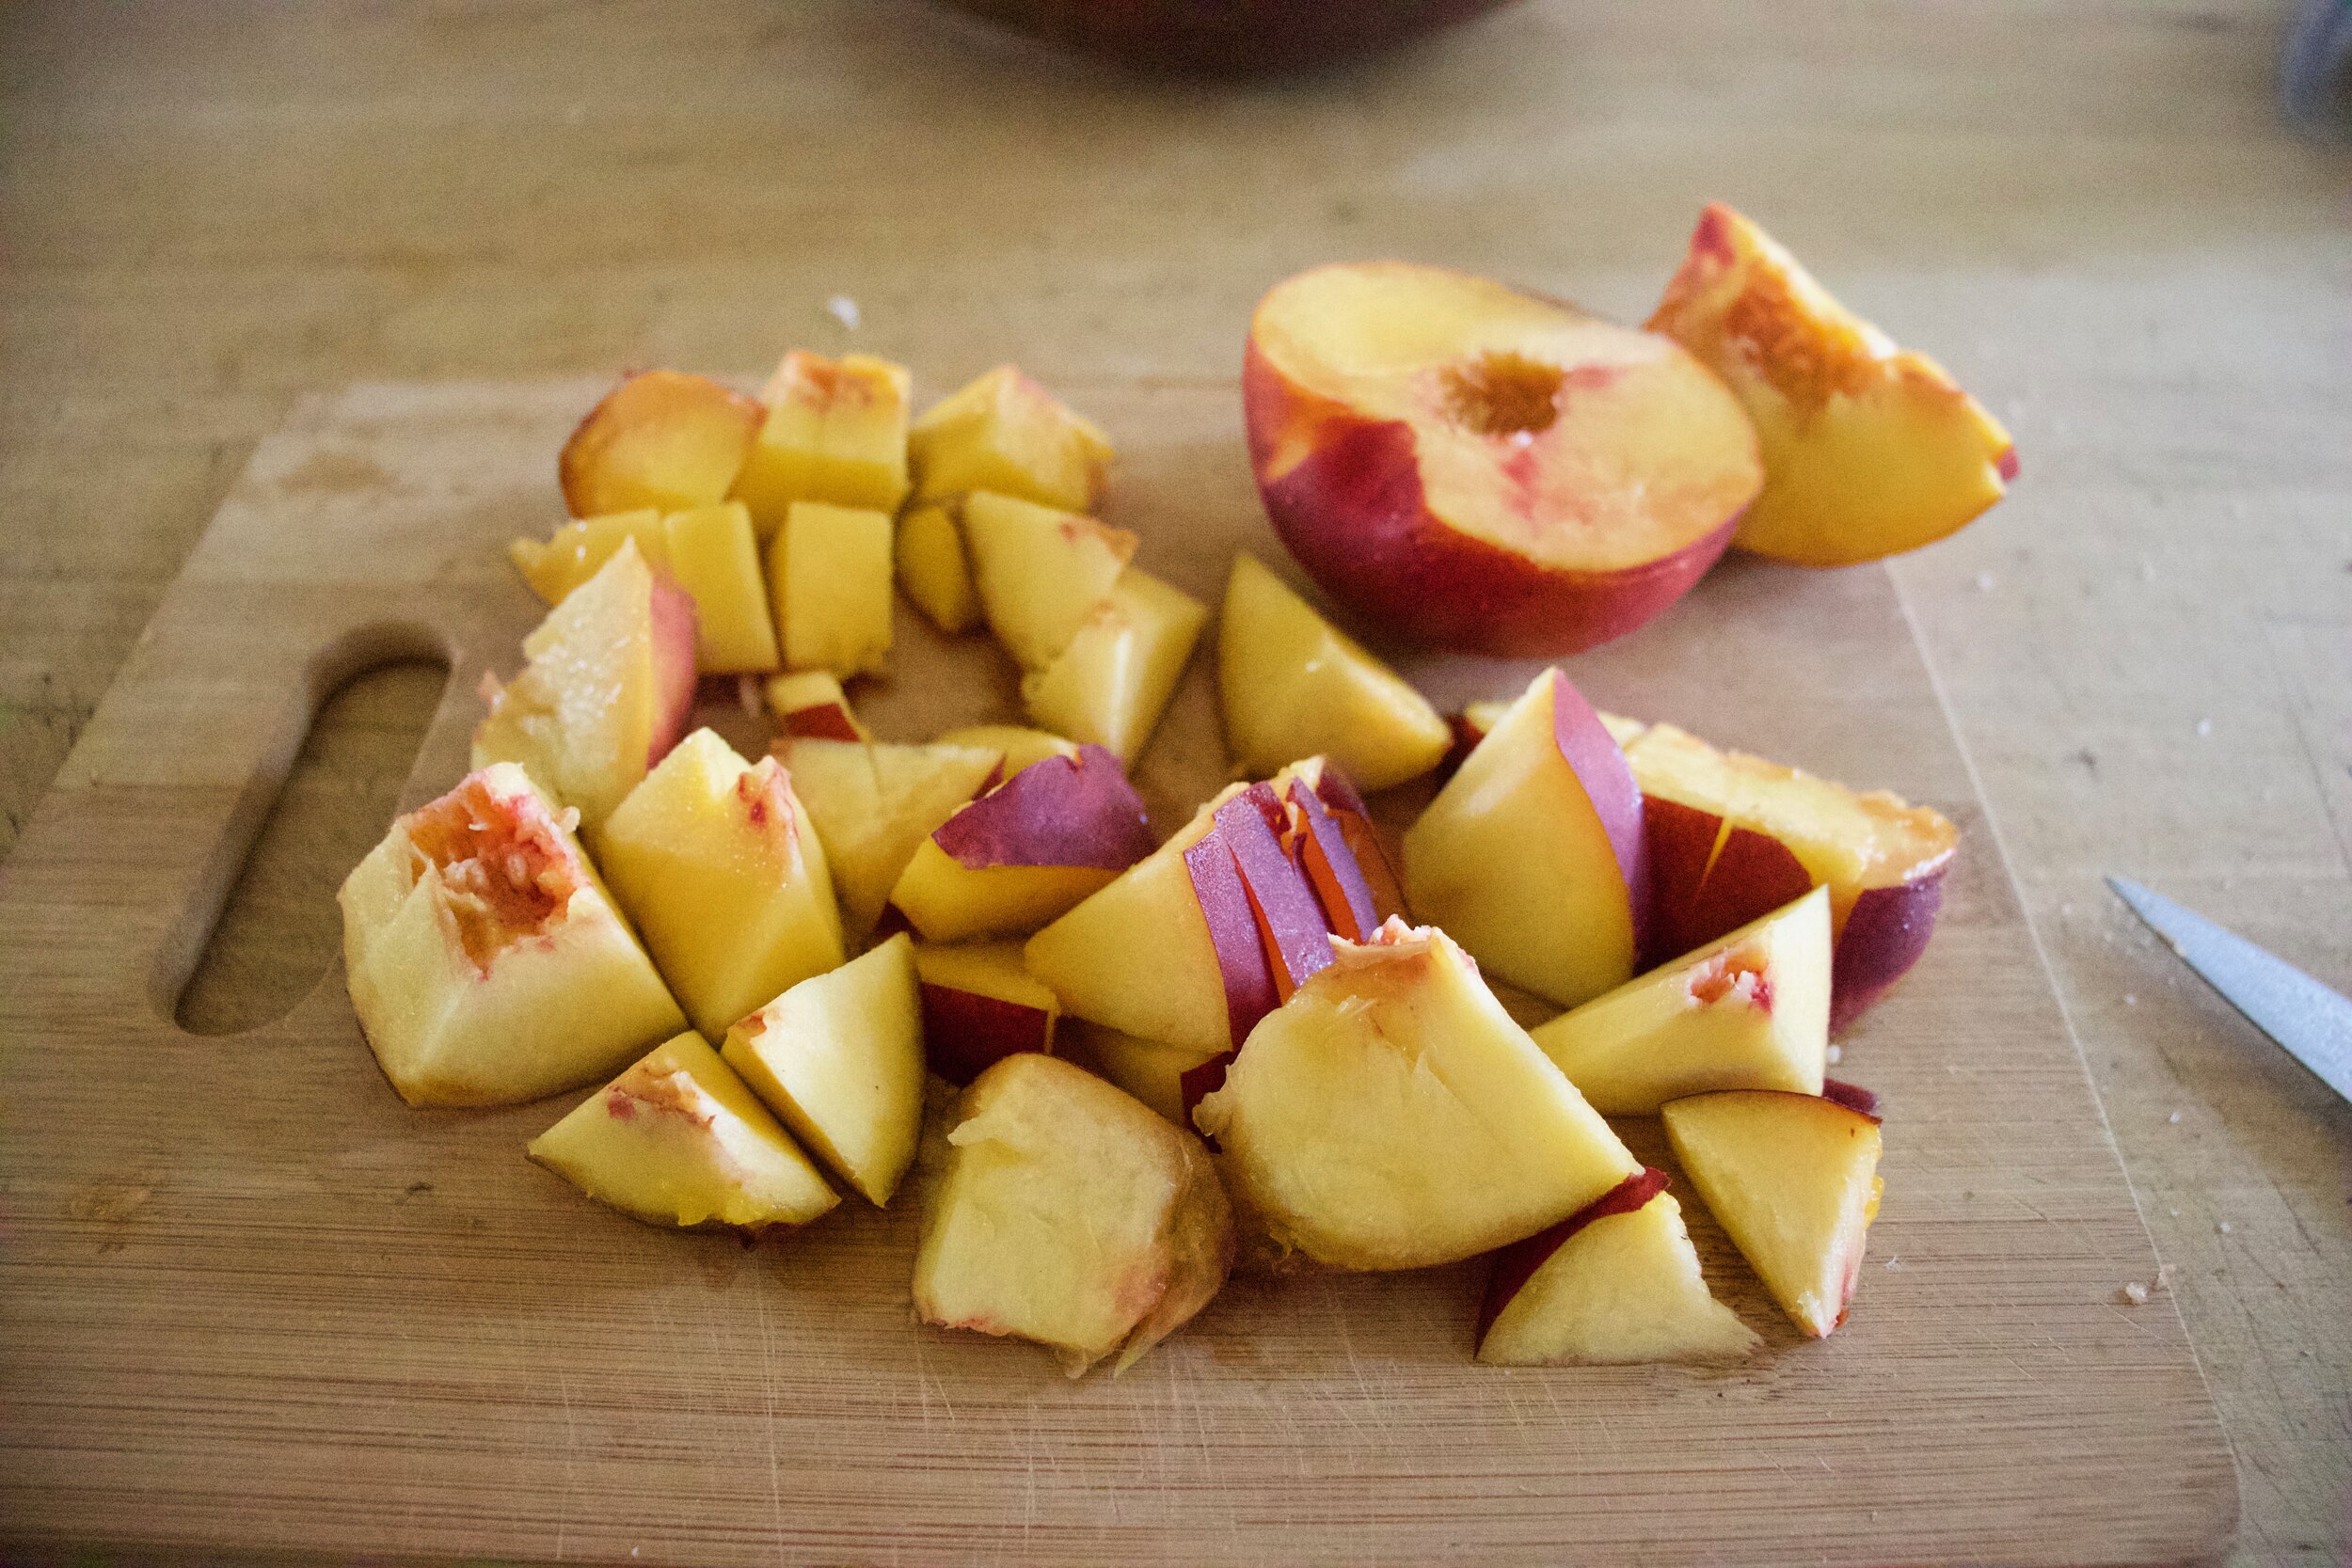
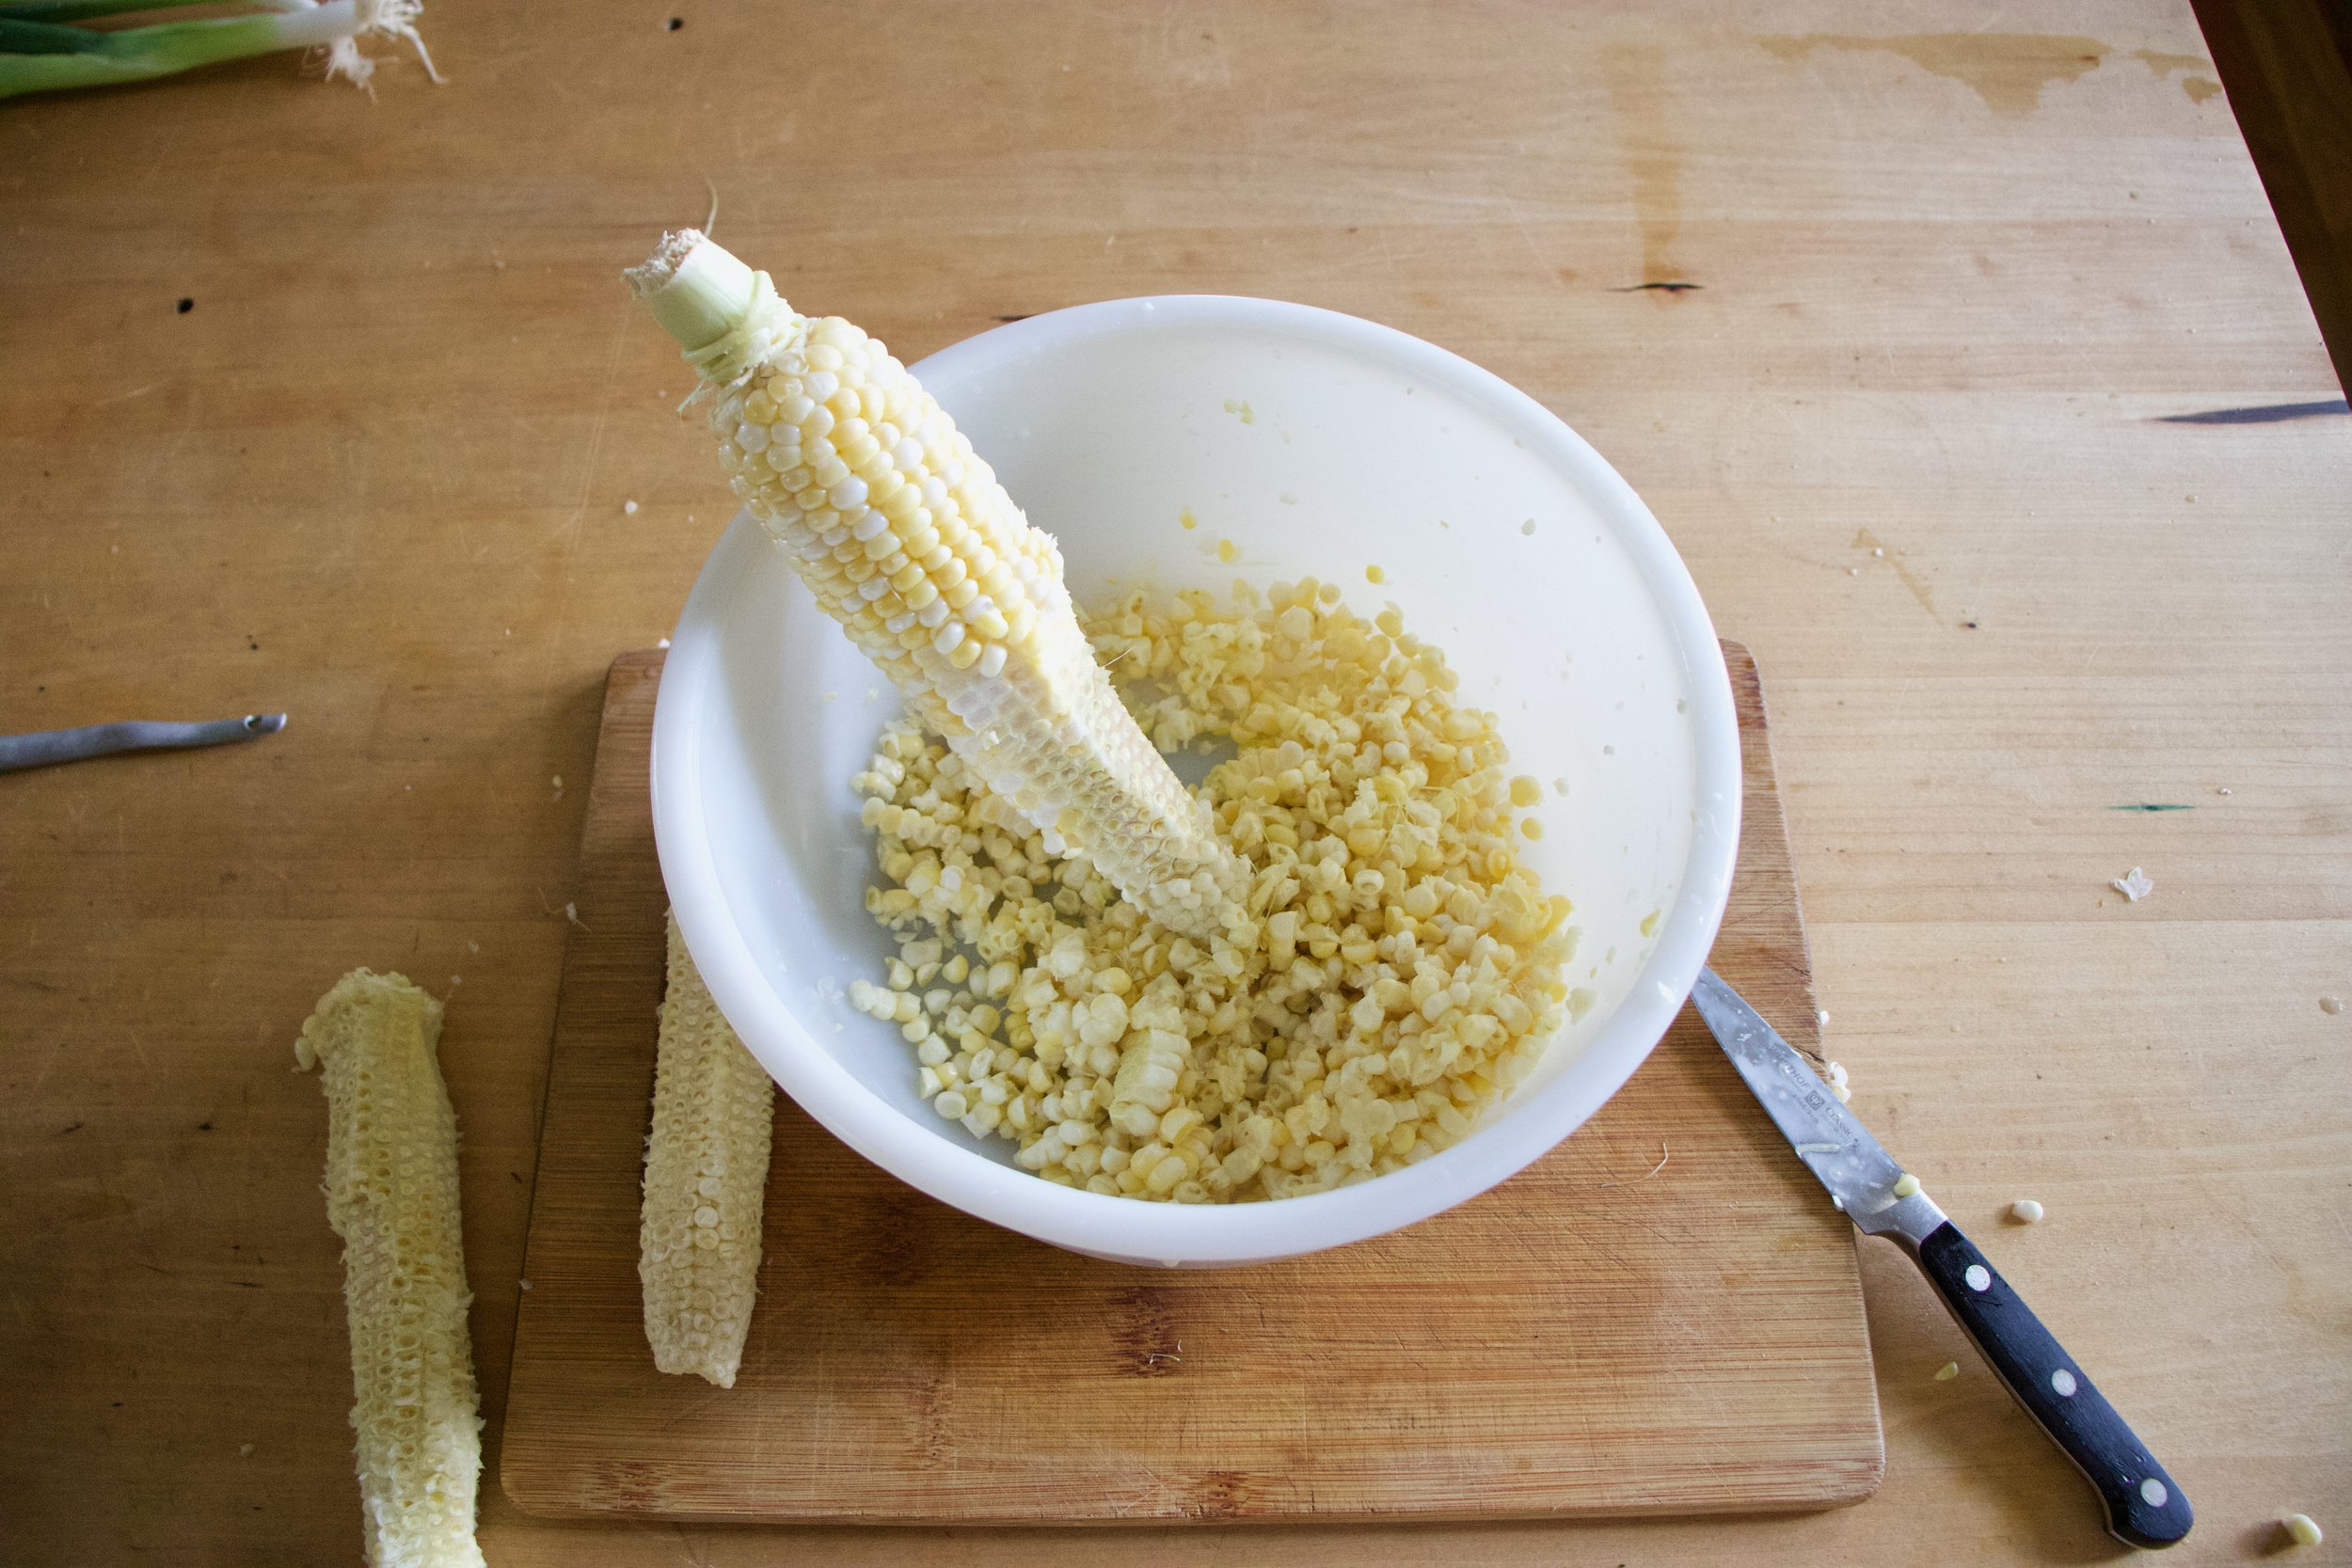
Cut peaches in half, remove pits, and cut into chunks.

IMG_9281.jpg
IMG_9285.jpg

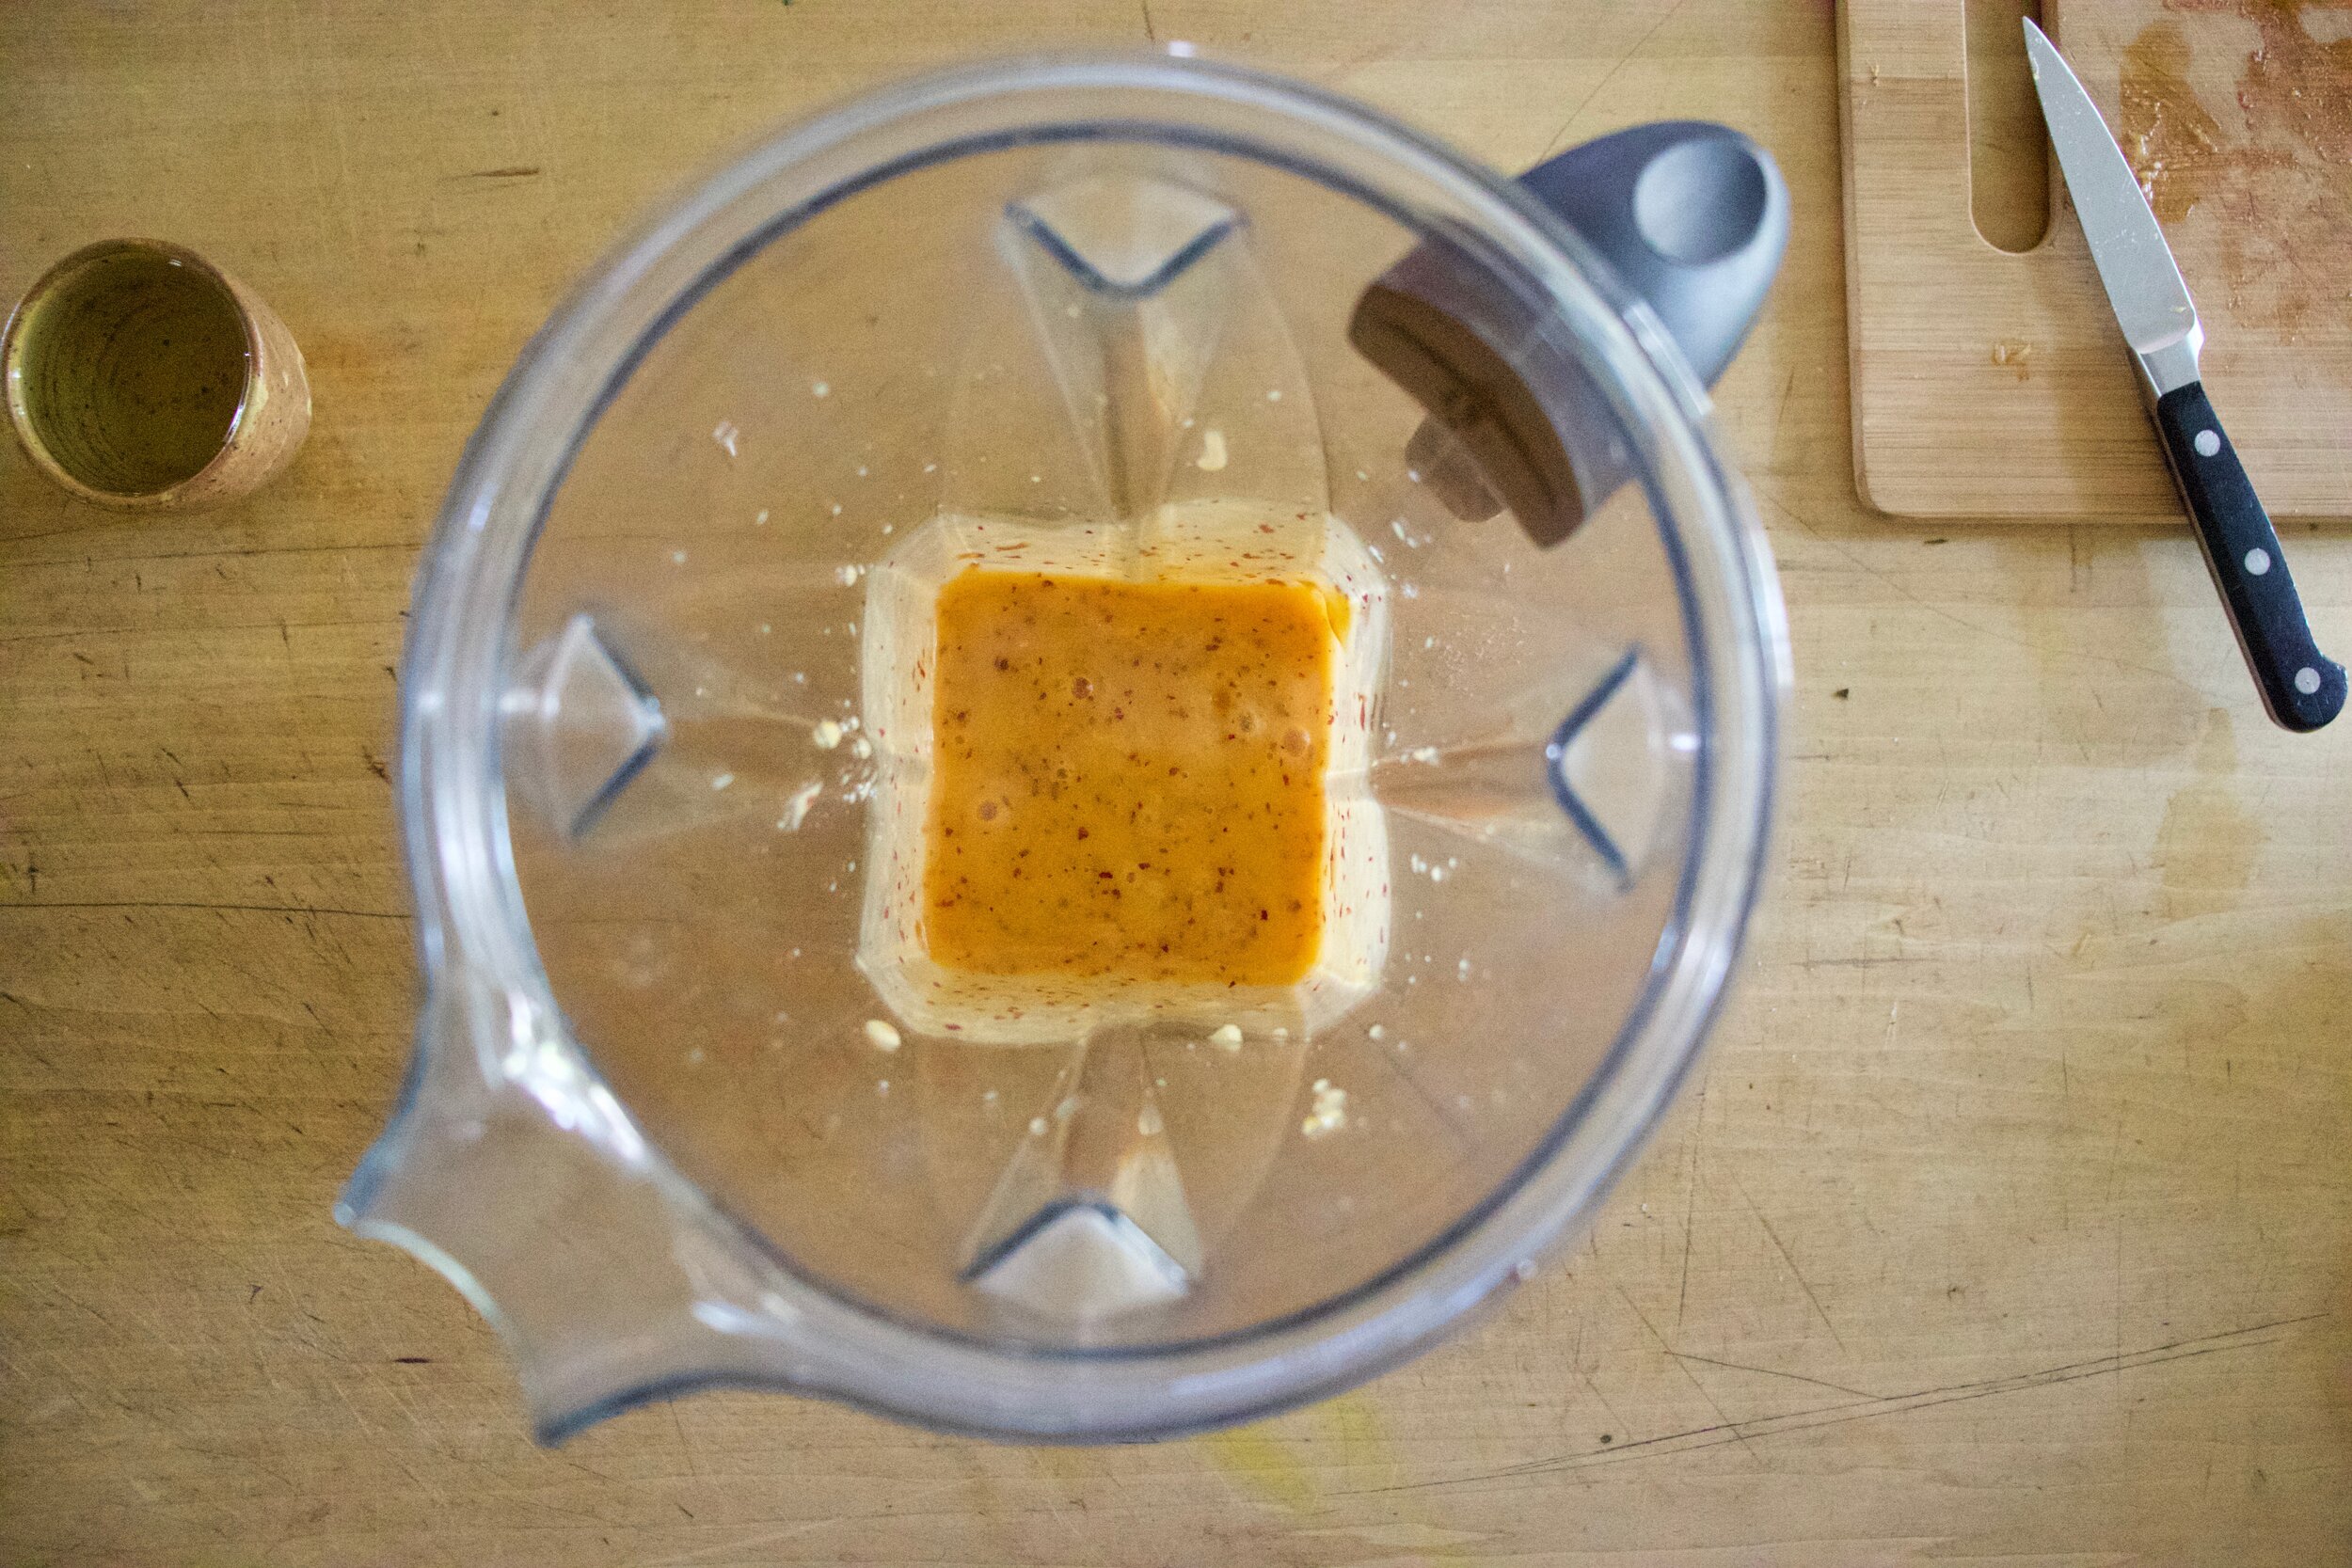
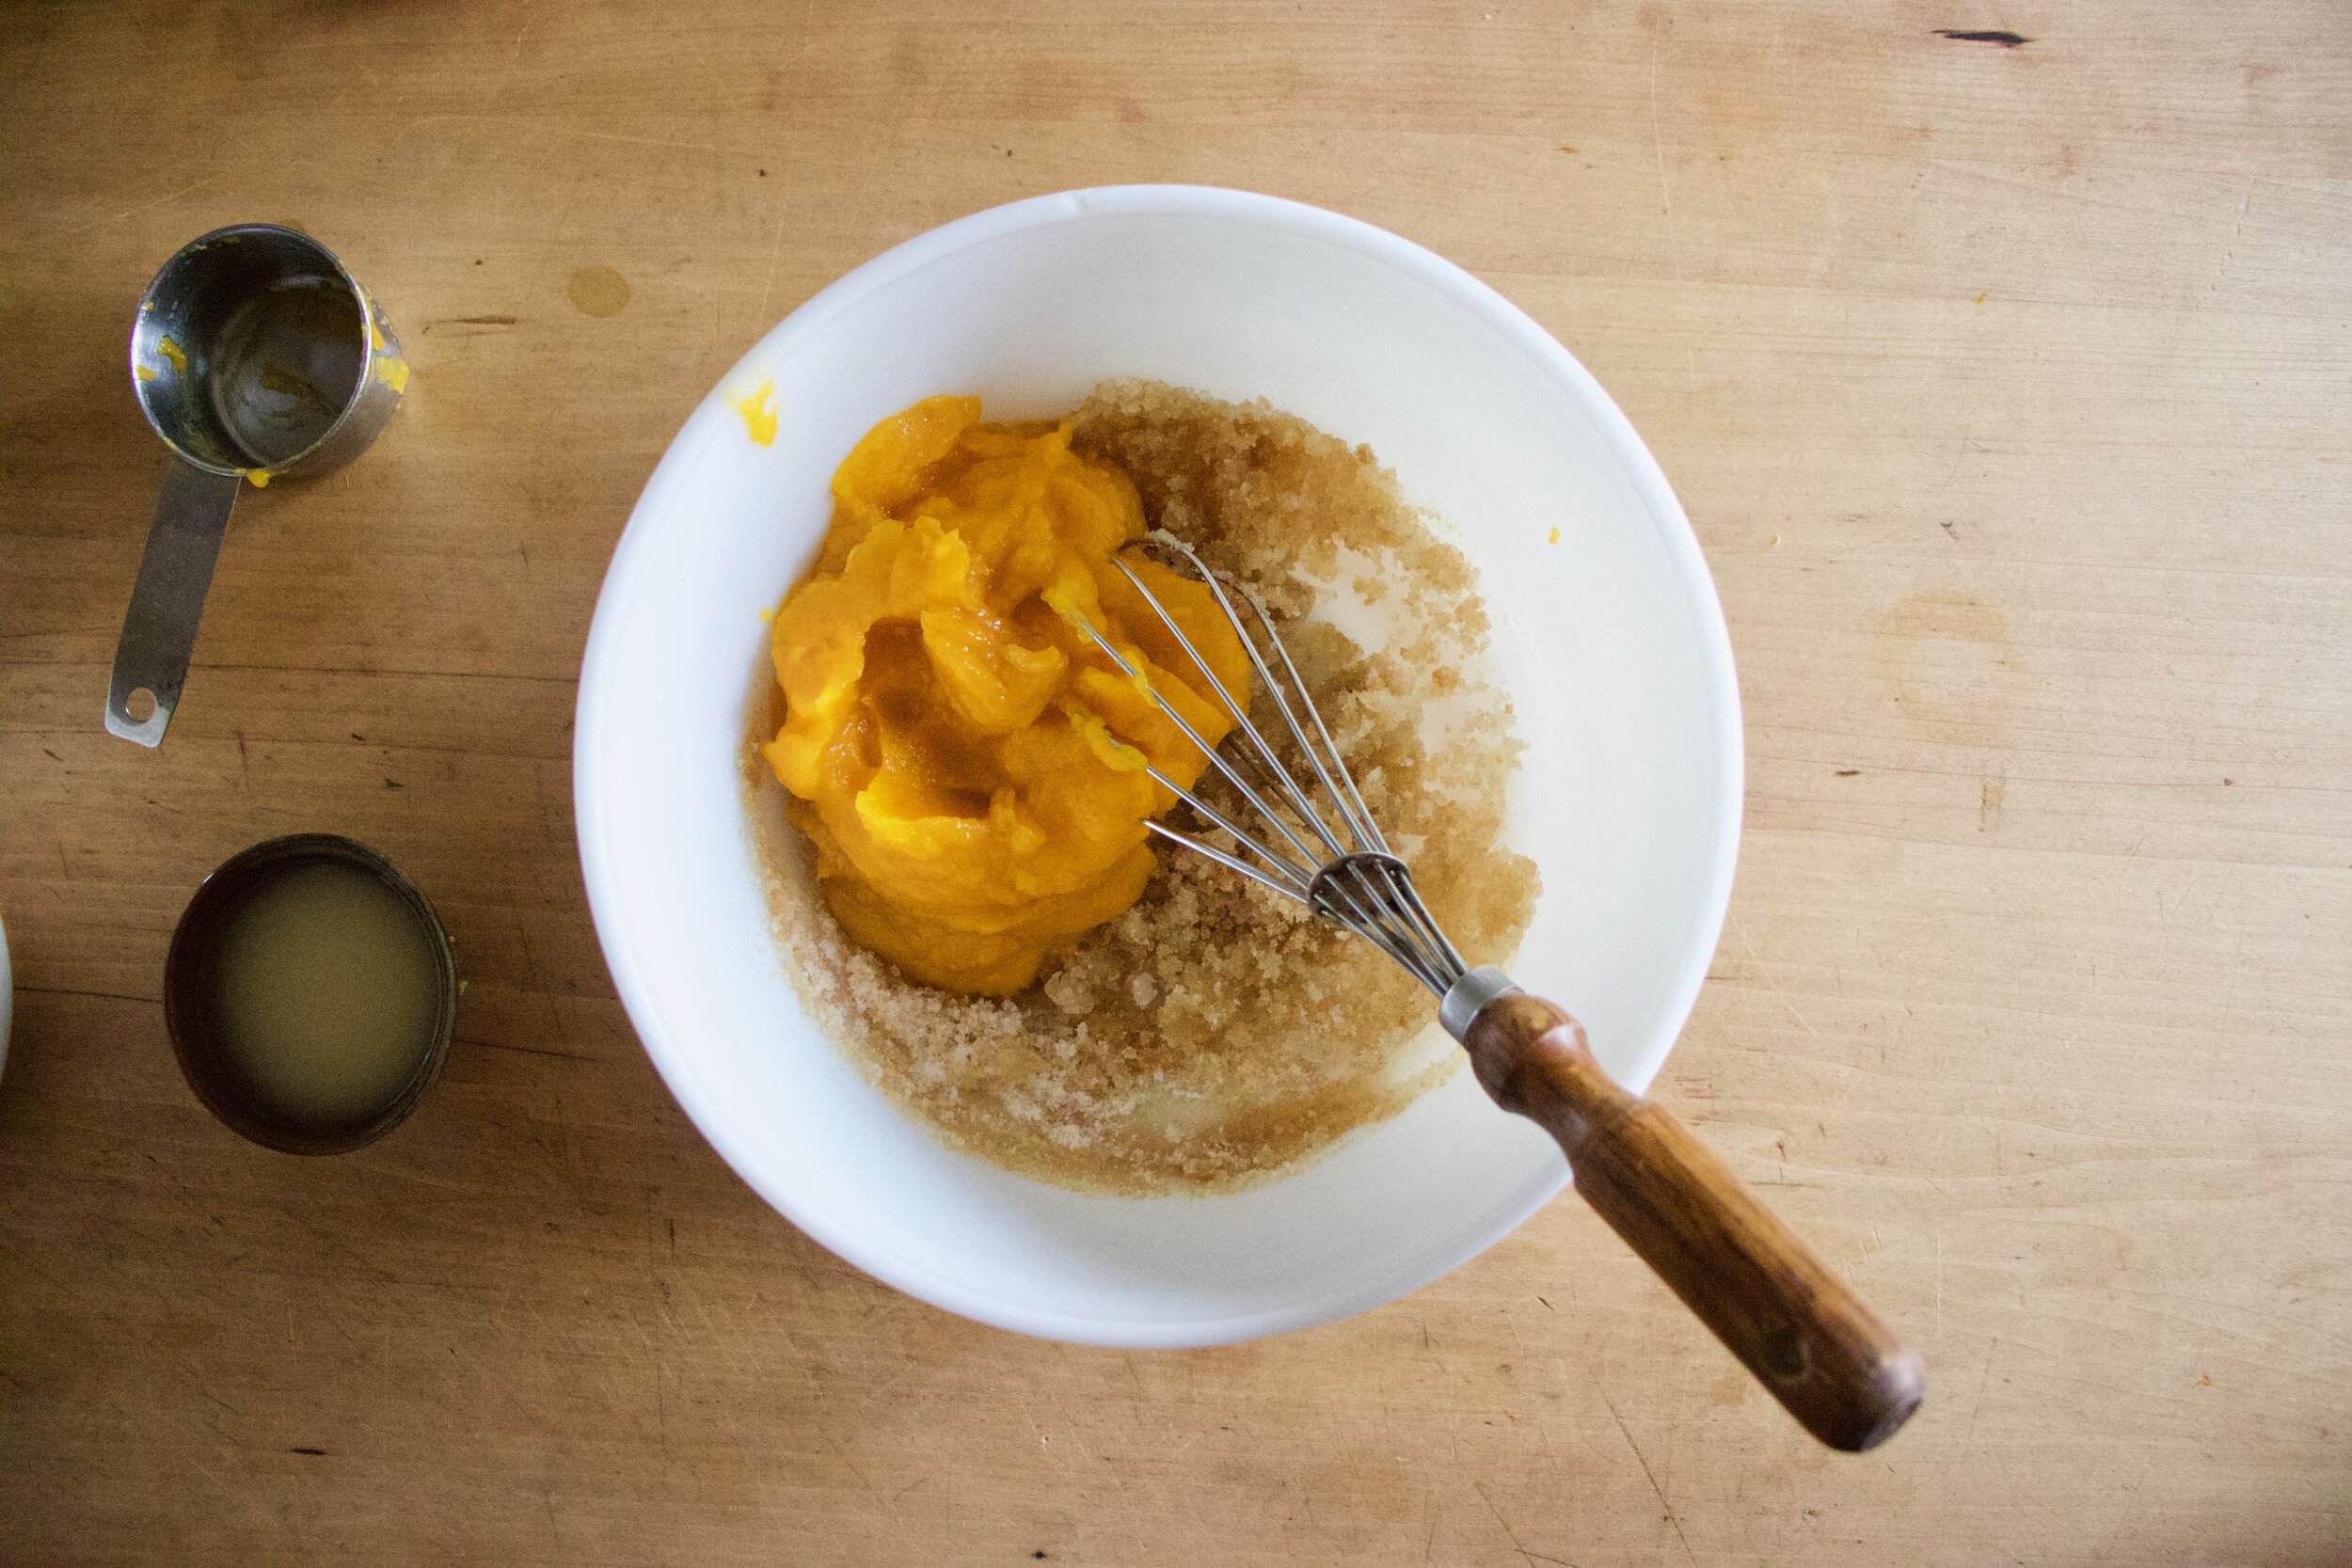
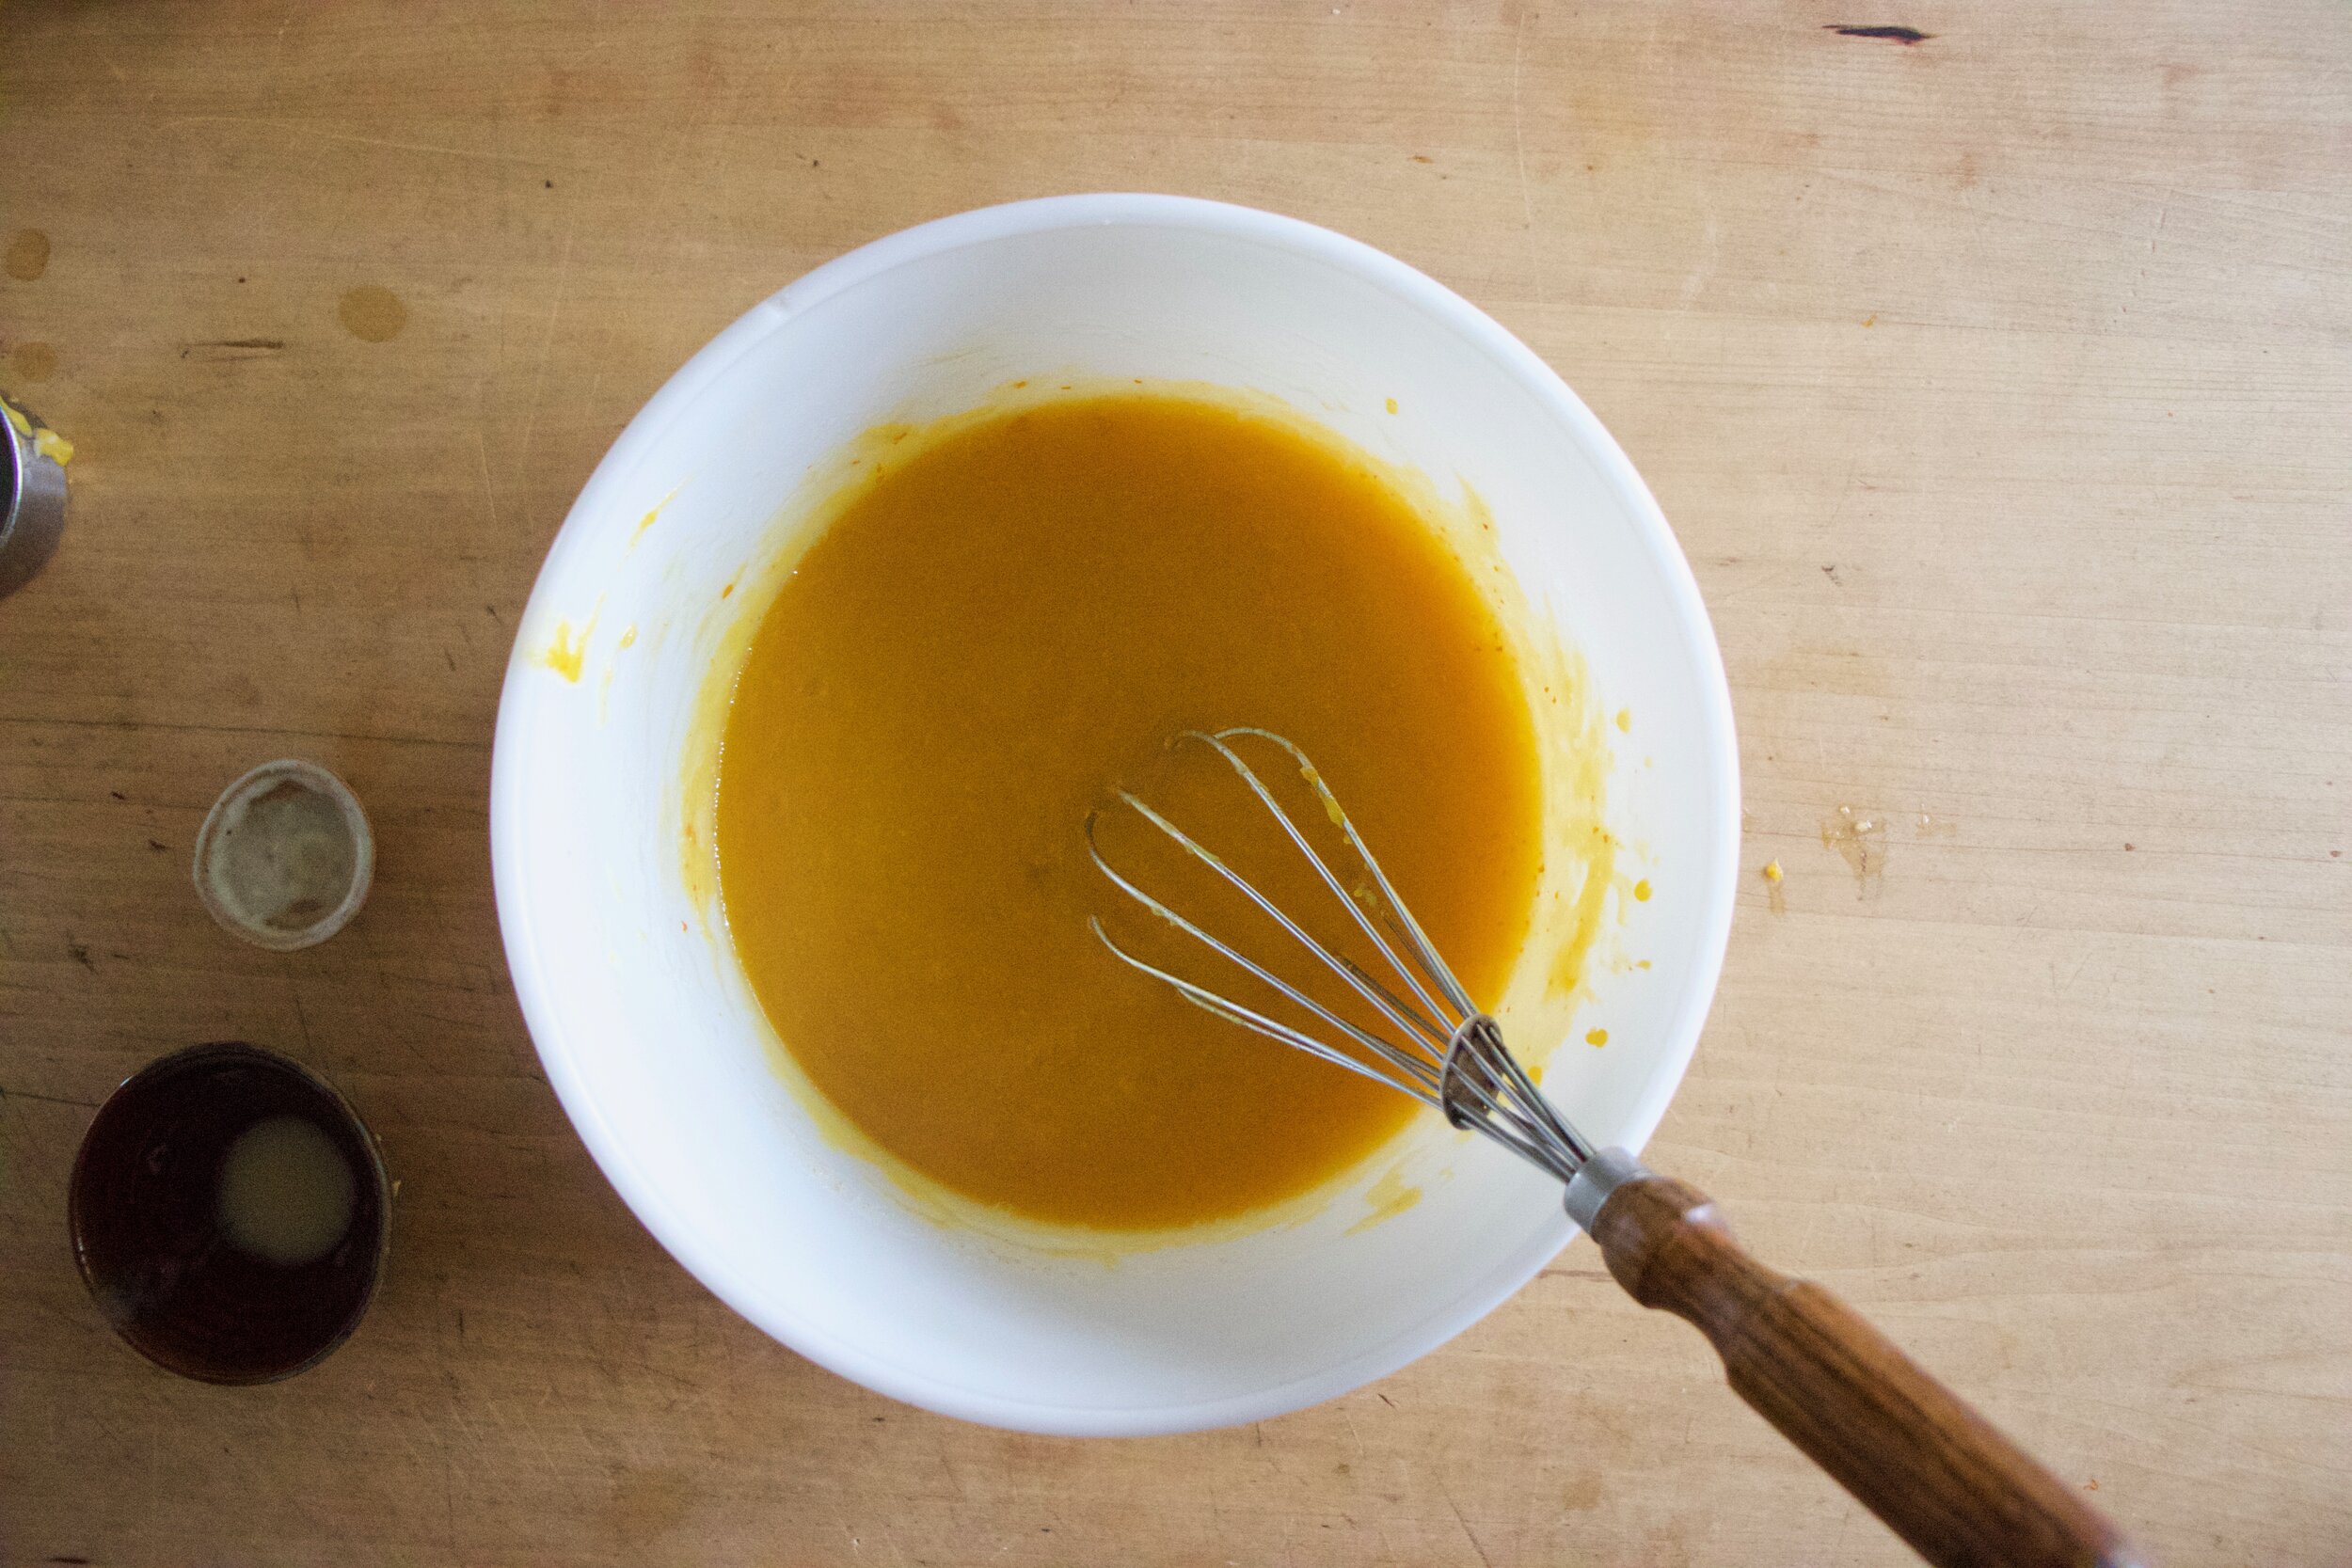
Place peach chunks into blender and blend until smooth.

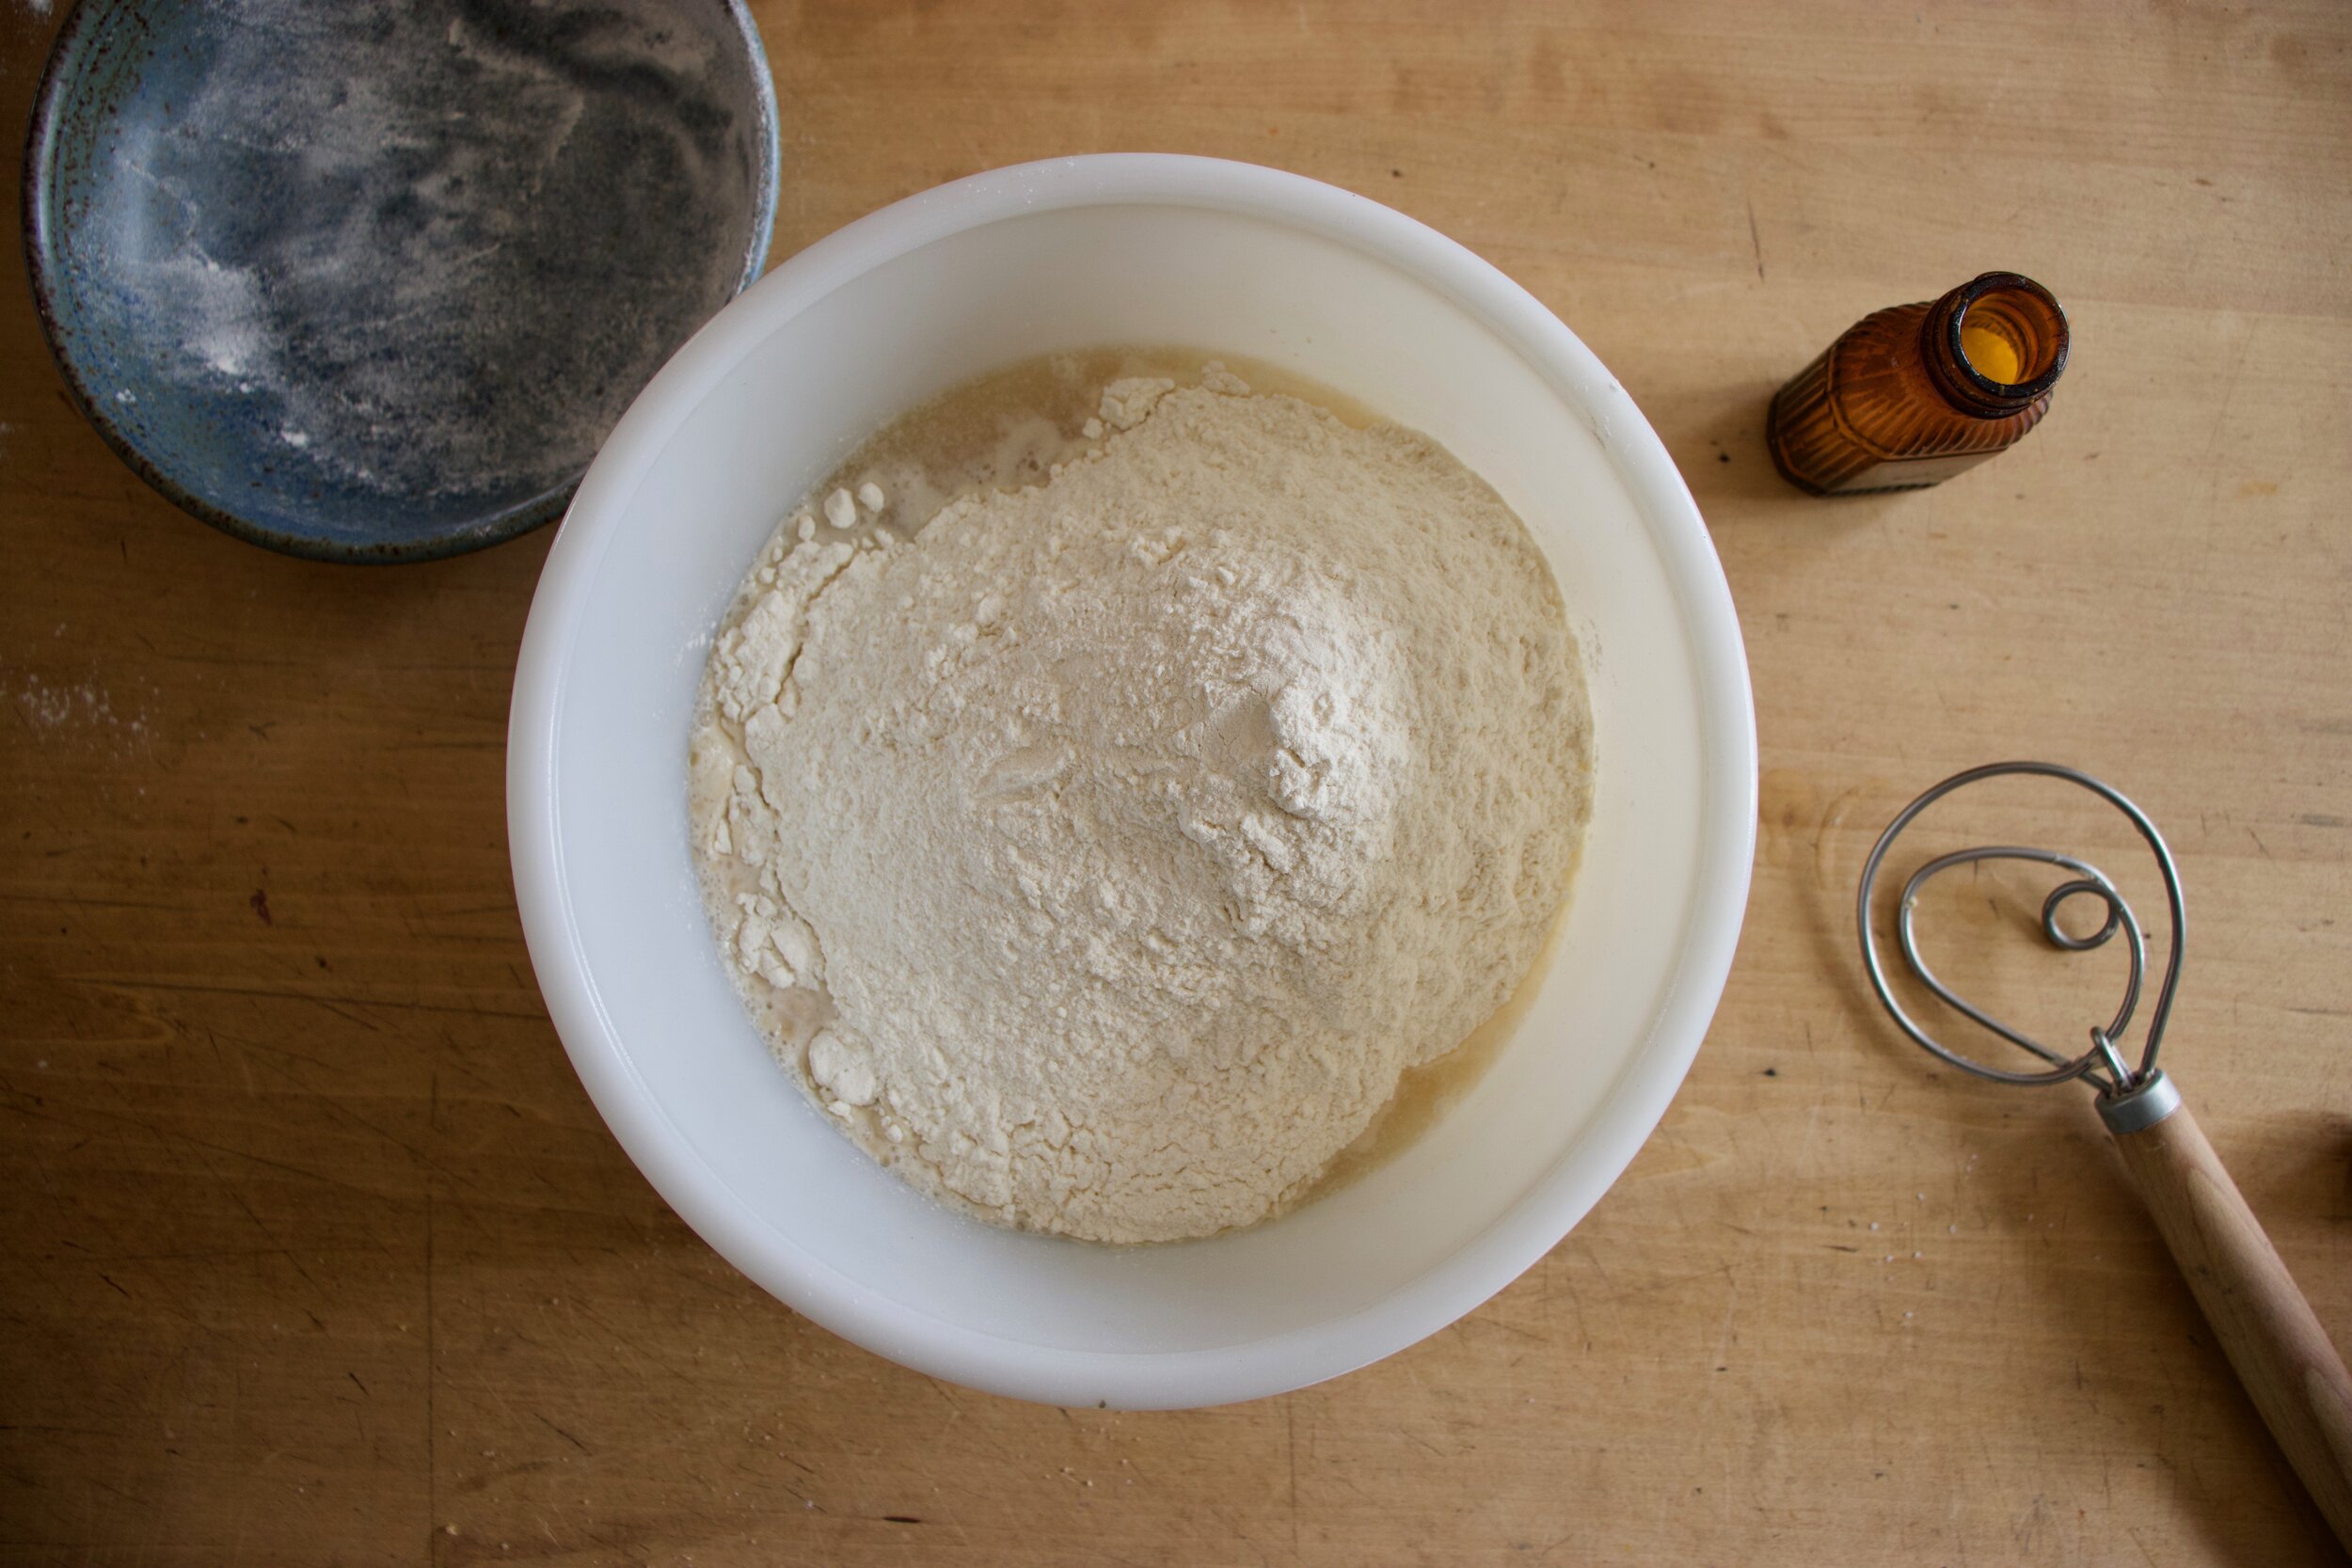
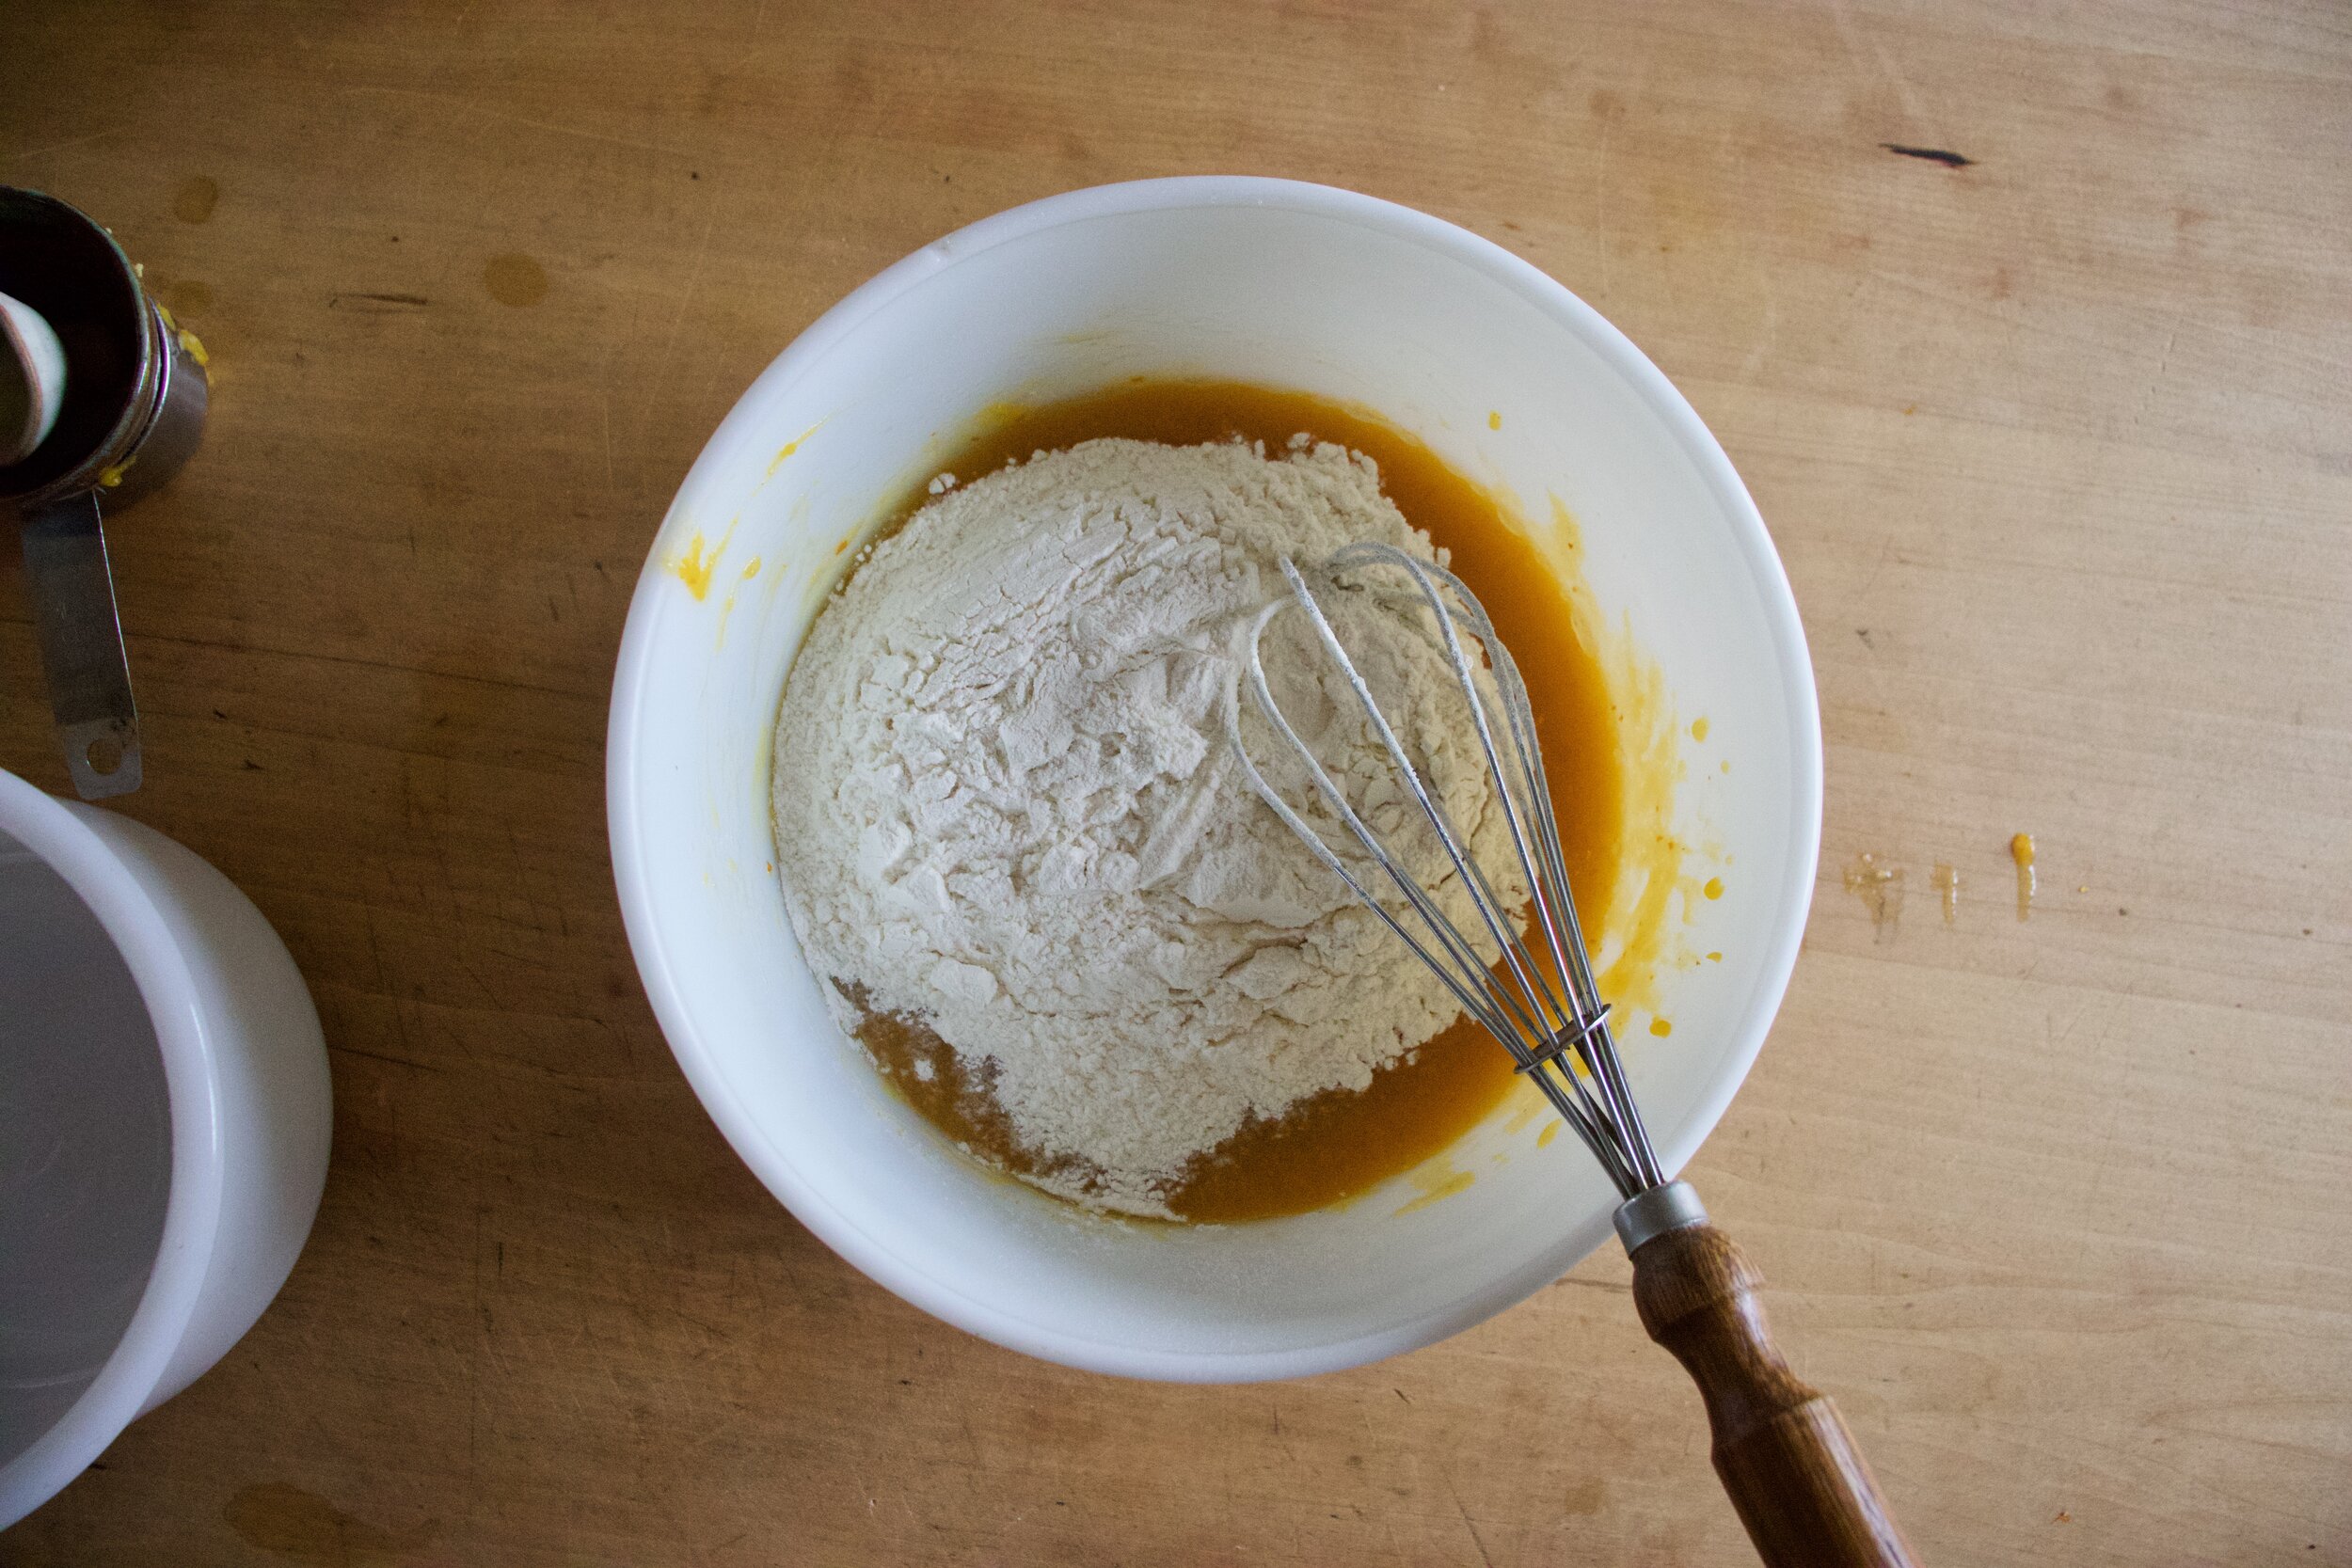
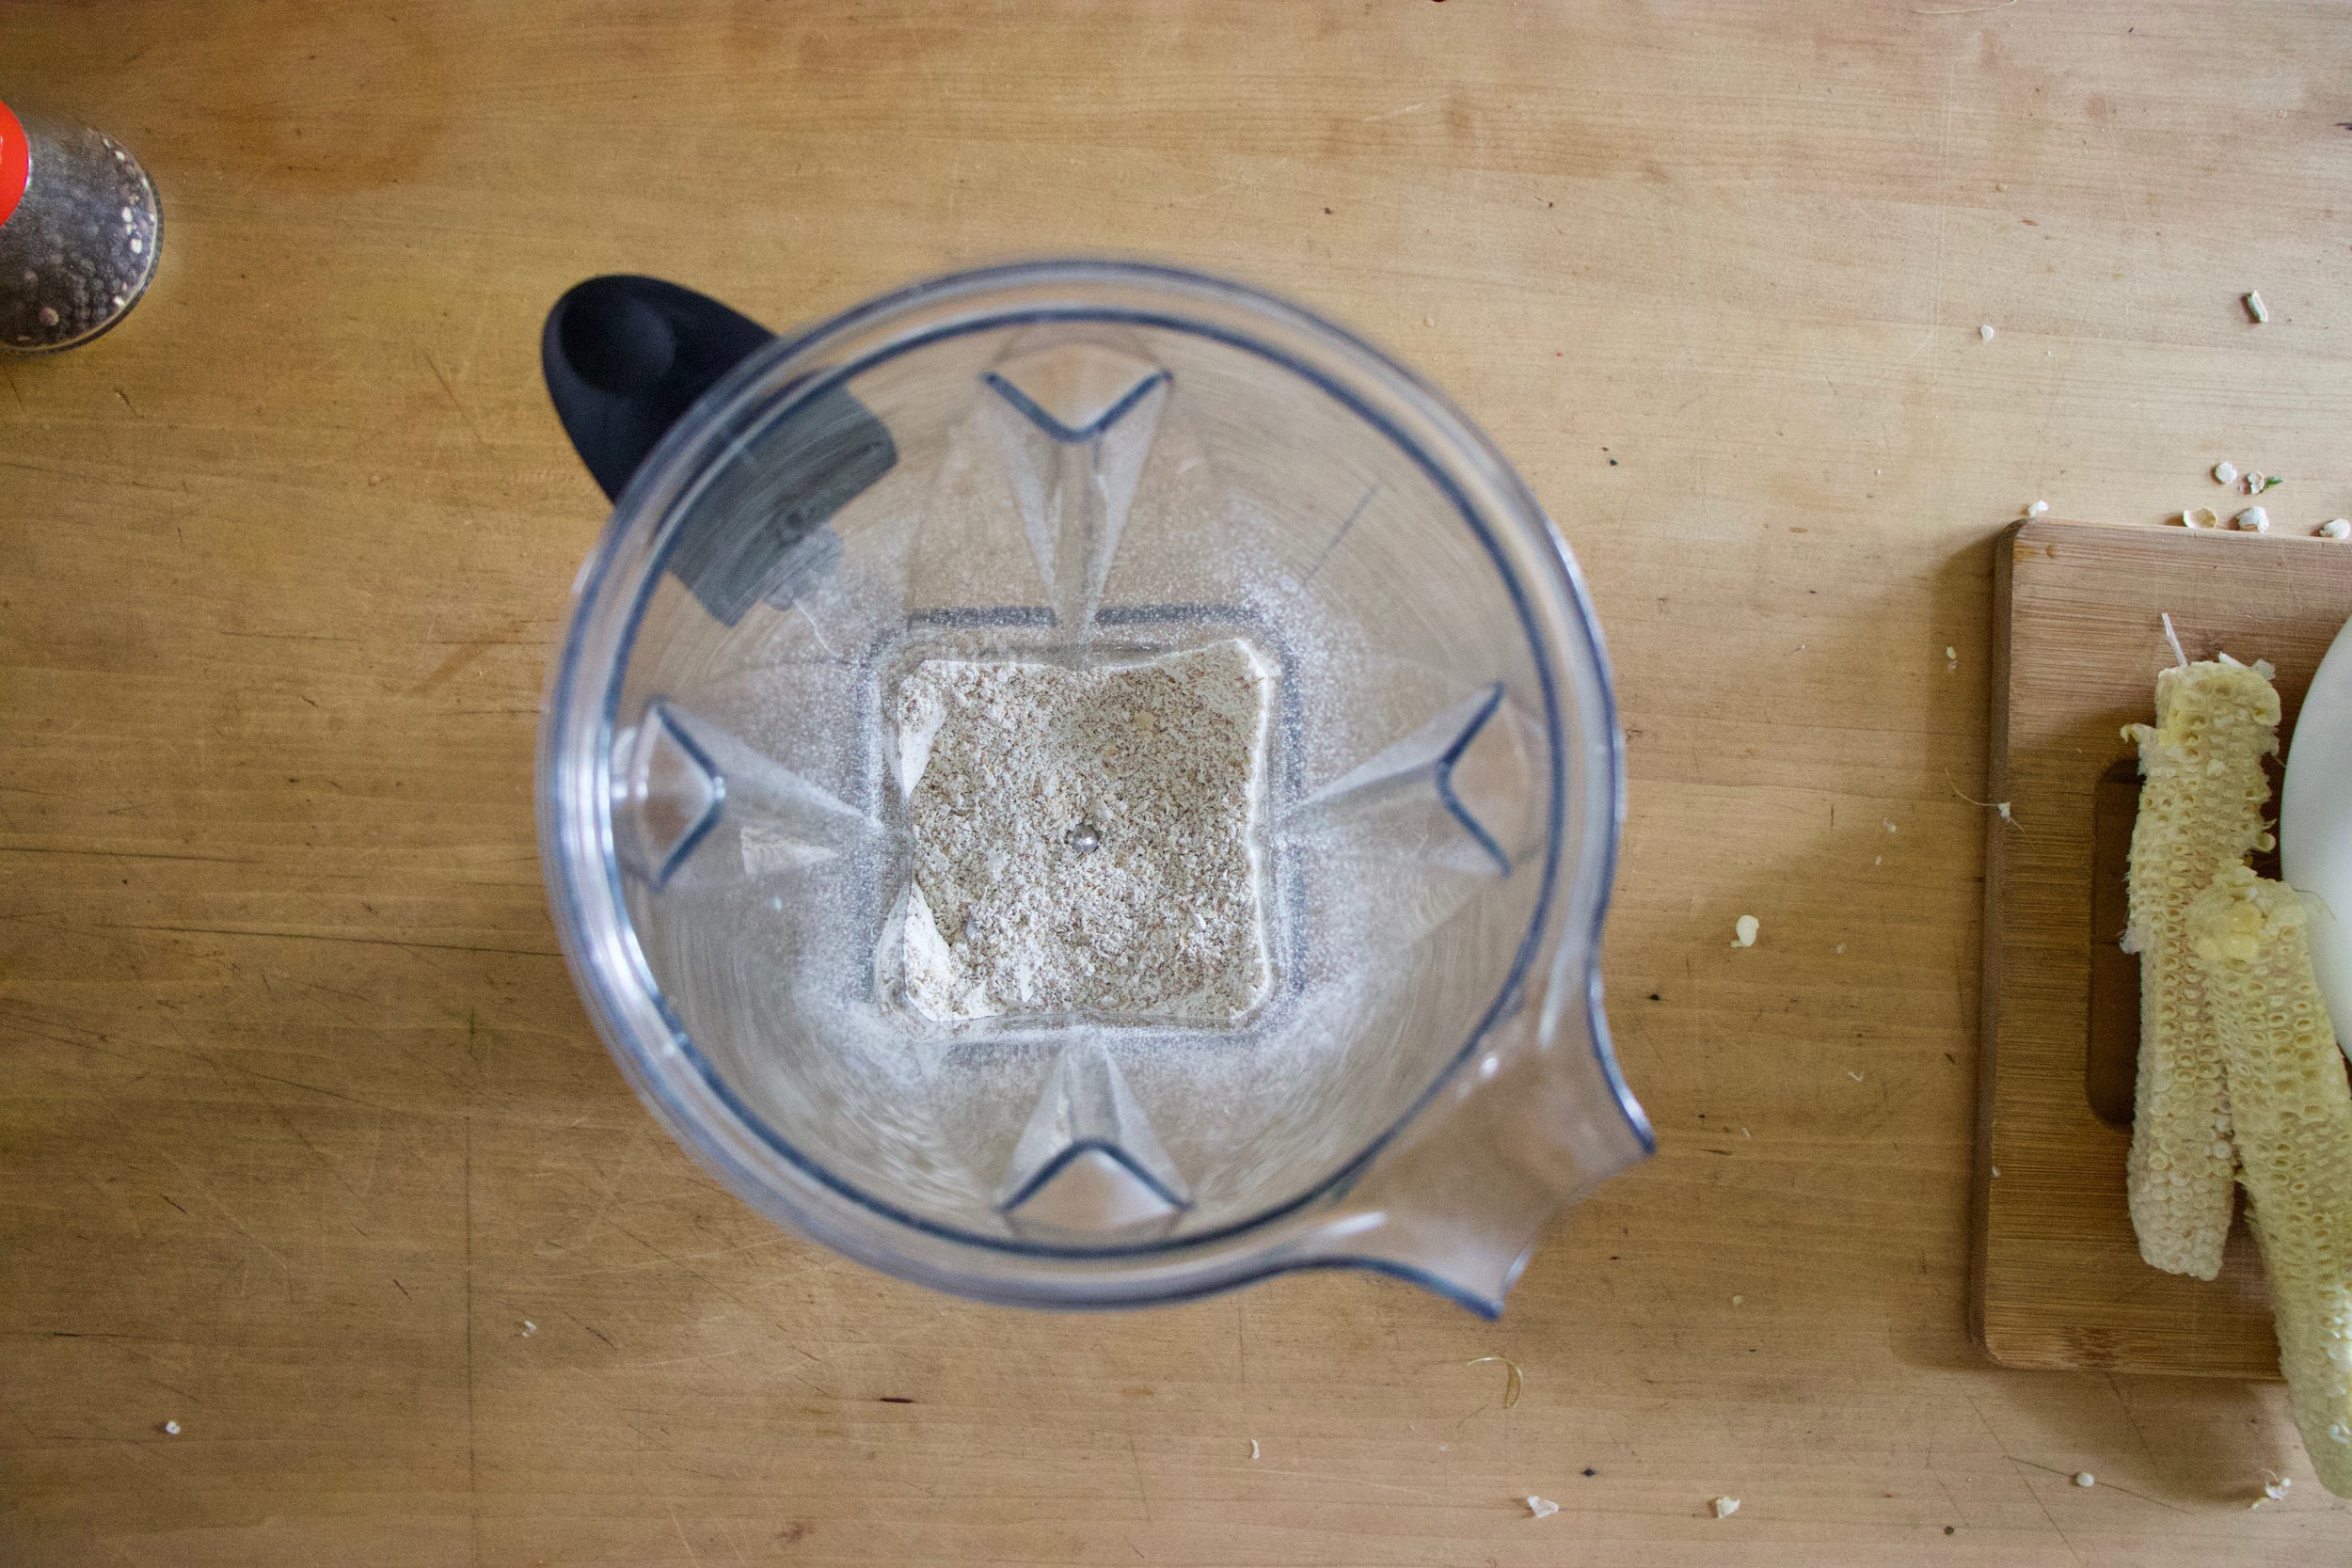
Mix the cinnamon and salt with the oats.

IMG_9292.jpg

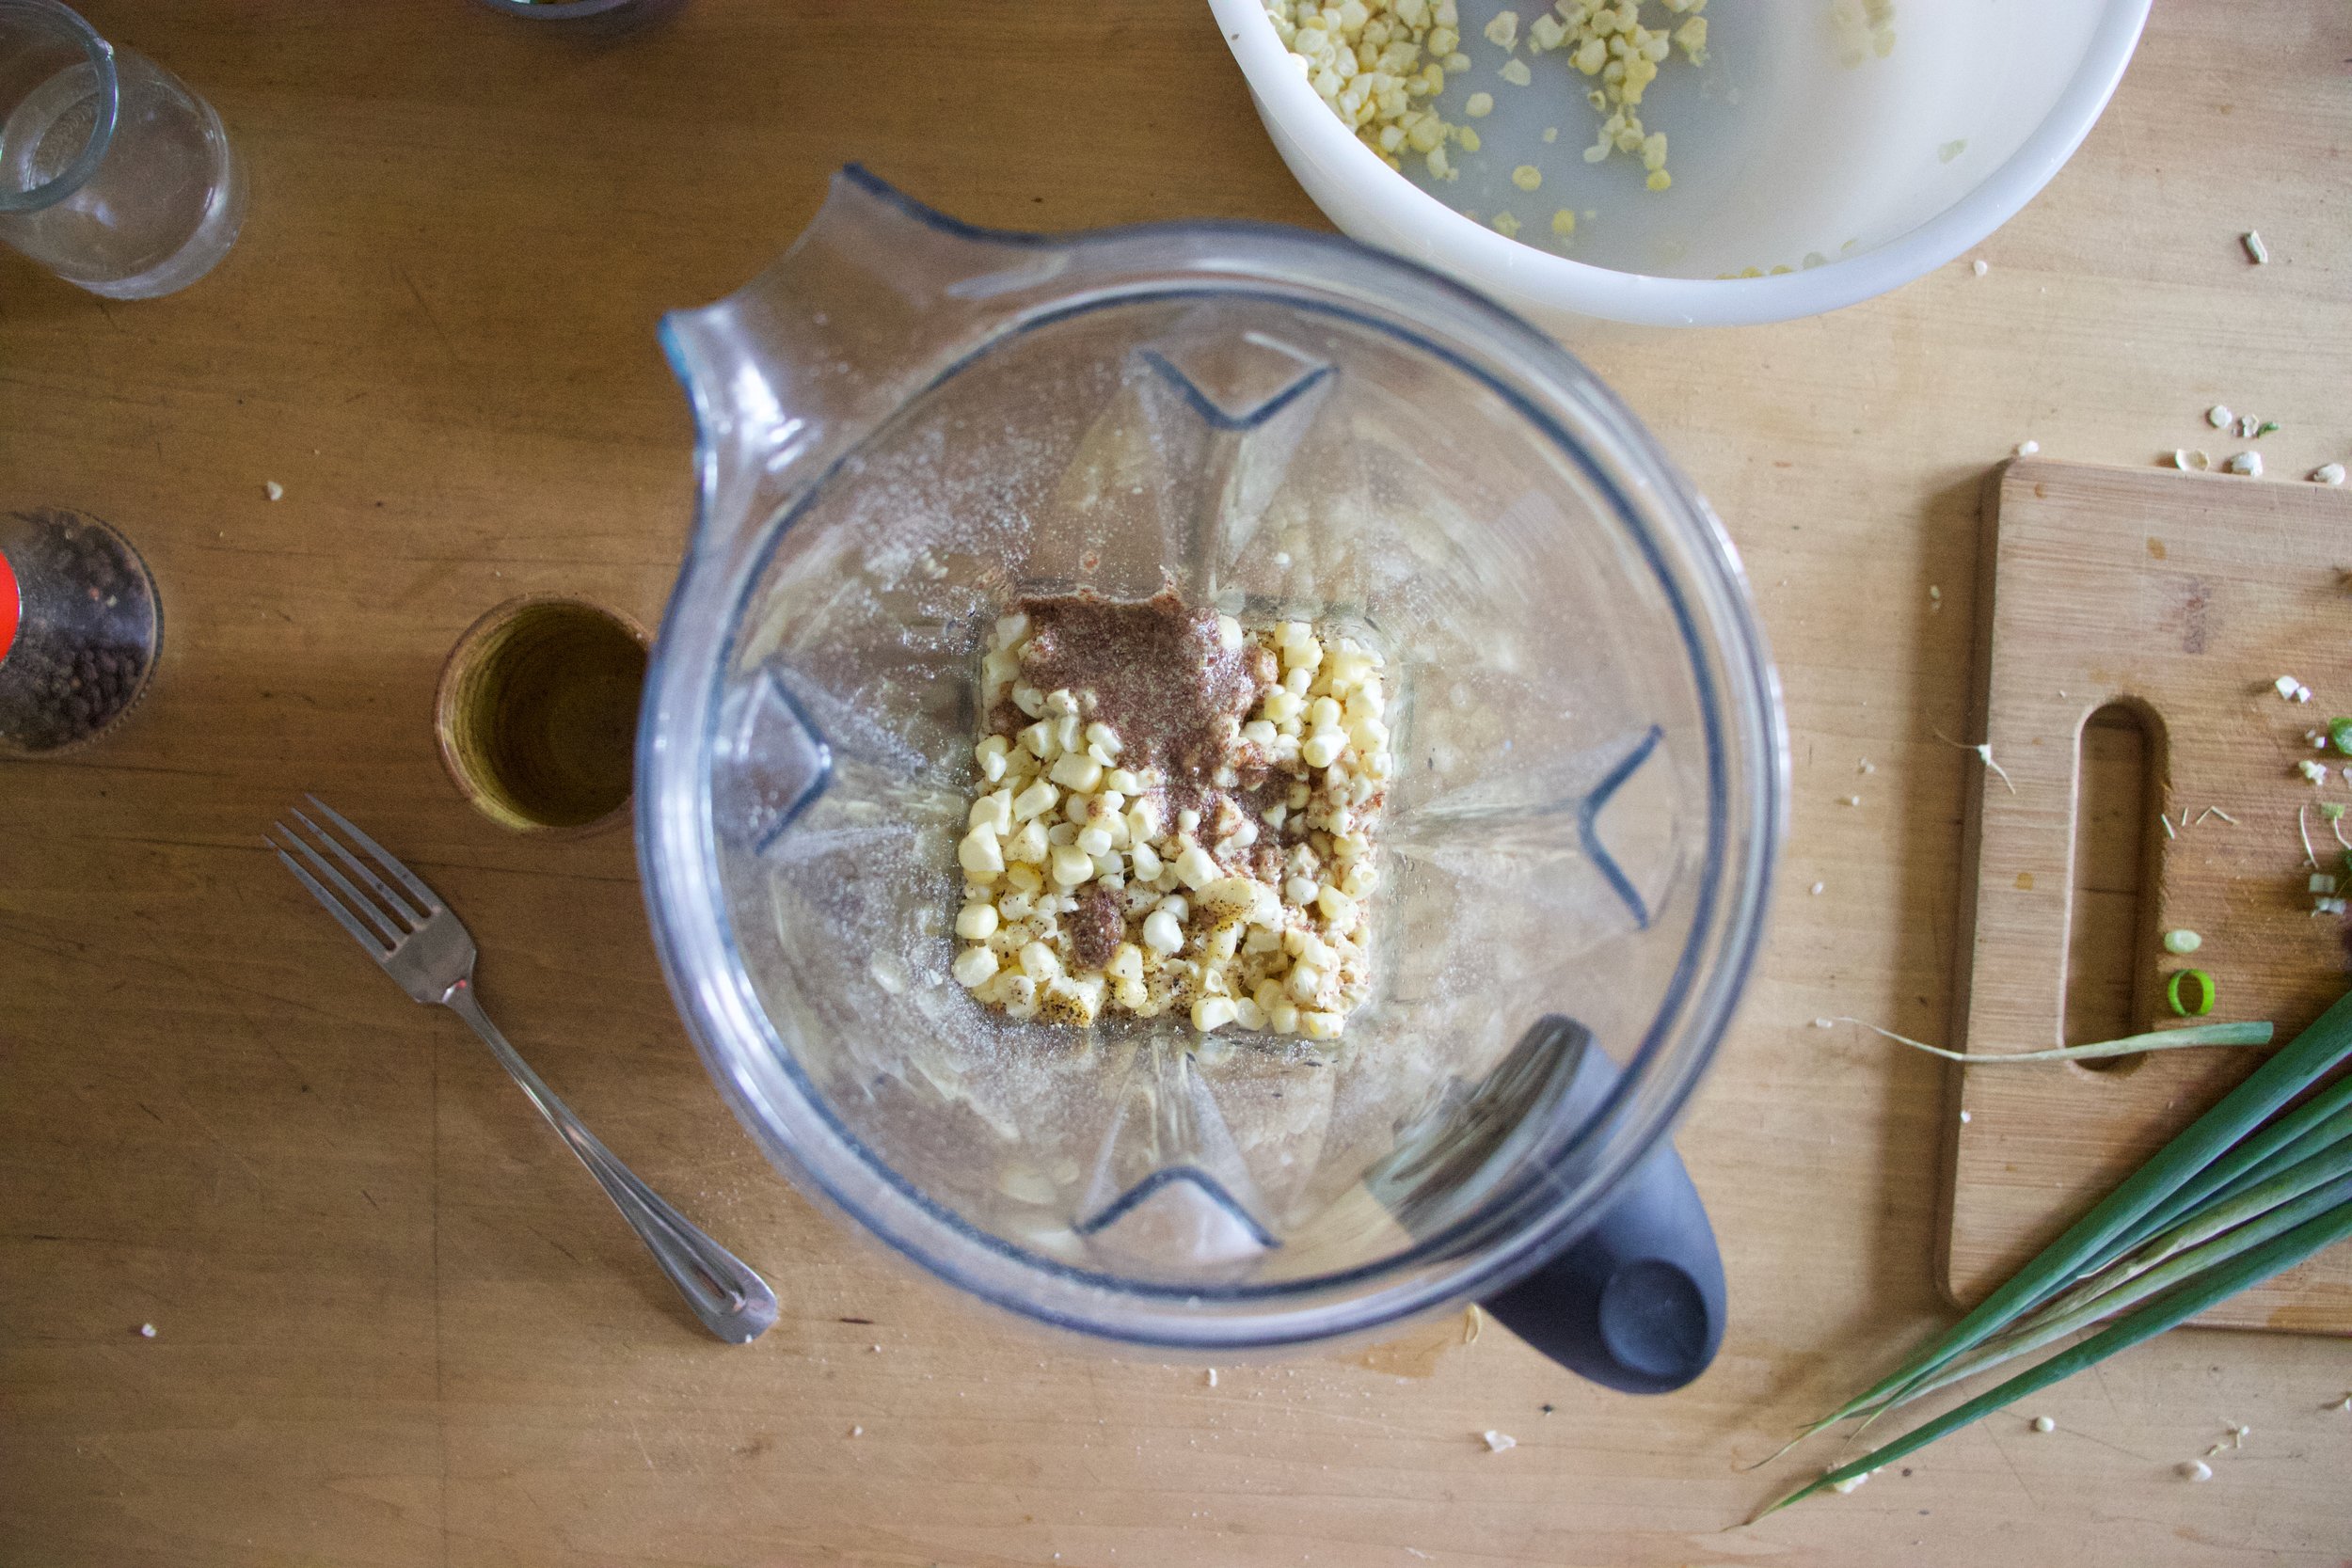
Pour the peach puree into the oats.

Mix until evenly incorporated and a little clumpy. If the oats are all moist but not creating any clumps, add a few tablespoons water until there is some clumping going on.

IMG_9305.jpg

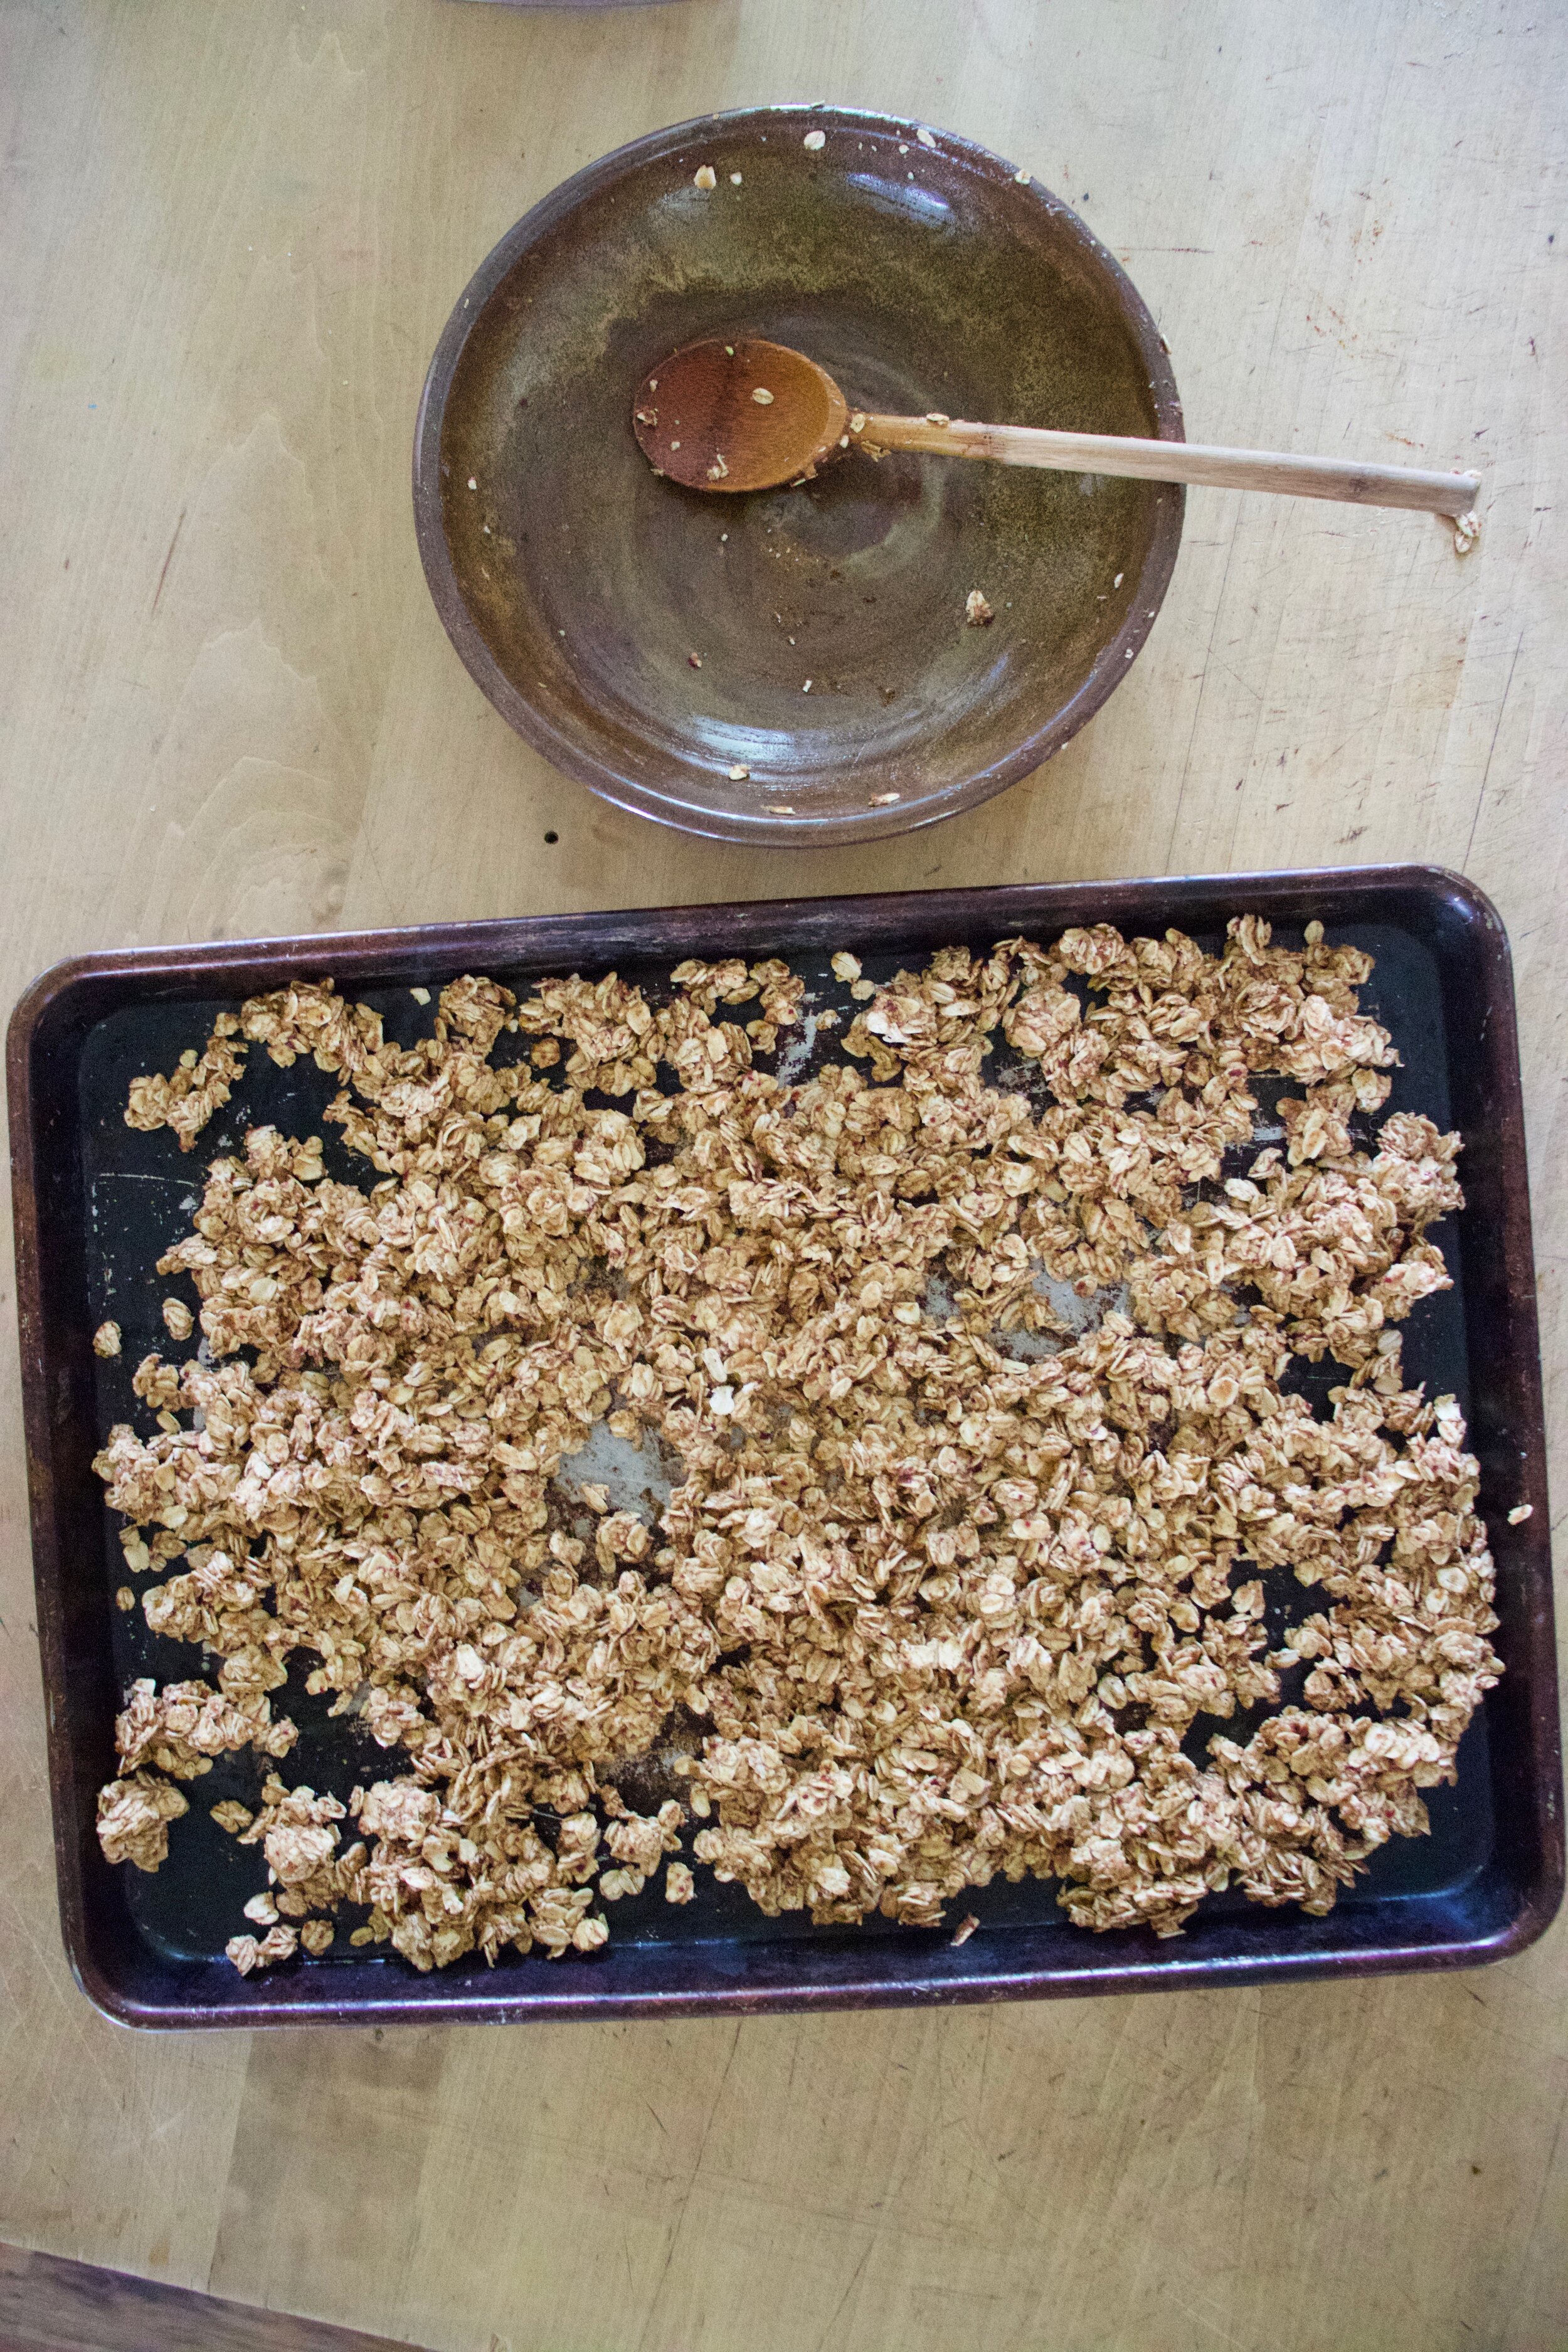
Dump mixture onto a baking sheet, You can line it, but I don’t bother.

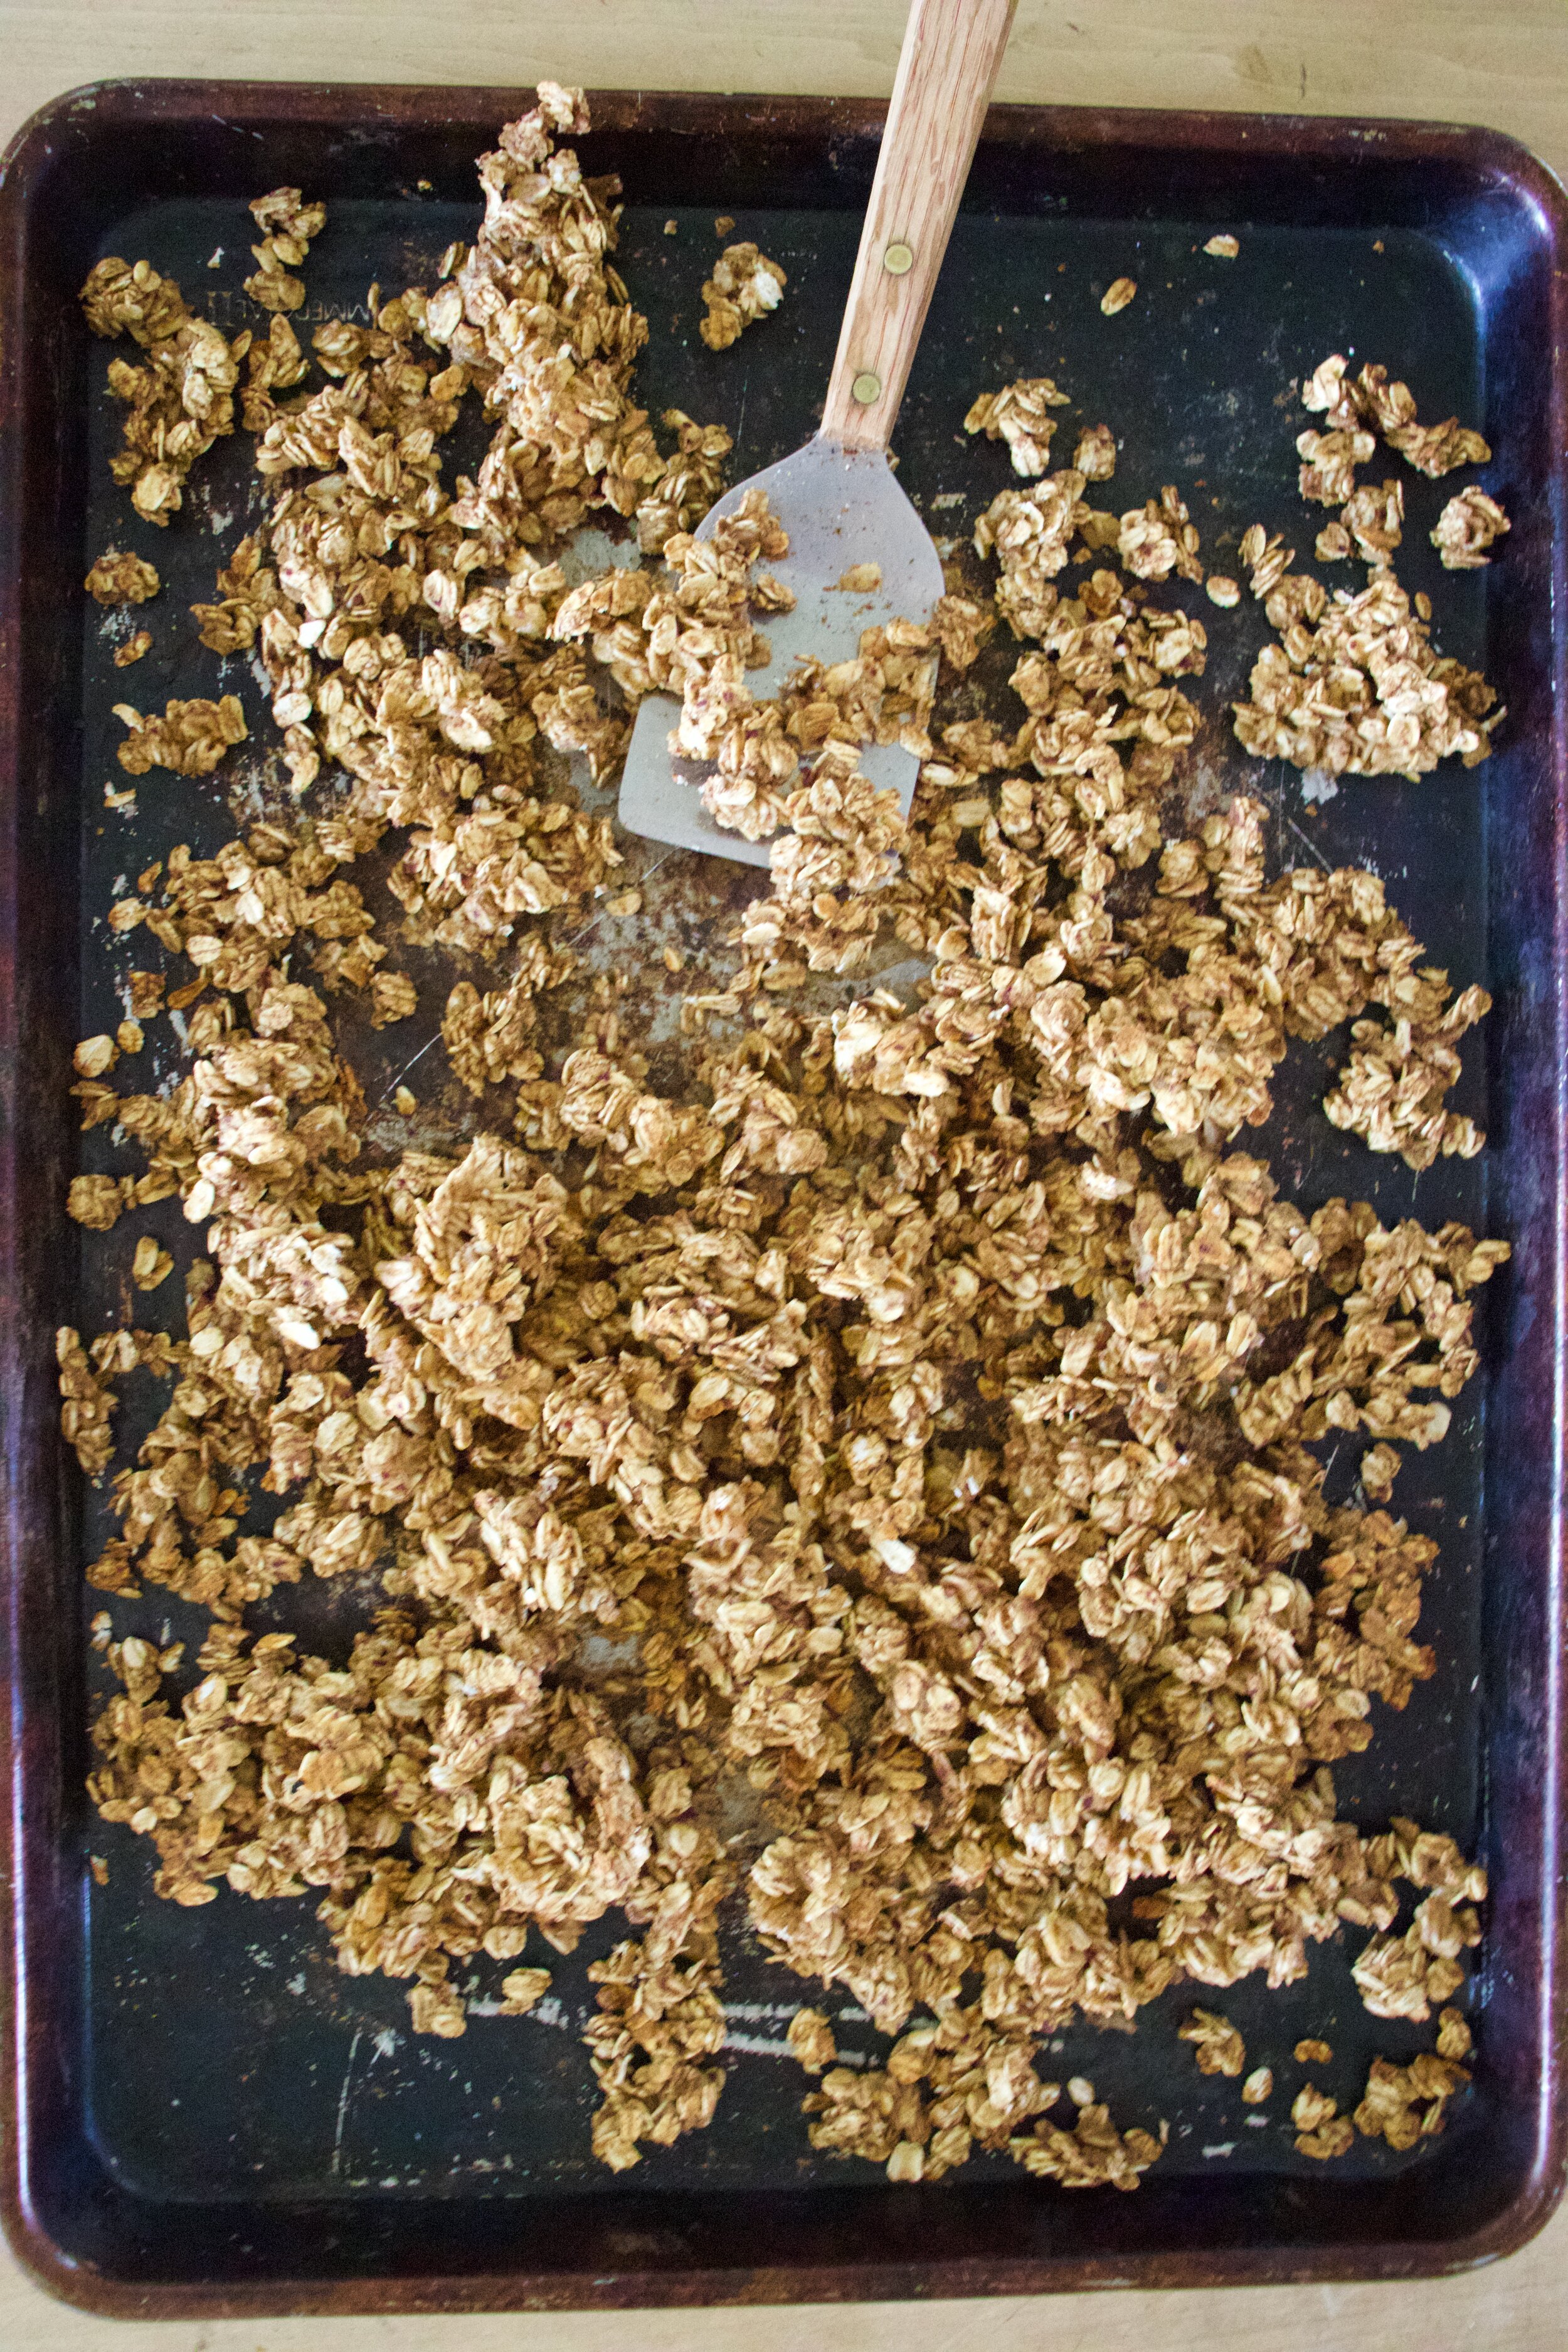
Pop into preheated oven to bake for about 25 minutes then remove from oven and toss around. Stick it back into oven for 25 more minutes or so. After 45-50 minutes of being in the oven, turn oven off and just let granola cool in oven. It’s key to crispy granola.

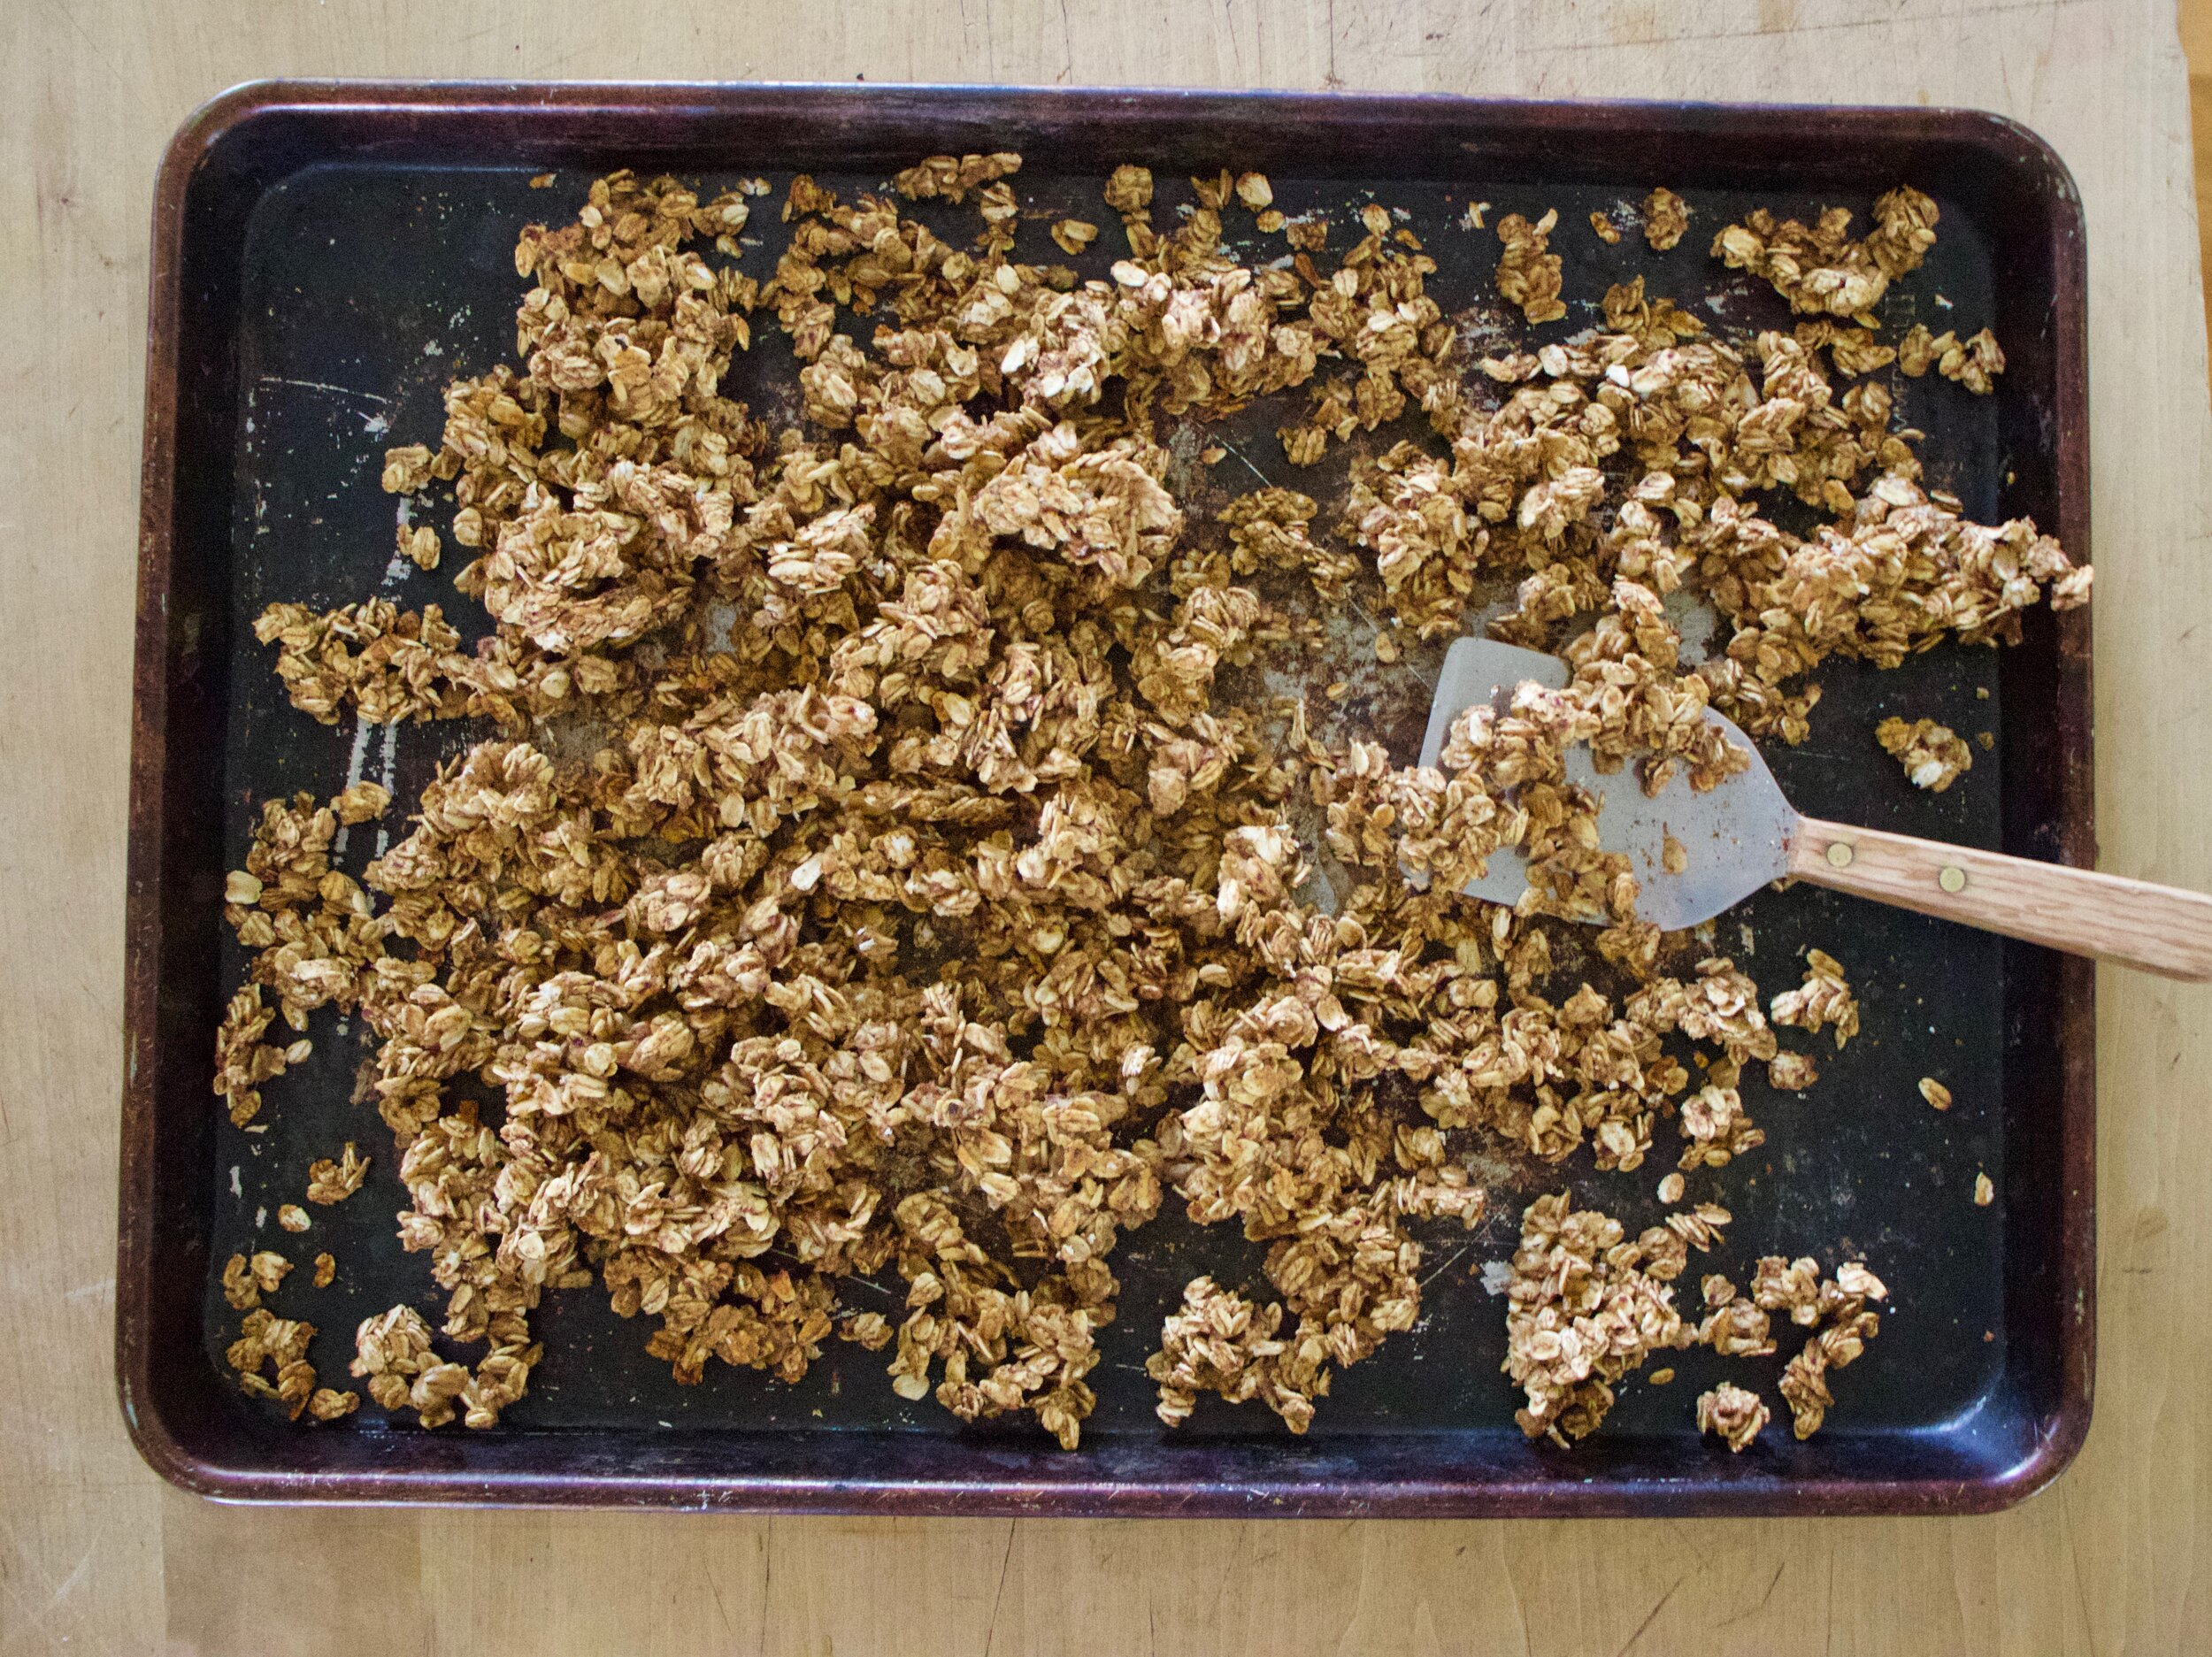
Cooled off and all crispy and clumpy. Granola at it’s finest.

Into a jar to save some for later to eat however you want.

Me, I like handfuls straight into my mouth, chased by a little oat milk. Hehe!

-C


Peach Granola

makes 2 1/2 cups

  • 2 peaches

  • 2 1/2 cups old fashion oats

  • a few tablespoons of water (if needed)

  • 1-2 tablespoons cinnamon

  • pinch of salt

Preheat oven to 375

Cut peaches in half, remove pits, and cut into a few chunks. Place chunks into a blender and blend until smooth.

Place oats into a big bowl and mix in the salt and cinnamon then dump in the peach puree. Mix until completely incorporated and a little clumpy. IF there are no clumps, add a few tablespoons water and mix. Dump mixture onto a baking sheet and evenly distribute. Place baking granola into oven to bake.

Bake for 25 minutes, remove the granola and toss around with a spatula, then place back into oven and bake for another 25-30 minutes. After being in the oven for a total of 45-50ish minutes, turn oven off but keep granola in oven to cool. This is key to a good crispy granola.

After cooling off in oven, remove and eat. Place what is not eaten in an airtight container. Eat within a week or so.

In Vegan, granola Tags peach, granola, peach granola, oats, gluten free, dairy free, sugar free, oil free, grains, simple, easy, vegan, fruit, plant based, healthy, breaskfast, snack
Comment

Tomato-y Roasted Red Cabbage

February 29, 2020 Colleen Stem
IMG_6295.jpg
IMG_6329.jpg

Most people who know me and know my eating habits think that I eat more carrots the anything else. Well it might be true that yes, I eat an excessive amount of carrots but what I probably eat even more of is cabbage. Yup, me and cabbage. Not shitting you, I eat at least a head a day. Why? Because it really is one of my favorite foods ever and the possibilities of how to eat it are endless. Sure most of the time I just eat it raw, toss with other veggies and mustard, but have you ever roasted cabbage? Oh man, roasted cabbage is A-MAZ-ING!!!!

Also, if you know me, I rarely make a dish other than salad that I am not planning on sharing. The other day I was home all by my lonesome, the mr wasn’t coming home for lunch so I decided that, what the hell, I should make something fancy for myself. This is that something.

Tender and crispy roasted cabbage with onions all up in a tomato sauces that gets nice and dark and delicious. I mean, come on. Doesn’t that sound amazing? This dish is so simple and yet so freaking fantastically good. It was the best thing I ate all week. And yes, it is a whole head of cabbage and I ate it all to my face. Didn't think about sharing with anyone. 😁

To the cabbage!

IMG_6235.jpg

The stuff. A head of red cabbage, an onion, a lemon, a couple cloves or garlic, crushed tomatoes, and salt and pepper.

IMG_6239.jpg
IMG_6255 2.jpg

Mince or press the garlic (I just found a garlic press and decided to use it…. not bad) and slice the onion into thin rings .

Next cut cabbage into wedges about an inch thick. And don’t remove the core because you eat the core. It gets tender and delicious.

IMG_6243 2.jpg
IMG_6249.jpg
IMG_6257.jpg

Grab a oven safe skillet and toss in the garlic and a good splash of water and start to heat on stove. Once the water evaporates, add in half of the crushed tomatoes. Stir around and bring to a soft bubble then add in half the onions.

IMG_6259.jpg

Now layer in the cabbage wedges and sprinkle with salt and pepper.

IMG_6266.jpg

On goes the rest of the onions and the rest of the tomatoes plus about a 1/3 cup of water. Sprinkle with a little more salt and pepper and toss the skillet into the oven.

IMG_6297.jpg

An hour later, after flipping the wedges mid roast, you pull out the skillet of the most tender and crispy cabbage.

Now grab the lemon and squeeze on some of that juice!

IMG_6340.jpg

Scoop onto a plate (pile it high) and squeeze more lemon if you want.

Now get on to eating.

-C


Tomato-y Roasted Red Cabbage

serves 1(as a meal) to about 4 as a side

  • 1 small head of red cabbage

  • 1 onion

  • 3 cups crushed tomatoes (or 28 oz can)

  • 2-3 cloves garlic

  • a lemon

  • salt and pepper

Preheat oven to 400

Grab cabbage and cut into inch thick wedges. Don’t bother with removing the core, it is delicious and you should eat it. Mince or garlic press garlic and slice onion into thin rings. Place garlic into a oven oven safe skillet, add about 1/4 cup of water, and place on stove on medium heat. Once water evaporates add in half of the crushed tomatoes and a good pinch of salt and pepper and cook until nice and hot. Then add in half of the cut onion rings and nestle in all the cabbage wedges. Sprinkle with a little more salt, dump the rest of the tomatoes on top and the rest of the onion rings. Also pour about 1/3 cup of water over the whole shebang then pop it into the oven. Bake for about 30 minutes, carefully remove skillet and flip the cabbage wedges over. Place back into oven for another 30 minutes.

Once top is crispy and delicious looking remove from oven, squeeze on the juice of a lemon, and then eat it. Straight From pan if you can’t wait, or serves on a plate alone or along side something that might not be as delicious as this.

Left overs are freaking amazing cold too.

In Vegetables, Vegan, 5 ingerdients or less Tags Tomato-y Roasted Red Cabbage, red cabbage, cabbage, tomato, vegan, vegetable, side dish, snack, dinner, gluten free, dairy free, grain free, plant based, healthy, delicious, roasted
2 Comments

Heart Shaped Soft Pretzels

February 8, 2020 Colleen Stem
IMG_5507.jpg
IMG_5464.jpg

I am pretty sure making pretzels was one of the best ideas that I had all week. Making them into the shape of hearts, that WAS the best idea I had all week. Take note. Making anything into the shape of a heart is always the best idea.

So why pretzels? Well why not. I make so much bread in this house that I felt like making a little something different. I was thinking bagels, but I didn't really want to have dough in the fridge for a day and plus I wanted to do something then and there and have it be done. Like pretzels. From start to finish they takes less then 2 hours. And you get to twist the dough and boil it and it is just fun. Like I could totally see making pretzels with a few littles or maybe a friend or a “friend”. A pretzel making date. Now that is a good idea. Oh me, I am so full of all those good ideas. HAHA!

These pretzels are of the soft variety. And to make them pretzels, and not just bread, the kneaded dough gets shaped and then boiled in a baking soda bath (not lye…don’t have any lying around). Then they are sprinkled in course salt and baked til a deep golden brown. They come out soft and chewy just like a good soft pretzel should be. Then they need to be eaten right away, slightly warm, because that is how you are suppose to eat them.

And so the pretzels were made. The mr came home right after I pulled these puppies out of the oven and went for a walk to get some fresh air. When I got home I found him salivating over a plate, waiting for his cue to eat. The cue was given (once I put the camera away) and eat one he did. And then another. And another. Because really, what the hell, I made him heart shaped pretzels. He loved them so much that I just let him eat as many as he wanted. He was happy, I was happy, there where hearts. No complaints. Even when I told him he was having pretzels for all meals until they were gone. He just smiled he pretzel filled mouth at that.

To the pretzels!

The stuff. Flour, salt, course salt, brown sugar, yeast, water, and some baking soda.

IMG_5385.jpg
IMG_5388.jpg
IMG_5389.jpg

The yeast, brown sugar and warm water go into a big bowl to activate. Once it starts to bubble, dump in the flour and salt and mix until a shaggy dough forms.

IMG_5398.jpg

Dump dough onto a floured surface and knead for about 5 minutes.

IMG_5401.jpg

Kneaded all nice to soft and supple.

IMG_5409.jpg
IMG_5410.jpg

Place the kneaded dough into a clean bowl and cover. Let sit for about an hour or until it doubles in size.

IMG_5416.jpg

Once doubled, dump dough onto a lightly floured counter and cut into 12 equal pieces.

IMG_5419.jpg
IMG_5422.jpg
IMG_5423.jpg

Now to shape. Roll each piece into a long rope, 16-20 inches long if you can. Fold the ends together and twist then fold twisted ends down back into itself.

IMG_5424.jpg

Pinch the end into a point and there you go. A heart! ♥️

IMG_5424.jpg

And then do it to all the dough.

IMG_5431.jpg

Water and baking soda bath boiling away.

Grab the hearts and place a few at a time, gently, into the water for about 45 seconds then pull them out with a slotted spatula.

IMG_5440.jpg

Onto a baking sheet either lined with parchment or a splat mat.

And don’t forget to sprinkle them all with course kosher salt.

Into the oven they go.

About 18-20 minutes later… PRETZELS

Get them onto a cooling rack to cool just enough.

IMG_5515.jpg

And then you just eat them because what else are you suppose to do.

And yes, grab the mustard because duh.


Heart ShapeD Soft Pretzels

makes 12 pretzels

For the dough

  • 3 1/2 - 4 cups all pupse flour

  • 2 teaspoons yeast

  • 1 heavy tablespoon brown sugar

  • 1 teaspoon salt

  • 1 1/2 cups warm water

  • 2 tablespoons course kosher salt (for topping)

For water bath

  • 7 cups water

  • 2 tablespoons baking soda

Start by placing yeast, brown sugar, and warm water into a big bowl and mix. Let sit for a few minutes to activate yeast. Once active, dump in the lesser amount of flour and salt. Mix until a shaggy dough forms. If the dough seems super wet, add in a little more flour. Dump dough onto a floured surface and knead until soft and elastic for about 5 minutes, adding in a little more flour as needed to keep it from getting too sticky. Once dough had been kneaded, place into a clean bowl, cover, and let sit in a warm place for about an hour or until the dough doubles in size.

Once dough has doubled, preheat oven to 450. Also get the water bath ready by placing the water into big pot and placing on heat.

Back to dough. Dump the dough onto a lighty floured surface and cut into 12 equal sized pieces. Then shape each piece by rolling the dough into a rope between 16 to 20 inches long then twisting the two ends together a few times. Fold the ends over to the middle of the dough and pinch the end into a heart. (check images above if that doesn’t make sense) Once all the dough has been shaped, its time to boil. When the water is at a rolling boil, dump in the baking soda and mix around. Place 2-3 pretzels gently into the water at a time and boil for about 45 seconds. Remove from water with a splatted spoon or spatula and place on a parchment or lightly oiled baking sheet. Repeat until all dough is boiled. Make sure when you place the pretzels onto the baking sheet you give them room so they are not touching. If you need to, use 2 baking sheets. And now before the placing them into the oven, sprinkle them with the course salt.

Now into the hot oven they go, for about 18-20 minutes or until they turn a deep golden brown.

Once baked, pull from oven, place on a wire rack to cool a bit, then eat them. Dipped in mustard or any other dipping situation you find appropriate.

Left overs, should there be any, should be stored individually either wrapped or in a bag at room temp for a few days. OR better yet, just freeze them. And when you want to eat one, just warm it up again in the oven.

In bread, snack, Vegan Tags Heart Shaped Soft Pretzels, pretzels, hearts, soft pretzels, vegan, valentines day, snack, king Arthur flour, love, easy, bread, yeasted bread, dairy free, plant based
Comment

Chocolate Marbled Pumpkin loaf Cake

October 26, 2019 Colleen Stem
IMG_3258.jpg
IMG_3204.jpg
IMG_3182 2.jpg

When I was a kid, every once in a while my mom would buy those Entenmann’s marbled loaf cakes, (she still might) and I loved them. Chocolate and vanilla swirled into every slice. Super moist and rich with the soft, fluffy top. I would cut a big slice, toast it, then smother it in peanut butter.

Now when I see these cakes, well honesty, I think they kind of look sad. A cake such as a marbled cake, should not be squashed into a box, stacked away on some display case. No cake should have to deal with that. Cakes should be made then oohed and awed at from the comforts of home, only boxed if 100% necessary like in the case of bringing to a friend or giving as a present. Basically, what I am saying is don’t buy pre-made cakes friends, make the cake at home yourself. The cake will like you better for it.

Anyway, I just was thinking about those cakes and my childhood in general and it made me want to make a quick cake all marbled because of the nostalgia and also, I mean, marbled cakes are pretty pretty and why the heck not. And because it is pumpkin season I had to go with pumpkin and chocolate instead of vanilla and chocolate because we all know it was the right thing to do.

Pumpkin spices, rich chocolate. Two flavors in one bite. Who could complain? I don’t think my 10 year old self would have. I think she would have eaten the whole damn loaf (toasted with peanut butter of course).

Nw to the chocolate and pumpkin loaf cake..

The stuff. Flour, baking soda, baking powder, salt, pumpkin puree, brown sugar, white sugar, oil, almond milk, cocoa powder, pumpkin pie spices, coffee, and apple cider vinegar.

IMG_3089.jpg
IMG_3092.jpg
IMG_3097.jpg
IMG_3110.jpg

Quick and easy. Oil and sugars get a good mix in a big bowl then in goes the pumpkin puree. Mix that in with the milk and apple cider vinegar. Ina separate bowl, mix the flour baking soda and powder and salt. Mix the dry into the wet.

Base mix.

IMG_3125.jpg
IMG_3136.jpg

Split the mix in half (eye ball it) and add the spice mix to one bowl and the cocoa and coffee to the other. Mix them until the new ingredients are incorporated. You will then have a chocolate batter and pumpkin spice batter.

Grease a loaf pan then layer dollops of each of the batters into the pan until both batters are gone.

IMG_3148.jpg
IMG_3153.jpg

Before the oven and after of the oven.

Place cooked loaf on a wire rack to cool. Really. It needs it. Just wait a least 15 minutes, you can do it.

And then you cut into the load, marvel at the marble, and then eat it.

Two flavors, one mouth.

-C


chocolate Marbled Pumpkin Loaf Cake

makes 1 loaf

  • 2 cups all purpose flour

  • 1/3 cup cocoa powder

  • 1 1/2 cups pumpkin puree

  • 1/2 cup white sugar

  • 1/3 cup brown sugar

  • 1/3 cup neutral flavored oil

  • 1 tablespoon apple cider vinegar

  • 1/4 cup plant milk

  • 2 tablespoon coffee (or water if you don’t have coffee)

  • 1 teaspoon baking soda

  • 1 1/2 teaspoon baking powder

  • 1/2 teaspoon salt

  • 1 heaping tablespoon pumpkin pie spice or 2 teaspoon cinnamon 1/4 teaspoon each ginger, nutmeg, allspice, and clove

Preheat oven to 350

In a large bowl, mix together the white and brown sugar with the oil until combined and there are no chunks of sugar. Add in the pumpkin puree and the milk and vinegar and mix until incorporated. In a separate bowl, mix together the flour, baking powder, baking soda, and salt. Add the dry mixture to the wet and gently mix until just combined. Scoop half of the batter (eye ball it) into other bowl. Add the pumpkin pie spices to one bowl and fold it into batter until incorporated. Add the cocoa and coffee to the other batter and fold it in until incorporated.

Interchange scooping the batters into greased loaf pan. One, then the other, to create the marbled effect, until both batters are gone. Place pan into oven and bake for 55-60 minutes or until a tester comes out clean.

Remove pan from oven and pop bread out and place on a wire rack to cool.

Cut a slices, eat, be happy.

Store bread in airtight container for 3-4 days at room temperature or just slice it up and freeze pieces.

In Dairy Free, fall, Vegan, sweet breads and muffins Tags Chocolate Marbled Pumpkin Bread, Marbled bread, vegan, quick bread, sweet bread, chocolate bread, pumpkin bread, food 52, king Arthur flour, pumpkin spice, vegan desserts, fall, pumpkin, snack, cake, dairy free, plant based
Comment

Fresh Corn and Oat Fritters

September 7, 2019 Colleen Stem
IMG_1926.jpg
IMG_1794.jpg
IMG_1803.jpg

Corn is the name of the game, and this game I won!

The mr doesn’t much like to eat corn. But I do. And this time of year I get like 10 ears of corn every week from farm share, which is a lot of corn for one person to have to eat every week and sometimes I just can’t do it. So every now and then I make something that I think the mr will tolerate, if not like, to get him to help me eat the stash of a hundred ears or corn that I have going on in the fridge.

These fritters helped me with that and I think with all the future corn that I will get from the farm. They are soooo good! The mr liked them! As for me, I couldn't stop eating them and almost didn't want to share because they we just so dang good. Sweet fresh corn, nutty and slightly chewy oats. Scallions. And that’s pretty much it. So fresh and clean and yummy tasting. A summertime fritter situation that takes corn to a place where even the corn hater likes it.

Although who the hell hates corn? I know one person. One. And I live with him. Weirdo.

Anyway, to the fritters!

IMG_1710.jpg

The stuff. Fresh sweet corn, old fashion rolled oats, and a few scallion. Also some ground flax seed, water, baking powder, salt and pepper, and a little oil.

IMG_1722.jpg
IMG_1725.jpg

Start with oats. Add most of what we need to a blender and blend until it becomes oat flour.

Then the corn. Remove the kernels from the cobs. Best way is to hold corn in a large bowl and cut downward. Don’t want corn flying all over the place!

IMG_1740.jpg
IMG_1744.jpg

Add most of the corn you just cut off the cob to the blender with the oat flour, along with with flax and water. Blend until smooth.

IMG_1732.jpg

Chop the scallions into thin and tiny pieces.

IMG_1750.jpg

Now dump the contents of the blender into a bowl, add in the scallions, the baking powder, and the extra oats and corn. Mix it all up and then let the batter rest for a few minutes (like 10) so the oats have a chance to really absorb all the liquid.

IMG_1773.jpg

And then to cook them. Heat a lightly oiled skillet to medium high heat. Once skillet is hot, drop scoops of batter into it. Cook for 3-4 minutes or until the bottom is a nice deep golden brown. Flip and cook the other side the same.

Fritters be cookin!

IMG_1794.jpg

When fritters are done cooking, place them on a wire rack. So they don’t get soggy.

And then serve them right away. I ate mine with fresh salsa. Definitely the way to go. So GOOD!

Now eat your corn.

-C


Fresh Corn and Oat Fritters

makes about 12 fritters

  • 3 ears fresh corn ( about 1 1/2 cups of kernels)

  • 1 1/2 cups rolled oats (gluten free if needed)

  • 1/2 teaspoon baking powder

  • 2-3 scallions

  • 1 tablespoon flax meal

  • 3 tablespoons water

  • salt and pepper

  • a little oil for skillet

Combine water and flax meal, mix and set aside.

Place 1 cup of oats into blender or food processor and blend for about a minutes or until the oats are a fine flour.

Grab corn and remove from cob. Best way to do this is to place corn vertically in a big bowl and cut downwards so the bowl catches all the kernels. Cut enough corn until you have about 1 1/2 cups of kernels. Also, garb scallions and chop into very small, thin pieces.

Add in a cup of the corn, the flax and water mixture, baking powder, and a pinch of salt and pepper. Pulse or blend until completely combined and the mixture is mostly smooth.. Dump mixture into a bowl and add in the remaining corn, chopped scallions, and oats and mix together. The mixture should not be runny, but also should not be dry enough to pack together. If the mixture seems too dry and tight, add in a tablespoon or two more or water. To wet, add in a small handful of oats.

Once batter is mixed, set aside for about 10 minutes to rest.

Grab skillet and place on medium high heat. Add a touch of oil to pan and make sure it evenly coats the bottom. Once pan is preheated, add scoops batter into pan (about 2 tablespoons each). Cook first side for about 3-4 minutes or until dark golden brown, then flip and cook the other sides for another 2-3 minutes until a dark golden brown. Remove from pan and either place on a wire rack or a plate. ( I recommend a wire rack just to keep them from getting soggy.)

Serve right away. Fresh salsa goes amazingly with them!

Any left overs can be stored in fridge and reheated in the oven.

In Dairy Free, Vegetables, Vegan, summer, Gluten Free, grains Tags Fresh Corn and Oat Fritters, fritters, vegan, gluten free, corn, oats, dinner, snack, plant based, food52, food, recipe, farm fresh, healthy, easy, summer, dairy free
2 Comments
← Newer Posts Older Posts →
 

https://thelovelycrazy.squarespace.com/config#/|/about/

Me. Food Maker.Food eater. Woo HOO!

STEM+NODE  SMALL BATCH AND ONE OF A KIND POTTERY

stem+node ceramics


____________________

Subscribe

GET NEW POSTS IN YO EMAIL

You are AWESOME!!!


@thelovelycrazy 2014-2021