• stem+node ceramics
  • HOME
  • Food Recipes
  • About
  • Contact
Menu

The Lovely Crazy

Street Address
City, State, Zip
Phone Number

Your Custom Text Here

The Lovely Crazy

  • stem+node ceramics
  • HOME
  • Food Recipes
  • About
  • Contact

Earl Grey Chocolate Chip Scones

May 8, 2021 Colleen Stem
IMG_5156.jpg
IMG_5163.jpg
IMG_5196.jpg

Just about every Mother’s Day I make my mom blueberry scones. And if I don’t she is up my butt about it so yeah I just do it. She is my mom after all. Anyways, I forgot blueberries the last time I went to the grocery store. Sooooo yeah. These are different scones. Earl grey chocolate chip scones.

I figured earl grey is a delicious tea so it would make for a delicious scone and chocolate chips because everyone liked them their chocolate. Is my mom going to like these? Probably not because I don’t think she likes tea but that is actually a moot point because this batch was already gobbled up by the mr and Barb. They loved them. But hey, I made scones so that counts t towards Mother’s Day right? (I know I know. I have to go back to the grocery store for the blueberries)

If you or the people you bake for like a good cup of earl grey, well these here sones are for you.

To the scones!

IMG_5009.jpg

The stuff. Flour, baking powder, salt, sugar, earl grey tea, plant butter, plant milk, vanilla extract, and orange, a little raw sugar, and chocolate chips.

IMG_5019.jpg
IMG_5025.jpg
IMG_5038.jpg
IMG_5042.jpg

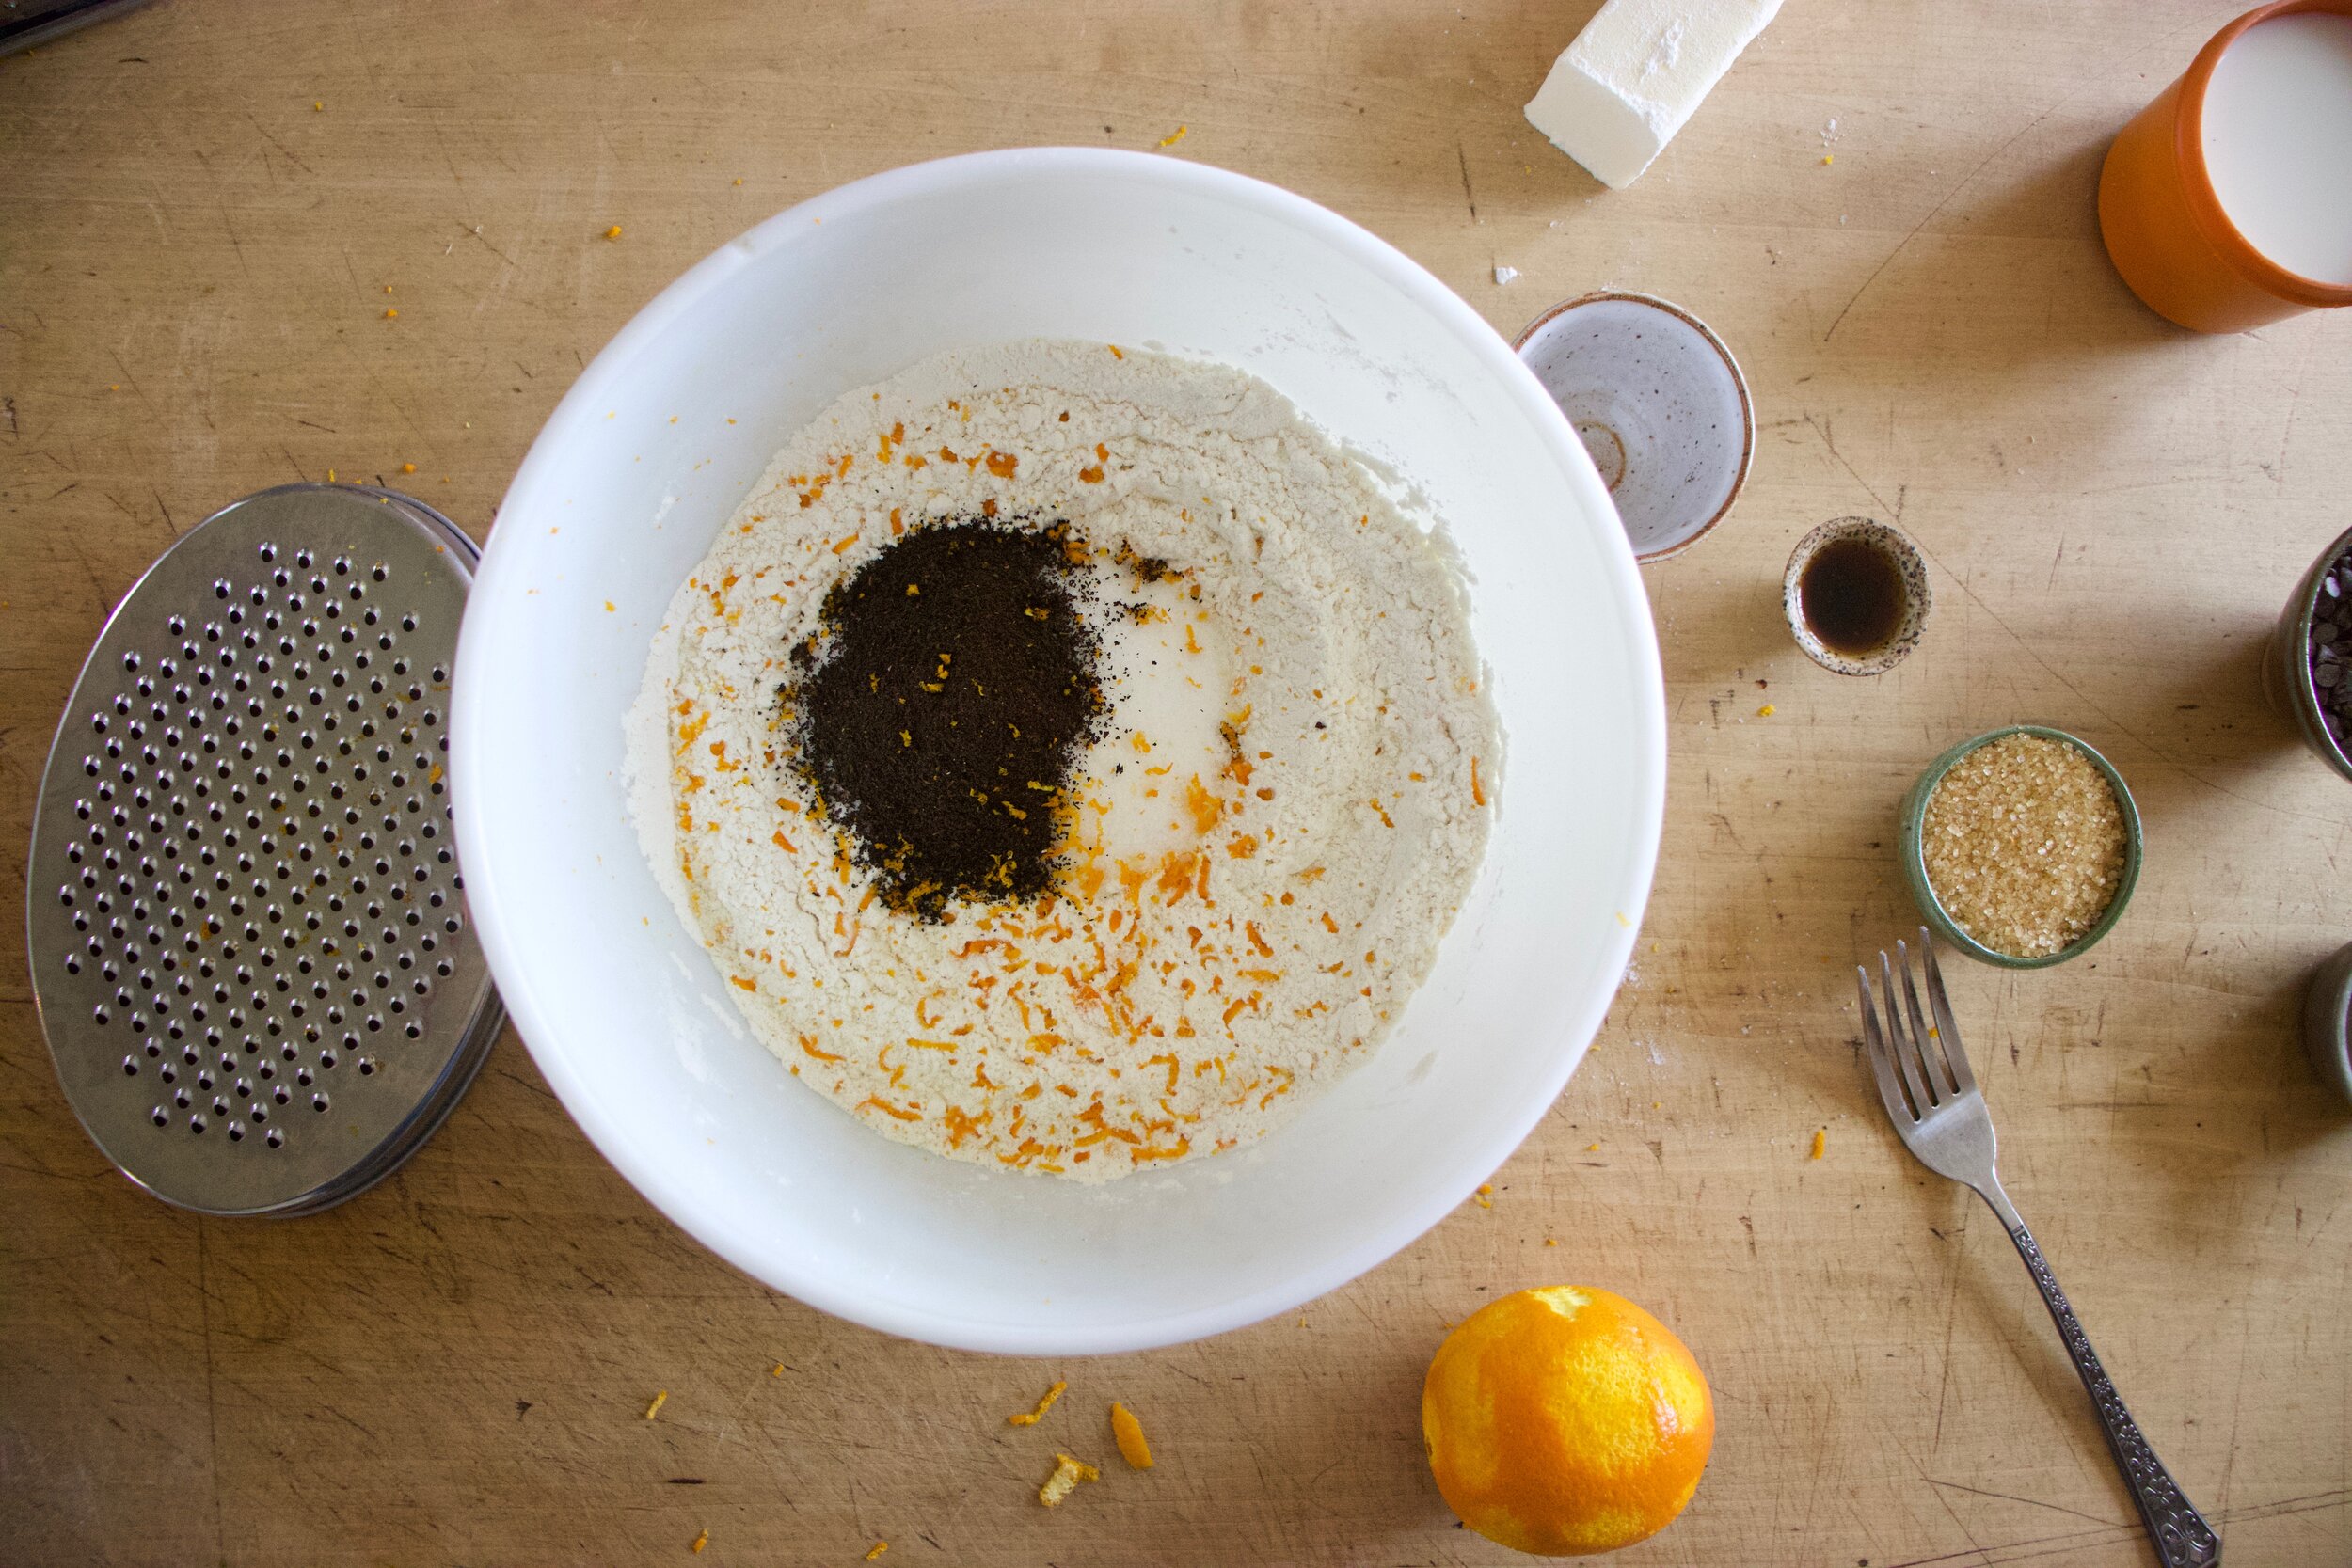
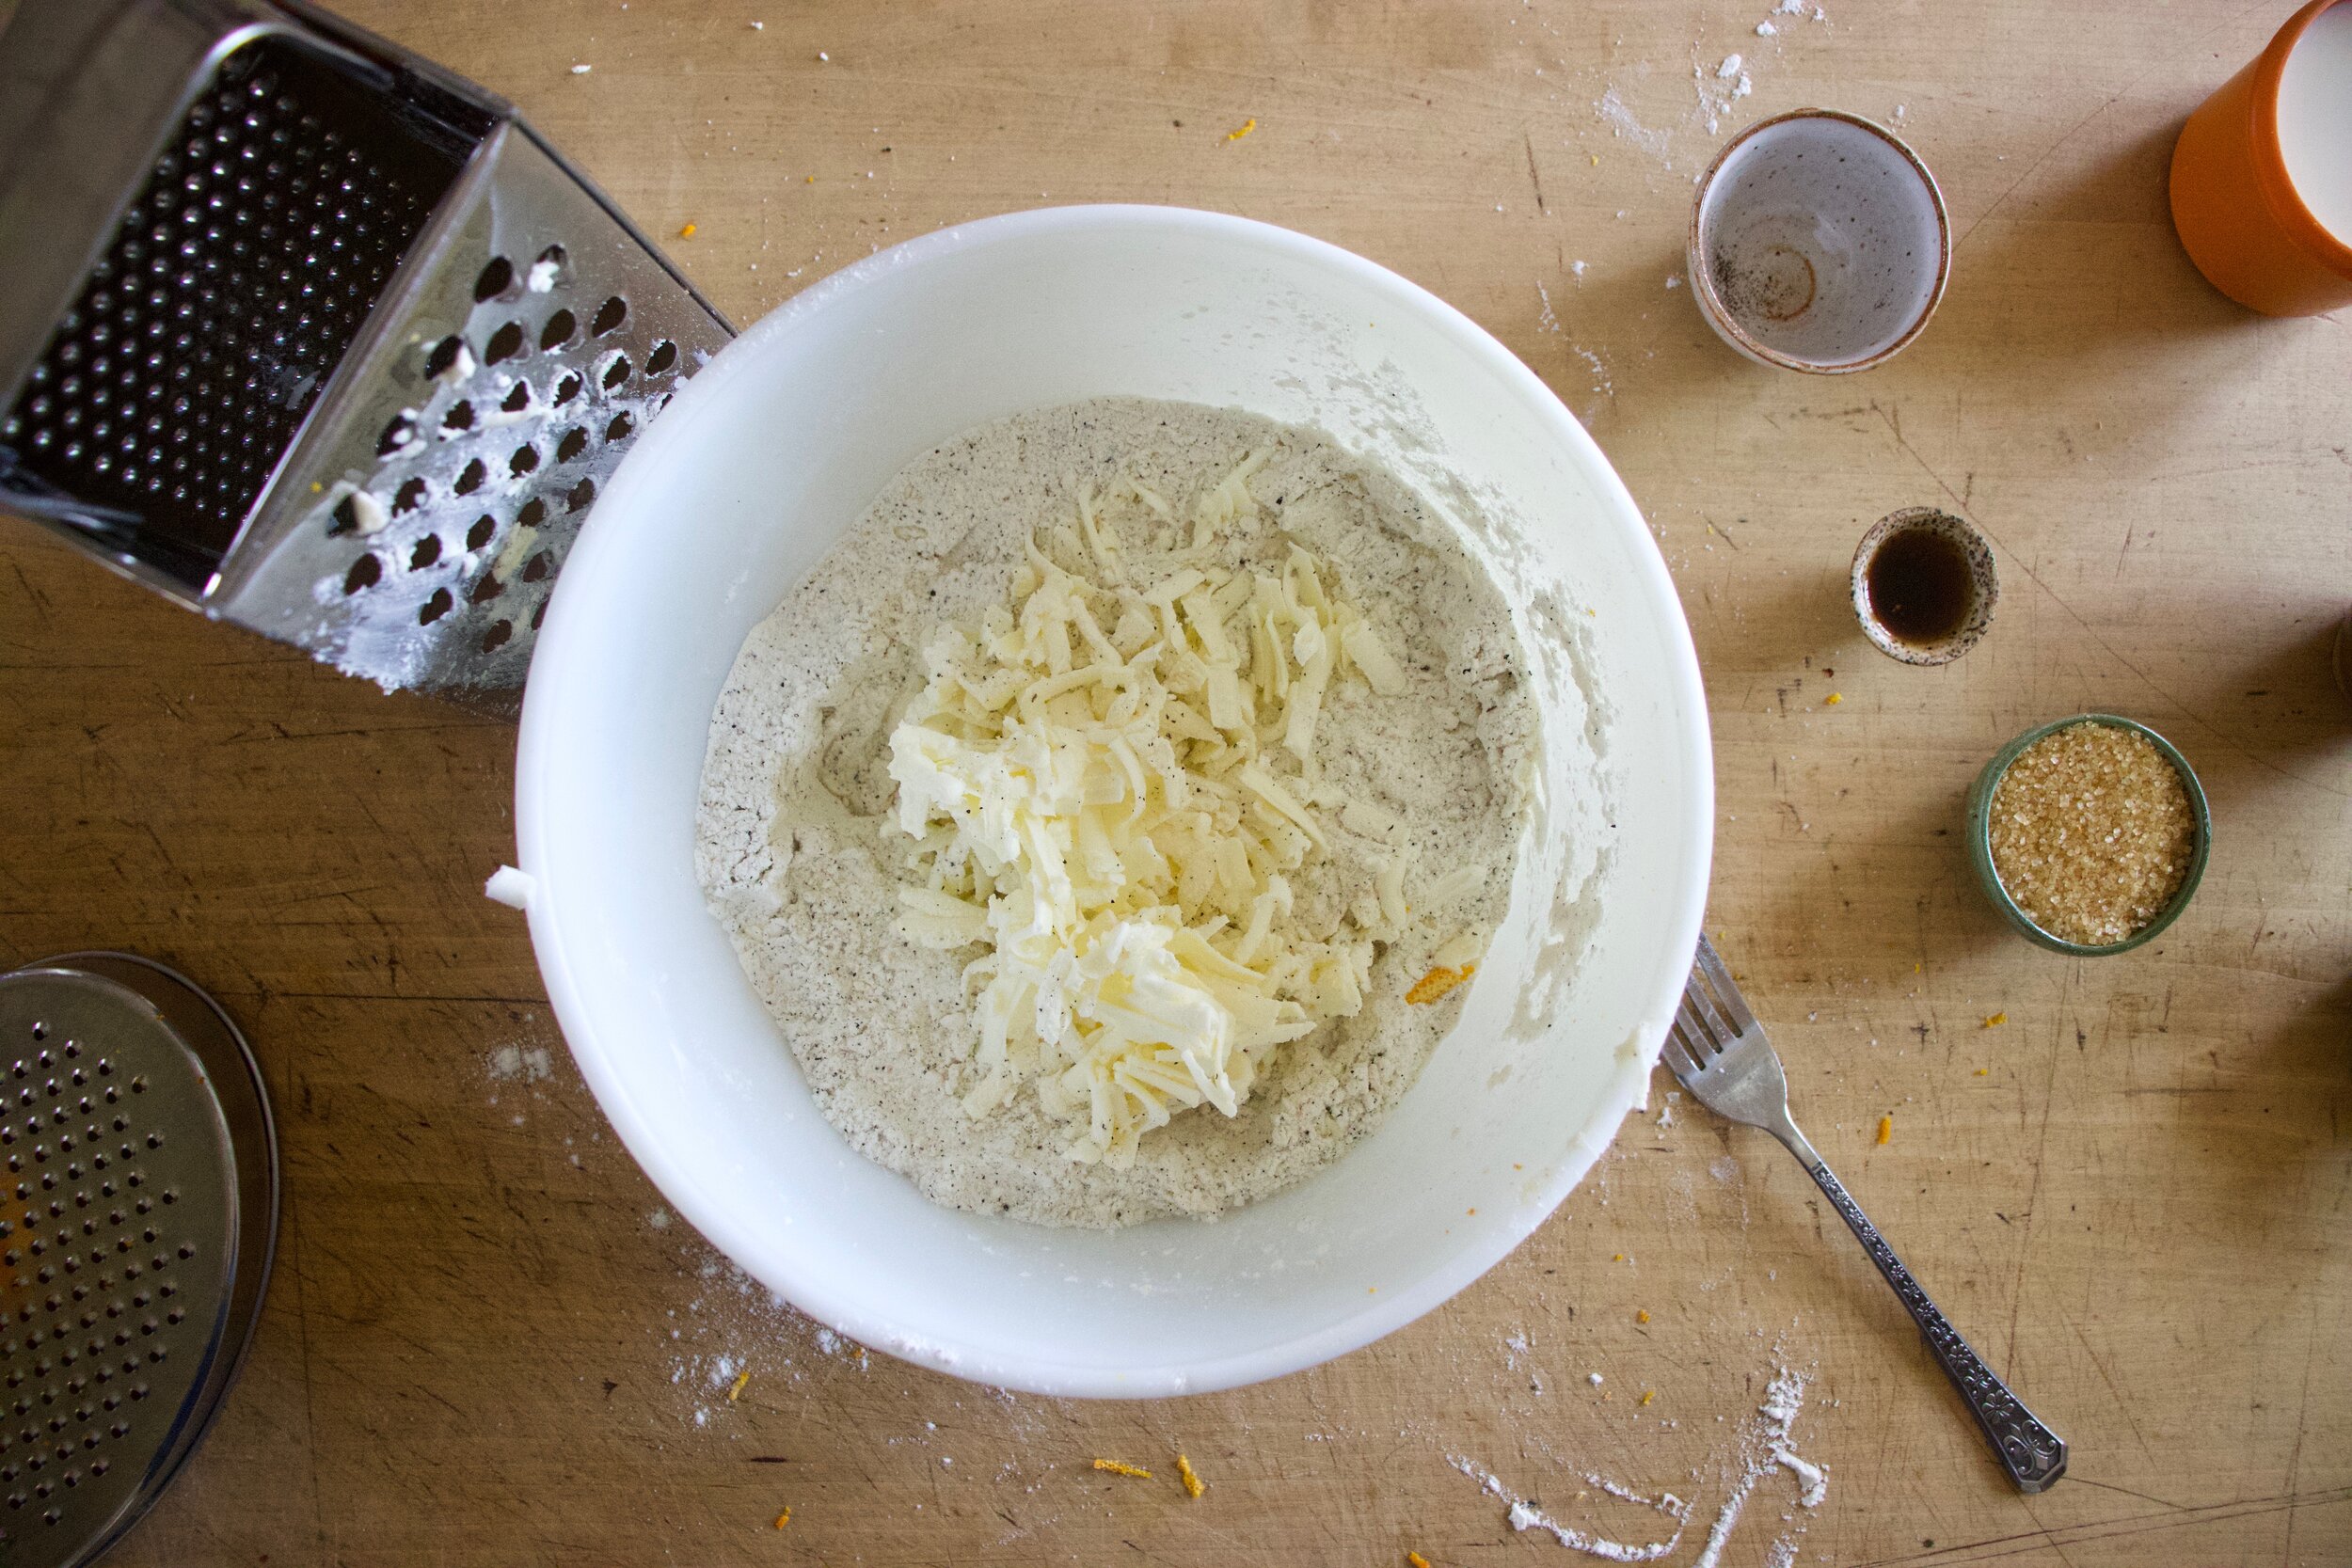
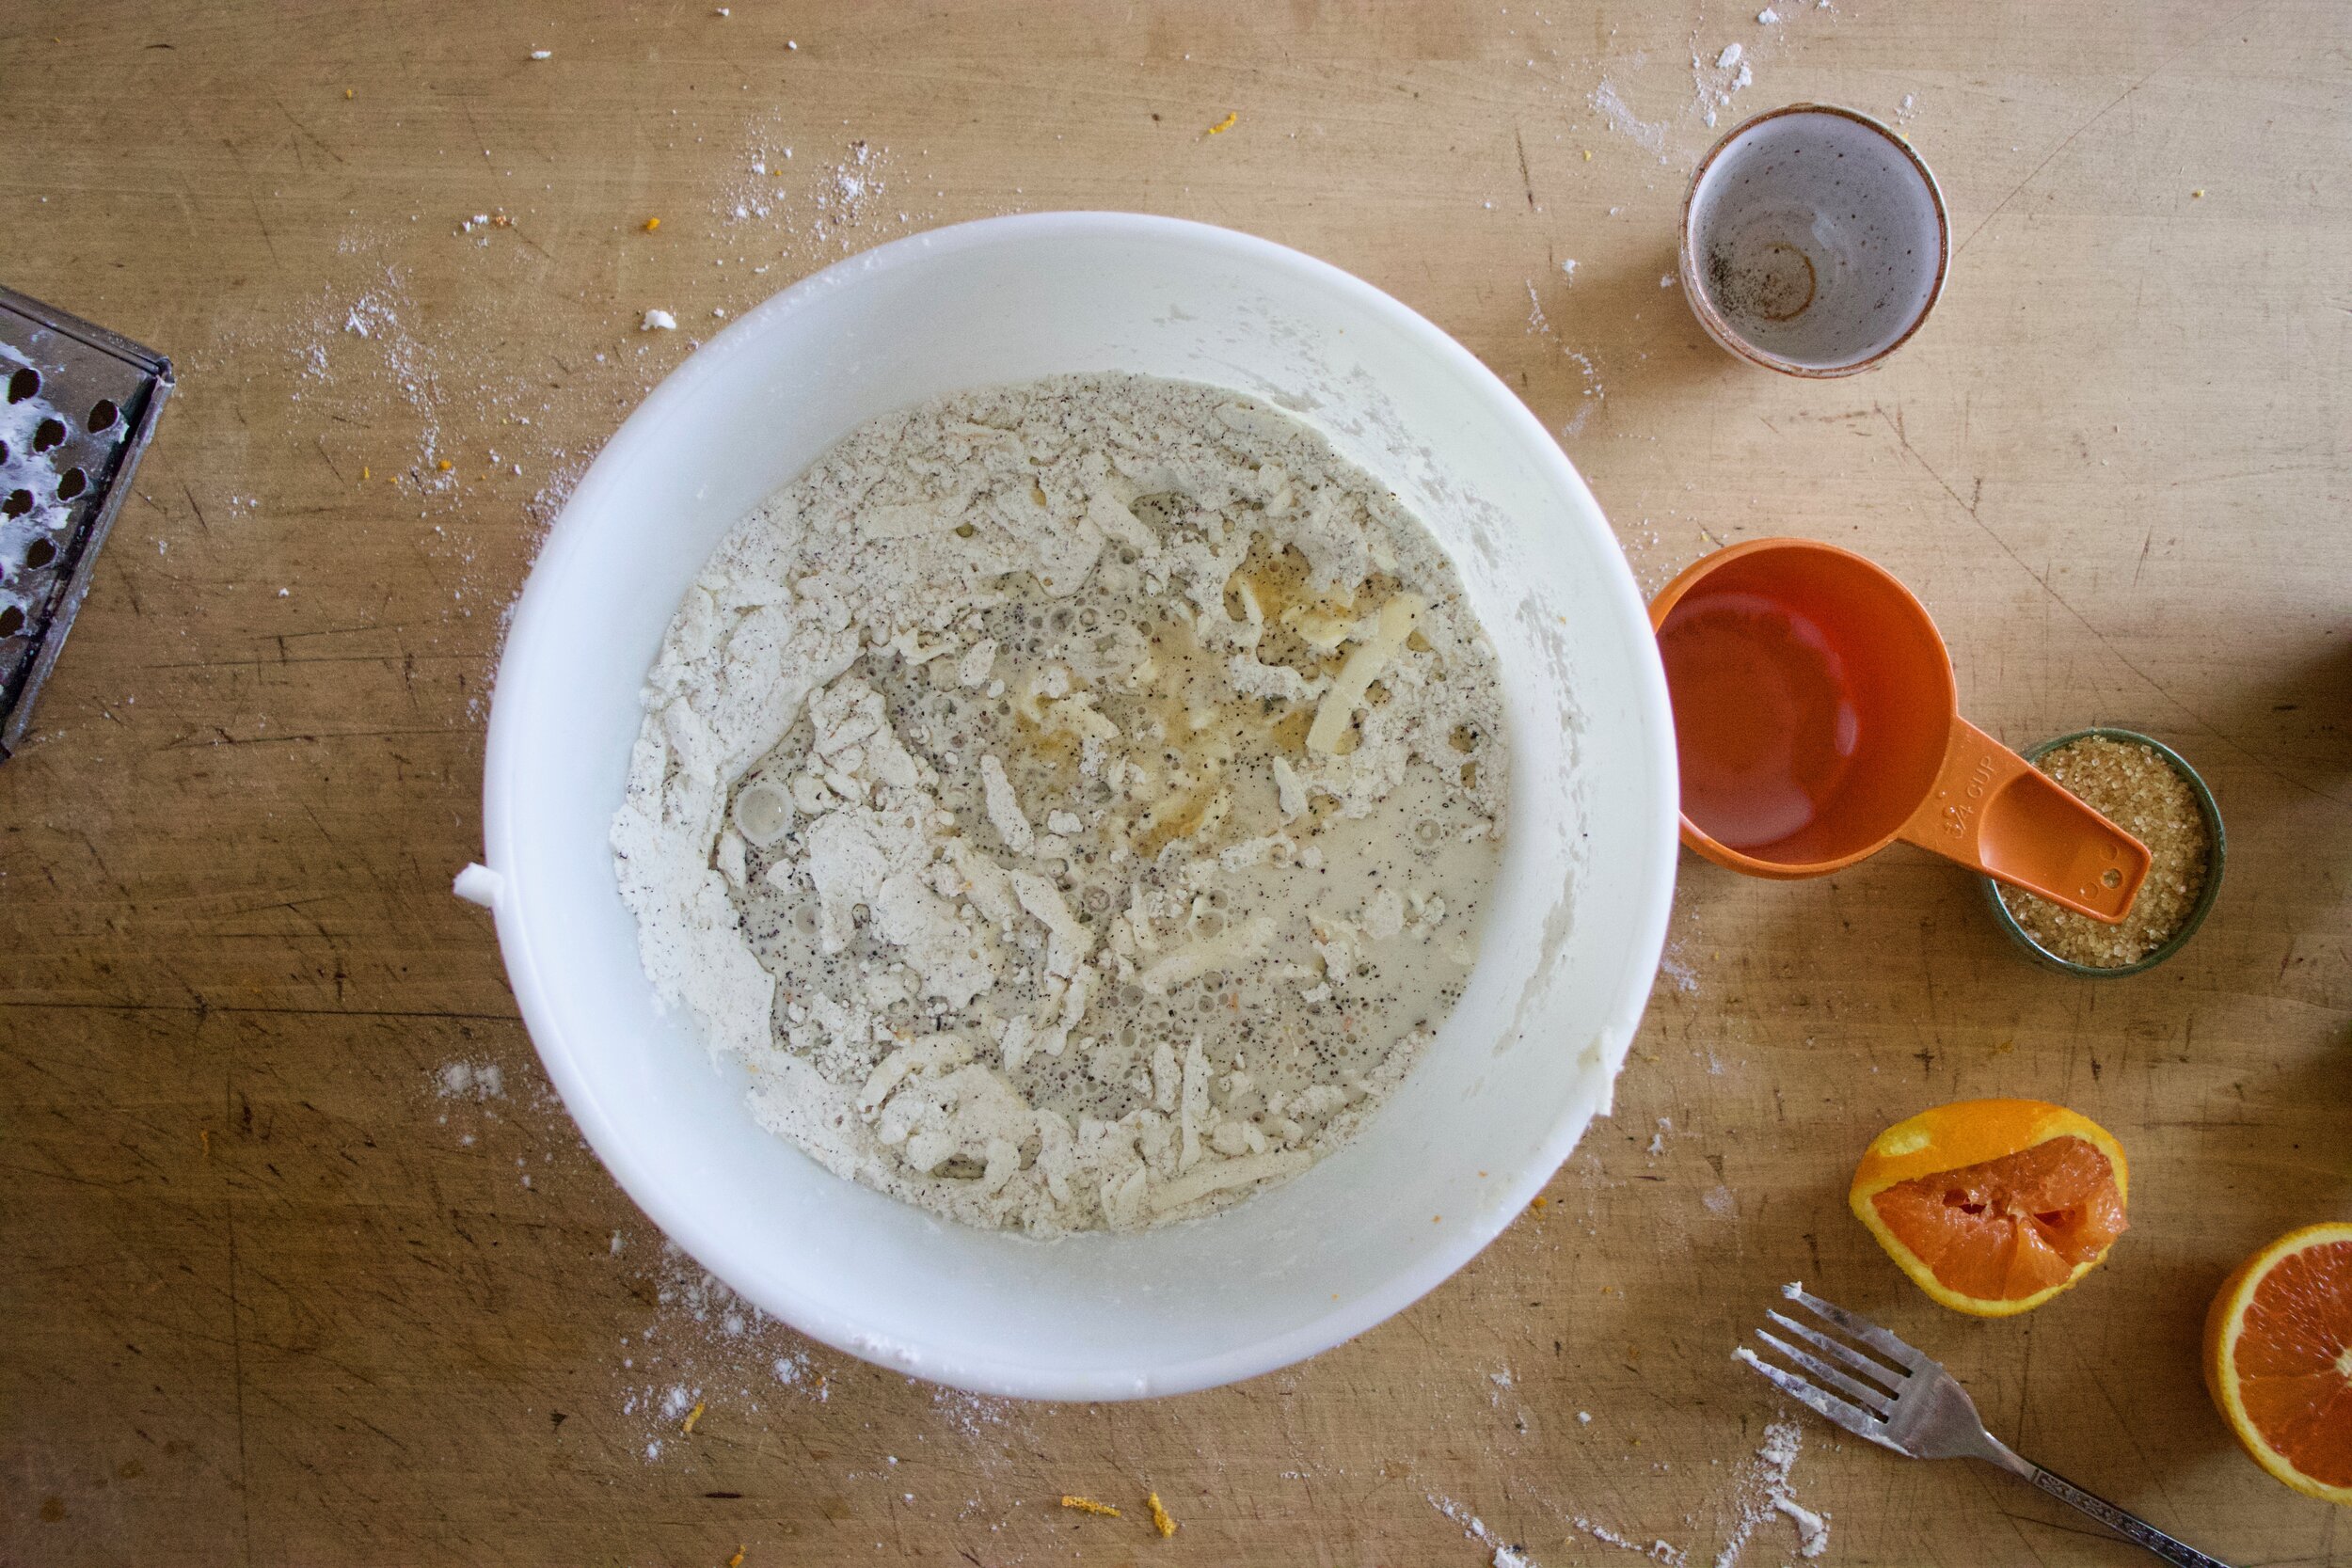
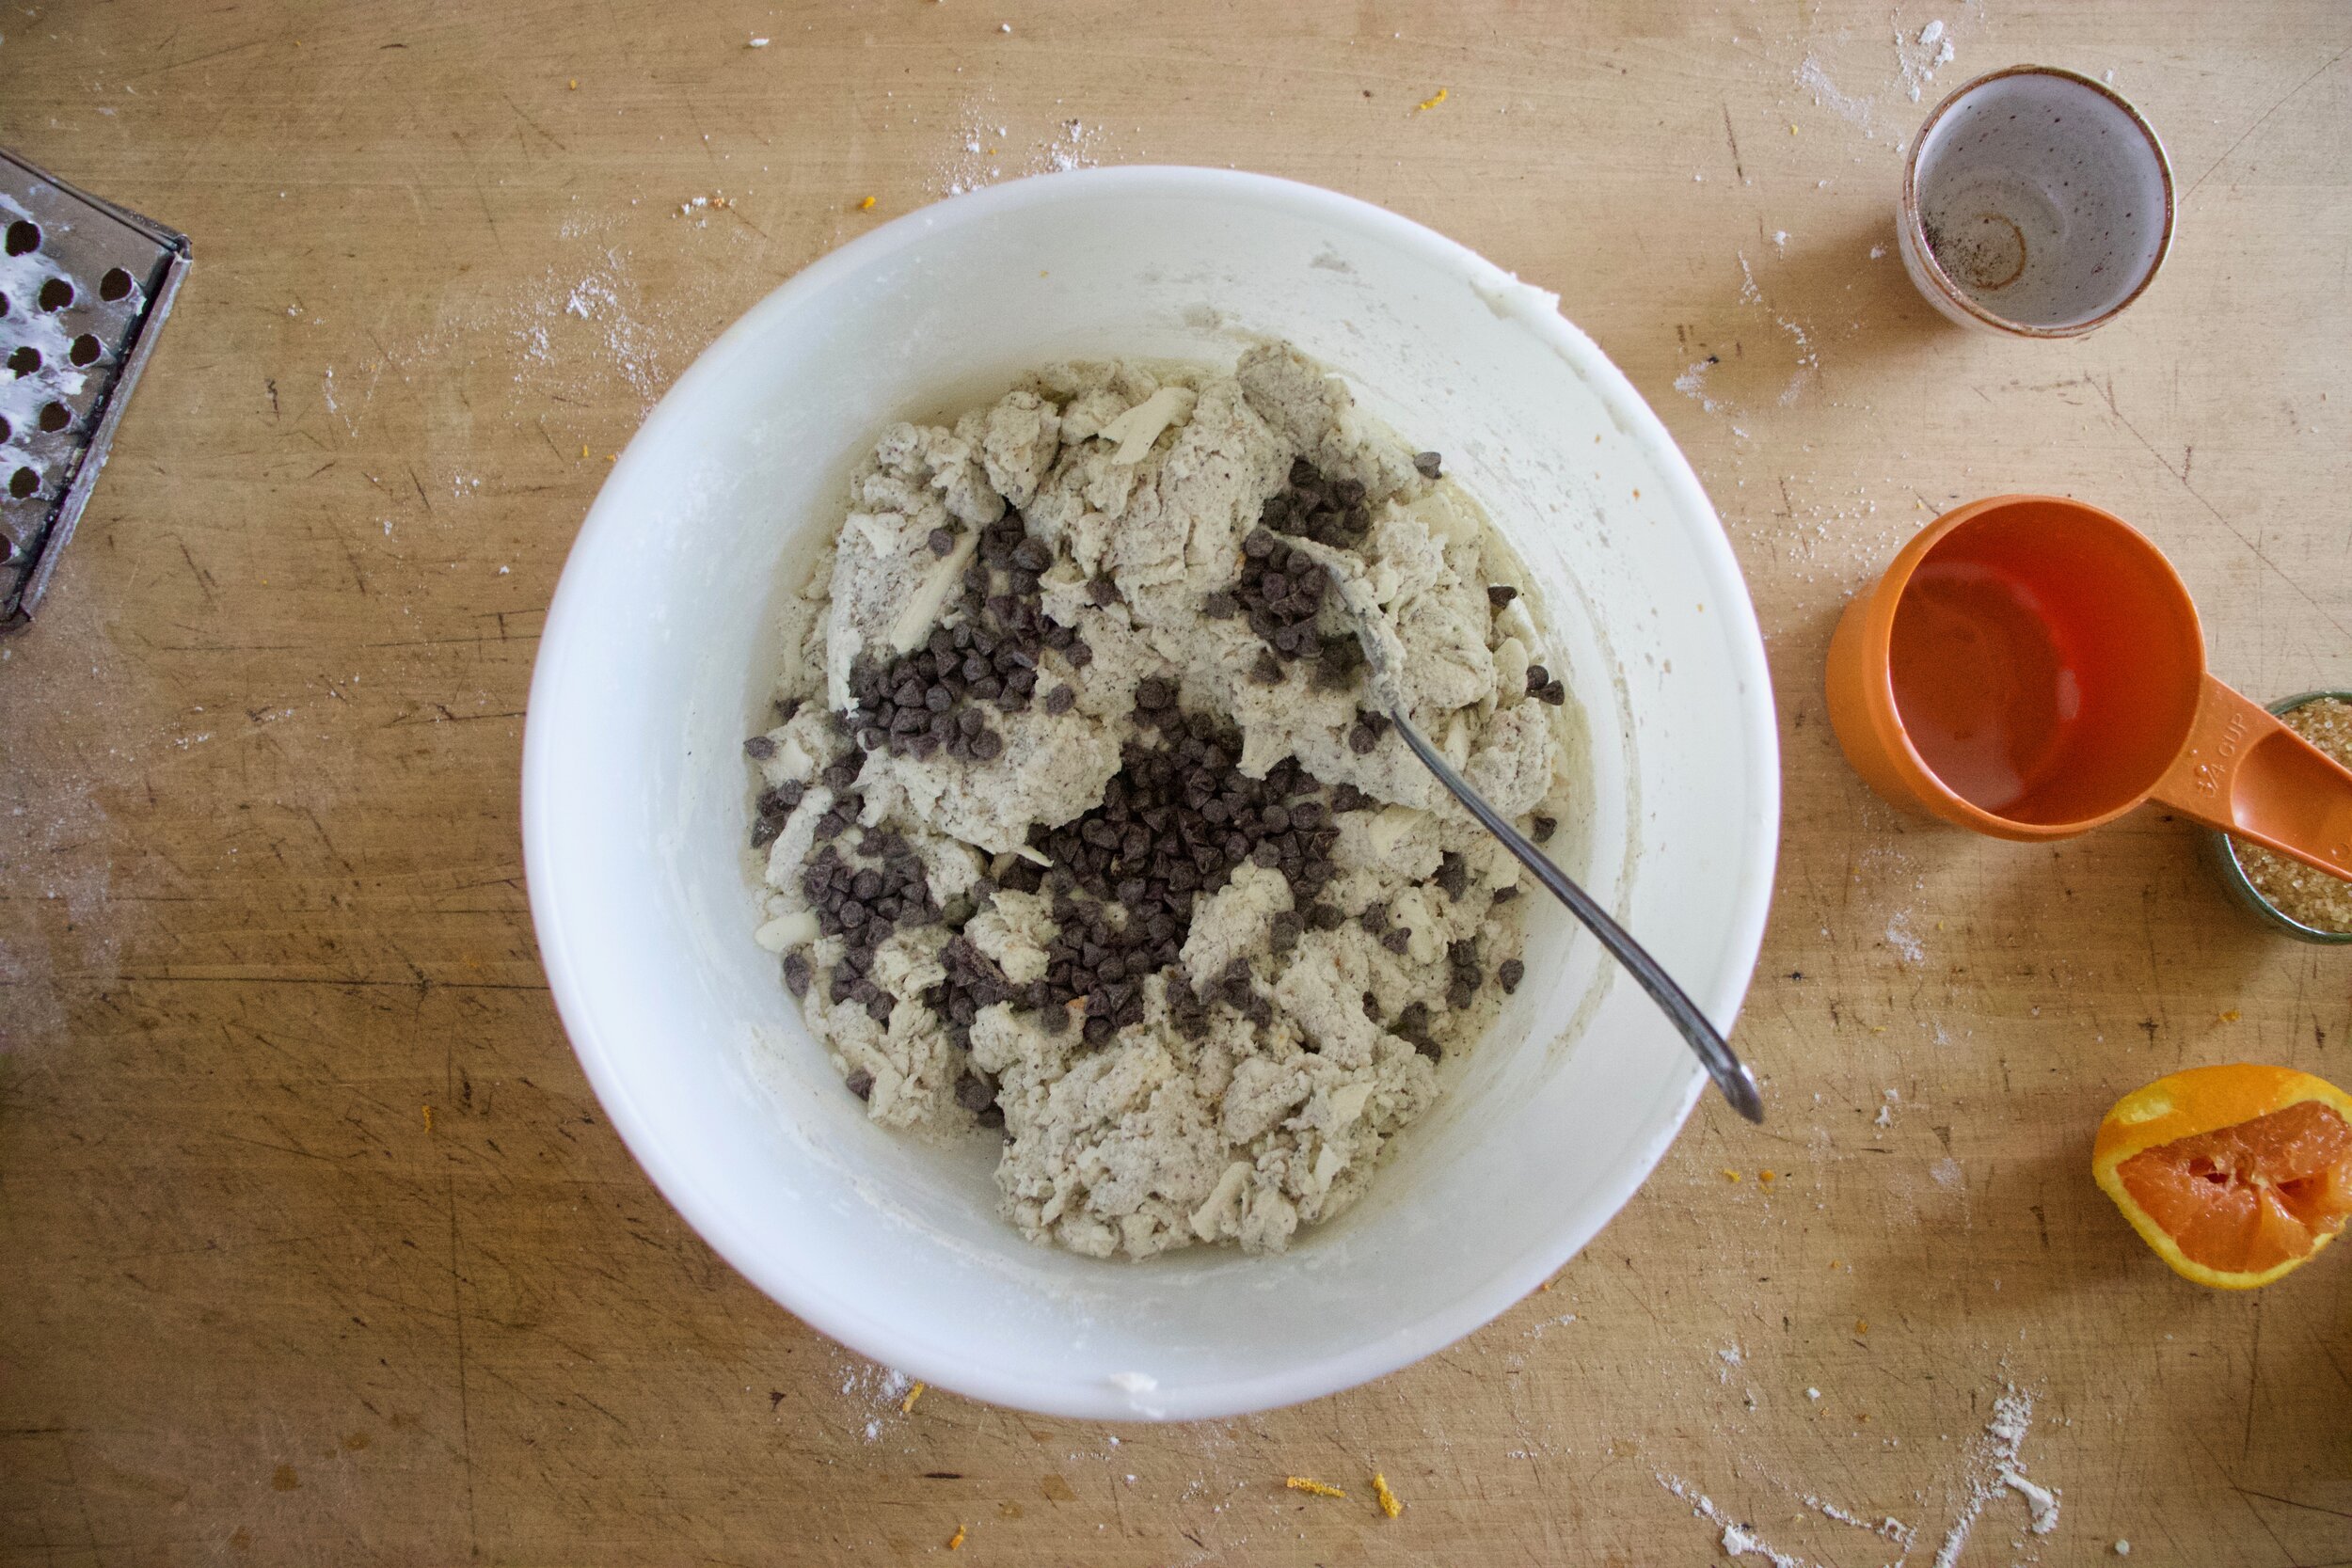
To start dough first mix the flour together with the salt, baking powder, sugar, tea, and orange zest. Next grate the butter into the flour mixture and gently toss around until evenly incorporated. Then add in the milk and the juice if half the orange and gently mix until dough starts to come together and then finally, add in the chocolate chips and finish mixing. Don’t overly mix, the dough should look kind of shaggy.

IMG_5049.jpg

Dump dough onto a lightly floured surface and gather into a ball.

IMG_5054.jpg

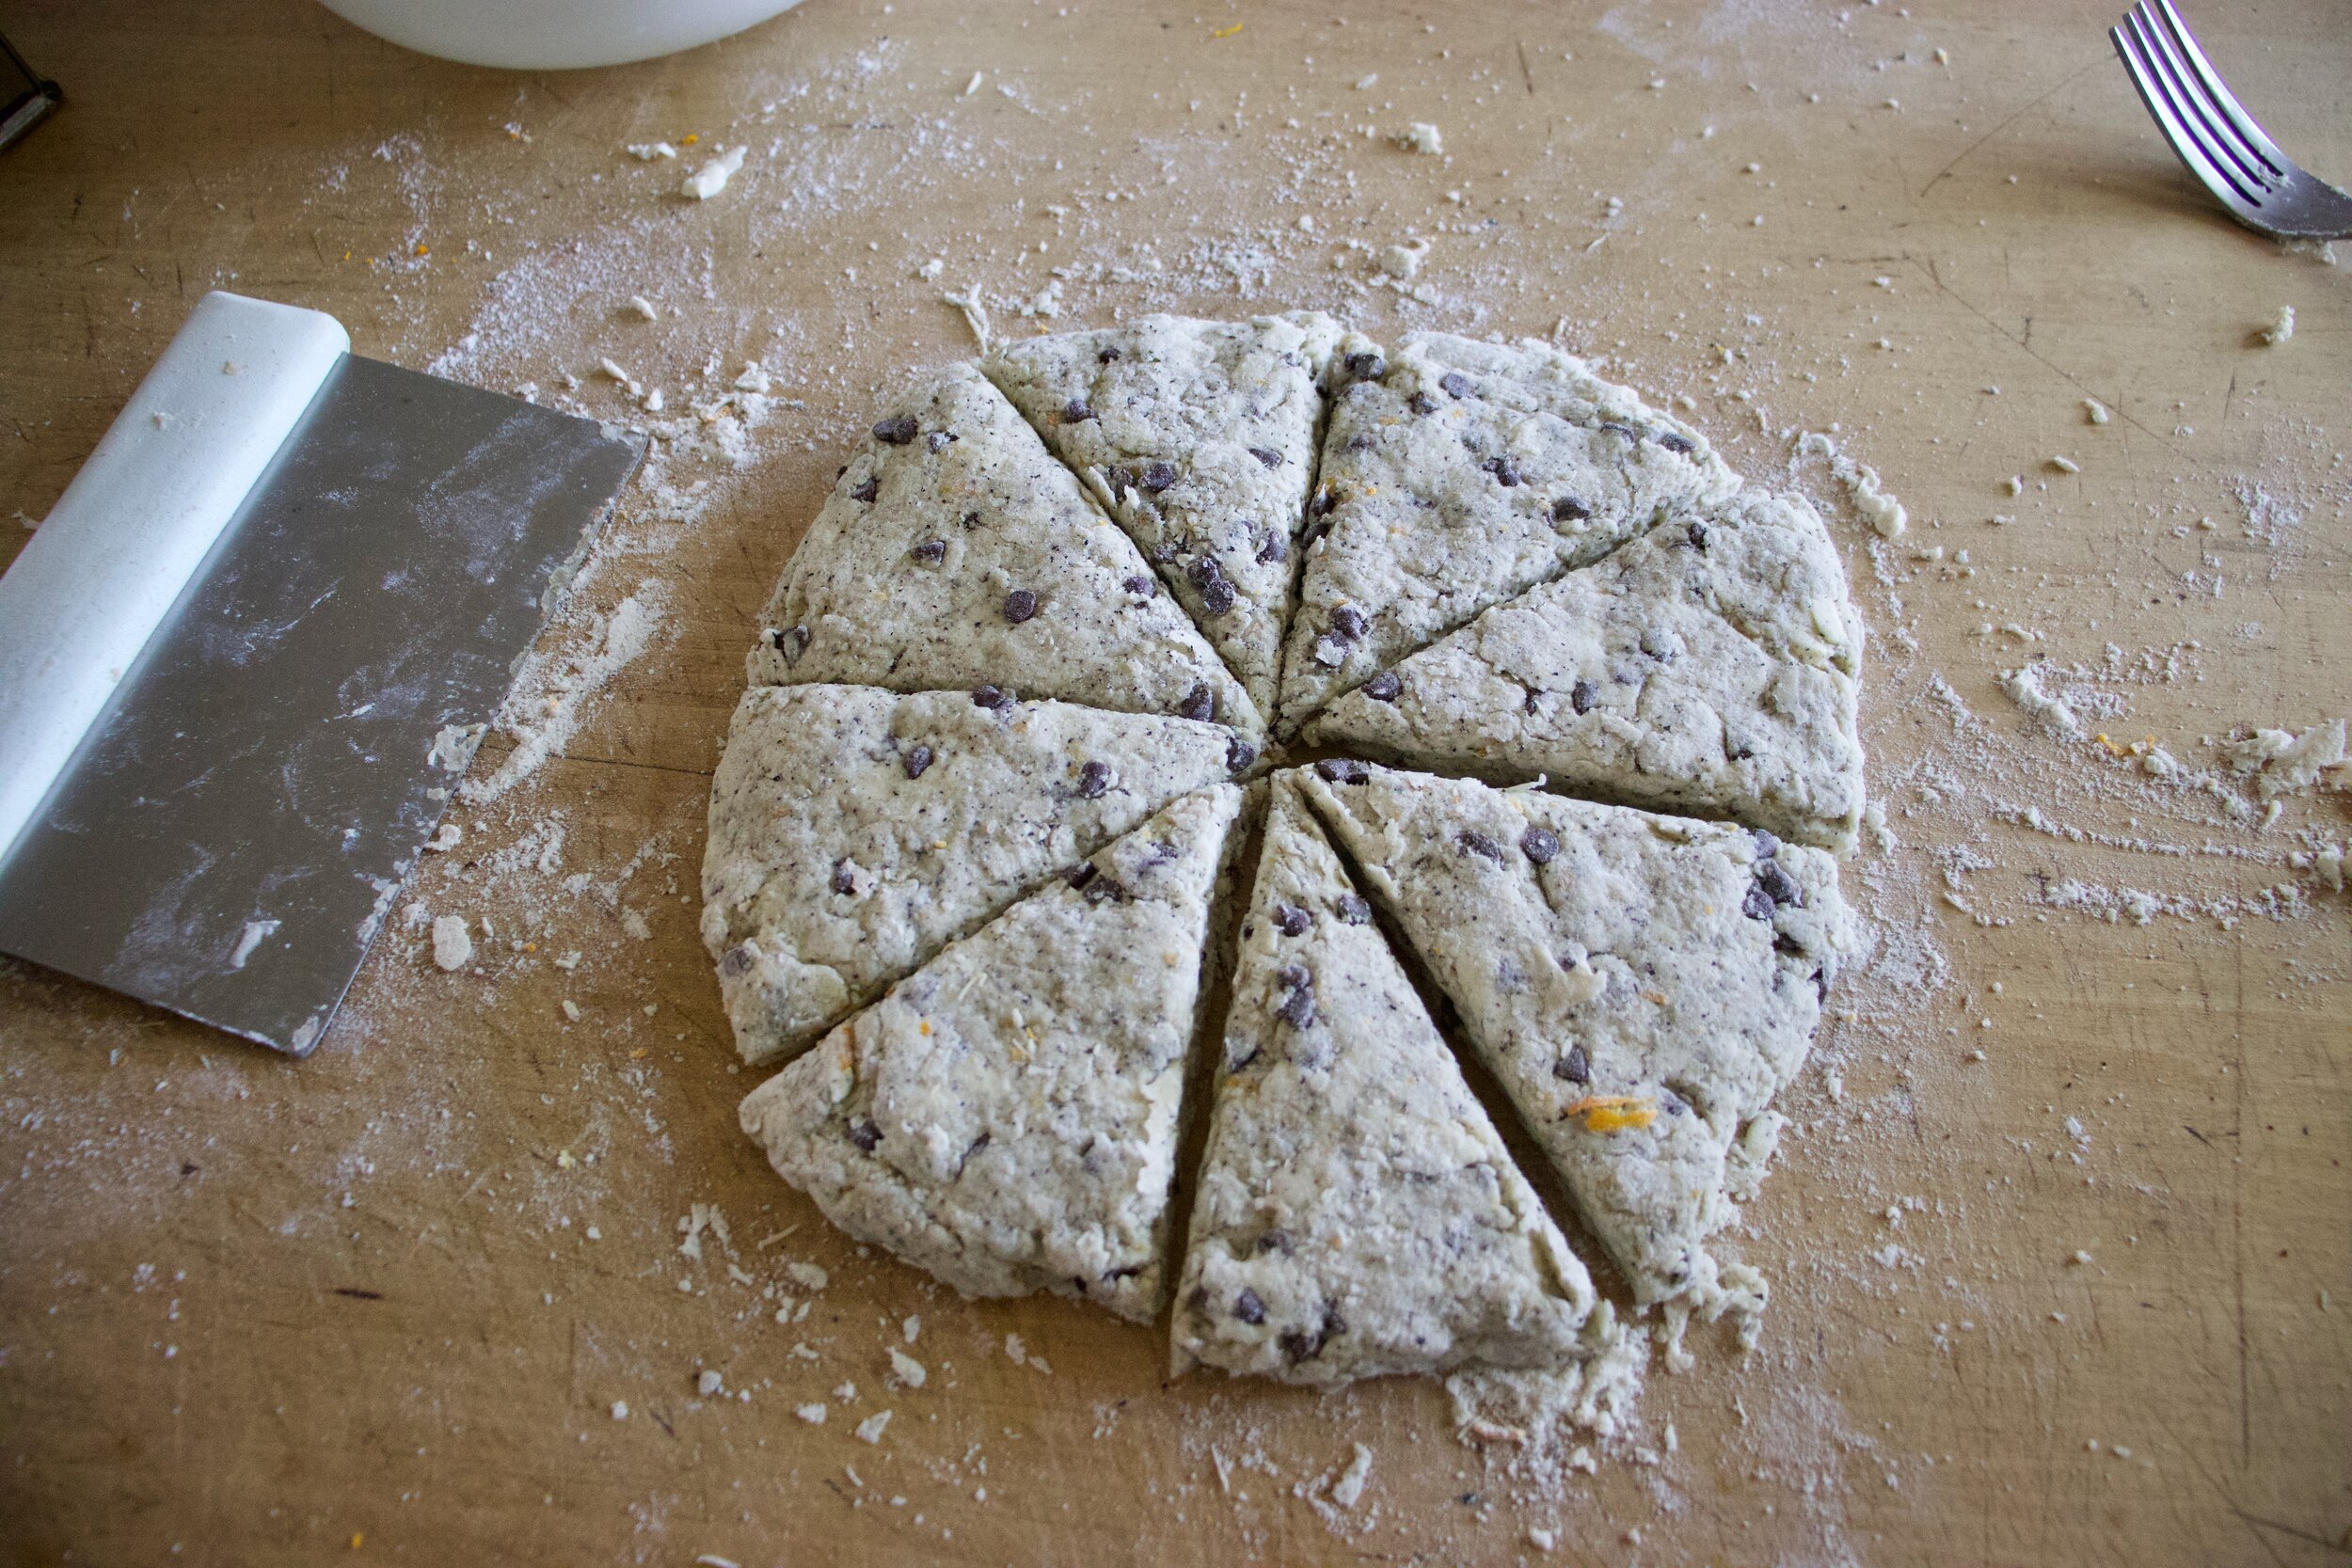
Squash dough into a round flat disk about an inch thick then cut into 8 equal pieces.

IMG_5063.jpg

Place scones on a lined baking sheet. Brush the tops with a little milk and then sprinkle with raw sugar.

Pop into the oven bake.

IMG_5070.jpg

Baked and ready.. You should be too. Ready that is and baked if that is how you roll. Ha.

IMG_5101.jpg

Place hot scones on a wire rack to cool a bit.

IMG_5181.jpg

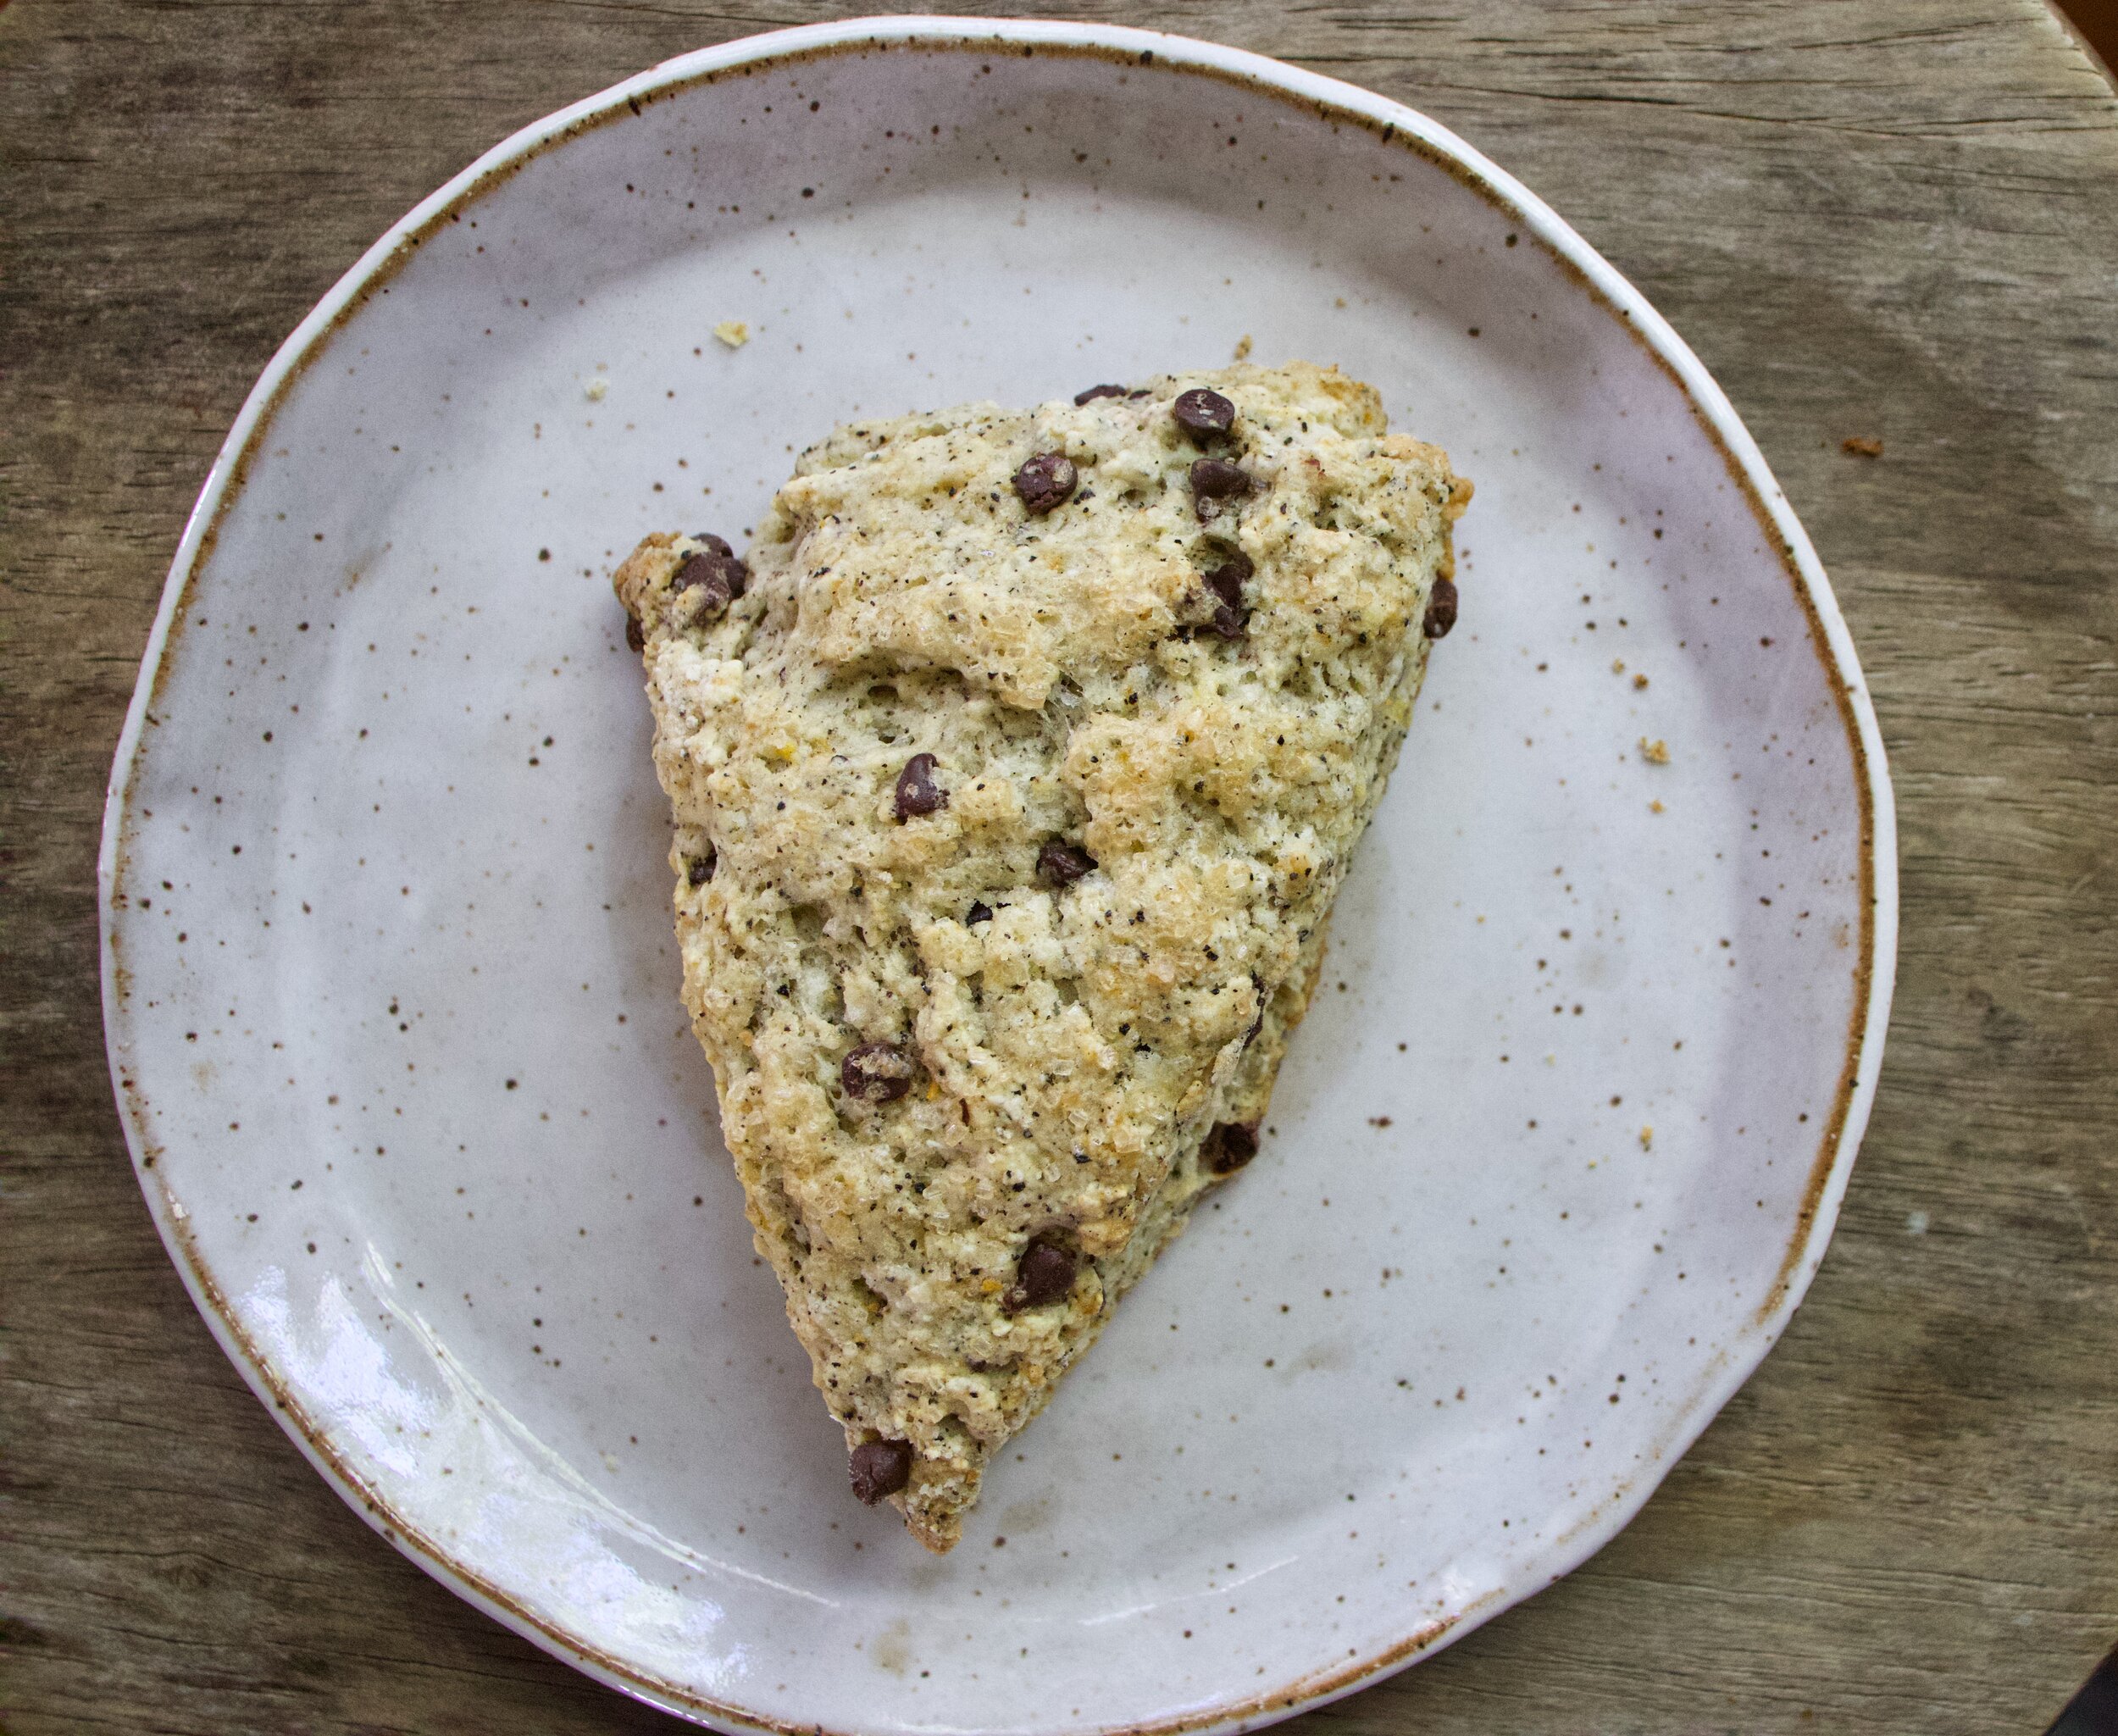
Now grab a plate, a hot cup of something, and enjoy.

-C


Earl Grey Chocolate Chip Scones

makes 8 scones

  • 2 cups all purpose flour

  • 1/4 cup granulated sugar

  • 1 tablespoon baking powder

  • 1/2 teaspoon salt

  • 3 earl grey tea bags (or 2 tablespoons loose leaf) finely ground in a spice mill of food processor

  • 6 tablespoons vegan butter (very cold or frozen)

  • 2/3 cup plant based milk

  • 1 teaspoon vanilla extract

  • an orange

  • 1/4 cup small chocolate chips

  • 2 tablespoons raw sugar (can use graduated if you don’t have it)

Preheat oven to 375.

Grab a large bowl and add in the flour, baking powder, salt, granulated sugar, earl grey tea, and the zest of the orange. Mix together. Next grate the cold or frozen butter directly into bowl. Gently mix into the flour mixture with a fork until the pieces are covered in flour. Add in the milk, along with juice of half the orange. Mix until a shaggy dough forms. Add in chocolate chips and lightly mix again until they are evenly dispersed in dough.

Dump dough (it will be slightly shaggy) on a lightly floured surface. Gather into a ball and squash into a round flat disk about an inch thick. With knife or dough knife cut in 8 even slices (like a pie). Place each piece on a lined baking sheet and brush tops with a little milk and sprinkle with raw sugar.

Place into preheated oven and bake for 20-25 minutes or unit bottoms are browned and tops are alight golden brown. One baked, remove from oven and transfer to a wire rake to cool.

Eat warm or room temperature. Store left overs completely cooled in an air tight container for a few days.

In Vegan, sweet breads and muffins, breakfast, brunch Tags Earl Grey Chocolate Chip Scones, tea, scones, vegan, mother's day, brunch, chocolate chips, dairy free, plant based, egg free, dessert, sweet, breakfast
Comment

Chili Lime Jicama Slaw

April 24, 2021 Colleen Stem
IMG_4889.jpg

I don’t know about you but springtime has got me wanting to eat all the things that are fresh and bright and not super heavy. Things like big salads are on the top of my list. Or slaws like this jicama slaw. It is A+ and perfect for springtime munching.

Jicama. Maybe you have heard of it, maybe not. It is a vegetable, a tuber to be precise. And it tastes like a crunchy, juicy, not sweet apple, but also kind of reminds me of kohlrabi. And it slightly nutty, with a hint of potato? Just know it is delicious. You might have even had it and not even been aware of it, in say a salad or maybe spring rolls. Anyway, if you haven’t had it, it is definitely worth trying like in this slaw which is basically just jicama with cabbage, carrot and onion tossed in a cumin chili lime situation. It is fresh and crunchy and spicy and filling and all the things that I want be eating right now.

What we have it a really dang tasty and a quick toss together situation. What more can we ask for?

To the jicama slaw!

IMG_4860.jpg

The stuff. A small jicama, a carrot, a hunk of red cabbage, chili powder, cumin, a lime, red wine vinegar,a little maple syrup, and salt and pepper.

IMG_4865.jpg

Cumin, chili, maple, and vinegar go into a big bowl and get mixed around. Pop the bowl into the microwave if you can and heat it up for like 30 seconds, just o take a bit of the rawness of of the spices.

IMG_4872.jpg

Now peel the jicama. Use a sharp knife and carefully peel away the brown skin from the white flesh. Do not leave any of the skin on cause it is not good to eat!

IMG_4877.jpg

Once the jicama is peeled, grab a mandolin and julienne it (or cut into thin matchsticks with a knife). Then julienne the carrot and shredded the cabbage and onion.

IMG_4879.jpg

Dump all the veggies into the bowl with the spices then add in the juice of the lime and a pinch of salt and pepper.Toss around until evenly combined and coated.

IMG_4897.jpg

There you have it. Chili lime jicama slaw. Now you eat it. As a side to any dish you wish or just as it is, a big bowl of goodness.

-C


Chili Lime Jicama Slaw

Serves 3-4 (as a side)

  • 1 medium Jicama (around 3 cups julienned)

  • 1 small carrot

  • 1 small onion

  • a small hunk of red cabbage

  • a lime

  • 3/4 teaspoon cumin

  • 3/4 teaspoon chili powder

  • 1 teaspoon maple syrup

  • 1 tablespoon red wine vinegar

  • salt and pepper

Place cumin, chili, maple, and vinegar into a large bowl. Mix around and pop into the microwave for 20-30 seconds just to heat it up a bit and remove some of the rawness of the spices.

Peel the jicama. Do it with a knife (so carefully) and remove all of the tough brown skin away from the white flesh. (Do not eat skin..It can make you sick). Now either with a mandolin of a knife, julienne the jicama along with the carrot. Use a thicker setting for the jicama and a thinner one for the carrot. Shred or thinly slice up the cabbage and onion as well. Toss all the veggies into the bowl with the spices. Squeeze in the juice of the lime, add a pinch or two of salt and some black pepper and toss around until everything is evenly combined and coated.

You can eat it right away but It taste better when it has had a chance to sit for a little while.

Serve cold along with anything. Or eat on it’s own. Store left overs in fridge for up to a week.

In quick and easy, Raw, salad, Vegan, Vegetables Tags Chili Lime Jicama Slaw, jicama, slaw, raw, salad, plant based, grain free, gluten free, dairy free, vegetable, fresh, spring, easy, chili lime
Comment

Sweet Potato Steaks on Arugula and Kale with Pea Avocado Cream

April 10, 2021 Colleen Stem
IMG_4654.jpg

All I want to do is eat fists fulls of arugula. Ok, maybe that is not all I want to do, but it is something that I have been doing a lot. I have always really like arugula but as of right now, it is my top choice green!

Anyway, big green salads are all I want to eat because it is spring and all and greens are the best in the spring. But I still am eating a lot of roots and will be eating them for a few more weeks unit winter farm share dies down. And because it is the end of the season, the choice of roots is dwindling and we basically get a bucket of carrots, beets, and sweet potatoes. Lots of sweet potatoes, which by the way, I am not made about. And greens, We get lots of greens!

So my new favorite salad comes to fruition. Thick cut sweet potato steaks on a bed of fresh spring arugula and kale toped with a thick creamy avocado pea situation and some toasted walnuts for flair and crunch. I mean, is your mouth watering and your tummy grumbling yet?

Mine is but that is just how it always is.

Now to the steaks and salad!

IMG_4603.jpg

The stuff. A sweet potato, some arugula and tender kale, peas (frozen and thawed) half an avocado, some toasted walnuts, a lemon, and salt and pepper.

IMG_4609.jpg

Start by cutting the sweet potato into thick steaks. 4-5 same thickness slices if you may.

IMG_4612.jpg
IMG_4617.jpg

And no roast up the sweet potato steaks. Just place hem onto a baking sheet and pop them into a hot oven. Bake for 2-30 minutes, flipping over after 15-20 minutes. Once tender, remove from oven and set aside.

IMG_4629 2.jpg
IMG_4632.jpg

While sweet potatoes are baking, make pea avocado cream. Place peas and avocado into a blender or cup if using a hand blender along with the juice of the lemon and about a tablespoon of water. And a small pinch of salt. Blend until smooth. Add more water a tablespoon at a time until you get a thick but pourable constancy.

IMG_4644 2.jpg

Now rough chop the kale and toss together with the arugula and place in a large salad bowl

IMG_4650.jpg

Place the sweet potato steaks on top of the greens. Note here that the sweet potato steaks can be hot, warm, or cold. The are good all the ways.

IMG_4653 2.jpg

Then top it all with the pea avocado cream. Toss on the toasted walnuts and add some more black pepper and that be that. Grab a fork and a knife if you wish and get to it.

So much goodness in the mouth!

-C


Sweet Potato Steaks on Arugula and Kale with Pea Avocado Cream

serves 1-2

  • 1 medium sweet potato

  • 1/2 cup frozen (and thawed) green peas

  • 1/2 of an avocado

  • a small lemon

  • 2 large handfuls of fresh arugula

  • 4-5 leaves of tender kale

  • 1/4 cup toasted walnuts

  • around 1/4 cup cold water

  • salt and pepper

Preheat oven to 450. Wash sweet potato and cut into 4-5 equal thickness slices. Place cut pieces on a baking sheet and sprinkle with salt and pepper and pop into oven. Bake for 25-30 minutes, flipping after 15 or until the sweet potato is tender. Remove from oven and let cool a bit.

While sweet potato is baking off, make pea avocado cream. Place the peas and avocado into a blender or cup if using a hand blender, add in the juice of the lemon and a pinch of salt. Blend until smooth. Add in a tablespoon or two (or more) to thin out until it is still thick but pourable. Also rough chop the kale and mix together with the arugula in a big salad bowl.

Once sweet potato steaks have baked and cooled off a little bit (you can eat them hot or cold so whatever temperature you want), place them on top of the greens then top with the pea avocado cream, sprinkle on toasted walnuts, more black pepper, and maybe a squeeze of more lemon if you have it.

Then grab a fork and knife and start eating.

In Vegan, Vegetables, winter, Spring, salad Tags Sweet Potato Steaks on Arugula and Kale with Pea Avocado Cream, Arugula, kale, sweet potato steaks, vegan, grain free, dairy free, gluten free, plant based, dinner, salad, roots, winter, spring, avocado, peas, walnuts, easy, heathy, quick, delicious, yummy
Comment

Savory Carrot Dill Waffle Iron Fritters with Creamy Maple Mustard

April 3, 2021 Colleen Stem
IMG_4573.jpg
IMG_4551.jpg
IMG_4523.jpg

The other day I went to grab the cookie cutters out of the pantry and had to move the waffle iron out of the way. That is basically the only reason I used the waffle iron. And just like every single time I grab it out to use, I wonder to my self why the hell I don’t use it more. Maybe it’s time to move the waffle iron to a bette spot in the pantry.

So anyway these carrot waffled fritters. Theyare so so so freaking good! I could barely stop eating them before I got a chance to take a couple pictures. So simple, yet so satisfying. Carrot and dill are such a great combo and when made into a crispy fritter situation with chickpea flour and dipped into with the maple mustard. WOW! I was going to make most of this batch for the mr for dinner but I ended up eating more then half (so I ended up making him a waffled sandwich too).

I think these carrot dill waffle fritters might just be the reason the waffle iron gets a new spot in the pantry. Heck I might even leave it out for while because I am definitely making another batch (or 3 of these before I put it away)

Now to the carrots waffle fritters!

IMG_4467.jpg

The stuff. Carrots, a small onion, dried dill and garlic powder, chickpea flour, water, salt and pepper, maple syrup, brown mustard, vegan yogurt, and a little oil.

IMG_4476.jpg

Maple, mustard, and vegan yogurt get mixed together and that is that. Set aside.

IMG_4490.jpg
IMG_4492.jpg

Shred carrots and onion into a bowl. Add in the chickpea flower, spices, a pinch of salt and pepper, and a bit of water and mix until evenly incorporated.

IMG_4496.jpg

Ready to go

IMG_4510.jpg

Lighy oil hot waffle iron and scoop a portion of the batter in. CLose iron and cook until the top and bottom are browned and crispy. (Use your iron settings but also check to see how the iron is cooking)

IMG_4514.jpg

Crispy and brown and smelling so good. Remove form iron.

IMG_4528.jpg

Fritters can go straight to plates or on a rack… Whatever you want.

IMG_4545.jpg

But eat them. Dip or cover them in the maple mustard sauce (it is so good!) and be happy.


Savory Carrot Dill Waffle Iron Fritters with Creamy Maple Mustard

serves 1-3

  • 3-4 carrots ( 2 1/2 to 3 cups shredded)

  • 1 small onion

  • 3/4 cup chickpea flour

  • 1 1/2 easpoon dried dill

  • 1/2 teaspoon garlic powder

  • salt and pepper

  • 1/3 to 1/2 cup warm water

  • 1 tablespoon REAL maple syrup

  • 1 1/2 tablespoons brown mustard

  • 1/3 cup plant based plain yogurt

  • tablespoon or so of high heat oil

Preheat waffle iron.

Mix maple, mustard, and vegan yogurt together in a small bowl and set aside.

Shred carrots into a large bowl until you have 2 1/2 to 3 cups of shedded carrot. Then shred the onion into bowl as well. Mix around then add in a pinch of salt and pepper, the dill, garlic powder, and chickpea flour.Mix tighter with lesser amount of water until everything is completely incorporated. Add a bit more water if the mixture is still dry.

To make the waffle fritters , lightly oil the iron and add a large scoop of the batter to the iron while it is hot then close and cook until the fritters are browned and crispy. Once cooked to you liking, remove the waffled fritters and place on a plate or rack and continue with the rest of the batter until it is gone.

Serve right away or warm and serve with the creamy maple mustard. Dip it in or scoop it on… It’s all good!

In brunch, dinner, Gluten Free, grain free, quick and easy, Vegan, Vegetables Tags savory Carrot Dill Waffle Iron Fritters With Creamy Maple Mustard, vegan, gluten free, dairy free, vegetable, plant based, waffle, fritter, dinner, breakfast, brunch, maple, food, easy, healthy, Brunch, easter
Comment

Watermelon Radish Orange and Pistachios Salad

March 20, 2021 Colleen Stem
IMG_4348.jpg

Have you ever seen a radish as pretty as a watermelon radish?

Is it weird that I got, what’s the word… giddy at the sight of watermelon radishes at my last farm share pick up? I legit did a little jig, yelled out to the farmers that I loved them and that that farm share pick up was the best on ever!

My farmers love me, but I am pretty sure they think I am crazy. (Maybe just a little bit)

Anyways I got me some of these super beauty radishes and have been munching away on them all week. Then I made this salad because sweet and juicy oranges and creamy pistachios go so well with peppery radishes. I added in some red onion for a little more bite and flavor, gave it a simple dressing of salt, pepper, and vinegar, and ate it all up. A big bowl of color and flavors. A bowl of happiness.

Now to the salad!

IMG_4280.jpg

The stuff. A couple watermelon radishes, oranges (I used a navel and and blood orange) a small red onion, a handful of pistachios, red wine vinegar, and salt and pepper.

IMG_4310.jpg

First slice up the radishes and onion very thinly. Use a mandolin if you have one.

IMG_4311.jpg

Toss the radish and onion into a big bowl along with the vinegar and a pinch of slat.

IMG_4303.jpg

Now cut peels from oranges and then cut oranges very thinly as well.

IMG_4313.jpg

Add the oranges to the bowl with the radishes and onion.

IMG_4320.jpg

Rough chop the pistachios.

IMG_4324.jpg

Toast them into the salad. And then top with pepper.

IMG_4346.jpg

Prettiest salad ever.

-C


Watermelon Radish Orange and Pistachios Salad

  • 2 medium sized watermelon radishes

  • 2 small oranges (navel or blood)

  • 1 small red onion

  • a handful of unshelled pistachios

  • 1 1/2 tablespoons red wine vinegar

  • salt and pepper

Start by slicing the rashishes and onion pretty thin. (use a mandolin if you have one) then place into a big shallow bowl. Sprinkle with a pinch of salt and drizzle in the vinegar. Toss around

Grab oranges and cut away peels. Then cut the whole oranges as thinly as you can (You can see the segments who or cut into smaller pieces) then place into bowl with the radishes and onions. Toss around.

Grab pistachios and give the na little rough chop then toss them into the salad. Add a little black pepper to taste then give the whole salad a little toss.

Eat.

In fruit, Nuts, Raw, quick and easy, salad, Vegan Tags Watermelon Radish Orange and Pistachios Salad, salad, vegan, plant based, spring, citrus, healthy, fruit, vegetable, nuts, color
Comment
← Newer Posts Older Posts →
 

https://thelovelycrazy.squarespace.com/config#/|/about/

Me. Food Maker.Food eater. Woo HOO!

STEM+NODE  SMALL BATCH AND ONE OF A KIND POTTERY

stem+node ceramics


____________________

Subscribe

GET NEW POSTS IN YO EMAIL

You are AWESOME!!!


@thelovelycrazy 2014-2021